I often feel that the hardest parts of making a cheesecake are:
- lining the tin, and
- getting the cake out of the base.
Strangely these two things are intimately linked. Whodathunkit?
This used to frustrate me terribly until a chef friend casually mentioned the workaround.
(Hi Kath! *waves frantically*) I intend to share it with you here.
This is a springform tin.
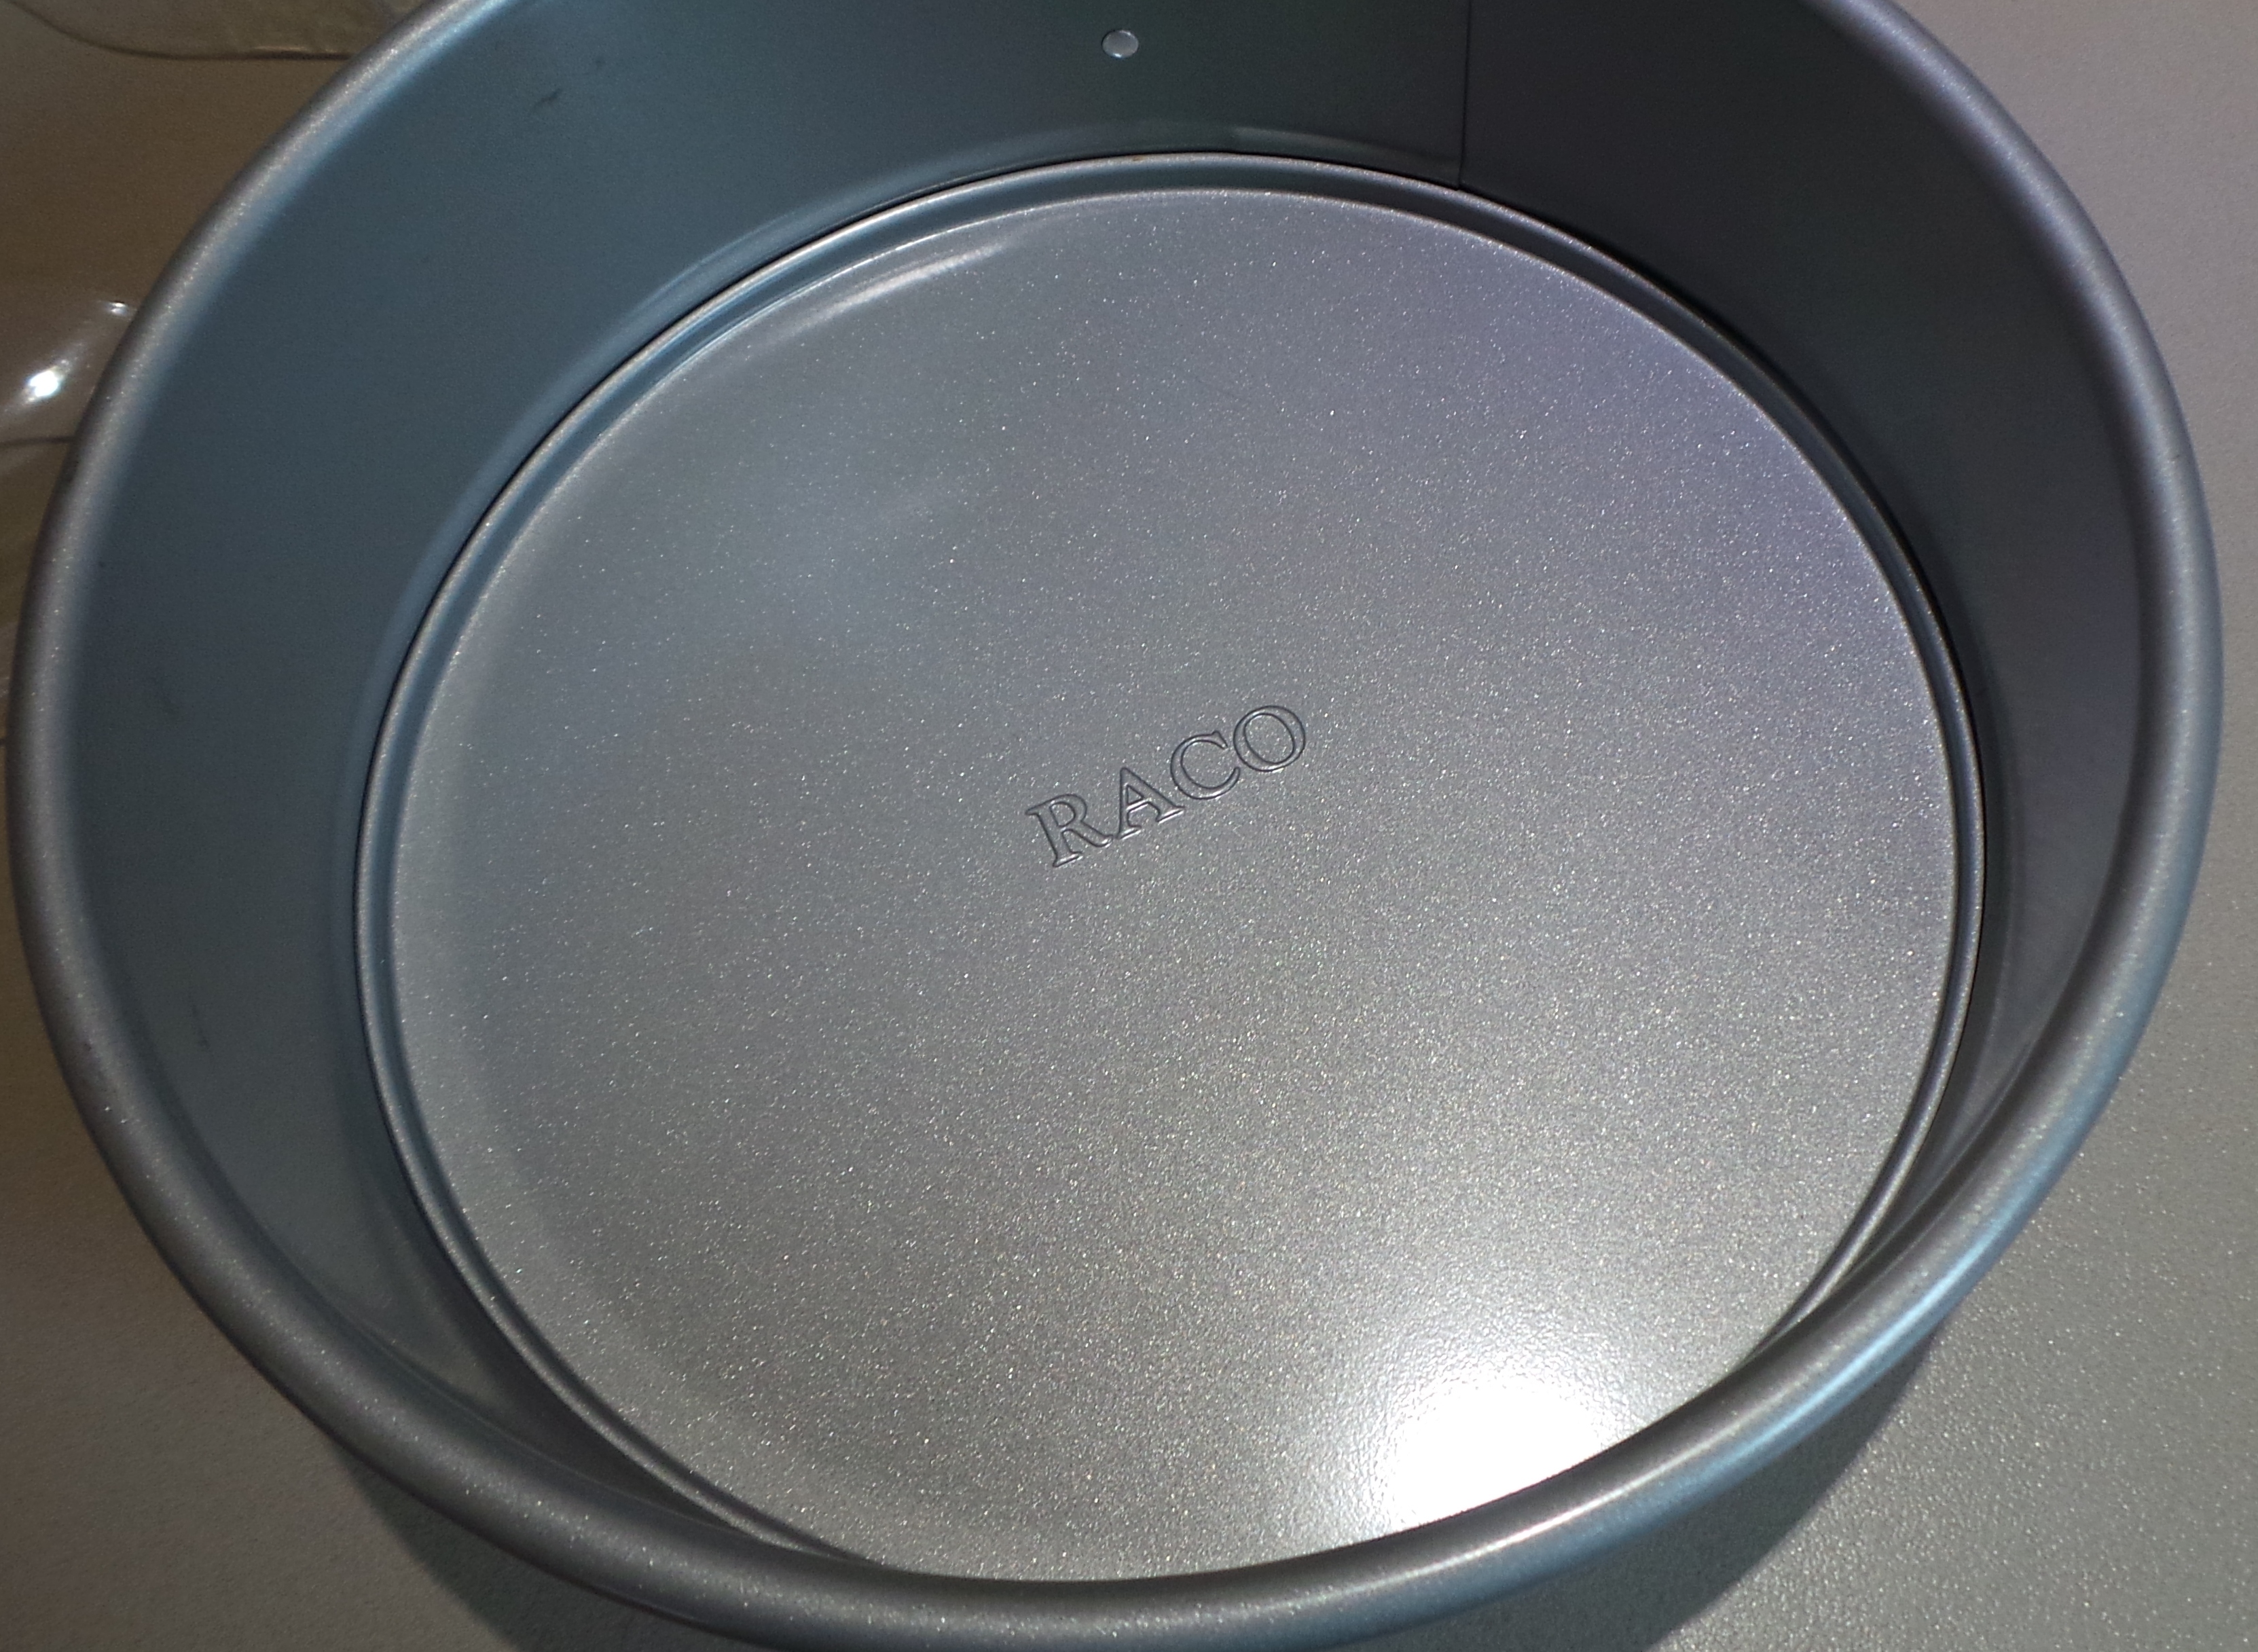
A springform tin
If you have a look at the base of a spring form tin it will look something like this.
See the lip?
That there raised edge is the reason you have such trouble getting the cake off the base and onto your serving platter.
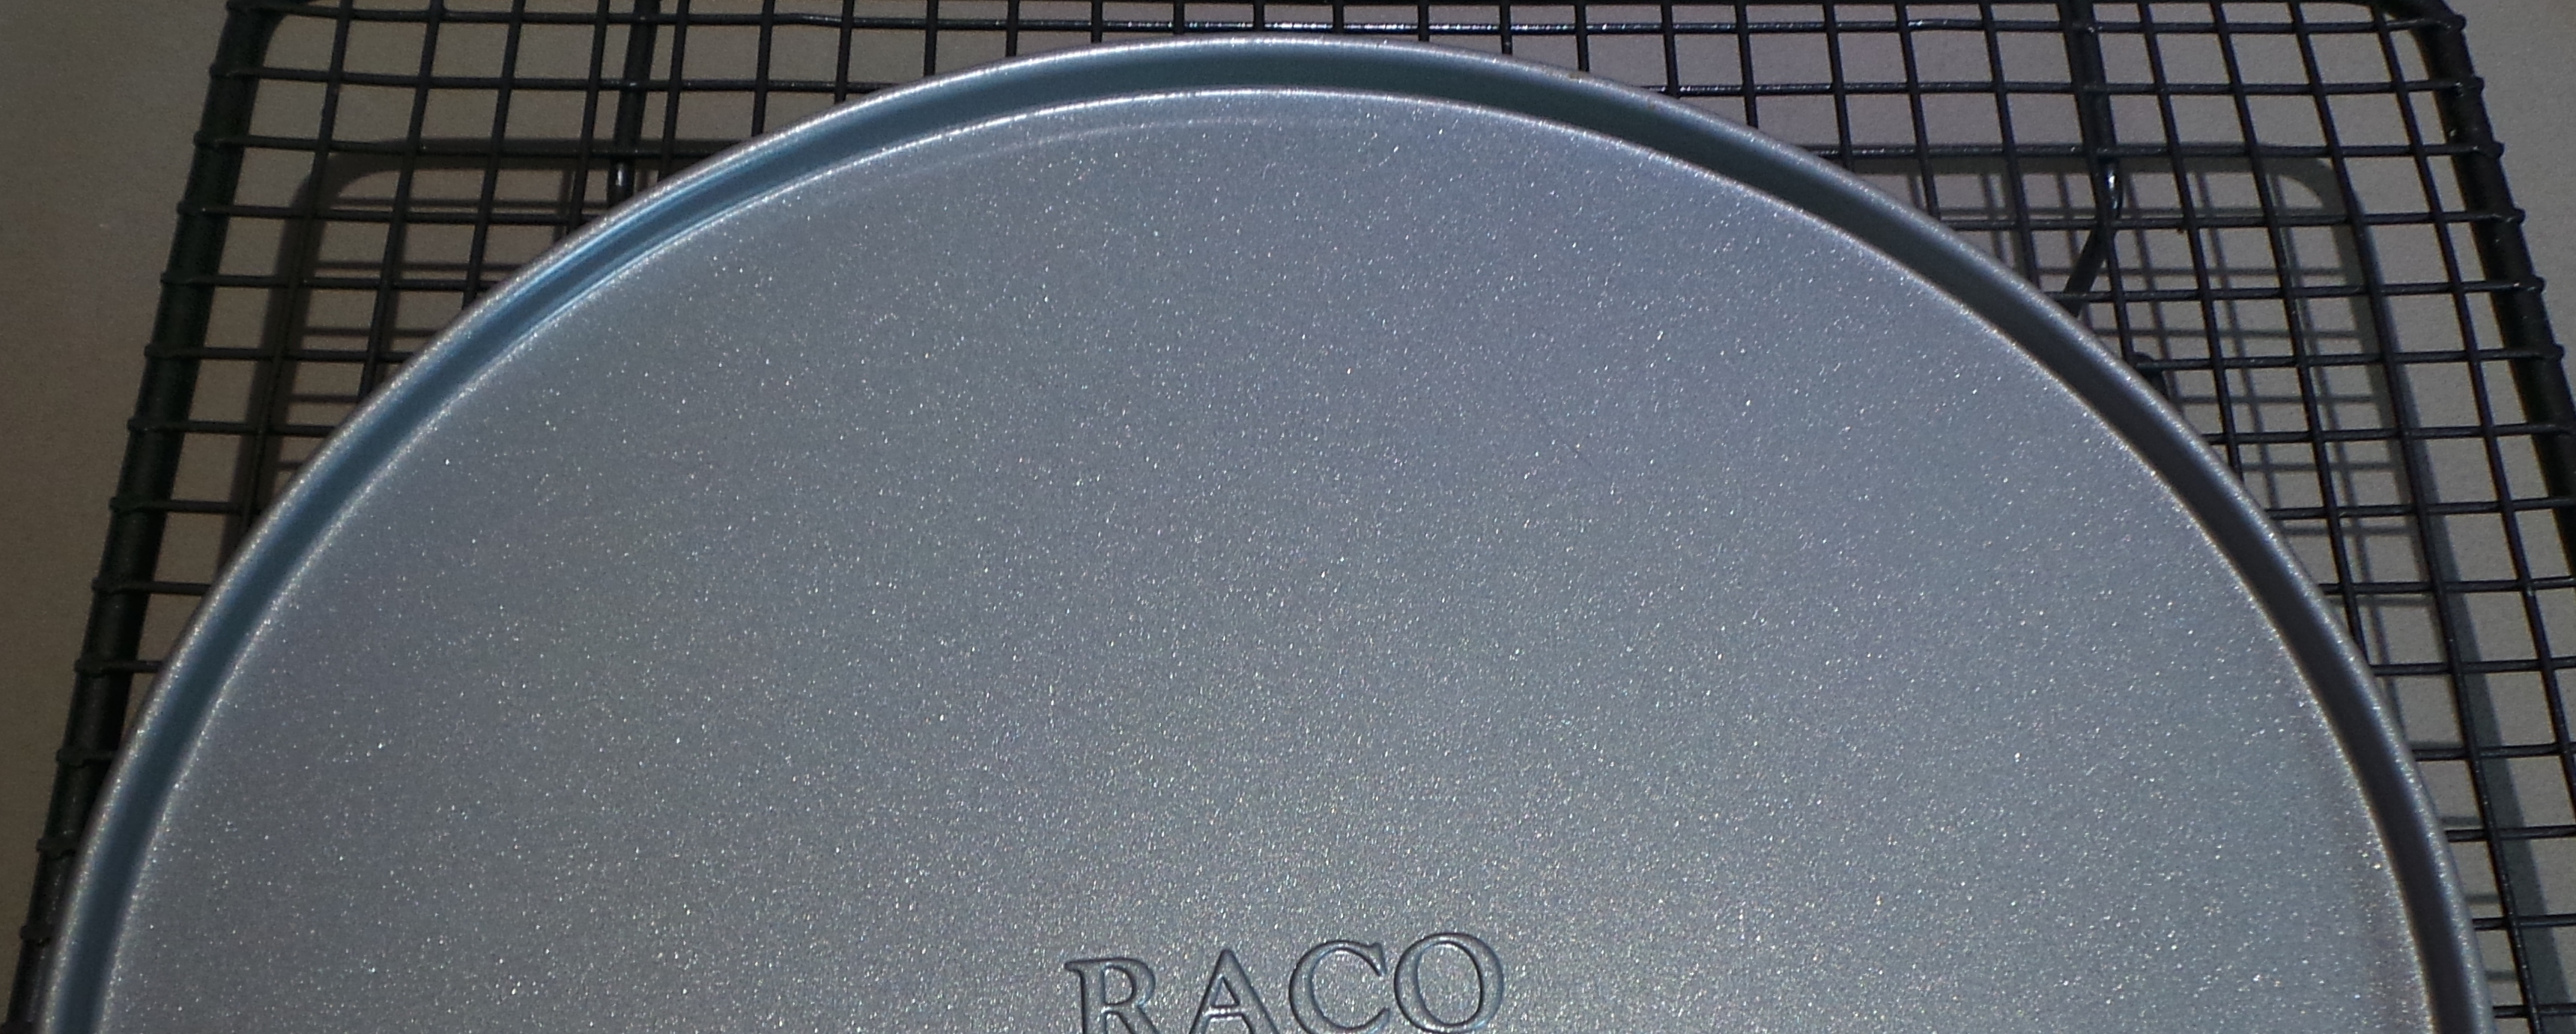
Try turning it over.

See the difference?
See how it’s all opposite to the other side? (She asked, stating the bleeding obvious…)
This is the side you want to be putting your cake onto to bake, that way it can just slide right off without getting caught on the lip.
To make this even easier, it helps to cover the base with baking paper.
Tear off a piece that’s a fair bit larger than the base. This will give you room for tearing bits off in the ensuing struggle…
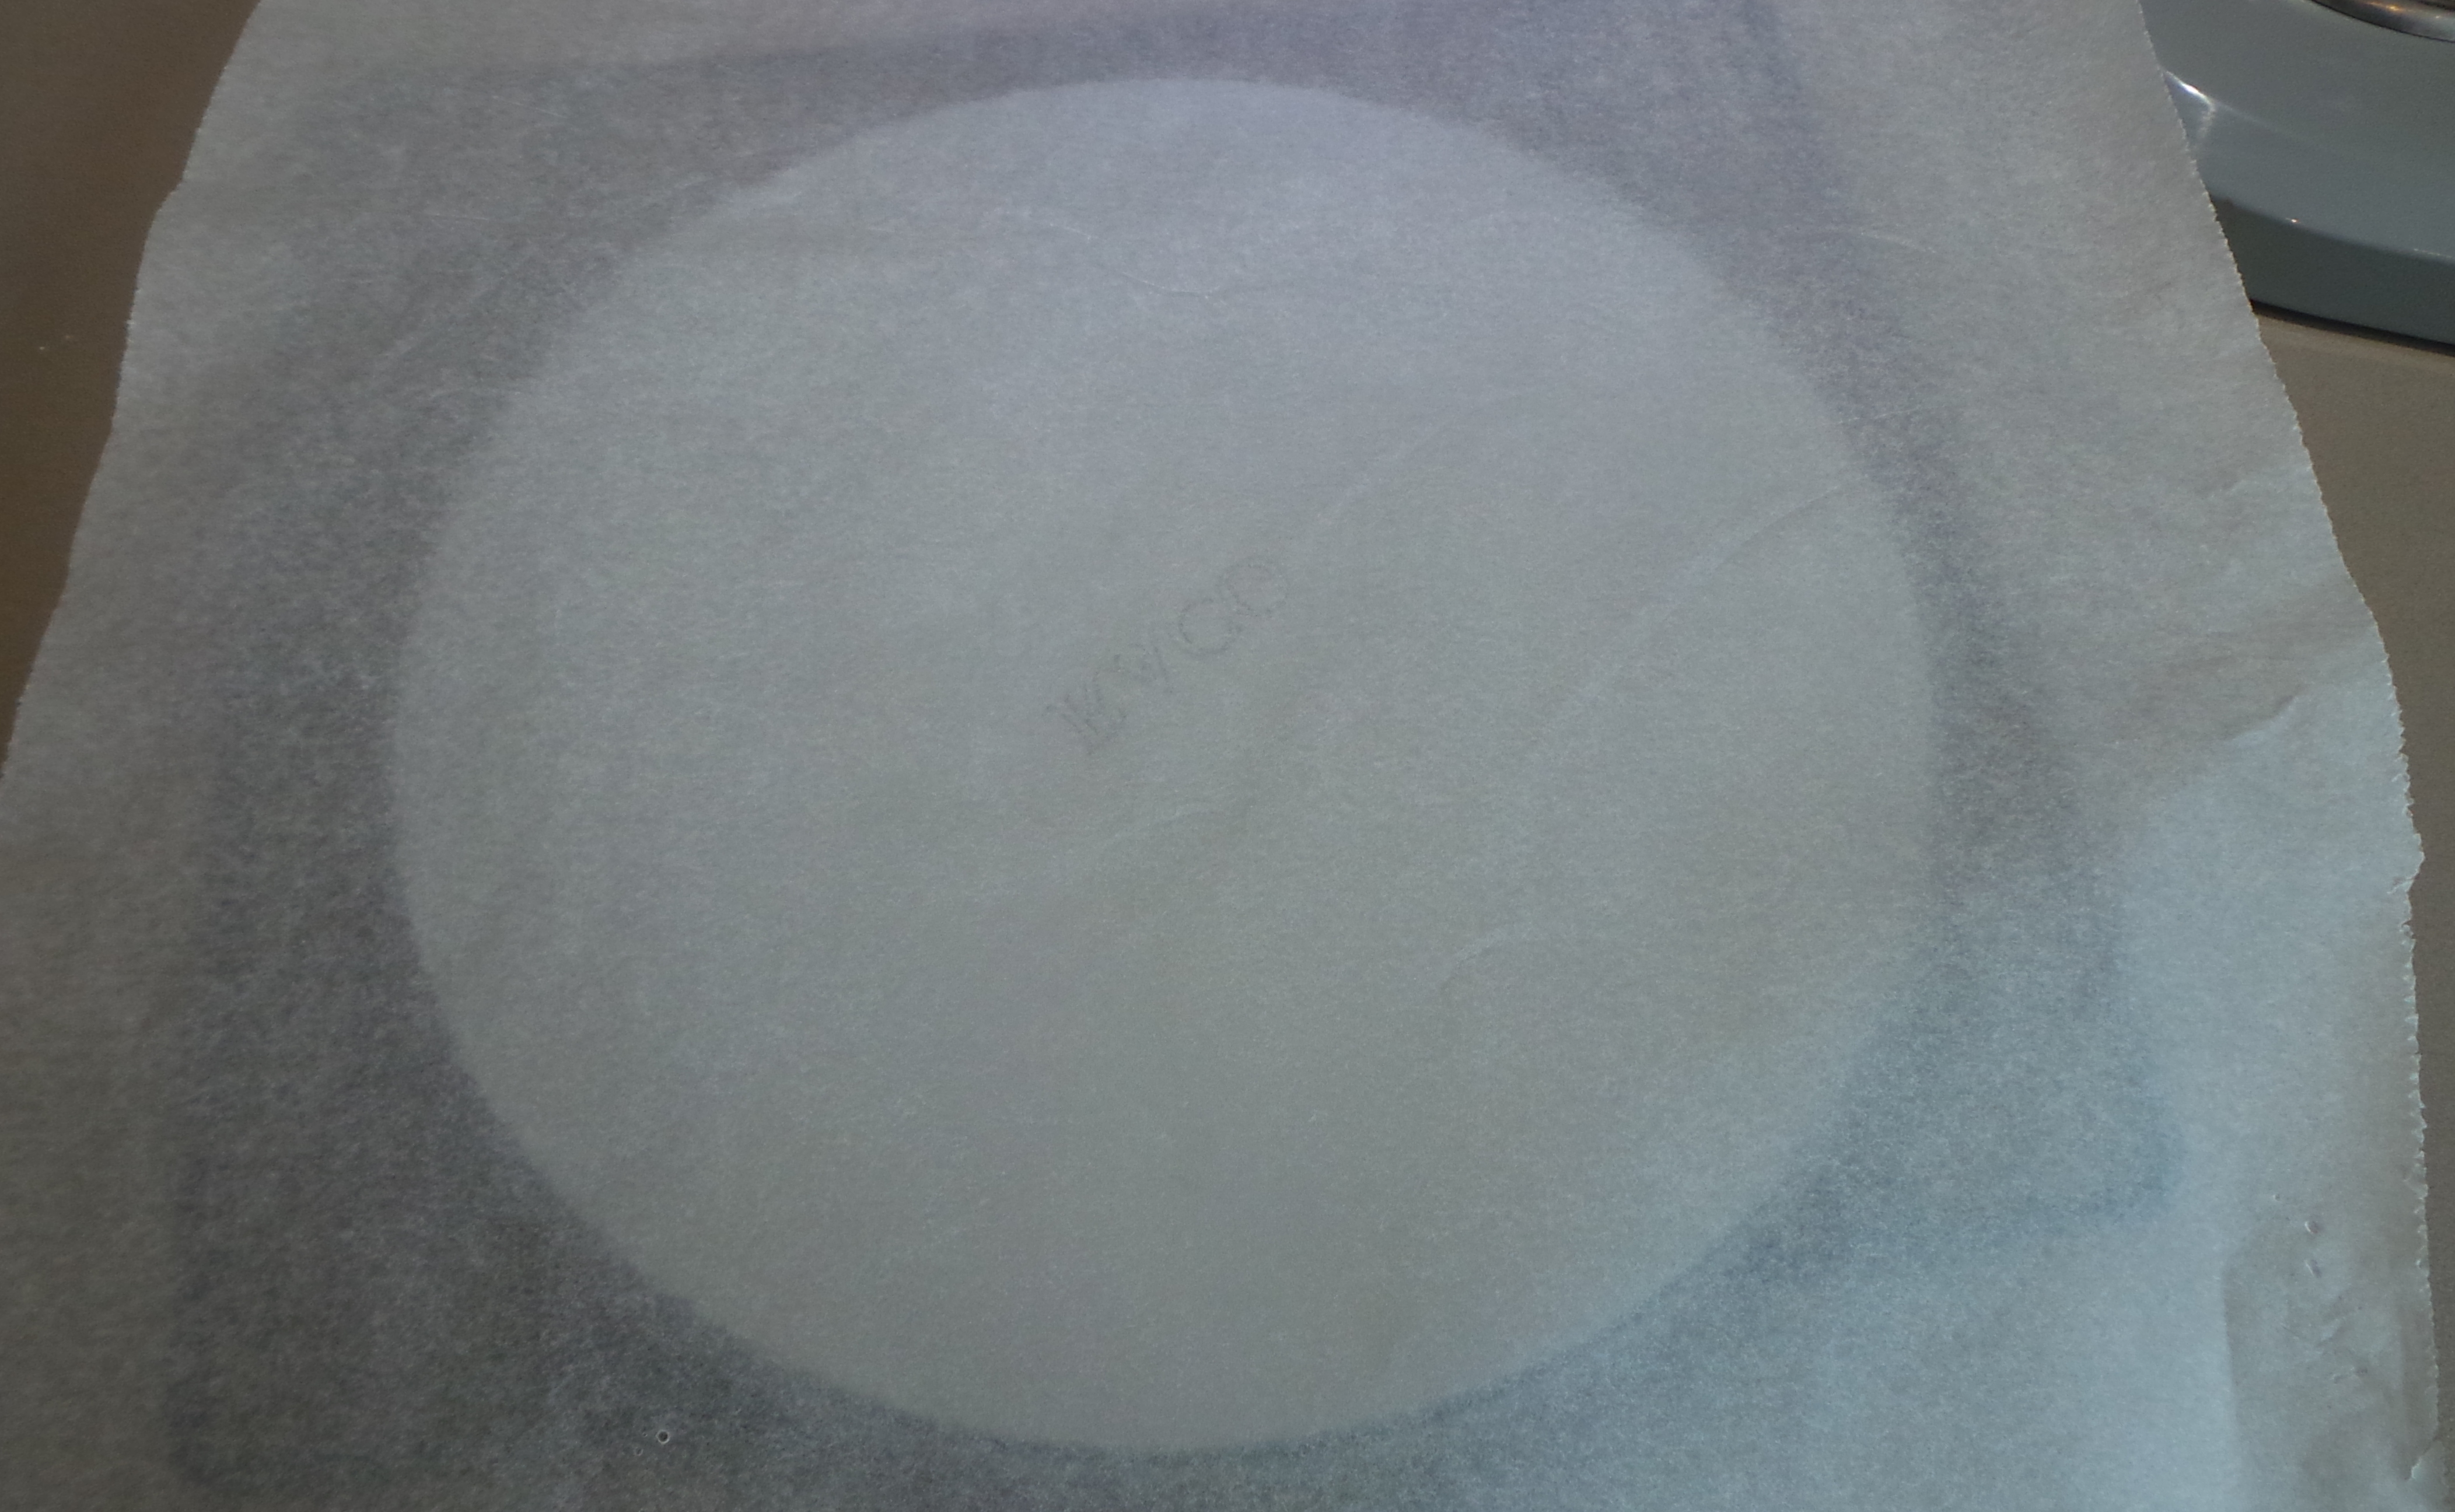
Take a piece of baking paper.
Now place your base on it with the raised surface downwards. Fold the edges of the paper over.
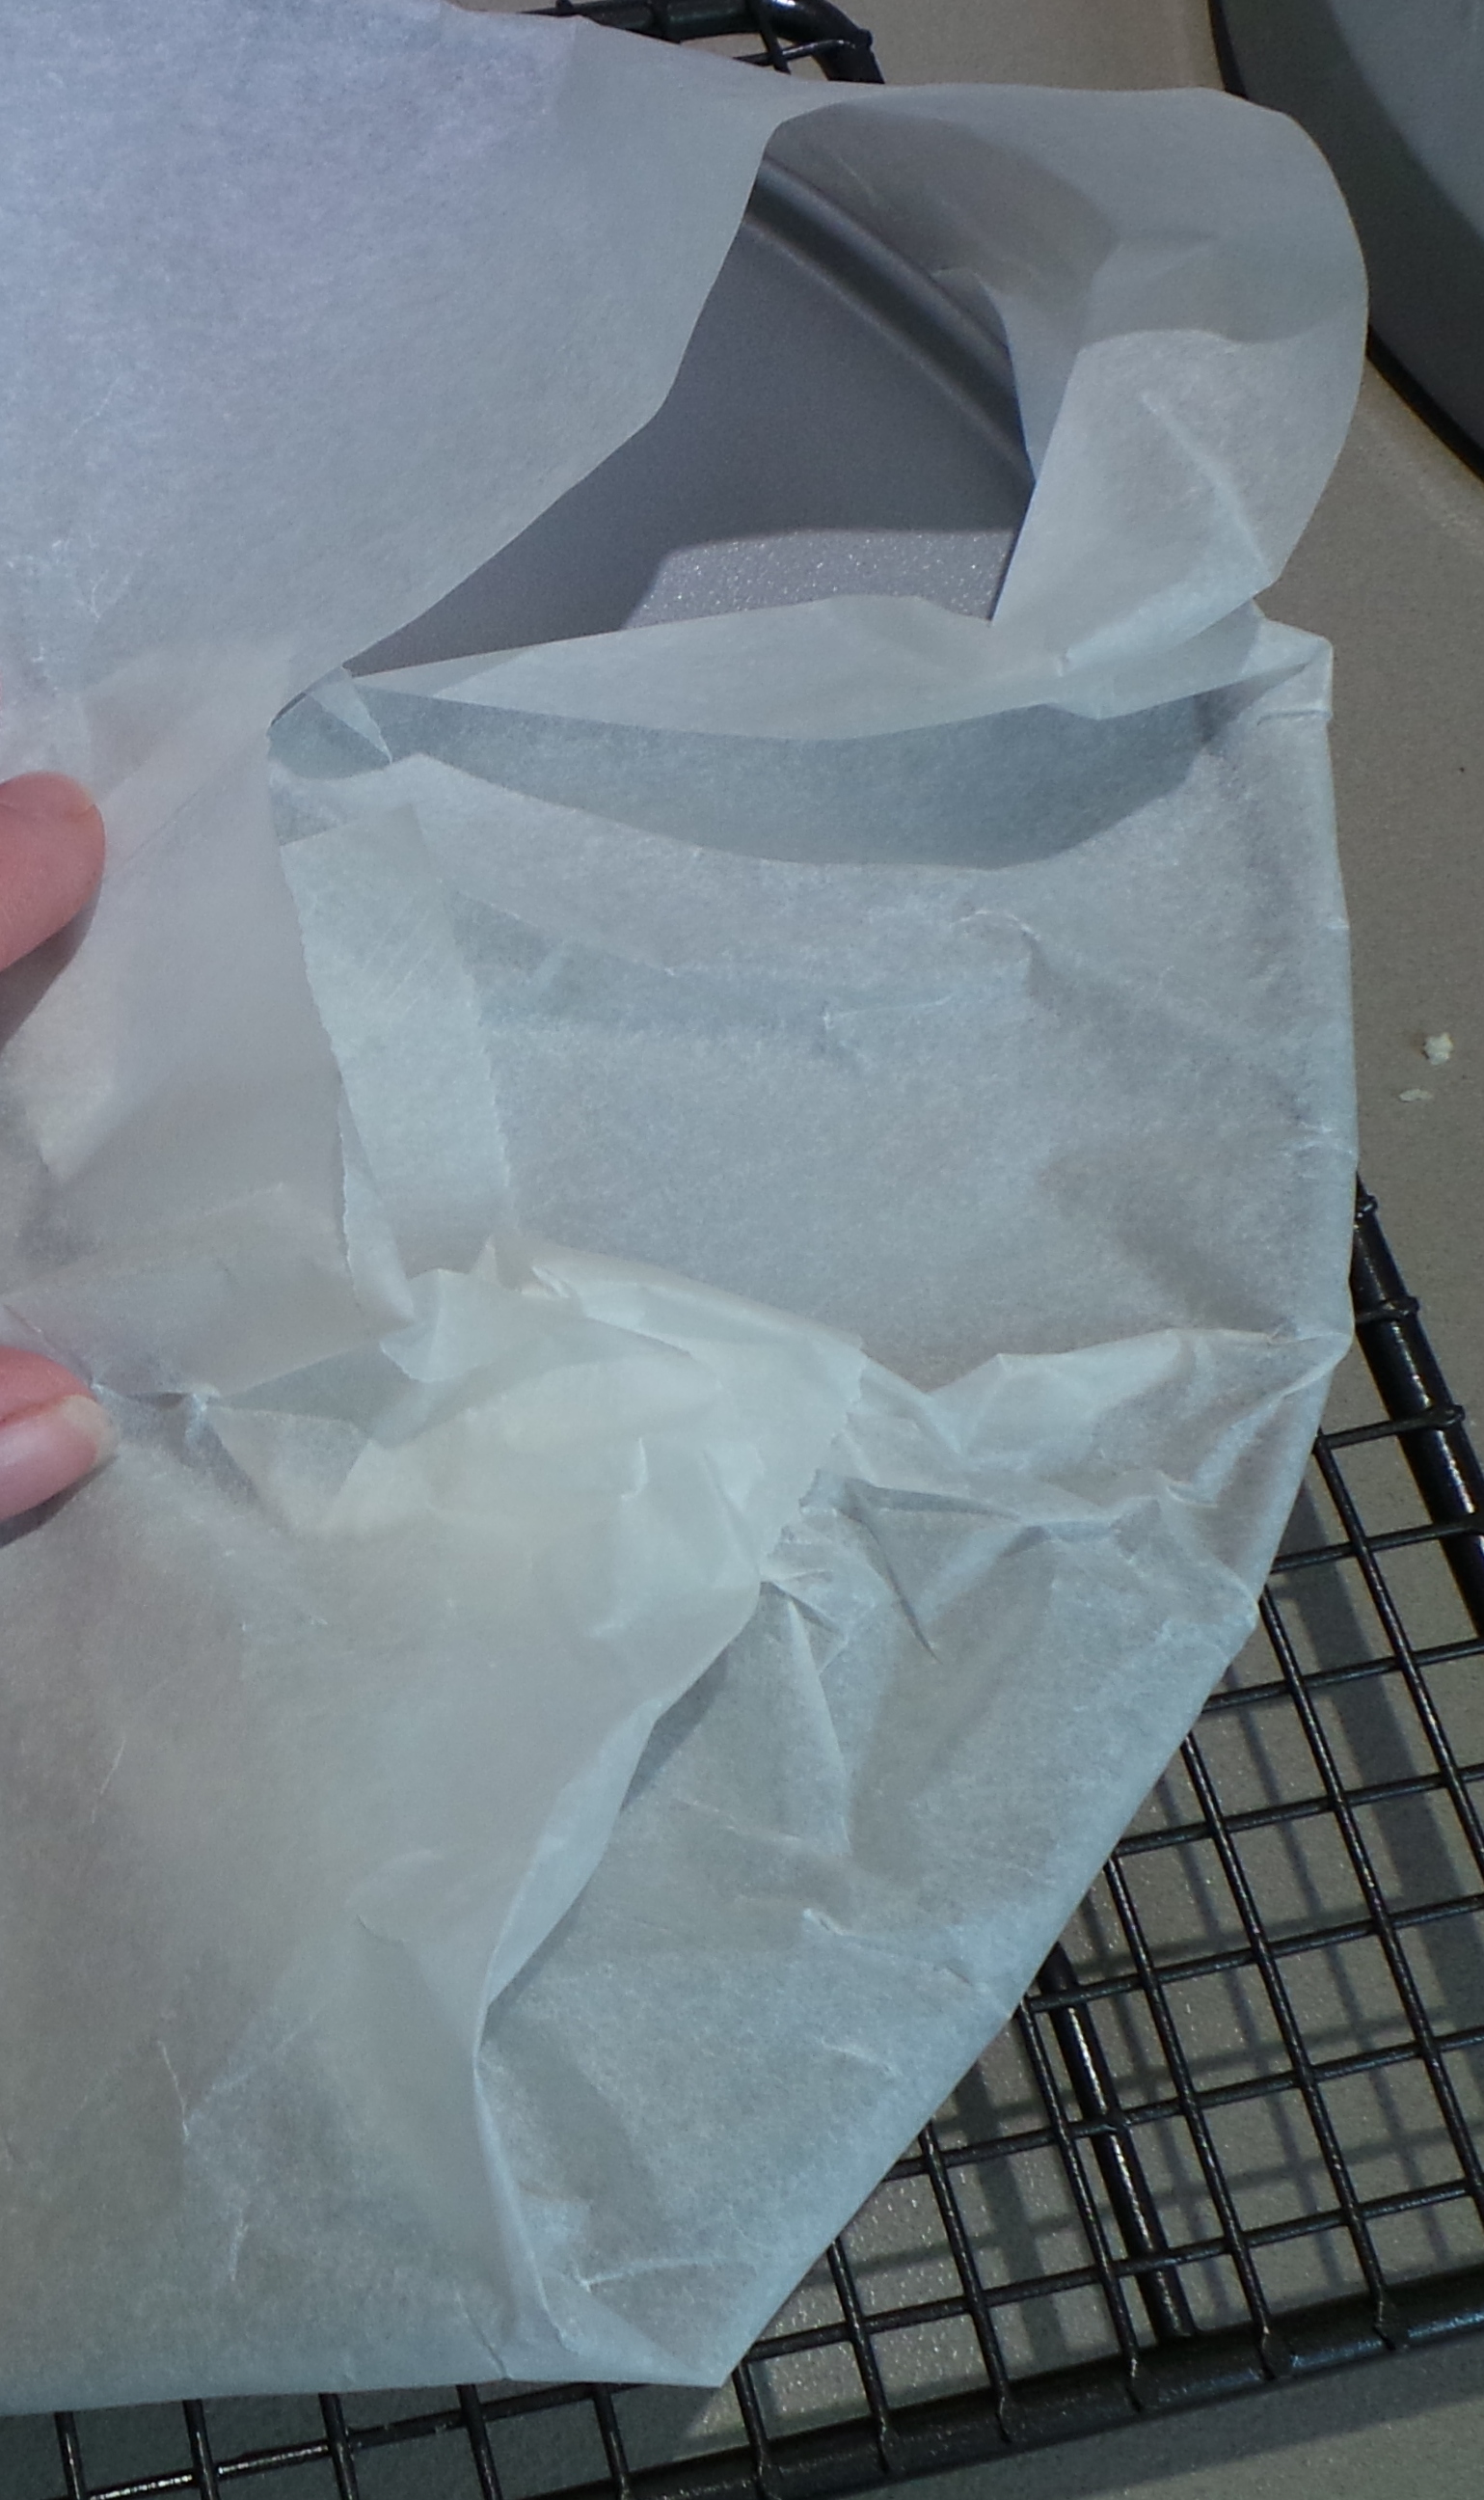
Wrap your base up.
It doesn’t have to be perfect. Now turn it over and place it into the ring of the cake tin. It’s tempting to simply place the ring over the base and tighten it – but this will not work.
Trust me on this. Save yourself the heart-wrenching sobs and just lower it into the tin, okay?
It’s okay. Just take deep breaths.
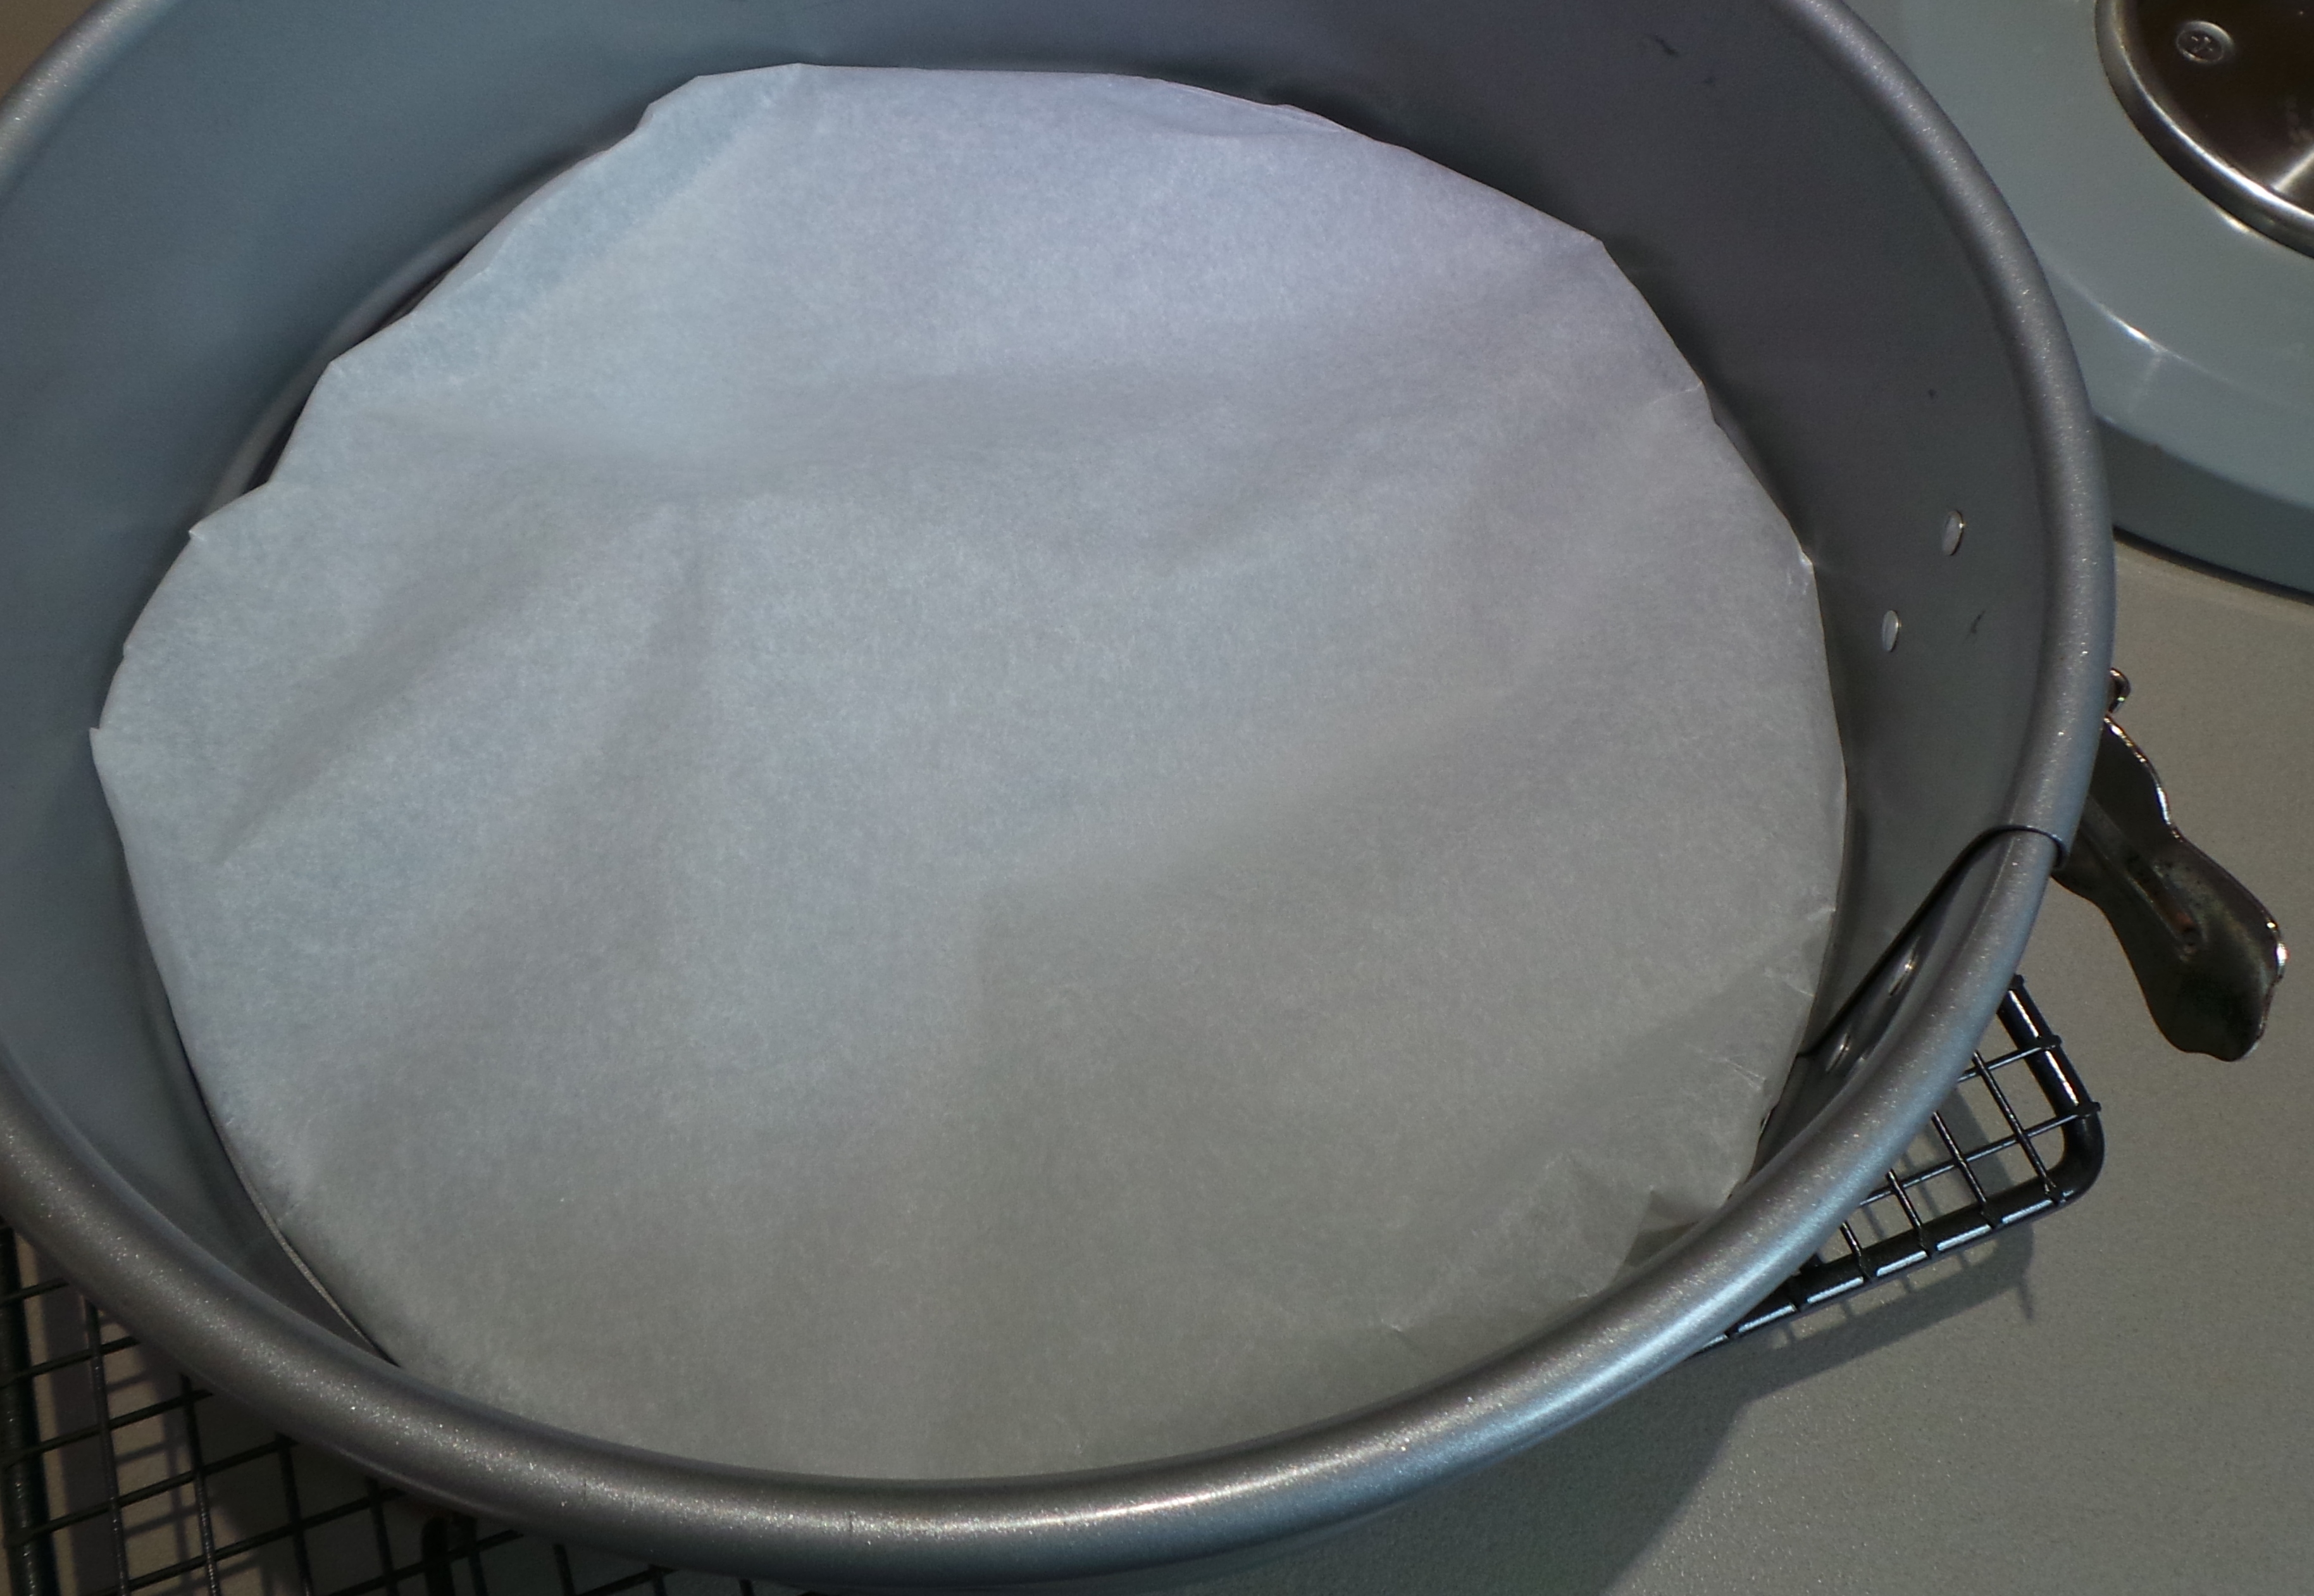
Push it down as far as it will go and tighten the ring. You will think you have failed miserably because it will look a bit like this.
Turn the whole thing over.
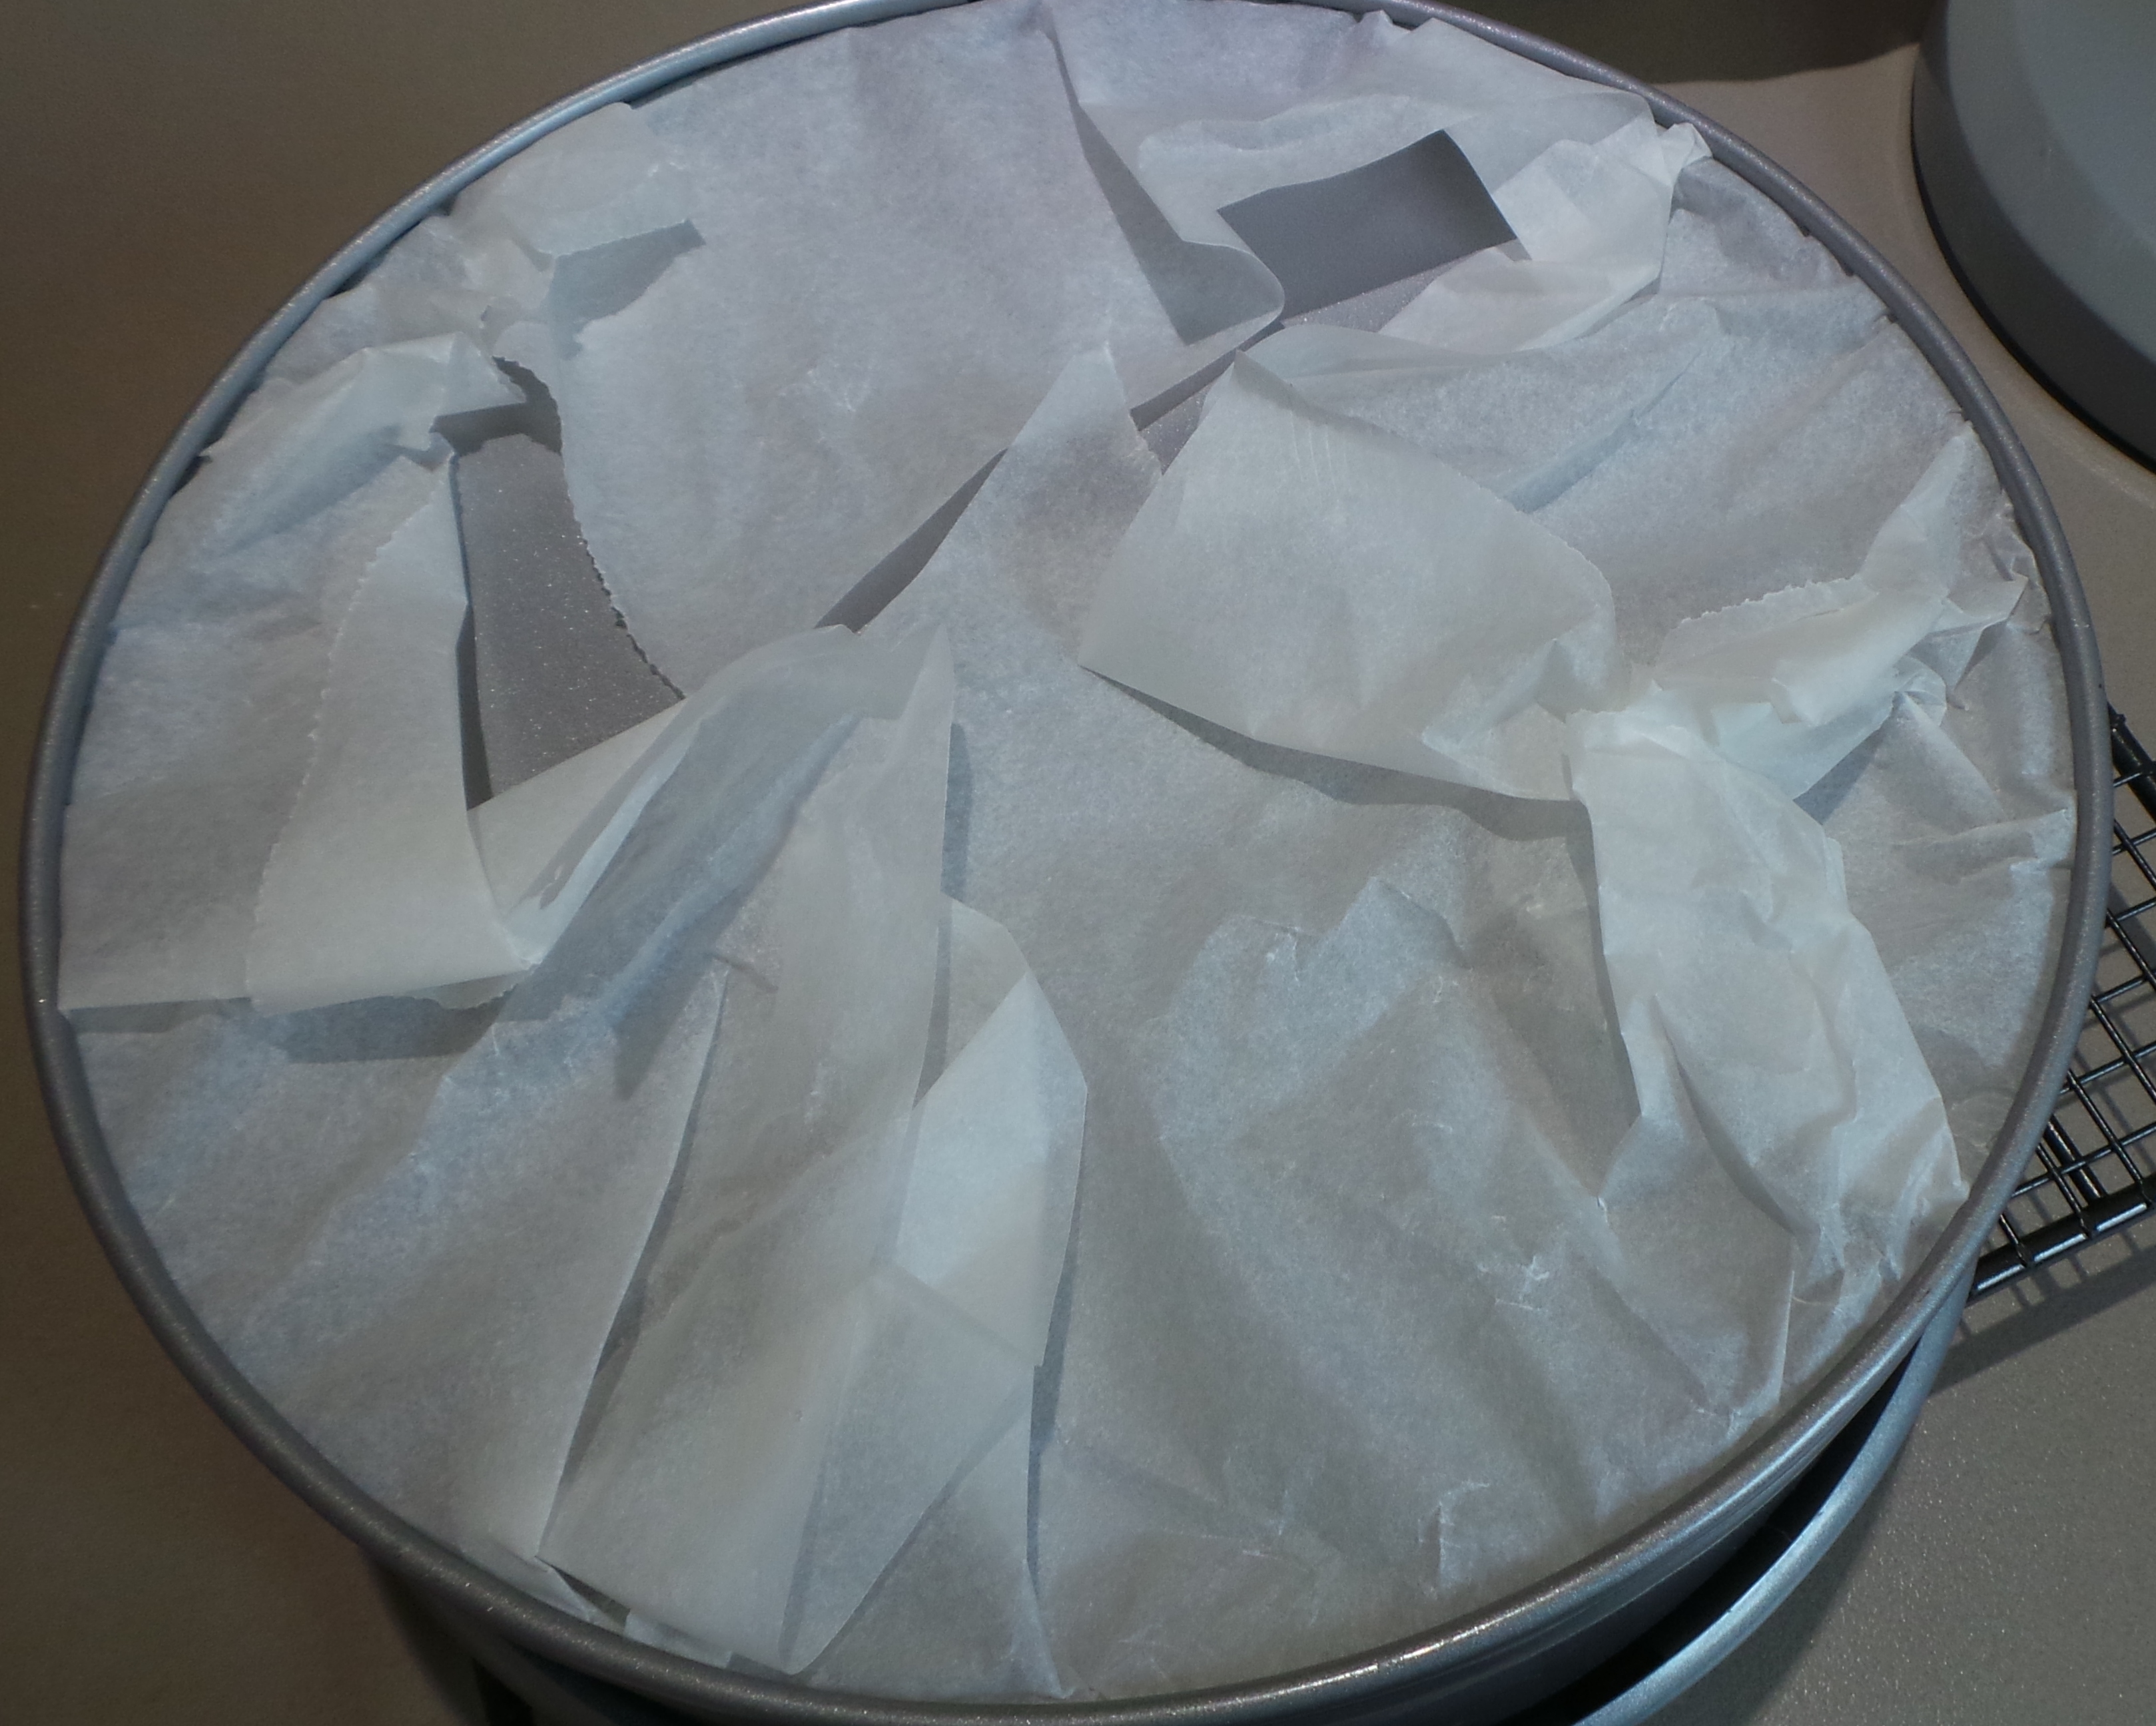
It will look something like this.
Now tug on the edges of the paper to pull the sheet as flat as you can. Take it slowly, but don’t be afraid to tug firmly. The base will begin to straighten out. It doesn’t have to be perfect, but you don’t want lots of loose paper and folds across the base either.
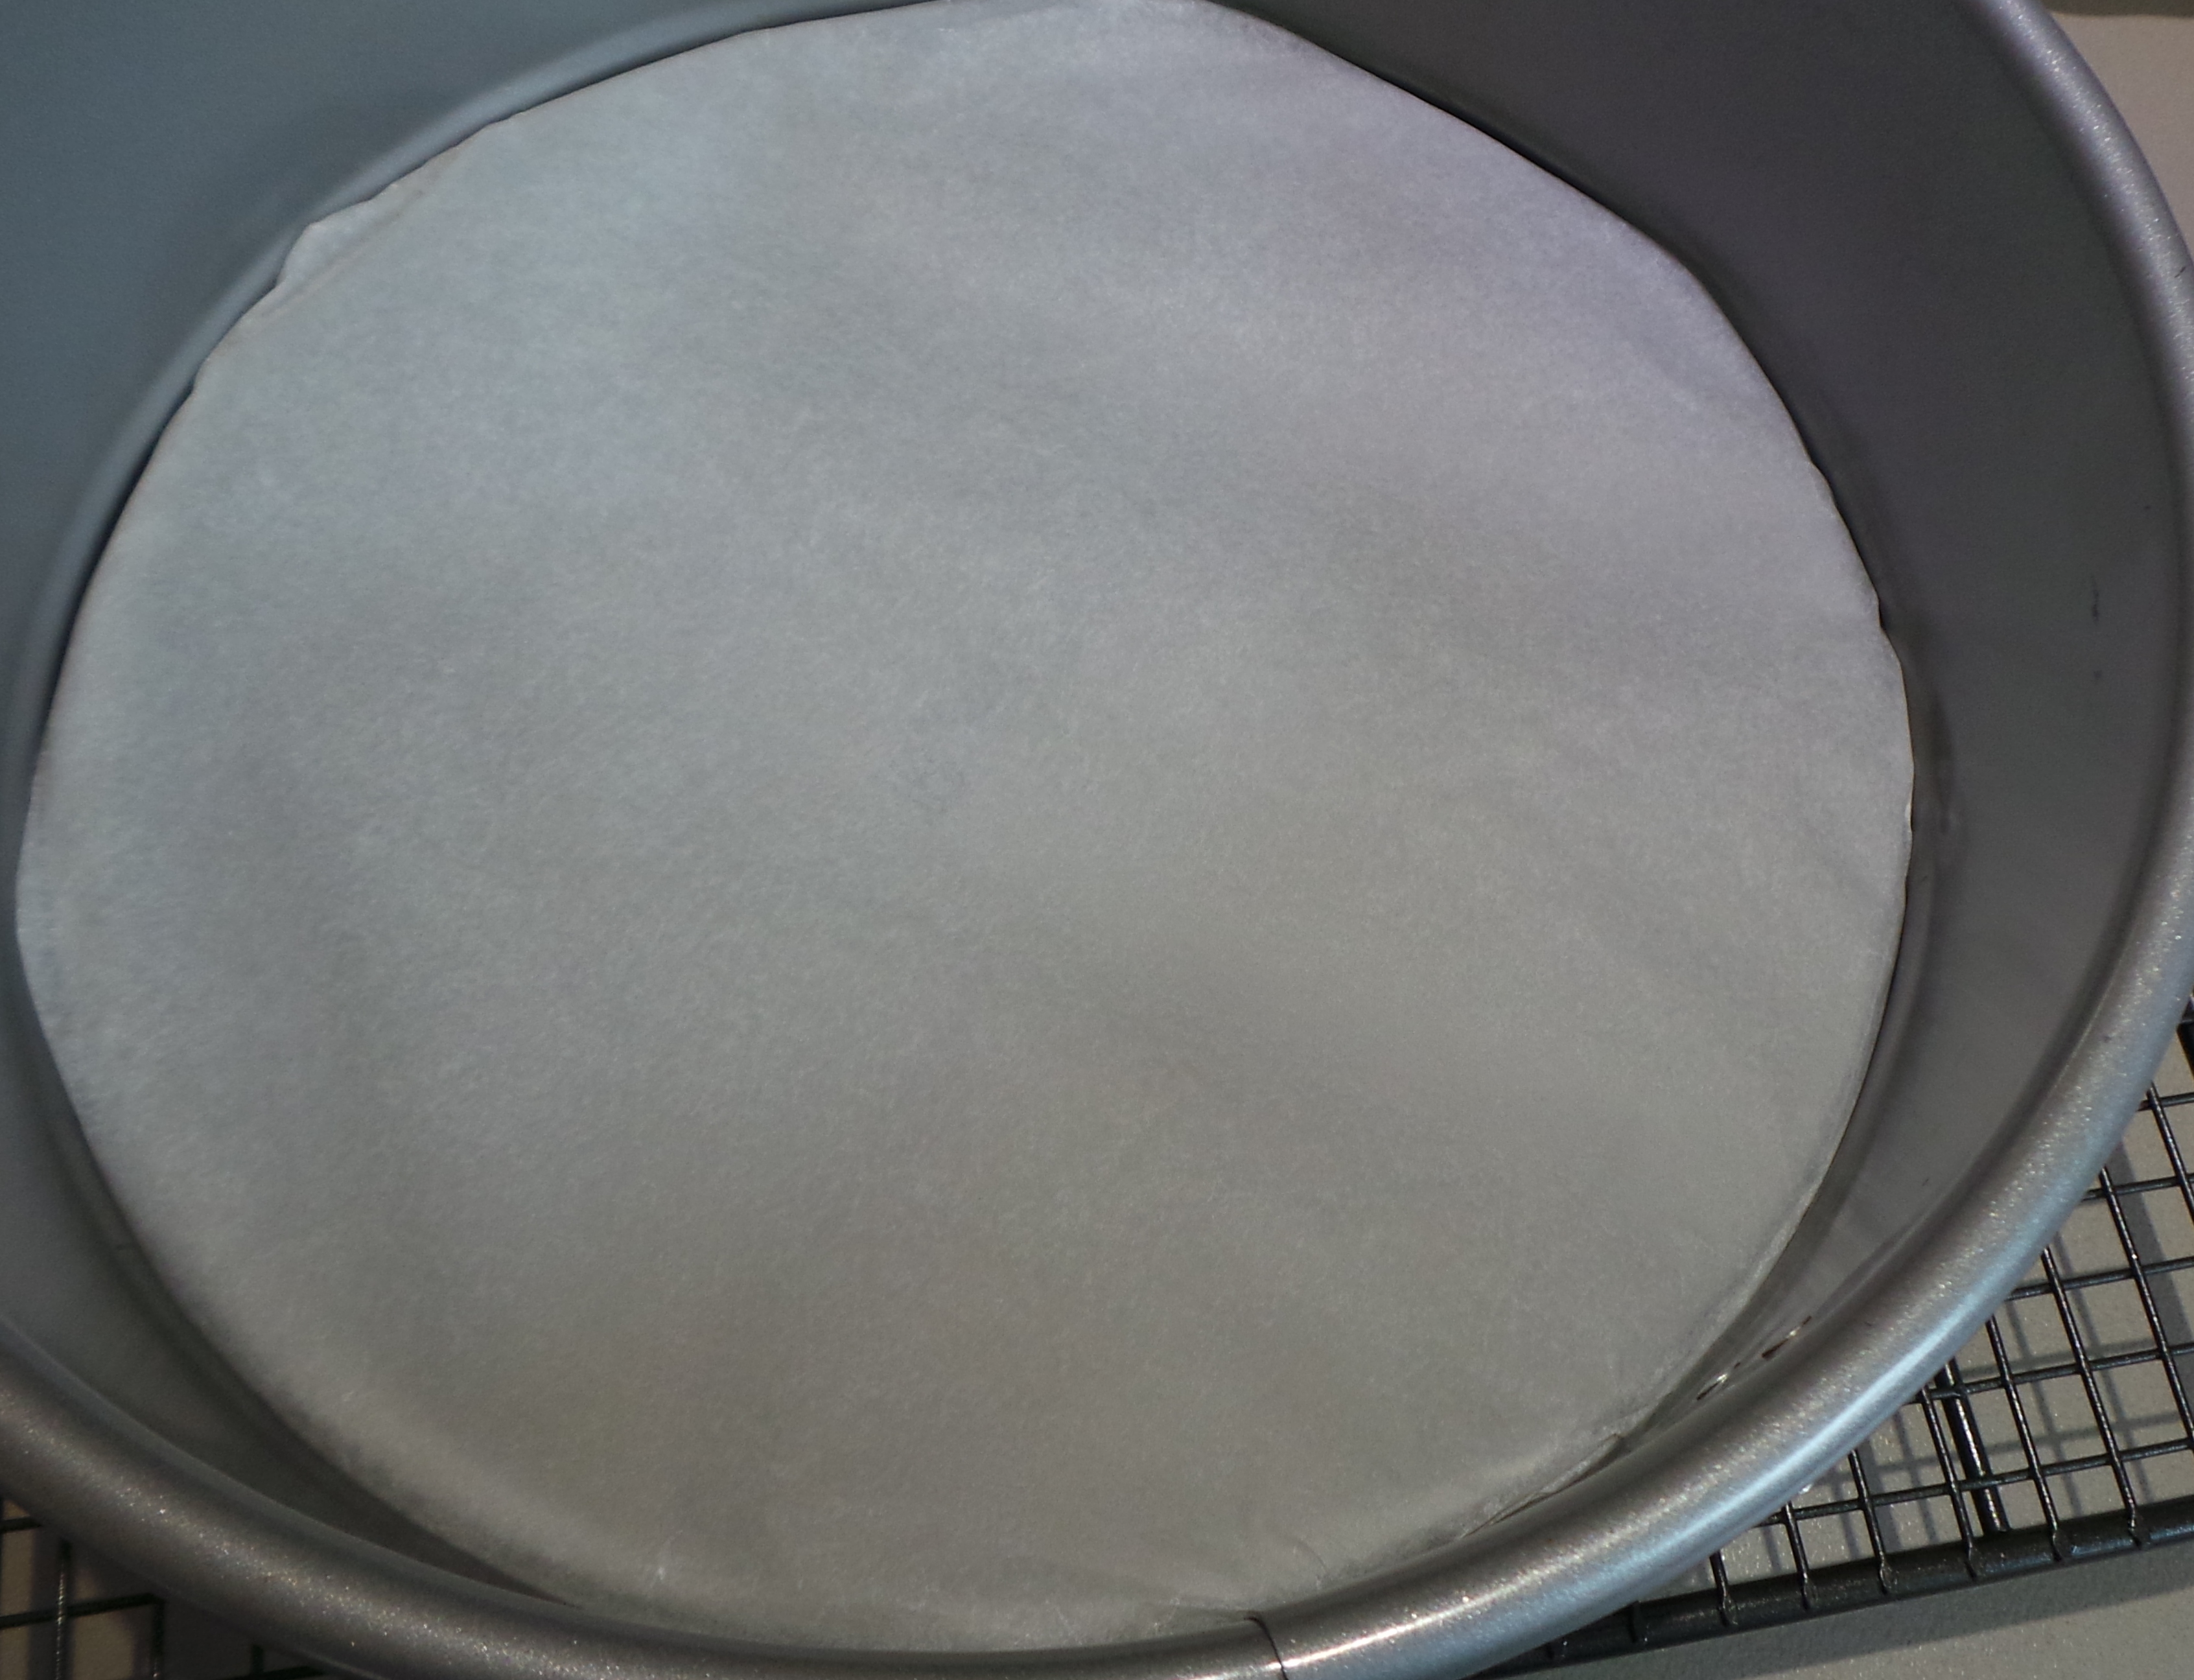
See the difference?
Push the base firmly down in the ring to ensure it is locked in place. Leave the paper folded under the tin, this will make it easier to remove once cooked. Remember your tin is now raised slightly because the lip of the base is pointing downwards, this will give you a space for the paper to gather without affecting how level the tin sits in the oven.
Now start baking your cake.
If you are using a bain marie (dish of water) to make your cake, then simply create a shell out of one piece of aluminium foil to protect the paper and guard against leaks.
If you are not using a bain marie, then place the cake tin on another baking tray to make it easier to handle.
Most recipes call for the cake to be chilled for a period of time. Leave the cake in the tin while it is first chilling in the refrigerator.
When it is time to remove it from the tin fold out the paper from under it until it is as flat as possible. Now release the spring on the ring and lift it away.
The paper that extends from around the cake will give you the means to simply slide it off the base with complete ease.
Tug on the paper to remove from the base.
Then place it close to the edge of a cooling rack. Pull the paper straight down at a right angle until the side of the cake is over the edge of the rack and the paper is clear.
You should be able to insert a long spatula between the paper and the cake and lift it free. Place on platter, decorate if you wish and serve.
Now you can take it to someone else’s place and know that you will have the base of your springform tin the next time you use it…
You’re welcome.
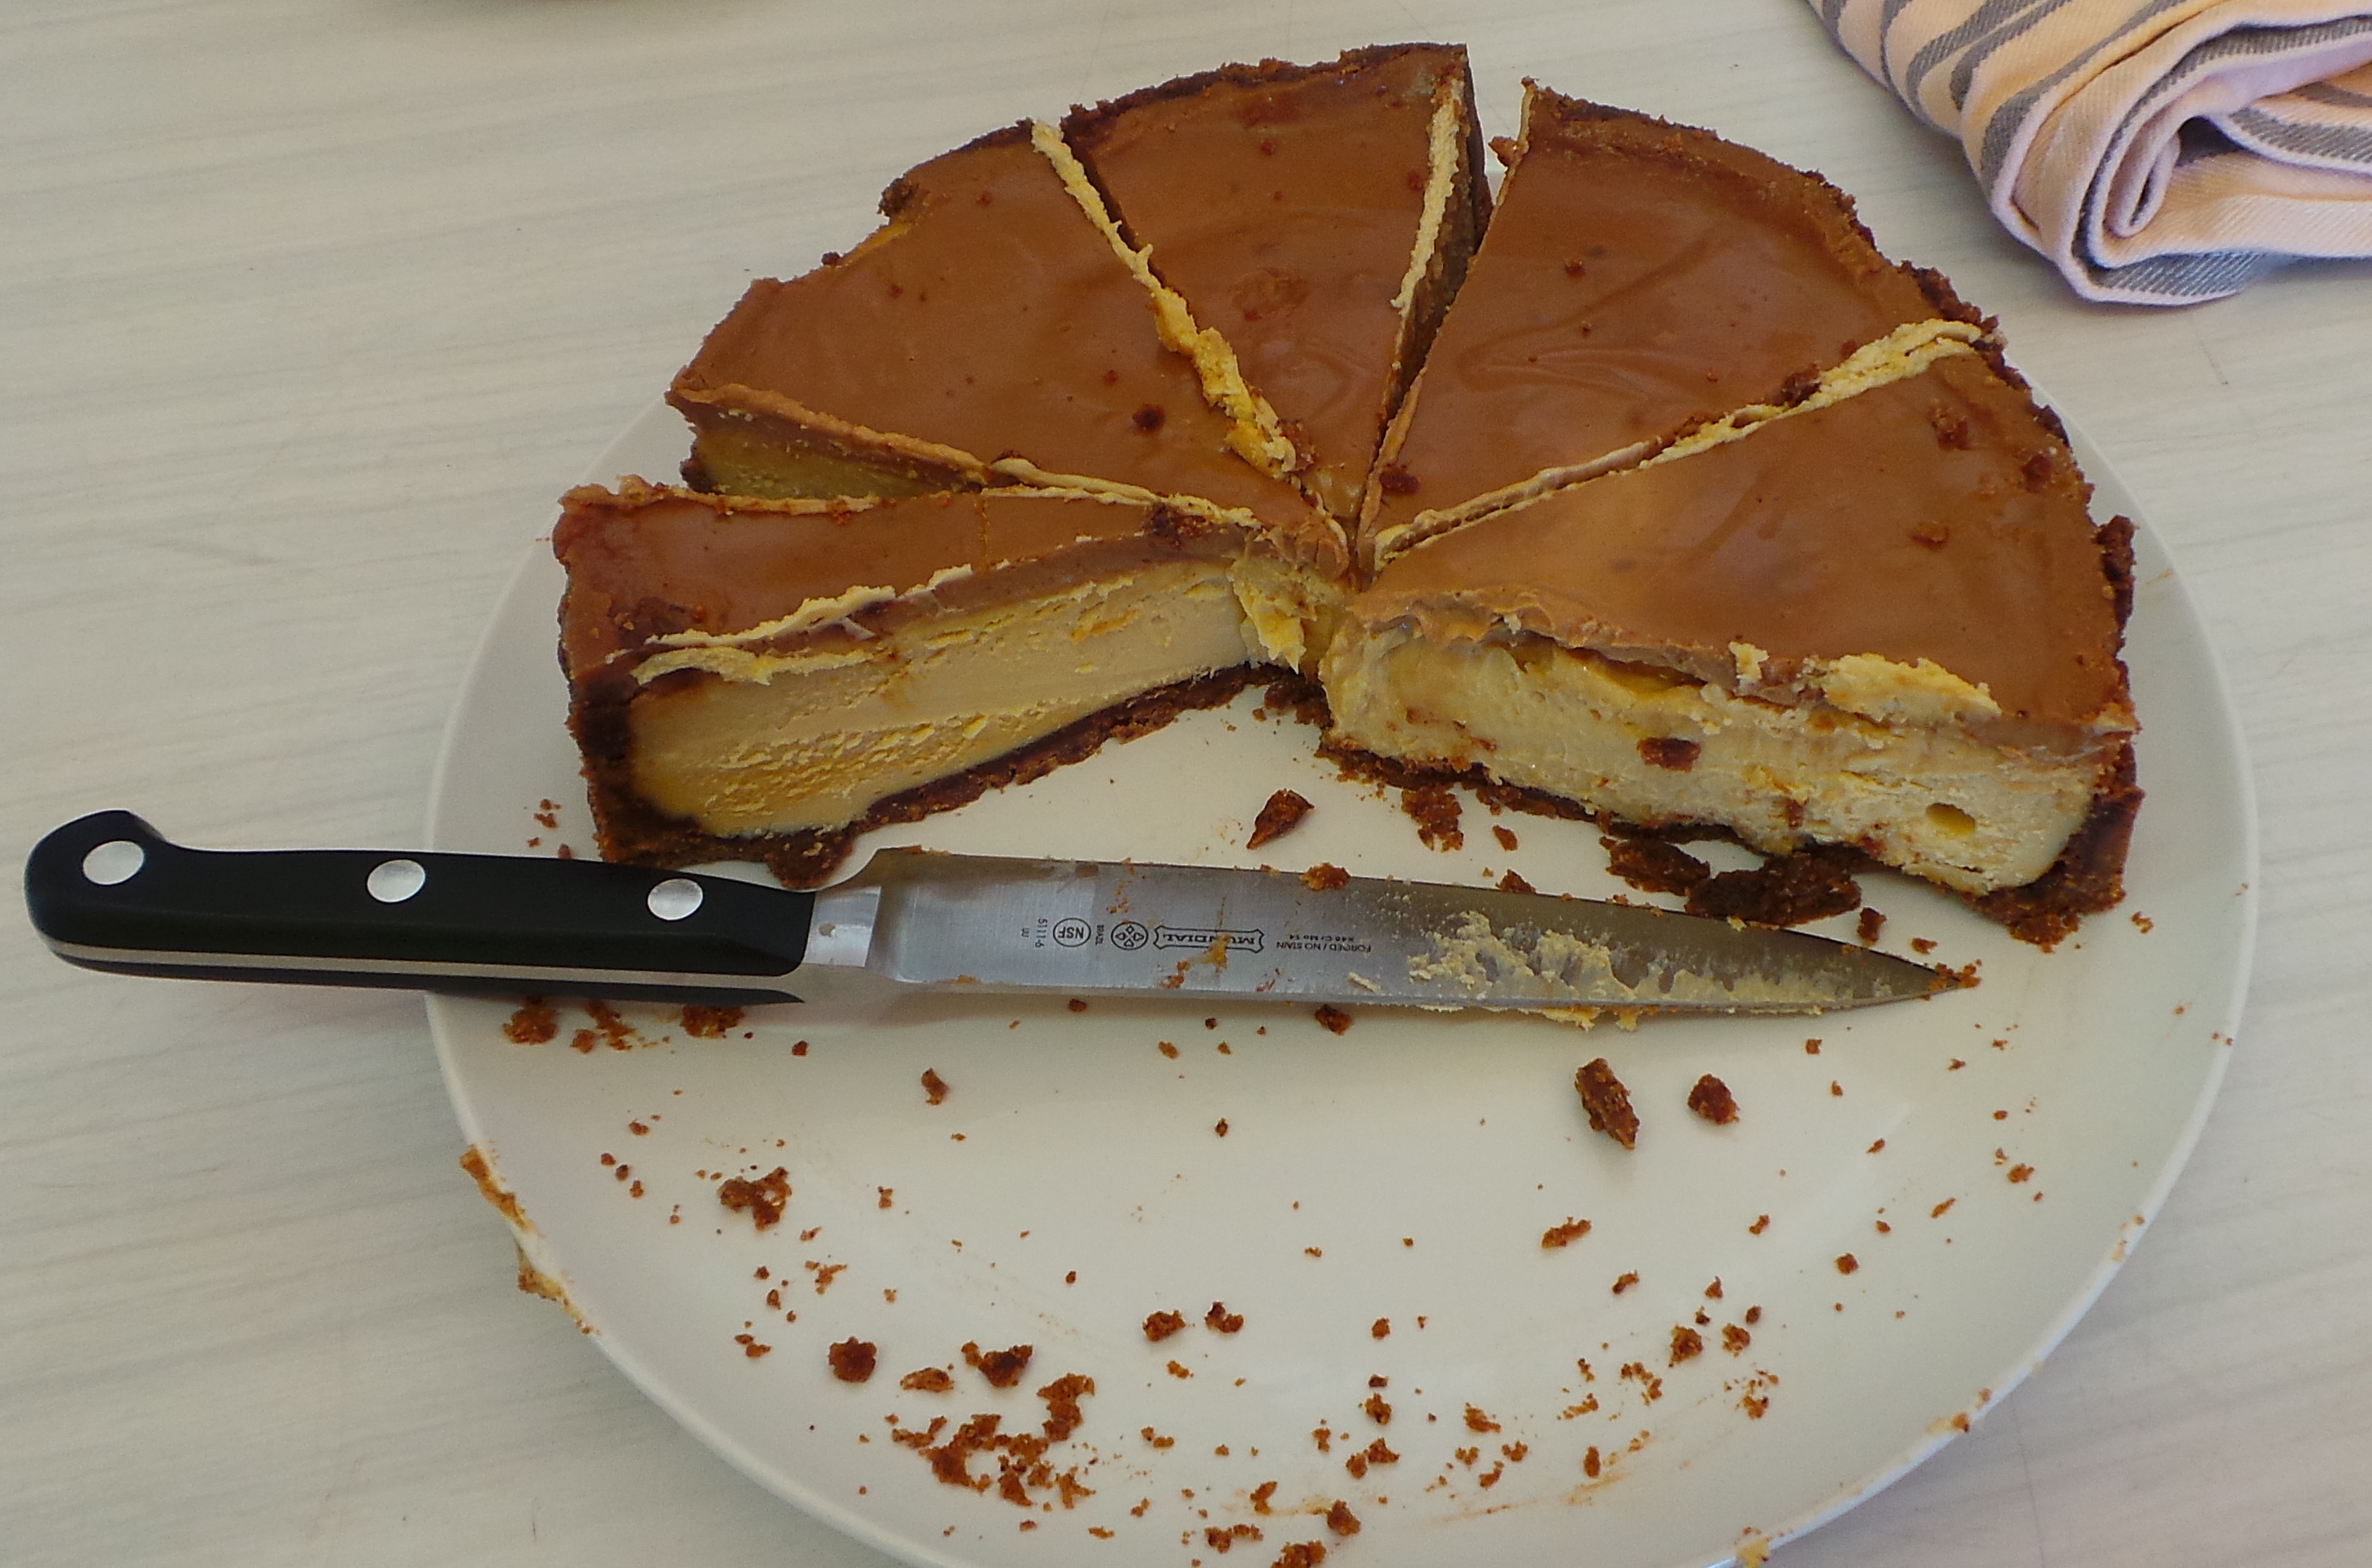
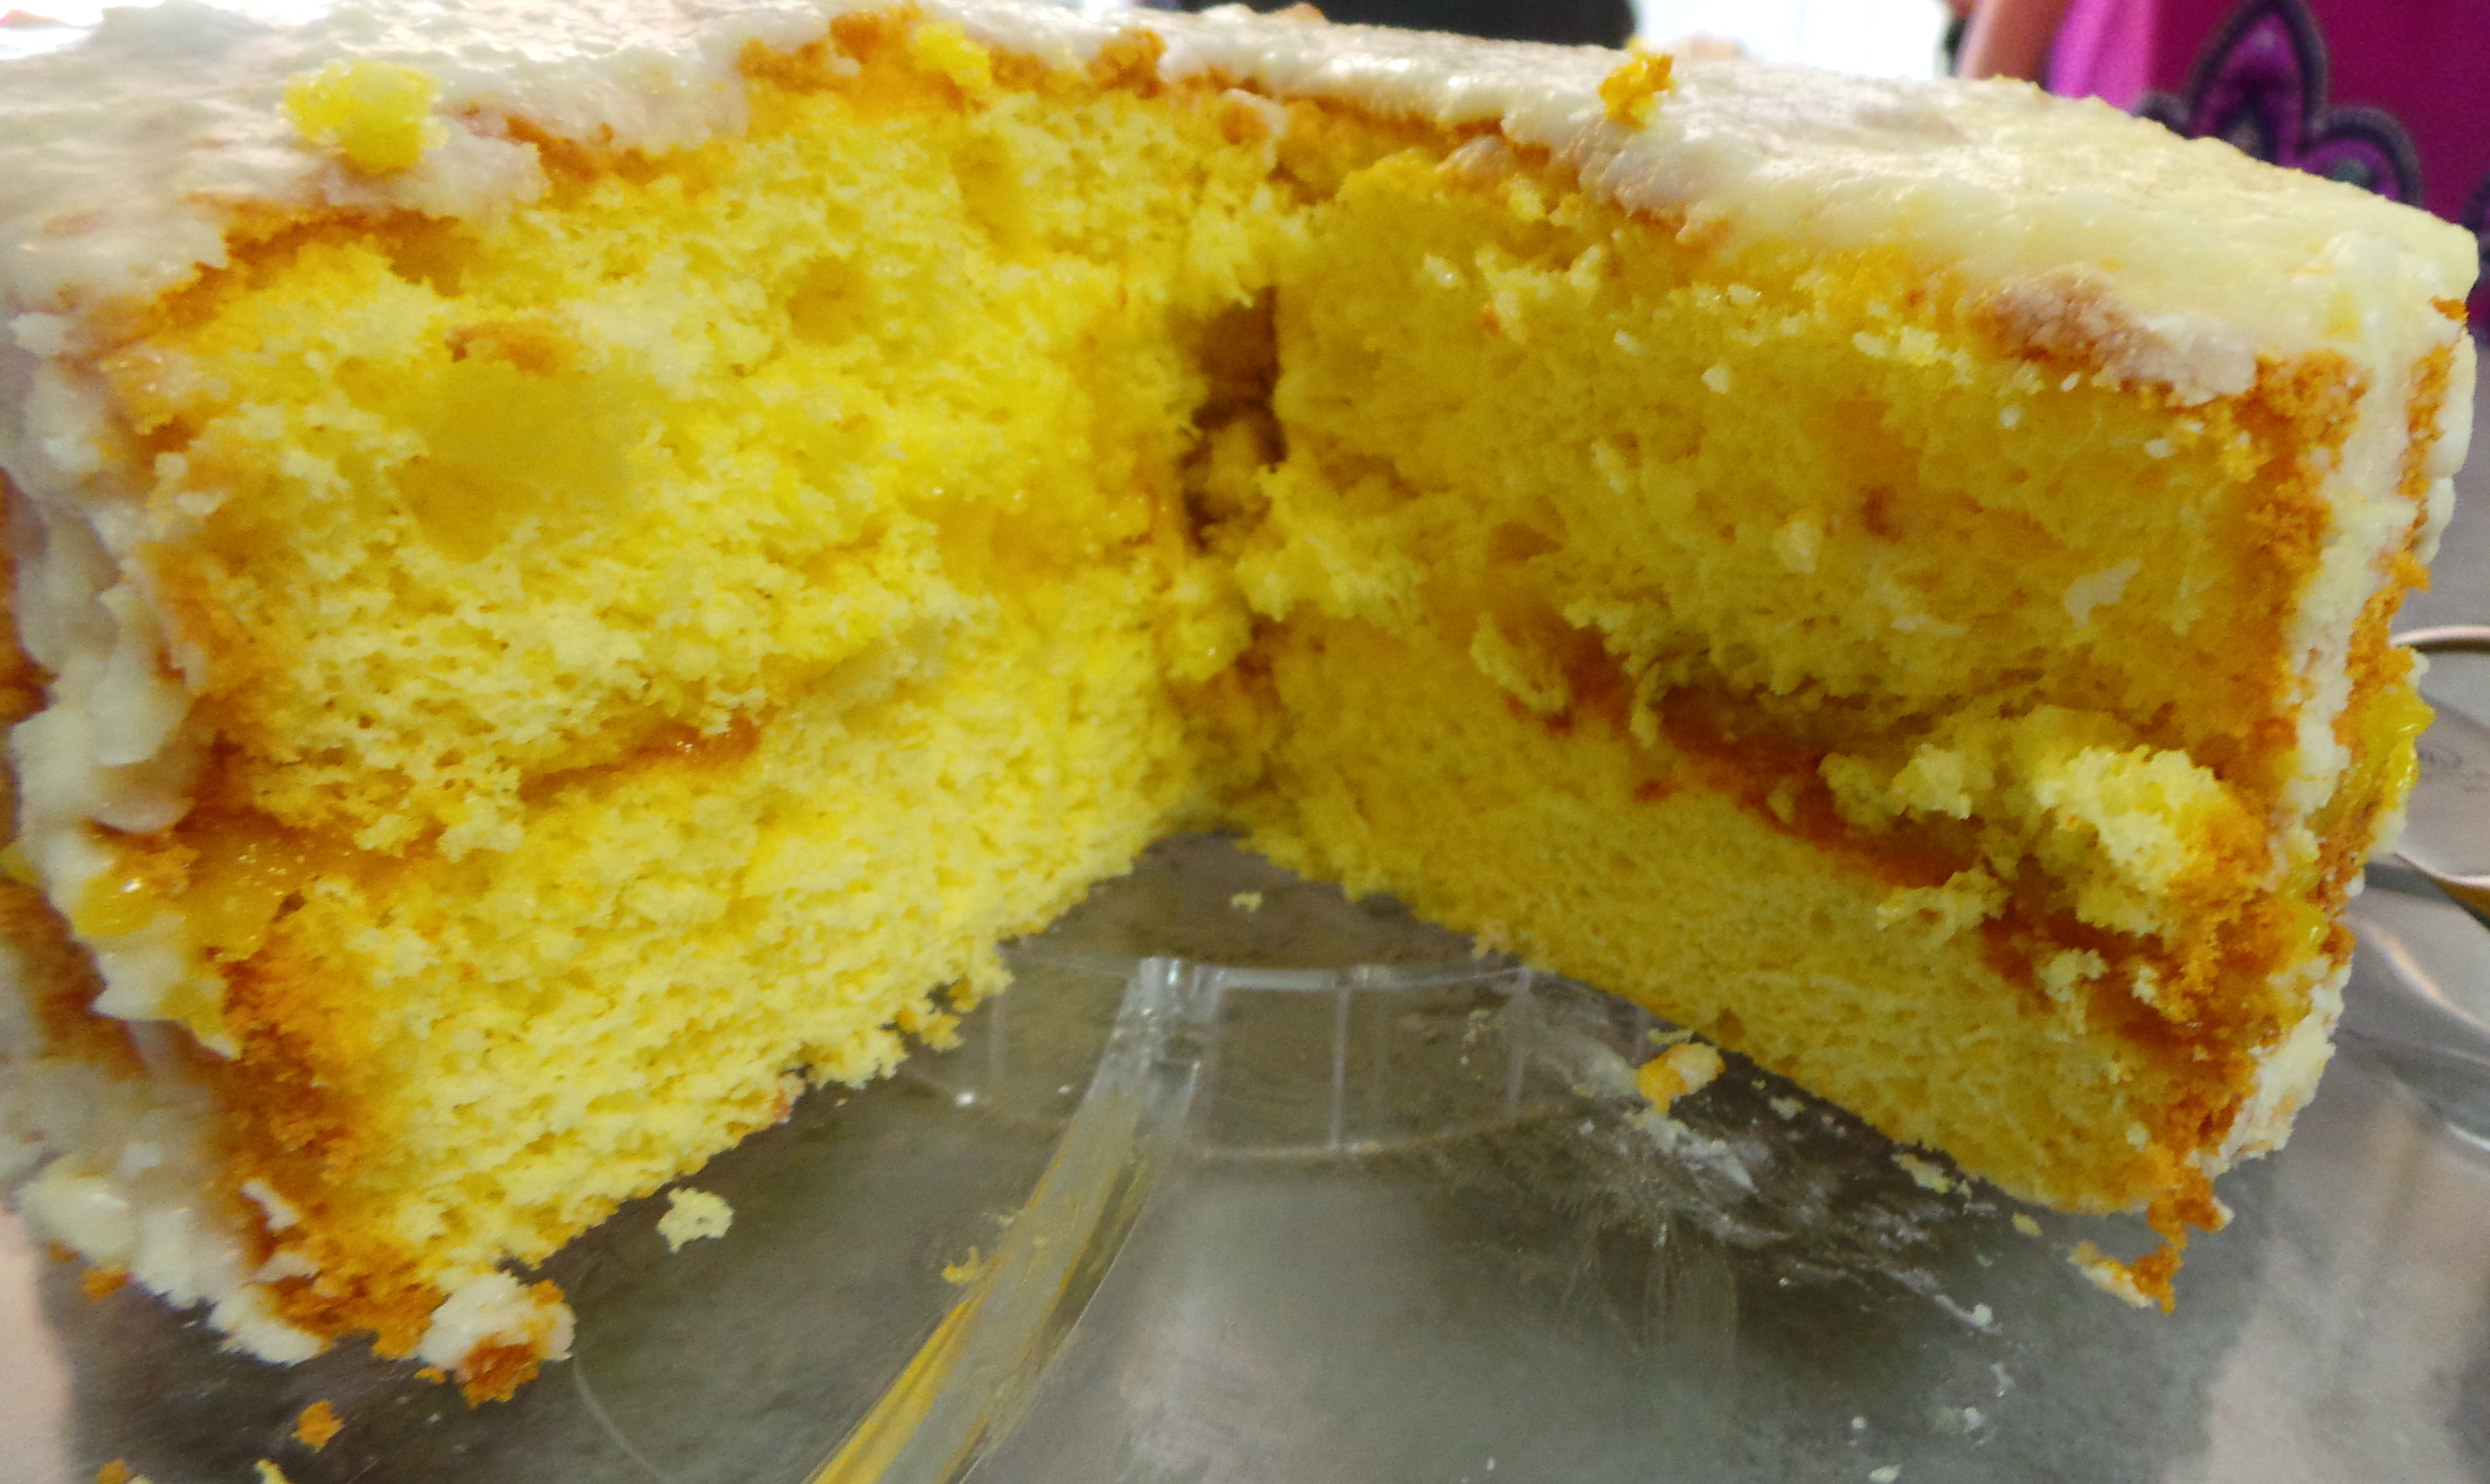
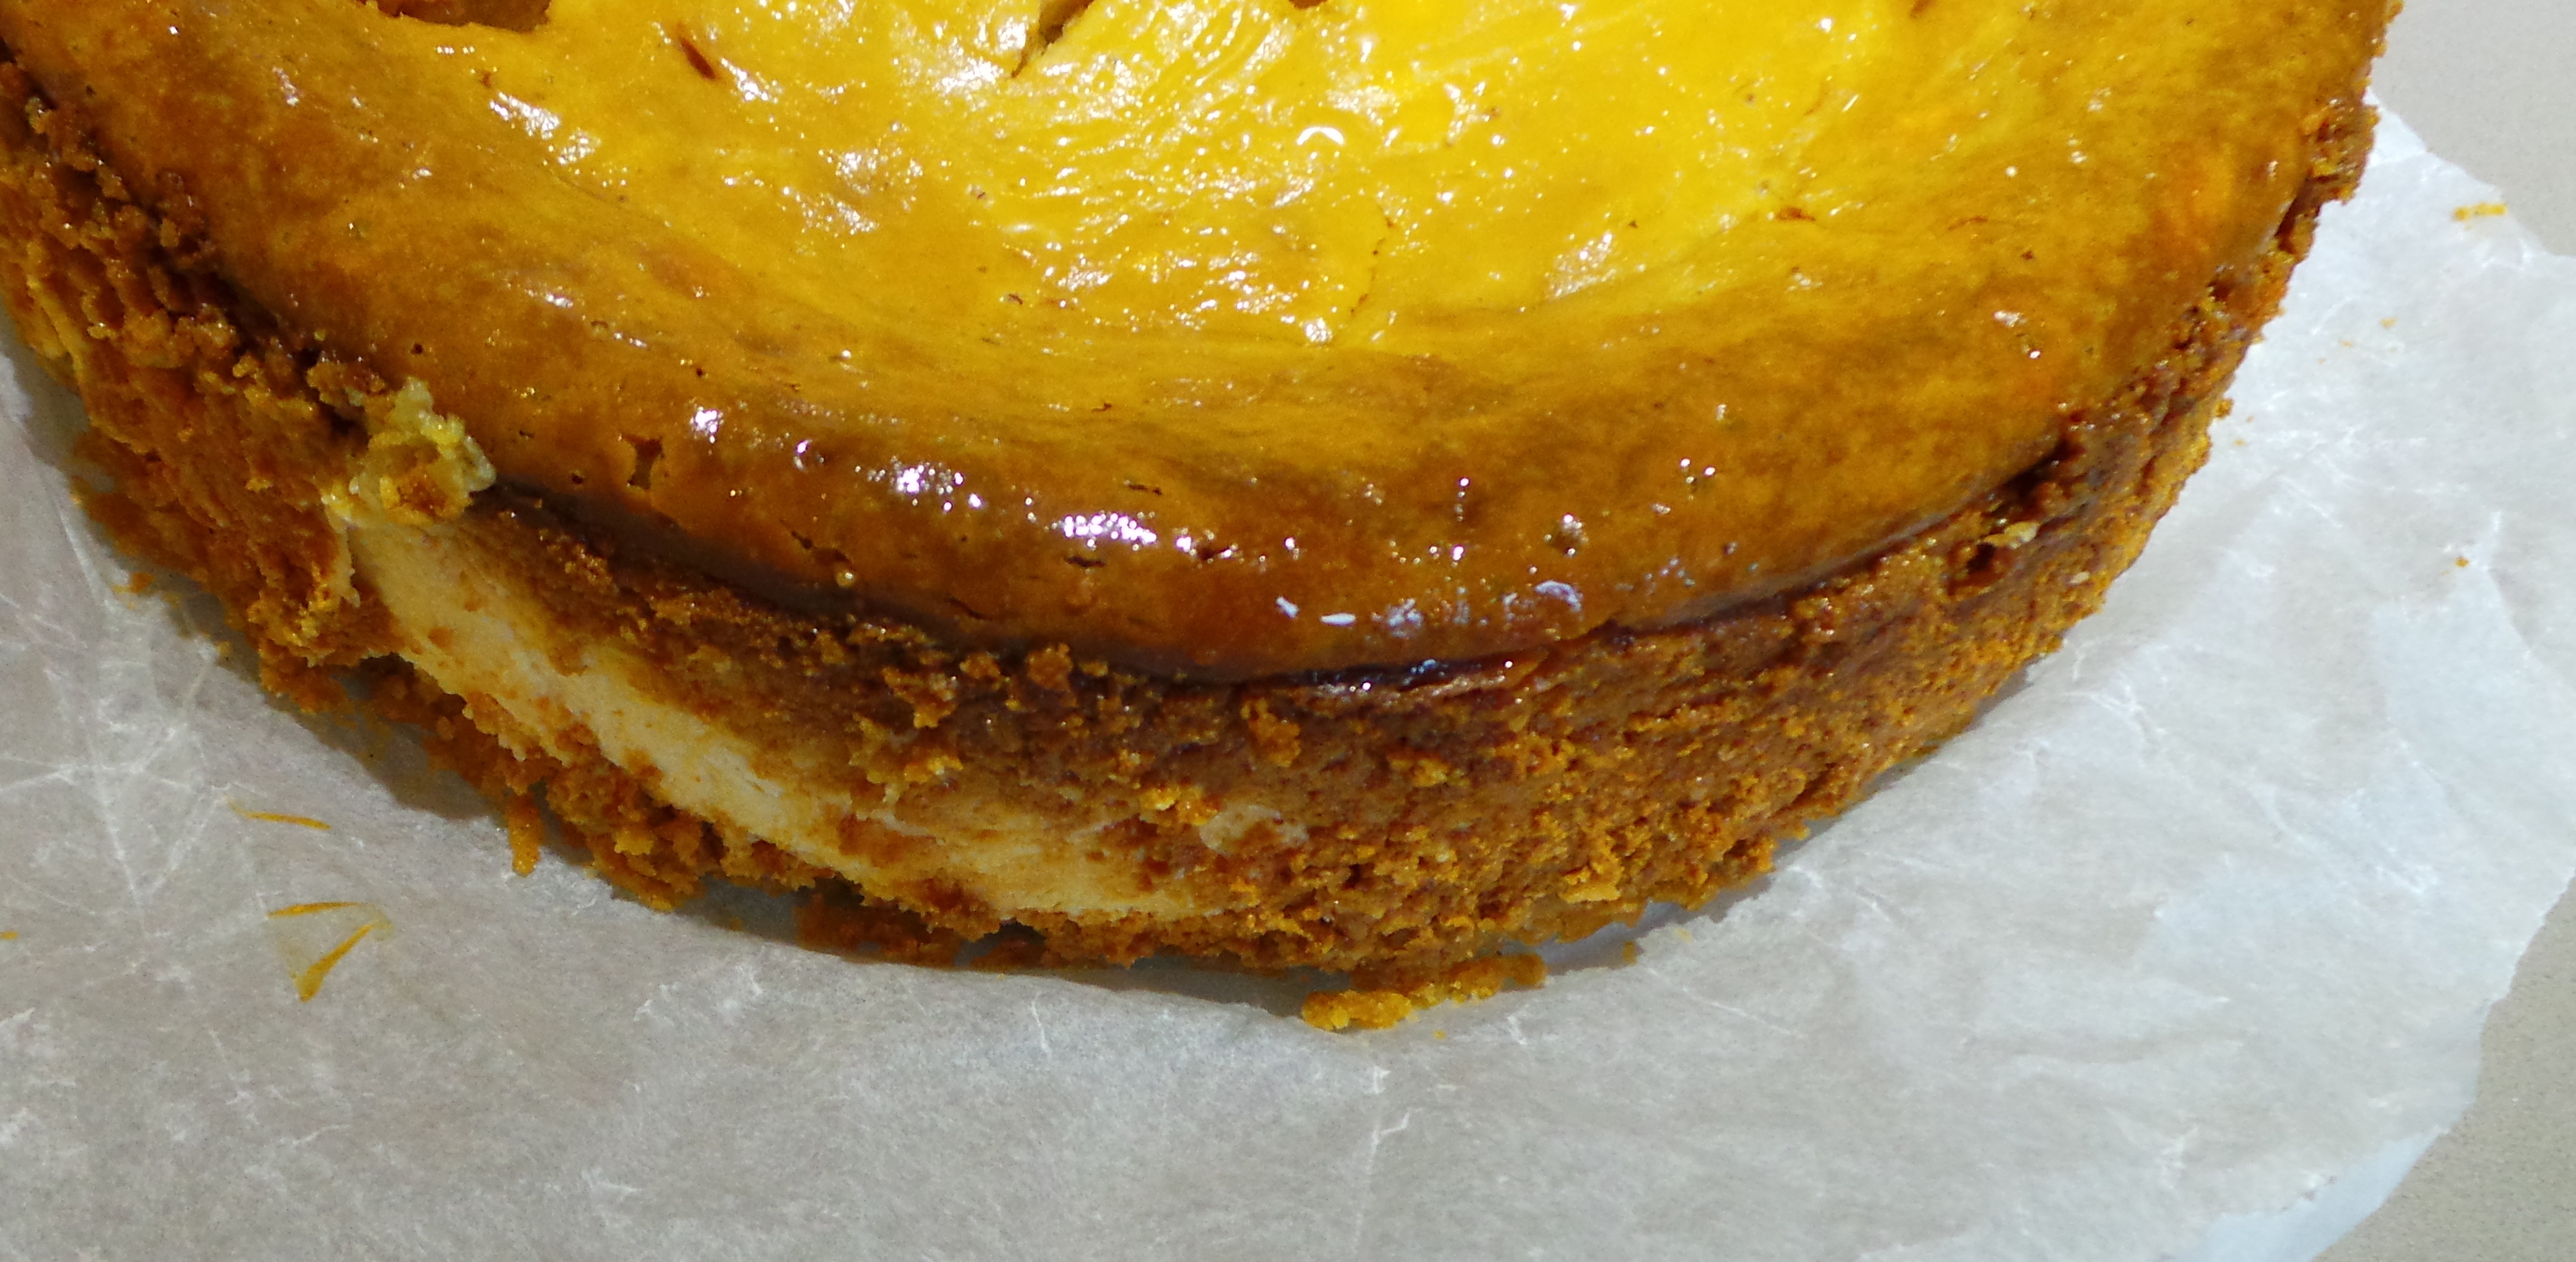
Serve and enjoy.
Like this? Follow us on Facebook or subscribe to receive updates by email.