Hello my lovelies, I come bearing more temptation.
Because that’s how I roll.
Today’s offering is a nice, simple cookie (that is, soft on the inside) that also doubles as a nice hit of fibre. You can do your digestion some good while making your taste buds do the happy dance.
The Double Chocolate referred to is a charming combination of Cocoa (antioxidants!) and Choc chips – the oatmeal (for my Aussie readers) is rolled oats. Really, it’s practically a health food and should be considered suitable for breakfast…
Let us begin.
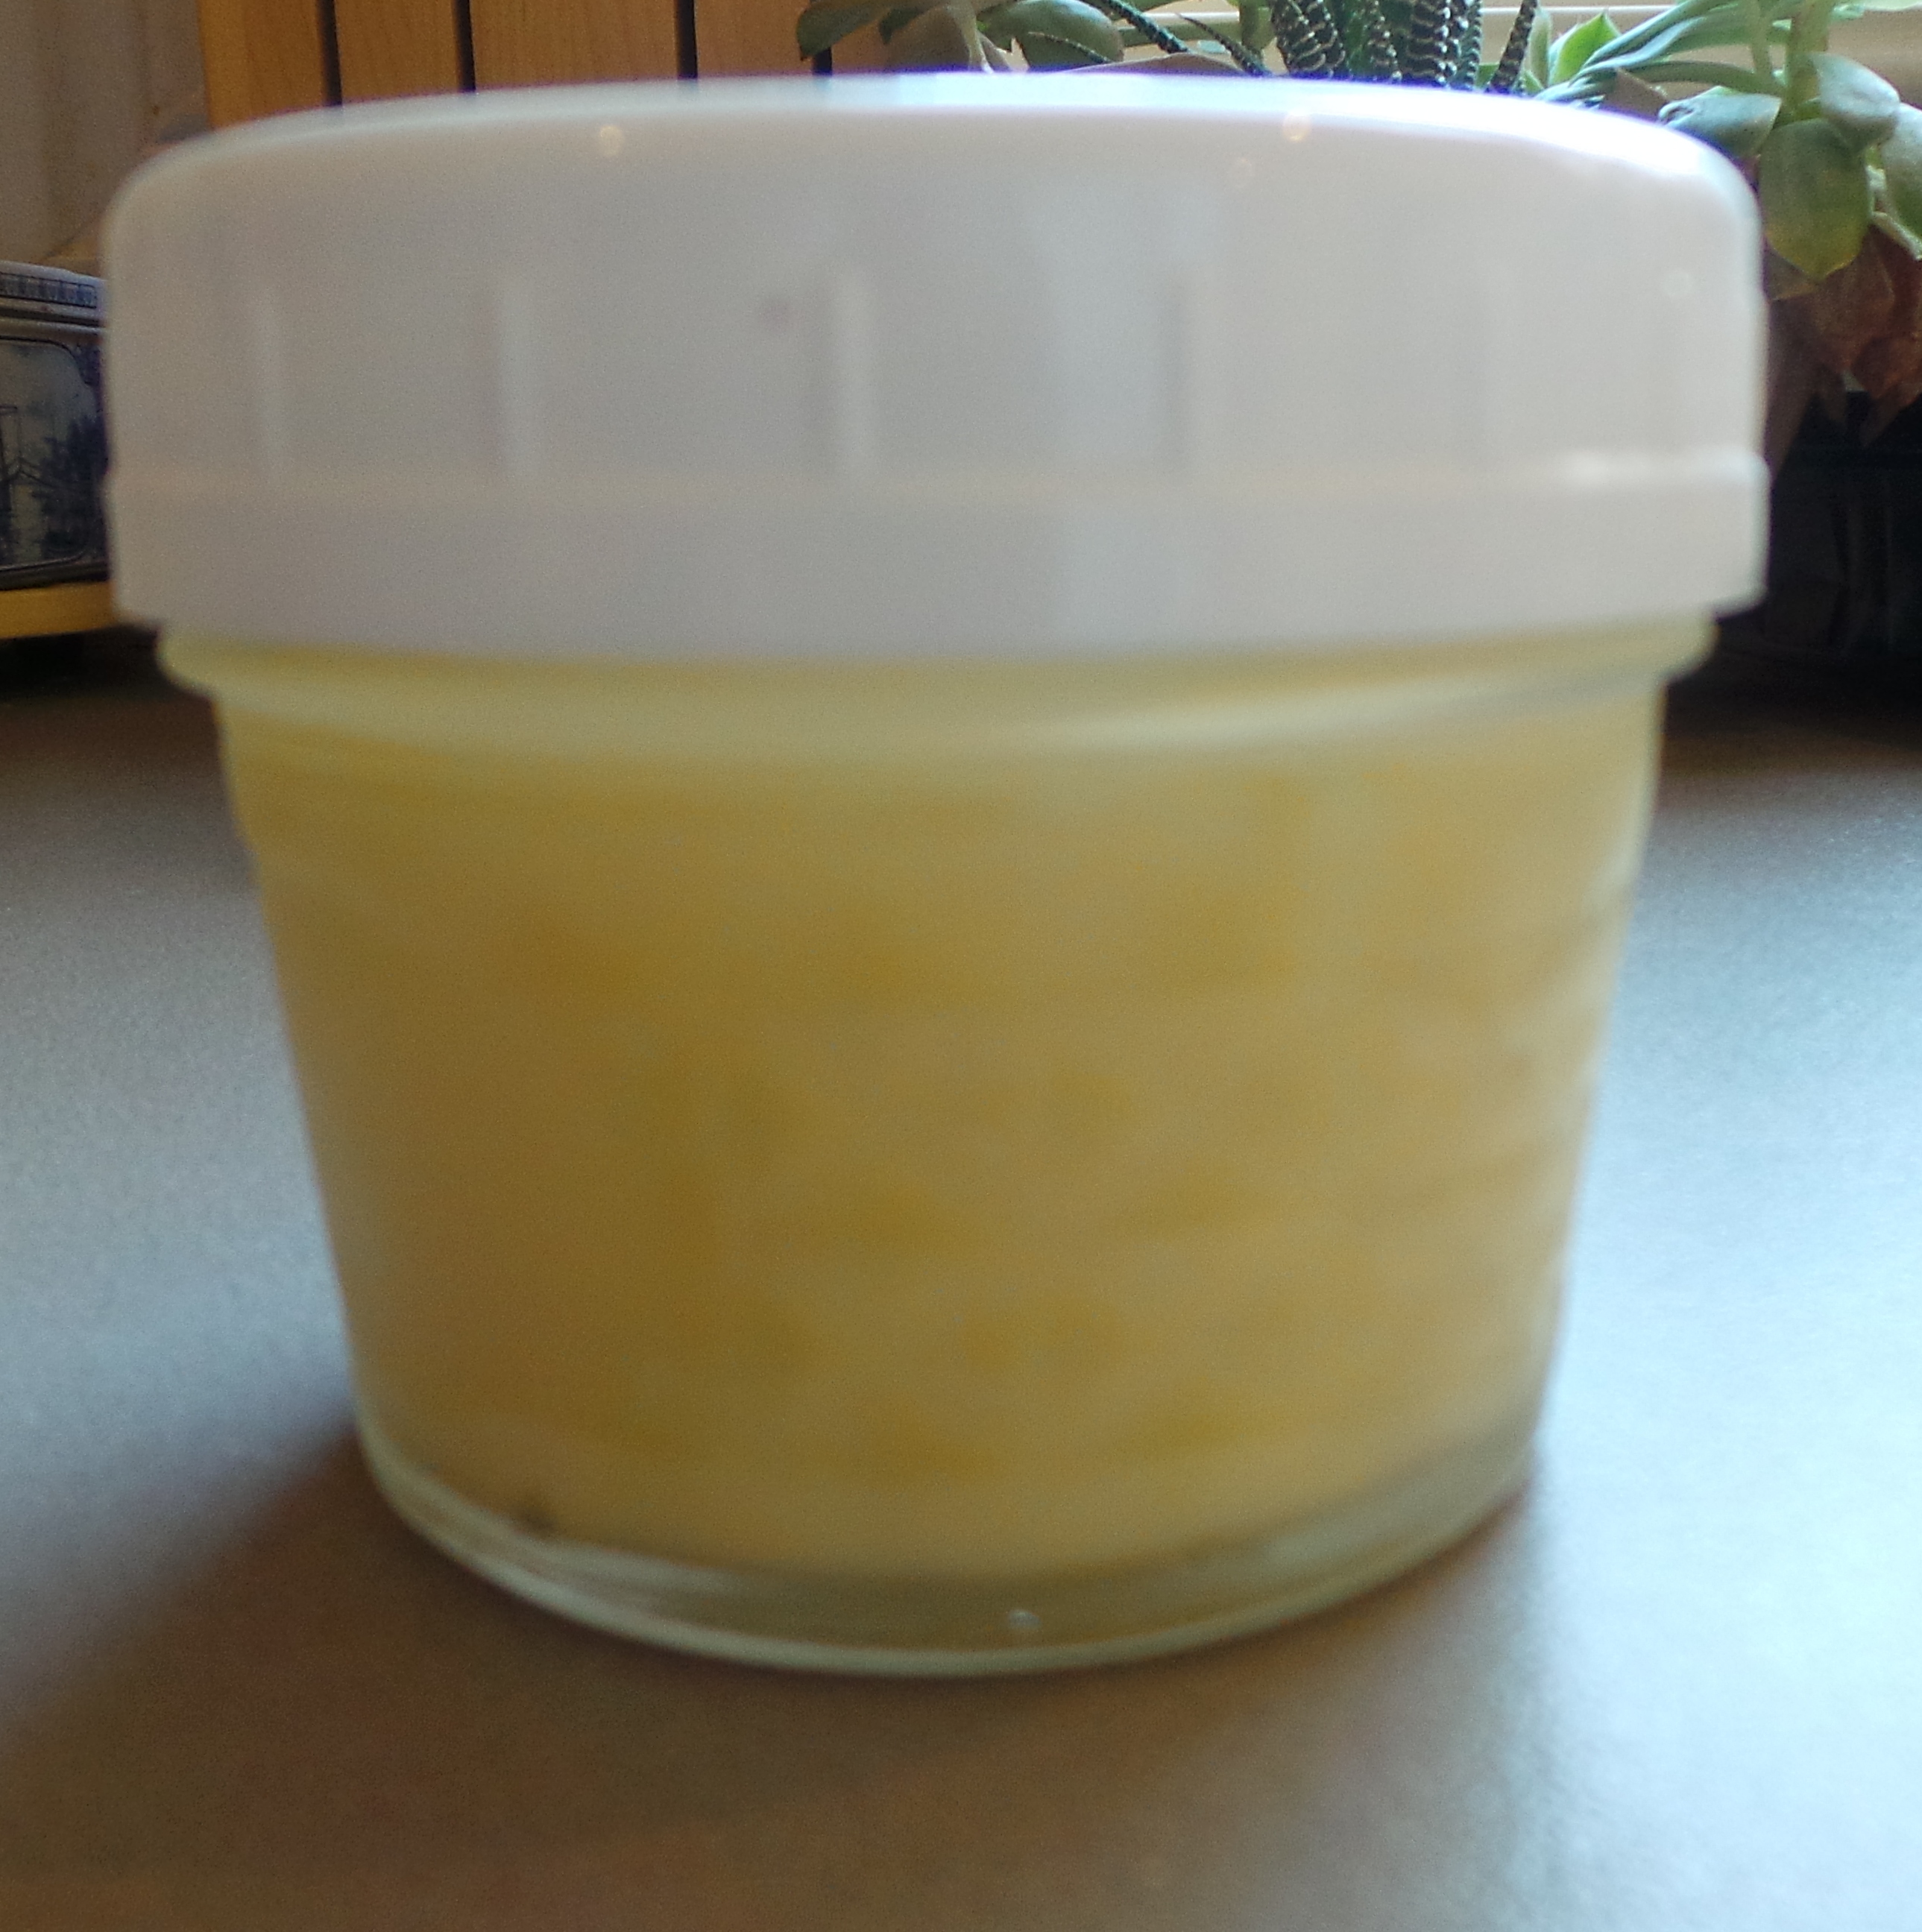
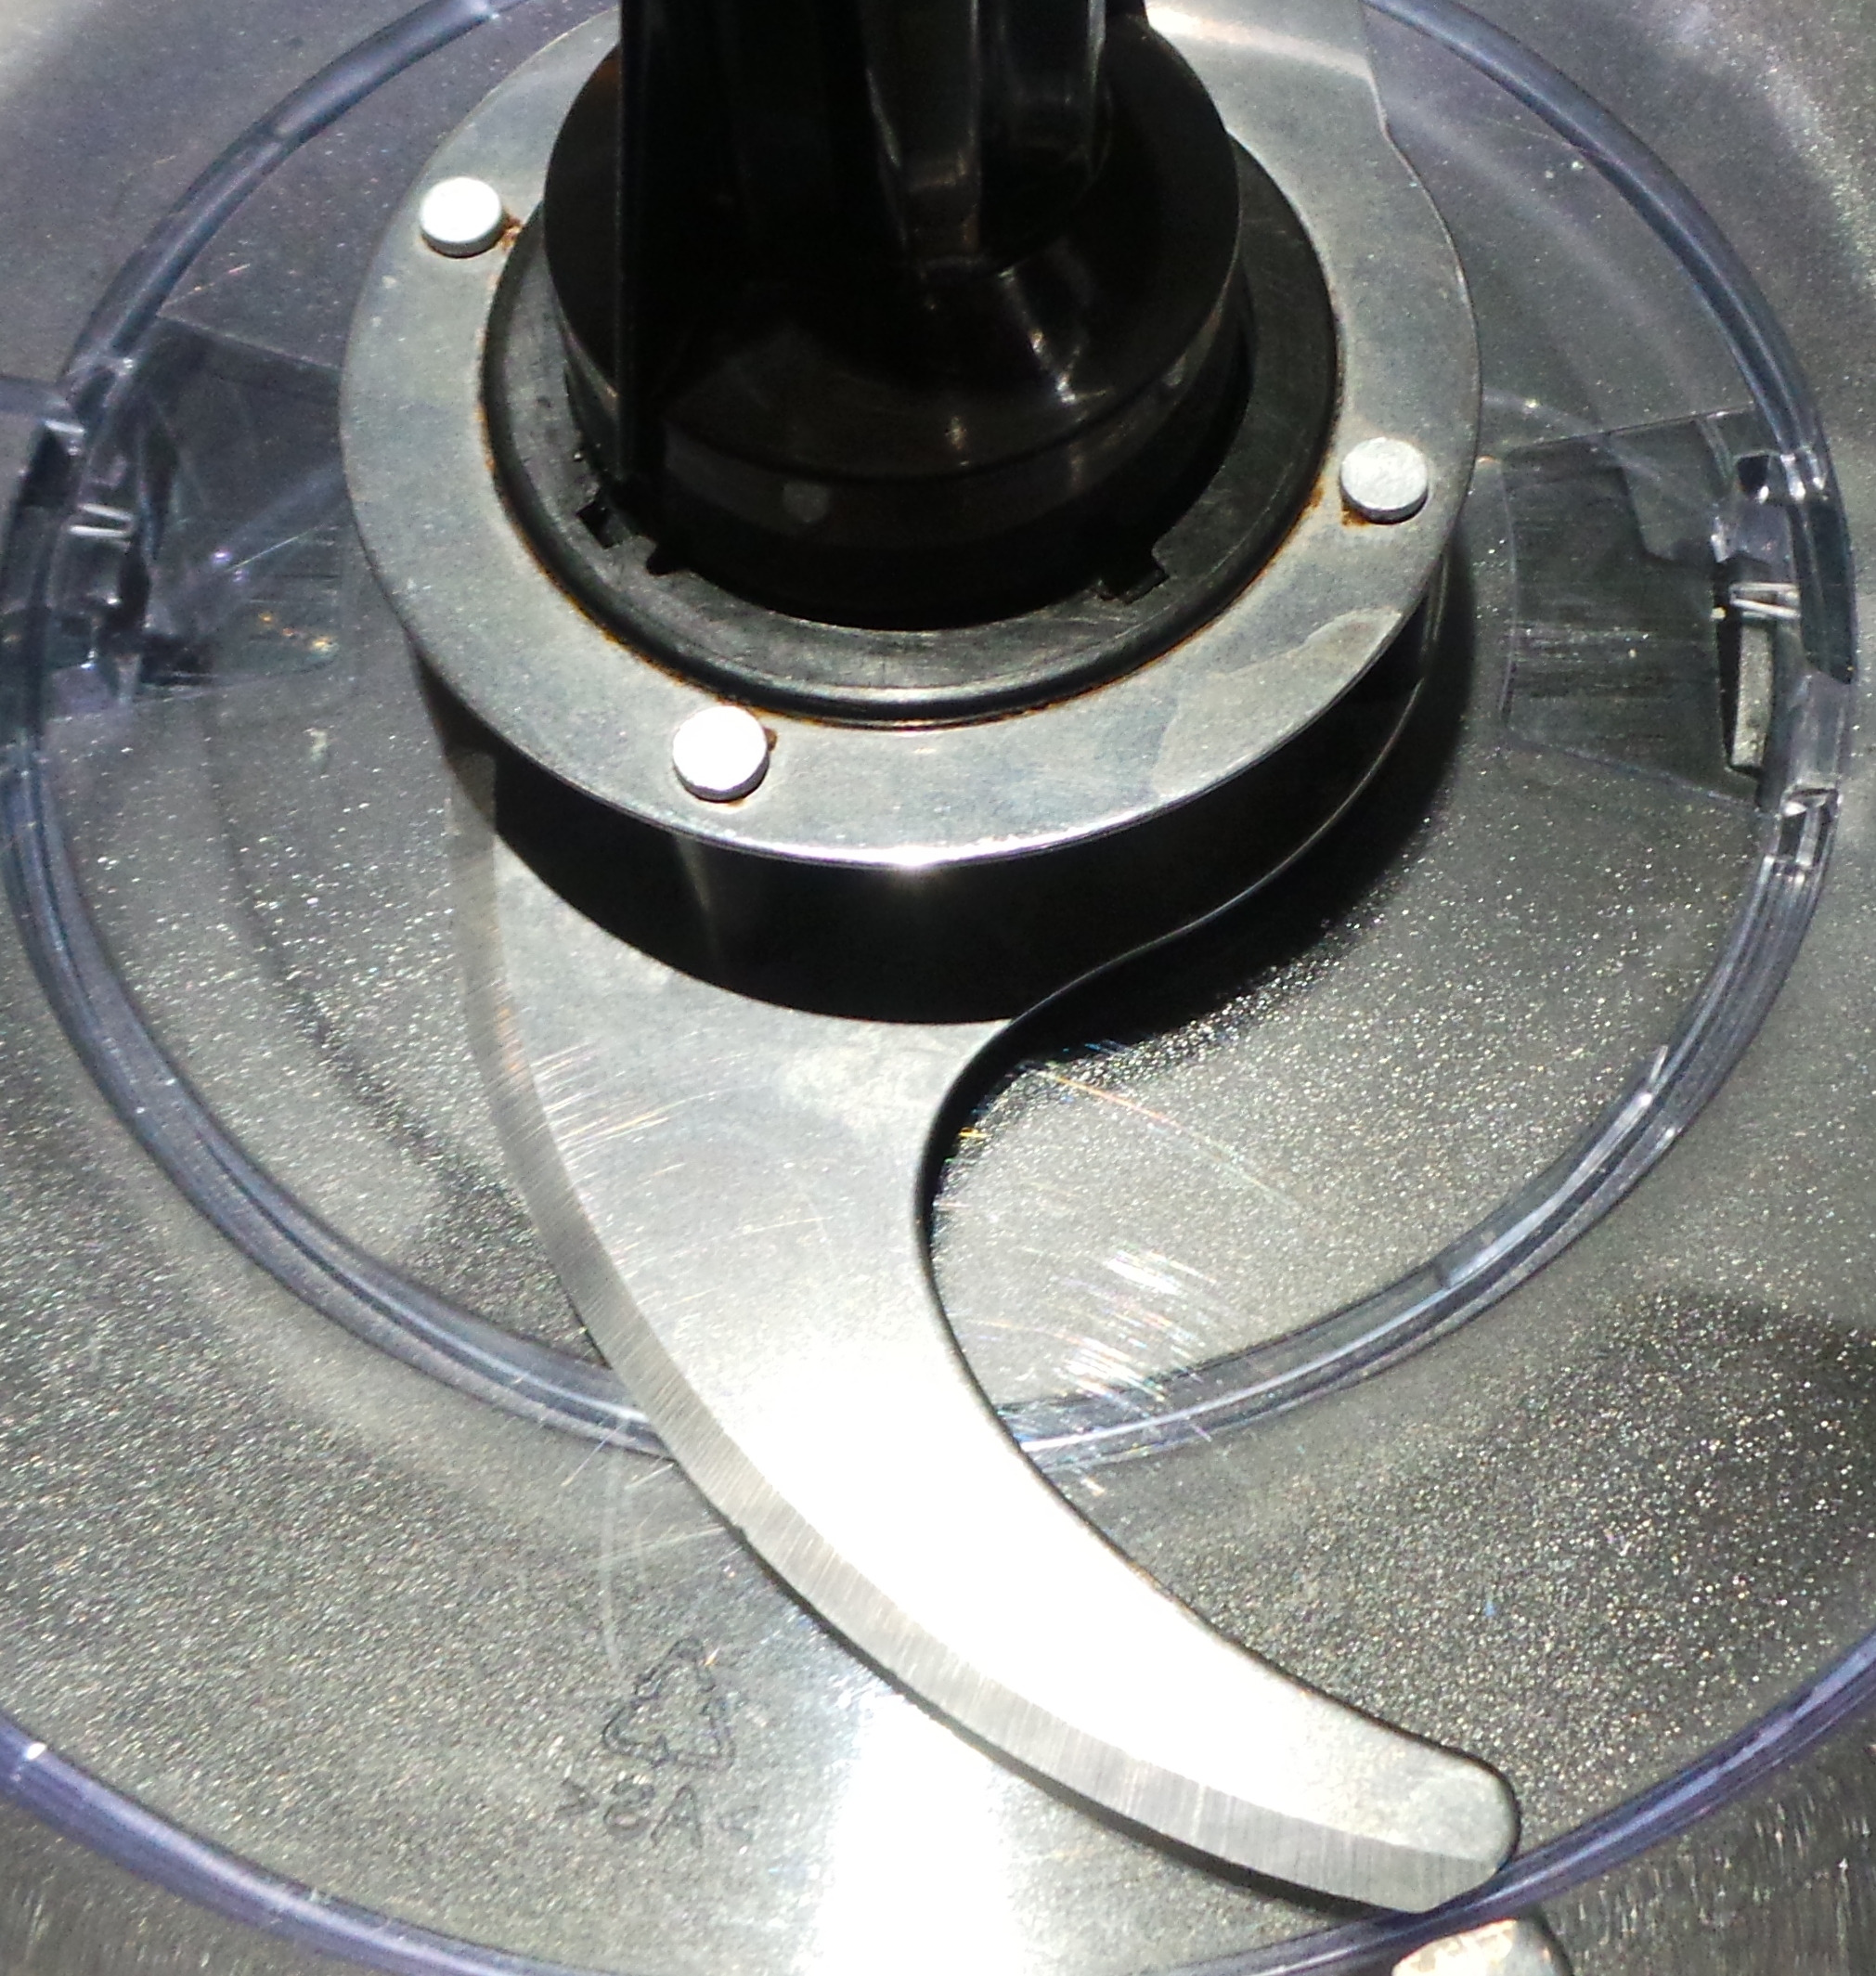
Get your butter out of the fridge to soften and preheat your oven to 180°C/ 350°F. If you have a stand mixer, fit the paddle attachment and make yourself a cuppa until the butter is softened. You may also wish to pummel a block of dark cooking chocolate should you not wish to use choc chips – like I did.
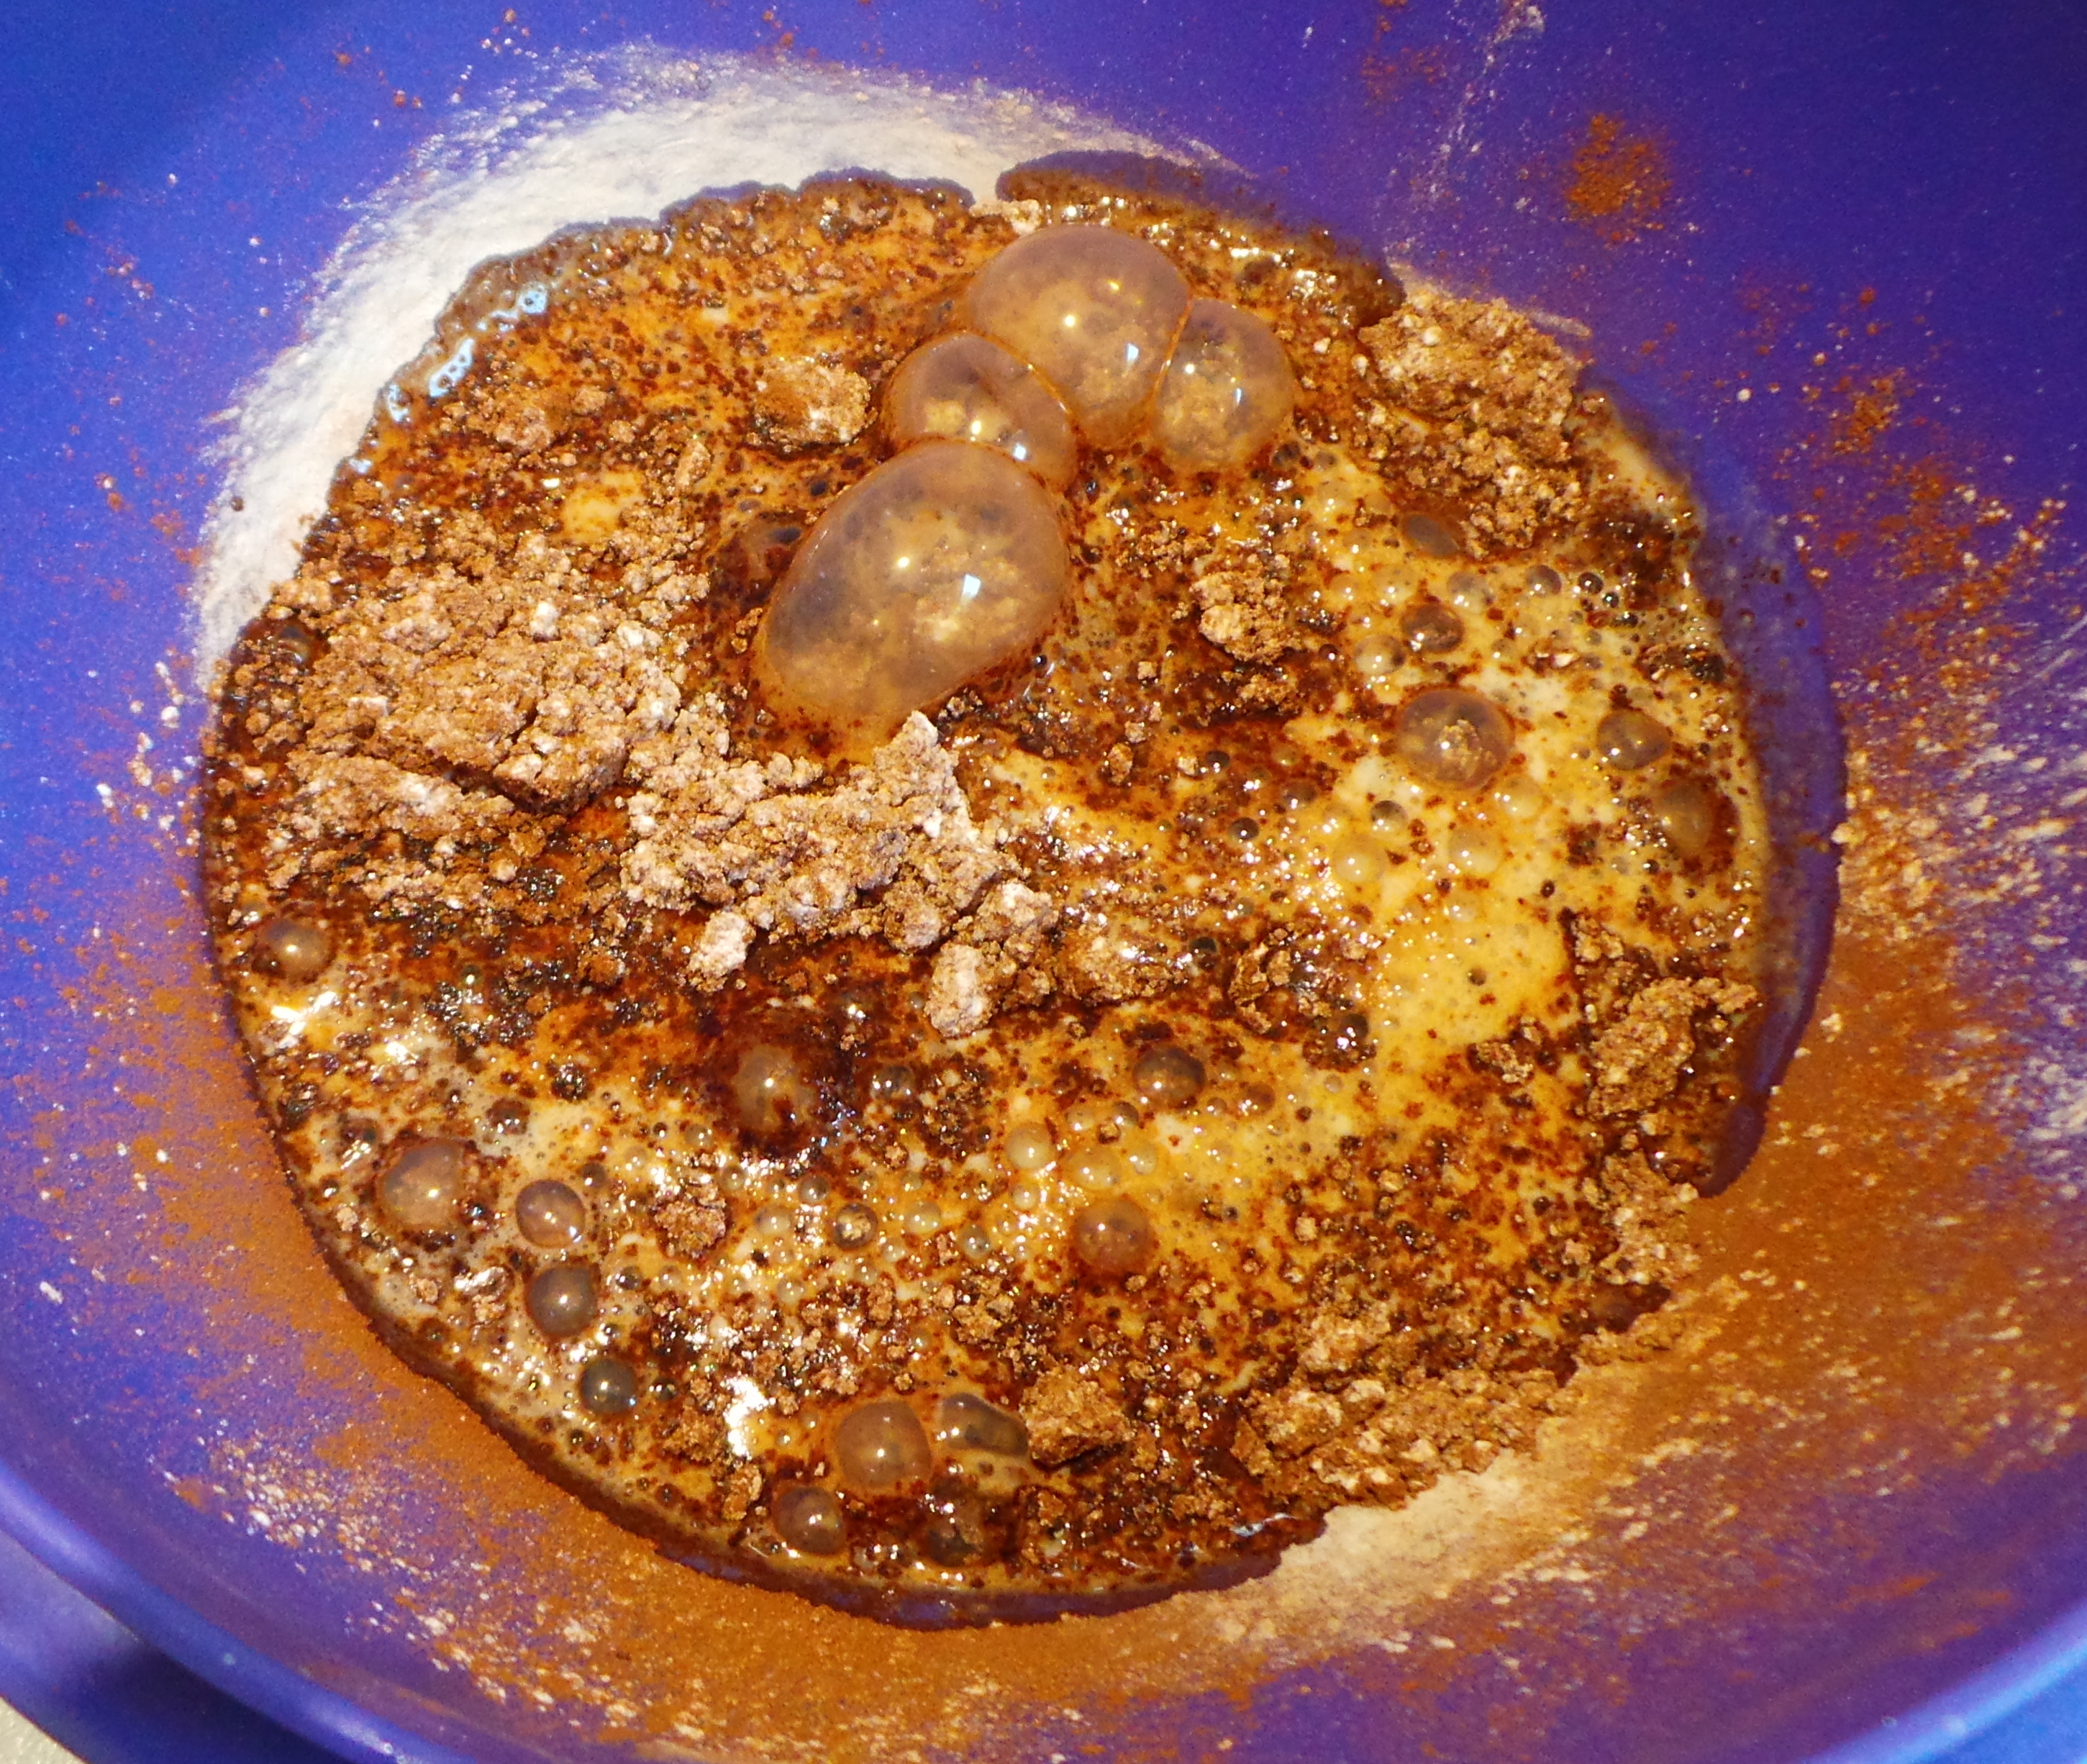
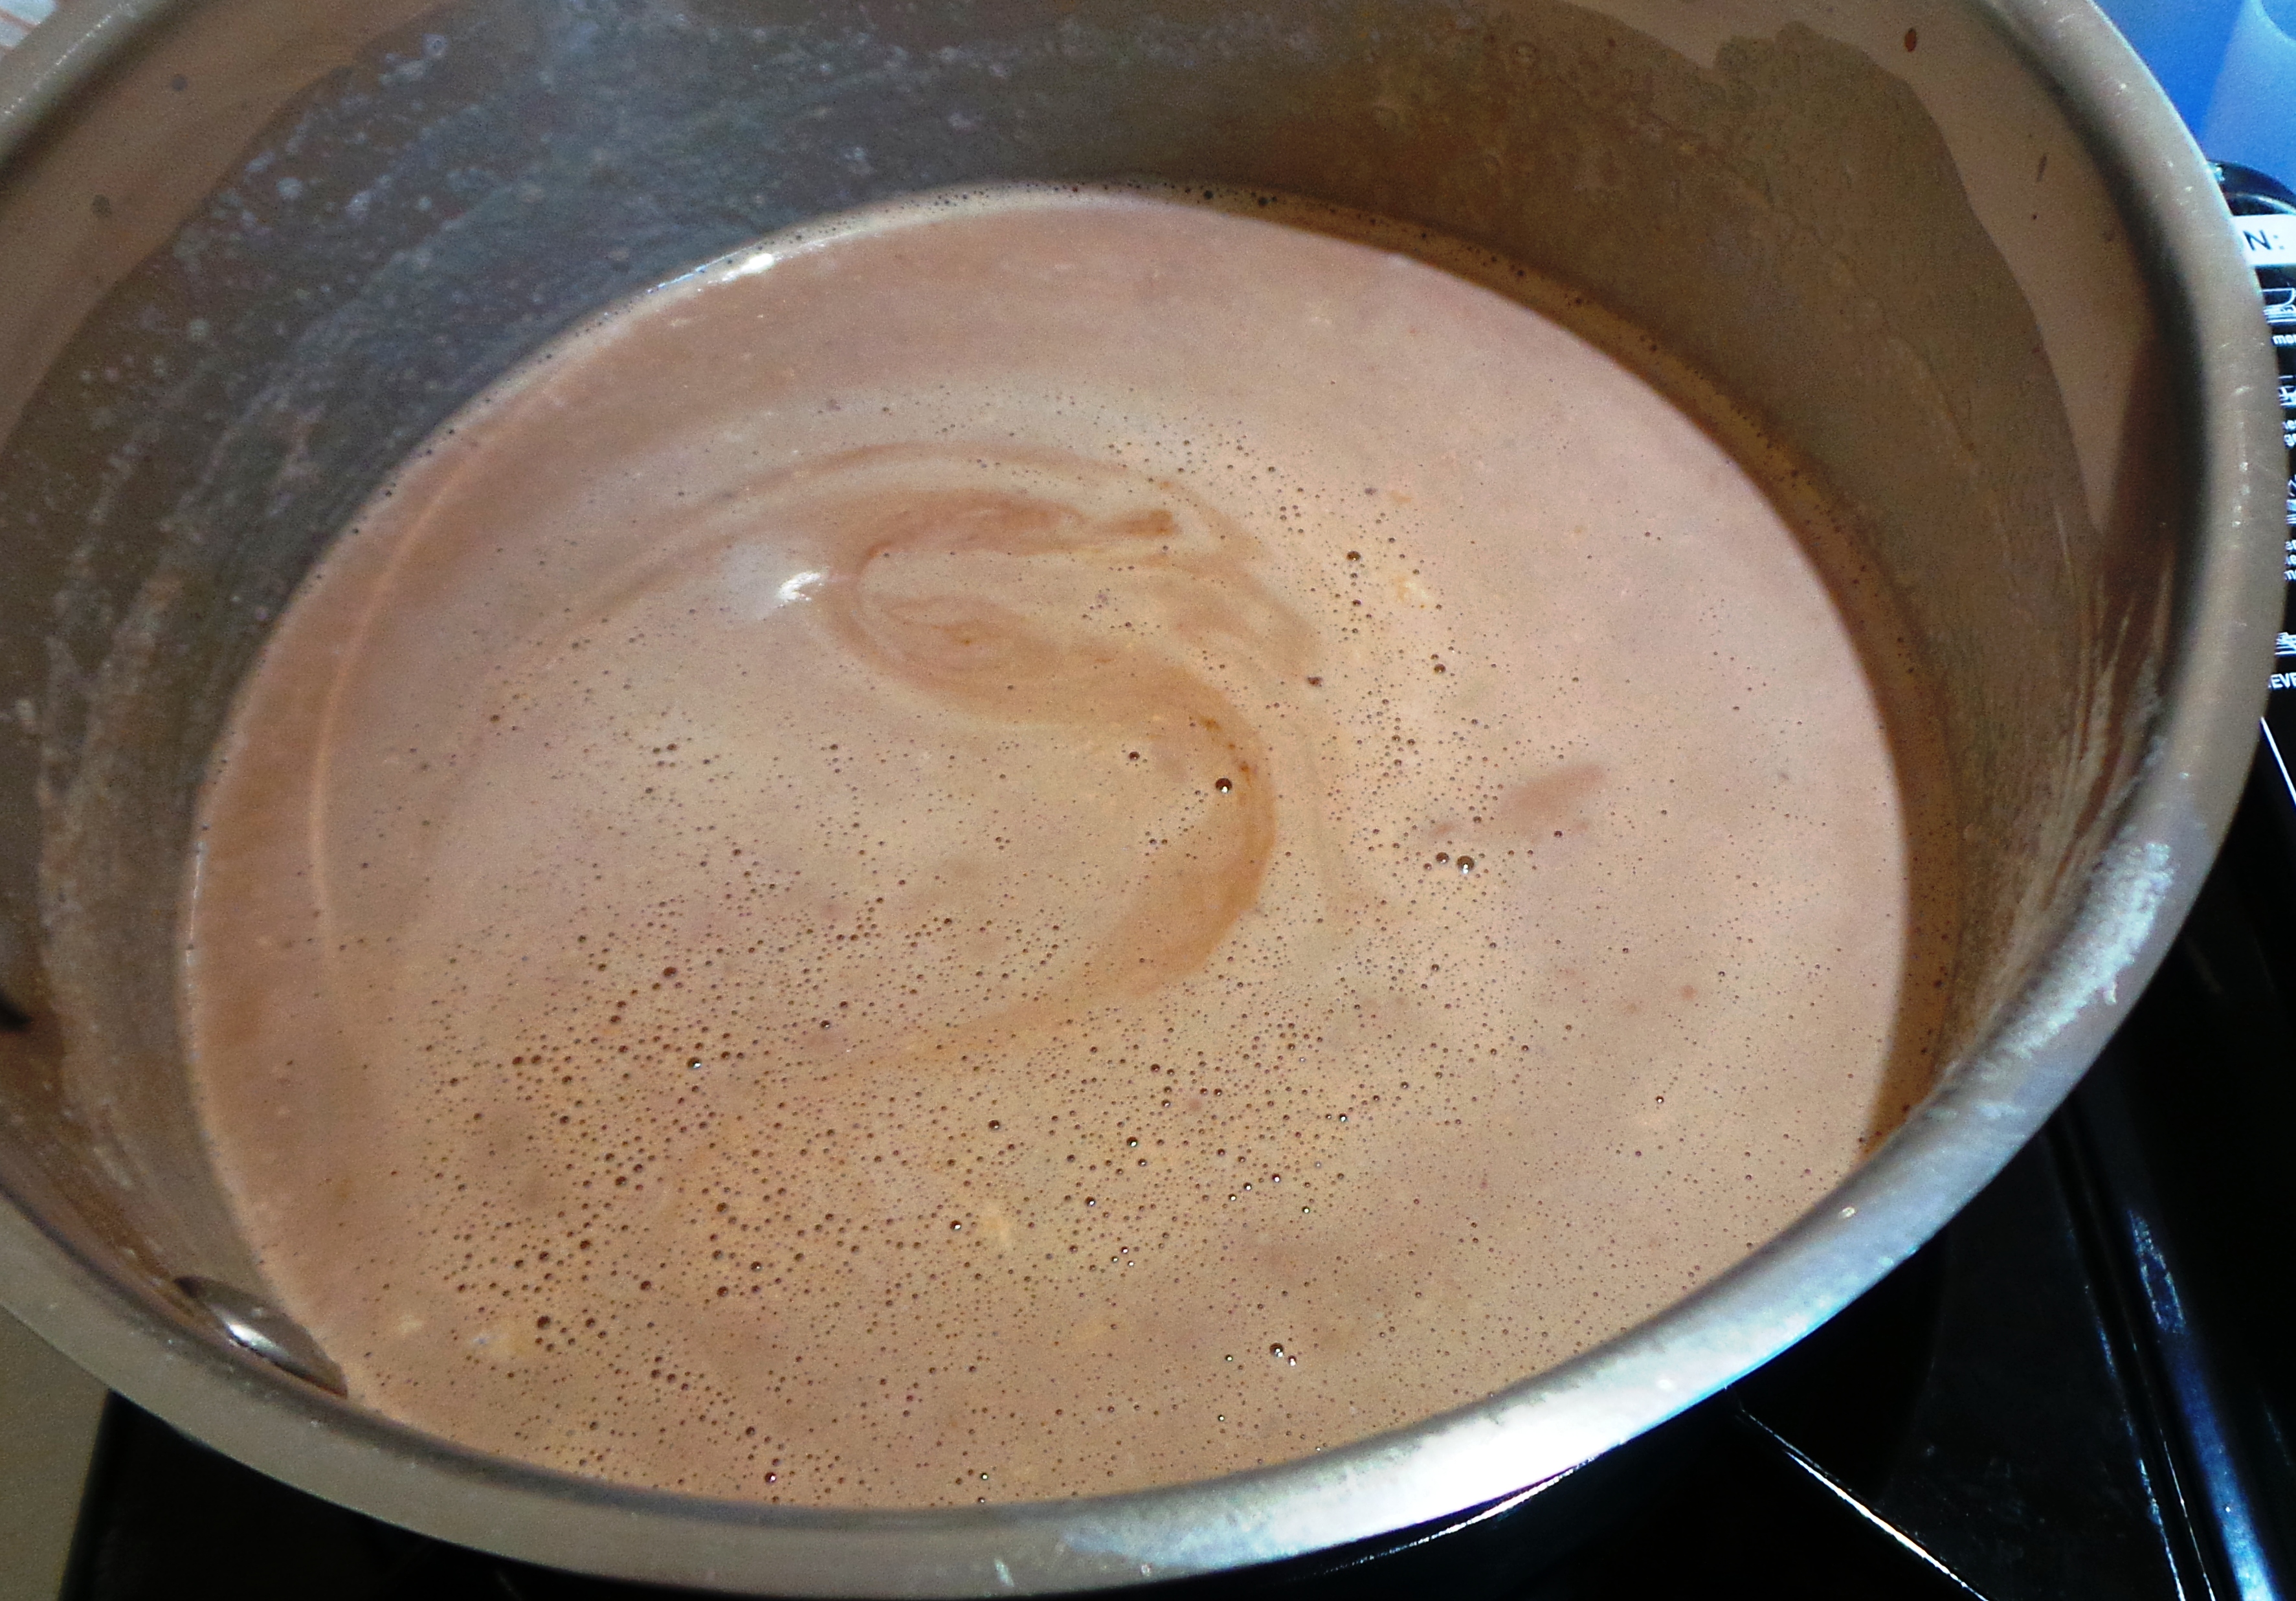
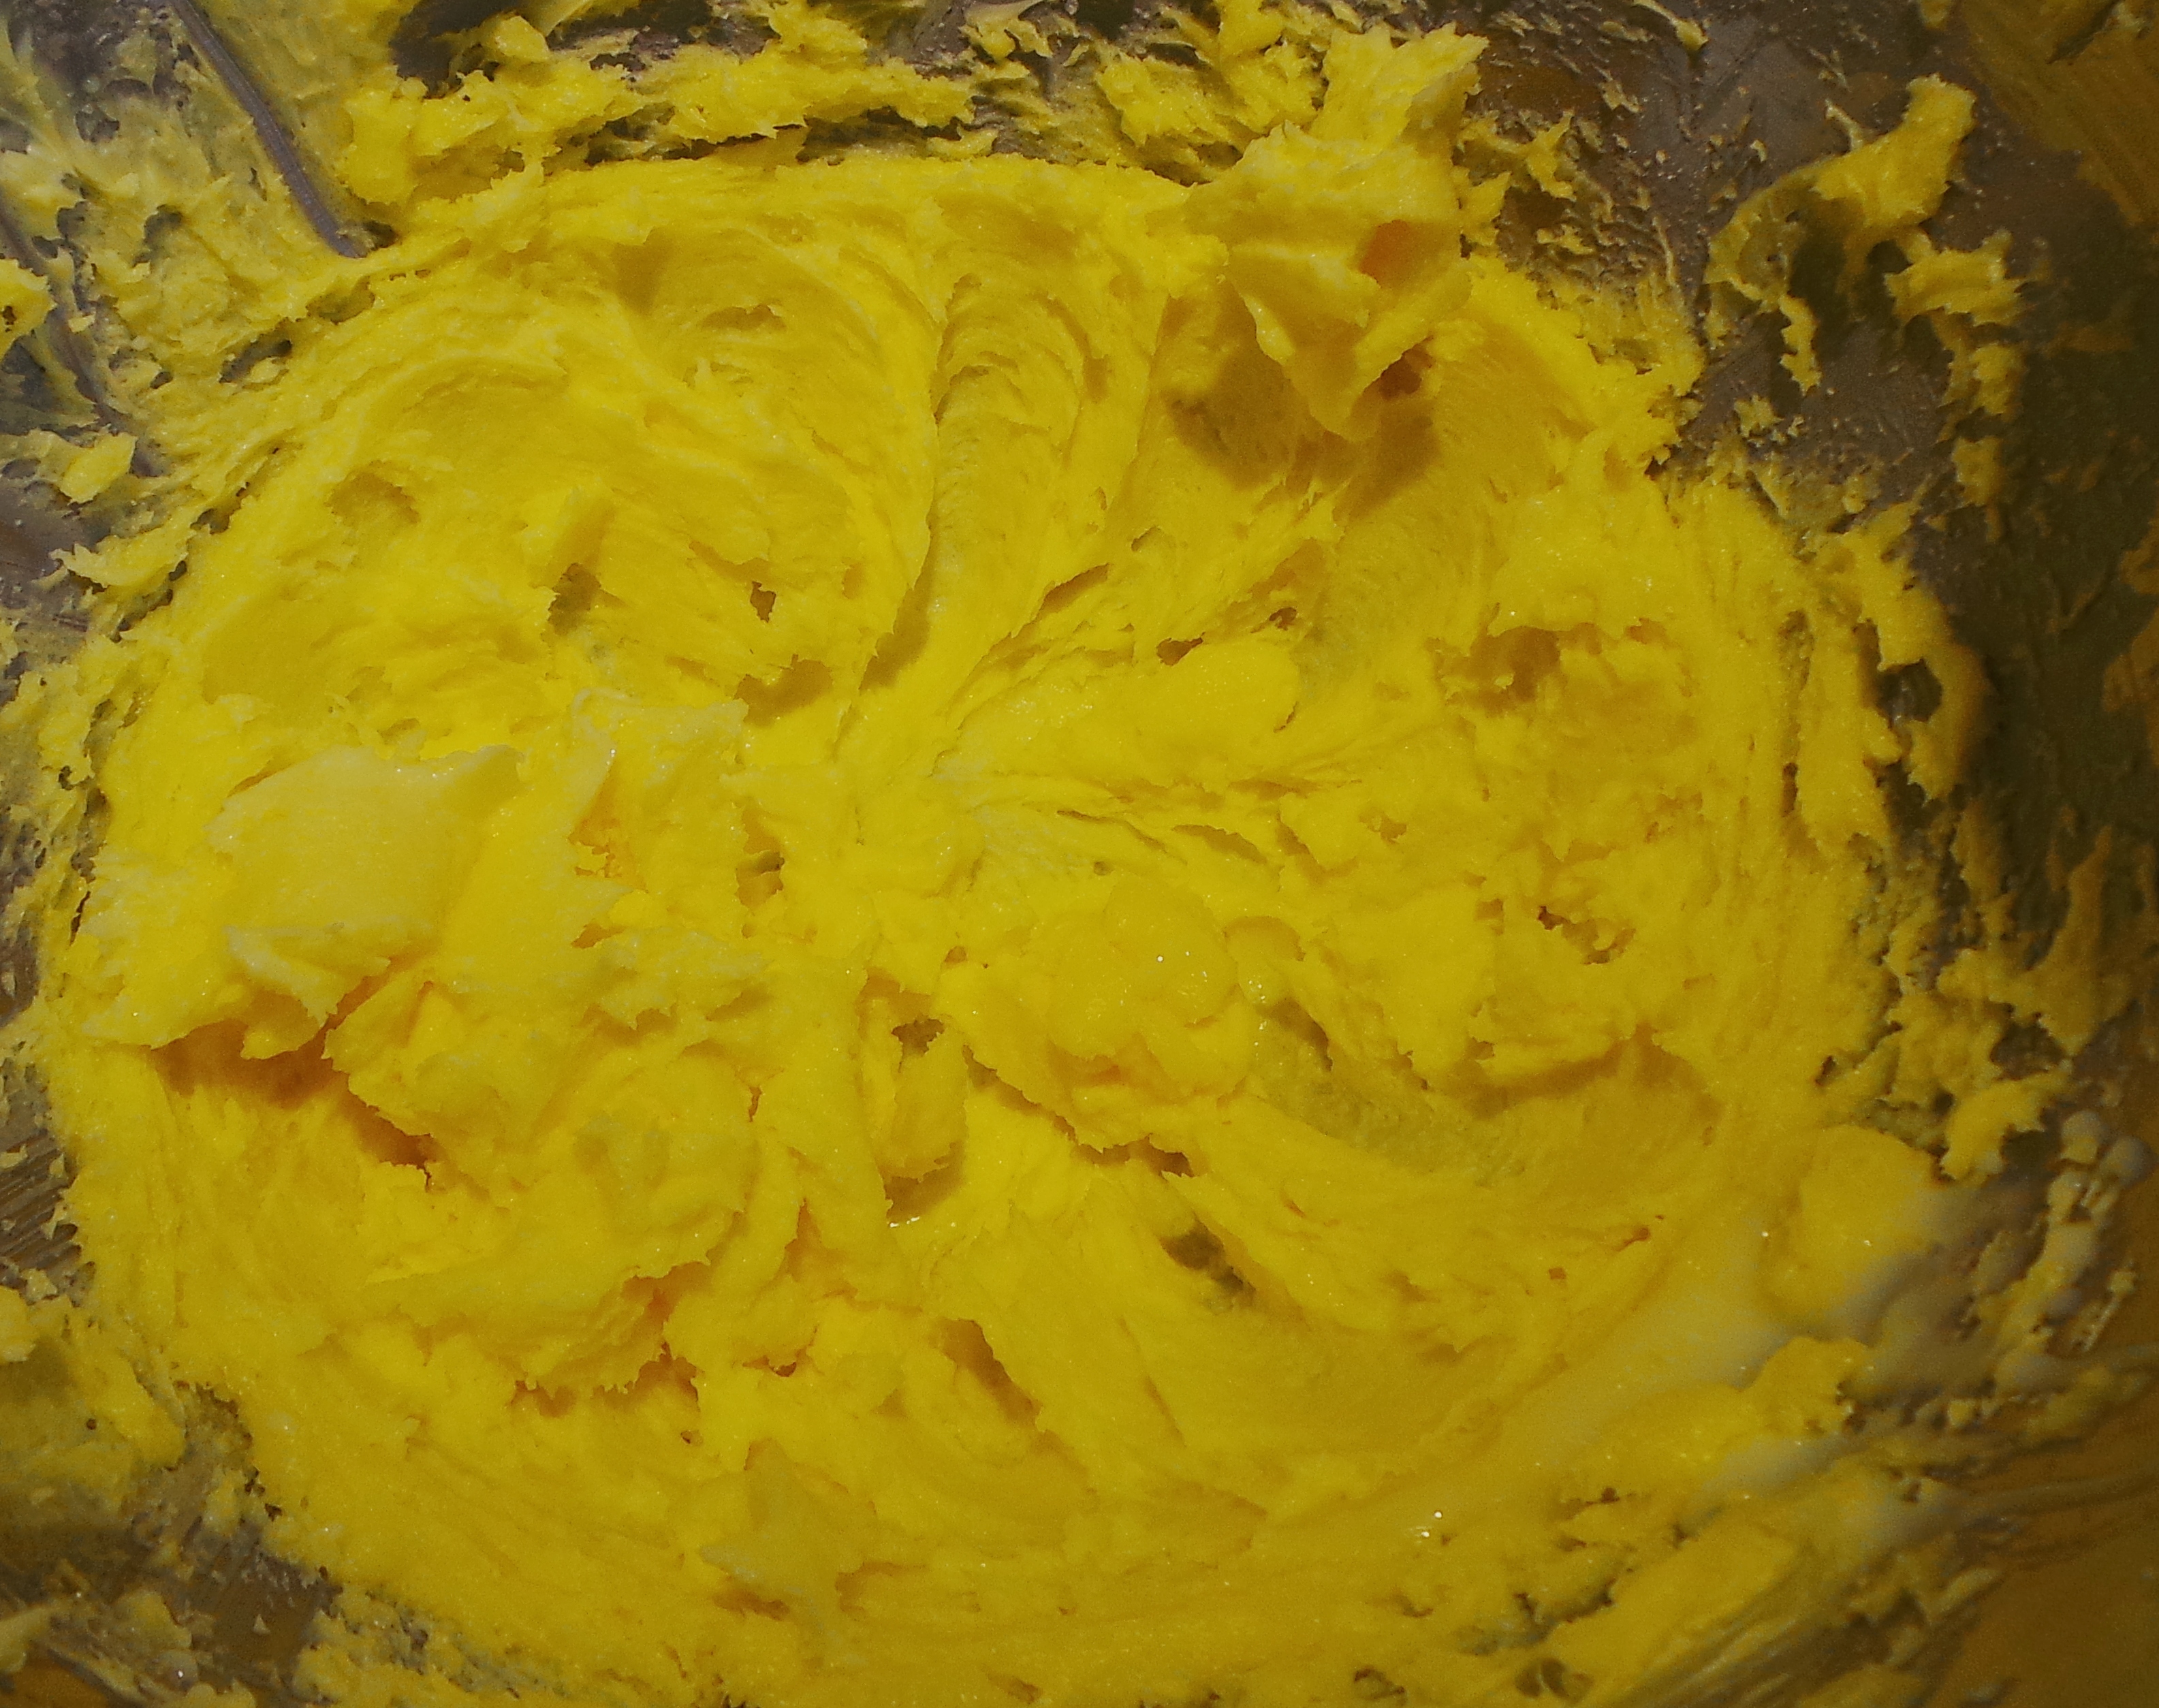
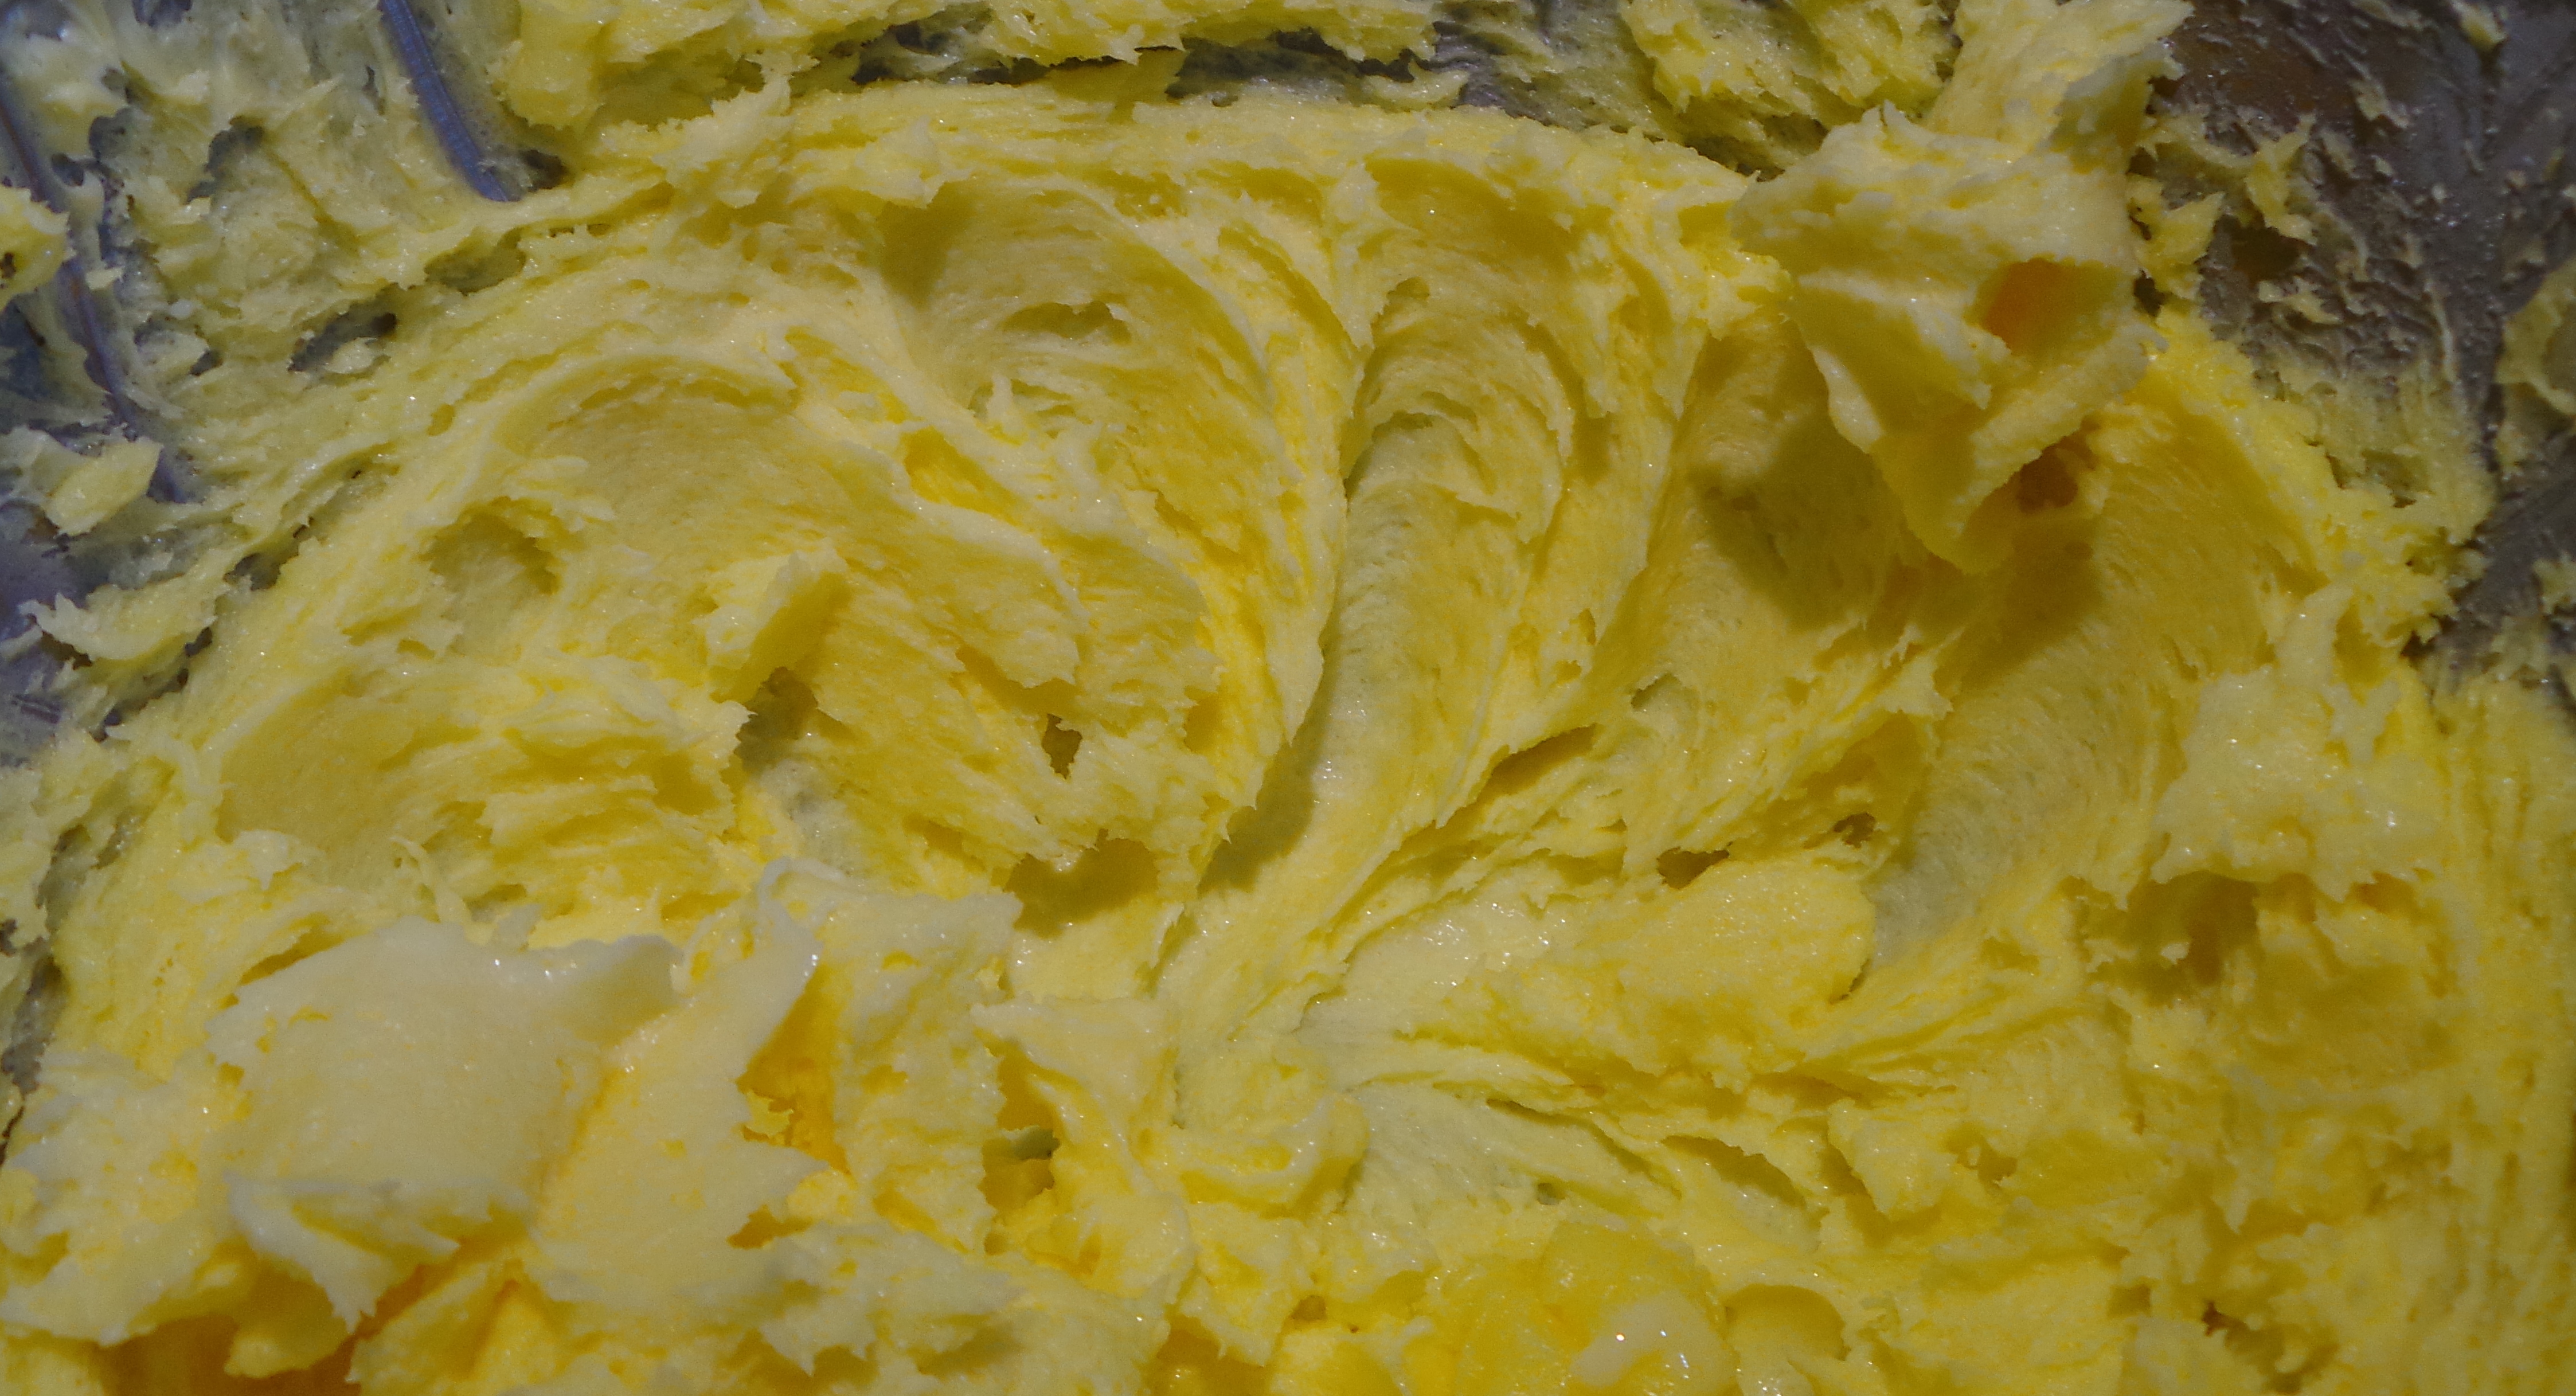
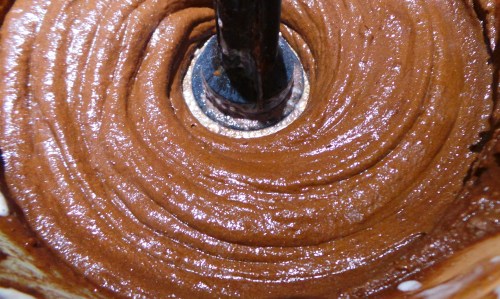
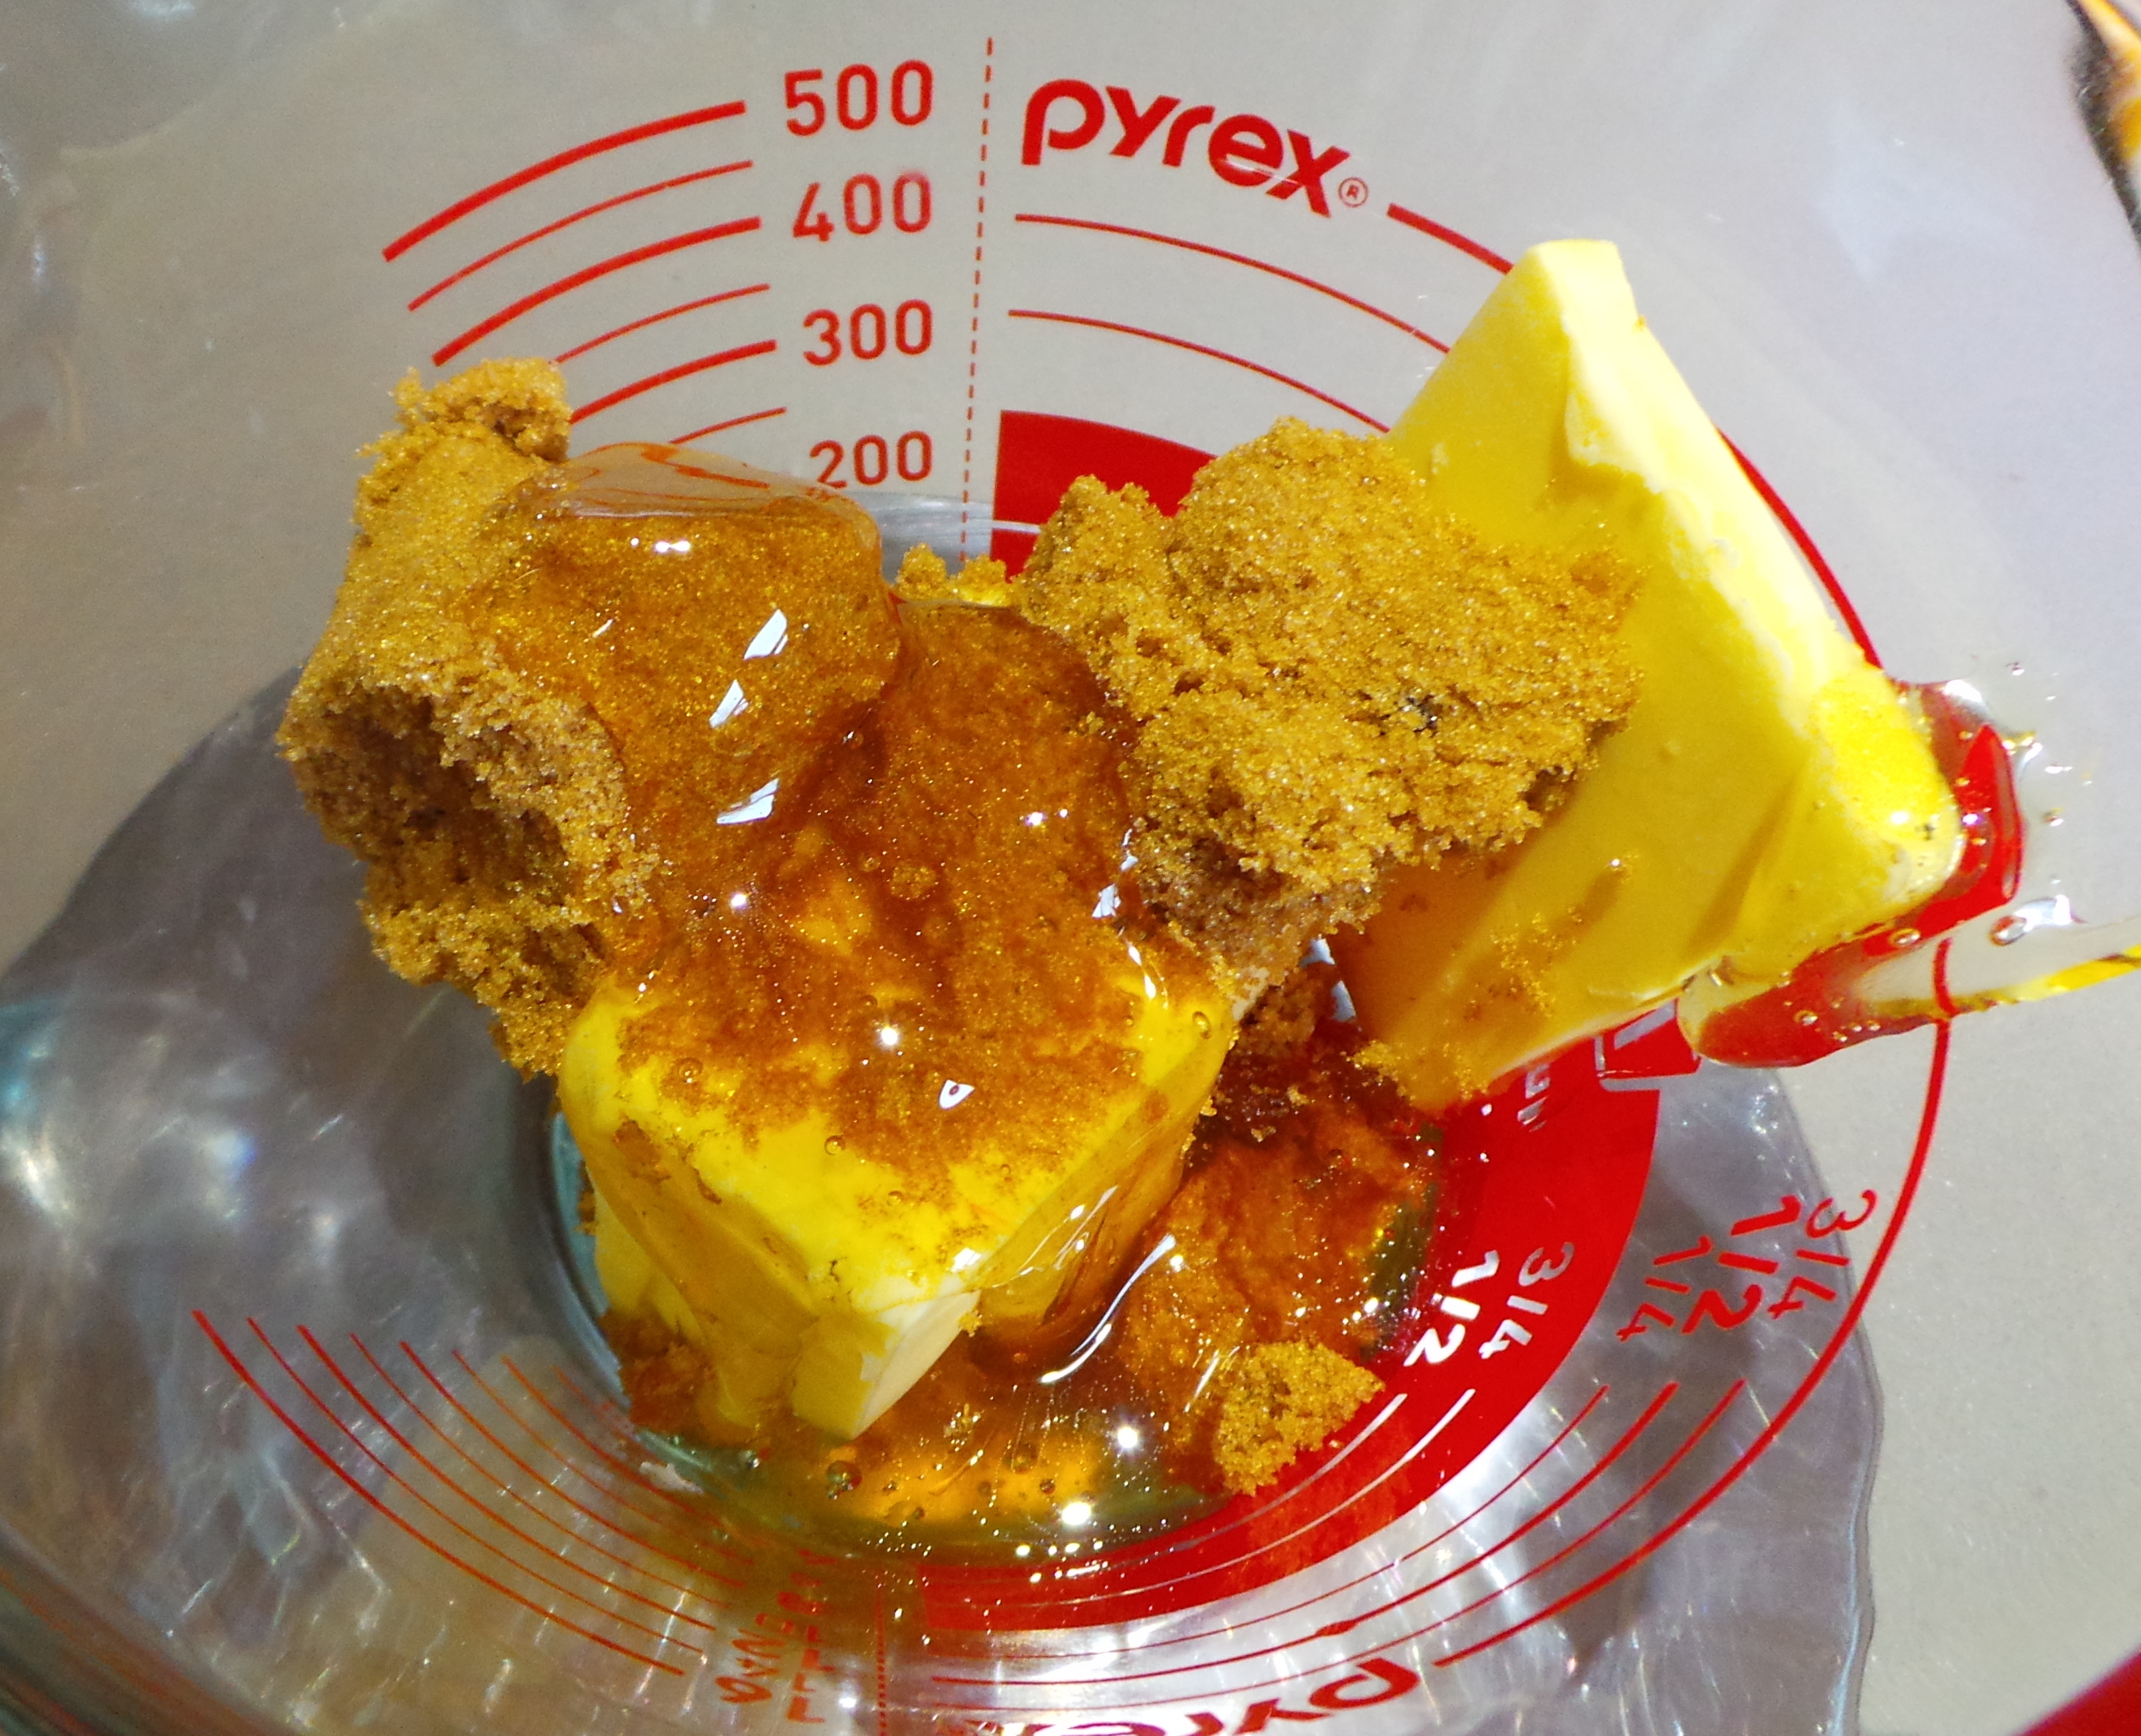
Cream together the butter and sugars for about 4 minutes. I must confess that, when making this batch, I left out the brown sugar completely as I became distracted by something.
They still turned out beautifully, just not as sweet. Health food, dontchaknow?
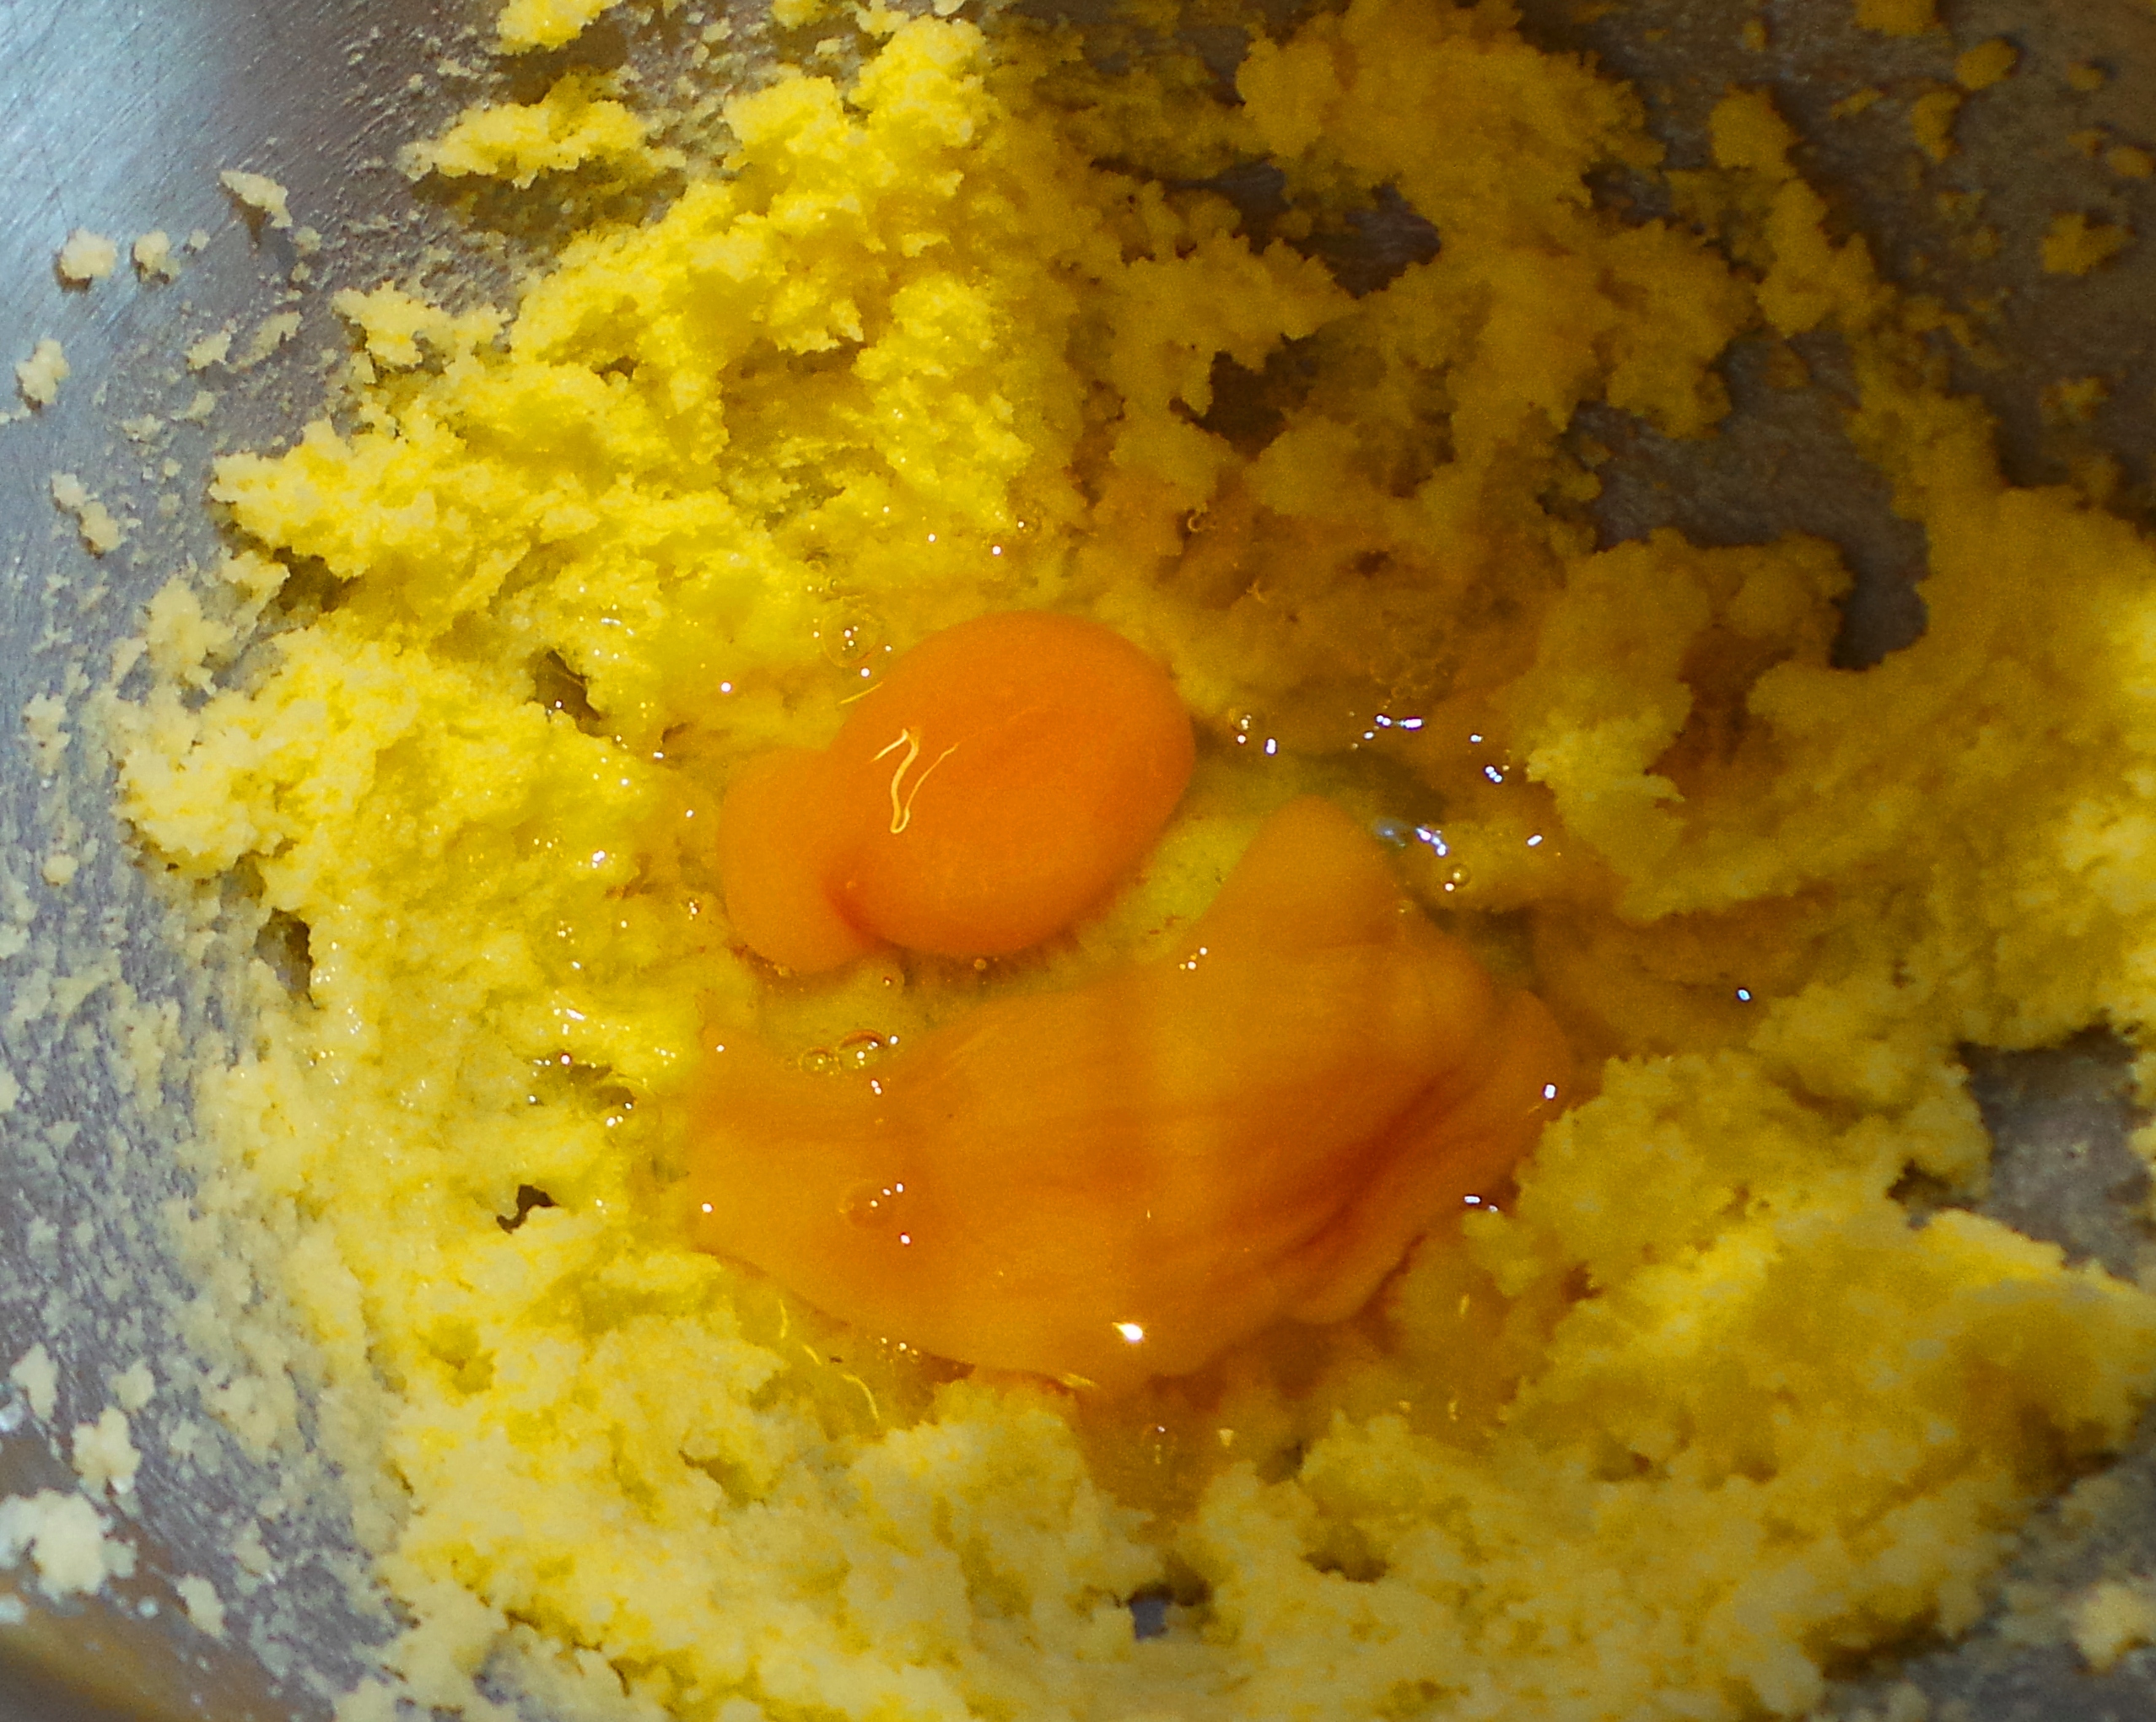
After you’ve reached the soft and fluffy consistency, add a dash of vanilla extract and two whole eggs. Beat until thoroughly combined.
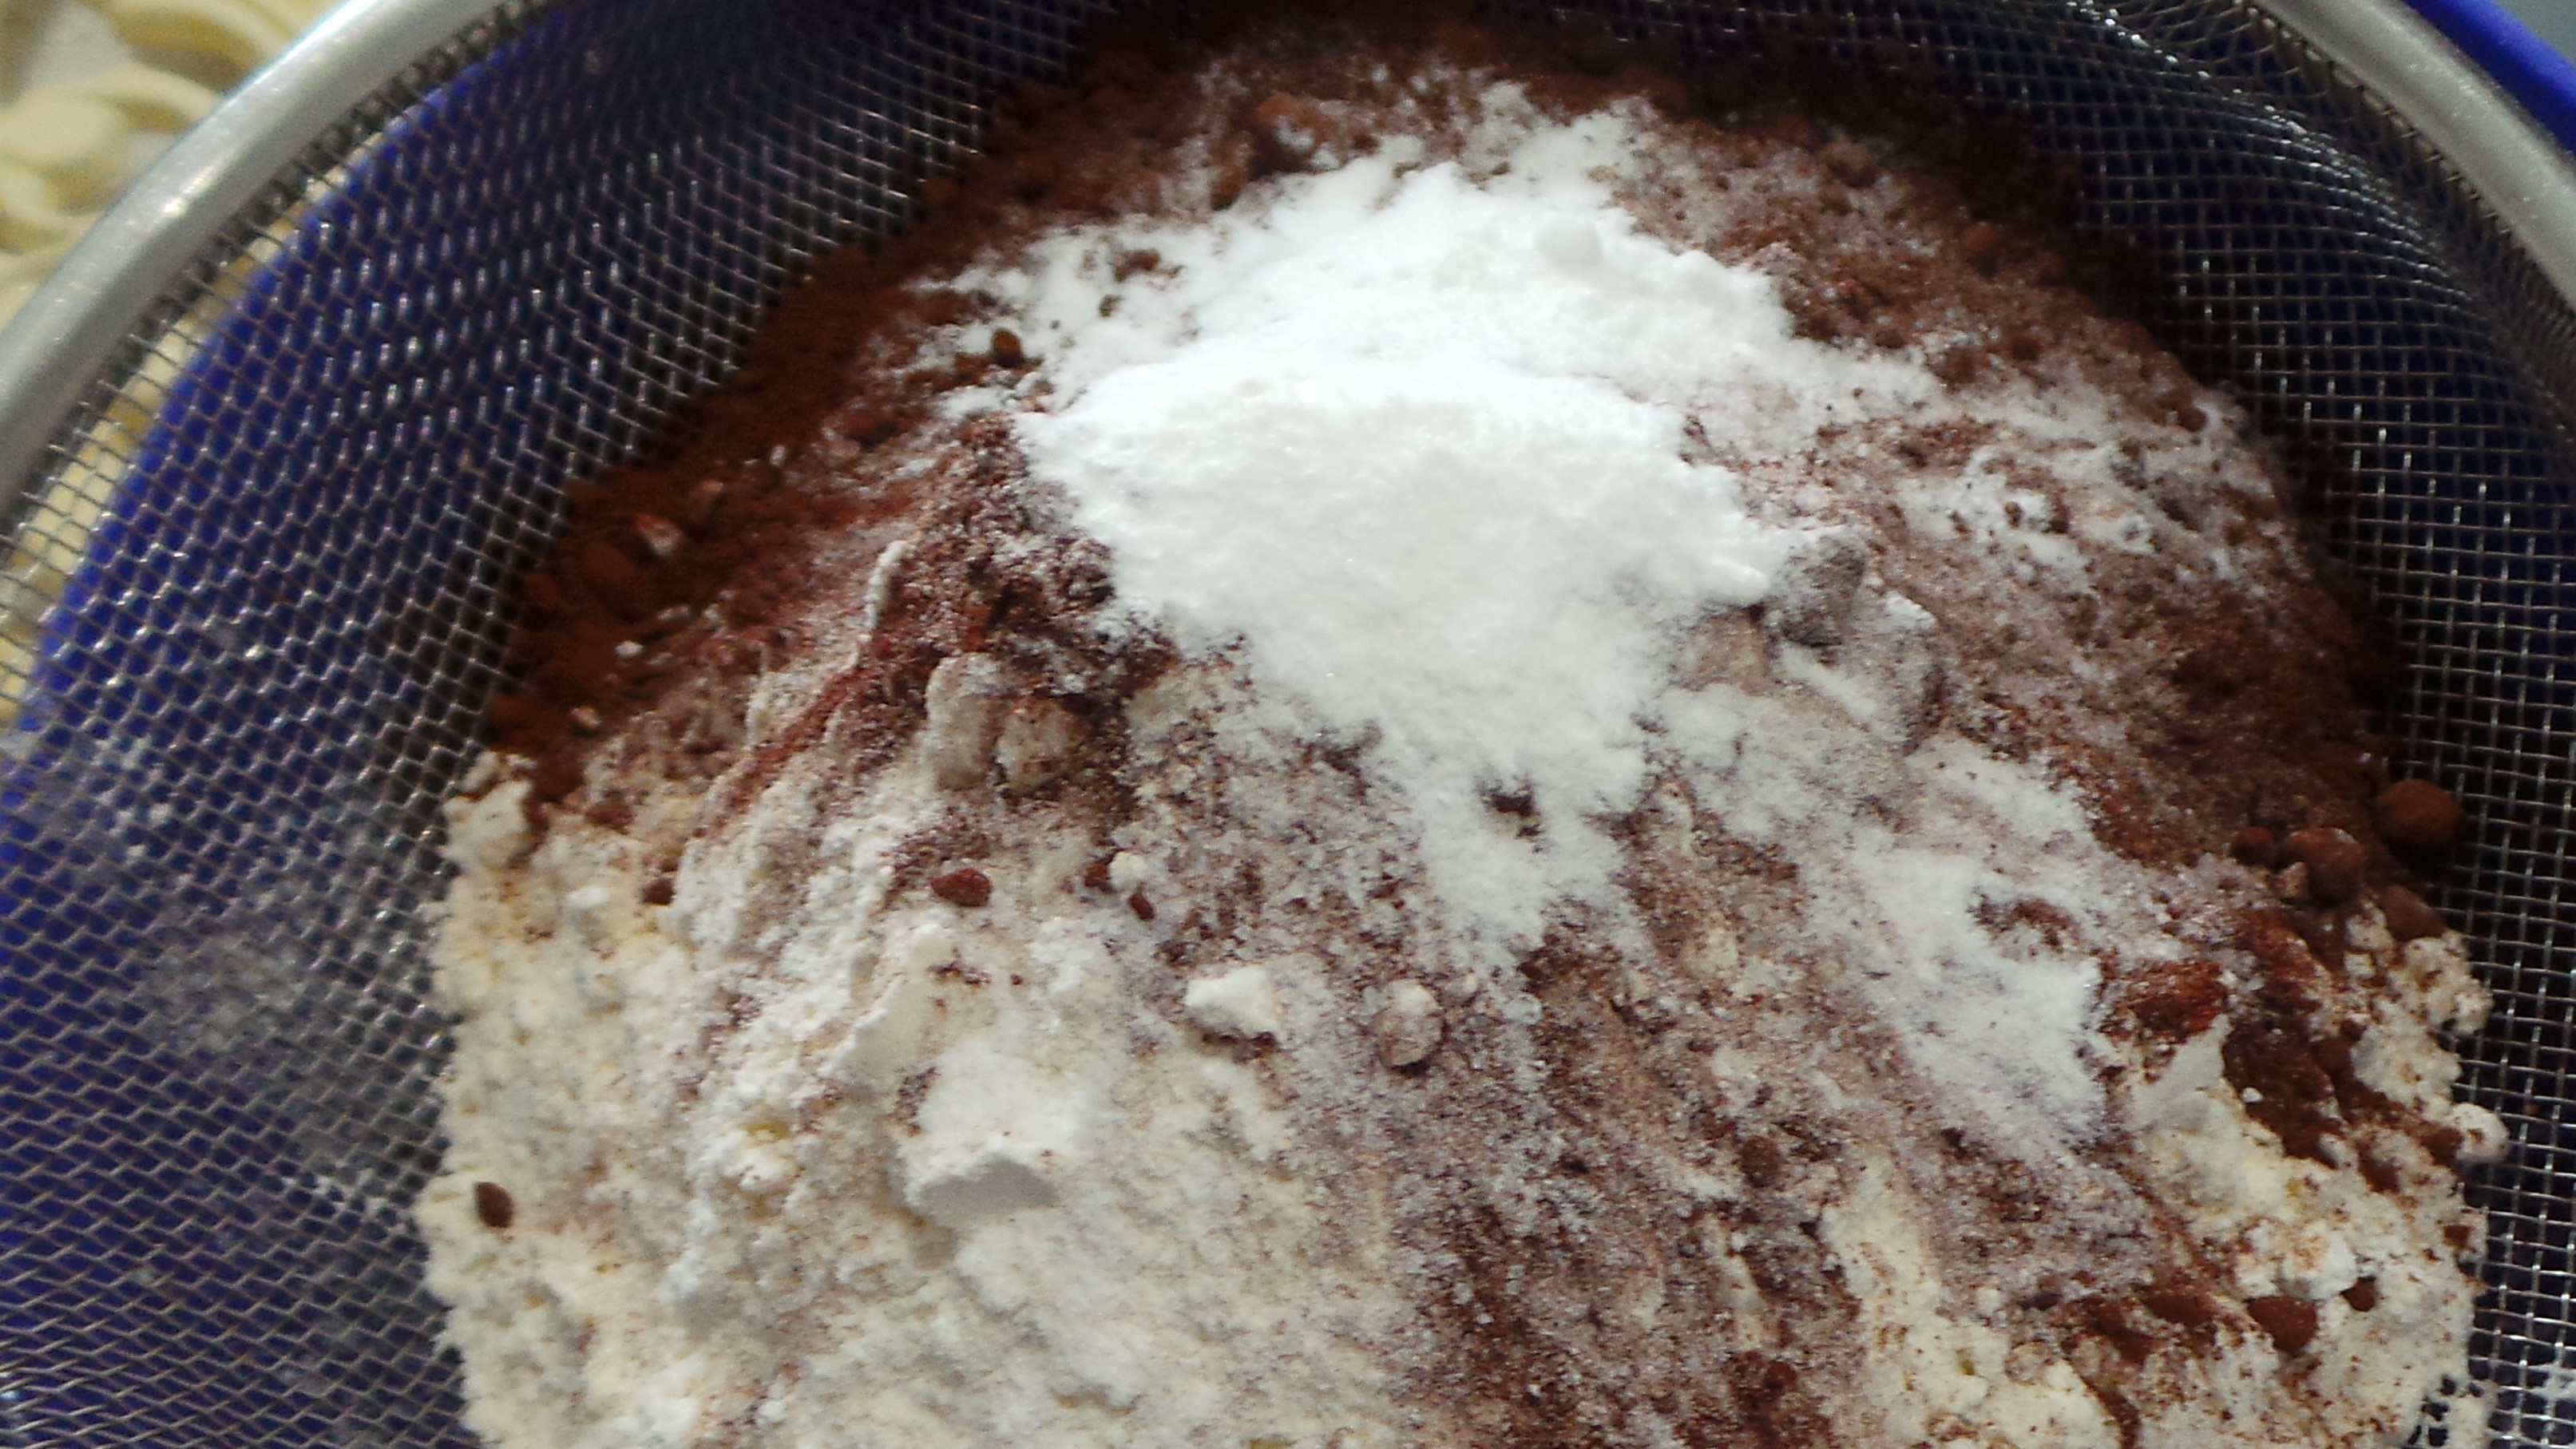
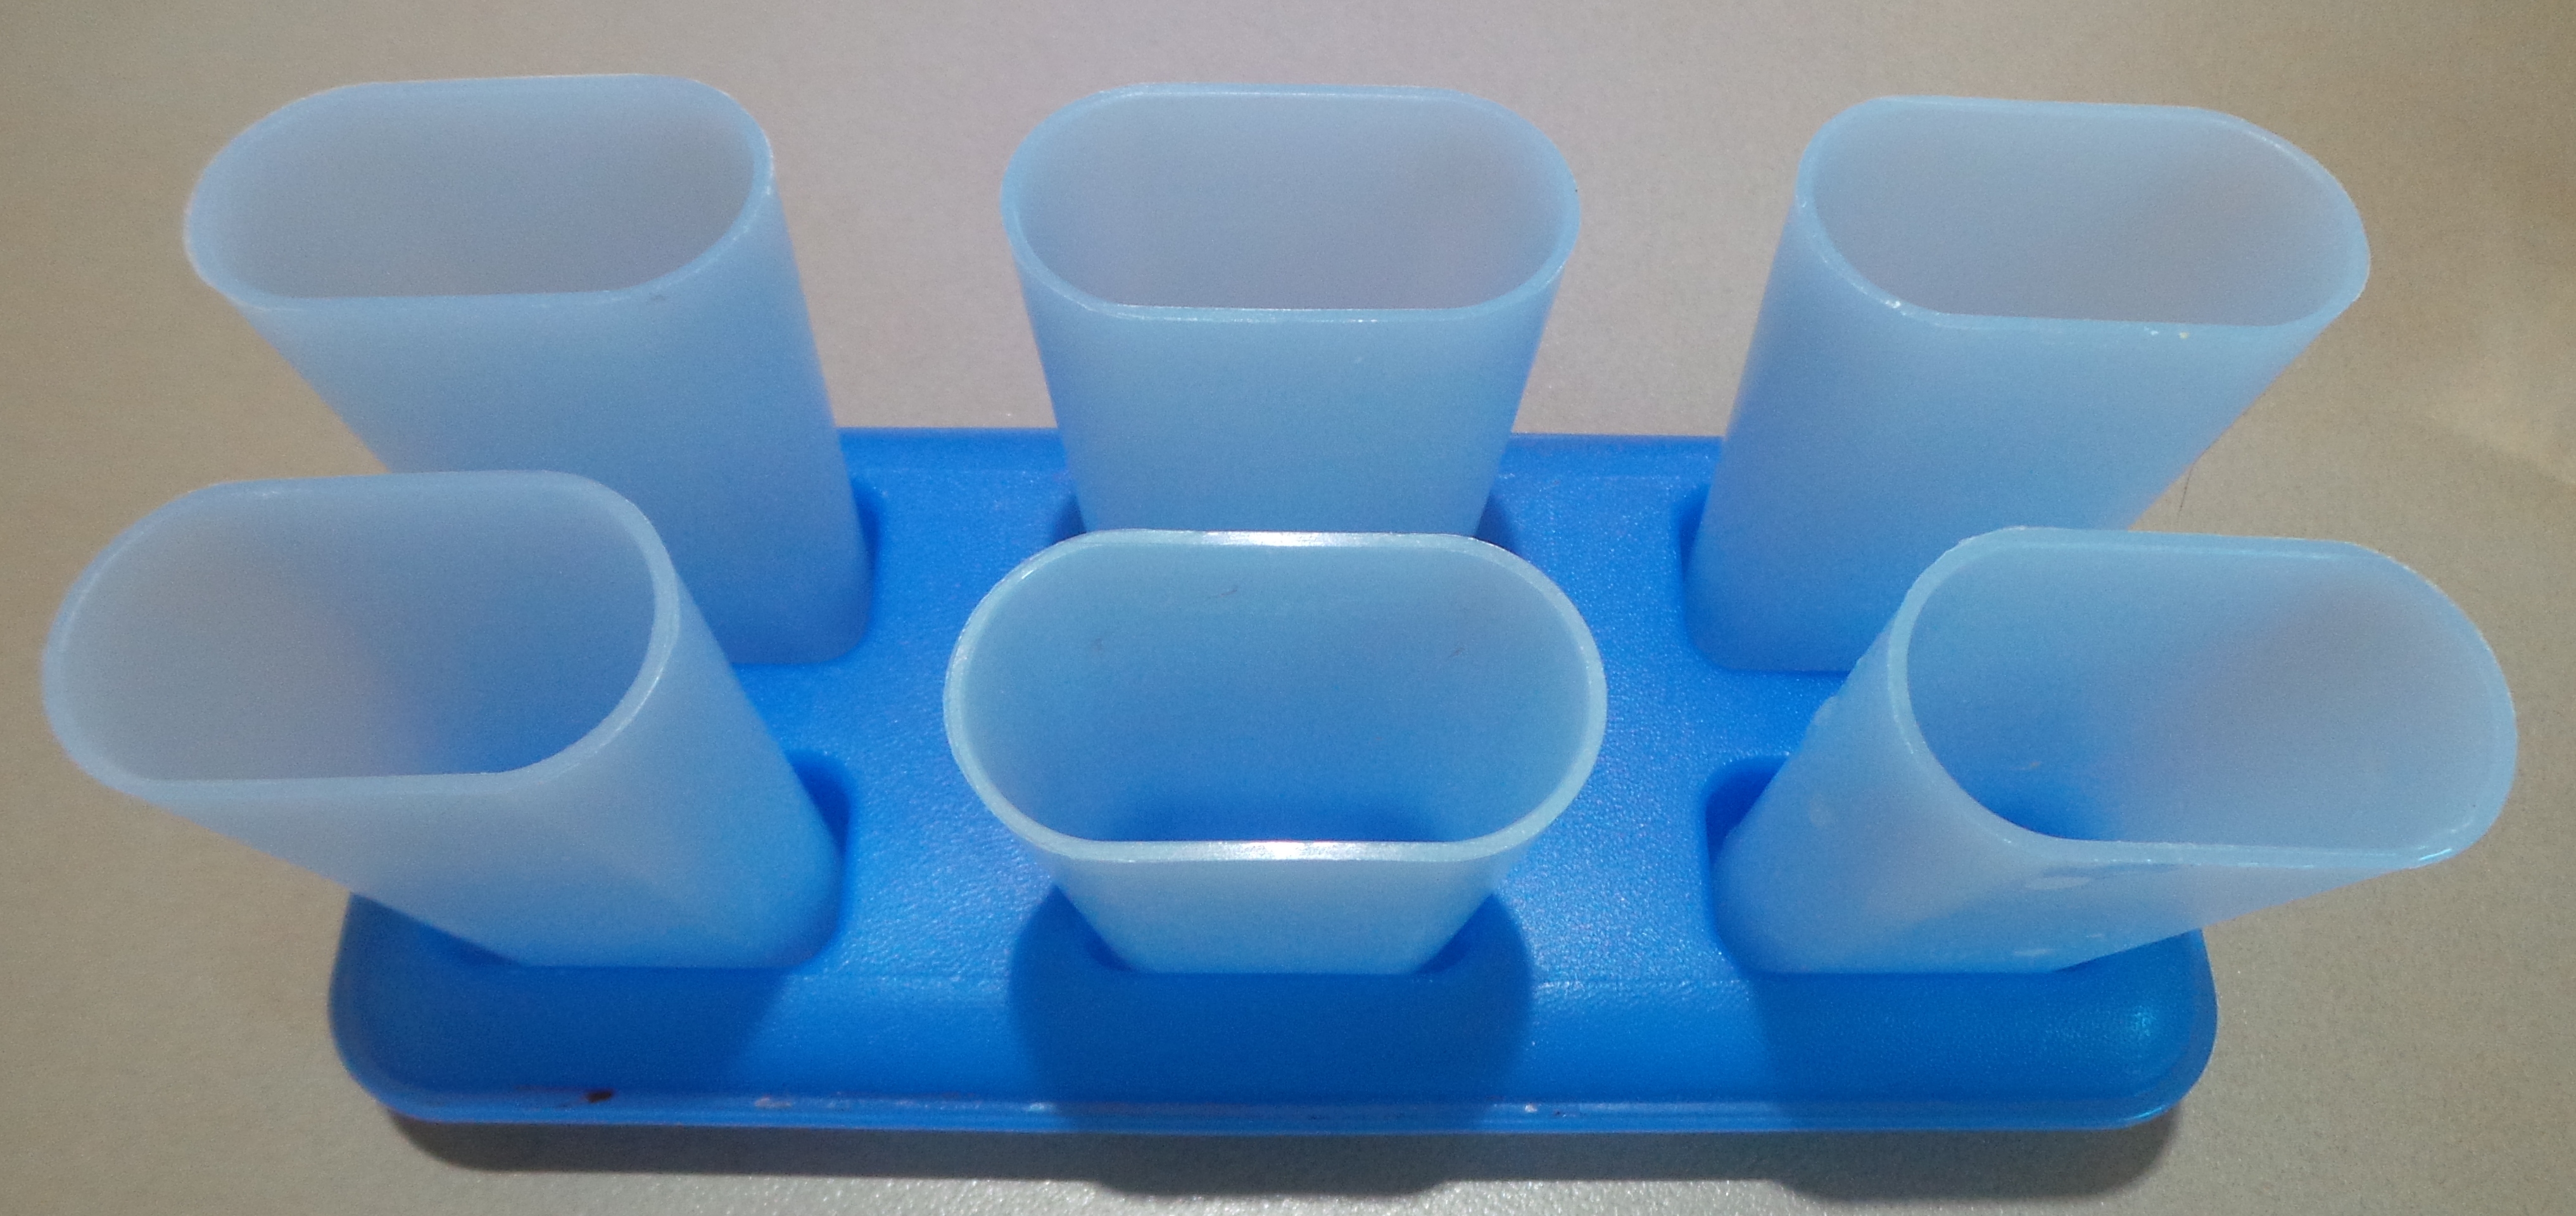
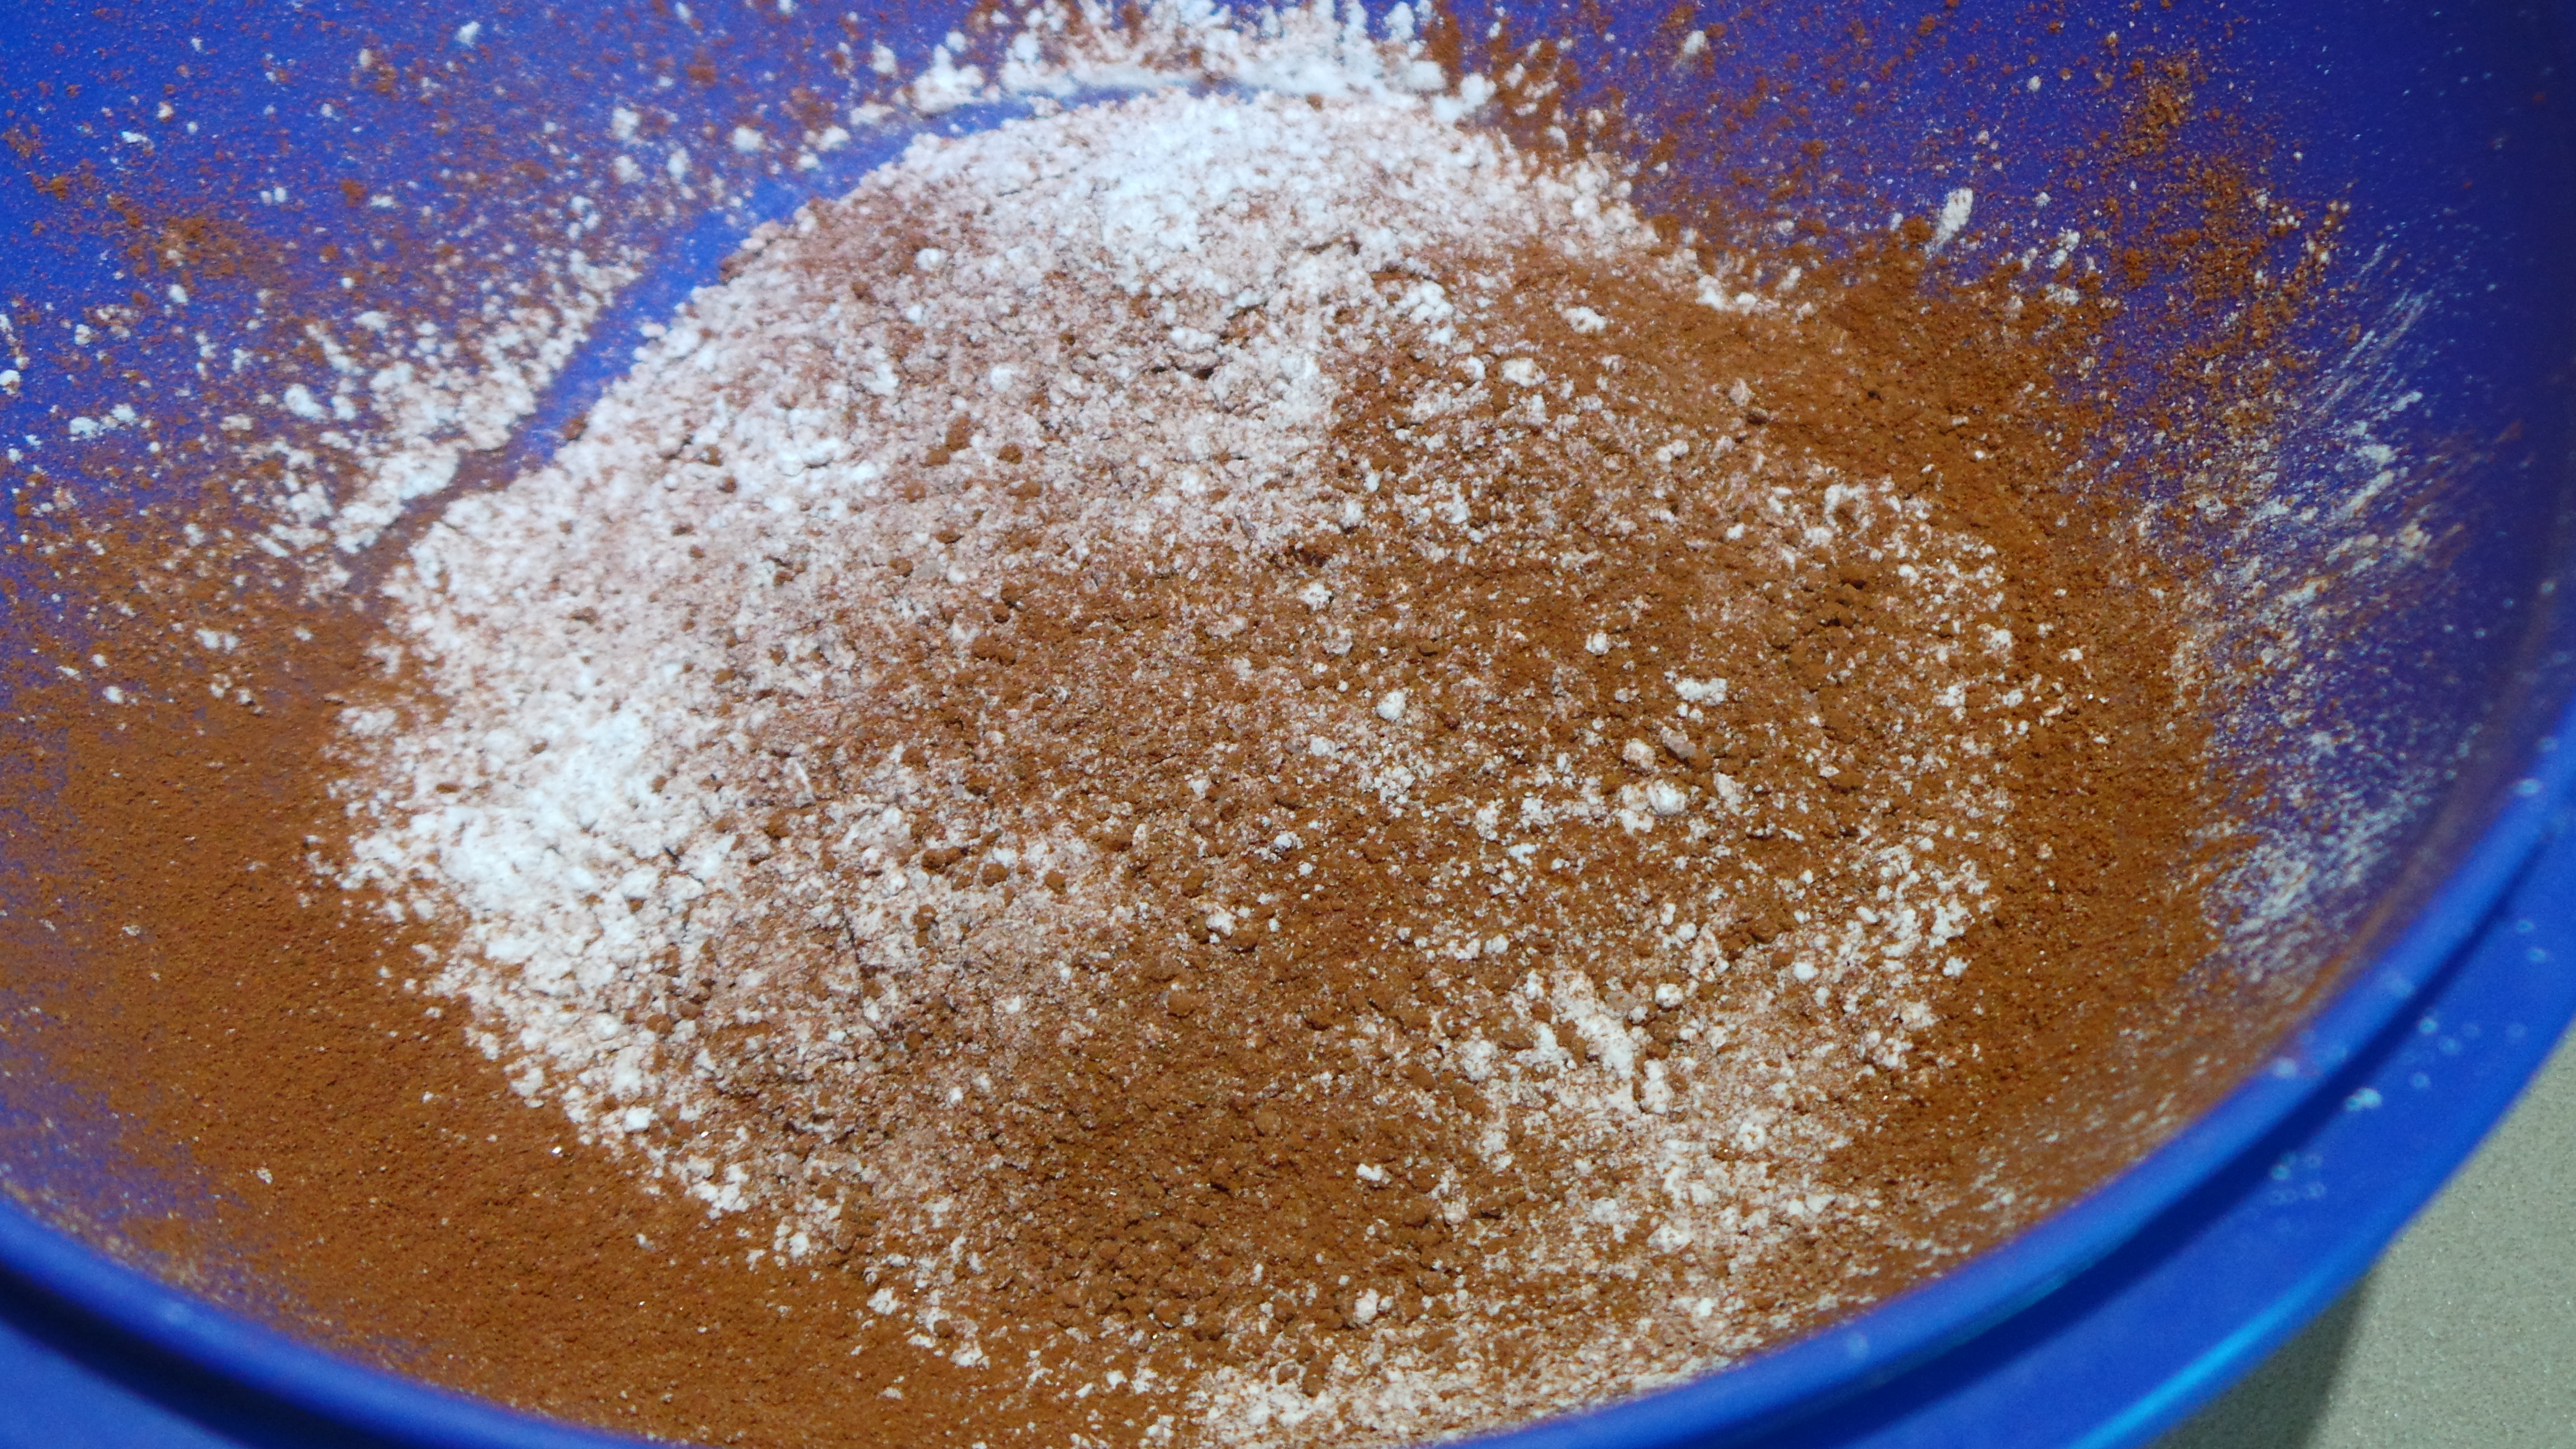
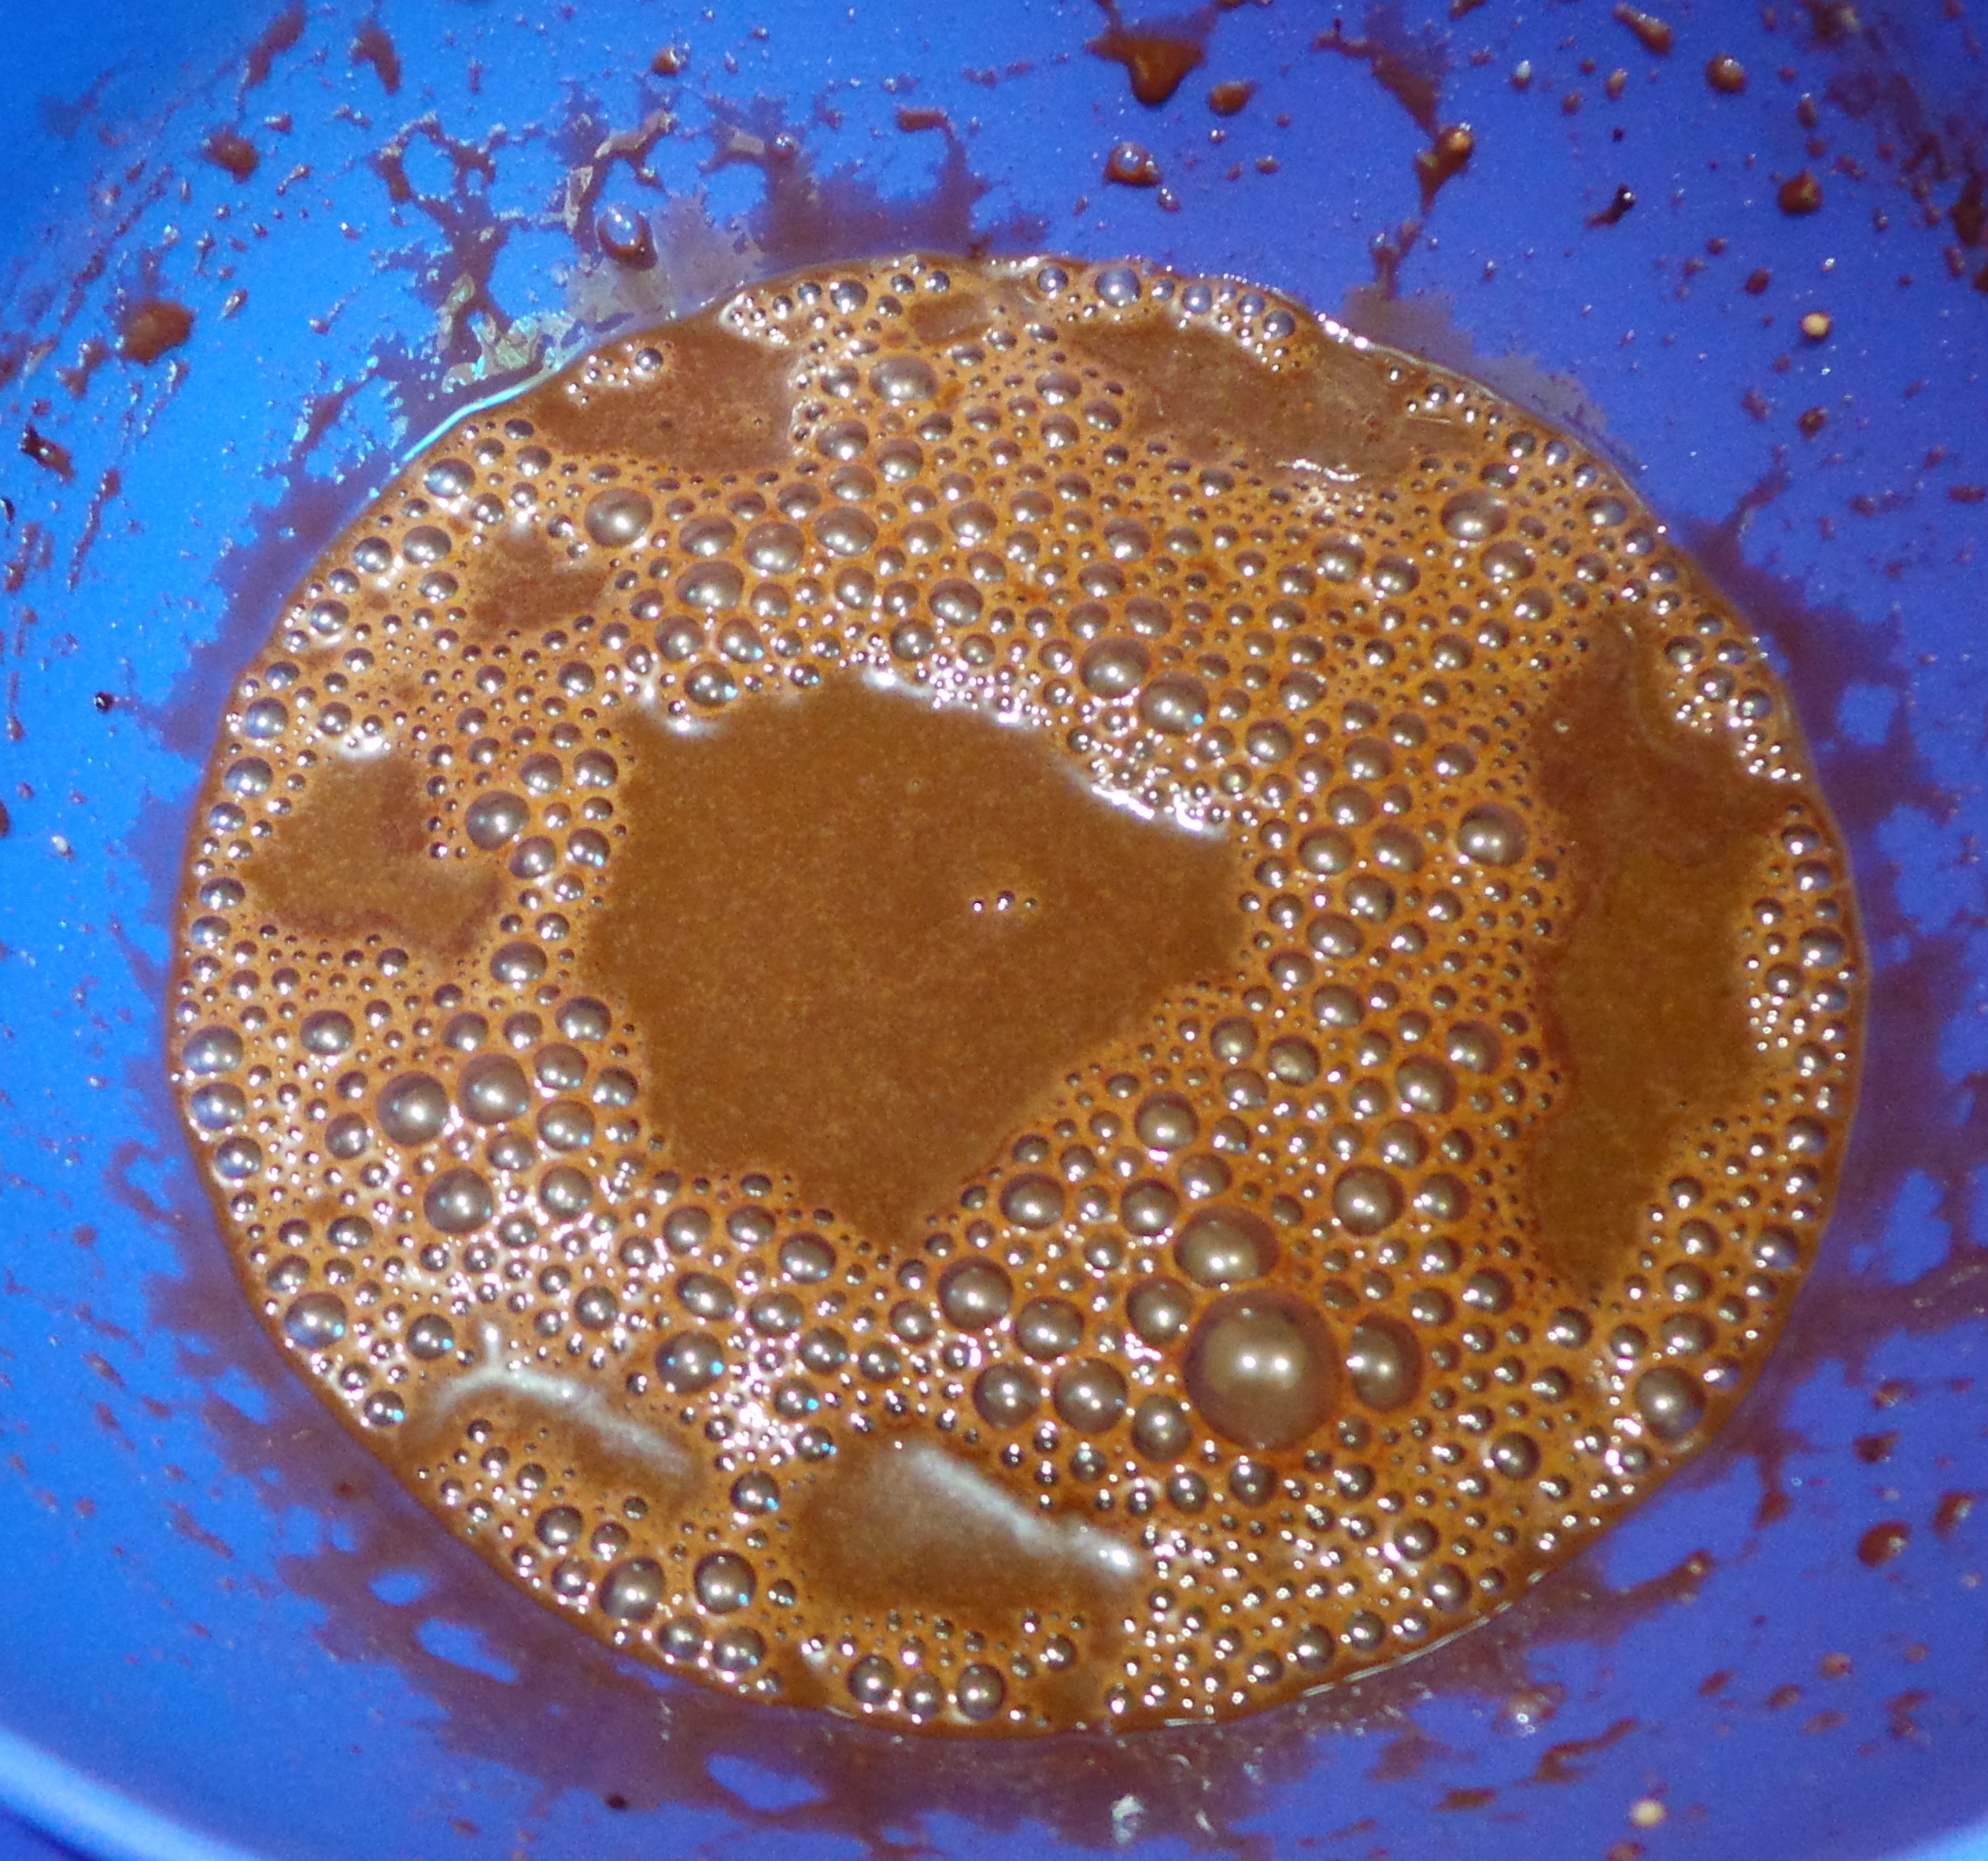
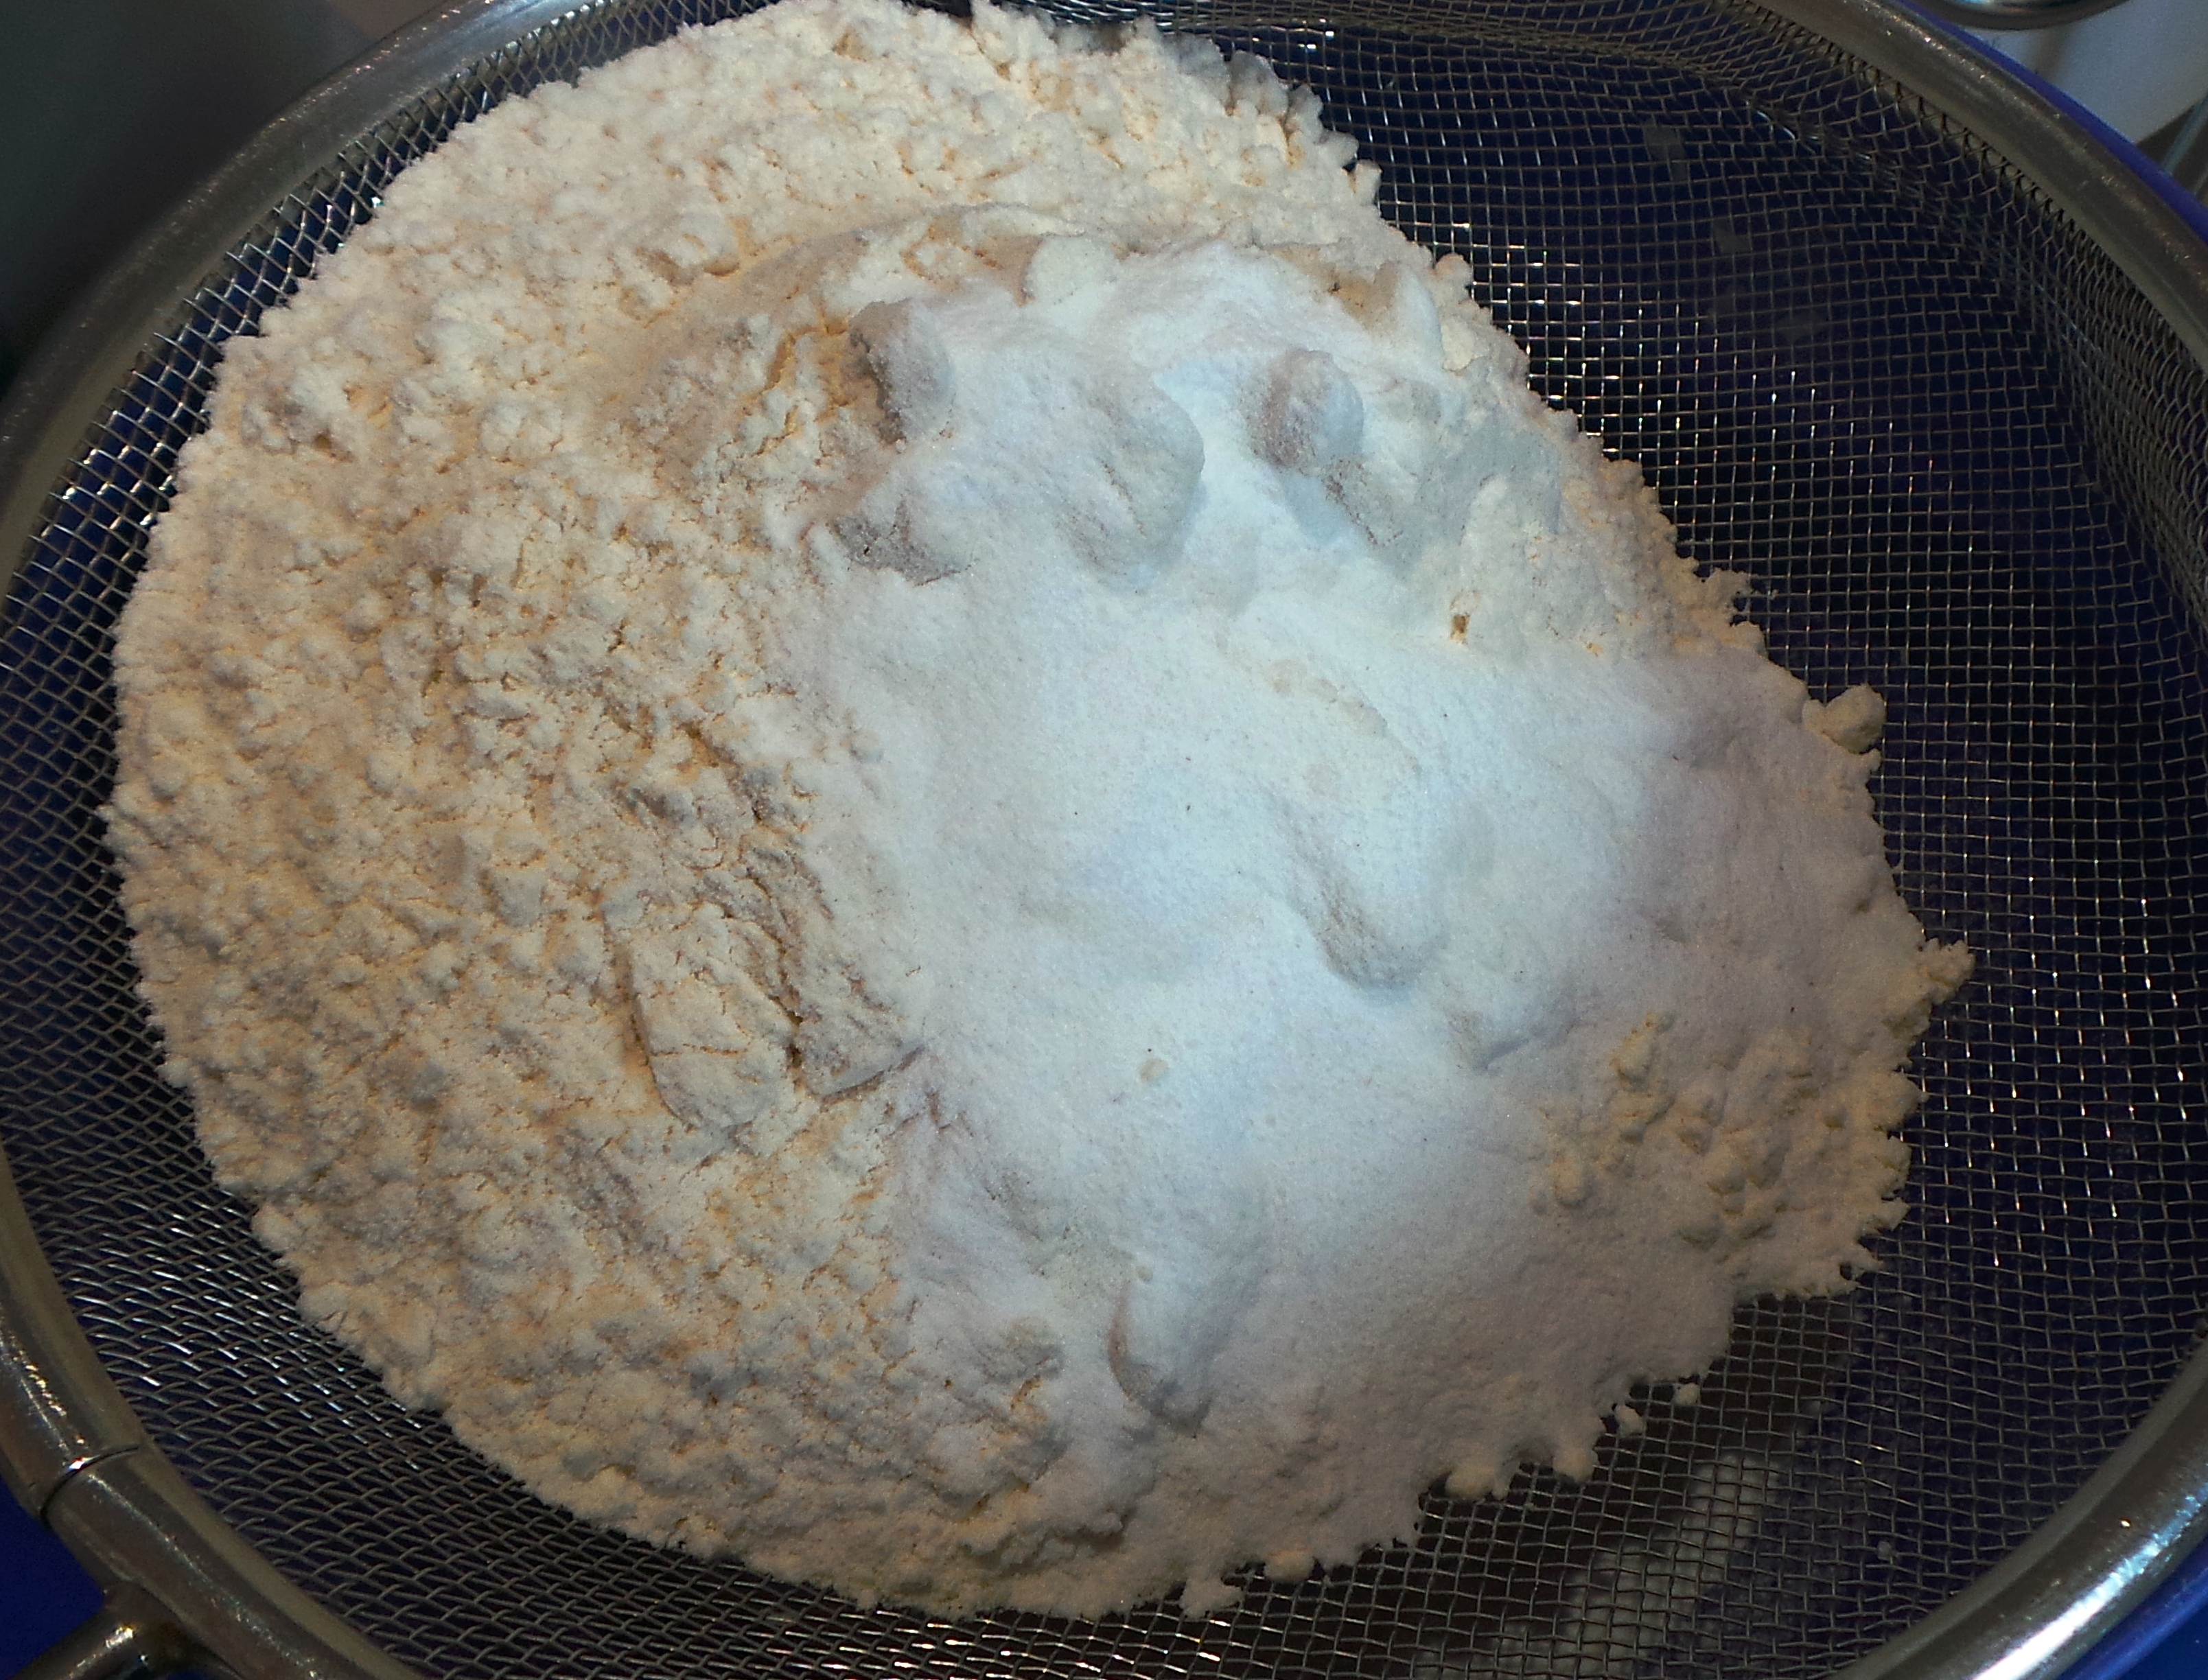
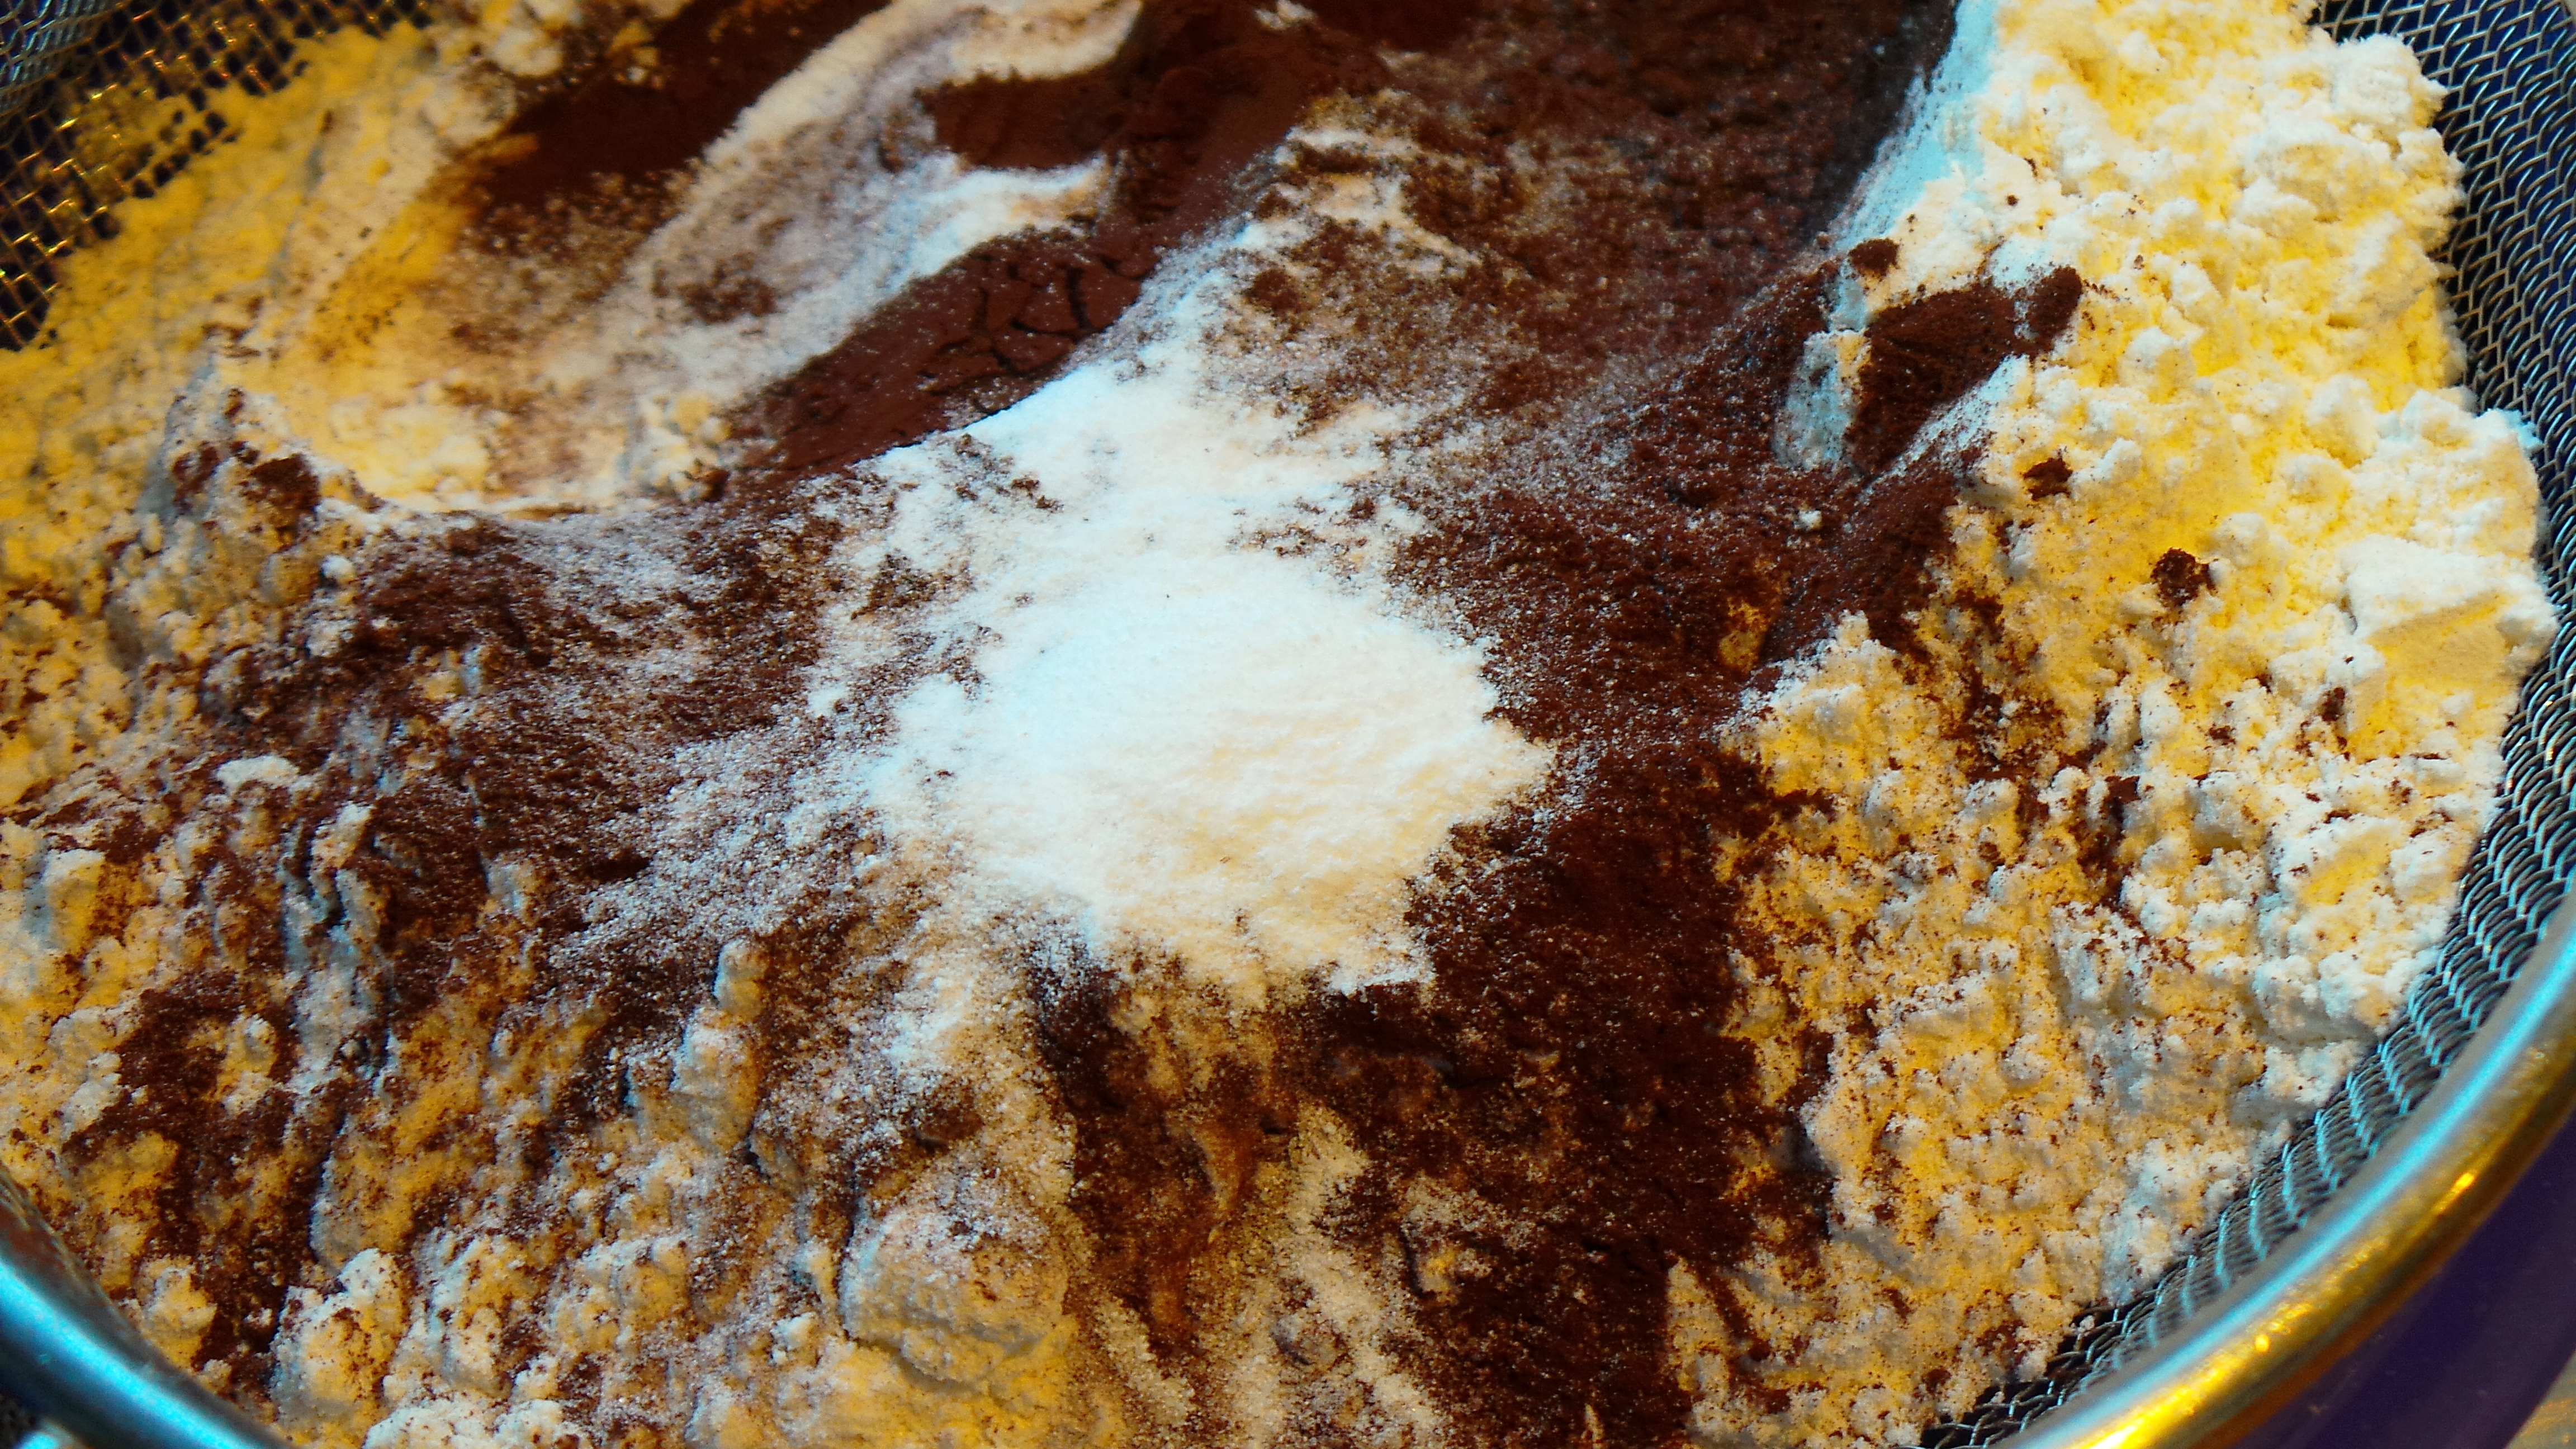
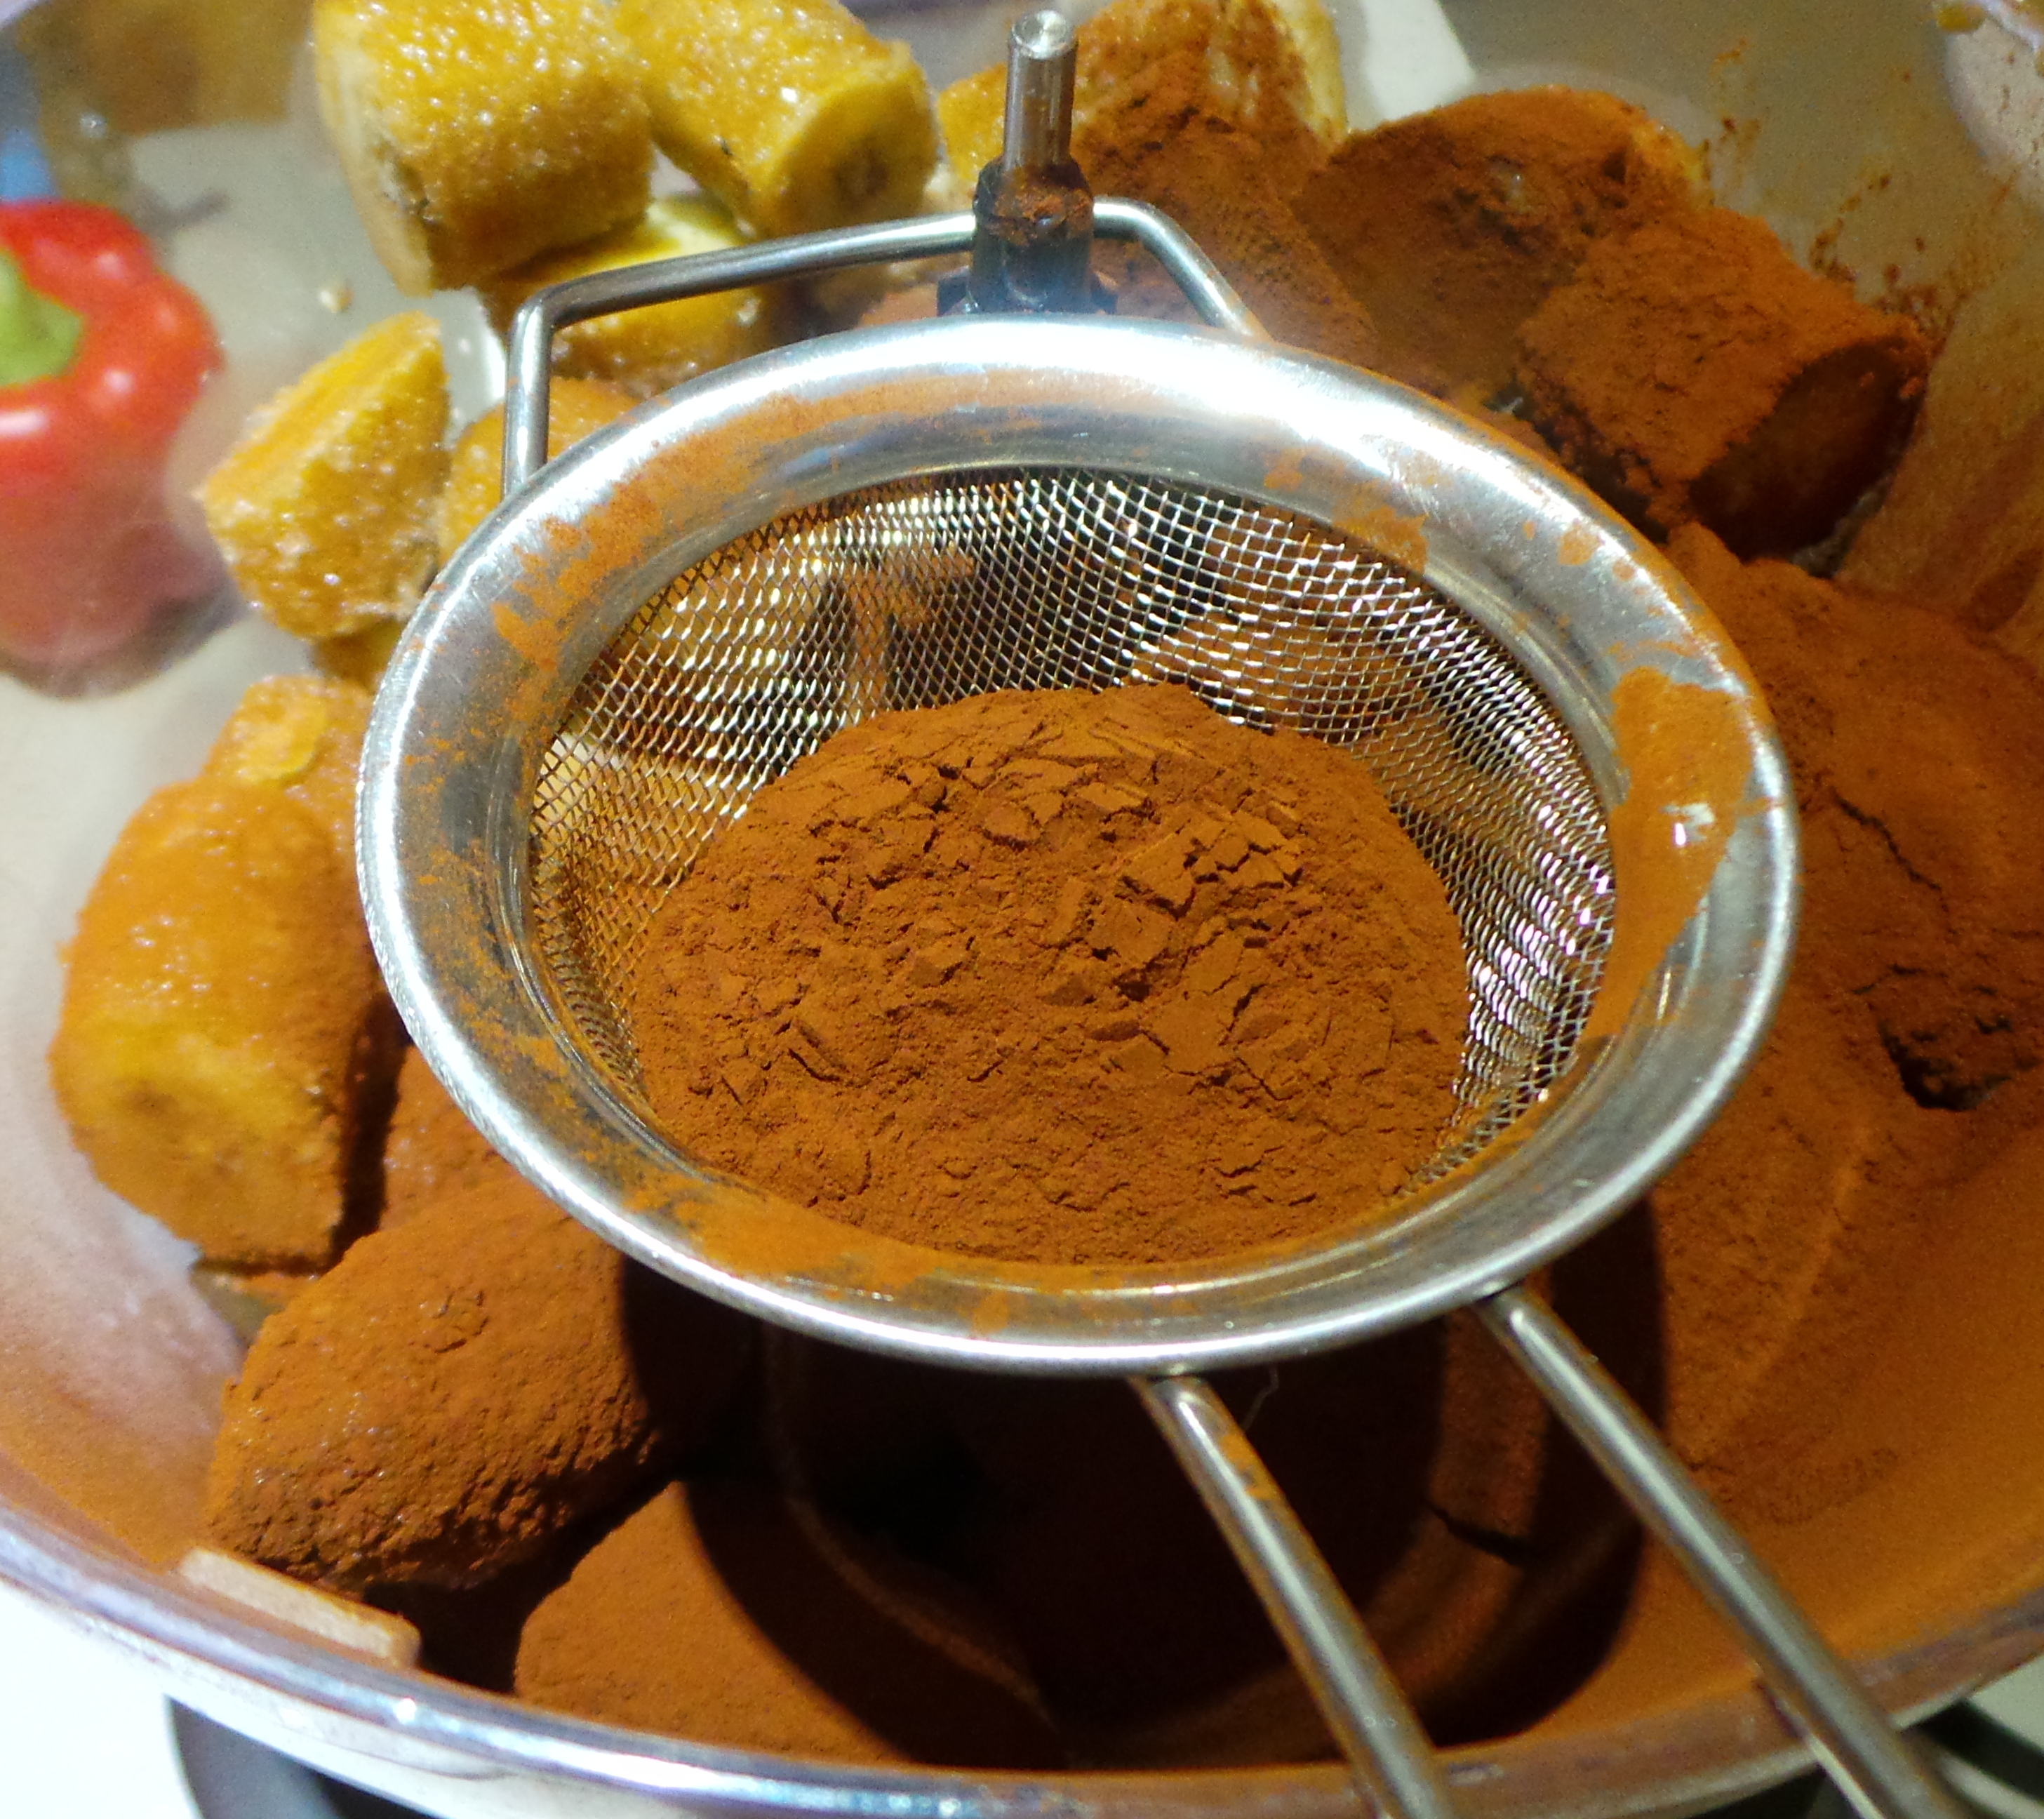
Flour and cocoa for sifting.
At this point most of the dry ingredients can be combined and sifted into a bowl.
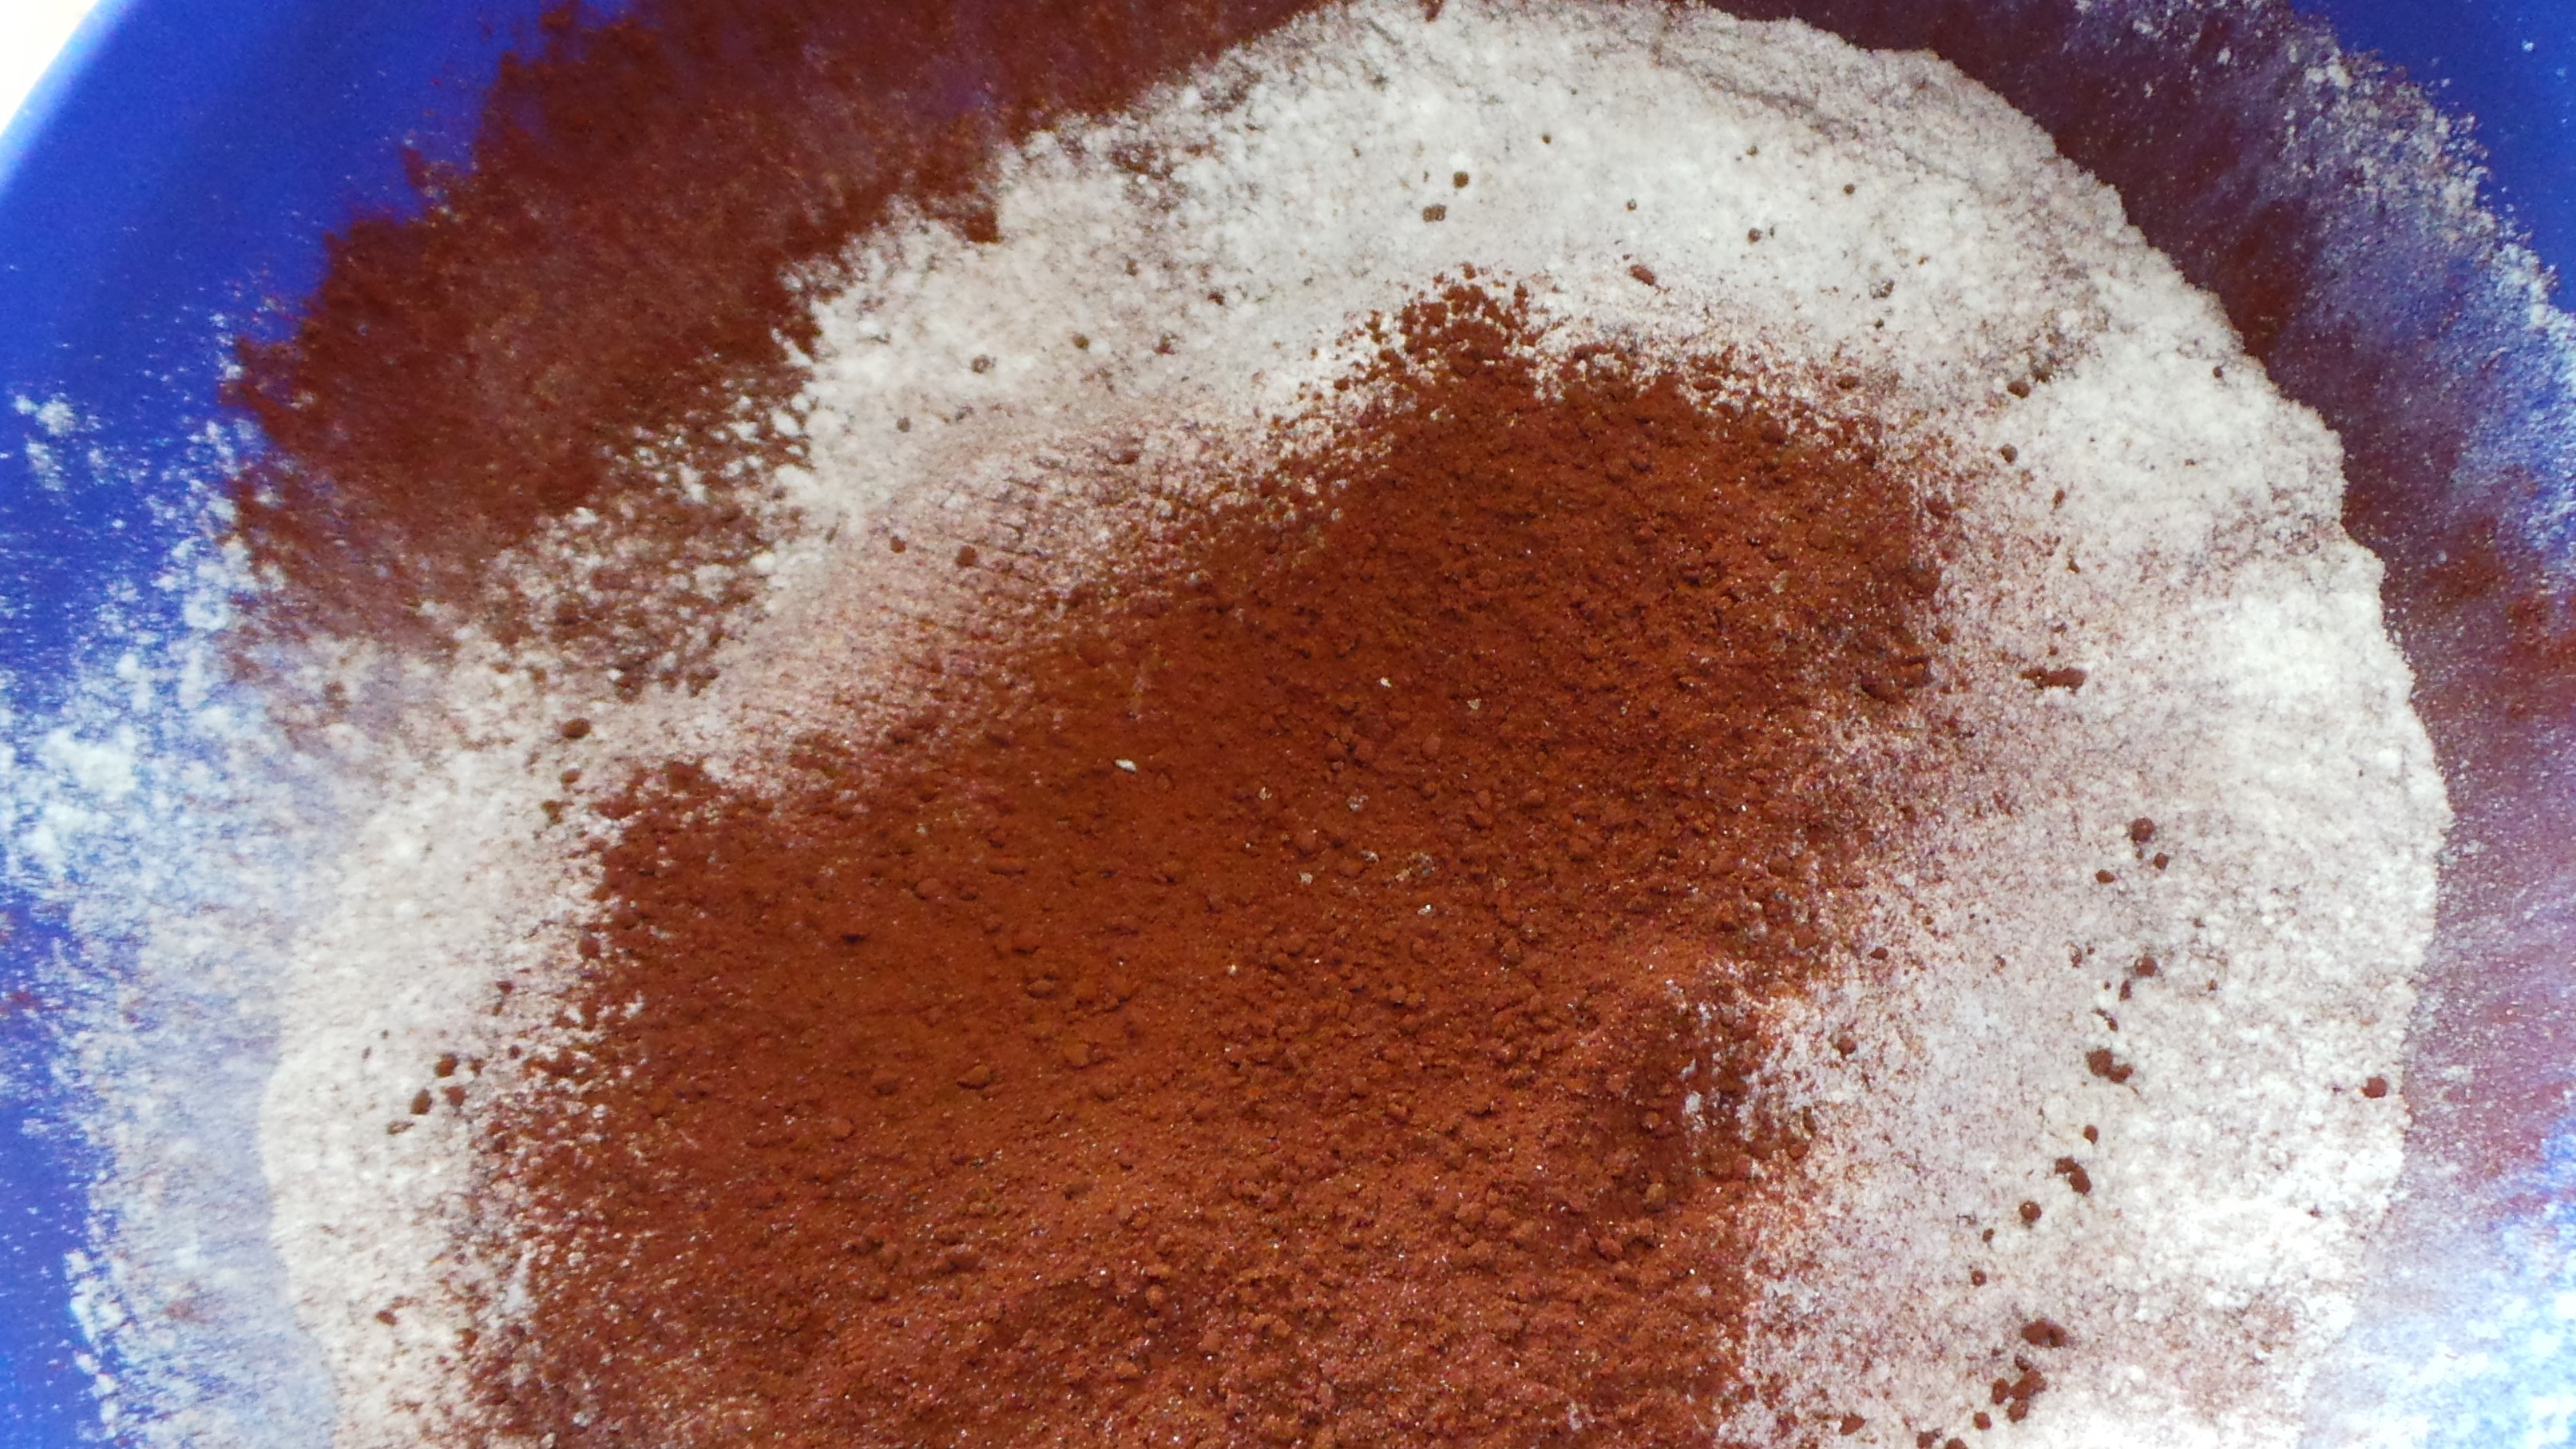
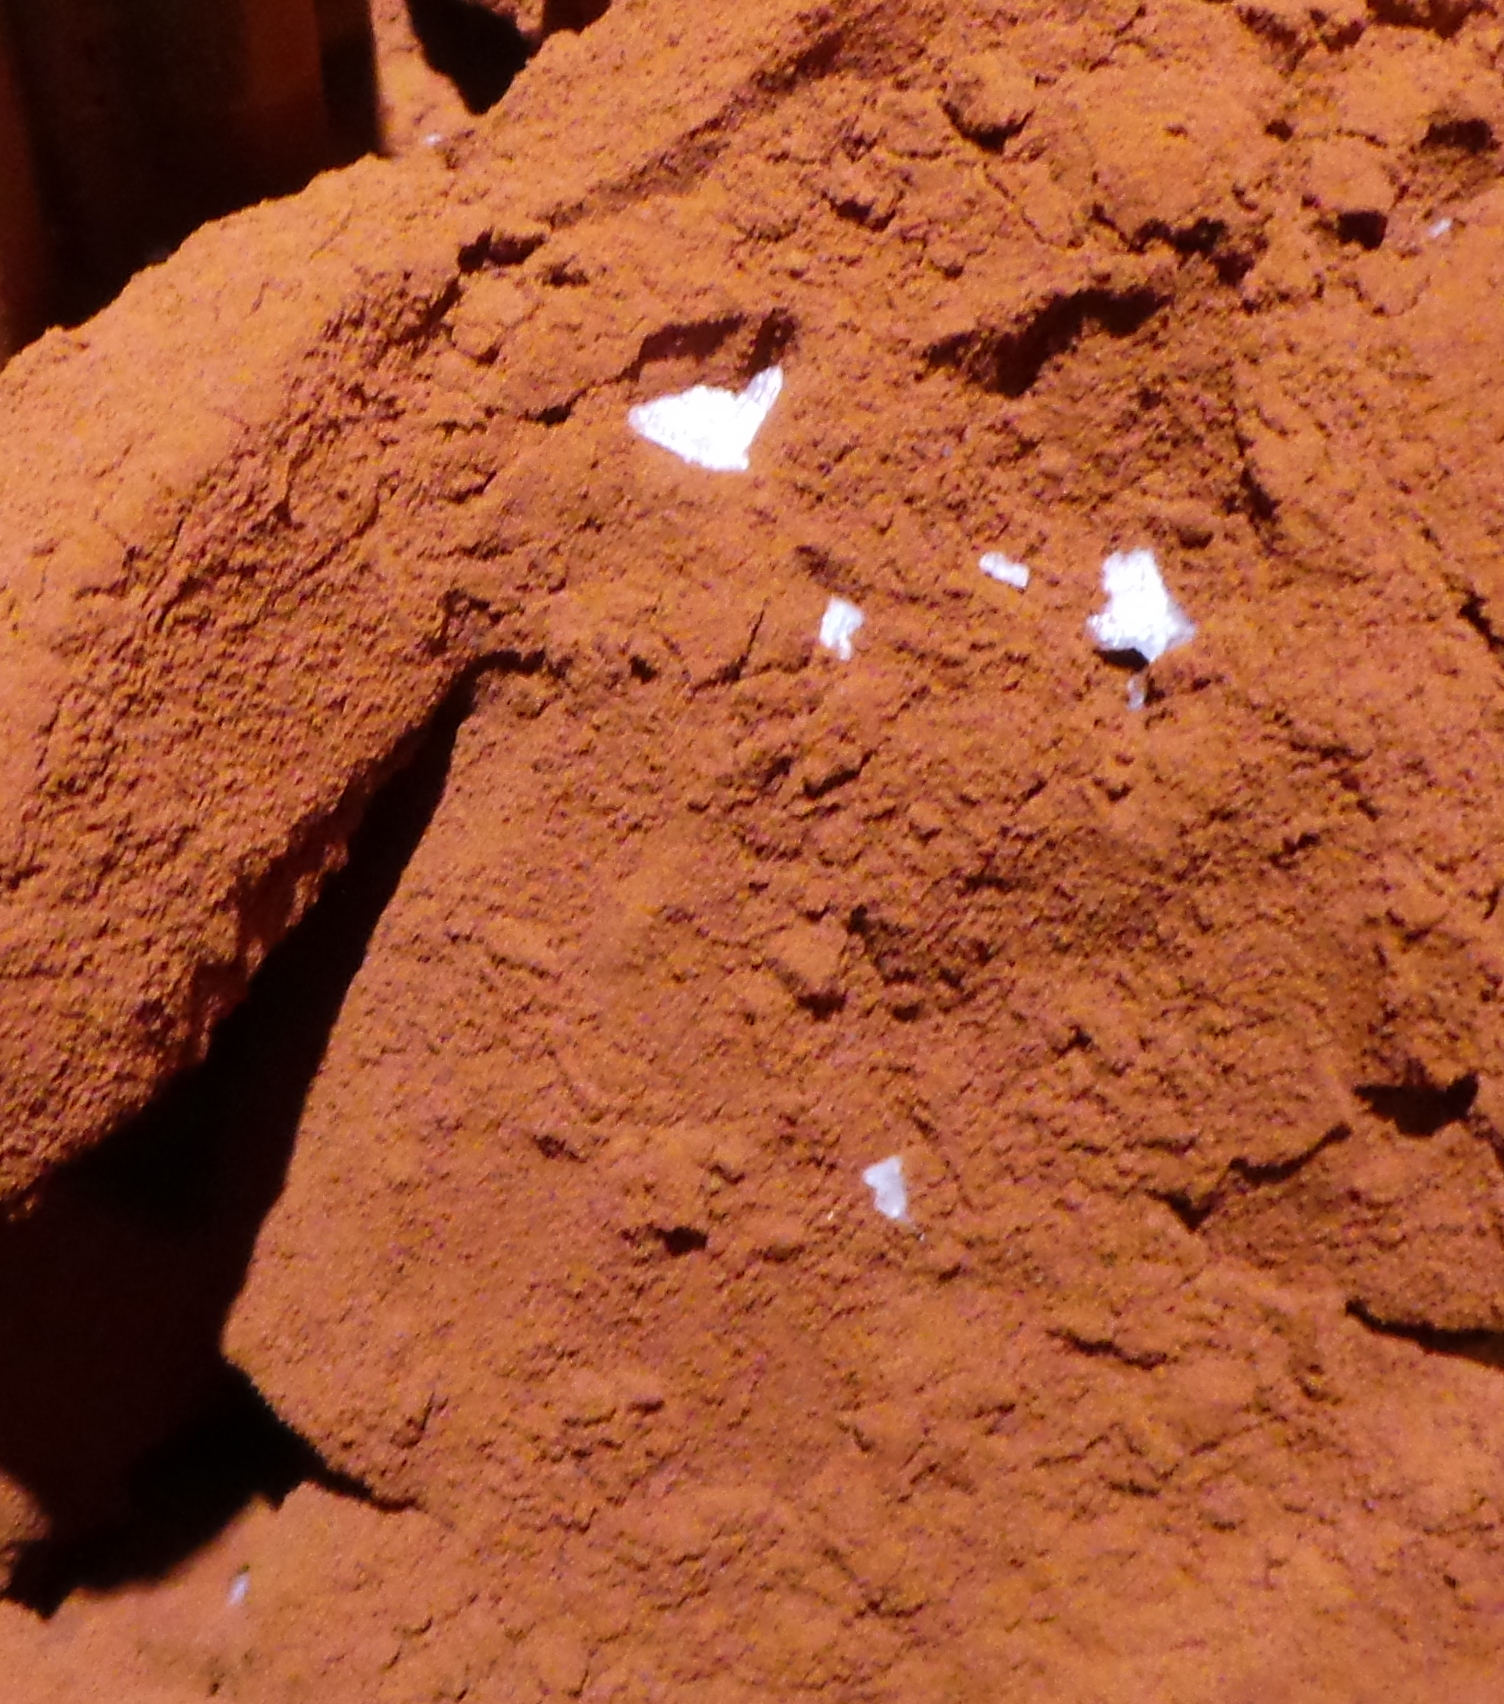
Flour and cocoa sifted.
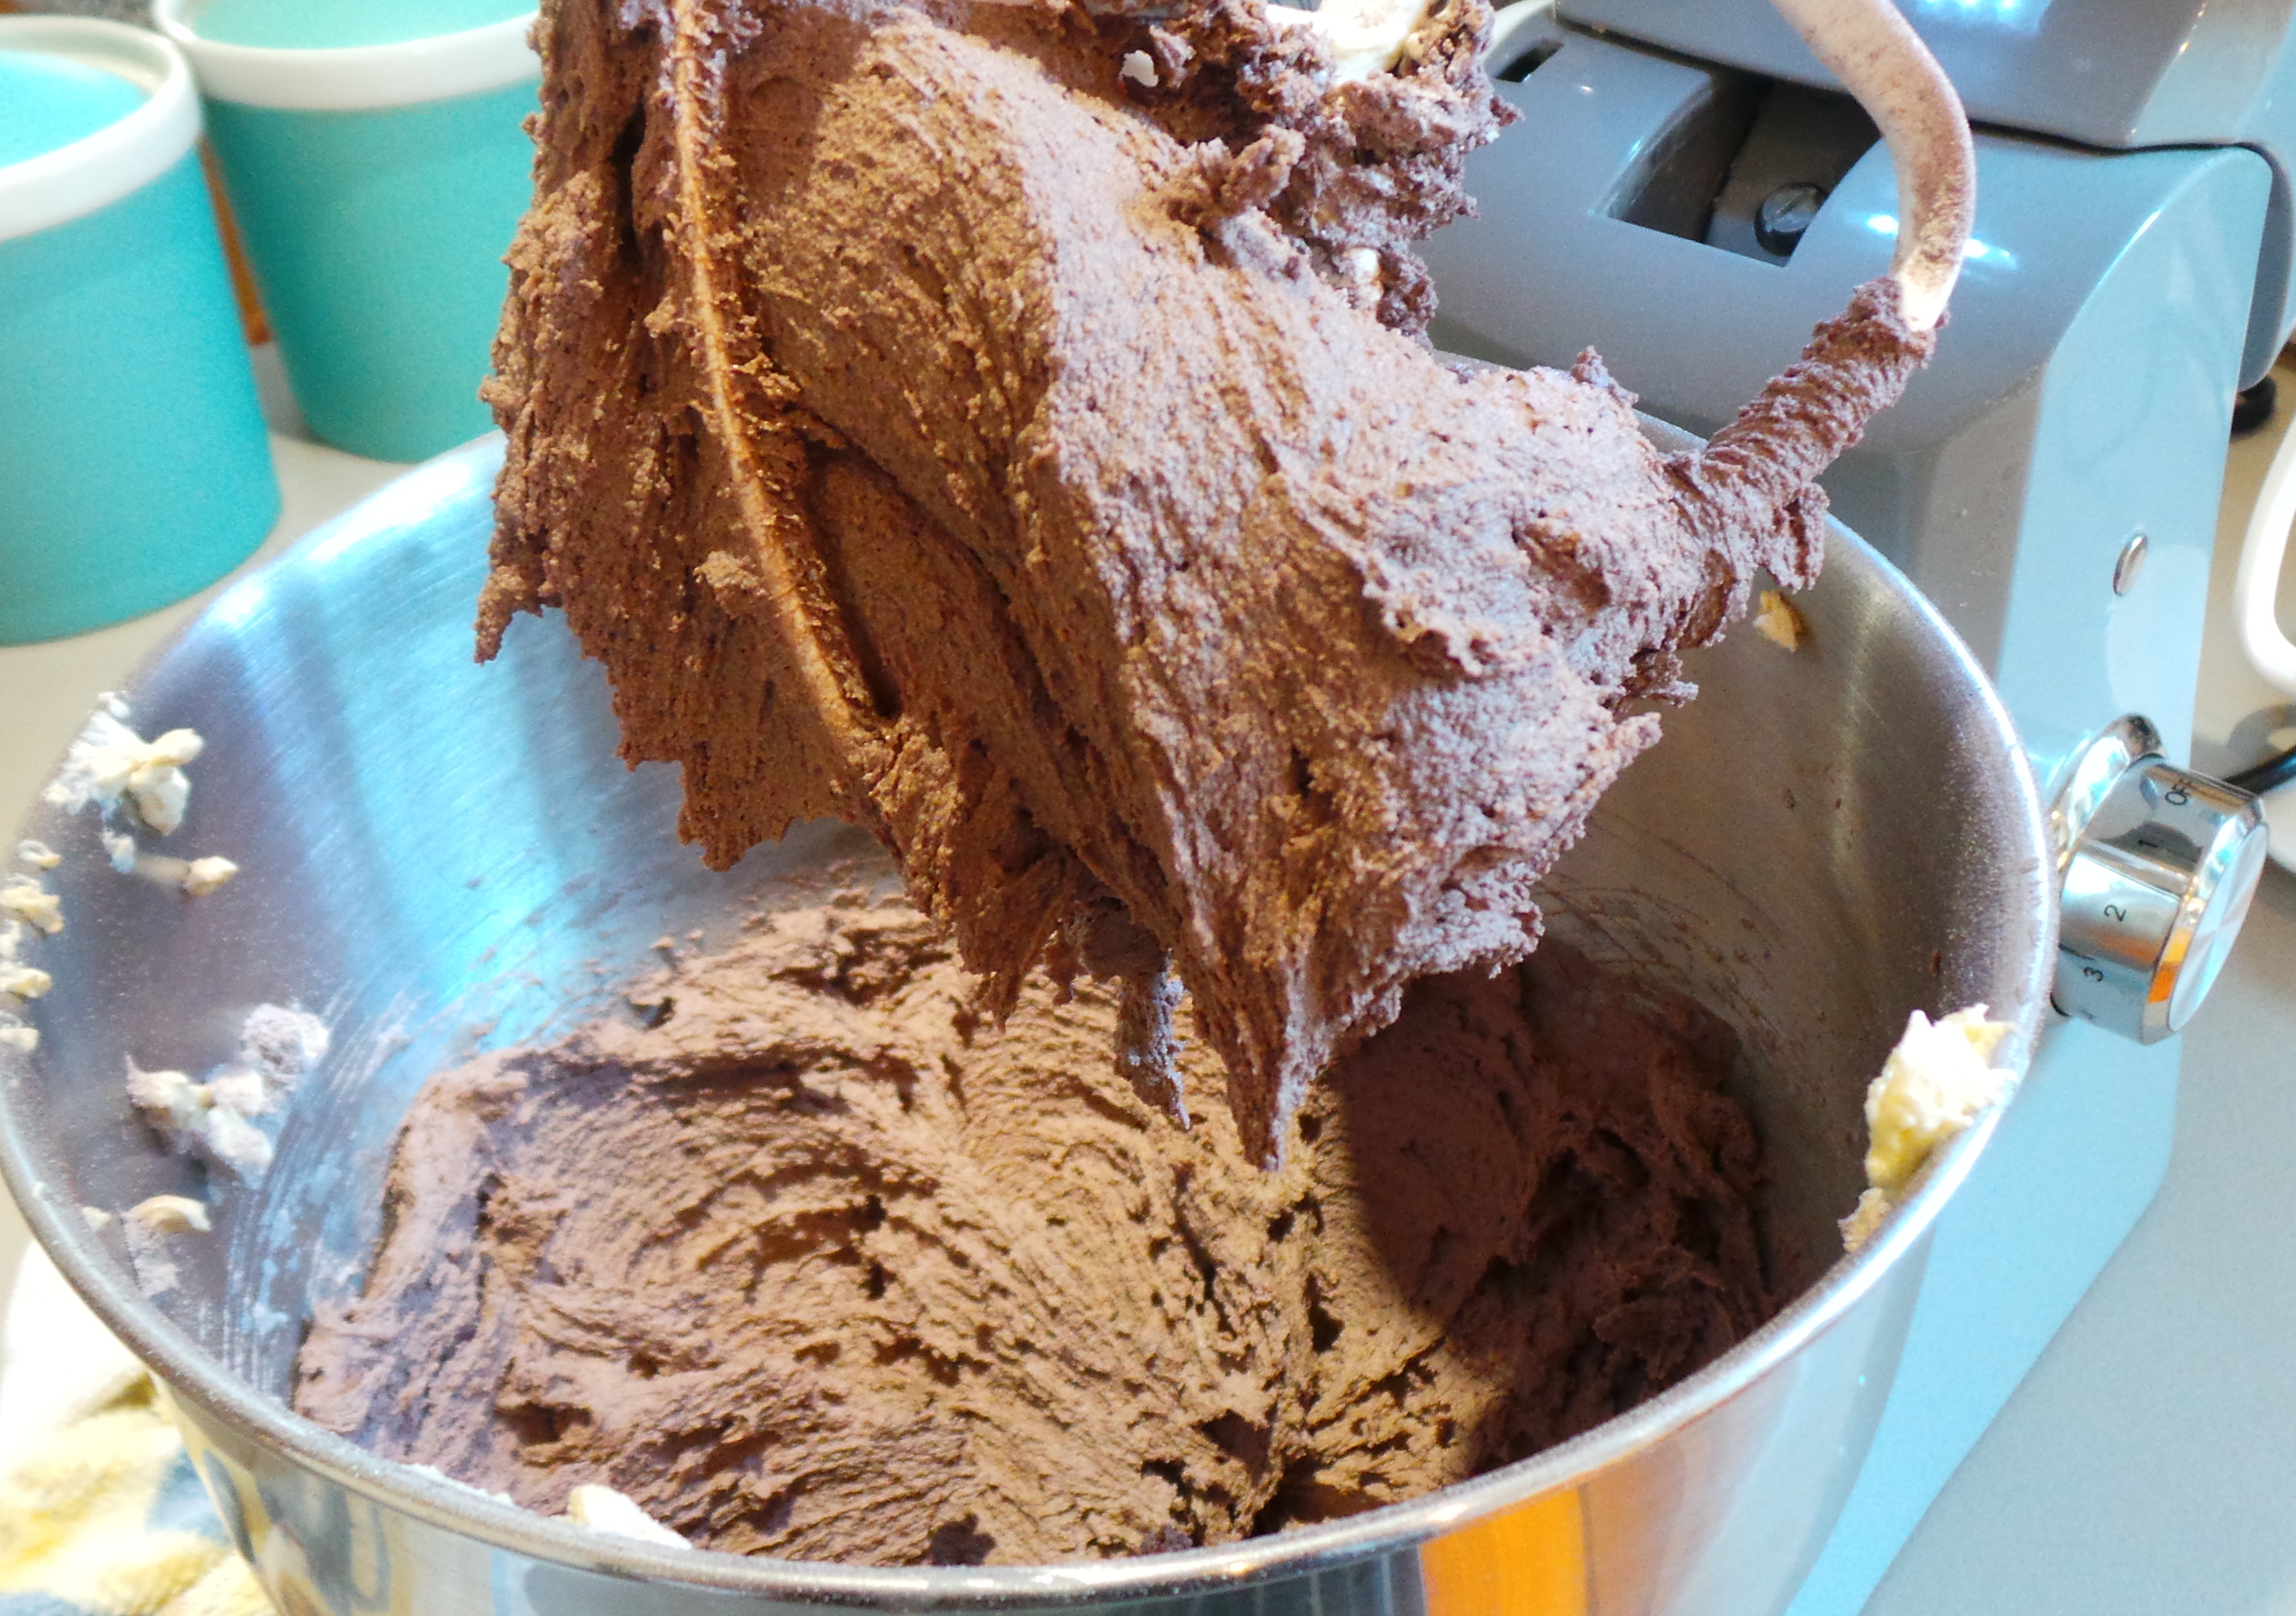
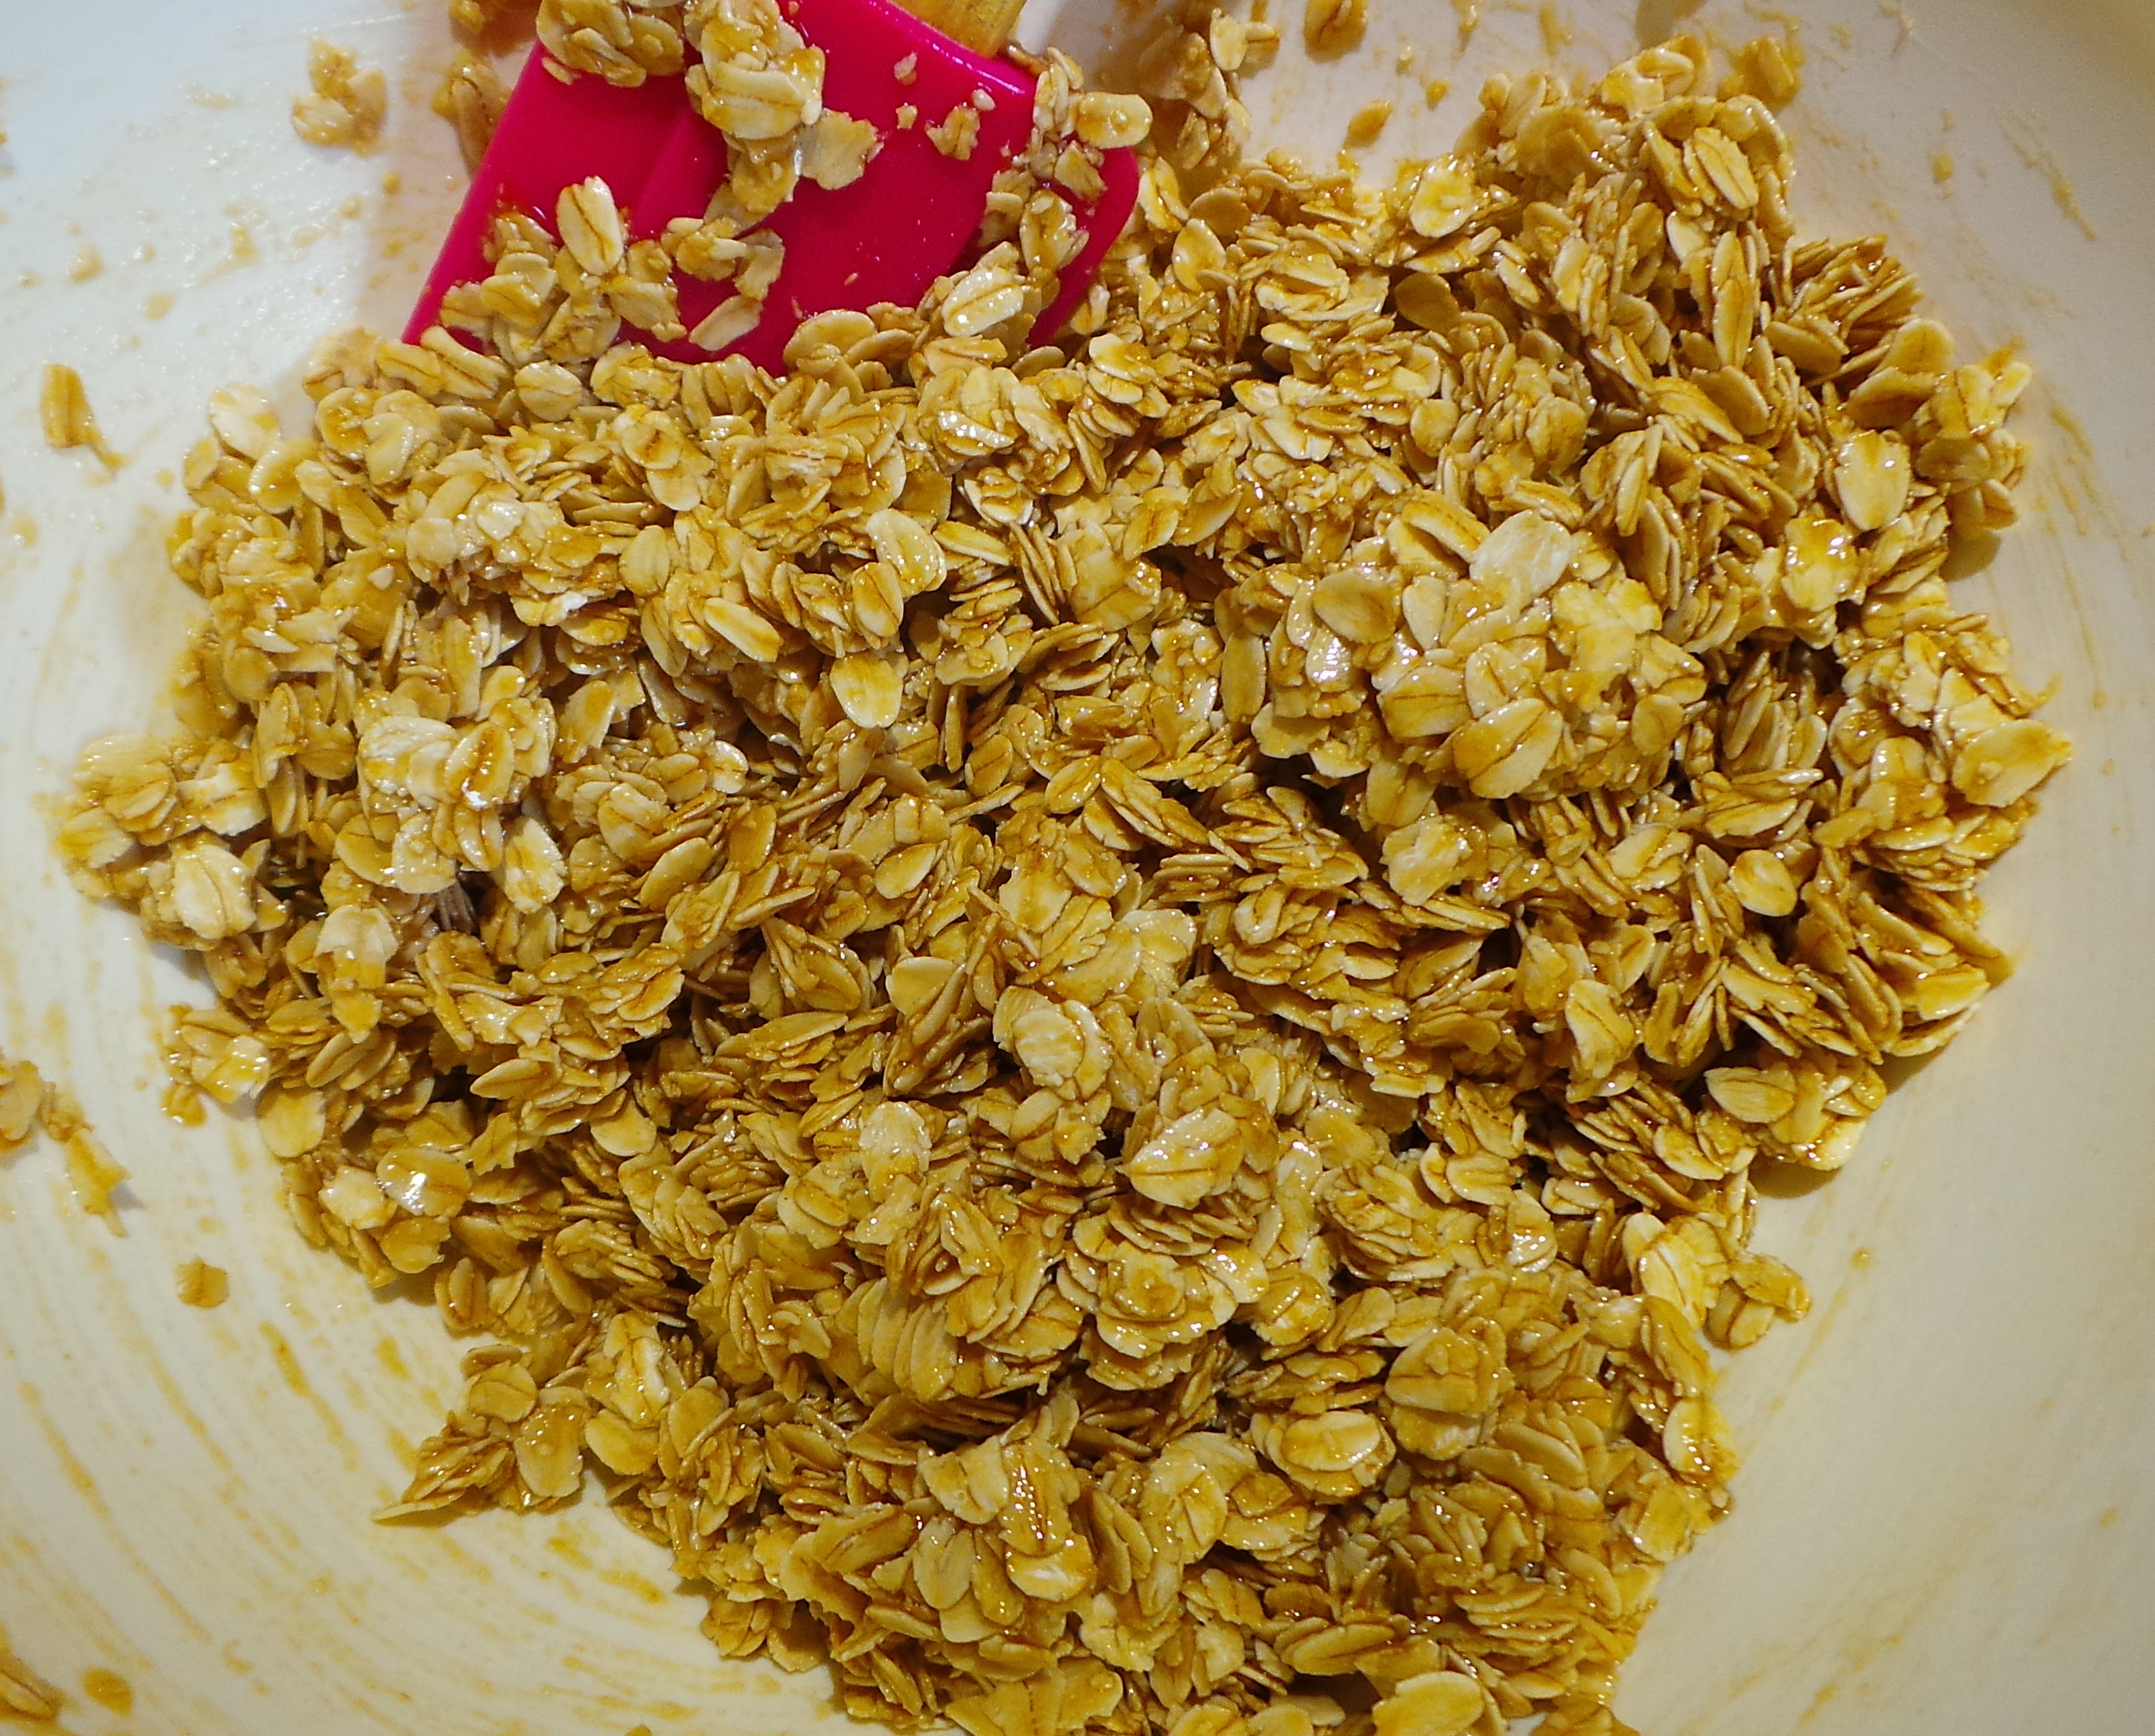
Add this to the mixing bowl and stir until just combined. Then add the rolled oats and repeat.
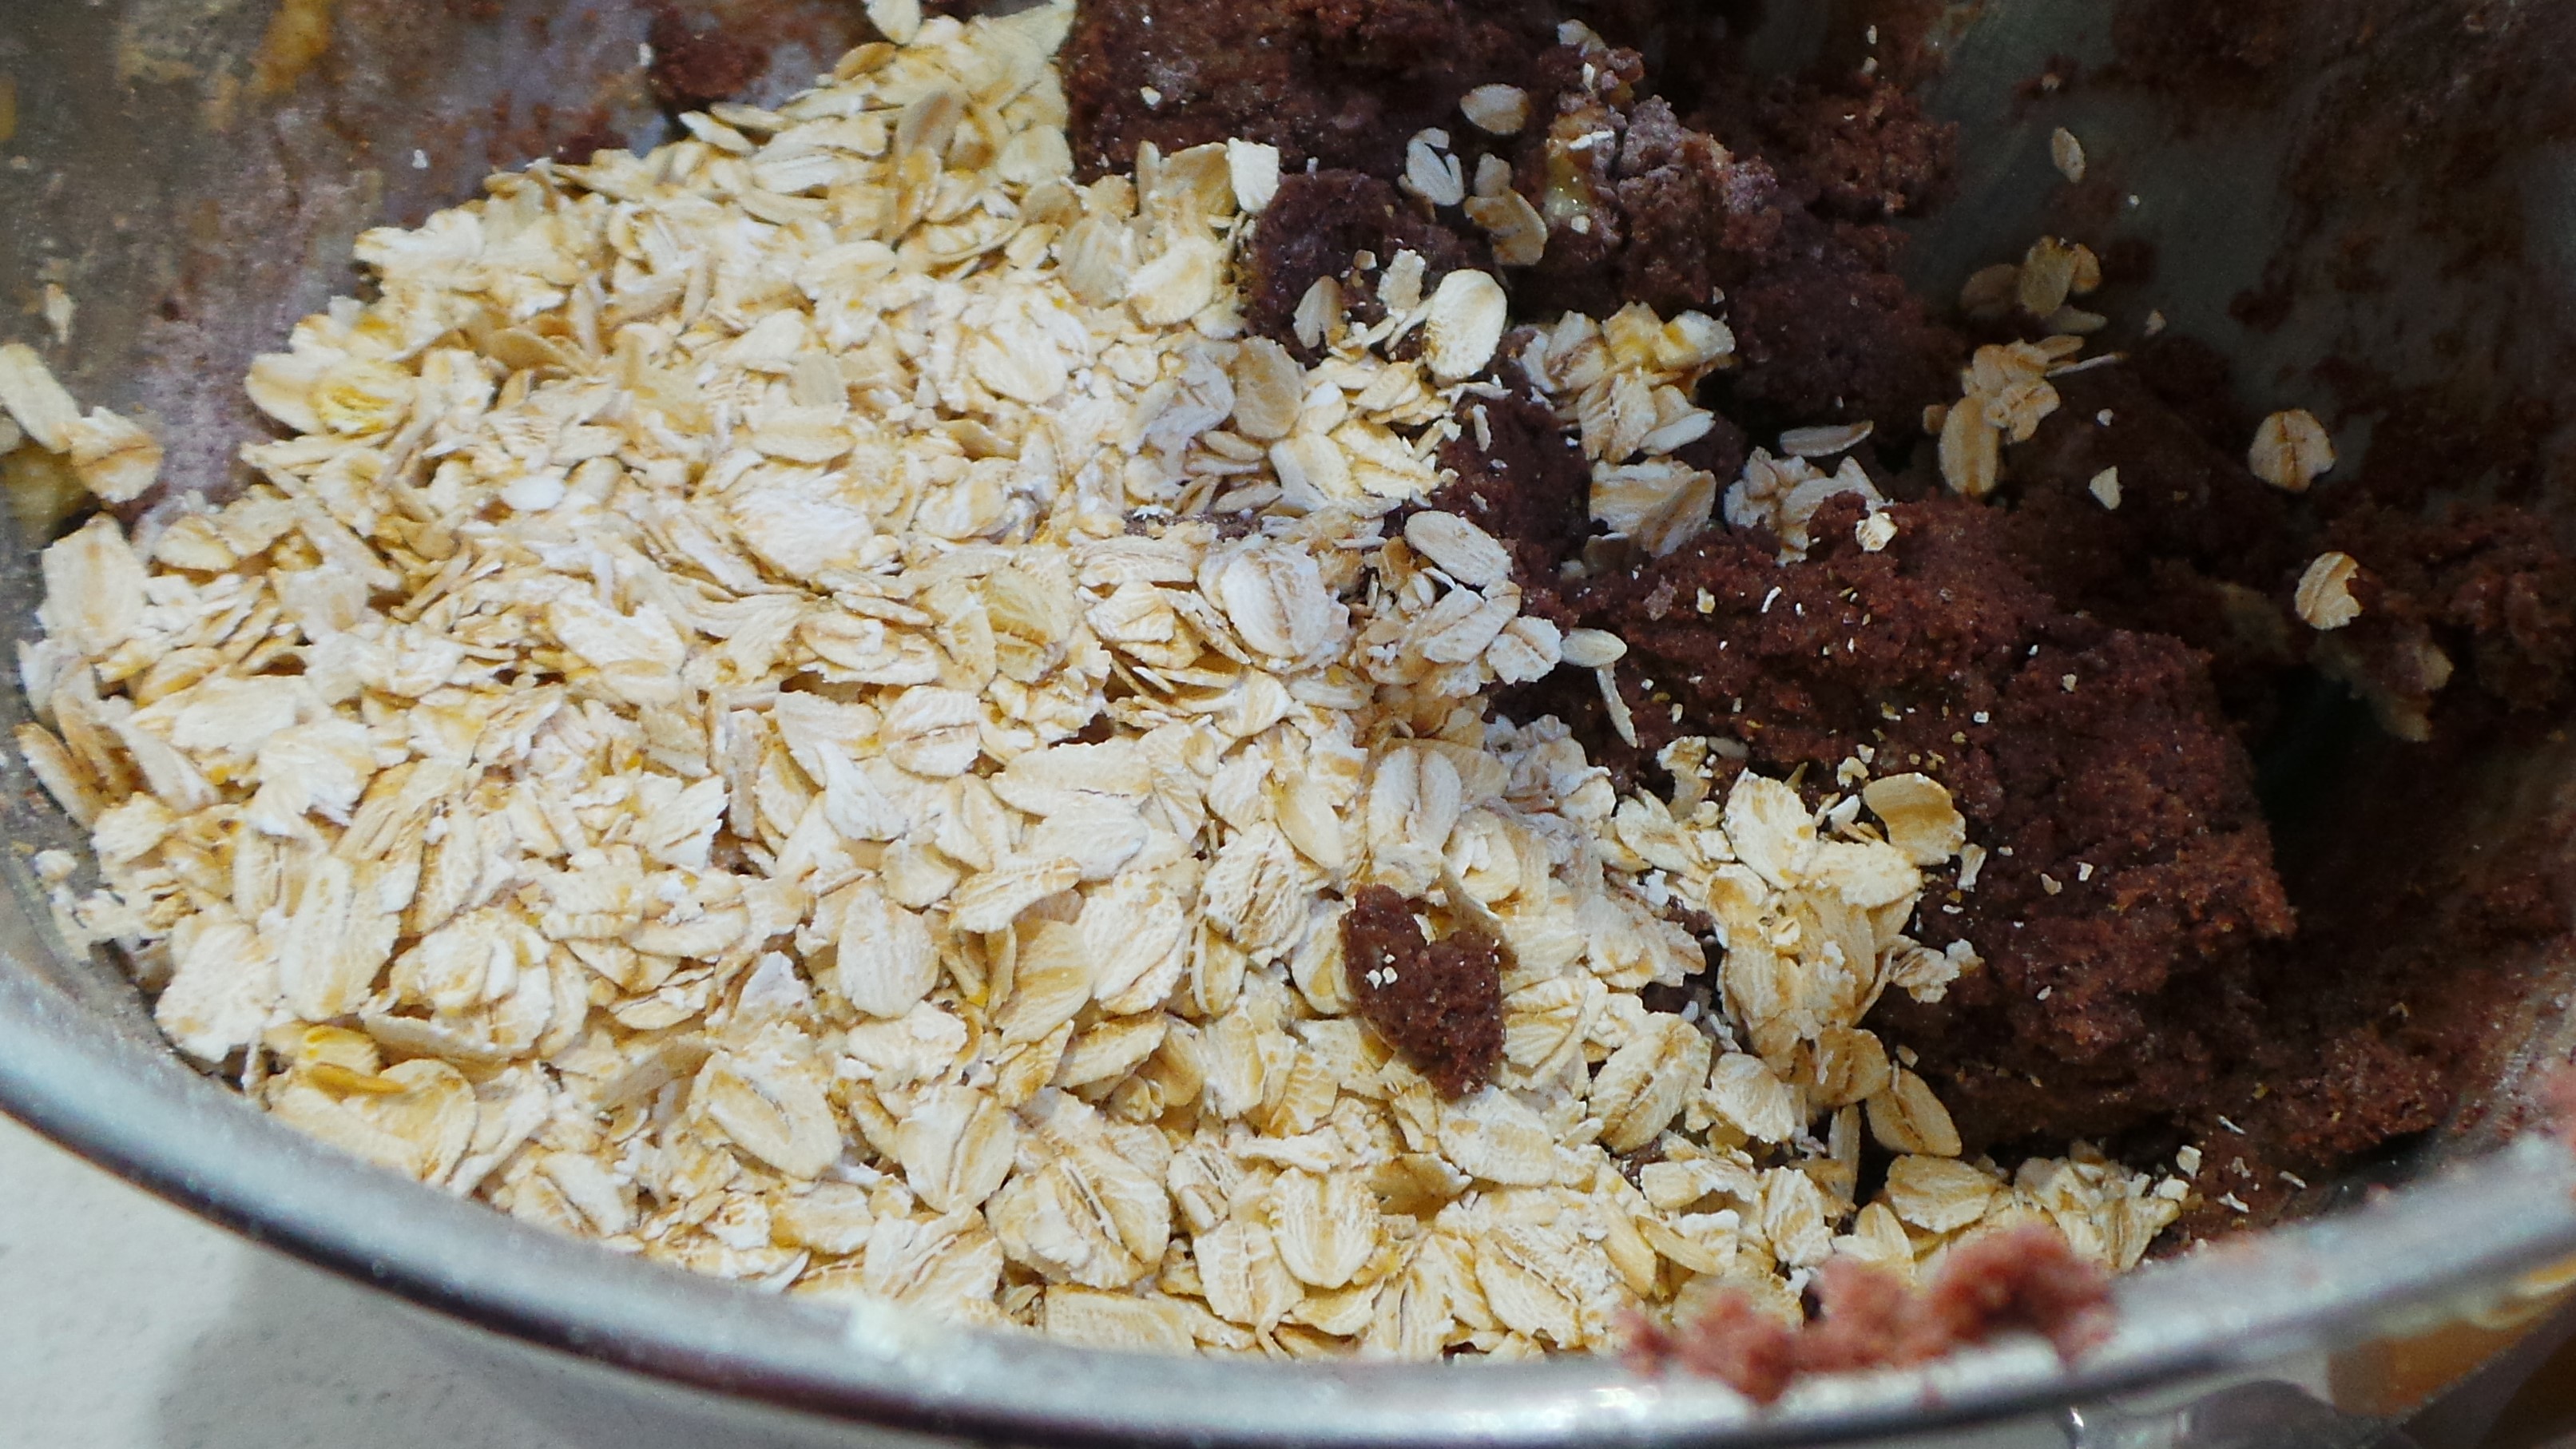
Oats are healthy.
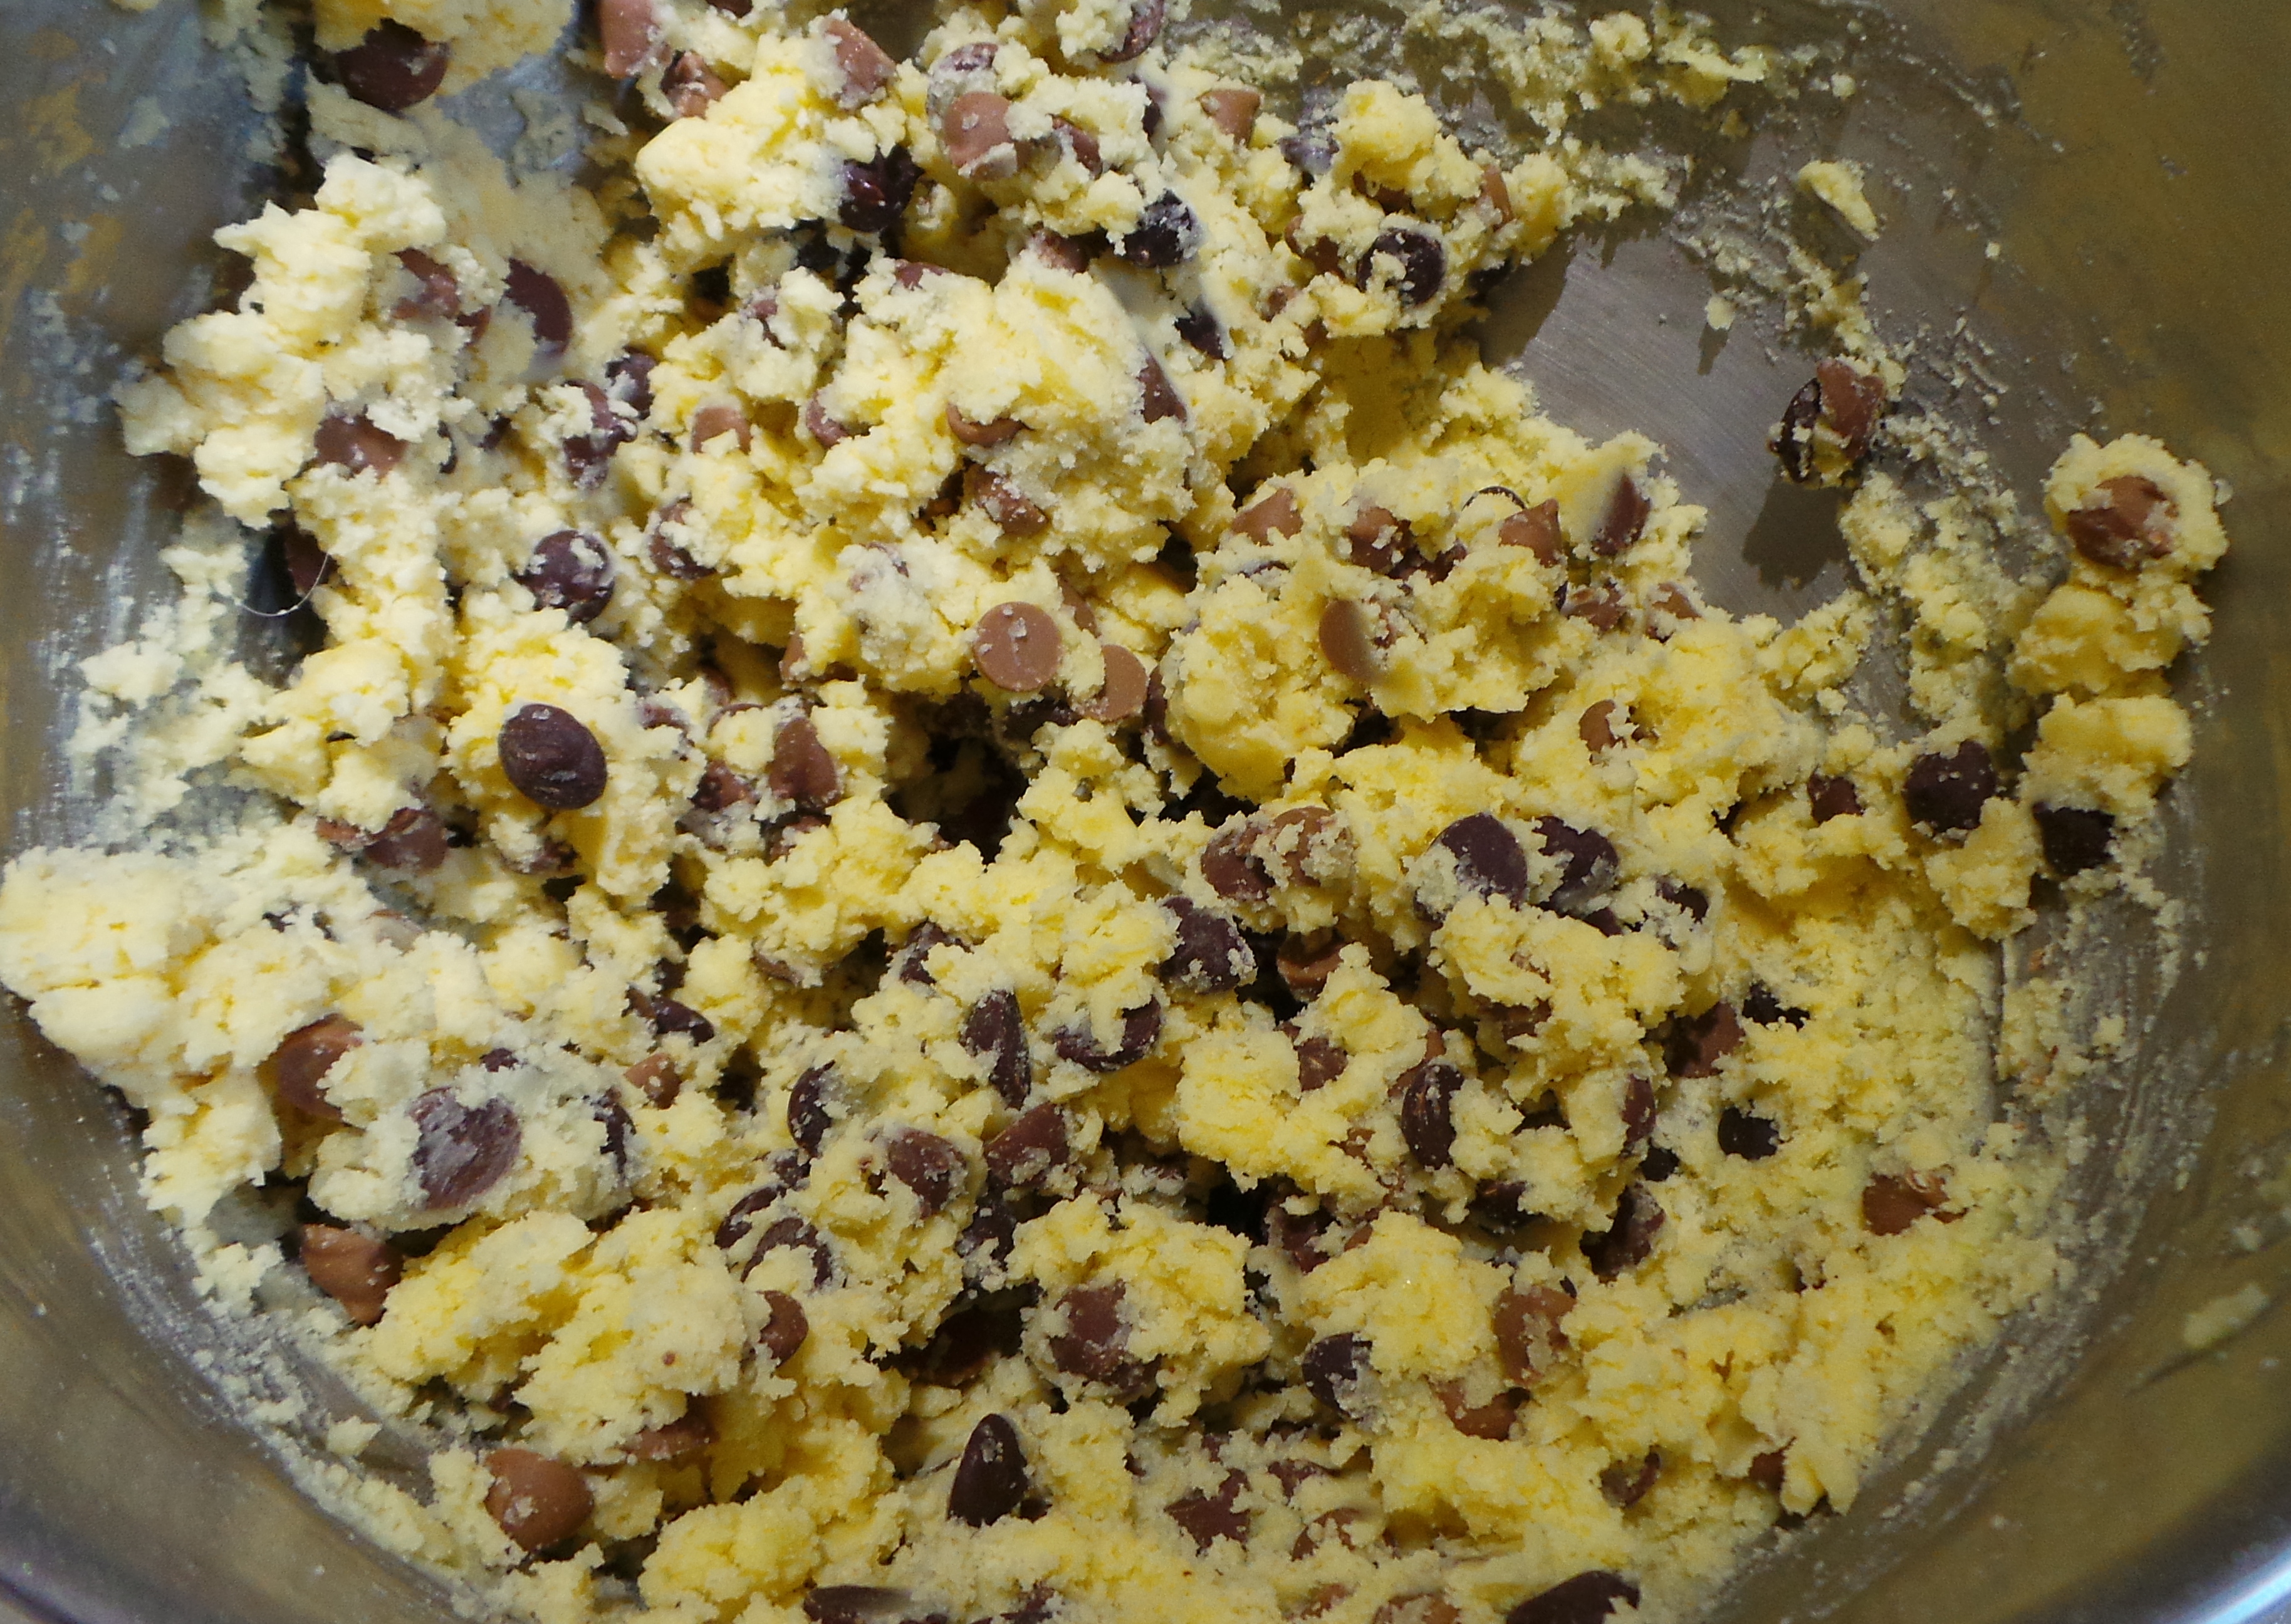
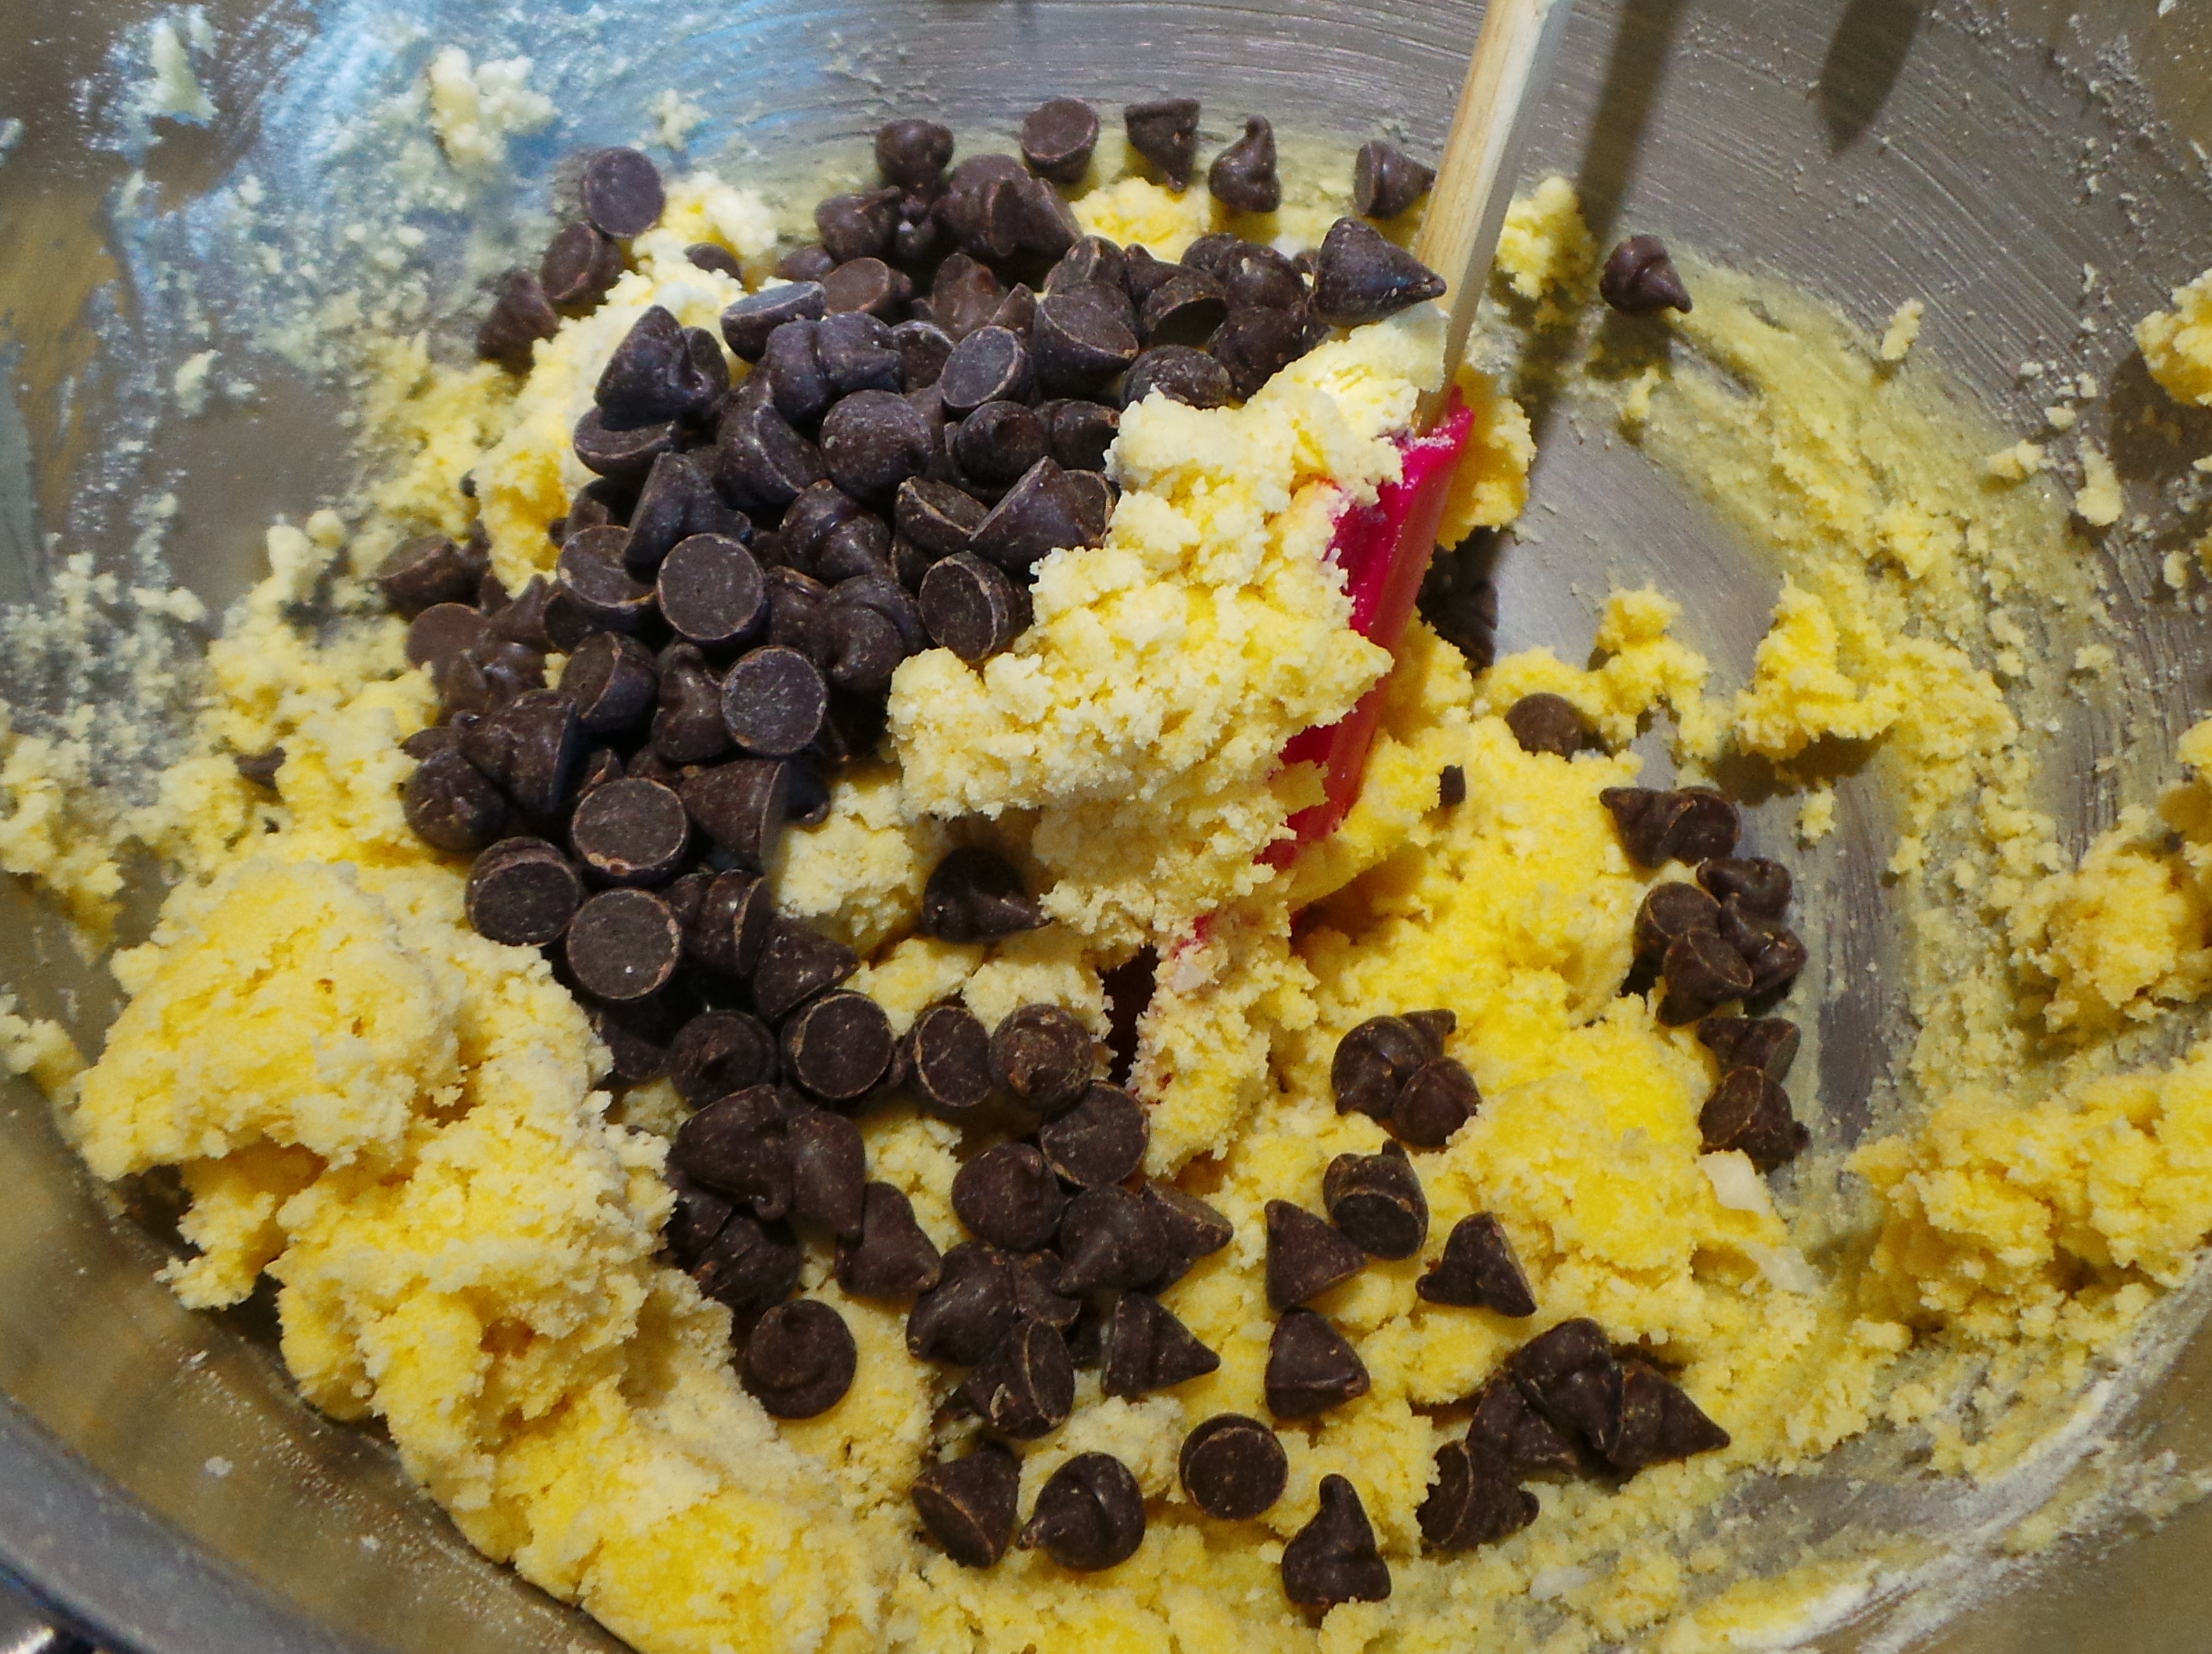
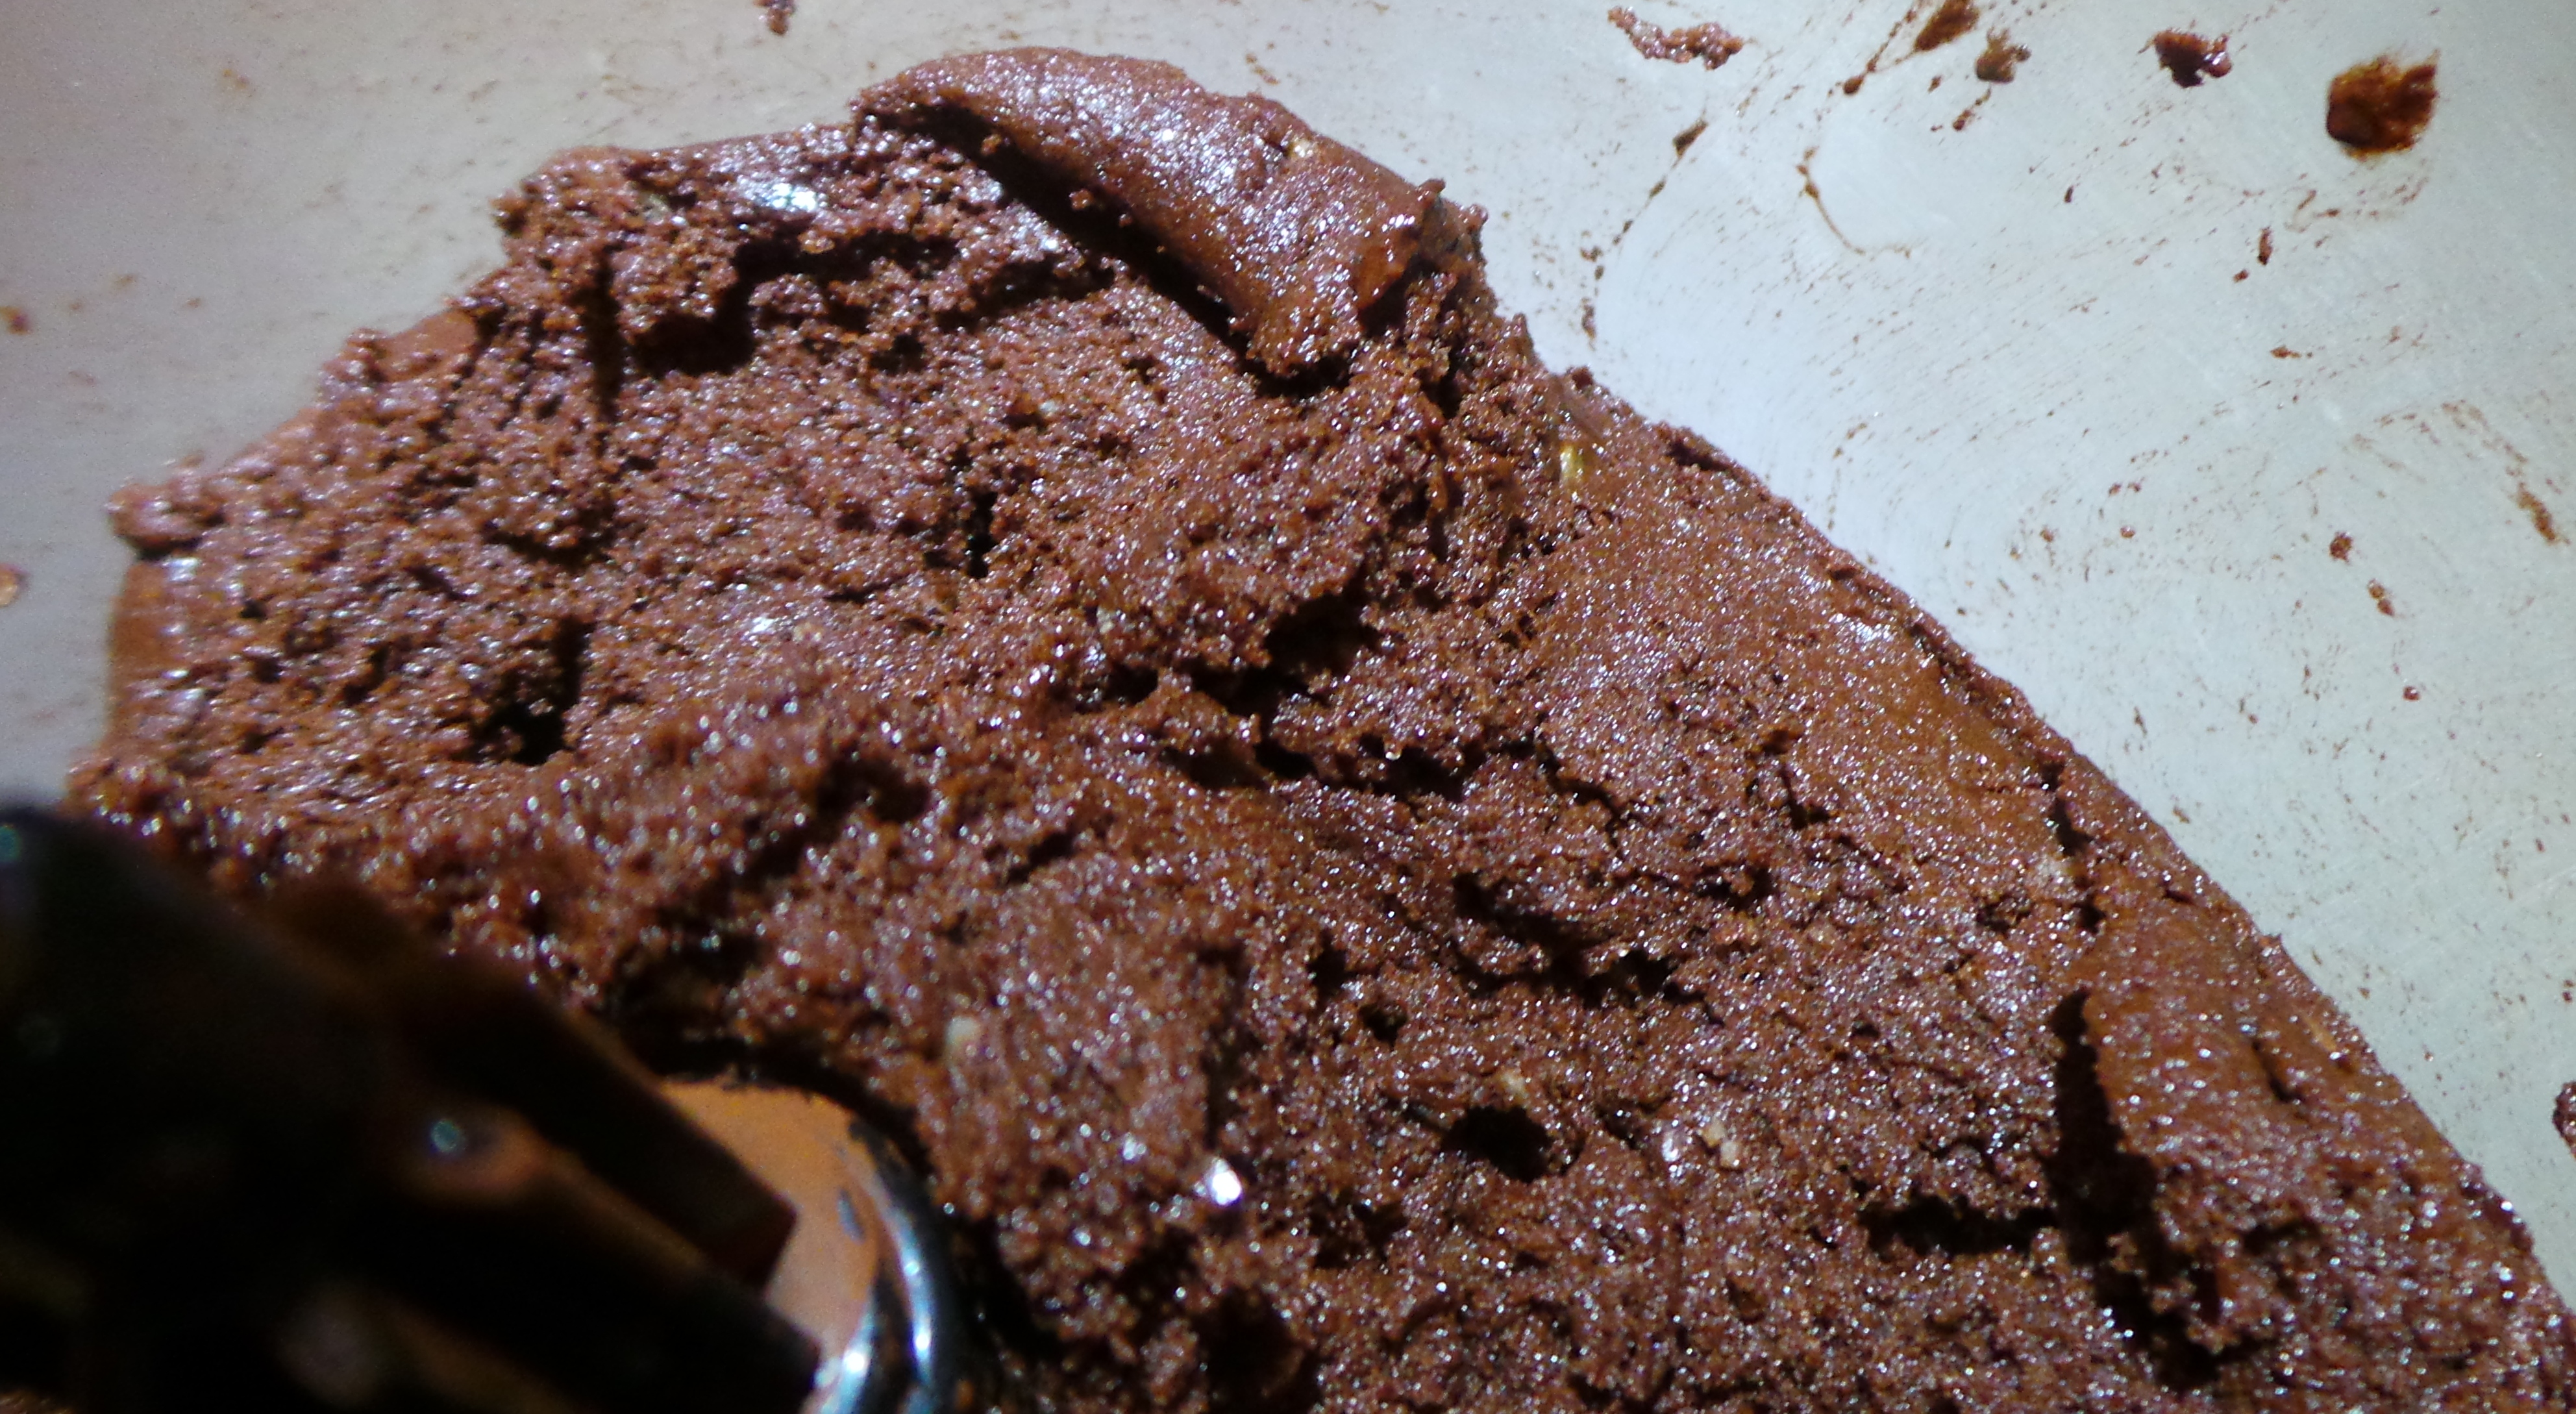
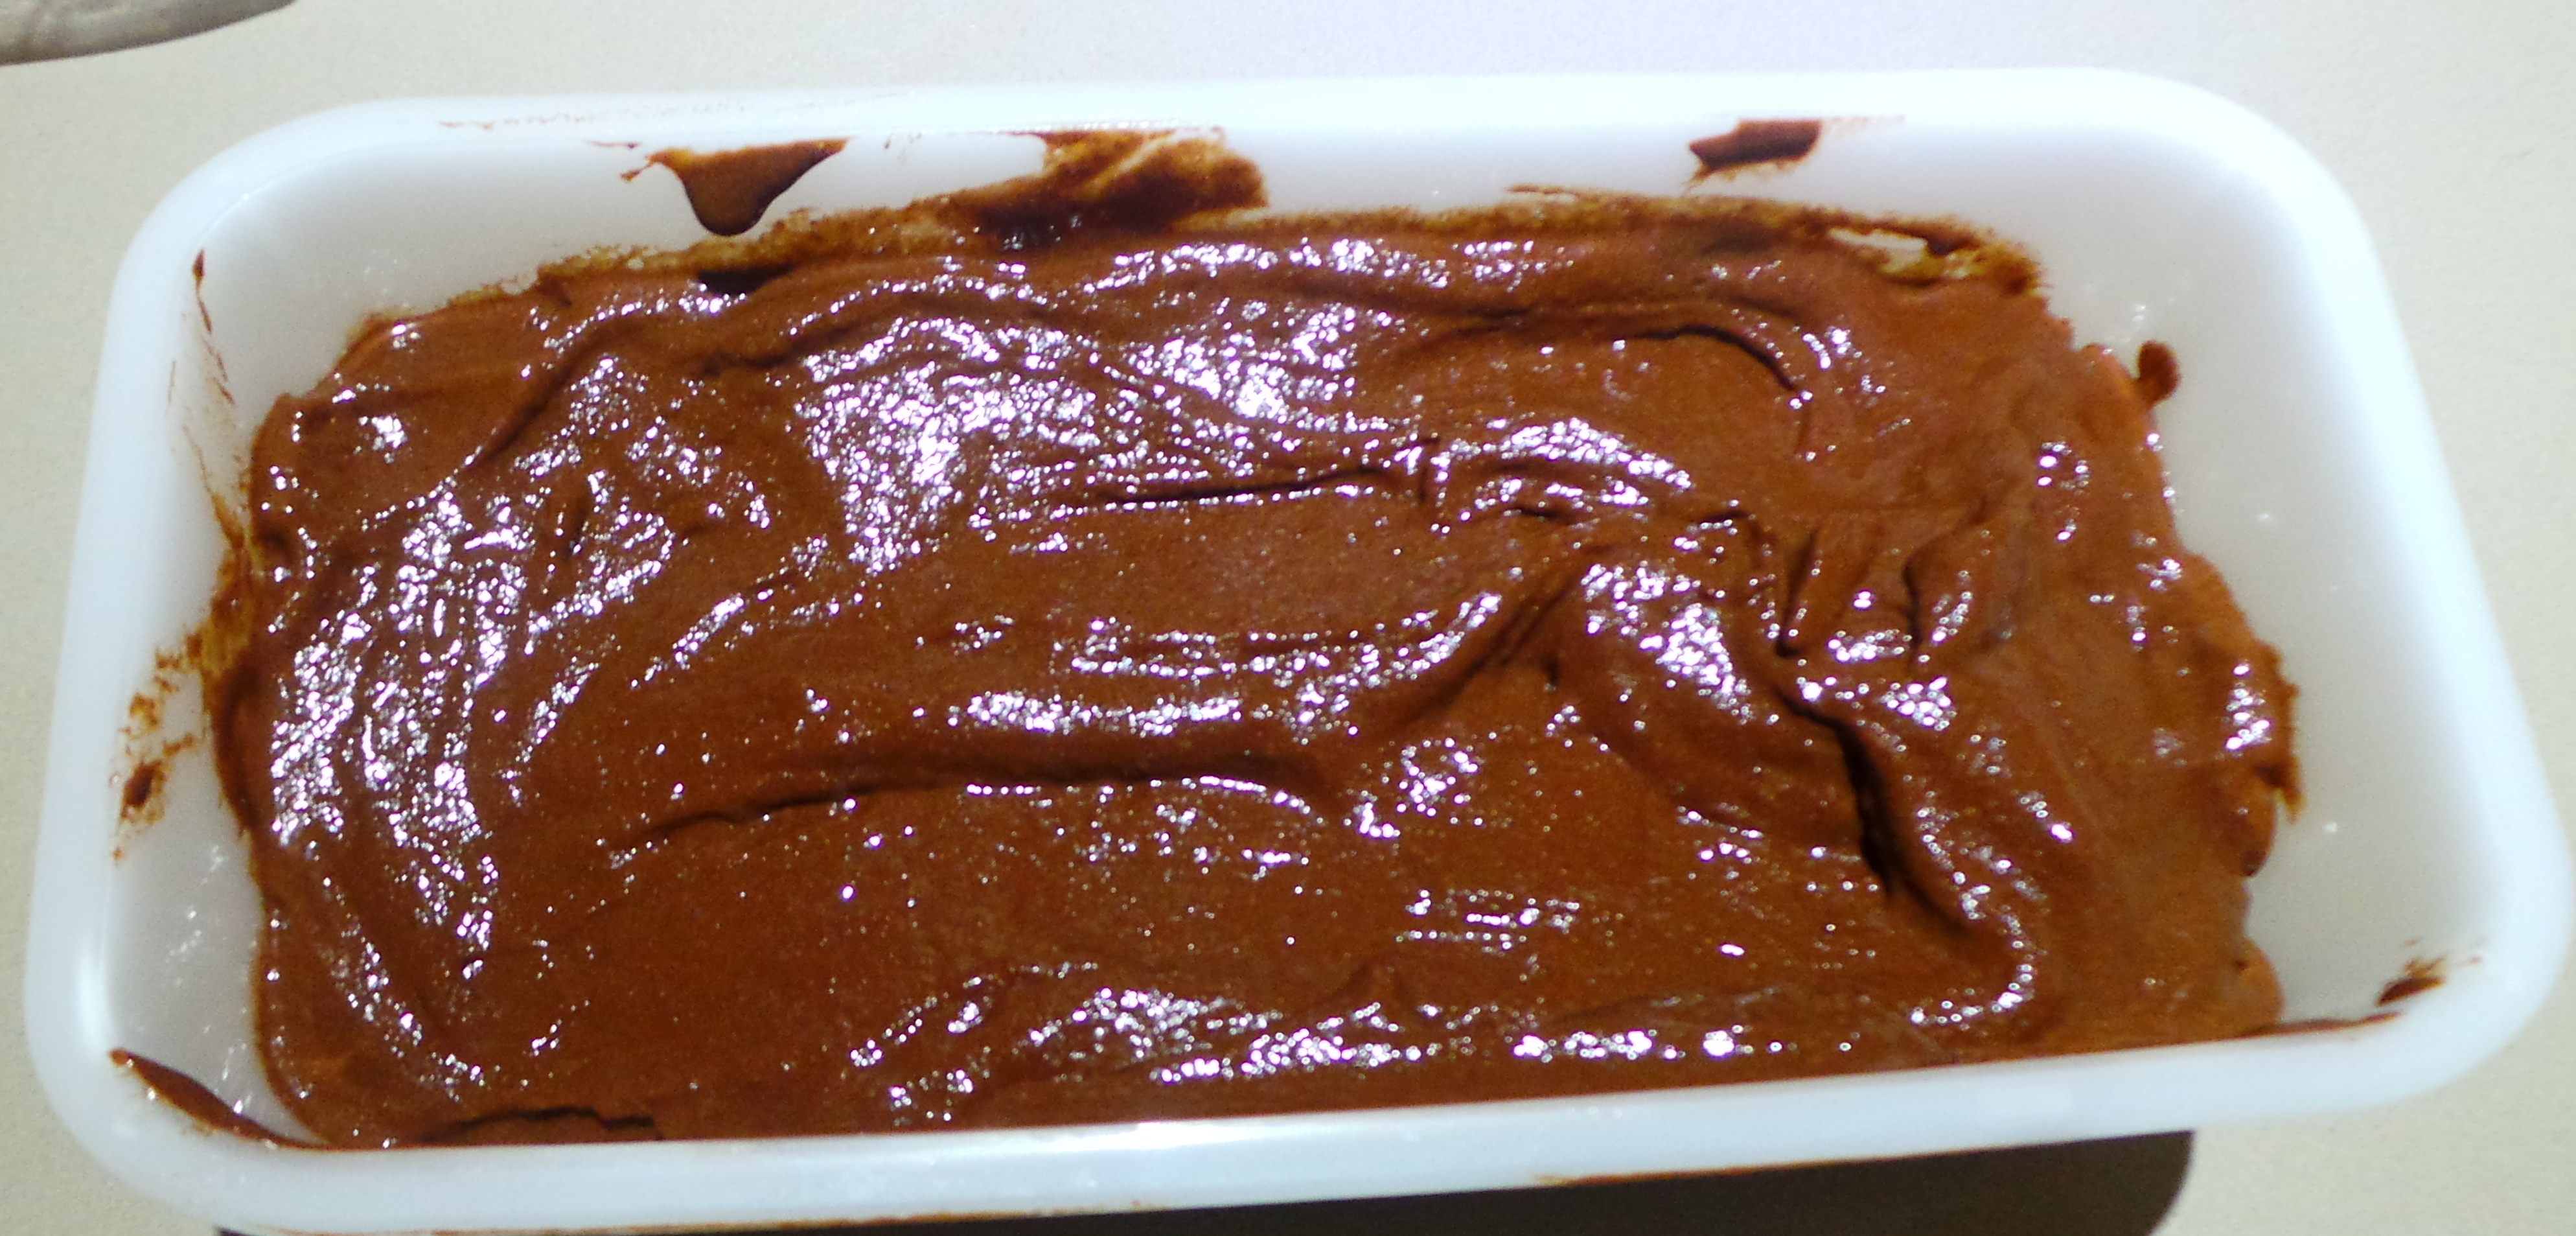
Stir those in and add the chocolate pieces. I prefer to use bits from a smashed up block of cooking chocolate, because it gives a different texture to the finished product. You’ll end up with pools of chocolate that blend nicely into the mix. Choc chips are designed to retain their structural integrity and remain recognisable after baking.
You can use whichever method you like. They’re your cookies.
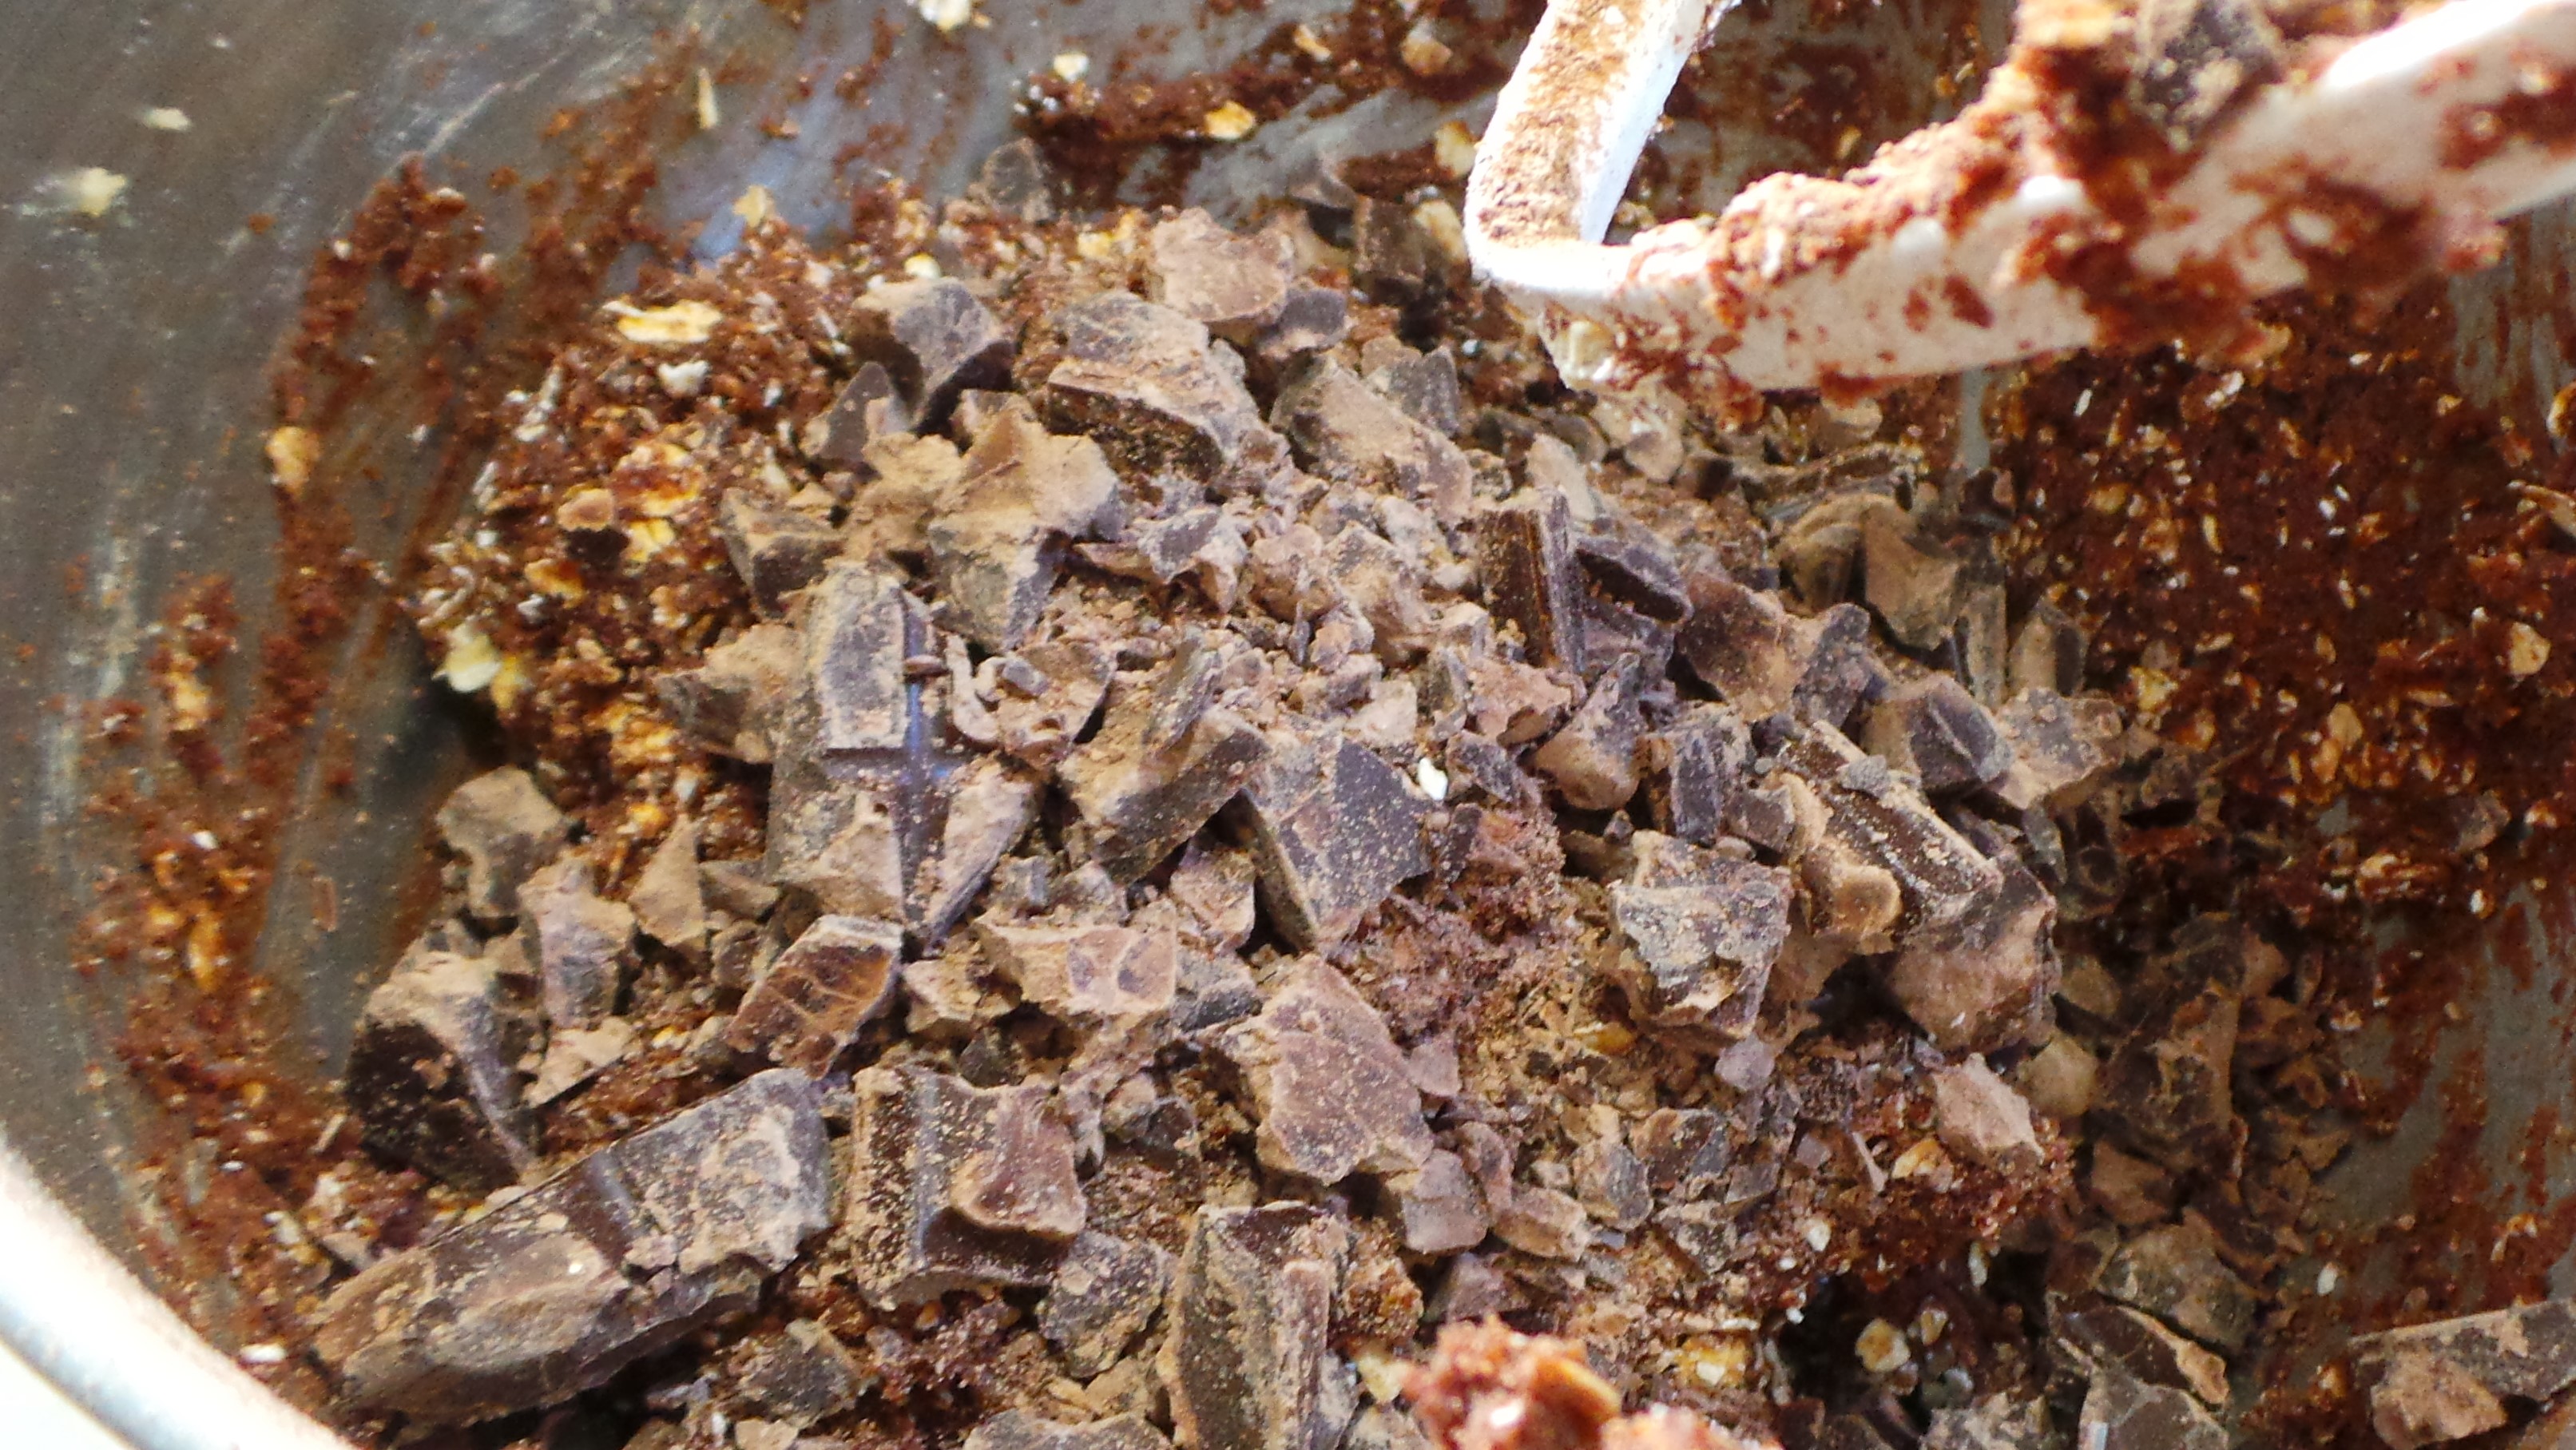
Dark chocolate contains antioxidants. Health food.
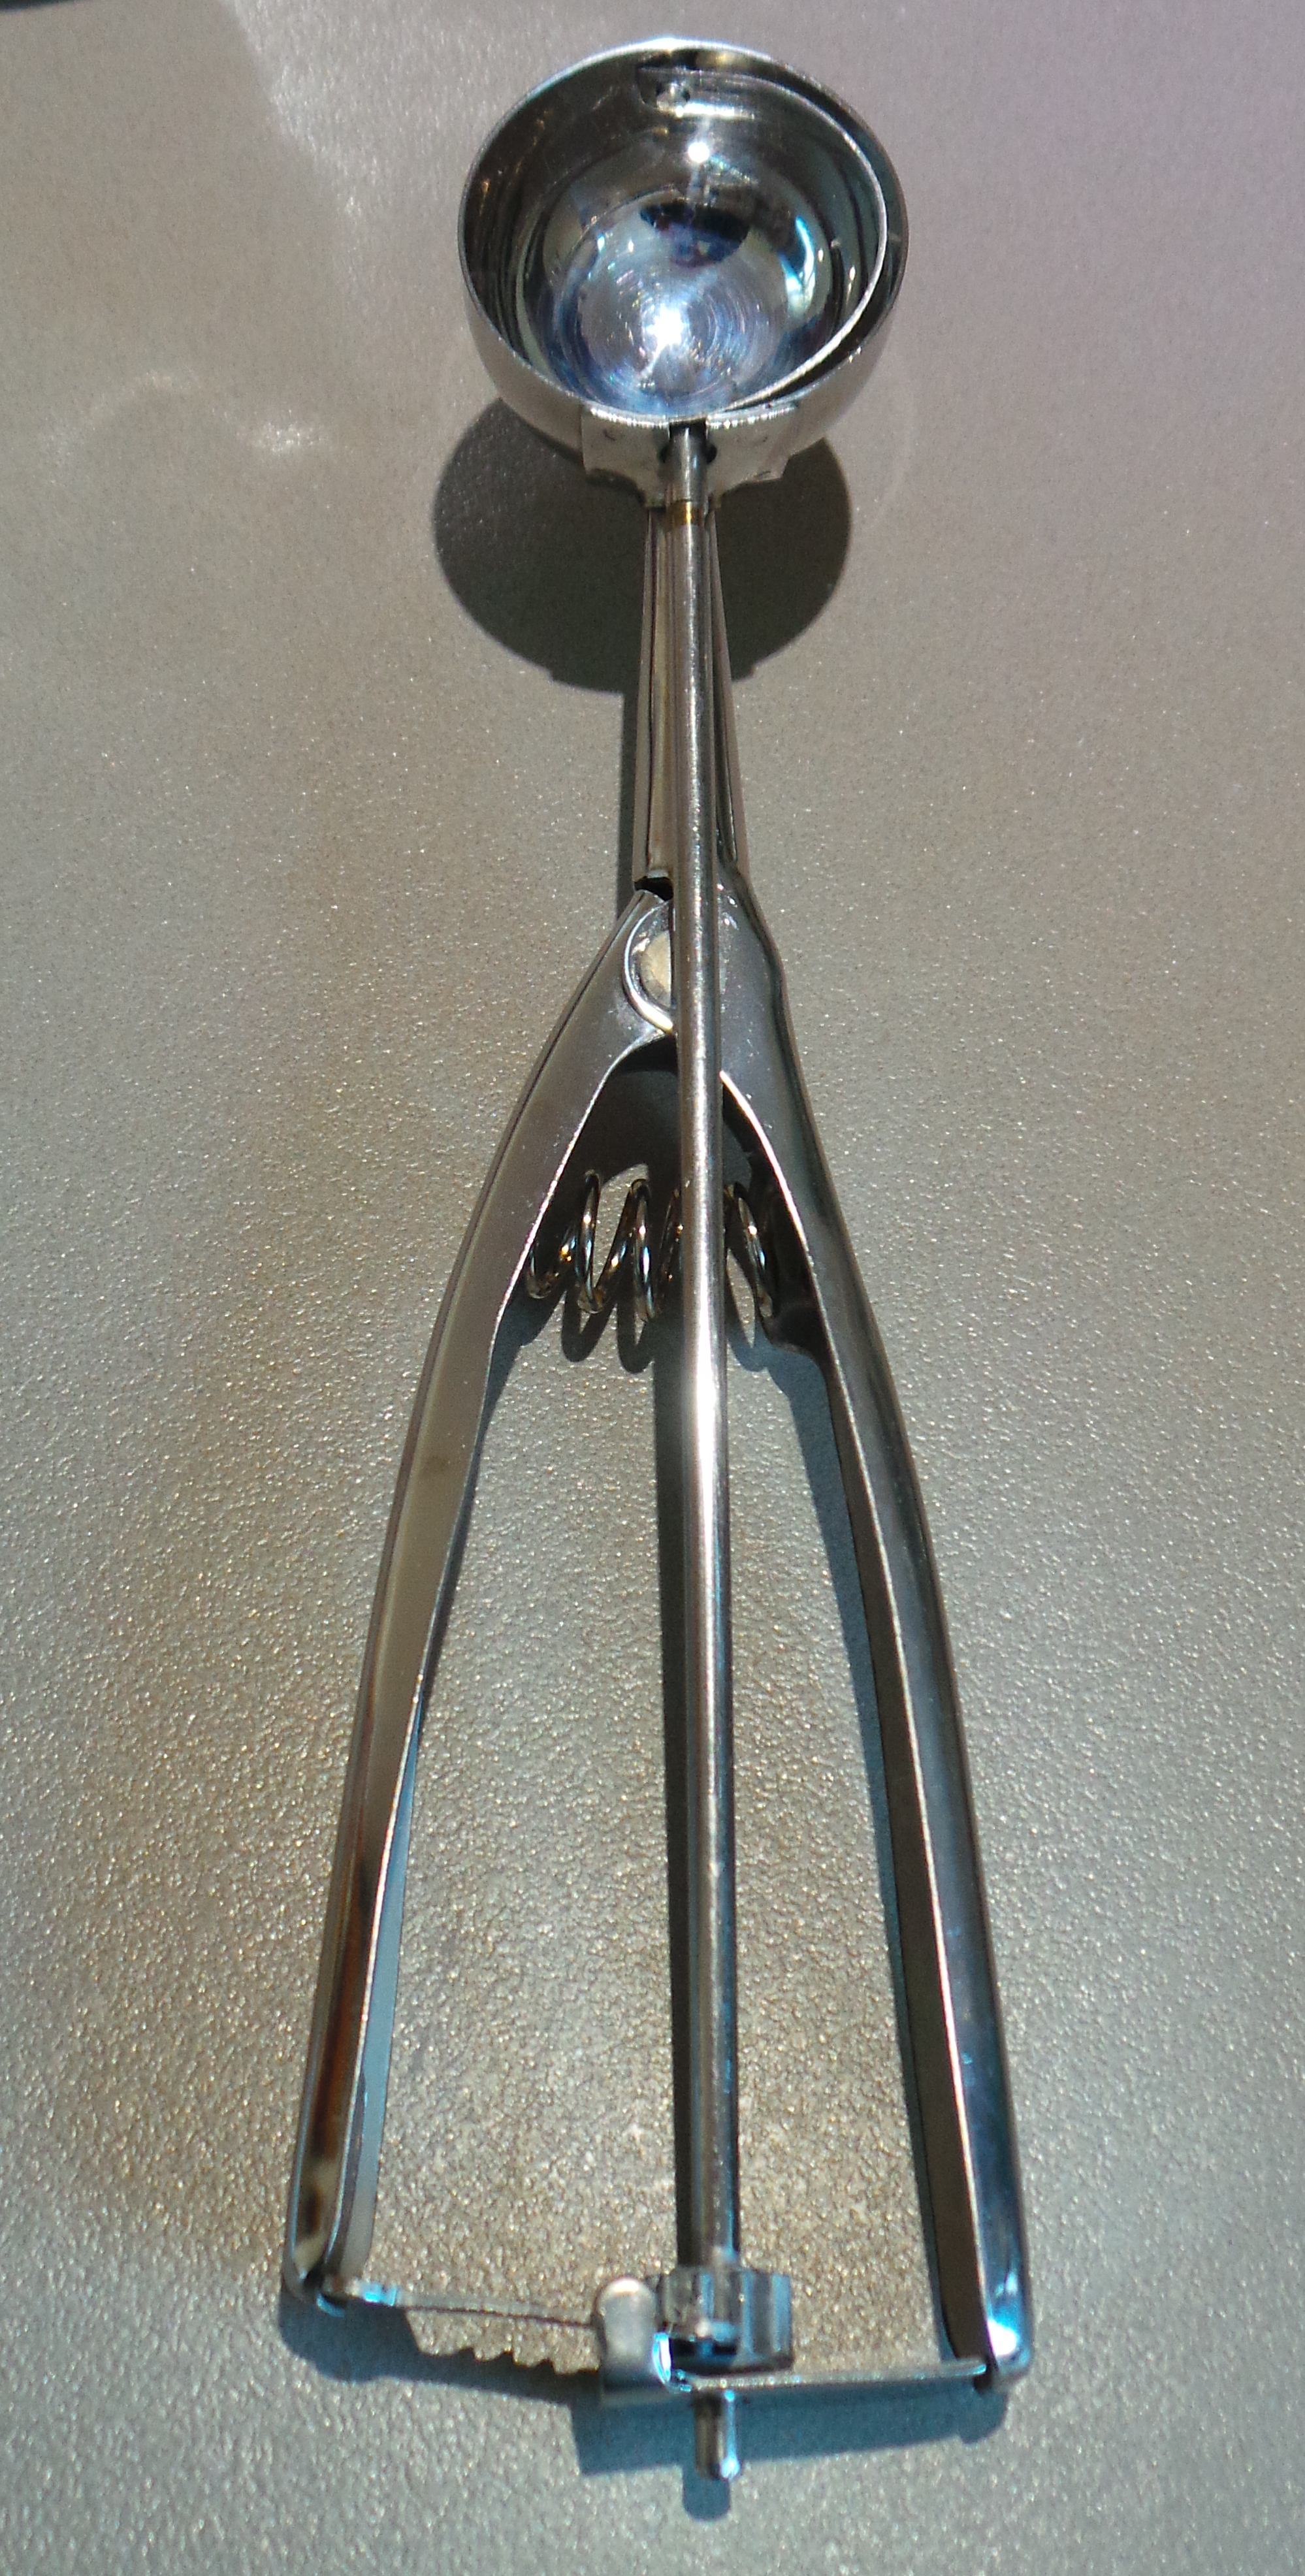
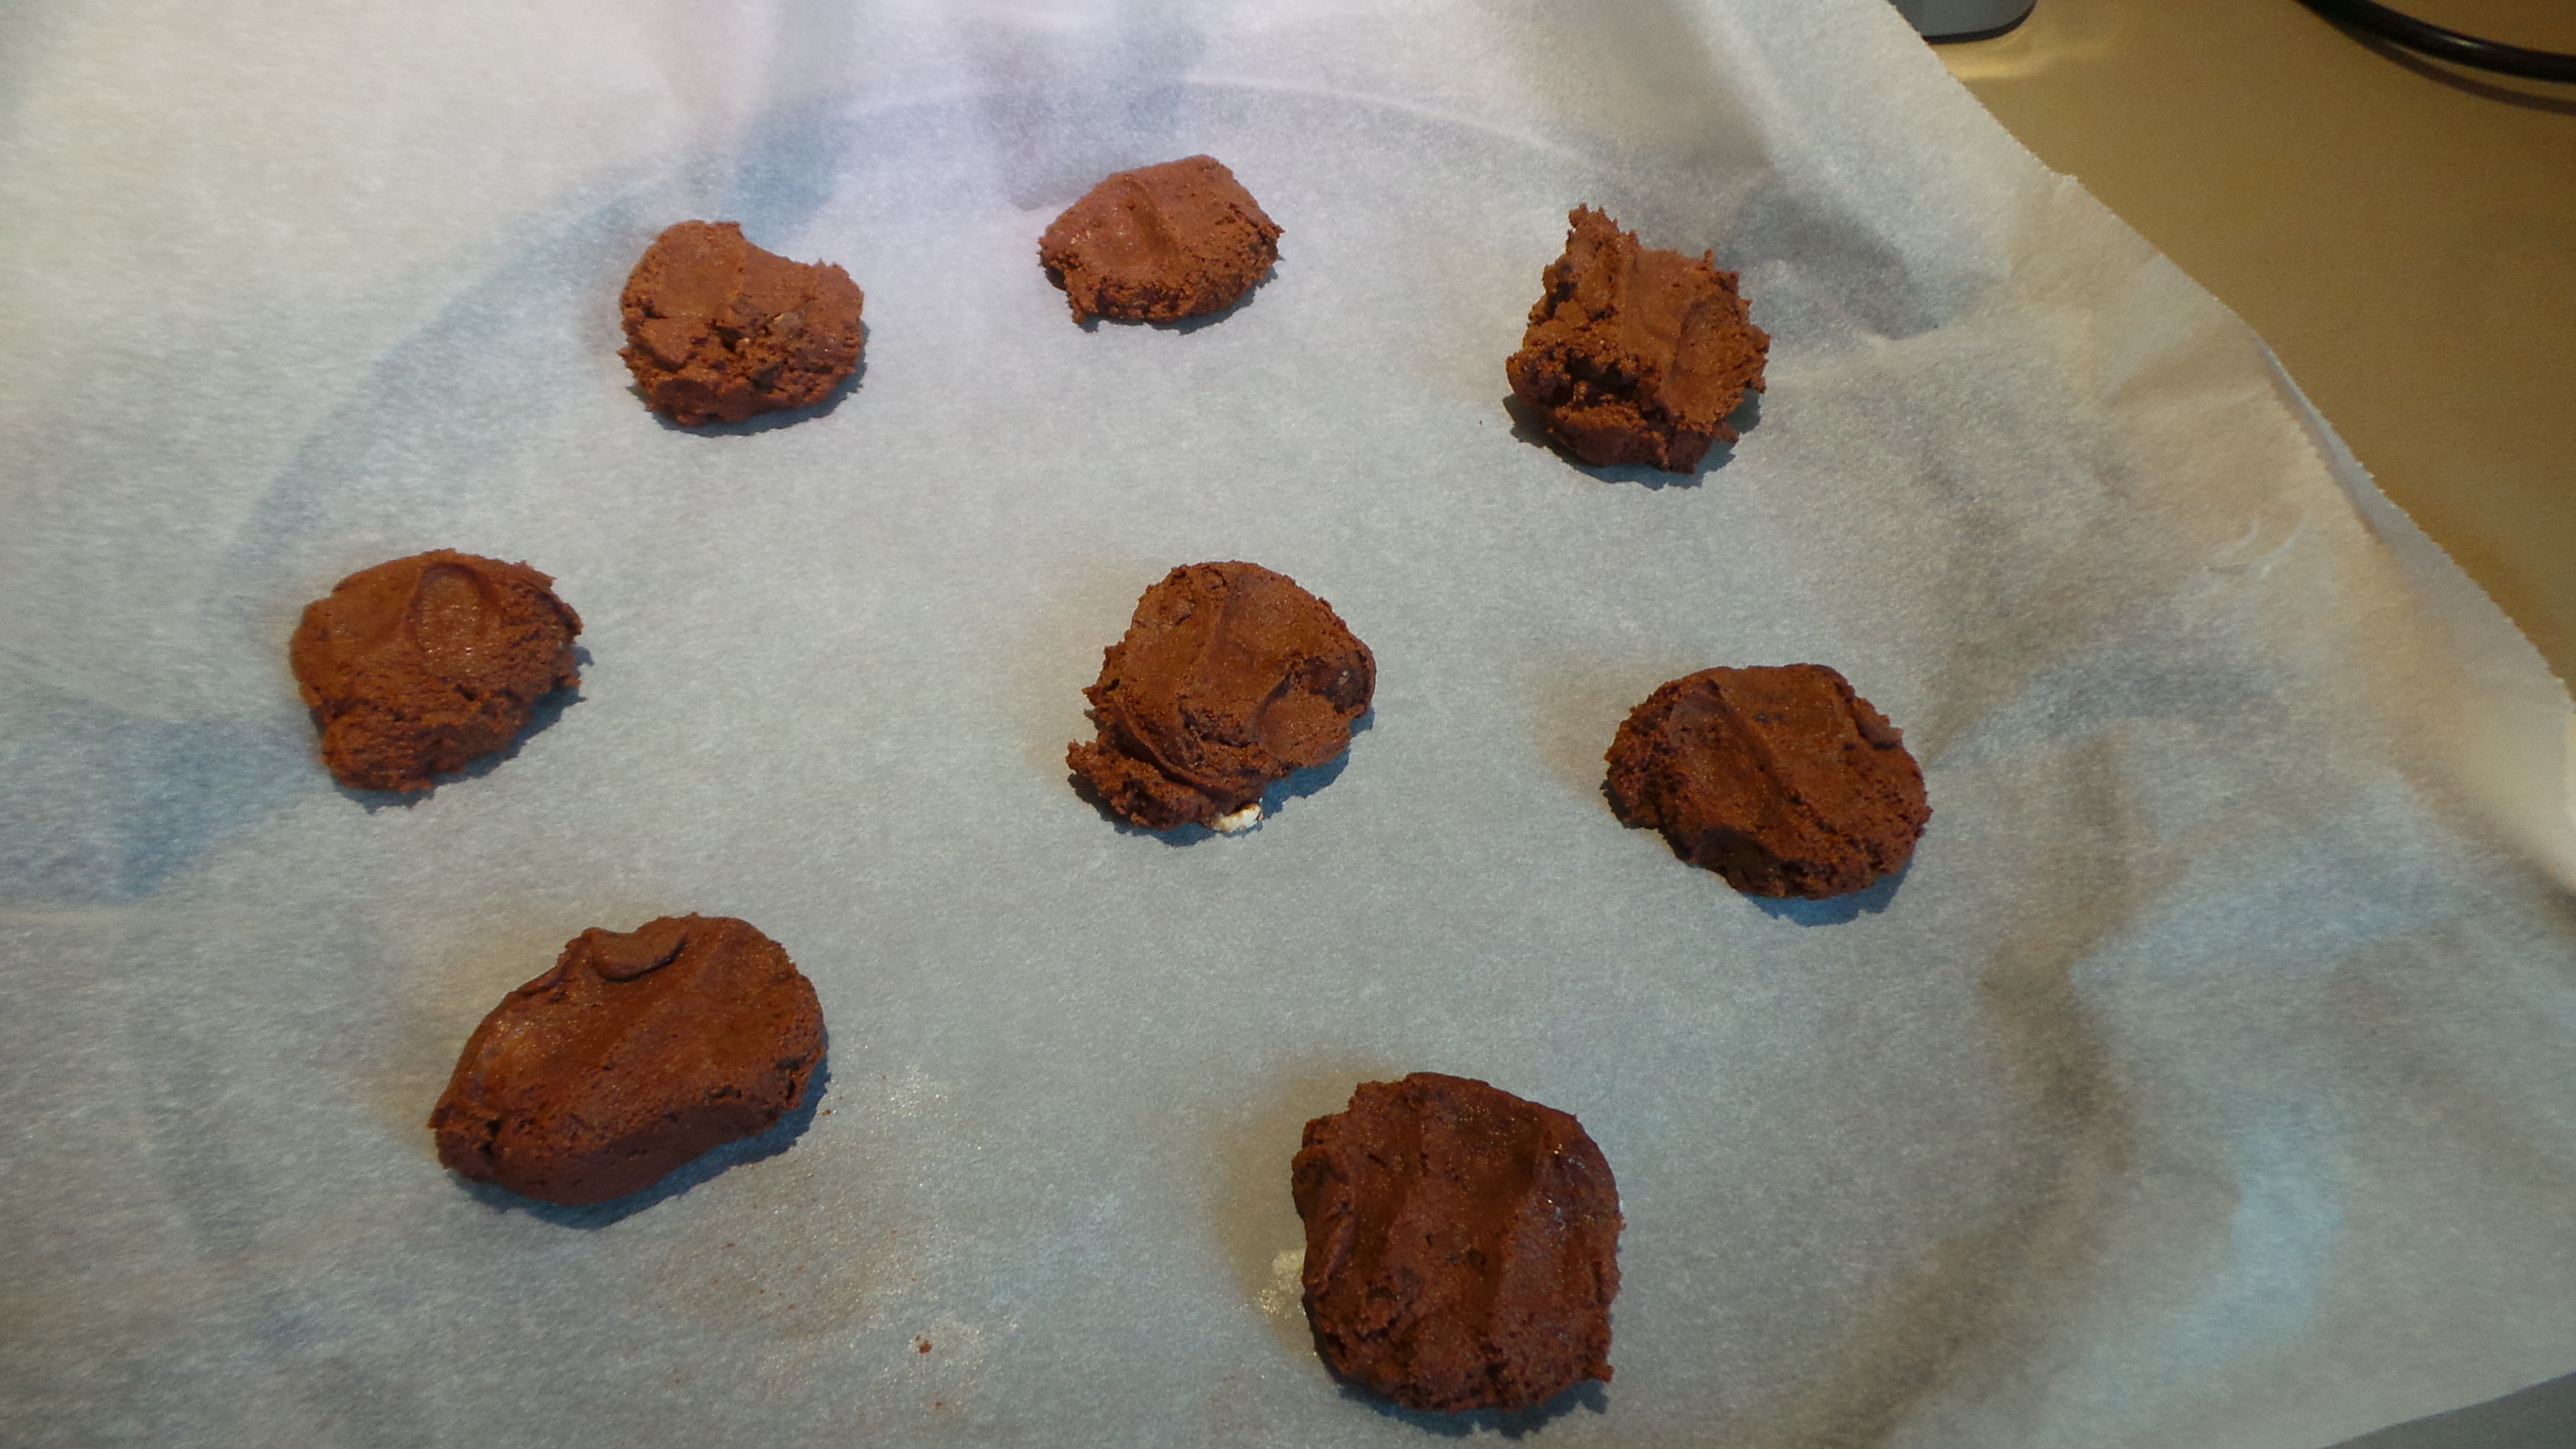
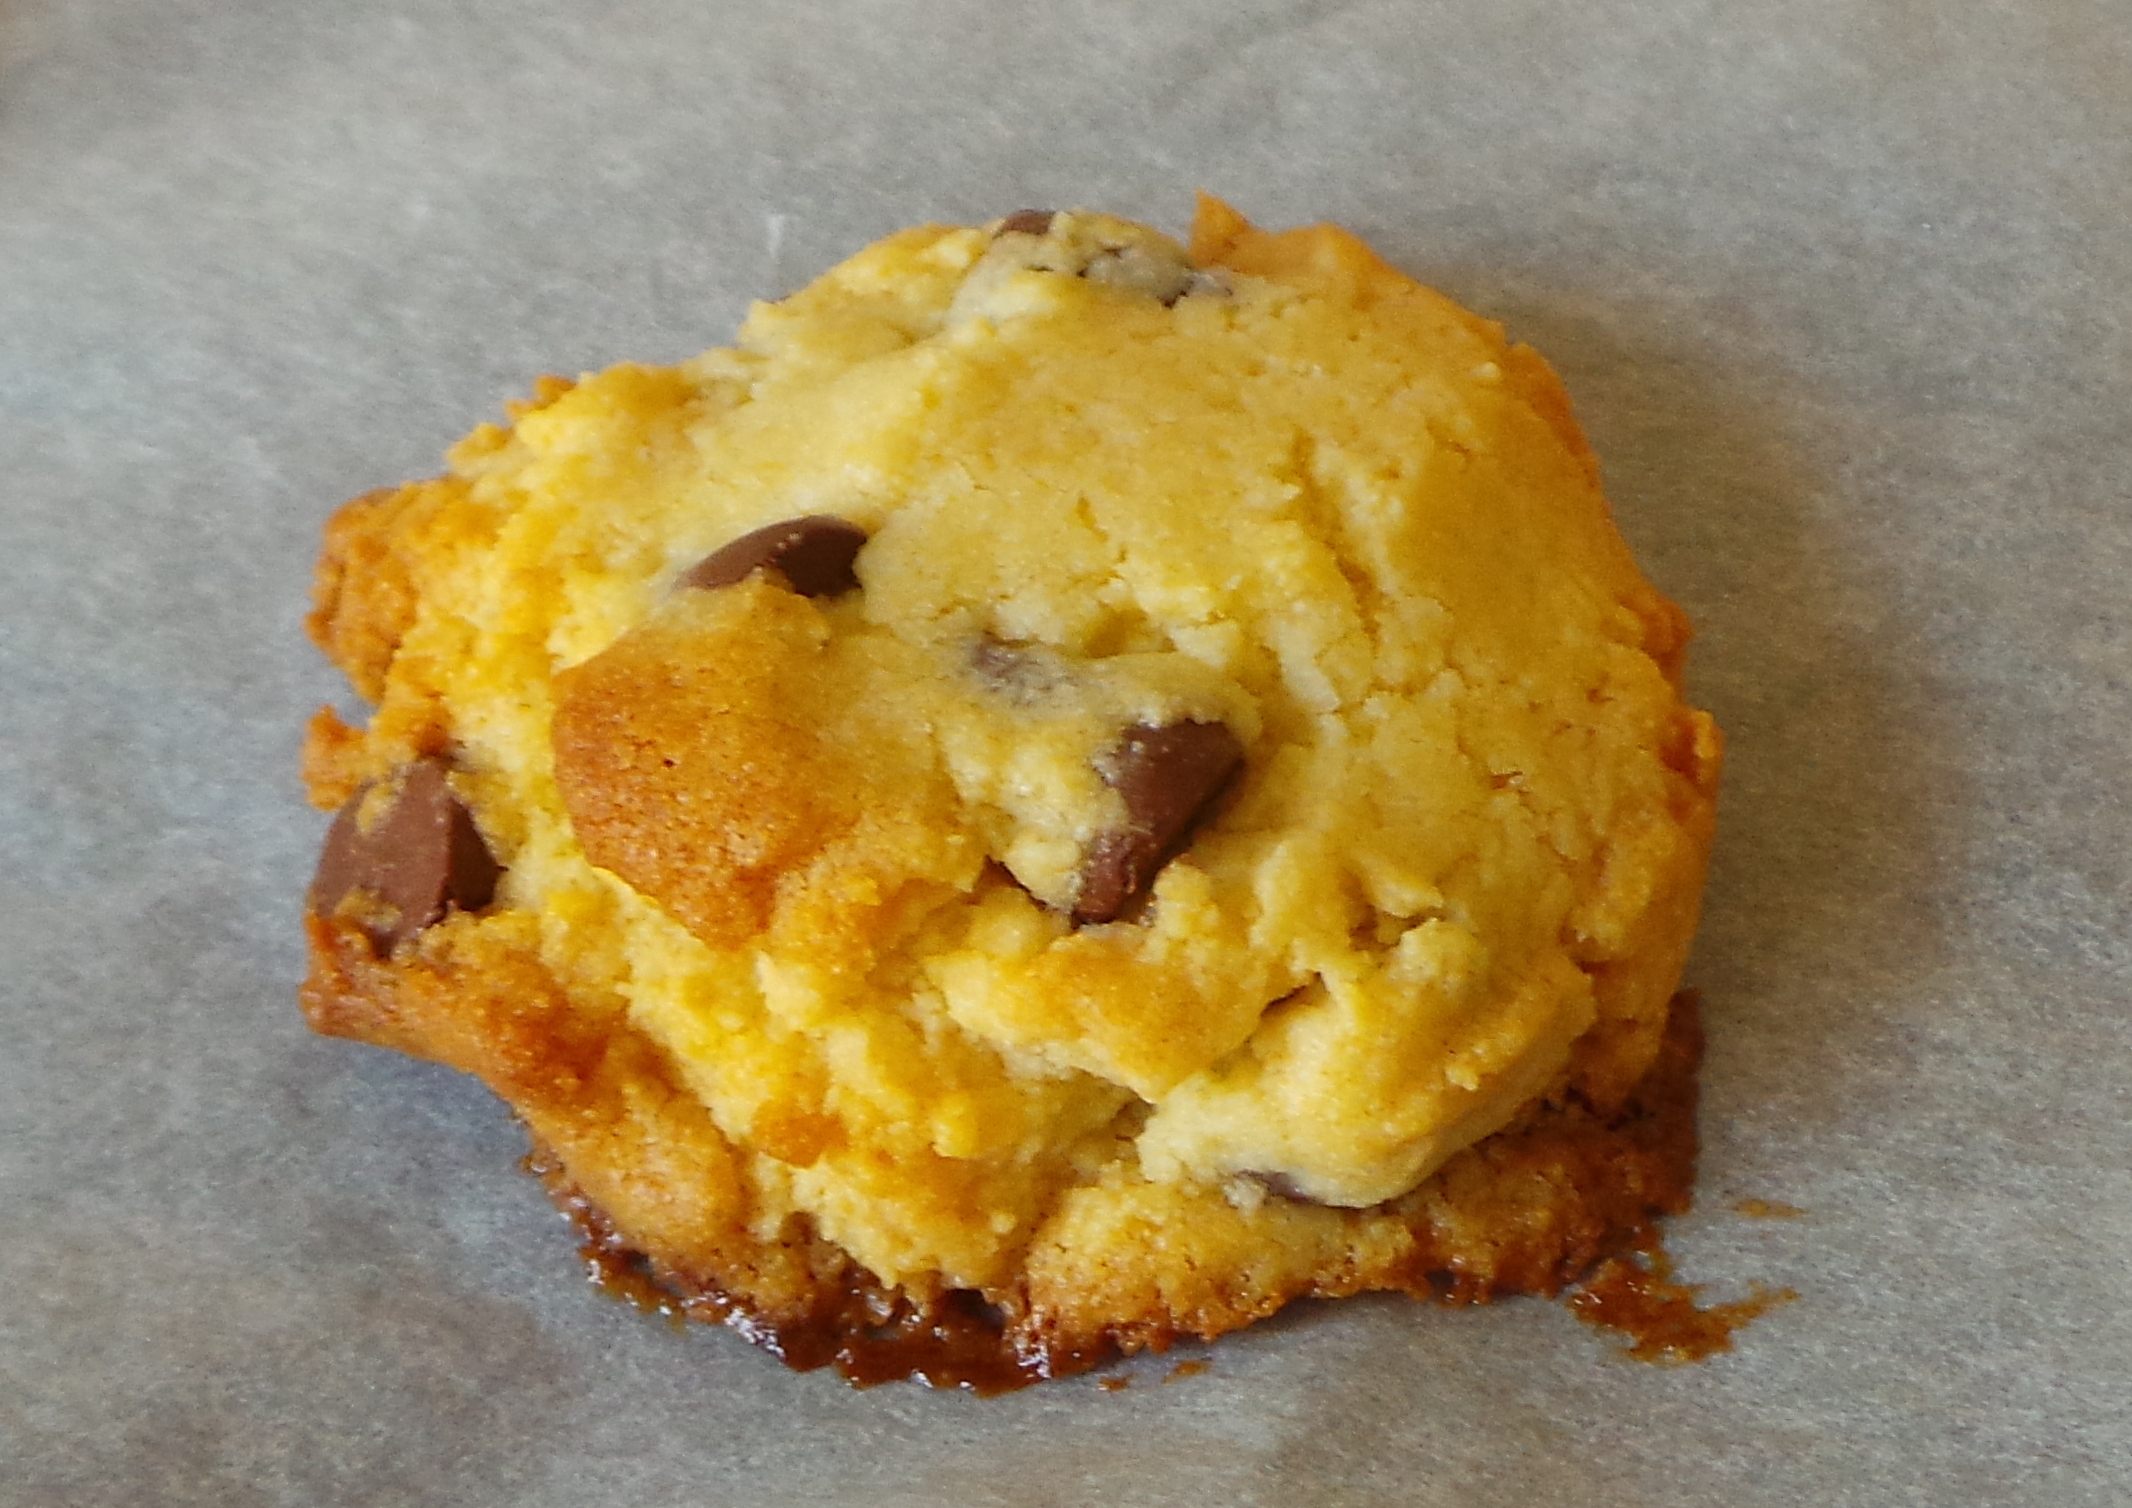
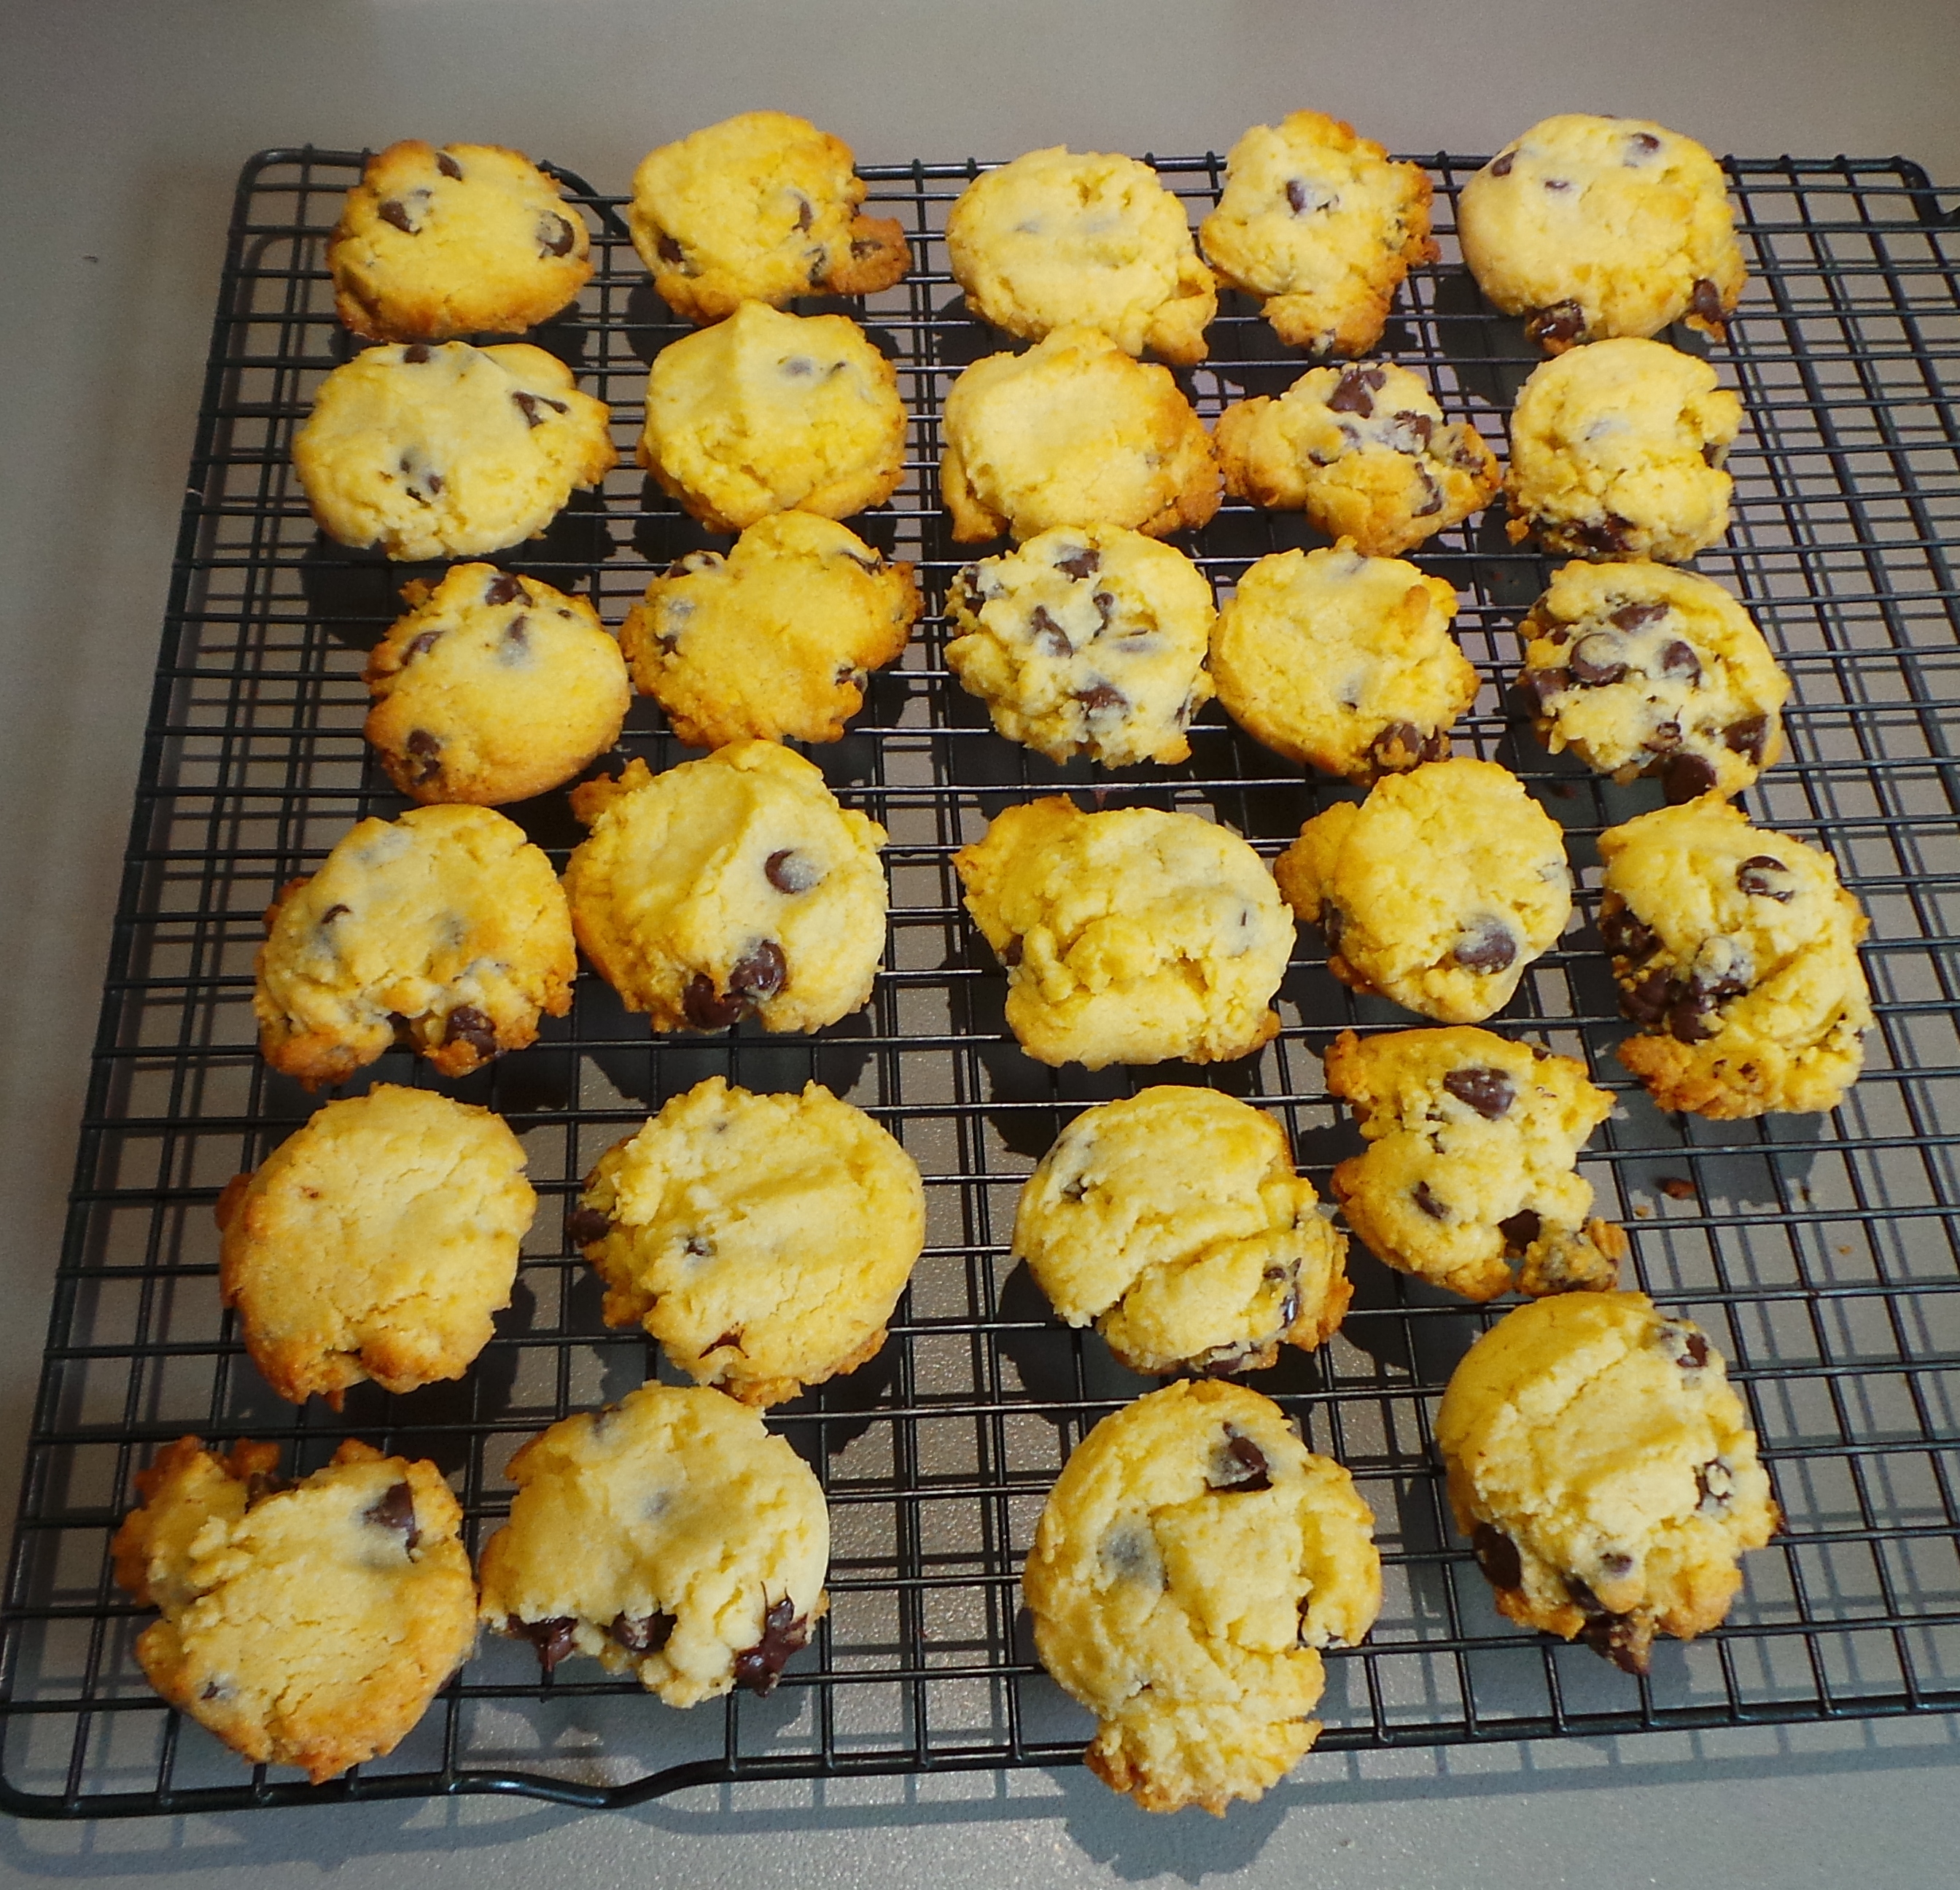
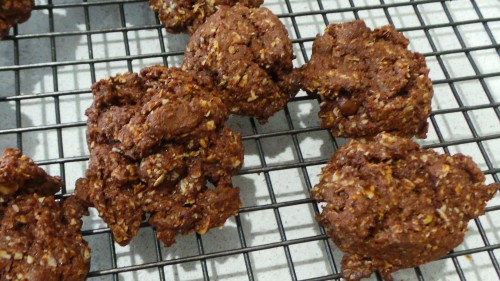
Then, drop rounded spoonfuls onto a lined baking sheet and bake for 8-10 mins.

Use an ice cream scoop to save on arguments.
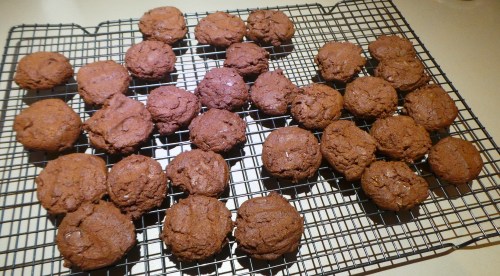
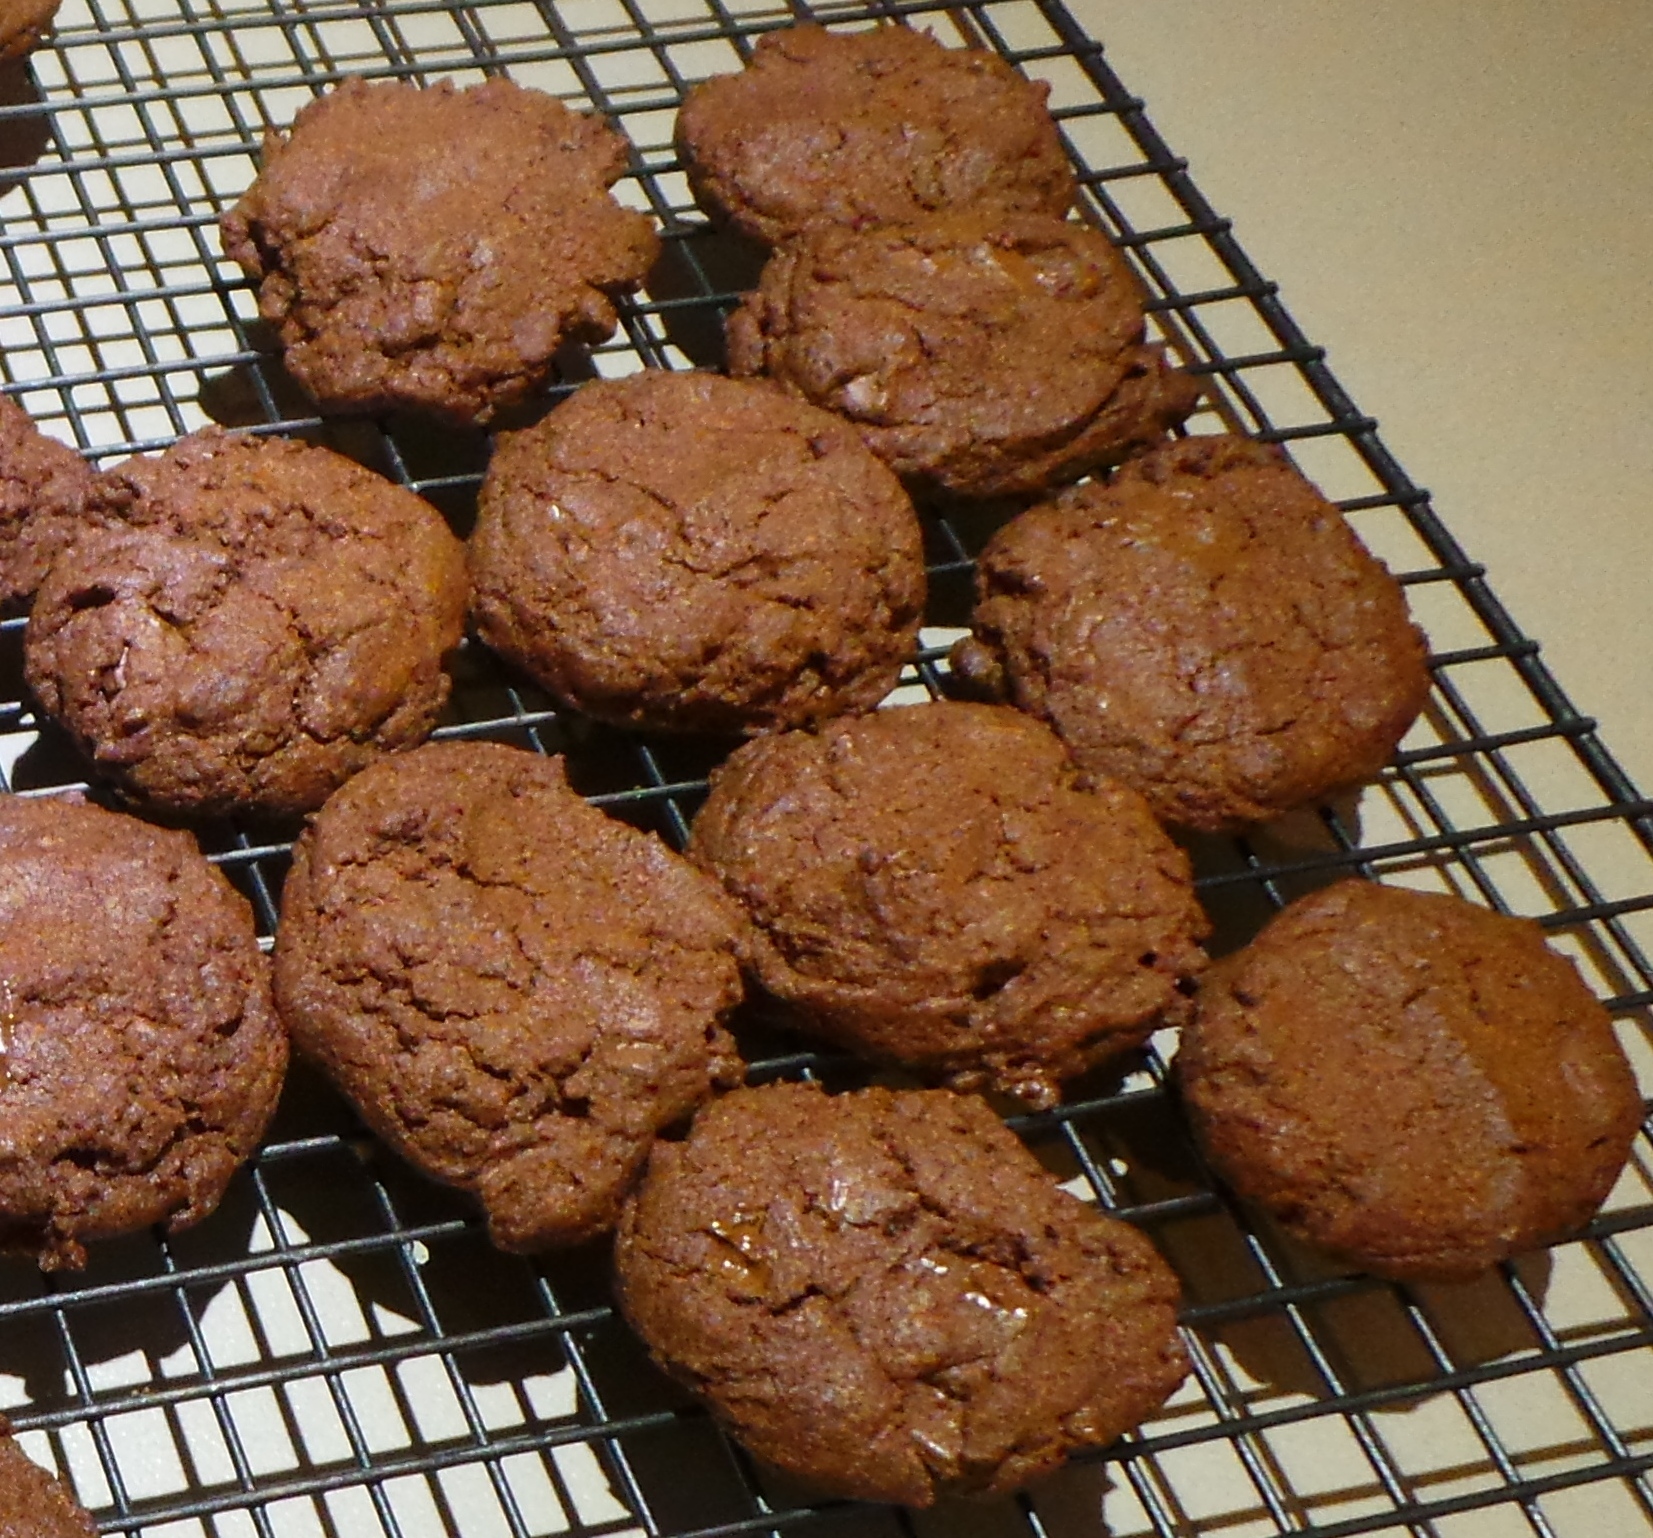
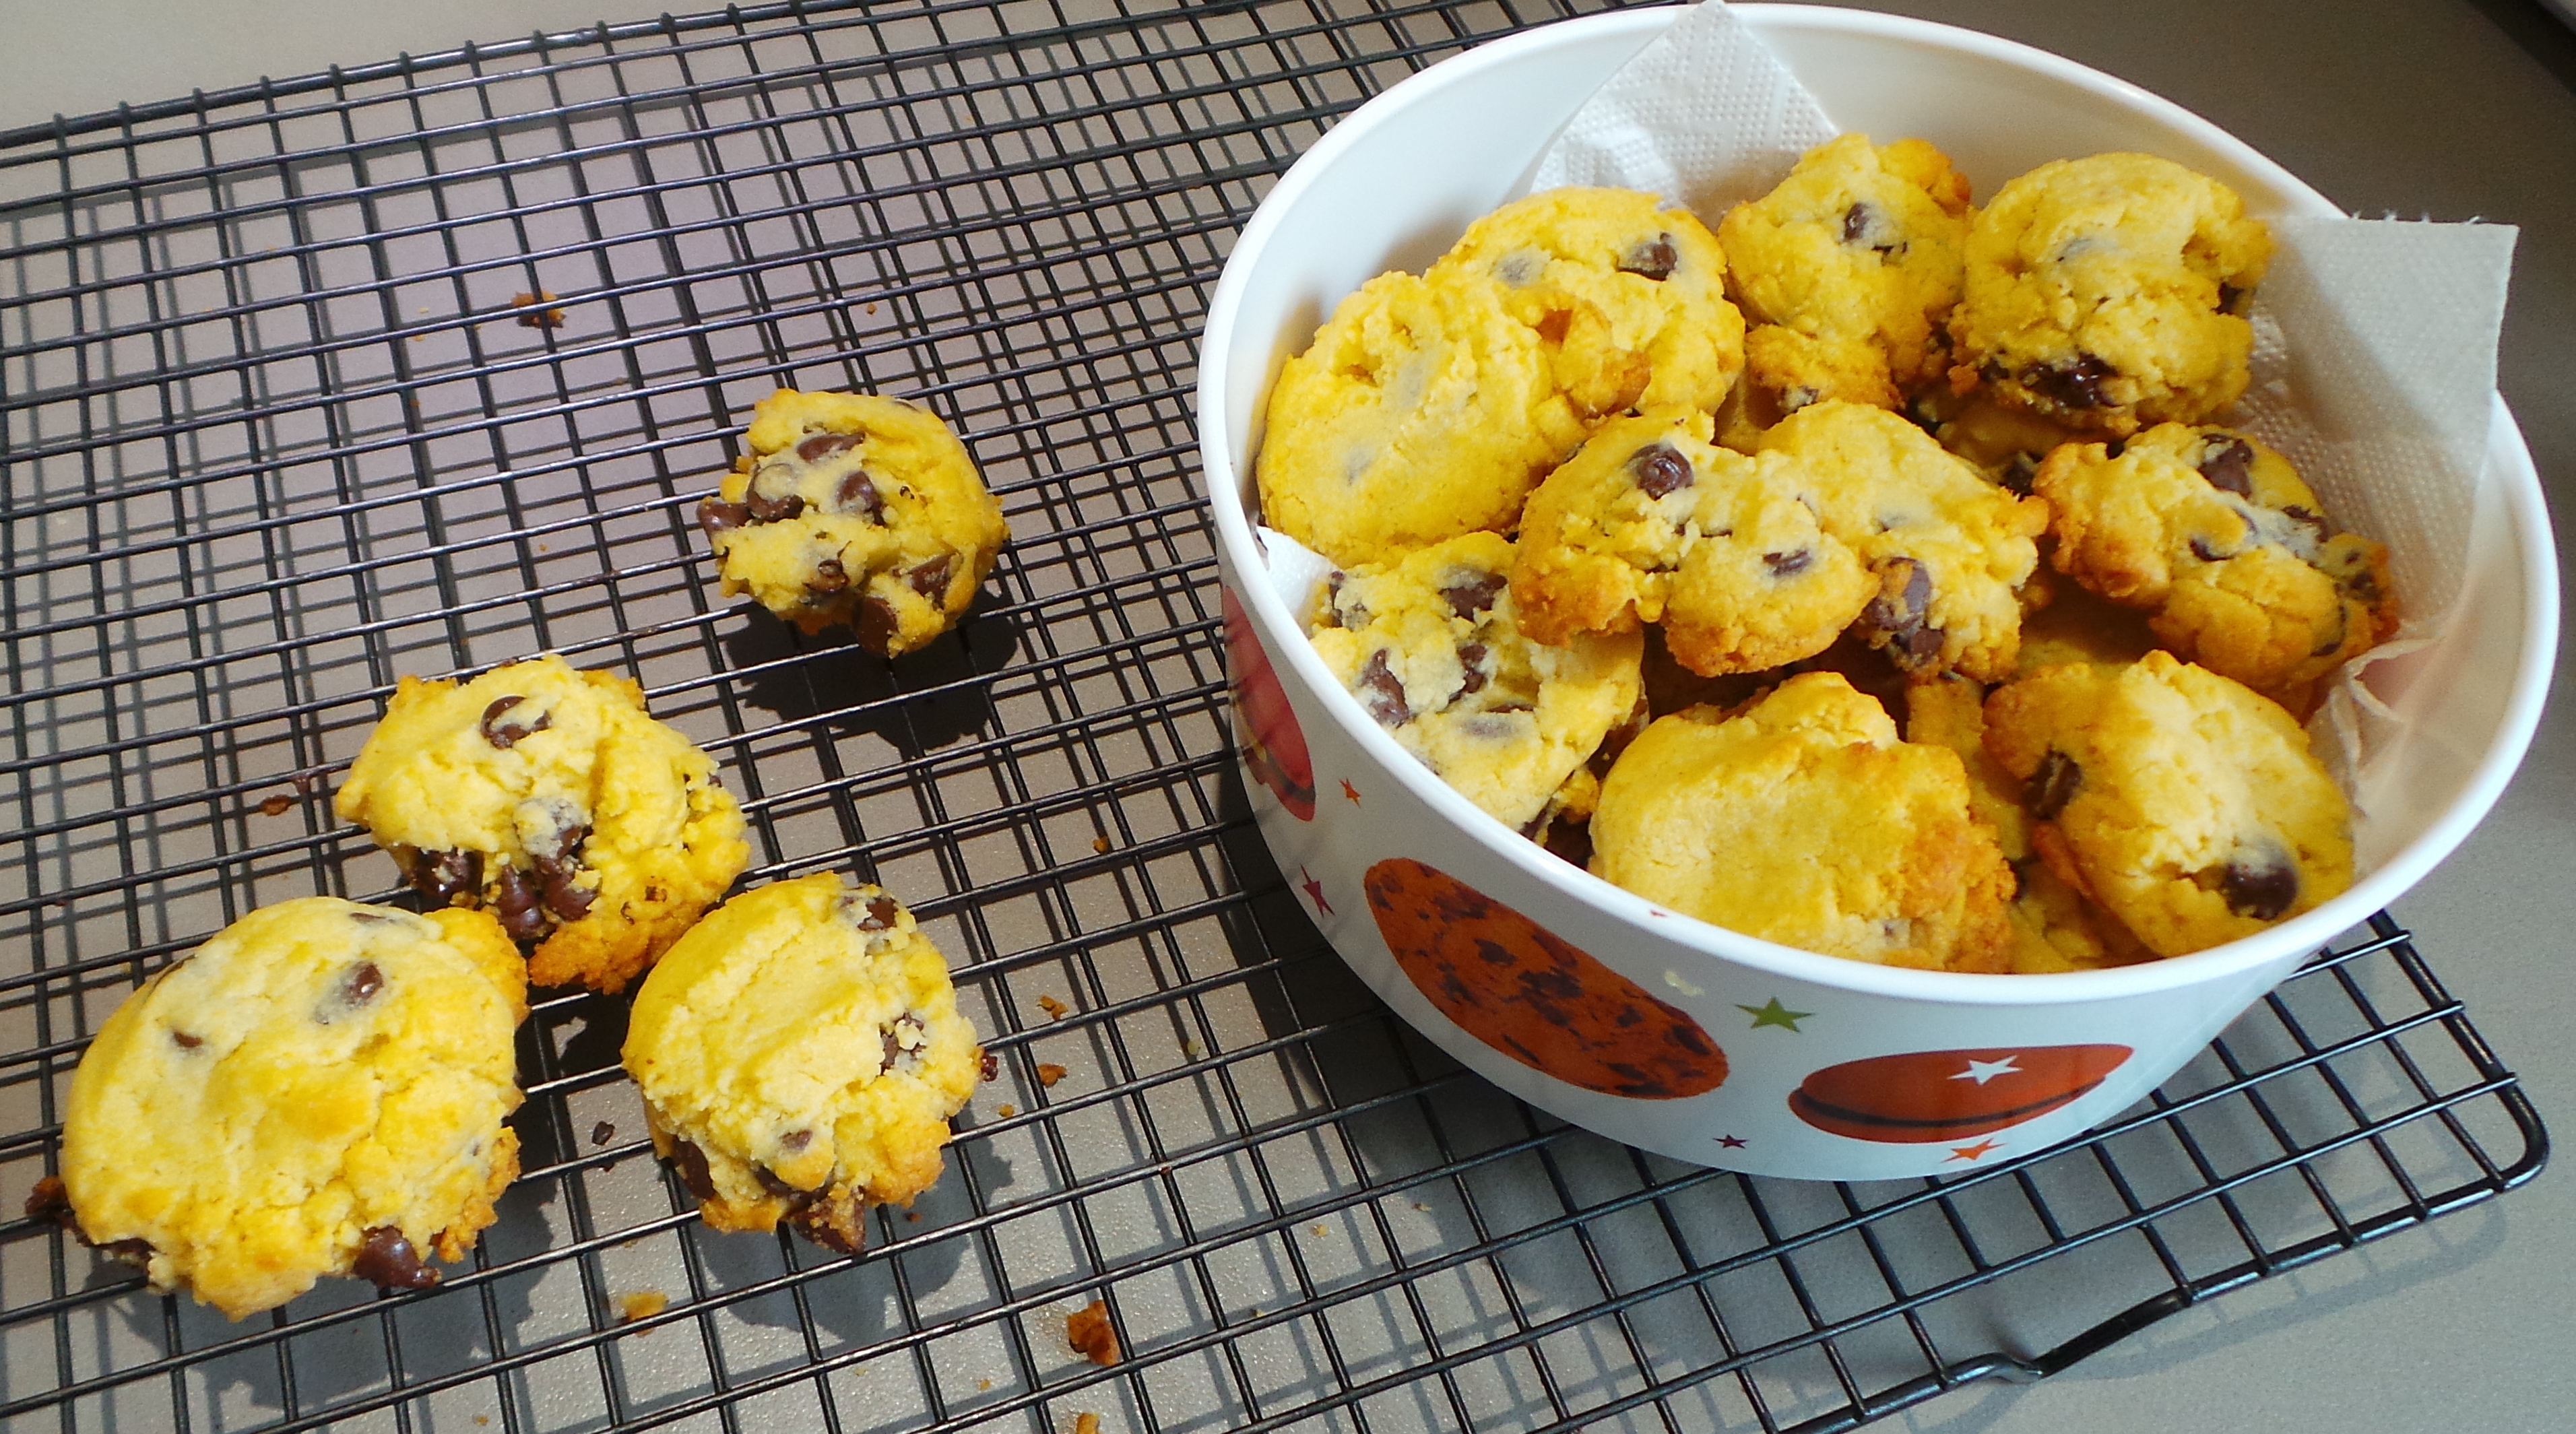
Leave them to cool on the tray for about 5 minutes before you attempt to move them to a cooling rack. It will save on tears.
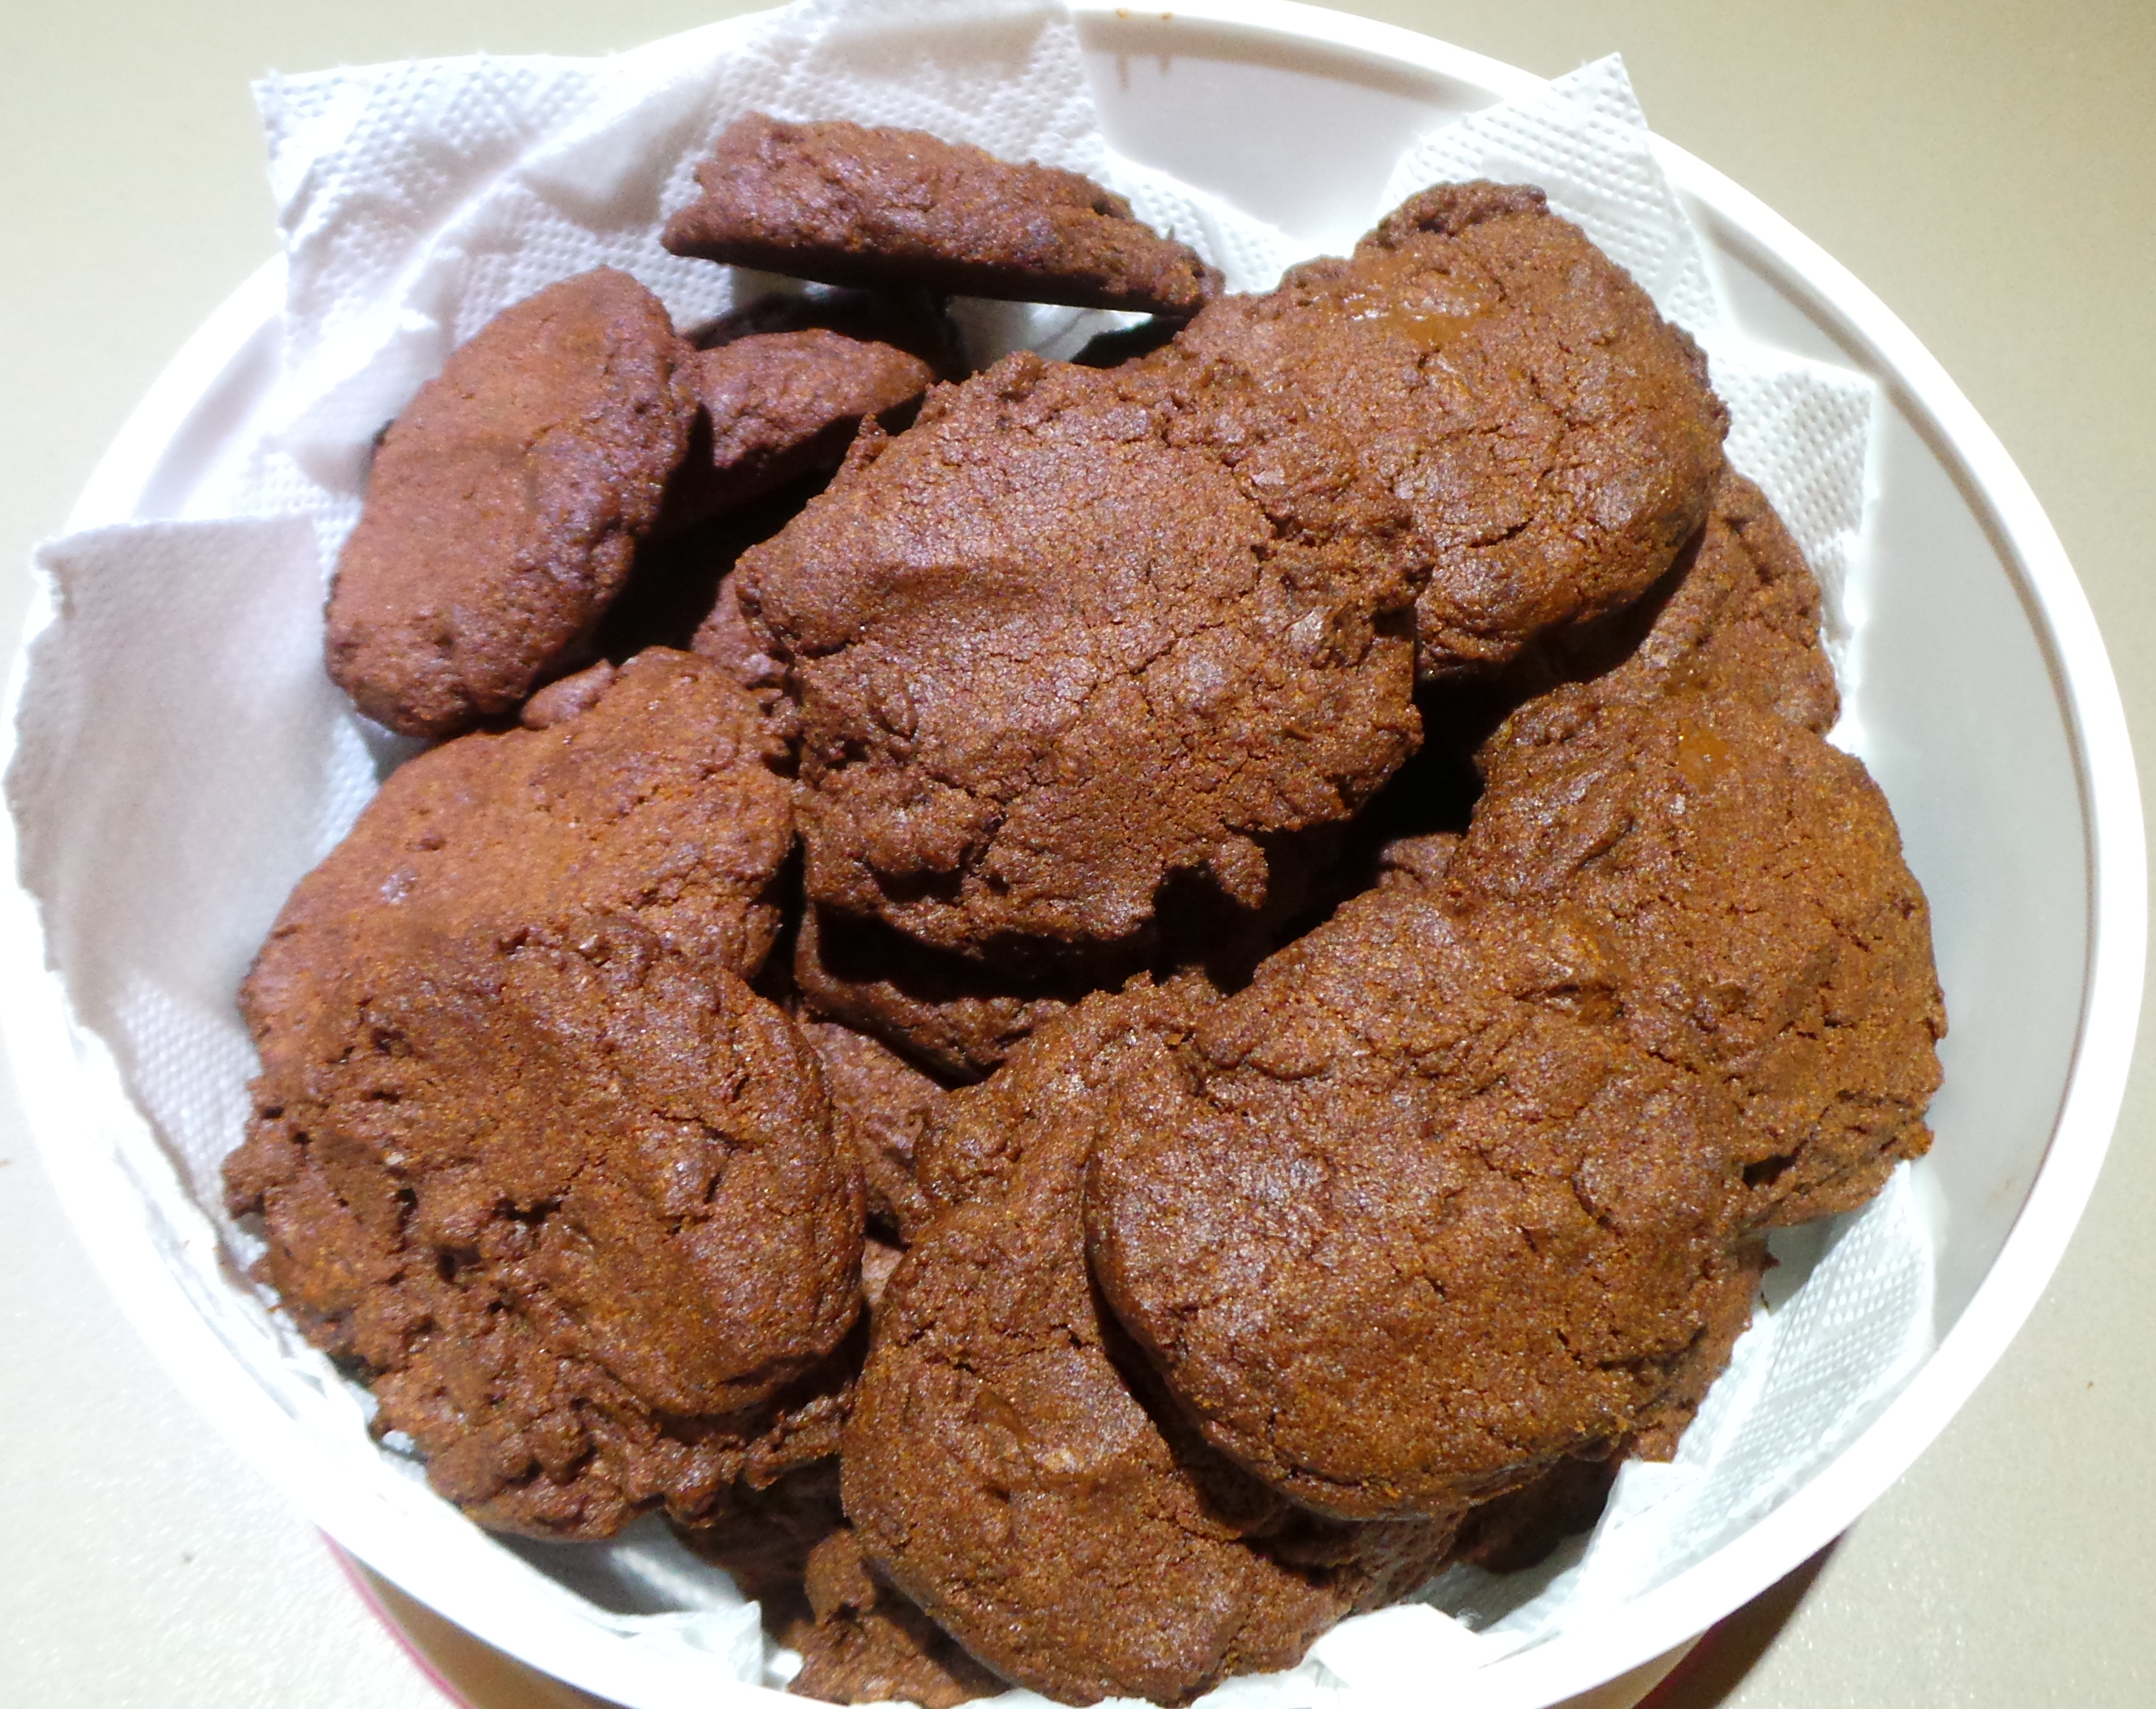
Double Chocolate Oatmeal Cookies
Ingredients
70 g softened, unsalted butter
½ cup white sugar
1½ cups brown sugar, firmly packed
2 eggs
1 tsp vanilla extract
1½ cups plain flour
1/3 cup unsweetened cocoa powder
1 tsp baking powder
¼ tsp baking soda
¼ tsp salt
2 cups rolled oats (not quick or minute oats)
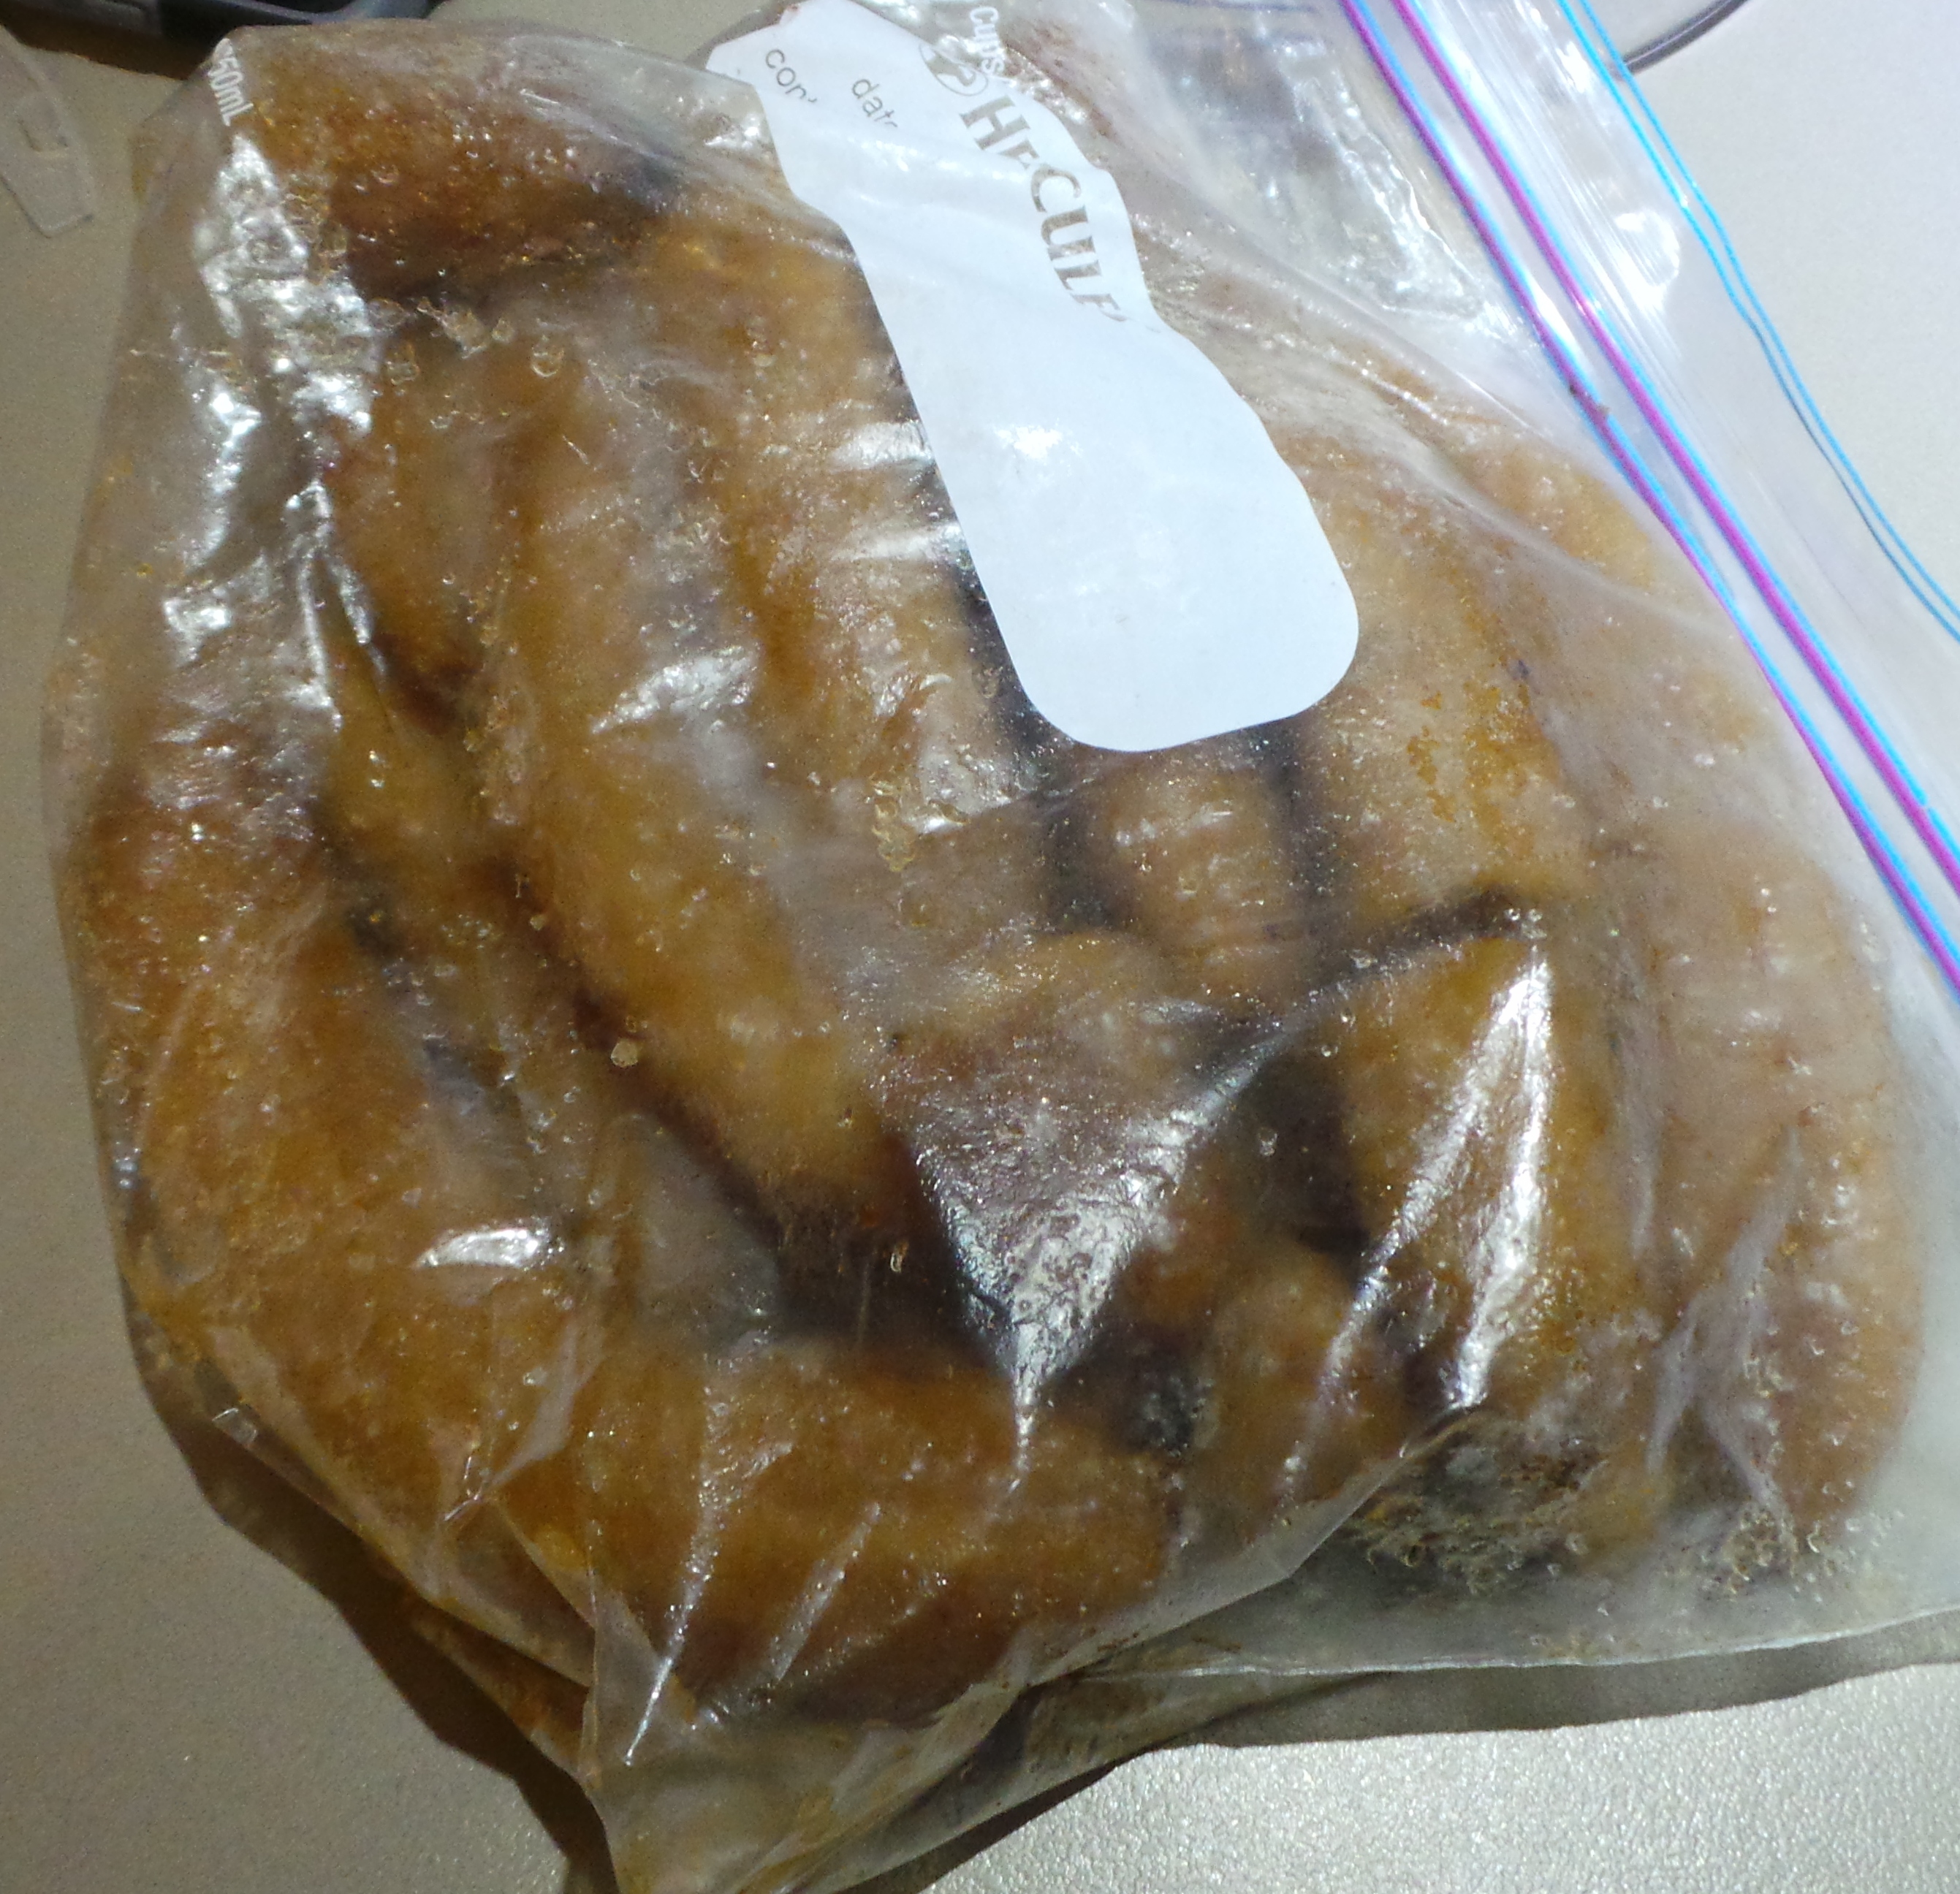
1 cup dark chocolate chips.
Method
Heat the oven to 180°C/375°F.
Using an electric mixer and a paddle attachment if possible, cream butter and both sugars together until light and fluffy. This will take about 4 minutes.
Add the eggs and vanilla extract and beat until thoroughly combined.
In another bowl, whisk together the flour, cocoa powder, baking powder, baking soda and salt.
Sieve into your butter mixture and blend until just combined.
Stir in the oats.
Stir in the choc chips.
Drop in rounded tablespoons onto a lined baking sheet. Do not flatten.
Bake for 8-10 minutes until set. Cooked cookies will be soft to the touch.
Allow to cool on the baking sheet for 5 minutes before removing to a cooling rack.
Store in an airtight container.