Coconut Chicken Fingers

I have a confession to make. I’m not really a fan of chicken. I find it dry, bland and completely uninspiring.

Of course, this is because I have actually eaten free-range chicken used to running around on my grandmother’s farm all day and eating whatever it wanted; happy chicken. Happy chickens taste better than mass-produced chickens.

I can’t get my hands on a lot of old-fashioned chickens, so I really don’t eat it all that much.

Having said that, I understand that it’s all a lot of people eat – or that their kids will eat. With that in mind, I give you this low-fuss offering. It’s one you can double and freeze for those nights when you just don’t want to think about dinner too much.

This recipe uses about a pound or 500 g of boneless, skinless chicken fillets. You can use breast meat cut lengthwise into strips or, do what I do, and use chicken tenderloins. Thigh fillets would also work.

If you want to, you could even cut your meat into large dice and make your own chicken nuggets for small people’s dinners or finger-food at parties. Just sayin’.

As with everything on this site, play with it and make it your own.20150616_150135

So, after it’s been cut to shape, the chicken is then seasoned with salt and pepper and put through an assembly line coating process. You’ll need three plates: one with plain flour, one with beaten egg whites and one with a mix of breadcrumbs and shredded or desiccated coconut. You can also get older children involved in this part, thereby cutting the labour for you!

(If following this advice, put the breadcrumbs in a bowl, not on a plate. Thank me later.)

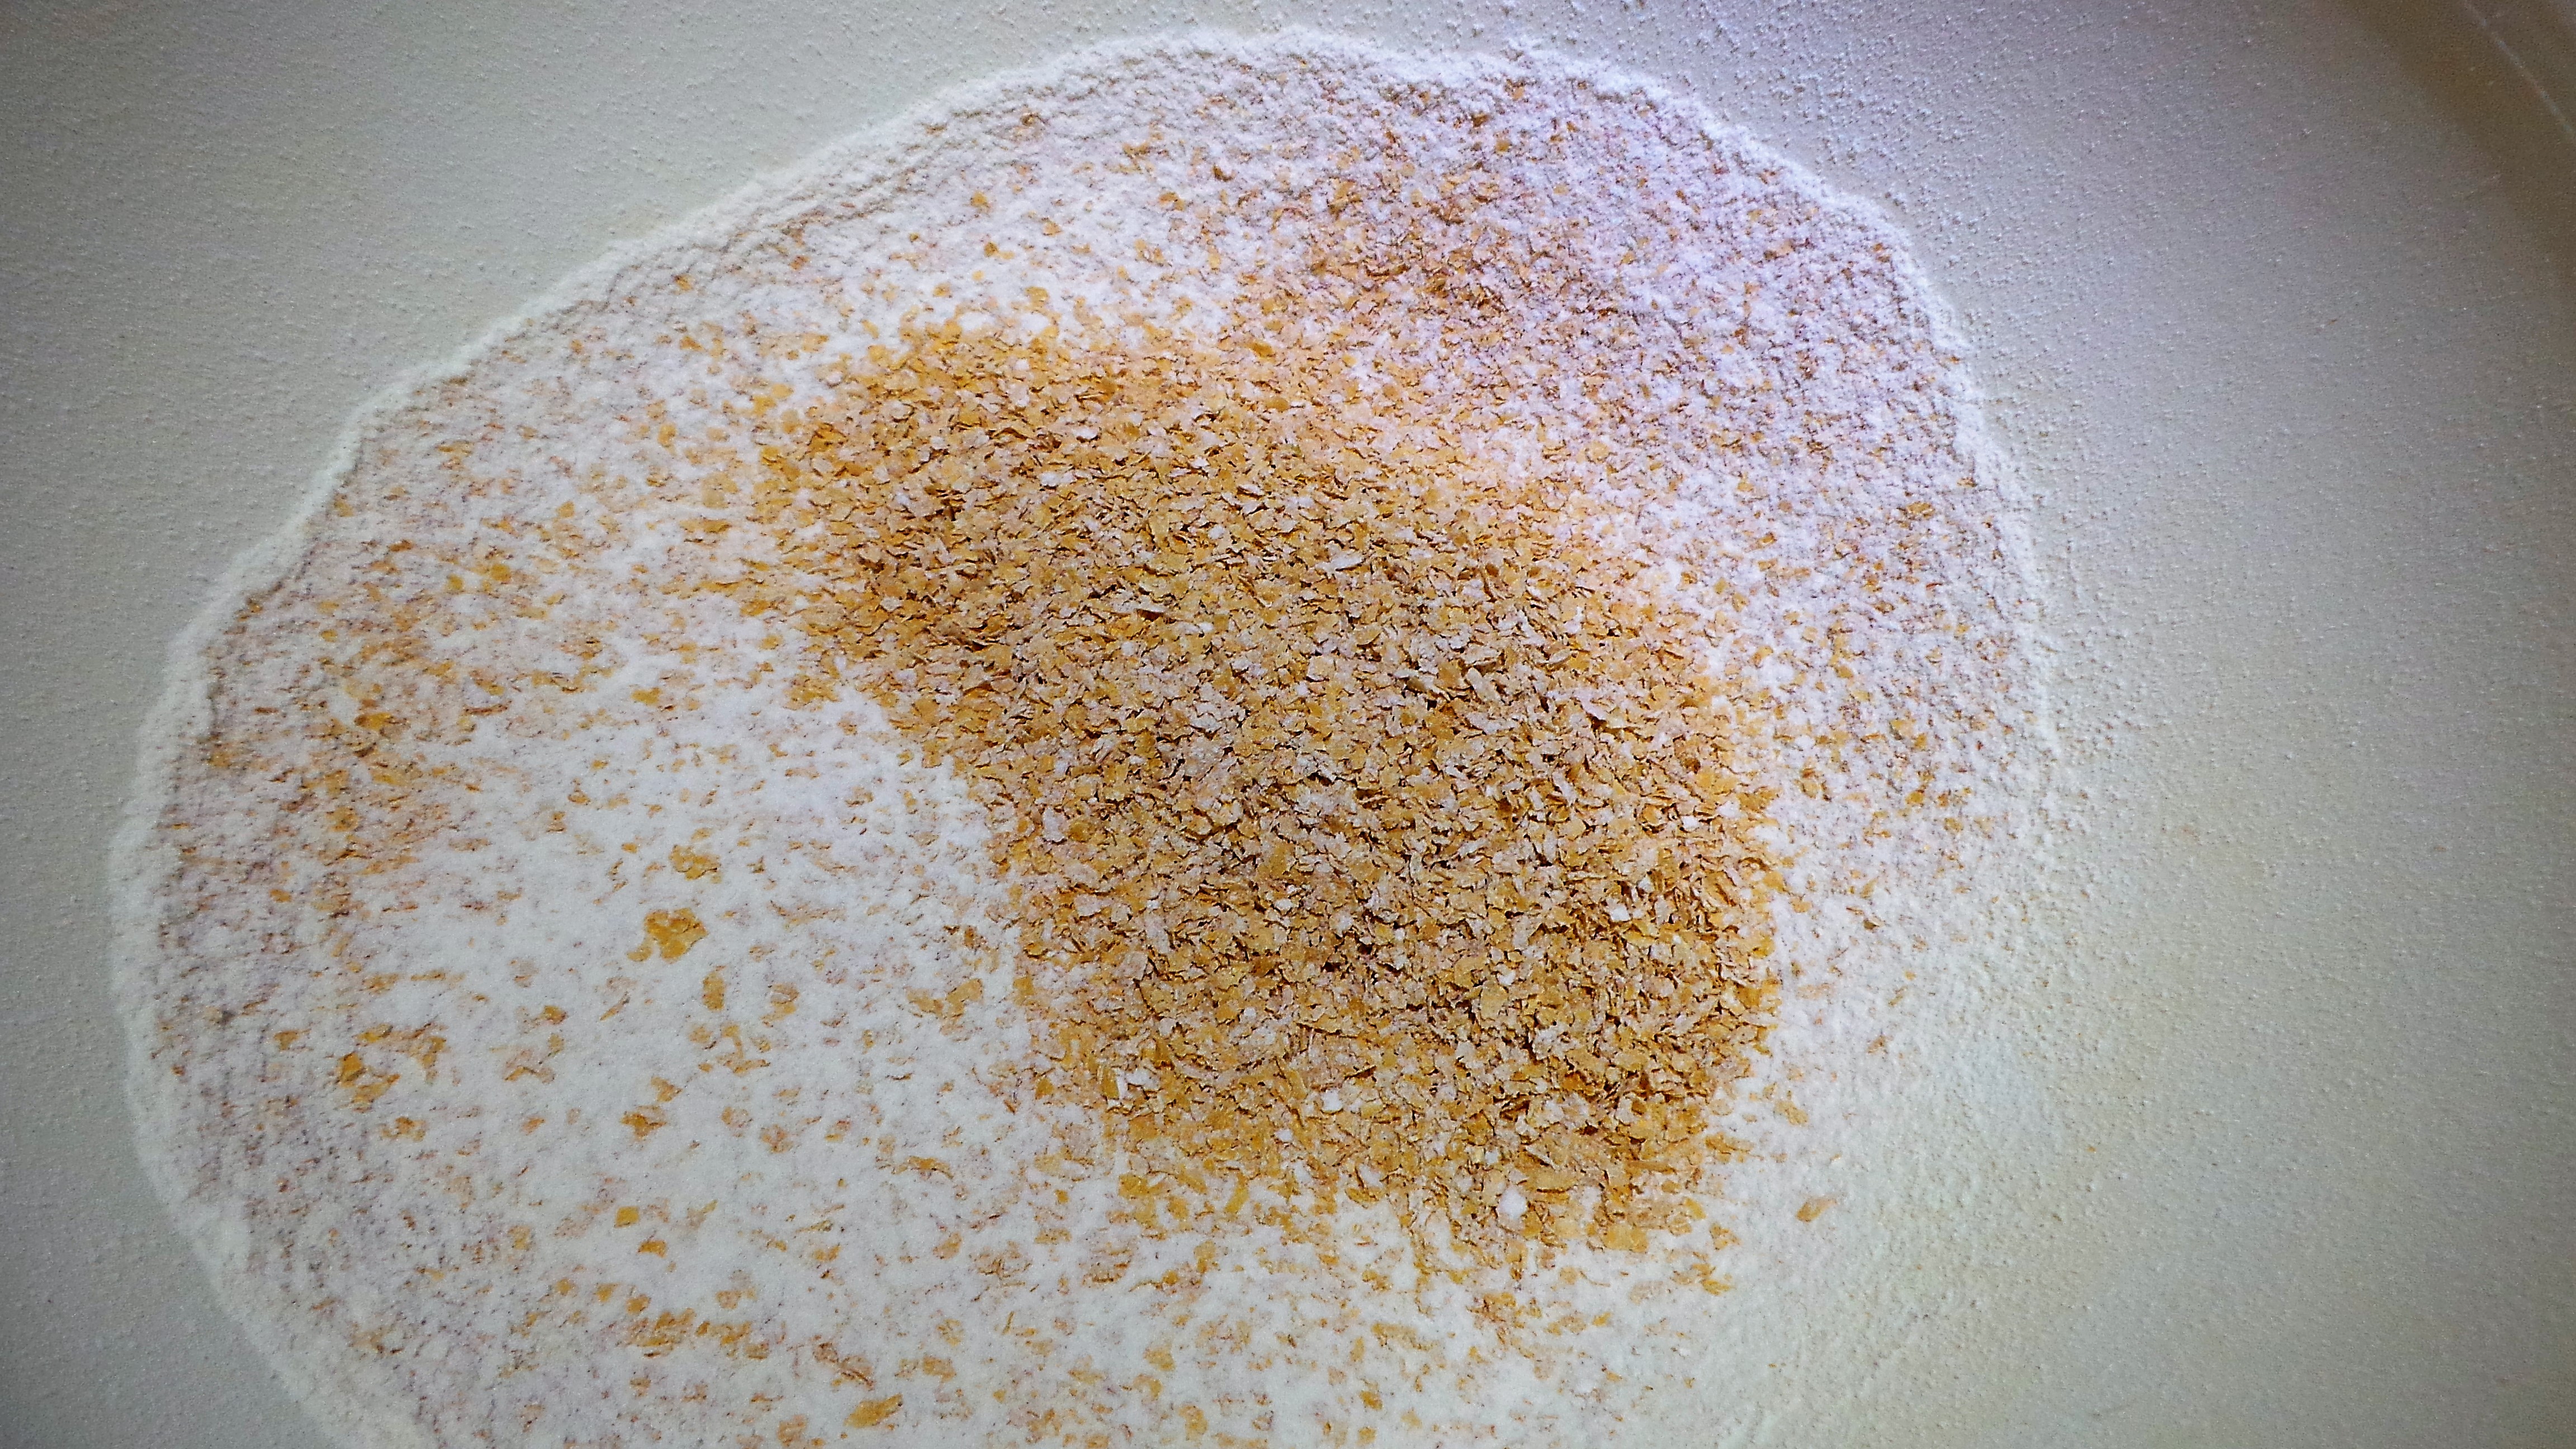
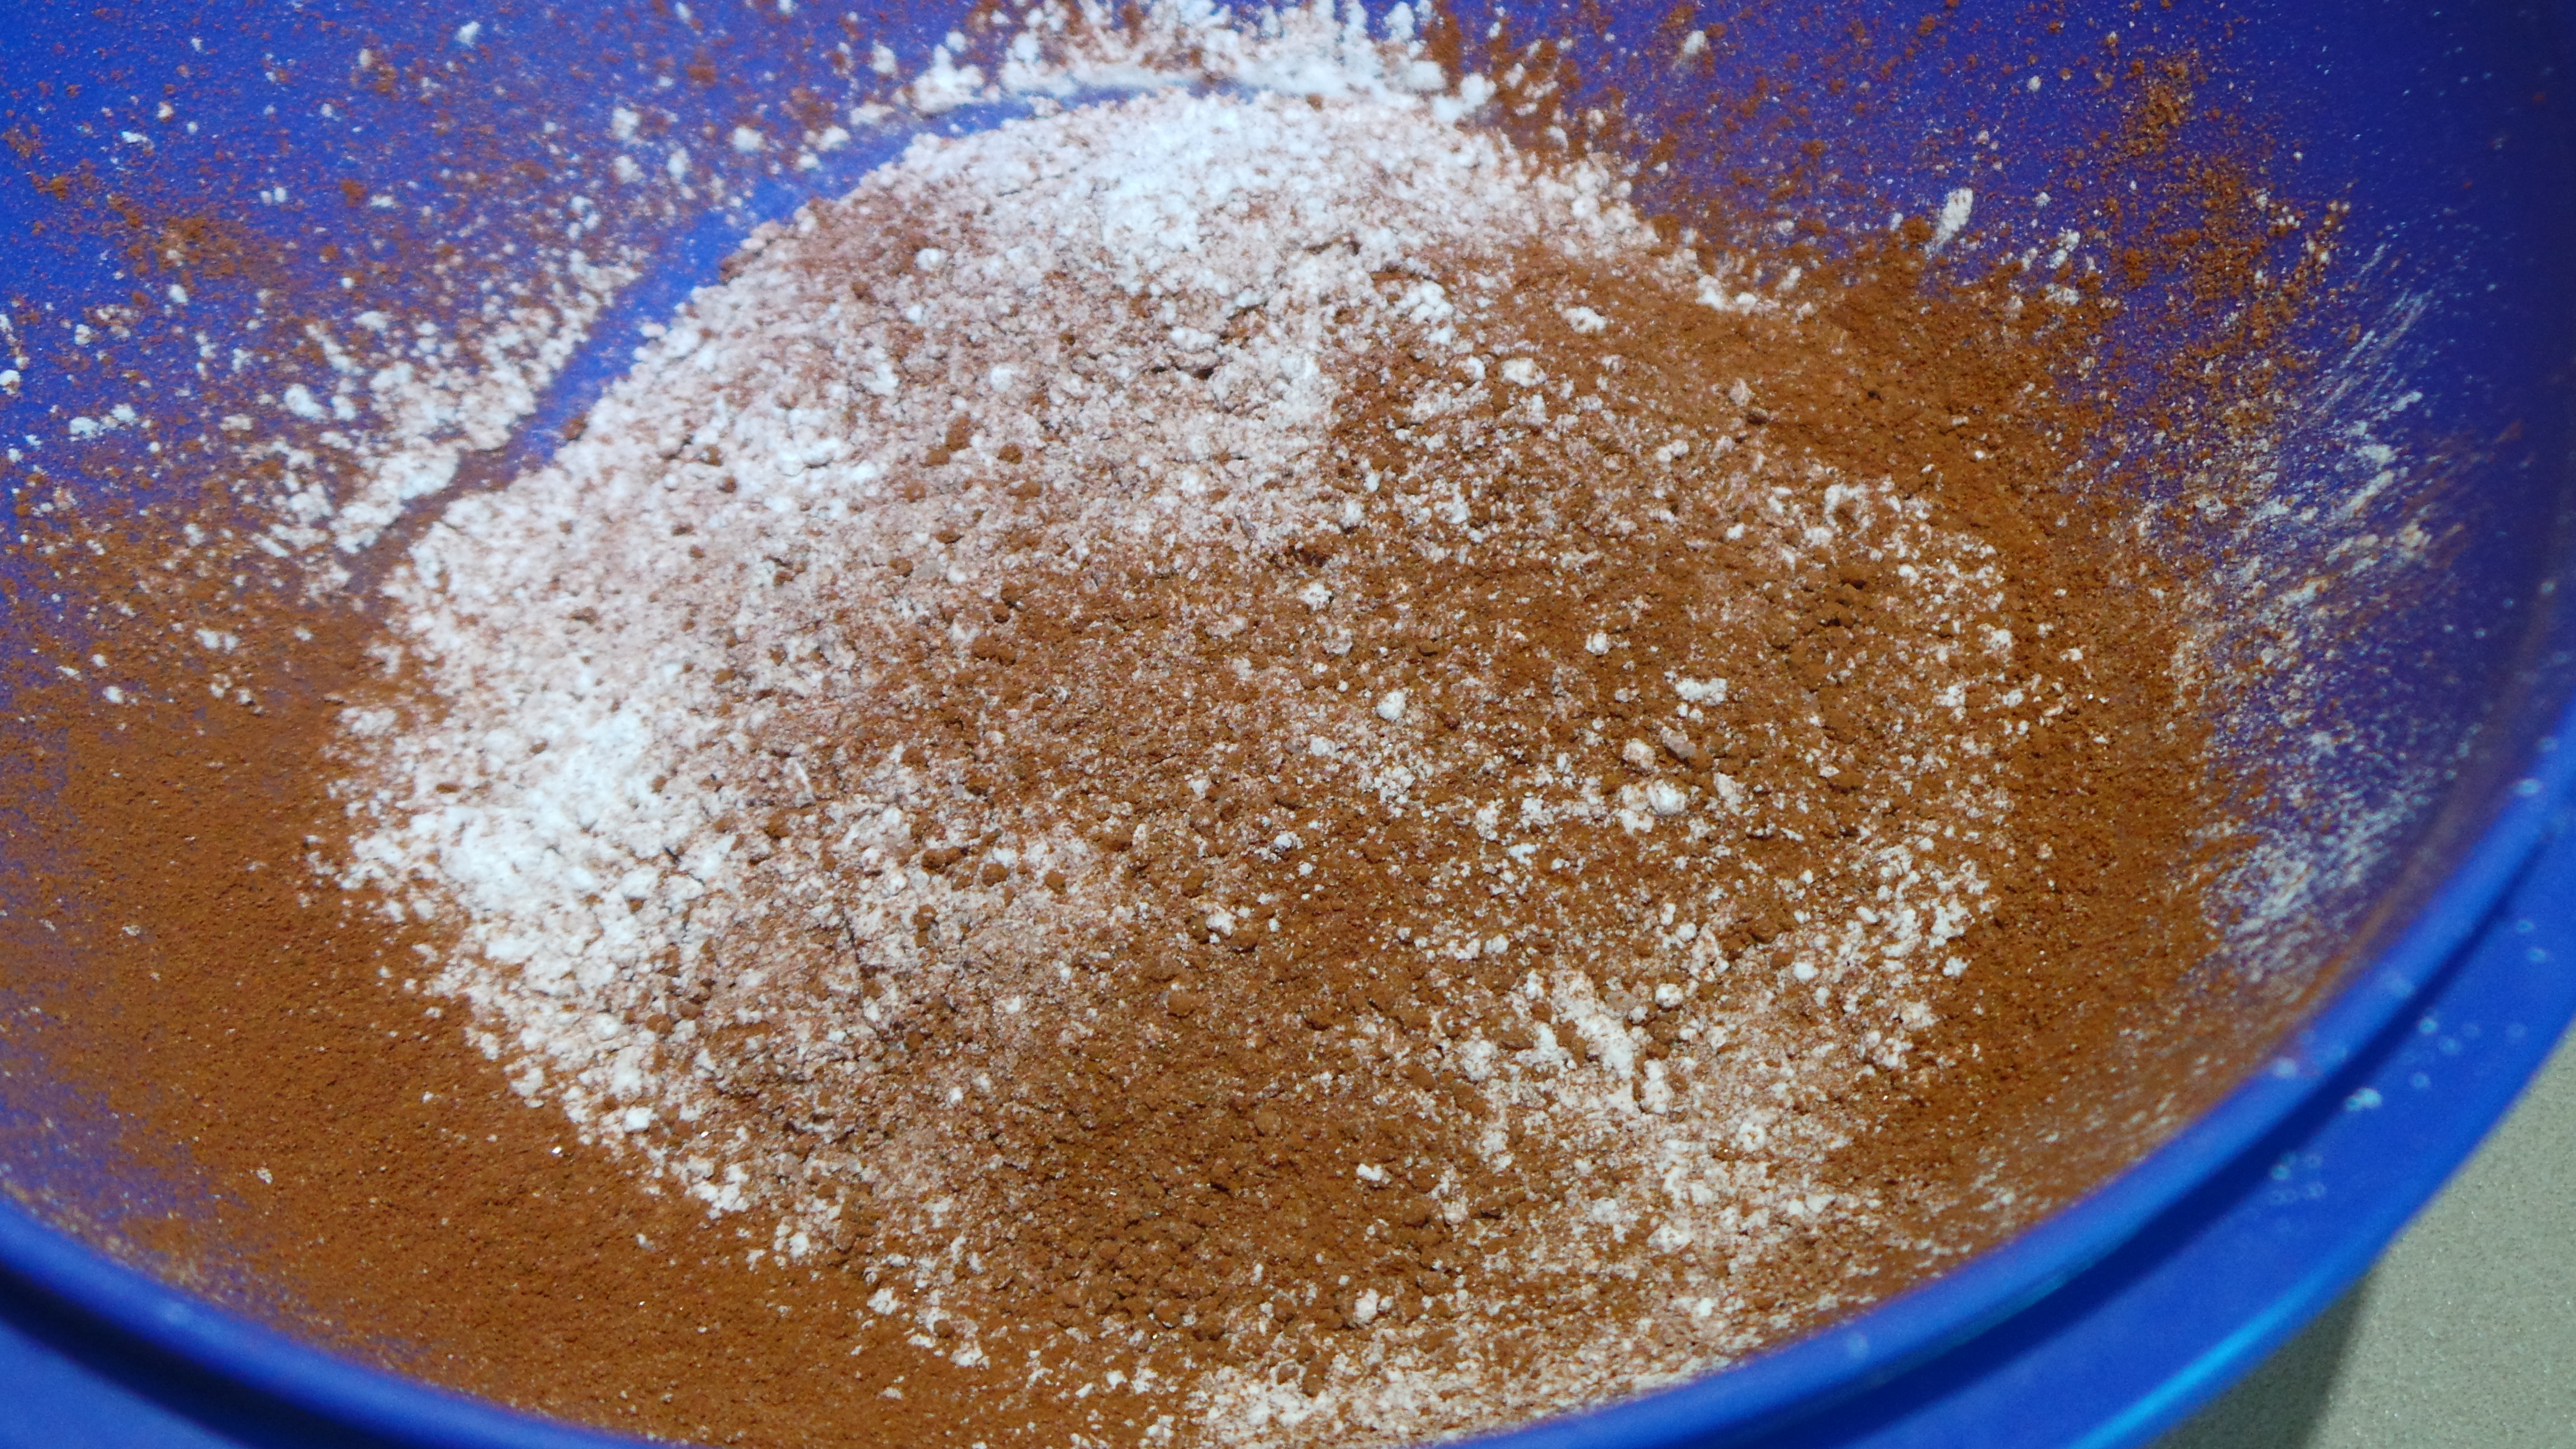
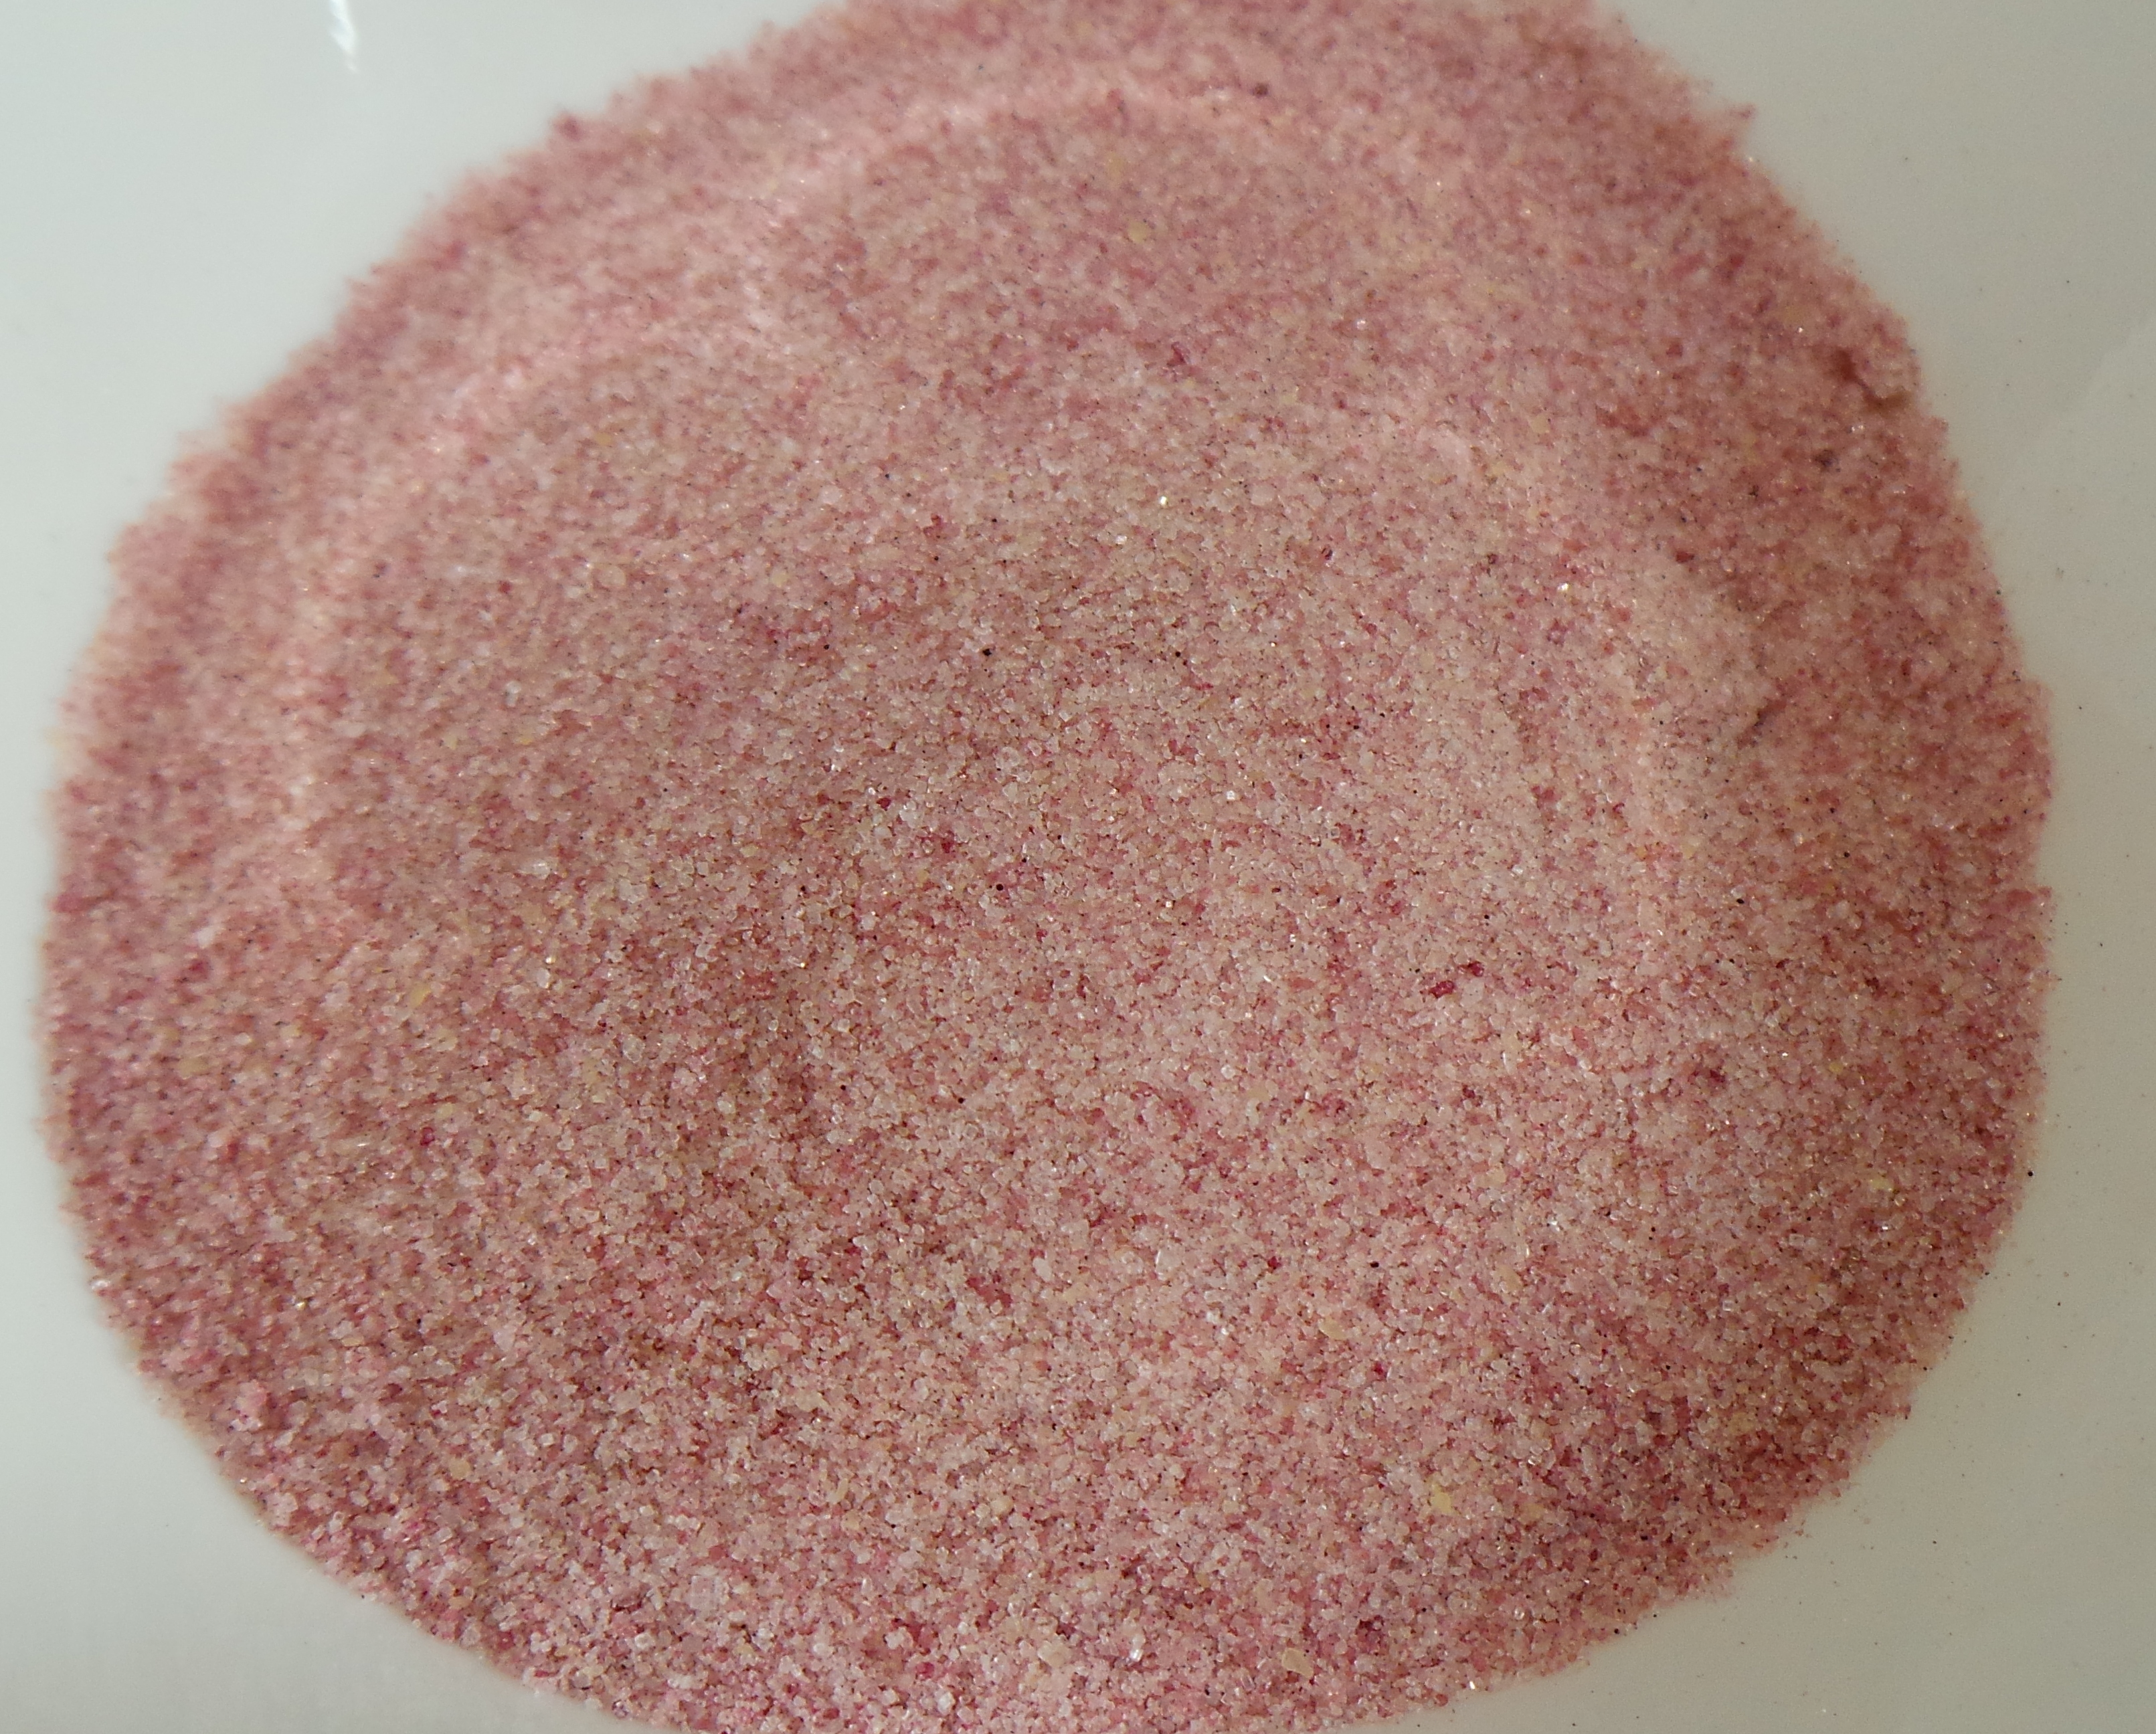
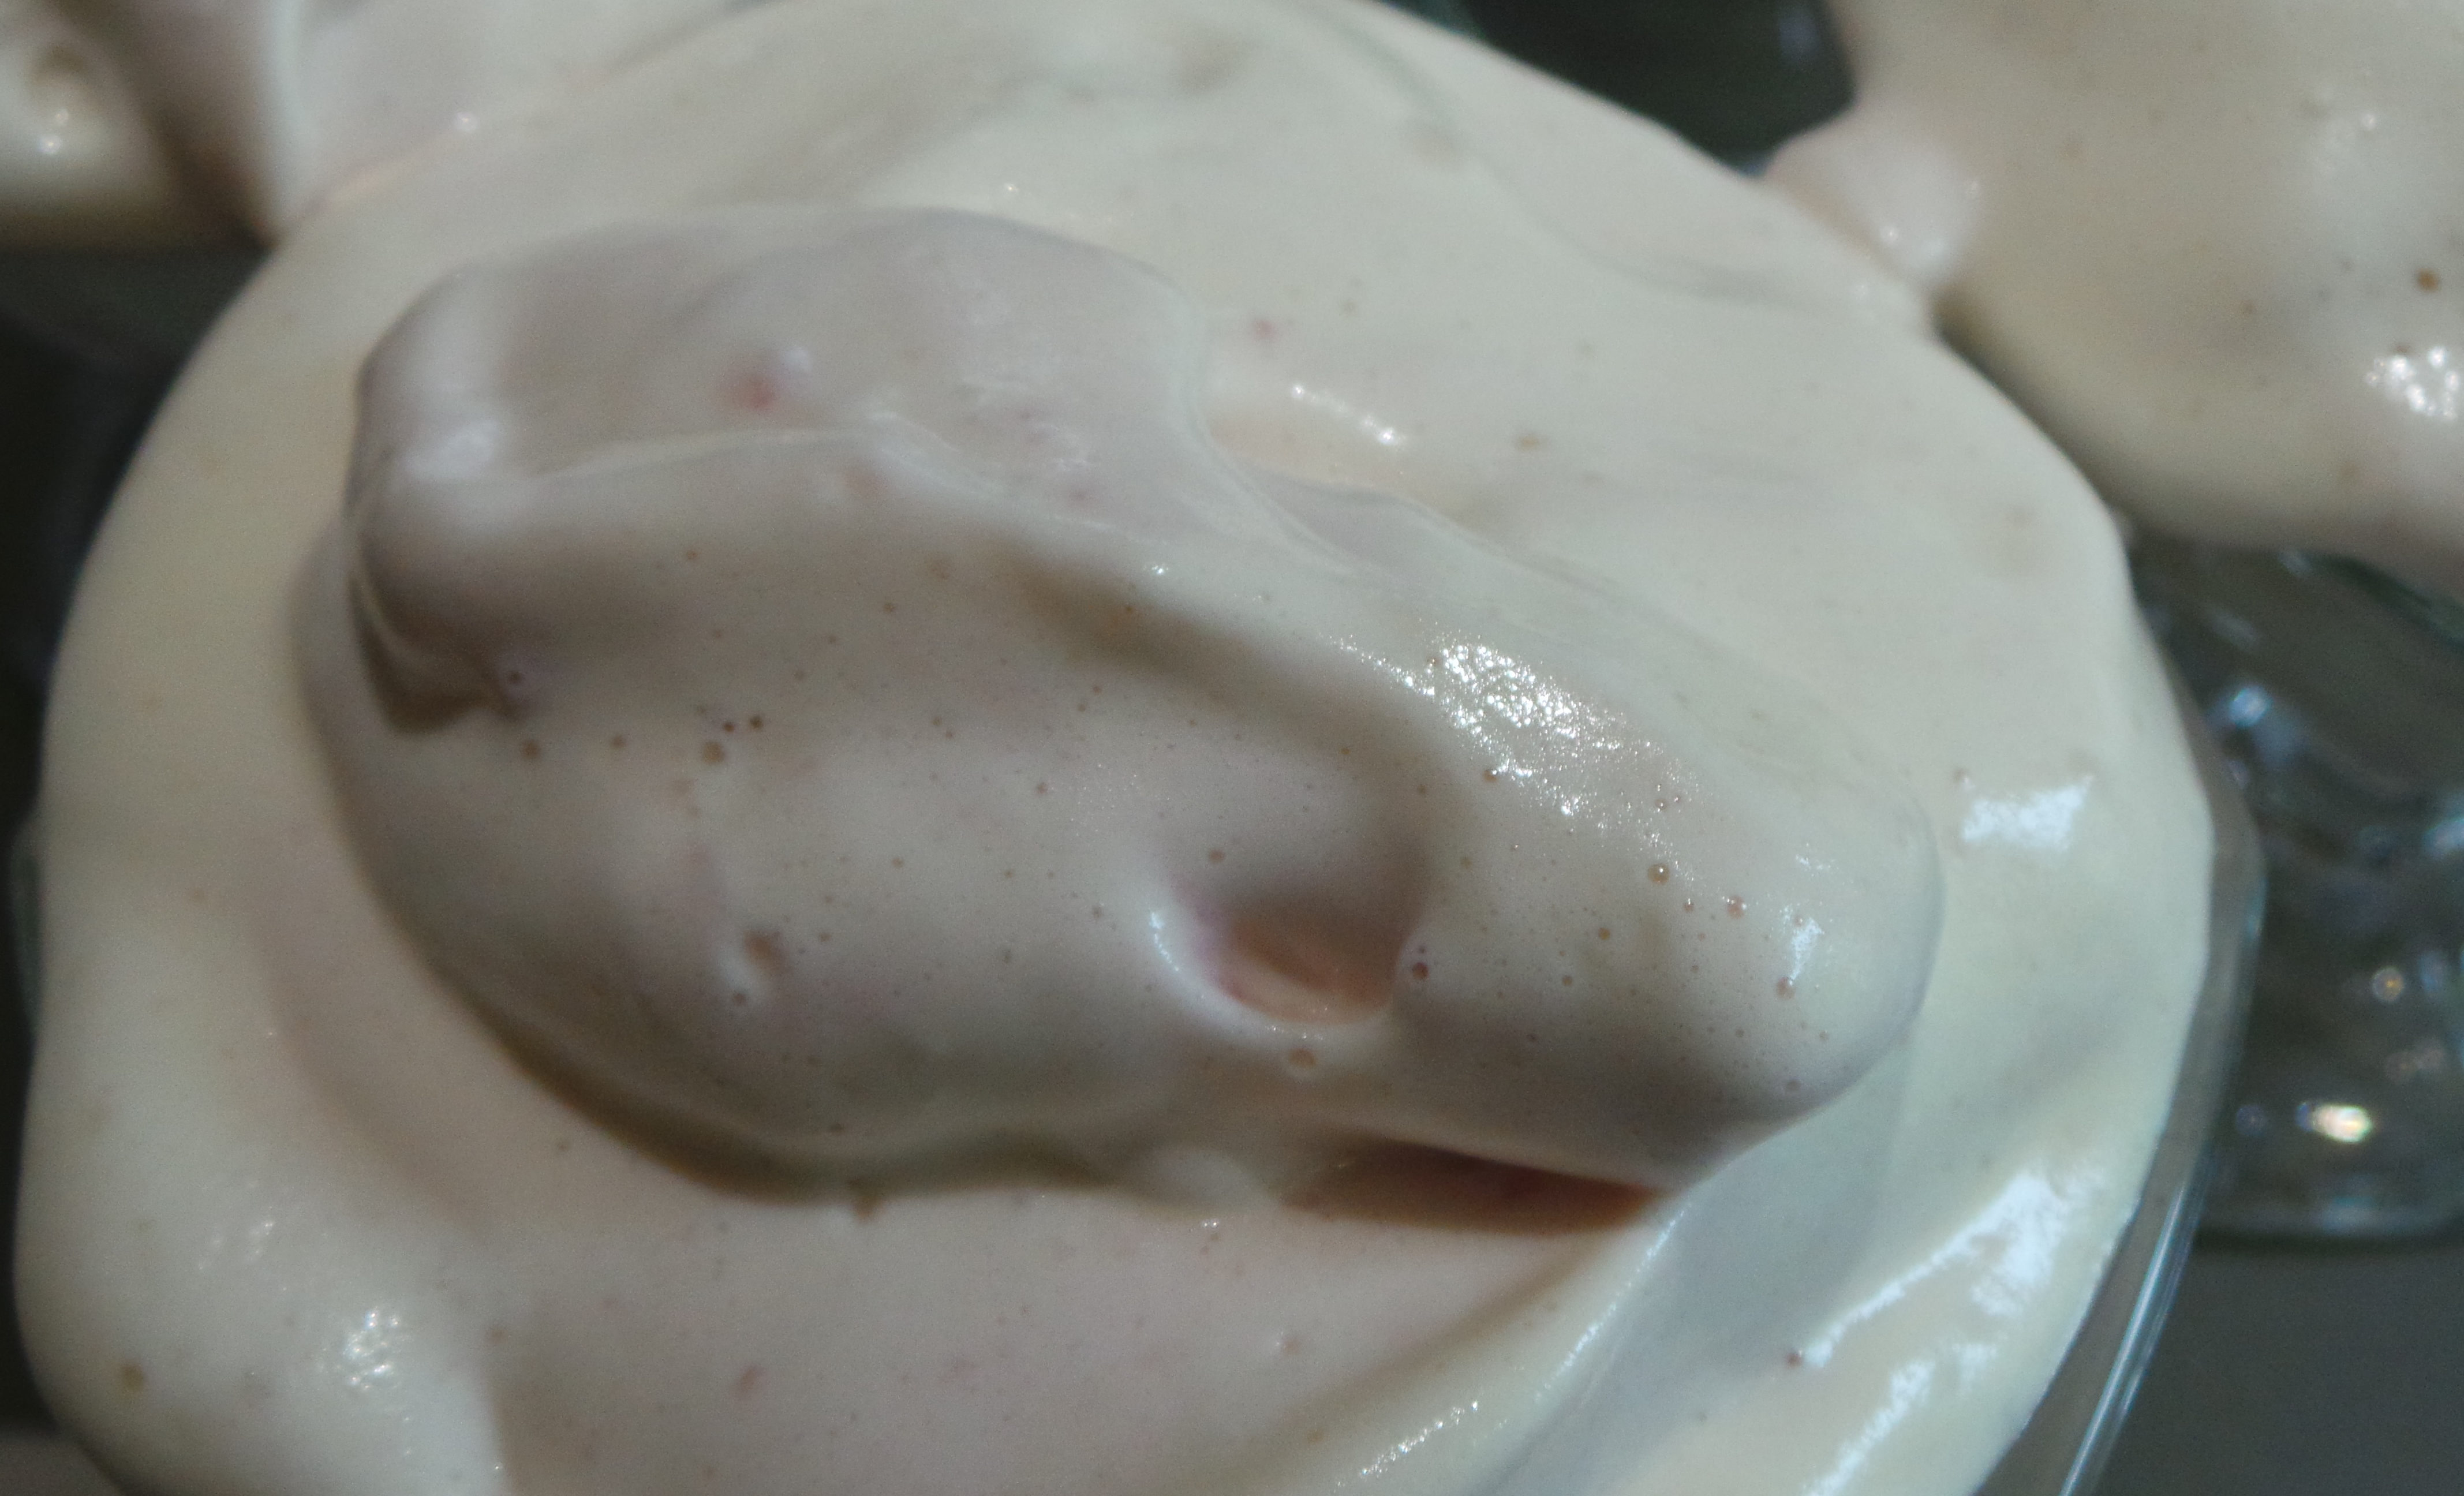
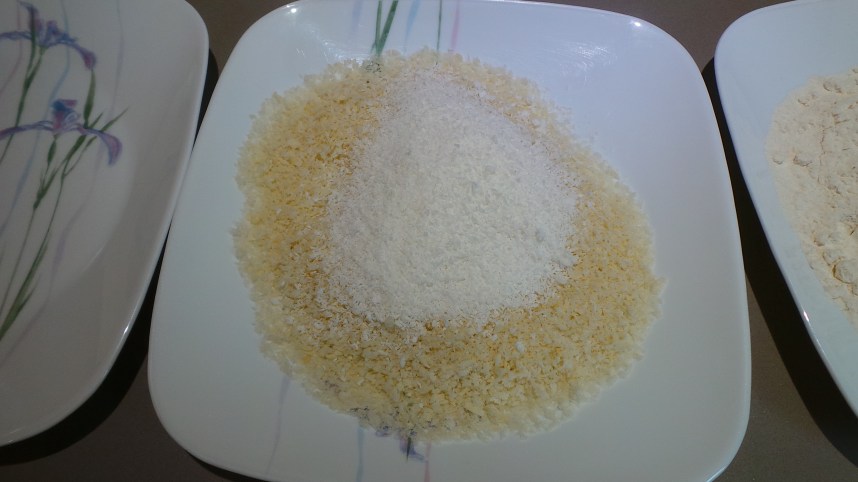
I used Panko crumbs for this, because I like the crunchy texture. You’ll find them in the Asian foods section of your supermarket if you live in Oz. However, you can use plain old breadcrumbs if that’s what you’ve got. These are mixed with a fair amount of coconut just to change things up a bit.

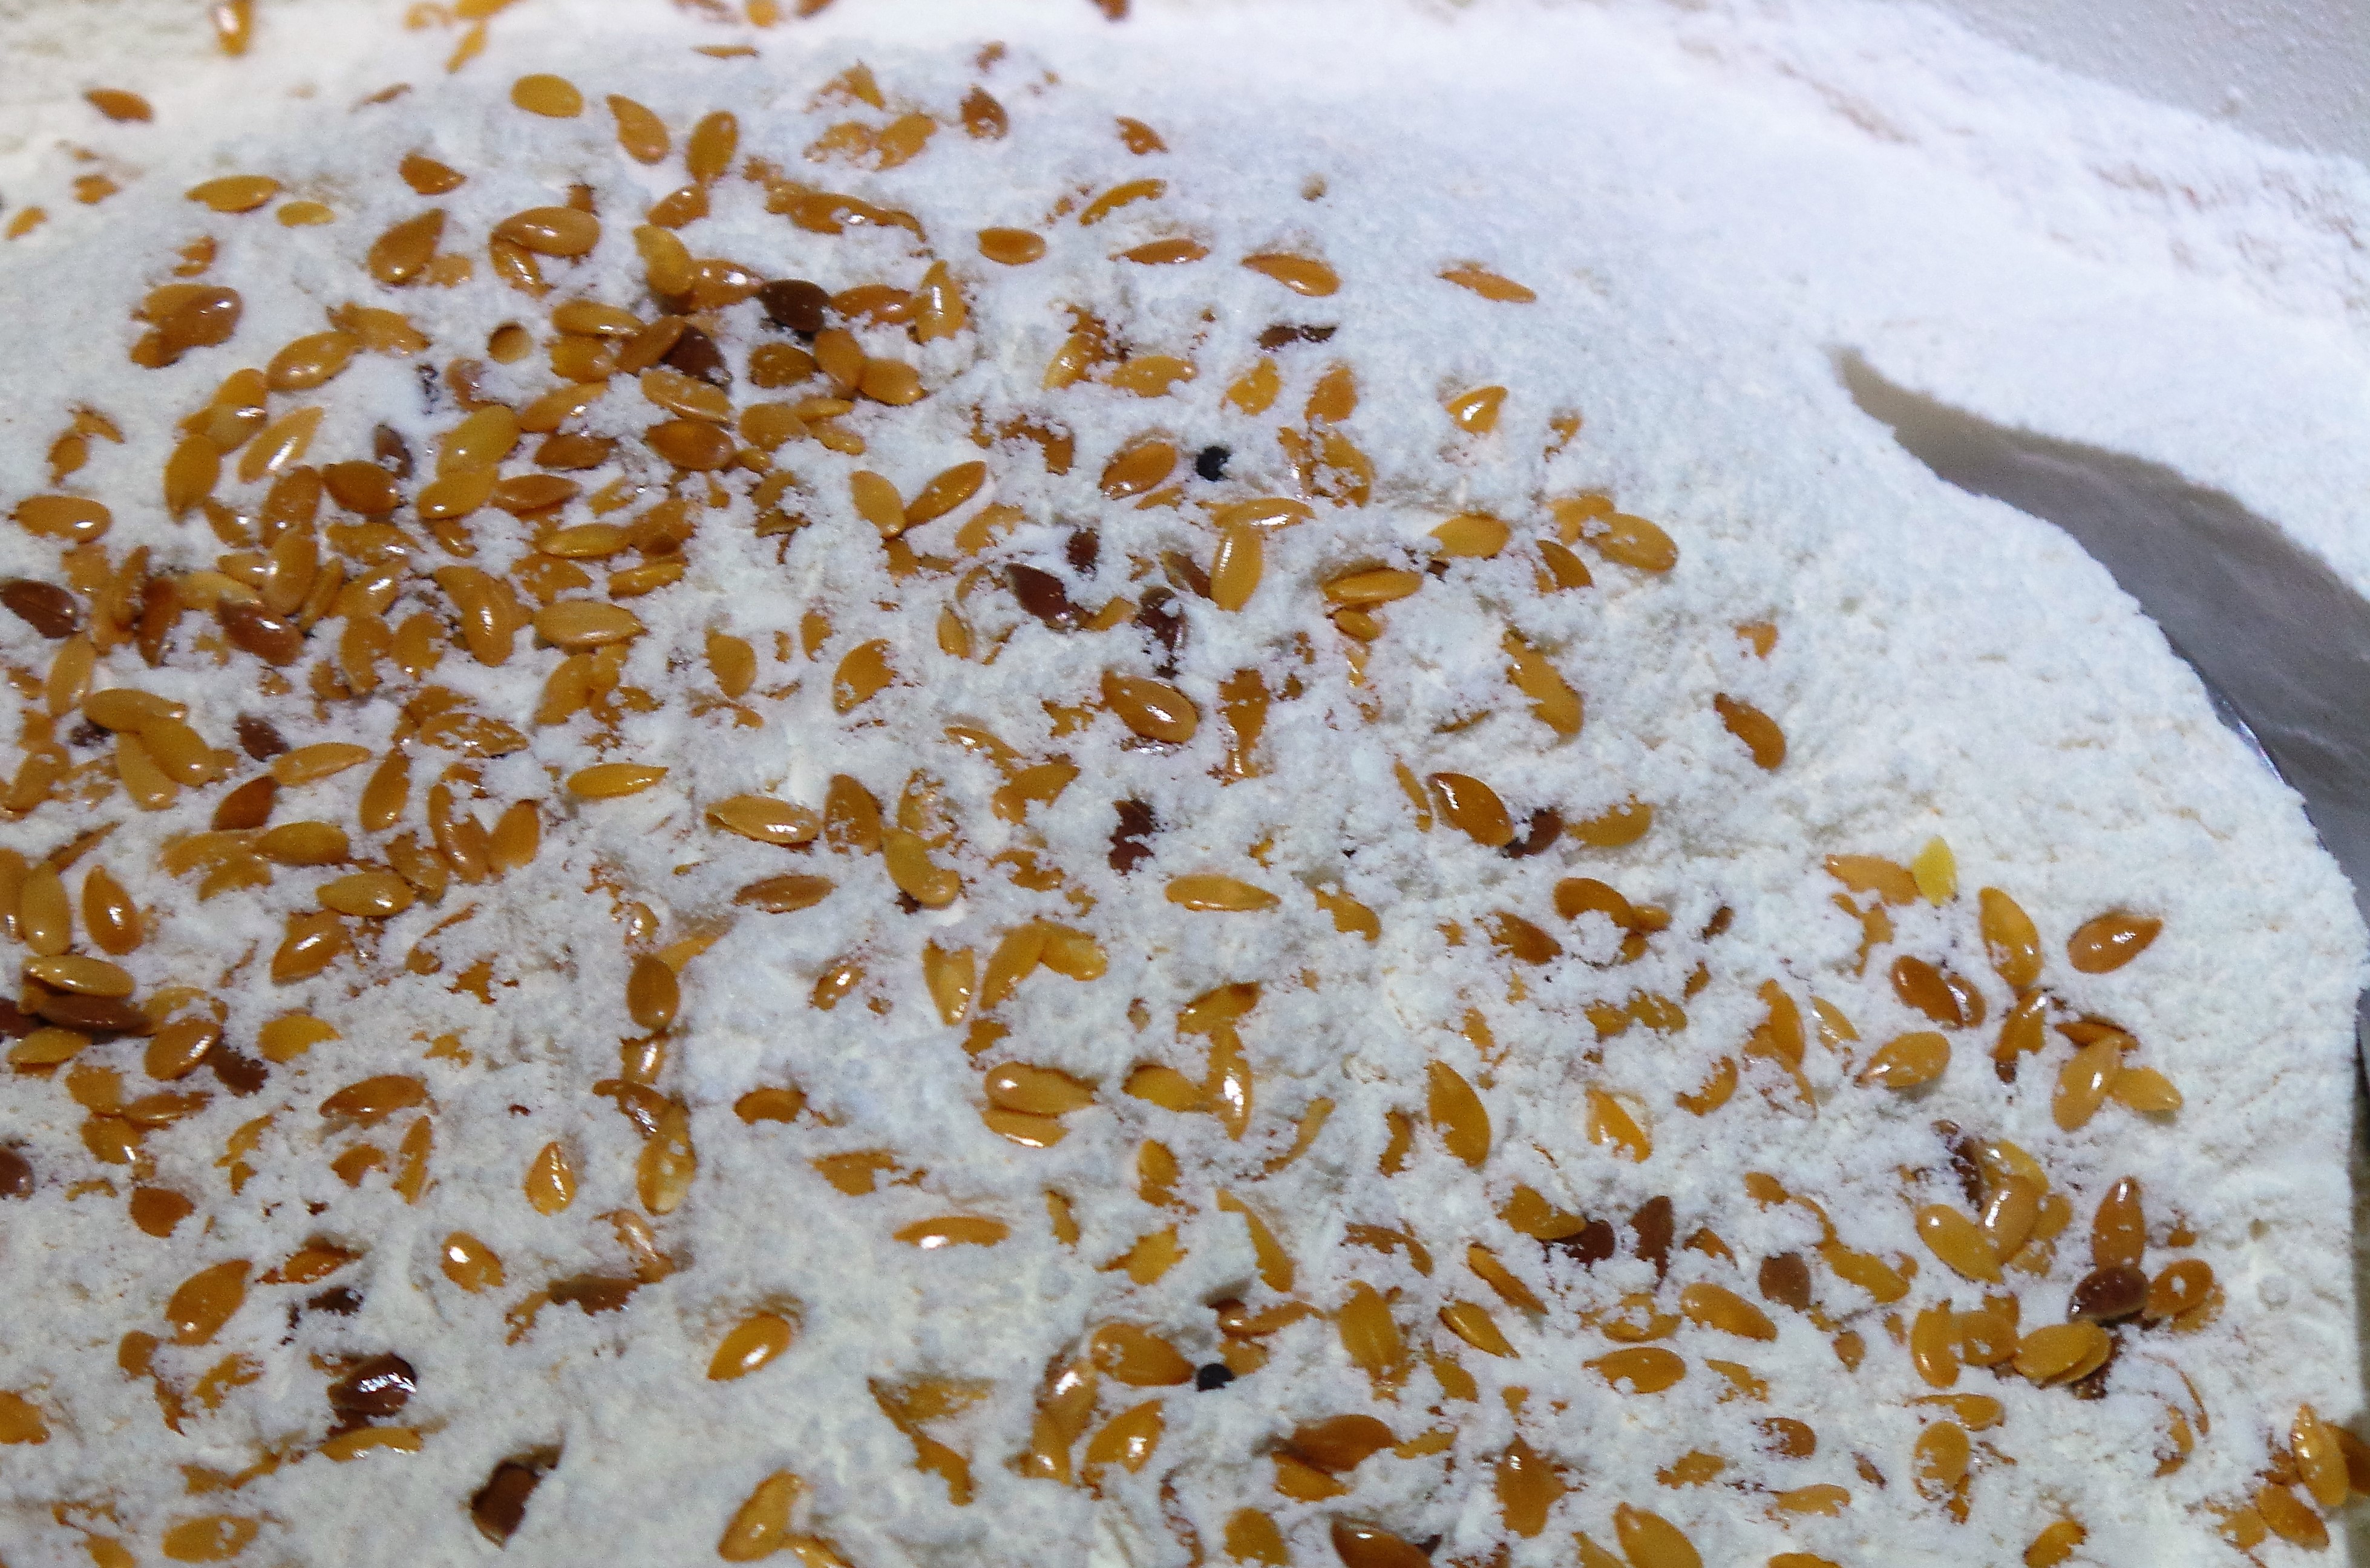
I’ve also been known to add a touch of lime or lemon zest as well to give a bit of zing. If you like heat, a small red chilli sliced finely and mixed through the crumbs would add a touch of colour and spice.

So, grab a bit of chicken and dredge (cover) with the plain flour.

20150616_150250.JPG

I added the salt and pepper to the flour, because lazy.

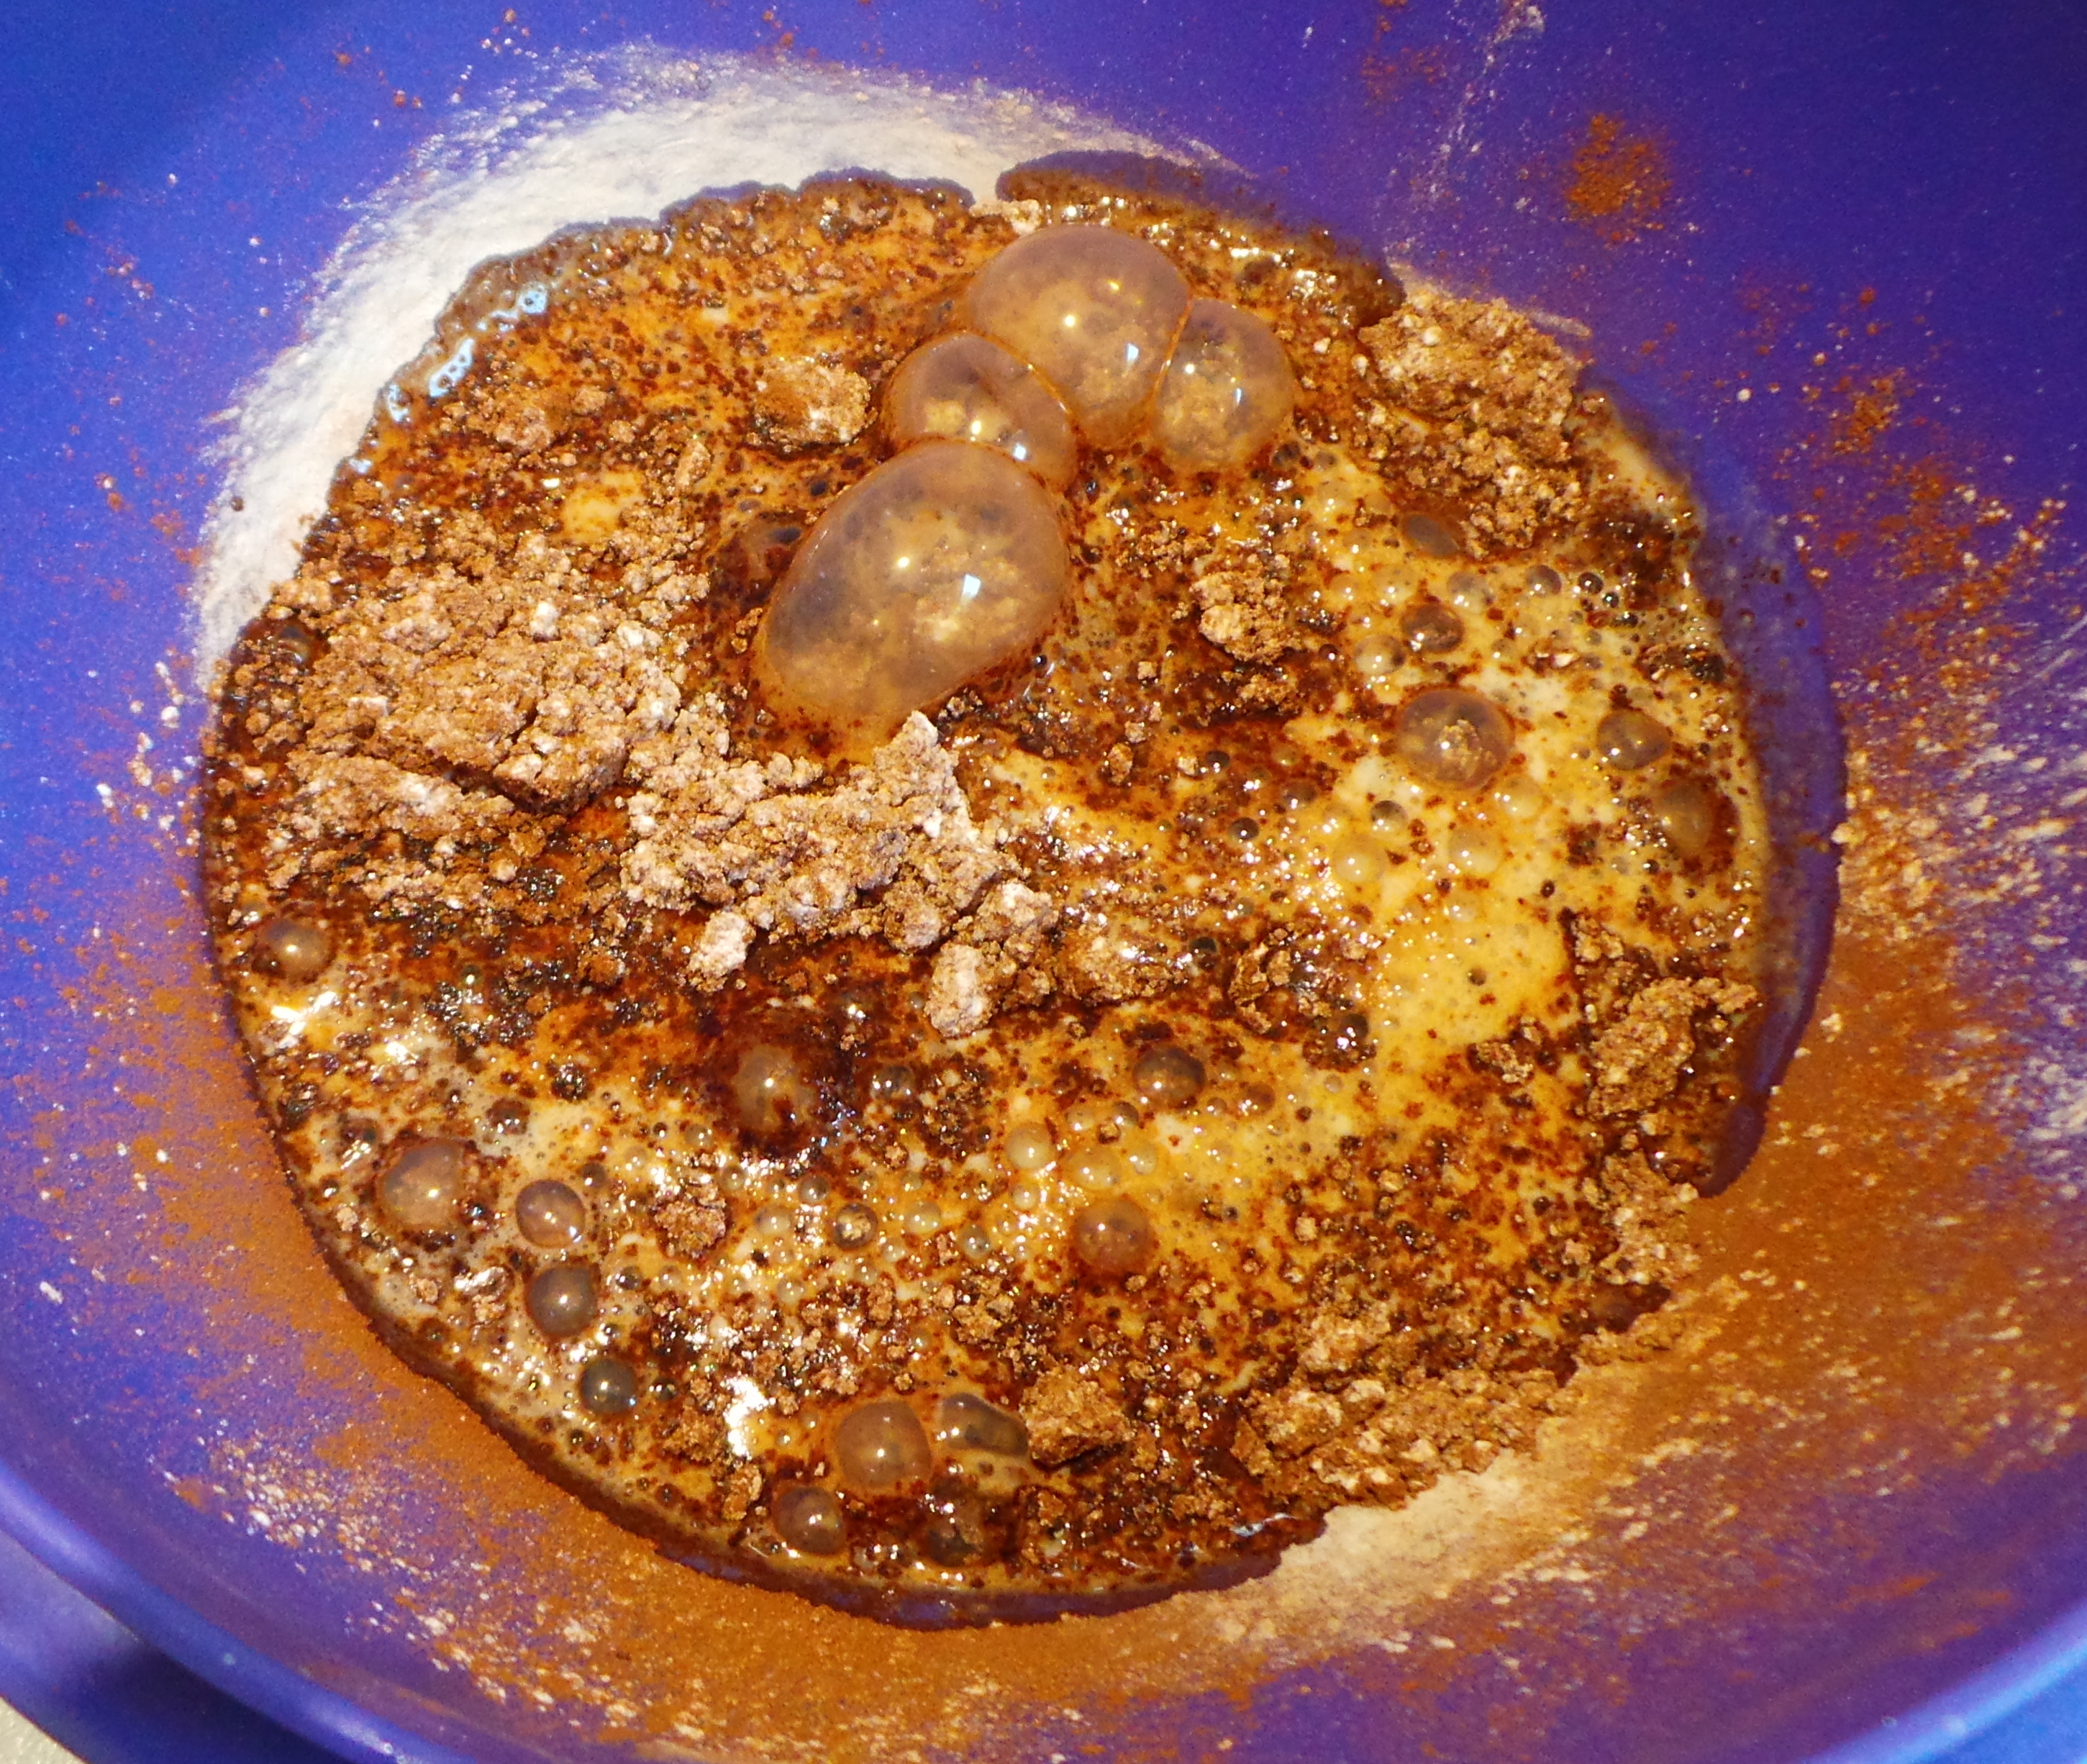
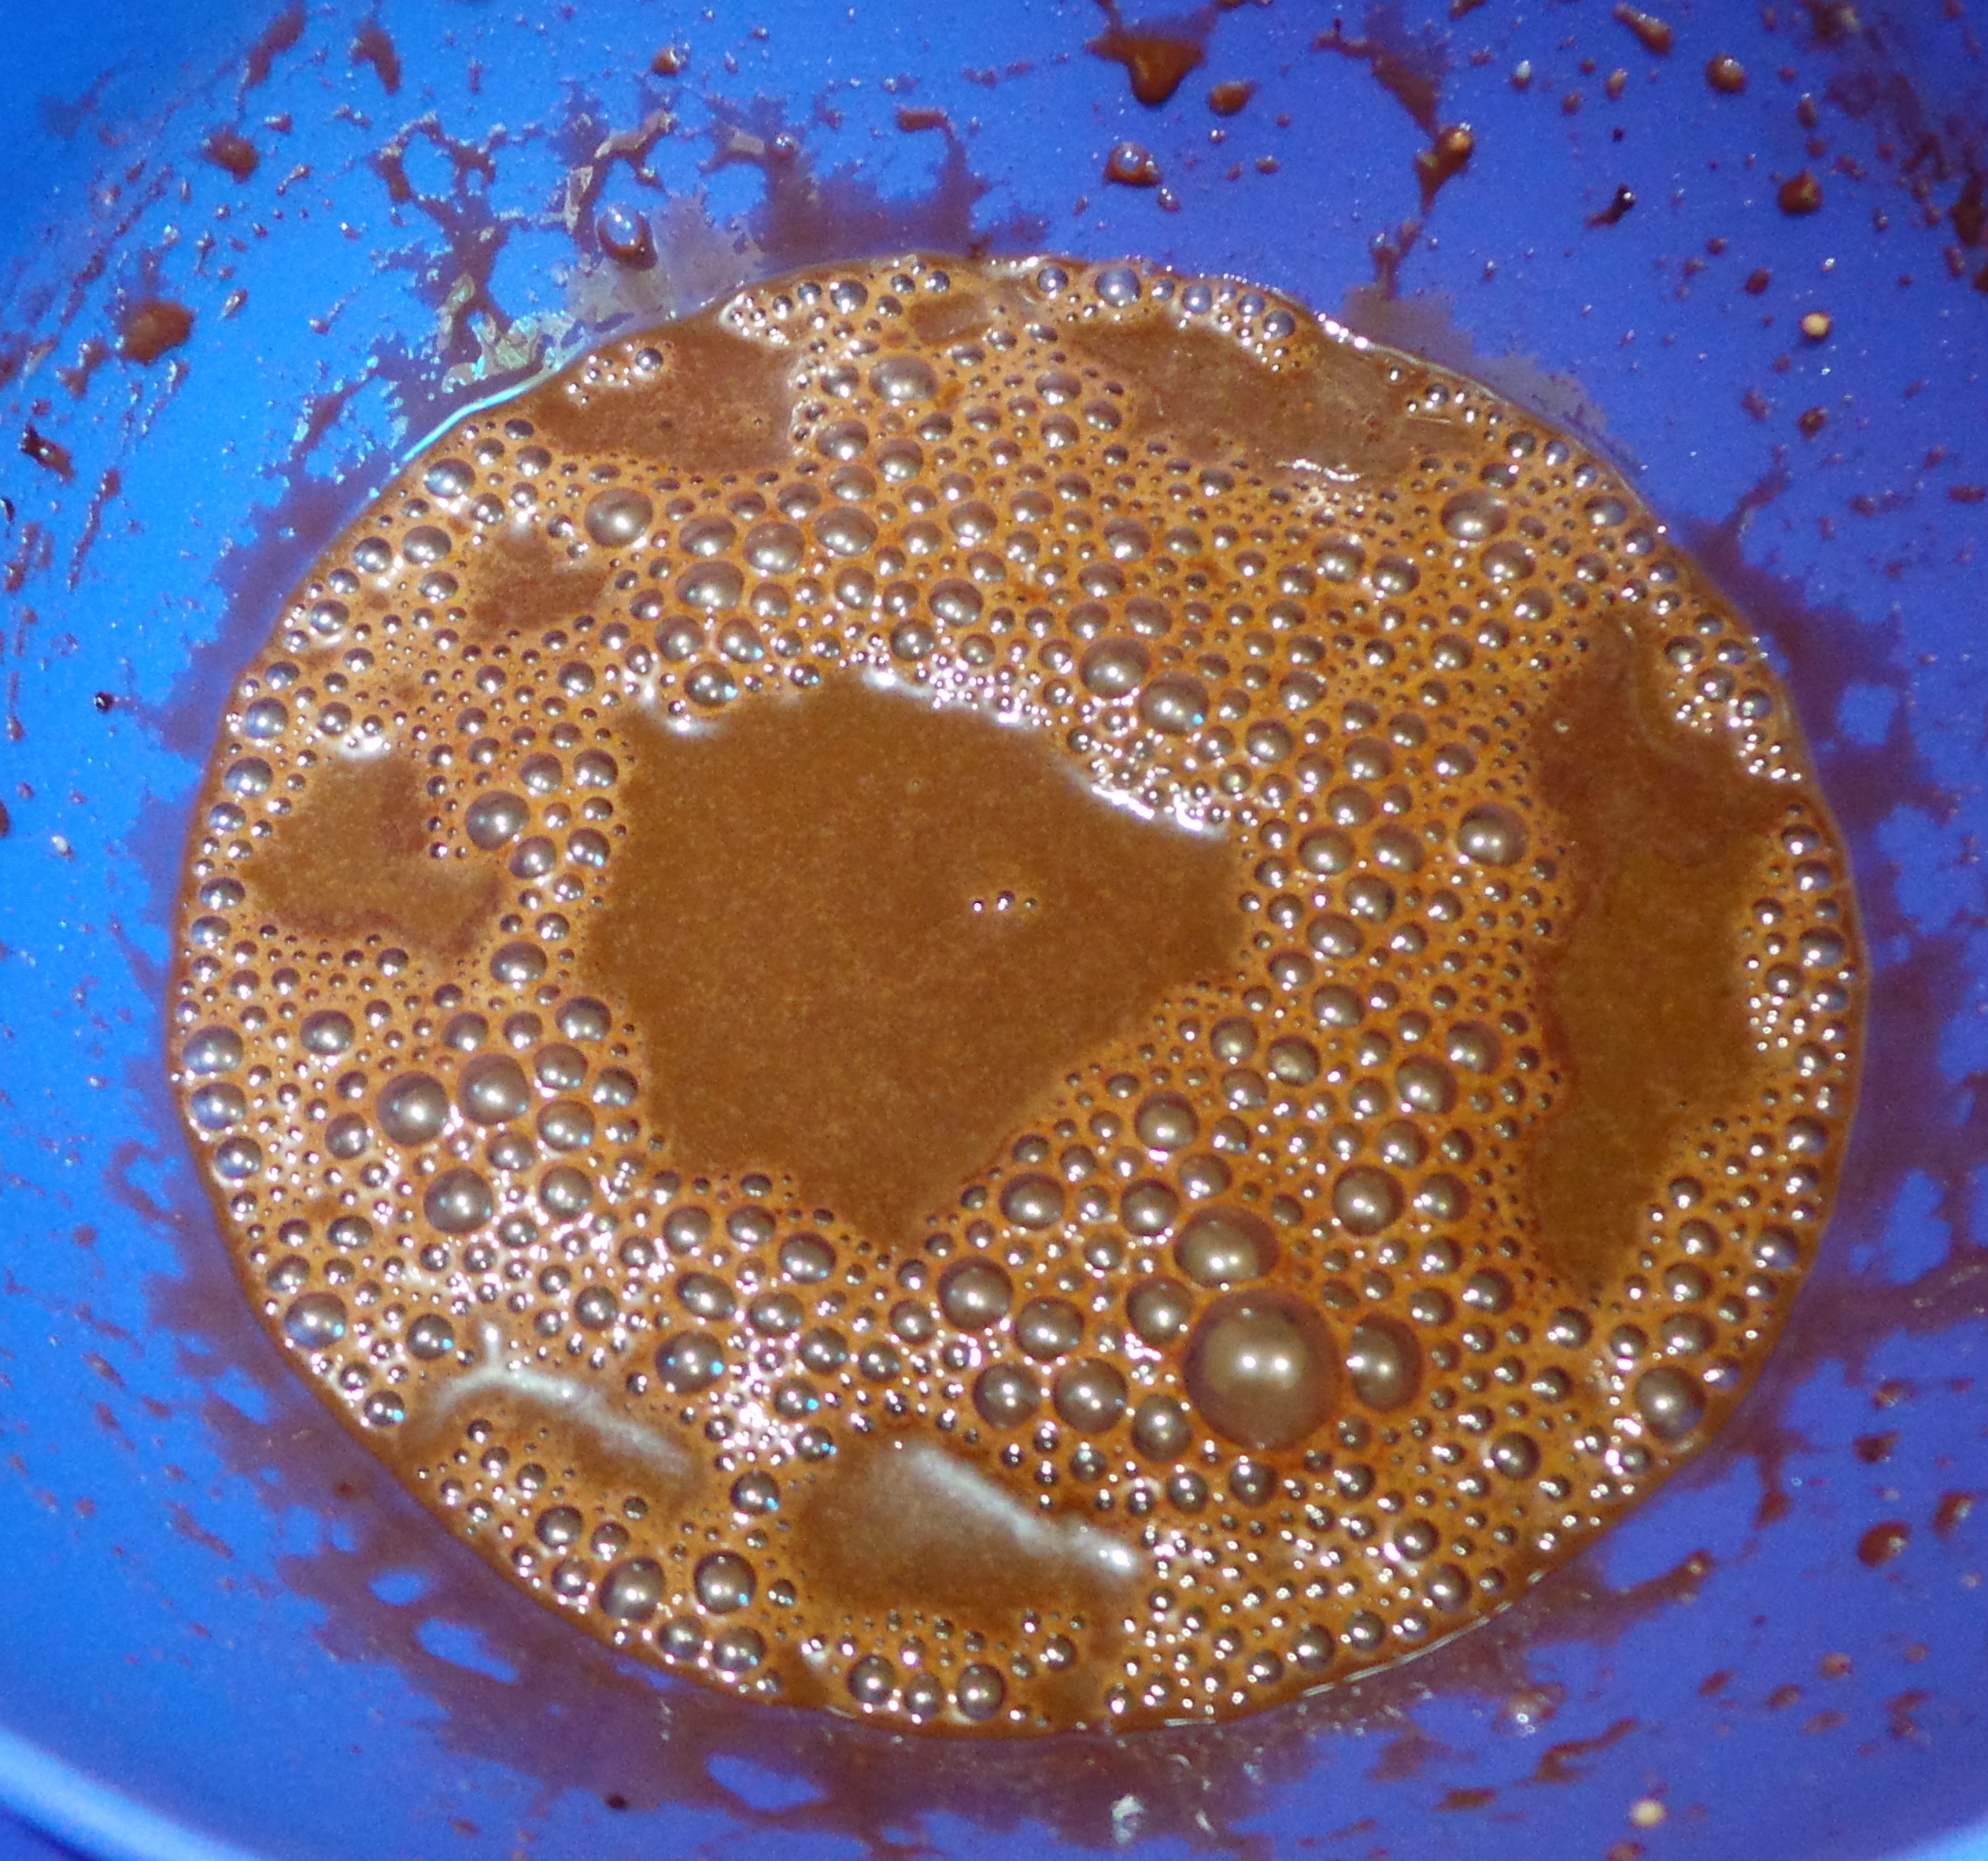
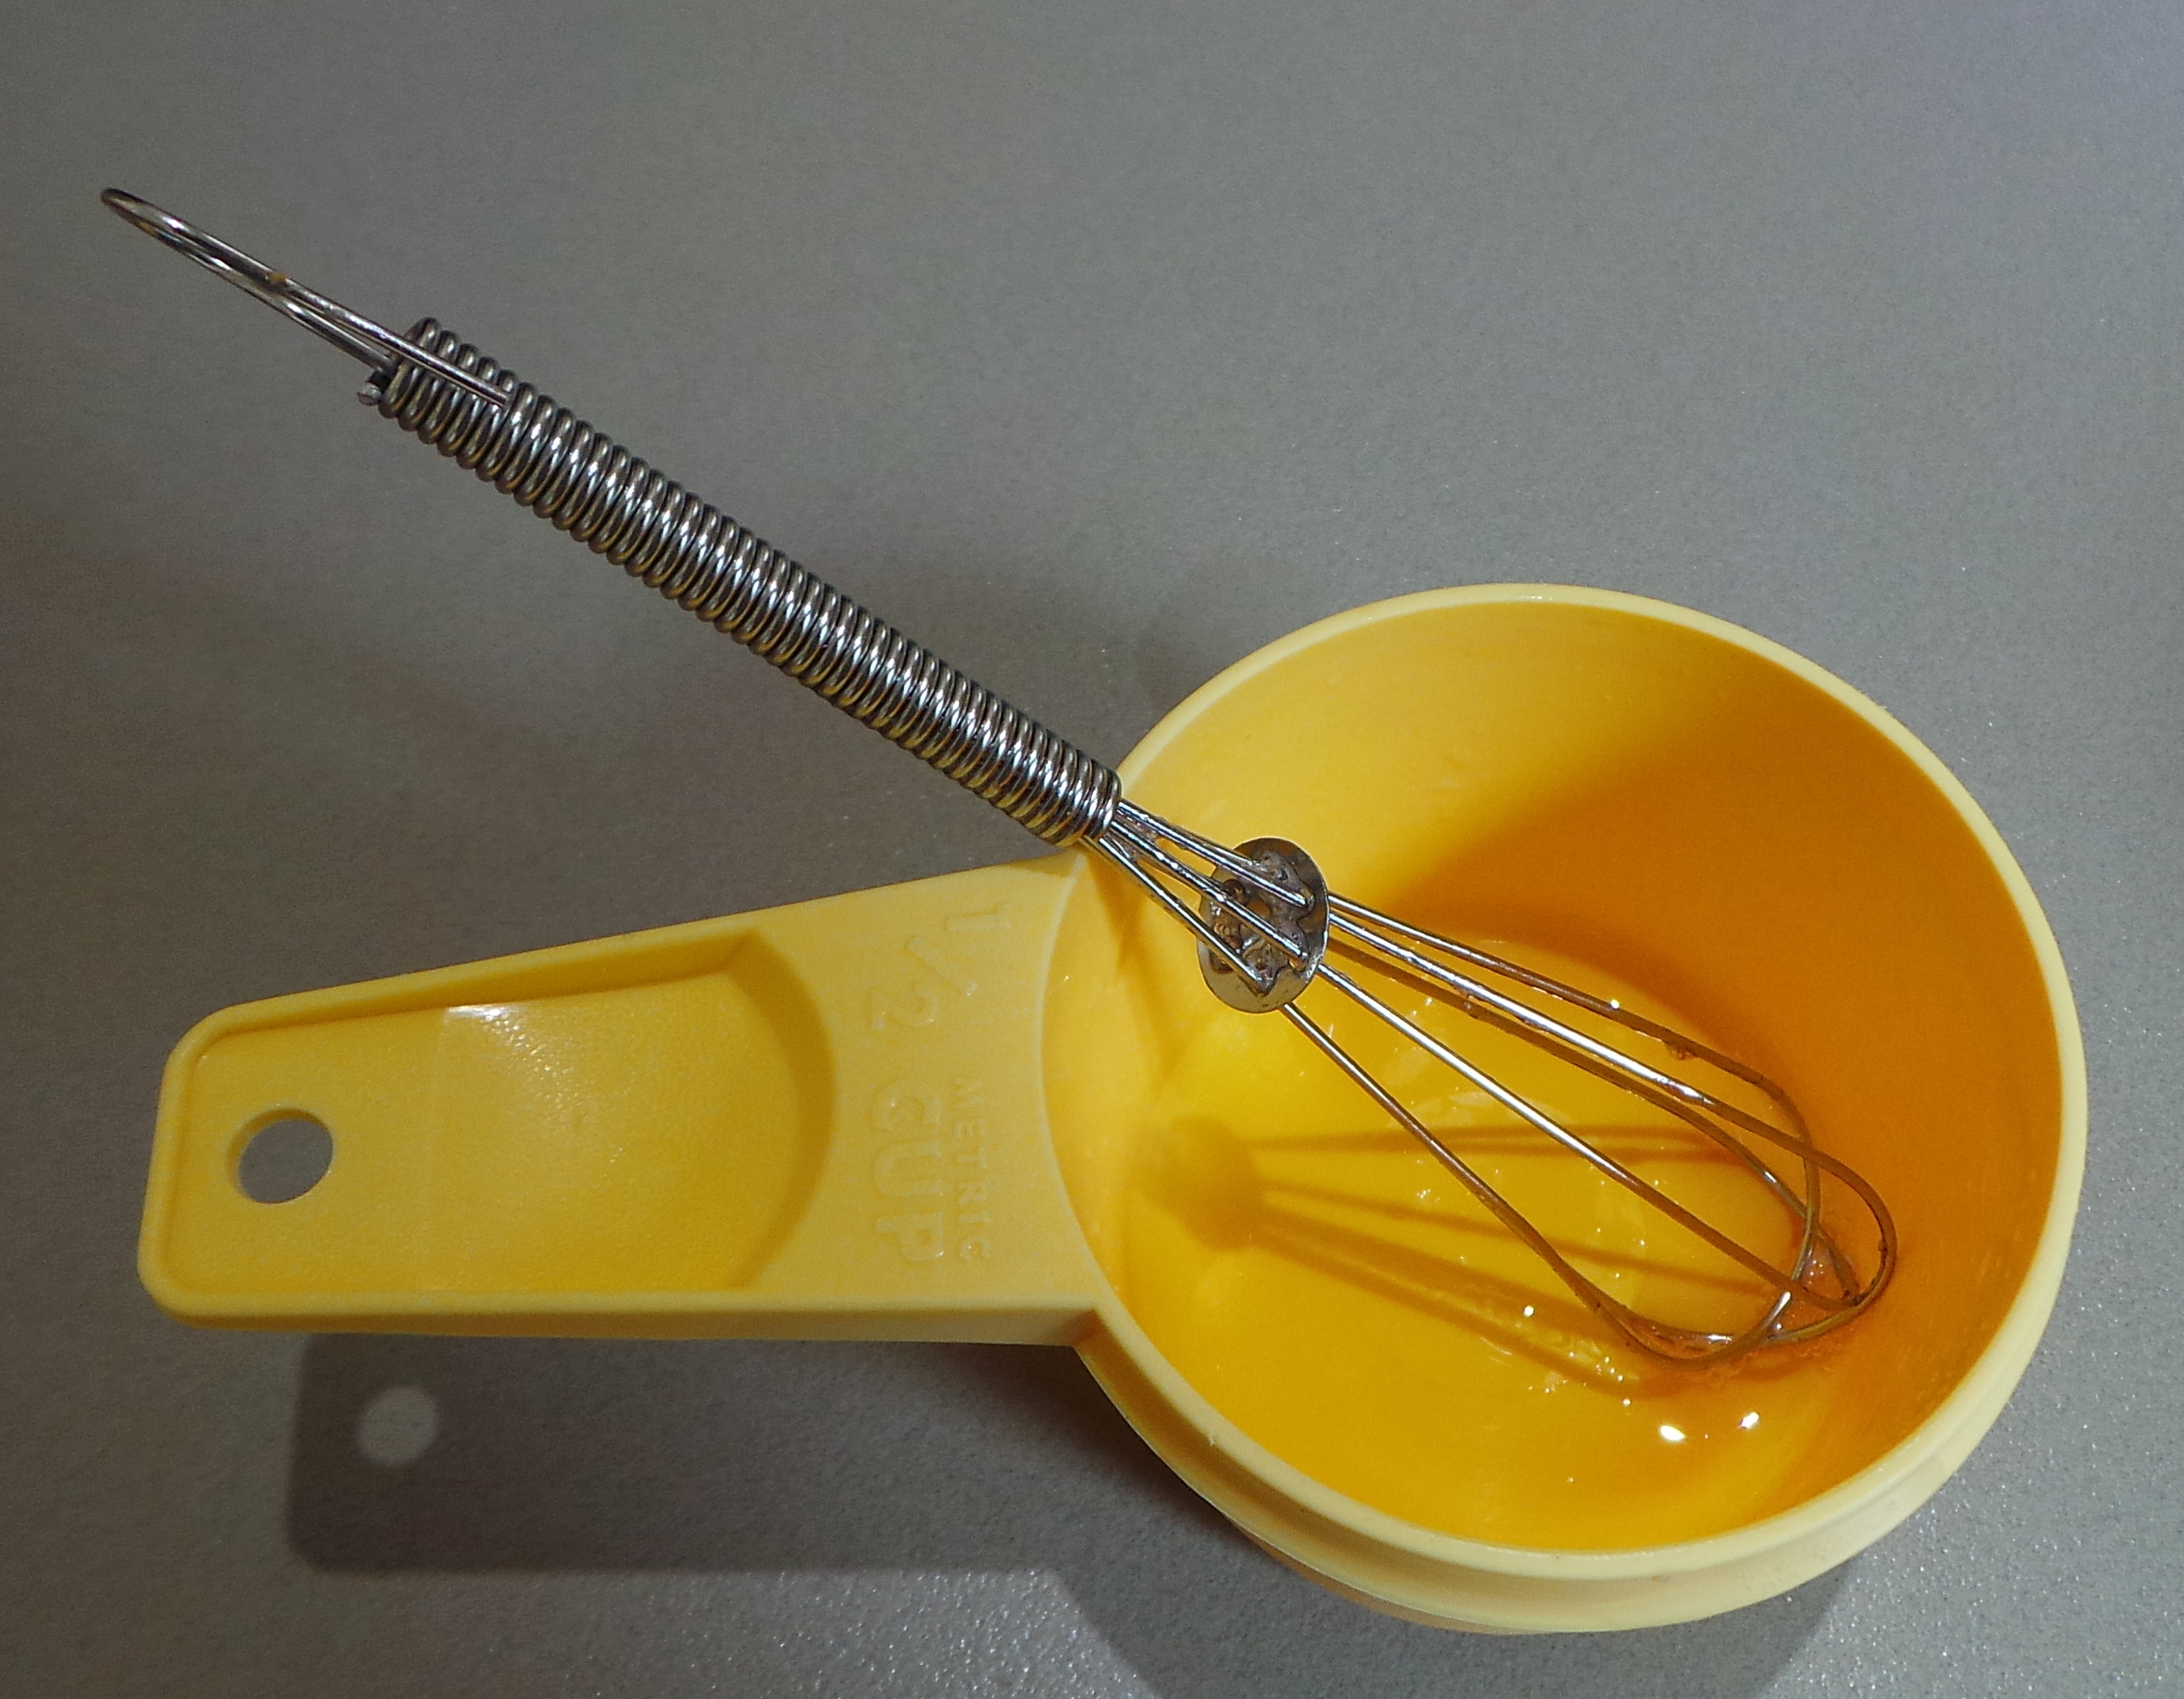
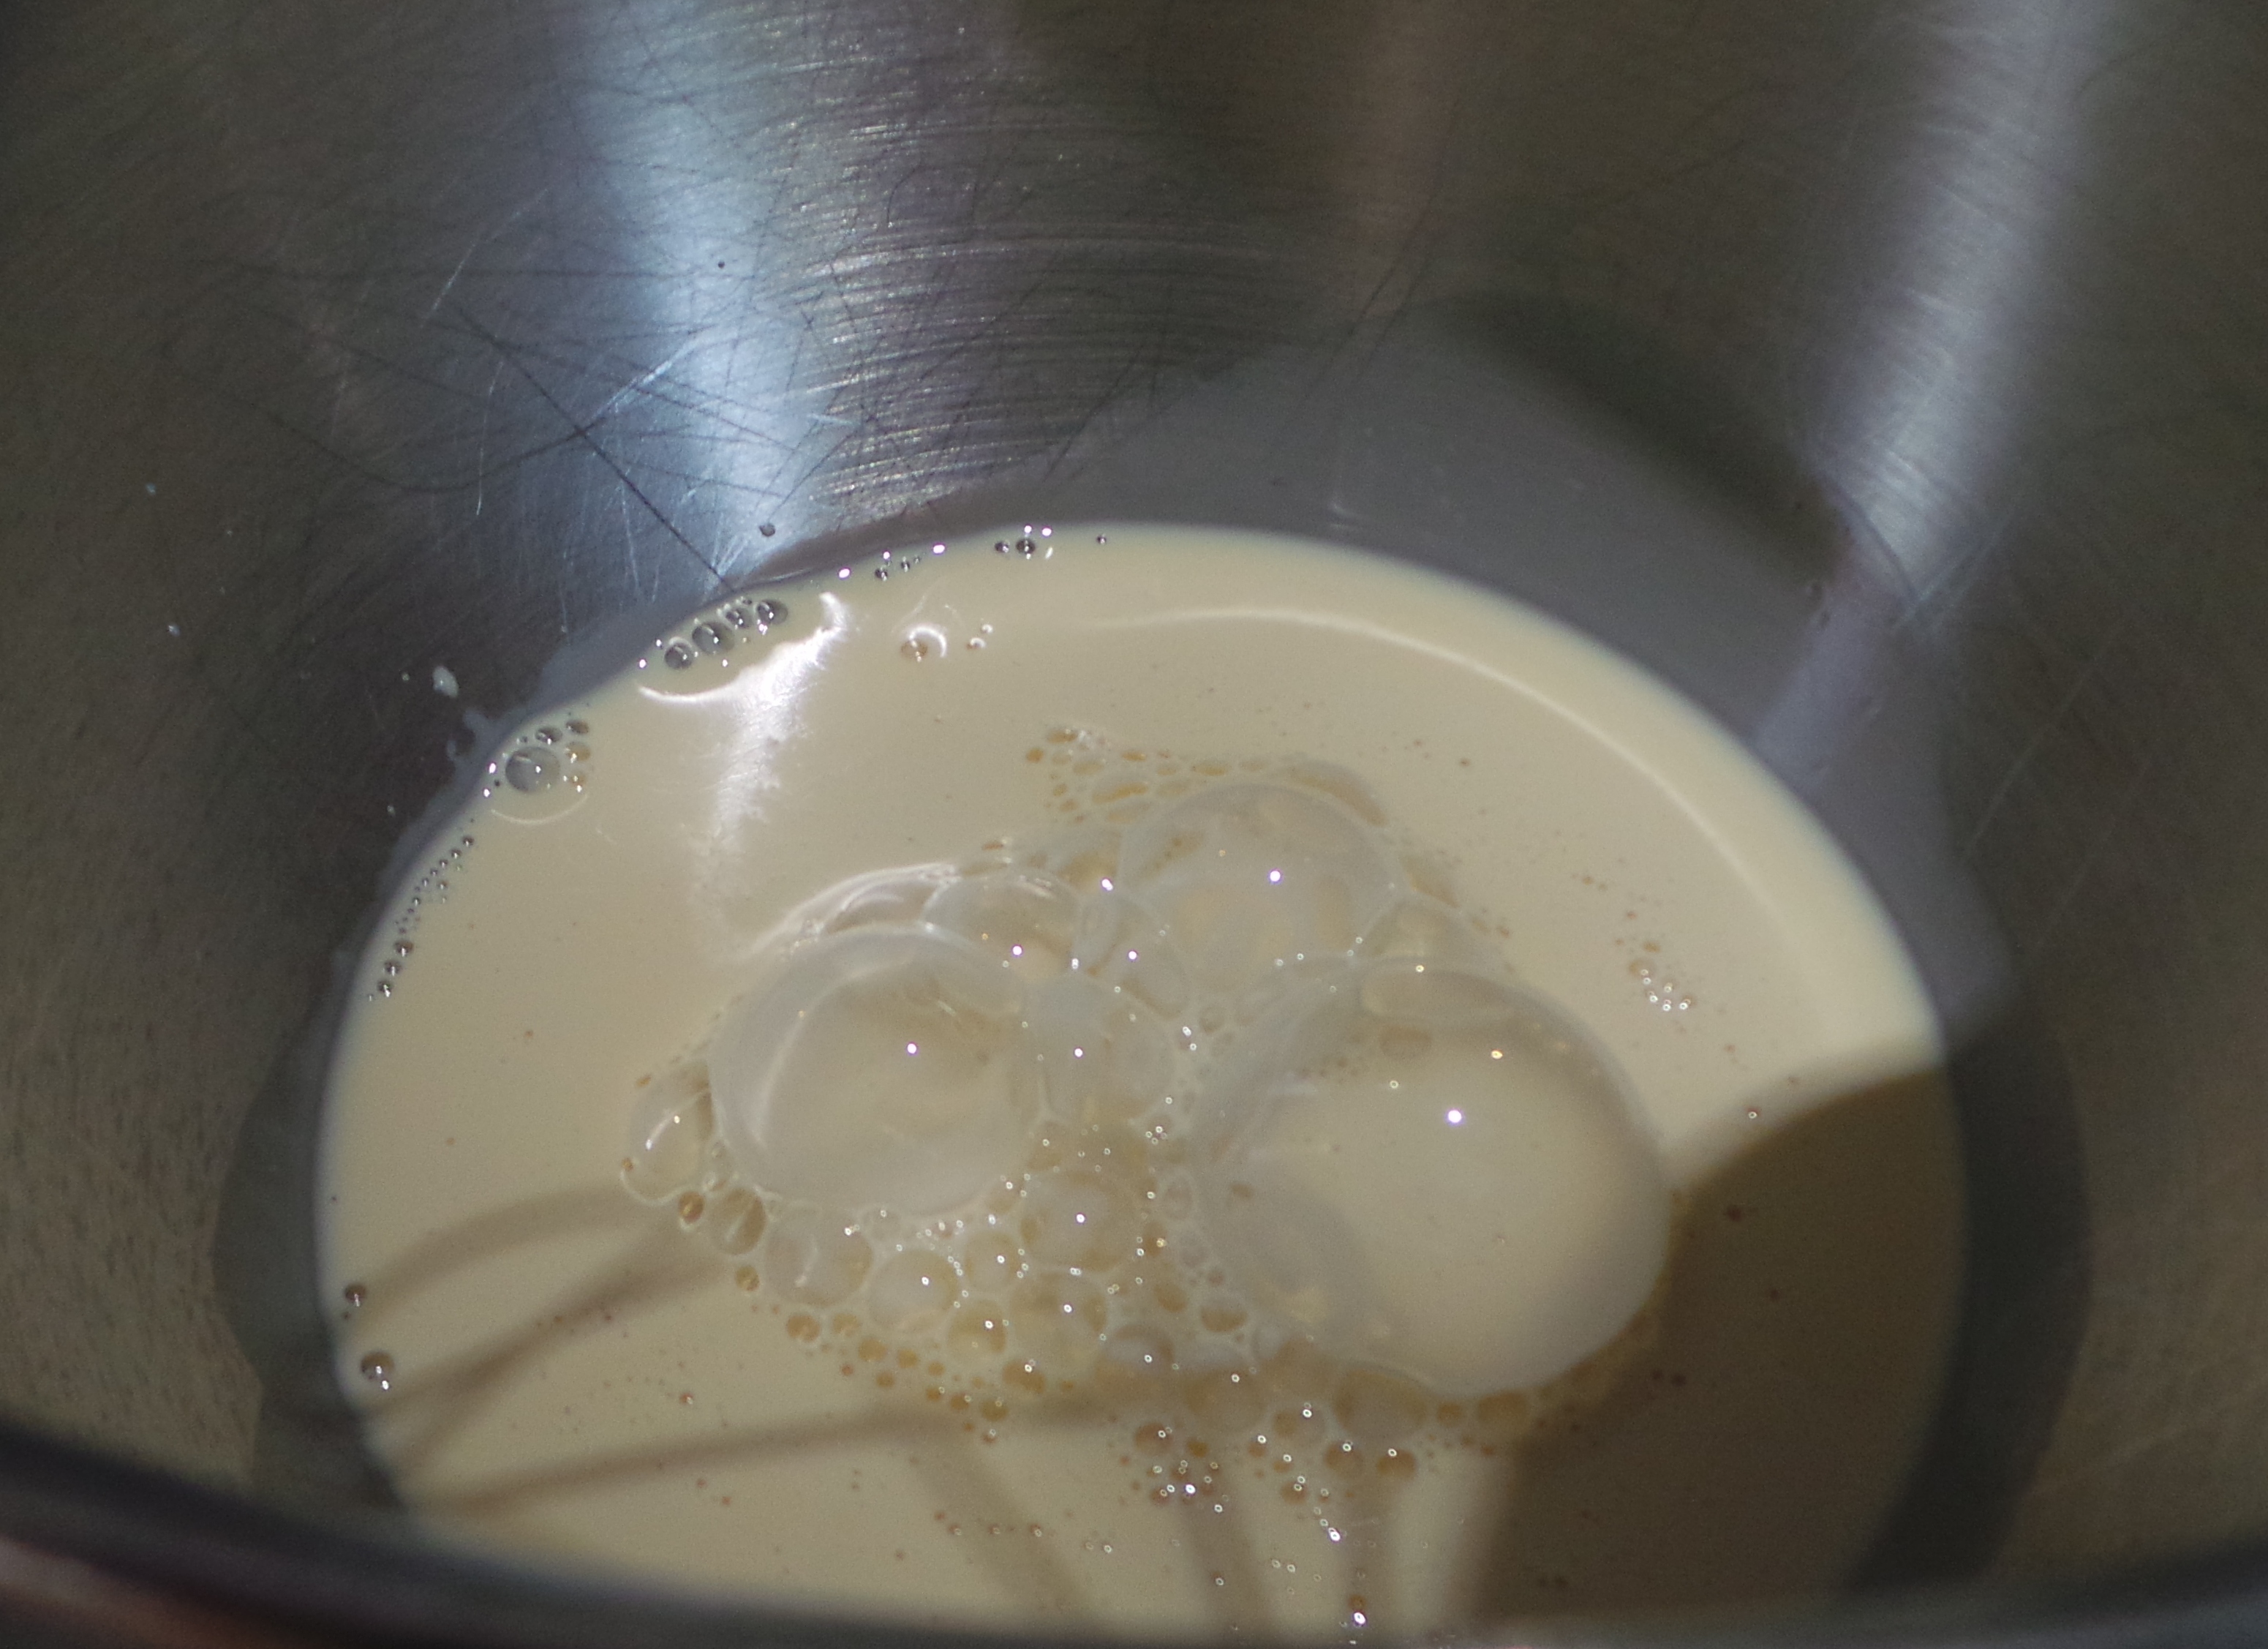
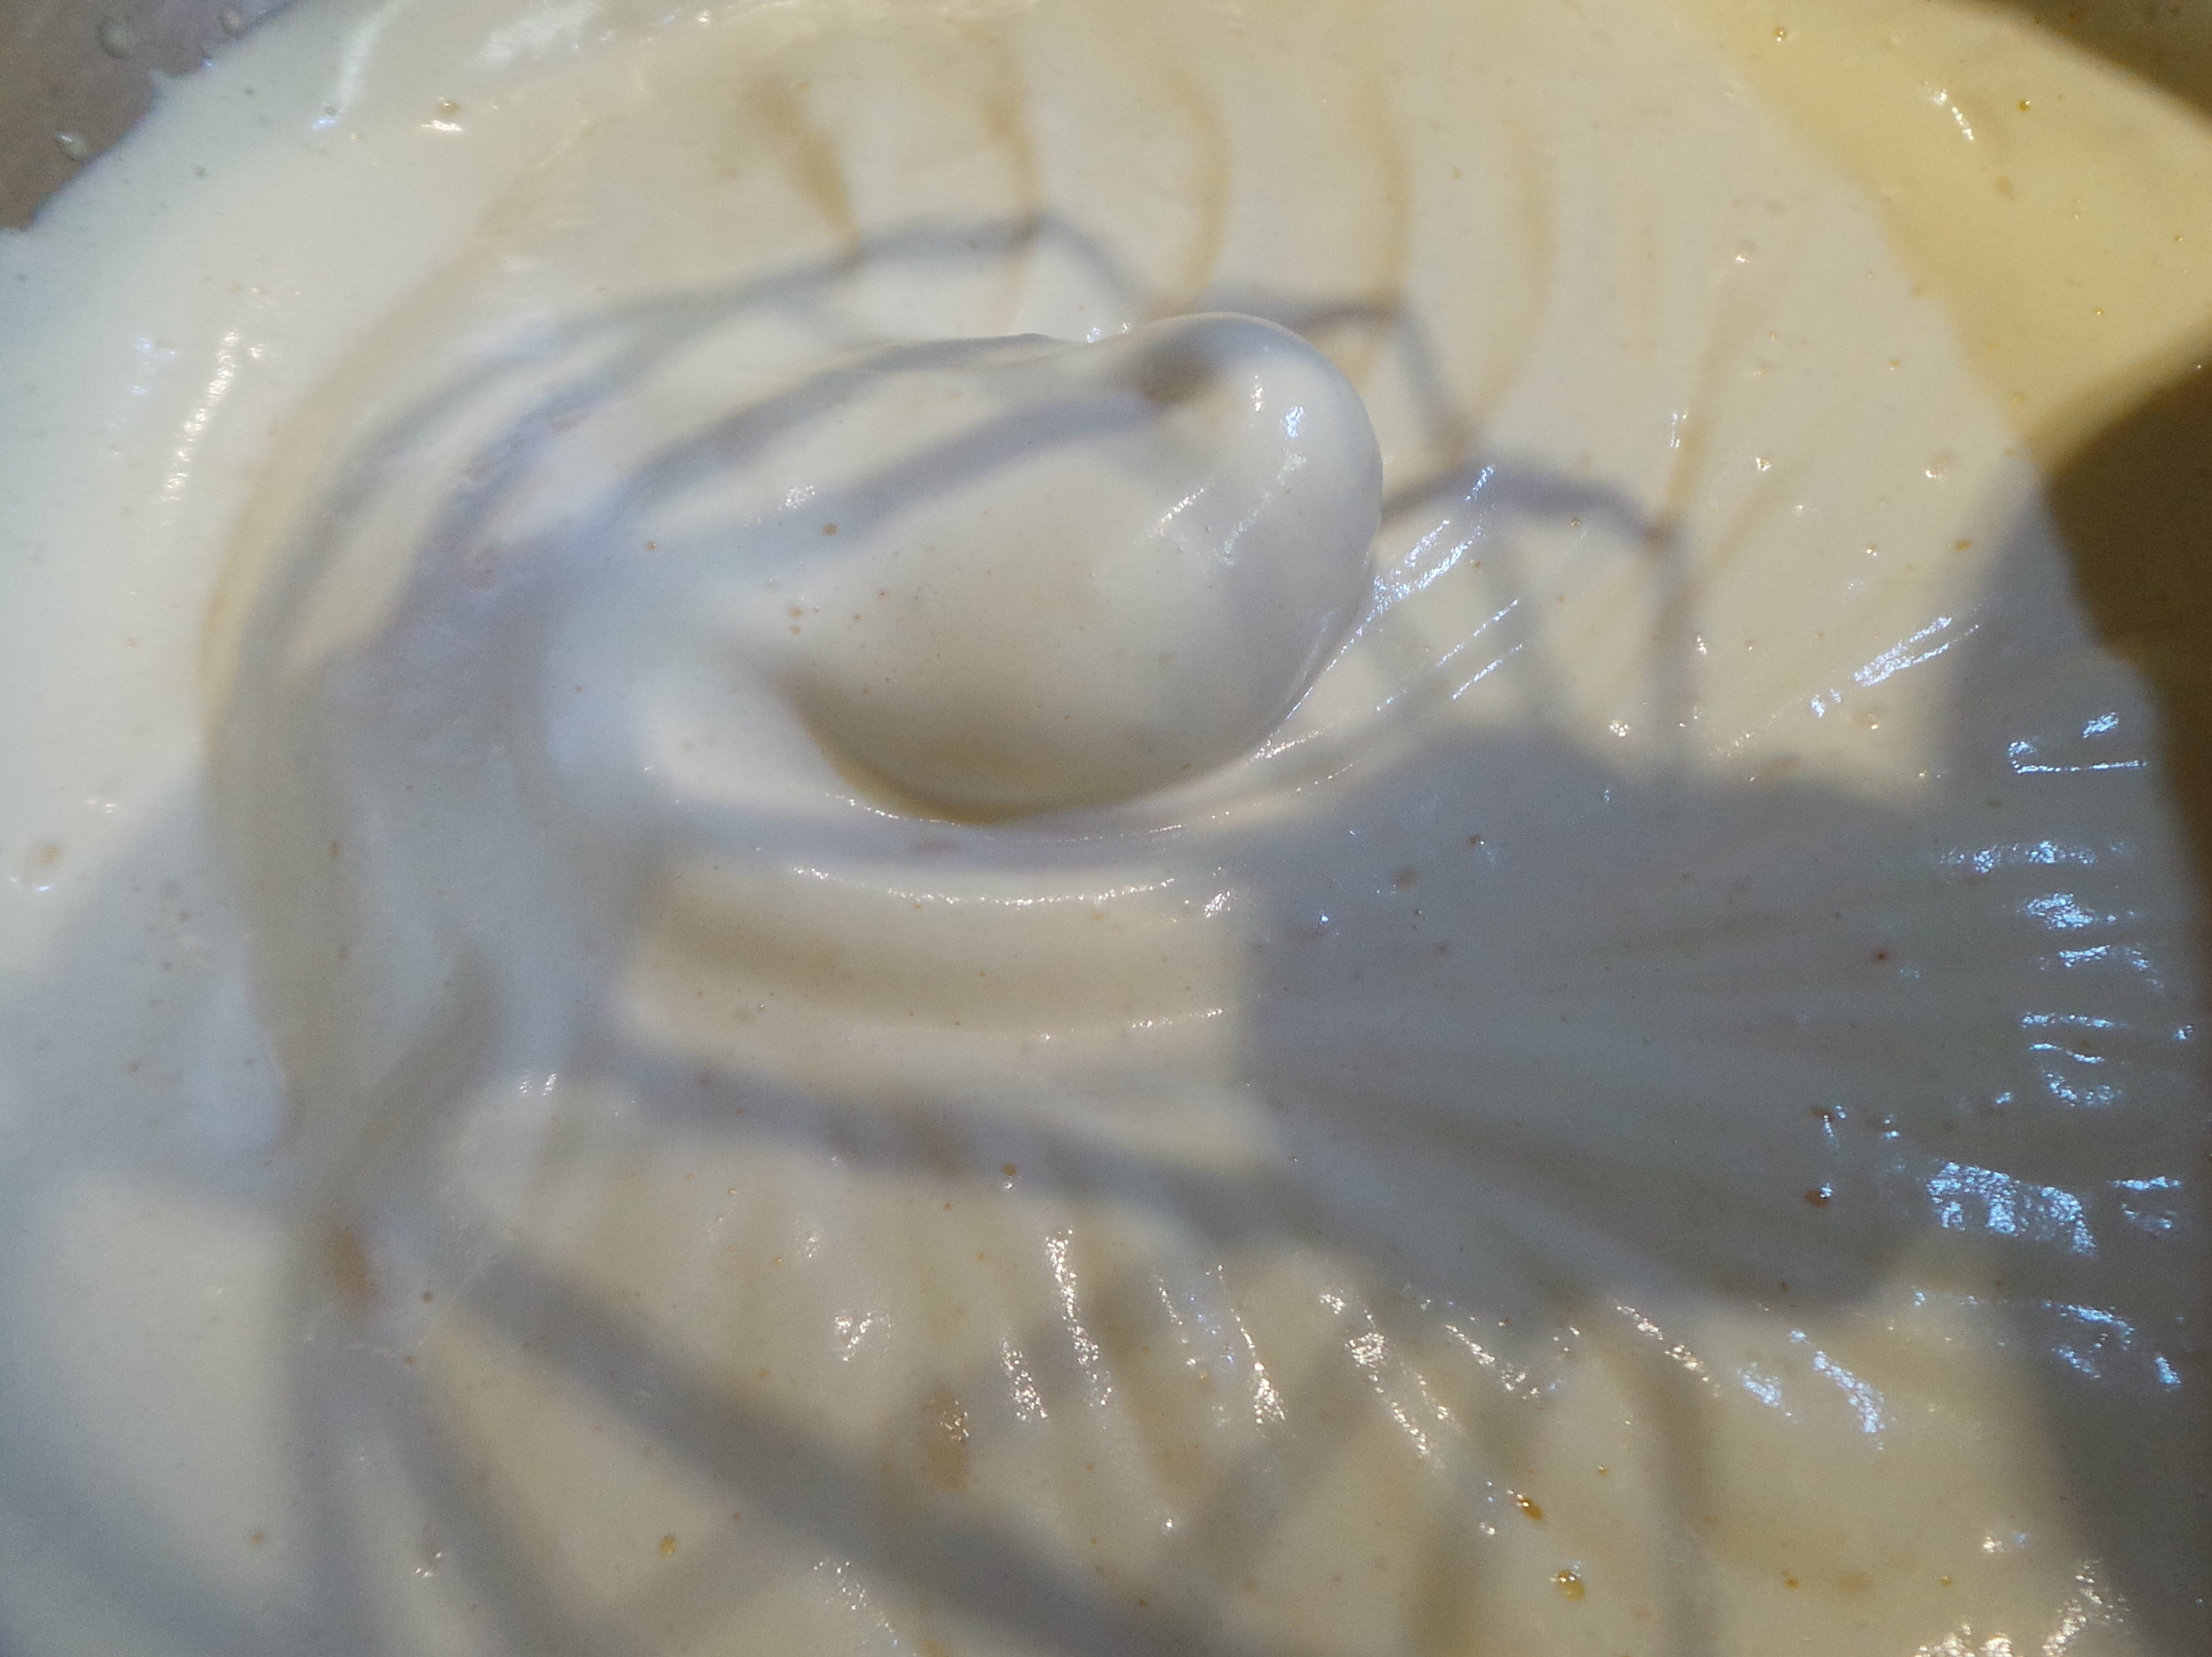
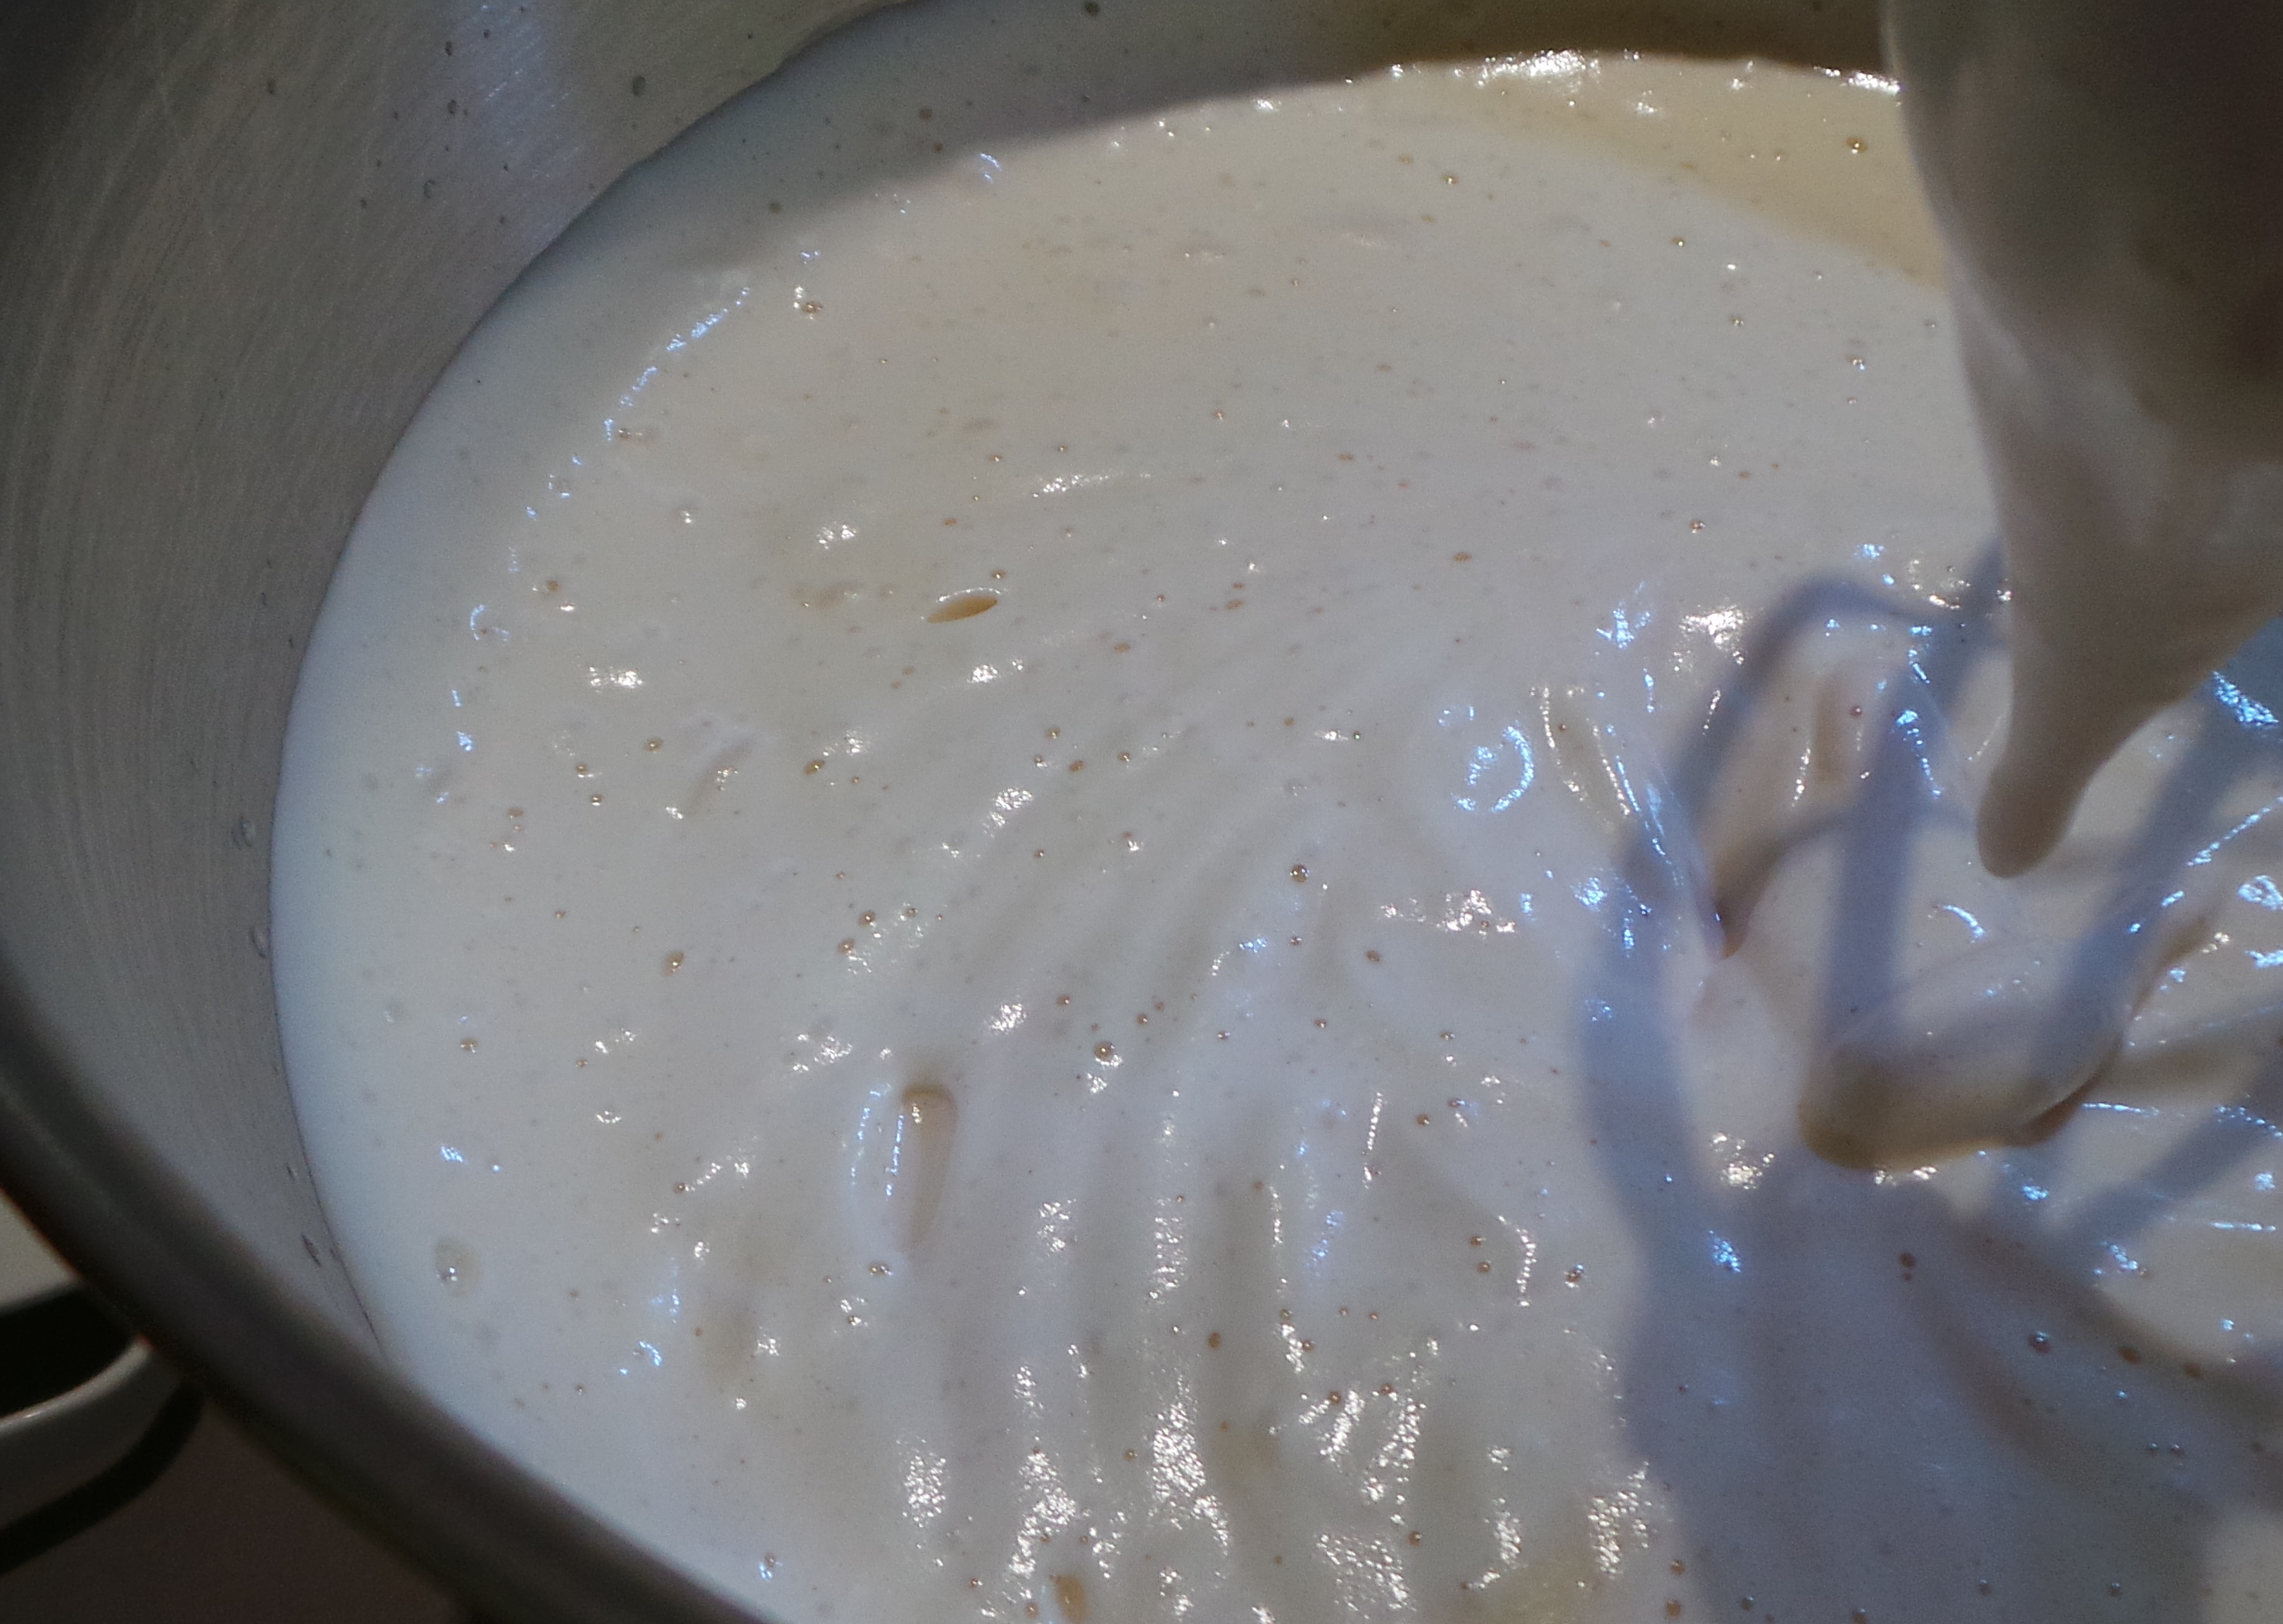
Then dip it in the lightly beaten egg whites, coating thoroughly.20150616_150532.JPG


Followed by a good dunking in the breadcrumb/coconut mix, patting it down quite firmly to make everything stick.

20150616_150135.JPG

Mix it all together first. This just looked more interesting.

And that’s it. Pop the pieces on a baking tray lined with baking paper, spray lightly with oil spray and bake for 12 mins at 450ºF/ 220ºC, turning and respraying at the half way point. The oil spray is purely optional, but gives the finished dish a sun-tanned look, reminiscent of pan-frying but without the hassle…

20150616_151610

Ready to bake.

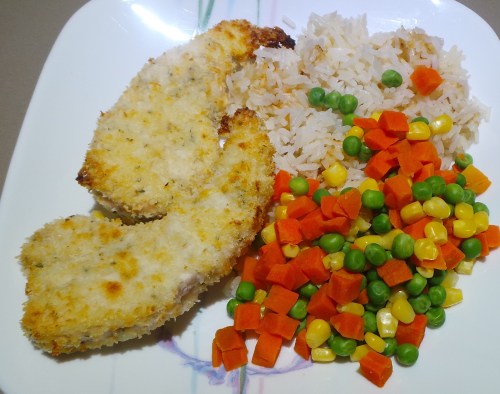
Serve with rice and vegetables garnished with a slice of lemon to squeeze over. If you’re serving them as finger food at a party, then a dipping sauce of aioli or sriracha mayonnaise would work a treat.

I tend to make this in double or triple portions and freeze them in giant snap lock bags when cooled. Then reheat at 350ºF/180ºC for 20 mins until heated through. Freezing the cooked chicken means you never have to worry about it not cooking through from frozen…

20150616_153242.JPG

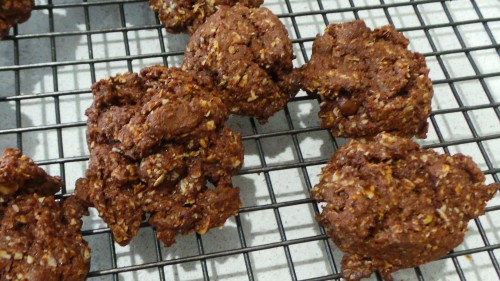
Cool on racks before freezing.

Coconut Chicken Fingers

  • Servings: 4
  • Difficulty: easy
  • Print

Ingredients

500 g boneless, skinless chicken. (breast meat, tenderloins, thighs)

salt and pepper to taste

1/3 cup plain flour

¾ cup Panko bread crumbs or 1 cup regular dried breadcrumbs

2 large egg whites, lightly beaten.

Cooking spray.

Method

Heat oven to 450ºF/220ºC.

Cut chicken into strips about ½ an inch thick and season with salt and pepper.

Take three shallow plates.

Fill one with the plain flour.

Fill another plate with the egg whites.

Mix together the breadcrumbs/Panko and coconut and place on the third plate.

A few at a time, thoroughly coat the strips in flour.

Dip in egg whites, then into the coconut mixture. Press firmly to help the coating stick.

Place on a baking tray lined with paper and spray gently with cooking spray.

Bake for 6 mins on each side or until done. Spray again when turning.

Serve with rice and vegetables and a slice of lemon to squeeze over.

Variations:

  • add a small, finely-sliced red chilli to the breadcrumb mix for a hint of heat.
  • add some lemon or lime zest to the breadcrumb mix for a hint of freshness
  • cut the chicken into chunks instead of fingers for nuggets.
  • leave the coconut out and use an extra ½ cup of breadcrumbs. Add a tbsp of mixed herbs or your favourite herb mixture to the crumbs instead.

May be flash frozen when cool and reheated from frozen at 180ºC/350ºF for 20 mins or until heated through.


Advertisement

Double Chocolate Oatmeal Cookies

Hello my lovelies, I come bearing more temptation.

Because that’s how I roll.

Today’s offering is a nice, simple cookie (that is, soft on the inside) that also doubles as a nice hit of fibre. You can do your digestion some good while making your taste buds do the happy dance.

The Double Chocolate referred to is a charming combination of Cocoa (antioxidants!) and Choc chips – the oatmeal (for my Aussie readers) is rolled oats. Really, it’s practically a health food and should be considered suitable for breakfast…

Let us begin.

Get your butter out of the fridge to soften and preheat your oven to 180°C/ 350°F. If you have a stand mixer, fit the paddle attachment and make yourself a cuppa until the butter is softened. You may also wish to pummel a block of dark cooking chocolate should you not wish to use choc chips – like I did.

Cream together the butter and sugars for about 4 minutes. I must confess that, when making this batch, I left out the brown sugar completely as I became distracted by something.

They still turned out beautifully, just not as sweet. Health food, dontchaknow?

After you’ve reached the soft and fluffy consistency, add a dash of vanilla extract and two whole eggs. Beat until thoroughly combined.

20161004_163321

Flour and cocoa for sifting.

At this point most of the dry ingredients can be combined and sifted into a bowl.

Flour and cocoa sifted.

Flour and cocoa sifted.

Add this to the mixing bowl and stir until just combined. Then add the rolled oats and repeat.

Oats are healthy.

Oats are healthy.

Stir those in and add the chocolate pieces. I prefer to use bits from a smashed up block of cooking chocolate, because it gives a different texture to the finished product. You’ll end up with pools of chocolate that blend nicely into the mix. Choc chips are designed to retain their structural integrity and remain recognisable after baking.

You can use whichever method you like. They’re your cookies.

Dark chocolate contains antioxidants. Health food.

Dark chocolate contains antioxidants. Health food.

Then, drop rounded spoonfuls onto a lined baking sheet and bake for 8-10 mins.

Use an ice cream scoop to save on arguments

Use an ice cream scoop to save on arguments.

Leave them to cool on the tray for about 5 minutes before you attempt to move them to a cooling rack. It will save on tears.

Double Chocolate Oatmeal Cookies

  • Servings: 48
  • Difficulty: easy
  • Print

Ingredients

70 g softened, unsalted butter

½ cup white sugar

1½ cups brown sugar, firmly packed

2 eggs

1 tsp vanilla extract

1½ cups plain flour

1/3 cup unsweetened cocoa powder

1 tsp baking powder

¼ tsp baking soda

¼ tsp salt

2 cups rolled oats (not quick or minute oats)

1 cup dark chocolate chips.

Method

Heat the oven to 180°C/375°F.

Using an electric mixer and a paddle attachment if possible, cream butter and both sugars together until light and fluffy. This will take about 4 minutes.

Add the eggs and vanilla extract and beat until thoroughly combined.

In another bowl, whisk together the flour, cocoa powder, baking powder, baking soda and salt.

Sieve into your butter mixture and blend until just combined.

Stir in the oats.

Stir in the choc chips.

Drop in rounded tablespoons onto a lined baking sheet. Do not flatten.

Bake for 8-10 minutes until set. Cooked cookies will be soft to the touch.

Allow to cool on the baking sheet for 5 minutes before removing to a cooling rack.

Store in an airtight container.


How to reconstitute dried sourdough

This post might seem to be a bit “out of the blue” – and it is. I’ve just started learning and experimenting with Sourdough and I’m not quite ready to post about it all just yet.

However, I have two gorgeous cousins who are also interested in it and I thought I’d dry some of my starter, Bullwinkle, and send him to them.

20160803_173142.JPG

I did that quite successfully, as you can see. I started out with flakes and then remembered I owned a coffee grinder I could powder them in. So I did.

20160911_185401.JPG

Then I realised that they’d have to reconstitute him. I needed to learn how to do that. I also needed to check that these little bags of magic powder would actually work before I sent them off into the vast reaches of Oz.

Or I might be disowned or something.

This blog post is for Marina and Laurina. (Yes their names rhyme, but I promise they have different mothers.)

Moving on.

Start with a small, clean bowl. To it, add a teaspoon of starter powder followed by a tablespoon of unchlorinated water. (Boil your kettle, use that when it’s cooled.)

20160906_104028.JPG

Pre-grinding flakey starter was used for this pic. Don’t panic.

Mix to a slurry and set aside for a few hours. To be safe, do this at breakfast and the next step in the evening.

Now add a tablespoon of flour and the same weight of your unchlorinated water.  So, if your flour comes to 20 g – for the sake of argument – then add 20 g of water. It is important to use the same type of flour the starter was originally made with. You can wean it onto another type after it is out of ICU.

20160906_104101.JPG

Mix well, cover loosely and put aside.

20160906_104146.JPG

It will look particularly unimpressive.

The next day you may see a bubble or two, or you may not. Don’t despair. Repeat the feeding process above and put it aside. You will know it has revived when bubbles appear. If more than 4 days pass and no bubbles surface – ahem – discard and start again.

20160907_074053.JPG

Like this.

Transfer it to a larger bowl or jar and add 100 g each of flour and water. Mix well and place aside. Your mixture will double in size and rise.

20160910_150315.JPG

There’s life in them thar bubbles!

Feed it again, place it in the jar you want to store it in permanently, cover loosely and transfer to your fridge.

Look how happy the one I revived is!

20160911_183714.JPG

All bubbled up and ready to bake!

Yes, the process is slow. It’s not an instant ‘add water and bake’ thing. But, you know, that’s actually a really good introduction to the slowness of the sourdough baking process.

Enjoy it.

Meanwhile, The Boy has decided I should go into business selling little bags of sourdough starter. What do you all think?

Tuna Rice Bake (simple)

Simple tuna and rice bake.

This is a very simple meal from The Boy’s childhood. I begged the recipe from his mother about a year ago (he kept on about it), but have only just got round to making it.

Because fish.

I’m not a big fish eater, I’m afraid. My mother had a deadly allergy to shellfish and an uncanny talent to turn fish fillets into cardboard. It all rather put me off.

I didn’t make this exactly according to the recipe either – which kind of spoiled the nostalgia surprise effect I was aiming for. Meh. I didn’t have any celery (IKR!) so I used red capsicum and I added Old Bay Seasoning to the white sauce, because I thought it would taste good.

And it did.

So there.

Anyway, here goes. This is actually a really good, simple, casserole for those nights when stocks are low and inspiration lower. Most of the ingredients will be found in a well-stocked pantry, especially if said pantry includes long-life milk… It’s even better if you have some plain rice already cooked and languishing in your refrigerator.

It starts off with a large tin of tuna in brine or spring water. The tuna is drained, but the liquid is reserved and made up to 1½ cups by adding milk to it. Now, I actually ended up using about a cup or so more of milk when I made it, as my sauce was exceedingly thick. But more on that later.

Drain the tuna and reserve liquid.

Drain the tuna and reserve liquid.

Some butter is melted and and used to saute an onion until translucent. Now I did this bit differently to the original recipe, as I didn’t want to risk a raw flour taste in the sauce. A few tablespoons of plain flour were then added and stirred to make a roux before the milk mix was whisked in and stirred until it boiled and thickened. Basically a fish-flavoured white sauce with onions in.

Make a roux.

Make a roux.

After you have your thickened liquid, add salt and pepper. If you are me, however, add something more interesting (like Old Bay Seasoning).

Add some yum.

Add some yum.

If you don’t have any – which is understandable in Oz – something similar could be conjured up with a touch of dry mustard and smoked paprika, with a little salt.

To your newly-flavourful white sauce, add the contents of the tuna tin, some celery and some nuts. The recipe called for cashews, but I had slivered almonds so I used those and of course I substituted the celery with capsicum.

Add tuna, celery and nuts.

Add tuna, celery and nuts.

Now a smallish (1.5 l) oven dish was sprayed with oil and half a cup of grated cheese (I had mozzarella)was spread on the base before a cup of rice was also added.

Cheese and rice start the layering process.

Cheese and rice start the layering process.

The tuna mixture followed.

Tuna mix next.

Tuna mix next.

Then a layer of sliced tomatoes. Related: we grew these tomatoes. In our garden. Oh yeah.

Home-grown lusciousness ensued.

Home-grown lusciousness ensued.

I sprinkled the top with another half cup of cheese and it went into the oven for 30 mins.

After which it was eaten.

Dinner.

Dinner.

And everyone was happy.

I am particularly happy now. The fact that this is on my website will mean that I can find it and read it much more easily than this photo of the recipe that was emailed to me…

I couldn't change the rotation to read it when cooking...

I couldn’t change the rotation to read it when cooking…

Tuna Rice Bake

  • Servings: 4-6
  • Difficulty: moderate
  • Print

Ingredients

1 x 425g tin tuna in brine or springwater

1¼ cups of milk (approx.)

2 tbsps butter

1 small onion, diced

2 tbsps flour

Salt and pepper

¾ cup chopped celery

½ cup whole cashews or almonds

1 cup grated cheese

1 cup cooked rice

1 large tomato, sliced.

Method.

Set oven to 180°C/350°F.

Drain tin of tuna, reserving liquid. To the liquid add enough milk to make 1¼ cups.

Flake the tuna into a small bowl, removing skin and bones.

Melt butter in a medium saucepan over gentle heat.

Add onion and sauté gently until soft and translucent (not browned).

Add flour and stir into butter, creating a roux. Fry gently for one minute.

Remove from heat and whisk in milk, dissolving any lumps. Return to heat and cook gently until liquid boils and thickens.

(If you think your sauce is too thick, add more milk a ¼ cup at a time until it reaches a consistency you prefer. You don’t want anything too runny.)

Add tuna, celery, nuts and seasoning.

Grease a medium-sized casserole and sprinkle half the cheese on the base.

Add the cooked rice.

Spread the tuna and white sauce mix onto the rice layer.

Arrange slices of tomato on top of the tuna layer.

Spread with remainder of cheese.

For ease of handling, place your casserole dish onto a larger oven tray. 😉

Bake for 30 minutes – until heated through and the cheese is browned.

Like this? Follow us on Facebook or subscribe to receive updates by email.


Irish Soda Bread

Irish Soda Bread

We make our own bread in the Budget Bounty household. It started out as a budgetary mechanism, but now we’ve got ourselves into a groove and it’s become a thing.

We just use a purchased bread mix and add bits to it, like ground flaxseeds or buckwheat. We buy a 5 kg bag, decant most of it into a food grade sealed bucket and put a kilogram or so into a smaller container in the pantry. When this smaller container is empty, it is refilled from the bucket by The Boy.

So, you can imagine my surprise when my request for the smaller container to be refilled from the bucket was answered with the words, “It’s empty.”

Ahem.

I’m still at a loss as to how the empty bucket wasn’t noted at the time it was emptied, so that it could be refilled before we ran out.

Anyway, moving on.

We needed bread. About this time, I remembered making Irish Soda Bread several lifetimes ago and that it had been well received – so I thought I’d give it a shot on The Boy.

It’s a very scone-like bread (half way to a damper) that toasts well and lets one consider one’s farm-dwelling ancestry a generation or two back. It’s also a great introduction to bread-making for those who are afraid of using yeast.

Ahem.

Unfortunately, its density means that it isn’t something that diabetics will be wanting to consume on a regular basis, but it is very yummy.

It’s a very simple recipe using basically plain flour, baking soda and buttermilk. We had all of these things.

So, into a largish bowl 800g of plain flour was poured. I had a bit of wholemeal plain flour in a jar, so I added it first and then made up the weight with some regular stuff.

It was all sifted on the way through, along with some salt and some baking soda. The bran from the wholemeal was added after.

The flours were sifted.

The flours were sifted.

I also added a tablespoon or so of golden flax seeds. Because I like them.

Flax seeds rock

Flax seeds rock

It was all stirred together thoroughly, a well was made in the middle, and a pint of buttermilk was added. Then it was mixed together with a heavy spatula (or I could have used a wooden spoon) until it came together as a firm dough. My bread needed more liquid, so I just added splashes of milk until I got that result. It’s important not to be too heavy-handed with this. It is a lot like scones, in that light handling will result in a lighter bread.

Then it was tipped out onto a lightly floured surface.

Turn it out onto a floured surface.

Turn it out onto a floured surface.

Then, with a light touch, I shaped it into a big ball – kneading it gently until it was only just smooth.

Remember it's rustic. Alton says people pay extra for that...

Remember it’s rustic. Alton says people pay extra for that…

A tray was sprayed with cooking oil, the loaf was placed smack dab in the centre of it and brushed with a little milk. Then, following tradition, a cross was cut in the centre. This enables the bread to rise in such a way that the loaf maintains its shape on the way.

Ready for the oven.

Ready for the oven.

Then it was all baked in a moderate oven for just on an hour.

The same bread, now baked.

The same bread, now baked.

It really is that simple. Measure your flour, add your wet stuff and bake.

Let it cool on a rack and then treat as you would any other bread. Ours kept in the bread box in the pantry for 5 days after baking.

Yum!

Yum!

Once life is a little more settled (probably after we move) I’m intending to try experimenting with different flours and additives. I think this would be awesome with some rolled oats added in, just as a f’r’instance.

If you’ve never made bread from scratch before, then please give this a try and then let me know how you go. 🙂

Irish Soda Bread

  • Difficulty: easy
  • Print

Ingredients

800g plain (All Purpose) flour. You may use a combination of different flours if you wish.

1 tsp salt

1 tsp bicarbonate of soda (baking soda)

600 ml  buttermilk

milk to glaze

Method

Heat the oven to 180ºC/350ºF.

Sift the flour, salt and baking soda together into a large bowl, adding back any bran left in the sieve. Mix well.

Make a well in the centre and add the buttermilk. Stir lightly and quickly until a firm dough forms. If loose flour is still evident, simply add milk a tablespoon or two at a time until it is all incorporated.

Turn onto a lightly floured surface and lightly knead and shape into a smooth round about 20 cm across.

Place onto a lightly greased tray.

Cut a cross about 1 cm (½ inch) deep into the top of the loaf.

Brush the surface of the bread with a little milk. This will remove excess flour and help the bread to get a lovely golden colour.

Bake for an hour, testing after 50 minutes. Bread is done when a skewer inserted in the centre comes out clean.

Lift onto a wire rack to cool.


Mediterranean Morsels

Yum.

This post could quite easily be titled “Yummy things made from bits and pieces in the fridge” but it doesn’t have quite the same ring to it.

It’s true, however.

I came up with this recipe to use a heap of bits that were cluttering up my refrigerator. I had some tri-colour quinoa that was left over from something else, a bit of feta cheese that needed using, a handful (literally) of shredded mozzarella and half a red capsicum that also needed to be used.

It’s also turned stinking hot here again, after a week of almost chilly weather, and I consider finger food to be the way to go at times like these. Finger food in this house means something more-ish, but not junky.

Quinoa can really be quite pretty.

Quinoa can really be quite pretty.

Anyway, I came up with these here yummies to combine all the bits into something that The Boy declared he could, “literally devour by the handful.”

You heard it here first, Folks!

So, I started off with the leftover quinoa. The amount turned out to be two cups worth (which is going to look a whole lot more professional in a recipe), so that’s what I used. If you’ve not cooked quinoa before, you’ll find instructions here. If you don’t have quinoa then cooked rice of any colour or description would also work.

I popped it into a medium sized bowl and stirred in a couple of tablespoons of plain flour to help bind it together (it also gave me time to think about what to do next). If you have a celiac in your family then gluten-free flour will work too.

I’d decided that I wanted to make it a Mediterranean flavoured …whatever… so I added a tablespoonful of an Italian Mixed Herb blend that I had and a teaspoon of minced garlic. From a jar. Sue me.

Still pretty.

Still pretty.

That was all mixed through quite thoroughly, then the red capsicum was diced and added. I was glad it was in there when I saw the finished products as it gave a pop of colour to something that might have been too beige.

Moving on. I also had one spring (green) onion so I sliced it up and added it too. Why not?

Confetti-like capsicum and scallions

Confetti-like capsicum and scallions

Next the Mozzarella went in and I contemplated the feta. I’m not a fan of feta, but The Boy loves it. However, I adore black olives, so I pitted and minced three of those and stirred them through.

Black kalamata olives rock.

Black kalamata olives rock.

Then the feta cheese. I didn’t weigh it, sorry, but I’d say I had about 3/4 of a cup when it was chopped up. That was mixed through too.

The Feta Cheese was next to be deployed.

The Feta Cheese was next to be deployed.

I thought that looked like a rather tasty little mix and stopped adding stuff. If you are a hard-core carnivore, some diced ham or bacon would be a tasty addition too. You’re welcome.

Now, in between all the dicing and mixing I had decided to make something to bake, so at this point I turned the oven on and started gazing soulfully at my baking trays.

I have one for tiny little cupcakes/muffins that I rarely use and which seemed perfect for this, so I retrieved it and then went on the hunt for the paper cases that I knew were in the pantry somewhere

They were found but I didn’t have quite enough, so I just sprayed the empty cups with oil.

The quinoa still needed something to bind it a little more, so I whisked up 2 eggs and mixed them through. Then I filled each cup with about 2 teaspoons full of the quinoa mixture, making sure that a piece of the capsicum could be seen on the top of each cup – because pretty.

Mix in a couple of eggs.

Mix in a couple of eggs.

Then the tray was placed in the oven for 20 mins, until the morsels smelled amazing and the cheese was starting to brown.

All done.

All done.

The Boy followed his nose into the kitchen as they were being retrieved from the oven and I had to stand guard until they were cool enough to eat.

These little mouthfuls of flavour will find their place in lunch boxes during the week, but they would be just as at home at a party or BBQ. They’ll keep in an airtight container in the refrigerator for 2-3 days, but try to bring them up to room temperature again before eating to allow the flavours to develop.

Hint: Get the kids to help you make them and they’ll be more likely to eat them.

Enjoy.

Mediterranean Morsels

Mediterranean Morsels

Mediterranean Morsels

  • Servings: 24 pieces
  • Difficulty: easy
  • Print

Ingredients

2 cups cooked quinoa or rice

2 tbsps plain flour

1 tsp crushed garlic

1 tbsp mixed herbs (add a few chilli flakes for a mild bite if you wish)

½ medium red capsicum (bell pepper), diced.

1 spring (green) onion, sliced finely

3 black olives, pips removed and minced finely

½ cup shredded mozzarella

¾ cup diced feta cheese

1 lean rasher of bacon, finely diced (optional)

2 eggs, lightly beaten

Method

Heat oven to 180ºC/350ºF.

Line a mini cupcake tray with paper cases or oil well.

Place quinoa or rice in a medium-sized bowl and add the rest of the ingredients one at a time, stirring well between each.

Fill paper cases with quinoa mix – about 2 rounded teaspoons per case.

Bake for 20 mins.

Allow to cool in the tray before removing to a cooling rack.

Serve at room temperature.

Will keep in an airtight container in the refrigerator for 3-4 days.

Like this? Follow us on Facebook or subscribe to receive updates by email.

Yum.

Yum.


Chocolate “Paddle Pops”

Chocolate "Paddle Pops"

Yes. I know it’s been a while, but there’s been stuff and it’s been hot and things have been going on and, and…

Never mind.

Some of the stuff that’s been happening.

2016-02-10 18.05.21

Some of the stuff that’s been happening.

Ahem.

Today’s post is in honour of all those mums out there with overheated youngsters and very little disposable income. School is back and the heat seems unrelenting right now with some parts of Australia having 4-5 consecutive days of 40º C plus heat. Which sucks.

So, it’d be quite nice to be able to give the kidlings an icy-cold, almost-good-for-you treat when they flood in the door.

This is one such treat.

Paddle Pops are a part of summer in this neck of the world, but they can get pricey quite quickly. Make your own and save some money while also controlling portion sizes and the amount of sugar that goes into your little ones (or your big ones in this household!)

They use very few ingredients and take about 5 mins to make and 2 hours or so to freeze solid. The kids can even help with making them.

Icy pole moulds

Icy pole moulds

I use icy pole moulds that I bought from Tupperware some time ago – mostly because my mother had the exact same ones when I was a kid, so I had to have them – you understand, don’t you? However, you don’t have to get the same ones. Kmart and other discount stores have icy pole moulds for sale at very low prices, failing that (small) disposable cups will work just as well. Use what you have.

The recipe calls for FOUR (4) ingredients: milk, sugar, cornflour and cocoa.

Start with 500 ml of milk. Any kind of milk: full cream, skim, reconstituted powdered milk, half and half, soy, almond, goat, whatever. Place it in a medium sized saucepan and bring to a boil over a medium heat. You want to give yourself time to get the other ingredients ready…

Heat the milk

Heat the milk

Then, into a smallish bowl, sift together the sugar, cocoa and cornflour.

Sift the dry ingredients together.

Sift the dry ingredients together.

I confess to not using cocoa in these pictures. We have a largish tin of a dark hot chocolate mix that was given to me and has been kicking around our pantry for some time now. It doesn’t contain milk powder, so I’ve started using it as a cocoa substitute where possible. Take my lead here, you can substitute the cocoa with Milo, Ovaltine, or Nesquick if that is what you have.

Now, get yourself a whisk. I have a little sauce whisk that I bought for a few dollars at Ikea the last time I was there, and I prefer to use it for this task as it works well to stop things from sticking to the bottom of the pot. A regular balloon whisk will do the job though, so don’t fret.

Sauce whisk

Sauce whisk

So, bring your milk to a low boil and remove from heat. Add your dry ingredients to the wet and whisk well. I actually prefer to add some of the milk to the bowl they are in and blend them there before adding back to the rest of the milk. It’s much the same as the method I use for thickening sauces.

Add some hot milk to dry ingredients...

Add some hot milk to dry ingredients…

...and whisk to dissolve.

…and whisk to dissolve.


If you do this too, then return the chocolate mix to the milk in the saucepan and return the liquid to the heat.

Yes. Yes, it does look like chocolate milk.

Yes. Yes, it does look like chocolate milk.

This bit will require your attention. Heat the milk, stirring constantly until the mixture begins to thicken to a custard-like consistency. Use your whisk to scrape the bottom of the saucepan which is where the heavier cornflour and cocoa will sink to and – if you are unlucky – catch and burn. Don’t stop stirring!

The thickened mixture through a steam soft focus.

The thickened mixture through a steam soft focus.

Remove it from the heat and, if you are as much of a klutz as I am, transfer it to a jug with a good pouring lip. Work quickly or a skin will form on your liquid.

Pour into your icy pole moulds, add sticks and freeze.

Fill 'em up.

Fill ’em up.

When frozen solid, munch away.

Ready to go.

Ready to go.

Chocolate 'Paddle Pops'

  • Servings: 4-6
  • Difficulty: easy
  • Print

Ingredients

500 mls milk

2 tbsps sugar

1 tbsp cocoa (or other milk flavouring)

1 tbsp cornflour

Method

Place milk into a 1 litre saucepan.

Sift together sugar, cocoa and cornflour.

Heat milk until just boiling and remove from heat.

Add half the milk to the dry ingredients and whisk well to remove all lumps.

Add contents of bowl back into saucepan and return to medium heat.

Whisk liquid constantly, making sure to scrape the bottom of the saucepan regularly, until it thickens and becomes custard-like.

Pour the custard into icy pole moulds, add sticks and freeze until set. The time this takes will depend on how wide your moulds are – the thinner they are, the faster they will freeze through.

Variation: Use chocolate milk flavouring powder like Milo, or strawberry milk Nesquik for a change of flavour.

A cool treat for kids of all ages.

A cool treat for kids of all ages.

Like this? Follow us on Facebook or subscribe to receive updates by email.

Jelly Whip (2 ingredient dessert)

And doesn't that look good?

I know, it’s been a while. Never mind.

I’m back now.

I’ve been unwell and it’s been hot – these two things are related.

However, I figure most of my Southern Hemisphere readership has also been feeling a tad warm, so here’s a quick and easy dessert recipe to (a) cool you down and (b) entertain the kidlets as you get toward the end of the School holidays.

This recipe uses exactly two (2) ingredients: evaporated milk and instant jelly (jello).

You’ll also need an electric mixer or be an absolute virtuoso at hand whisking.

This dessert resembles mousse and takes nothing more than a good sense of timing, really.

Basically, you chill a tin of evaporated milk. Then you make up a sachet of flavoured jelly, using only half the water and pop it into the fridge. Then, when the jelly is only just set, you whip up the milk until it triples in volume and mix in the jelly.

Spoon into parfait dishes (or, you know, whatever) chill for another hour and eat.

Easy as, bru.

The timing comes into the whole “only just set” bit. You’ll wait and wait and wait (and the kids will nag and nag and nag…) and then suddenly it will be completely firm, because of course. If this happens, then nil desperandum, pop the jelly into the microwave for 10 seconds and it will no longer be perfectly set.

So!  From the beginning then…

Pop a tin of evaporated milk into the refrigerator for a few hours, or make it easier on yourself and just keep one in there.

Then make up a packet of jelly – or as the Americans call it, Jello – but only use half the water needed.

A packet of Strawberry Jelly crystals.

A packet of Strawberry Jelly crystals.

I prefer not to use “diet” jellies for this, the artificial sweeteners don’t really help the flavour profile of what is actually a very rich dish. I always find it has a rather metallic taint to it, however you may not so go with what you have.

This packet called for 2 cups or 500 ml of water to be added, so I added only 1 cup – half boiling and half chilled.

jelly Crystals. Pretty, aren't they?

Jelly Crystals. Pretty, aren’t they?

I have trouble dissolving it all properly in such a small amount of water, so I use a tiny whisk I got in a Christmas gift of Hot Chocolate a few years ago. It’s okay though, you may use a spoon.

Isn't it precious? (The hot chocolate mix it came with was awful!)

Isn’t it precious? (The hot chocolate mix it came with was awful!)

Put your jelly liquid in the fridge and wait until it has just begun to set – you don’t want a liquid and you don’t want a sliceable texture either. Give it 2 to 3 hours, tops.

When it gets there, remove your evaporated milk into the basin of a mixer and prepare to be amazed. It will start out looking like this.

Evap milk: Exhibit A

Evap milk: Exhibit A

Beat it on full speed for several minutes. It will start to thicken and will eventually form stiff peaks.

Really.

You might think it’s not going to work and then it will. Like this.

Evap milk: Exhibit B.

Evap milk: Exhibit B.

Now spoon in your jelly and mix gently until incorporated.

Can you see the strawberry tint to it? Can you? Can you?

Can you see the strawberry tint to it? Can you? Can you?

It will smell delicious.

Now, scrape down the sides of your bowl with a spatula and give it a final stir by hand, making sure to incorporate any heavier bits of jelly that have dropped to the bottom of the mixing bowl.

Spoon into parfait dishes and return to the refrigerator for one hour. Do NOT do what I did and pile it up in the bowl, it won’t hold its own weight and will spill over the sides of the dish.  You have been warned.

And doesn't that look good?

And doesn’t that look good?

I would suggest using milkshake glasses if you have them, just quietly.

This will serve four generously. If there are not that many of you and you wish to keep some for later (!) then be sure to cover with plastic wrap or a lid of some kind. The jelly will do what jelly does and form a skin. This is by no means inedible – just ask me – but it isn’t particularly attractive.

So, there you go. A cool, rich dessert for a hot summer night.

Even the kids could make it. Heavens, they could even wash up the mixing bowl and clean the kitchen while you wait for it to set.

Just a thought.

Man oh man!

Man oh man!

Jelly Whip

  • Servings: 4-6
  • Difficulty: super easy
  • Print

Ingredients

1 400g tin evaporated milk (a little larger or smaller won’t matter)

1 packet flavoured jelly crystals

Method

Chill the evaporated milk in its tin for a few hours or overnight.

Make up the jelly crystals using only half the water called for in the packet instructions.

(Most packets call for 2 cups or 500 ml of water, so use ½ a cup of boiling water to dissolve the crystals thoroughly and then add ½ a cup of cool water to complete.)

Place in the refrigerator to chill until only just set. It should be neither liquid nor solid.

This will take about 3 hours. If you do misjudge the window – or forget- and it sets hard, simply microwave for 10 secs and then return to the refrigerator if necessary.

When the jelly is set sufficiently, empty the evaporated milk into a large bowl and beat on high speed with an electric mixer until thickened and doubled in volume – about 4 minutes.

Add the jelly and mix gently until incorporated.

Spoon into serving dishes and return to the refrigerator for a further hour before serving.

Cover any leftovers to prevent a ‘skin’ from forming.

You may wish to garnish with fruit to match the flavour of the jelly…

Boozy Beef (slow cooker)

Boozy beef - a pot full of yum.

Ladies and Gents I present to you a simple recipe that does NOT contain turkey!

 Yayyyyy!

This recipe started its life as Boeuf à la Flamande or Flemish beef, known in this particular household as Beef in Beer.

I got the recipe from a book called The Rustic Table and I adapted it for use in my trusty slow cooker – because why not? It does use a frying pan at the very beginning, but not for long and you can skip that step if you really want.

It’s incredibly simple and my meal of choice for small dinner parties, especially during winter.  A good dollop of this, served on a bed of creamy mashed potatoes, makes it much easier to brave the cold.

It’s just as good in the Australian summer – because beer.

Now beer is not a staple in this household, but The Boy went to great lengths to find just the right one for this dish. I actually can’t tell you which one he ended up getting, but it worked…

That’s not particularly helpful is it? Go with something dark, but not black, maybe – and this is a stab in the dark – something Belgian, and you should be fine. Having said that though, I have made this with apple cider and it was delicious, so don’t stress.

You’ll also want to get a few other ingredients, like beef and stuff.

Sorry. I’ll behave.

Ahem.

This is a recipe that can quite easily be made gluten-free for any coeliacs on your guest list. Simply use cornflour or cornstarch in place of the plain flour and you’ll be golden.

[edit: I’ve been reminded that beer is not gluten-free. I’m an idiot. Please ensure you use a brew that doesn’t contain malts or other anti-coeliac nasties. Cider should be fine.]

You’ll need one and a half kilos of boneless chuck steak that has been trimmed of its fat and cut into 2 cm cubes. If you don’t like handling meat simply ask the butcher to do this for you. Then place a good cup or so of your flour of choice into a large plastic bag and season it well with salt and pepper. This mix is used to coat your beef cubes. The flour will help to thicken your sauce once the liquid is added, so don’t skip the coating stage.

Basically, take a few of your cubes, add them to the bag of flour, pinch the top closed and shake it until they are covered in flour.

Coat your beef in seasoned flour.

Coat your beef in seasoned flour.

Or you could do the whole lot at once if you are short of time or patience. Like I did. (see above)

The end result.

The end result.

In your frying pan, melt a little butter and add some oil – the oil is there to stop the butter from burning. Now you want to gently fry your cubes of beef just long enough to brown them all over, but not cook them through.

This part can be skipped, but the caramelization that happens here will add a depth of flavour to your stew that makes it well worth doing.

Shake off each piece of beef as you remove it from the bag and place it gently into the pan. Only brown off a few cubes at a time as this will help to keep the temperature of the pan stable and help the meat to brown rather than steam.

Brown your meat.

Brown your meat.

When they are suitably tanned, remove them to a piece of paper towel to drain and continue the process until all of the beef is done.

The browned beef, resting.

The browned beef, resting.

I admit to putting the drained beef into the slow cooker pretty much as each batch is done, but I’m an experienced cook who knows what they’re about. Once I’ve got an assembly line happening, it’s all systems go. You may need to take it slower. Nevertheless, when your beef is all seared and sealed, dump it into your slow cooker. Mine was a 5 litre or 4 quart size. Turn the slow cooker to LOW and put the lid on while you do the next steps.

Make sure your frying pan is off the heat, but keep it handy. You’ll be using it again soon.

The next step is cutting up quite a few onions; 5 to be precise. You’ll want nice medium-sized ones – something you can hold easily in the palm of your hand. Peel them and cut in half, then slice into wedges so that they look like crescent moons.

Wear sun glasses or swimming goggles if your eyes are sensitive.

Wear sun glasses or swimming goggles if your eyes are sensitive. Not joking.

Get your pan back on the heat and, when it is warm enough, add your onions, stirring gently for five minutes or so. You want them to be just starting to soften and browning on the edges.

These are just starting to brown on the cut surfaces.

These are just starting to brown on the cut surfaces.

Using a slotted spoon remove them to the slow cooker too, leaving the juices in the pan. Place the lid back on the slow cooker and the pan back on the heat.

Add the herbs to the frying pan, along with some brown sugar, a touch of red wine vinegar and about 2 cups of beer. Stir, scraping the bottom of the frying pan to deglaze it.

You want to get all the crispy bits left from the browning process as they will add even more flavour to your stew.

Bring the liquid to a simmer.

It will smell amazing.

It will smell amazing.

Turn off the heat. Remove the lid from your slow cooker and pour the entire contents of the pan into it.

Your work here is done.

Your work here is done.

Place the lid back on and turn the dial to HIGH and cook for 3-4 hours, or leave it on LOW and cook for 4-6 hours. Do all your washing up and walk away until you need to prepare your side dishes.

The sauce will thicken as it cooks.

Boozy beef - a pot full of yum.

Boozy beef – a pot full of yum.

Remove the Bay leaves and serve over mashed potatoes or with a creamy polenta. Some steamed asparagus spears or Bok Choy will provide an ideal splash of green.

This will keep quite nicely in the refrigerator for up to 5 days once cooked.

Boozy Beef (slow cooker)

  • Servings: 6 -8
  • Difficulty: moderate
  • Print

Ingredients

1.5 kg boneless chuck or shoulder roast, well-trimmed of fat and cut into 1 inch cubes

Salt and freshly ground black pepper

1 cup Plain flour (or corn flour if gluten intolerant)

¼ cup unsalted butter

¼ cup olive oil

5 medium onions, cut into thick wedges

3 garlic cloves, sliced (or 3 teaspoons garlic from a jar)

2 bay leaves

¼ tsp dried thyme

2 tbsps brown sugar

2 tbsps red wine vinegar

2 cups Belgian ale or dark beer (or coeliac friendly cider)

Method

Place the flour into a large plastic bag and season well with salt and pepper. Add the beef to the flour a few cubes at a time and toss to coat well.  Remove from the bag, shaking off the excess flour.

In a heavy-based, fairly deep frying-pan, heat the oil and melt the butter over medium-heat.

Brown the beef cubes a few at a time to avoid crowding, turning to colour them on all sides. Each batch will take about 5 mins. Remove with tongs or a slotted spoon to drain off excess fat on paper towel.

Remove the pan from the heat and place the beef into a large (3-5 litre) slow cooker set to LOW.

Place the pan back on the heat and add the onions, tossing until they are beginning to soften and brown on the edges. This will take around 5 minutes, add more butter or oil if necessary.

Add the onions to the beef in the slow cooker.

To the frying pan add the garlic, bay leaves, thyme, brown sugar, beer and vinegar. Bring to a simmer while stirring and scraping the bottom of the pan to deglaze it.

Once it has started to simmer, remove from the heat and pour it over the onions and beef in the slow cooker.

Replace the lid and cook on HIGH for 3-4 hours, or leave it on LOW and cook for 4-6 hours.

Sauce will thicken in the pot.

Remove bay leaves just prior to serving. Spoon over mashed potatoes or polenta for a simple, filling meal.

Keep in an air tight container in the refrigerator for 5 days once cooked.


Simple lemon air freshener (and an update)

This is a lemon.

Hello All,

I have had another brush with bad health and that is why I deserted you momentarily. One part of this latest episode involved an abscess, a Golden Staph infection and an associated inability to use my dominant arm, the other part involved having the office of a Rheumatologist calling me to make an appointment before I even knew my pathology results were back…

Oh dear.

I have made some yummy things in the interim and one post is coming soon. However, I thought I should share something quick and easy with you for now. A lemon air freshener.

I can’t tell you where this came from. It appeared as a meme in my Facebook feed a few months ago but wasn’t attributed to anyone.

We now have THREE cats. The Accidental Cat, Sara, seems to have issues with entering the litter tray properly. This means that her rear end is often not occupying the designated air space.

Ahem.

When shall we three meet again?

Cats. Sara is the grey one.

Consequently, there is a fair bit of unaccustomed cleaning activity being carried out in the Budget Bounty household. This is often accompanied by much giving of thanks that there will be no carpets anywhere in the New House – once it is built. Also a certain ‘pungency’ of the atmosphere tends to occur alongside such events.

This little air freshener is coming in handy. It’s also doing the job without setting off any allergies, exacerbating hayfever or triggering asthma like a lot of commercial air fresheners can do. Just saying.

This is a lemon.

This is a lemon.

Firstly, get thou a spray bottle of some kind. It will need a capacity of at least 500 ml, which is 2 cups or half a litre. If you are American, a pint will do.

Then find a nice, juicy lemon. If you want it even juicier, then roll it on a hard surface to break up some of the internal structure and release more juice.

Squeeze it into a small jug.

This citrus squeezer is one of my favourite gadgets.

This citrus squeezer is one of my favourite gadgets.

Add 2 level tablespoons of bicarbonate of soda (baking soda) and wait for the fizz!  Stir well.

Chemistry in action.

Chemistry in action.

Once it has settled and you can be sure there are no undissolved lumps, add 2 cups of tepid water. Stir well.

All mixed up.

All mixed up.

Now, even the best juicers can let seeds and bits of pulp through into the resulting liquid. You don’t want those in your spray bottle or the works will get clogged up. Strain it. I placed a teeny tea strainer in the mouth of my funnel and strained it as I filled my bottle.

I am a multi-tasker. (Hear me moan as I finally get to sit down…)

Bits get strained out - which is good.

Bits get strained out – which is good.

Place the nozzle on your spray bottle and give it a small shake before each spray.

The finished article.

The finished article.

You’re welcome.

Simple

  • Difficulty: easy
  • Print

Ingredients

1 lemon

2 tbsp bicarb or baking soda

2 cups water

Method

Juice the lemon into a bowl or jug.

Add the bicarb. The mixture will fizz up a little, this is not something to worry about. Stir well.

Add 2 cups or 500 ml of tap water. Mix well.

Strain to remove any stray lemon seeds or fruit pulp.

Use to fill a small spray bottle or atomiser.

Shake before using.

This mixture will impart a slight lemon fragrance to the air and the bicarbonate of soda will help to absorb any bad smells that may already be there.

The Accidental Cat explores a favourite bird hide of her clowder mates.

The Accidental Cat.