We make our own bread in the Budget Bounty household. It started out as a budgetary mechanism, but now we’ve got ourselves into a groove and it’s become a thing.
We just use a purchased bread mix and add bits to it, like ground flaxseeds or buckwheat. We buy a 5 kg bag, decant most of it into a food grade sealed bucket and put a kilogram or so into a smaller container in the pantry. When this smaller container is empty, it is refilled from the bucket by The Boy.
So, you can imagine my surprise when my request for the smaller container to be refilled from the bucket was answered with the words, “It’s empty.”
Ahem.
I’m still at a loss as to how the empty bucket wasn’t noted at the time it was emptied, so that it could be refilled before we ran out.
Anyway, moving on.
We needed bread. About this time, I remembered making Irish Soda Bread several lifetimes ago and that it had been well received – so I thought I’d give it a shot on The Boy.
It’s a very scone-like bread (half way to a damper) that toasts well and lets one consider one’s farm-dwelling ancestry a generation or two back. It’s also a great introduction to bread-making for those who are afraid of using yeast.
Ahem.
Unfortunately, its density means that it isn’t something that diabetics will be wanting to consume on a regular basis, but it is very yummy.
It’s a very simple recipe using basically plain flour, baking soda and buttermilk. We had all of these things.
So, into a largish bowl 800g of plain flour was poured. I had a bit of wholemeal plain flour in a jar, so I added it first and then made up the weight with some regular stuff.
It was all sifted on the way through, along with some salt and some baking soda. The bran from the wholemeal was added after.
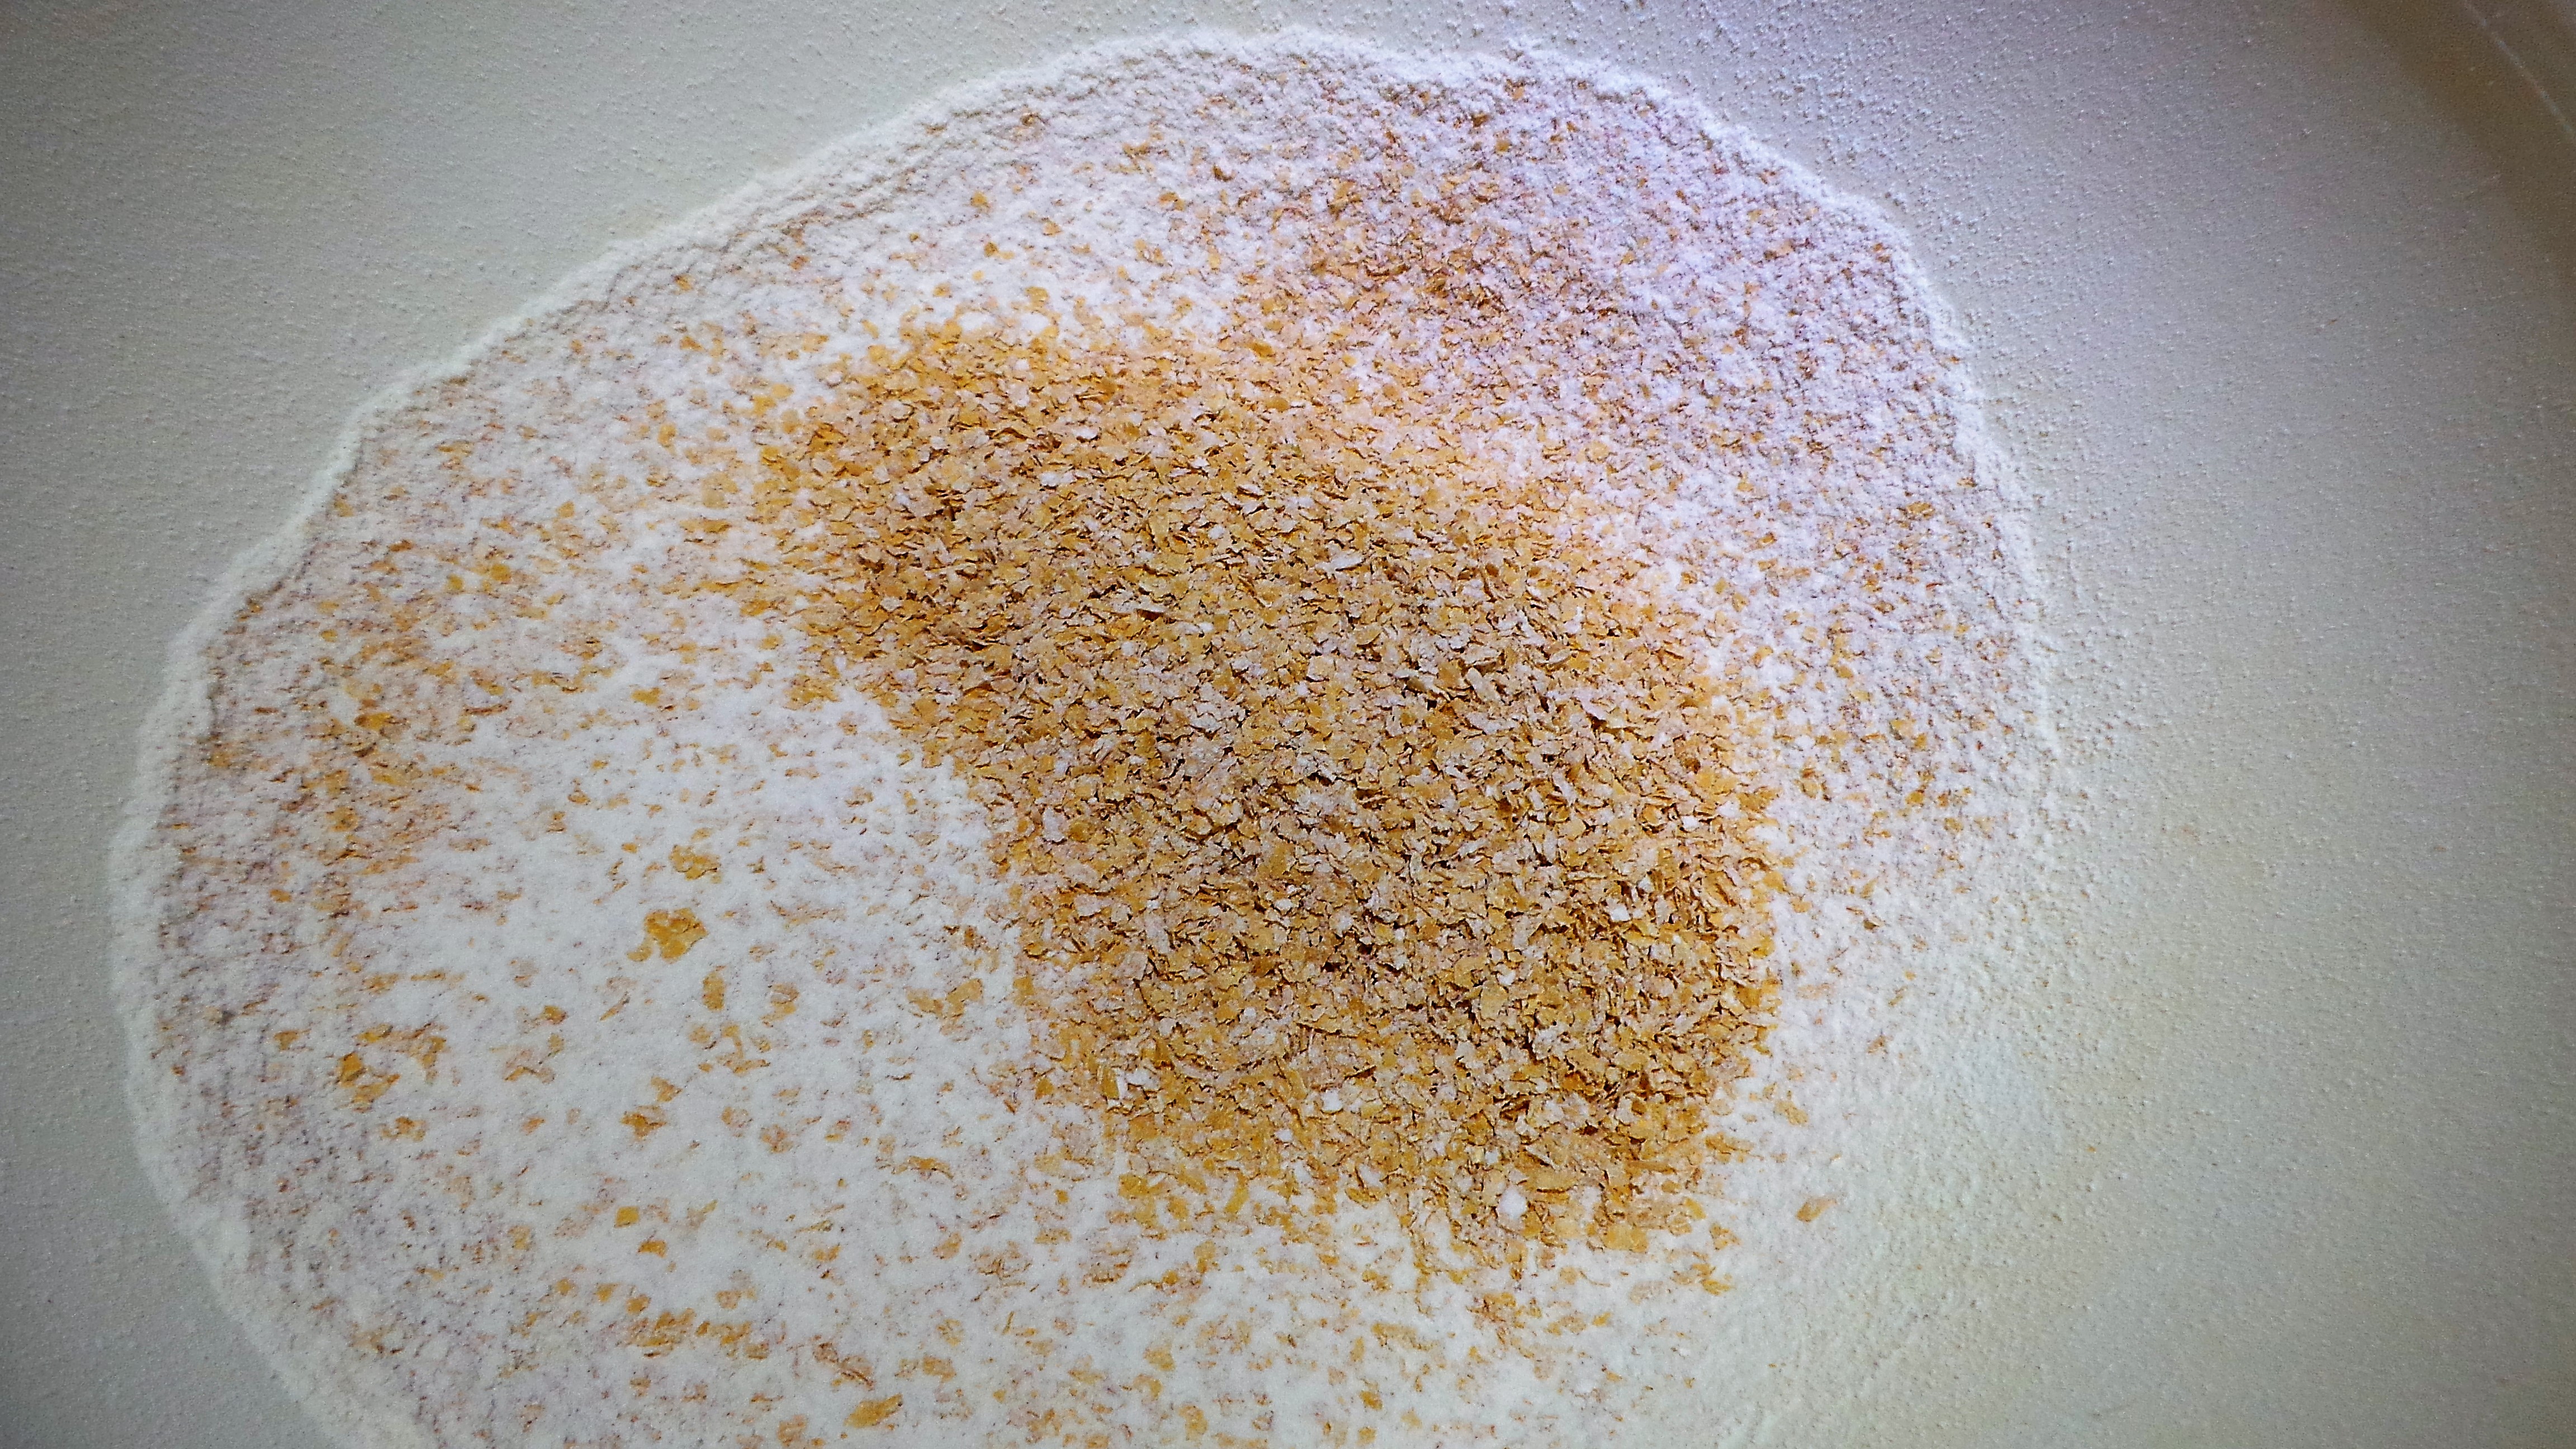
The flours were sifted.
I also added a tablespoon or so of golden flax seeds. Because I like them.
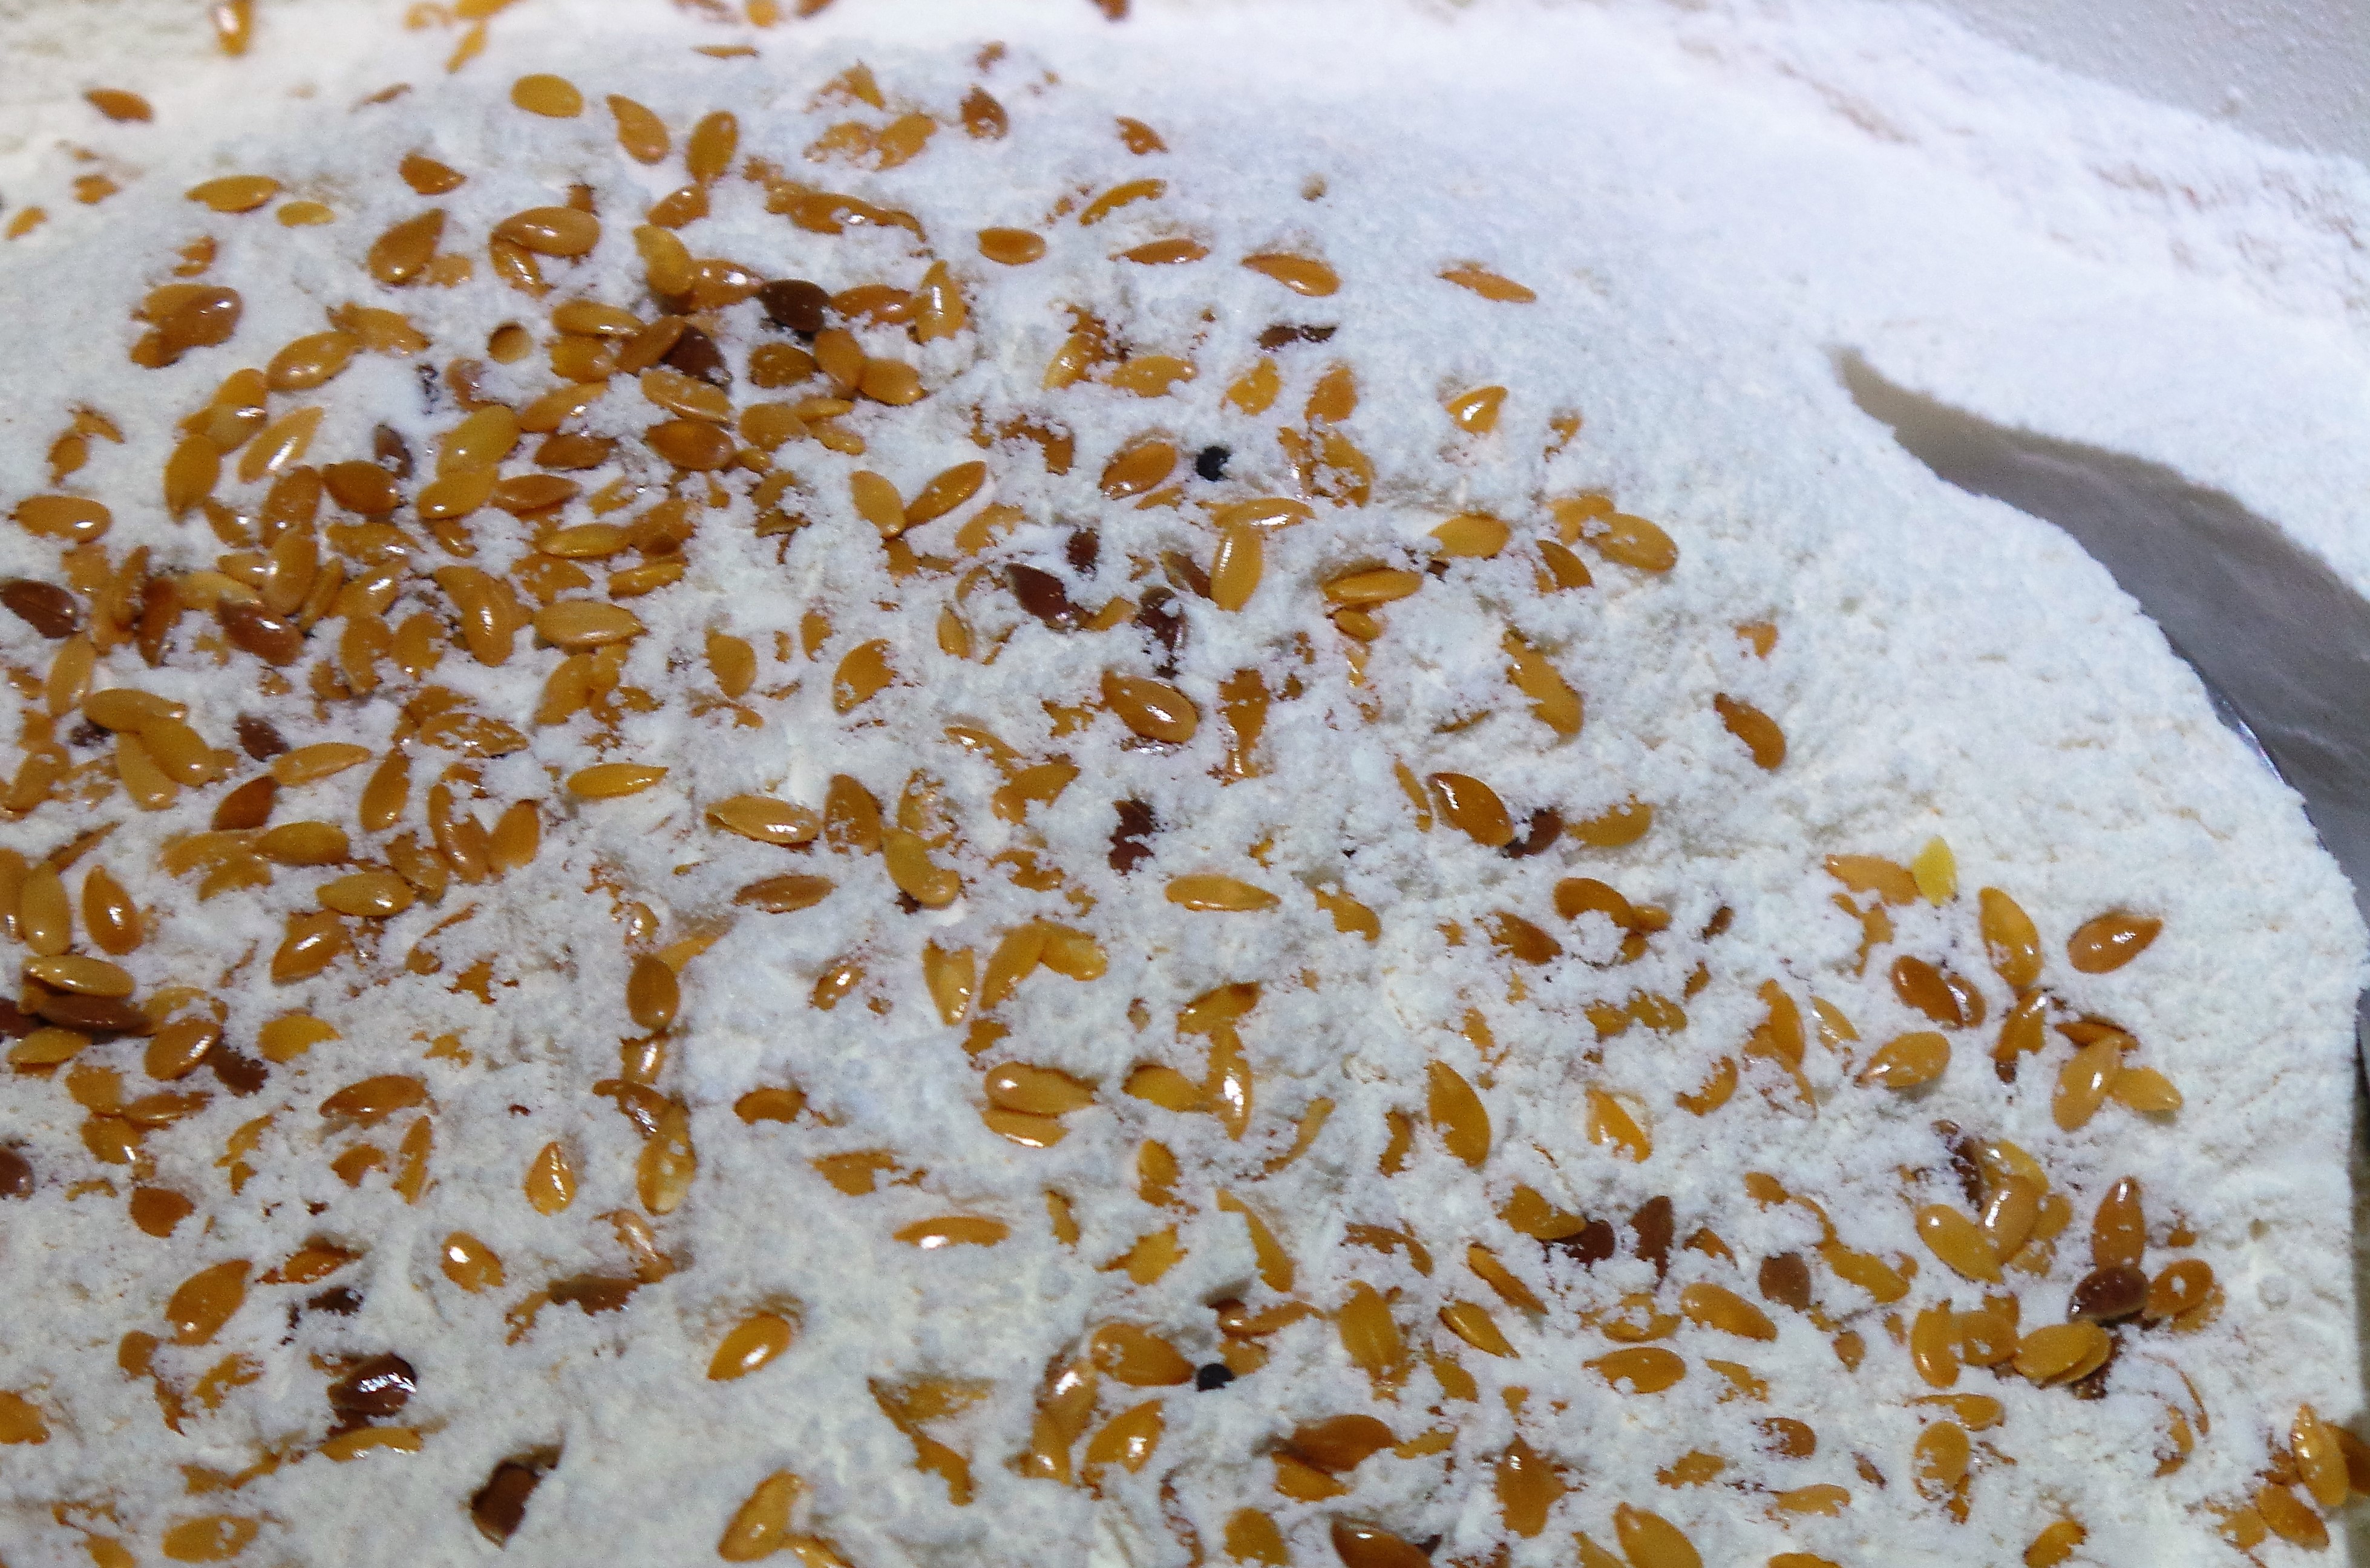
Flax seeds rock
It was all stirred together thoroughly, a well was made in the middle, and a pint of buttermilk was added. Then it was mixed together with a heavy spatula (or I could have used a wooden spoon) until it came together as a firm dough. My bread needed more liquid, so I just added splashes of milk until I got that result. It’s important not to be too heavy-handed with this. It is a lot like scones, in that light handling will result in a lighter bread.
Then it was tipped out onto a lightly floured surface.
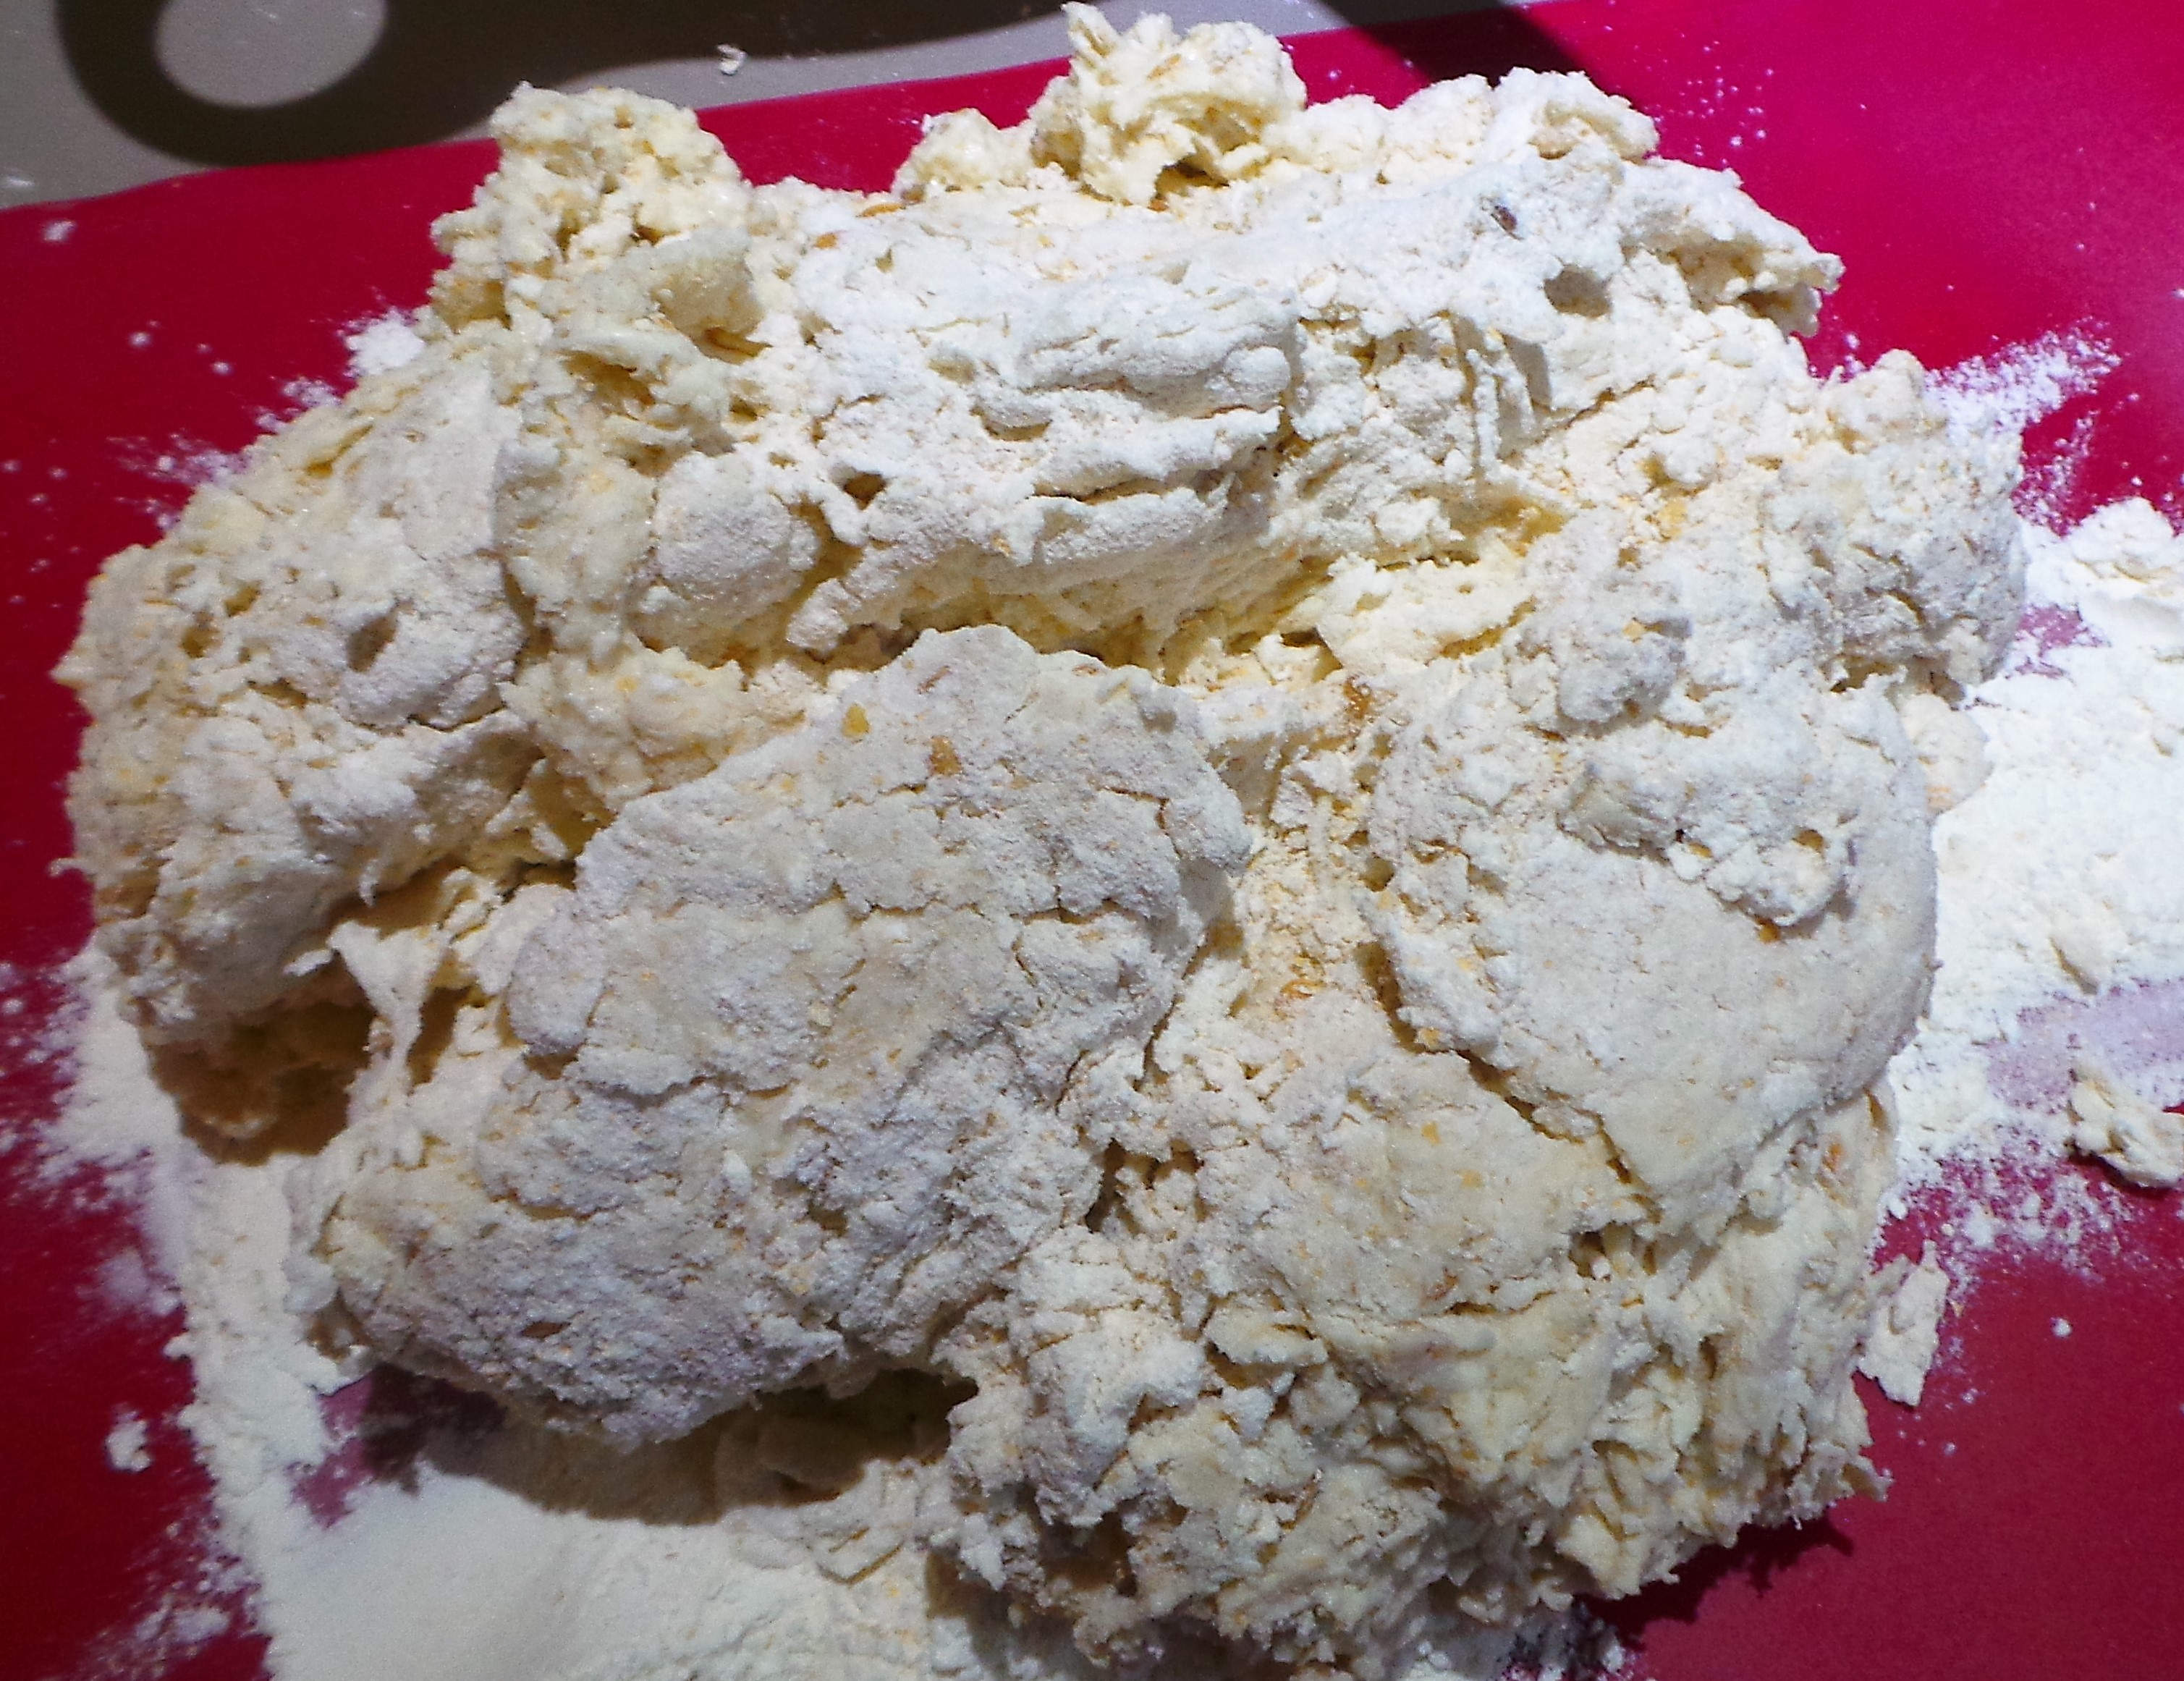
Turn it out onto a floured surface.
Then, with a light touch, I shaped it into a big ball – kneading it gently until it was only just smooth.
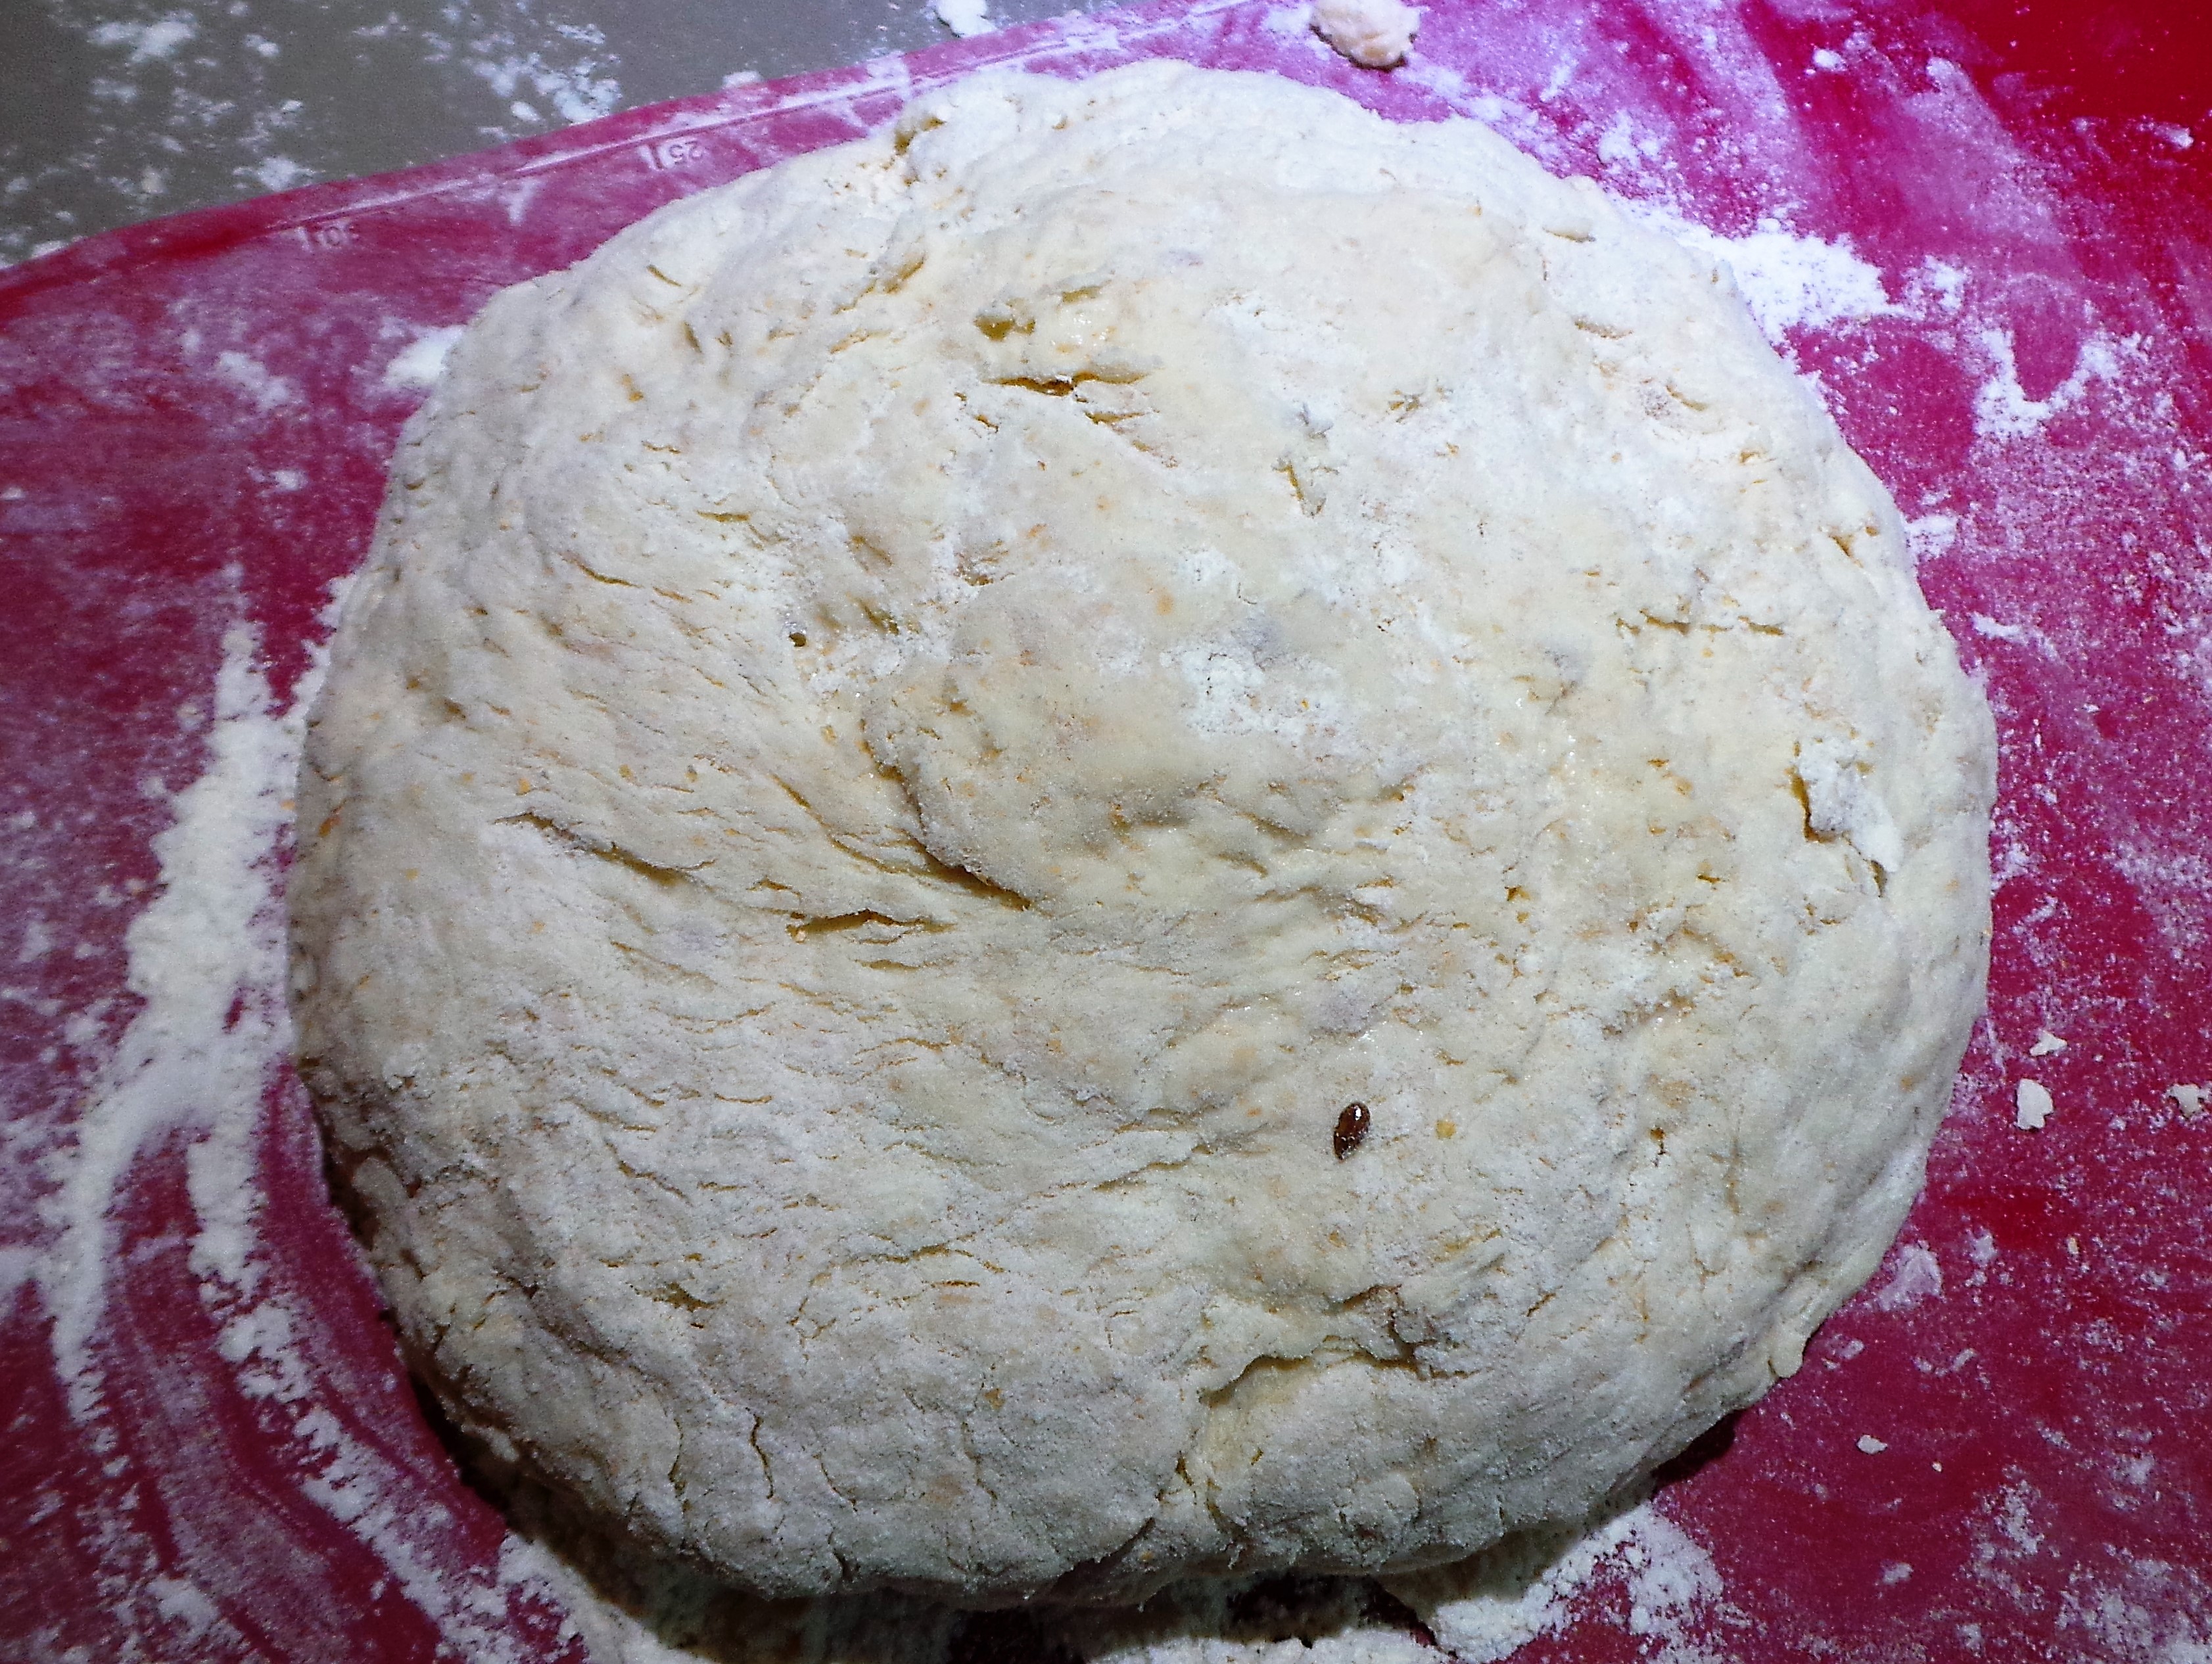
Remember it’s rustic. Alton says people pay extra for that…
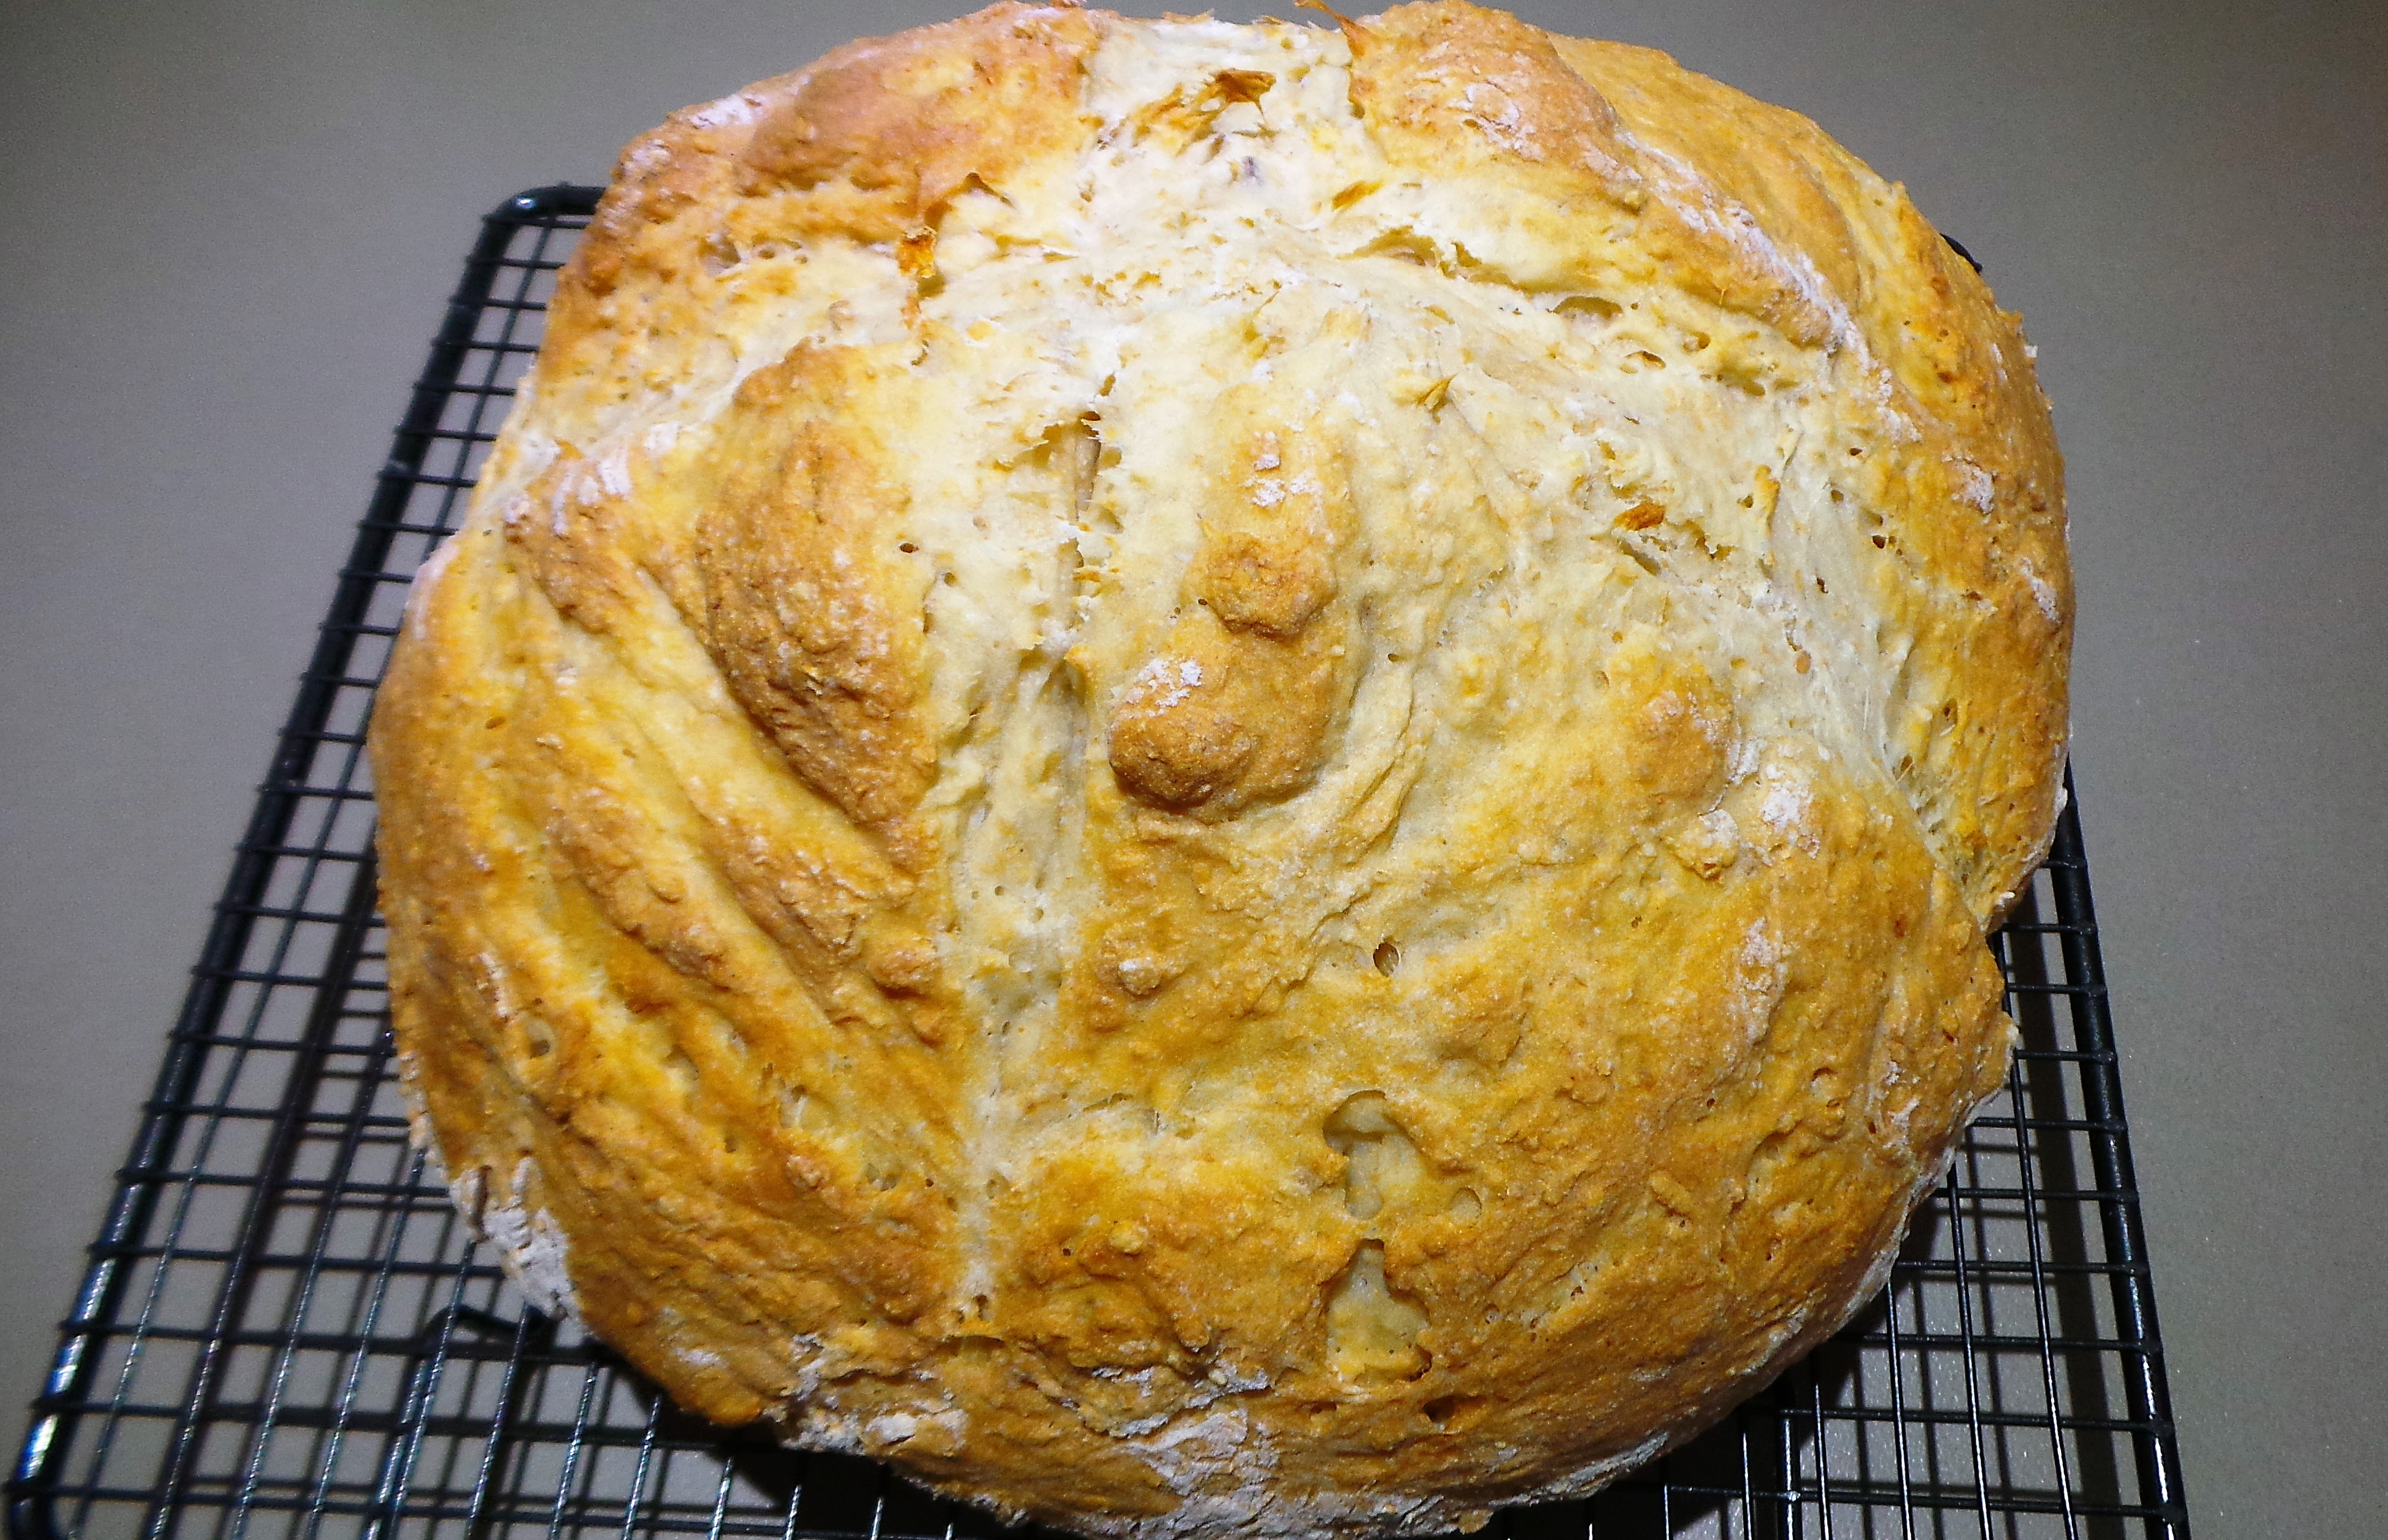
A tray was sprayed with cooking oil, the loaf was placed smack dab in the centre of it and brushed with a little milk. Then, following tradition, a cross was cut in the centre. This enables the bread to rise in such a way that the loaf maintains its shape on the way.

Ready for the oven.
Then it was all baked in a moderate oven for just on an hour.

The same bread, now baked.
It really is that simple. Measure your flour, add your wet stuff and bake.
Let it cool on a rack and then treat as you would any other bread. Ours kept in the bread box in the pantry for 5 days after baking.
Yum!
Once life is a little more settled (probably after we move) I’m intending to try experimenting with different flours and additives. I think this would be awesome with some rolled oats added in, just as a f’r’instance.
If you’ve never made bread from scratch before, then please give this a try and then let me know how you go. 🙂
Irish Soda Bread
Ingredients
800g plain (All Purpose) flour. You may use a combination of different flours if you wish.
1 tsp salt
1 tsp bicarbonate of soda (baking soda)
600 ml buttermilk
milk to glaze
Method
Heat the oven to 180ºC/350ºF.
Sift the flour, salt and baking soda together into a large bowl, adding back any bran left in the sieve. Mix well.
Make a well in the centre and add the buttermilk. Stir lightly and quickly until a firm dough forms. If loose flour is still evident, simply add milk a tablespoon or two at a time until it is all incorporated.
Turn onto a lightly floured surface and lightly knead and shape into a smooth round about 20 cm across.
Place onto a lightly greased tray.
Cut a cross about 1 cm (½ inch) deep into the top of the loaf.
Brush the surface of the bread with a little milk. This will remove excess flour and help the bread to get a lovely golden colour.
Bake for an hour, testing after 50 minutes. Bread is done when a skewer inserted in the centre comes out clean.
Lift onto a wire rack to cool.