This is a very simple meal from The Boy’s childhood. I begged the recipe from his mother about a year ago (he kept on about it), but have only just got round to making it.
Because fish.
I’m not a big fish eater, I’m afraid. My mother had a deadly allergy to shellfish and an uncanny talent to turn fish fillets into cardboard. It all rather put me off.
I didn’t make this exactly according to the recipe either – which kind of spoiled the nostalgia surprise effect I was aiming for. Meh. I didn’t have any celery (IKR!) so I used red capsicum and I added Old Bay Seasoning to the white sauce, because I thought it would taste good.
And it did.
So there.
Anyway, here goes. This is actually a really good, simple, casserole for those nights when stocks are low and inspiration lower. Most of the ingredients will be found in a well-stocked pantry, especially if said pantry includes long-life milk… It’s even better if you have some plain rice already cooked and languishing in your refrigerator.
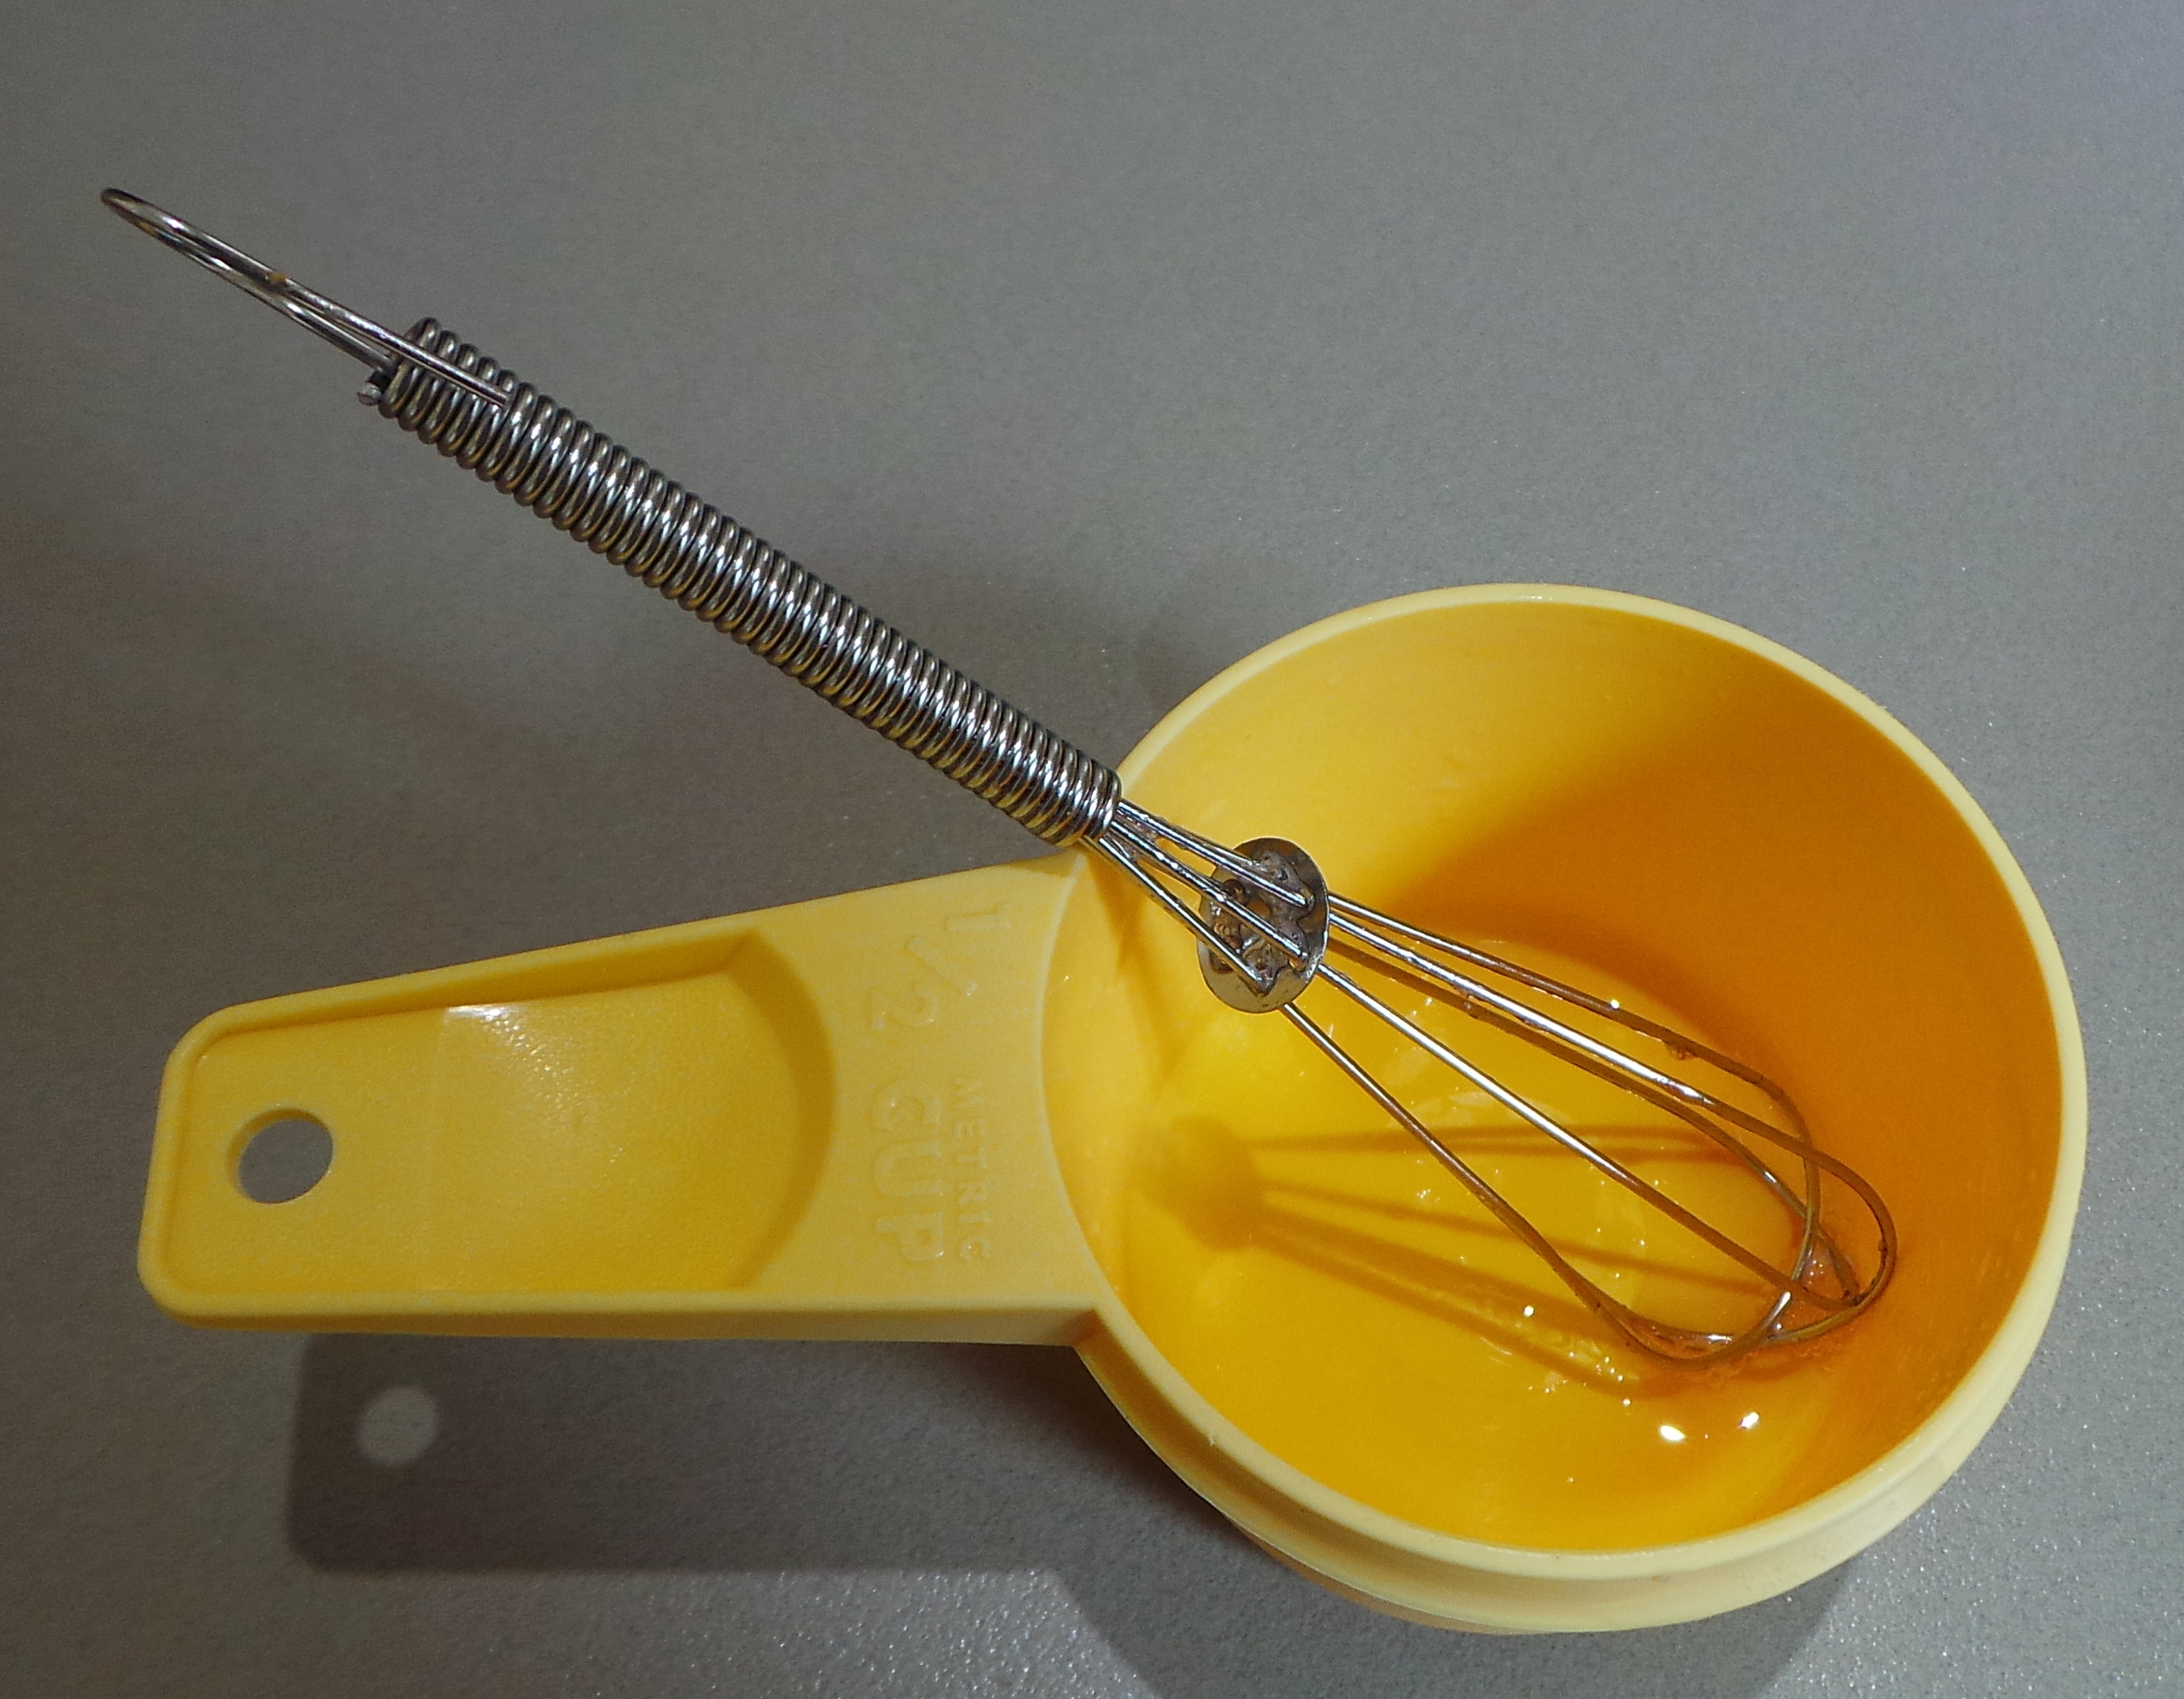
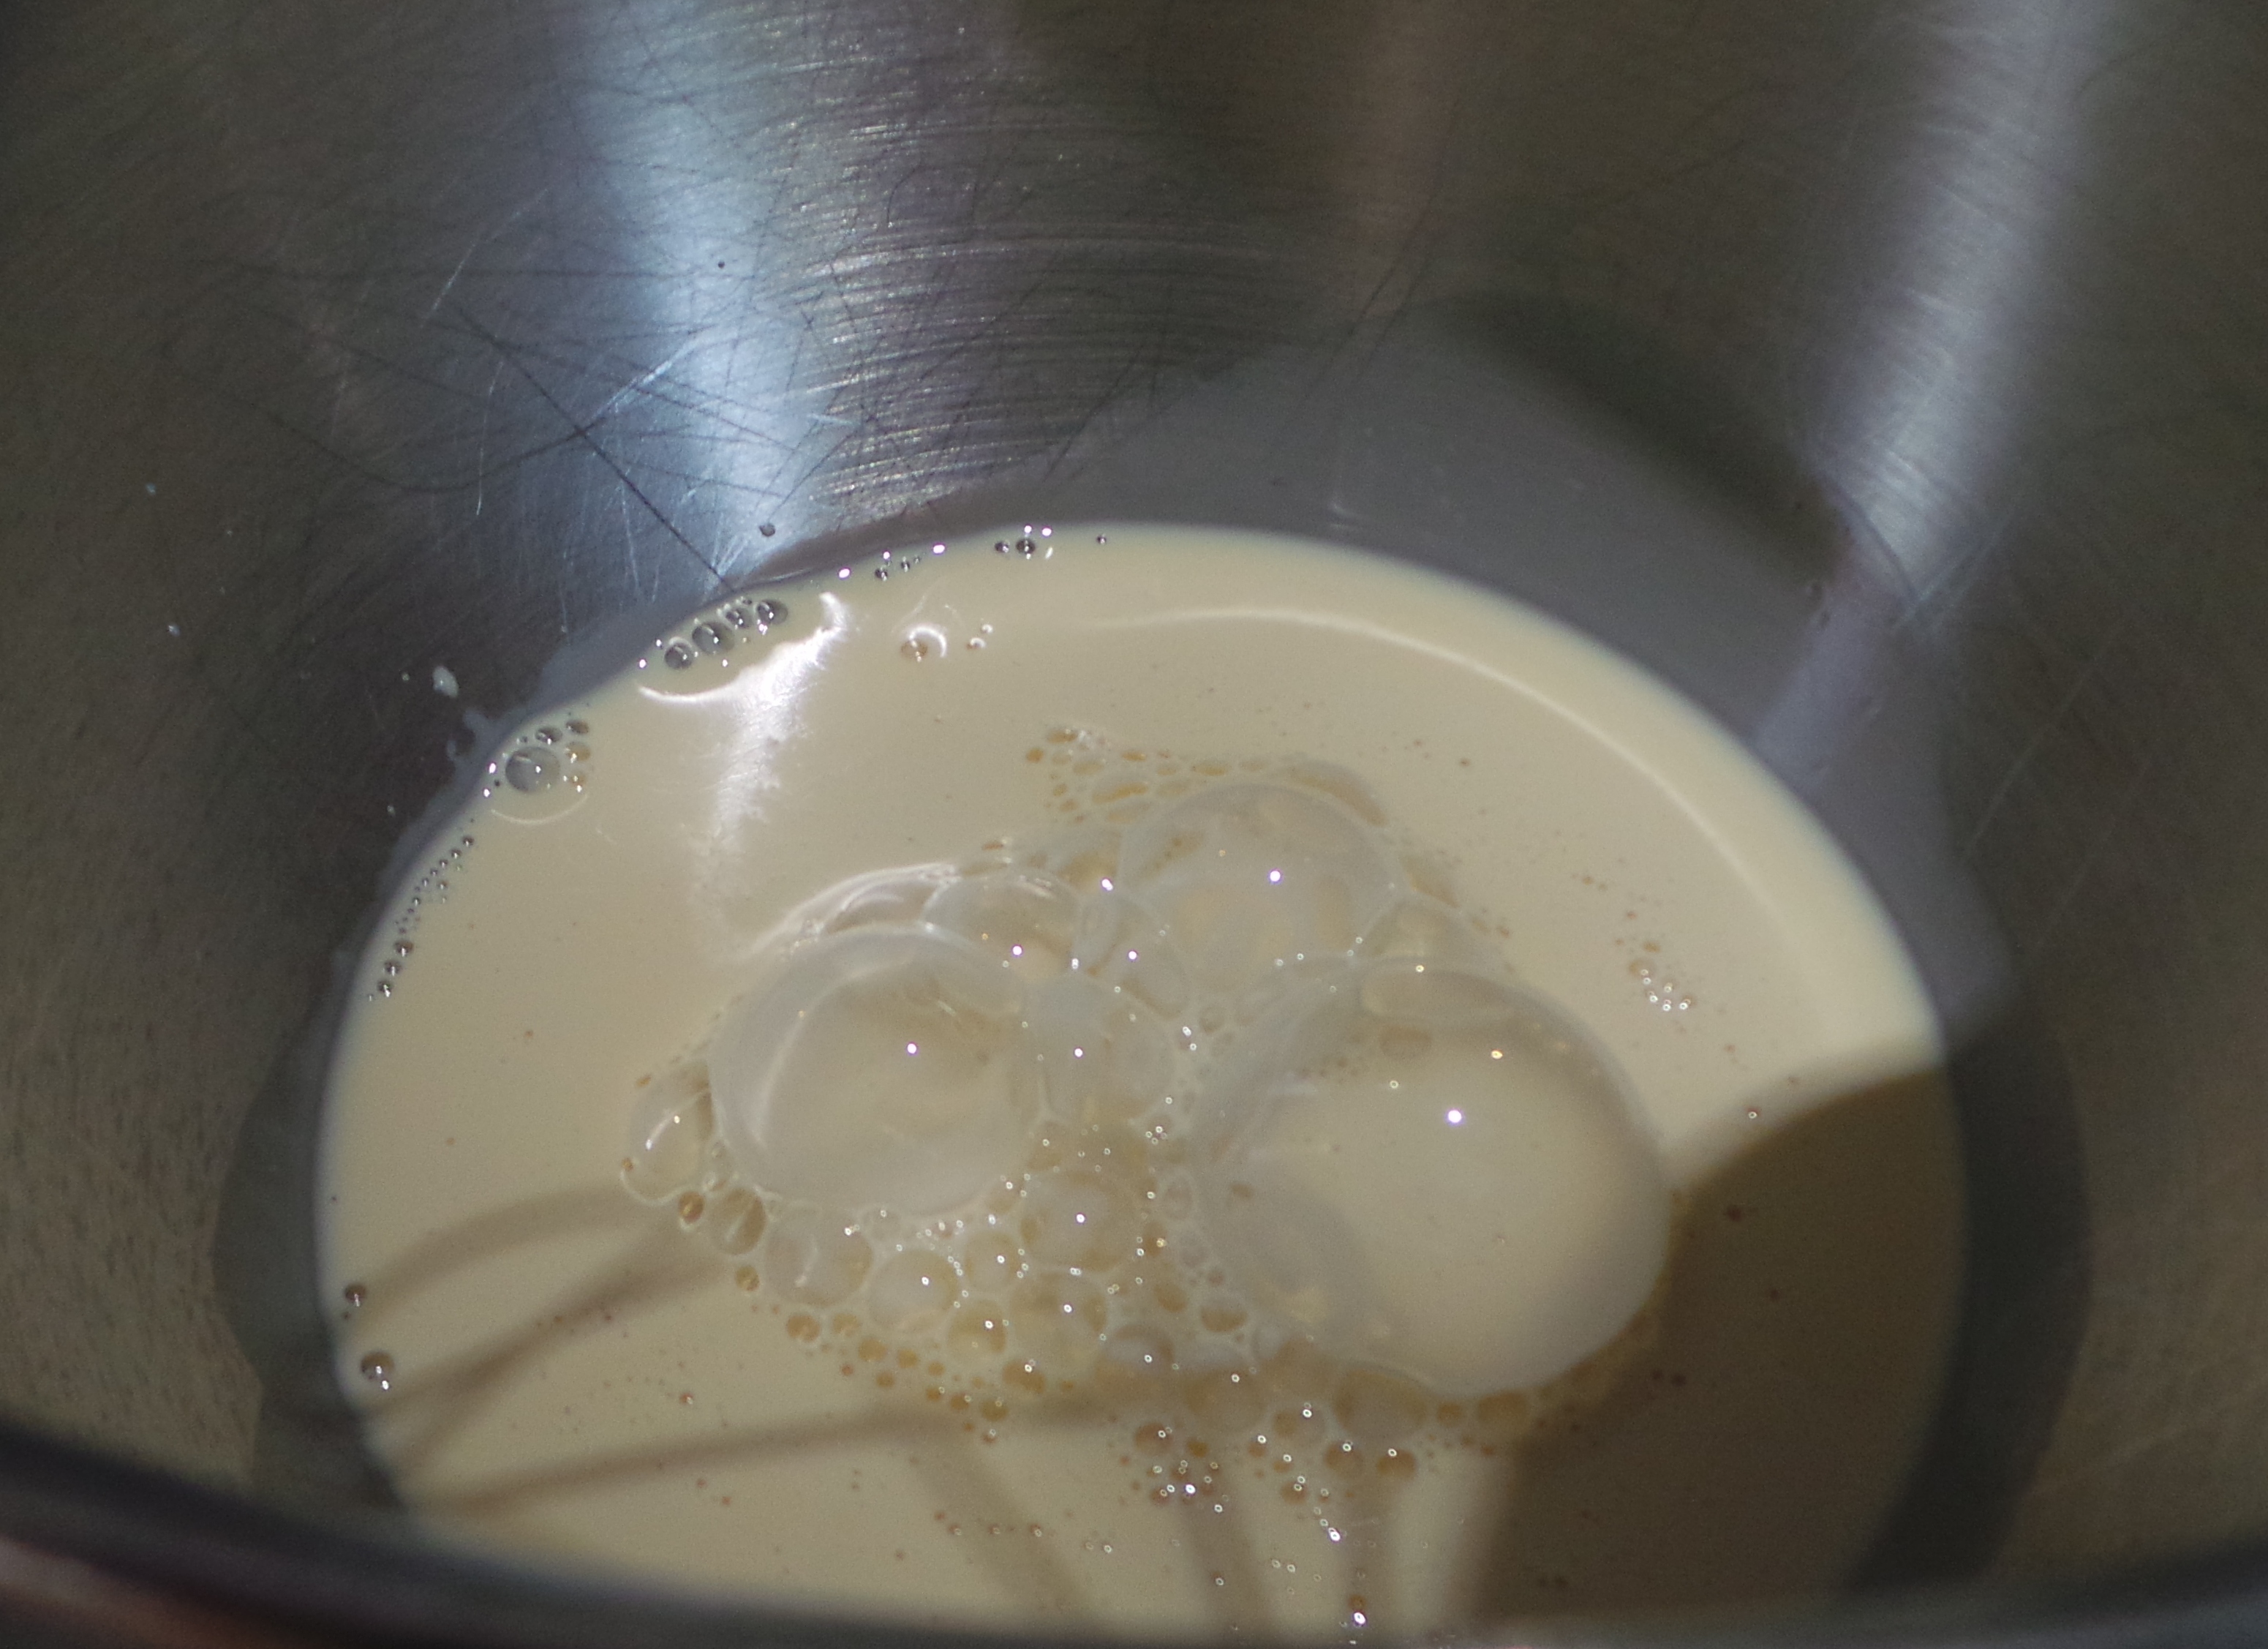
It starts off with a large tin of tuna in brine or spring water. The tuna is drained, but the liquid is reserved and made up to 1½ cups by adding milk to it. Now, I actually ended up using about a cup or so more of milk when I made it, as my sauce was exceedingly thick. But more on that later.
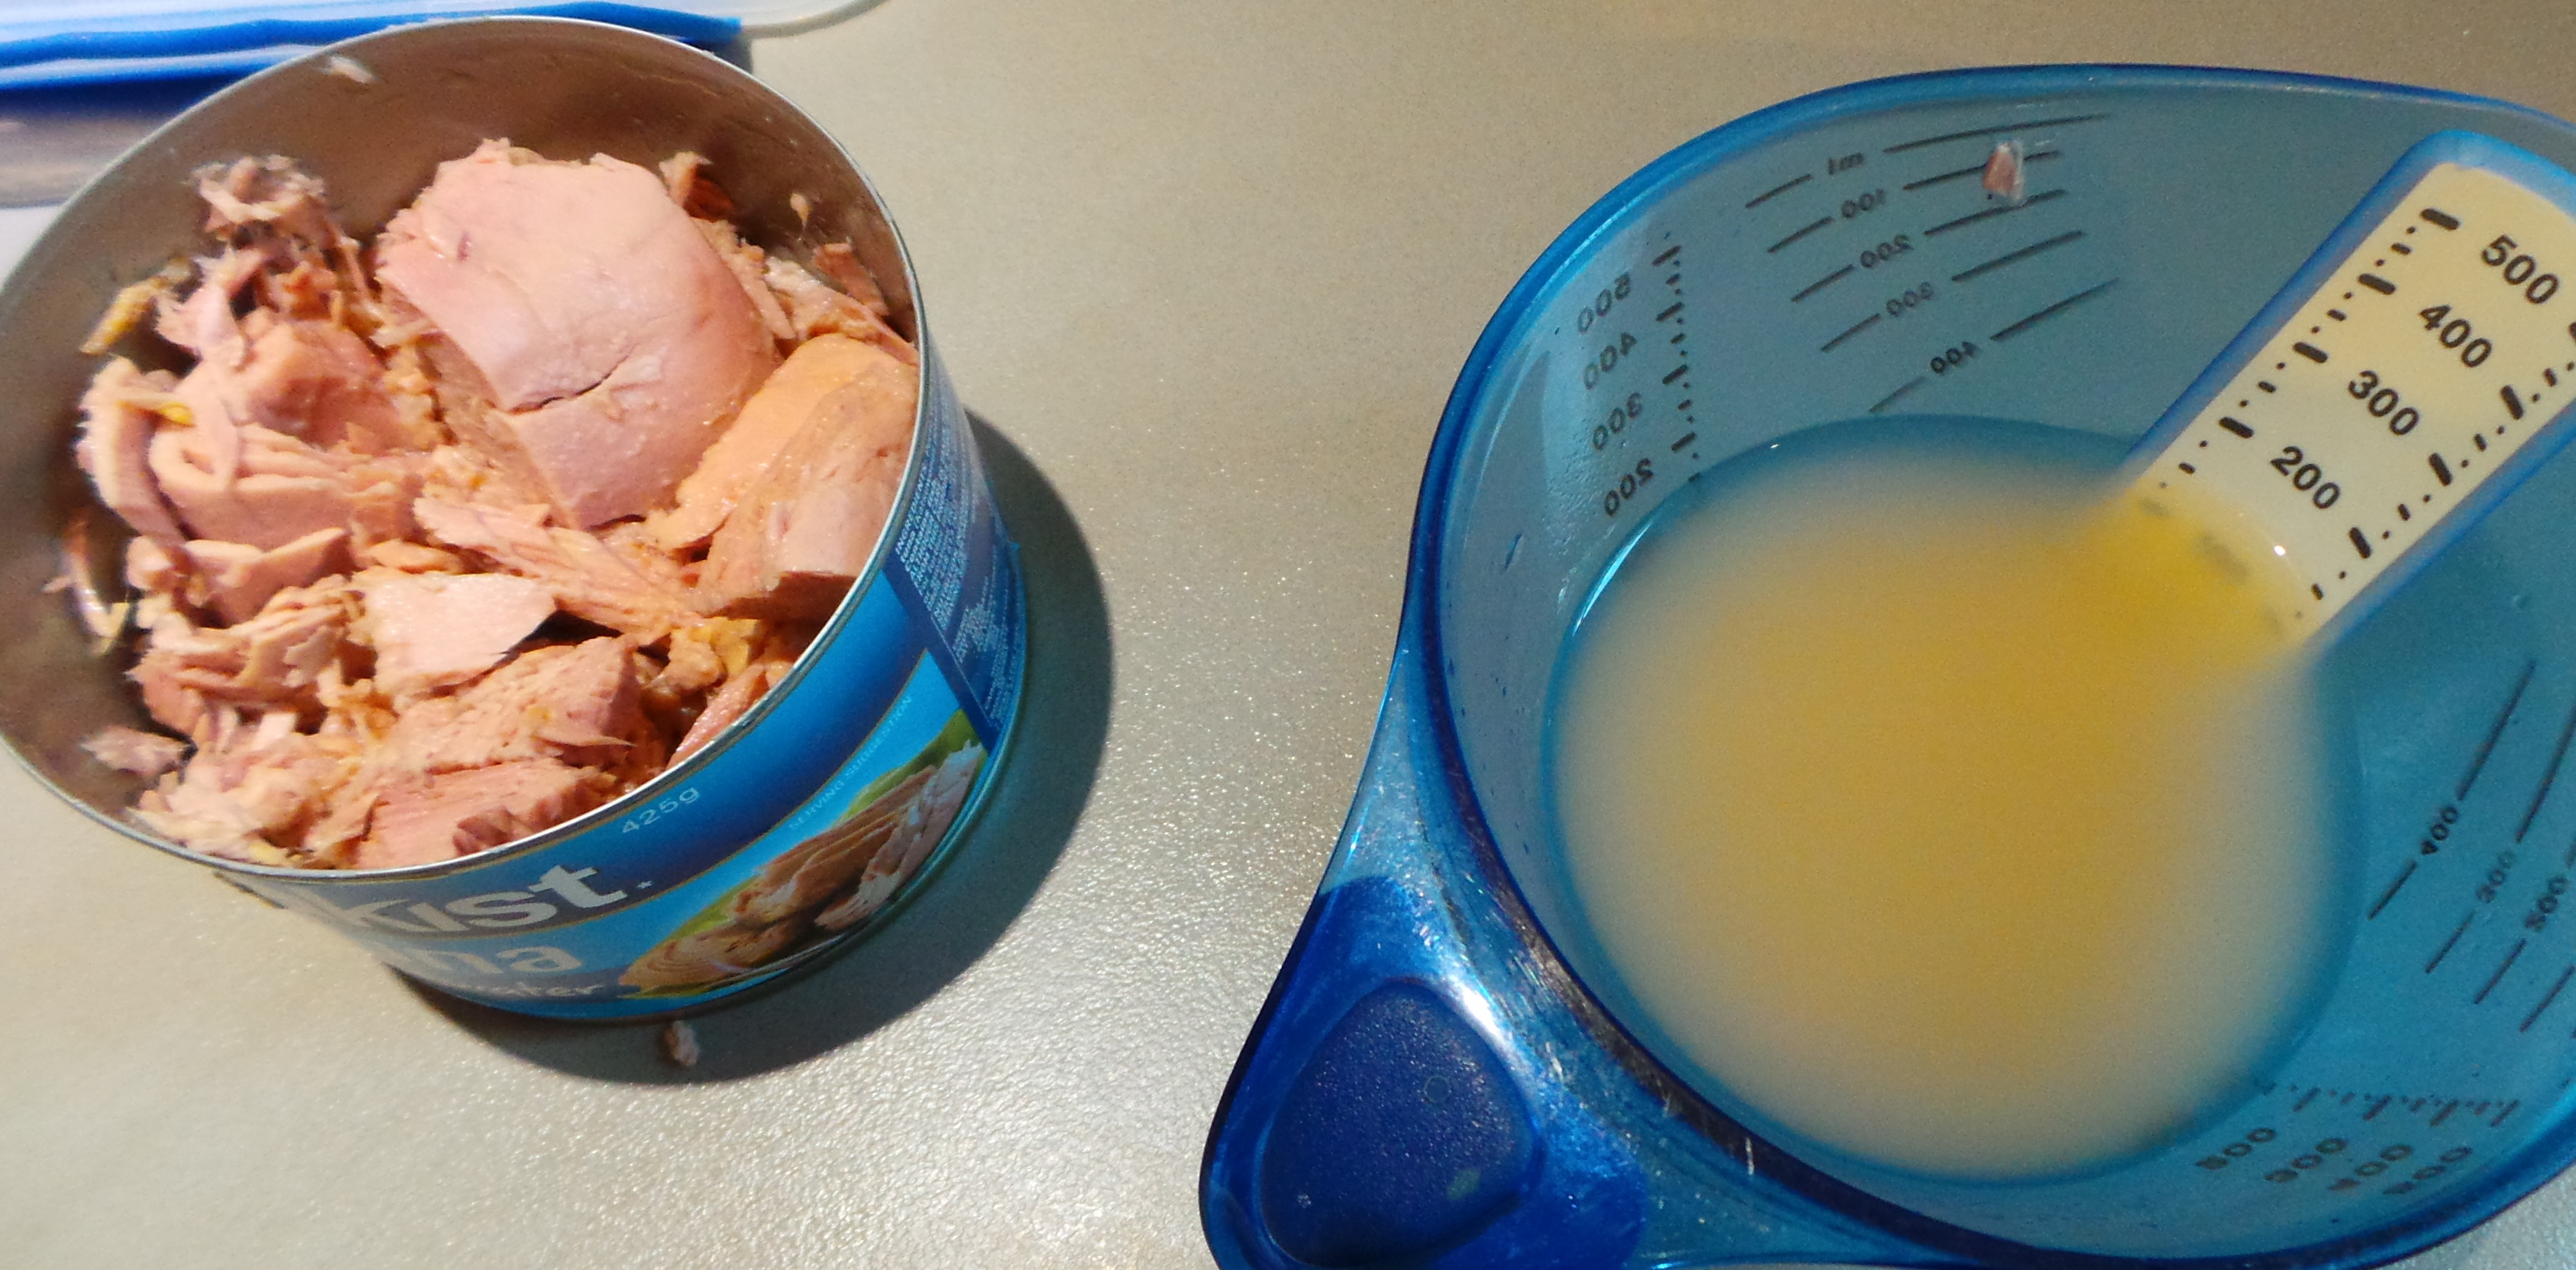
Drain the tuna and reserve liquid.
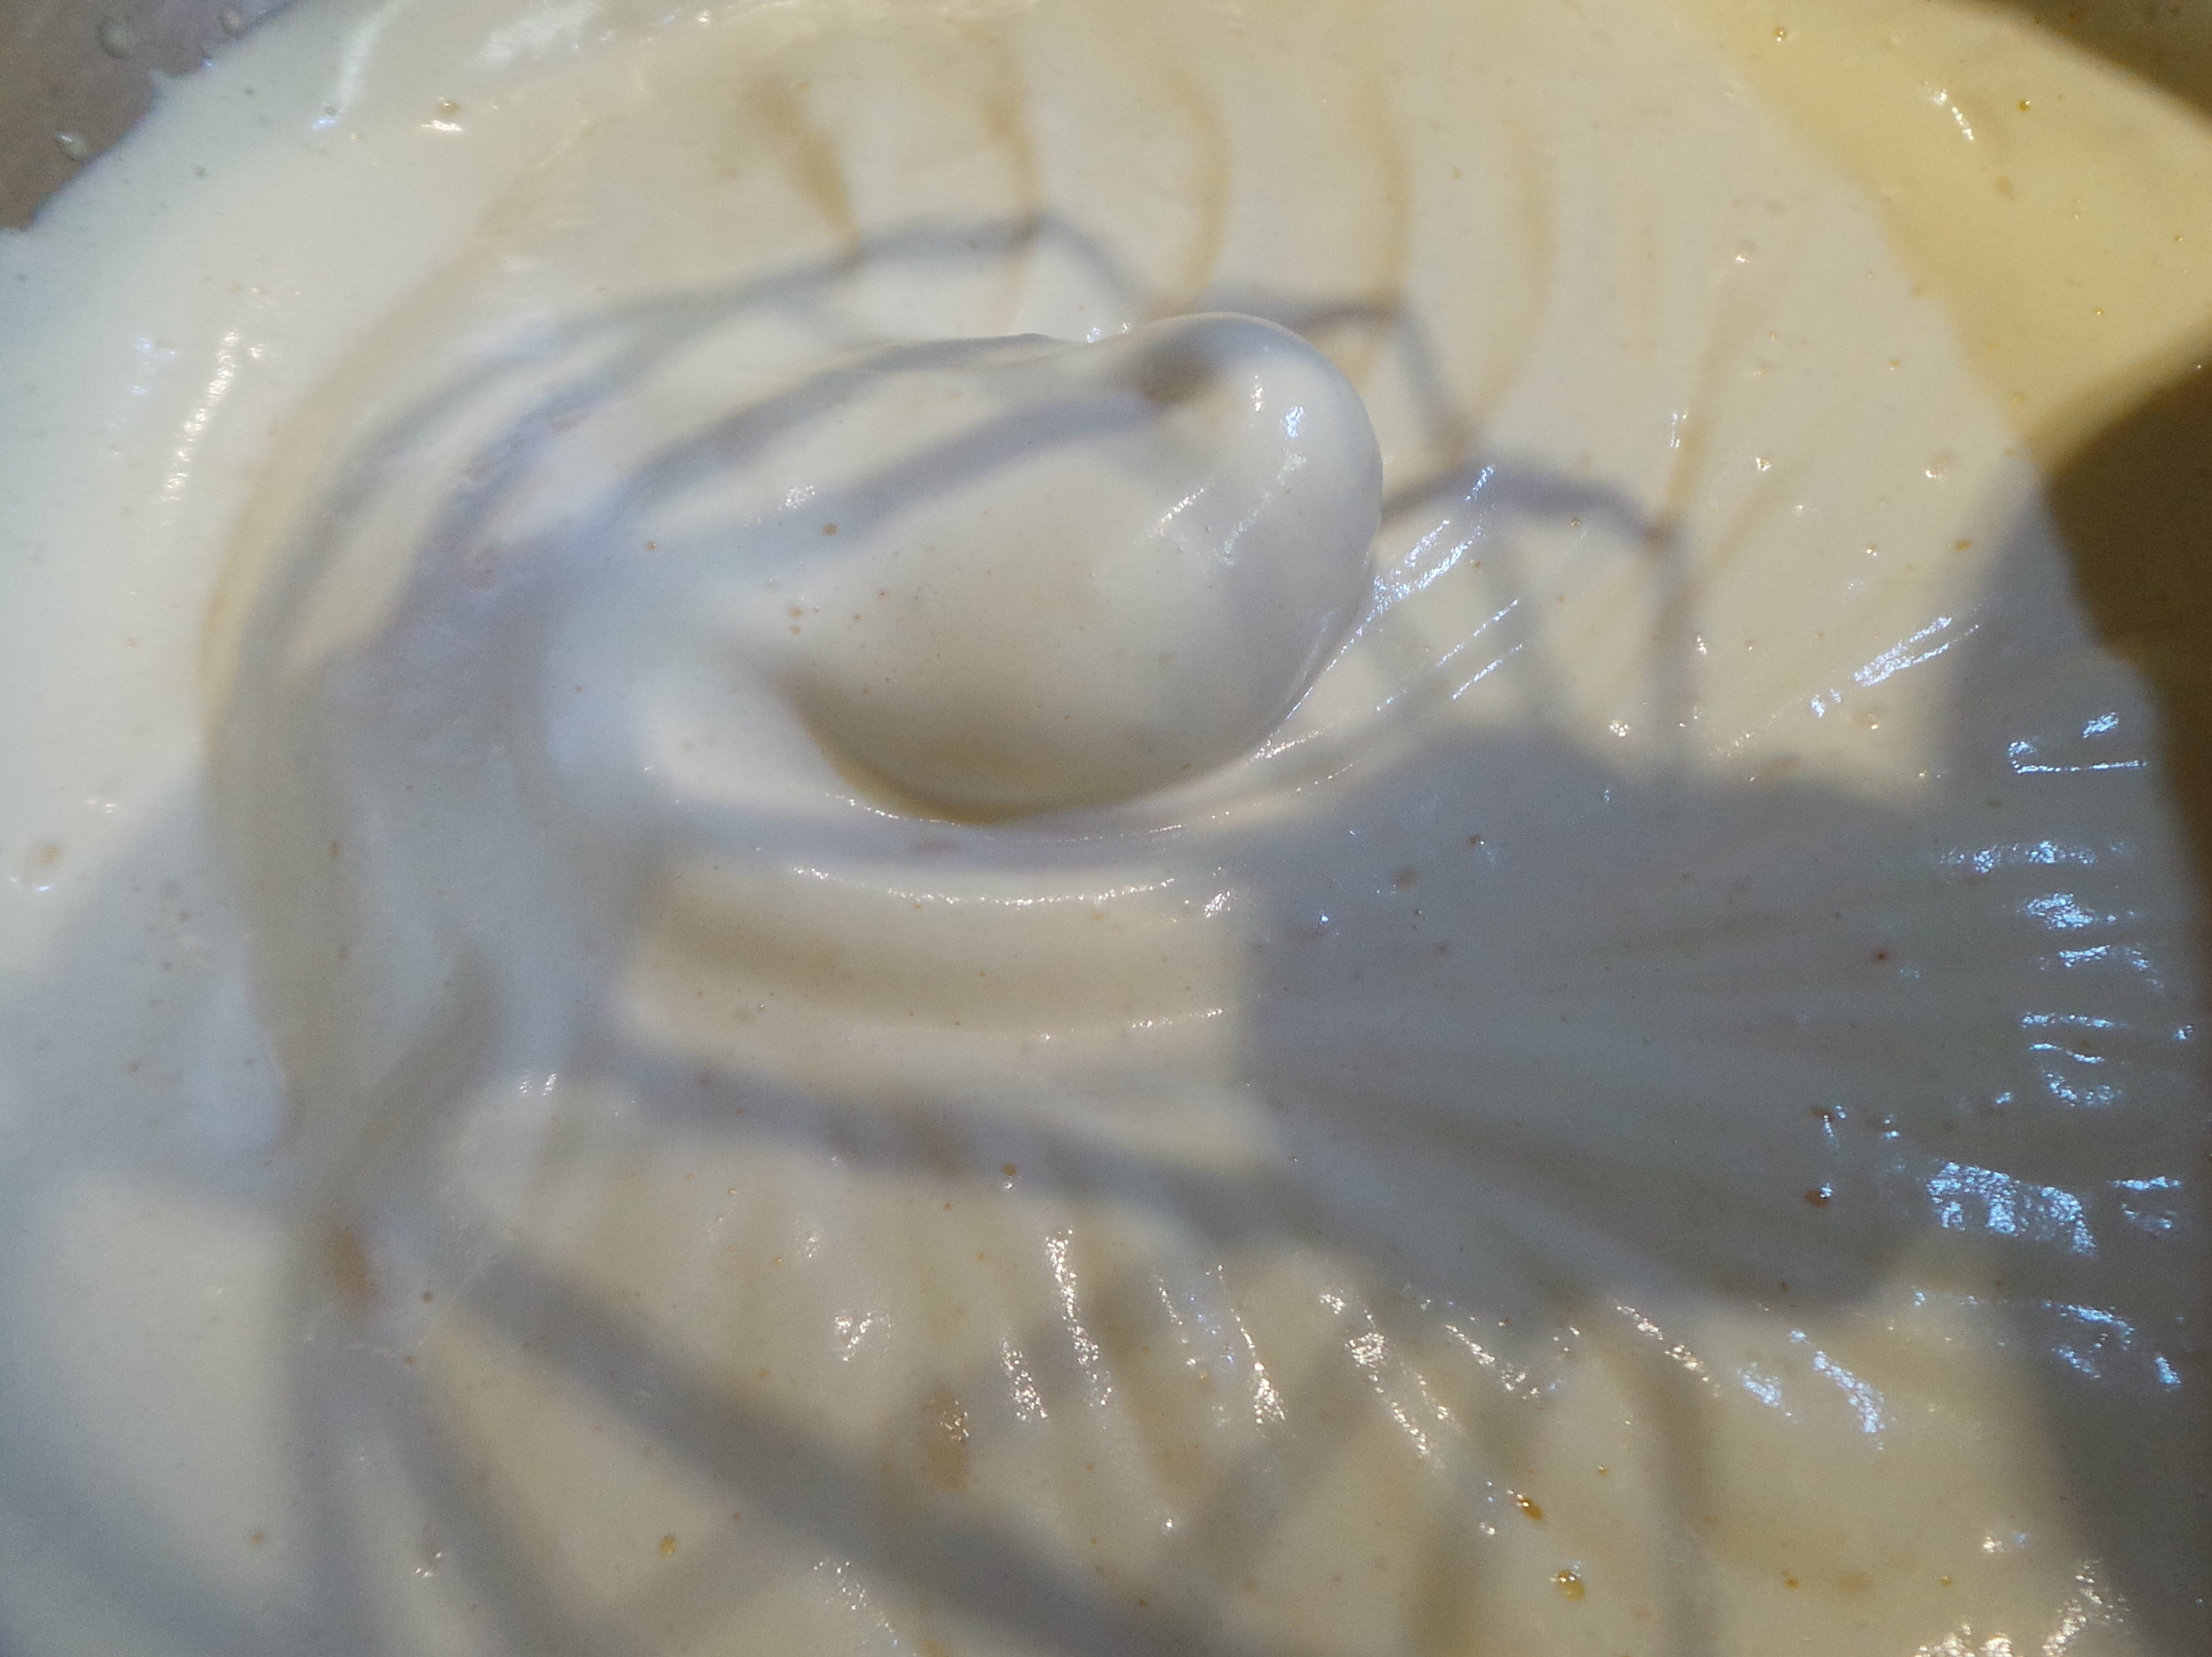
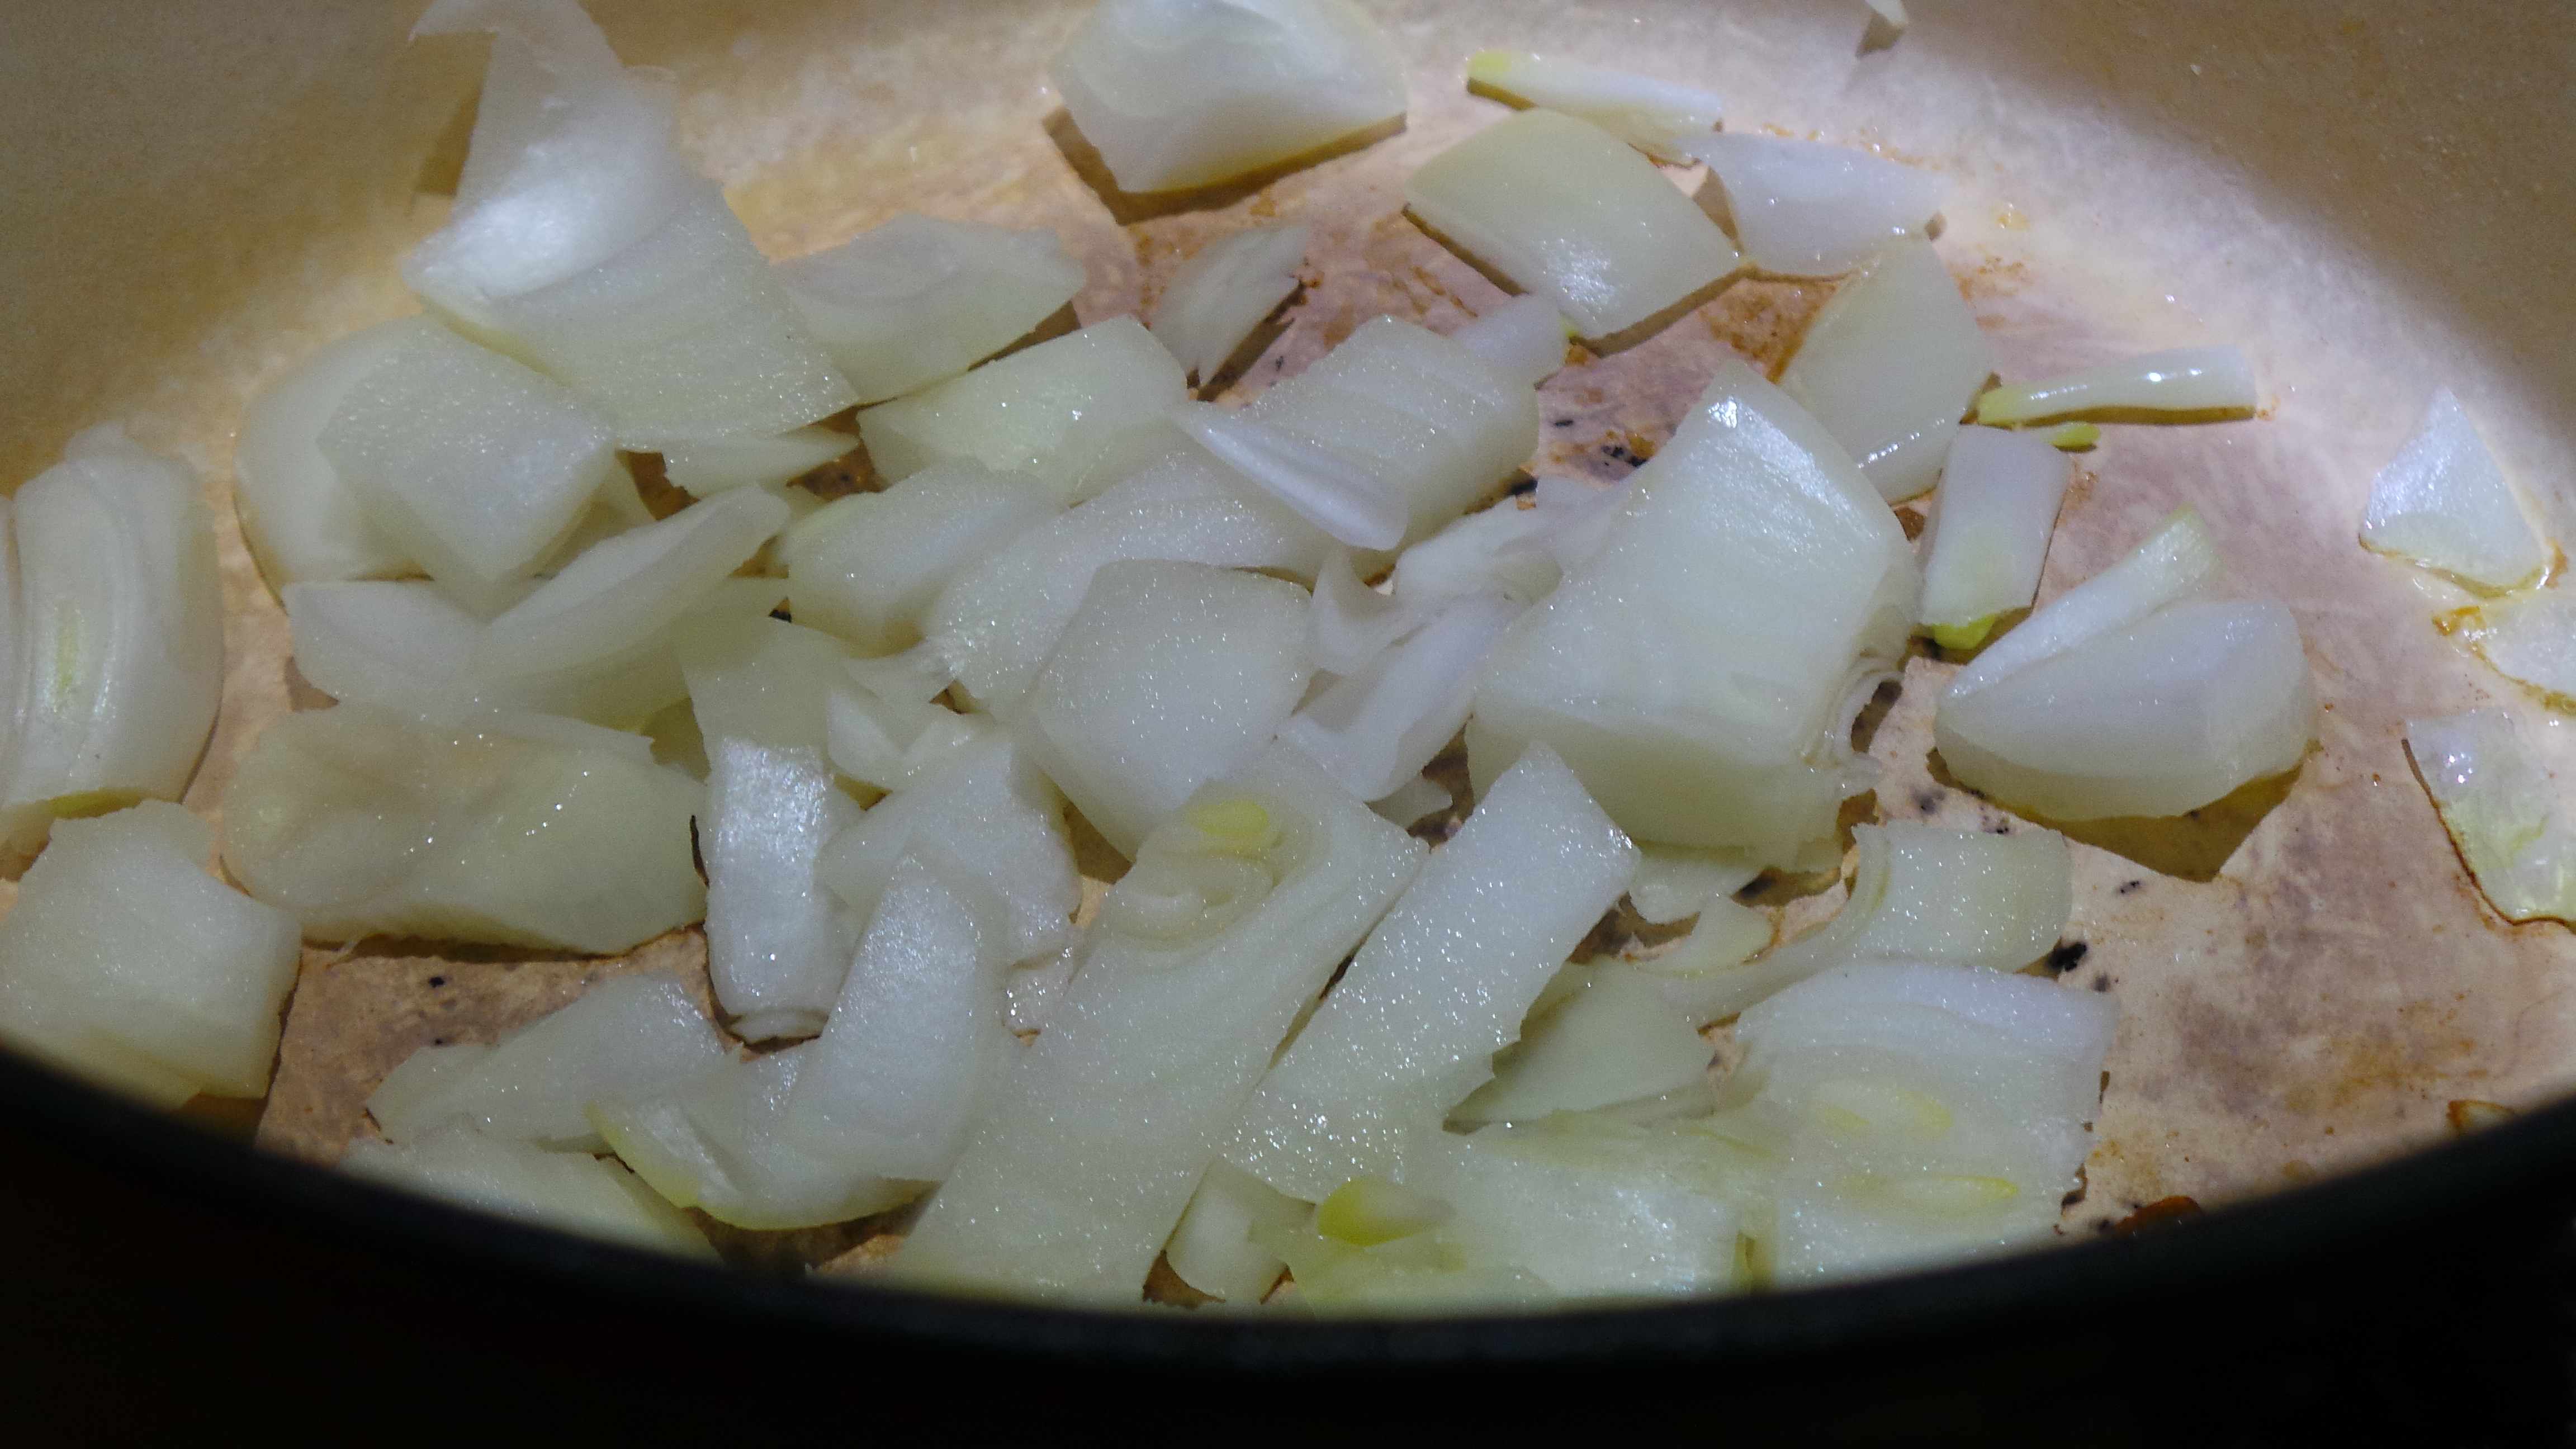
Some butter is melted and and used to saute an onion until translucent. Now I did this bit differently to the original recipe, as I didn’t want to risk a raw flour taste in the sauce. A few tablespoons of plain flour were then added and stirred to make a roux before the milk mix was whisked in and stirred until it boiled and thickened. Basically a fish-flavoured white sauce with onions in.
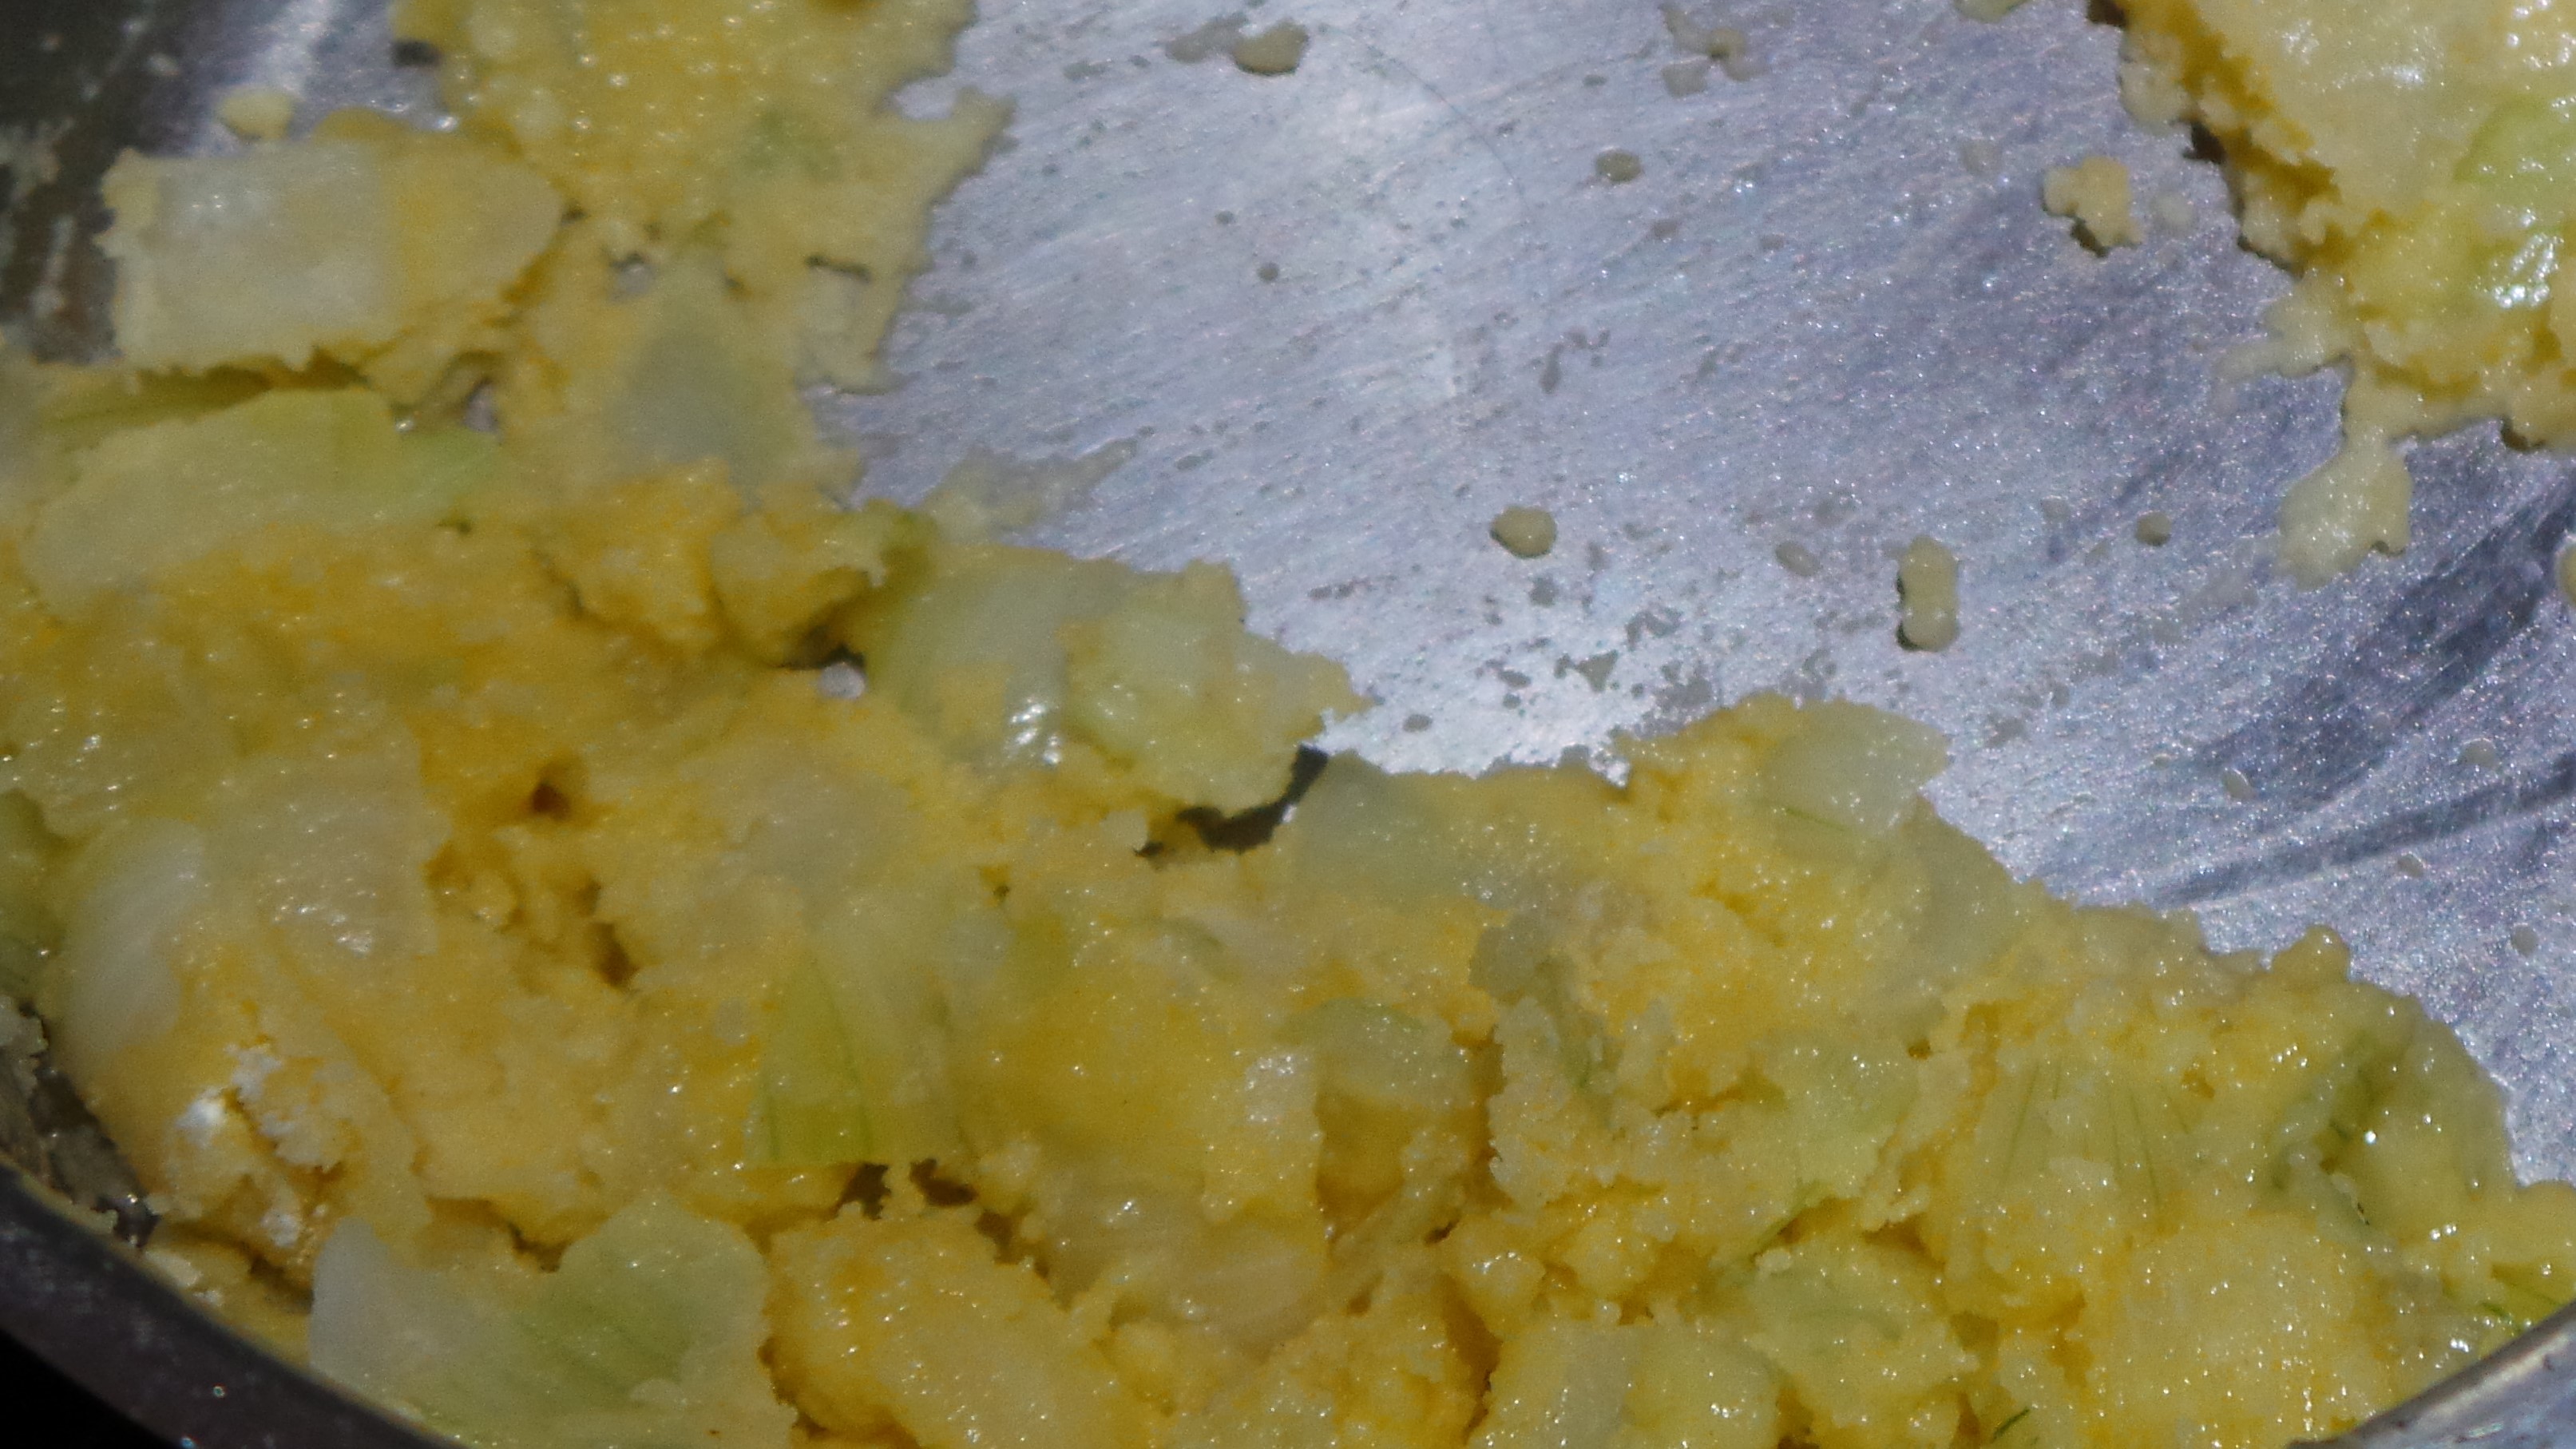
Make a roux.
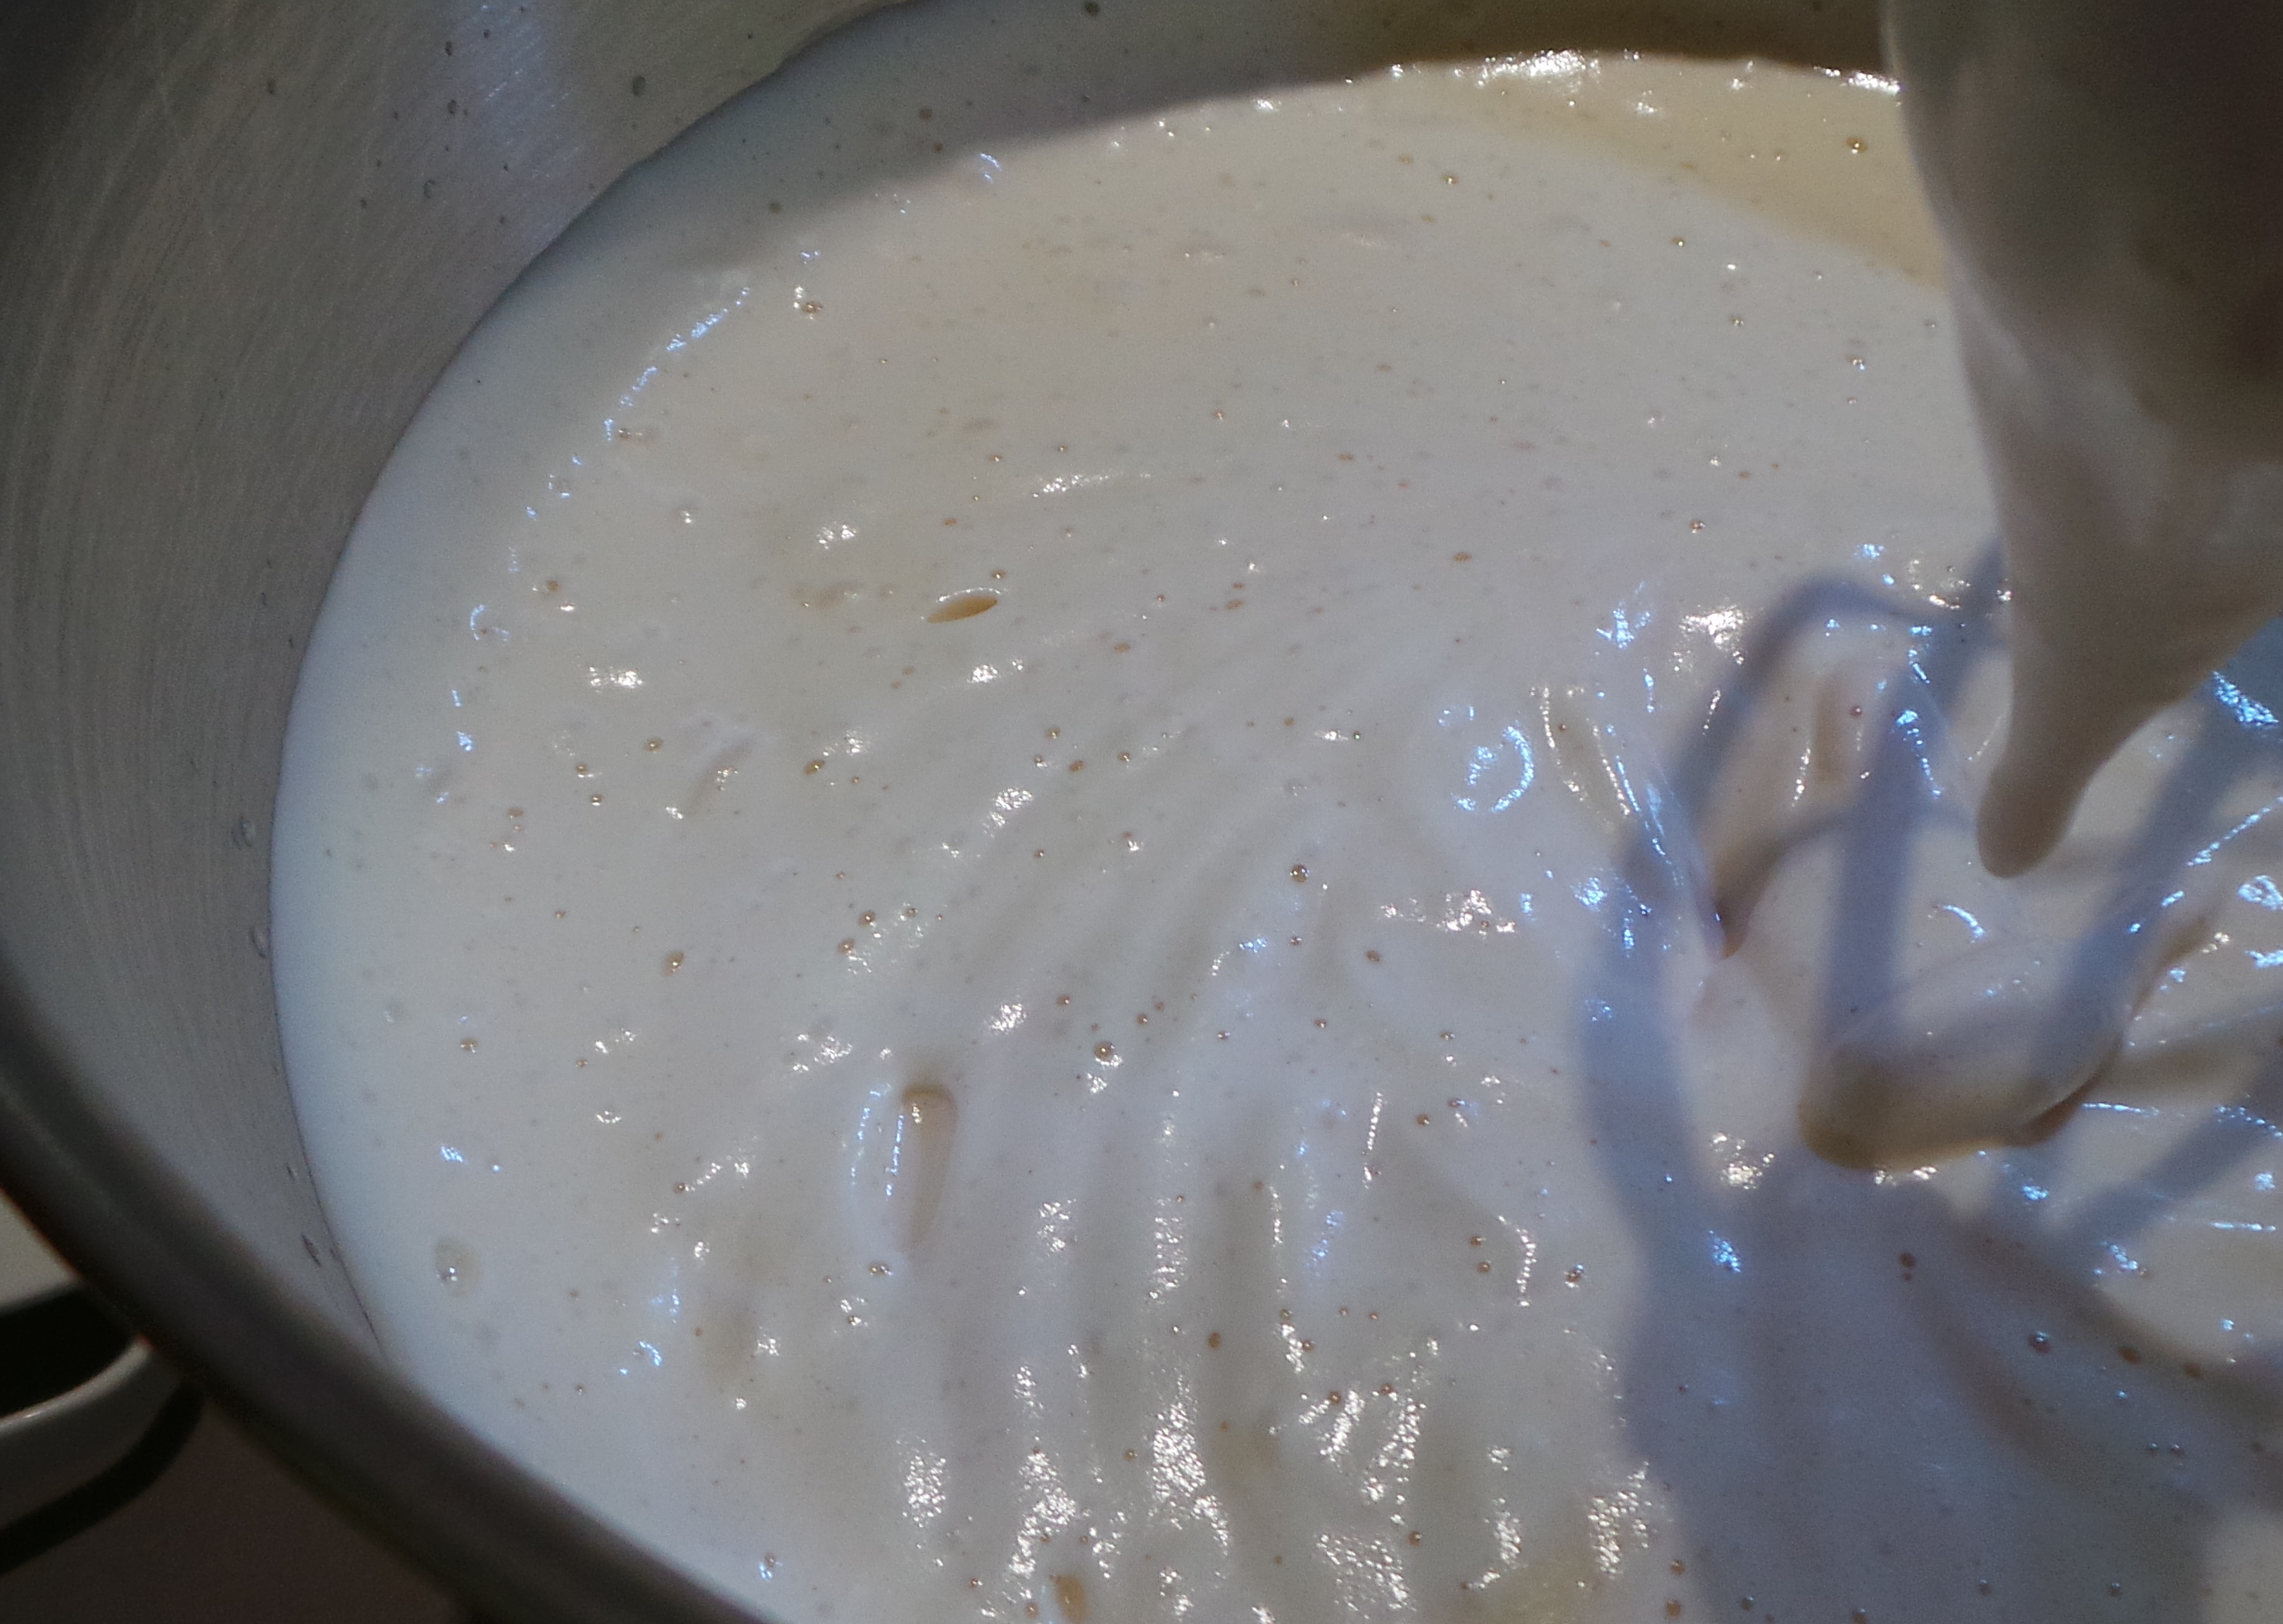
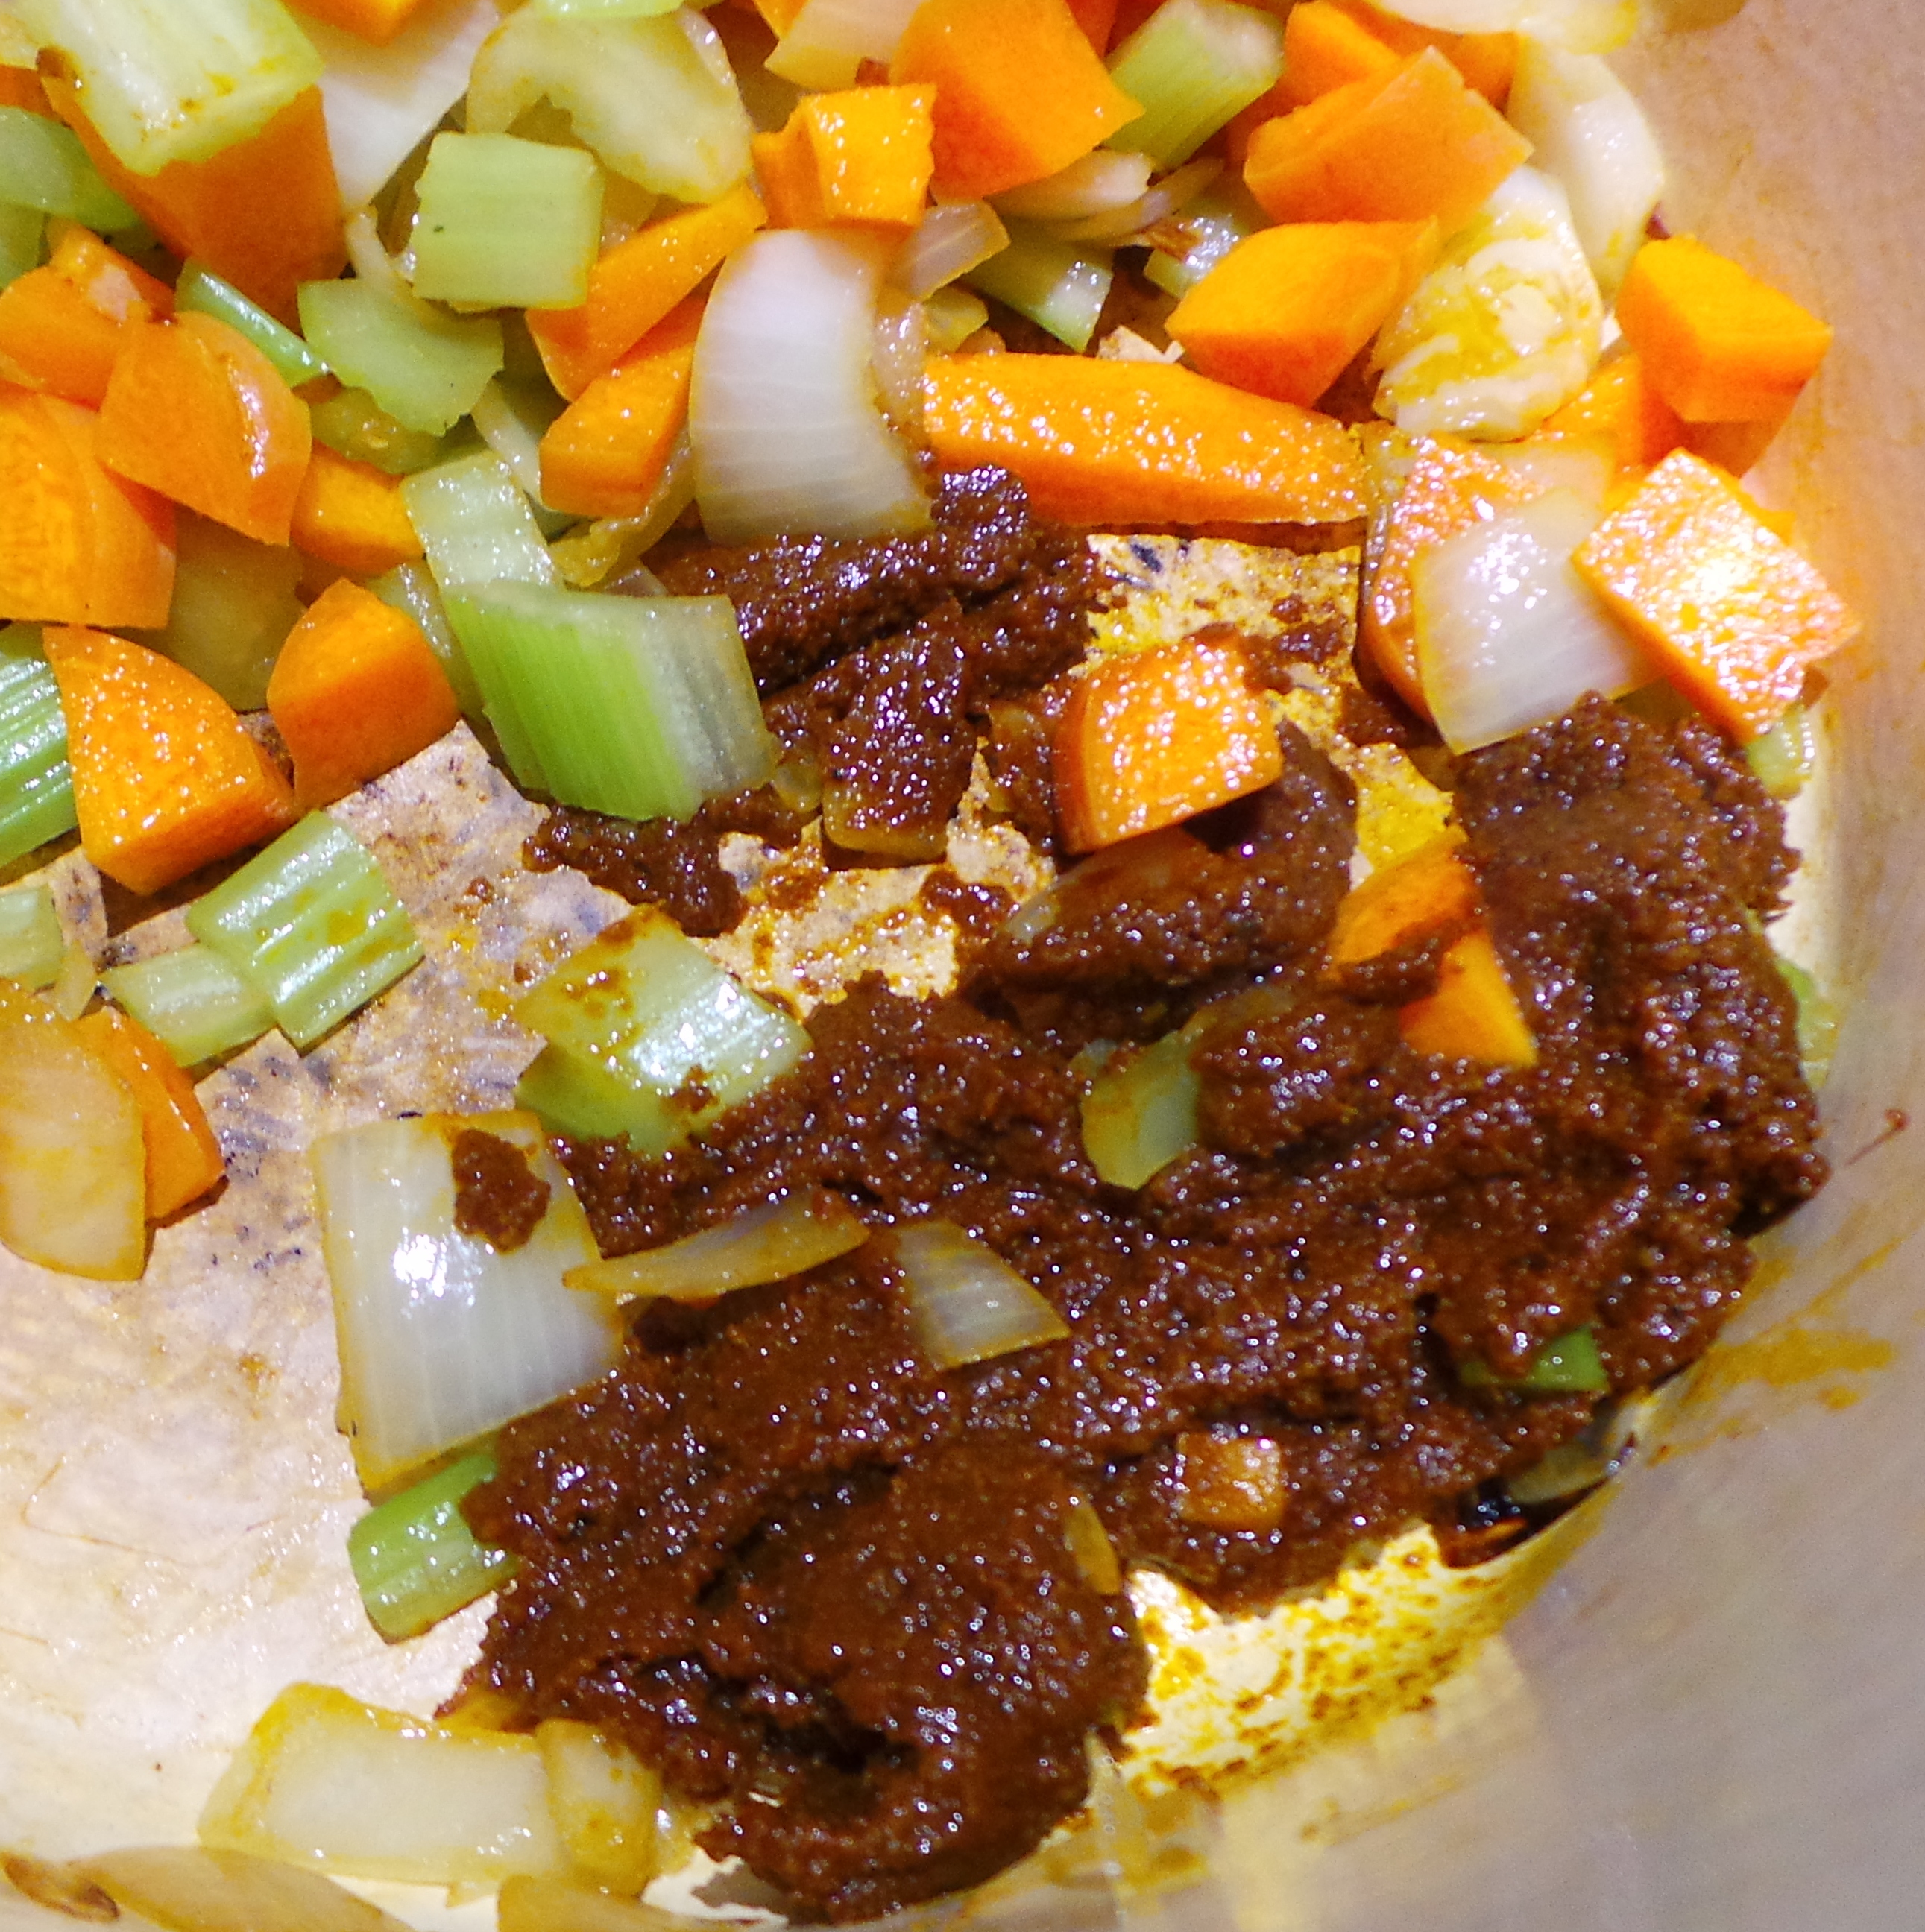
After you have your thickened liquid, add salt and pepper. If you are me, however, add something more interesting (like Old Bay Seasoning).
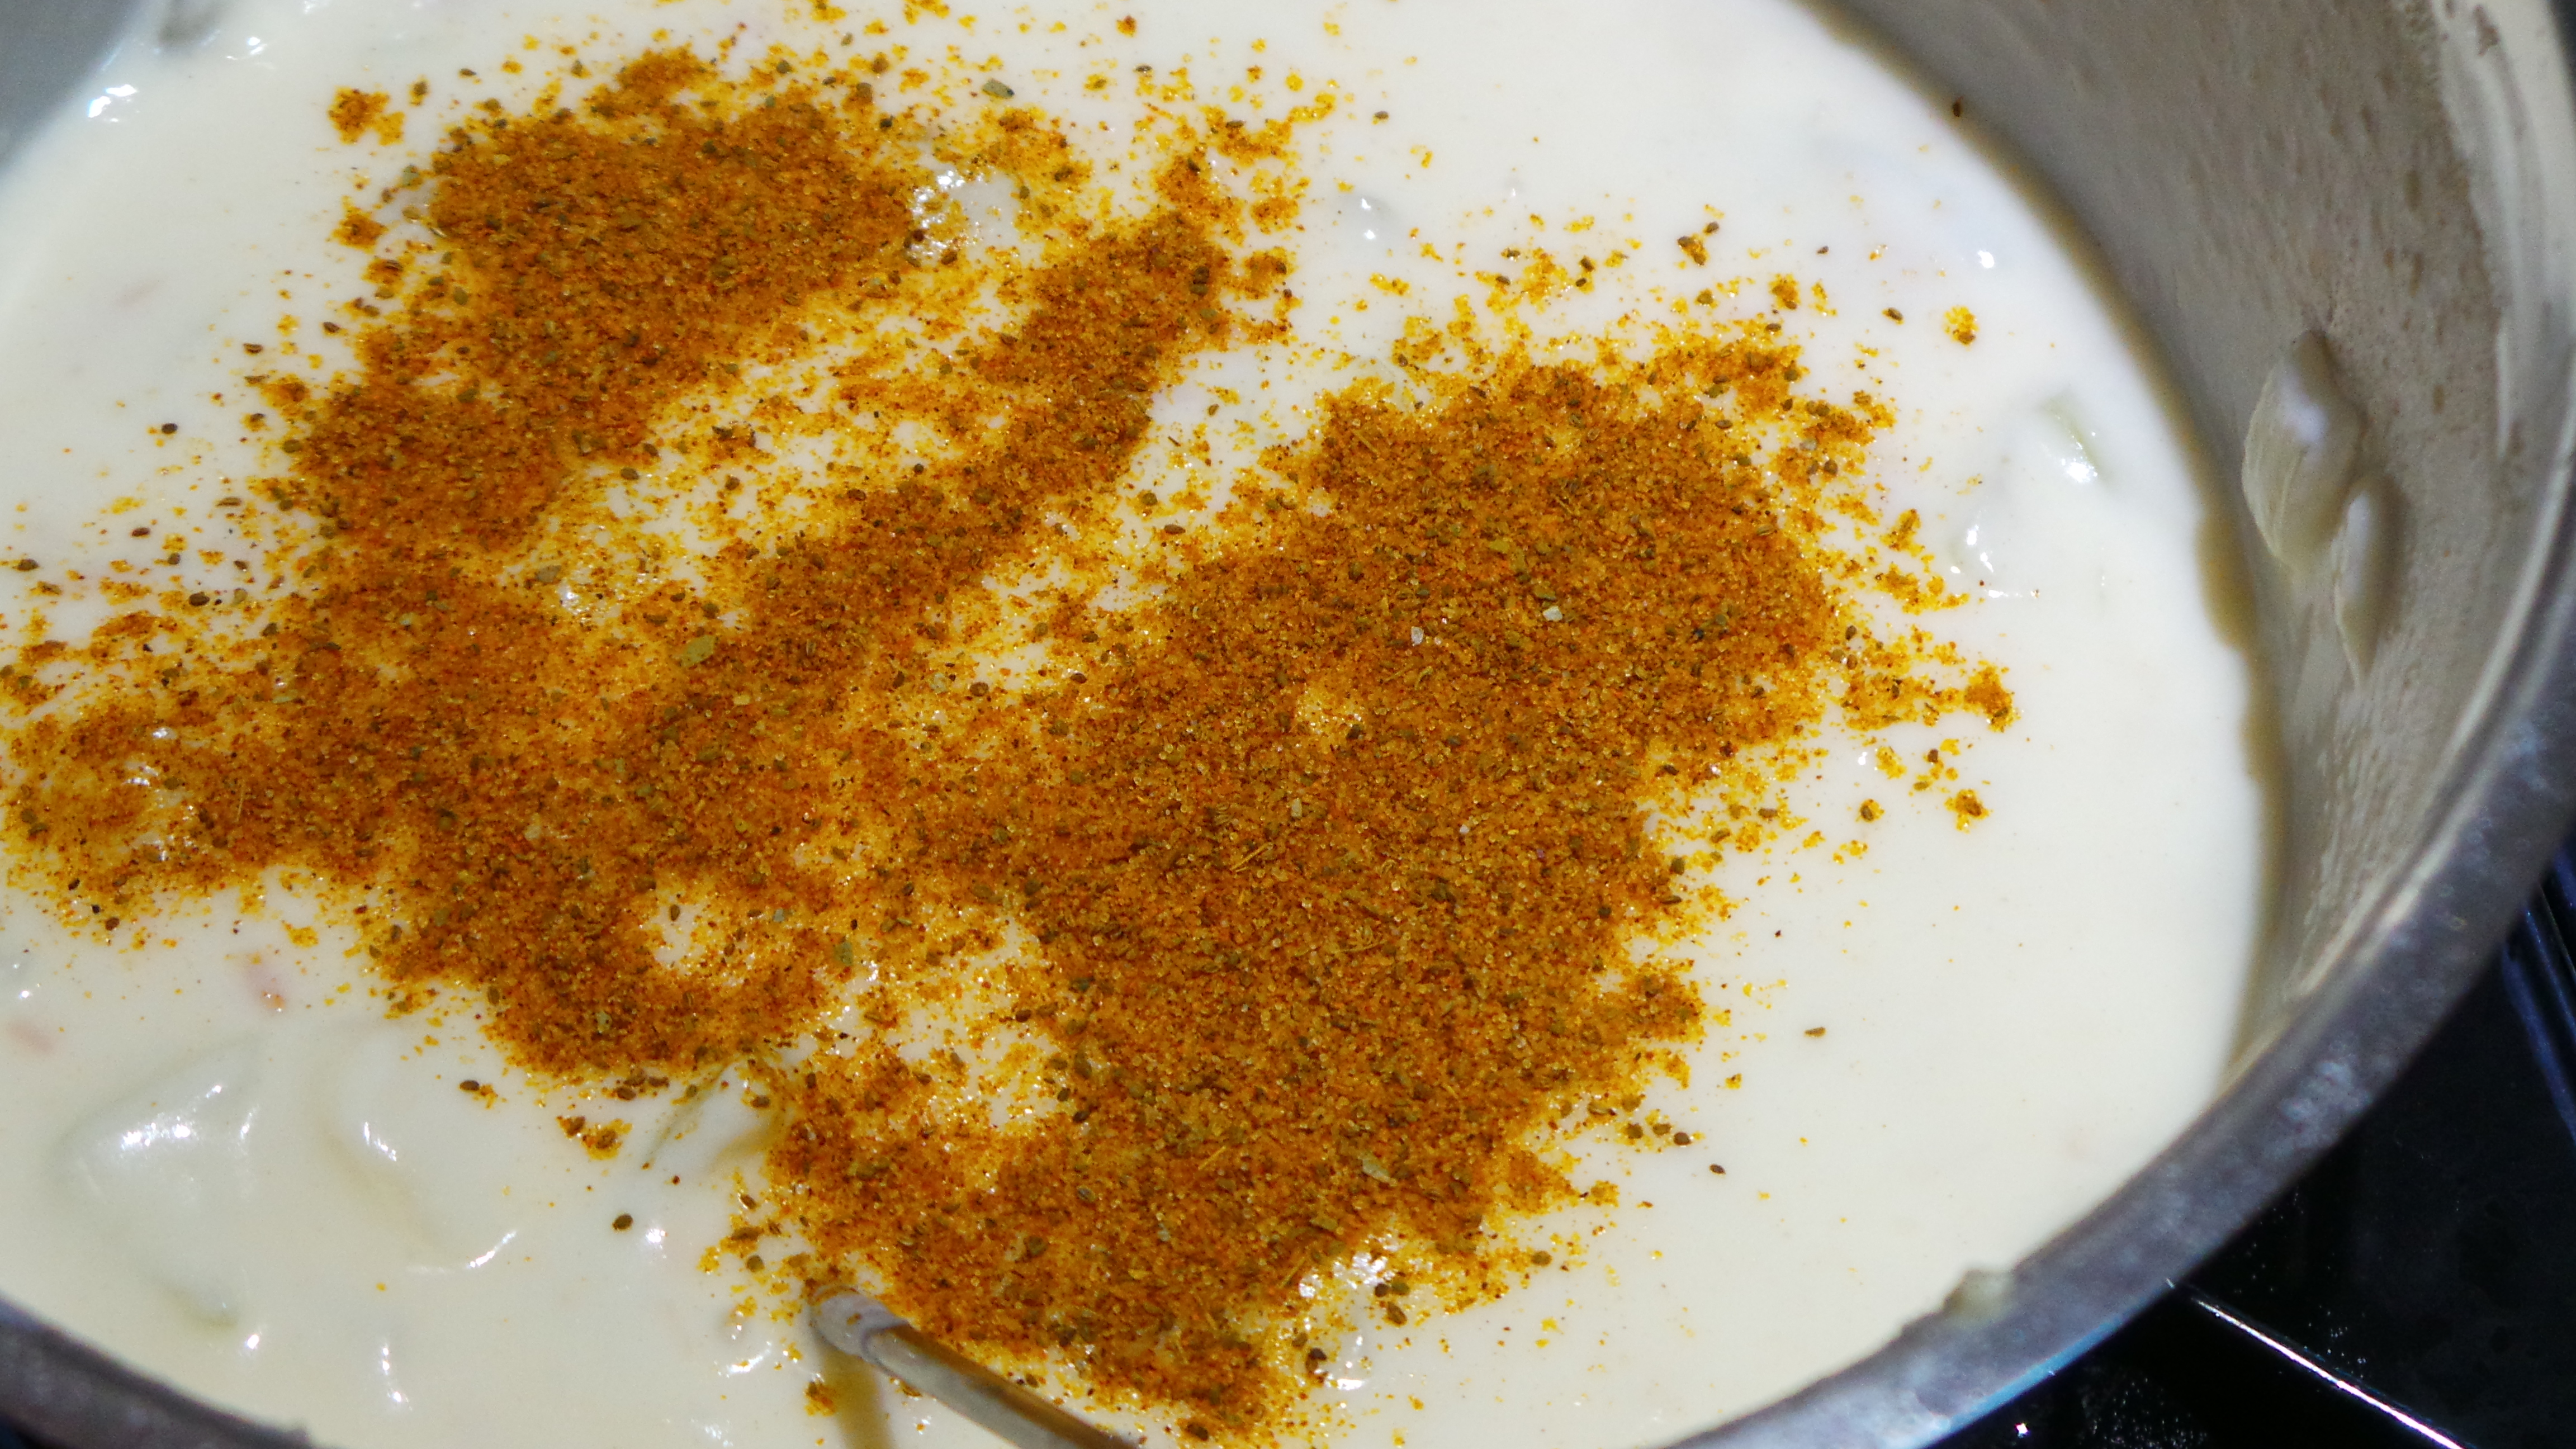
Add some yum.
If you don’t have any – which is understandable in Oz – something similar could be conjured up with a touch of dry mustard and smoked paprika, with a little salt.
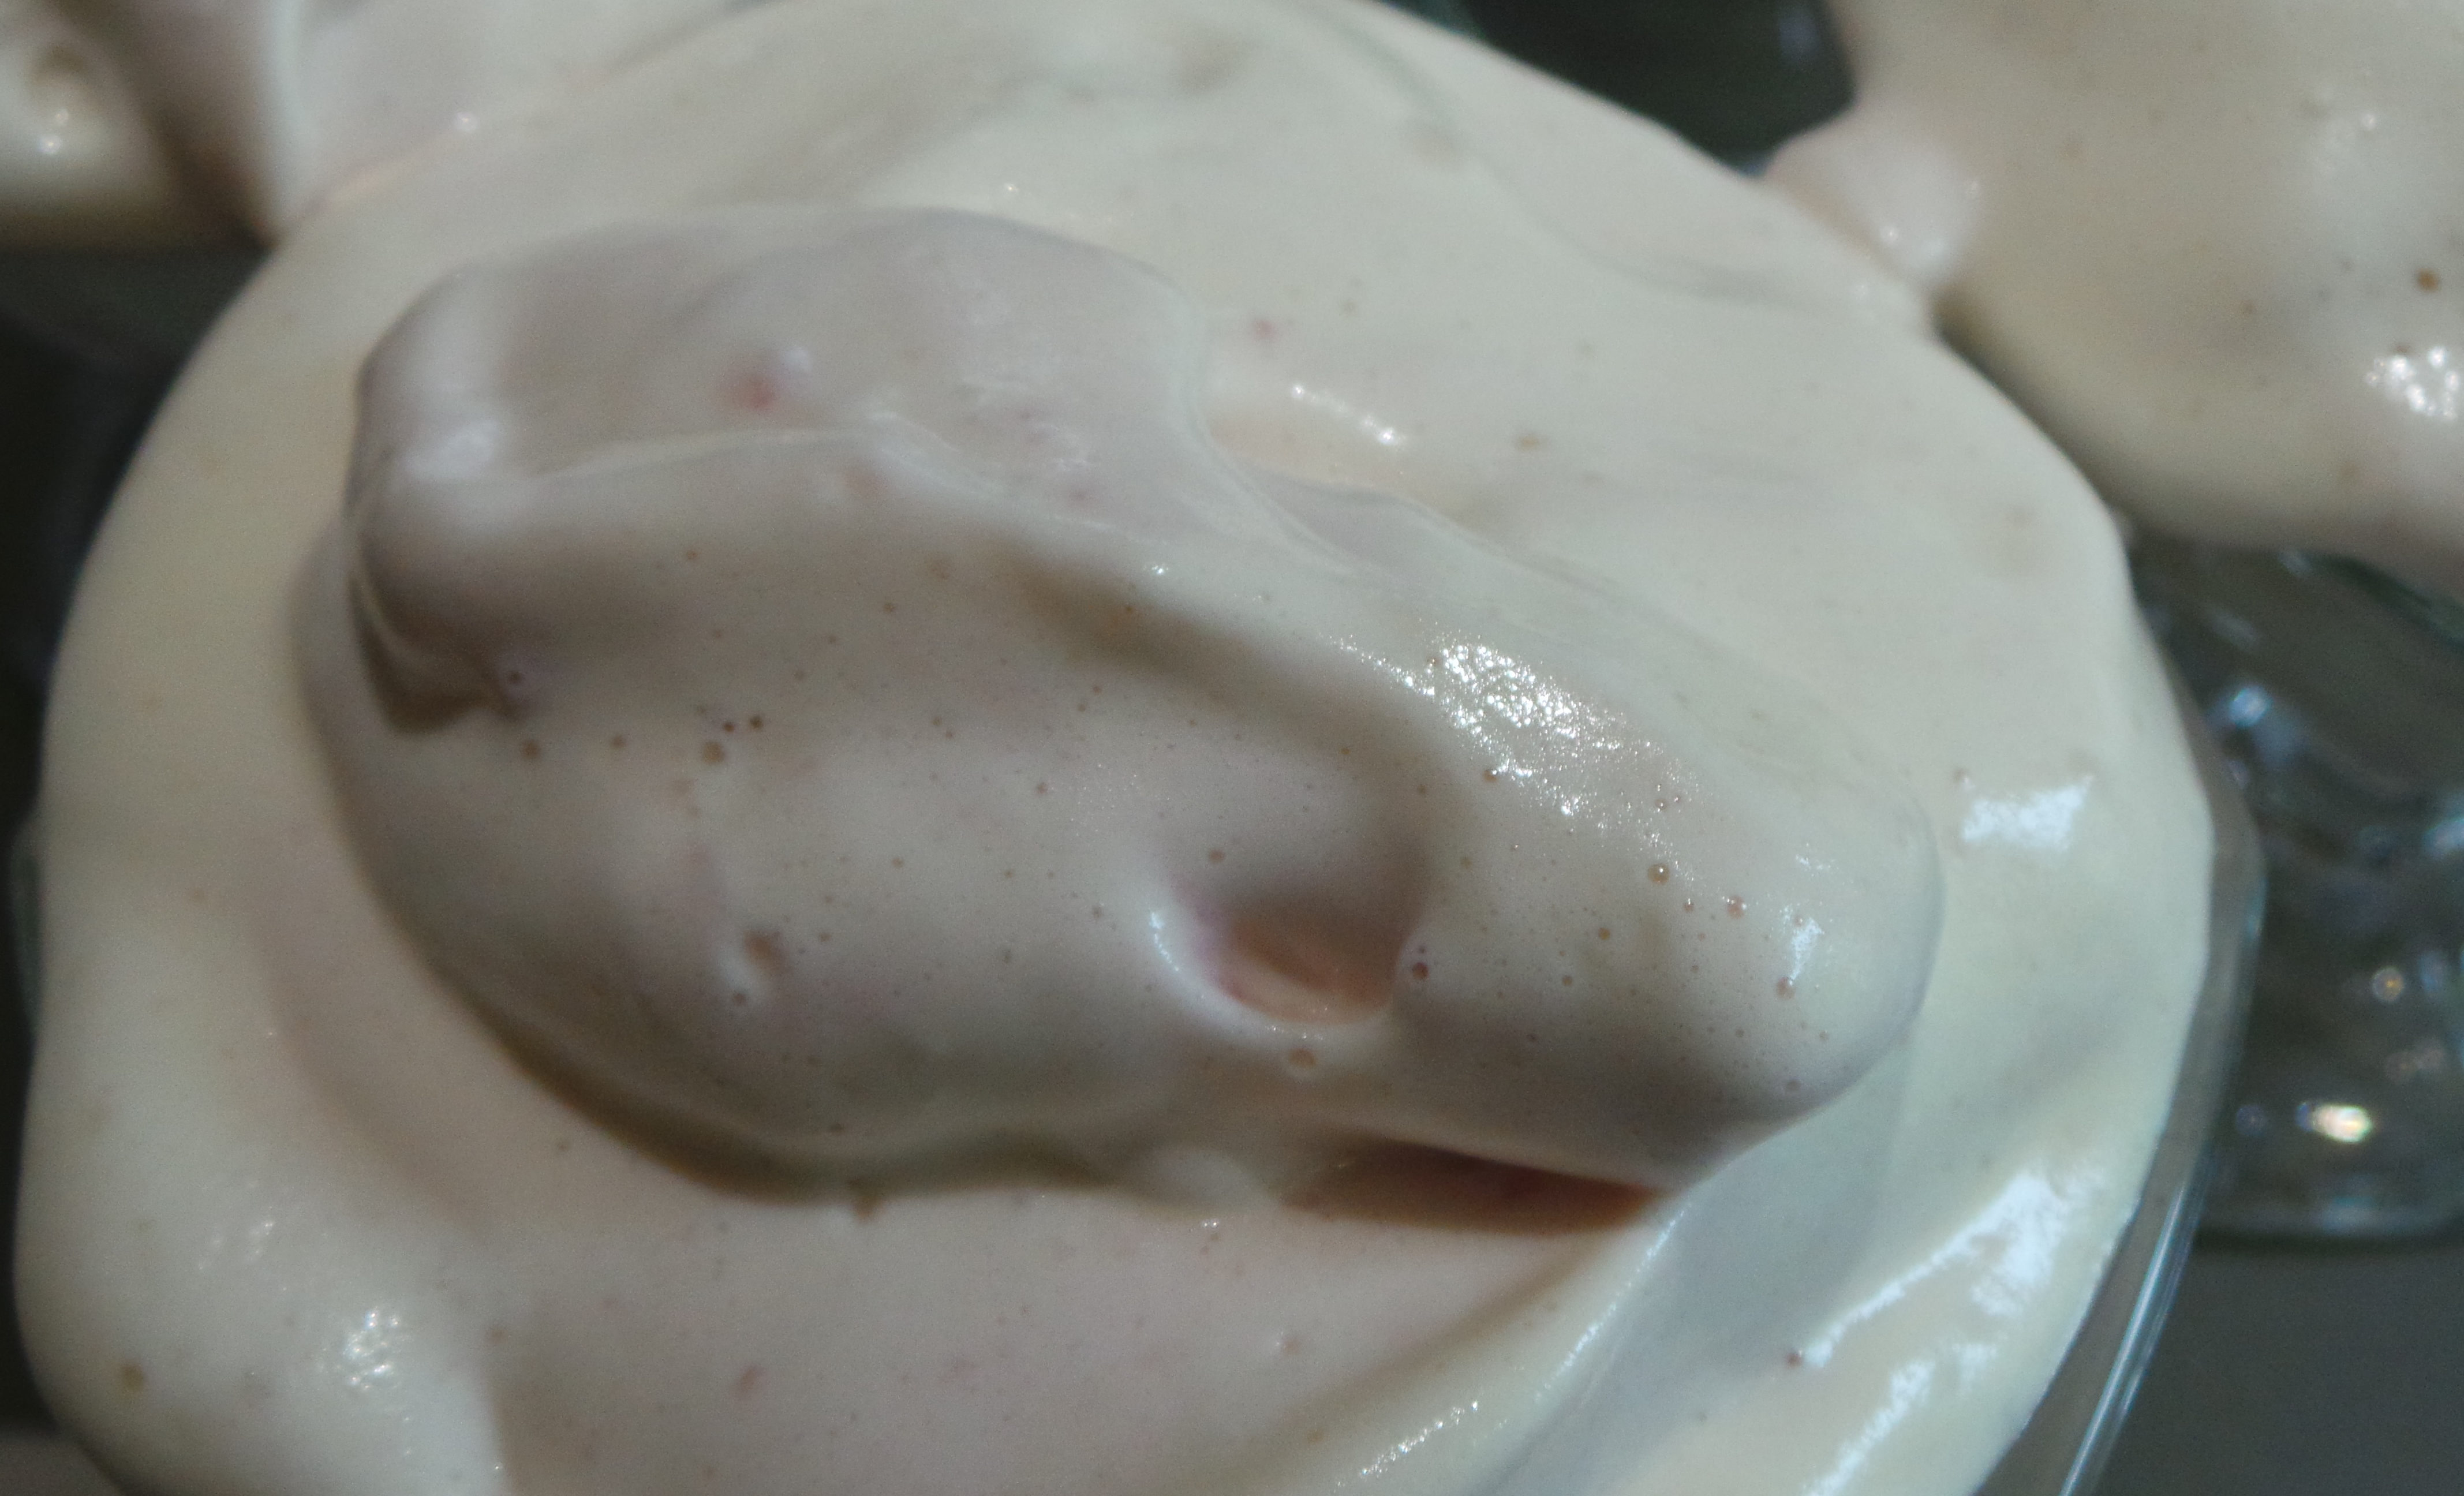
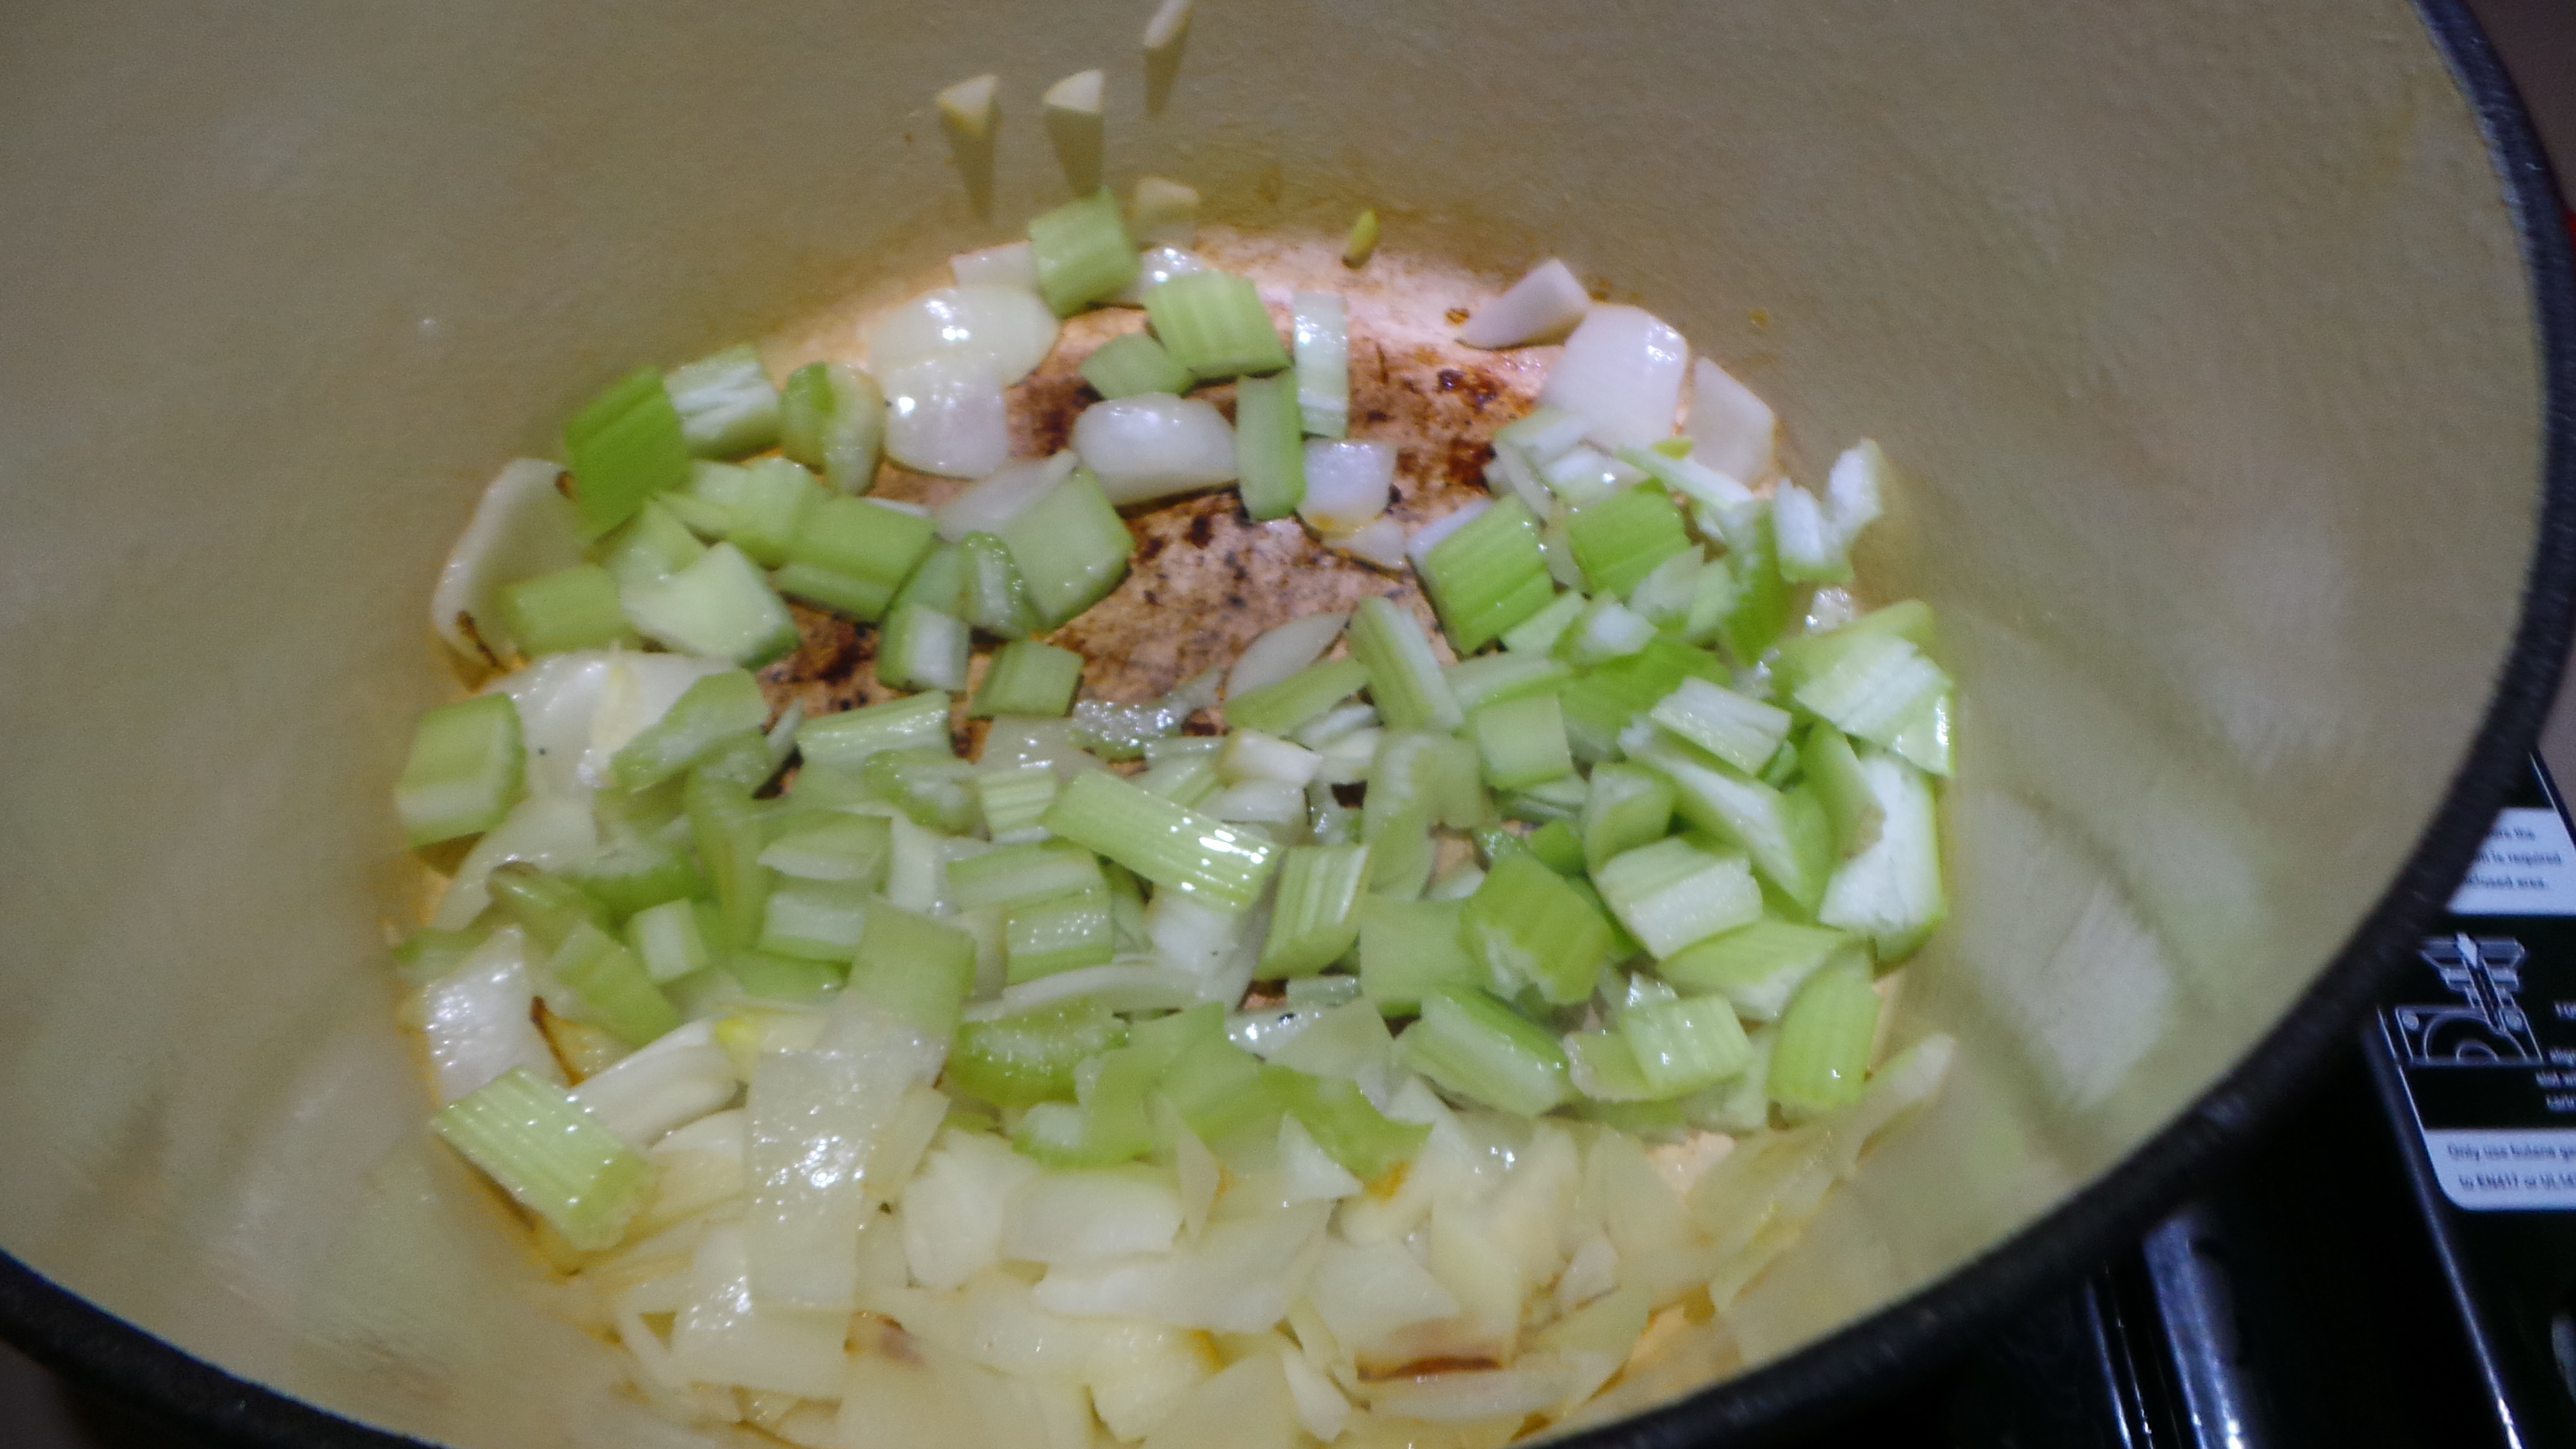
To your newly-flavourful white sauce, add the contents of the tuna tin, some celery and some nuts. The recipe called for cashews, but I had slivered almonds so I used those and of course I substituted the celery with capsicum.
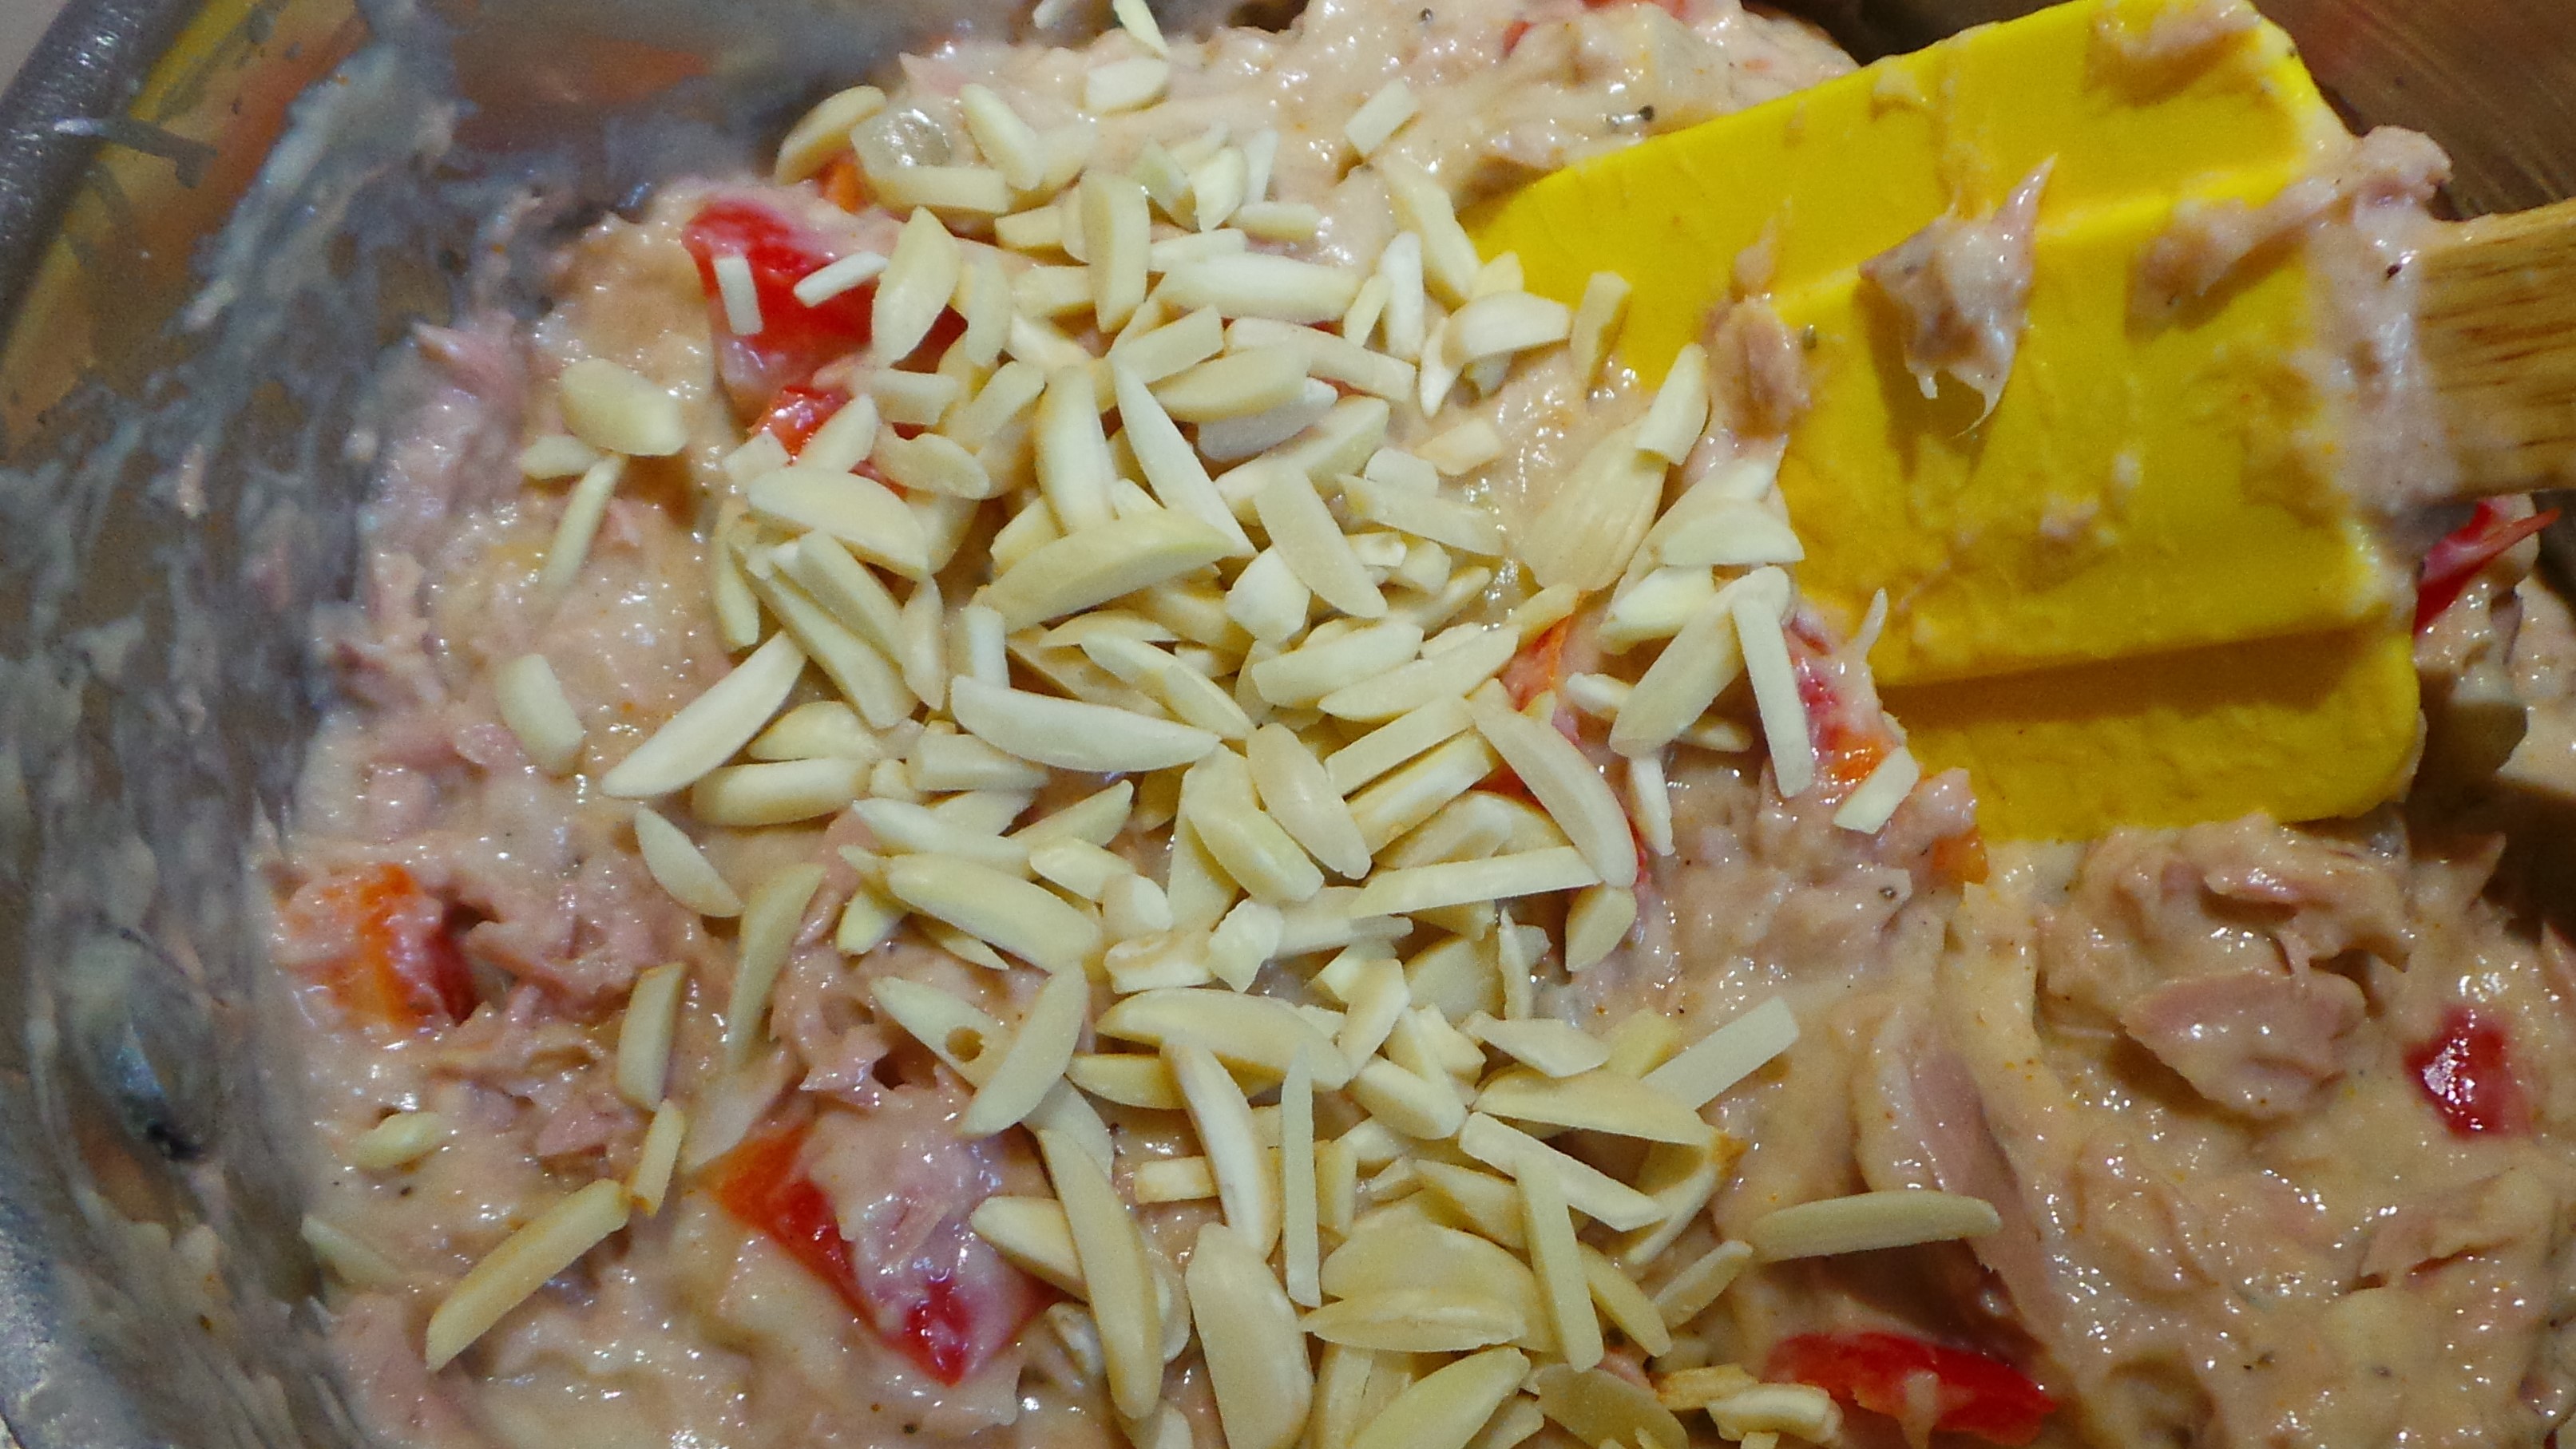
Add tuna, celery and nuts.
Now a smallish (1.5 l) oven dish was sprayed with oil and half a cup of grated cheese (I had mozzarella)was spread on the base before a cup of rice was also added.
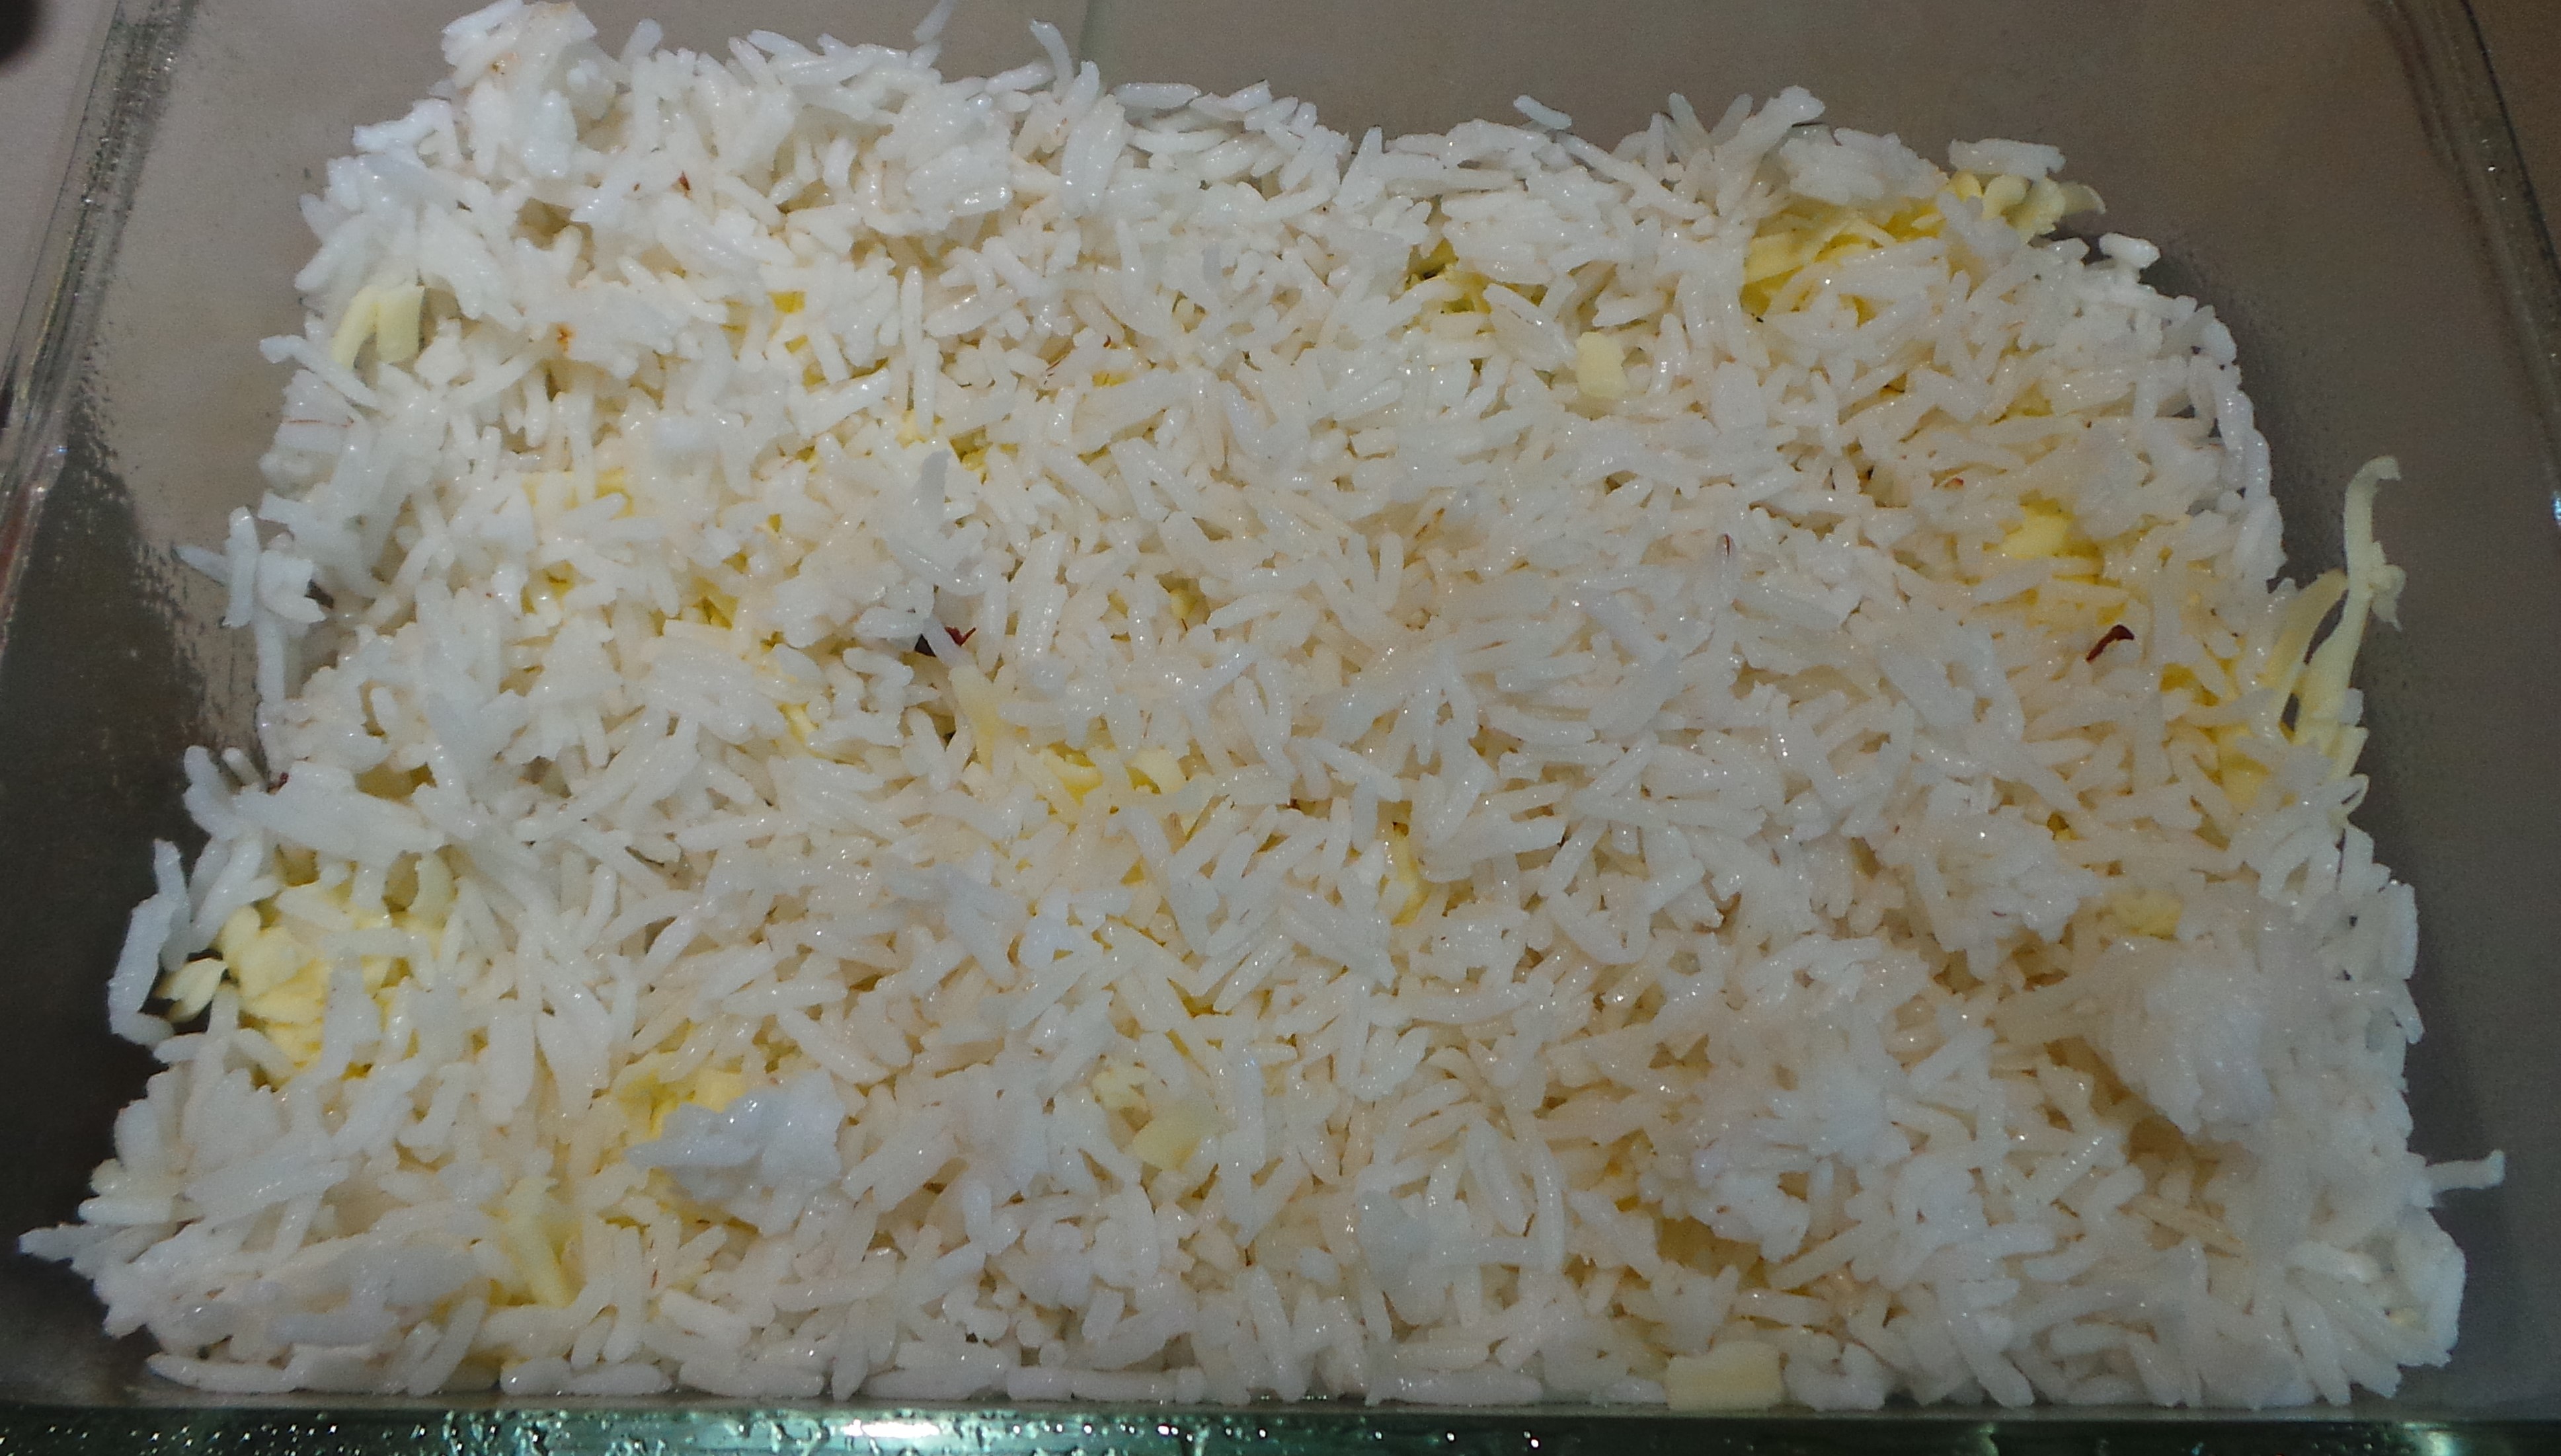
Cheese and rice start the layering process.
The tuna mixture followed.
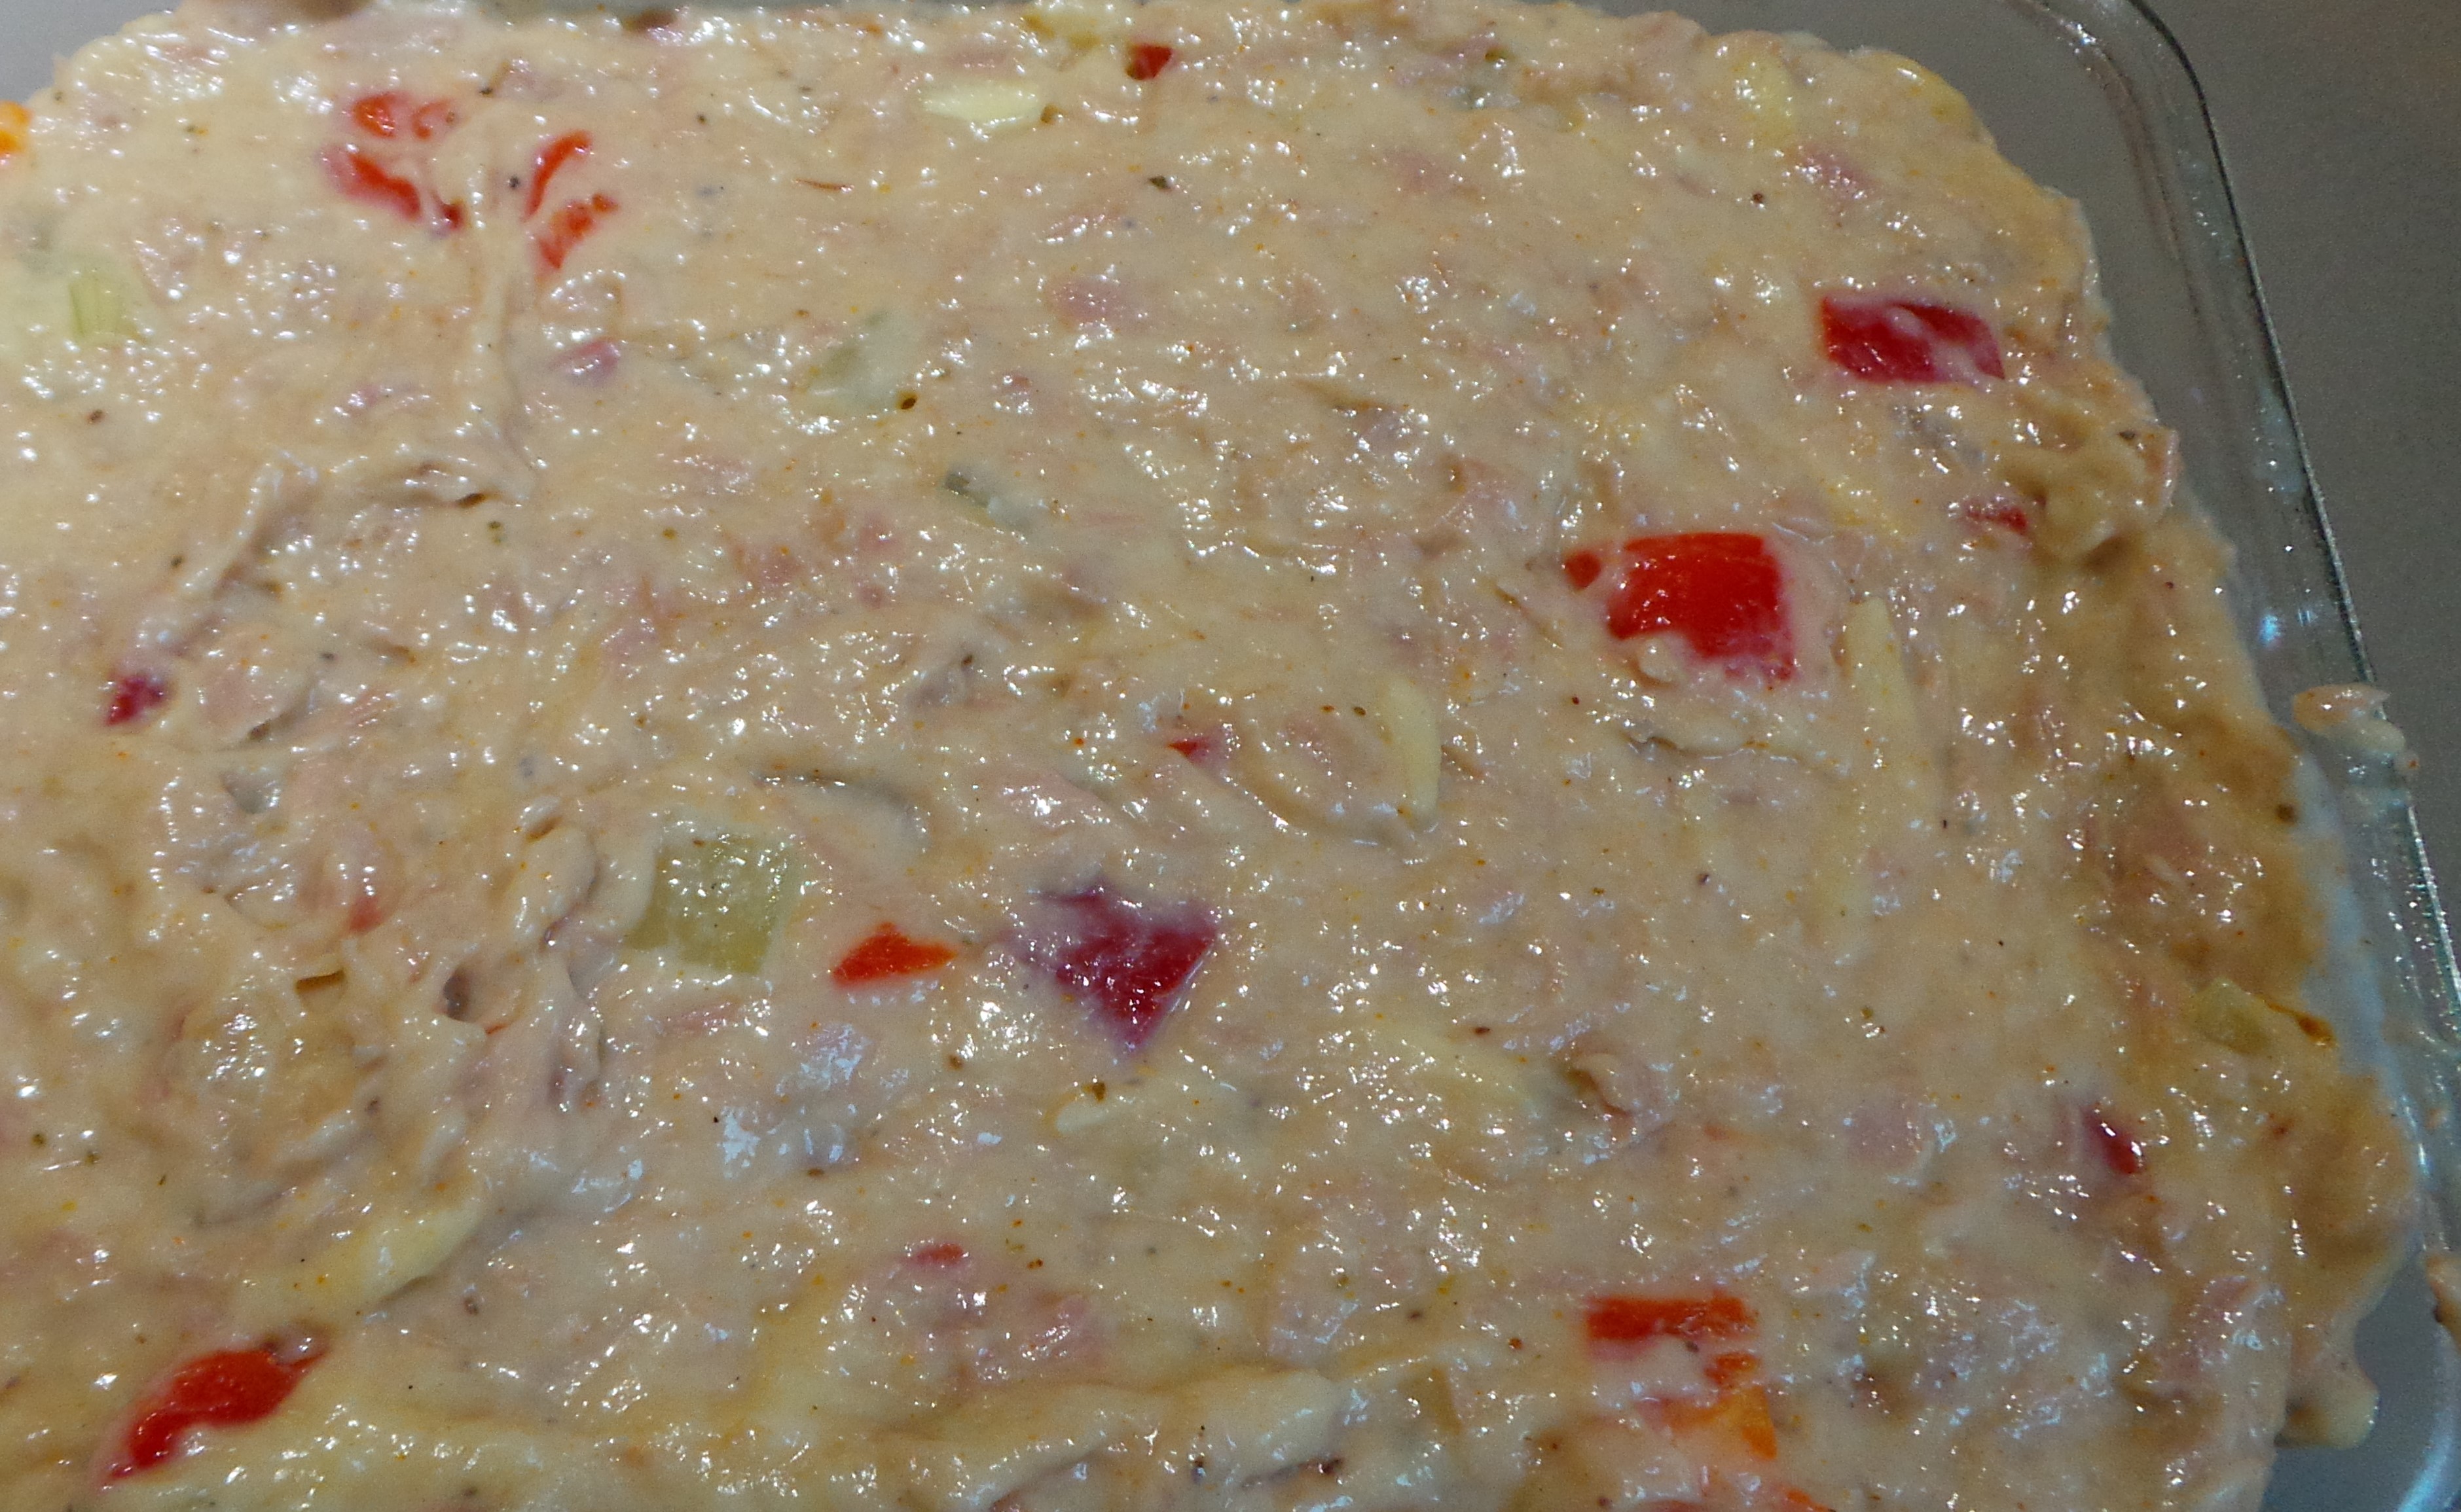
Tuna mix next.
Then a layer of sliced tomatoes. Related: we grew these tomatoes. In our garden. Oh yeah.
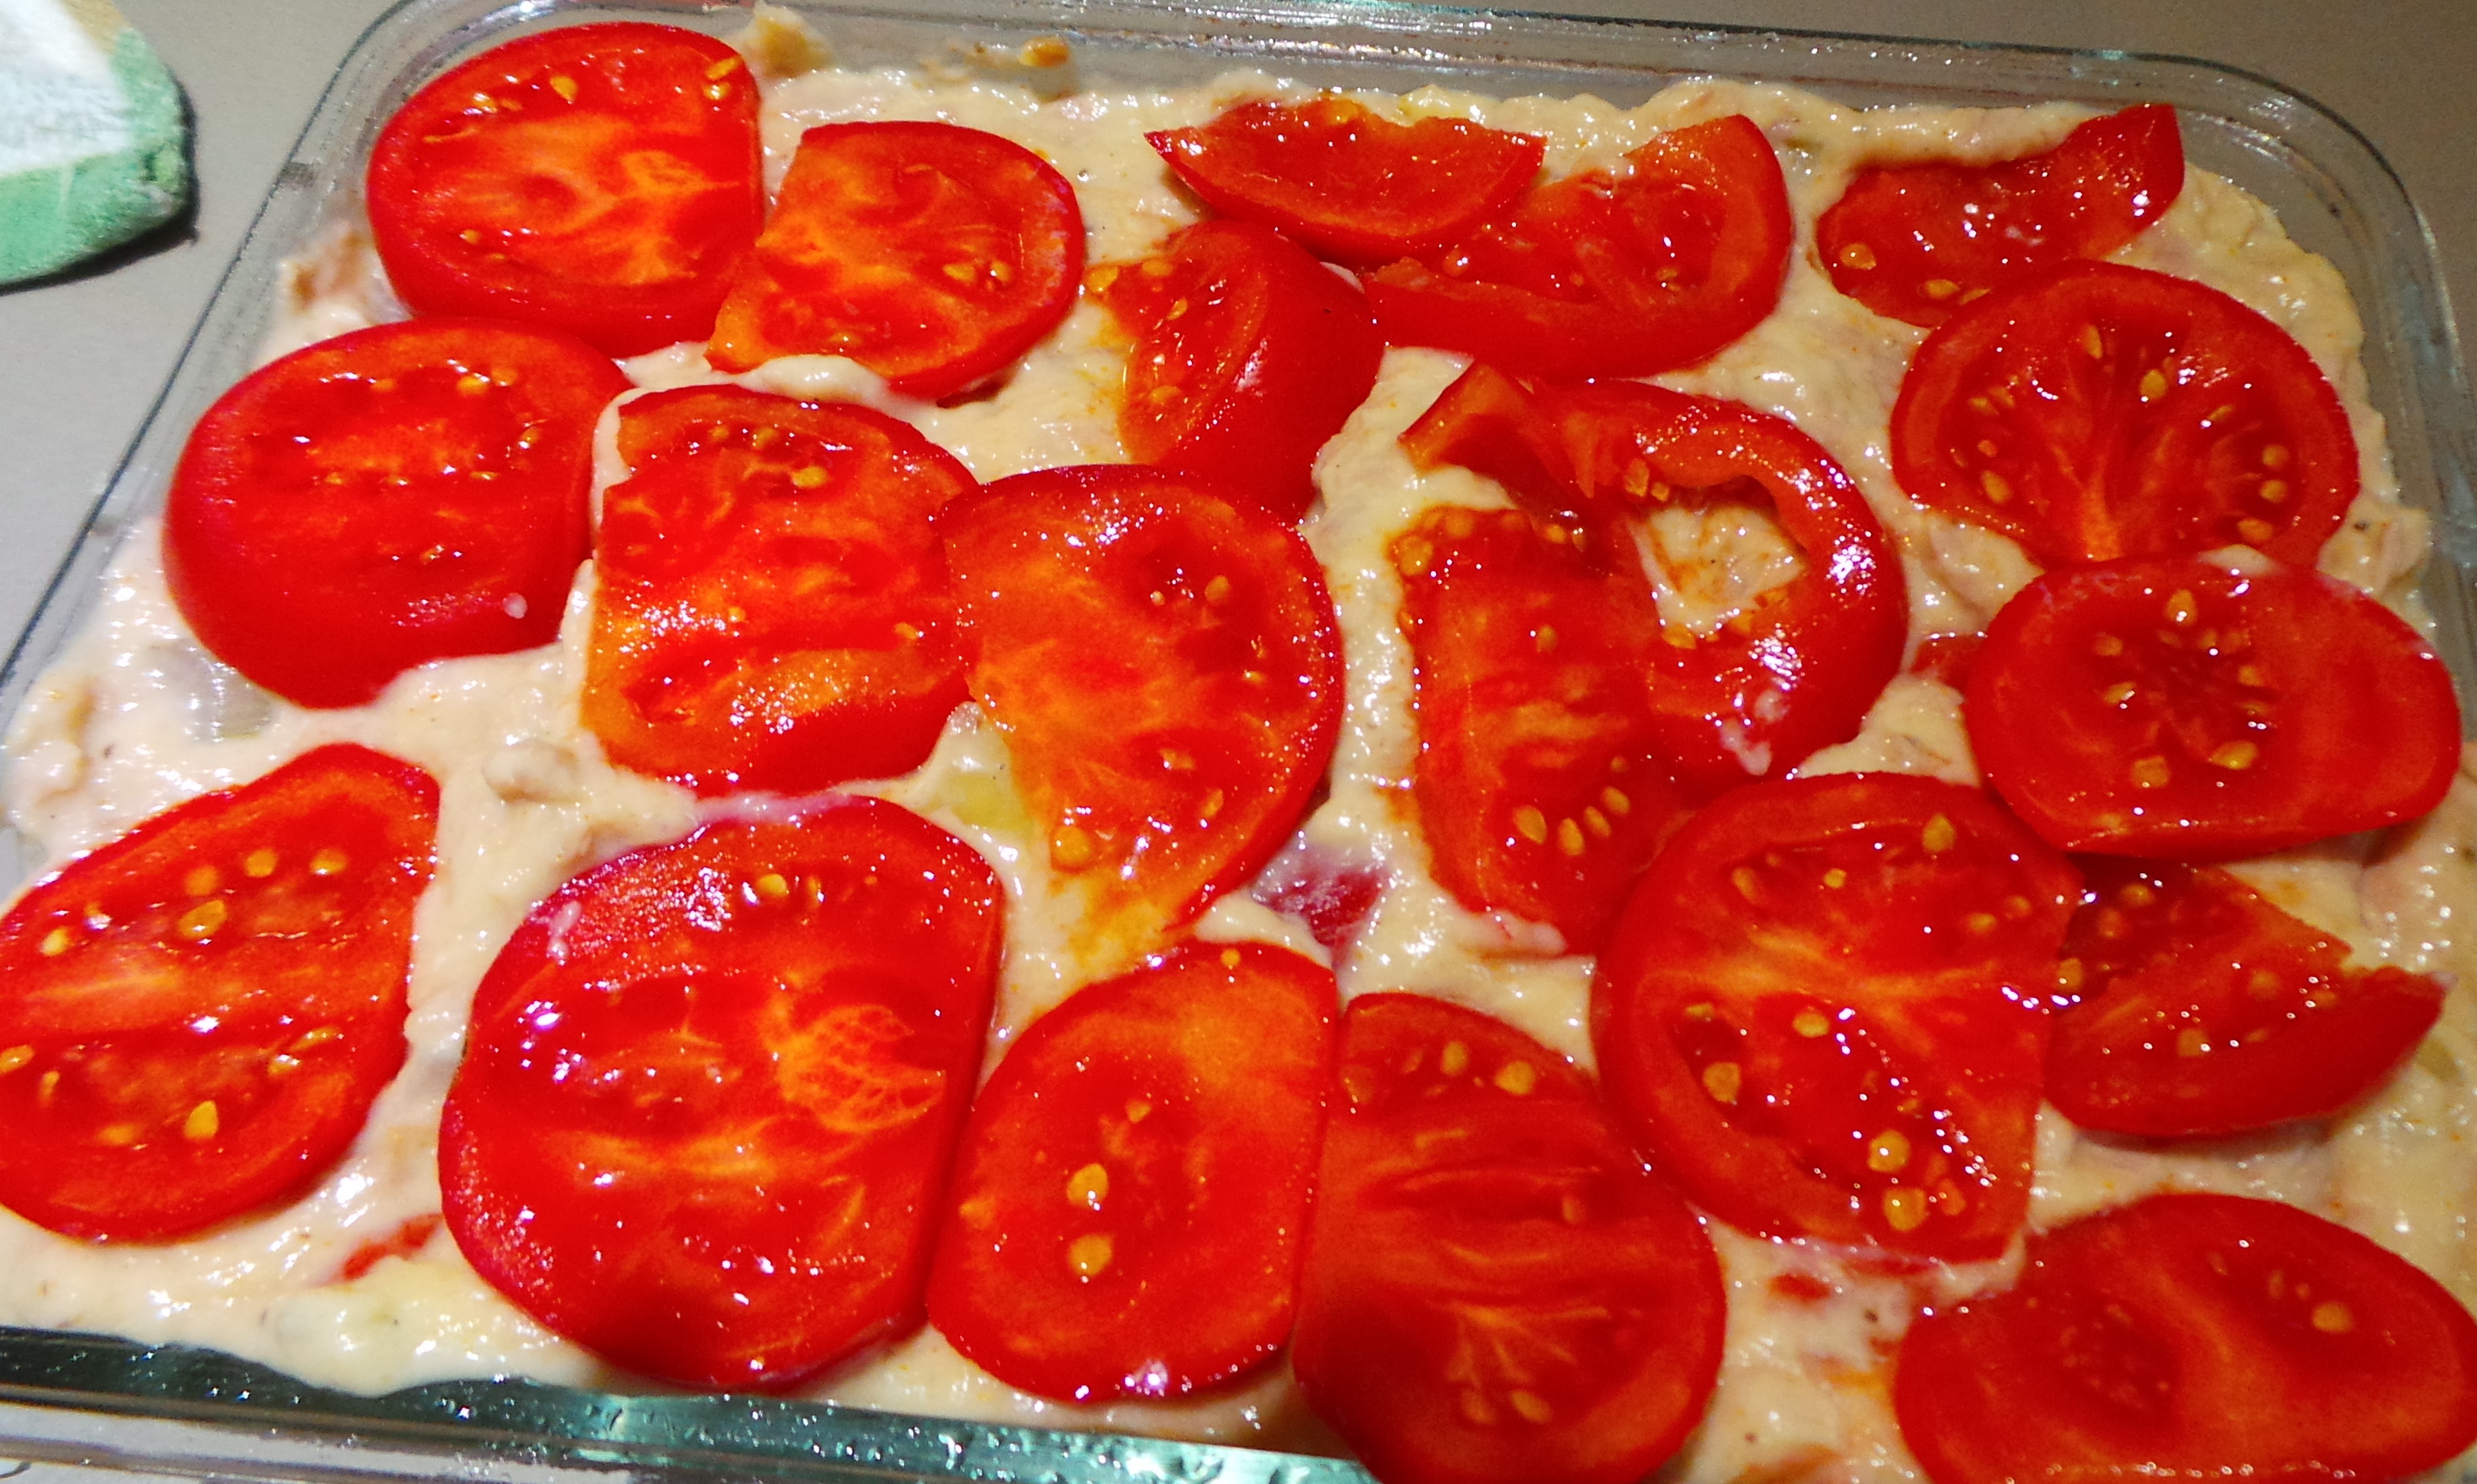
Home-grown lusciousness ensued.
I sprinkled the top with another half cup of cheese and it went into the oven for 30 mins.
After which it was eaten.
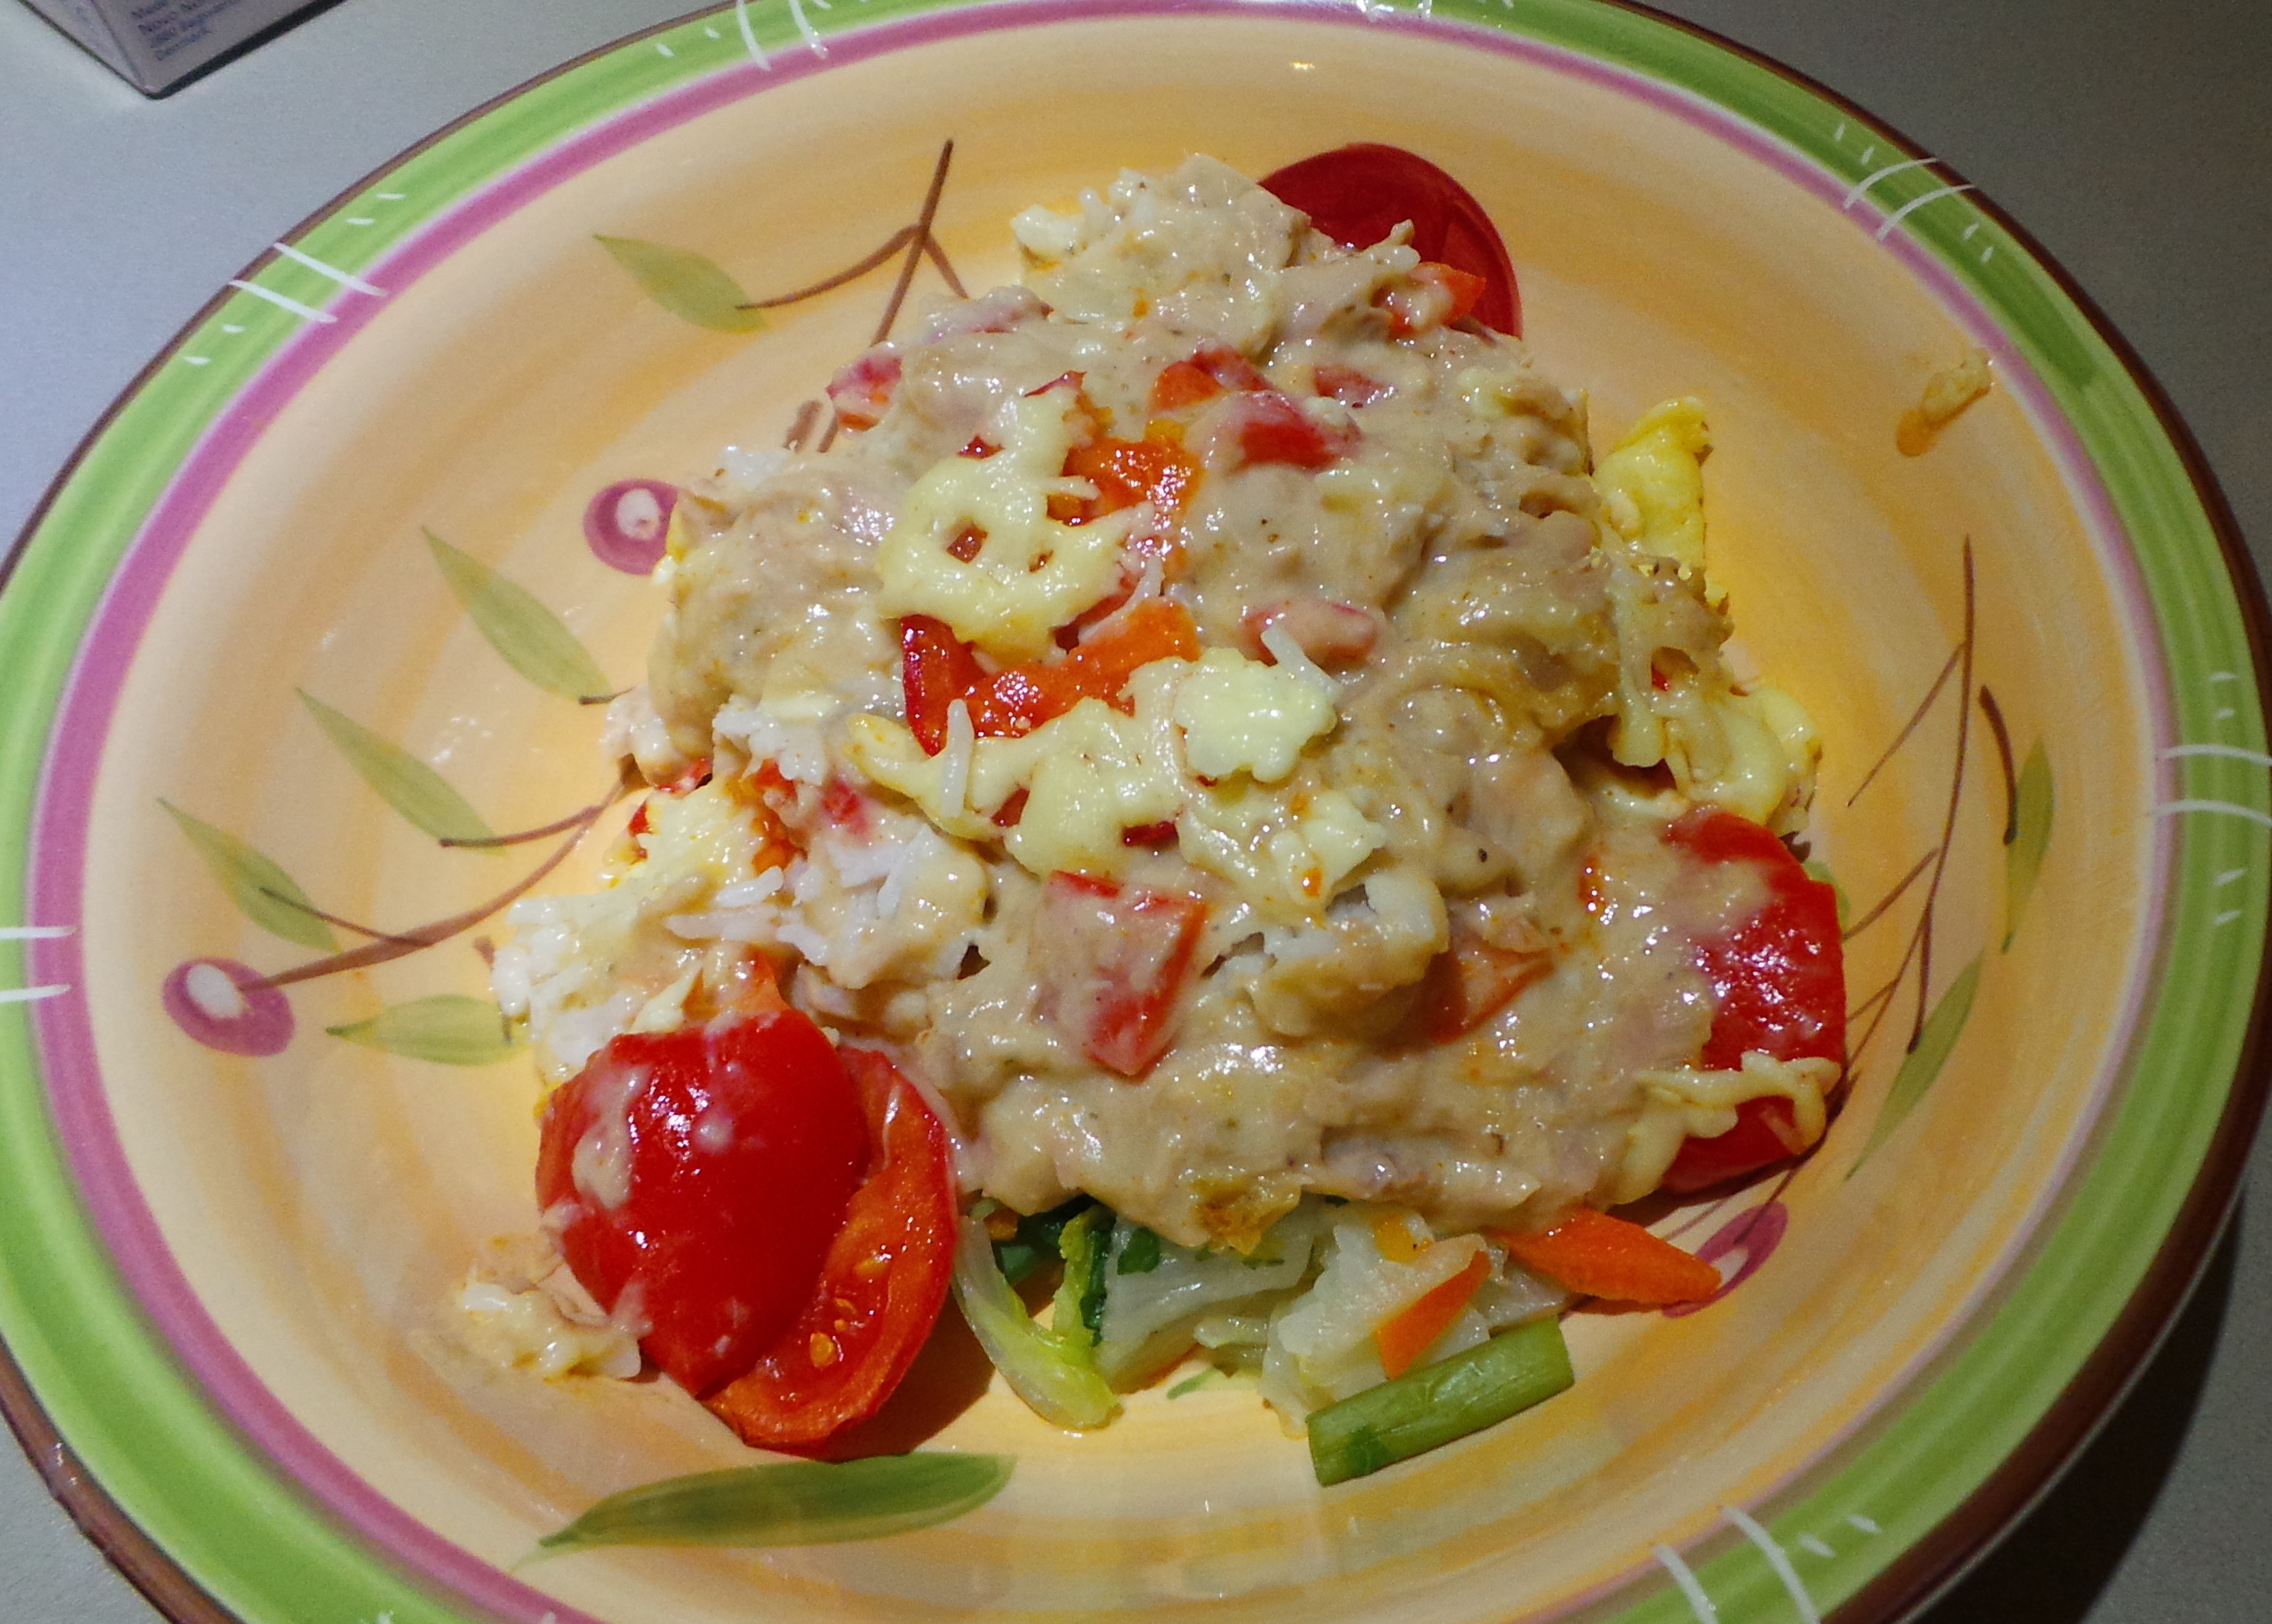
Dinner.
And everyone was happy.
I am particularly happy now. The fact that this is on my website will mean that I can find it and read it much more easily than this photo of the recipe that was emailed to me…
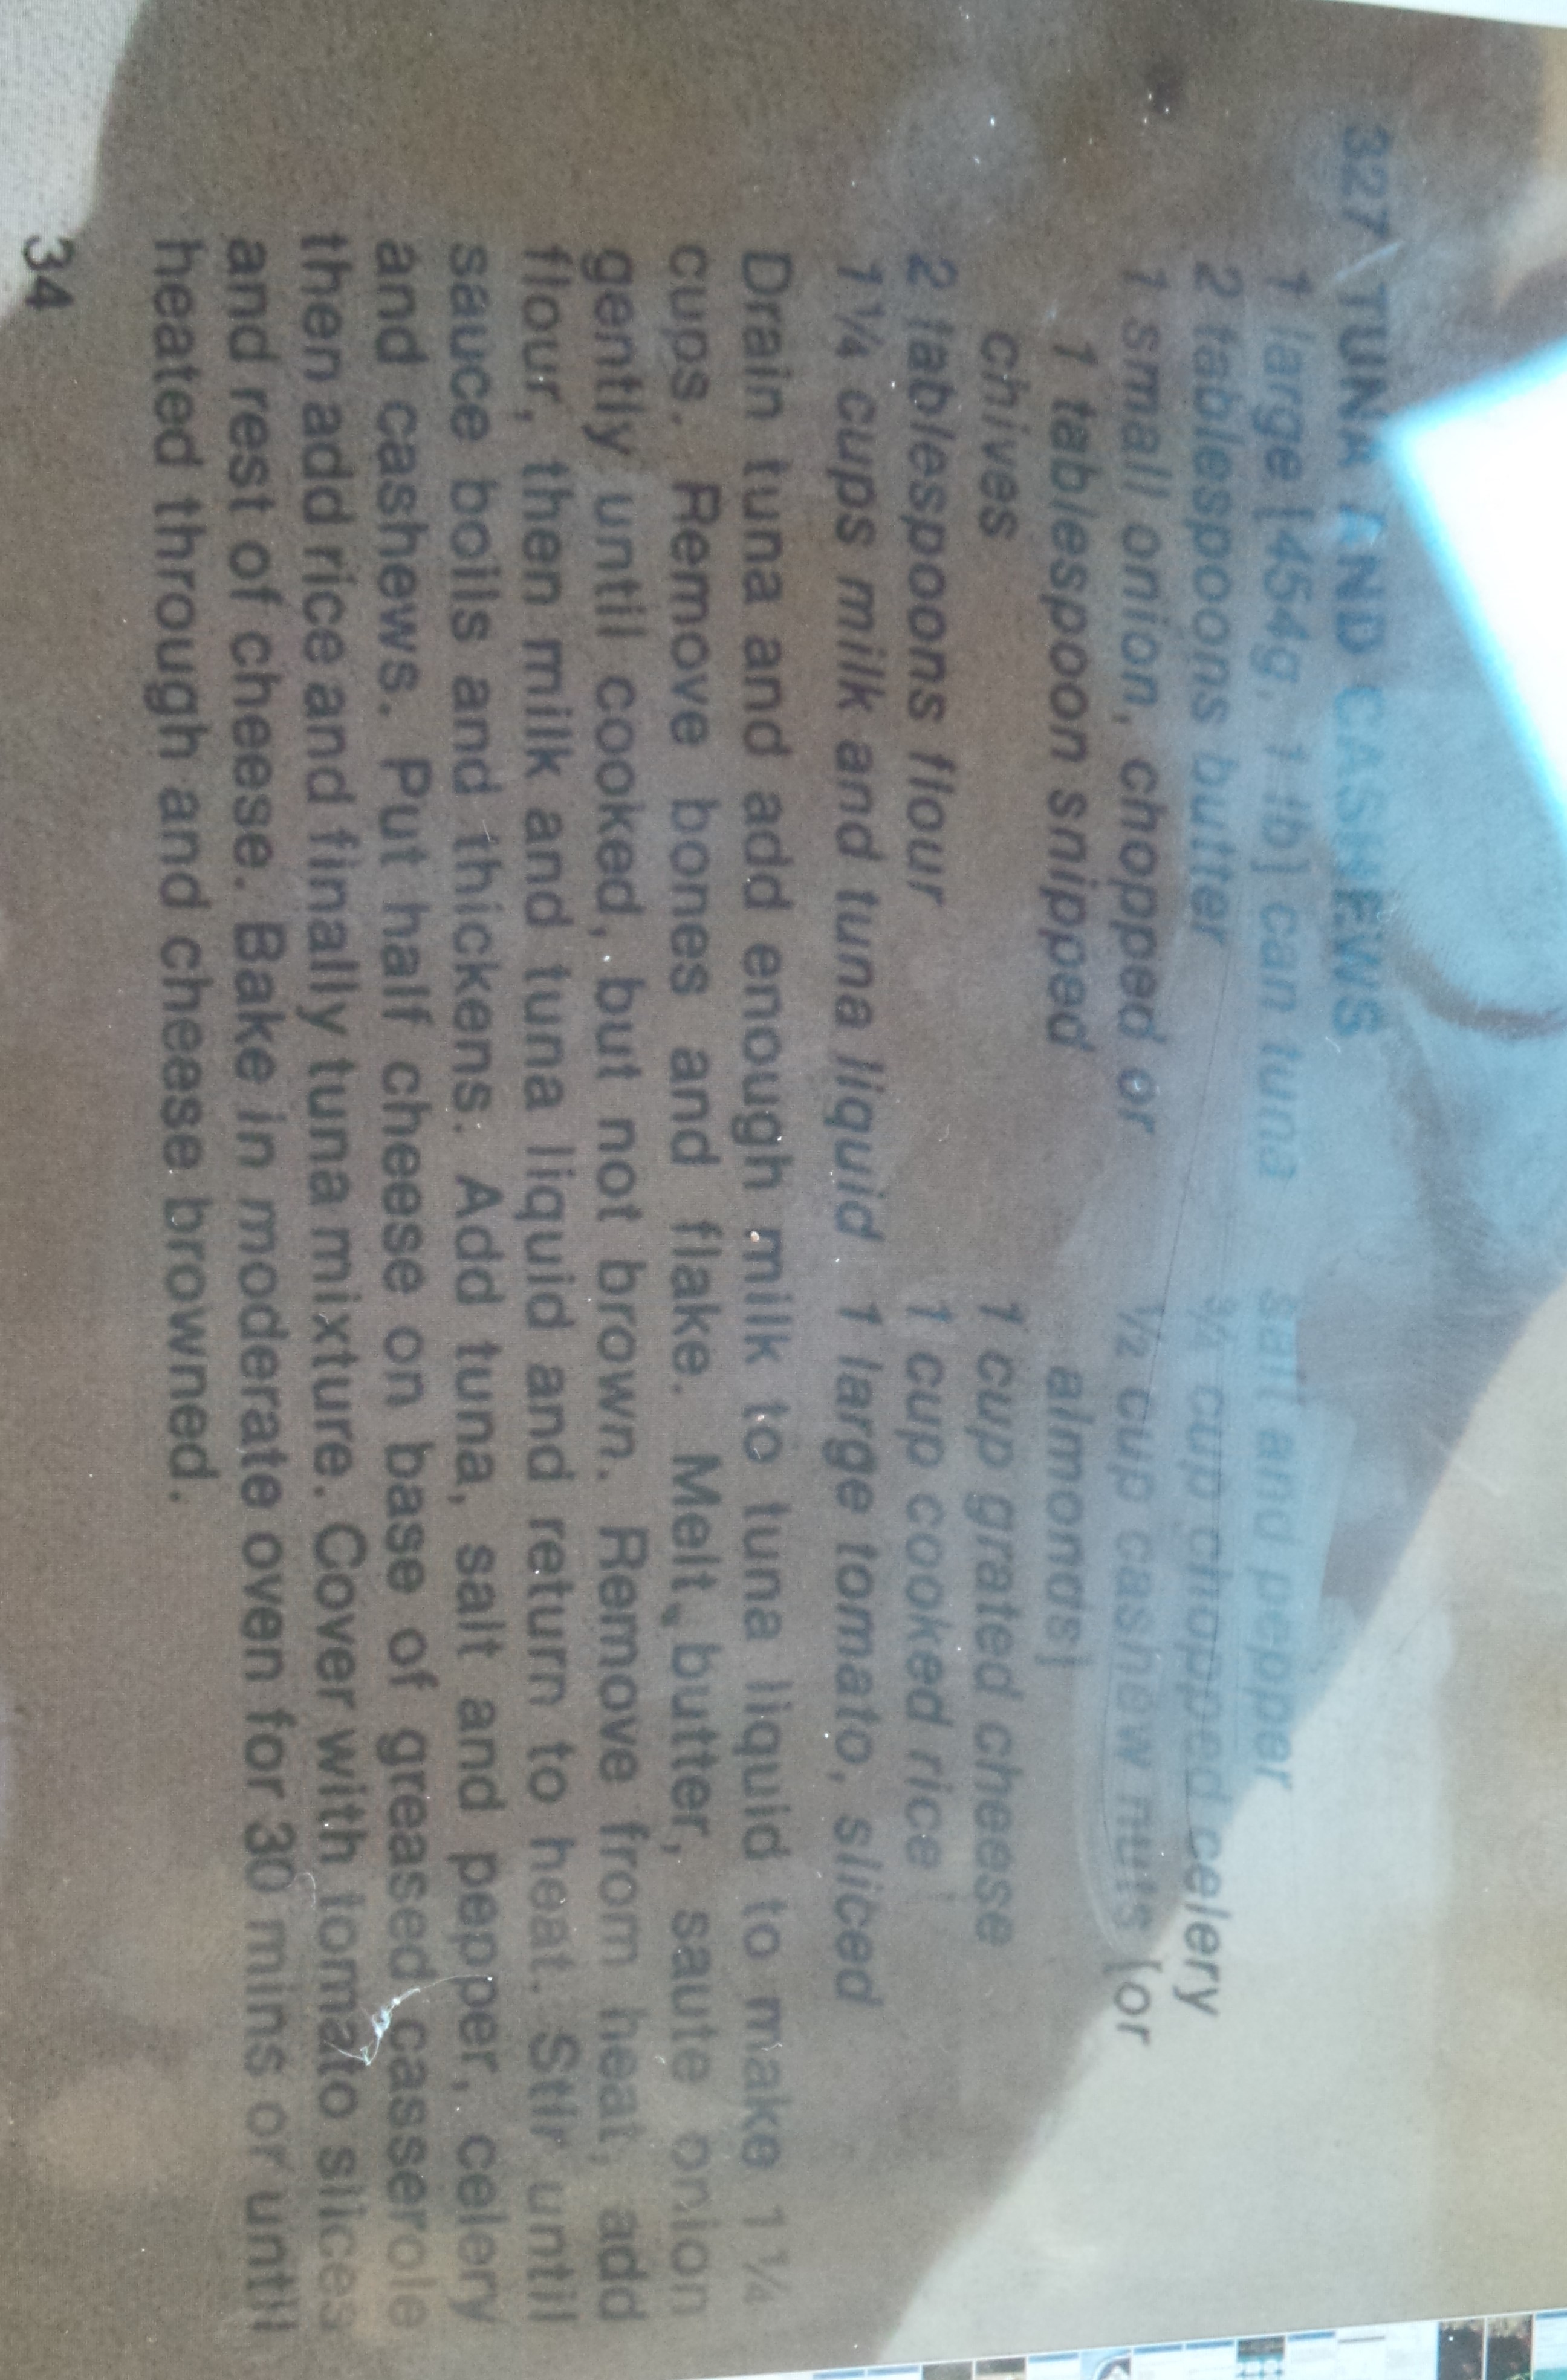
I couldn’t change the rotation to read it when cooking…
Tuna Rice Bake
Ingredients
1 x 425g tin tuna in brine or springwater
1¼ cups of milk (approx.)
2 tbsps butter
1 small onion, diced
2 tbsps flour
Salt and pepper
¾ cup chopped celery
½ cup whole cashews or almonds
1 cup grated cheese
1 cup cooked rice
1 large tomato, sliced.
Method.
Set oven to 180°C/350°F.
Drain tin of tuna, reserving liquid. To the liquid add enough milk to make 1¼ cups.
Flake the tuna into a small bowl, removing skin and bones.
Melt butter in a medium saucepan over gentle heat.
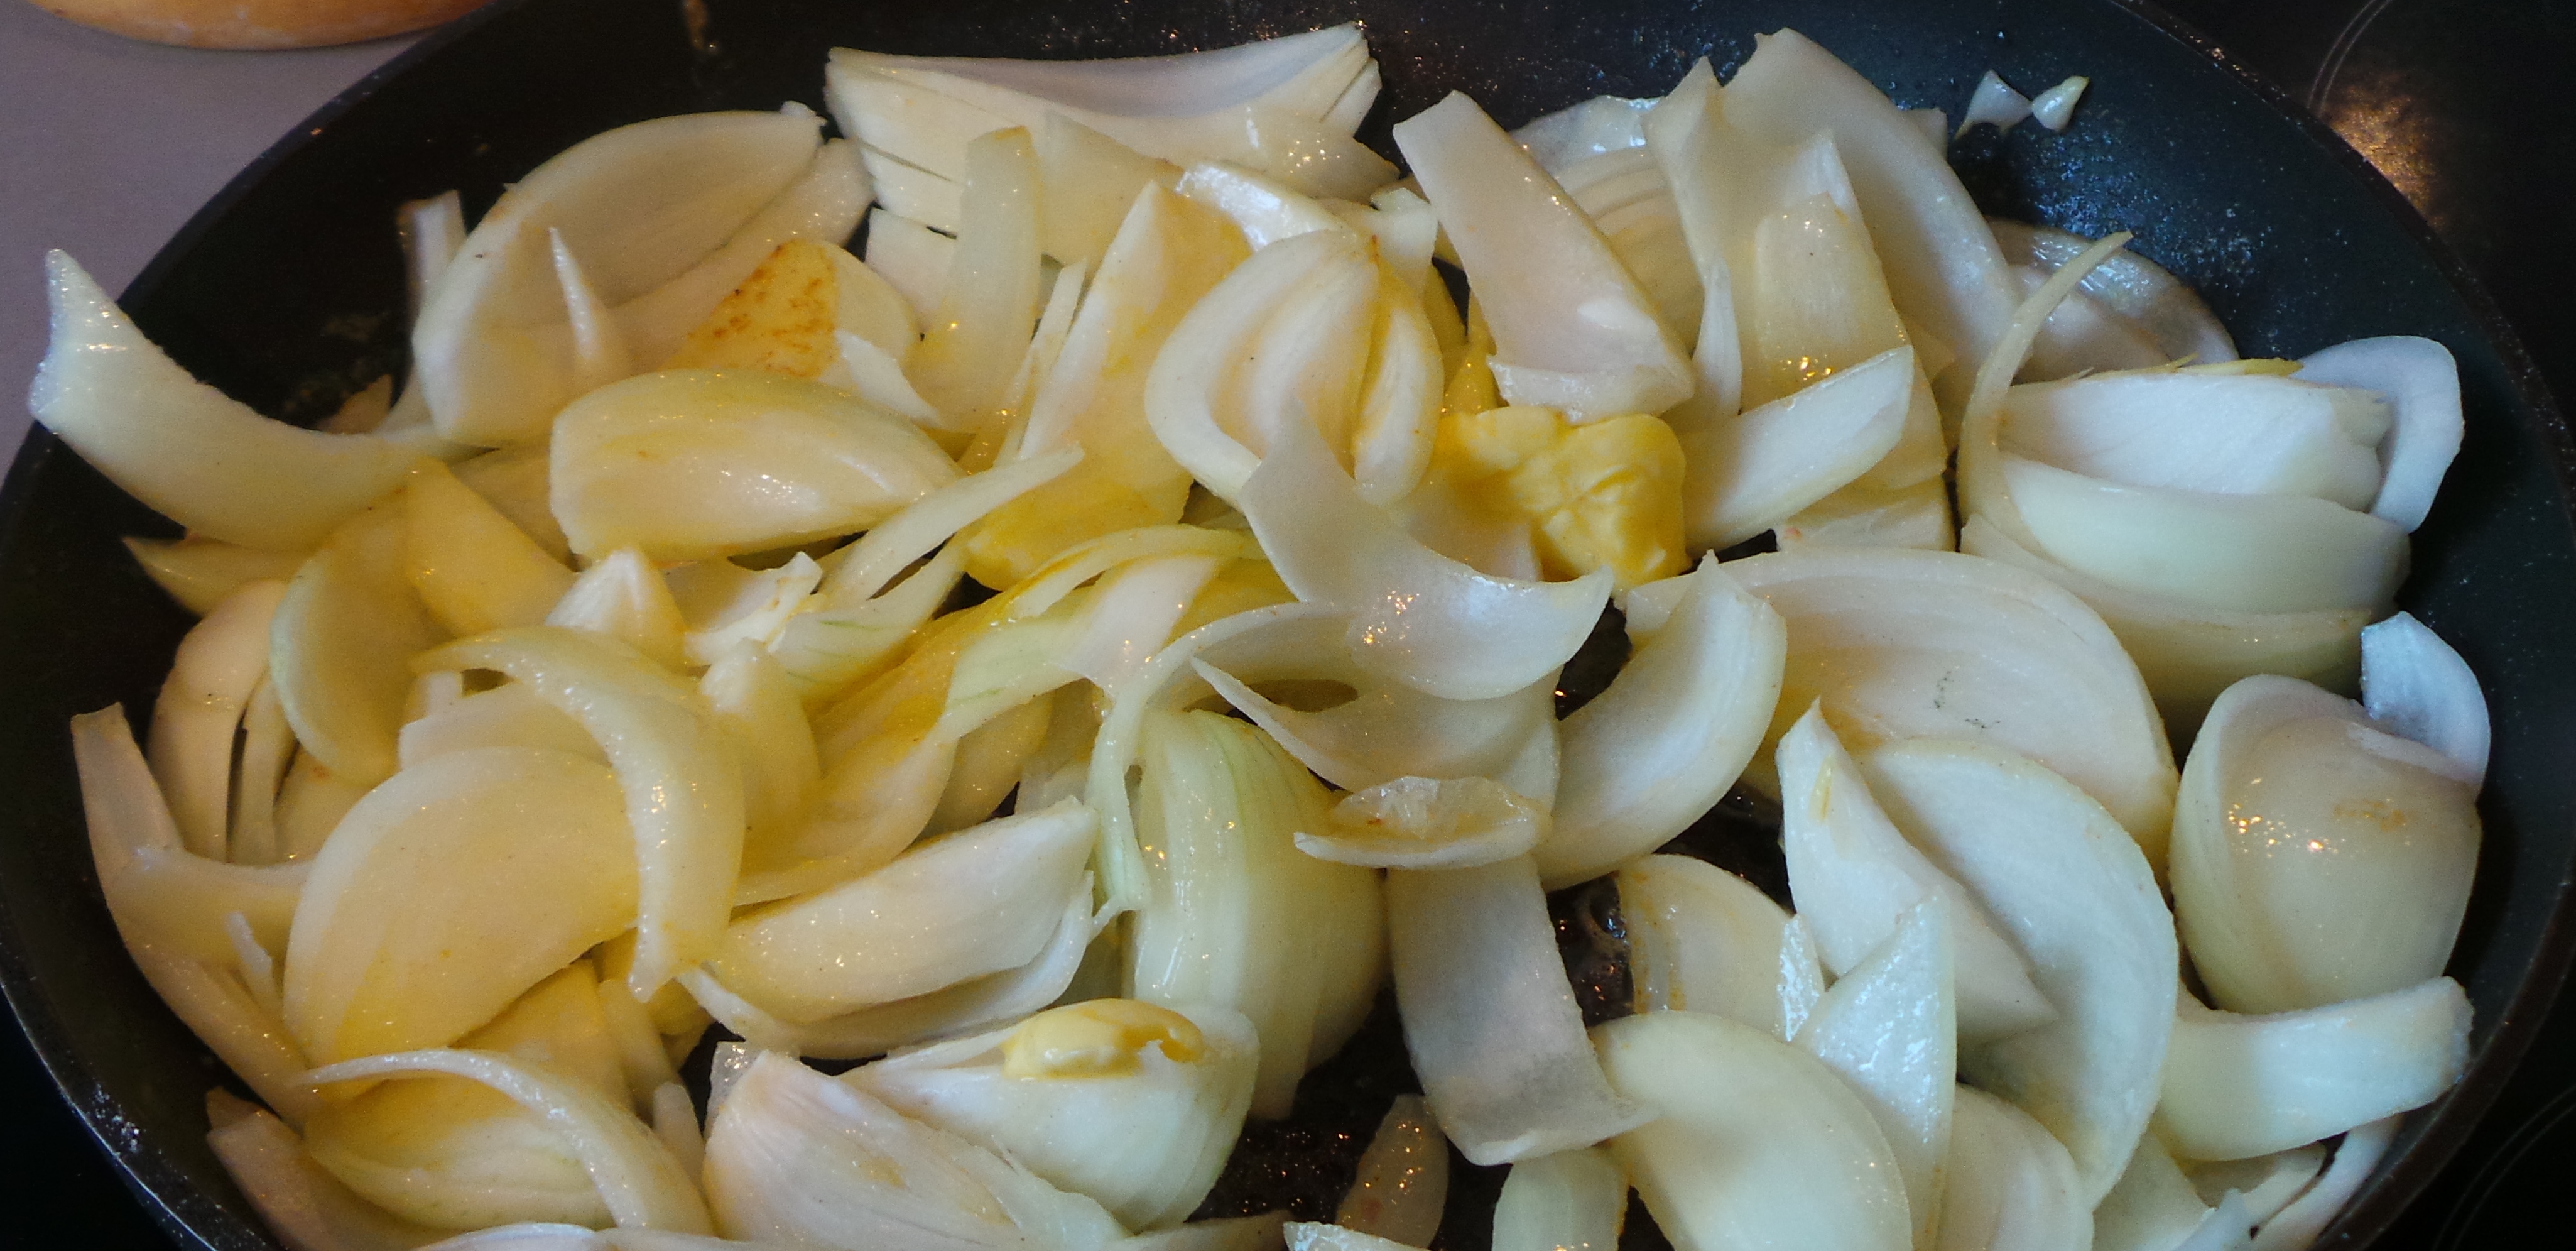
Add onion and sauté gently until soft and translucent (not browned).
Add flour and stir into butter, creating a roux. Fry gently for one minute.
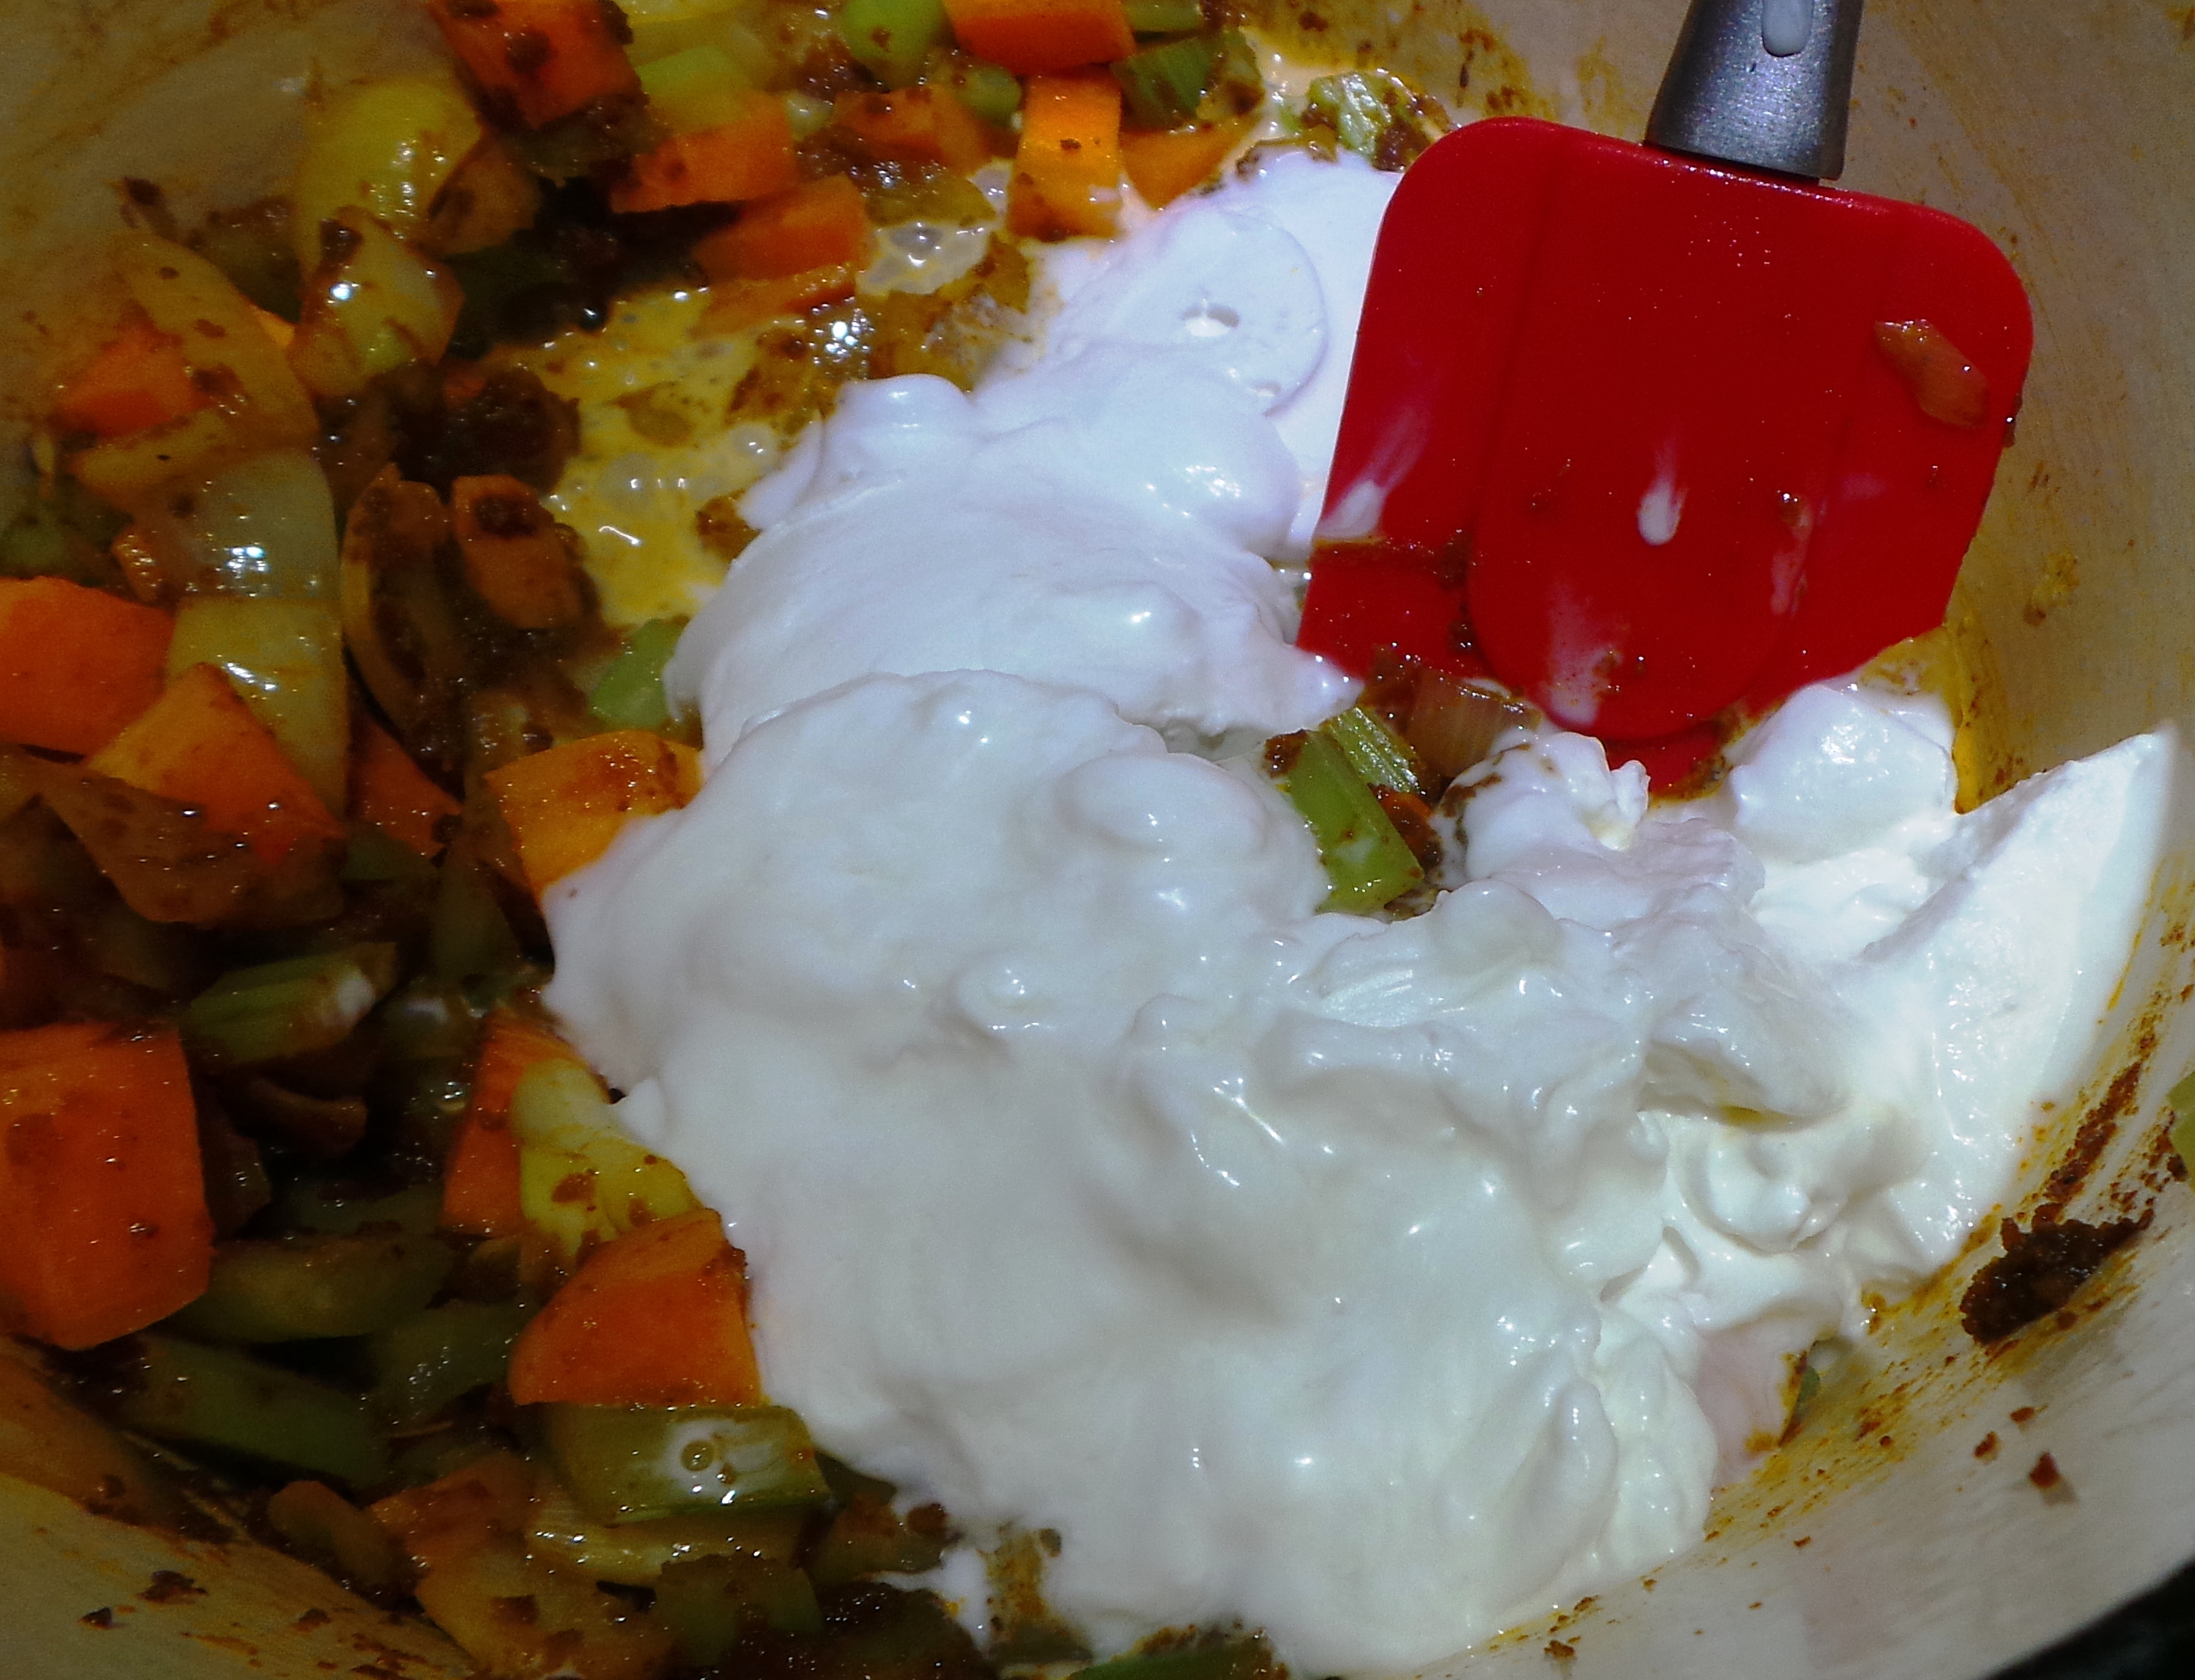
Remove from heat and whisk in milk, dissolving any lumps. Return to heat and cook gently until liquid boils and thickens.
(If you think your sauce is too thick, add more milk a ¼ cup at a time until it reaches a consistency you prefer. You don’t want anything too runny.)
Add tuna, celery, nuts and seasoning.
Grease a medium-sized casserole and sprinkle half the cheese on the base.
Add the cooked rice.
Spread the tuna and white sauce mix onto the rice layer.
Arrange slices of tomato on top of the tuna layer.
Spread with remainder of cheese.
For ease of handling, place your casserole dish onto a larger oven tray. 😉
Bake for 30 minutes – until heated through and the cheese is browned.
Like this? Follow us on Facebook or subscribe to receive updates by email.