Tuna Rice Bake (simple)

Simple tuna and rice bake.

This is a very simple meal from The Boy’s childhood. I begged the recipe from his mother about a year ago (he kept on about it), but have only just got round to making it.

Because fish.

I’m not a big fish eater, I’m afraid. My mother had a deadly allergy to shellfish and an uncanny talent to turn fish fillets into cardboard. It all rather put me off.

I didn’t make this exactly according to the recipe either – which kind of spoiled the nostalgia surprise effect I was aiming for. Meh. I didn’t have any celery (IKR!) so I used red capsicum and I added Old Bay Seasoning to the white sauce, because I thought it would taste good.

And it did.

So there.

Anyway, here goes. This is actually a really good, simple, casserole for those nights when stocks are low and inspiration lower. Most of the ingredients will be found in a well-stocked pantry, especially if said pantry includes long-life milk… It’s even better if you have some plain rice already cooked and languishing in your refrigerator.

It starts off with a large tin of tuna in brine or spring water. The tuna is drained, but the liquid is reserved and made up to 1½ cups by adding milk to it. Now, I actually ended up using about a cup or so more of milk when I made it, as my sauce was exceedingly thick. But more on that later.

Drain the tuna and reserve liquid.

Drain the tuna and reserve liquid.

Some butter is melted and and used to saute an onion until translucent. Now I did this bit differently to the original recipe, as I didn’t want to risk a raw flour taste in the sauce. A few tablespoons of plain flour were then added and stirred to make a roux before the milk mix was whisked in and stirred until it boiled and thickened. Basically a fish-flavoured white sauce with onions in.

Make a roux.

Make a roux.

After you have your thickened liquid, add salt and pepper. If you are me, however, add something more interesting (like Old Bay Seasoning).

Add some yum.

Add some yum.

If you don’t have any – which is understandable in Oz – something similar could be conjured up with a touch of dry mustard and smoked paprika, with a little salt.

To your newly-flavourful white sauce, add the contents of the tuna tin, some celery and some nuts. The recipe called for cashews, but I had slivered almonds so I used those and of course I substituted the celery with capsicum.

Add tuna, celery and nuts.

Add tuna, celery and nuts.

Now a smallish (1.5 l) oven dish was sprayed with oil and half a cup of grated cheese (I had mozzarella)was spread on the base before a cup of rice was also added.

Cheese and rice start the layering process.

Cheese and rice start the layering process.

The tuna mixture followed.

Tuna mix next.

Tuna mix next.

Then a layer of sliced tomatoes. Related: we grew these tomatoes. In our garden. Oh yeah.

Home-grown lusciousness ensued.

Home-grown lusciousness ensued.

I sprinkled the top with another half cup of cheese and it went into the oven for 30 mins.

After which it was eaten.

Dinner.

Dinner.

And everyone was happy.

I am particularly happy now. The fact that this is on my website will mean that I can find it and read it much more easily than this photo of the recipe that was emailed to me…

I couldn't change the rotation to read it when cooking...

I couldn’t change the rotation to read it when cooking…

Tuna Rice Bake

  • Servings: 4-6
  • Difficulty: moderate
  • Print

Ingredients

1 x 425g tin tuna in brine or springwater

1¼ cups of milk (approx.)

2 tbsps butter

1 small onion, diced

2 tbsps flour

Salt and pepper

¾ cup chopped celery

½ cup whole cashews or almonds

1 cup grated cheese

1 cup cooked rice

1 large tomato, sliced.

Method.

Set oven to 180°C/350°F.

Drain tin of tuna, reserving liquid. To the liquid add enough milk to make 1¼ cups.

Flake the tuna into a small bowl, removing skin and bones.

Melt butter in a medium saucepan over gentle heat.

Add onion and sauté gently until soft and translucent (not browned).

Add flour and stir into butter, creating a roux. Fry gently for one minute.

Remove from heat and whisk in milk, dissolving any lumps. Return to heat and cook gently until liquid boils and thickens.

(If you think your sauce is too thick, add more milk a ¼ cup at a time until it reaches a consistency you prefer. You don’t want anything too runny.)

Add tuna, celery, nuts and seasoning.

Grease a medium-sized casserole and sprinkle half the cheese on the base.

Add the cooked rice.

Spread the tuna and white sauce mix onto the rice layer.

Arrange slices of tomato on top of the tuna layer.

Spread with remainder of cheese.

For ease of handling, place your casserole dish onto a larger oven tray. 😉

Bake for 30 minutes – until heated through and the cheese is browned.

Like this? Follow us on Facebook or subscribe to receive updates by email.


Advertisement

Cheesy Spinach Parcels

I simply adore toasted pine nuts.

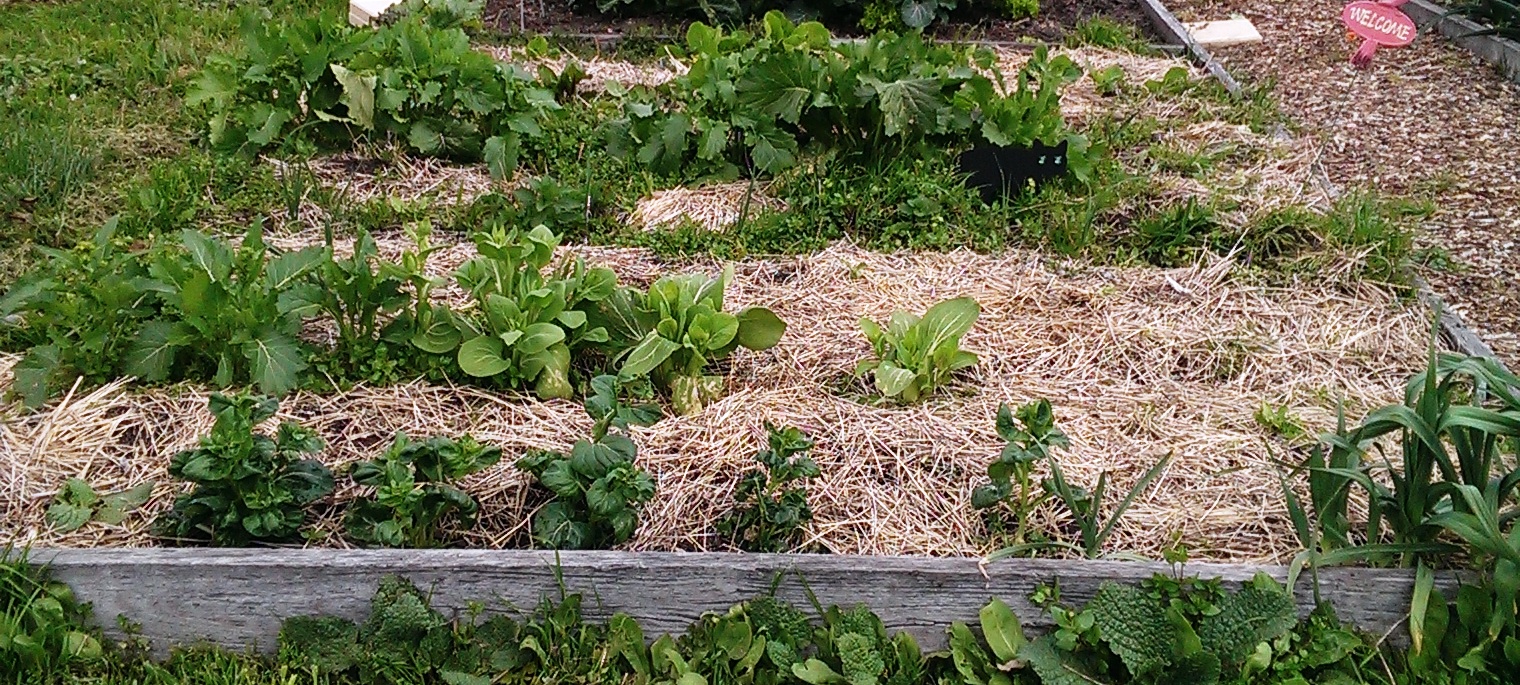
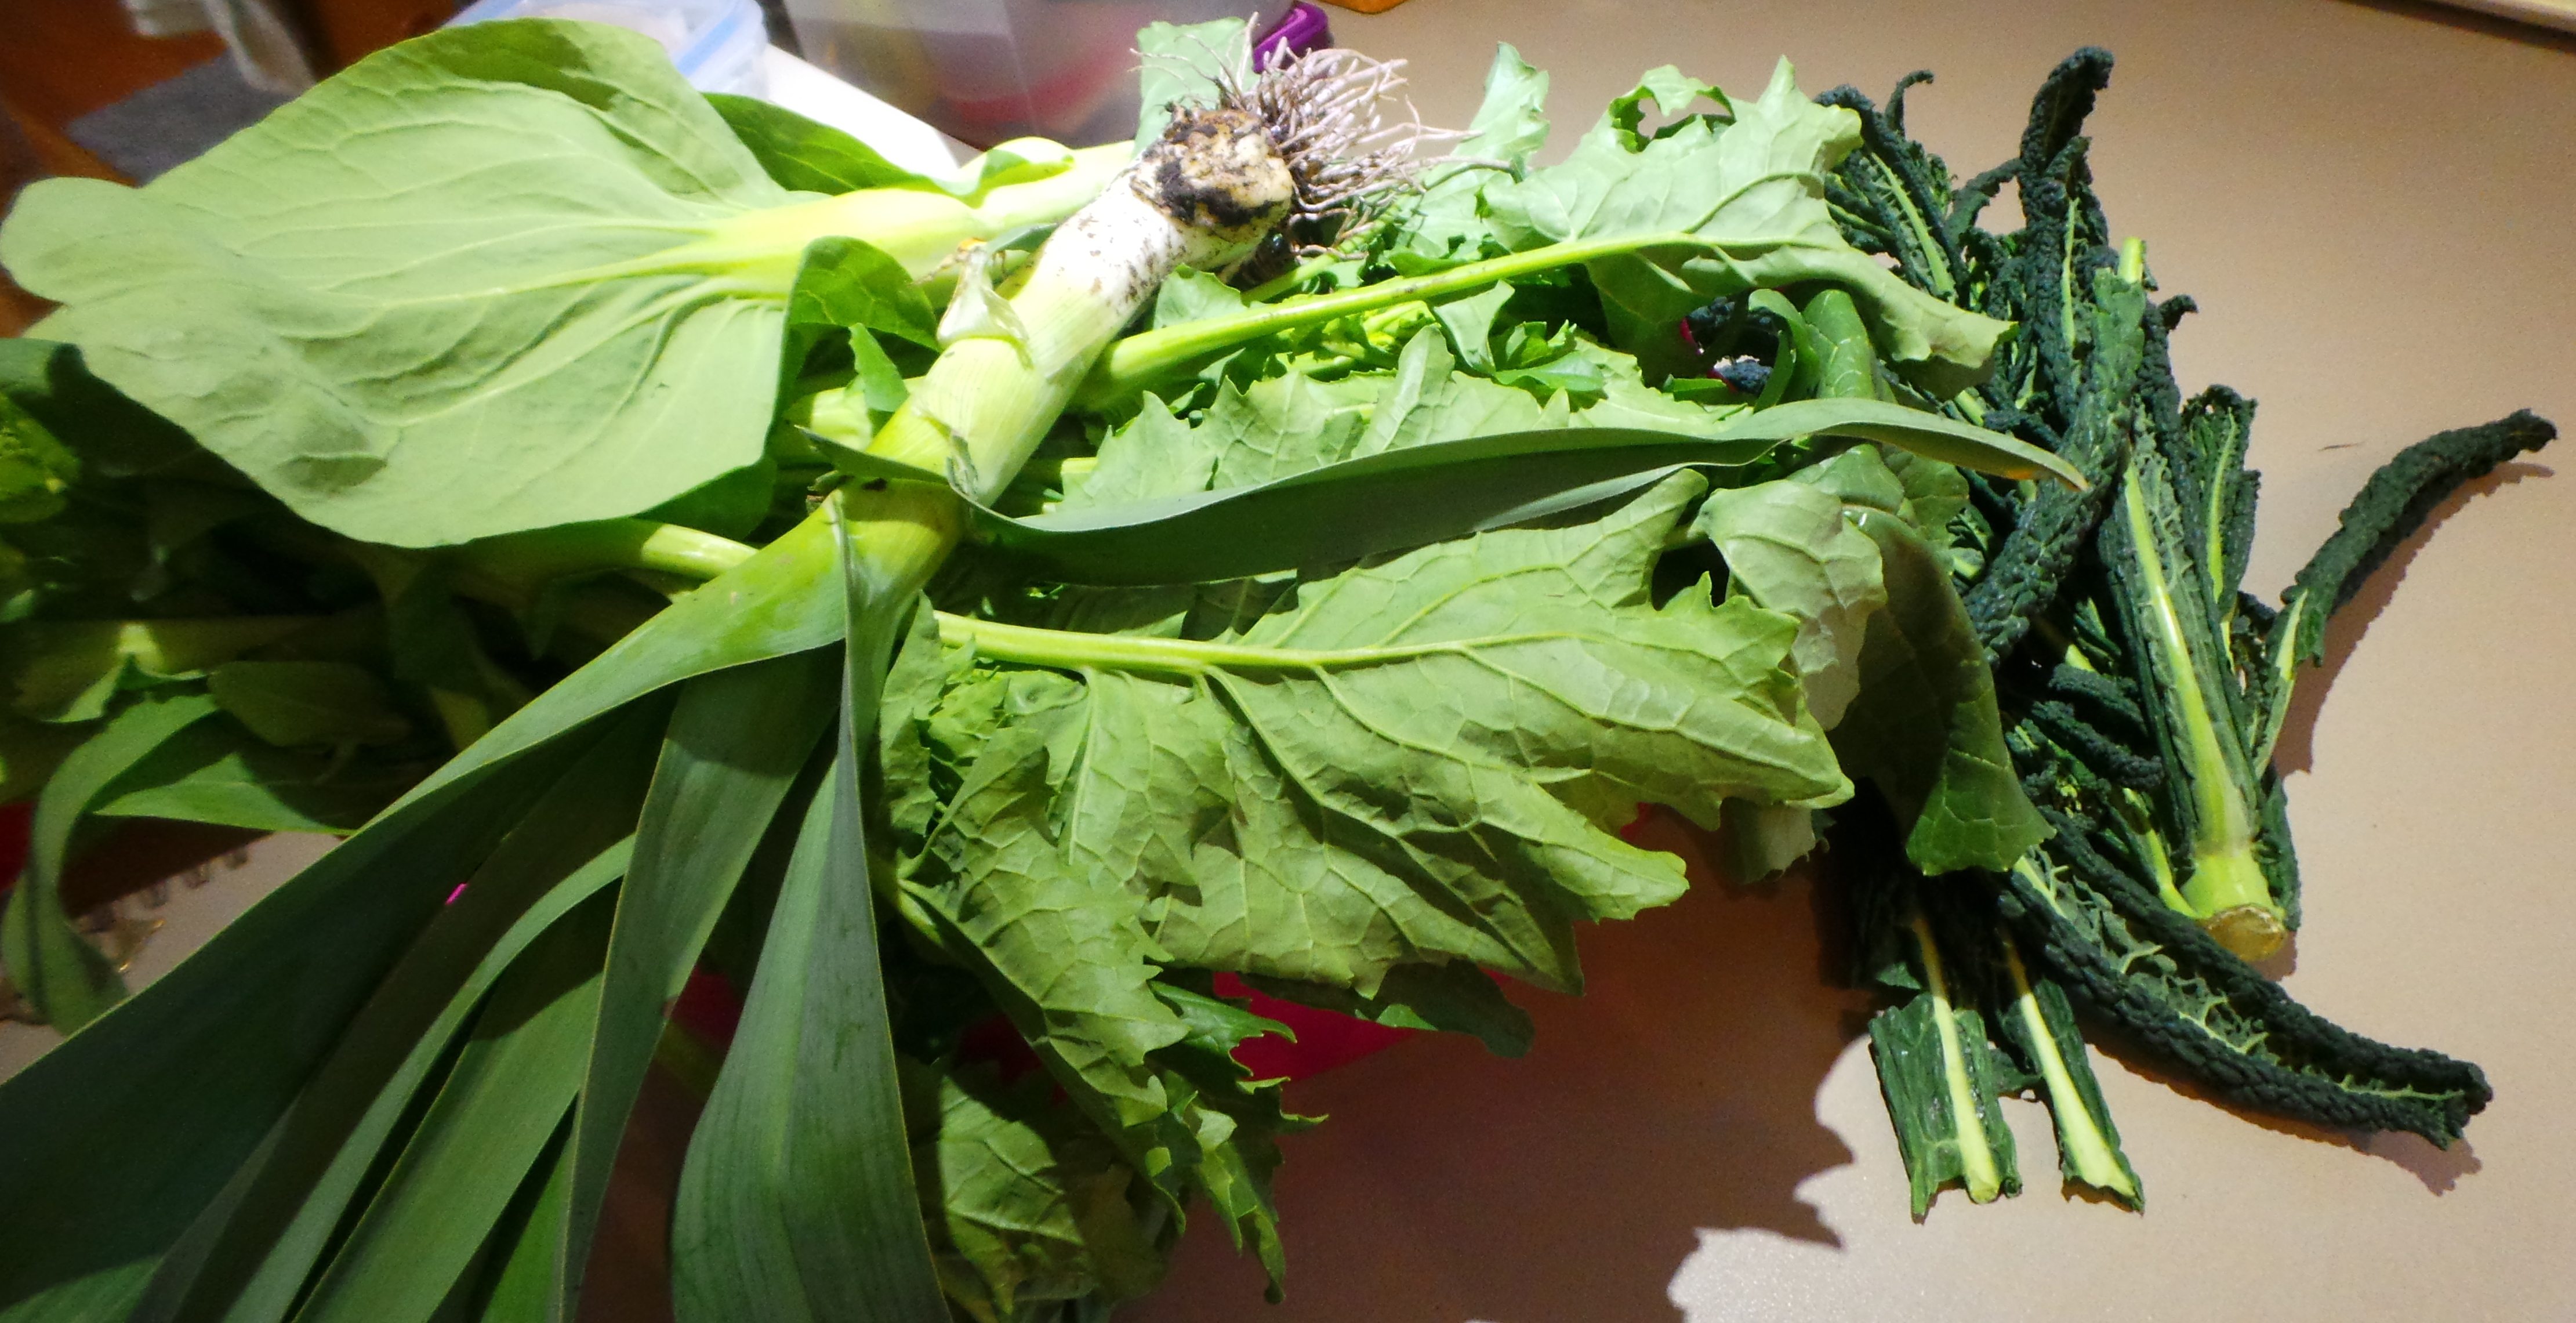
I think I mentioned a little while ago that the Budget Bounty household now has a plot at the local Community Garden.

This has been an adventure over the last few months as we have managed to grow things quite well, without actually growing anything to harvest, viz our Brussels Sprouts were overwhelmingly Brussels with nary a sprout in sight. *sigh*

We have, however, cracked the Silverbeet growing thing. You might call it Chard, or Spinach or some such, but I grew up calling this particular leaf Silverbeet. It’s thick, it’s squeaky (!) and we have oodles of it – although I think it may be about to go to seed.

I also don’t like it very much. Don’t tell The Boy, please.

He does like it. Very much. So, having returned from our last visit to our patch with several armfuls of the stuff, I had to find something to do with it all! There was no way it was all going to fit into the refrigerator and the weather we are currently experiencing would see it wilt to inedible in no time. So I cooked it.

I washed it, shook it dry, tore the leaves off the stems and crammed them all into my largest pot, with the lid on and over the lowest heat – and just let it all wilt. I ended up with this.

Cooked Spinach

Cooked Spinach

Looks attractive, dunnit?

I now had a large glass container full of spinach to contend with, but there was no rush to do it. A breather had been orchestrated. Yay.

I wanted to make a Spanakopita that I had made before from www.Food.com (way back when it was still Recipezaar) but I just don’t have the energy right now to give it the attention it deserves. So I searched the Interwebz and my recipe books for things-that-look-like-a-thing-but-aren’t-quite and got overwhelmed by it all.

I bought Feta cheese, I bought Ricotta cheese, I thought about buying Filo/Phyllo pastry and then mentally backhanded myself for even considering it, so I bought puff pastry instead… and I still didn’t know what I was going to do.

This is Not. Like. Me.

So I took bits from everywhere and basically made something up. The something I made up was a hit with The Boy, who took one mouthful and exclaimed, “You have to post this!”

This is me, doing as I was told.

Let me start by saying you could use Filo pastry for this if you wished. I just don’t have the co-ordination to deal with it at the moment. I used a 1 kg packet of puff pastry sheets that I had thawed in the refrigerator, and they did the trick beautifully. If you want to make your own, then all power to you.

Store bought Puff Pastry. Sue me.

Store bought Puff Pastry. Sue me.

Then I got out my food processor, because knives and I are not a good combination right now.

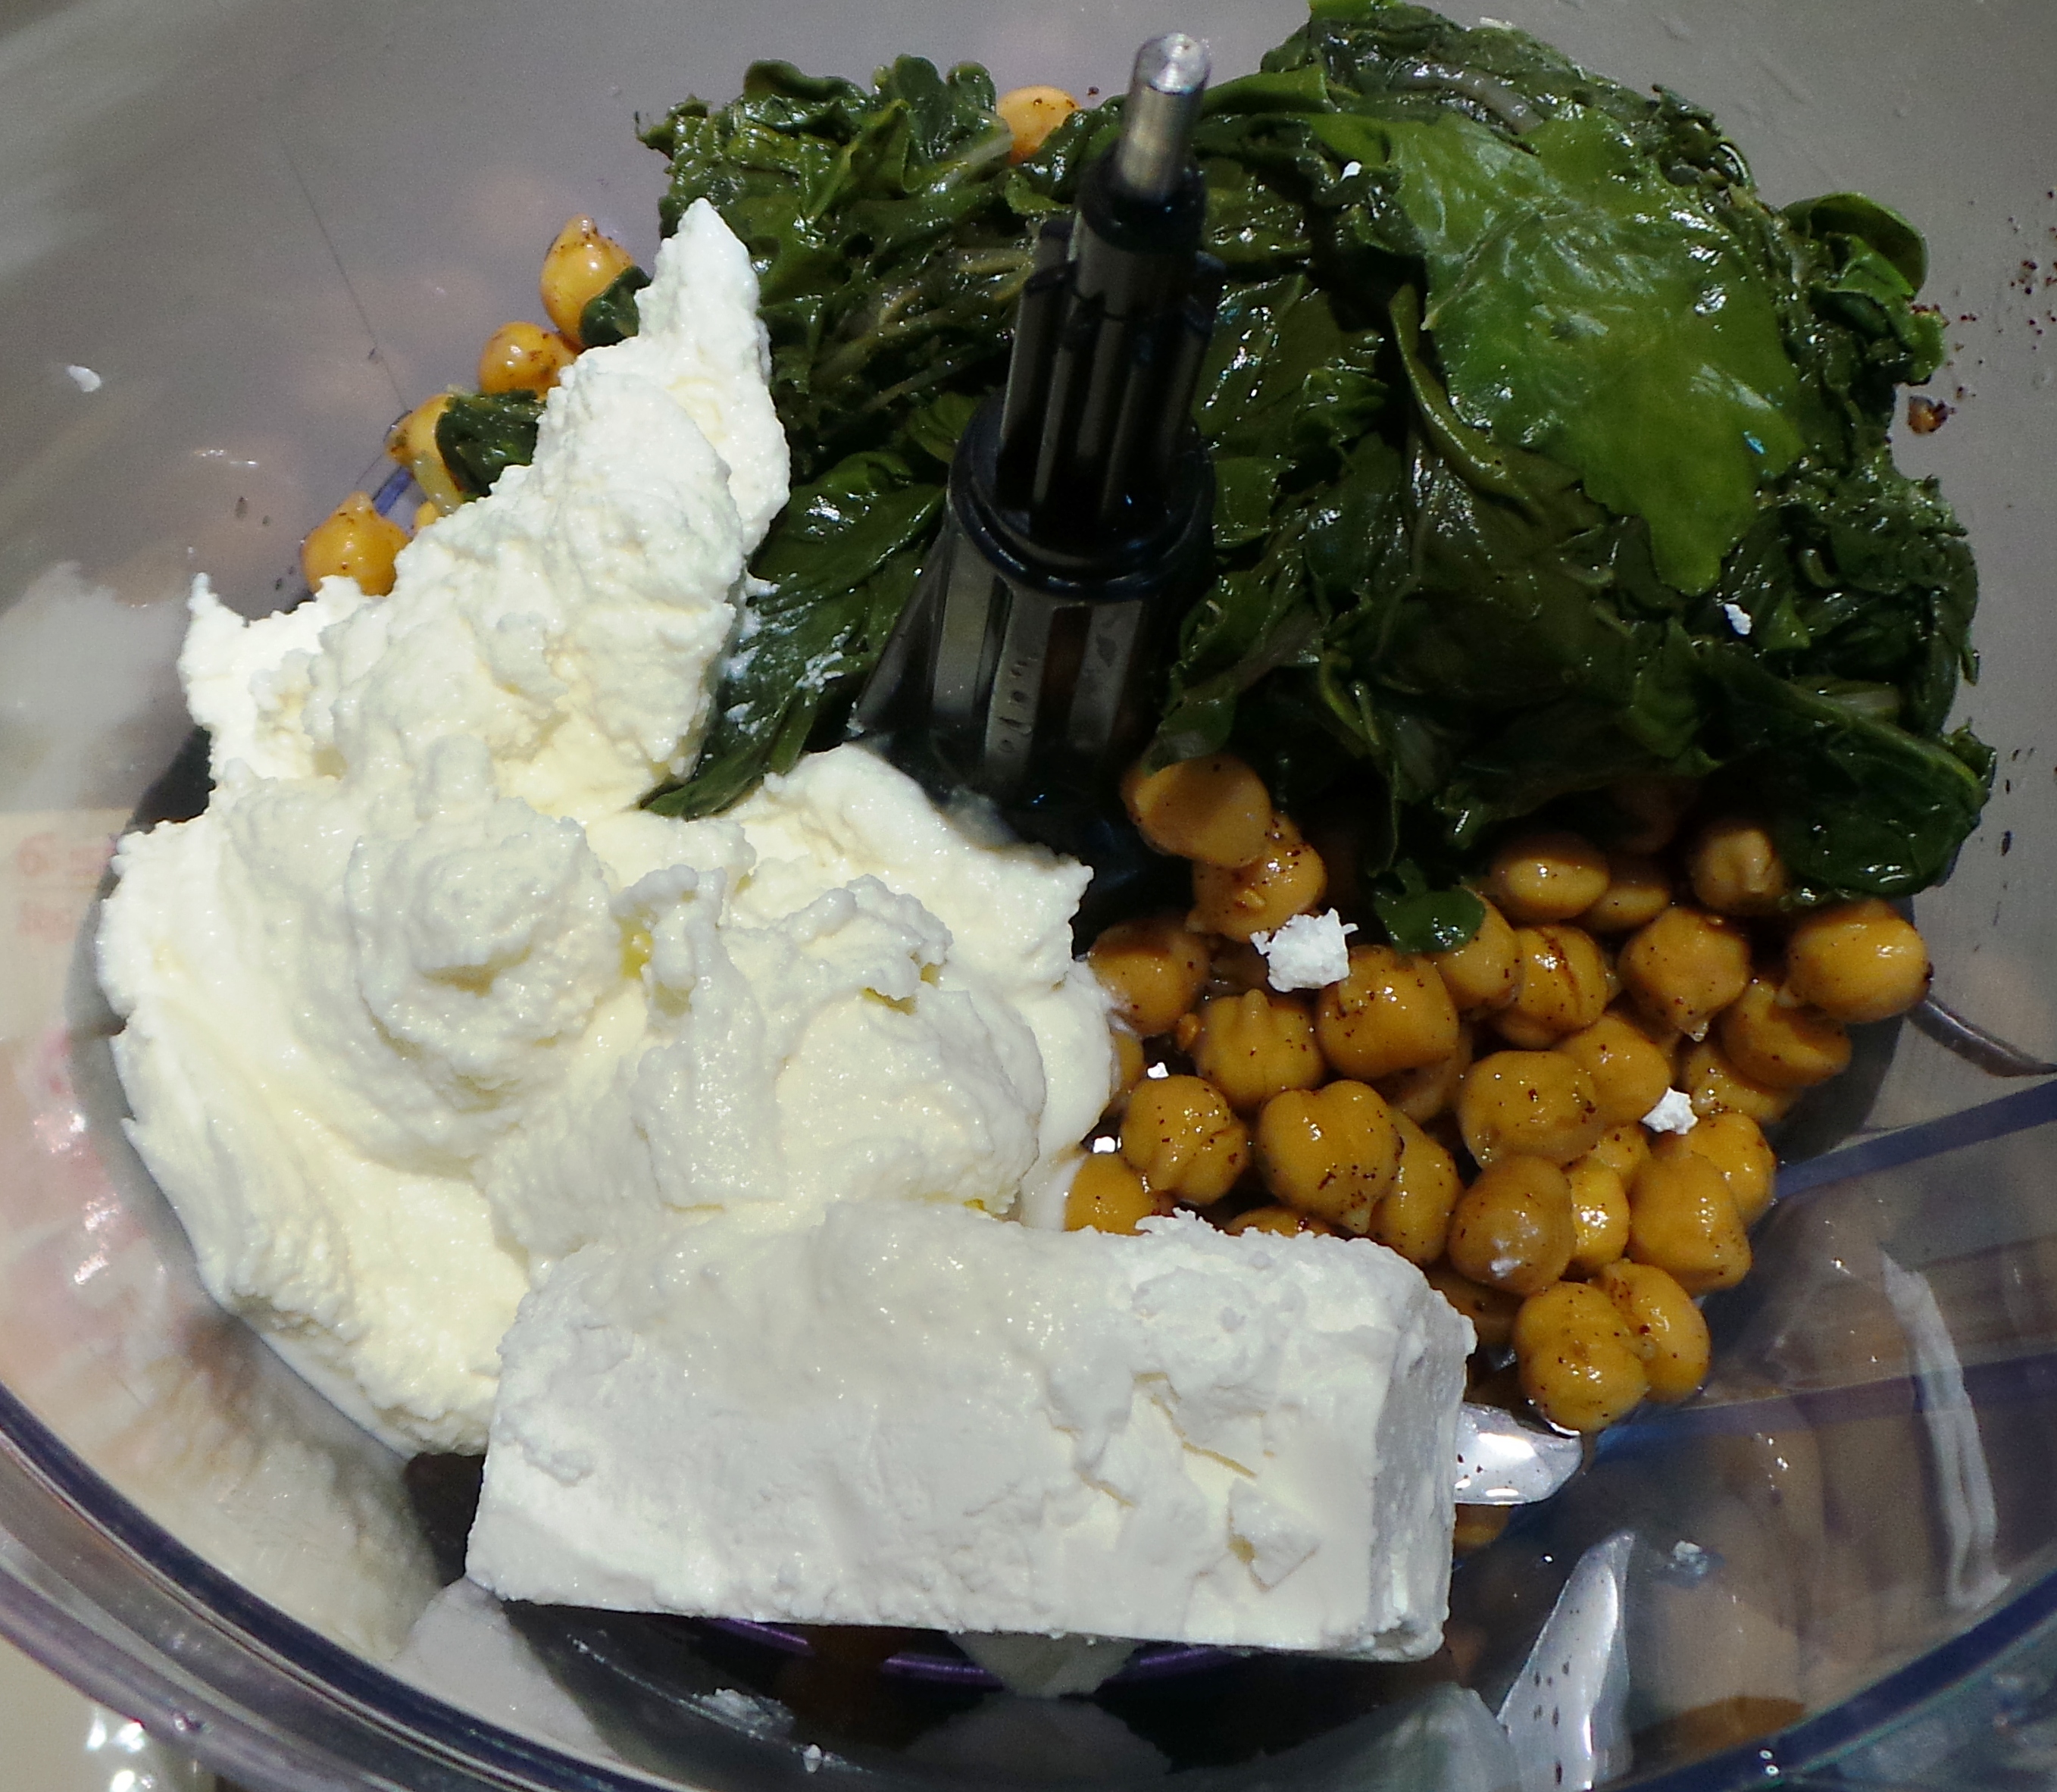
Into the processor bowl went various things, starting with 100 g of the cooked spinach – weighed after I had squeezed most of the water out of it.

Cooked, squeezed spinach in a bowl I later managed to break.

Cooked, squeezed spinach in a bowl I later managed to break.

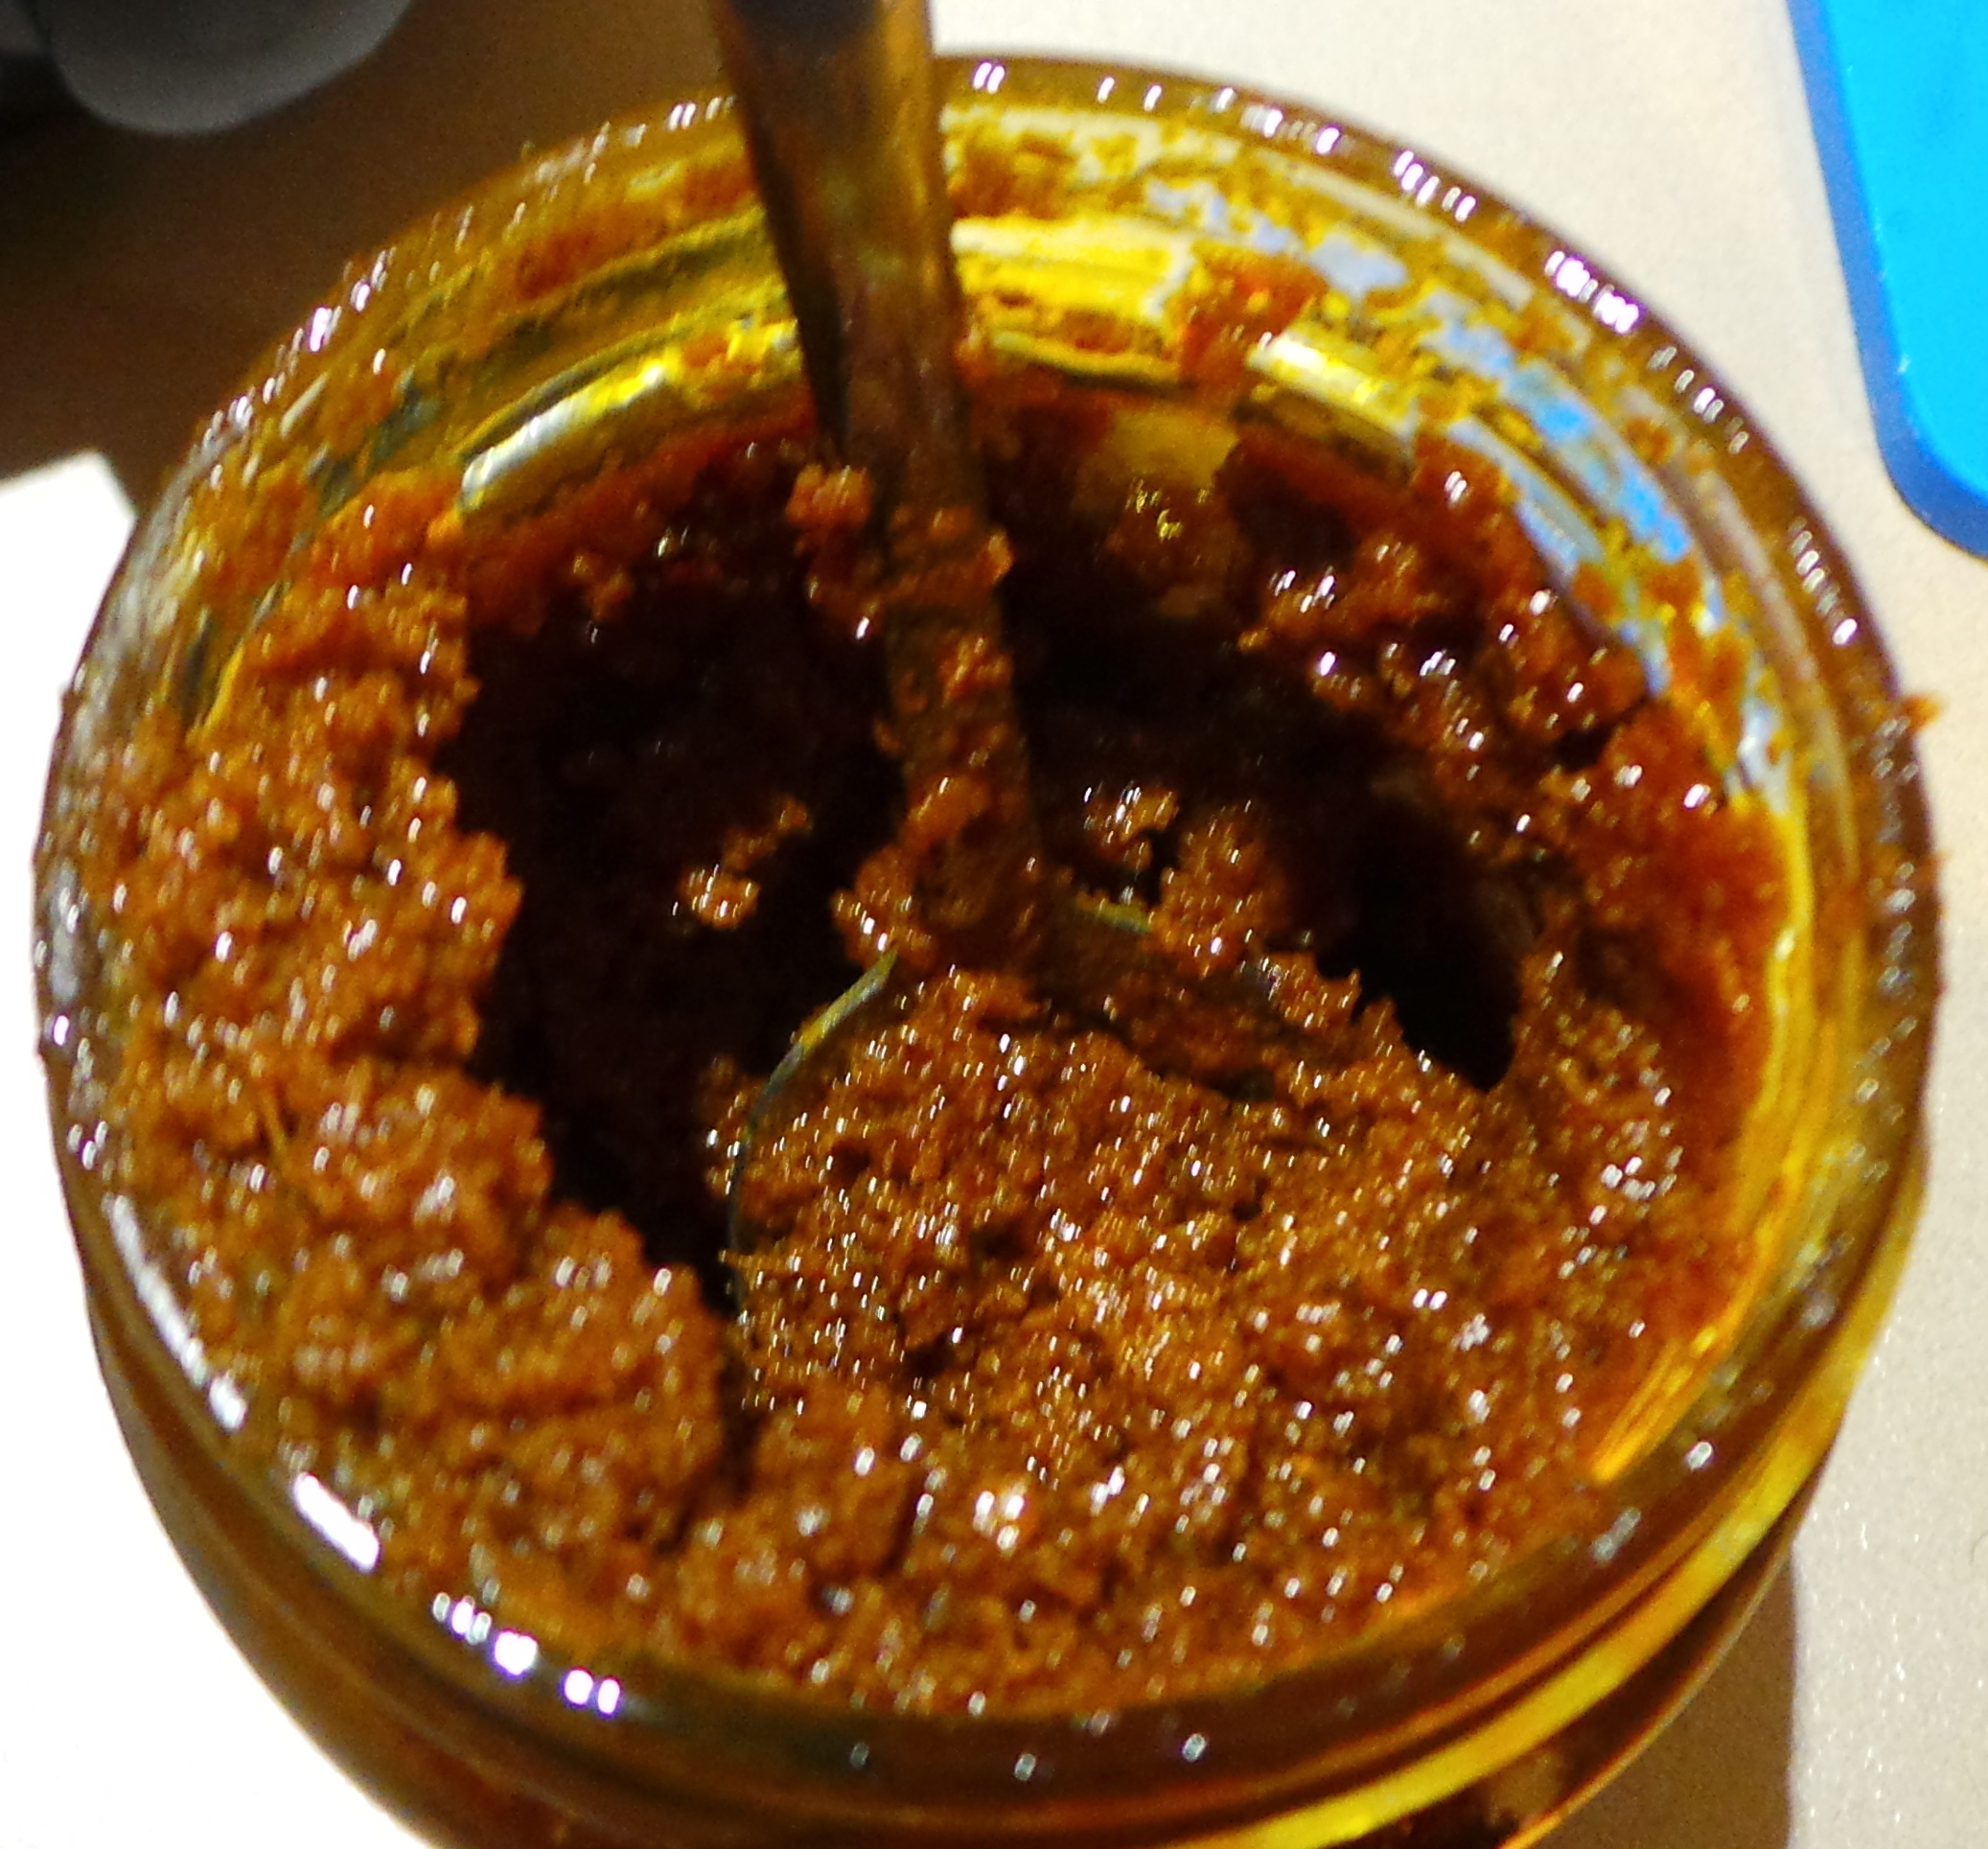
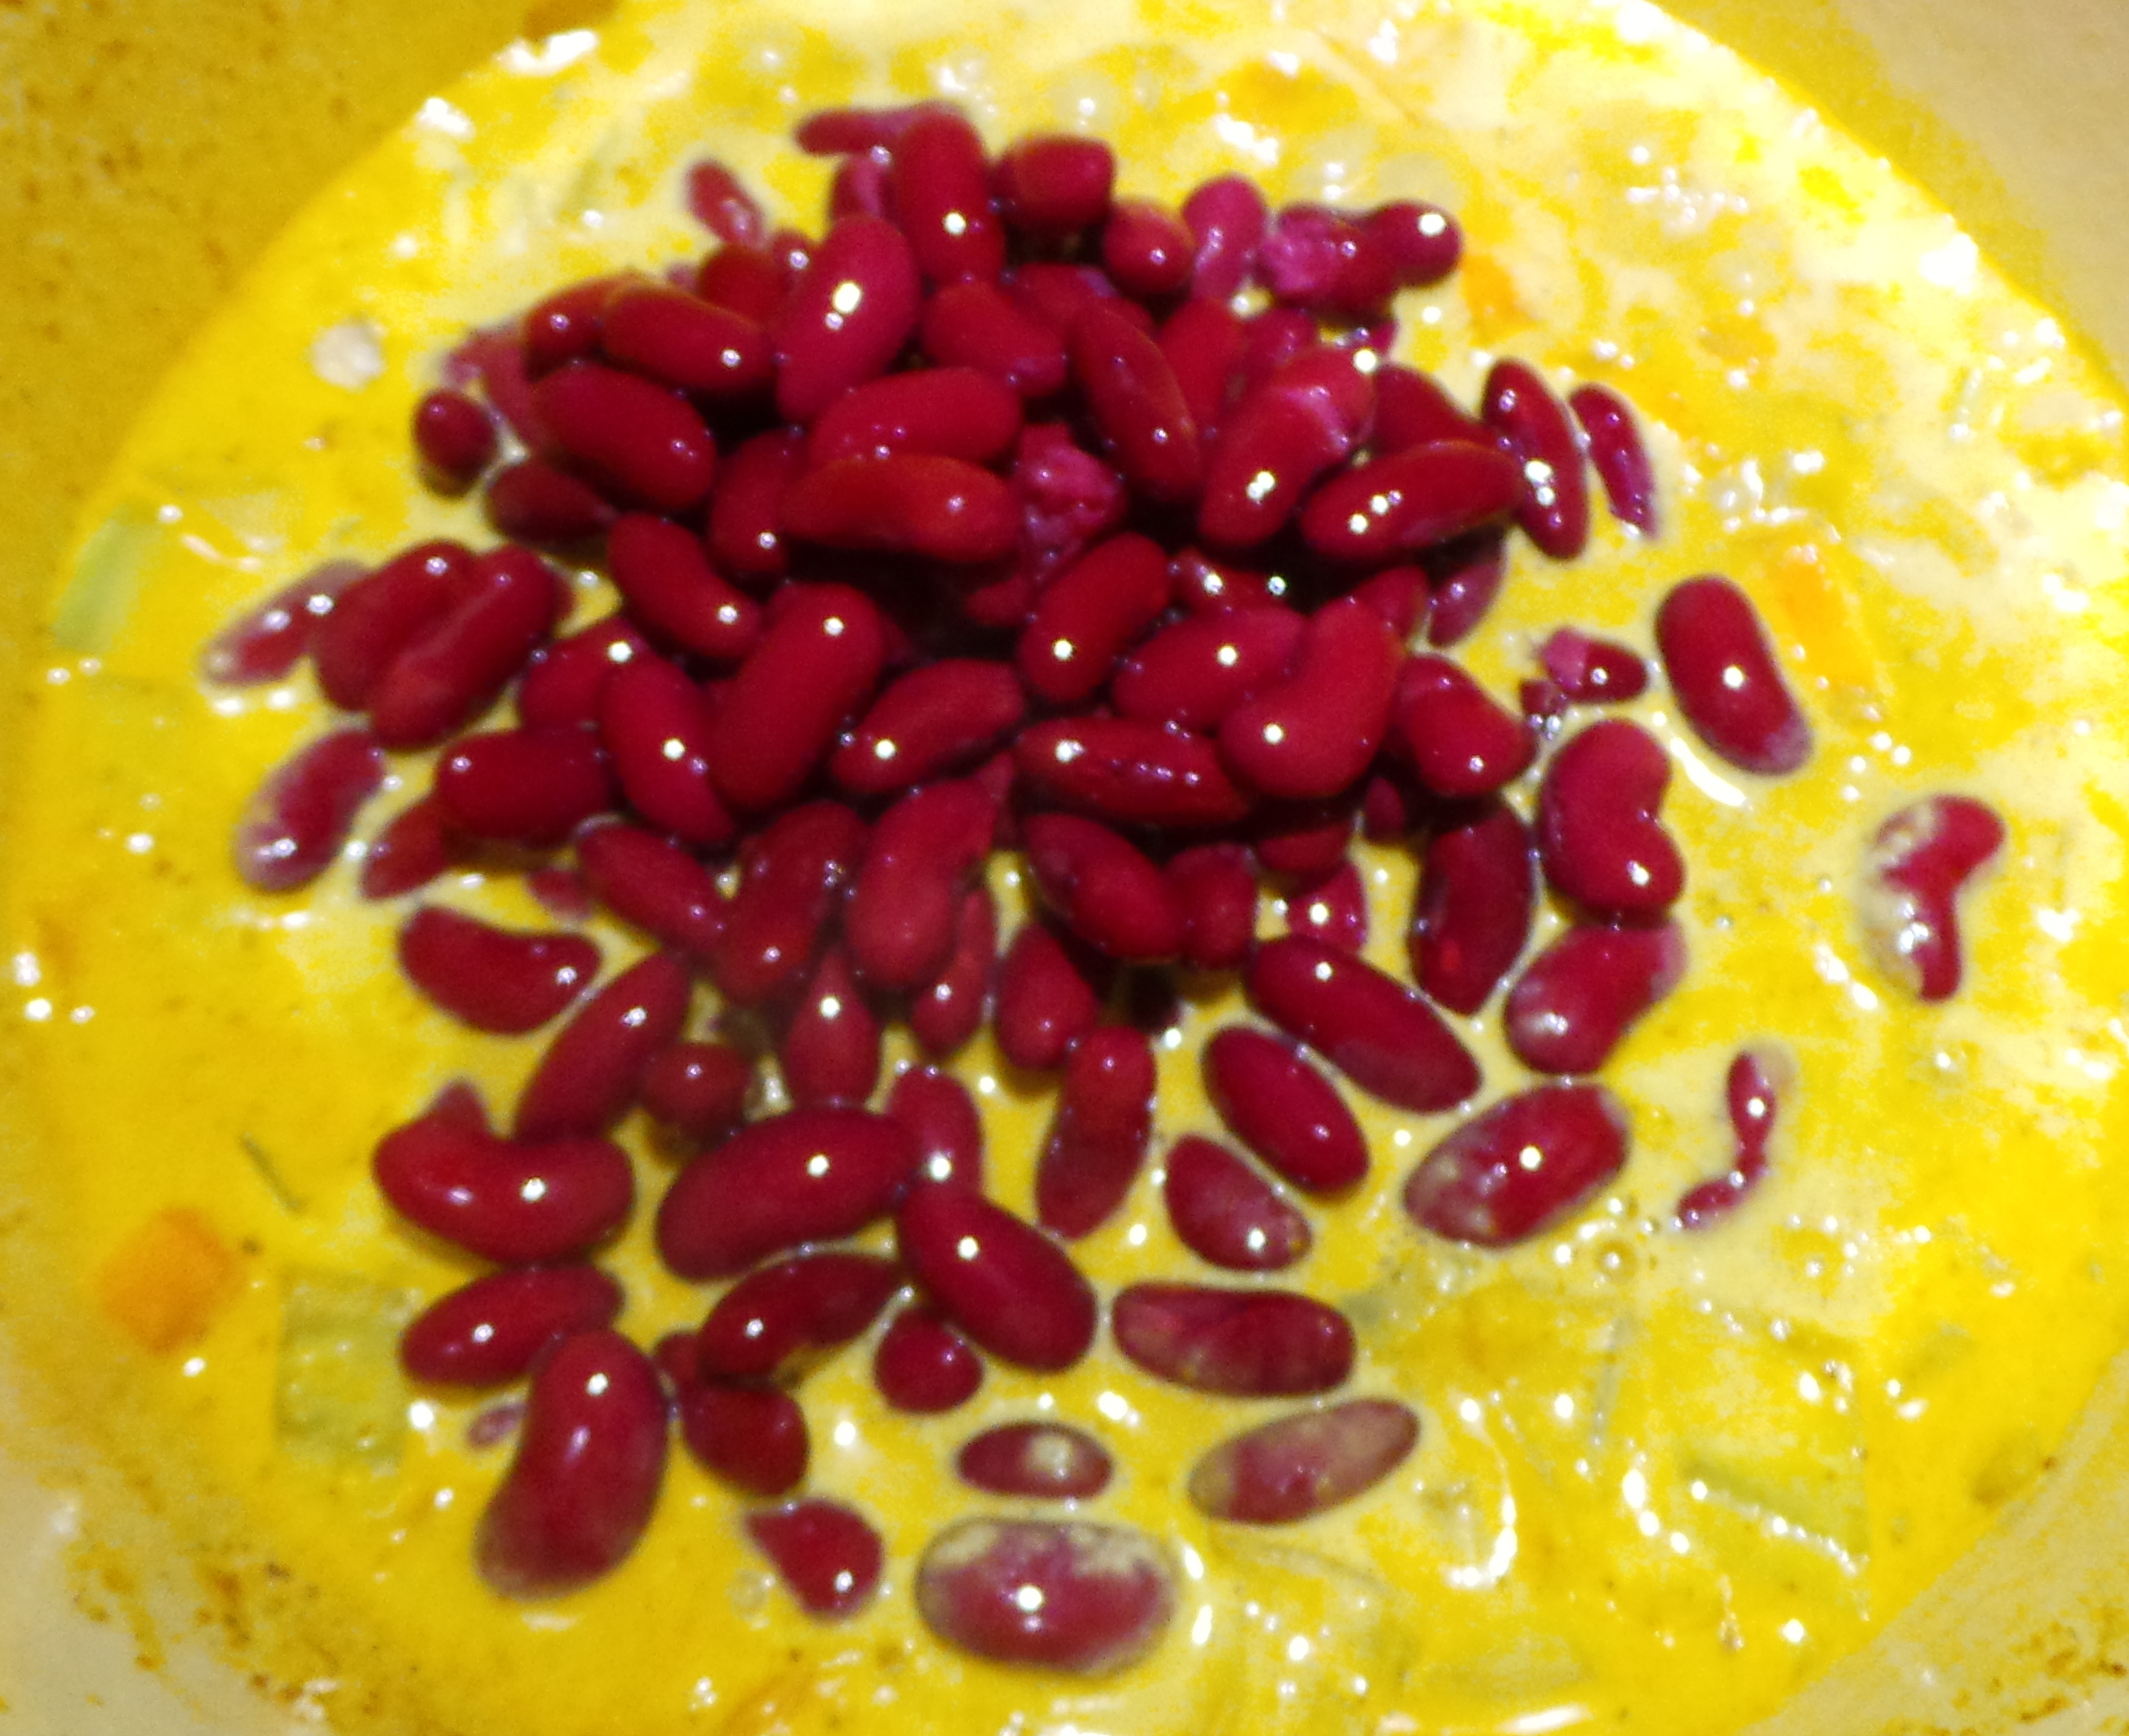
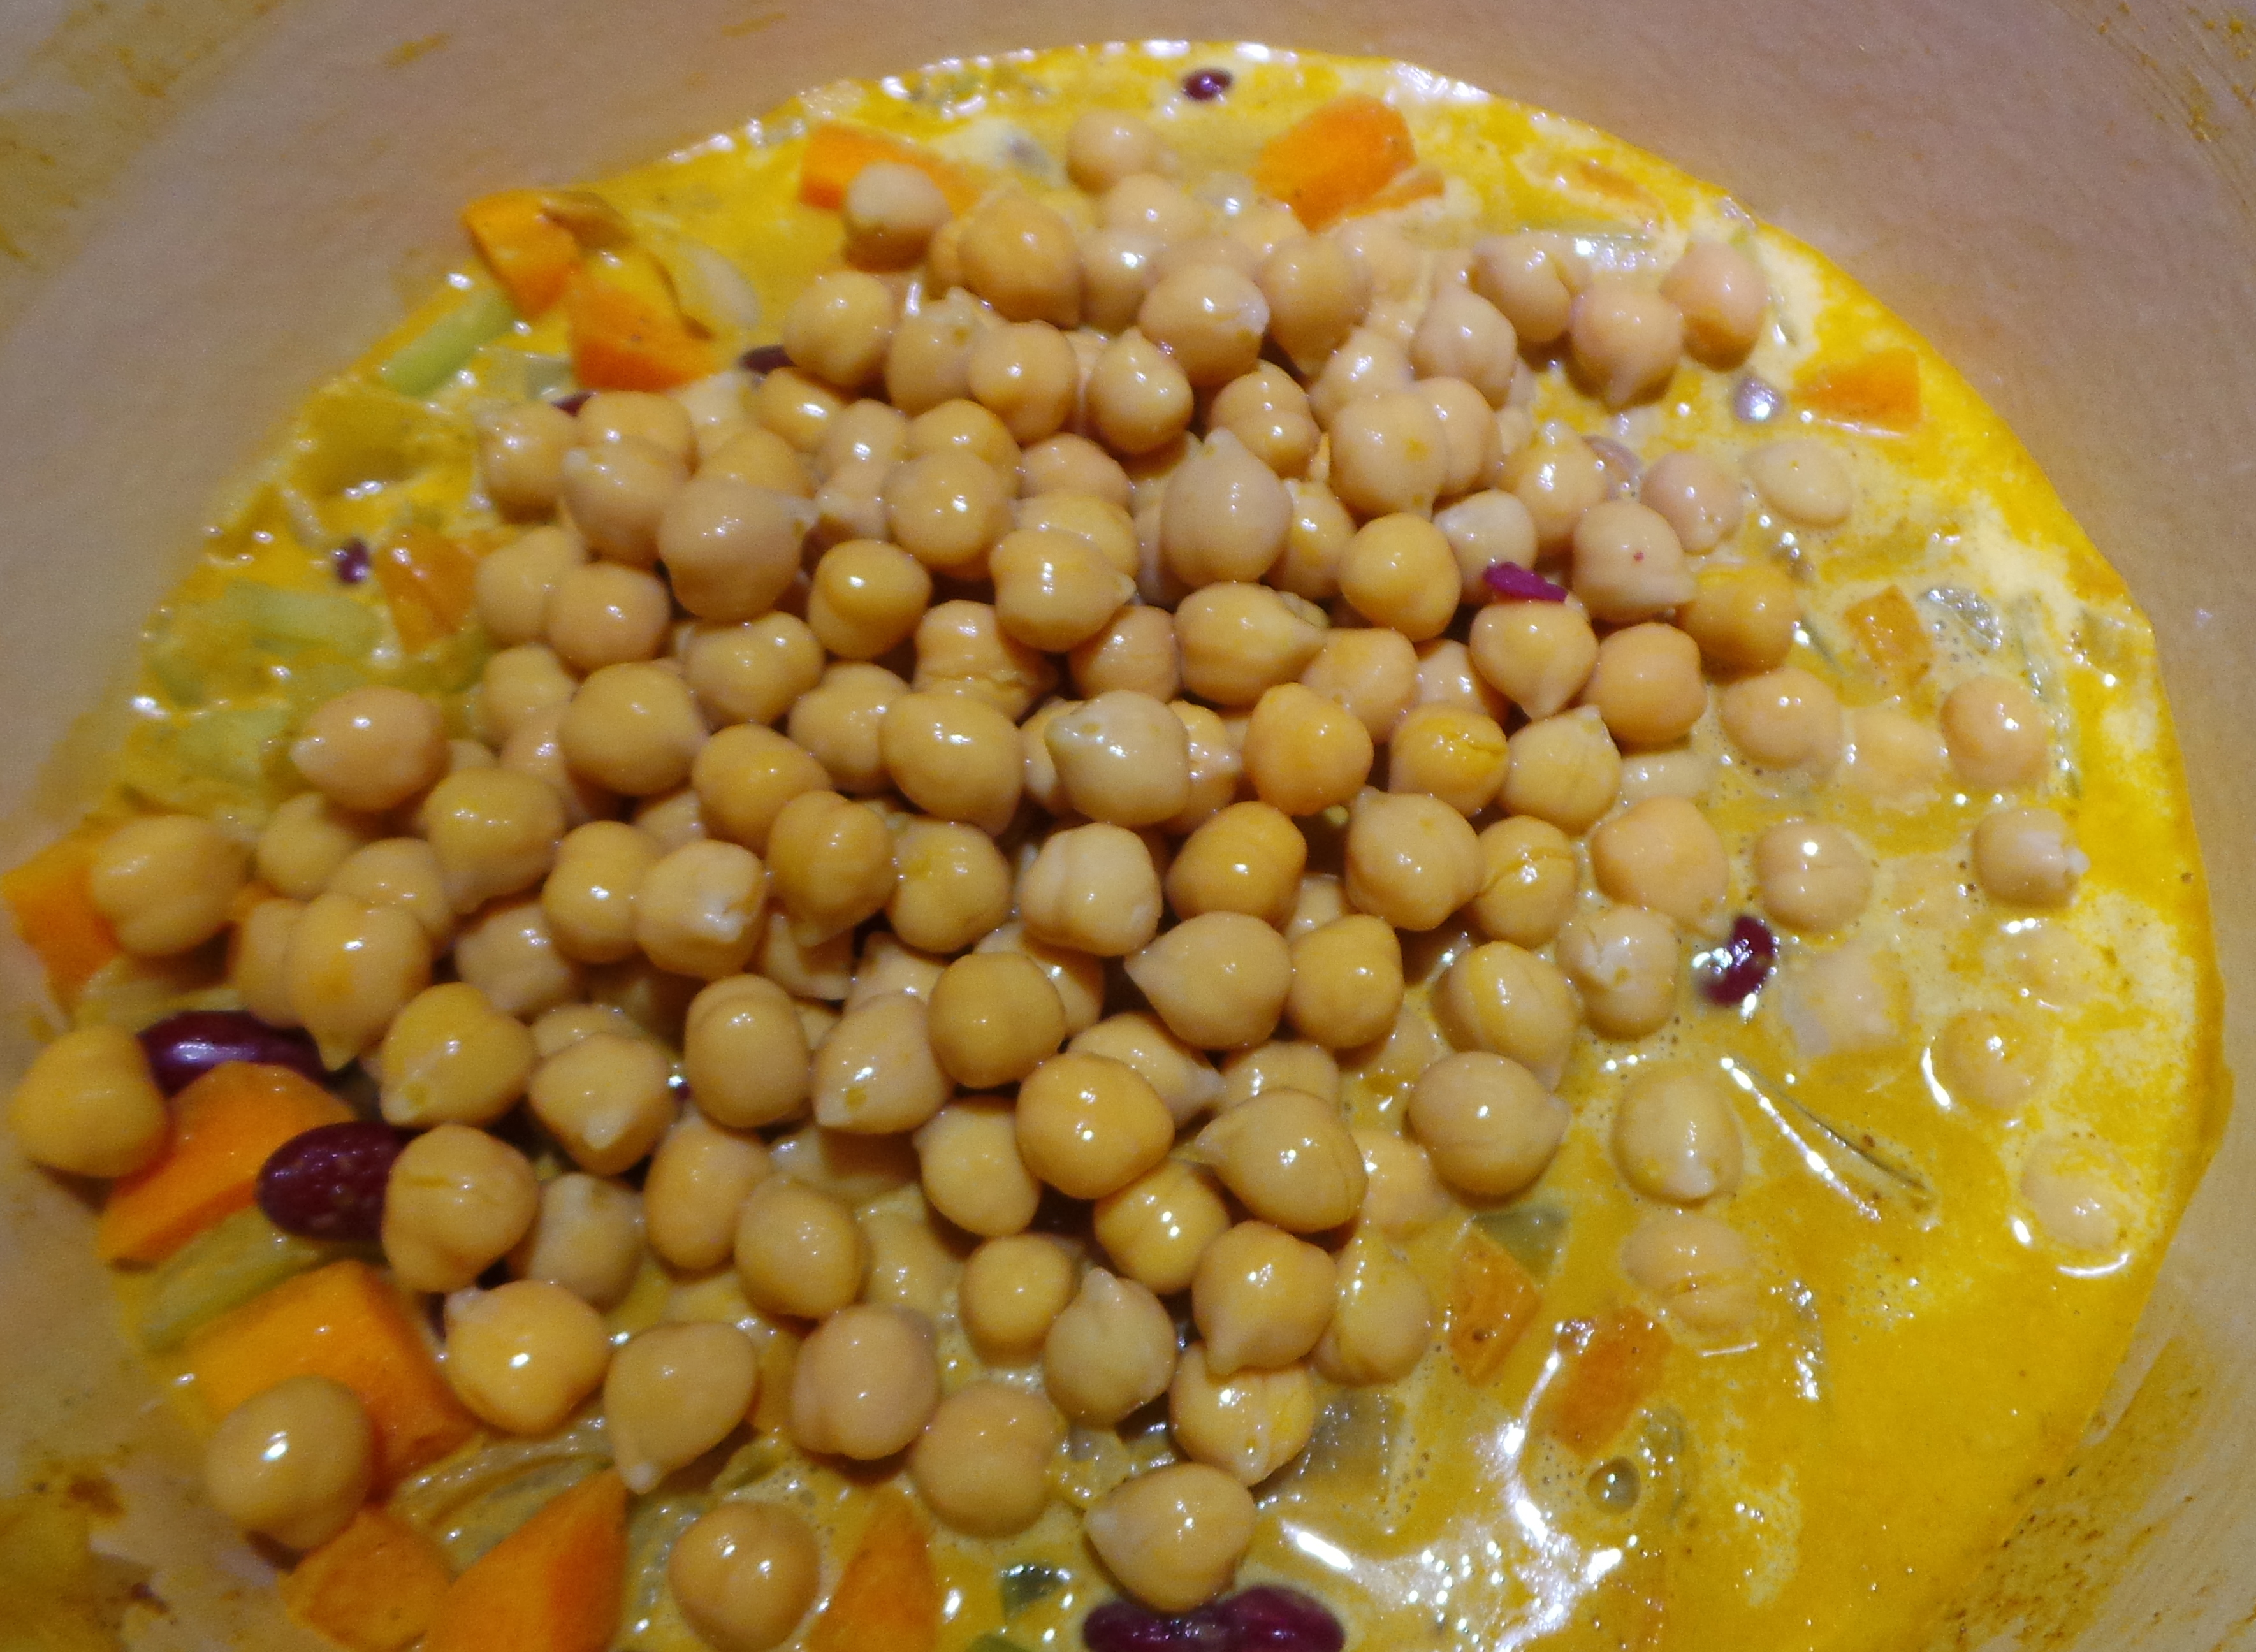
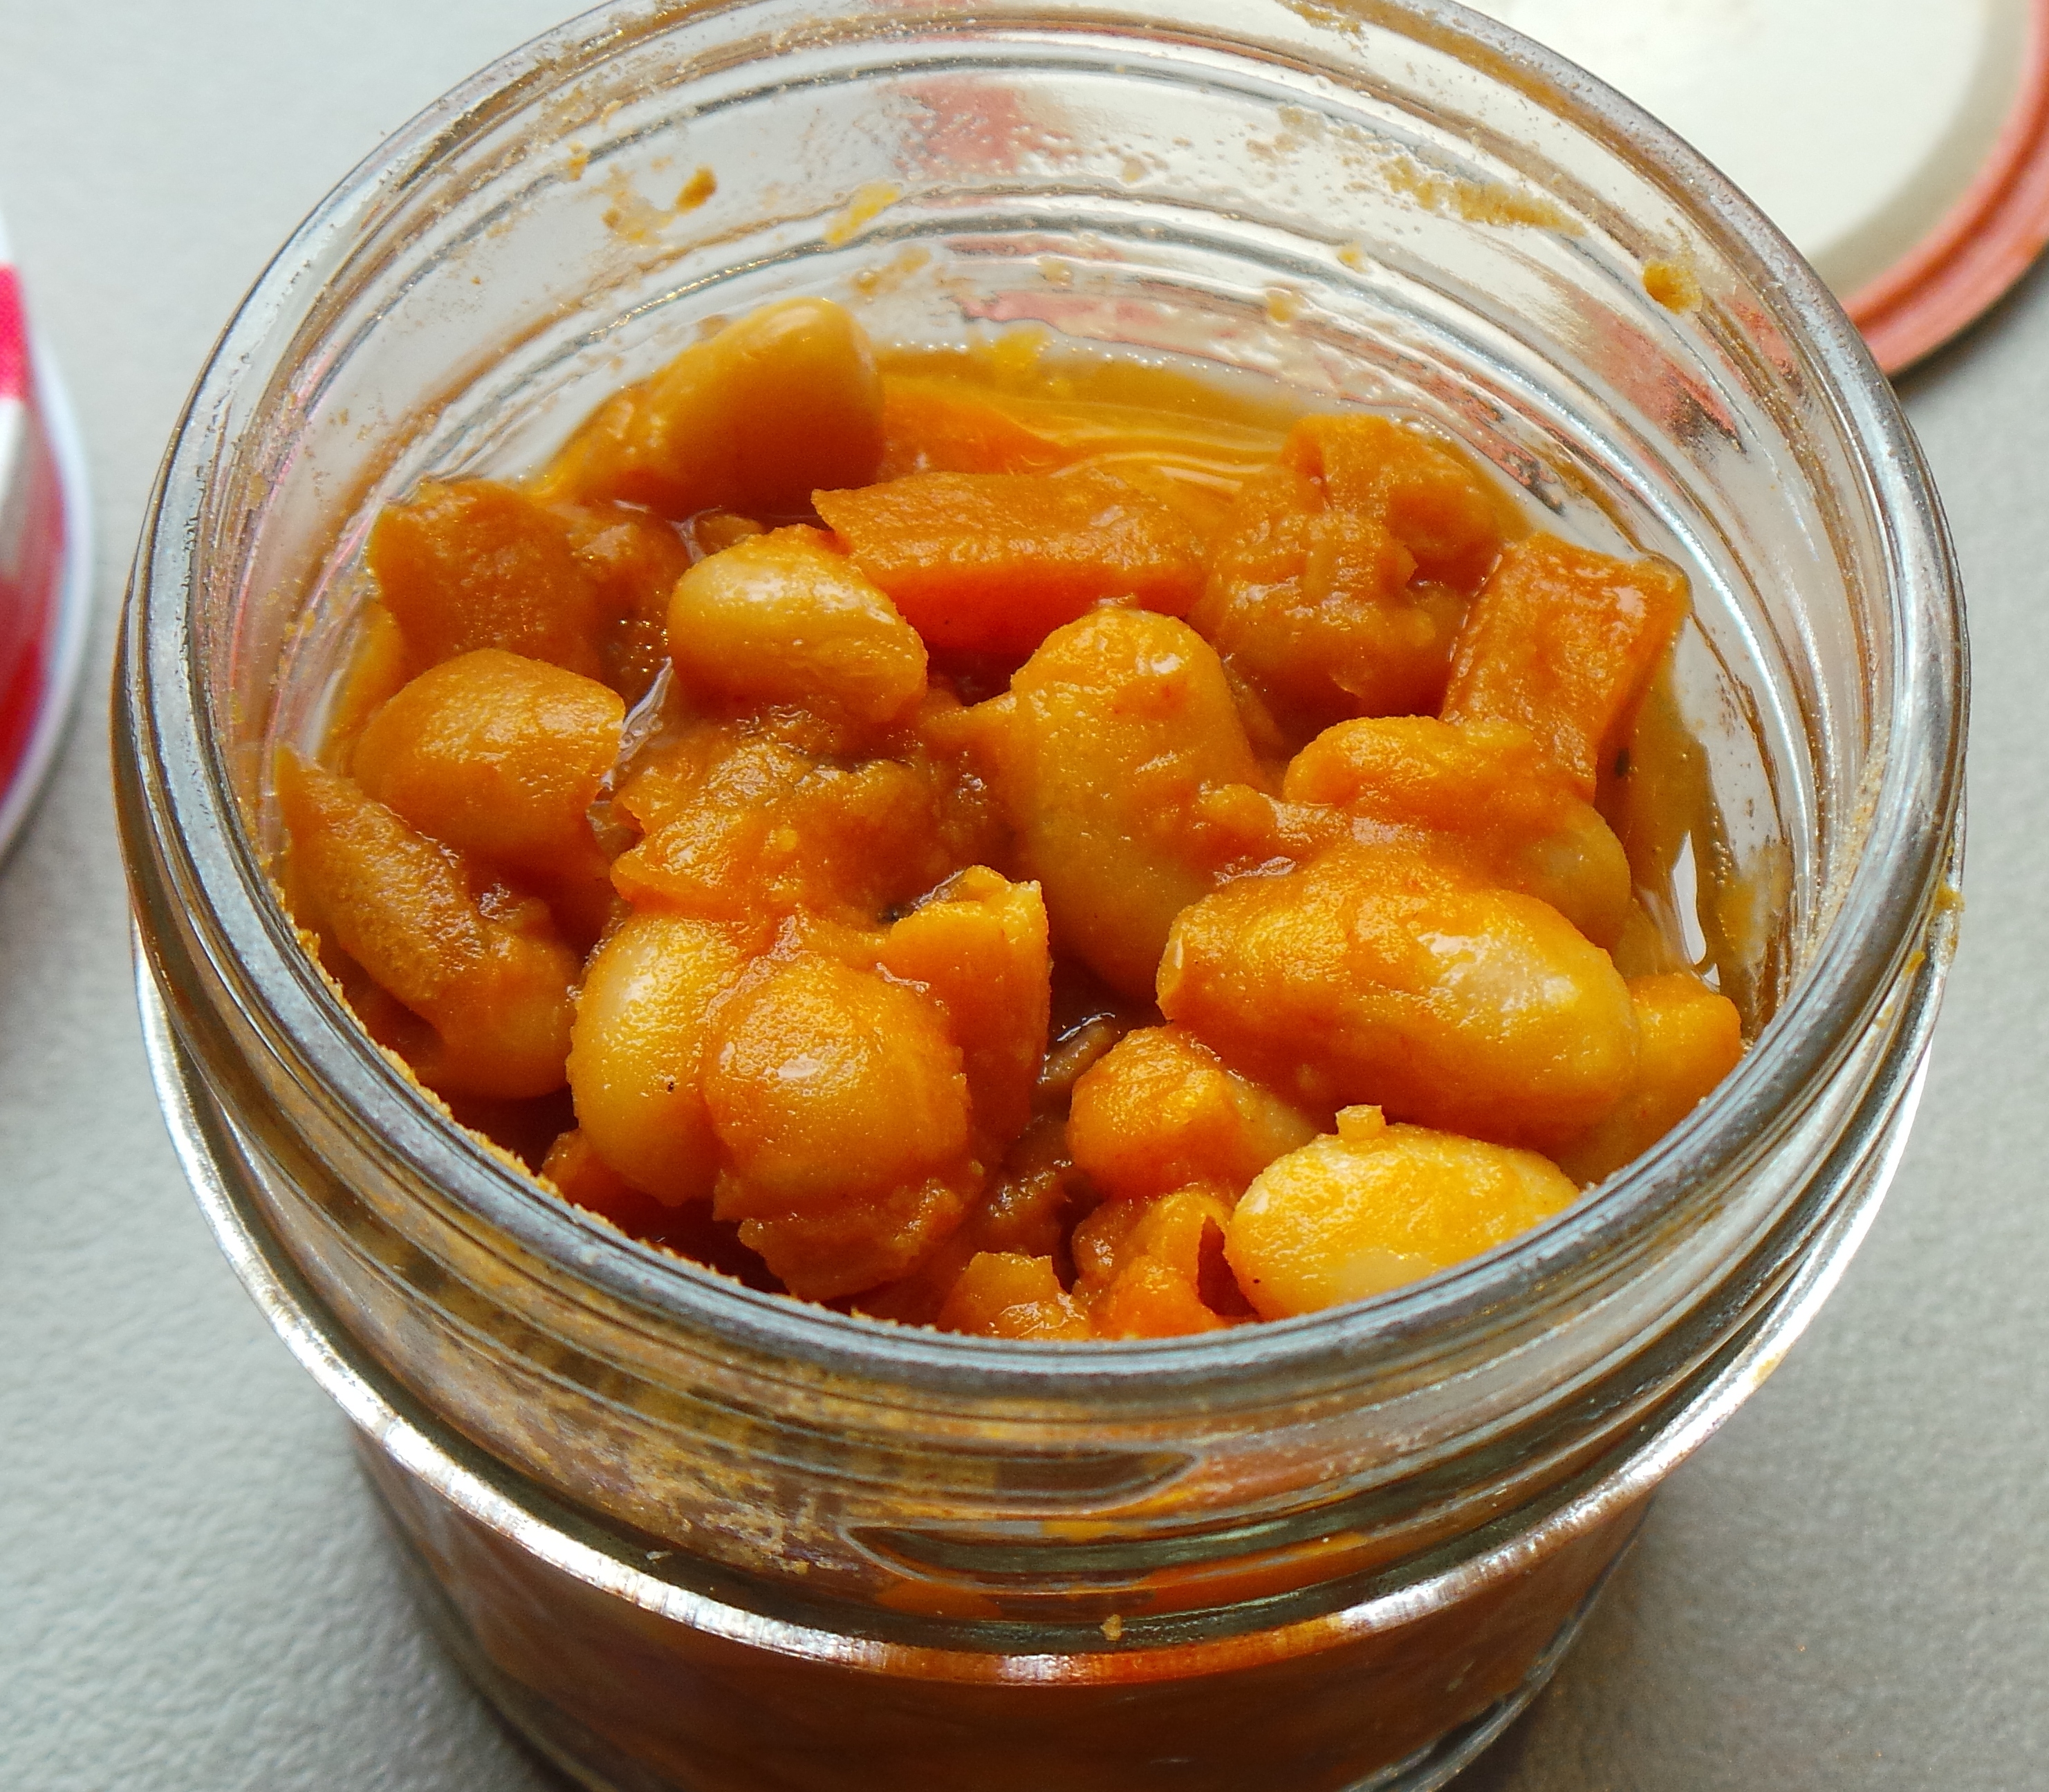
Then I added a drained can of chickpeas. These were some I had canned myself with the addition of a touch of Cashew Za’atar, but a normal store-bought tin will do just fine. I put these in because I wanted to add a depth of flavour and texture. I was worried that, if I just made it with cheese, spinach and puff pastry, it would be a little insipid and watery. This would make it more filling and ground it a little (I hoped).

Add some chickpeas

Add some chickpeas

Then I added 100 g each of Feta and drained Ricotta.

Prepare to be blended.

Prepare to be blended.

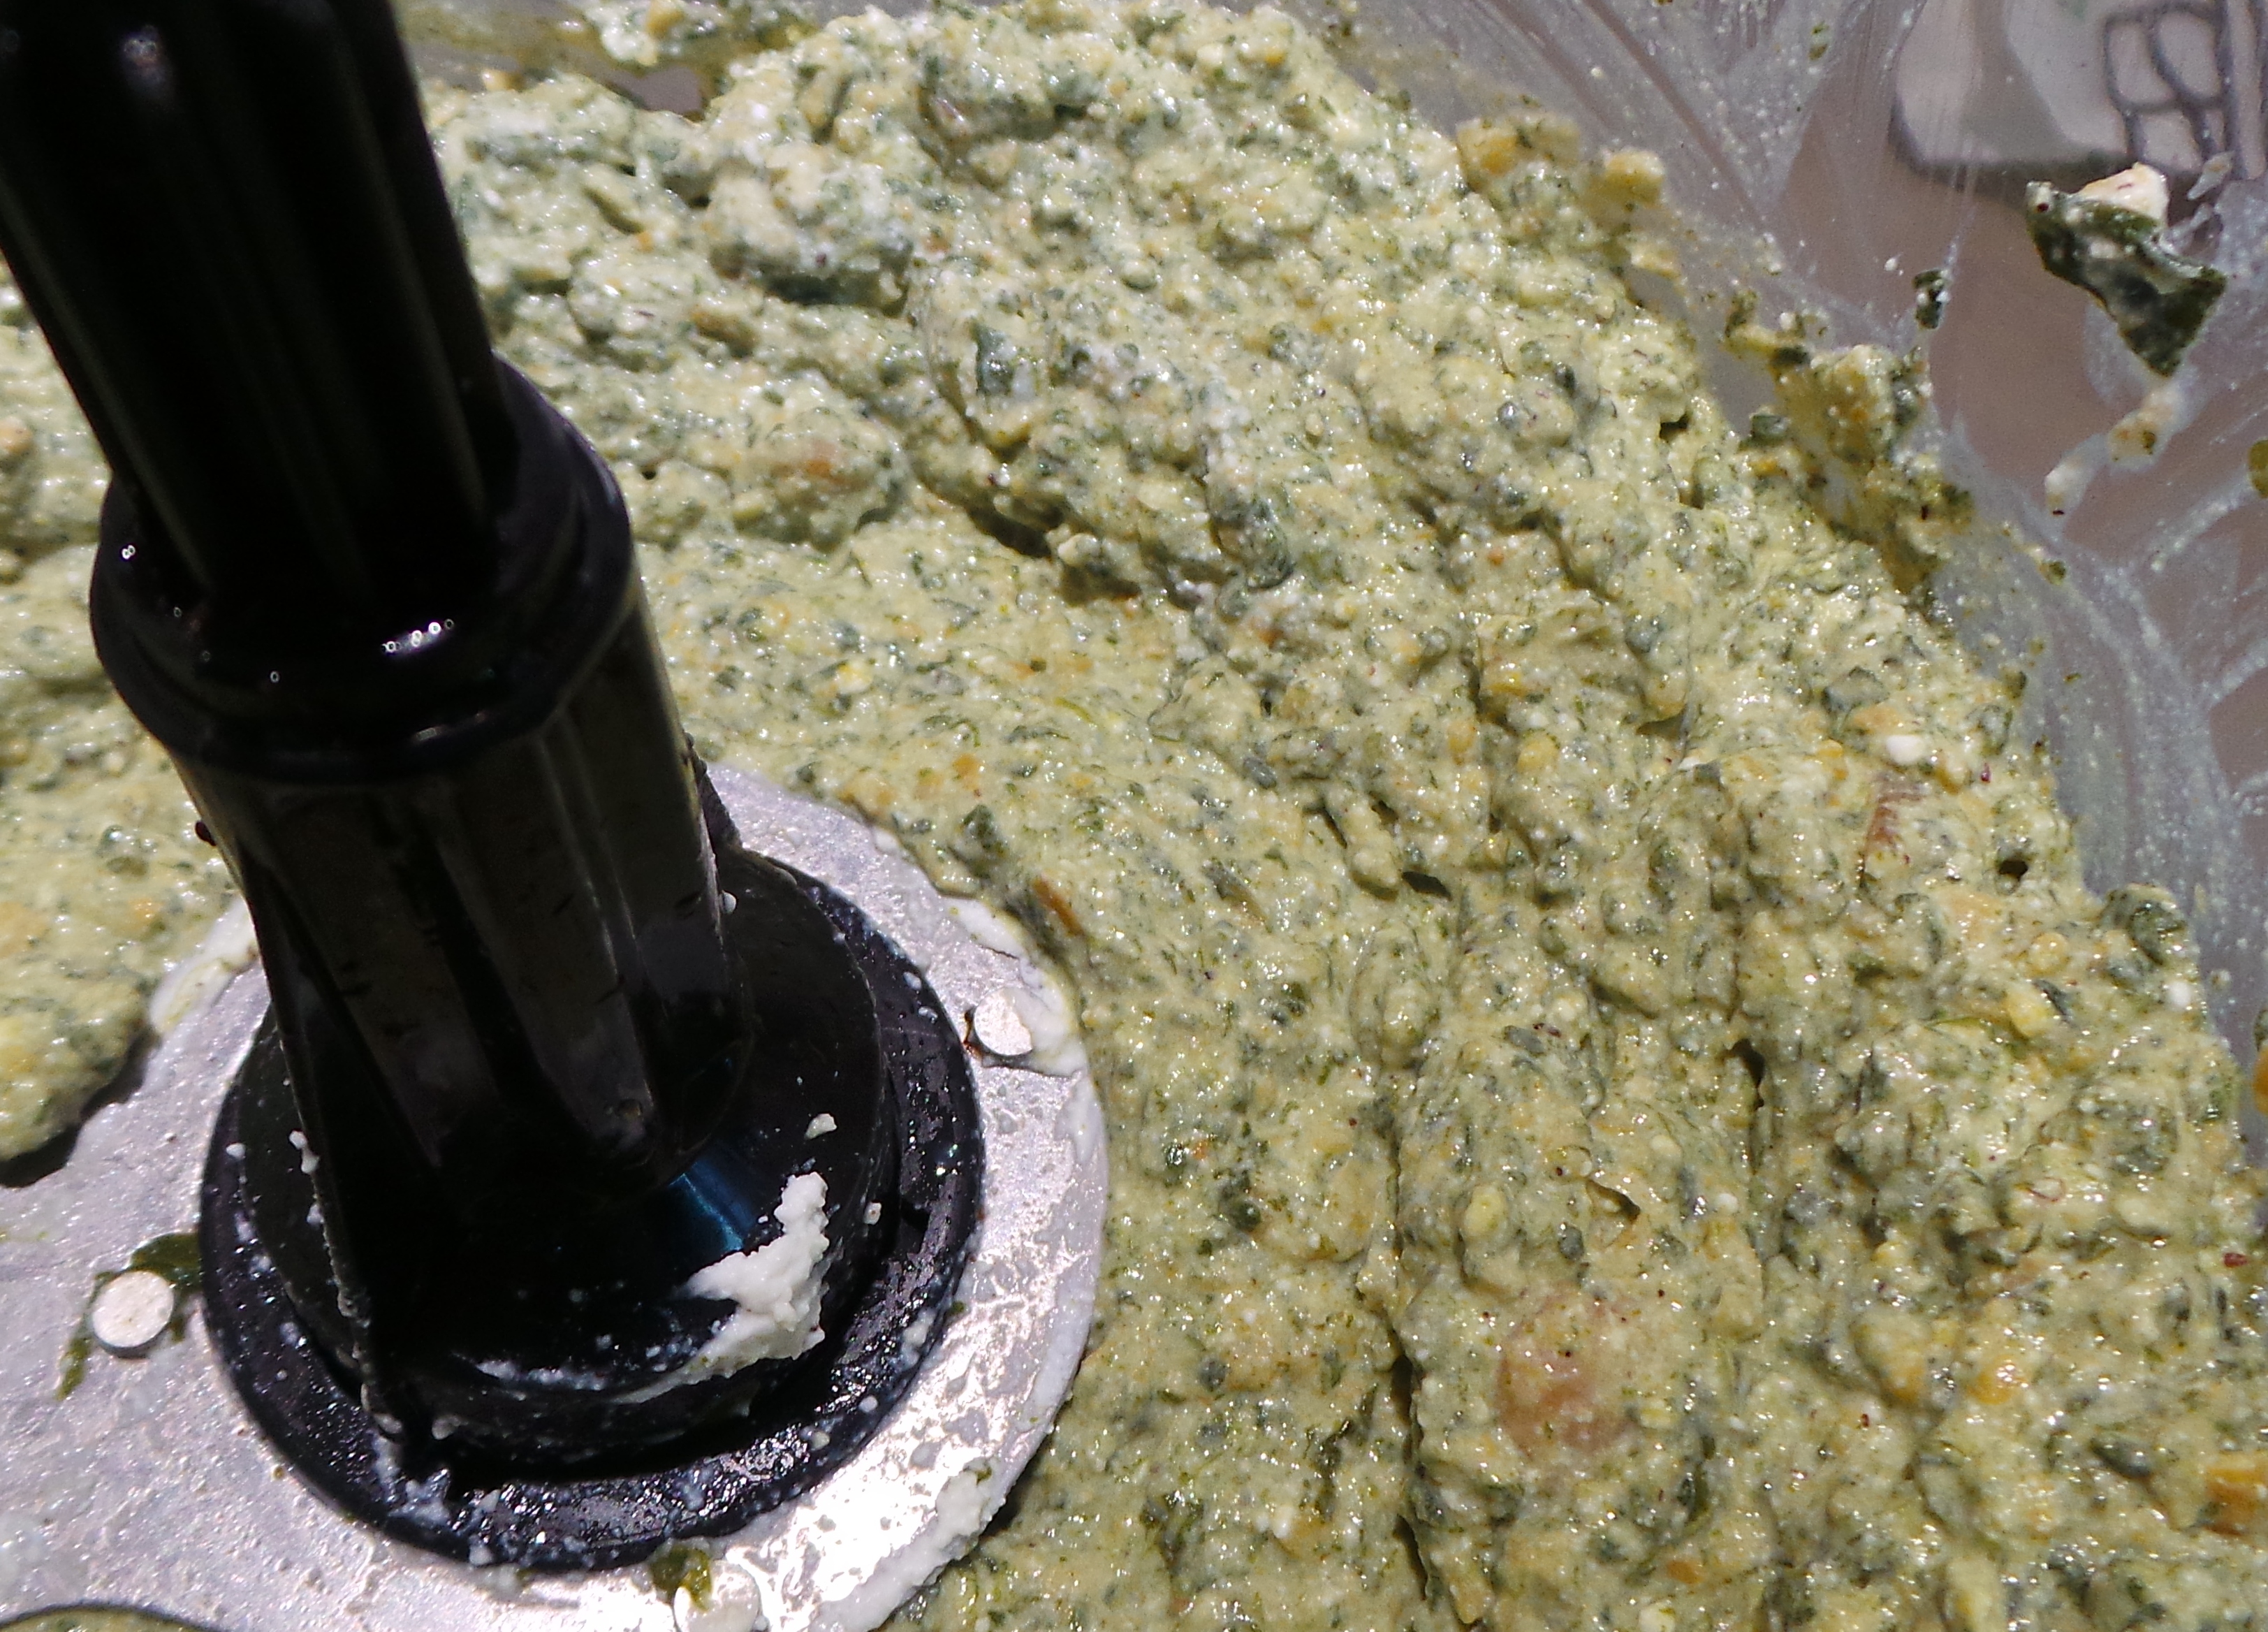
And whizzed it all up to a nice puree.

Gotta love technology.

Gotta love technology.

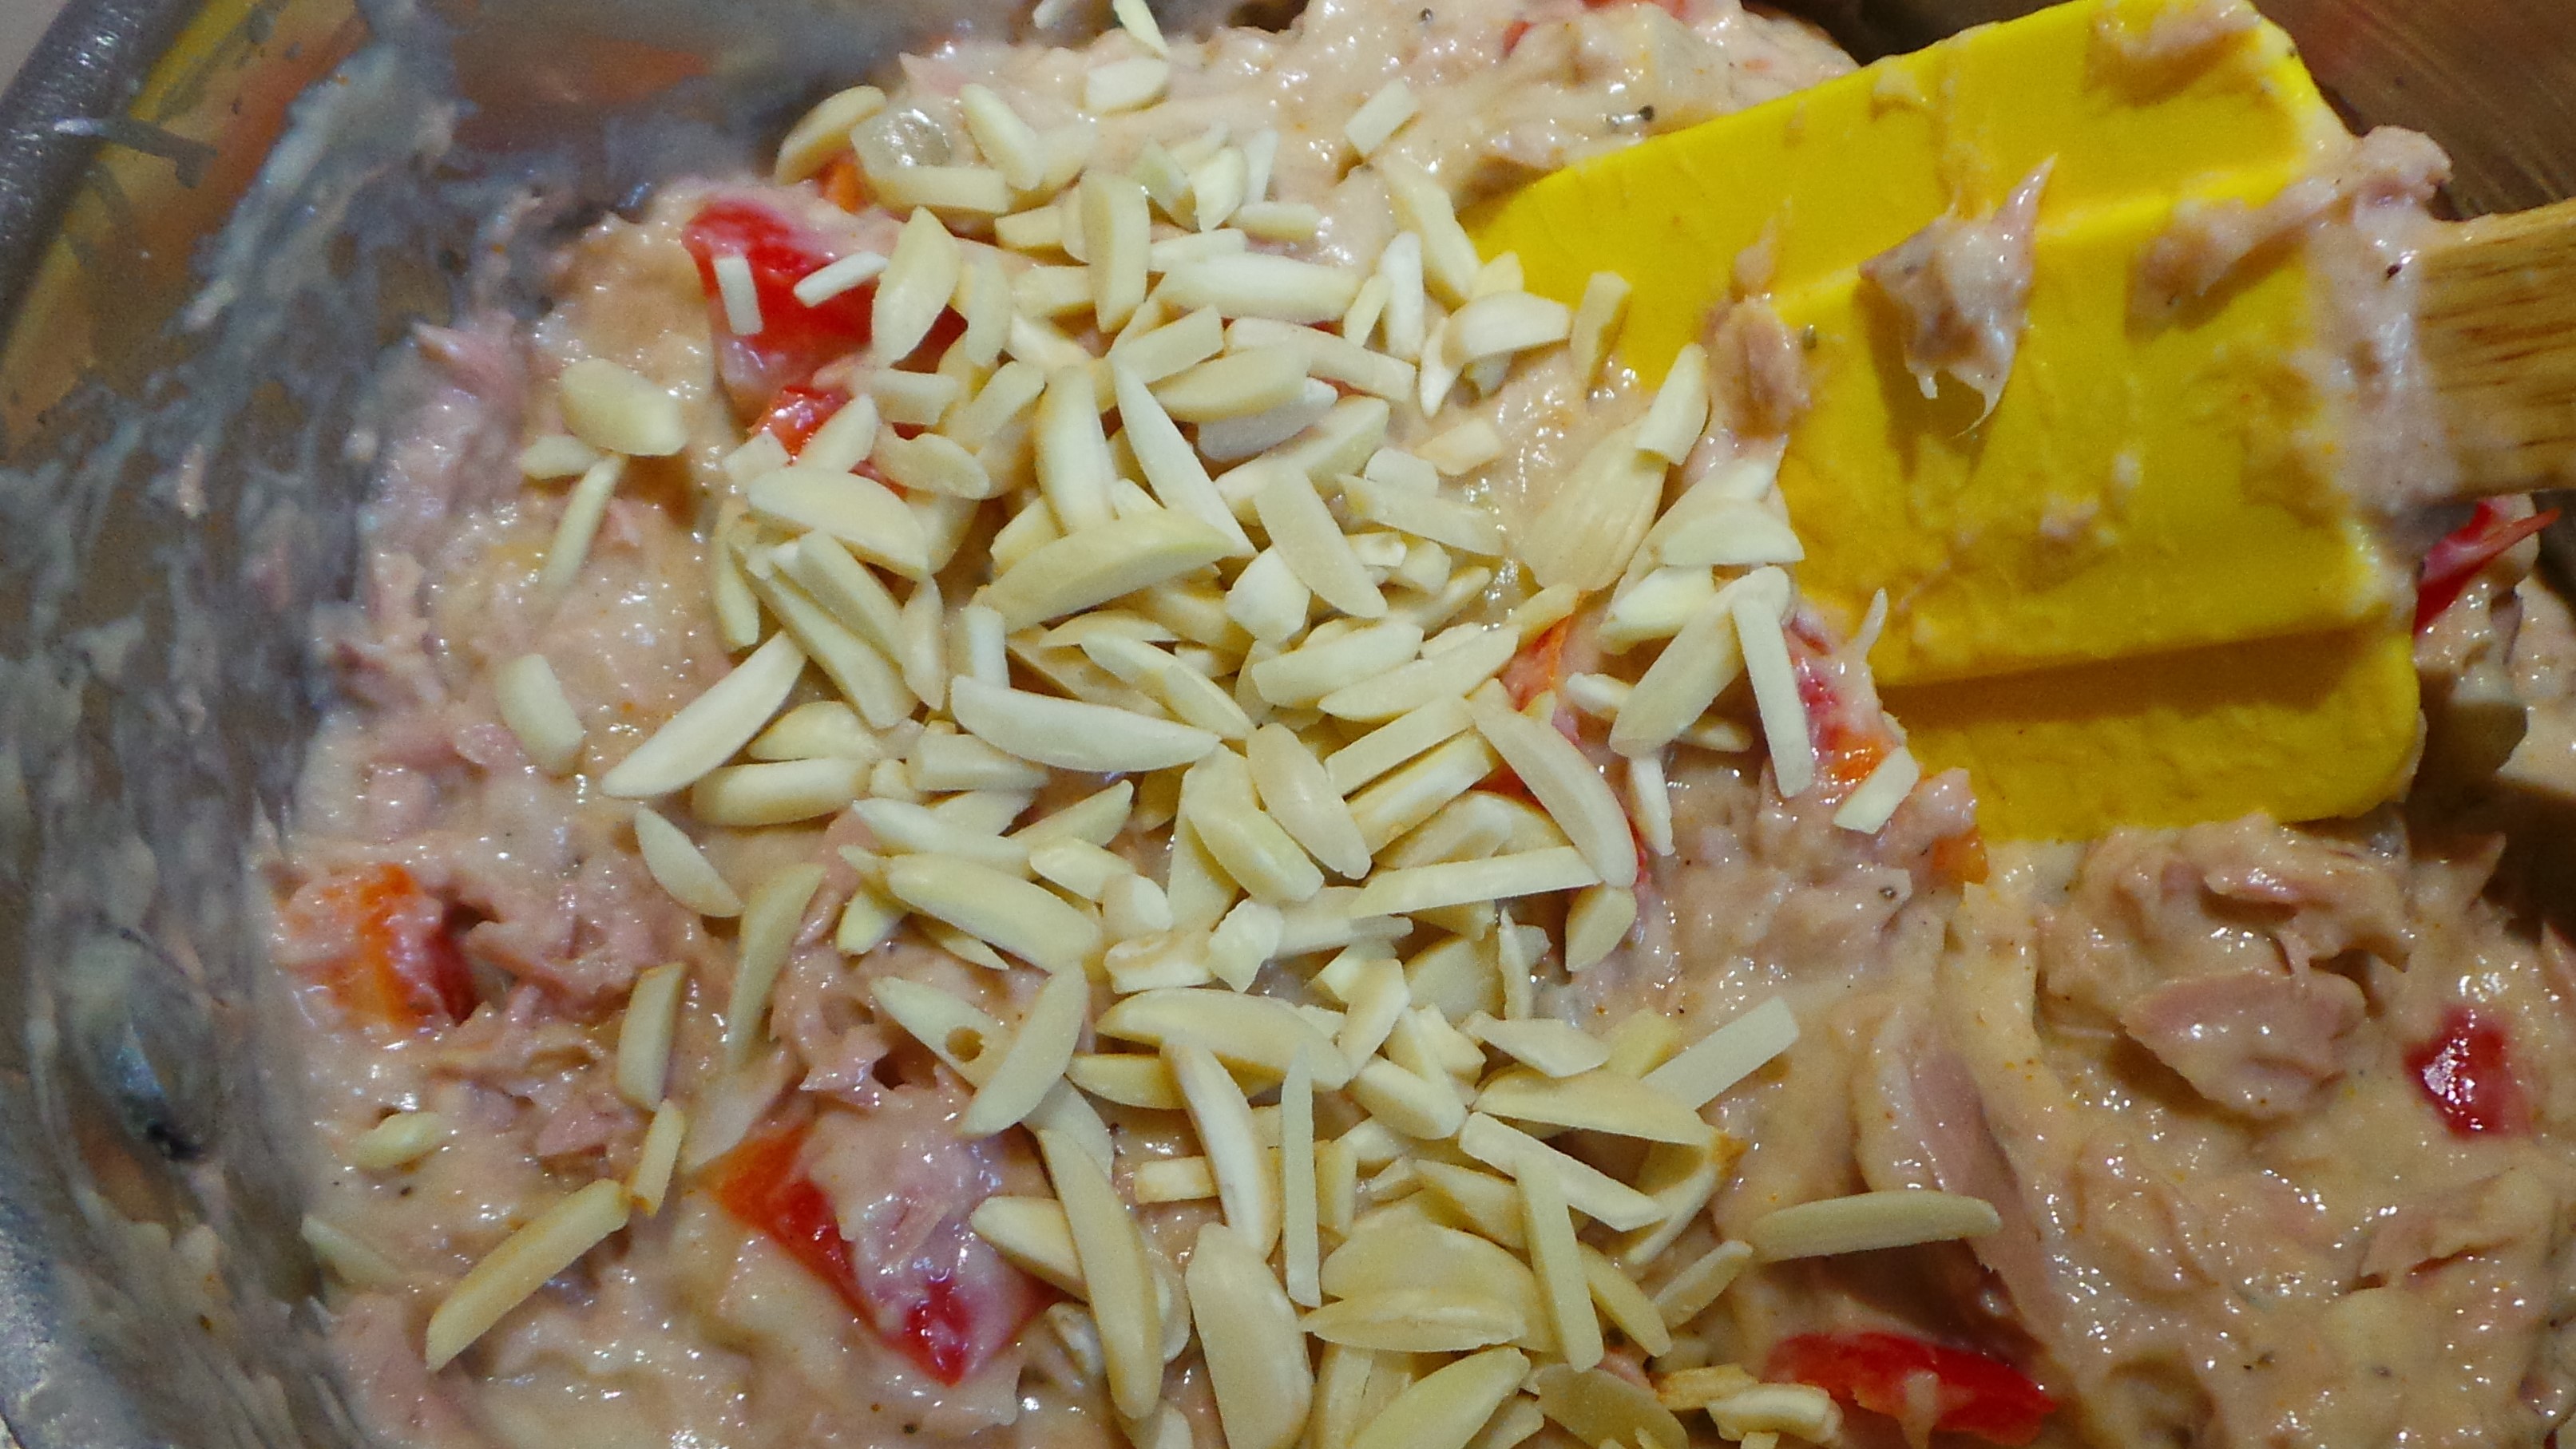
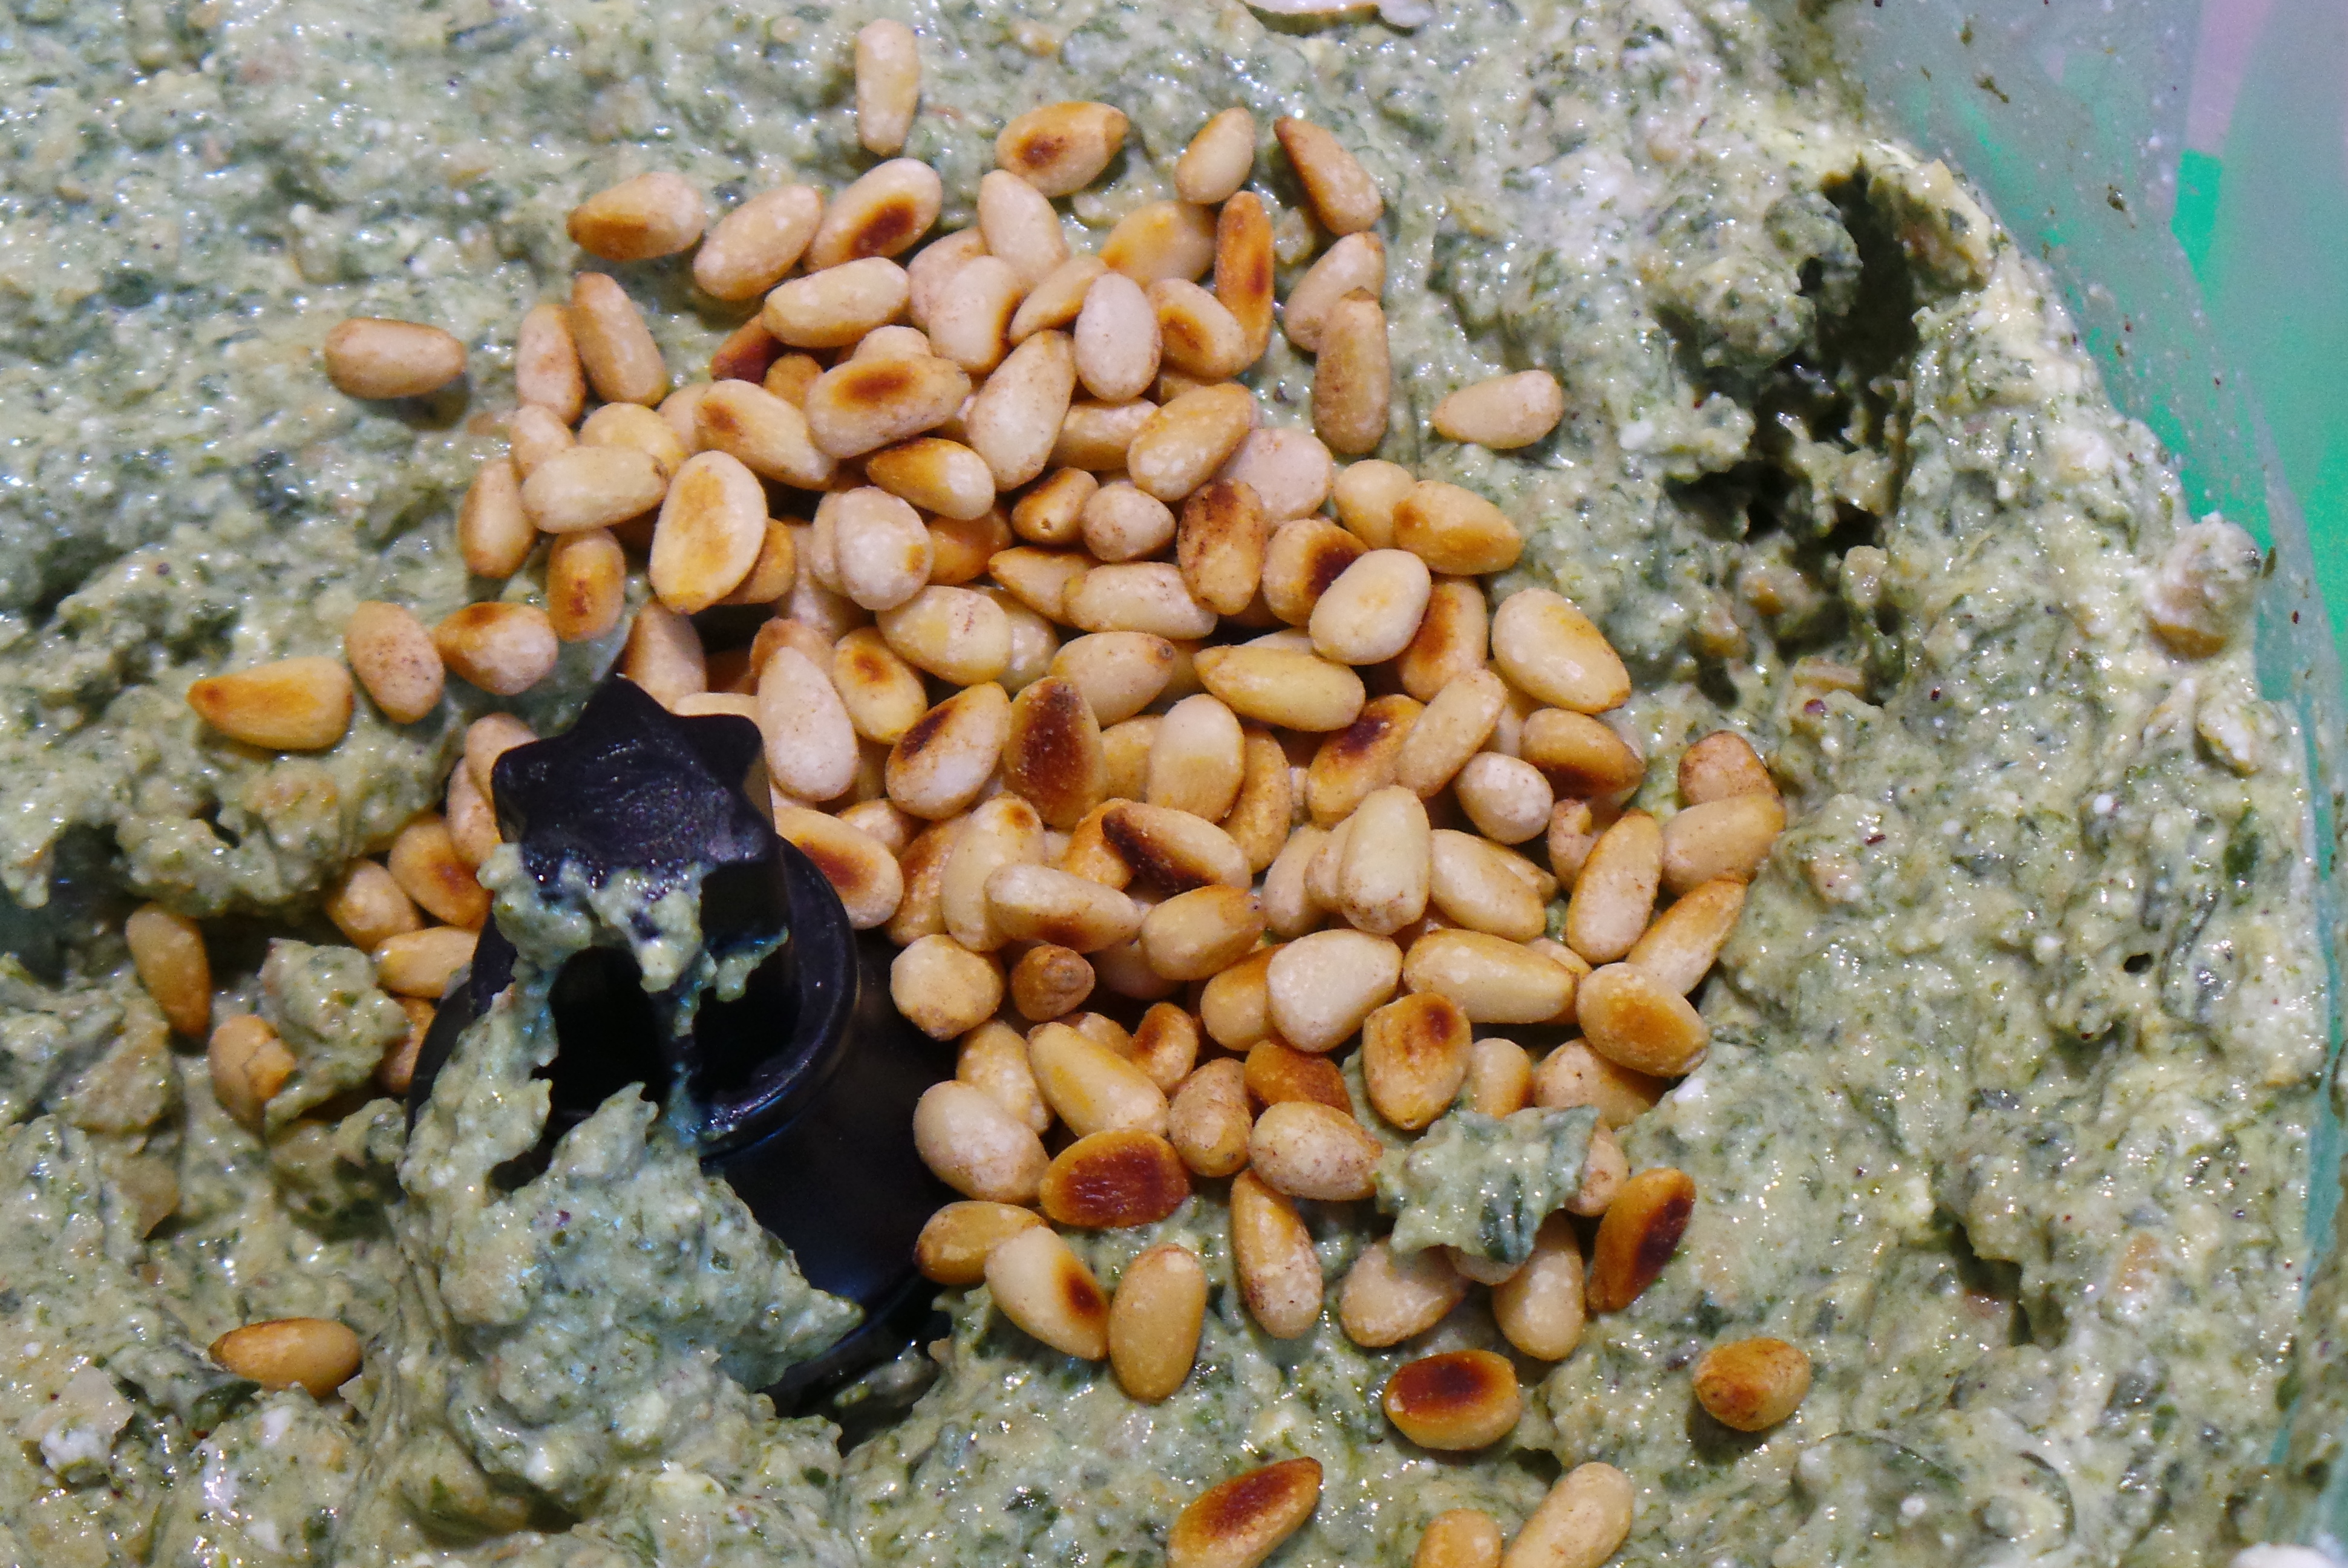
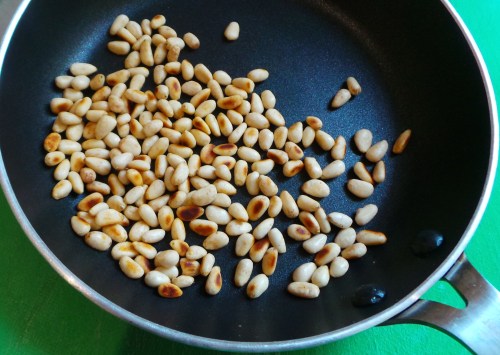
Then I decided that I didn’t want it to be all bland mushiness inside and toasted up a spoonful or so of pine nuts to stir through.

Stir them through, don't whaz them!

Stir them through, don’t whaz them!

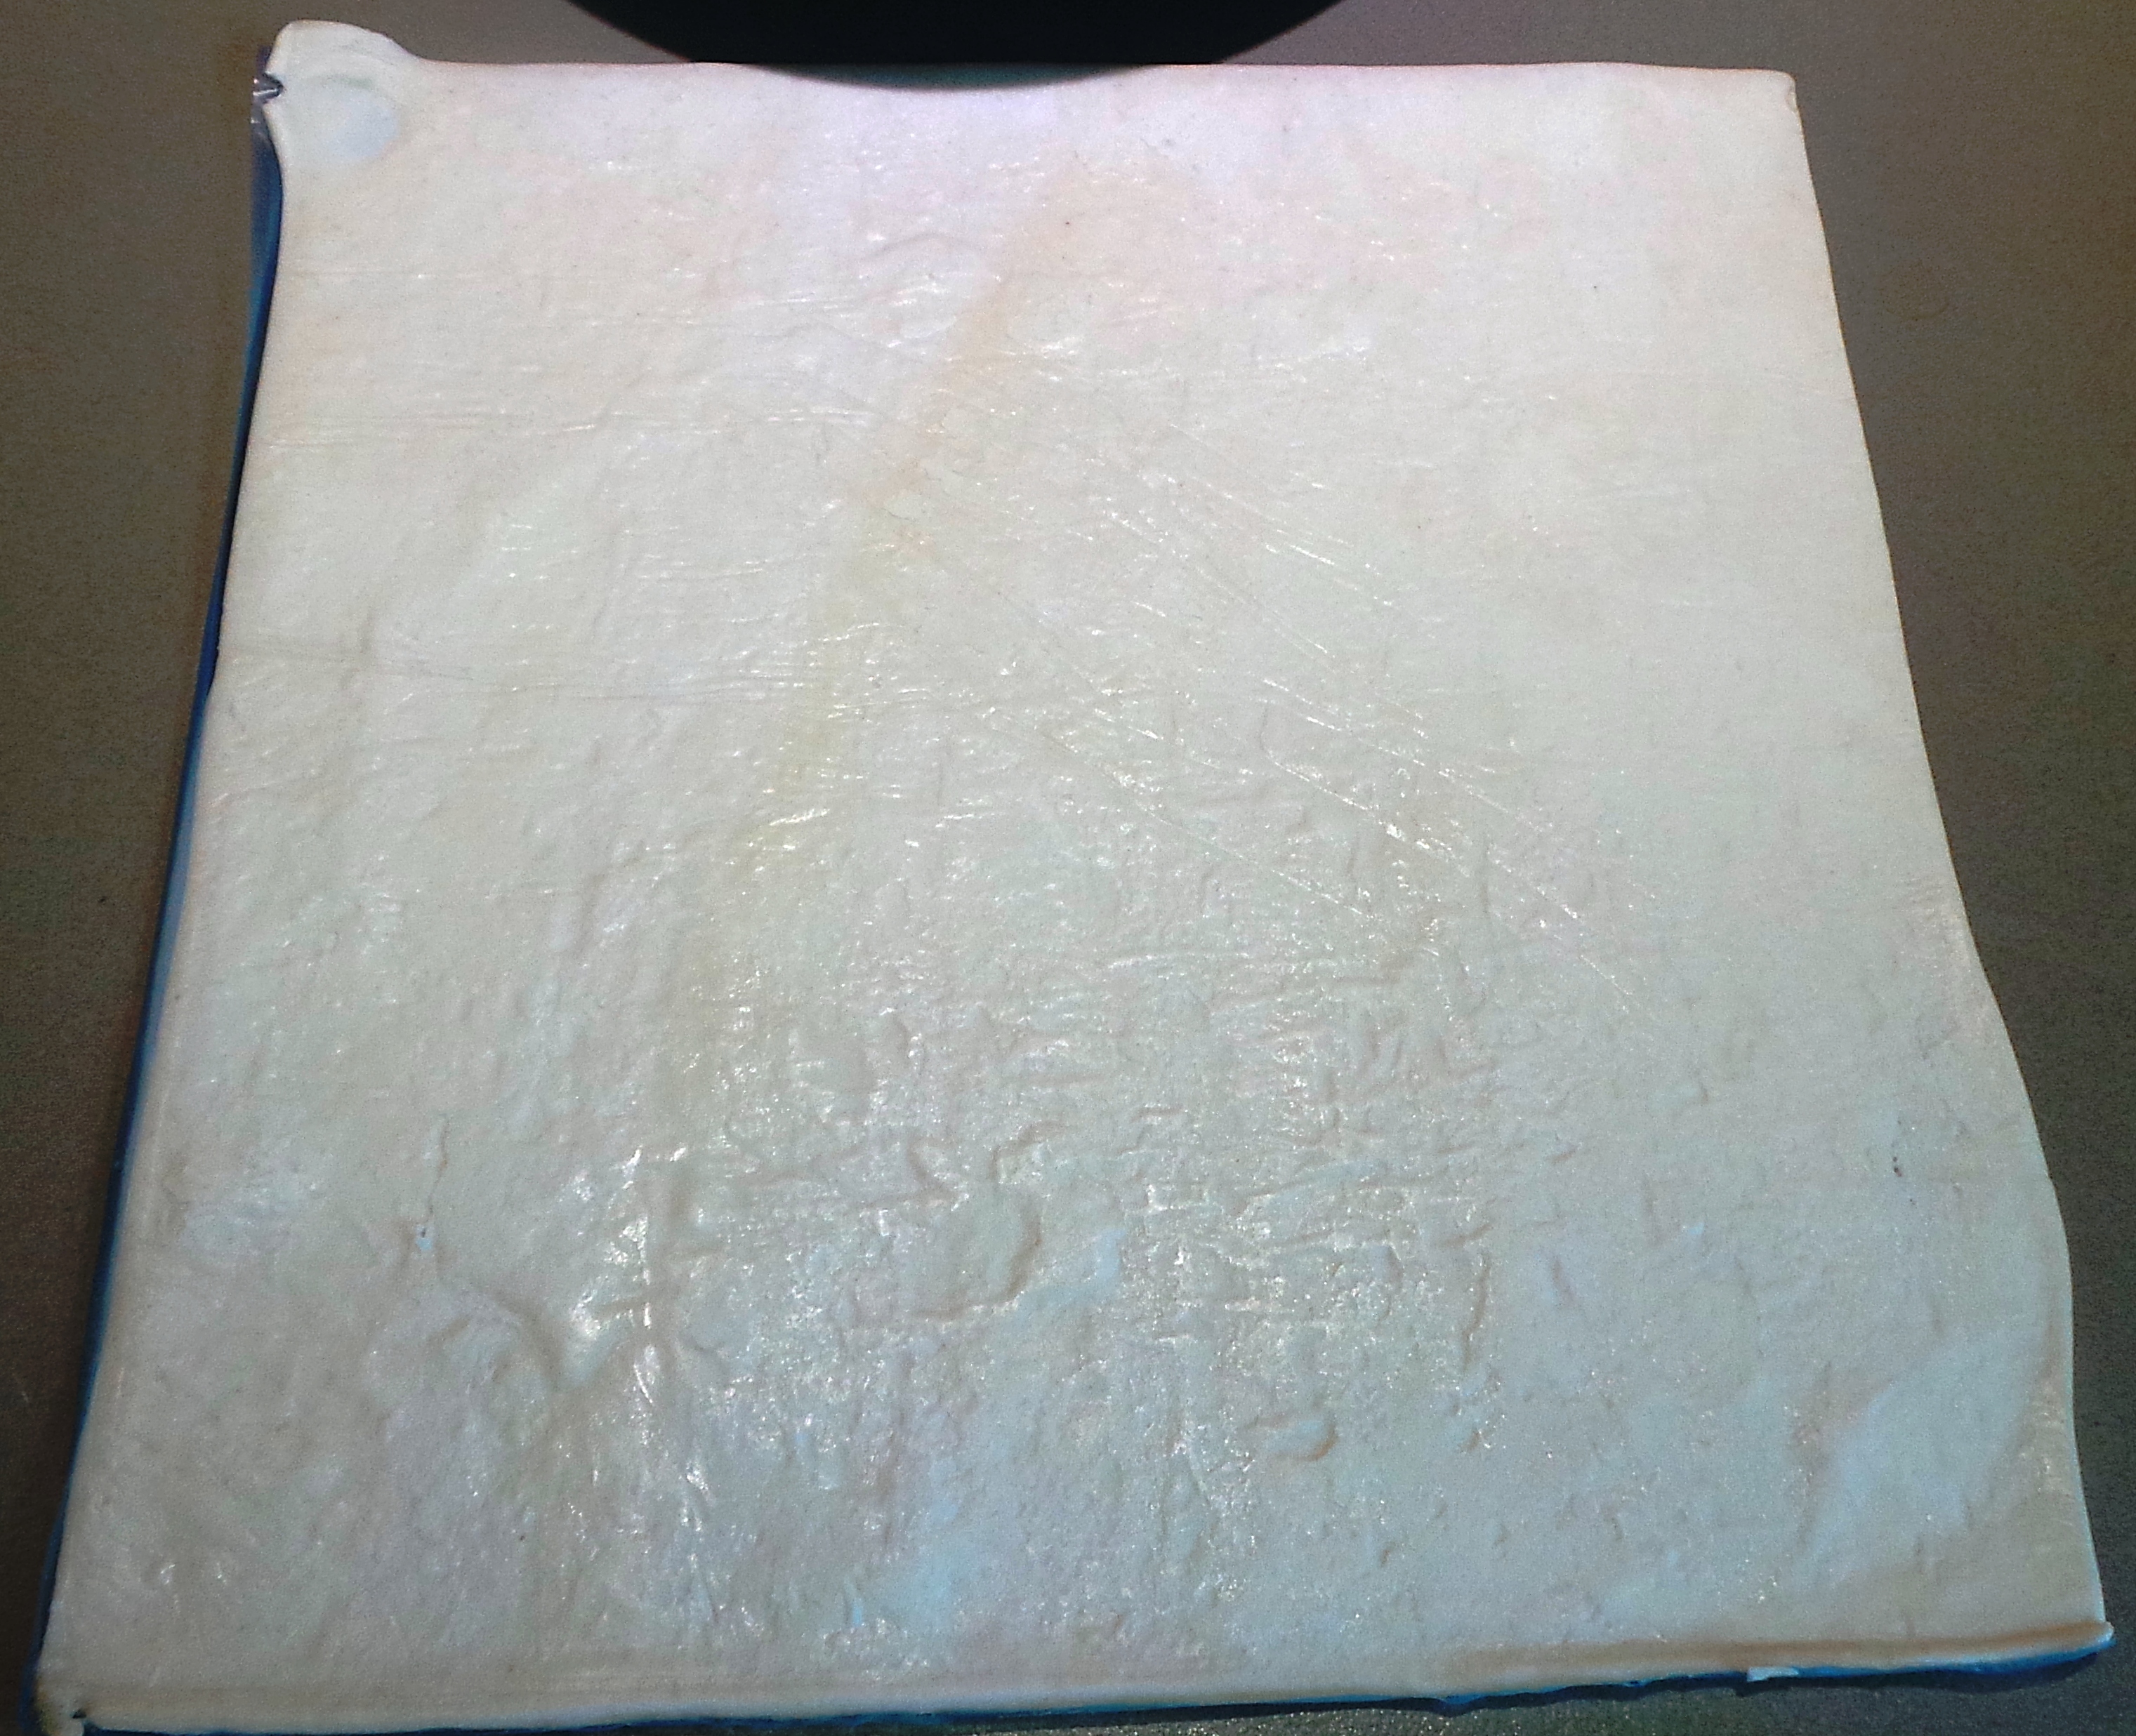
About this time, I turned the oven on and retrieved the pastry from the fridge. Which is when I had to figure out how to attack this. The pastry sheets look kind of uninspiring. But I got one out, keeping it on the dividing sheet of plastic – which later came in quite handy.

Blank canvas.

Blank canvas.

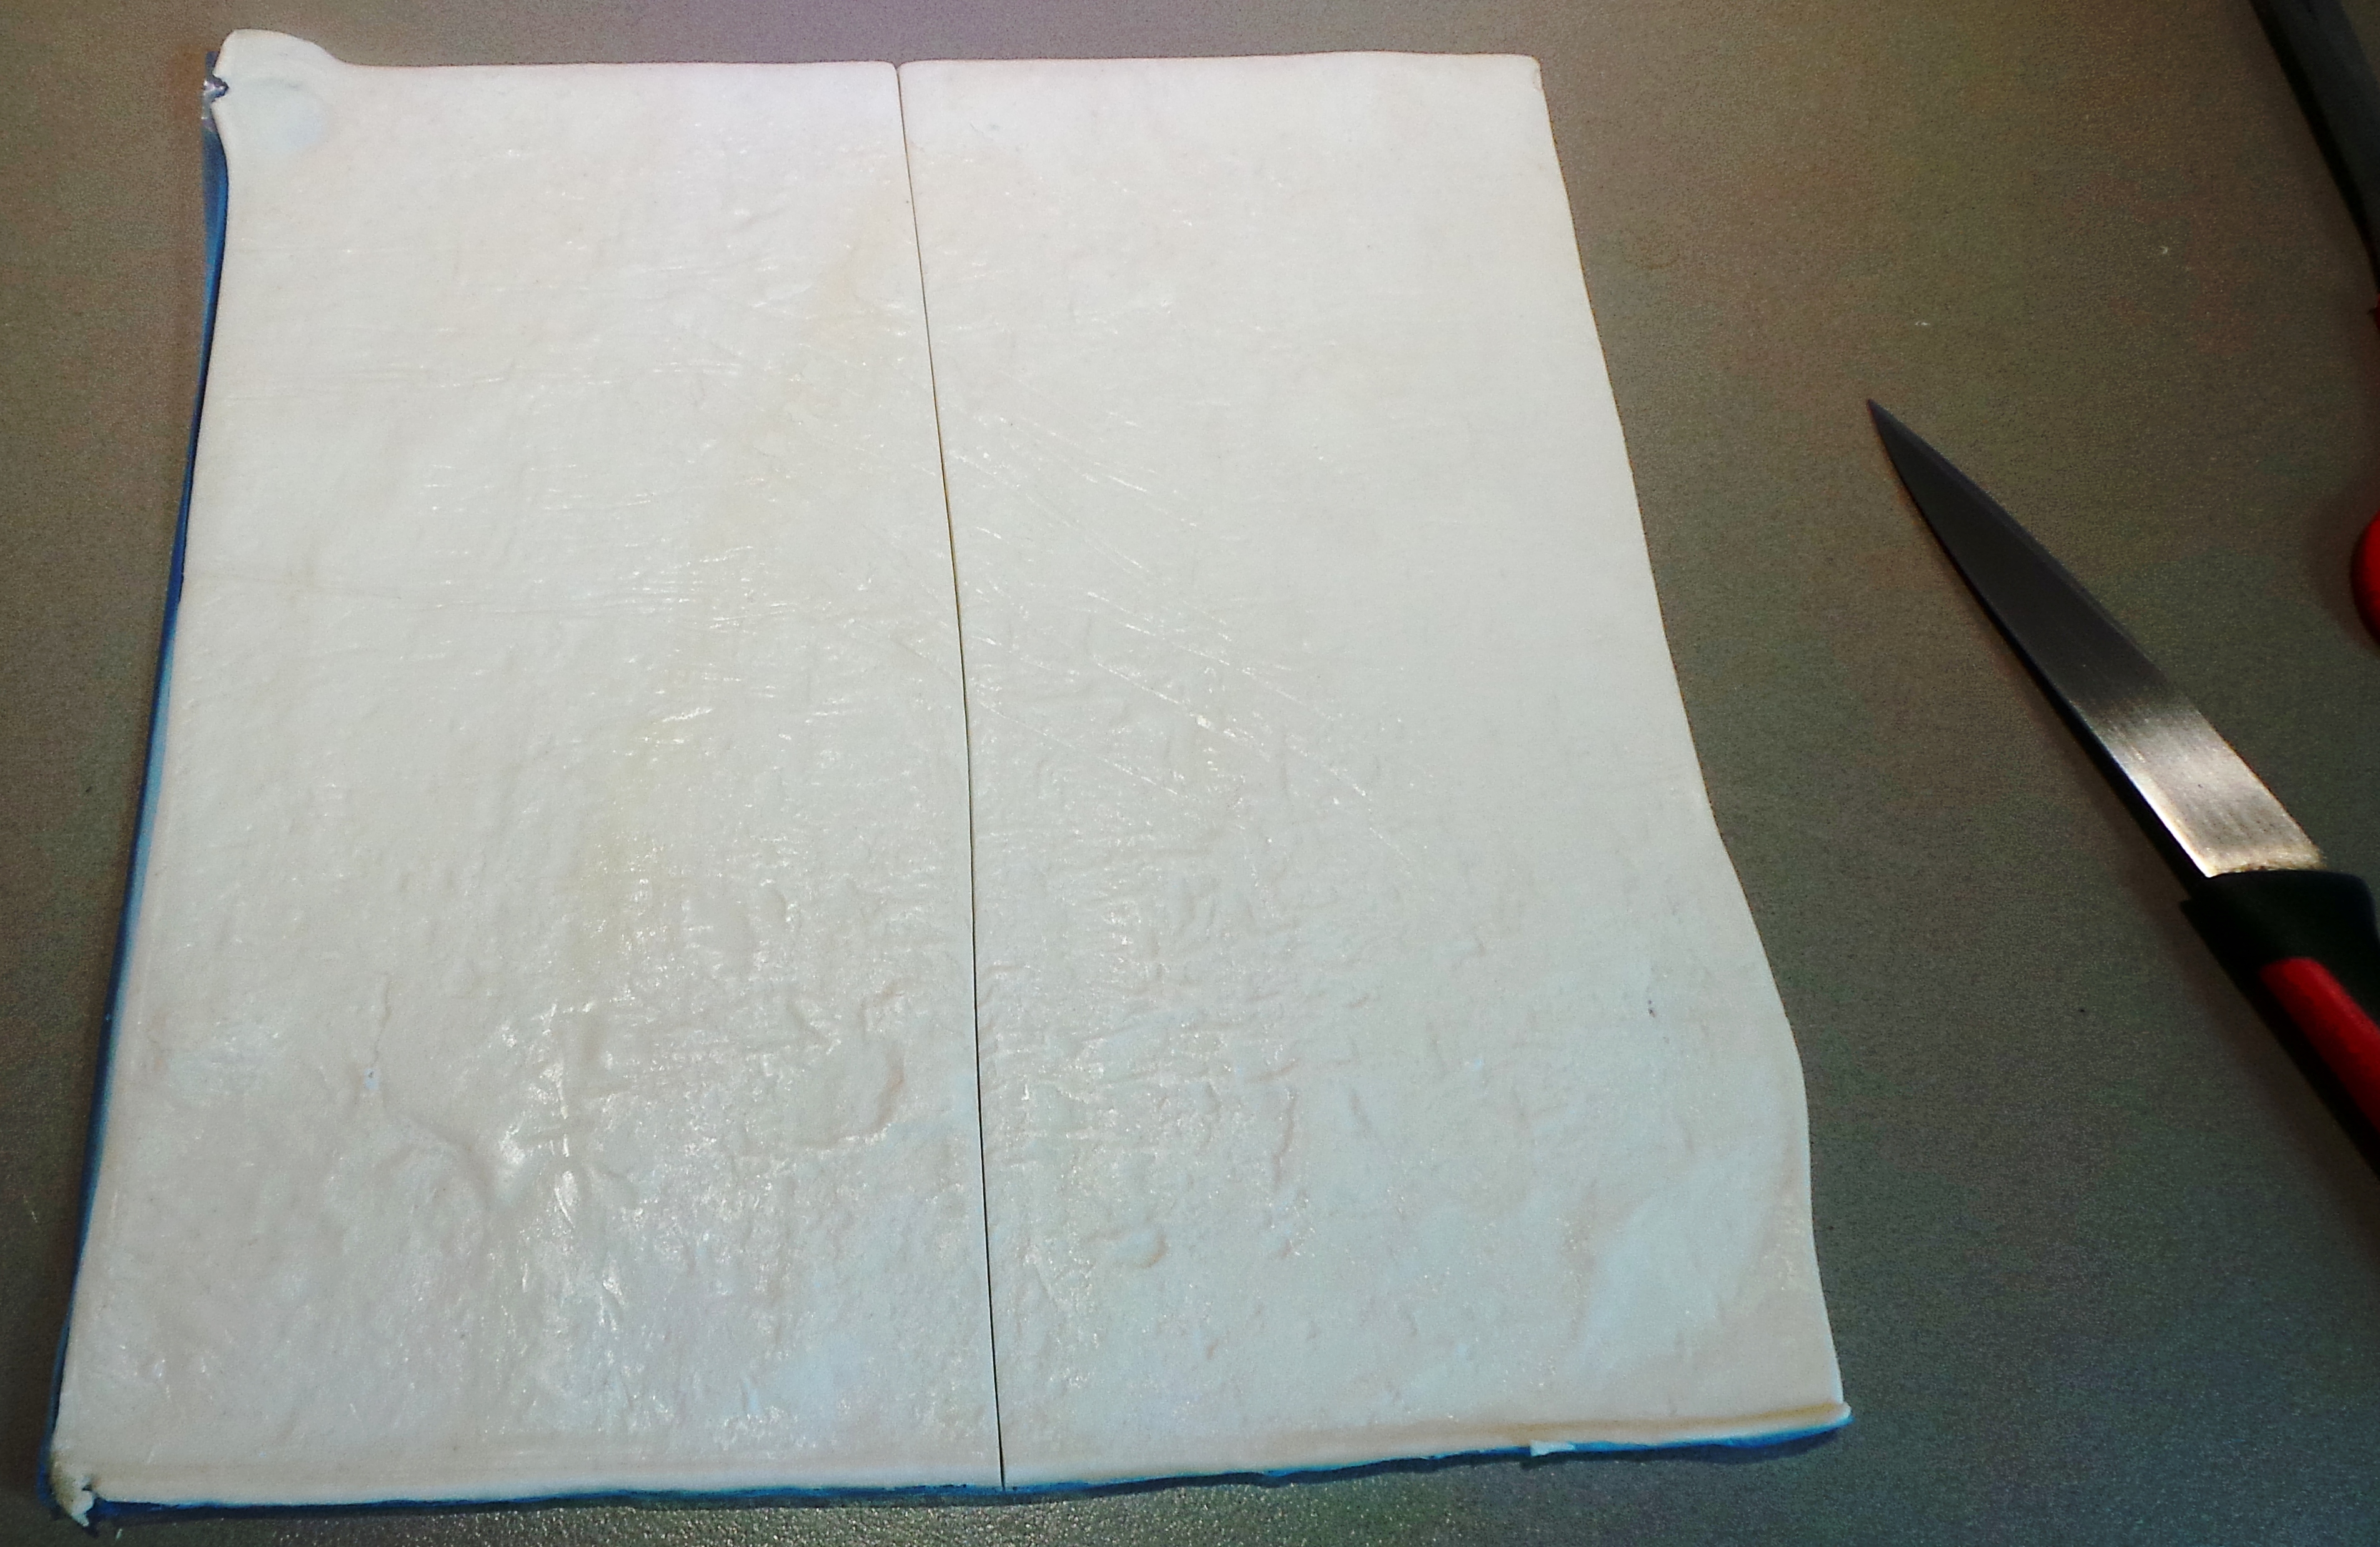
I figured that one sheet would make two good sized pastries or hand pies. So I got out a sharp knife and scored it down the centre.

Let’s just skip over the fact that I then dropped the knife and it plunged, tip-first, a good centimetre into the hardwood floor right beside my foot…  Ahem.

The pastry and said knife.

The pastry and said knife.

I meditated for a bit, then filled a coffee mug with some cold tap water. I dipped two fingers into this and ran them around the outermost edges of the pastry sheet and on either side of the score line, rewetting as necessary.

Then I very precisely dolloped some of the puree into the middle of the top of the pastry strips. Like so.

Behold! The dollop!

Behold! The dollop!

For those who want to know the precise volume of the dollops – I dunno. Try about ¼ – ½ a cup’s worth.

You’re welcome.

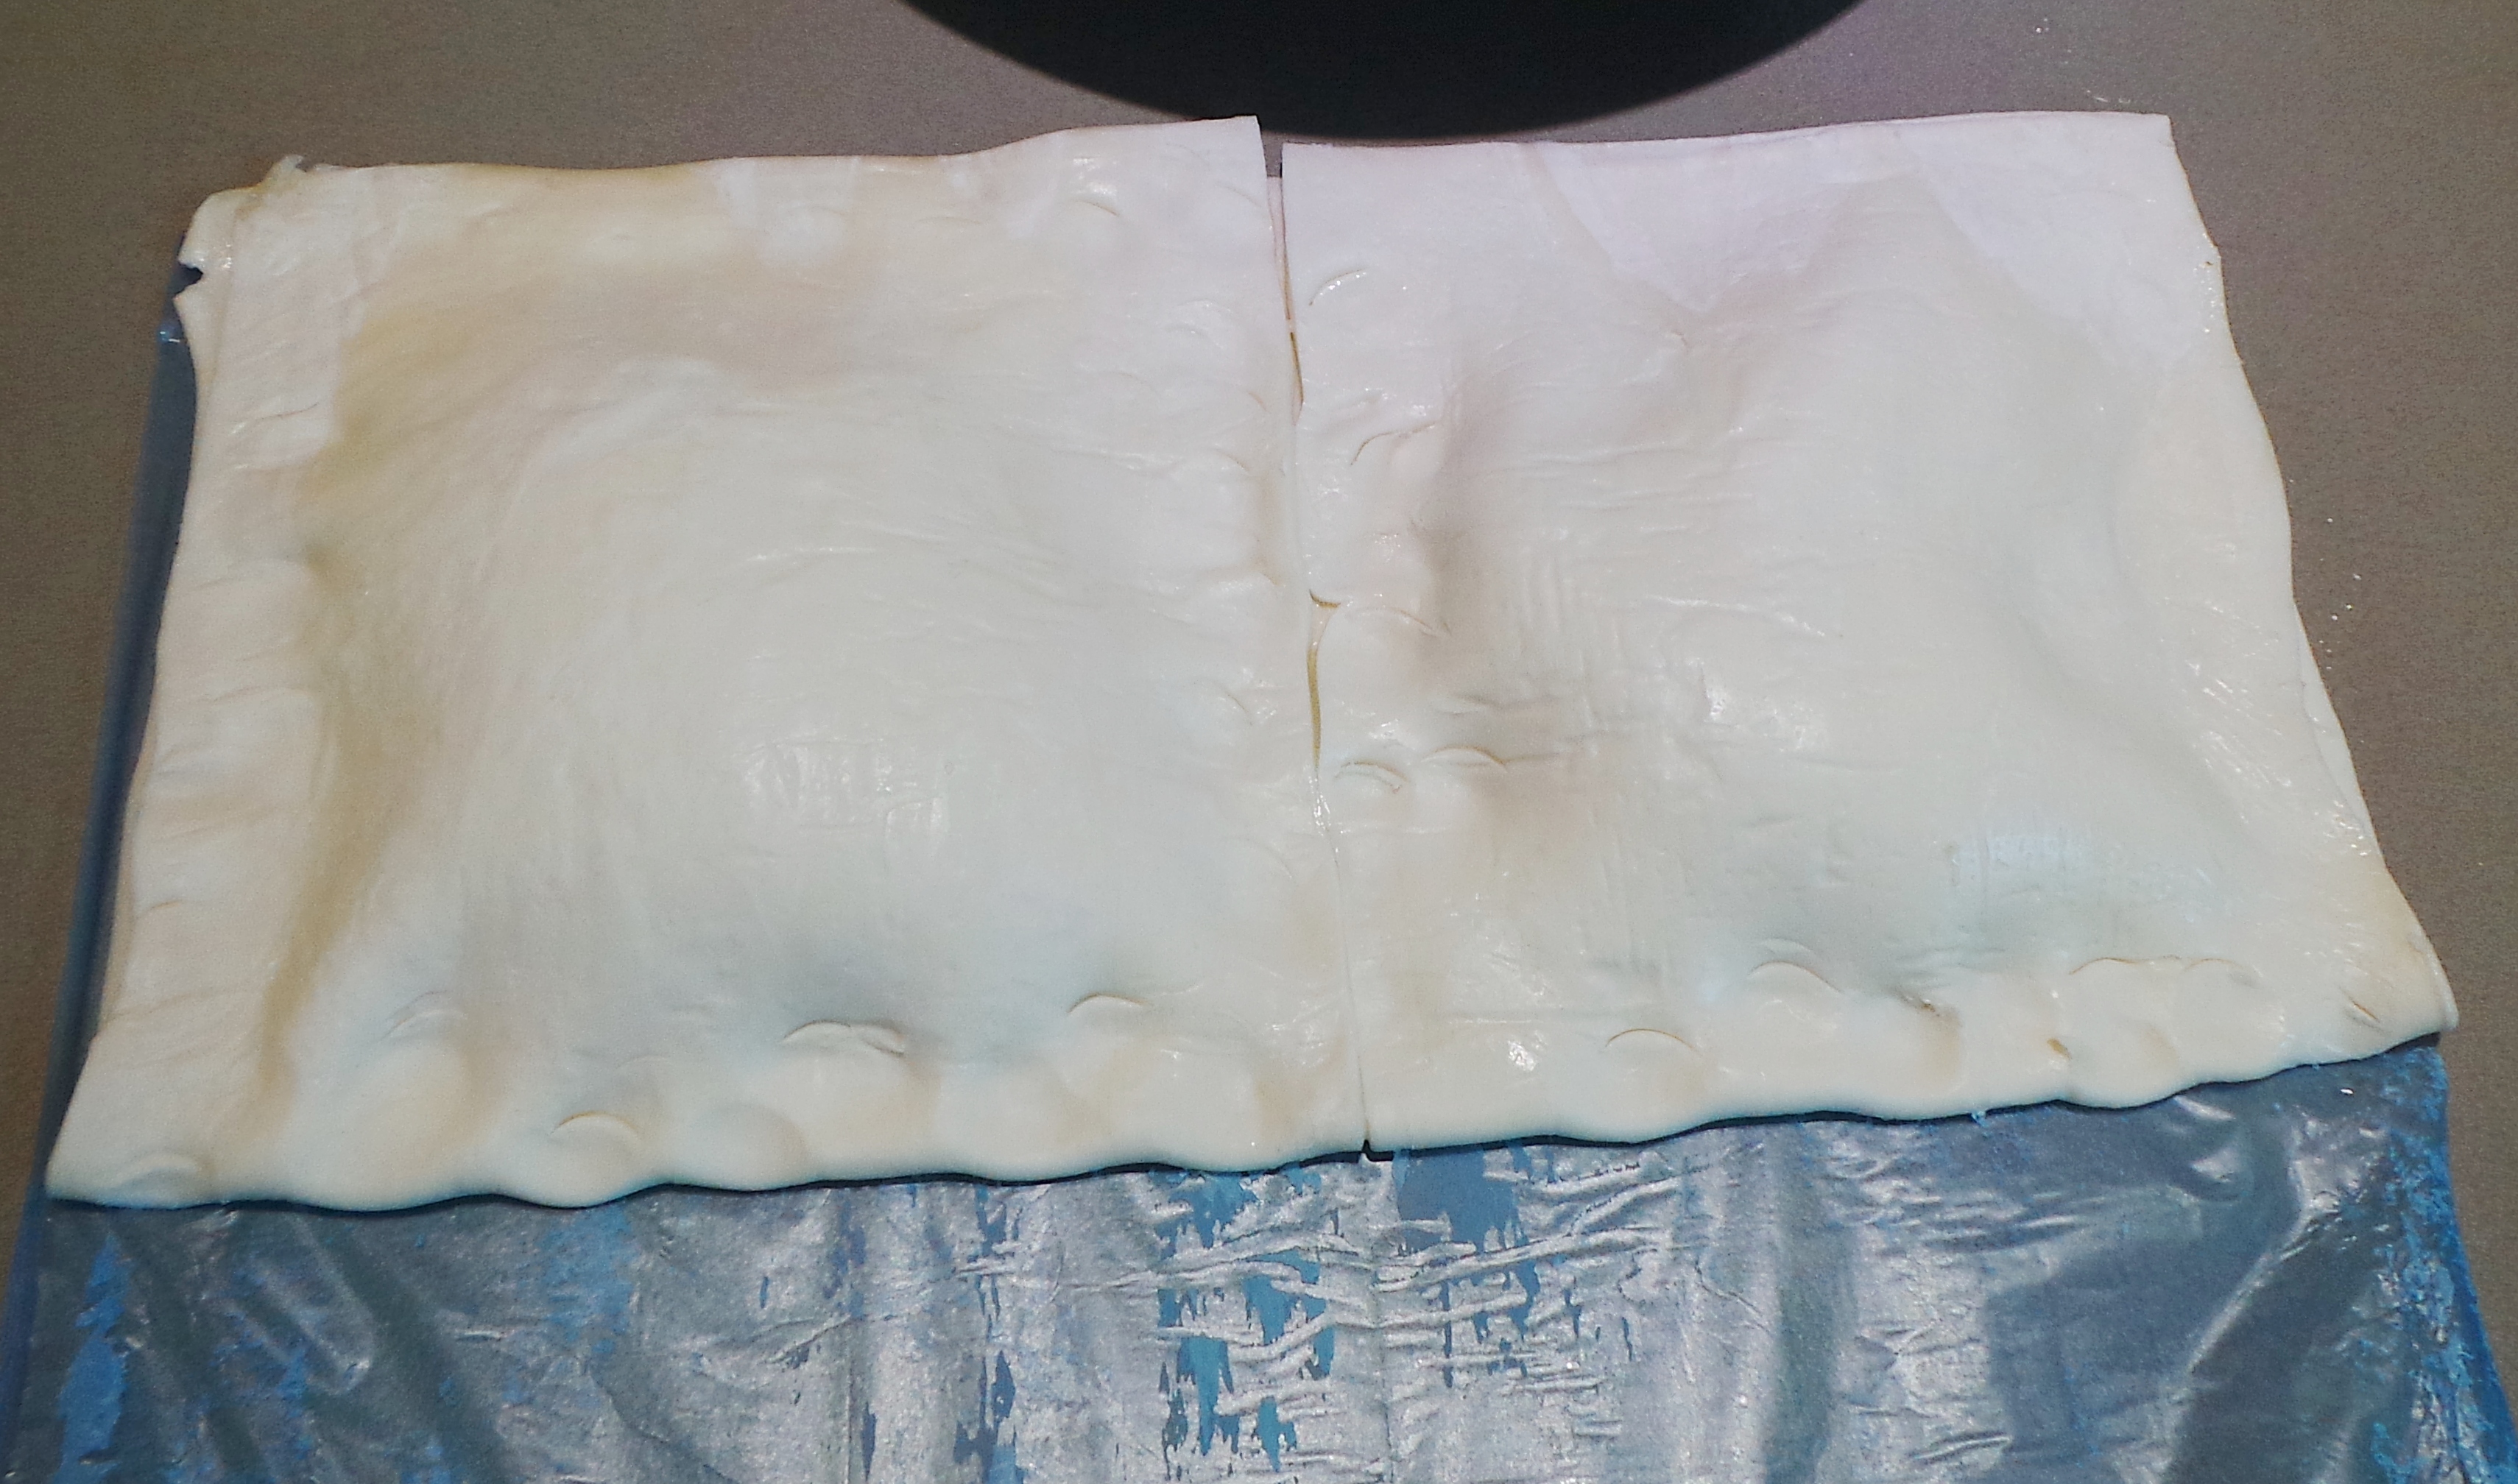
Then I folded it in half, bottom to top, still leaving the plastic attached. Once the corners were matched, I pressed down quite firmly with my fingertips, going all around the outside and down both sides of the middle score line. Then I peeled the plastic back.

Look what I did!

Look what I did!

I wanted them to brown up a bit while they cooked, so I broke an egg into a small jug and beat it a little with a fork for an egg wash. First though, I grabbed another fork and pressed quite firmly around all the edges with it. Then I lined a baking sheet with parchment paper and transferred the parcels onto it.

I don’t have photos of this, but I slid an egg flip under them and turned them bare-side down onto my other palm. This let me remove the rest of the plastic. Then I placed them with that side down onto the baking sheet.

Ready to go.

Ready to go.

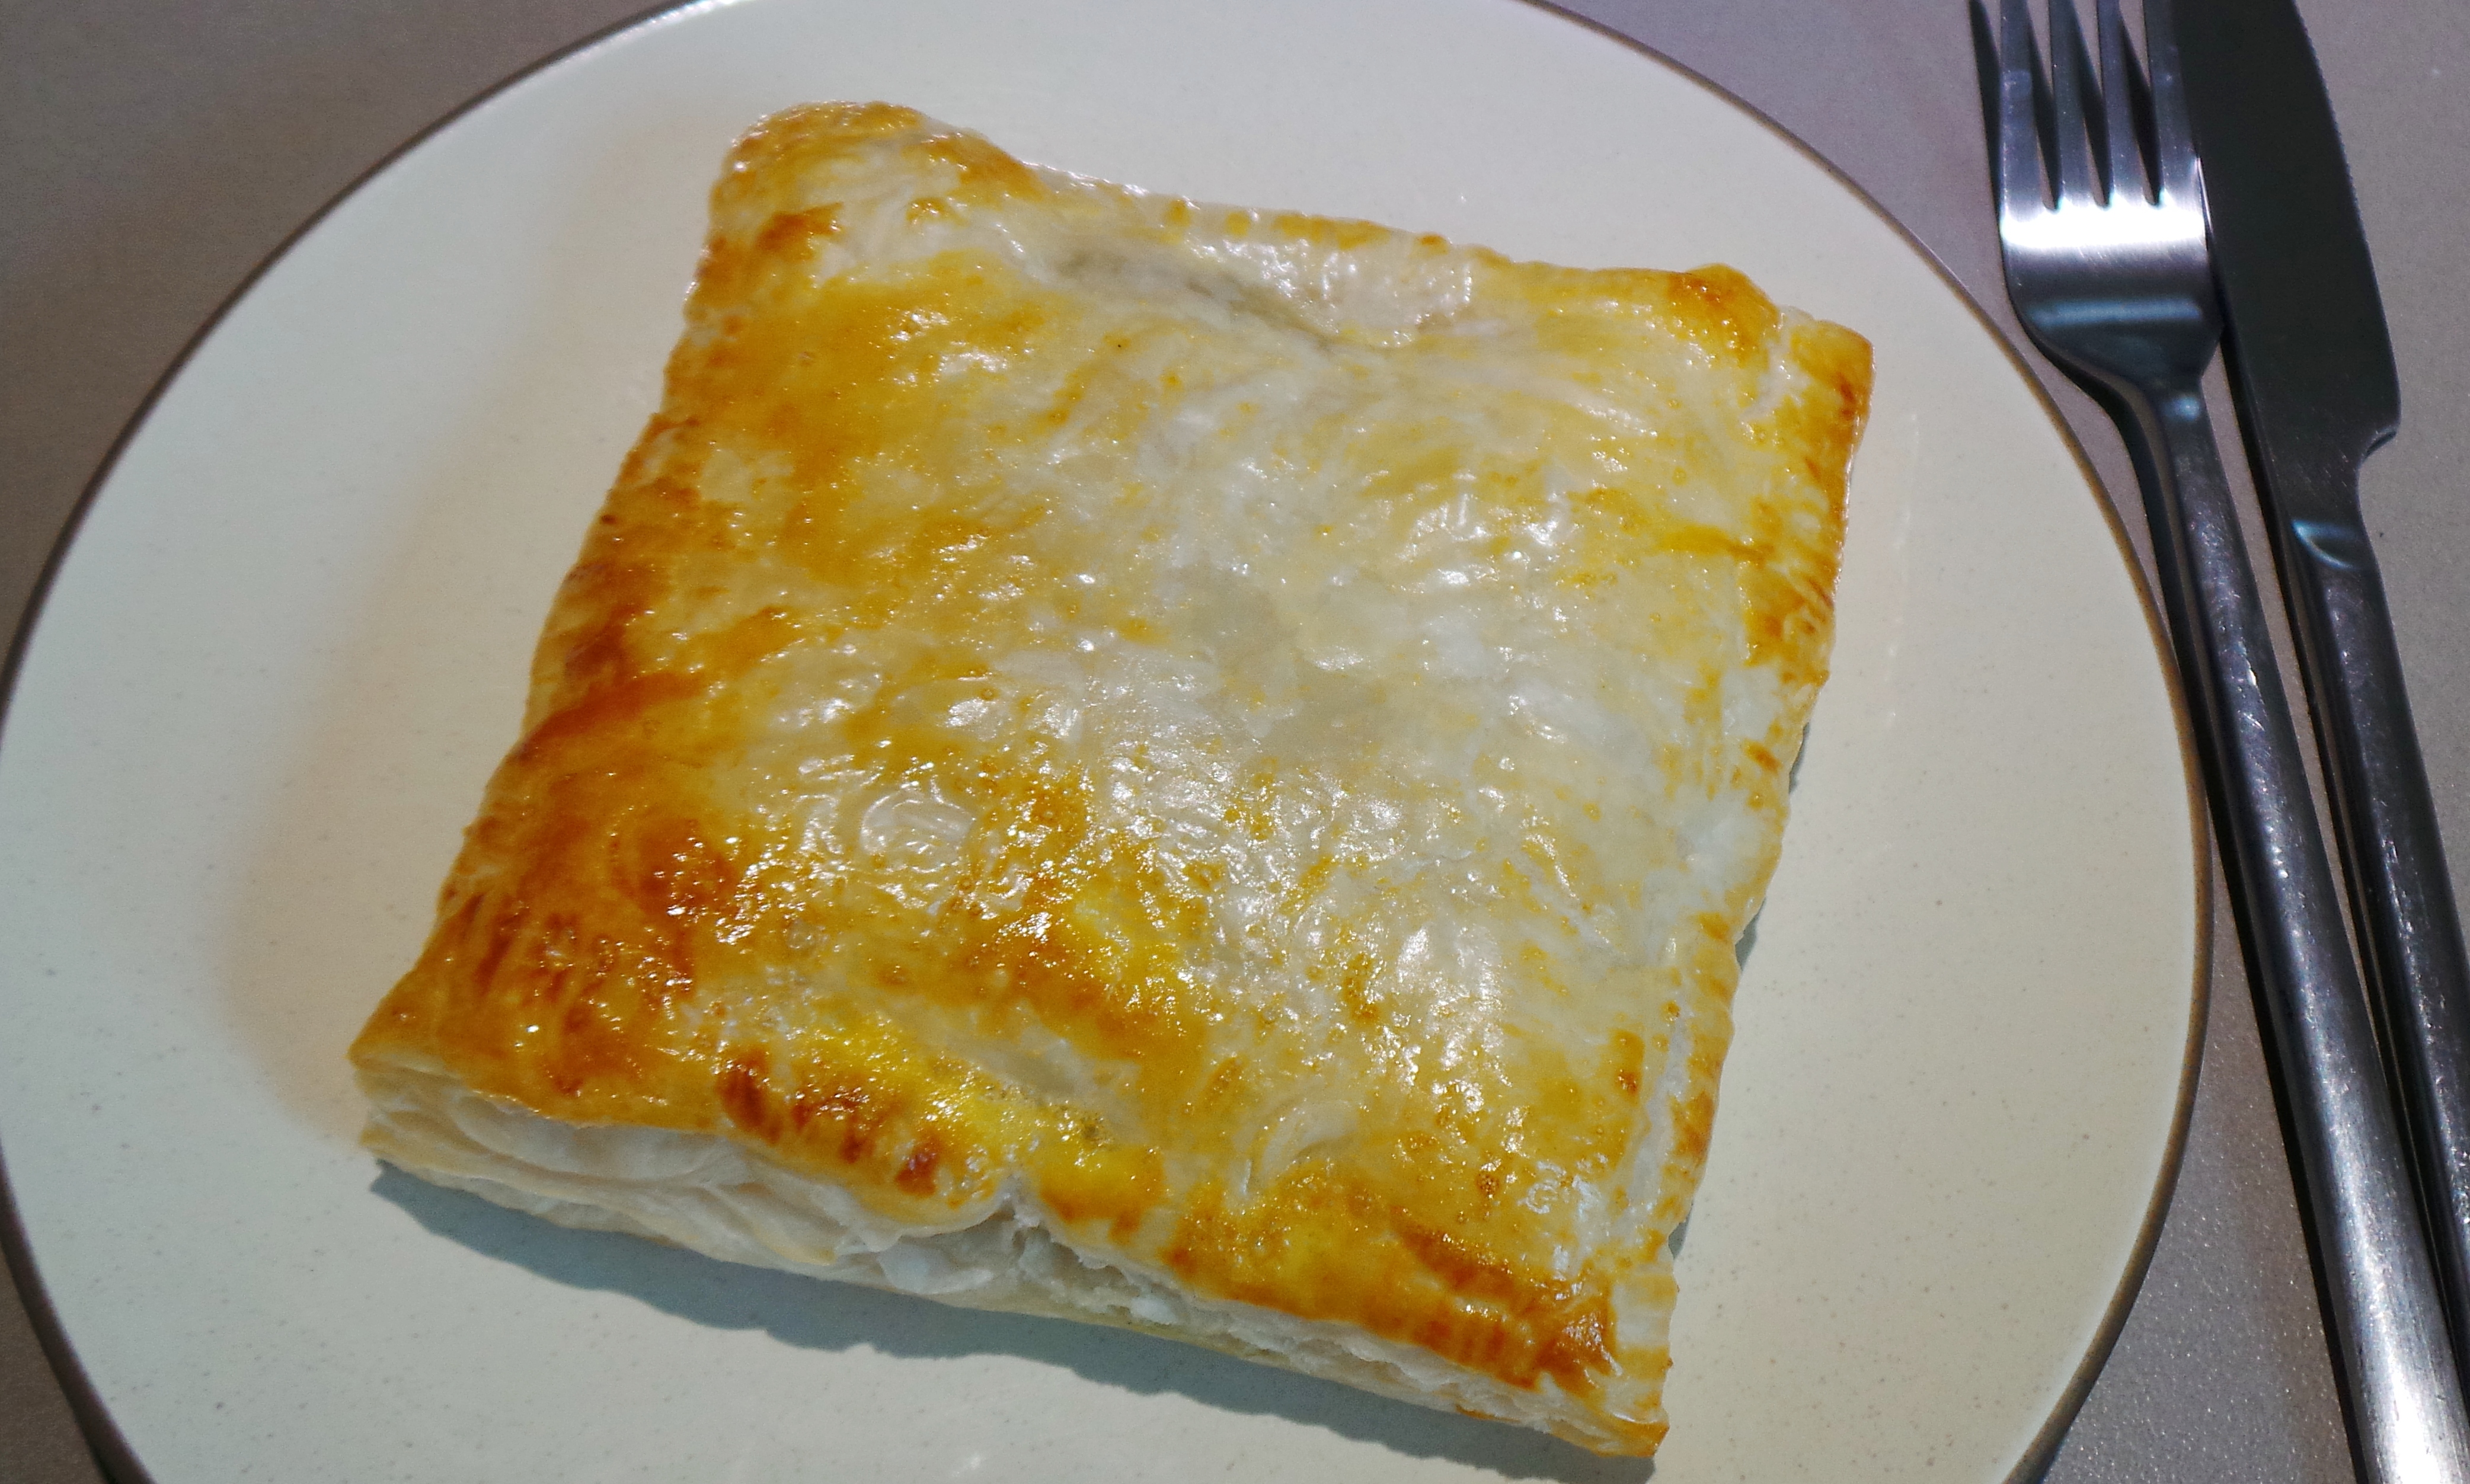
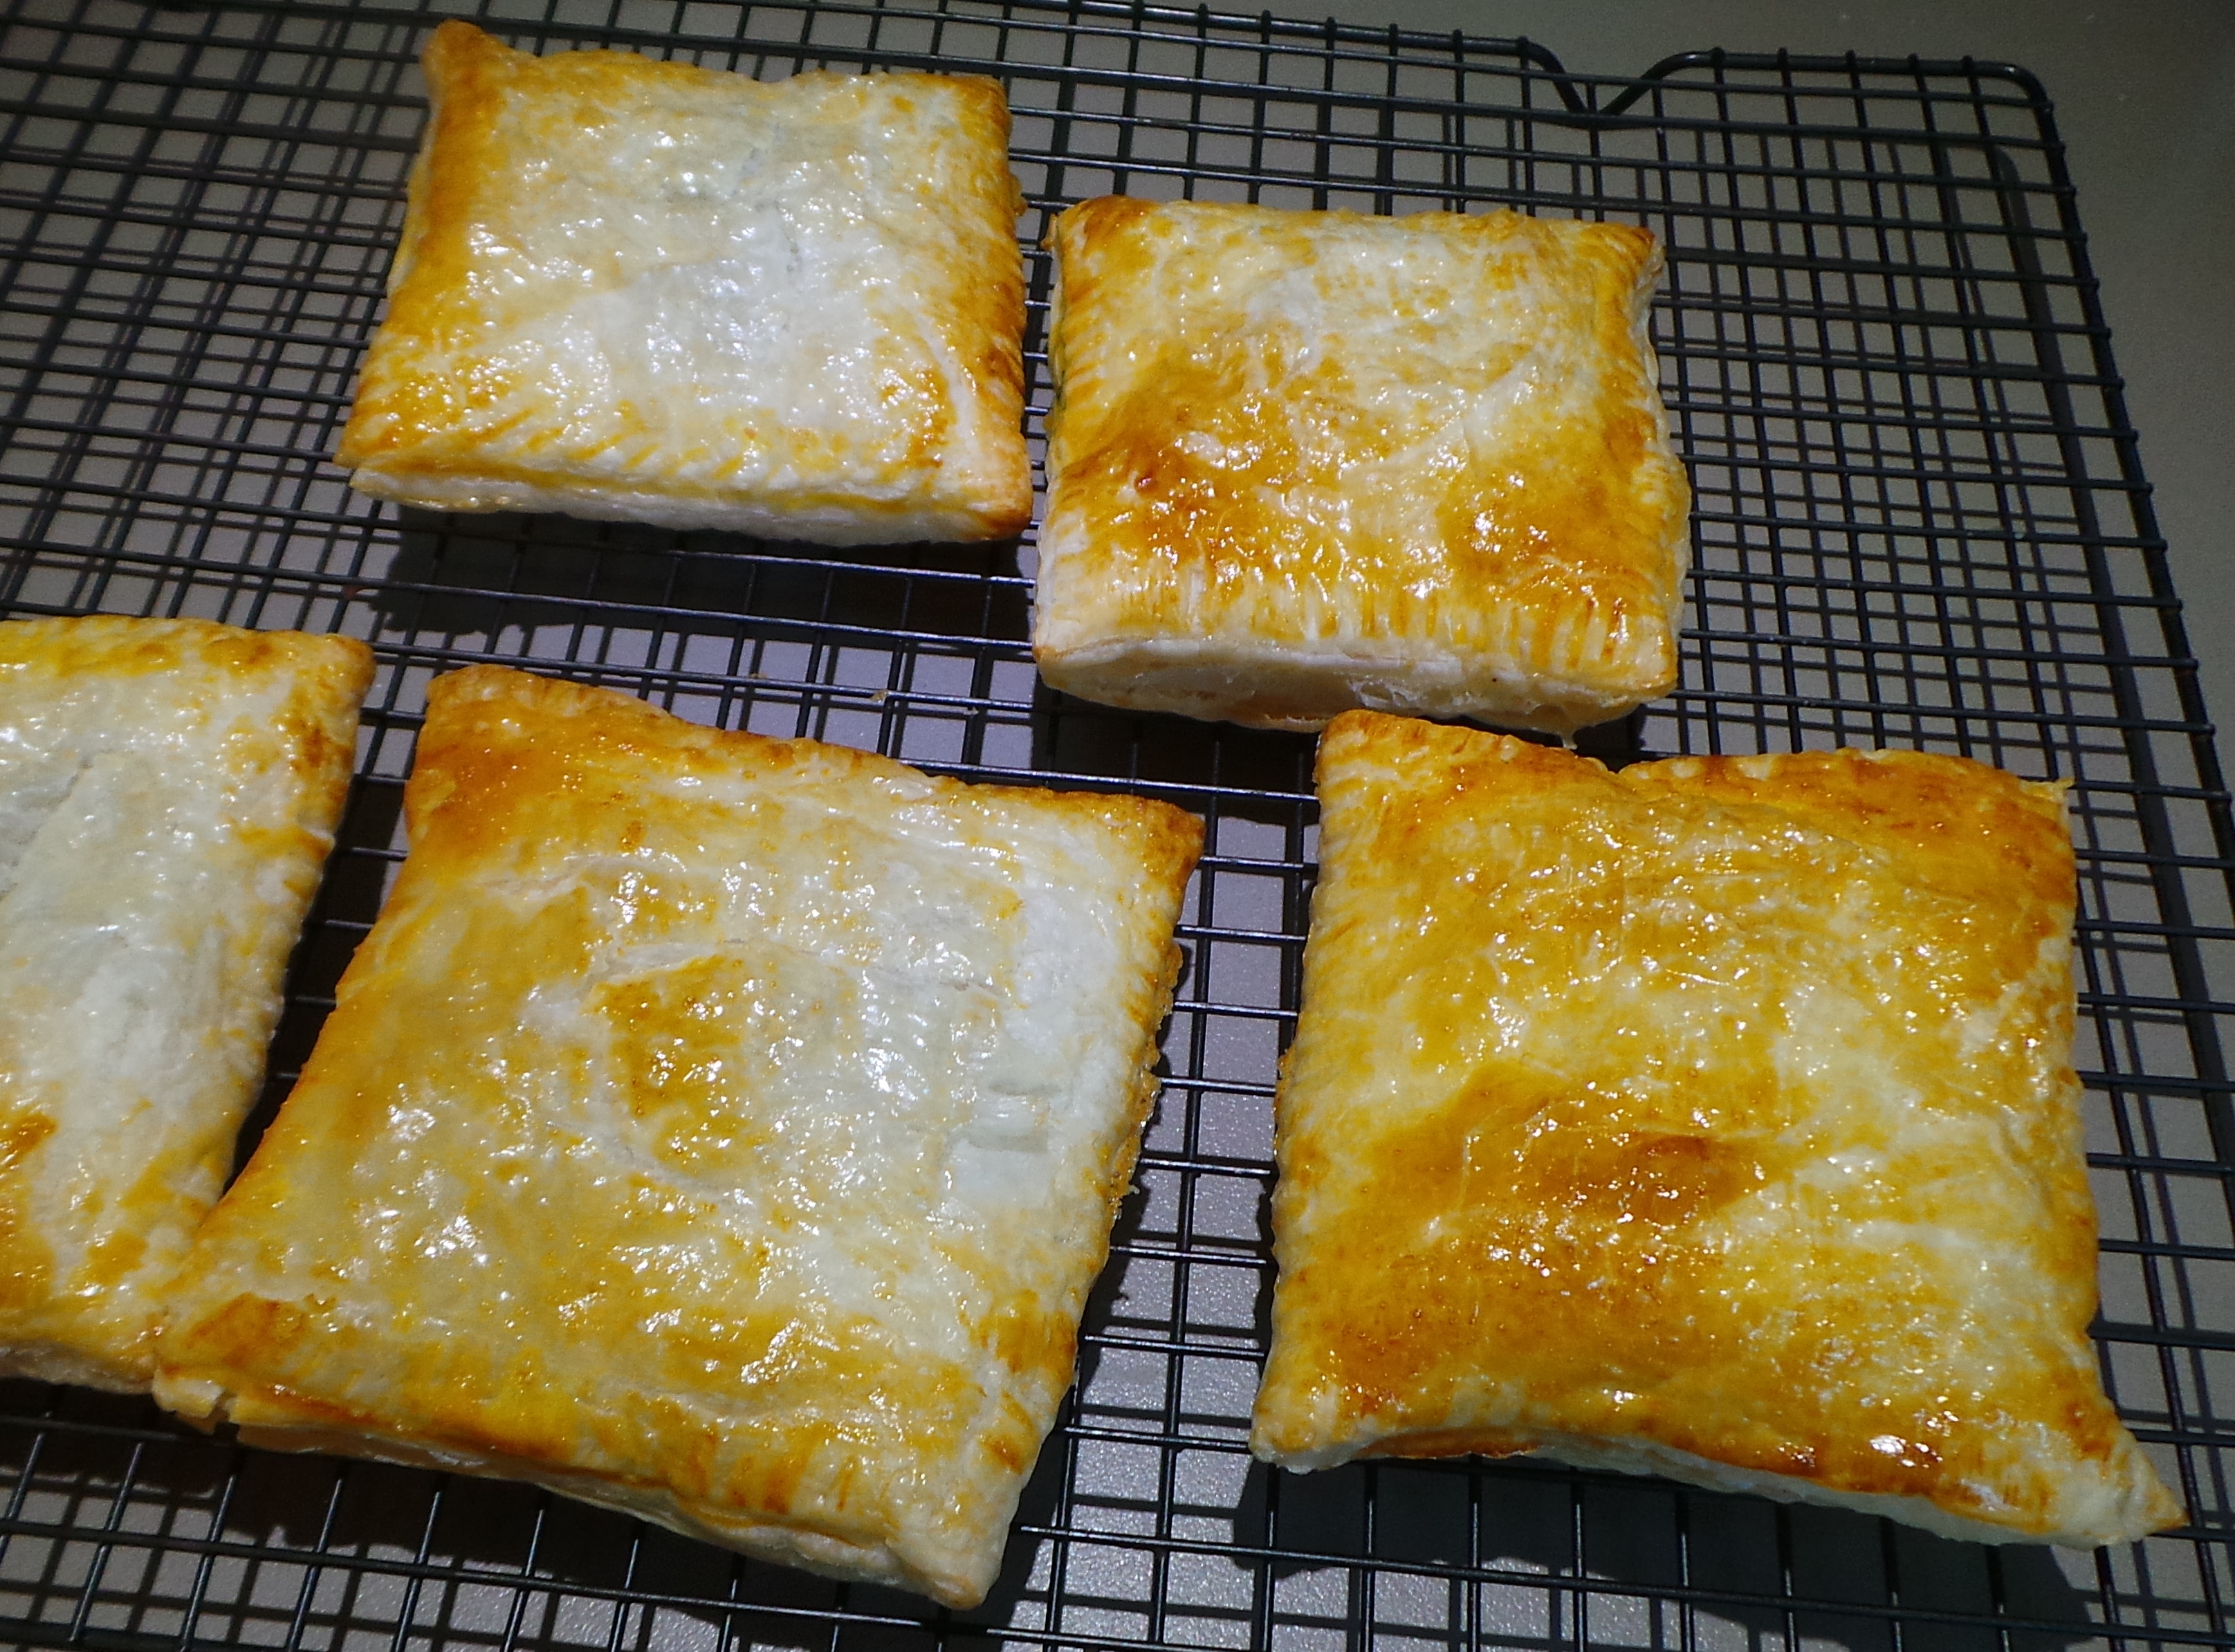
I could only fit two on to the sheet as I didn’t wish to crowd them. Using a pastry brush, I glazed them with the egg wash and popped them in the oven for 15 minutes.
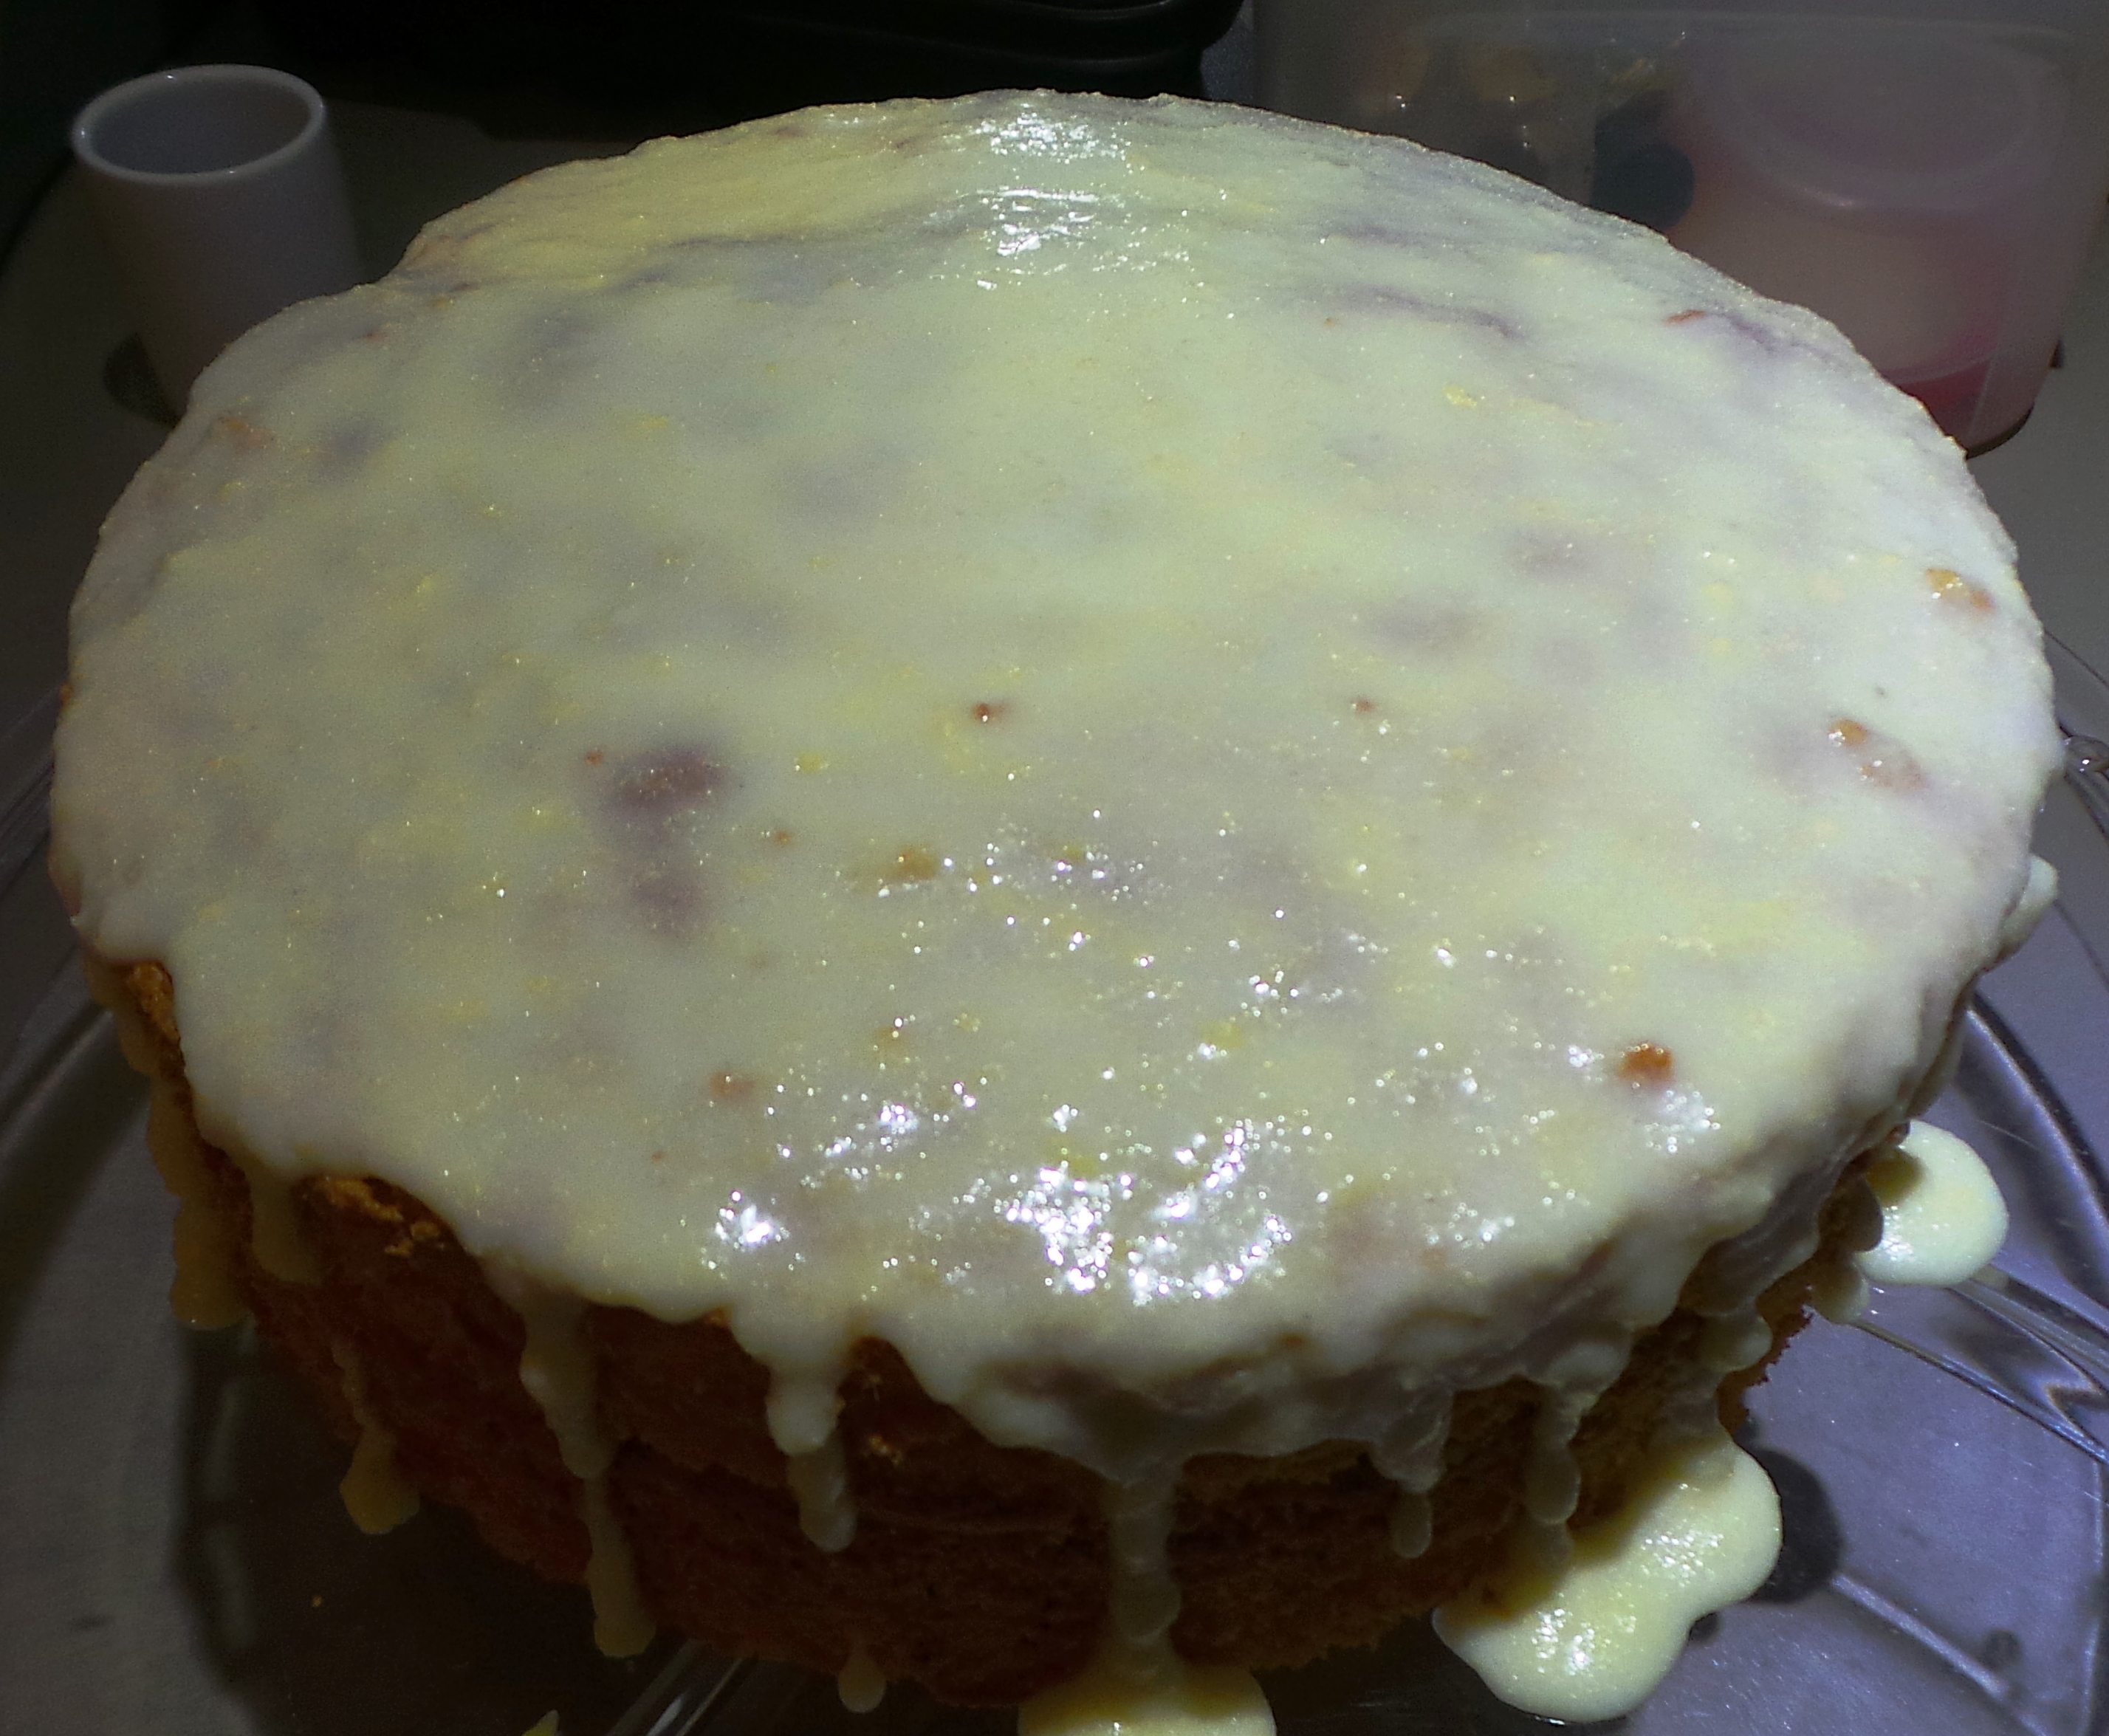
It worked.

I'm quite pleased with that, really...

I’m quite pleased with that, really…

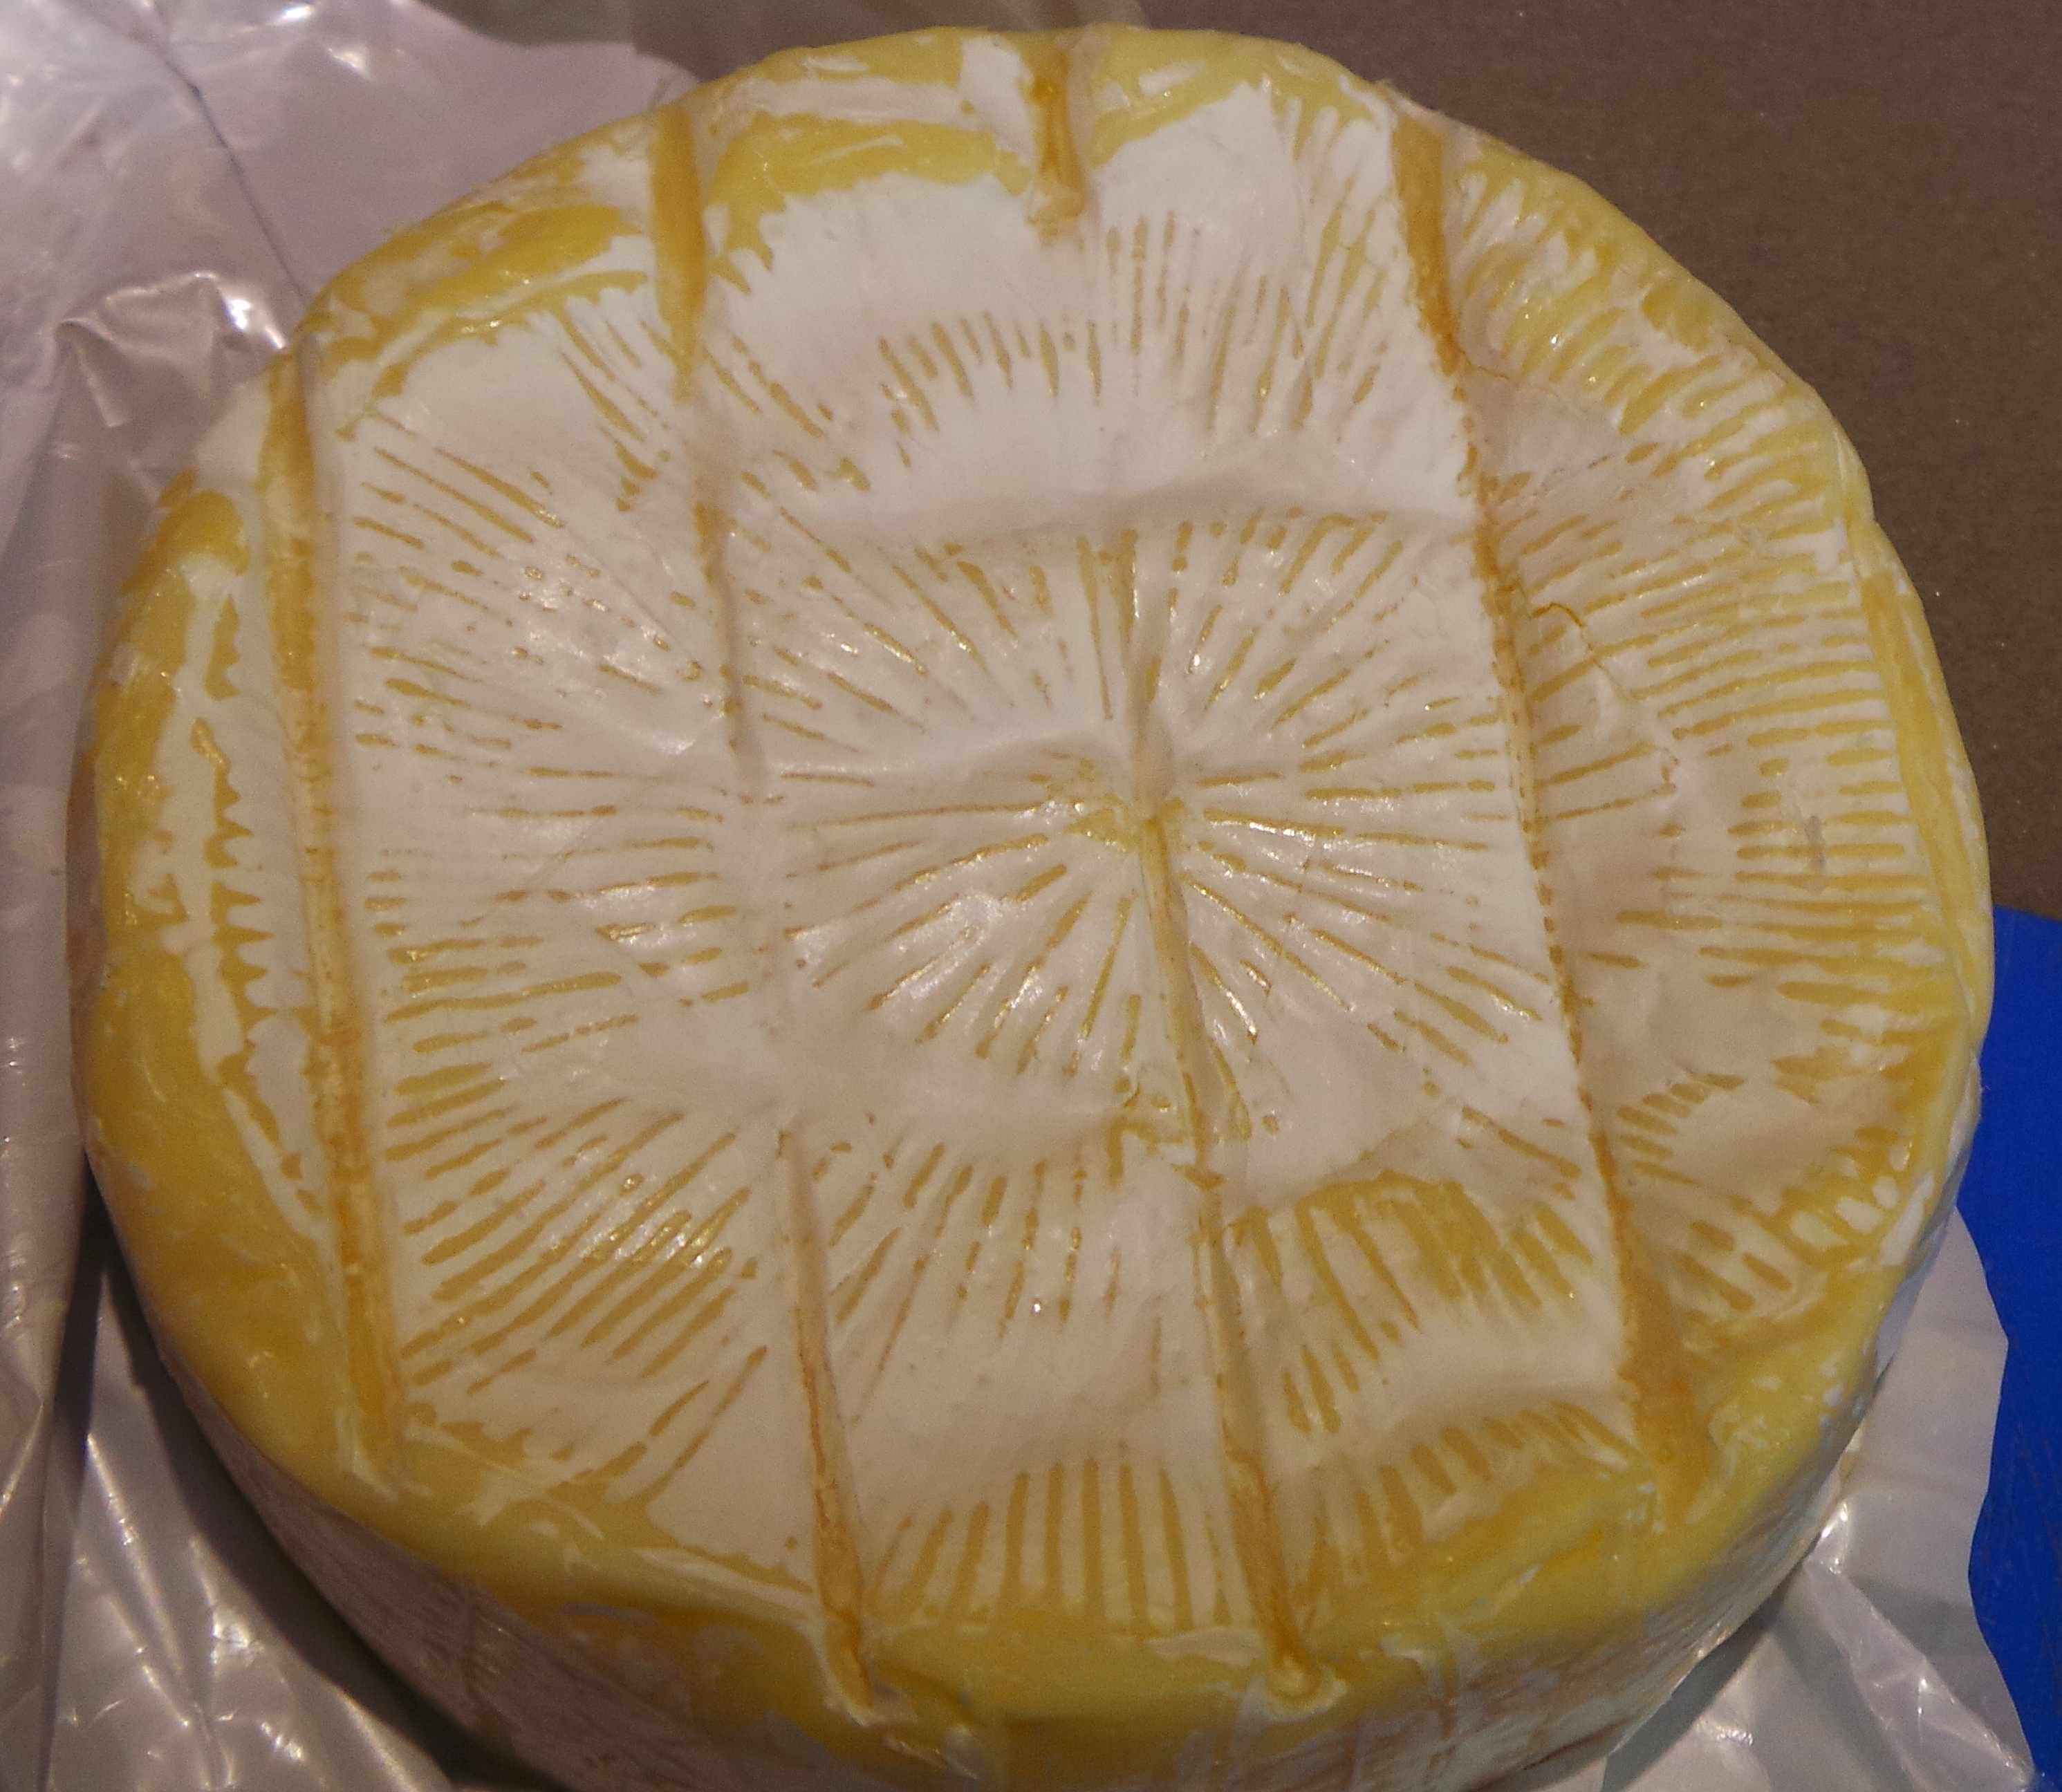
Then I immediately plated one up and served it to The Boy. History was made.

This is a bread and butter plate, so they are quite large.

This is a bread and butter plate, so they are quite large.

I baked another four to have as lunches throughout the week. The rest I flash froze after glazing. Then, when they were chilled sufficiently, transferred to a large bag for longer term storage. I’m not quite sure how long they would take to cook from the freezer, but I’m going with 30 minutes until proven wrong.

Cheesy Spinach Parcels

Cheesy Spinach Parcels

Enjoy.

Cheesy Spinach Parcels

  • Servings: 12
  • Difficulty: moderate
  • Print

Ingredients

1 kg packet puff pastry sheets (you want 6), defrosted.

100 g of cooked spinach, squeezed as dry as you can (you can use frozen spinach from the supermarket, defrosted)

400 g tin chickpeas, drained

100 g feta cheese

100 g ricotta cheese, drained a little

1 tsp dried dill (optional)

¼ cup pine nuts (optional)

Cup of luke warm water for sealing

1 egg, beaten slightly

Method

Note: Keep the packet of puff pastry in the fridge. Remove one sheet at a time and replace the rest of the packet in the fridge while you are working with that one. This will keep the pastry relatively firm and make it easier to work with.

Preheat the oven to 220ºC/450°F.

Line one or two baking sheets with baking paper.

In a food processor bowl, combine spinach, chickpeas, feta and ricotta cheeses.

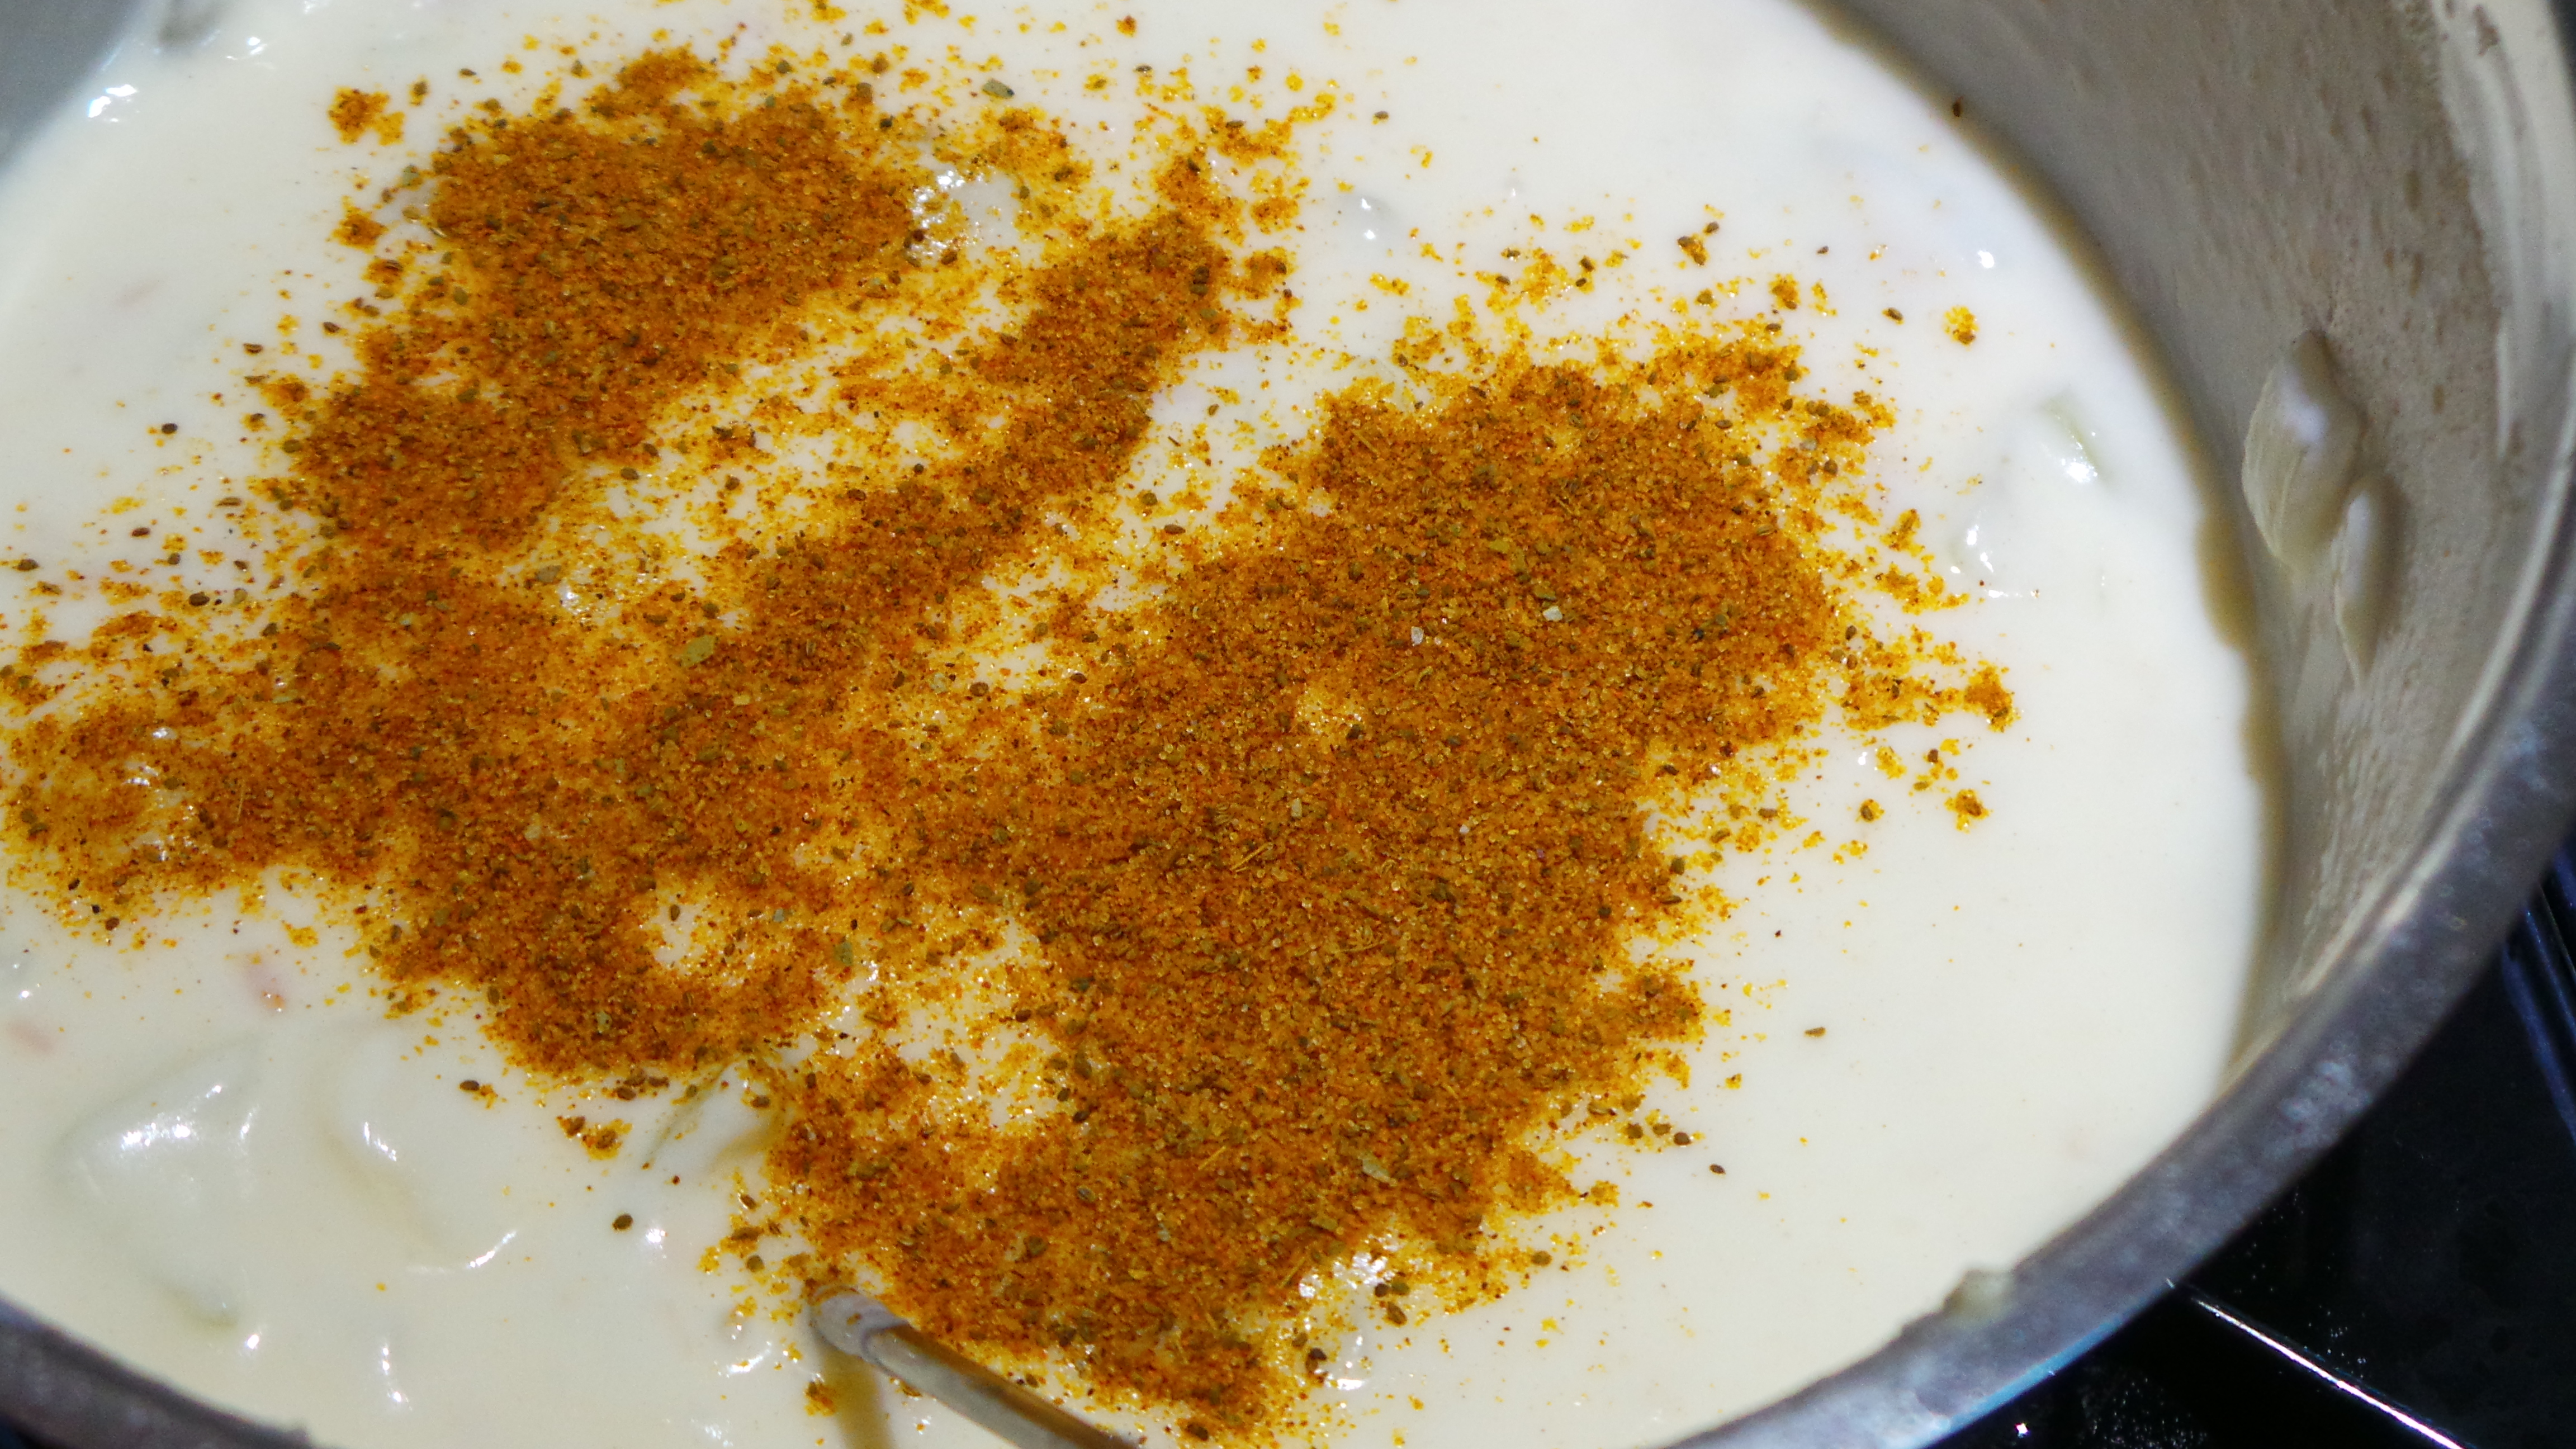
Add dried dill, if liked. Other spices or herbs may be used according to your preference.

Process until the chickpeas are fully incorporated.

Remove to a small bowl.

In a small frying pan, toast the pine nuts over a low heat until lightly browned and fragrant. Approx. 3-4 minutes. Watch them carefully to avoid scorching.

Add pine nuts to contents of bowl and stir through.

Take one sheet of puff pastry. Using a sharp knife score down the middle, dividing it into two rectangular strips of equal size.

Using the cupful of warm water, dampen your index and middle fingertips and run them around the outer edges of the pastry surface as well as down both sides of the centre score line. This will help the pastry joins to seal and avoid the filling leaking out during baking.

In the middle of the top half of each strip place several large spoonfuls of spinach and cheese mixture. The exact amount will depend on the size of the pastry sheet you are using.  It should be around ¼ – ½ a cup of the mixture.

Then fold the bottom of the pastry sheet (including the plastic lining) over the filling, matching the corners and pressing firmly. Using your fingertips, press each edge together including the one with the fold. You should have two nicely sealed pockets of pastry.

Peel back the plastic.

If you wish, you can now use a fork to crimp the edges you just pressed together with your fingertips. This is optional, but may give you a much better seal.

(And it looks pretty 😉 )

Transfer the pastry packets to a lined oven tray with the crimped edge upwards. You may only be able to fit two to a tray.

Take a pastry brush and paint the top of each parcel with the beaten egg. It doesn’t need to be done thickly.

This will help to get a golden finish on the pastry as it bakes.

Bake in oven for 15 minutes and eat immediately or remove to a rack to cool.

Prepare the next lot of parcels as the previous batch bakes.

To store: cool thoroughly on a rack before placing in an airtight container in the refrigerator. Eat within 3-4 days.

To freeze: prepare up to the egg wash stage. Place on a flat surface in the freezer and leave for 30 minutes. Once frozen, transfer to a sealed container or freezer bag.

To reheat from frozen: place in a 220°C/450°F oven for 30 minutes until puffed and golden brown.

To serve: May be eaten on its own as a light meal or lunch or served with a salad for a main course.

Three can Curry in a Hurry

If only I ate a plant-based, whole-foods diet.

This is one of those dishes that you can throw together in a very small amount of time (about 20 minutes) and with a minimum of effort.

It relies on you having certain store cupboard ingredients and basic vegetable supplies to hand, but everything – and I mean everything – is completely flexible. All up it costs about $5 AUD to make.

The reason I call this a three can curry is because I use a tin of coconut cream, a tin of kidney beans and a tin of chickpeas in my version of it. You can use whatever beans you like: black beans; borlotti beans; cannellini beans, etc.

Given how quickly the first part goes, I would recommend doing a mise en place (oo er, fancy!) and having your base vegetables diced before you begin.

Also this recipe calls for the use of a curry paste. I tend to have a few of these in my pantry at any given time.

These were in my pantry at the time of writing...

These were in my pantry at the time of writing…

They cost about $2-$3 at Aldi and may cost a little more at other supermarkets. You don’t have to use the whole jar all at once, and they keep quite well in the refrigerator once opened.

Use whichever flavour profile suits your tastes – or experiment to determine exactly what your tastes are. Also, if you want to make your own curry paste, then go right ahead.

I’m not into a raging hot curry, but The Boy is. So, if I were making this just for him, I might use a Thai Green Curry paste or perhaps a Madras curry instead. The pictures you will see here use a Tikka Masala Paste. This is a sweet curry, it smells divine and has no heat to it – making it ideal if small children will be at your table.

Sorry it's blurry, I was rushing.

Sorry it’s blurry, I was rushing.

Now – and vegetarians look away – if you wish to add meat to this dish, feel free. I find that the beans suffice and the lack of meat is not actually something you think about. However, if you have a family member who requires meat to make a meal, you could easily add some diced bacon and sauté before adding the curry paste, or some diced rotisserie chicken just before serving.

After the liquid is added you are simply looking to heat things through and further soften the vegetables- you aren’t actively trying to ‘cook’ anything.

So, place a Dutch oven, casserole dish or a large saucepan over a low flame and heat about a tablespoon of butter with a splash of oil. The oil will stop the butter from burning. (Or you can just use all oil.)

Then add a teaspoon of crushed garlic (if you like it) and a diced onion.

Diced onion.

Diced onion.

Sauté until the onion is translucent, then add some diced celery, stirring continually. I used two largish stalks.

Celery for crunch.

Celery for crunch.

Add your carrots and go find your curry paste. We’ll wait.

Add carrots.

Add carrots.

You only want a tablespoon or two of the curry paste. It’s up to you how much you use – the flavour will get stronger with each spoonful.

Add it to the pan and allow it to fry gently for a few minutes. This will give you time to open a can of coconut cream.

Fry off your paste.

Fry off your paste.

As the heat works on the paste the aroma of the spices will be released. Be warned that, if you have chosen something that is very hot or full of chilli, you will probably start to cough uncontrollably if you breathe in over the pan…

Mix through.

Mix the paste through the vegetables, breaking up any lumps.

Mix the paste through the vegetables, breaking up any lumps.

Now add your coconut cream. I find it separates in the tin and add only the solid portion at first, reserving the liquid for if I find the sauce becomes too thick or is insufficient.

Spoon the solids into your pan.

Spoon the solids into your pan.

Don’t fret, the solid part will melt down to a thick liquid quite quickly.  As an aside, if you can’t find coconut cream (or are allergic) use a tin of evaporated milk instead.

It looks improbable, doesn't it?

It looks improbable, doesn’t it?

Once that is melted nicely and simmering gently, drain and add your beans.  I used kidney beans…

Looking good

Looking good.

…and chick peas.

Nearly done.

Nearly done.

Stir it all together and allow to simmer for 5 minutes or so.  This will give you time to set the table. It will also enable you to reheat any leftover/planned-over rice you may have in the refrigerator or to cook a sachet or two of microwave rice.

If you don’t have/want rice you could always cut a few potatoes into small dice and add them to your simmering pan. The dish will then be done when your potatoes are cooked.

I like to make my meals as colourful as I can – this ensures maximum flavour and nutrition. Think traffic lights: Red, yellow and green. This dish looks very yellow at this point, so I’ll add a diced red capsicum. This adds vibrant colour as well as crisp fruitiness.

A red capsicum or bell pepper.

A red capsicum or bell pepper.

And for greenery I have added kale, spinach or broccoli; like so.

Green for go..

Green for go..

I’ve also just added some frozen peas straight from the freezer.

Use what you have.

Use what you have.

When the peas are cooked, so is the dish.

Basically you can add whatever you have to hand. This meal is a great way to clean out the refrigerator before the grocery shopping has been done.

Serve over rice if you wish. However, be aware that this is very filling (beans, donchaknow) and will easily feed 6 people of normal appetite. So, I suggest you under-serve and allow seconds to avoid arguments with small people.

Three can Curry in a Hurry

  • Servings: 4-6
  • Difficulty: easy
  • Print

Ingredients

oil

1 clove garlic, crushed (or 1 tsp jarred garlic)

1 onion, diced

1 carrot, diced

2 sticks celery, diced

2 tablespoons curry paste

1 x 400 g tin coconut cream or evaporated milk

1 x 400 g tin kidney beans

1 x 400 g tin chick peas

Other vegetables to taste: frozen corn, frozen peas, diced peppers or capsicum, kale, cavolo nero, broccoli, sliced cabbage, diced potatoes, sweet potatoes, pumpkin, etc…

Rice to serve.

Method

Place a Dutch Oven, casserole dish or large saucepan over gentle heat and add oil.

Add onion and garlic, frying gently until onion is translucent.

Add celery and carrot, frying gently until celery softens.

Add a tablespoon (or to taste) of the curry paste to your pan and allow to fry for several minutes. The heat will start to release the aromas of the spices in the paste. Mix the contents of the pot together, breaking up any lumps.

Add the coconut cream or evaporated milk. If the cream has separated in the can, just add the solid part using a spoon but keep the liquid in reserve should you want more sauce later.

Mix well.

Add the kidney beans. Stir well.

Add the chick peas. Stir well.

Allow the curry to come to a simmer and leave for 5 minutes.

Add any fresh vegetables you wish and cook through.

Serve over rice.

Variations:

  • Add several diced rashers of bacon and fry off a little before adding the curry paste.
  • Add a cup of diced, cooked chicken after the chick peas. (or any other cooked meat.)
  • Instead of serving over rice, add 2-3 potatoes diced small after the chick peas. Cook until the potatoes are tender. Add water if necessary to ensure the potatoes are fully immersed.
  • Serve over cous cous instead of rice.

Luscious Lemon Sponge

I promised I’d start doing this again, so here goes!

From Woolworths was got:

  • 5 kg Laucke Multigrain bread mix $12.57
  • 2 l Cadbury Vanilla ice cream           $  5.00

Total = $17.57

The cold stuff

The cold stuff

From Aldi:

  • 500 g Pizza cheese                              $4.79
  • 500 g Dairy Spread                              $2.99
  • 500 g Fish fillets                                    $3.99
  • Beef silverside                                       $8.58
  • 500g steakhouse fries                        $2.49
  • 500 g frozen stir fry veg                     $1.99
  • Pork Loin Roast                                  $15.36
  • 1 kg SR flour                                            $0.75
  • Wholemeal tortilla wraps                  $1.99
  • 1 kg   Caster sugar                                 $1.99
  • 1 kg Plain flour                                       $0.75
  • 4 x corn snack packs                            $2.29
  • 1 x Microwave brown rice pack       $1.49
  • 1 x 700 ml Passata                                $1.59
  • 2 x 400 g plain diced tomatoes        $1.18
  • 1 x 400g tomatoes w. herbs              $0.59
  • 1 x 800 g can pie apples                      $2.99
  • 1 x 397 g can condensed milk          $1.69
  • 1 x 455 g jar Vegemite                          $6.59
  • 1 x 400 ml tin coconut cream           $0.89
  • 1 x 400 ml lite coconut cream          $0.89
  • 1 x 250 g jar minced garlic                  $1.19
  • 1 x 500 g squeeze pack honey          $5.49
  • 1 kg brown onions                                 $1.29

Total = 76.44

The main haul.

The main haul.

And looking at that picture, I’ve just realised that I bought two cans of condensed milk but was charged for only one!

And from the greengrocer:

  • potatoes                                                   $1.80
  • Granny Smith apples                          $1.78
  • Red capsicums                                      $2.19

Total = $5.77

A total spend of  $99.78

And I’m happy with that. The ‘fun’ things this week were the ice-cream so we could have something naughty in the freezer 😉 and the passata. I want to use some in the pressure canning I’m doing and, when I saw it there, I grabbed a bottle. I need to check out the recipe I want to use to see what else is needed, but I’ve made a start.

Tonight our dinner was Almost Fried Rice using some of the leftover corned beef from Sunday dinner.

Dinner

Dinner

And I spent a goodly part of the day mixing up a lemon sponge for my Thursday lunch group. There were a couple of small mishaps – but it’s all ready to go now.

Luscious Lemon Sponge

Luscious Lemon Sponge

Hopefully, they’ll be able to overlook my truly horrendous effort at icing it, because it now looks truly hideous.

It's nearly Halloween, isn't it?

It’s nearly Halloween, isn’t it?

I hate icing. Do you think it shows?  The Boy tells me that, once it’s cut up and on their plates, no-one will care what it looks like.

Until tomorrow, lovelies.


Like this? Follow us on Facebook or subscribe to receive updates by email.

Budget decadence.

I’m sorry.

I didn’t do what I said I would. I got a lot done today, but unfortunately none of it had to do with this blog.

I wanted to though!  I promise. Really truly.

I was waylaid by completing my tax return. This should be relatively straight forward. It never is though. I invested my lump sum from when I was invalided into a managed trust. The tax statements/reports from there never arrive until September and contain all sorts of eldritch entries that require me to search through and experiment with various entry points on etax until they match the place they are supposed to go. The fact that they now list the places they go is massive improvement from a few years ago, when they did not.

This confusion and frustration was compounded by the Accidental Cat appearing at 15 minute intervals and yowling at me (at volume) to open a door…

I ended up locking her behind another one entirely.

This is new...

This is new…

However, t’is done. Also, since I cashed out the trust to put toward the house deposit, I won’t have these issues again. Happy dance, my place, now.

I did, however, get the celebration breakfast done.

I took these frozen croissants,2015-09-06 11.48.04

cut them in half and filled them with pieces of this small wheel of brie.2015-09-06 11.53.35

then heated them until the croissants were warmed through and smelled beautifully buttery and the cheese was all melty and runny.

Budget decadence.

Budget decadence.

We have a home loan and soon will start to build. Another happy dance.

On the blog front, I’m guessing I should do a post on how to do these croissants for Mothers’ and Fathers’ Day, or any special occasion, breakfasts …coming soon.

Also planned – a few posts on easy home-made cleaning solutions.

Tonight I’m abdicating catering responsibilities and waiting to see what The Boy serves me.

Because I can.

Like this? Follow us on Facebook or subscribe to receive updates by email.

Hello my lovelies.

I’m sorry I wasn’t on yesterday.

I went off to our plot at the Ballarat Community Garden and didn’t get back for 3 and a bit hours.

Before

Before

After all that weeding and mulching I was ever so tired and typing and internetting wasn’t really something I felt up to.

After.

After.

Thankfully, I had put a corned beef on to cook in the slow cooker before I left, so there really was nothing left to do for dinner.

That is, beyond mashing some spuds and cooking the Pak Choi I had just plucked from the aforementioned plot.

I had been followed home by a massive rainstorm, so it was doubly nice to tuck in to my meal knowing that (a) I had missed a drenching and (b) I didn’t have to do anything else that evening.

Dinner.

Sunday Dinner.

Today, I finally finished the shopping and hit the green grocery – so I’ll be publishing lists tomorrow. I also managed to make some Lemon Butter with my friend Althea’s eggs, and my friend Stephen’s lemons.

Little jars of sunshine to start the spring

Little jars of sunshine to start the spring

Then I started an experiment. There is a recipe for ginger beer in my mother’s collection and I have been meaning to try it for some time. This is that time. I’ll tell you in a few days if I was successful, but this is how it looks right now.

Ginger beer?

Ginger beer?

Tonight we shopped the fridge and I had vegetarian bean curry and the boy had honey teriyaki chicken; both over rice.

Tomorrow we will be starting the day with a celebratory breakfast. I have some brie in the refrigerator and some croissants in the freezer. These two shall be combined.

🙂

We have finance, Peeps. Life is good.


Like this? Follow us on Facebook or subscribe to receive updates by email.

If only I ate a plant-based, whole-foods diet.

Today was a day when I got things done in spite of myself. After managing to hunt down someone on a nearby road crew who could move the truck that was parked across my driveway, I finally got to my lunch group. This was done via a local bakery.

Yes. I squibbed on making something, but I was tired. One of my friends at the group surprised me with a little box of a lovely home-made, gluten-free Buckeye Slice though. It is being savoured slowly…

And doesn't that look fabulous?

And doesn’t that look fabulous?

Then I celebrated the fact that we have conditional approval on our financing (Yippee!) and treated myself to my first haircut in a l o n g time. It’s one of those things I stopped doing in order to save some cash. I’m tidier now. It feels good.

Turned out the hairdresser’s brother had just been diagnosed with MS, so I found myself giving a potted lecture on the subject …

After this, The Boy readily agreed to helping me with the shopping. Bless him.

We drove out to look at our block of land first. It remains where we left it. This was reassuring.

Some of the haul.

Some of the haul.

Then we hit the shops. Bread mix was bought and a couple of largish lumps of meat, alongside assorted other edibles. All that remains is the fresh vegetables – and that can wait. I have my regular IV tomorrow and no shopping will follow that.

I get taken to lunch on days when I have the drip; that’s always nice.

However, fear not!  I will resume my posts listing what I bought where, and for how much. Just not tonight or tomorrow, ‘kay?

We’d bought some frozen fish fillets as something different and then thought we’d do home-made fish and chips for dinner.

That didn’t happen. I’m tired, he’s feeling down – we need nutrition not nasties.

So I mixed up a Vegan Tikka Masala instead. As you do.

I sautéed some onion, carrot and celery (natch!) in my French oven while I thought about what to do next. I decided a spoonful or two of Tikka Masala paste from a jar in the fridge would go well, so I fried that off and added some lite coconut cream, a tin of red kidney beans and a tin of chick peas.

Some Bok Choy was sliced and added – after I had persuaded the Accidental Cat that it was not something that she wanted to eat. This cat was definitely fed in the kitchen by her previous humans, the merest rustle of anything and she comes running.

Oooh, too spooky for me!

Oooh, too spooky for me!

Then the rest of the Tuscan Kale we were given on the weekend was sliced and added to the curry with a small red capsicum I diced.

I heated up a mix of some cooked brown and basmati rice I had in the refrigerator and dinner was served.

15 minutes from go to whoa. Fast food people. $5 worth.

Chick pea tikka masala.

Chickpea Tikka Masala.

Try it.

Like this? Follow us on Facebook or subscribe to receive updates by email.

Today, bread was baked.  It was enriched with home-ground flaxseed and some steel cut oat groats that I want to use up.

Then the smallest slow cooker was filled with the makings of a lentil and barley hotpot with a slight variation. The Boy isn’t keen on the texture of the dried shiitake mushrooms that I like to add to it, so this time I thought I’d do something different.

Dried Mushrooms.

Dried Mushrooms.

I piled the dried mushrooms into the little electric coffee grinder- that I use for grinding everything except coffee – and pulverised them.

Dried mushroom powder.

Dried mushroom powder.

Then I added the mushroom powder to the chicken stock and continued as per normal. This way I got the mushroomy aroma that I adore and he didn’t have to deal with sensory issues. This is what is known as a win/win.

Some of yesterday’s Tuscan Kale bonanza was also added to the pot. We had it for dinner served over steamed basmati rice.

Lentil and Barley Hotpot

Lentil and Barley Hotpot

But before that we reduced a heaping pile of killer rose debris to a much smaller, smouldering pile of ash and charcoal. It was very satisfying.

However, it caused me to reflect on how skills are being lost – especially after three abortive attempts to get the pyre lit. My mother used to woman the incinerator at our house (before the advent of recycling bins) and I regaled The Boy with tales of yesteryear when everyone’s Sunday afternoon usually included one or another neighbour’s smoke from ‘burning off’ household waste of some kind.  Usually blowing directly onto someone’s freshly laundered sheets.

I now smell of wood smoke. The cats are viewing me with suspicion.

We followed this caveman-like feat with some very civilised Loaded Hot Potato Chips and collapsed in front of the telly.

Loaded hot potato chips

Loaded hot potato chips

I decided (in my deranged exhaustion) that I wanted to try something I’d never done before for dessert. I decided this about 10 minutes before I was going to serve dinner. I’m an idiot.

Anyway, I spent about 20 minutes searching for a recipe in my book collection and then asked Mr Google. For dessert I made some Baked Stuffed Apples.

Stuffed Baked Apple

Stuffed Baked Apple

I was too tired to eat them.

There were leftovers.

A mañana todos.

Today we managed to find an opening between the showers to pop down to our plot at the Community Garden and pick some stuff and weed and mulch other bits.

In summary, we came home with this pile of green awesomeness. It includes our very first leek (naaawww!), several pak choi, some broccolini and some Tuscan Kale (cavolo nero or black cabbage) very generously given to us by a neighbouring gardener.

We done grew all this green stuff!

We done grew all this green stuff!

It was all washed or scrubbed when we got home and has since been filed or eaten. We don’t muck around with our greens in this household, let that be a warning to ye!

Ahem. Moving on…

I have plans to use the leek and kale in a Lentil and Barley Hotpot tomorrow.

We’re planning on spending the greater part of tomorrow afternoon burning a pile of very old rose prunings that have been loitering on my front landing (oo er!) ever since we moved in about 18 months ago. It will be quite cathartic to watch them burn, really.

They are from very old plants that seem to have thorns on their thorns and the prospect of taking them to the tip was plagued by visions of us both bleeding to death from our wounds on the way. As it is, we have damp weather and a stubborn bald spot in our rear lawn that could use a fine layering of ash and charcoal – she said, pretending to know what she is talking about and fooling precisely no-one.

Regardless, the crock pot can crock while we give vent to our rather tame inner pyromaniacs.

Tonight, however, I had some leftover chilli mac from last night.

Chilli Mac

Chilli Mac

While The Boy filled his belly with a terrifyingly hot Vegan Thai Green Curry that I made up for him – on request.

Now doesn't that look purdy?

Now doesn’t that look purdy?

It used up most of what was left of our jar of green curry paste, some onion, carrot, celery, red capsicum, coconut cream, home-canned soy and adzuki beans and a goodly portion of the pak choi you saw in the first photograph.

I served it over some steamed basmati rice we had in the refrigerator and he was a very happy little camper.

Not blurry, but steamy.

Not blurry, but steamy.

Both dishes were consumed accompanied by discussion about the Rhinoceros in “The Gods must be crazy” and our newest household member, the Accidental Cat.

Sara - the accidental cat.

Sara – the accidental cat.

I’ll speak with you all tomorrow, if we manage not to burn anything we’re not supposed to.

Let me know if you’d like a post on how I constructed the curry.

ttfn.


Microwaved Jacket Potato

I'm feeling peckish now.

There are times when you want something quick but hearty to eat, be it for dinner or lunch.

This is one of those dishes.

In fact, this is an ideal process to teach hollow-legged teenagers to follow for filling/healthy after school or school holiday snacks. Actually, it just makes an ideal Saturday/after sport/after-after-school-activity-and-I’m-too-tired-to-cook-anything-imaginative-dinner.

If you have a microwave, then you can have a baked jacket potato on your plate in mere minutes. In fact, many microwaves have a potato button…

Spot the 'Potato' button.

Spot the ‘Potato’ button.

But you can still do this even if your particular zapper doesn’t.

First, you need a potato.

This is a potato.

This is a potato.

I buy washed potatoes. I know they are cheaper unwashed, but I don’t enjoy scrubbing them and I refuse to peel potatoes on the grounds of good nutrition. So there.

When I choose my potatoes, I try to buy ones that fit nicely into the palm of my hand. That is a decent serving size for me. You might like your potatoes larger. Go for it.

Wash your potato and then prick it in several different places using the tines of a fork.

Pierce your potato's skin.

Pierce your potato’s skin.

Don’t skip this step. You need to do this or your potato will explode while you are cooking it. Now wrap it in a sheet of paper towel, like so.

Gift wrapped potato.

Gift wrapped potato.

Put it into your microwave and either use the potato program – my microwave requires me to press “potato” and then the number of items, followed by “cook” – or input cooking times yourself.

This can vary depending on the size of your spud. Try starting with 3 mins 30 sec at 80% power and work your way up from there. You’ll know your potato is cooked when the fork you used to puncture the skin will go into the flesh easily.

Warning: The potato will be HOT. Take proper precautions when handling it.

Check that it is done.

Check that it is done.

Then place it on a plate or into a bowl. You can eat it just like this, if you wish, but I like to top mine.

Cut a cross in the flattest side, opening up the potato like so:

That already looks good.

That already looks good.

We like to top ours with some home-made Baked Beans. I keep little jars of these in our freezer for meals like this, you can use store bought canned baked beans if you have them – any flavour you like.

Home-made cider baked beans.

Home-made cider baked beans.

Top your potato with the beans, cover and put it back into the microwave for a further minute at 100% power.

Ready to heat.

Ready to heat.

While it heats, get some grated cheese out of the fridge (or grate some). Top your potato and beans.

Top with a sprinkling of shredded tasty cheese or mozzarella.

Top with a sprinkling of shredded tasty cheese or mozzarella.

Return to the microwave, covered, for a further 30 seconds on 100%.

Melt your cheese.

Melt your cheese.

Eat.

Or, if you want to be really decadent, add a spoonful of sour cream and a sprinkling of mixed herbs or lemon pepper.

I'm feeling peckish now.

I’m feeling peckish now.

That, my friends, is a decent lunch in under 5 minutes.

Variations:

  • Try topping with a mixture of diced ham, cheese and pineapple for an Hawaiian Pizza feel.
  • Try a tin of three or four bean mix instead of the baked beans, add some pesto and bacon bits.
  • Try topping the baked potato with cheese and serving topped with some mixed frozen vegetables that have been cooked separately.