There are times when you want something quick but hearty to eat, be it for dinner or lunch.
This is one of those dishes.
In fact, this is an ideal process to teach hollow-legged teenagers to follow for filling/healthy after school or school holiday snacks. Actually, it just makes an ideal Saturday/after sport/after-after-school-activity-and-I’m-too-tired-to-cook-anything-imaginative-dinner.
If you have a microwave, then you can have a baked jacket potato on your plate in mere minutes. In fact, many microwaves have a potato button…
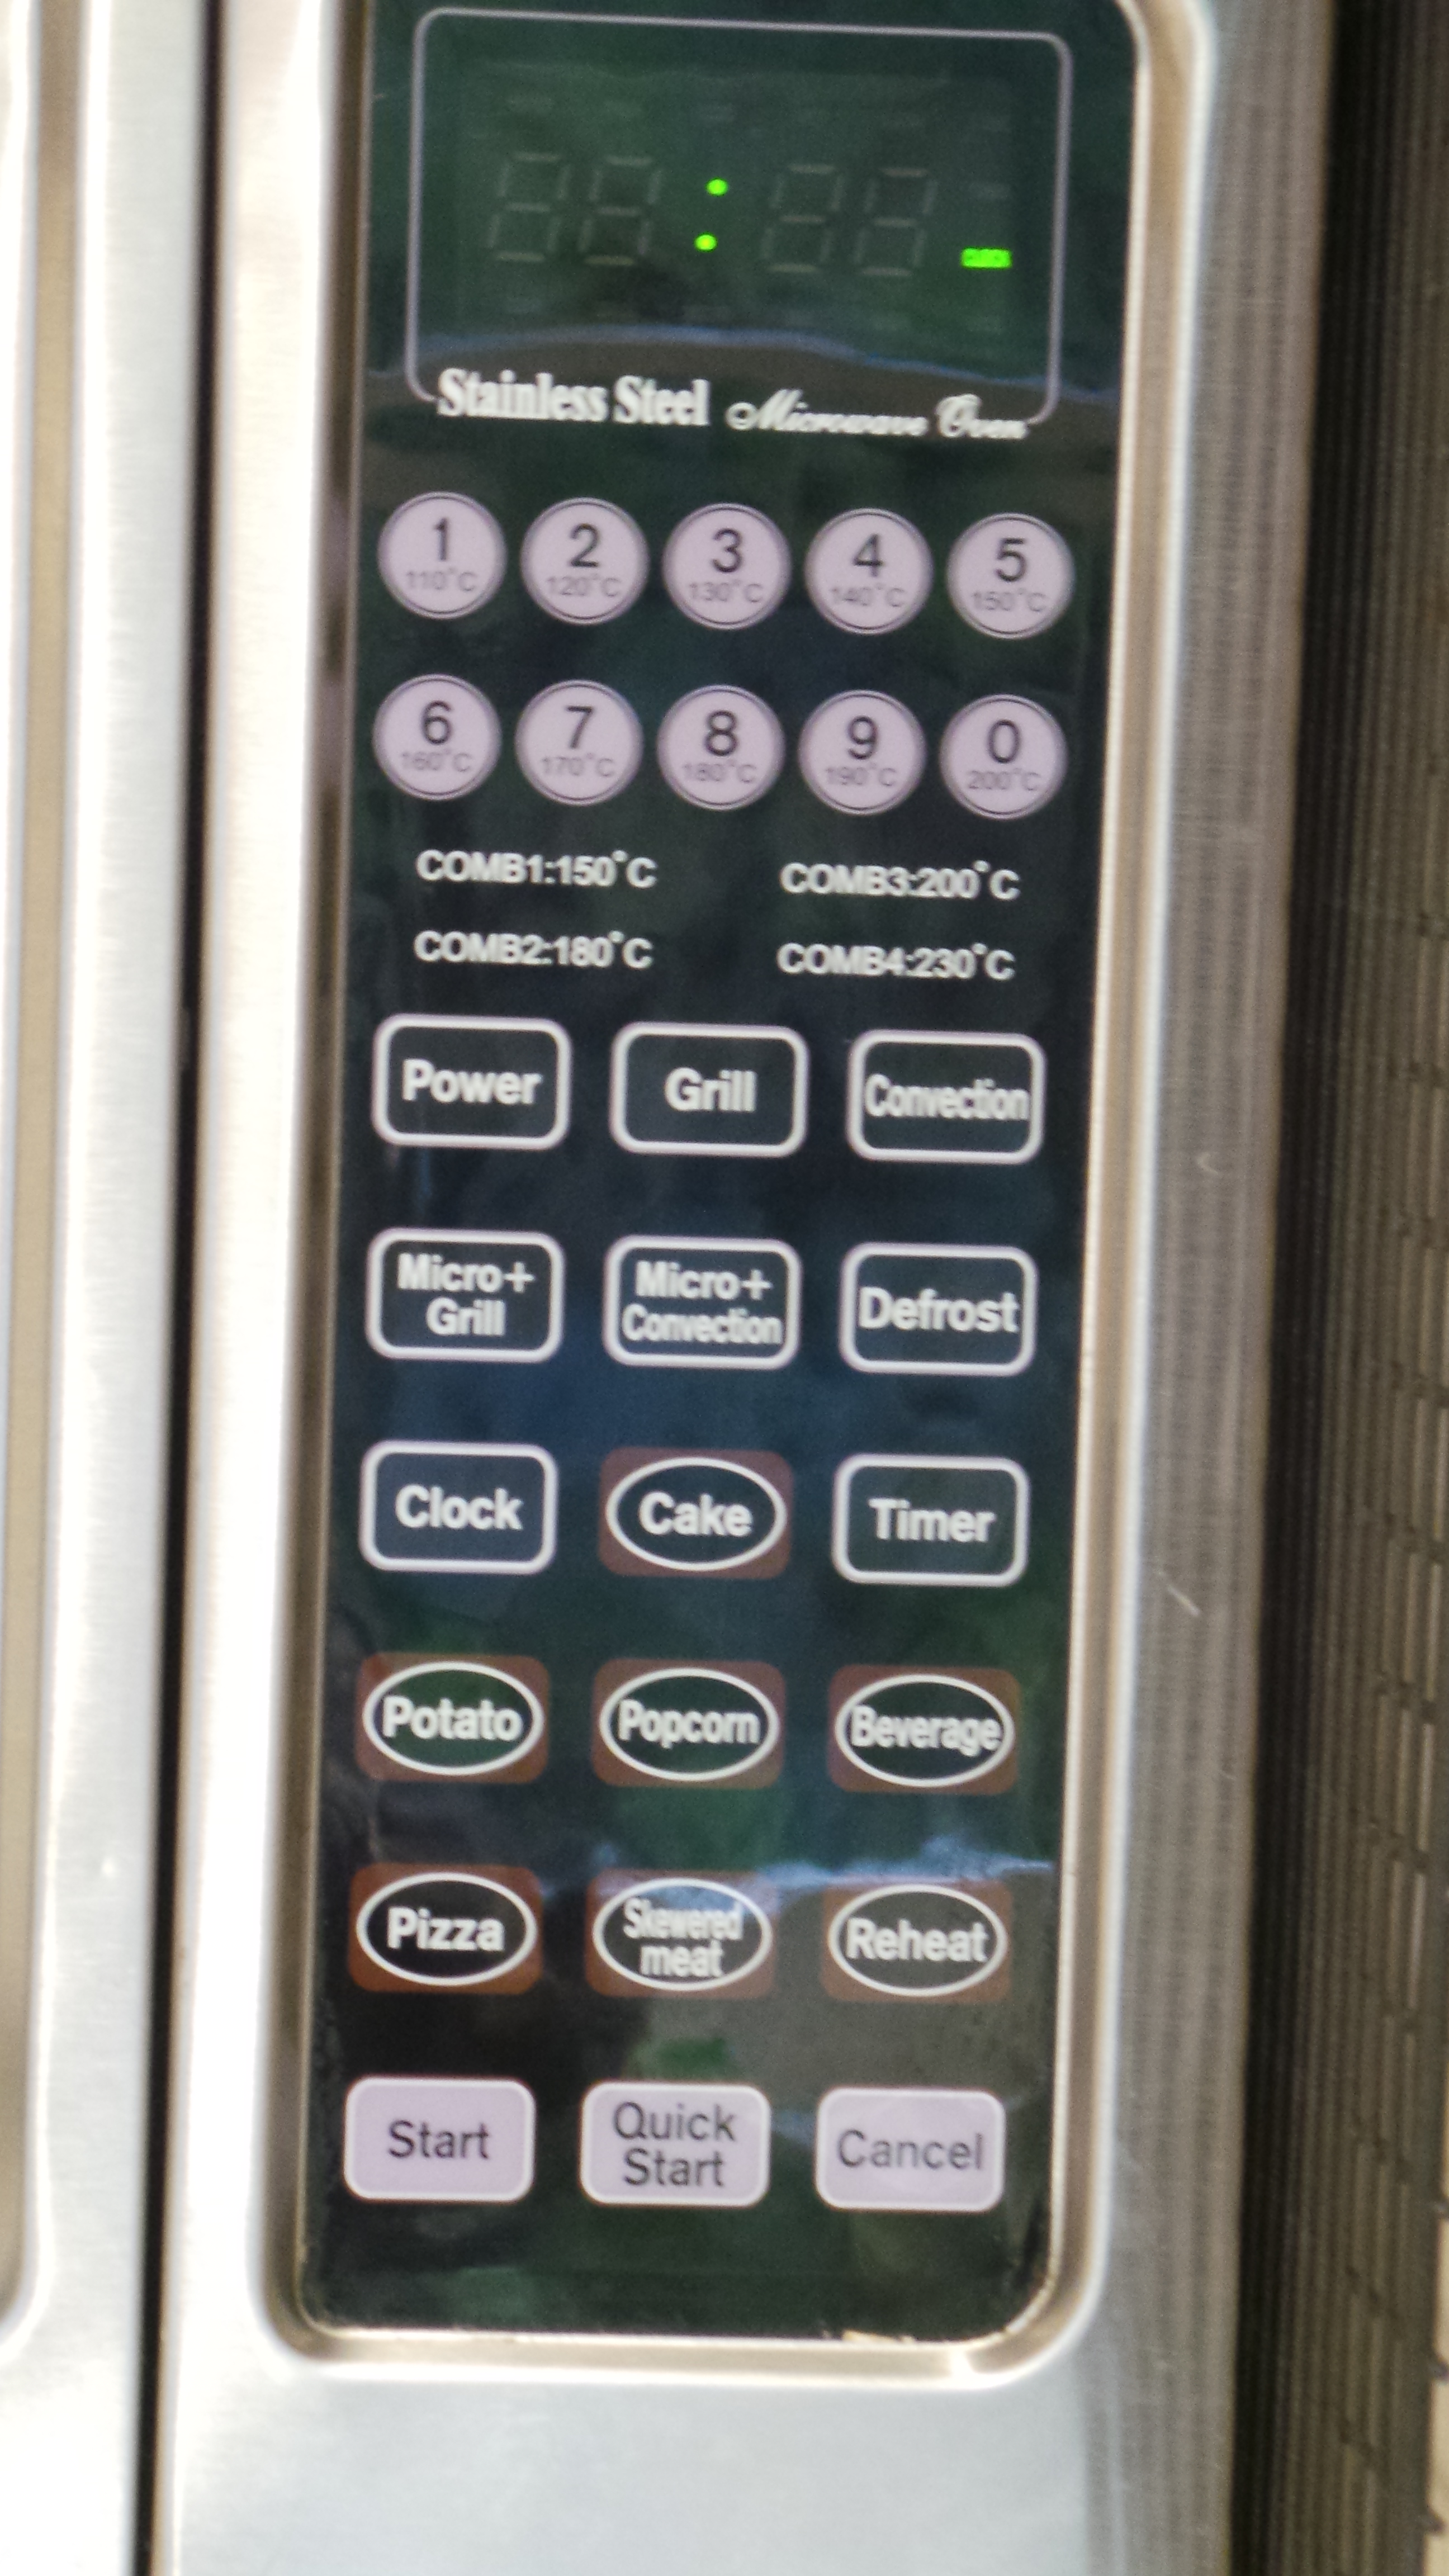
Spot the ‘Potato’ button.
But you can still do this even if your particular zapper doesn’t.
First, you need a potato.
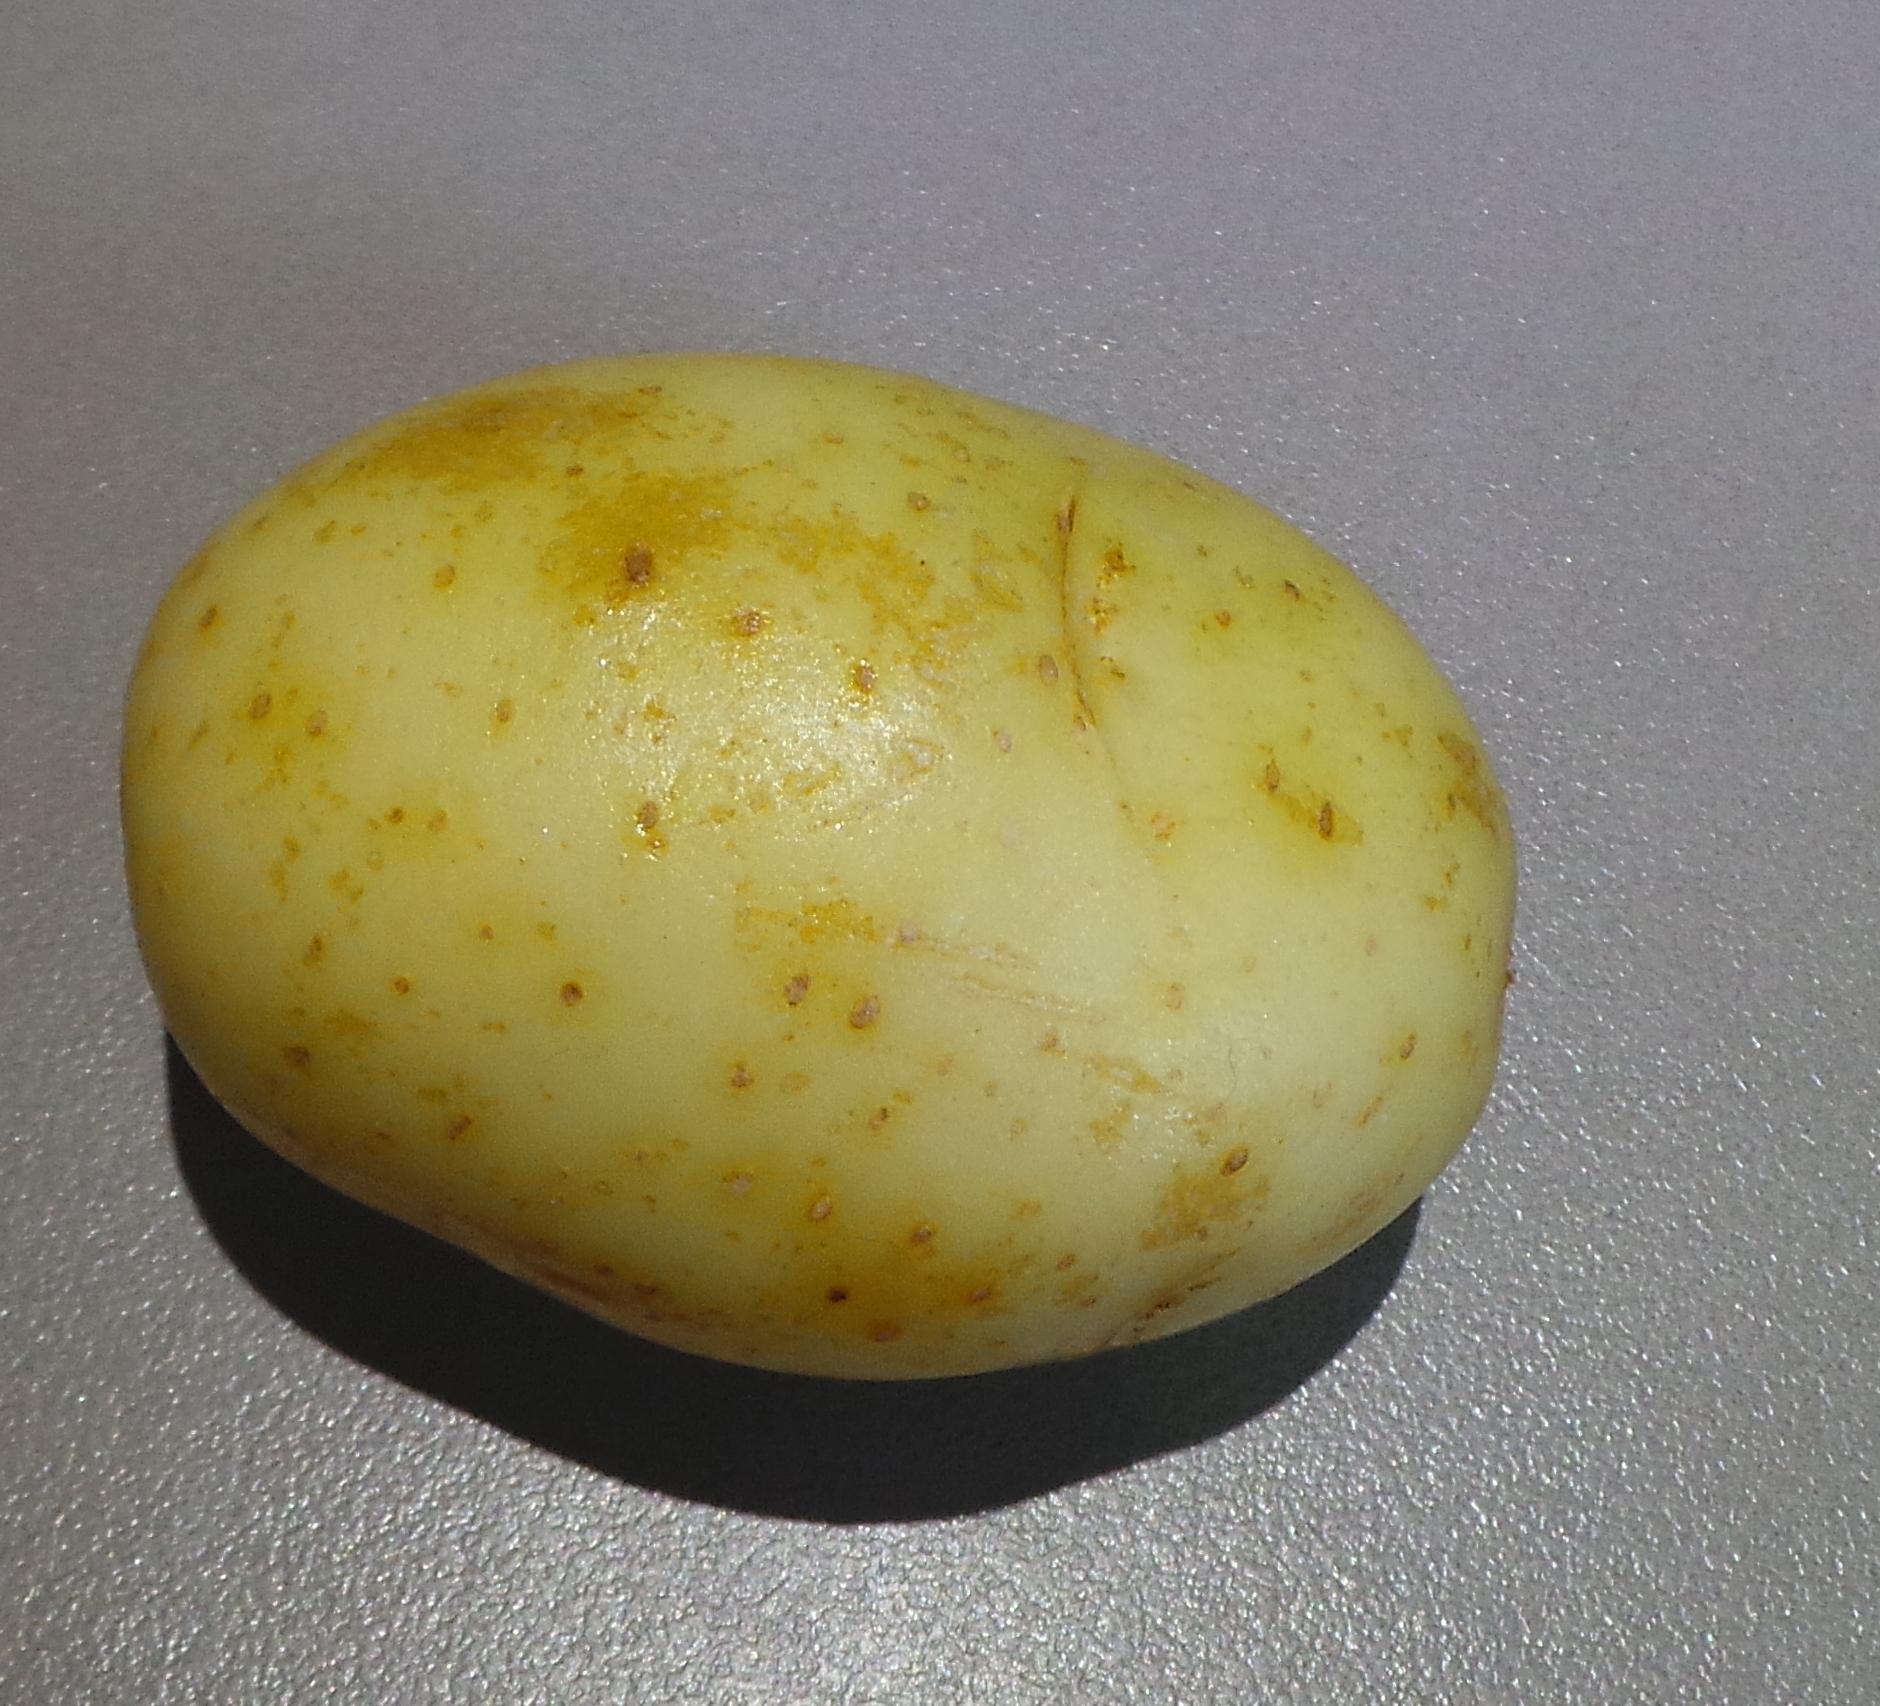
This is a potato.
I buy washed potatoes. I know they are cheaper unwashed, but I don’t enjoy scrubbing them and I refuse to peel potatoes on the grounds of good nutrition. So there.
When I choose my potatoes, I try to buy ones that fit nicely into the palm of my hand. That is a decent serving size for me. You might like your potatoes larger. Go for it.
Wash your potato and then prick it in several different places using the tines of a fork.
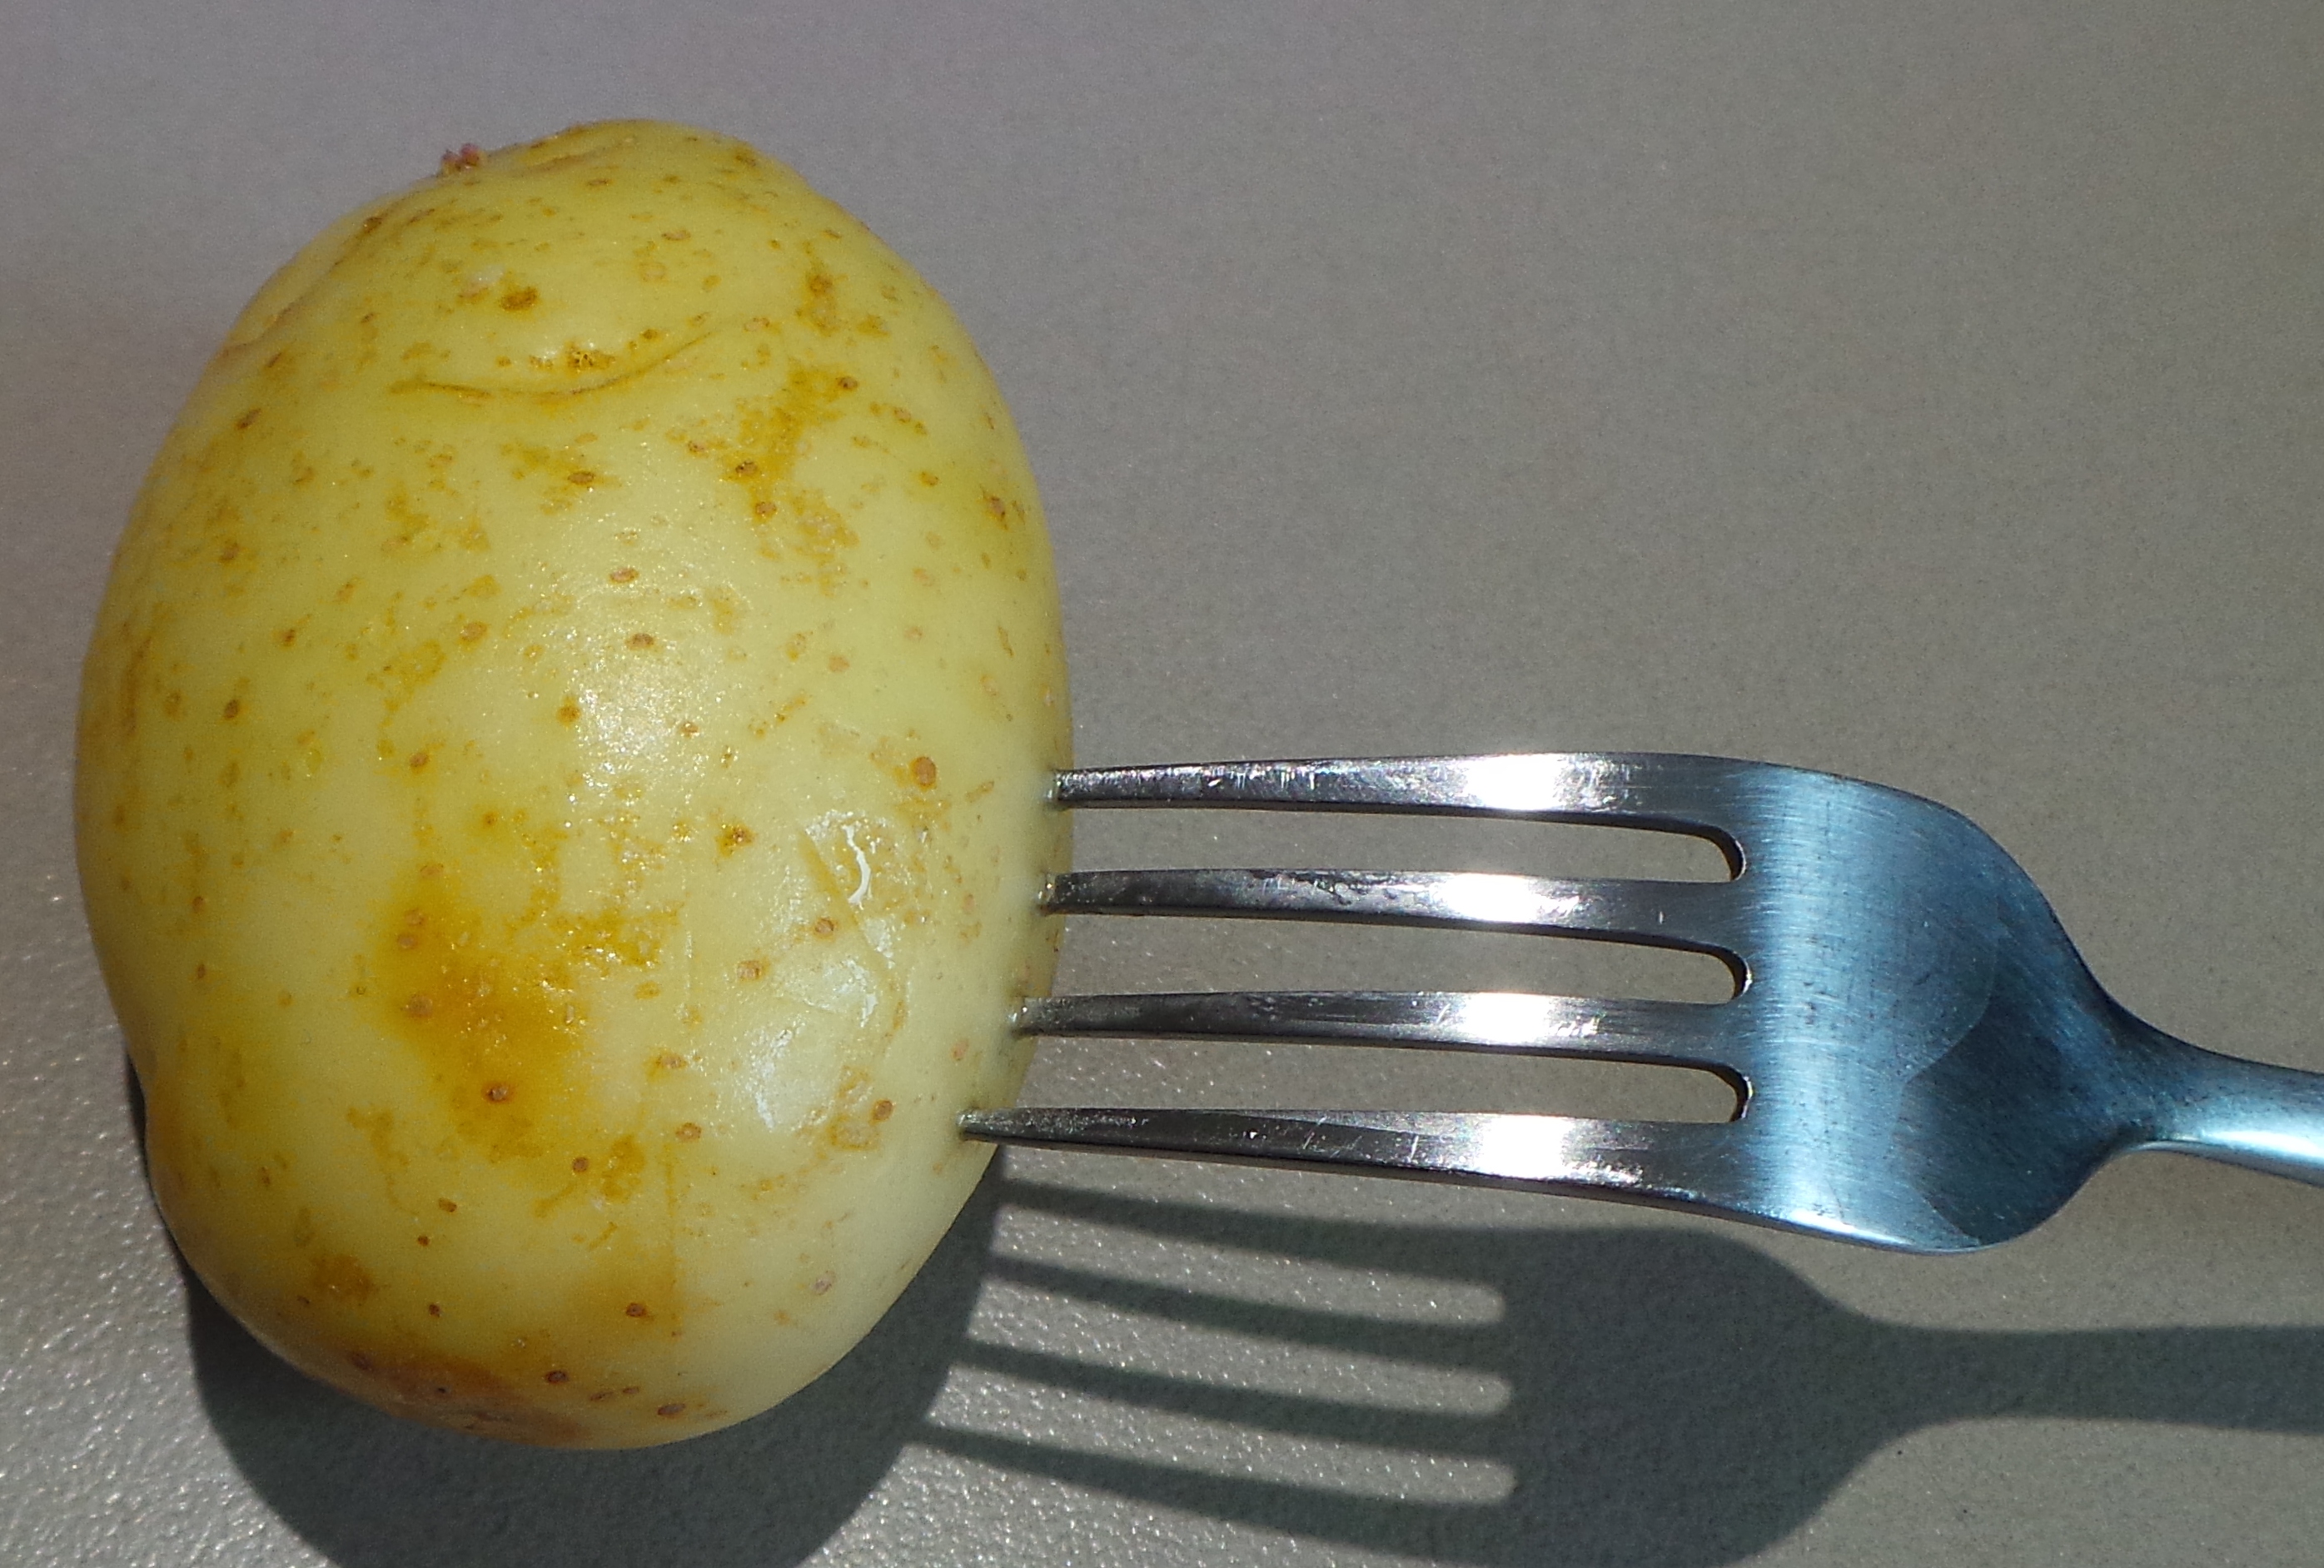
Pierce your potato’s skin.
Don’t skip this step. You need to do this or your potato will explode while you are cooking it. Now wrap it in a sheet of paper towel, like so.

Gift wrapped potato.
Put it into your microwave and either use the potato program – my microwave requires me to press “potato” and then the number of items, followed by “cook” – or input cooking times yourself.
This can vary depending on the size of your spud. Try starting with 3 mins 30 sec at 80% power and work your way up from there. You’ll know your potato is cooked when the fork you used to puncture the skin will go into the flesh easily.
Warning: The potato will be HOT. Take proper precautions when handling it.

Check that it is done.
Then place it on a plate or into a bowl. You can eat it just like this, if you wish, but I like to top mine.
Cut a cross in the flattest side, opening up the potato like so:

That already looks good.
We like to top ours with some home-made Baked Beans. I keep little jars of these in our freezer for meals like this, you can use store bought canned baked beans if you have them – any flavour you like.

Home-made cider baked beans.
Top your potato with the beans, cover and put it back into the microwave for a further minute at 100% power.

Ready to heat.
While it heats, get some grated cheese out of the fridge (or grate some). Top your potato and beans.
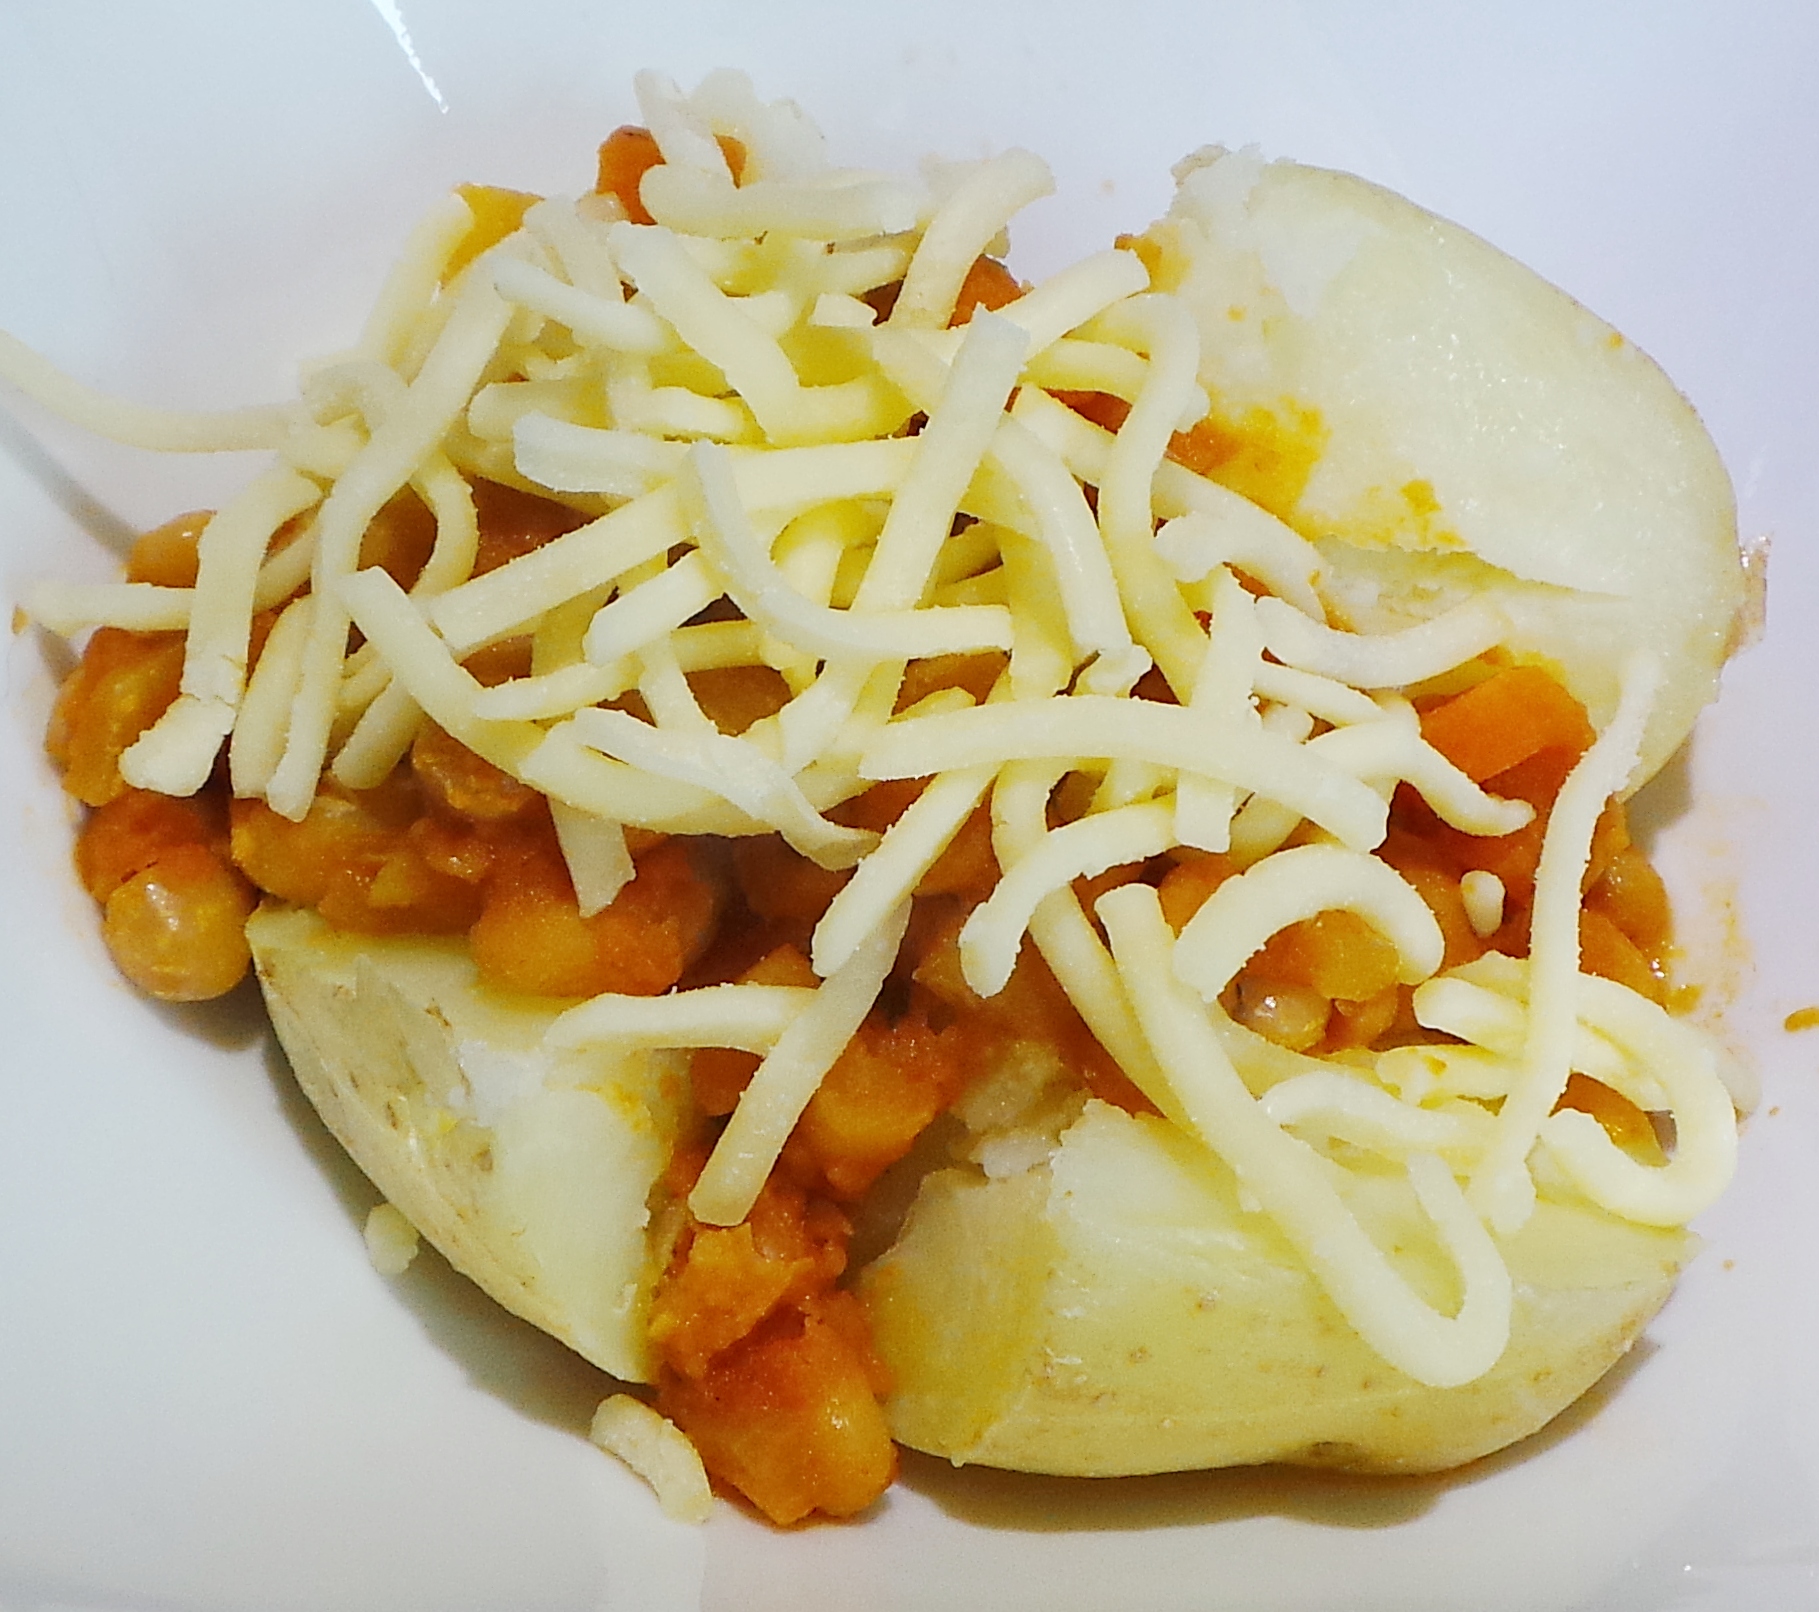
Top with a sprinkling of shredded tasty cheese or mozzarella.
Return to the microwave, covered, for a further 30 seconds on 100%.
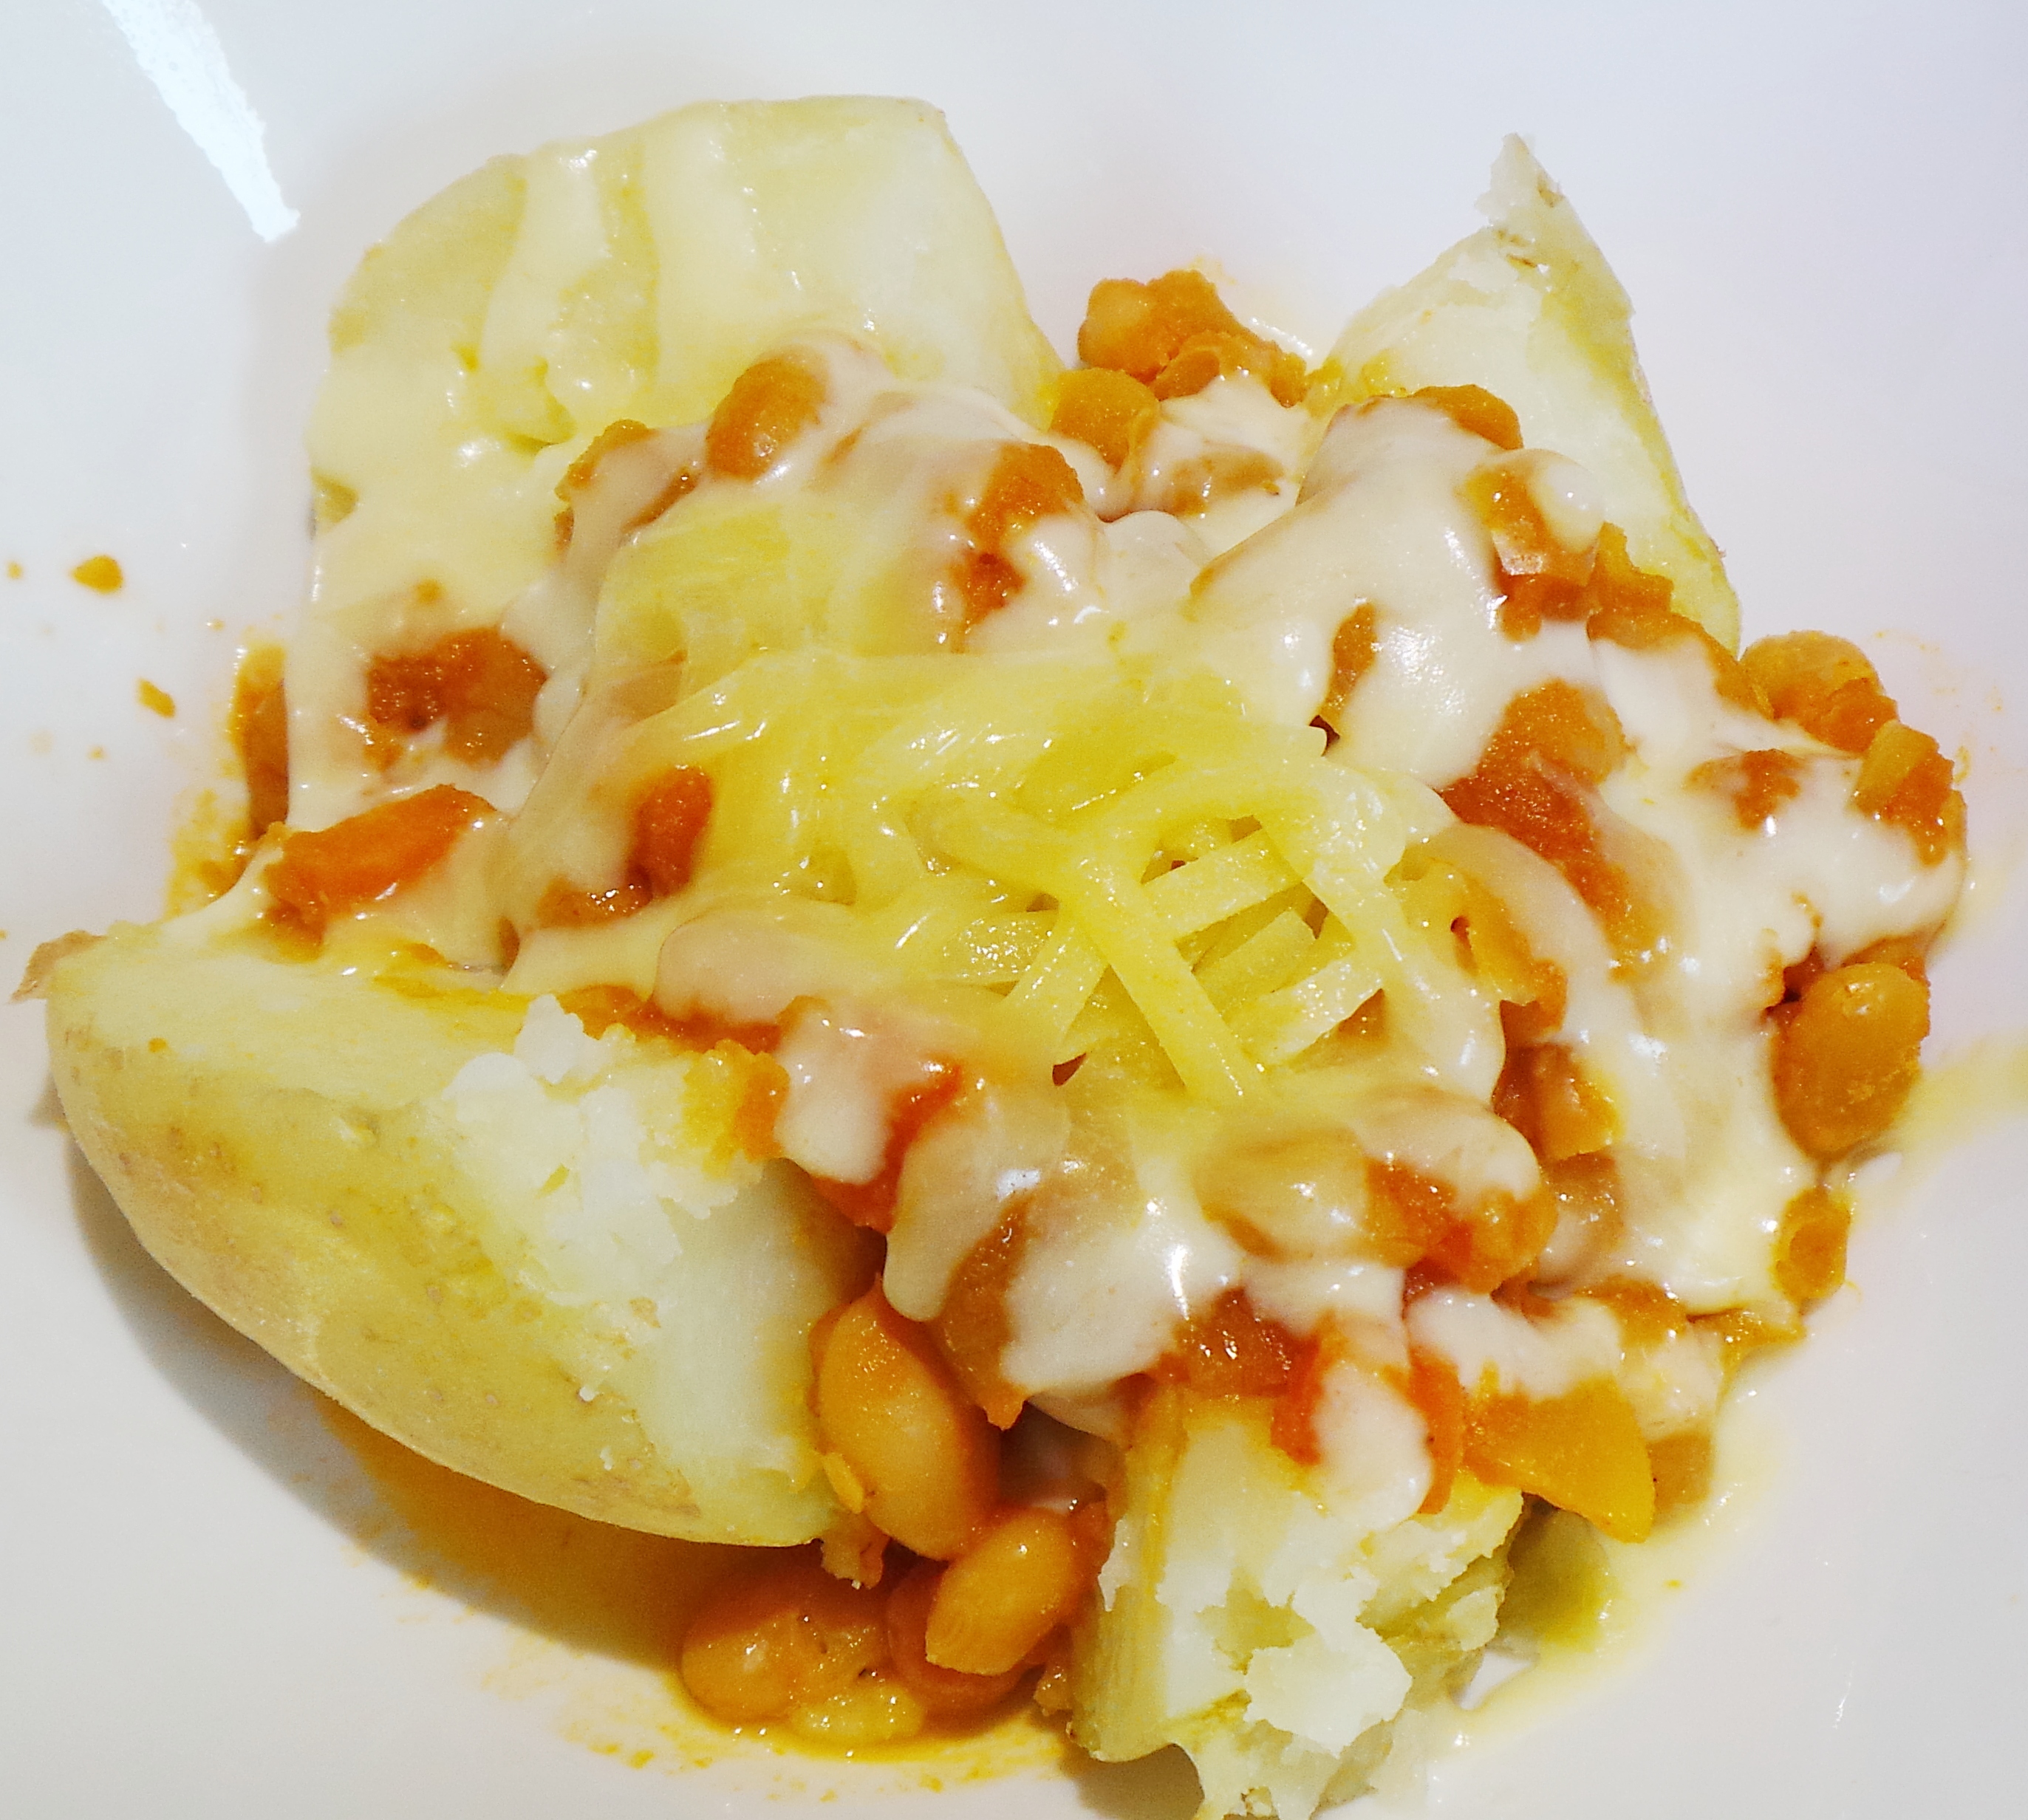
Melt your cheese.
Eat.
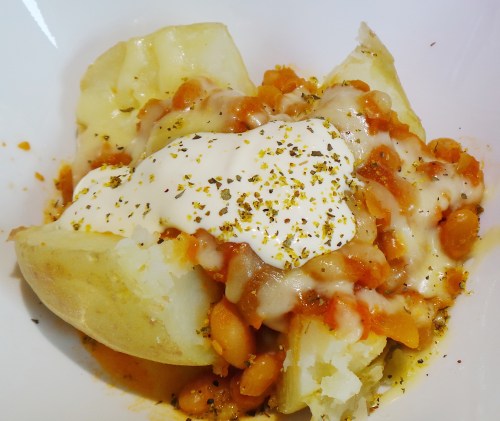
Or, if you want to be really decadent, add a spoonful of sour cream and a sprinkling of mixed herbs or lemon pepper.

I’m feeling peckish now.
That, my friends, is a decent lunch in under 5 minutes.
Variations:
- Try topping with a mixture of diced ham, cheese and pineapple for an Hawaiian Pizza feel.
- Try a tin of three or four bean mix instead of the baked beans, add some pesto and bacon bits.
- Try topping the baked potato with cheese and serving topped with some mixed frozen vegetables that have been cooked separately.