This post could quite easily be titled “Yummy things made from bits and pieces in the fridge” but it doesn’t have quite the same ring to it.
It’s true, however.
I came up with this recipe to use a heap of bits that were cluttering up my refrigerator. I had some tri-colour quinoa that was left over from something else, a bit of feta cheese that needed using, a handful (literally) of shredded mozzarella and half a red capsicum that also needed to be used.
It’s also turned stinking hot here again, after a week of almost chilly weather, and I consider finger food to be the way to go at times like these. Finger food in this house means something more-ish, but not junky.
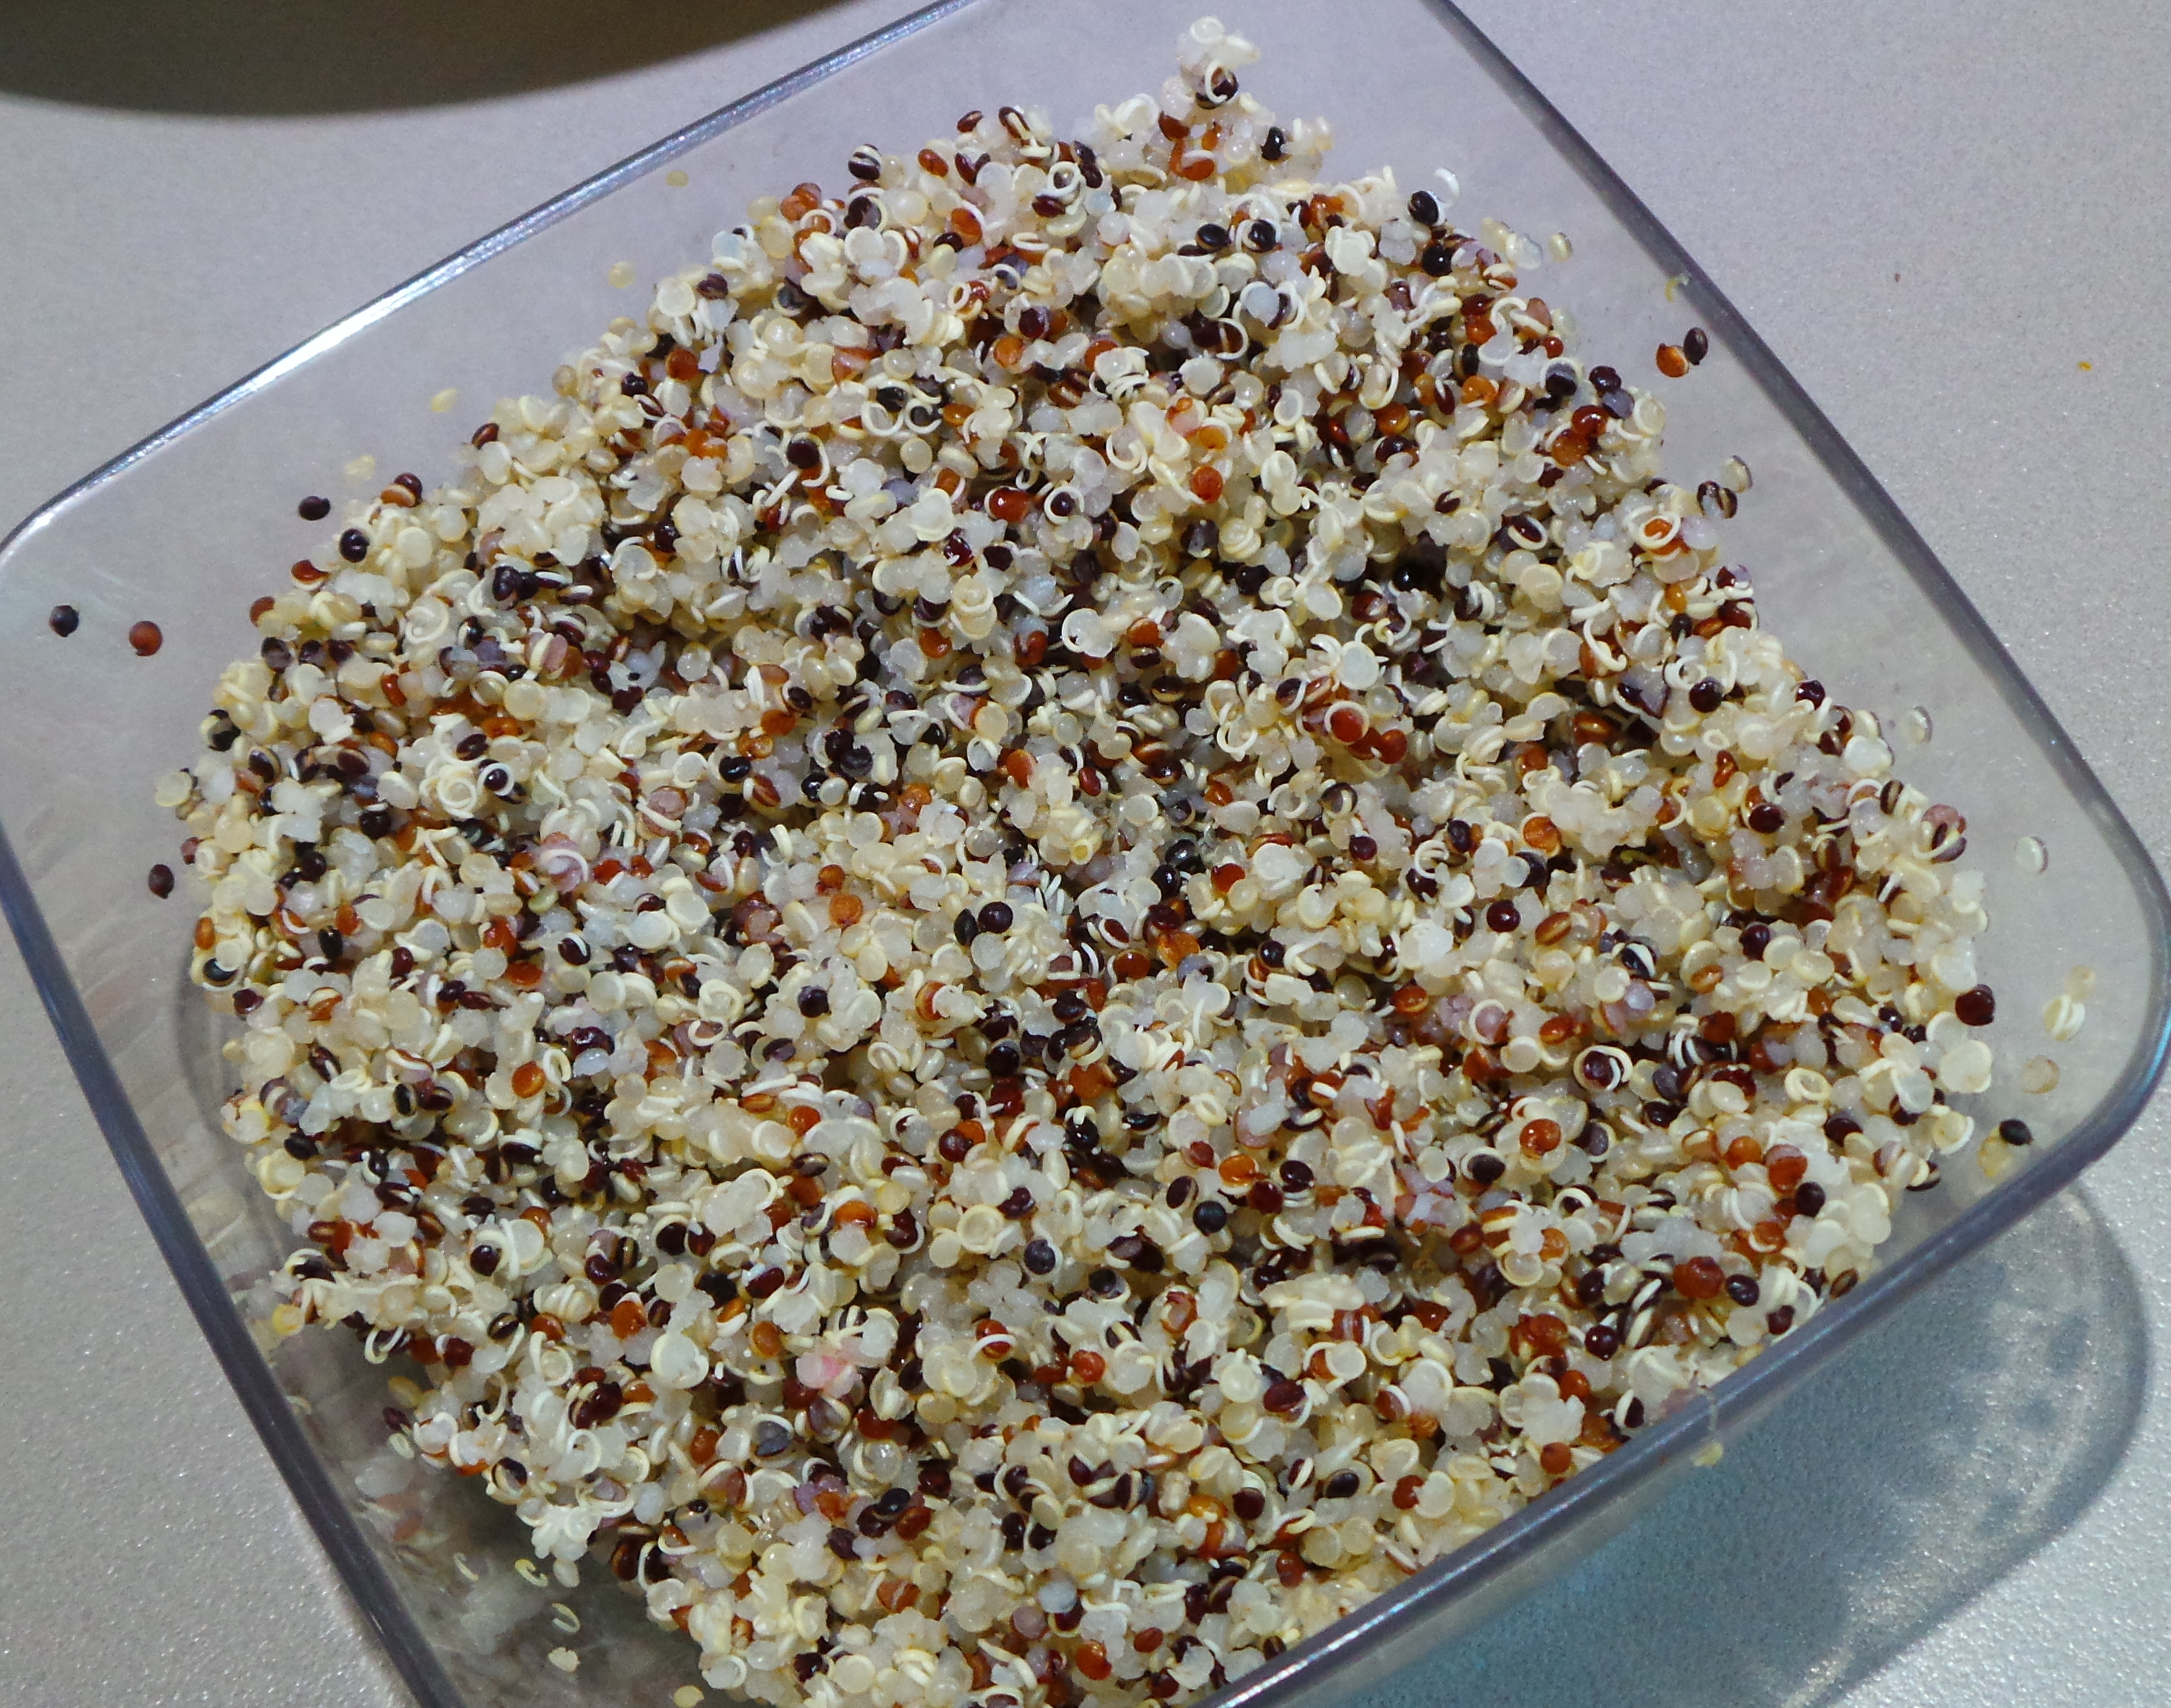
Quinoa can really be quite pretty.
Anyway, I came up with these here yummies to combine all the bits into something that The Boy declared he could, “literally devour by the handful.”
You heard it here first, Folks!
So, I started off with the leftover quinoa. The amount turned out to be two cups worth (which is going to look a whole lot more professional in a recipe), so that’s what I used. If you’ve not cooked quinoa before, you’ll find instructions here. If you don’t have quinoa then cooked rice of any colour or description would also work.
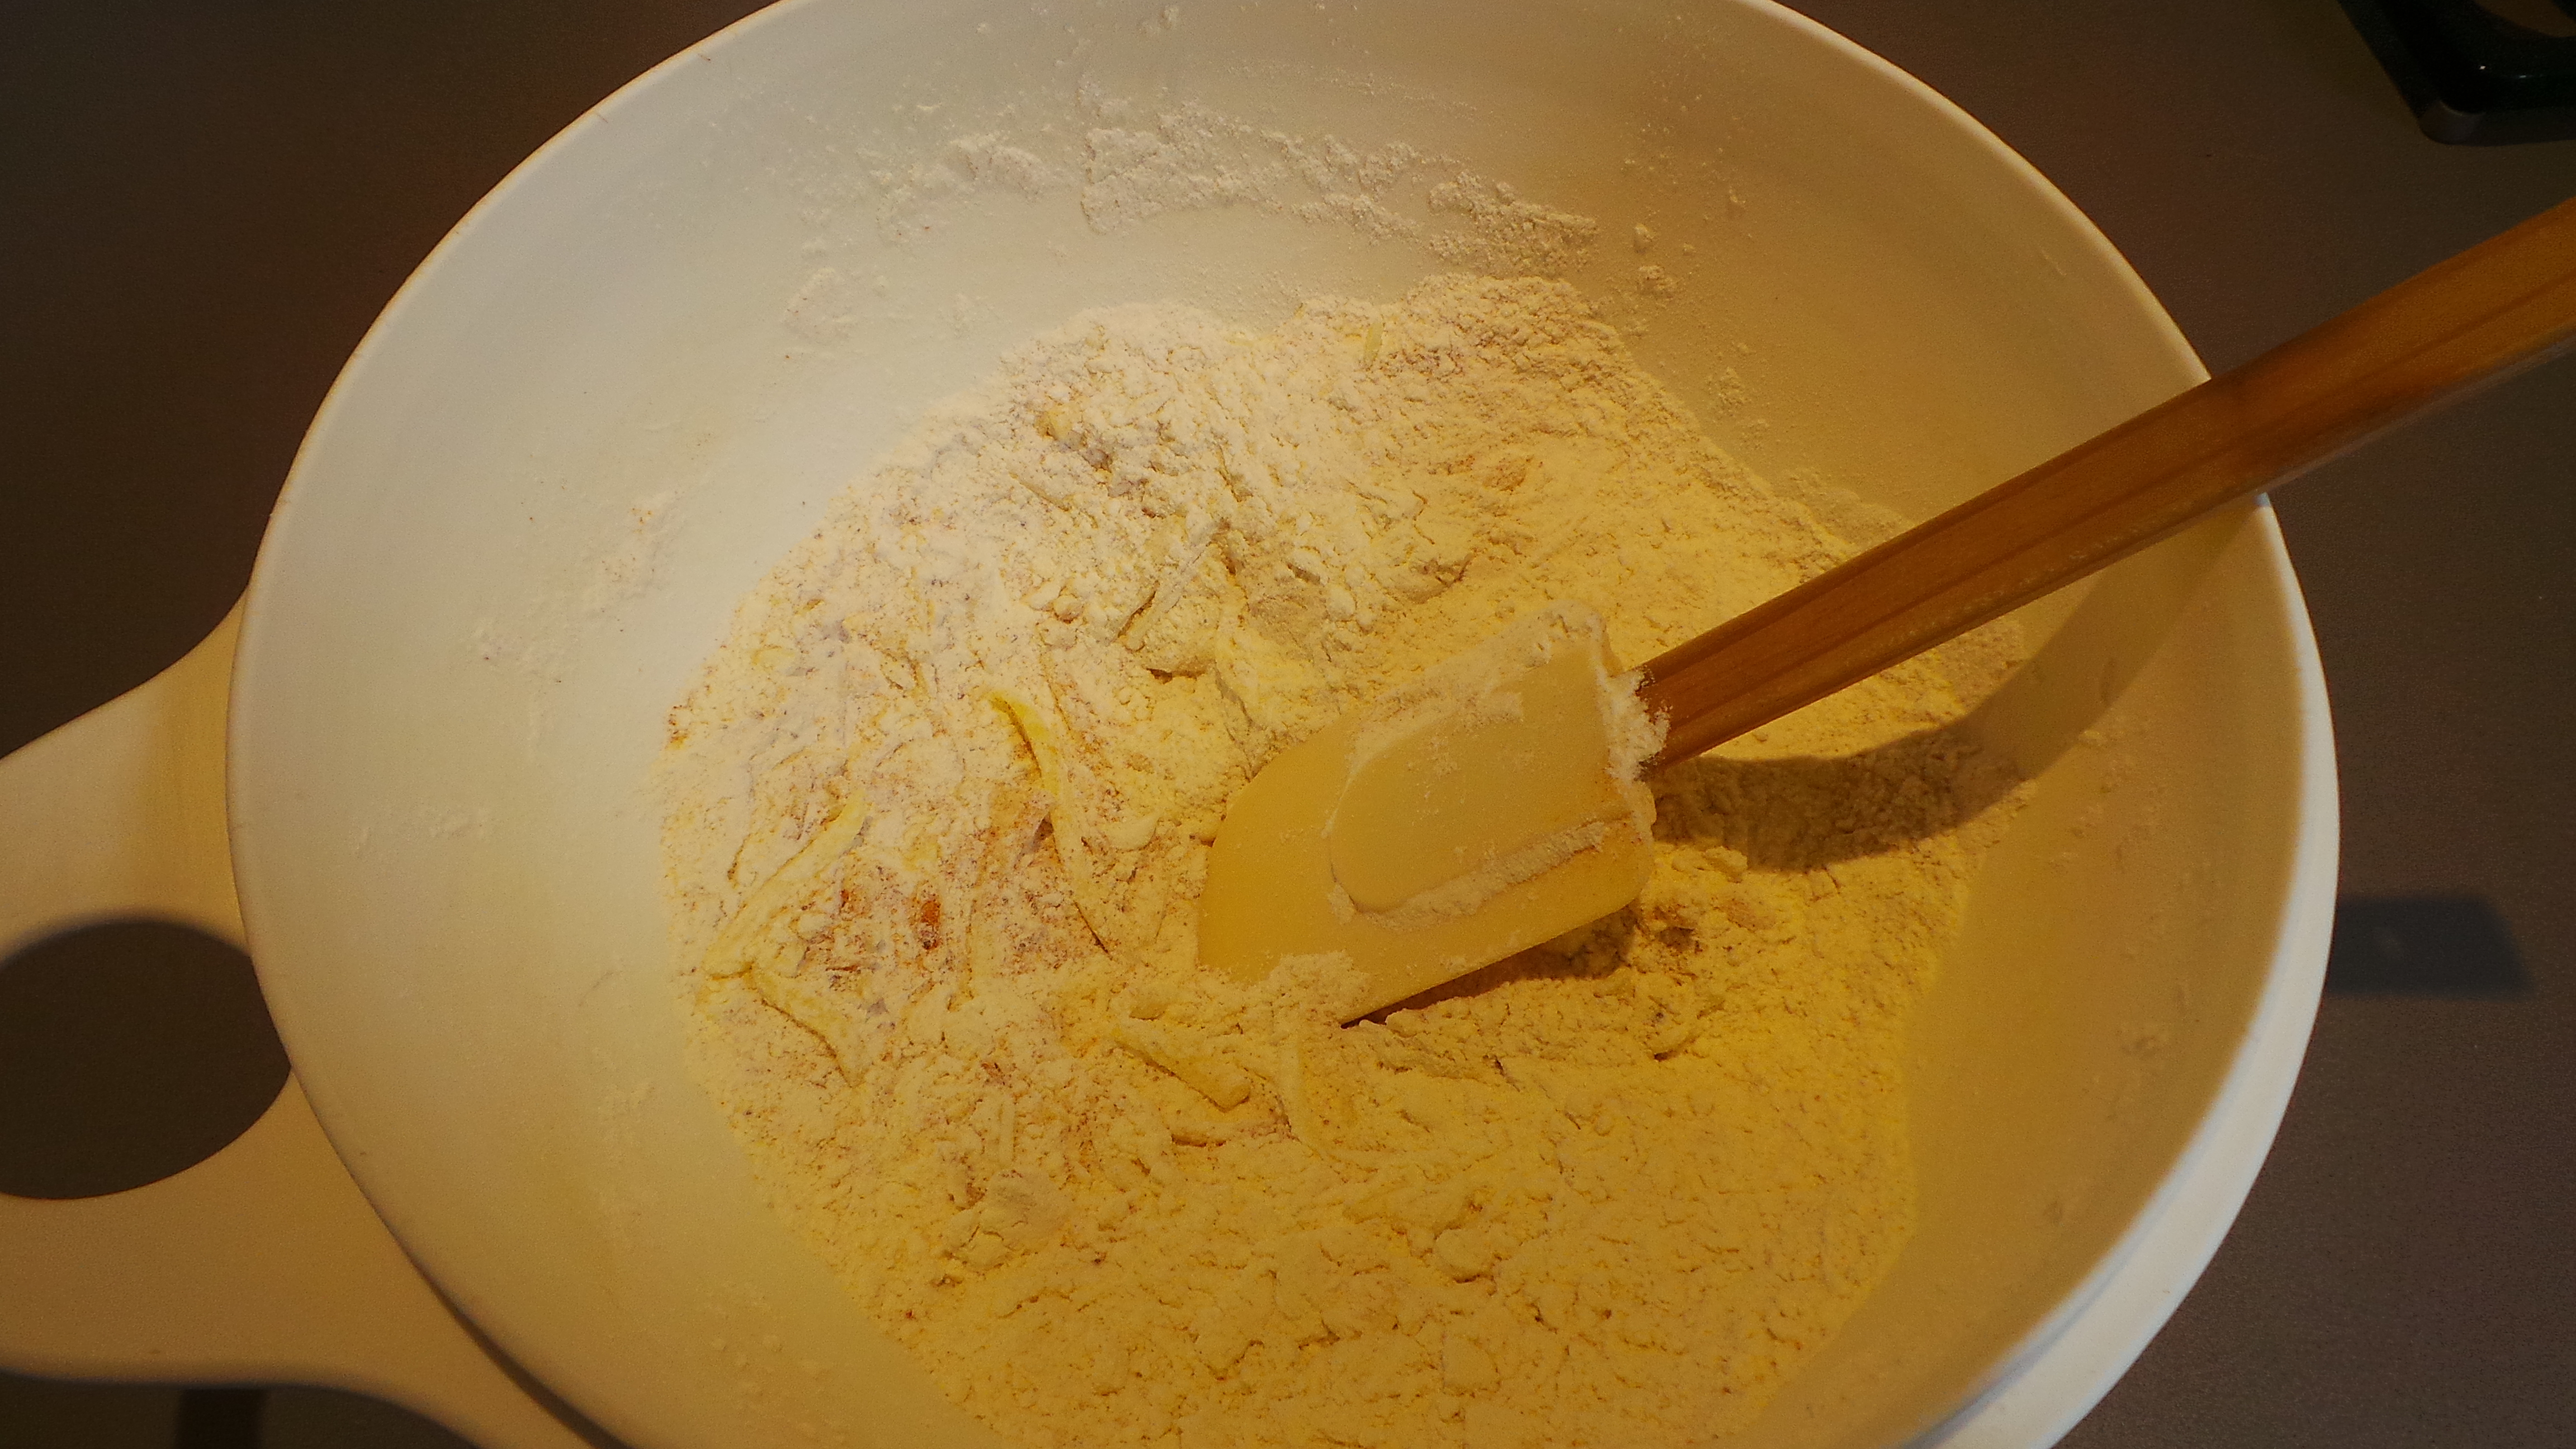
I popped it into a medium sized bowl and stirred in a couple of tablespoons of plain flour to help bind it together (it also gave me time to think about what to do next). If you have a celiac in your family then gluten-free flour will work too.
I’d decided that I wanted to make it a Mediterranean flavoured …whatever… so I added a tablespoonful of an Italian Mixed Herb blend that I had and a teaspoon of minced garlic. From a jar. Sue me.
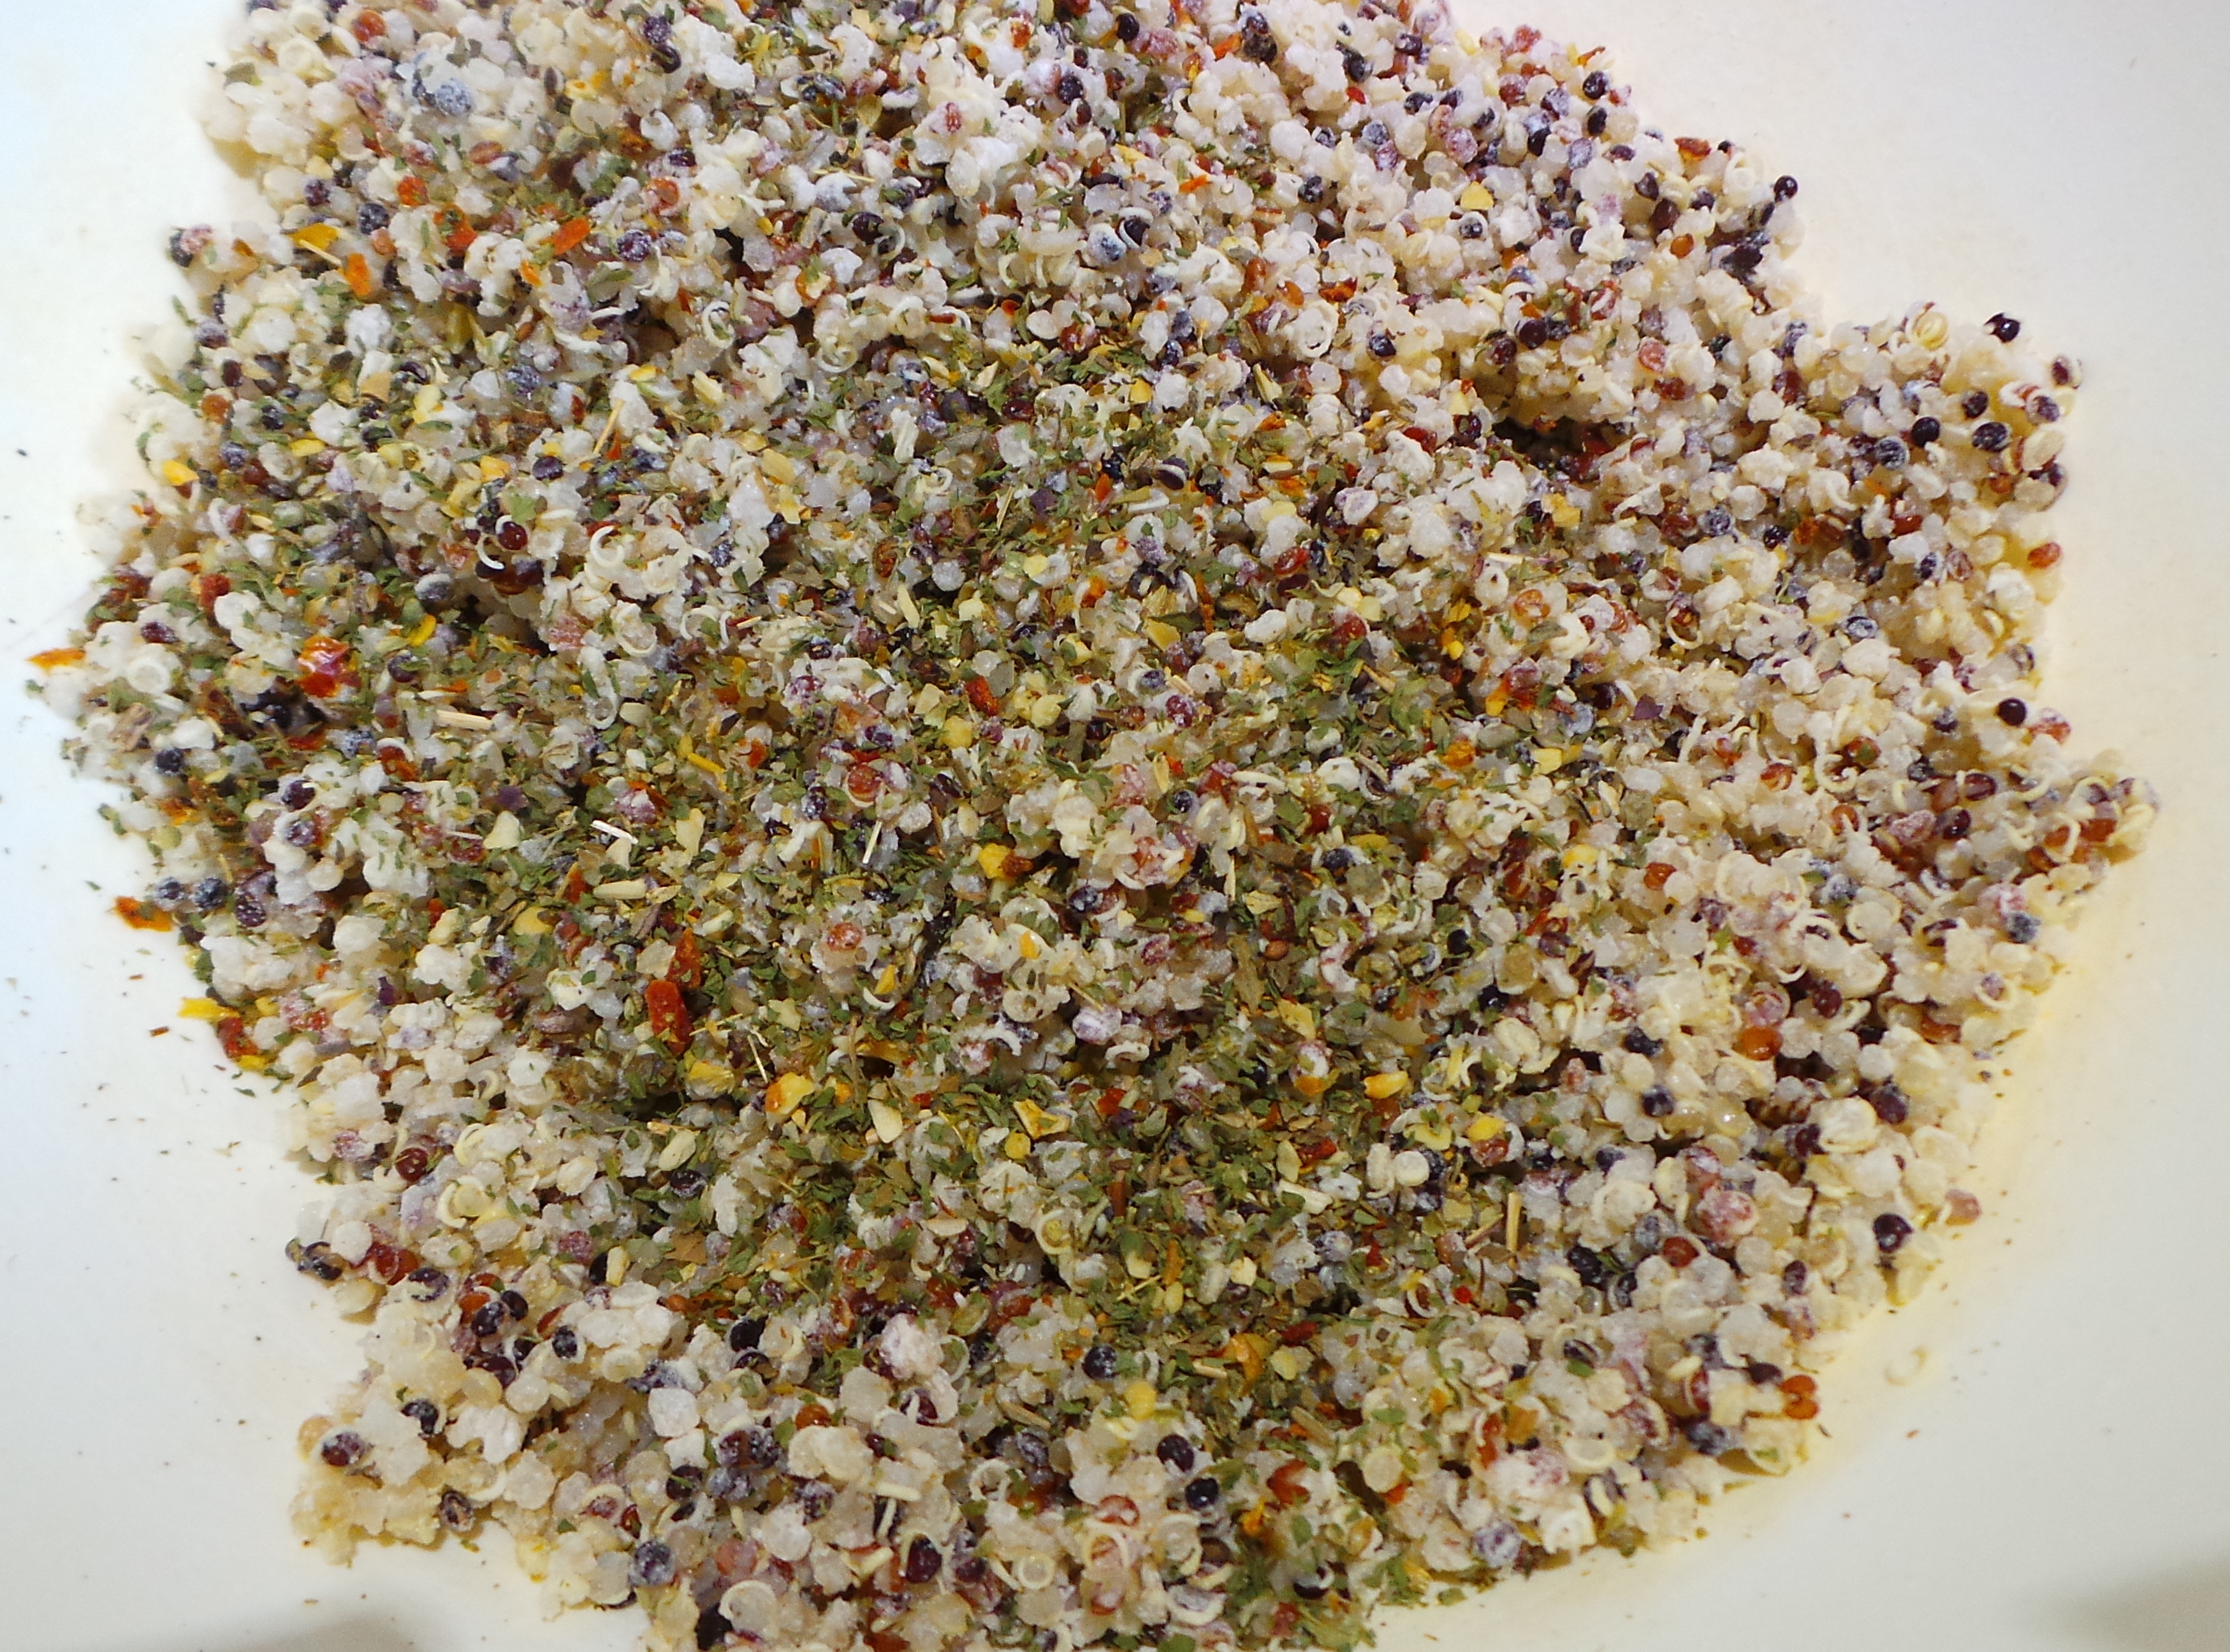
Still pretty.
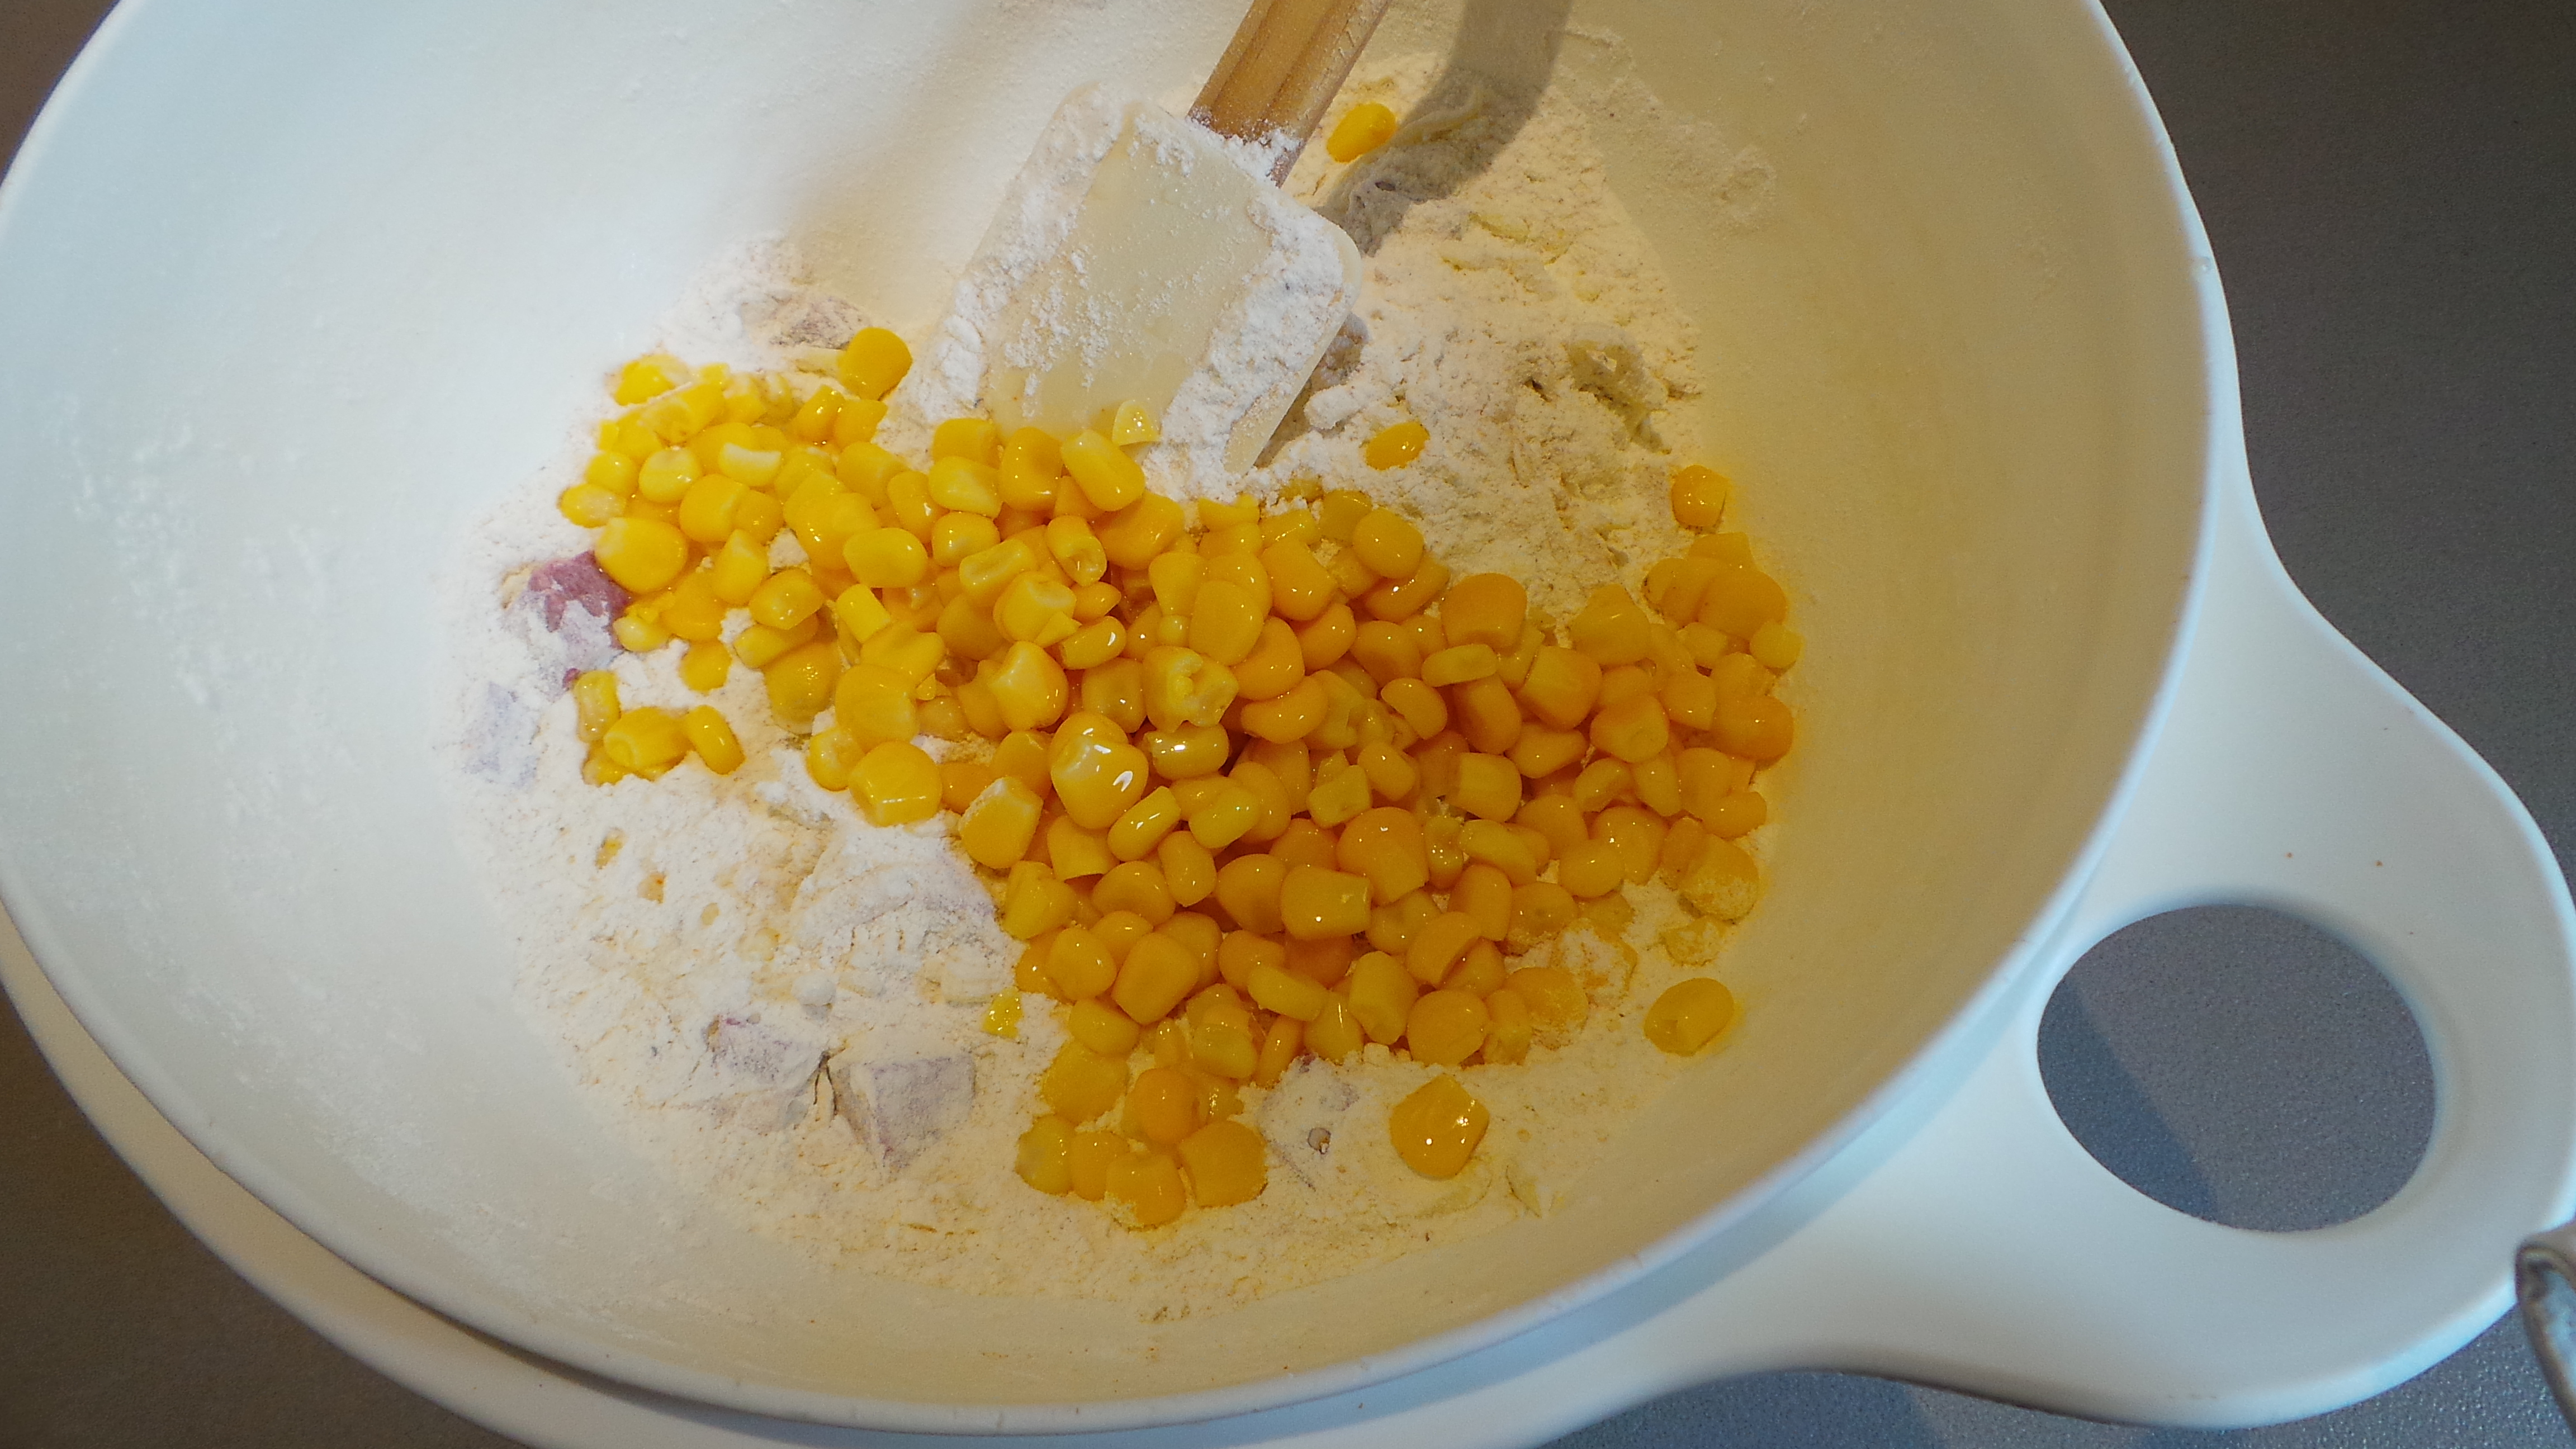
That was all mixed through quite thoroughly, then the red capsicum was diced and added. I was glad it was in there when I saw the finished products as it gave a pop of colour to something that might have been too beige.
Moving on. I also had one spring (green) onion so I sliced it up and added it too. Why not?
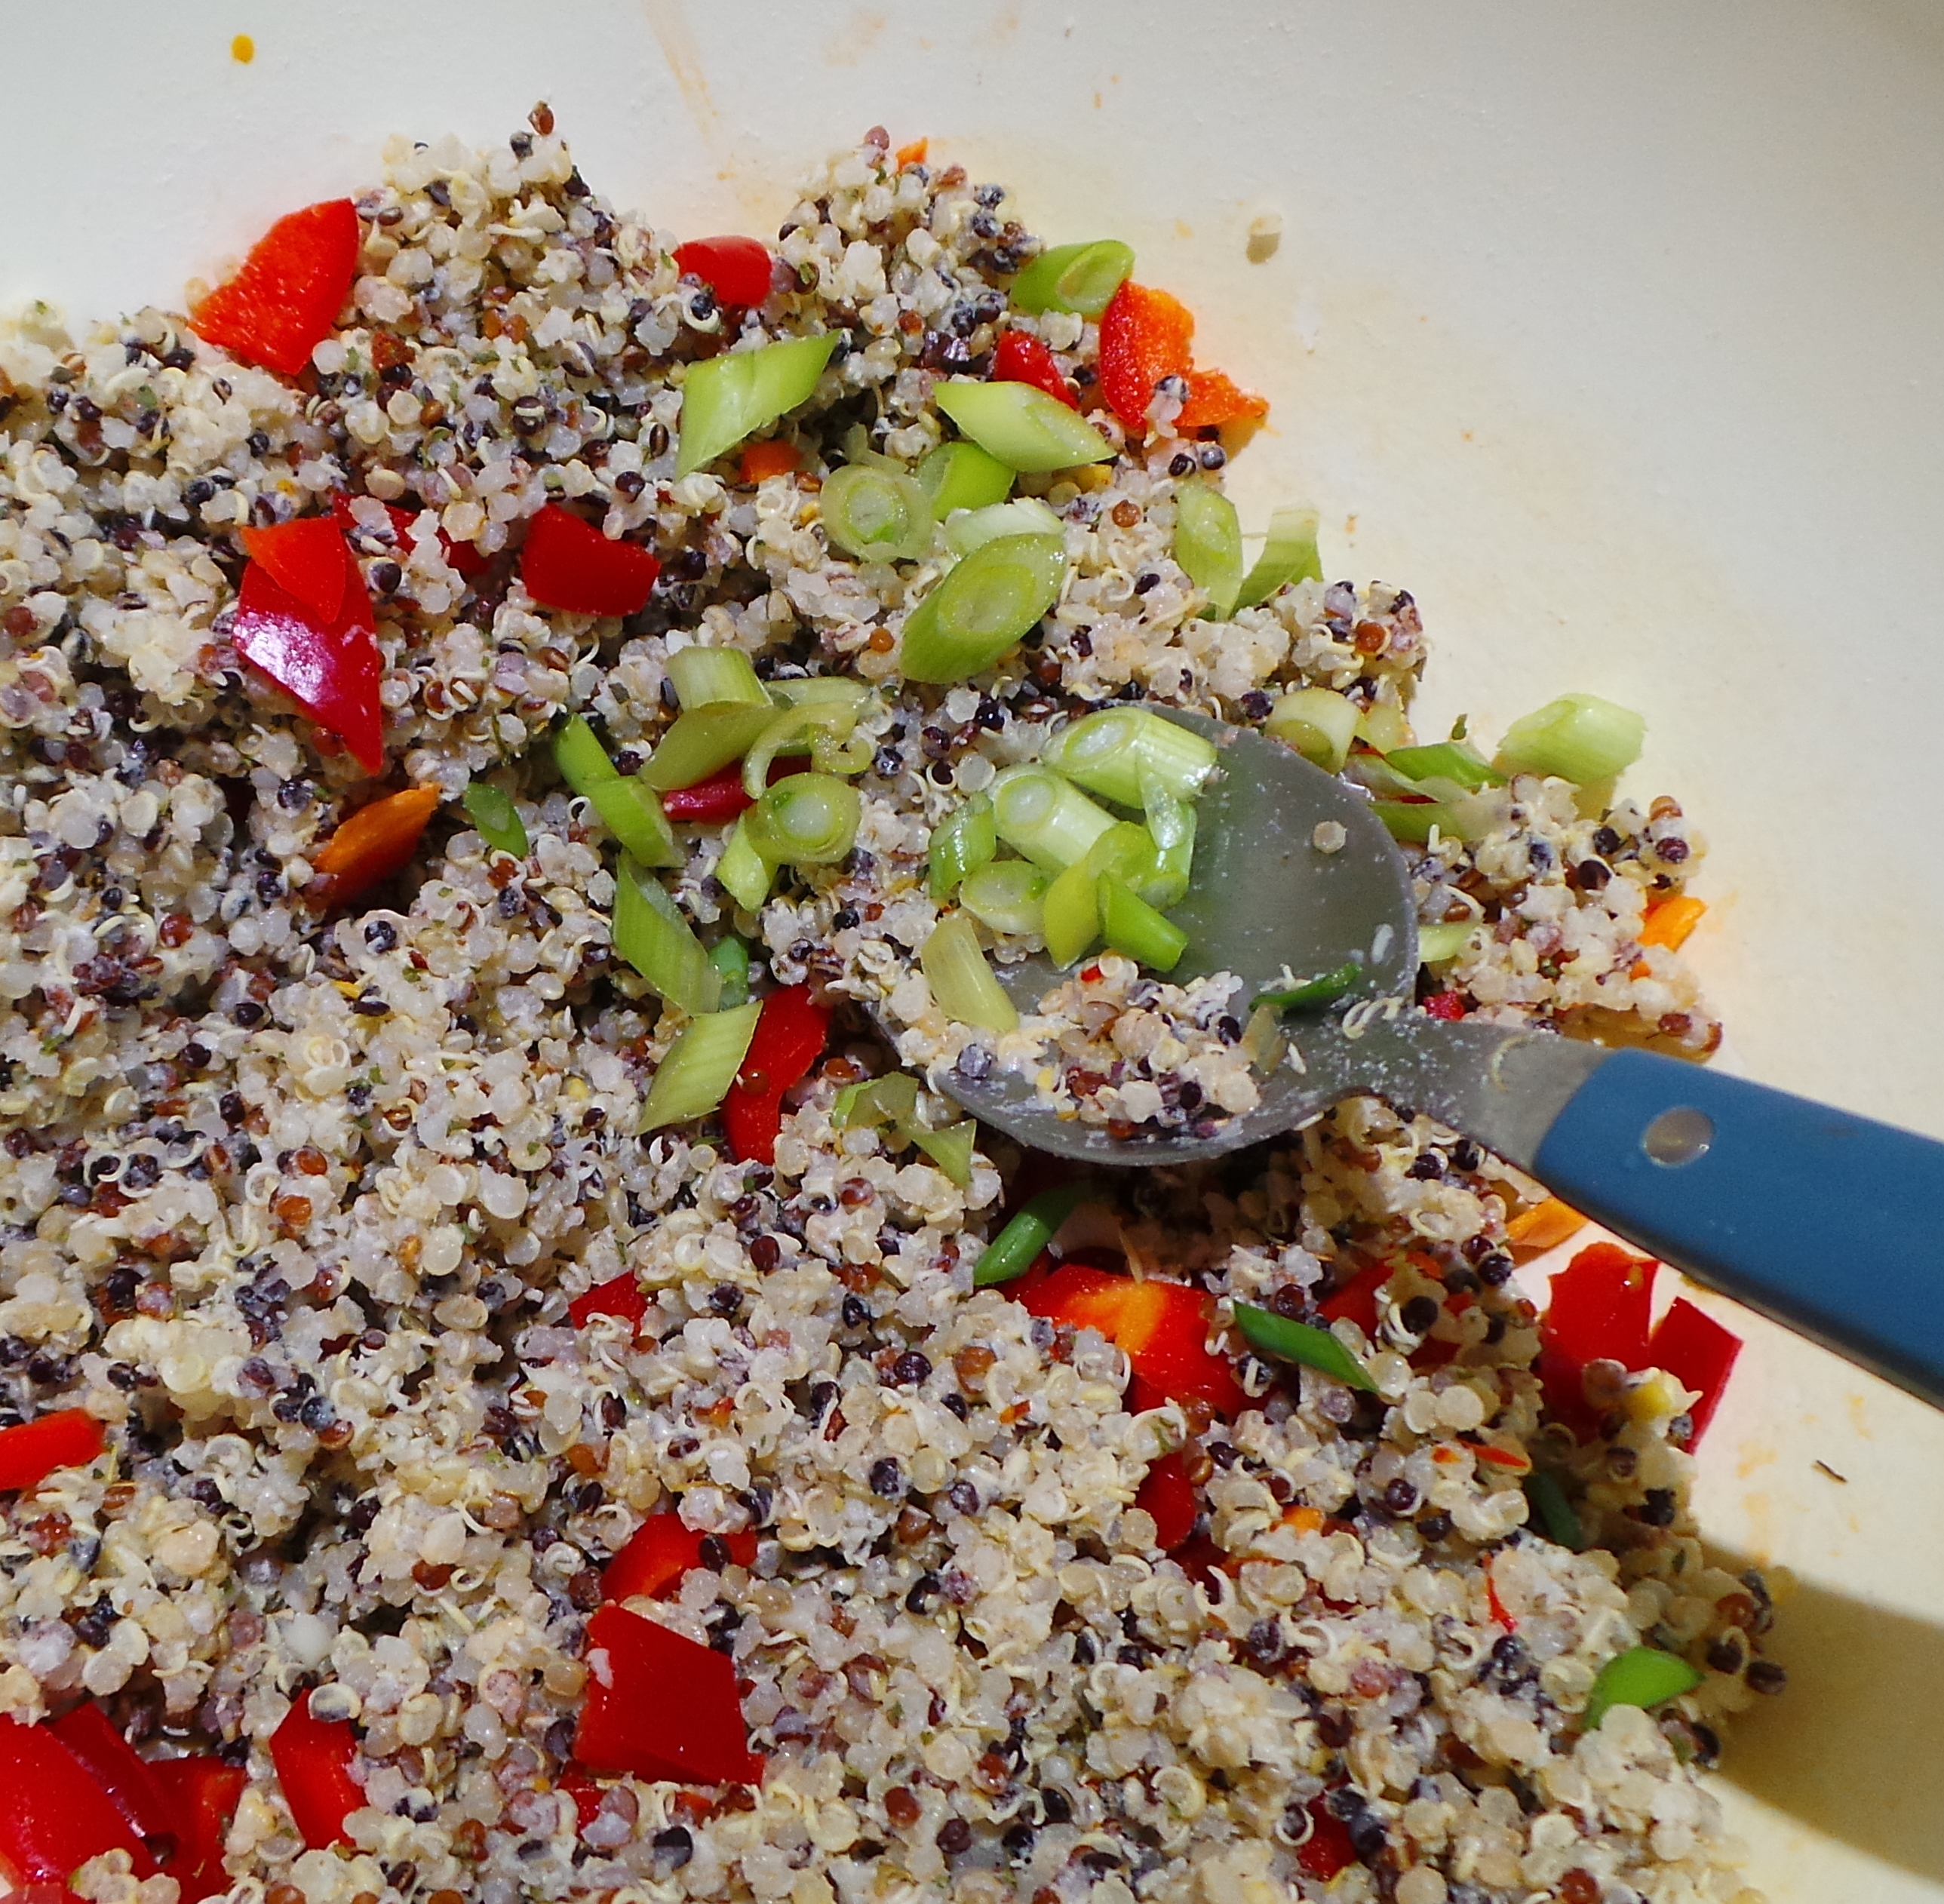
Confetti-like capsicum and scallions
Next the Mozzarella went in and I contemplated the feta. I’m not a fan of feta, but The Boy loves it. However, I adore black olives, so I pitted and minced three of those and stirred them through.
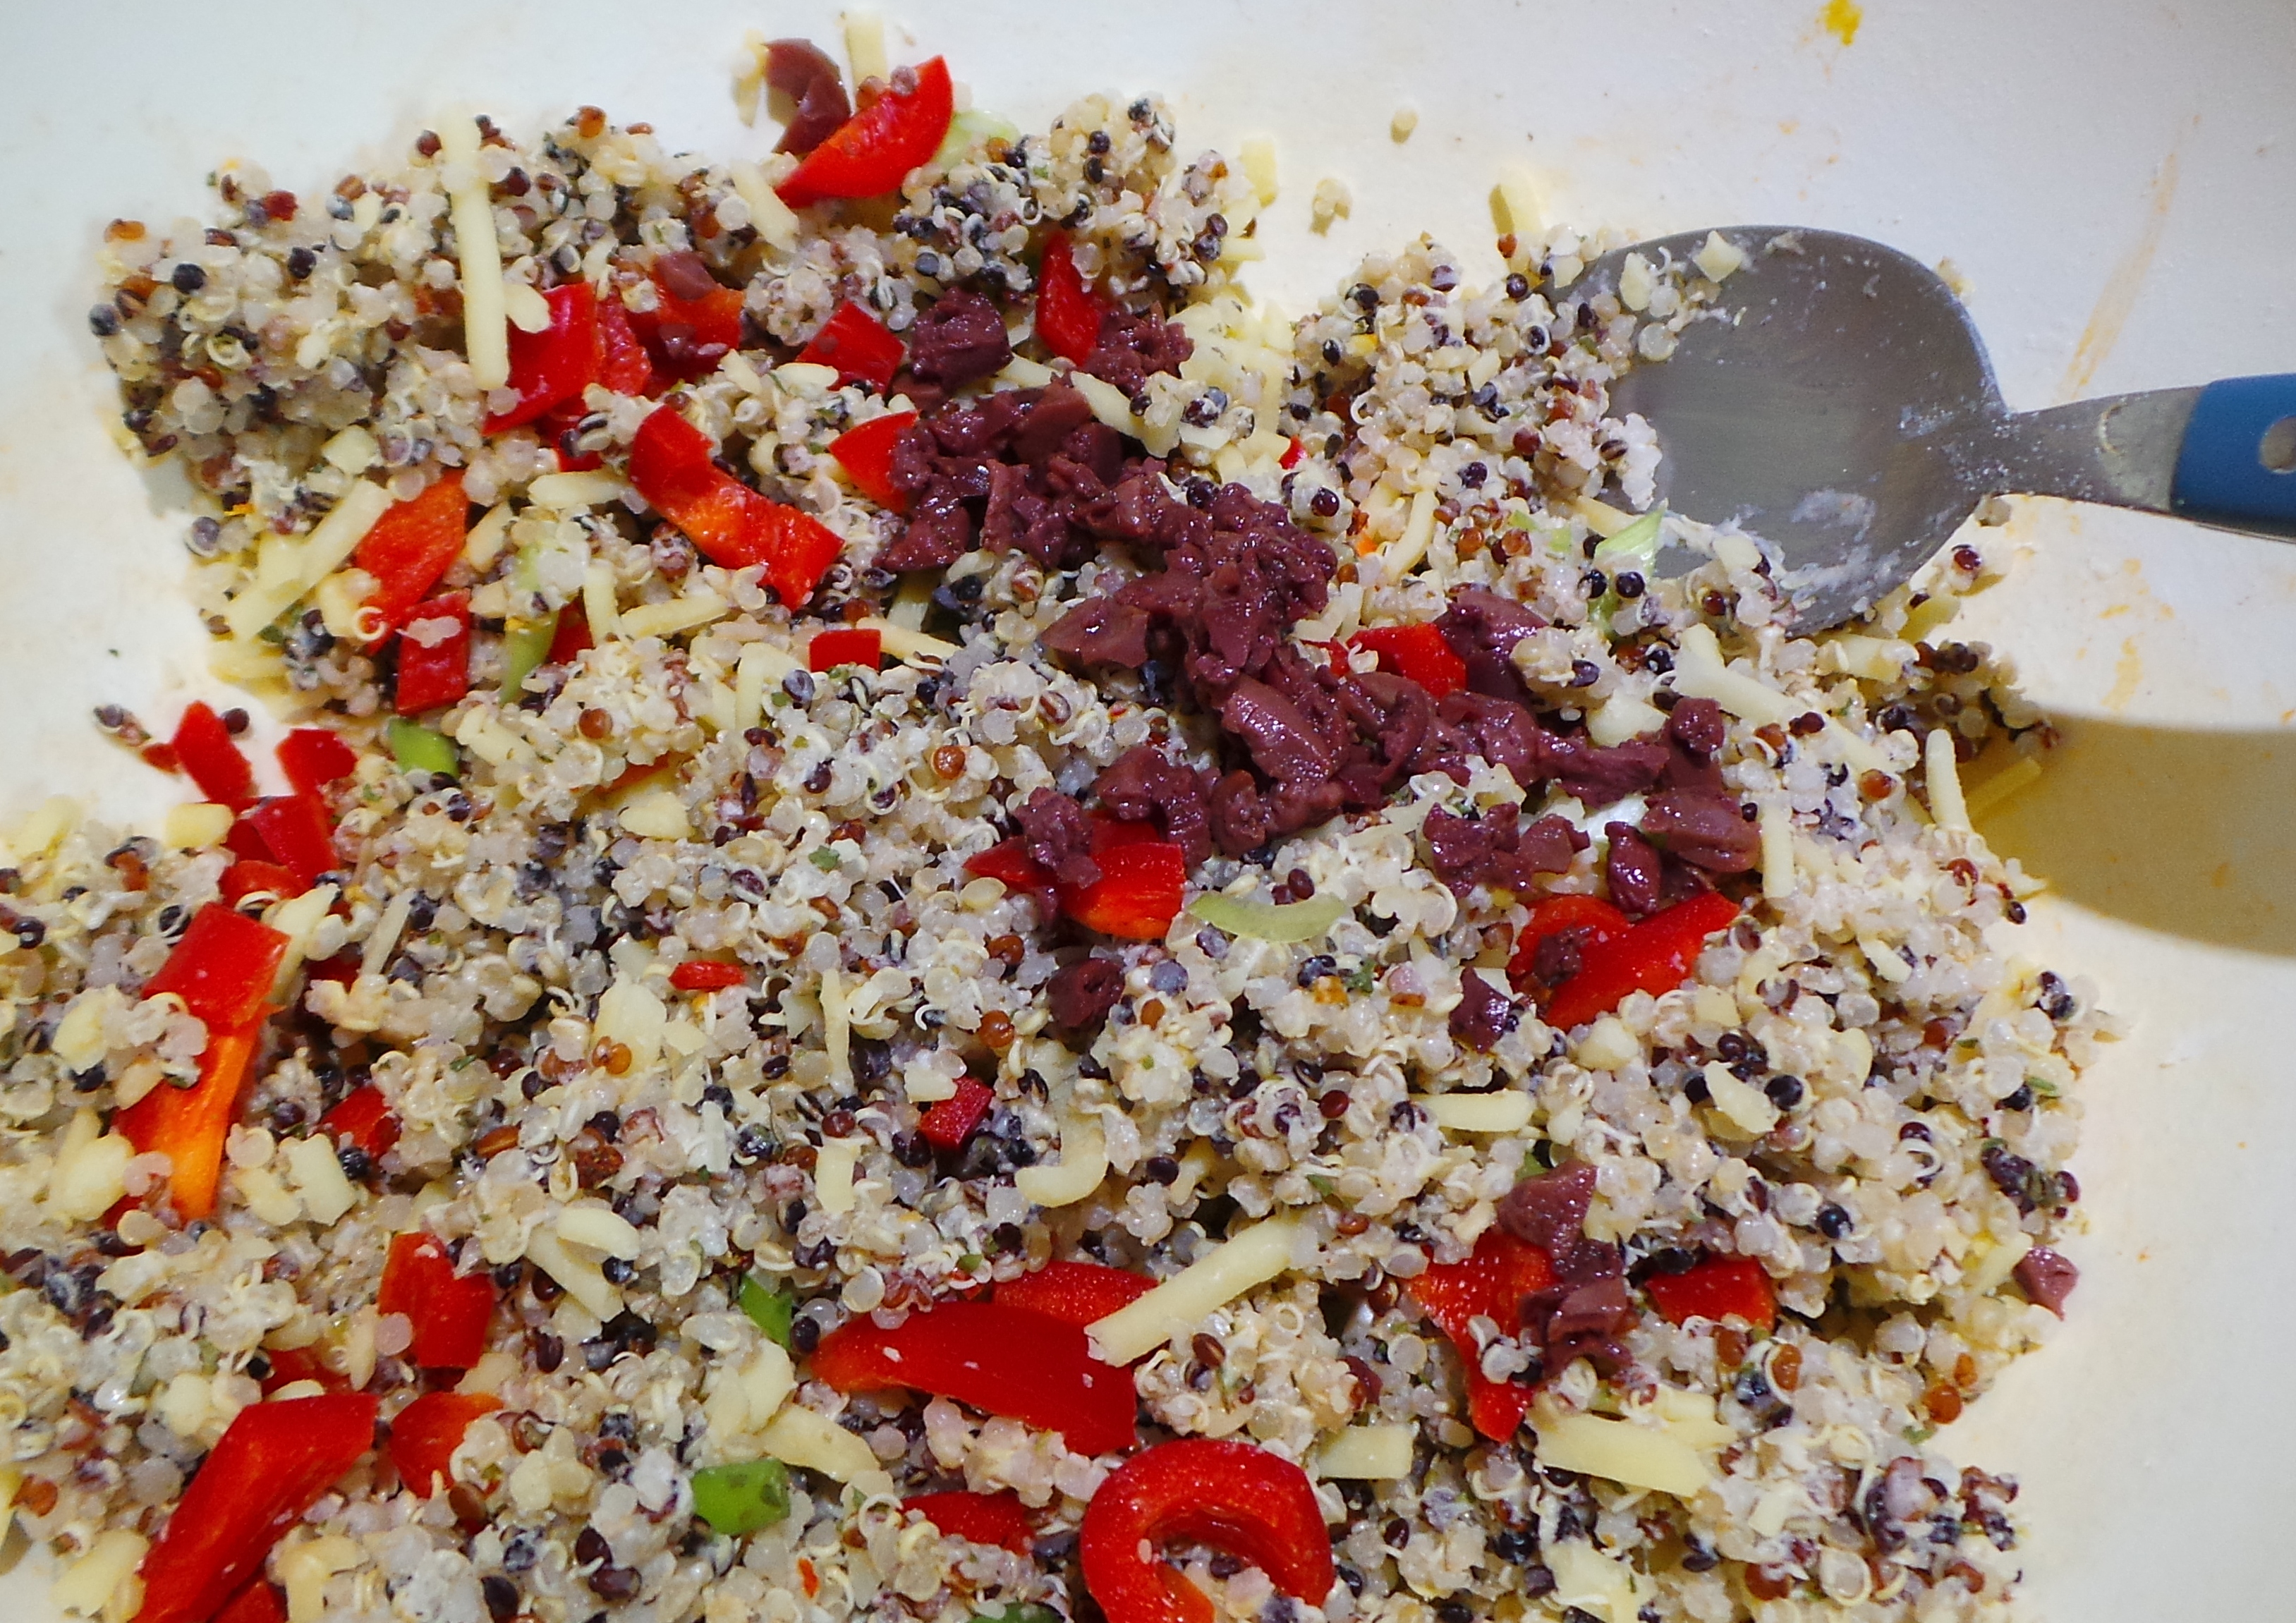
Black kalamata olives rock.
Then the feta cheese. I didn’t weigh it, sorry, but I’d say I had about 3/4 of a cup when it was chopped up. That was mixed through too.

The Feta Cheese was next to be deployed.
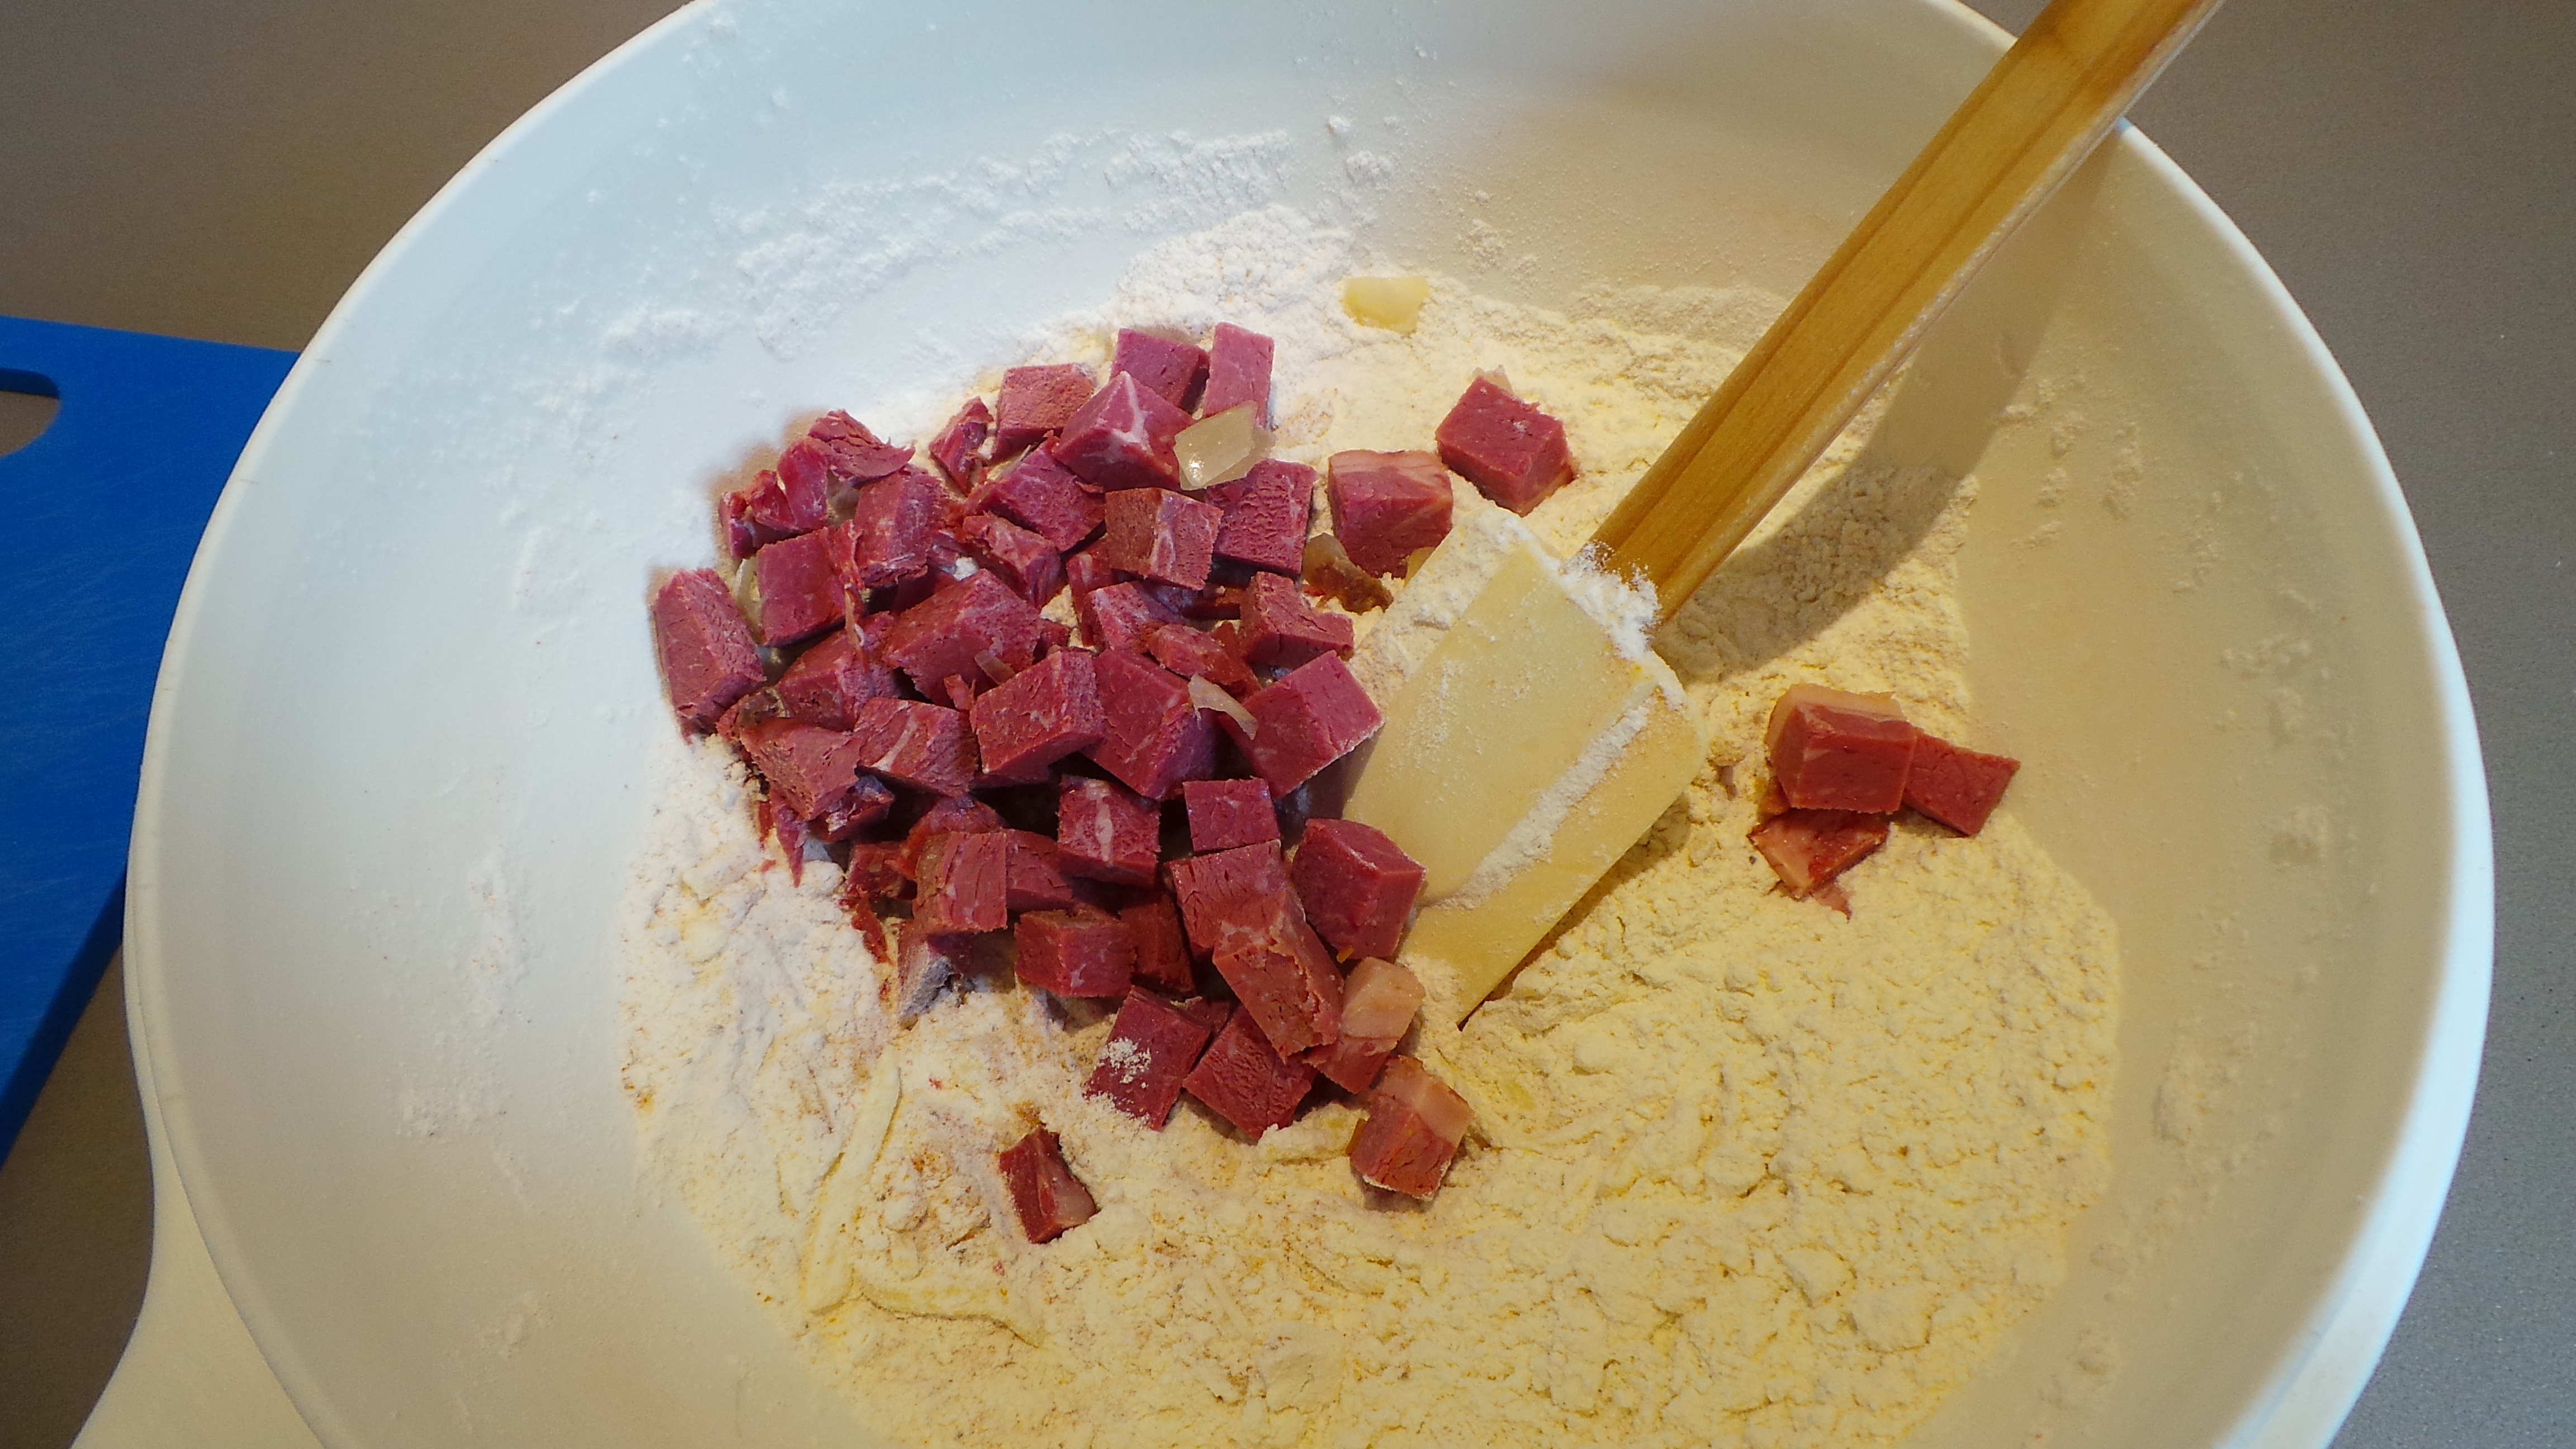
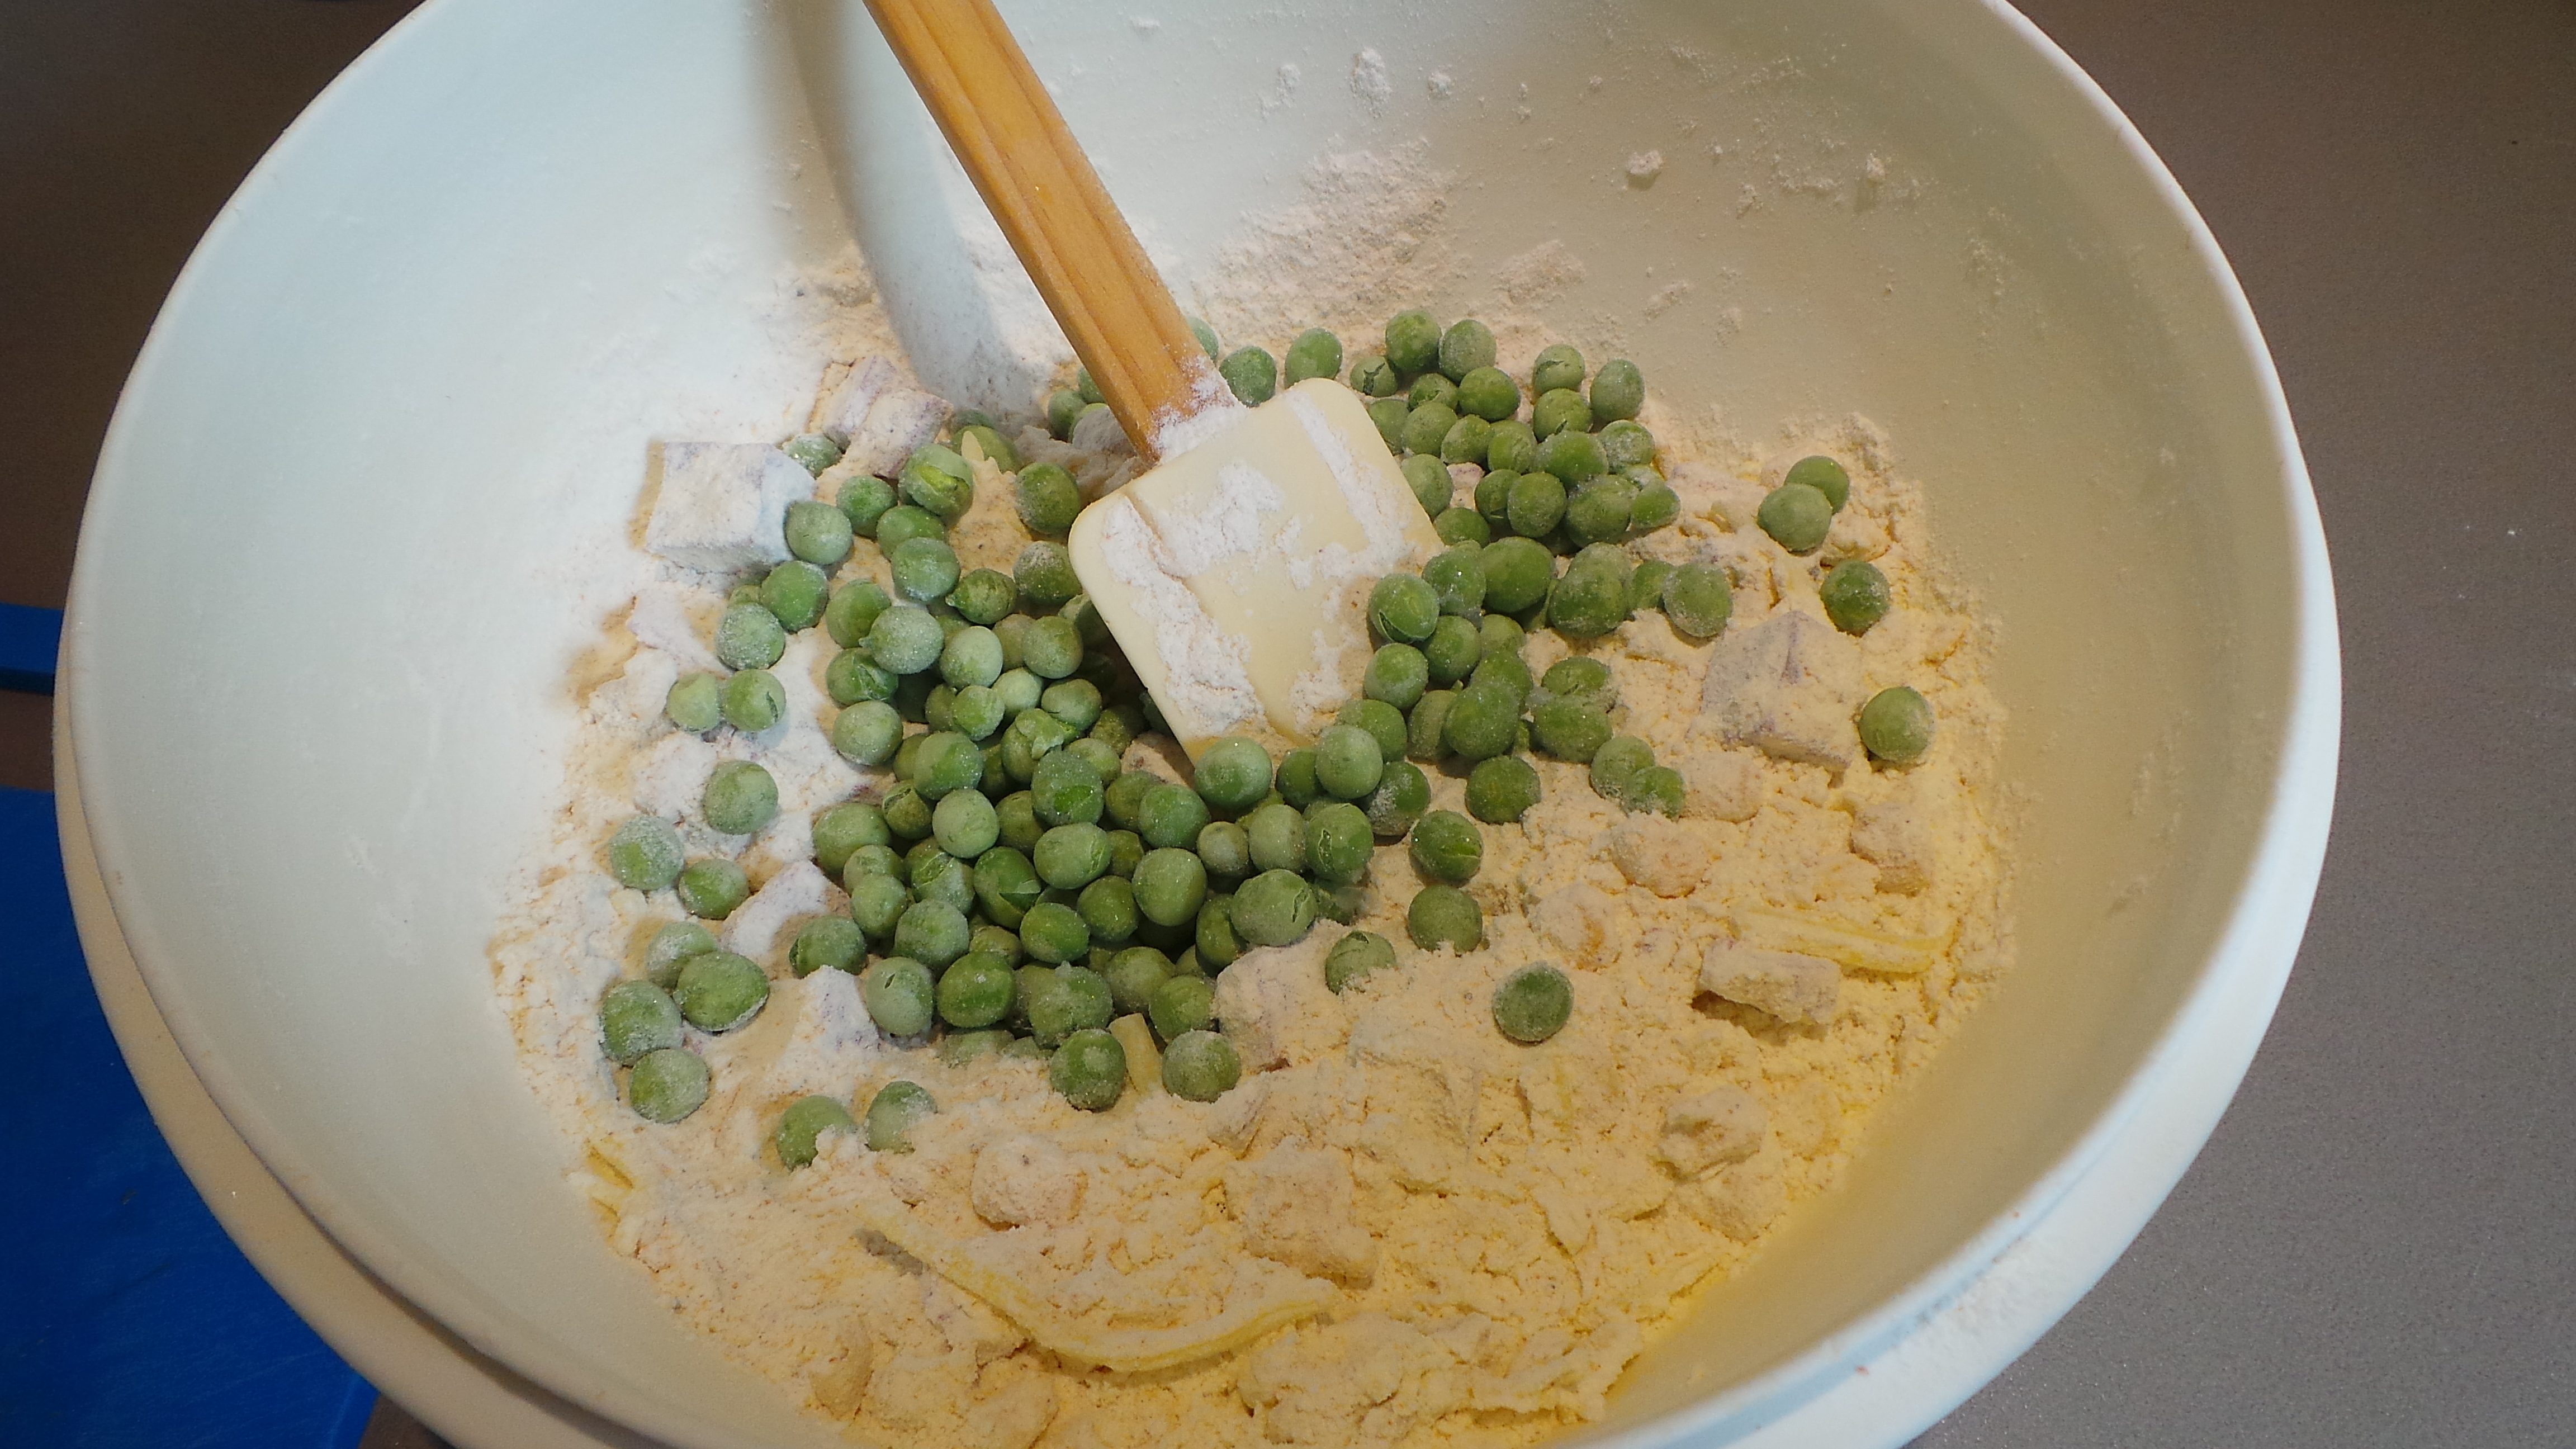
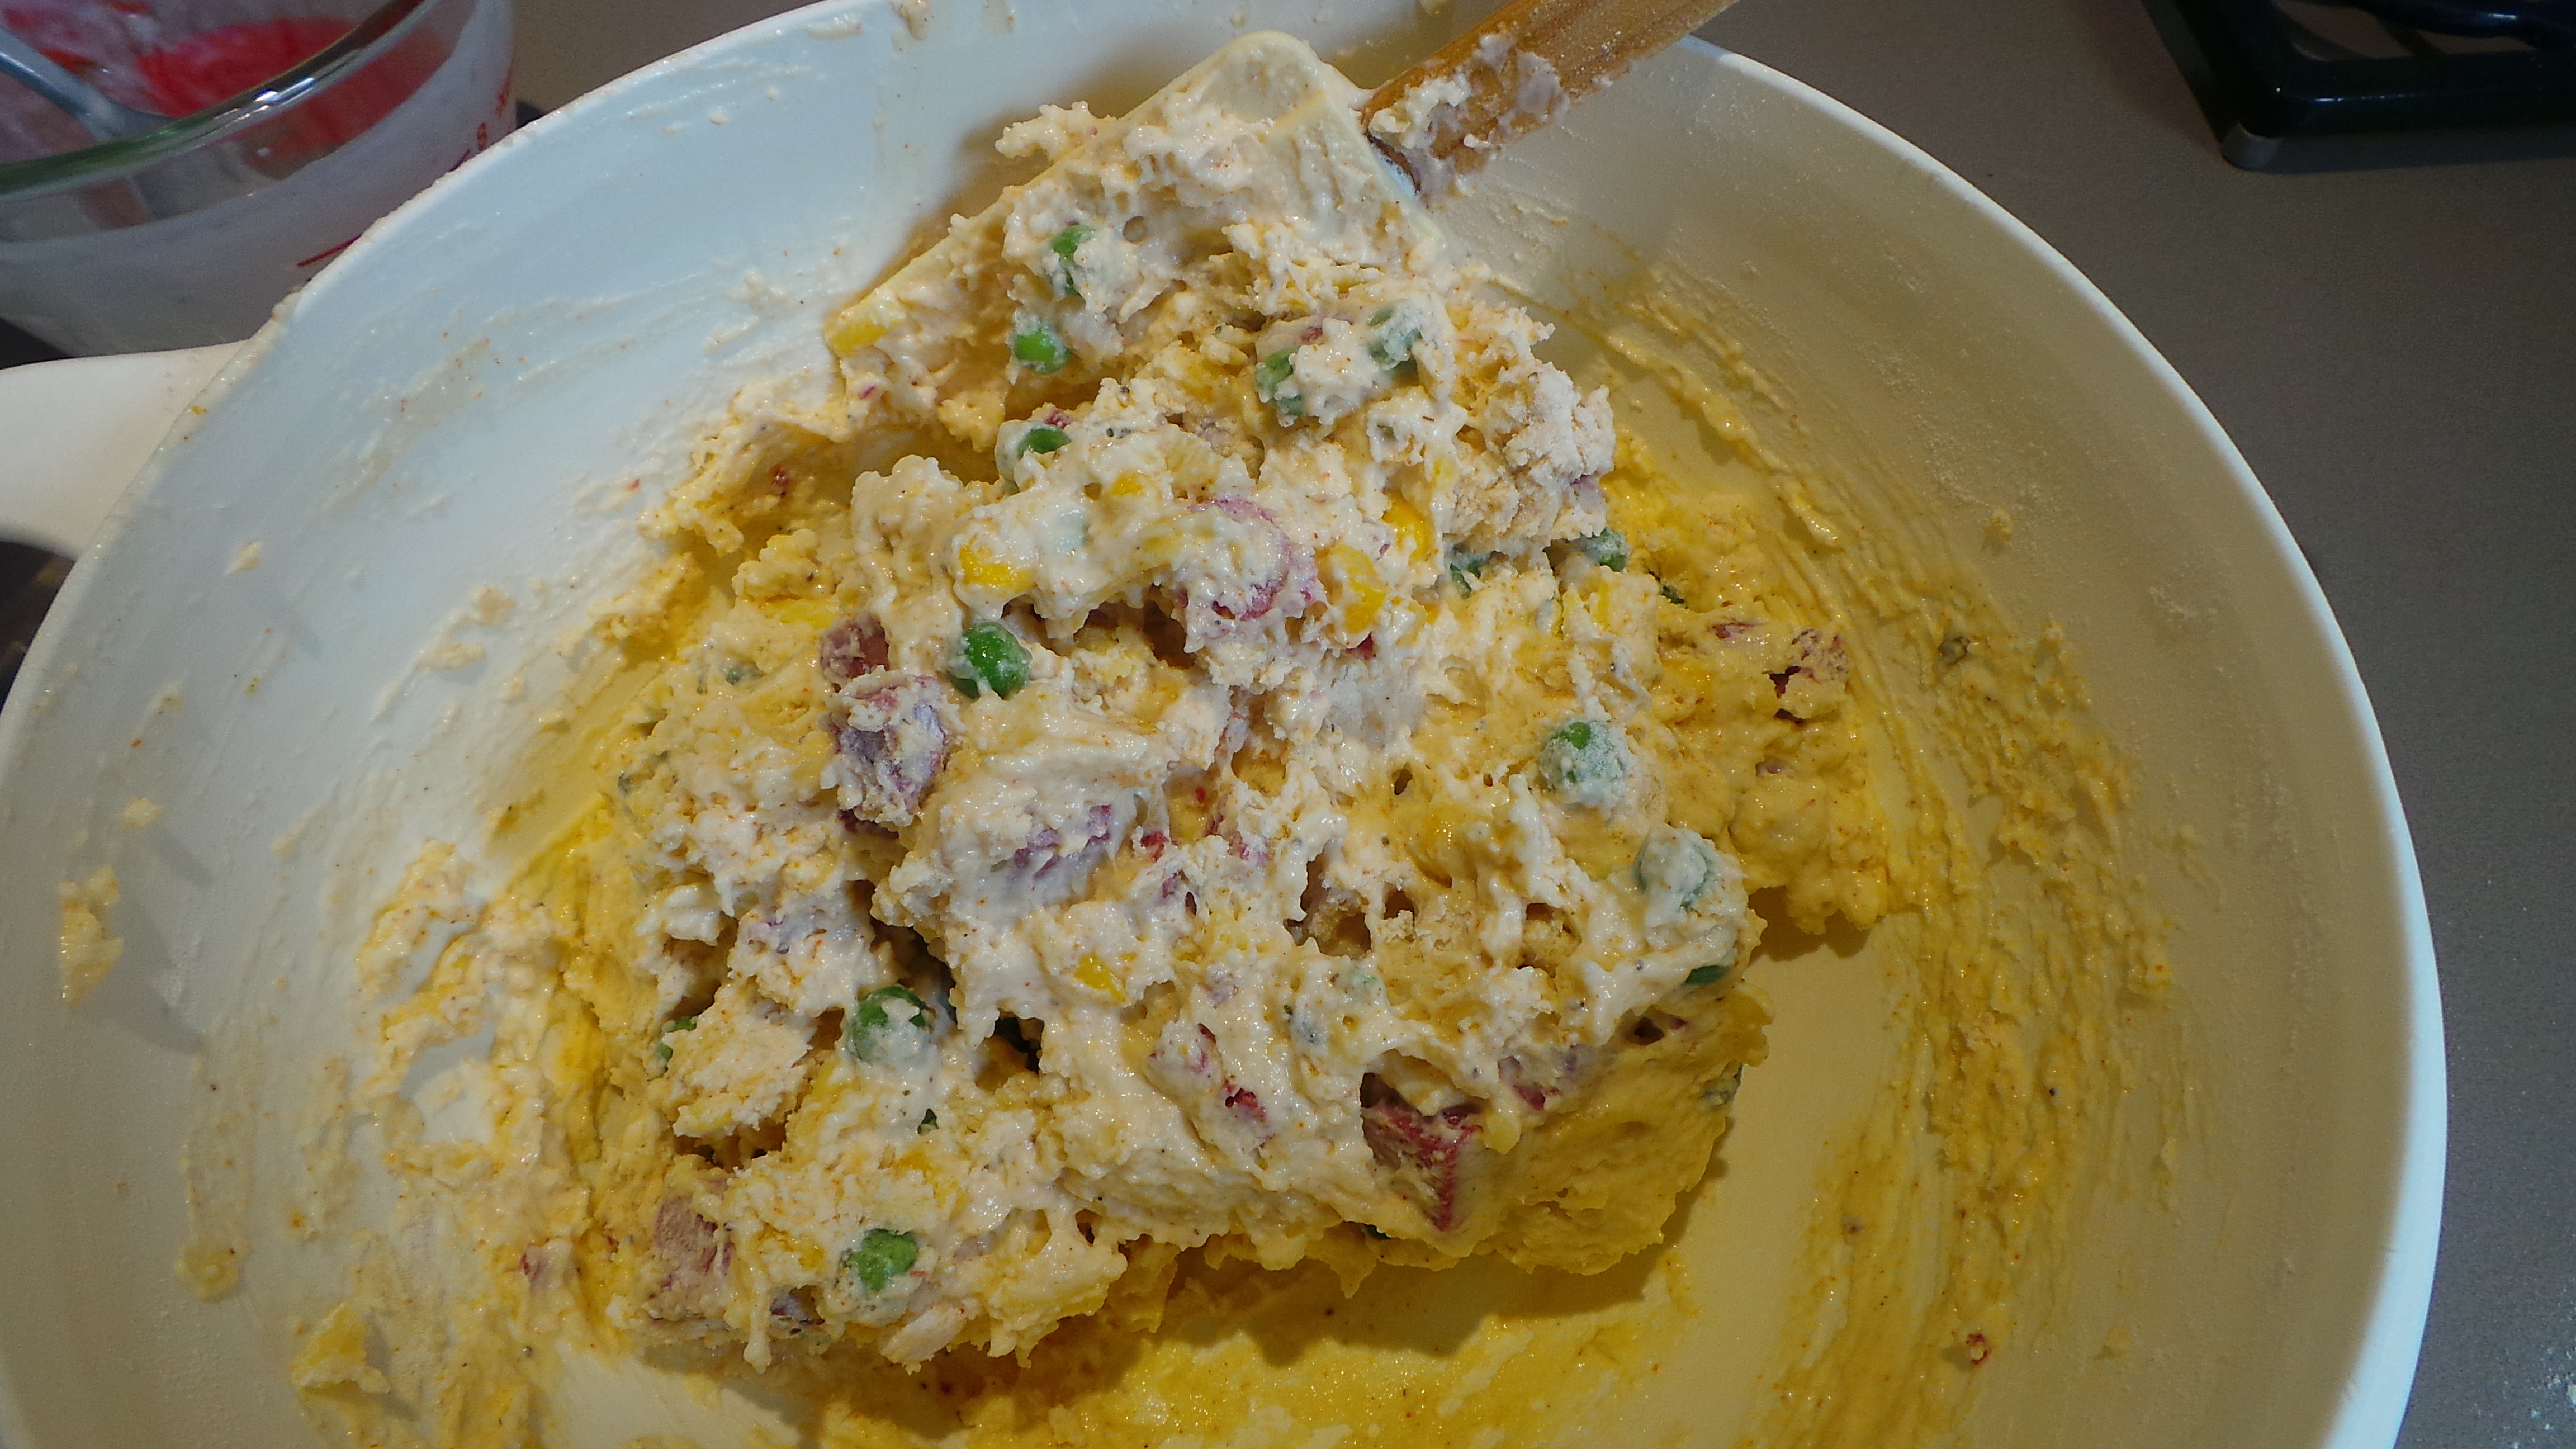
I thought that looked like a rather tasty little mix and stopped adding stuff. If you are a hard-core carnivore, some diced ham or bacon would be a tasty addition too. You’re welcome.
Now, in between all the dicing and mixing I had decided to make something to bake, so at this point I turned the oven on and started gazing soulfully at my baking trays.
I have one for tiny little cupcakes/muffins that I rarely use and which seemed perfect for this, so I retrieved it and then went on the hunt for the paper cases that I knew were in the pantry somewhere…
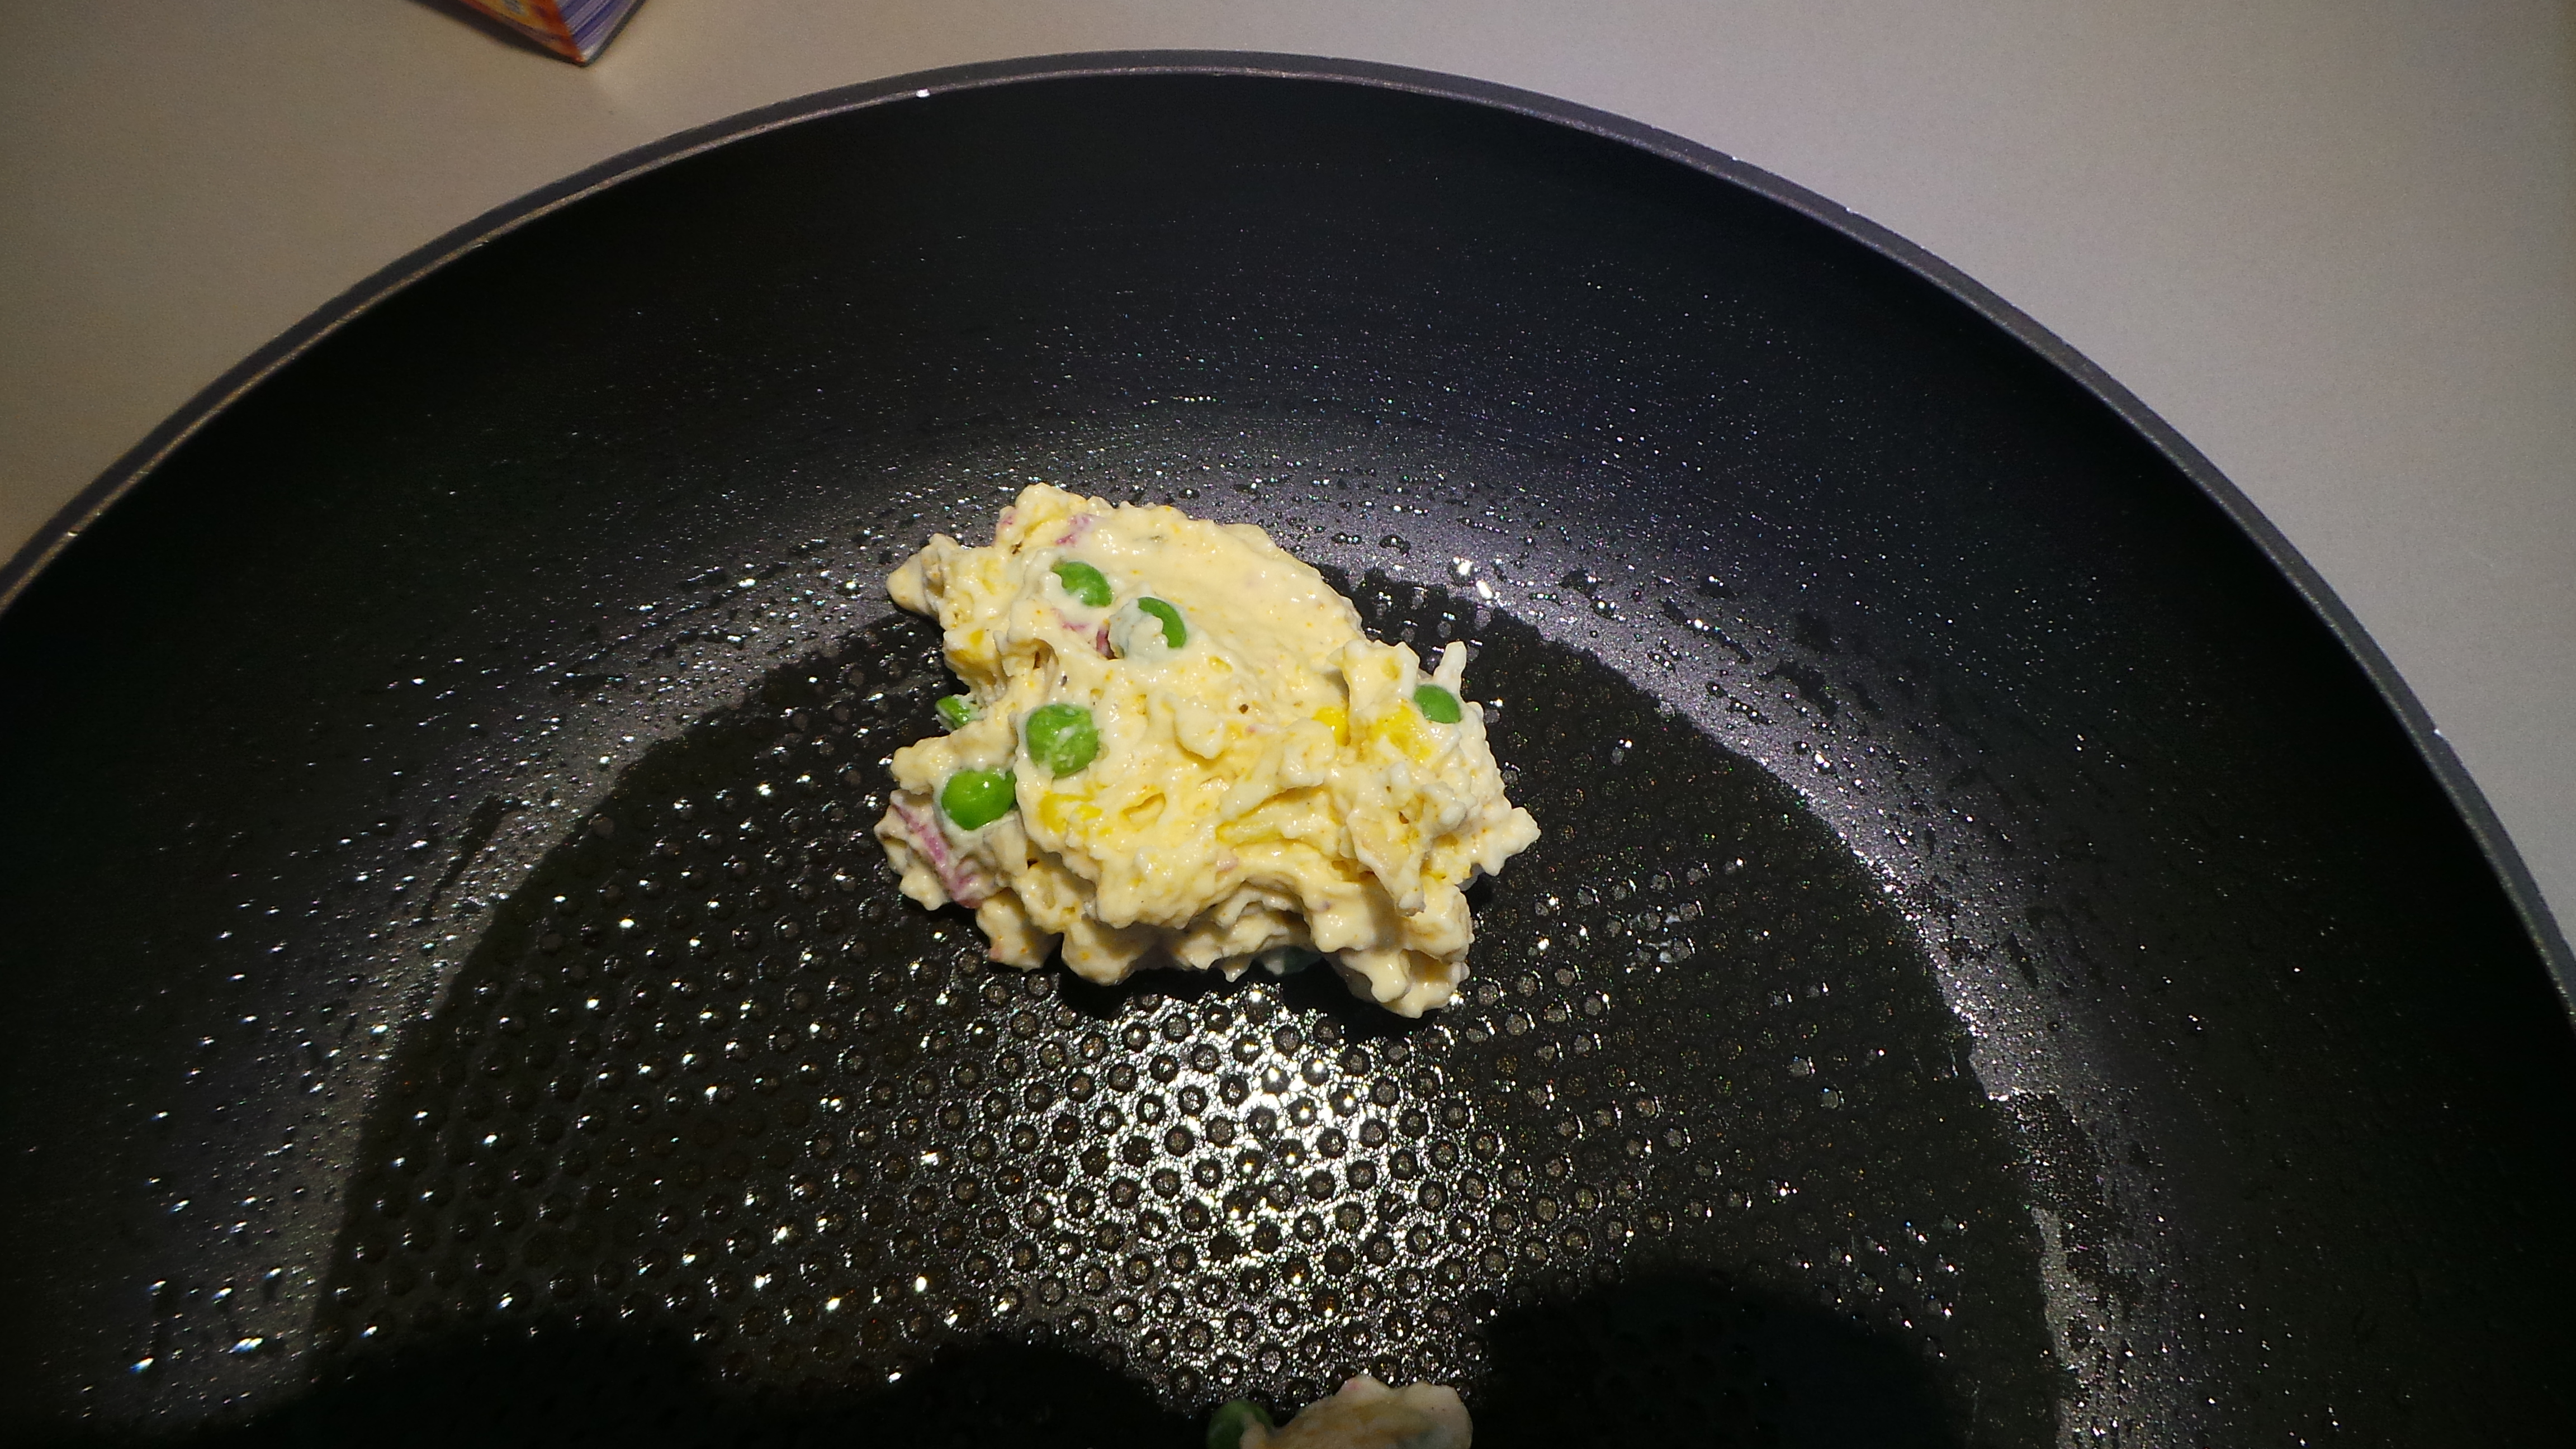
They were found but I didn’t have quite enough, so I just sprayed the empty cups with oil.
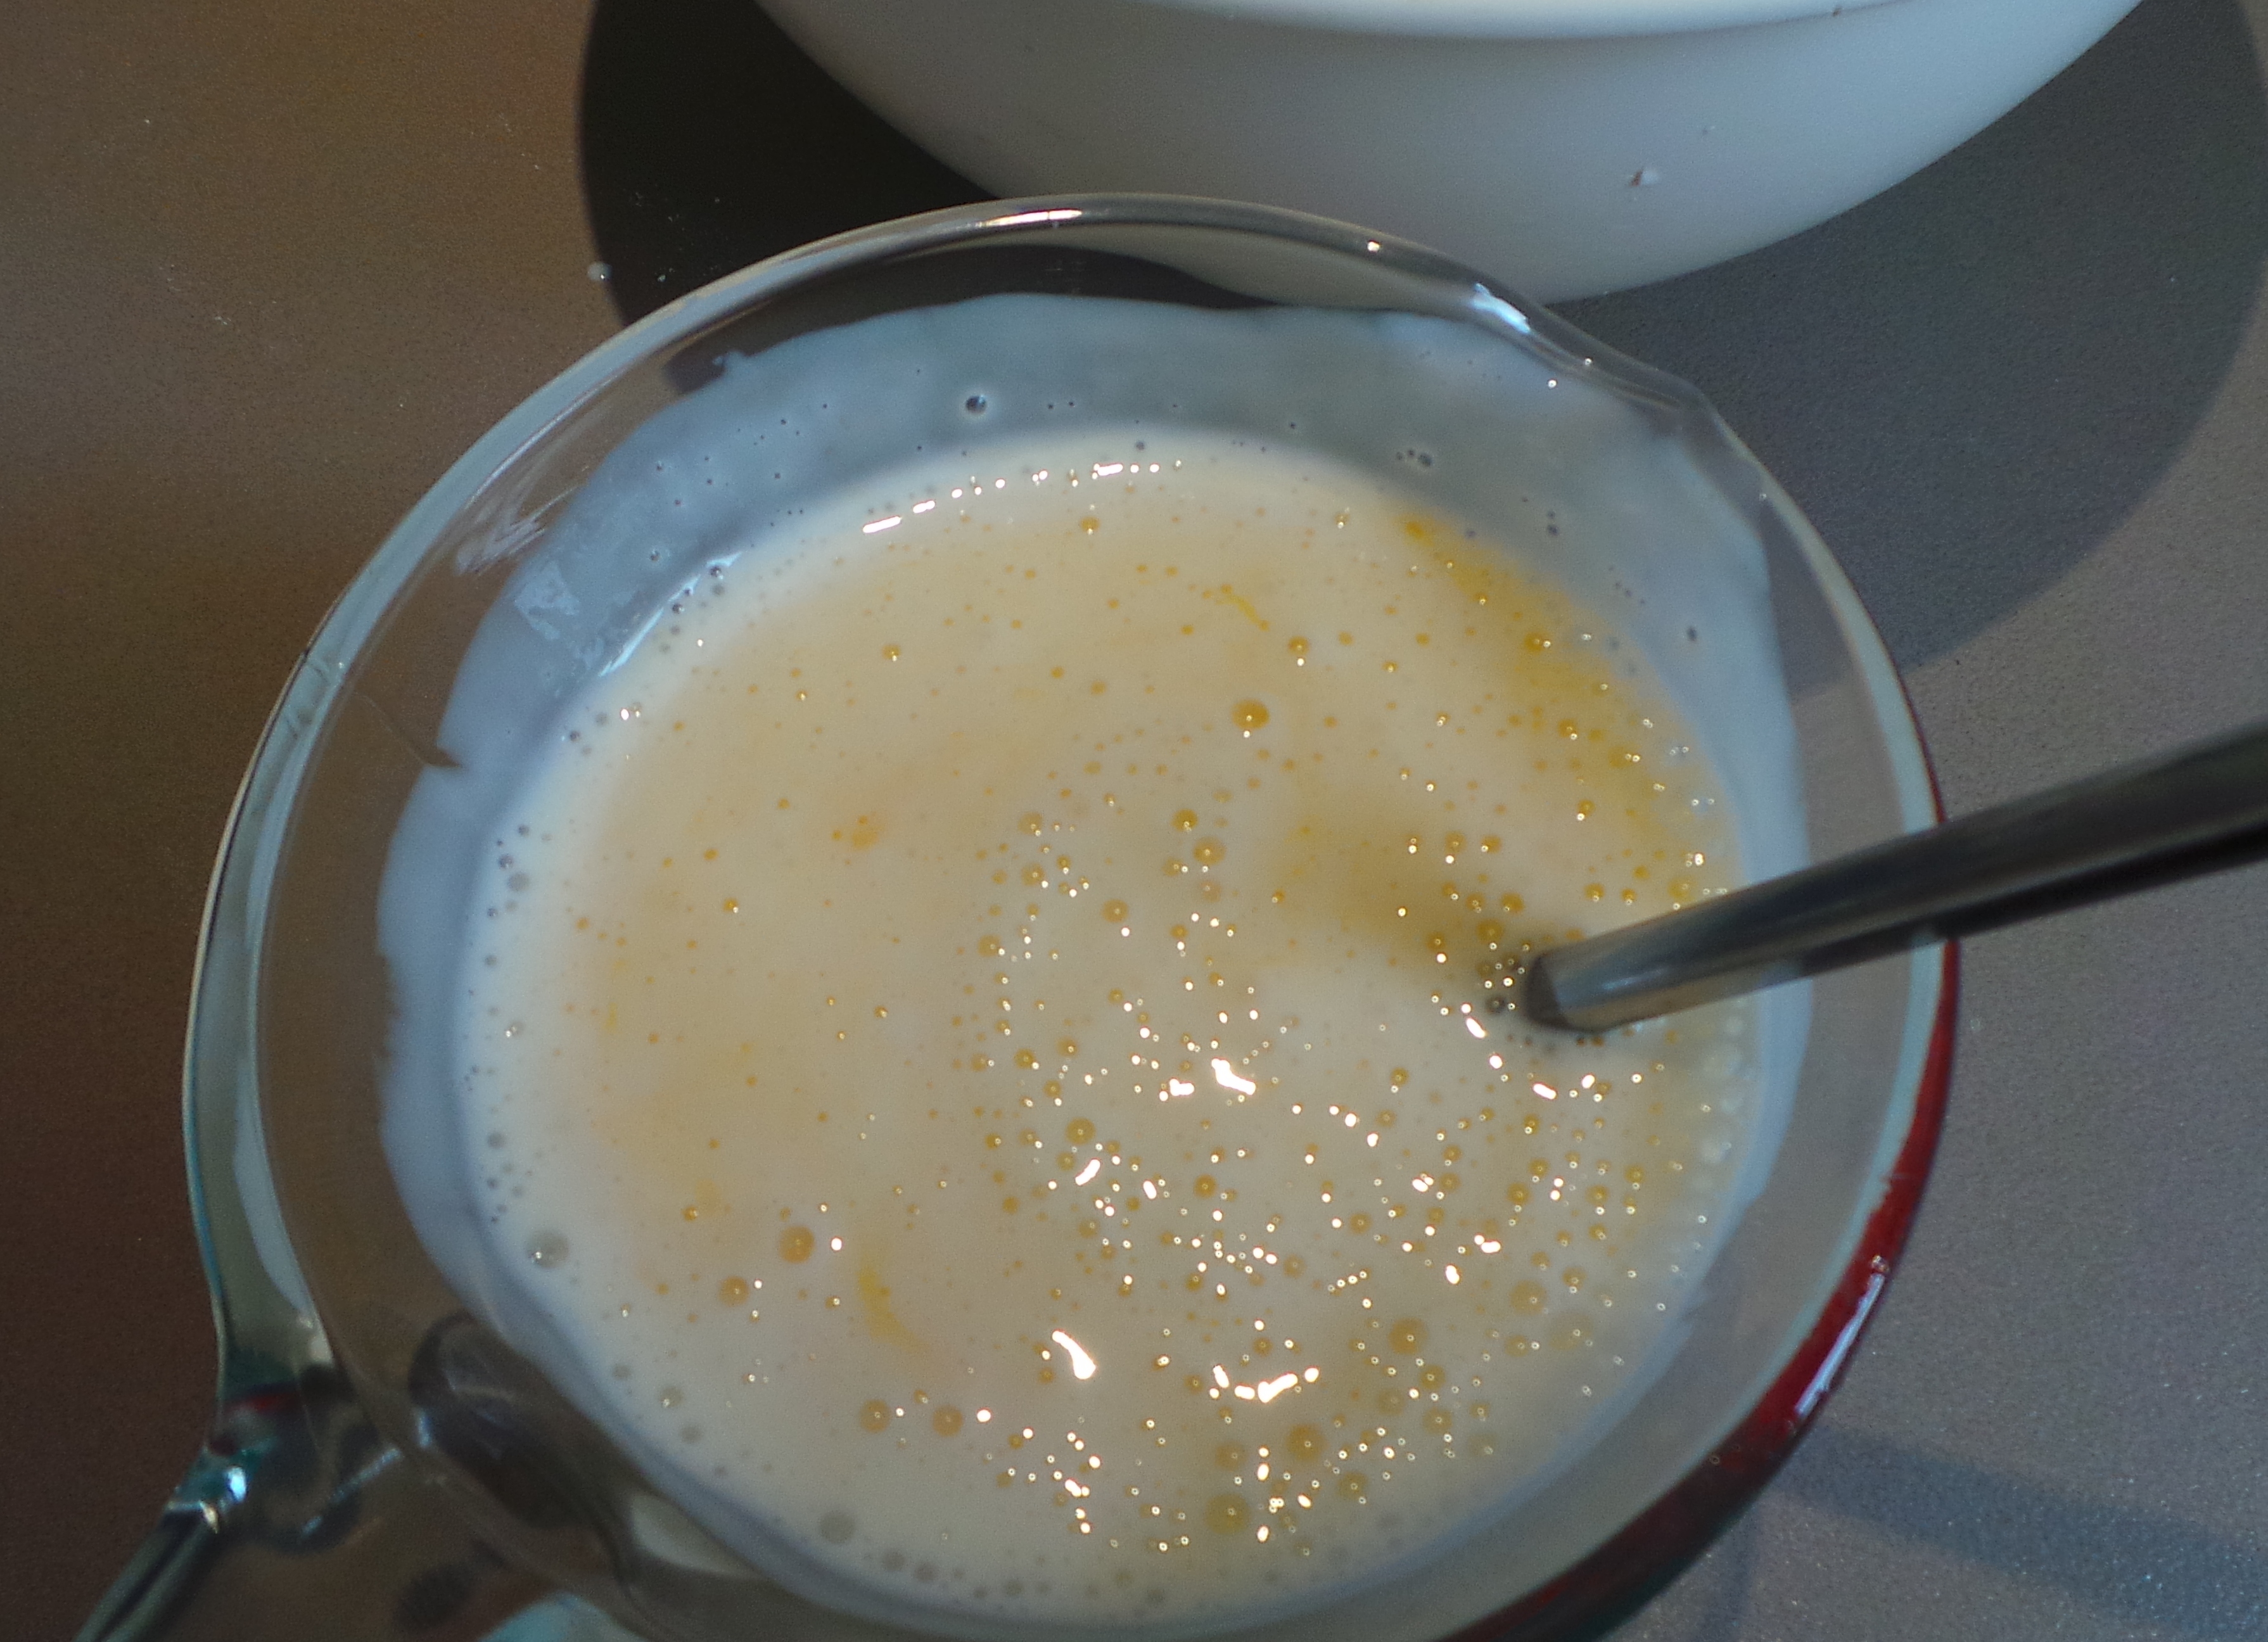
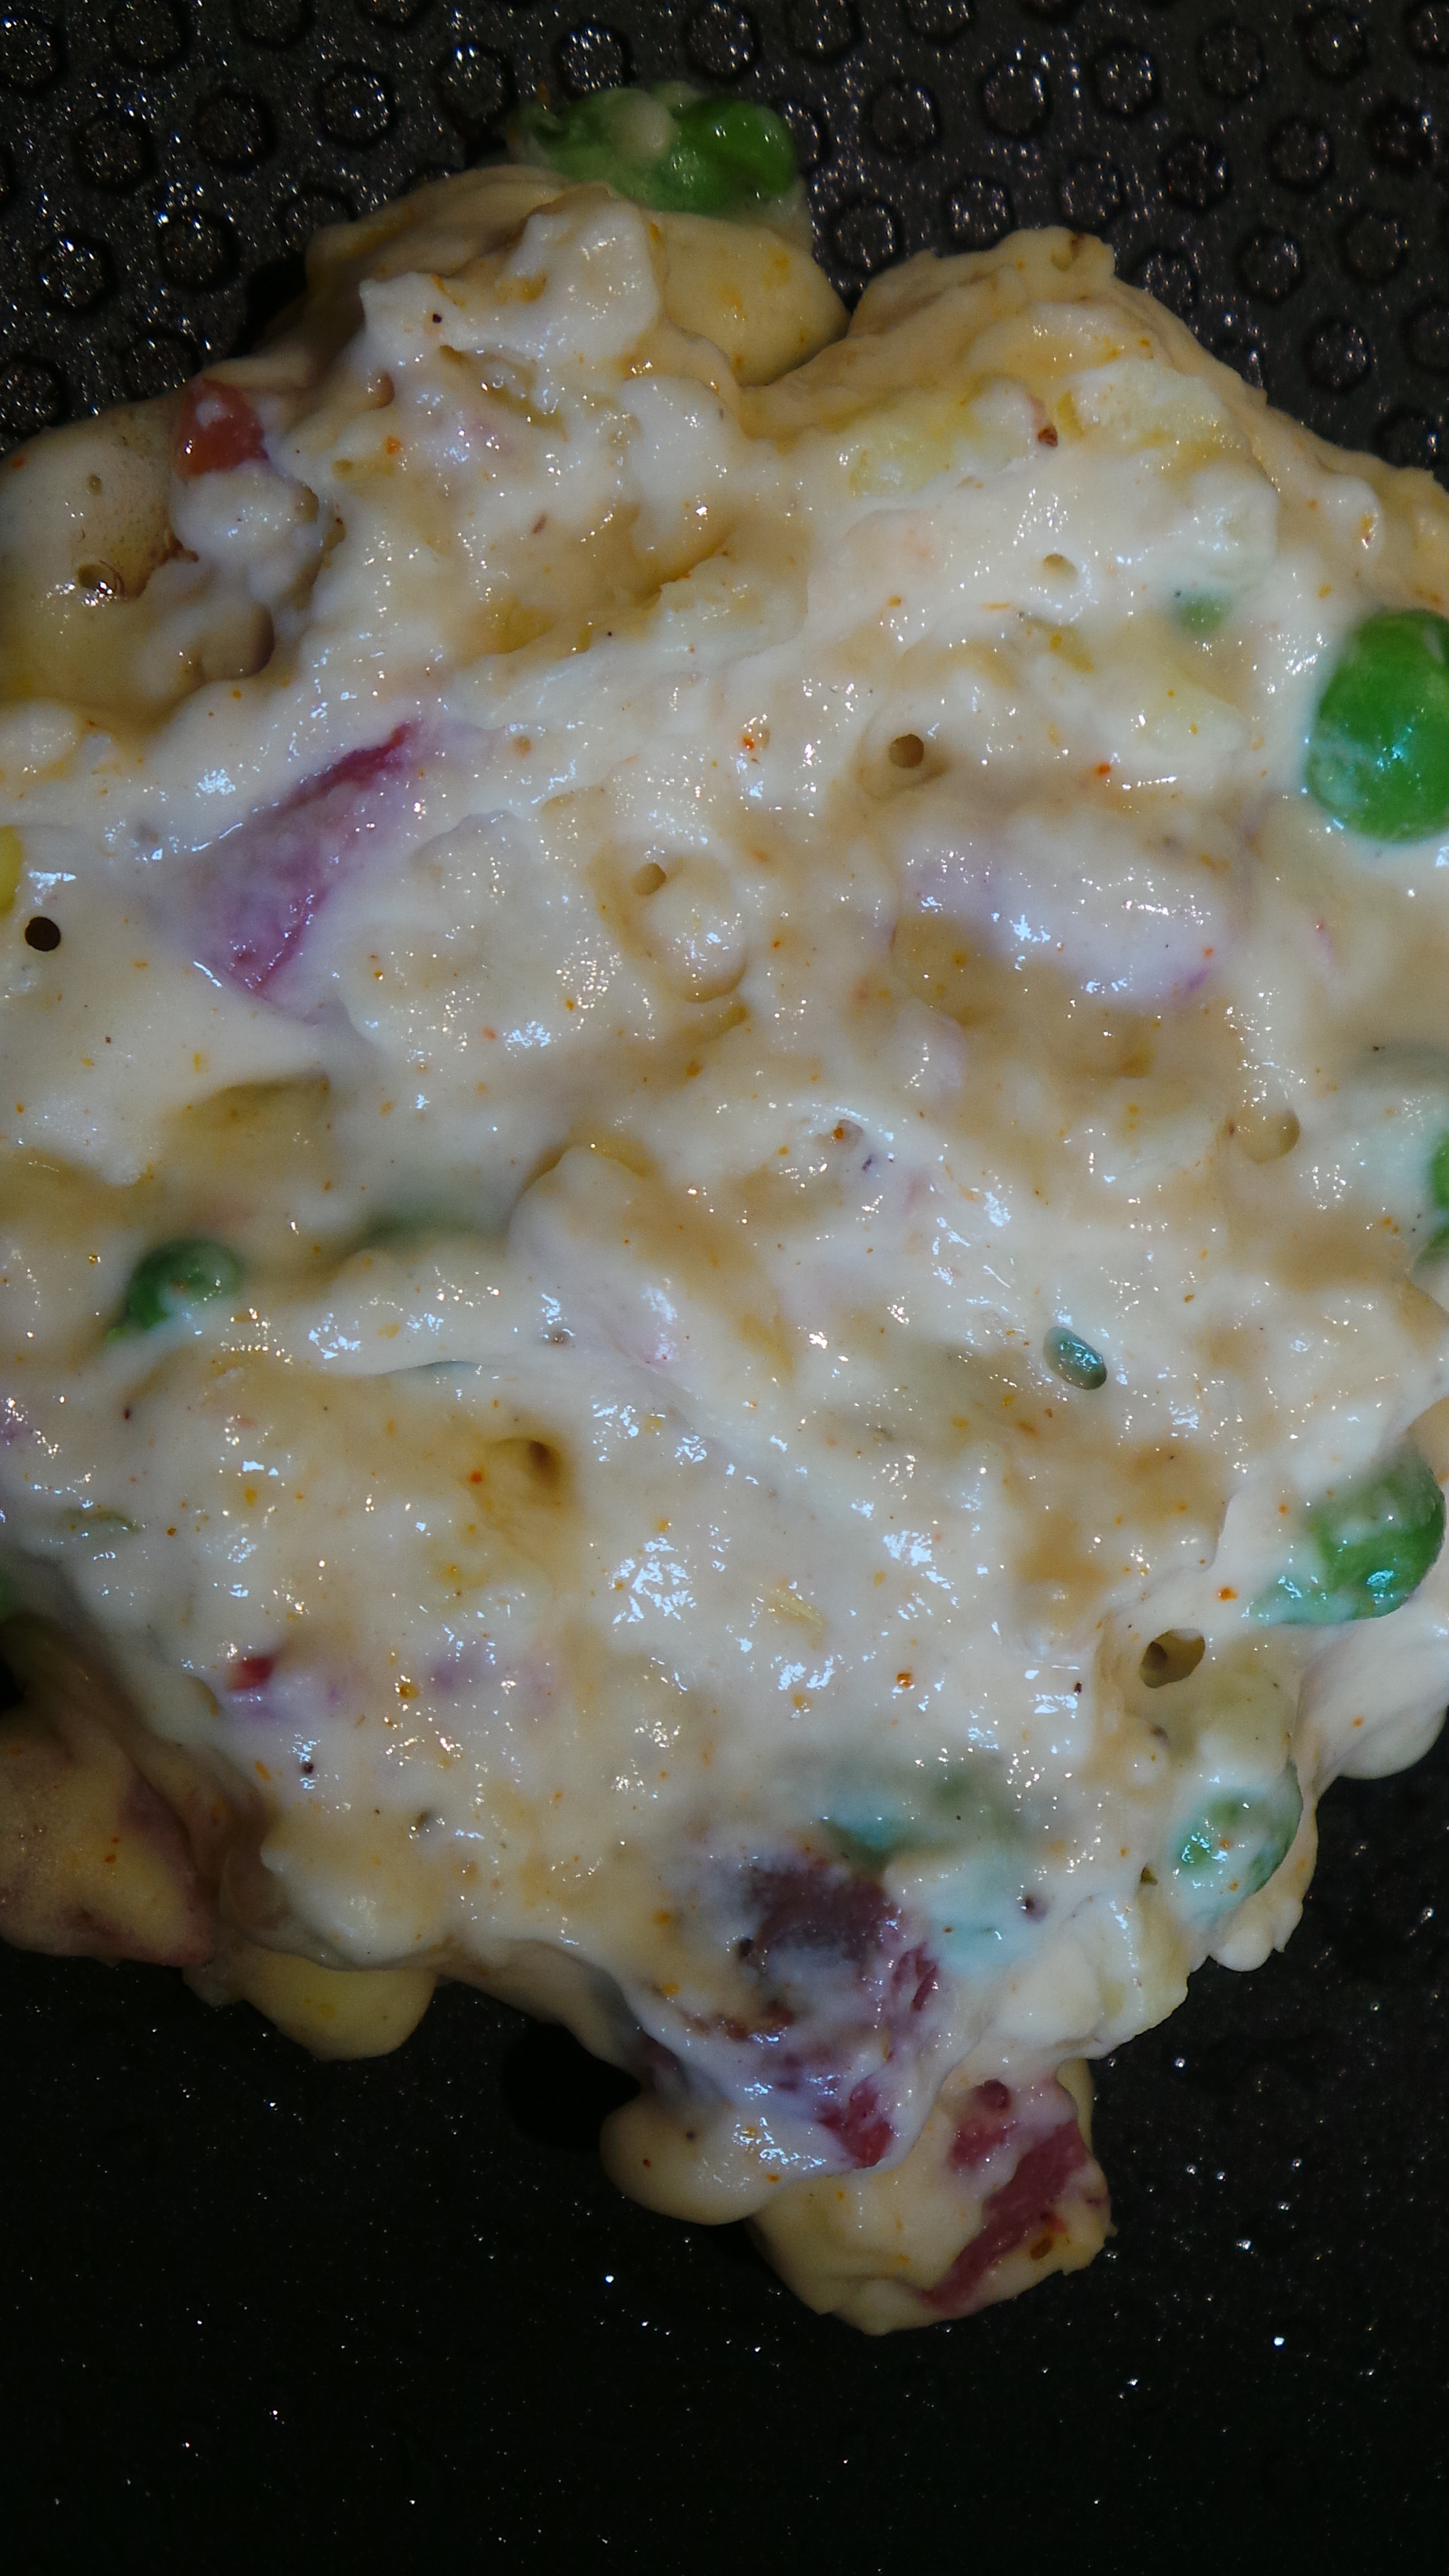
The quinoa still needed something to bind it a little more, so I whisked up 2 eggs and mixed them through. Then I filled each cup with about 2 teaspoons full of the quinoa mixture, making sure that a piece of the capsicum could be seen on the top of each cup – because pretty.
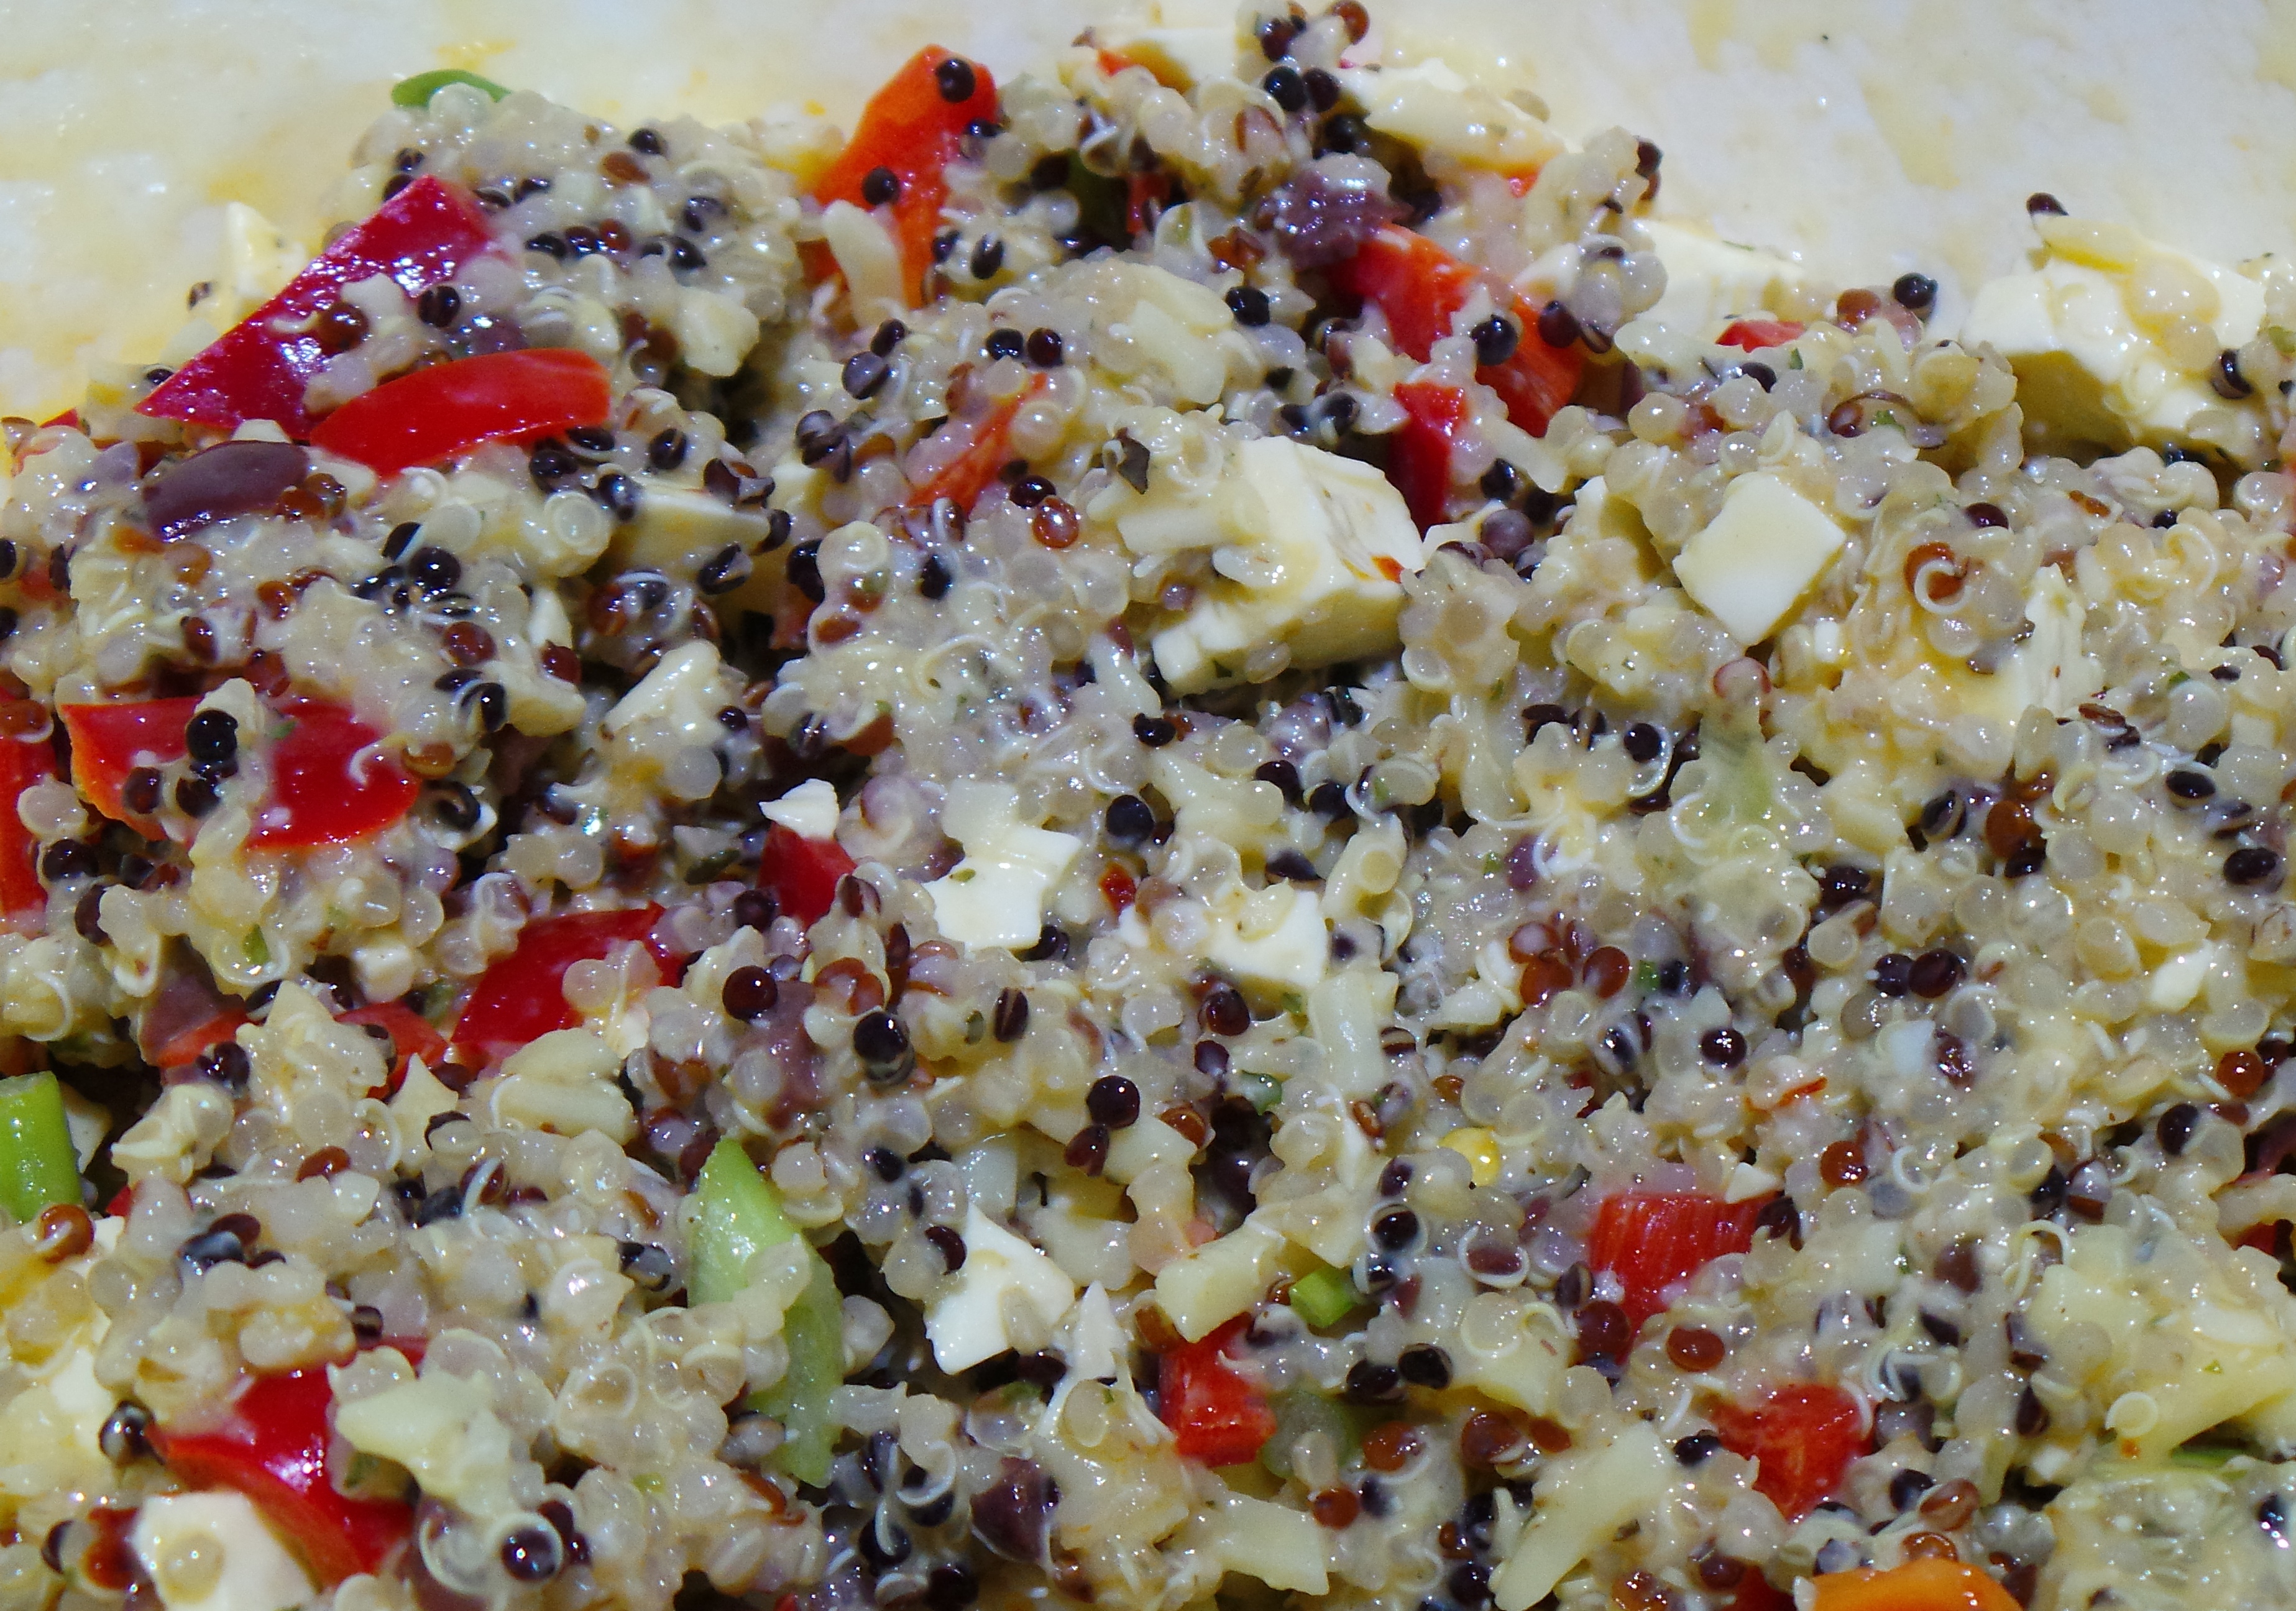
Mix in a couple of eggs.
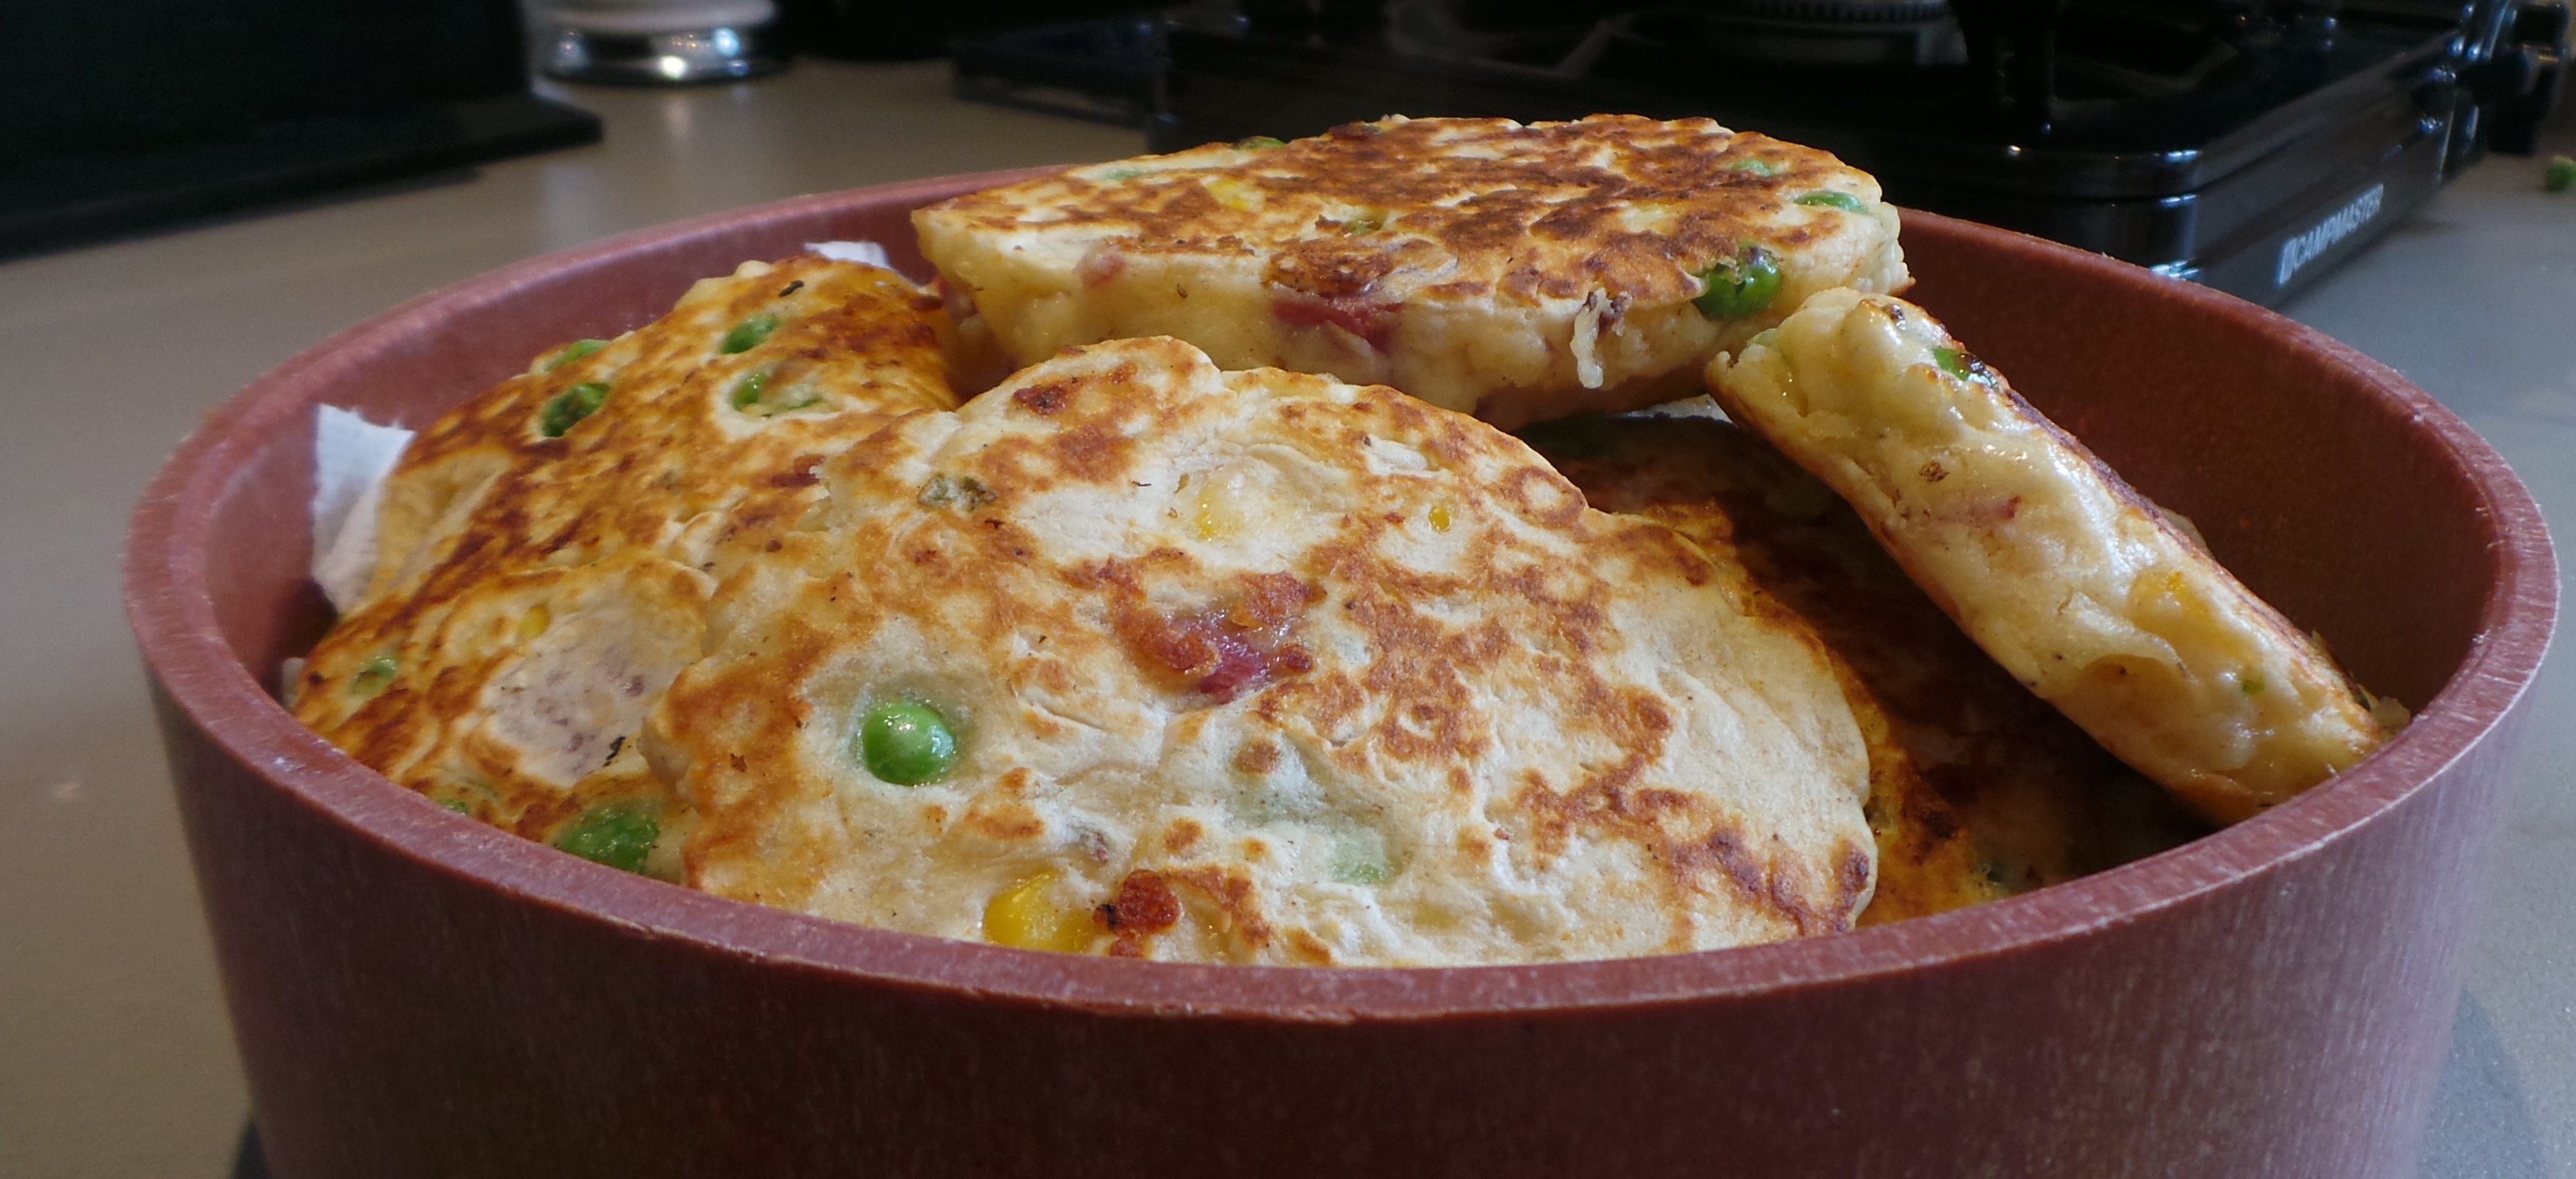
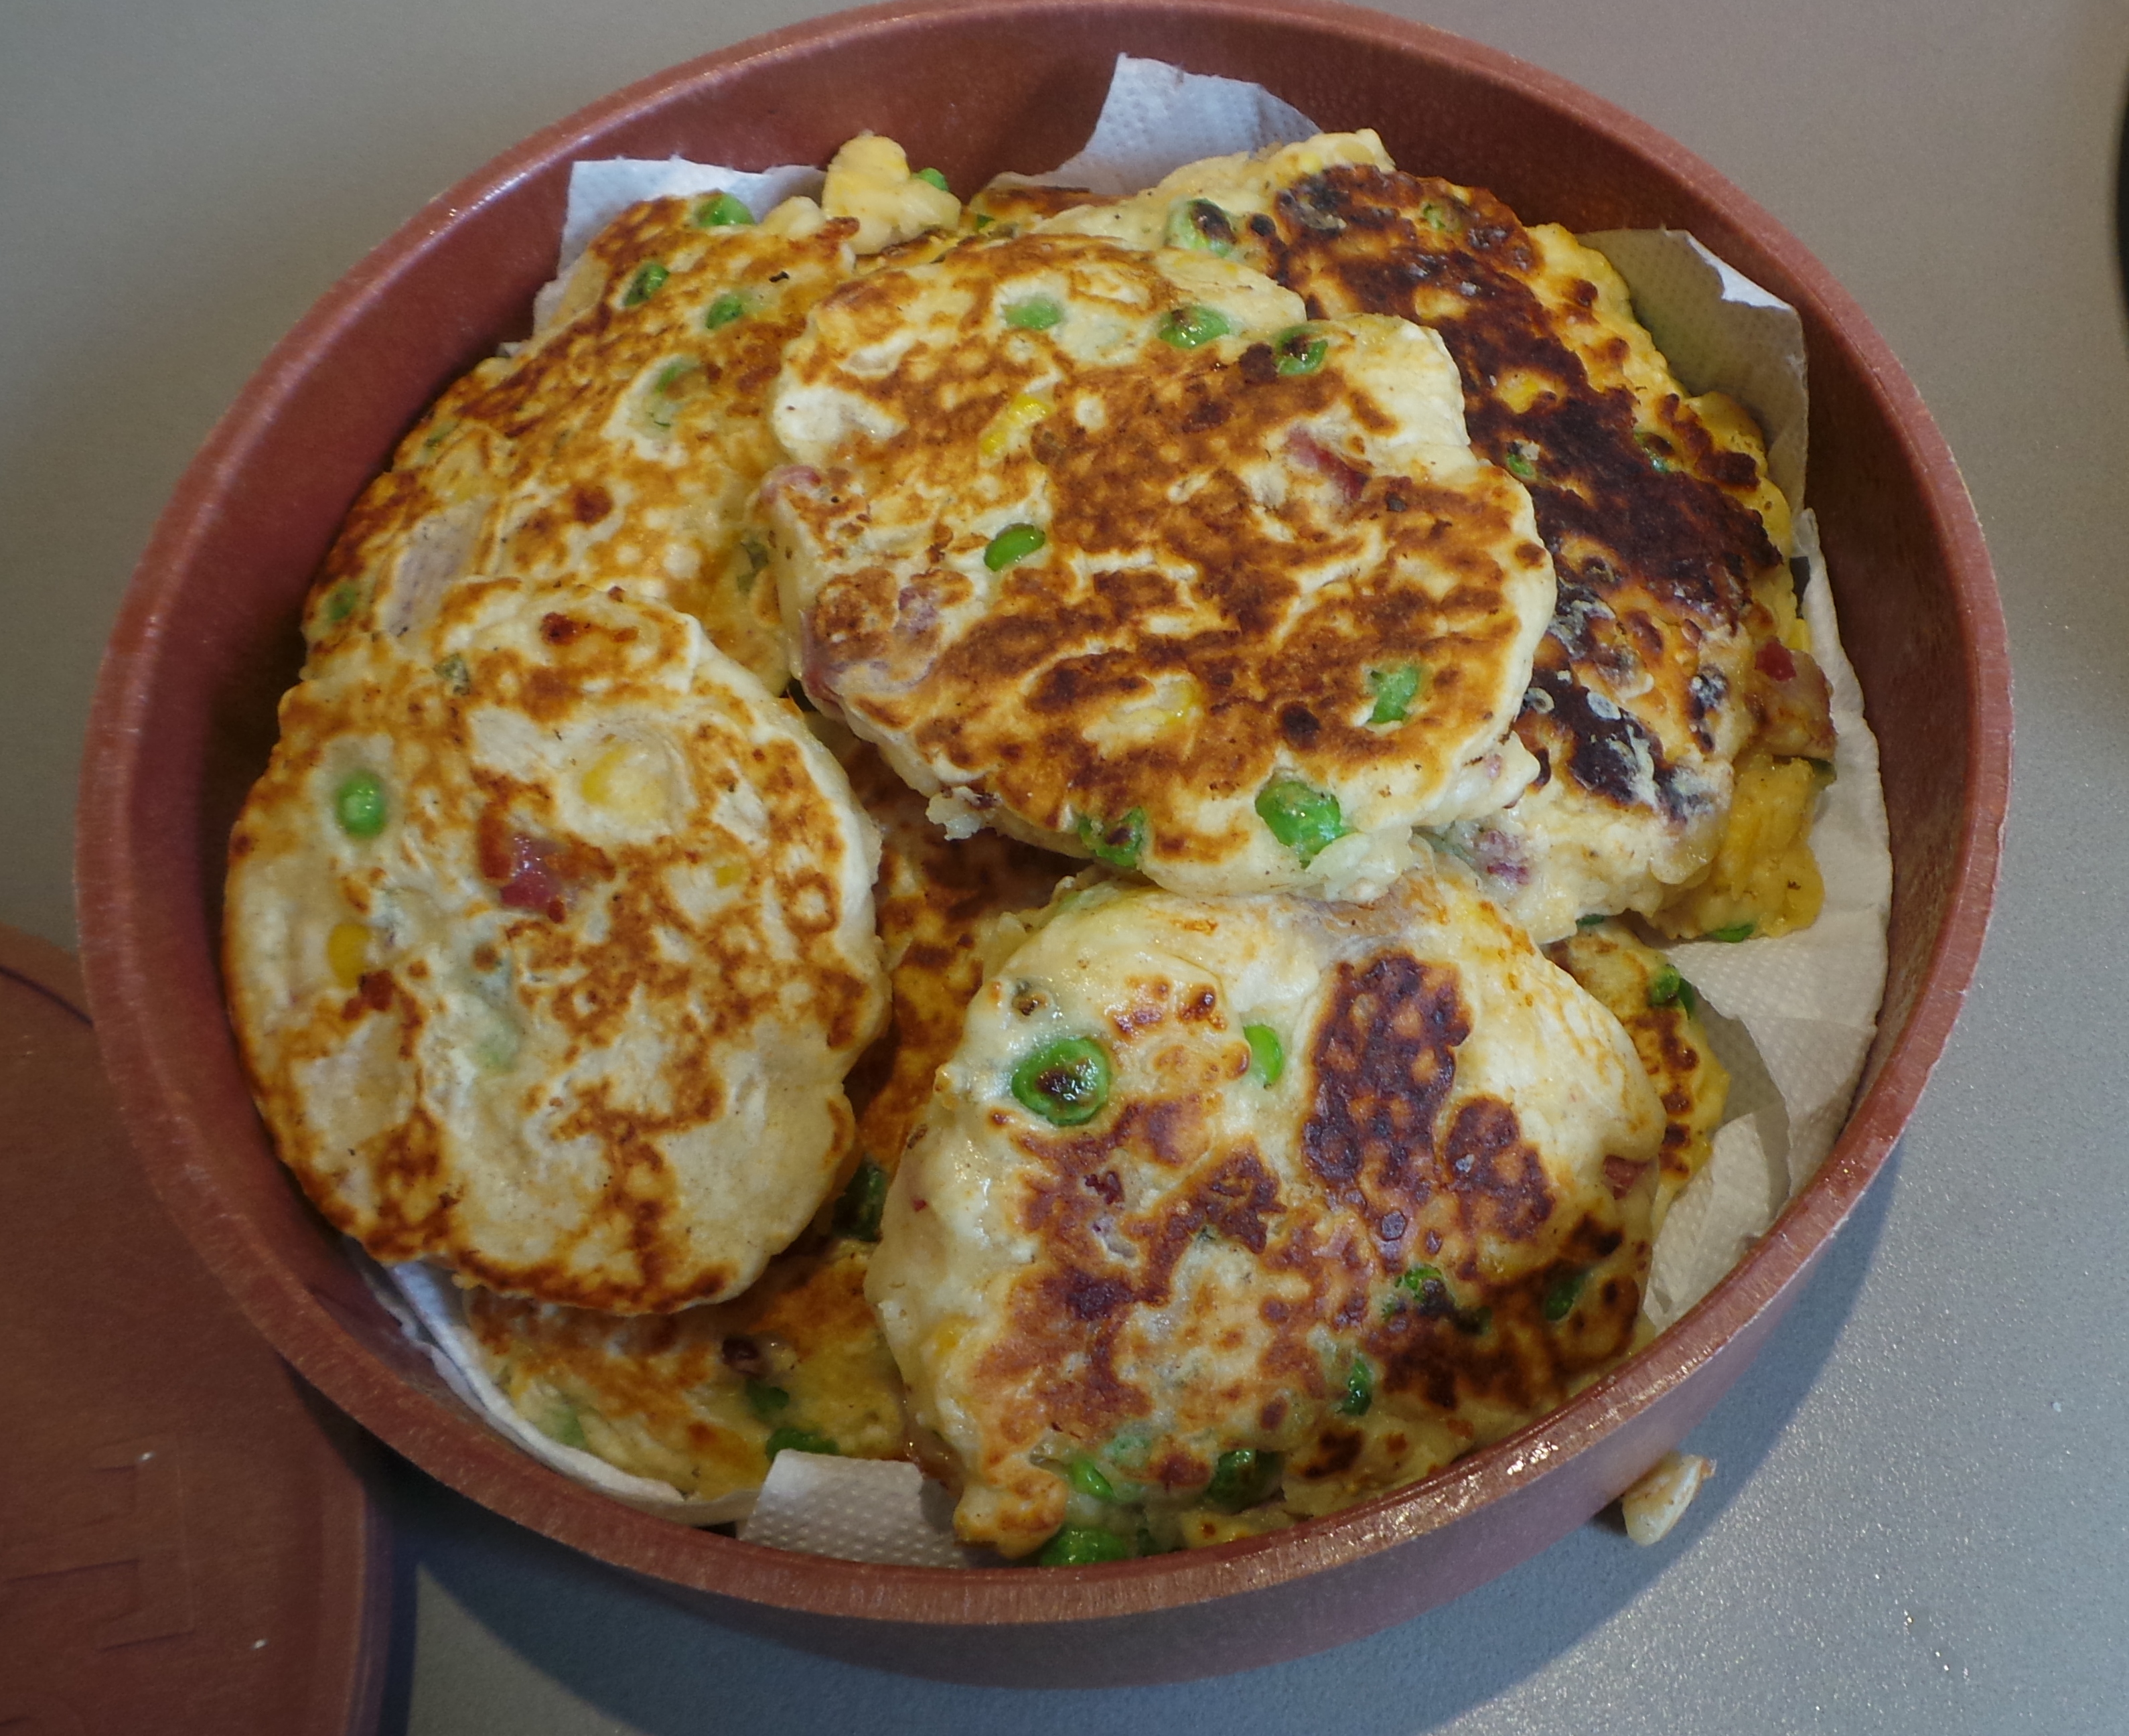
Then the tray was placed in the oven for 20 mins, until the morsels smelled amazing and the cheese was starting to brown.
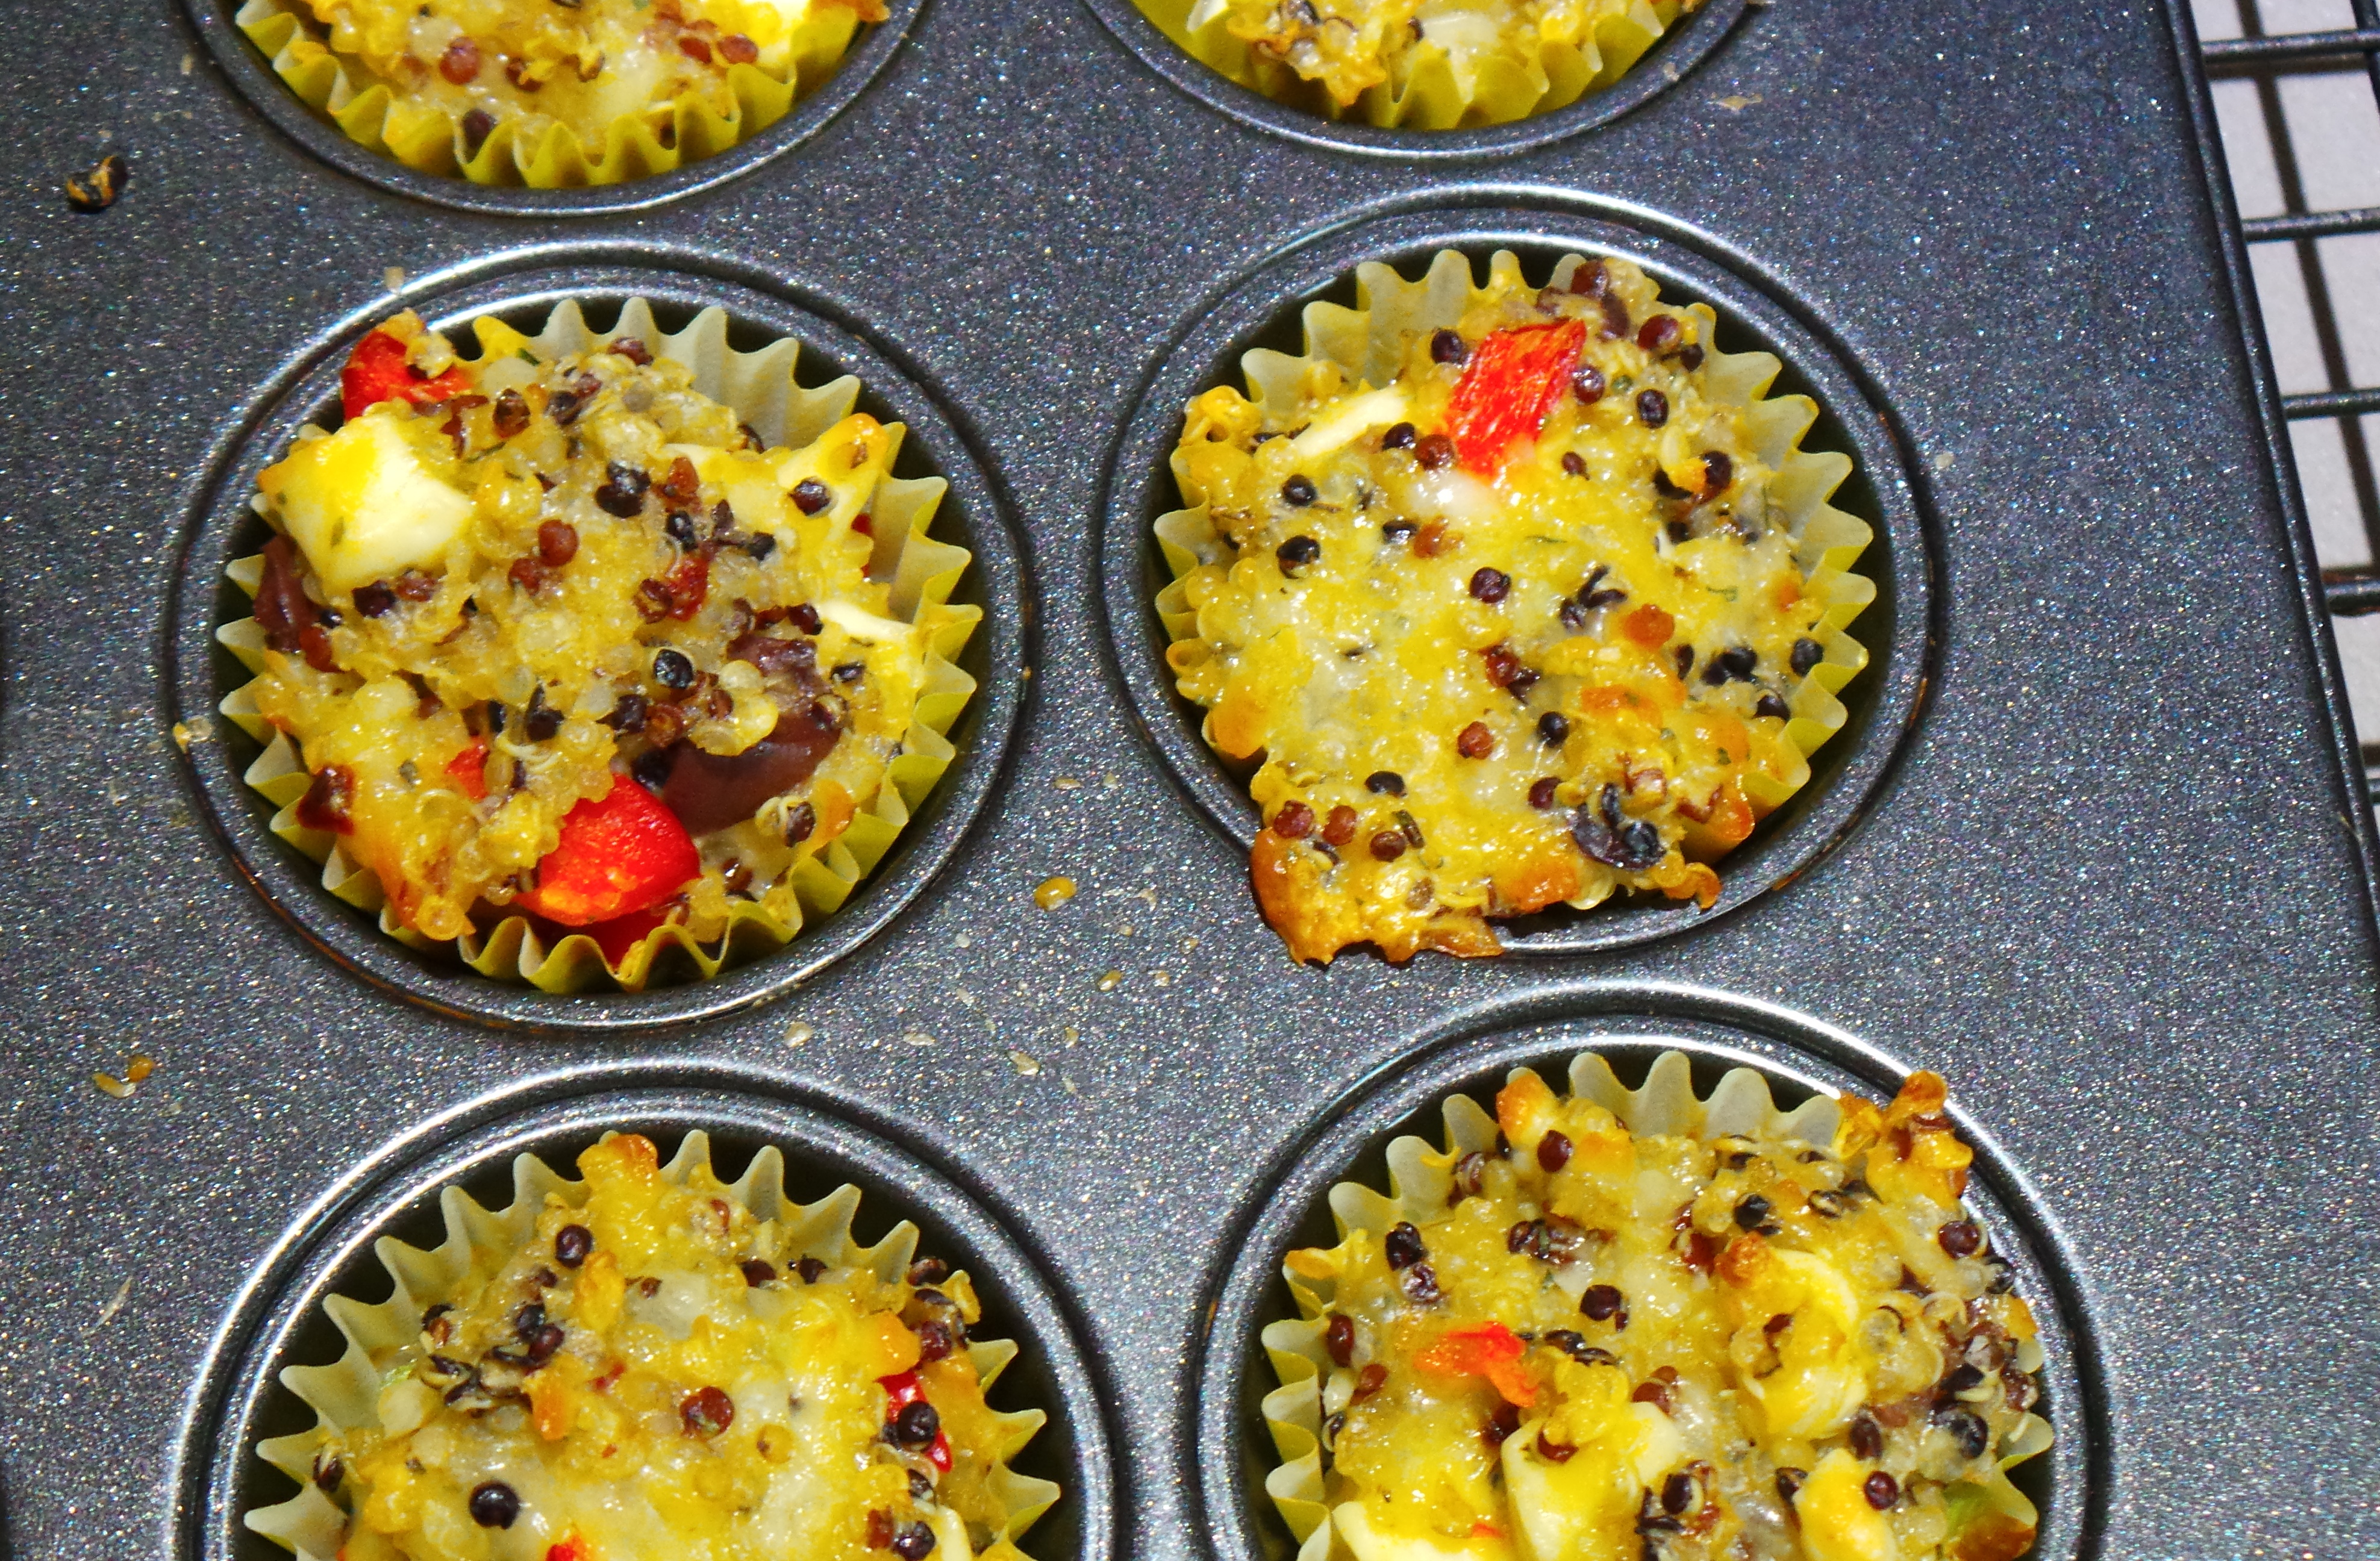
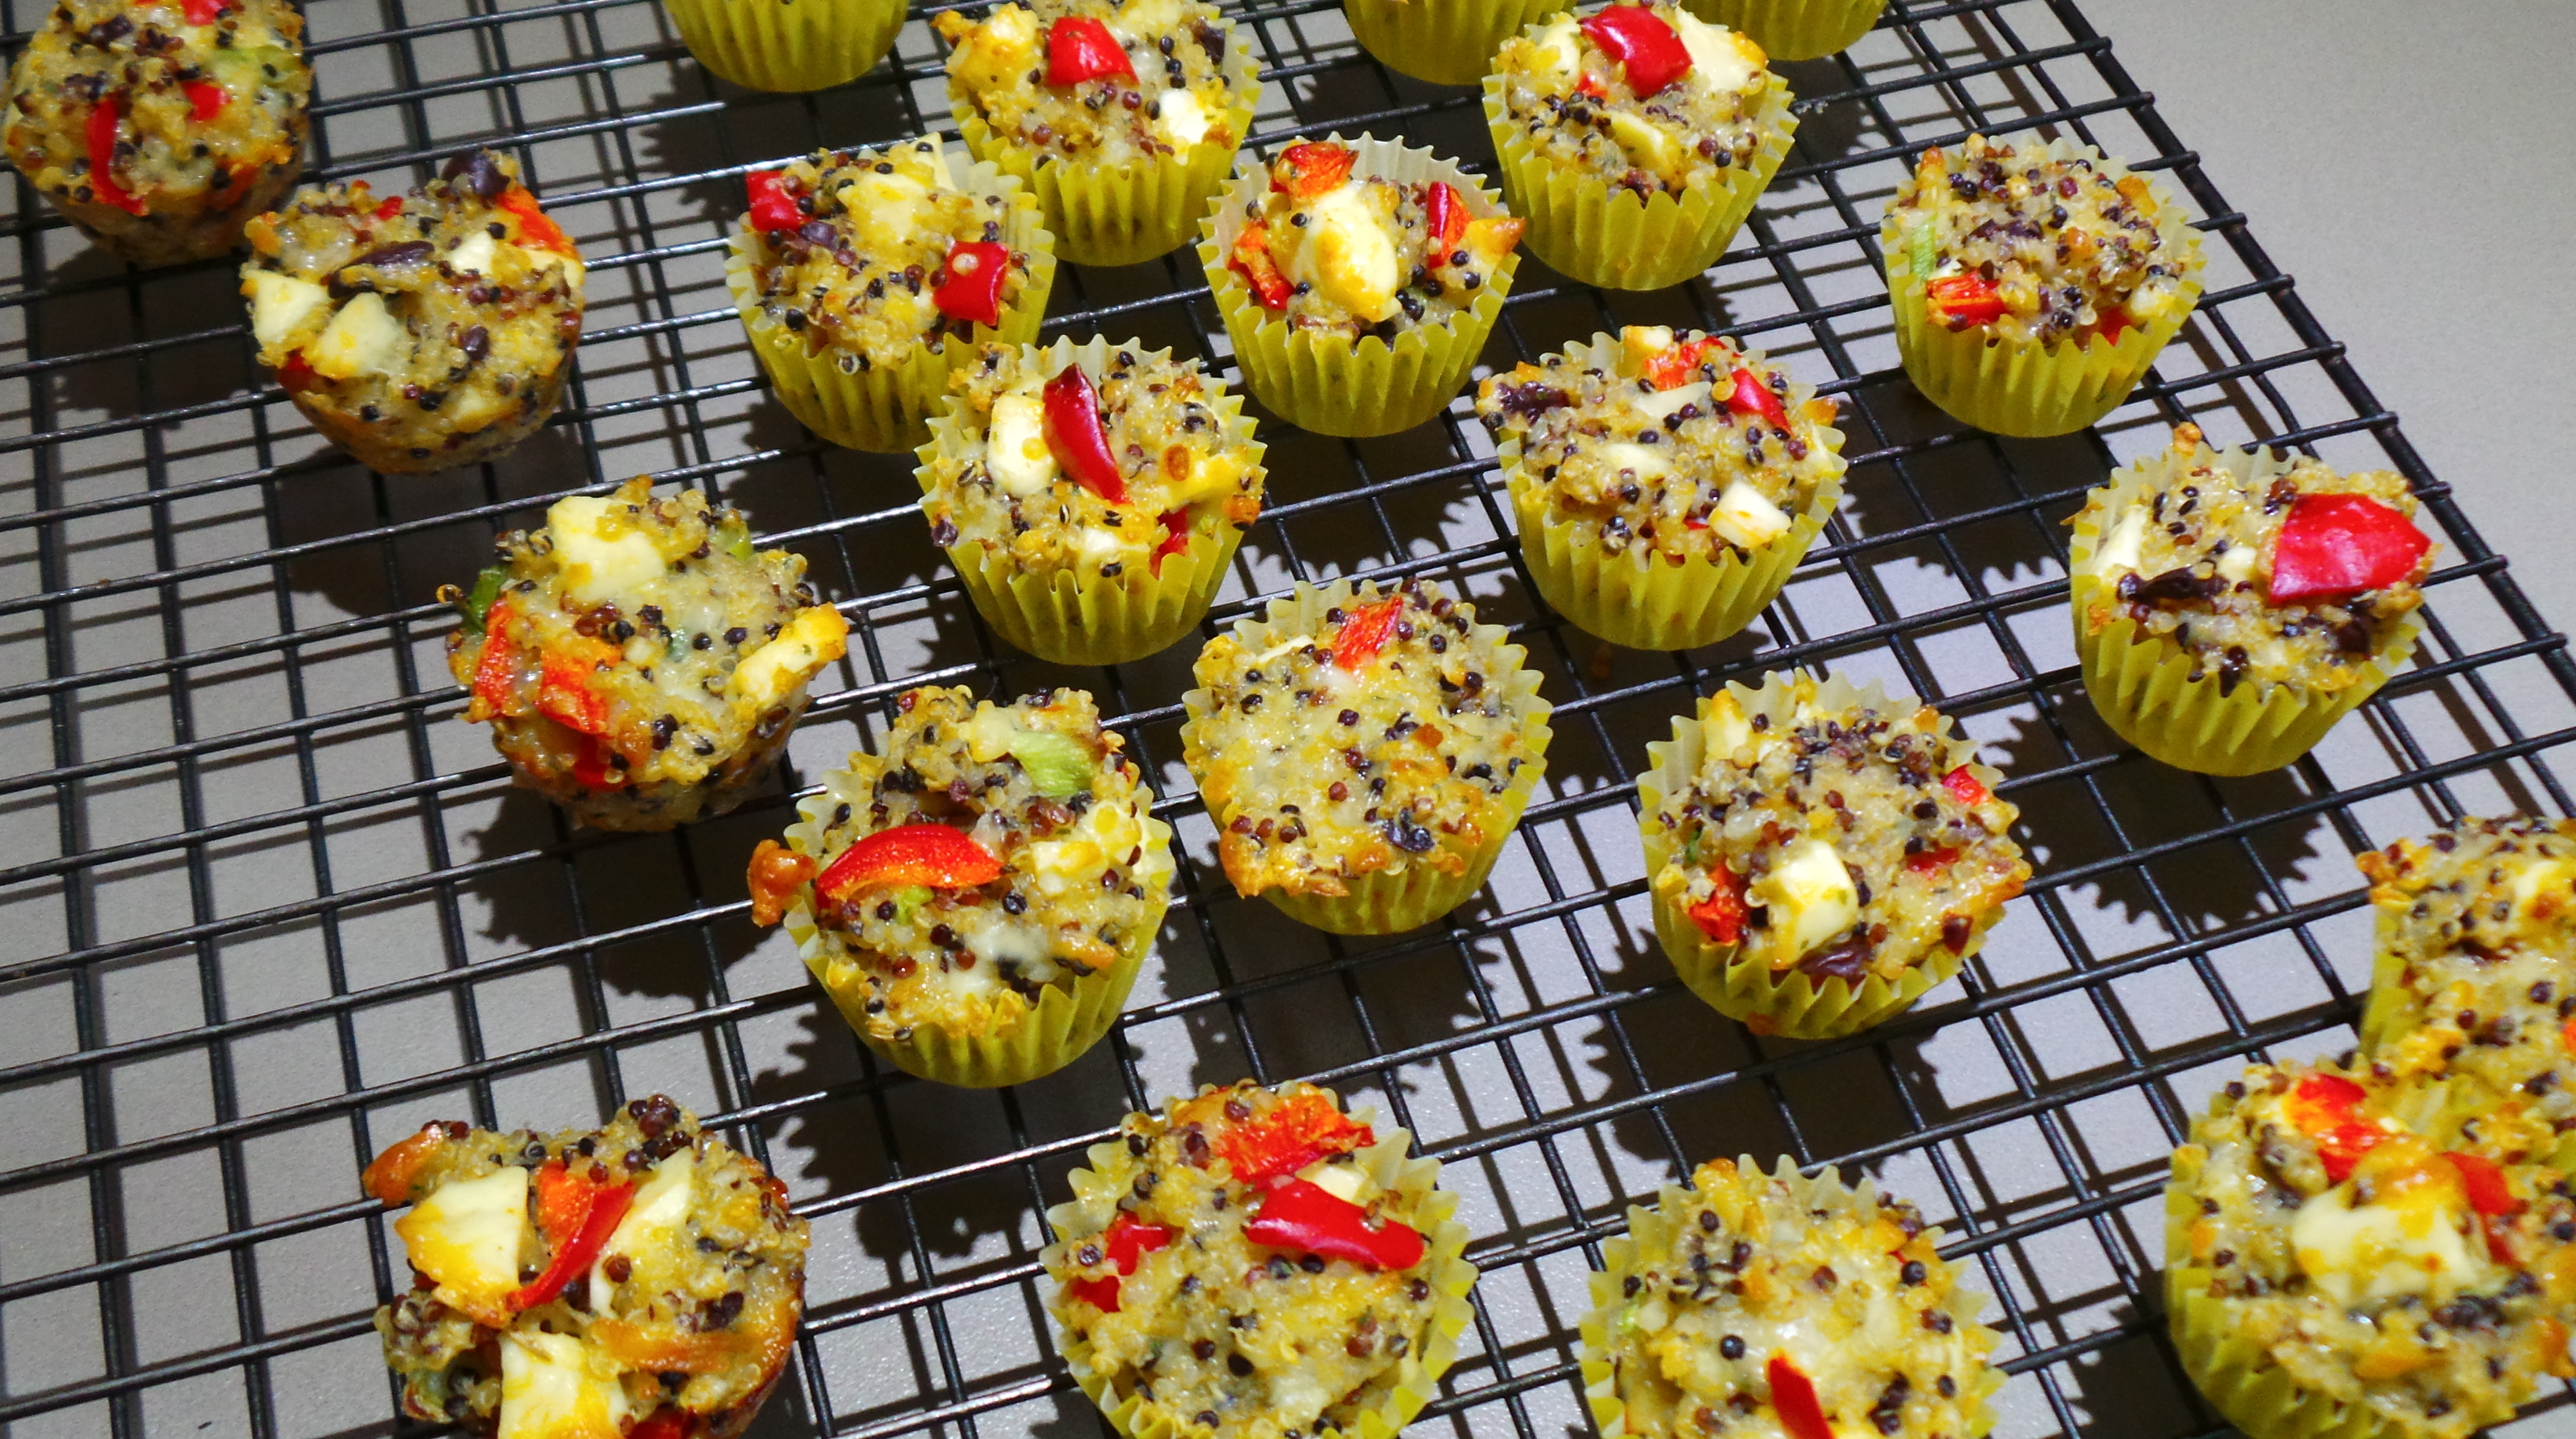
All done.
The Boy followed his nose into the kitchen as they were being retrieved from the oven and I had to stand guard until they were cool enough to eat.
These little mouthfuls of flavour will find their place in lunch boxes during the week, but they would be just as at home at a party or BBQ. They’ll keep in an airtight container in the refrigerator for 2-3 days, but try to bring them up to room temperature again before eating to allow the flavours to develop.
Hint: Get the kids to help you make them and they’ll be more likely to eat them.
Enjoy.
Mediterranean Morsels
Mediterranean Morsels
Ingredients
2 cups cooked quinoa or rice
2 tbsps plain flour
1 tsp crushed garlic
1 tbsp mixed herbs (add a few chilli flakes for a mild bite if you wish)
½ medium red capsicum (bell pepper), diced.
1 spring (green) onion, sliced finely
3 black olives, pips removed and minced finely
½ cup shredded mozzarella
¾ cup diced feta cheese
1 lean rasher of bacon, finely diced (optional)
2 eggs, lightly beaten
Method
Heat oven to 180ºC/350ºF.
Line a mini cupcake tray with paper cases or oil well.
Place quinoa or rice in a medium-sized bowl and add the rest of the ingredients one at a time, stirring well between each.
Fill paper cases with quinoa mix – about 2 rounded teaspoons per case.
Bake for 20 mins.
Allow to cool in the tray before removing to a cooling rack.
Serve at room temperature.
Will keep in an airtight container in the refrigerator for 3-4 days.
Like this? Follow us on Facebook or subscribe to receive updates by email.

Yum.