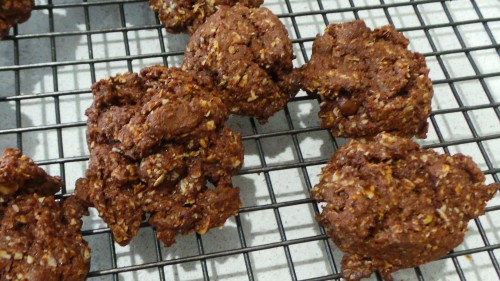
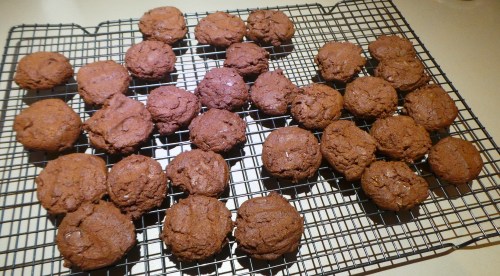
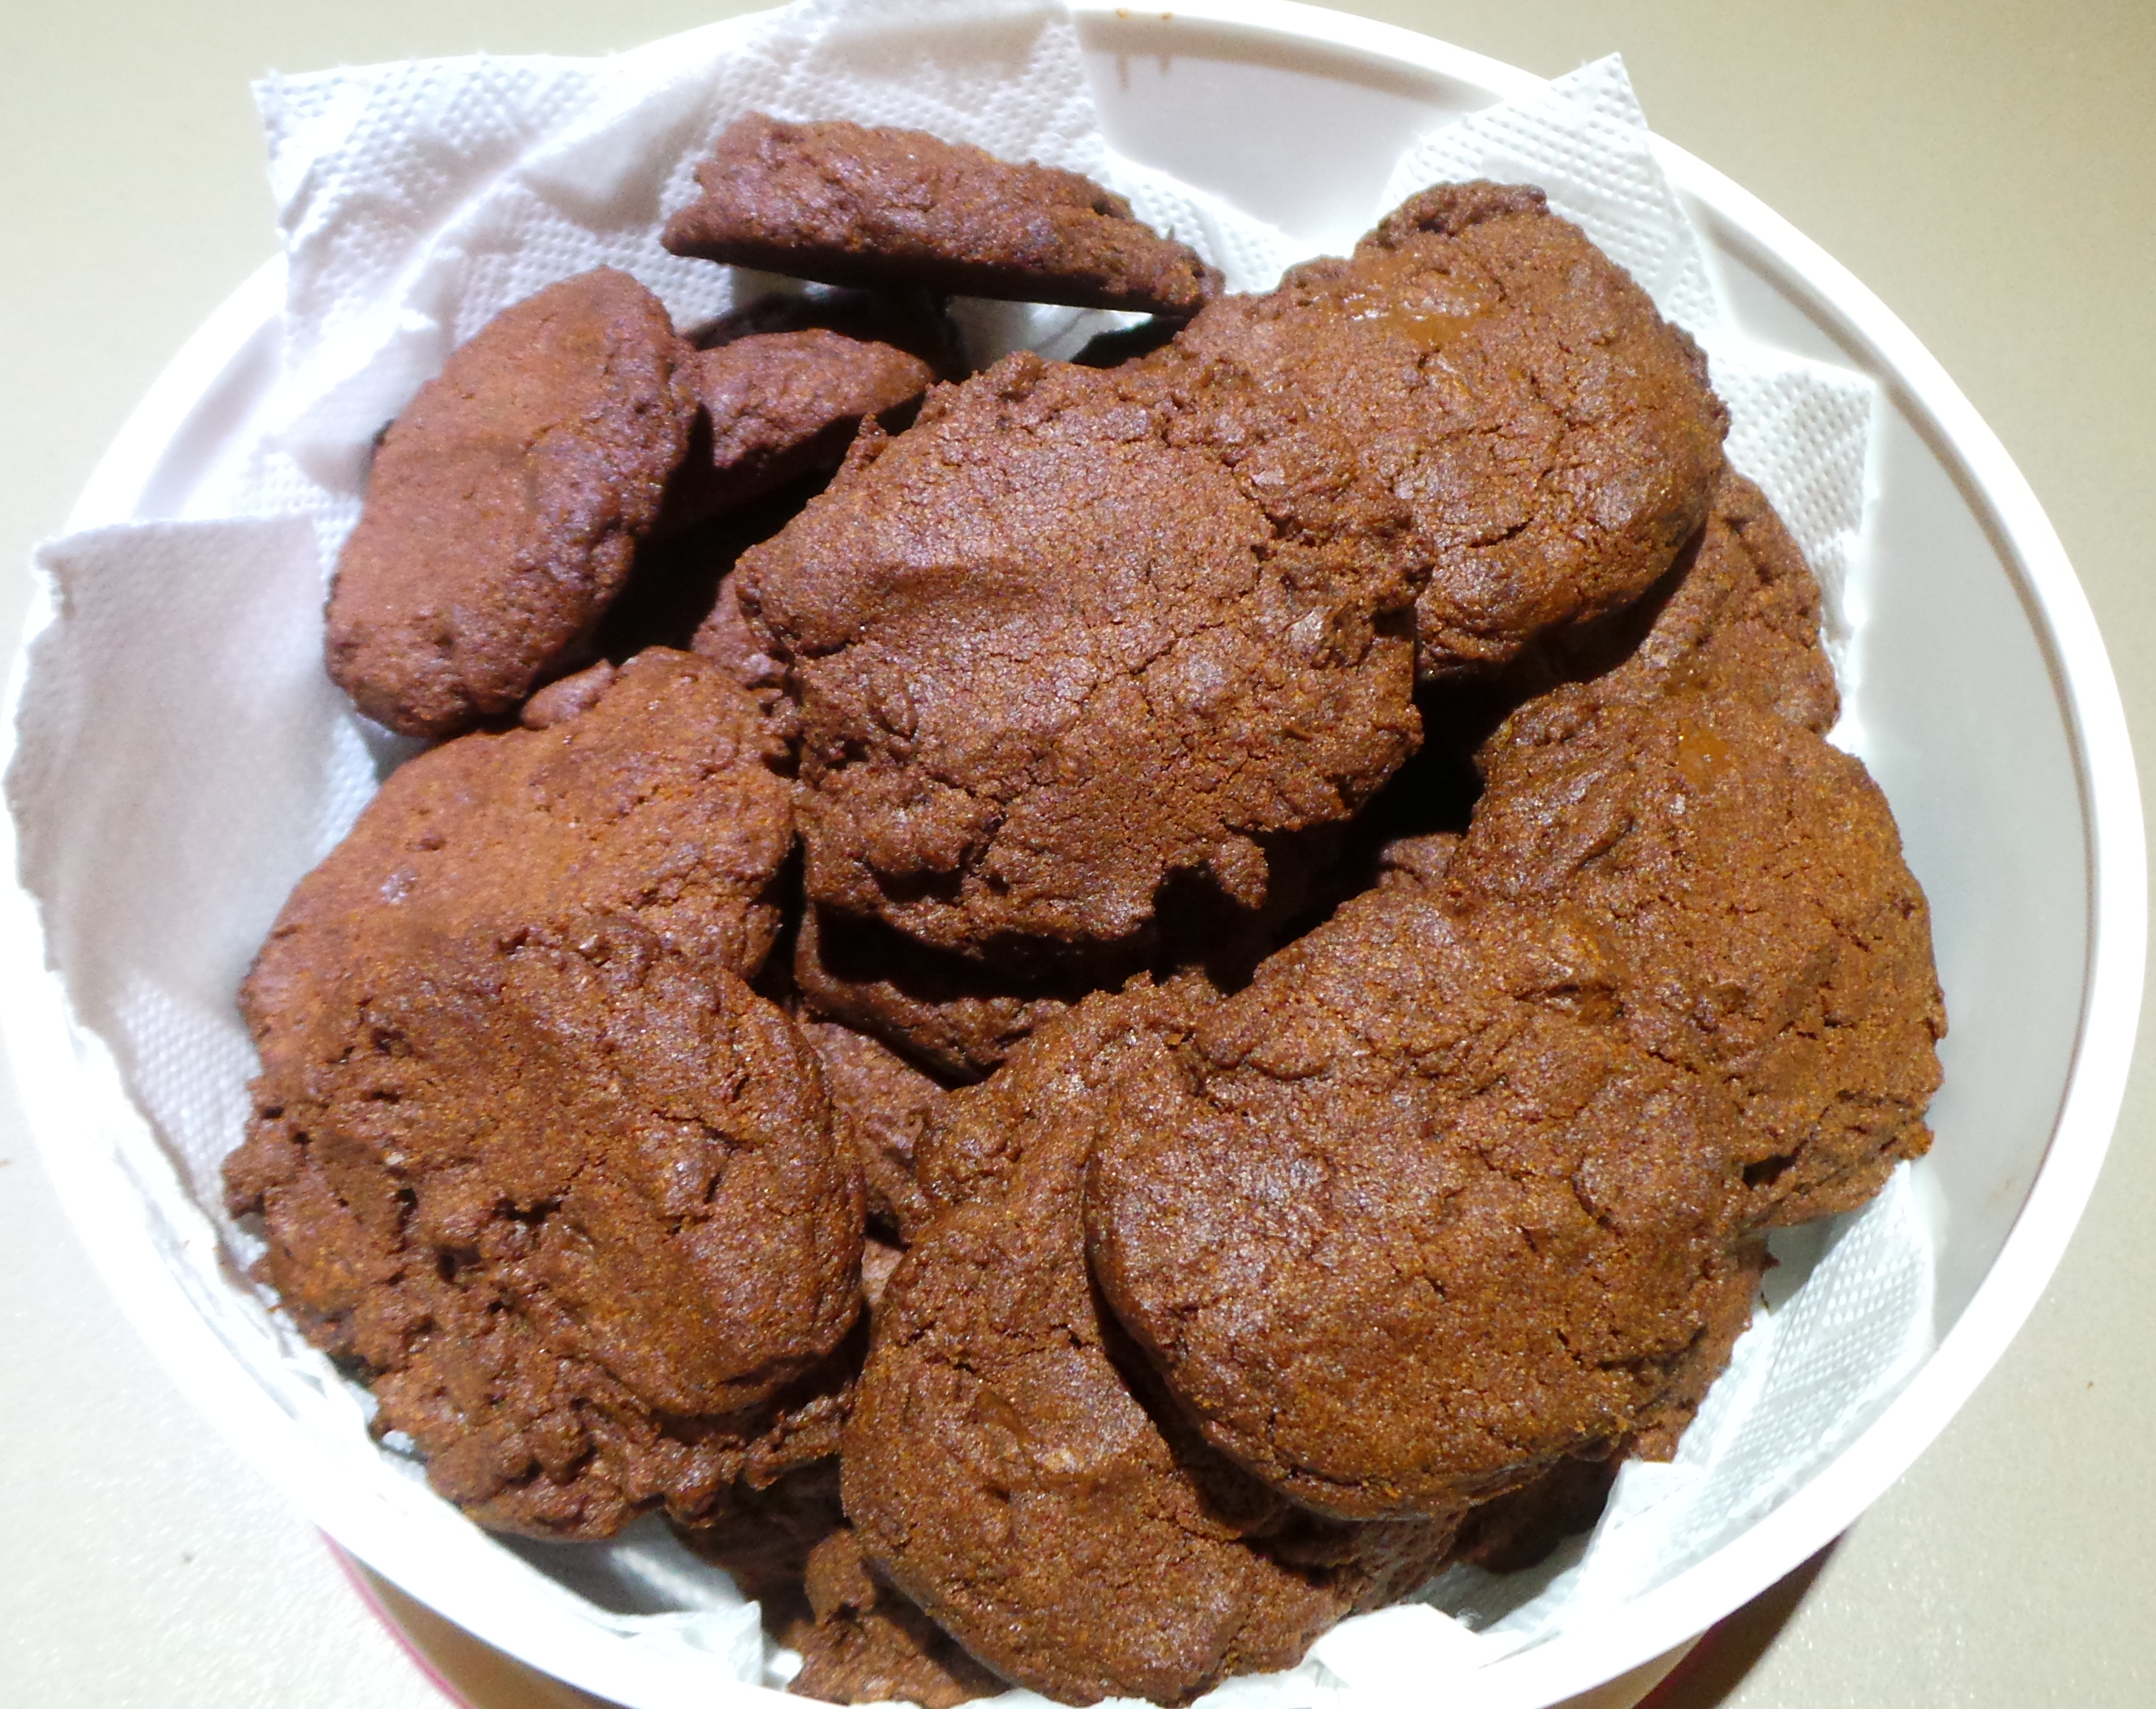
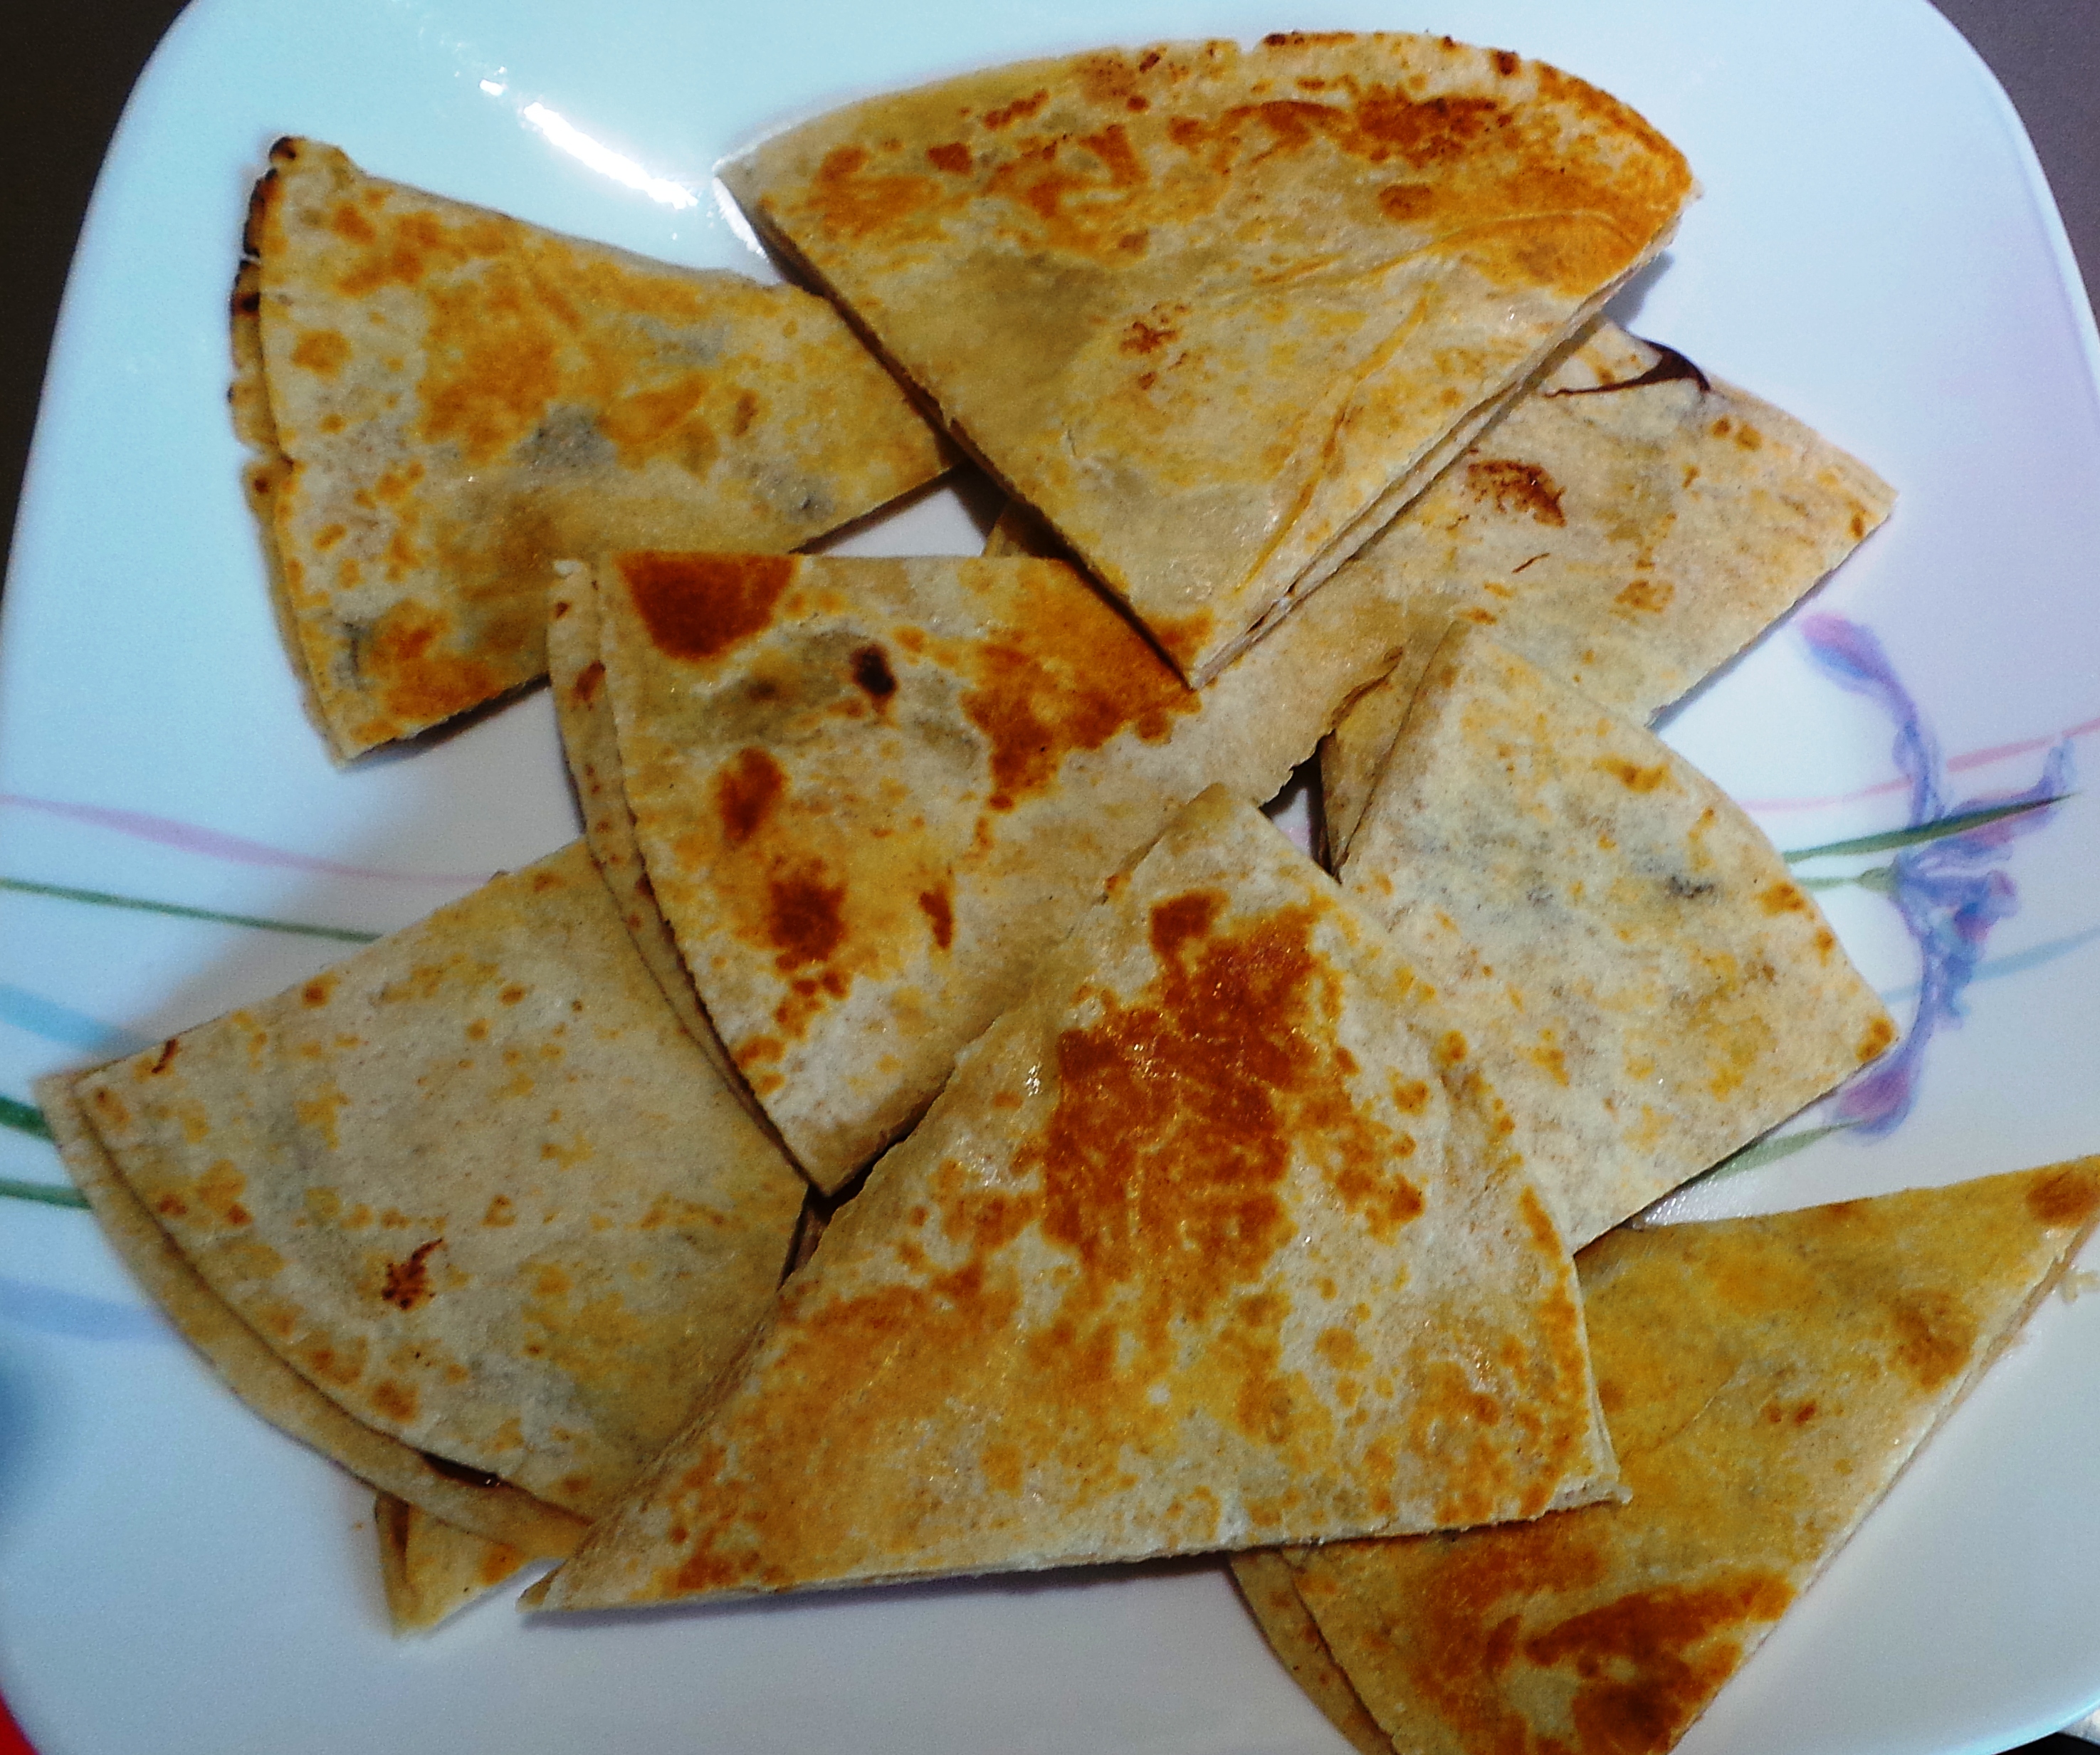
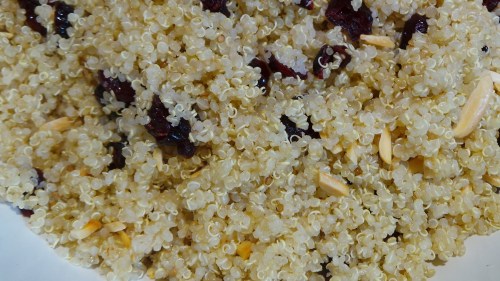
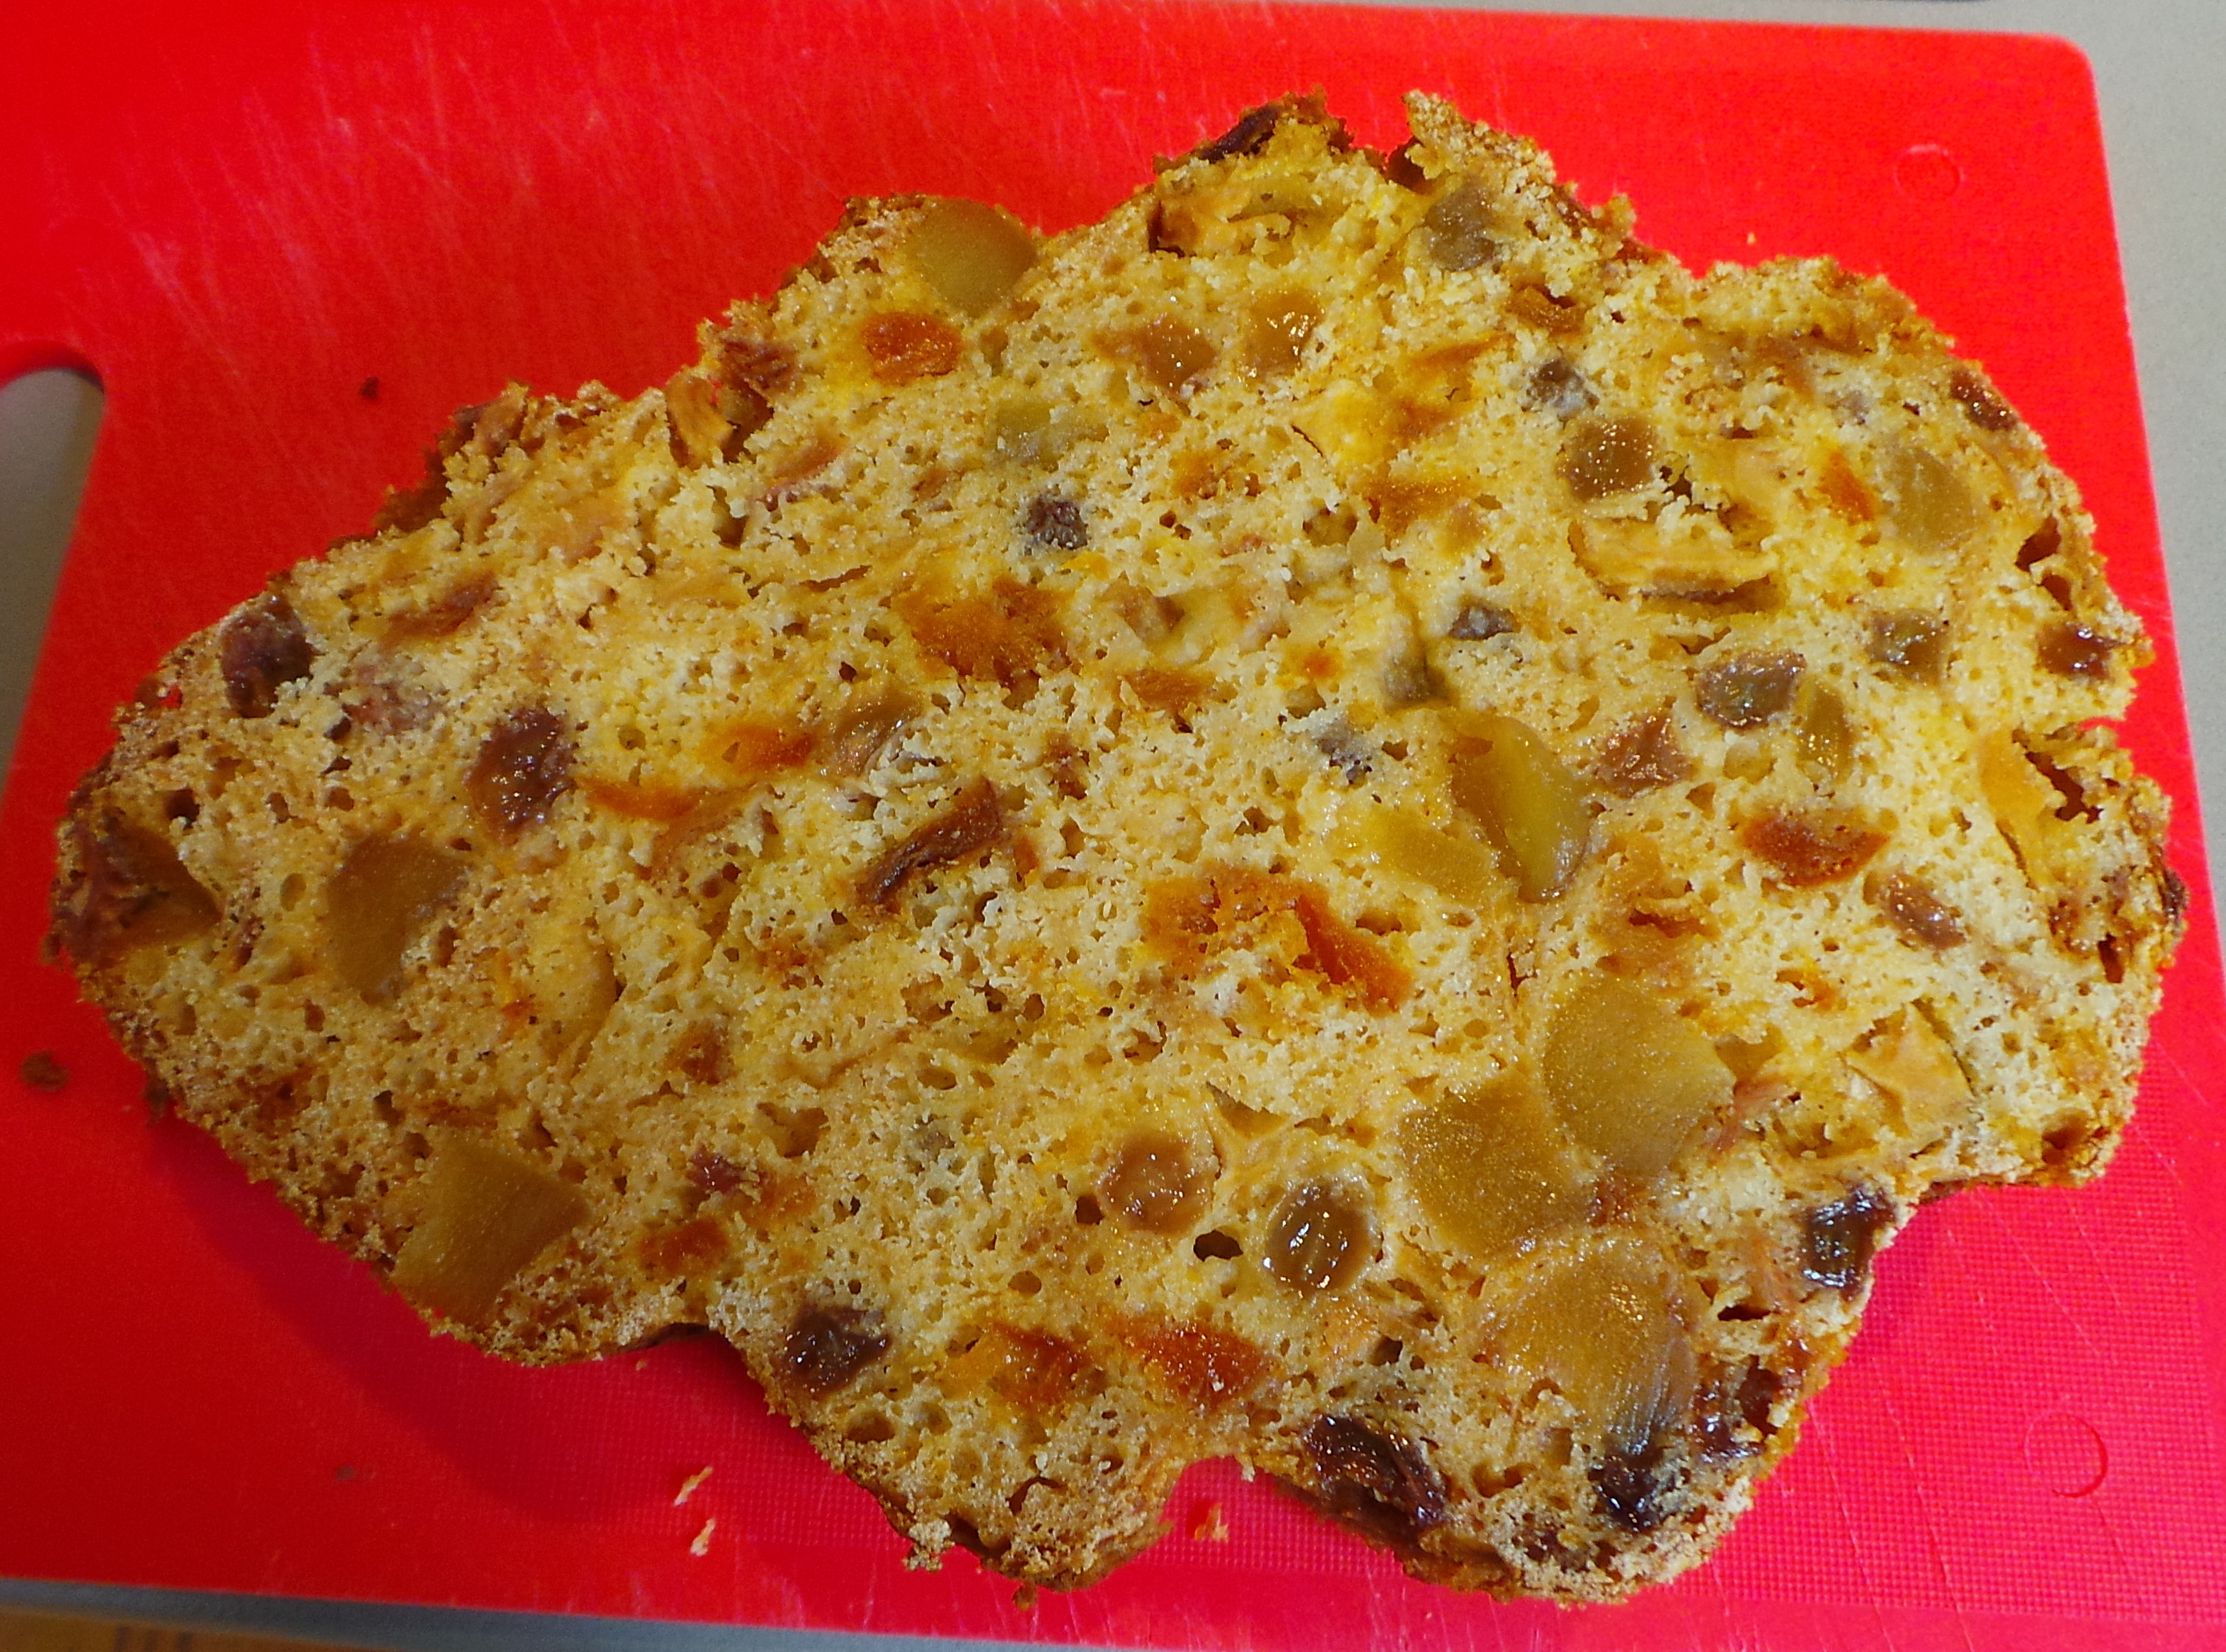
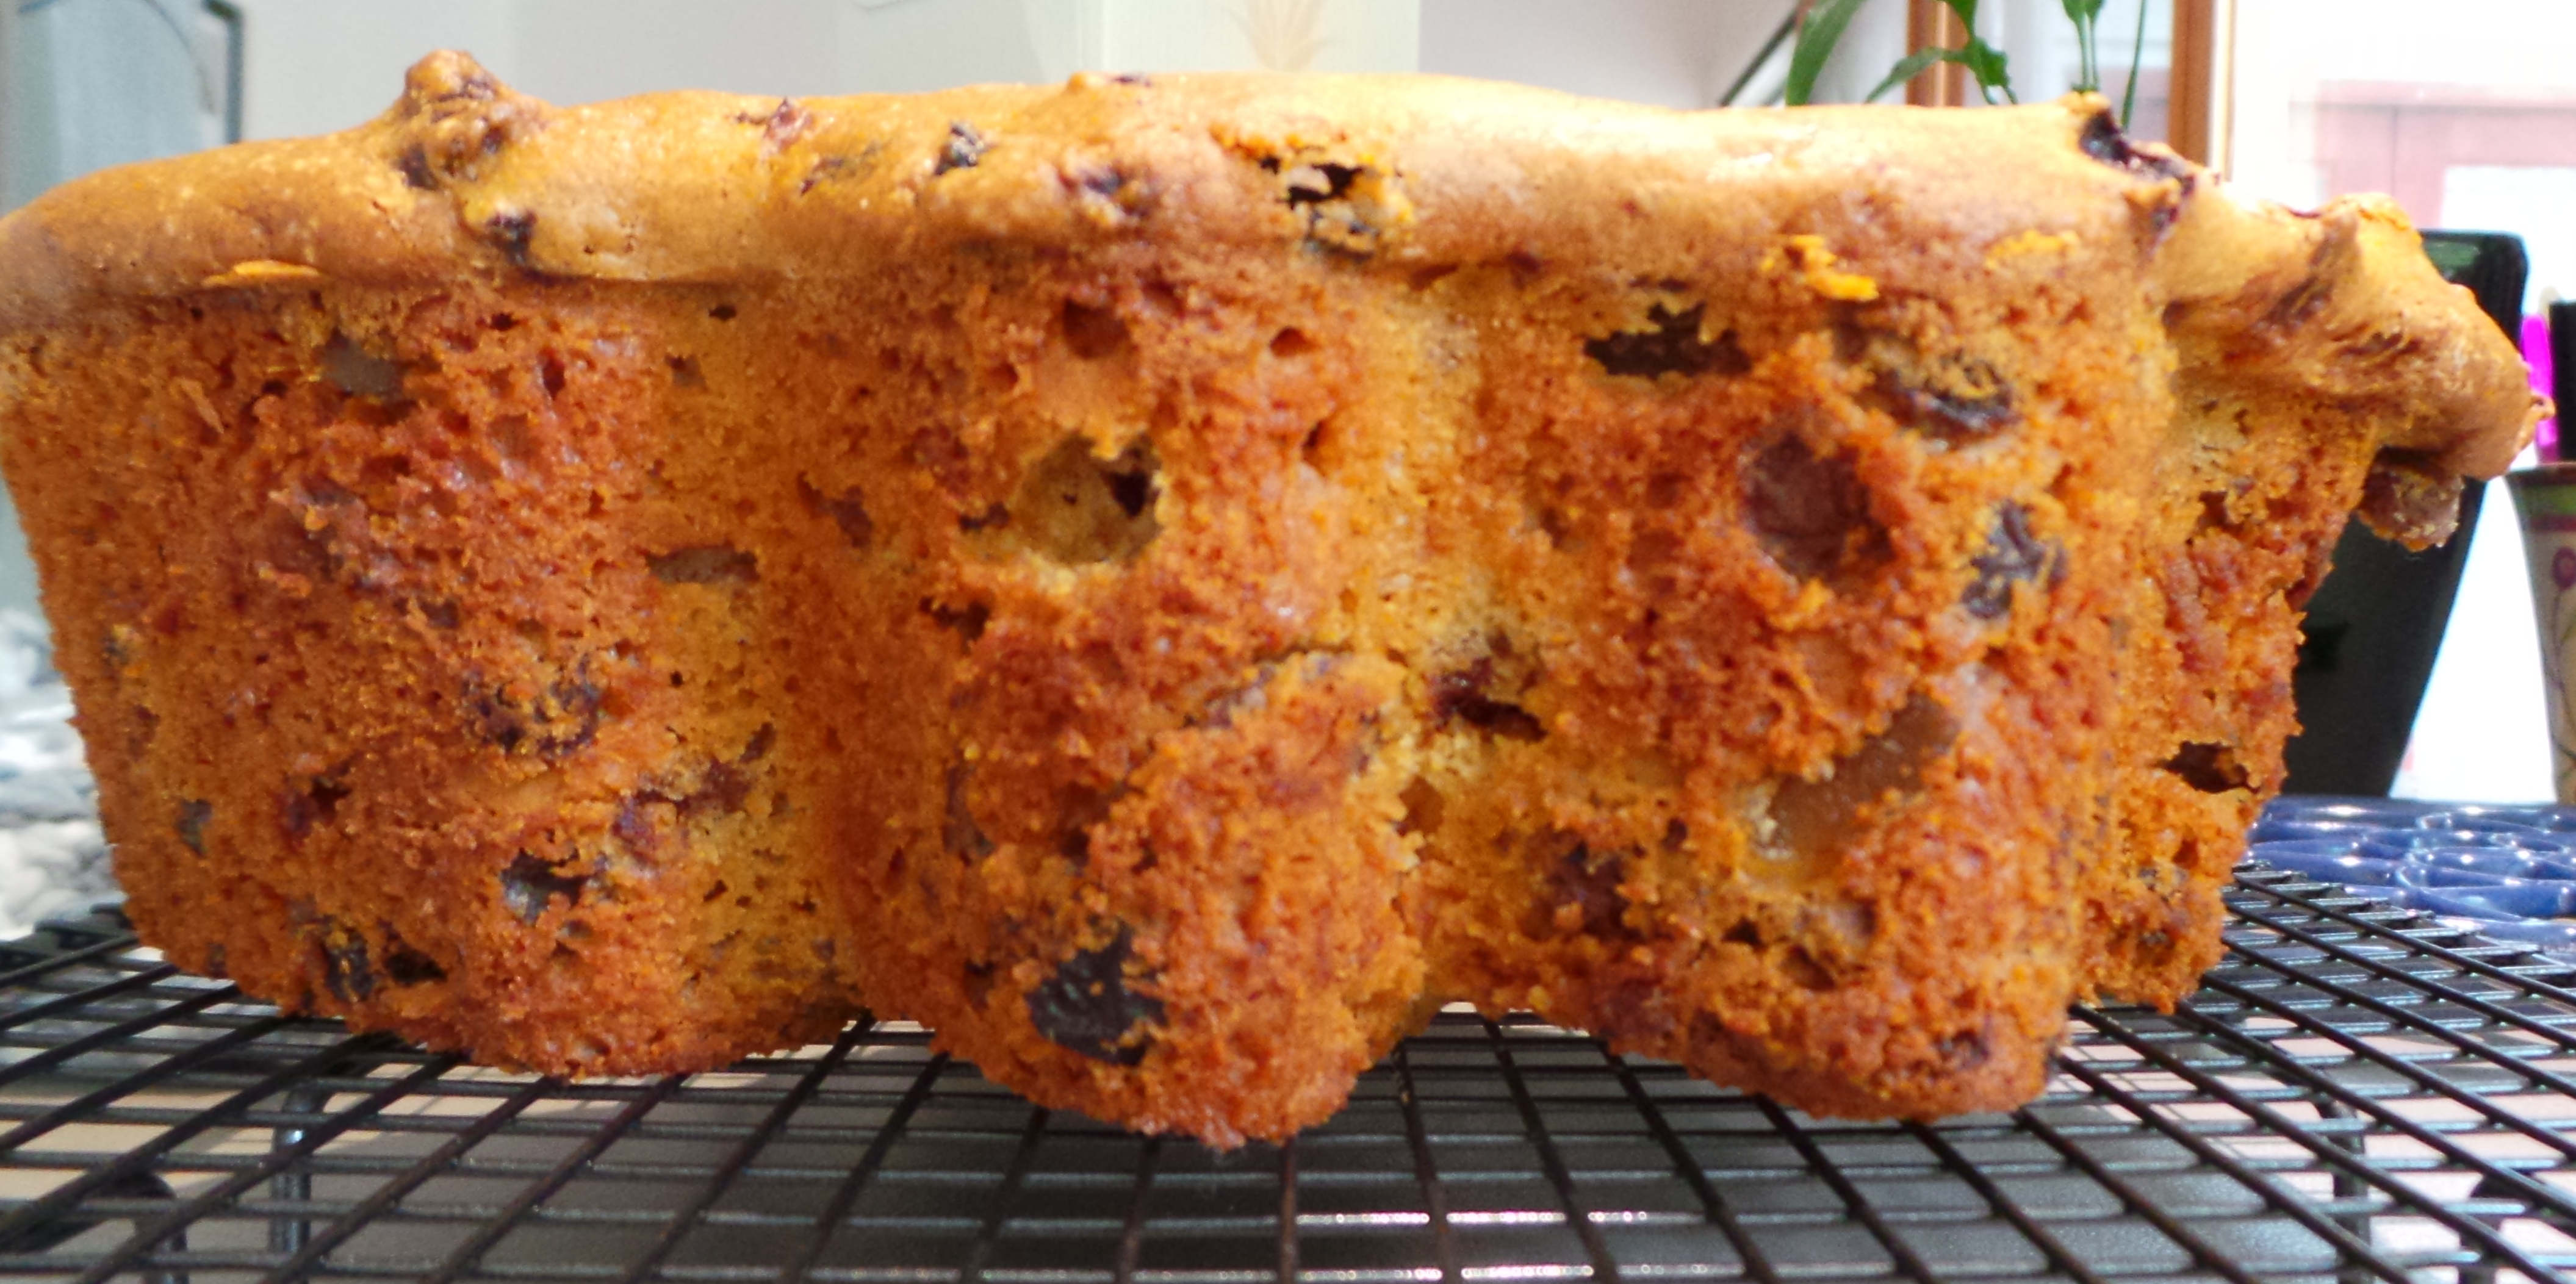
The pieces of ginger are clearly seen in the clices.

The easiest fruit cake ever.
Yes, yes, I know, you don’t like fruit cake. Nothing personal, but…it’s just not your thing.
You’re aware that it’s a tradition, but you really just think you’ll pass this time — Okay?
Nope.
Not happening.
You have to try this cake. If I had a dollar for every time someone who detested fruit cake then told me how much they ♥LURVED♥ this one, I’d have enough to make many more of them.
This group of people includes The Boy, who was *adamant* that I do a post on it!

Yum!
I must confess that I don’t like your regular, traditional dark fruit cake either. It does nothing for me at all.
In fact, when my 19 year old self was copying the original handwritten recipe from my grandmother’s notes sometime last century, I wondered if I was going nuts. I mean, seriously… why would I want to make a fruit cake? However, in the interest of preserving things for posterity, and thinking my mother might like one sometime, I kept on with it.
Many years later, I decided to update it a bit. I find sultanas travel best in small quantities, but whole cakes full of them are rather uninteresting.
Note: I know this recipe doesn’t exactly fit the profile of a budget dish, the fruit is not inexpensive (about $10), but we should all have at least one special occasion card up our sleeves and this is a special occasion dish.

Master Cake decorator, I am not.
I changed the dried fruit in the recipe to a fruit medley product I found in the supermarket that contained dried apples, peaches, pears and apricots – alongside a small quantity of sultanas.

Angas Park Fruit Medley rocks.
The weight (375g) wasn’t quite up to the 500g that was called for, so I decided to make it up with something a little bit special.
I am a ginger fiend. I love the stuff. So, when I saw 125g packs of glacé ginger from our friends at Buderim, I knew that had to go in as well.

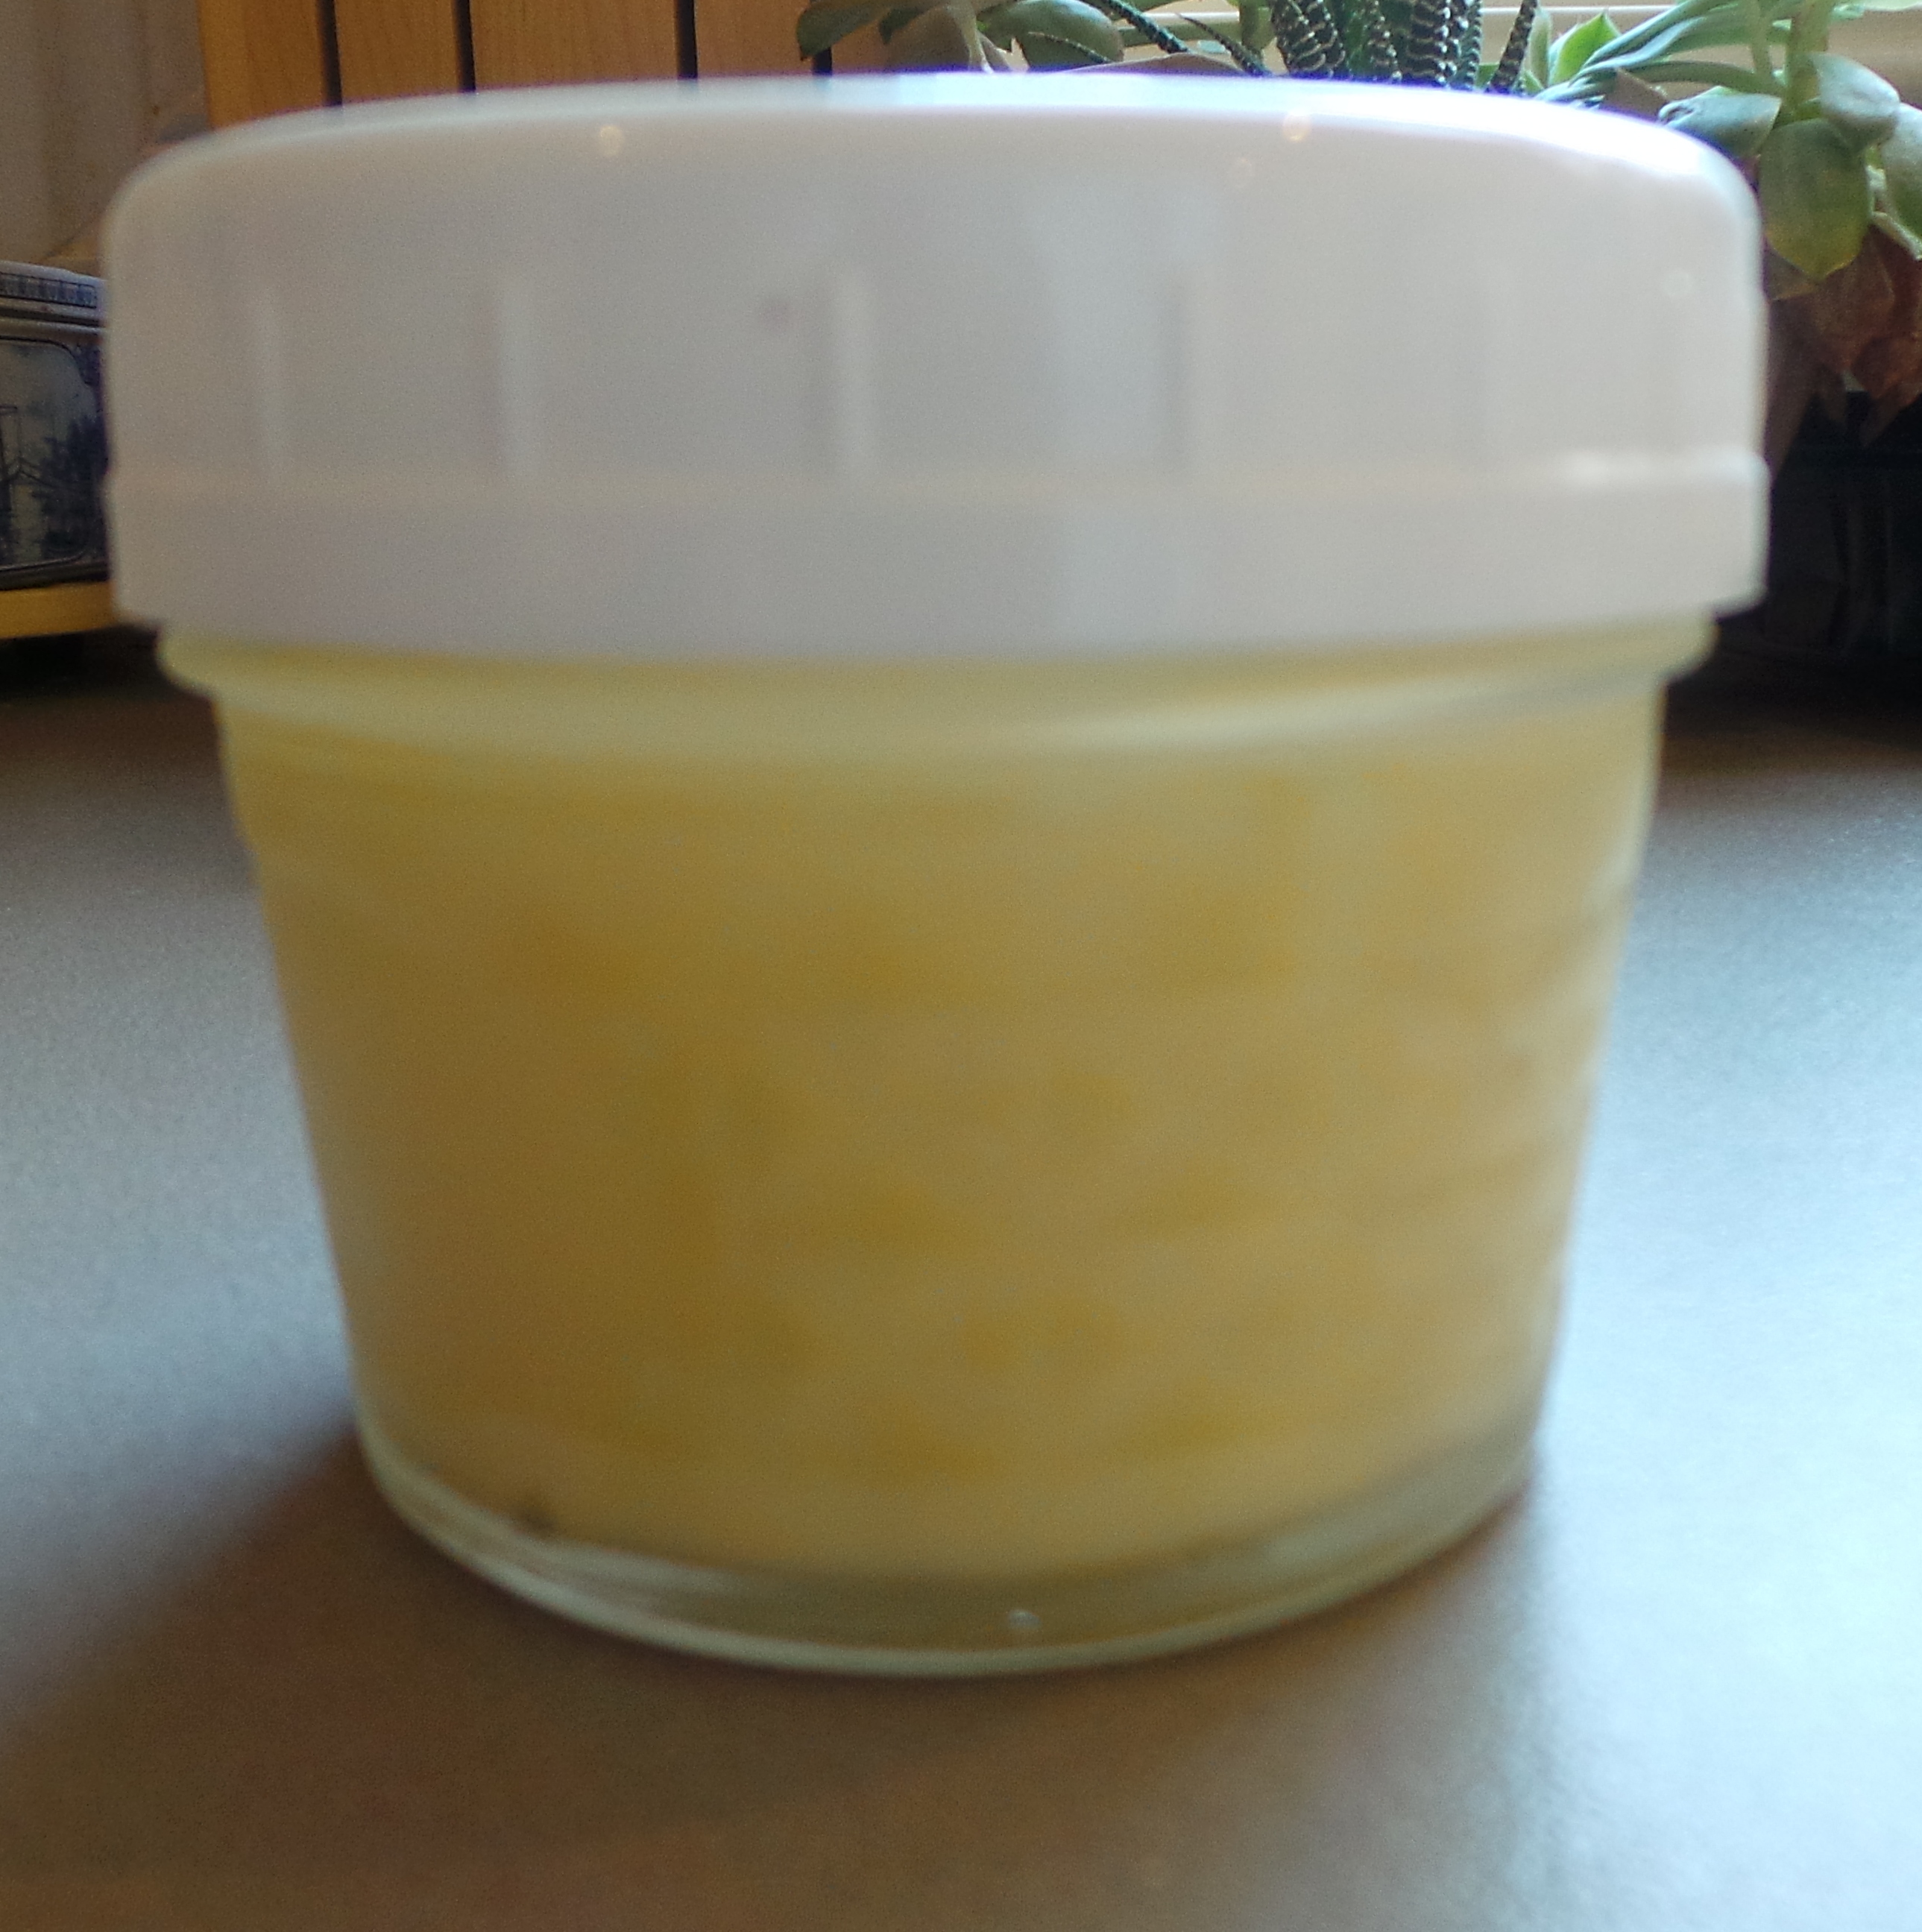
Glace ginger
It did and it was a triumph.
I’ve even served this up to our Governor-General and his wife, and can proudly boast it has Vice-Regal approval. So there.
If you don’t like ginger (wha..?) feel free to substitute glacé cherries instead. If you must.
Also, there is no alcohol in this recipe. If you absolutely must have booze, you may wish to use it to soak your dried fruit, I give no guarantees as to the results having never tried it this way.
This is the easiest, simplest cake to make. It takes about 10 mins of preparation – total.
It will disappear in about the same amount of time (once you get past all the “but I don’t like fruit cake…” stuff).
Don’t bother getting your electric beaters out for it, they’ll struggle. Instead, arm the nearest, largest child with a wooden spoon and get them to mix it. Say it’s a tradition. Invoke Santa and good and bad lists if you must.
Do this even if it’s August and you’re serving it that evening.
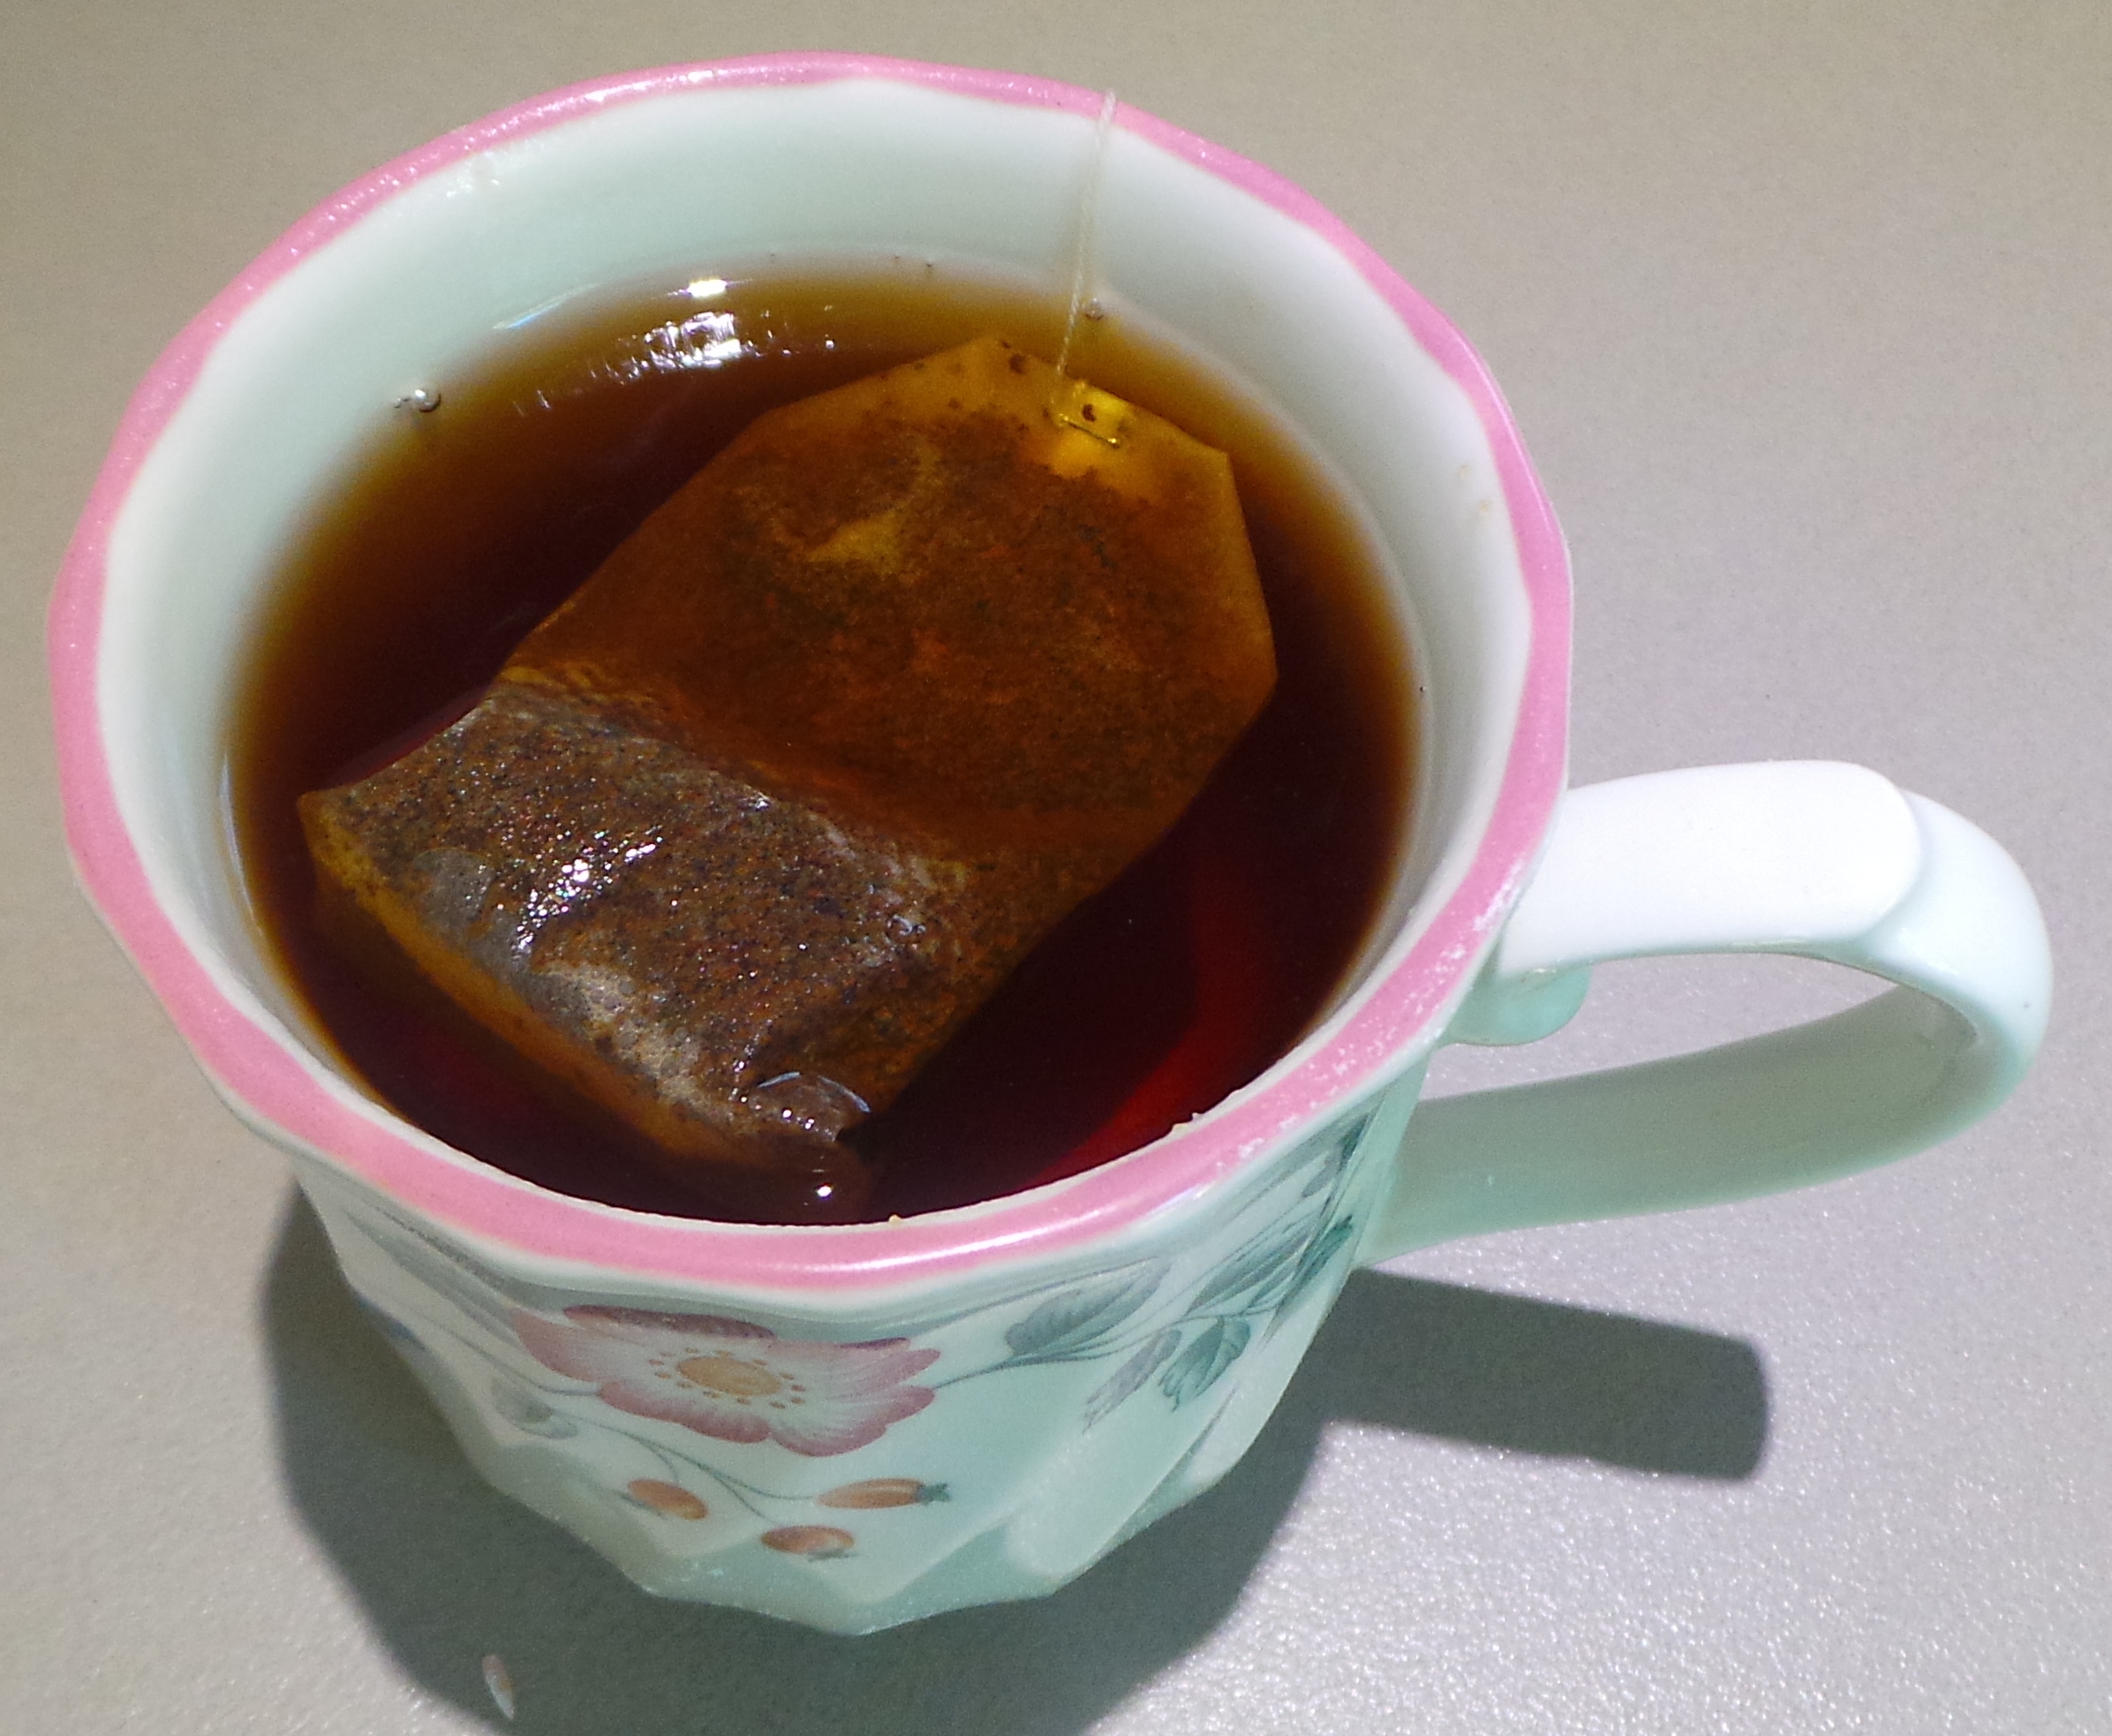
You will need a large bowl and a mug. The mug is important.

The mug.
This is the mug I have always used for this recipe. It doesn’t matter which mug you use (you can’t have mine, sorry), but try to use the same one throughout. It’s a matter of proportions, you see.
Empty your 500g of dried fruit into a large bowl and then add a mug of hot, black tea. Leave overnight. Only soak your dried fruit, any glacé fruit will be added later.

Soak your fruit overnight
It will plump up and start looking luscious. My fridge was rather full when I did this part, so I used a smaller bowl for it.
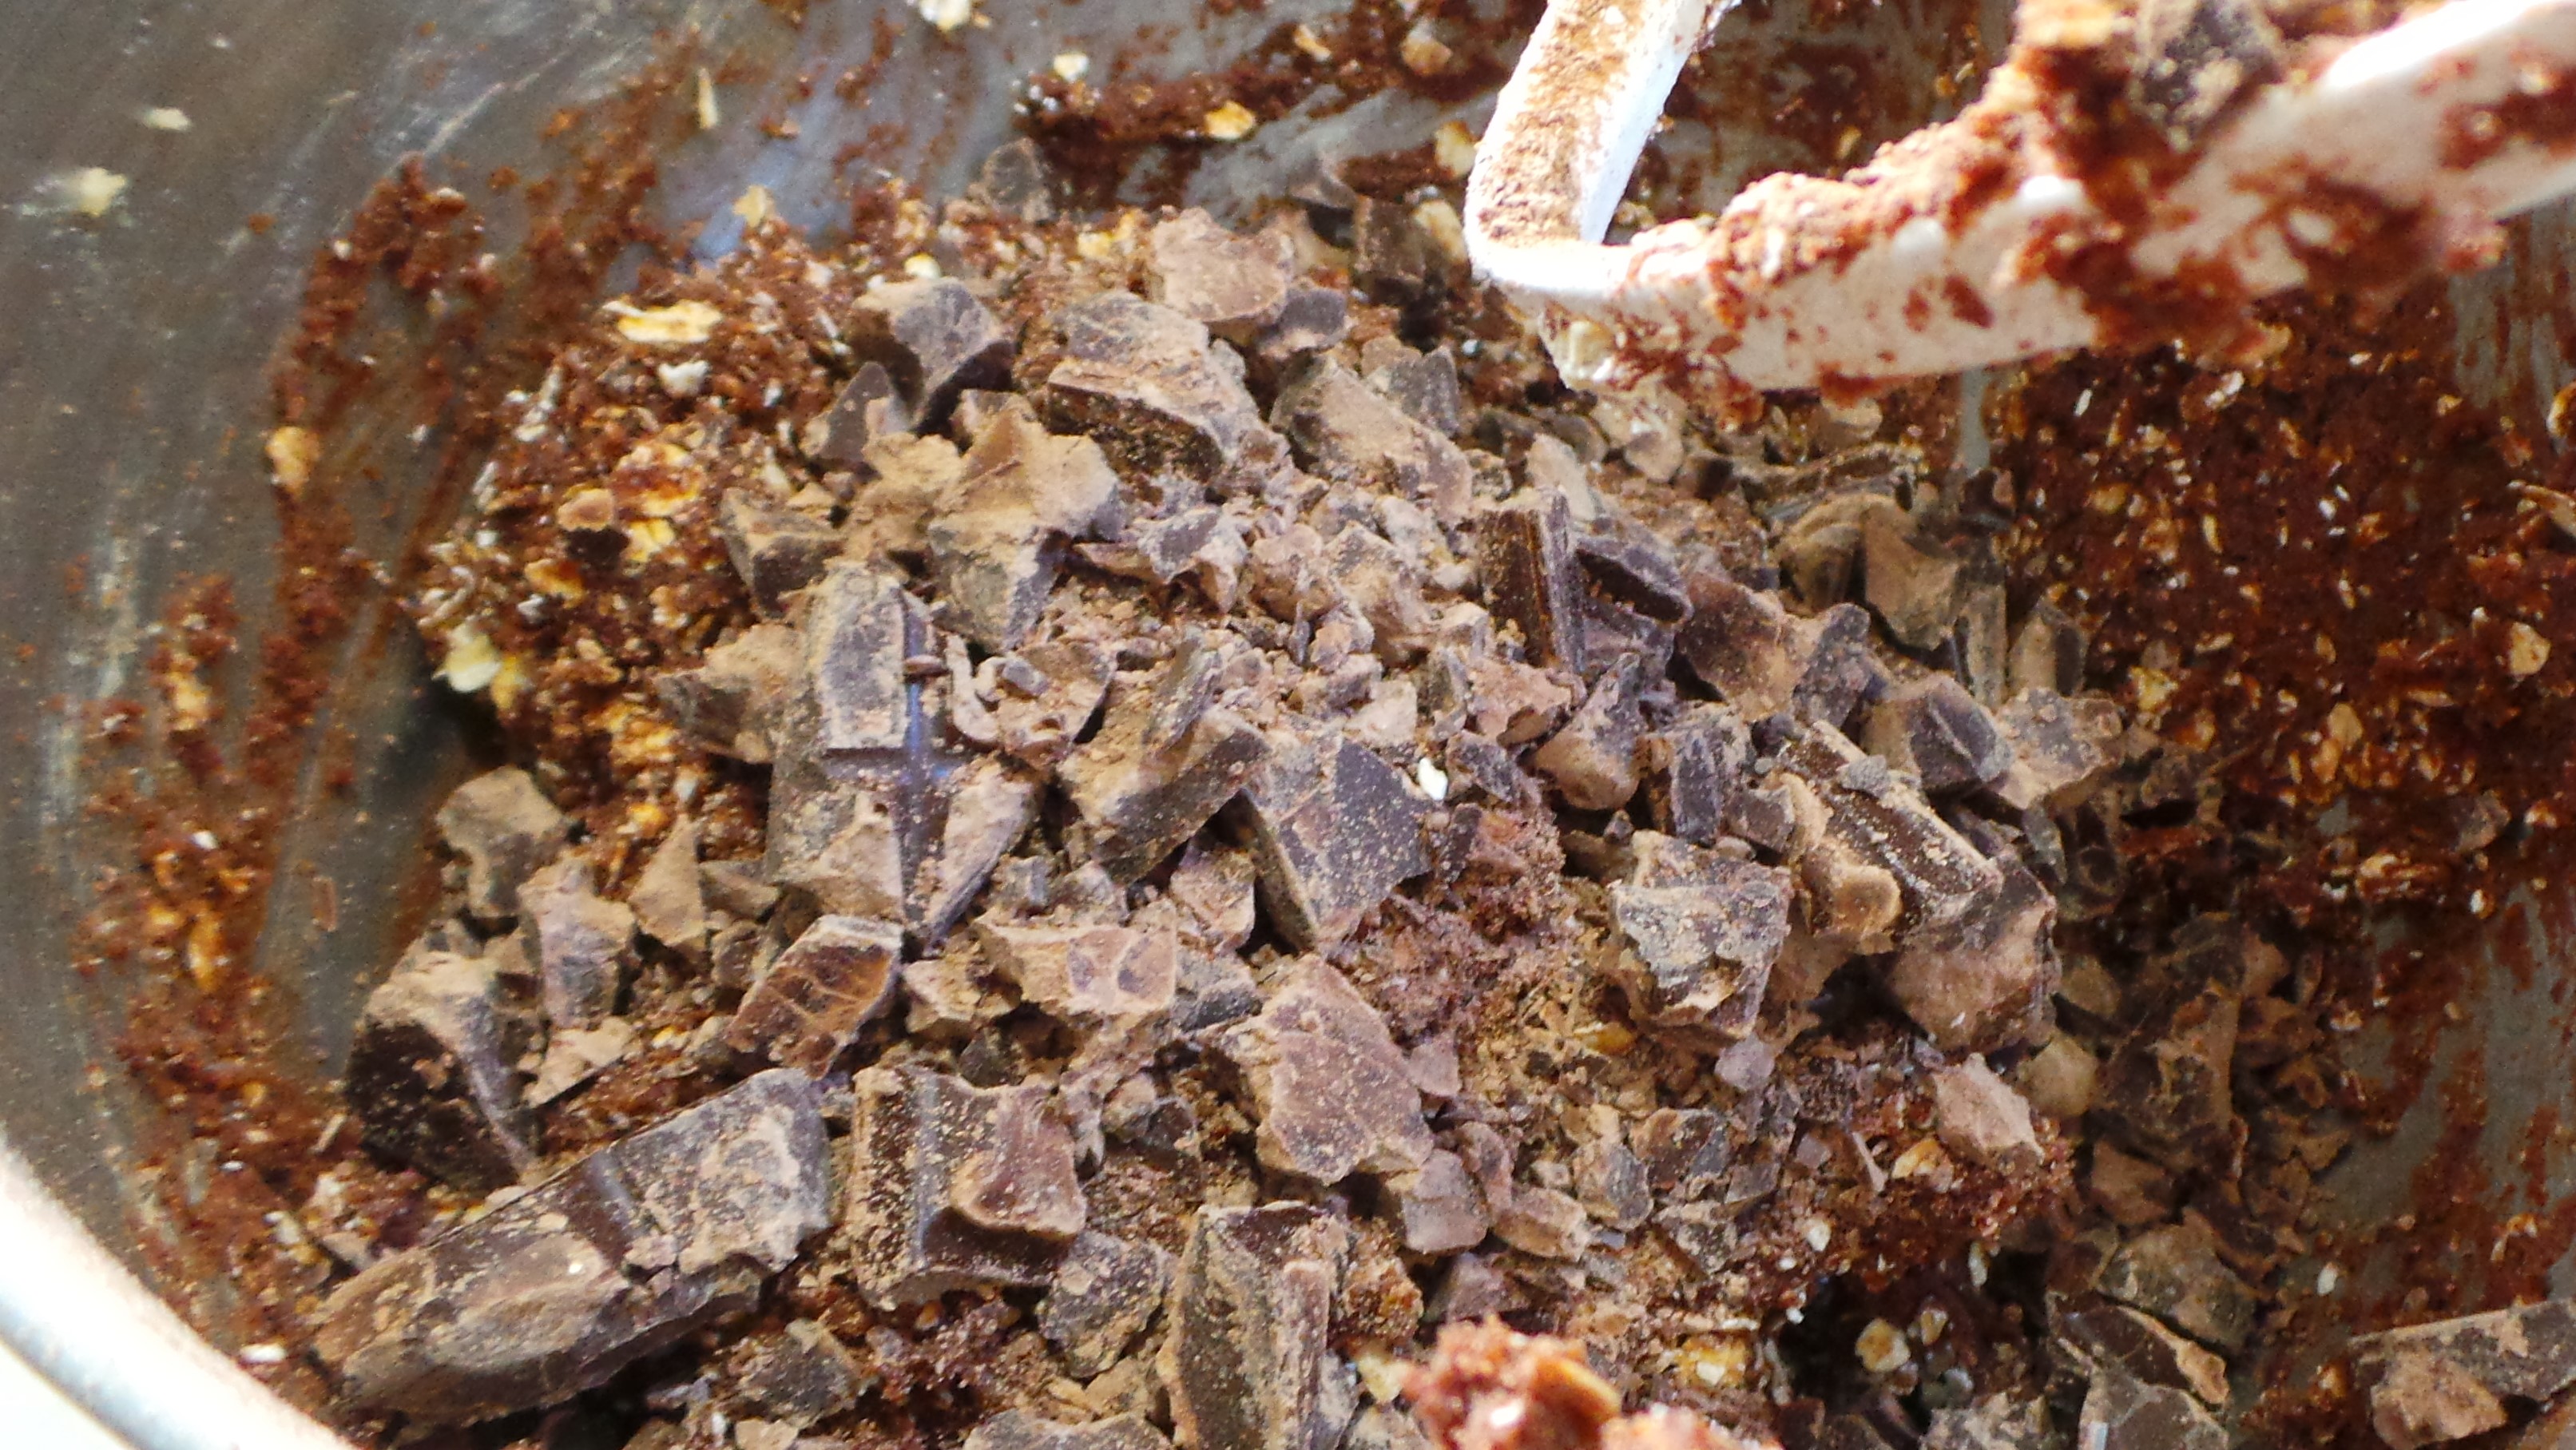
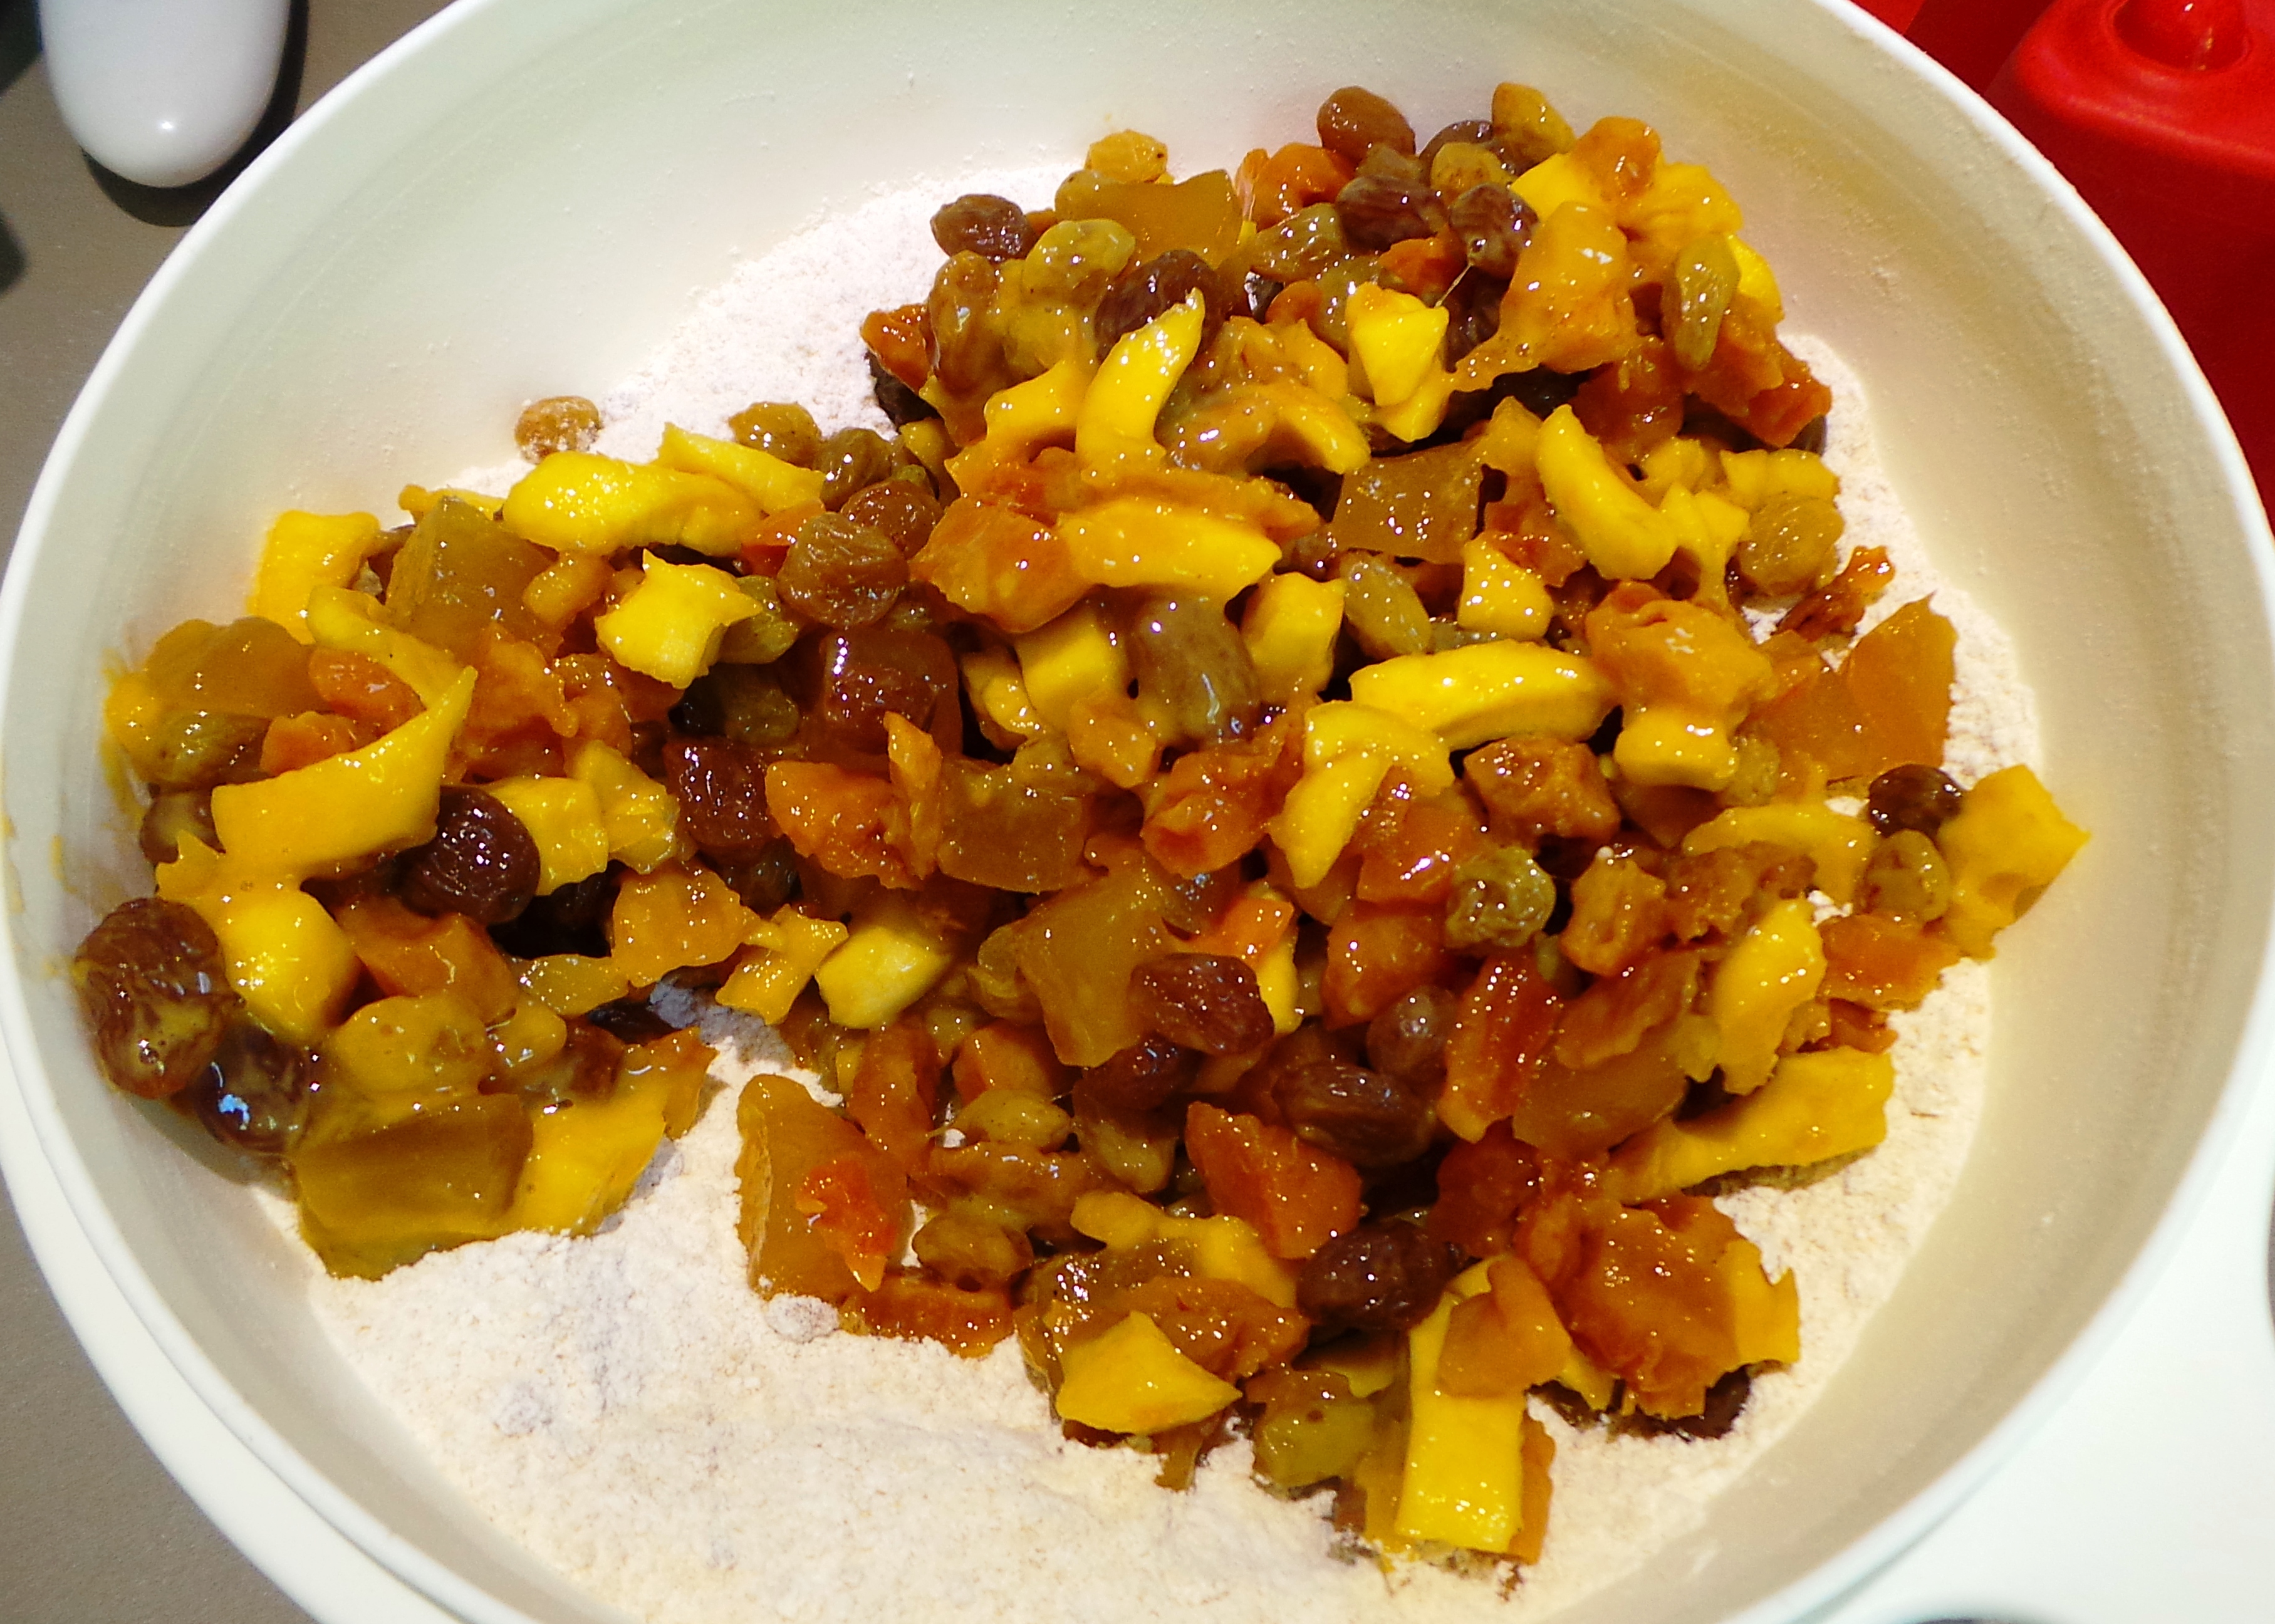
The next day, cut your glacé fruit into quite large chunks (or leave whole) and mix through the soaked fruit.

Add your glaced fruit to your soaked
I’ve discovered over the years that small pieces just disappear into the background and that – strangely! – some people don’t like ginger.
Leaving the pieces on the large side means that you get a definite zing from them and it’s easy to pick them out if they aren’t wanted.

The pieces of ginger are clearly seen in the slices.
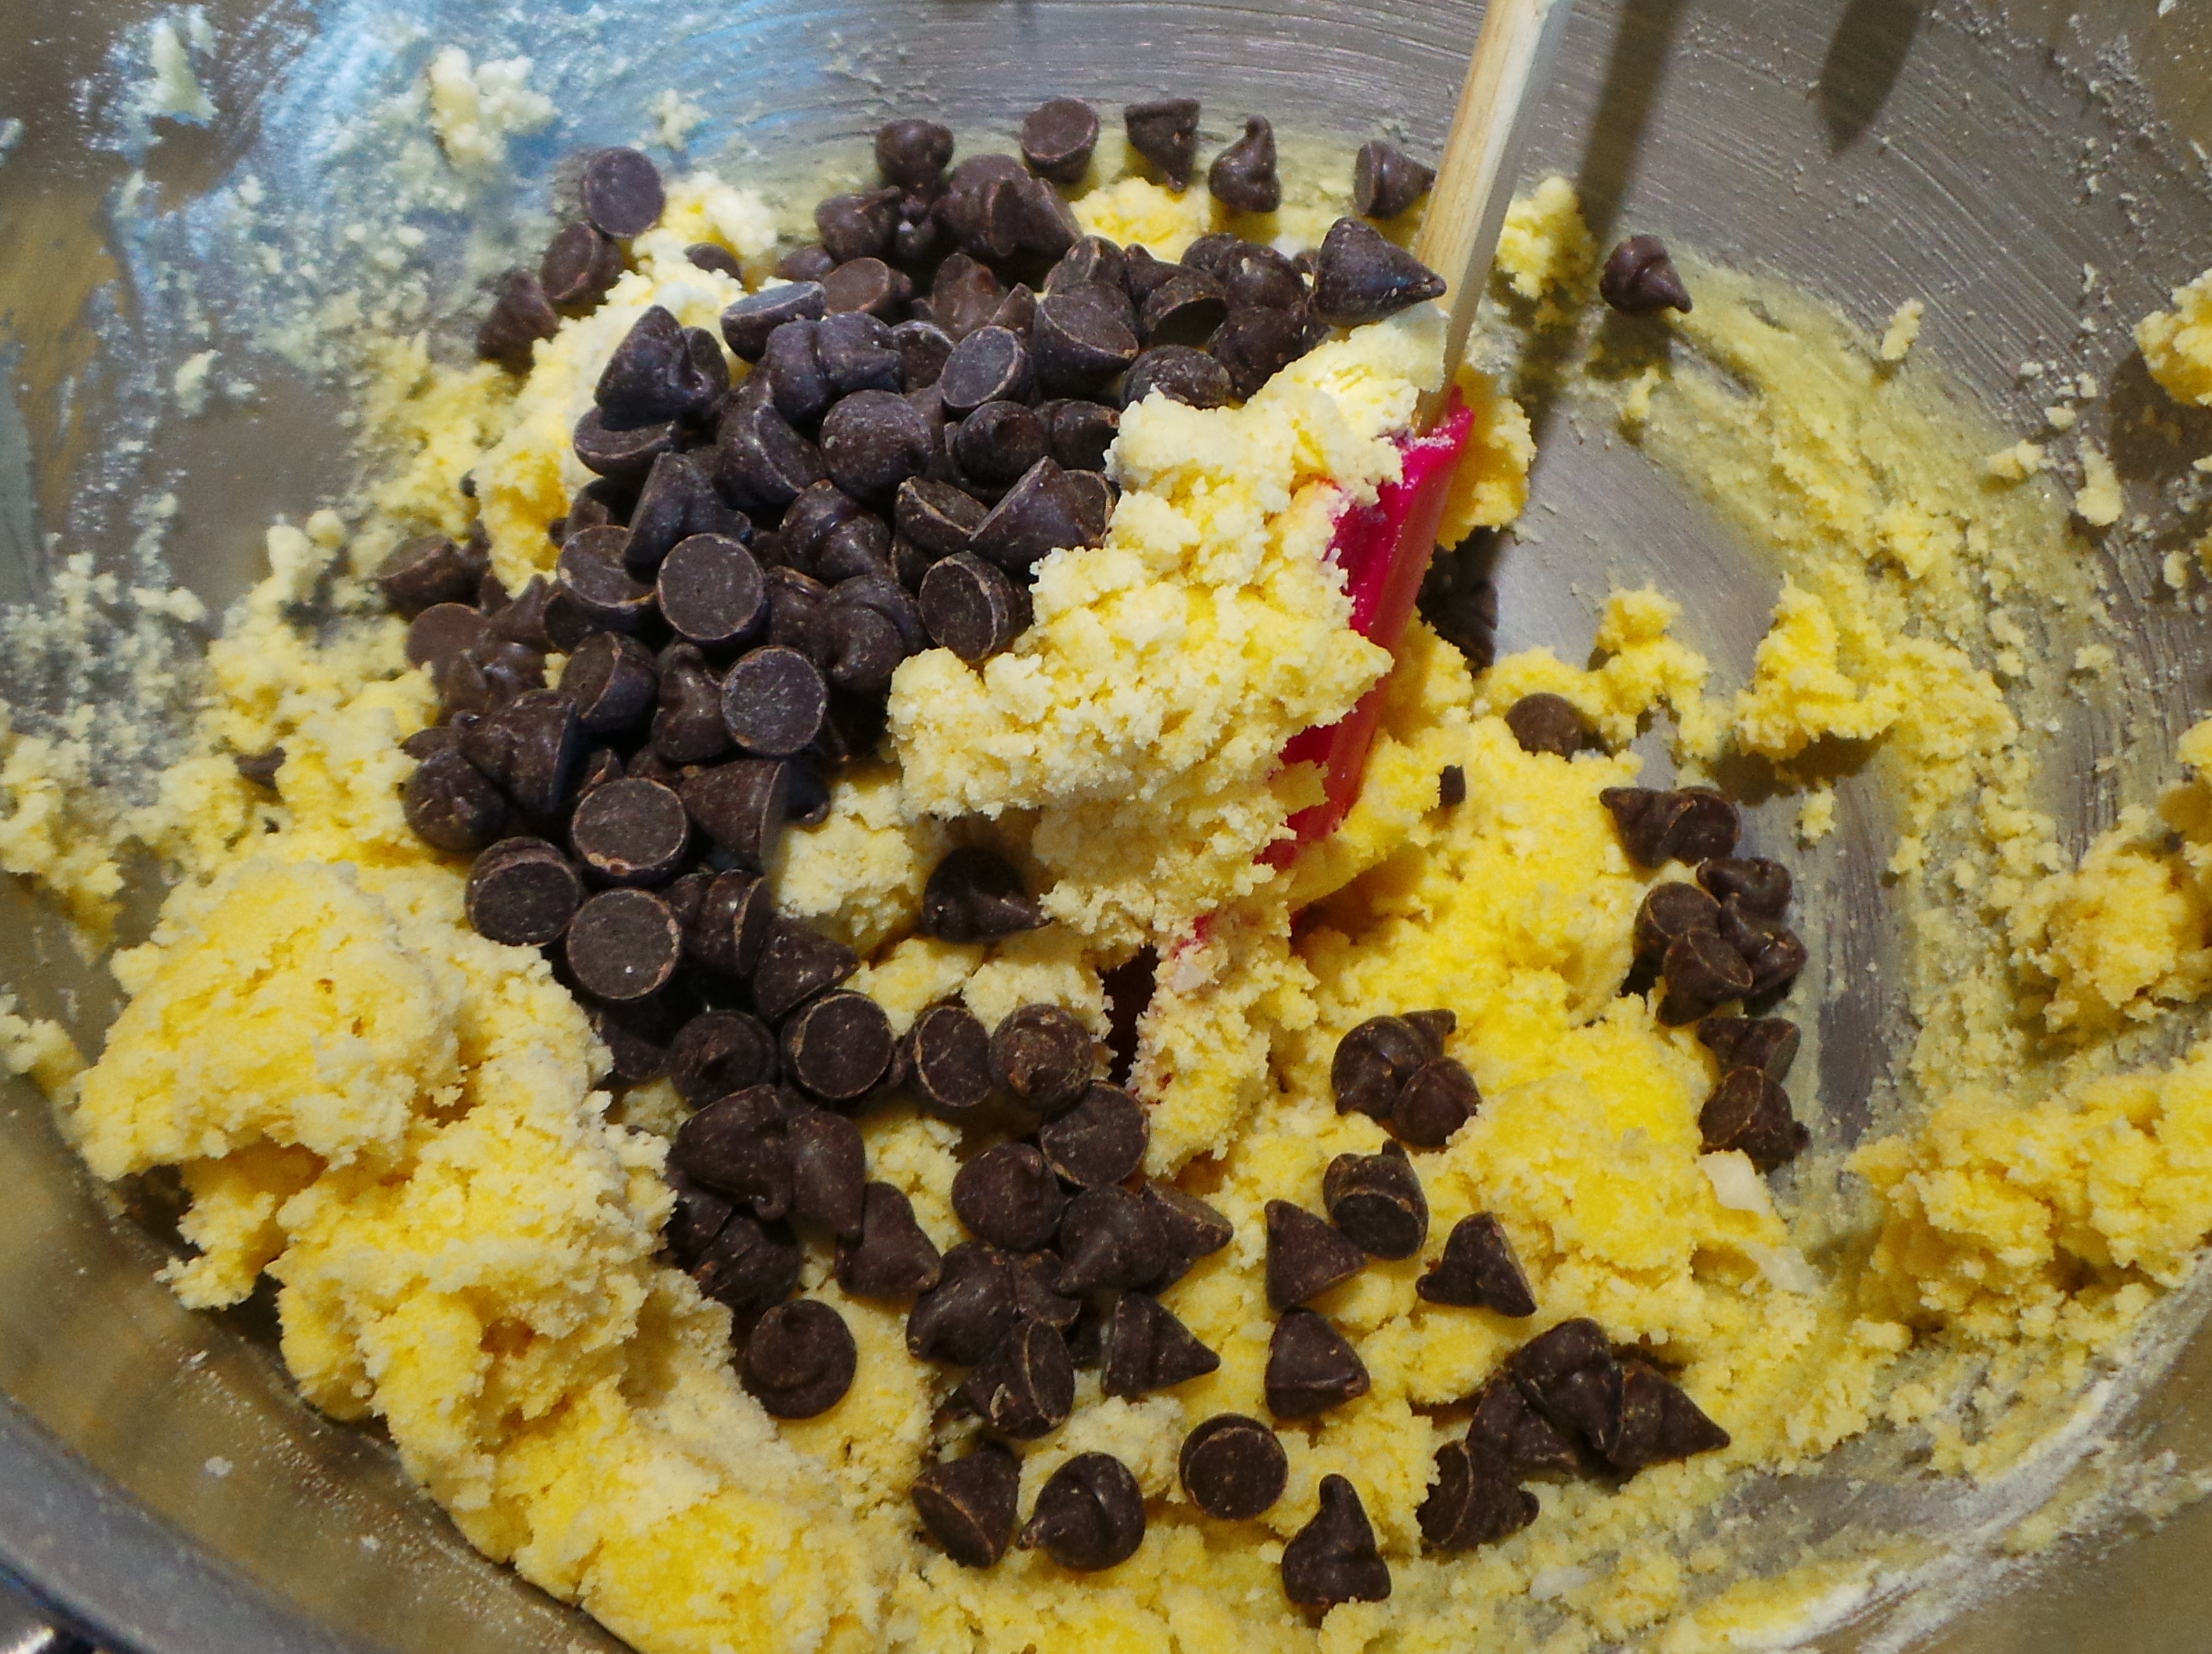
Now, lightly beat your egg and mix it through the fruit. It’s much easier to do this now than after adding the dry ingredients, trust me on this.
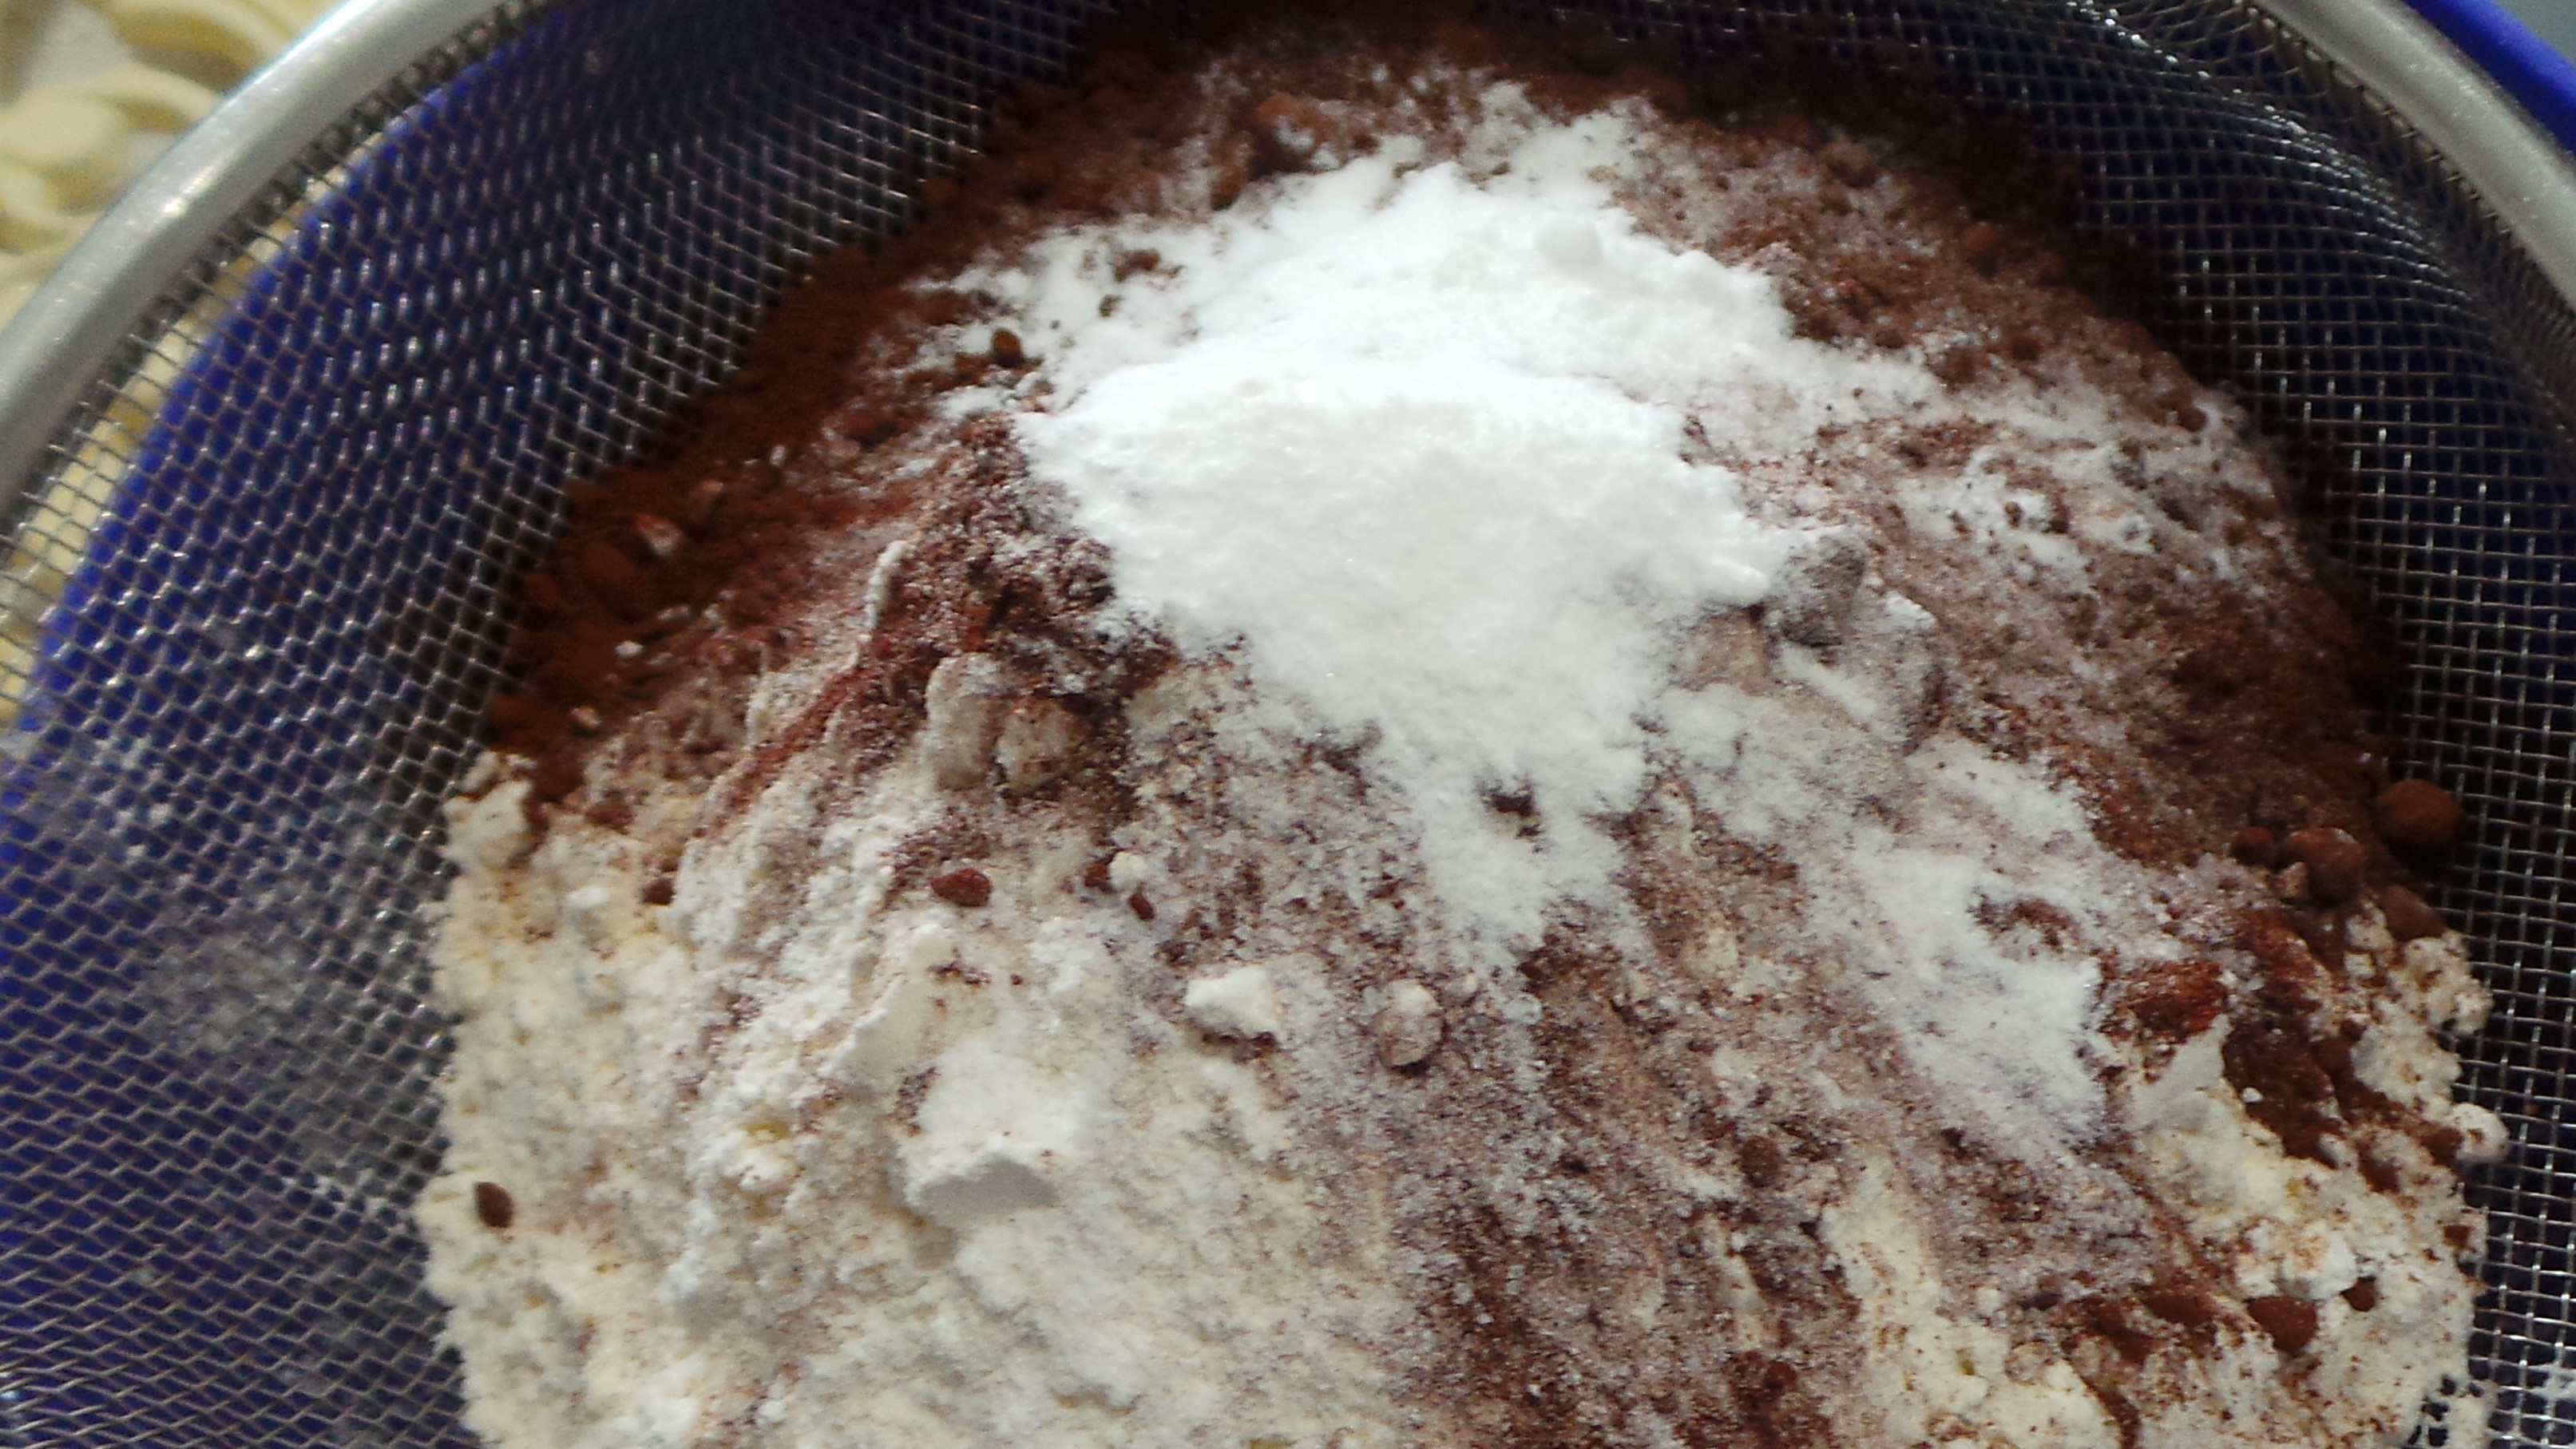
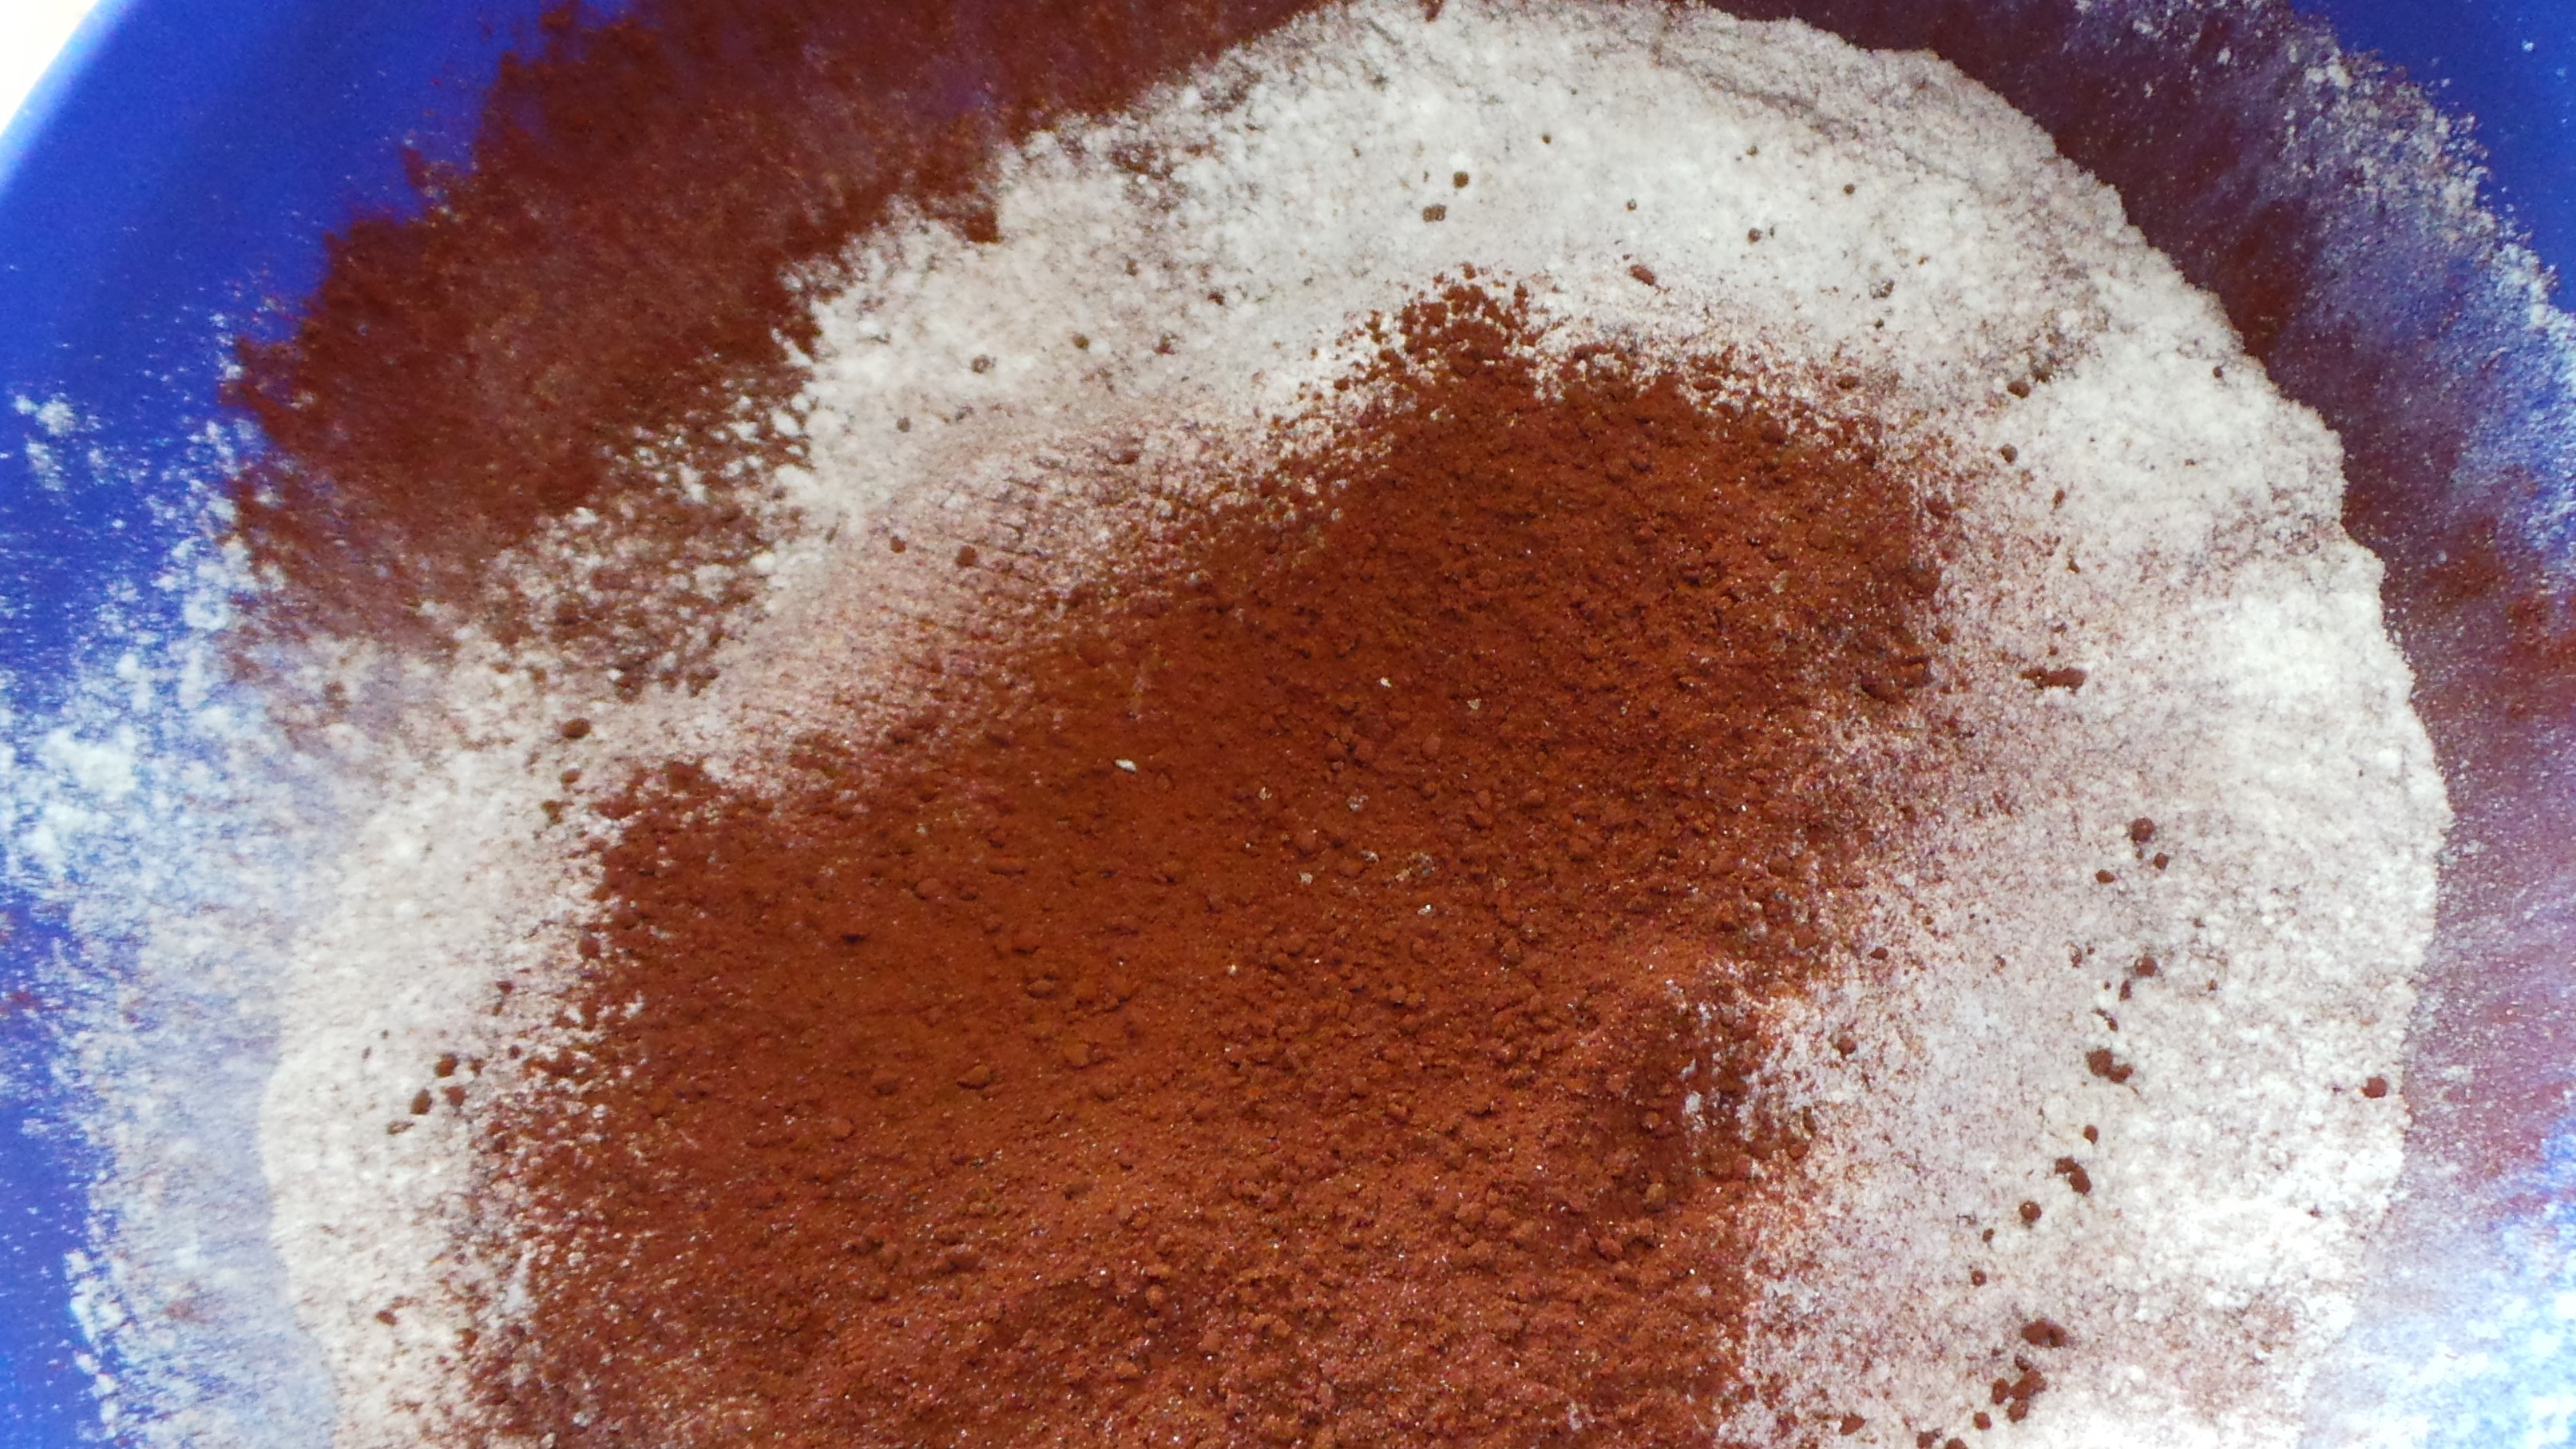
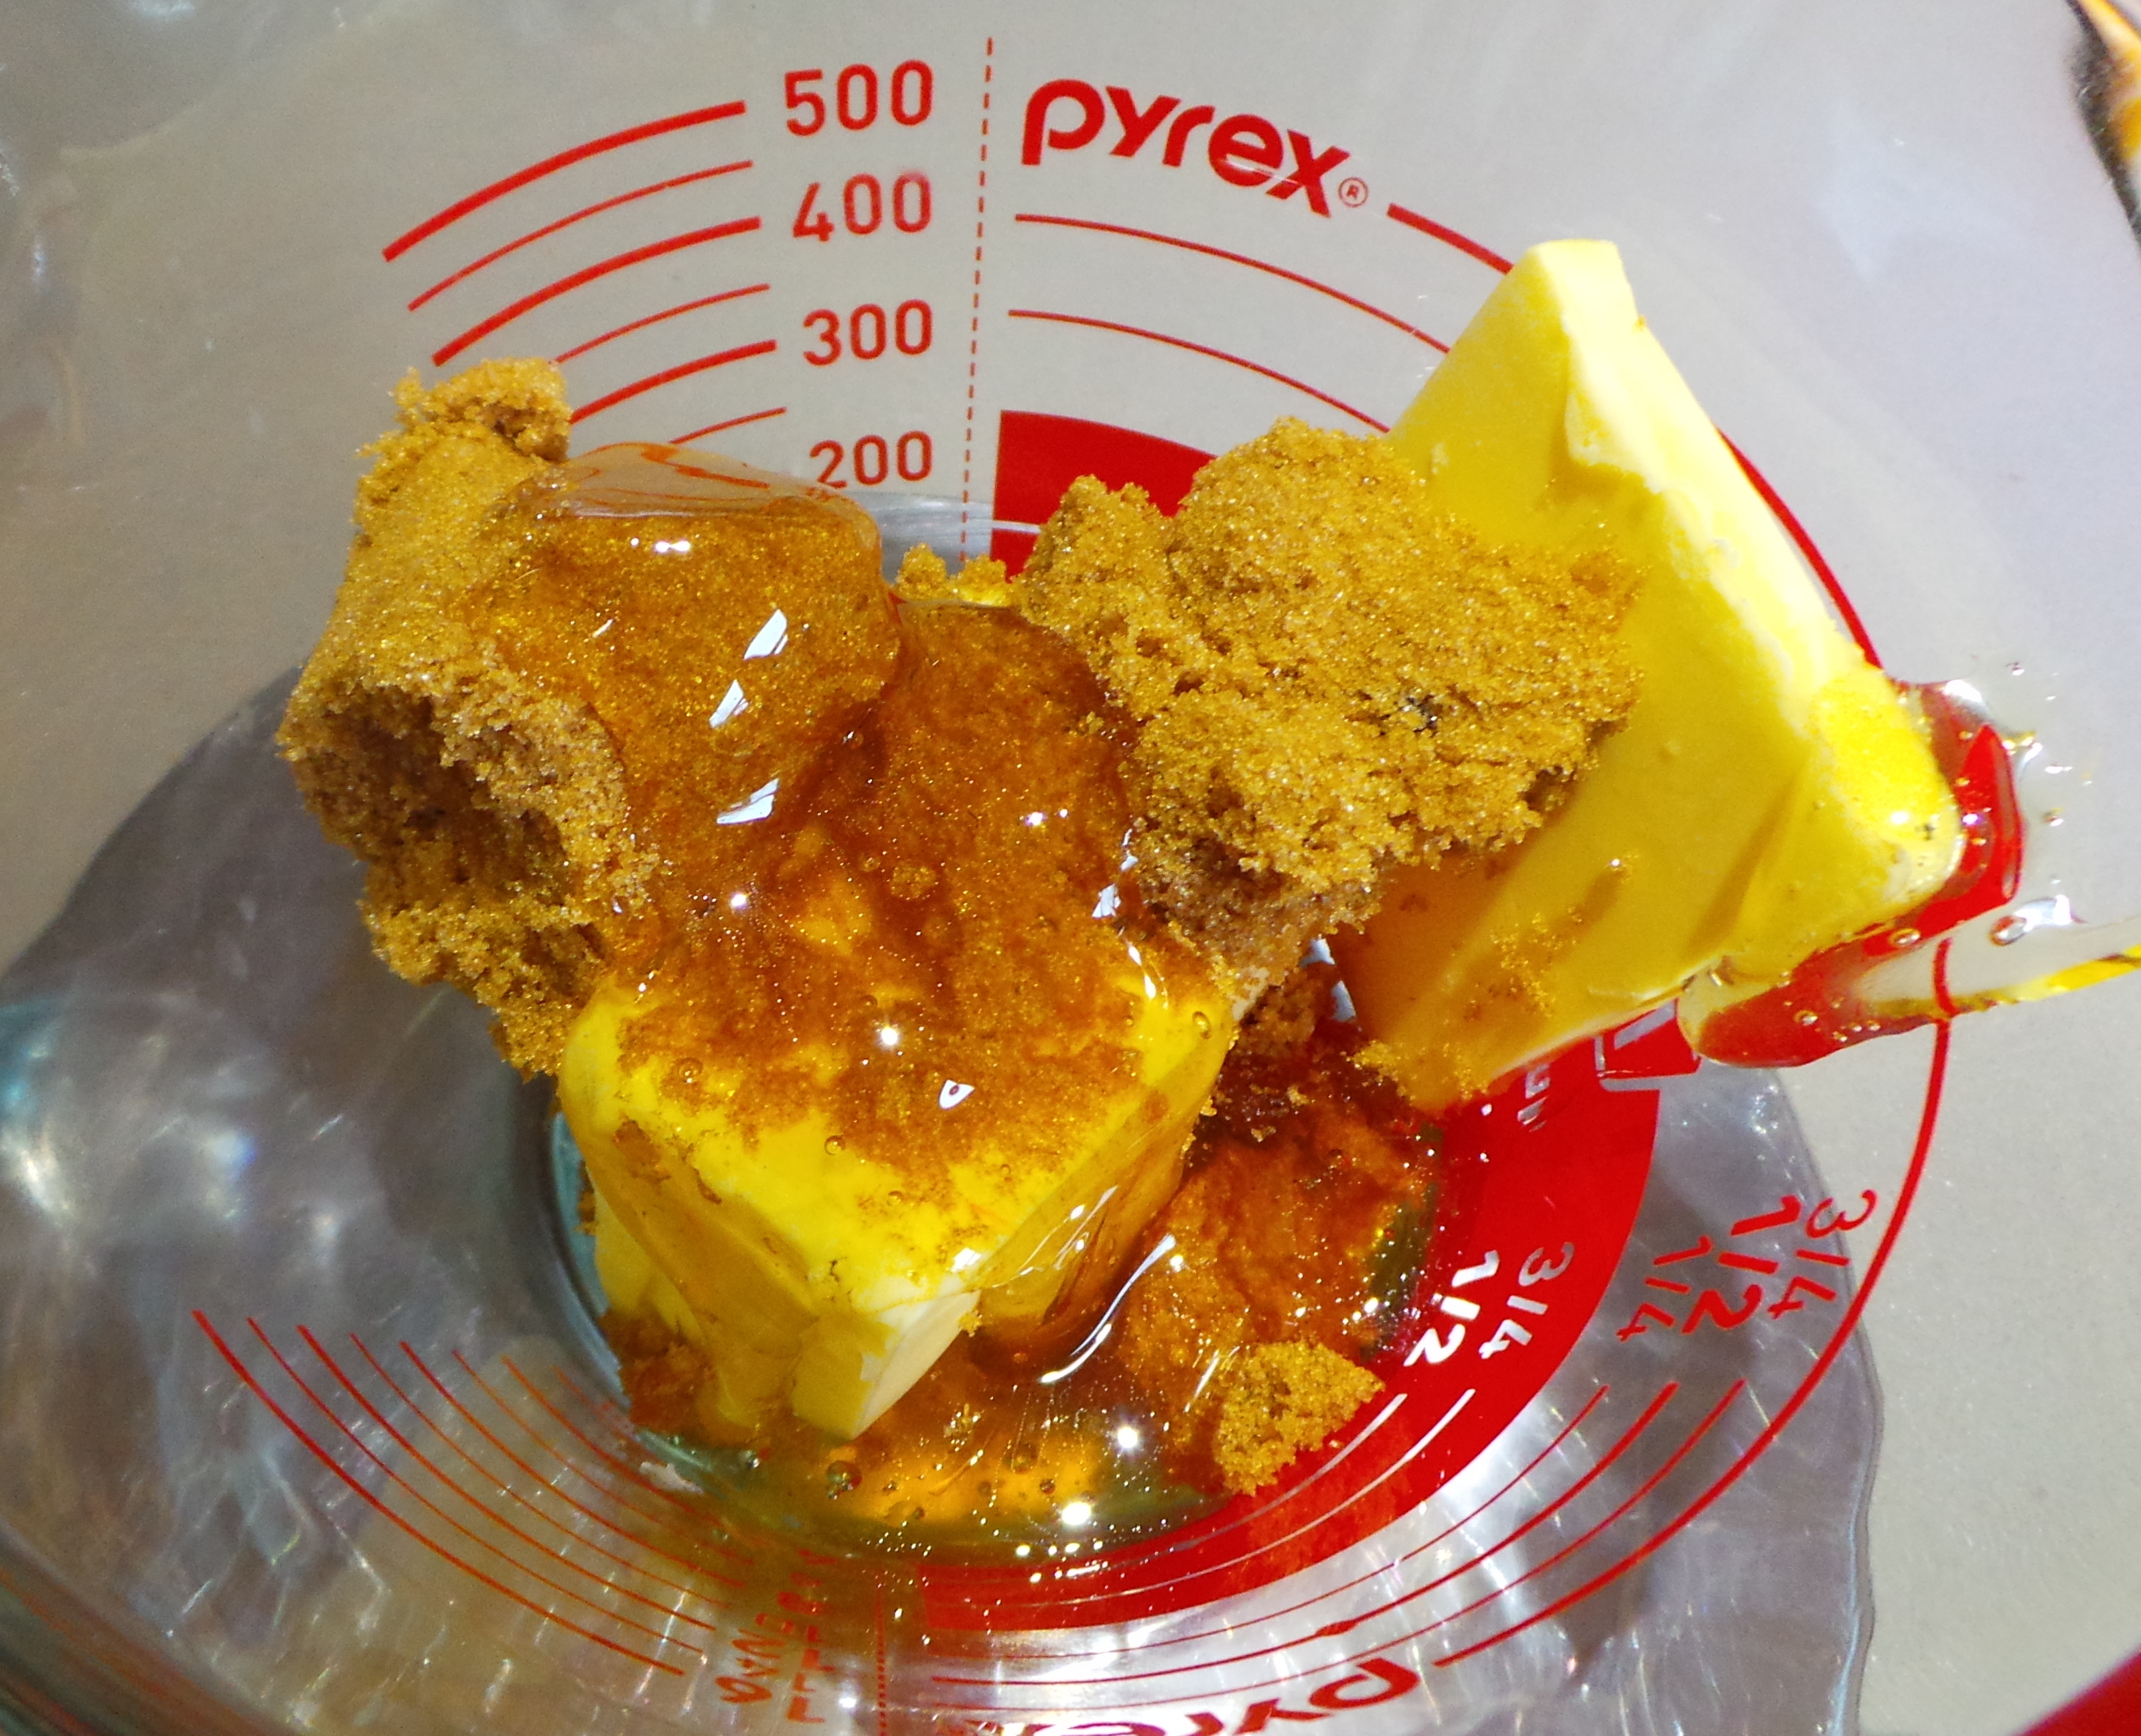
Working in your large bowl now, sift in two mugs of self-raising flour and then add one mug of brown sugar. Stir.

Add your fruit to your dry ingredients.
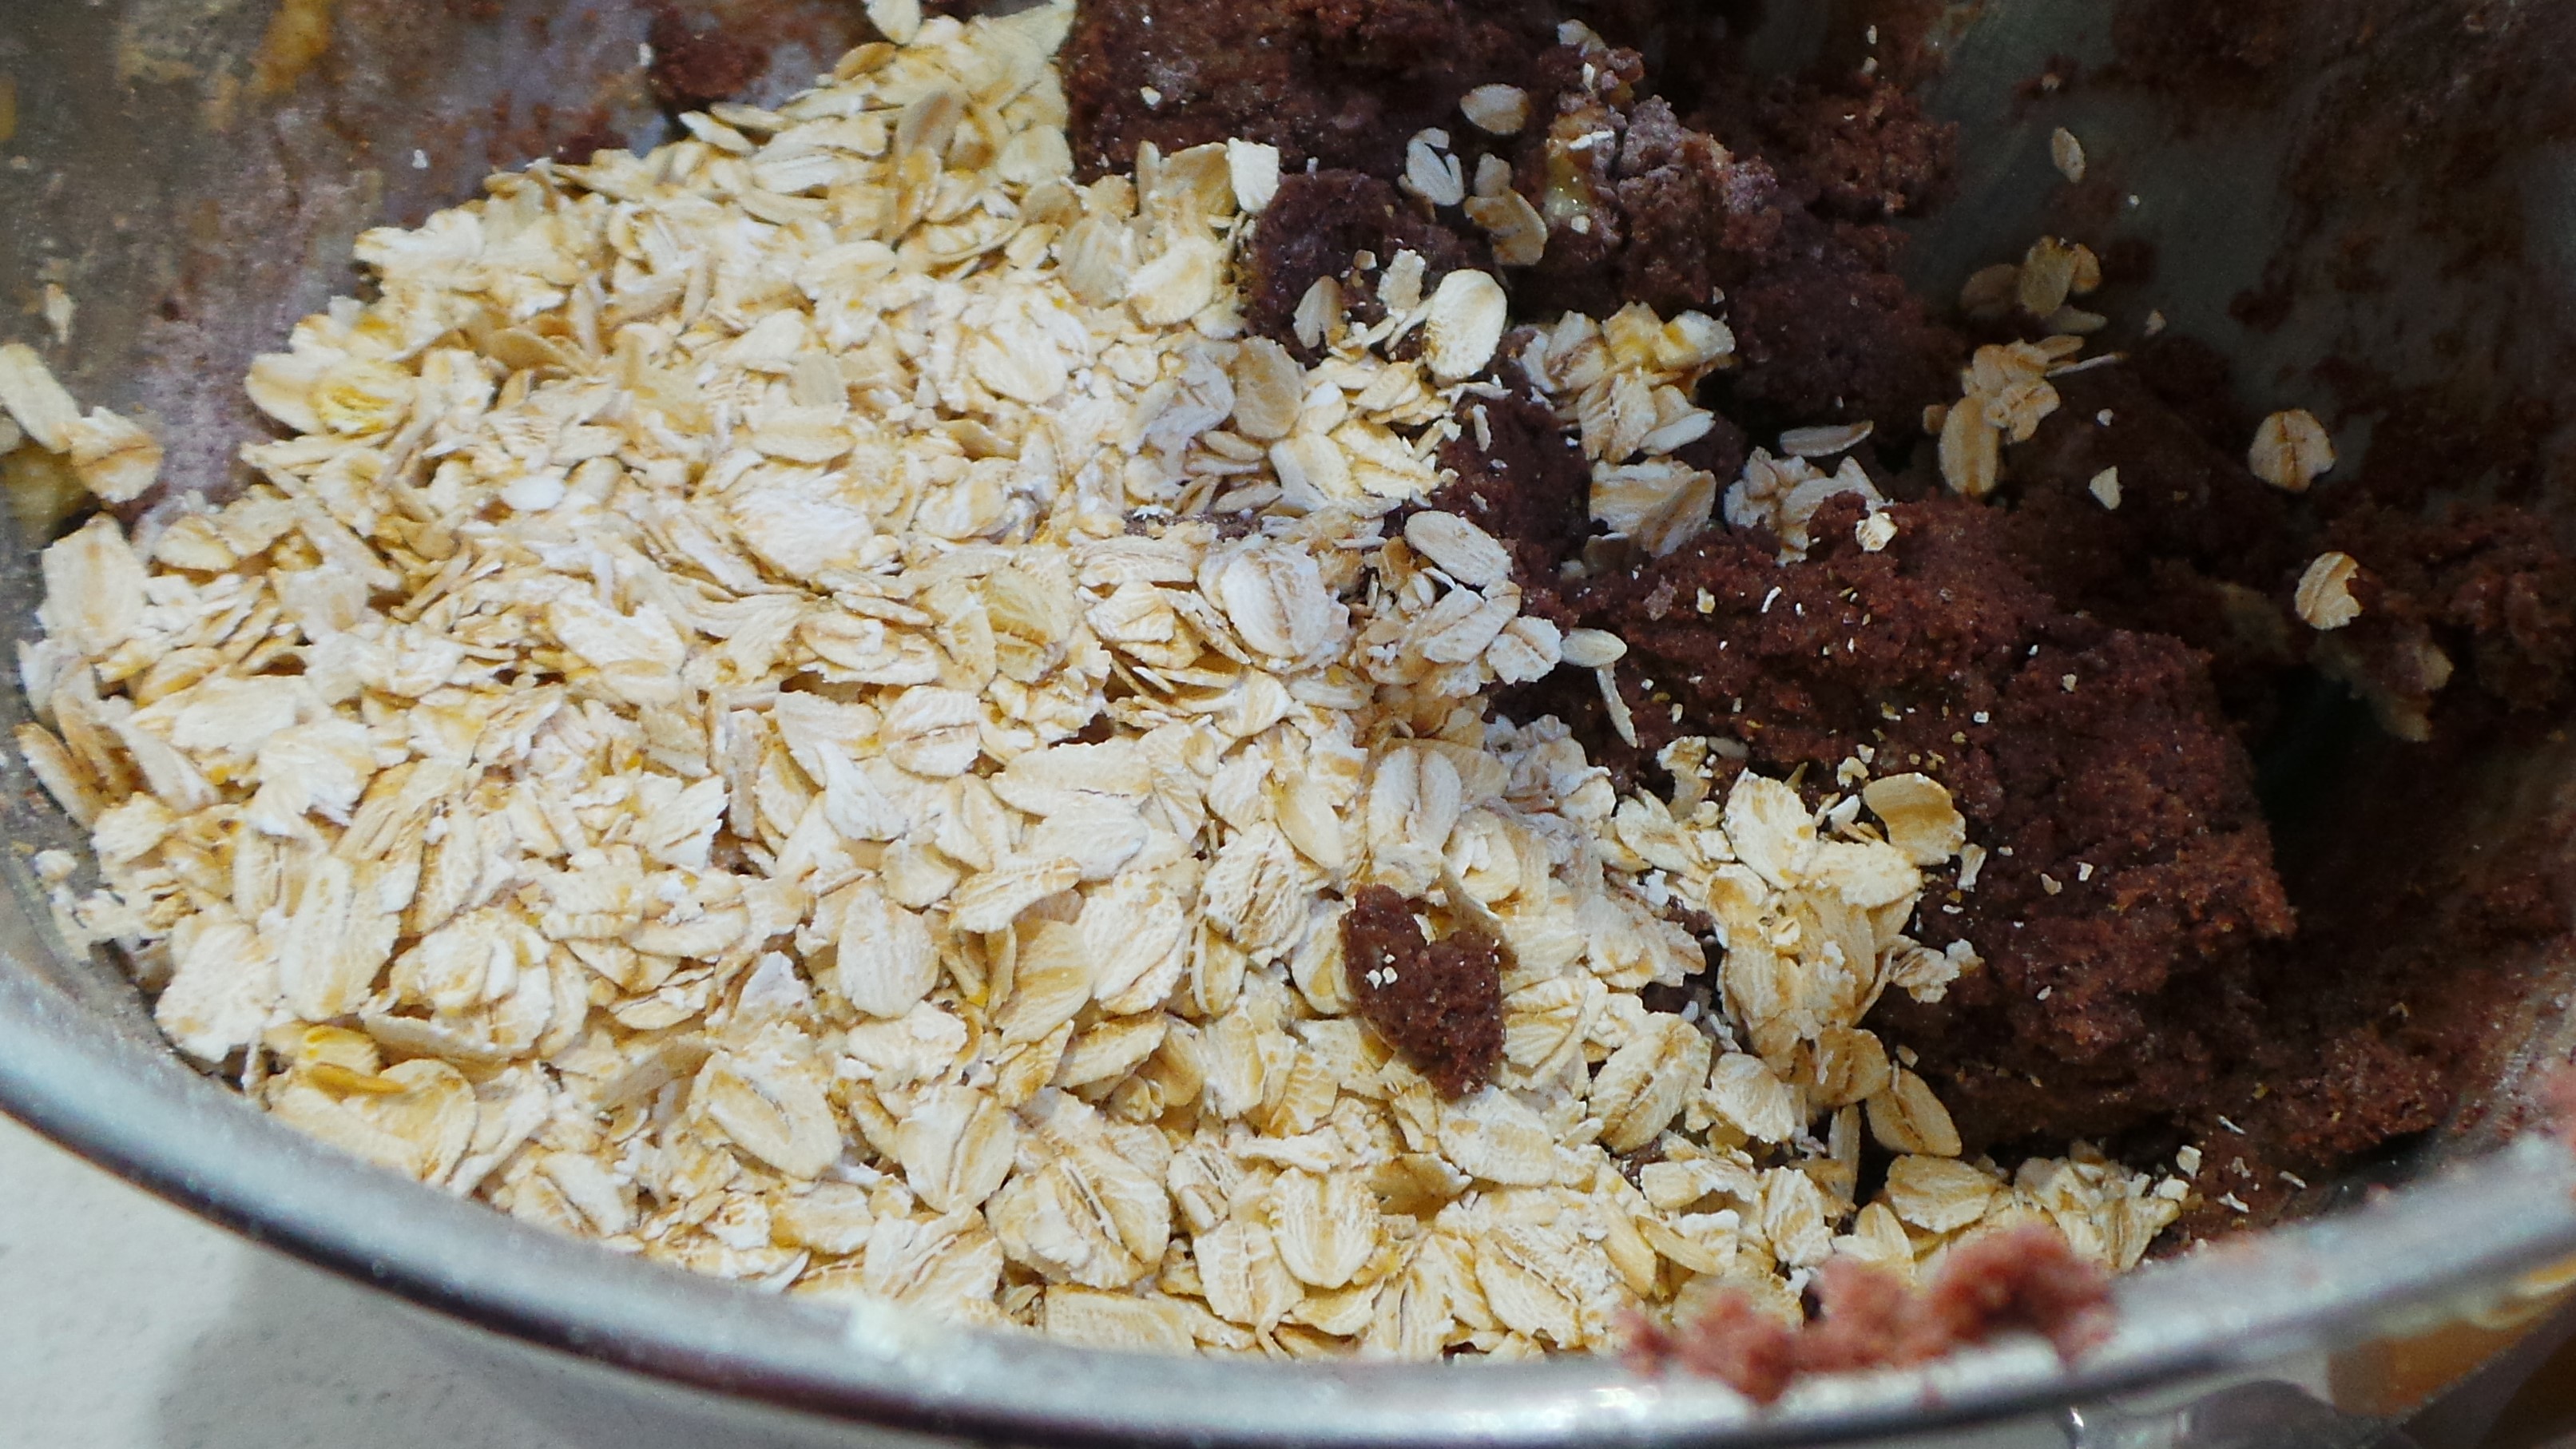
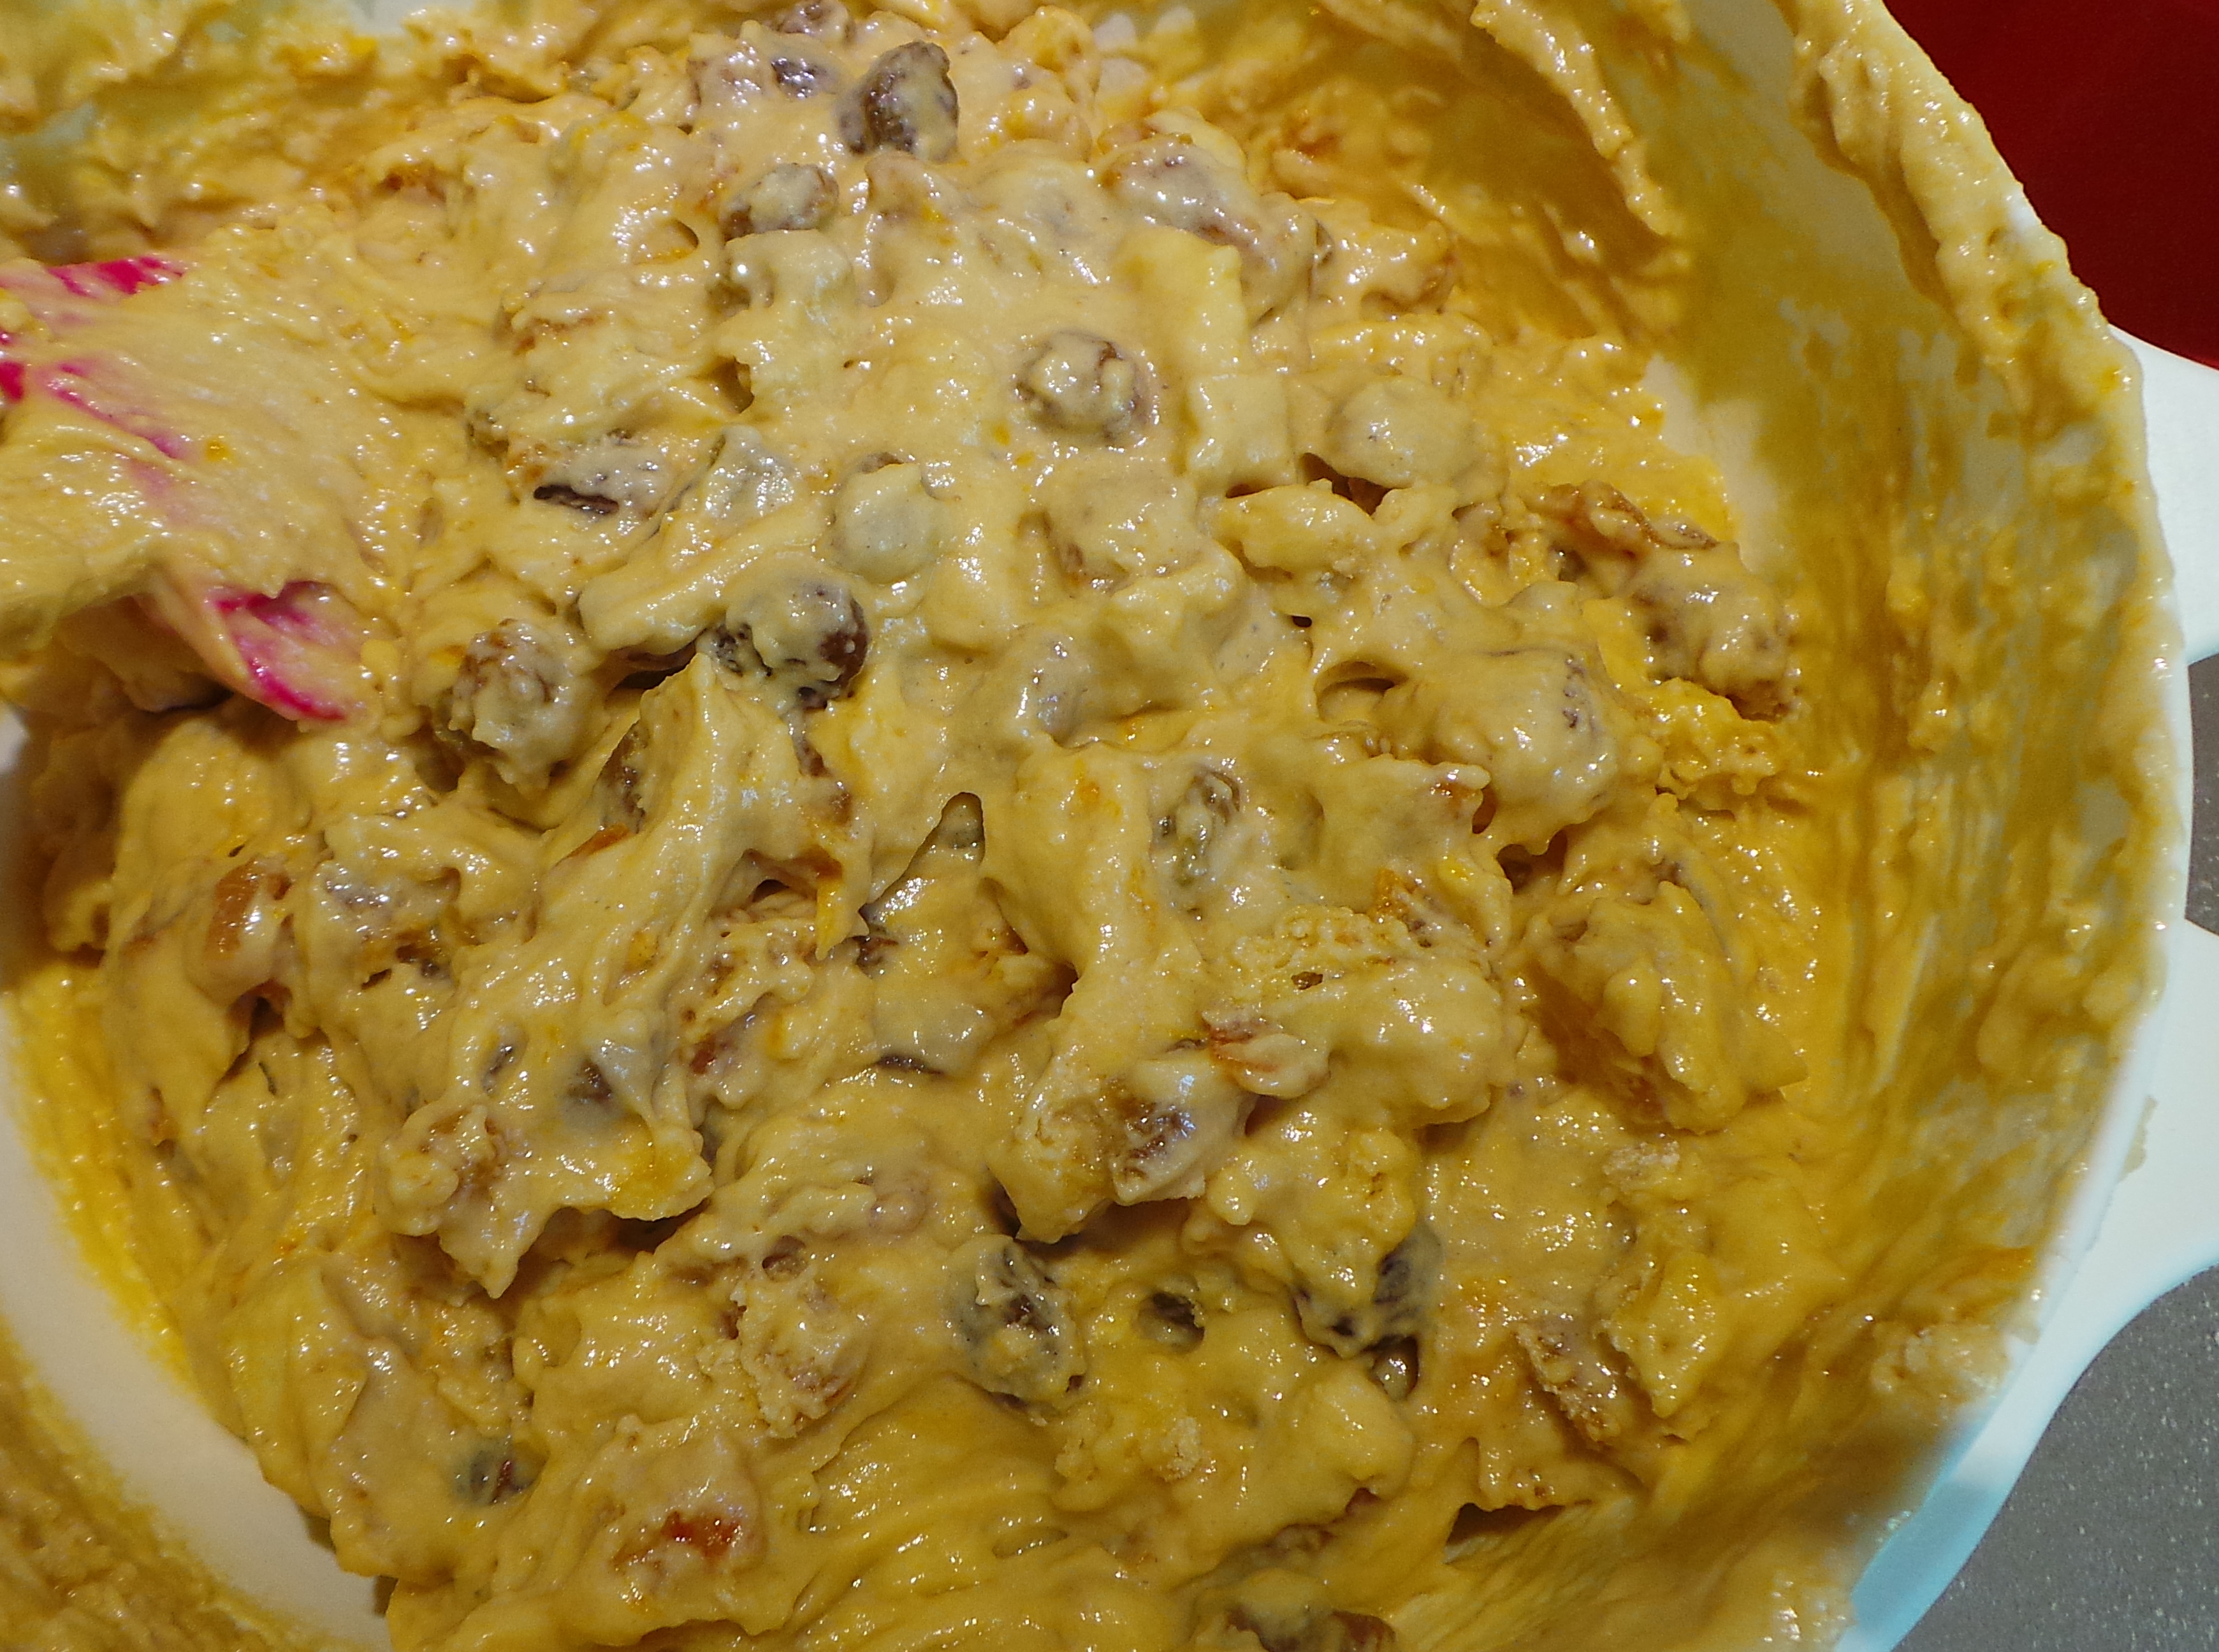
This will be a stiff mix, there may be enough liquid left in your fruit to make a batter, or there may not. It depends on ambient humidity and the relative positions of the stars…
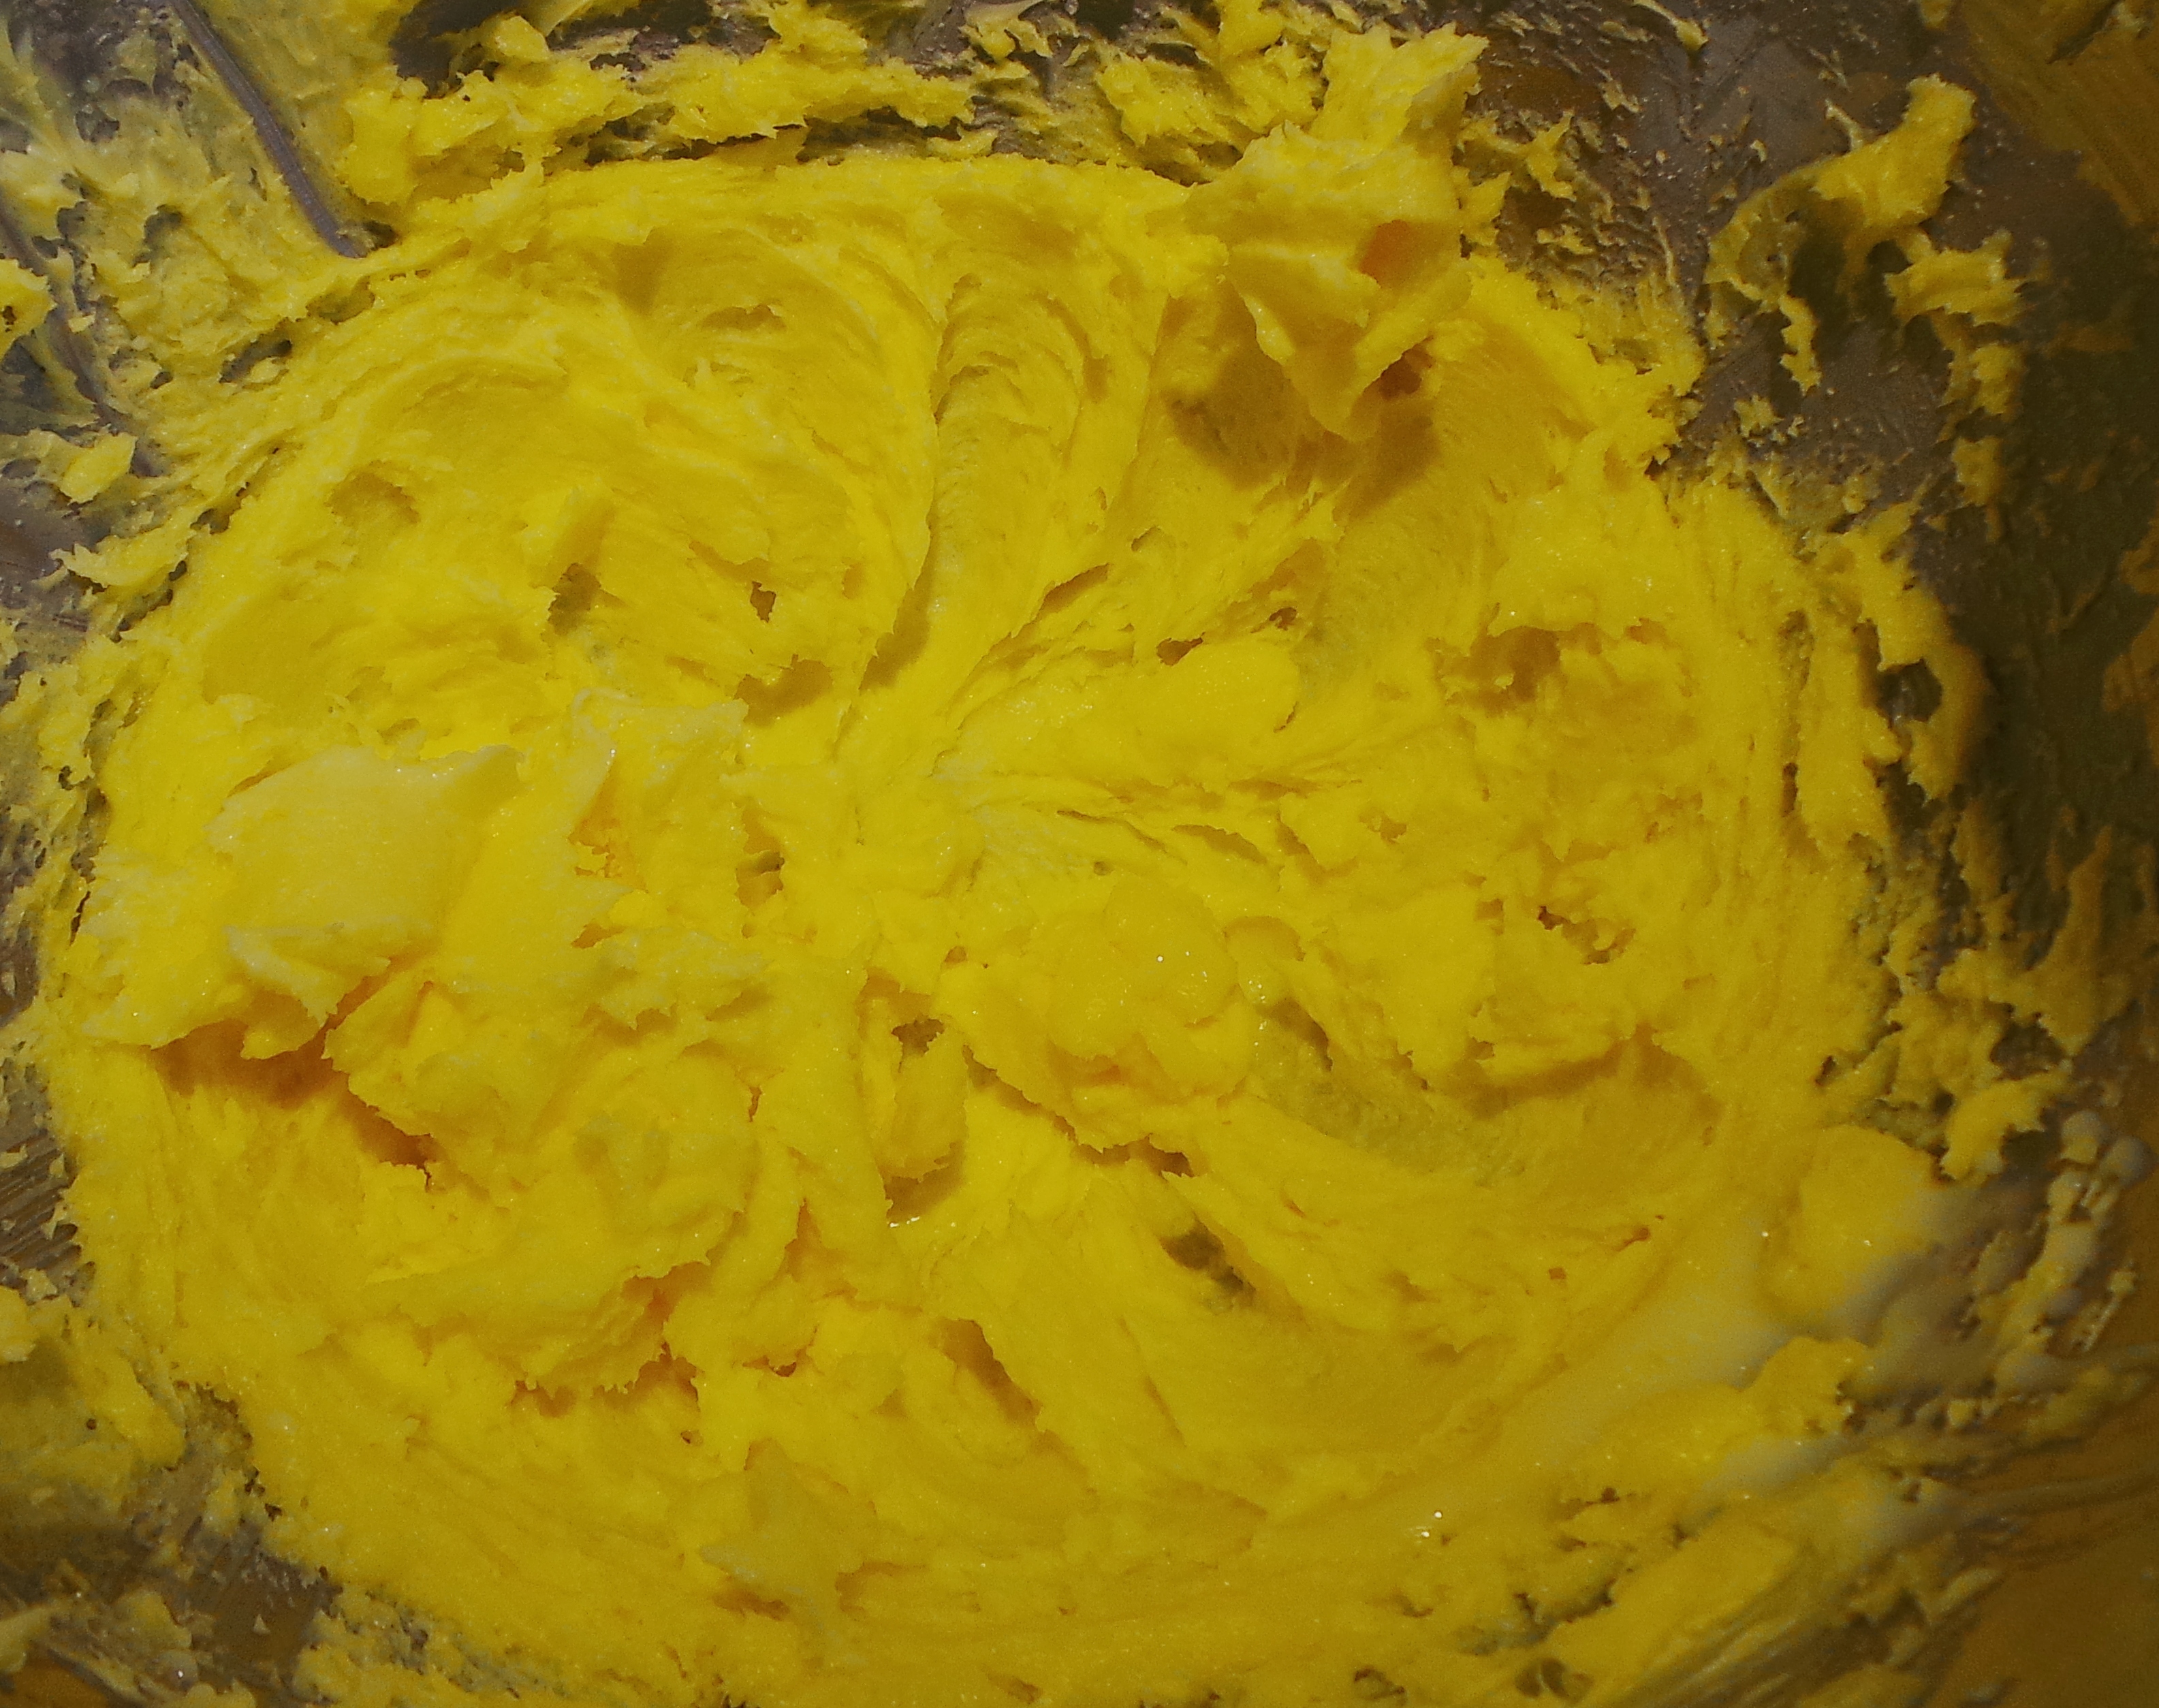
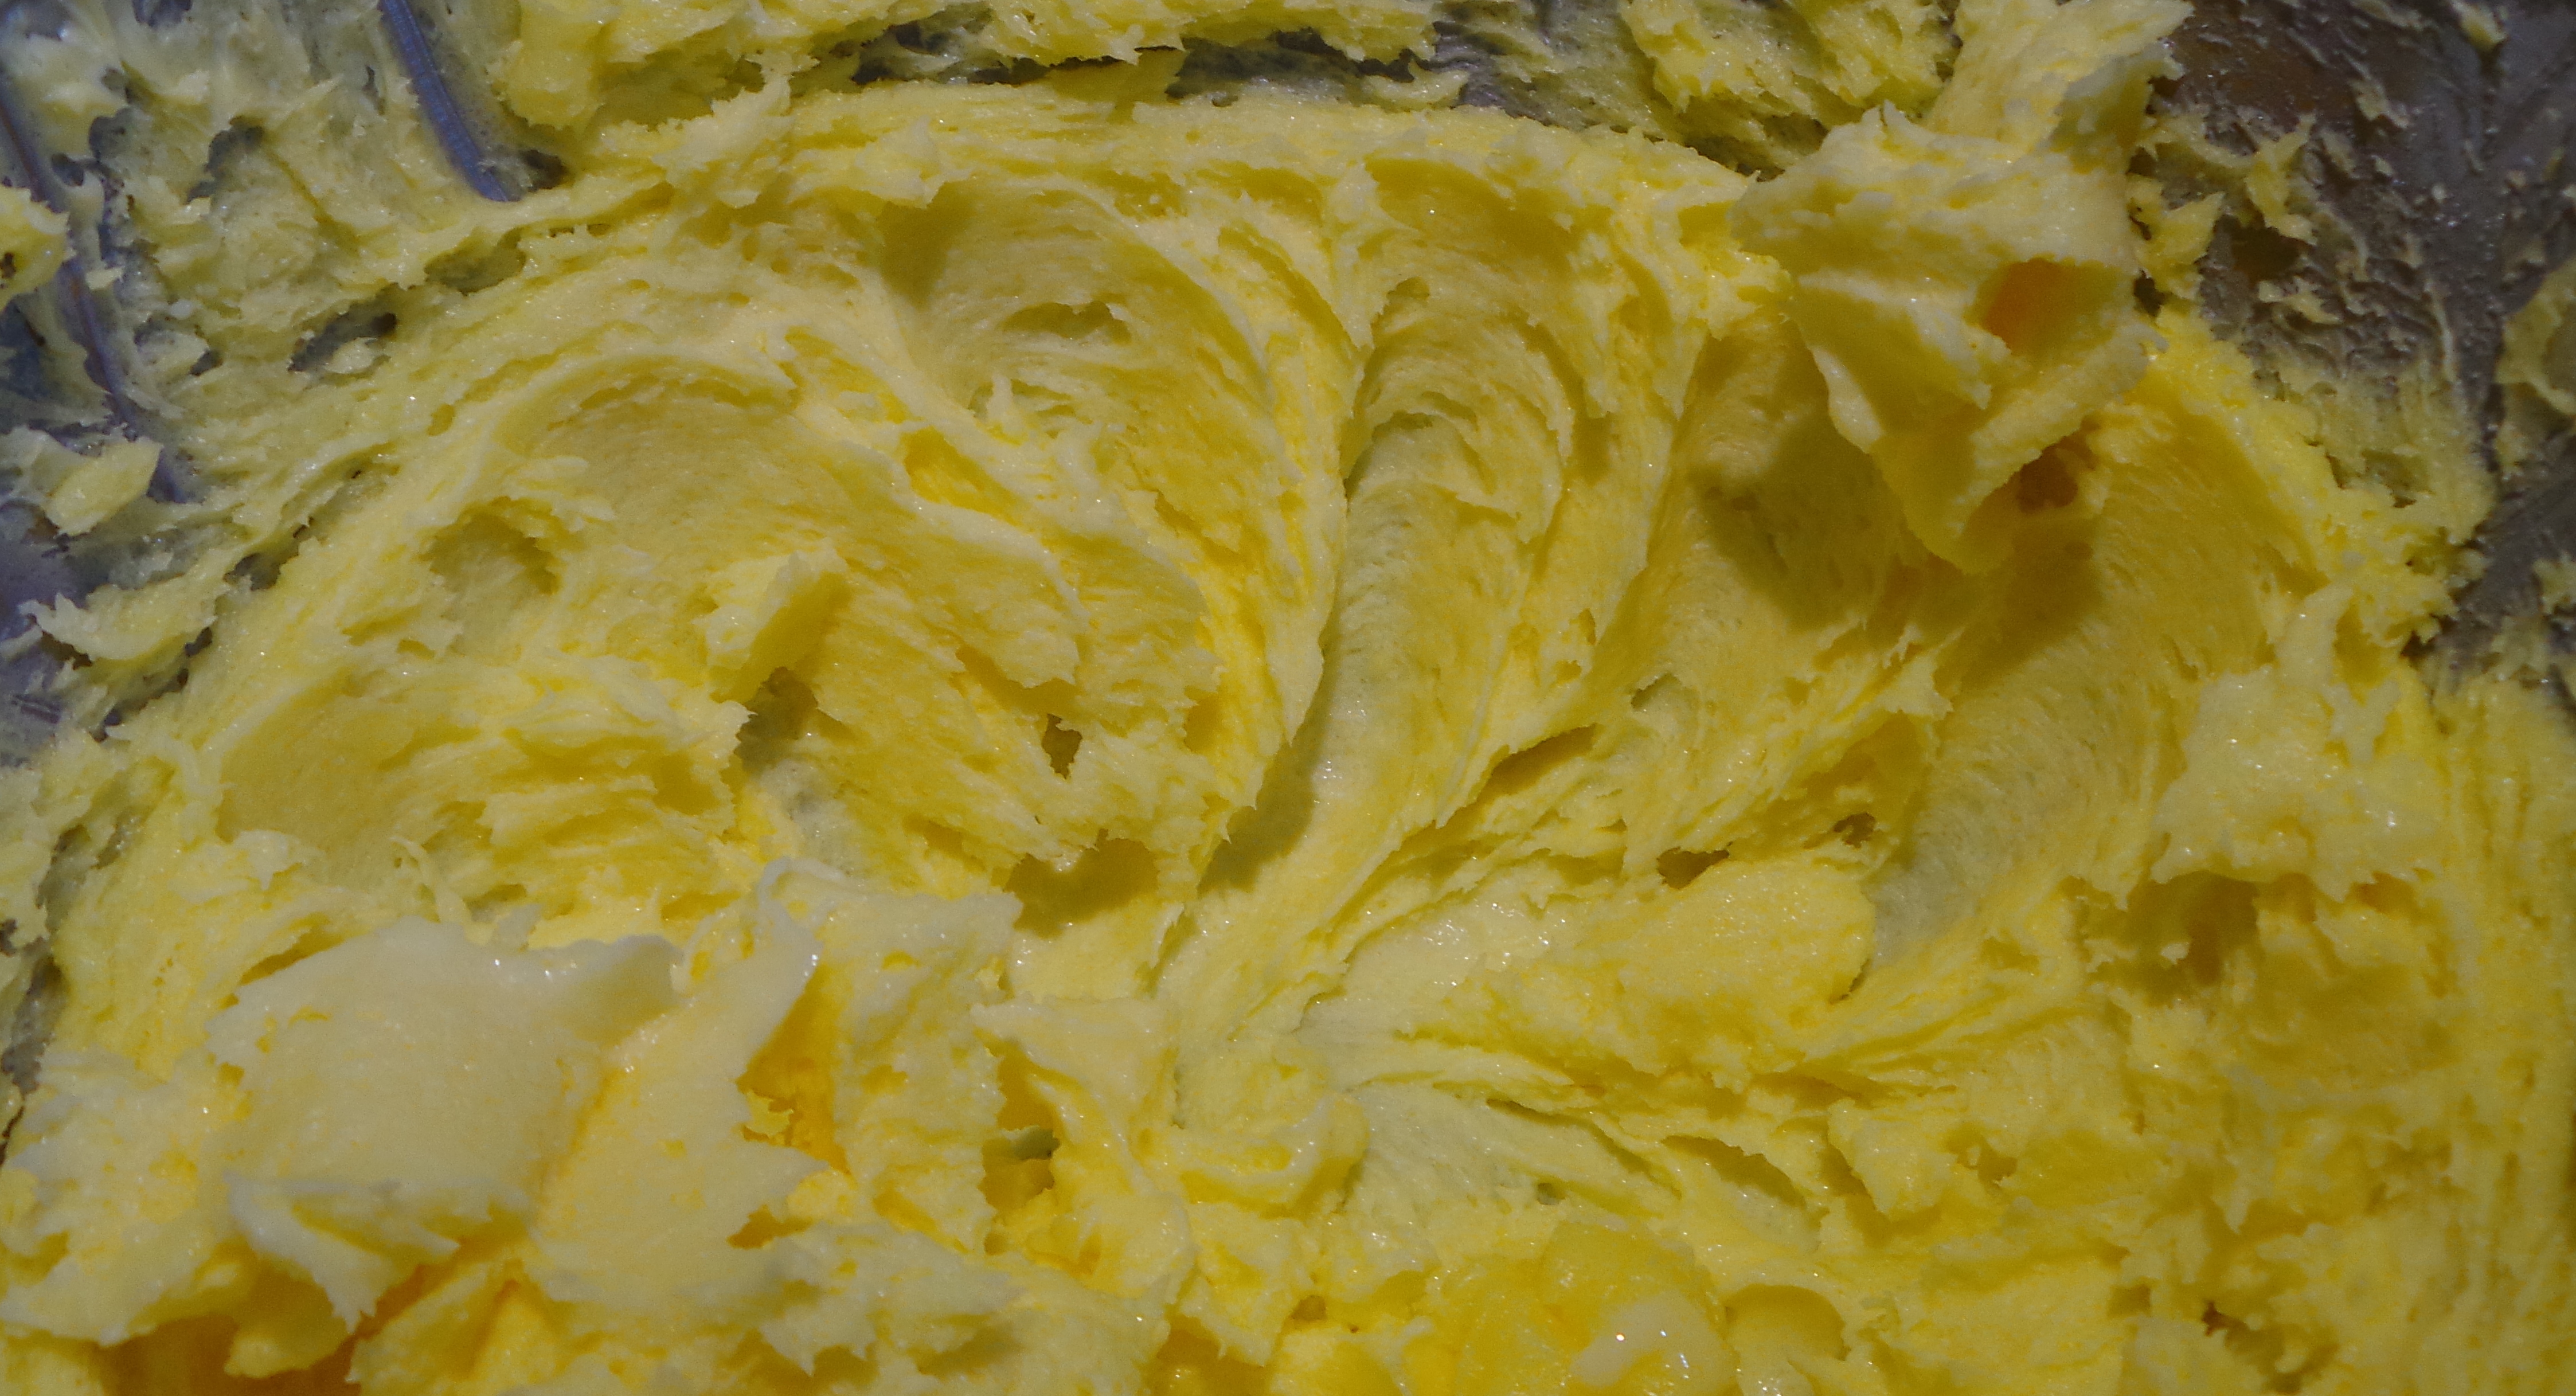
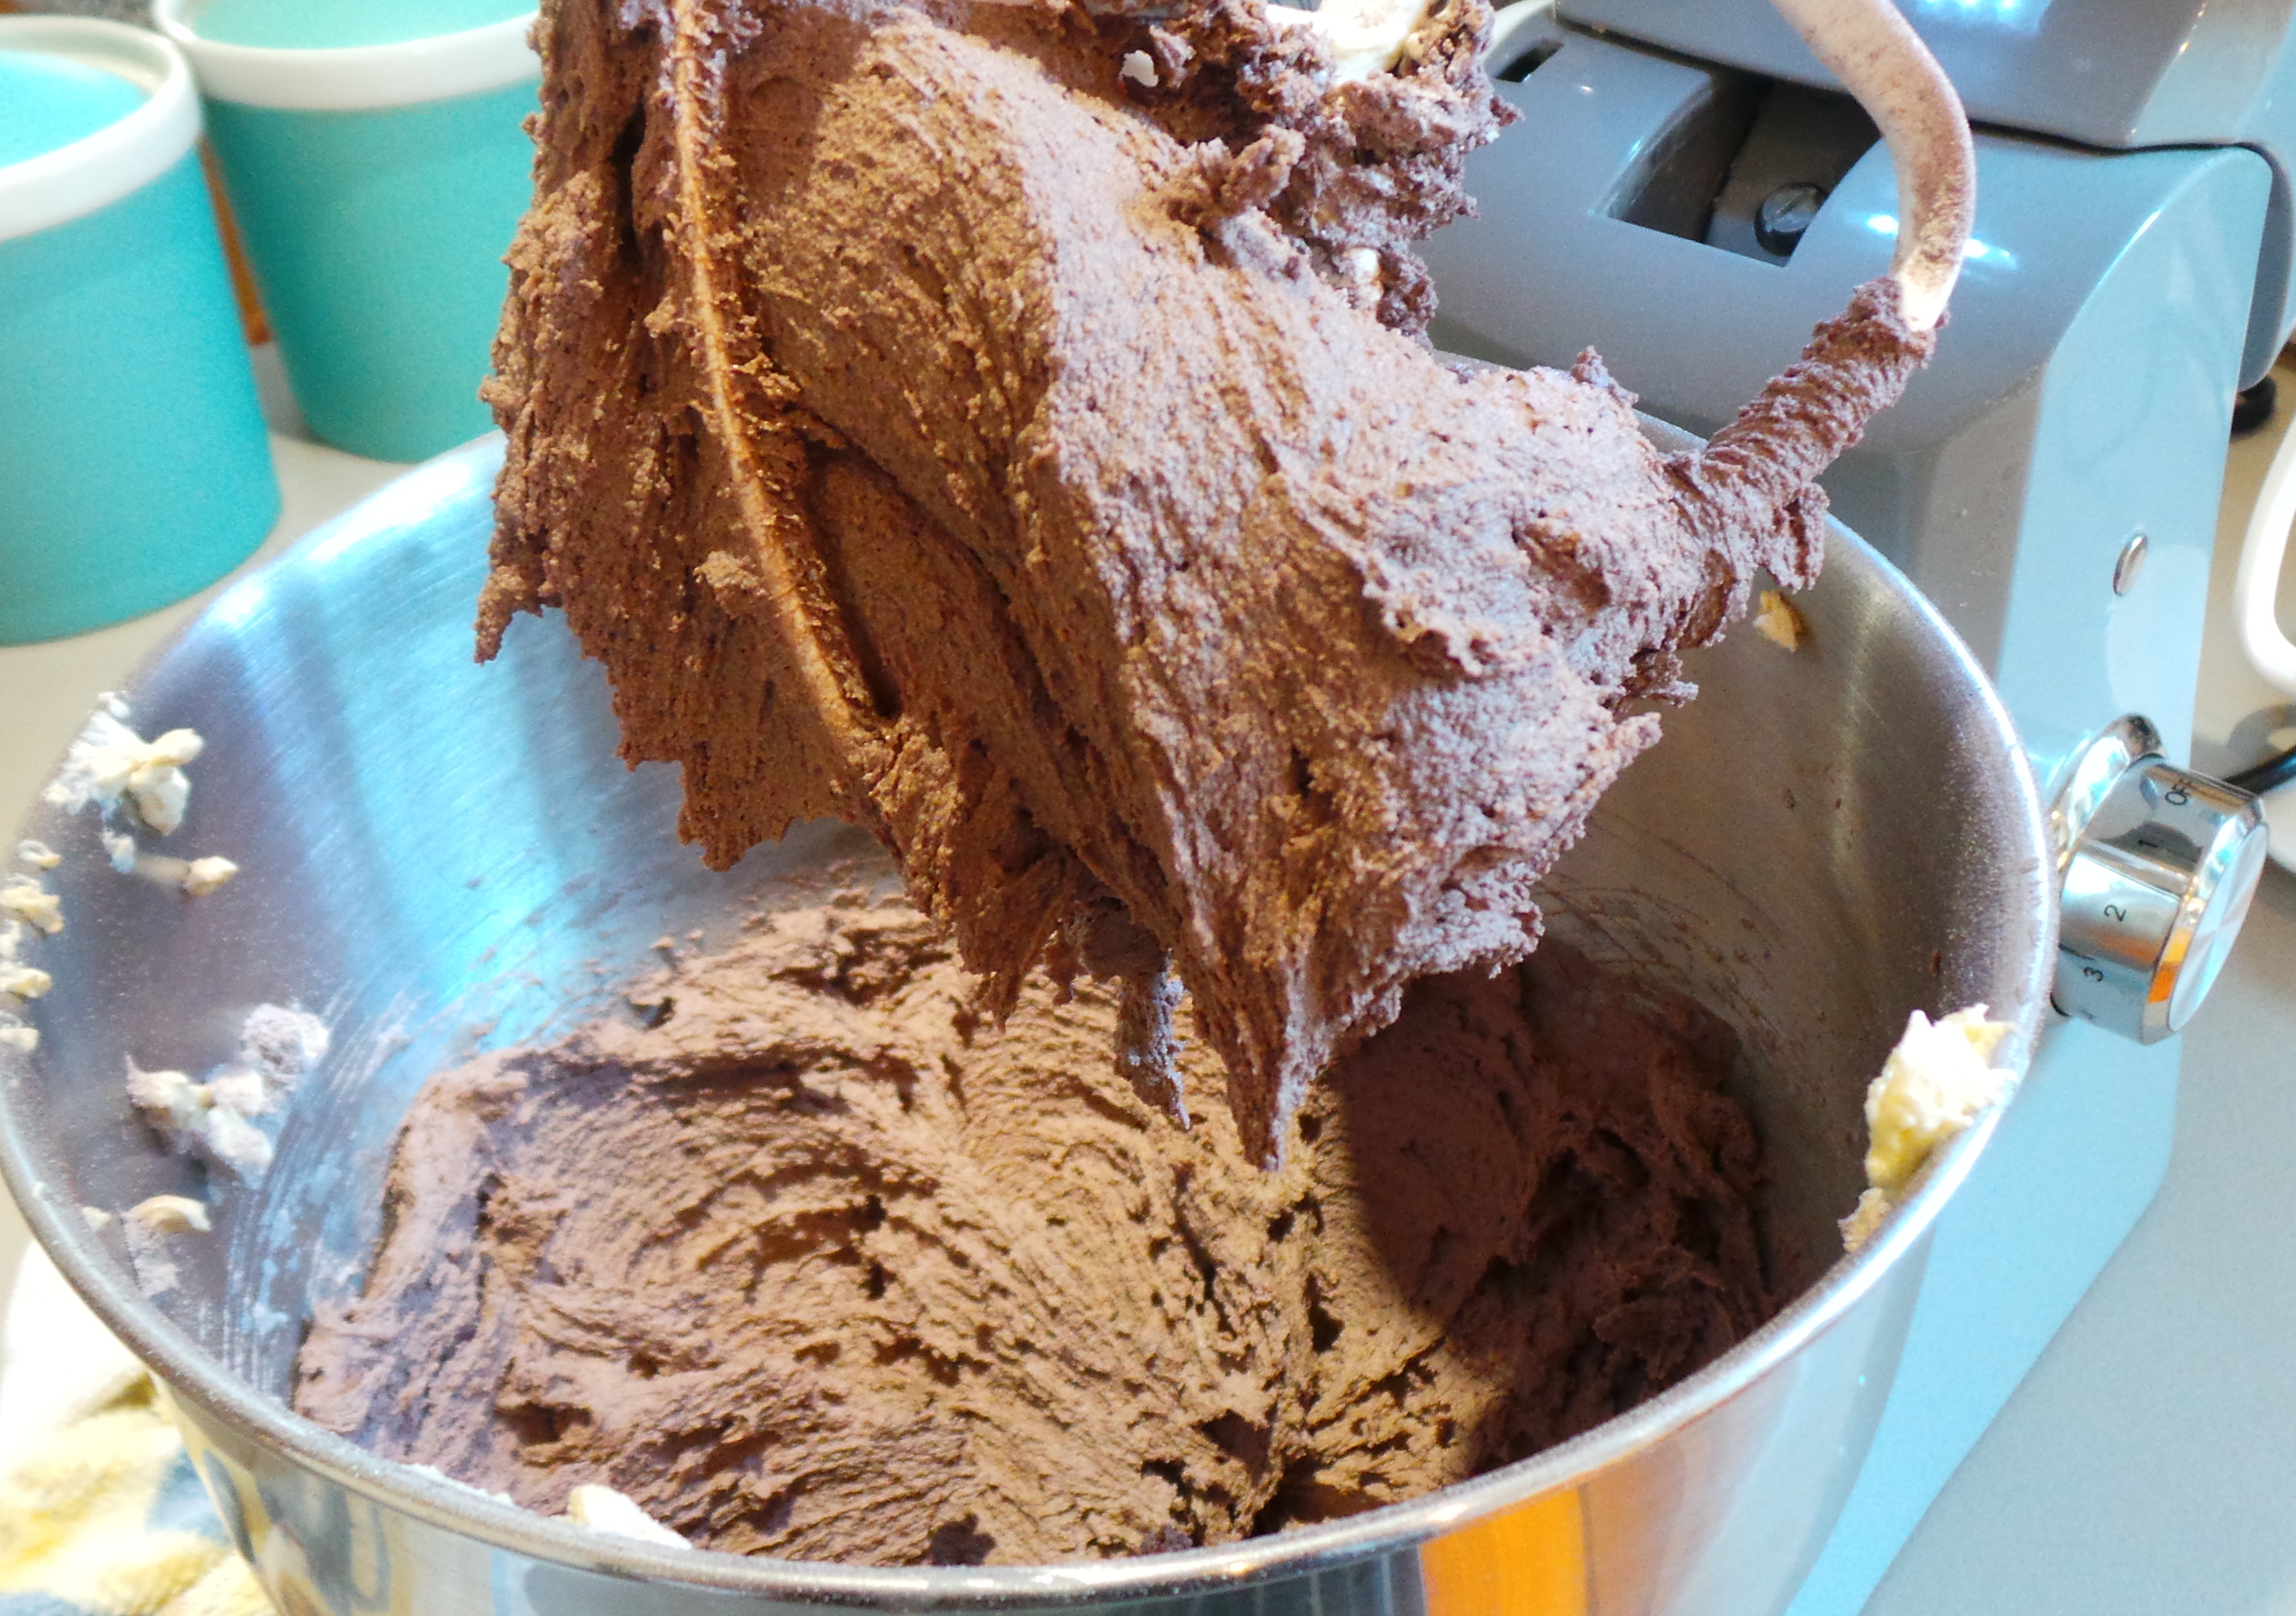
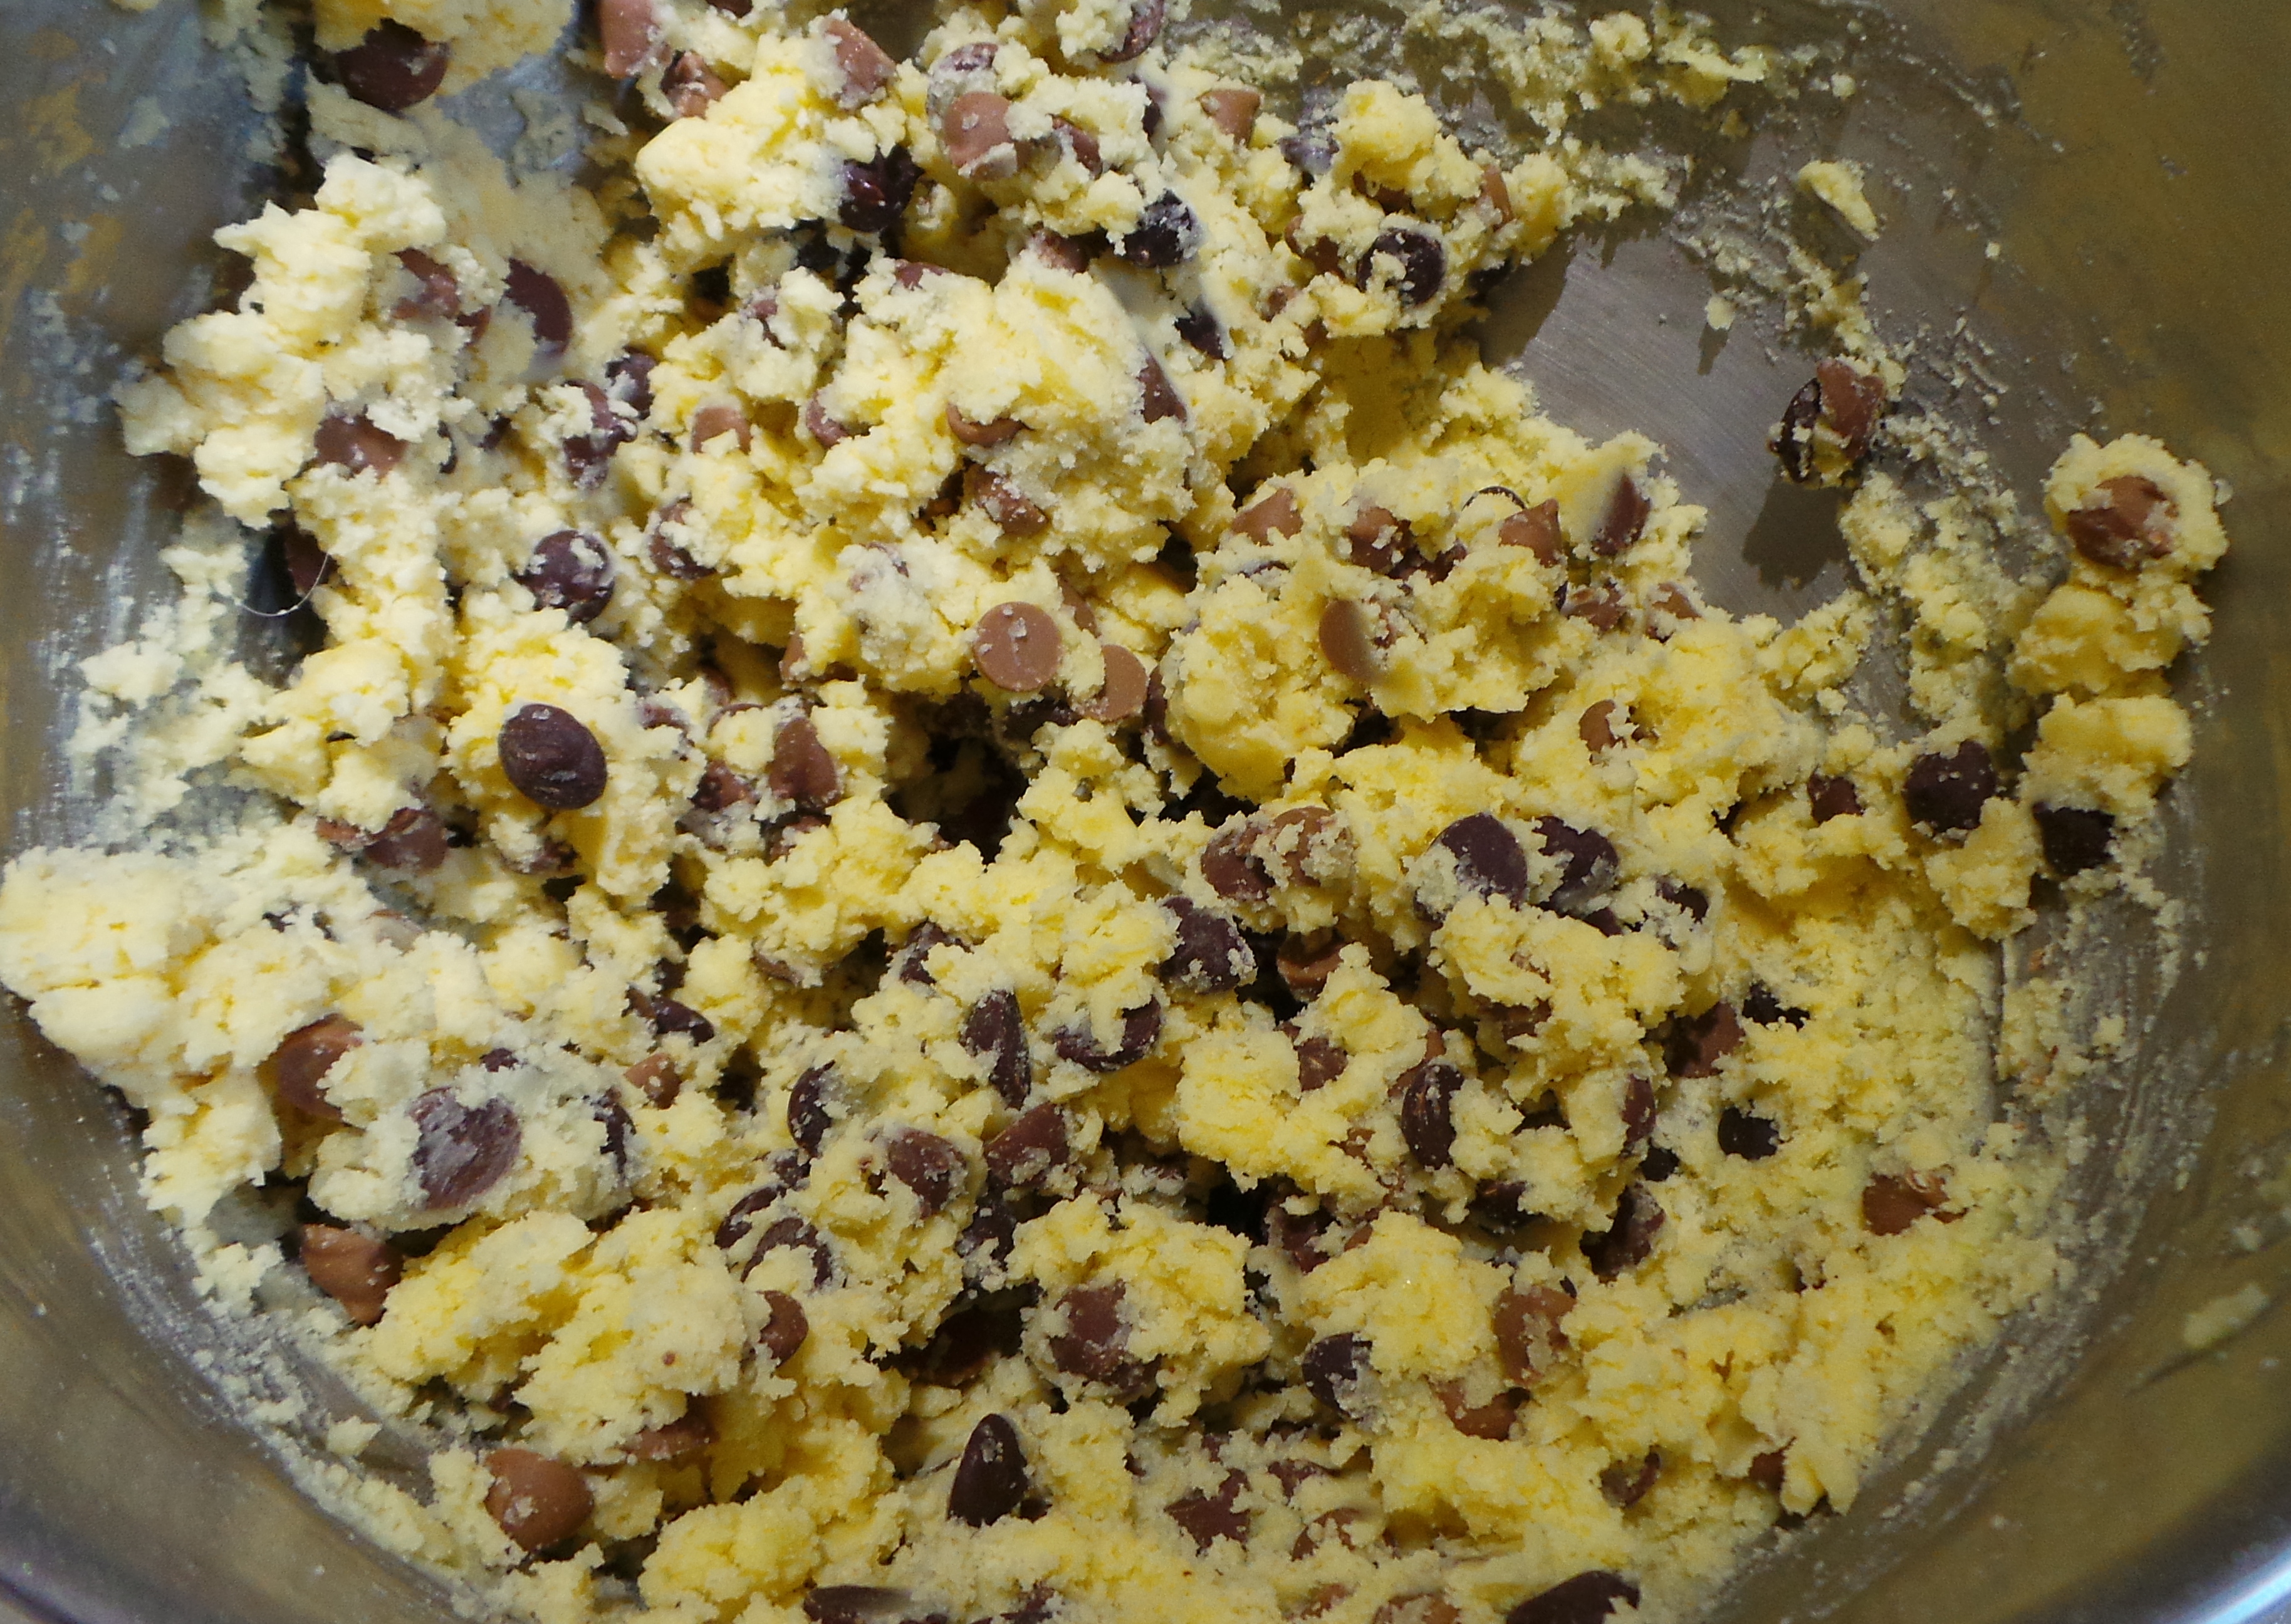
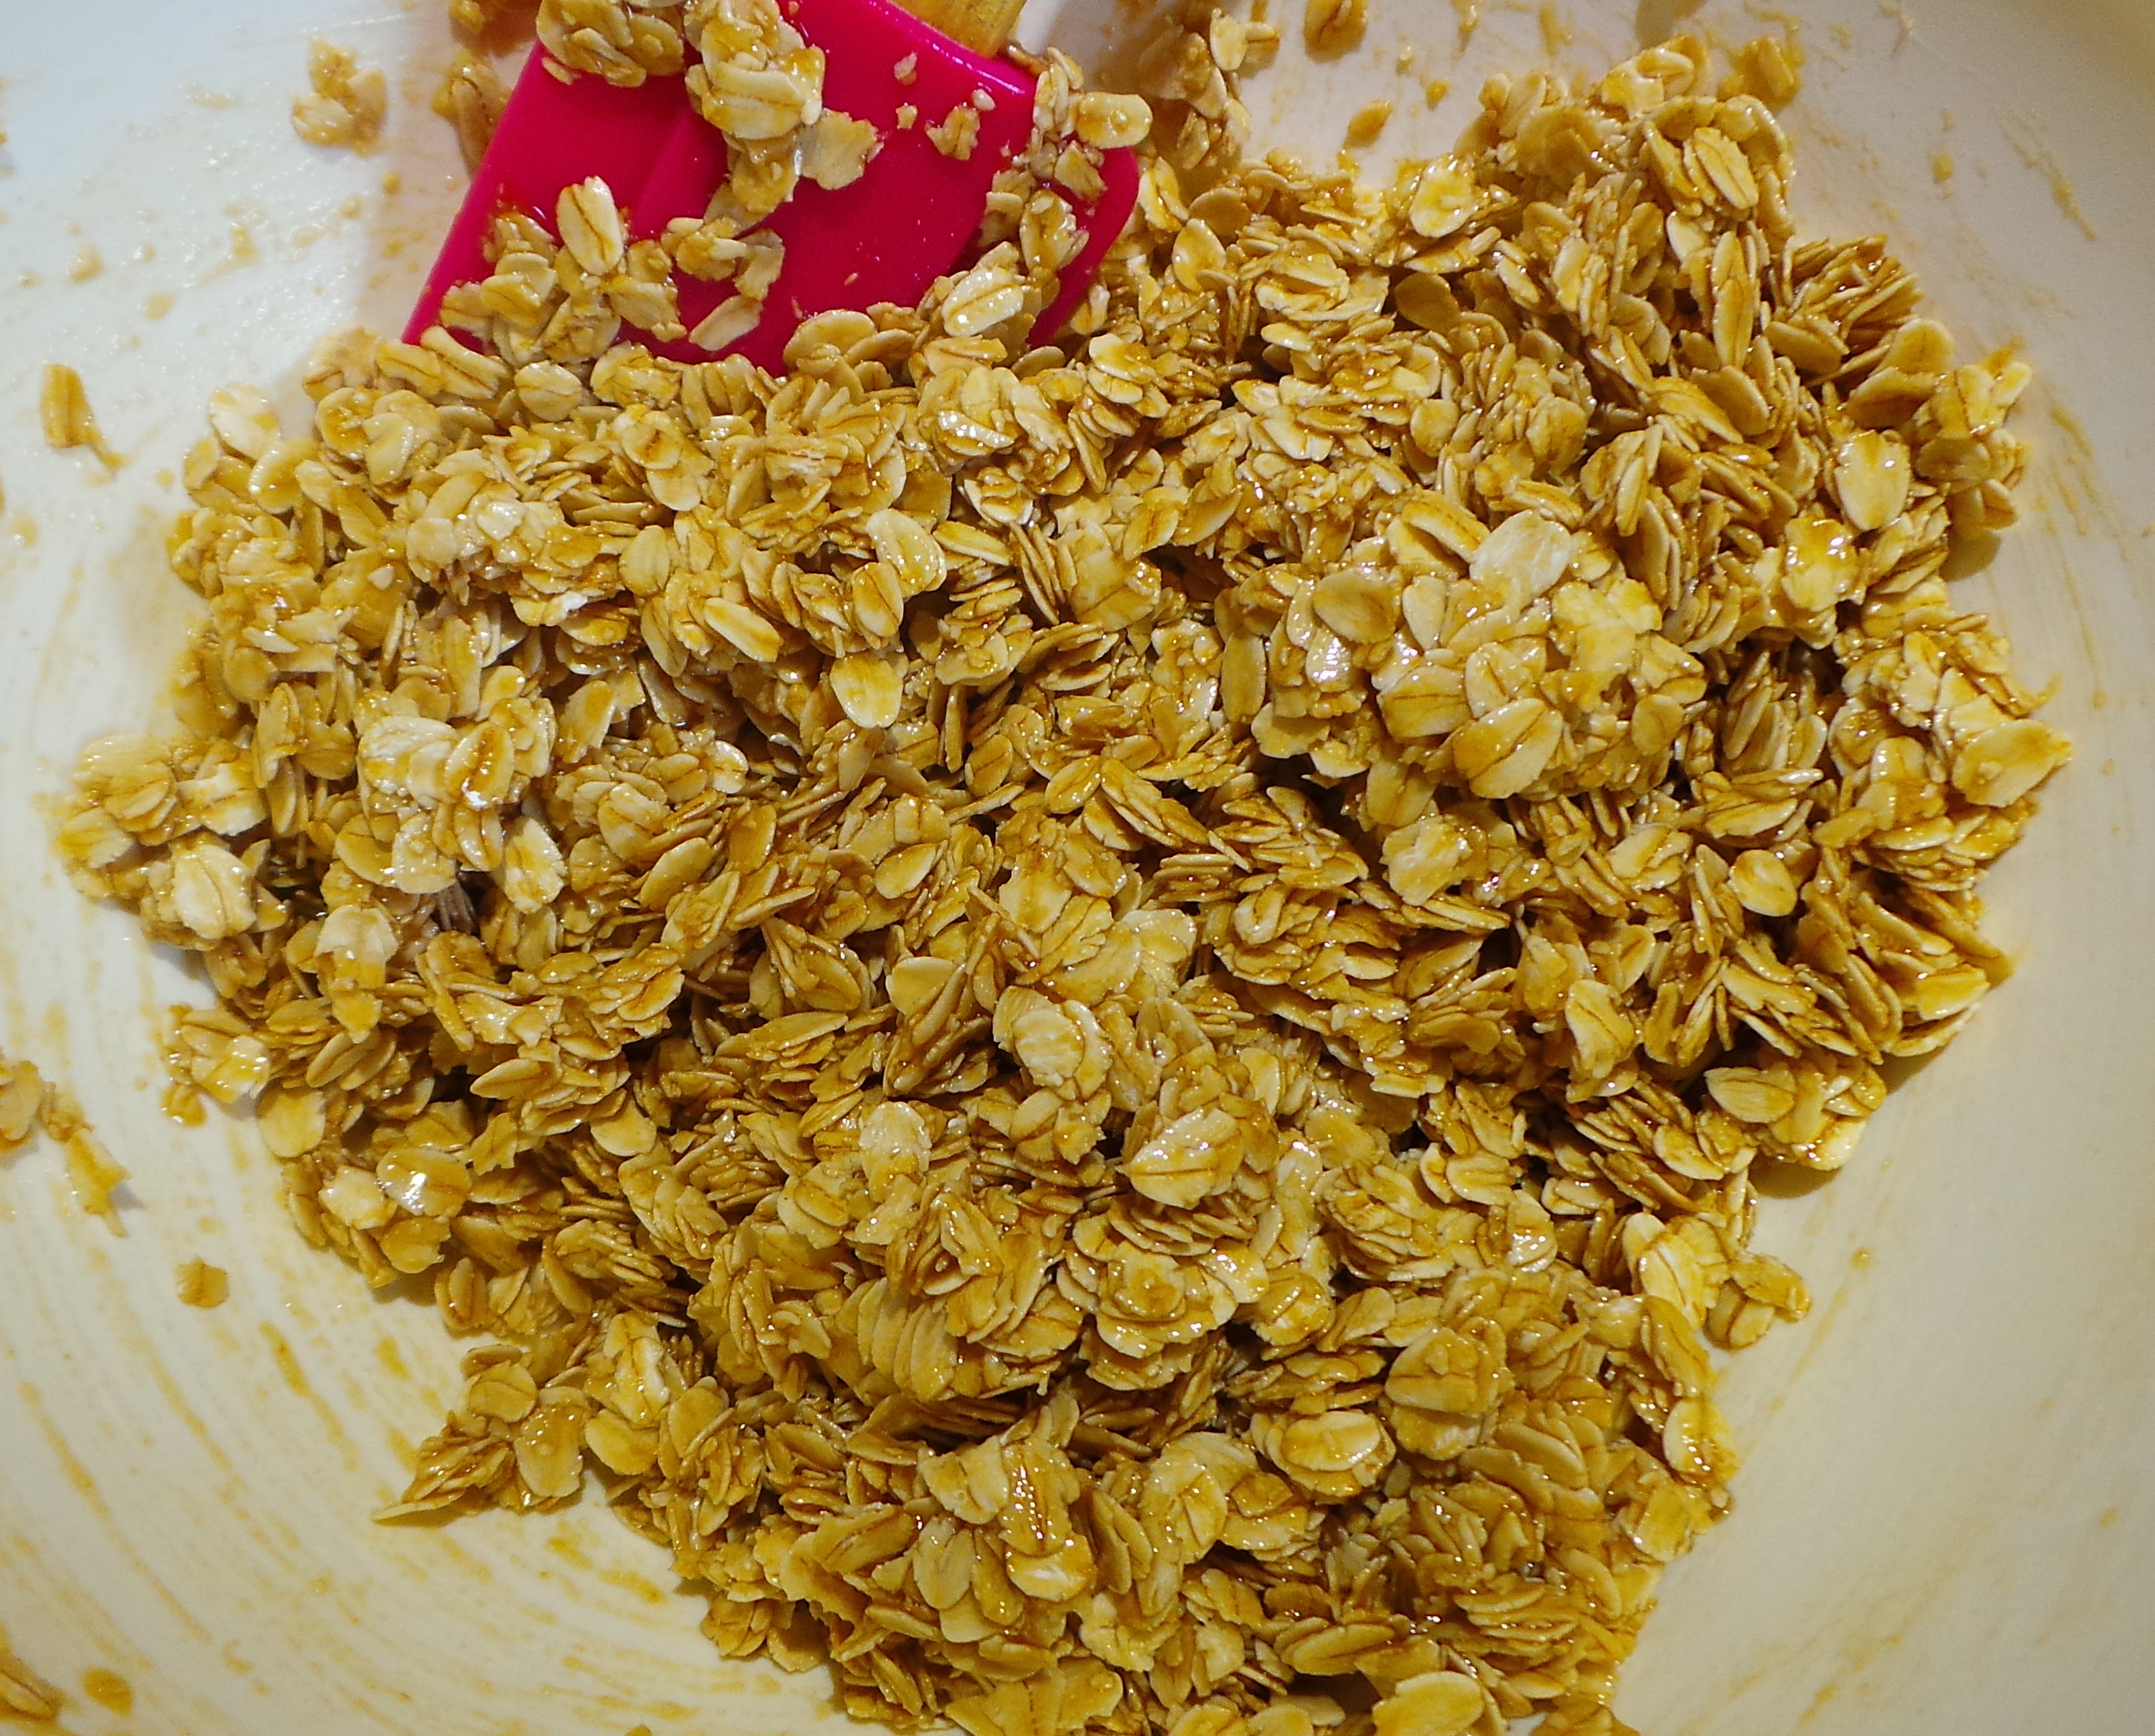
Should your mix be too dry, simply add splashes of plain old water until it all comes together. It will look something like this.

The mixed batter.
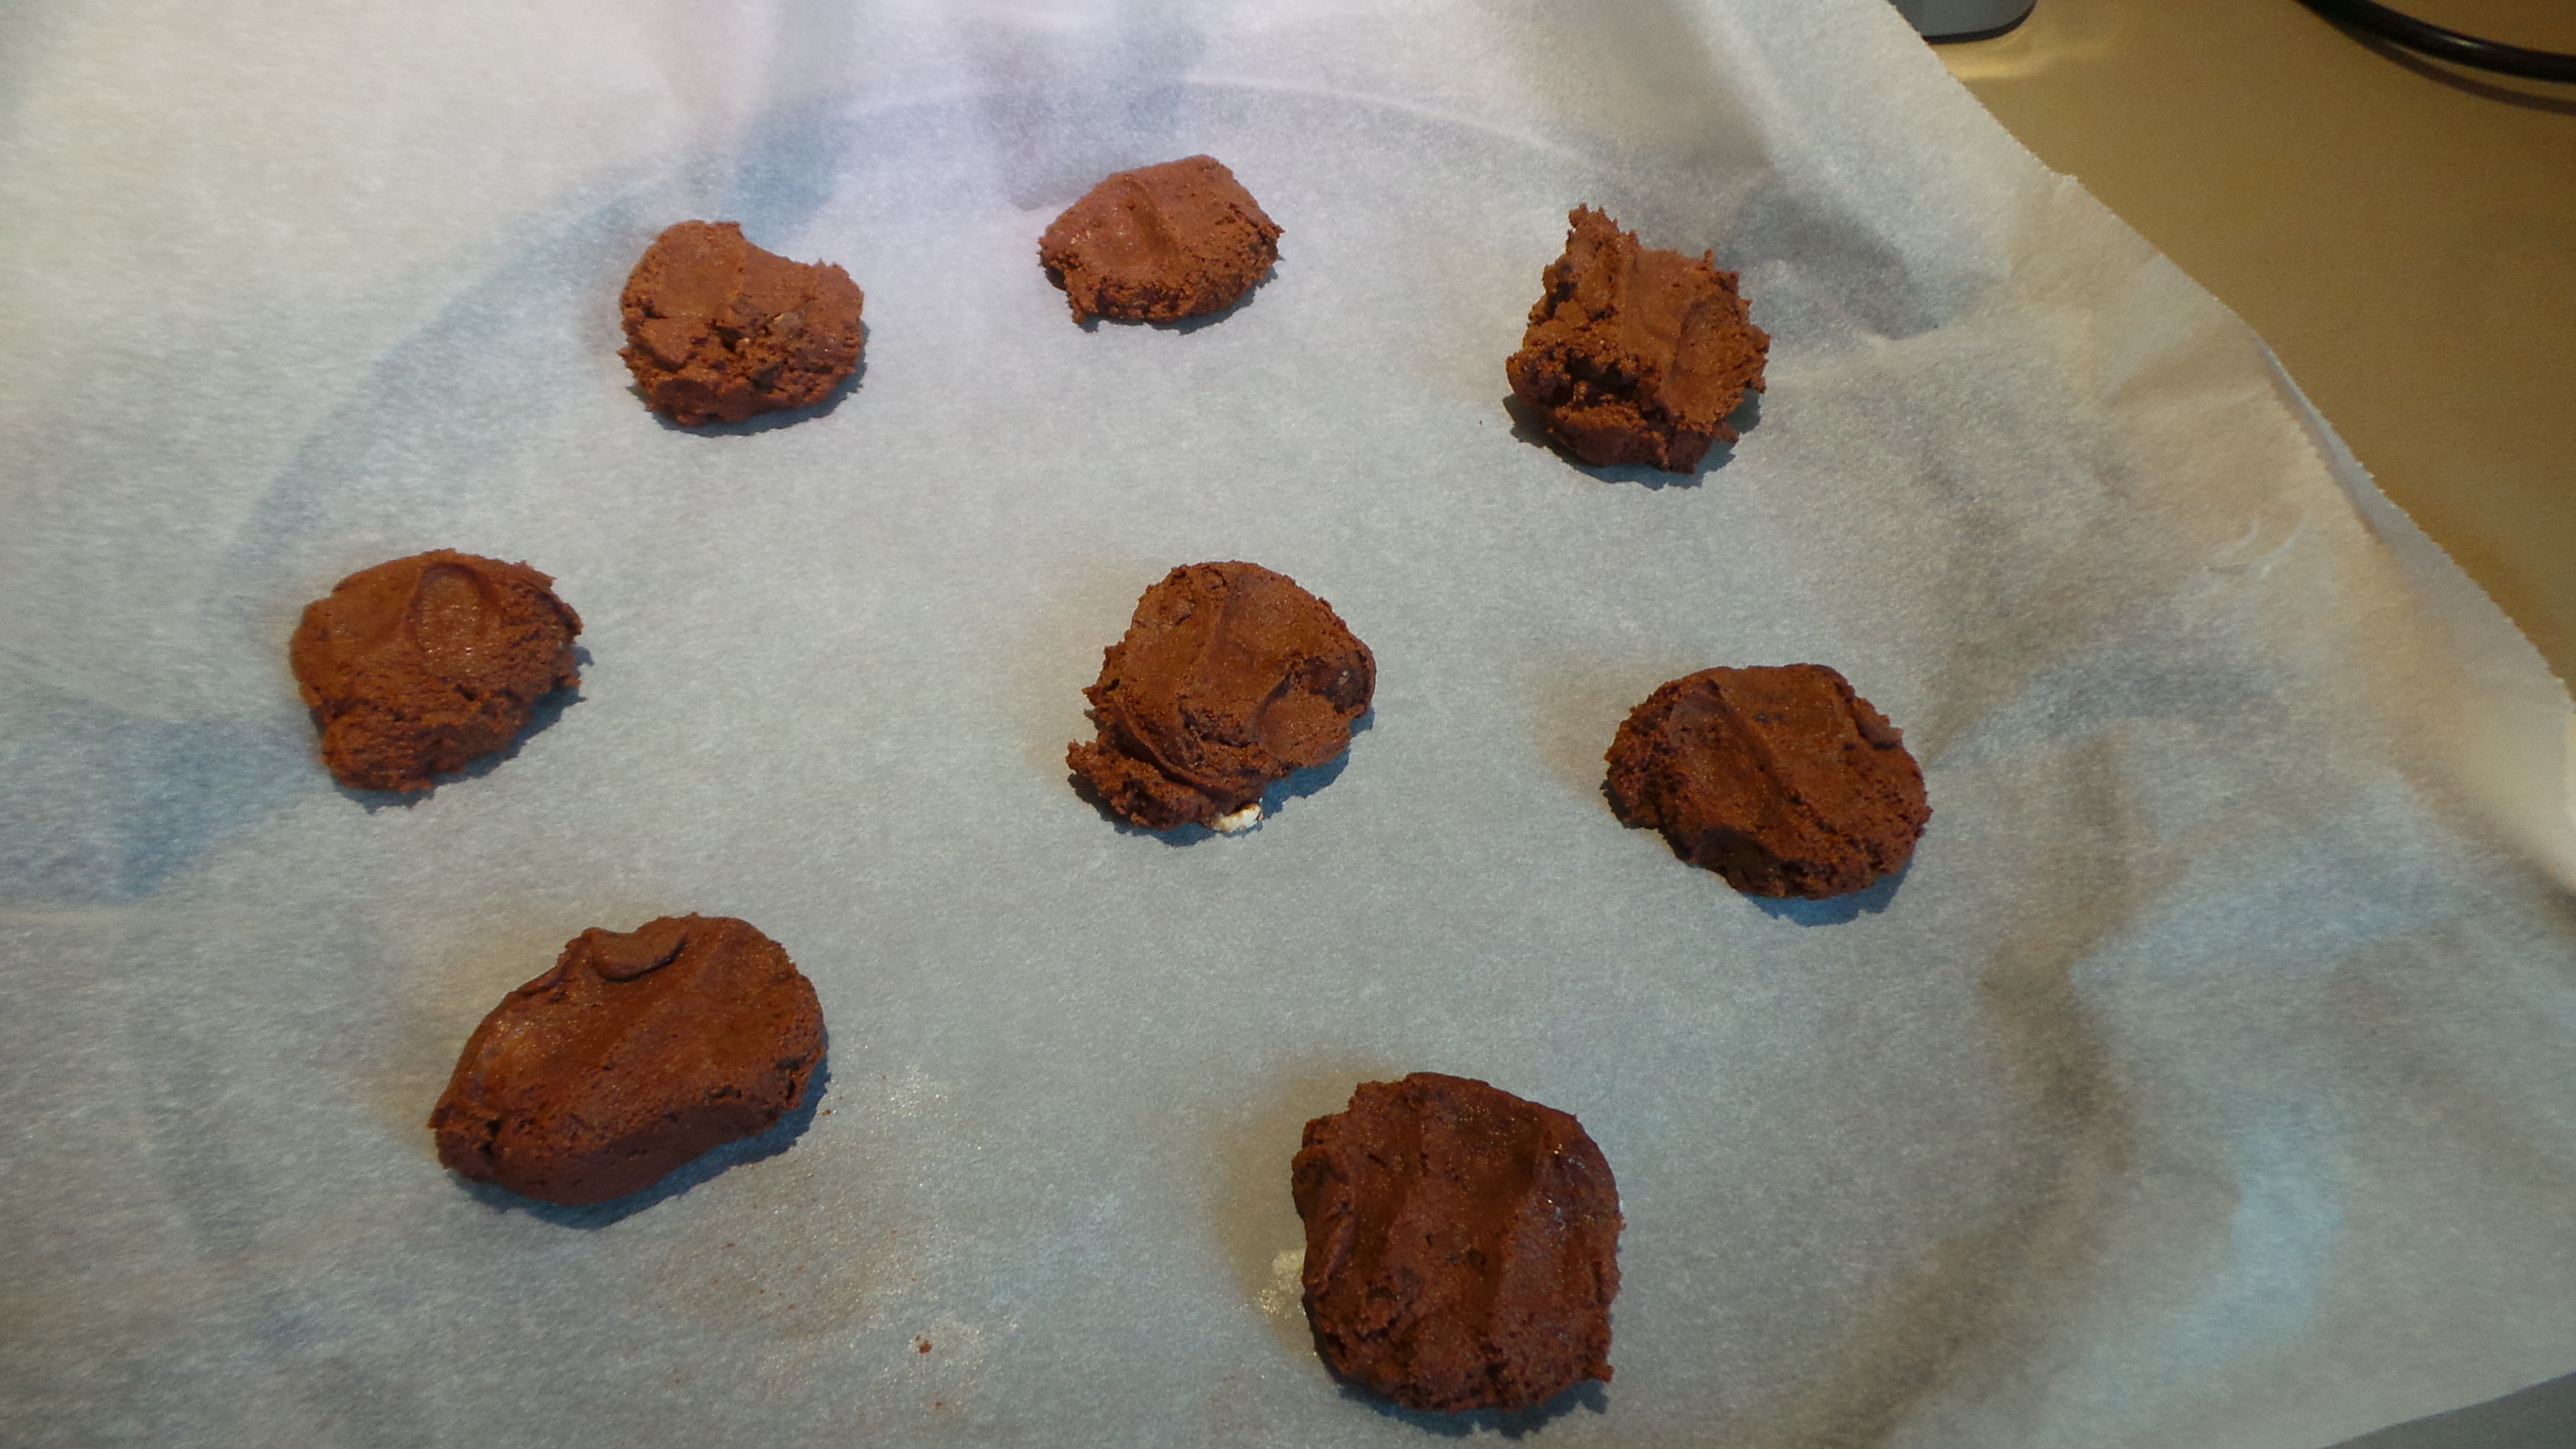
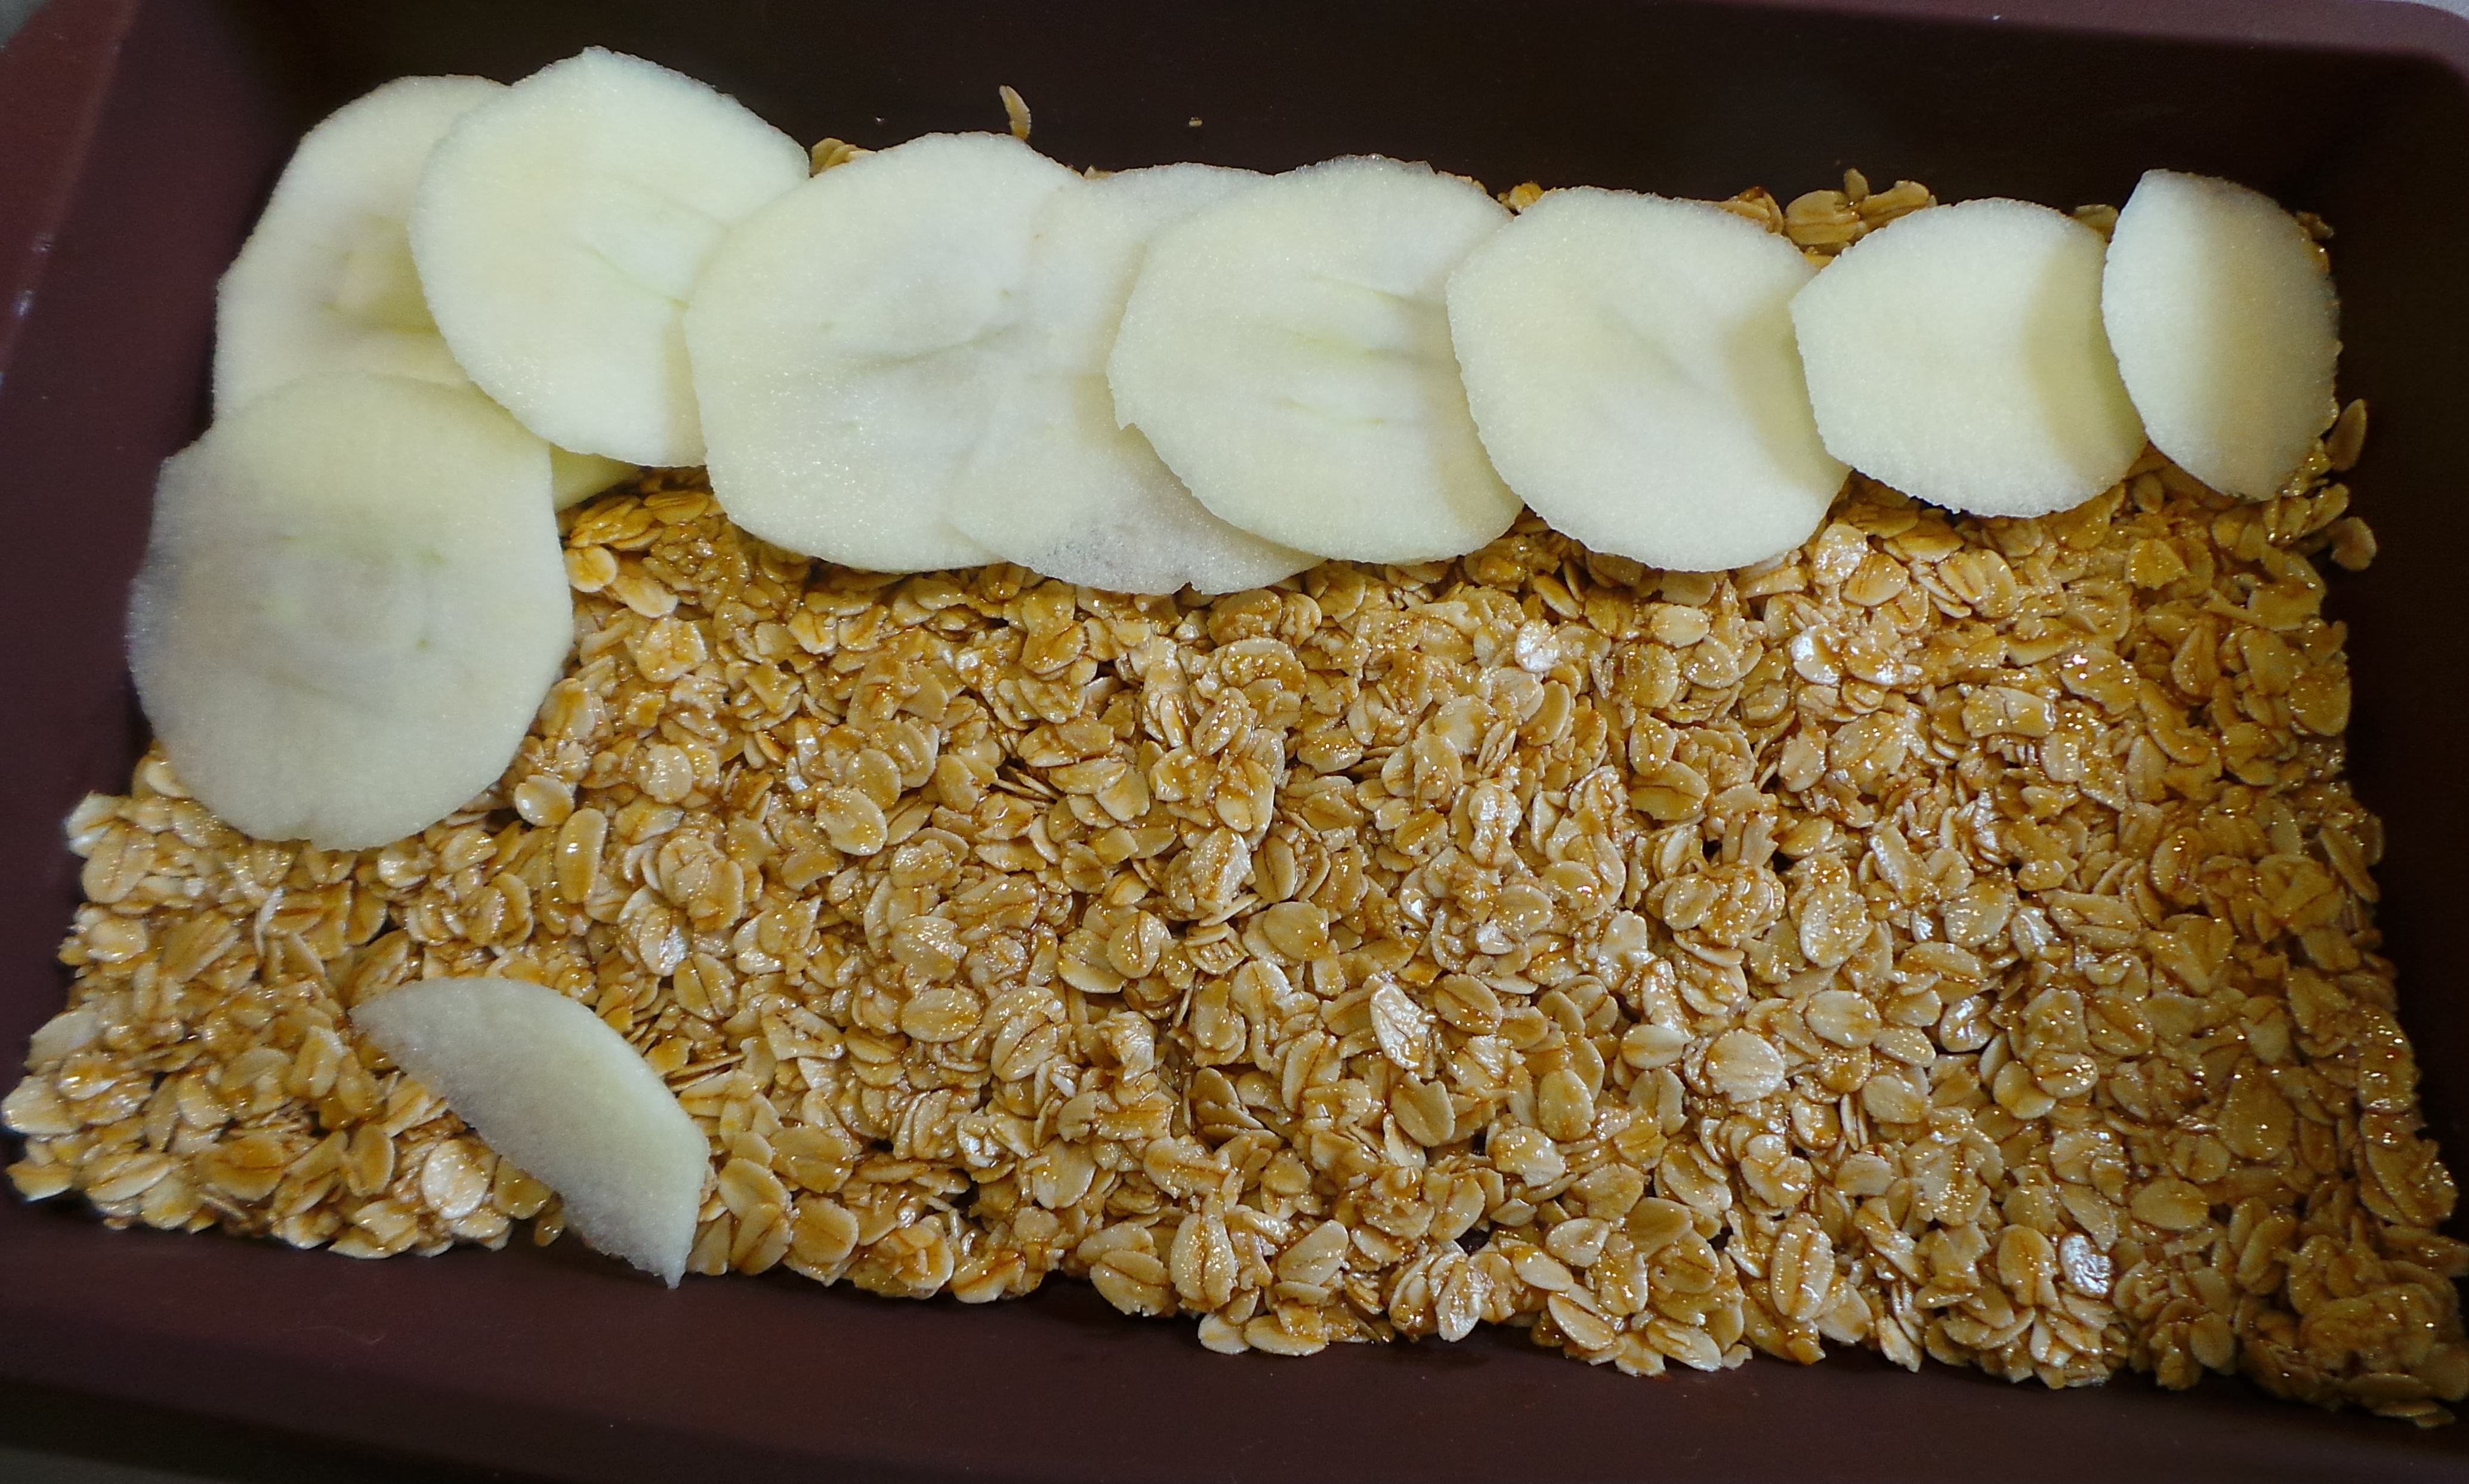
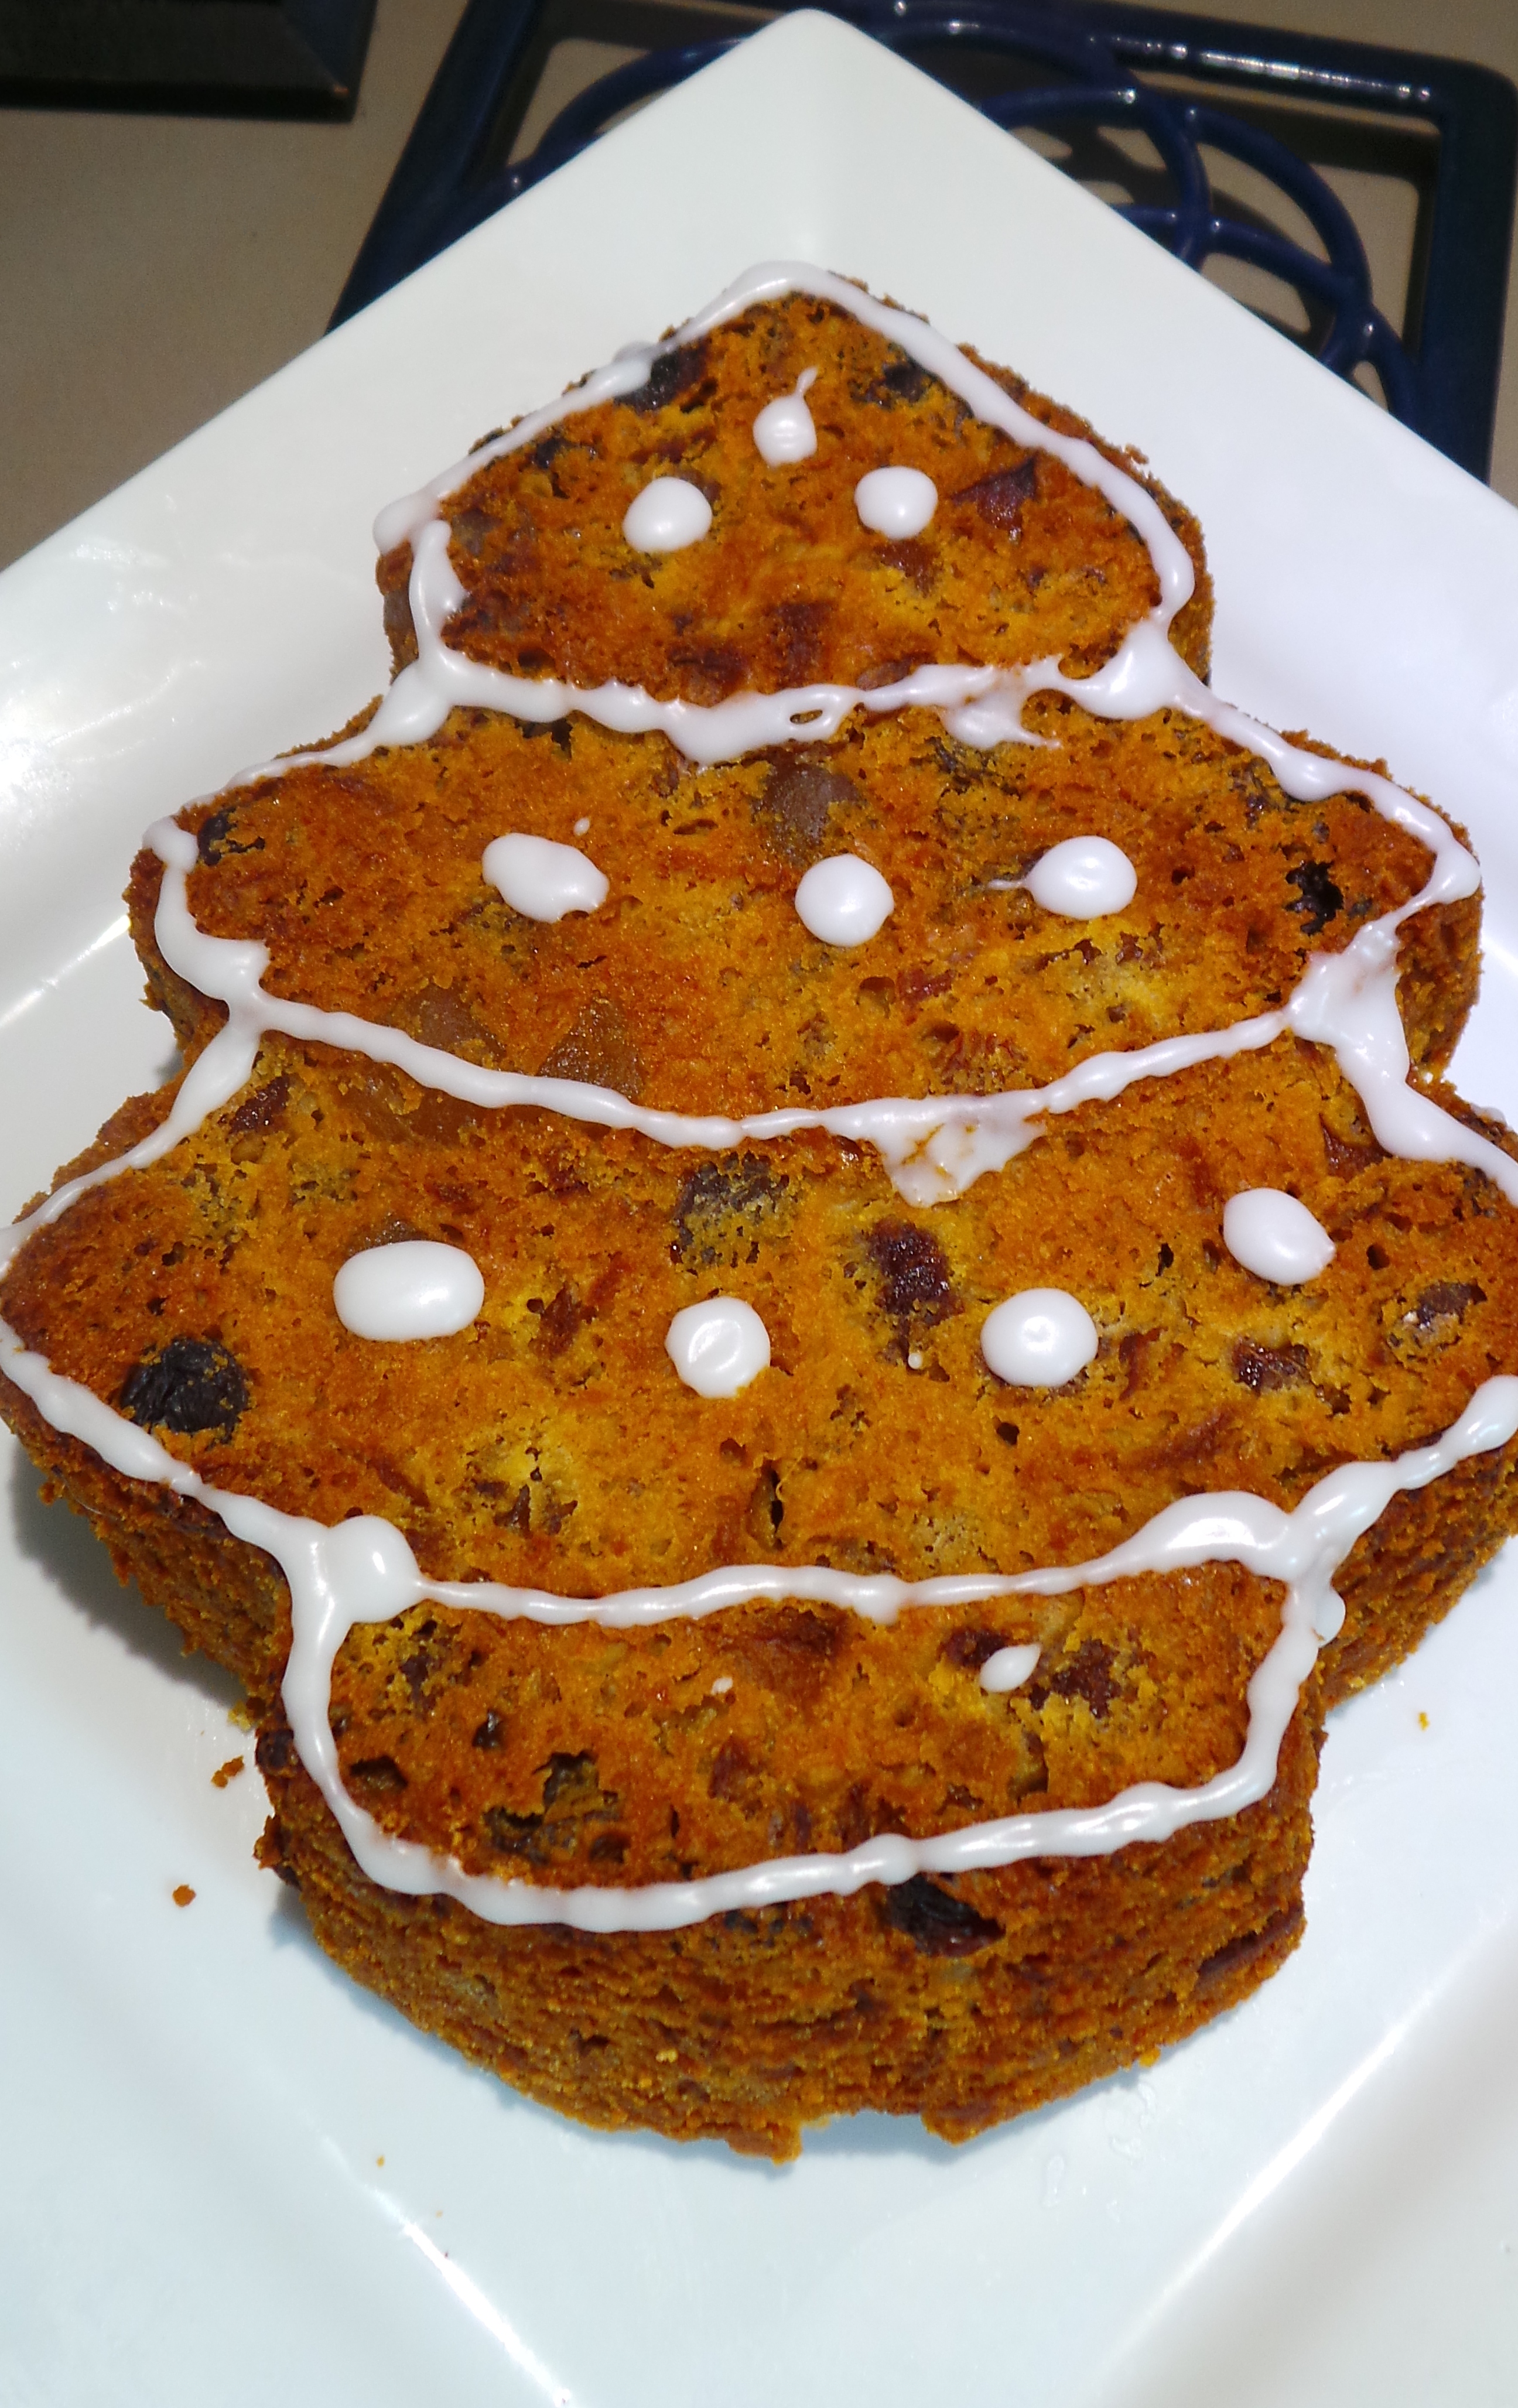
Using a spatula, scrape into a lined cake tin of whatever shape you fancy. I usually bake this cake in a silicon, Christmas tree-shaped cake mould, simply because I have one.

Deck the halls…
Bake at 160ºC or 325ºF for 2 hours, turning the pan at the halfway point.
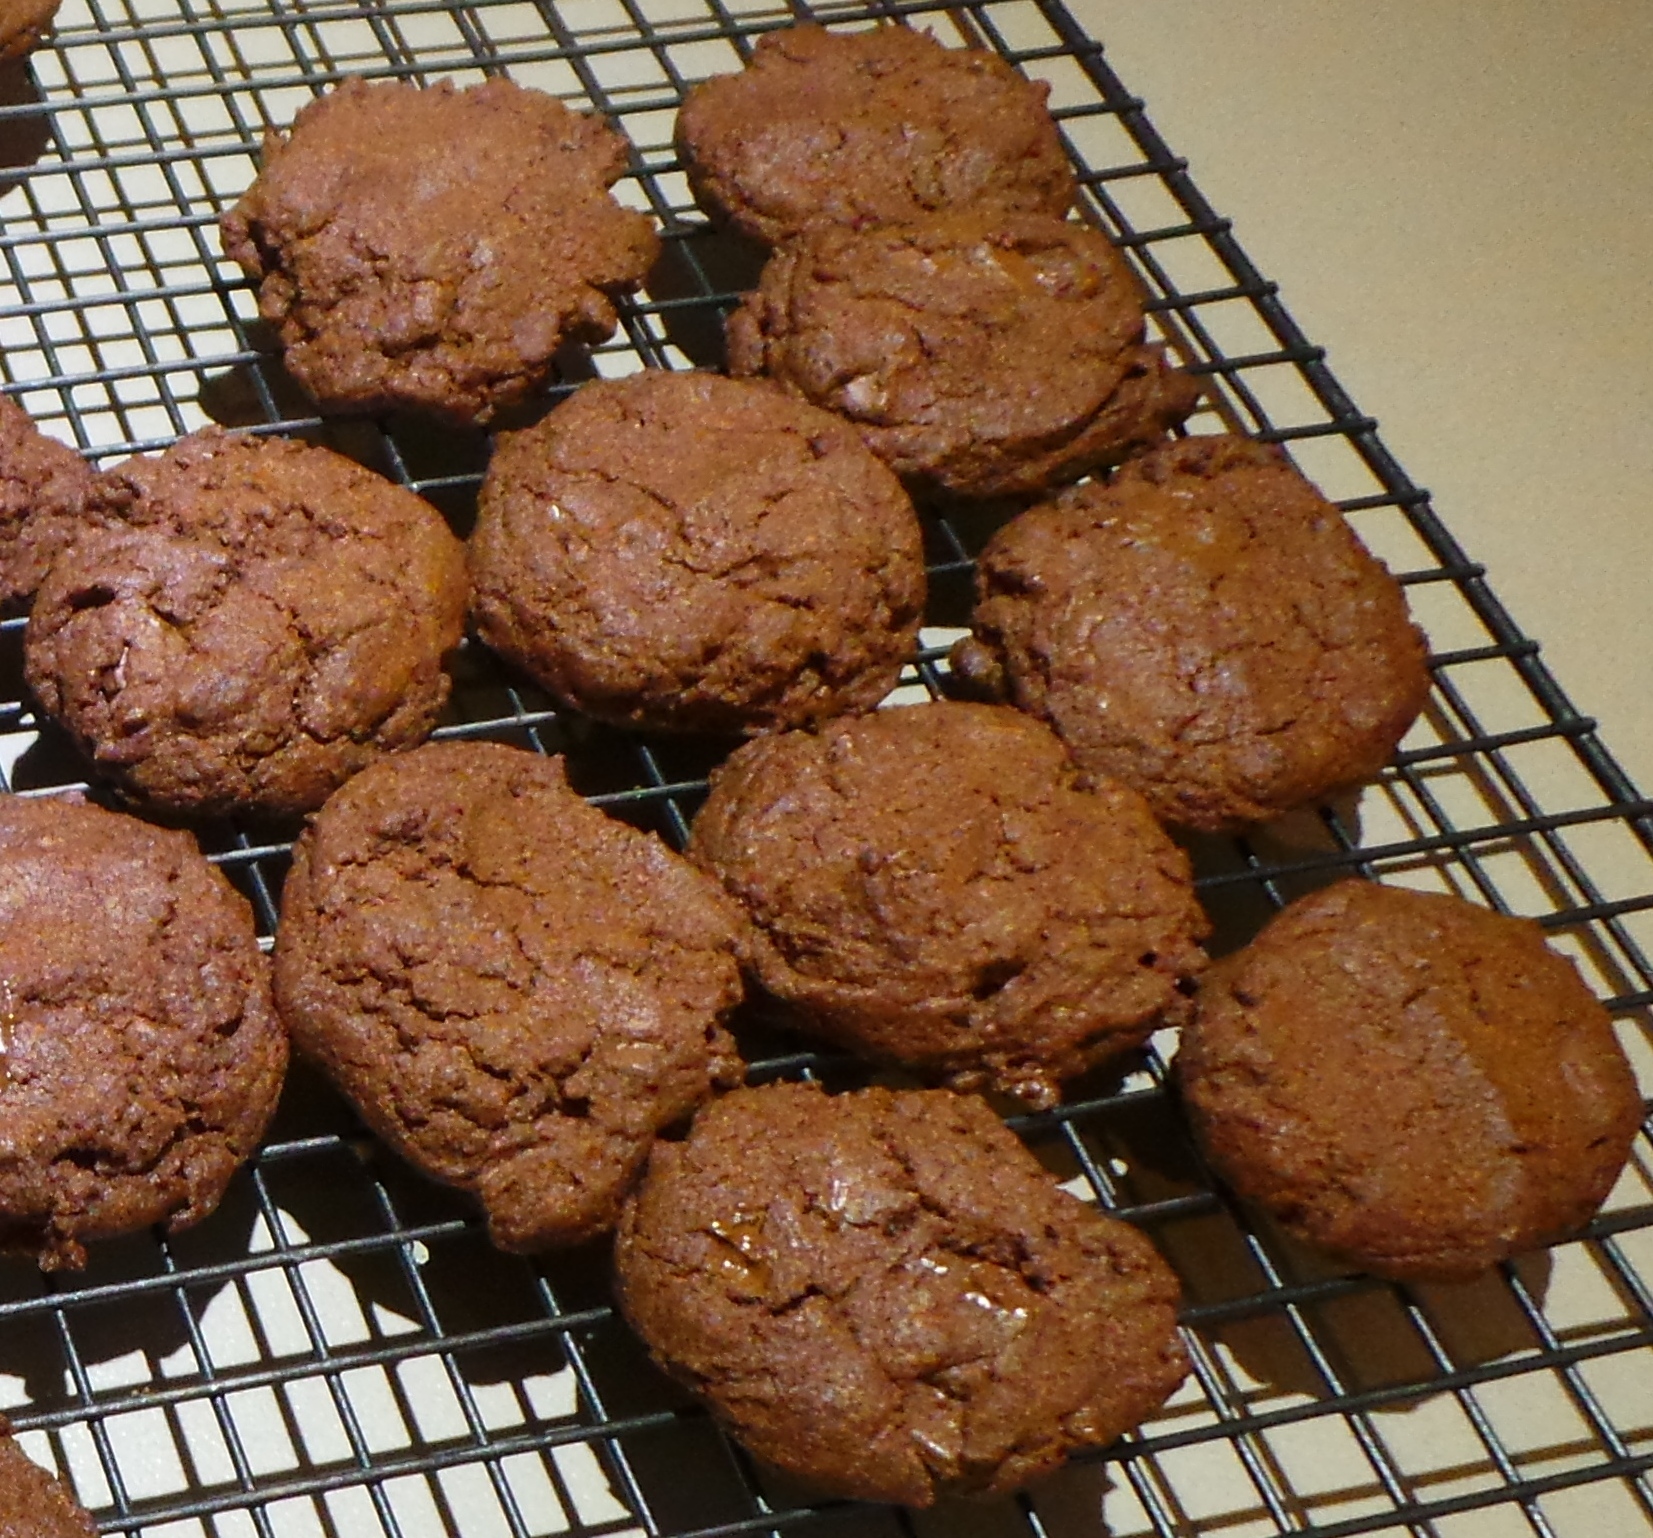
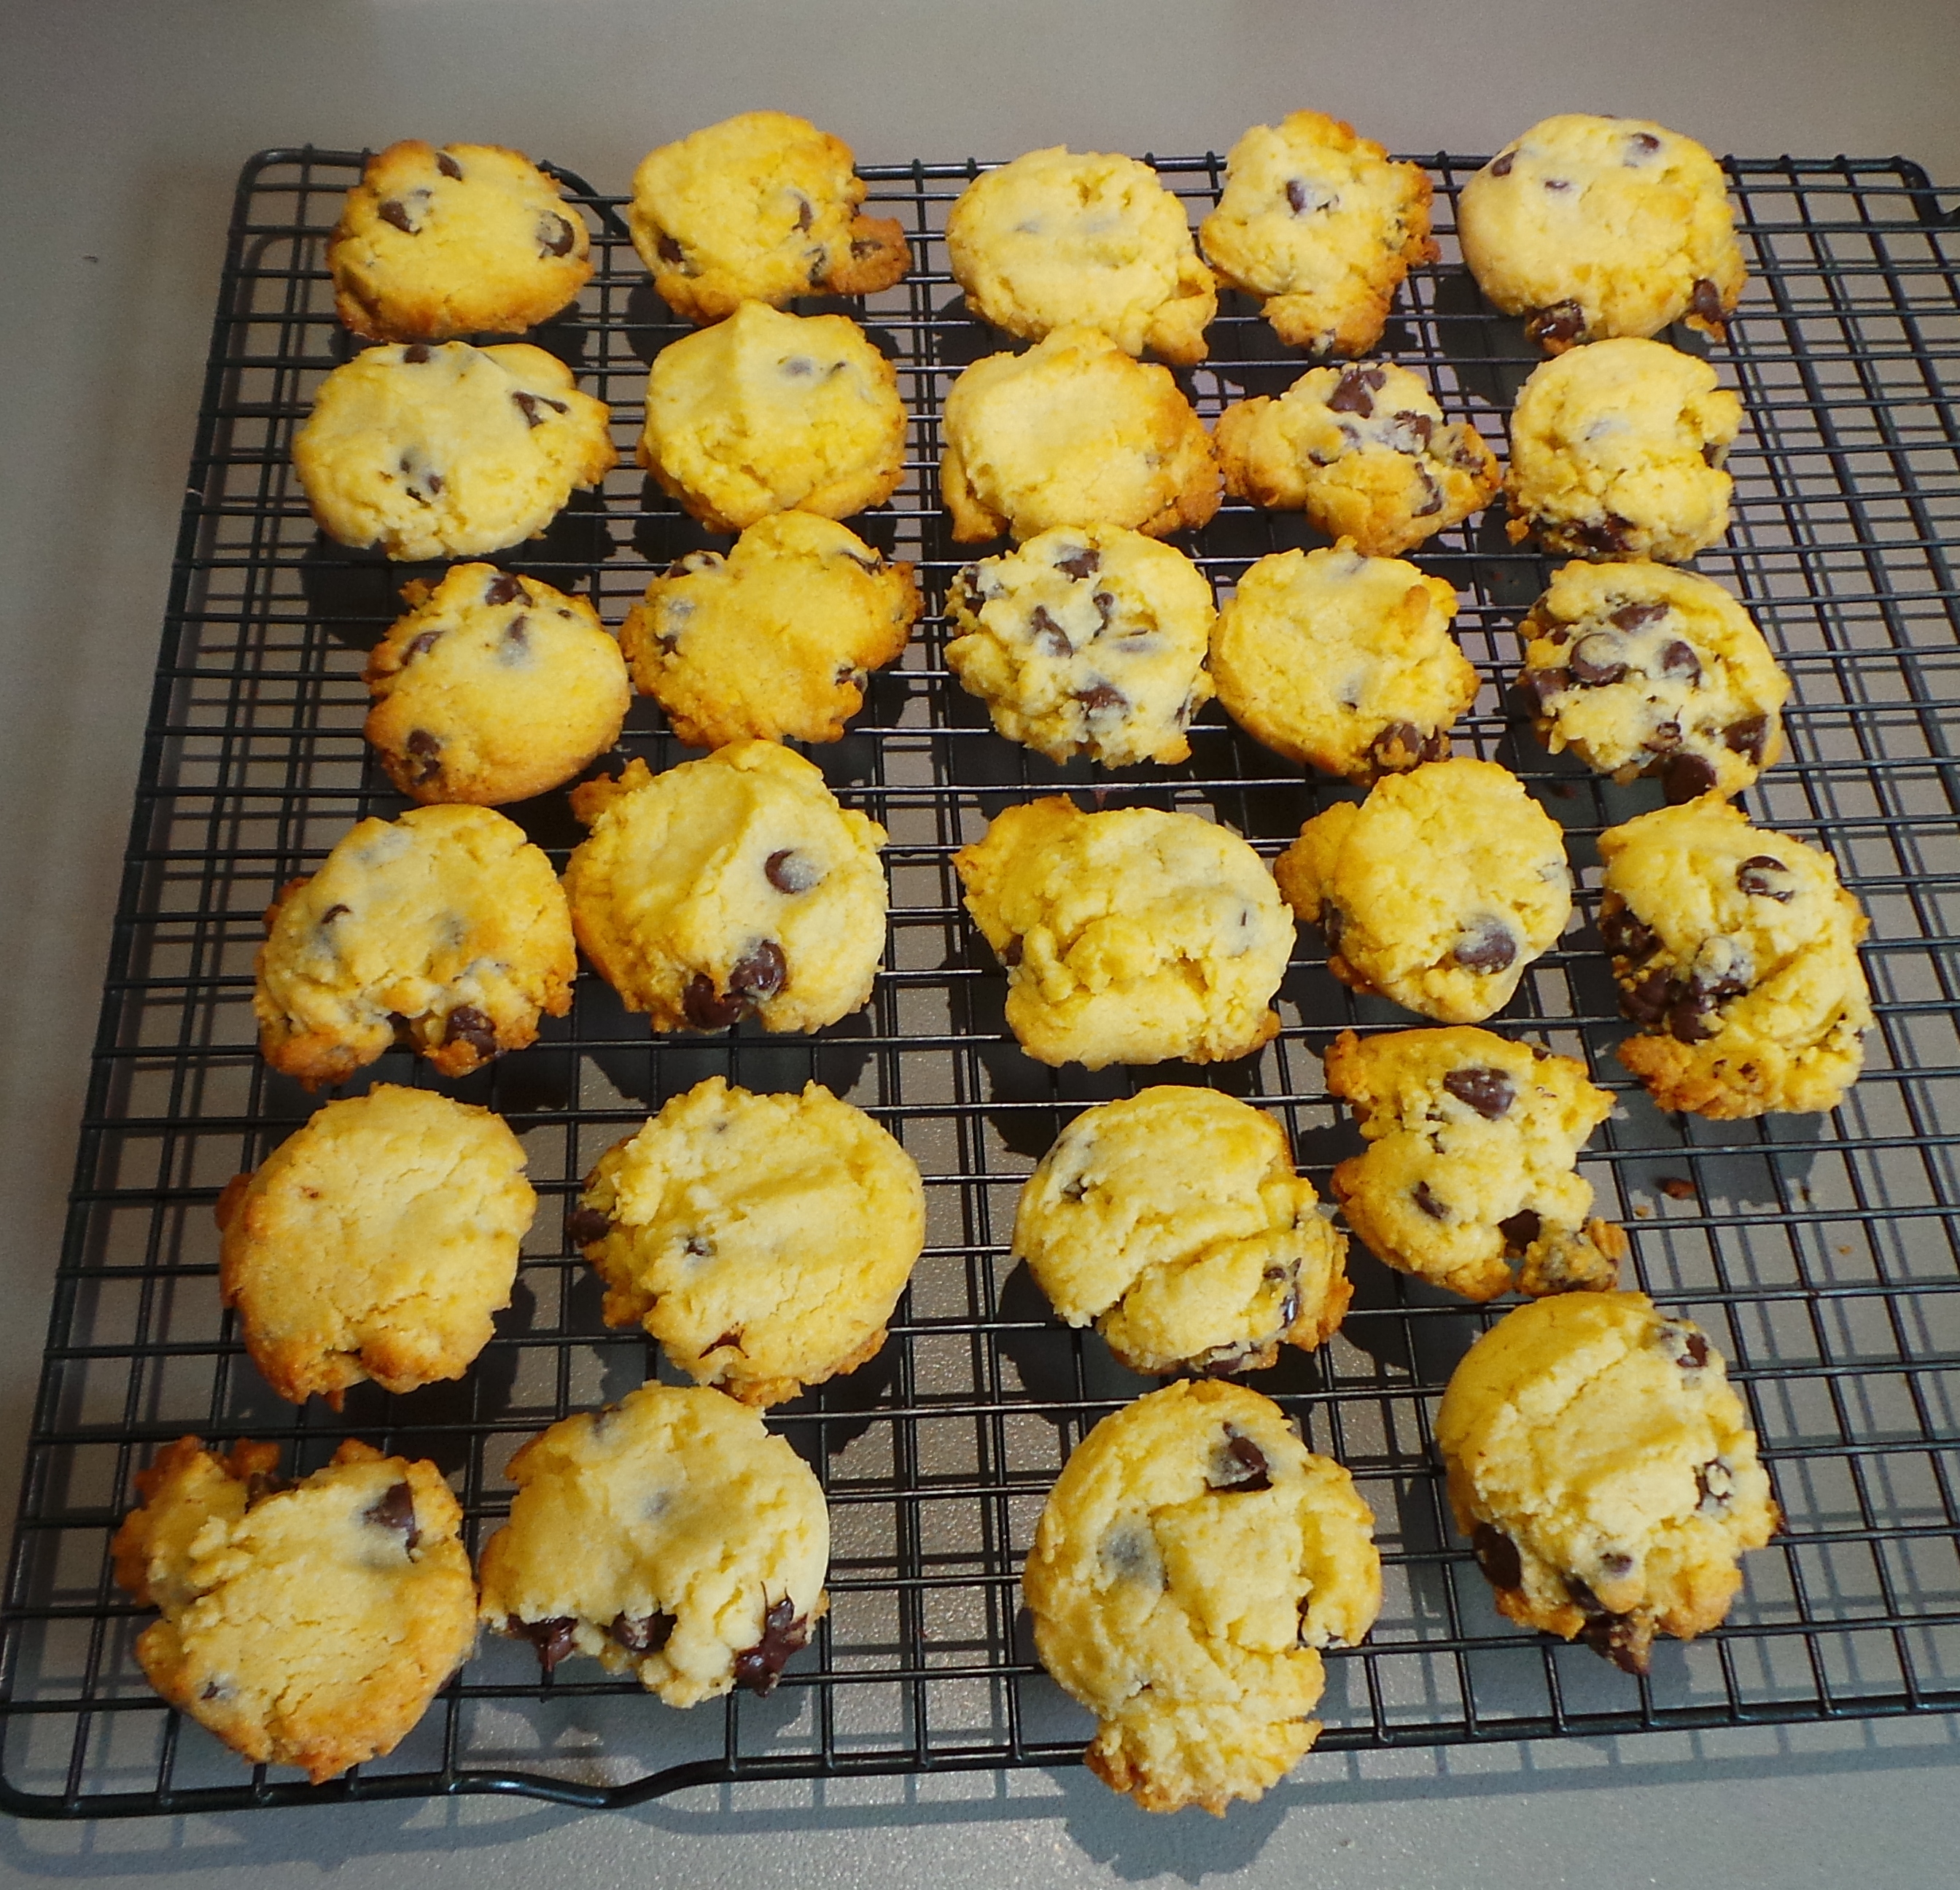
Allow to cool in the tin for 30 minutes, before turning out to finish cooling on a rack.
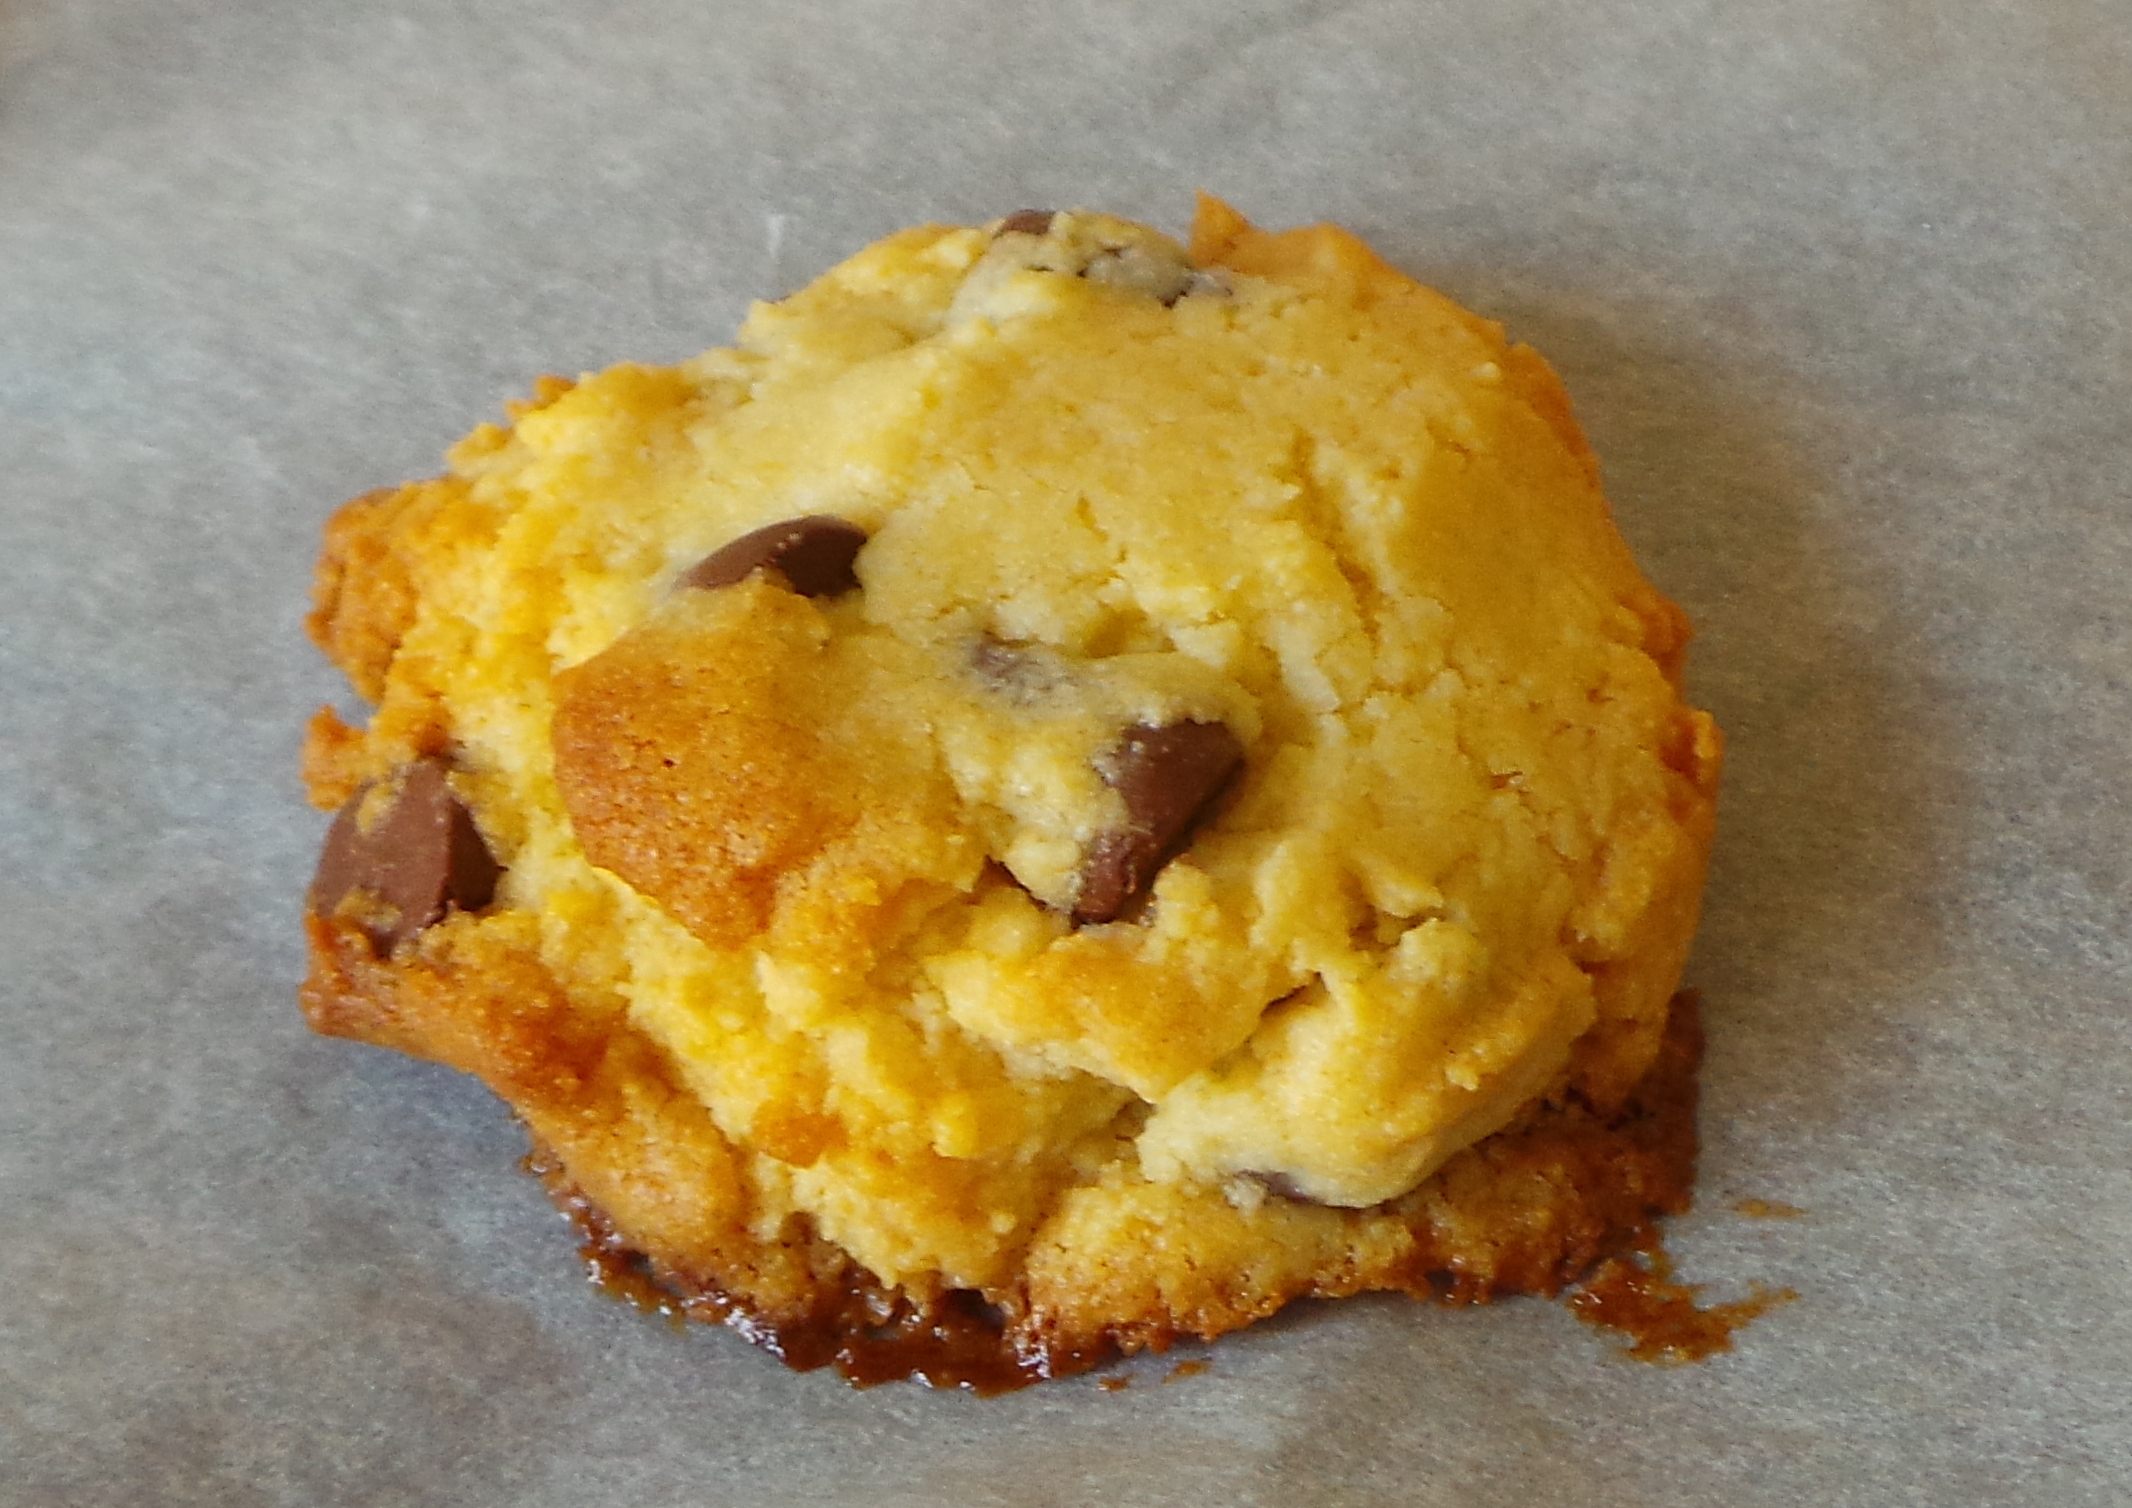
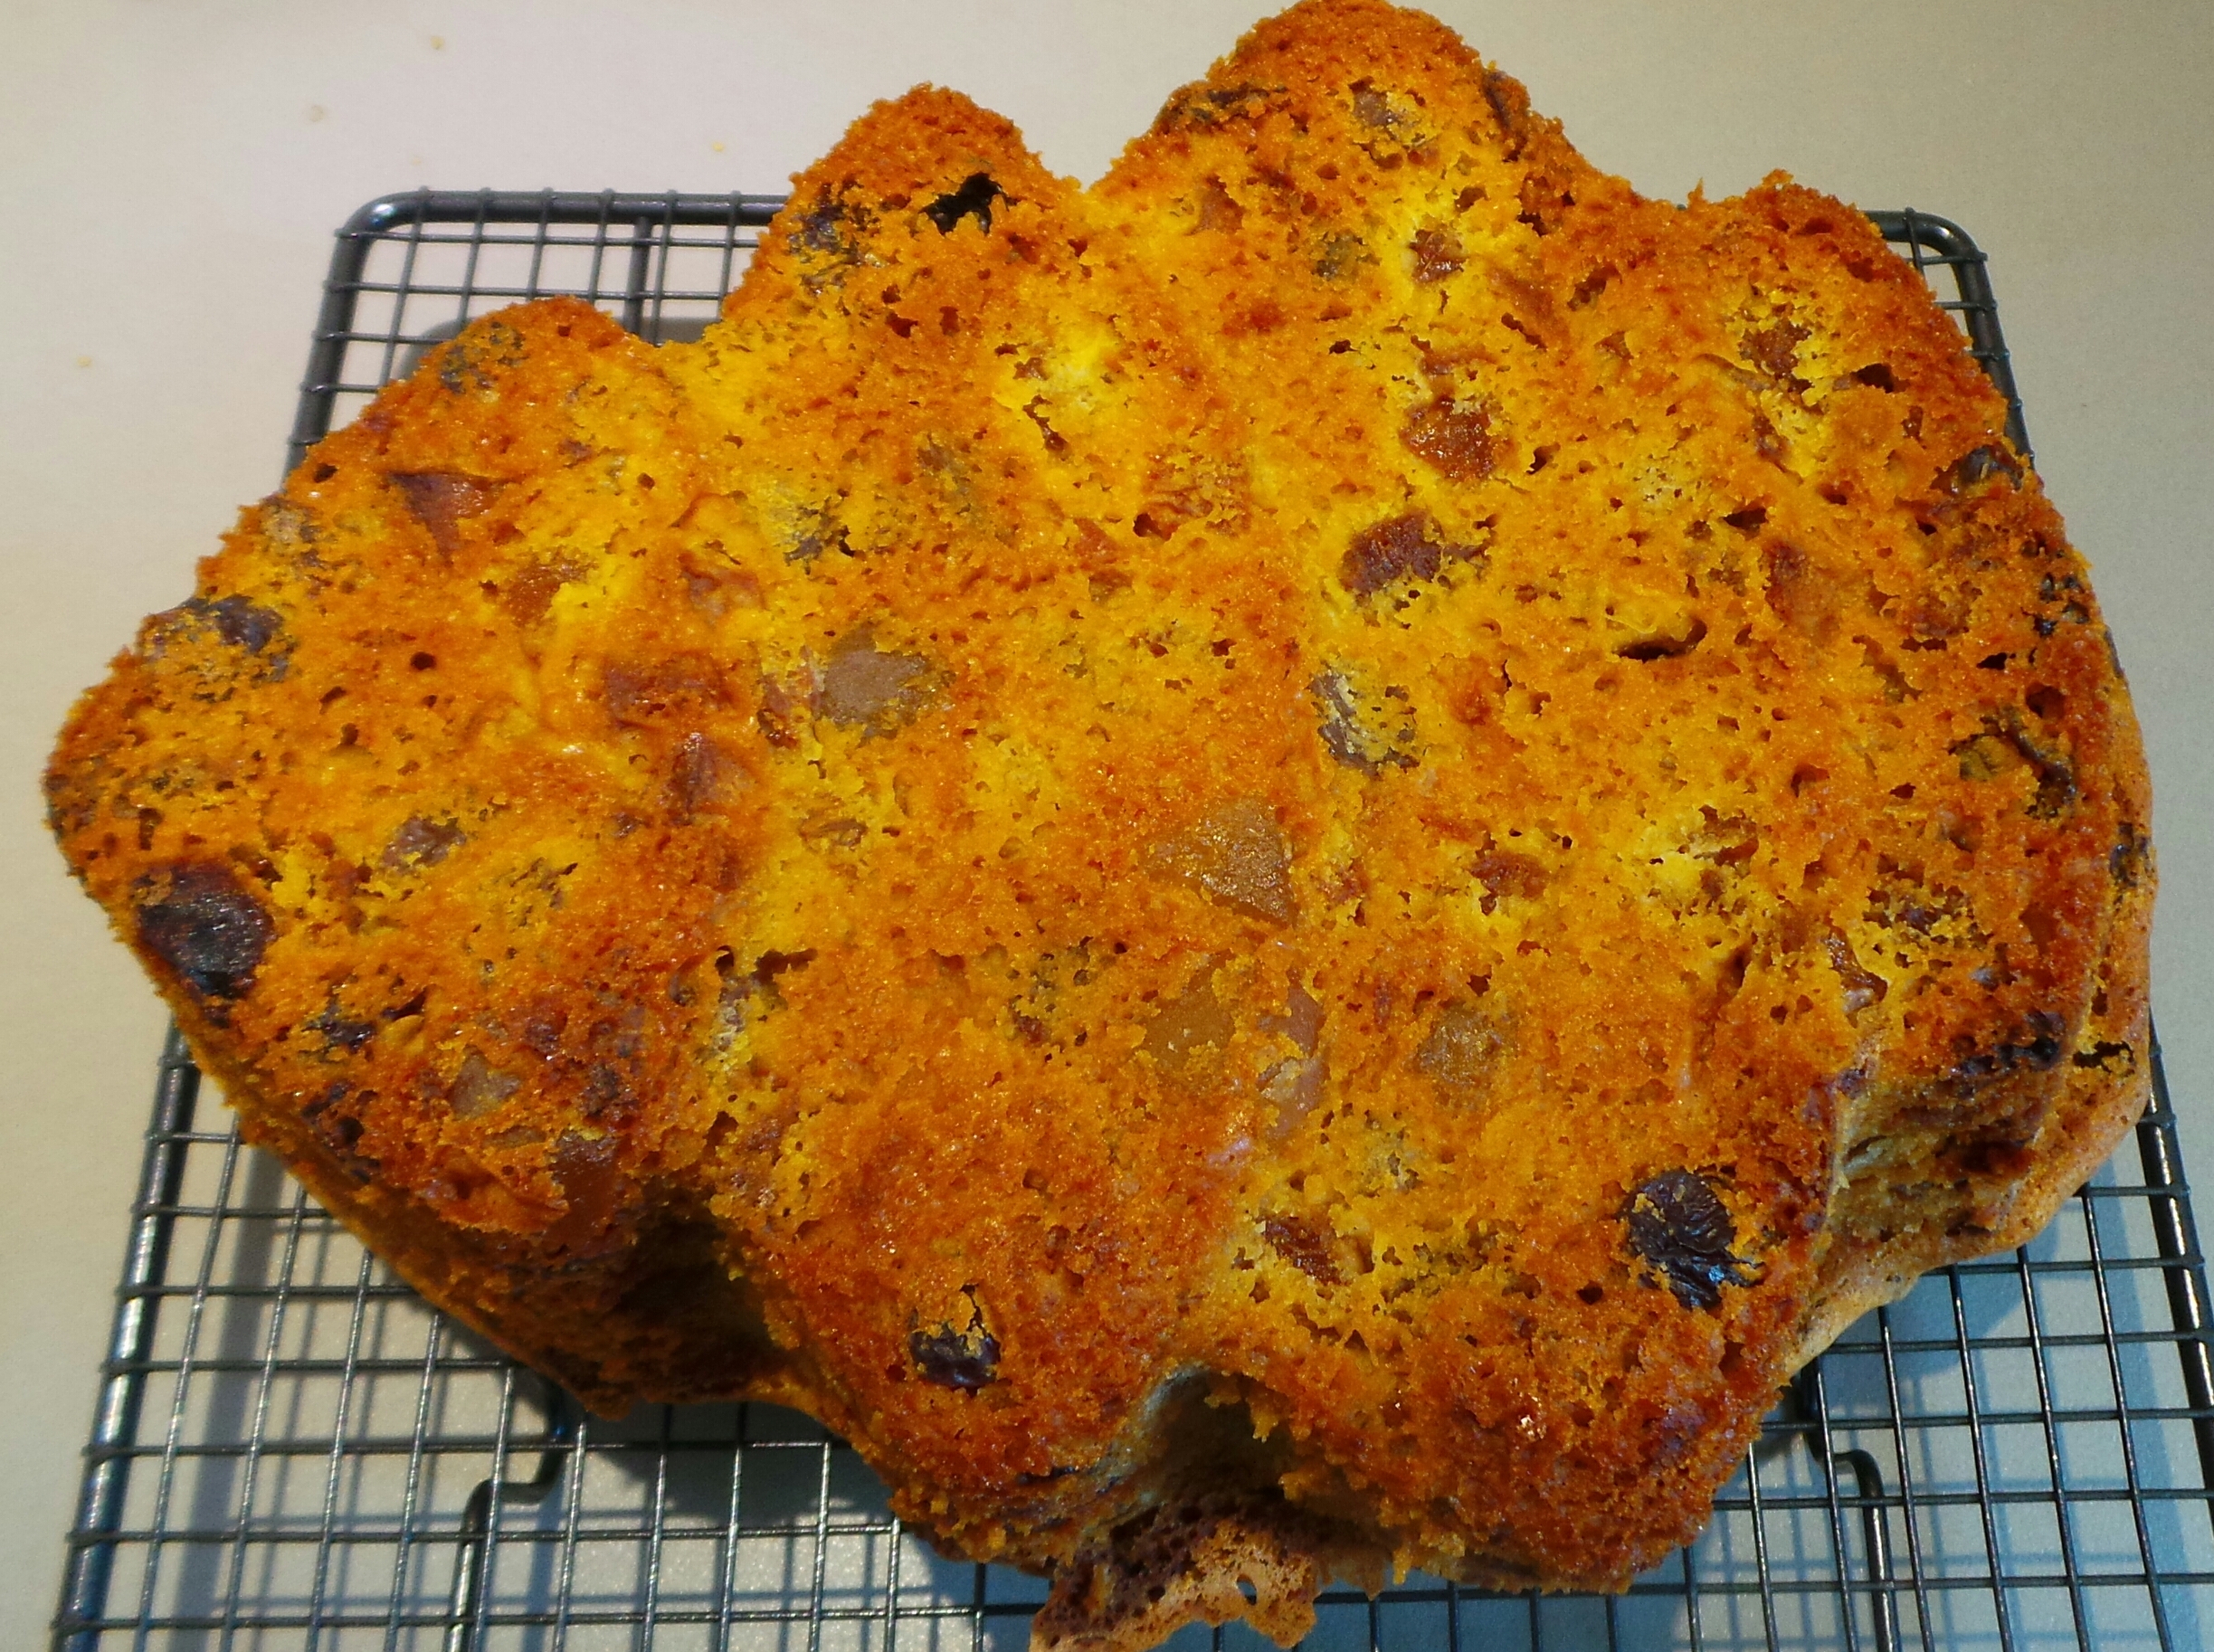
I cut off the “muffin top” to create a flat base. The removed piece then becomes the Cook’s treat. Ahem. It’s the only bit I let myself eat of this or I would be in deep trouble, both calorically and blood sugar-wise. The cake then gets turned over for presentation.

Slice off the muffin top for easy preparation. Use a serrated knife.
It’s the underside of this ‘crusty bit’ that you’ve seen in the pictures of slices above.
Decorate and serve.
Brace yourself for all the “I don’t like fruitcake” claims.
You have been warned.
Easy Fruit Cake
Ingredients
500g dried fruit (or a mix of dried fruit and glacé fruit). Use whatever mix of soft, dried fruit you like, just make sure that the pieces are all around the same size.
1 mug hot black tea
1 large egg
2 mugs self raising flour
1 packed mug brown sugar
Method
Soak dried fruit in hot tea overnight.
Heat oven to 160ºC or 325ºF.
Cut glacé fruit into large chunks and mix through soaked fruit.
Beat the egg with a fork and mix through the fruit.
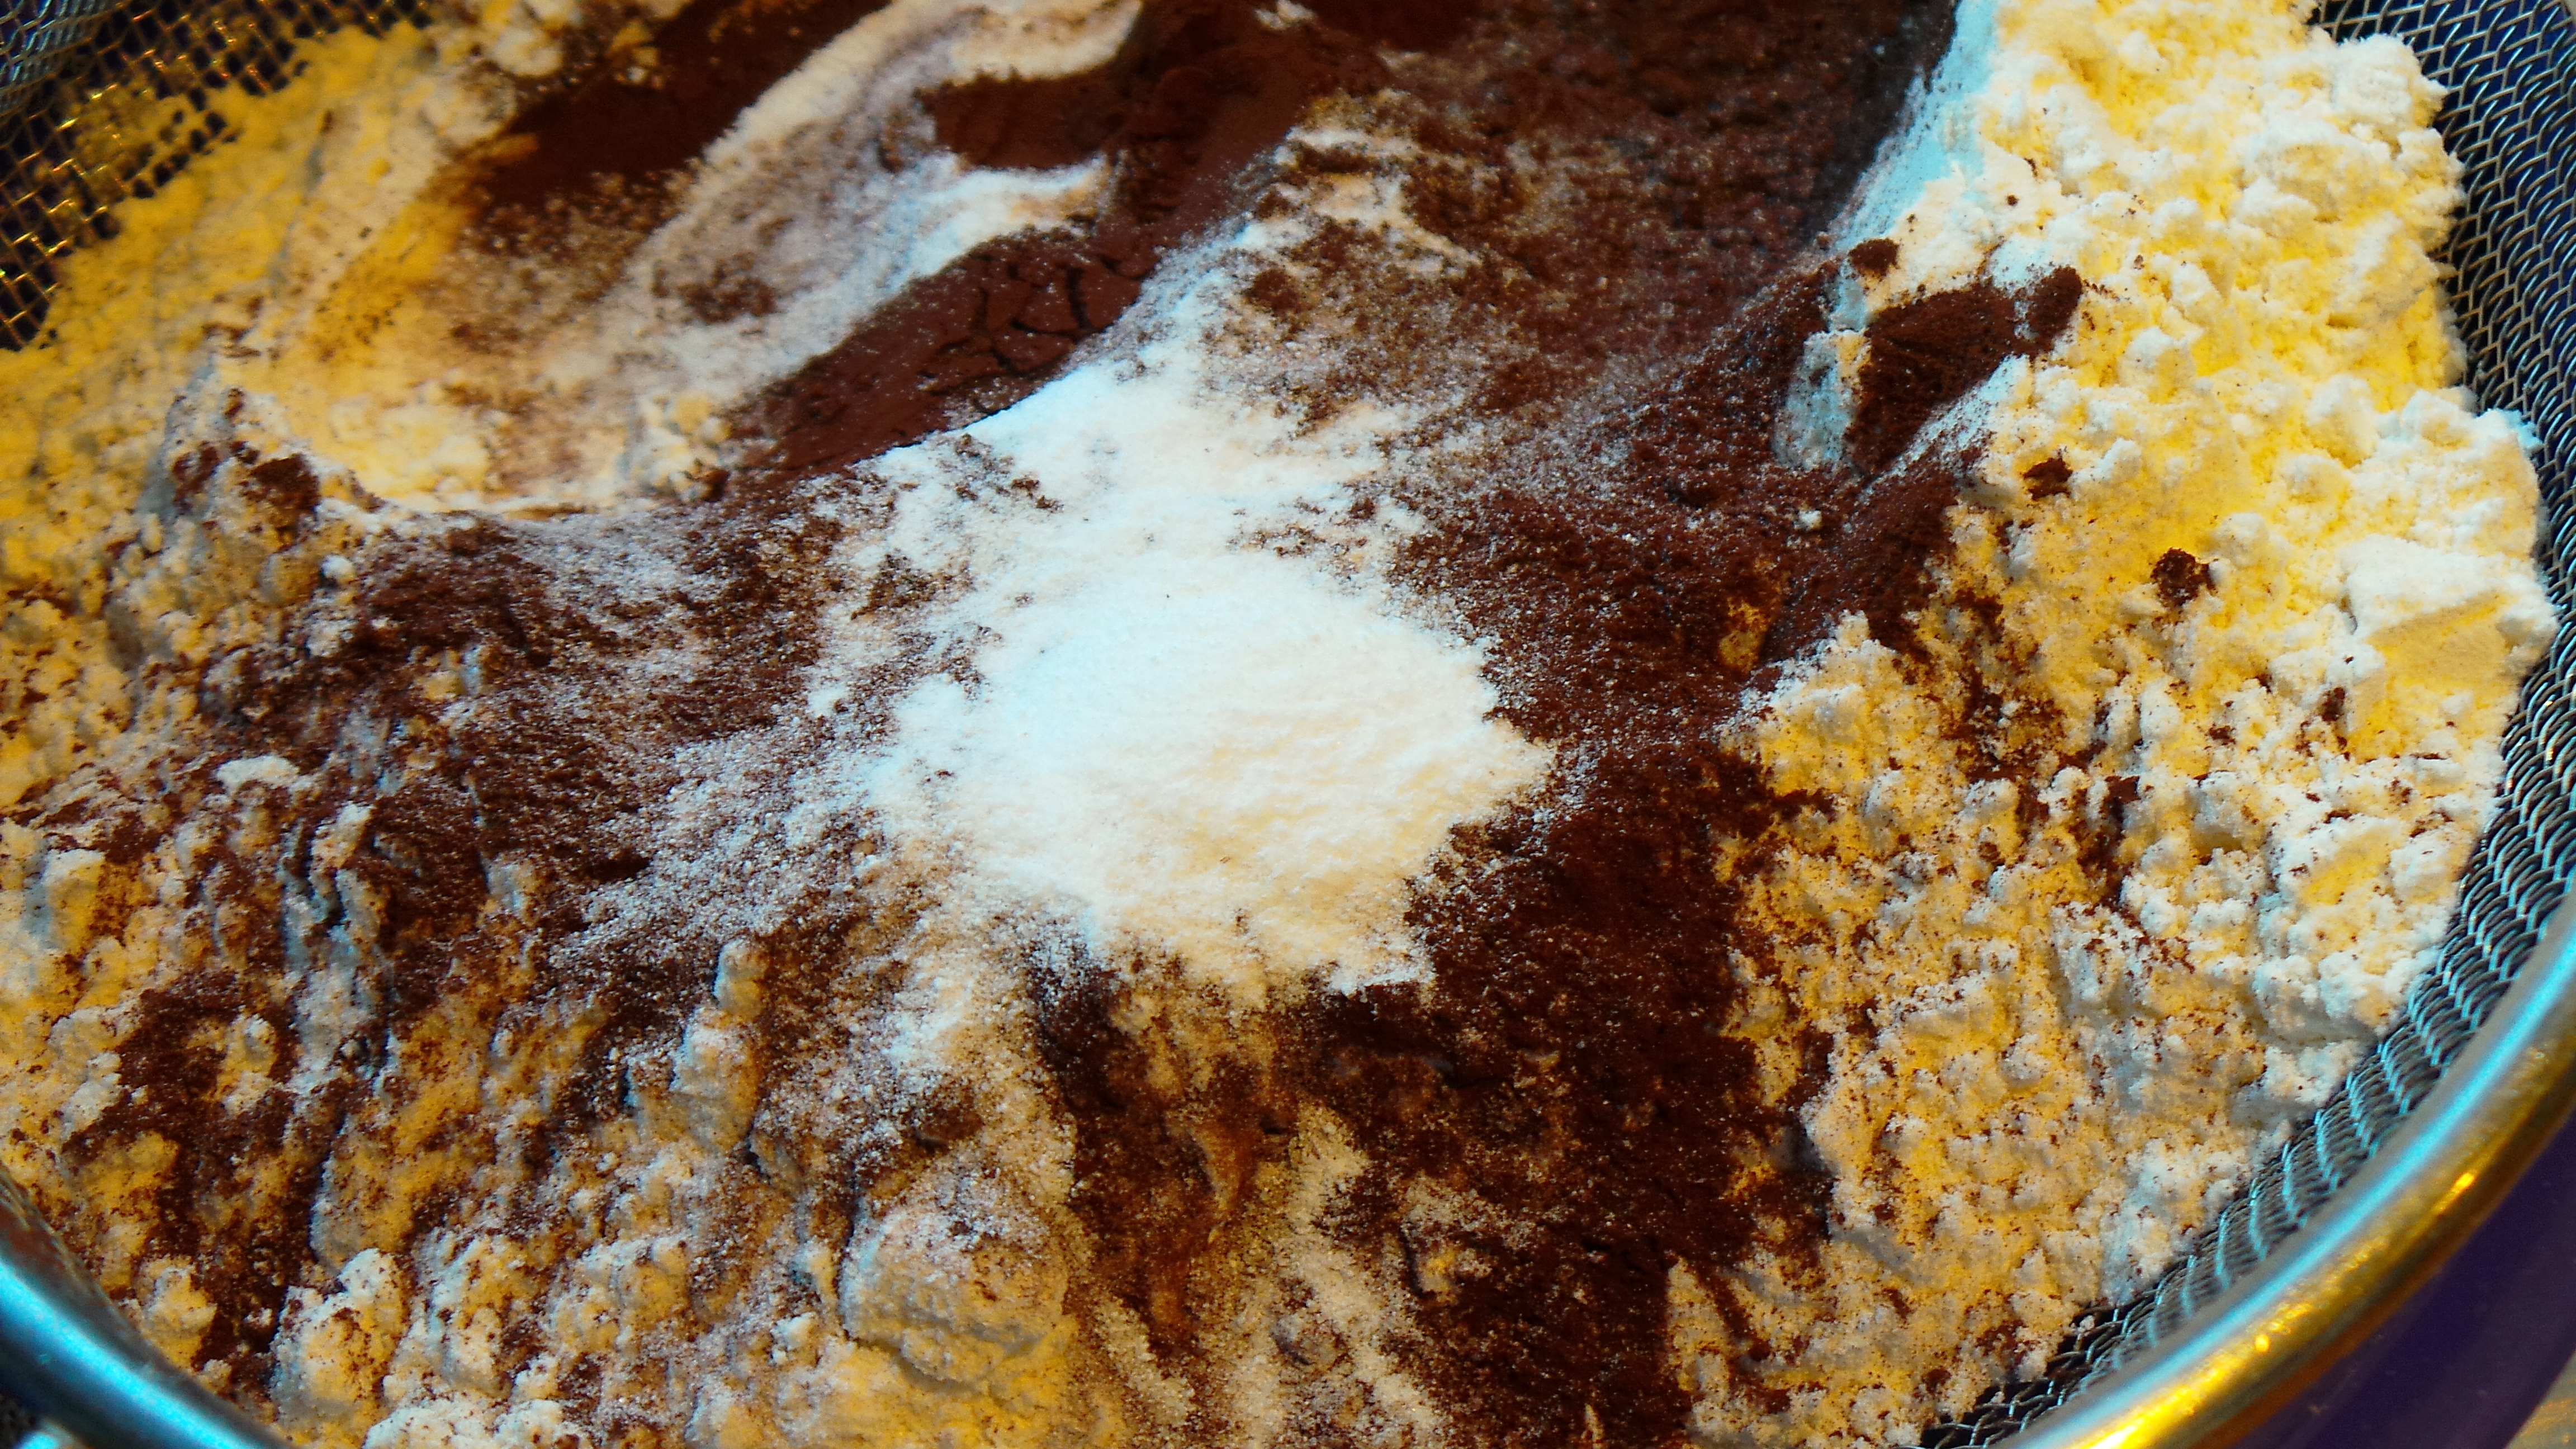
In a large bowl sift Self Raising Flour and add in brown sugar, breaking up any lumps.
Add the fruit, stirring with a wooden spoon or large spatula until a stiff batter forms. If the mix is too dry and flour remains unincorporated, add splashes of cold water until it is all mixed in.
Place batter in a prepared tin (a regular loaf or square pan will work well) and bake for 2 hours in the top third of the oven.
Turn the tin at the 1 hour mark.
Cake is baked when a skewer inserted in the centre comes out clean.
Allow the cake to cool in the tin for 30 mins before turning out.
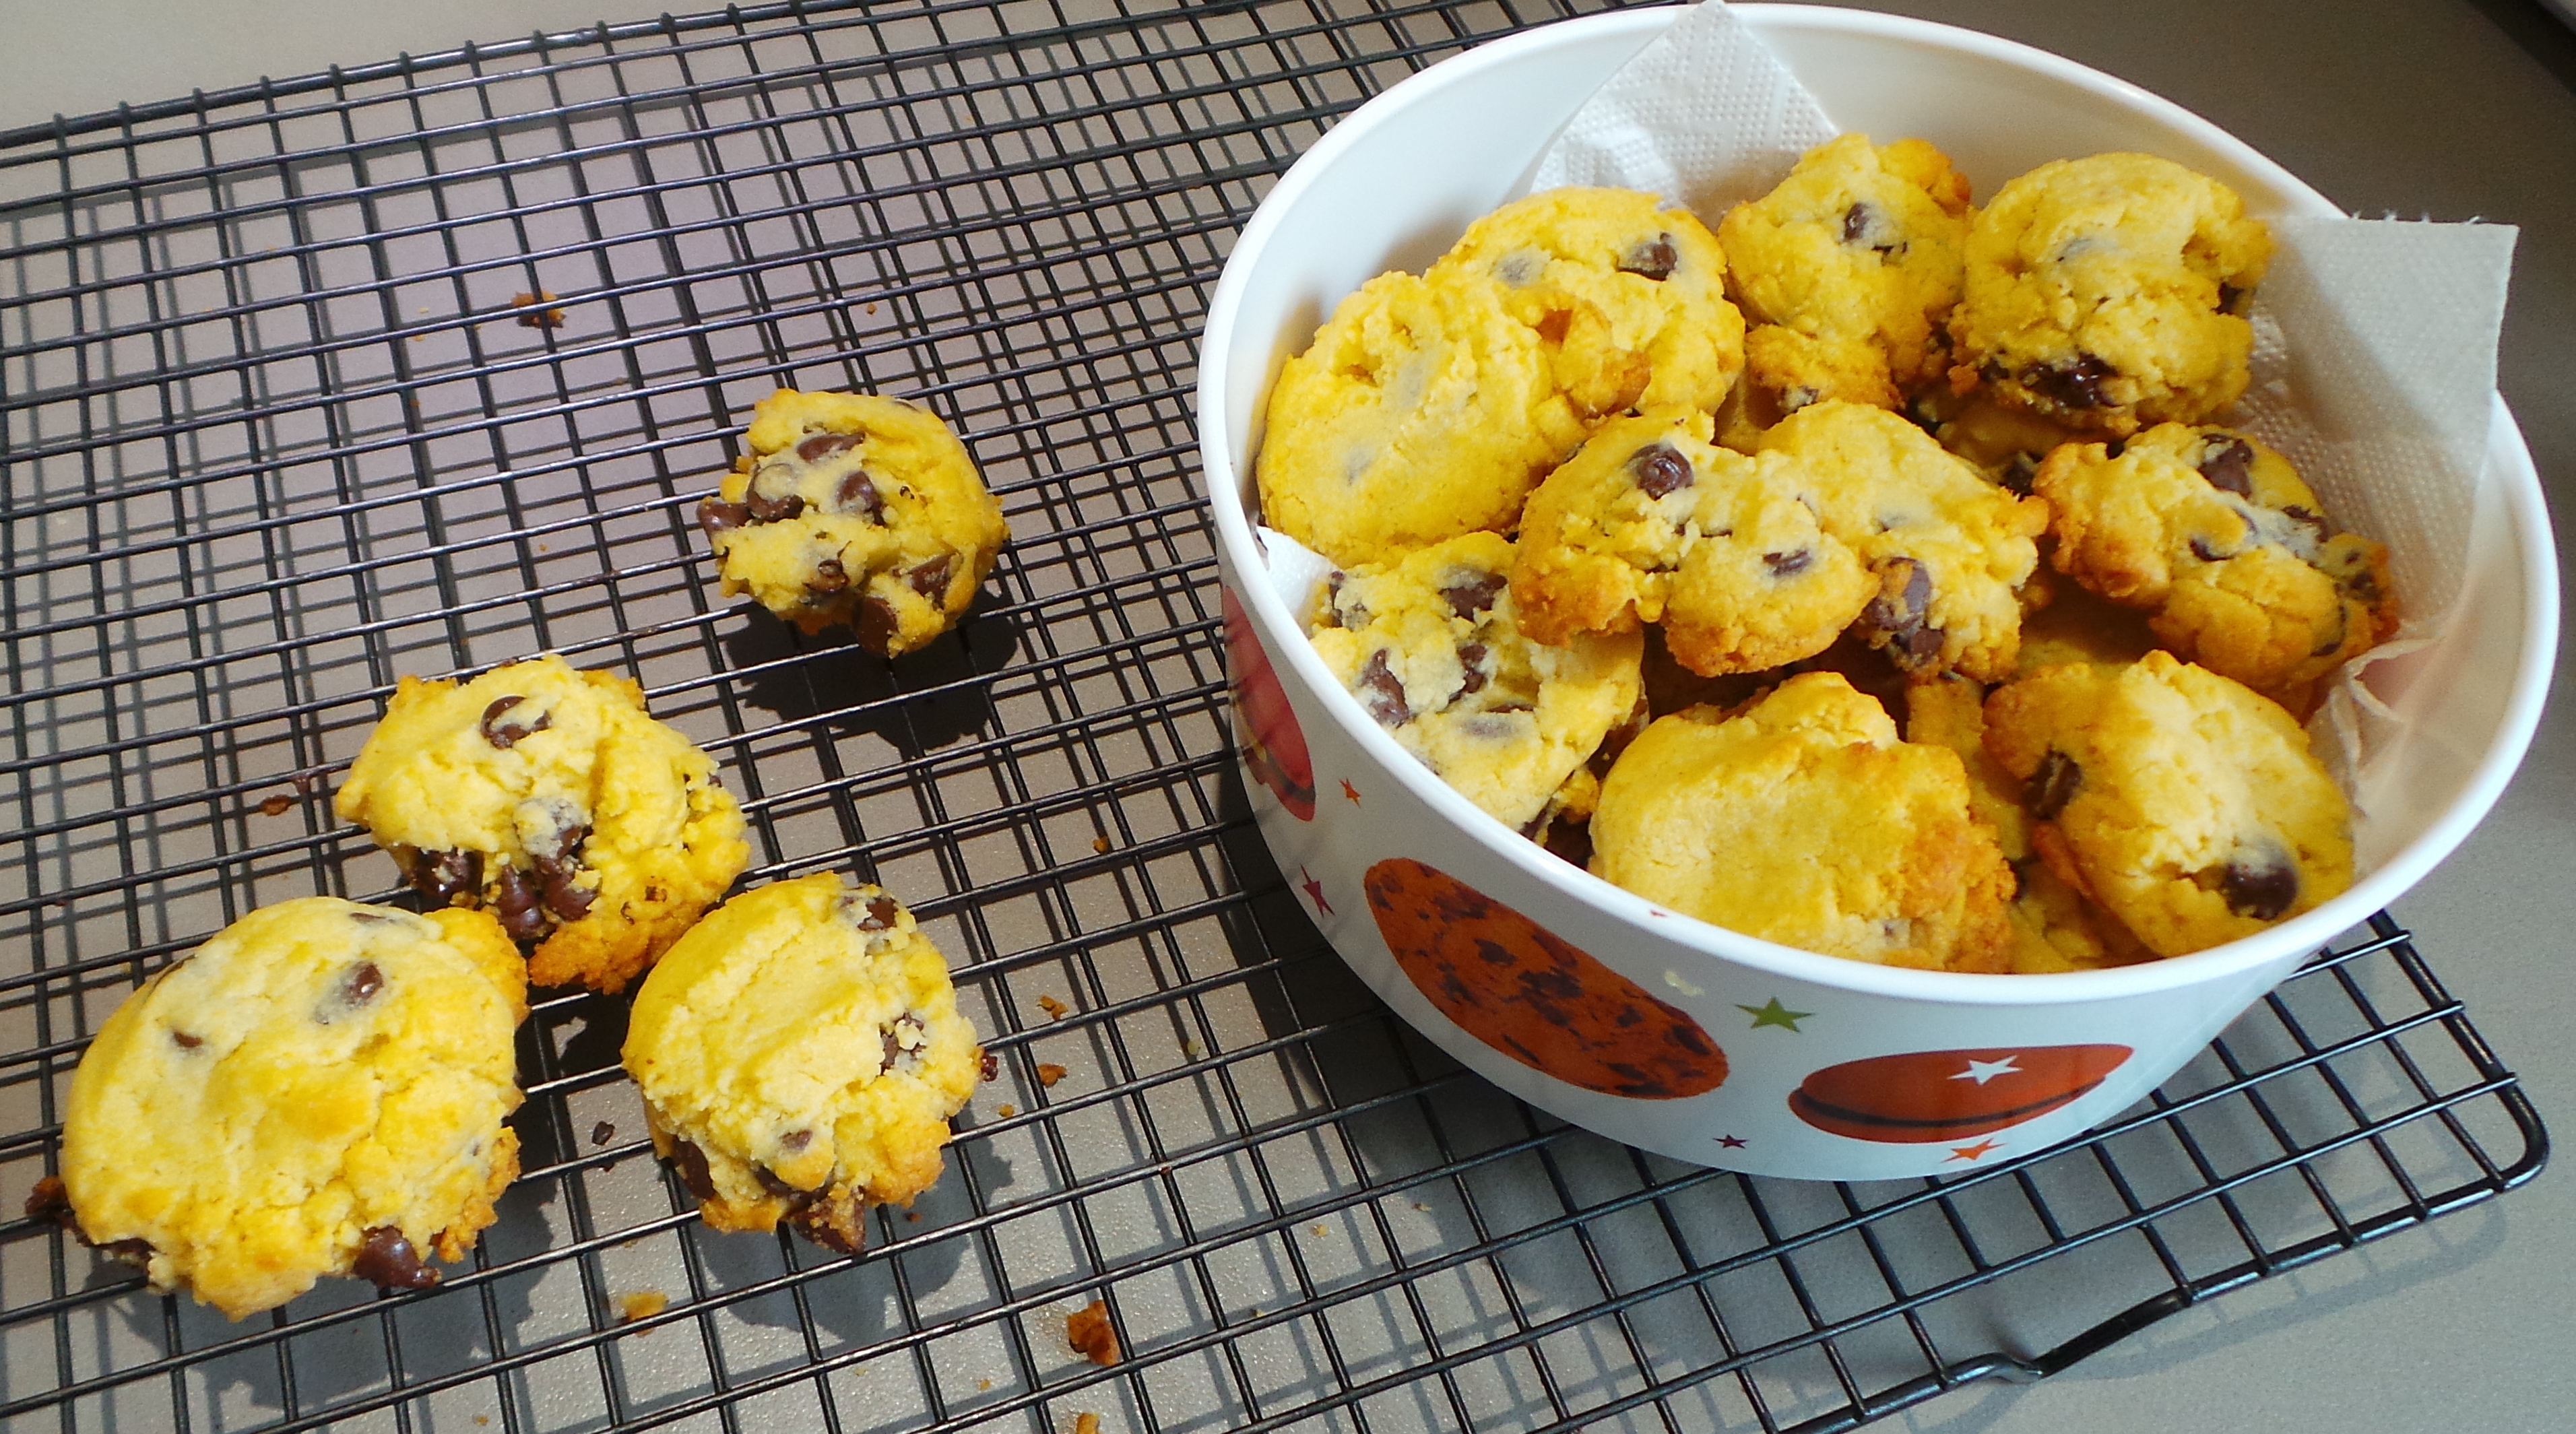
Allow to cool completely before serving.
This cake freezes well, either whole or in slices for a lunch box treat.

All gone…