In Australia at the moment – to quote Robin Williams’s character in Good Morning Vietnam – “It’s hot! Damn hot!”

It’s hot Down Under.
Which means it would be nice to have something to cool down with, especially with the kids home from school for another week.
Even better, it wouldn’t be so bad to have something the kids could participate in actually making. Something which takes minutes and which wouldn’t end with them climbing the walls on added sugars and artificial colours and flavours.
Ta da!
Ladies and gents, if you’ve been following my latest posts about making yoghurt, then I’m guessing there’s some lurking in your refrigerator right about now. How about using it to make some fruit-flavoured frozen yoghurt with – wait for it! – real fruit and real yoghurt?!
Well, why not?
All you’ll need is some frozen fruit, some yoghurt and something to sweeten it with.

Mango frozen yoghurt.
Unfortunately, this is one of the rare recipes on this site that actually requires a particular appliance. Sorry. You’ll need a food processor.
You could try making this in smaller batches using a stick blender, but I give no guarantees.
So, find yourself some fruit. If you are in a screaming hurry to do this, you can easily purchase bags of frozen berries from the supermarket. If you must. However, it’s summer, there are oodles of different fruits in season right now and going for a song. My local green grocer is selling mangoes for 50 cents each.
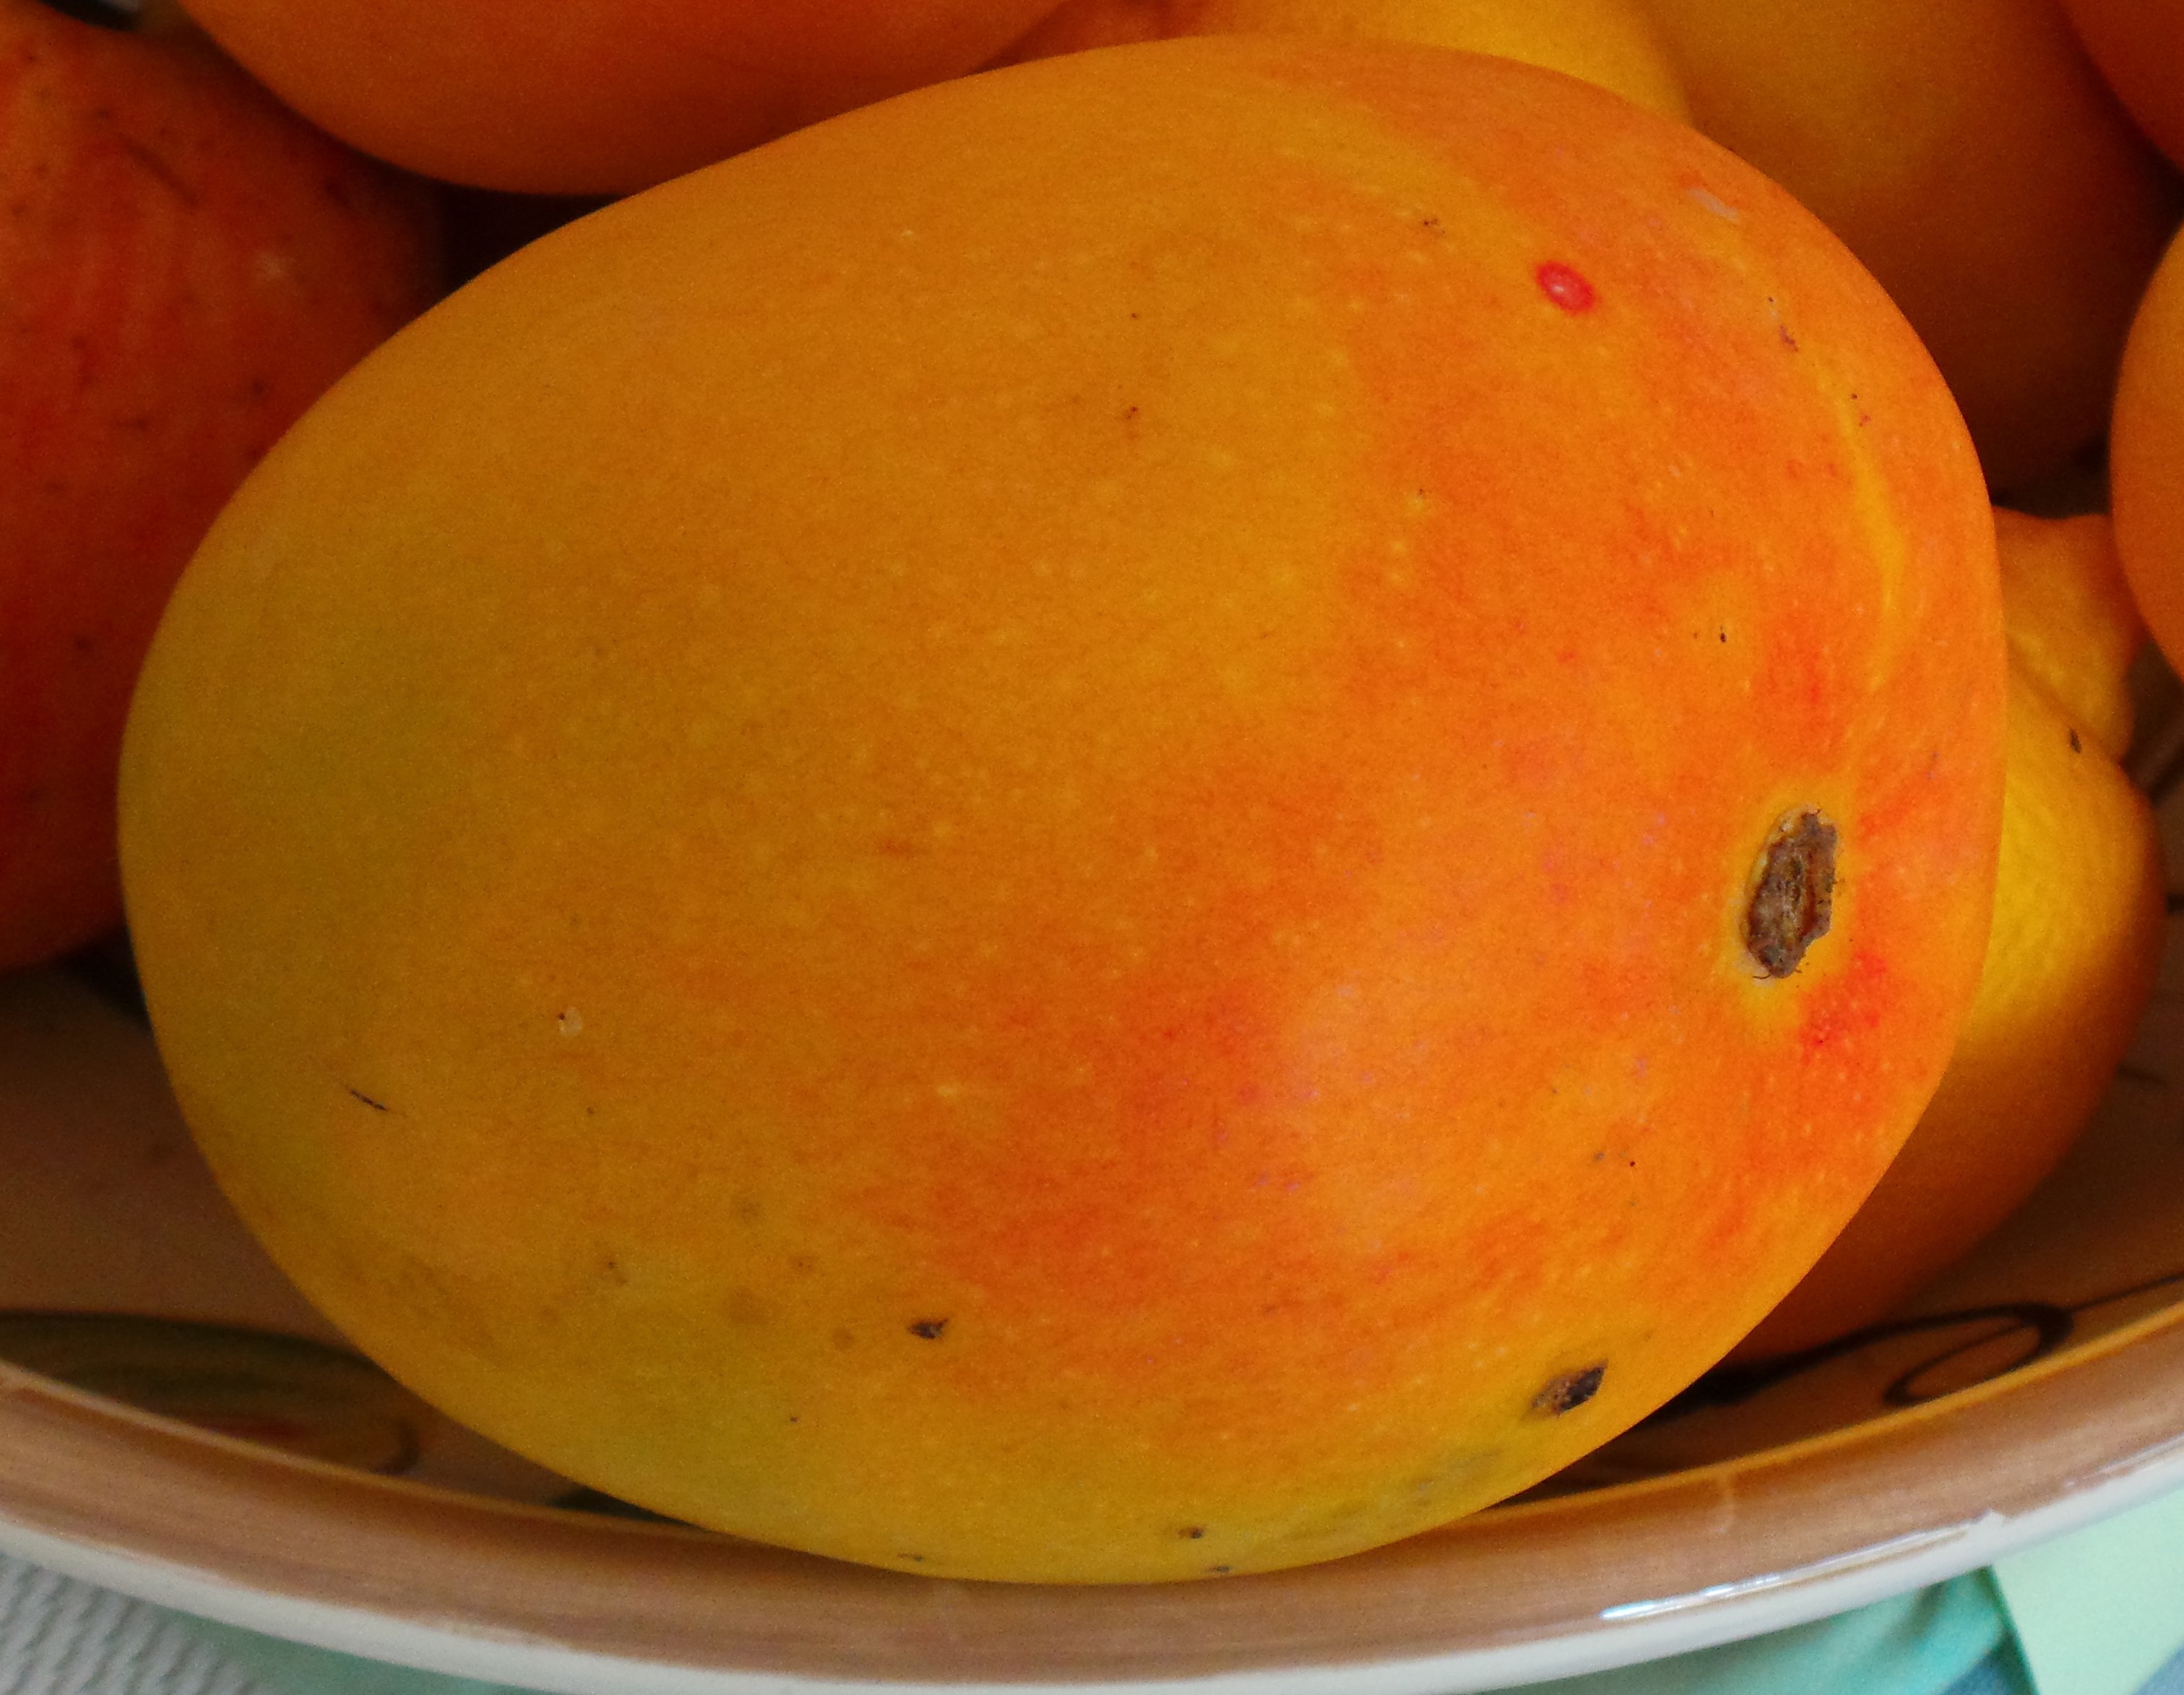
A gorgeously ripe, in-season mango.
So, I bought a few, peeled and sliced them up and popped them in a ziploc bag in the freezer overnight. Just before Christmas I did the same with a punnet of strawberries I found on sale. Here’s how to go about it if you’ve never done it before.
1. Wash your fruit.
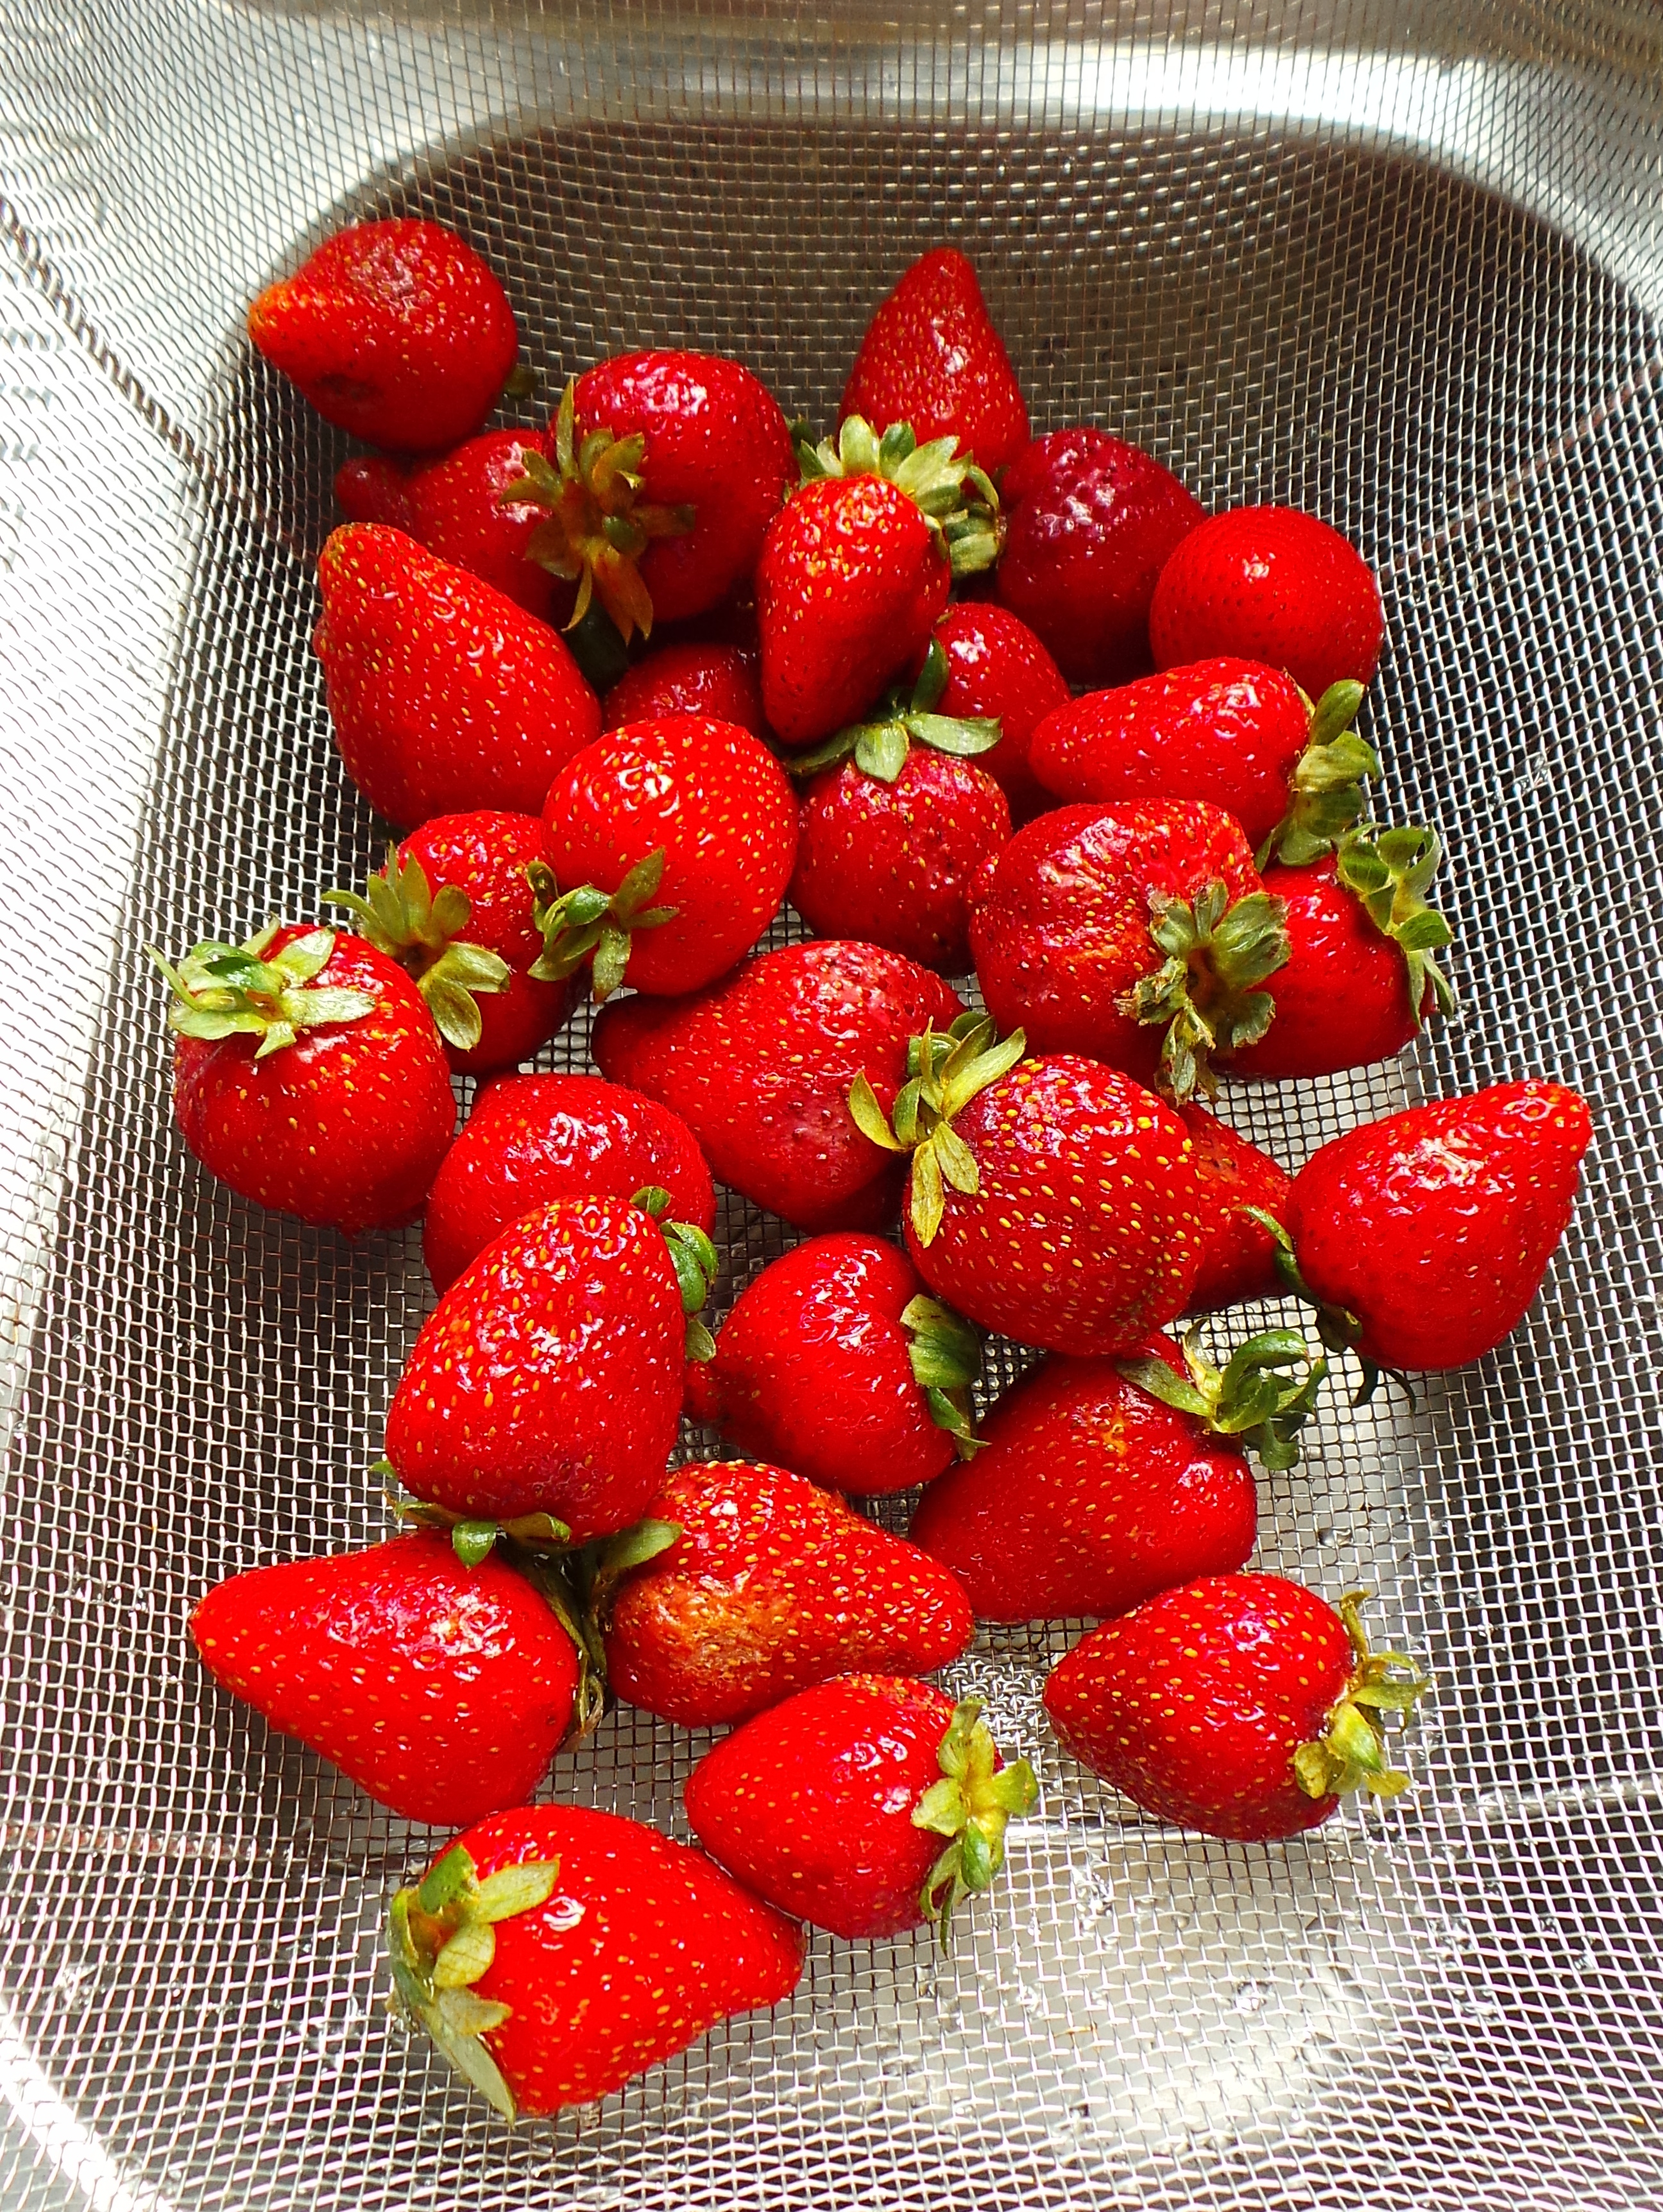
Wash your fruit well and allow to drain.
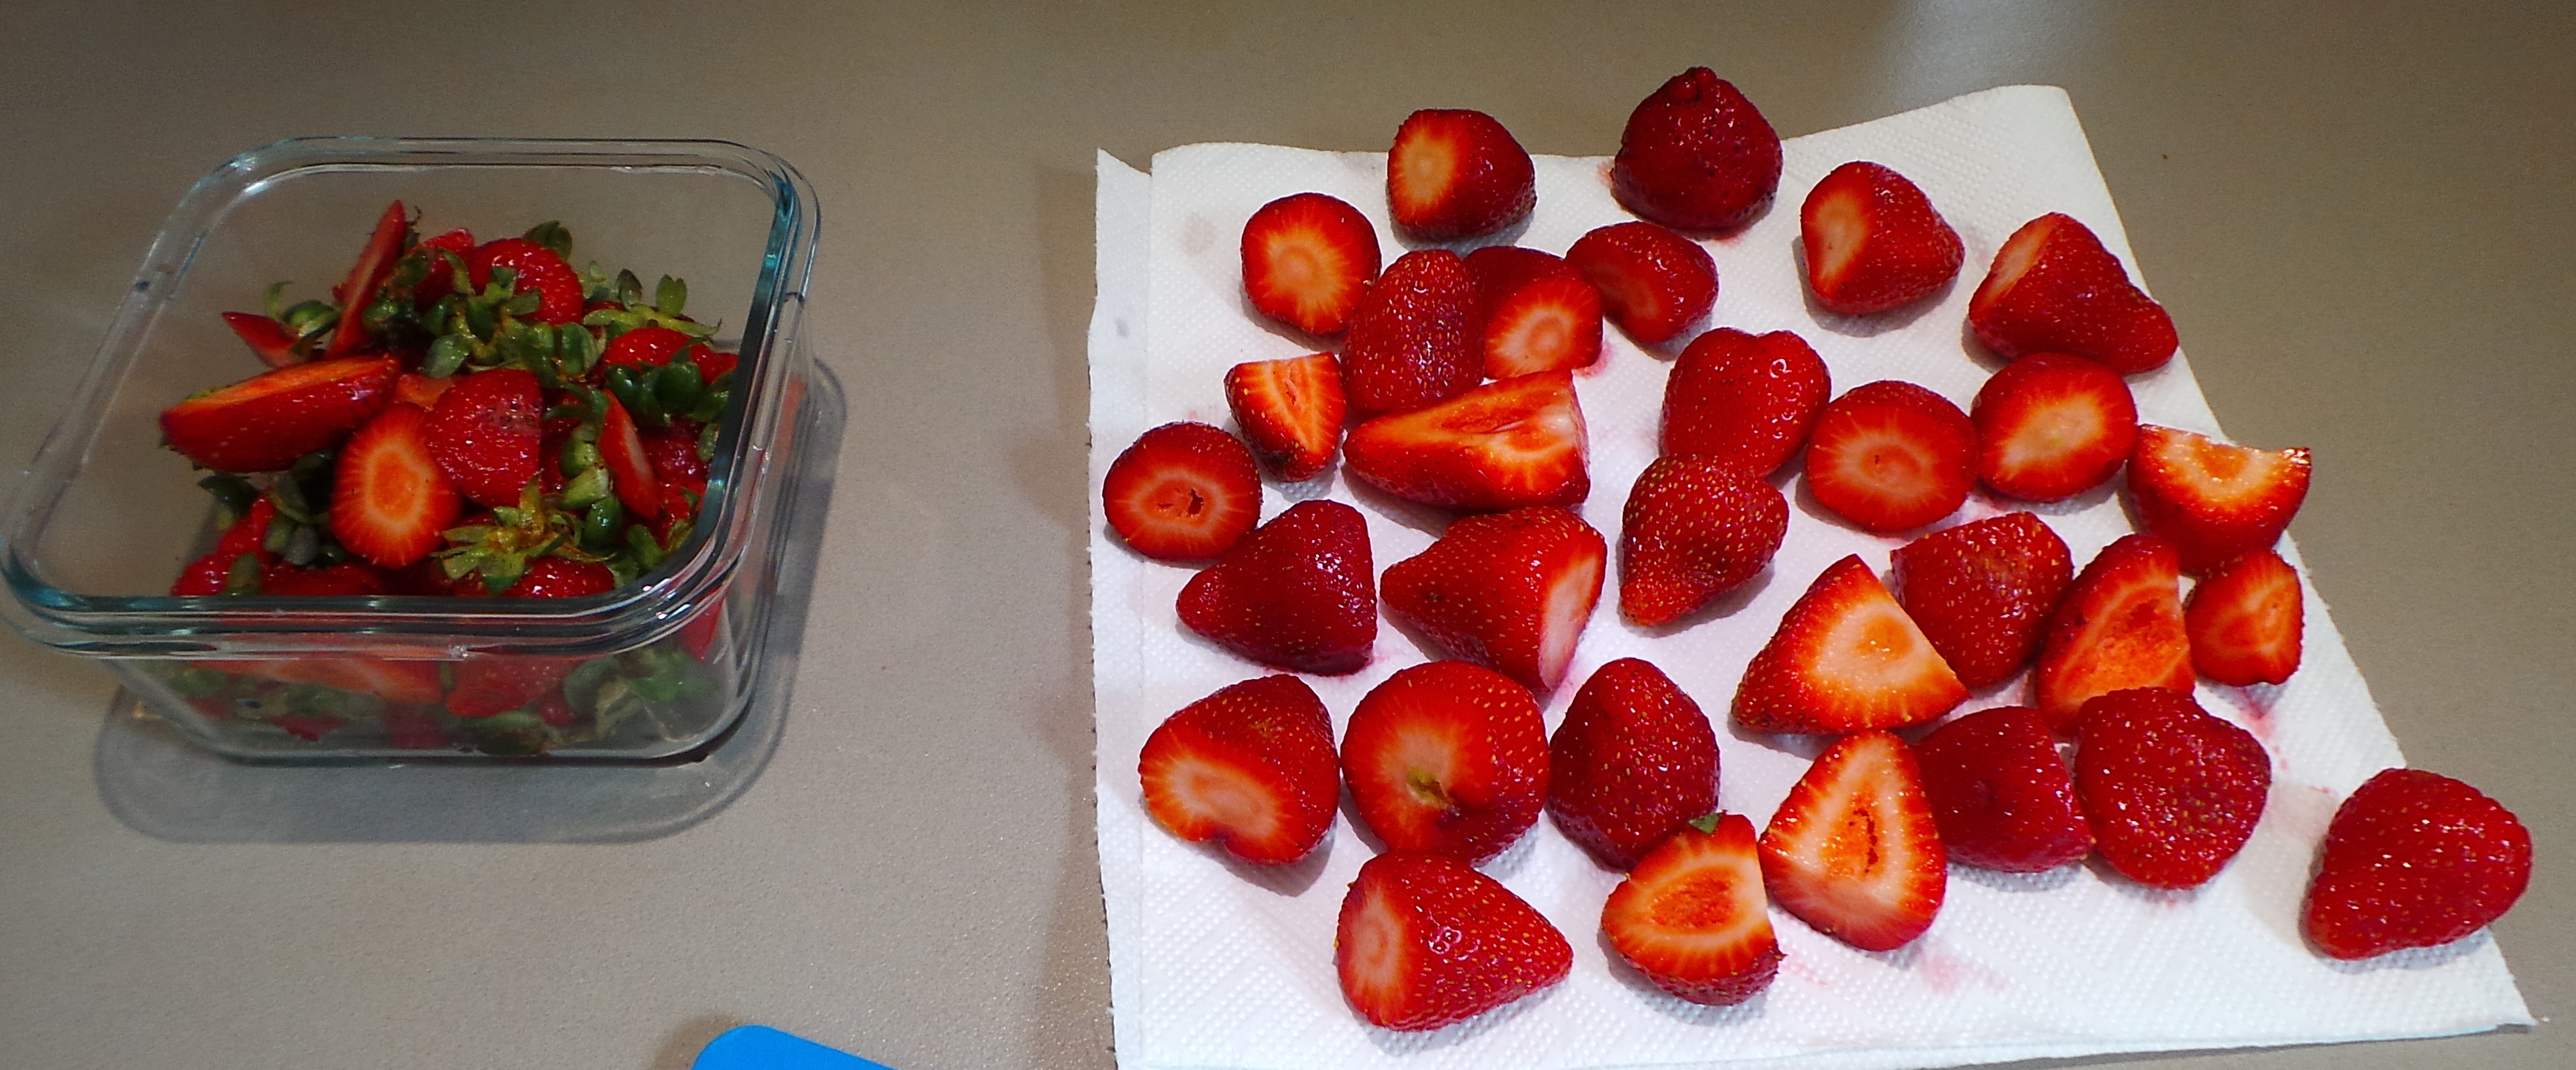
Prepare your fruit so you freeze only the best bits.
3. Put them into something you can seal well. A tupperware freezer container or ziploc bag will do nicely. Squeeze out all the air you can from bags, if using. Then freeze.
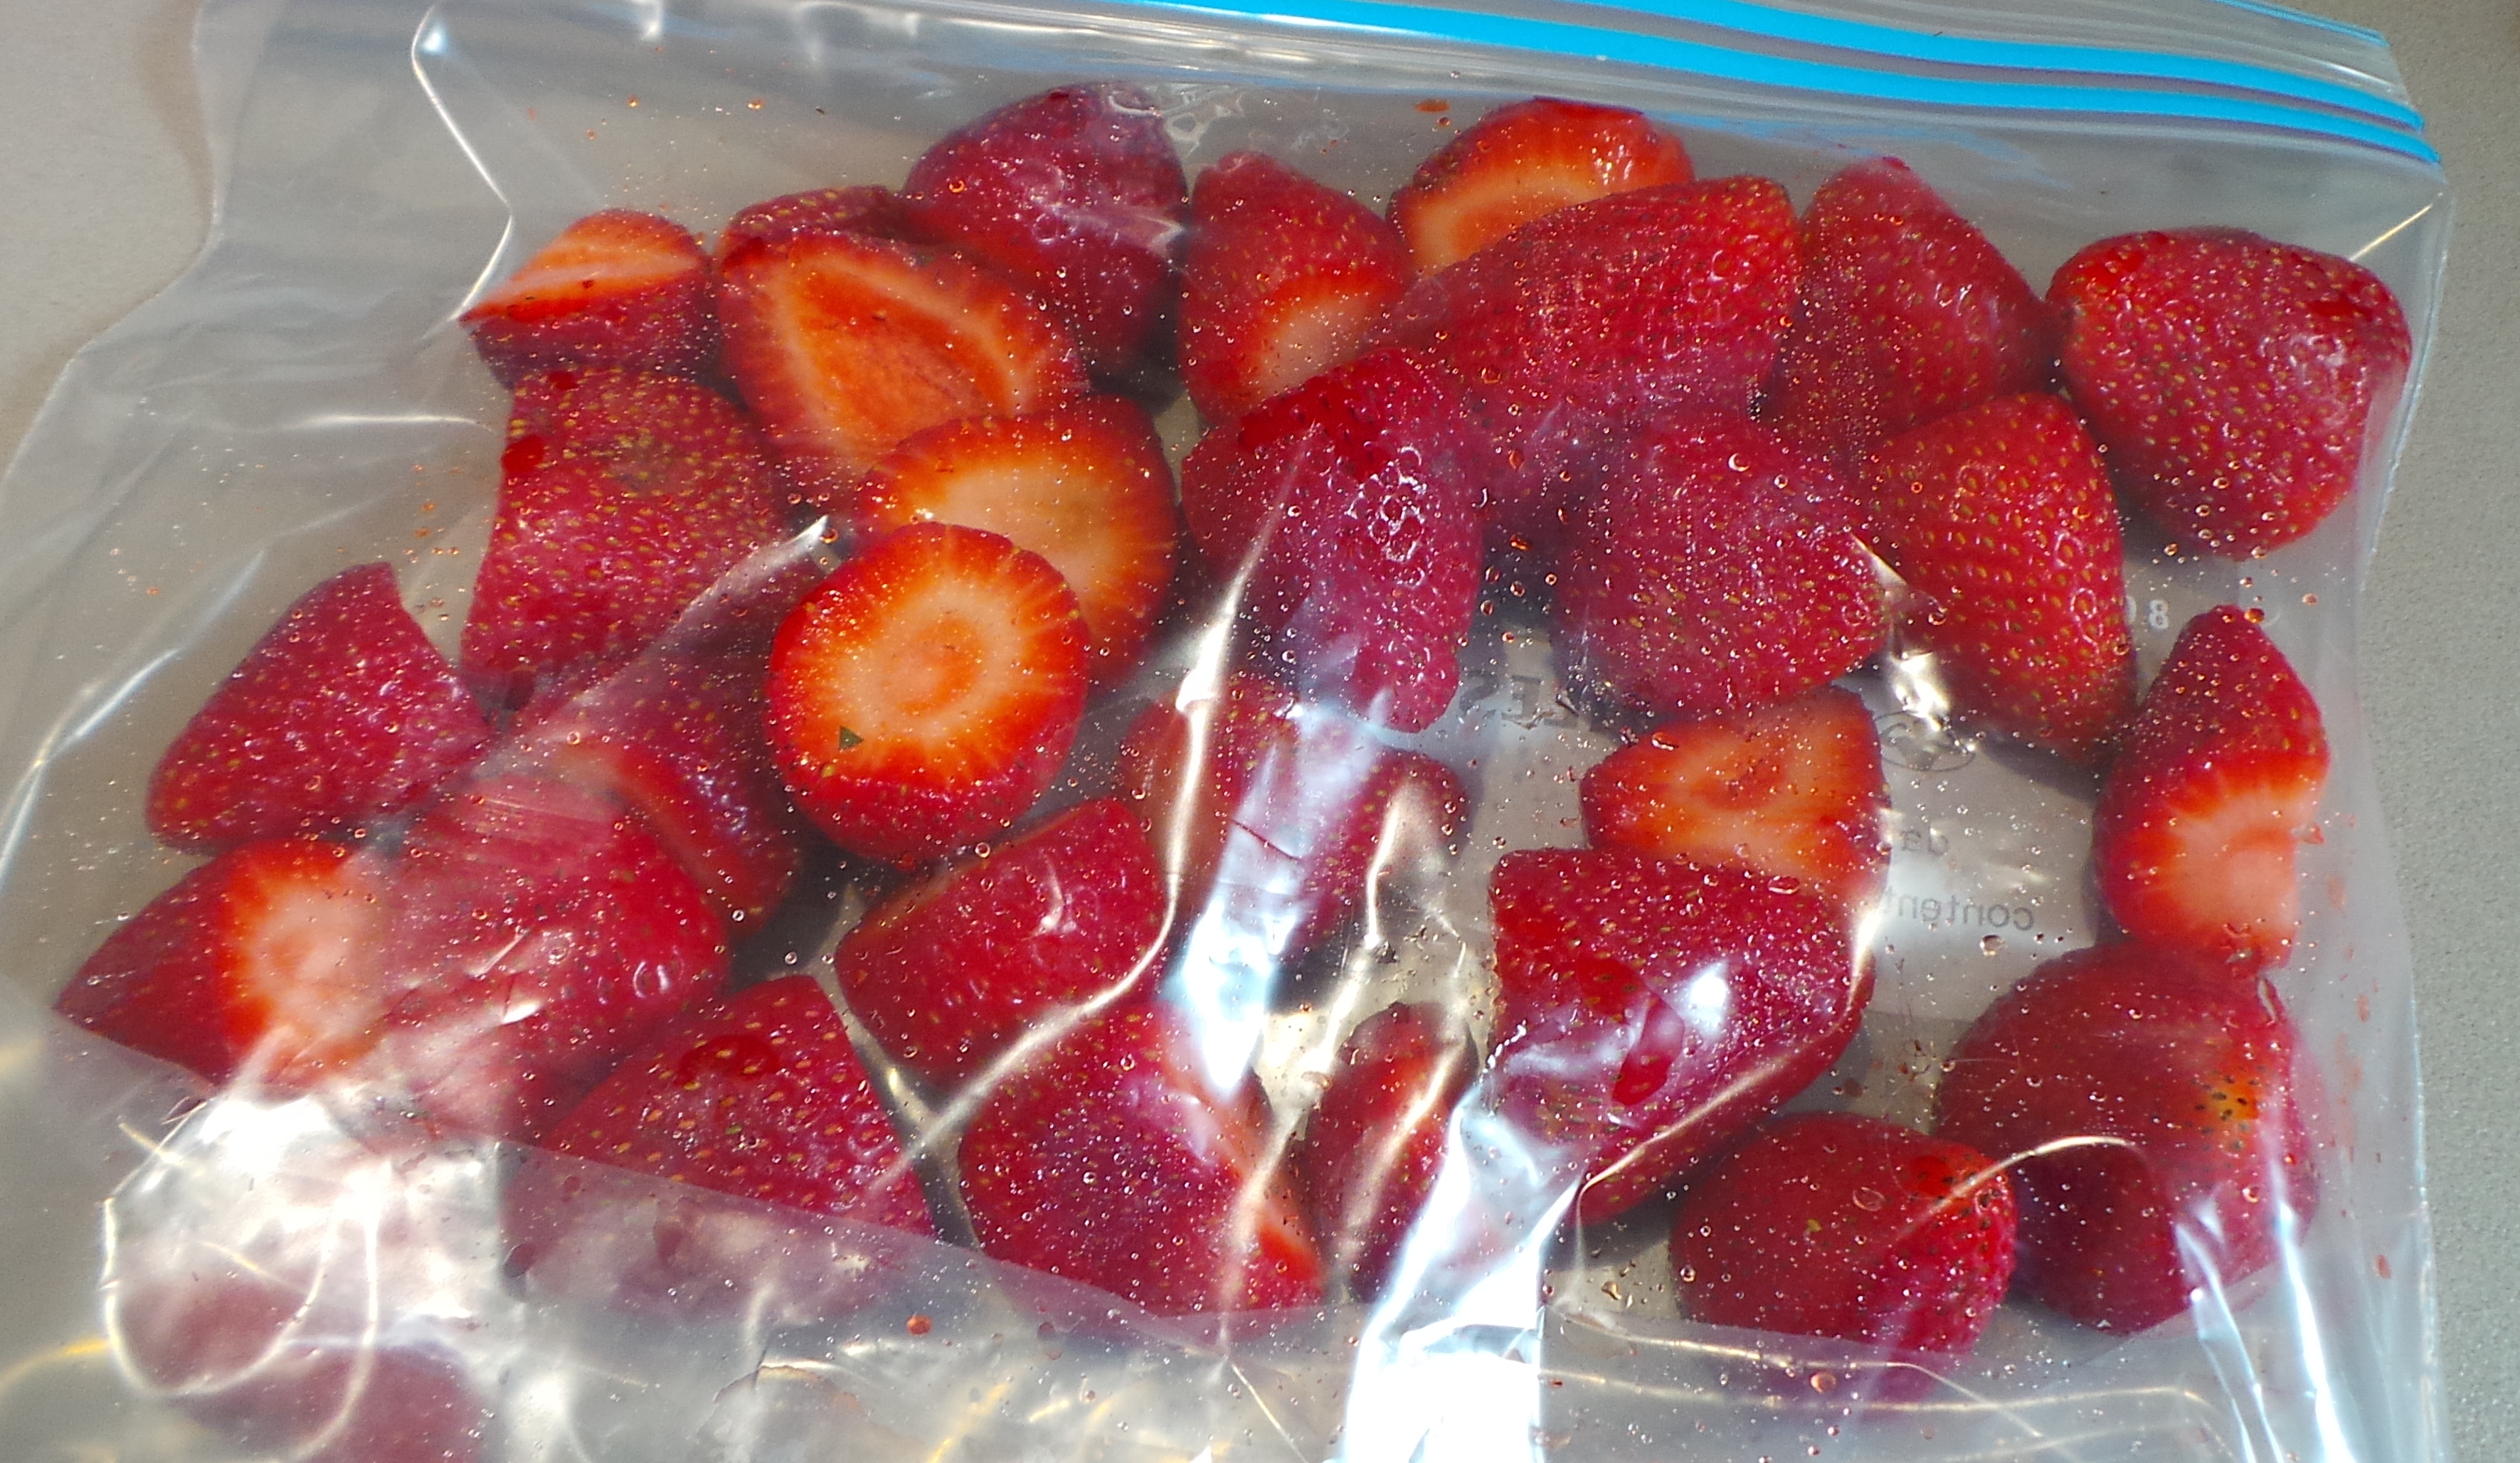
Seal into an airtight container and freeze.
Simple.
Now to make your frozen yoghurt you’ll need to set up your food processor with the metal blade. The plastic one won’t work.
Trust me on this.
Add your frozen fruit.
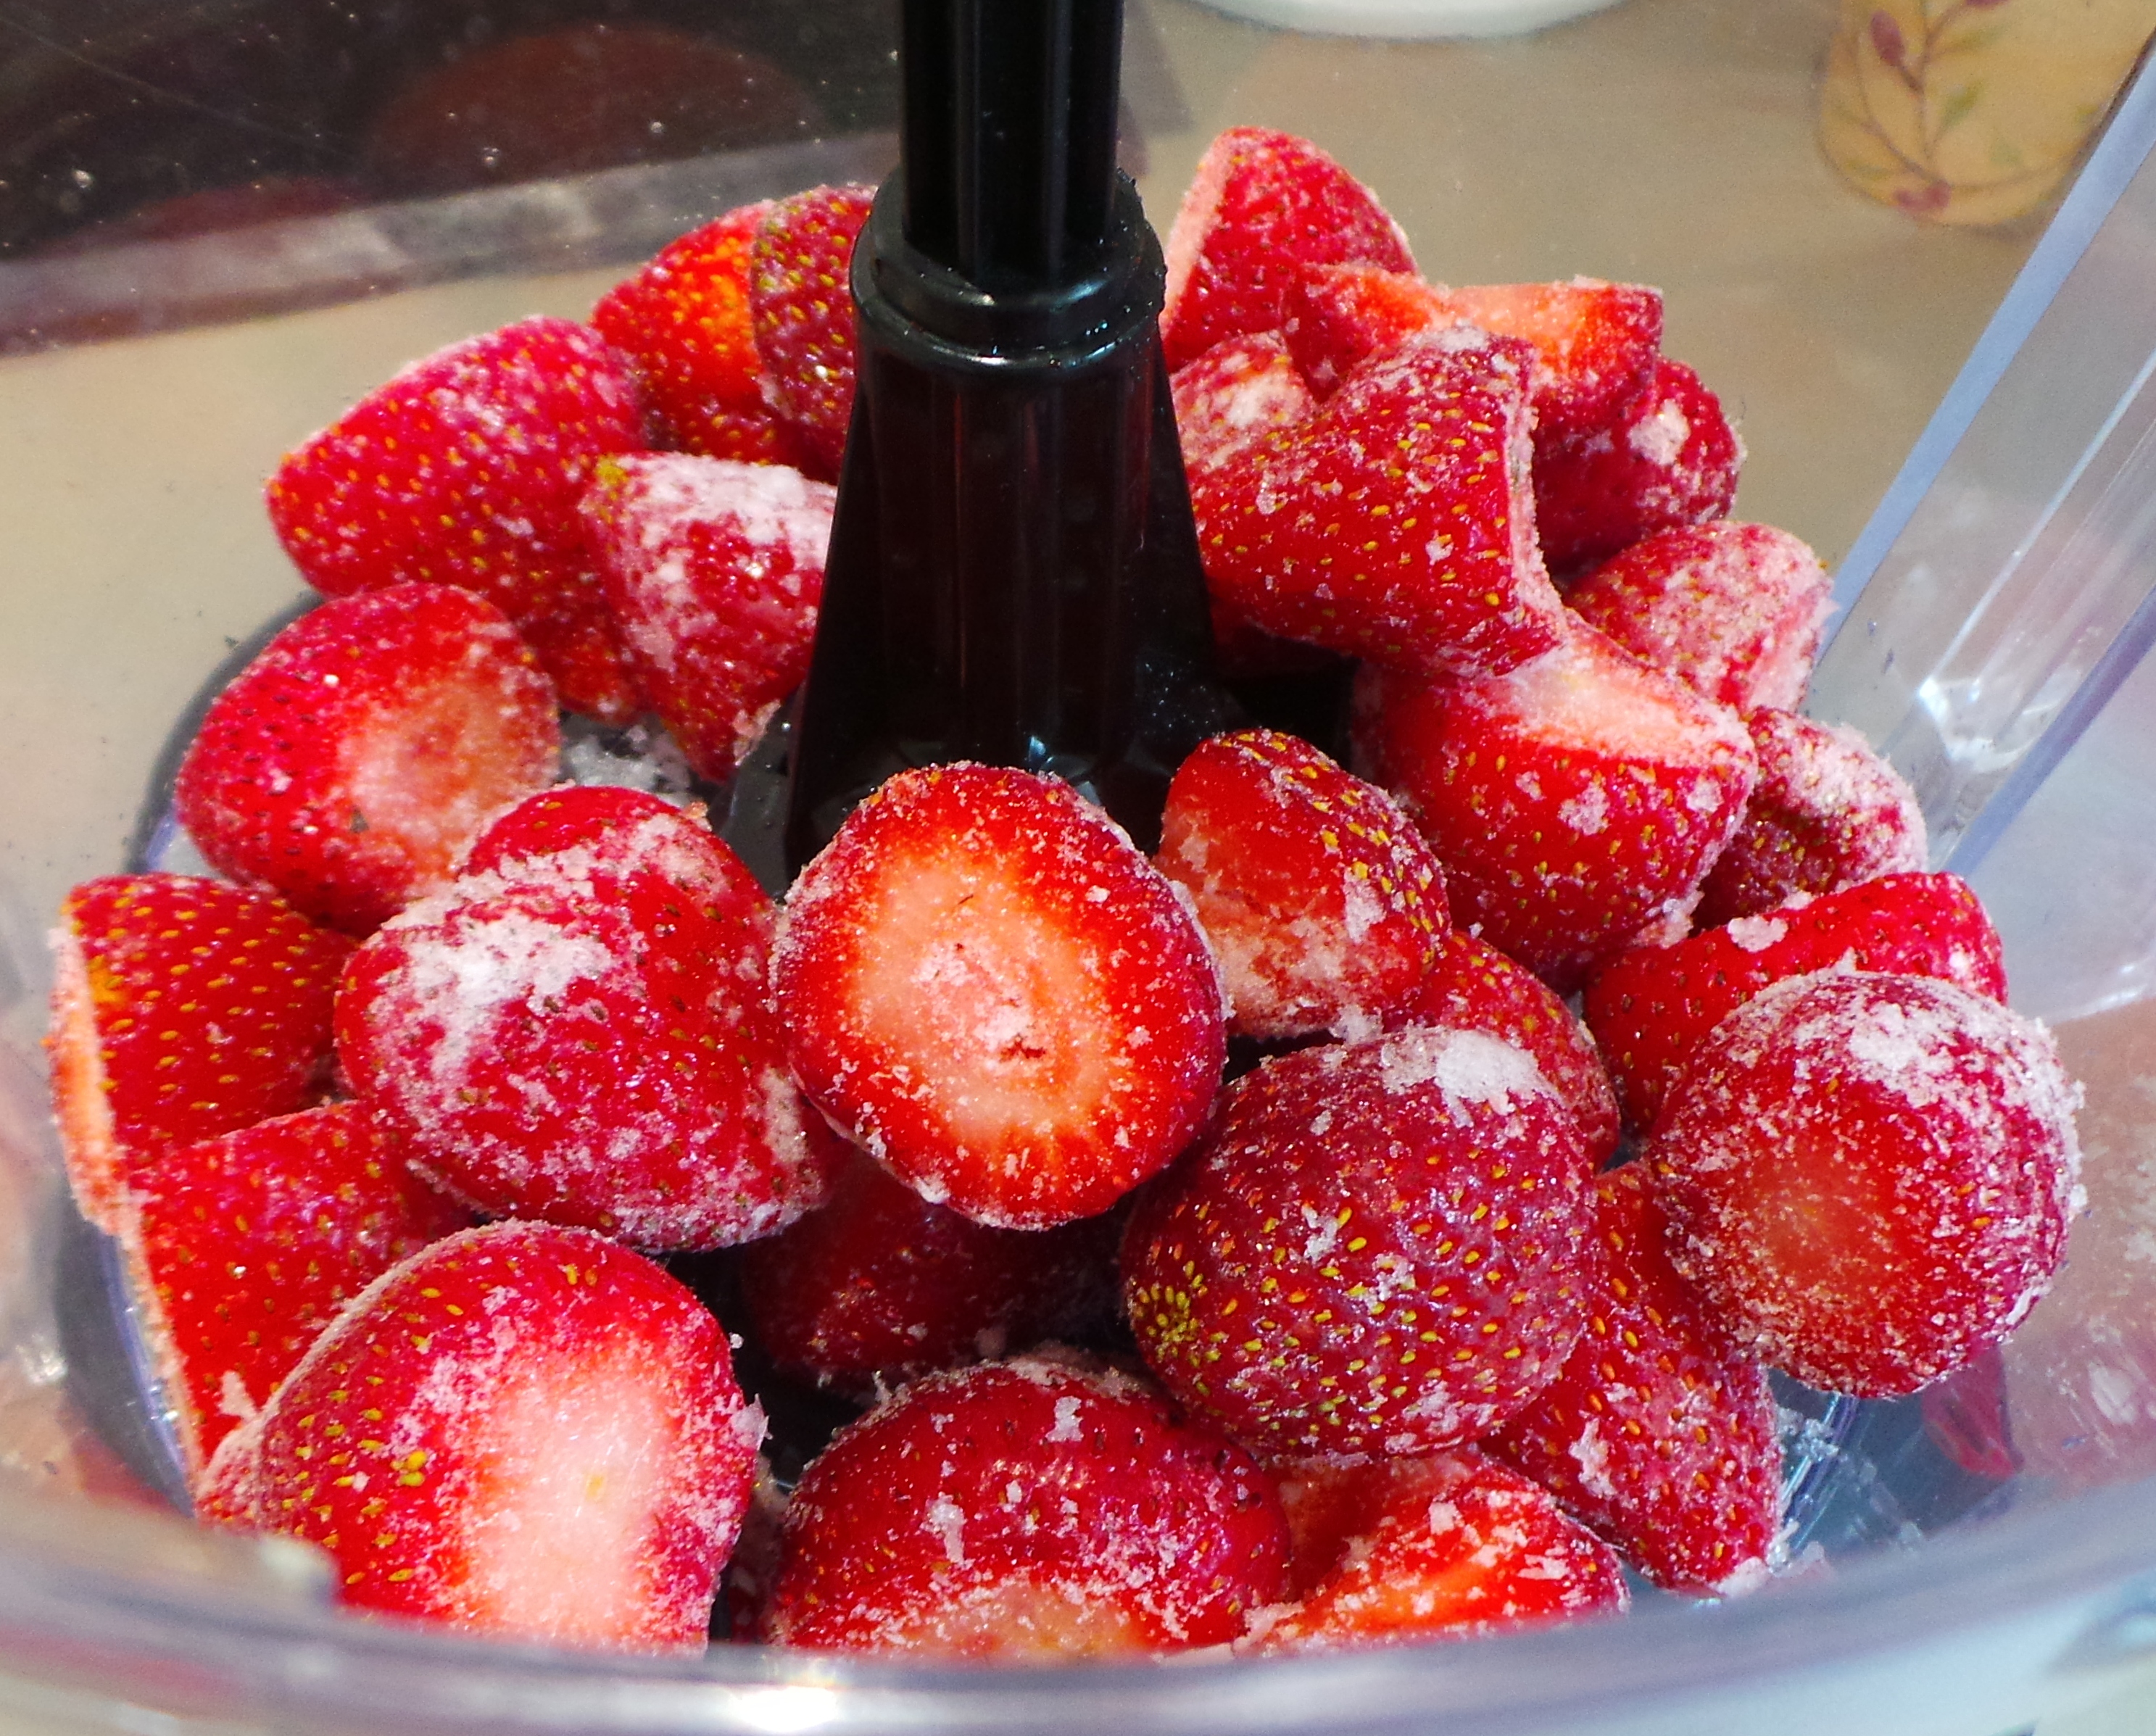
Place your frozen fruit in the food processor bowl.
Blitz for about 30 seconds, or until decently pulverised. Add a good drizzle of sweetener: this can be honey, maple syrup, agave syrup, golden syrup or even a few heaping spoonfuls of brown sugar.
At this point, it’s important to bear in mind the properties of your fruit. The coldness of the dish will affect your perception of its sweetness, it will seem much less sweet. The strawberries in the pictures were passing sweet at room temperature (the way I like them) but were pretty tart in their frozen state. They needed a fair whack of honey to make them palatable at sub-zero temperatures.
Now add your cold, straight-out-of-the-refrigerator, yoghurt all at once and blitz again for about a minute.
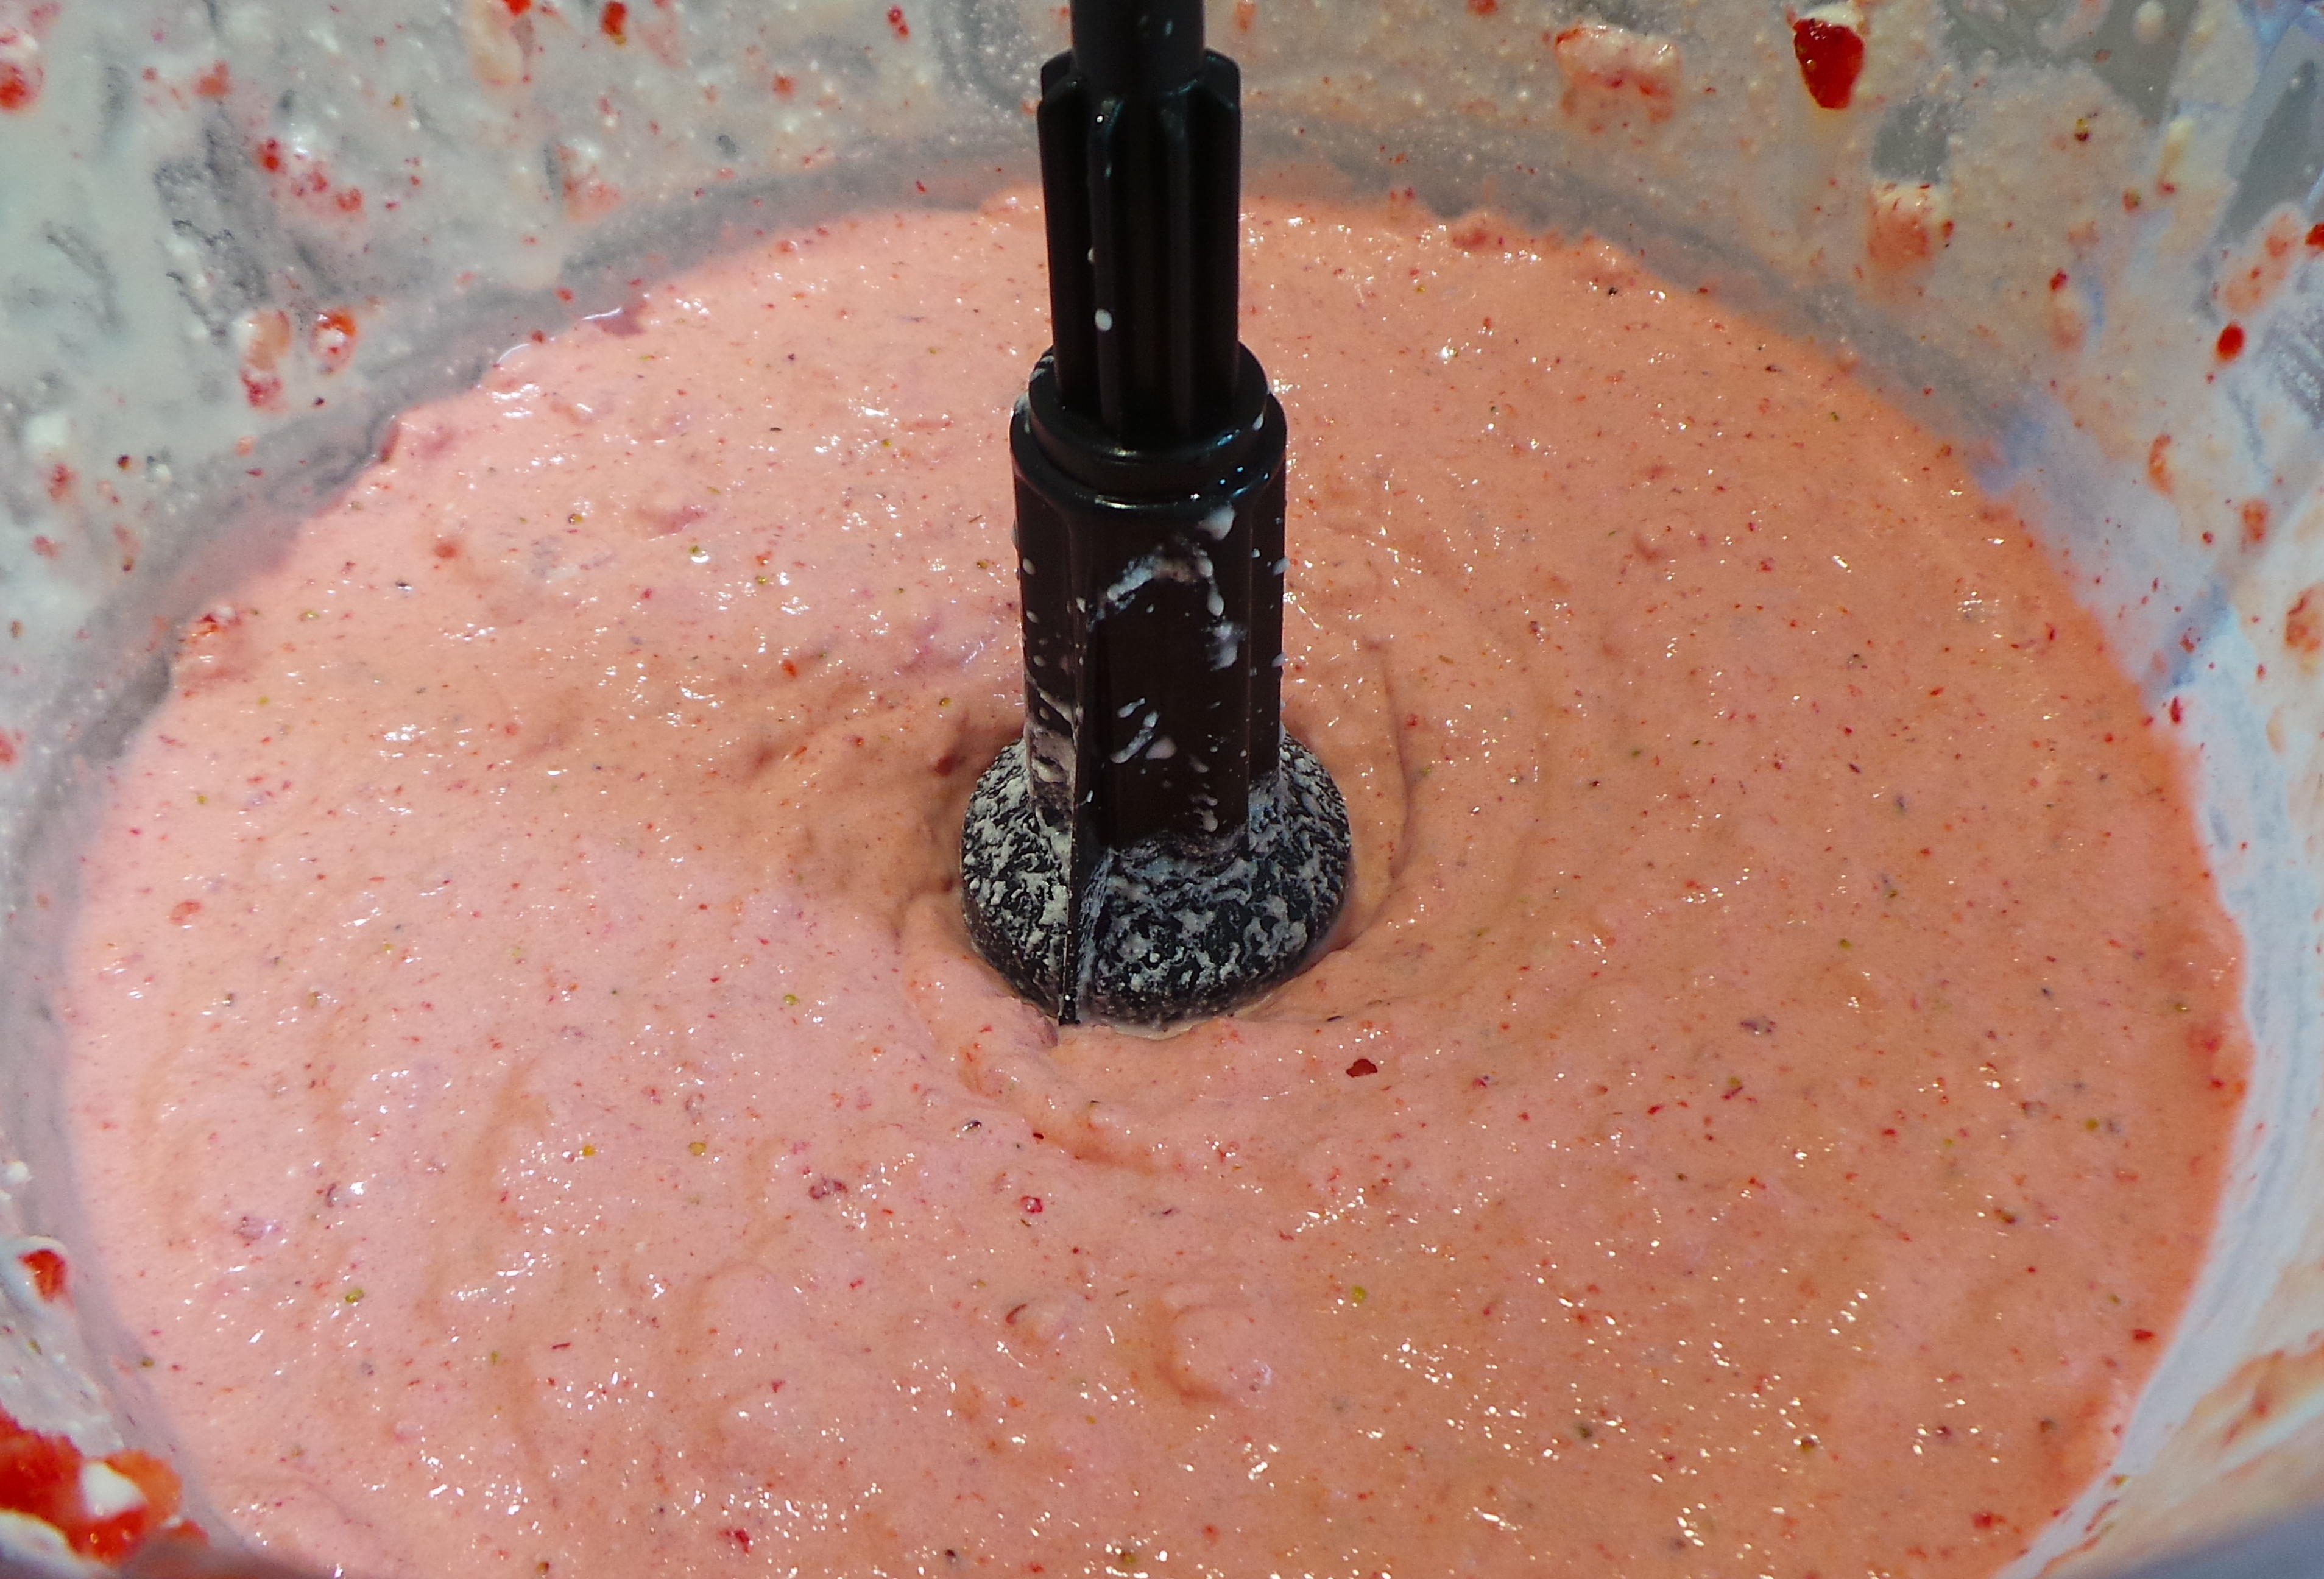
Add your yoghurt and blitz.
Taste for sweetness.
The frozen fruit will have caused the yoghurt to start to freeze and your mixture should resemble soft-serve ice cream already. Feel free to eat it immediately. 😉
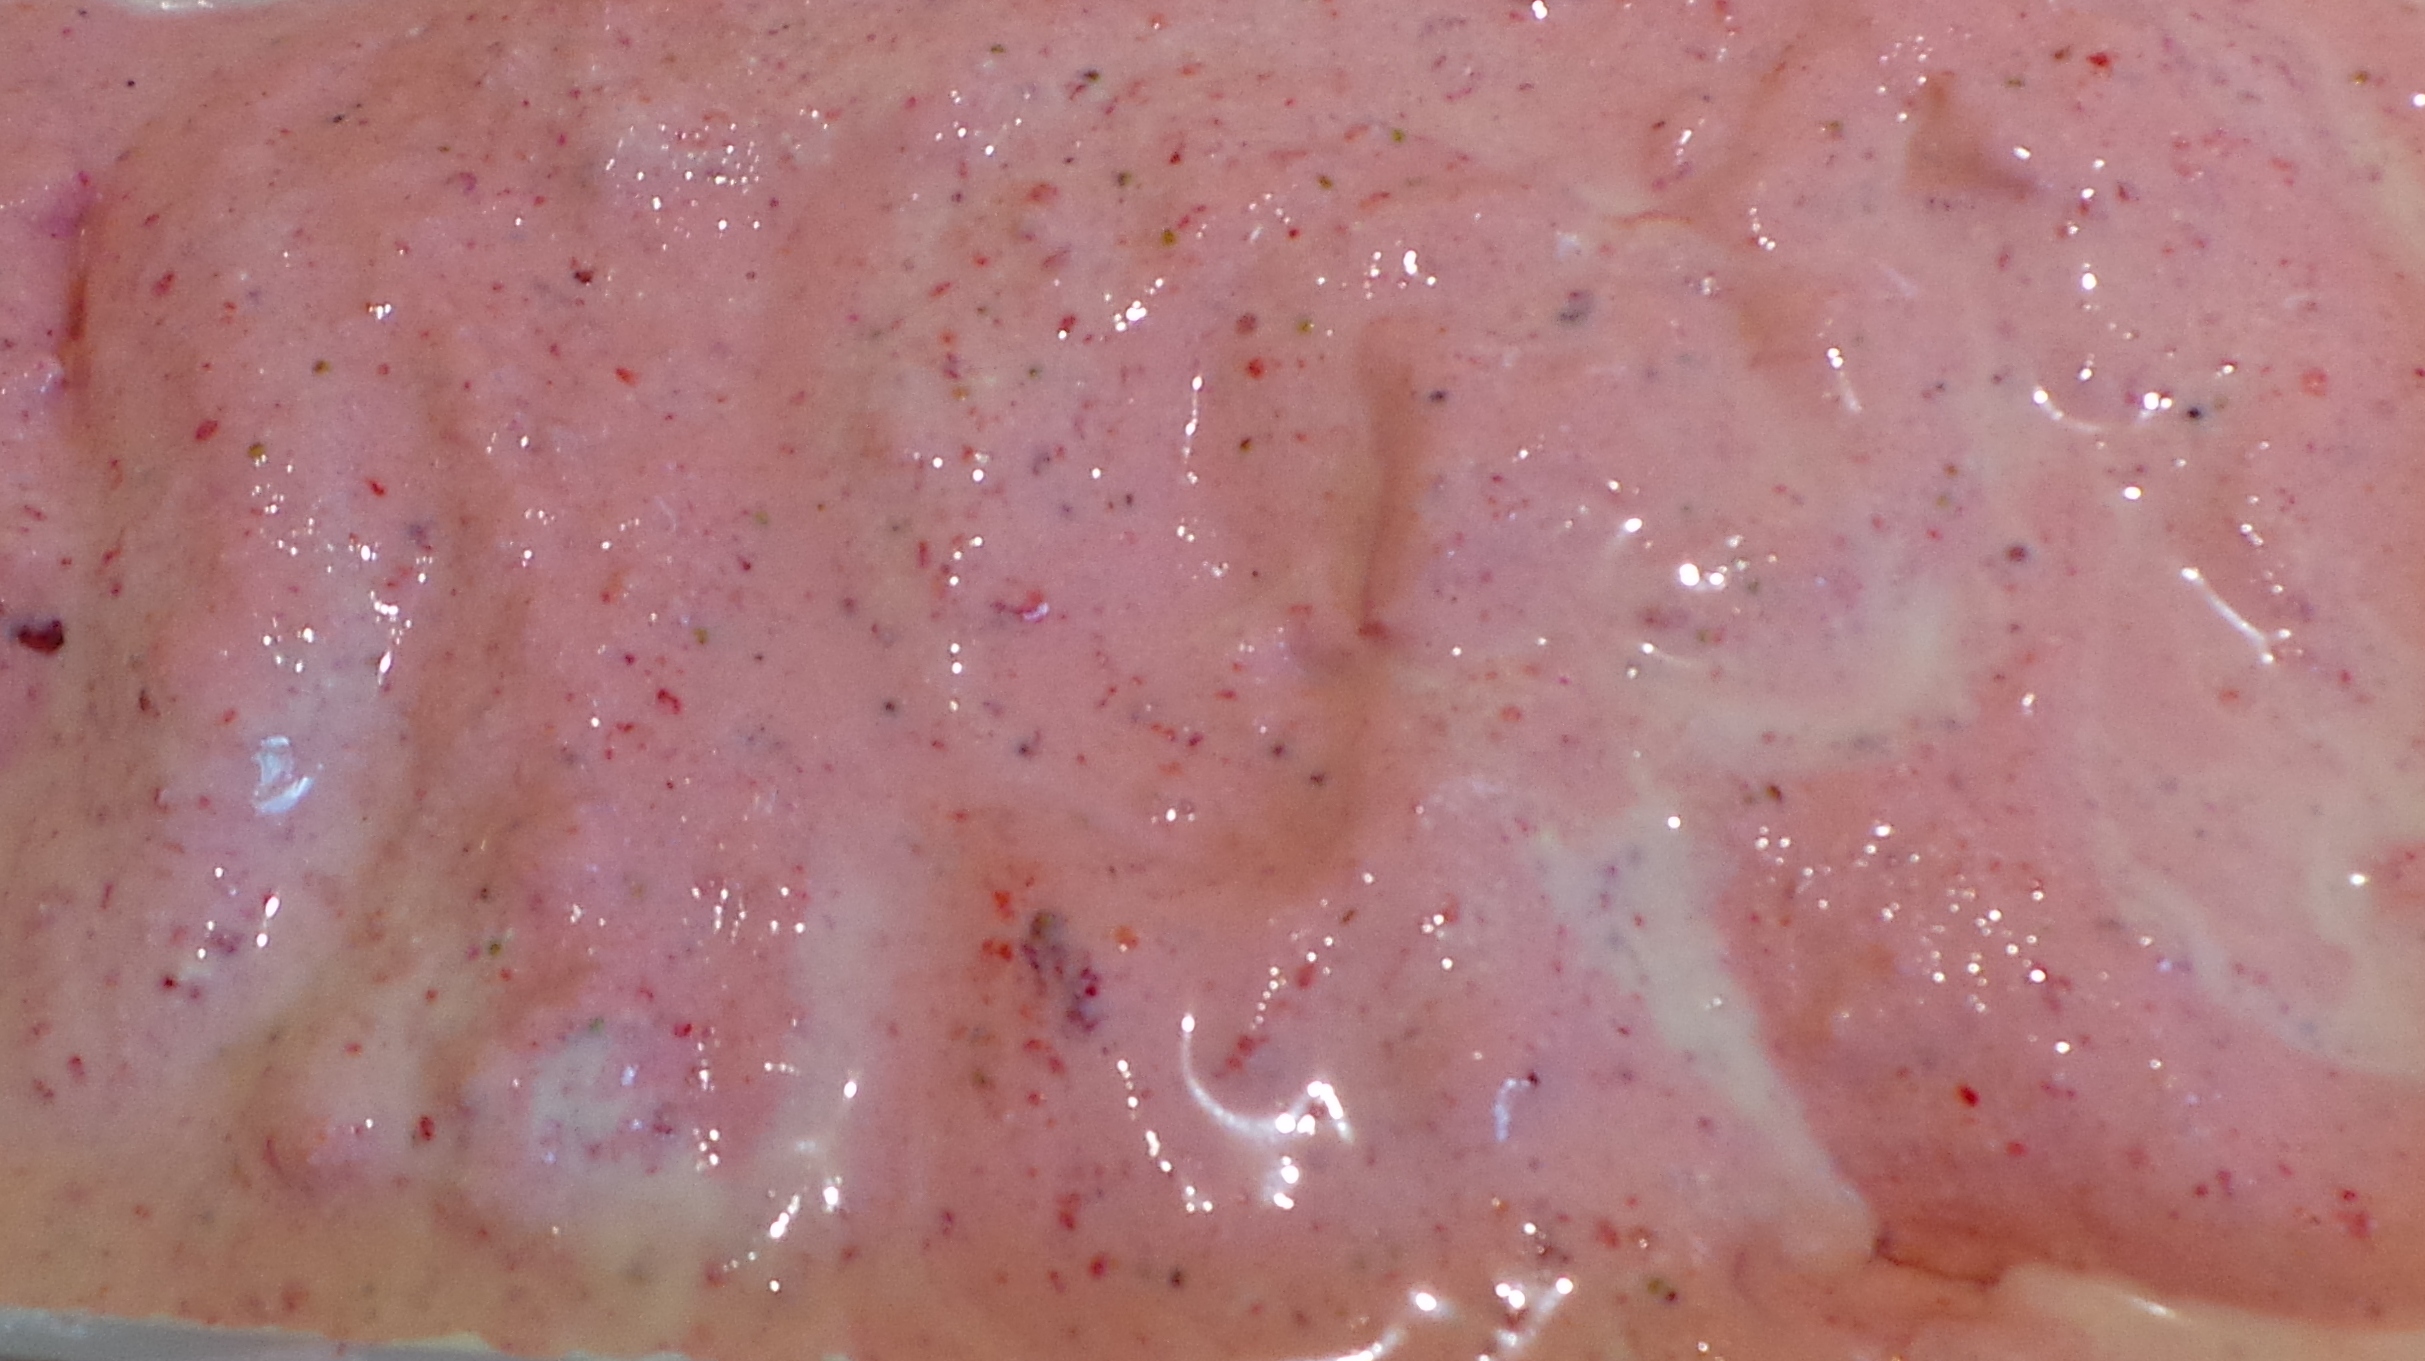
The finished product.
Alternatively, place it in a container in your freezer. This mixture will set quite solidly as it is lacking the additives that commercial blends have and which make them scoop-able straight from the freezer.
Take it out of the freezer about 20 mins before you are wanting to serve it. So, if you want it for dessert, take it out as you serve up your main meal…
This firm setting property makes it ideal for popsicles, paddlepops or ice lollies though! Pour your mixture into moulds and you’ve got the ideal cool down when your kids come back from their first stinking hot days of an Australian school year.
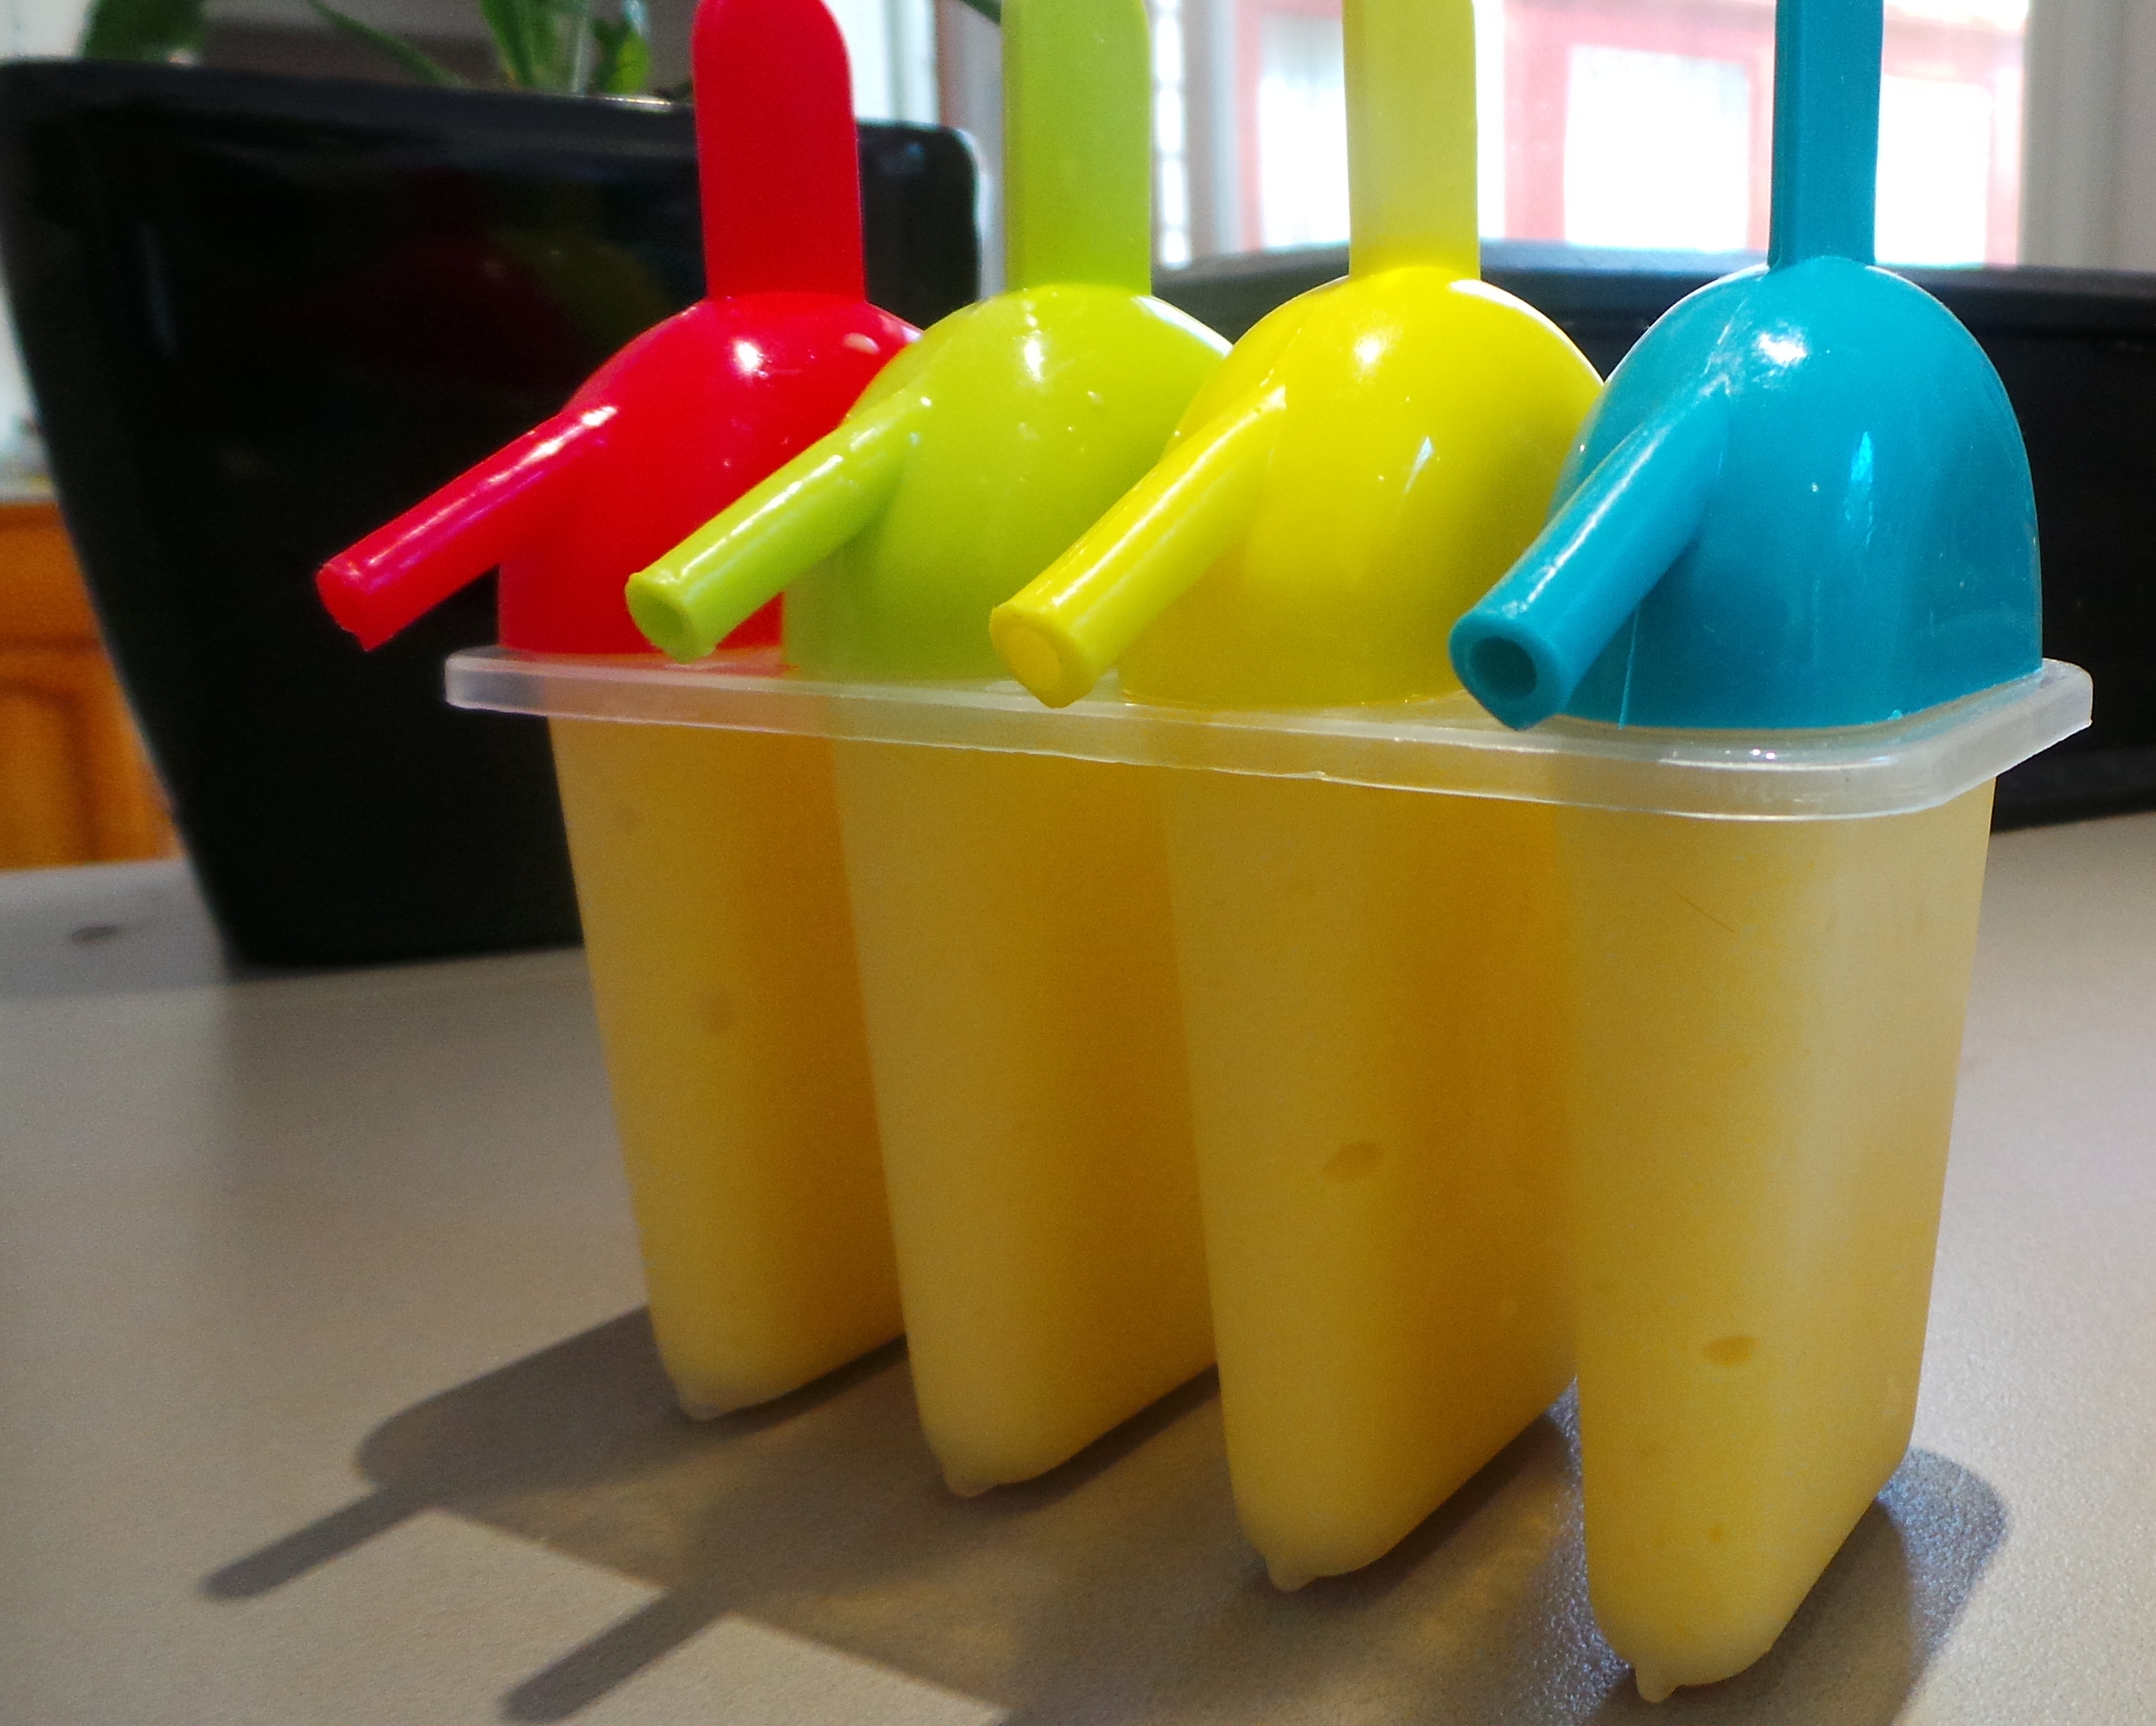
These popsicle moulds were bought at Aldi…
Better yet, they can help with pretty much every aspect of making the things – short of using the food processor. Just be prepared for some mess…
Frozen Fruit Yoghurt
Ingredients
300g frozen fruit
500g chilled yoghurt (Greek, full fat, skim, soy, whatever…)
3 tablespoons honey or to taste. (You can substitute maple syrup, agave syrup, golden syrup or corn syrup if you wish)
Method
Fit the metal chopping blade into a food processor.
Add your frozen fruit and pulse for around 30 seconds or until the fruit has a relatively even texture. One or two larger pieces just add interest to the finished product.
Add your sweetener and pulse briefly.
Add all your yoghurt and blend until smooth.
May be served immediately, or frozen for several weeks in a sealed container.
Remove from the freezer at least 20 minutes before serving (or risk tears and sprained wrists).
Variation: Pour into popsicle moulds for individual treats. If you don’t have any moulds, then try using small plastic cups or tumblers with a paddle pop stick inserted into the mixture.
Run hot water around the outside of the mould to help release the treat.