Ok. So I wasn’t intending to post this today, but someone asked me to get this up here post haste.
So imagunna.
This is not a budget dish. The nuts can cost quite a bit and the whole cake cost me around AUD$12.
It is incredibly easy to make, tastes gorgeous and ticks the gluten-free box (which is what I was after when I made it). However, for a special occasion treat that needs to be coeliac-friendly without too much fiddling around, it is fabulous.
Fabulous, I say!
Ahem.
Flourless Orange and Almond Cake
I was wanting a birthday cake for a friend who does an awful lot of work for a group I’m involved with – she’d allowed her birthday to pass under the radar, so to speak, and this simply was not on. I’ve also always wanted to try to make a flourless cake and, as one of our number is coeliac, this seemed to be the time to do it. I thought about all the decadent flourless chocolate cake recipes that I have pinned, but she is a Japanese lady and I’ve noted her preference for lighter flavours and textures.
Then I remembered this thing called an orange and almond cake and went searching.
I found this recipe here.
It’s incredibly simple. In fact this post is going to be rather picture-heavy because there really isn’t much to describe.
You start by simmering two oranges in water for 2 hours.

Simmer your oranges.
Let them cool, then blitz them to smithereens in a food processor. They will be incredibly soft after their extended time in hot water.
Heat your oven to 190°C/375°F.
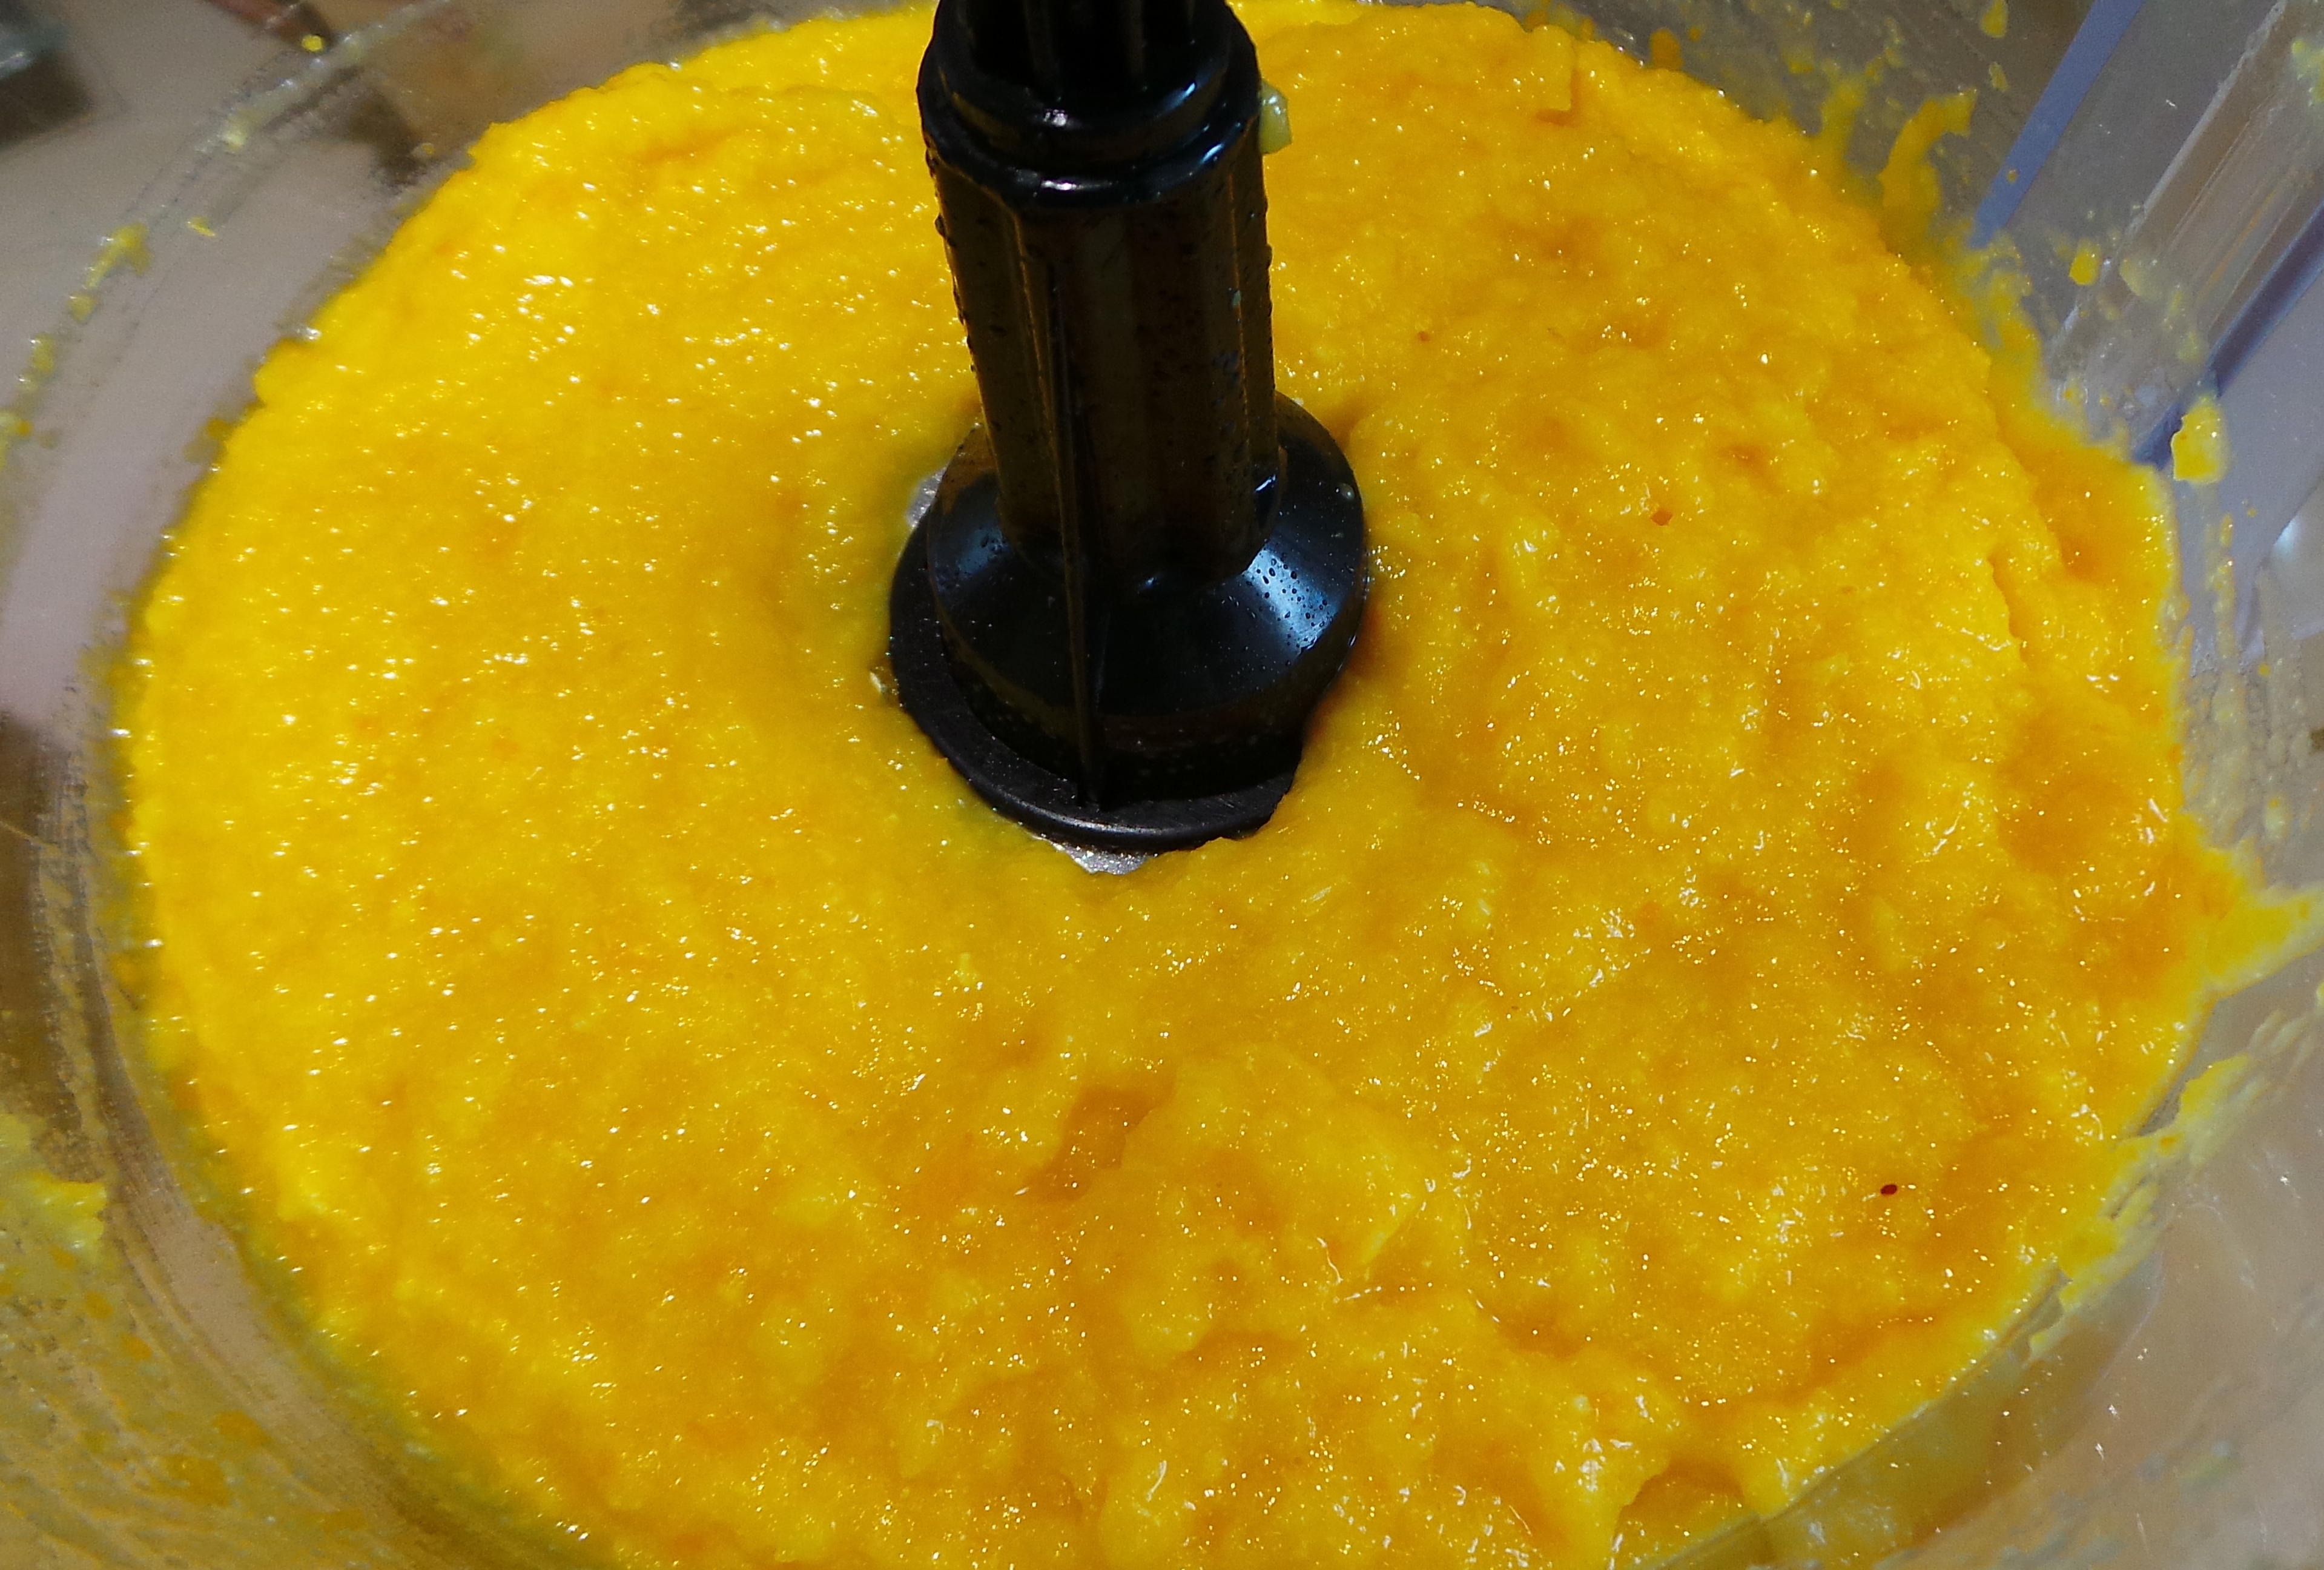
Blitz the oranges- seeds, skin and all.
Meanwhile, mix caster sugar and 6 eggs until the sugar is dissolved.

Yes. That is a lot of eggs.
It will look light and fluffy. Like this:
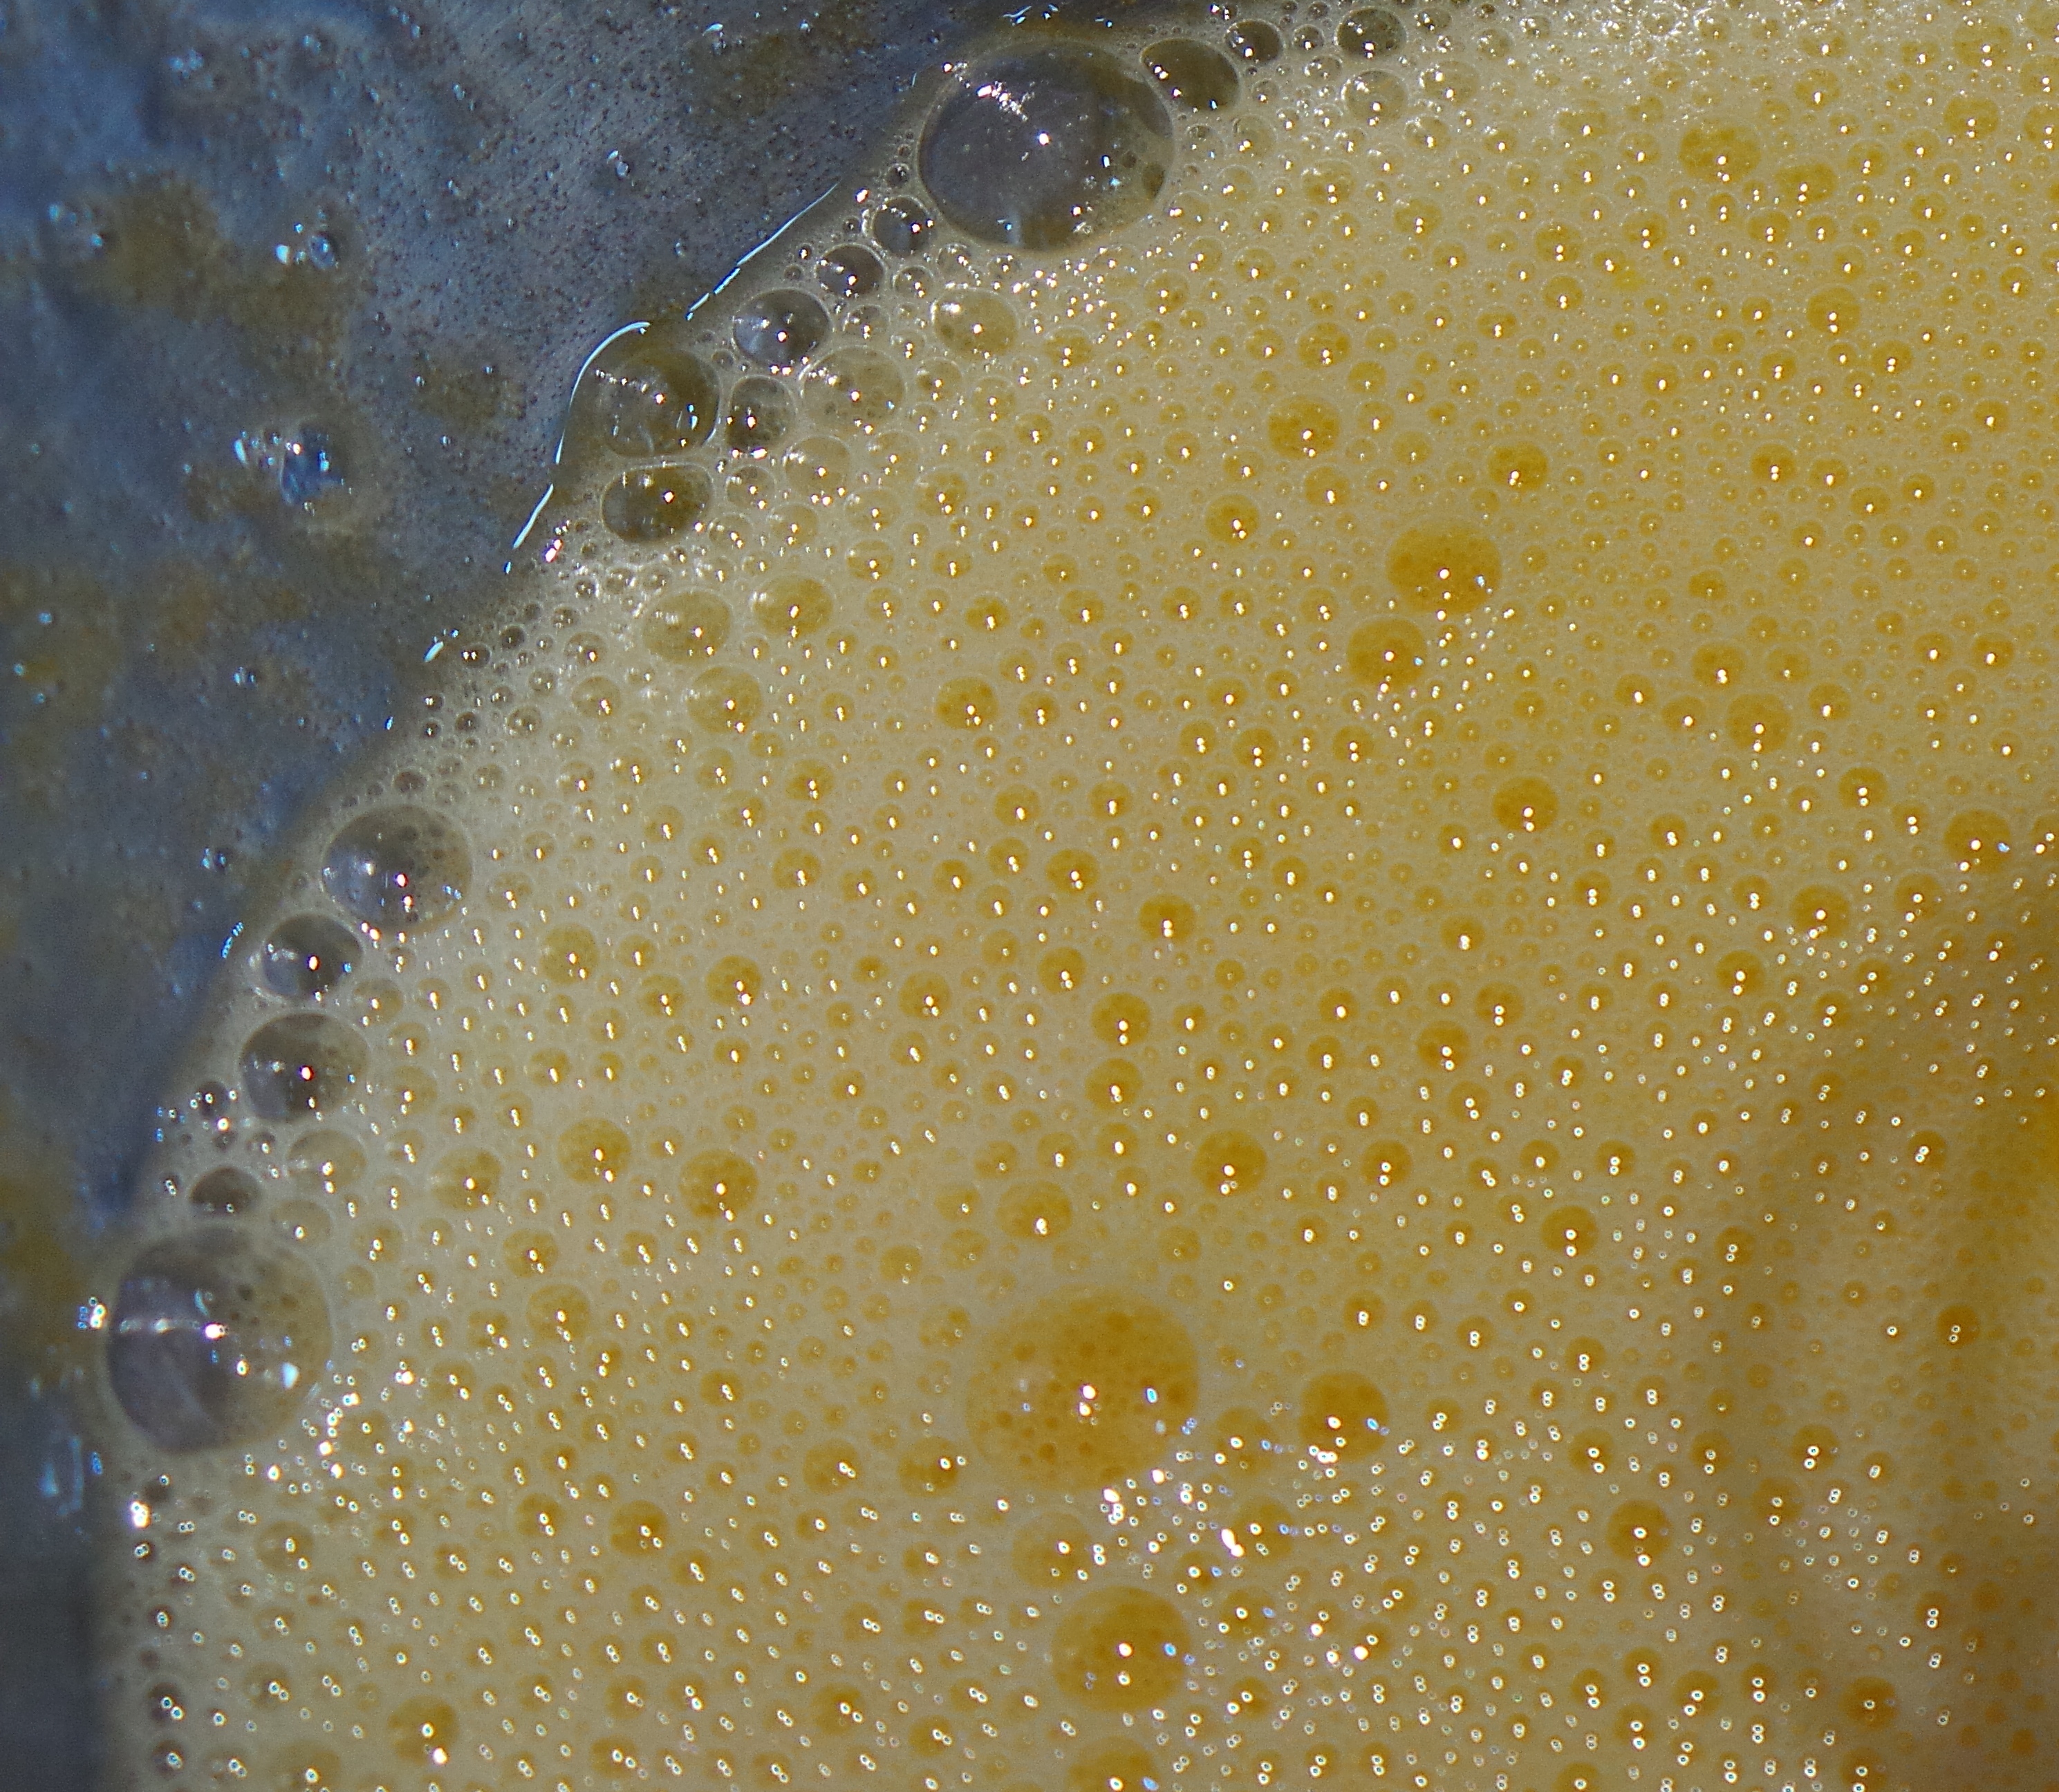
Well-mixed eggs and sugar…
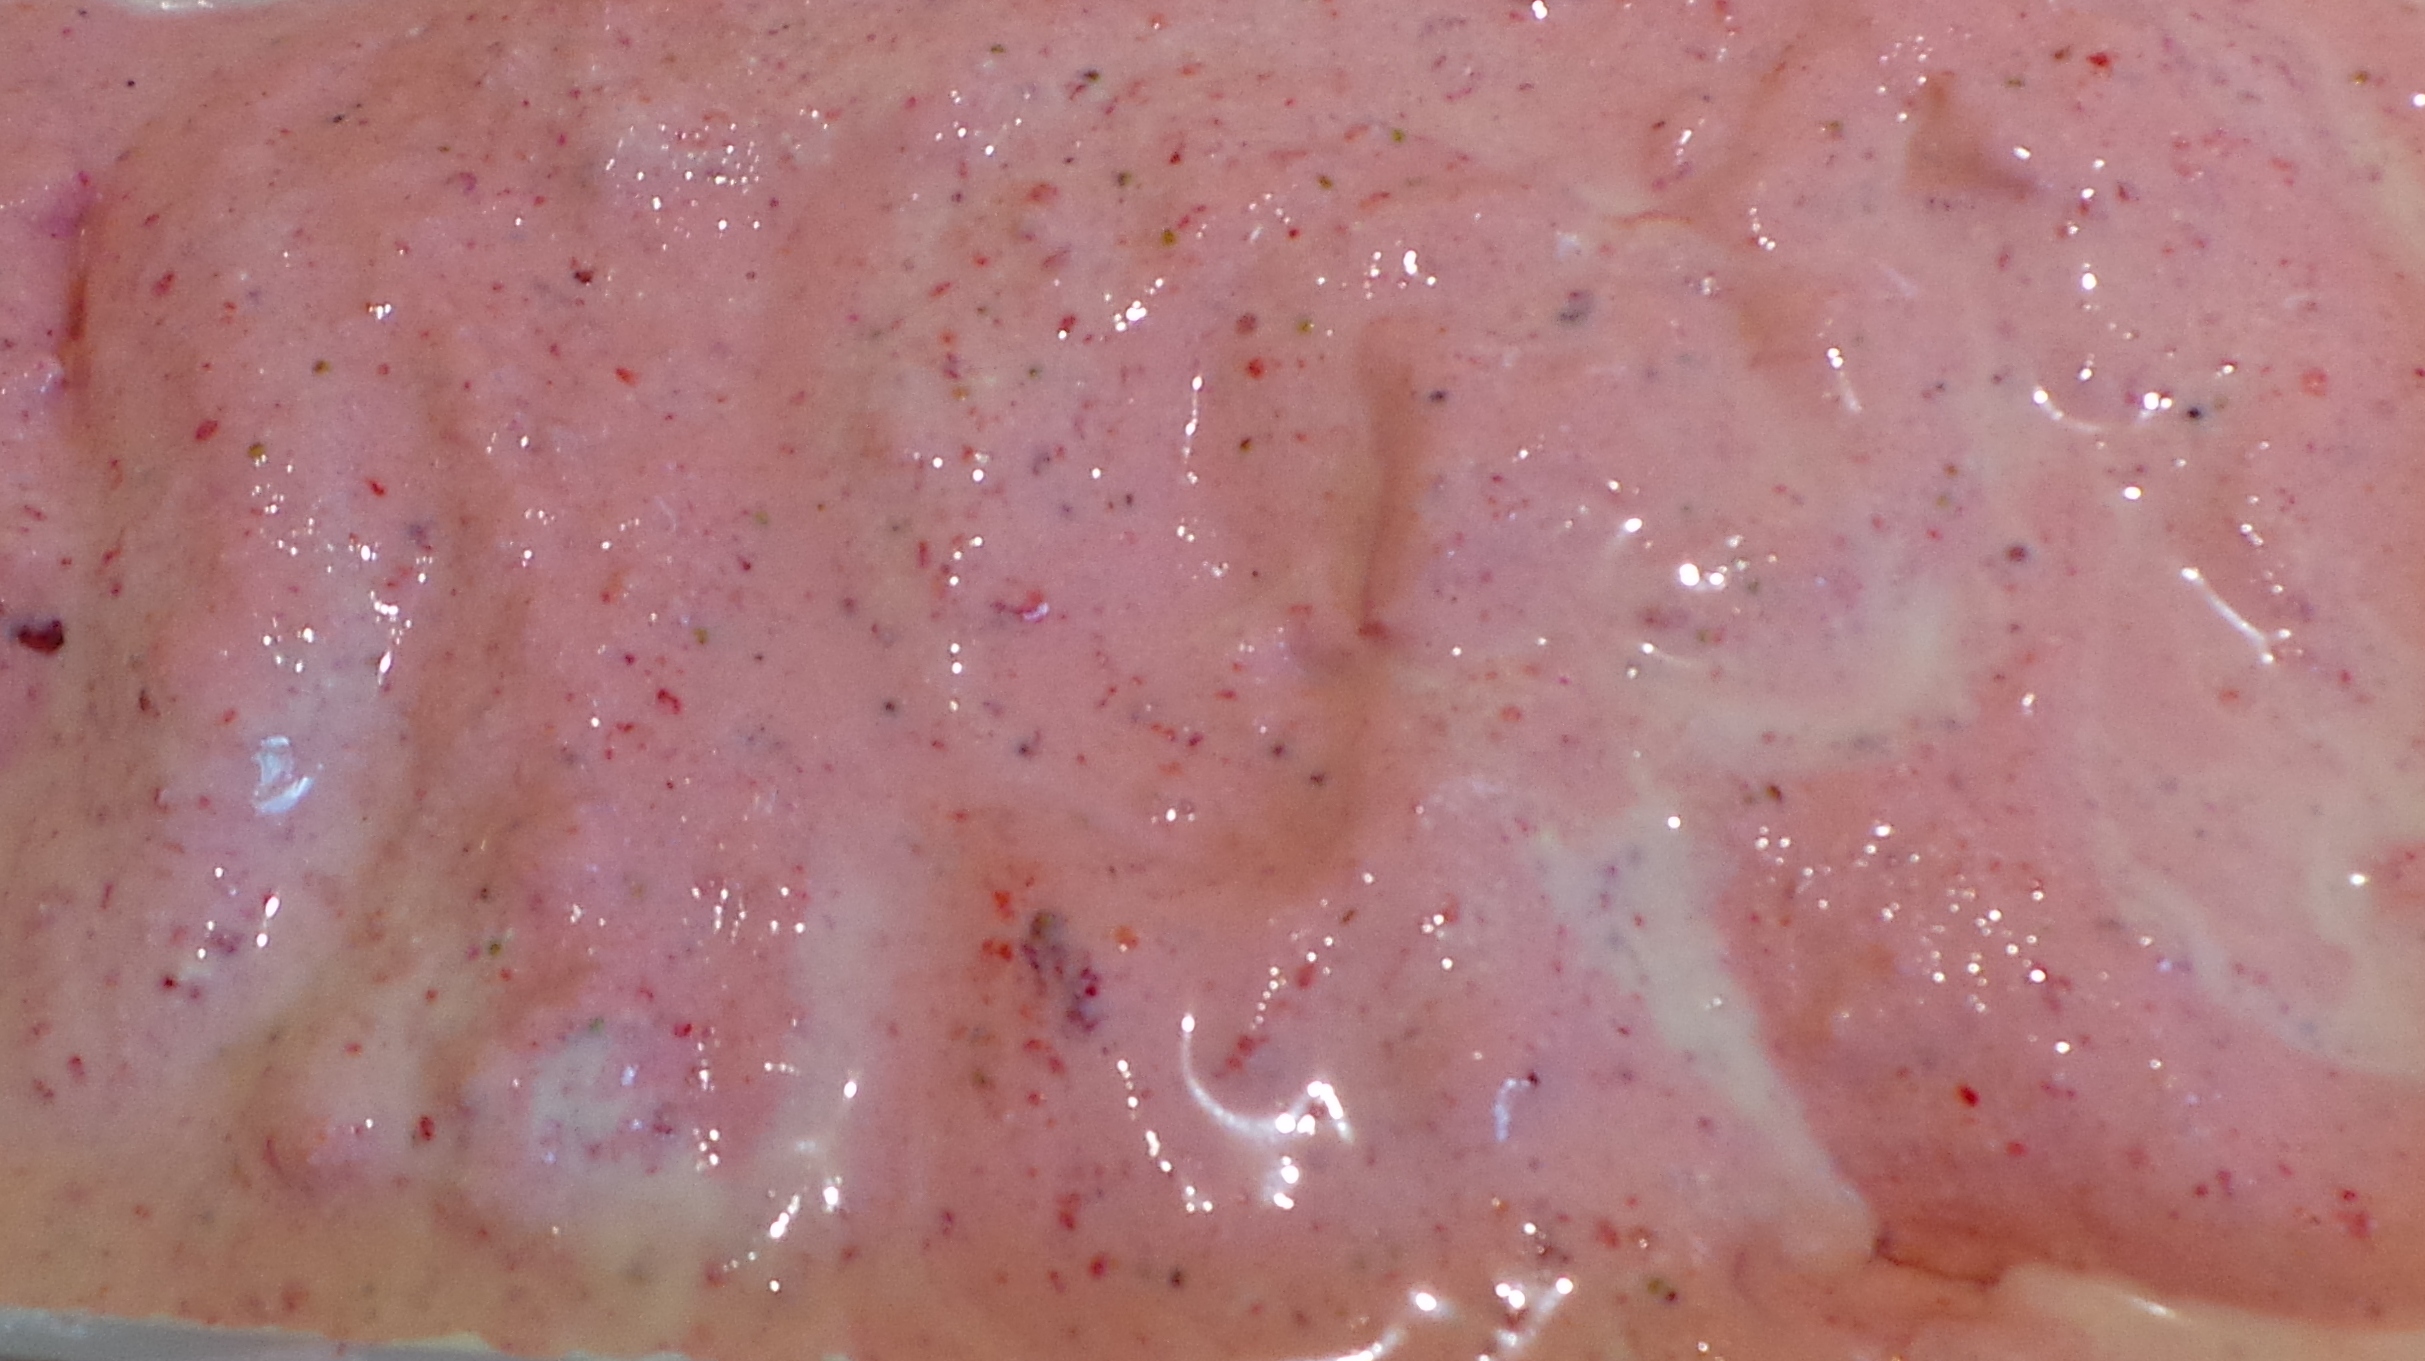
Add your orange pulp to the mixer bowl with the eggs and sugar and give it a further whisking.
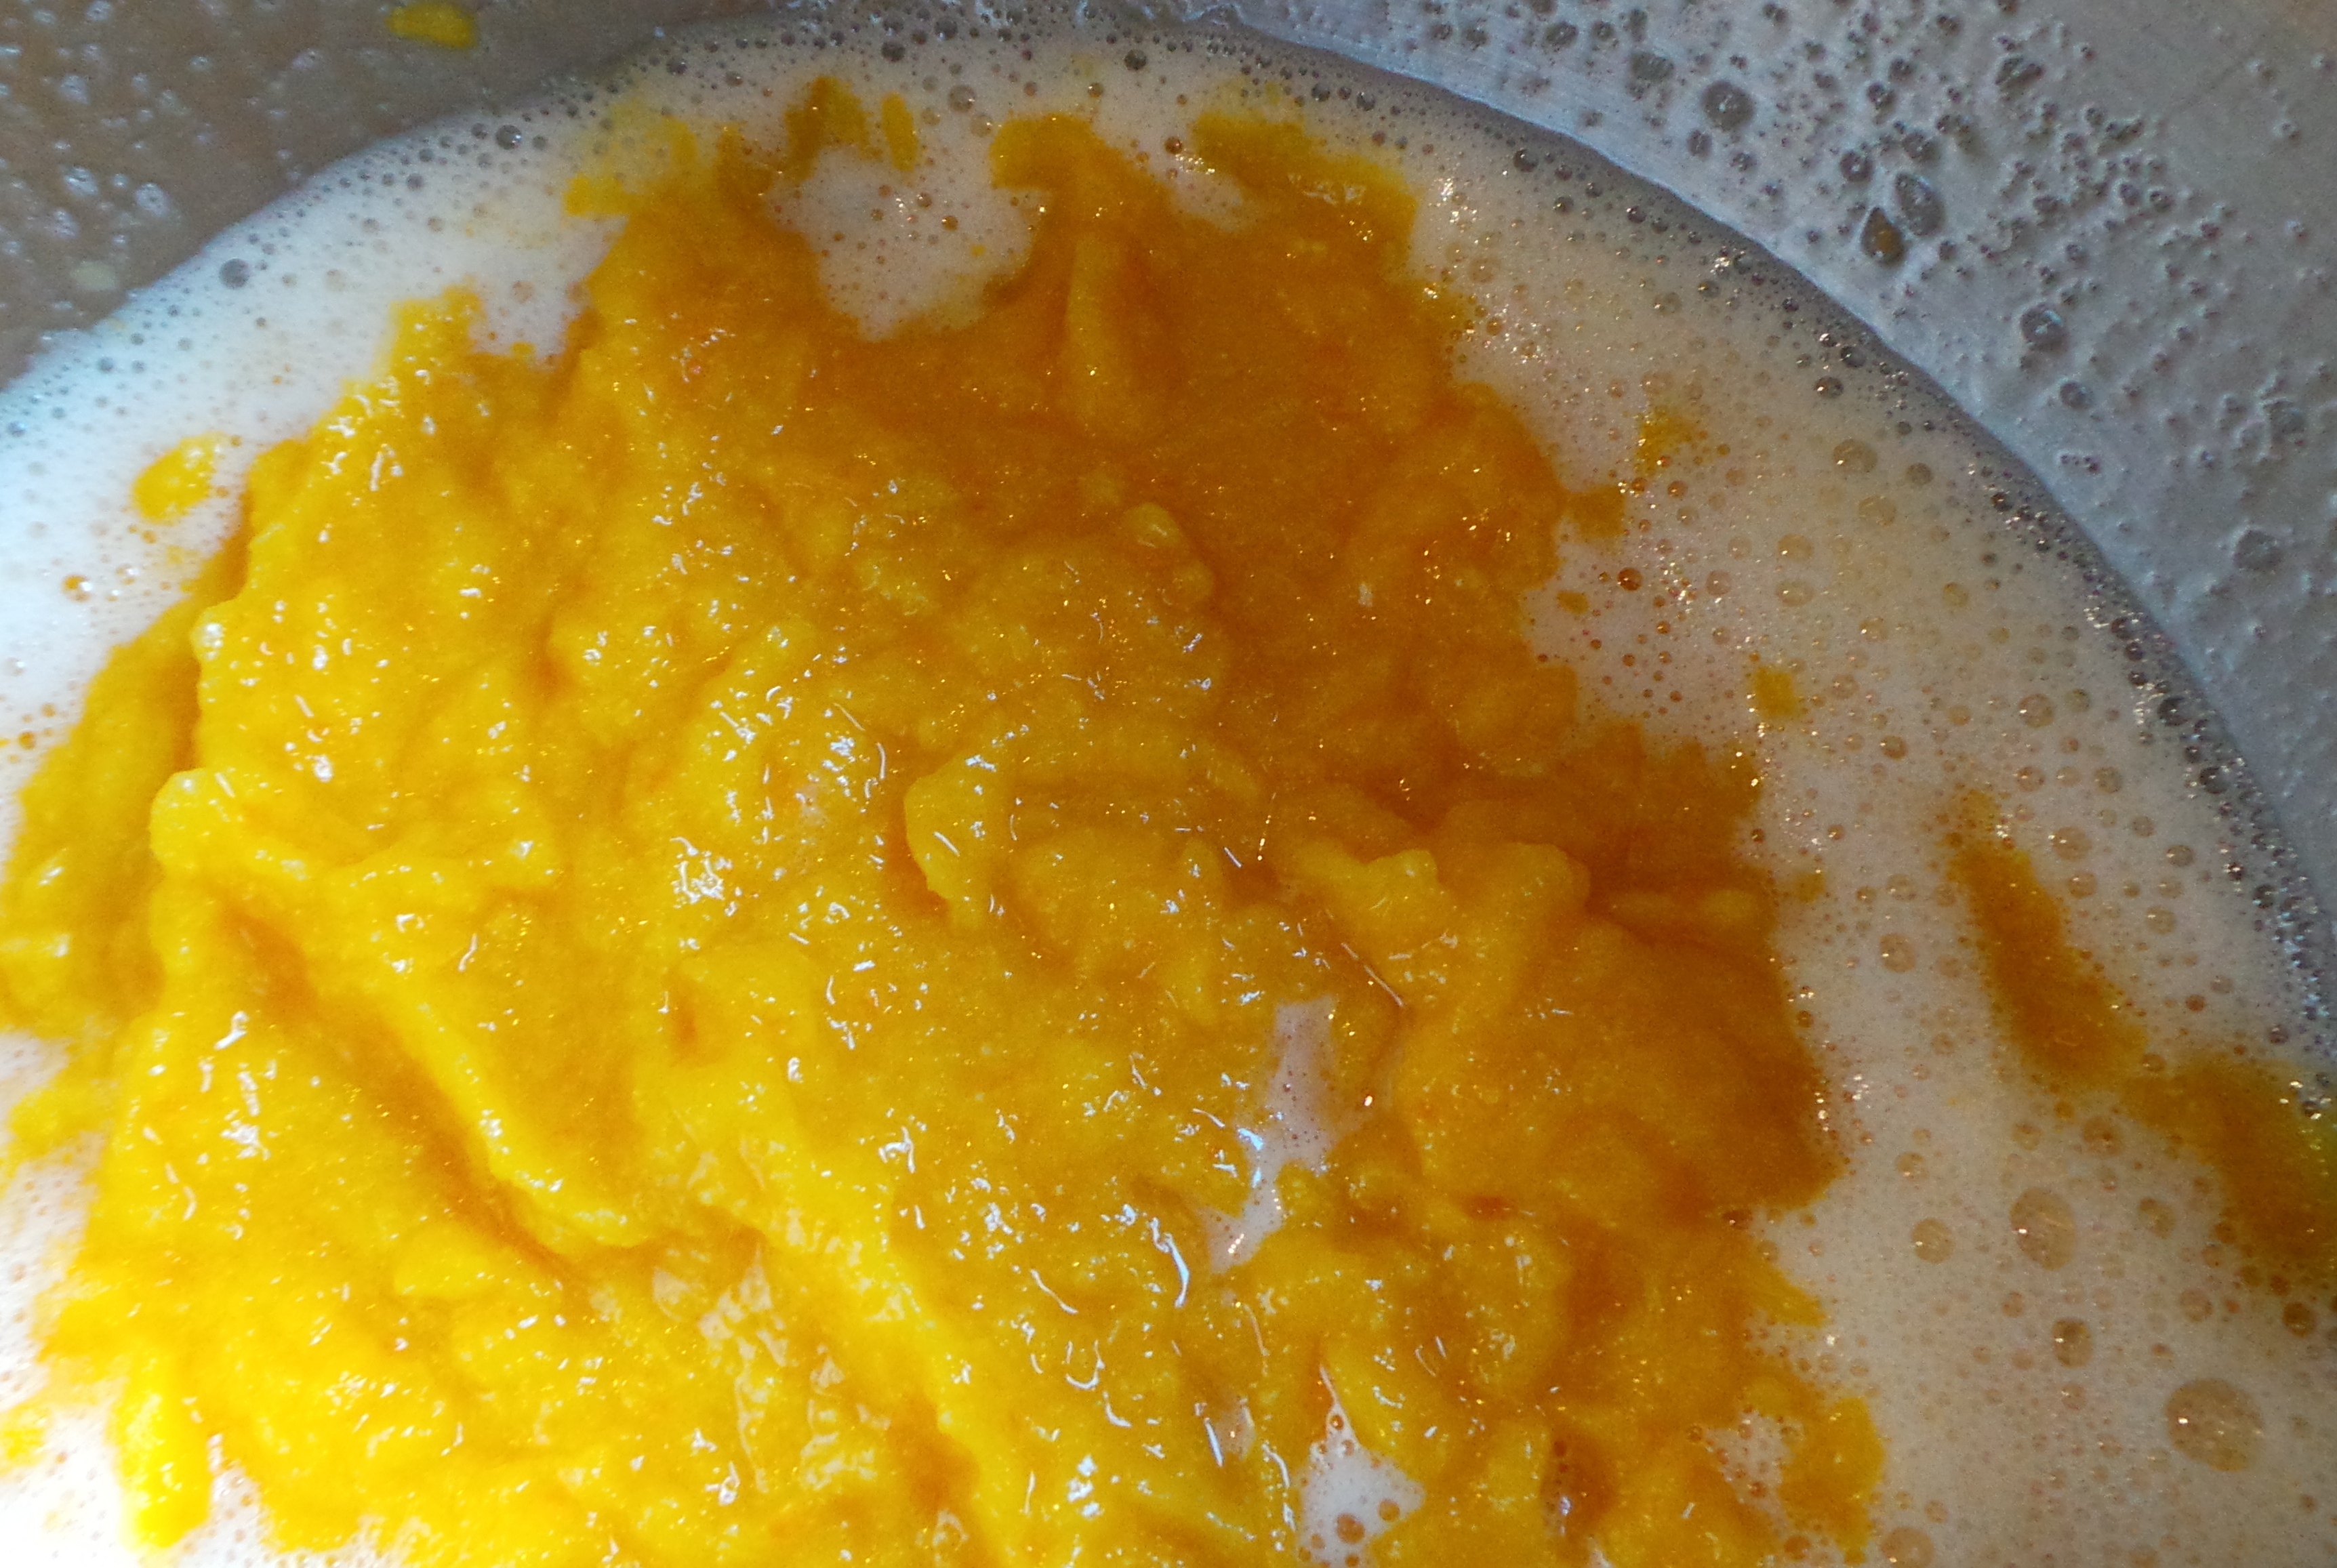
Add the orange puree to the eggs.
Now add your almond meal and baking powder. You can attempt to sift this but it may drive you mad. It may work better to simply knock as many lumps out as you can manage. Also, if you are making this for coeliacs, please, please, please check that your baking powder is gluten free too. Thank you.
Mix well.
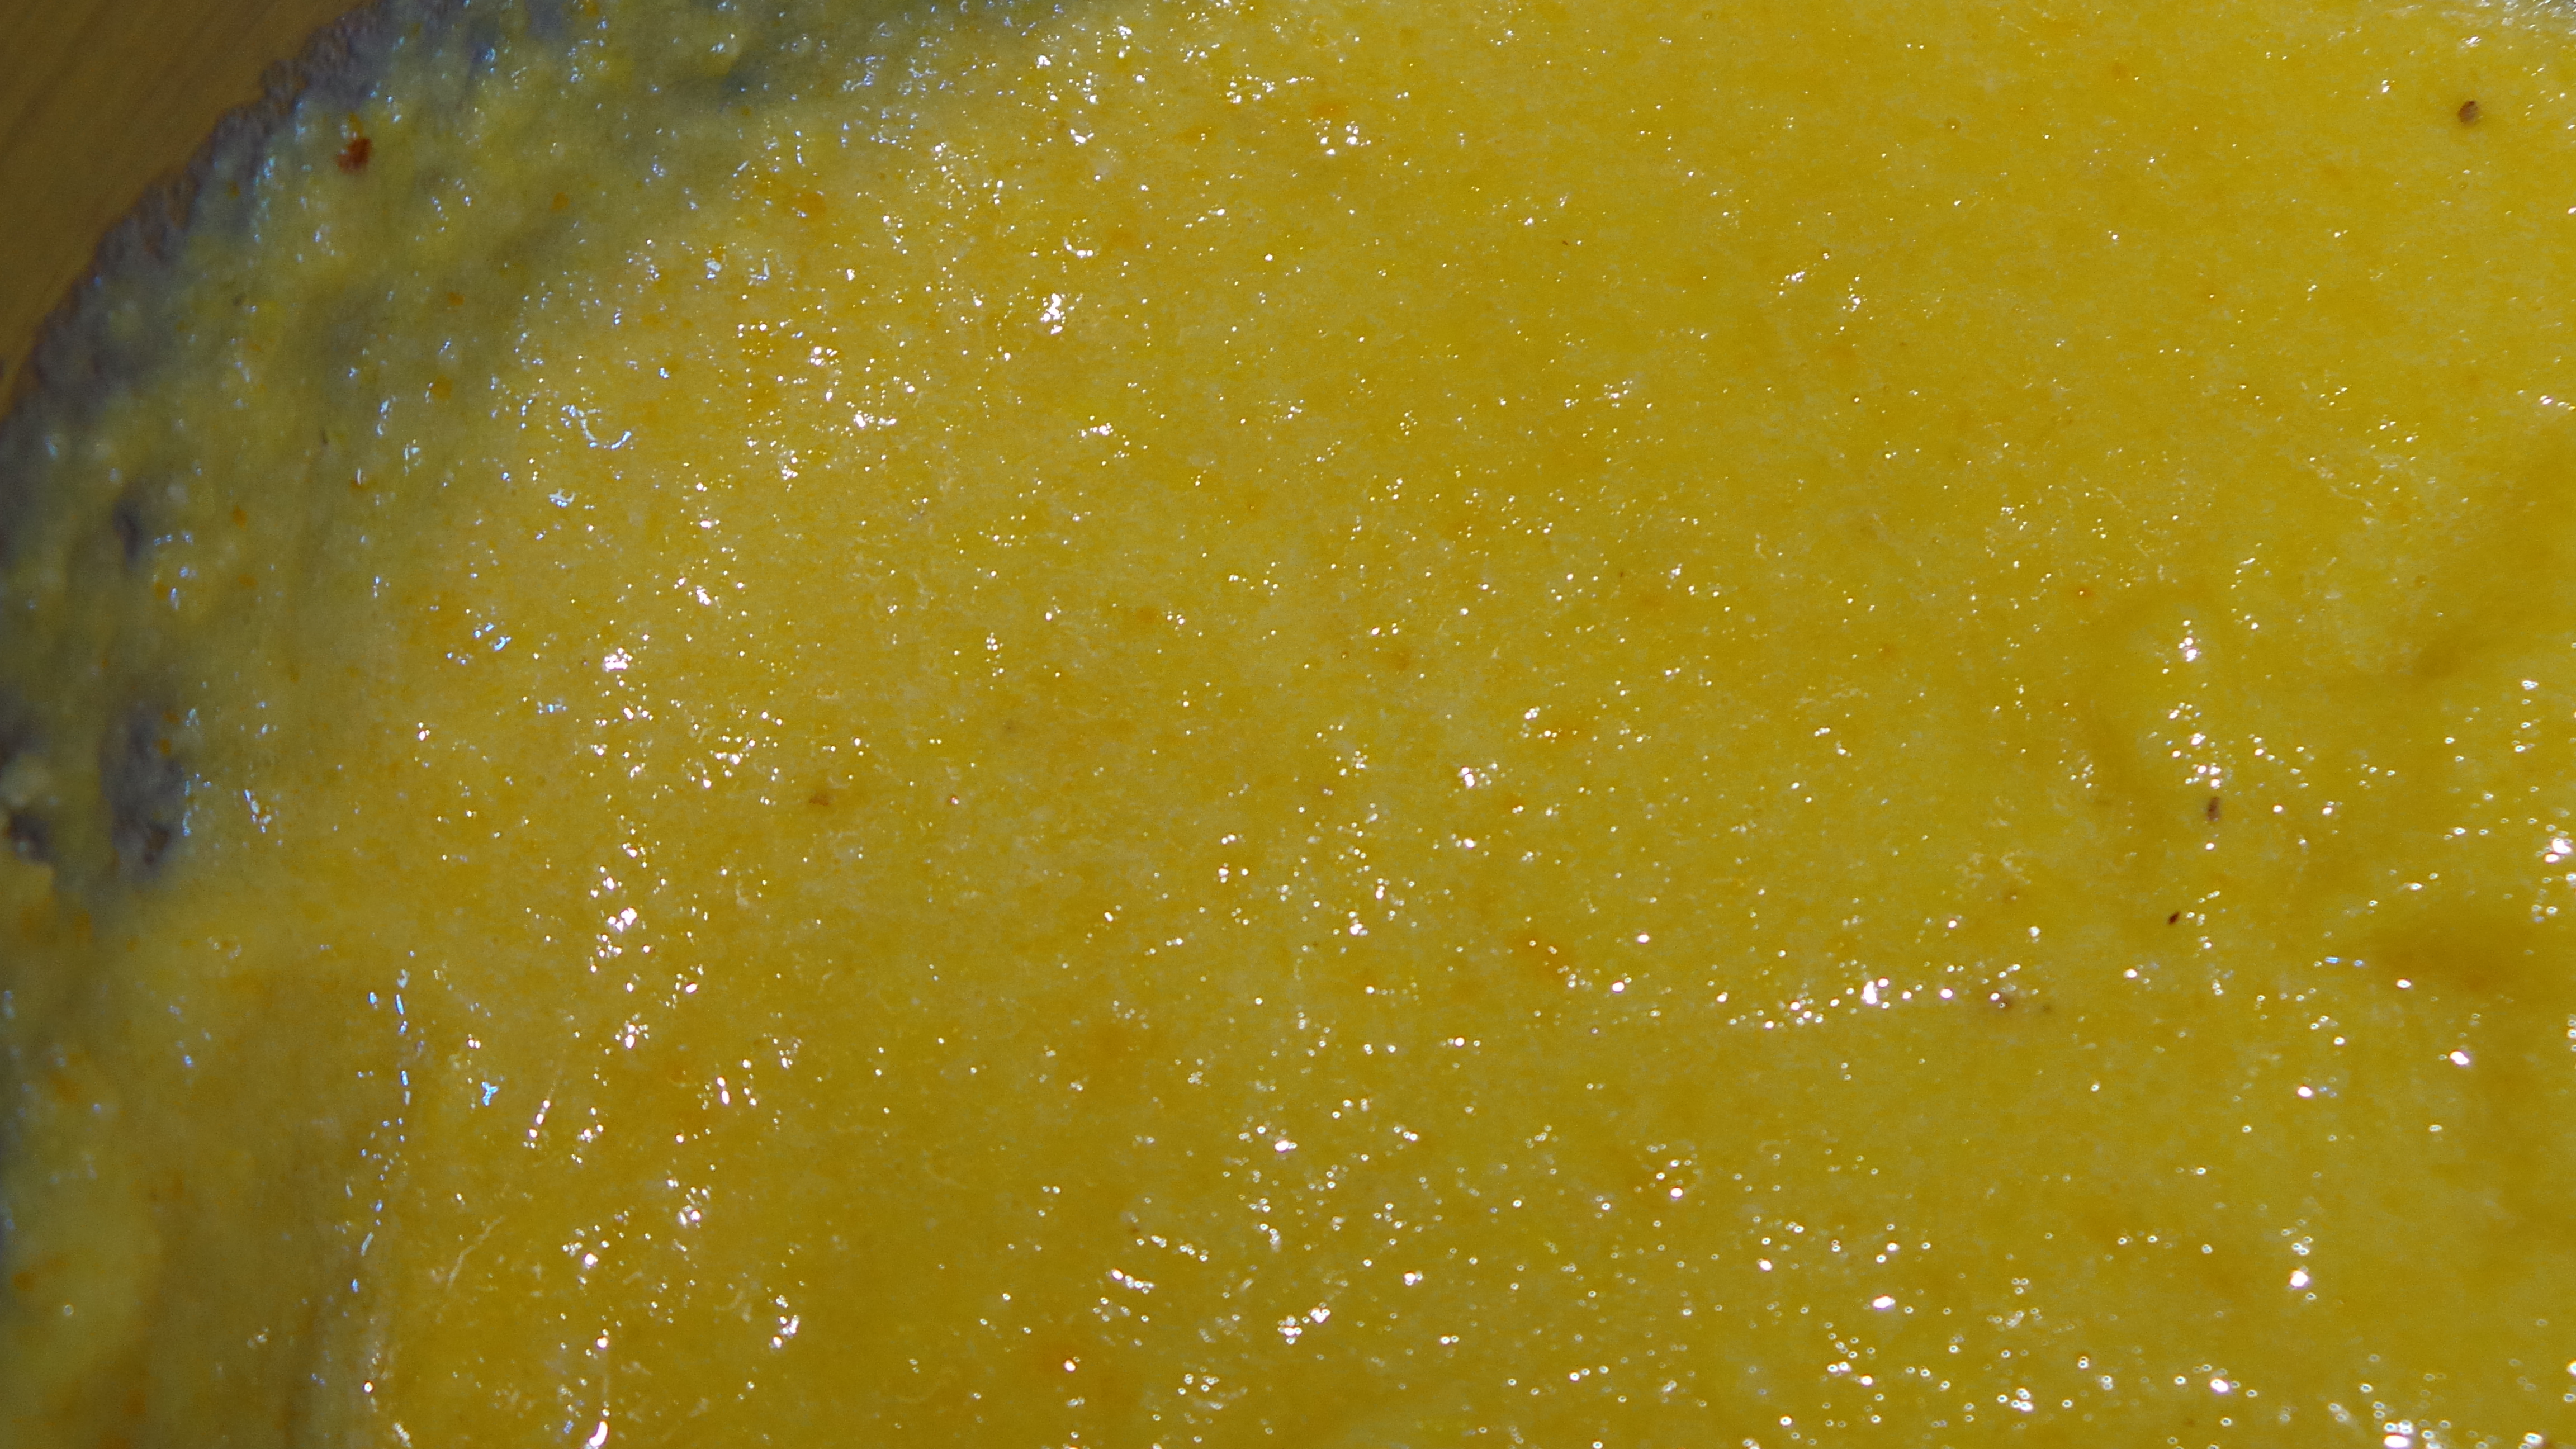
Mix in the almond meal.
Now, line a springform pan. Mine are non-stick, so I simply covered the base with baking paper for ease of serving, and left it at that. The size of the pan is not something that really matters.
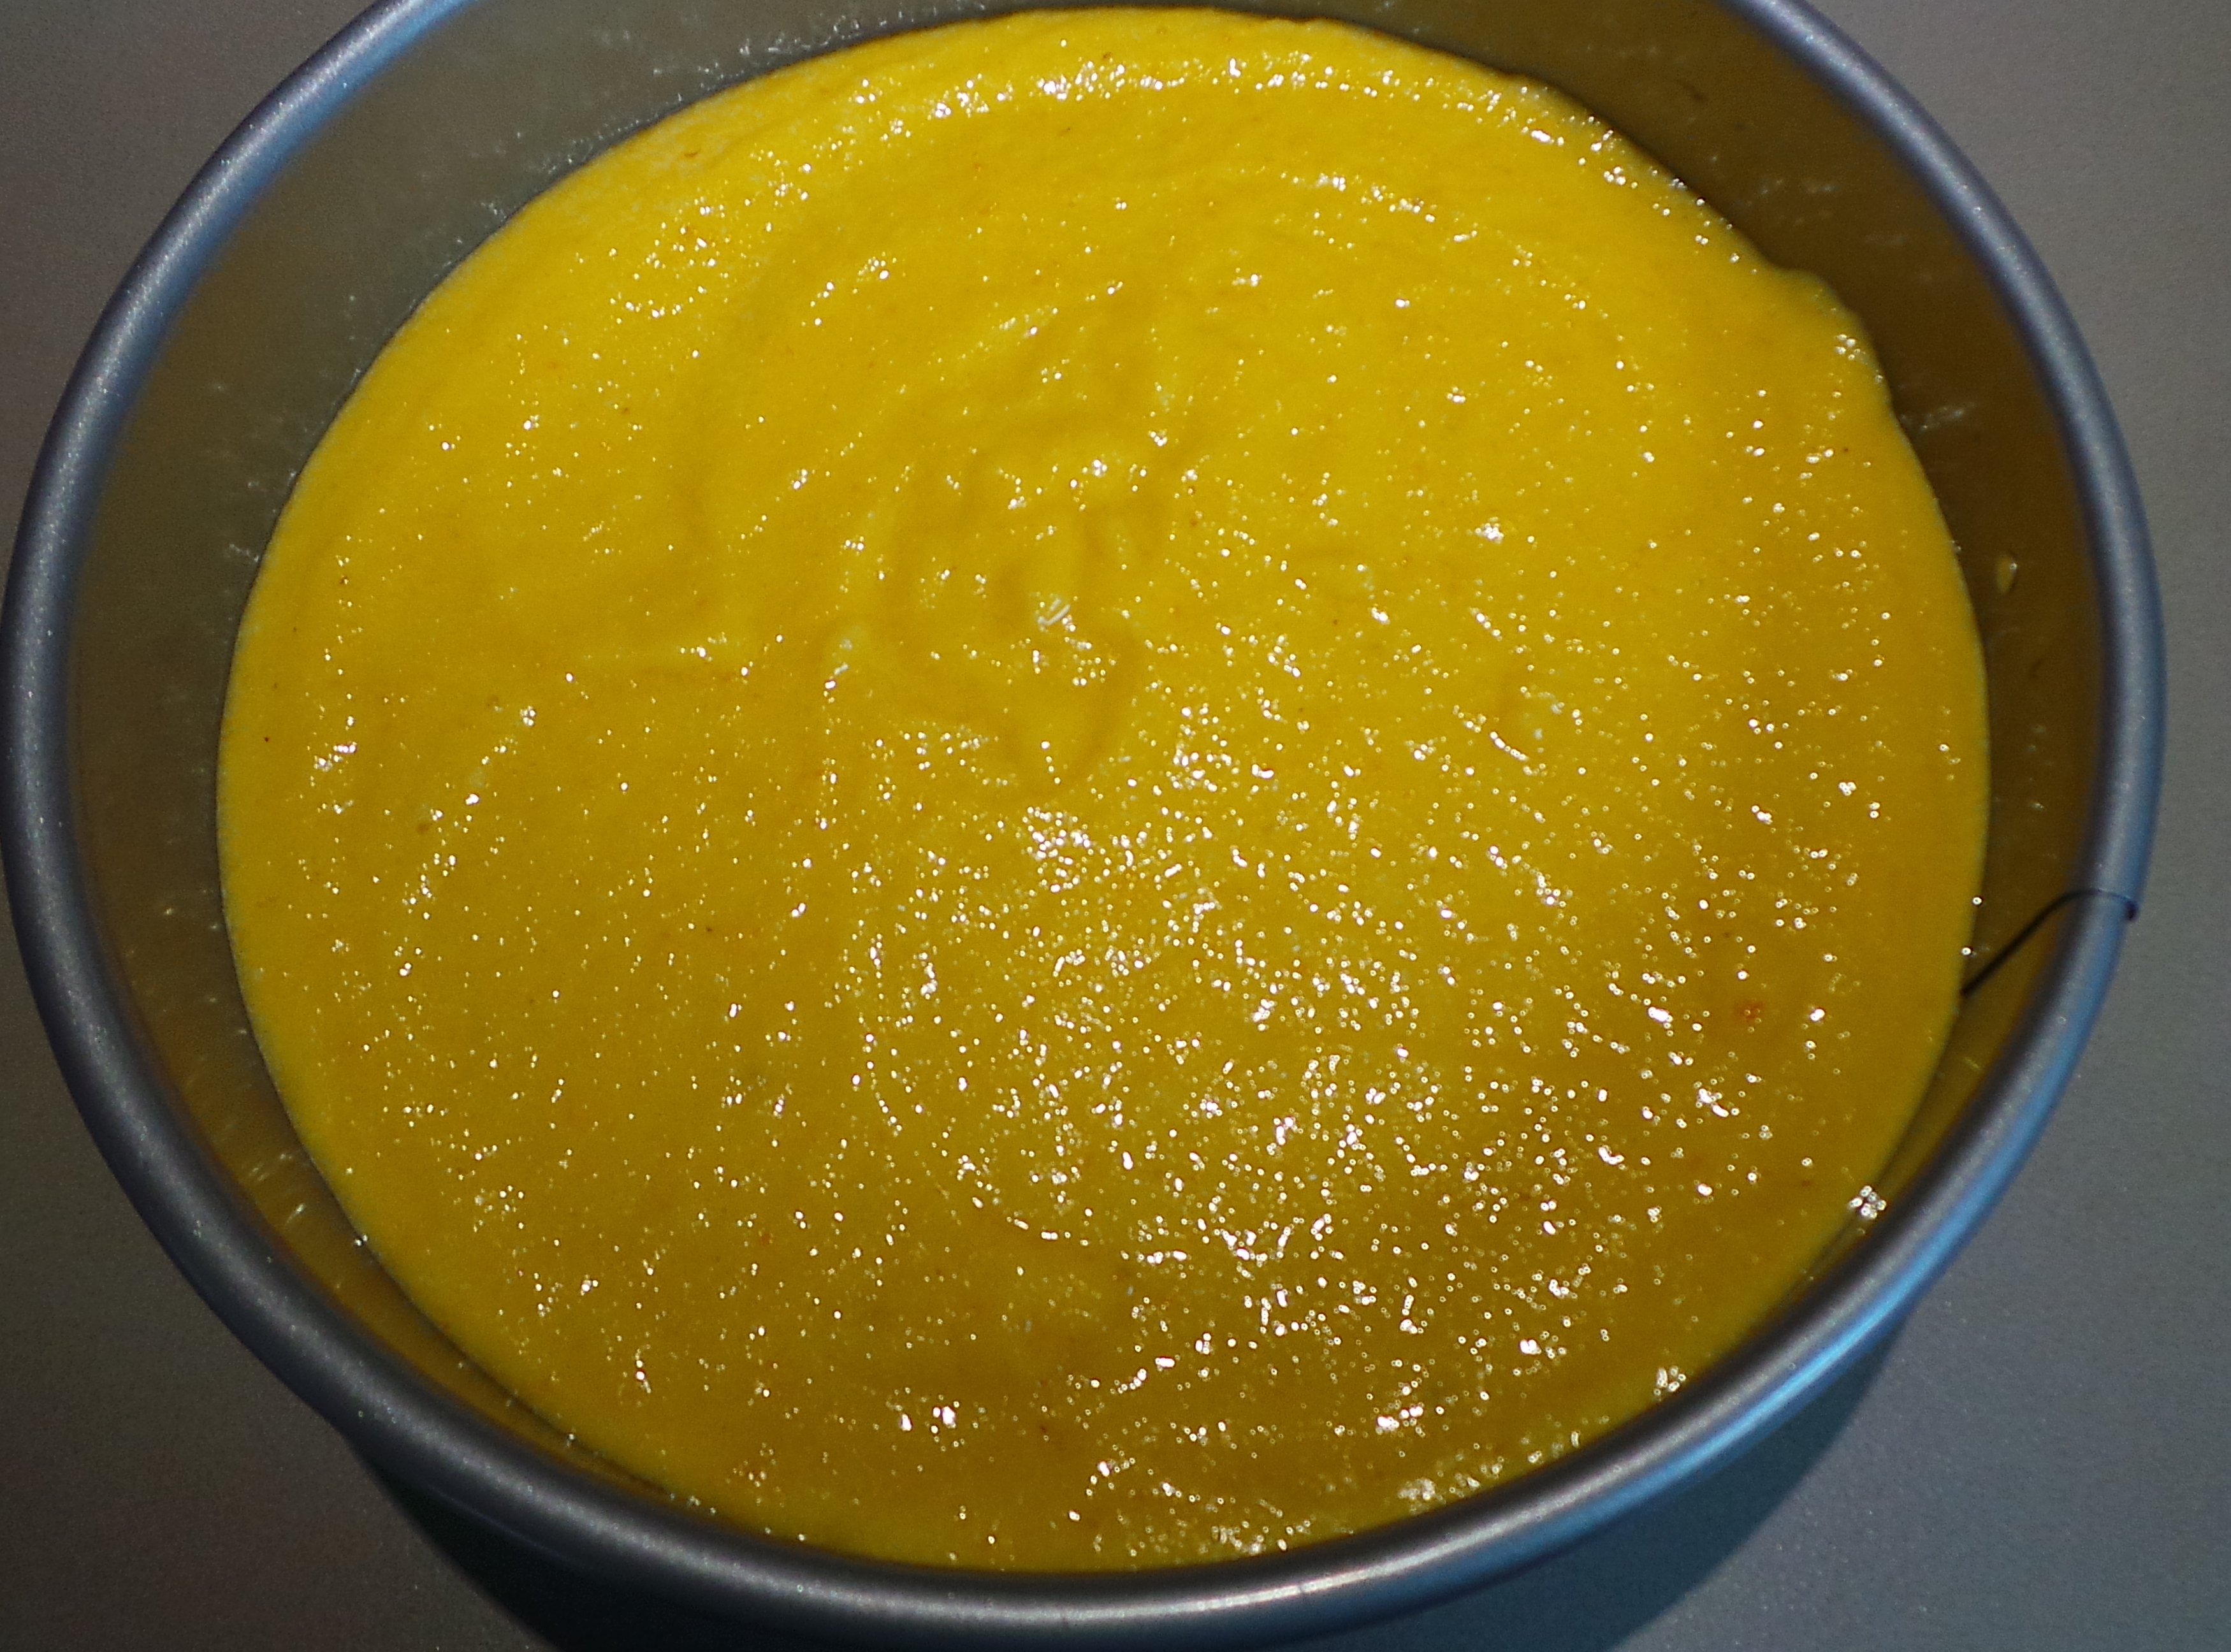
Fill a lined springform tin with your cake batter.
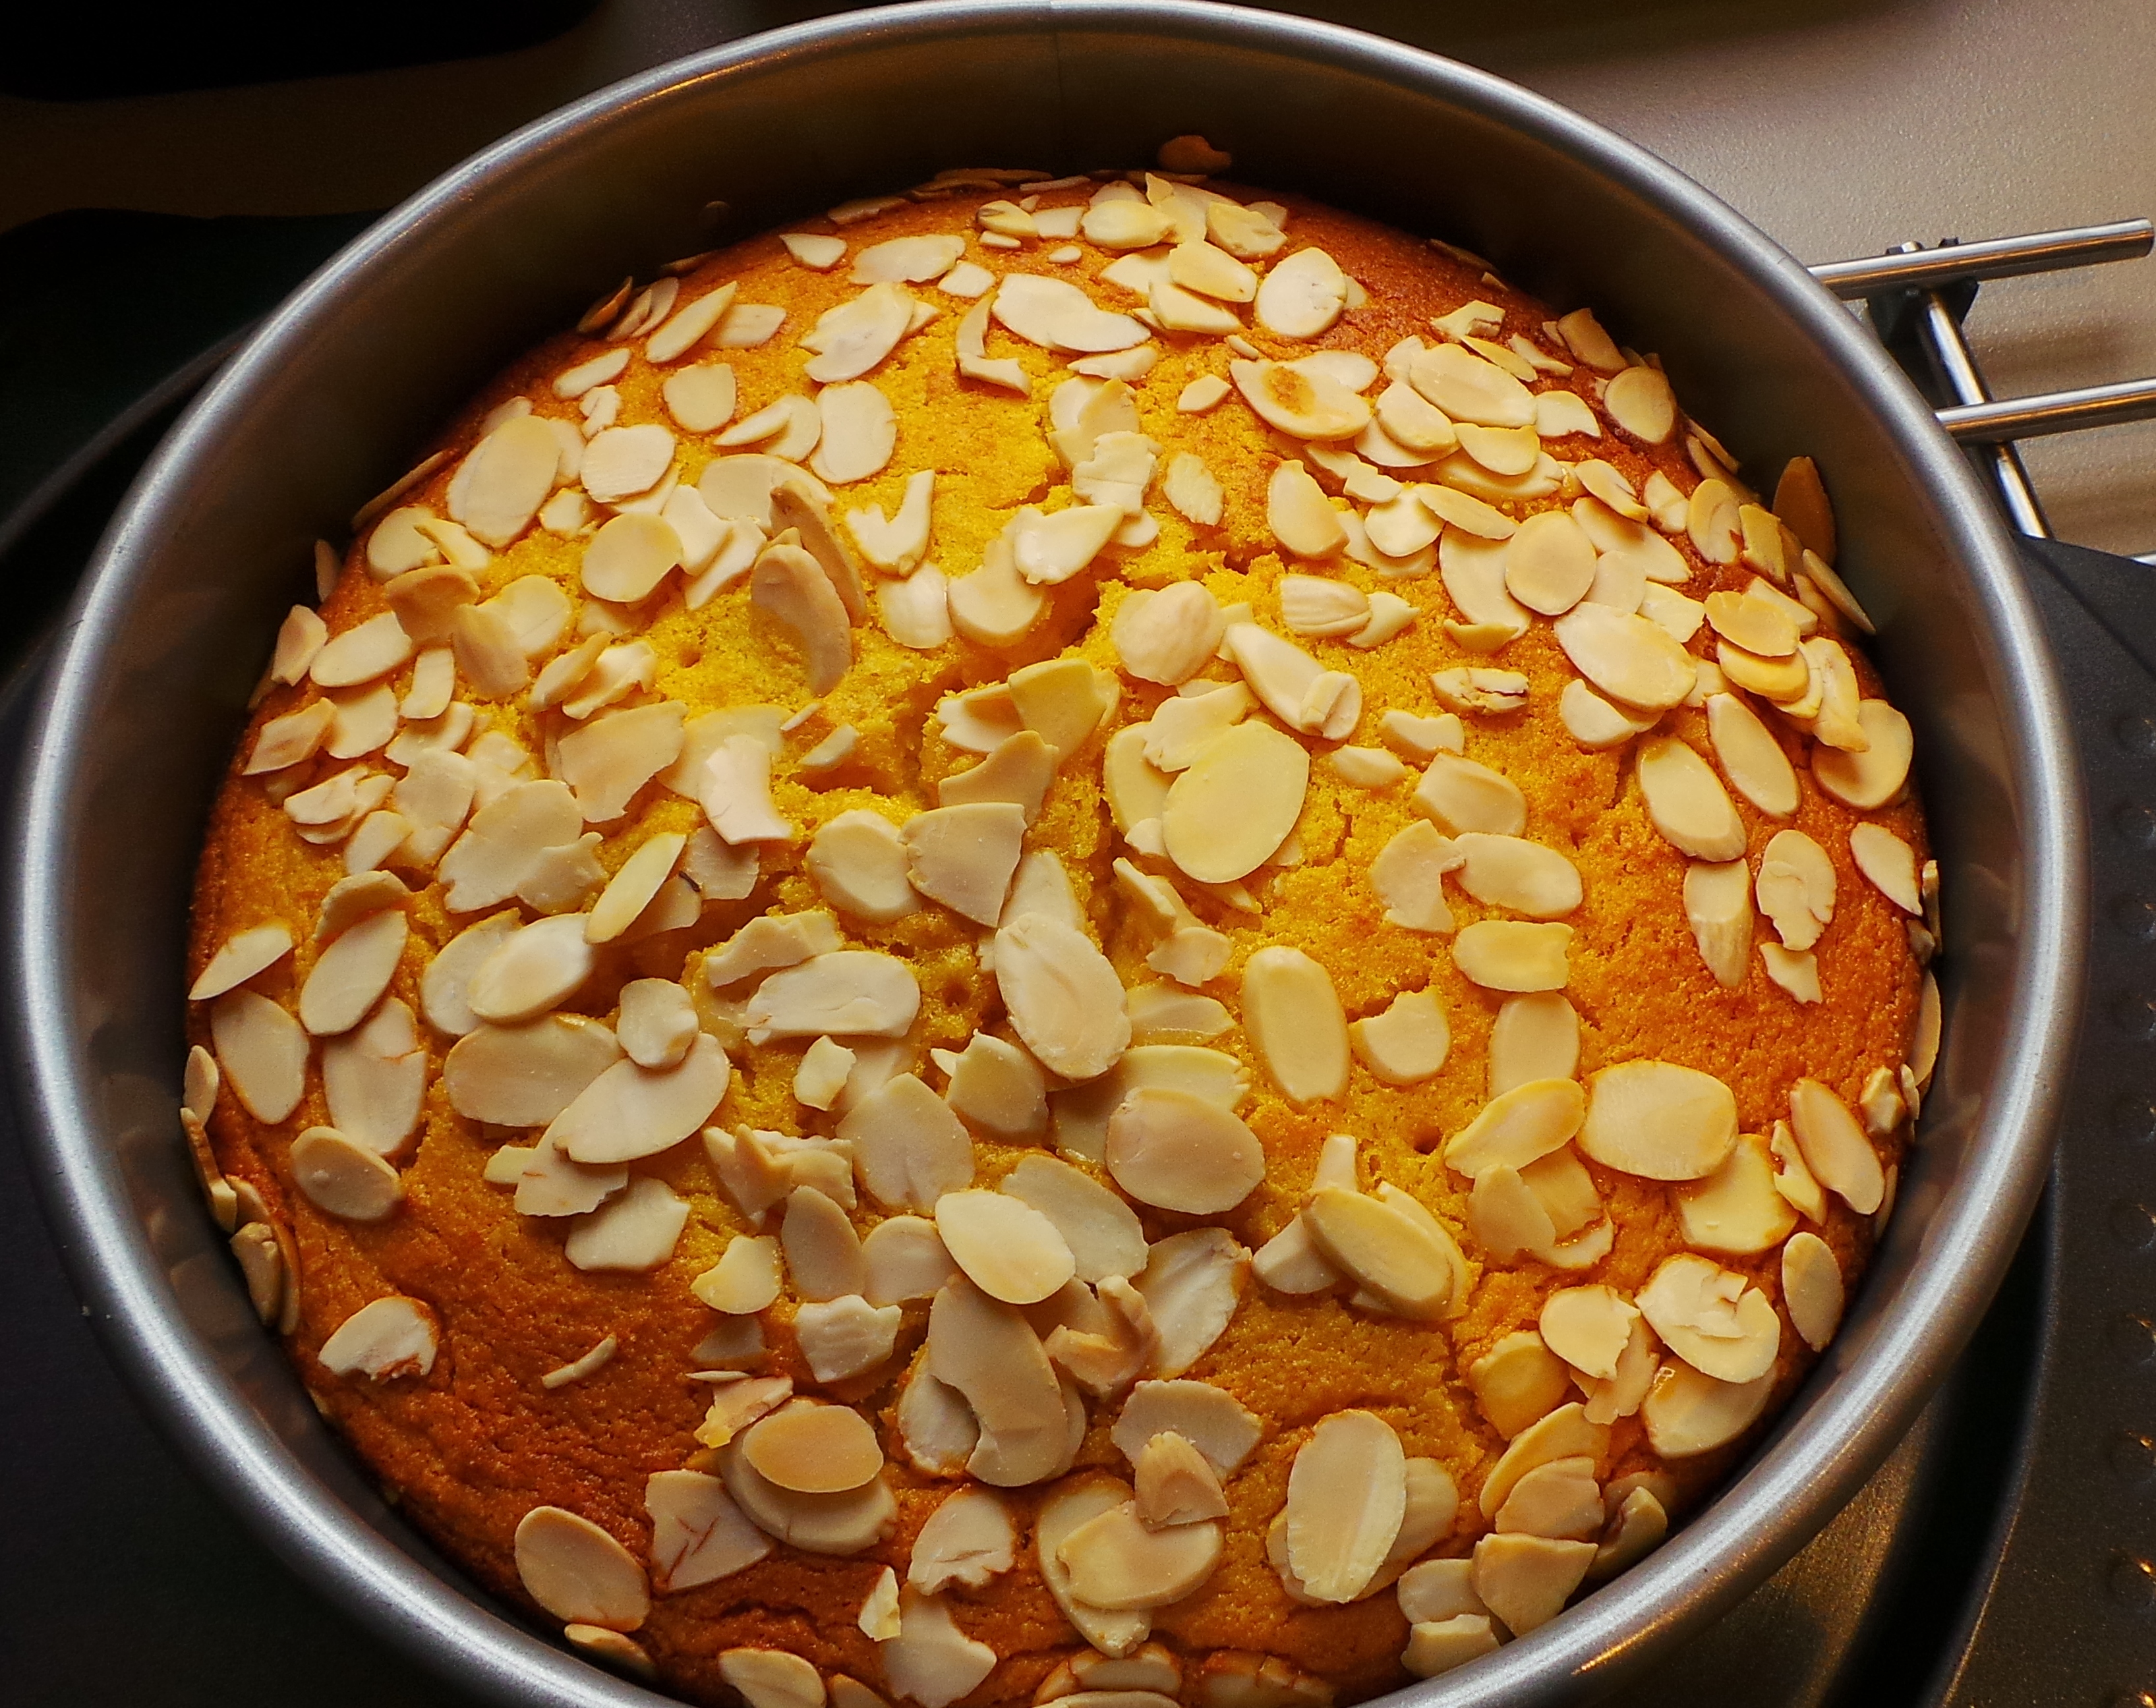
Scatter a couple of handfuls of flaked almonds over the top.
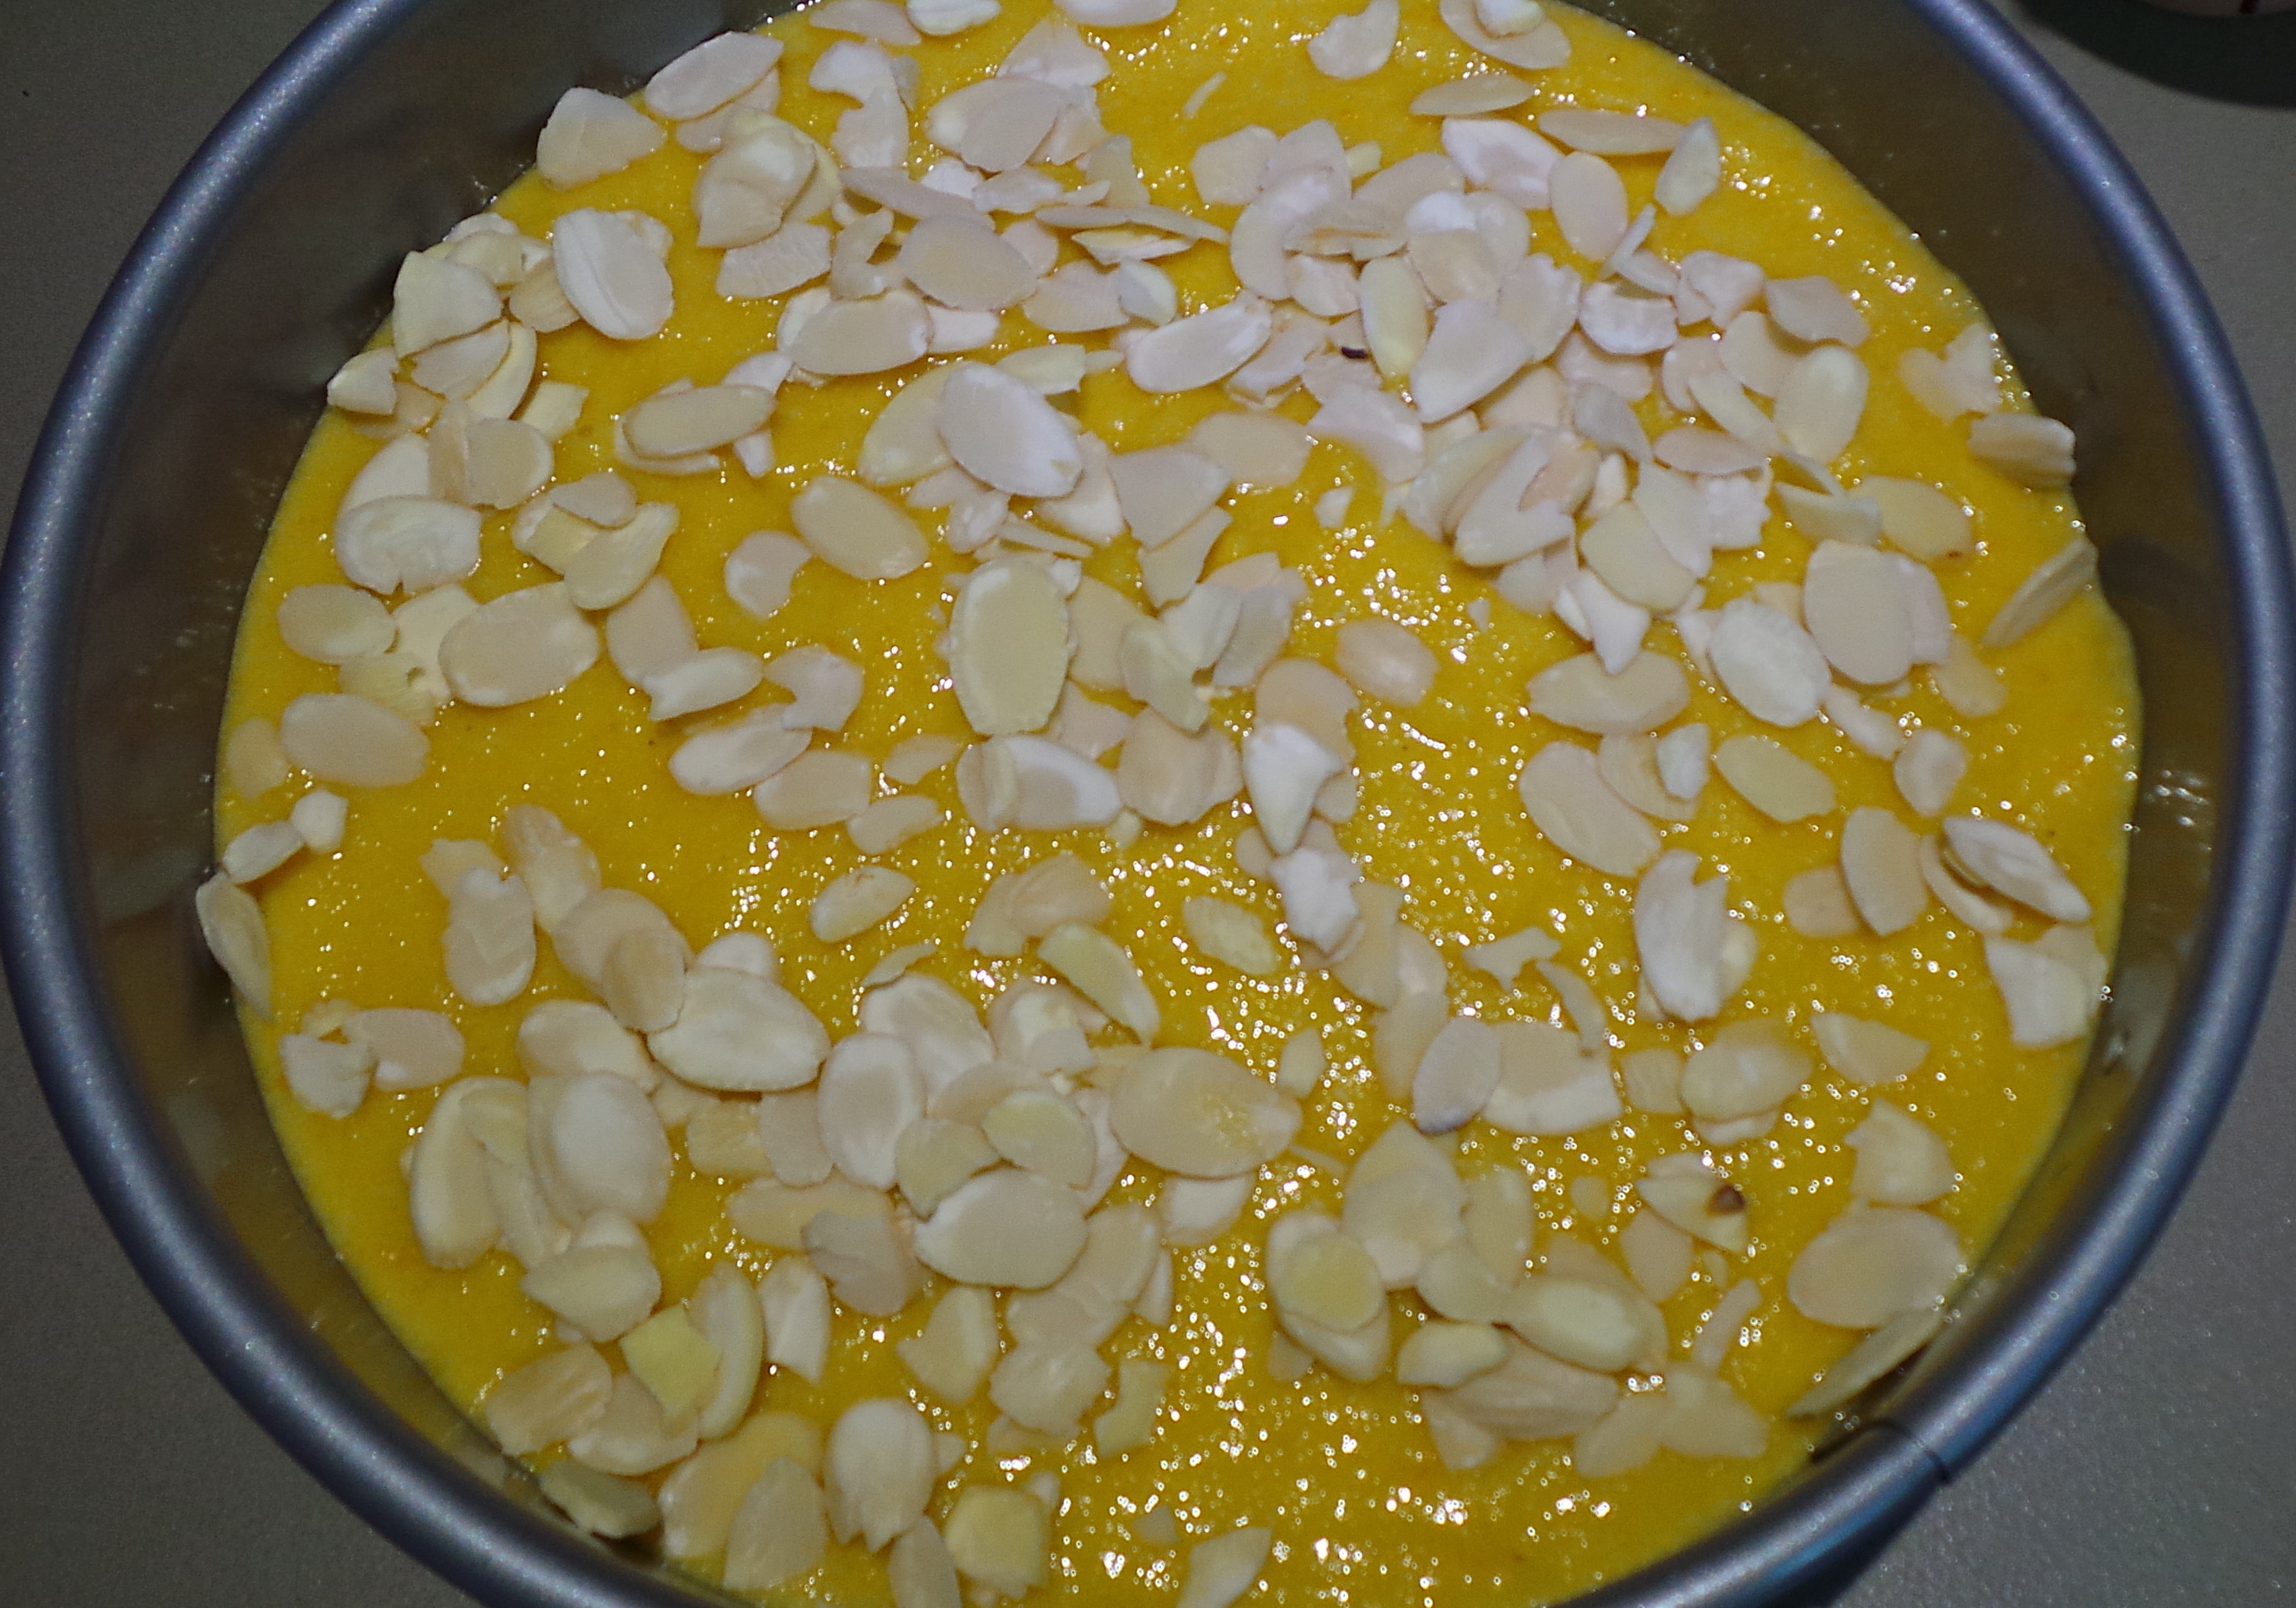
Scatter some flaked almonds over the top.
Then pop it into the oven for an hour or so, or until a skewer inserted in the centre comes out clean. The almonds on the top will be nicely toasted. To make things a little easier for you, place the cake tin on a flat baking tray like a cookie sheet.
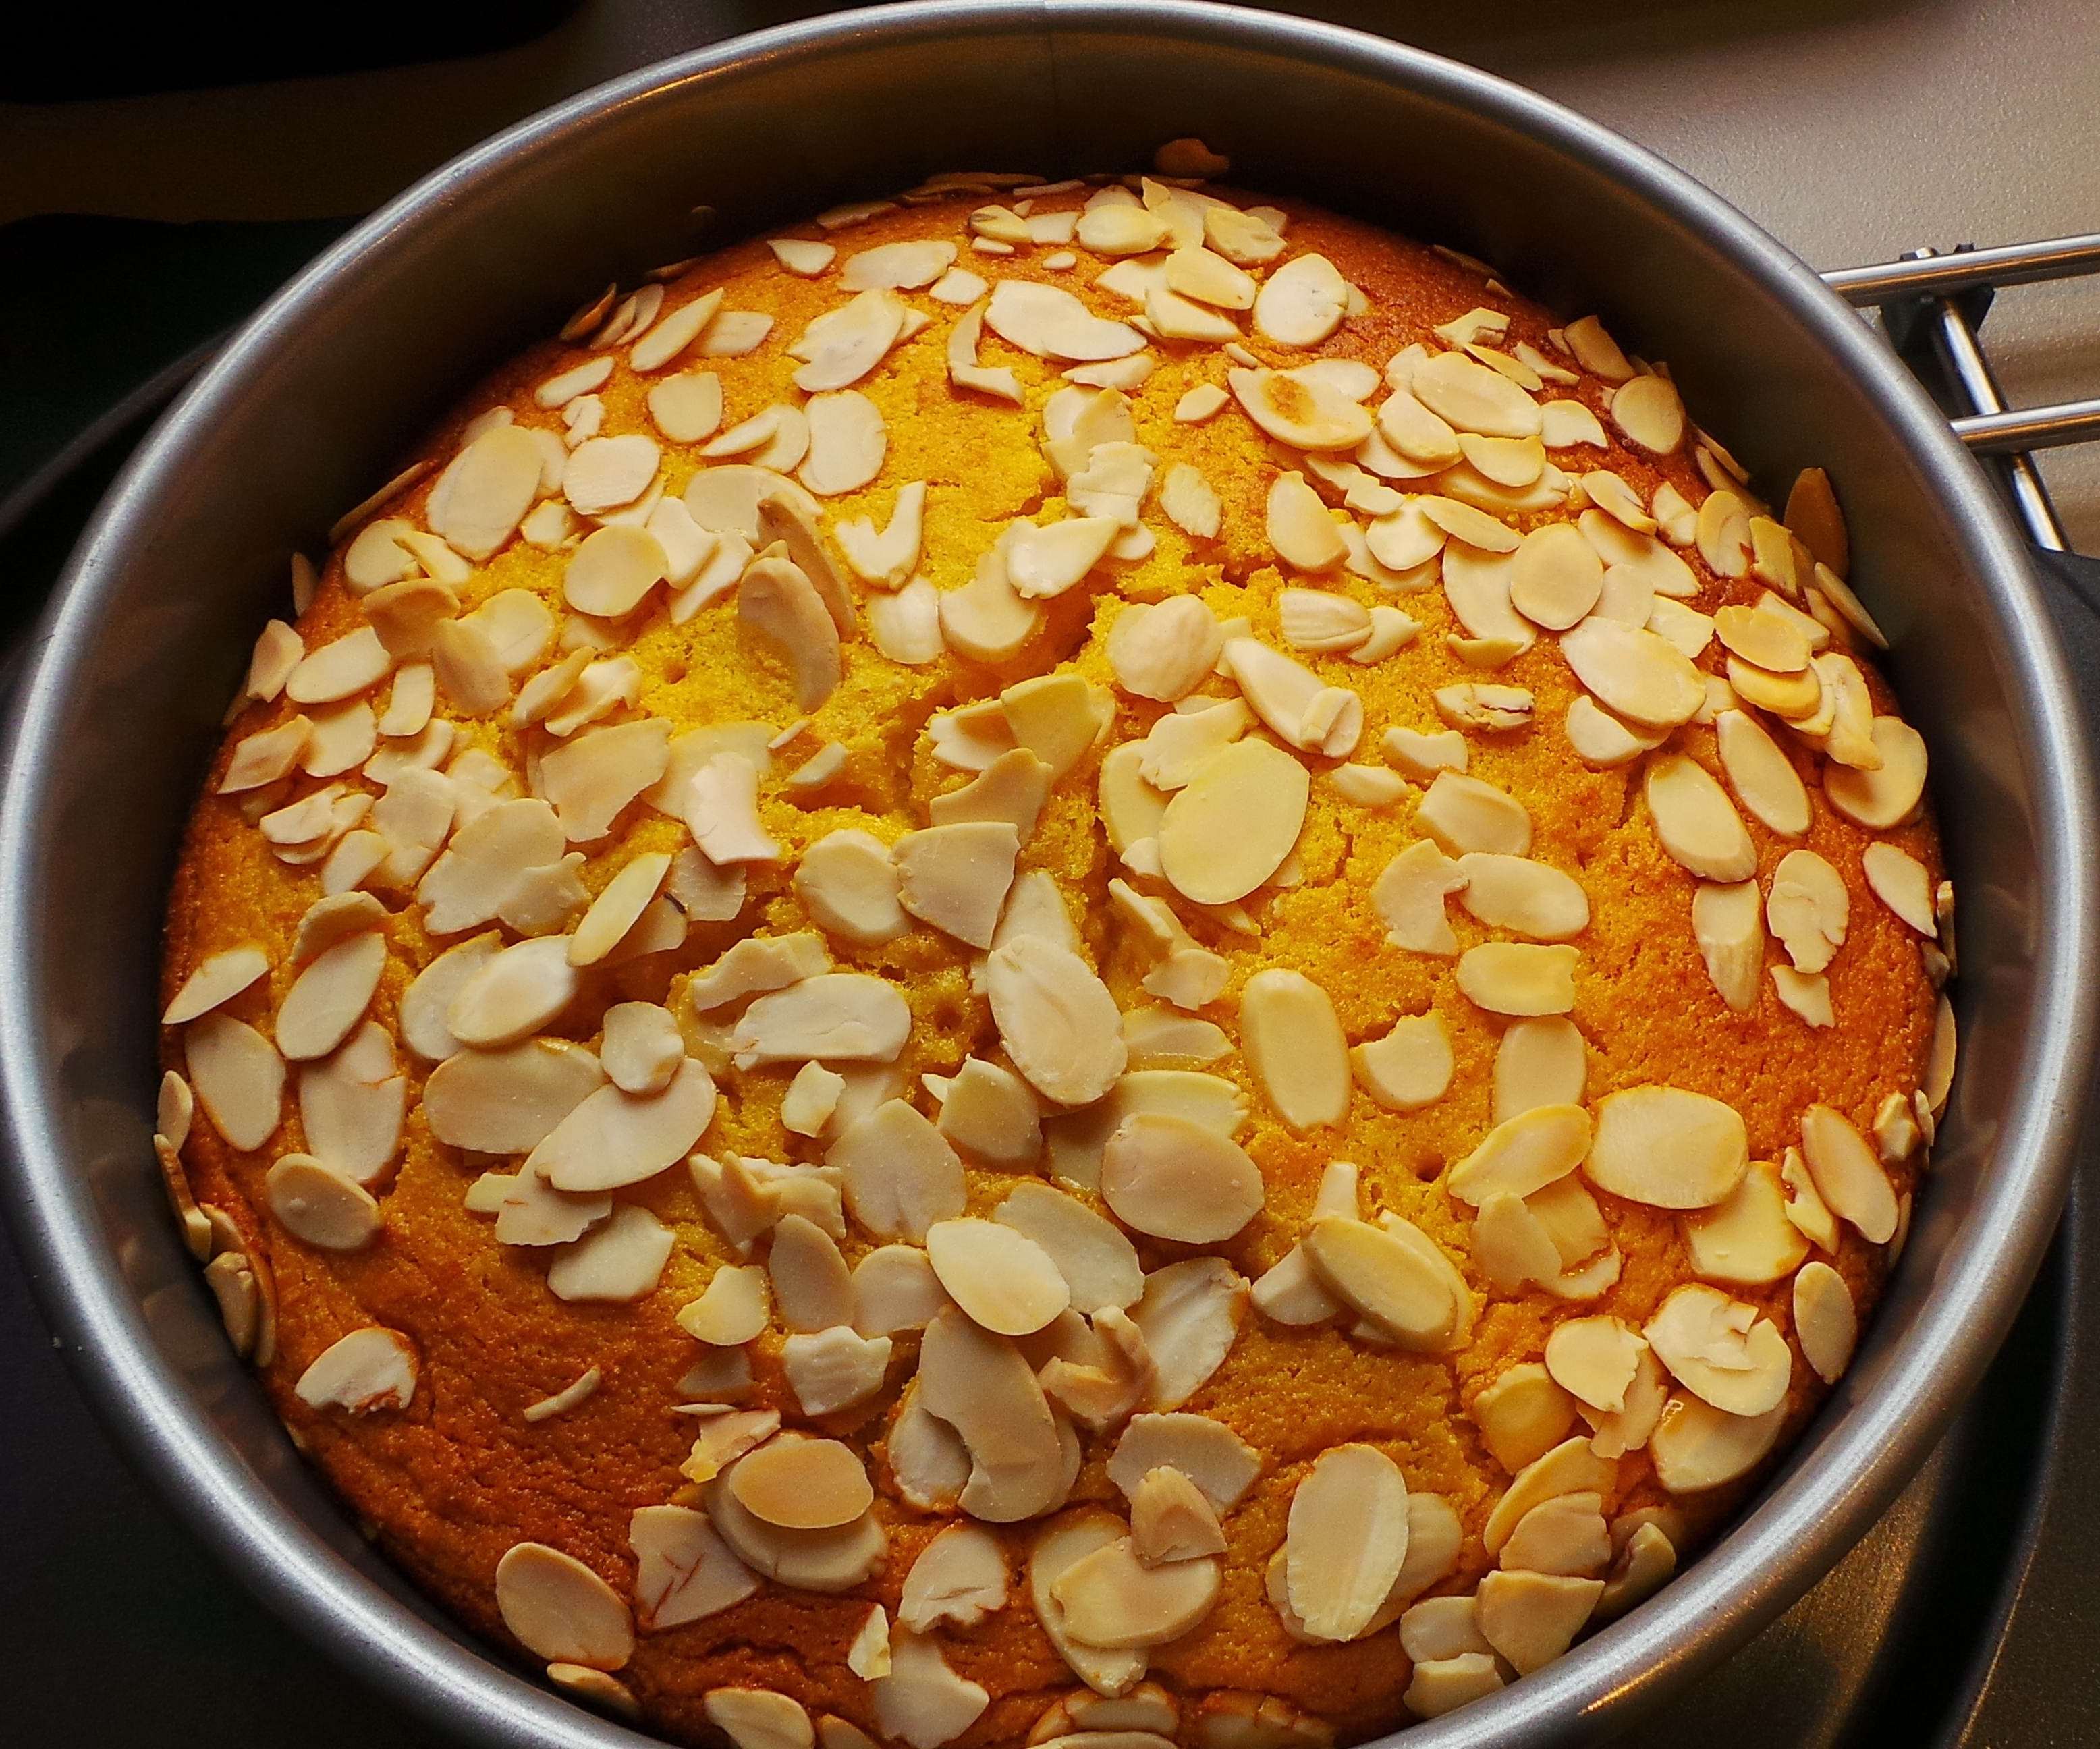
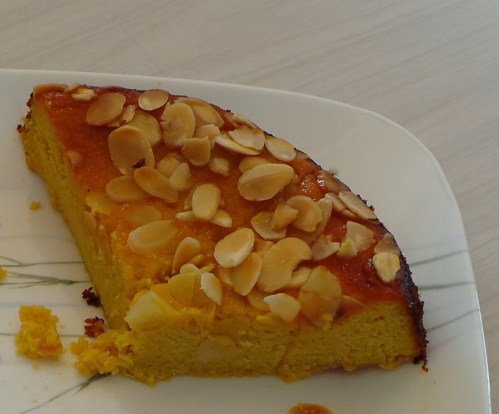
A beautifully tanned result.
Allow to cool in the tin. Run a blade around the tin before you release the spring. Sprinkle the top with some icing (confectioner’s or powdered) sugar before serving. I didn’t, as I didn’t have any that was gluten-free. The cake still tasted wonderful.
Well, this bloke thought so anyway.

Three year olds are, like, the toughest critics *ever*
Just don’t forget to take a picture of it before you serve it up, like I may have….
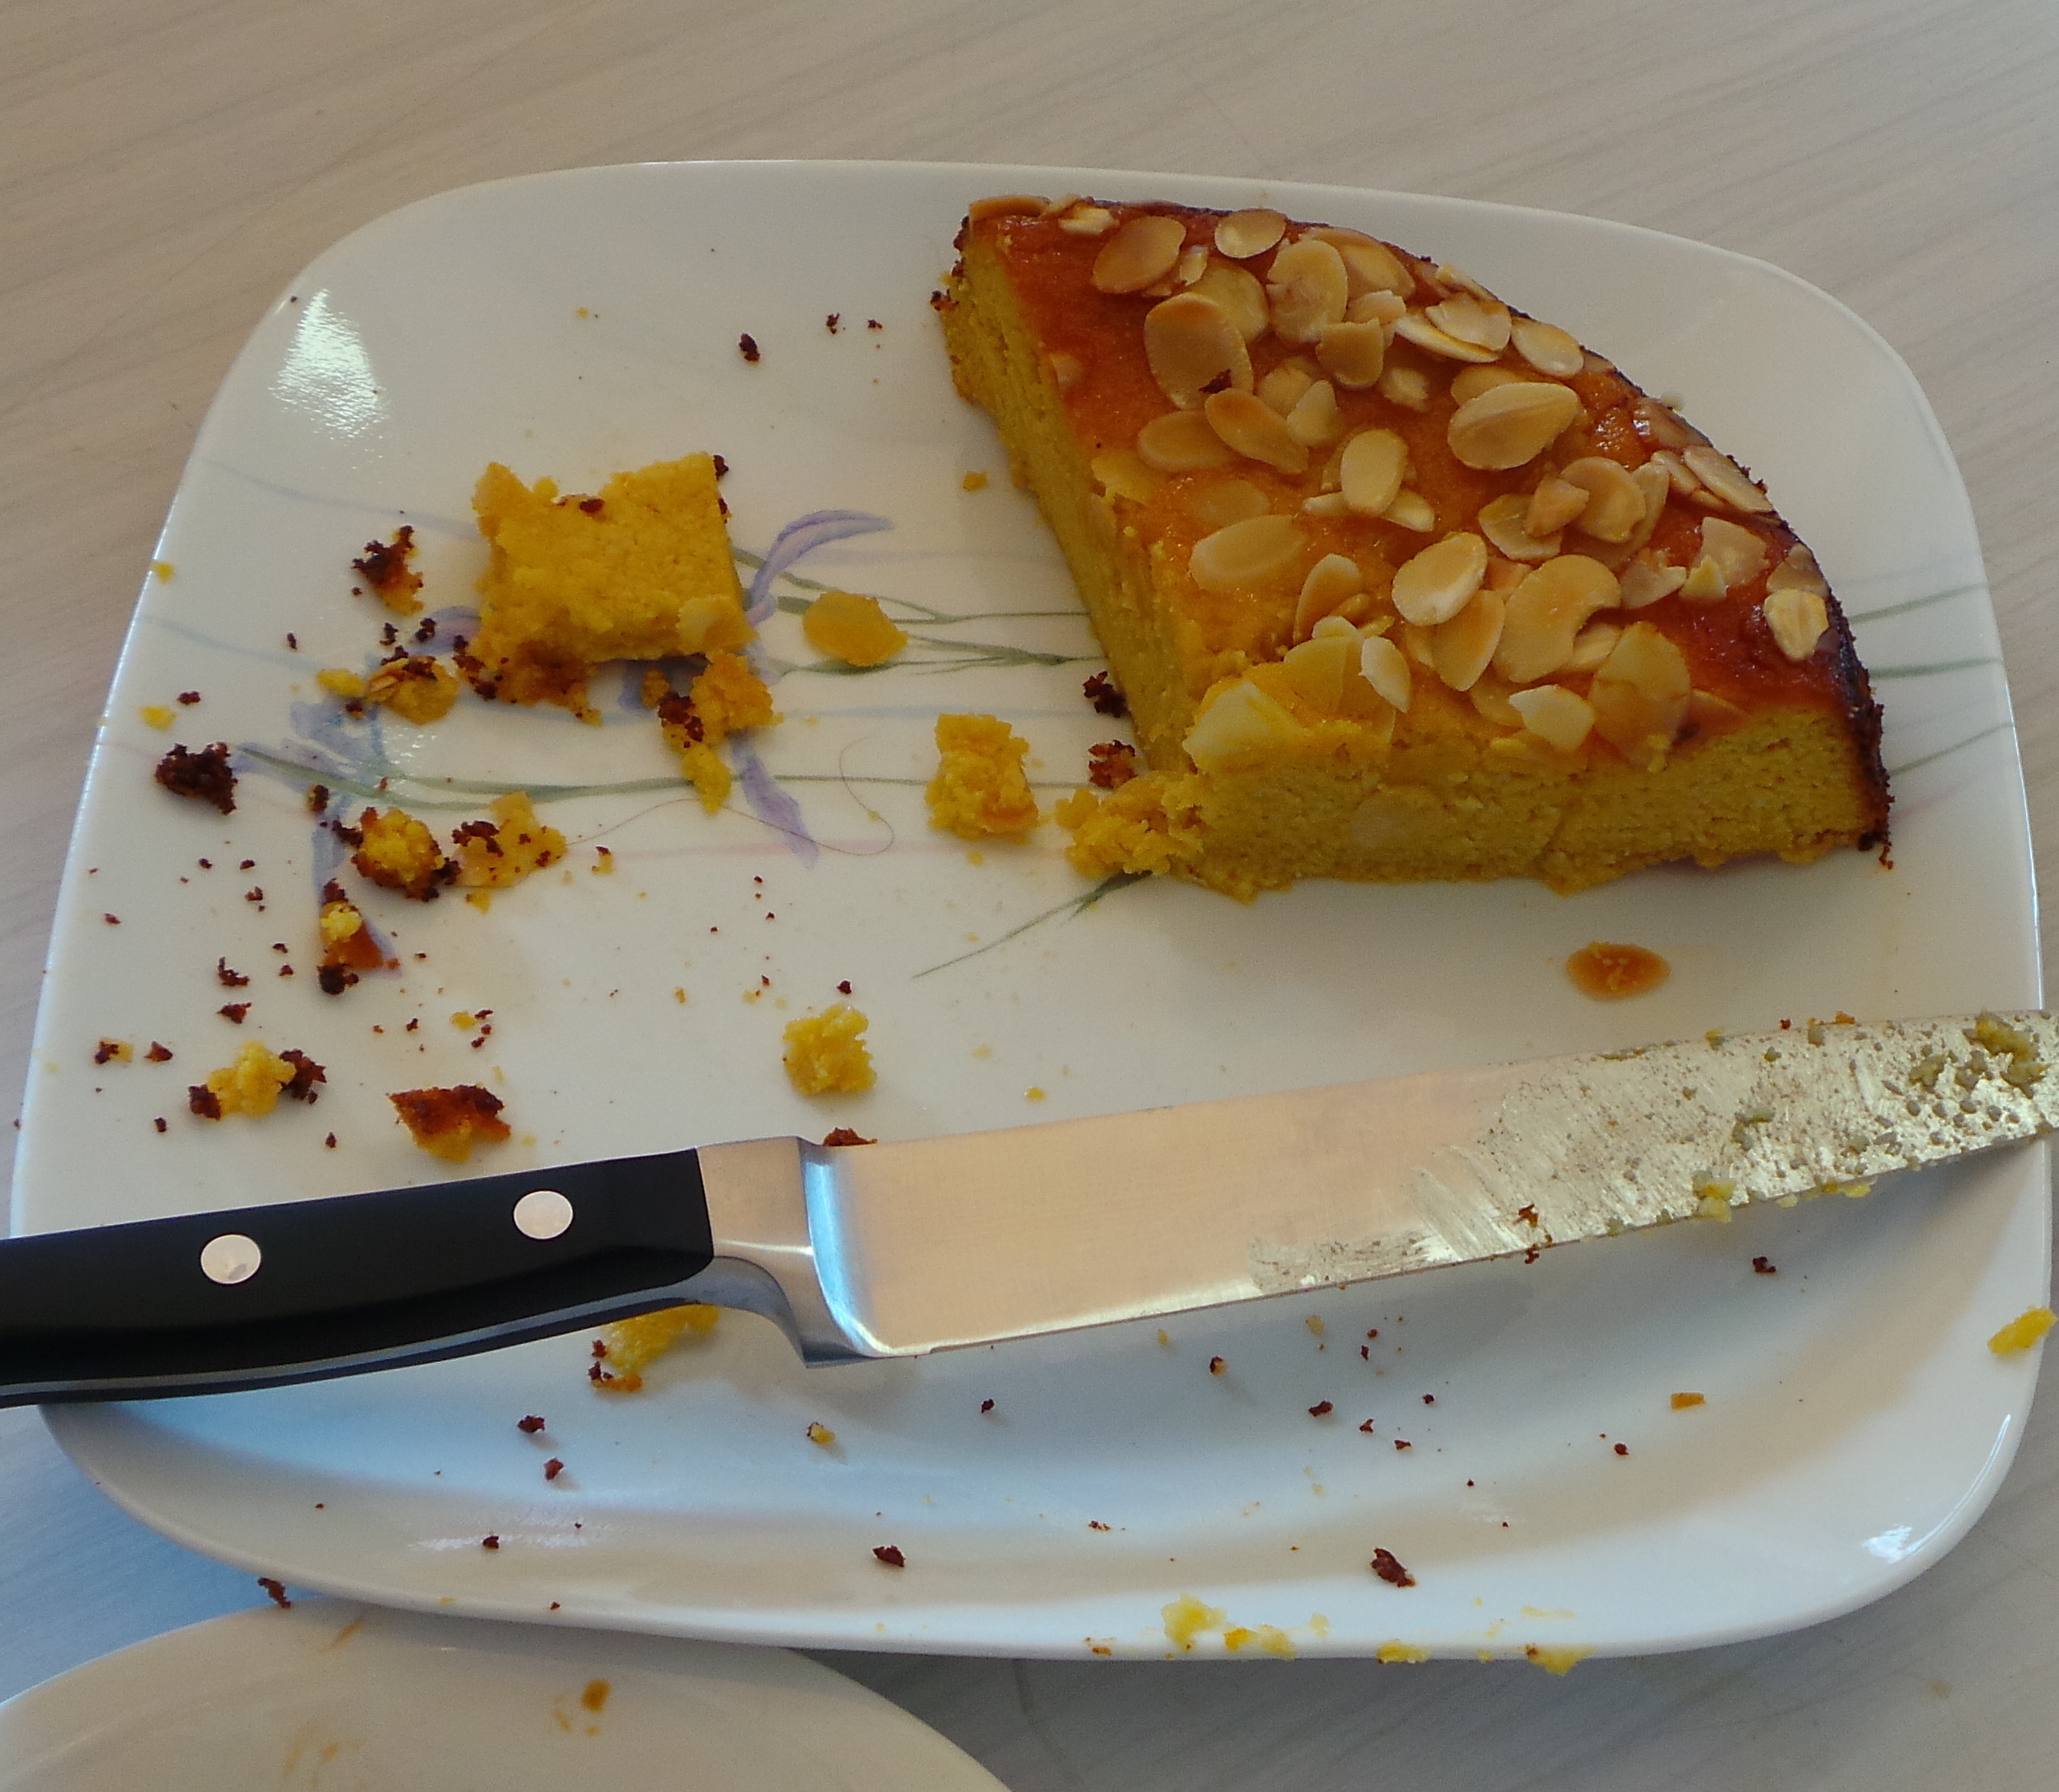
Better late than never.
Flourless Orange and Almond Cake
Ingredients
Method