Ladies and Gents I present to you a simple recipe that does NOT contain turkey!

Yayyyyy!
This recipe started its life as Boeuf à la Flamande or Flemish beef, known in this particular household as Beef in Beer.
I got the recipe from a book called The Rustic Table and I adapted it for use in my trusty slow cooker – because why not? It does use a frying pan at the very beginning, but not for long and you can skip that step if you really want.
It’s incredibly simple and my meal of choice for small dinner parties, especially during winter. A good dollop of this, served on a bed of creamy mashed potatoes, makes it much easier to brave the cold.
It’s just as good in the Australian summer – because beer.
Now beer is not a staple in this household, but The Boy went to great lengths to find just the right one for this dish. I actually can’t tell you which one he ended up getting, but it worked…
That’s not particularly helpful is it? Go with something dark, but not black, maybe – and this is a stab in the dark – something Belgian, and you should be fine. Having said that though, I have made this with apple cider and it was delicious, so don’t stress.
You’ll also want to get a few other ingredients, like beef and stuff.
Sorry. I’ll behave.
Ahem.
This is a recipe that can quite easily be made gluten-free for any coeliacs on your guest list. Simply use cornflour or cornstarch in place of the plain flour and you’ll be golden.
[edit: I’ve been reminded that beer is not gluten-free. I’m an idiot. Please ensure you use a brew that doesn’t contain malts or other anti-coeliac nasties. Cider should be fine.]
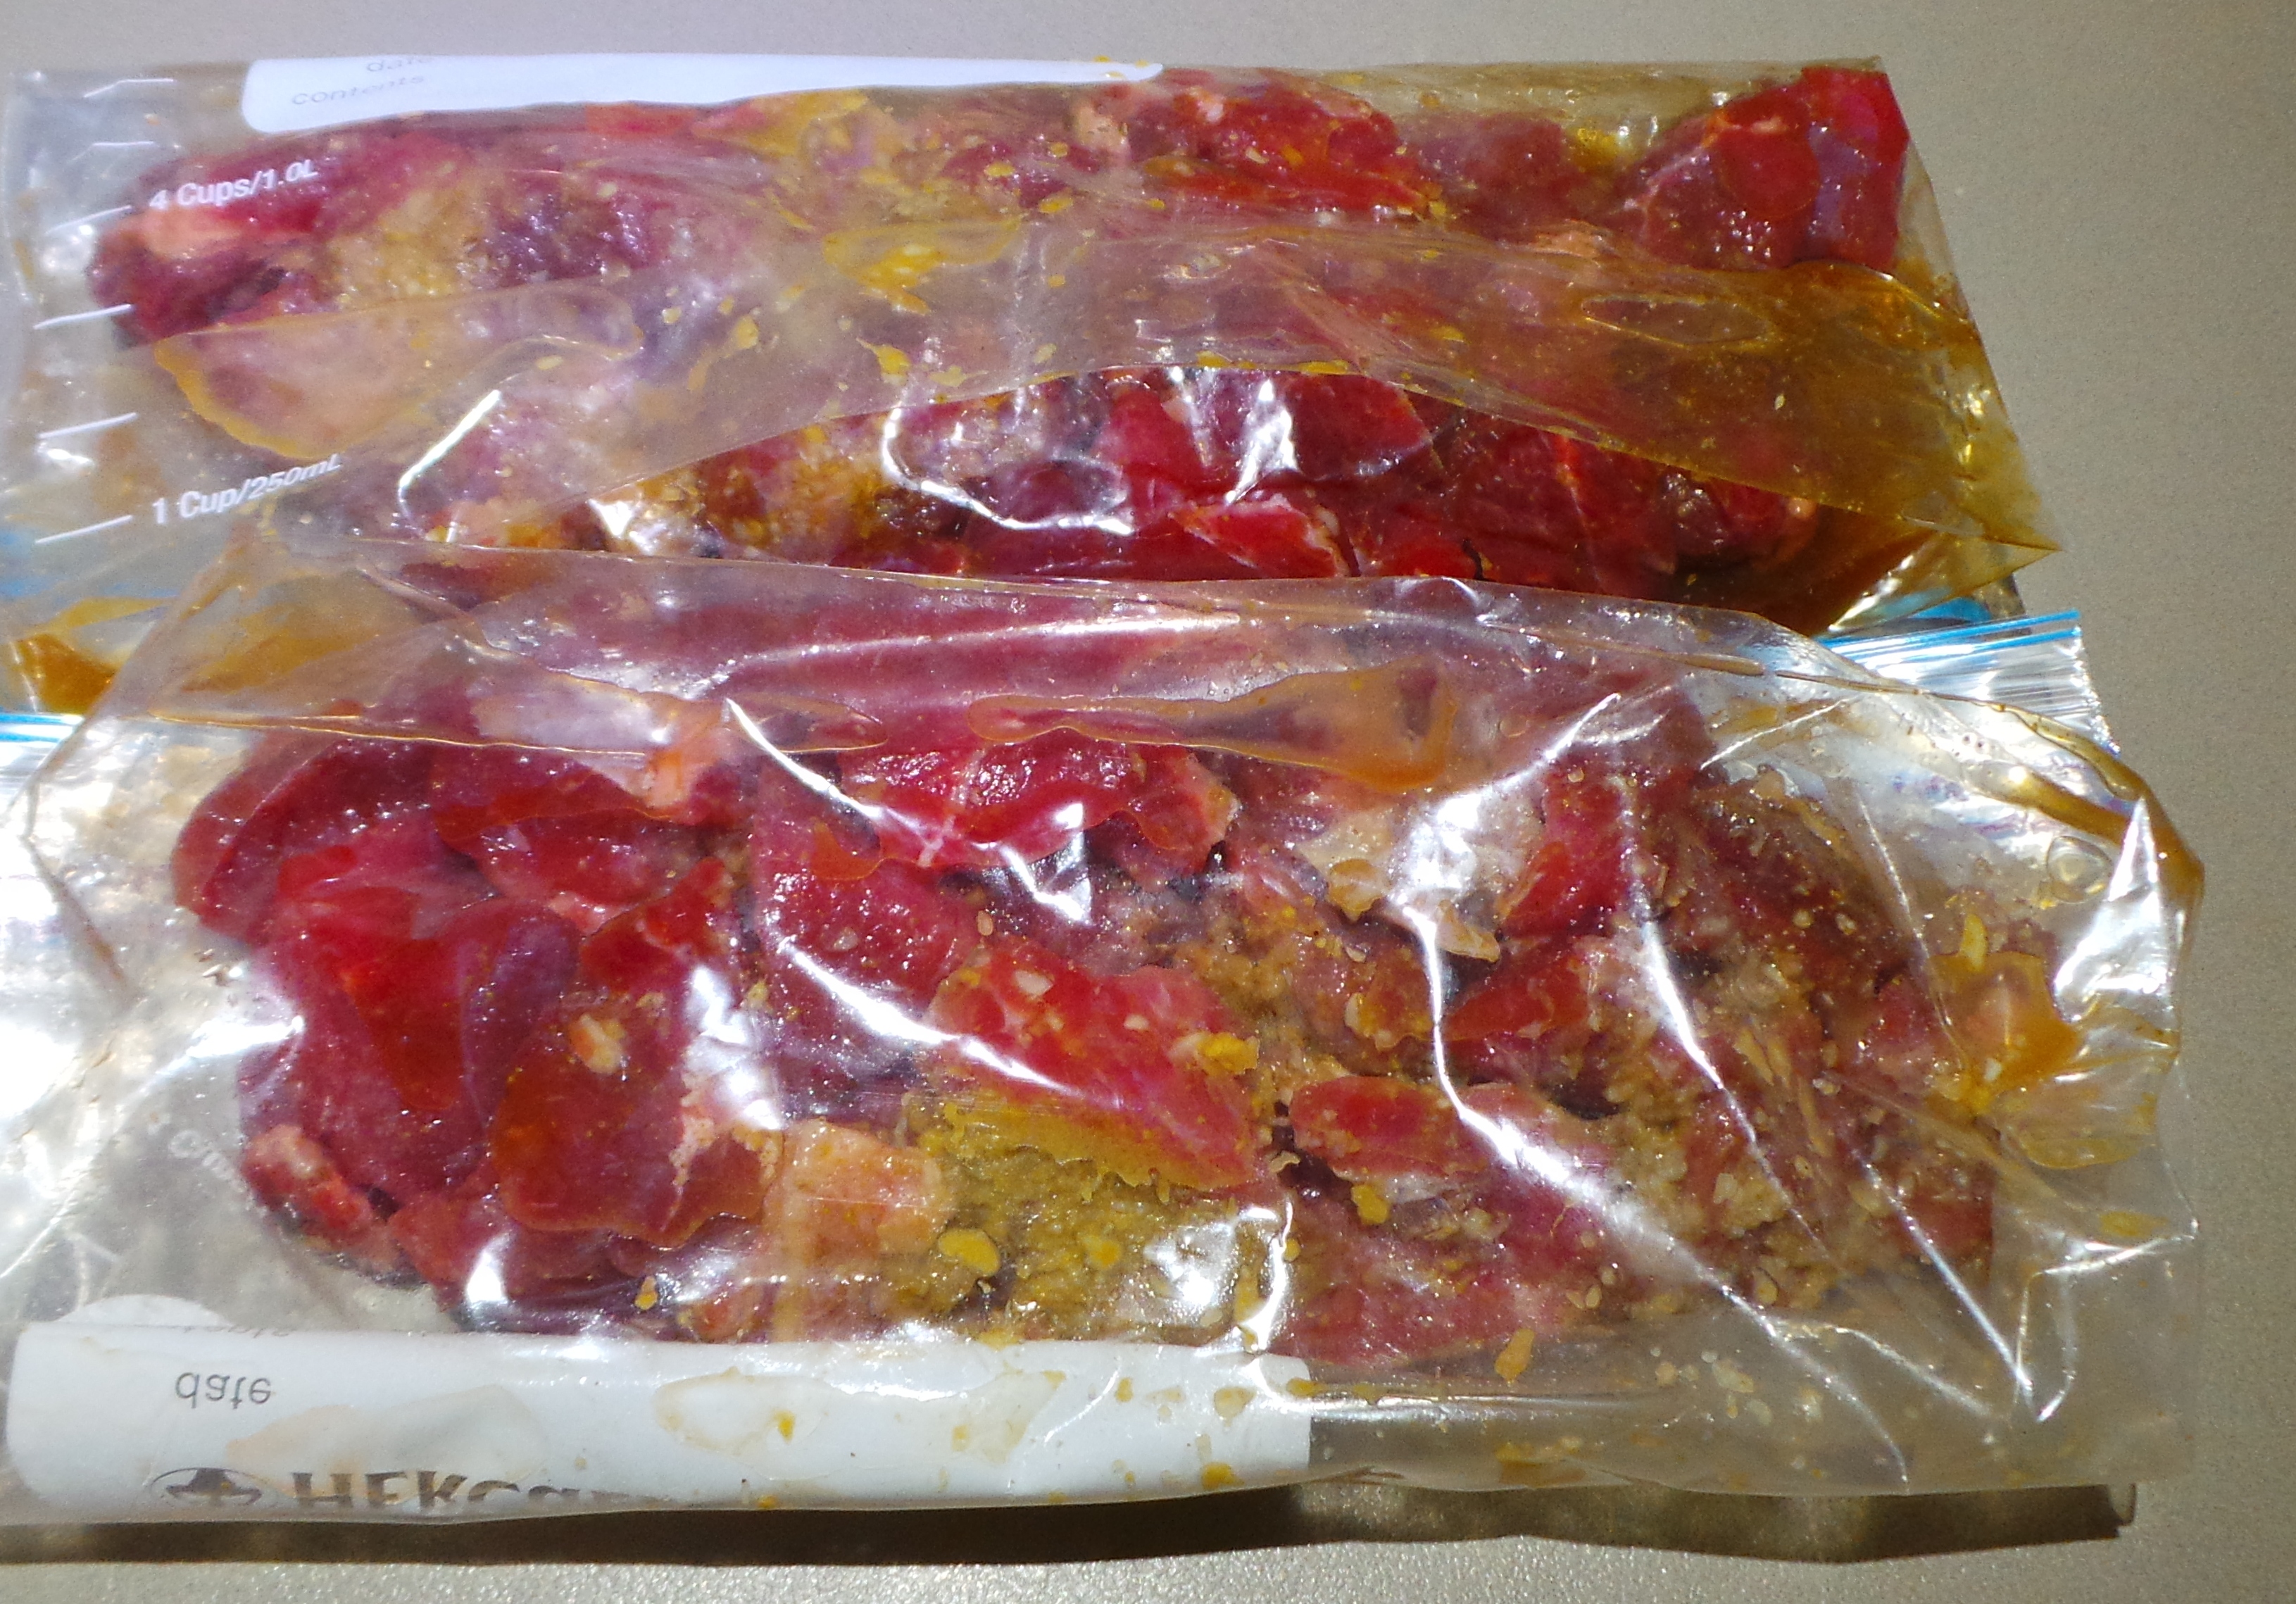
You’ll need one and a half kilos of boneless chuck steak that has been trimmed of its fat and cut into 2 cm cubes. If you don’t like handling meat simply ask the butcher to do this for you. Then place a good cup or so of your flour of choice into a large plastic bag and season it well with salt and pepper. This mix is used to coat your beef cubes. The flour will help to thicken your sauce once the liquid is added, so don’t skip the coating stage.
Basically, take a few of your cubes, add them to the bag of flour, pinch the top closed and shake it until they are covered in flour.
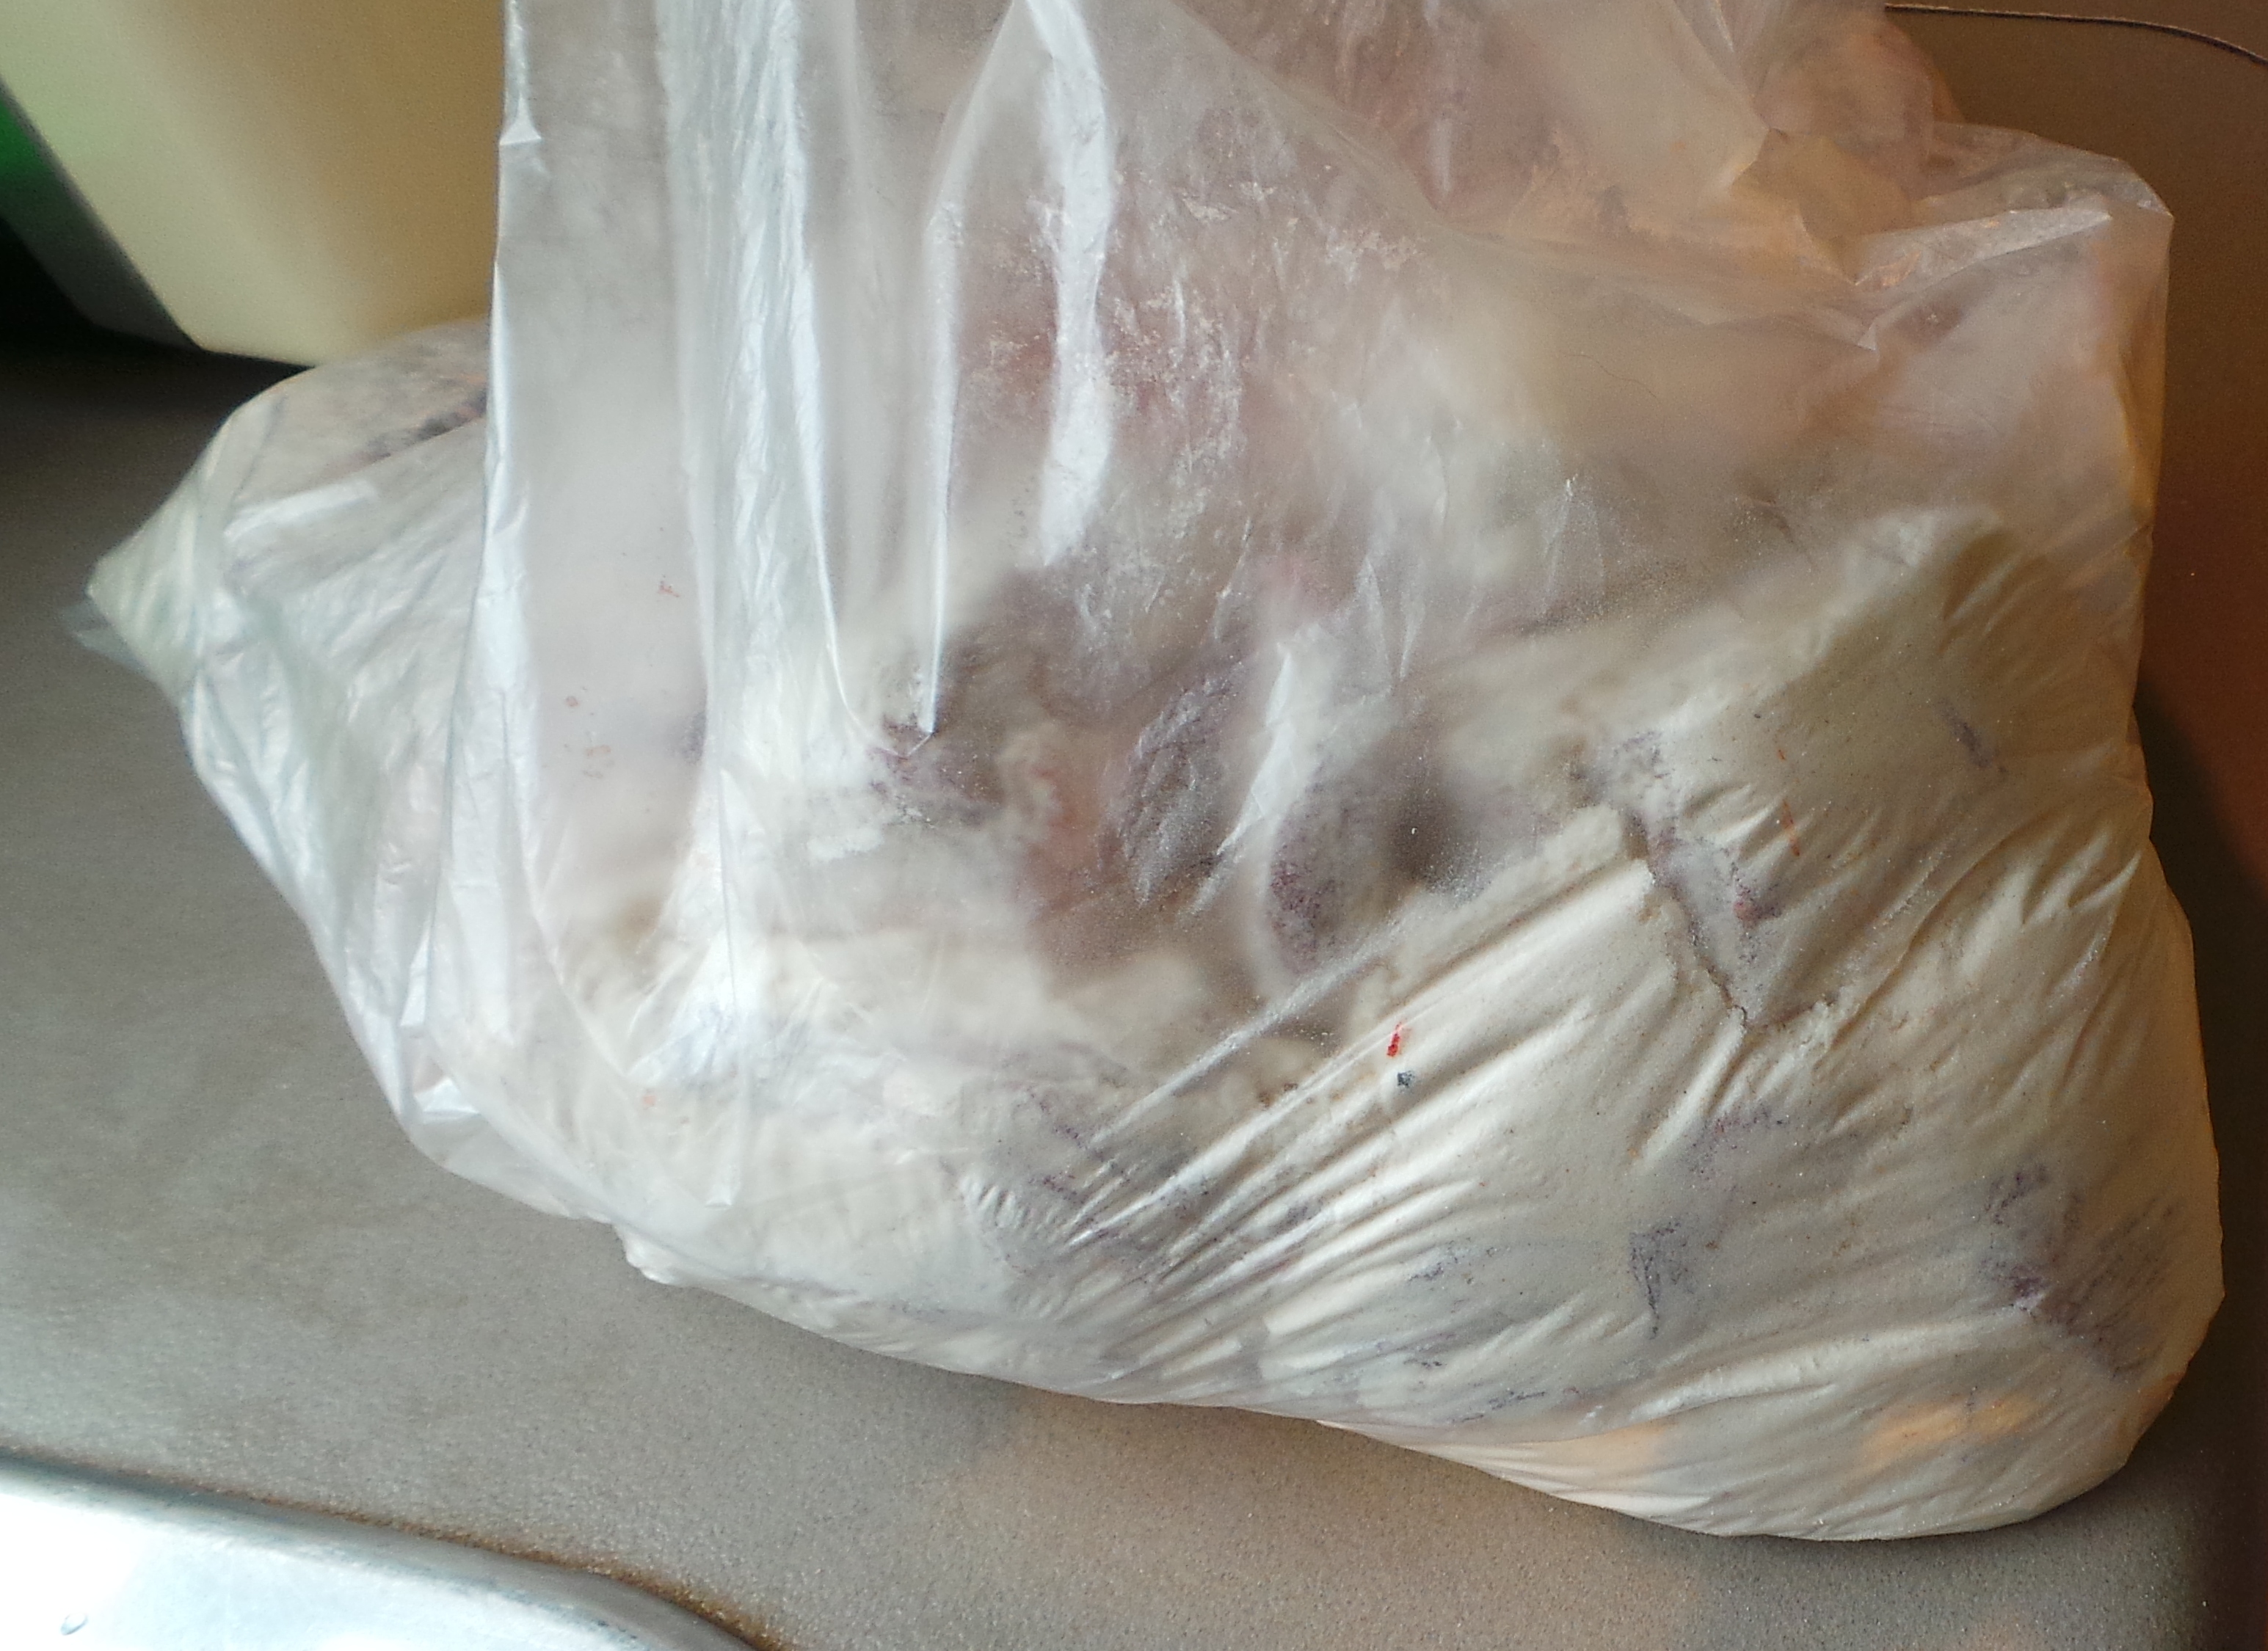
Coat your beef in seasoned flour.
Or you could do the whole lot at once if you are short of time or patience. Like I did. (see above)

The end result.
In your frying pan, melt a little butter and add some oil – the oil is there to stop the butter from burning. Now you want to gently fry your cubes of beef just long enough to brown them all over, but not cook them through.
This part can be skipped, but the caramelization that happens here will add a depth of flavour to your stew that makes it well worth doing.
Shake off each piece of beef as you remove it from the bag and place it gently into the pan. Only brown off a few cubes at a time as this will help to keep the temperature of the pan stable and help the meat to brown rather than steam.

Brown your meat.
When they are suitably tanned, remove them to a piece of paper towel to drain and continue the process until all of the beef is done.

The browned beef, resting.
I admit to putting the drained beef into the slow cooker pretty much as each batch is done, but I’m an experienced cook who knows what they’re about. Once I’ve got an assembly line happening, it’s all systems go. You may need to take it slower. Nevertheless, when your beef is all seared and sealed, dump it into your slow cooker. Mine was a 5 litre or 4 quart size. Turn the slow cooker to LOW and put the lid on while you do the next steps.
Make sure your frying pan is off the heat, but keep it handy. You’ll be using it again soon.
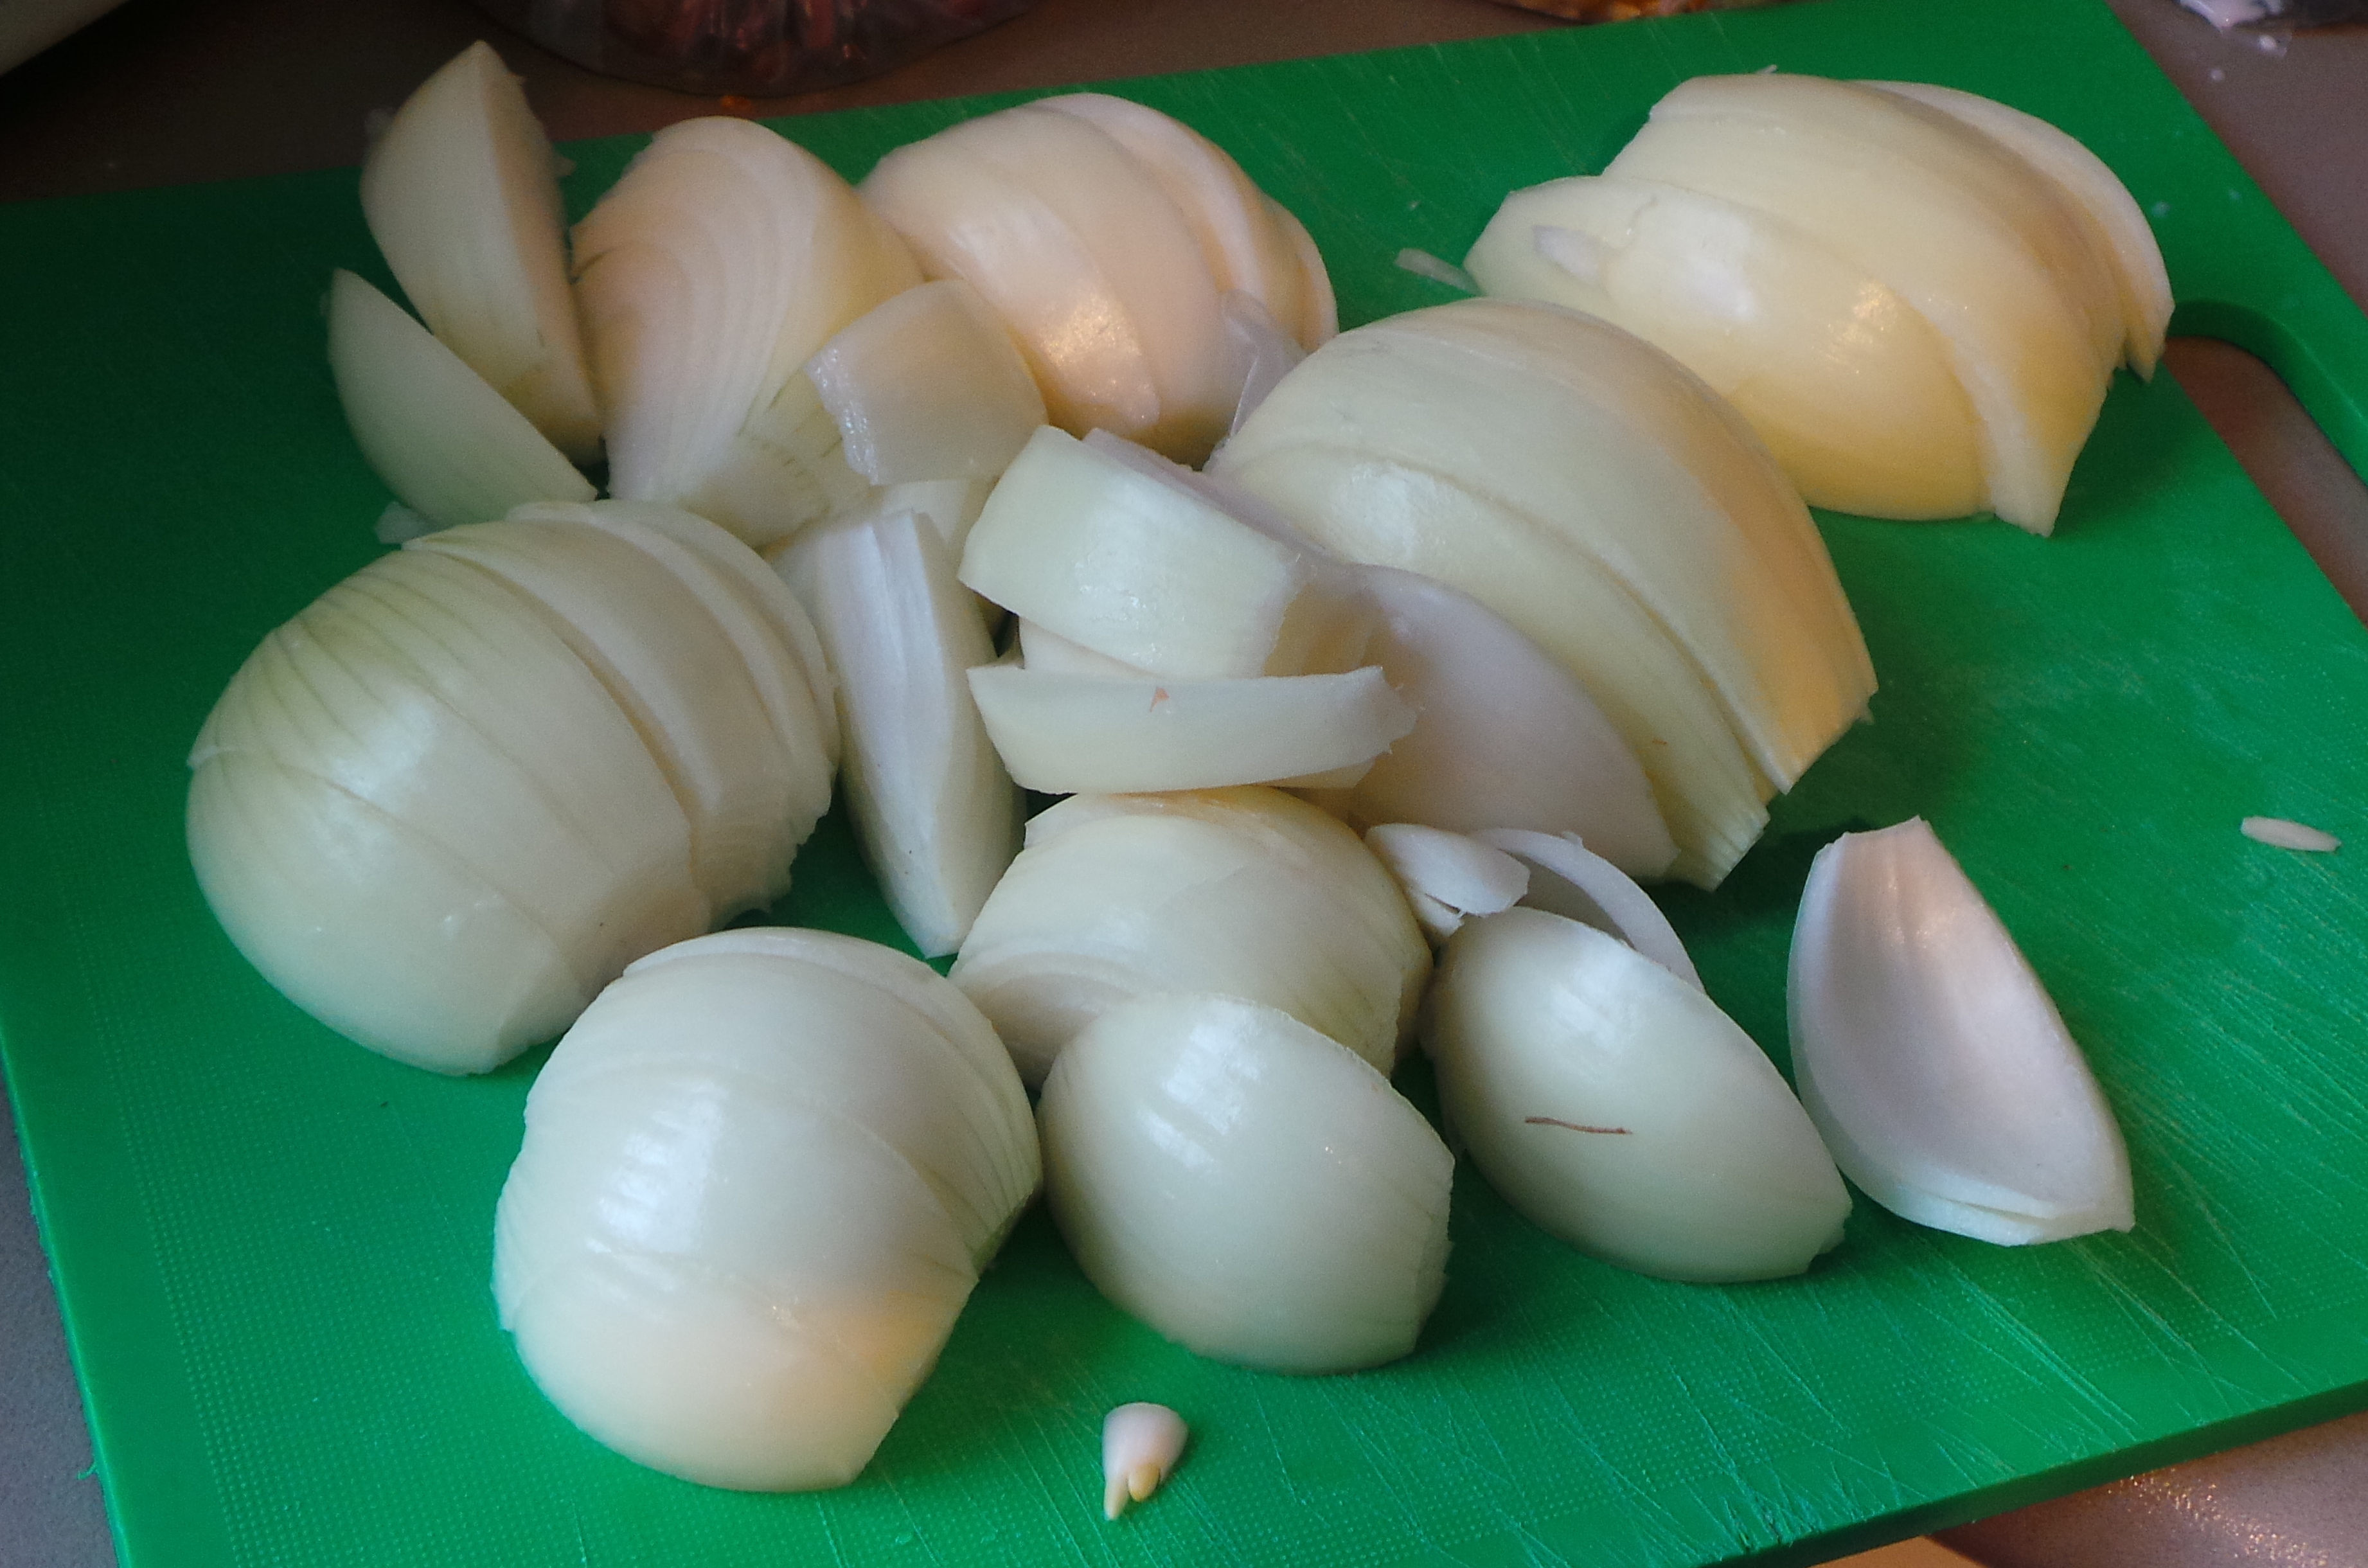
The next step is cutting up quite a few onions; 5 to be precise. You’ll want nice medium-sized ones – something you can hold easily in the palm of your hand. Peel them and cut in half, then slice into wedges so that they look like crescent moons.
Wear sun glasses or swimming goggles if your eyes are sensitive. Not joking.
Get your pan back on the heat and, when it is warm enough, add your onions, stirring gently for five minutes or so. You want them to be just starting to soften and browning on the edges.
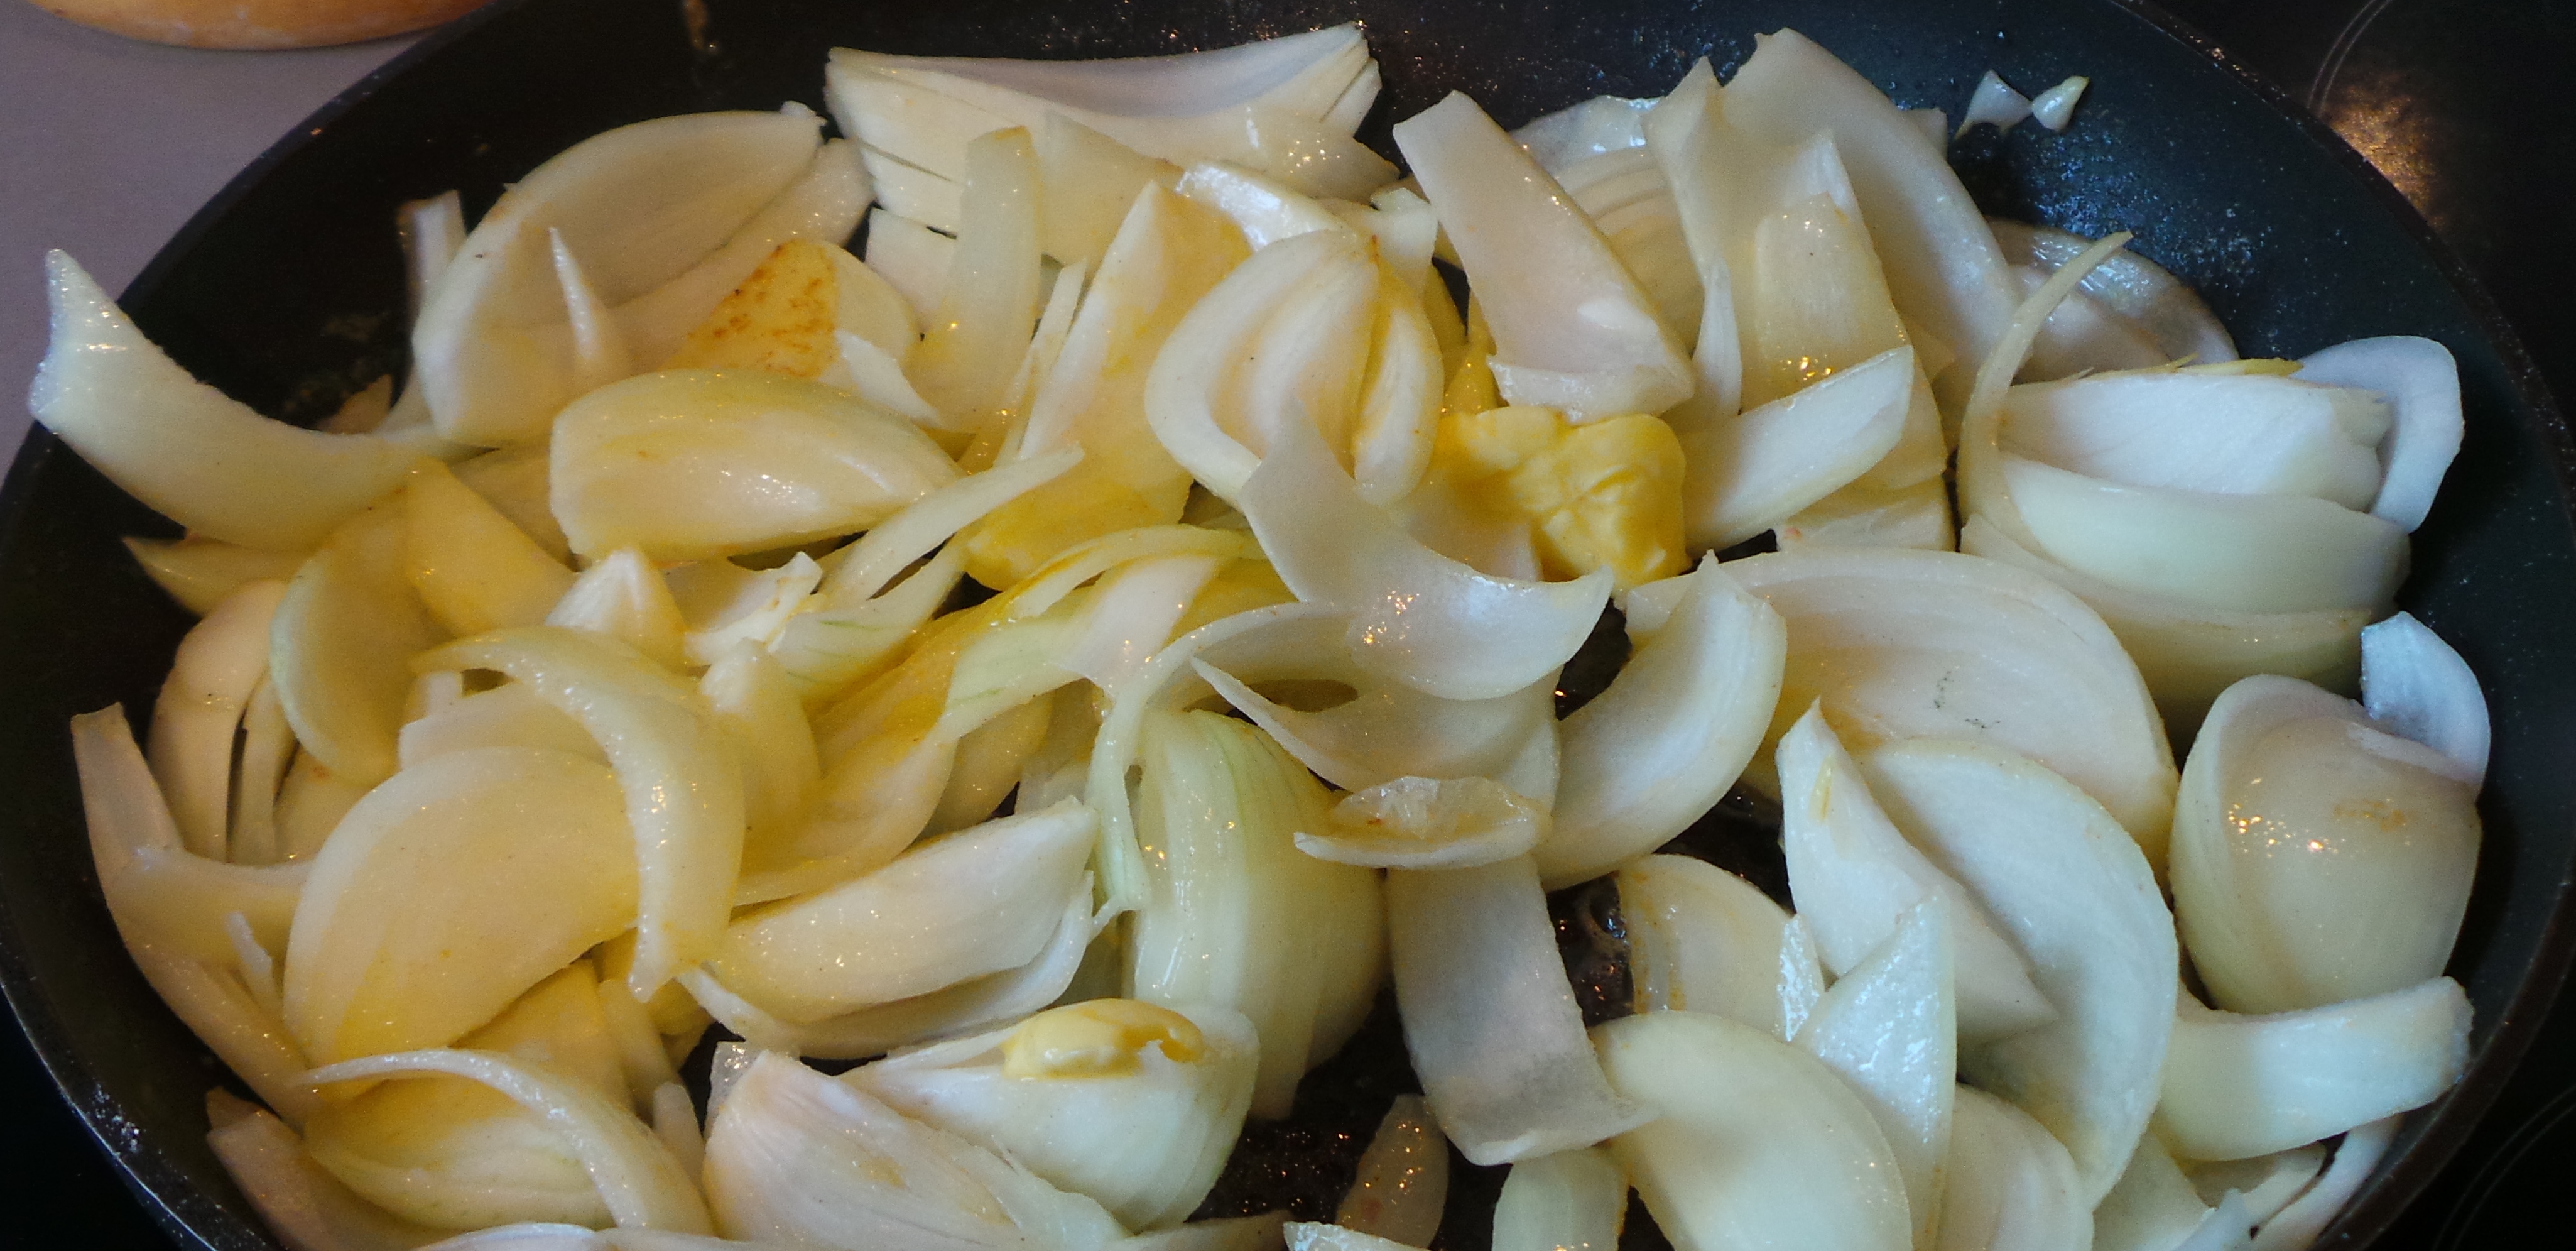
These are just starting to brown on the cut surfaces.
Using a slotted spoon remove them to the slow cooker too, leaving the juices in the pan. Place the lid back on the slow cooker and the pan back on the heat.
Add the herbs to the frying pan, along with some brown sugar, a touch of red wine vinegar and about 2 cups of beer. Stir, scraping the bottom of the frying pan to deglaze it.
You want to get all the crispy bits left from the browning process as they will add even more flavour to your stew.
Bring the liquid to a simmer.

It will smell amazing.
Turn off the heat. Remove the lid from your slow cooker and pour the entire contents of the pan into it.

Your work here is done.
Place the lid back on and turn the dial to HIGH and cook for 3-4 hours, or leave it on LOW and cook for 4-6 hours. Do all your washing up and walk away until you need to prepare your side dishes.
The sauce will thicken as it cooks.
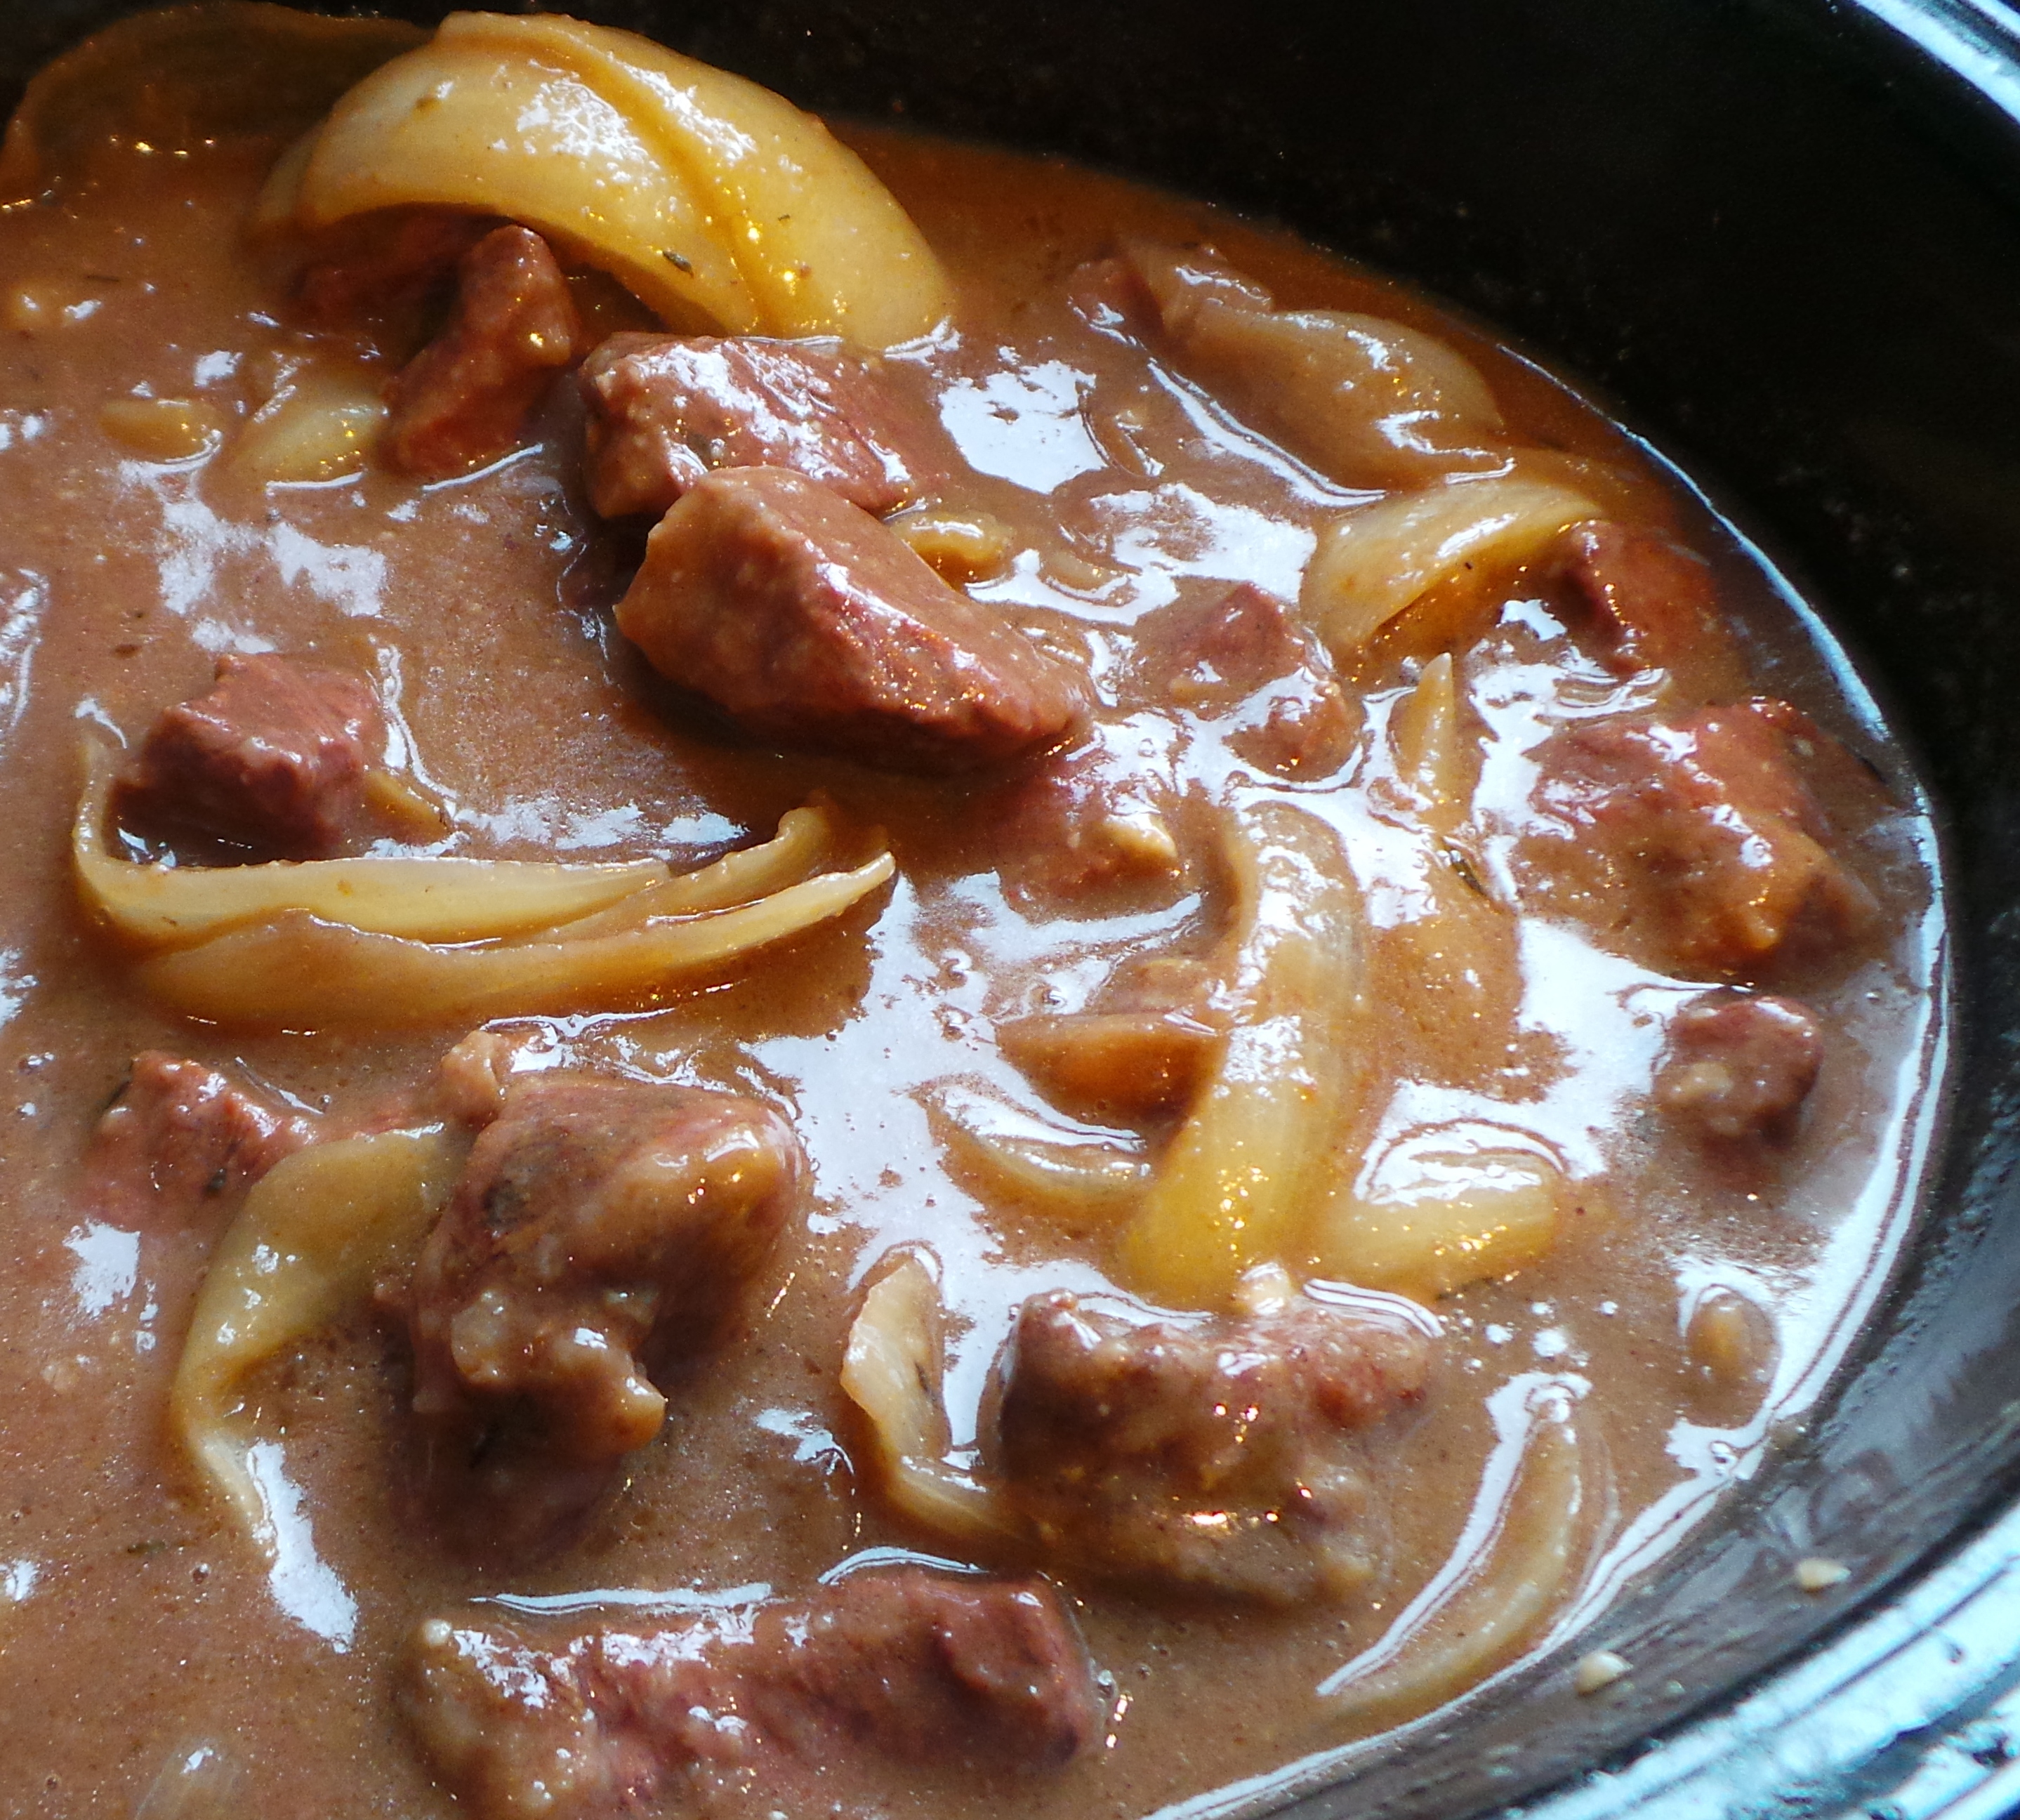
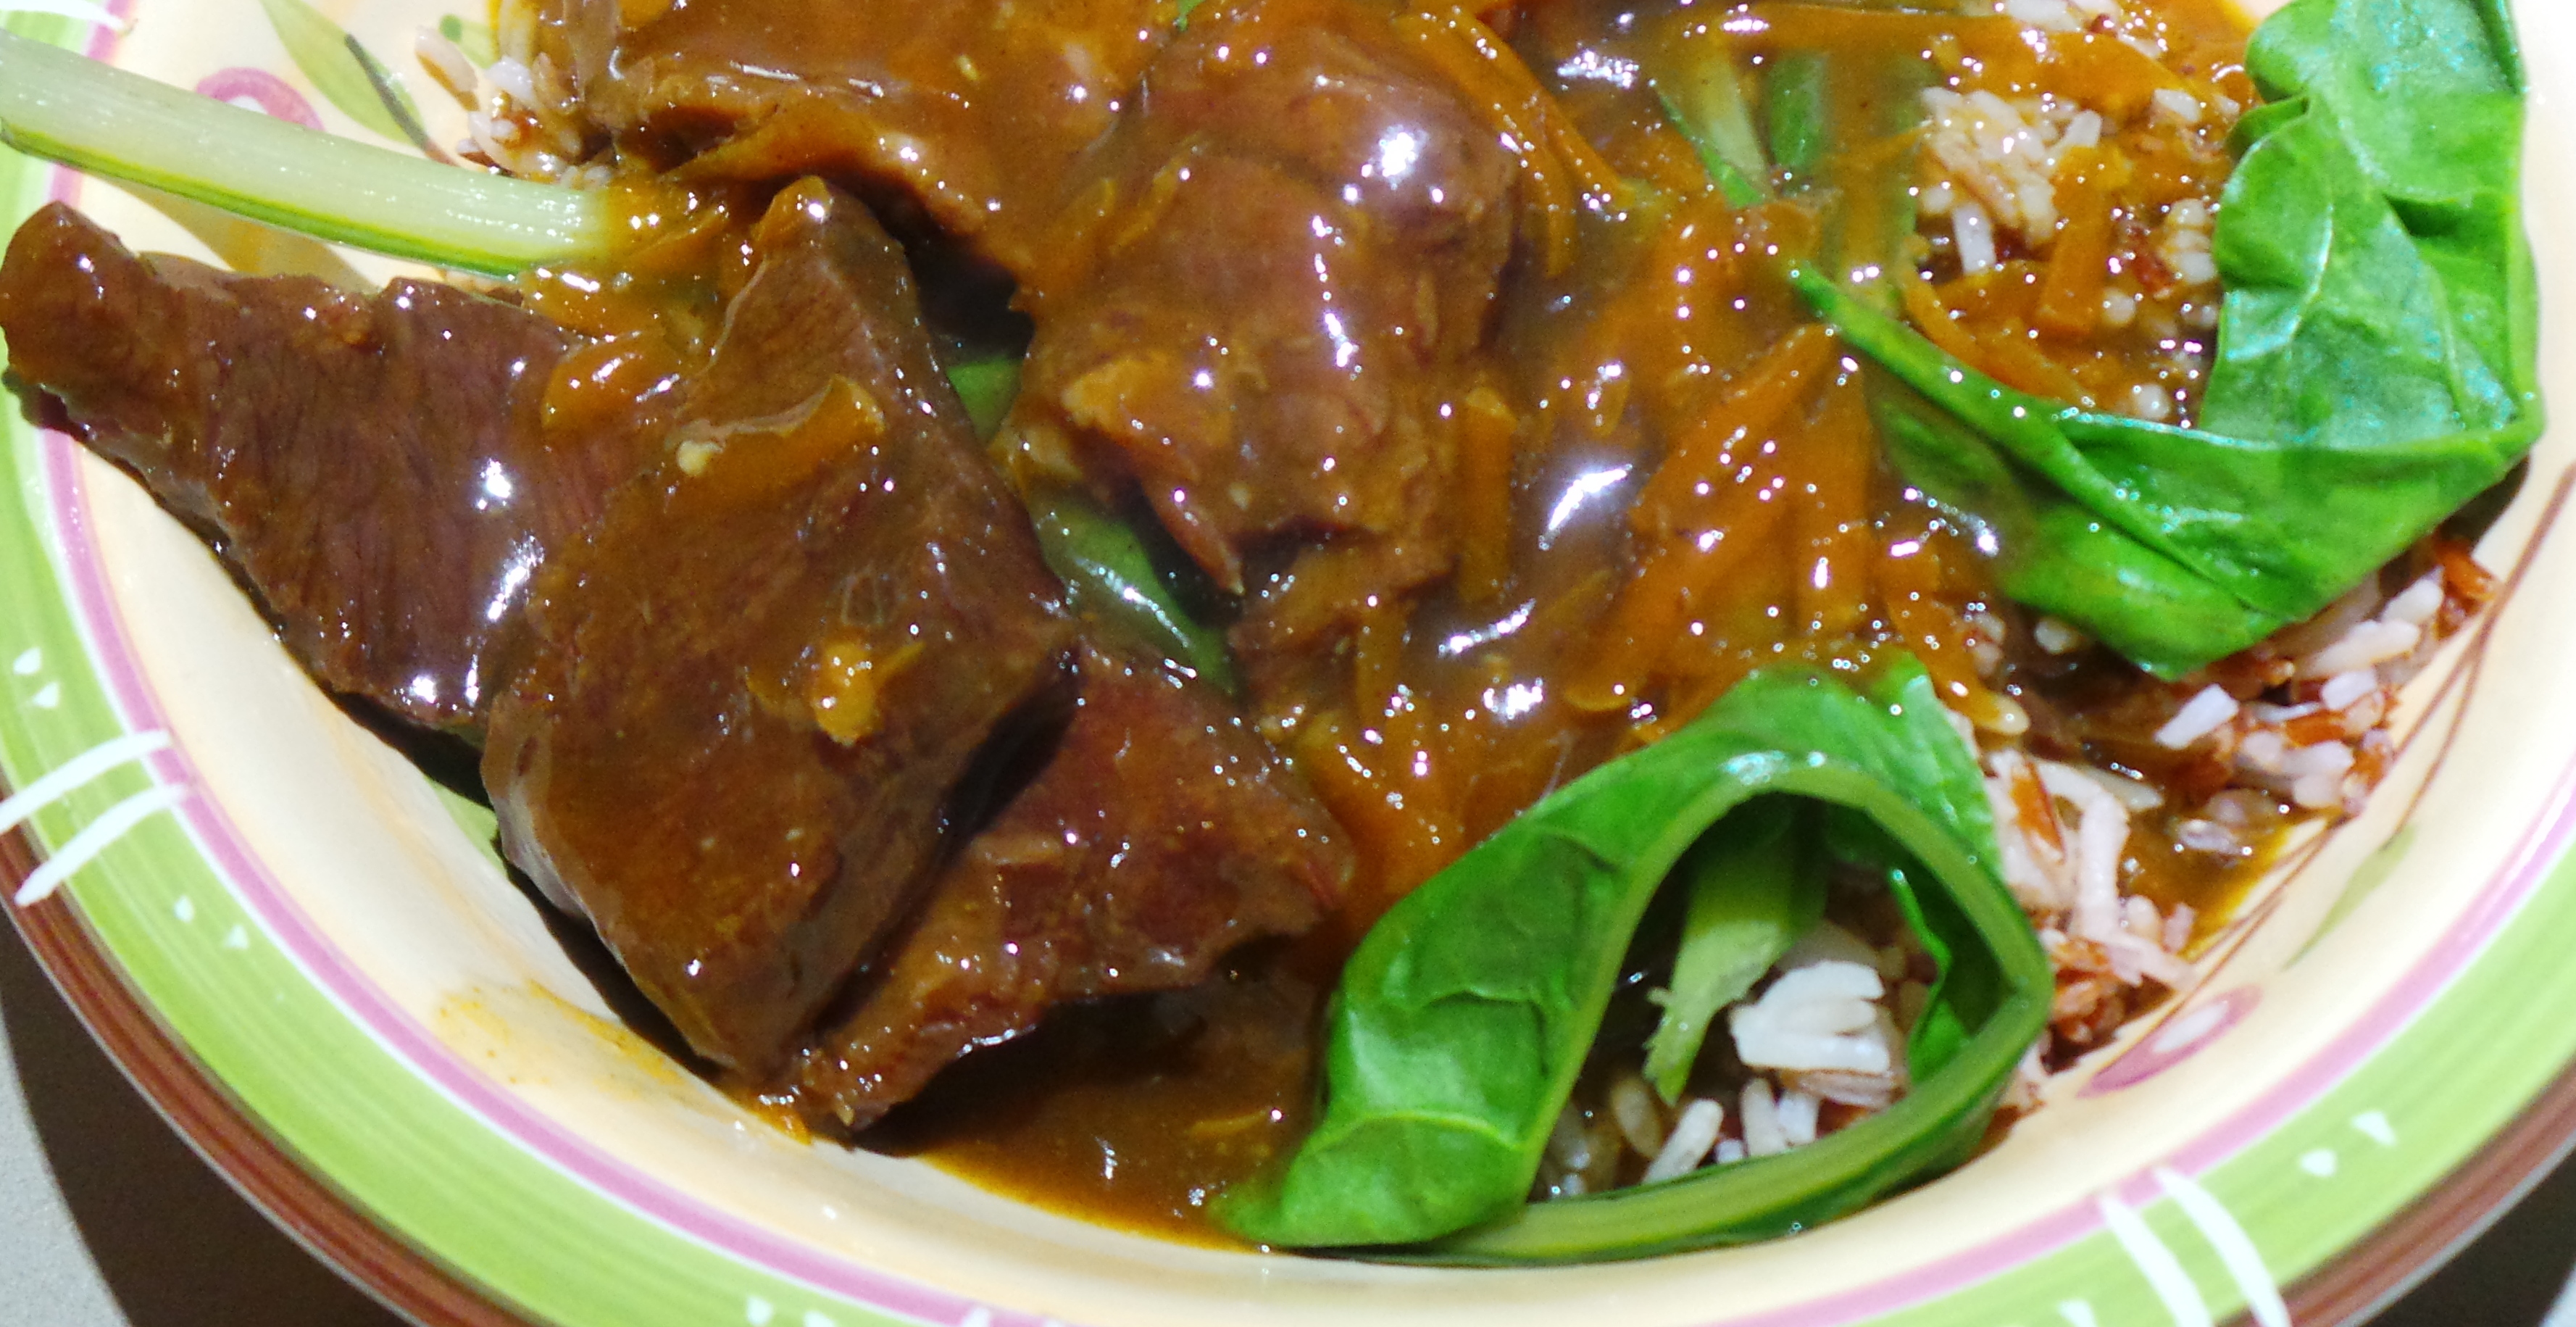
Boozy beef – a pot full of yum.
Remove the Bay leaves and serve over mashed potatoes or with a creamy polenta. Some steamed asparagus spears or Bok Choy will provide an ideal splash of green.
This will keep quite nicely in the refrigerator for up to 5 days once cooked.
Boozy Beef (slow cooker)
Ingredients
1.5 kg boneless chuck or shoulder roast, well-trimmed of fat and cut into 1 inch cubes
Salt and freshly ground black pepper
1 cup Plain flour (or corn flour if gluten intolerant)
¼ cup unsalted butter
¼ cup olive oil
5 medium onions, cut into thick wedges
3 garlic cloves, sliced (or 3 teaspoons garlic from a jar)
2 bay leaves
¼ tsp dried thyme
2 tbsps brown sugar
2 tbsps red wine vinegar
2 cups Belgian ale or dark beer (or coeliac friendly cider)
Method
Place the flour into a large plastic bag and season well with salt and pepper. Add the beef to the flour a few cubes at a time and toss to coat well. Remove from the bag, shaking off the excess flour.
In a heavy-based, fairly deep frying-pan, heat the oil and melt the butter over medium-heat.
Brown the beef cubes a few at a time to avoid crowding, turning to colour them on all sides. Each batch will take about 5 mins. Remove with tongs or a slotted spoon to drain off excess fat on paper towel.
Remove the pan from the heat and place the beef into a large (3-5 litre) slow cooker set to LOW.
Place the pan back on the heat and add the onions, tossing until they are beginning to soften and brown on the edges. This will take around 5 minutes, add more butter or oil if necessary.
Add the onions to the beef in the slow cooker.
To the frying pan add the garlic, bay leaves, thyme, brown sugar, beer and vinegar. Bring to a simmer while stirring and scraping the bottom of the pan to deglaze it.
Once it has started to simmer, remove from the heat and pour it over the onions and beef in the slow cooker.
Replace the lid and cook on HIGH for 3-4 hours, or leave it on LOW and cook for 4-6 hours.
Sauce will thicken in the pot.
Remove bay leaves just prior to serving. Spoon over mashed potatoes or polenta for a simple, filling meal.
Keep in an air tight container in the refrigerator for 5 days once cooked.