Hummus.

Hummus
It’s one of those things. There are as many variations of hummus nowadays as there are ways to spell it. Humus, humous, etc…
There are also any number of people who will get upset with you for not making it their way.
Ignore them.
Hummus is a great little dish that takes next to no time to make, is incredibly nutritious, costs very little and tastes fabulous – all while filling you up admirably.
What’s not to love?
The purists will tell you that the best hummus is made with freshly cooked chickpeas or garbanzo beans. It very well may be, but that doesn’t mean that the stuff made from tinned chickpeas doesn’t taste pretty spiffy too.
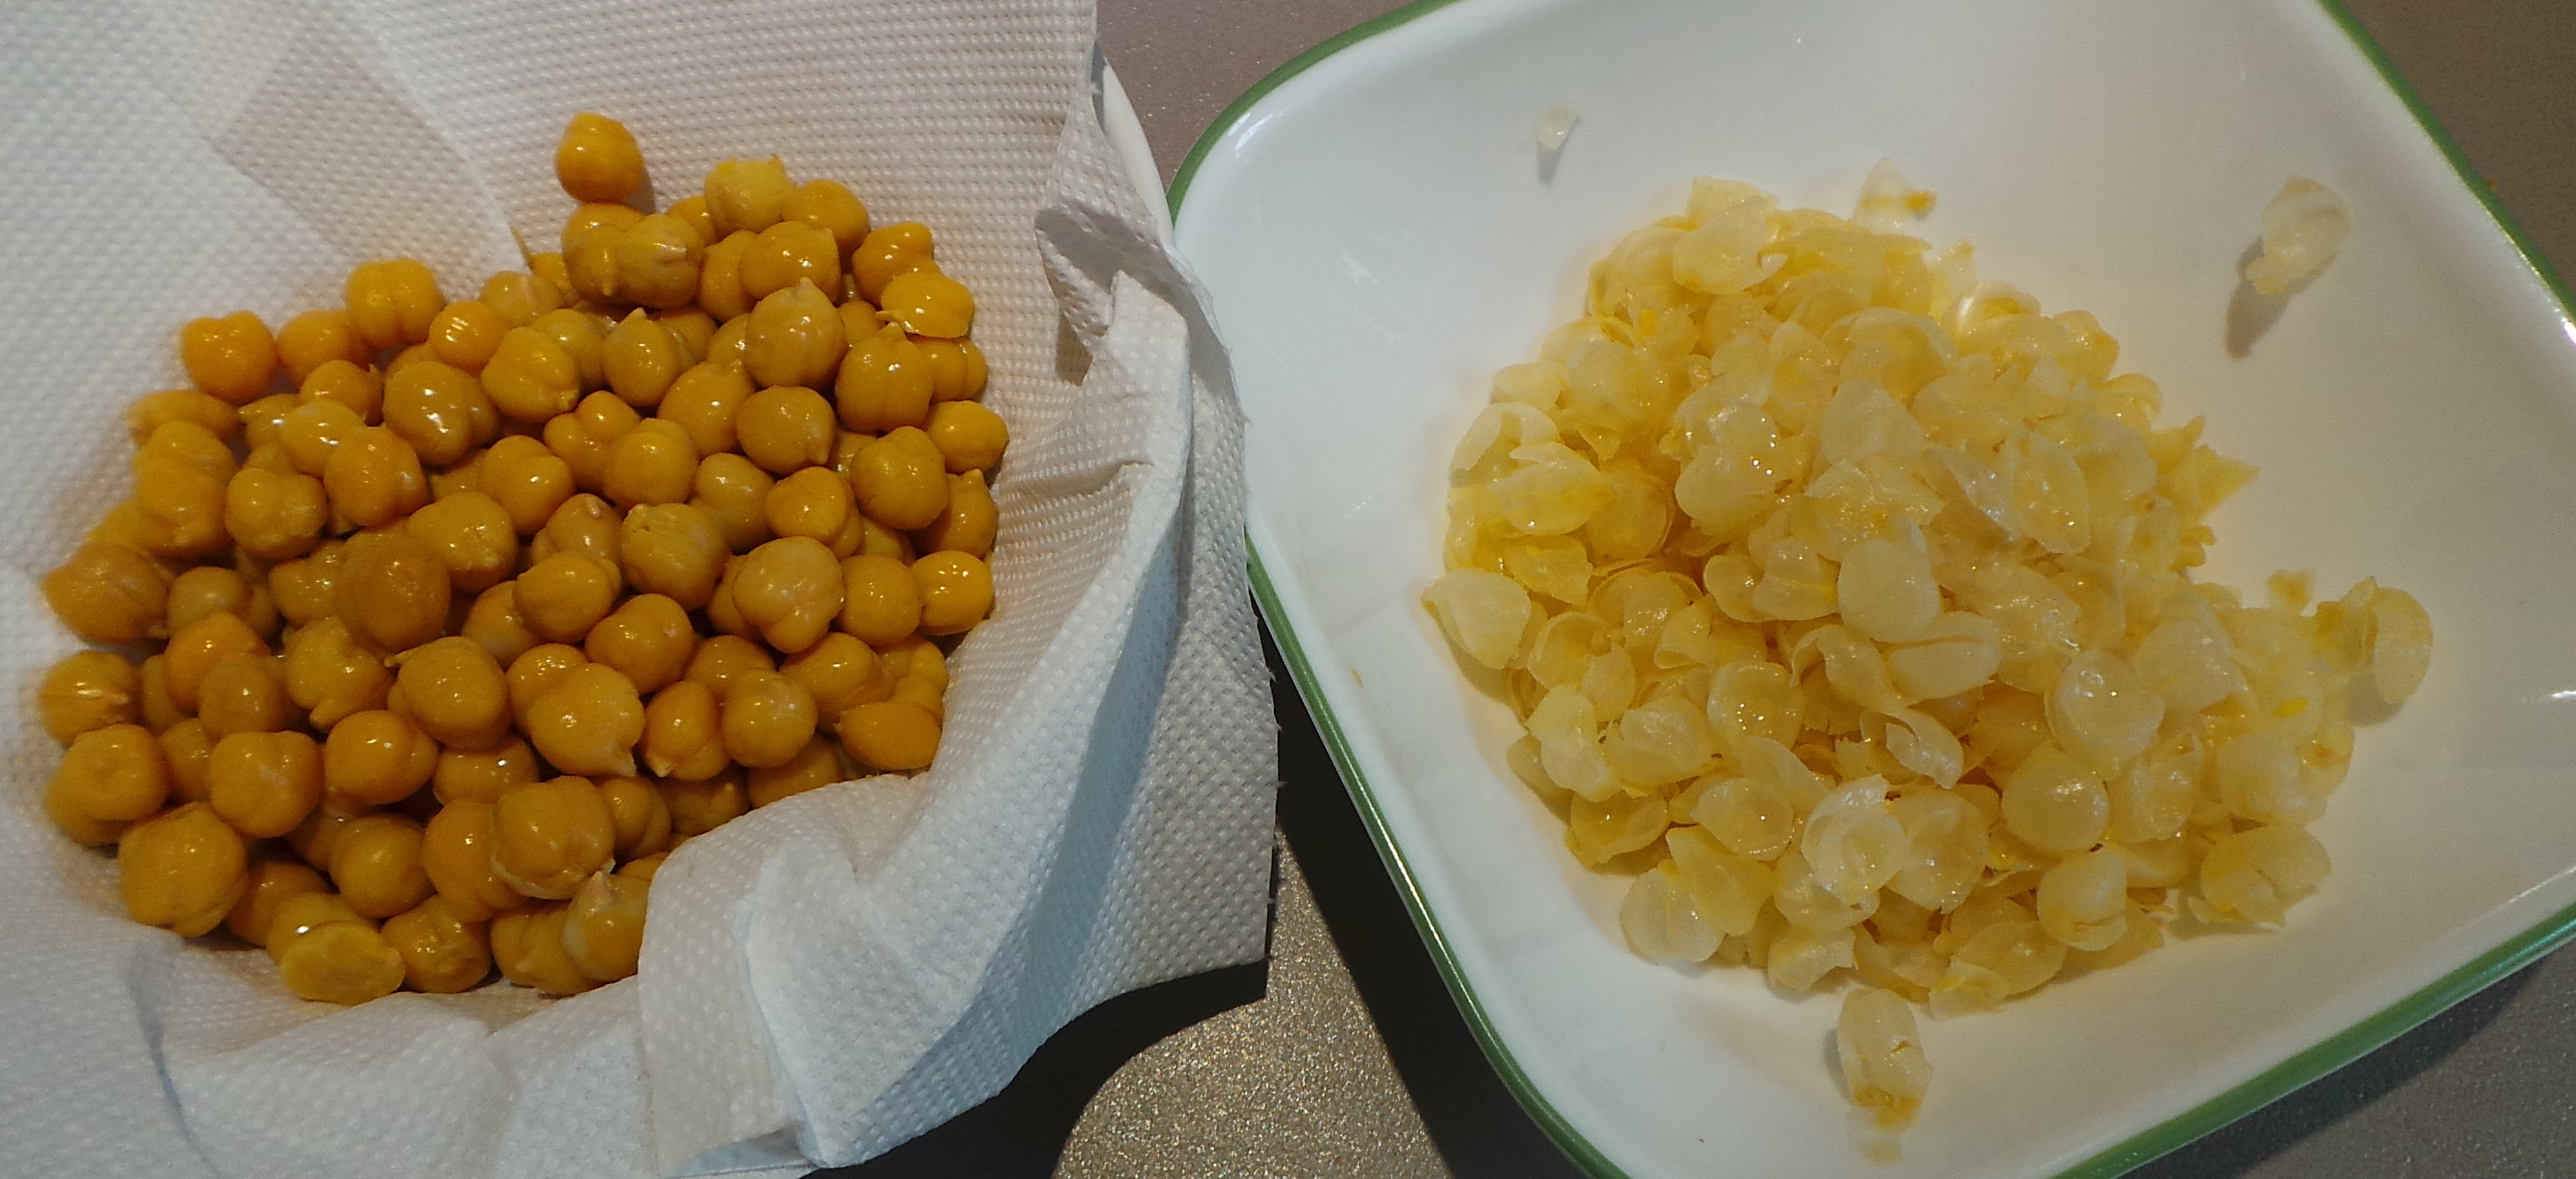
The purists will also tell you to peel your cooked chickpeas. This is very easy to do by simply squeezing the pea between your thumb and forefinger. The skins will just slip off and you’ll end up with a bowl of peas and a bowl of skins, like this.

Peeled Chickpeas
It makes the texture a little smoother, but my MS meant that they were popping all over the place by the time I’d finished. If you find the thought of peeling your peas too onerous, then simply embrace the extra dietary fibre and move on.
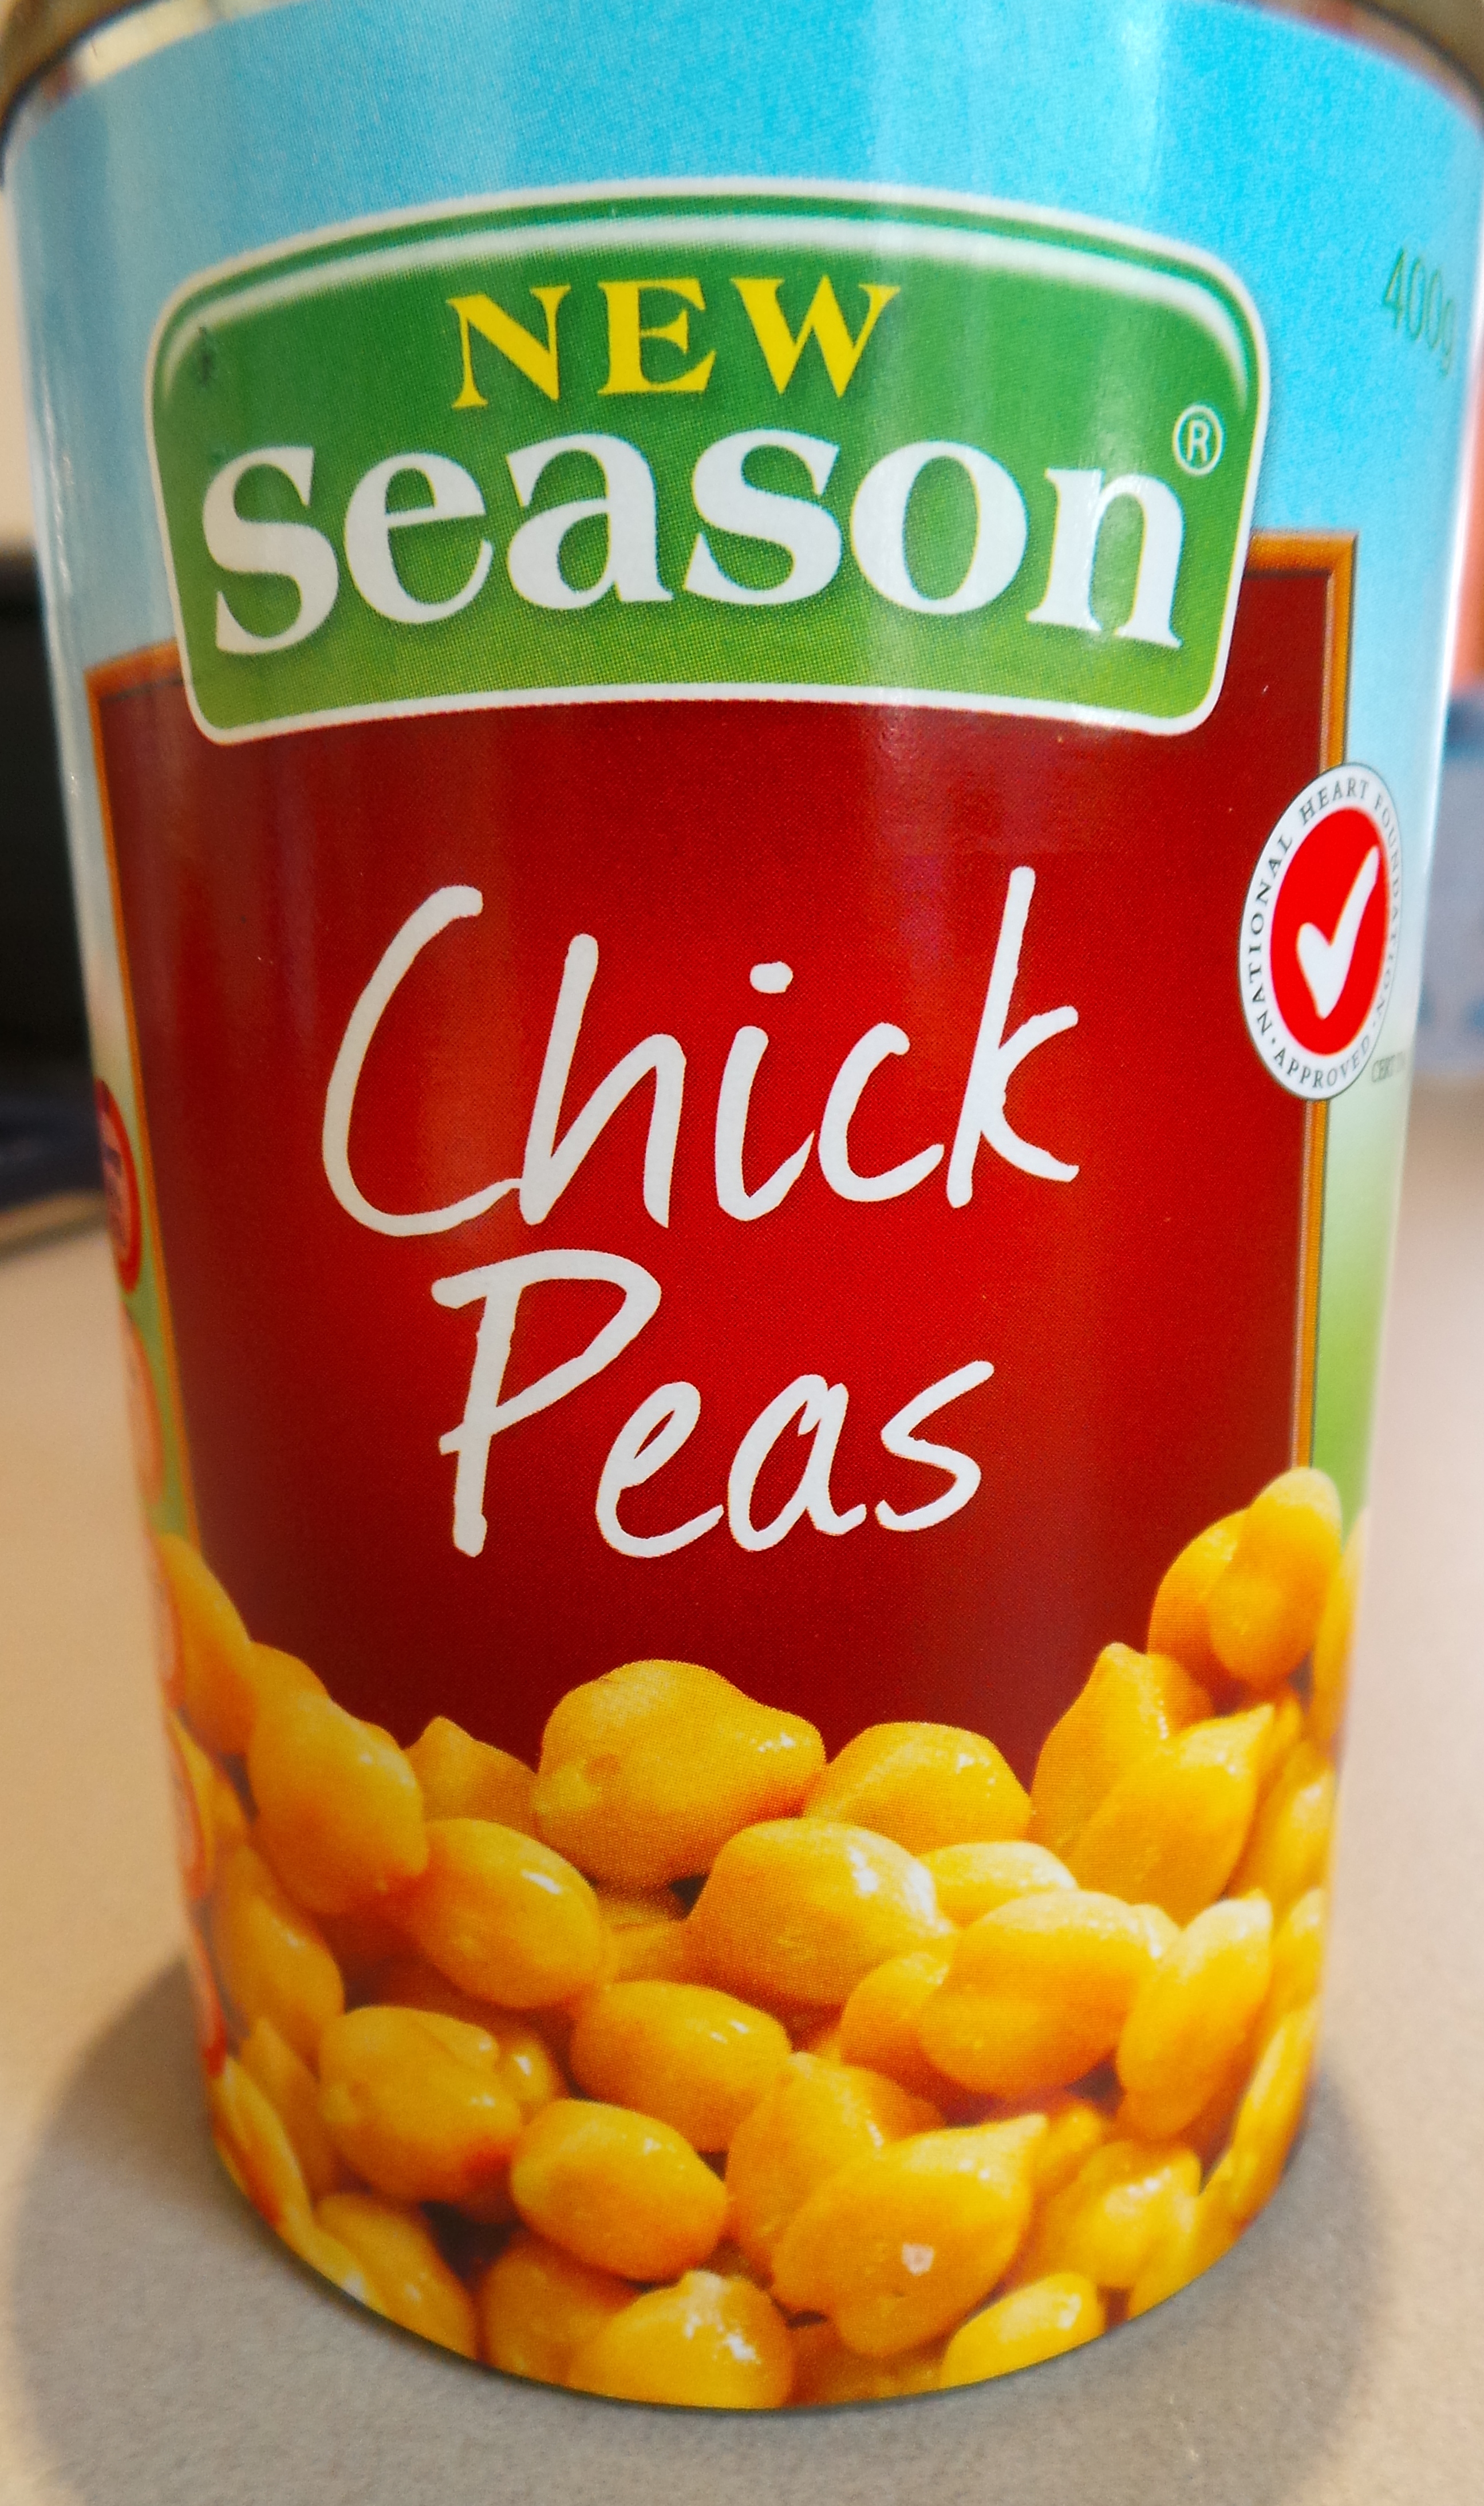
In a future post I will cover how to cook with dried beans, a skill that has the potential to save you a whole load of cash, but for the sake of this post we’re going to be using these. Which cost about 80c.

A tin of chickpeas.
Deal with it.
This is one of those dishes that is more of a method than a recipe, but I’ll attempt to give you something to print at the end of the post…
You will see hummus used to describe pastes made with every kind of beans – usually white ones – that you could name. You will see it with tomatoes, roasted peppers/capsicums and myriad other things. The genuine thing is usually chickpeas, tahini, olive oil and lemon juice.
Mine has a few other things, but we’ll get to those. Relax, they’re not scary.

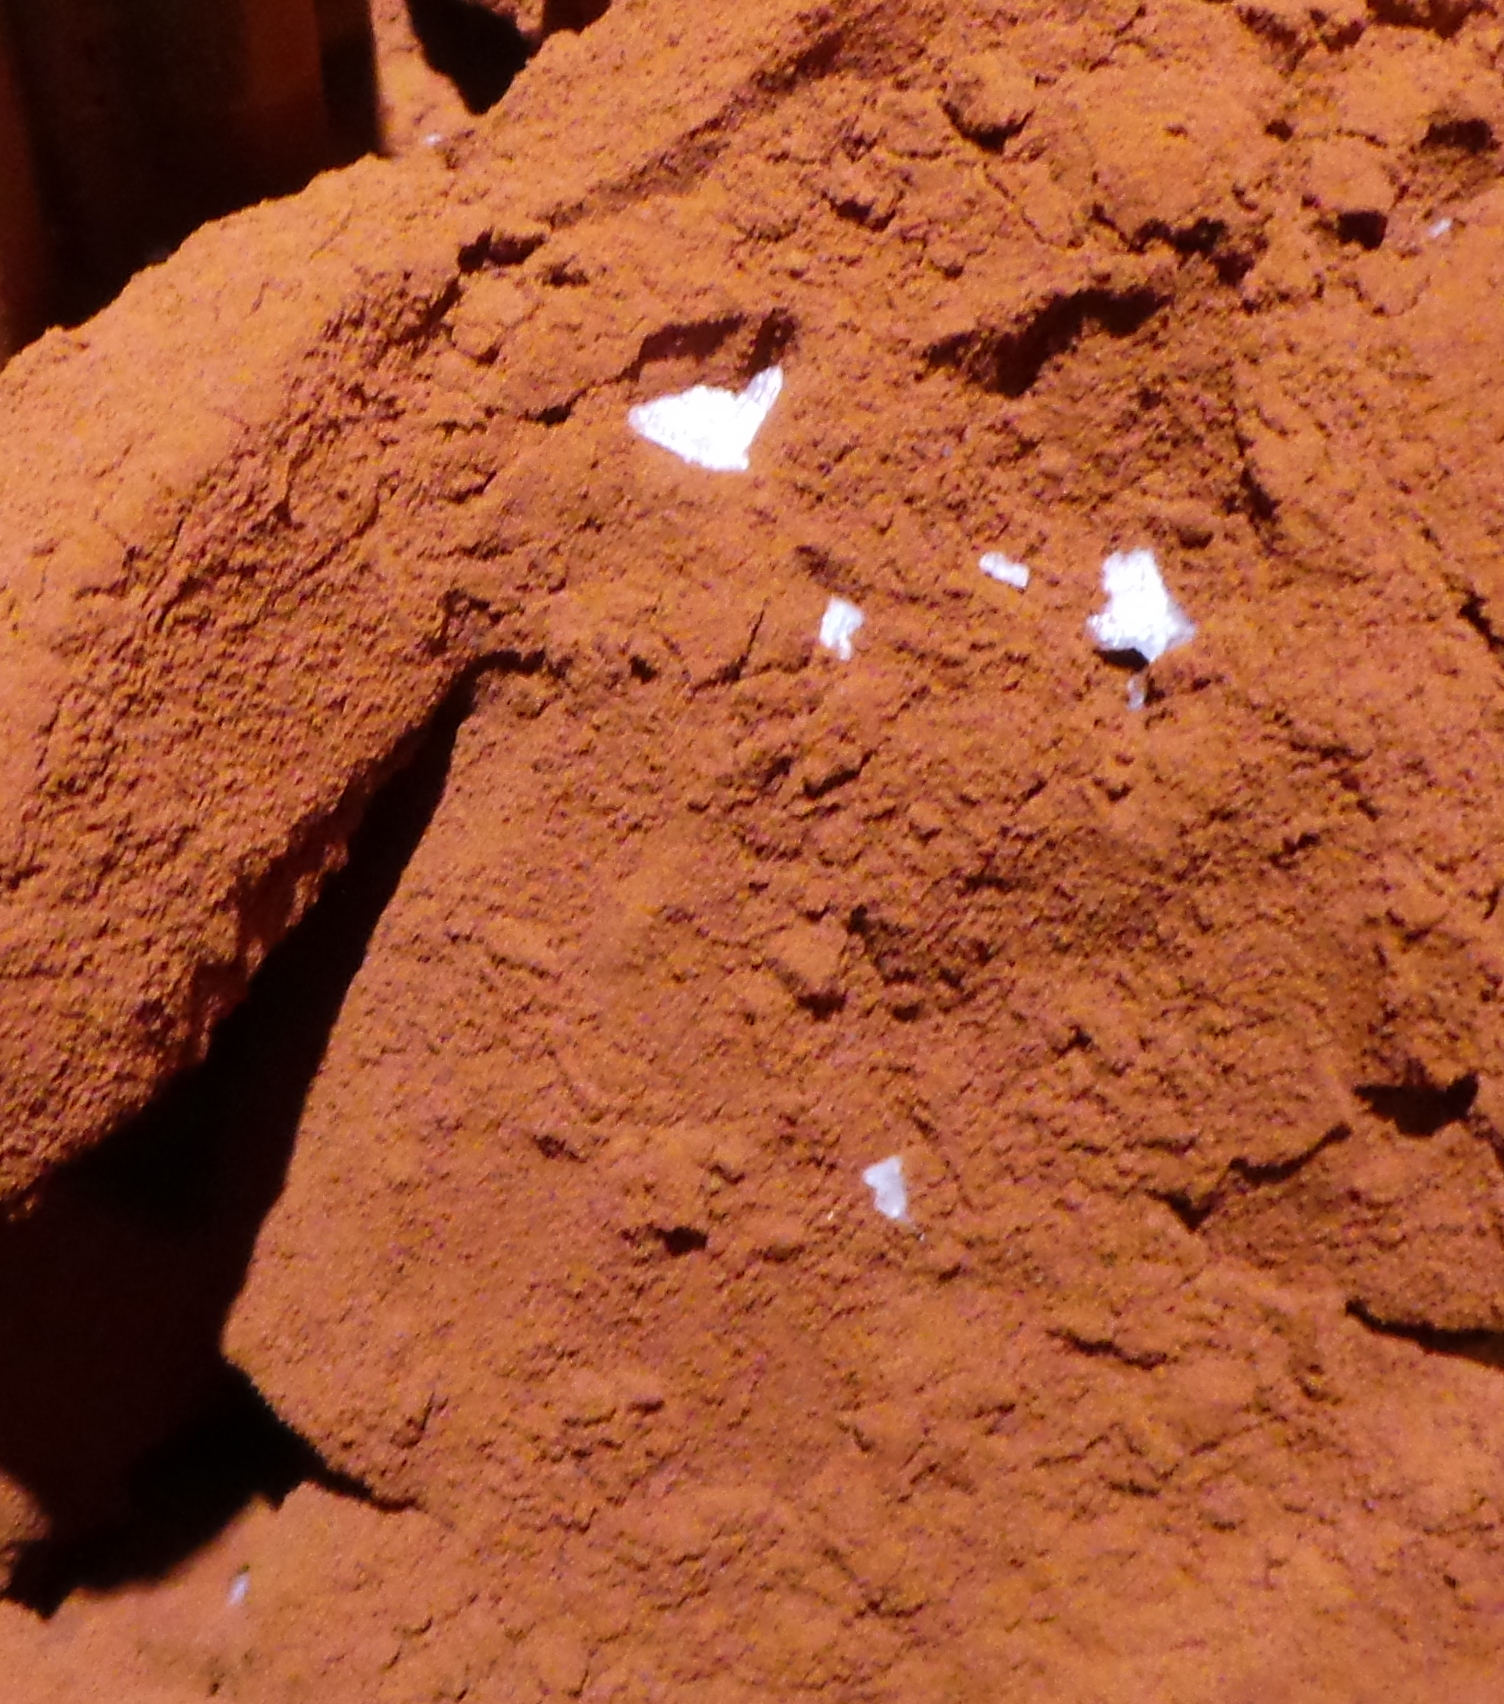
Chickpeas
Tahini is basically a nut butter made from hulled sesame seeds and is widely used in middle eastern/Mediterranean cuisine. It can be found in supermarkets or you could make your own – you’ll find instructions on The Kitchn right about here. Tahini will add a certain earthiness in flavour and smoothness of texture to your chickpea dip.
Be warned: It can be expensive, especially if you aren’t going to be using a lot of it. You’ll only need about a ½ cup for this recipe, which will leave quite a lot still in the jar. Refrigerate it, or it will go off, but this will not extend its life indefinitely.
You don’t need it. (Cue purists falling off their respective perches.) Your hummus will taste absolutely fine without it and, if you really want, I’ve seen Jamie Oliver use smooth peanut butter instead.
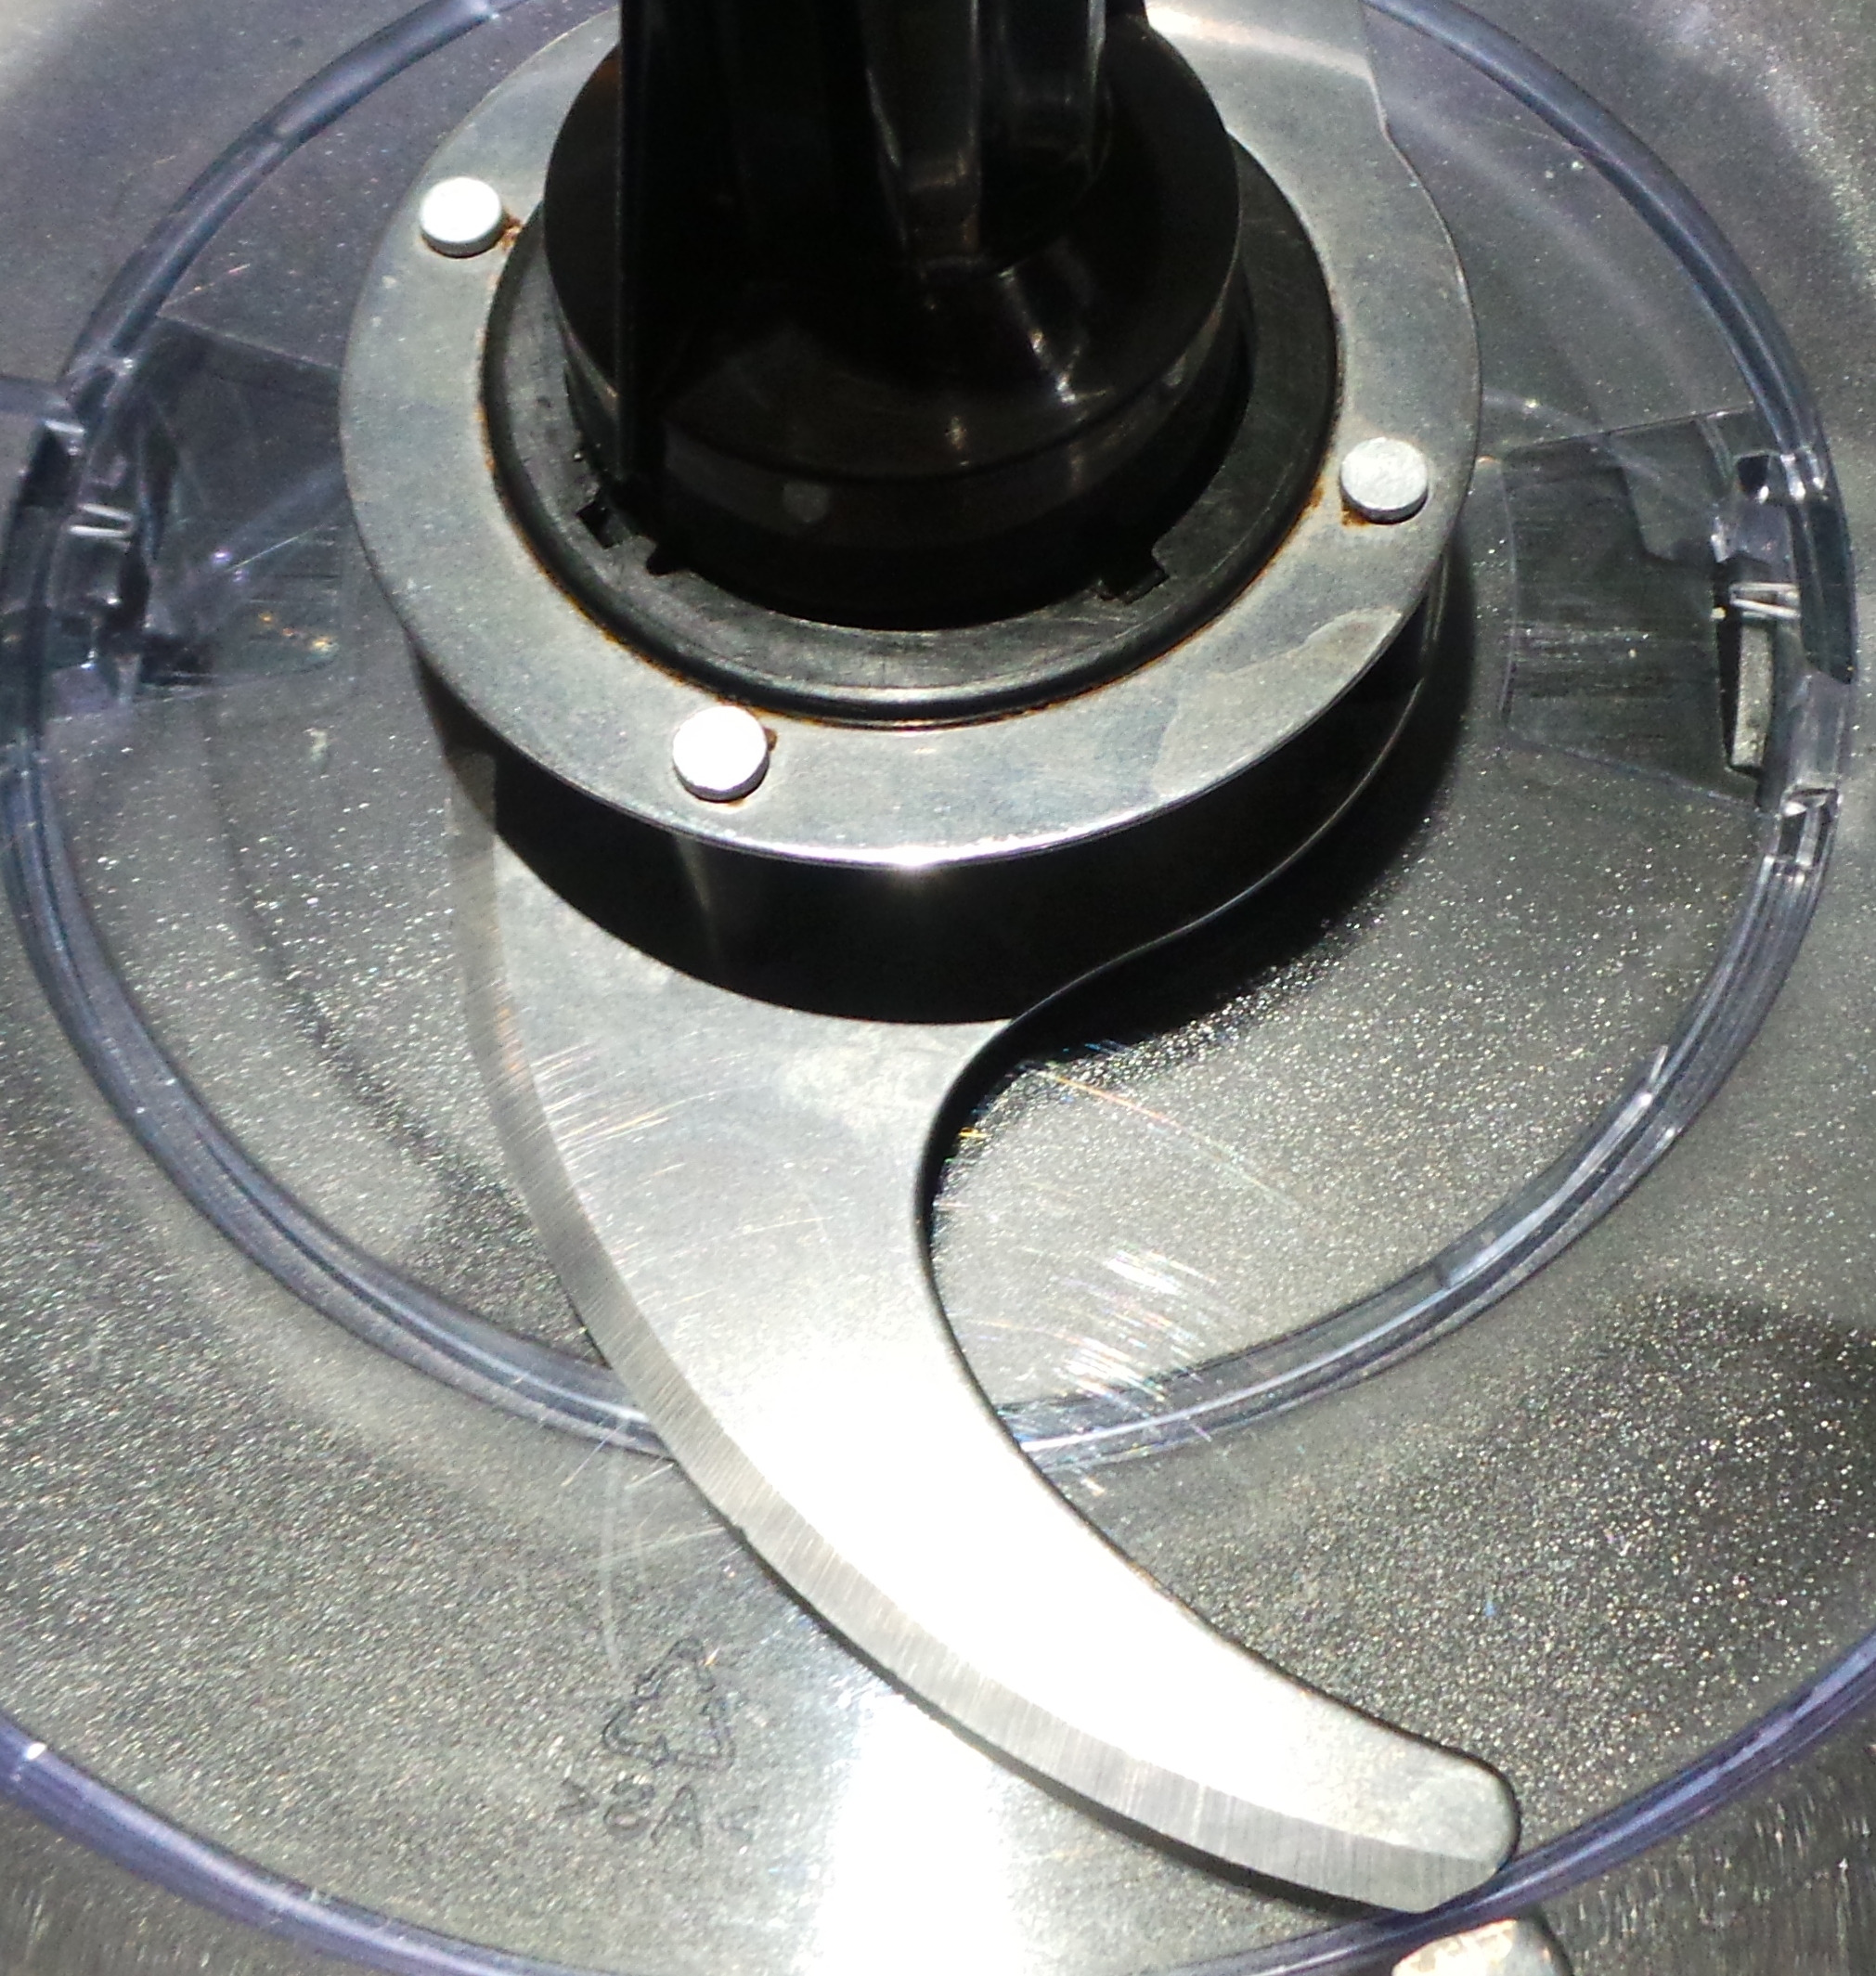
You’ll also need a blender of some kind – or you could do it the traditional way and smash it in a mortar and pestle. Hummus has been around several thousand years longer than food processors…
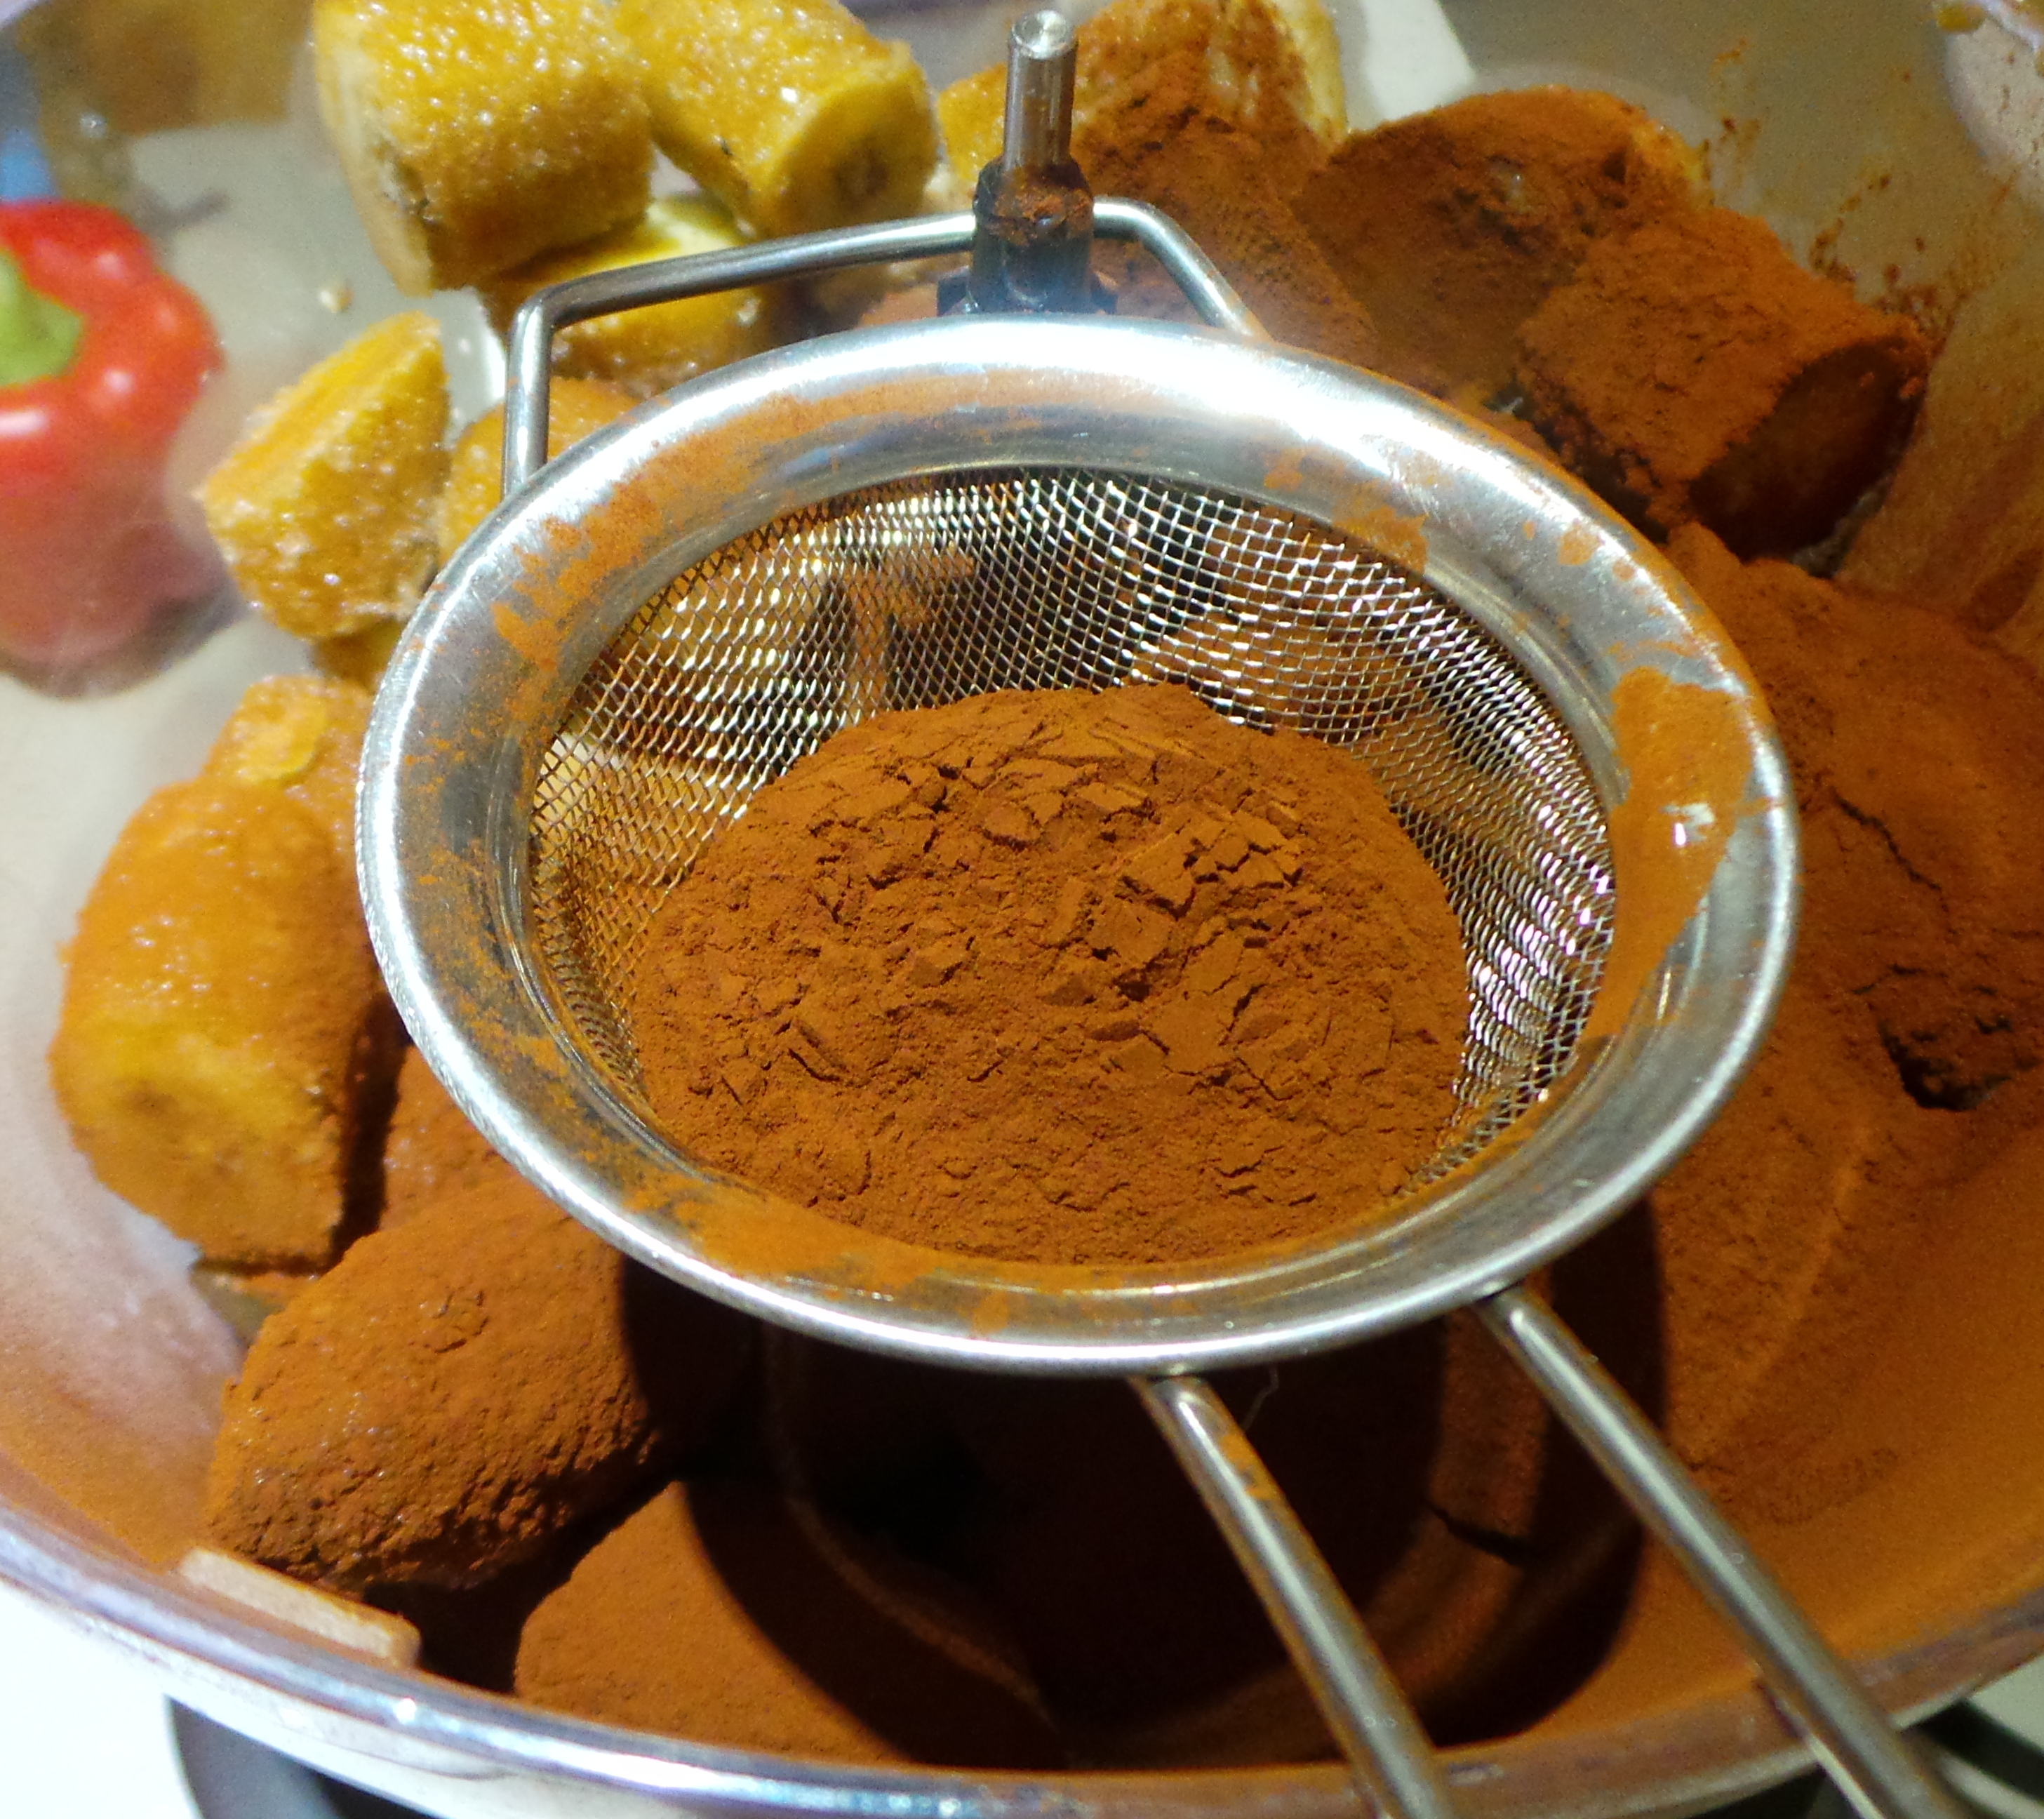
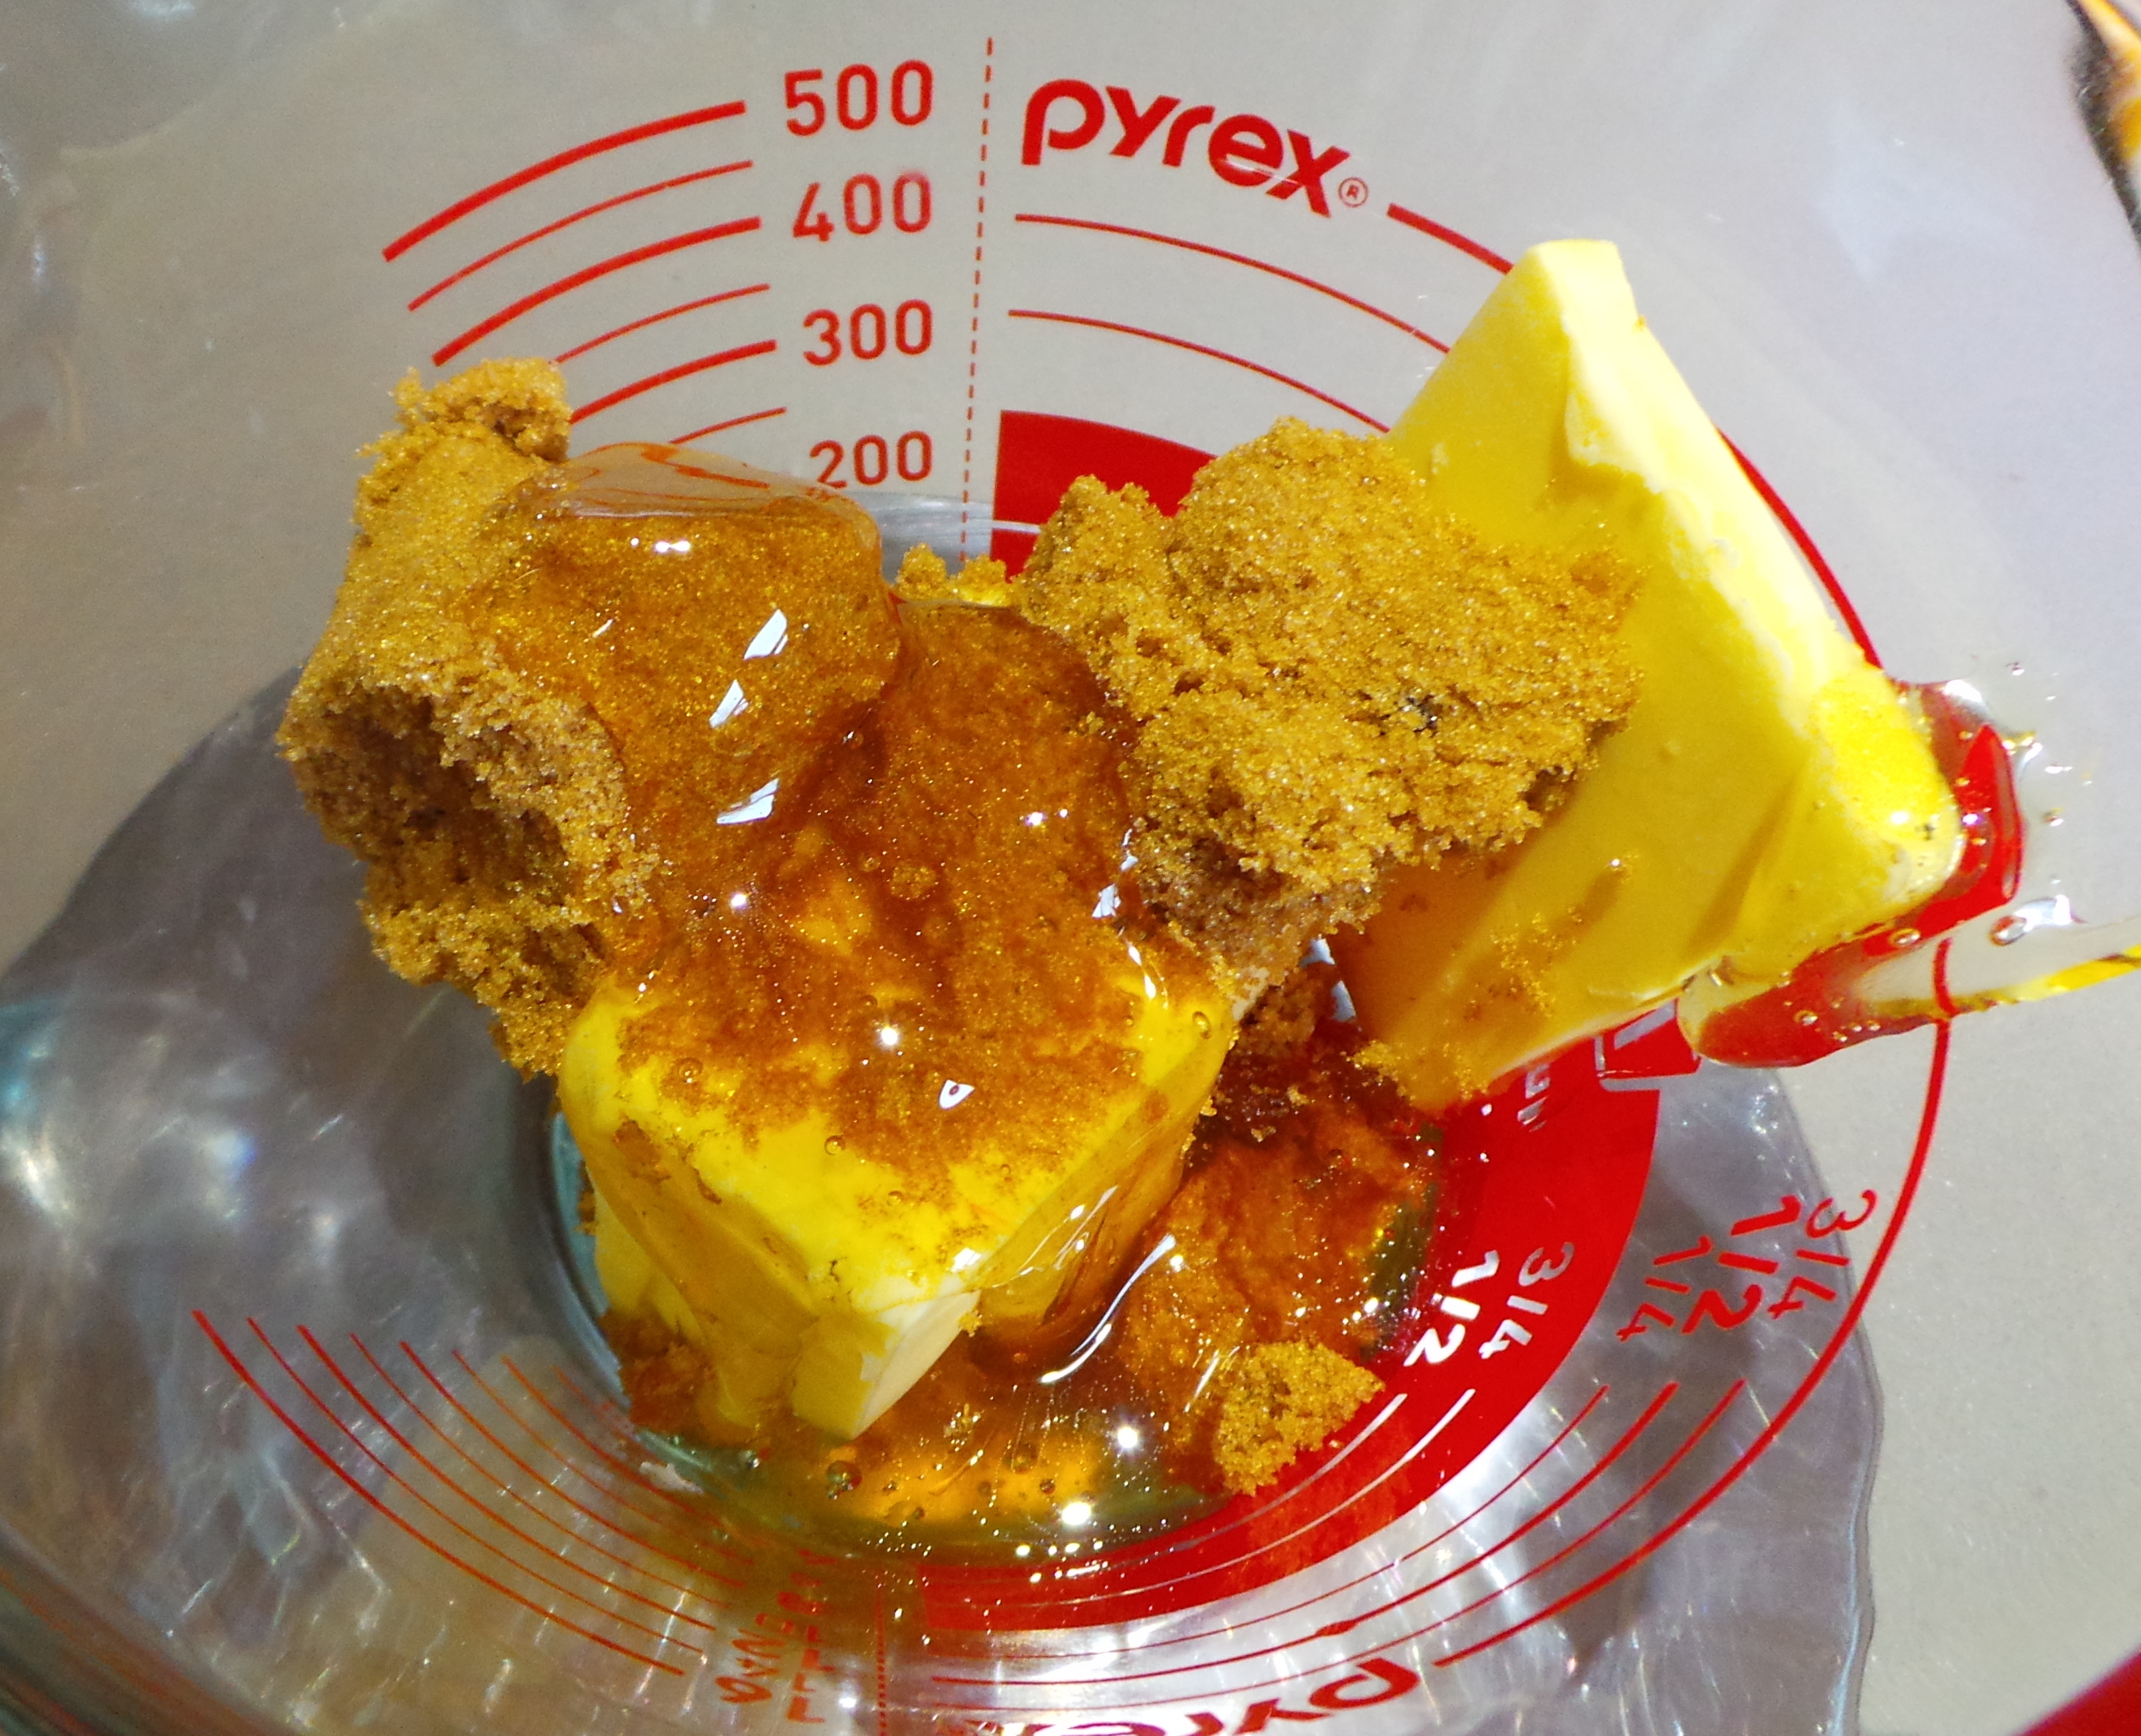
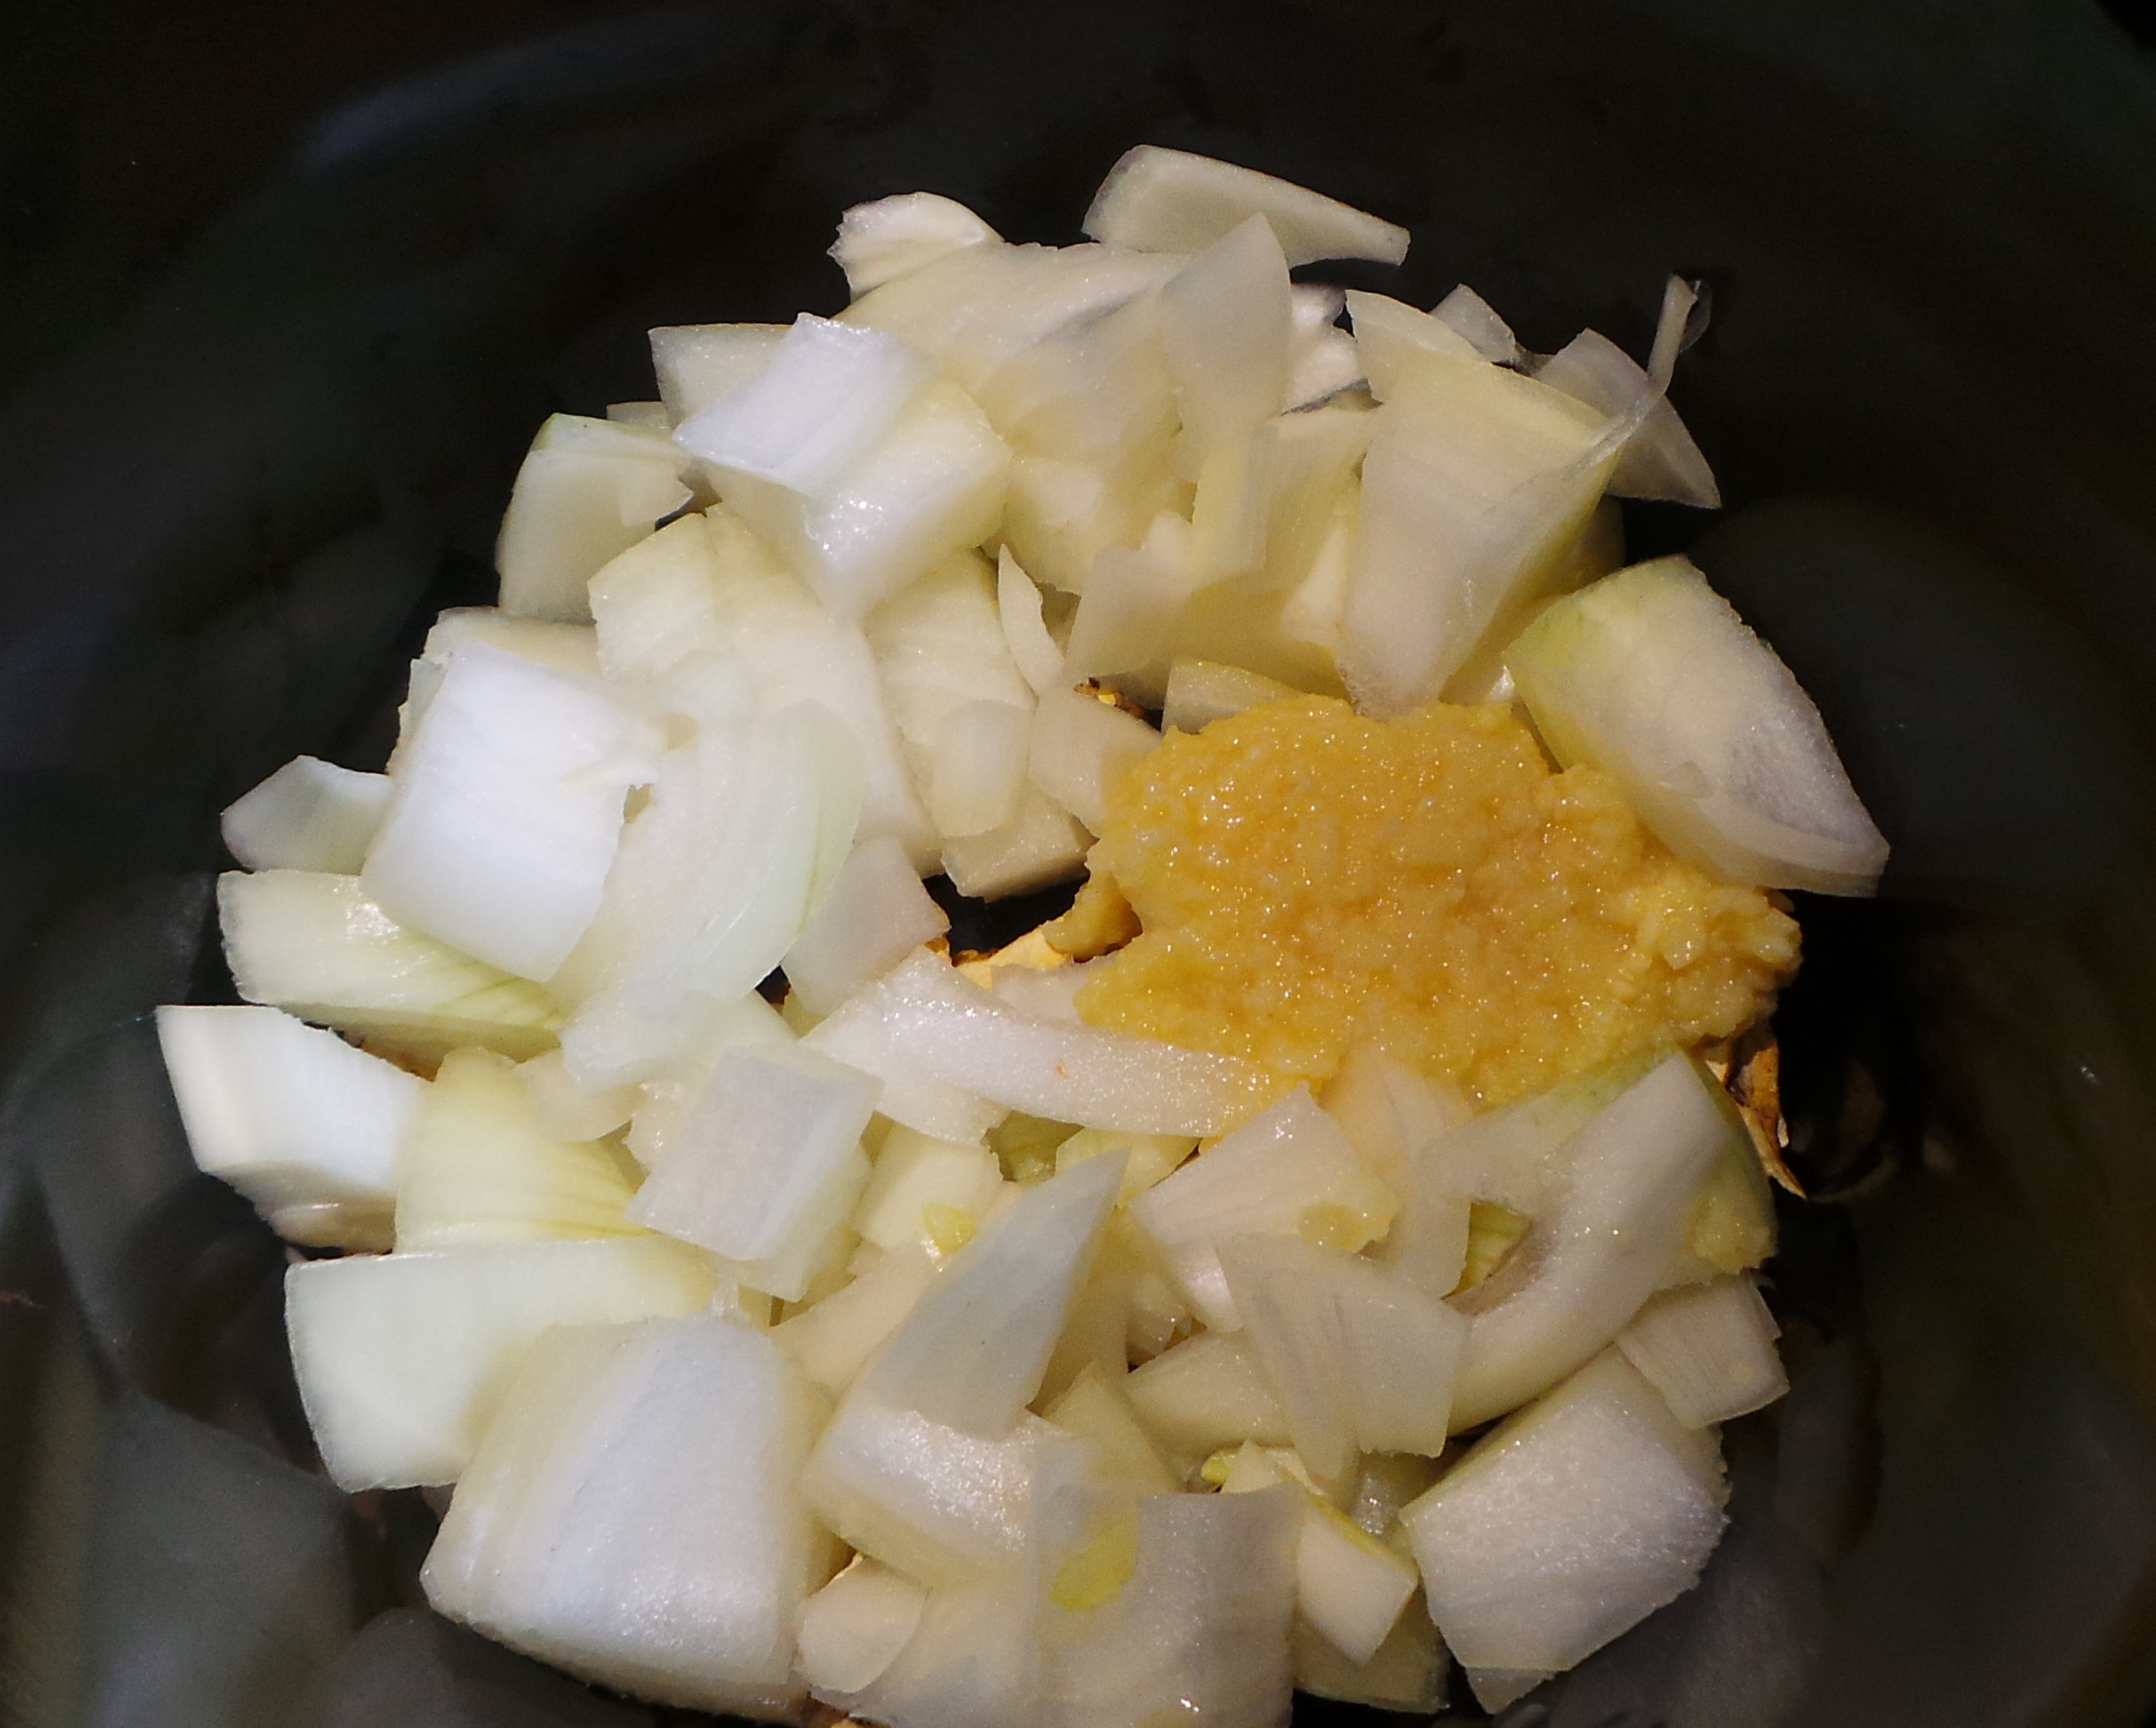
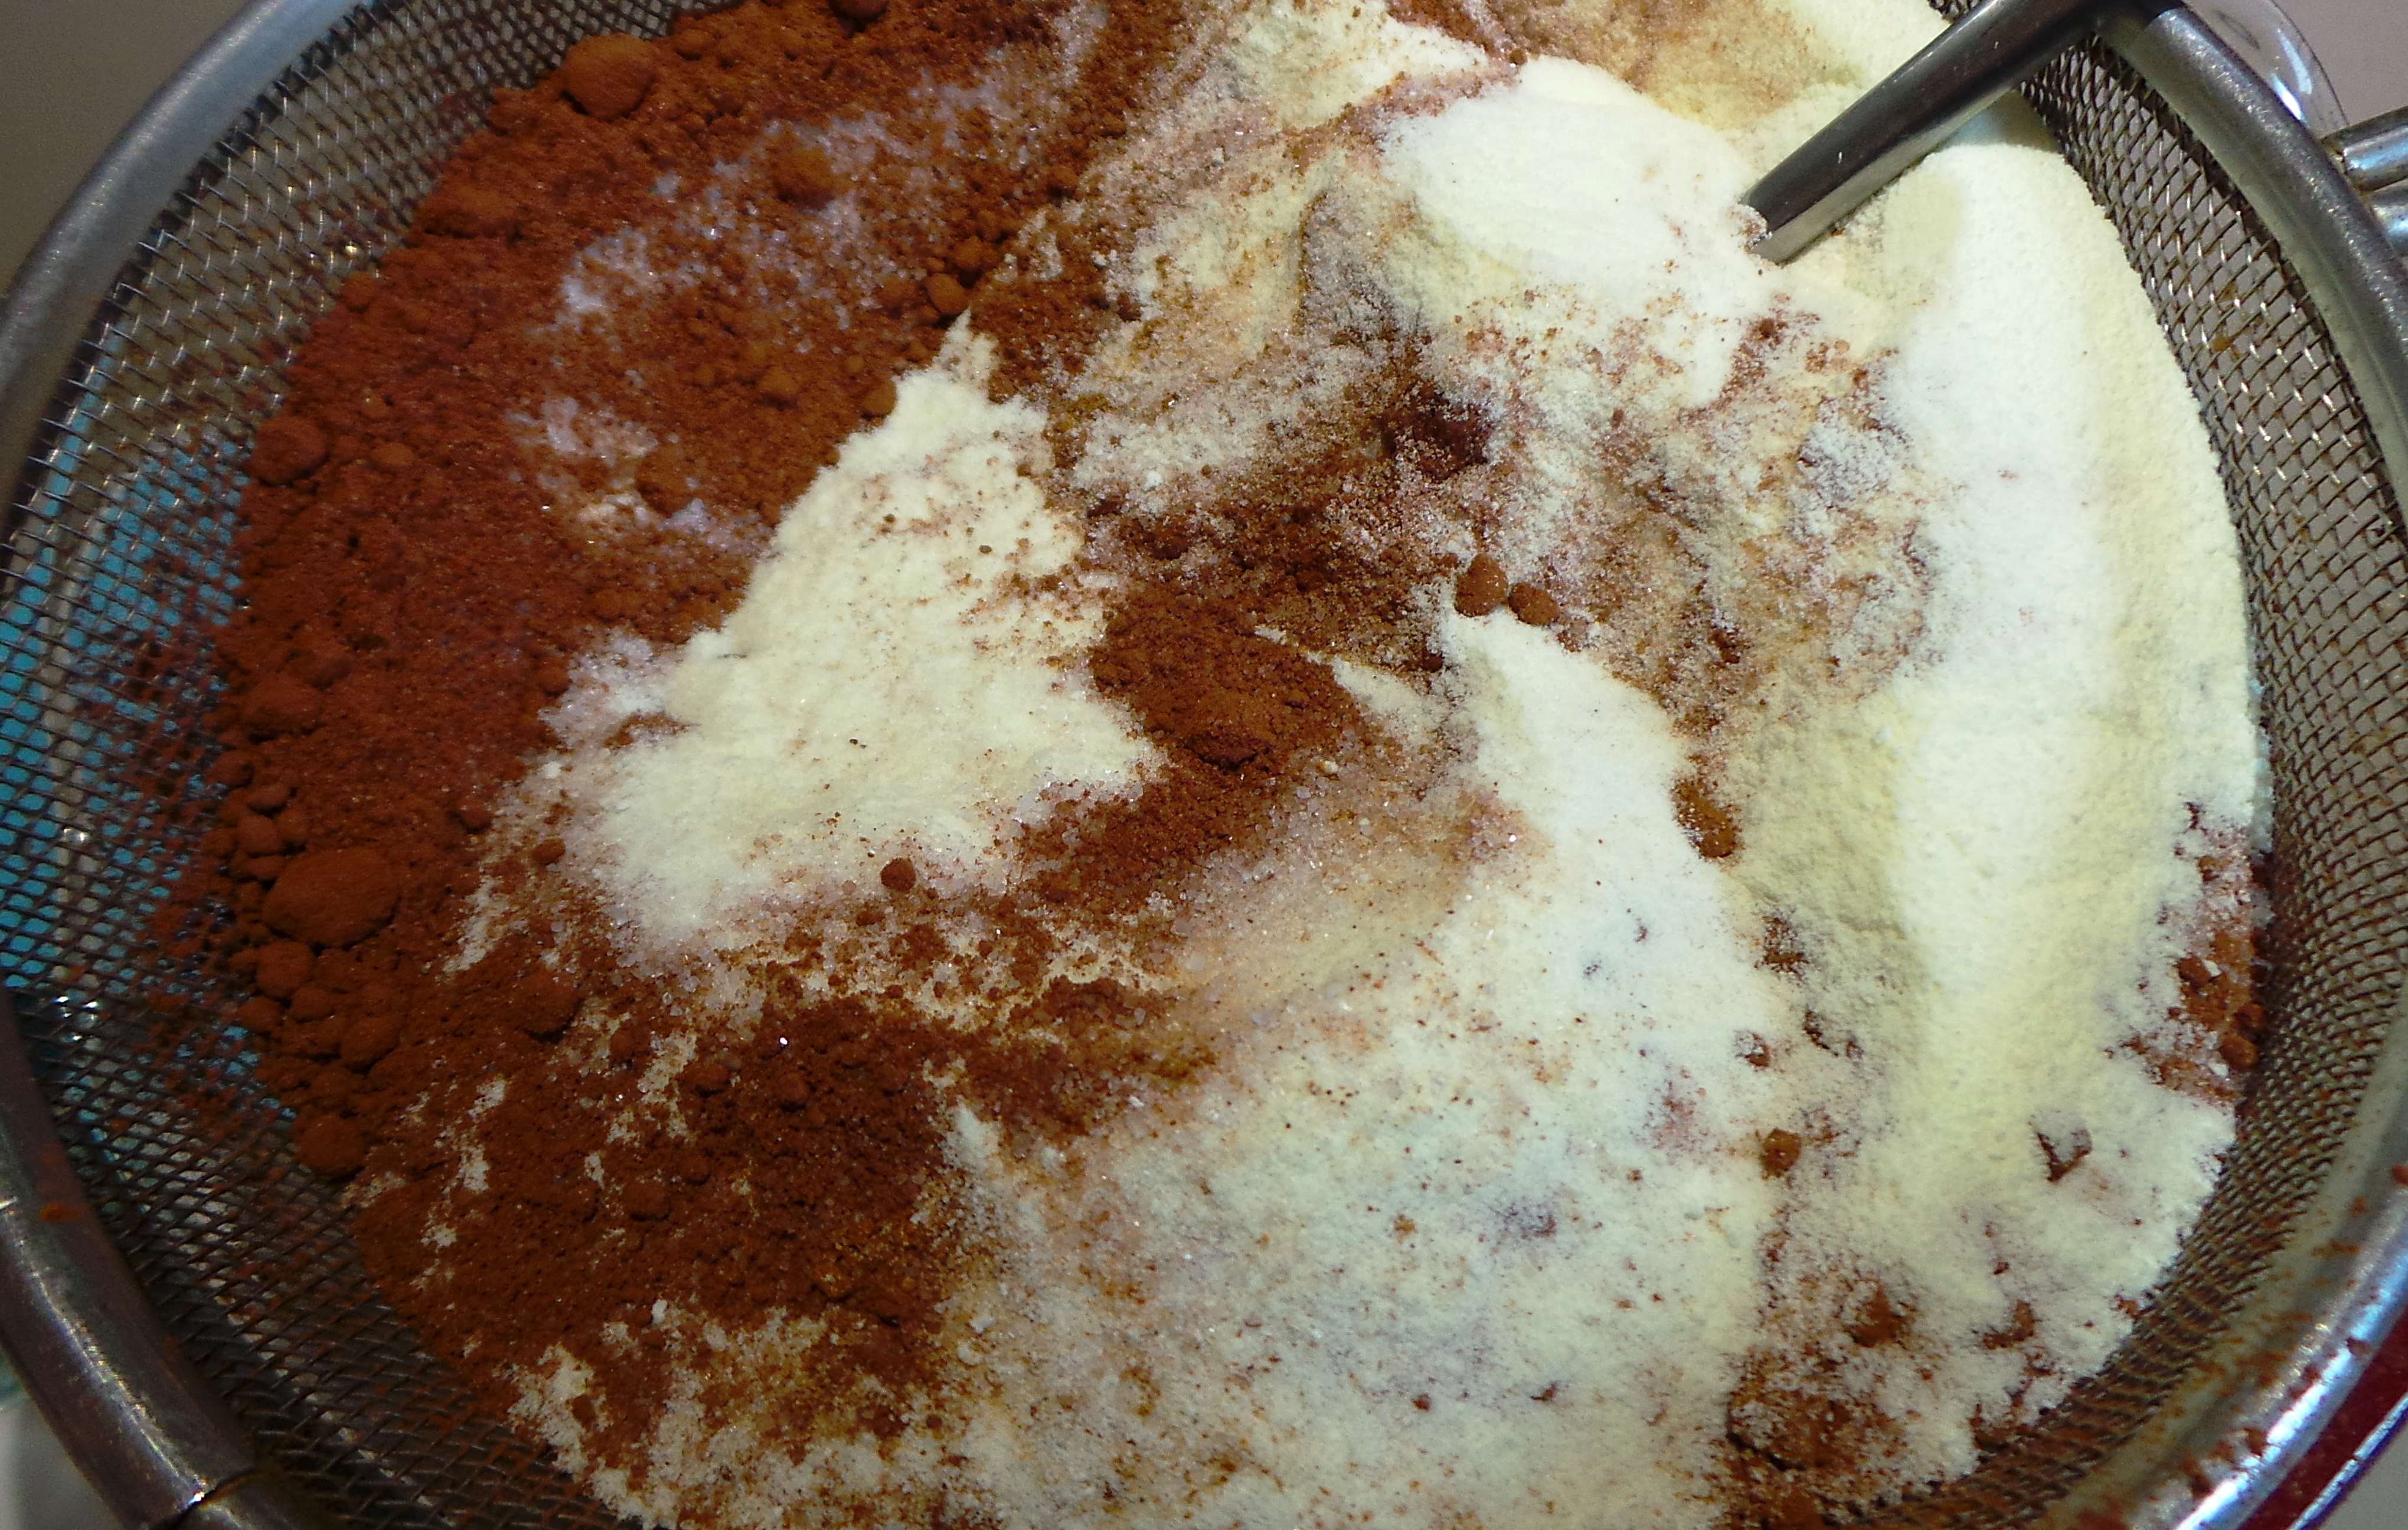
I start my hummus with a small onion, chopped as finely as I can get it. In a frying pan, I heat a tablespoon or so of olive oil, add my onion and a clove of minced garlic, which I then gently fry off with a couple of teaspoons of ground coriander and cumin.

Start with some aromats. (Do I sound cheffy? Do I?)
You could add some chilli powder or cayenne pepper if you wanted to. It’s up to you.
You don’t want your onions to brown, just to soften, and for the heat to release the fragrance of the spices.
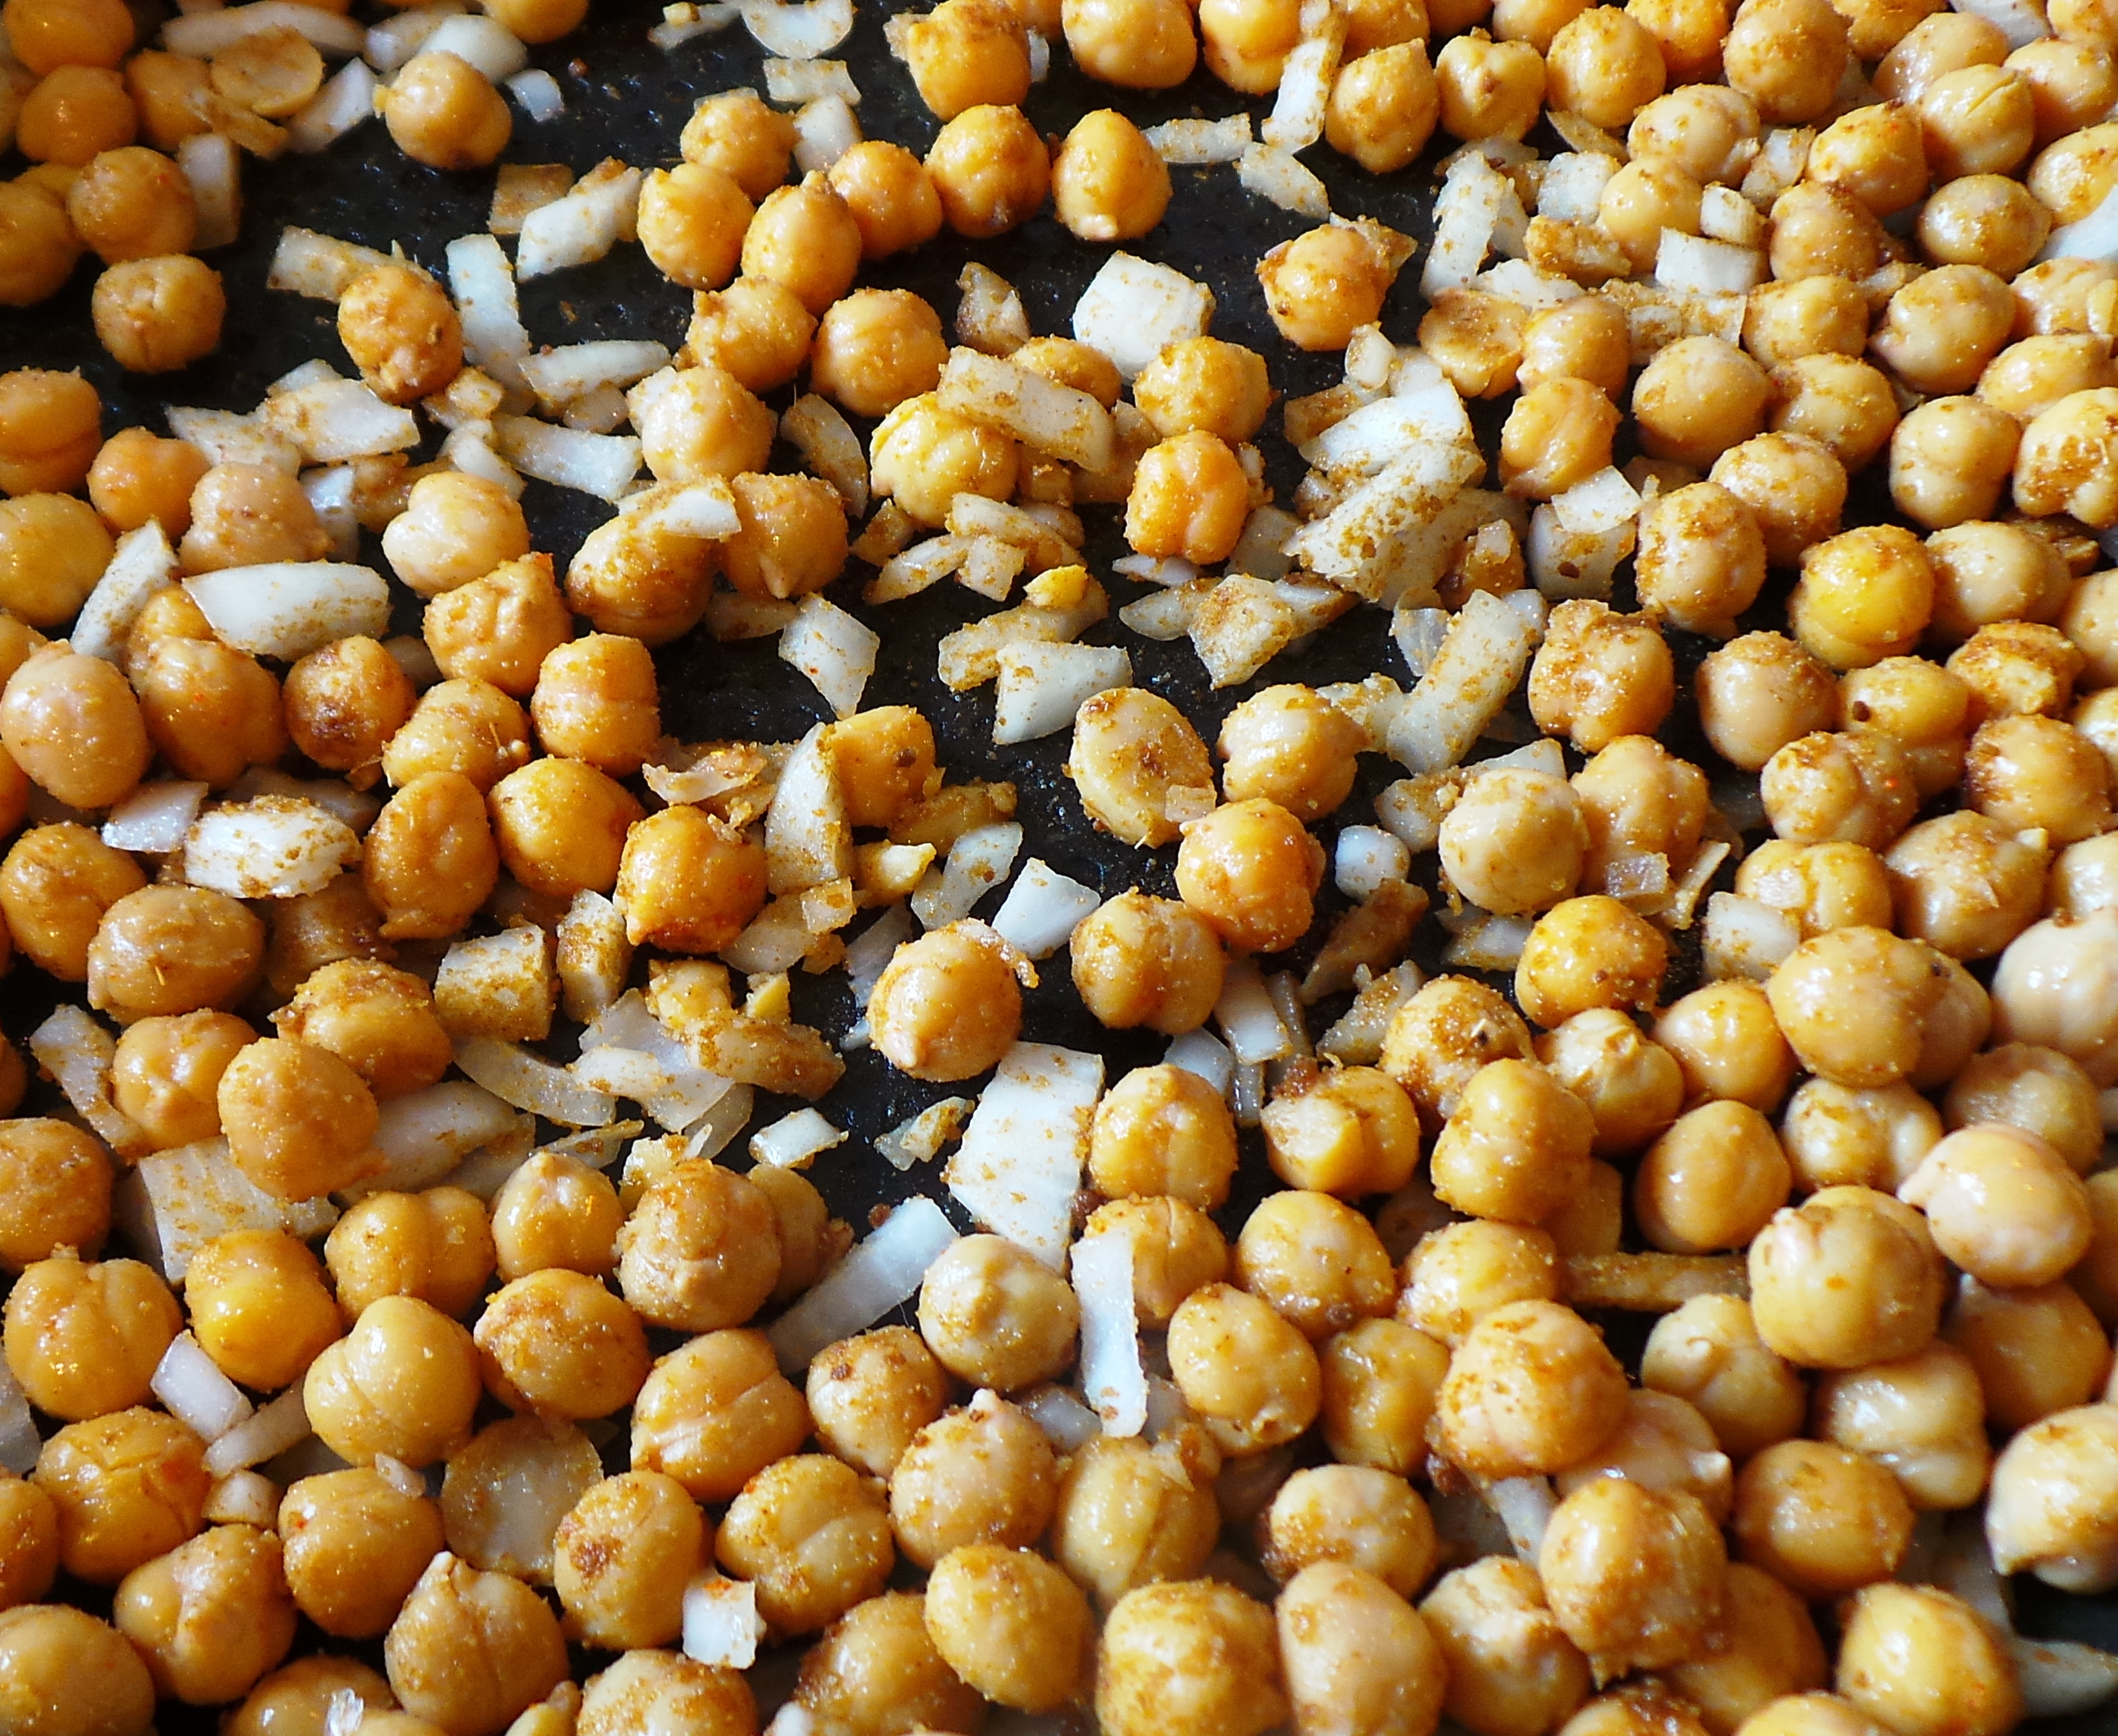
At this point I add my chickpeas and give it all a good stir.

Introduce your chickpeas to the other flavours.
I’ve used an attachment on an immersion blender for the rest of this, but you could use a blender, a food processor an immersion blender in a bigger bowl… If you’re feeling particularly energetic then use a potato masher. You can even go traditional and grind things up in a stone mortar and pestle – it will all work.
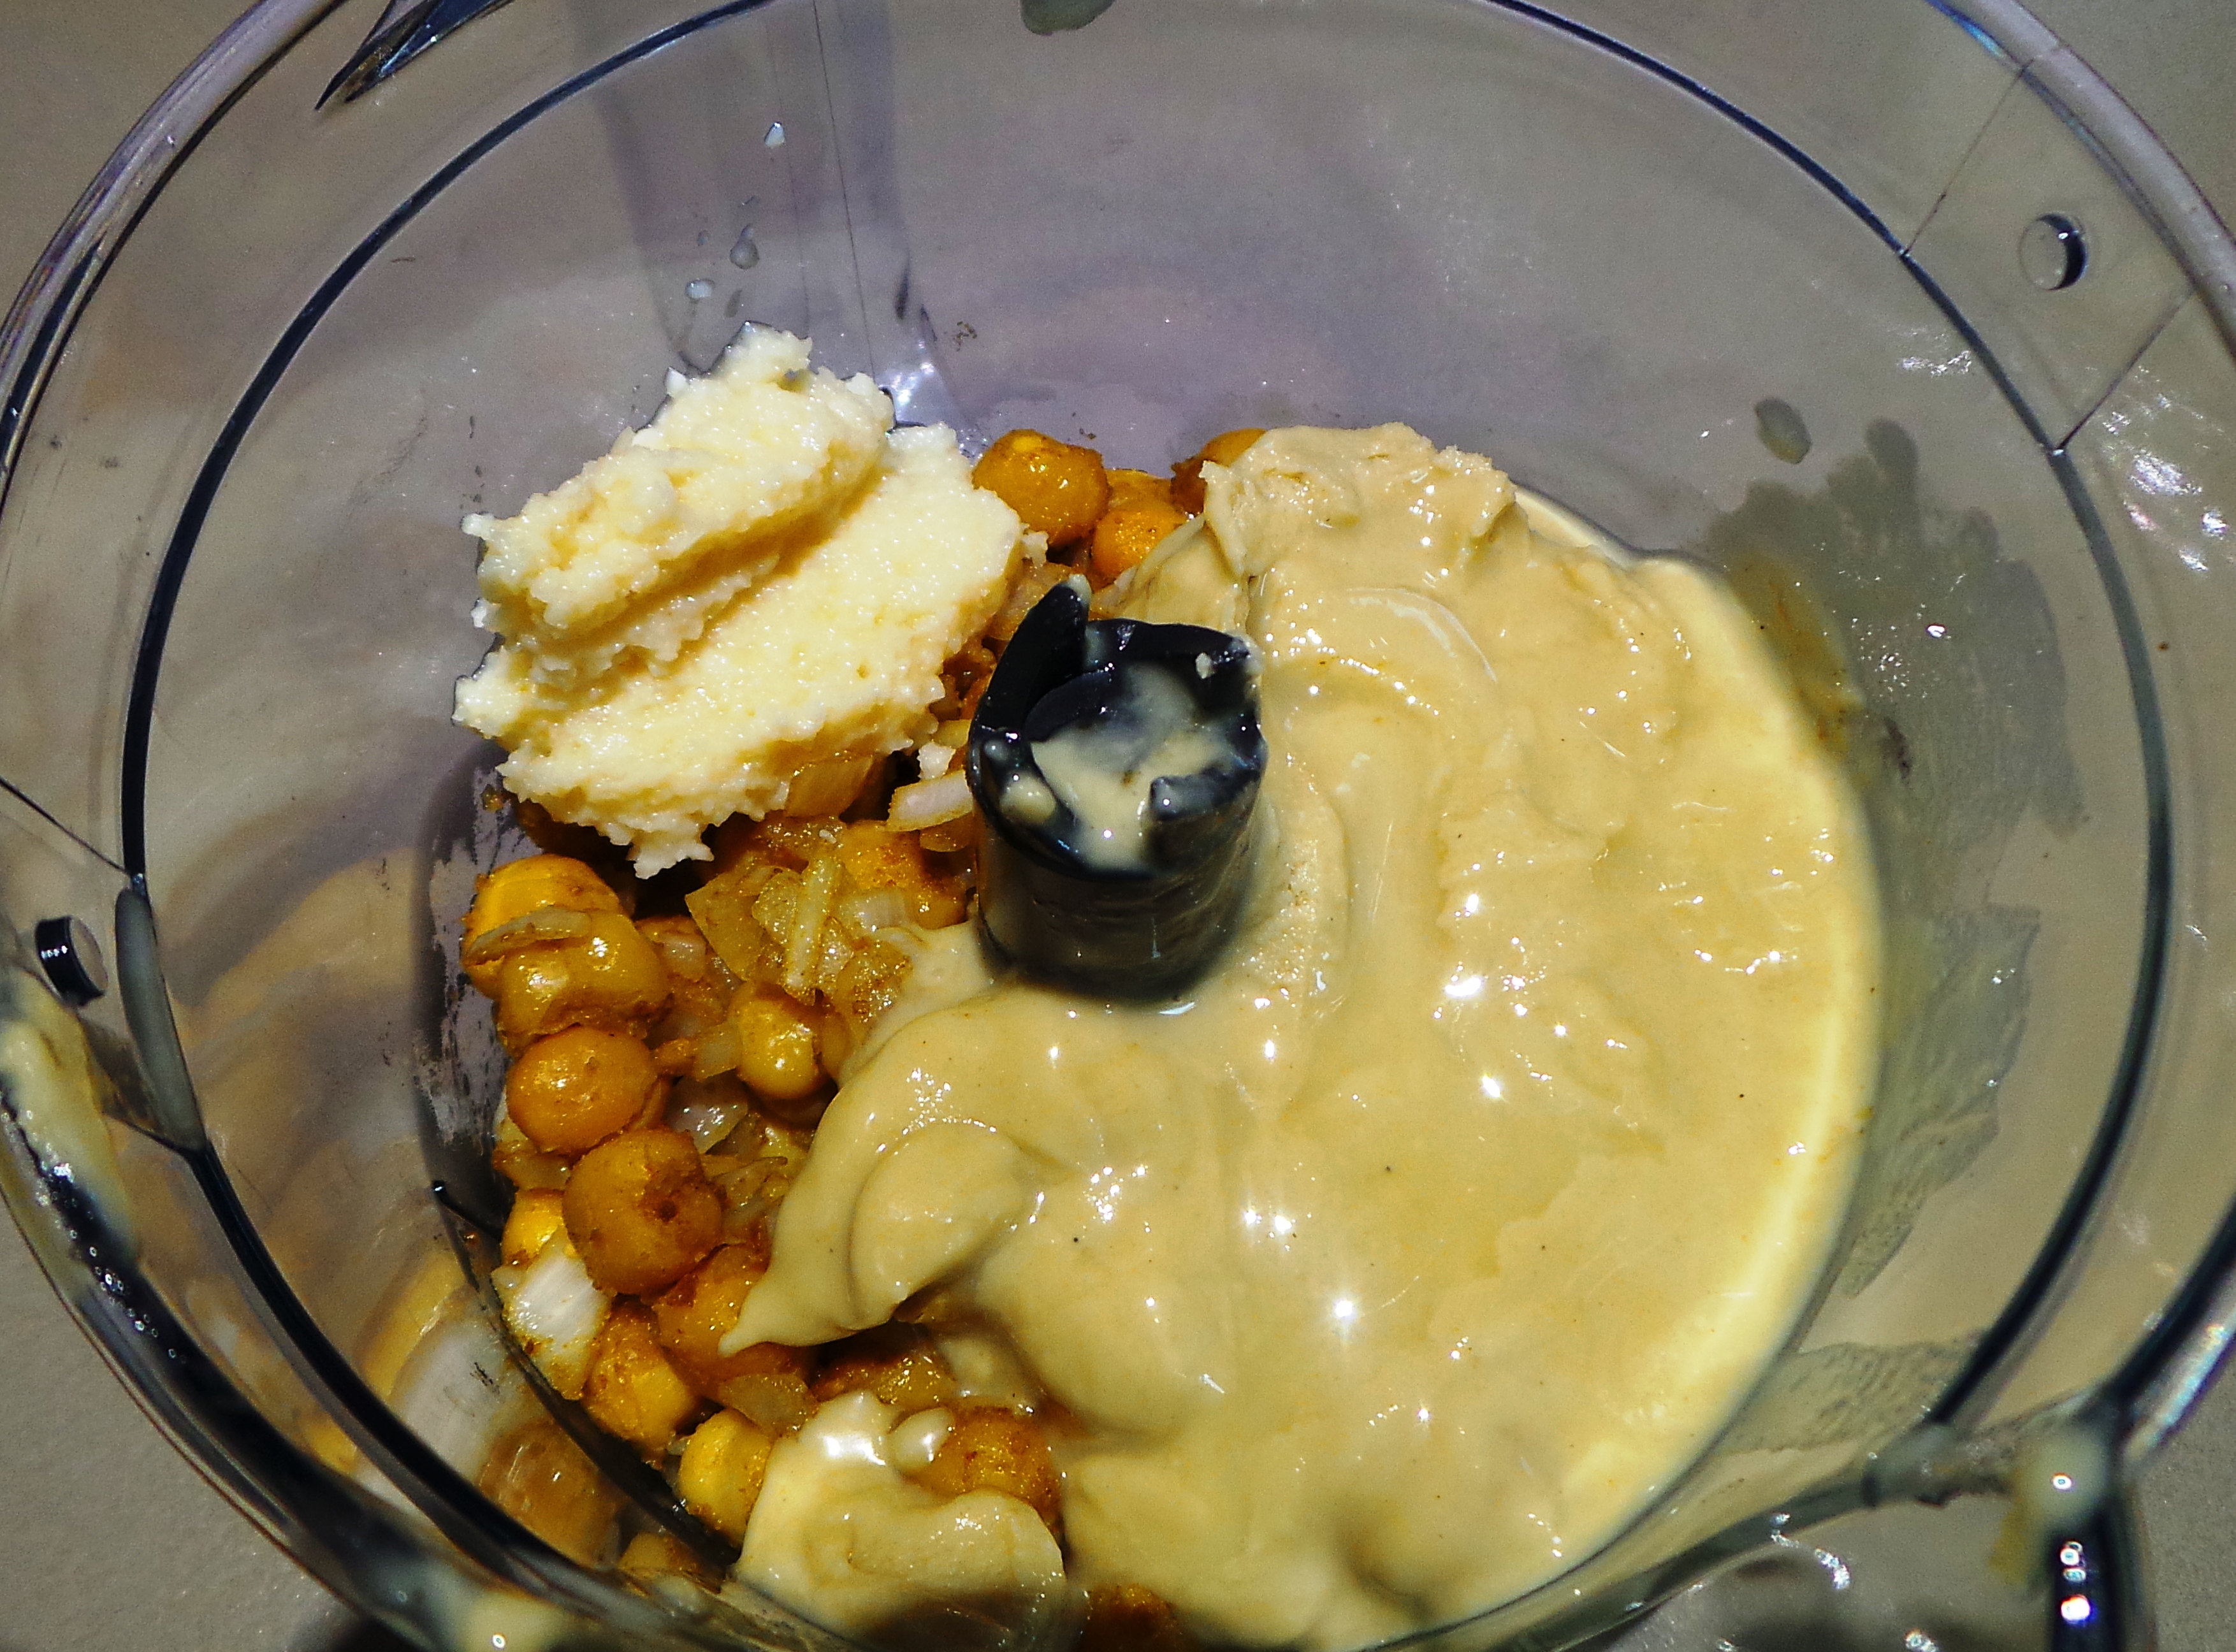
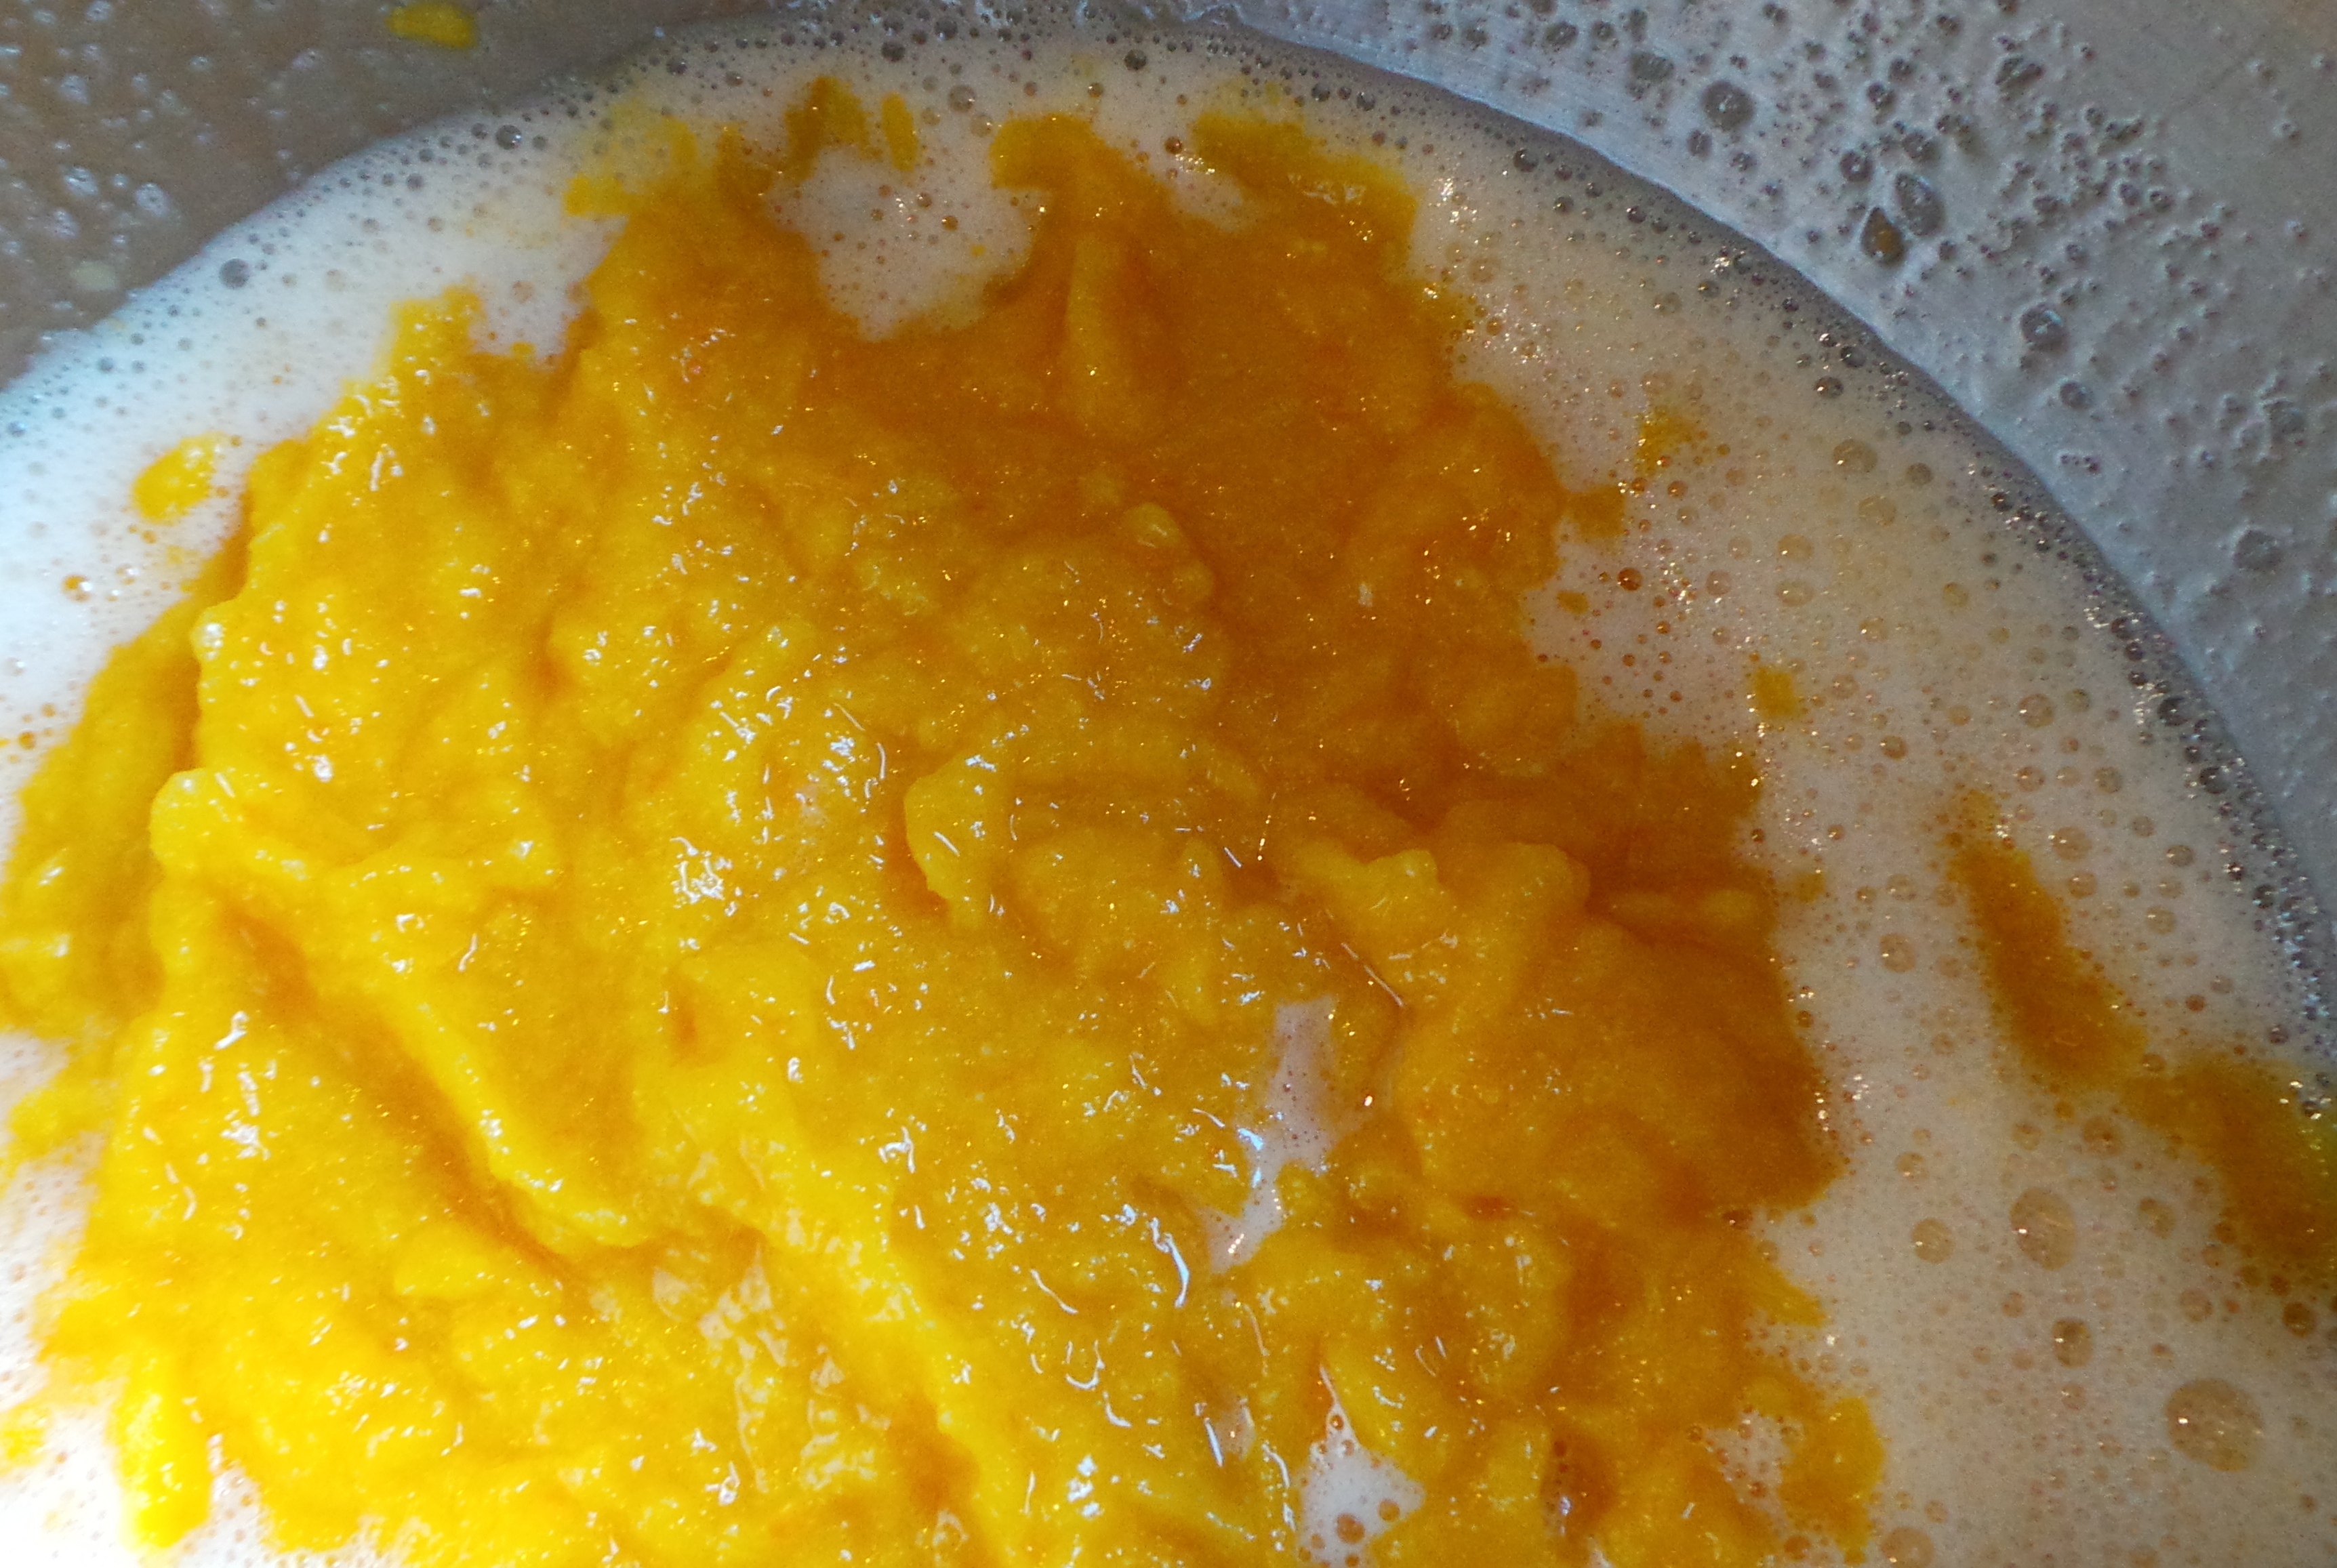
In your bowl, place the chickpea mixture from the pan, tahini (or not), some olive oil, some cloves of crushed garlic (I use stuff from a jar) and some squeezed lemon juice.

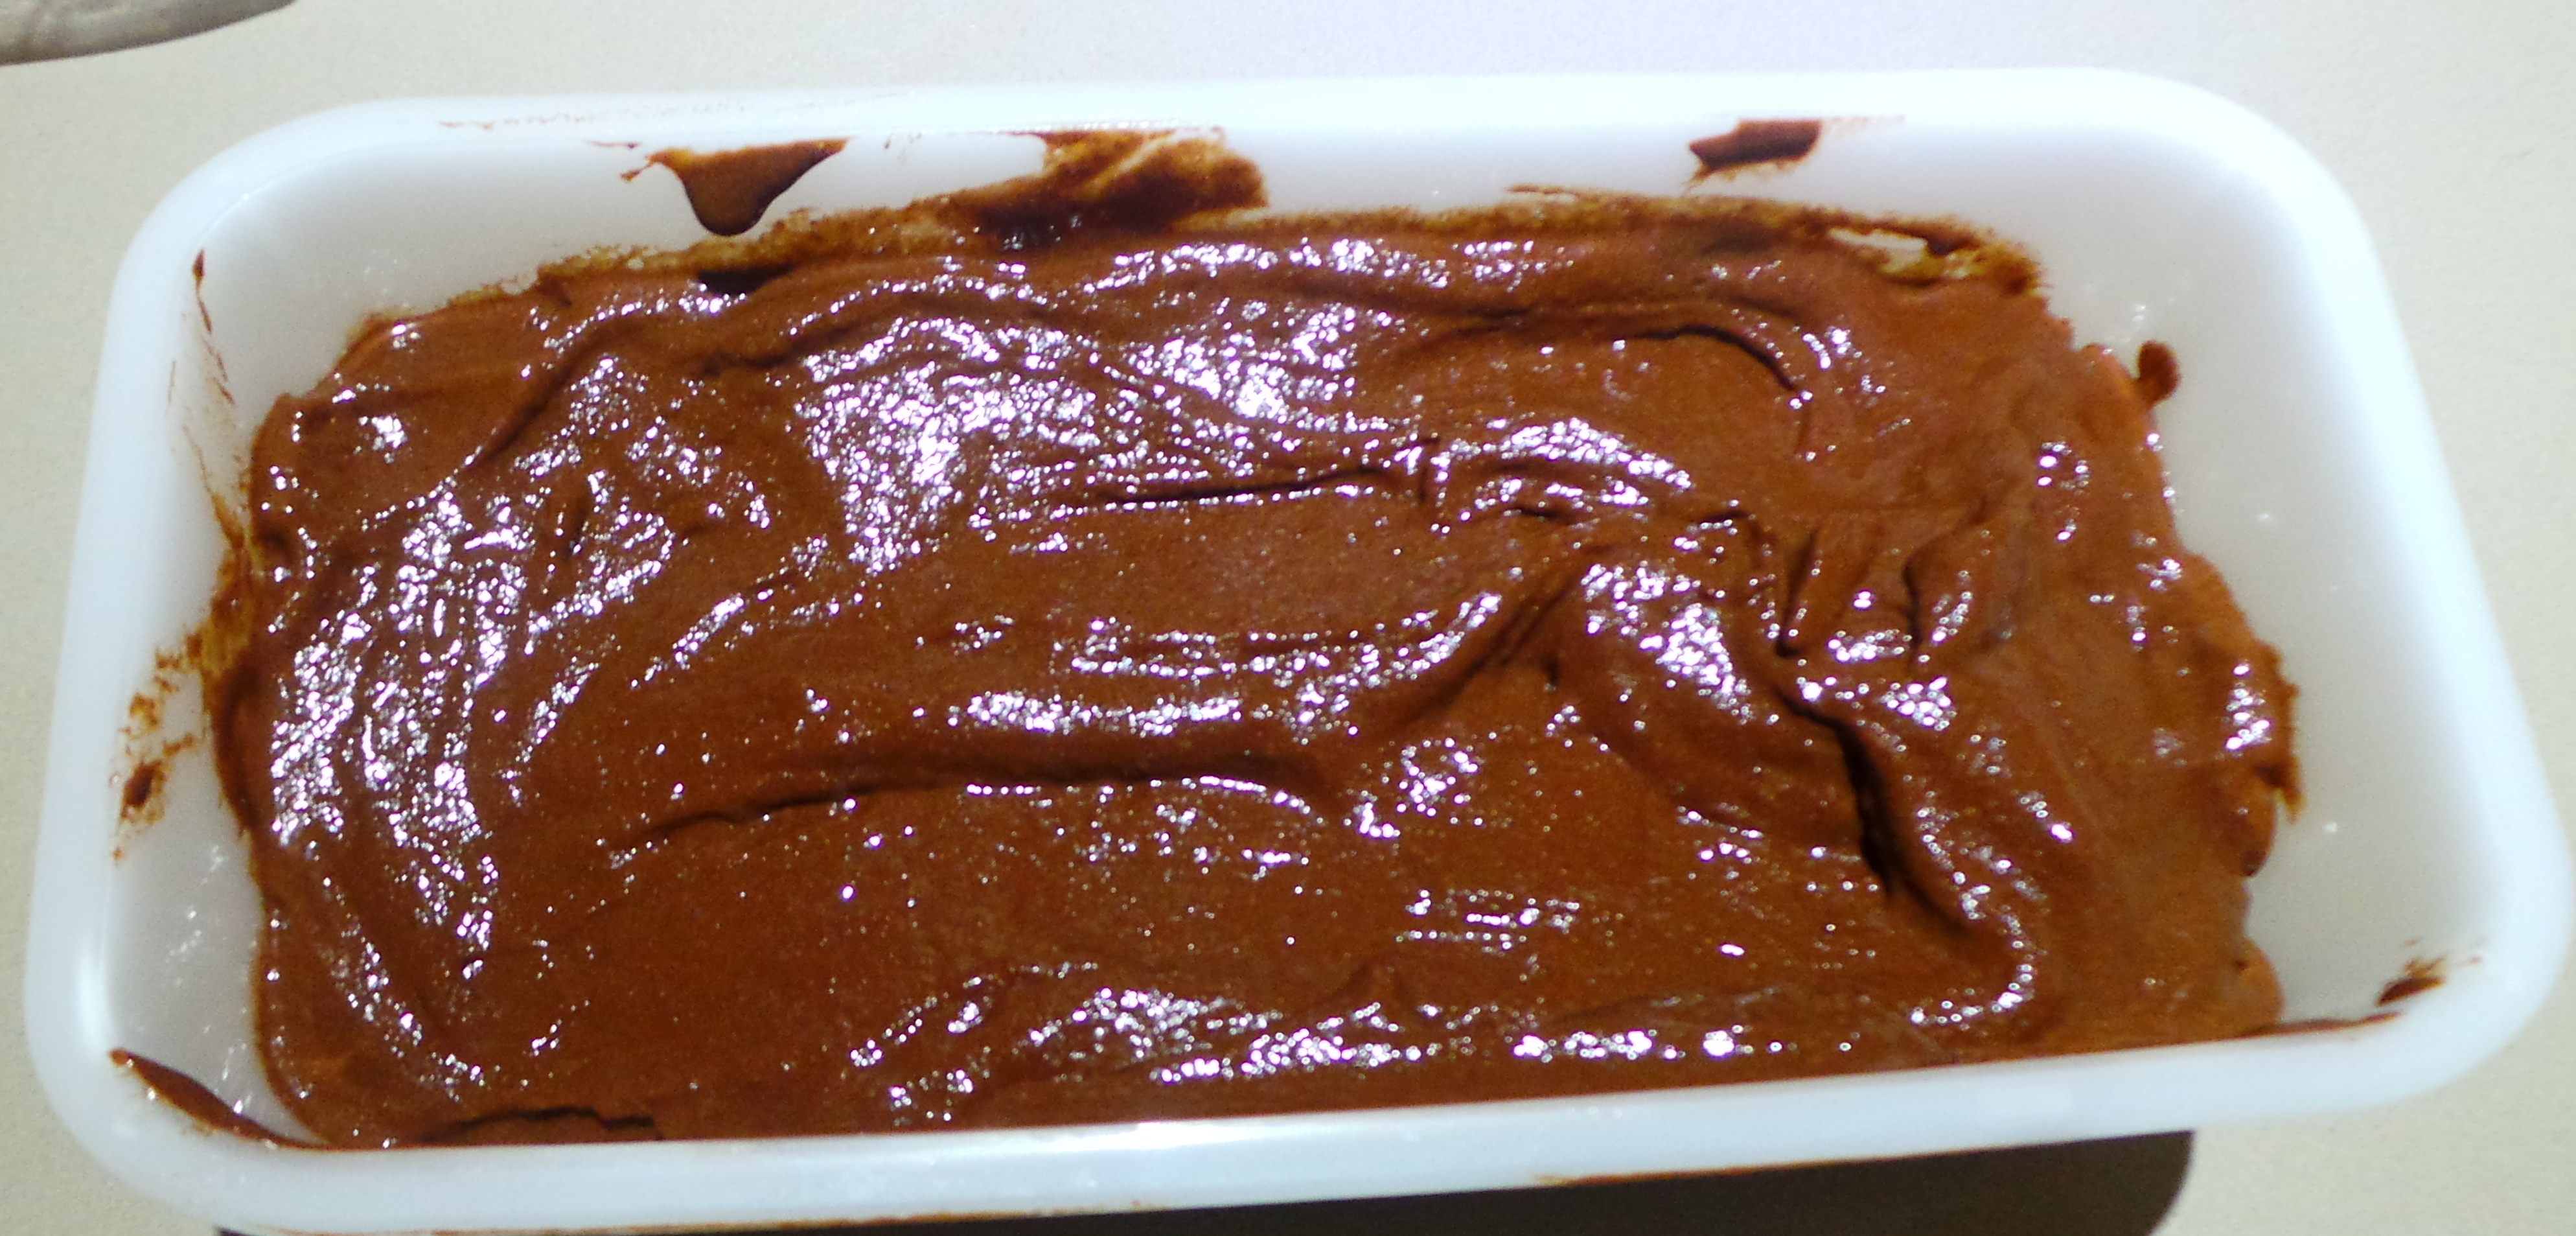
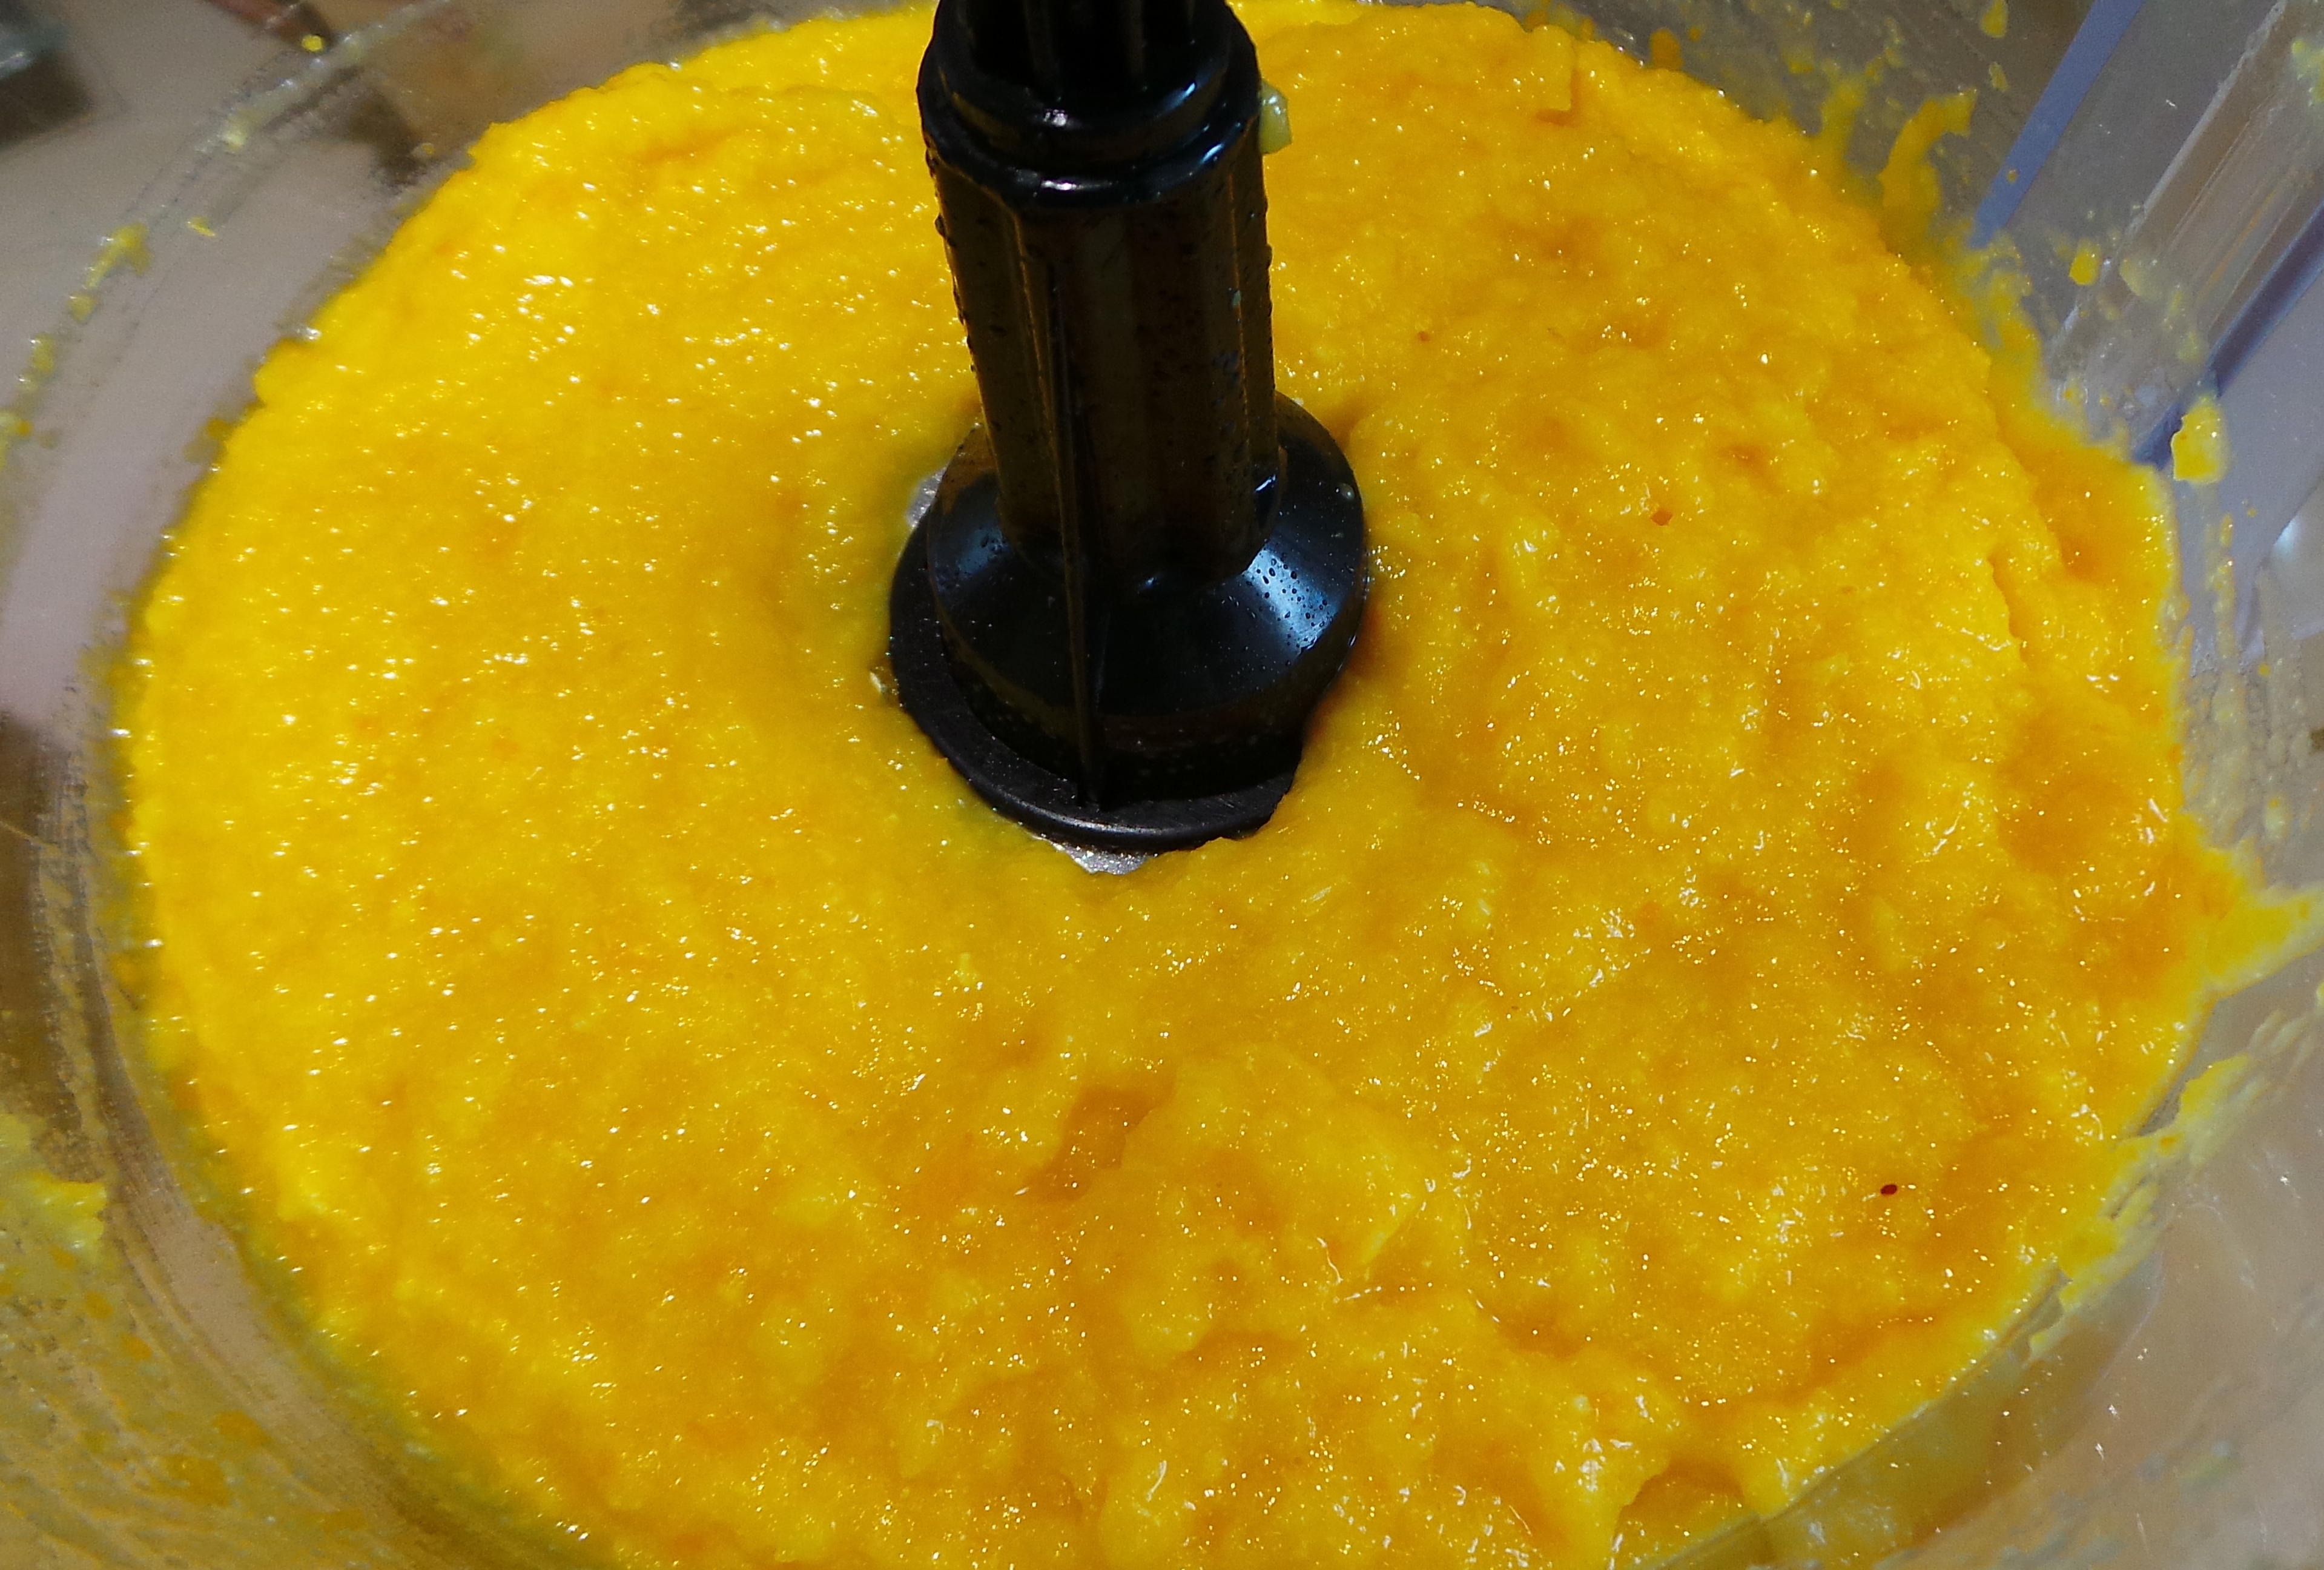
Place everything into your blender.
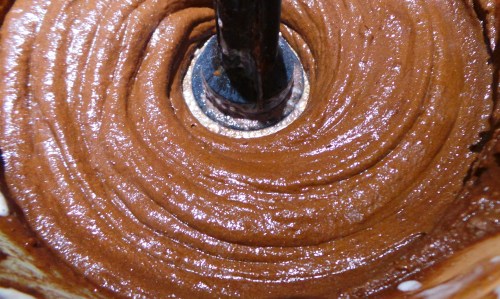
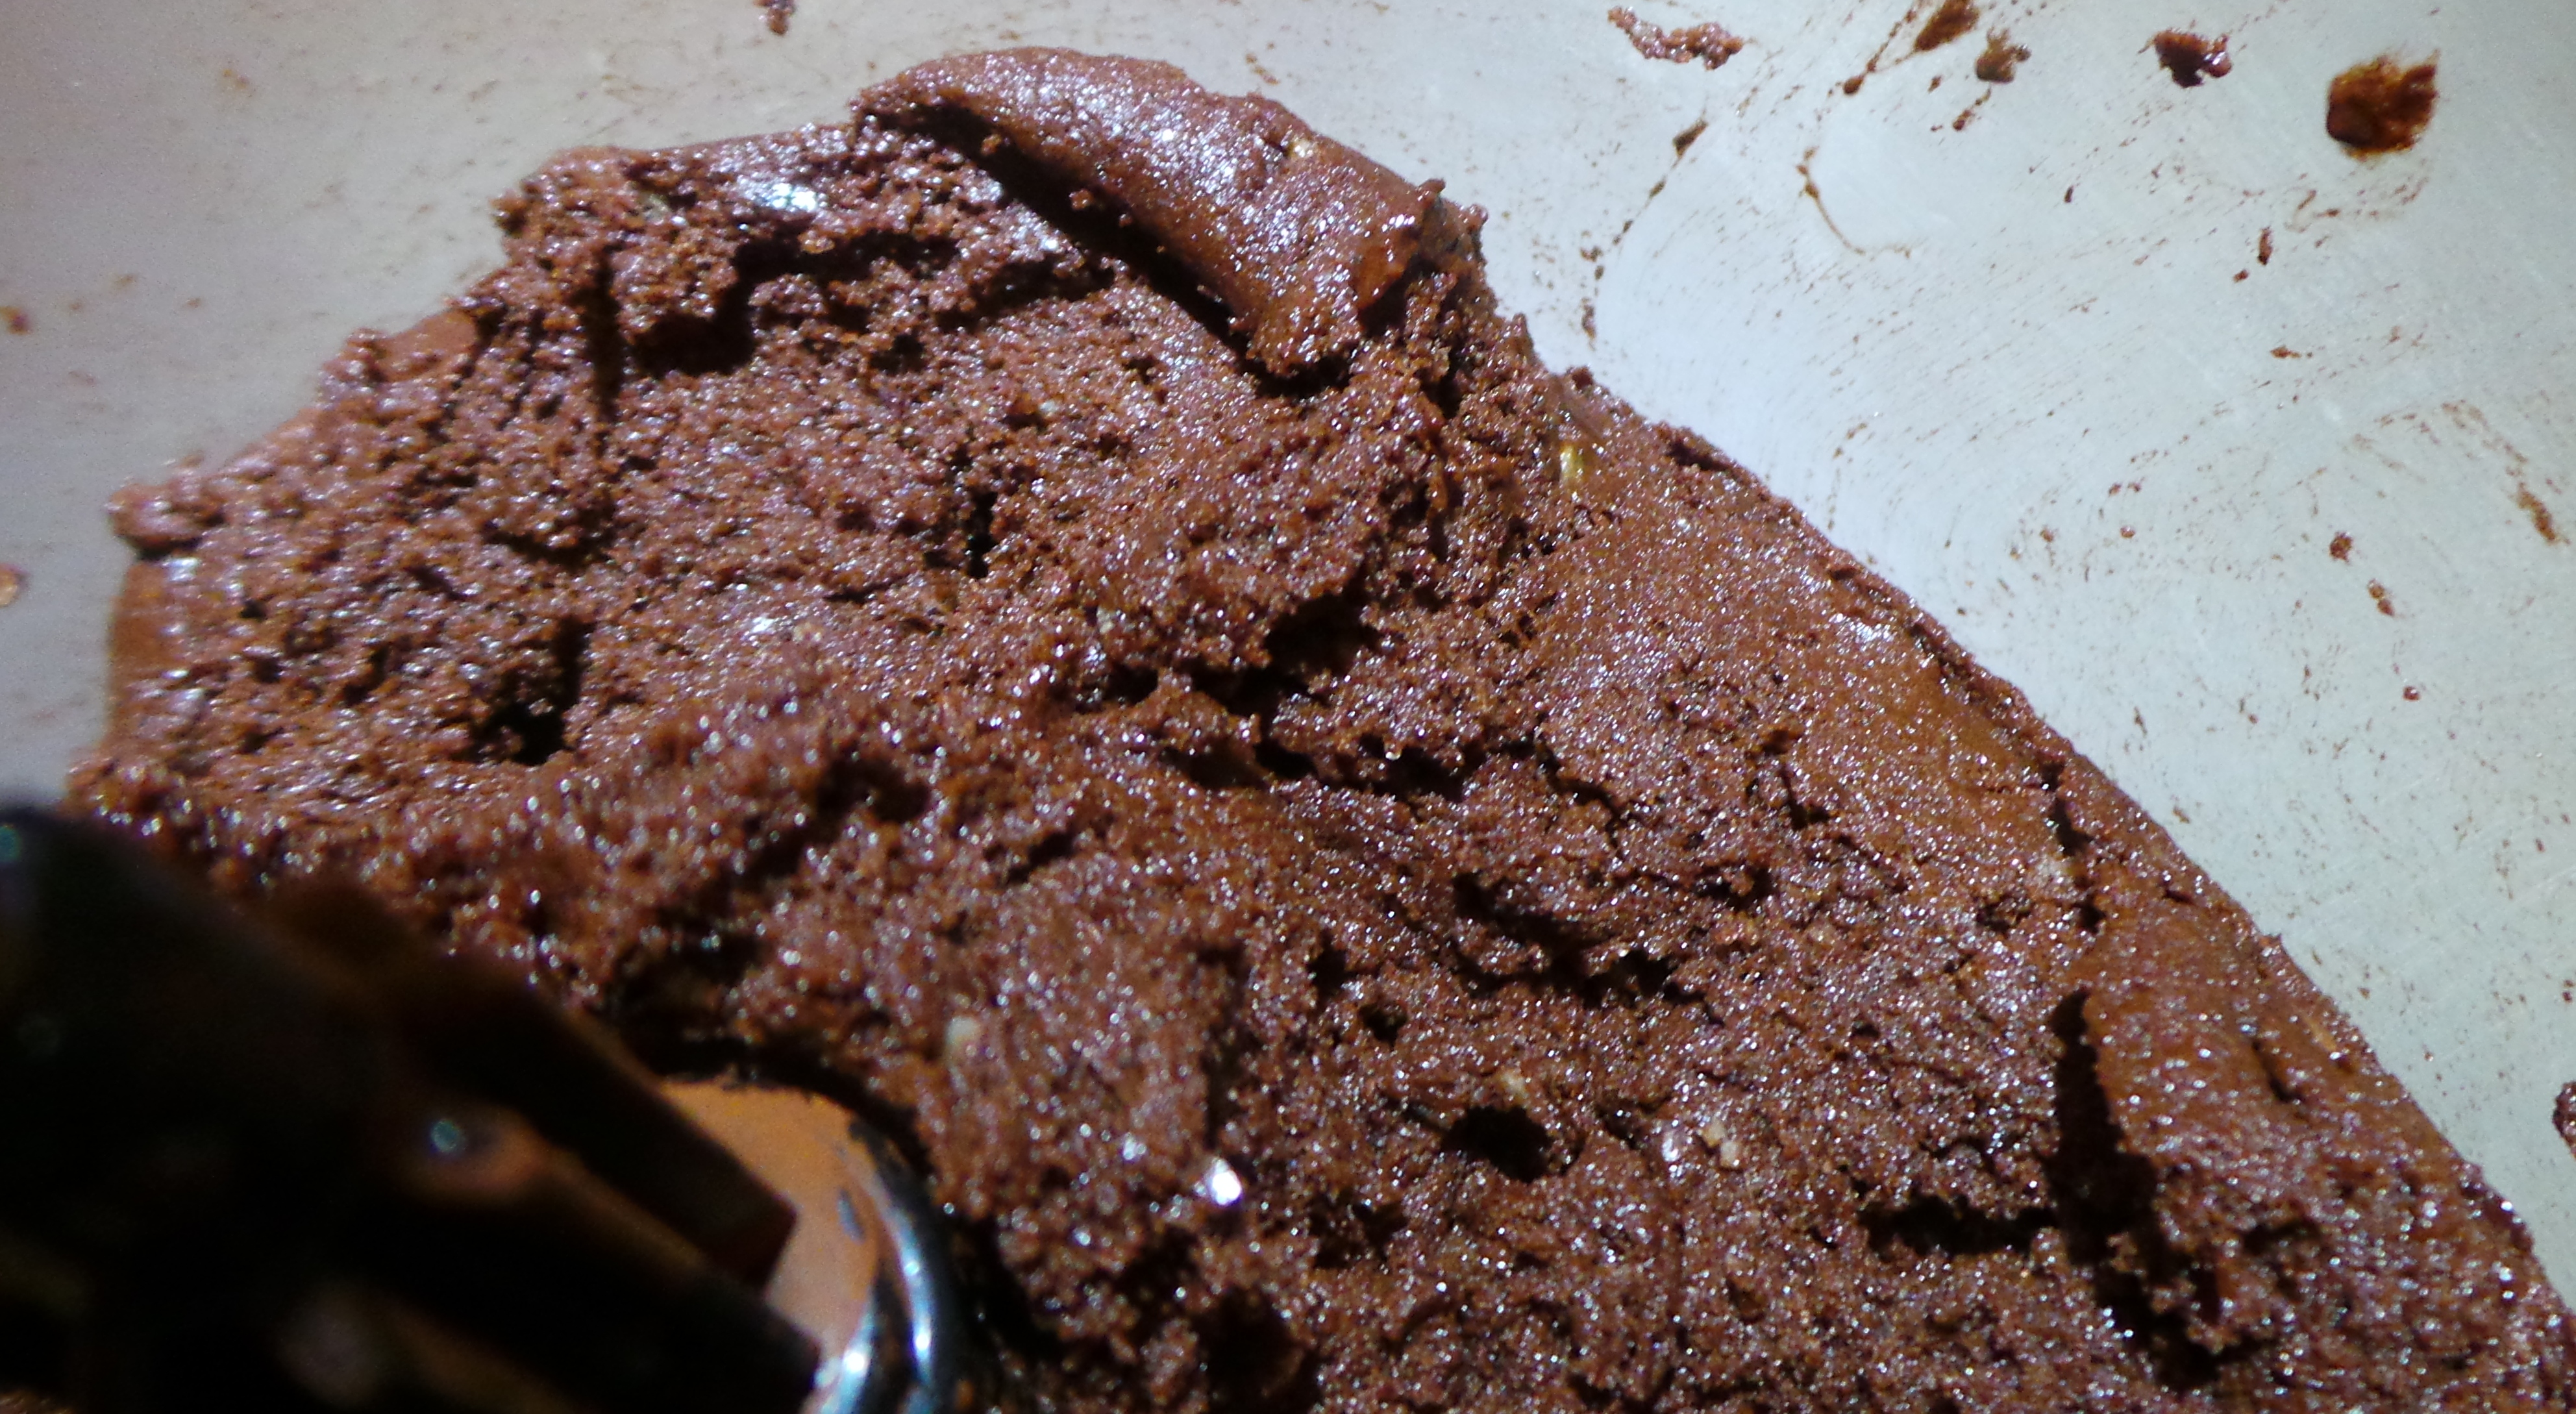
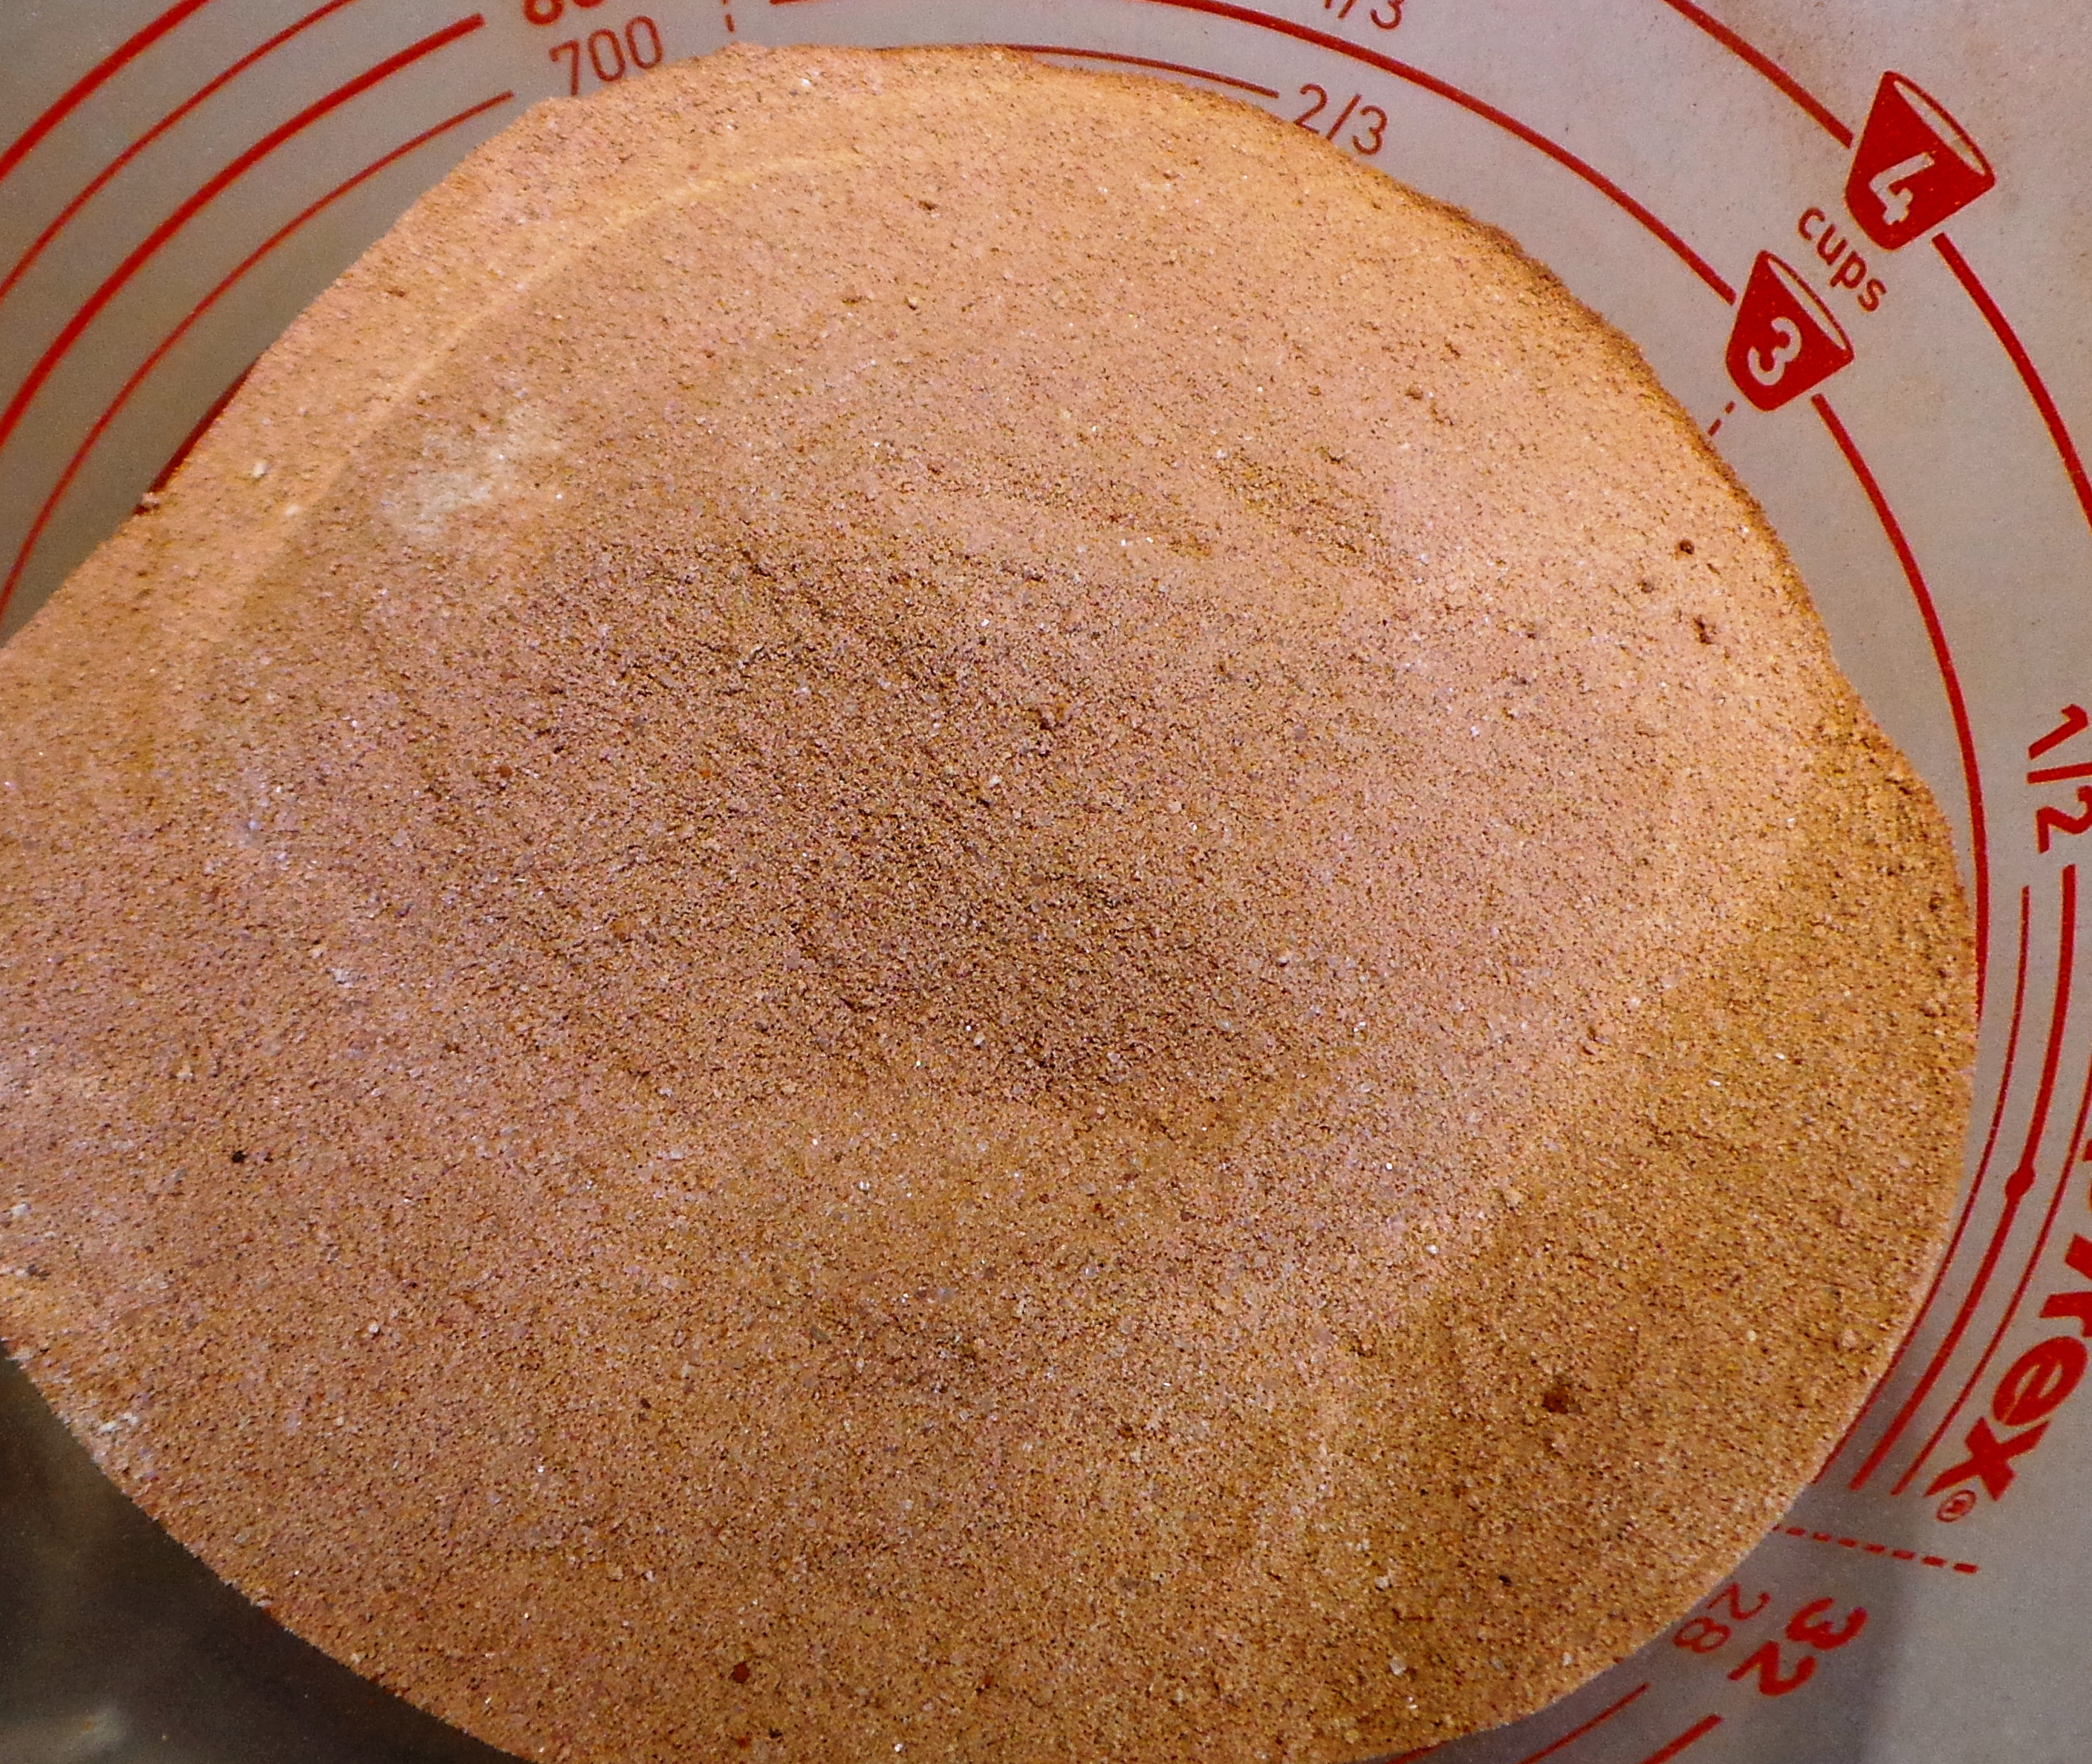
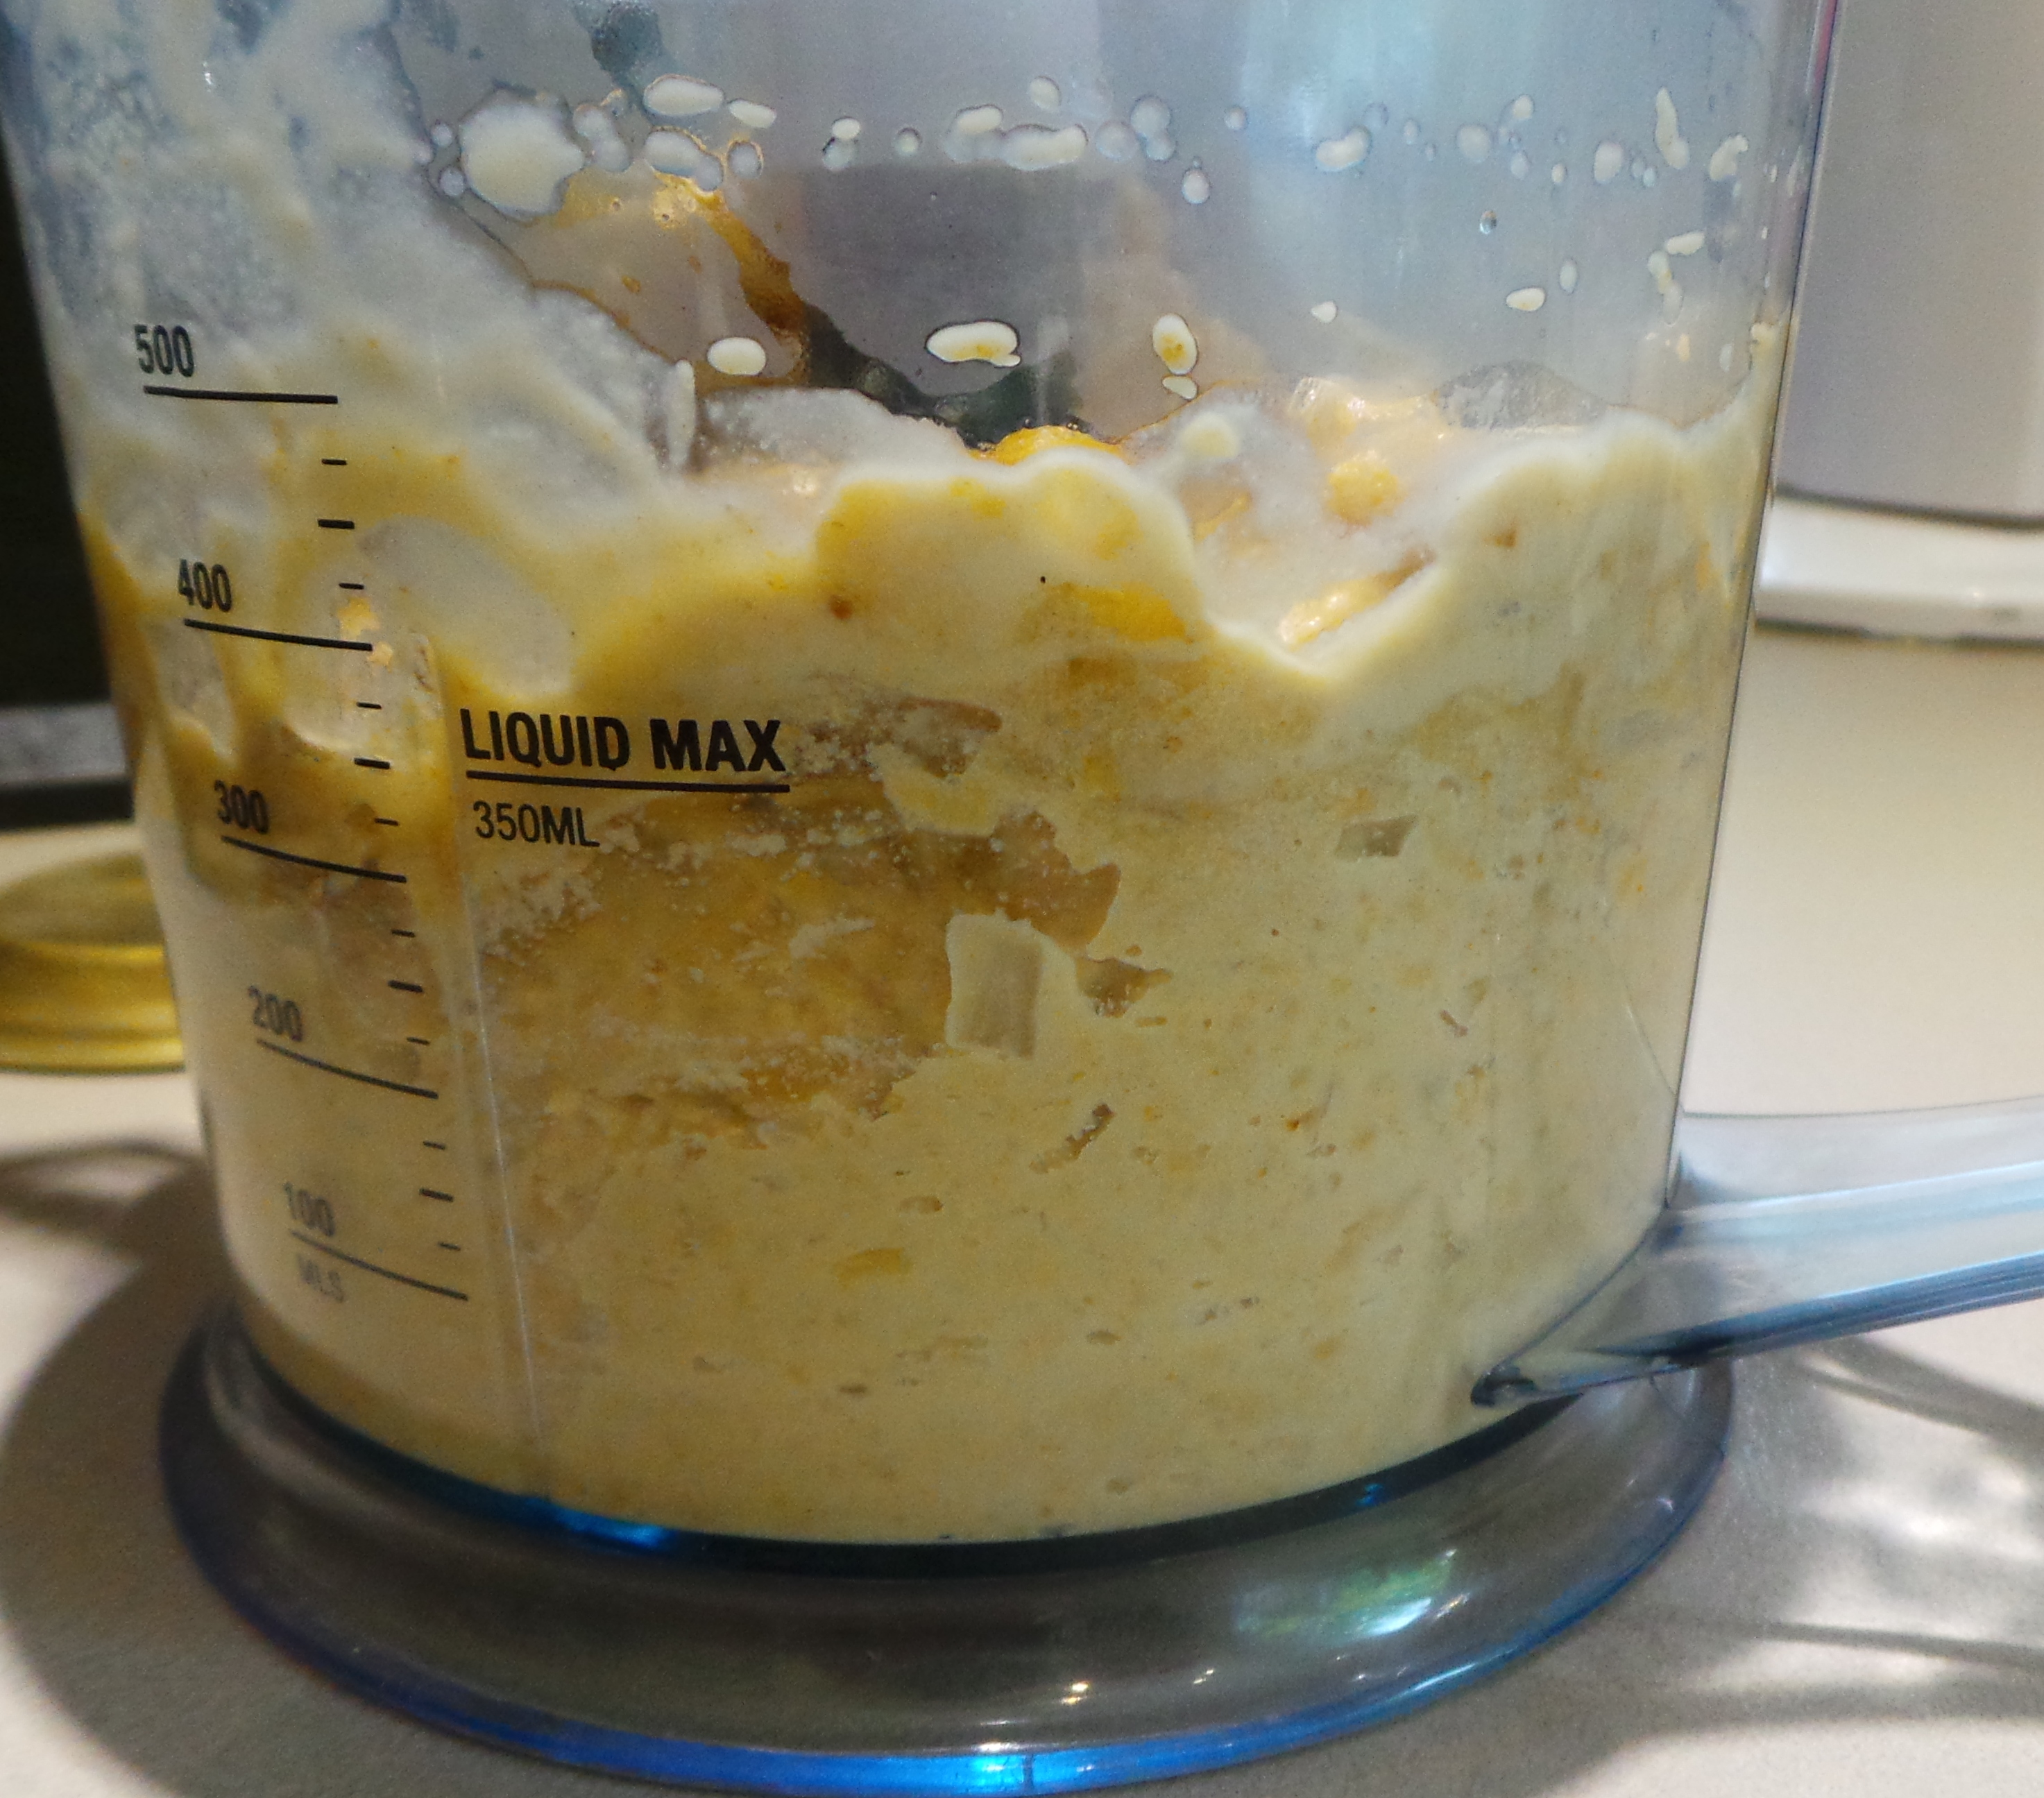
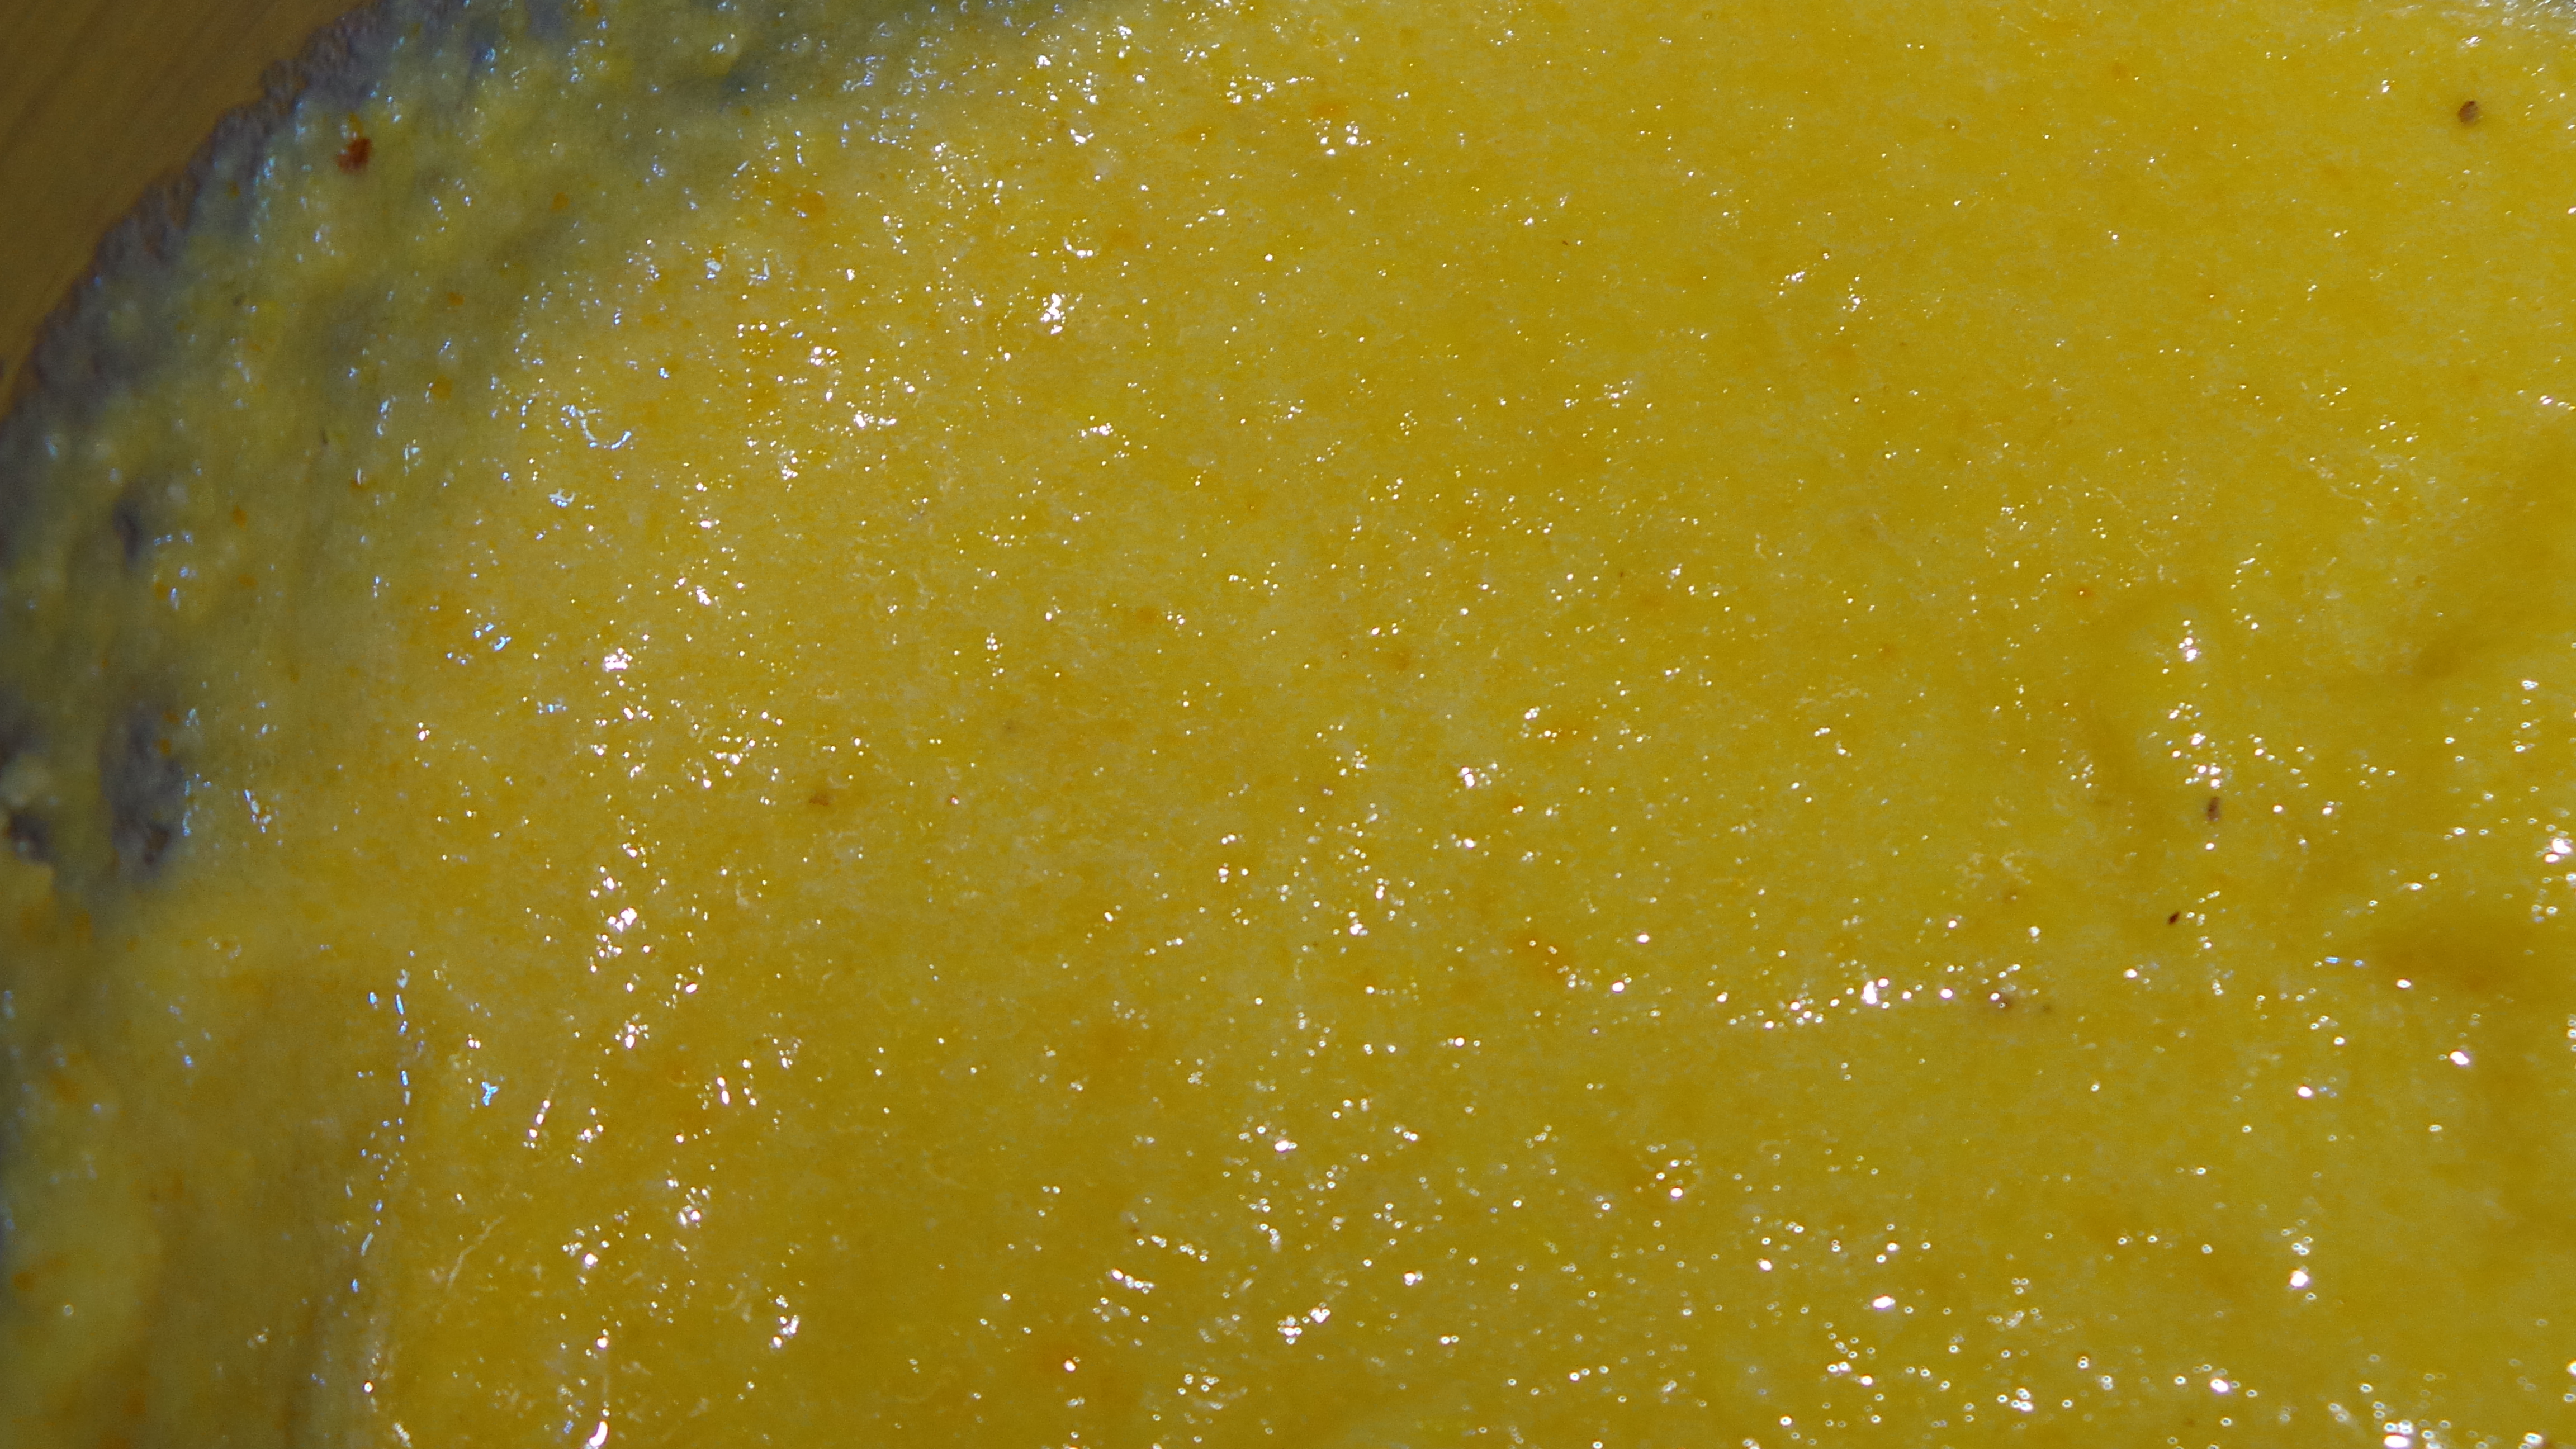
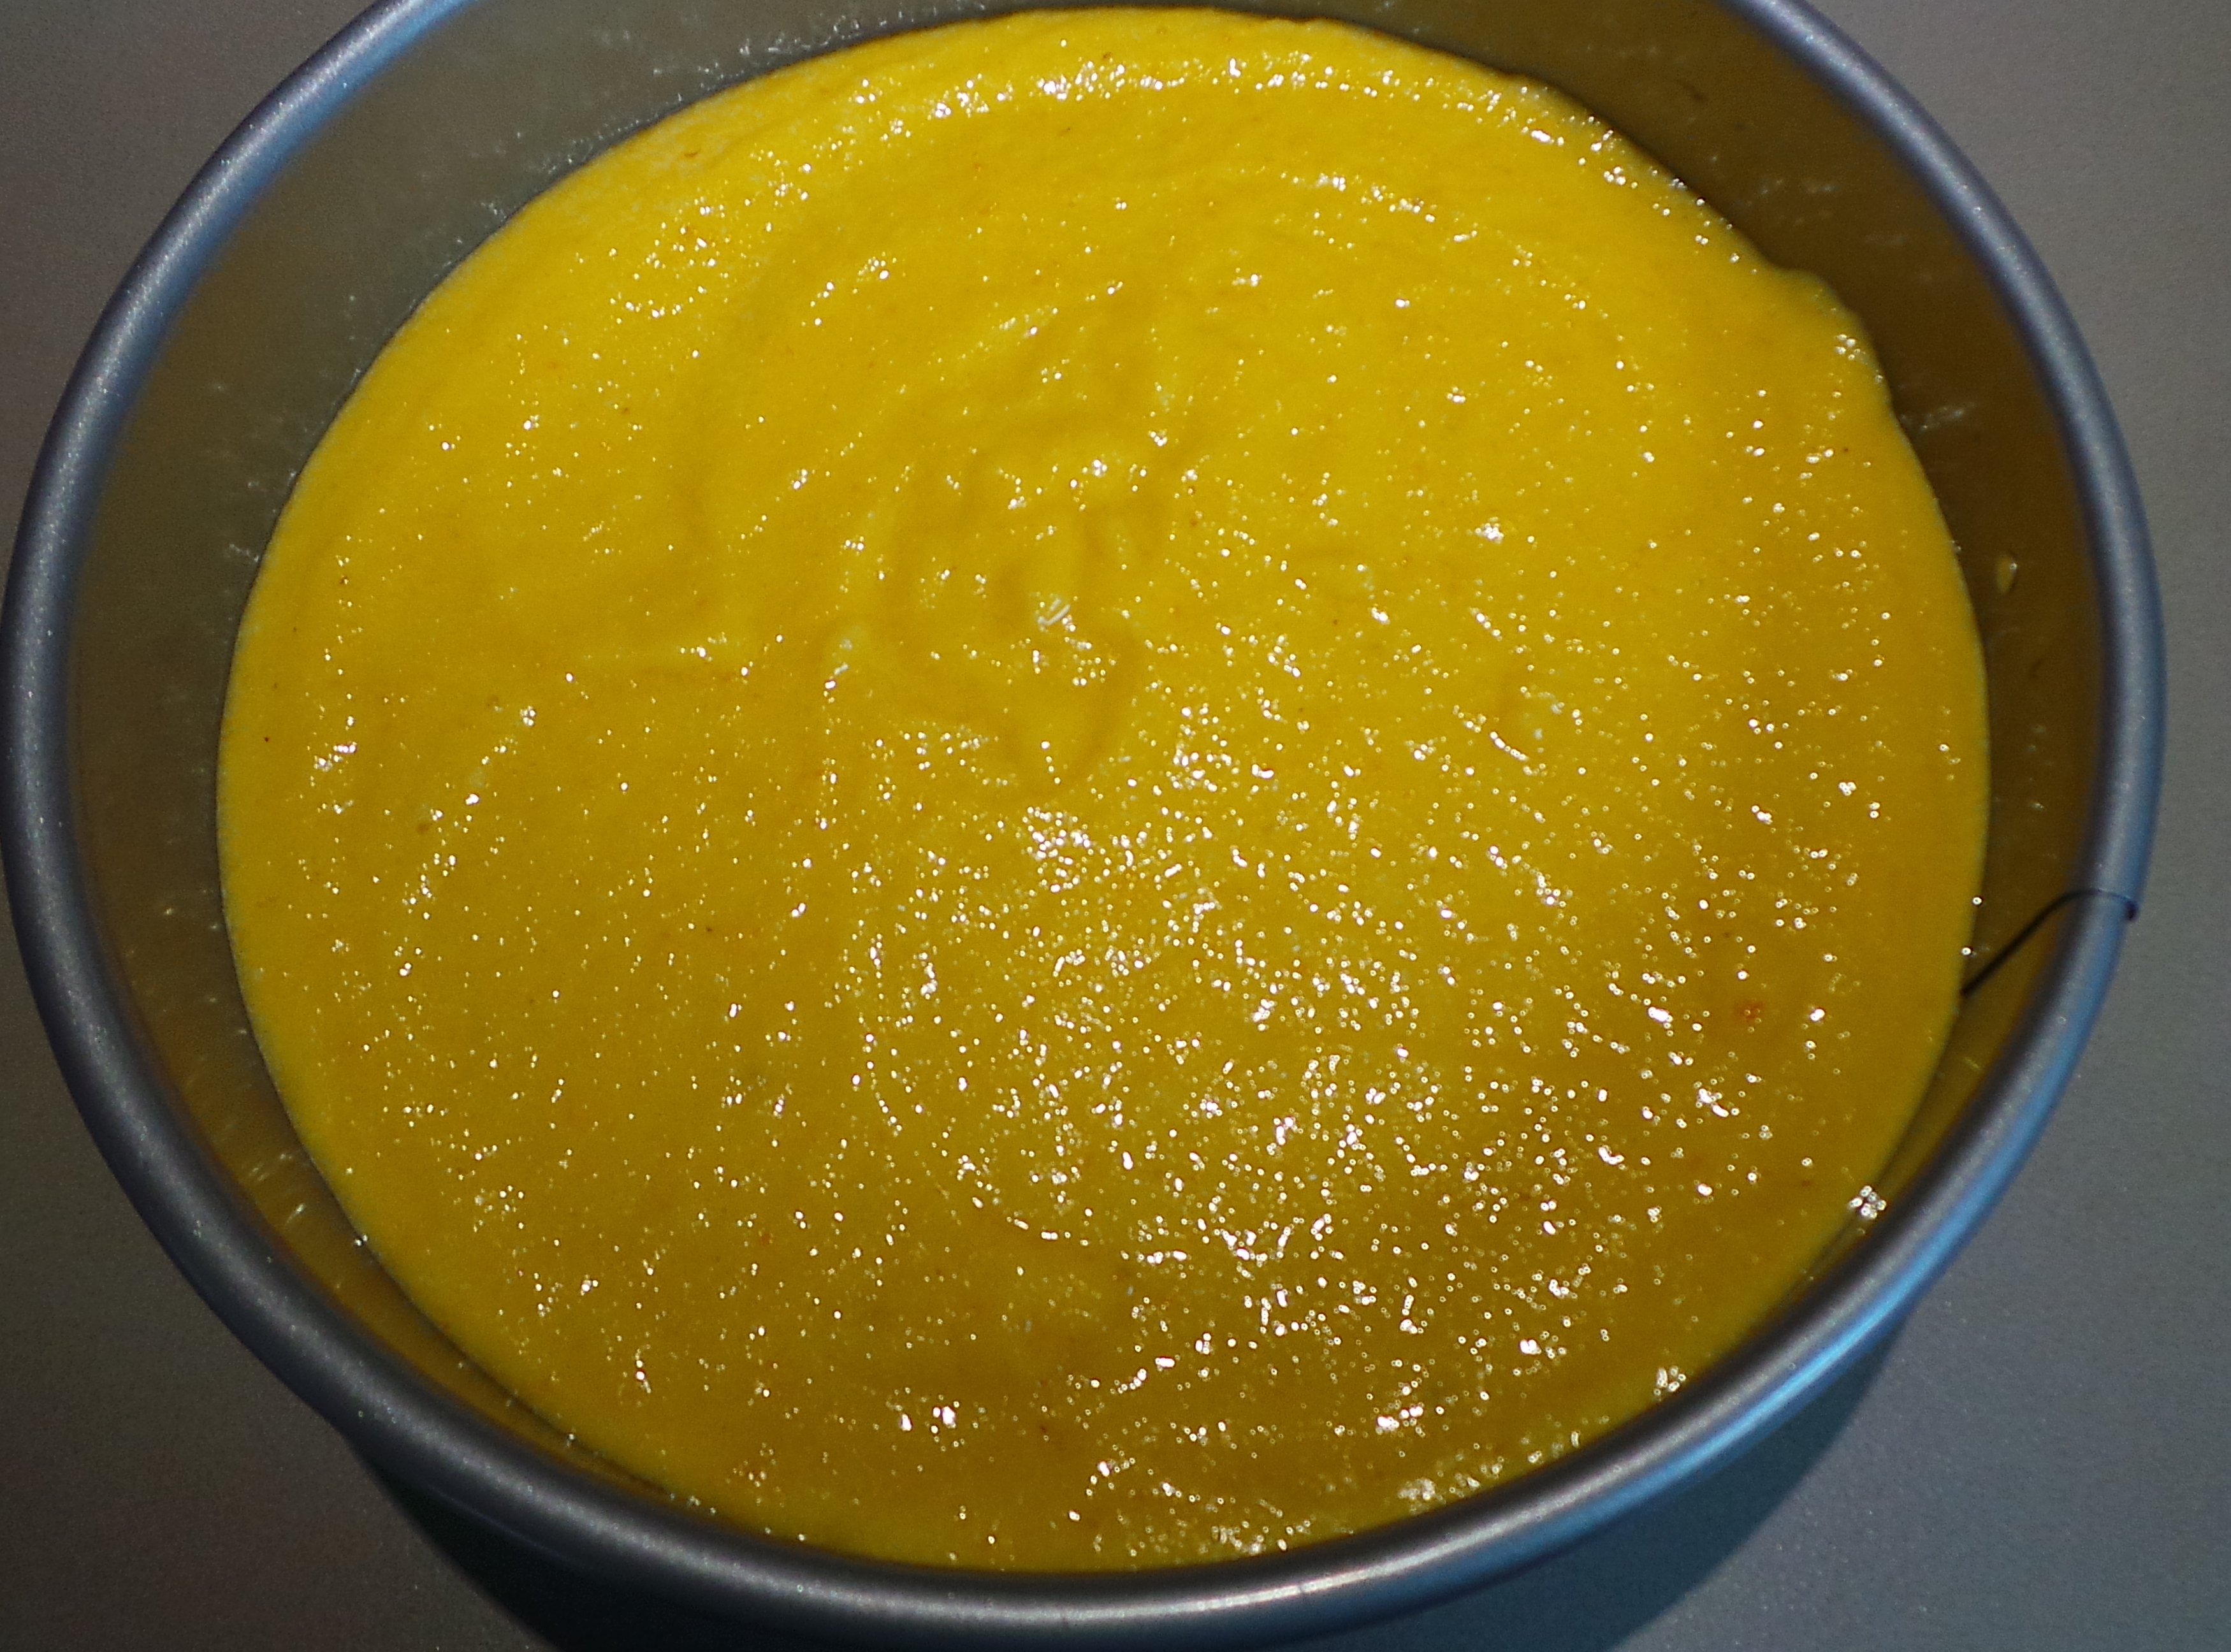
Process until smooth.

Nearly there.
Taste and season if necessary. Feel free to add more oil or lemon juice if you wish to loosen the mixture but, if you are happy with the flavour and it is just a little too thick, simply add water (or reserved cooking liquid if you started from scratch) a spoonful at a time until it reaches the desired consistency.
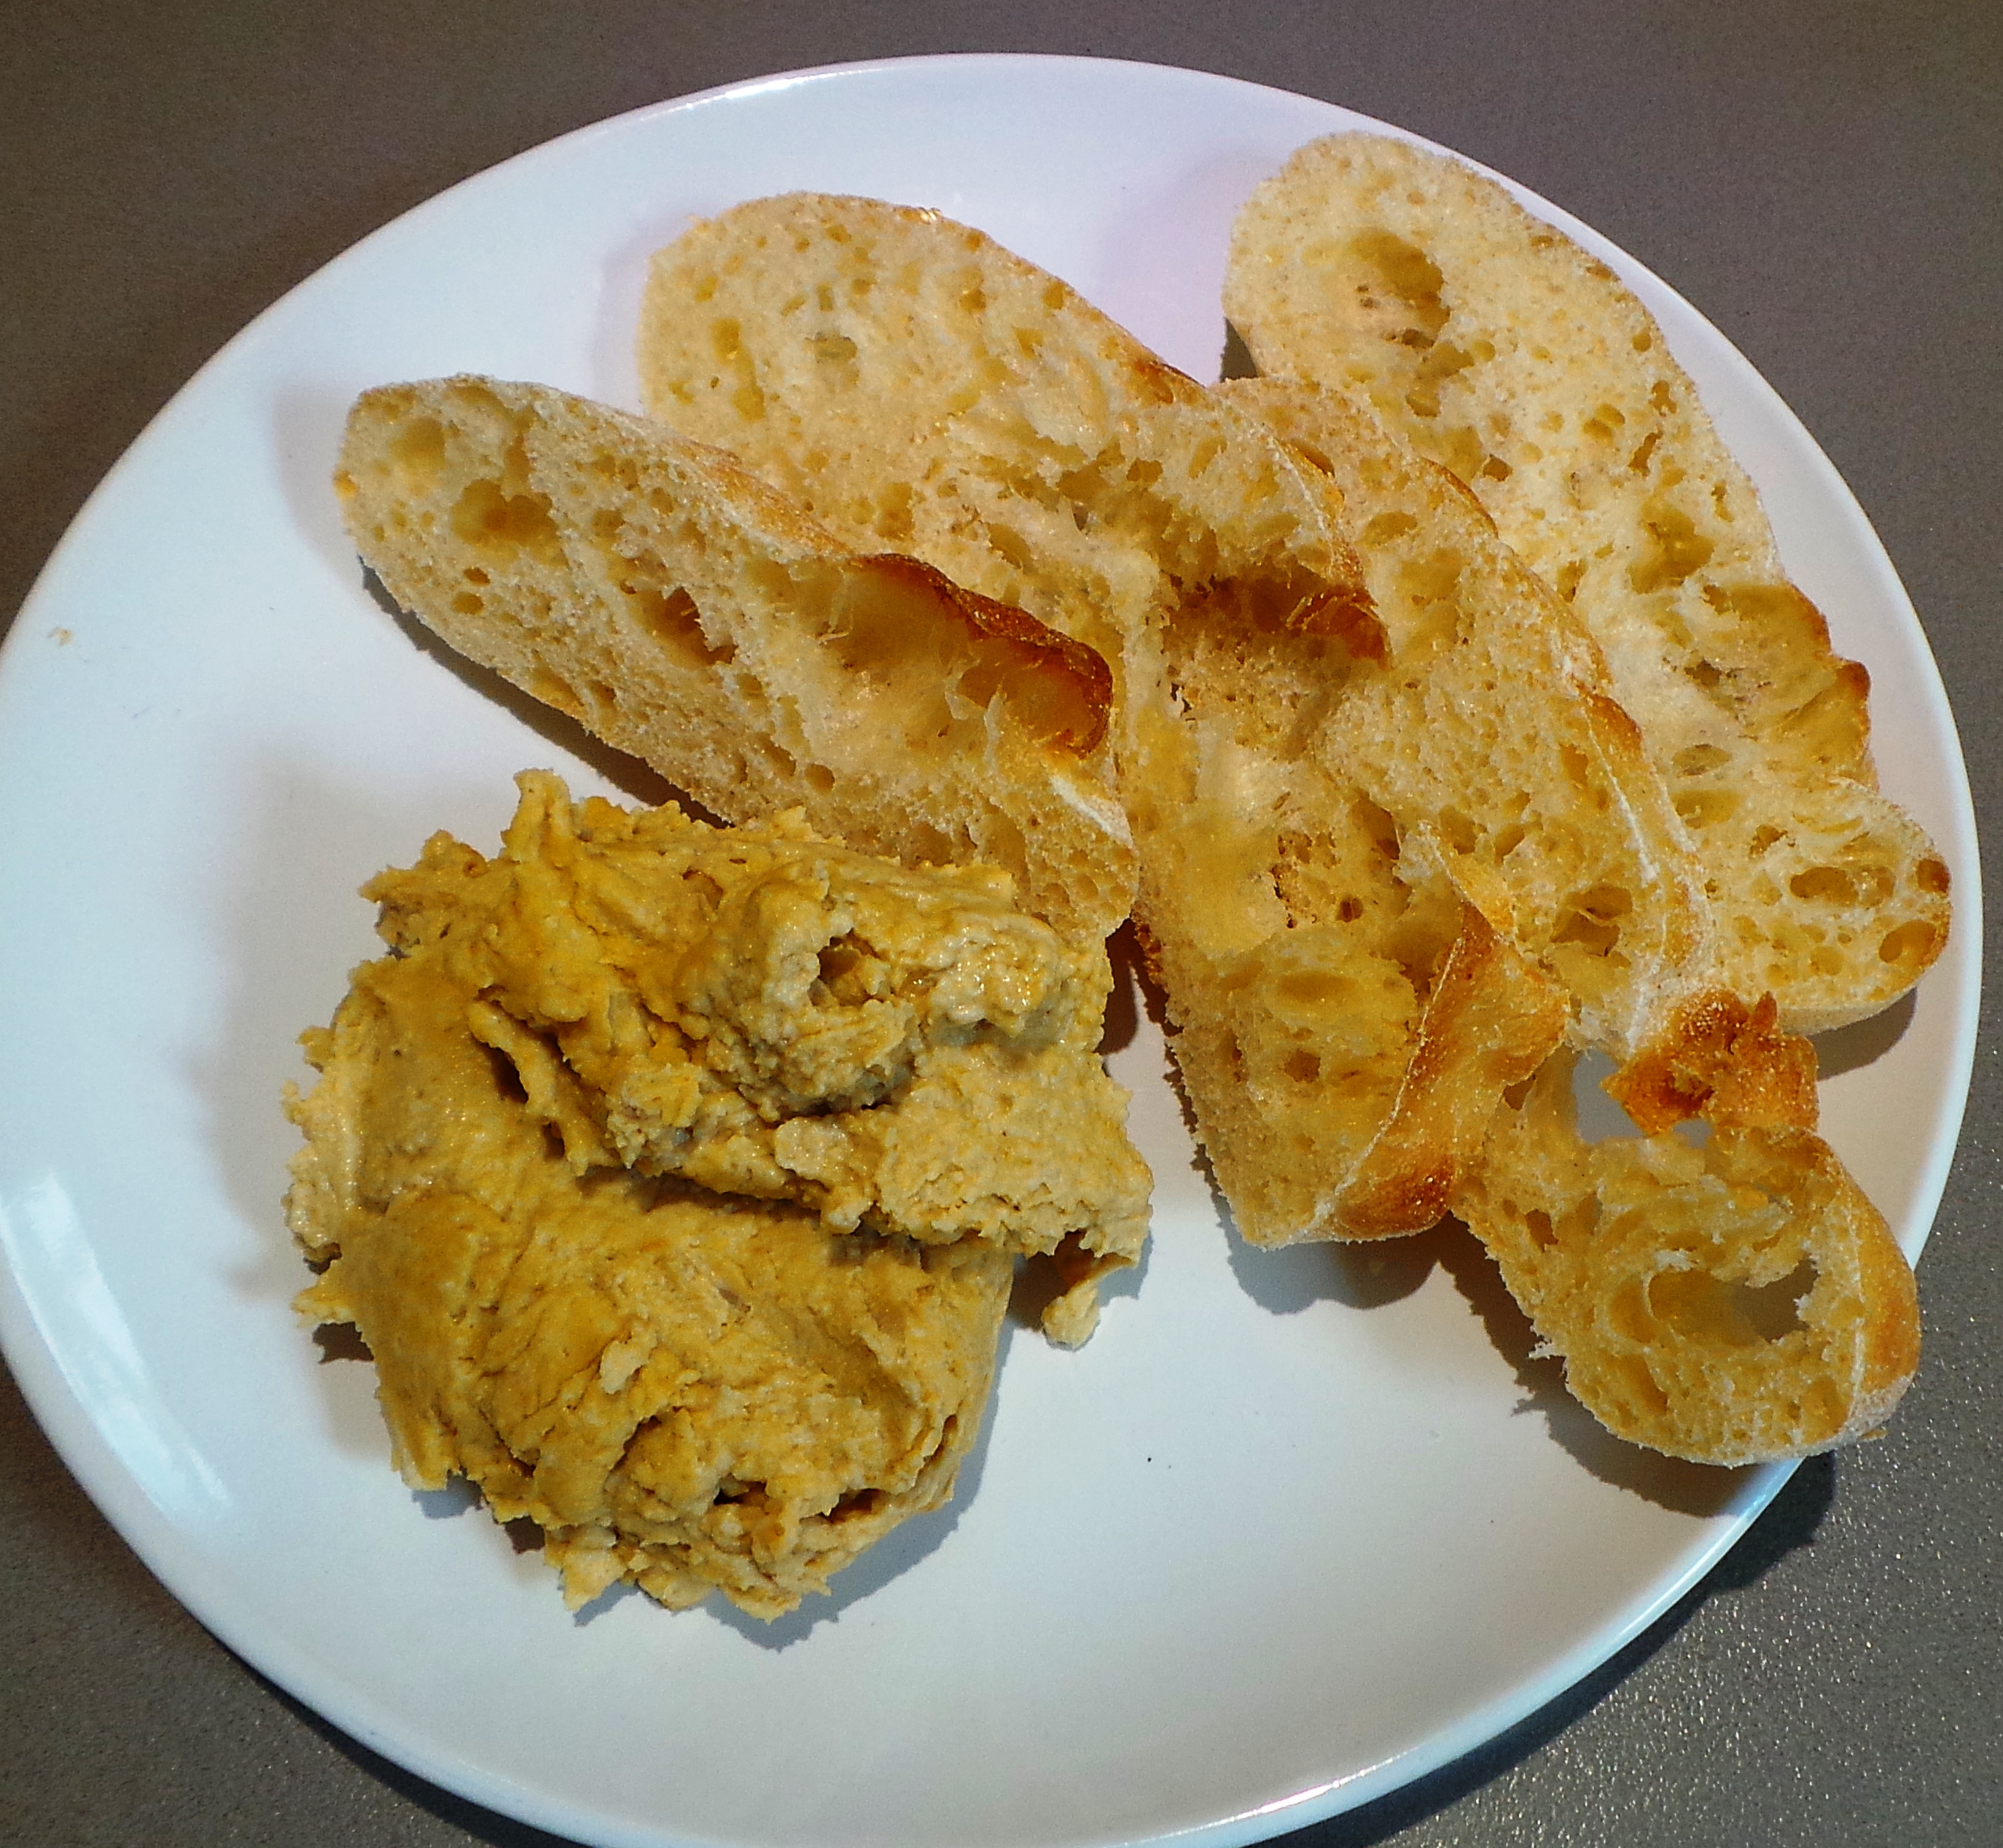
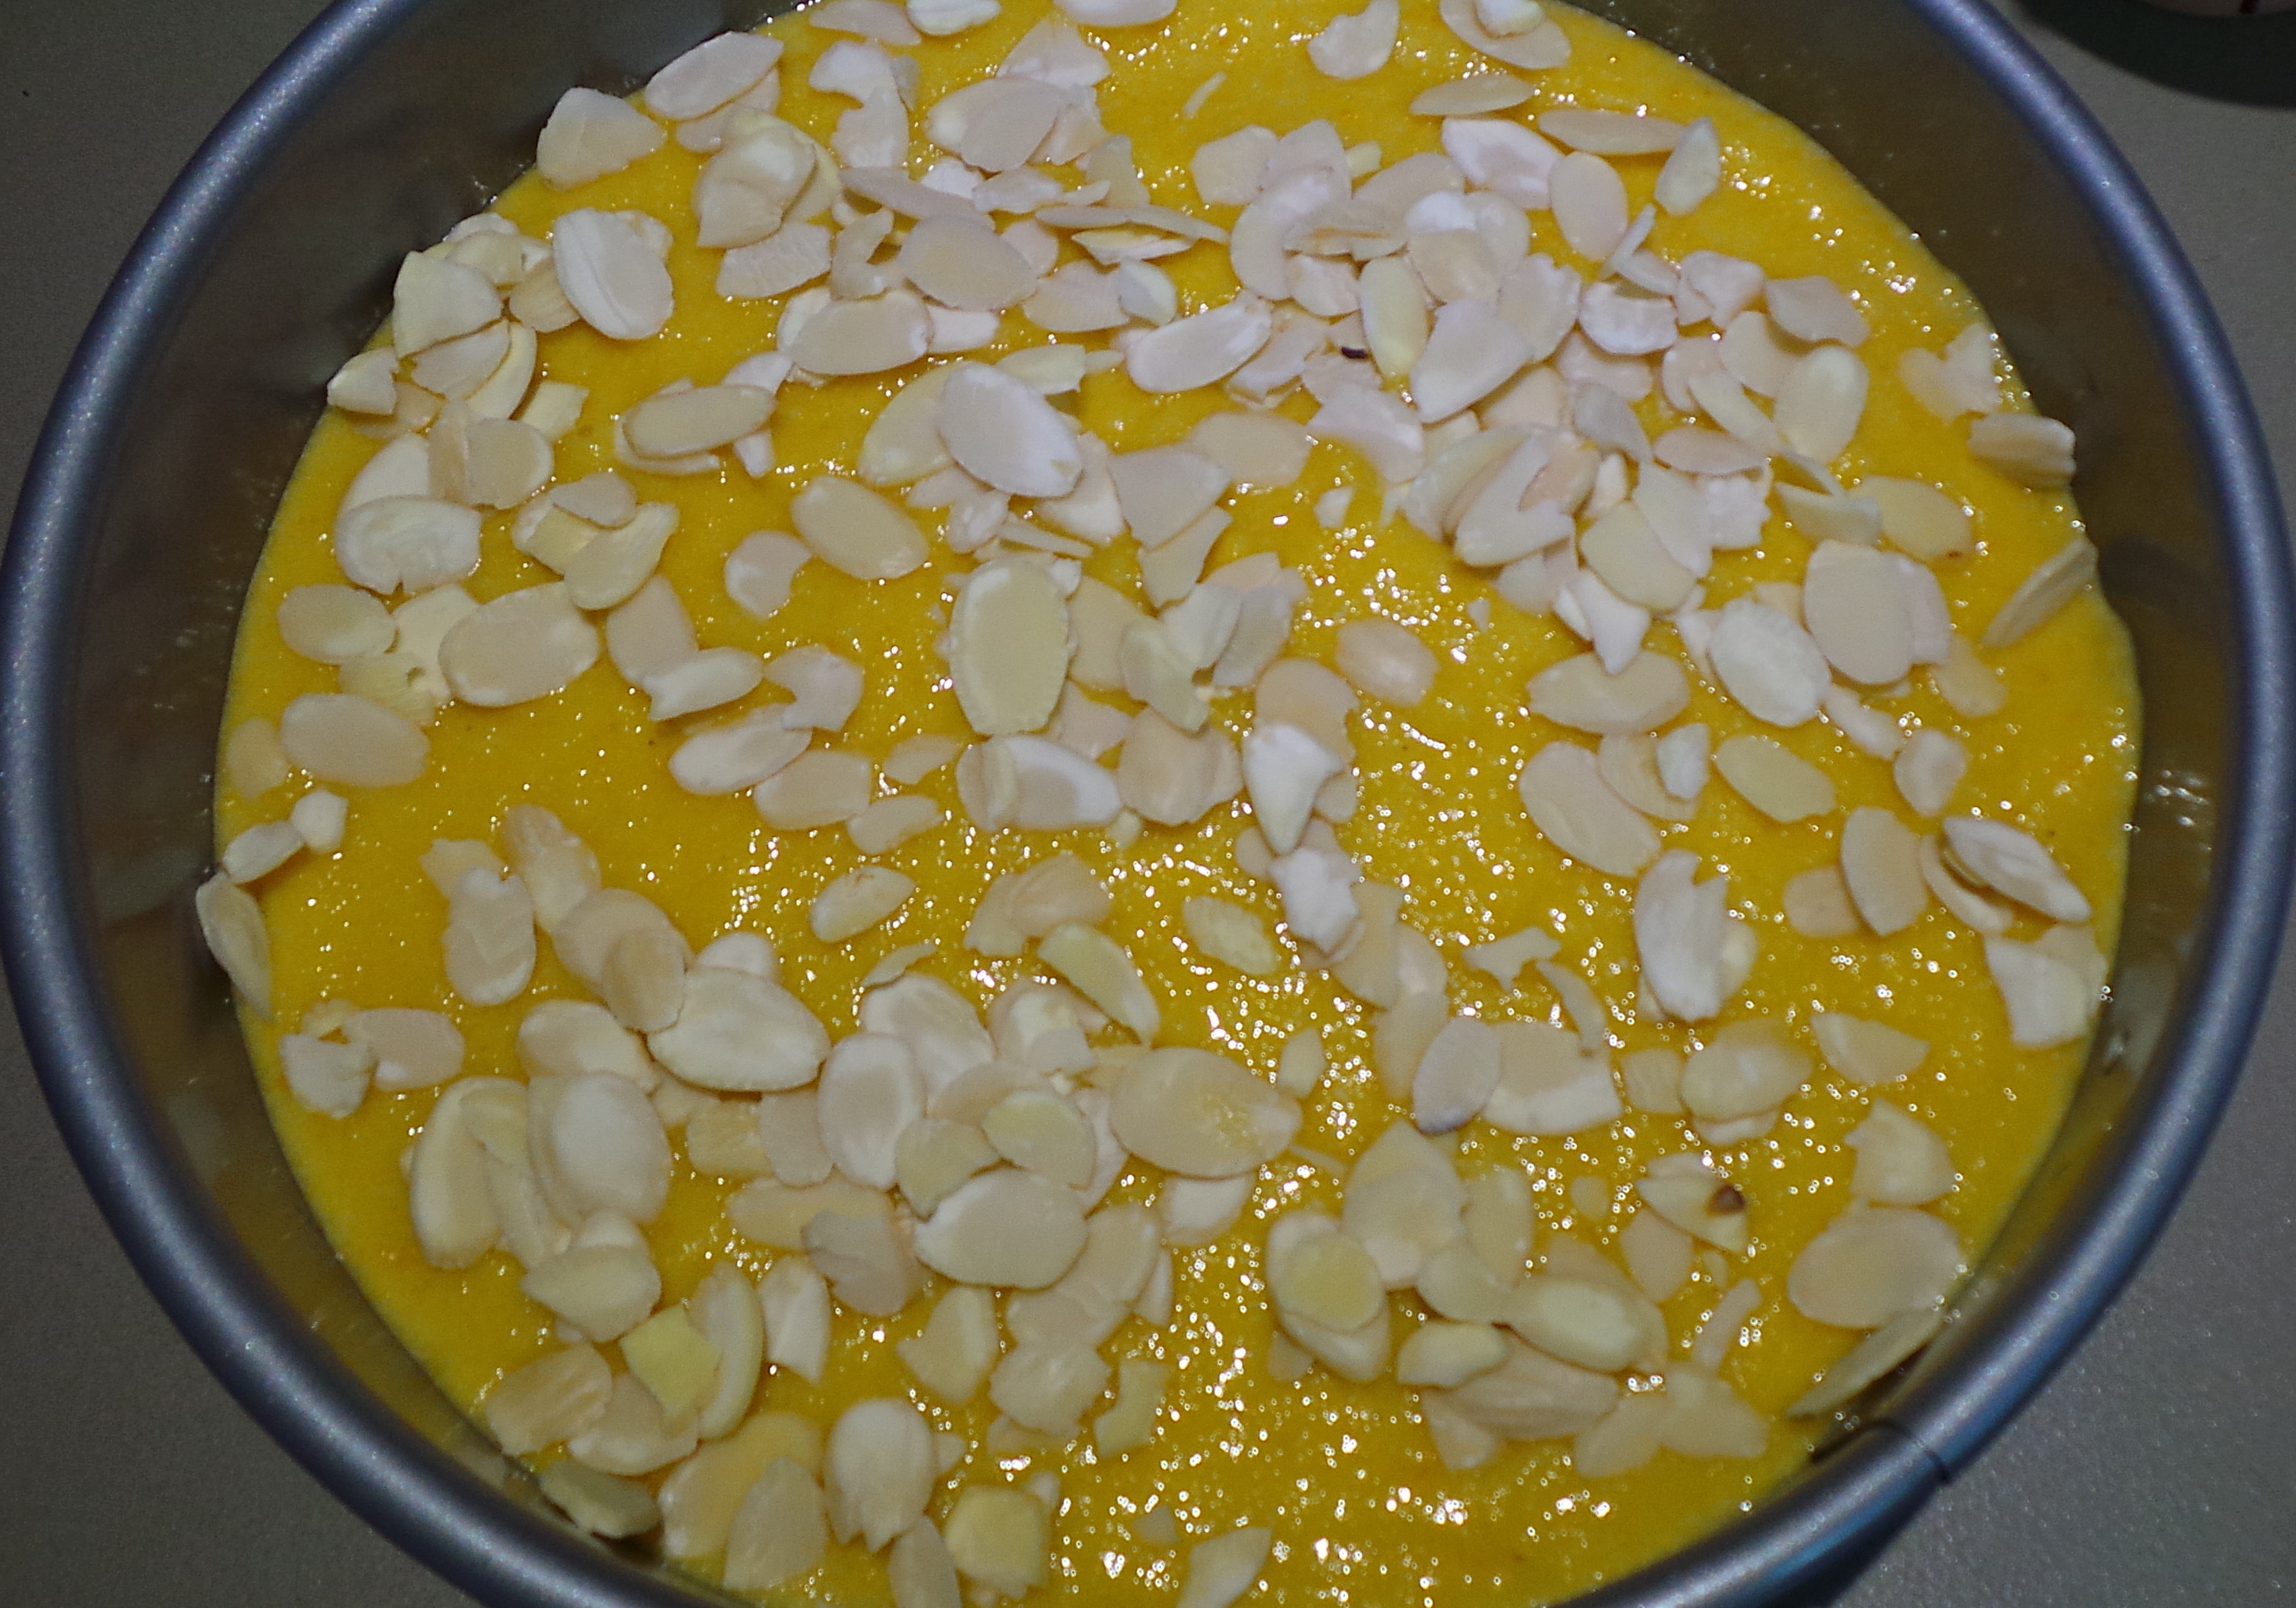
Serve. This goes beautifully with Turkish bread and equally well with prepared raw vegetables, like carrots and celery and red peppers.

Serve with a few slices of Turkish bread or pide.
For a group, serve it in a bowl sprinkled with a touch of Sumac (if you have some) and a drizzle of olive oil.
This makes a great lunch option, it’s also a wonderful after school snack that you could supervise the kids making for themselves. Try it with just the chickpeas, lemon and oil and then experiment to your heart’s content.
Also, try using it as a spread on sandwiches and in wraps.
Then sit back and wonder why you’ve been paying around $4 for something this simple to make…
Hummus
Ingredients
1 x 200 g tin Chickpeas (drained) or 126 g dried chickpeas, soaked and cooked.
olive oil
1 small onion, chopped finely
4 cloves crushed garlic or 4 teaspoons minced garlic in a jar
1 tsp ground cumin
1 tsp ground coriander
½ cup tahini (optional)
Juice of 1 lemon
Method
In a small frying pan, gently heat 1 tbsp olive oil.
Add the onion and cumin and coriander with 1 clove of garlic. Fry until onion is softened and spices are aromatic. You do not want the onion to colour.
Add the chickpeas to the pan and stir well so that the peas become lightly coated with the spice mixture.
Transfer to the bowl of a food processor and add the tahini, olive oil, 3 cloves of garlic and 2 tablespoons of lemon juice.
Process until smooth. This may be done using a heavy mortar and pestle.
Taste. Add salt if necessary and adjust lemon and oil flavours.
If the paste is too thick, simply add a spoonful of water to loosen processing well with each addition.
Serve sprinkled with sumac and drizzled with olive oil alongside Turkish or Pide bread and sliced vegetables for dipping e.g. carrots, celery, red peppers, etc.
This can be made up to 5 days ahead and stored in an airtight container in the refrigerator.
Ring the changes by adding a tablespoon of pine nuts to your frying pan, try using peanut butter instead of tahini, or add some roasted red peppers/capsicum to the processor bowl before blending.
For more inspiration, take a wander through the chilled section of your local supermarket and see what sorts of combinations are on offer there!