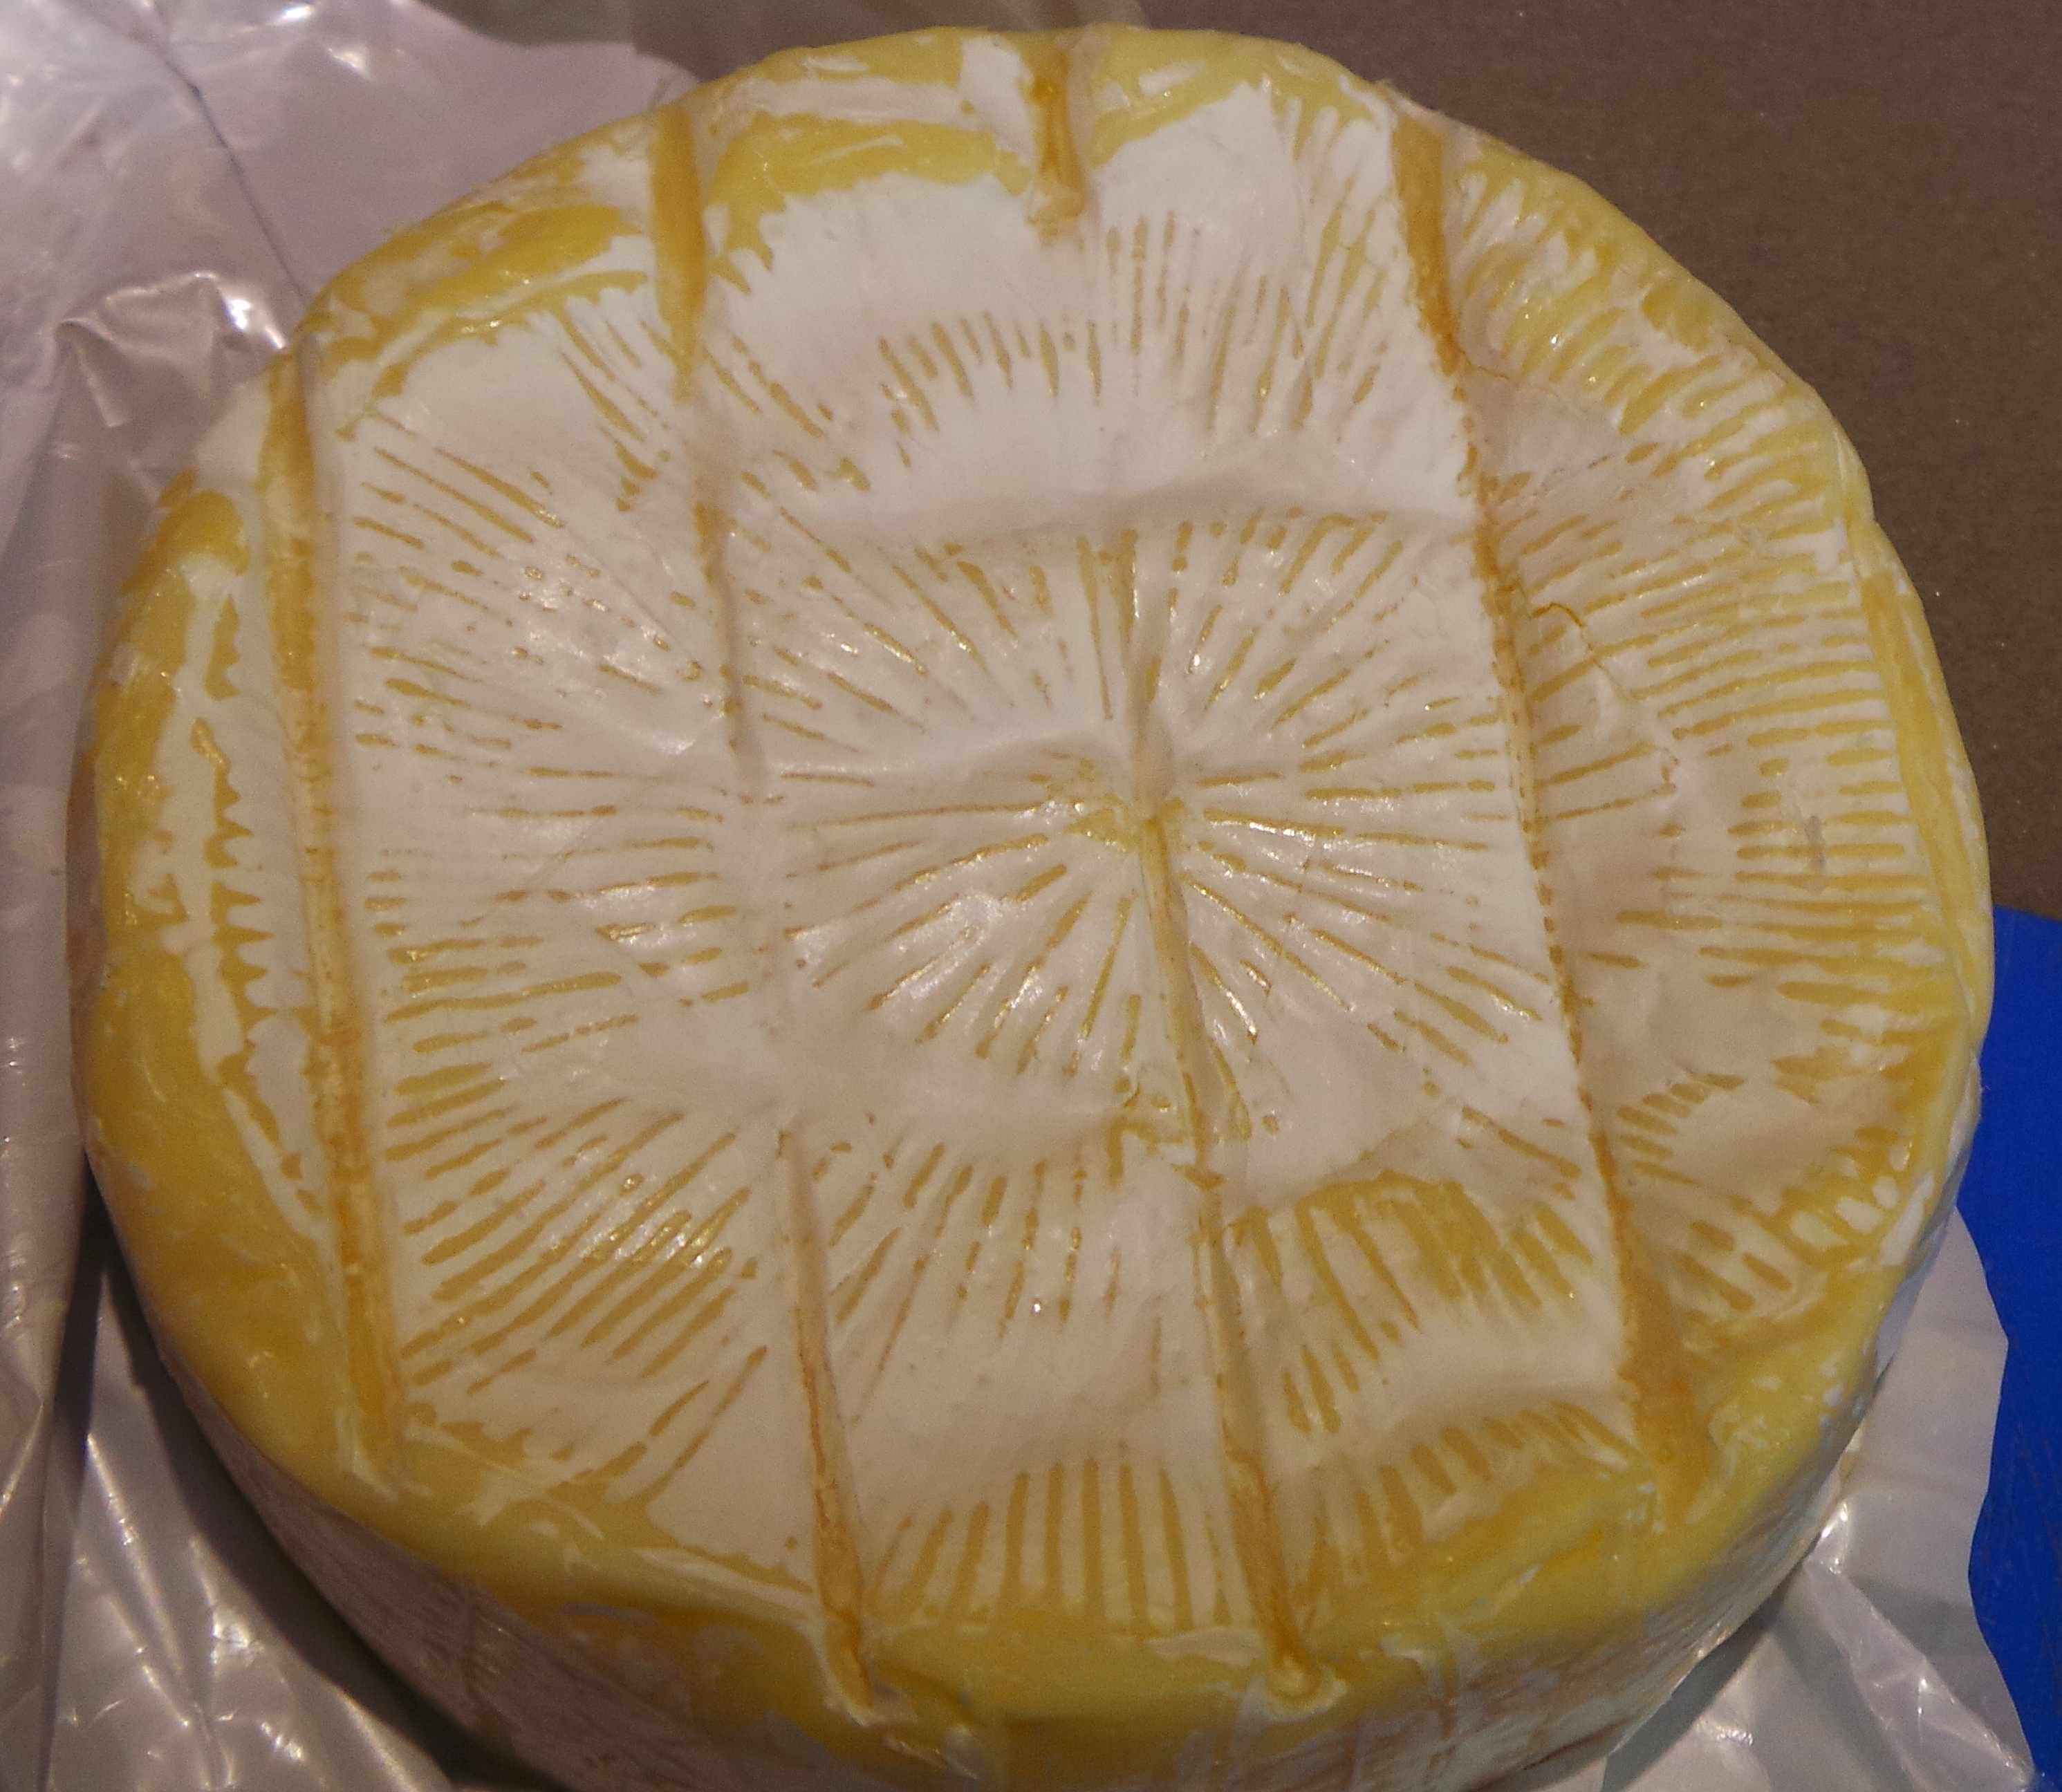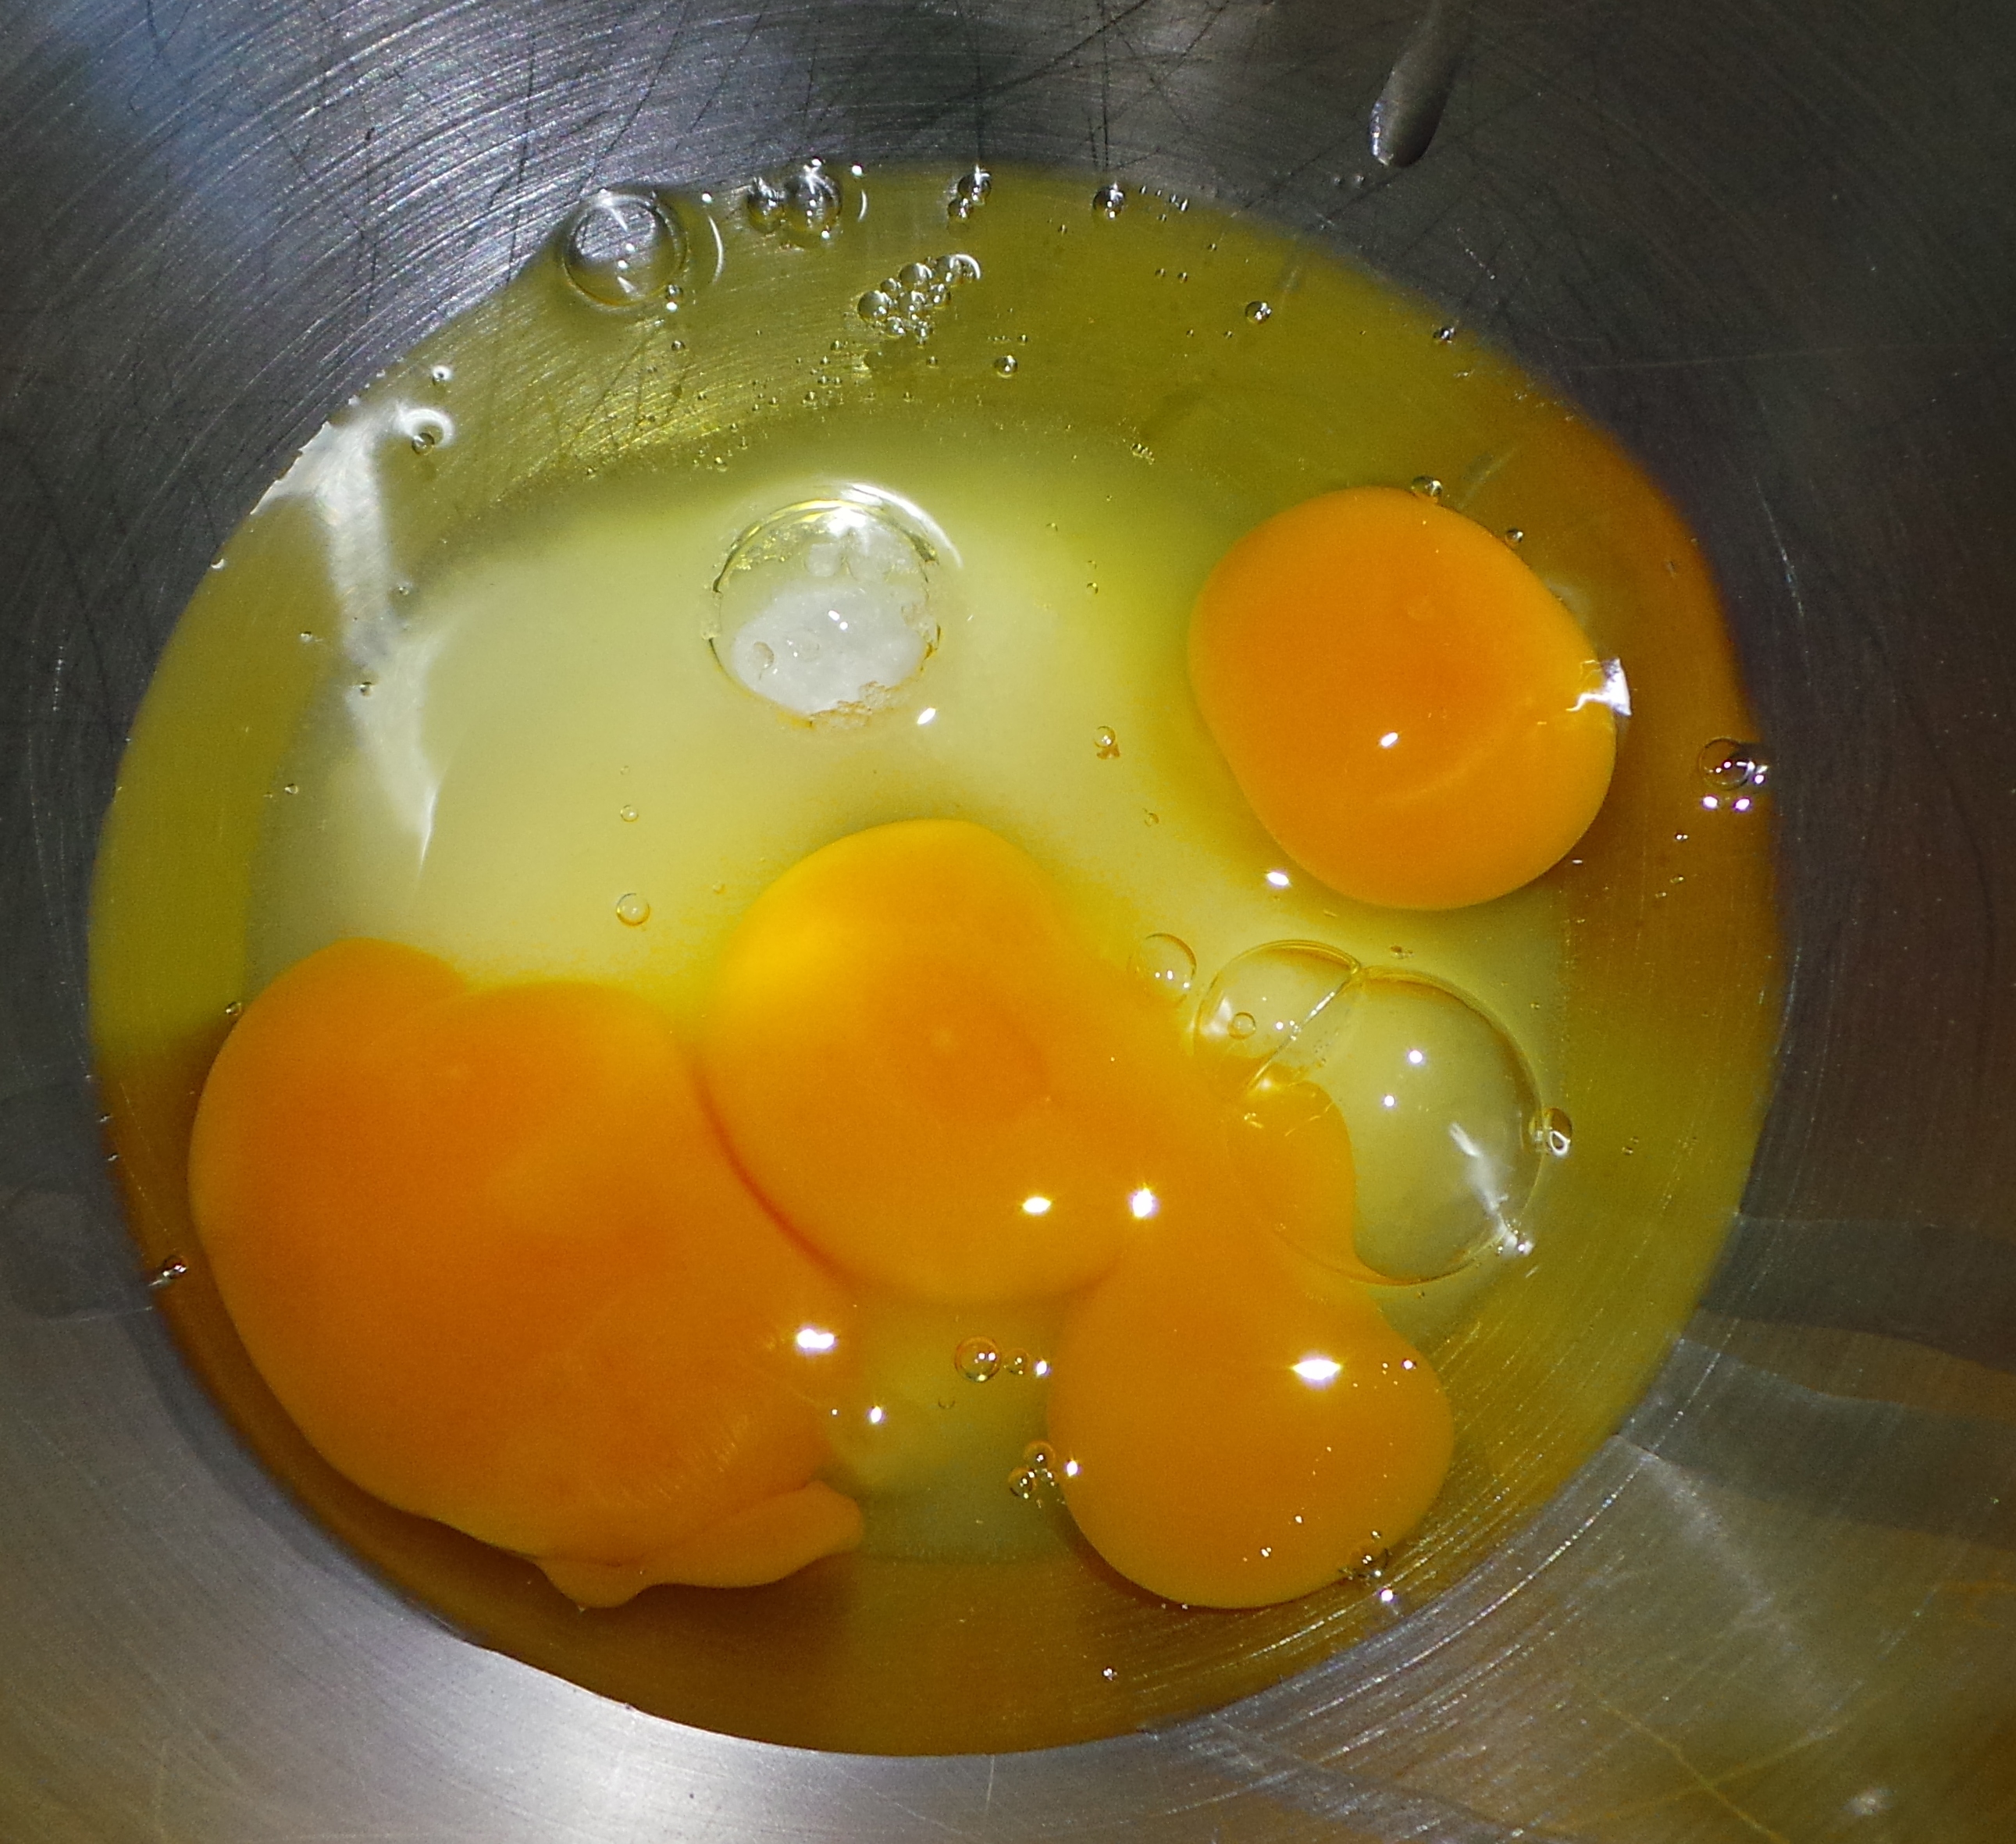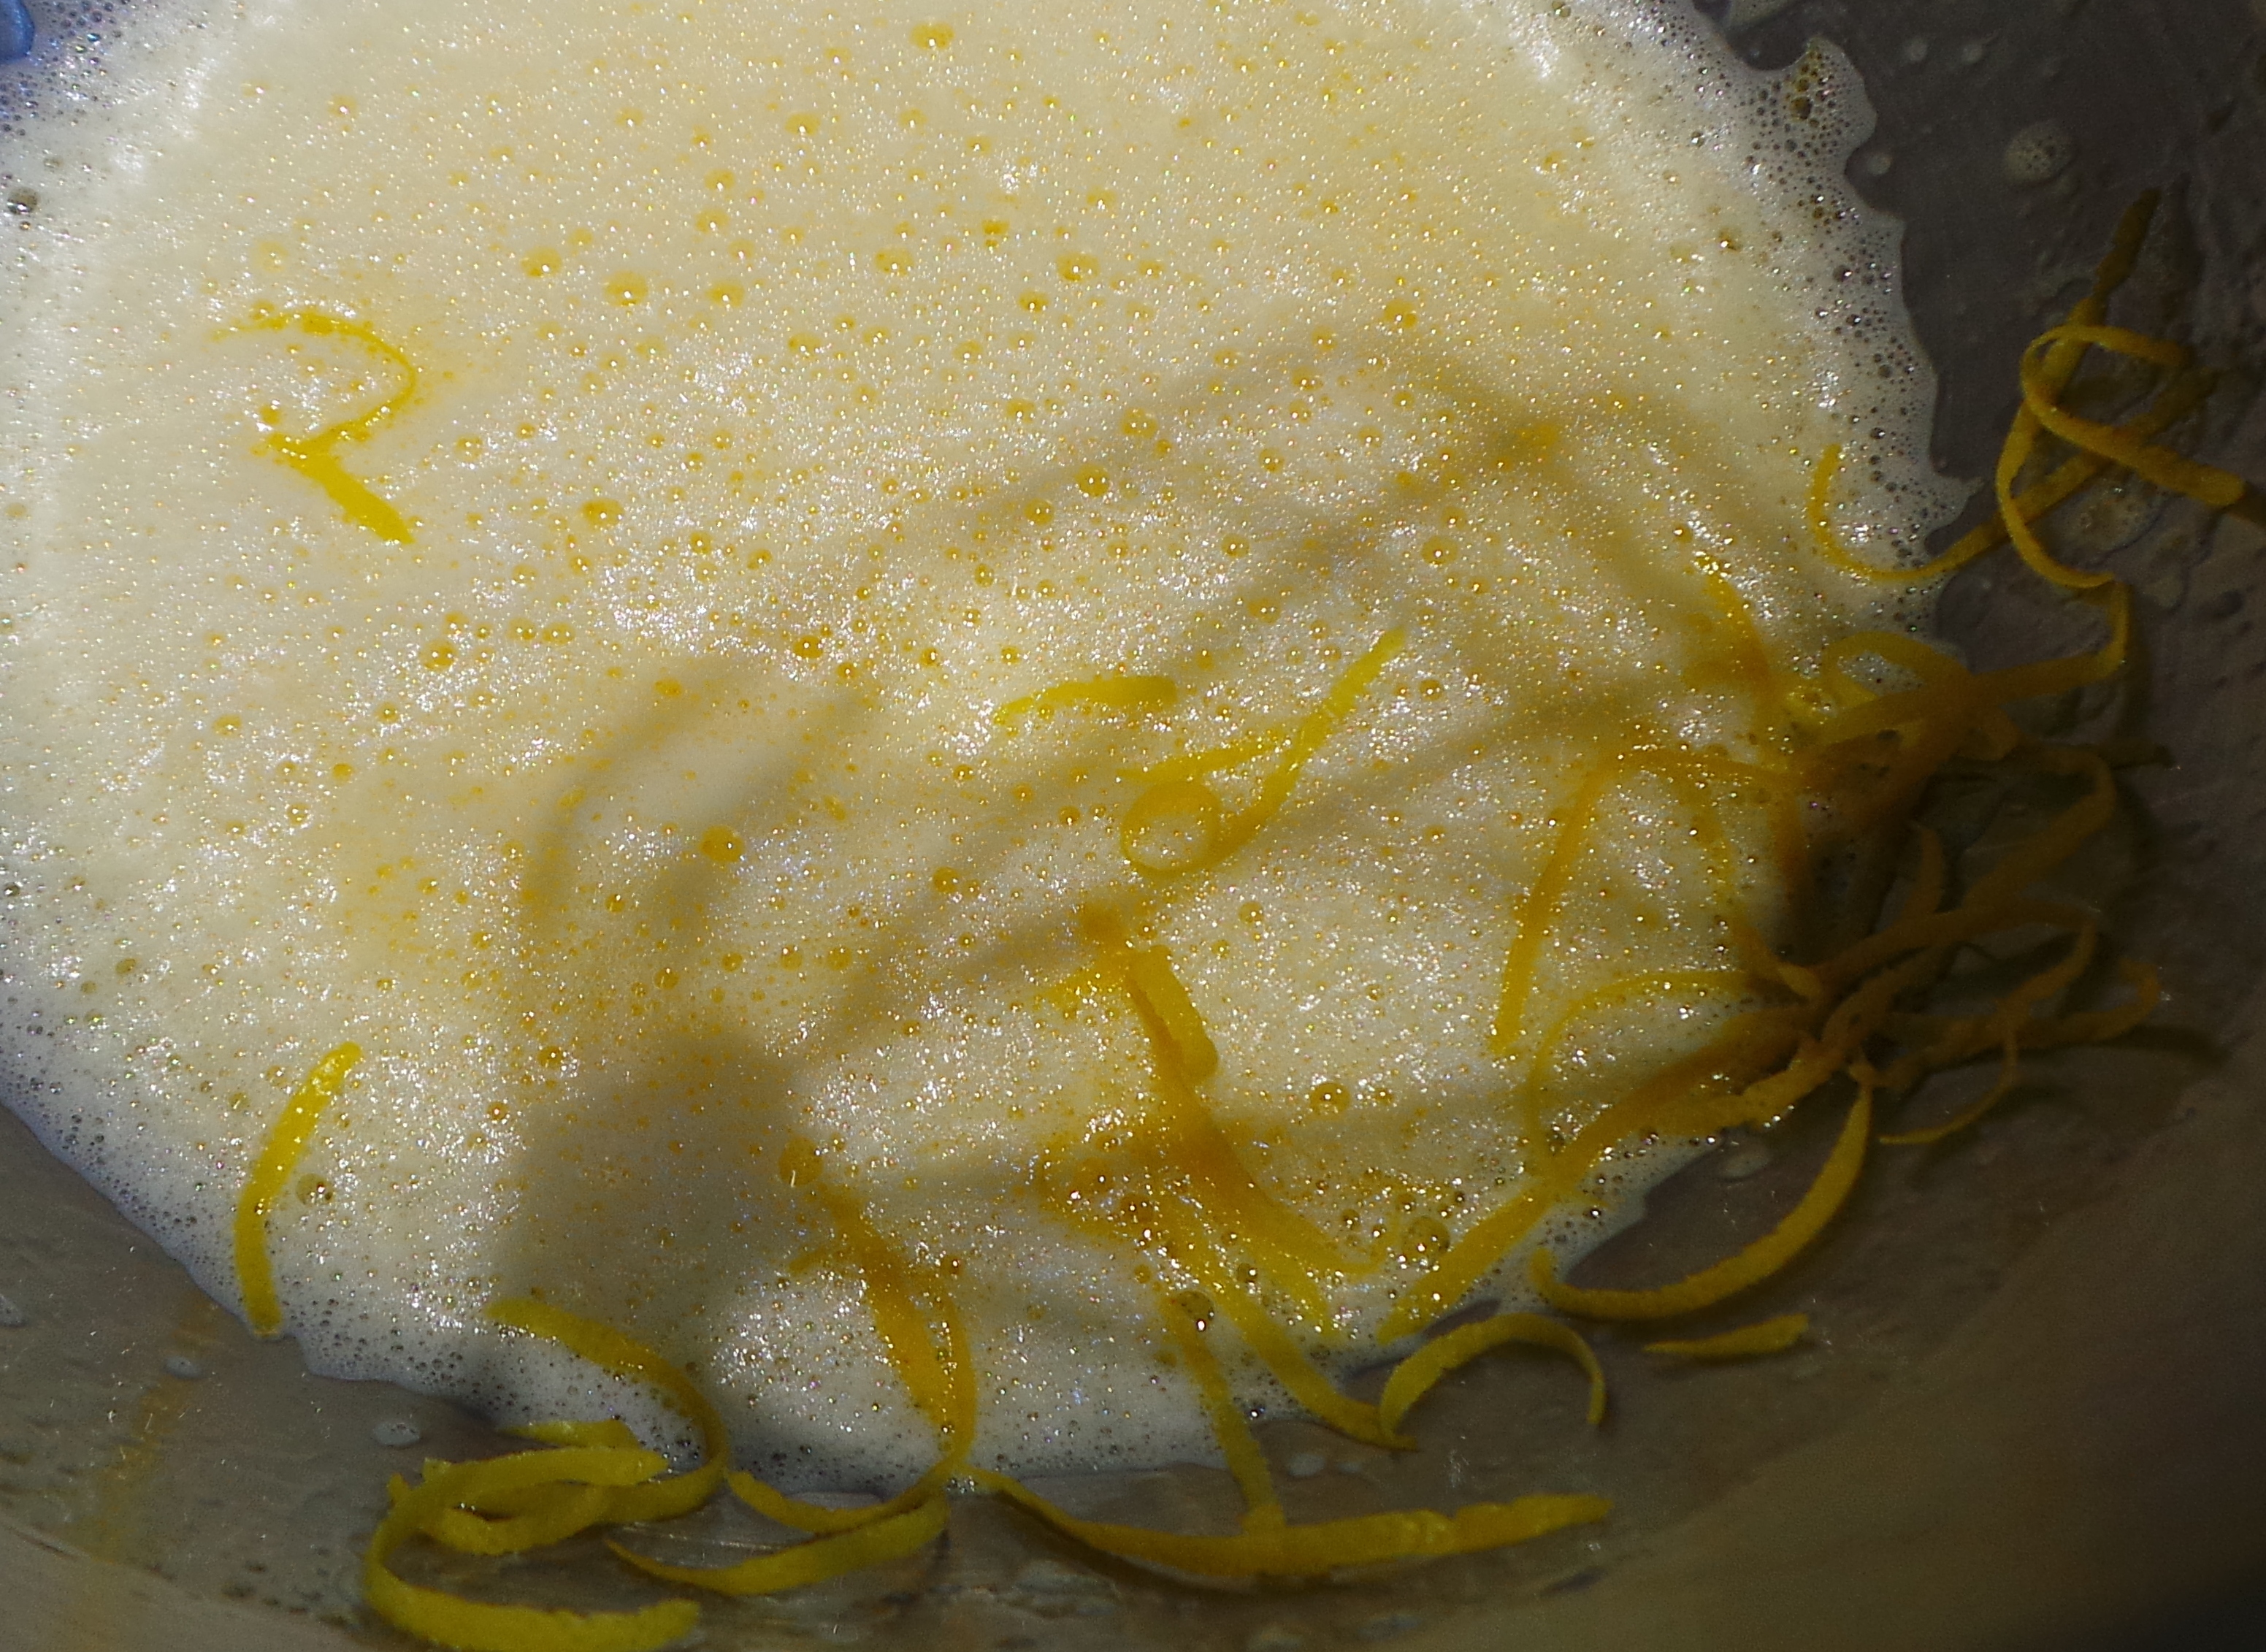
I would naturally suggest that you make lemon butter or lemon curd if you were handed large amounts of lemons.
Lemon Butter.
Although, there’s any number of other things you could make with them, like Caraway and Lemon Biscotti or some of the other recipes I have planned to post for you.
But, what can you do with all the leftover lemon shells? They look like sunshine and smell heavenly and it always feels like such a waste to simply toss them into the compost…
Make a cleaning spray with them.
I kiddest thou not.
All you need is your lemon ‘husks’, some plain old household vinegar and a largish jar with a lid.
If you are an instant coffee drinker with a fairly decent habit, you probably find yourself with largish glass jars all the time. Use one of those.
The vinegar you need is not the high-brow, ultra-gourmet, aged in oak barrels, caressed lovingly by mountain maidens type vinegar. No. You want this stuff.
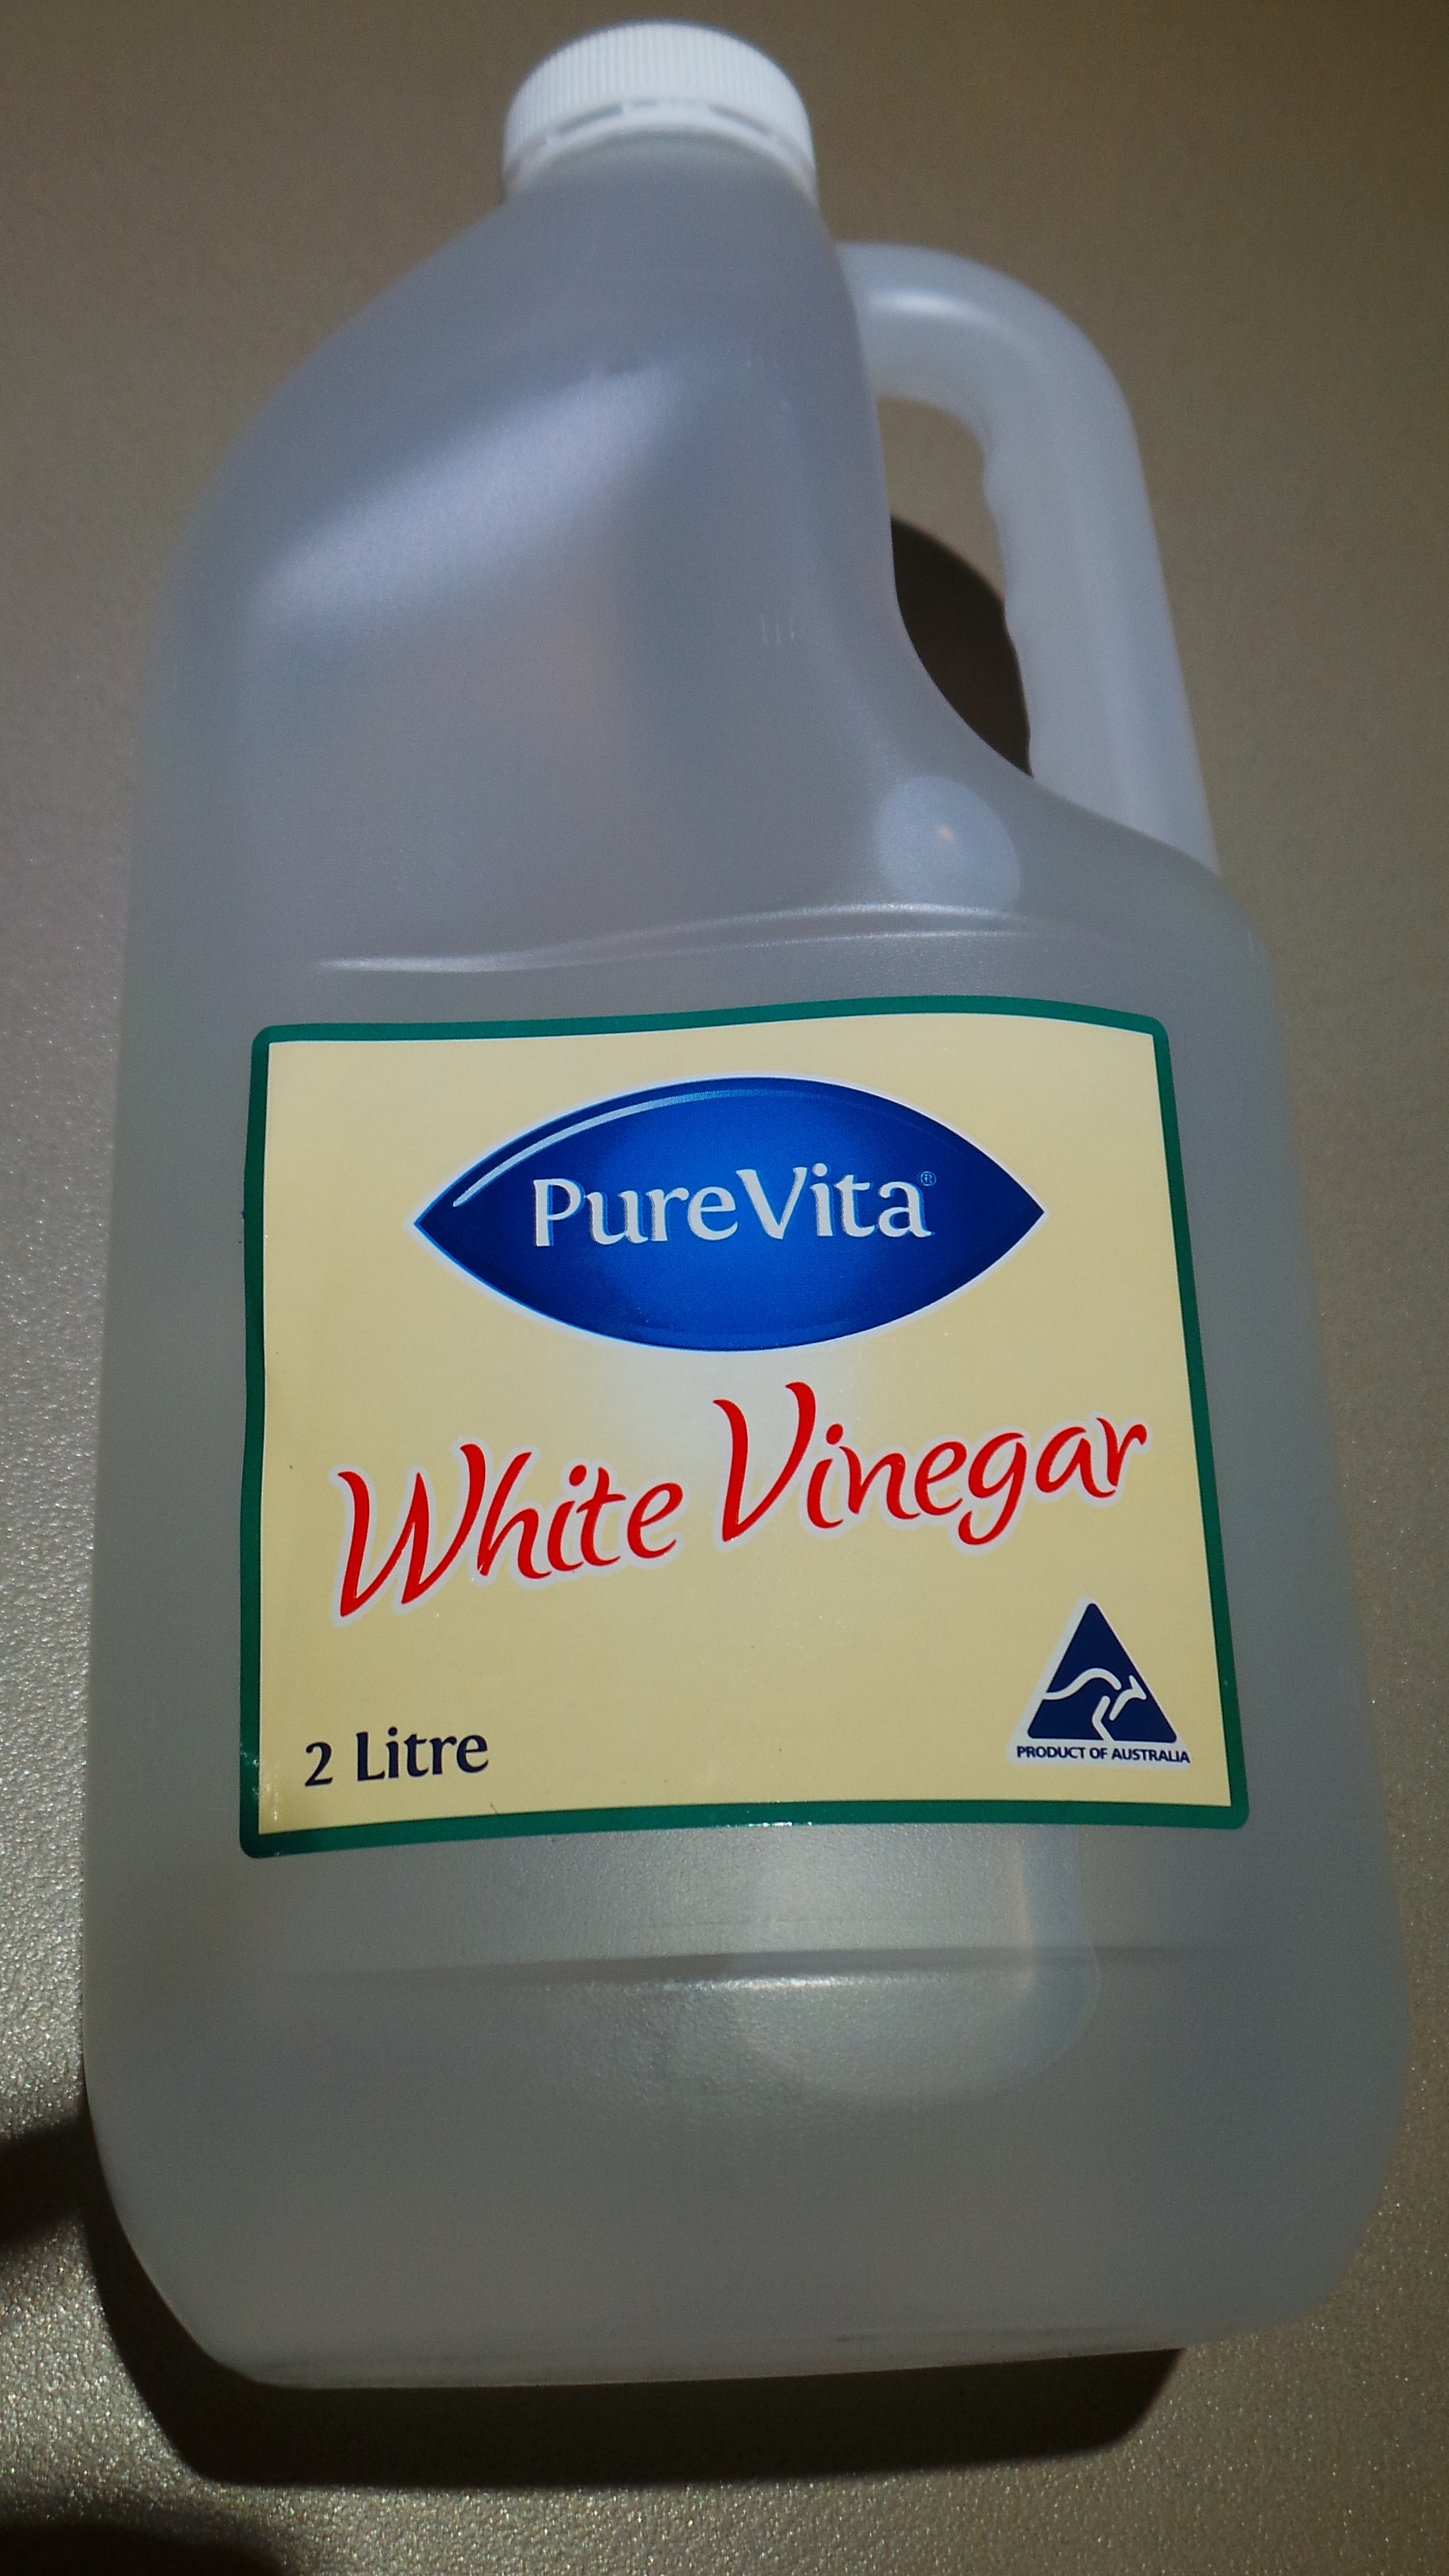
This is vinegar.
Plain old household vinegar. You can get a 2 litre bottle at Aldi for around $1.20. You can now buy ‘household cleaning vinegar’ in the detergents section of many supermarkets, but you don’t need that. This stuff will do.
You’ll find it on the bottom shelf in the pickles and condiments sections of your supermarket aisles. I tend to buy 6 litres at a time.
Vinegar is acetic acid. Acid cleans stuff. Better yet, vinegar doesn’t contain nasty fragrances that will set off hayfever sufferers until the perfume finally disappears. It doesn’t need you to suit up in coveralls and goggles to use it and doesn’t come with a Poisons warning.
It cuts through grease, it’s antibacterial, and it’s biodegradable, it’s also highly unlikely to trigger eczema and other skin reactions like harsher (more expensive) chemical cleaners. It also kills moulds and mildew, unlike bleach which simply “bleaches” them and makes things smell clean.
It can be used in all sorts of things. But sometimes you don’t want stuff to smell like vinegar for even a short time. (However, the scent does dissipate really quite quickly.)
So try doing this:

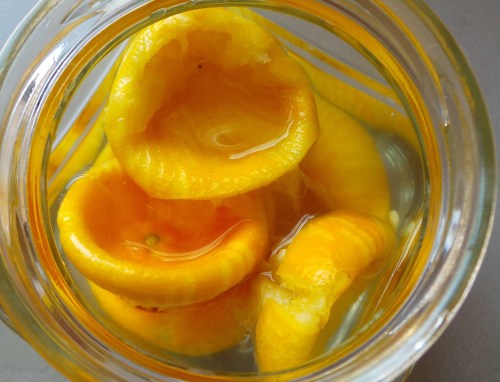
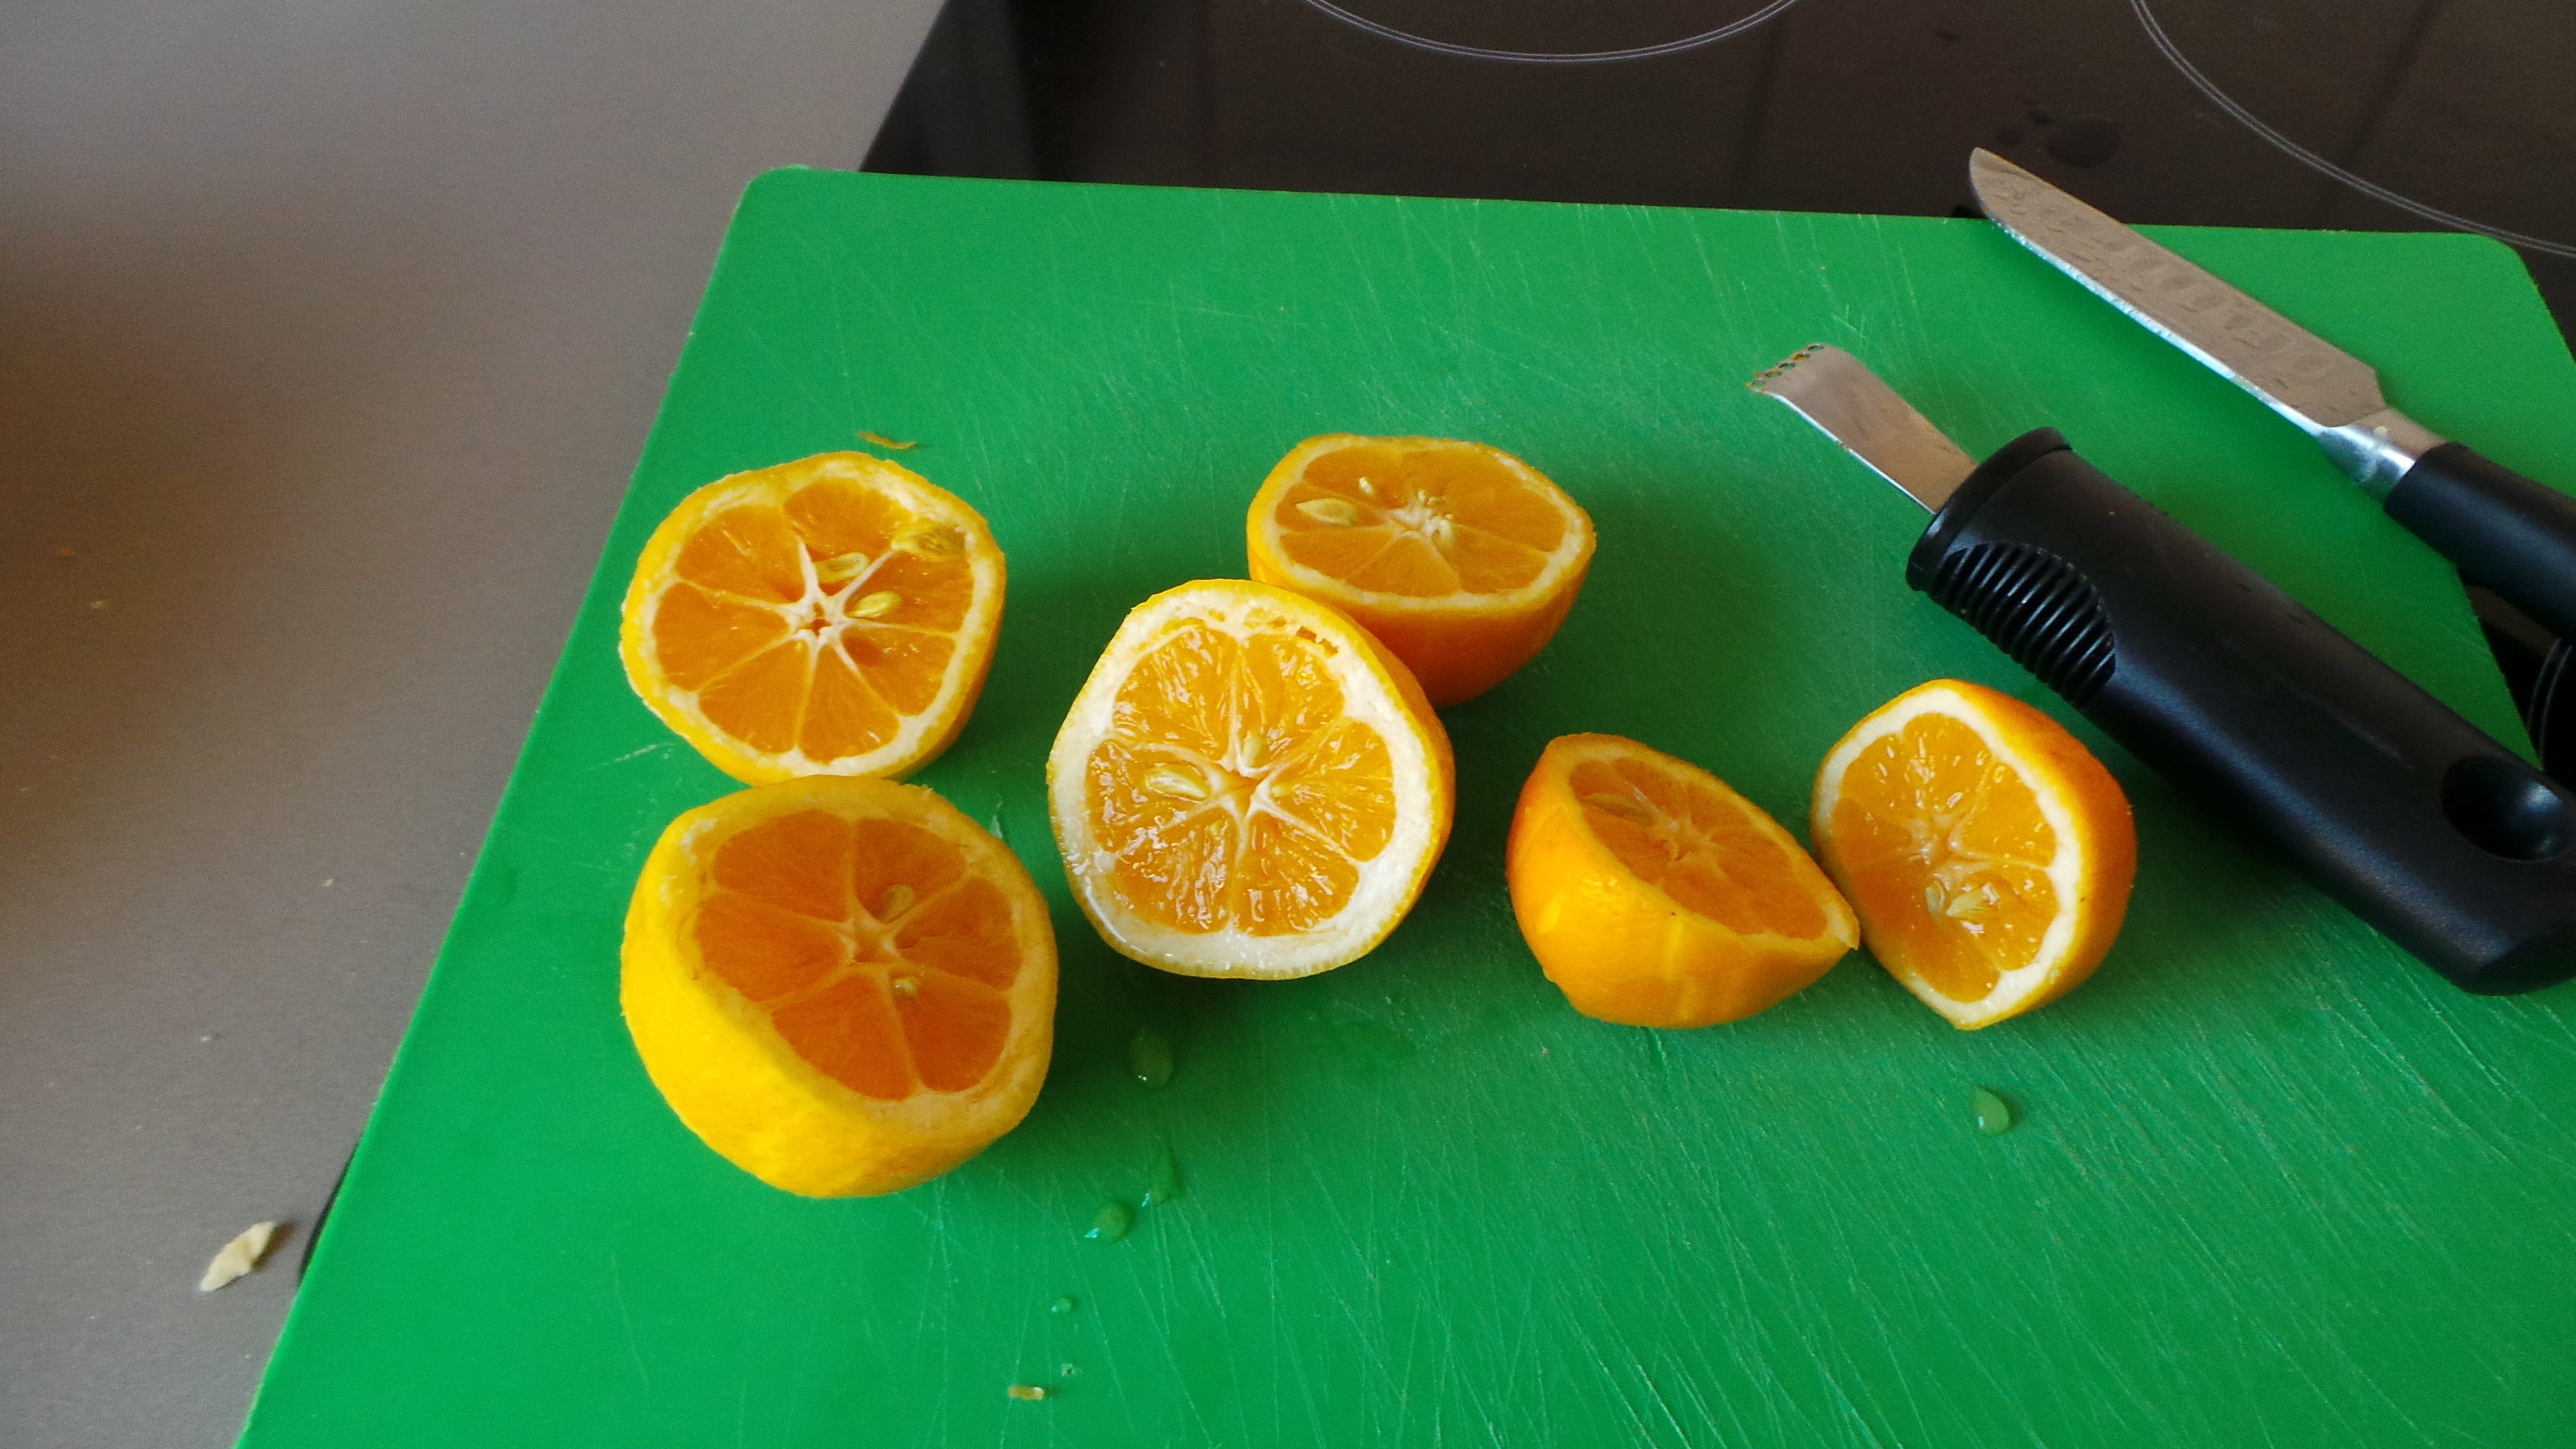
lemons in white vinegar
- Thoroughly clean your jar.
- Pack it with your used lemons.
- Fill with vinegar until the lemons are covered.
- Tightly cap the jar.
- Place in a dark cupboard for a minimum of 3-4 weeks.
- Strain the liquid from the lemons and reserve.
- Discard lemons.
The vinegar will draw the essential oils out of the lemons and take on their colour and fragrance.
It can then be diluted 50:50 with water and used to clean floors, glass, shower recesses and counter tops. Use a microfibre cloth and it will be even more effective.
It may require a little more elbow grease than a stronger store-bought chemical, but you also won’t require breathing apparatus to be in the same room immediately after you’ve used it.
Sturdy, inexpensive spray bottles are available in most supermarkets or hardware stores. I use this kind.
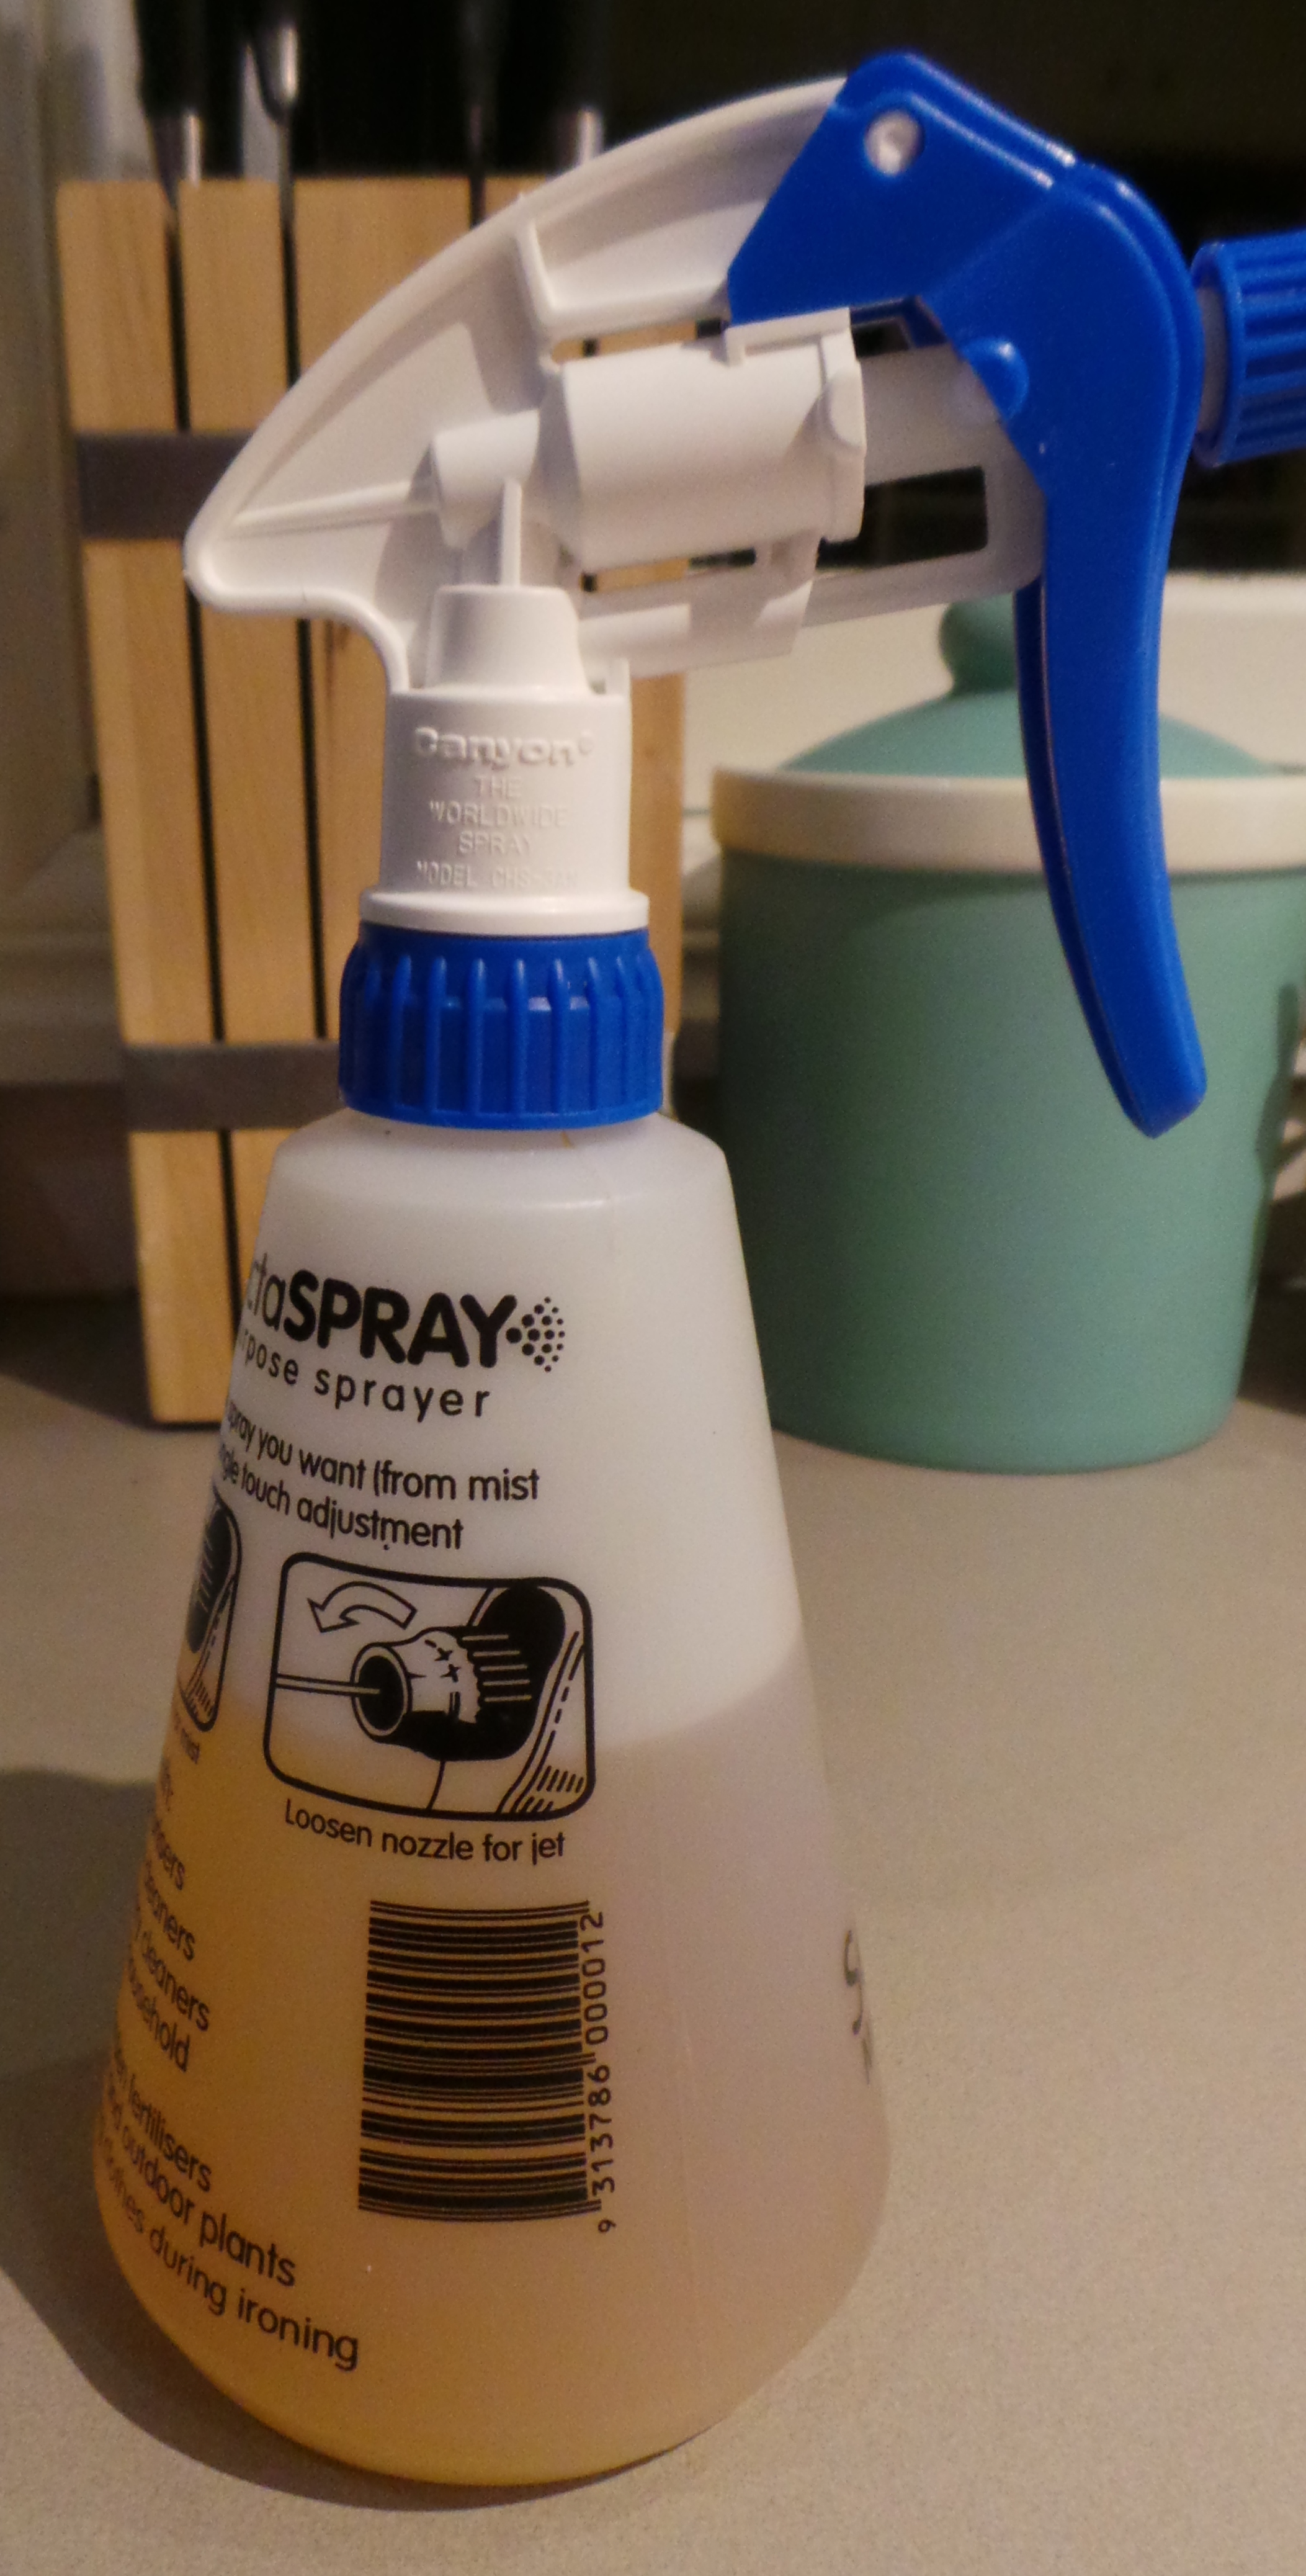
Spray bottle filled with lemony vinegar.
This is filled with undiluted vinegar. I had a greasy grill I wanted to get clean, so I didn’t add any water this time. As you can see, the liquid has taken on the colour of the lemons.
The house I am currently living in has hardwood floors throughout. It was costing me a fortune to clean them with commercially available liquids – then I discovered this. It cleans beautifully with a microfibre cloth on a swiffer-type mop, with no streaking at all and a fresh scent.
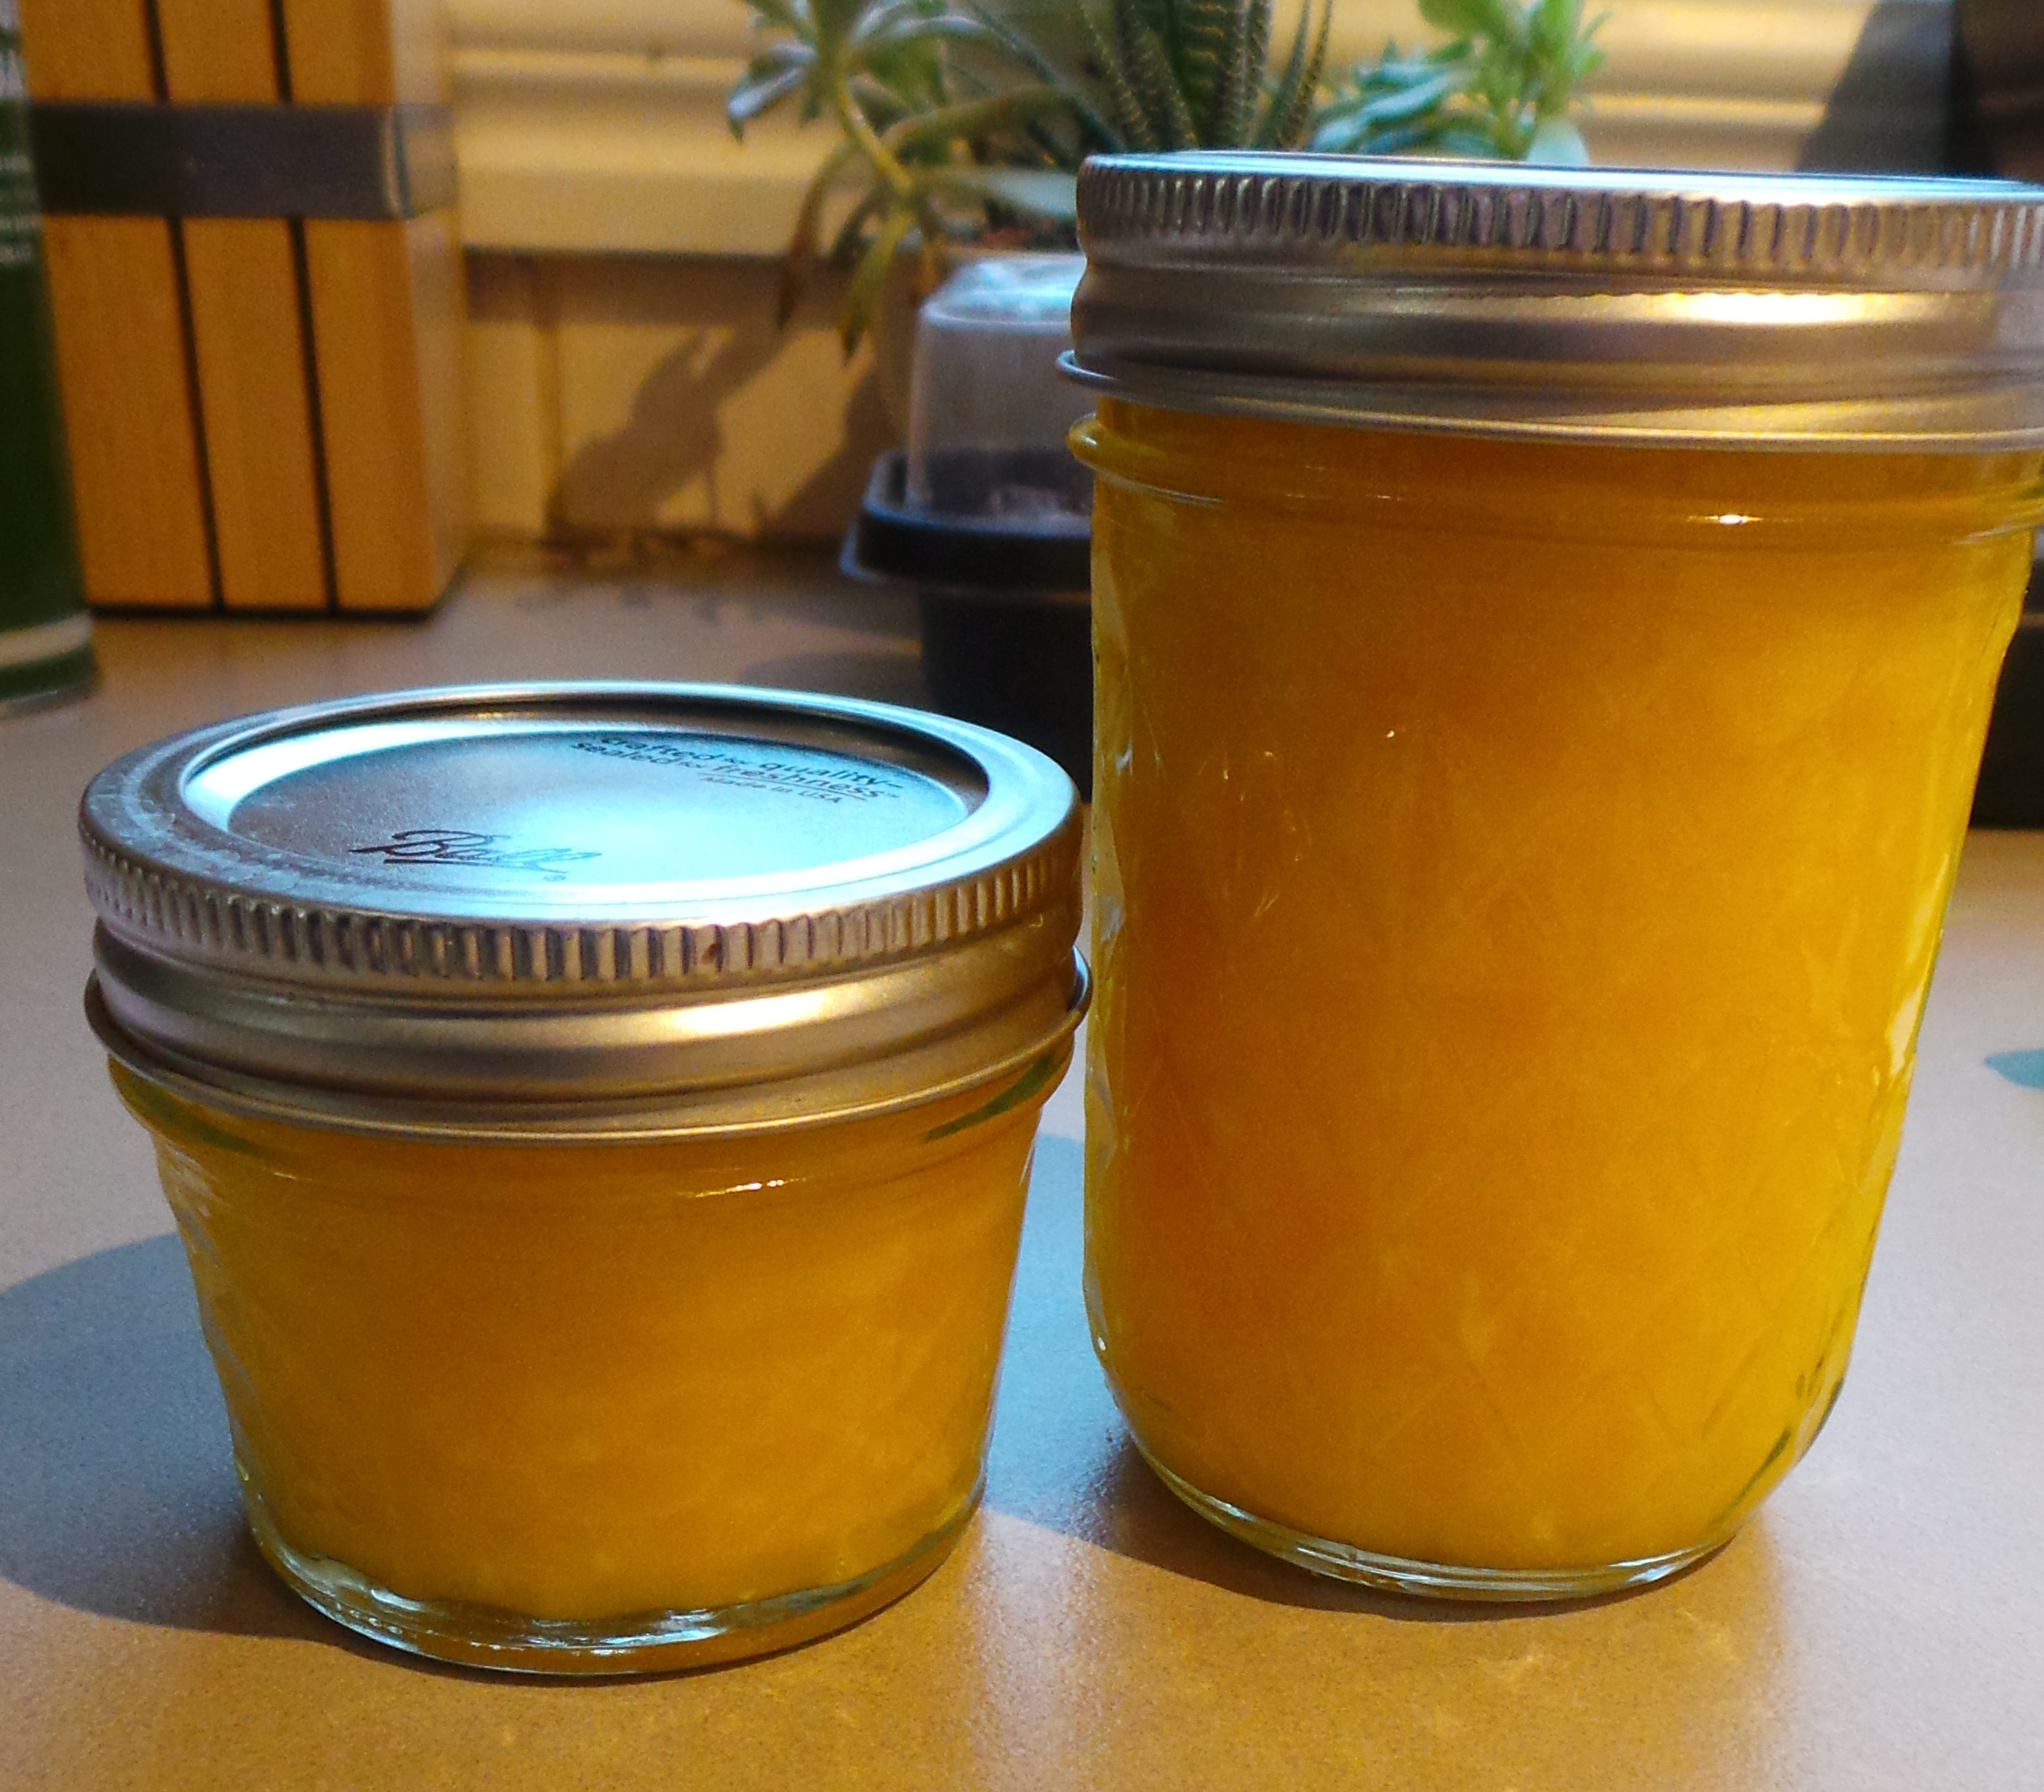
My subscribers may have noticed that I make large amounts of lemon curd when the fruit is in season as The Boy seems to inhale it. This leaves me with 6 half lemon shells for each batch. Into a jar they go, and I will keep topping up that jar until it is full. I have about 6 jars steeping in the back of my pantry at any given time.
It doesn’t go off.

Future cleaning products.
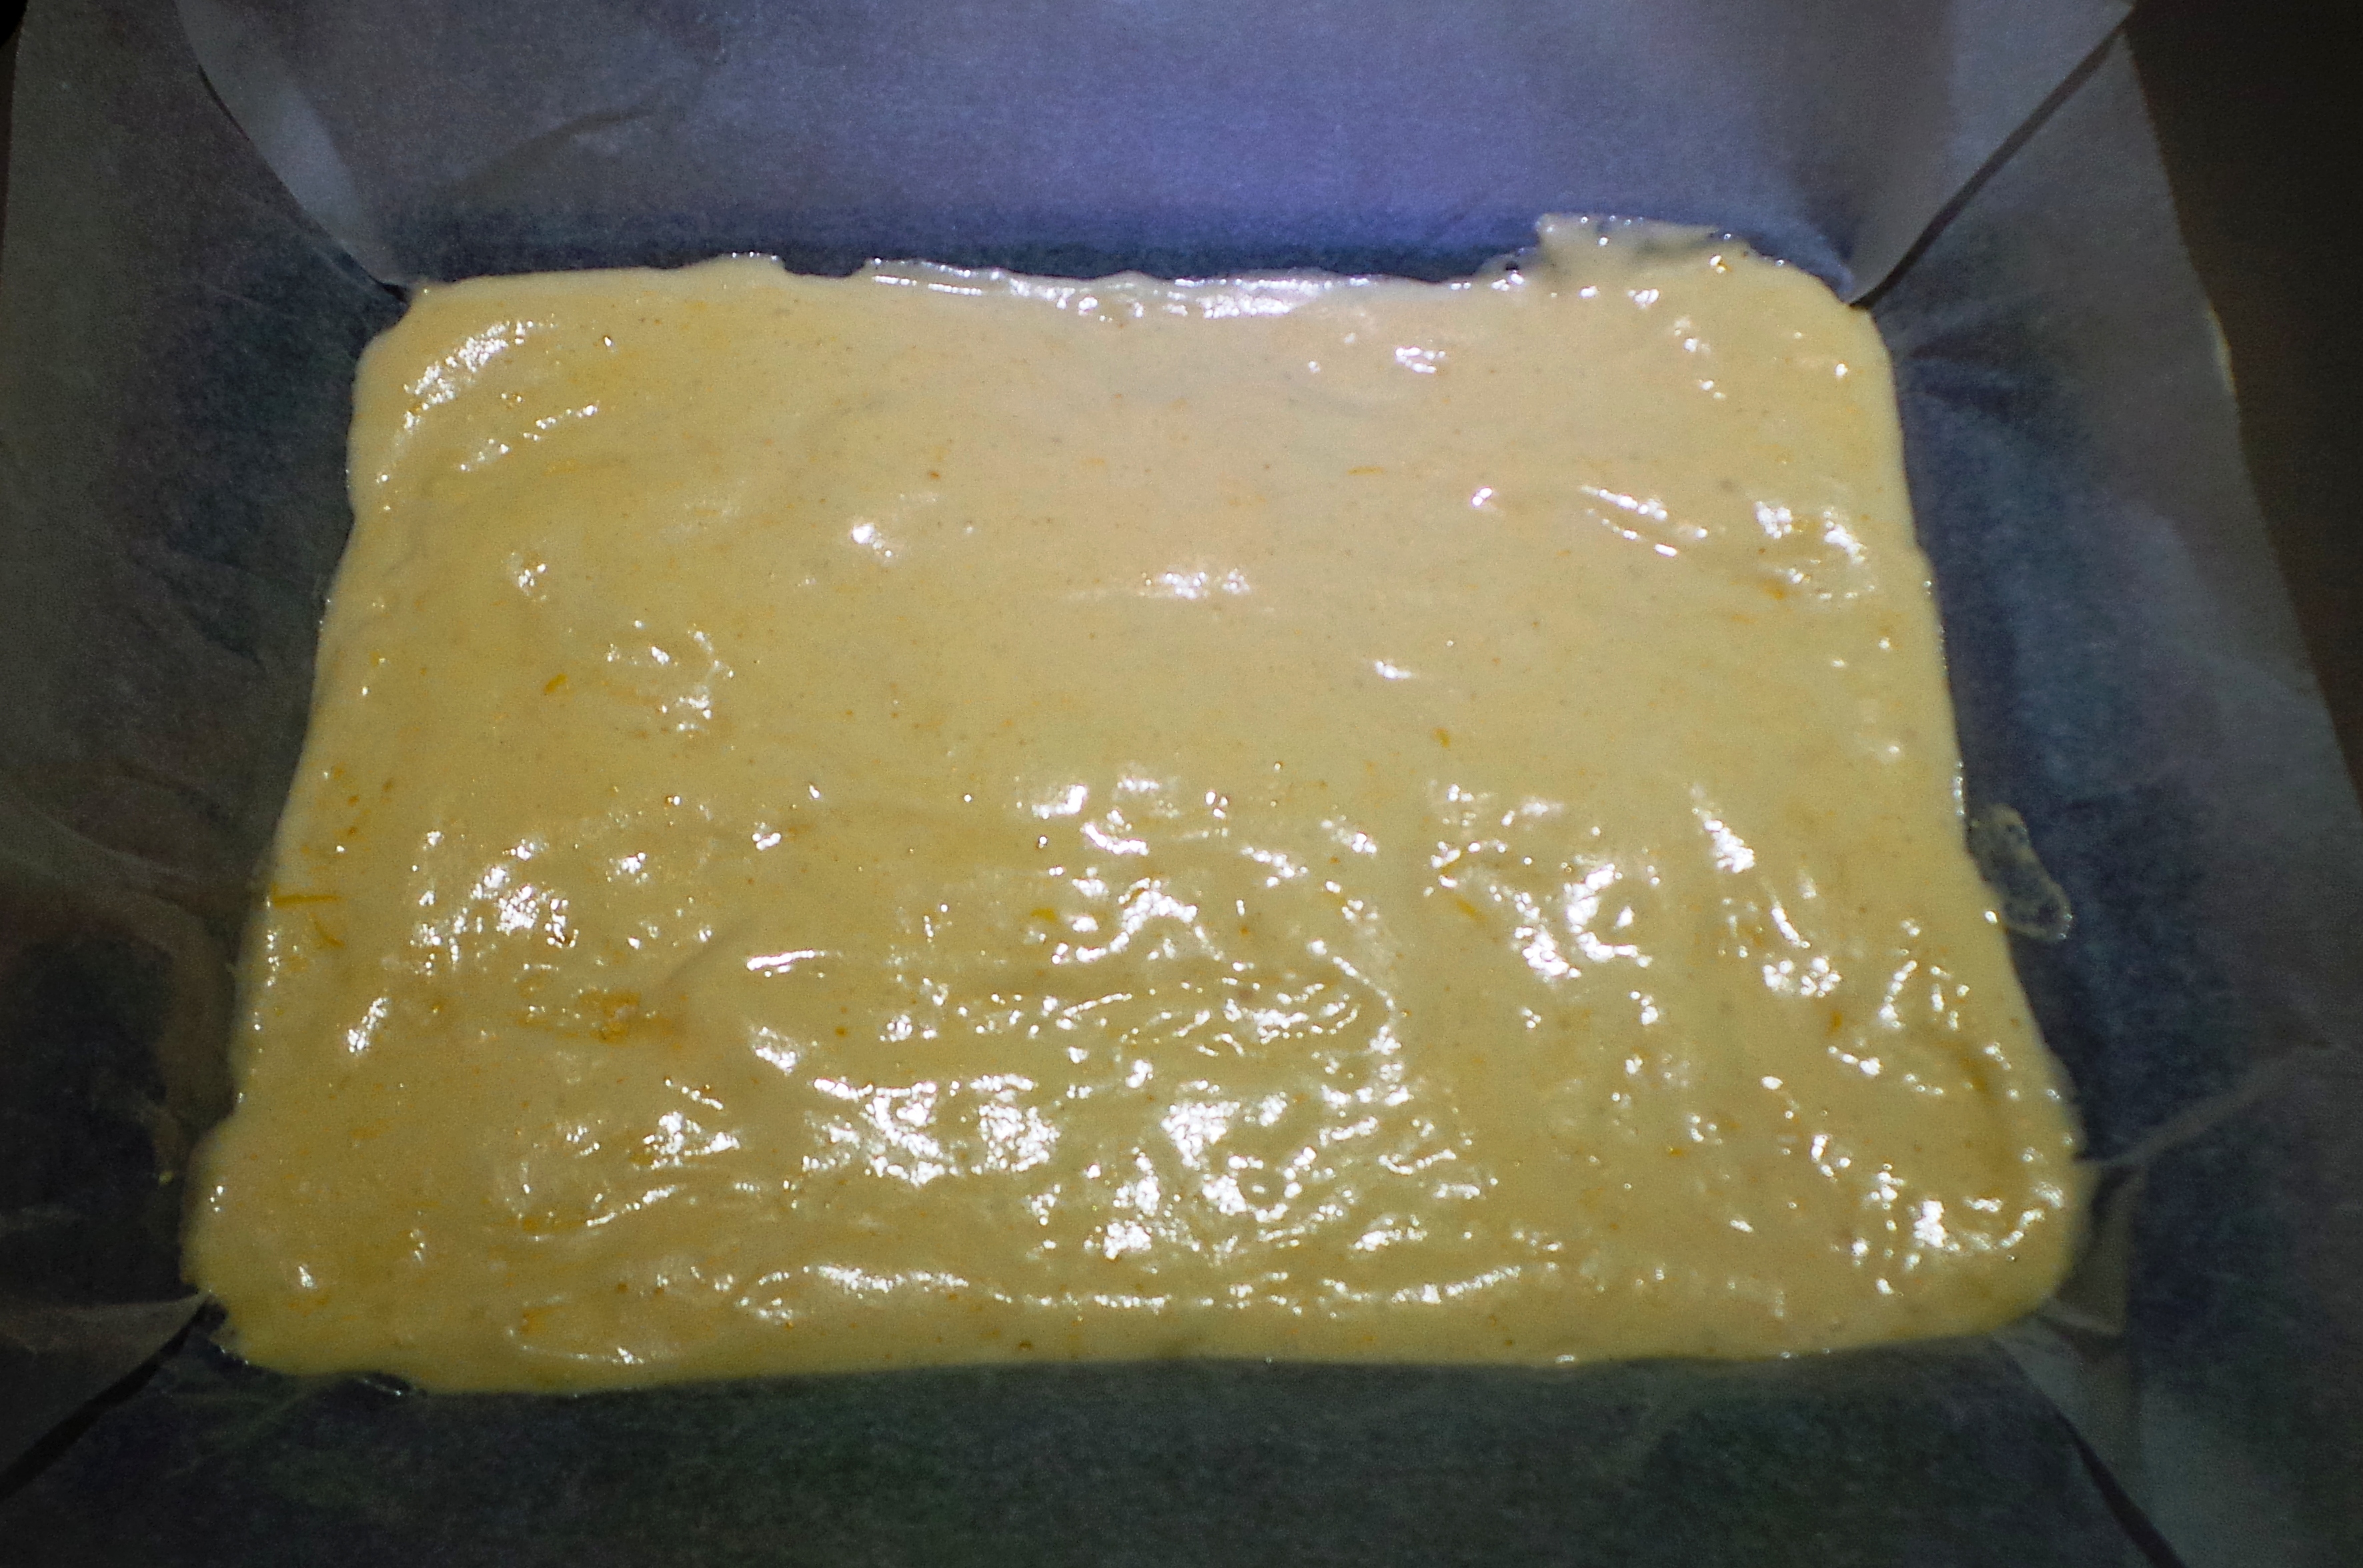
You can also use orange peels in exactly the same way. So, if you are a maven for freshly squeezed OJ, here’s a way to generate less waste.
A word of warning though: do not use this spray on a marble surface, or you will get etching. That would be bad.
Laminates are fine, as is solid granite and other stones.
However, check with the manufacturer as I accept no responsibility for any damage that might be caused…
Like this? Follow us on Facebook or subscribe to receive updates by email.