Allow to cool completely before storing in an air-tight container.
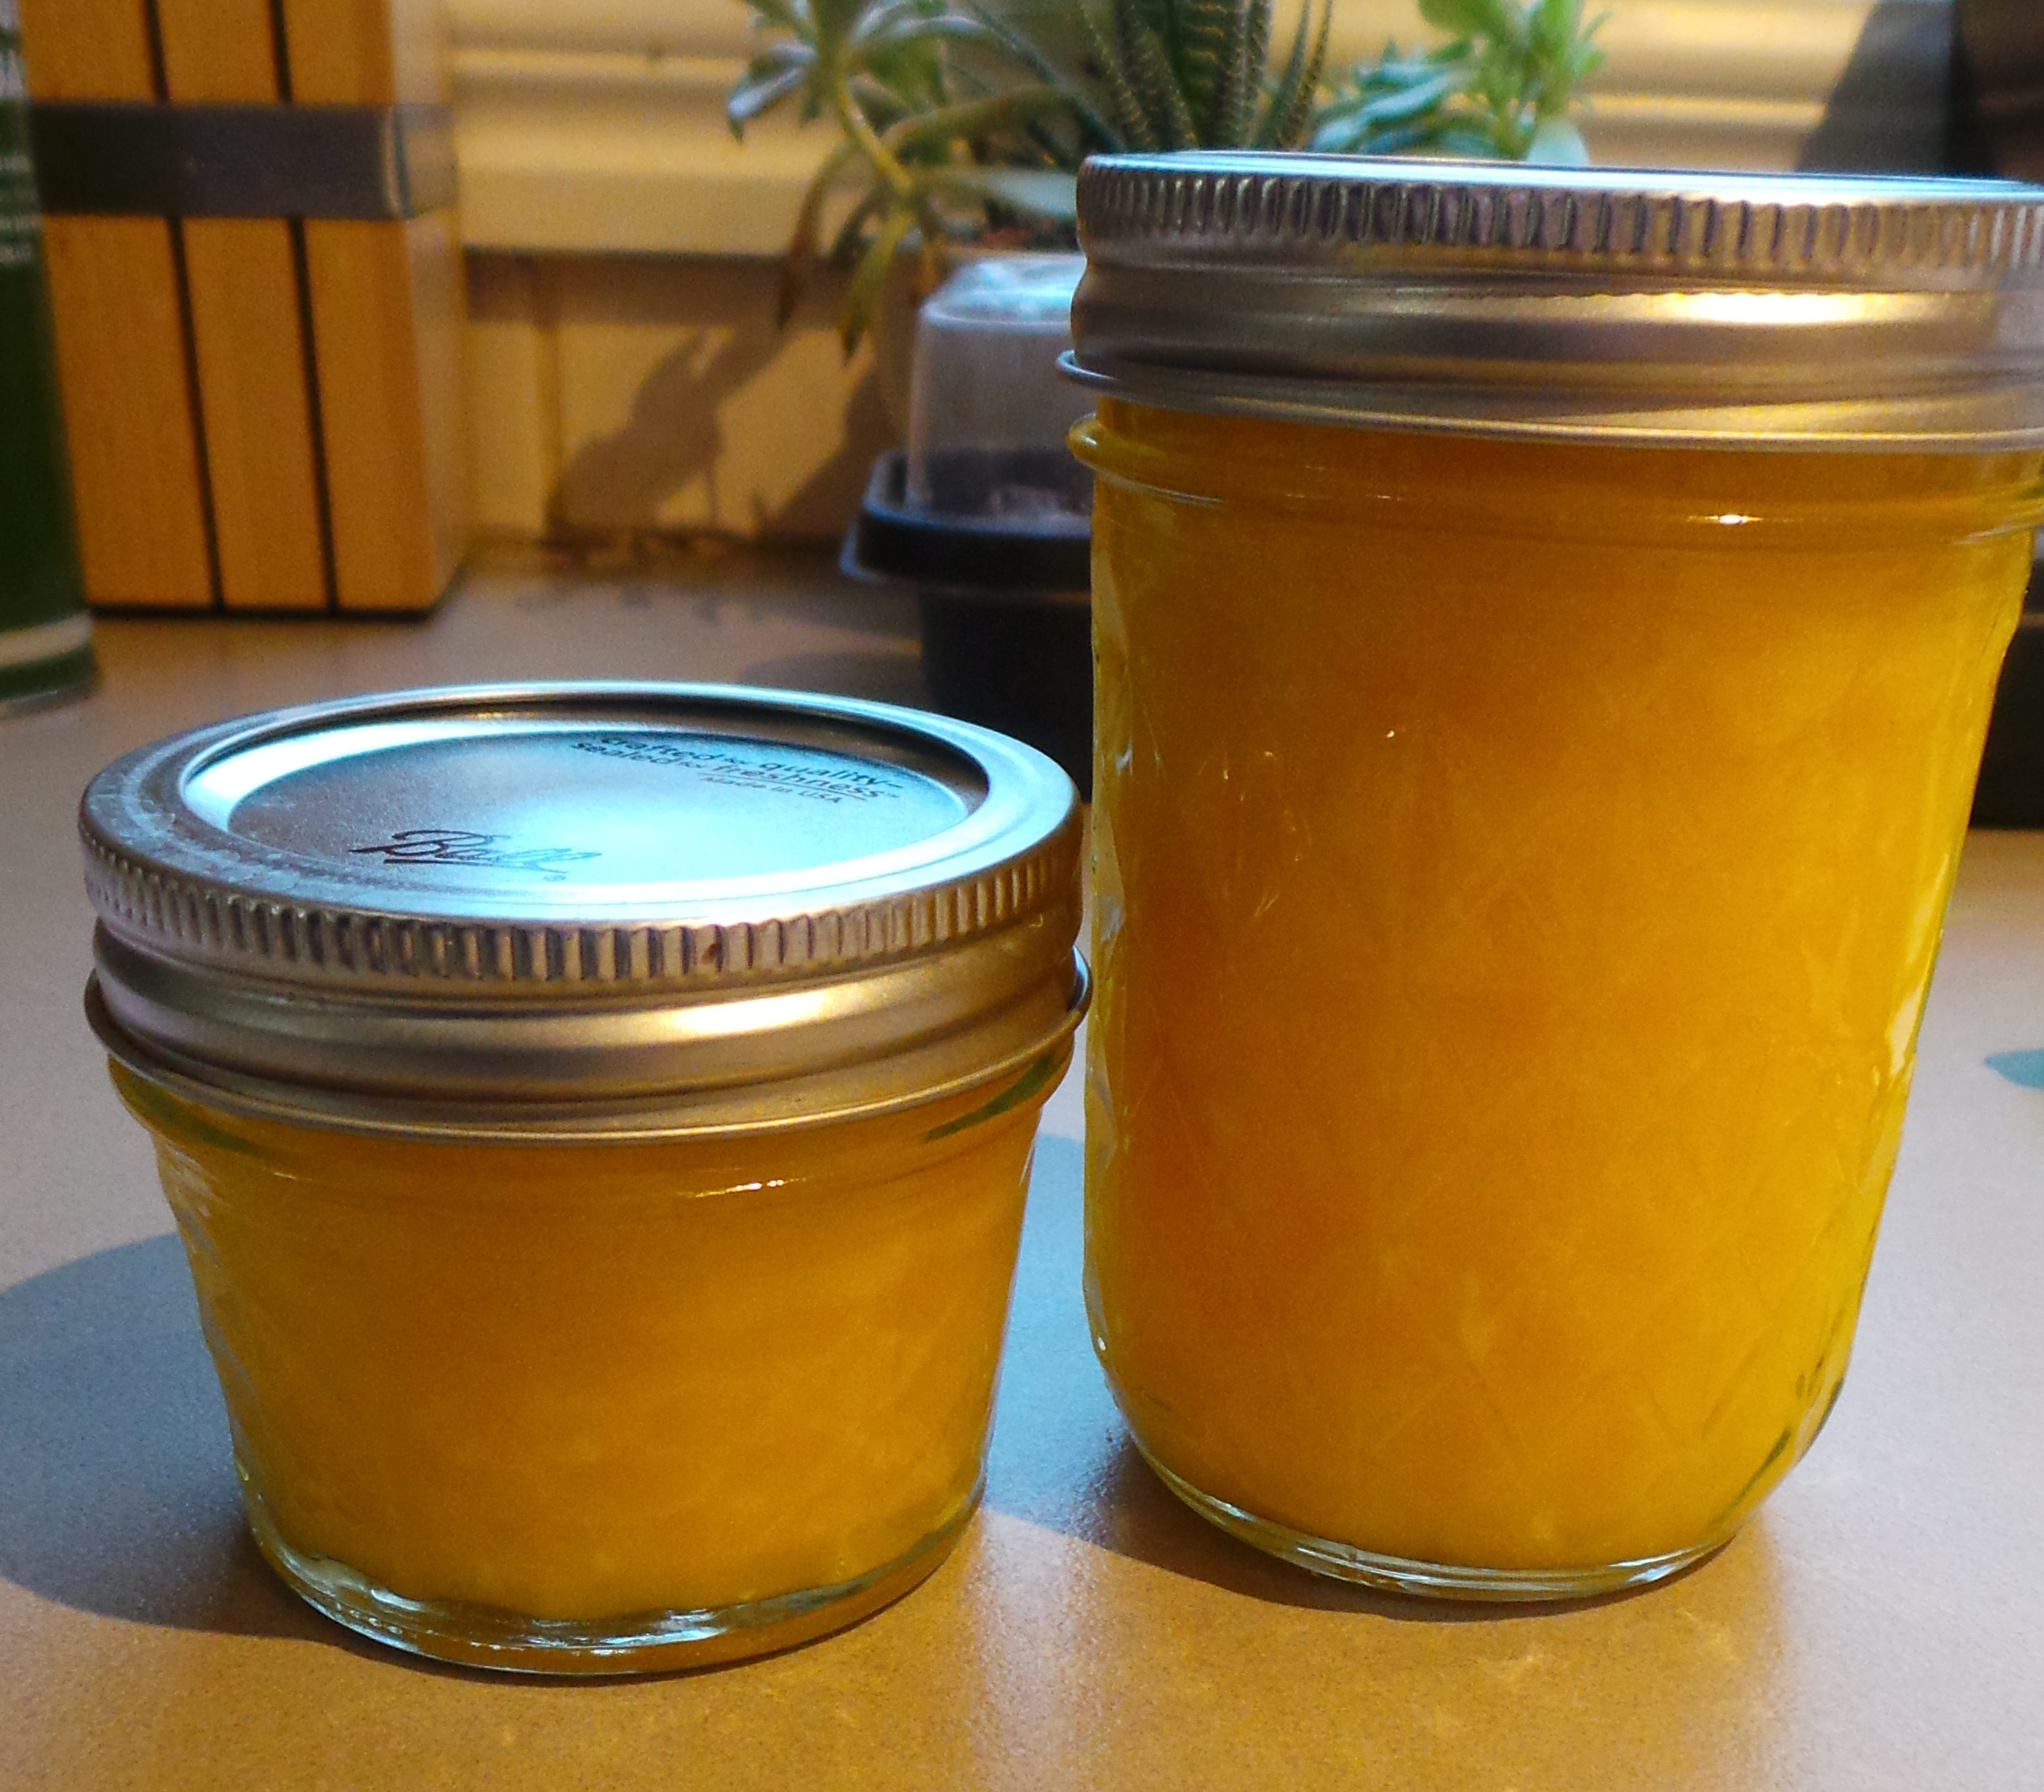
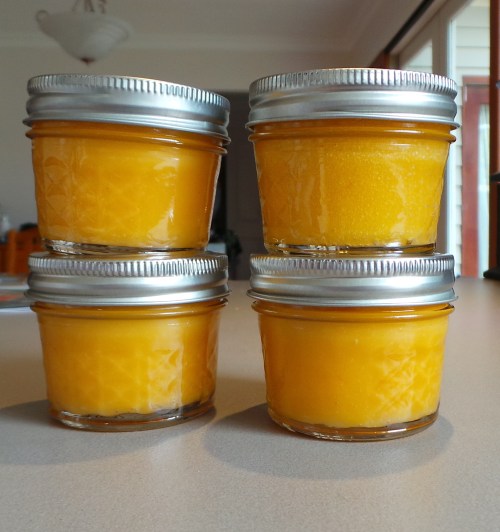
So, you’ve made yourself some Dulce de Leche, or even some Lemon Curd – now what?
Make these.
Simple, tasty, made from things you’re likely to have already and hiding a sweet(er) surprise, what’s not to love about these morsels?

You know you want one.
A batch or two of muffins mixed up on a Sunday afternoon and stored in an air-tight container can provide you with a week’s worth of school/work lunch treats. That can save you quite a bit of money over the medium to longer term, especially if you provide your own beverage as well.
They taste better than most mass-produced cakes (there’s a certain floury taste to things made from a premix) and you get to look mysterious when people beg you to tell them where you bought them…
Get picky. Eat only the best, and that usually means things made from scratch – it doesn’t mean things that are too difficult to make yourself. I promise.
These particular muffins make use of things you’ve already learned how to make here: dulce de leche and/or lemon curd.
Before I start to guide you through it, though, just a quiet word. Muffins are sensitive souls. They need a gentle touch – one that will let them know they are loved and then leave them alone…
In other words, don’t overmix them!
As soon as all the flour is incorporated, stop. Just stop. That is all.
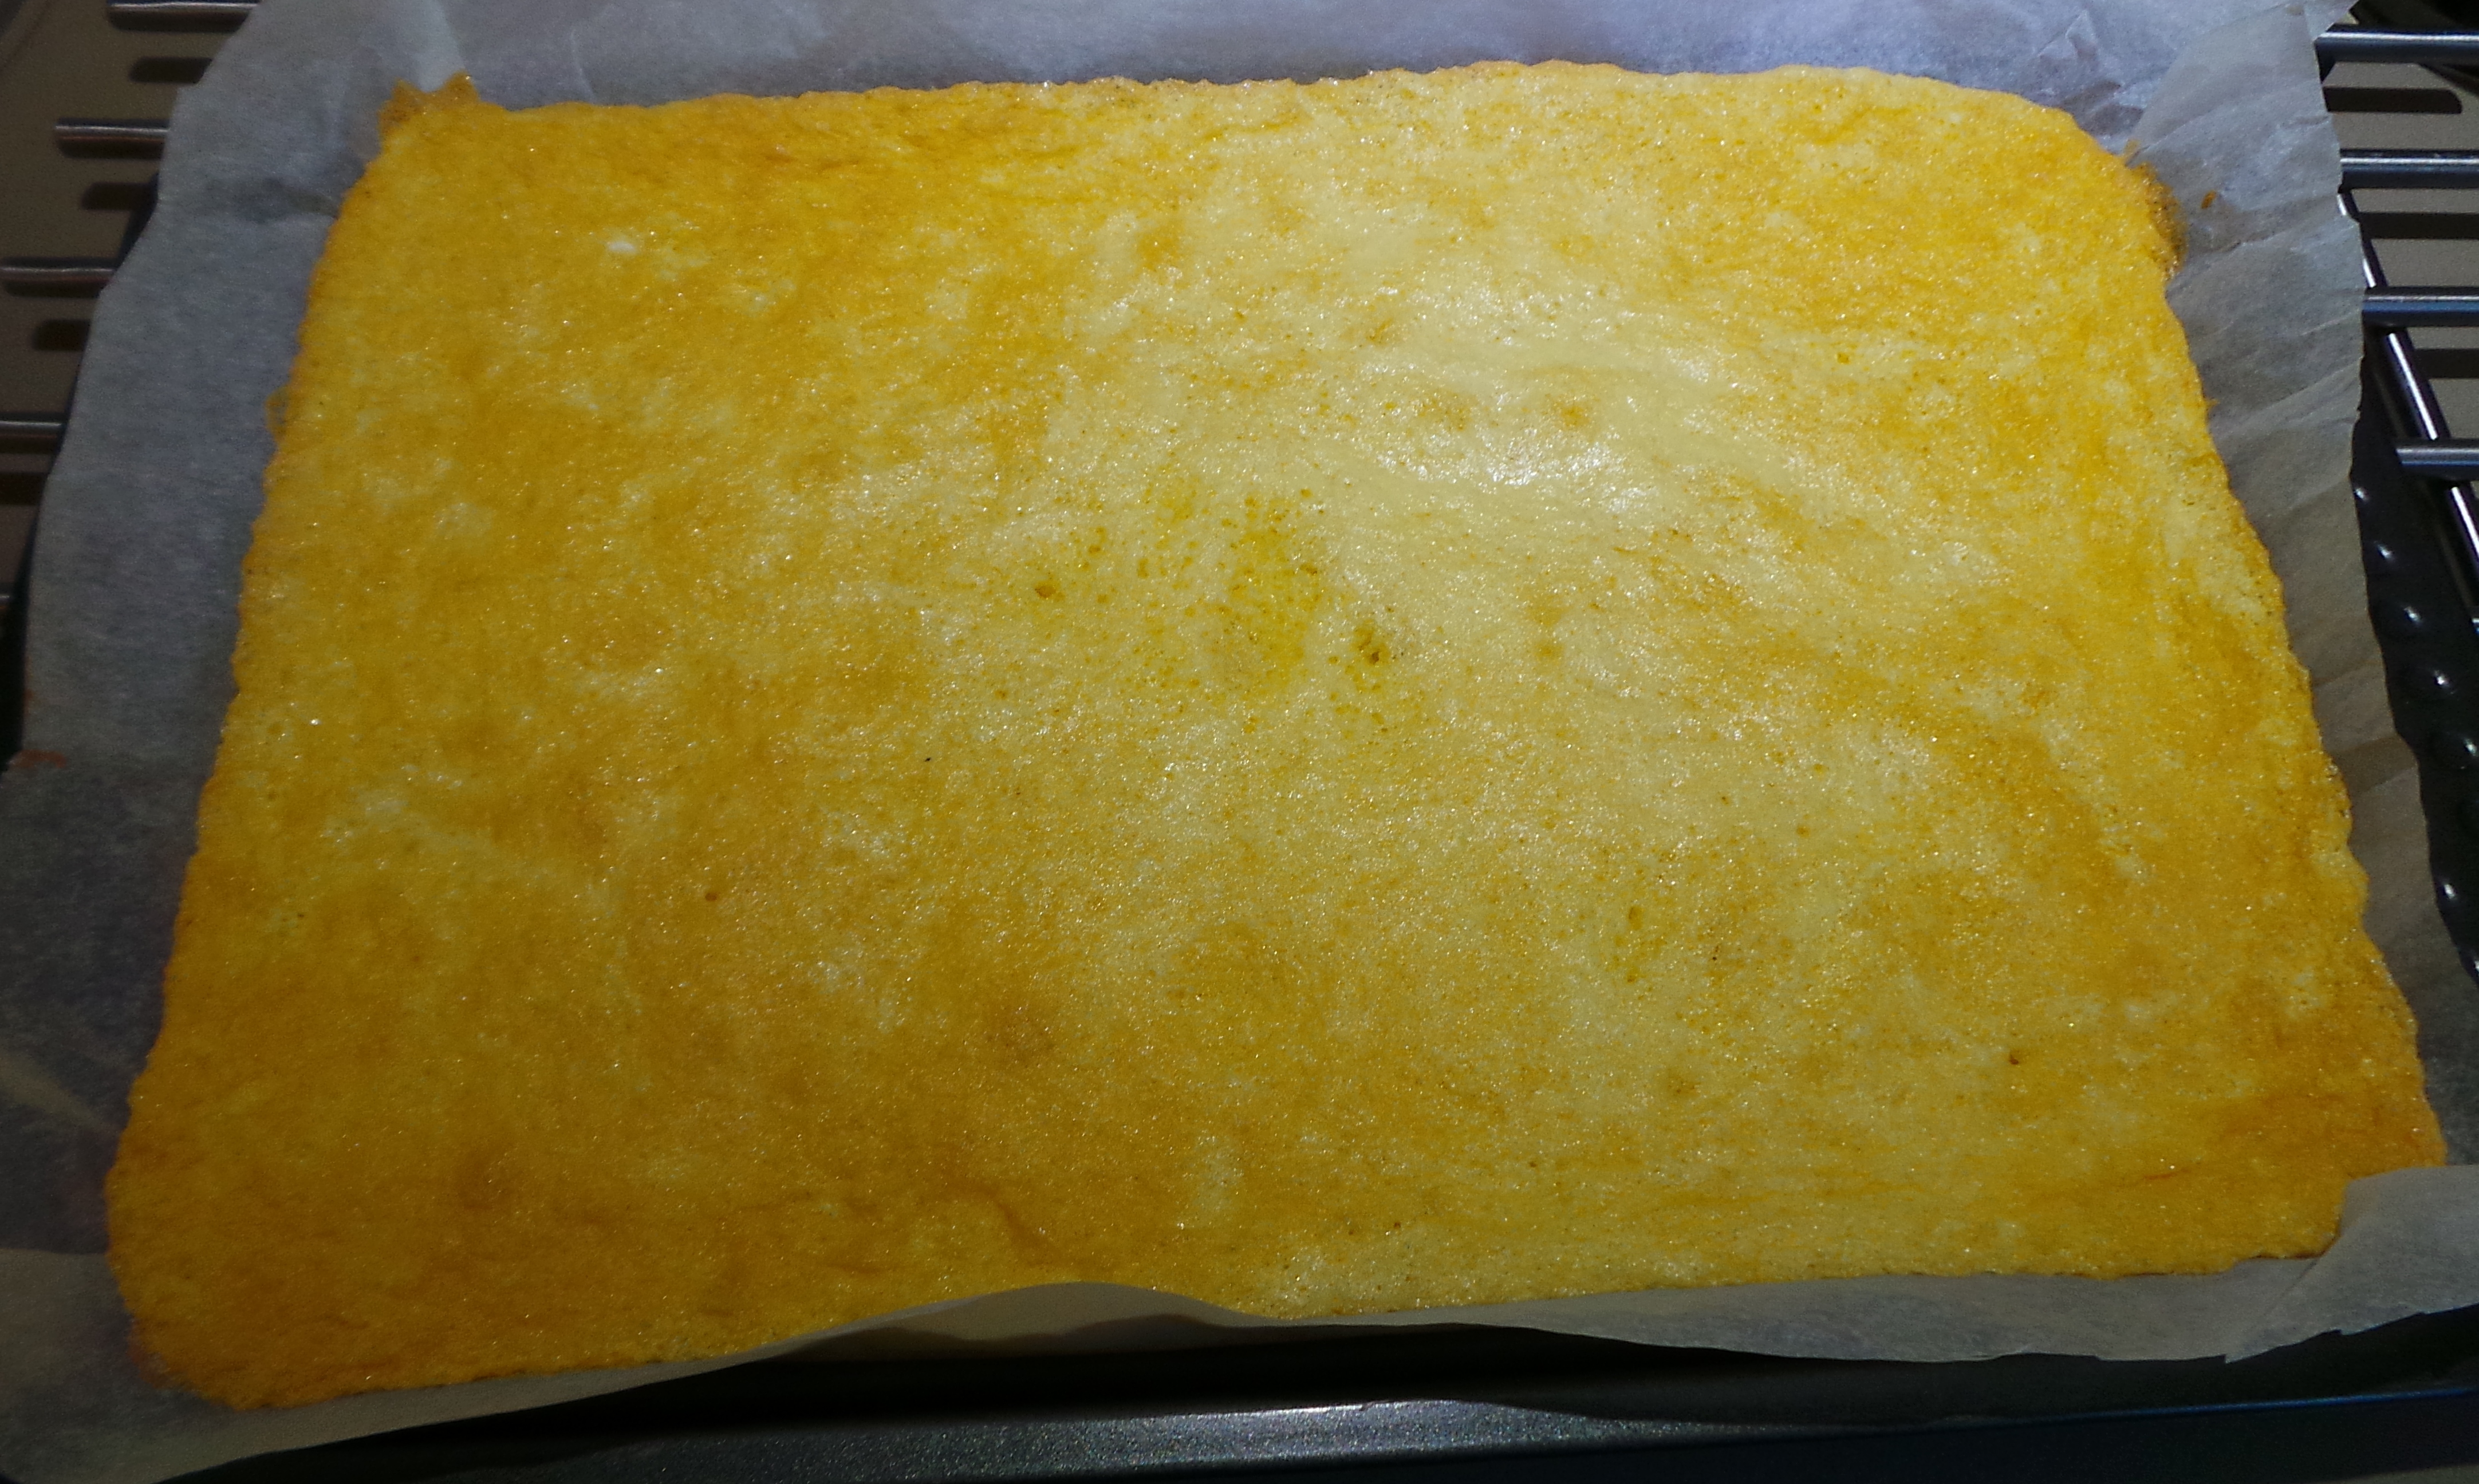
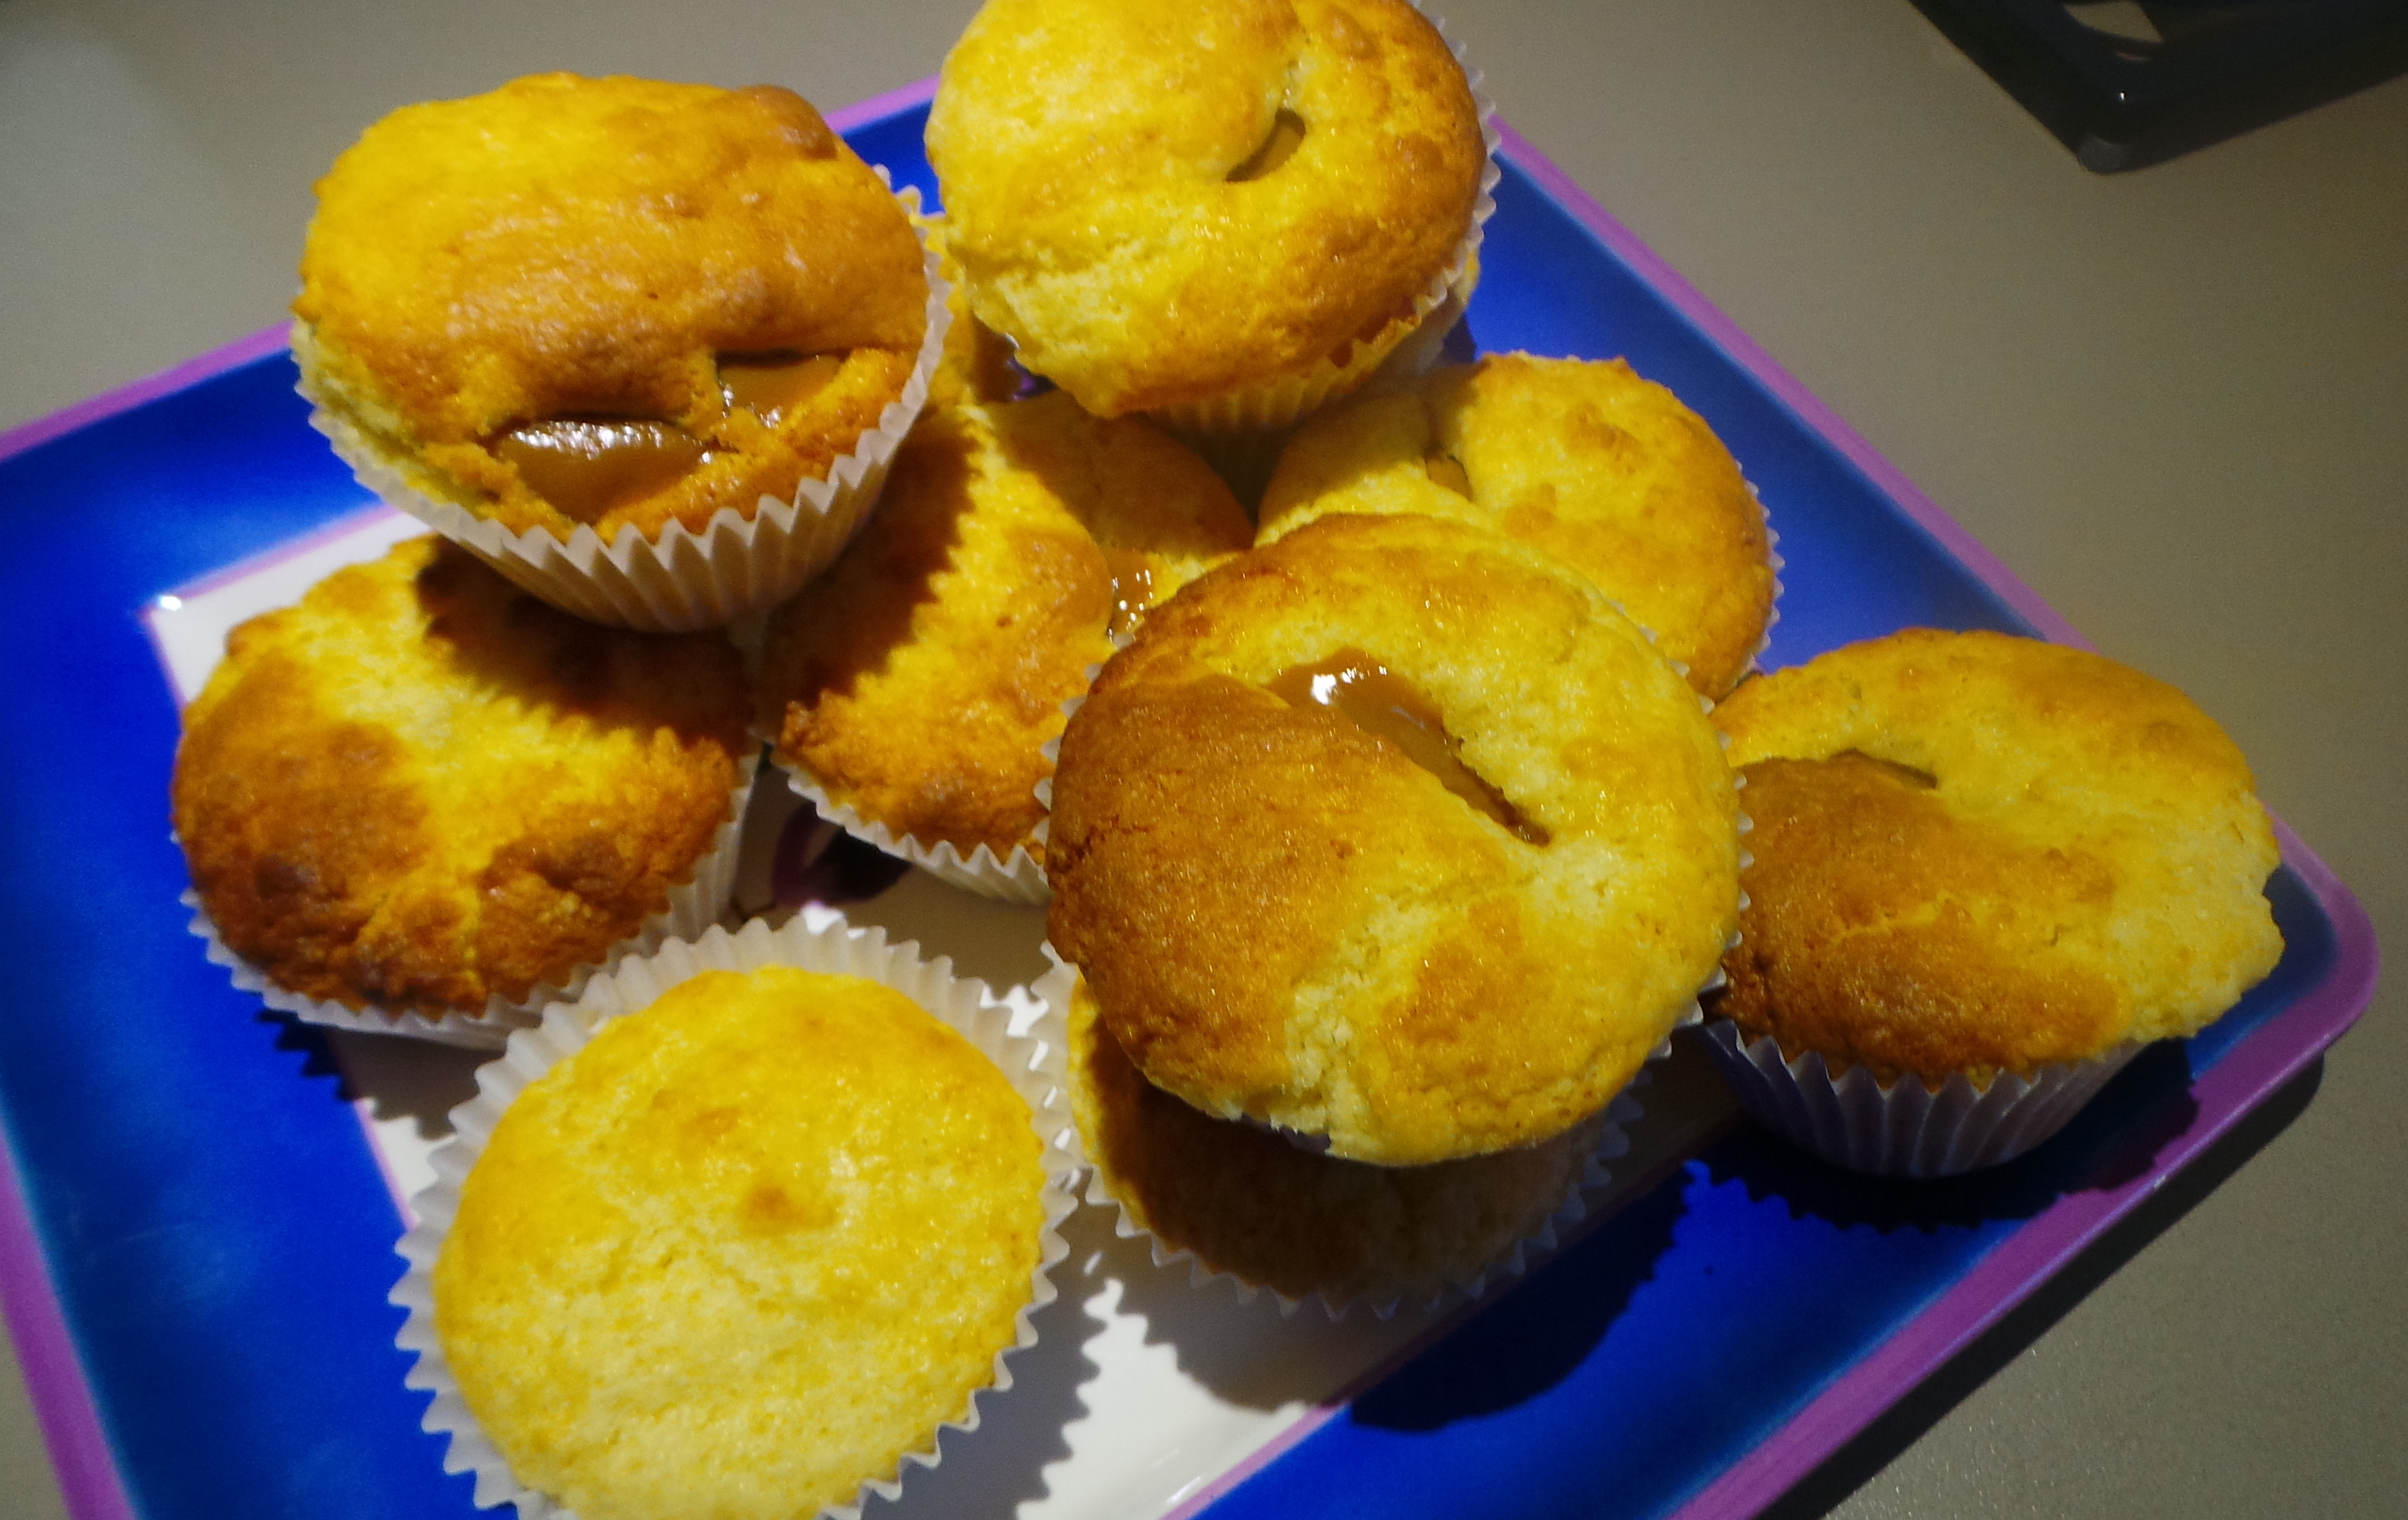
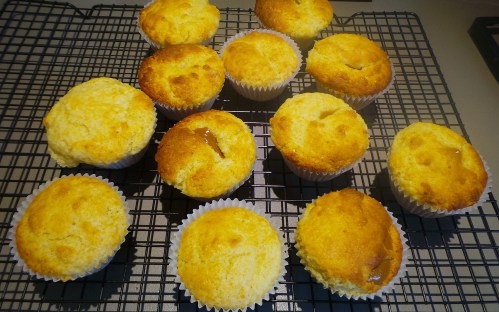
Treat them gently, and you too could have a platter that looks like this.

A veritable treasure trove.
If you do happen to overmix them, it simply means your muffins won’t rise as much and will be slightly denser in texture.
This is not a tragedy.
This is a reason to try again and see if you can improve your results.
Shall we begin?
Preheat your oven to Moderately Hot.
Start by sifting your Self Raising flour and baking soda together into a large mixing bowl.
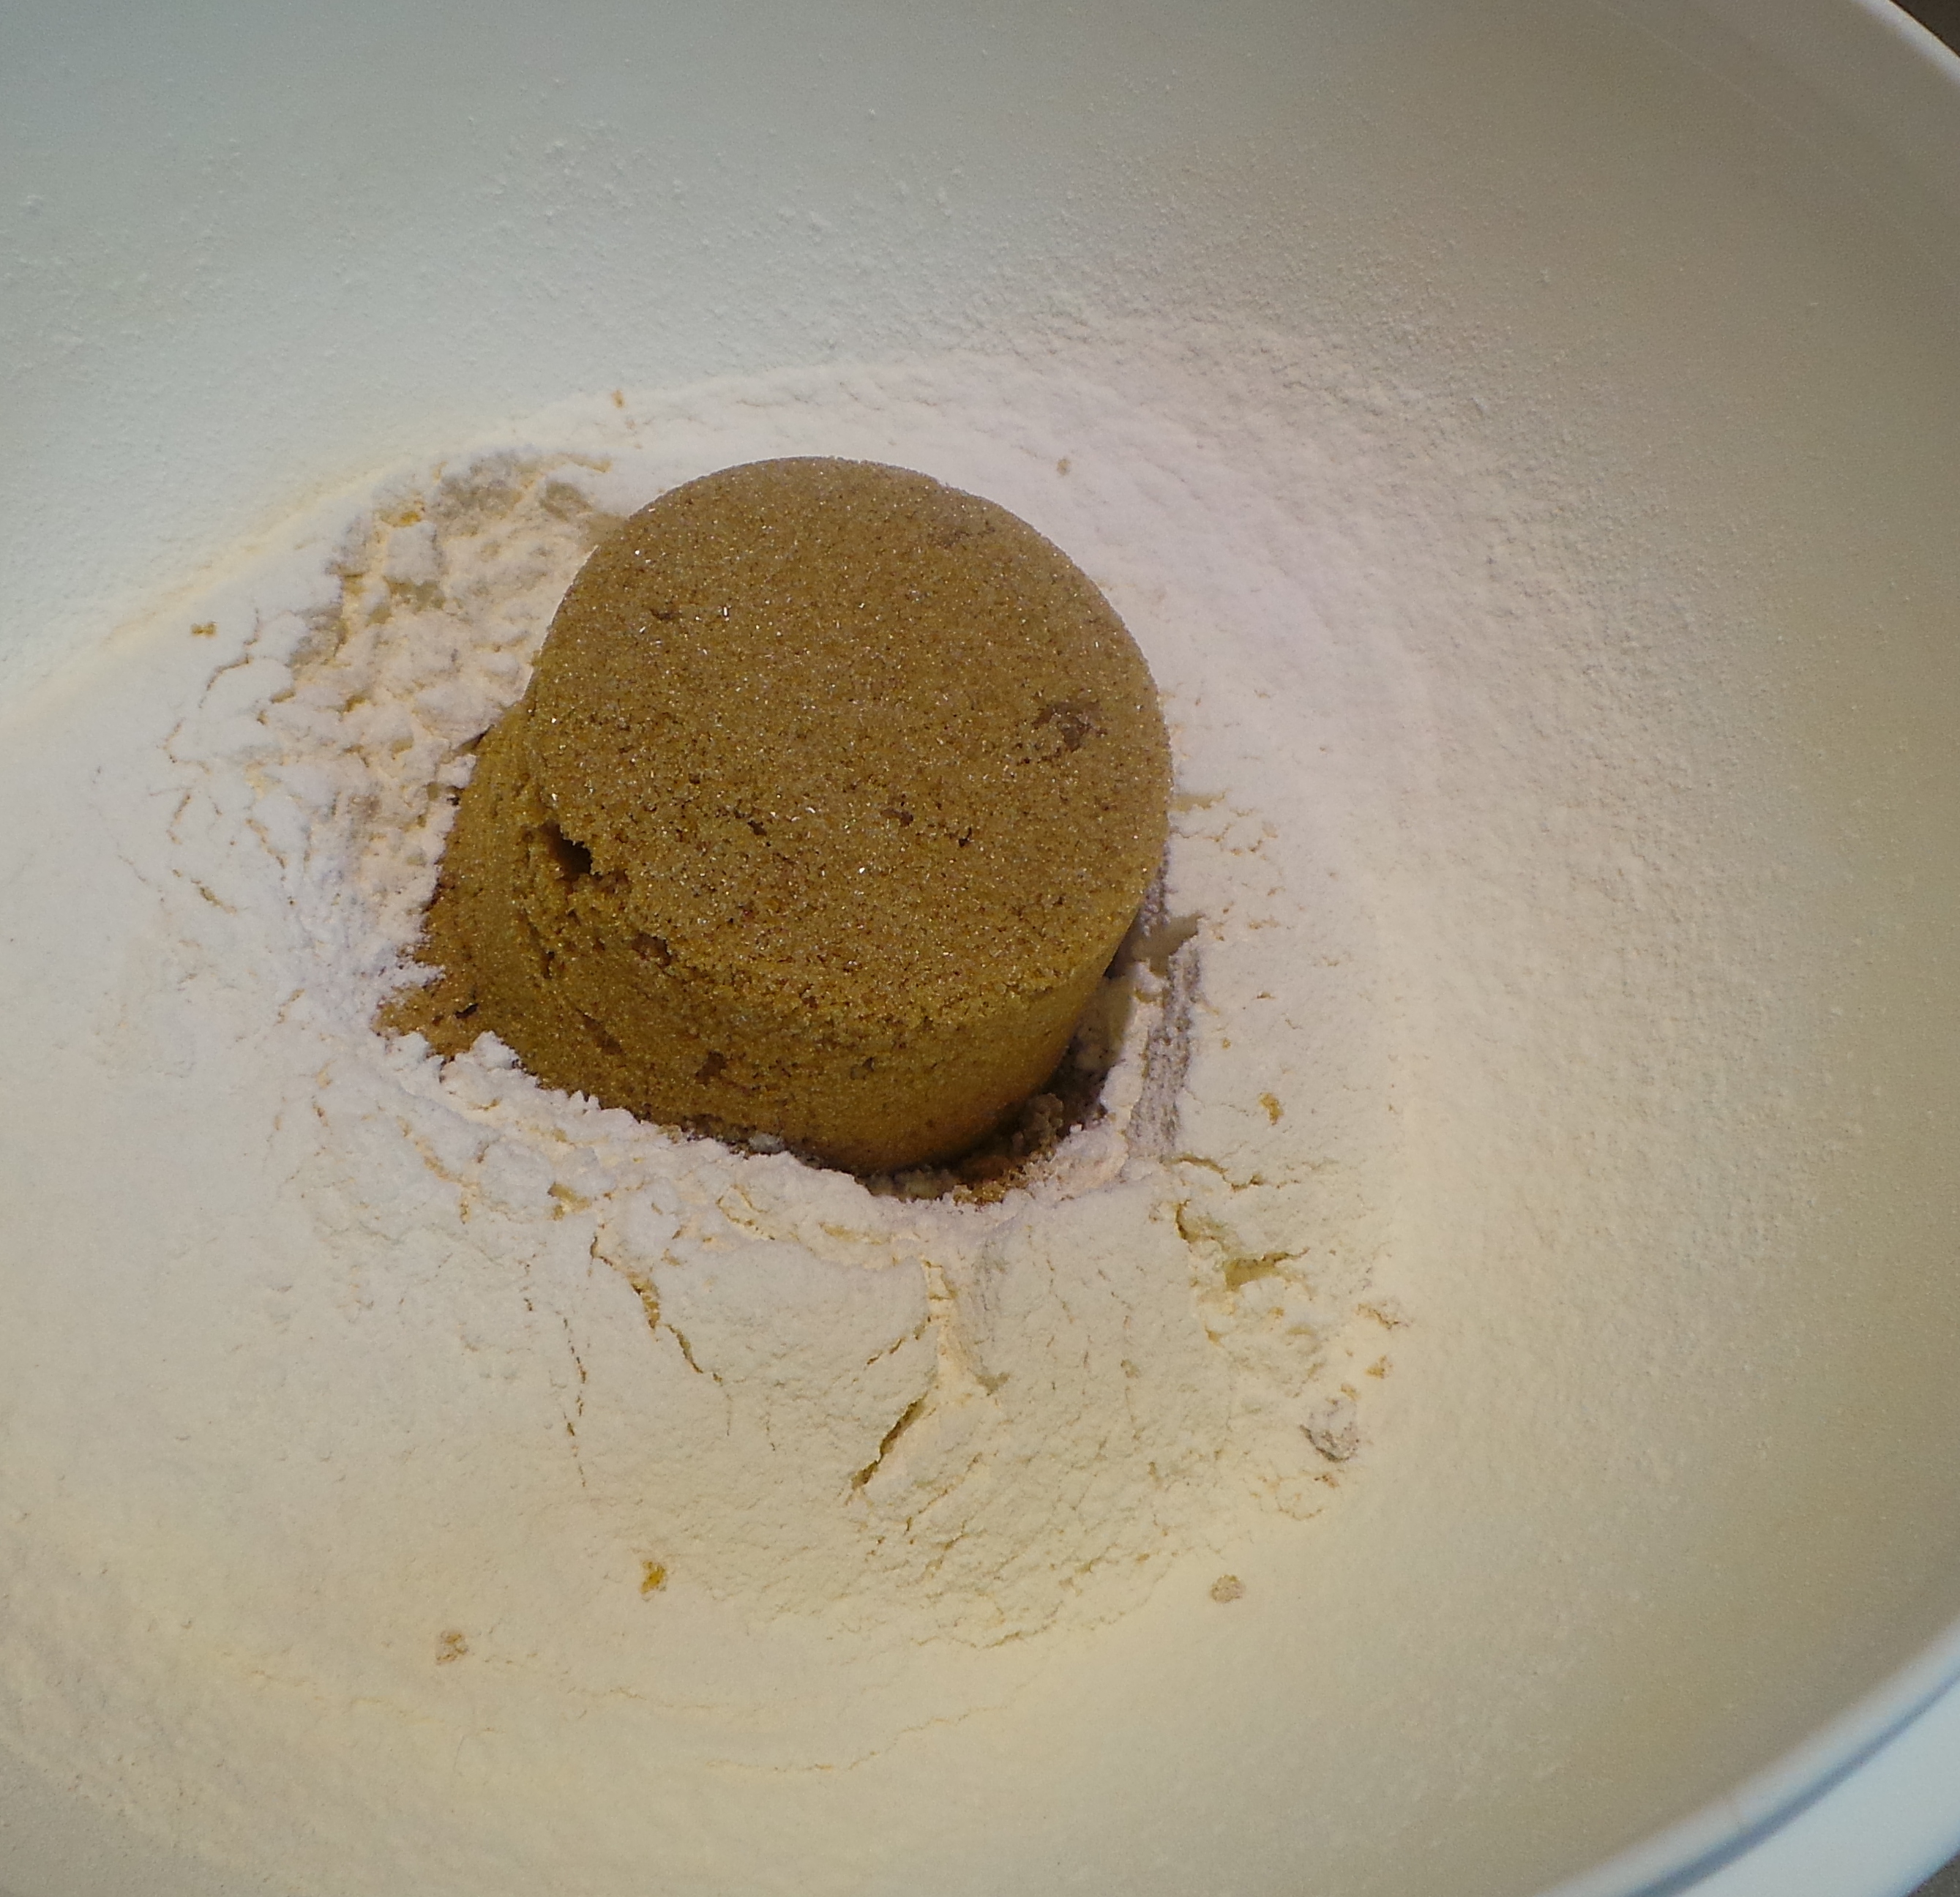
Add your brown sugar, but be careful to pack it into your measuring cup first! When you tip it into the mixing bowl it will look like those sand castles you used to make with your bucket at the beach.

This is a brown sugar sandcastle.
Mash it up with your spatula or wooden spoon to get rid of lumps and stir into the flour.
How are you doing so far?
Believe it or not — you’re nearly done!
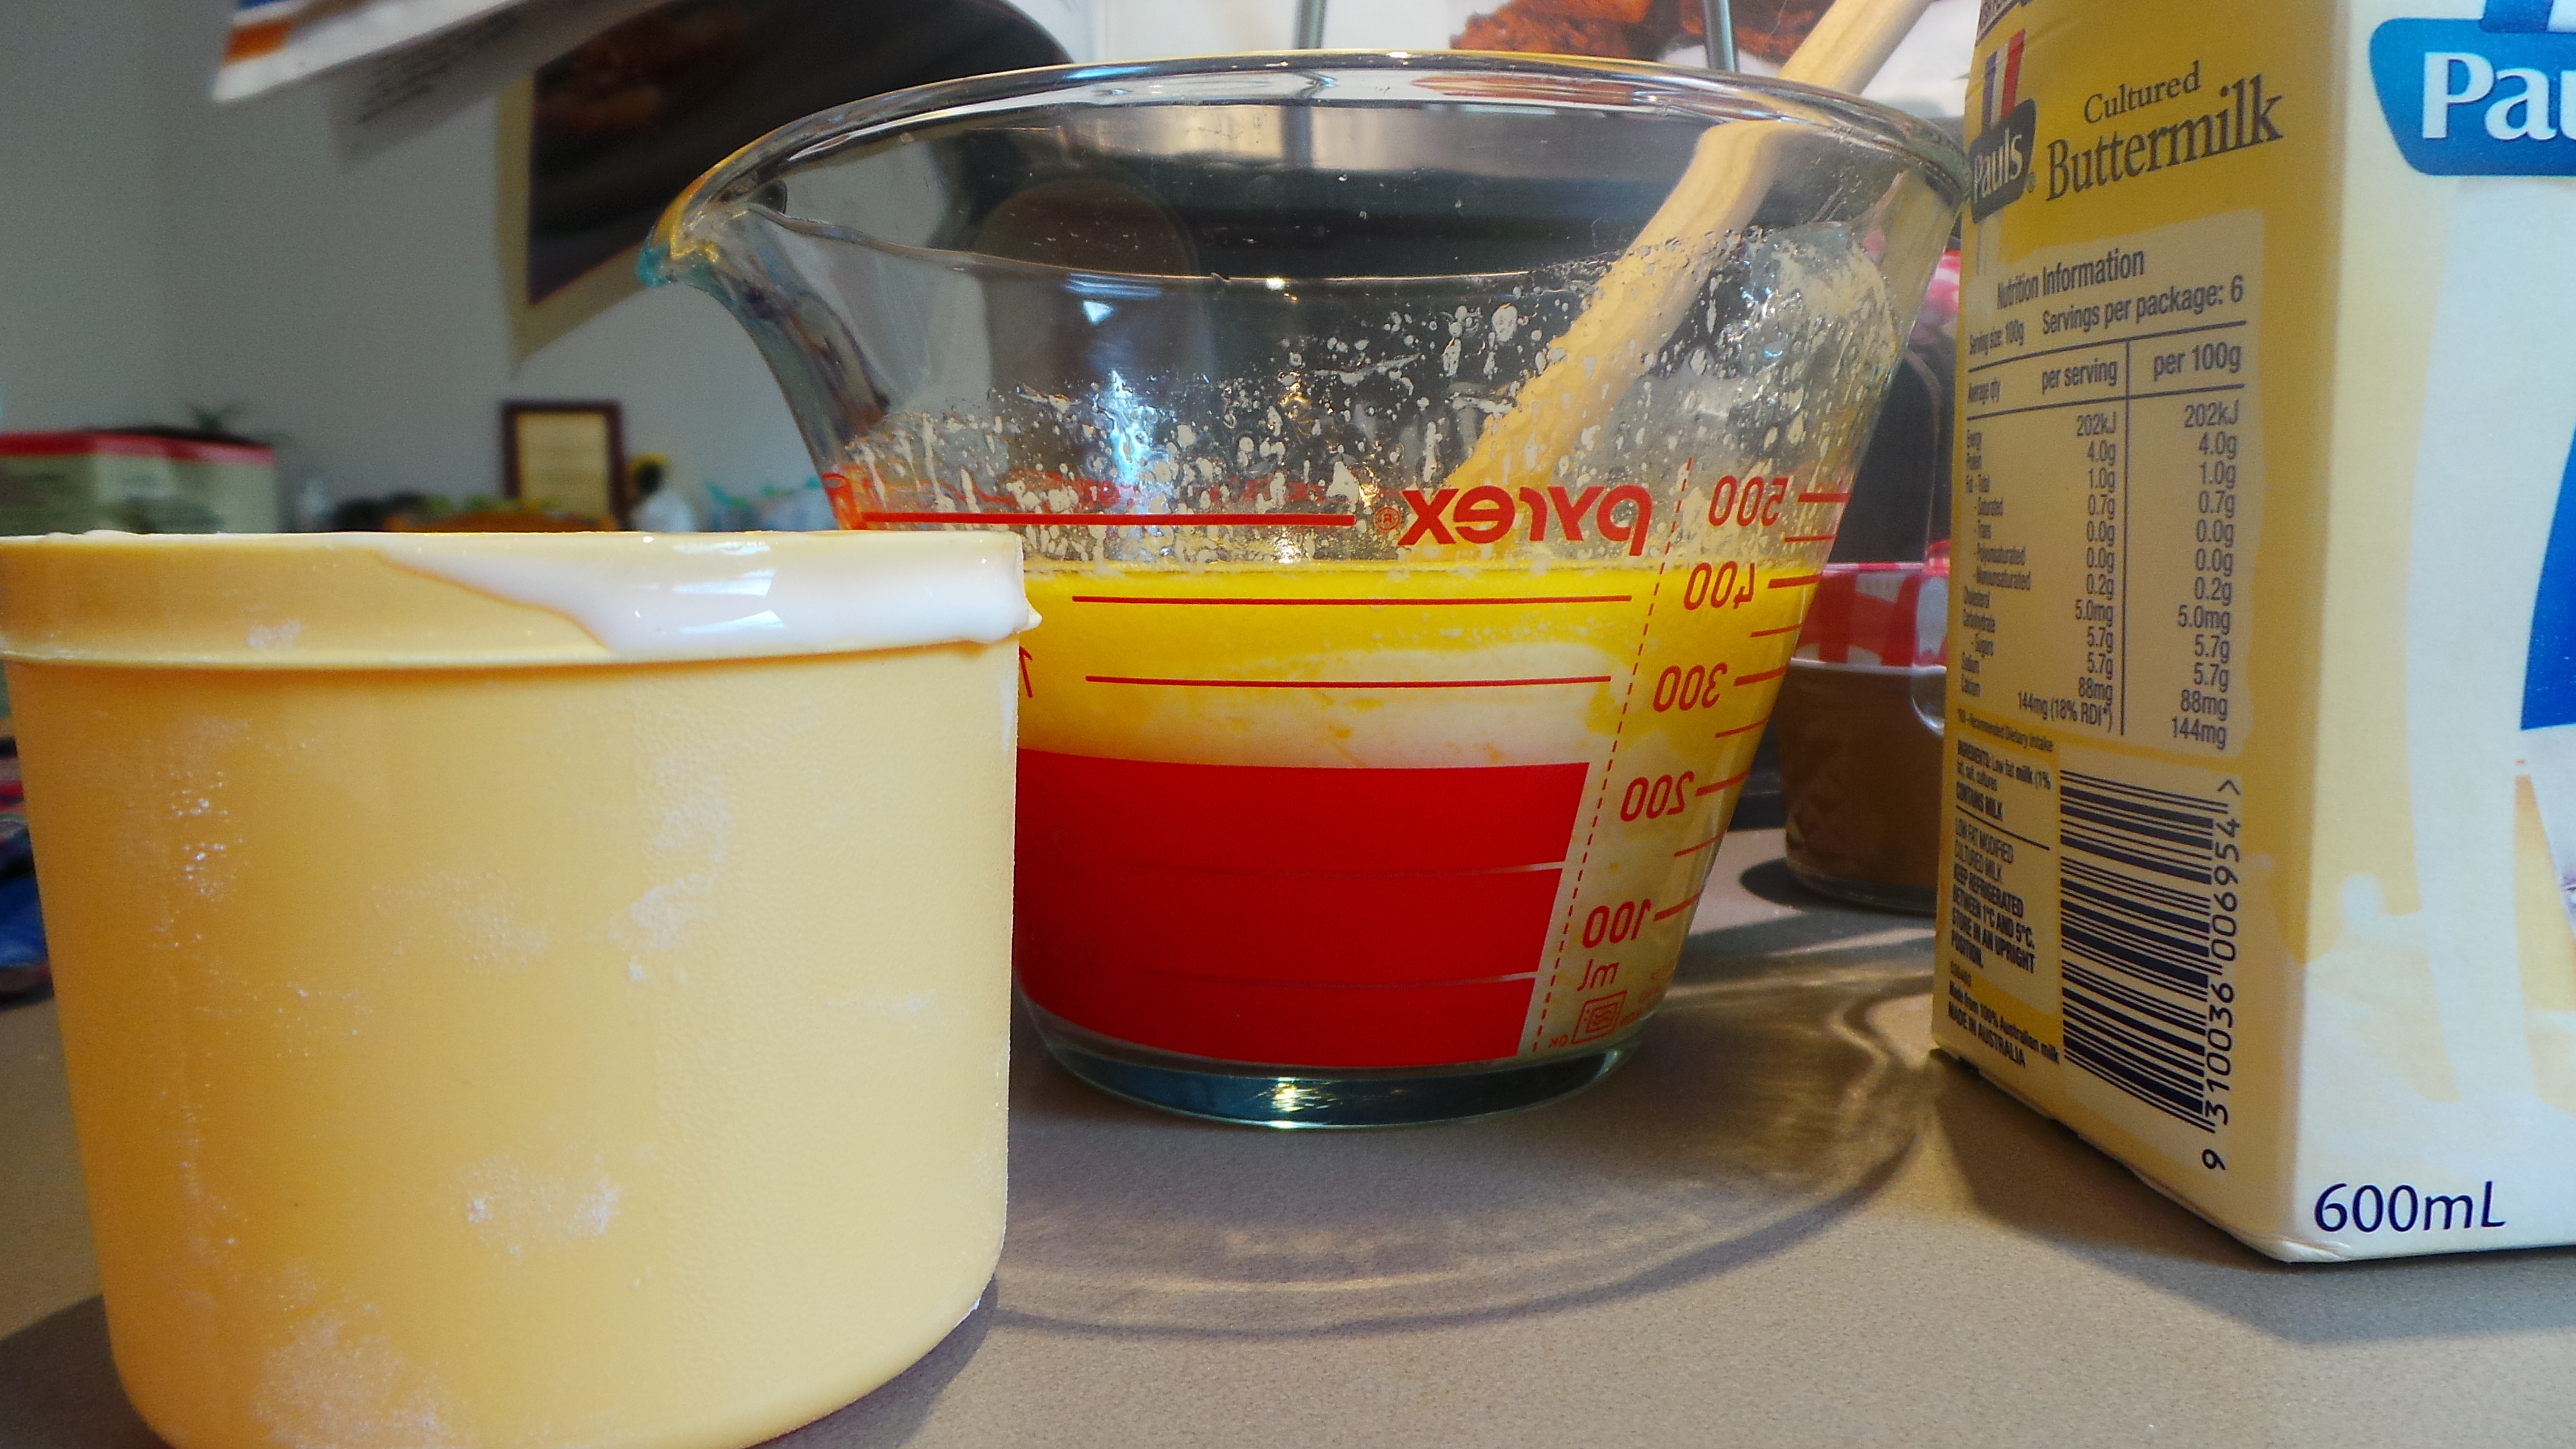
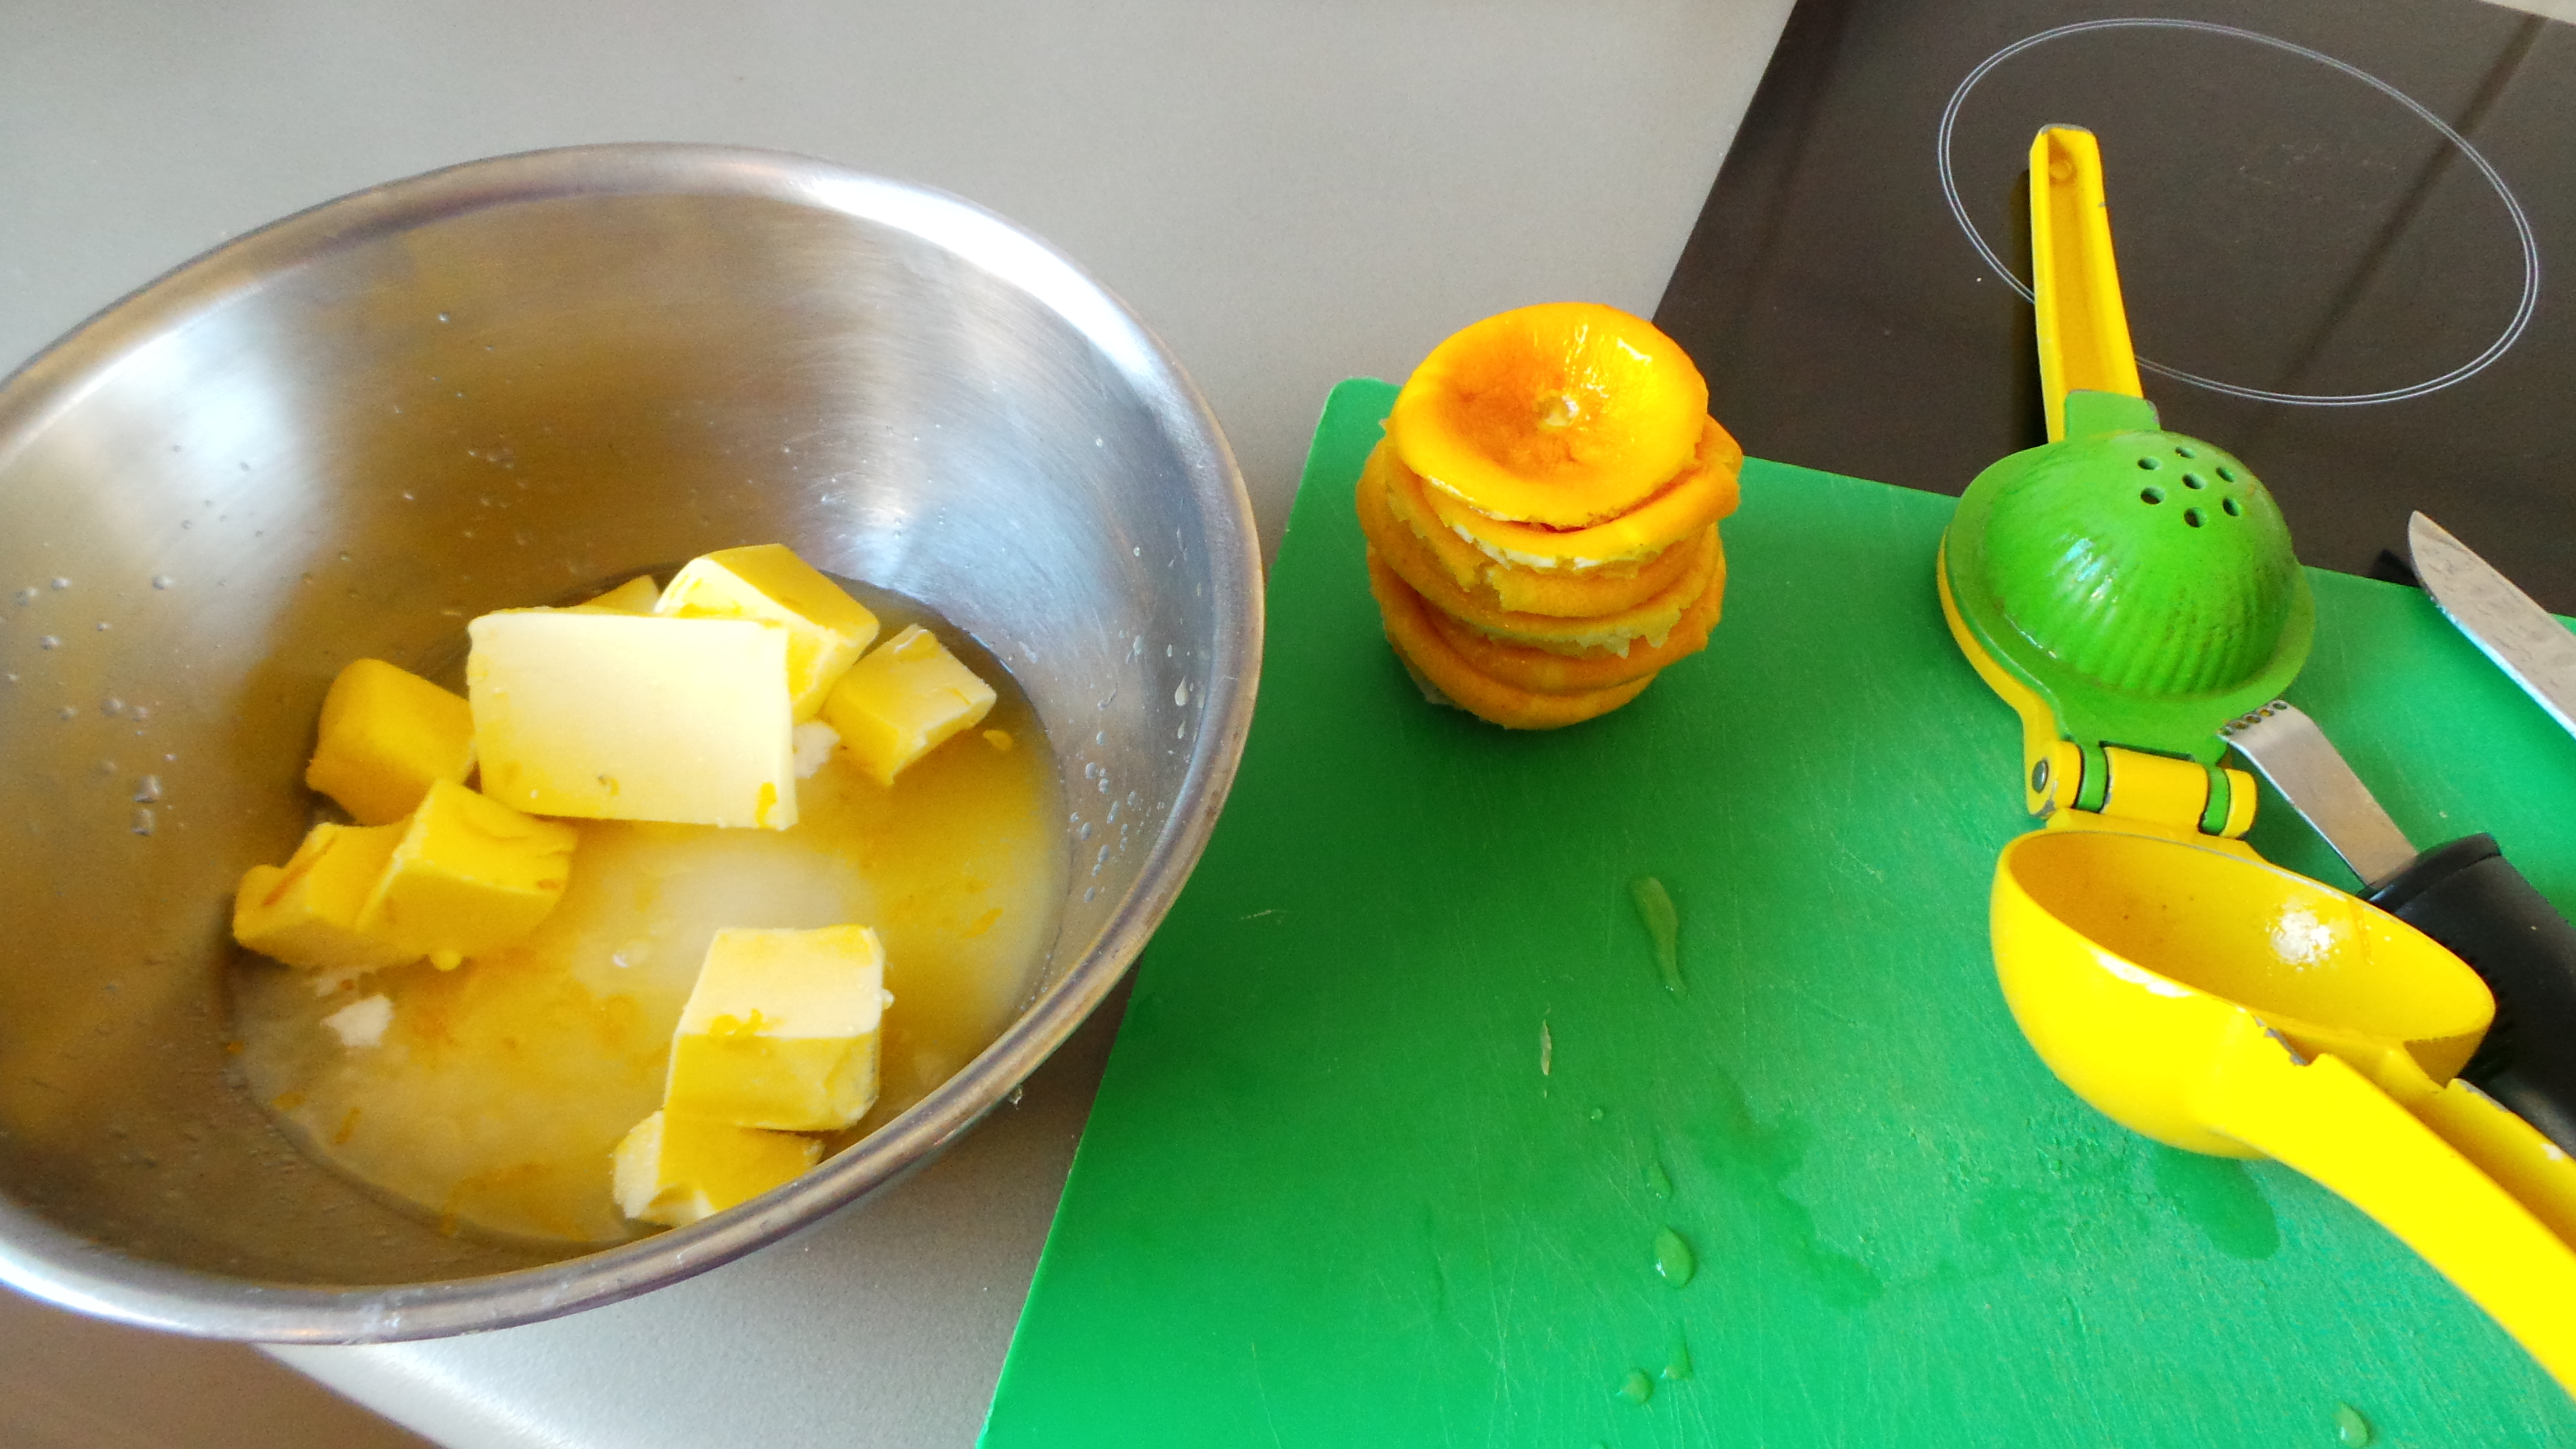
Melt your butter. This can be done in a small saucepan over a low heat on the stove, or in a microwave.
I use a pyrex jug for mine and zap it at 50% for a minute and then repeat until it’s liquid. Then I stir the buttermilk into the milk.

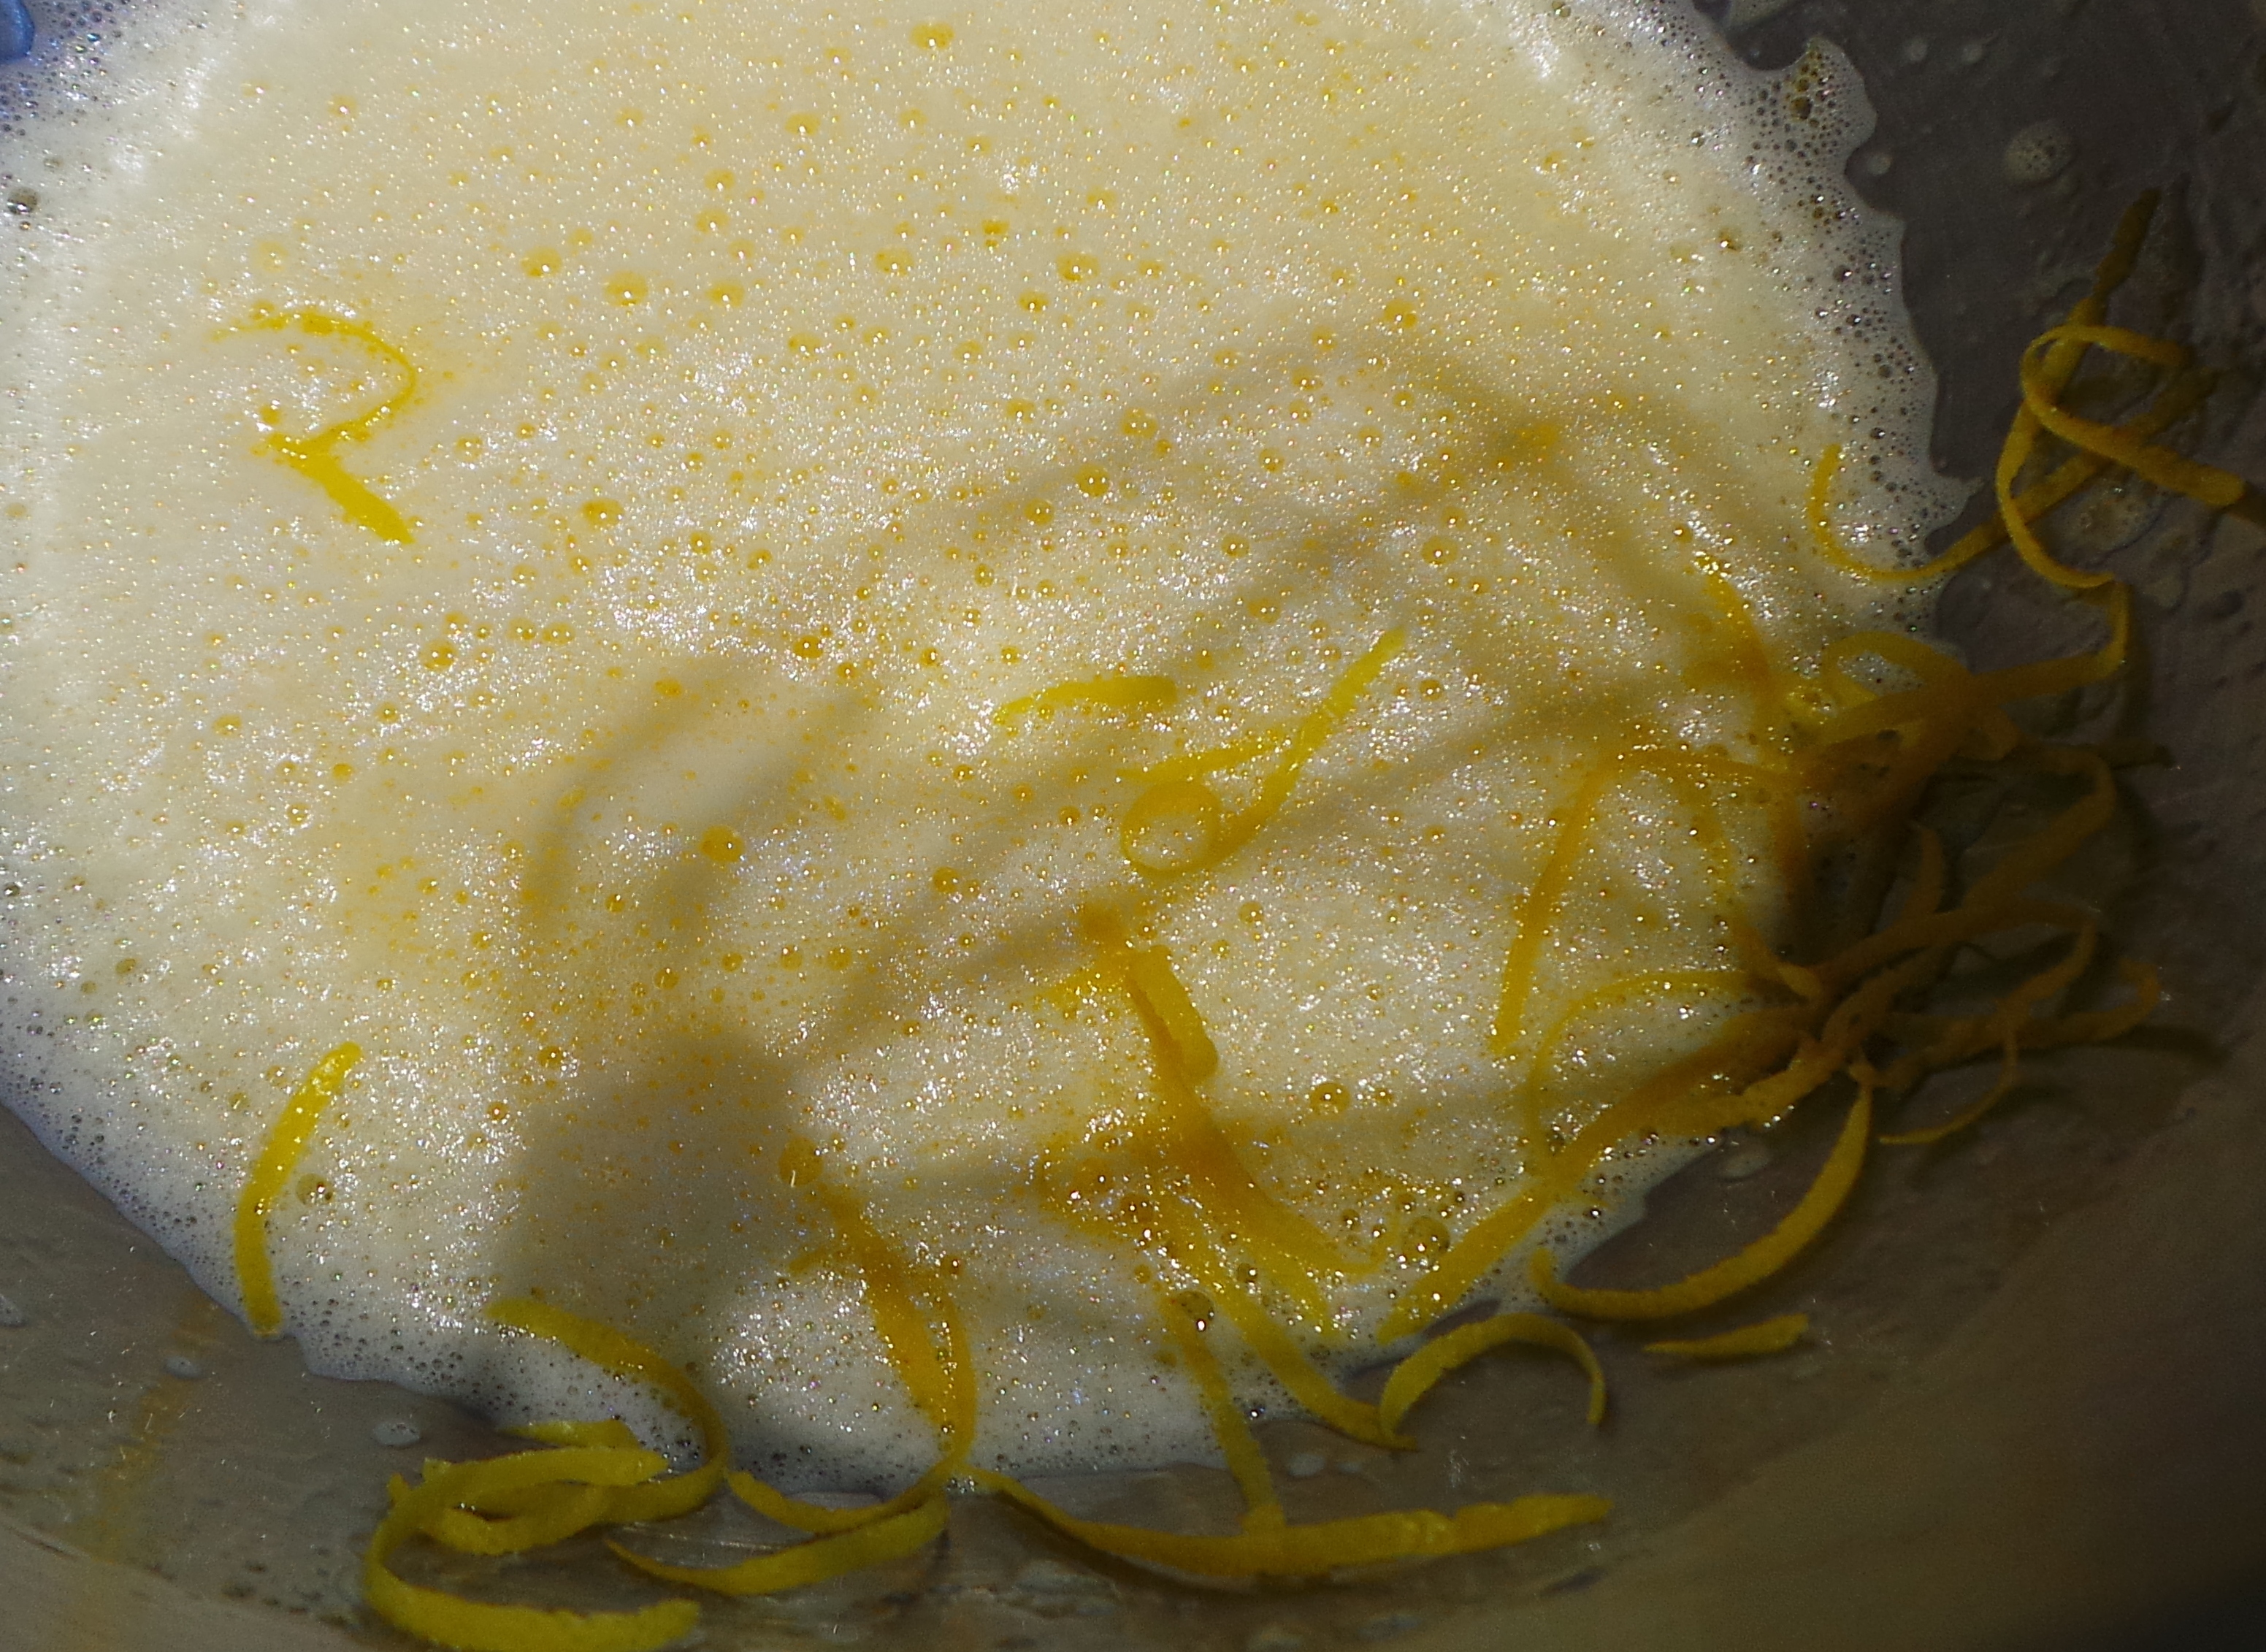
Mix your butter and buttermilk together.
If you can’t find buttermilk anywhere, then a 50/50 mix of plain yoghurt and milk will also work; alternatively add a tablespoon of lemon juice or white vinegar to a cup of milk and wait 5 minutes.
Break your egg into your butter mixture and whisk well with a fork.
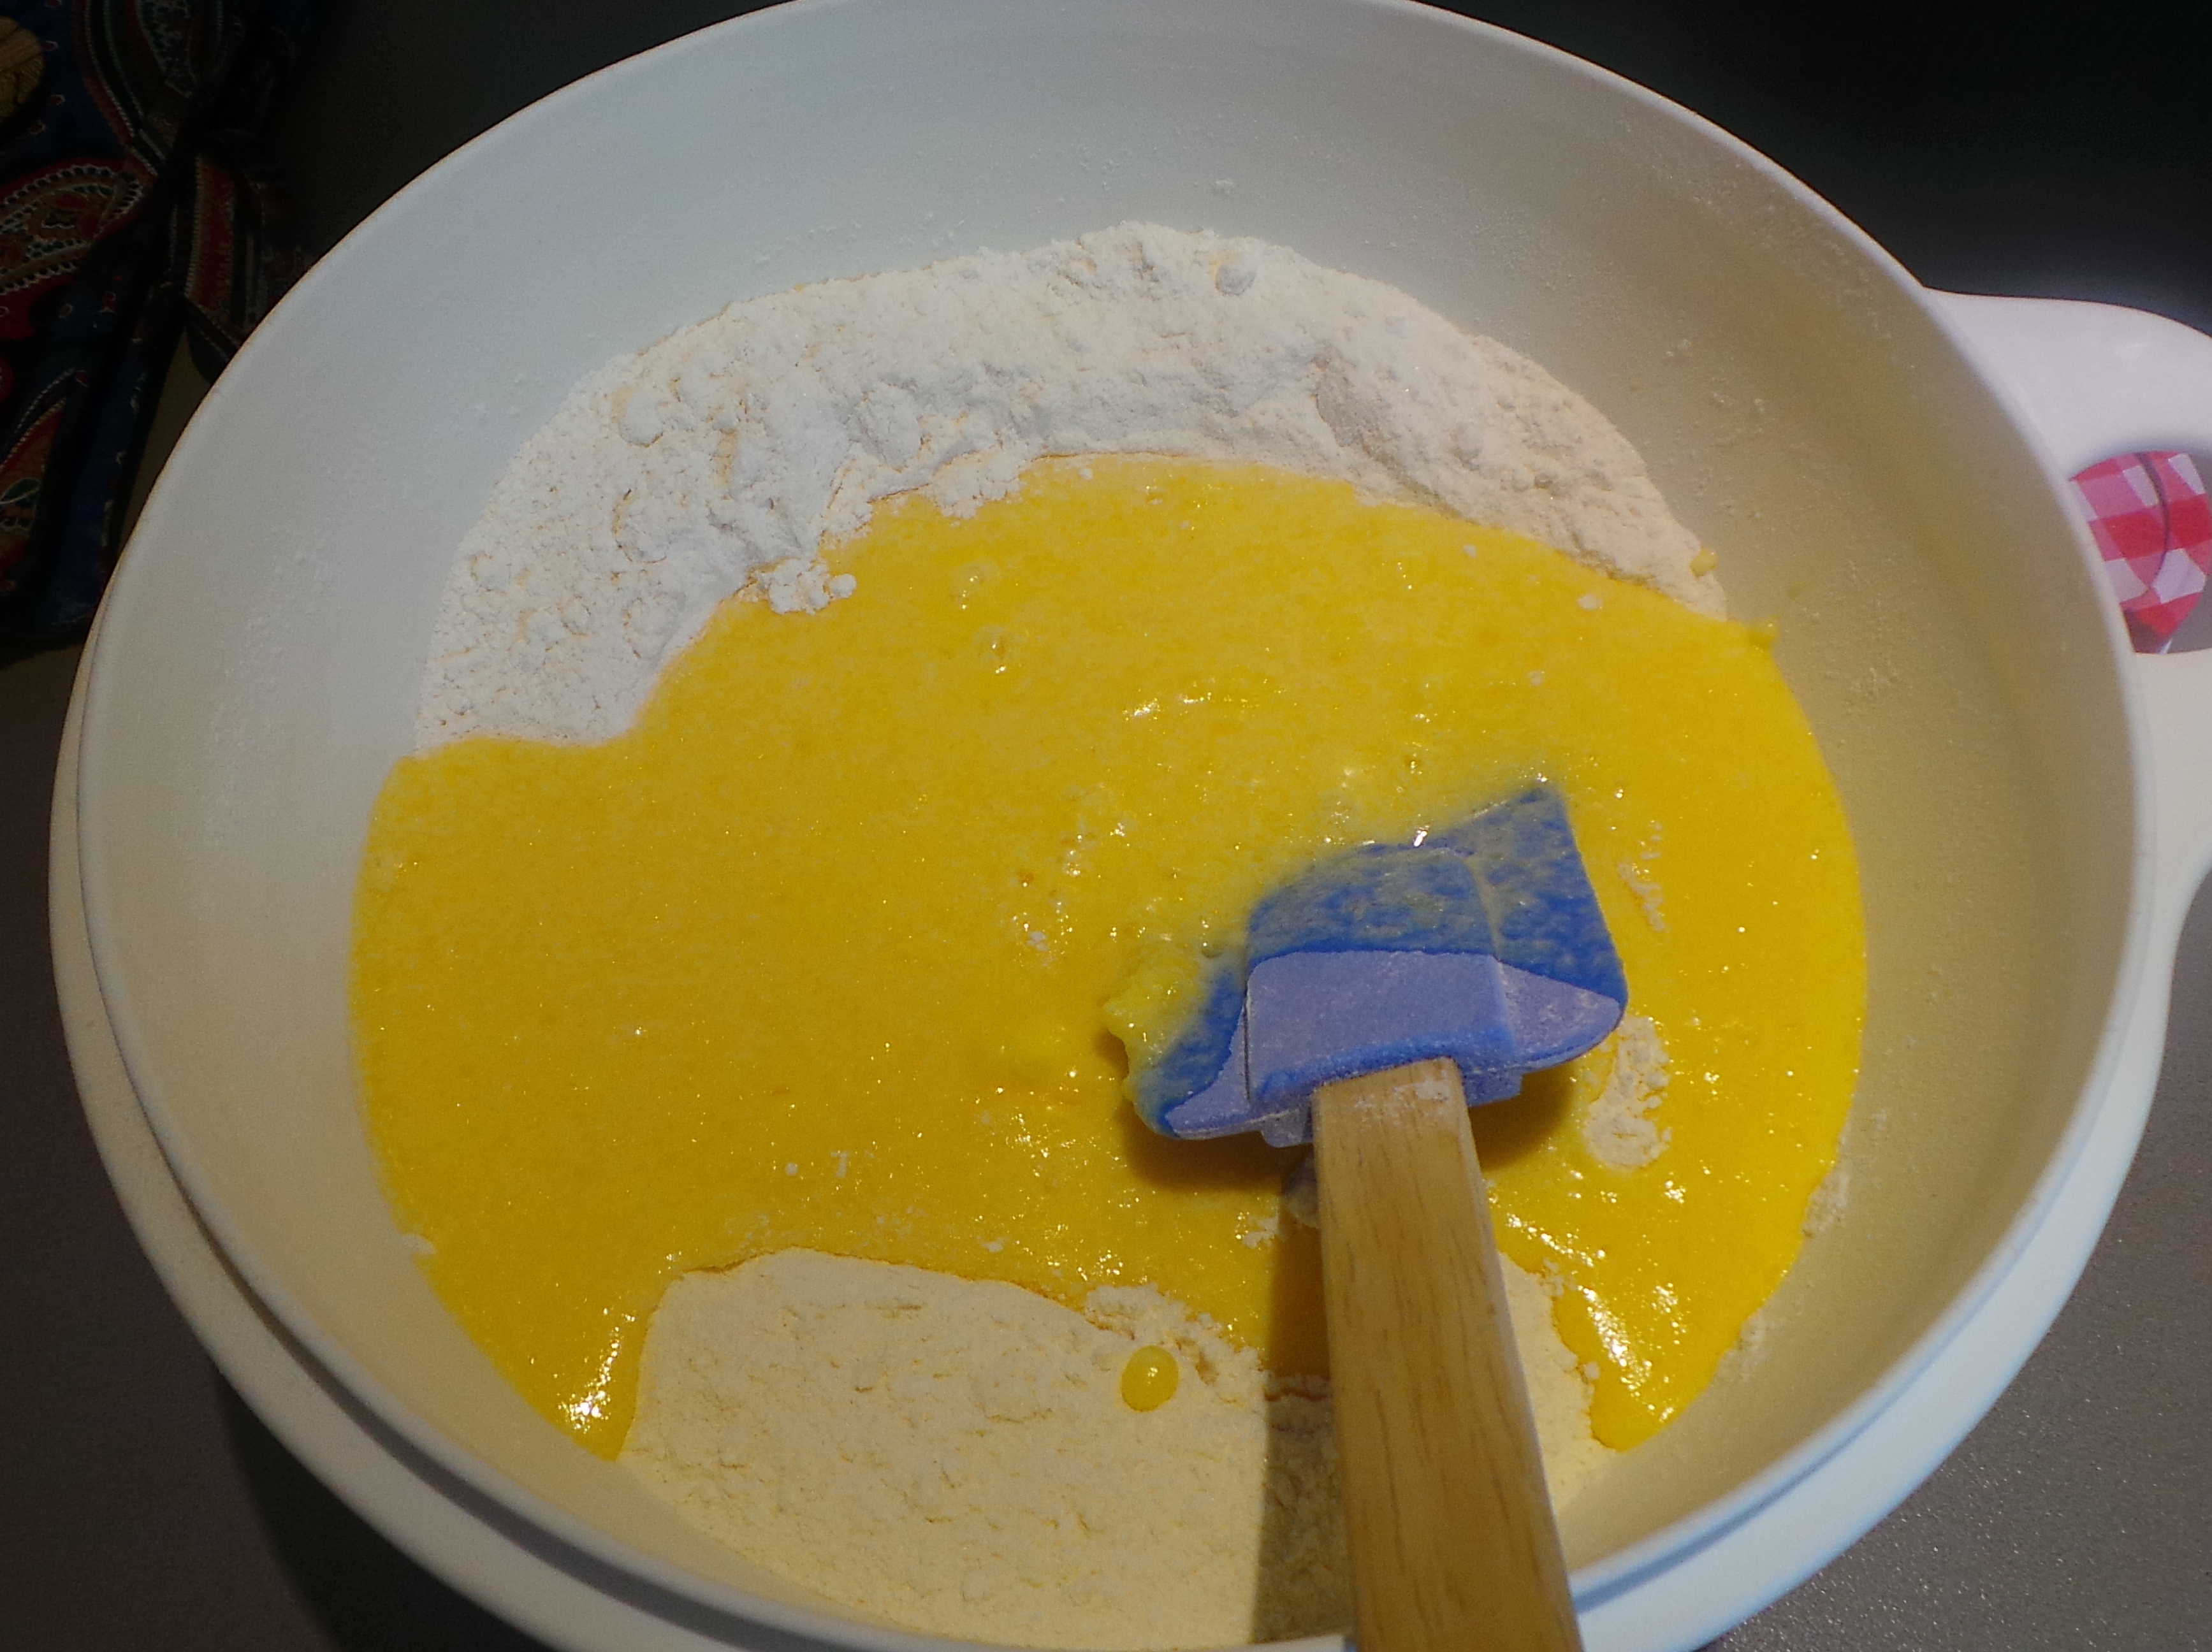
Then make the ever-necessary well in your flour and pour the liquid into it.

Add the wet to the dry
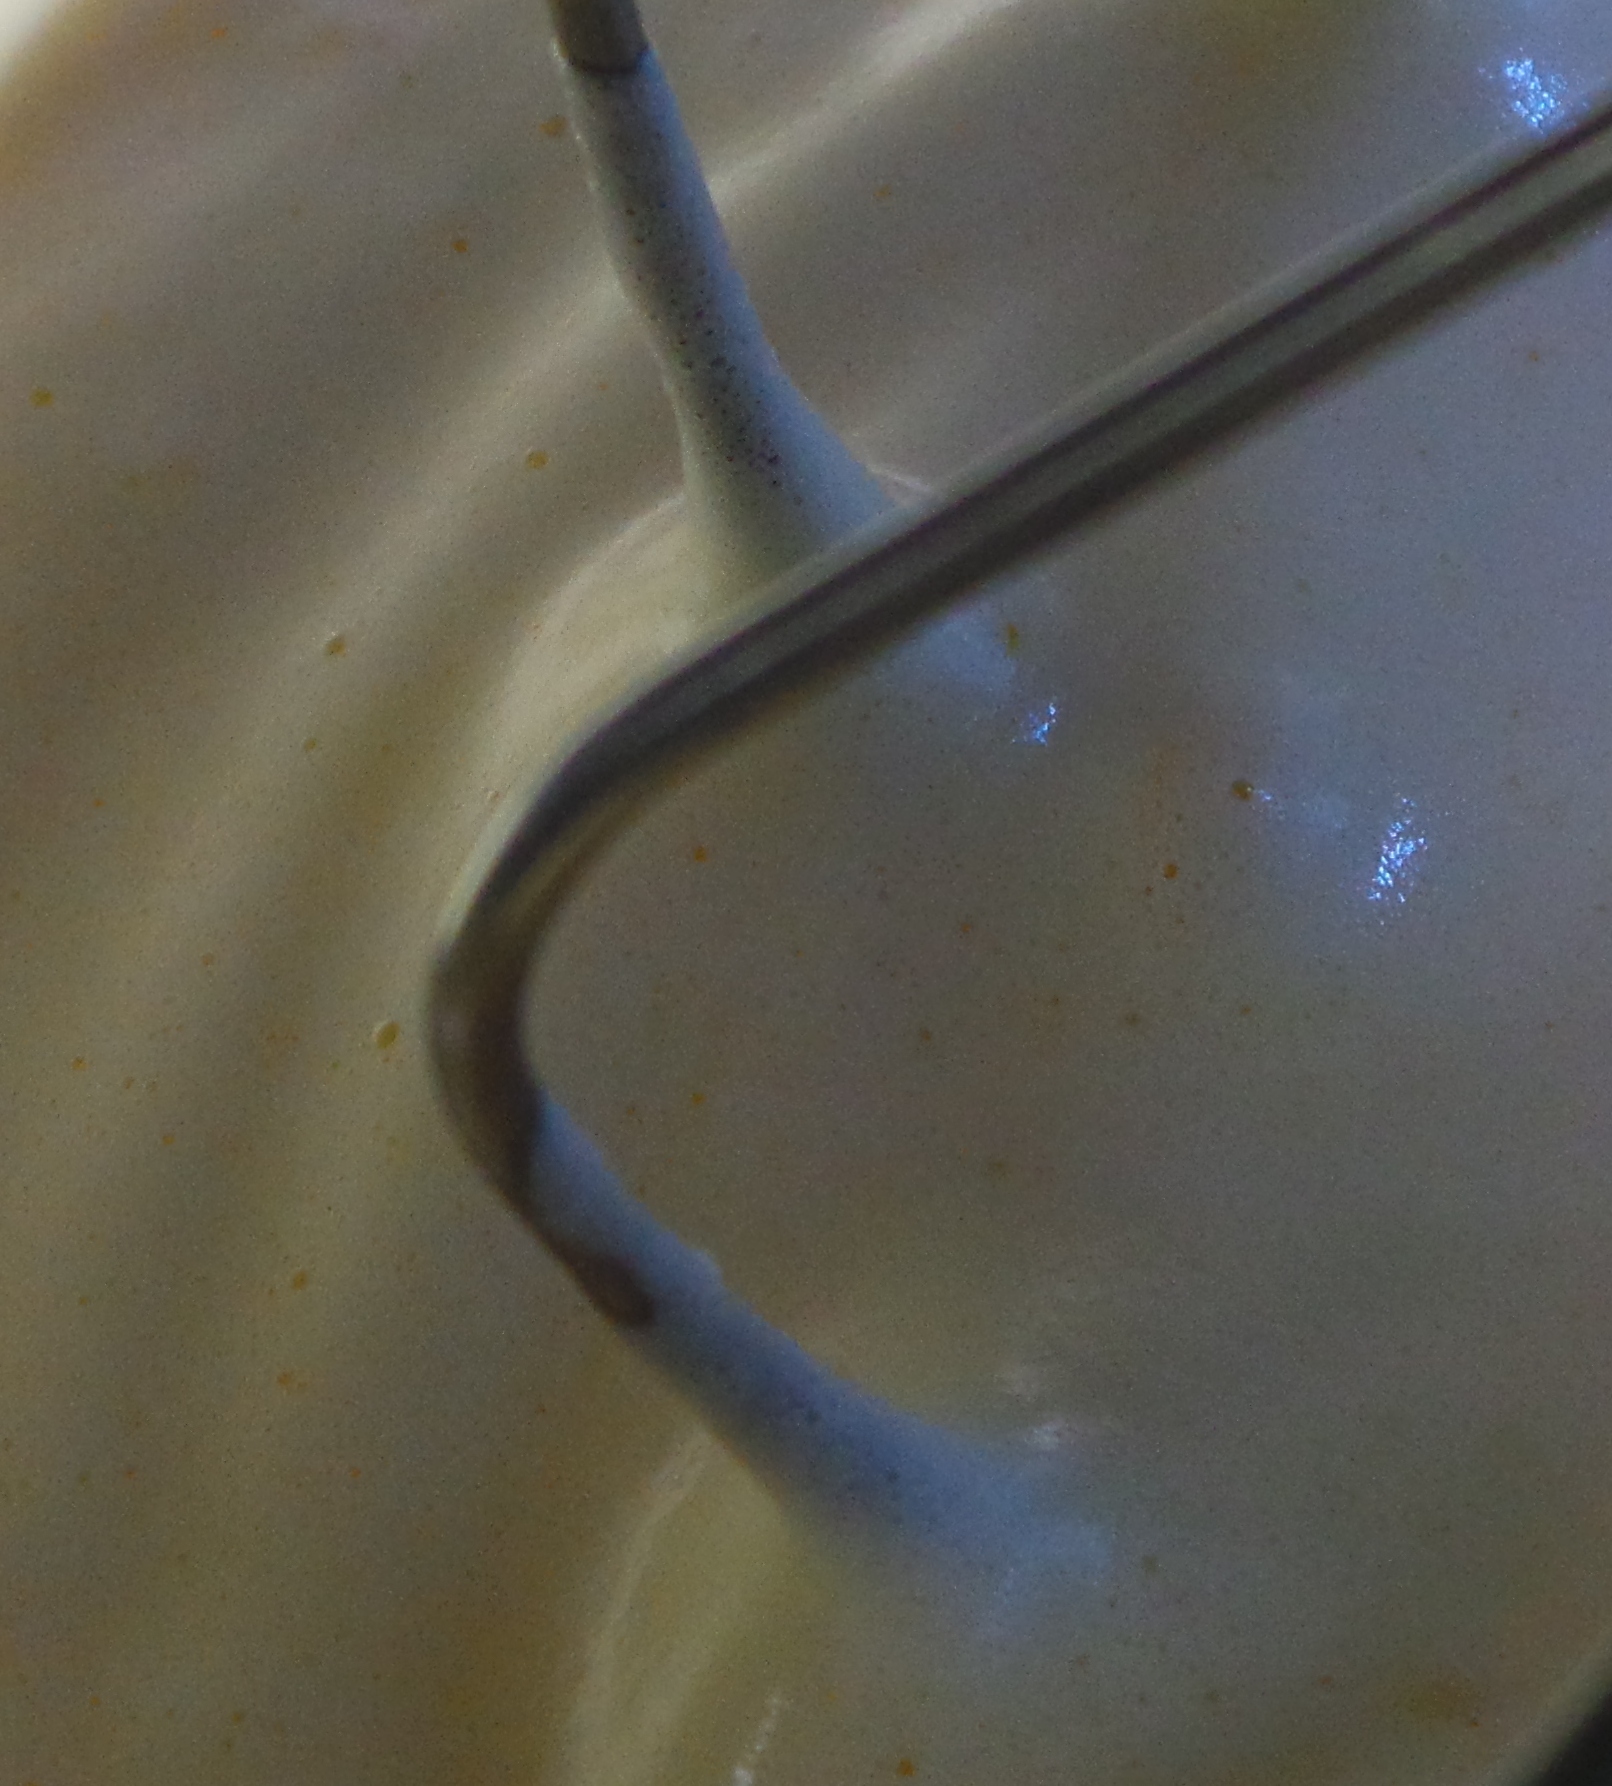
Then stir – quickly and gently. Try stirring around the outside and then slicing underneath. It’s hard to describe and I think I may need to post a video at some stage.
In the meantime…just don’t beat the life out of it.
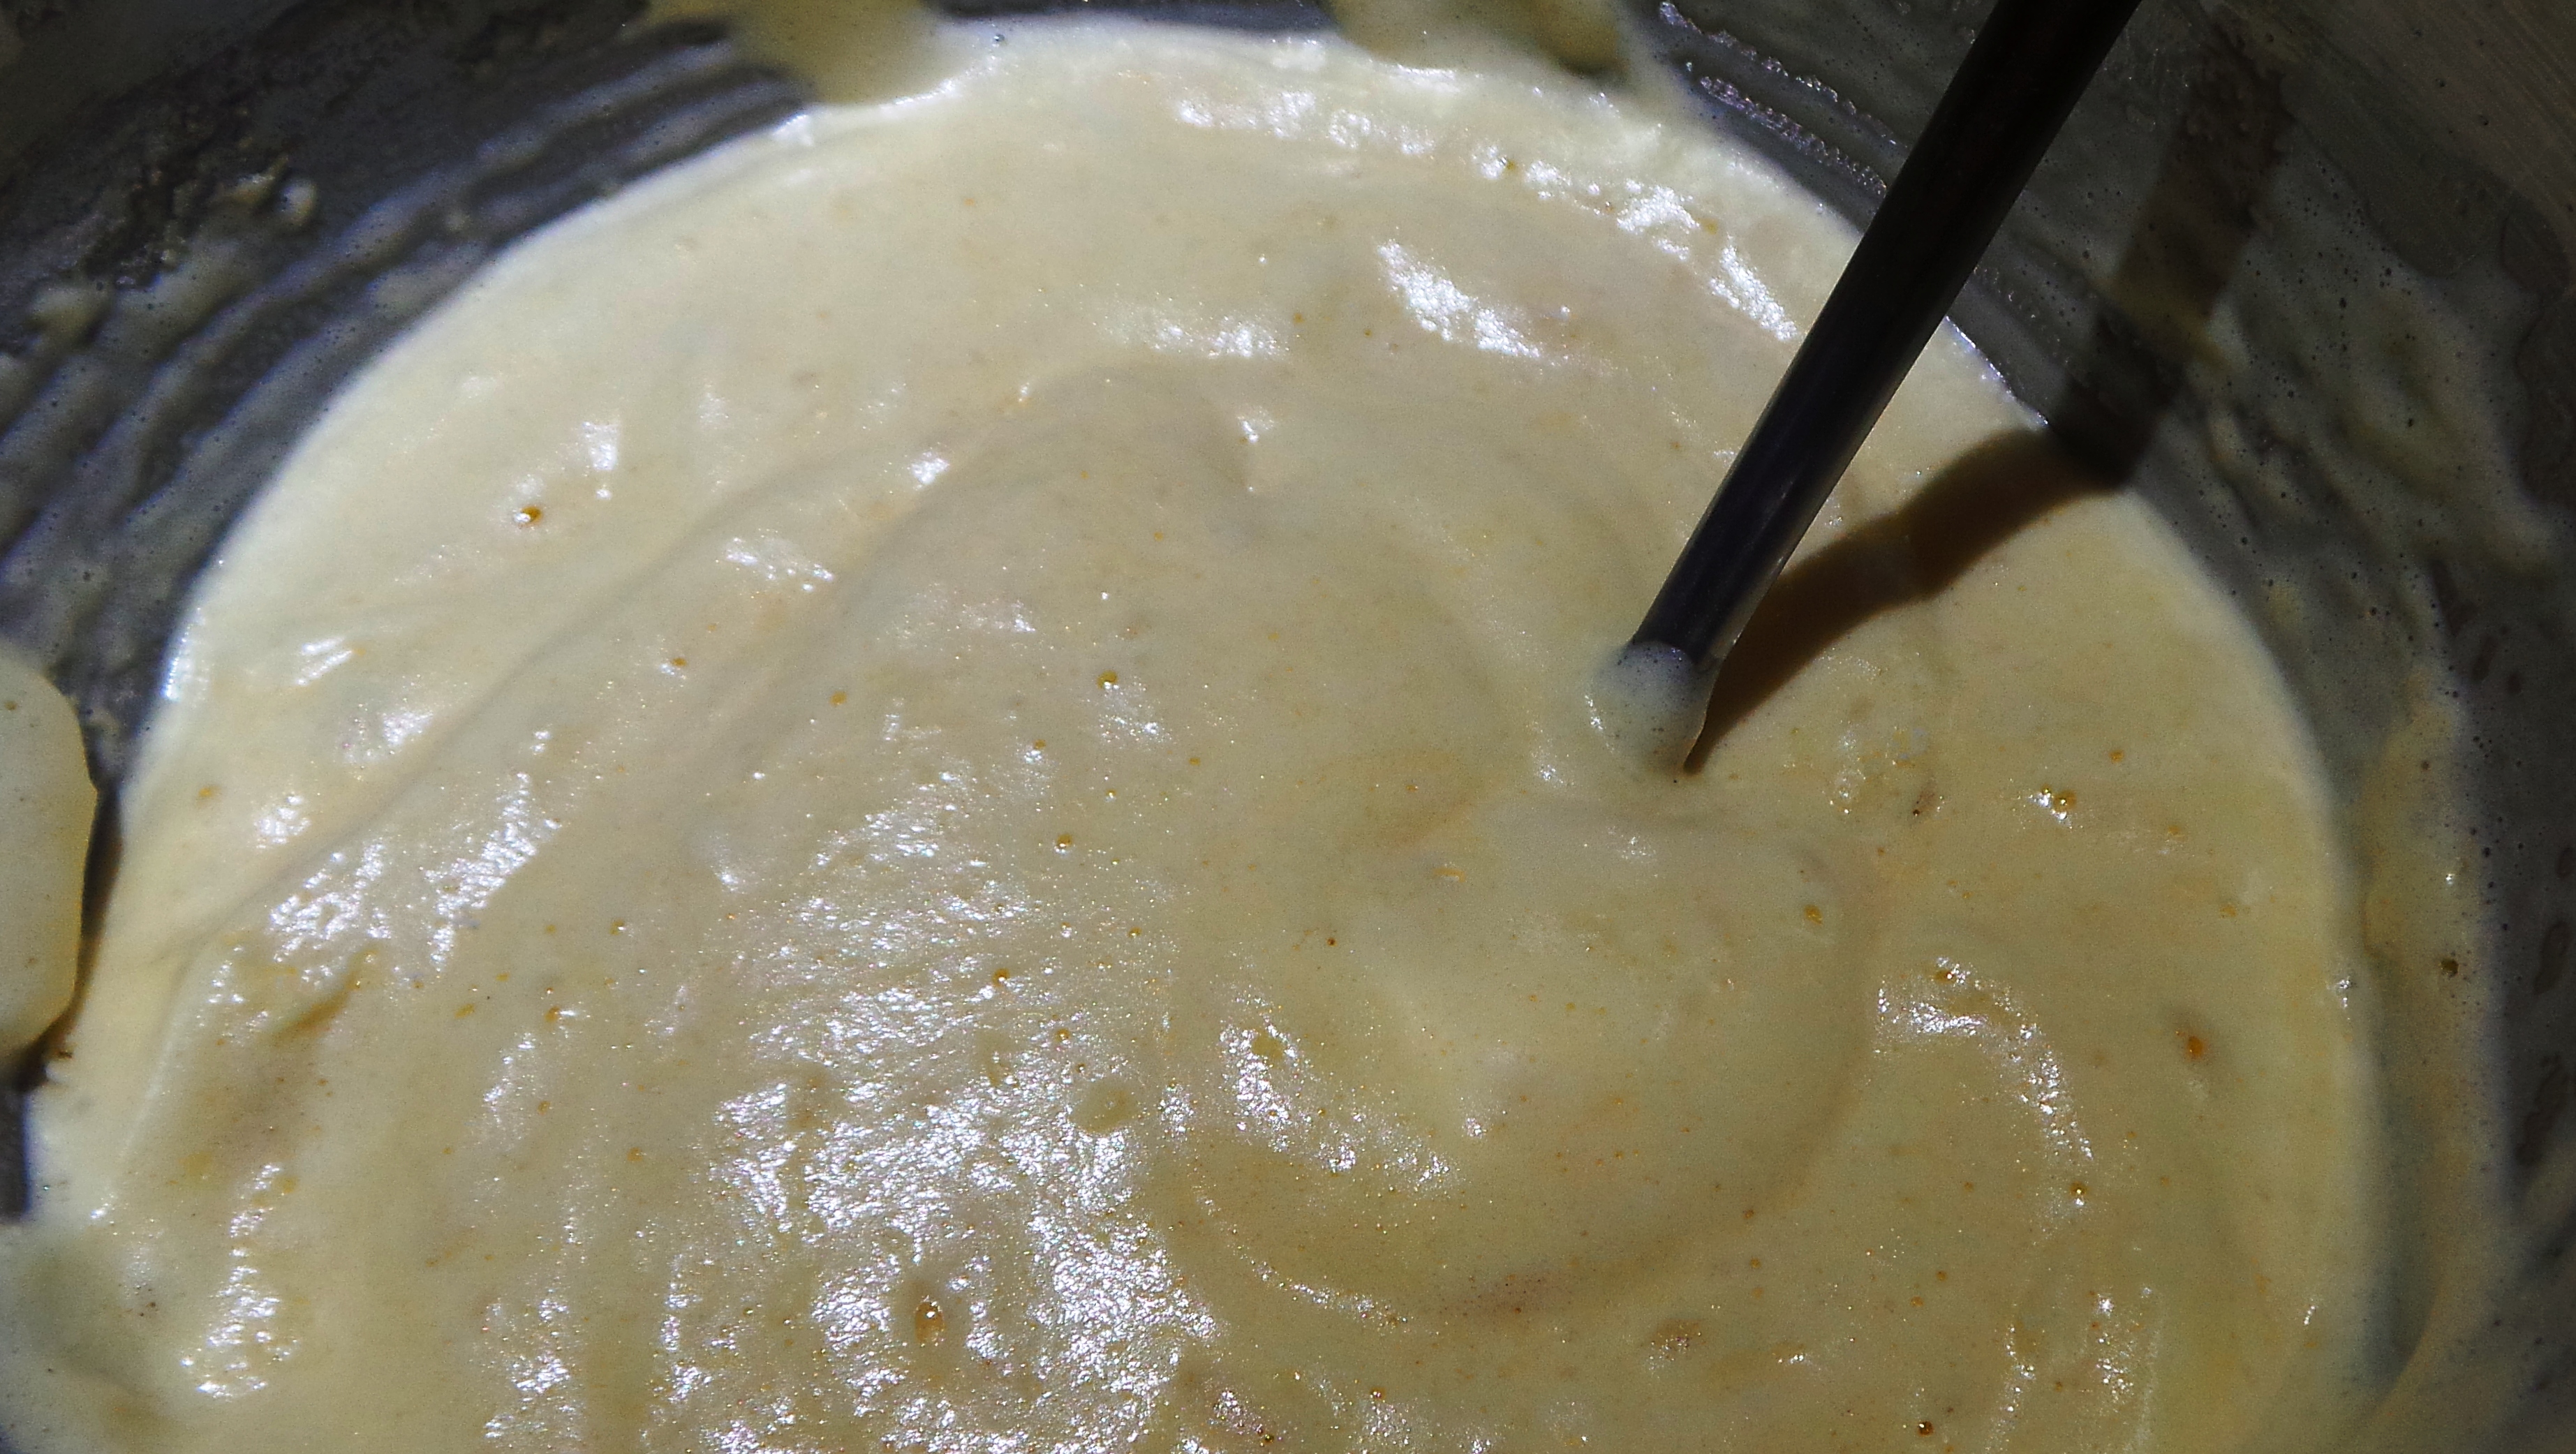
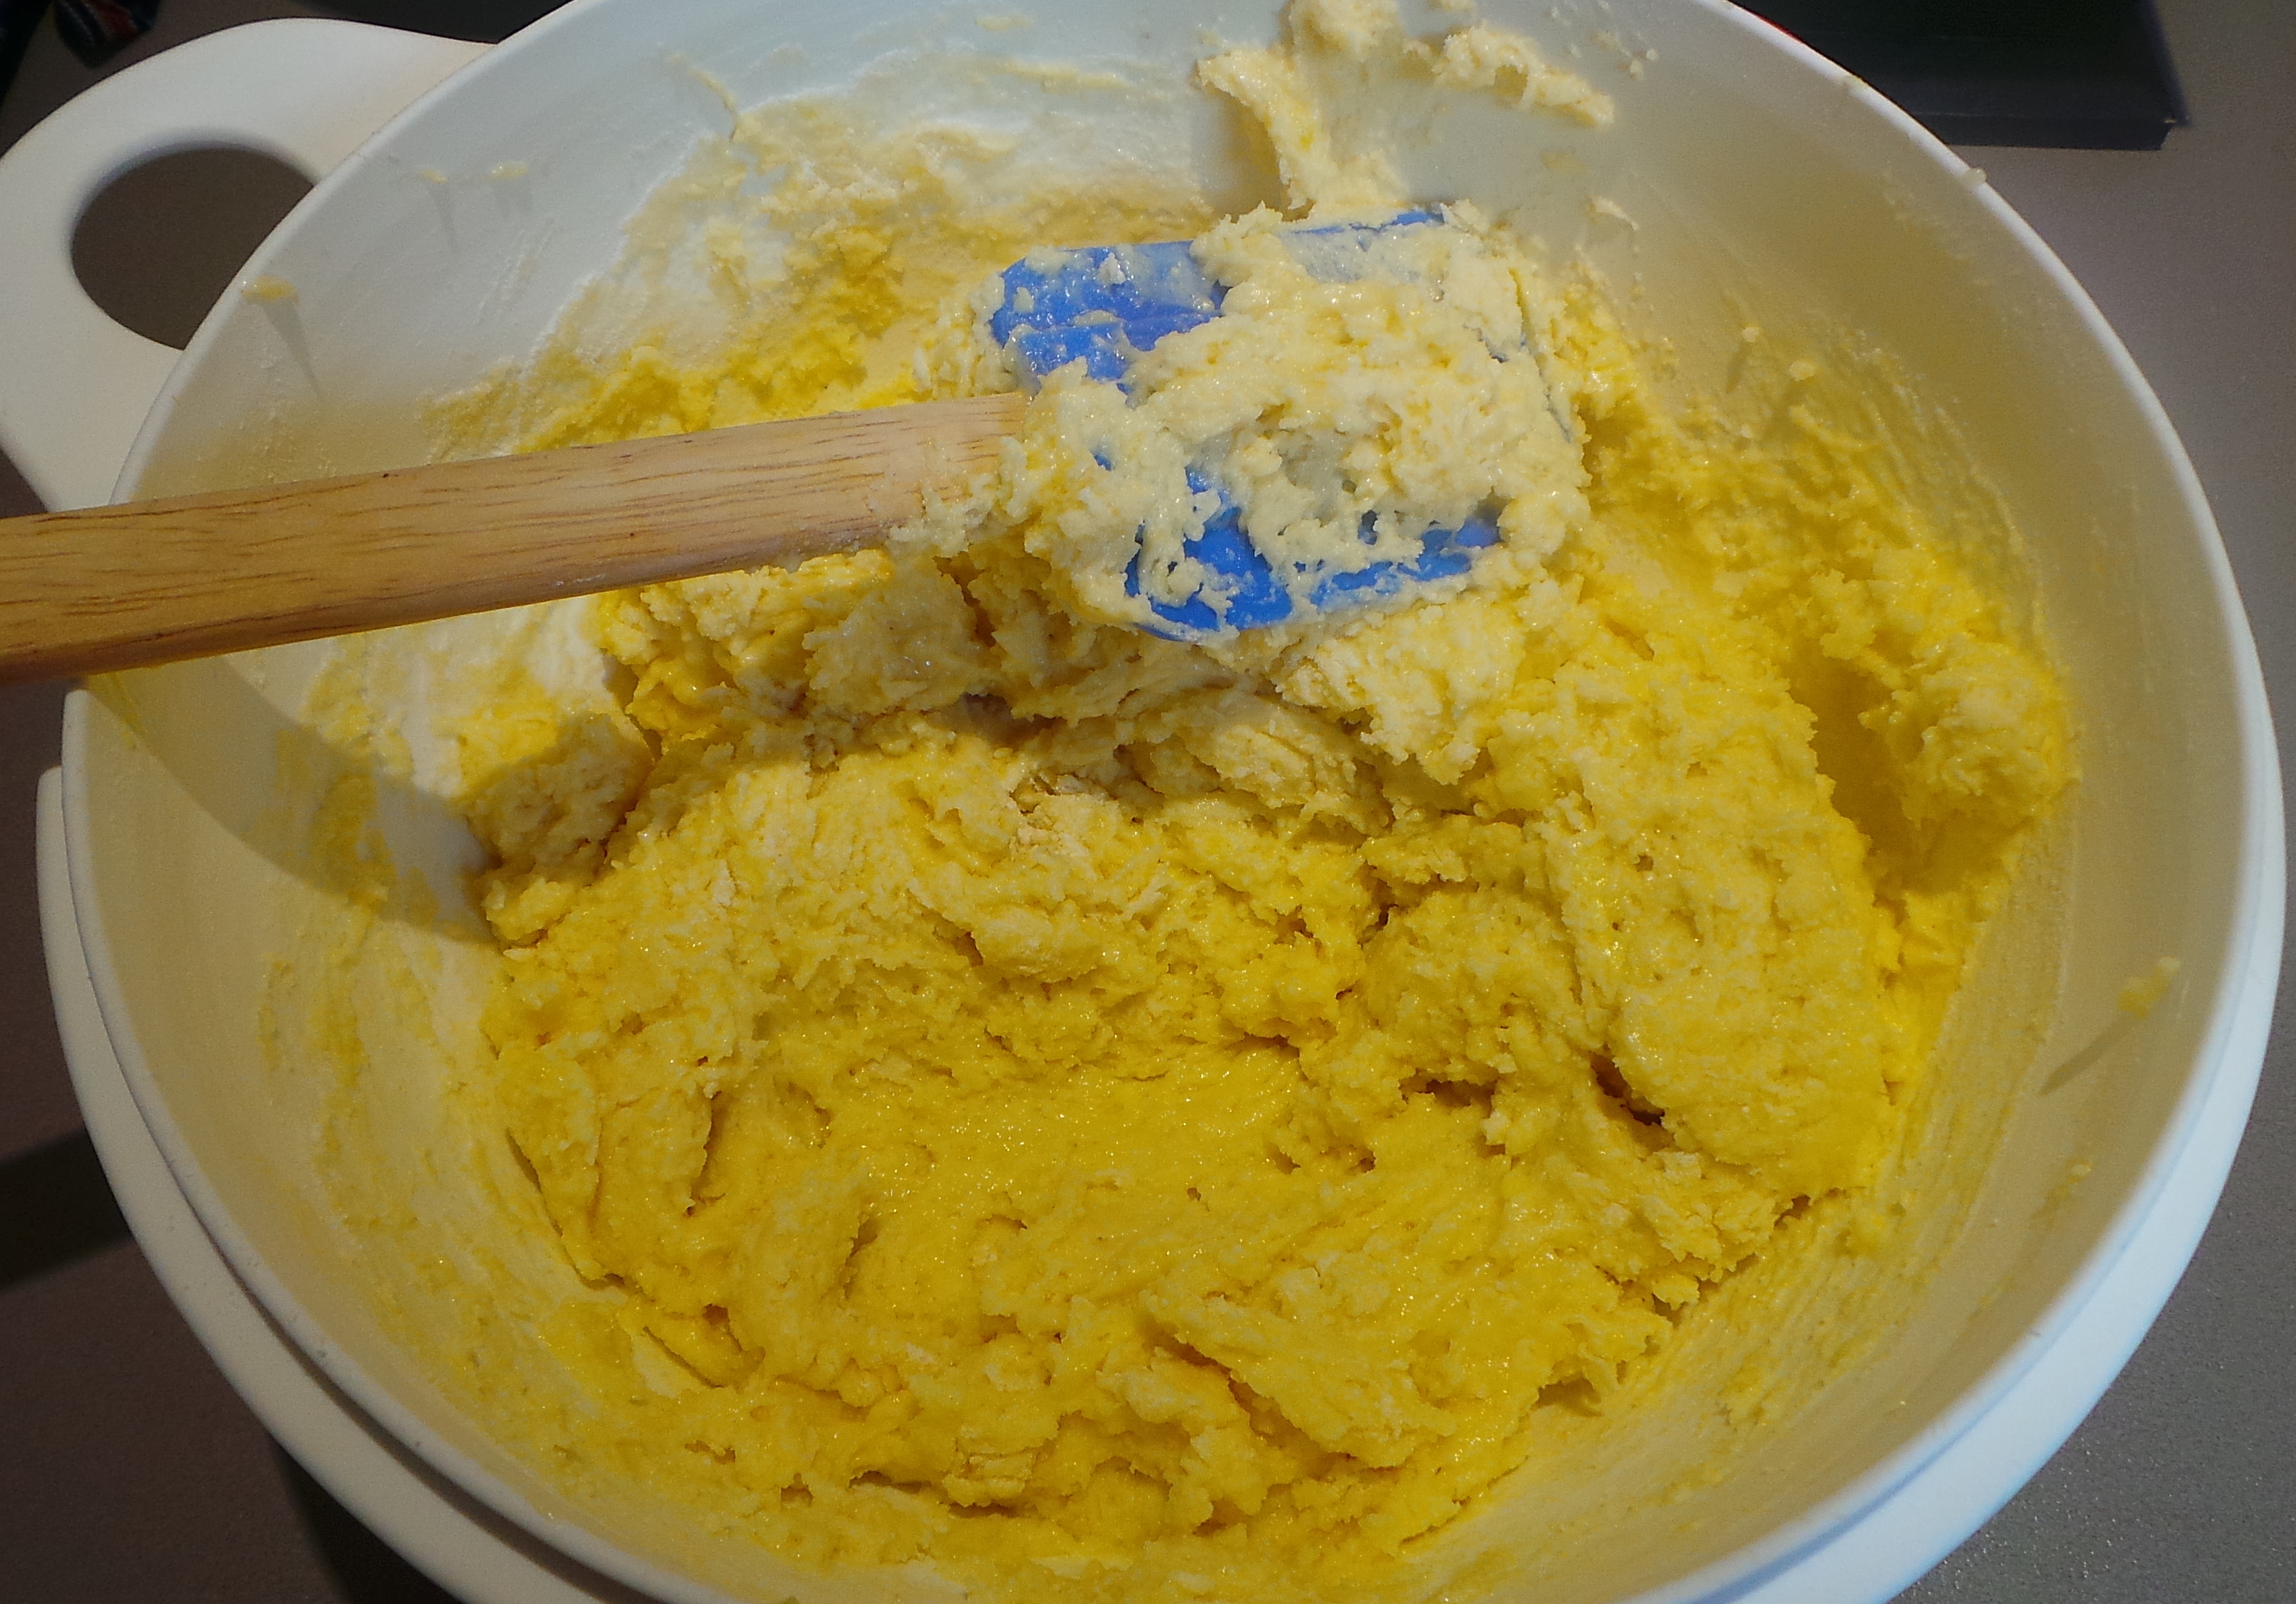
When all the ingredients are just combined. Stop. This is not a cake batter, it will not be smooth and liquid. It will look lumpy – like this.

Stop when it is just mixed together.
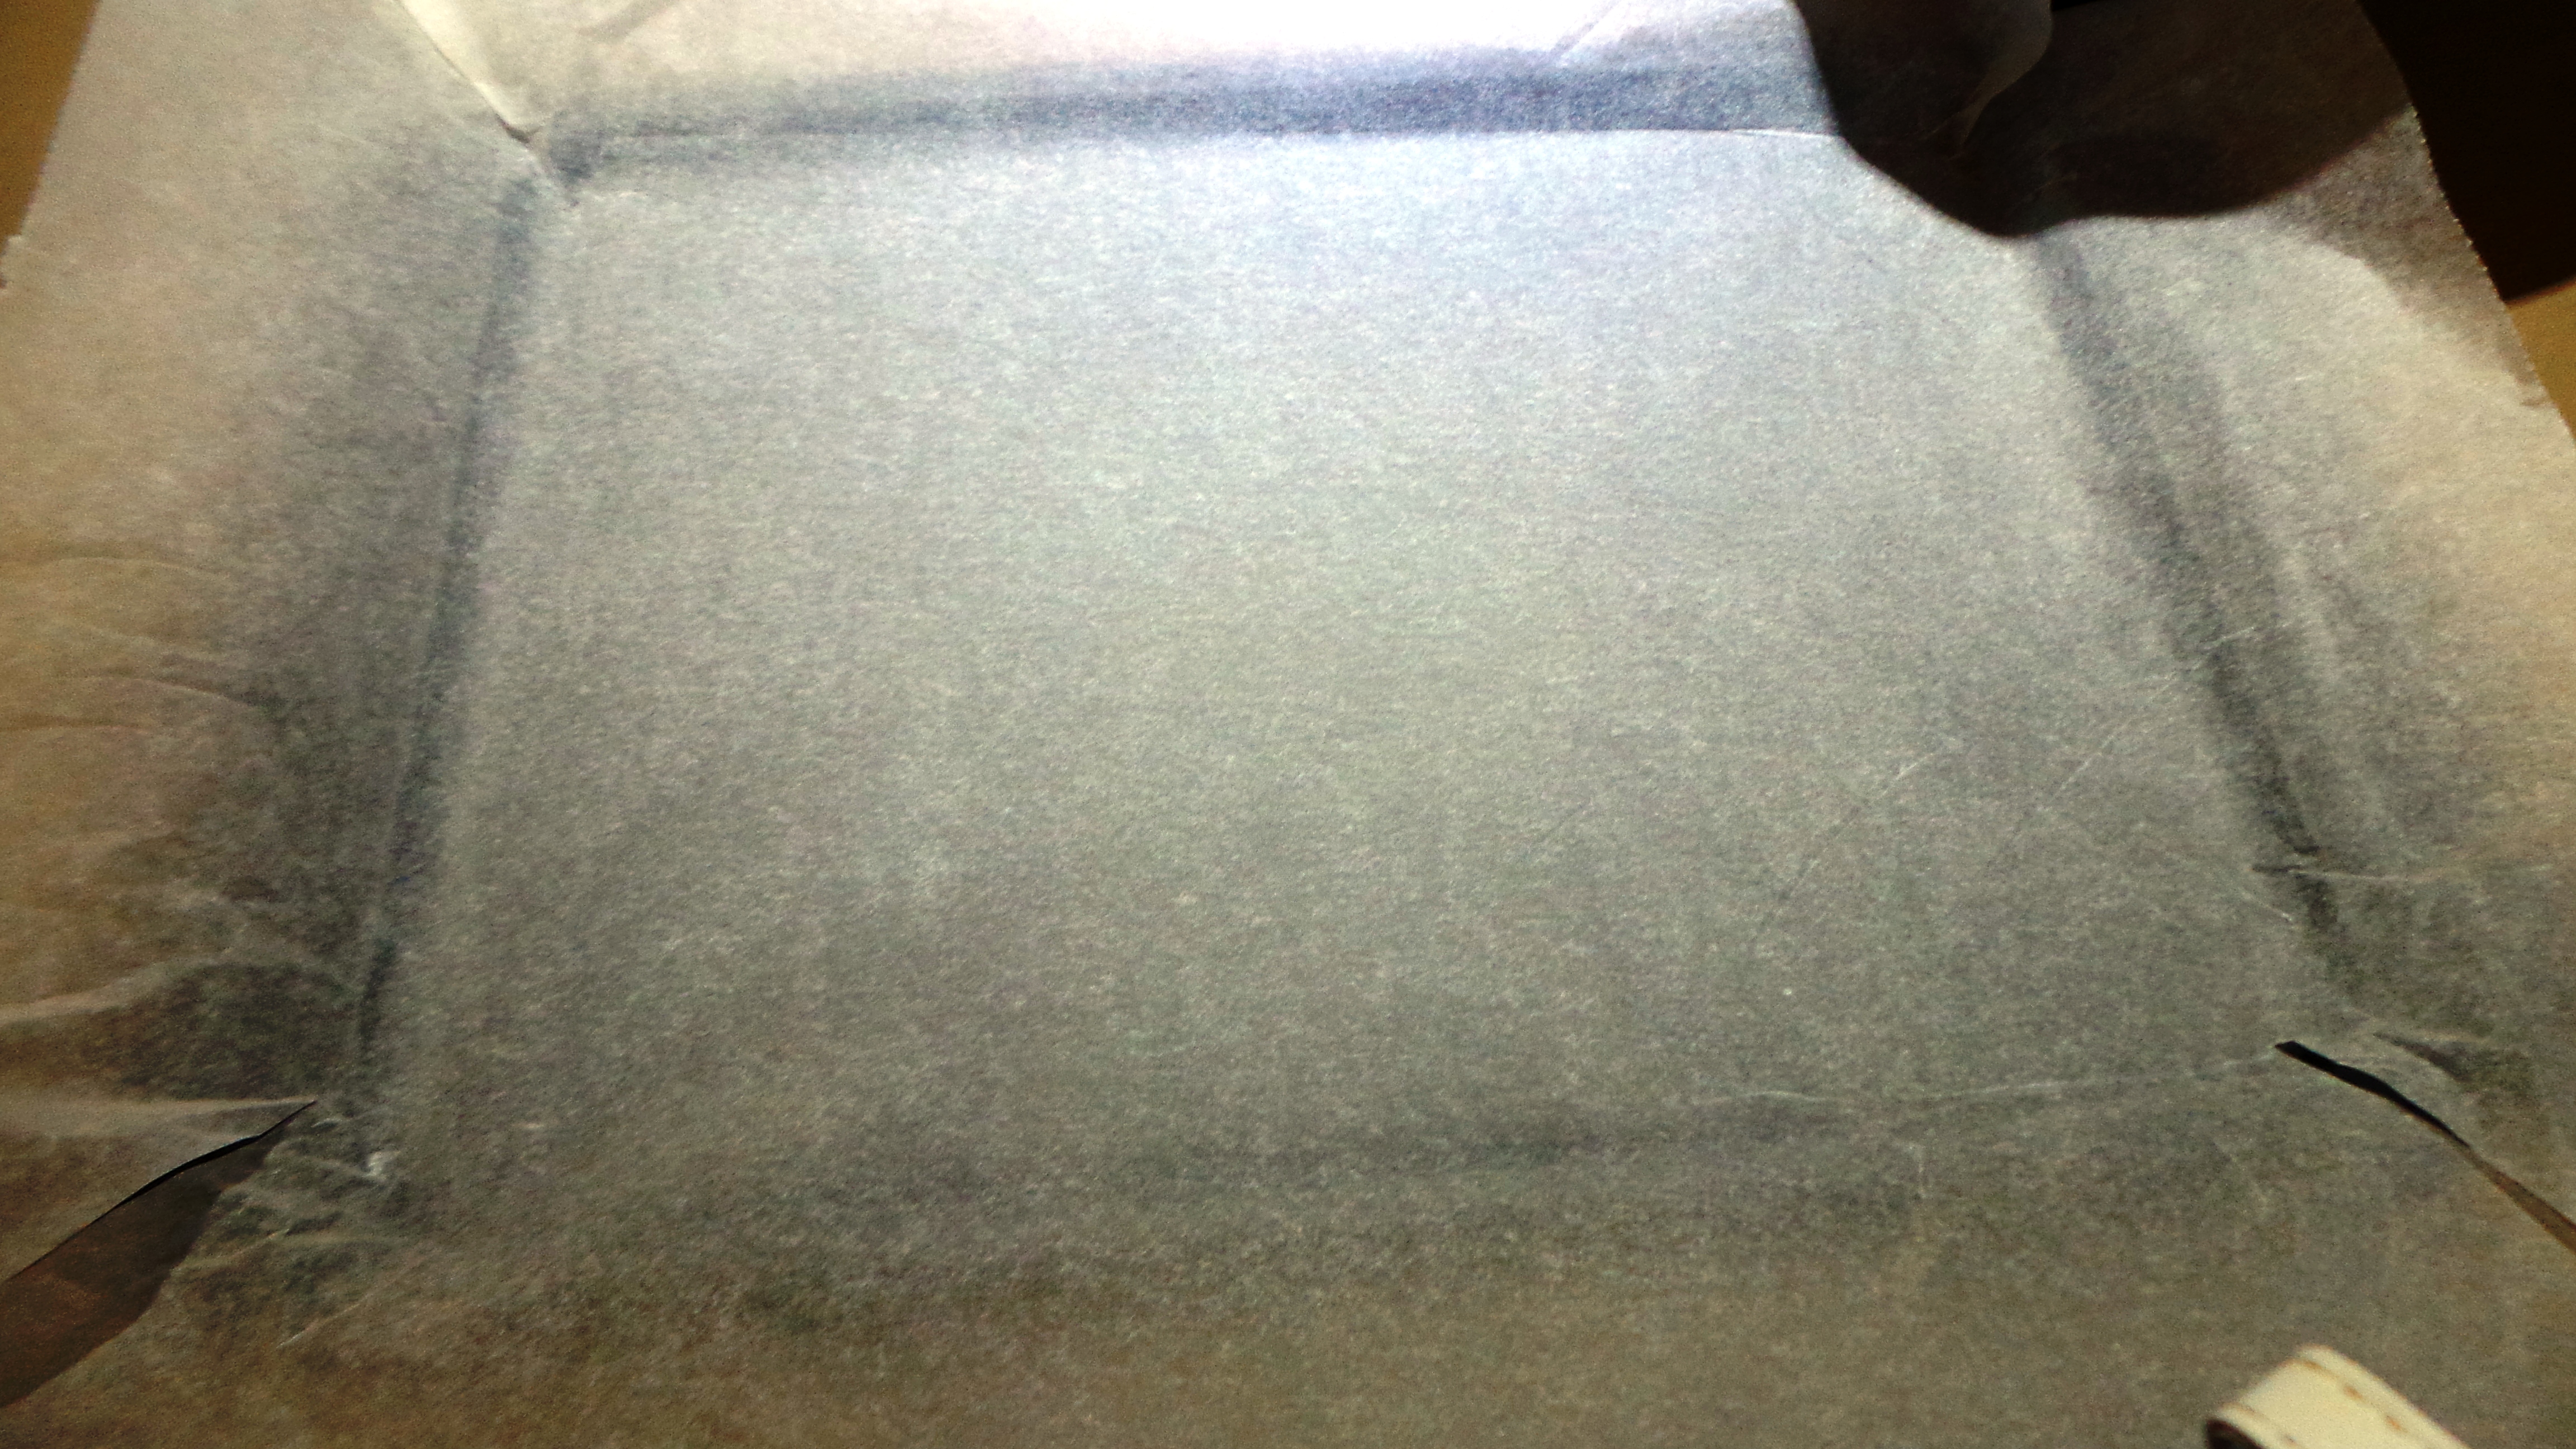
Place some muffin cases into your muffin tray. You could just grease the cups, but the paper cases make eating your snacks a much cleaner experience, means they don’t stick together when stored and also make it easier to pack them for lunches.
If you don’t own a muffin tray (I’ve had mine for nearly 20 years, add it to your list.) then use a flat baking sheet or pizza tray and place double thickness muffin cases on top and close together. You could even do this in a cake tin, if you wished.
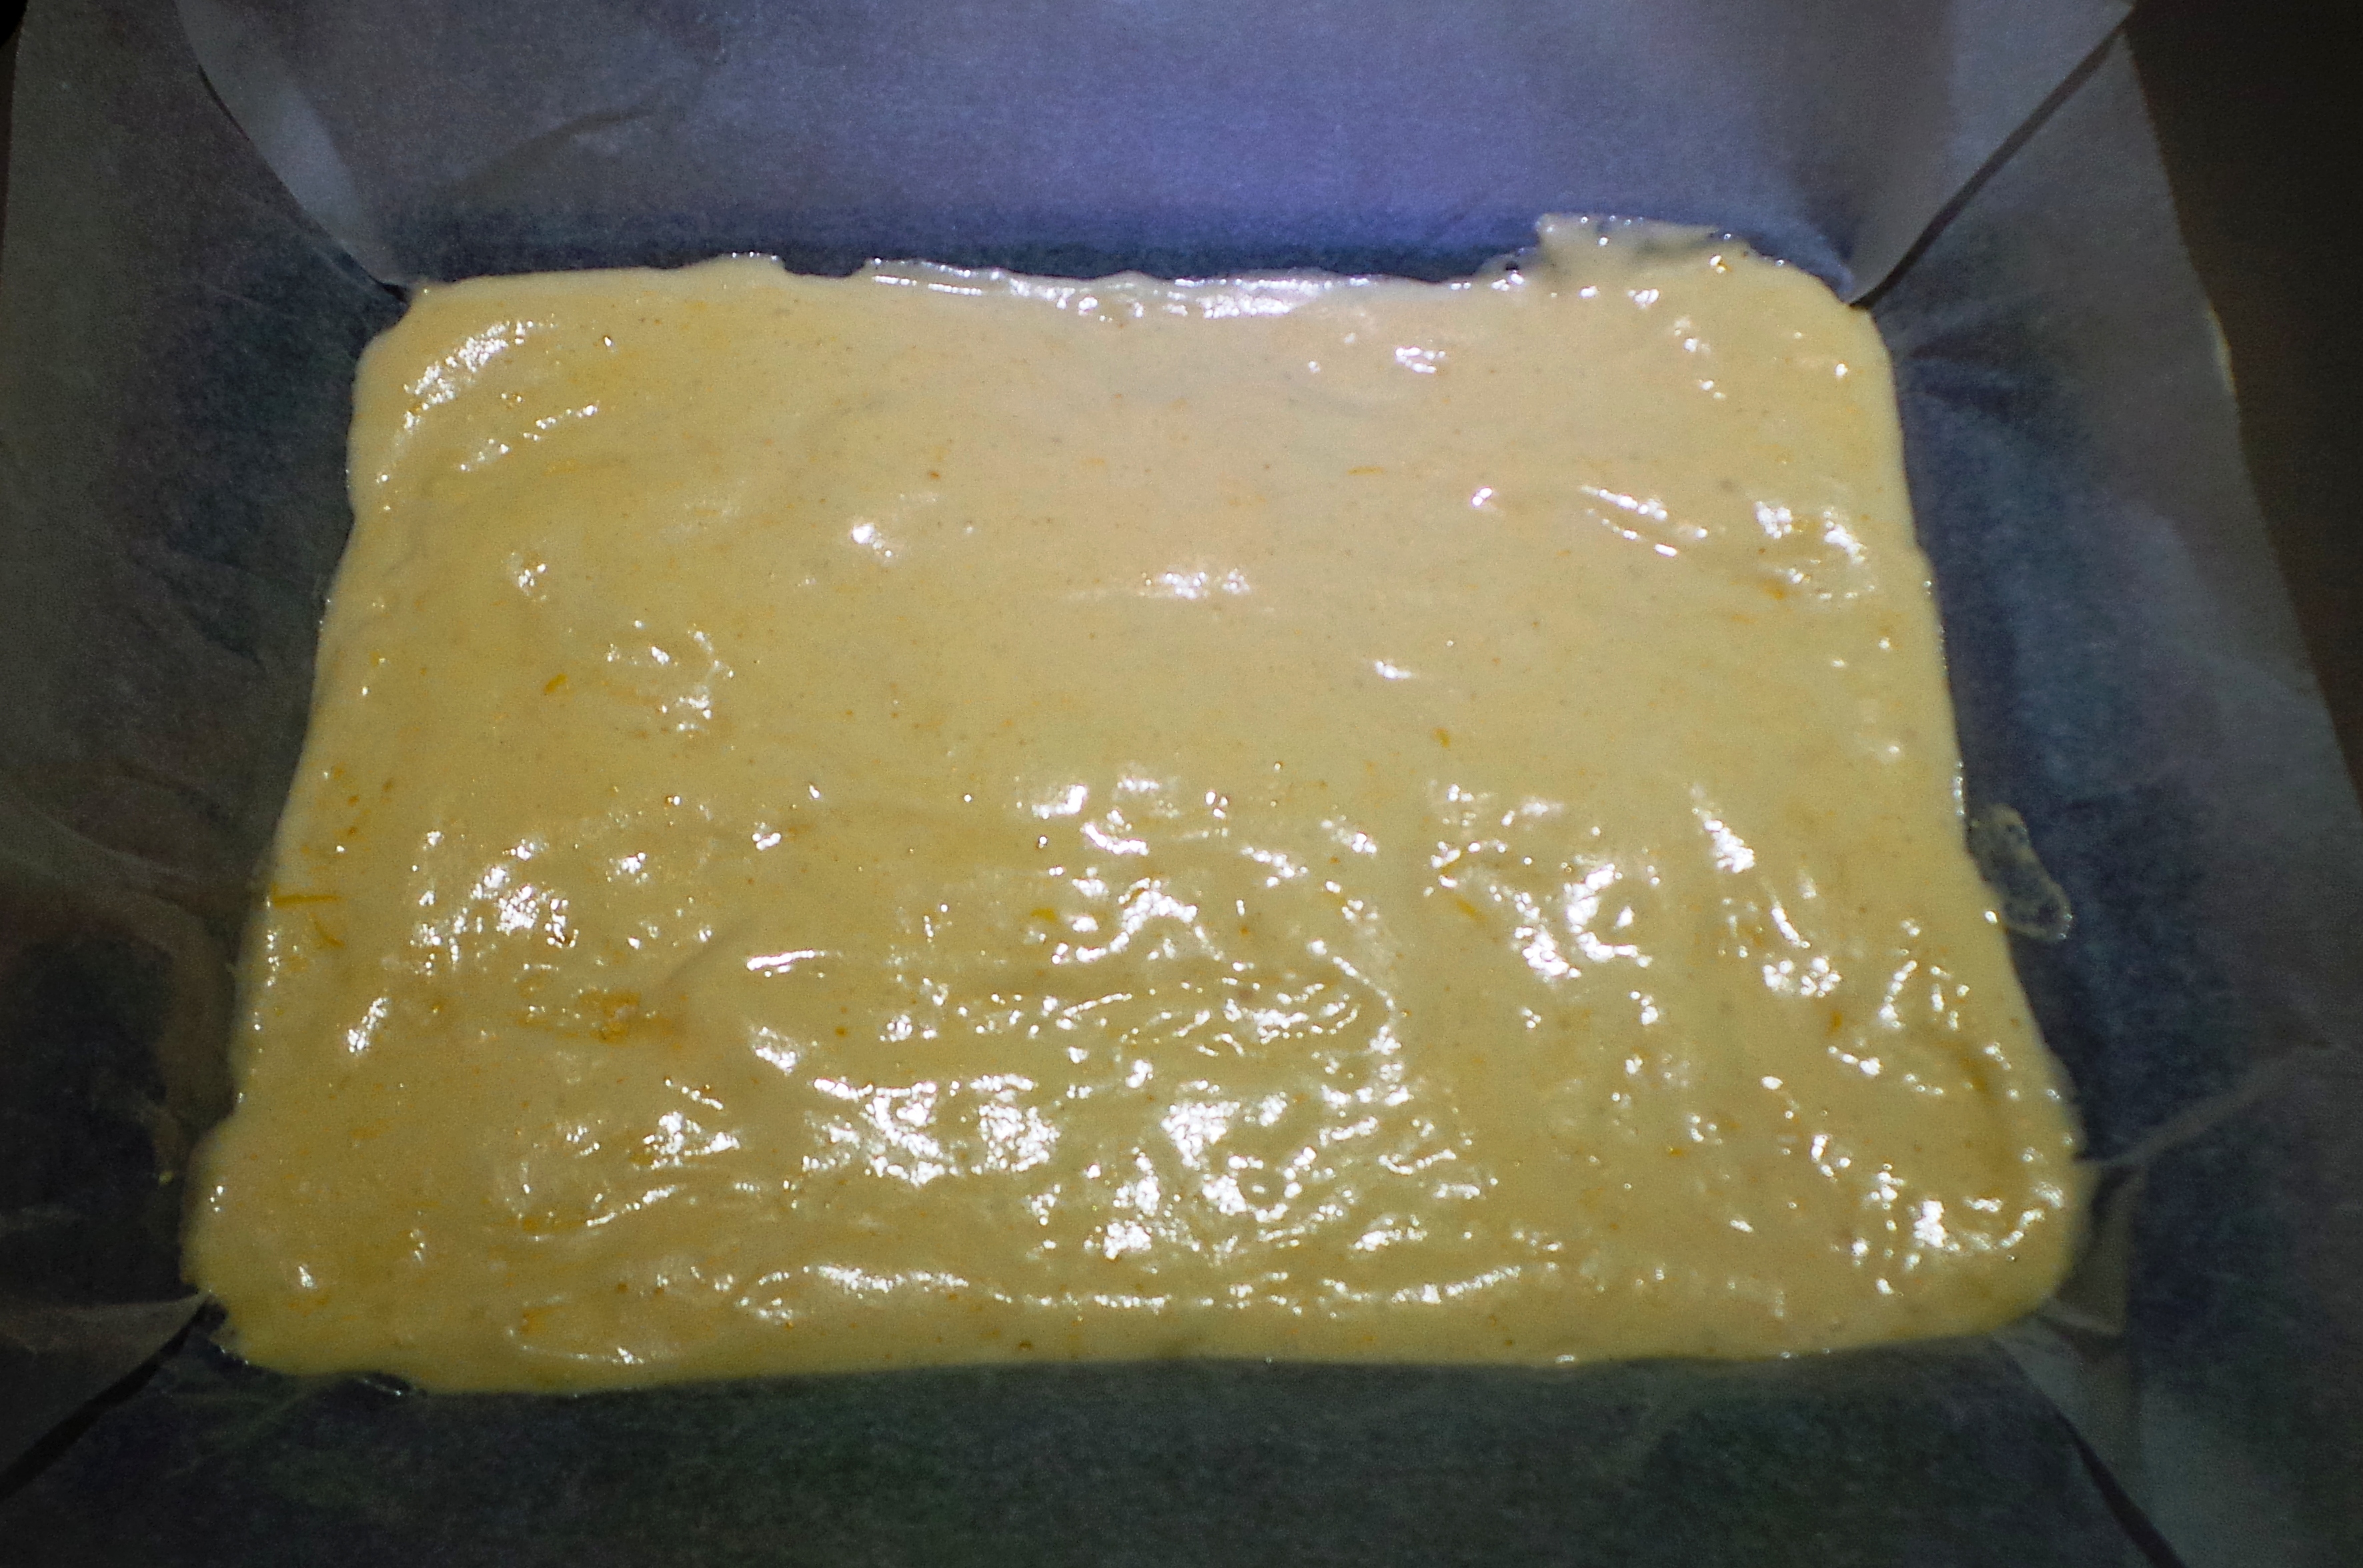
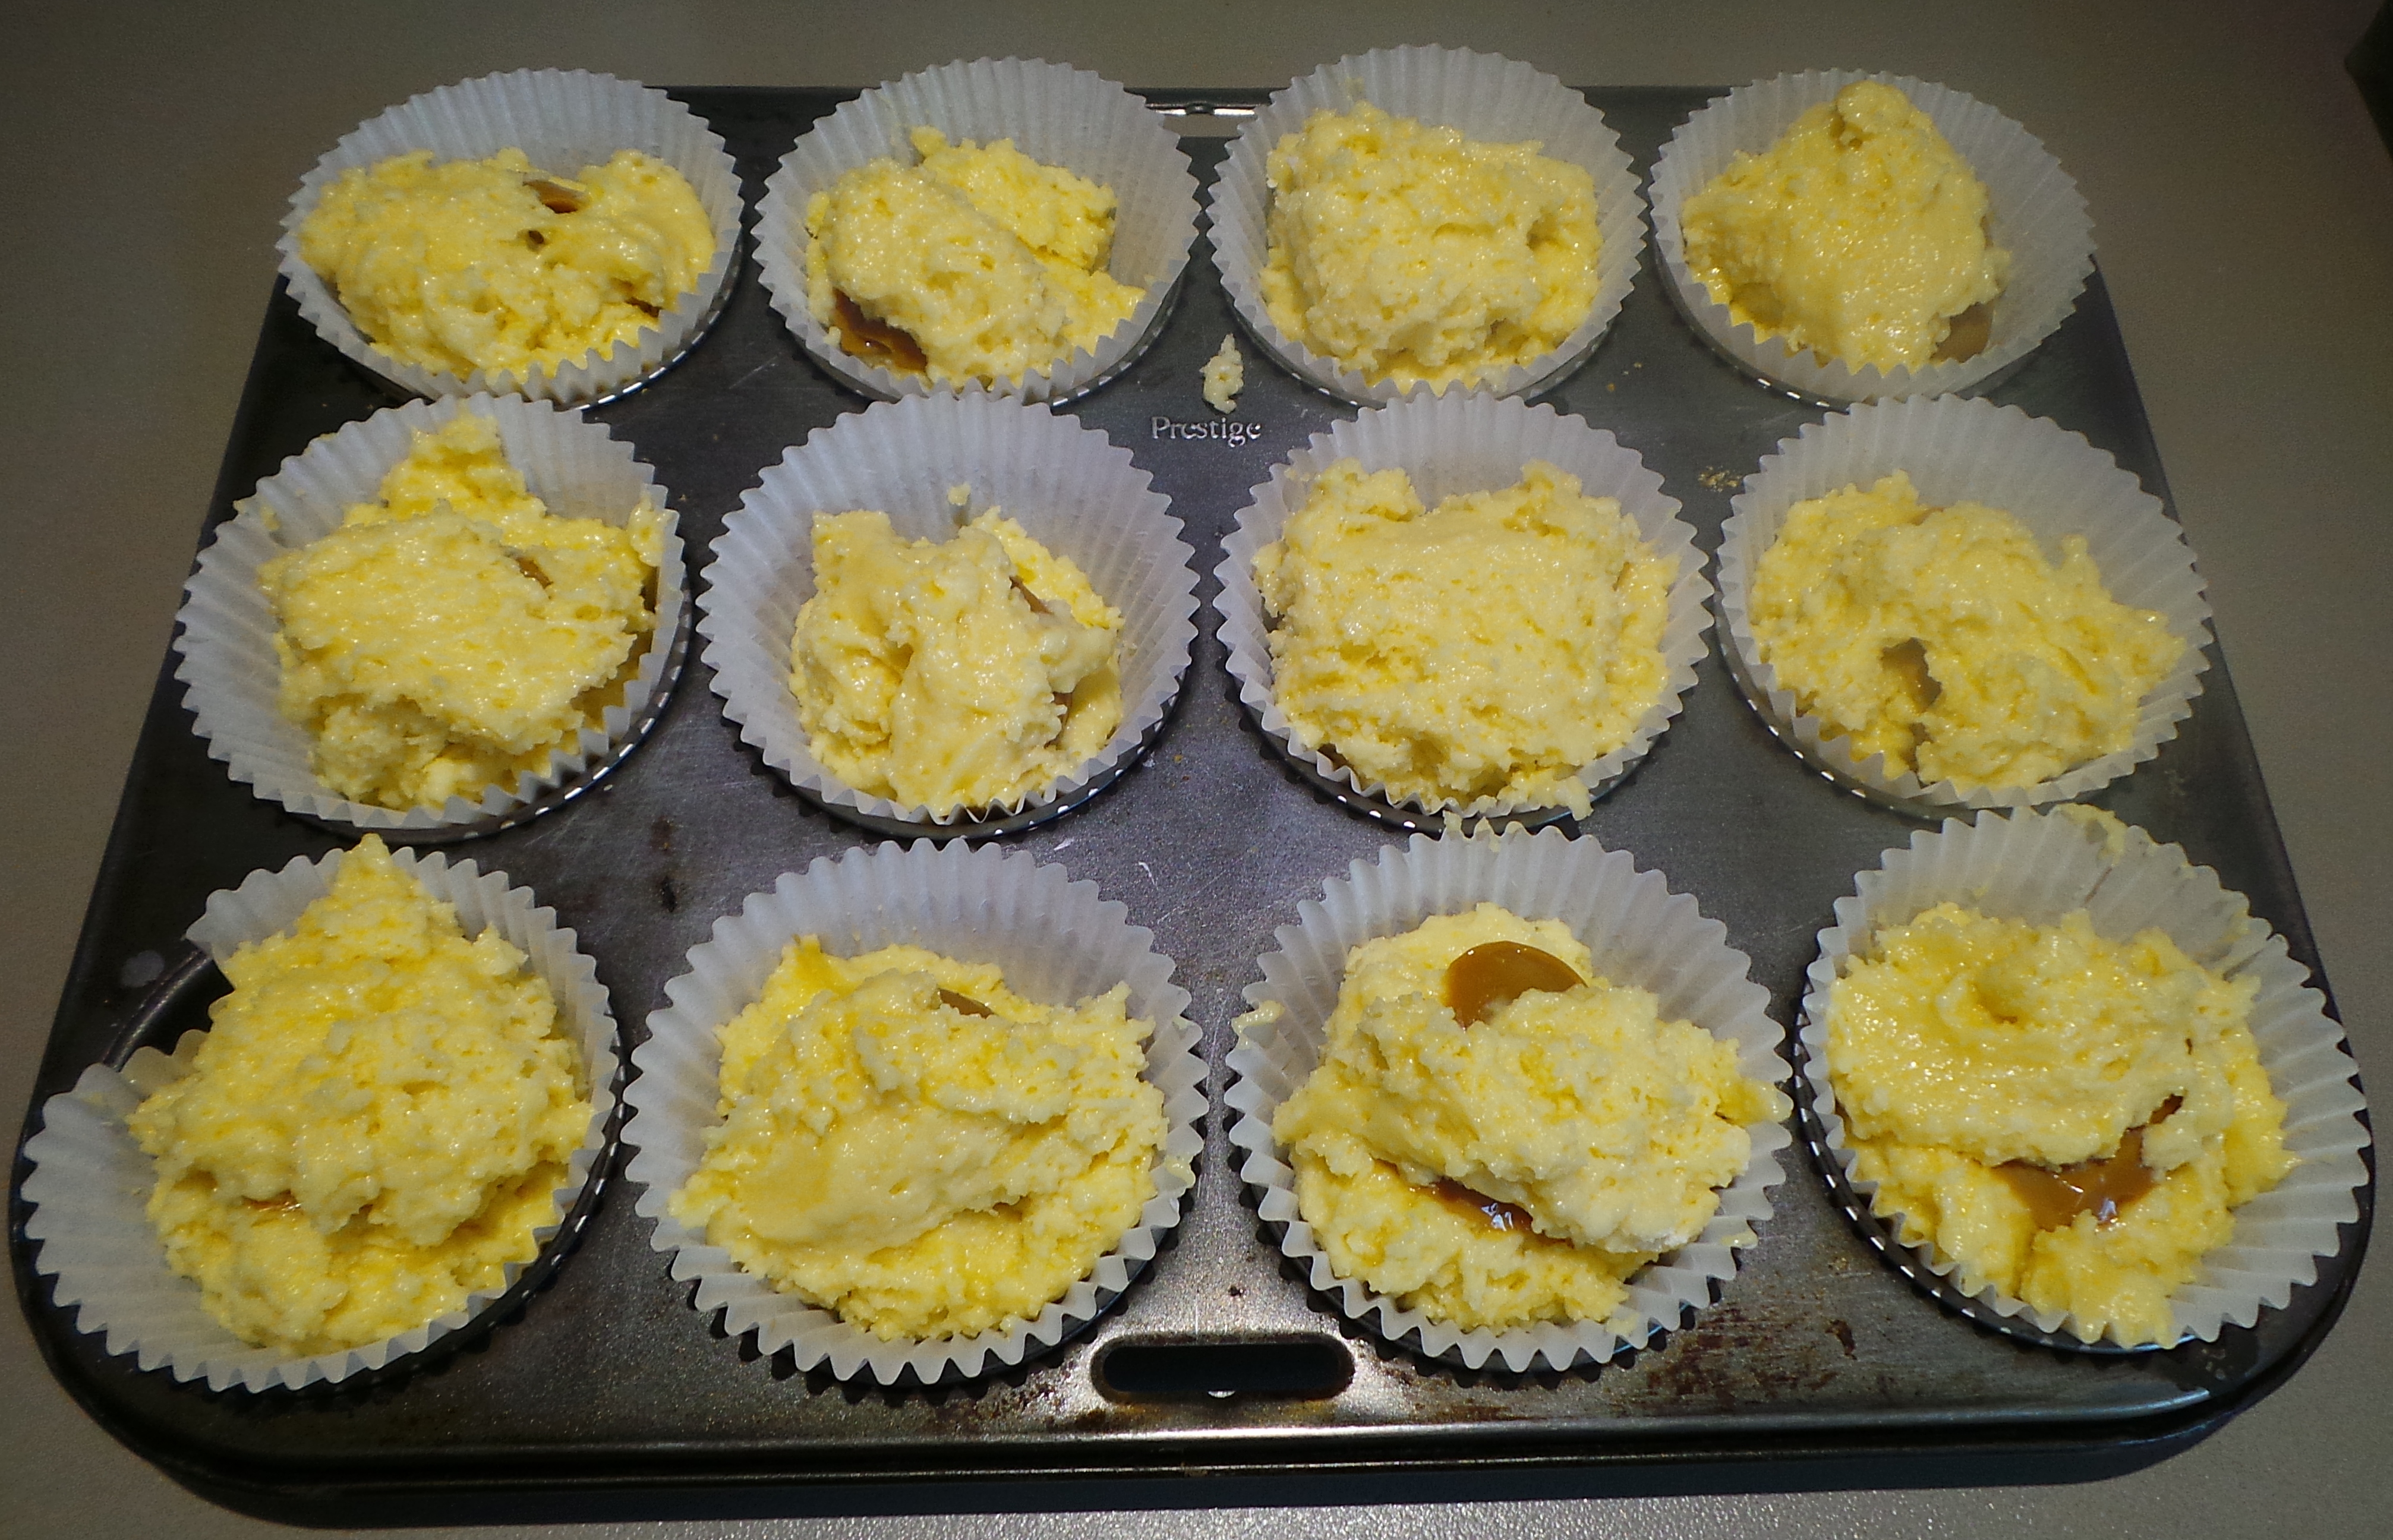
Dollop spoonfuls of the mix into the bottom of your muffin cups. Don’t spread or smooth the batter, just leave it as it falls.

Fill the bottom of your muffin cups.
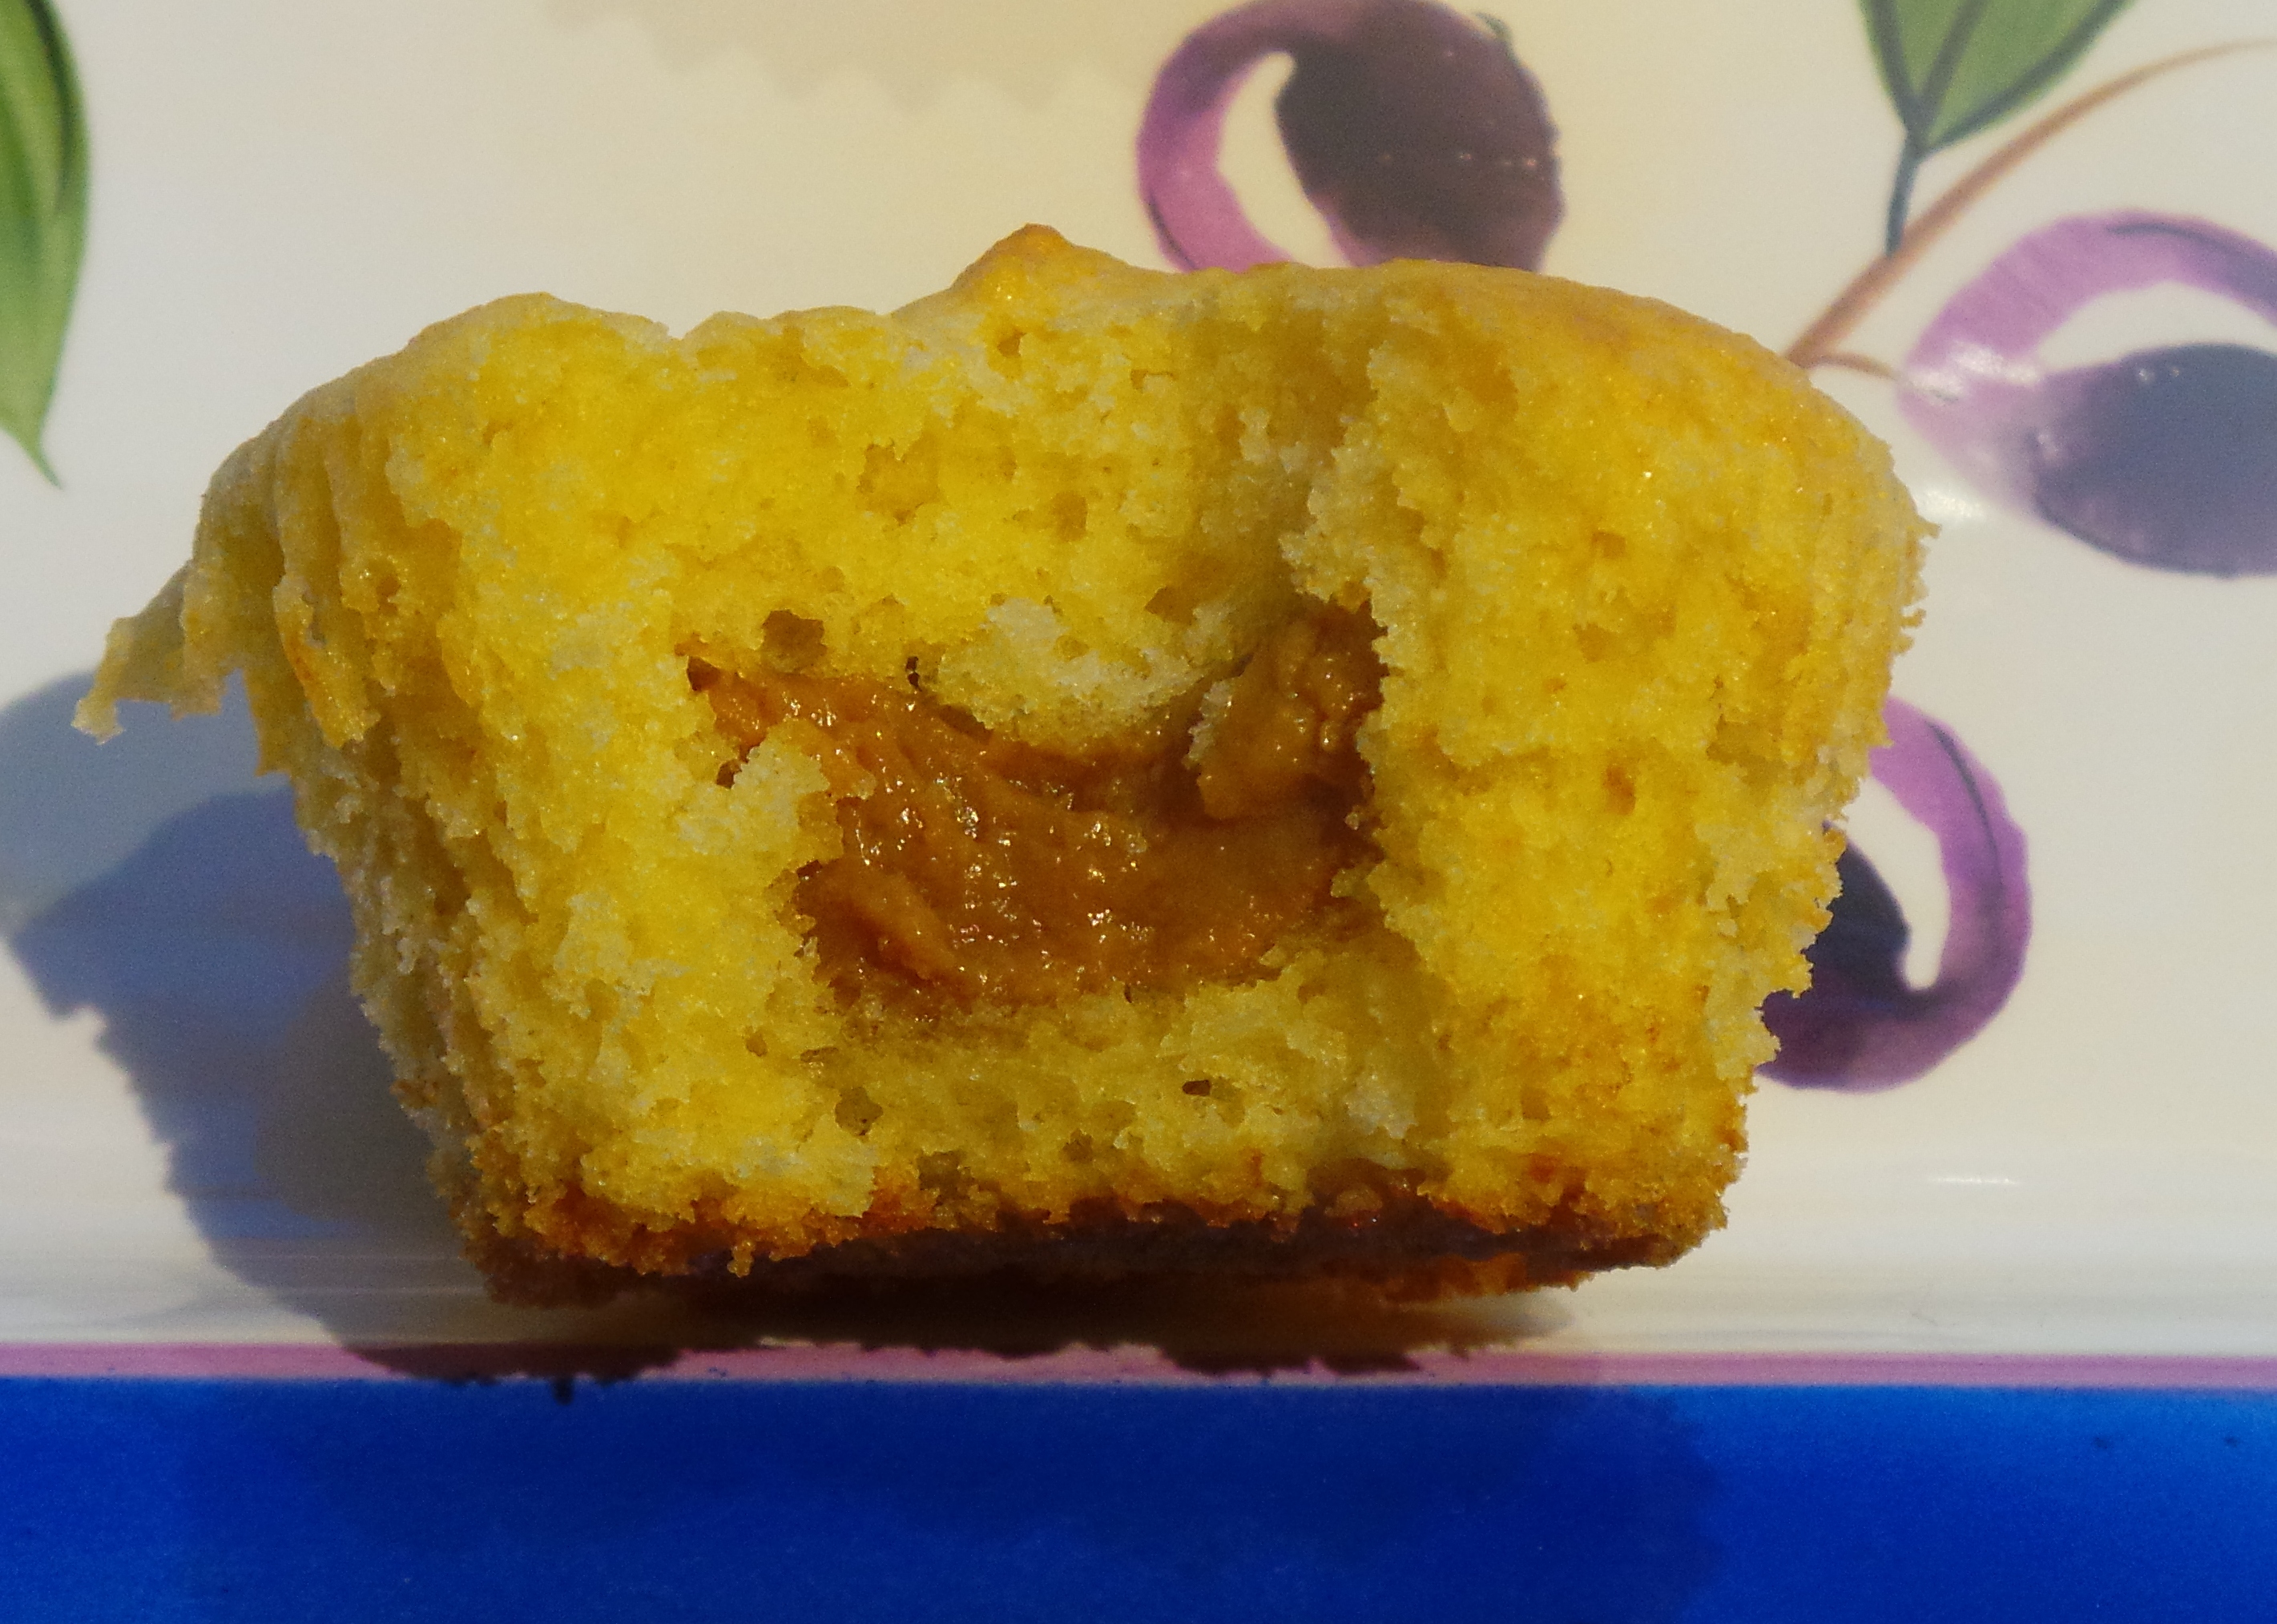
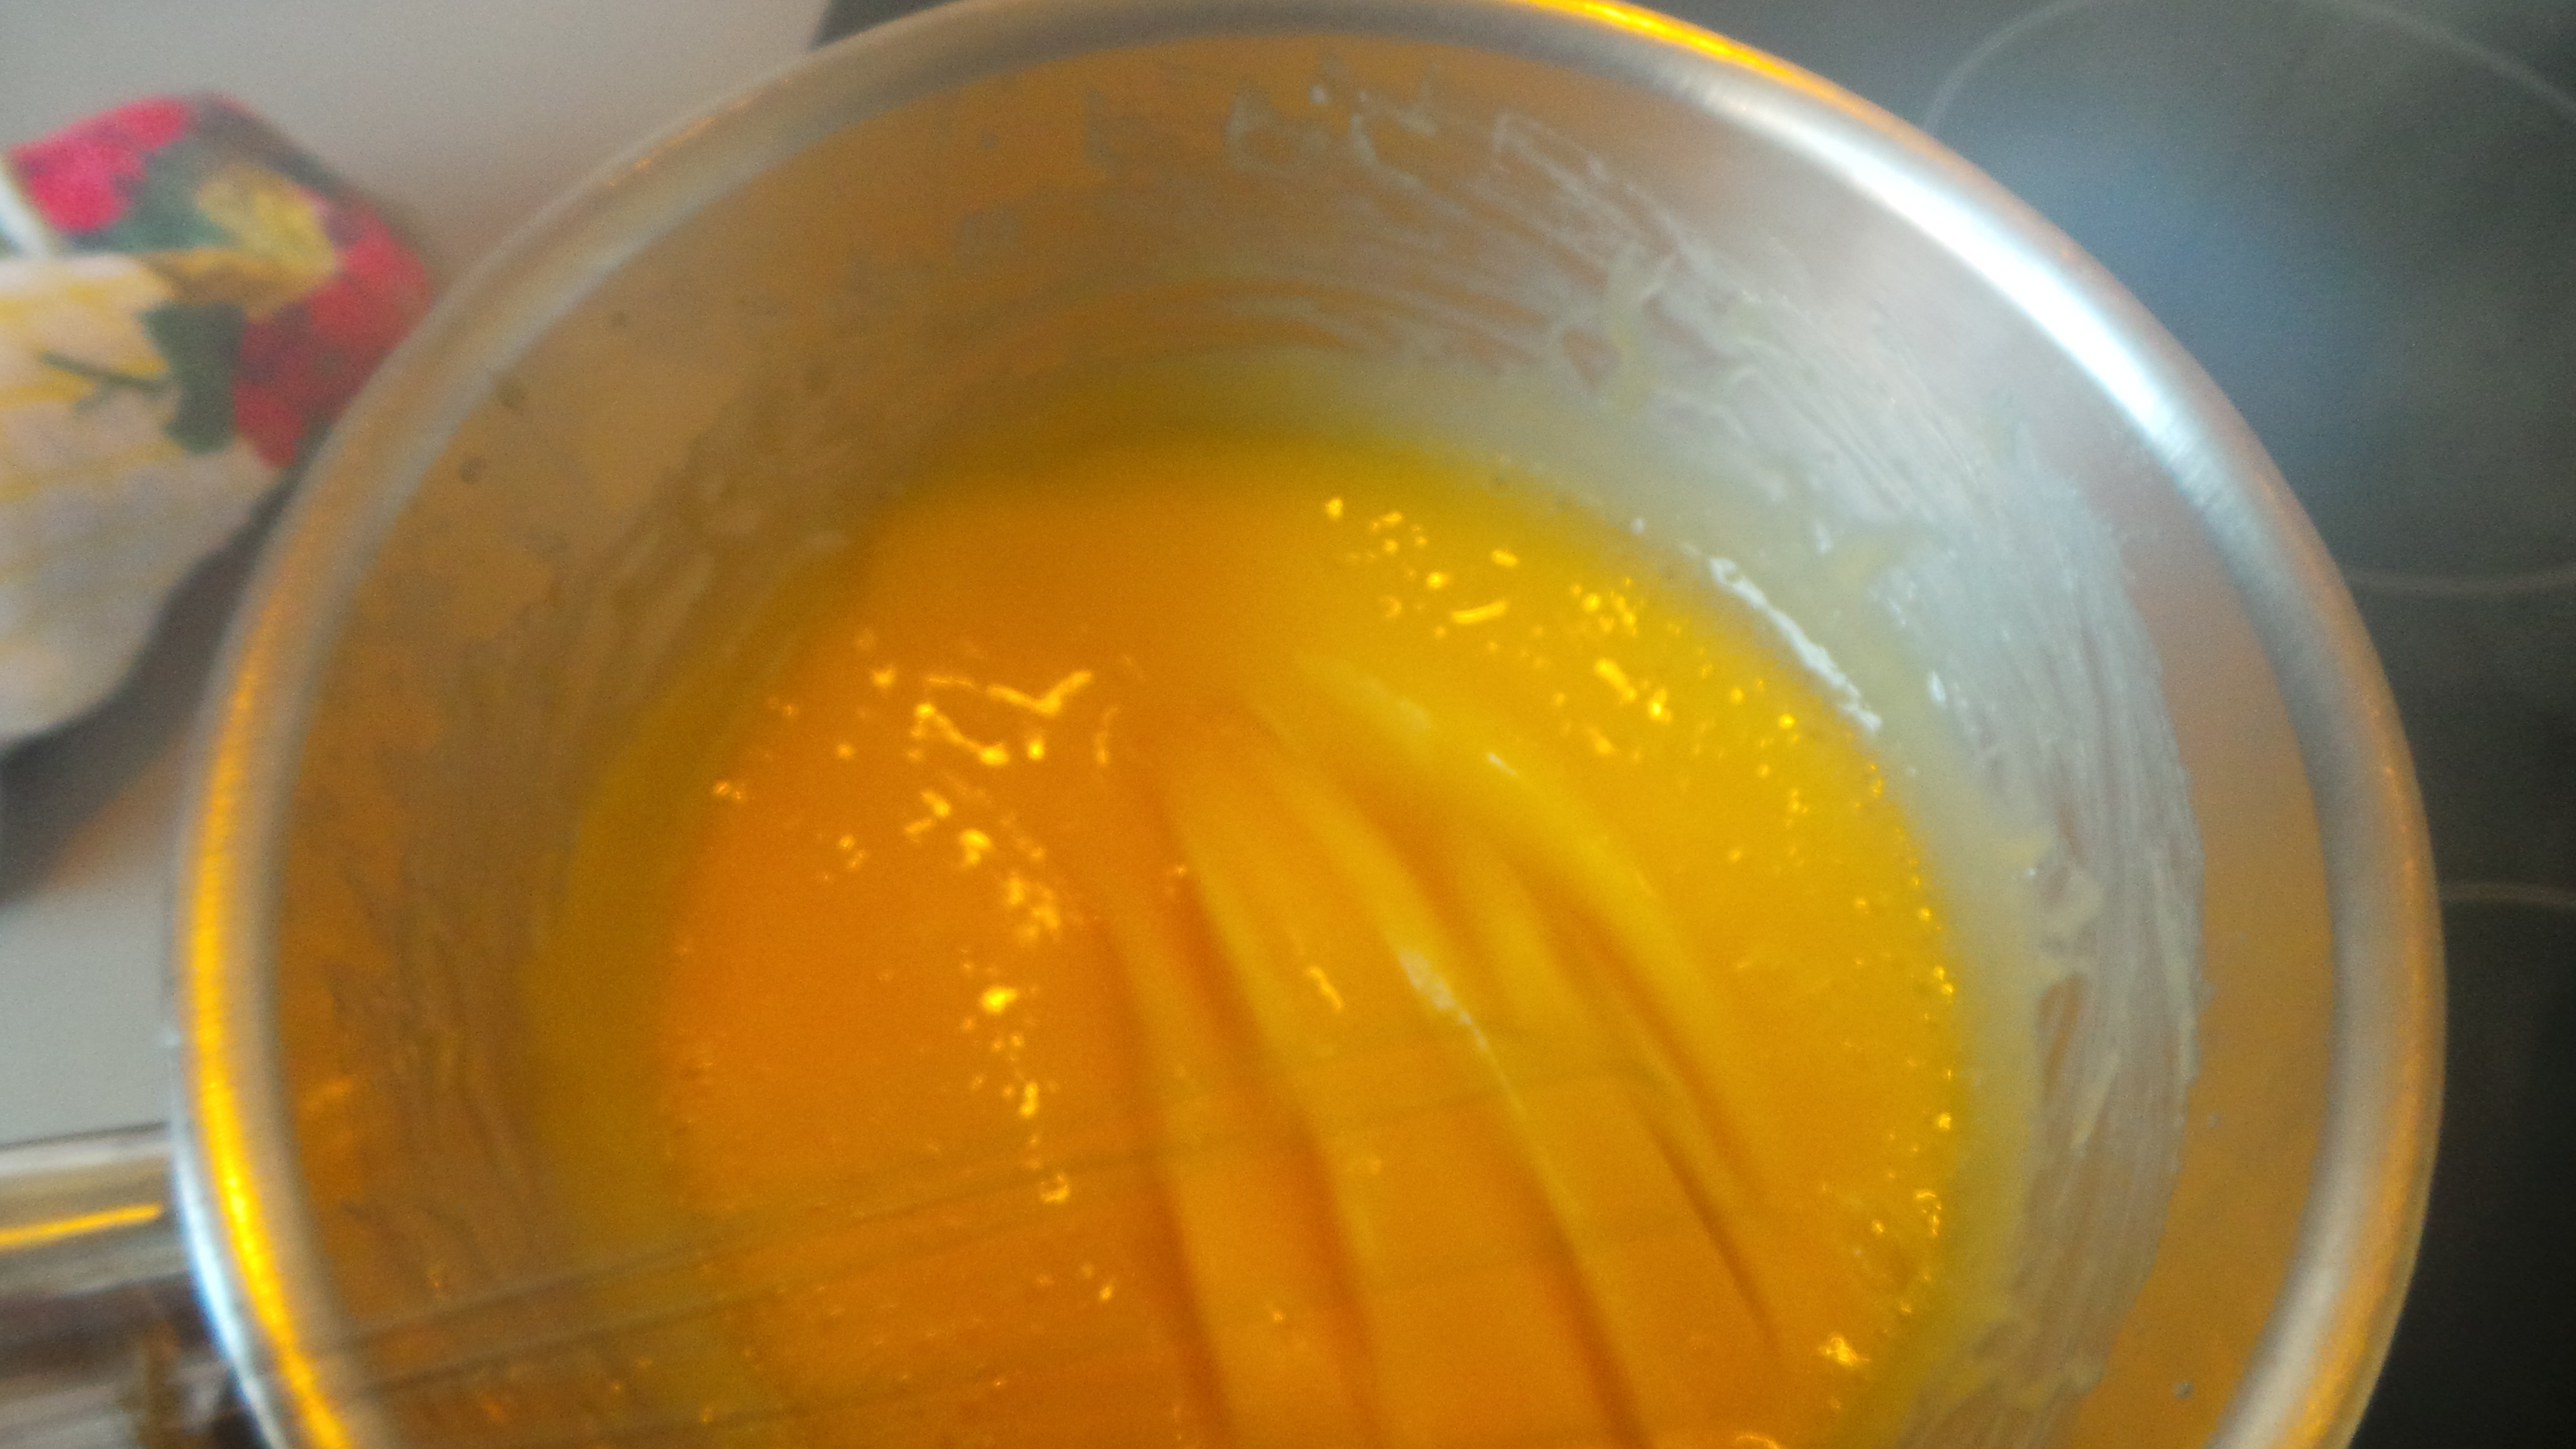
Now for the fun bit. Deploy your fillings. I used a teaspoonful of dulce de leche per muffin in this example. It’s quite sweet and I thought that would be sufficient. You may use more, of course!
I would use a tablespoon of Lemon Curd for this purpose, but it’s still up to you (and how much you have to hand!)
It helps to fill a coffee cup with boiling water and dip your metal spoon into it before dipping it into your cold filling. The heat will cut through the cold caramel and help it to slip nicely off into the cups. There is no need to dry your spoon between dunkings.

Use a cup of hot water to help spoon out your filling.
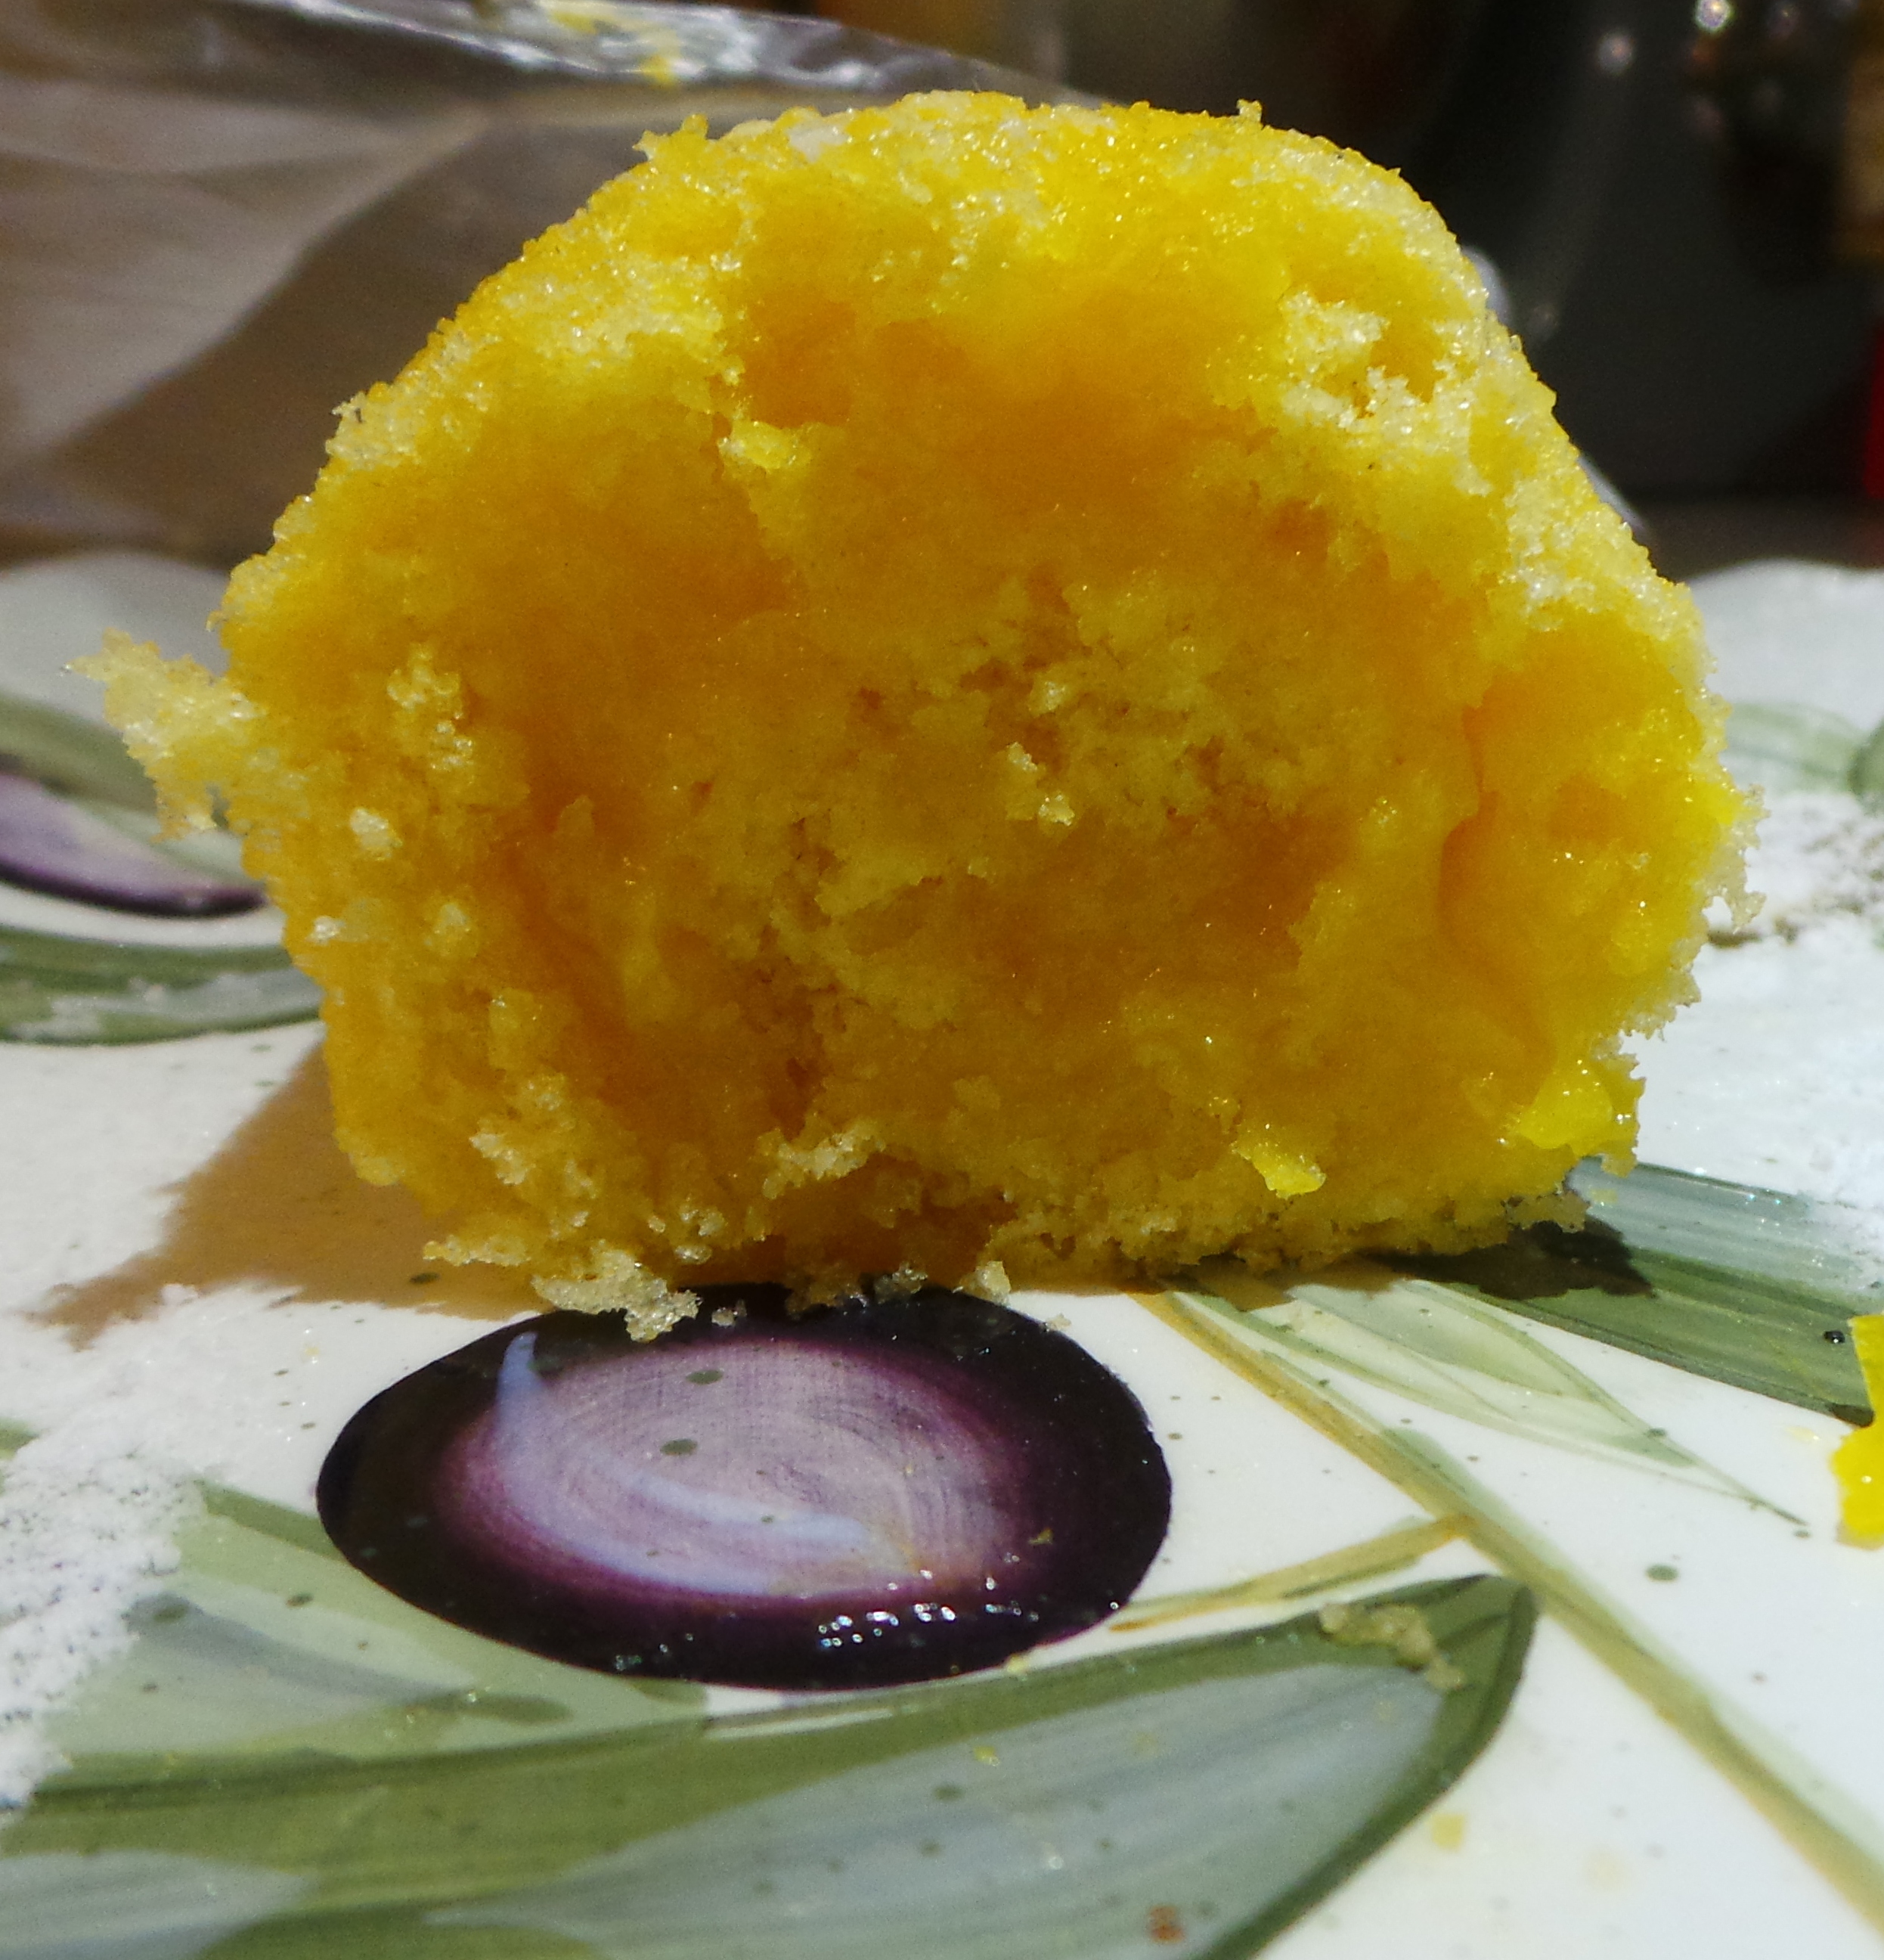
Now cover your caramel with the rest of the muffin mix.

Hide the treasure.
Pop into your hot oven to bake for 20 mins, while you wash up ;-).
If your oven is not fan-forced, you may wish to rotate the tray at the half-way point to ensure even browning.
When done, test by inserting a toothpick or skewer into the center of the thickest muffin. If it comes out clean of raw batter, it’s cooked. Just remember you may hit caramel or lemon curd too!
Allow to cool in the tray for 10-20 mins and then move to a cake rack to cool completely. Set up a guard if you wish to keep them for lunches during the week to come…

Allow to cool completely before storing in an air-tight container.
Chocolate-Hazelnut Muffins: If you tire of using your Dulce de Leche or Lemon Butter in these, and the budget permits, then try sifting a ¼cup of cocoa in with your flour and using a cup of Nutella to fill with.
You’re welcome.
Hidden Treasure Muffins
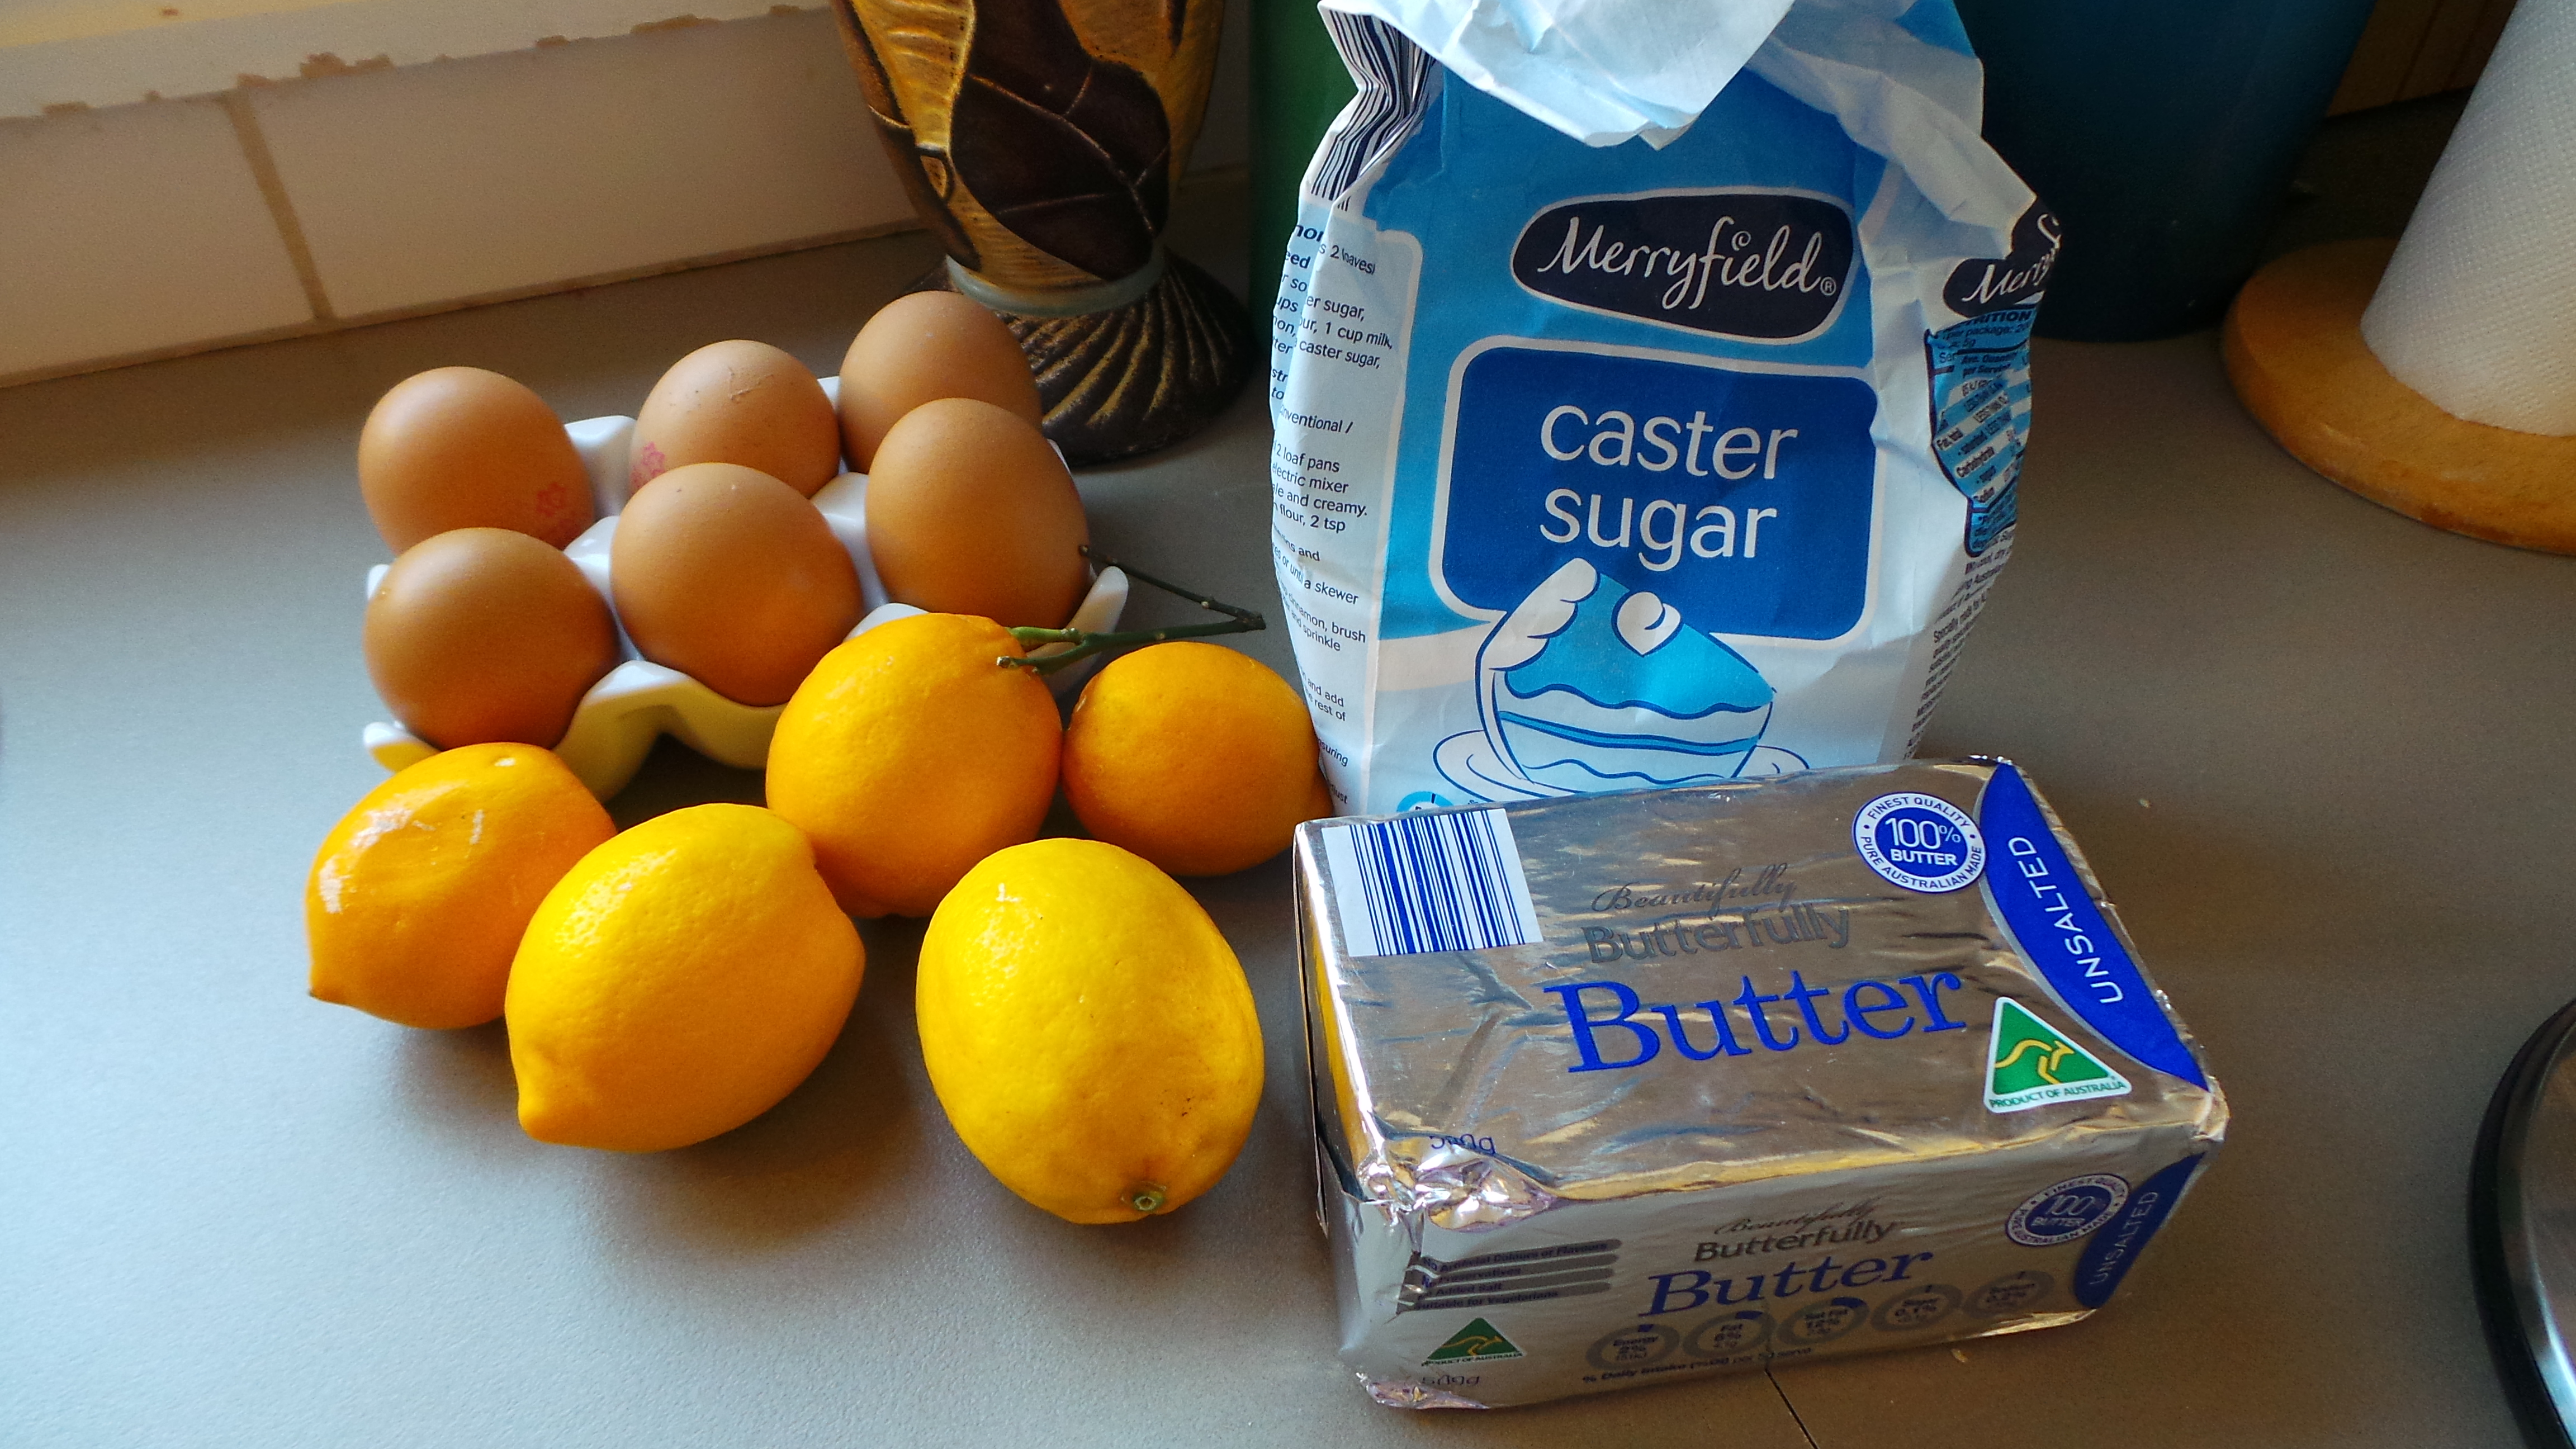
Ingredients:
2½ cups self raising flour
½ tsp bicarbonate of soda (Baking Soda)
½ cup brown sugar, firmly packed
125g butter, melted
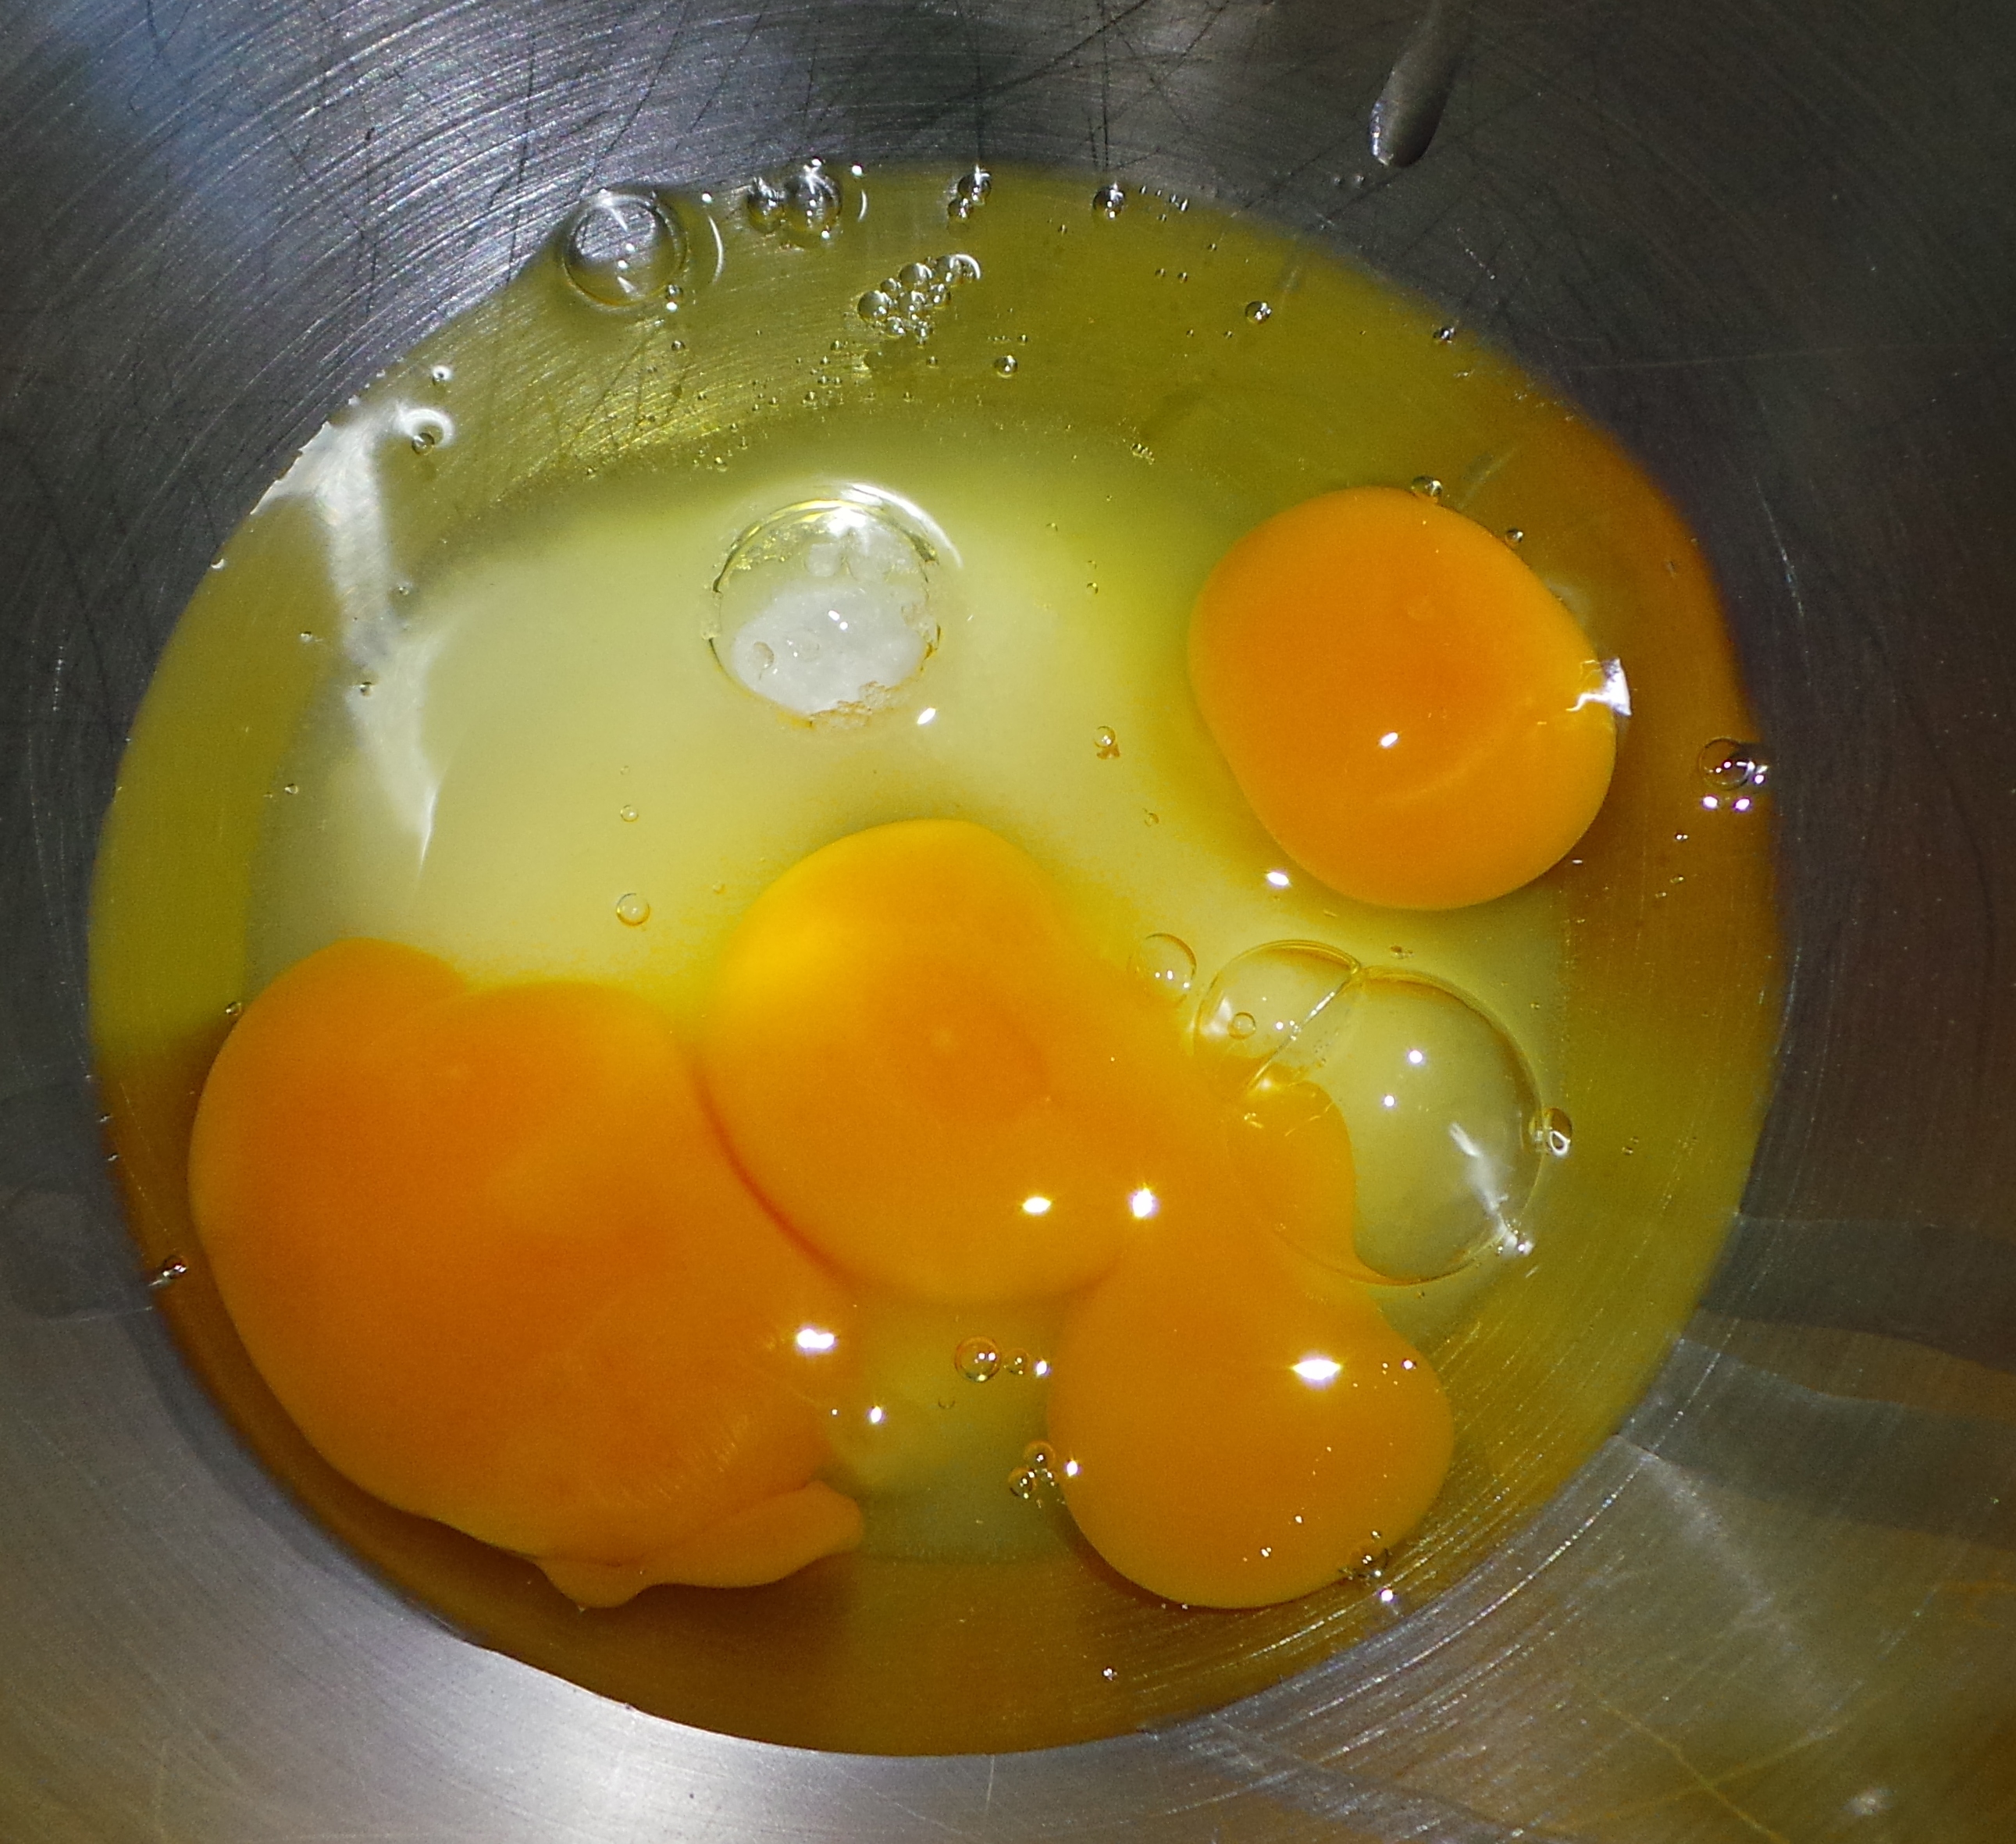
2 eggs, lightly beaten
1 cup (250 ml) buttermilk
2/3 cup Dulce de Leche or Lemon Curd
Method:
Grease a 12 hole muffin pan, or line with paper cases. (I find this makes transporting them a lot easier.)
Heat your oven to Moderately Hot – 200°C or 400°F.
Sift flour and bicarb into a large bowl.
Add brown sugar and break up any lumps as you stir them together.
In a pyrex measuring jug (for ease) heat your butter in a microwave for 1 minute at 50% power. Repeat until melted. (This step can be done in a small saucepan over low heat if a microwave is not available.)
Add butter milk to jug and whisk together, then add eggs. Mix liquid thoroughly.
Make a well in your flour and pour in all the liquid at once.
Fold together until just mixed. DO NOT BEAT!
Cover the bottom of your muffin cups with a tablespoon or so of the batter.
Place a spoonful or so (it is up to you how generous you wish to be…) of your caramel or lemon curd on to this and then top with the rest of the batter.
Bake on the top shelf of your oven for 20 mins, rotating the tray halfway through.
Test for doneness by inserting a toothpick or skewer through the thickest part of a muffin. If it comes out clean of batter, it’s done.
Leave to cool in the muffin tray for 20 mins or so, before removing to a cake rack to cool completely.
Store in an airtight container.
Enjoy!