Jam drops are an old-fashioned biscuit that remind me of my childhood any time I see them. They were a standard addition to my lunch boxes throughout our primary school years, and I’m pretty sure they still are for a number of lucky kids today.
I remember that, when I was little, I used to have a ritual of nibbling very slowly around the edge of these biscuits until only the jam-filled centre was left – leaving the best till last.
These are some of the easiest biscuits you will ever make. They aren’t a cookie. They should be crisp – not soft and cakey like a cookie is. This relative hardness is what makes them such a good lunch box treat as they won’t turn to crumbs during the journey to school.
You can fill them with whatever jam you have and like; strawberry jam is traditional. However, you could also use your own home-made lemon butter and I have used dulce de leche quite successfully. It’s up to you.
You can also make these quite easily with children as your apprentices. If you are in the grips of an ‘OMG it’s the school holidays and they are looking bored, help me!’ panic attack, then here you go. I’ve even included instructions for cleaning up along the way.
You’re welcome.
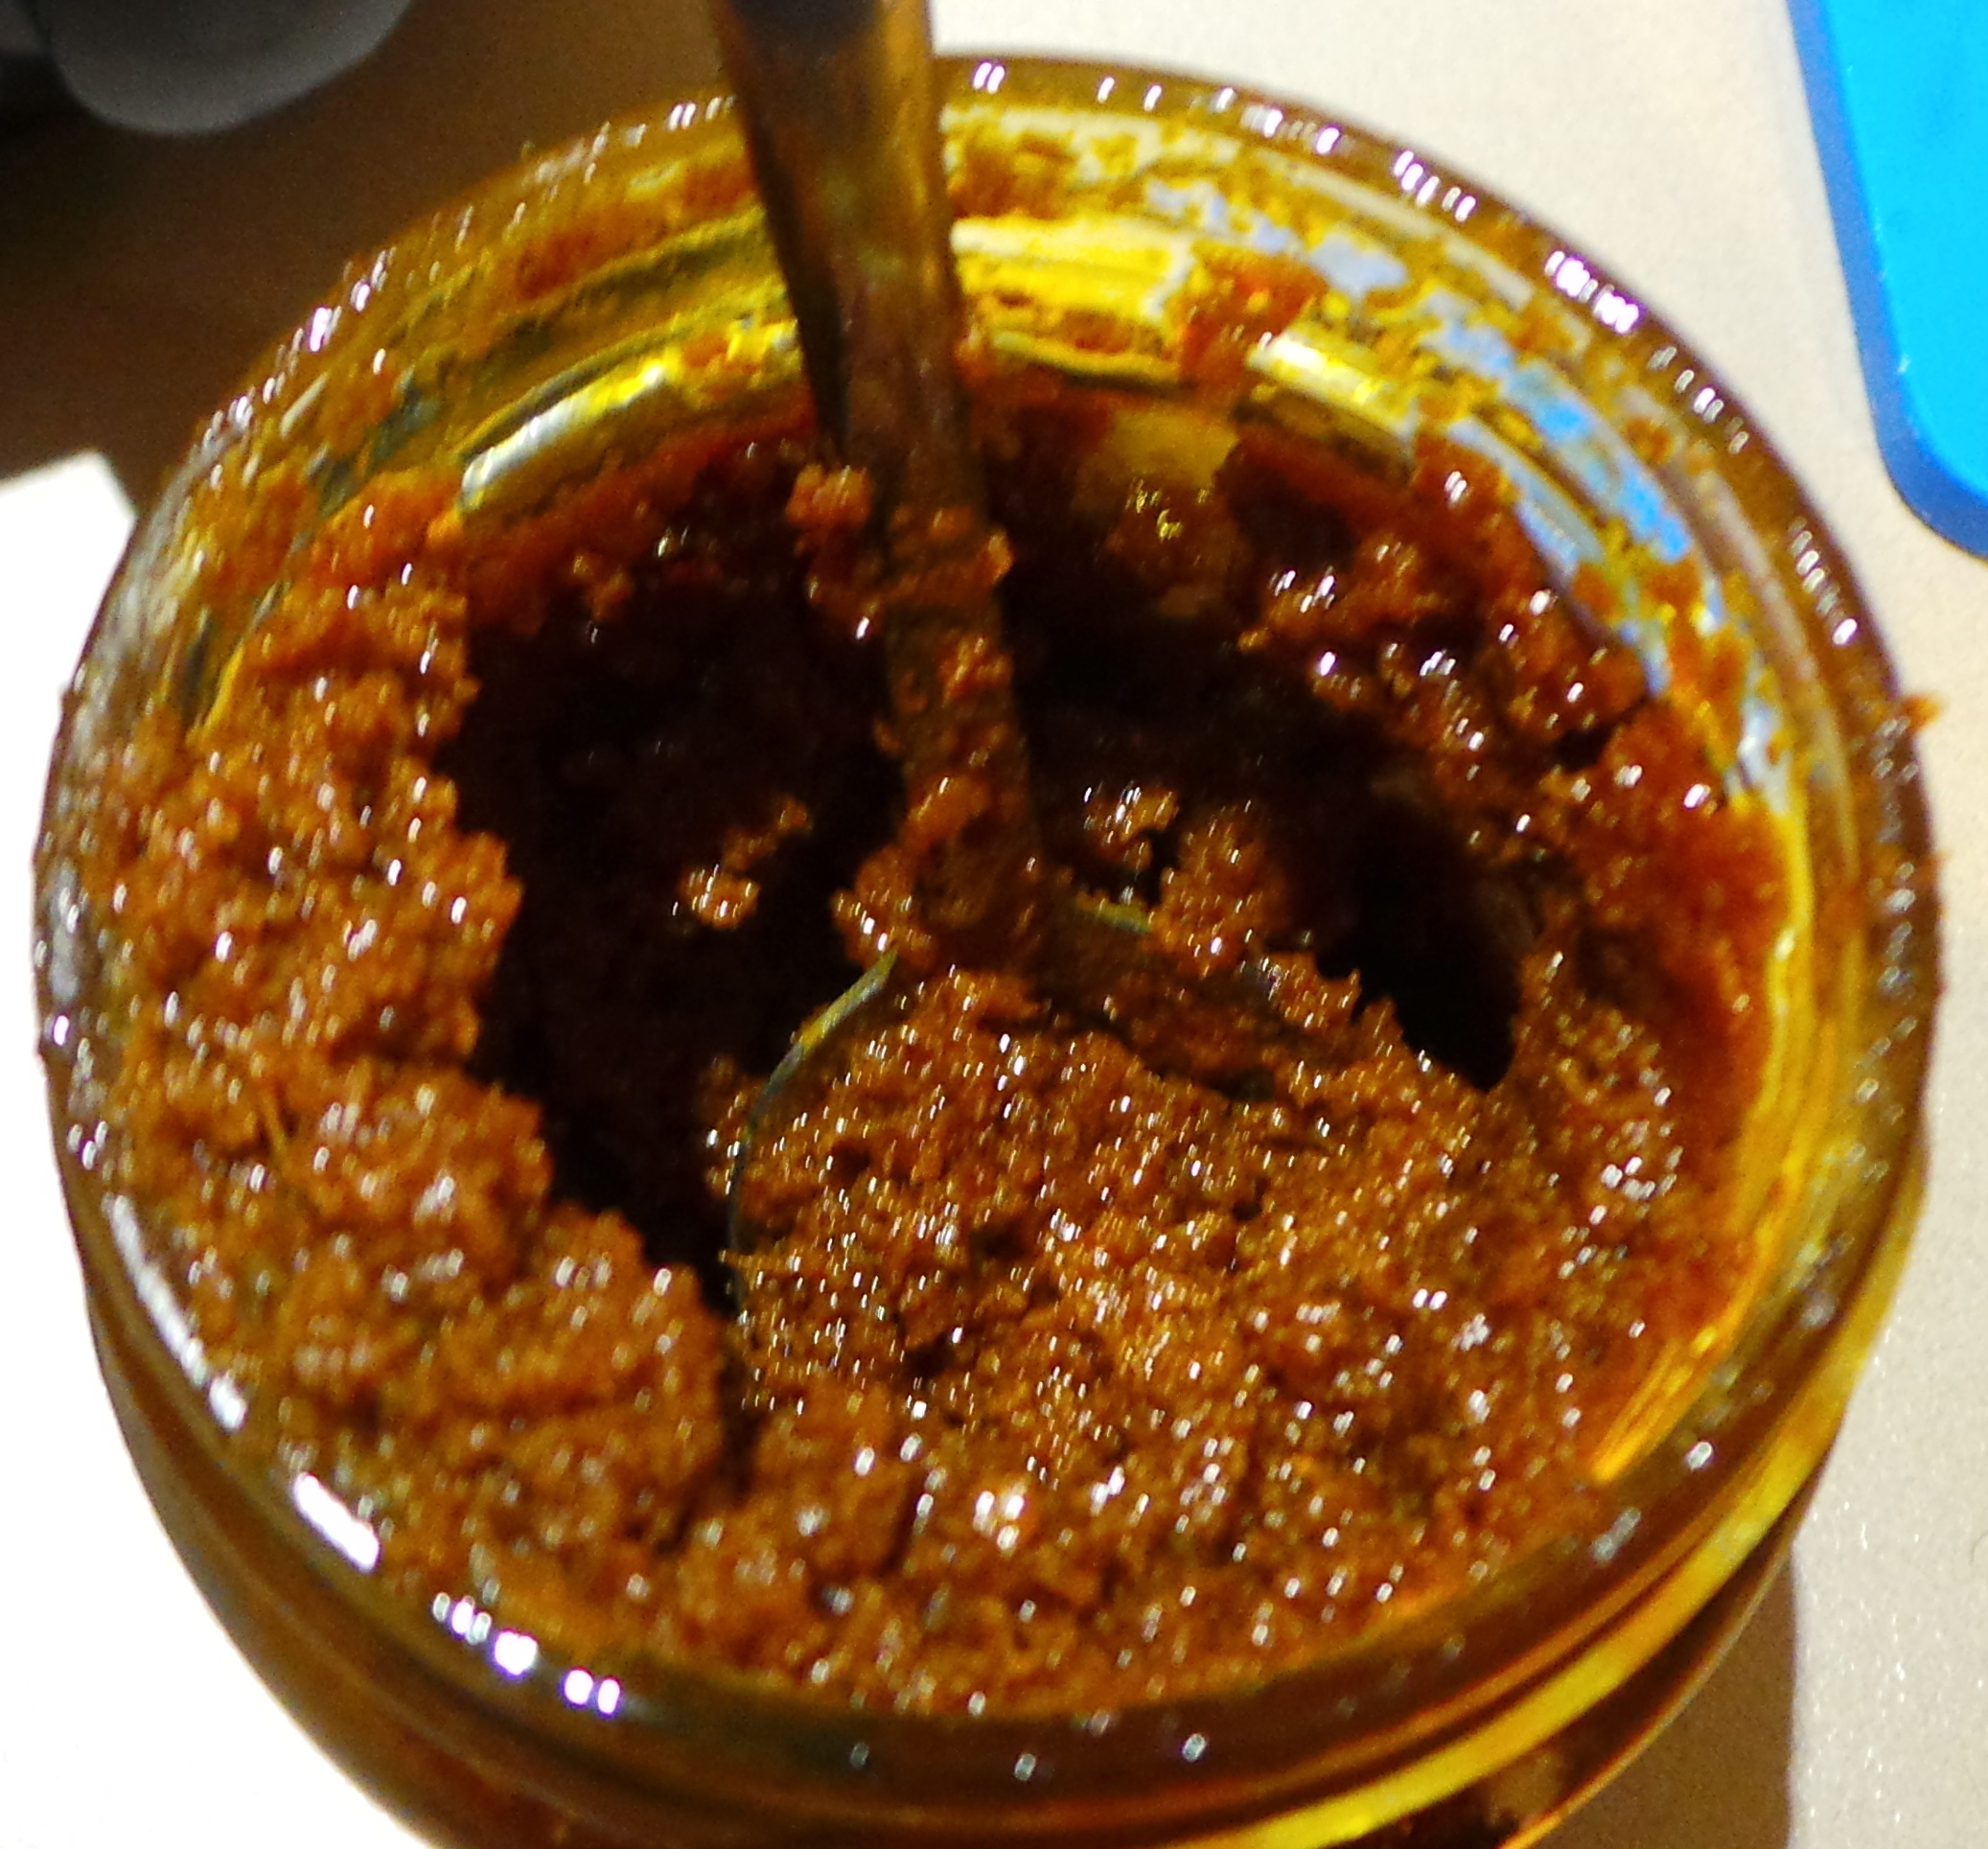
The first thing to do is to decide which jam you are going to use.
Home made jams
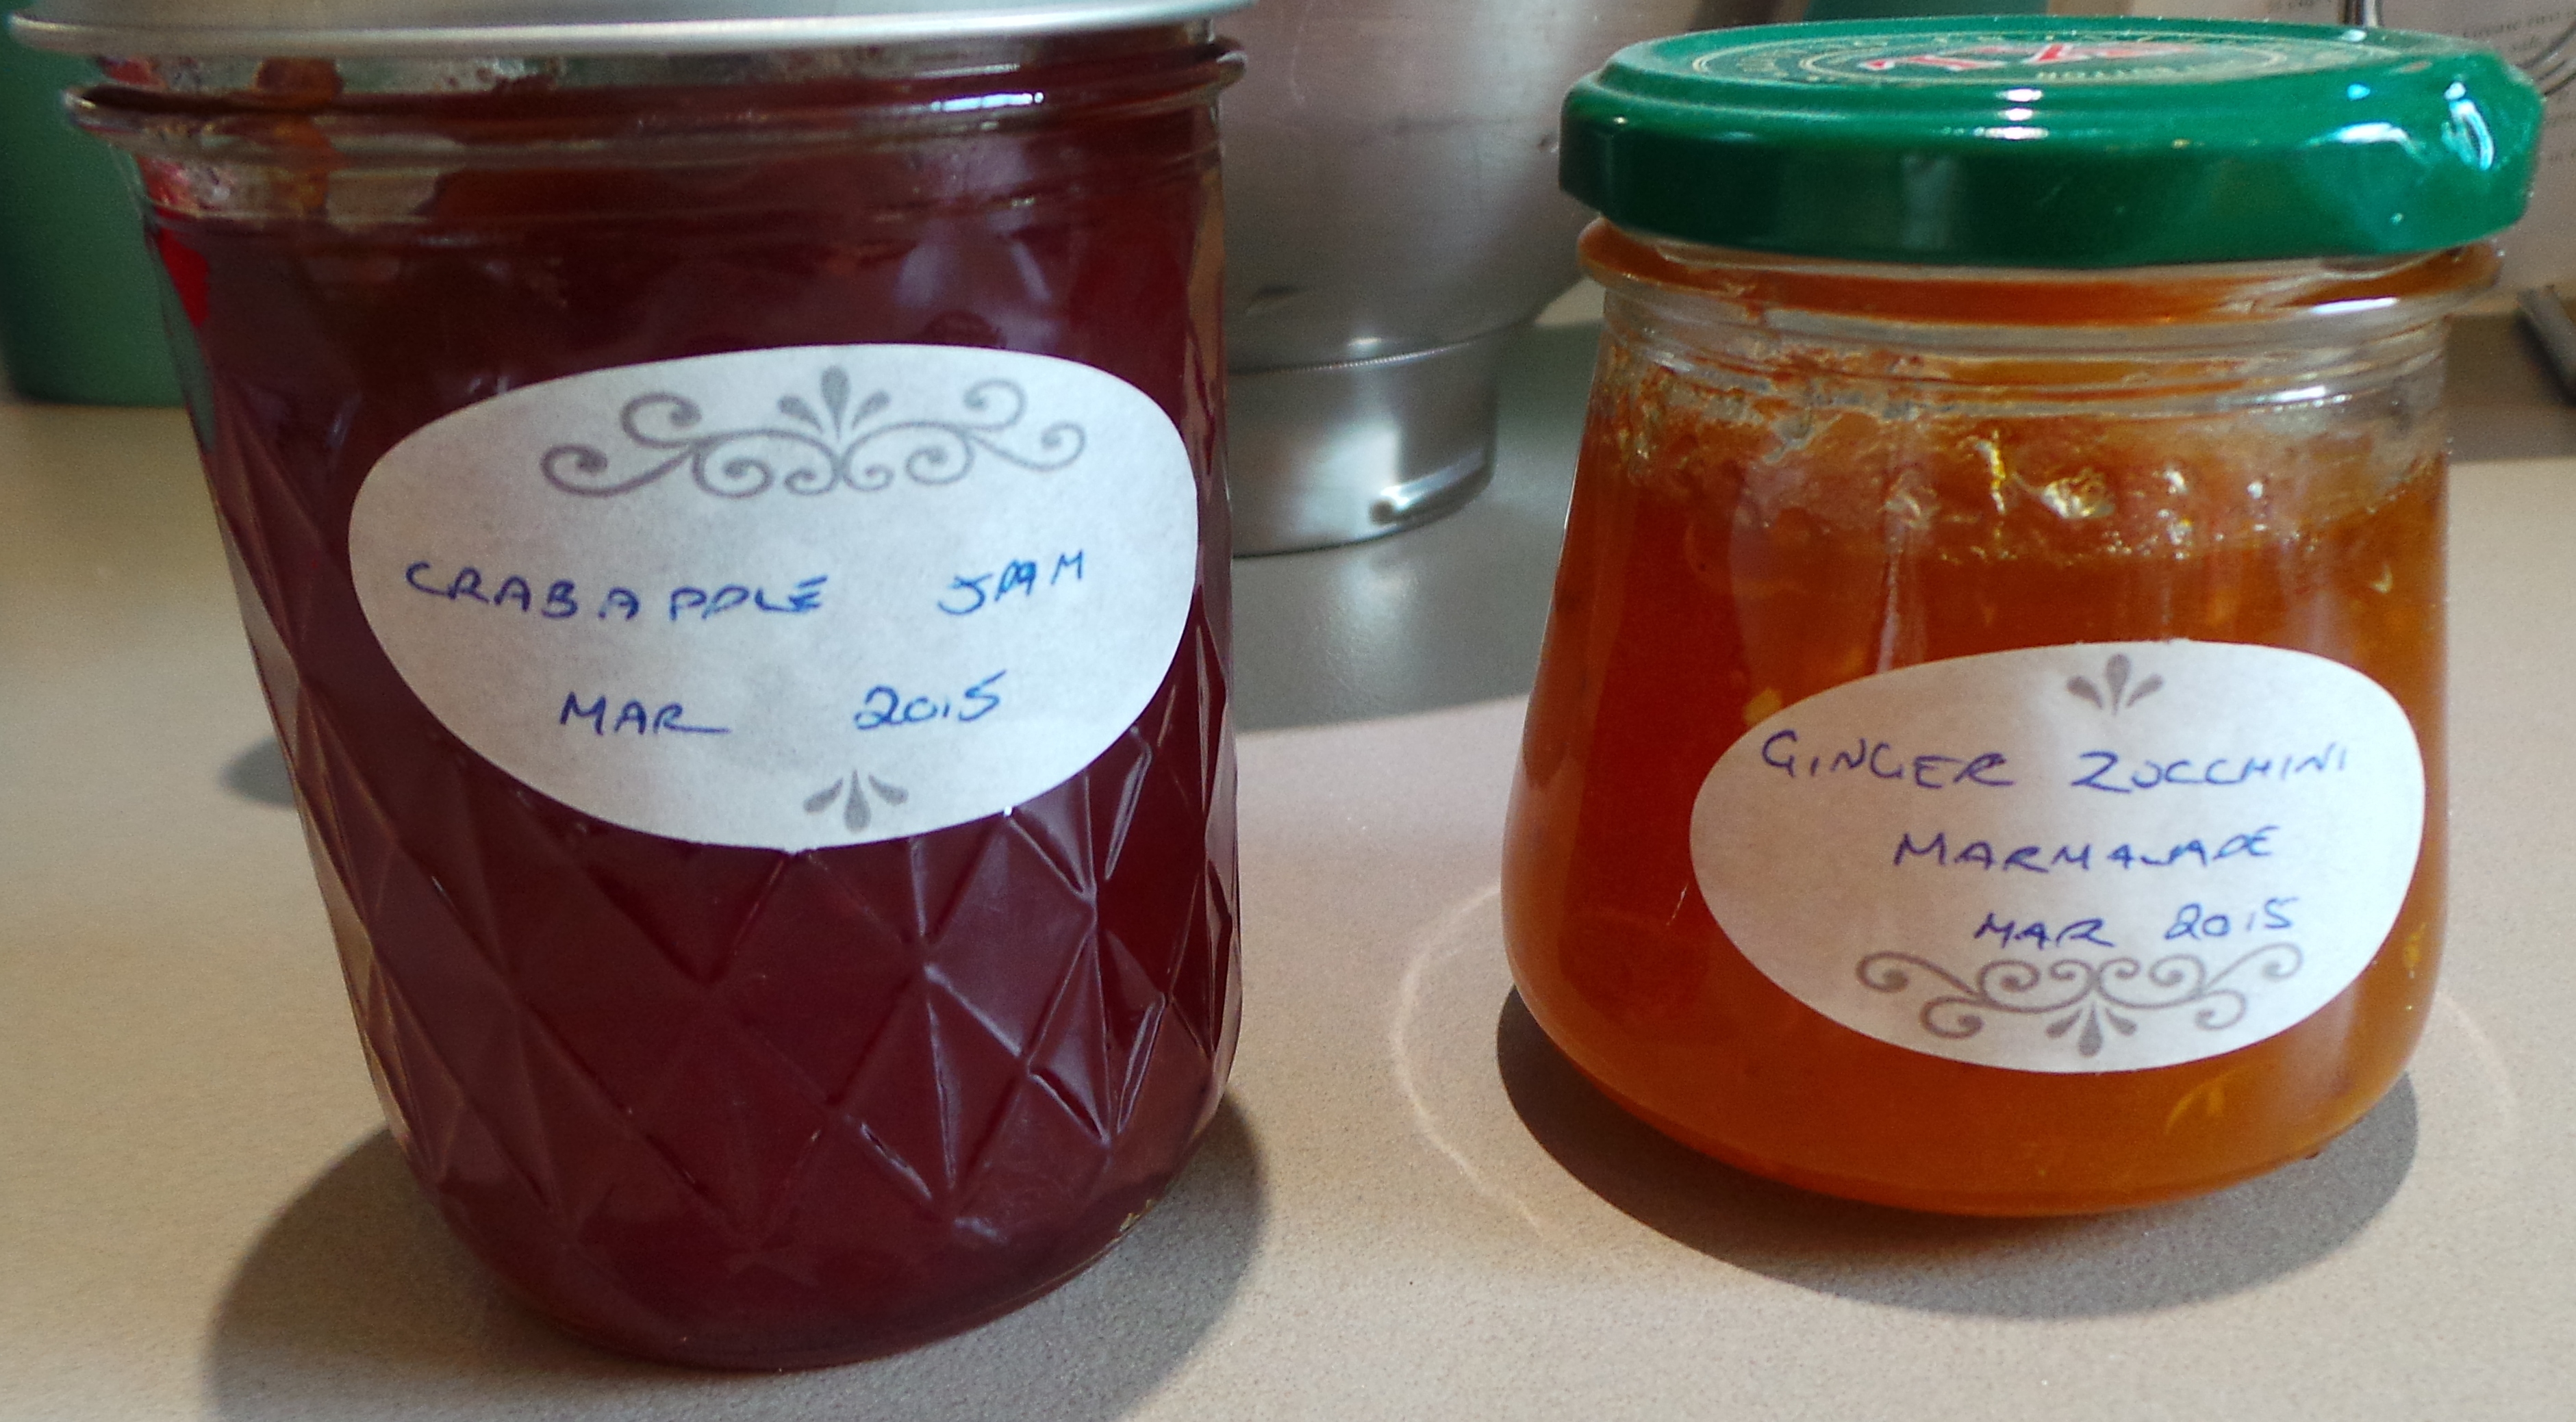
I didn’t have anything that was opened and so I decided to use one of the jars I had put up earlier this year.
The Boy prefers things that aren’t marmalade, so that narrowed it down to the crabapple jam. Easy.
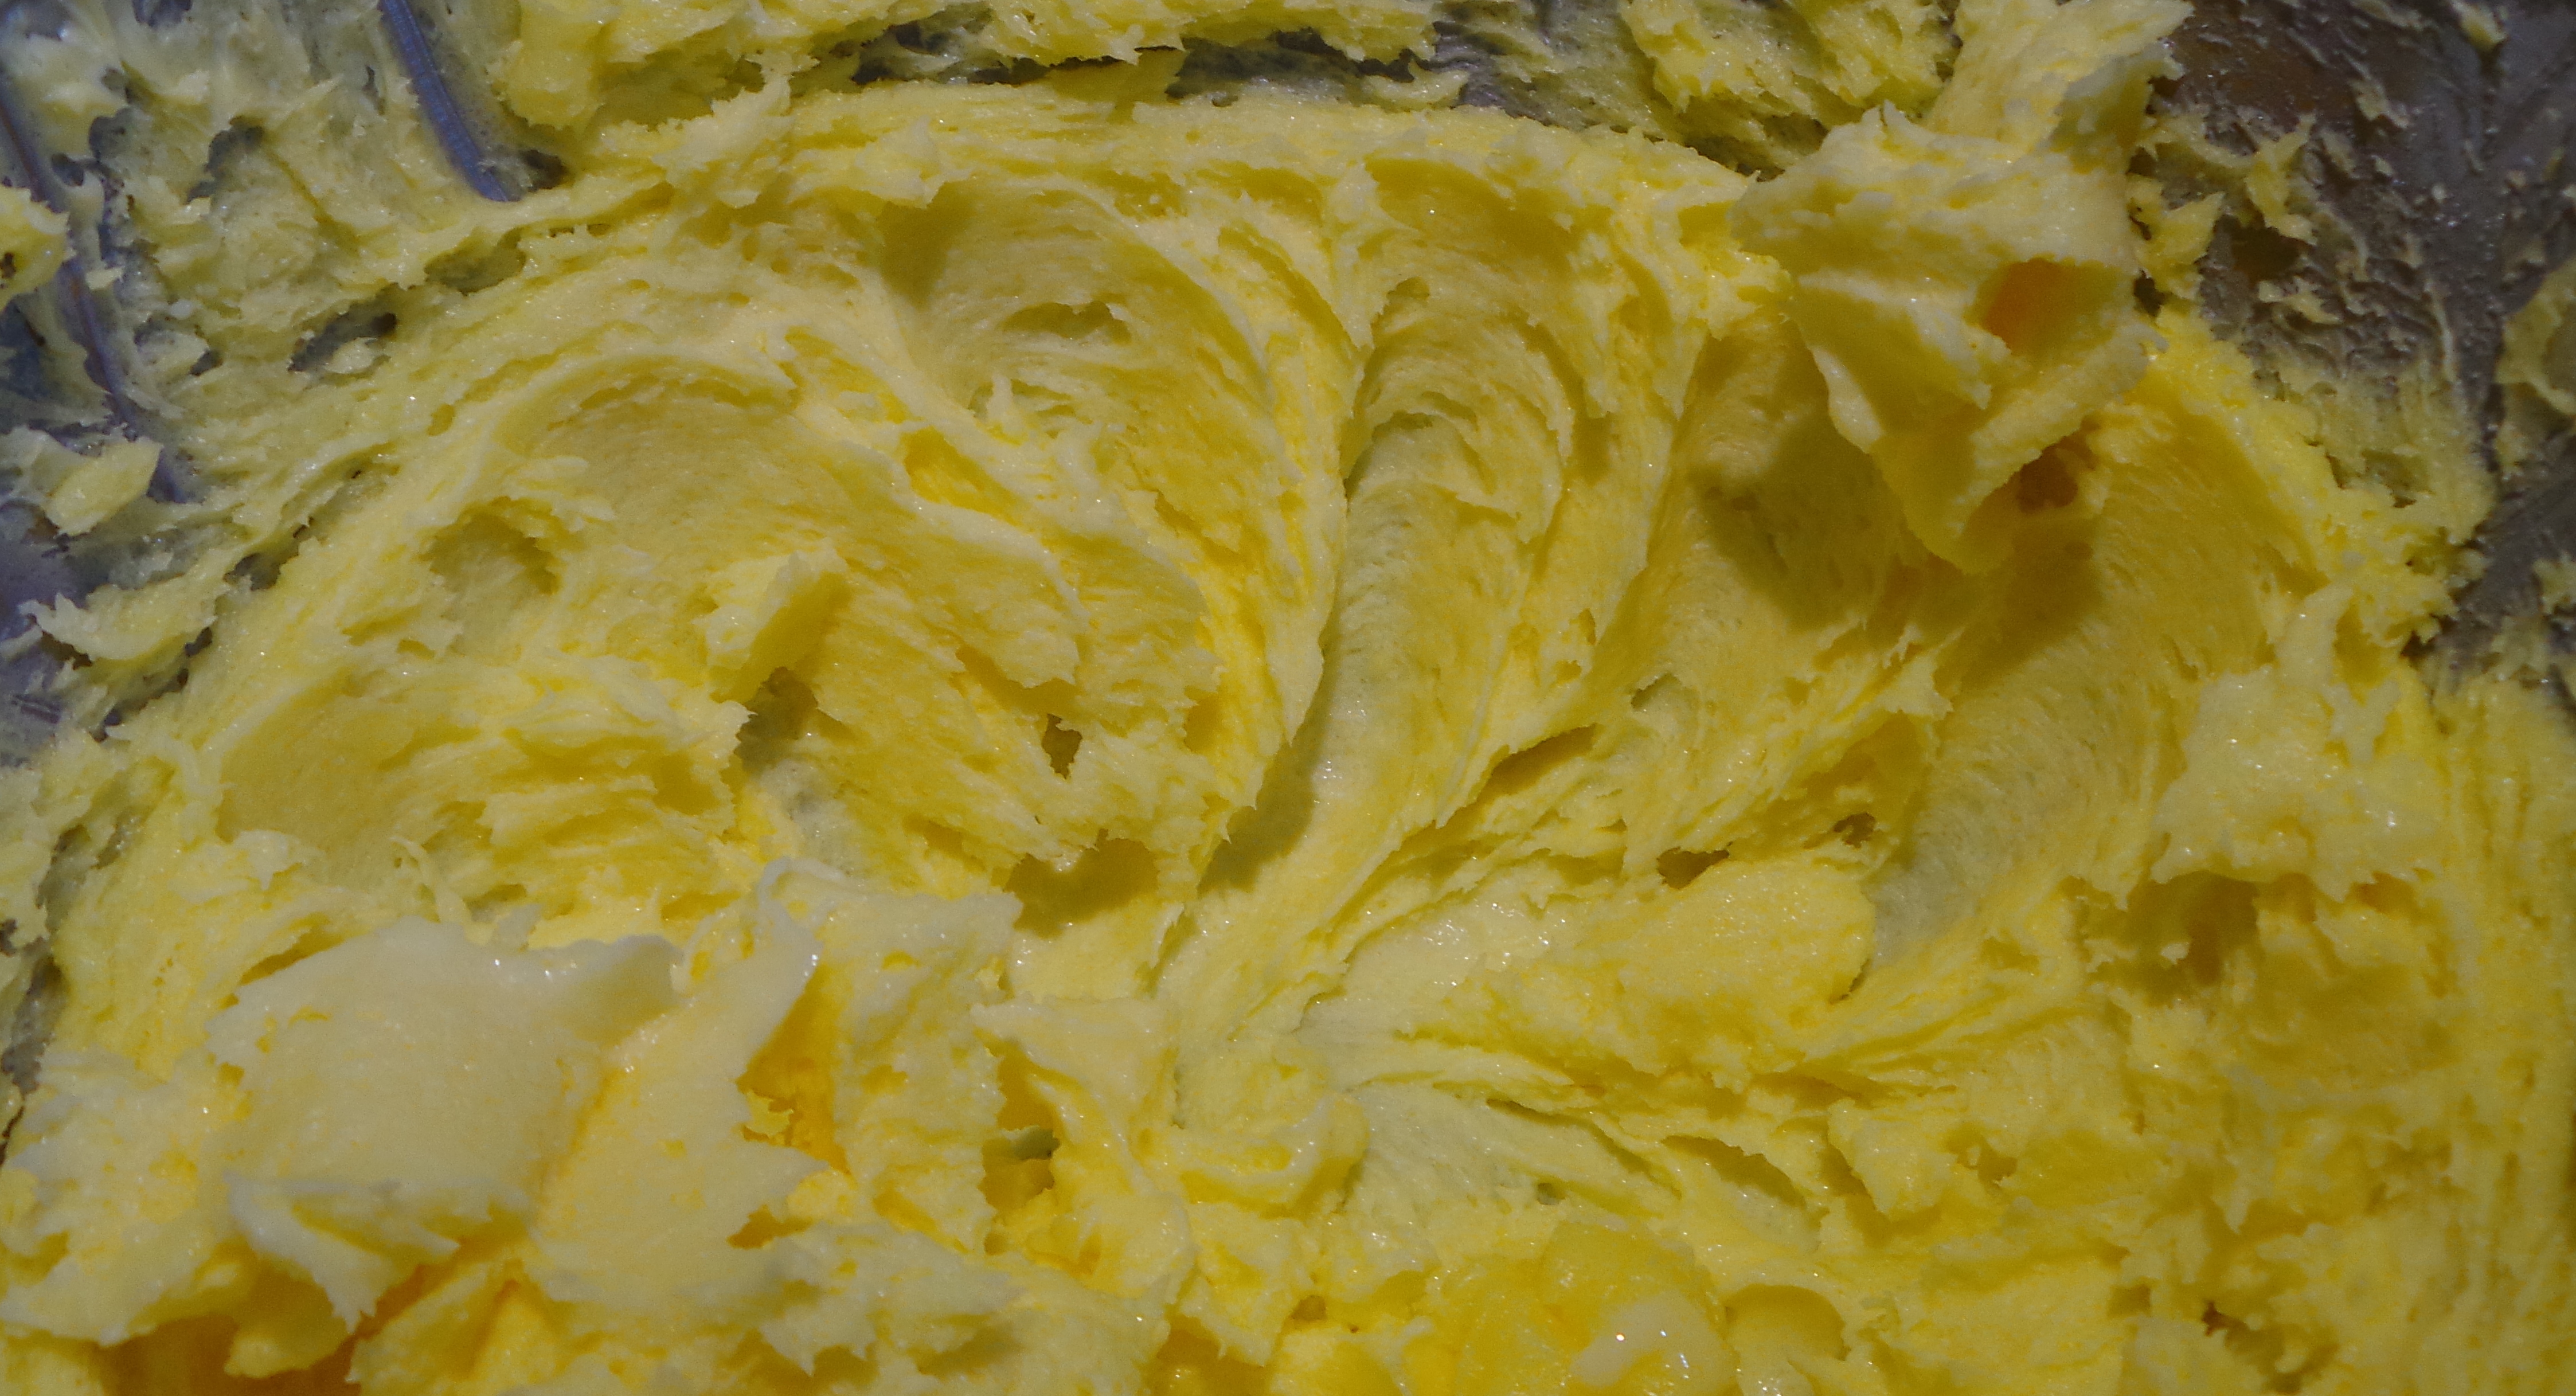
Begin by creaming together the room-temperature butter and the sugar.
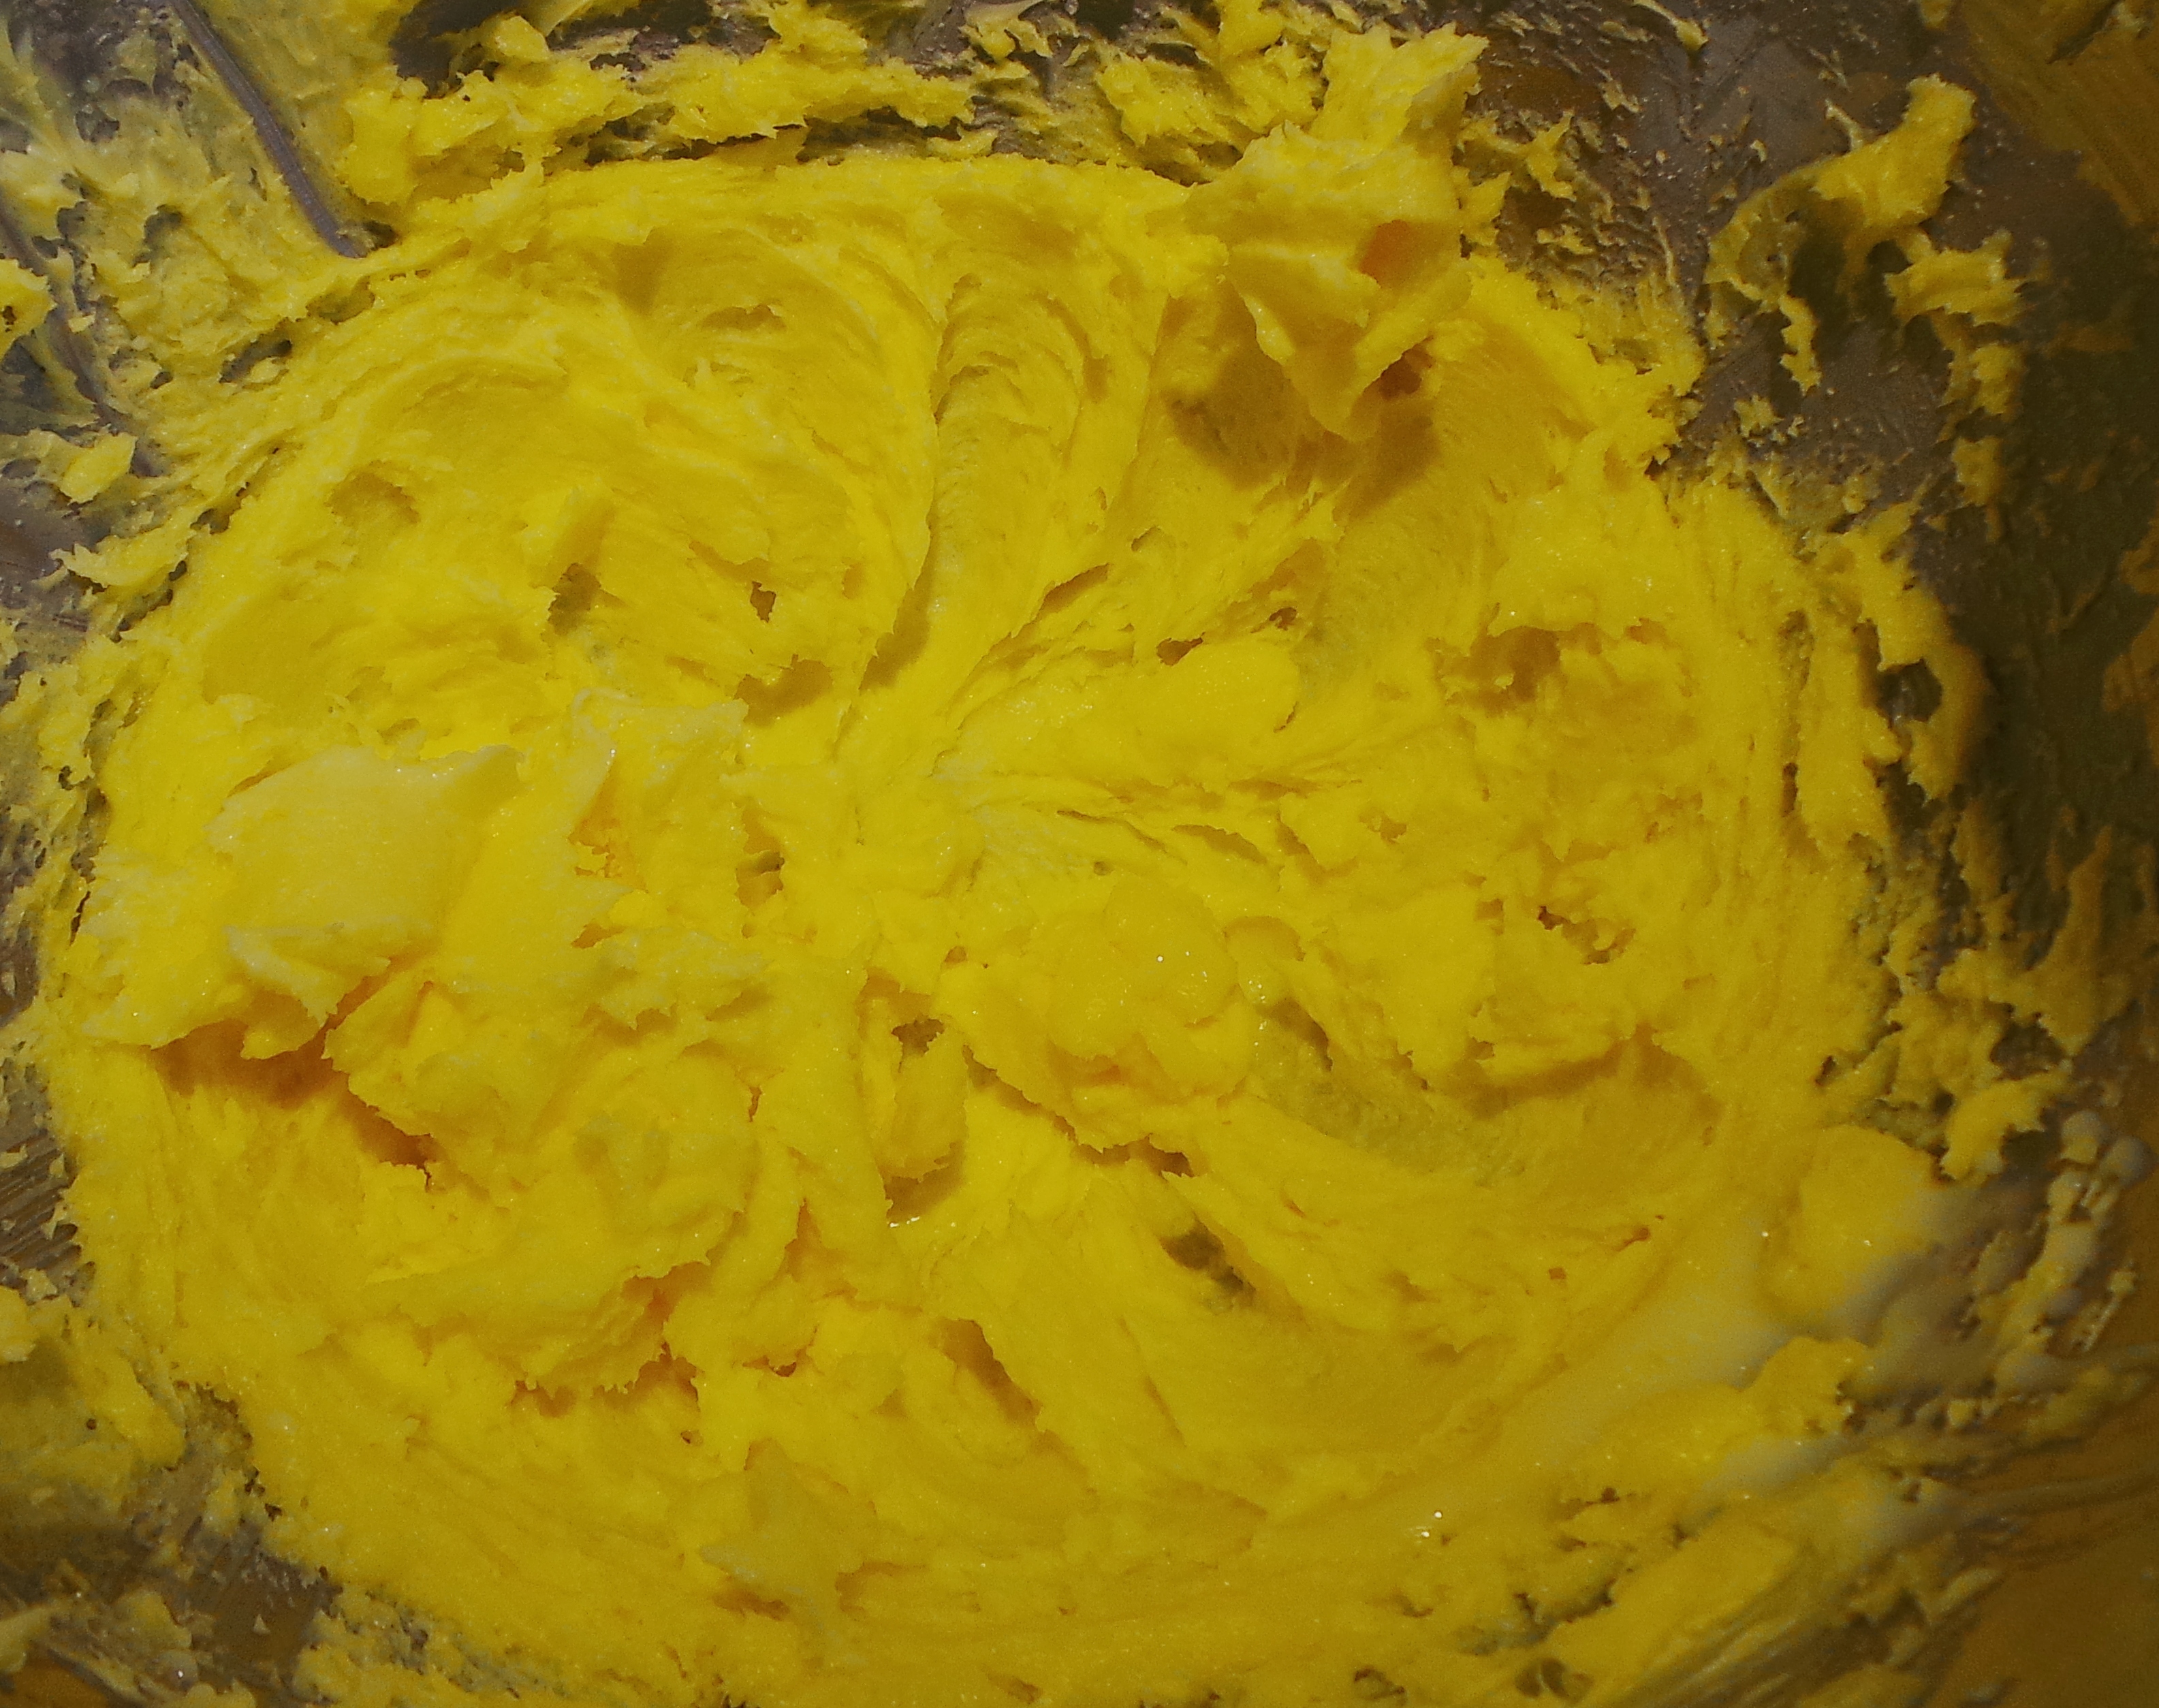
Cream butter and sugar.
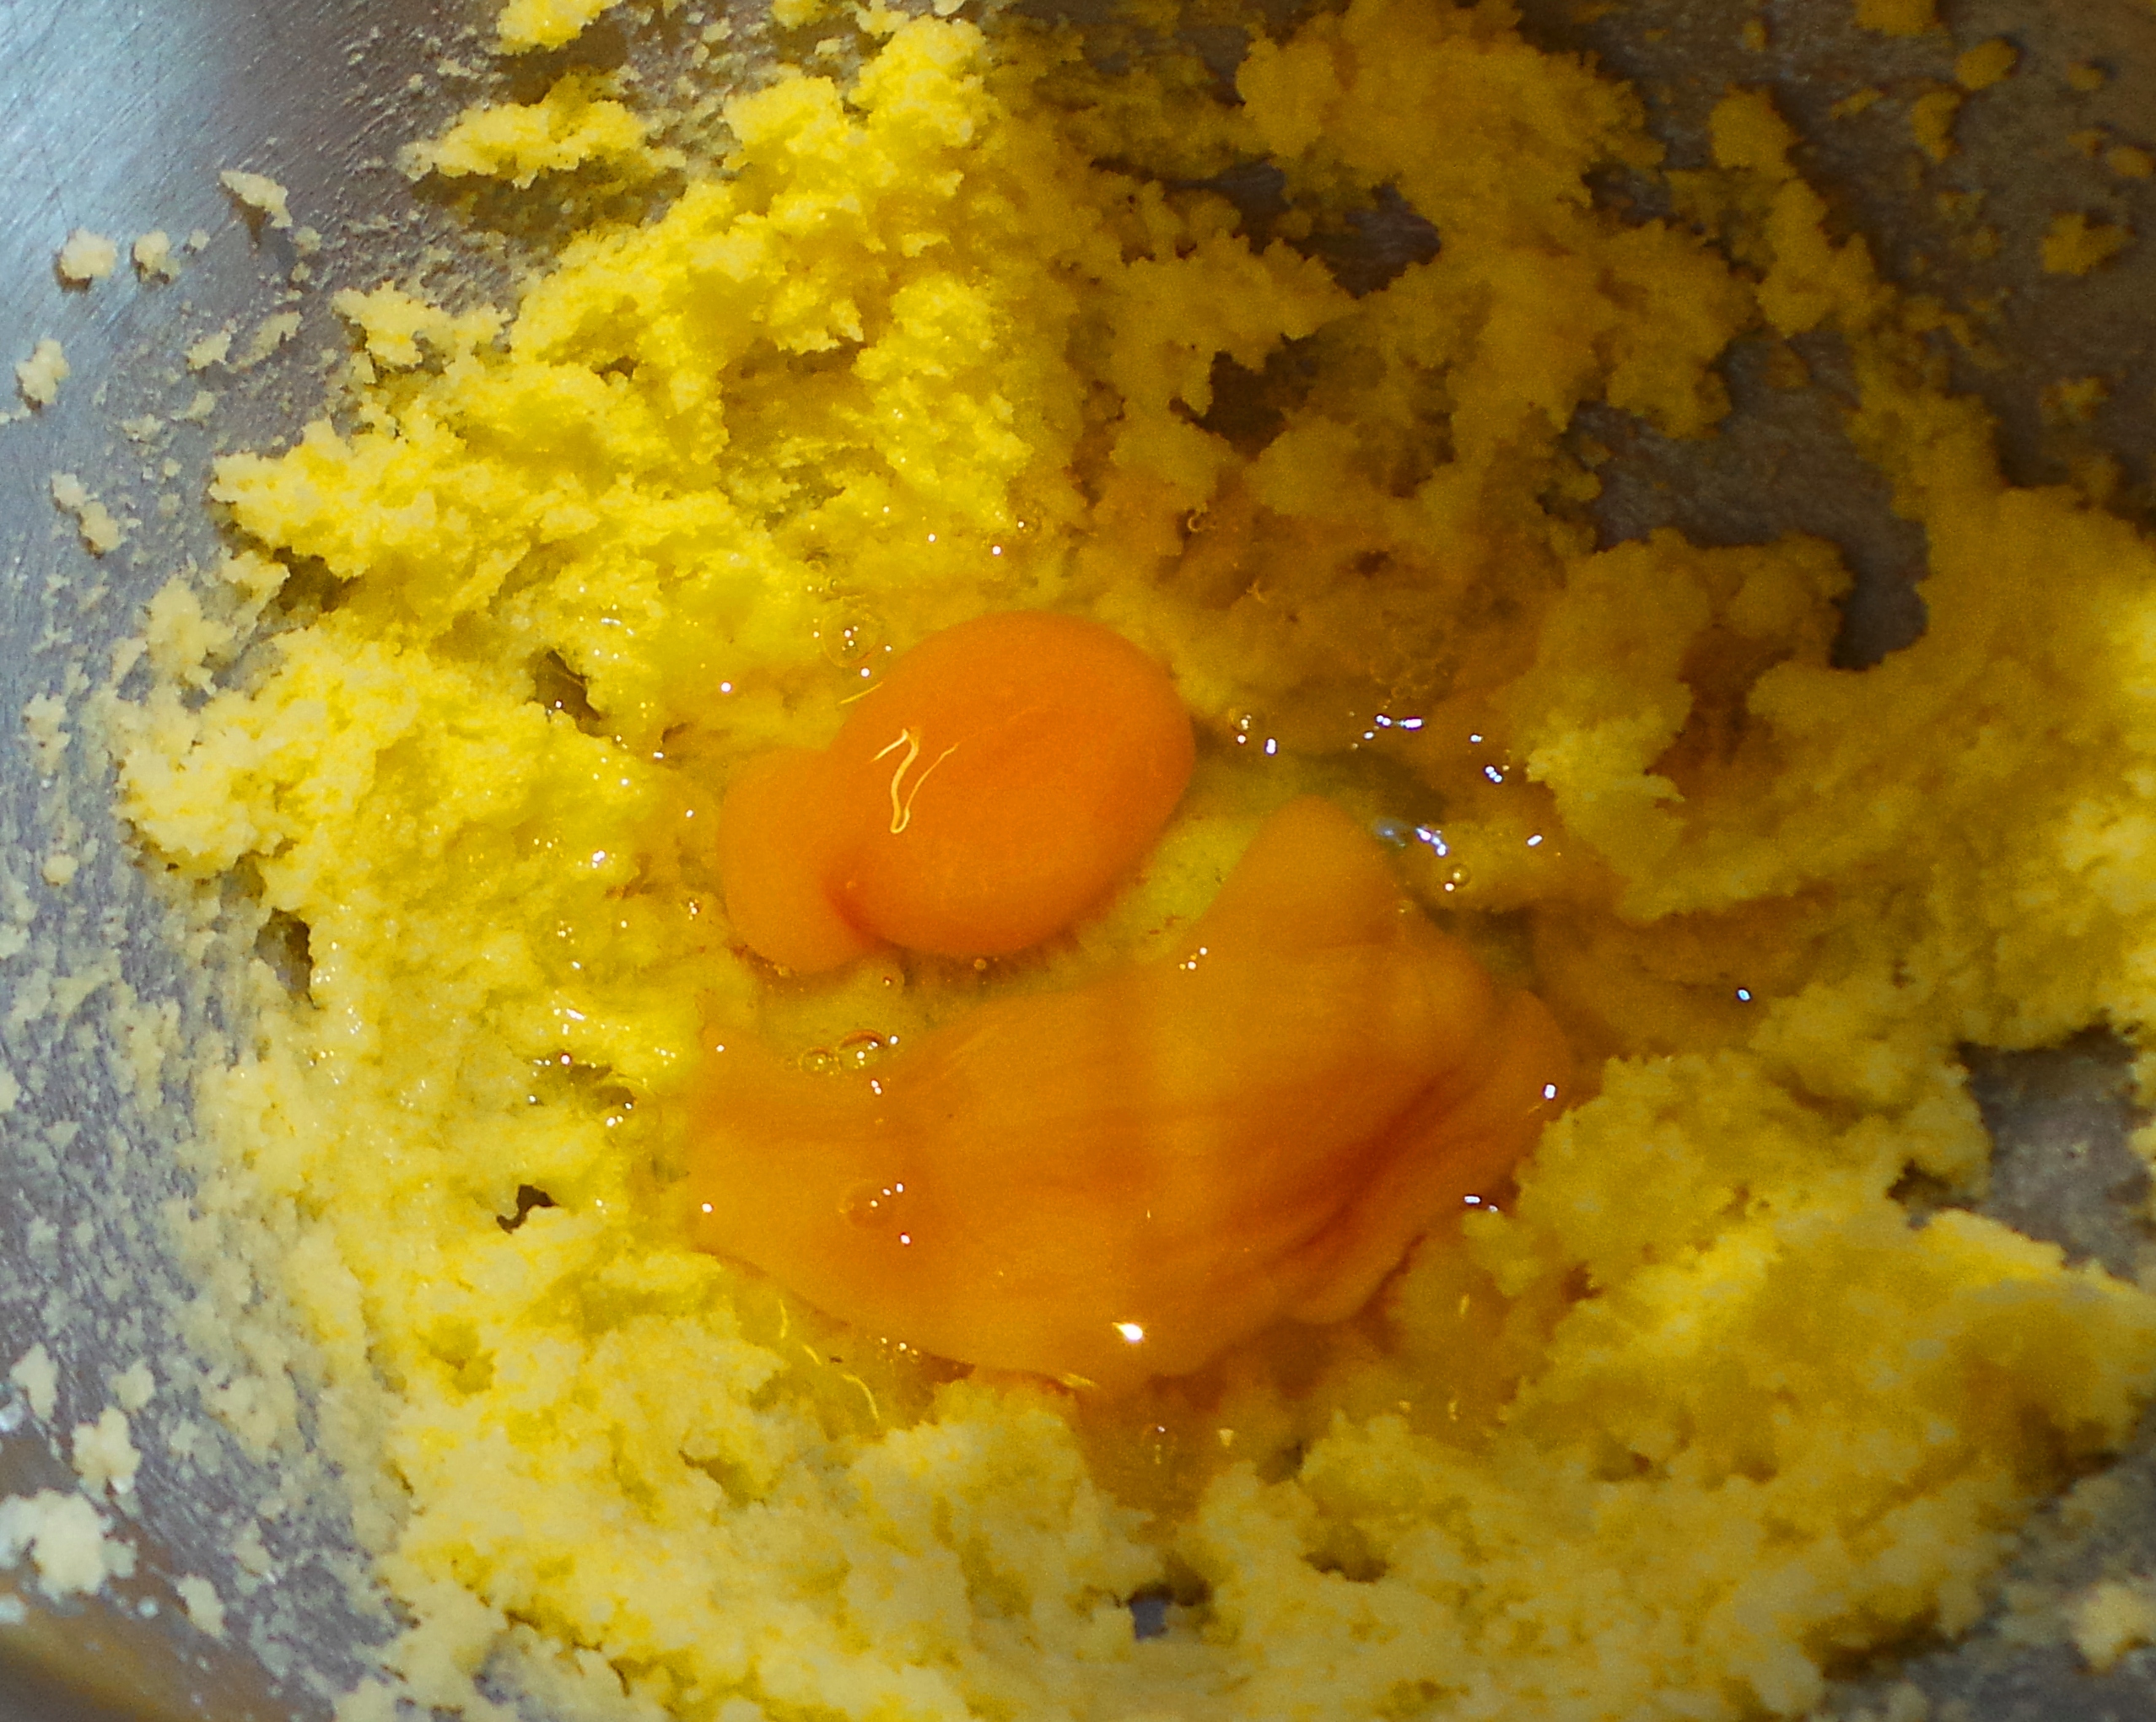
Add eggs and flavourings.
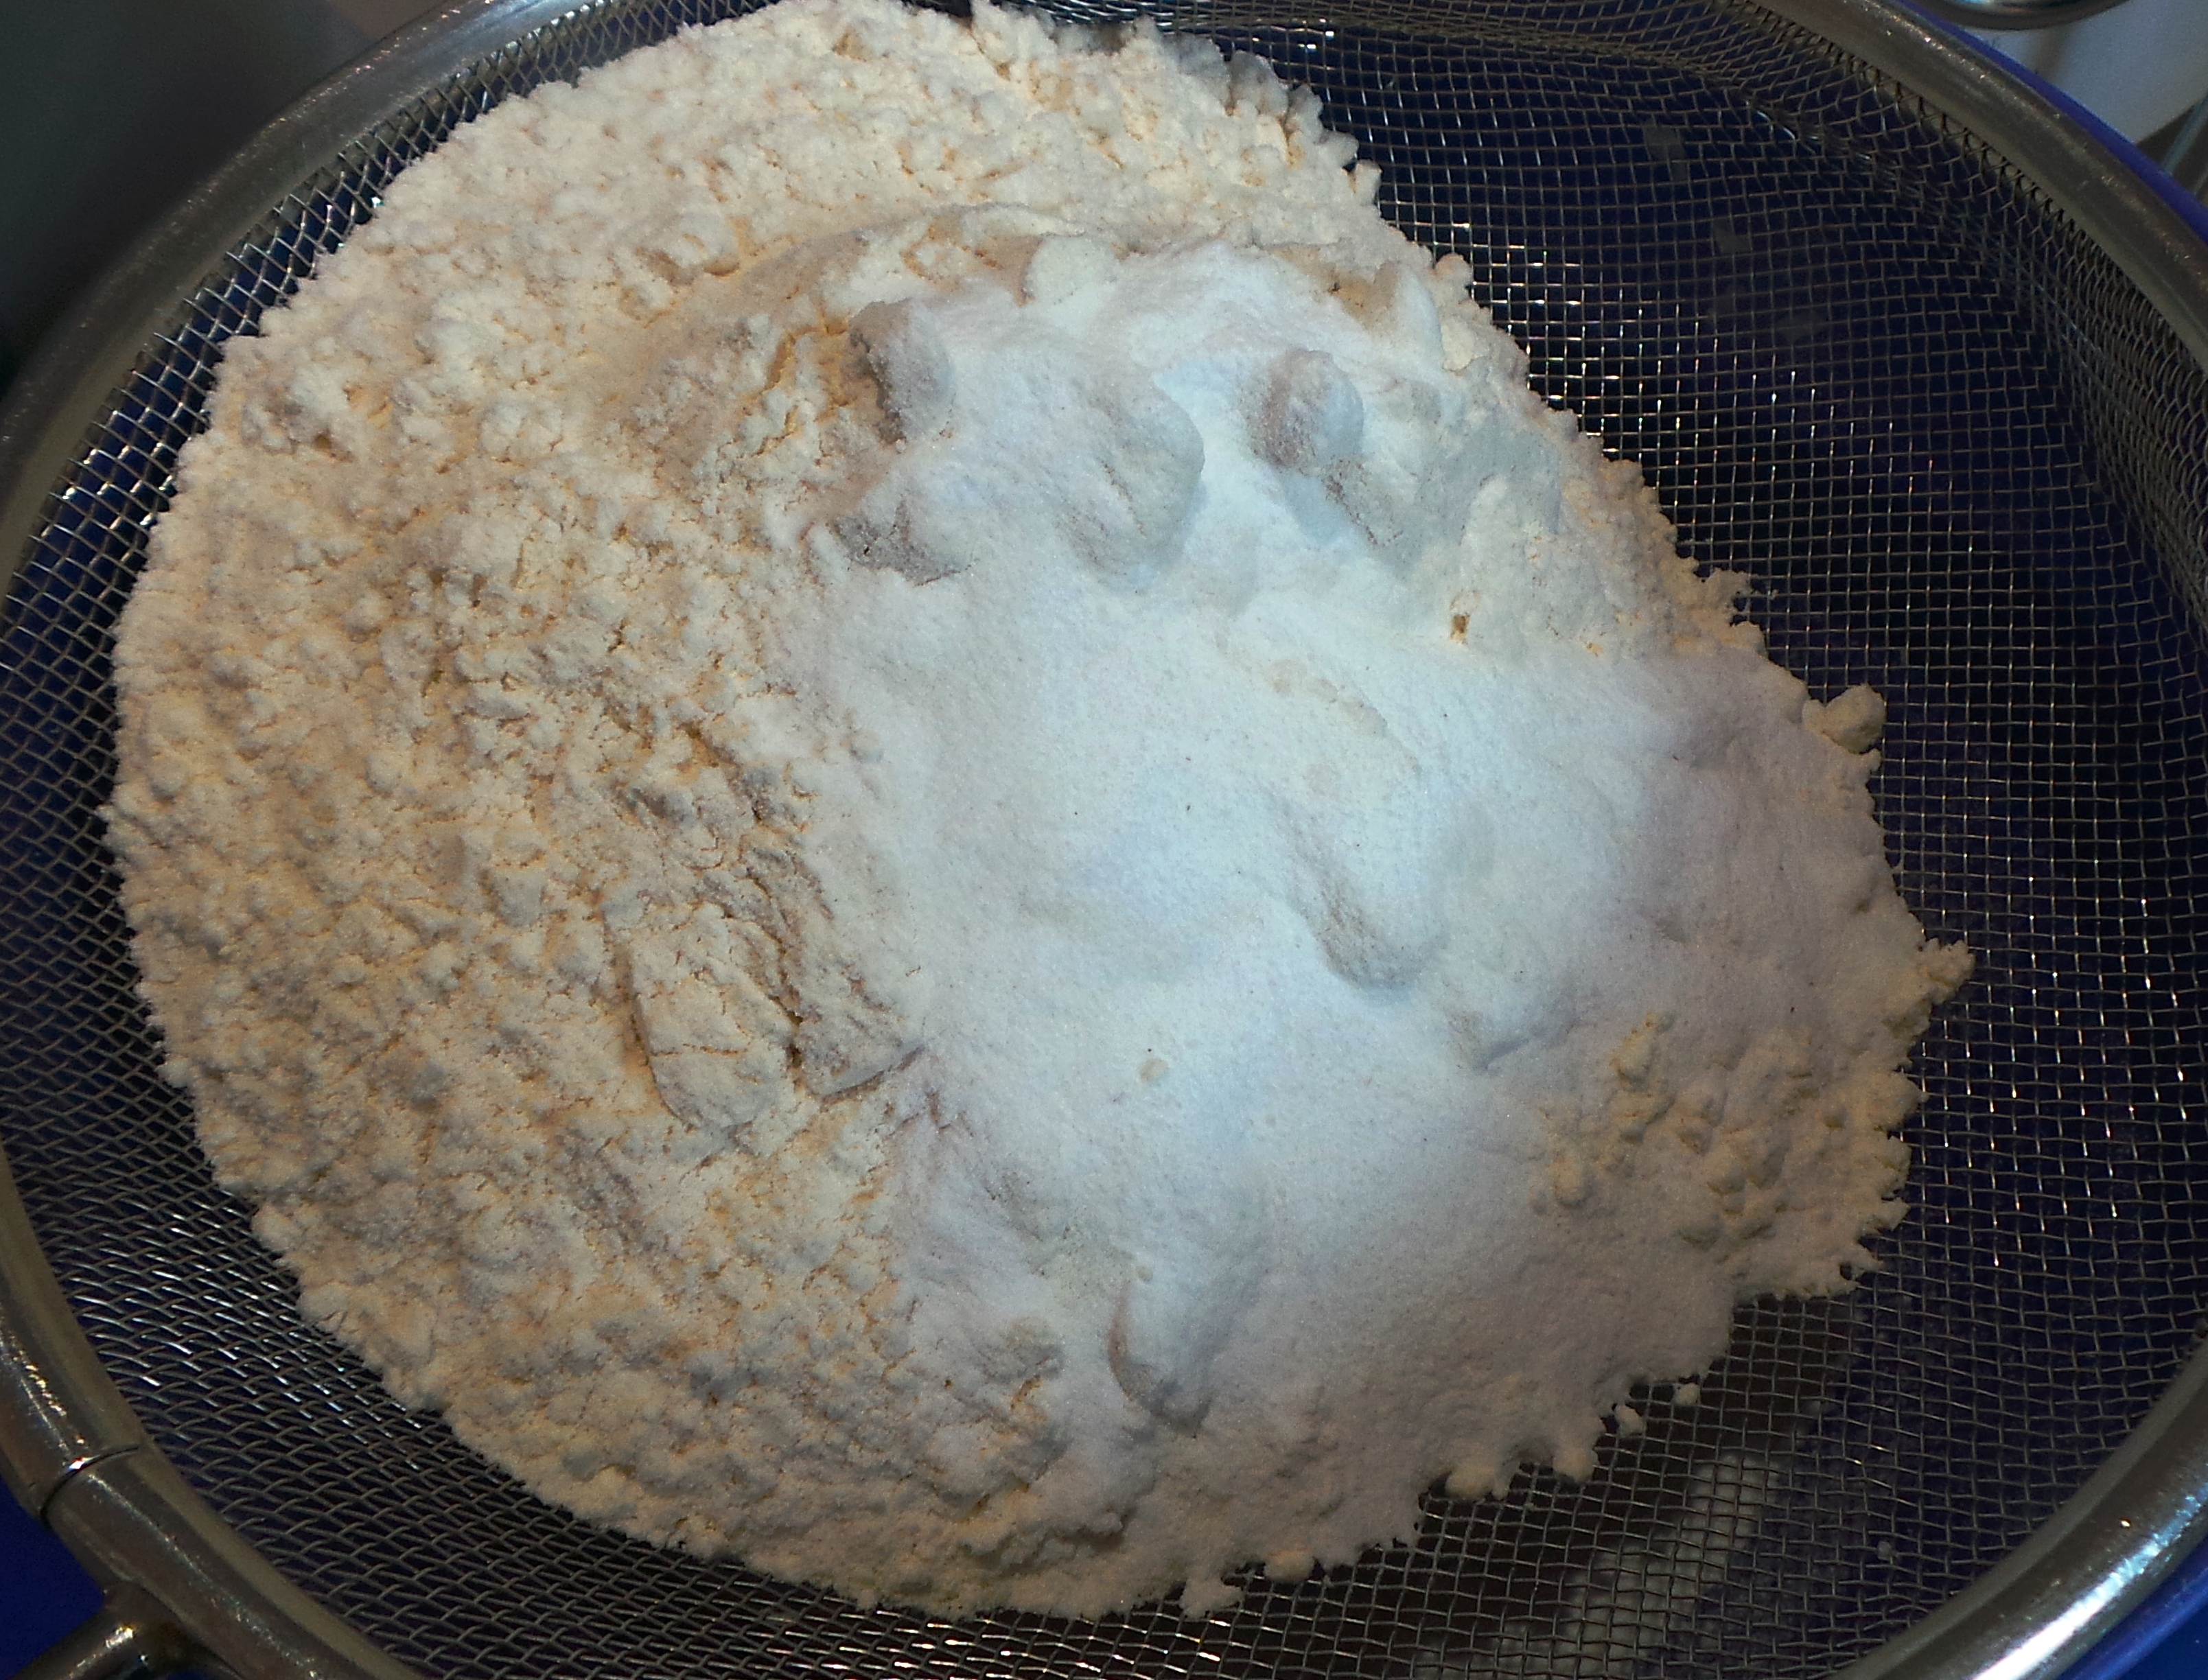
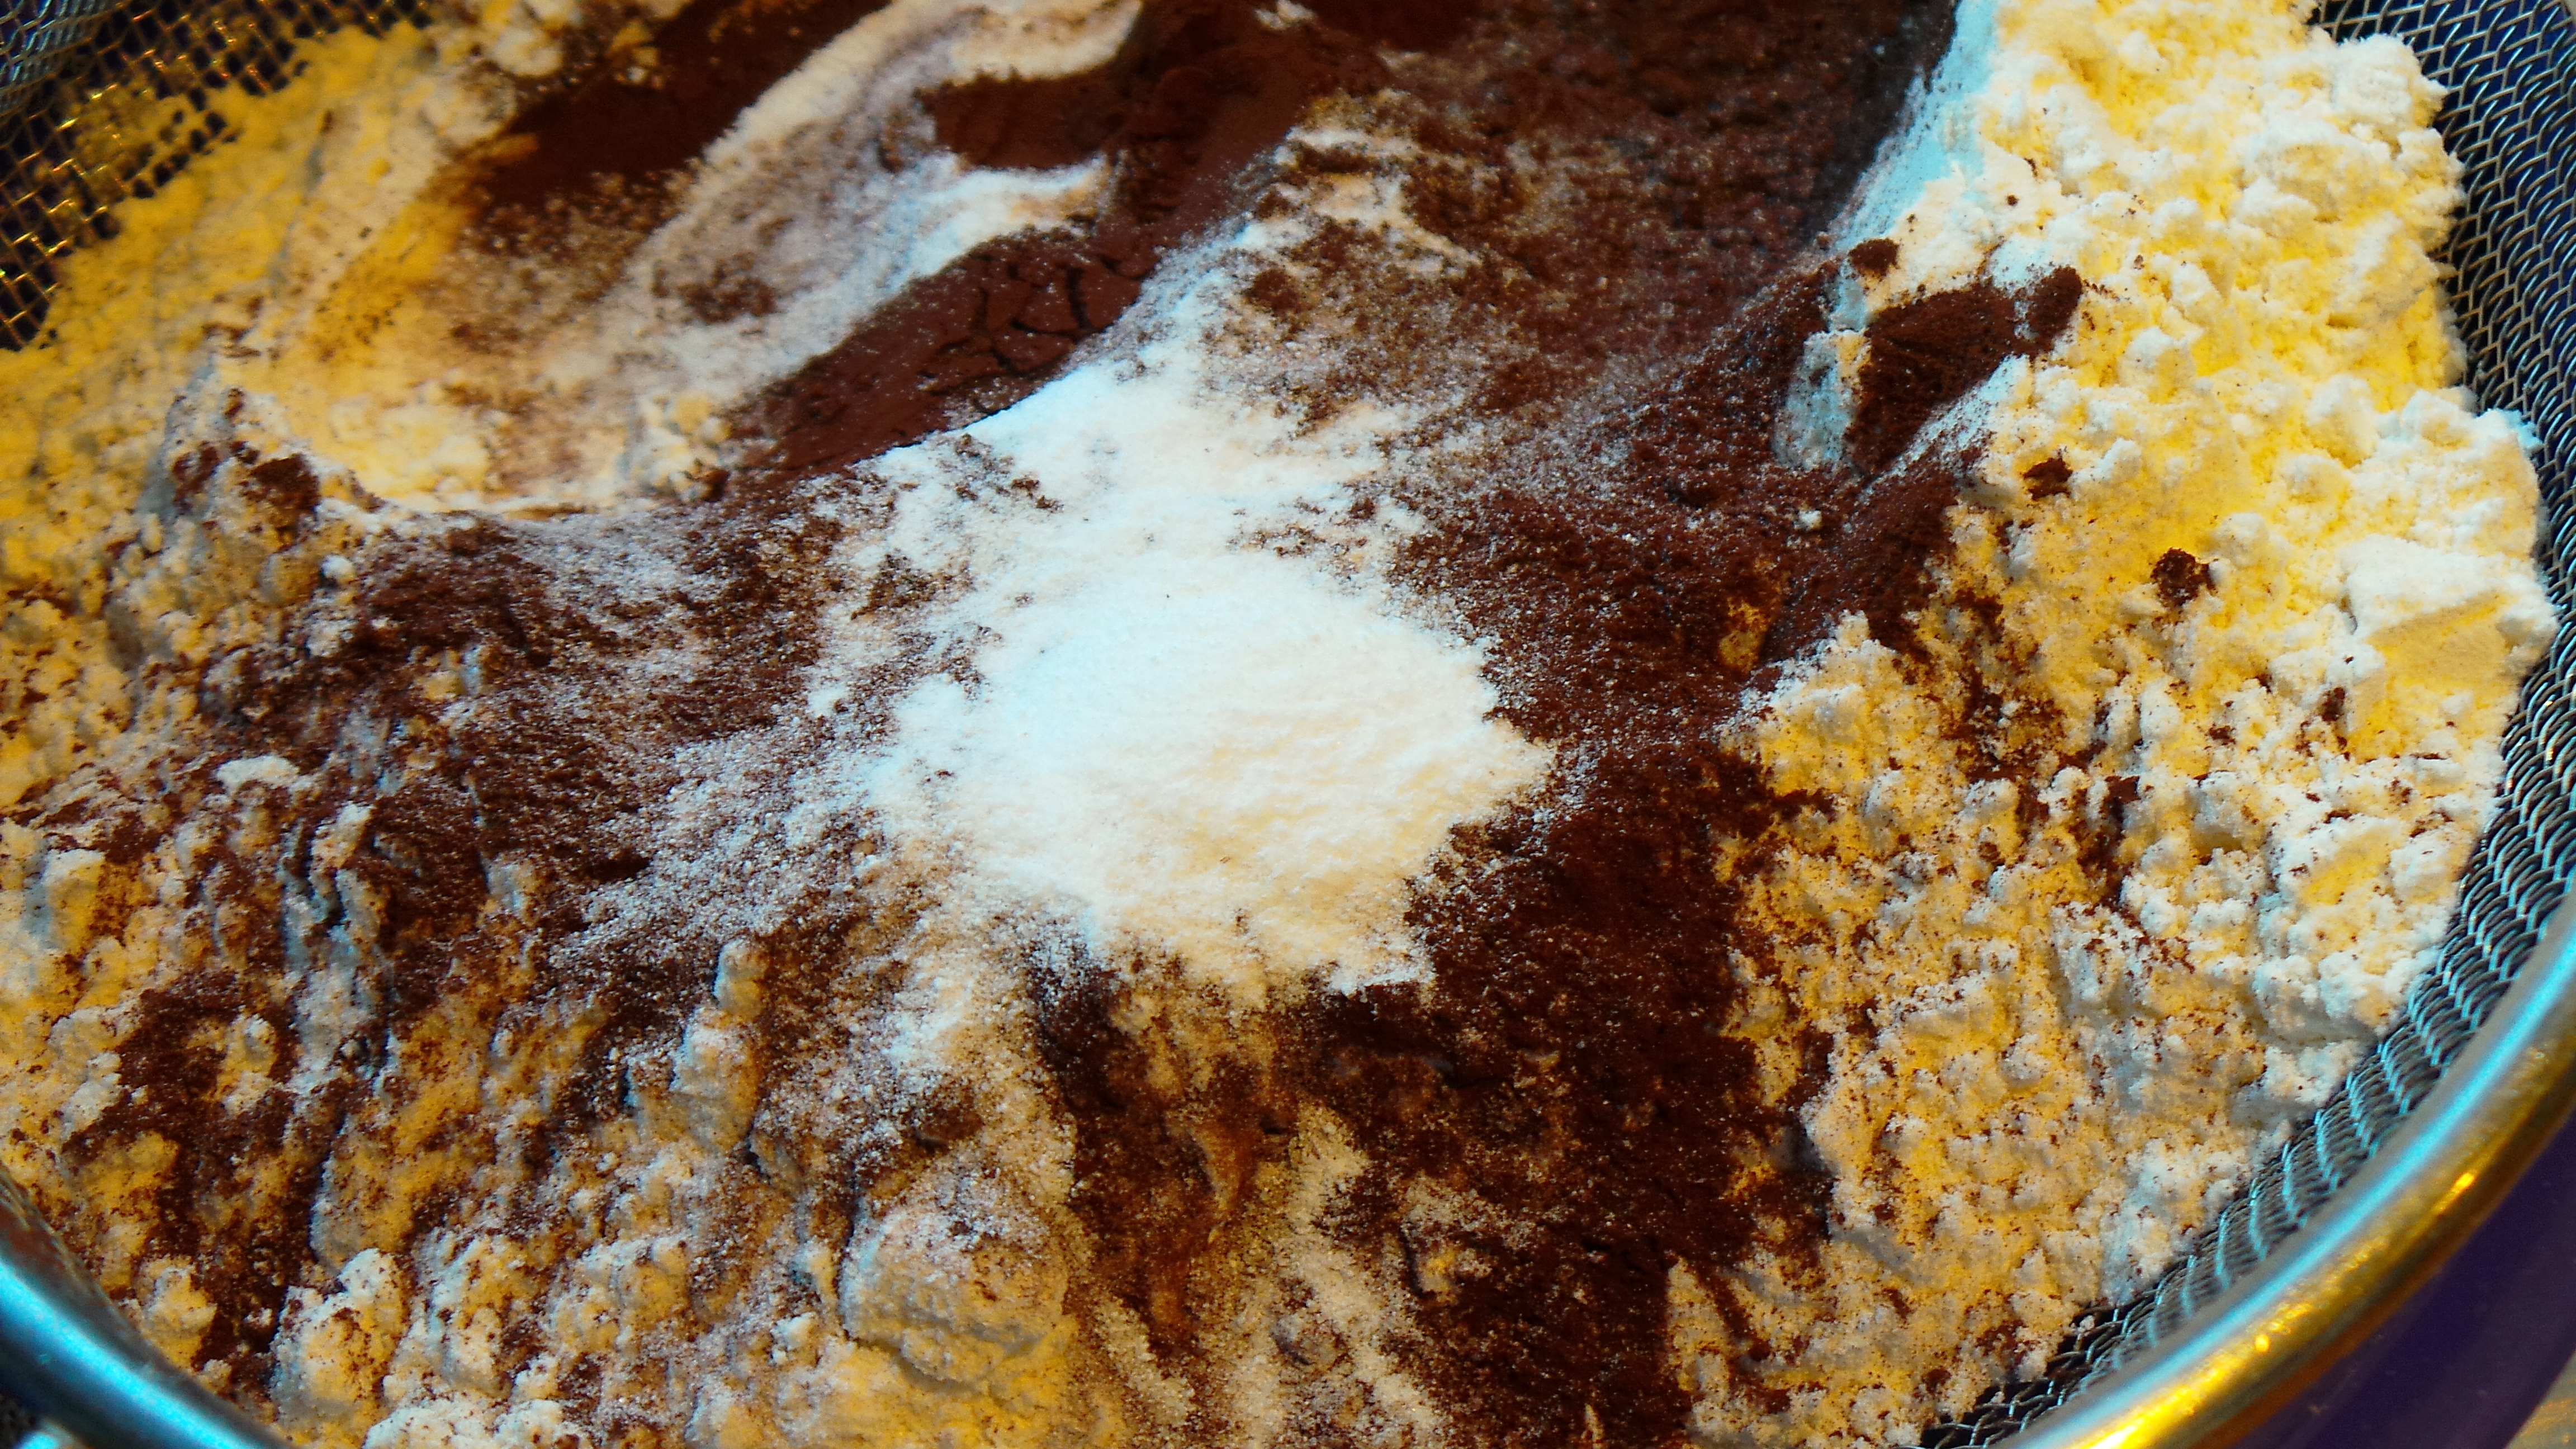
Sift together the flour and baking powder.
To help keep your kitchen under control, fill the bowl you sifted the flour into with warm water and washing-up liquid/dish soap. Now is the time to put any electric mixer away. Wipe it down (if necessary) and place the beaters in the bowl of water along with any measuring cups and spoons you have used.
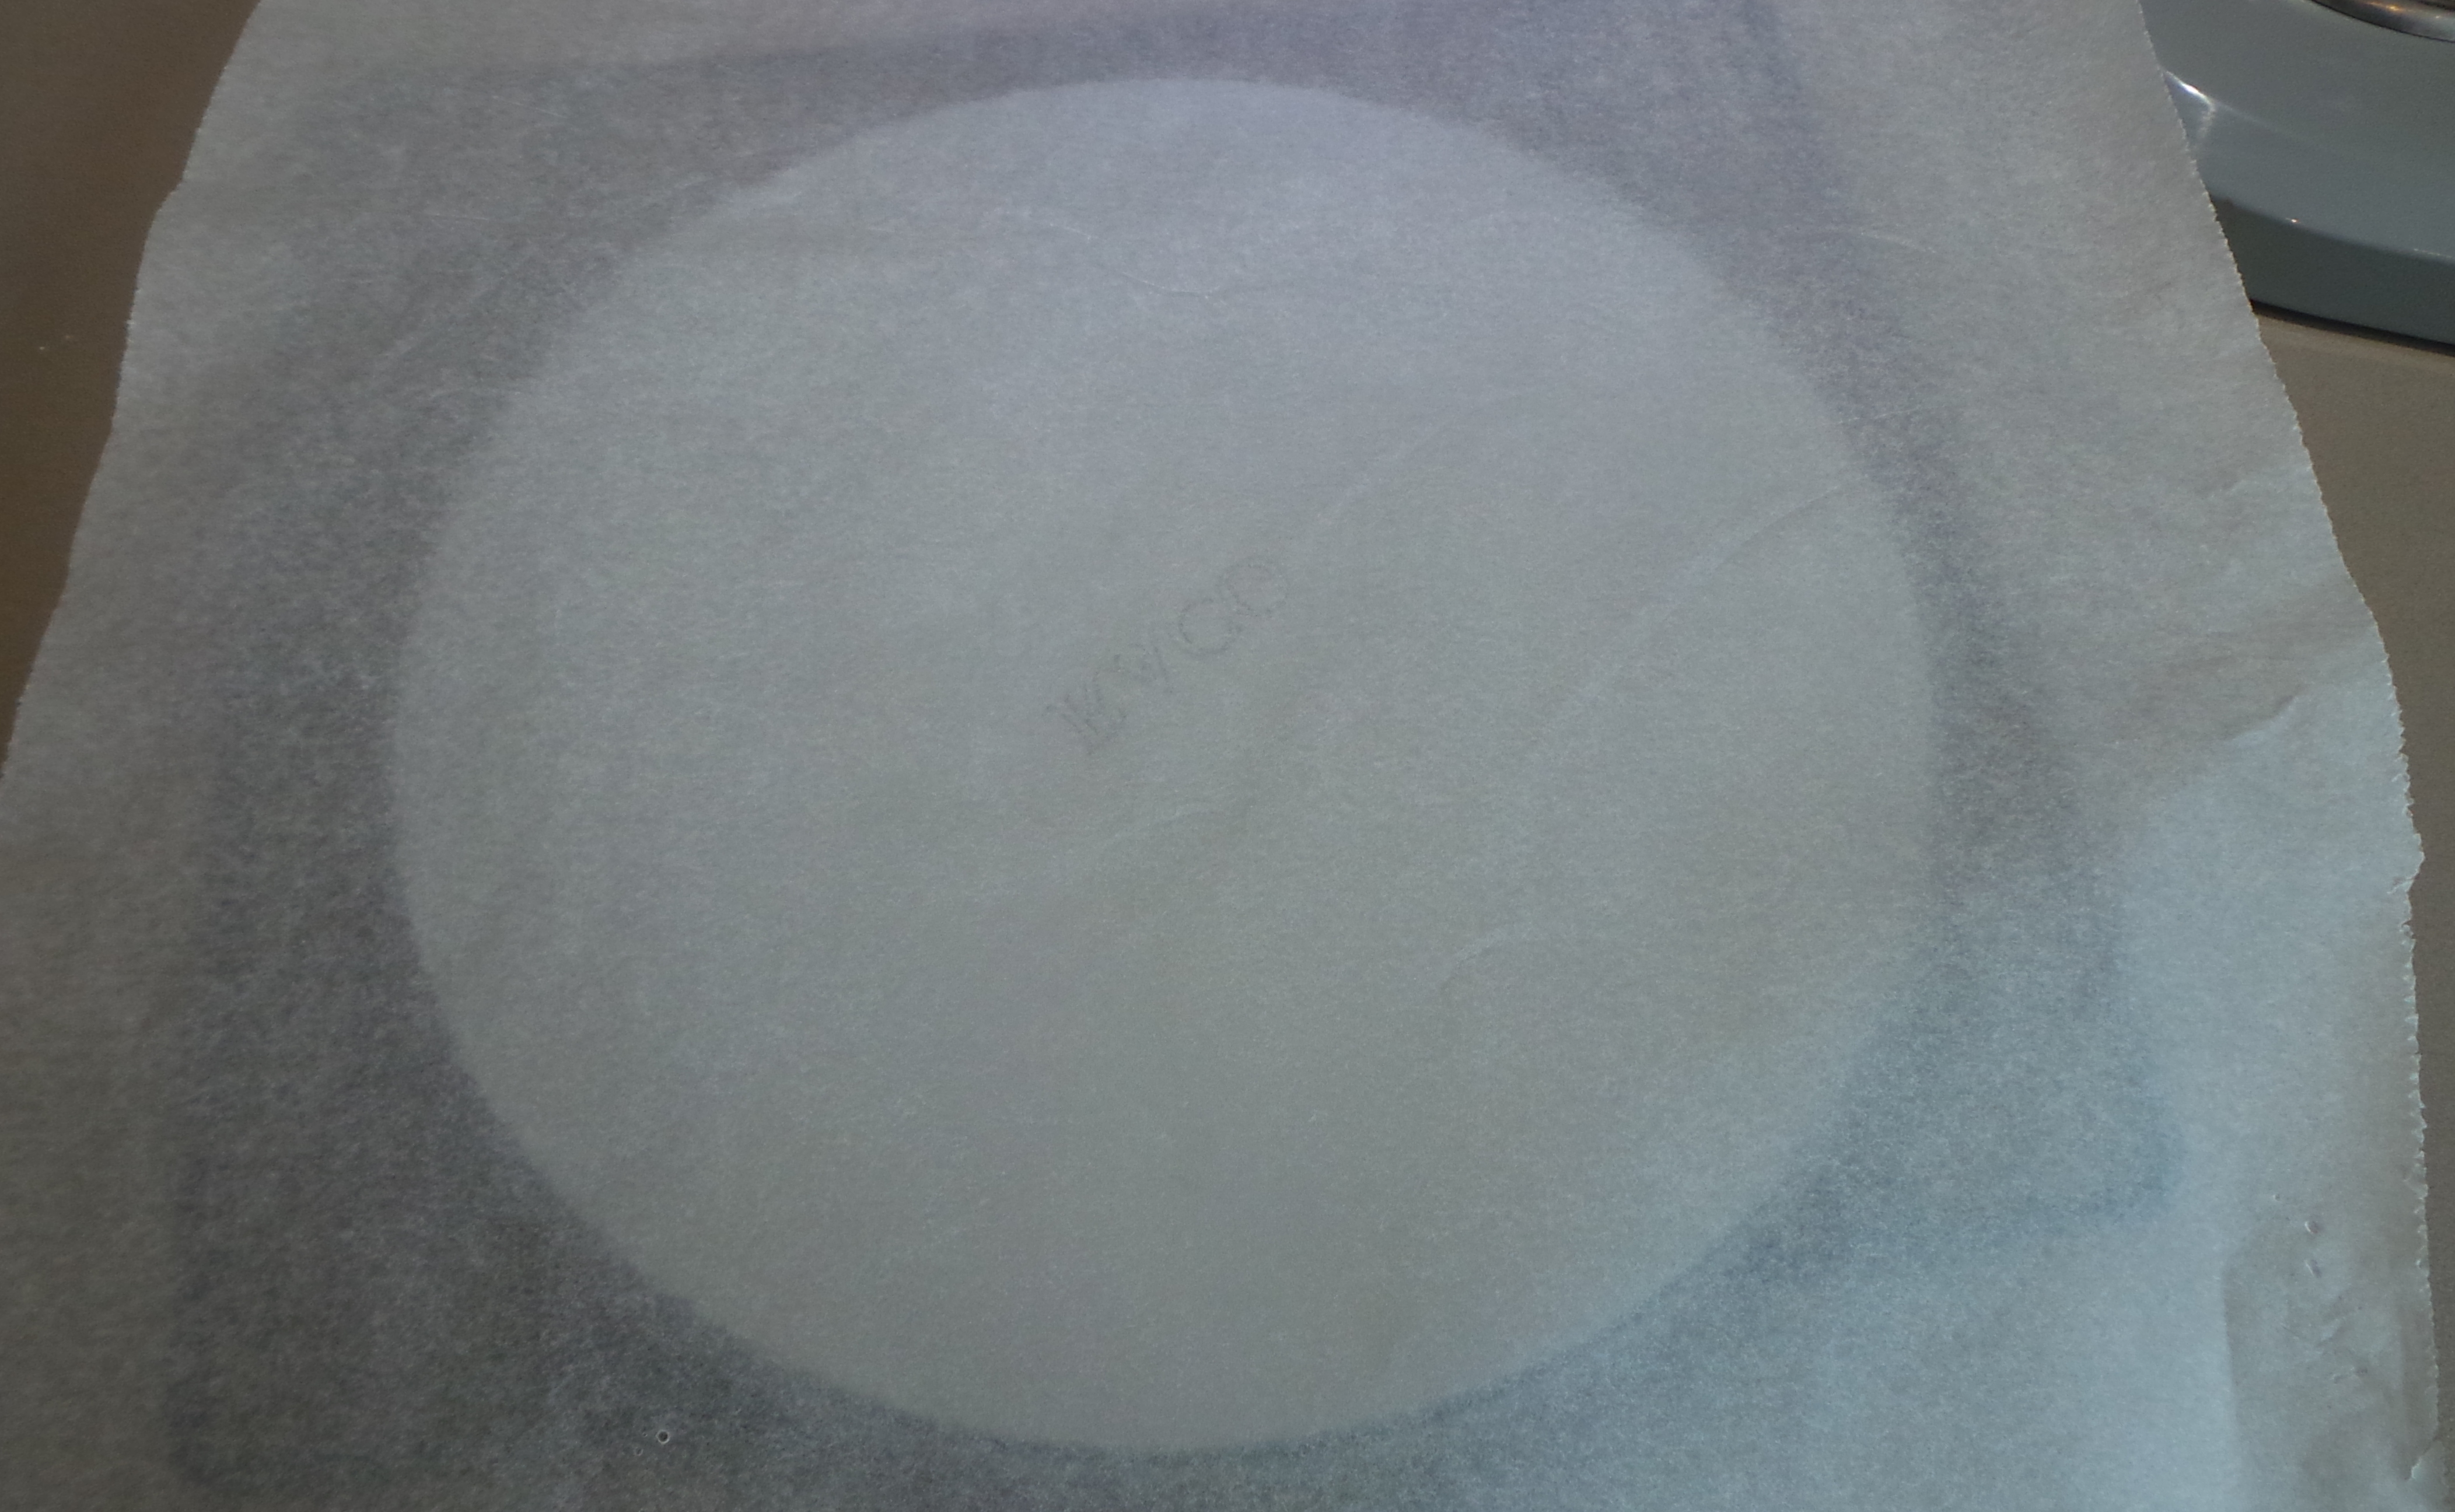
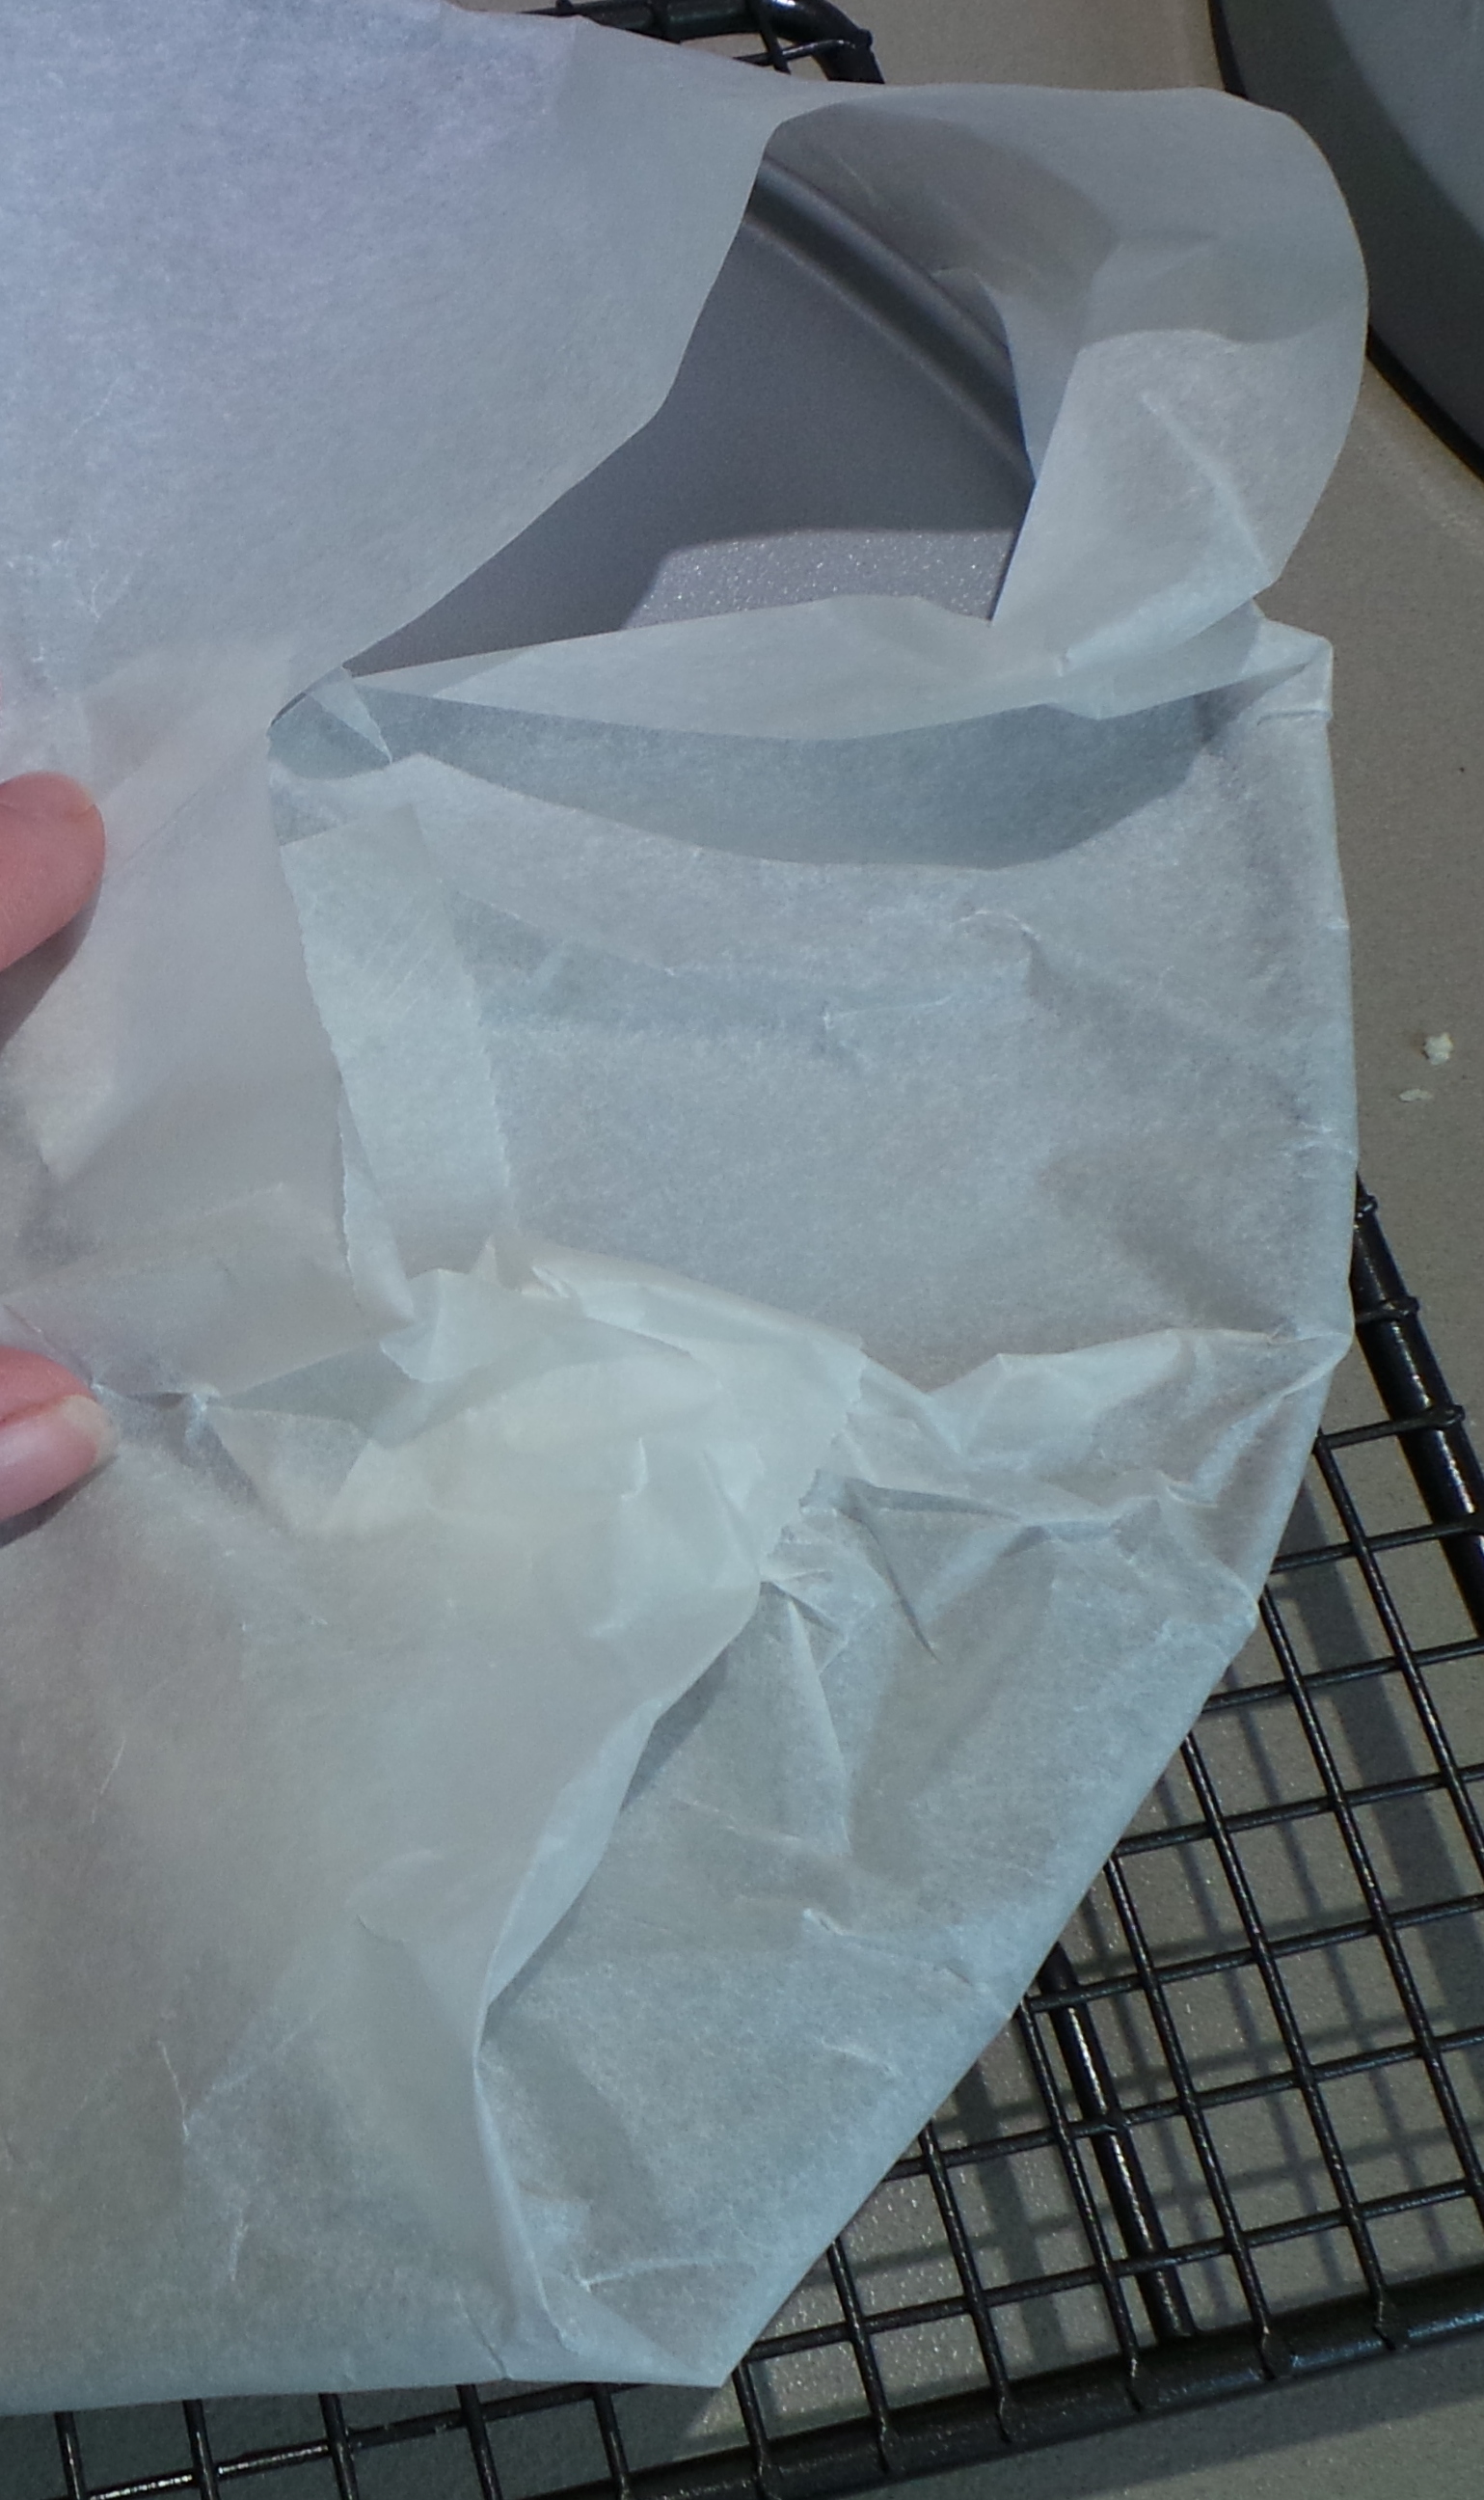
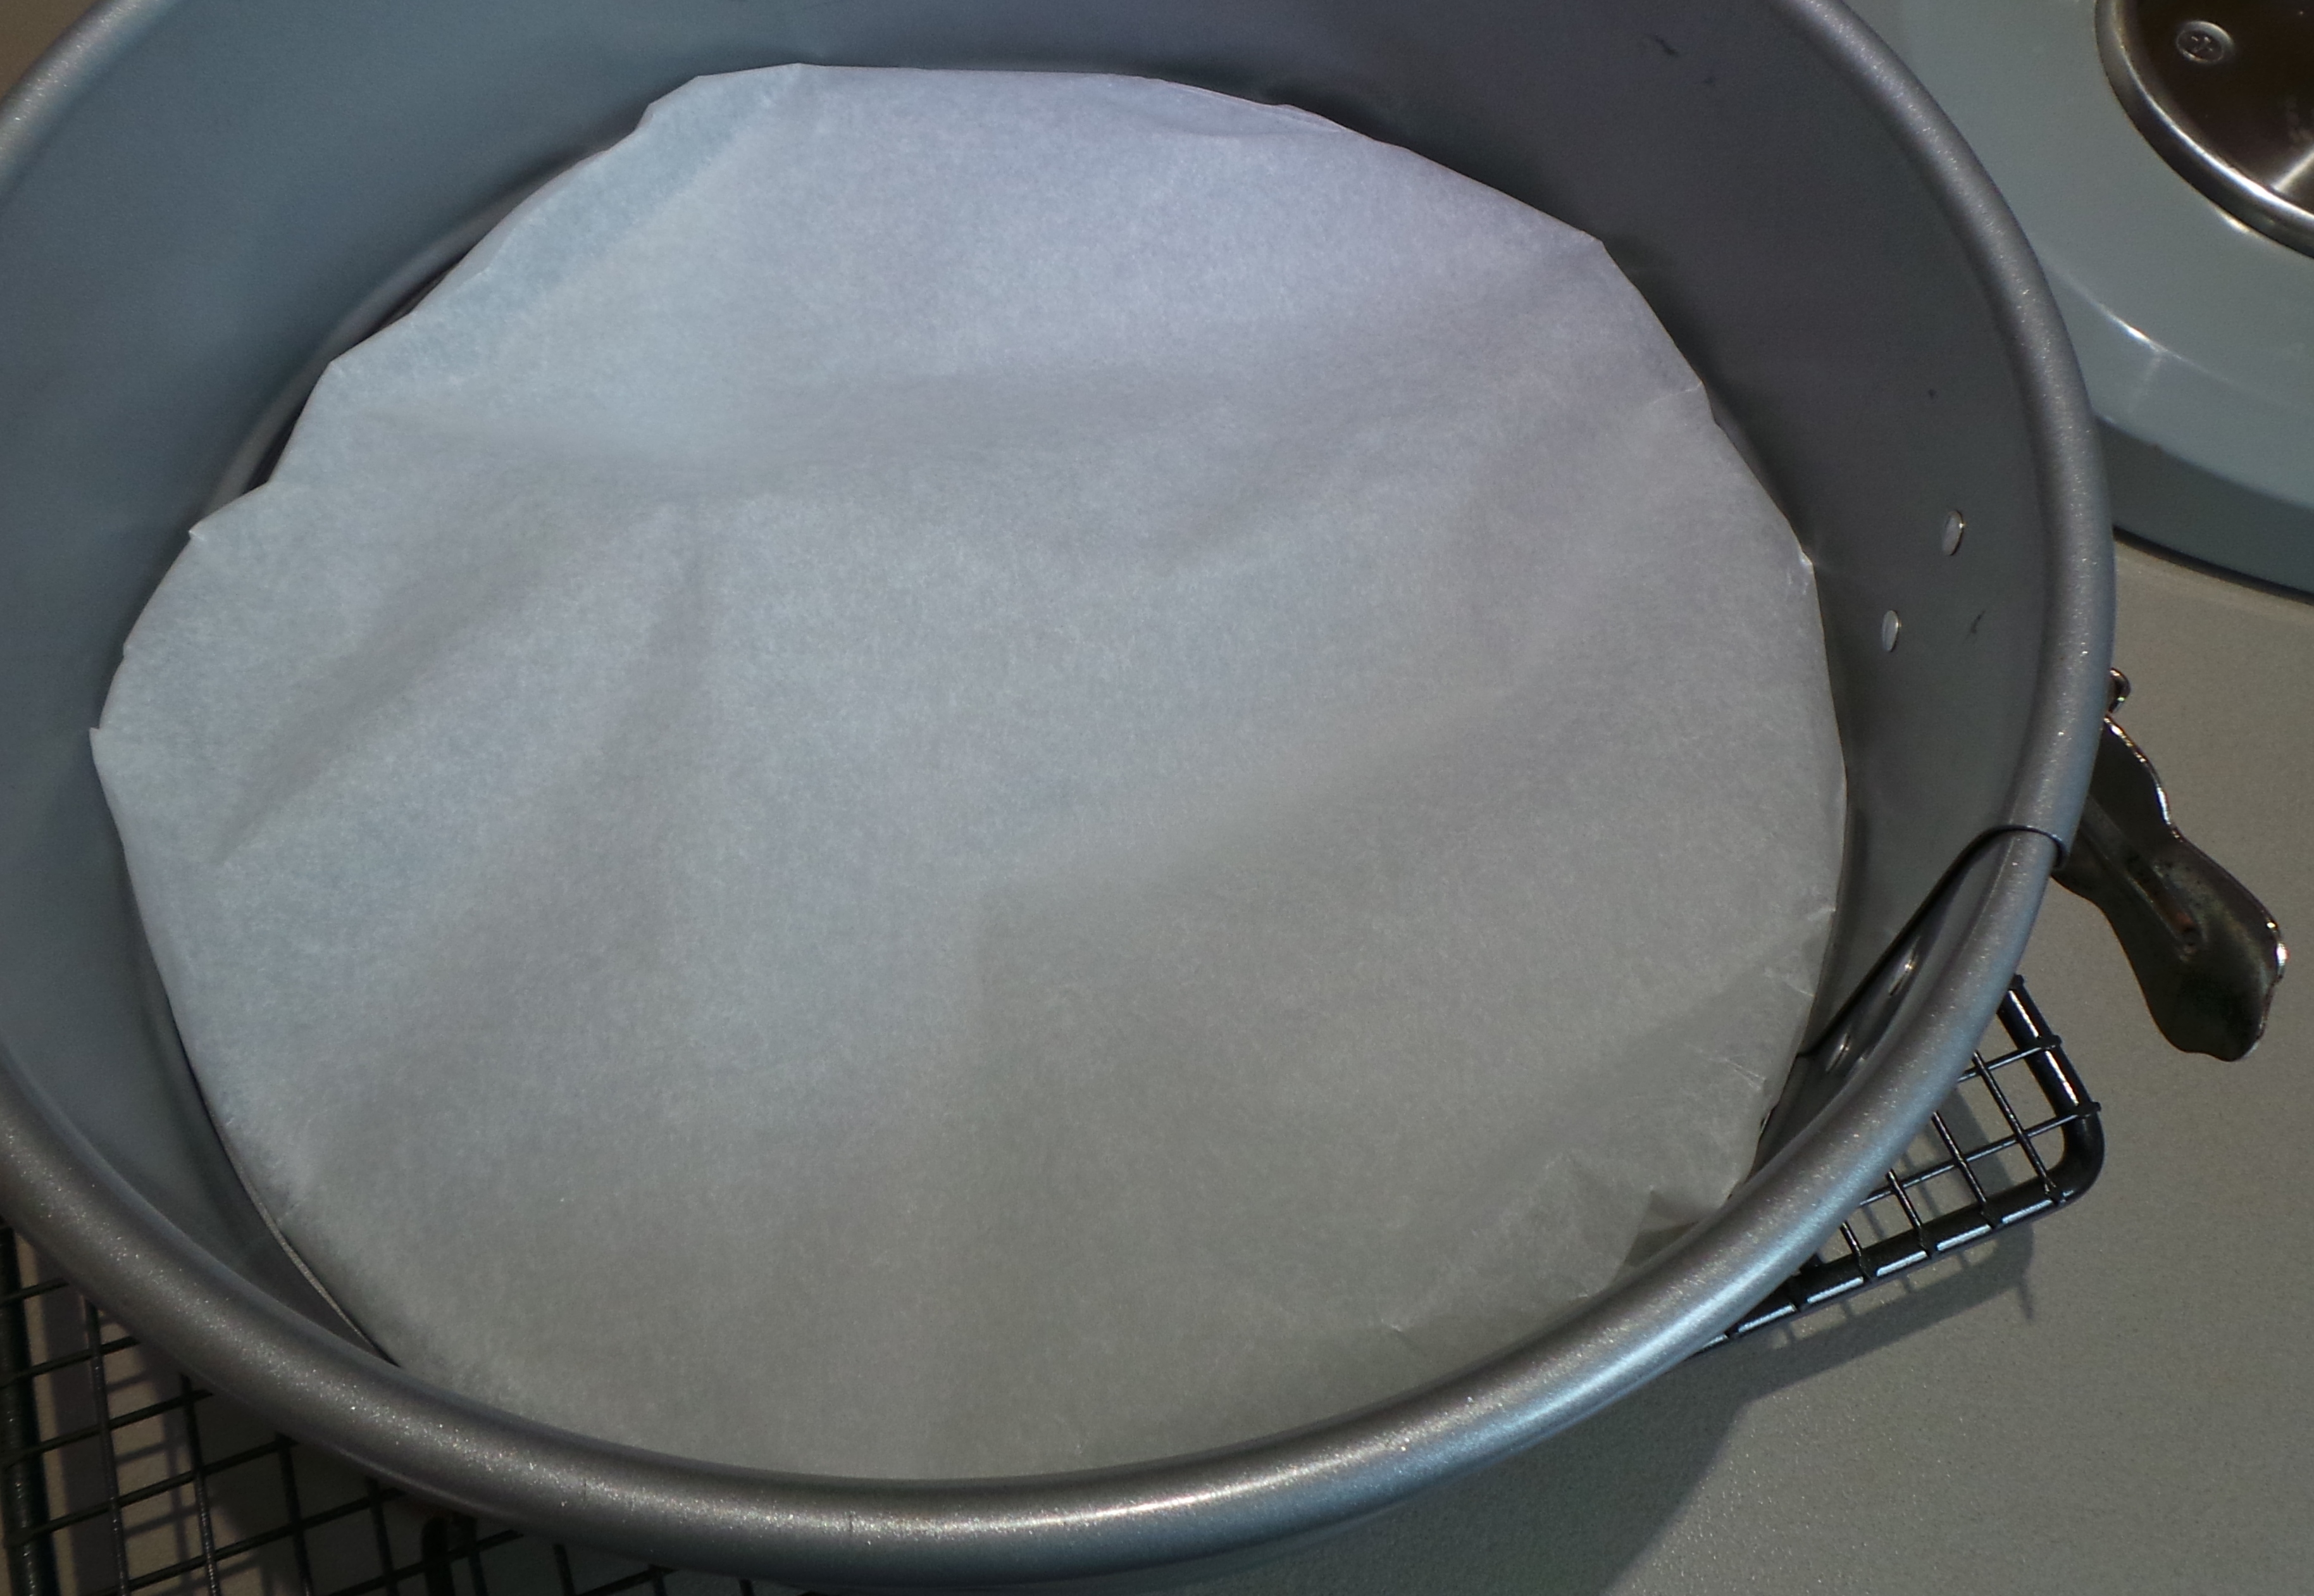
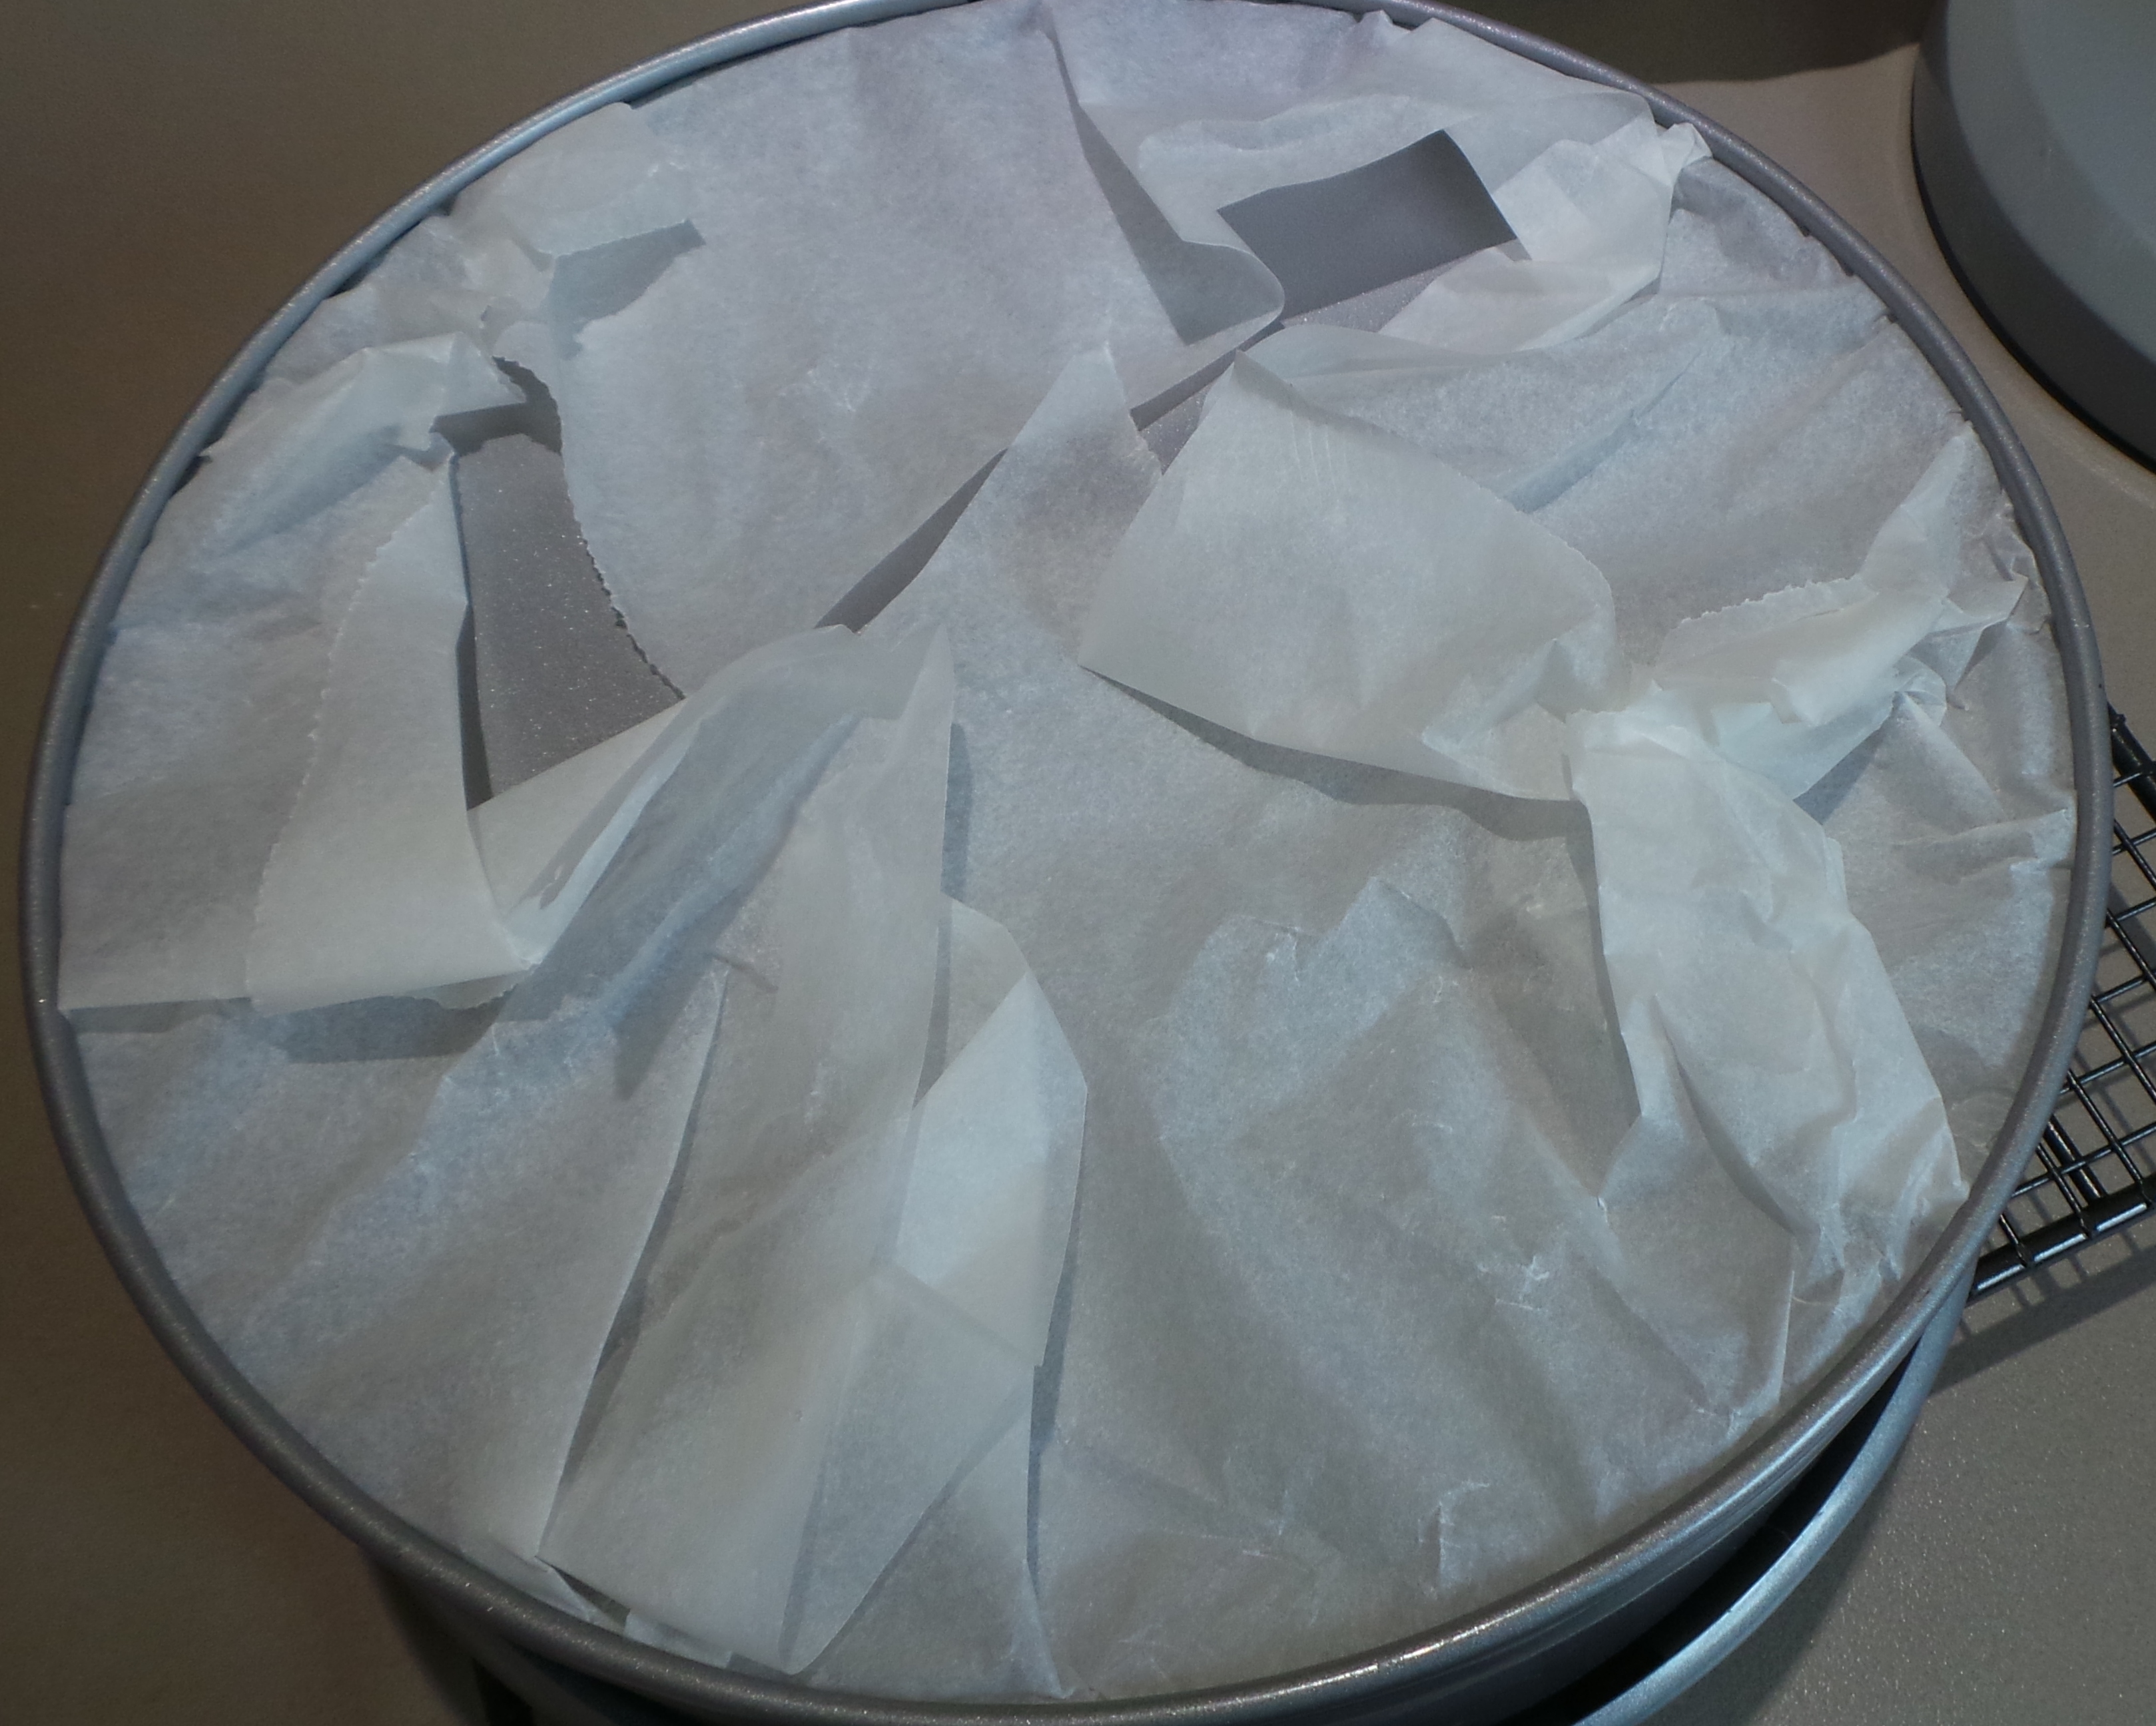
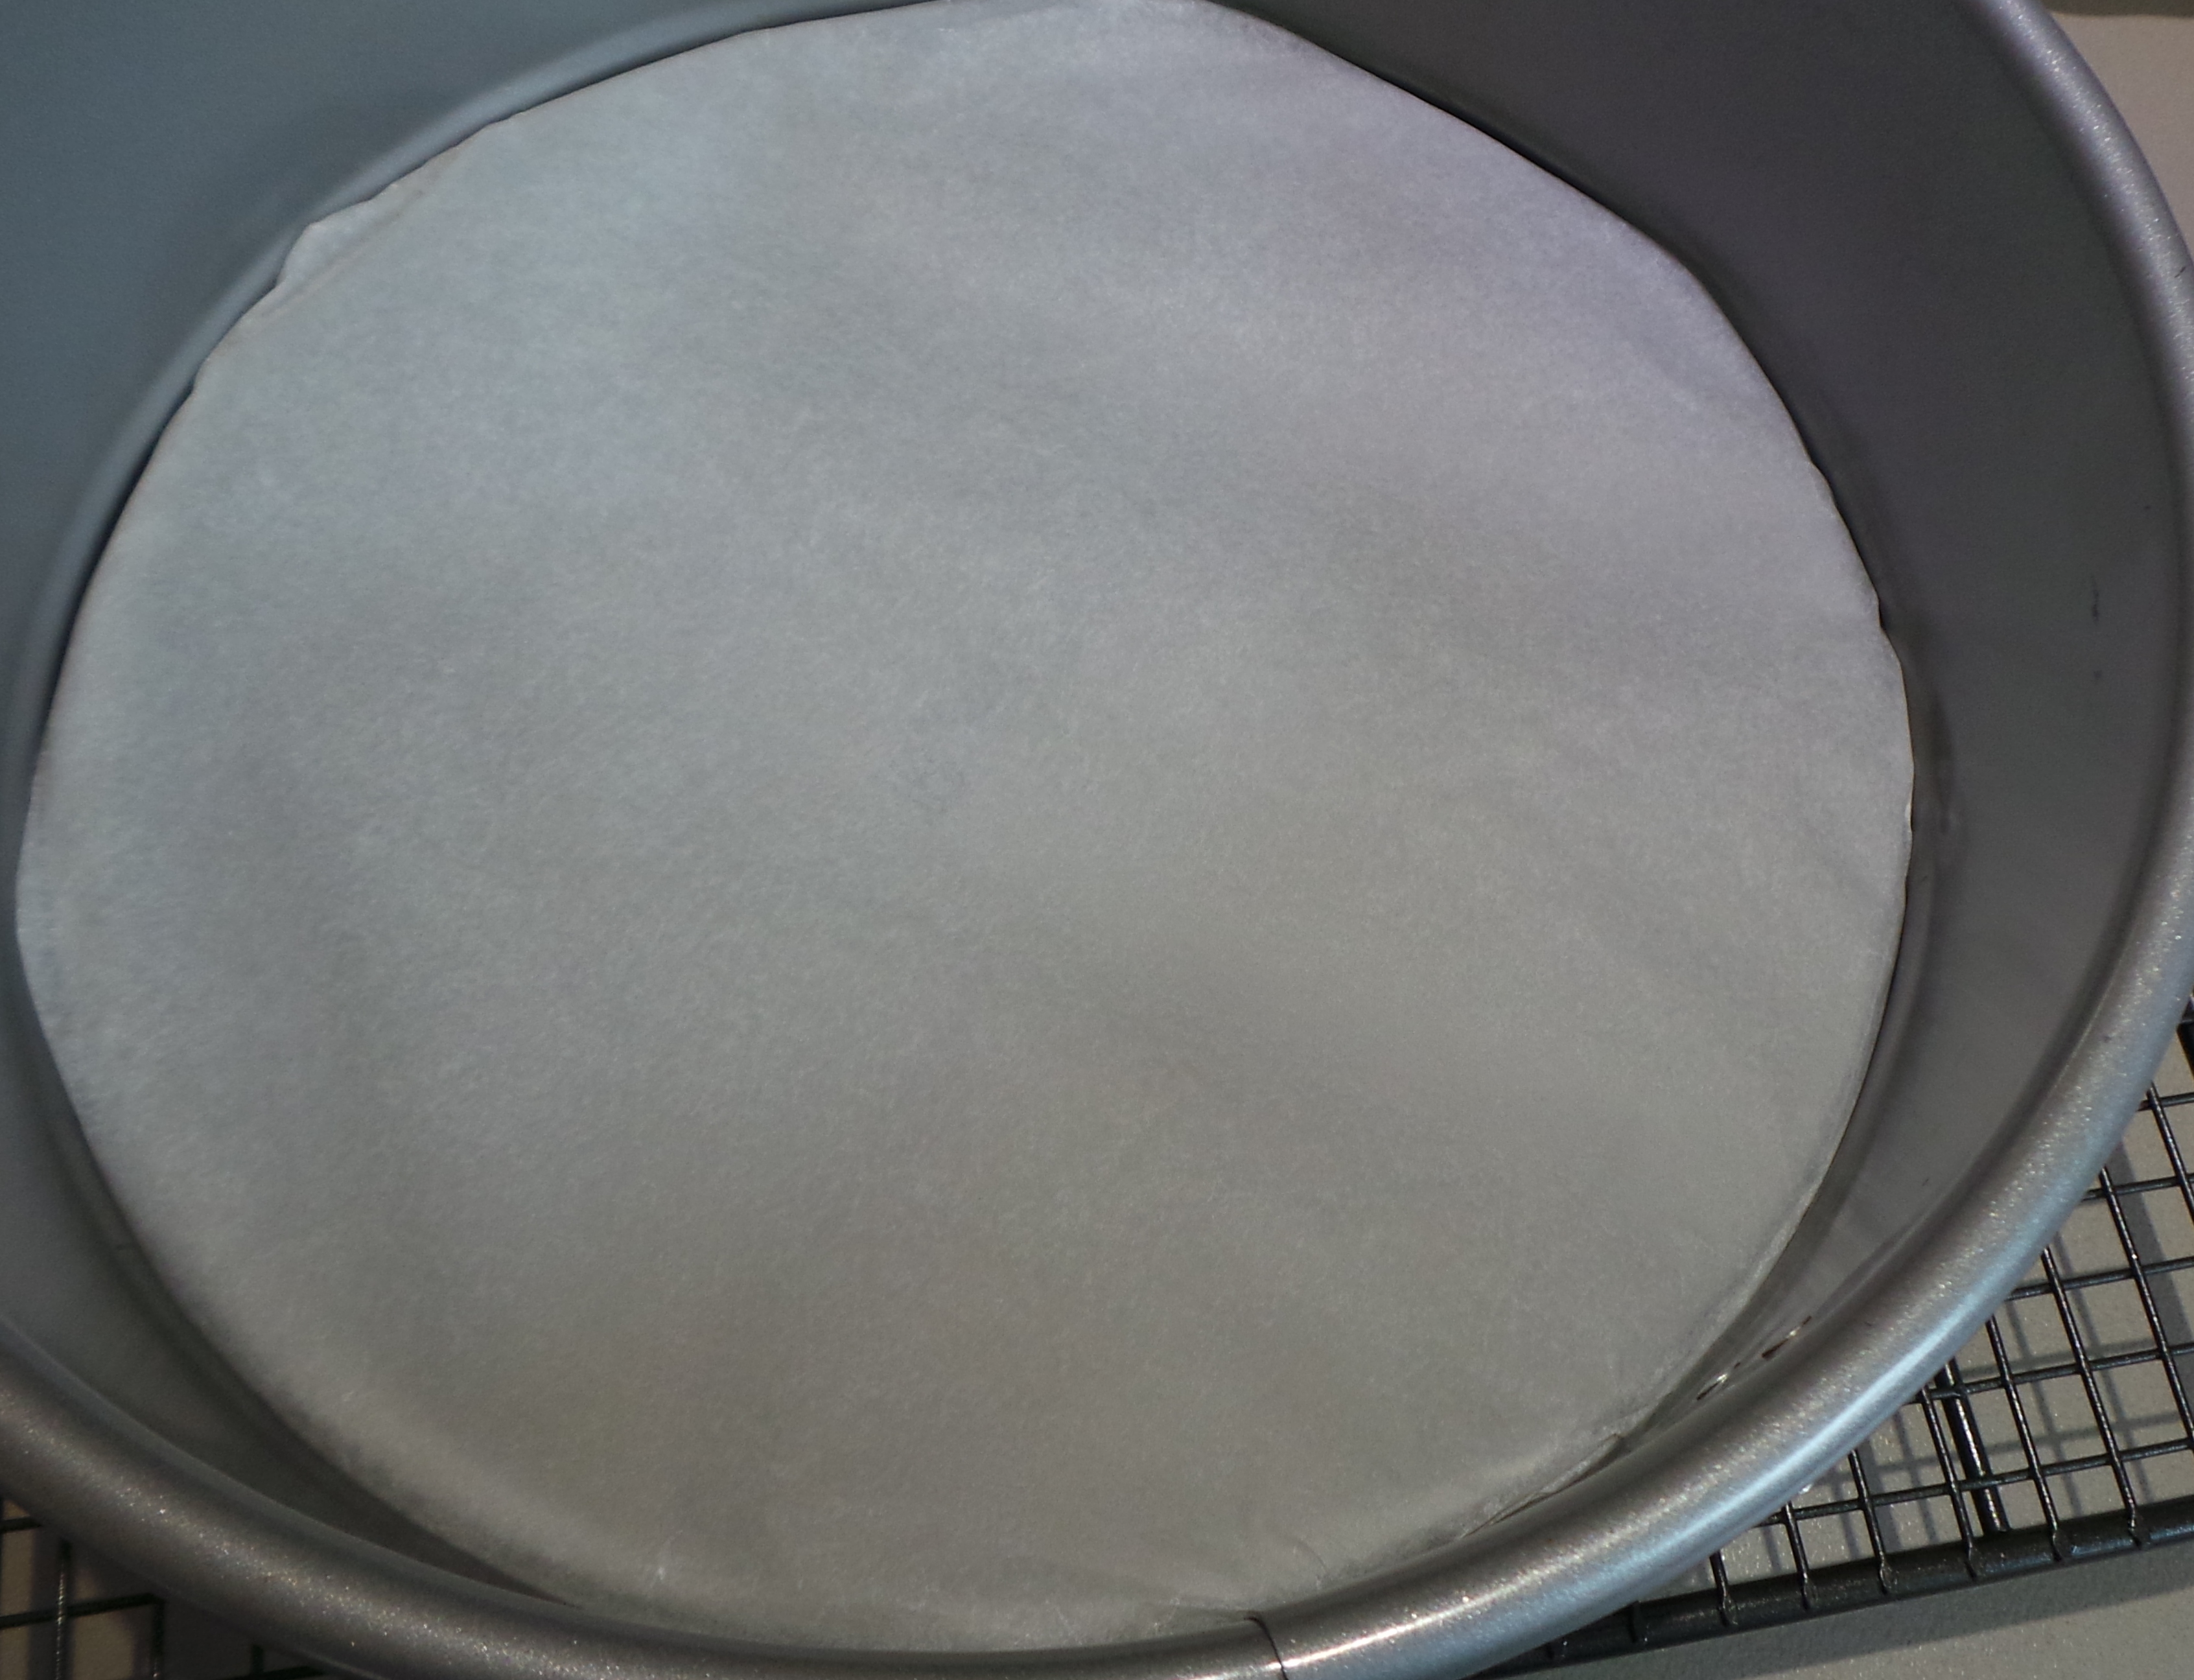
Turn your oven on to 180°C/350°F and line a baking tray with paper.
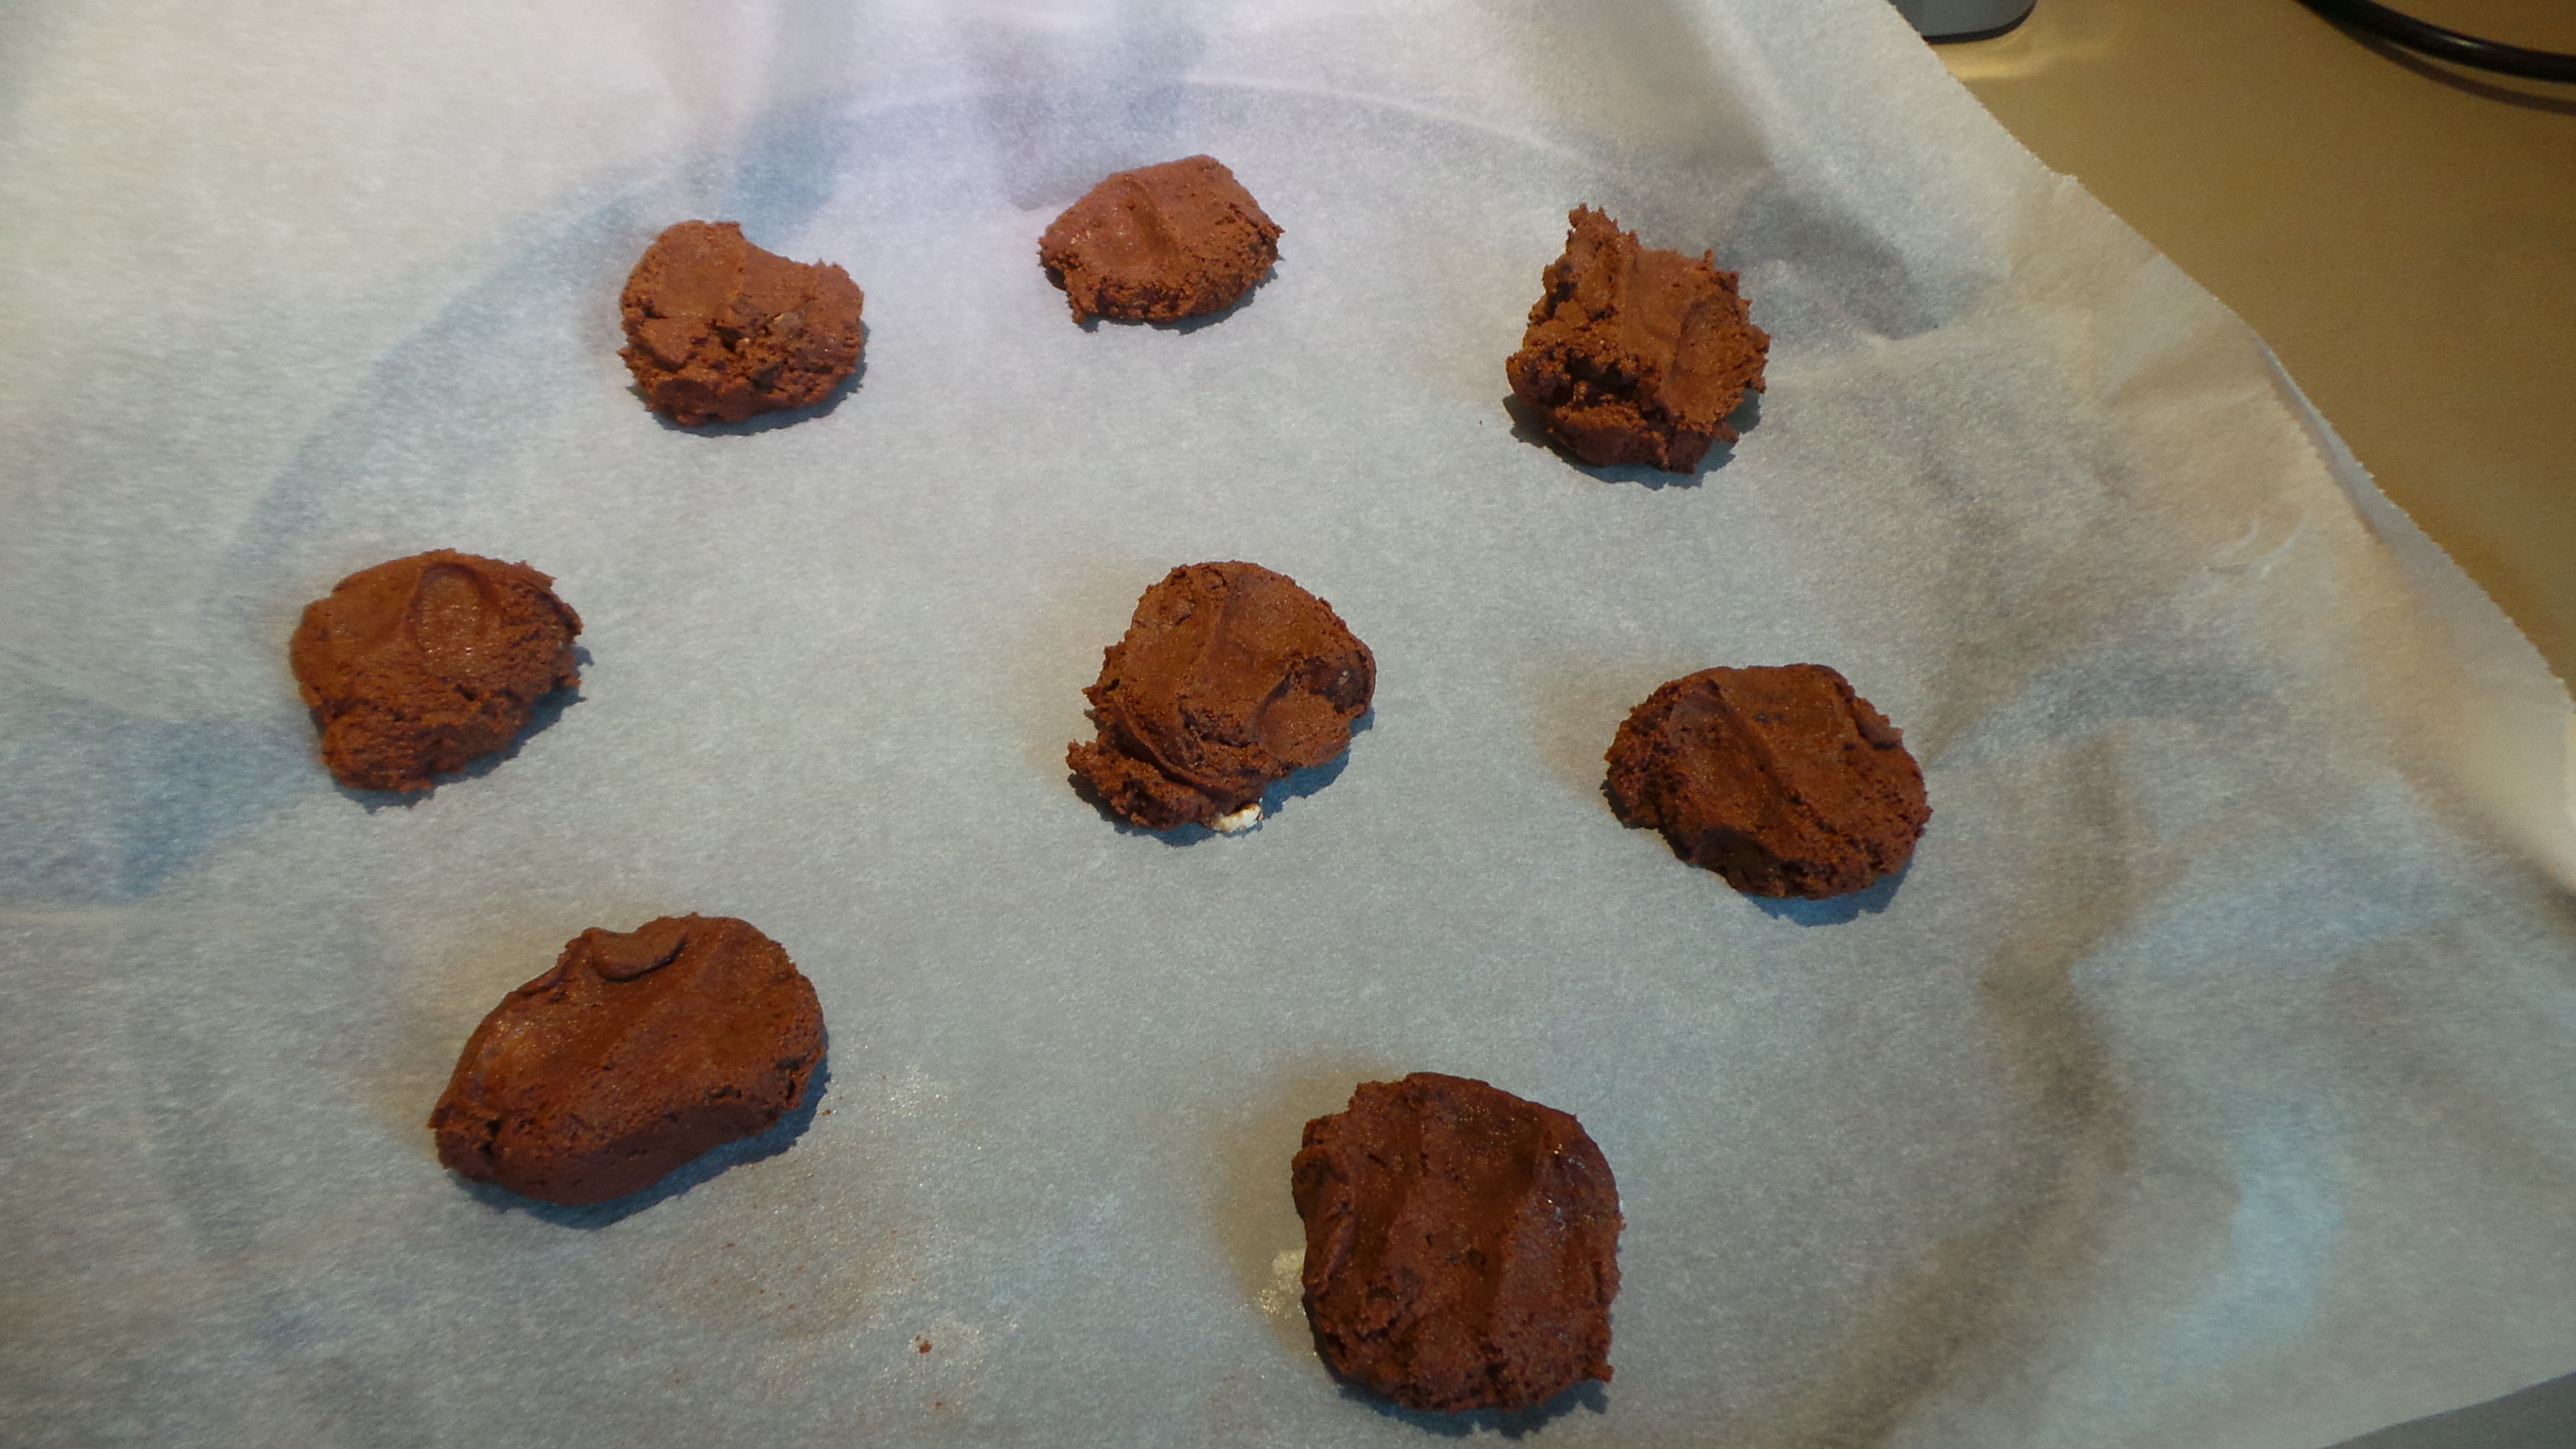
Take small spoonfuls of batter and roll into small balls the size of walnuts…or use a 1″ ice cream scoop, like I do. Don’t overcrowd the tray as the batter contains butter and will spread as the butter melts…
Using a (well-washed) thumb of a nearby child or the end of a wooden spoon handle, make an indentation in the top of each ball. Don’t go all the way through to the tray.
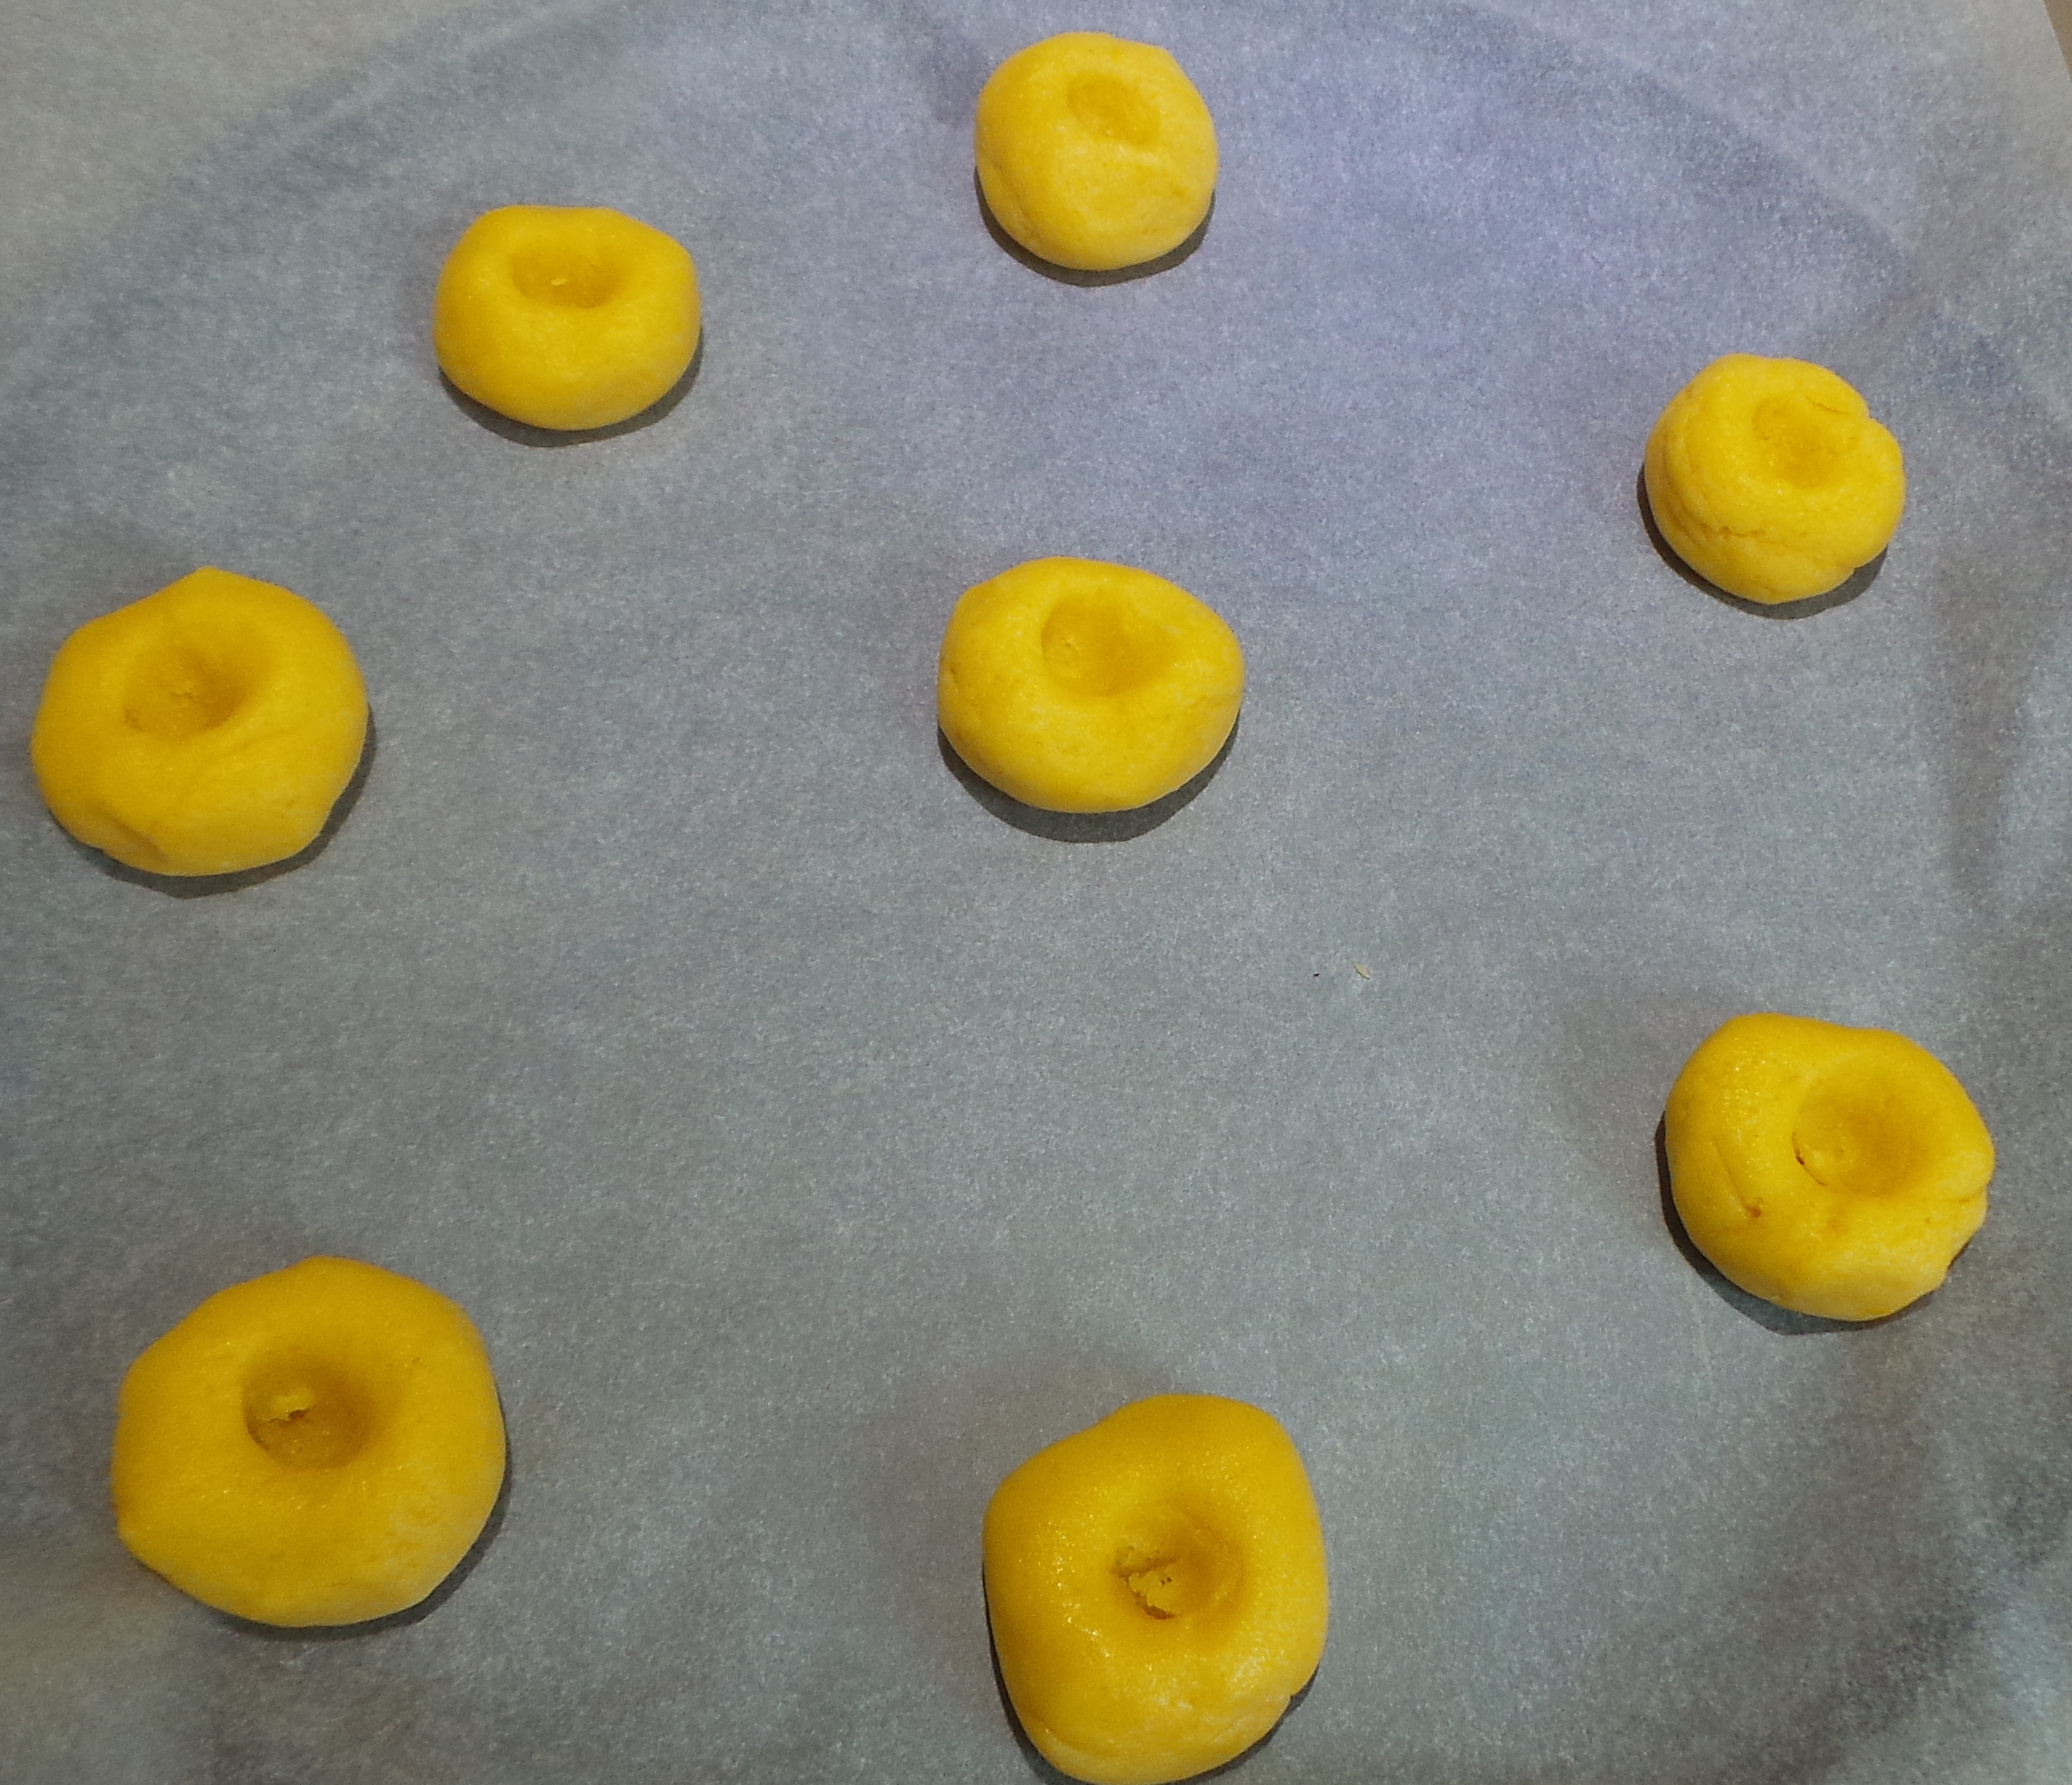
Make little cups for your jam.
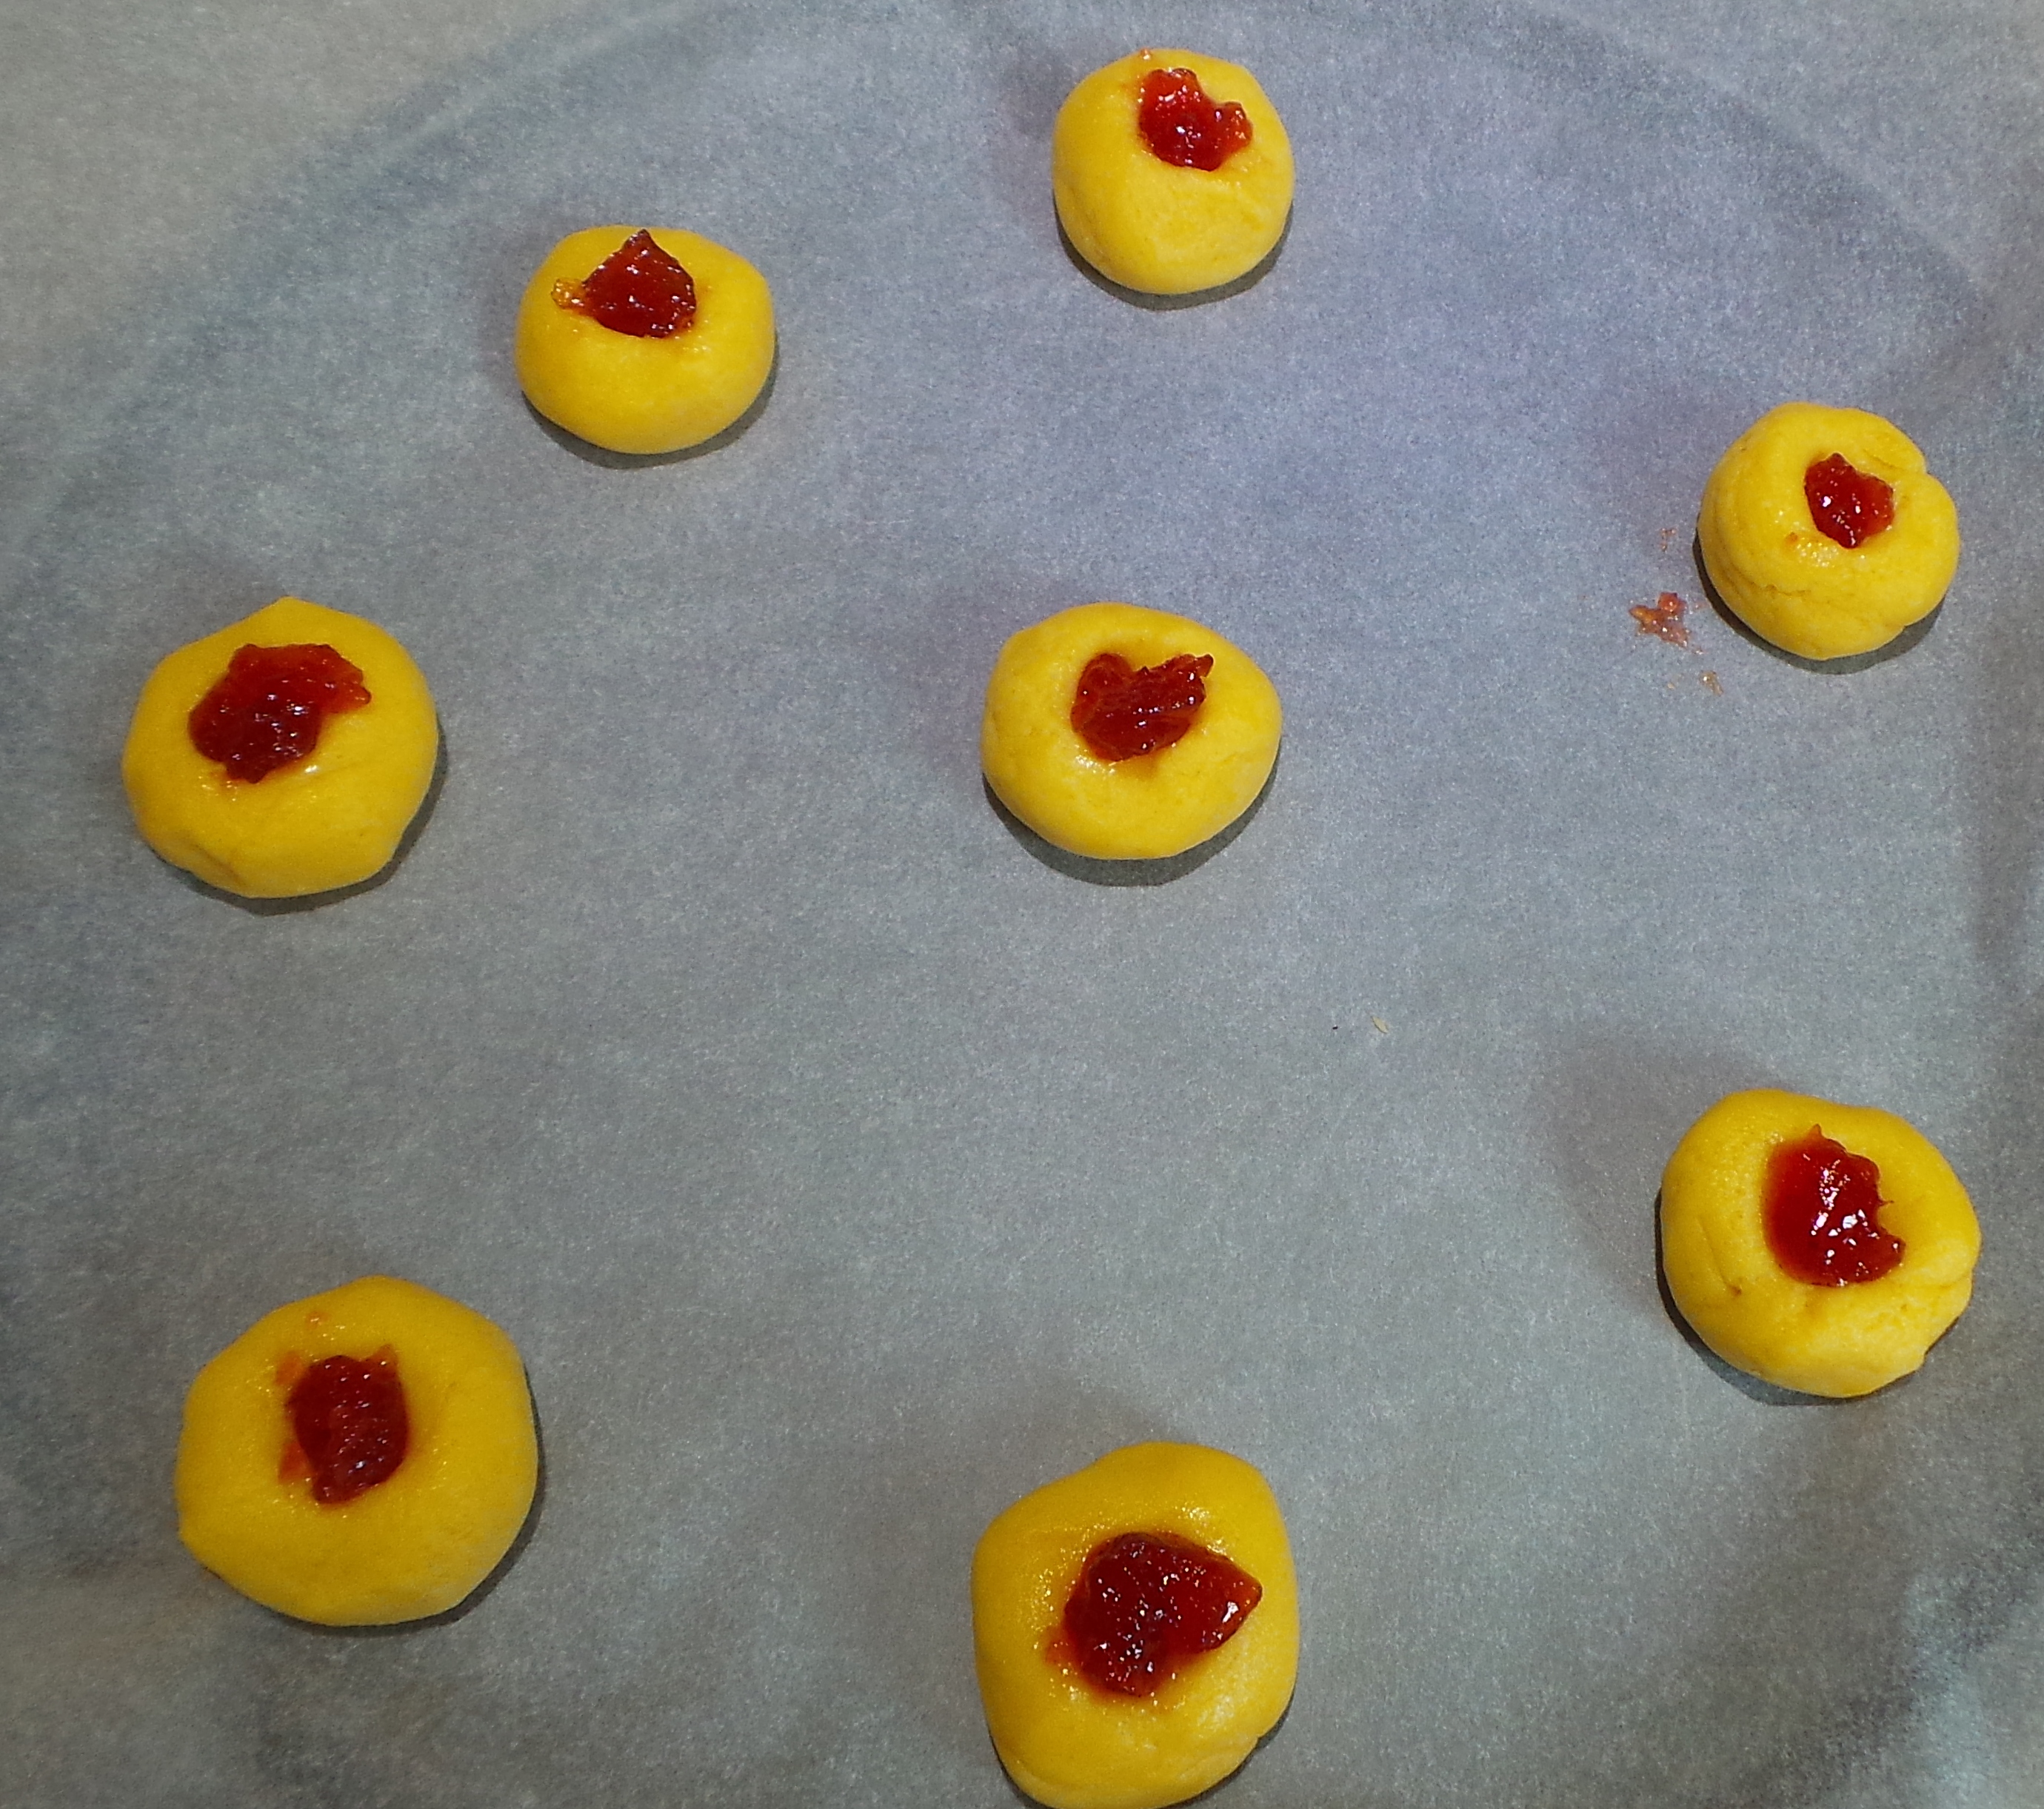
Fill your cups.
While your first tray is in the oven, prepare your second batch of biscuits and then do the washing up that has been soaking in the bowl of warm sudsy water. You’ll have plenty of time.

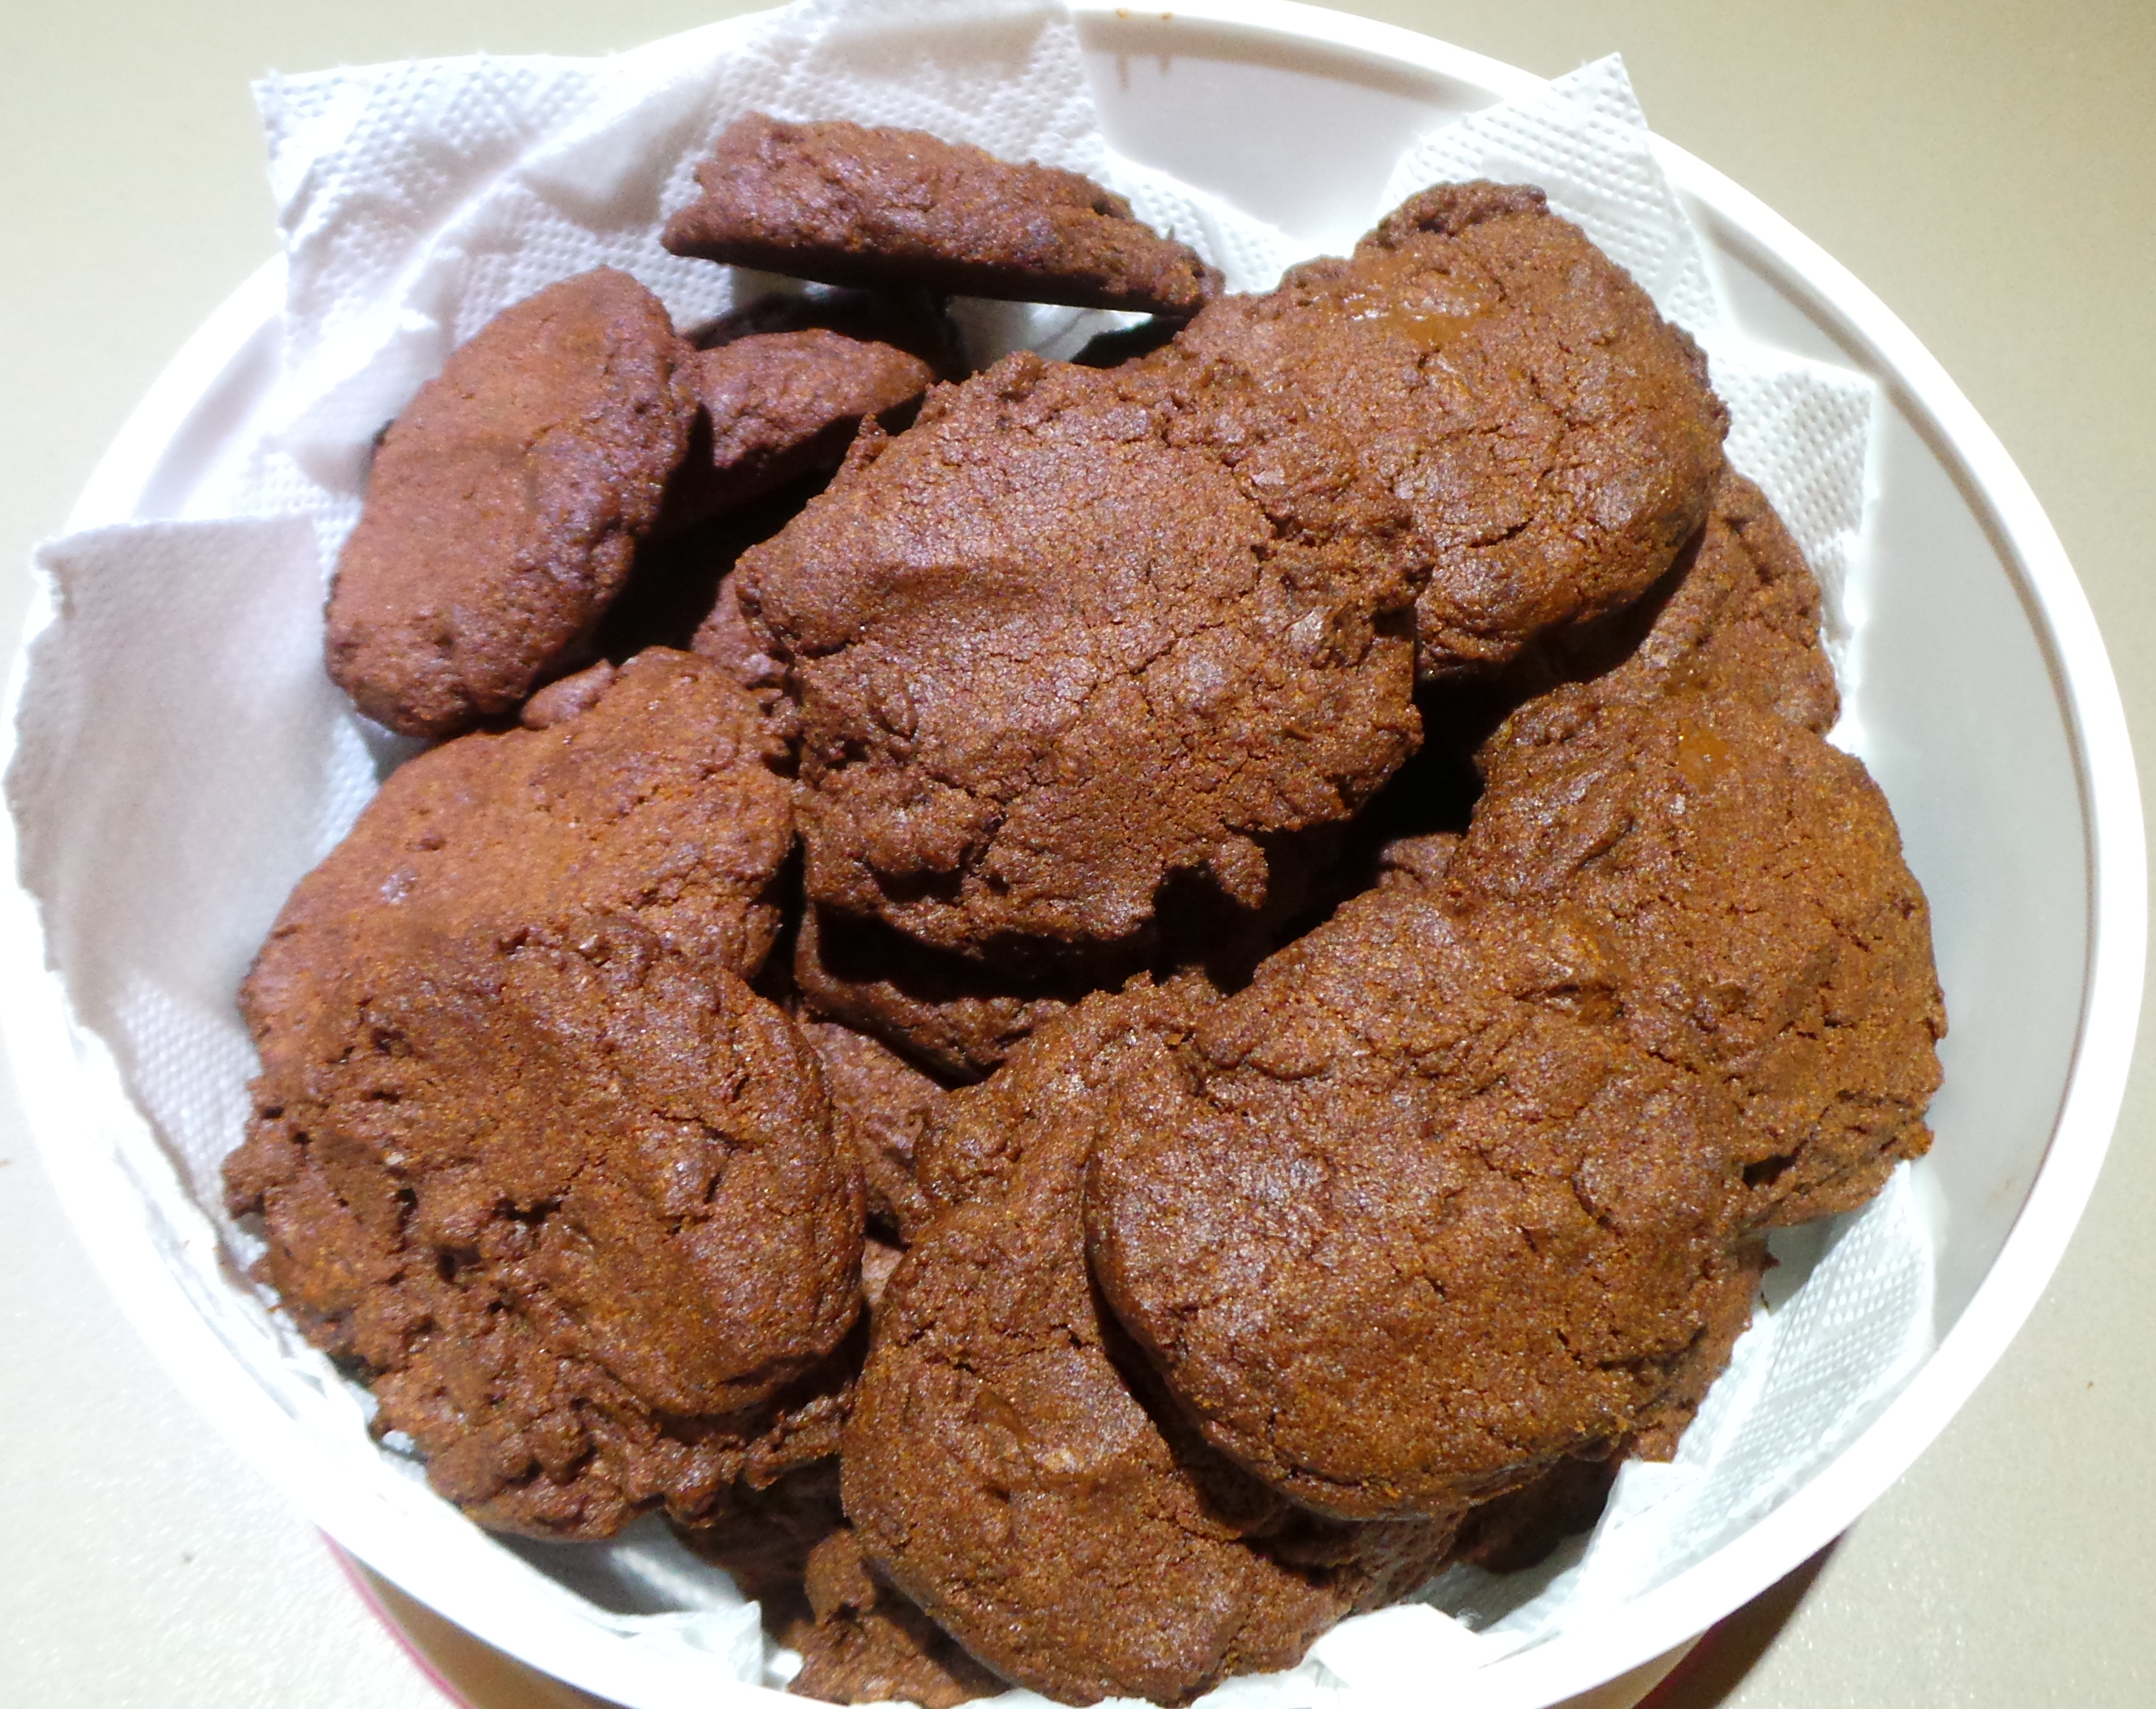
Baked jam drops.
If you are the responsible adult, the best answer to the question, “When can we try them can I have one?” is after the last batch is baked. You’ll get at least three trays of eight from this mixture.
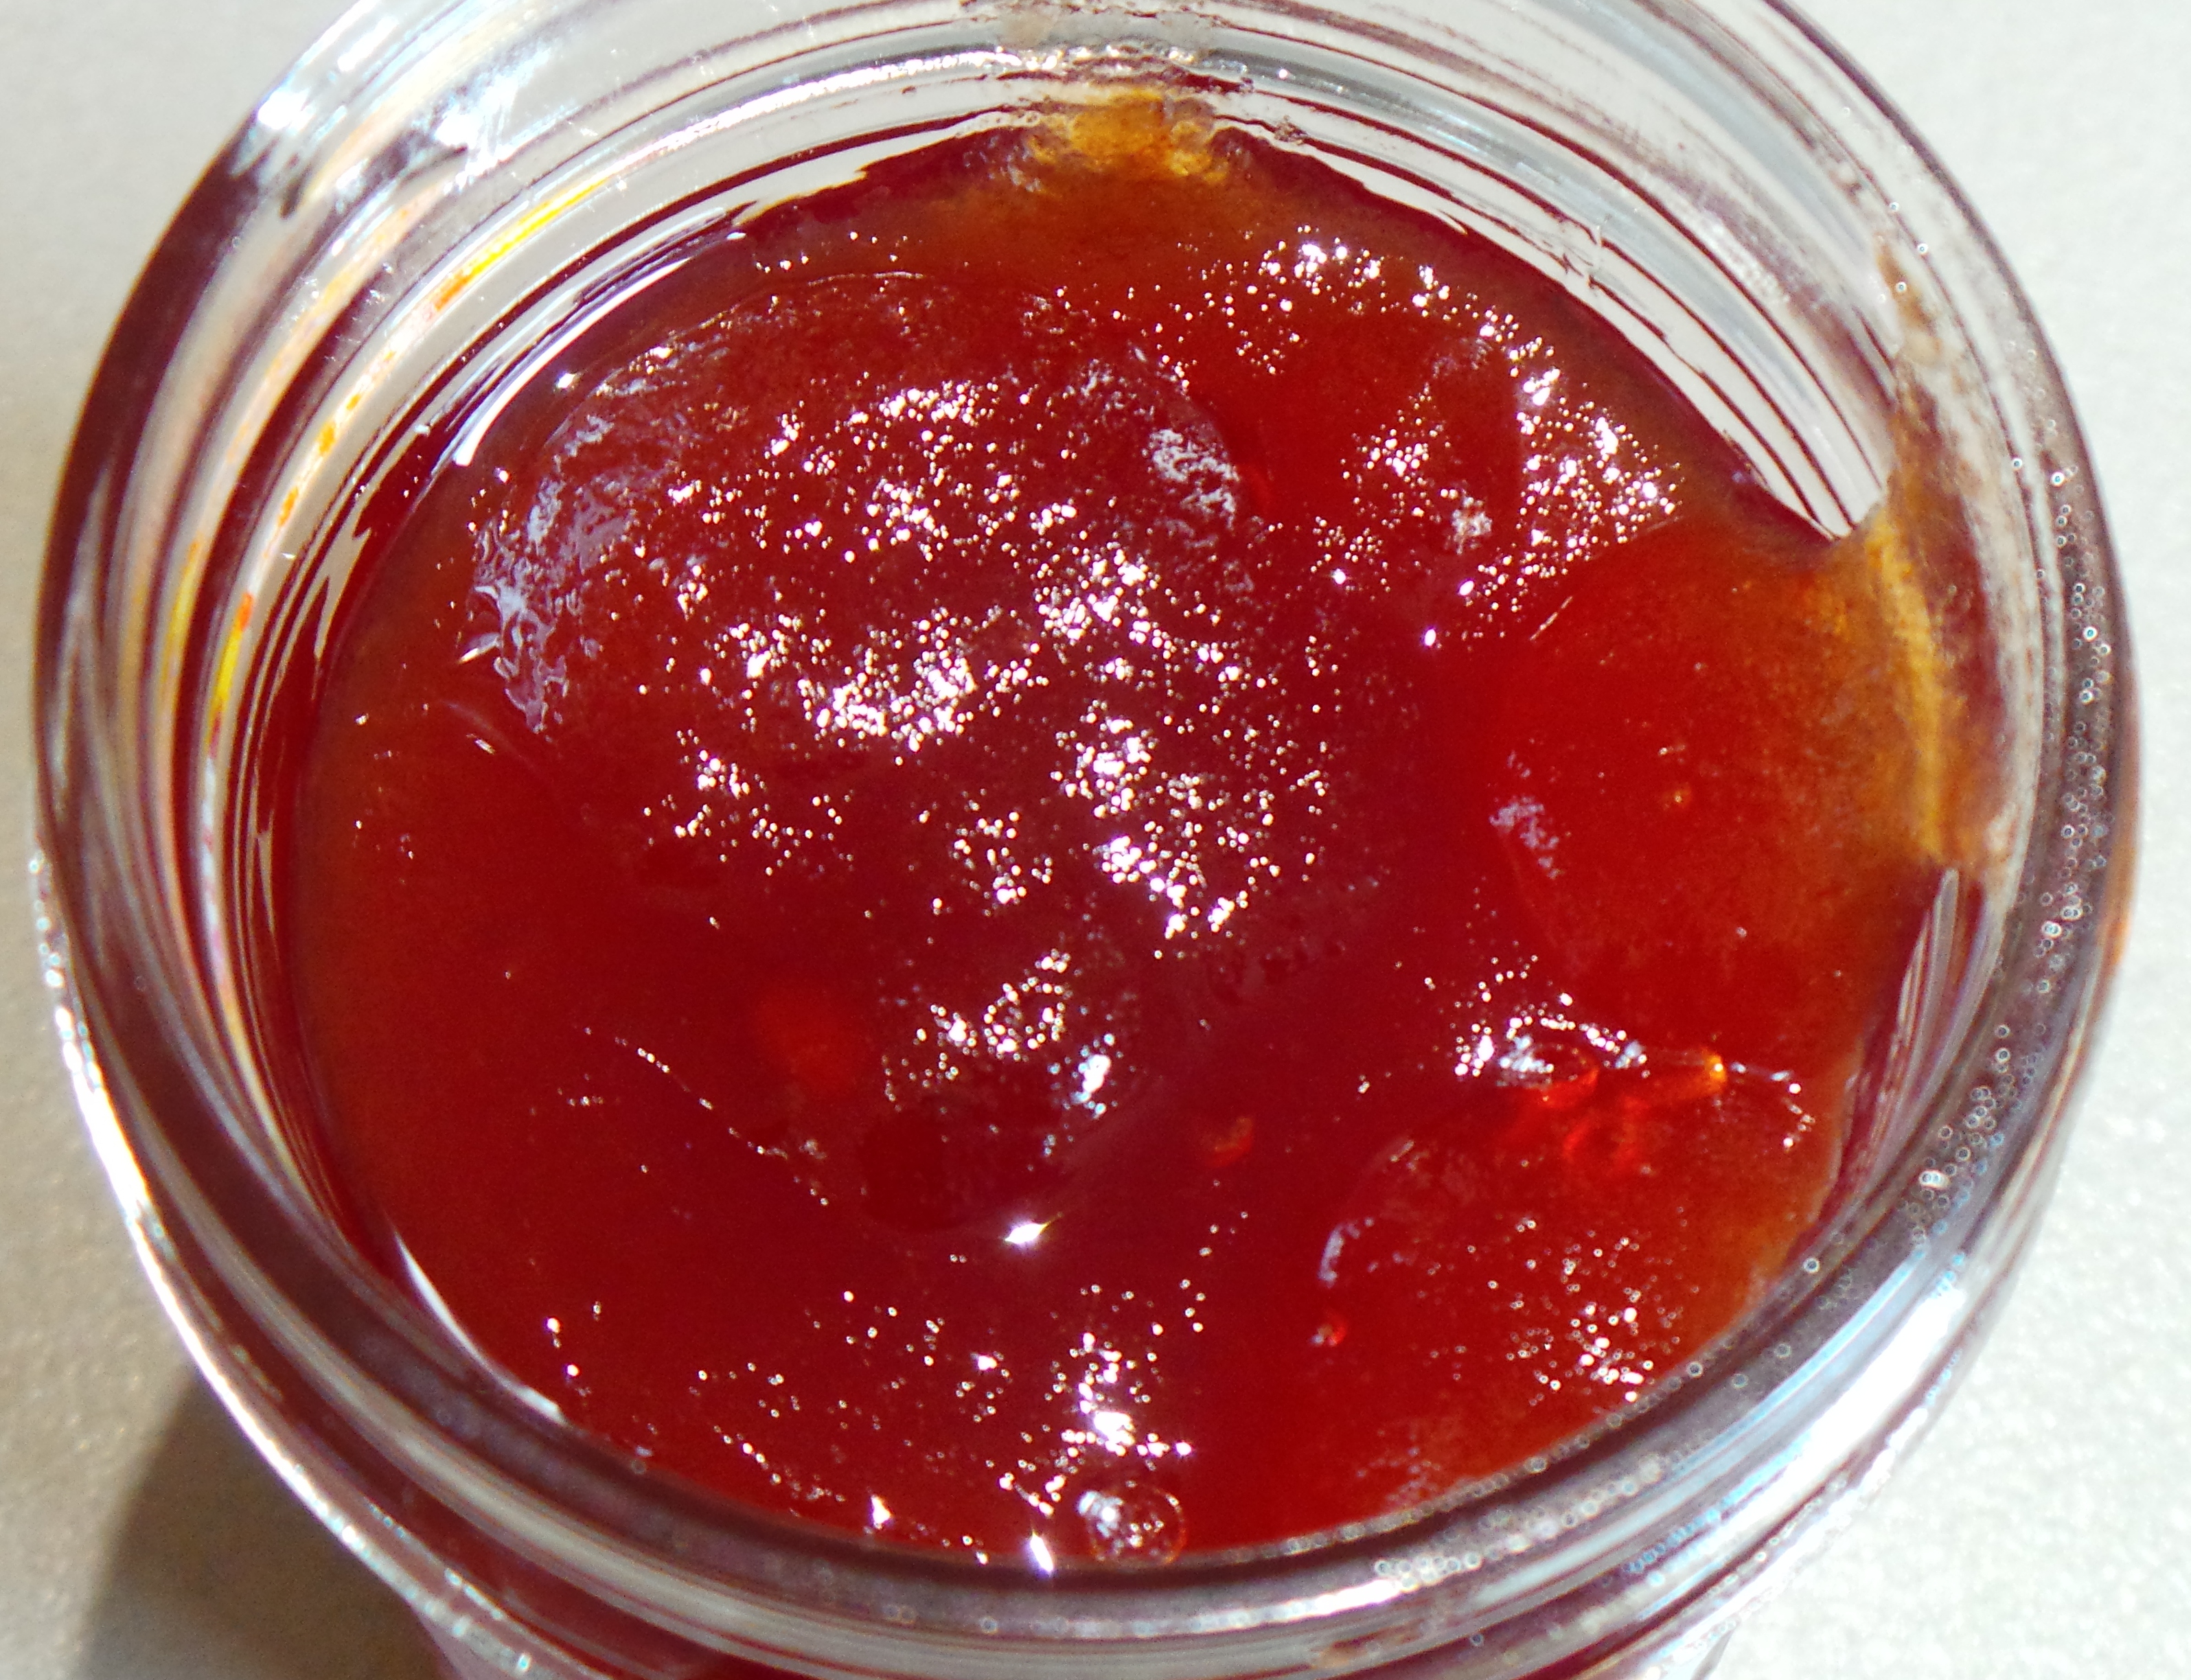
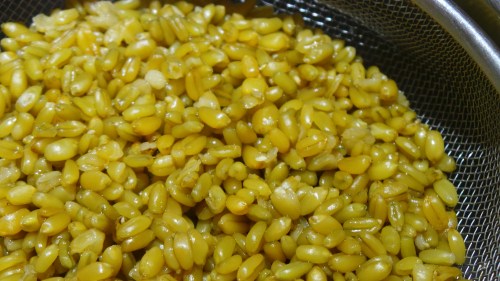
The jam when I started…
You probably won’t need to wash the trays if you have been using baking paper. Just let them cool and put them away later. Unless, of course, you are an Outstandingly Conscientious Domestic engineer – in which case, go ahead. Ahem.
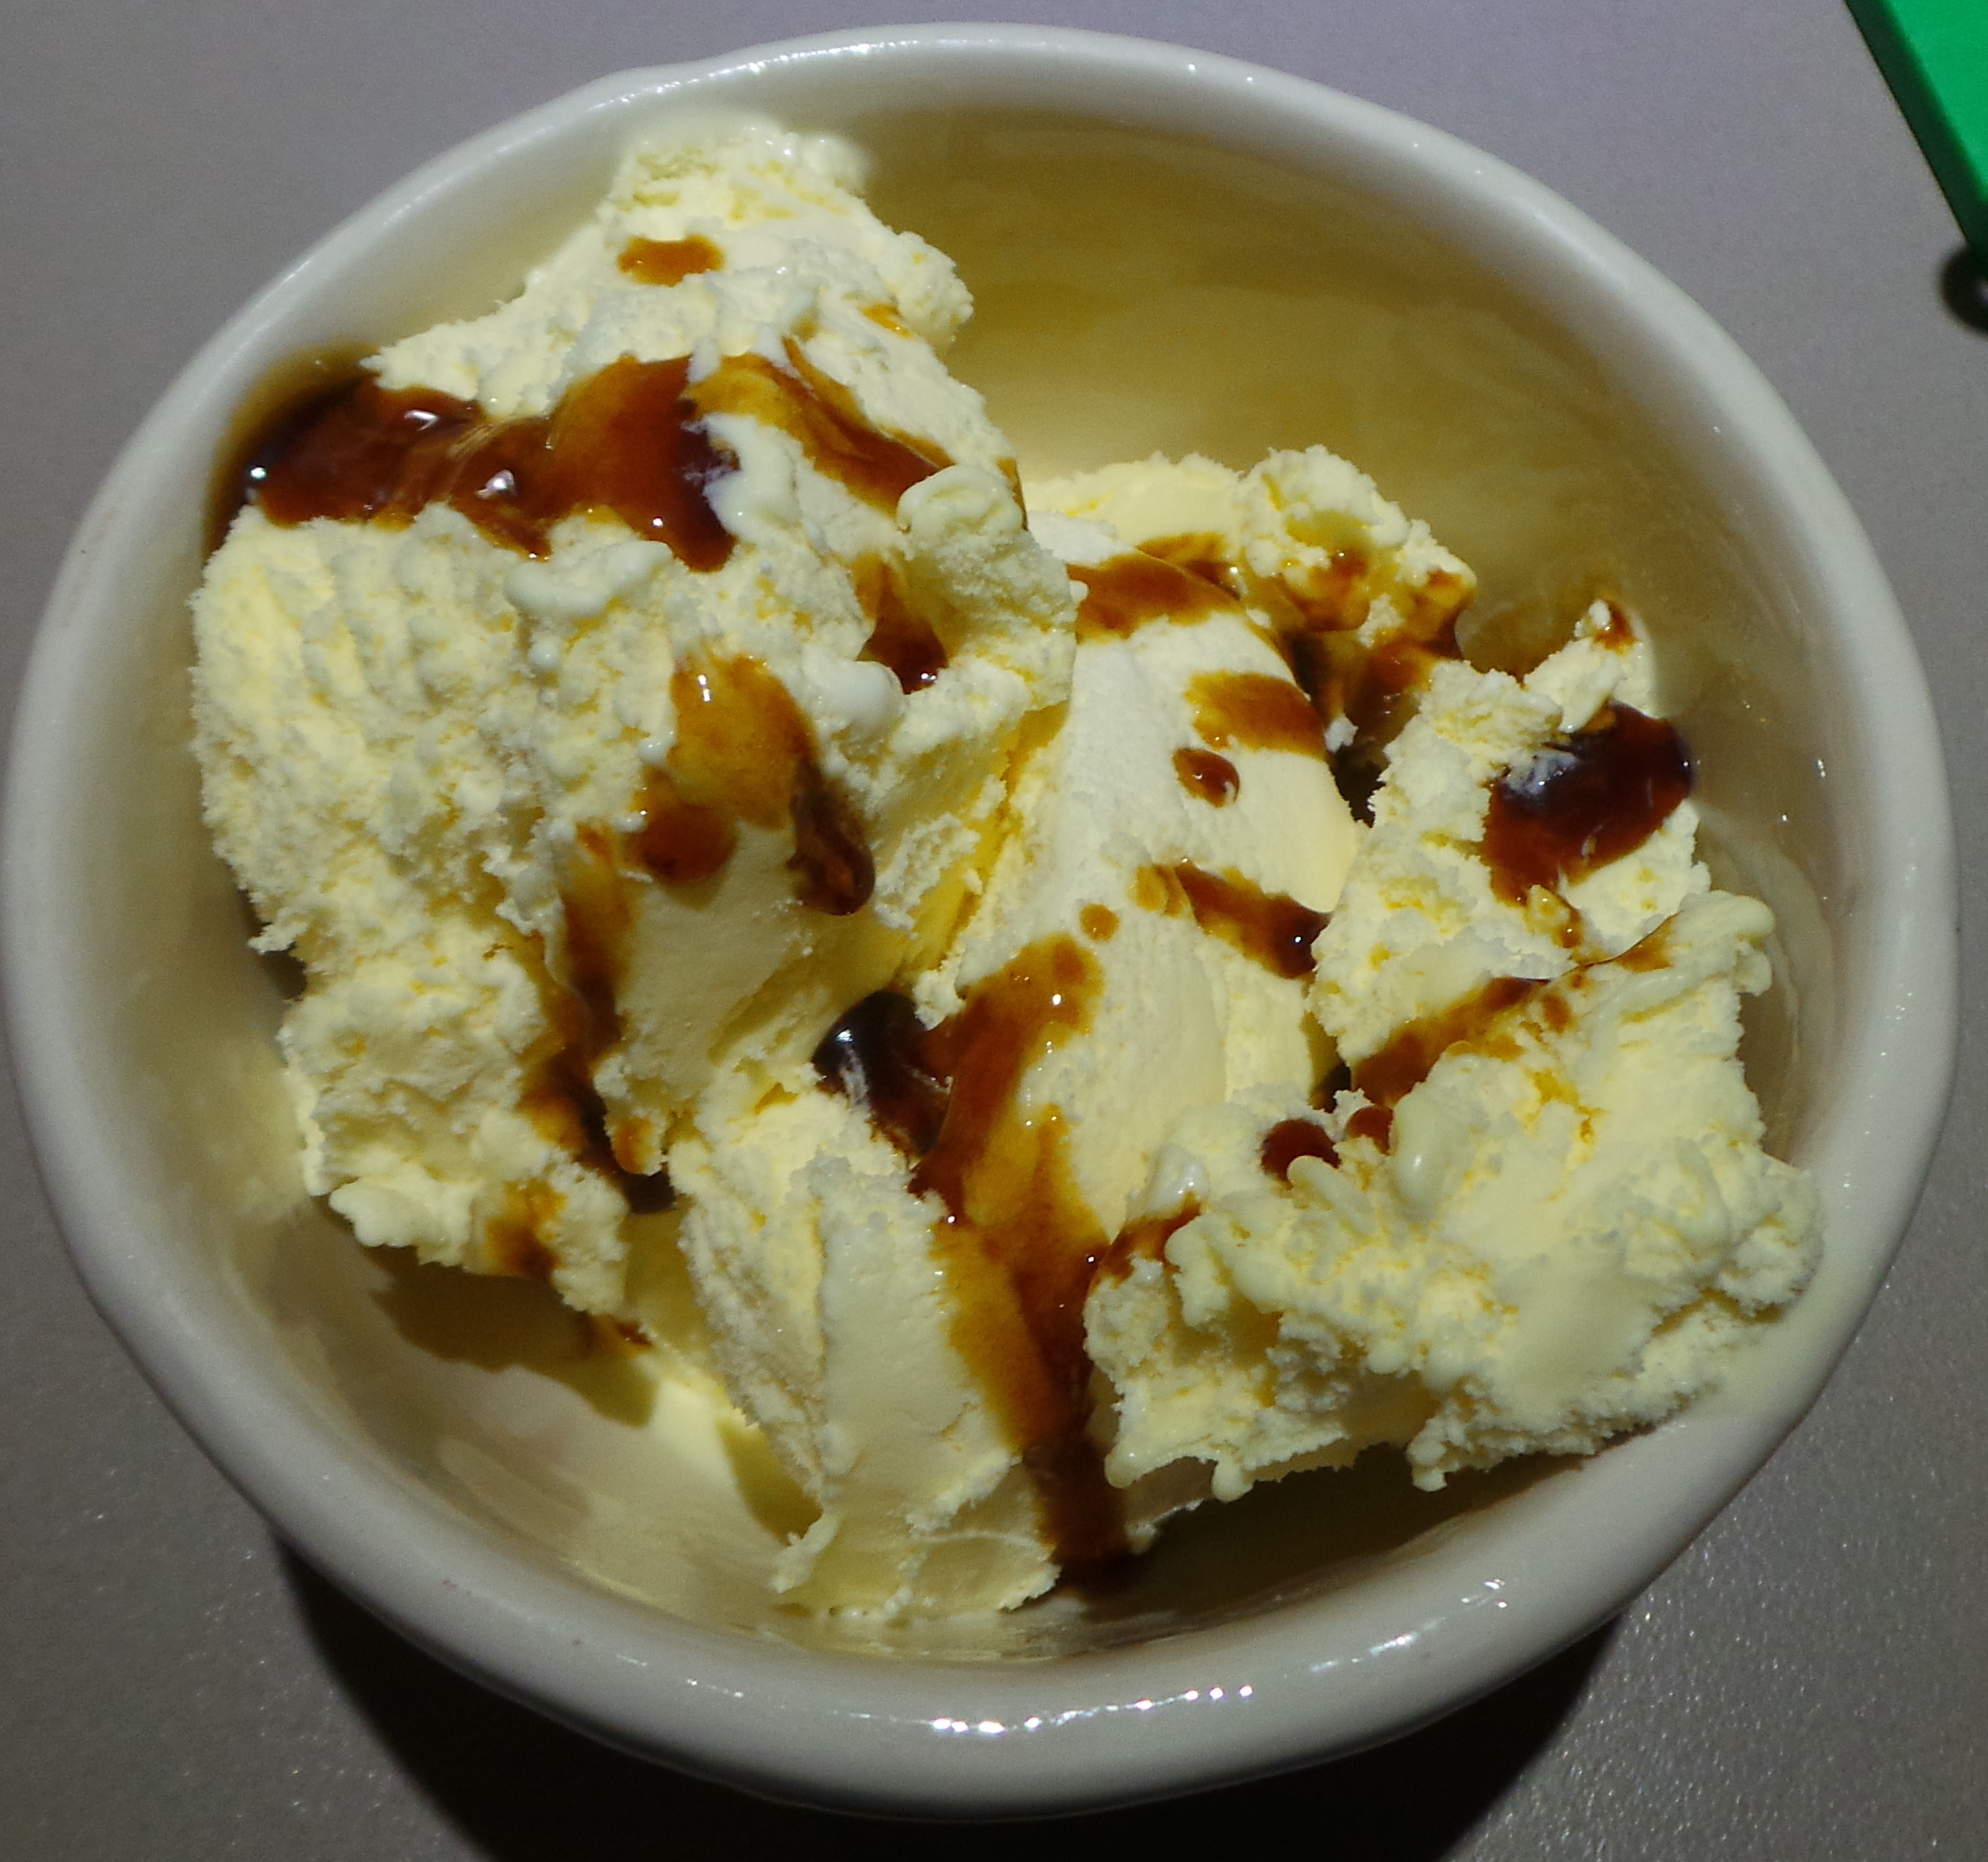
Serve with milk or a nice cuppa. Store in an airtight container for as long as you have any left.
This is my mother’s recipe.
Jam Drop Biscuits
Ingredients
125 g butter, room temperature
¾ cup (165 g) sugar
2 eggs
1 tsp vanilla extract
pinch salt
1 cups (300 g) plain flour
2 tsps baking powder
1/3 cup (100 g) jam or jelly of your choice
Method
Preheat the oven to 180°C/350°F. Line two baking trays with paper.
In a large bowl, cream the butter and sugar together.
Add the salt, vanilla extract and eggs and beat well.
Into a medium-sized bowl sift together the flour and baking powder.
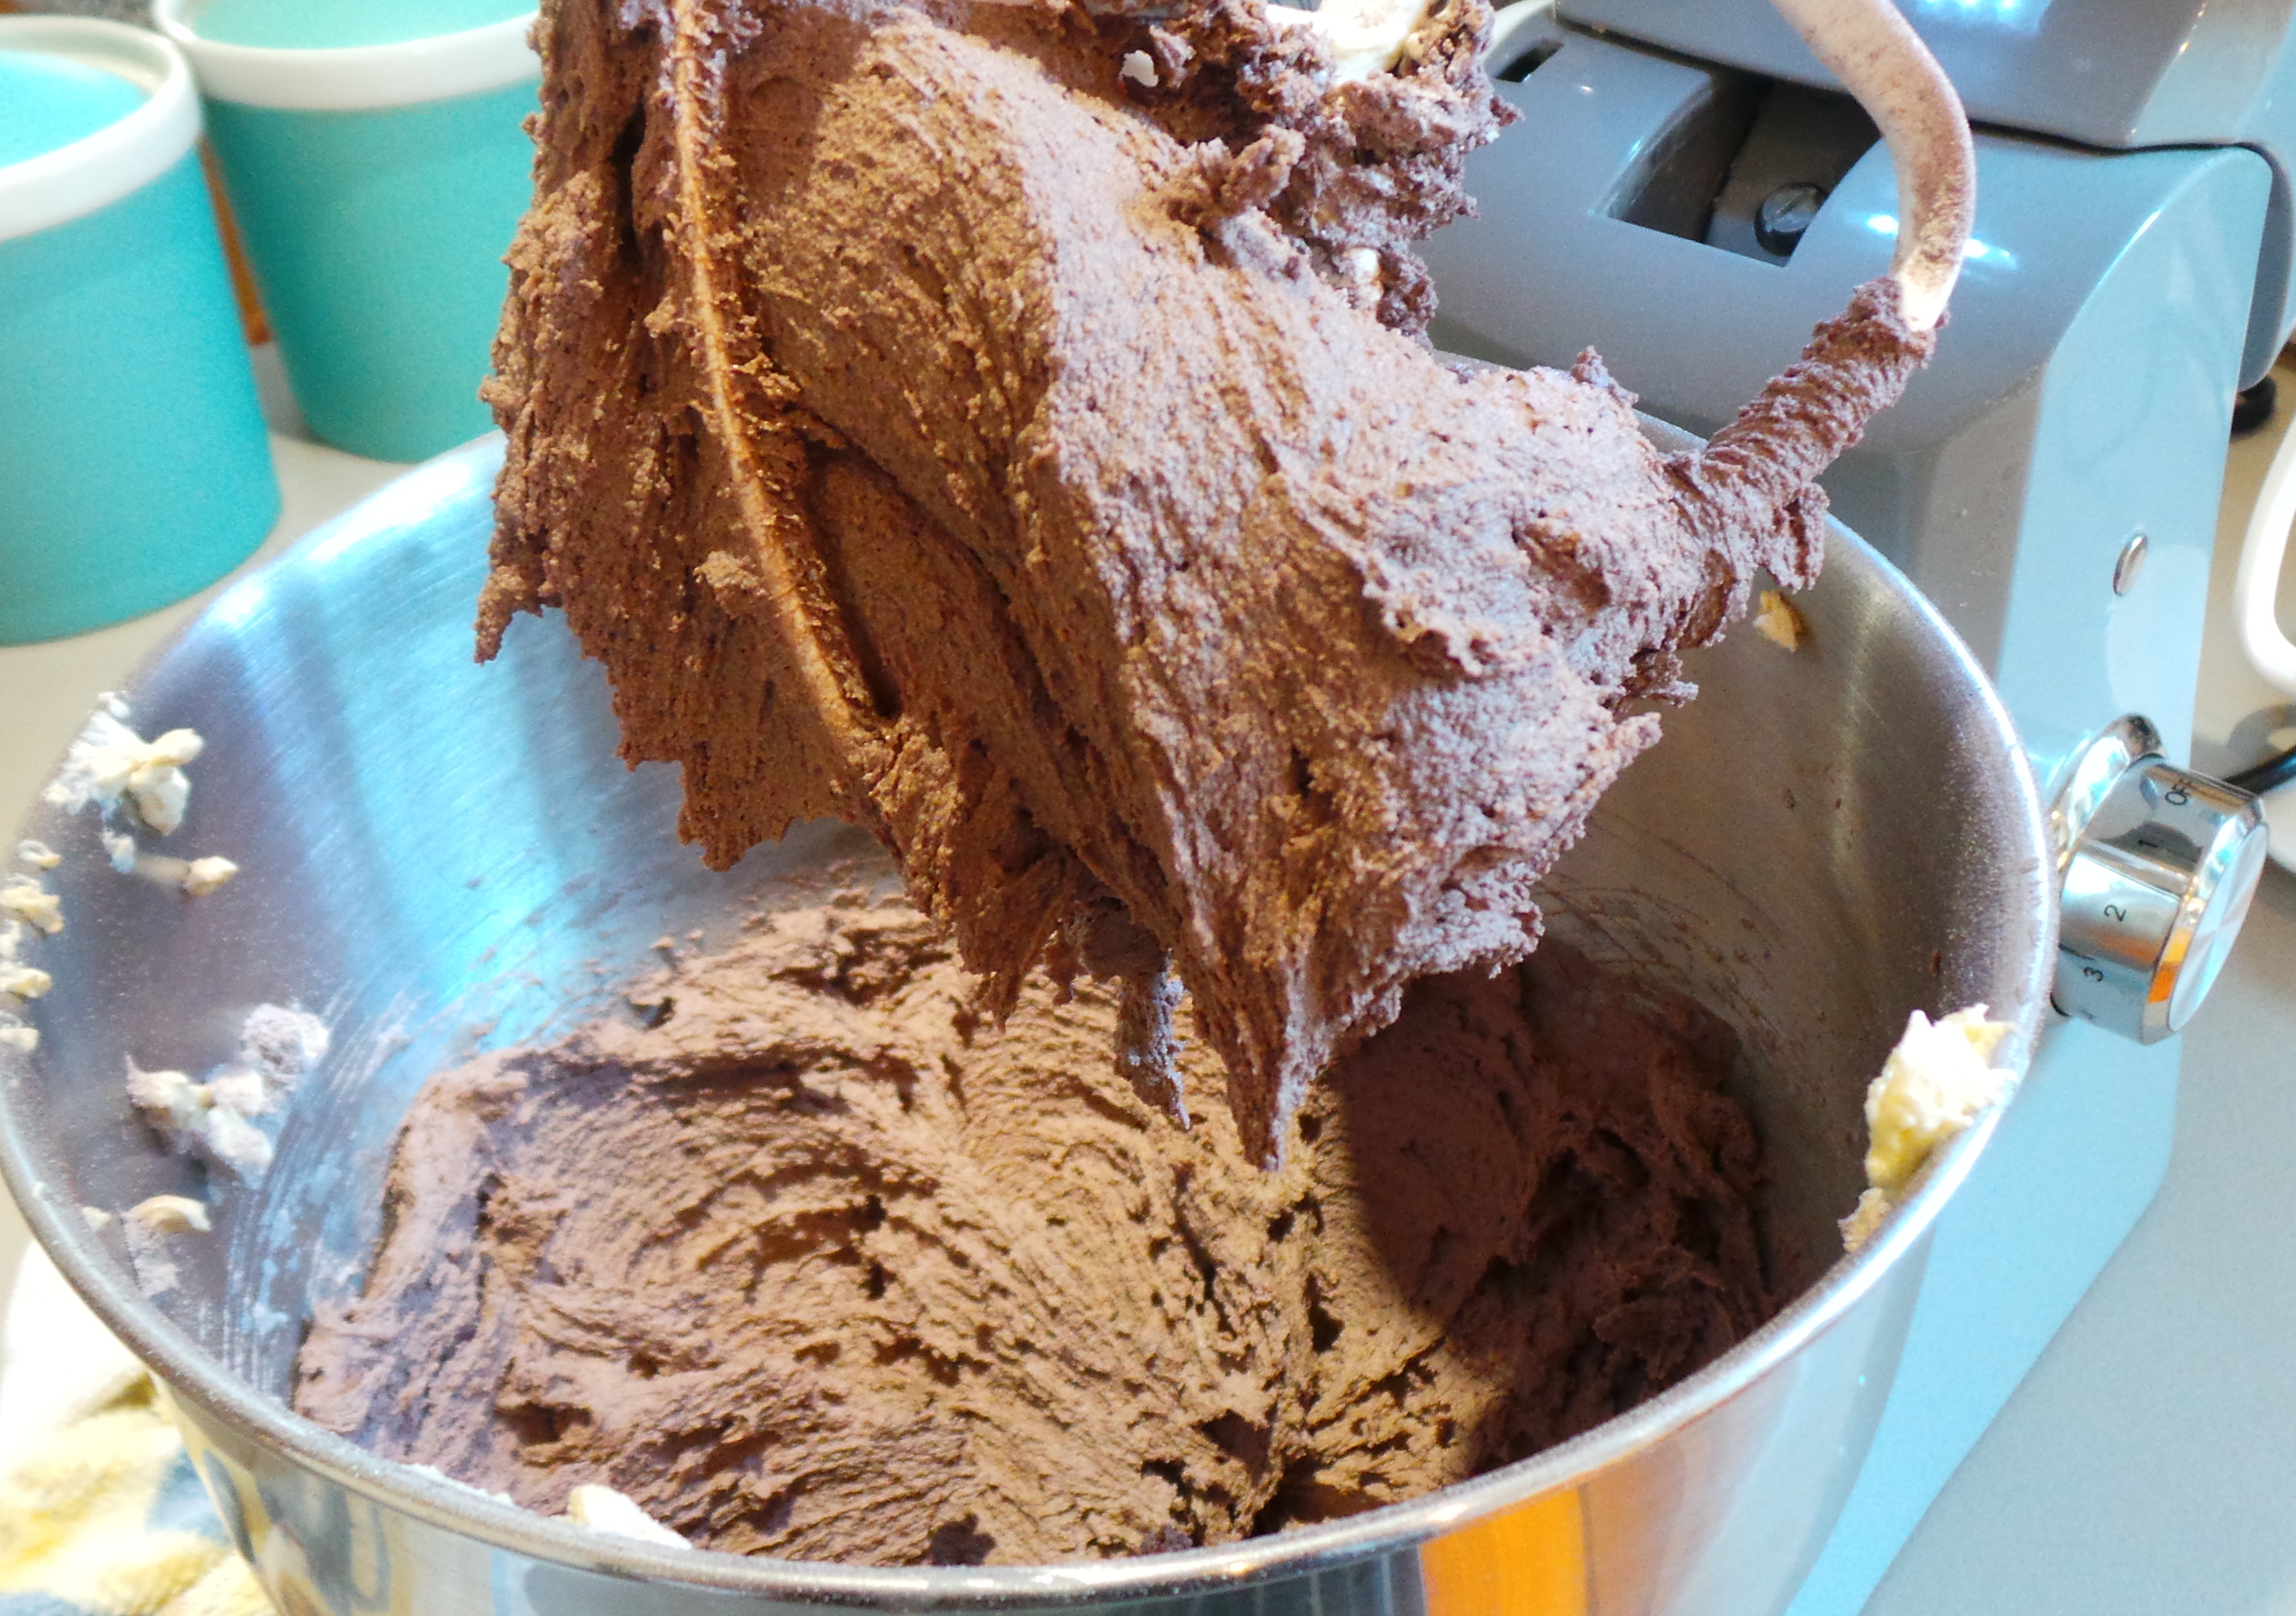
Add the sifted flour to the butter mixture and stir until well combined.
Roll tablespoons of the mixture between your palms to make small balls about the size of a walnut.
Place balls onto prepared baking trays, leaving room for them to spread as they bake.
Use your thumb, or the end of a wooden spoon handle, to make small indentations in the top of each ball.
With a teaspoon, spoon a little jam into each dent – Don’t overfill.
Bake for 15 – 20 minutes, checking after the first 10 mins. They are done when golden brown.
Allow to cool thoroughly before eating.
Store in an airtight container.
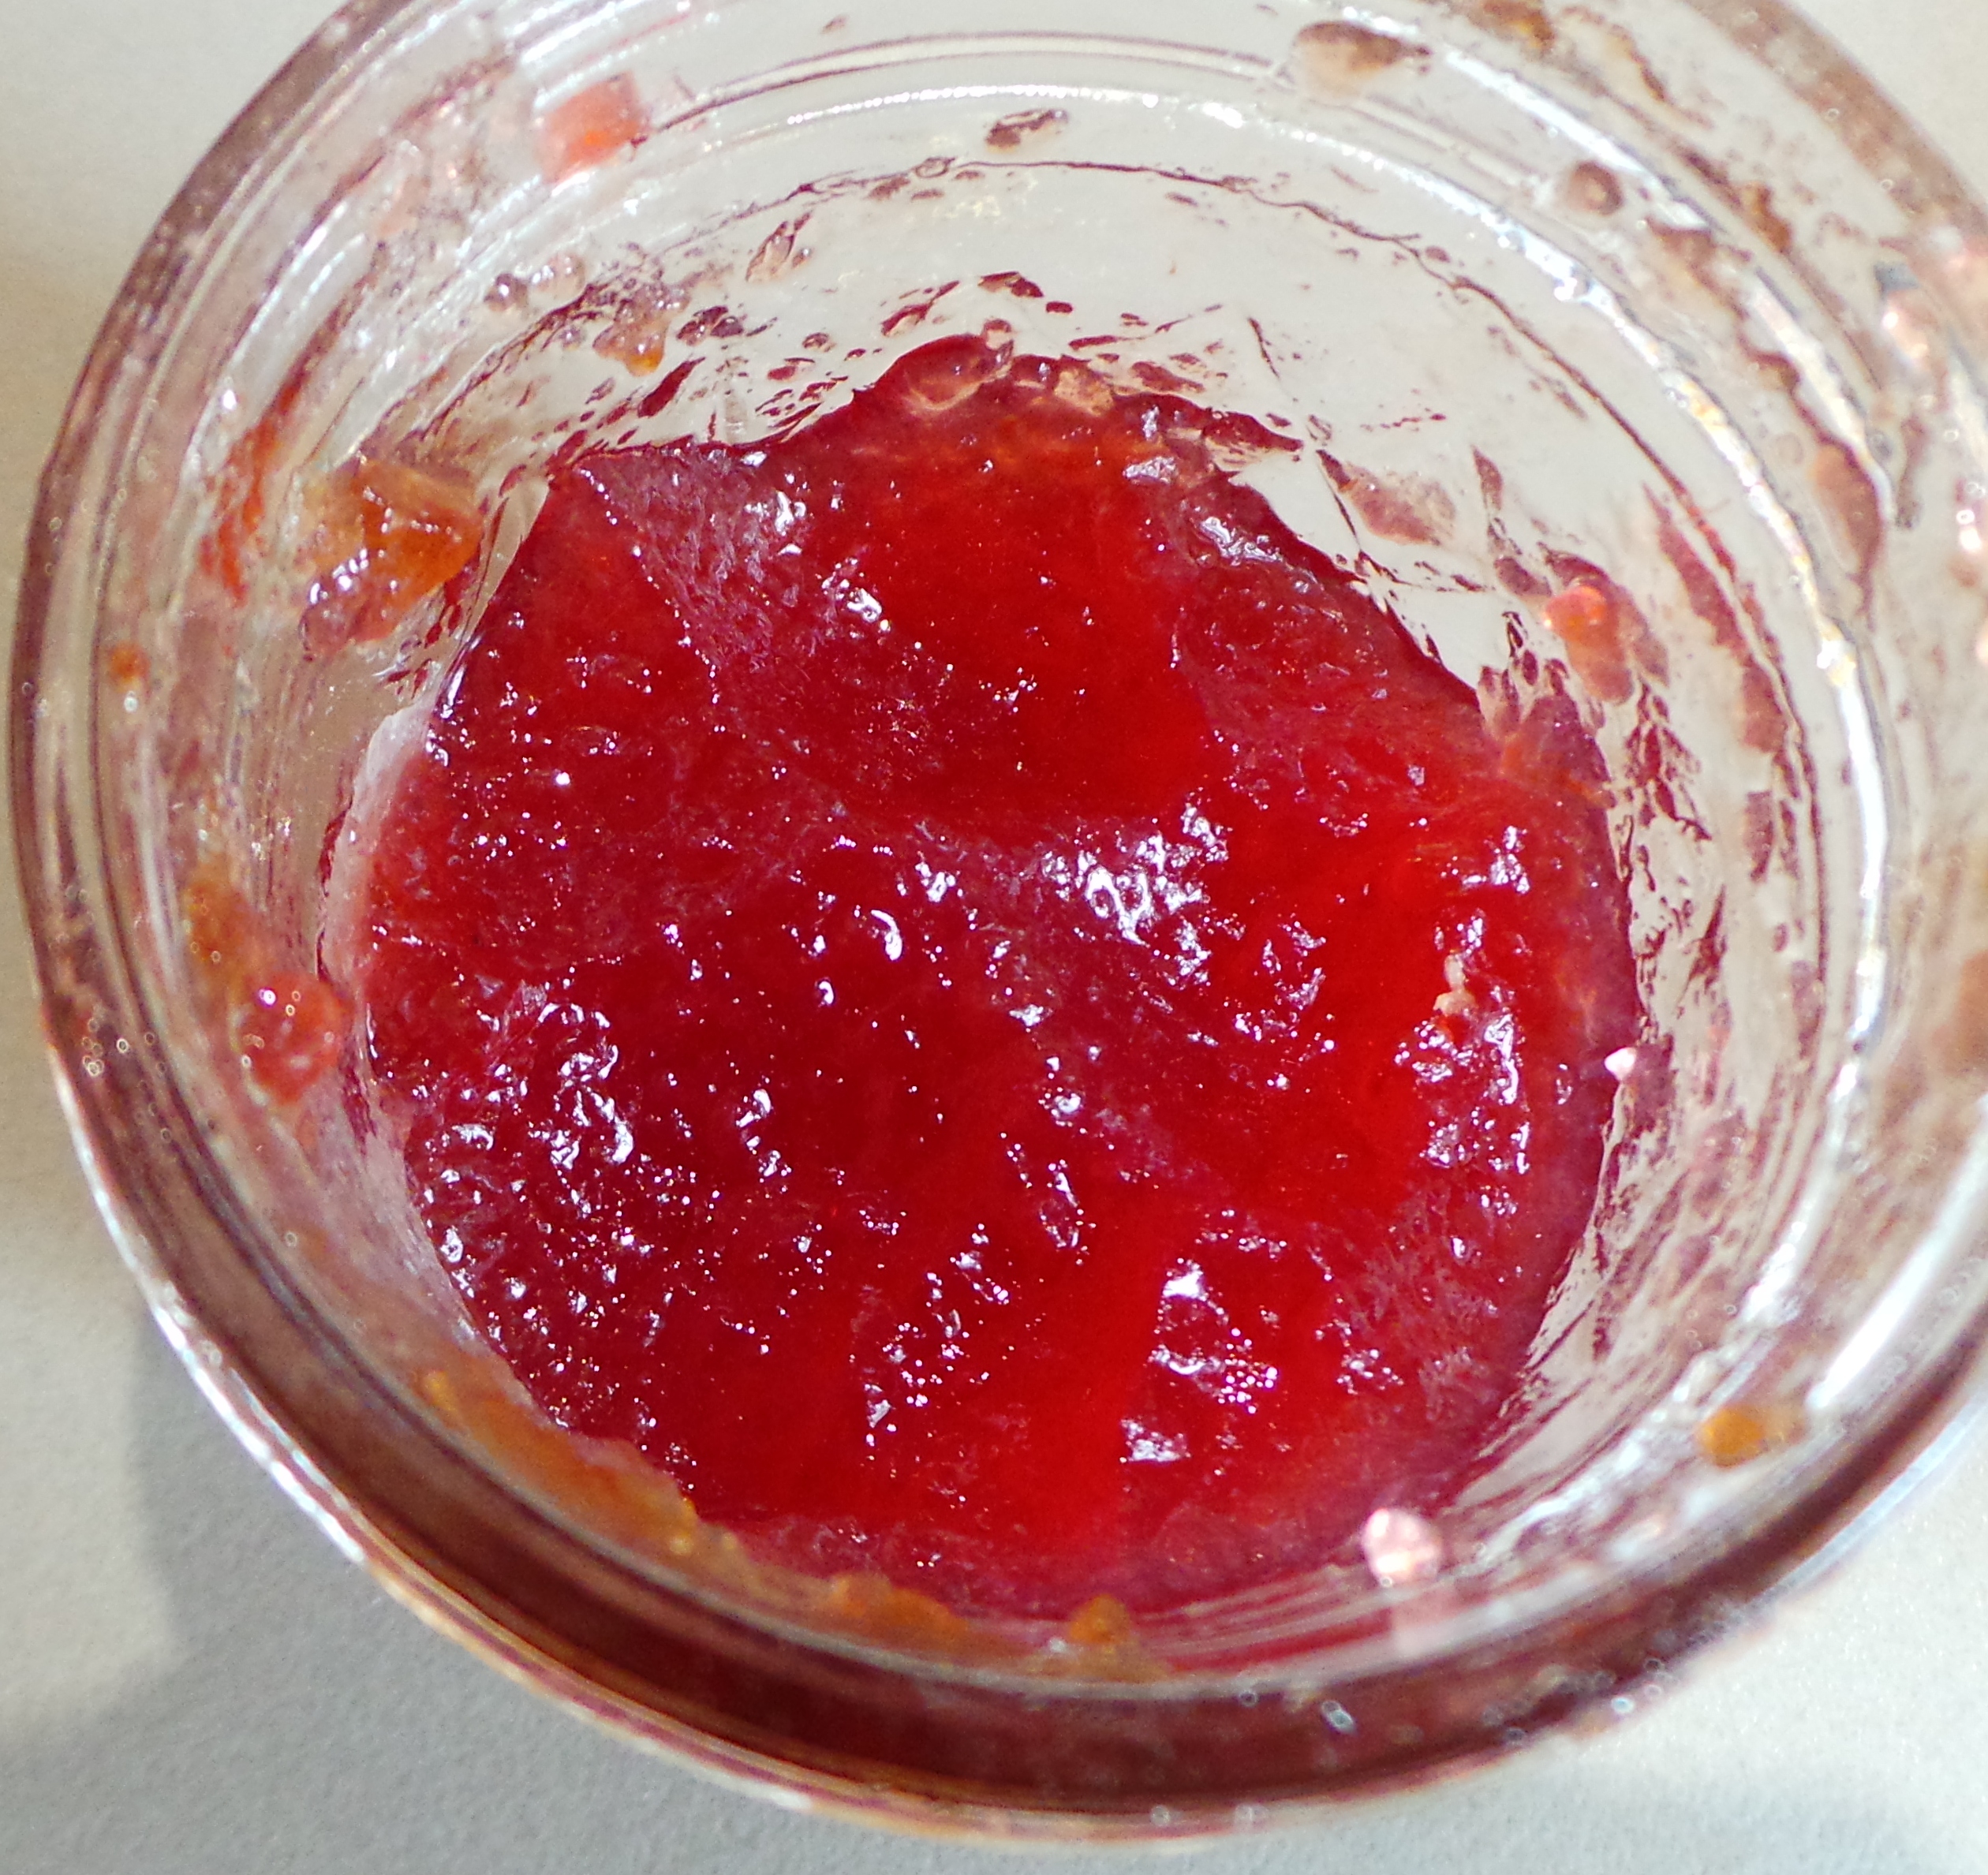
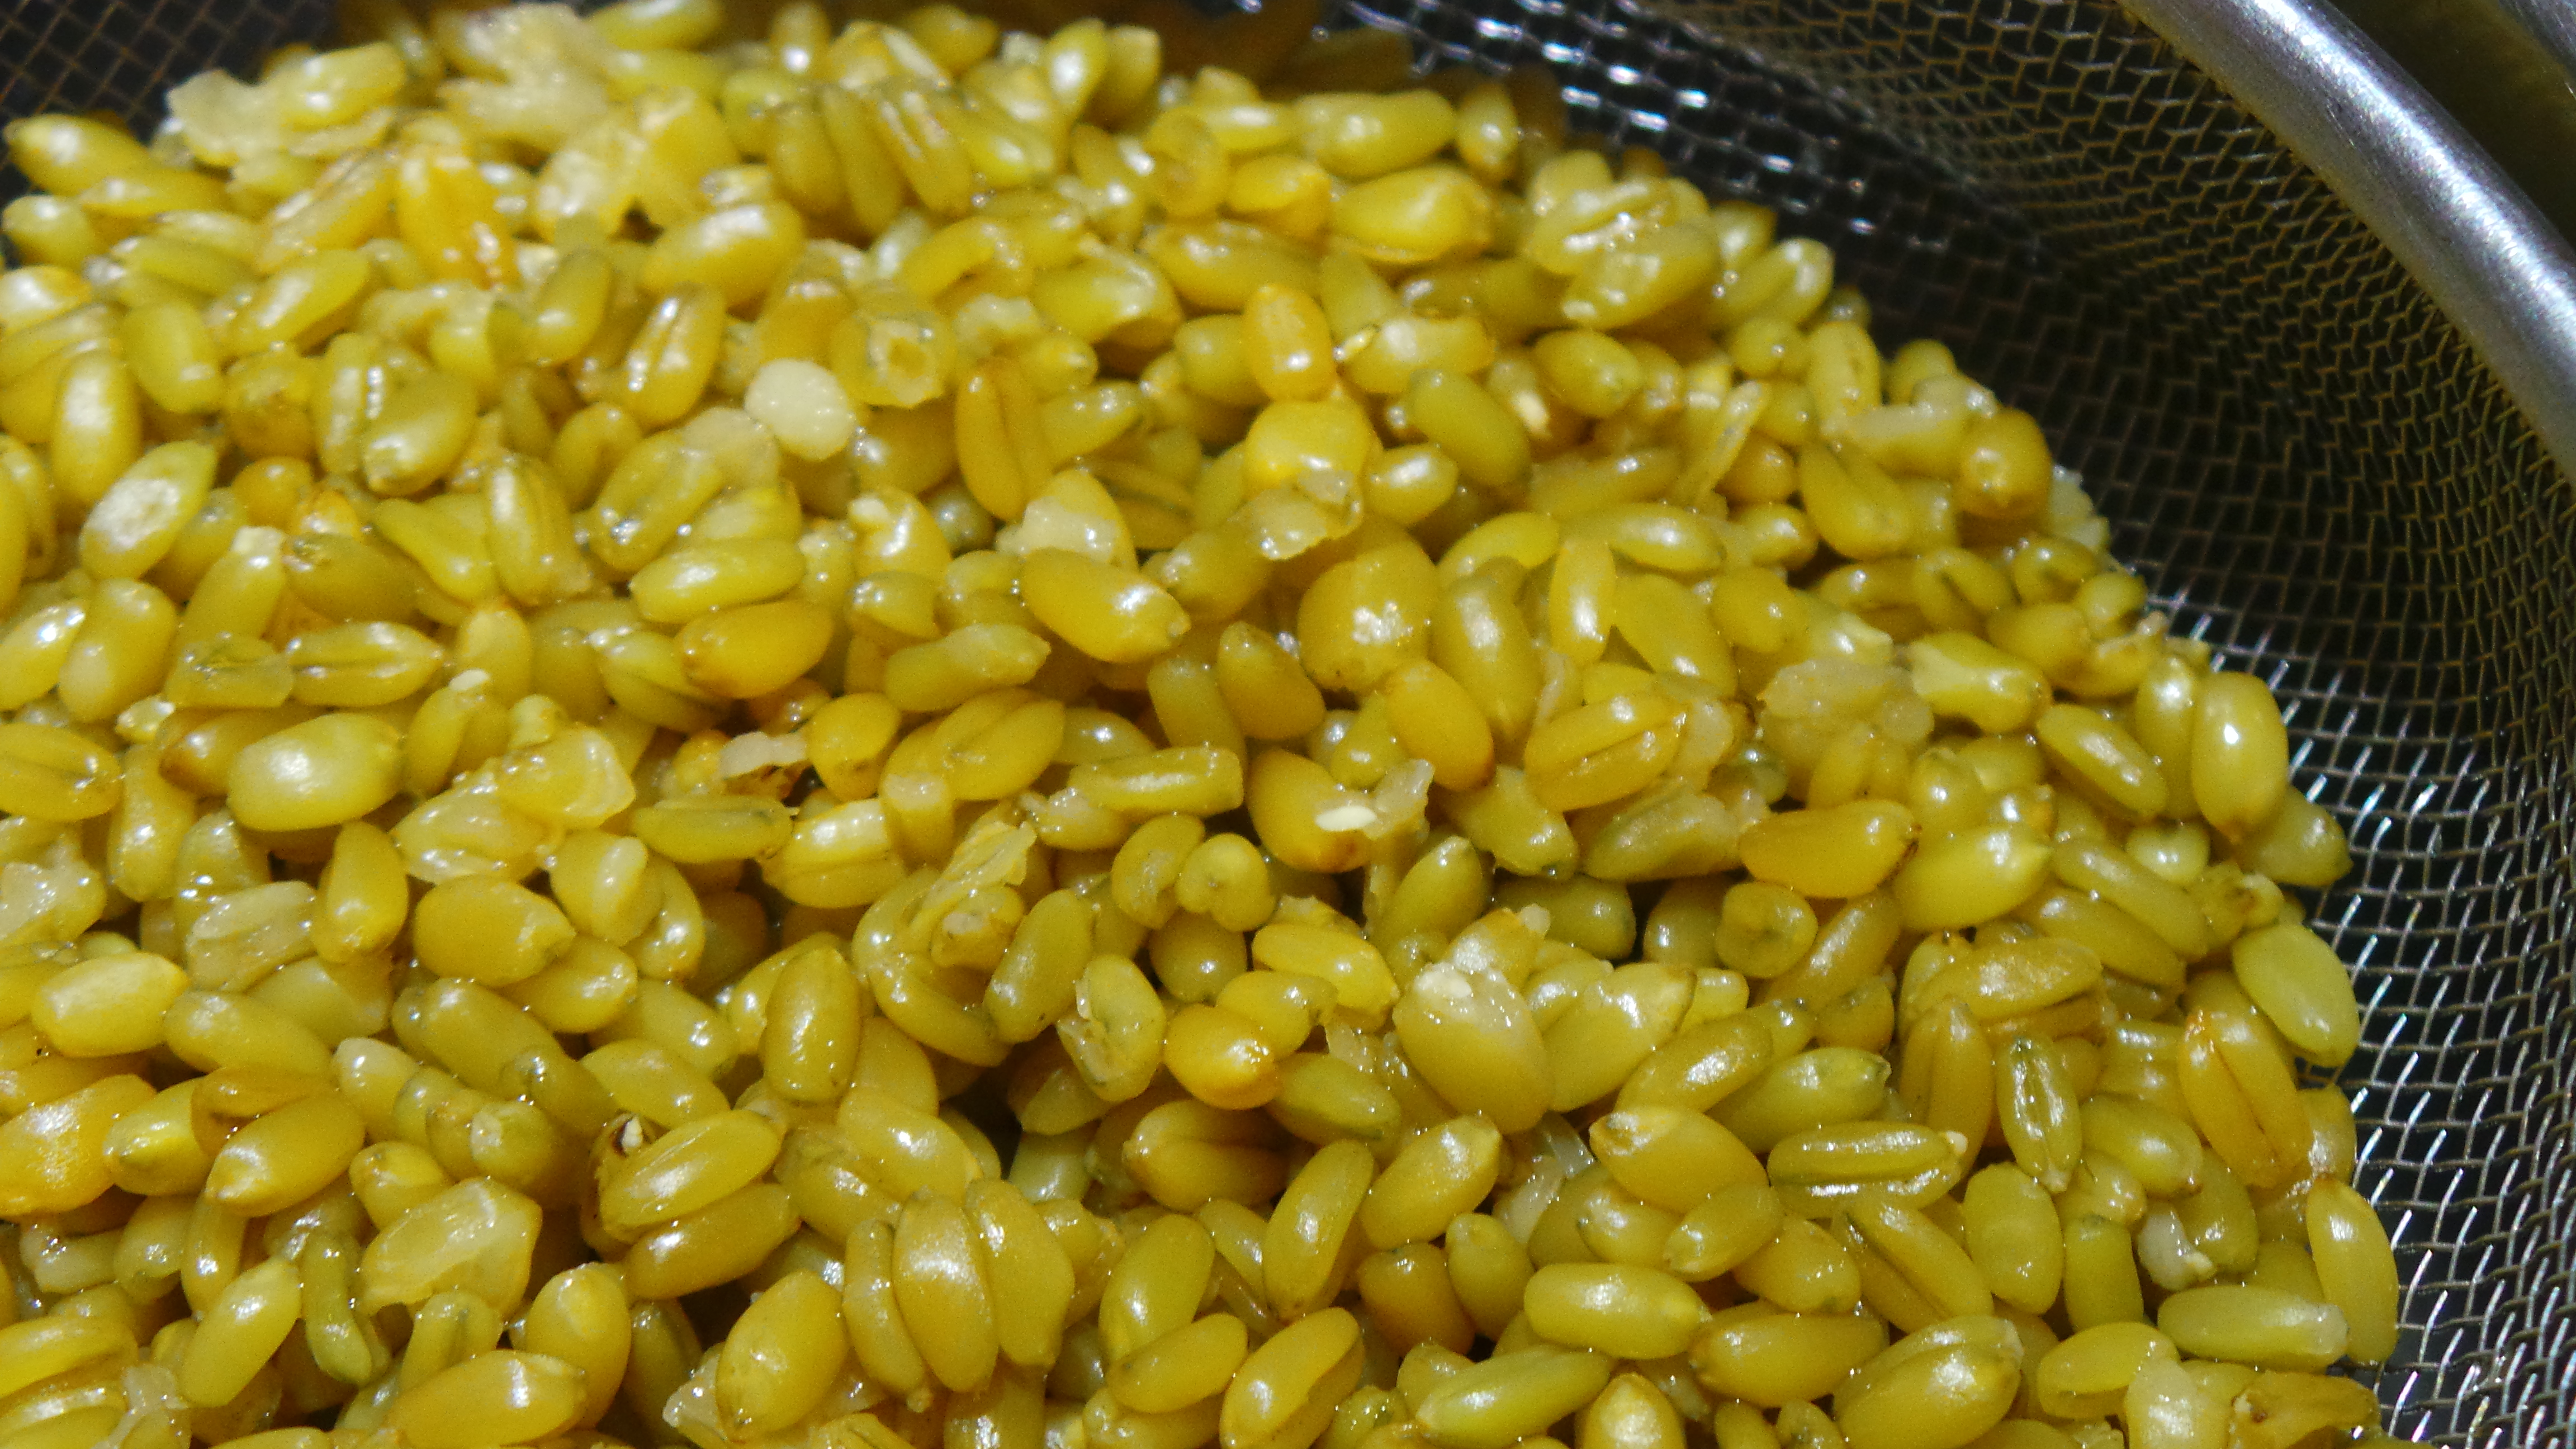
…and the jam left when I was finished.