You know when you buy a hand of bananas and suddenly they’re all too ripe and no-one wants to eat them and you get annoyed because you’ve spent the money and now it’s being wasted and it doesn’t matter what you do it seems like you can never get it right and why is life so unfair?
Take a breath. Calm down.
Firstly, freeze your bananas. If they’re getting past the eating-as-a-fresh-banana stage, then peel them and pop them into a ziploc bag and put them in the freezer. They can be defrosted and used in cakes and muffins and what-not at a later stage.
If you don’t want them to stick together, so you can take out one or two at a time, then freeze them separately before you place them in the bag. They will live in there quite happily for many months.
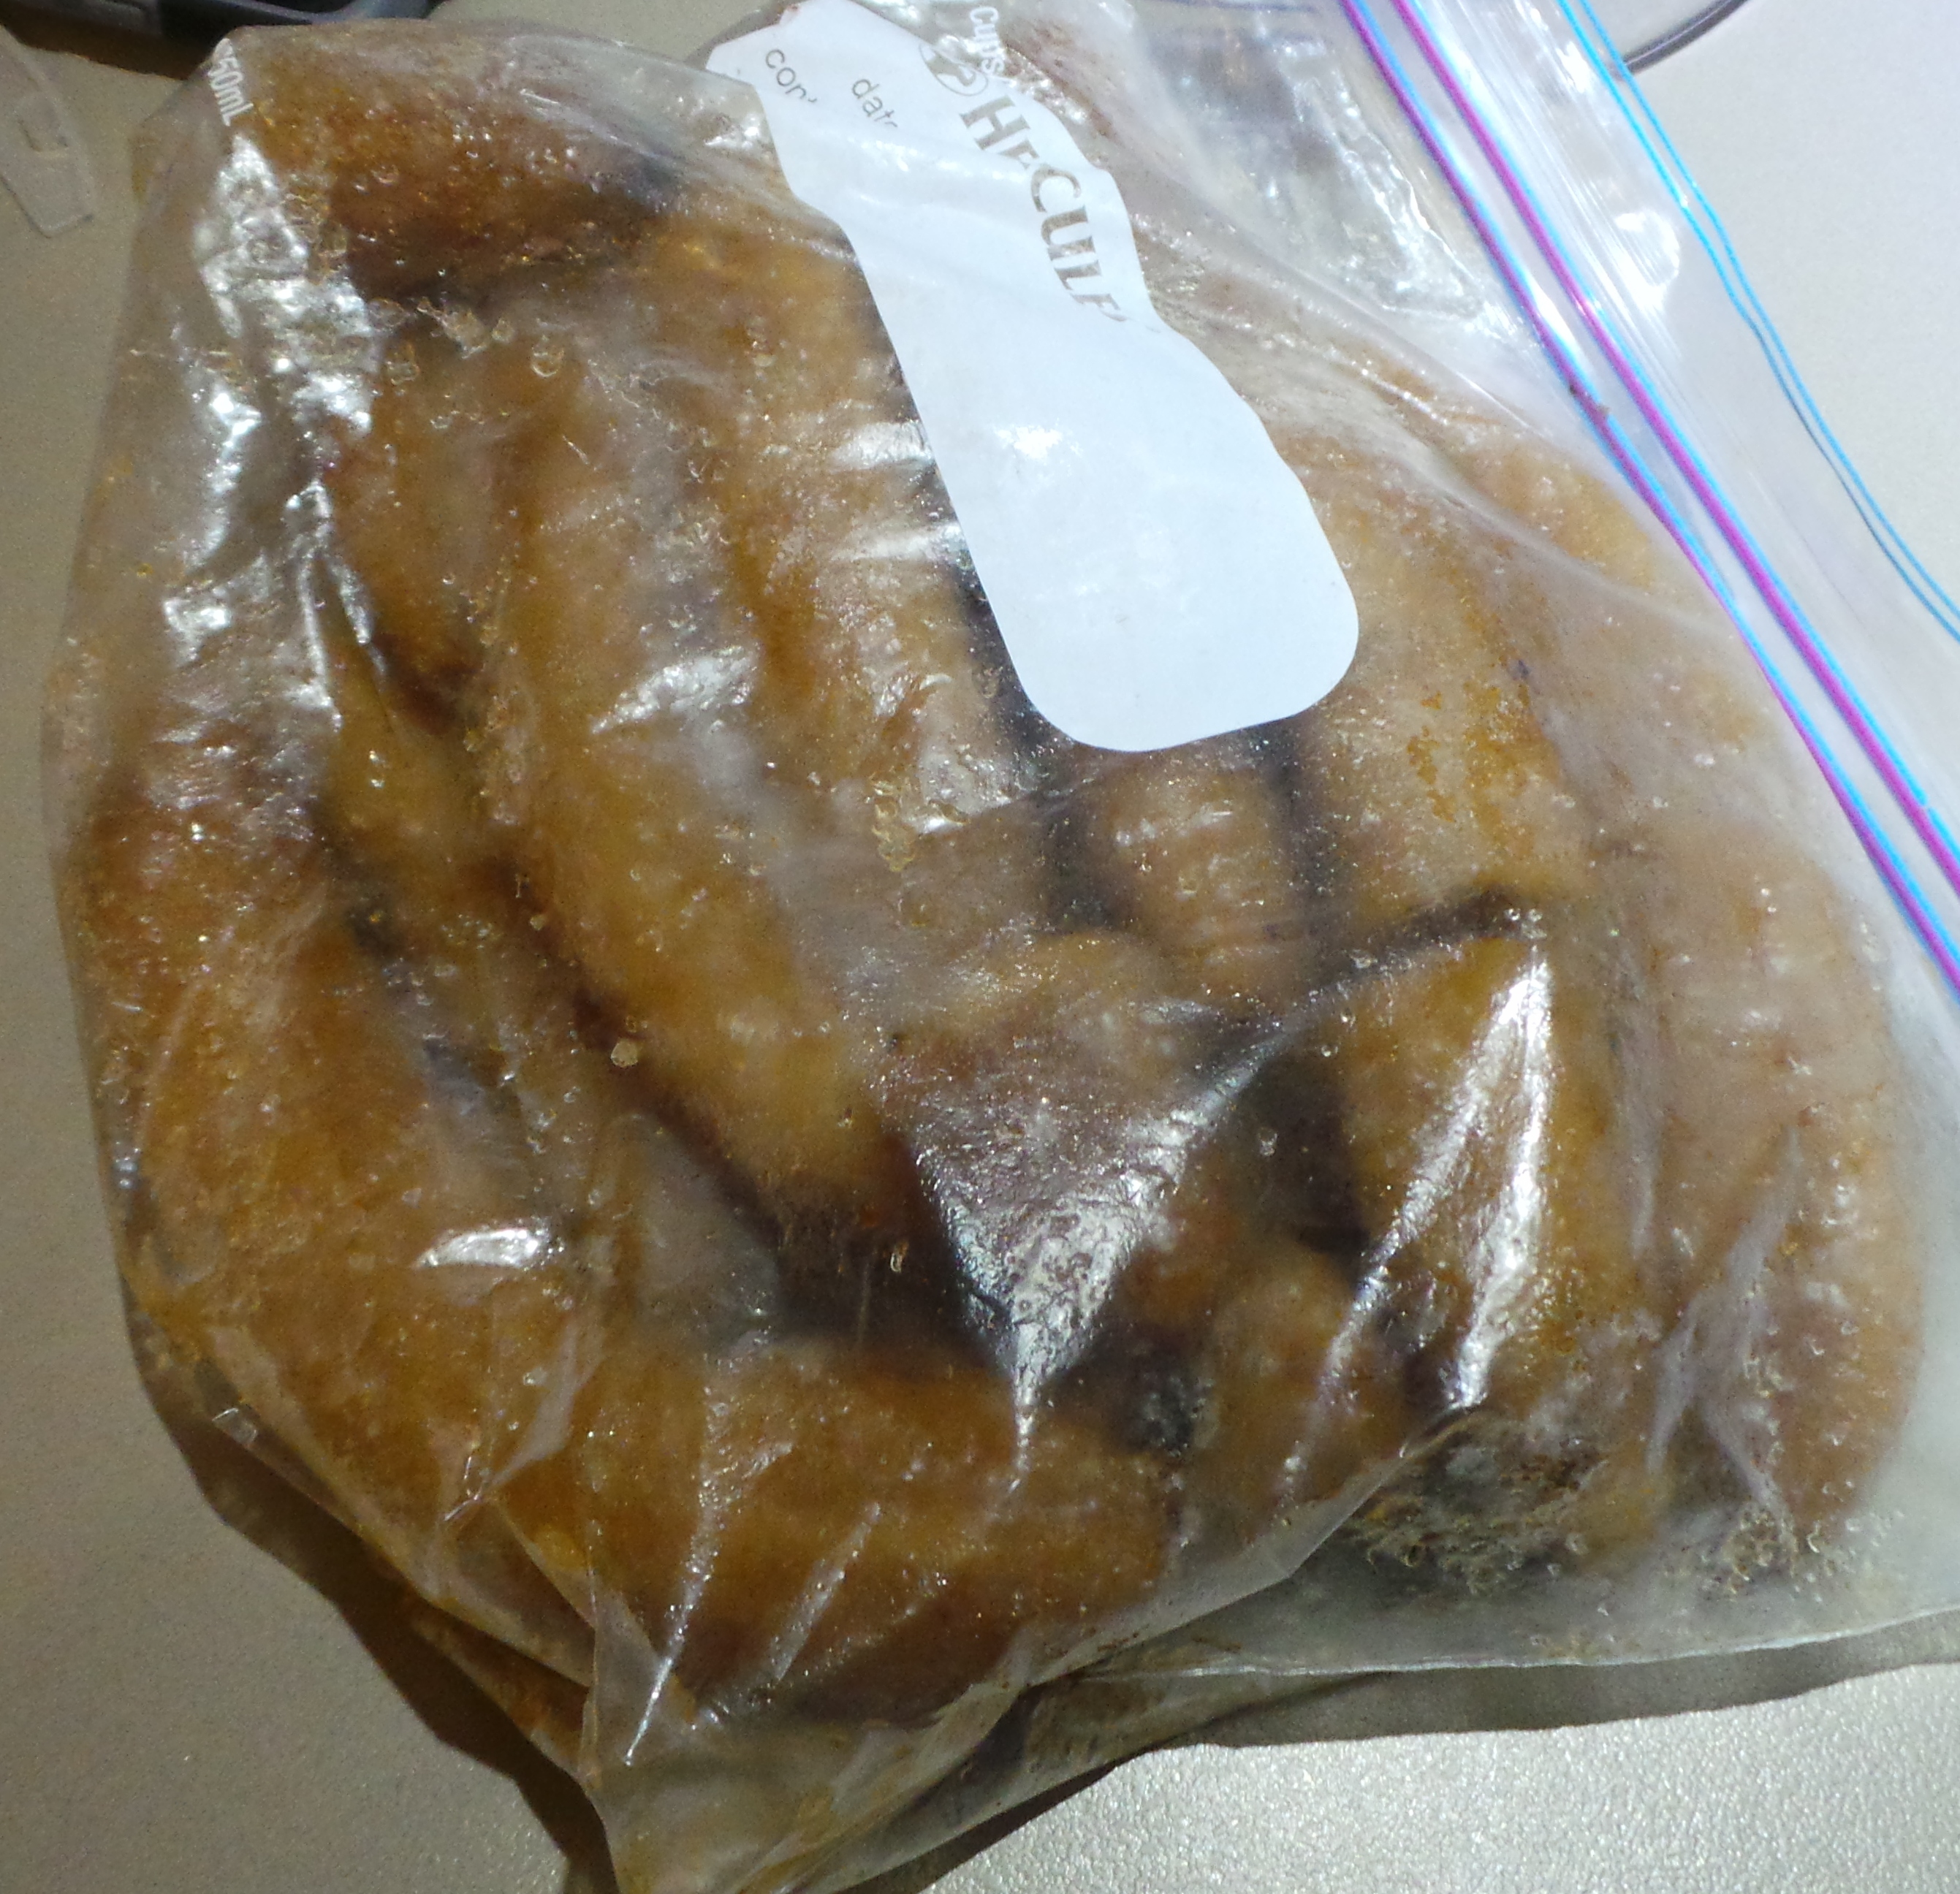
And don’t they look attractive?
Then you can make ice cream out of them.
Yes. I said ice cream. Frozen bananas can be used to make a soft serve ice cream which is wonderful for those with a lactose intolerance. Cold affects the performance of your taste buds, so the banana flavour fades right away and you are left with a cold, creamy substance that you can add other flavours to. Like chocolate.
This requires a food processor with a metal blade. I’m sorry, there’s really not an alternative to the use of an appliance for this.
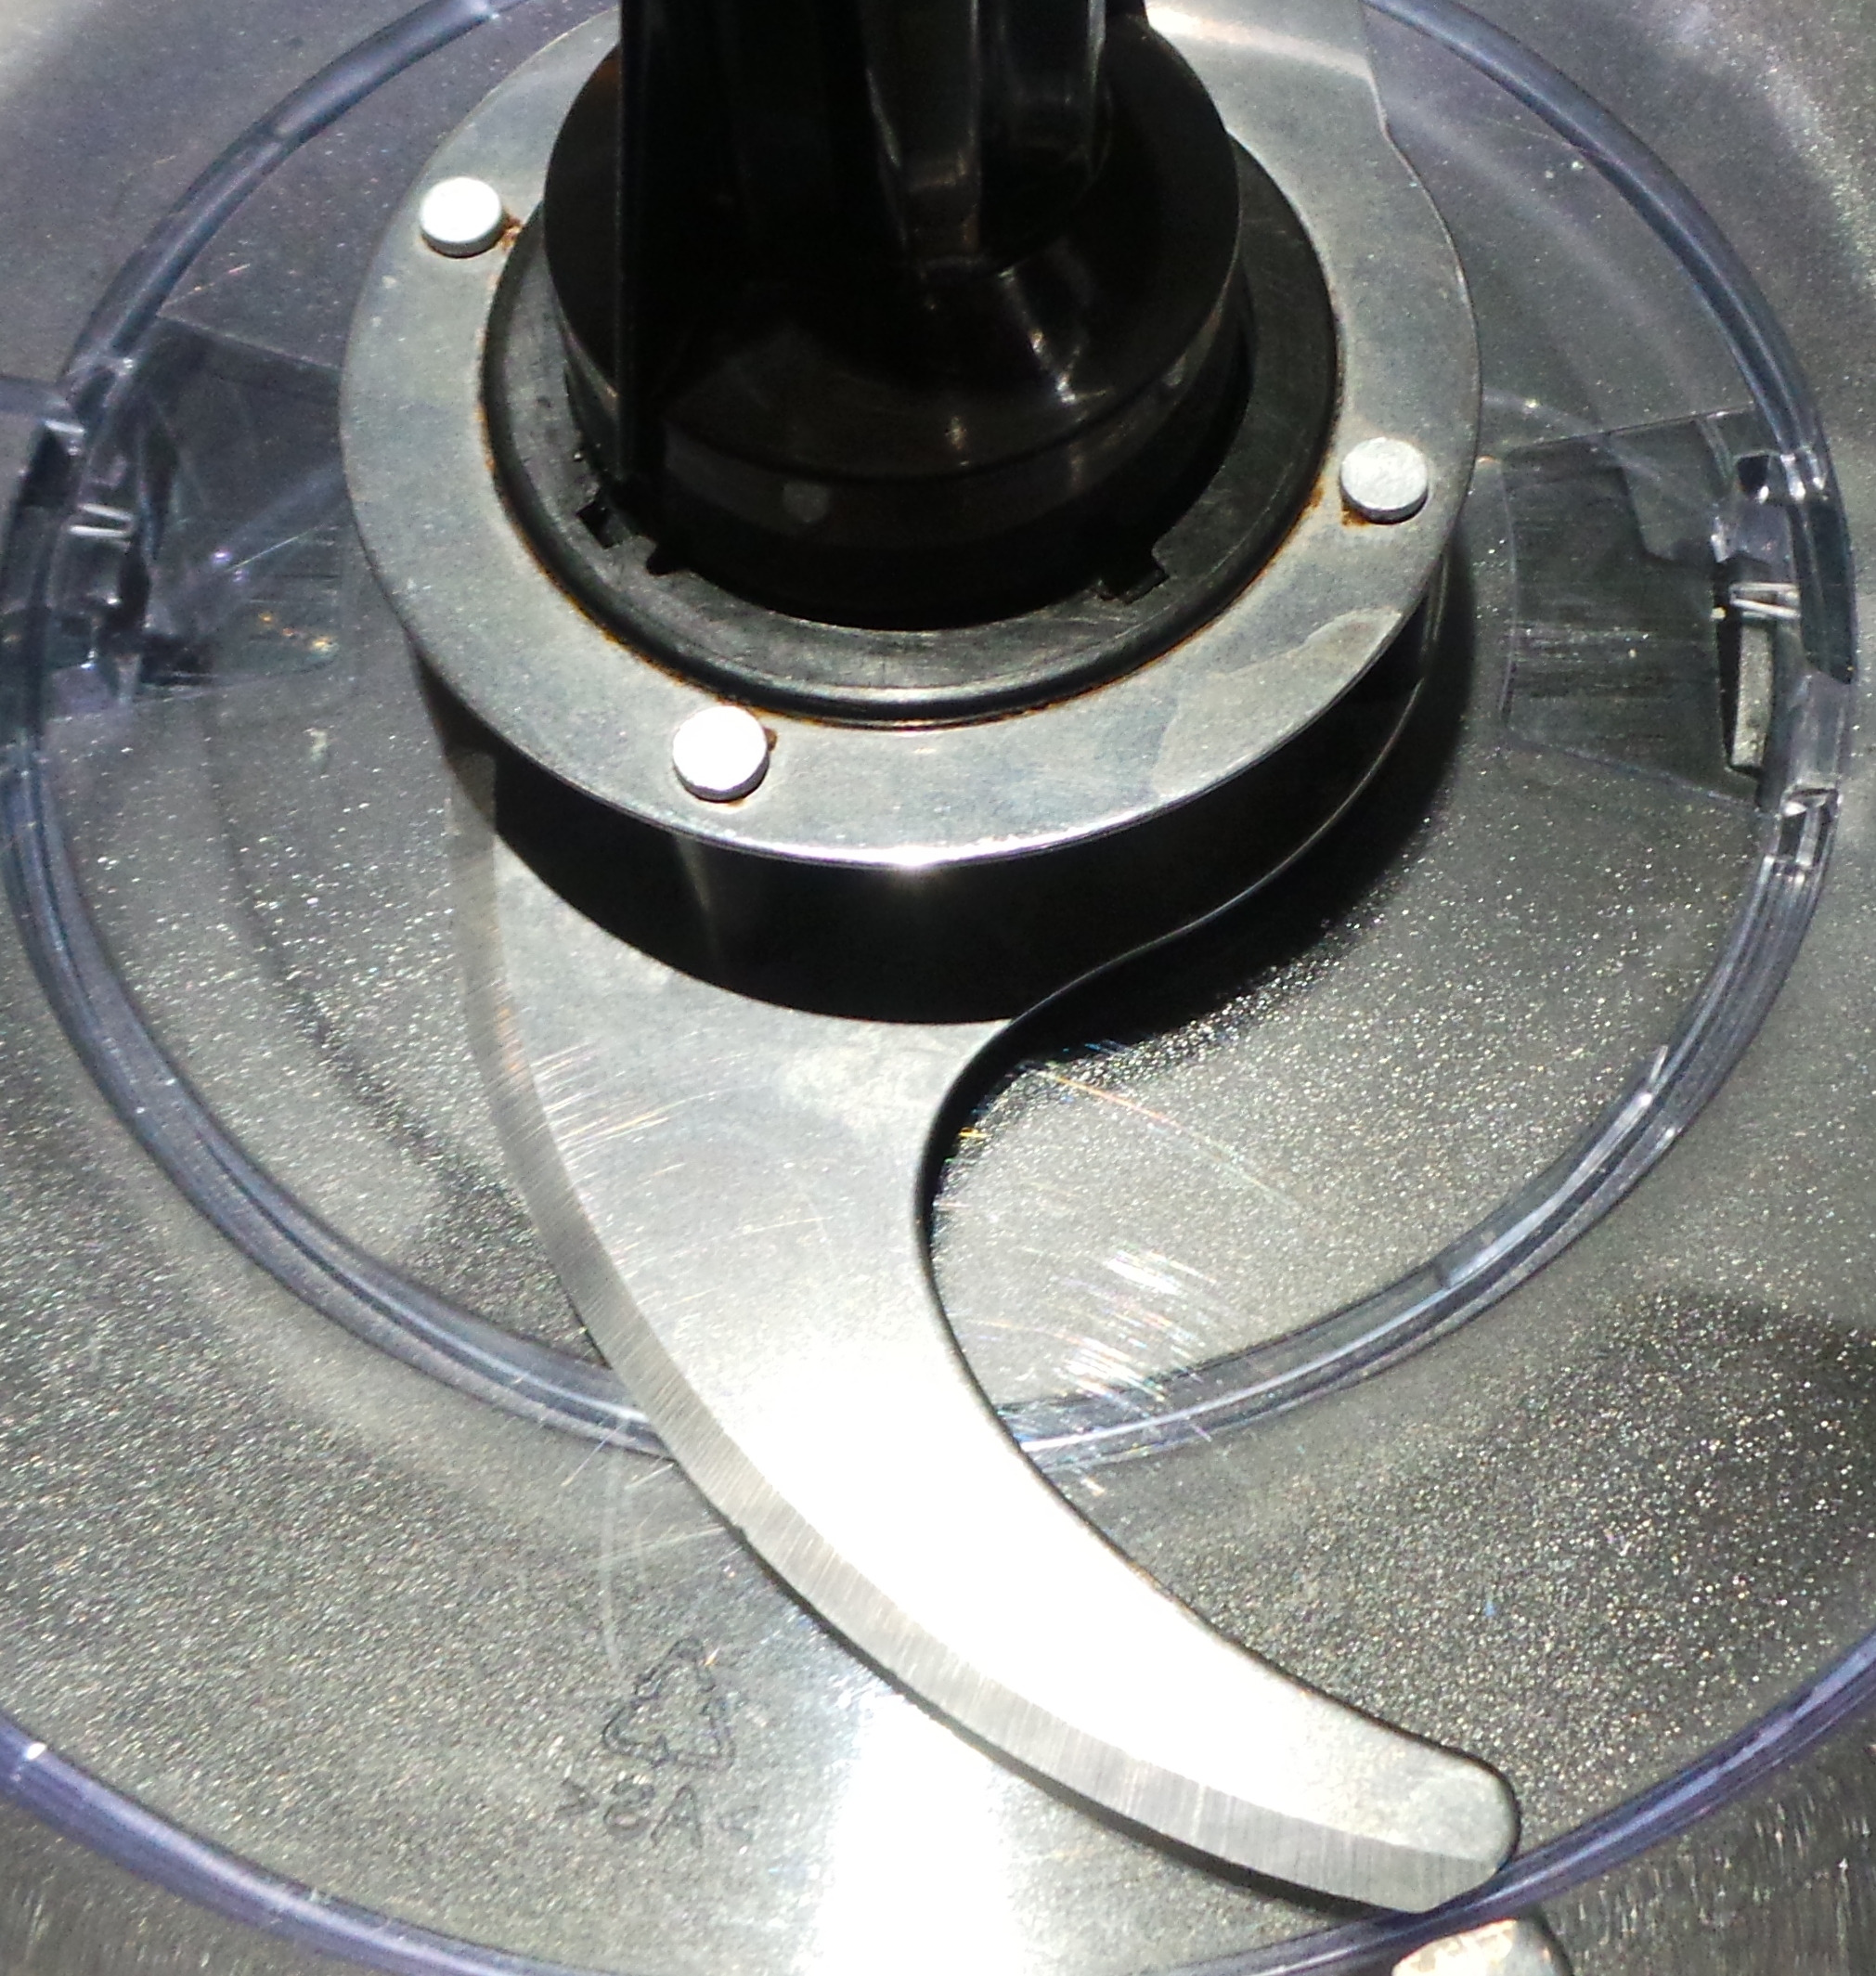
The metal blade of a food processor is the secret ingredient here.
Also, I had quite a few bananas I wanted to use as I wanted the freezer space. So the pictures you see here will be of about three times the quantity that will be made from the recipe provided.
Making the actual dessert is super simple. Get the kids involved (just don’t let them lick the blade…)
Cut your bananas into chunks and put them into the processor bowl.
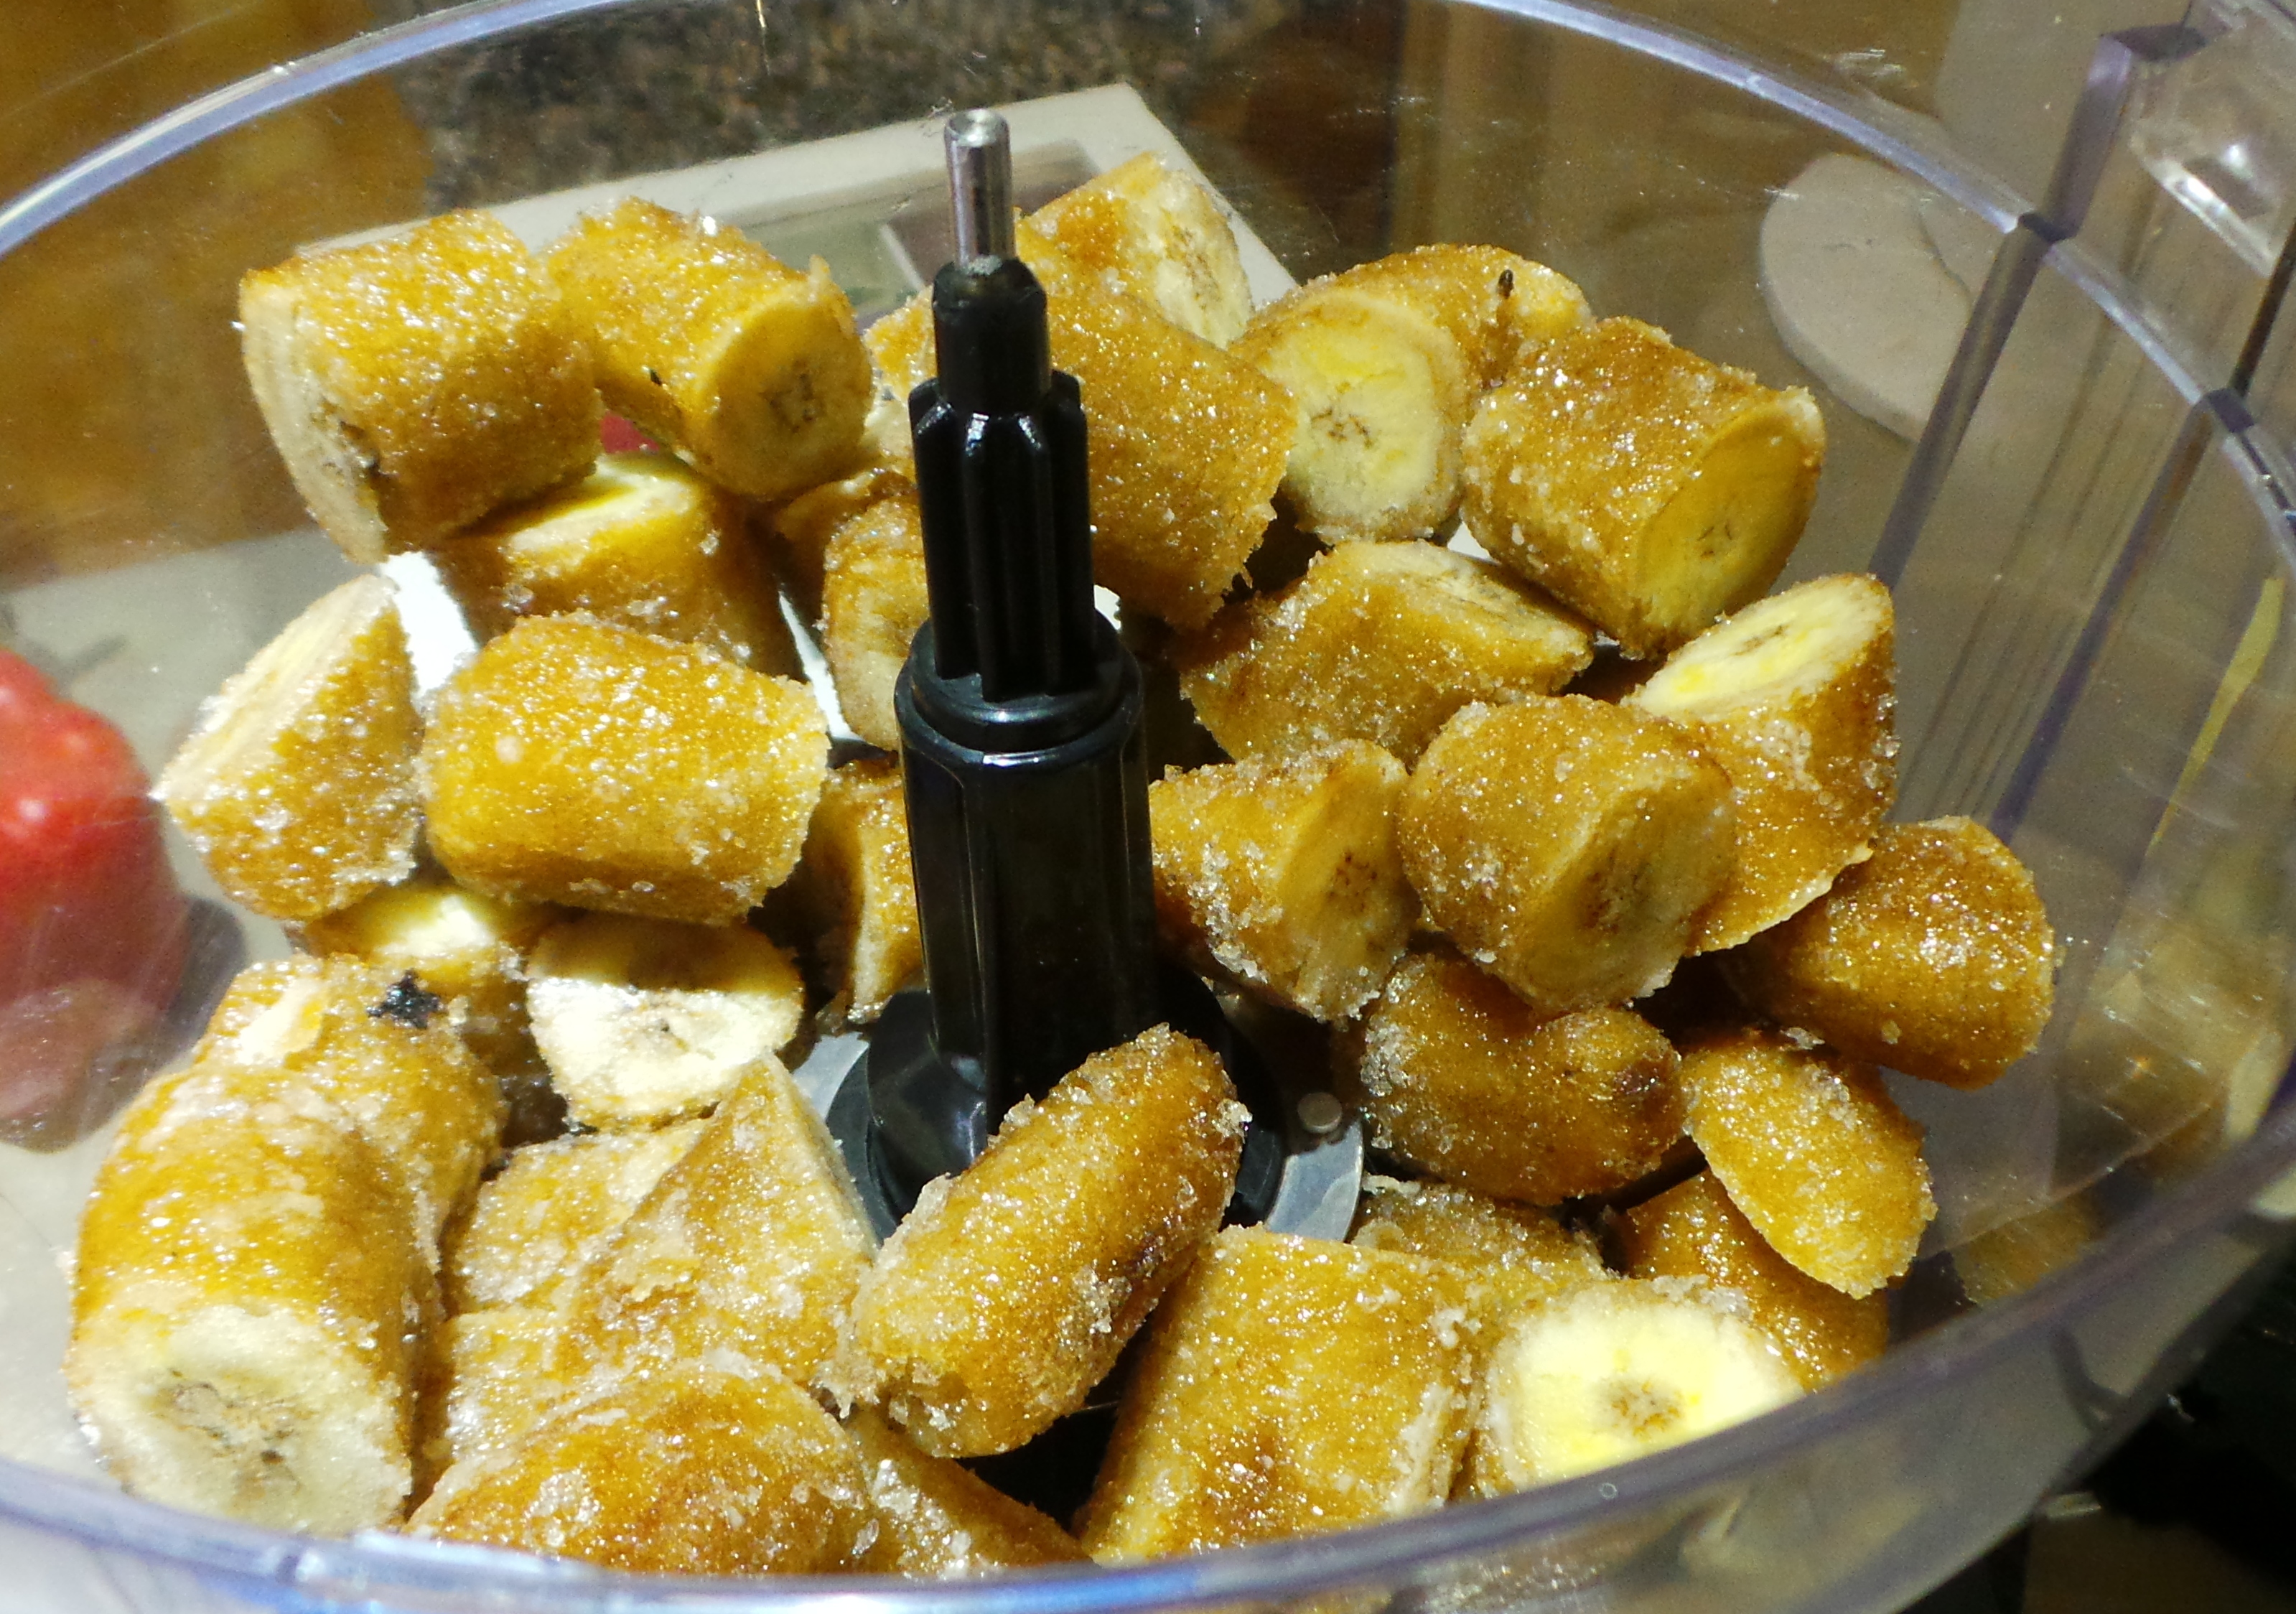
Chunky bananas.
Now sift in a couple of tablespoons of cocoa powder. I used Dutch process cocoa because that’s what I had. If you’re an Aussie and you have some to spare, then try using Milo instead.
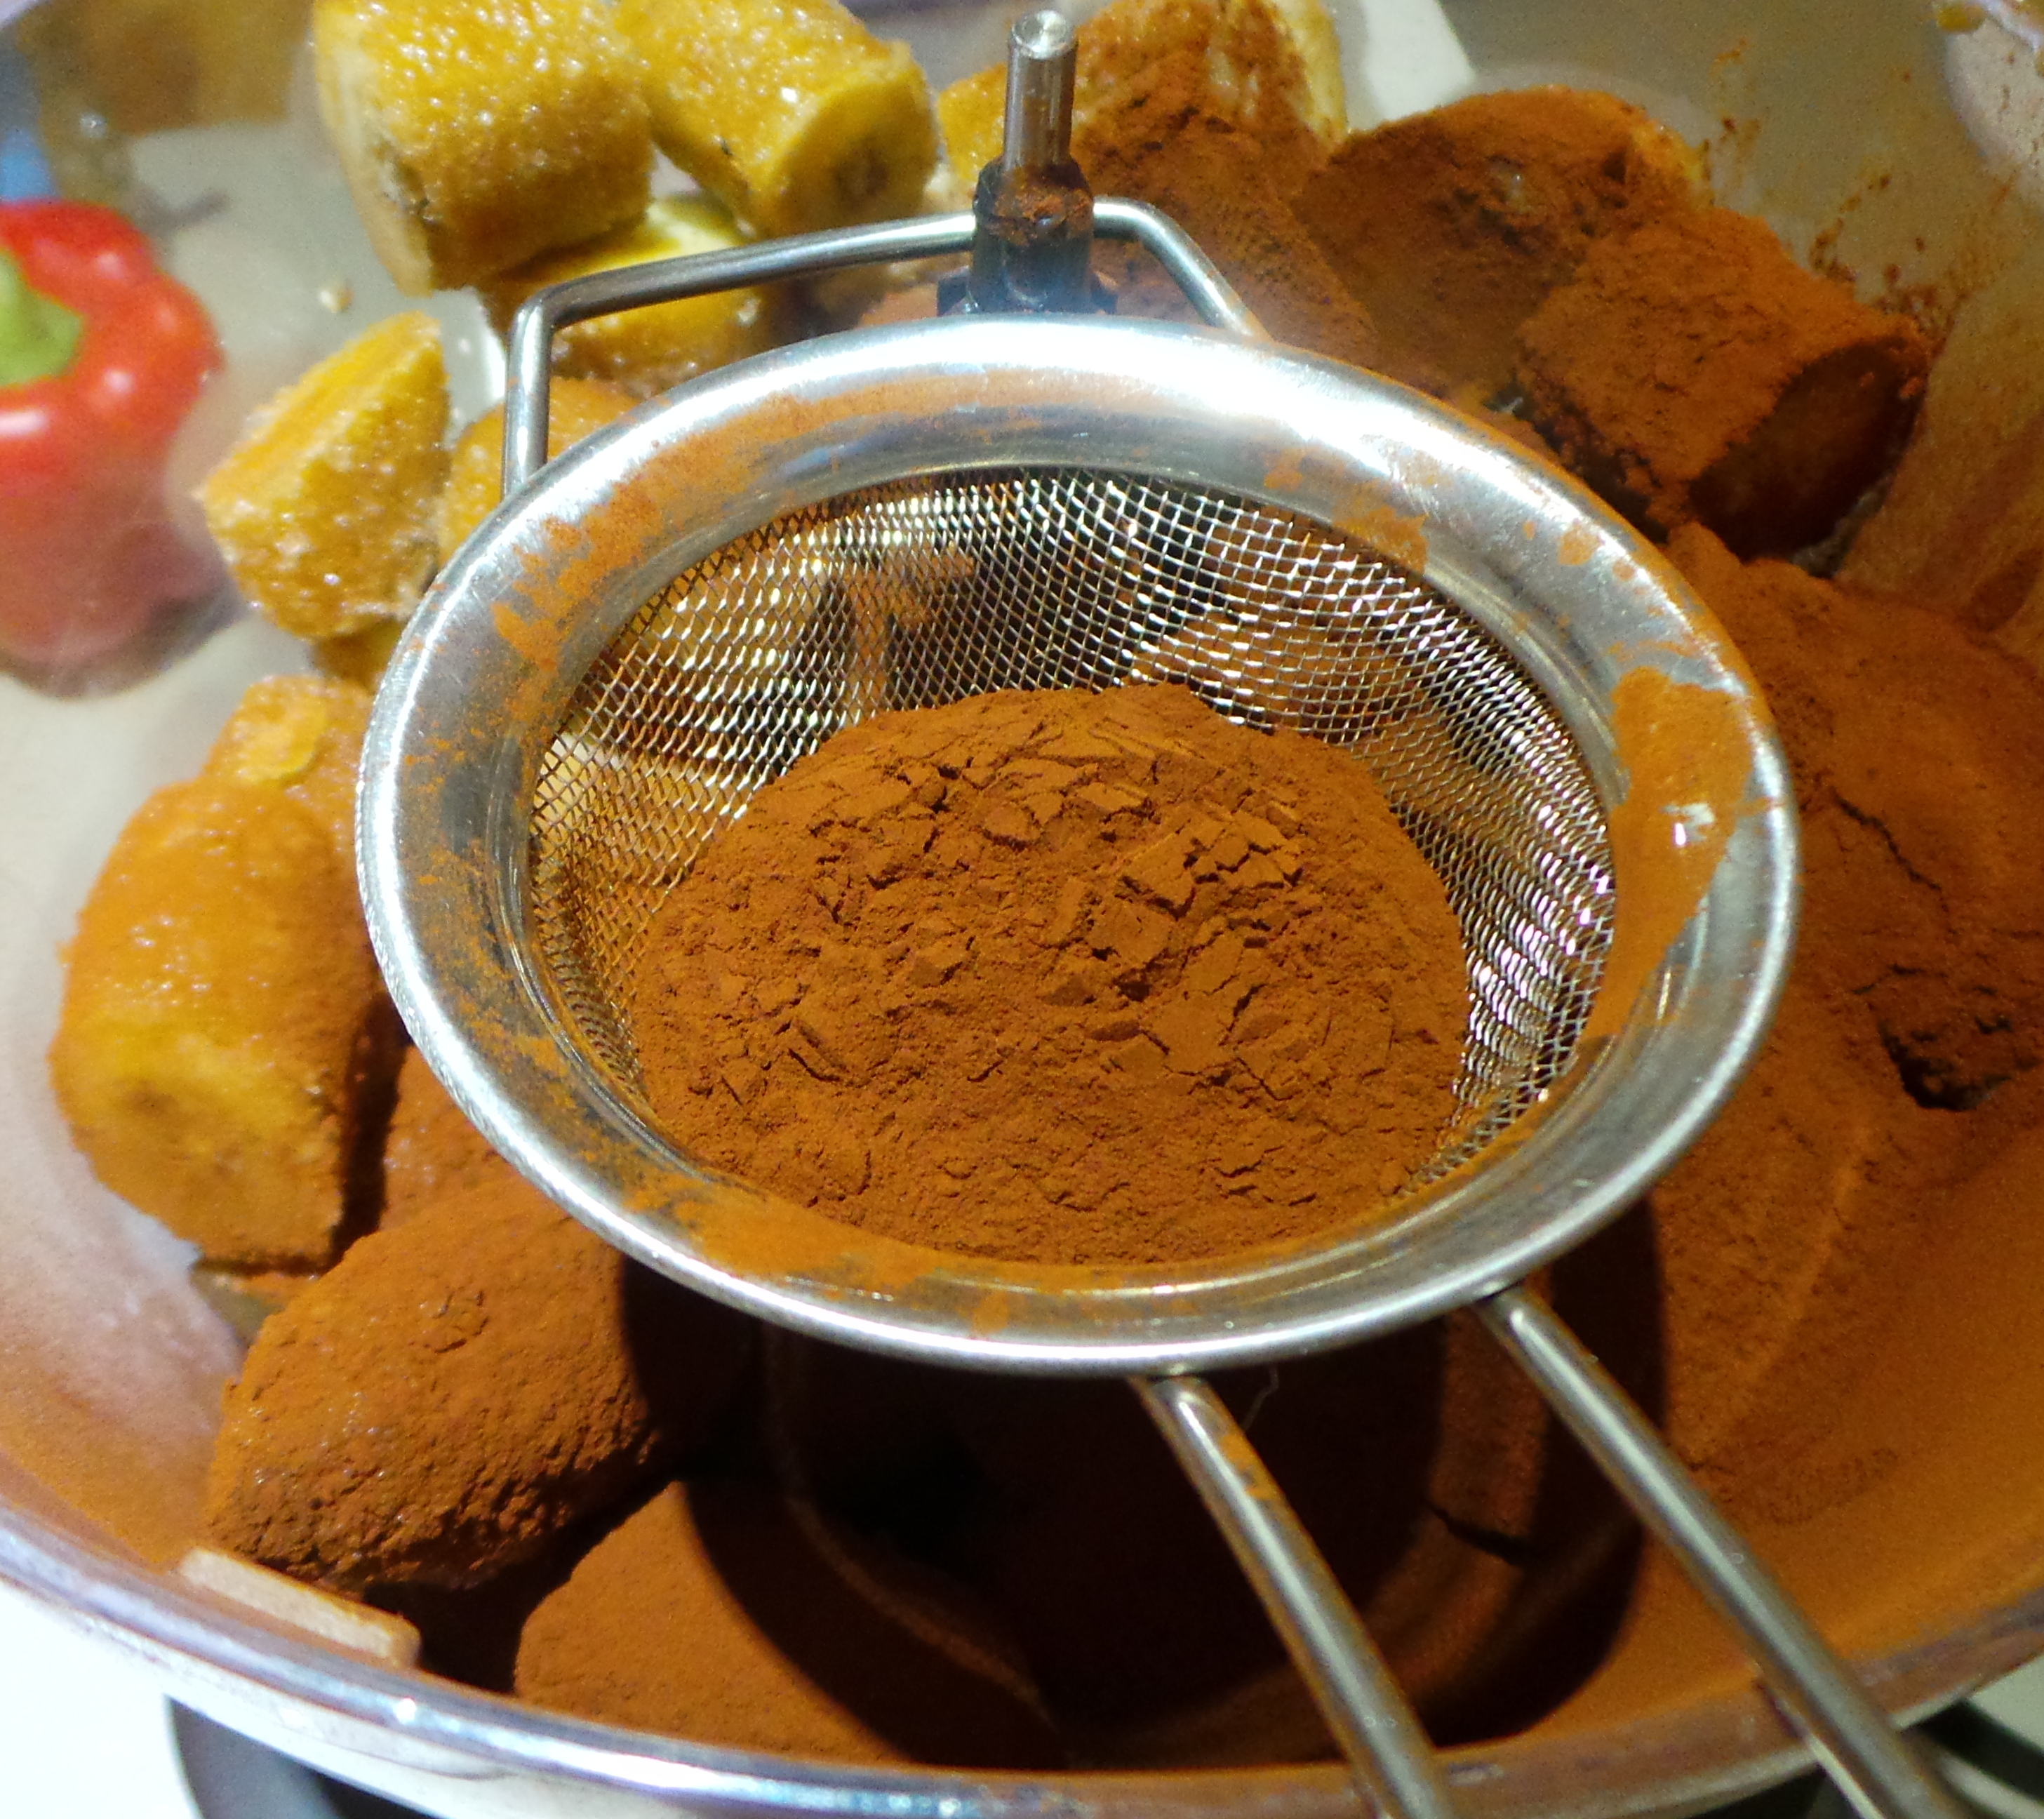
Add cocoa.
Now add some vanilla extract and a touch of salt. The salt will help to accent the sweetness of the bananas.

I used sea salt flakes – you don’t have to.
Then add a dollop of sweetener if you really want to. I added a touch of honey, but it’s really not necessary. Bananas are full of natural sugars – don’t for a moment start thinking of this as a low calorie alternative to regular dairy ice-creams.
*Diabetics be warned, this will make your sugars spike.*

I added some totally unnecessary honey.
You may like to add a few tablespoons of a nut butter here. Peanut butter works fine, or you can try almond or sunflower butter instead. The oils in the butter give the final dessert a smoother texture and “mouth feel.” I didn’t have any, so I didn’t.
I did find that it wasn’t blending as smoothly as I would have liked, so I drizzled in some buttermilk that I had in the refrigerator. Adding yoghurt would also work – and this can be dairy, soy or coconut – or you could just add a little vegetable oil.
None of these things is absolutely vital.
Put the lid on your processor and pulse a few times to get it going.
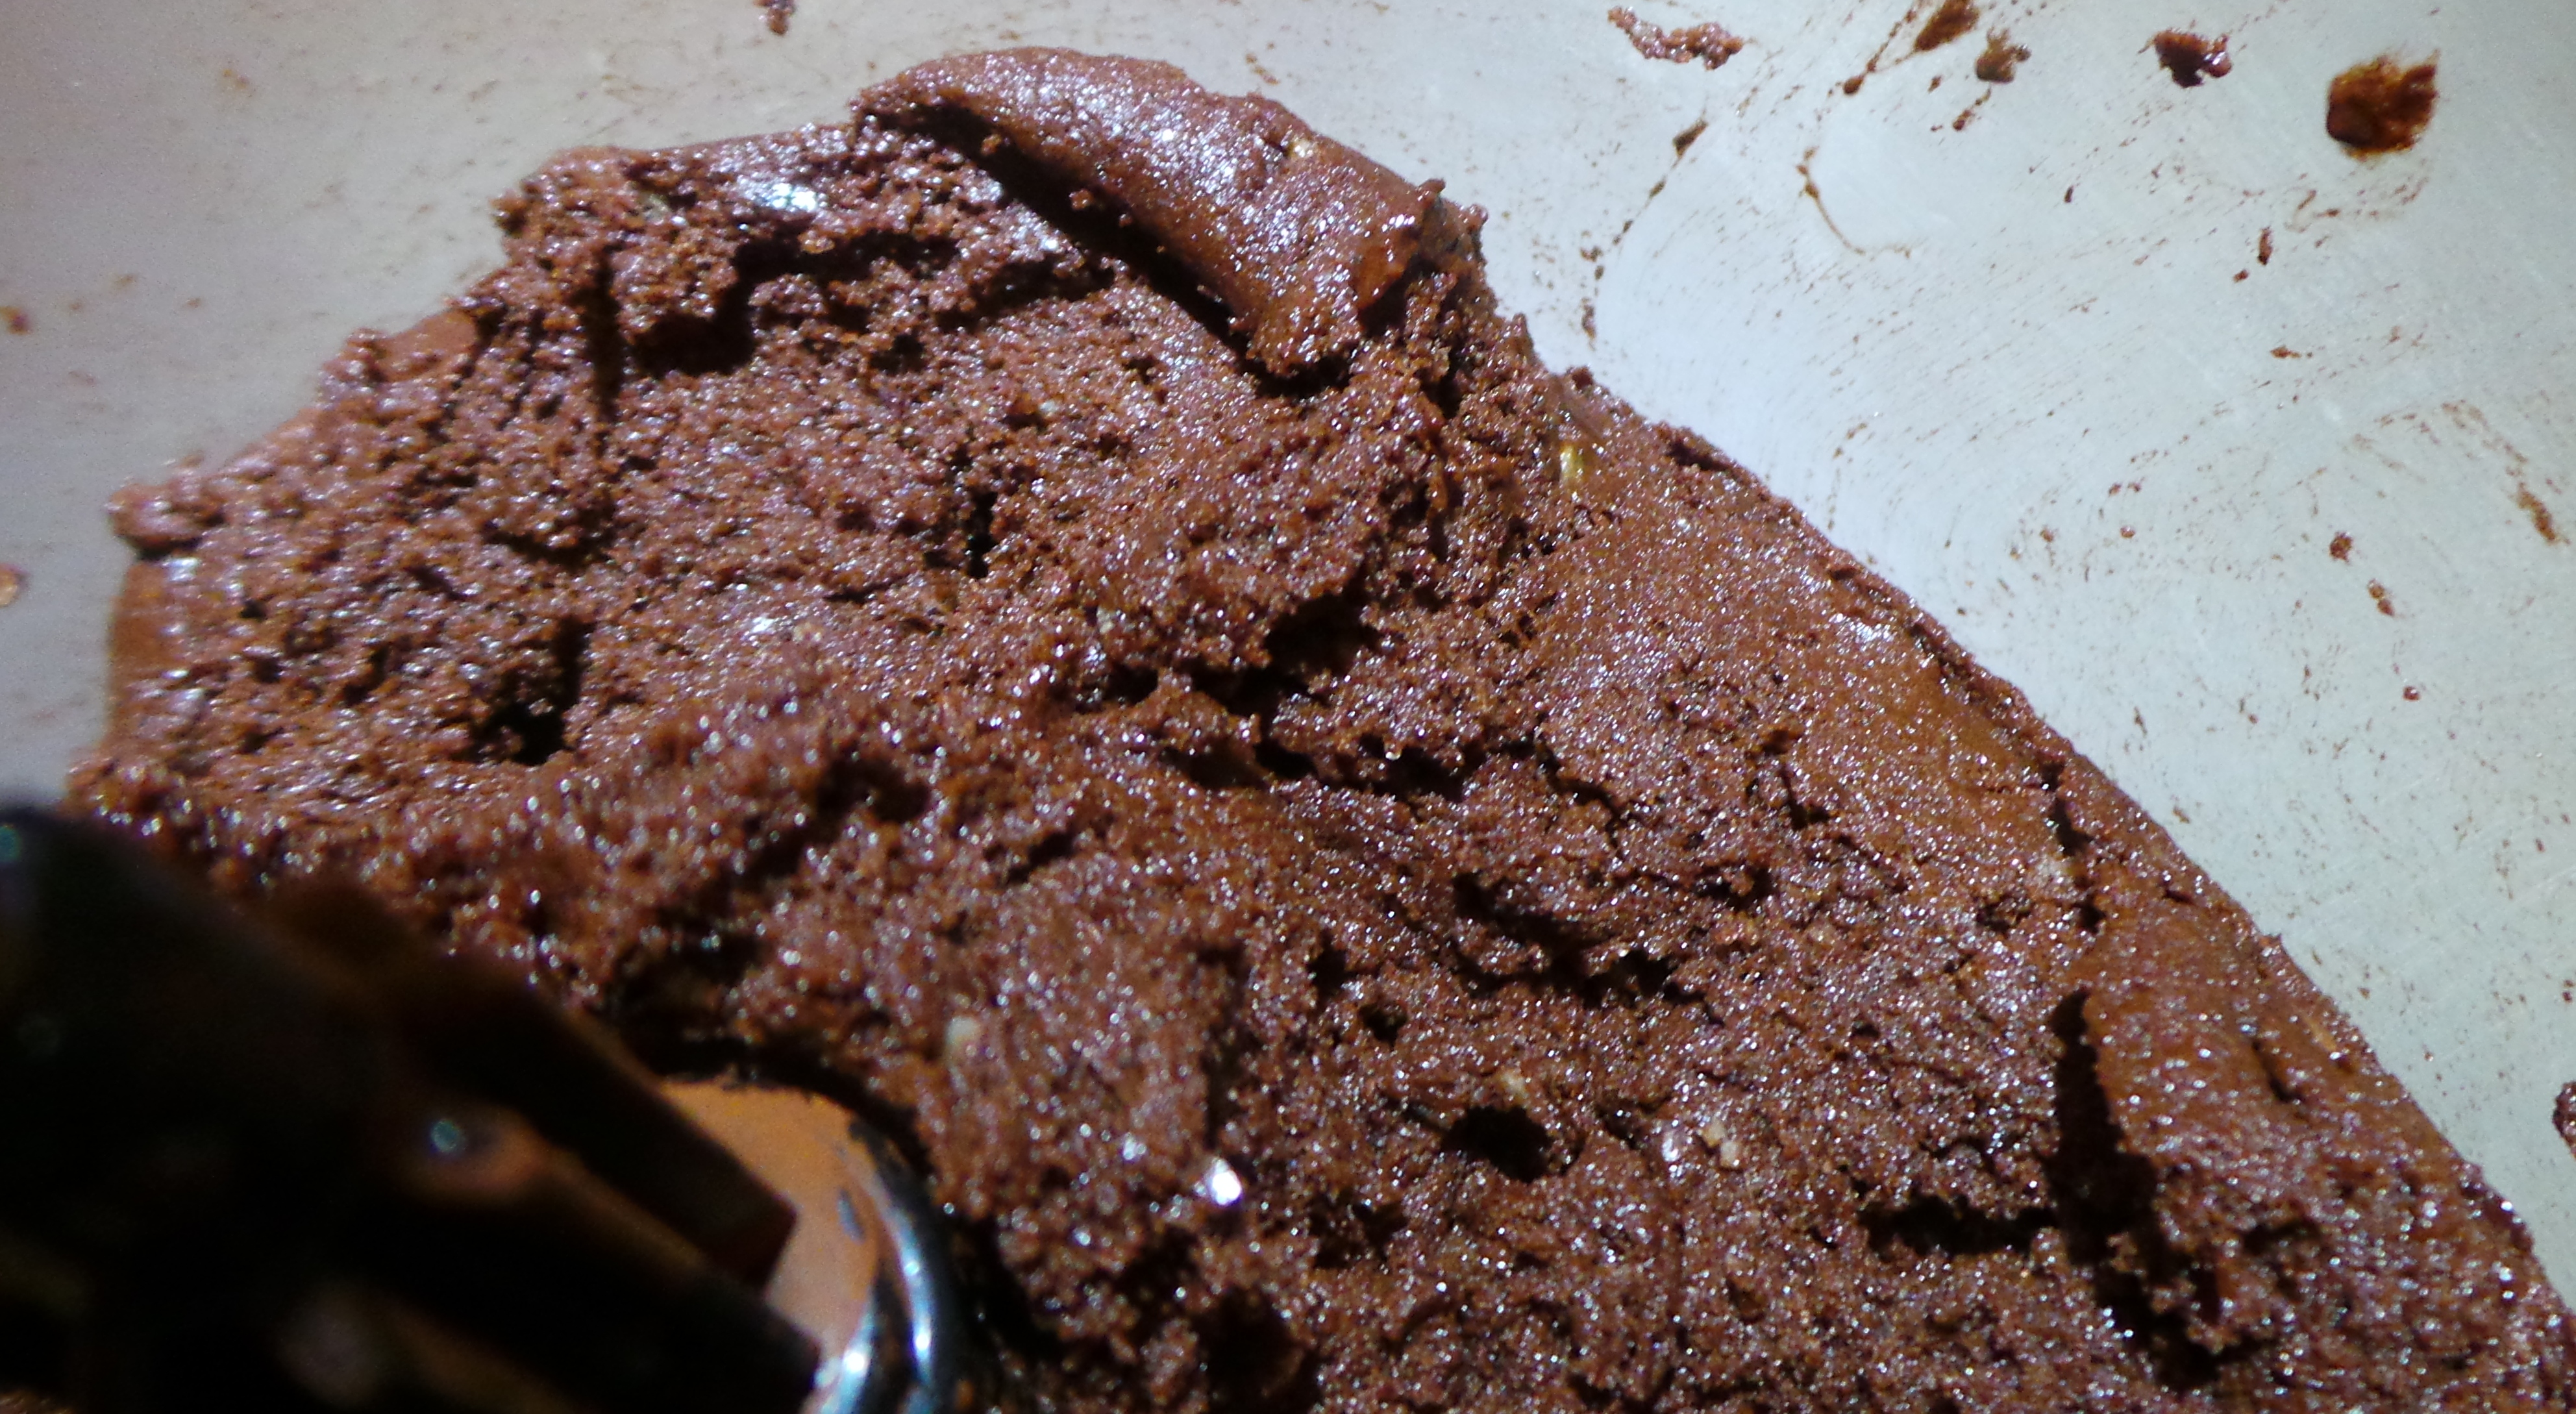
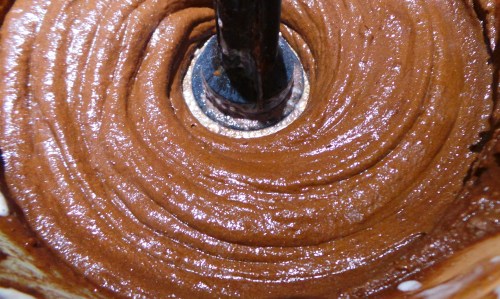
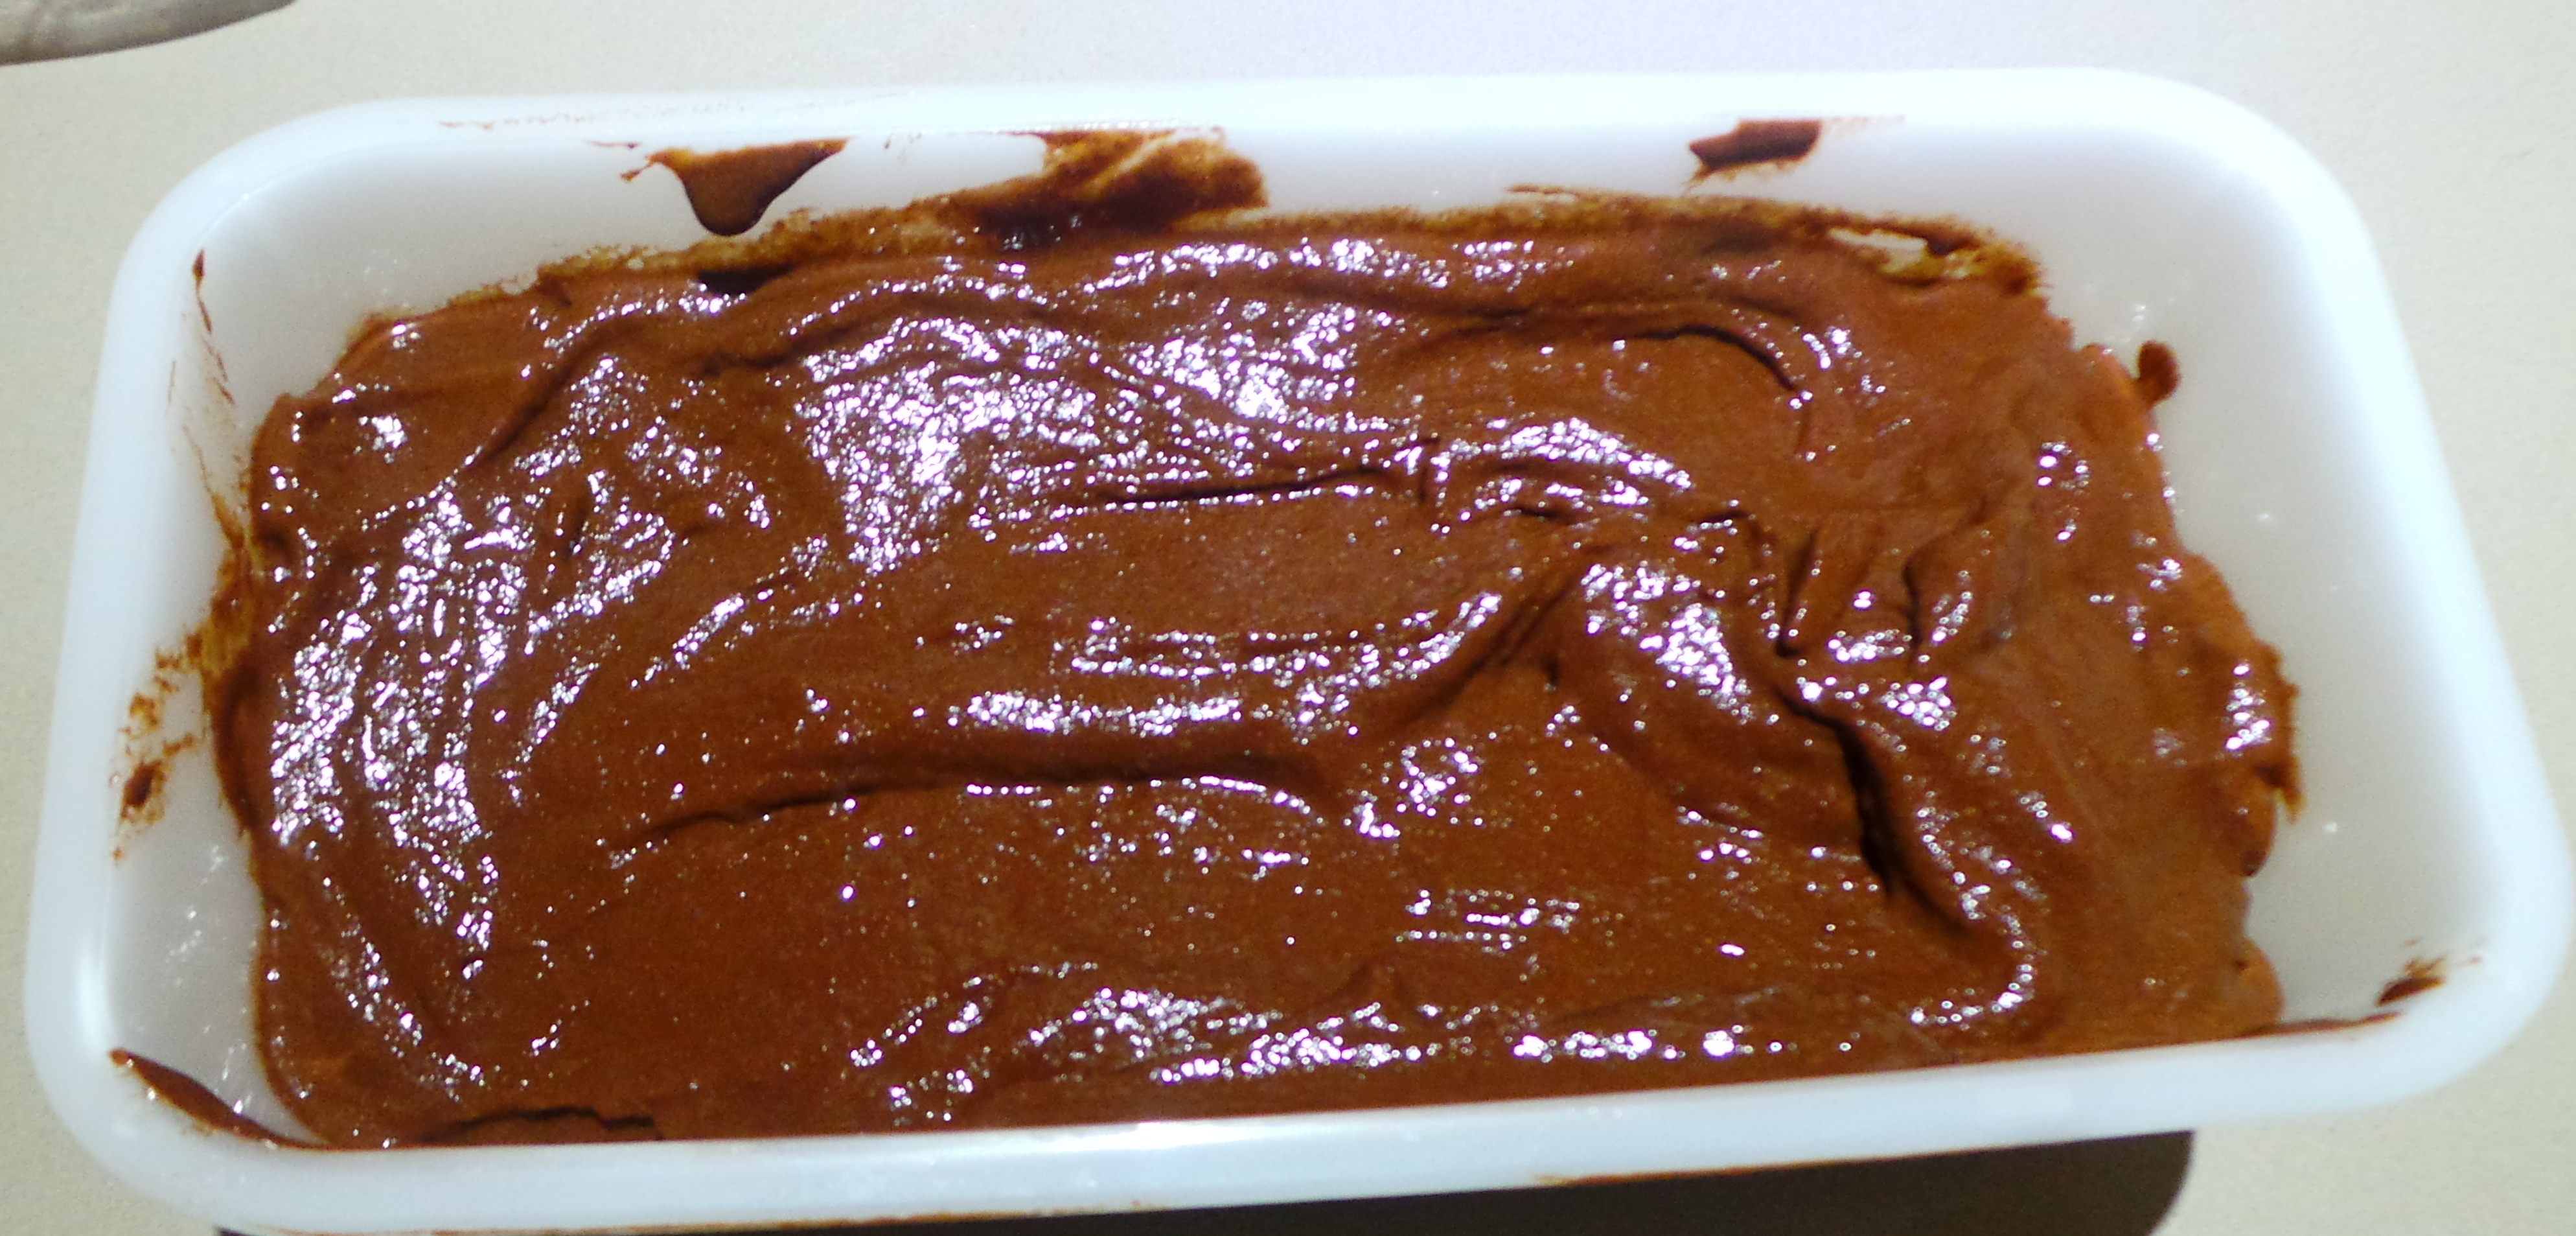
It will form a thick paste.
Keep blending until you reach the desired texture. I wanted a smoother blend and added a drizzle of buttermilk to loosen it up a little. I stopped blending when it looked like this.

Chocolate soft serve Icecream
You may serve it immediately. If you are making it with kids, you’ll probably have to serve it immediately.
Otherwise, place it in a sealed container and re-freeze.
Put in a container and freeze. Temporarily.
When the time comes to serve it up, remove it from the freezer at least 15 minutes beforehand to soften. You may end up with a sprained wrist otherwise.
Enjoy.
Chocolate 'Ice-cream' (banana)
Ingredients
3 medium bananas, peeled, cut in chunks and frozen
½ tsp vanilla extract
pinch salt
3 Tbsp cocoa powder
optional:
- sweetener such as honey or maple syrup
- 3-5 tbsps peanut butter or similar
- 2-3 tbsps Greek yoghurt or buttermilk
Method
Place the metal ‘S’ blade in a food processor.
Combine the first four ingredients in the bowl and blend until smooth. Add the optional ingredients if you wish.
Serve immediately.
May be stored in a sealed container in the freezer, but remove at least 15 minutes before serving if you do so. The warmer the ice-cream the more it will resemble soft serve.
Variations:
- Mix through chopped nuts or choc chips.
- Use another frozen fruit e.g. strawberries, blueberries, frozen mango etc., instead of the cocoa powder for a fruit flavoured dessert.