Last night, The Boy declared – out of the blue – that I should do a muesli (granola) bar recipe. Because school goes back next week or something and this could be useful to people.
I think he just wanted muesli bars.
I also think he could have told me before I did the fortnight’s shopping and could stock up on the expensive stuff that goes into these snacks.
So, I compromised. I’m good at that.
I made these little Apple and Oat Bars from stuff I already had and which – most likely – you already have too. Because that is how we roll in the Budget Bounty kitchen.

Simple AND good-for-you-ish.
The recipe for these came from one of the first cookbooks I ever bought for my now massive collection. It’s called Good Cooking by the people at Good Housekeeping and was published way back in 1988. Which is why I have changed one of the ingredients from margarine to butter…
It’s a recipe that literally takes only minutes to put together and which you could quite easily do with smaller versions of yourself HELPING. Ahem.
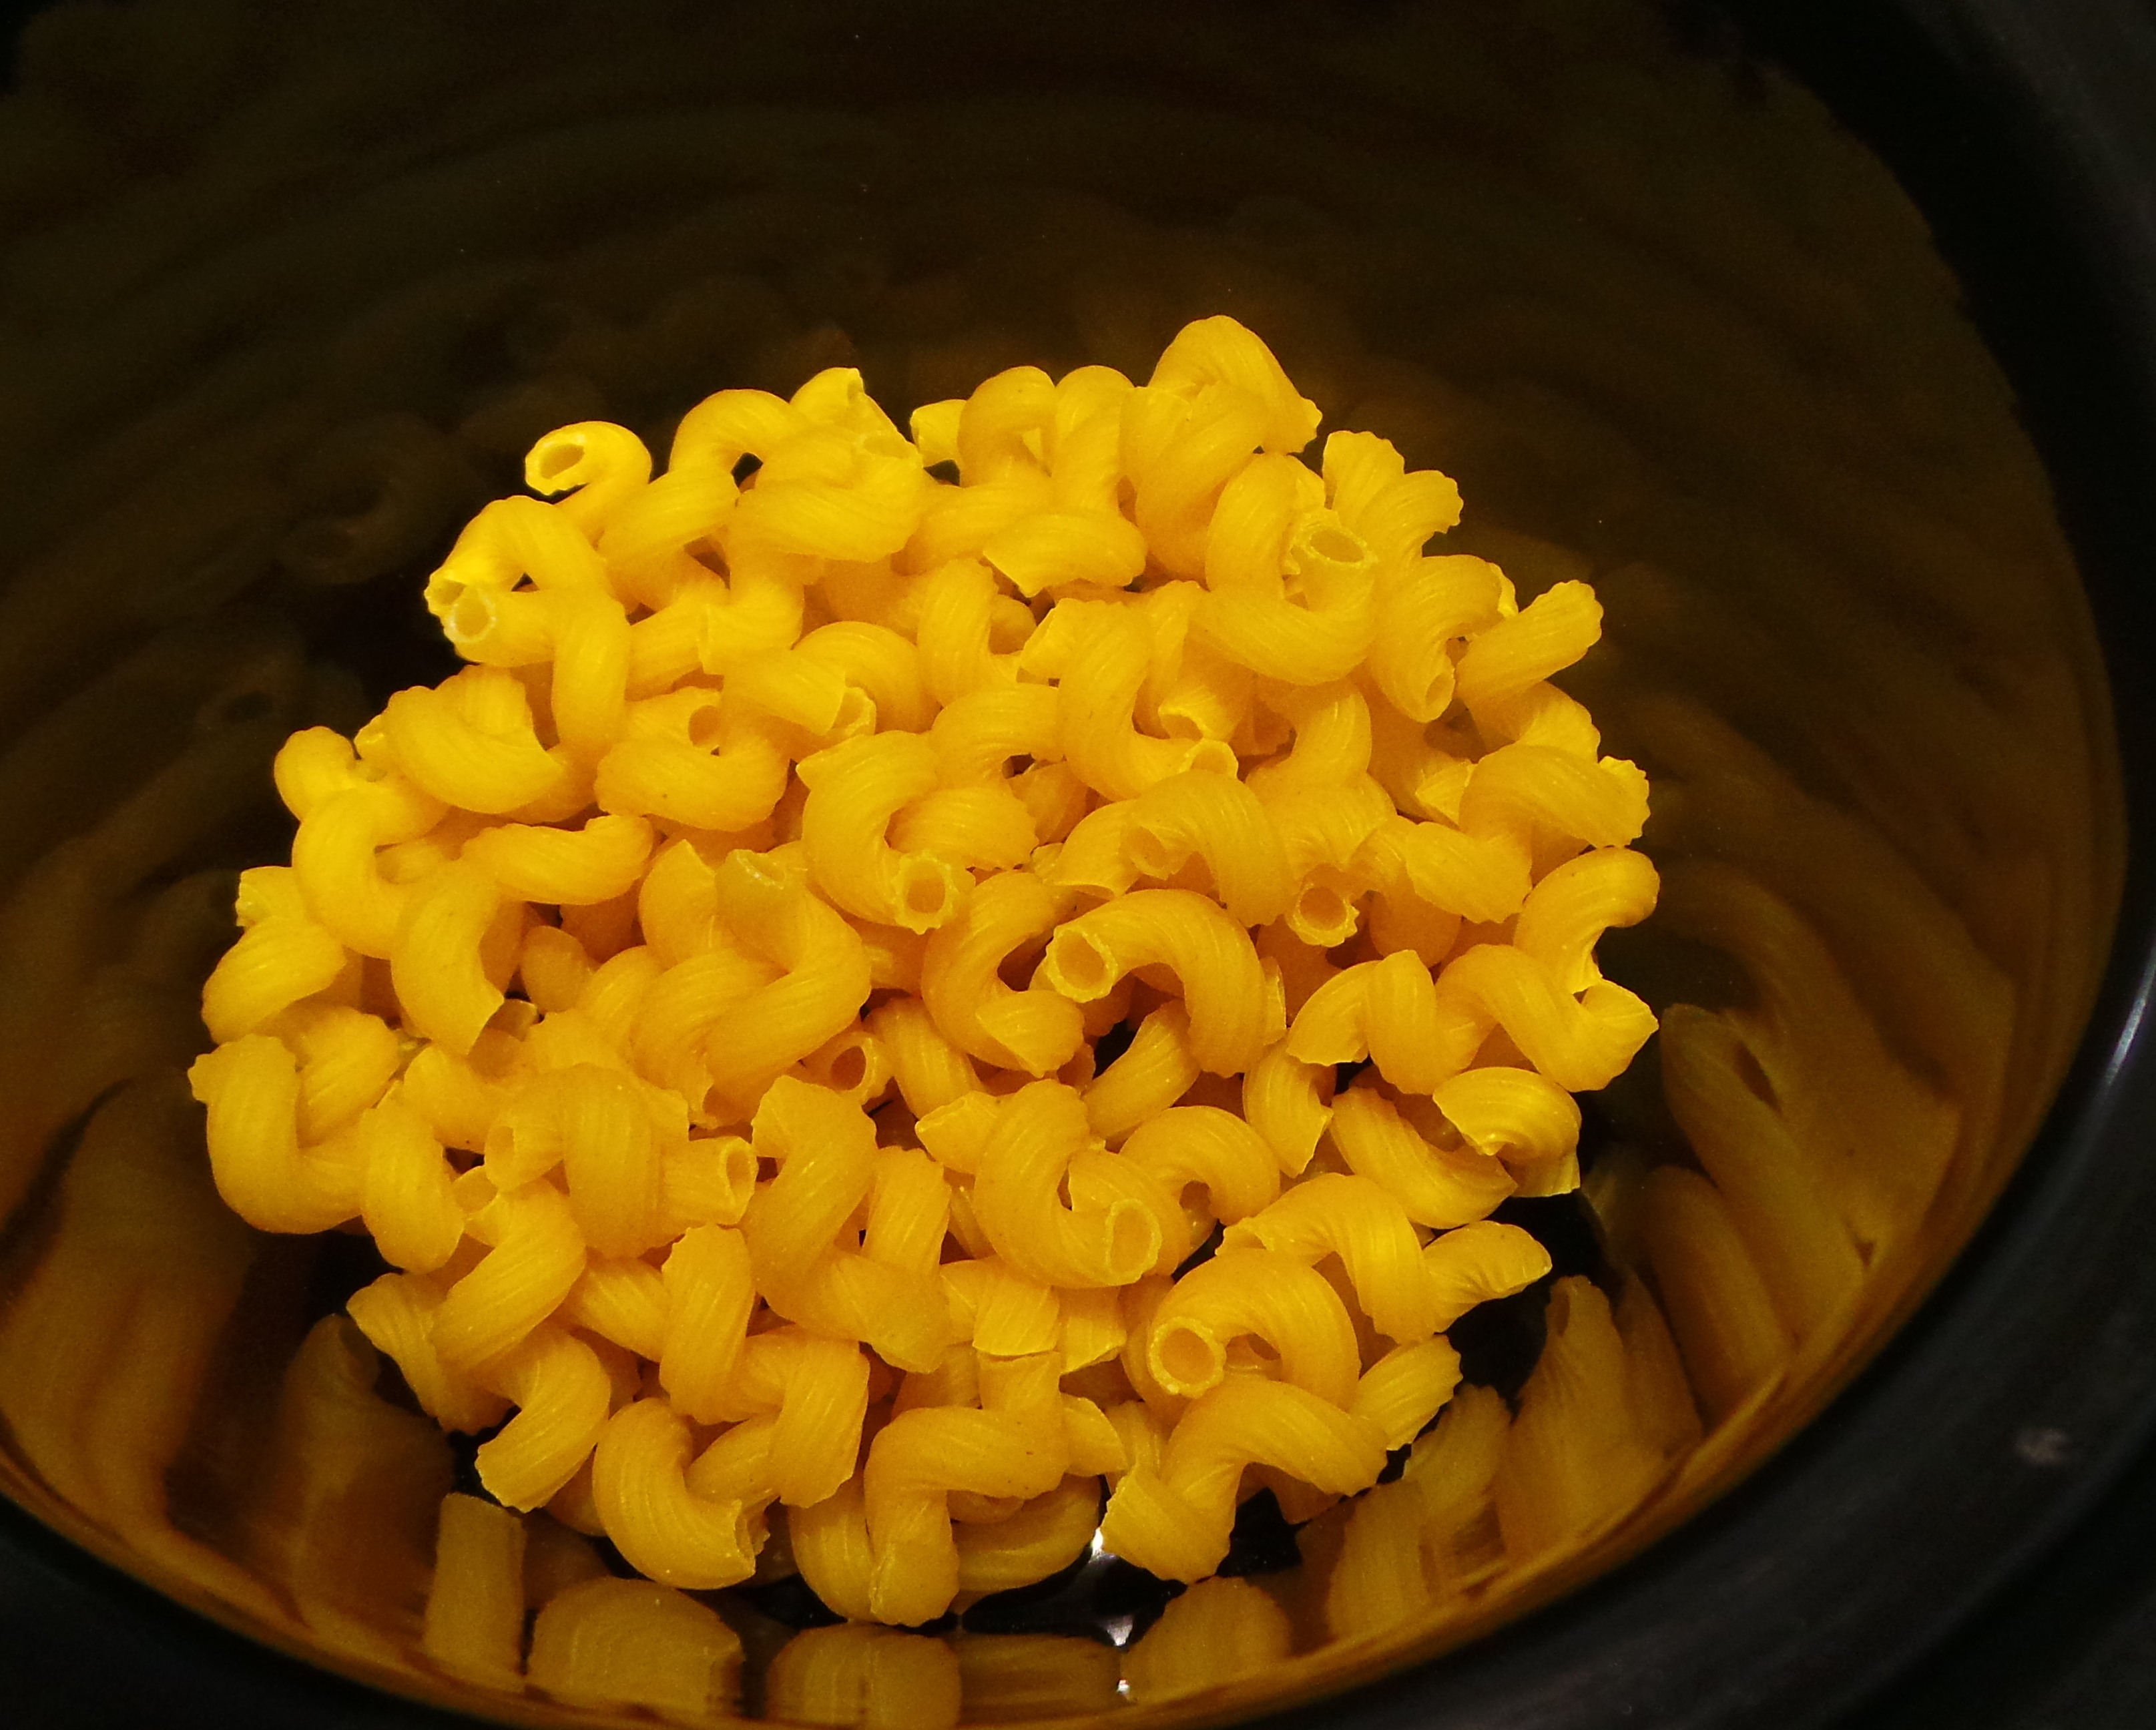
You will need some butter, some honey, some brown sugar, some rolled oats and an apple or two. Also a bowl, a baking tin and a microwave proof jug and spatula. Sound complicated?
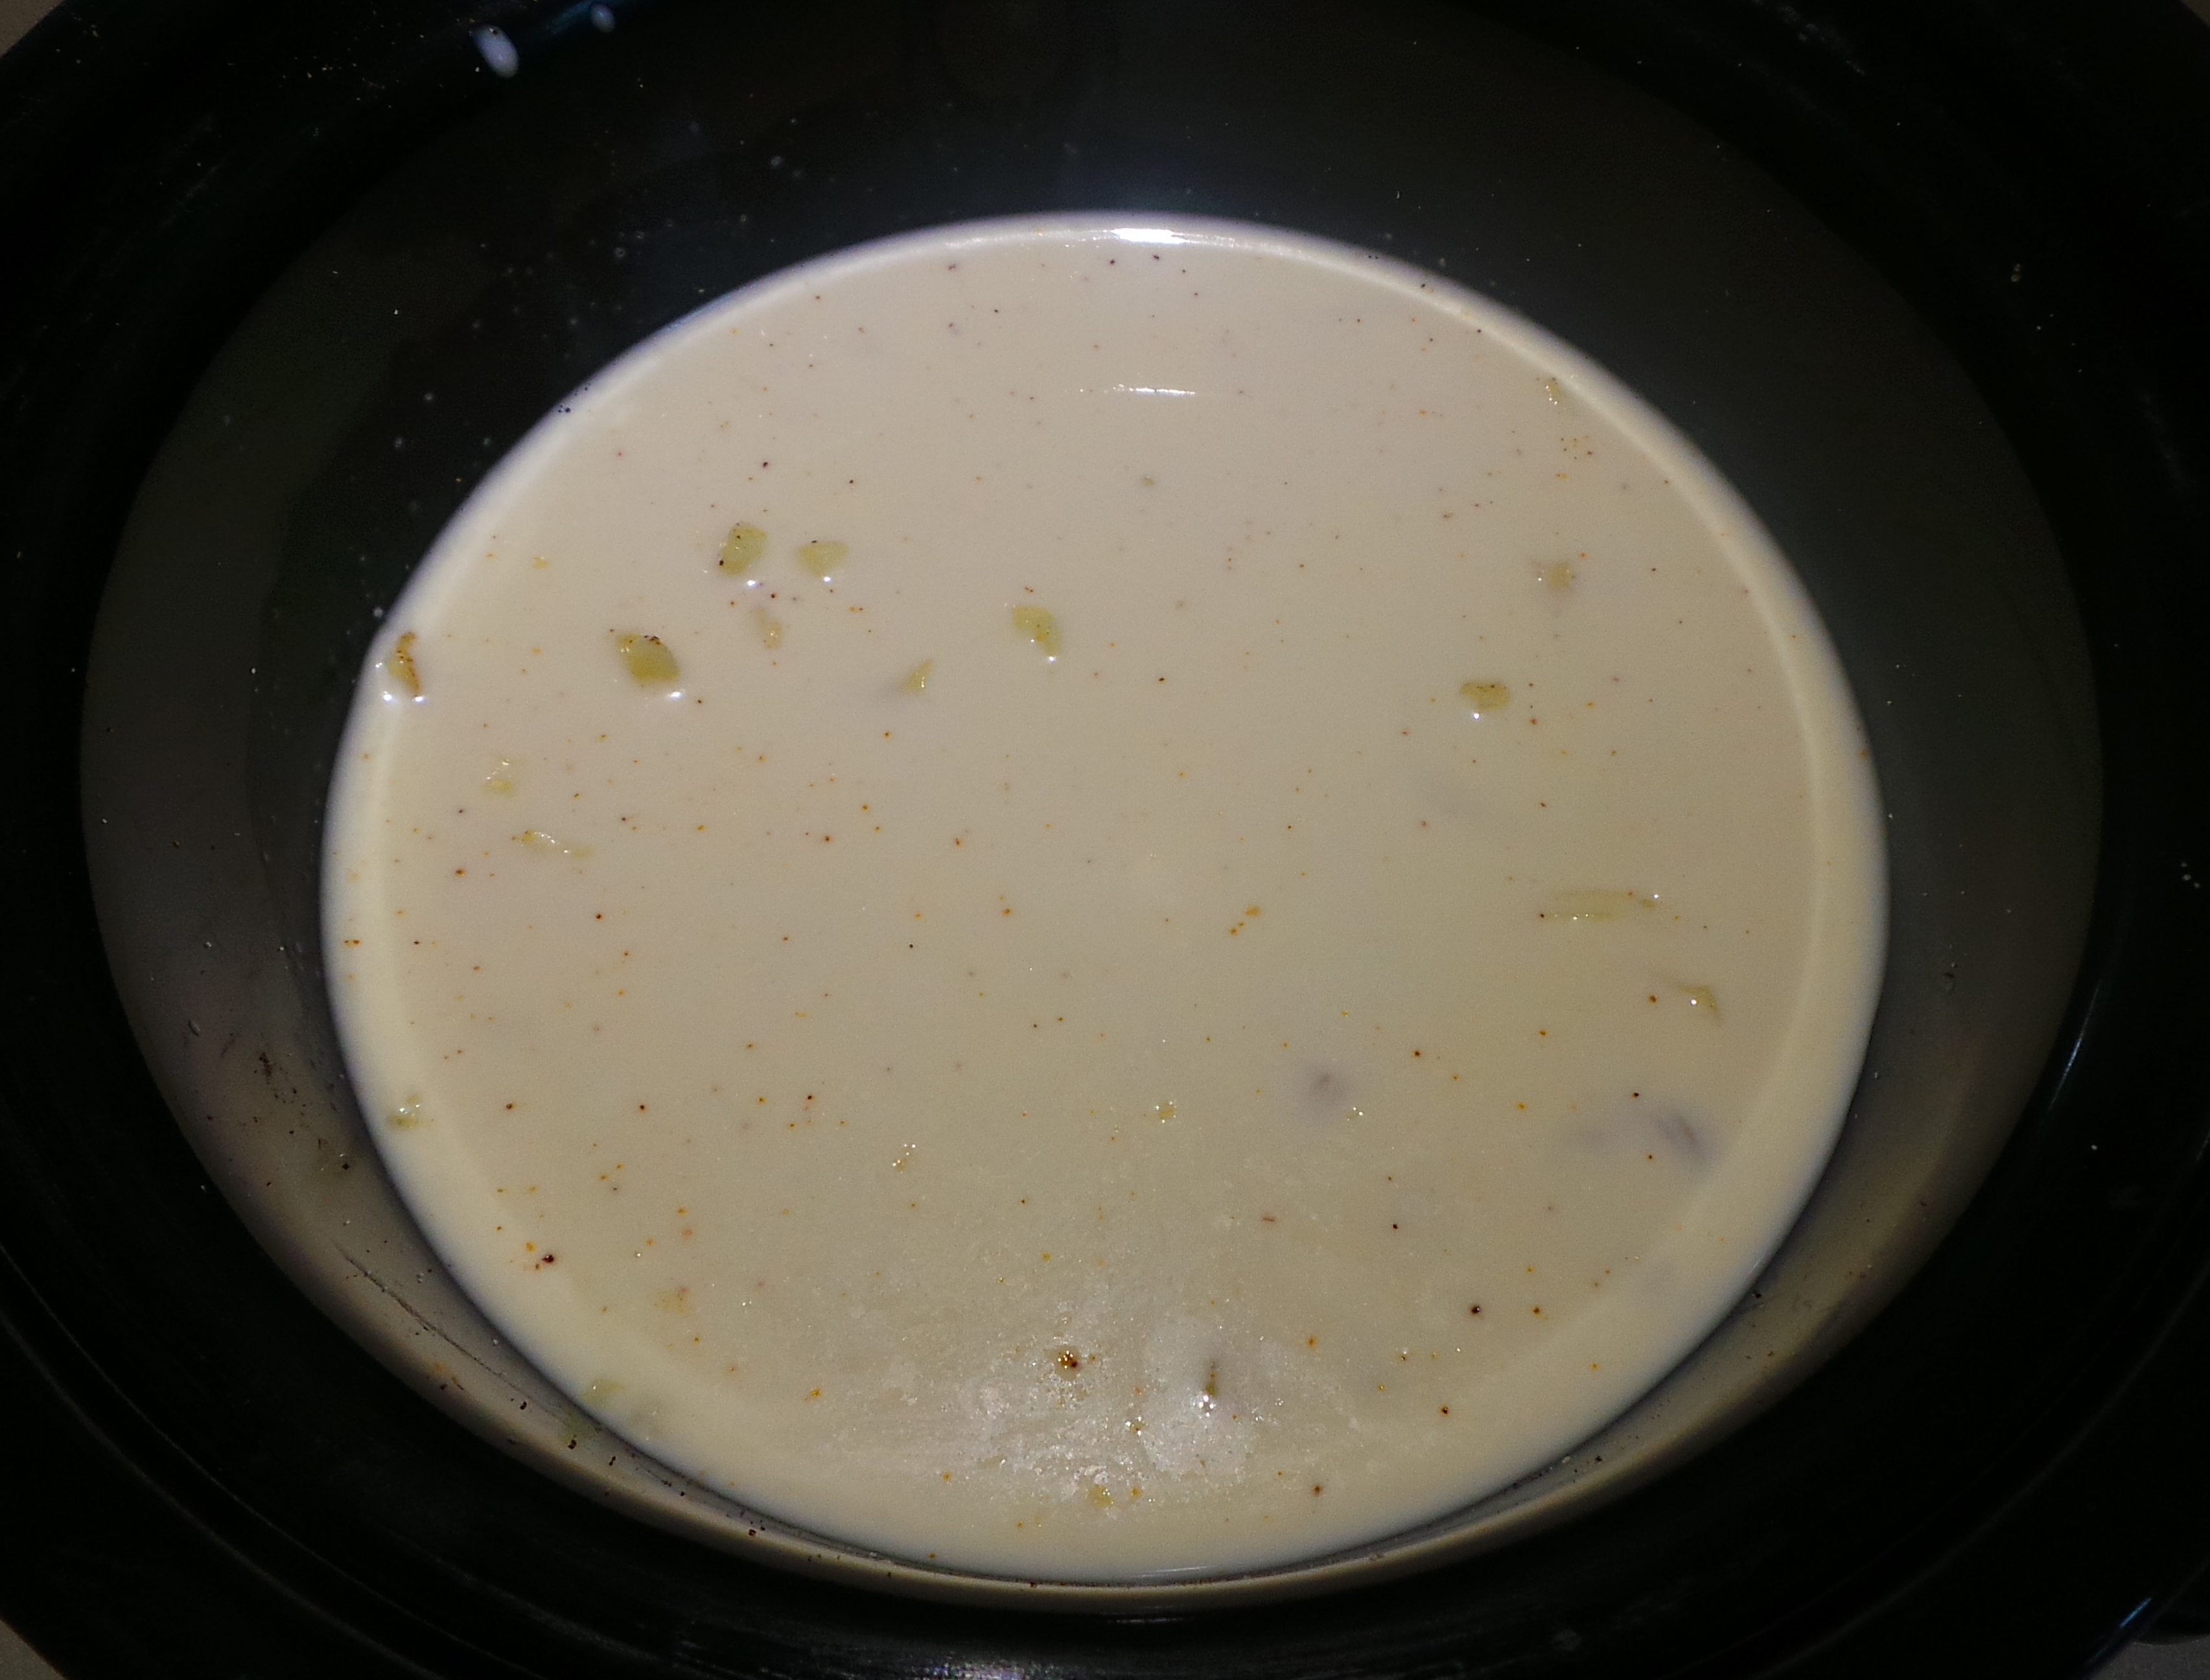
After setting your oven to 190°C get out a set of scales and your microwave proof jug. Into your jug measure your butter, brown sugar and honey, like so:
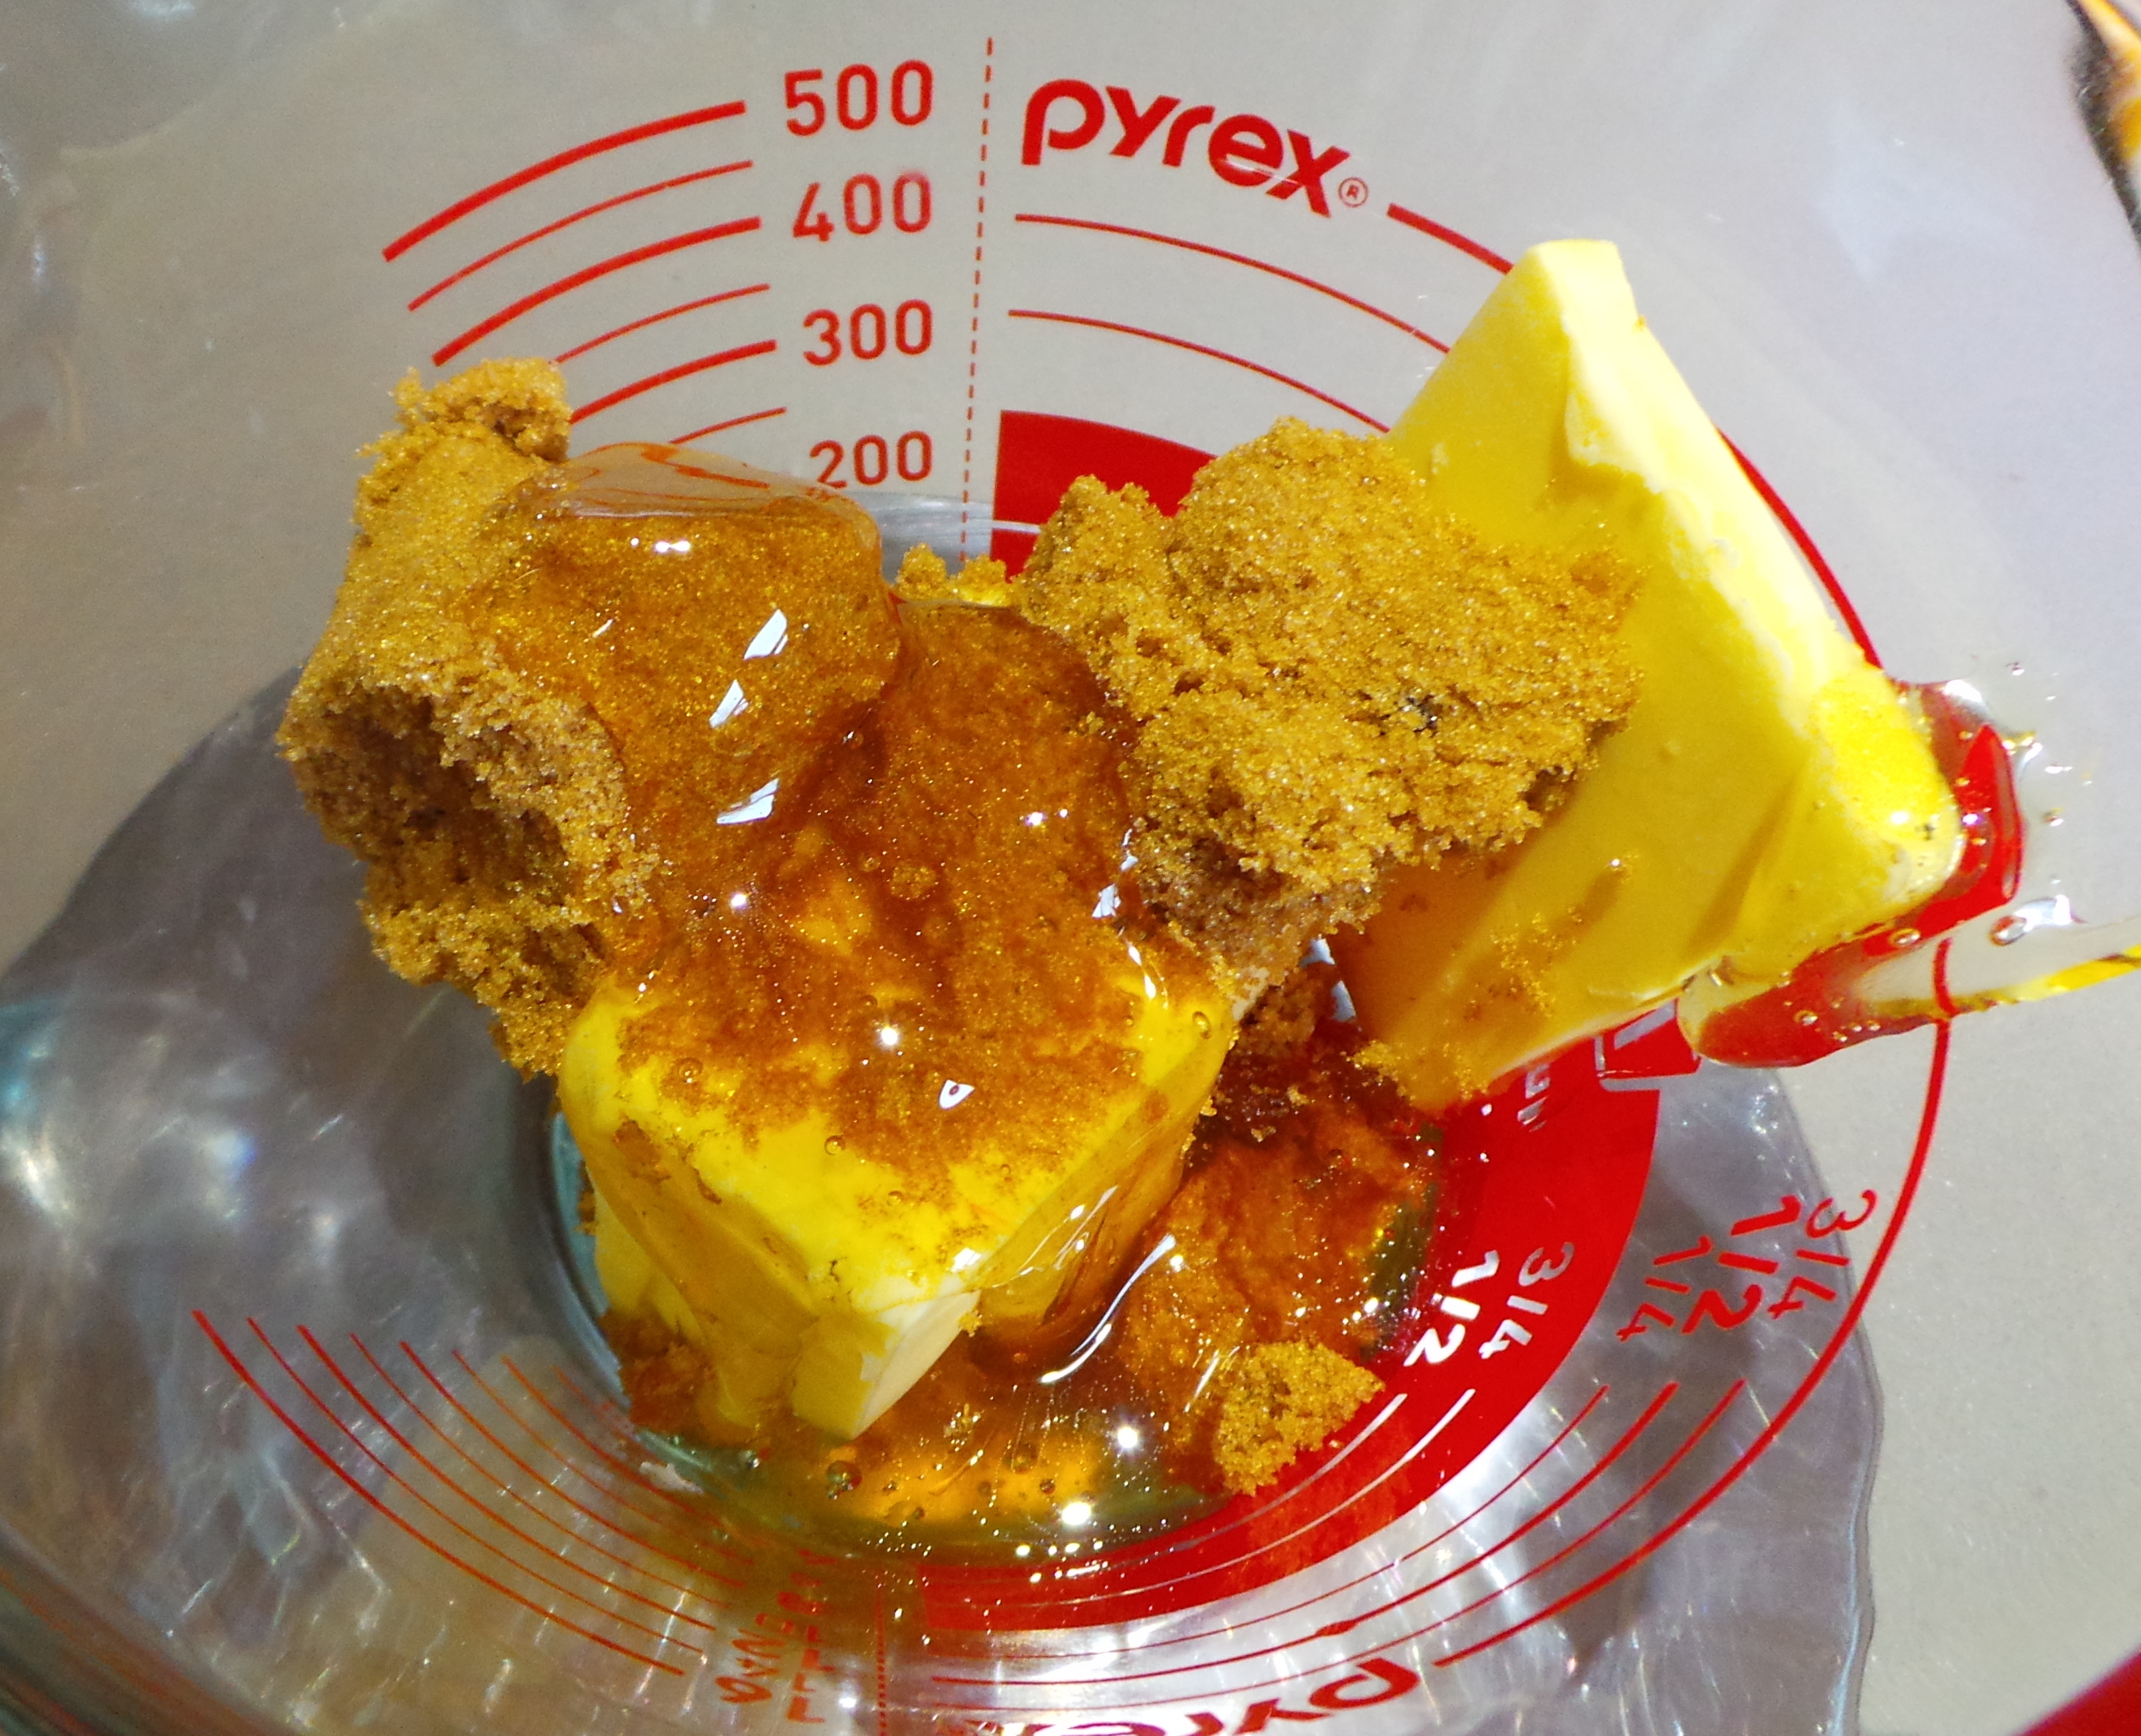
Melt these things together.
Heat them for 1 minute at a time at 80% power until the butter is melted. You can do this in a saucepan on the stove, if you wish.
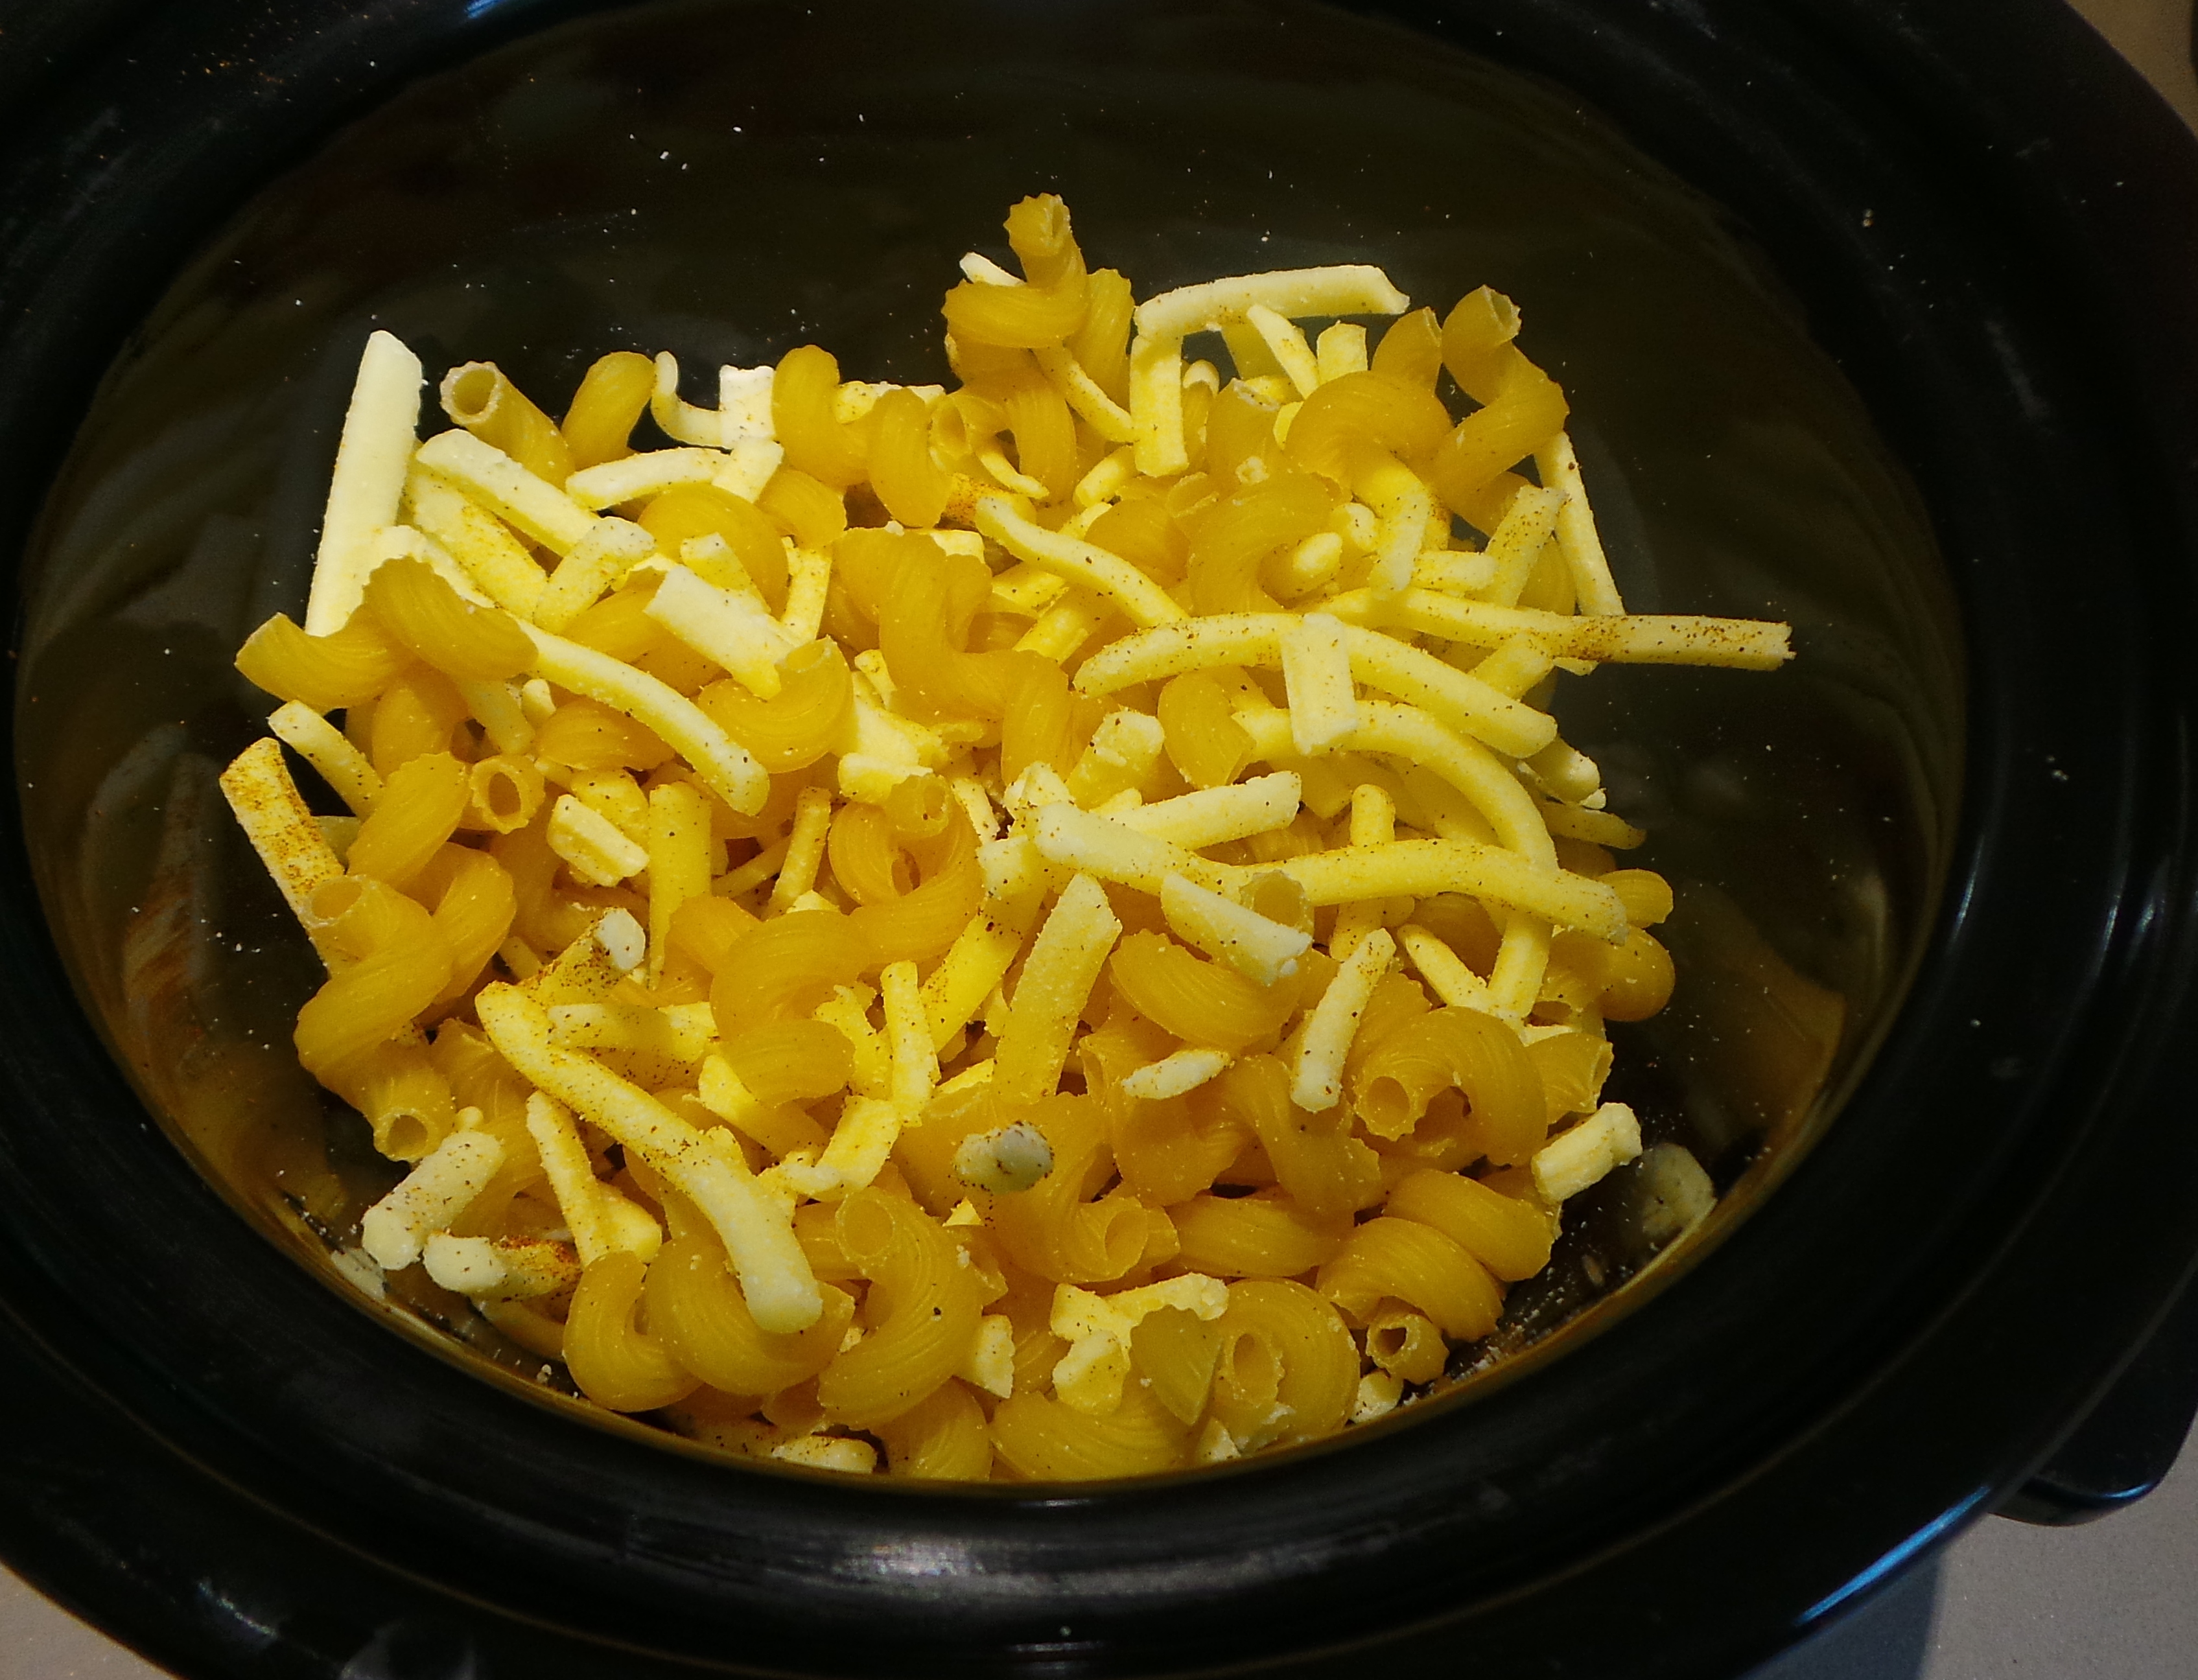
While it is melting, measure the oats into a medium sized mixing bowl and line a baking tin with parchment. The original recipe called for an 18 cm/7 inch square cake tin.
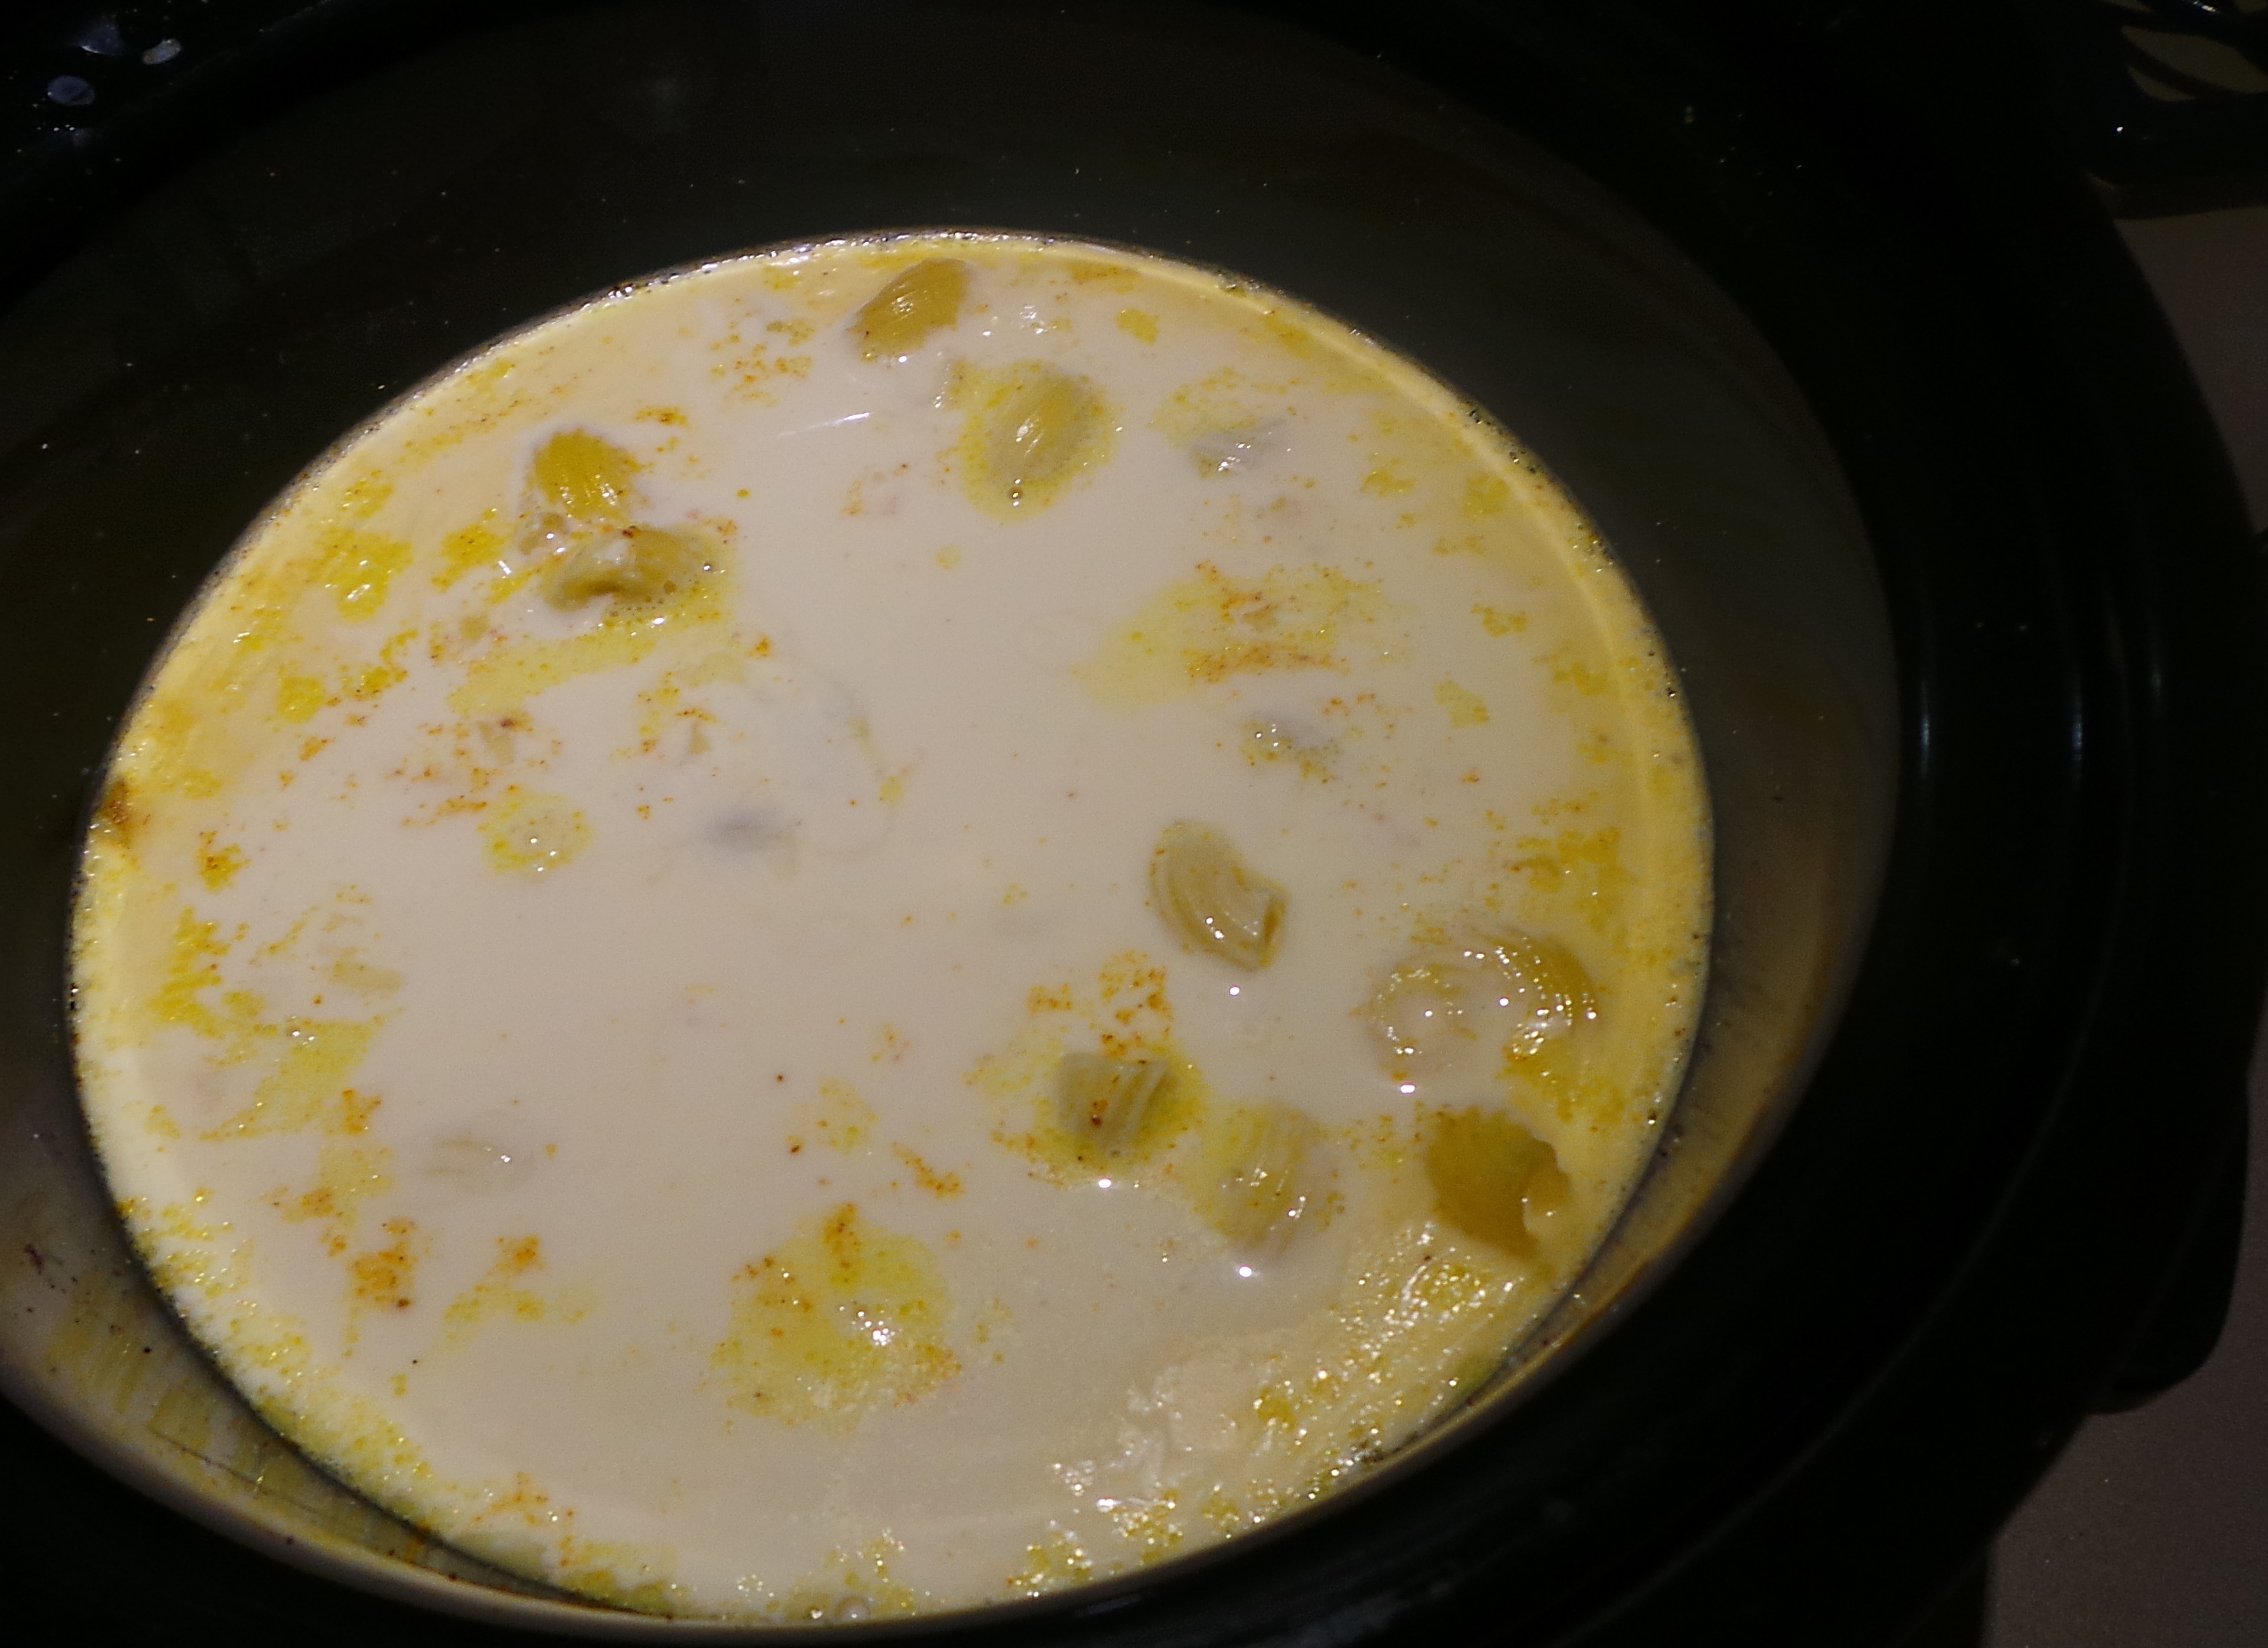
Pour your now liquid ingredients into the oats and mix well.
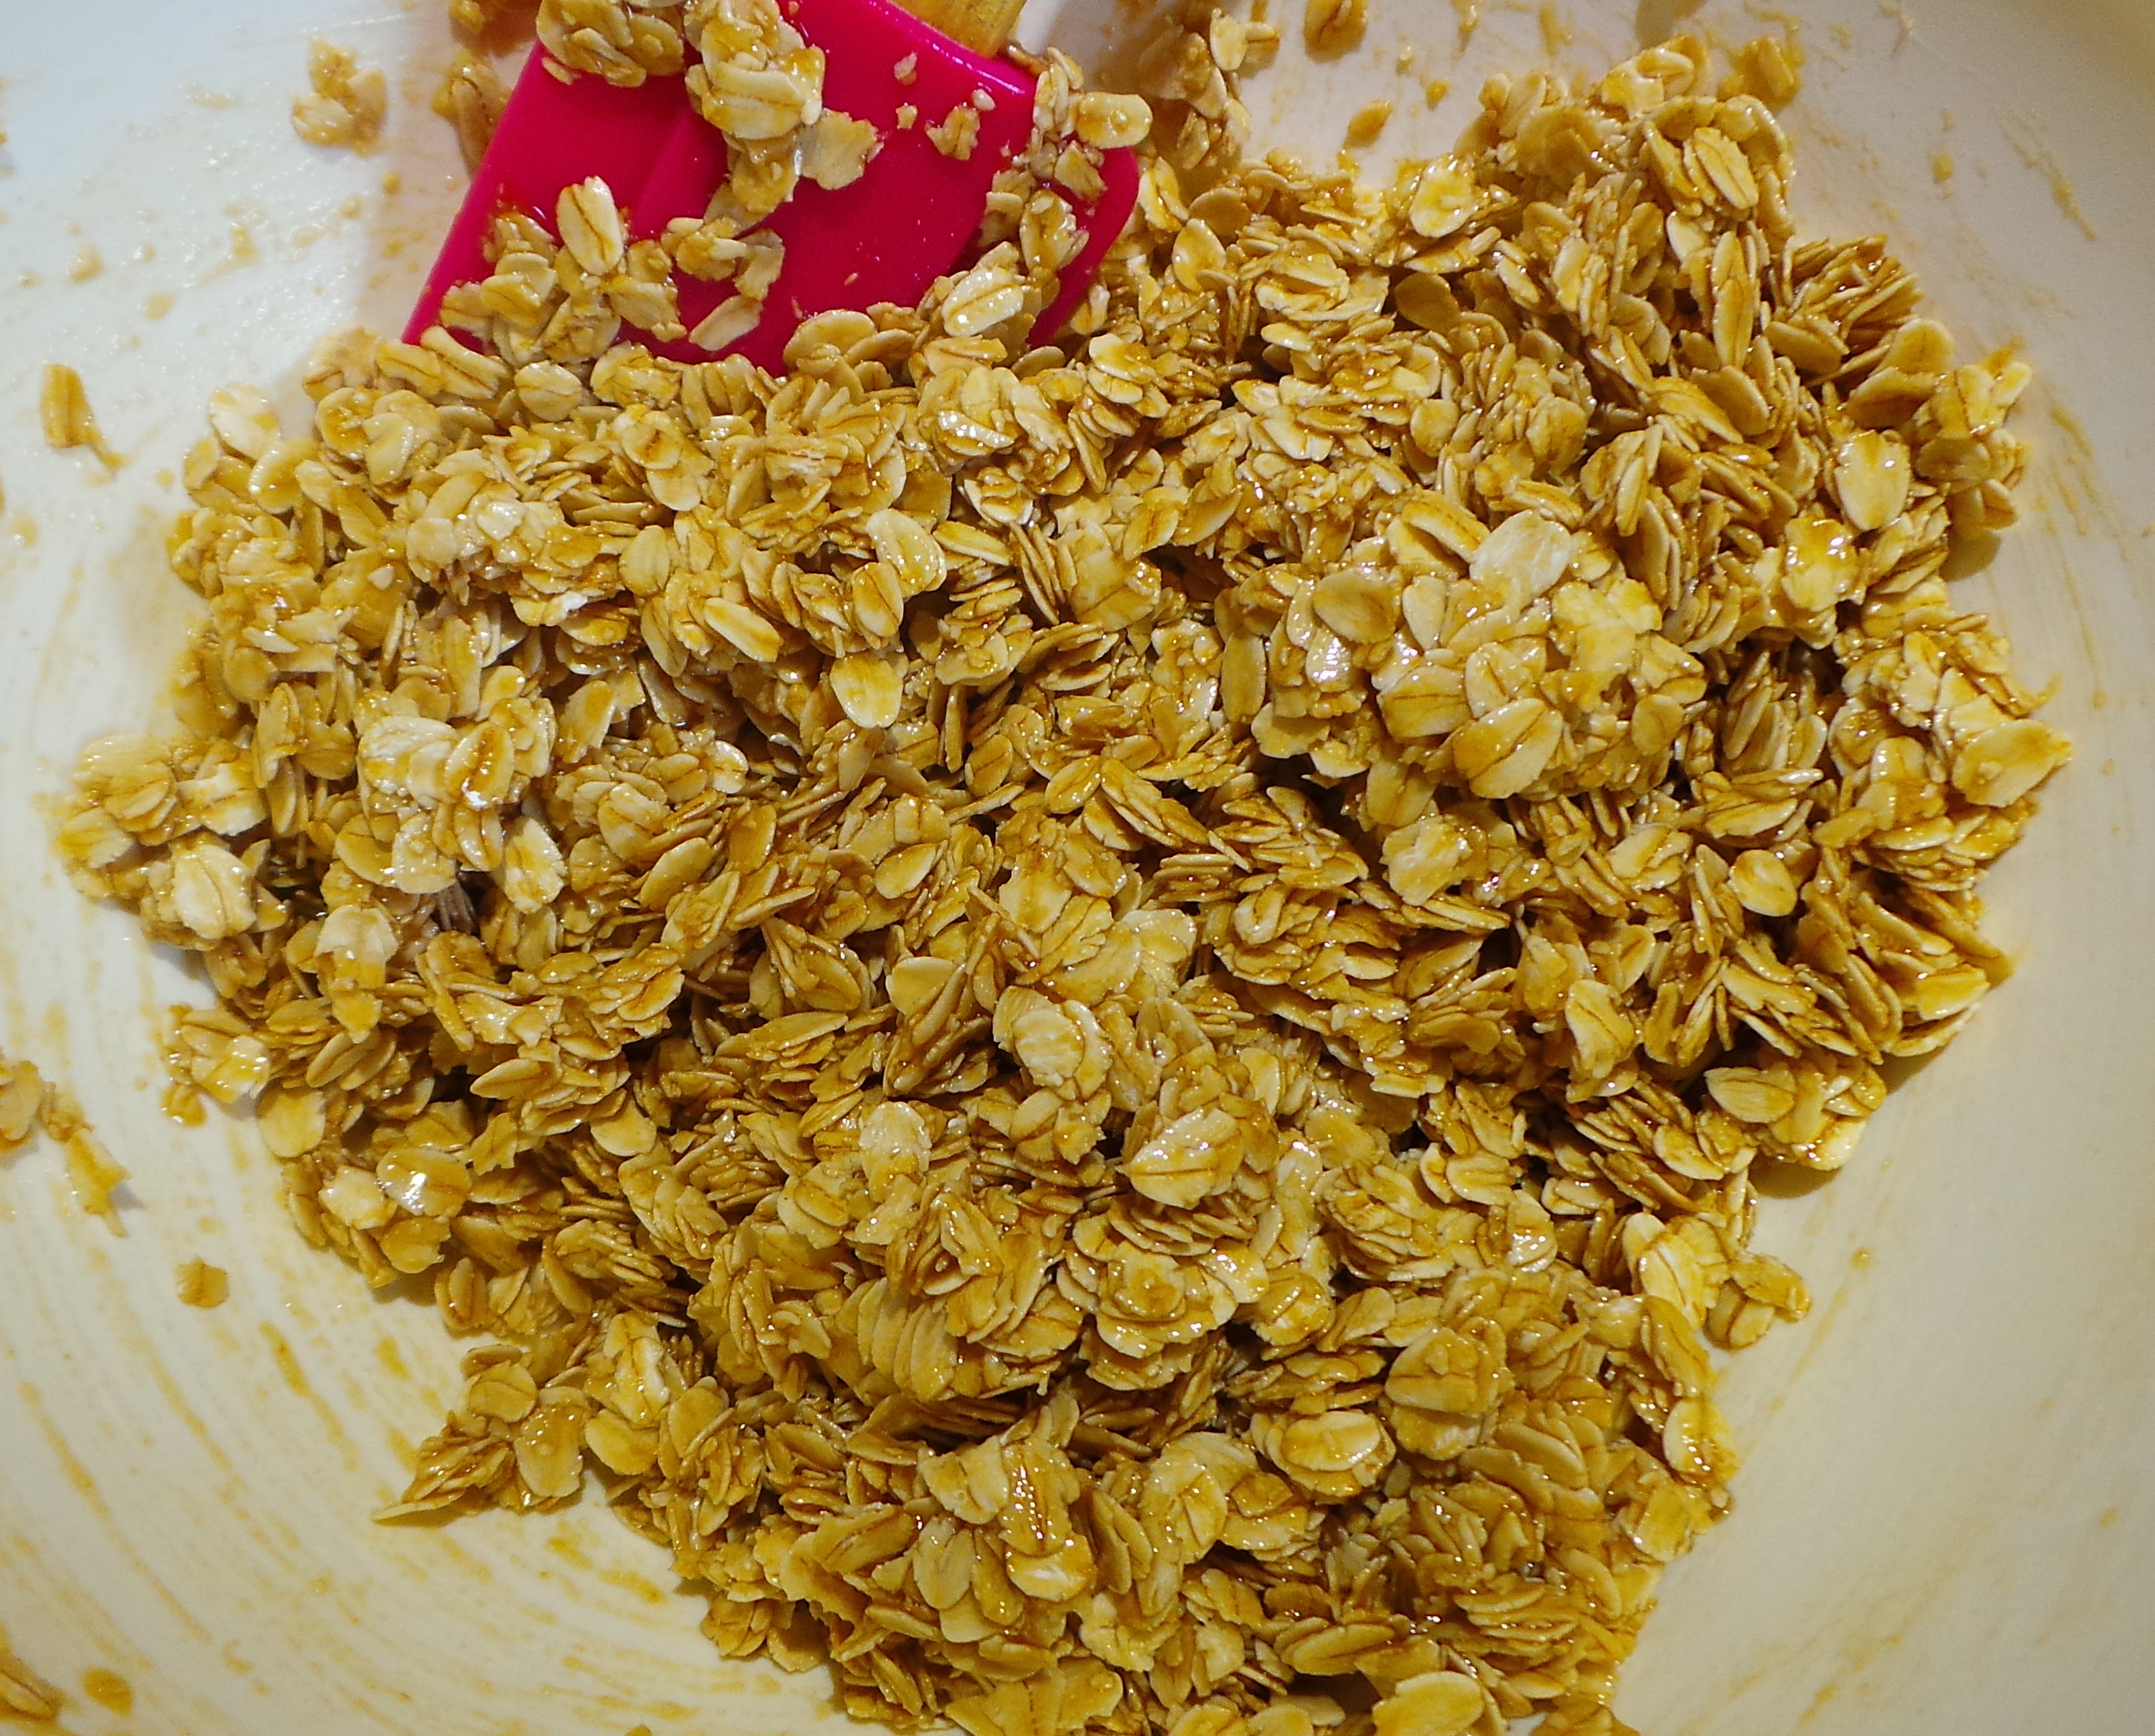
Add the wet to the dry. Stir.
Press half this mixture into the base of your tin. Do NOT do what I did and use a silicon tray. You want the oats to crisp up and they just get soggy if you follow my example. Honestly.

Press half your oats into something that isn’t silicon and is preferably metal…
Now get a large cooking apple (around 250 g worth), peel it and slice it thinly. Arrange the apple slices in overlapping rows to cover the oat base.
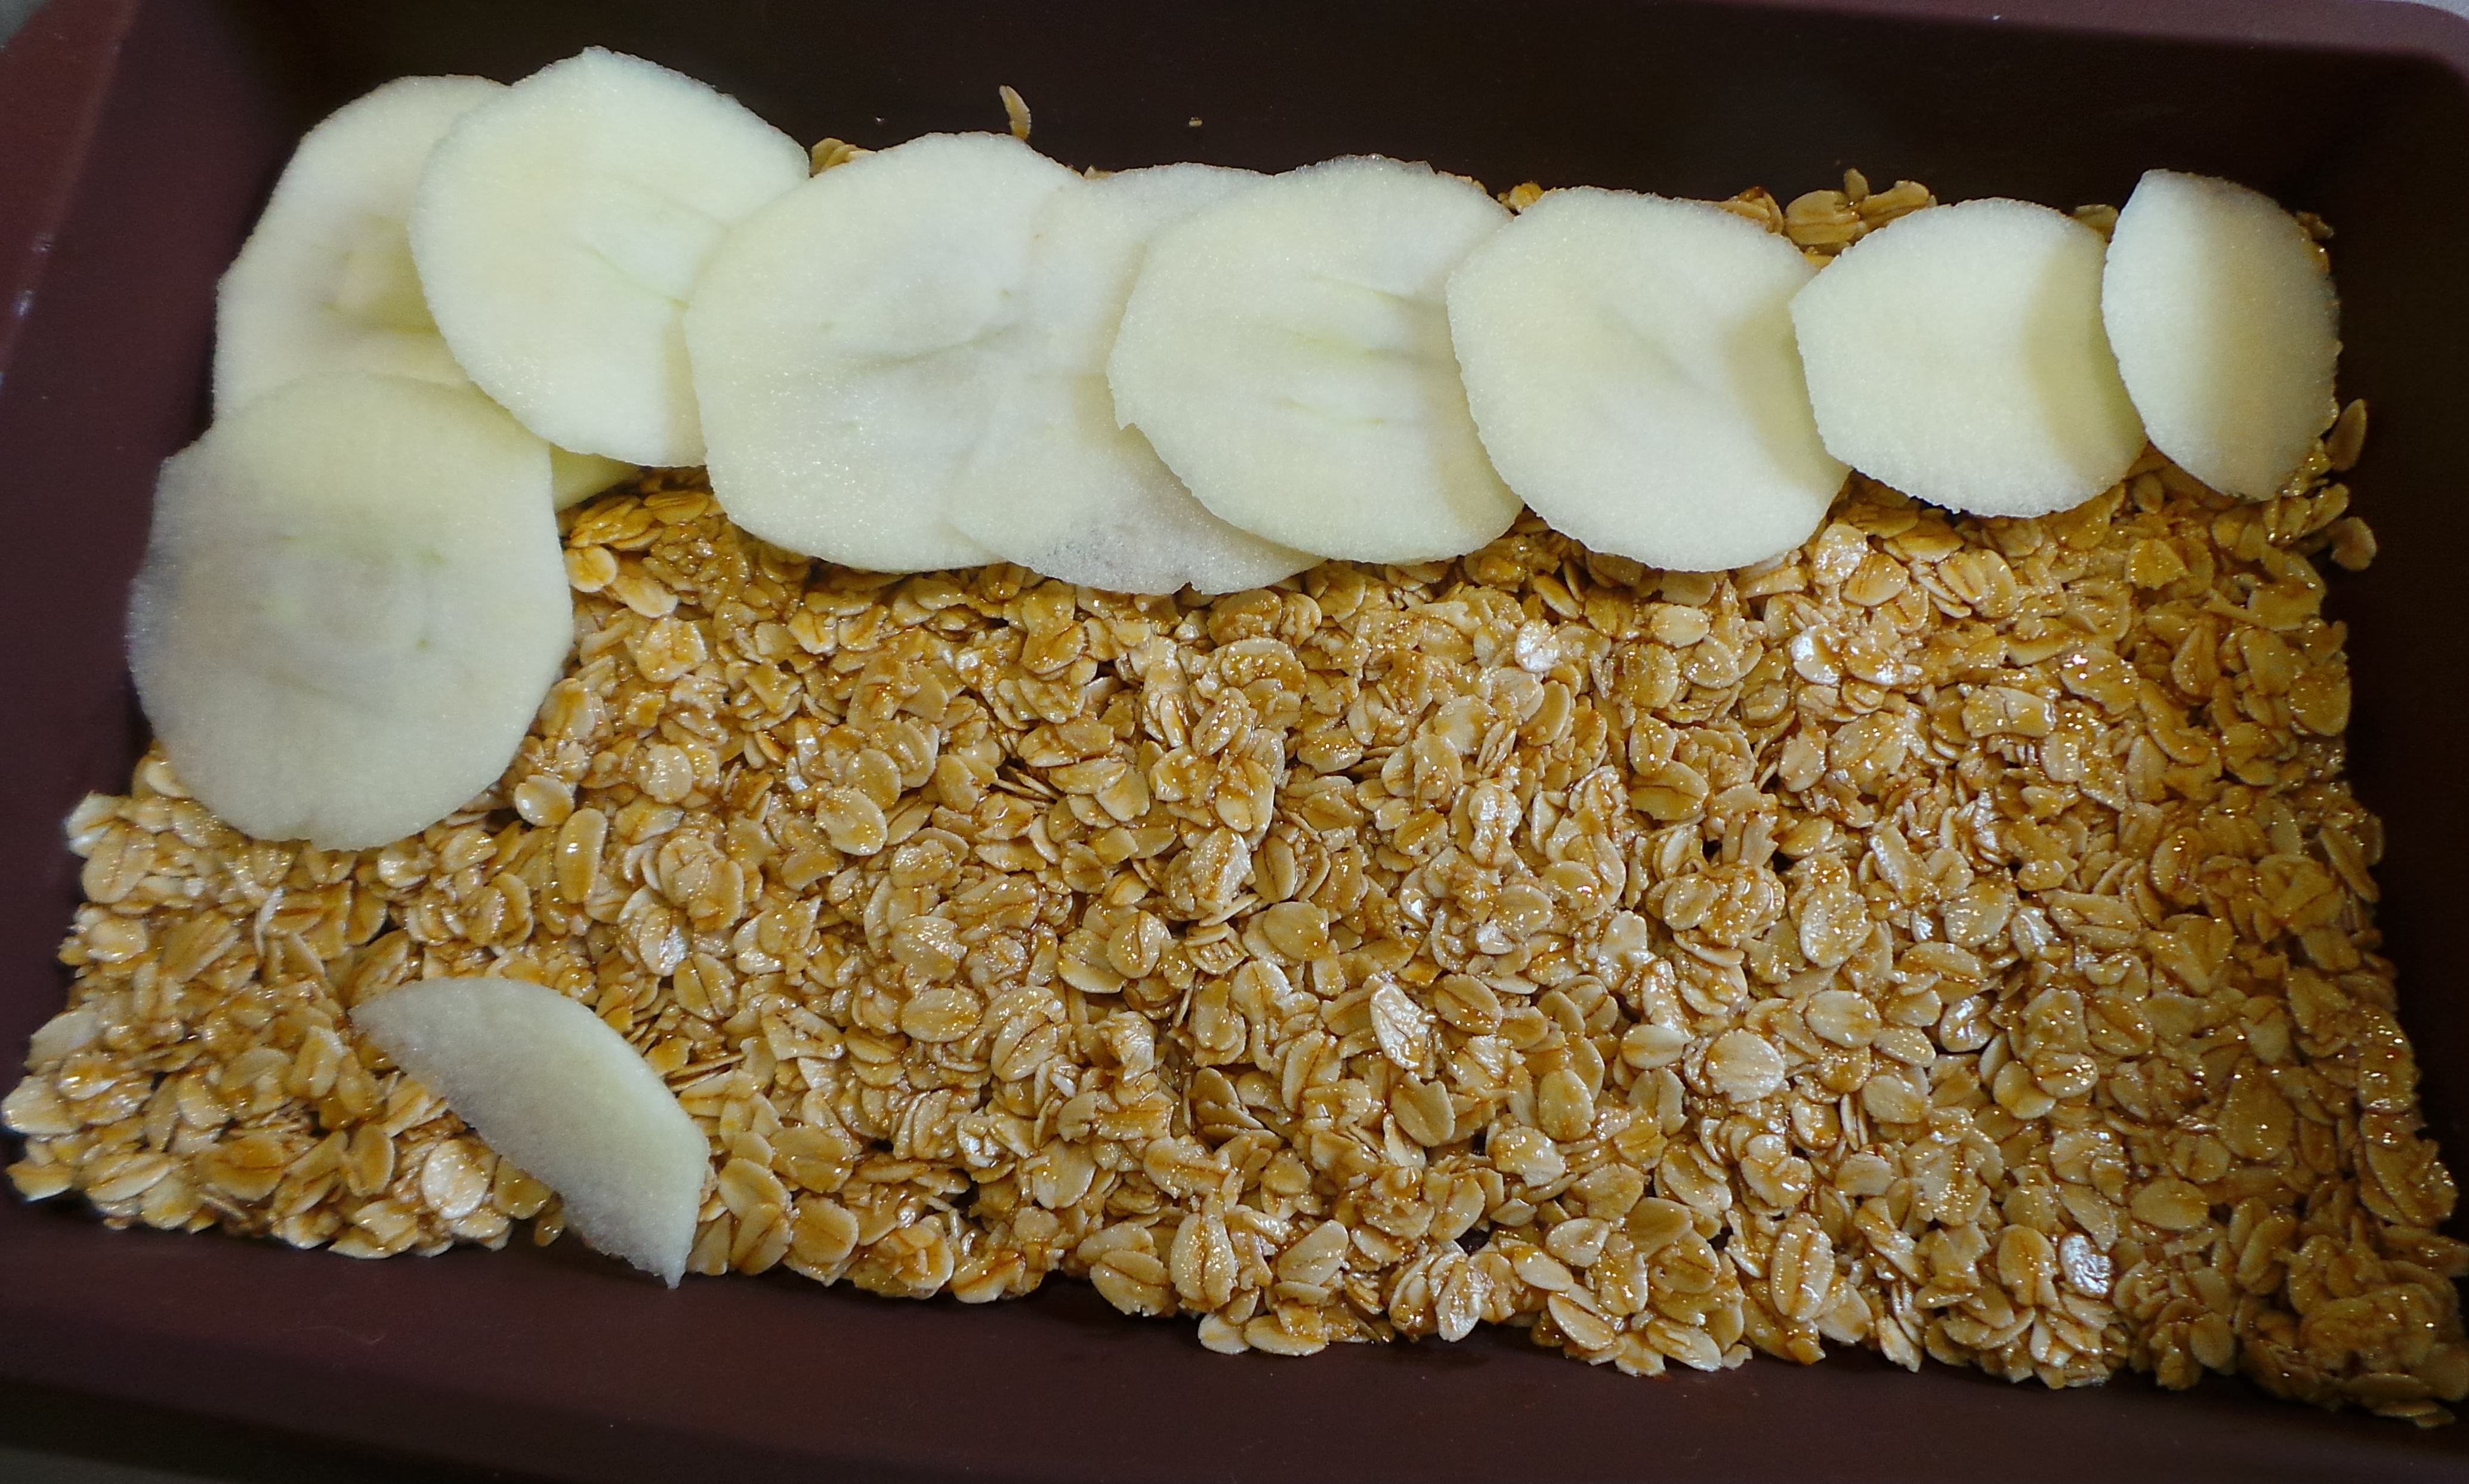
Cover your base with overlapping slices of apple.
Sprinkle your slices with cinnamon. I was cooking for an adult who likes it, so I also used ground ginger on mine.

Sprinkle with your choice of spice.
Top with the rest of the oats, press down firmly and bake for 30 to 40 minutes or until golden brown and crisp.
Cut it into portions while still hot and in the pan. Leave in the tin to cool. You want your butter and honey to set before you try to move anything, or it will all fall apart.
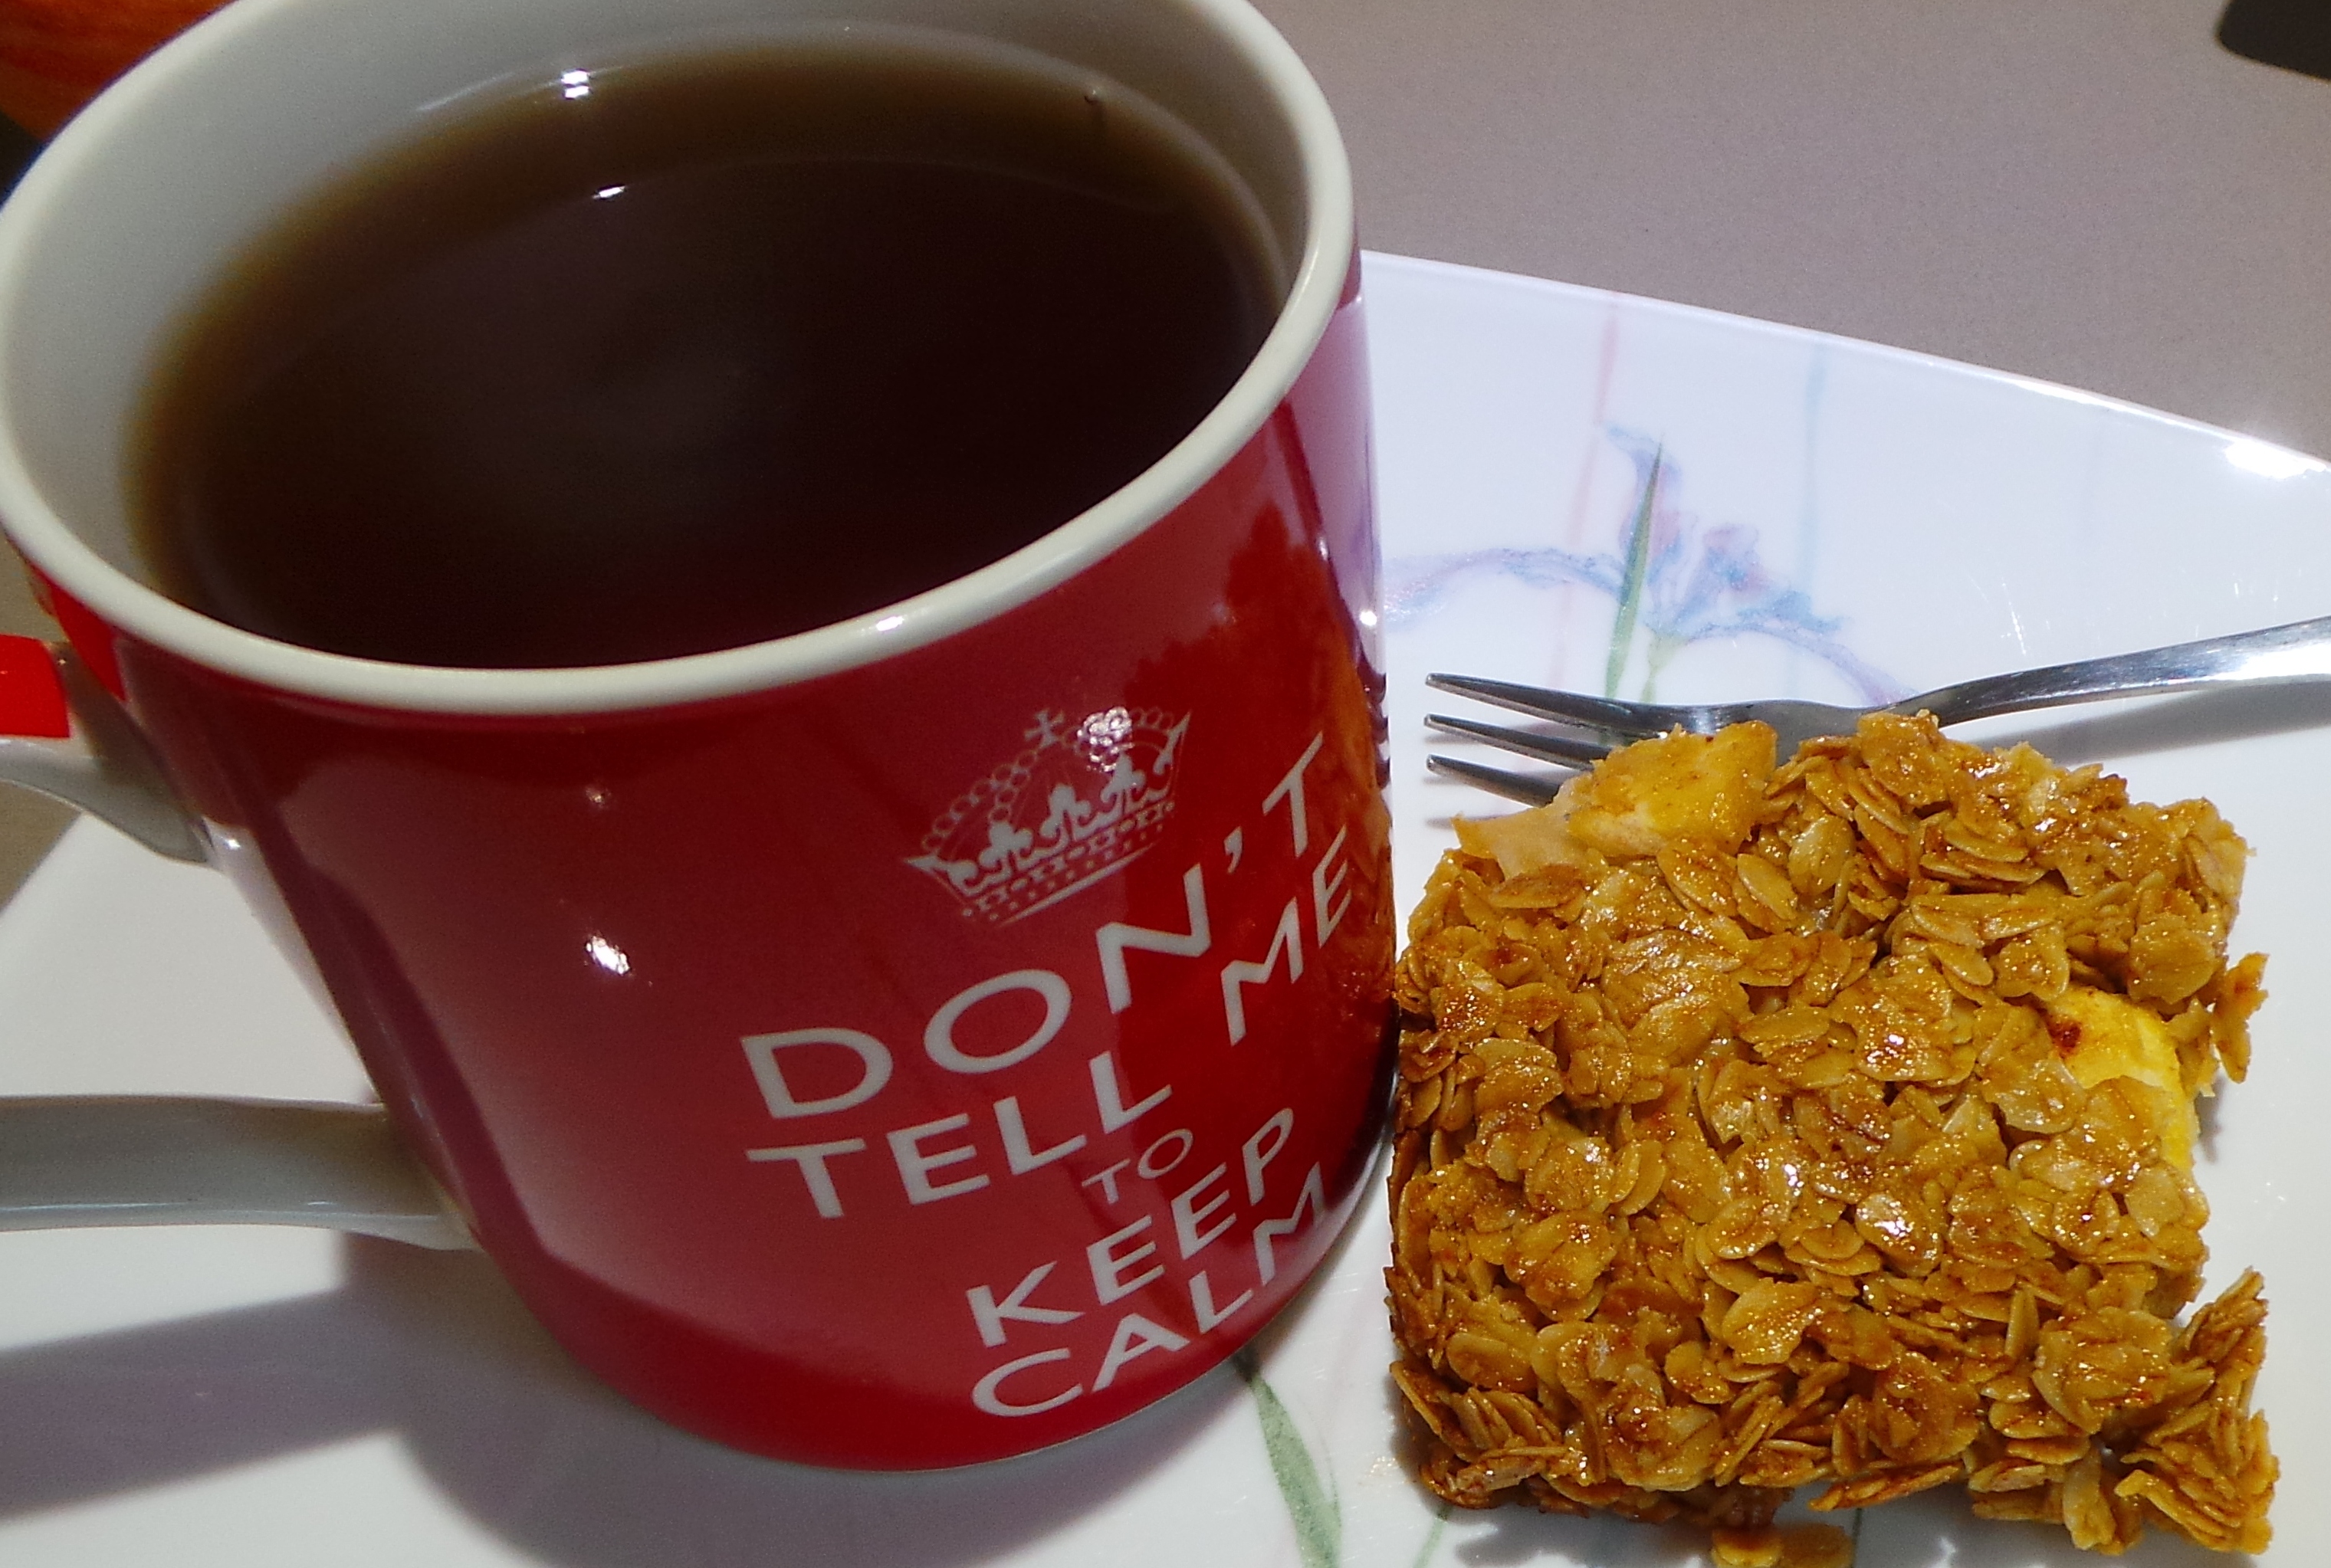
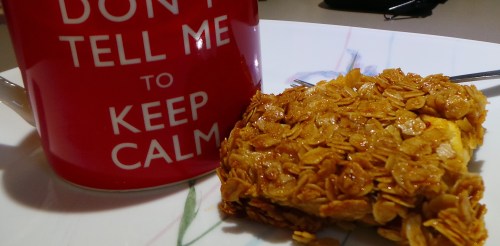
Elevenses, Anyone?
Store in an airtight container somewhere cool. Wrap in cling film and send as part of a school lunch, serve as an after school snack or use to accompany a much deserved cuppa.
Easy. Affordable. Tasty.
Apple and Oat Bars
Ingredients
100 g/4 oz butter
60 g/2½ oz brown sugar
2 tbsp honey
225 g/8 oz rolled oats
1 large cooking apple (250 g/9 oz) peeled, cored and thinly sliced
ground cinnamon.
Method
Heat oven to 190°C/ 375°F.
Lightly grease or line an 18 cm/ 7 inch square shallow baking tin.
In a microwave proof jug or bowl, combine the first three ingredients and heat at 80% power for 1 minute intervals until melted. Stir together. This may be done in a small saucepan on the stove top if wished.
Measure the oats into a medium-sized bowl. Pour liquid ingredients over the oats and mix well.
Divide the mixture in two and press half into the base of your prepared tin.
Arrange the sliced apple over the top of the oats in overlapping rows.
Sprinkle with cinnamon.
Top with the remaining oats and press down gently.
Bake for 30-40 minutes until golden brown and crisp.
Cut into slices while still hot and then leave in the tin until cool.
Variations:
- For a gluten-free version, substitute a gluten free muesli or granola mix for the rolled oats.
- Try using different spices for variety. A Pumpkin Pie spice mix might be just the thing for you.
- Sprinkle a handful of sultanas over with the cinnamon.
- Add a scattering of choc chips over the apple for a special treat.