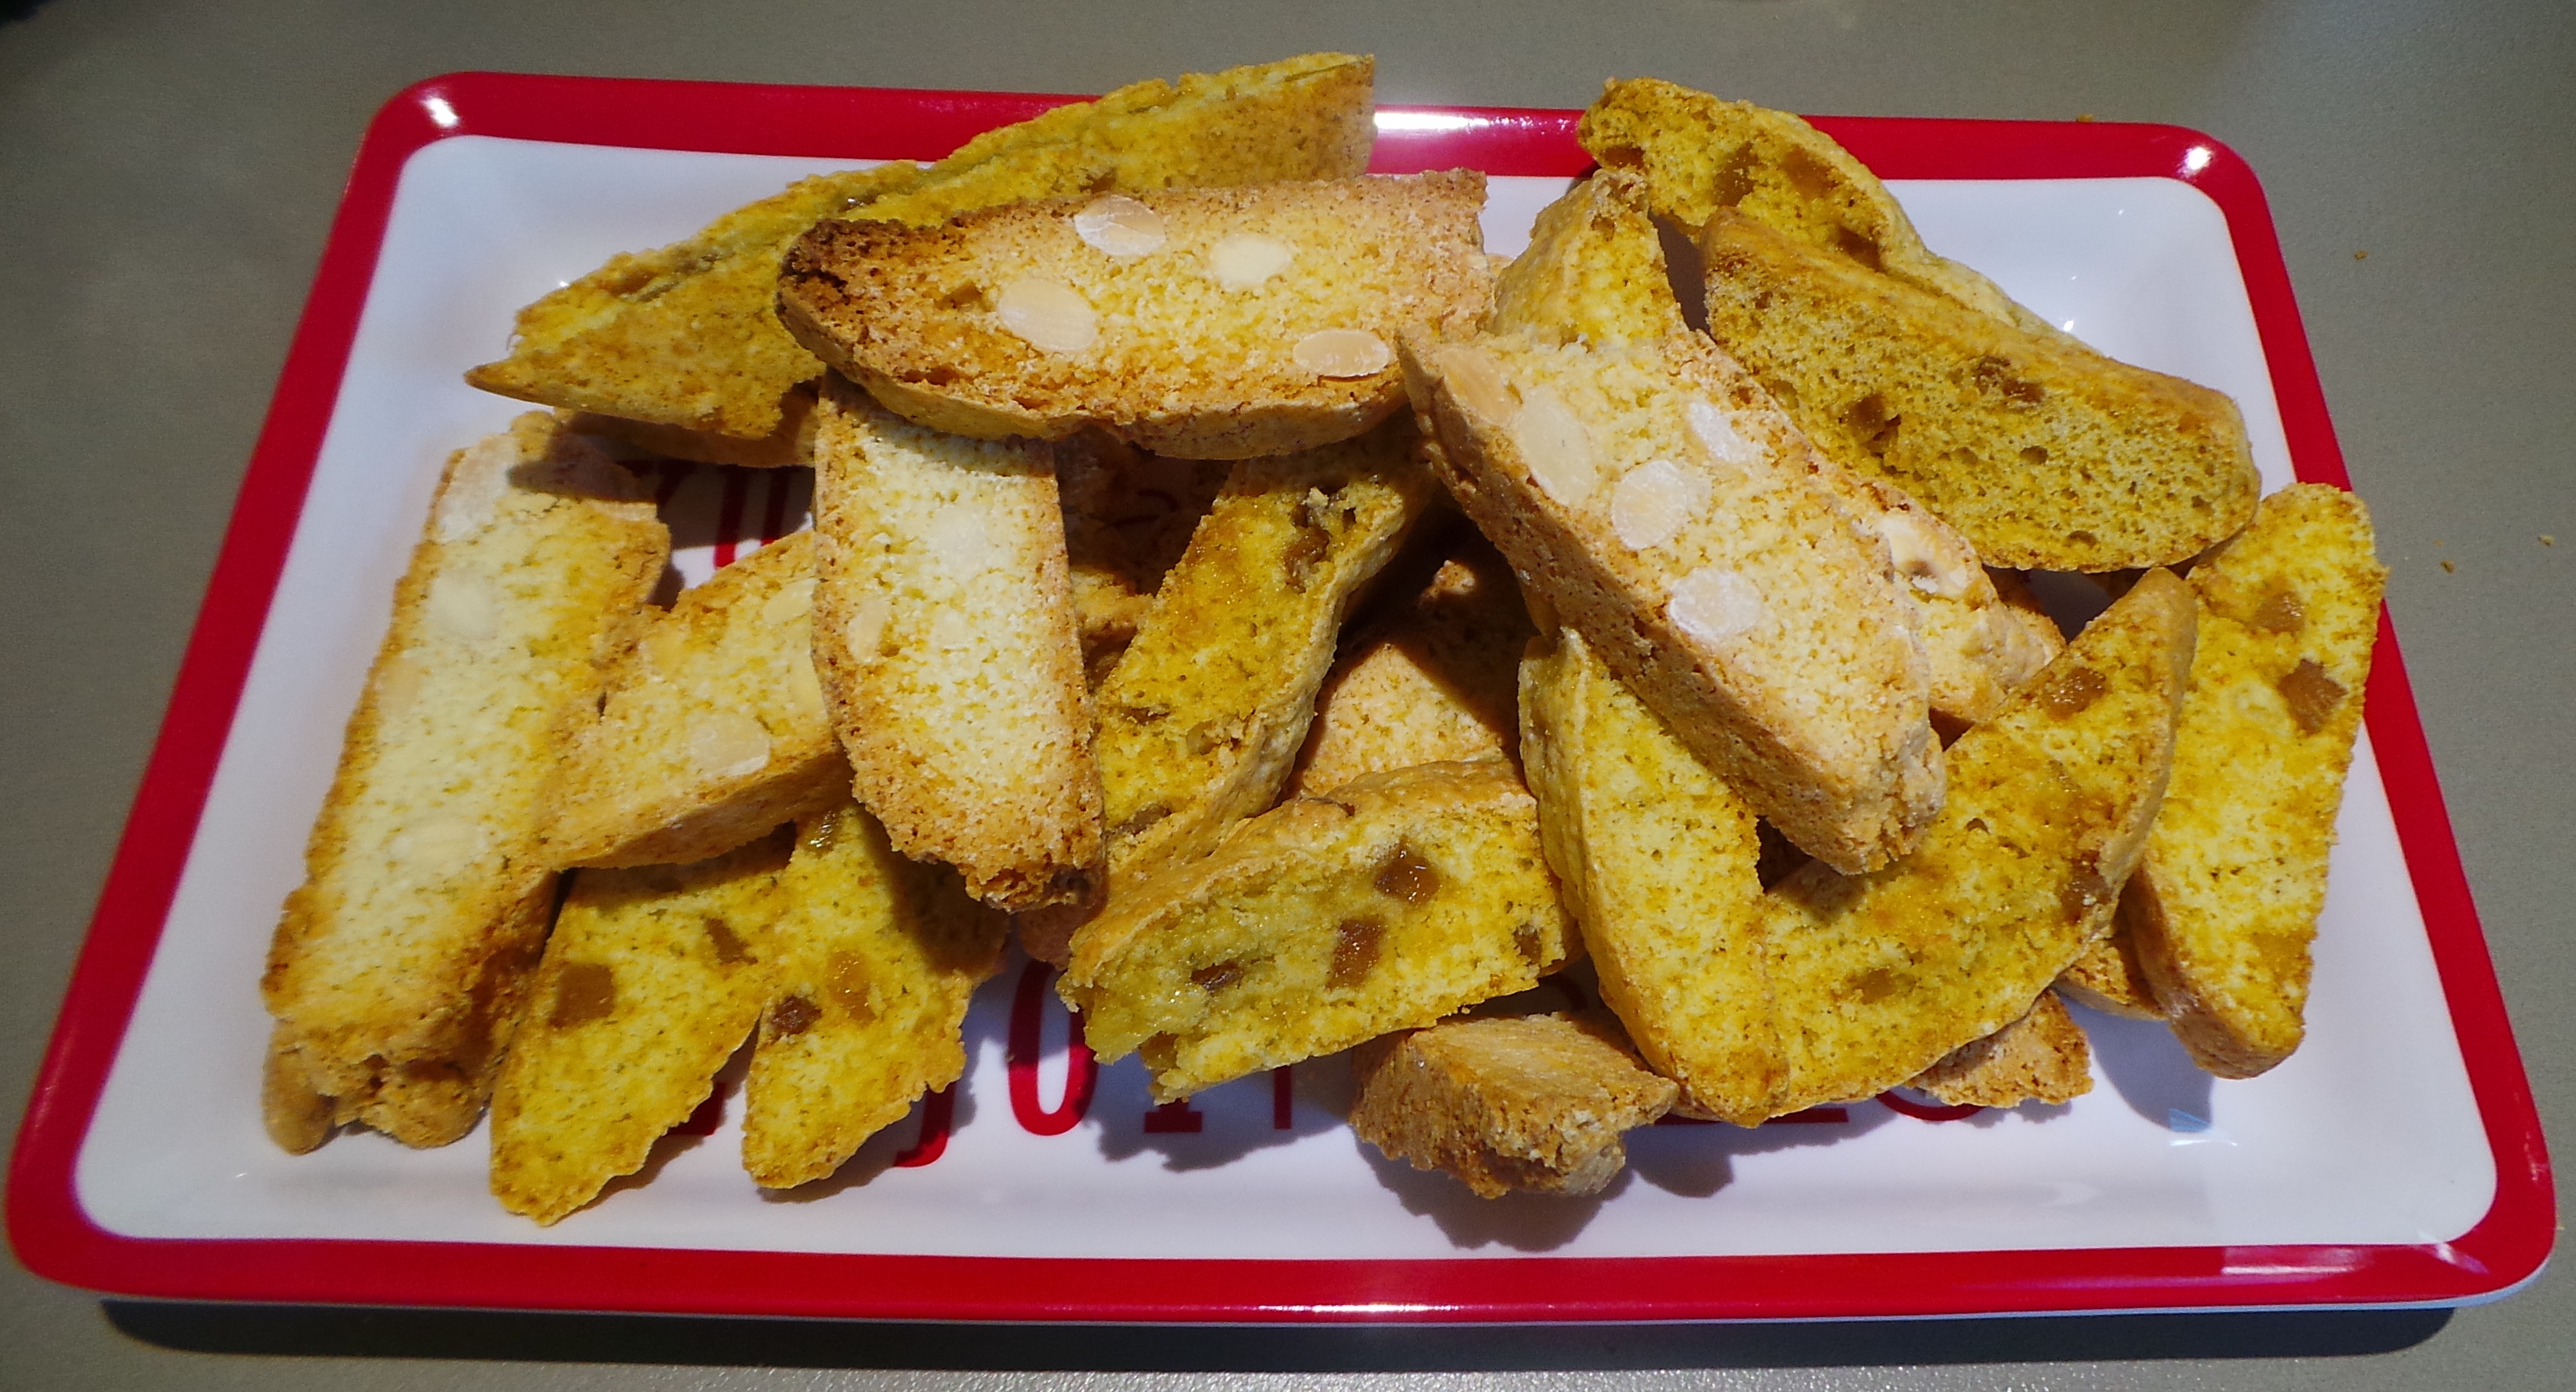
These are among my personal favourite biscotti. (If you would like a primer on biscotti, then please click here: Biscotti 101)
I created these by adapting a recipe I found in a book compellingly entitled Moosewood Restaurant Low-Fat Favourites, which I believe I bought in a Barnes and Noble store in Baltimore, Maryland, sometime in 2006.
It was originally a recipe for Anise and Lemon Biscotti, but I didn’t have any Aniseeds, and didn’t want to go buy some, so I substituted caraway seeds instead.
I also found the dough was too dry at the end of mixing it. However I’d had to zest a lemon for the recipe, so I juiced that and mixed the juice into the dough.
It was a triumph. A little piece of citrusy heaven. Trust me. If you like lemon-flavoured anything, then you’ll love these.
They are among the most requested in my Christmas Collection and now I share them with you.
They are the perfect thing to enjoy a quiet moment with a cuppa before going back to being an adult.
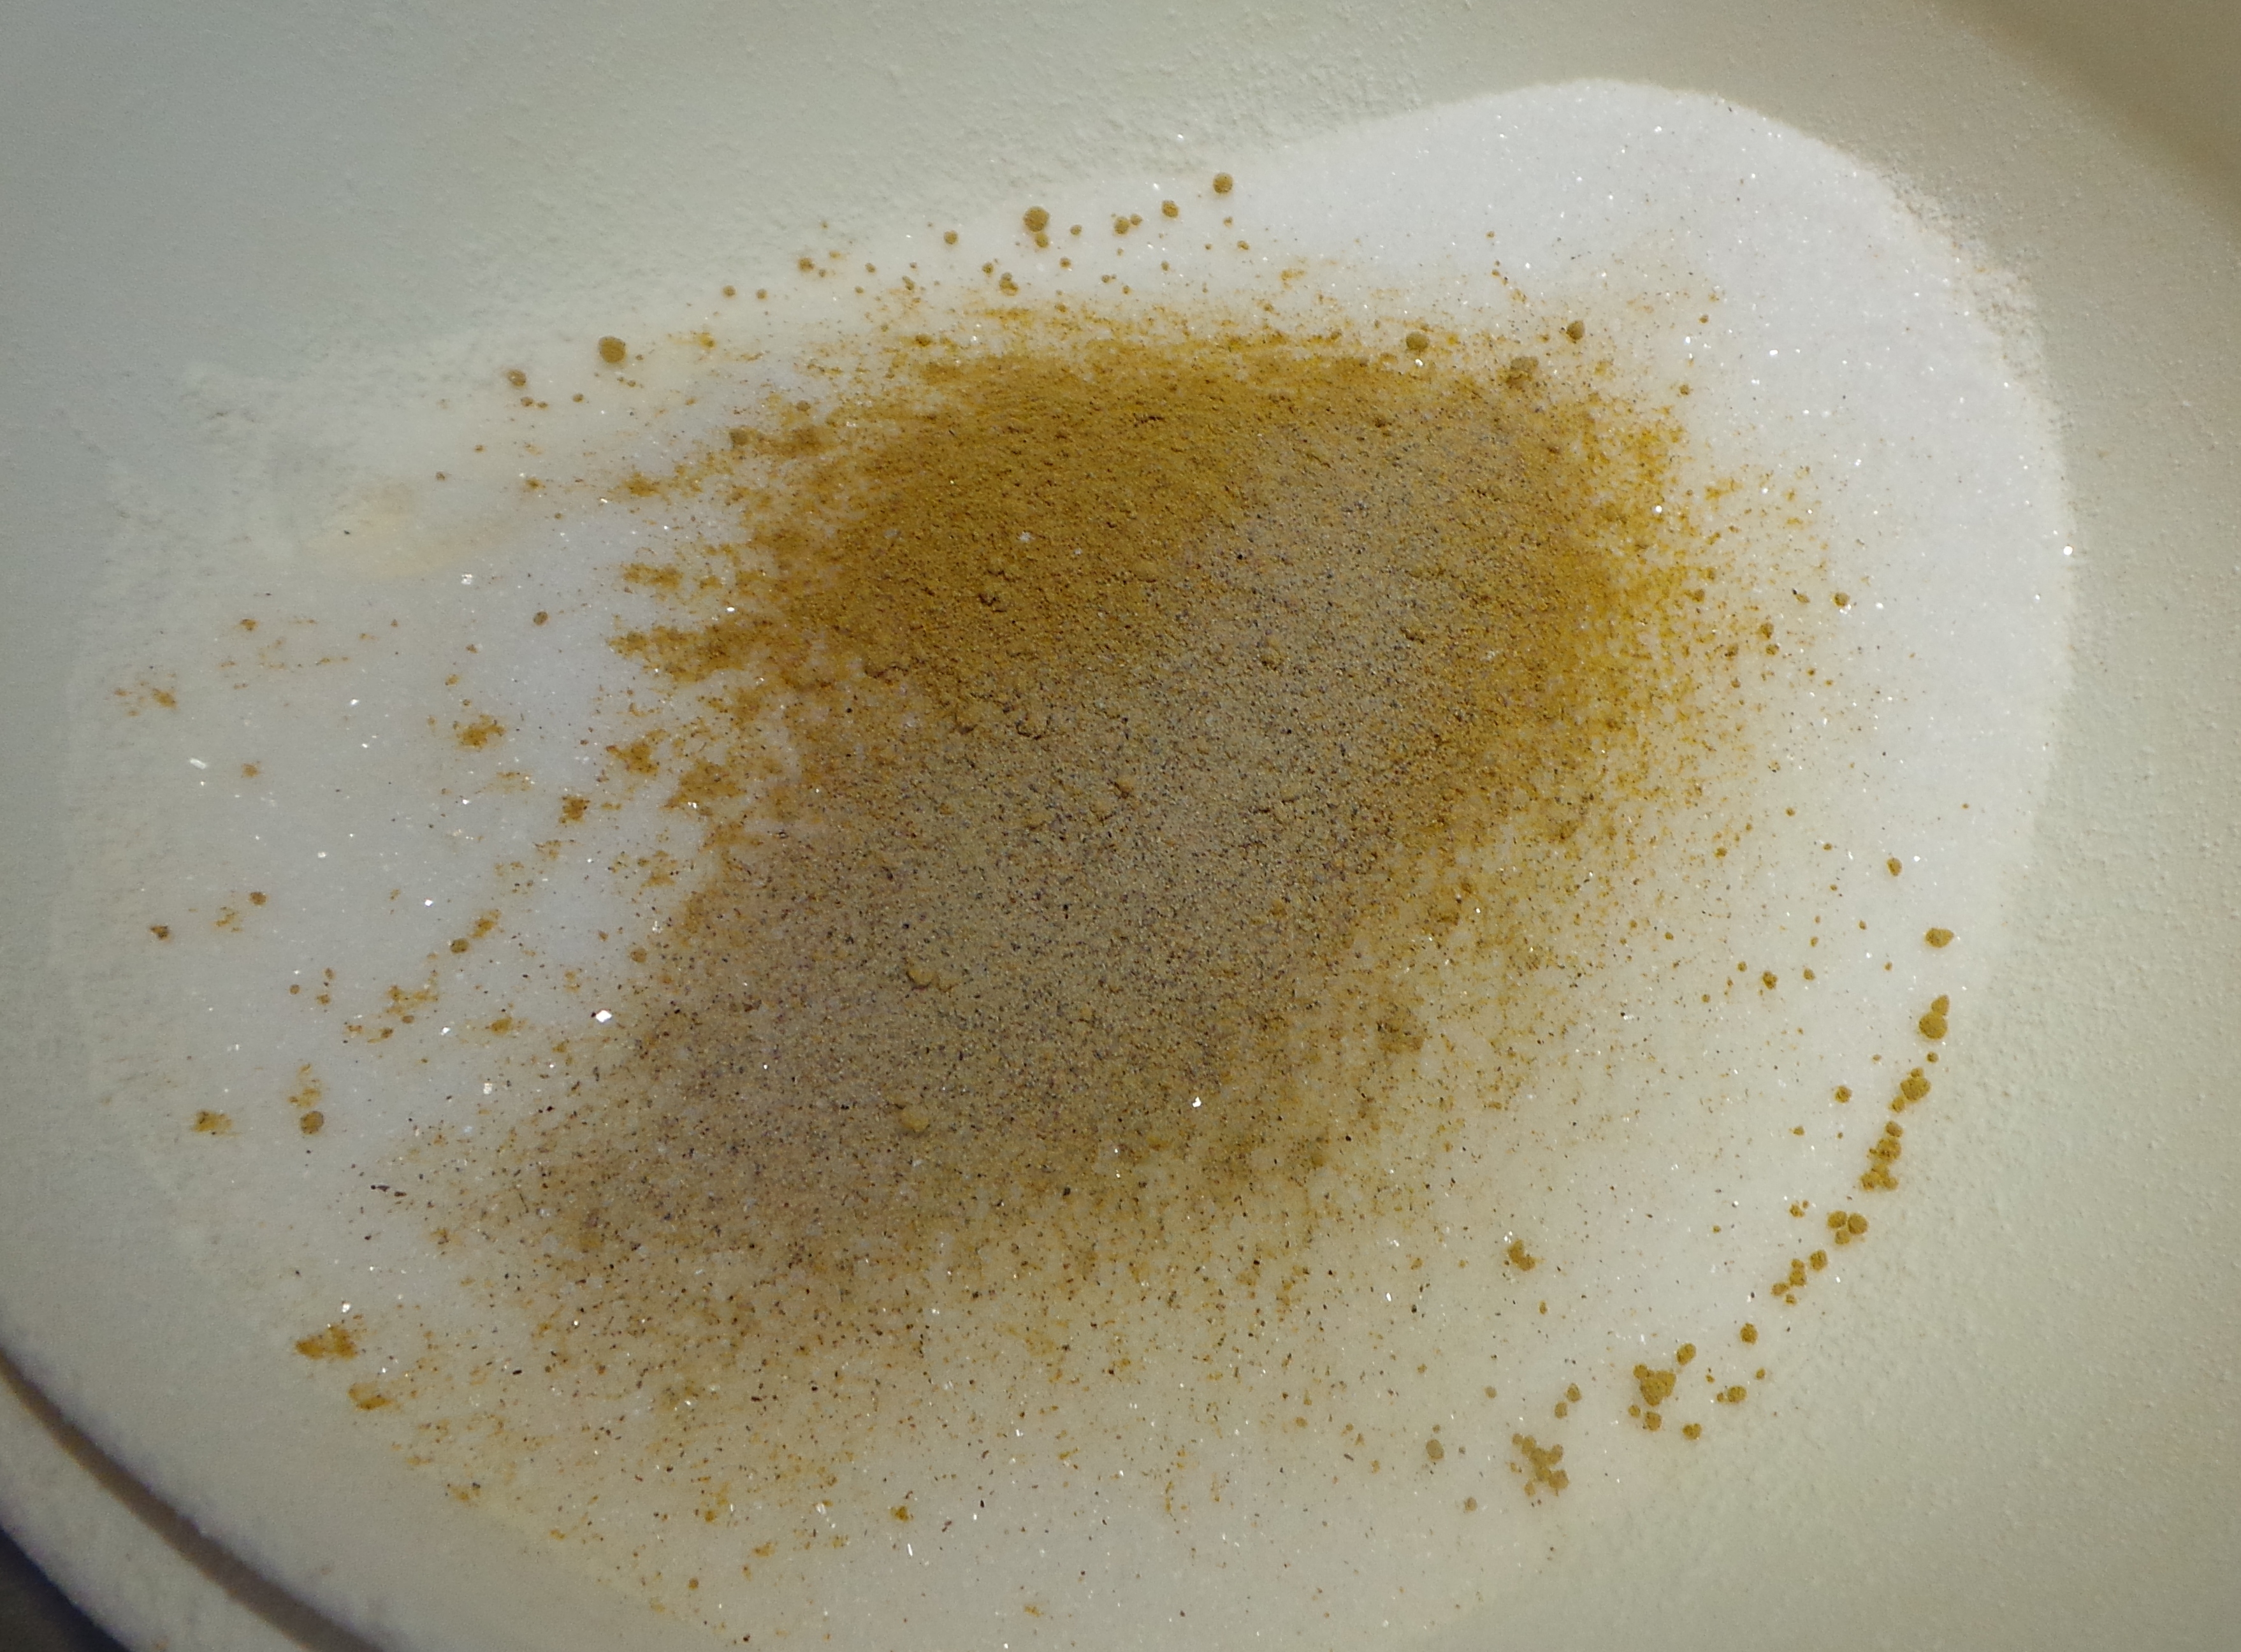
Start by sifting the plain flour, baking powder, salt and sugar together into a bowl.

Sift the dry ingredients together.
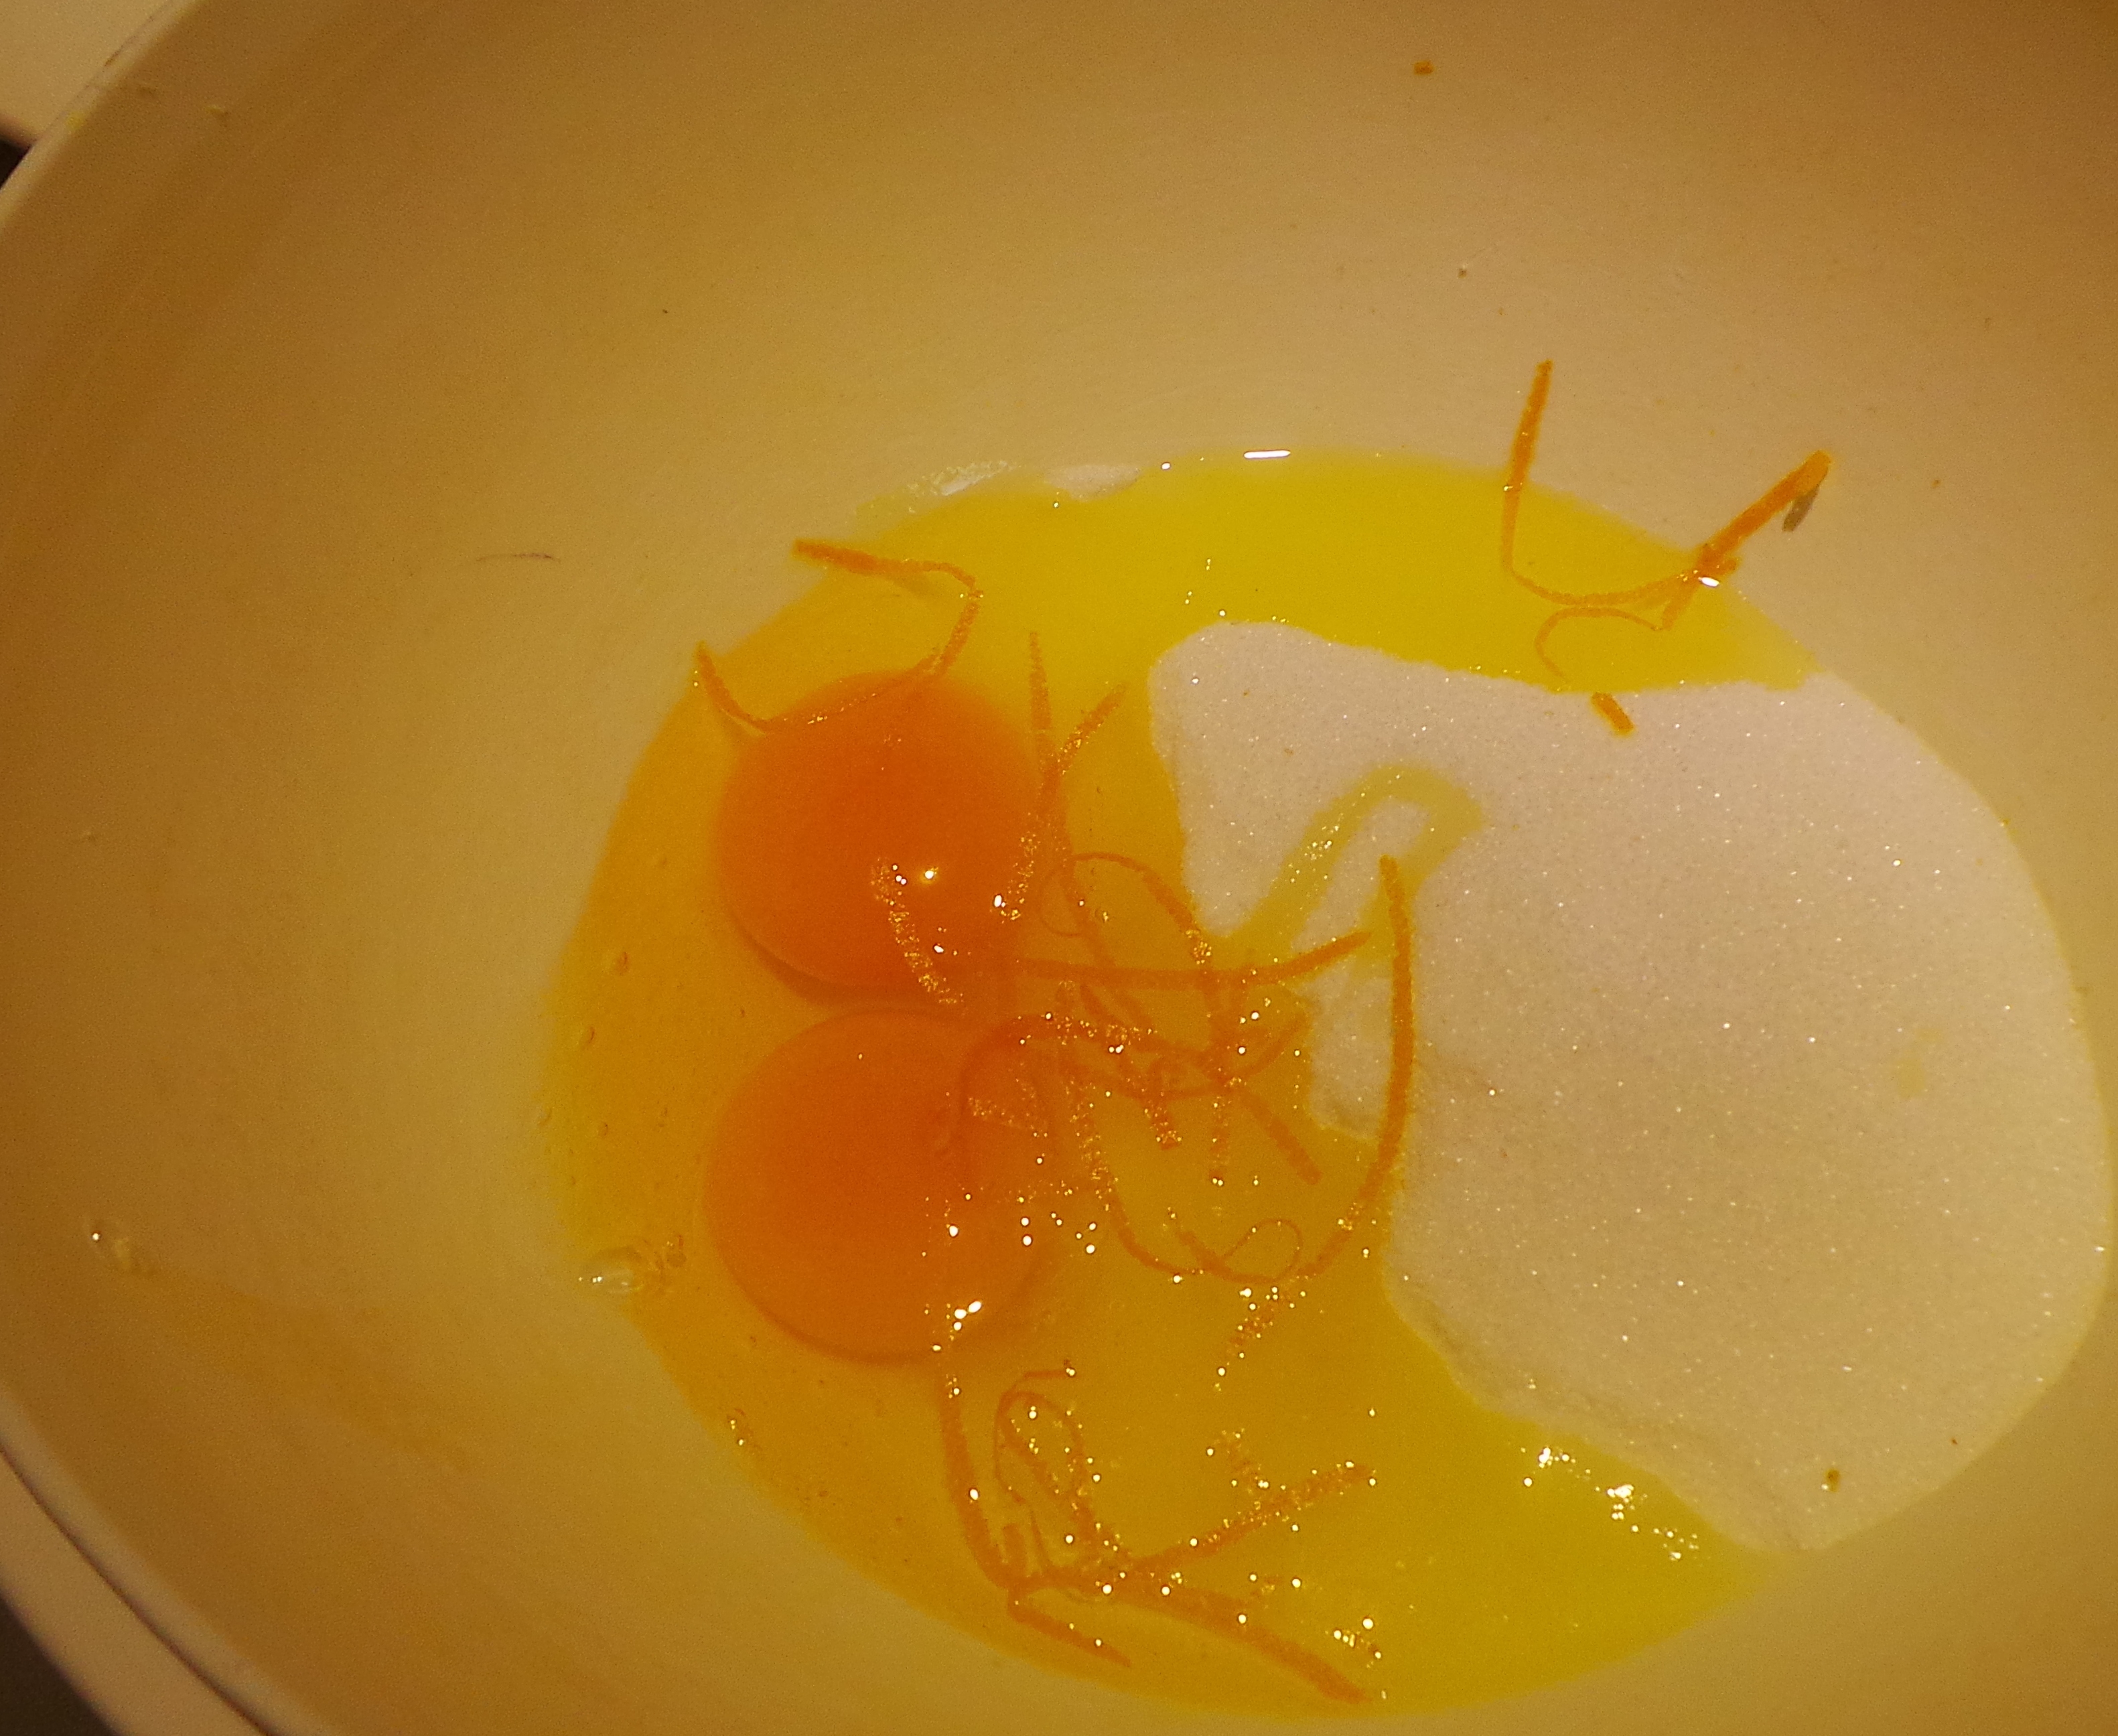
Then add the zest of a lemon or two. You’ll need around 2 tablespoonfuls.
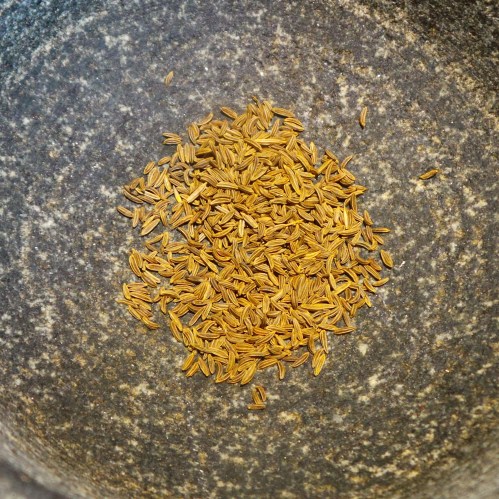
Now you’ll need to grind your caraway seeds the best that you can. Use either a pestle and mortar or a small electric coffee grinder you use solely for this purpose.

Grind the caraway seeds in a pestle and mortar.
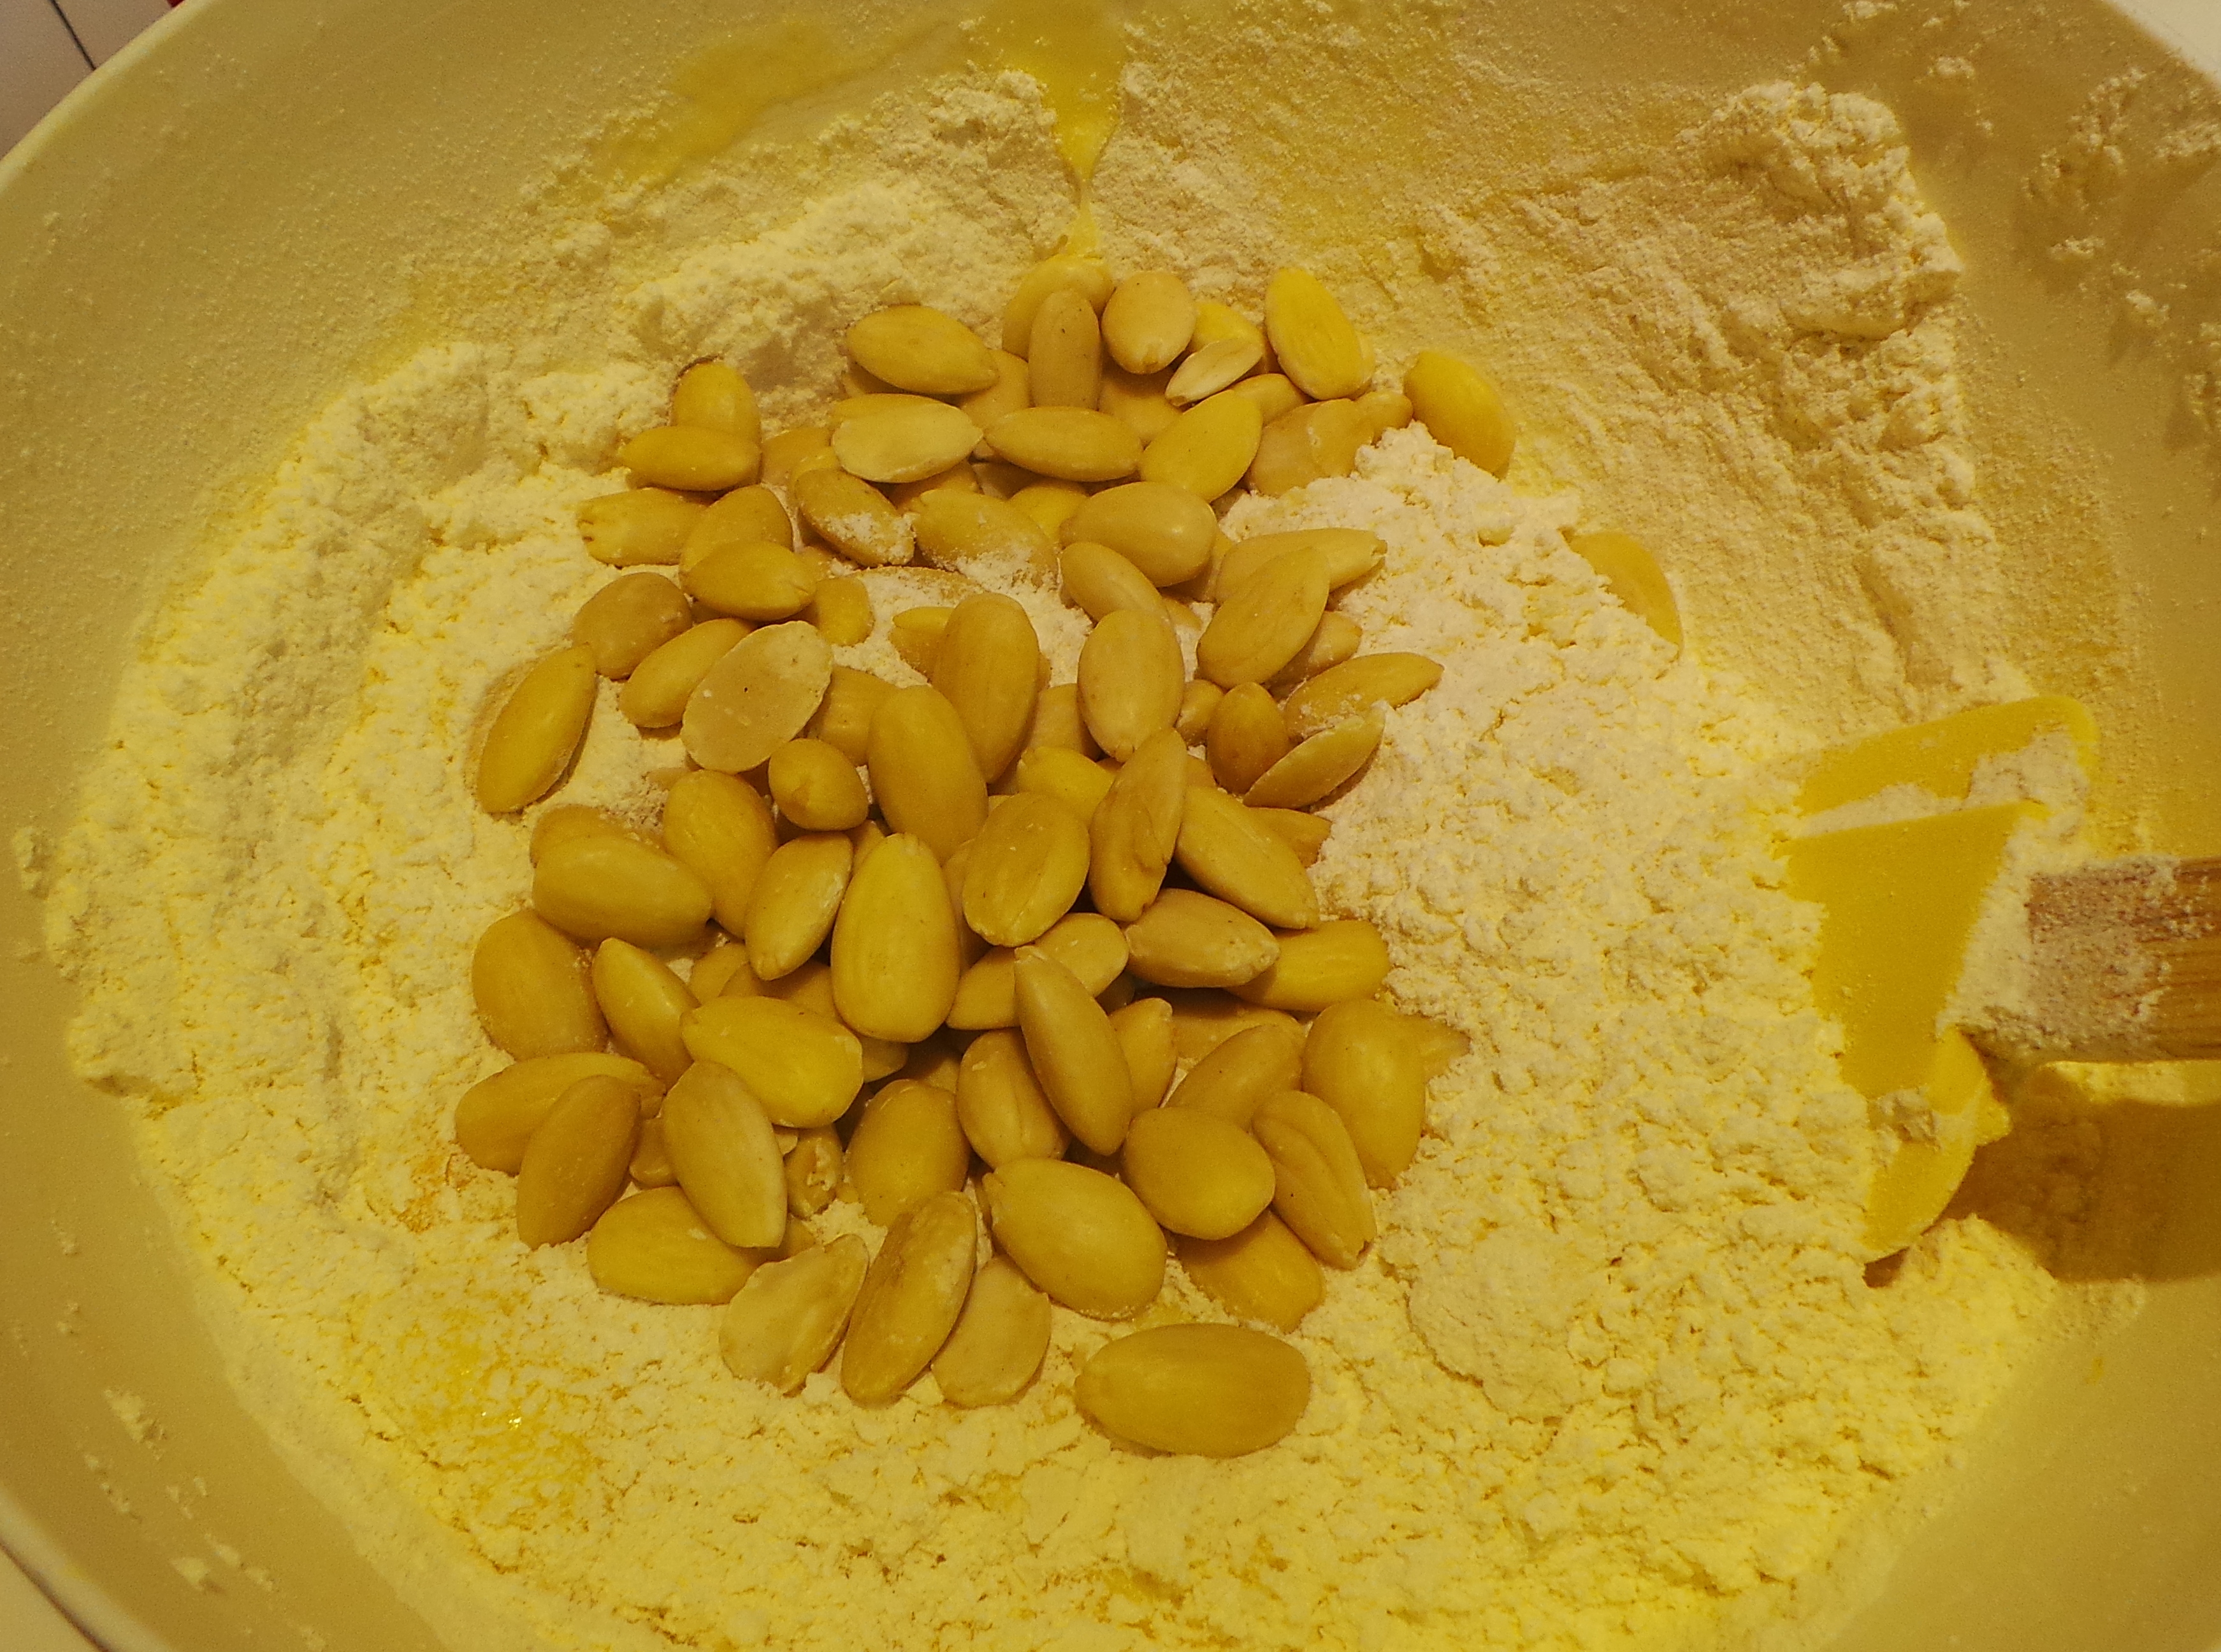
Add them to your flour mix, stir through and set aside.
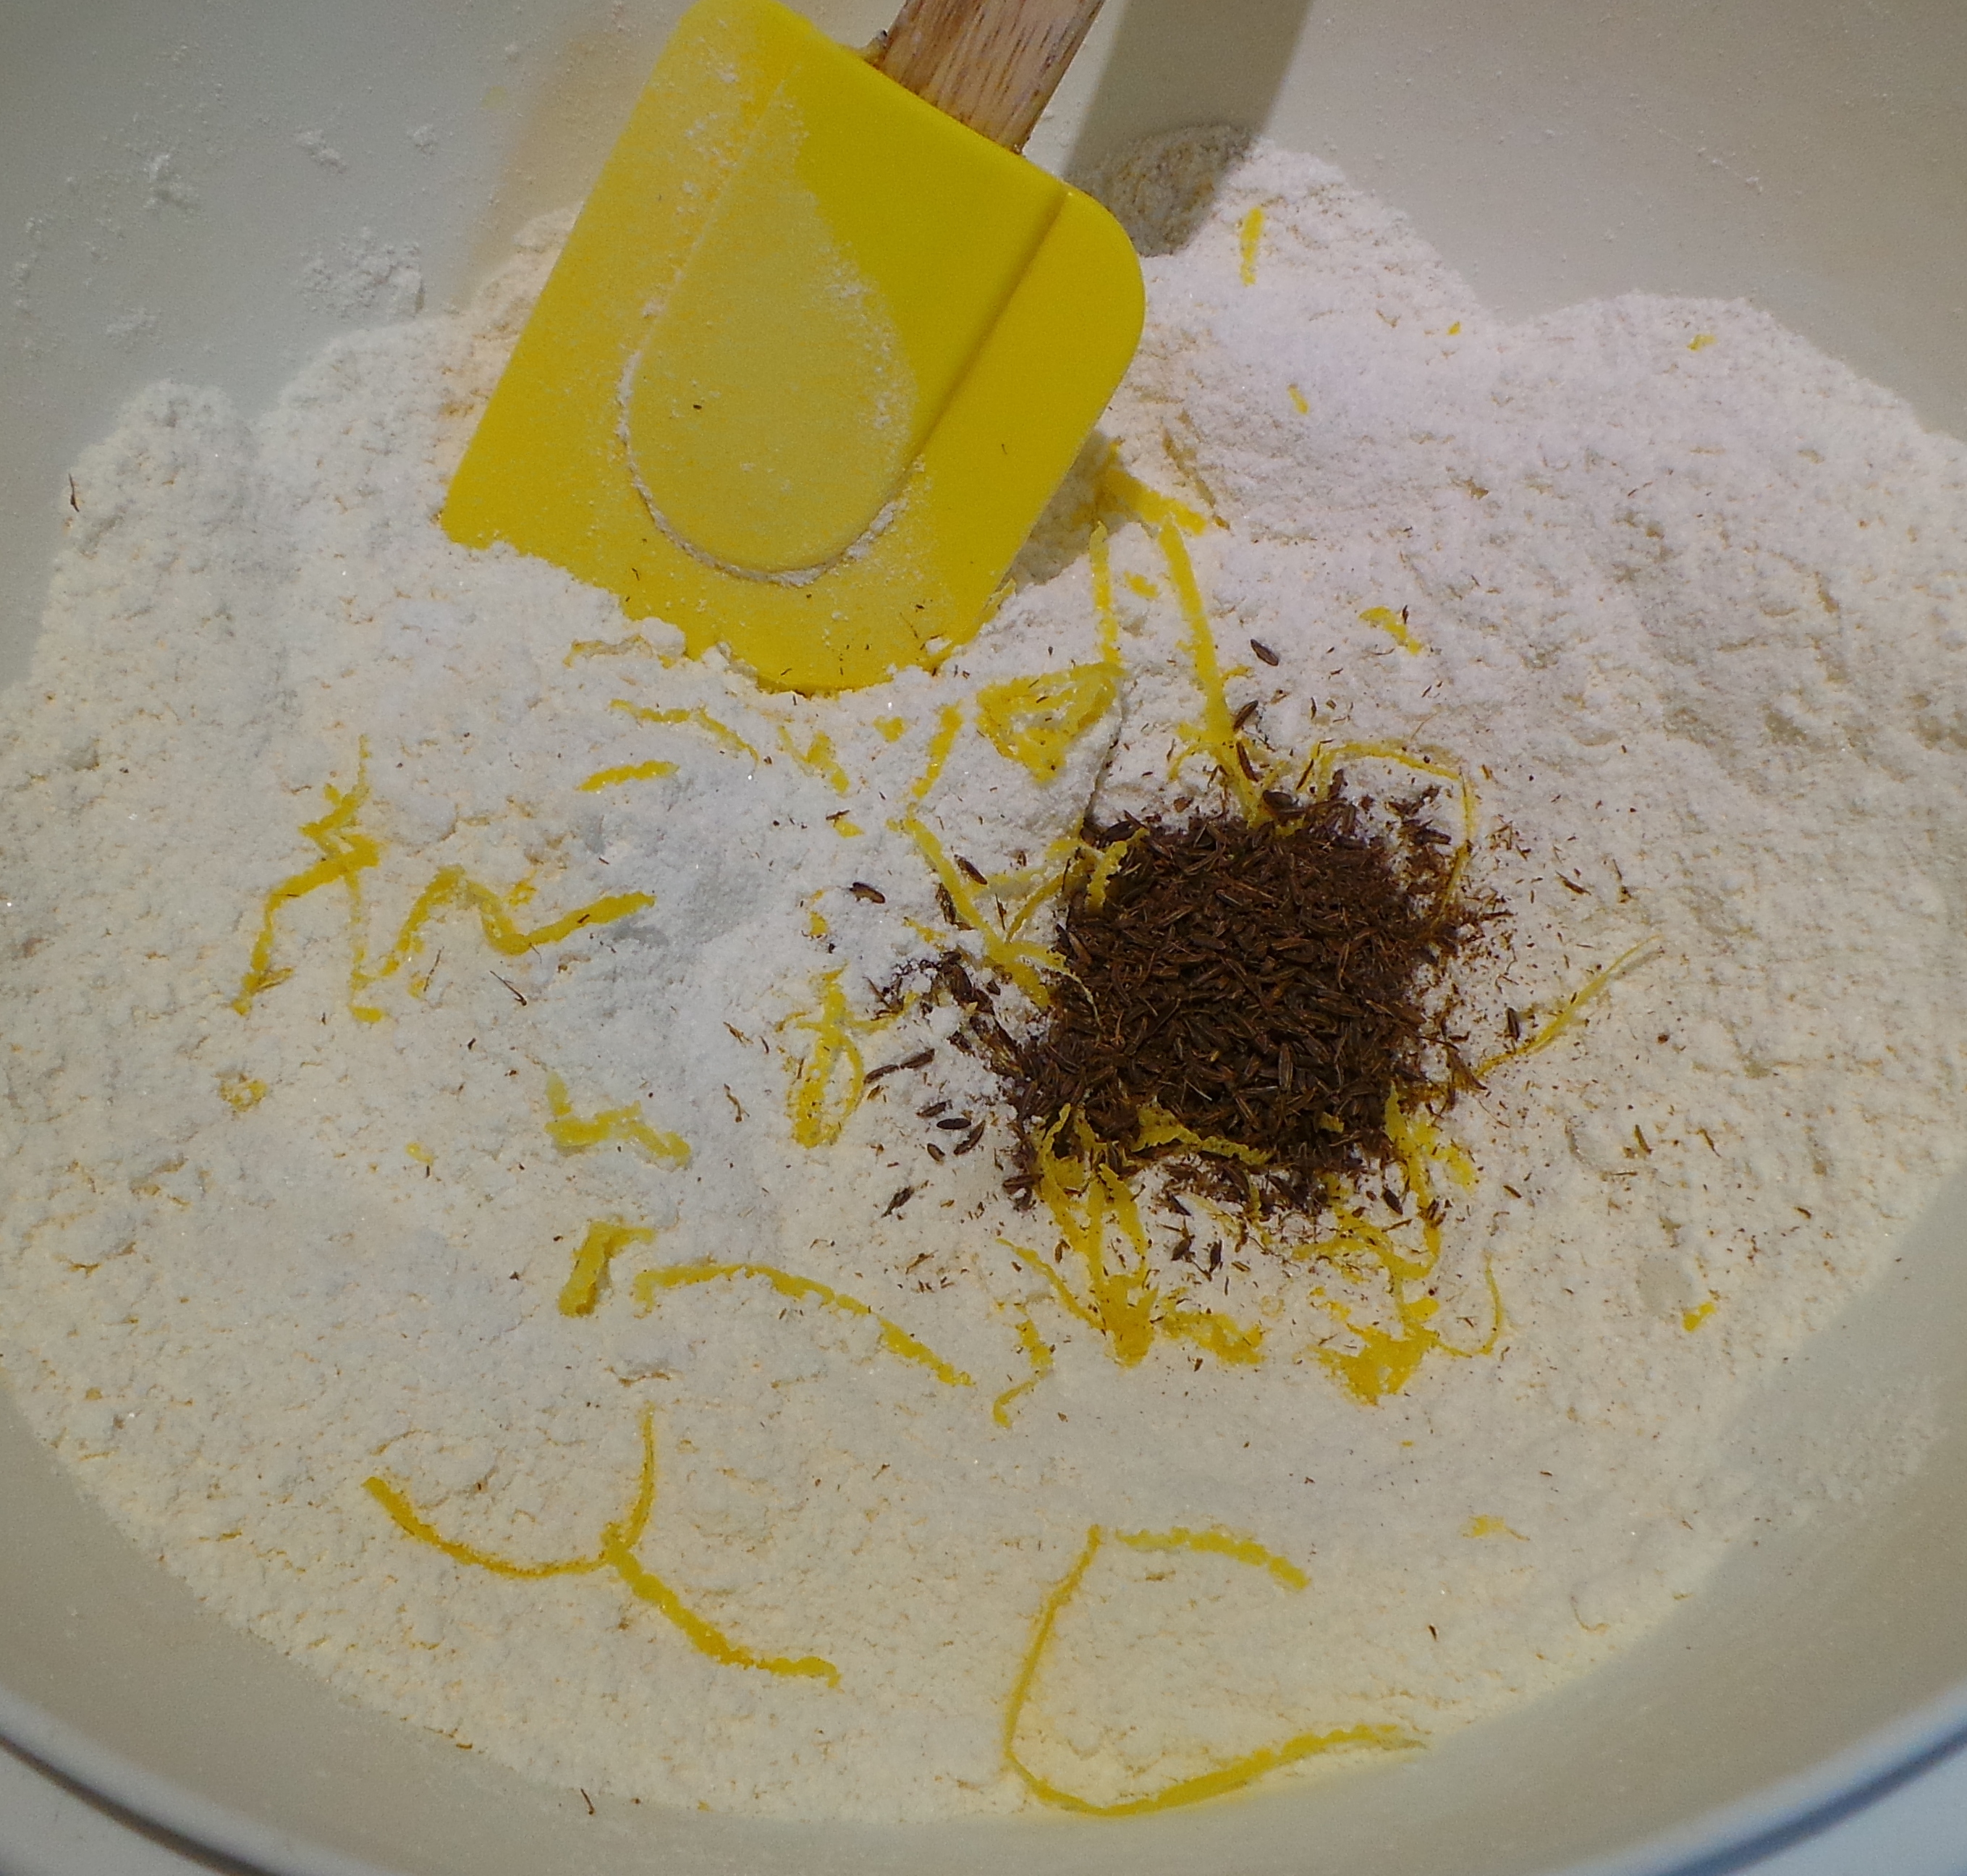
Add your zest and seeds and stir together.
In a separate bowl, lightly beat together 2 whole eggs and 1 egg white.
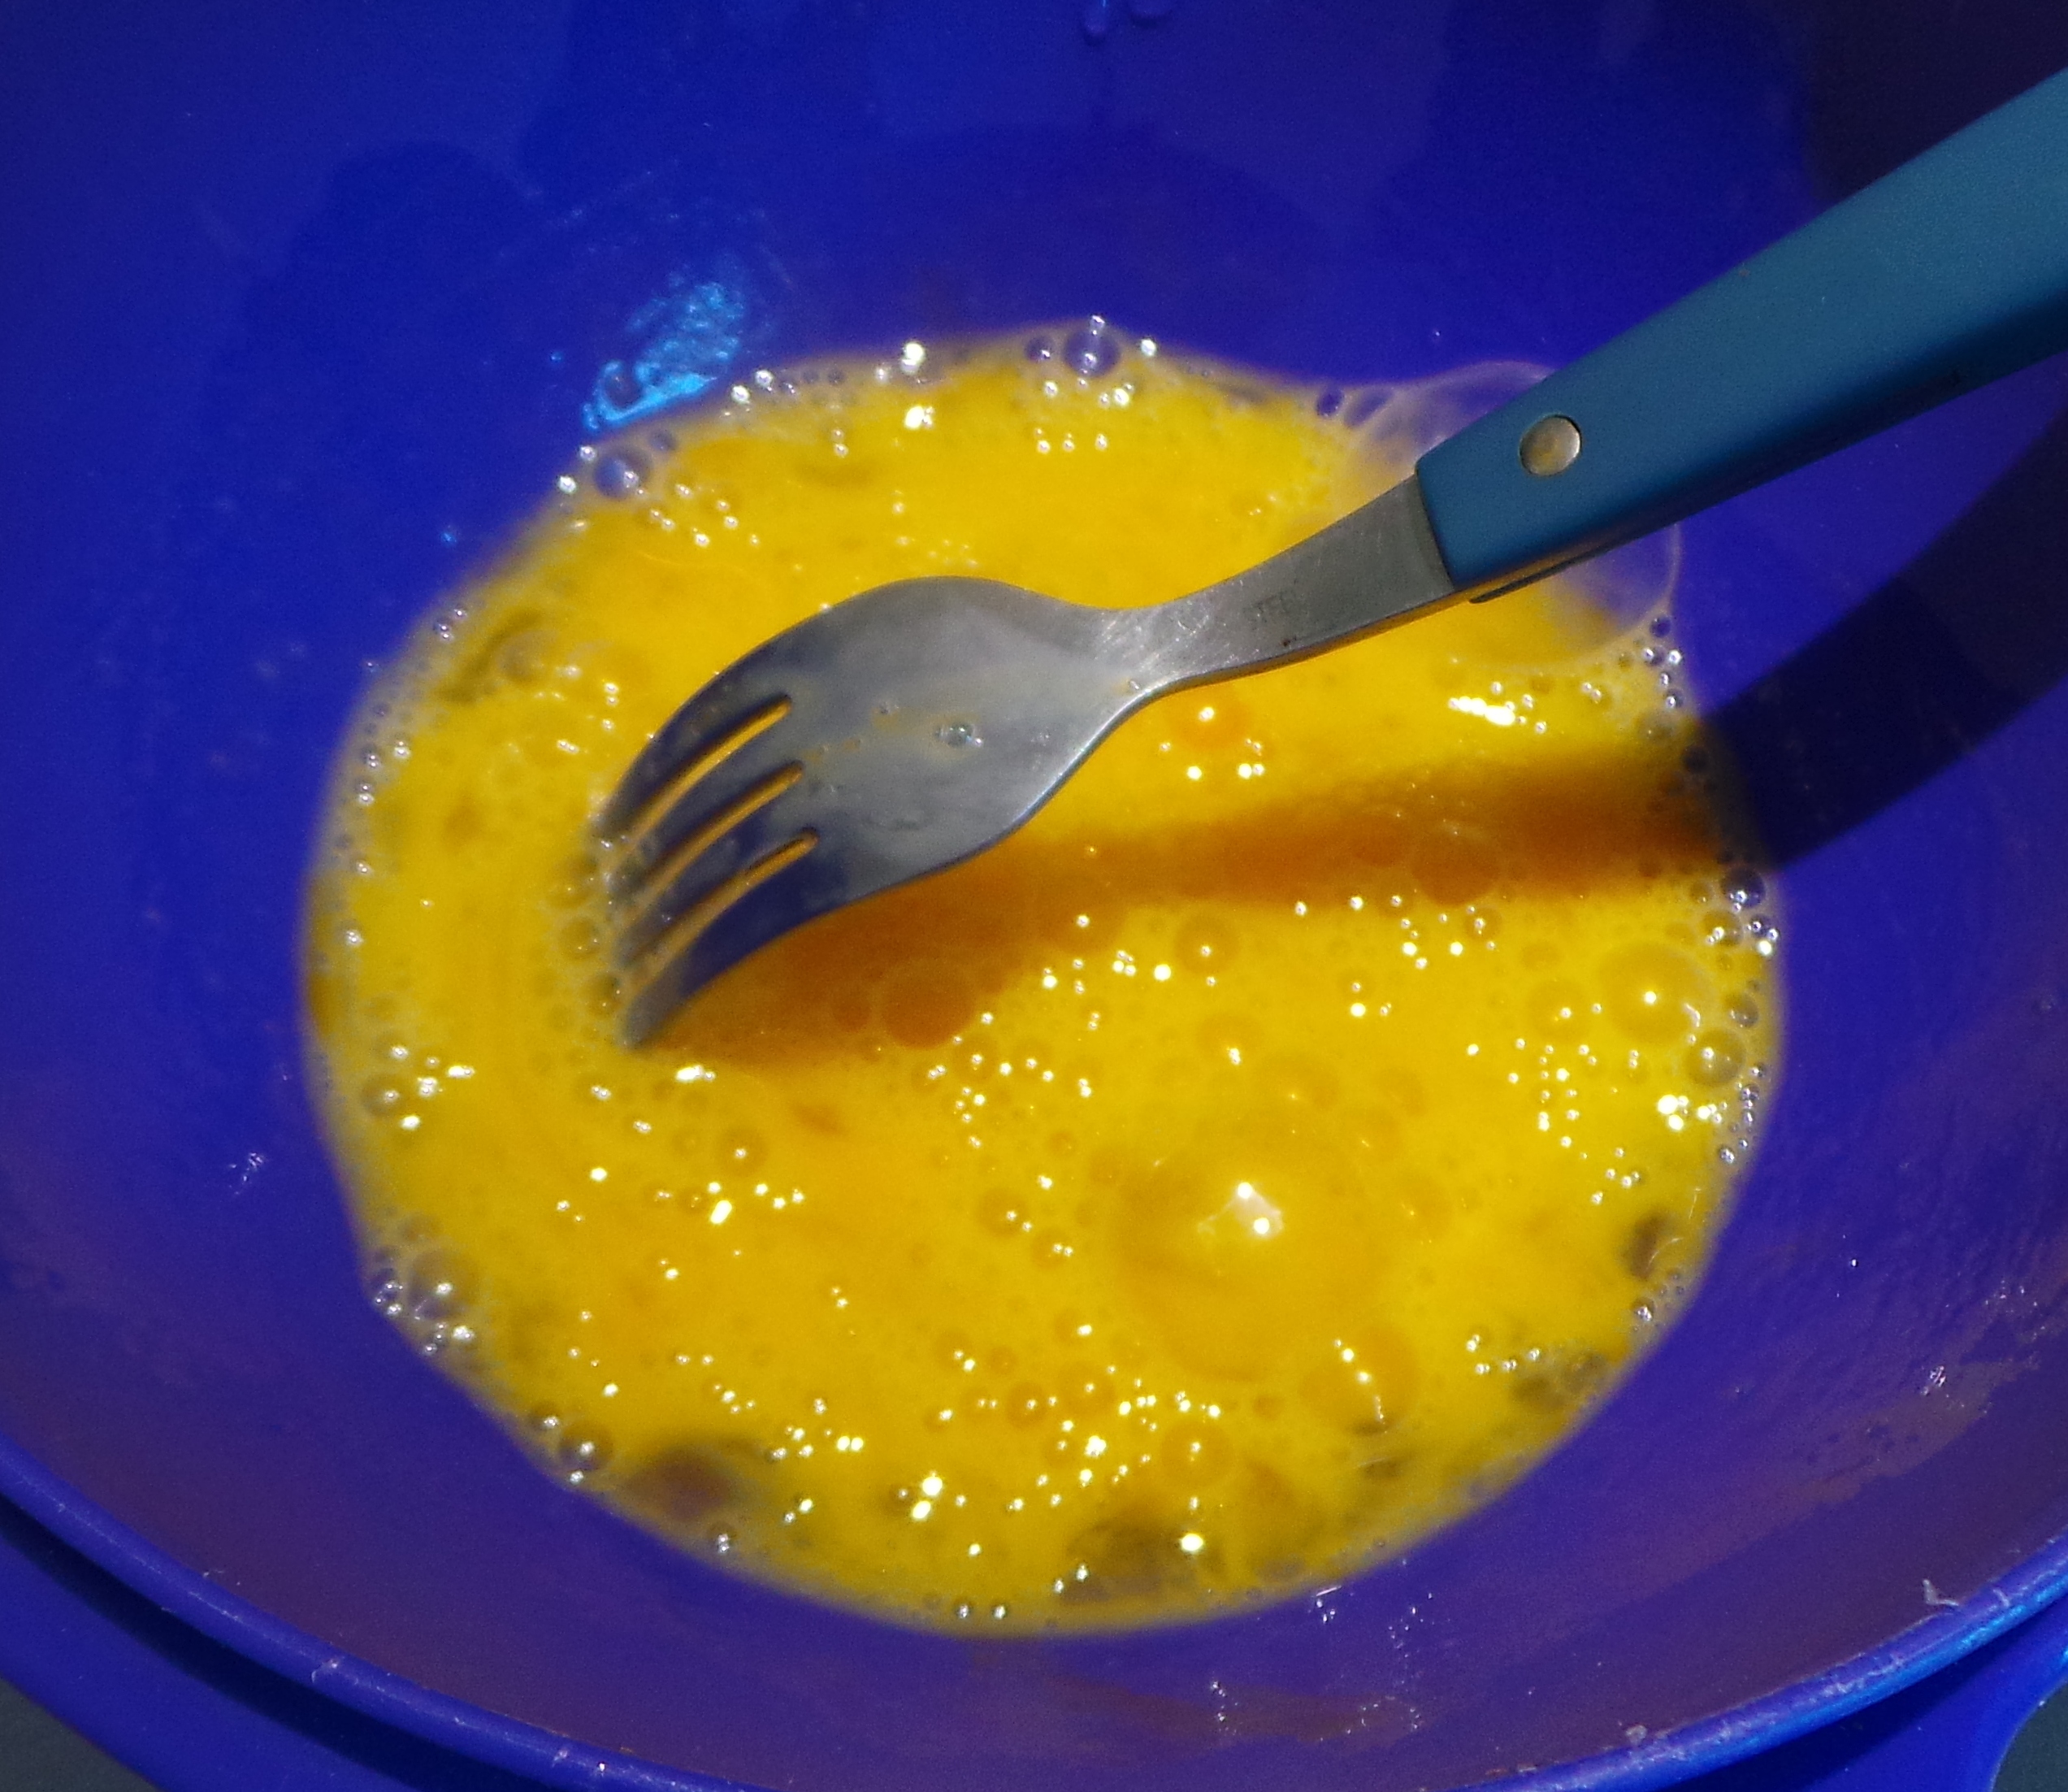
Eggs!
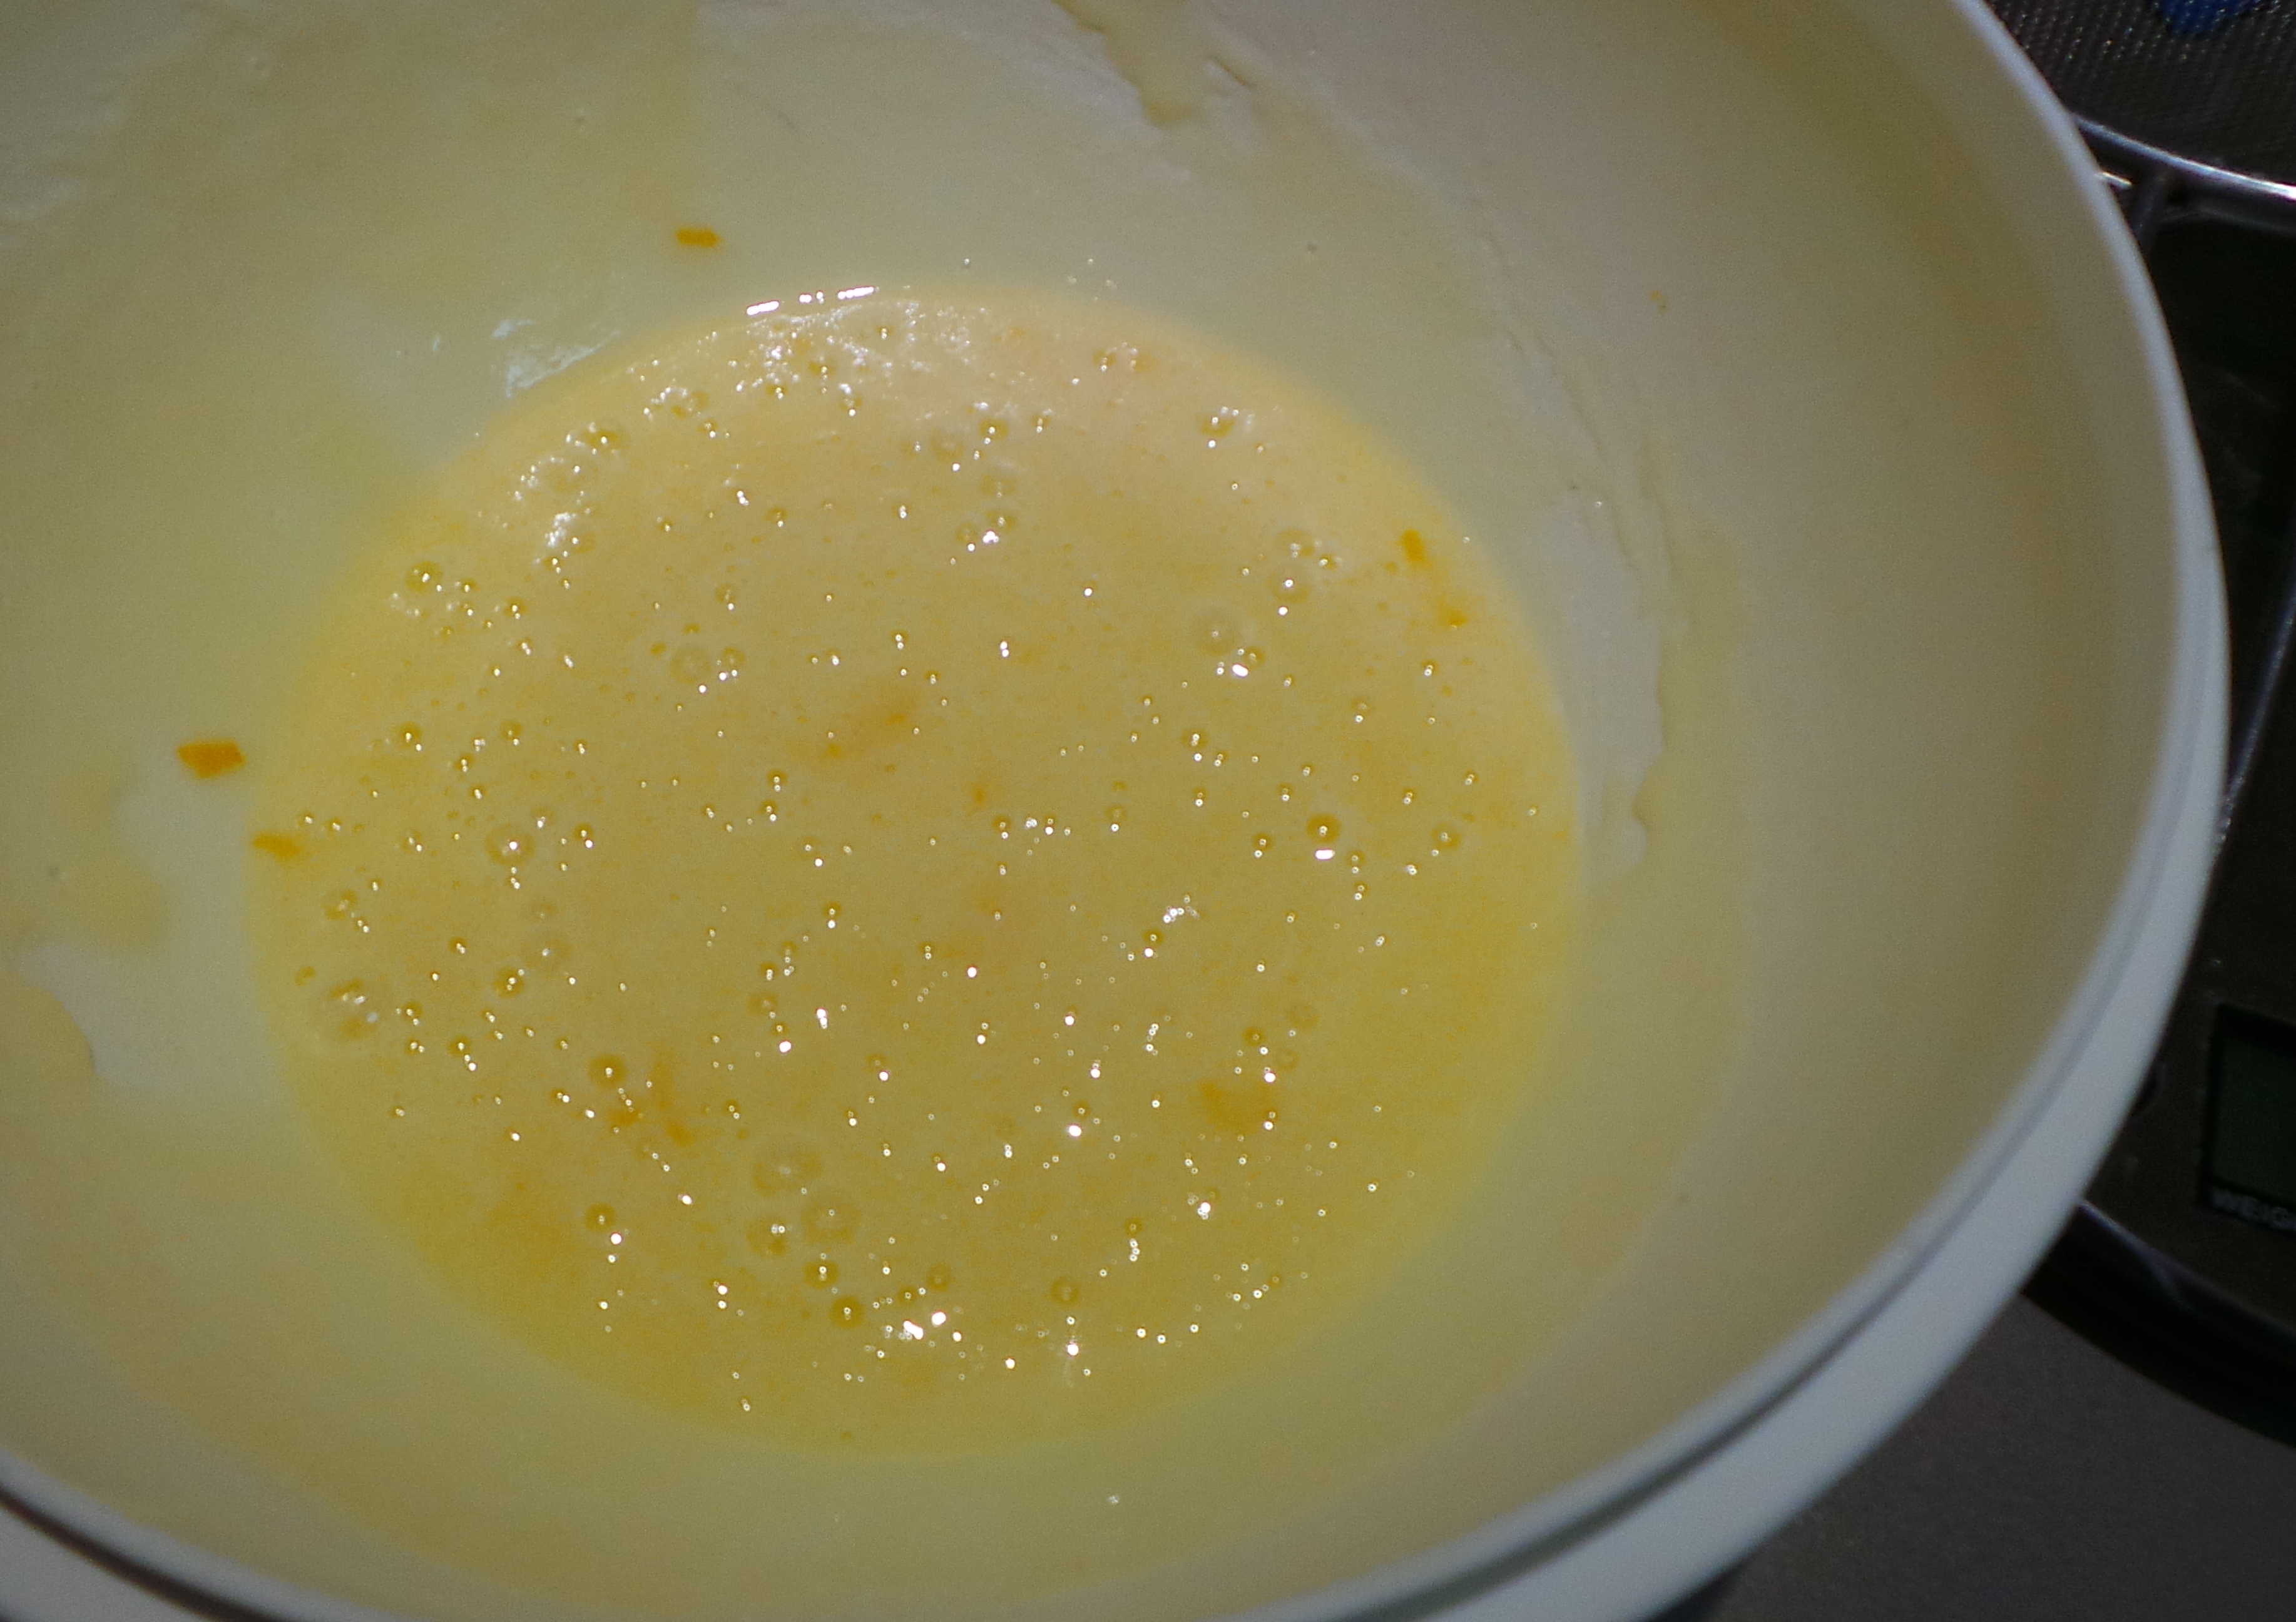
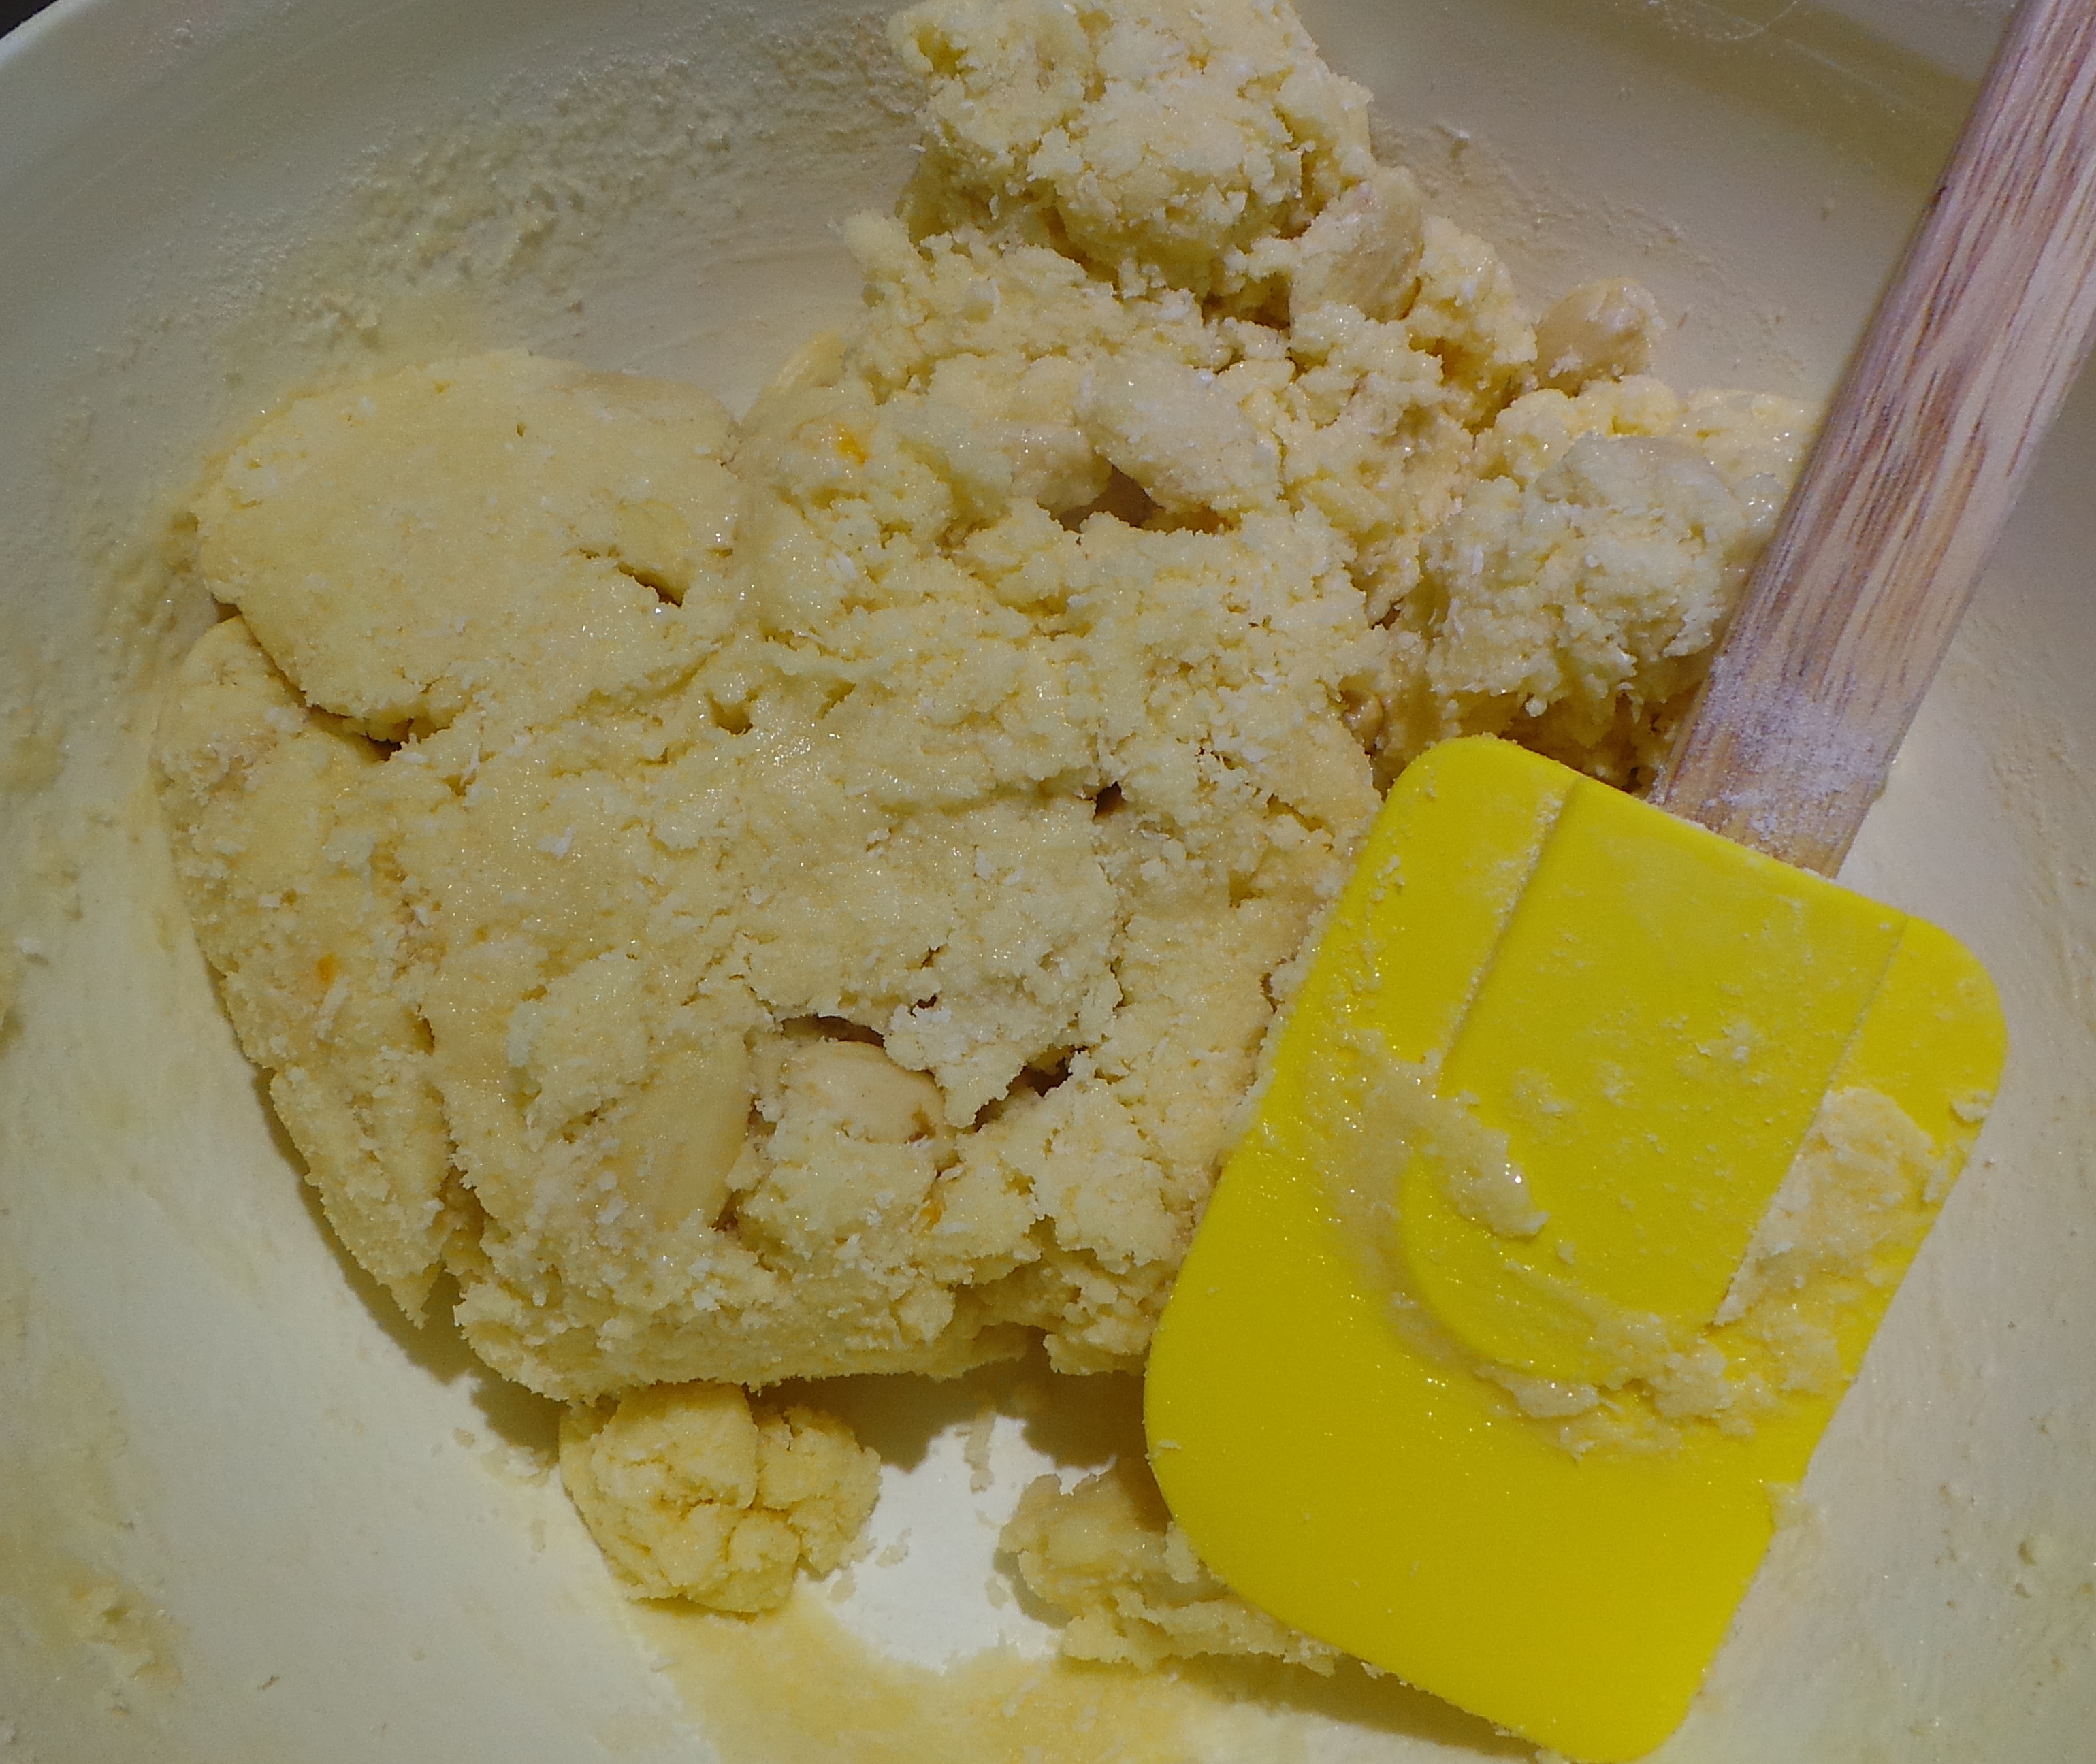
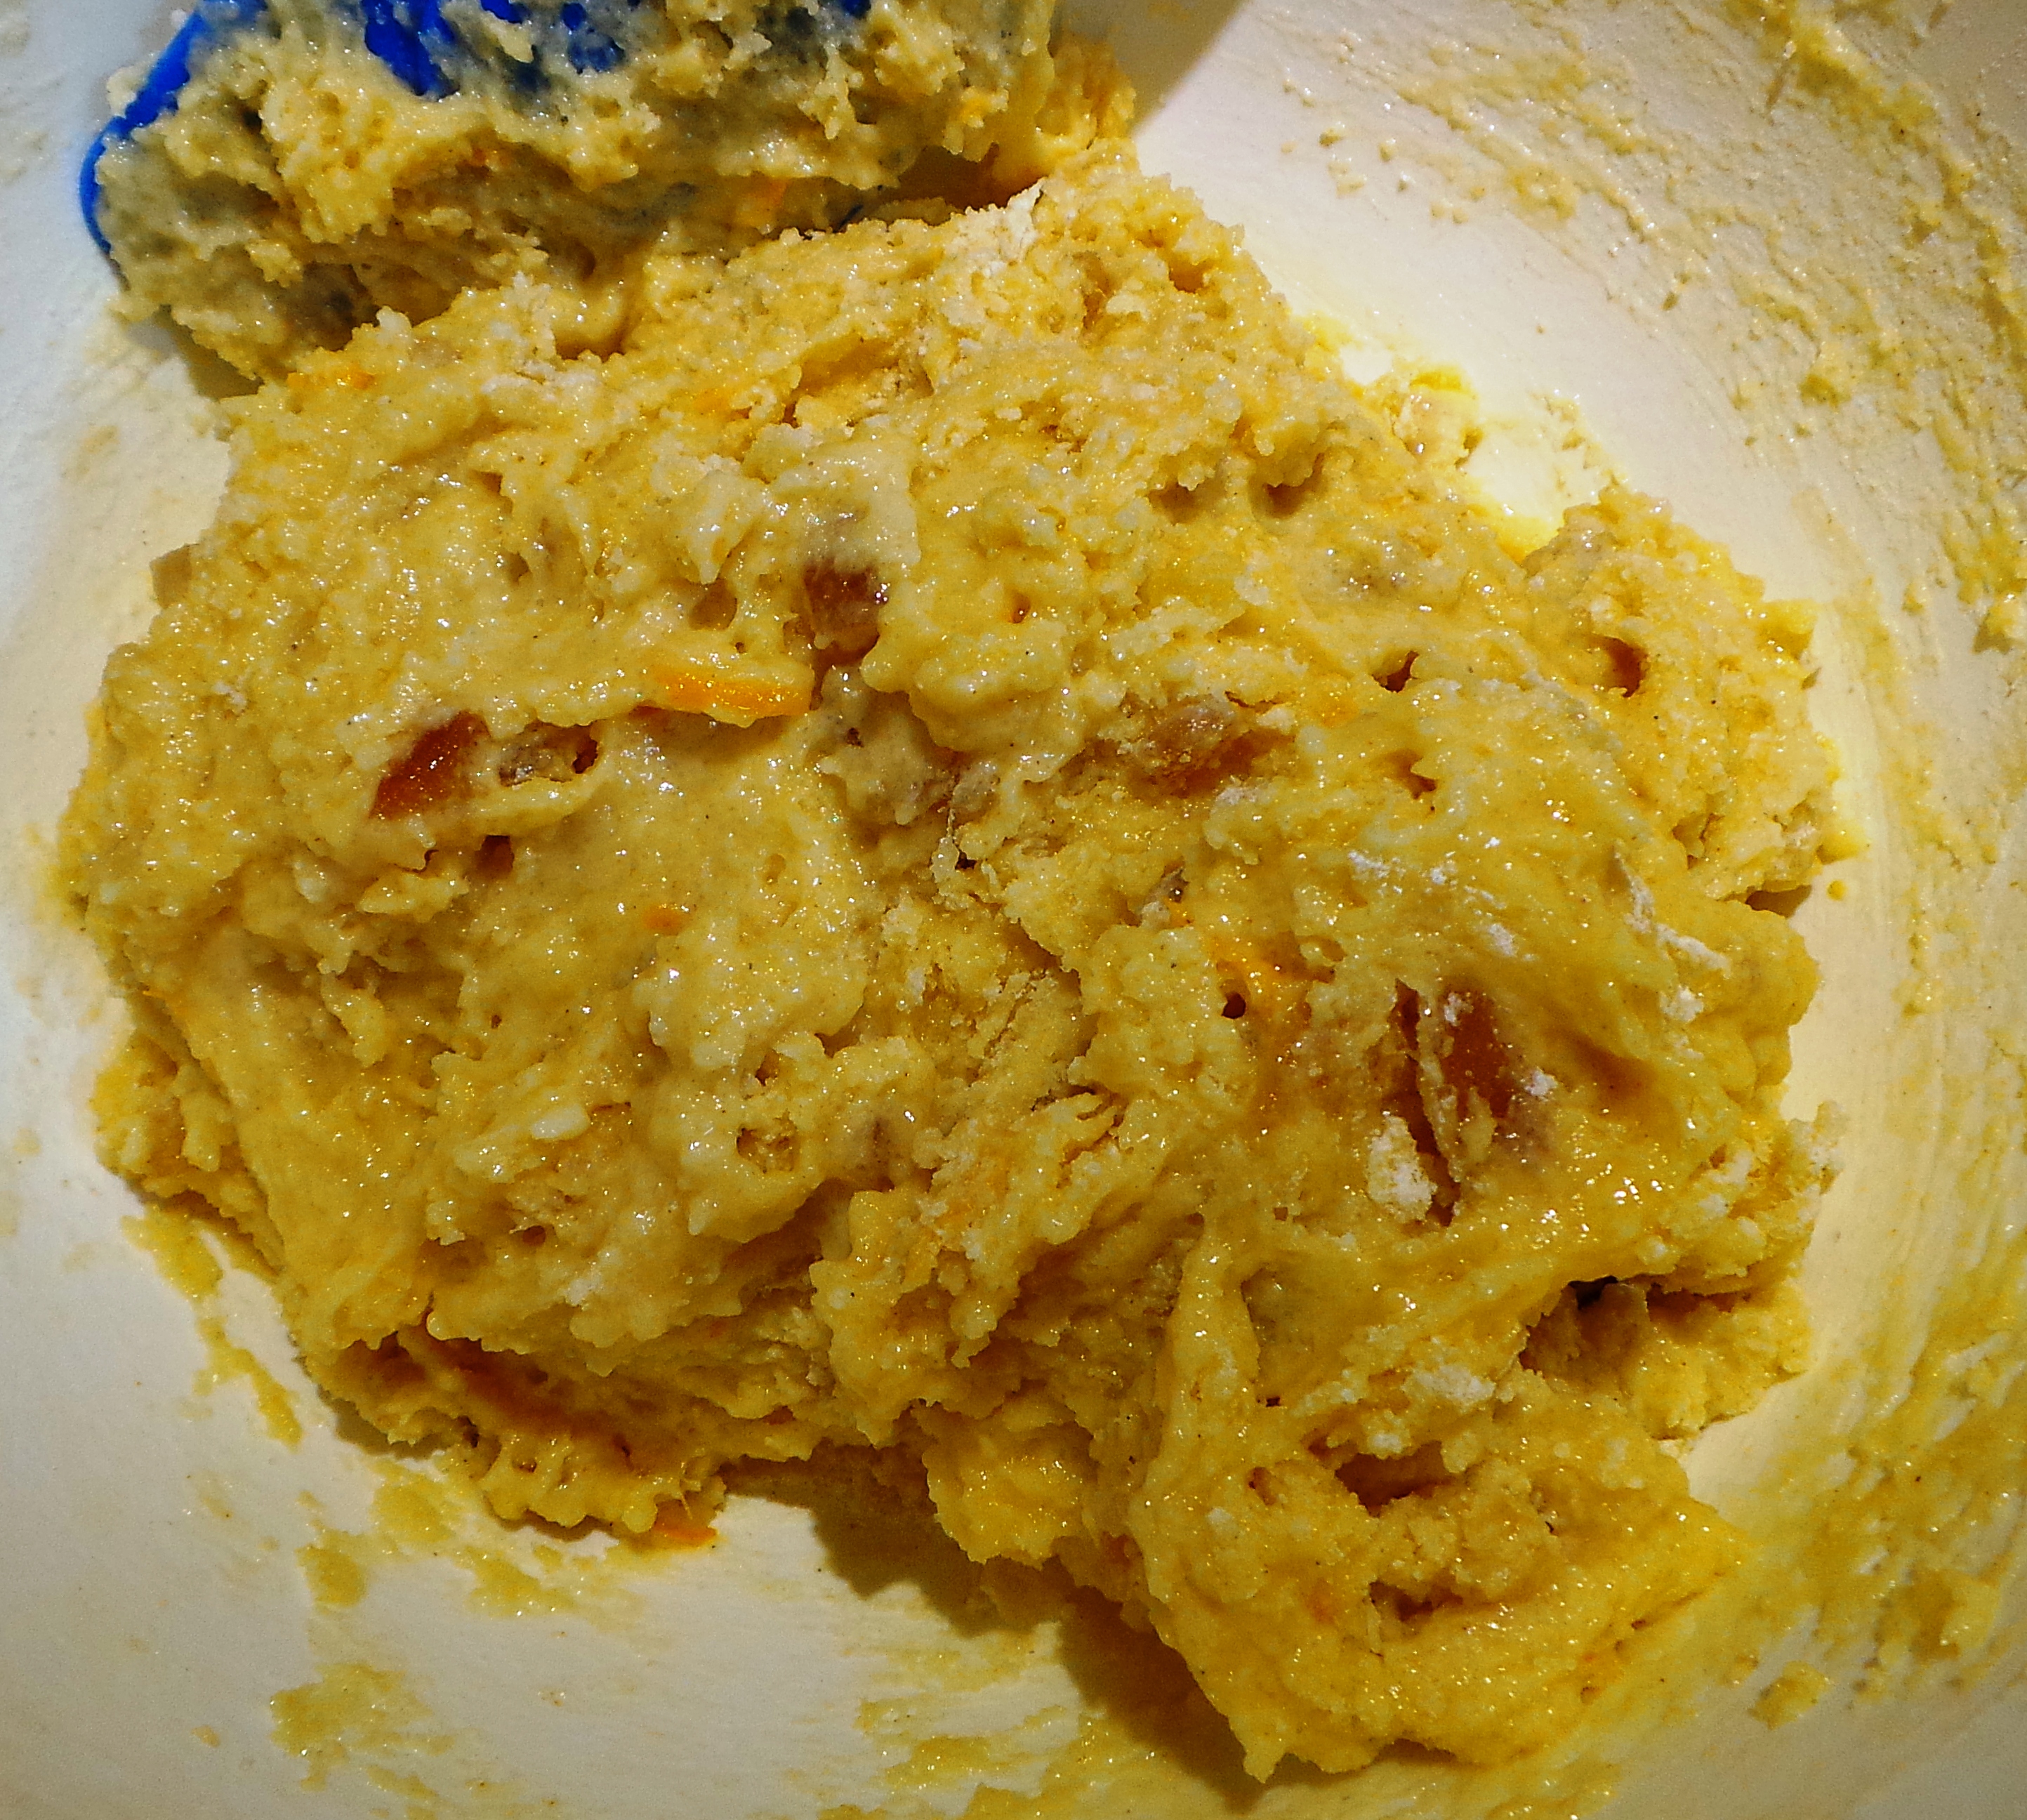
Add the egg mixture to the flour mixture and stir to achieve a smooth dough.
If you manage to do that with just the eggs, then you have my congratulations.
If not, then juice the lemons that you have zested and add the strained juice to your dough – little by little – until it all comes together.

Be careful not to make it too wet…
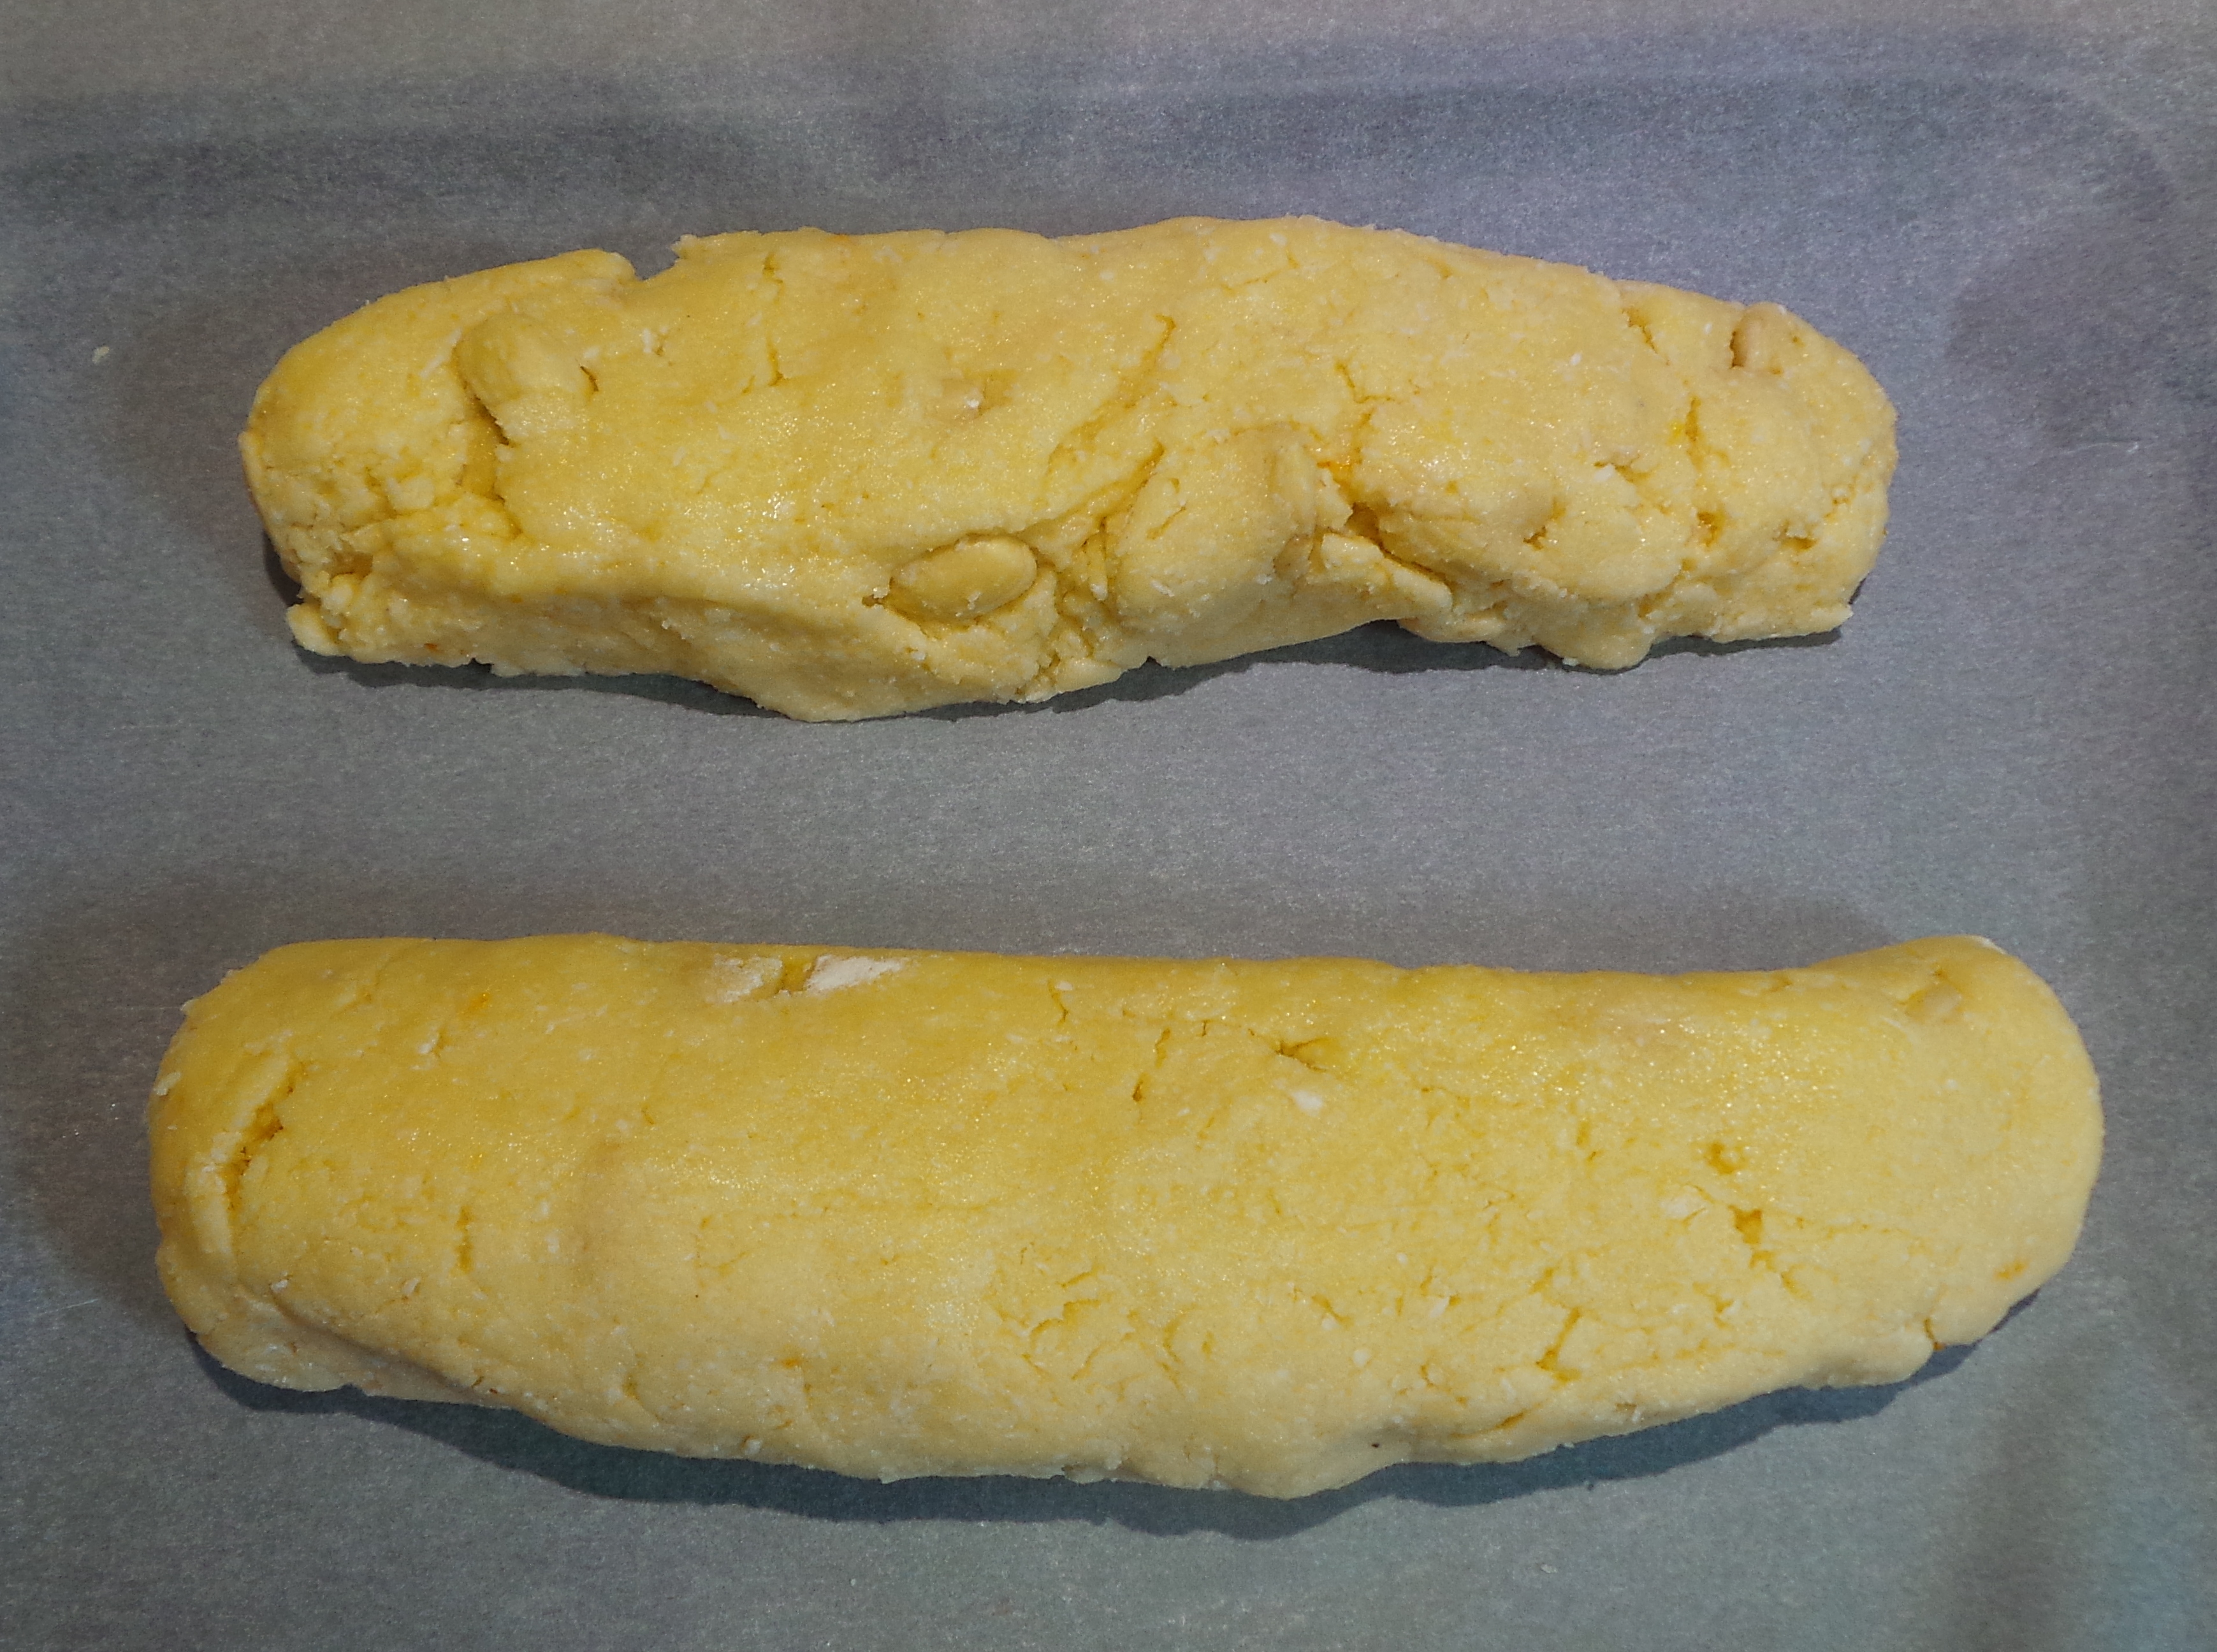
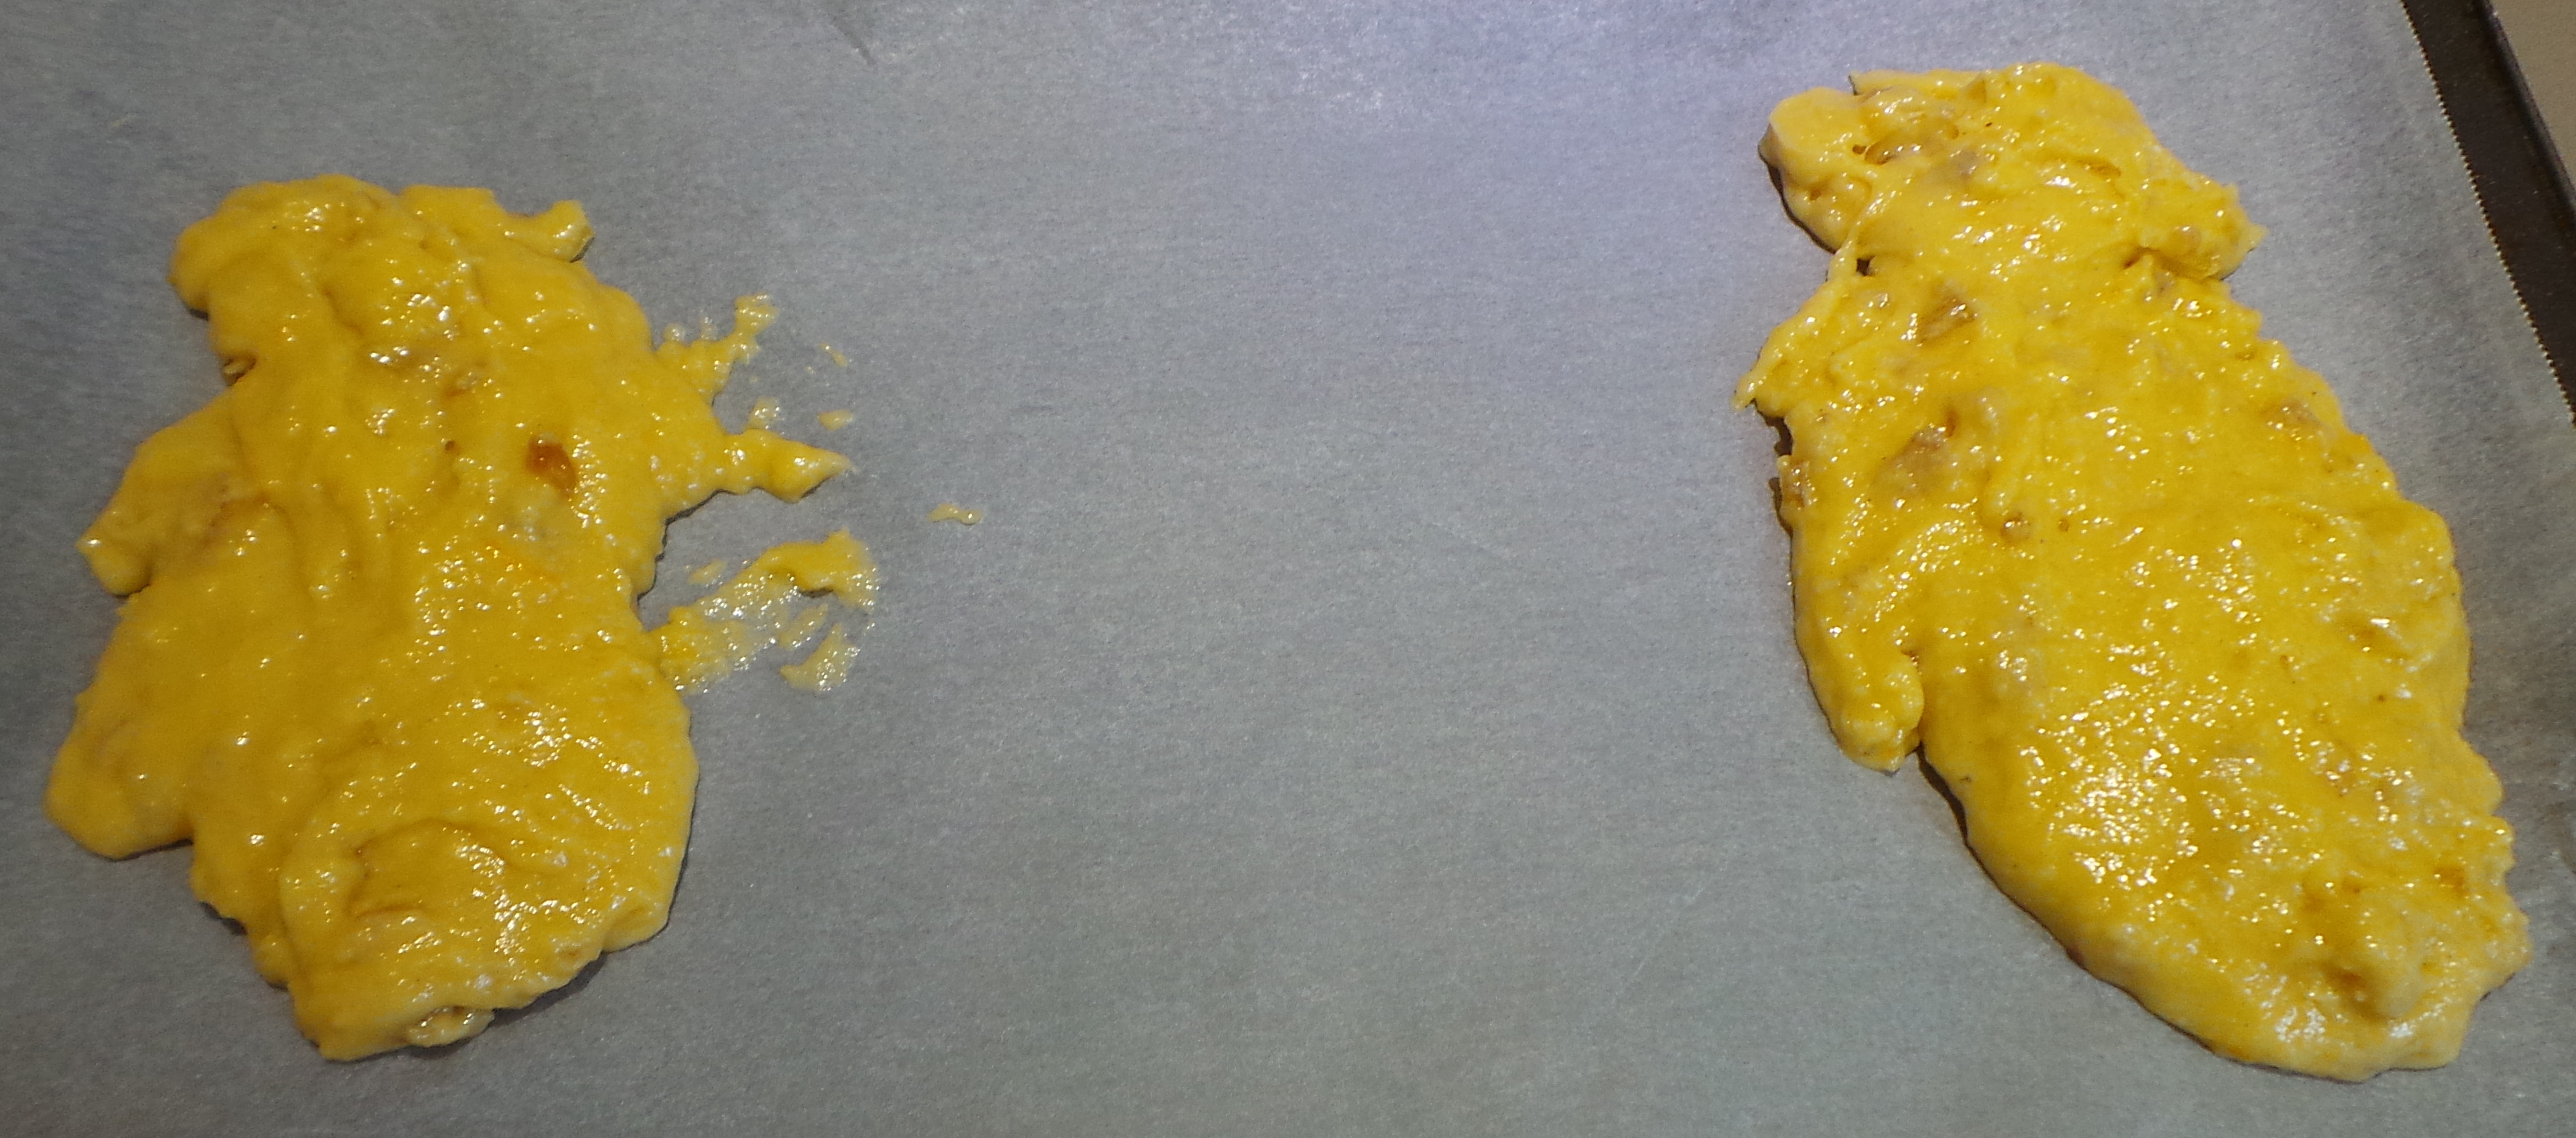
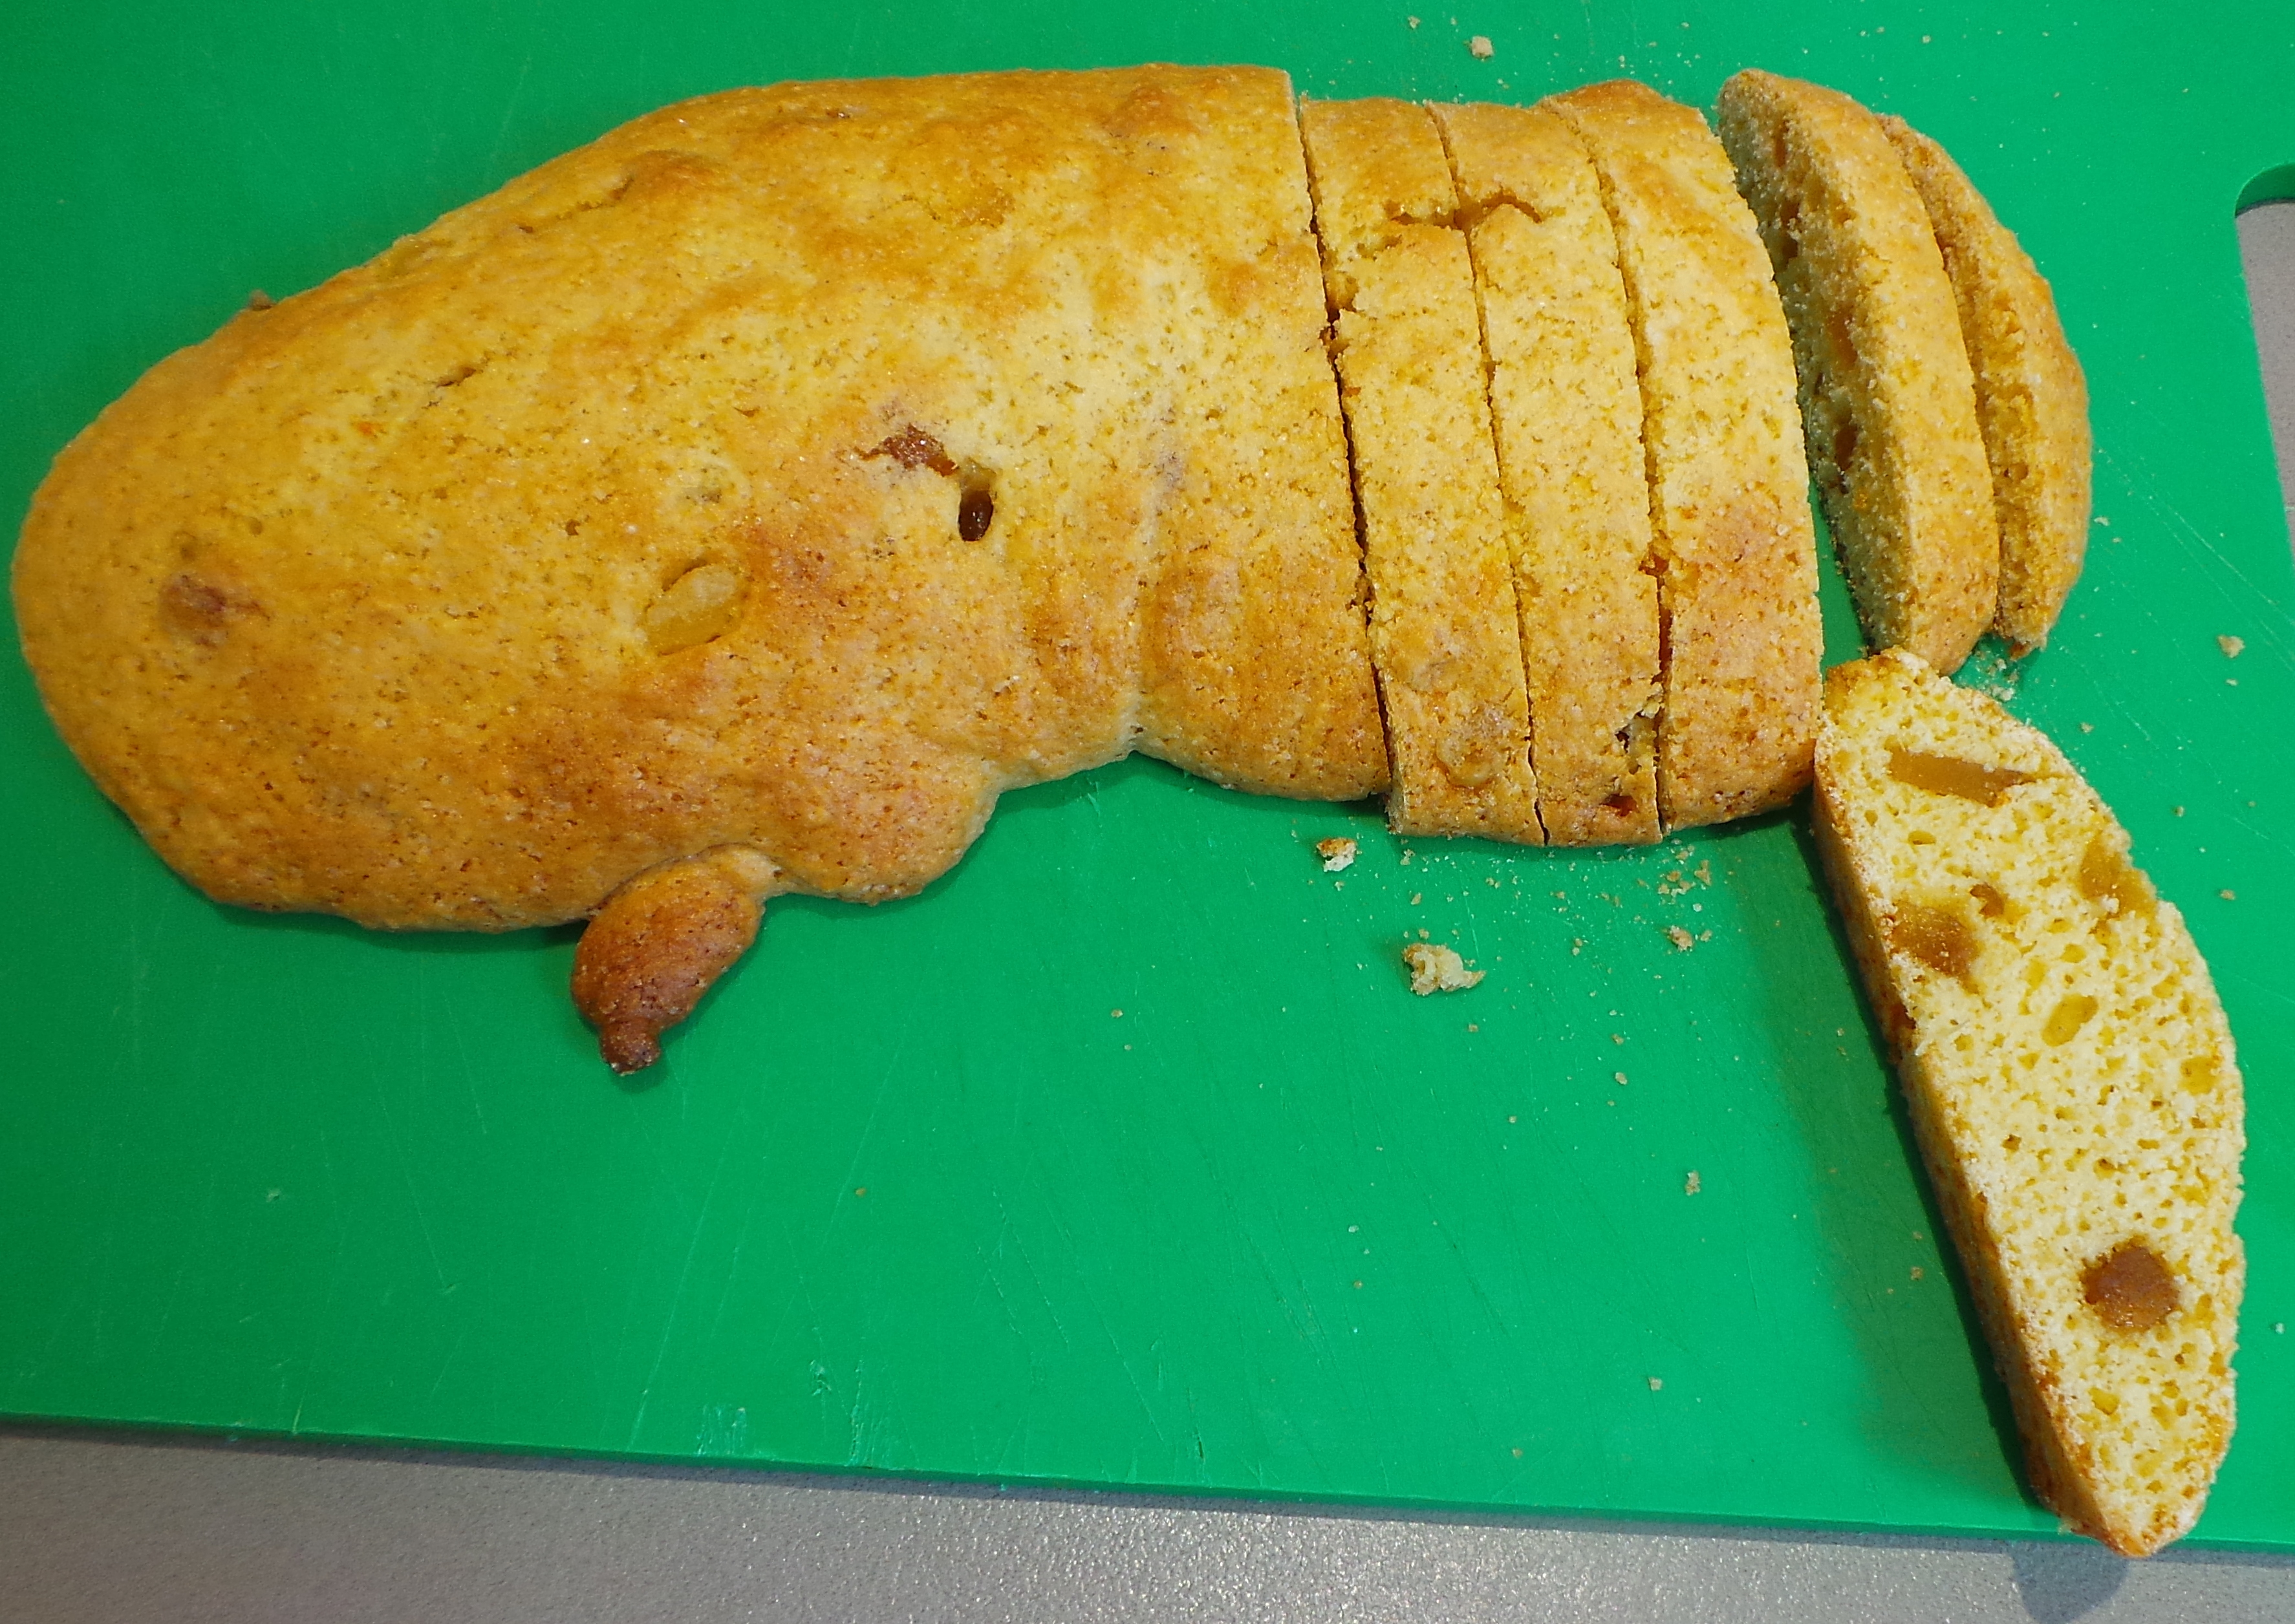
Line an oven tray with baking paper. Using a spatula and floured hands, scoop half the dough out of the bowl and onto one side of the baking sheet. Repeat on the other side.
Shape as best you can into logs. Remember that they will spread as they bake, so try to keep the inner edges at least 6 inches apart.
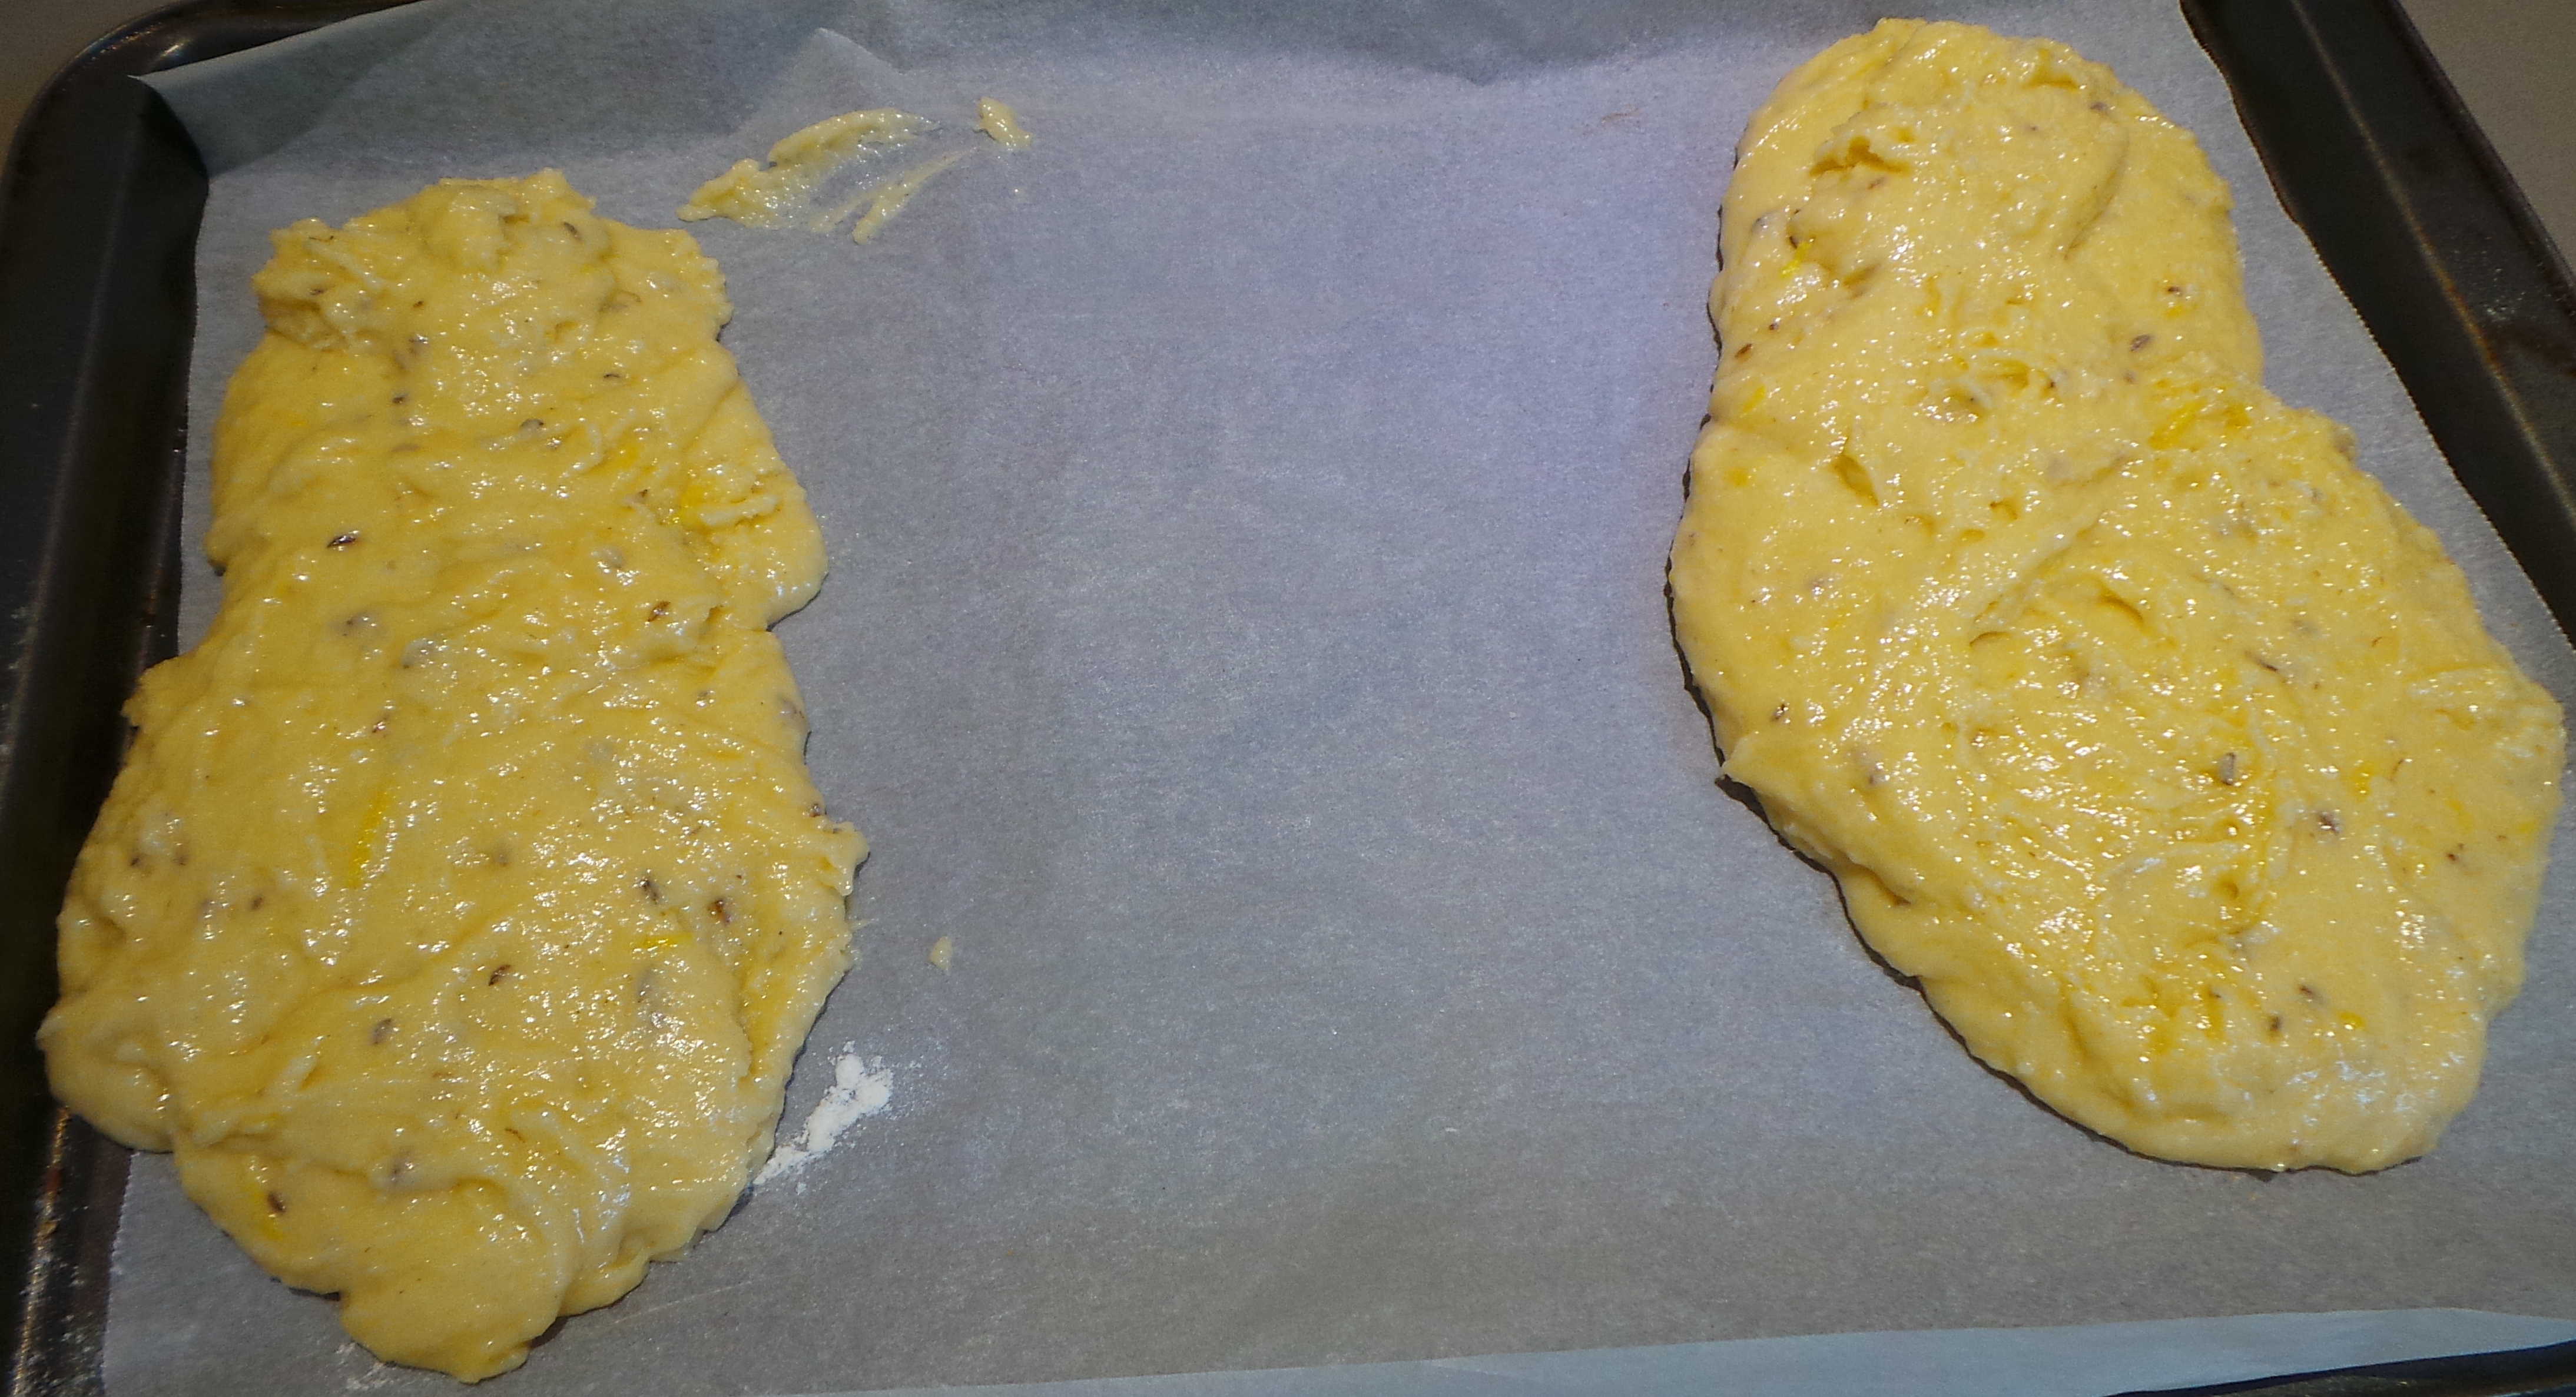
It’s a messy job, but someone has to do it.
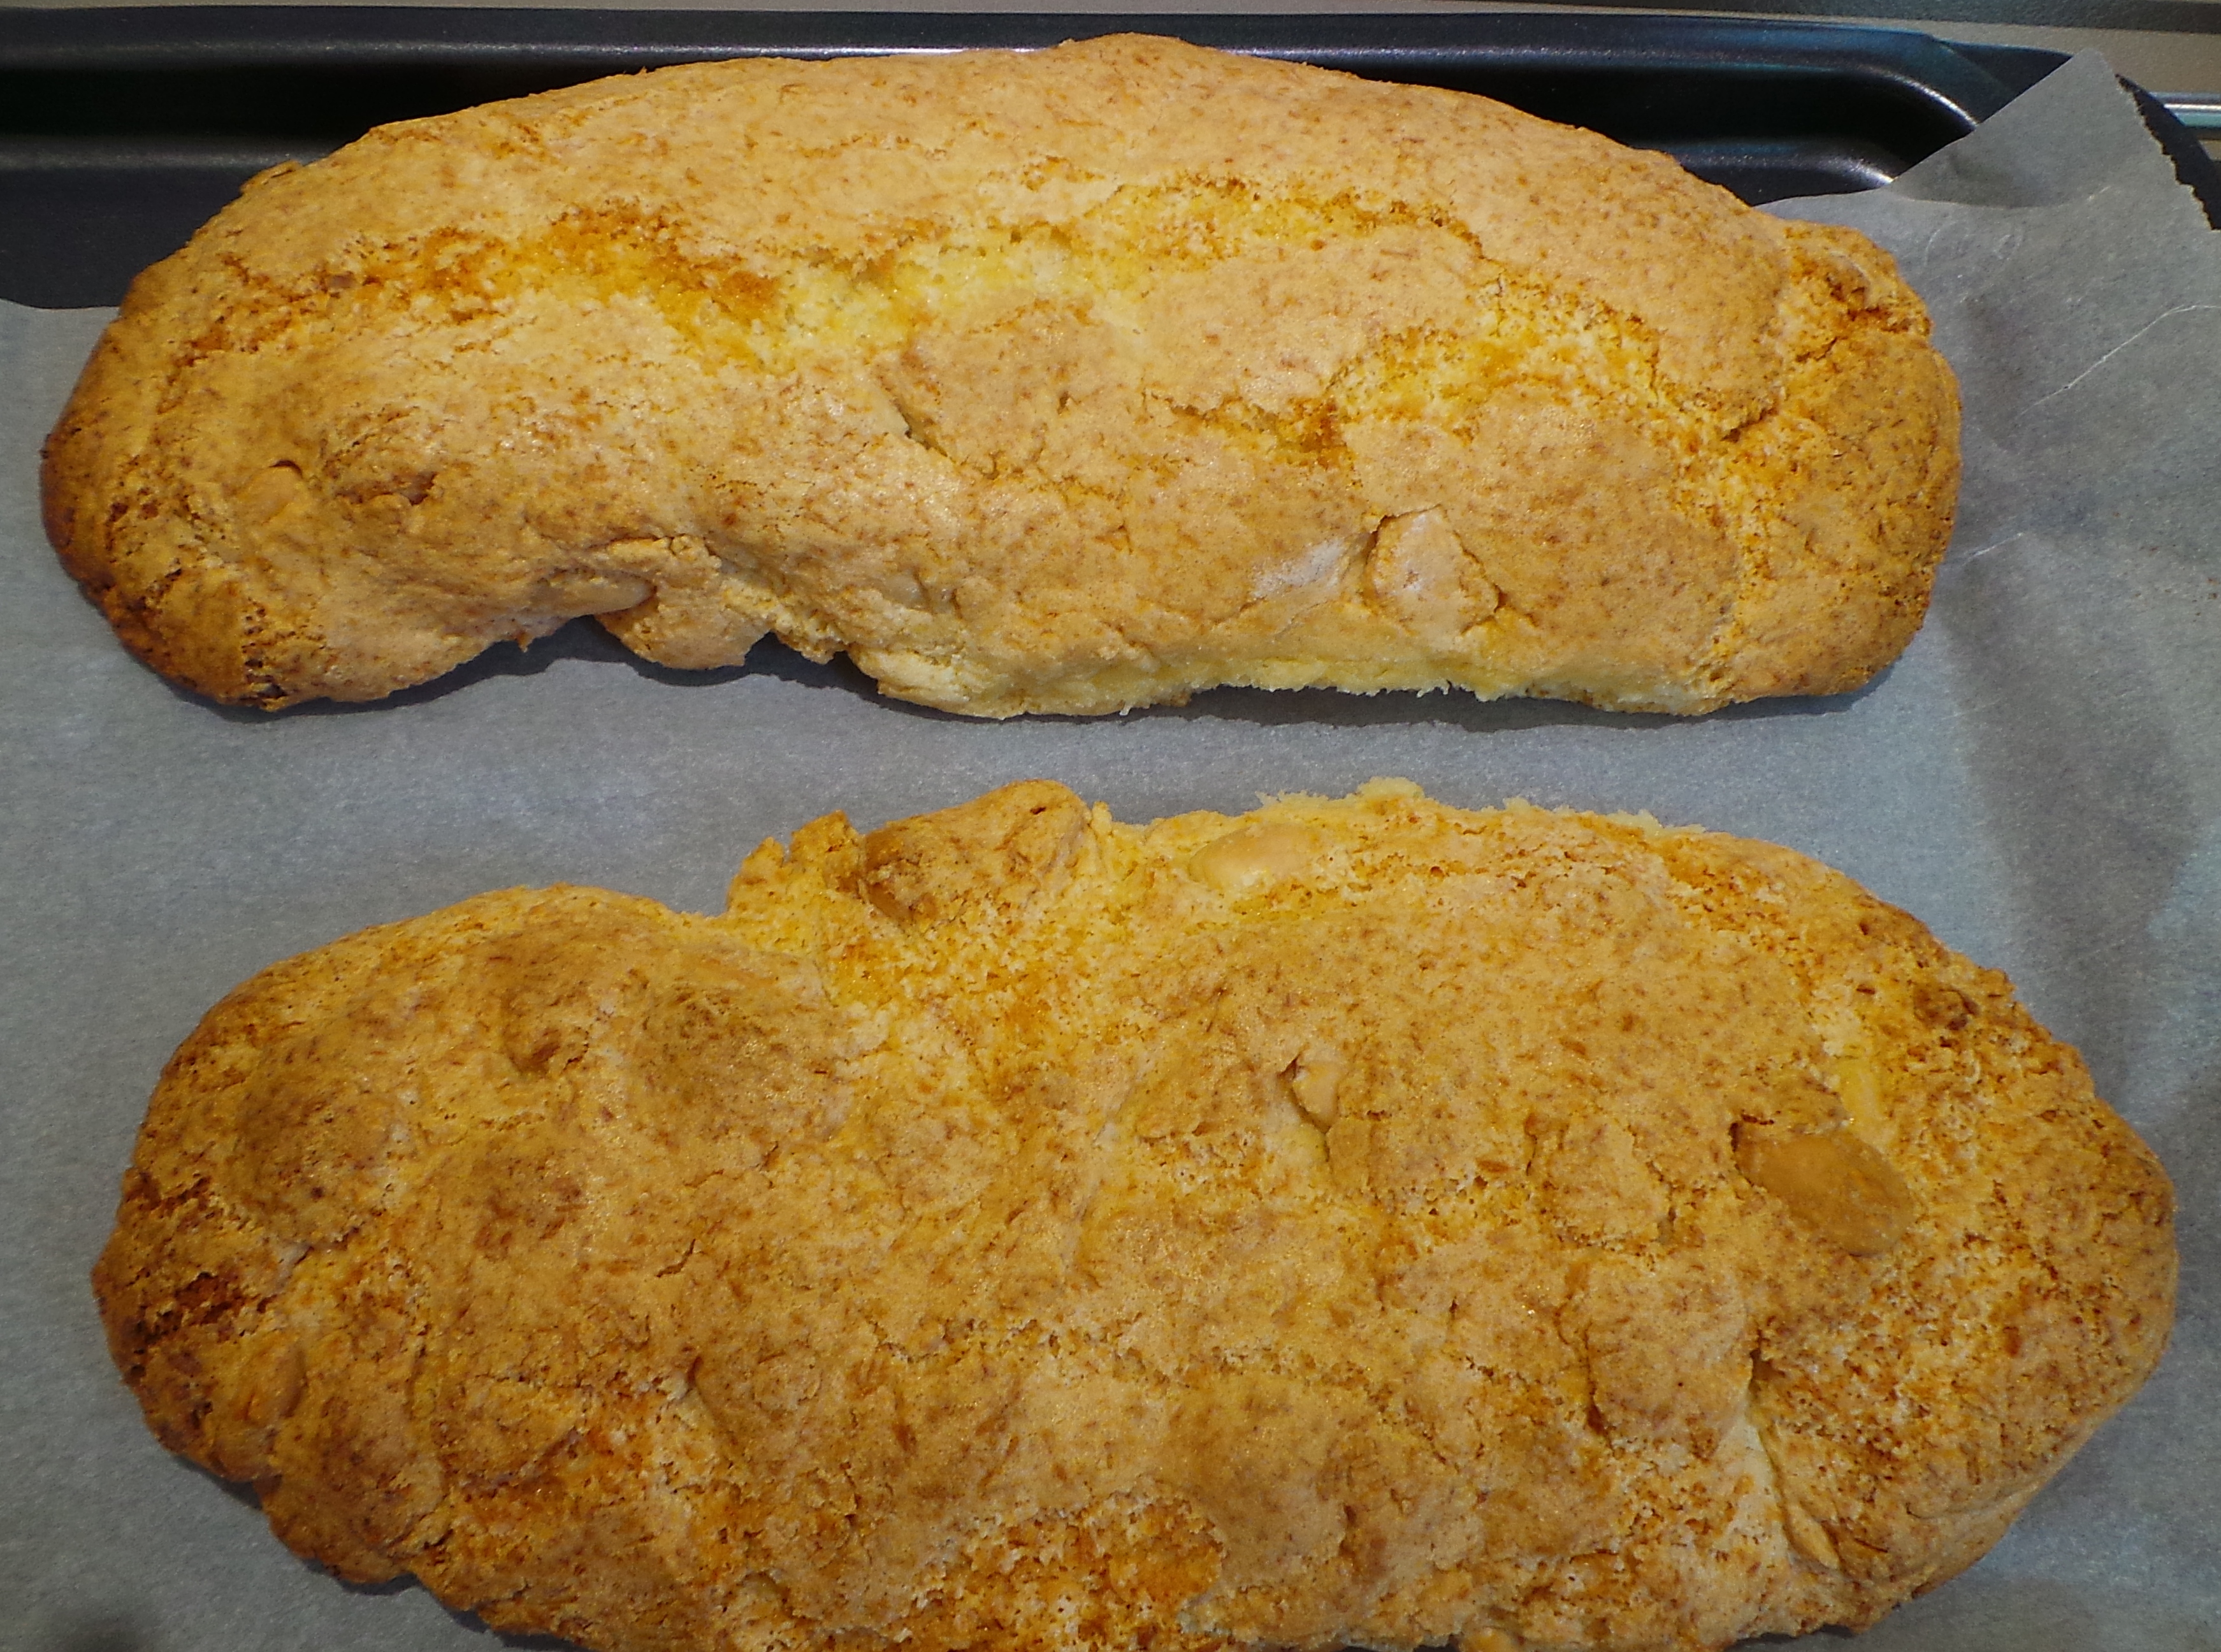
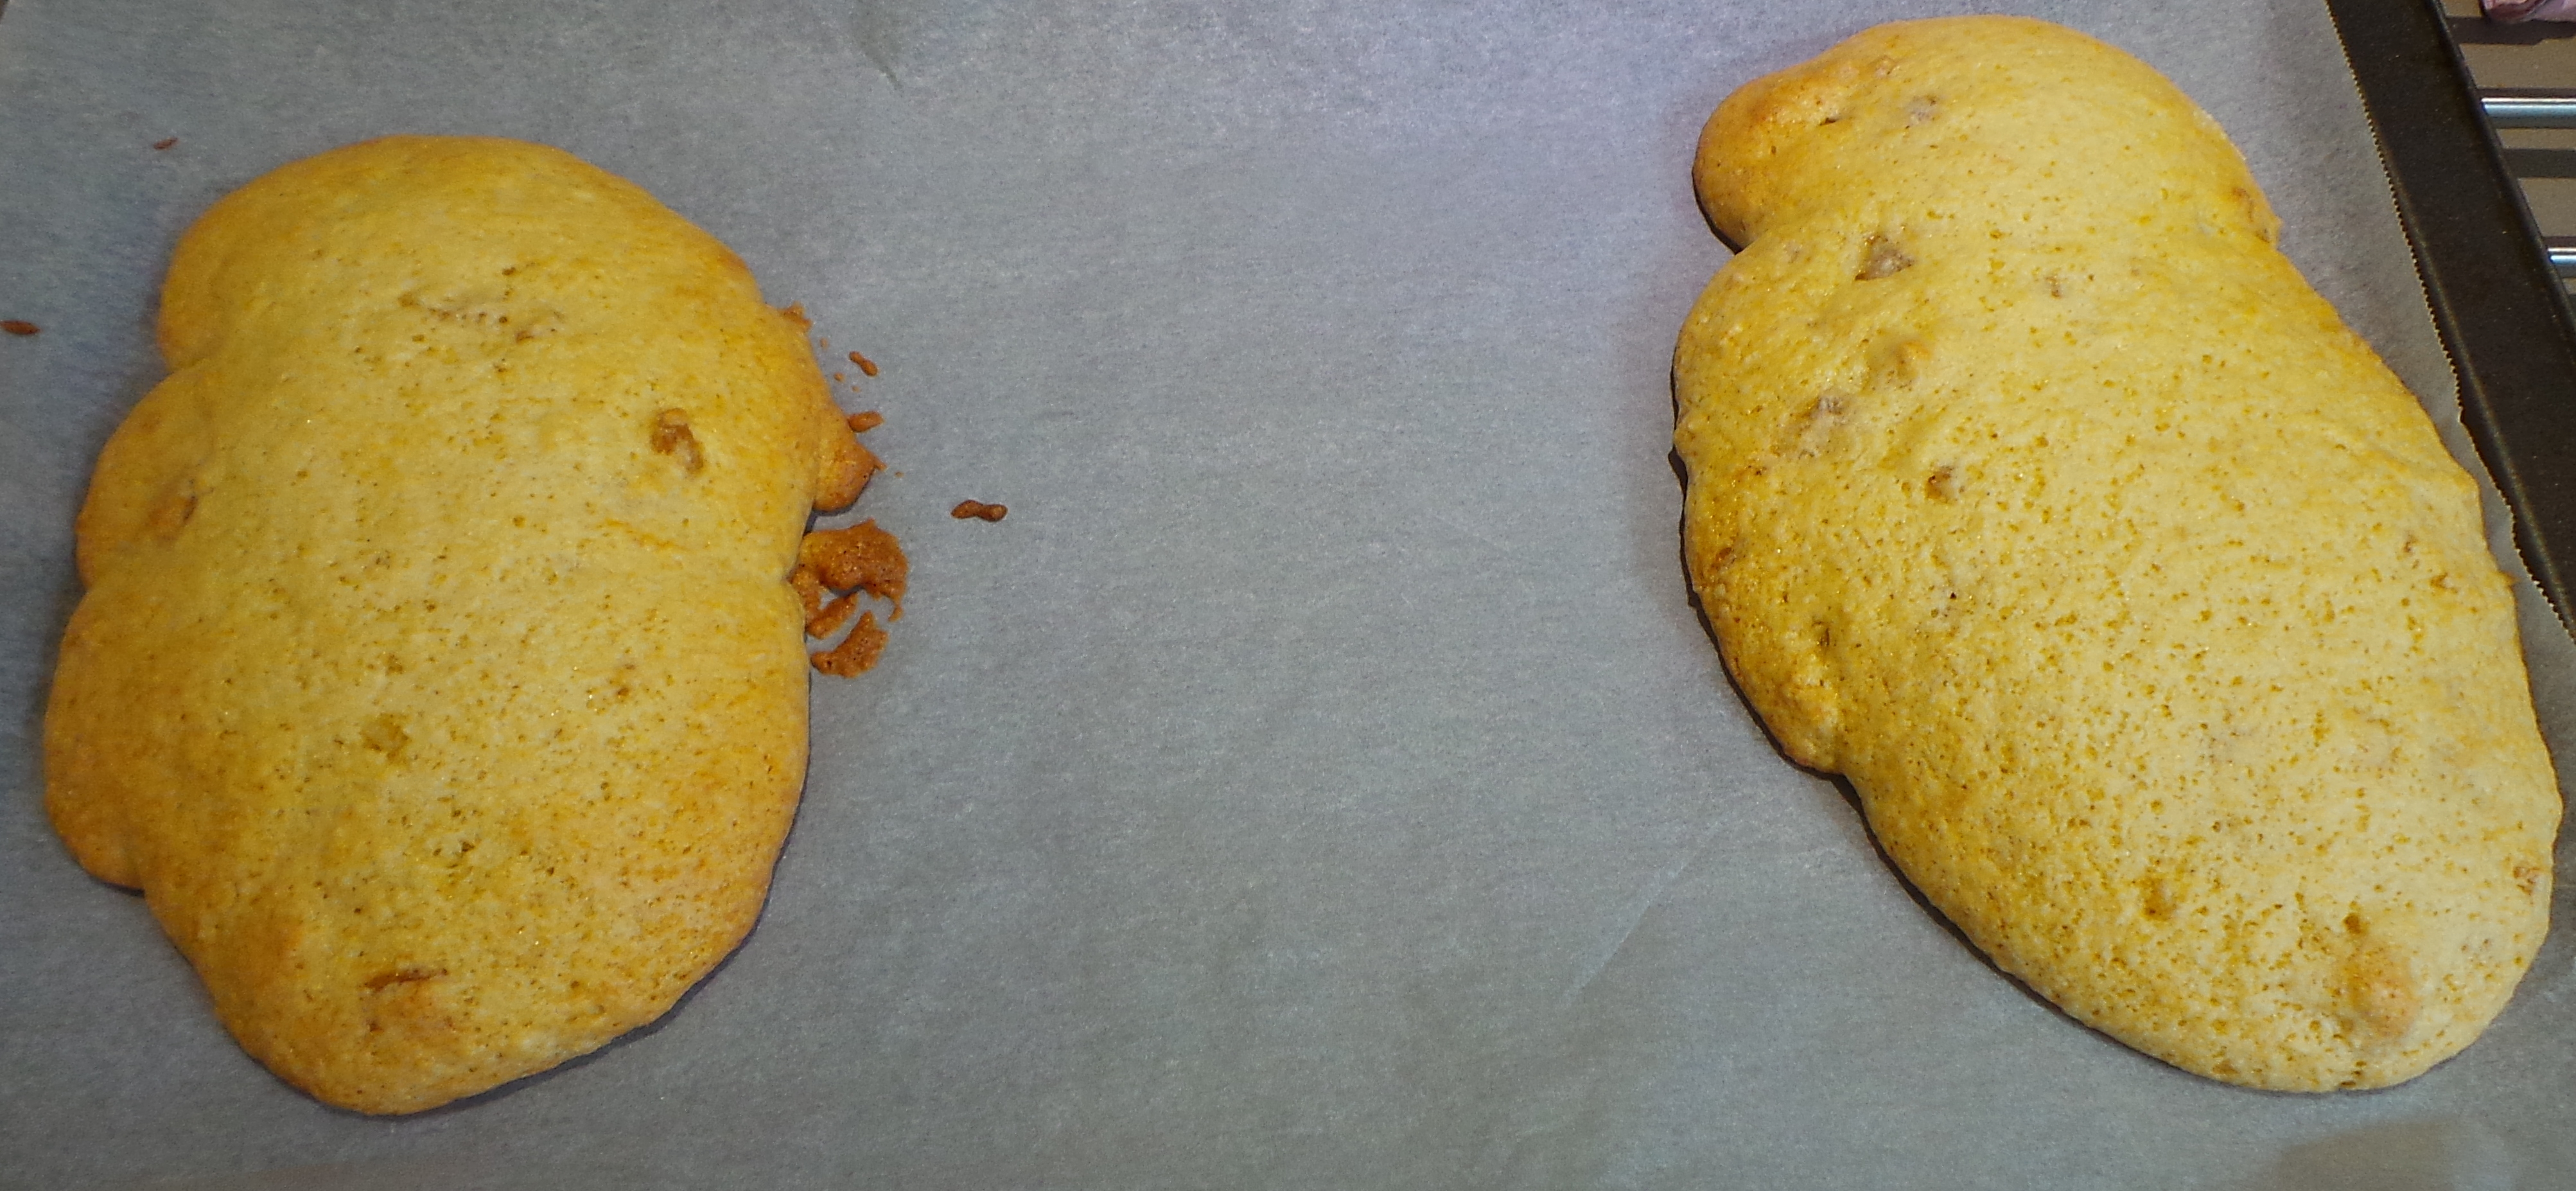
Bake at 180°C/350°F for 25 to 30 minutes, or until the top of each log is firm.
(This is the perfect time to wash your mixing bowl and other utensils.)
Remove to a wire rack until cool enough to handle – around 15 mins. Reduce your oven to 150°C/325°F.
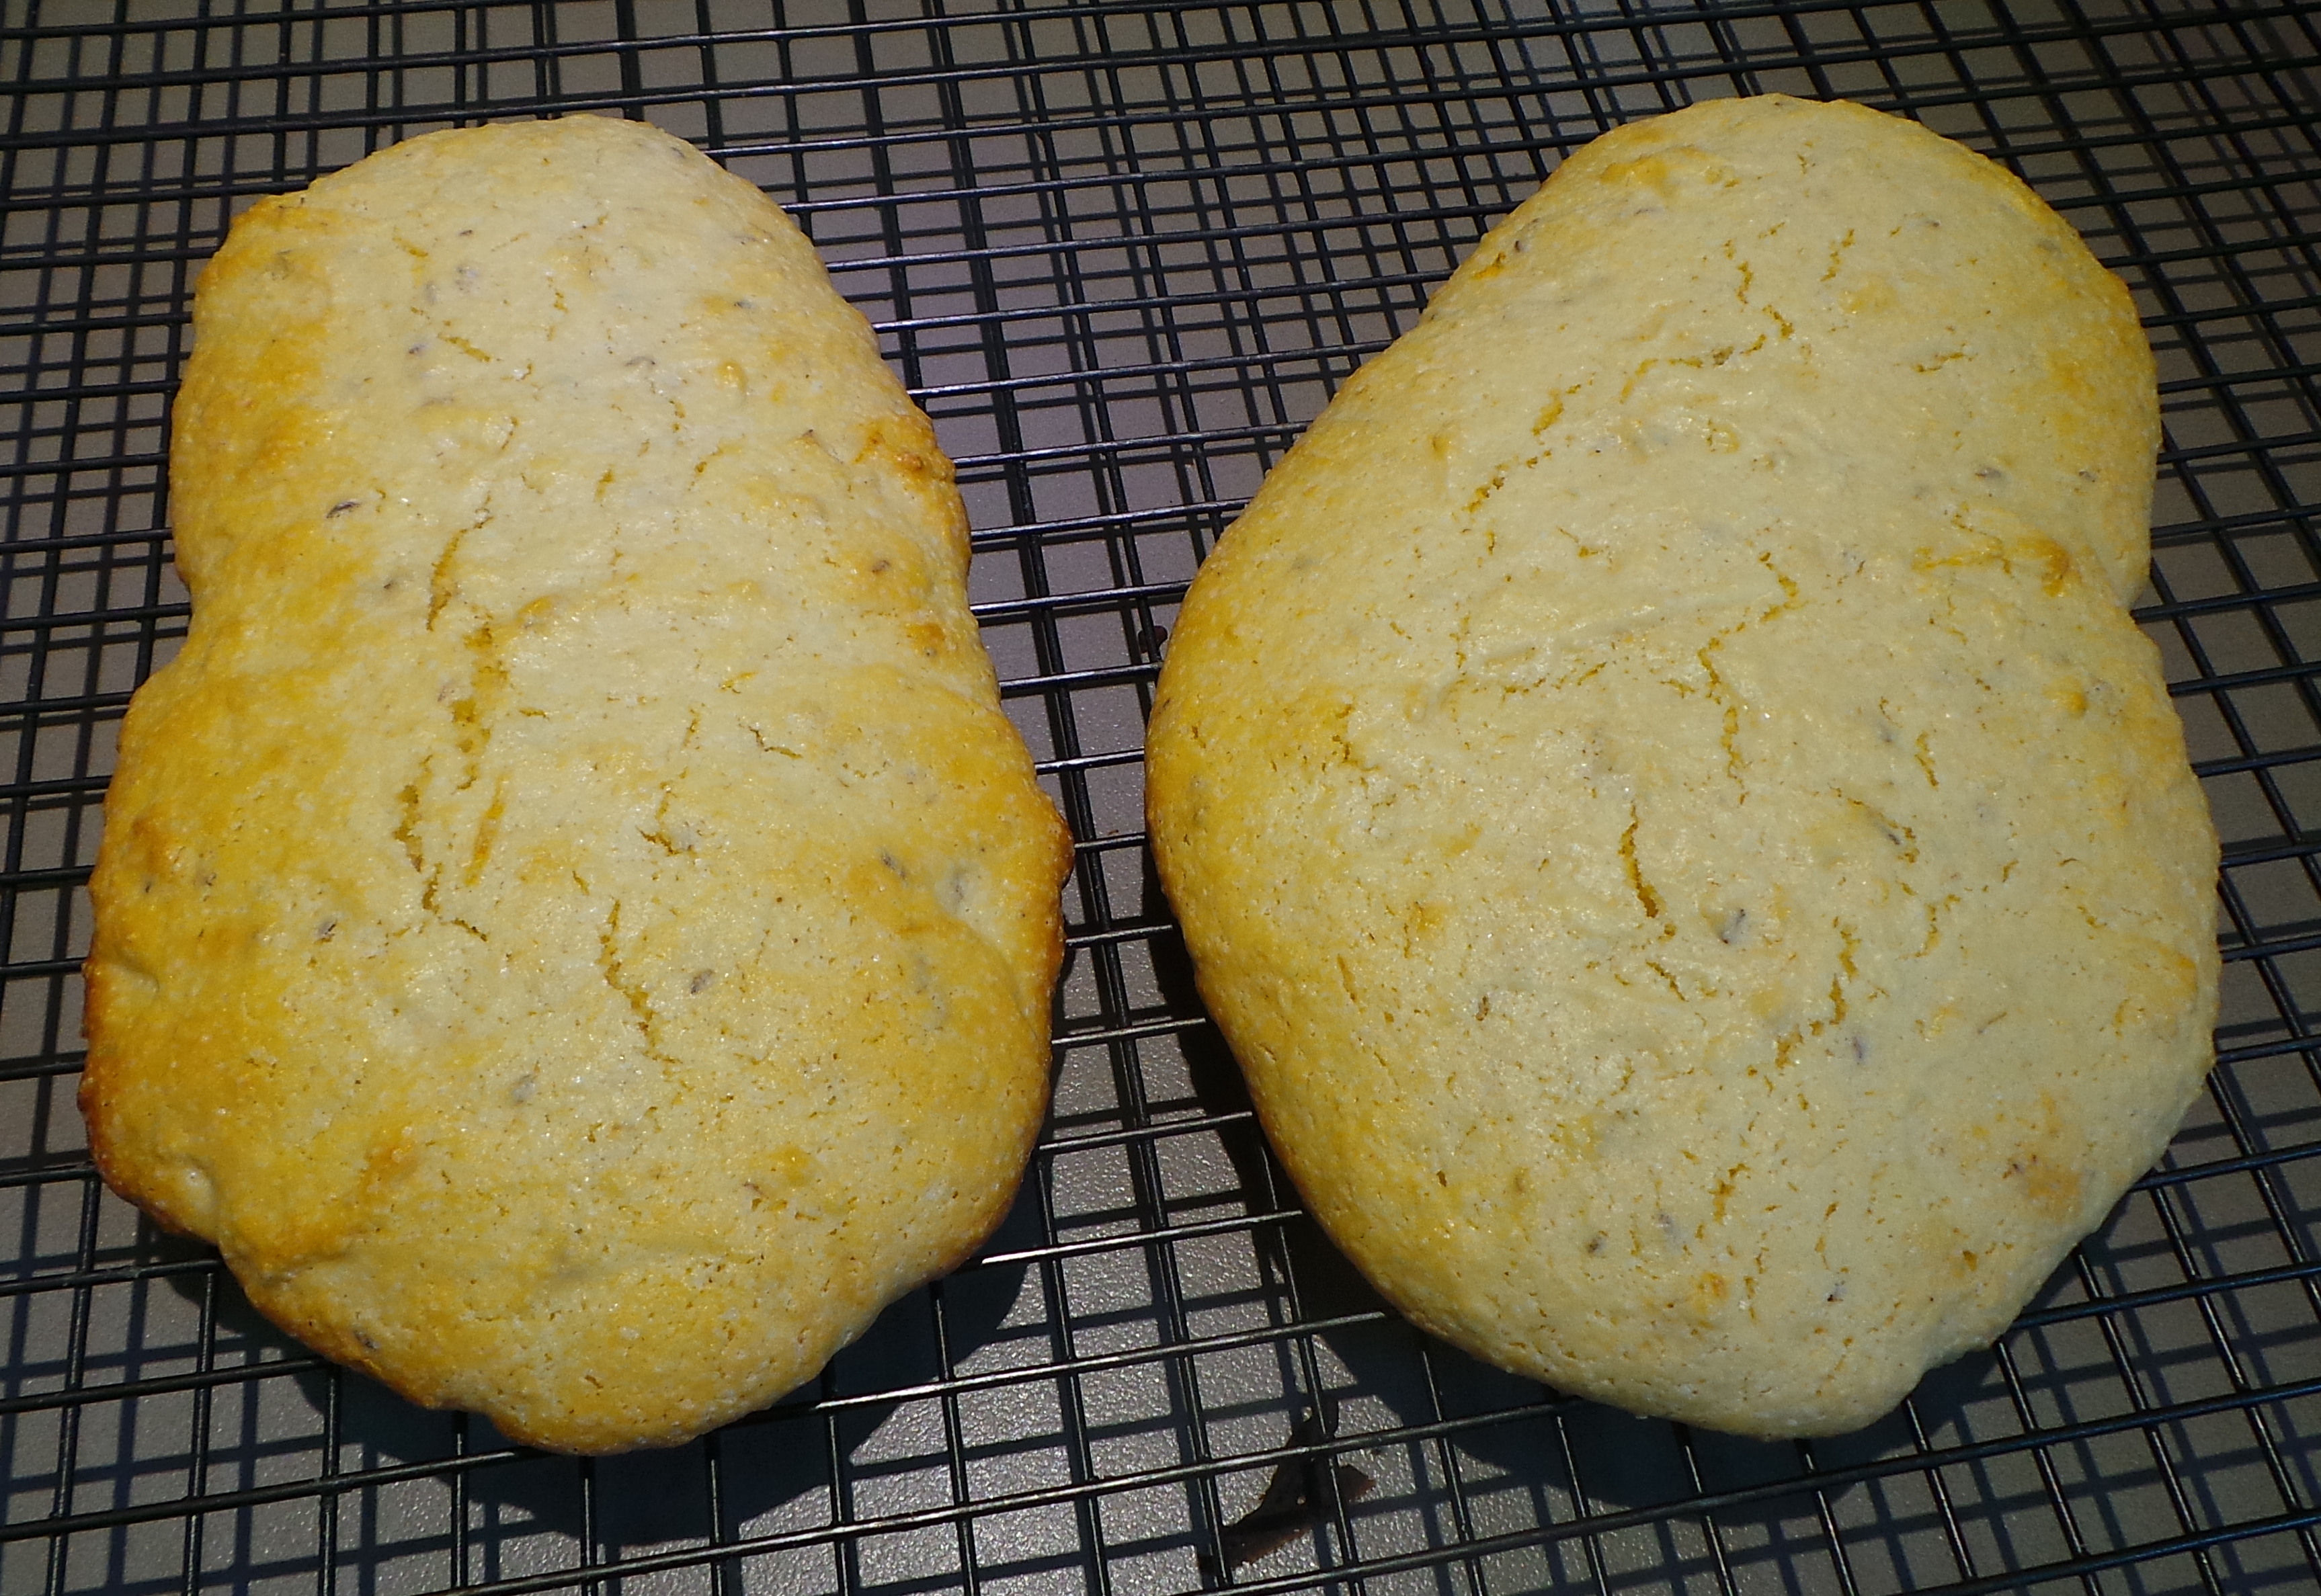
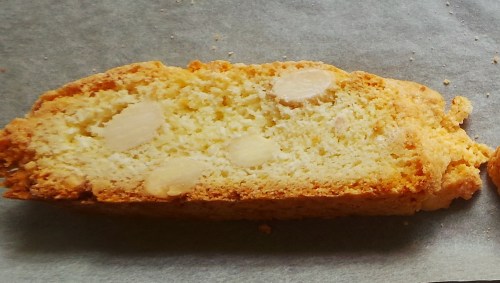
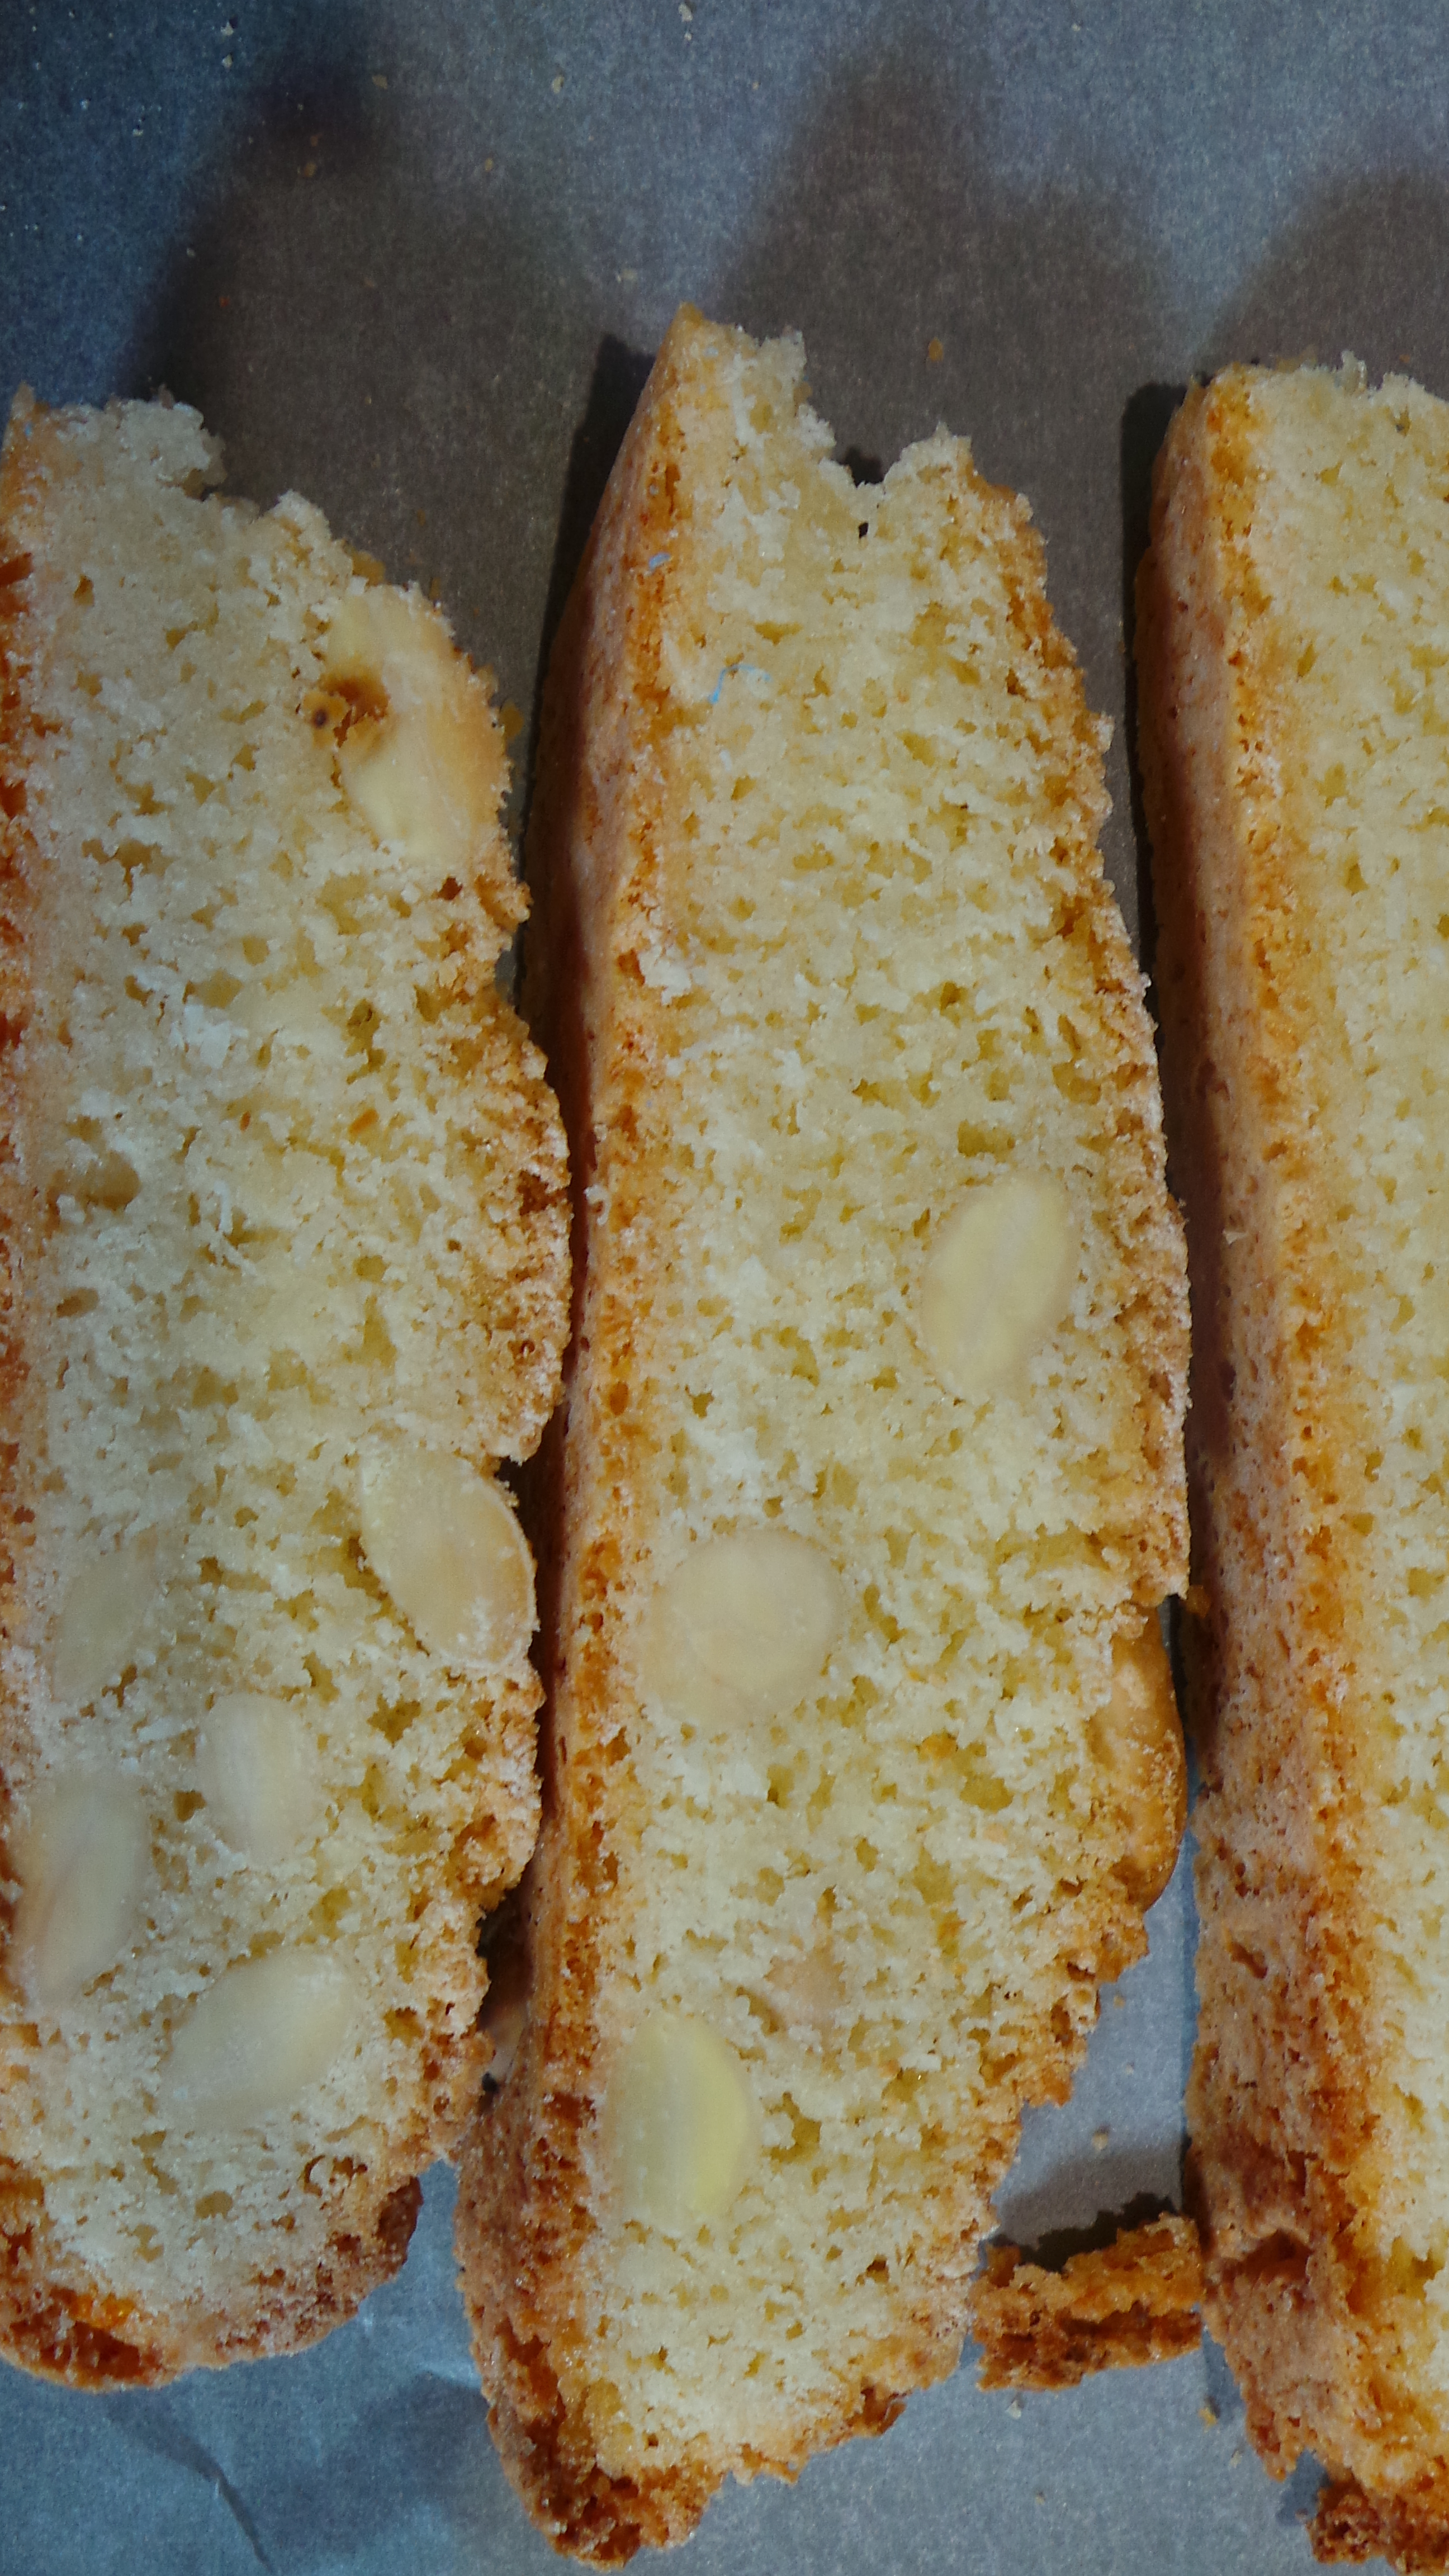
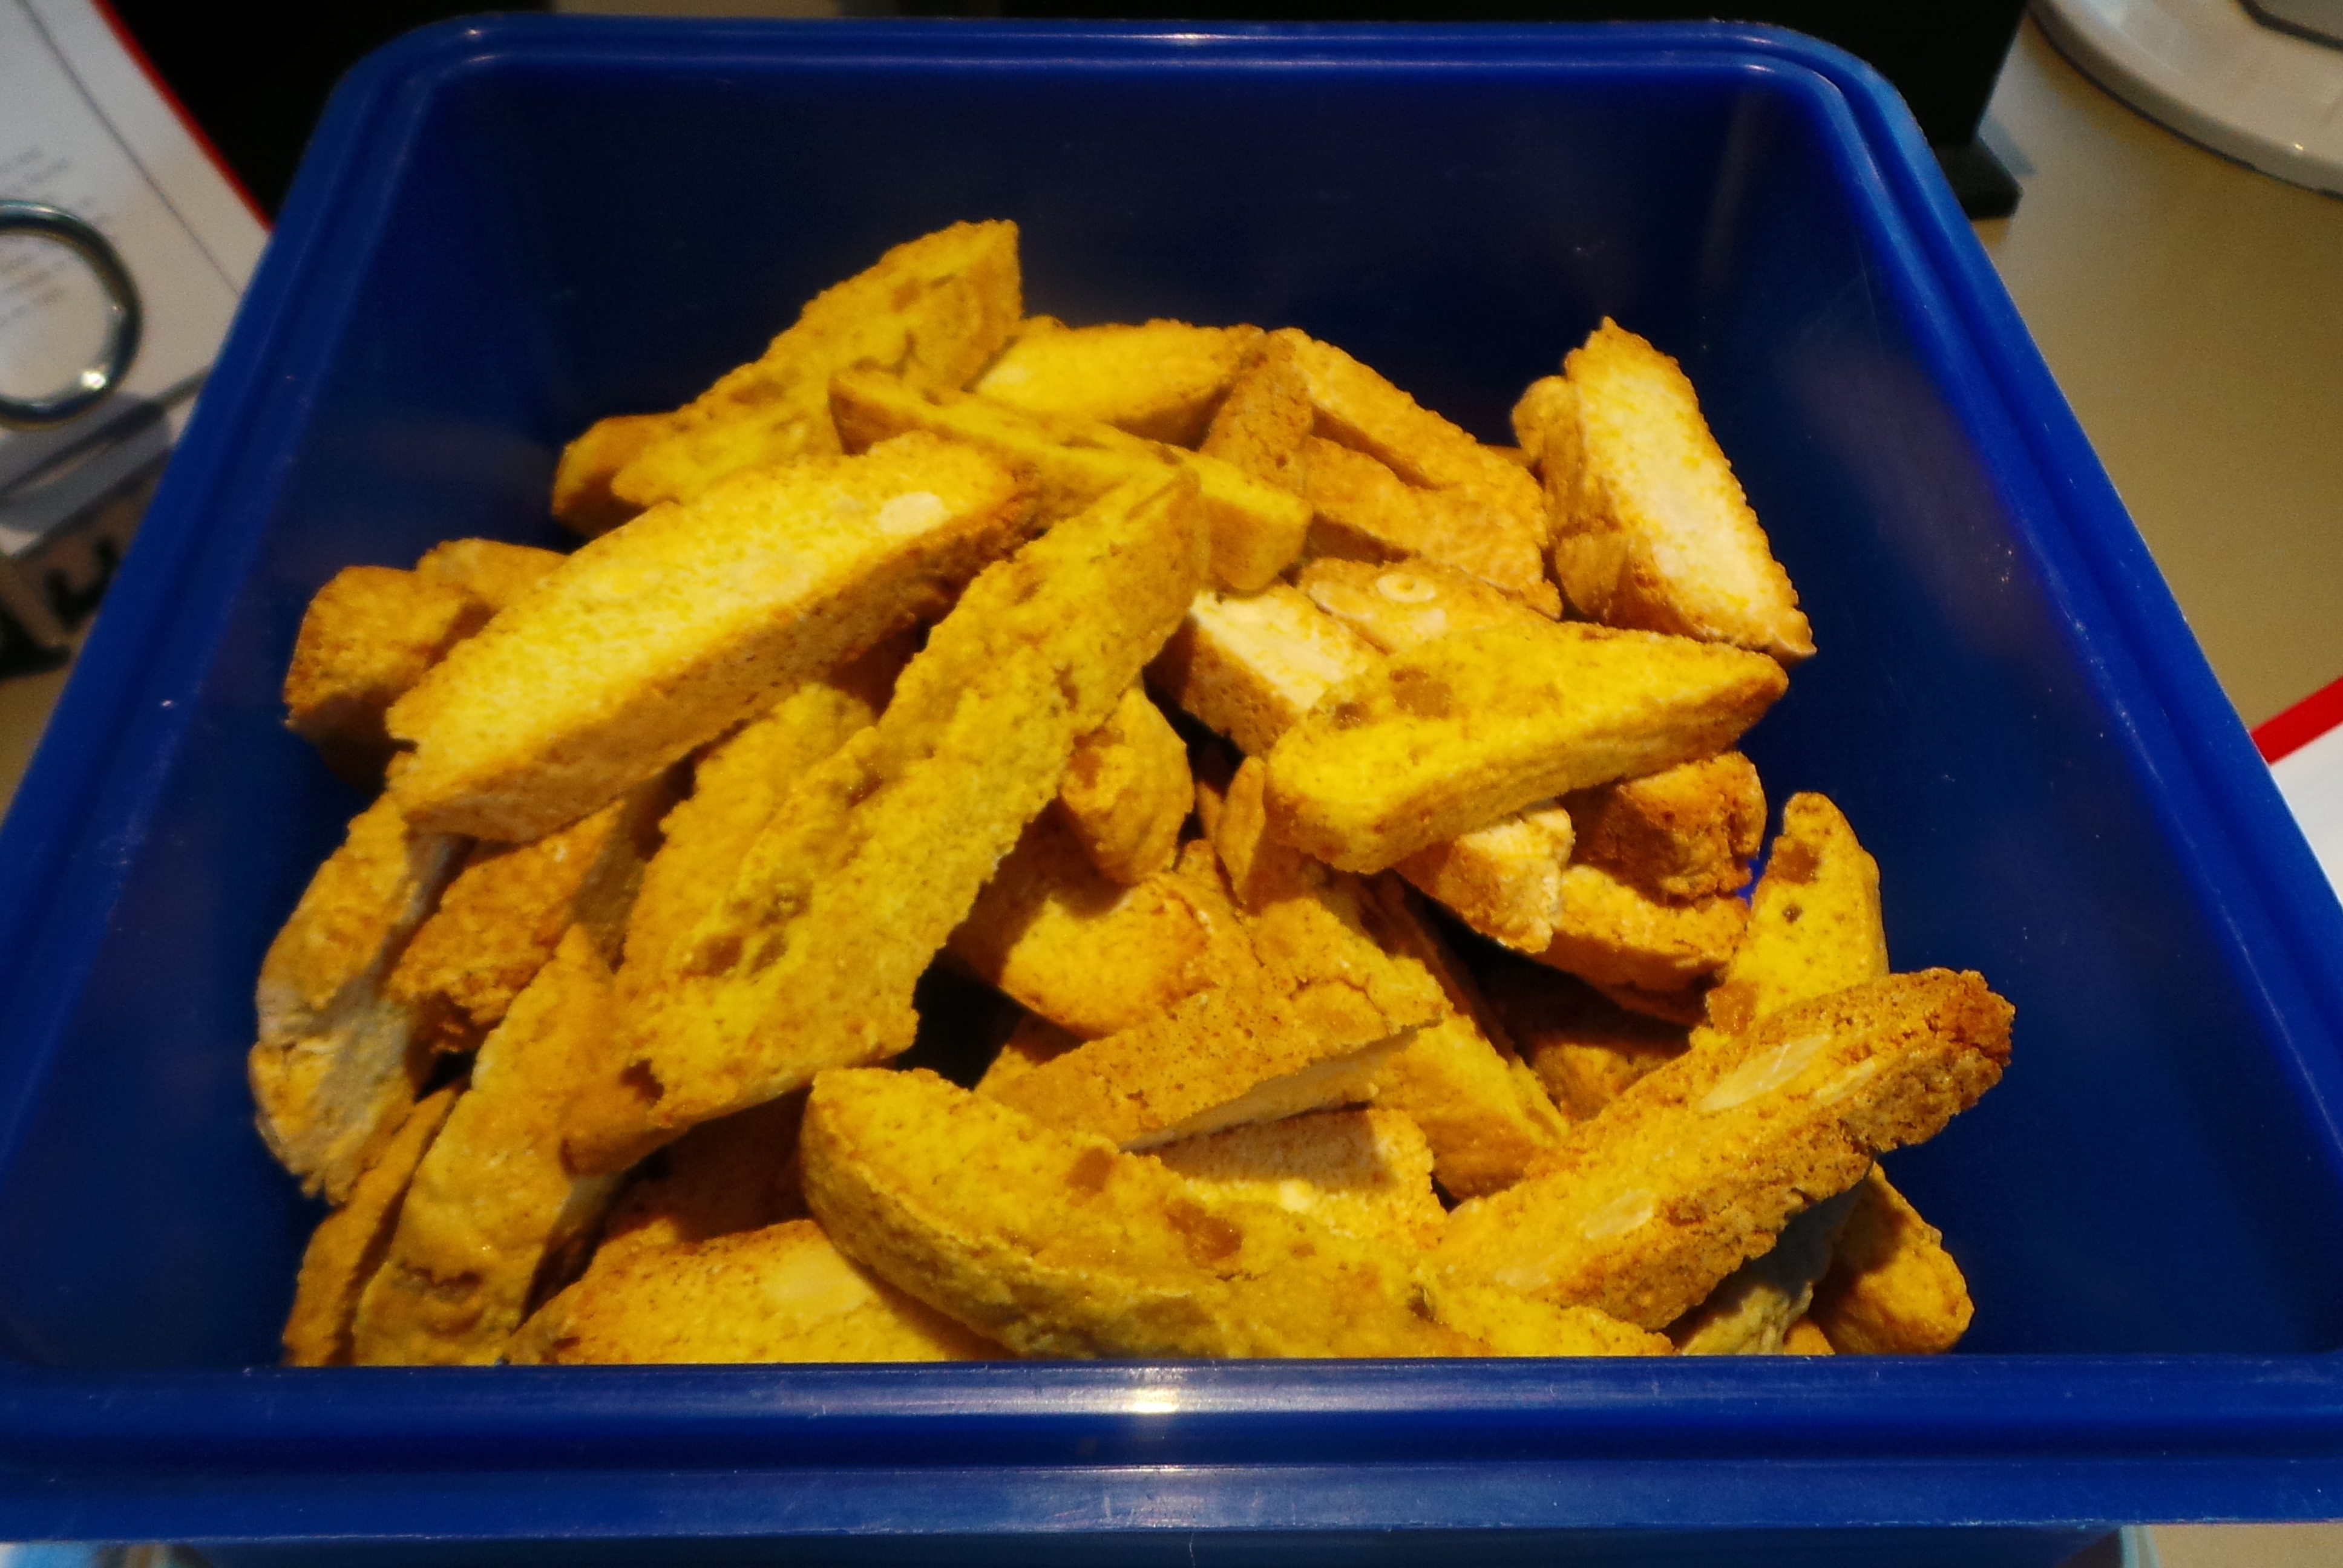
The lovely lemon tinge from the juice sets these biscotti apart.
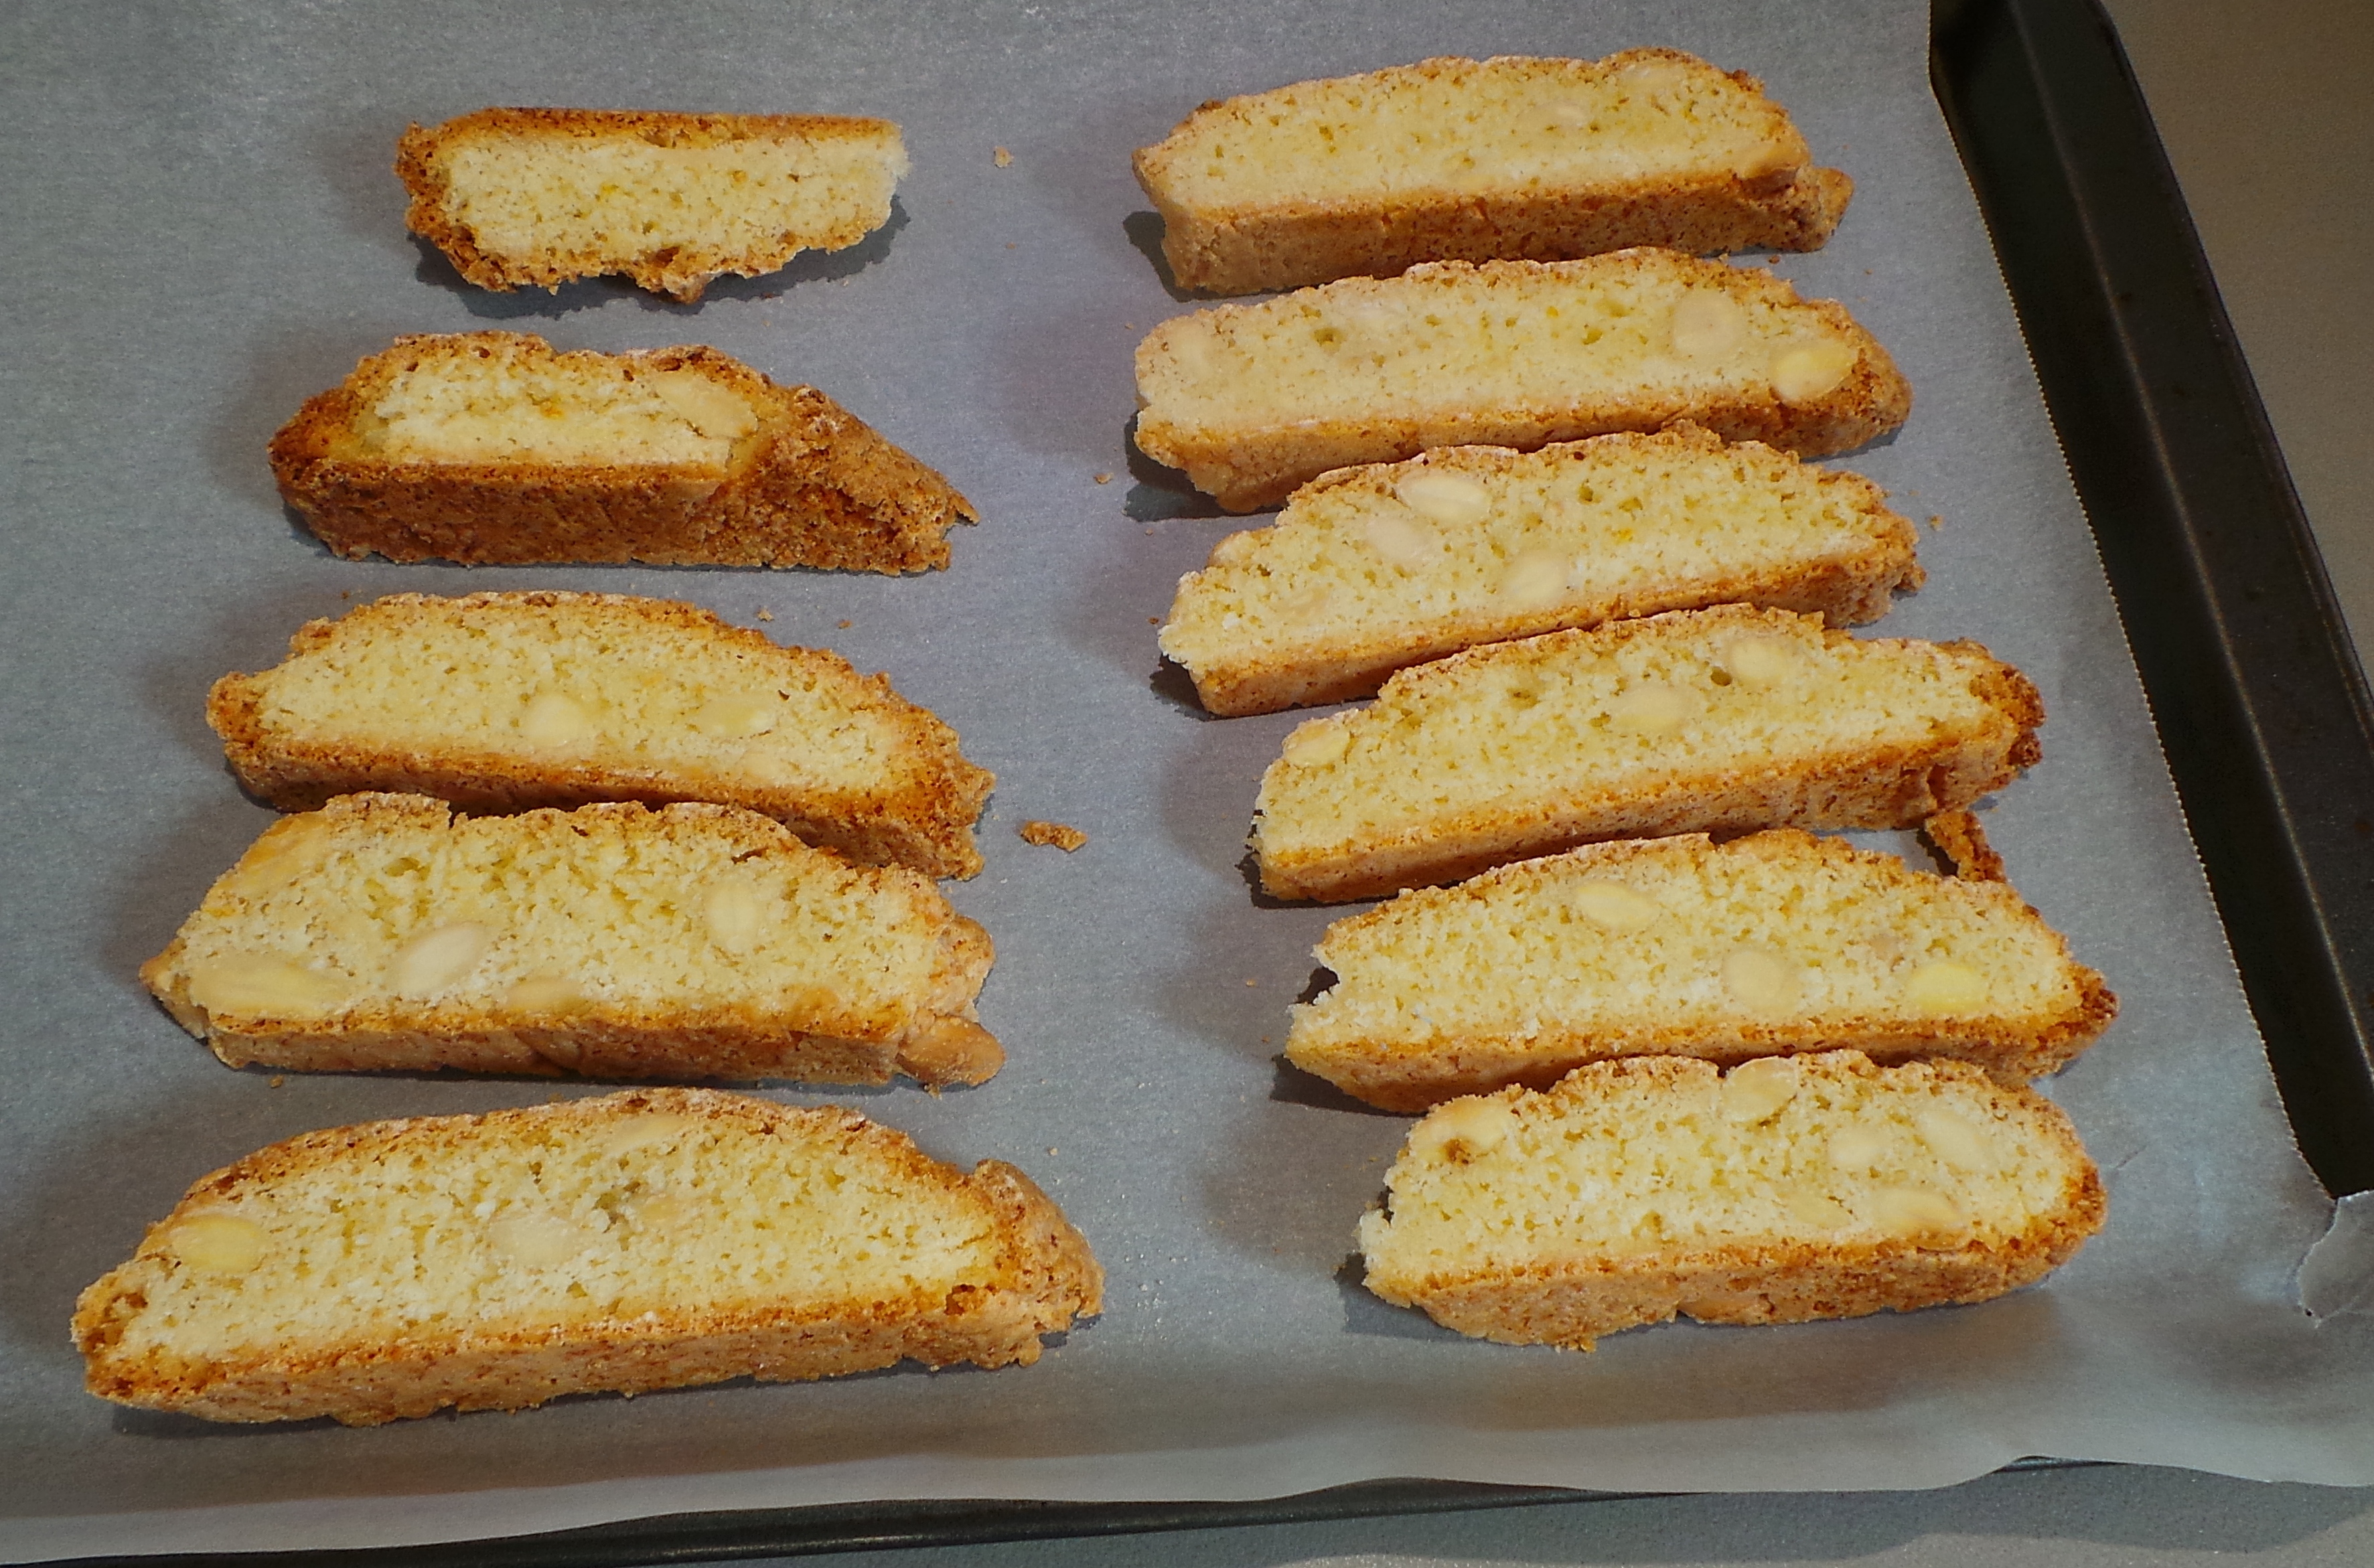
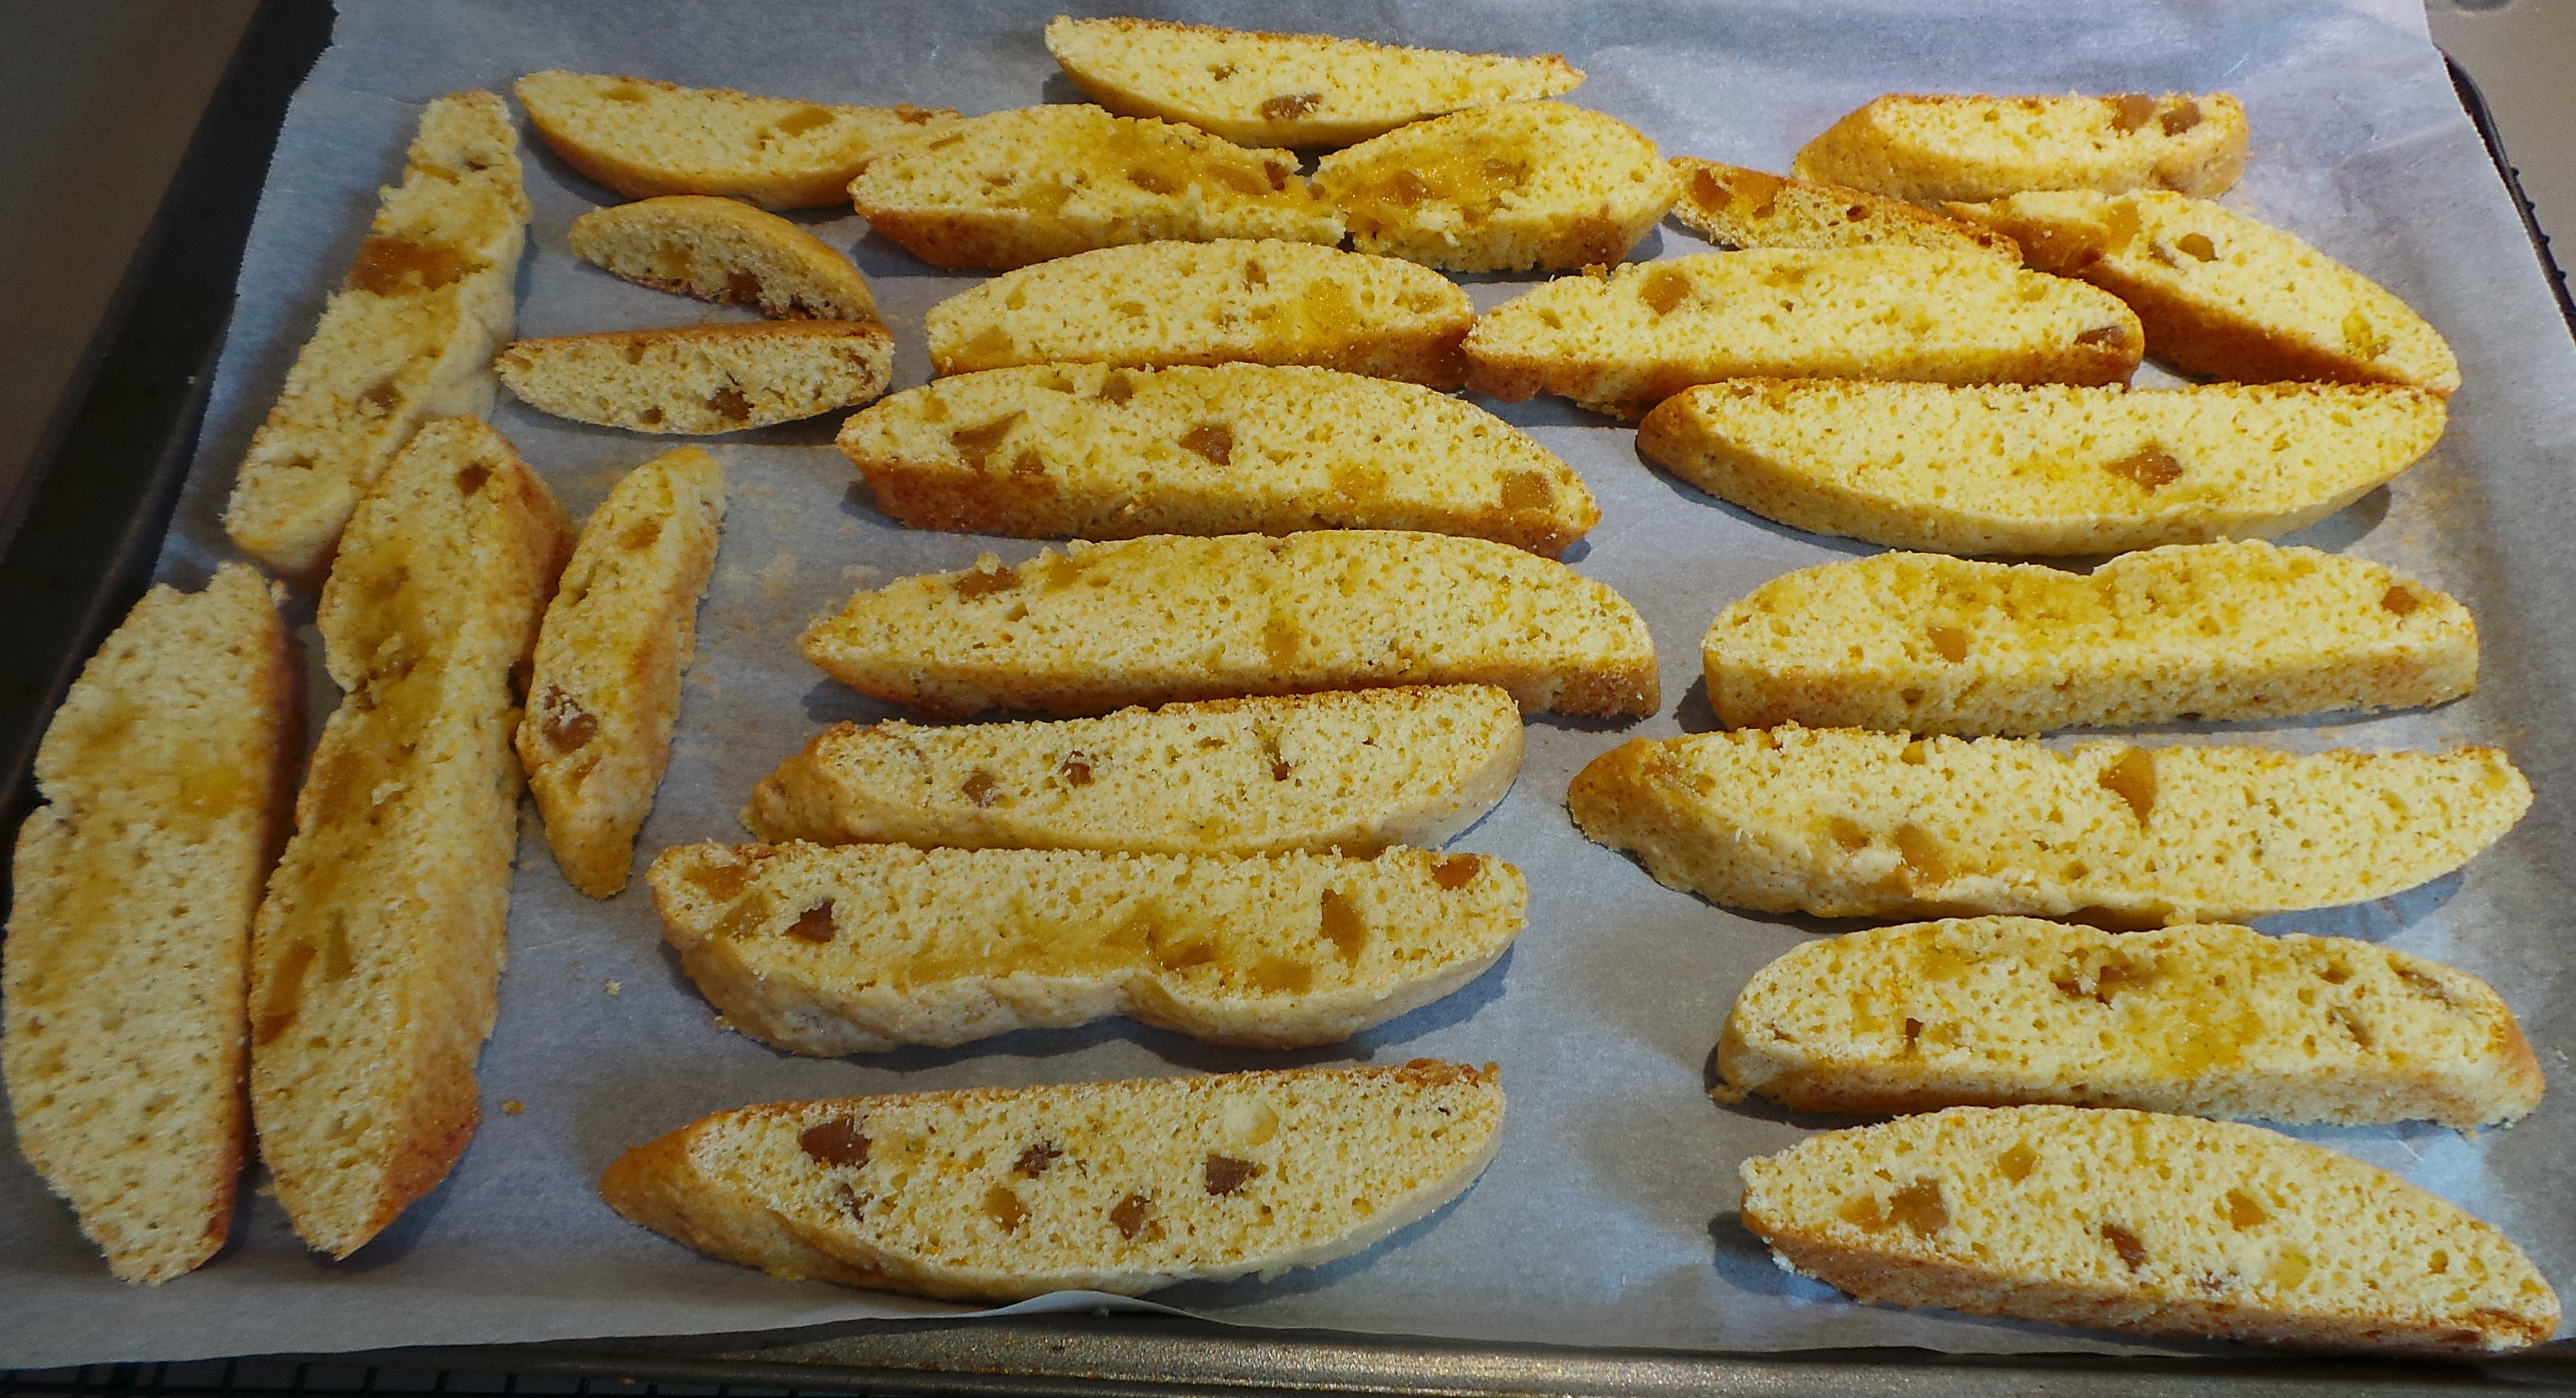
Now is the time to cut them into 1.5 cm/½ inch thick slices with a serrated knife.
Then, place them back onto the baking sheet, cut side down.
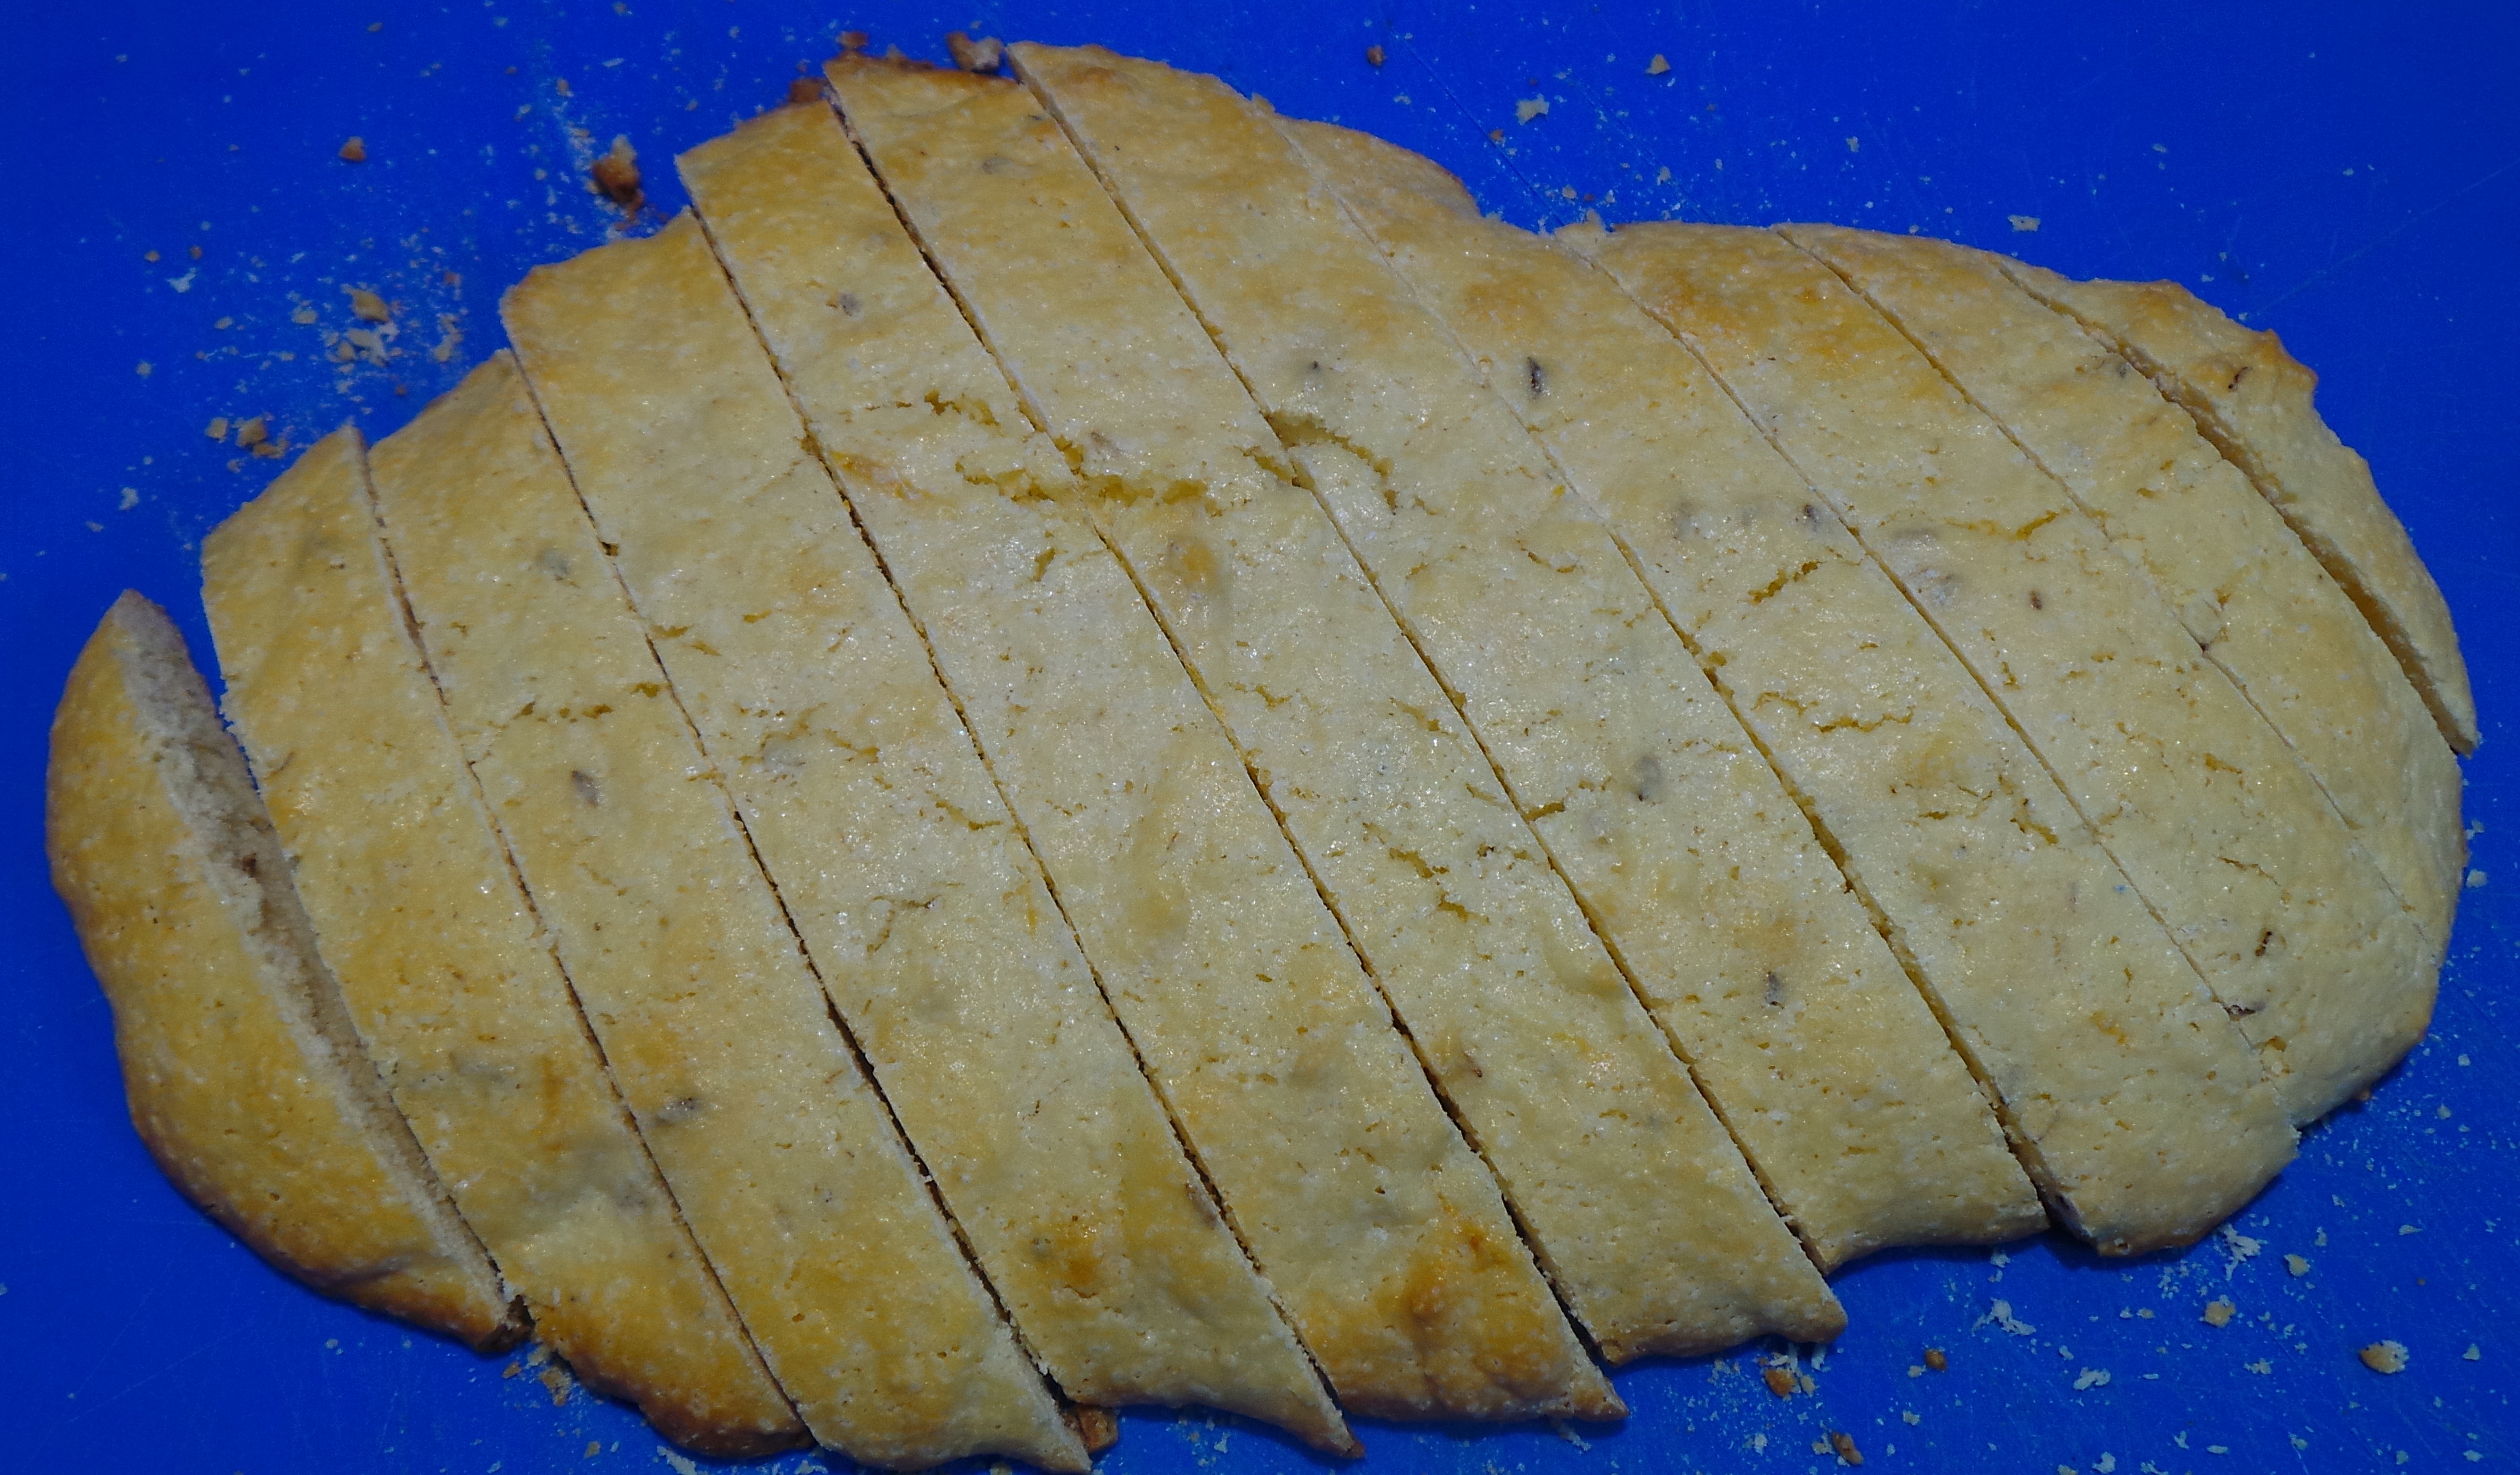
Traditionally biscotti are cut on the diagonal.
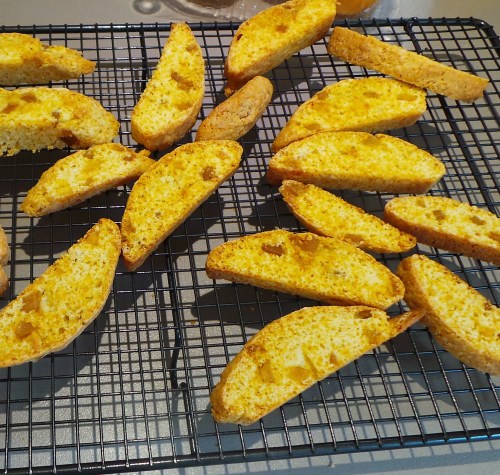
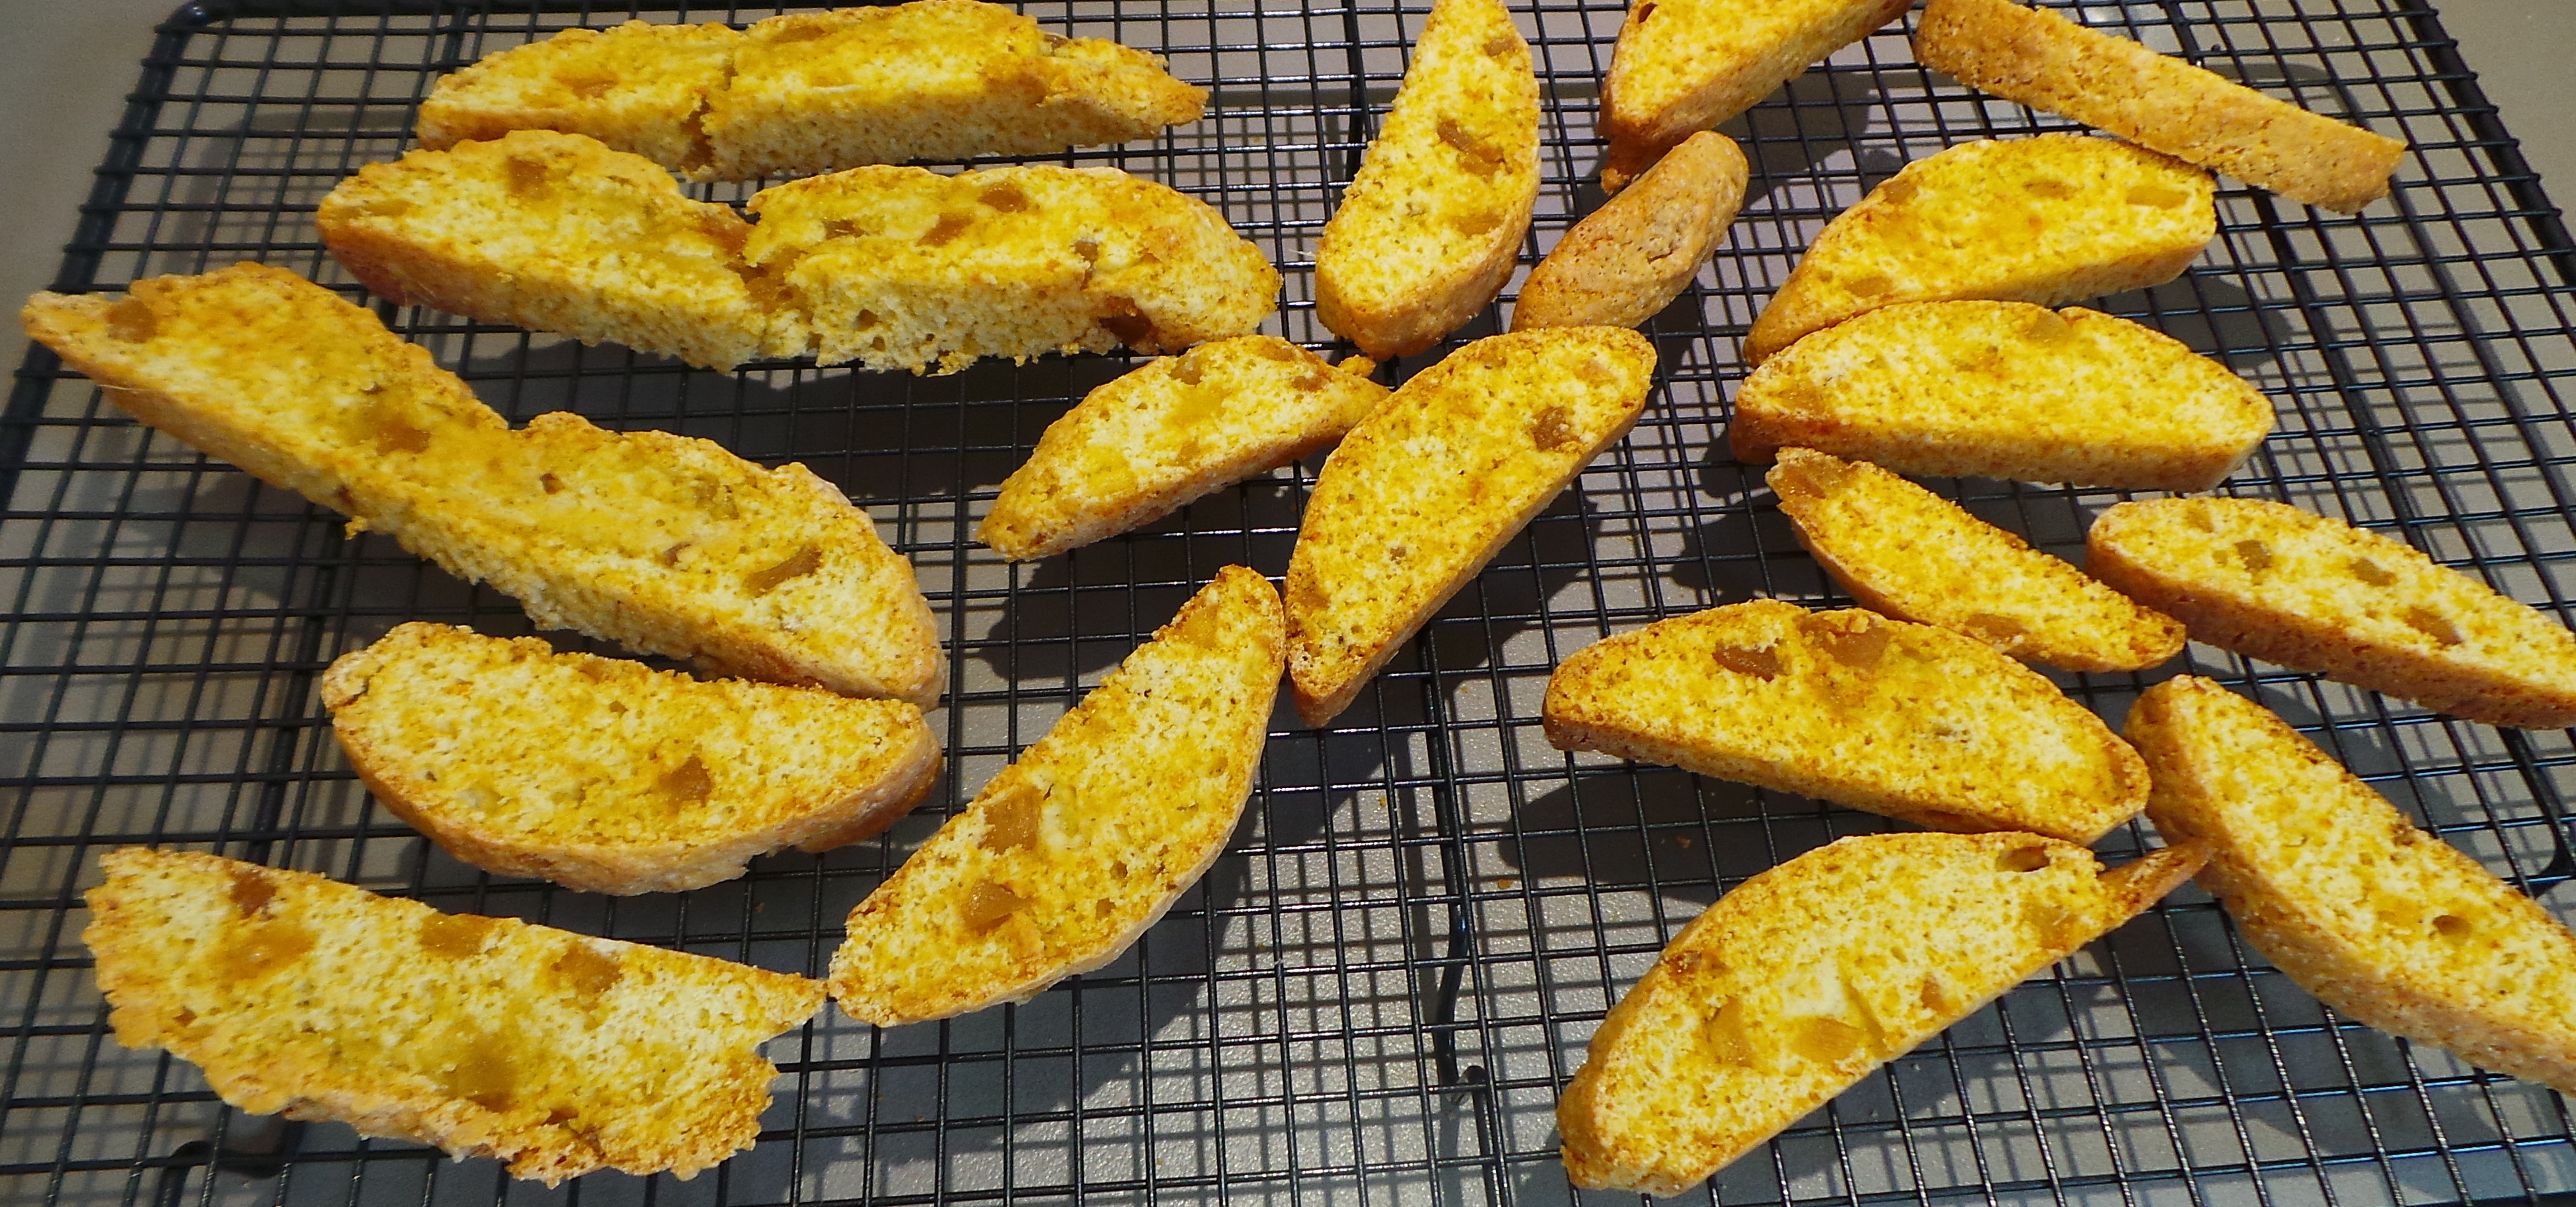
Bake for a further 15 minutes. Remove to cool on racks.
They will firm up on standing, so don’t be concerned if they still seem soft in the middle.
Ah. Bliss.
Caraway and Lemon Biscotti
Ingredients
2 cups plain flour
1 tsp baking powder
¼ tsp salt
1 cup sugar
2 whole eggs
1 egg white
1 tbsp caraway seeds, ground
1 tbsp freshly grated lemon peel (zest)
Strained juice of lemon (reserved)
Method
Preheat the oven to 180°C/ 350°F. Line a baking sheet with paper and set aside.
Sift together the flour, baking powder, sugar and salt.
Add the lemon zest and ground caraway seeds.
In a small bowl, lightly beat together the whole eggs and egg white.
Add the egg mixture to the flour mixture and stir to form a smooth dough. Add lemon juice as required to achieve the correct consistency.
Using floured hands and a spatula, scoop half the dough into a log shape on one side of the prepared baking sheet. Repeat with the rest of the dough on the other side – spacing the logs at least 6 inches apart.
Bake for 20 to 25 minutes, or until the top of each log is firm.
Remove with a long spatula to a wire rack and cool for 10 to 15 mins.
Reduce the heat of the oven to 150°C/325°F.
Using a serrated knife, cut each log on the diagonal into ½ inch slices.
Place slices back onto the lined baking trays, cut side down and bake for a further 15 minutes.
Remove and cool on racks.
These biscotti will continue to harden as they cool.
Will keep for several weeks, stored in an airtight container.