First off, let me get one thing clear: Chilli con Carne means Chilli with meat.
There is no such thing as Vegetarian Chilli con Carne.
There. I feel better now.
This is a dish I have adapted from one of Jamie Oliver’s recipes out of his book, Happy Days with the Naked Chef. I pretty much follow his recipe but get rid of a lot of fiddling around.
I’m sure he’d approve.
I also tend to cook it in a slow cooker, but I’m guessing that this surprises precisely no-one.
My step-father is a fiend for chilli. When I lived in Canberra, and knew he was driving up from Melbourne to see me, I would get this dish to the long simmer stage the night before and pop it in the fridge overnight. I’d put it in the slow cooker on low just before I went to work in the morning and it would be gorgeous by the time I got home to find him waiting for me.
Nowadays, I find it perfect for cold to just-bordering-on-utterly-miserable days. Put it on early and leave it to do its thing until you’re ready to eat. In the meantime, your home smells gorgeous.
Leftovers are not to be scoffed at.
You can cook this on the stove top, in the oven or in the slow cooker (3 litre size for this recipe). Whatever works for you.
It makes a whole heap, so you can feed a crowd, make a ton of leftovers to eat during the week for a singleton or individual frozen meals for future famines of inspiration.
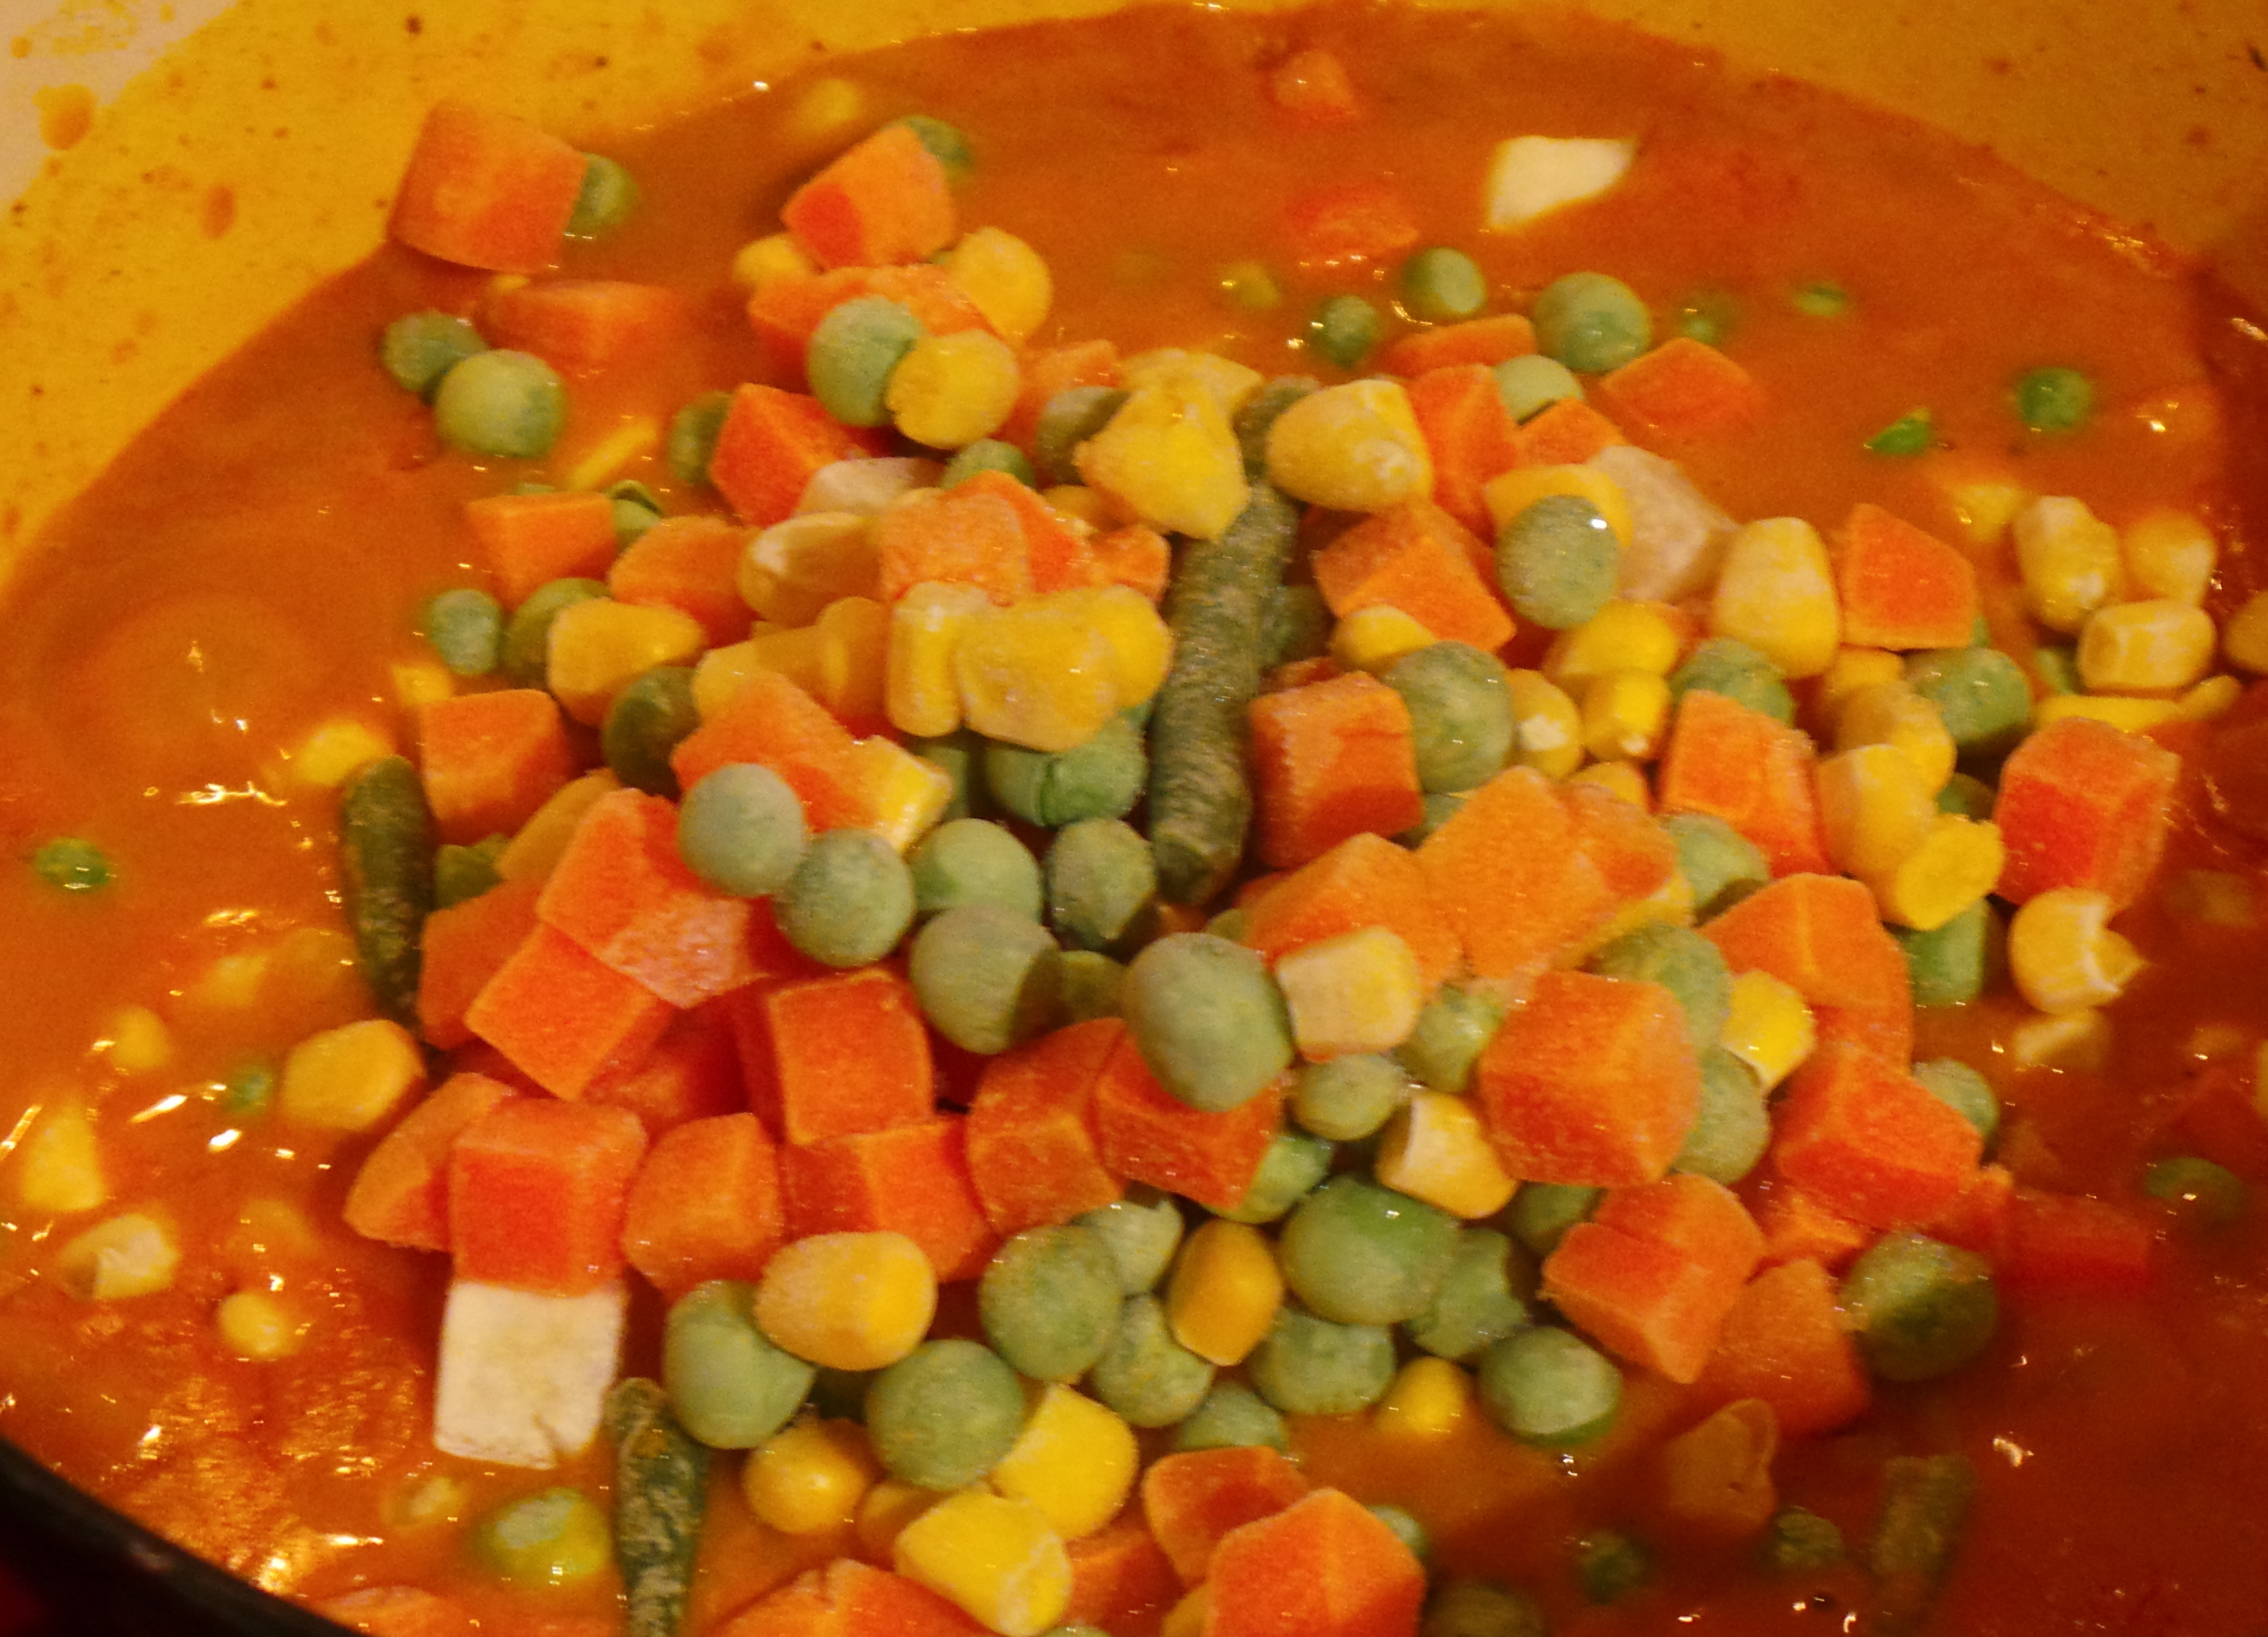
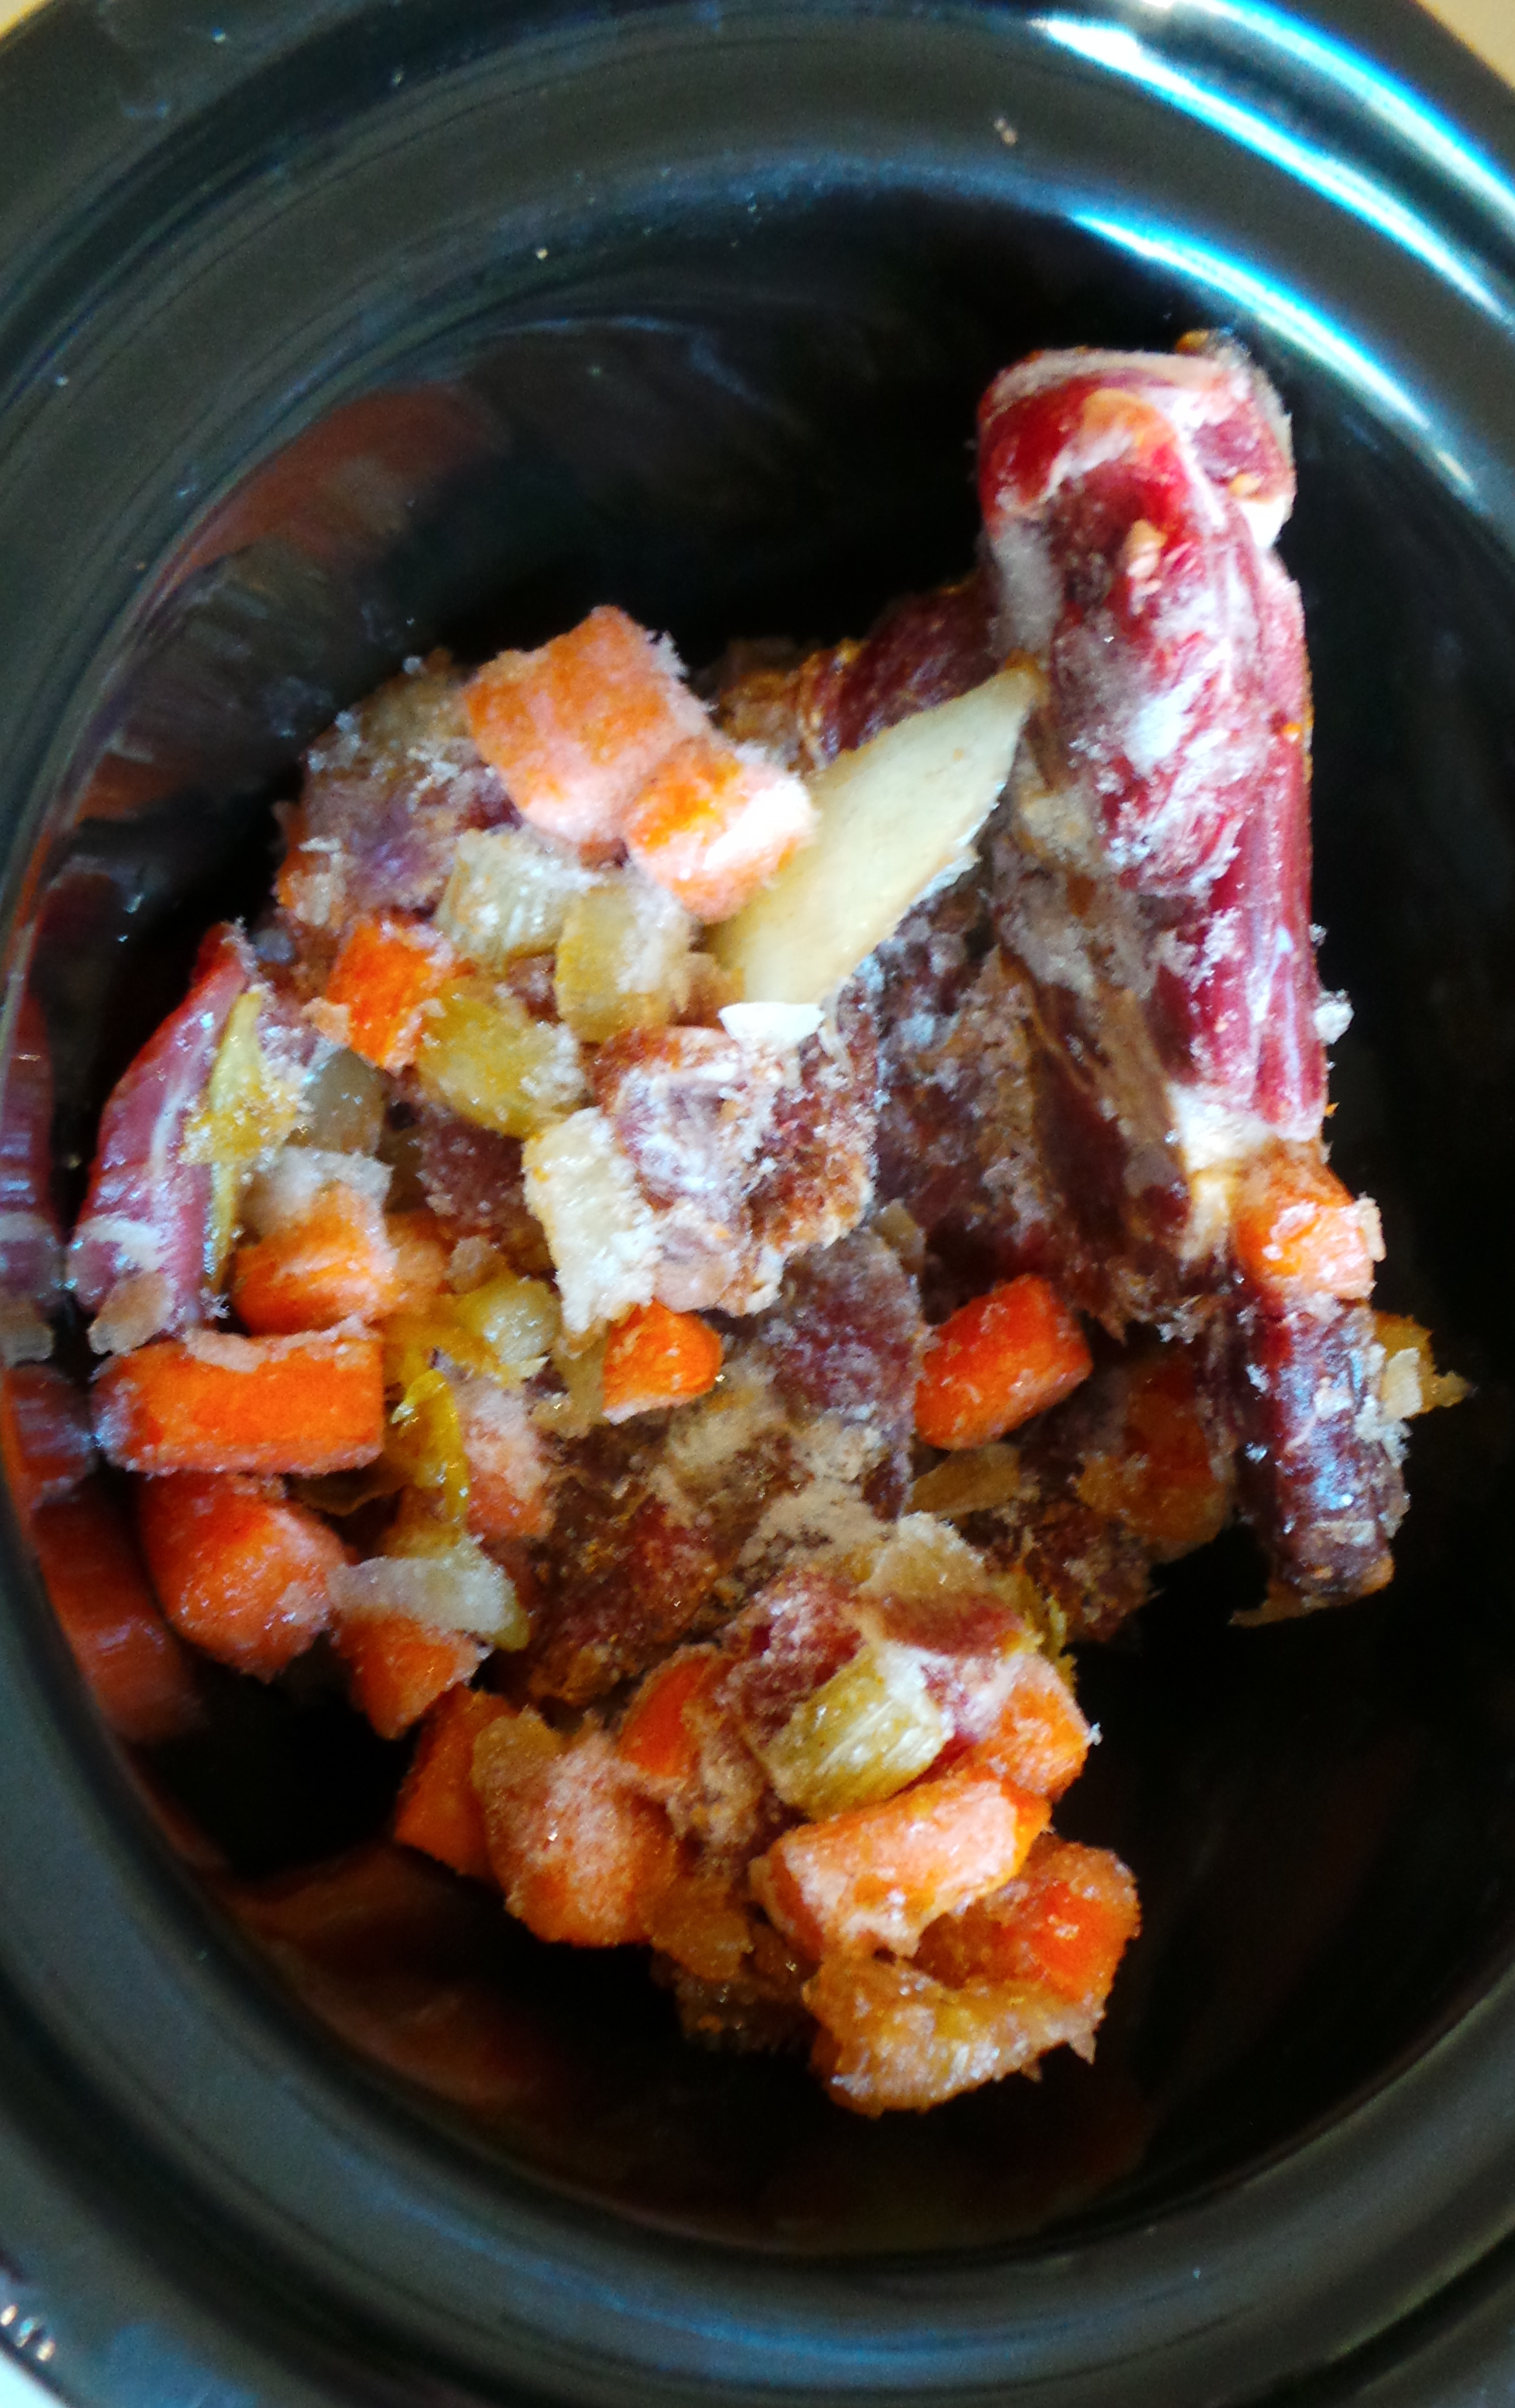
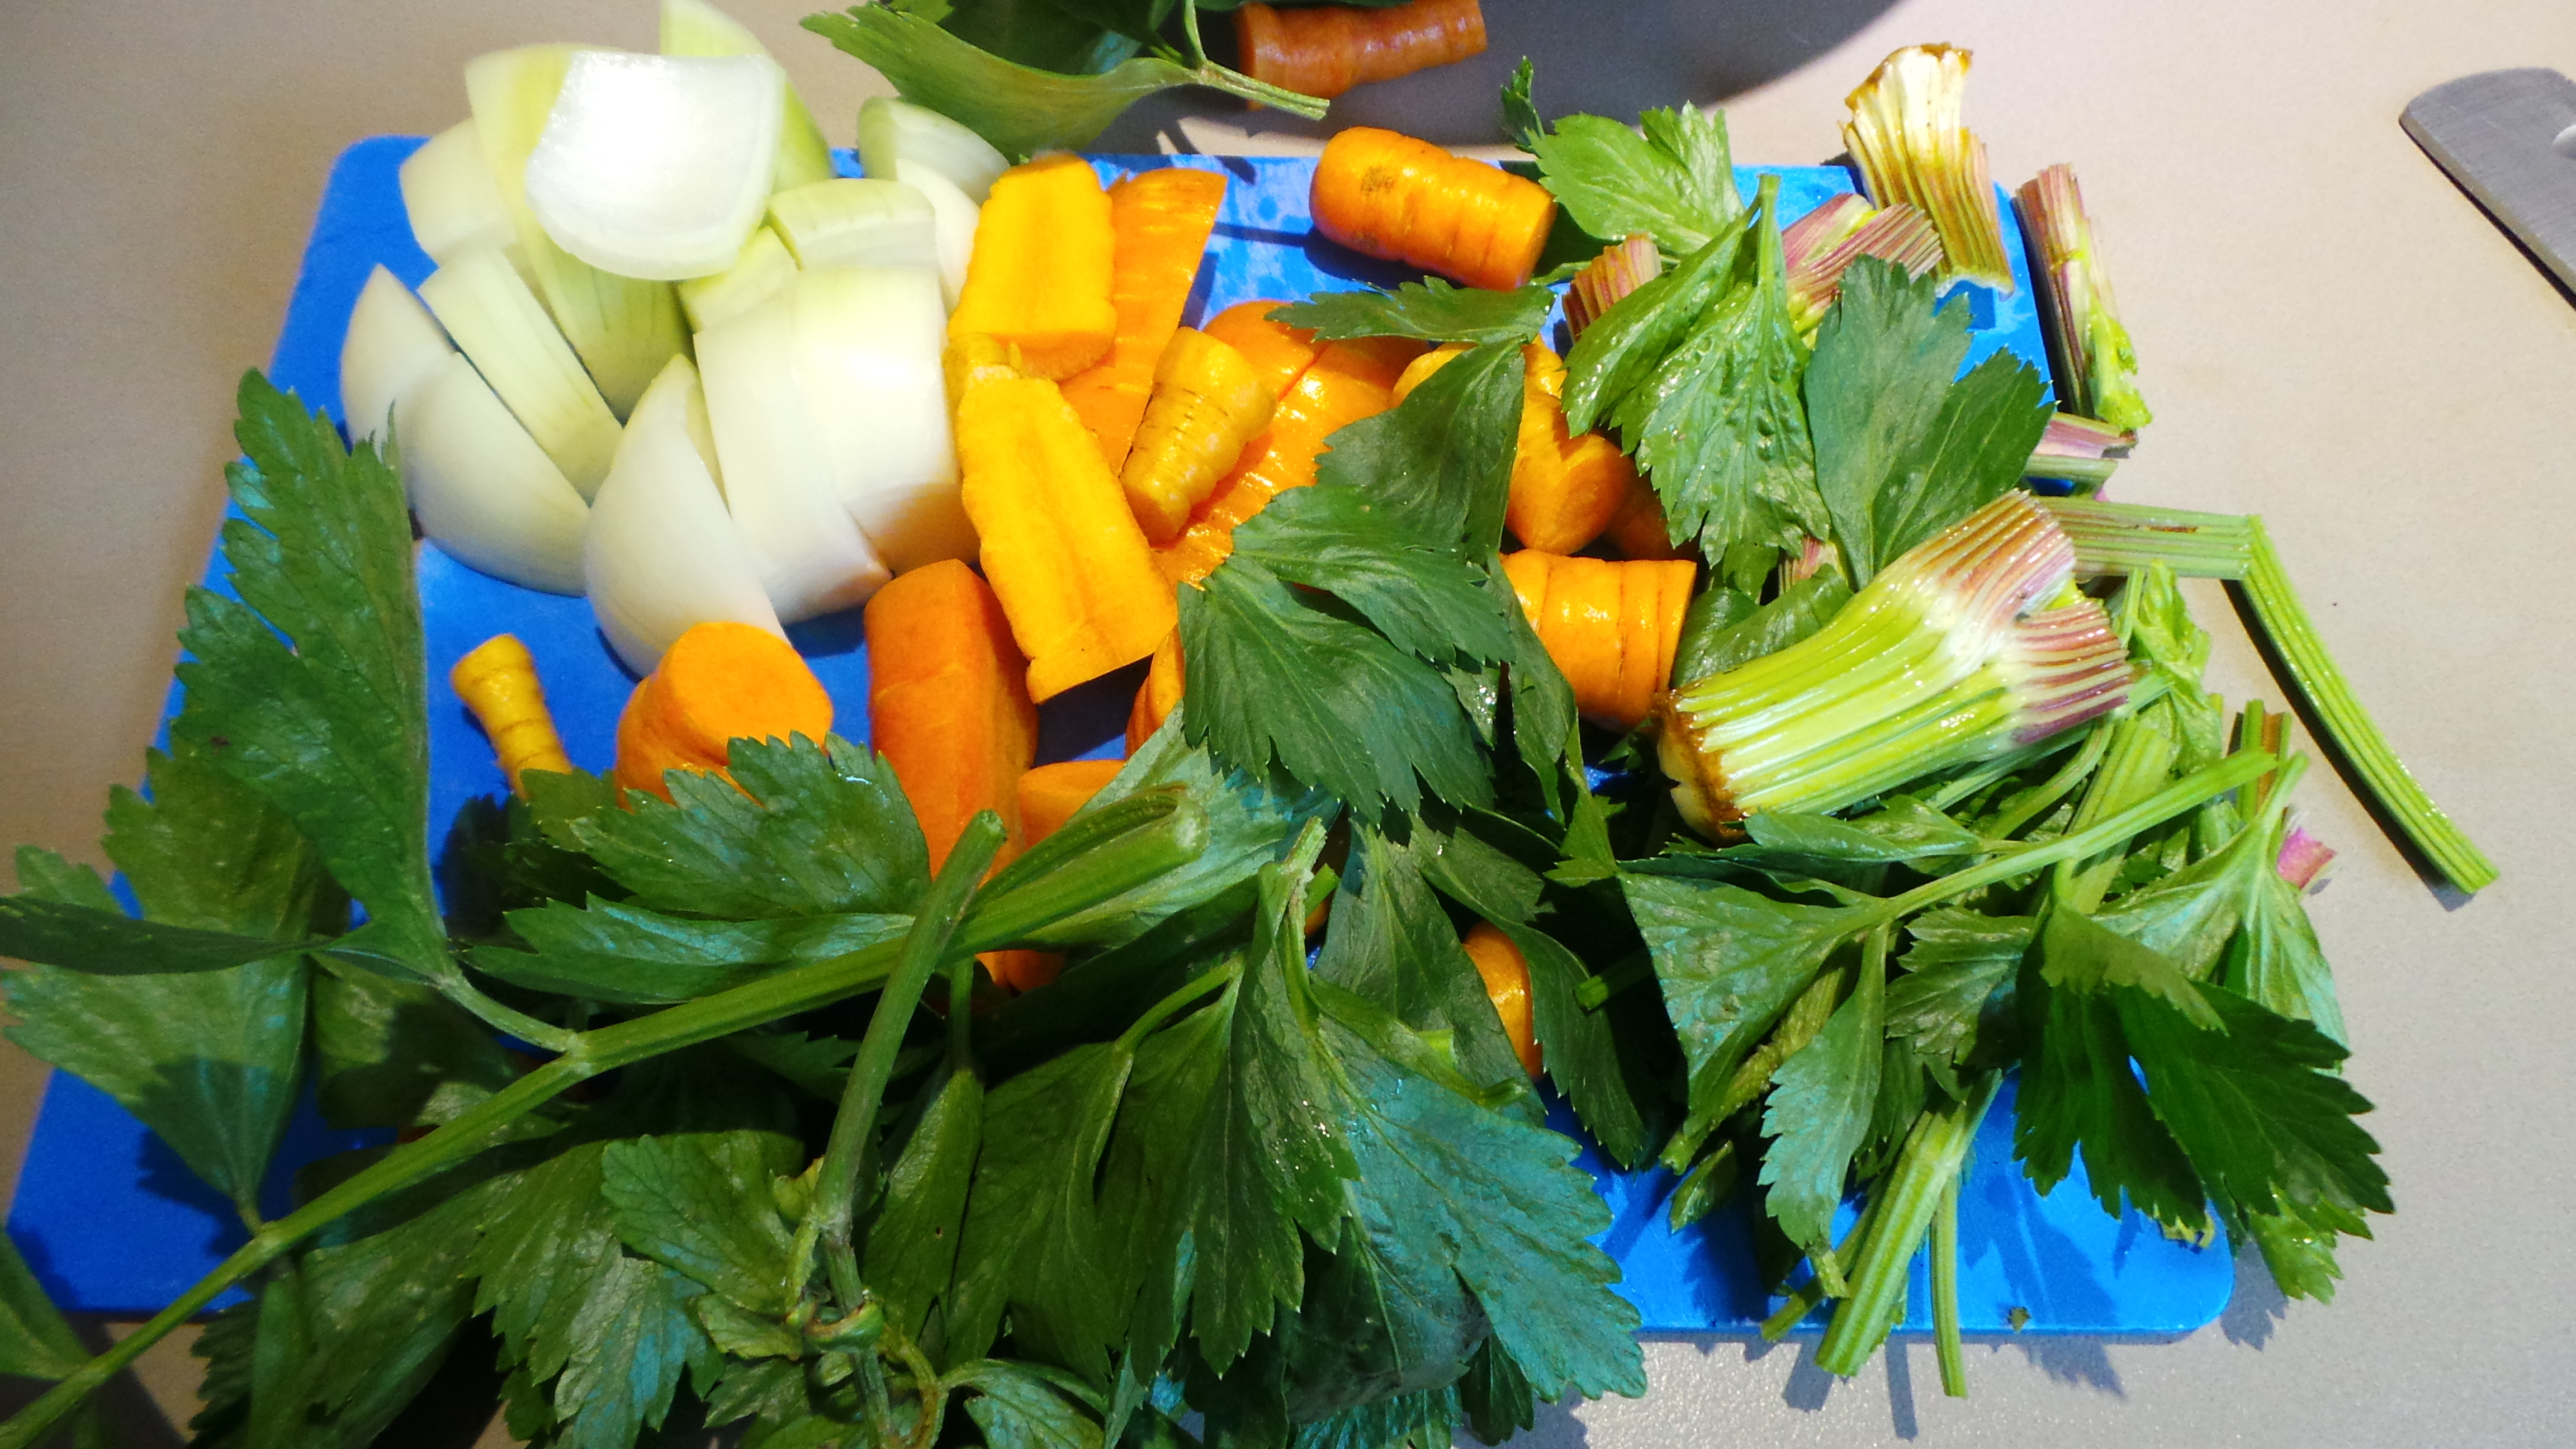
Start with a chopping board, a knife and some vegies. If you intend to cook this on the stove or in the oven, you’ll want a Dutch oven style pot with a tight-fitting lid. Get your slow cooker set up if that’s what you’d prefer to use. In this case I also put the cooker on low and empty the tins of tomatoes into it – just to get it warmed up and going.
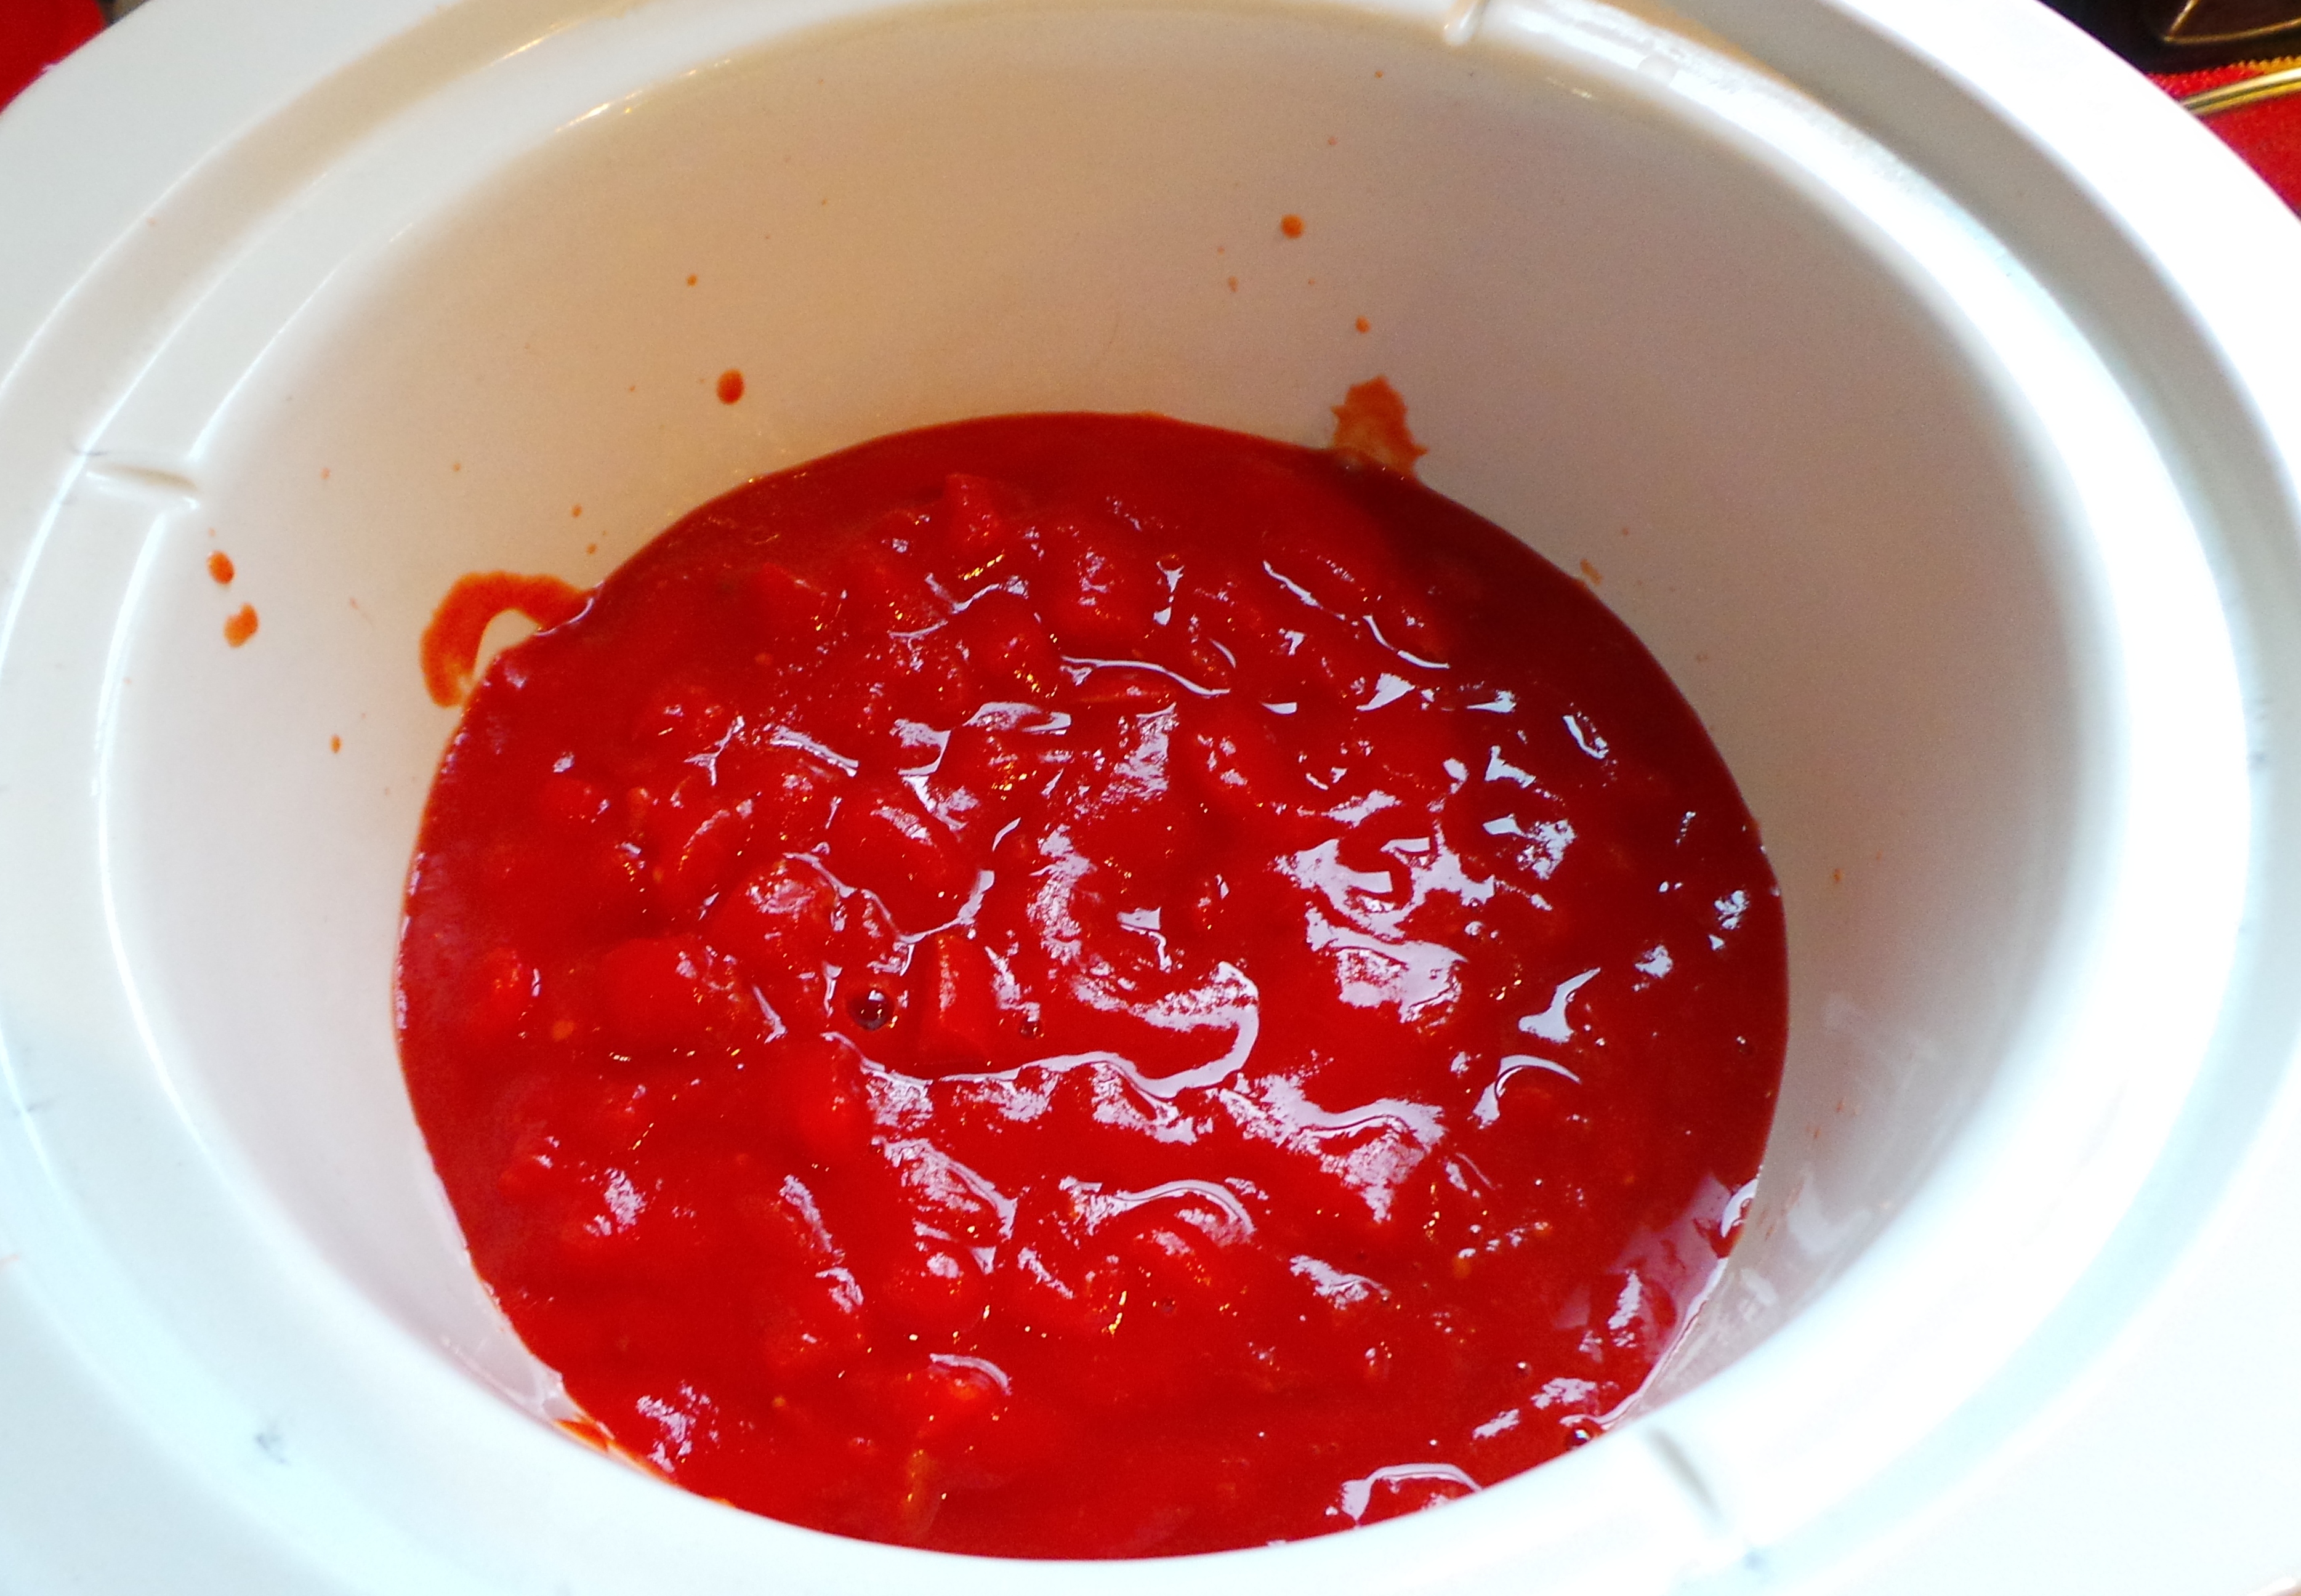
Get your slow cooker on-line.
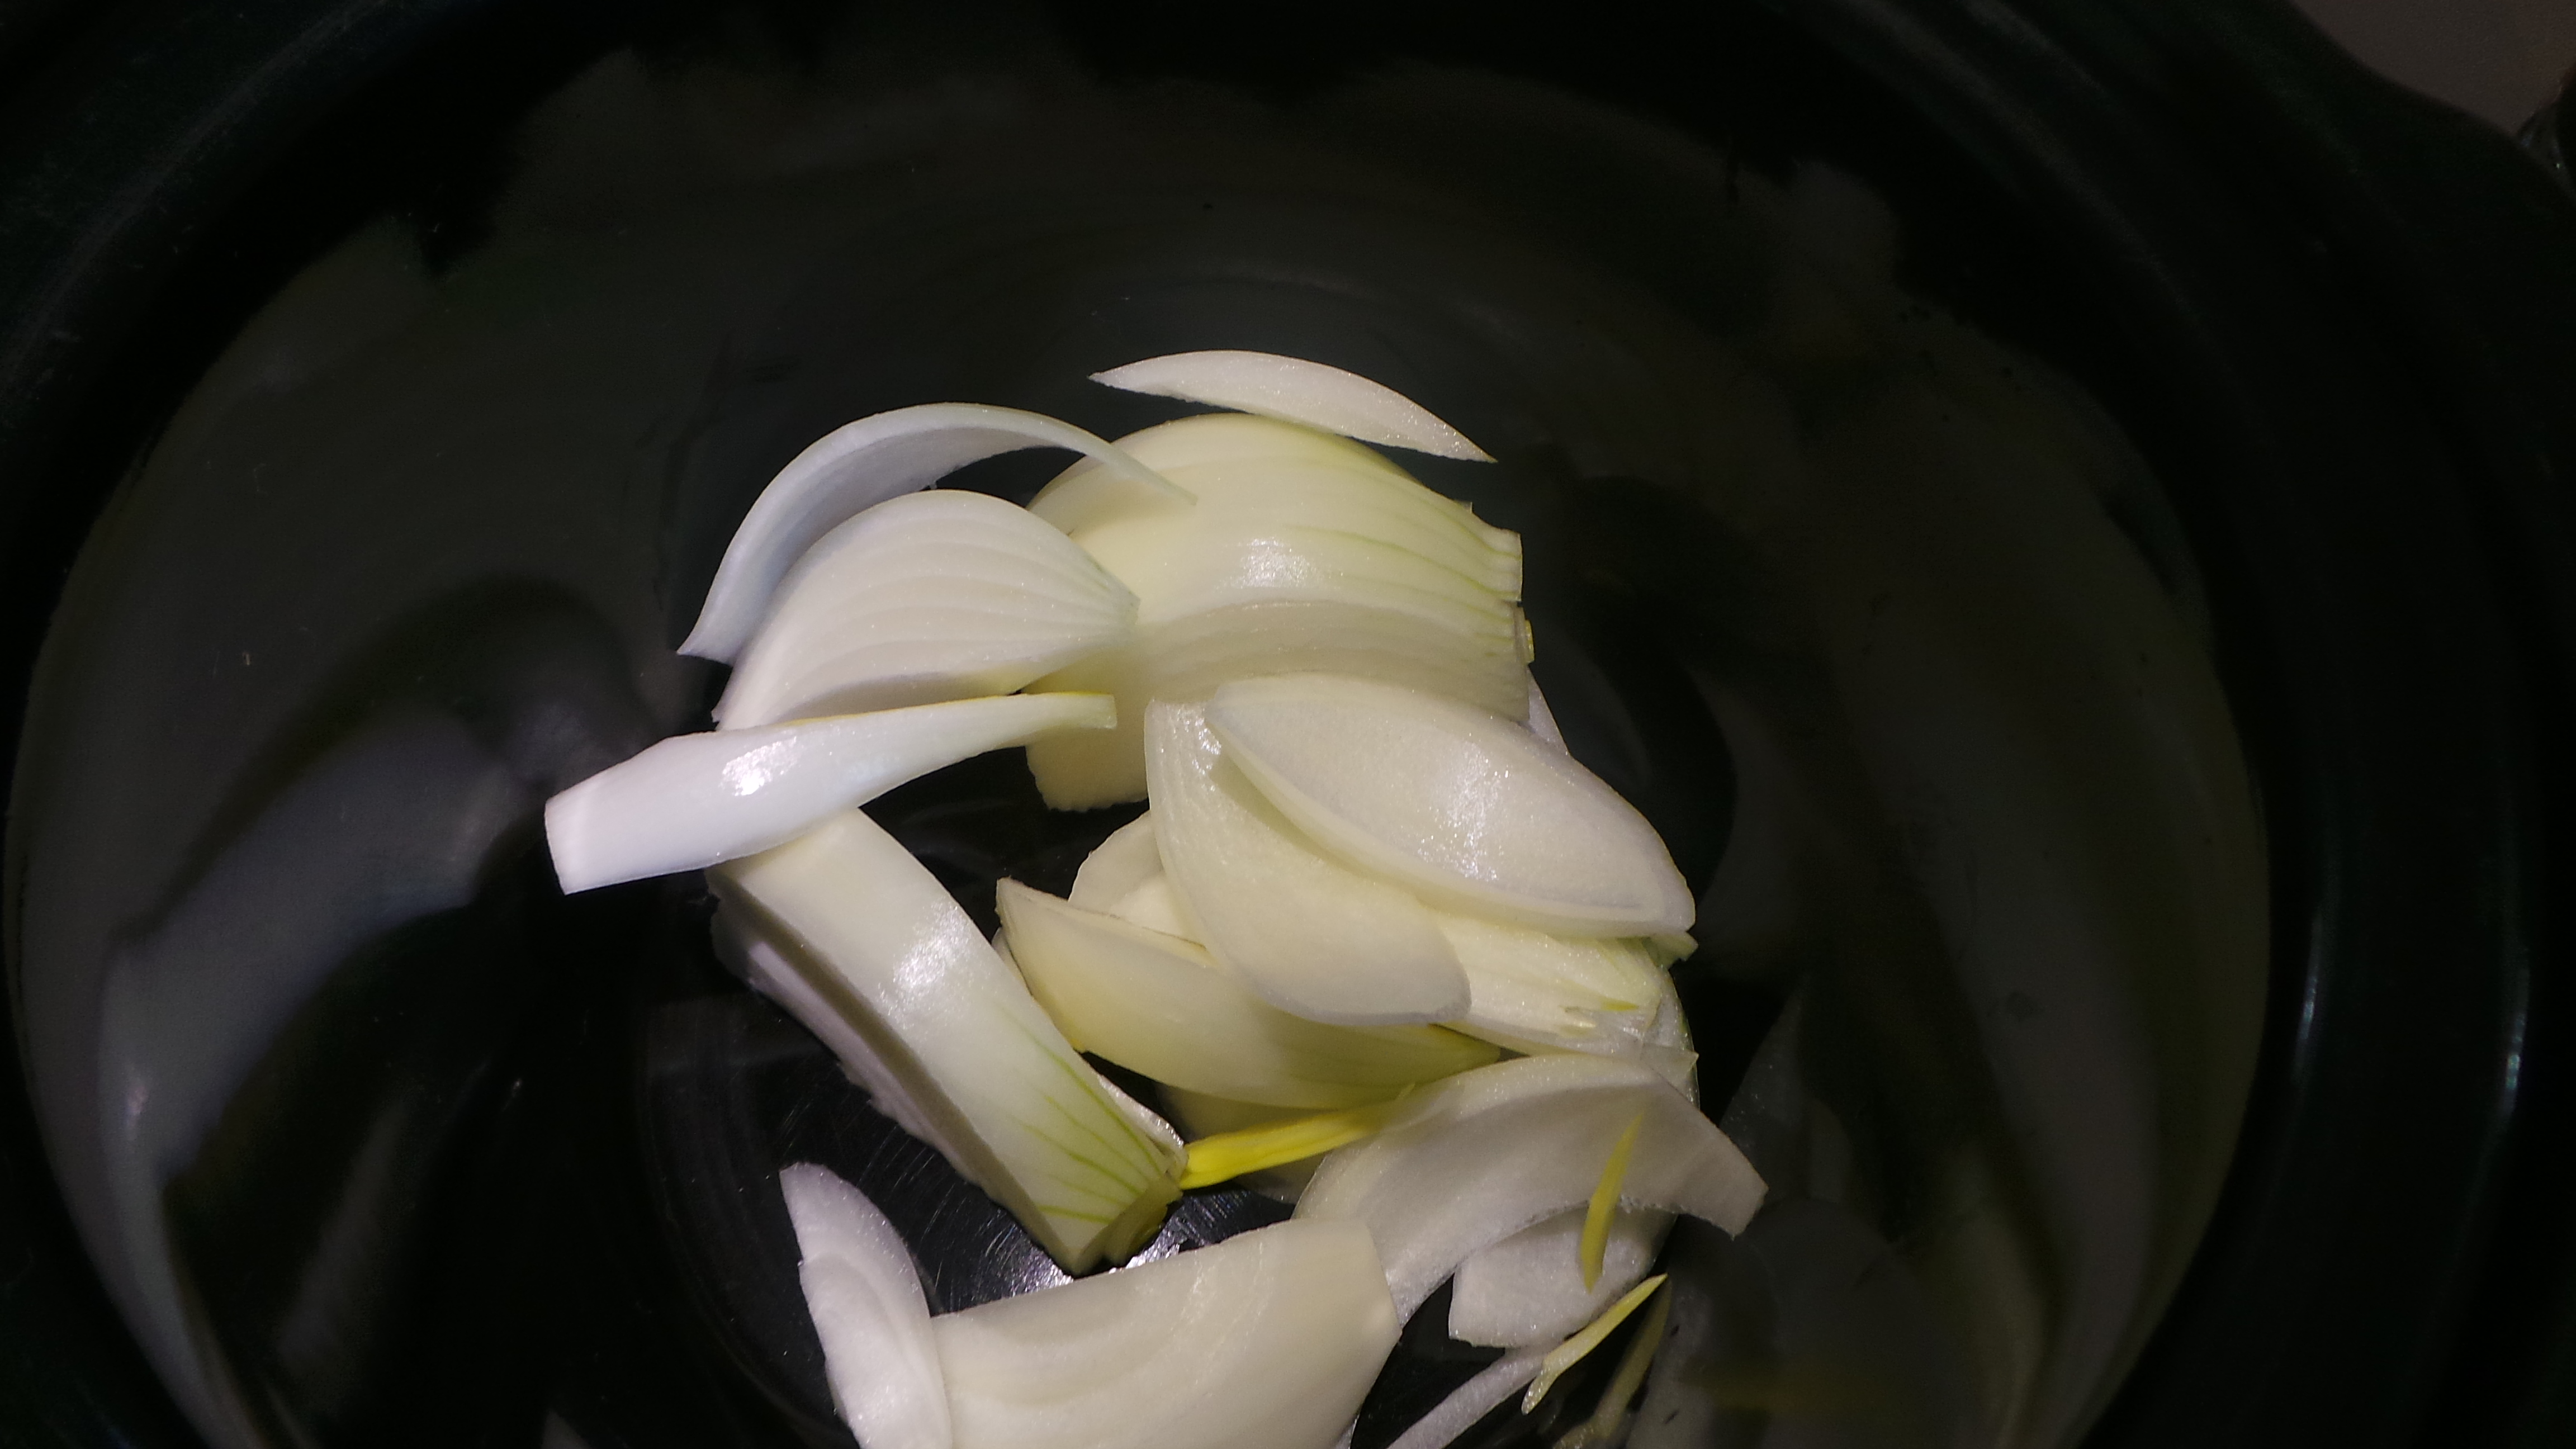
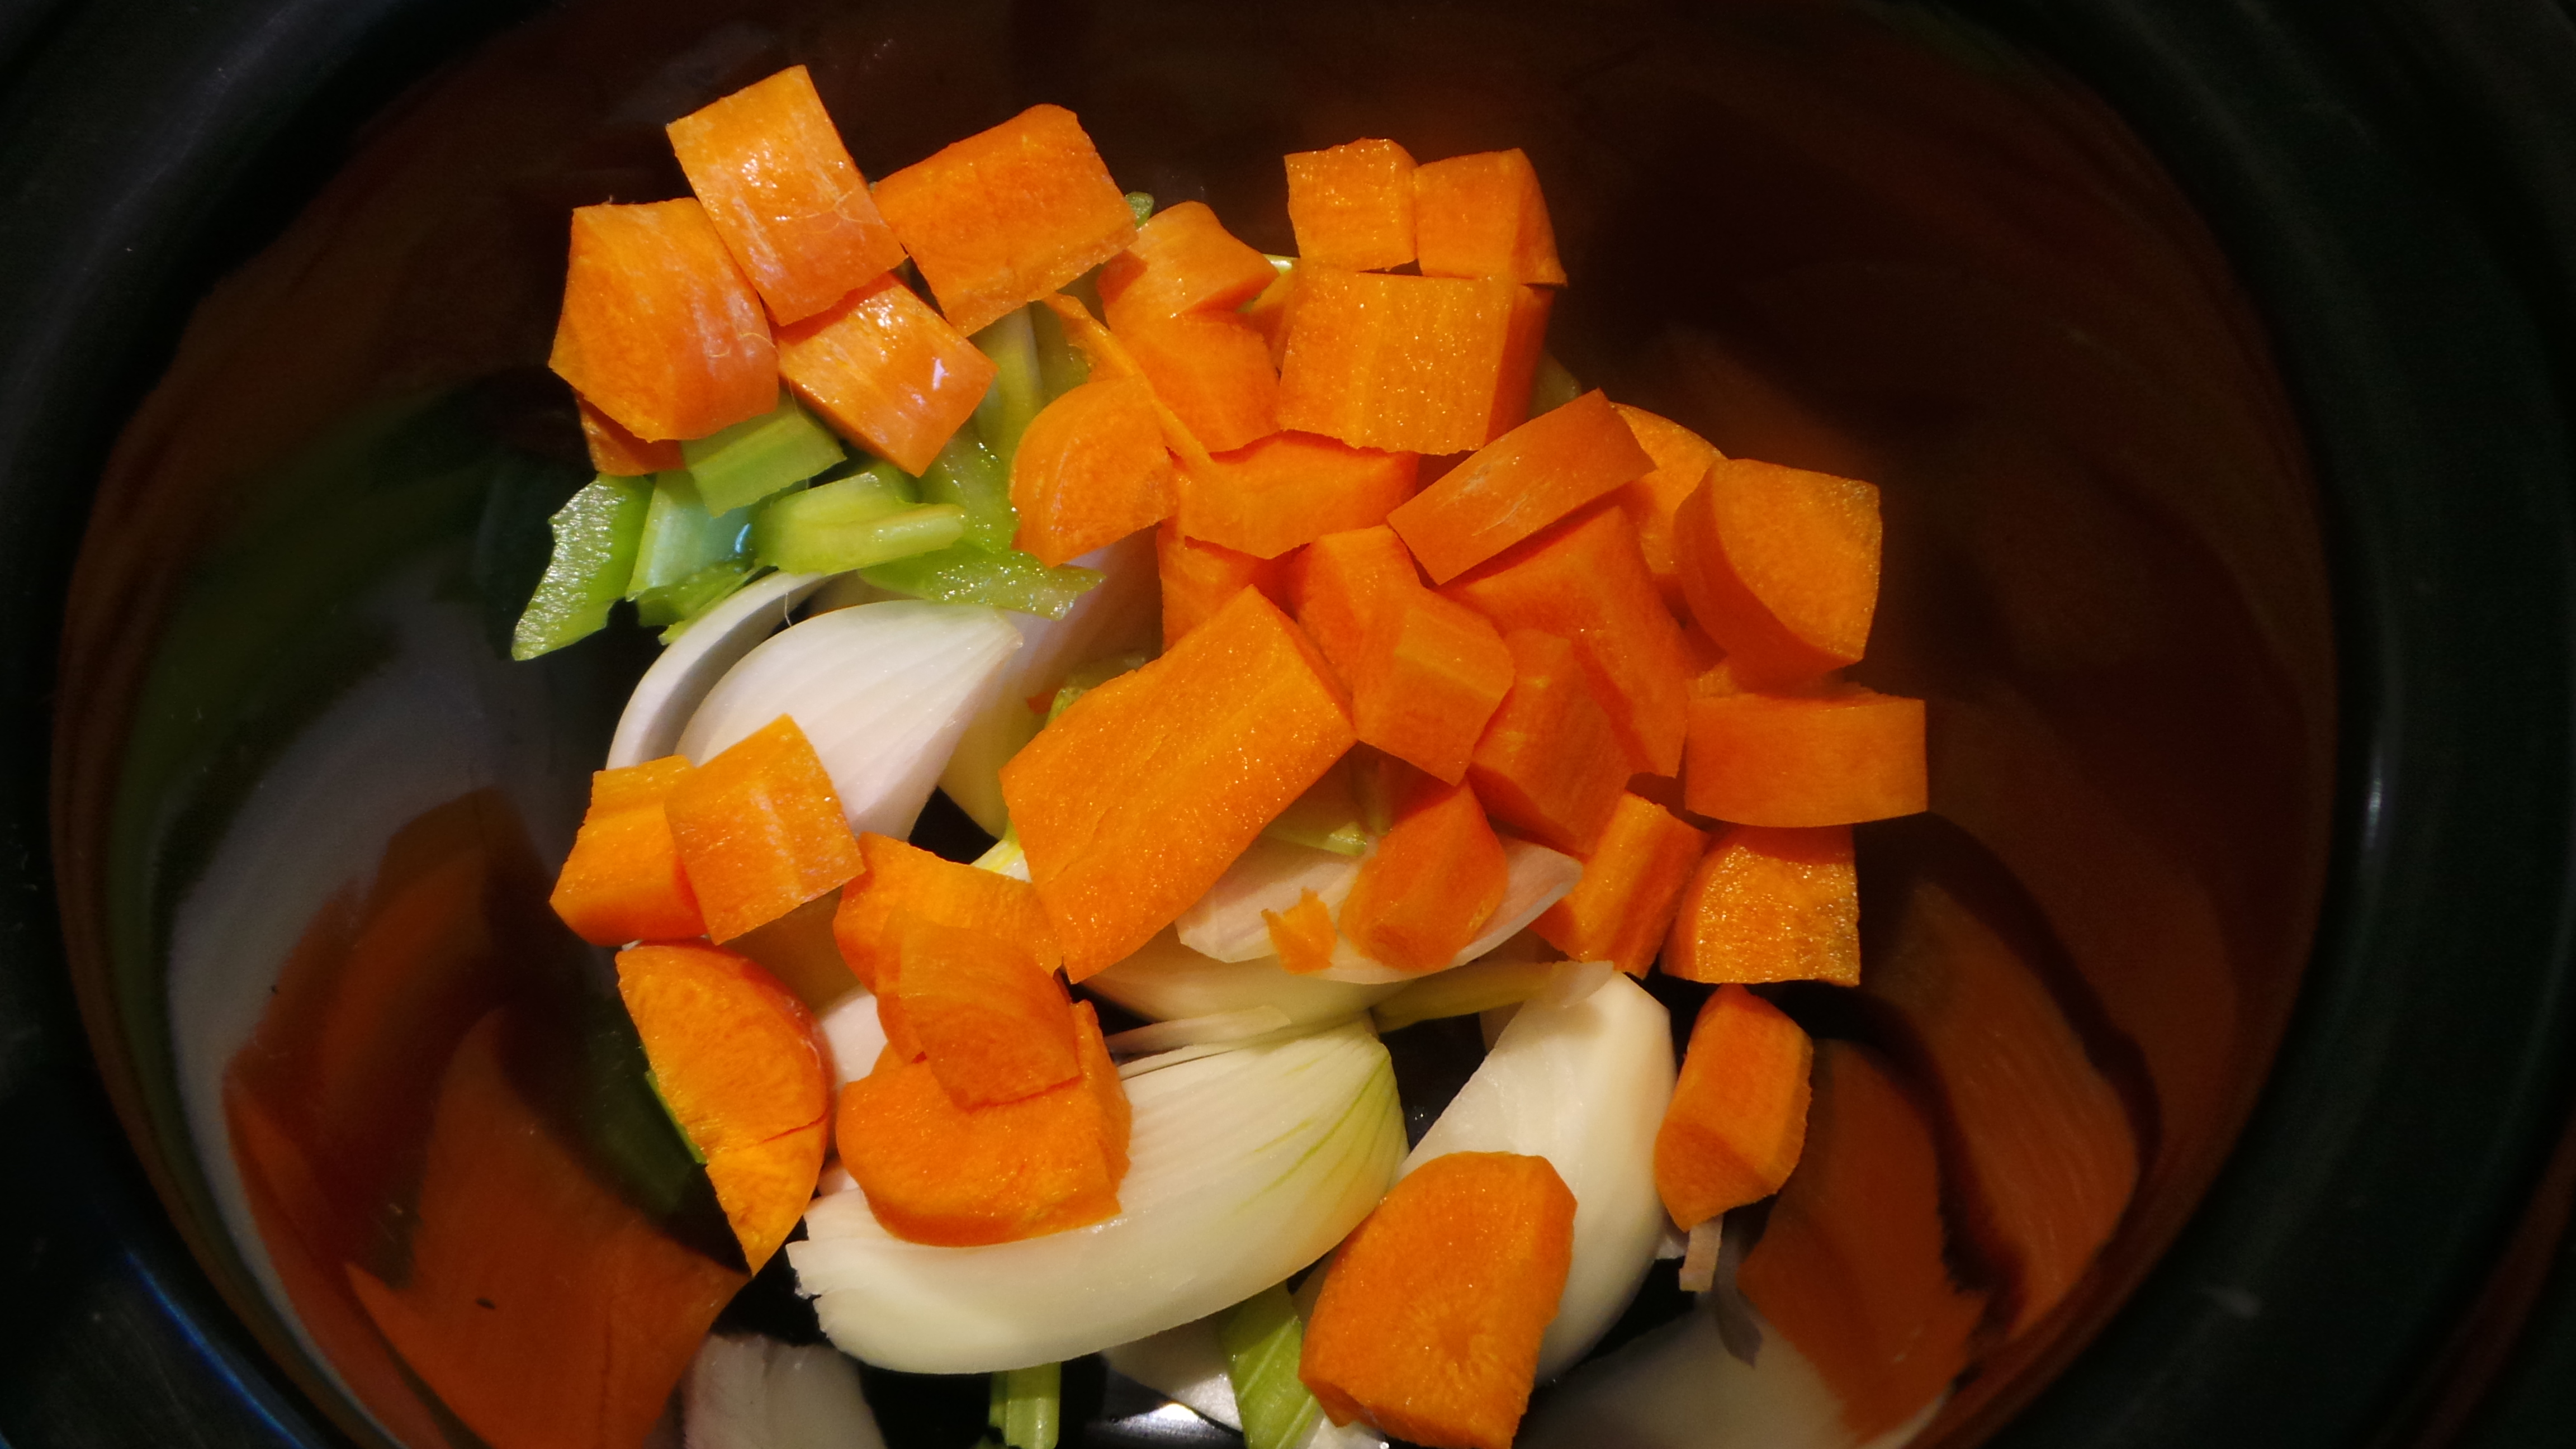
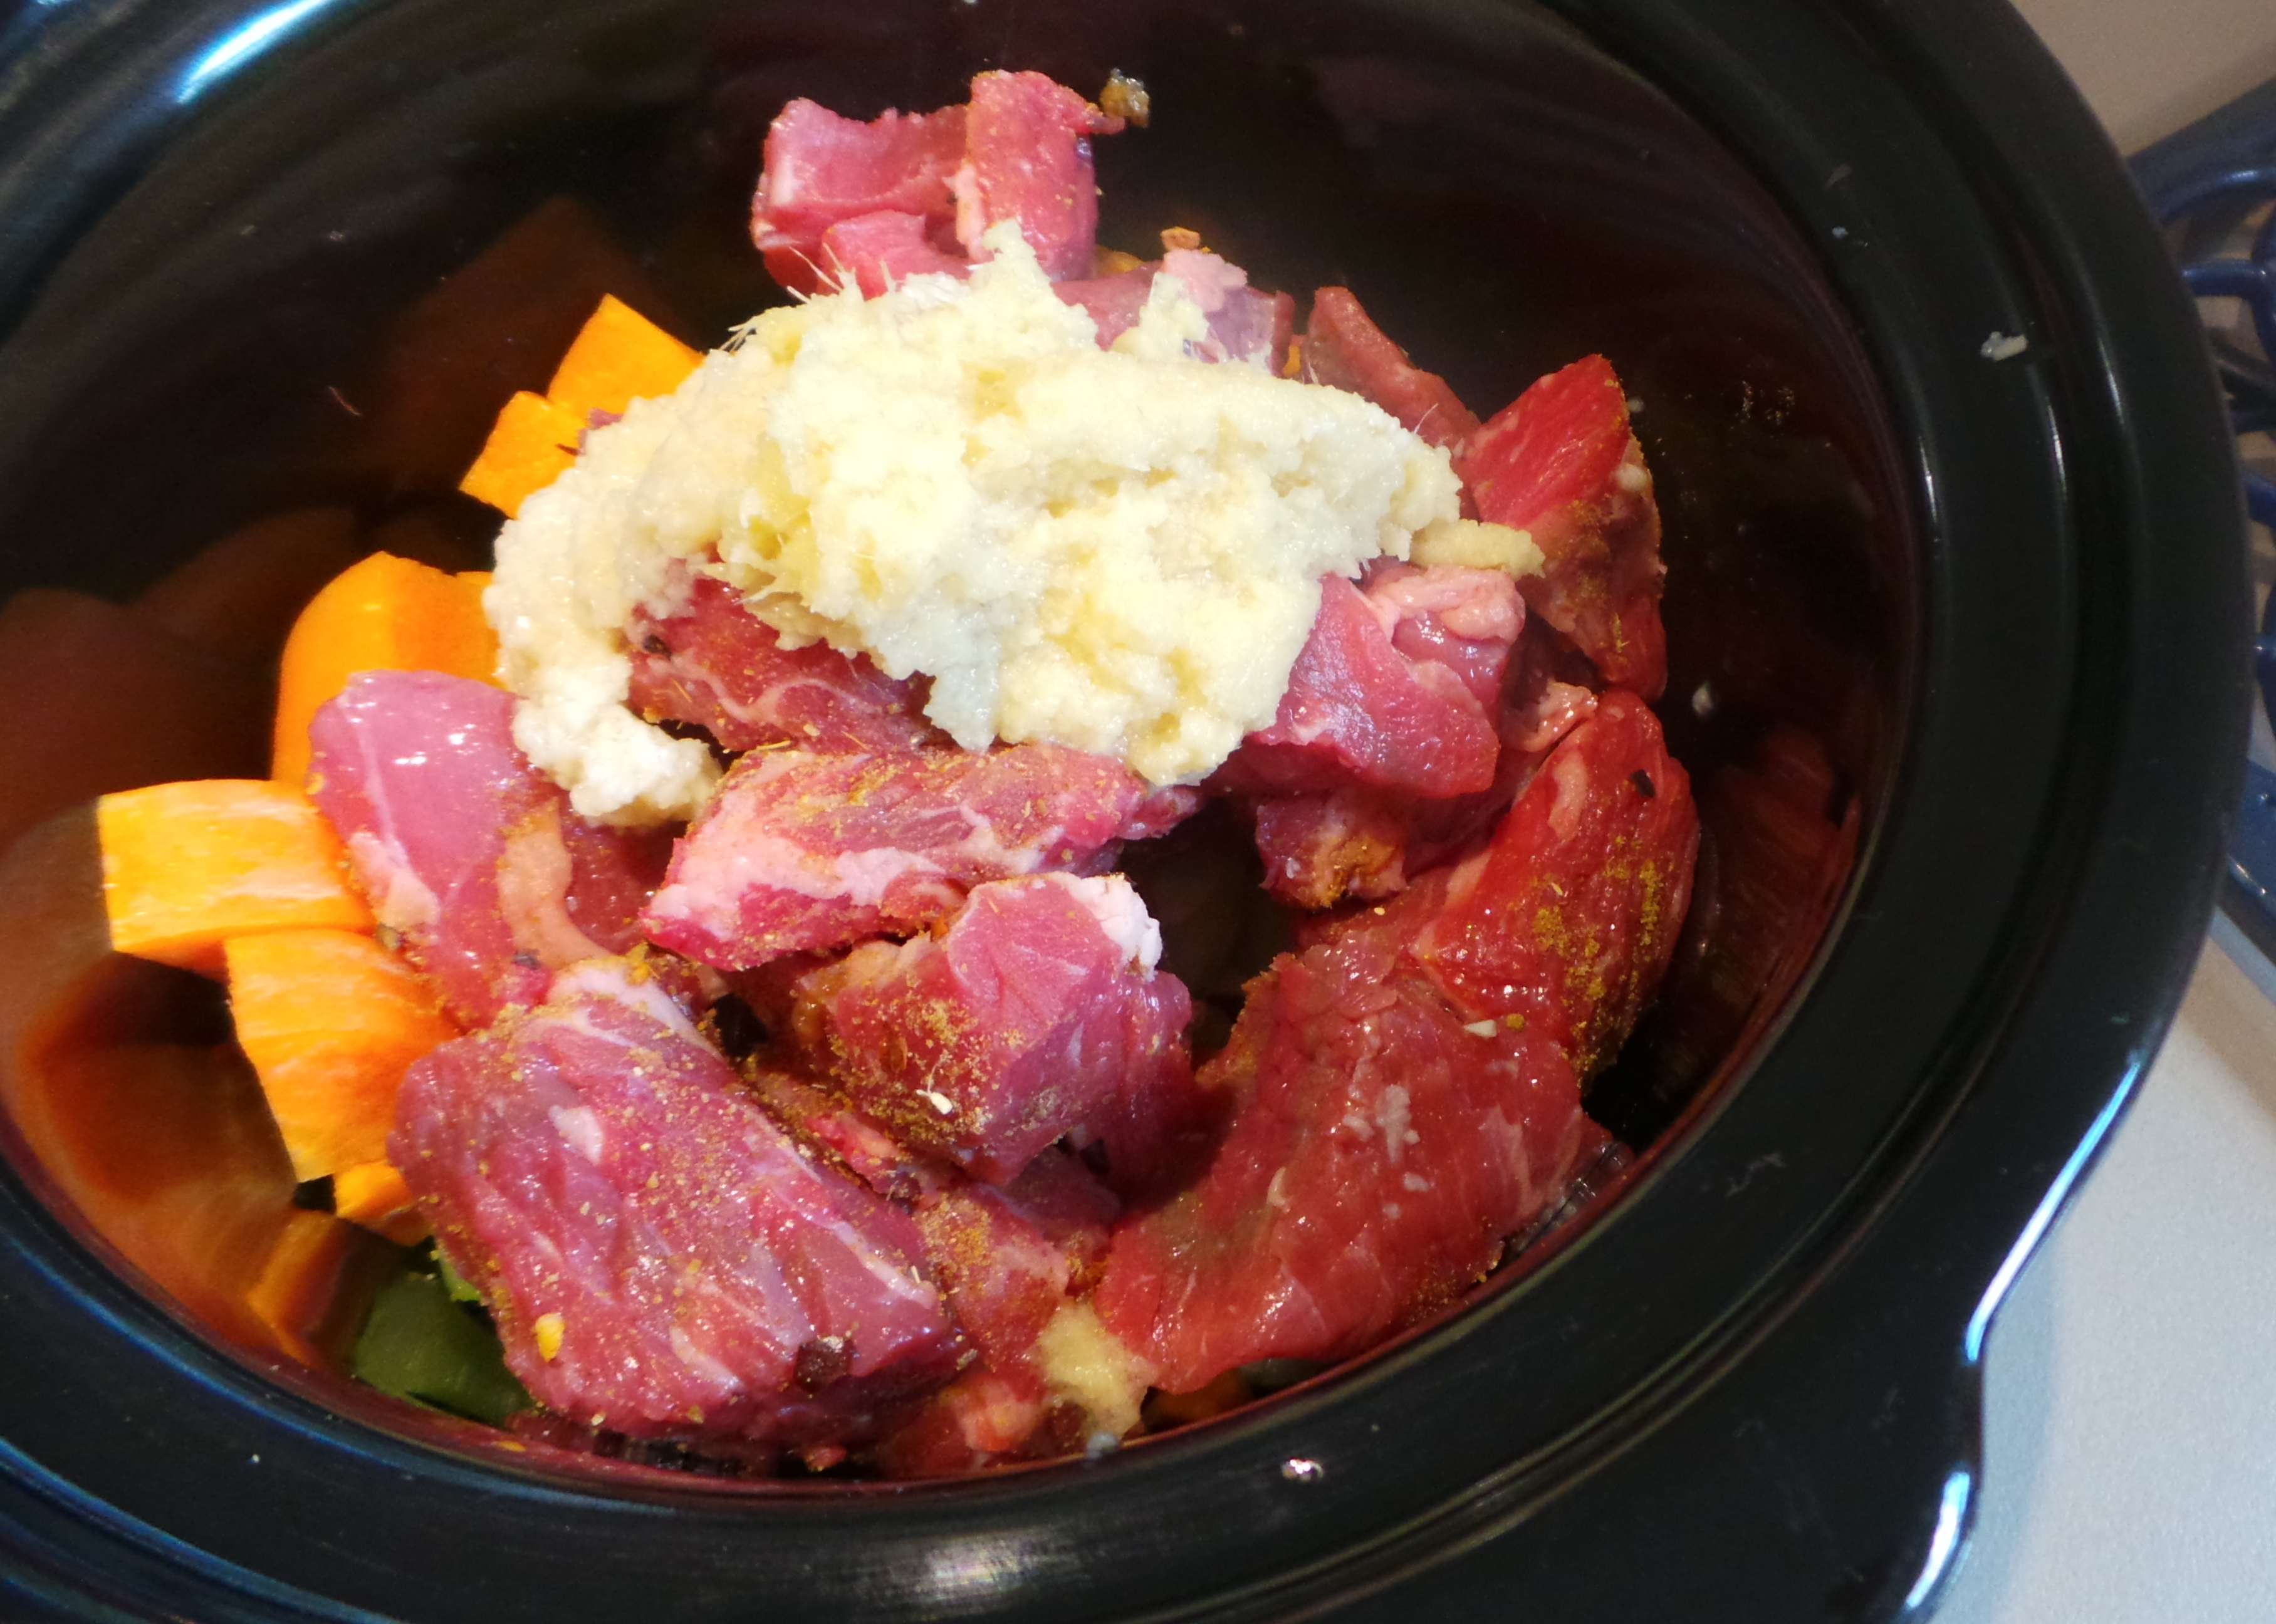
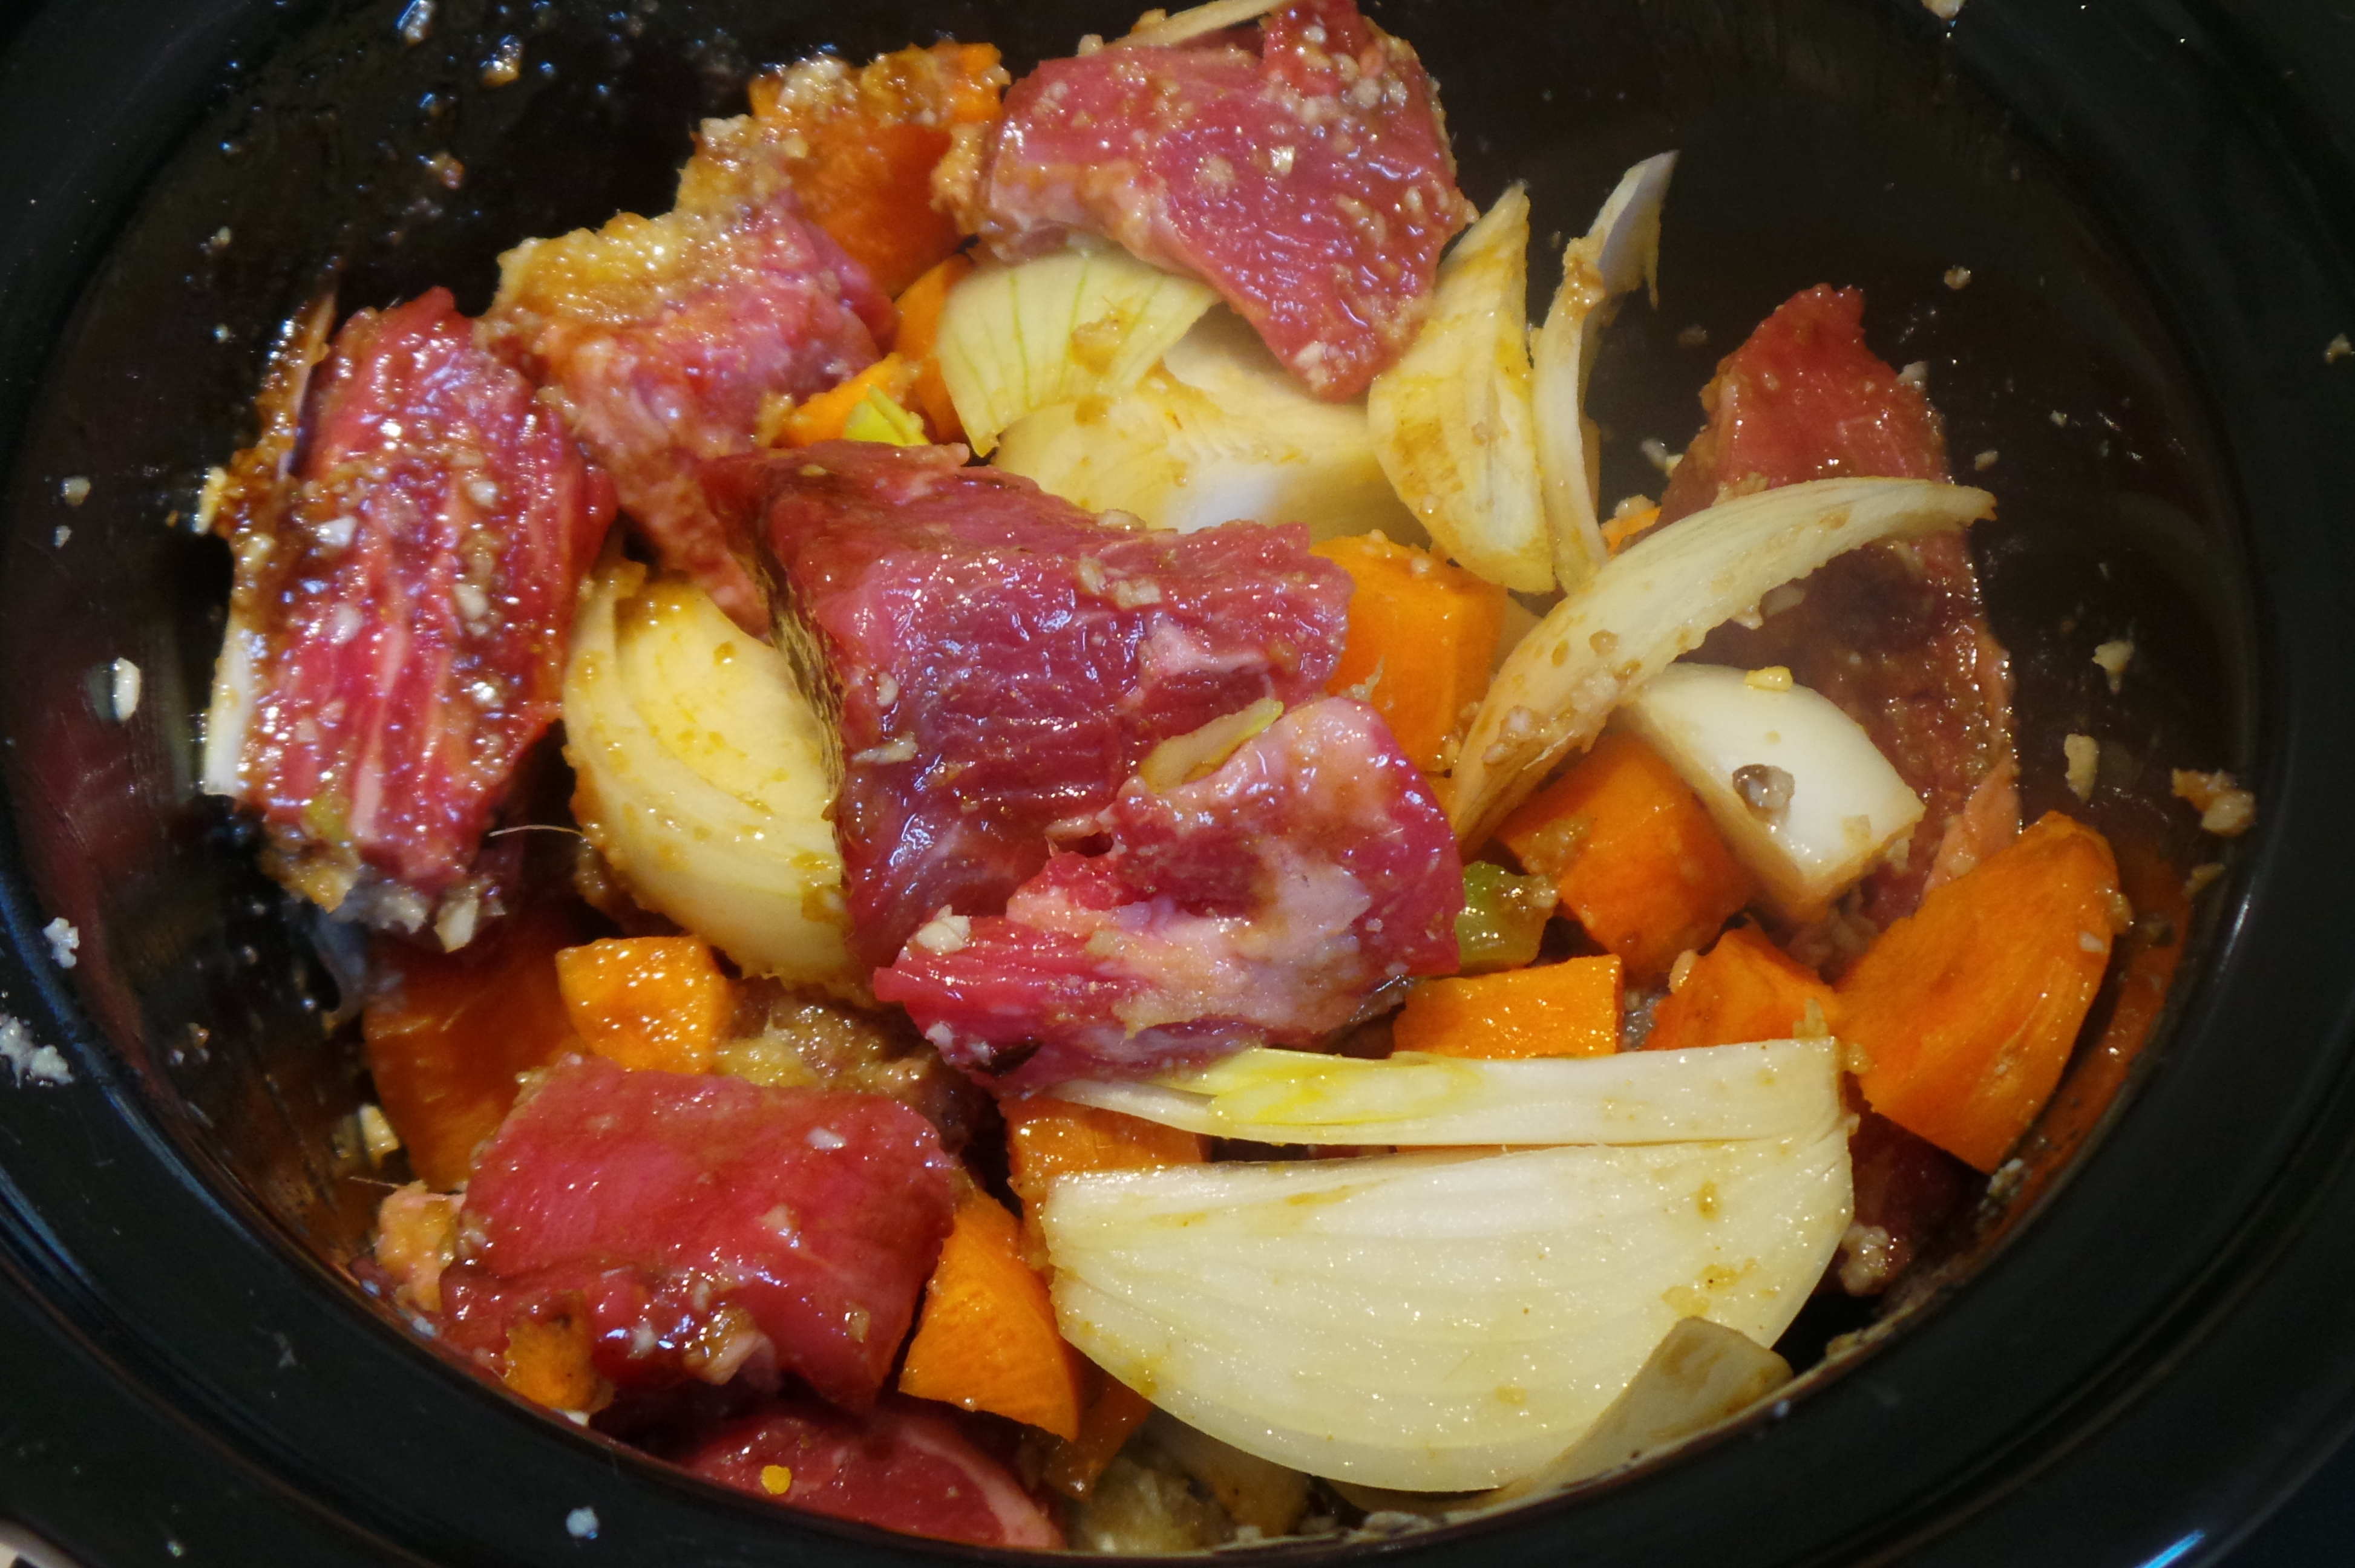
Now, dice up an onion, a stick of celery and a carrot as finely as you like (or are able).

Start by sauteeing the trinity.
Heat your pan over a medium heat with a little olive oil. (Use a frying pan for this stage if you intend to slow cook.)
Add your chopped vegetables and a teaspoon of crushed garlic. I don’t mind if this comes from a jar. Cook gently until the onion softens and becomes translucent.
Now add your minced beef. You’ll want about half a kilo or a pound of meat to serve four. Continue to fry, stirring gently to brown the meat almost all the way through. I like to push the vegetables aside at first, but do what works for you.
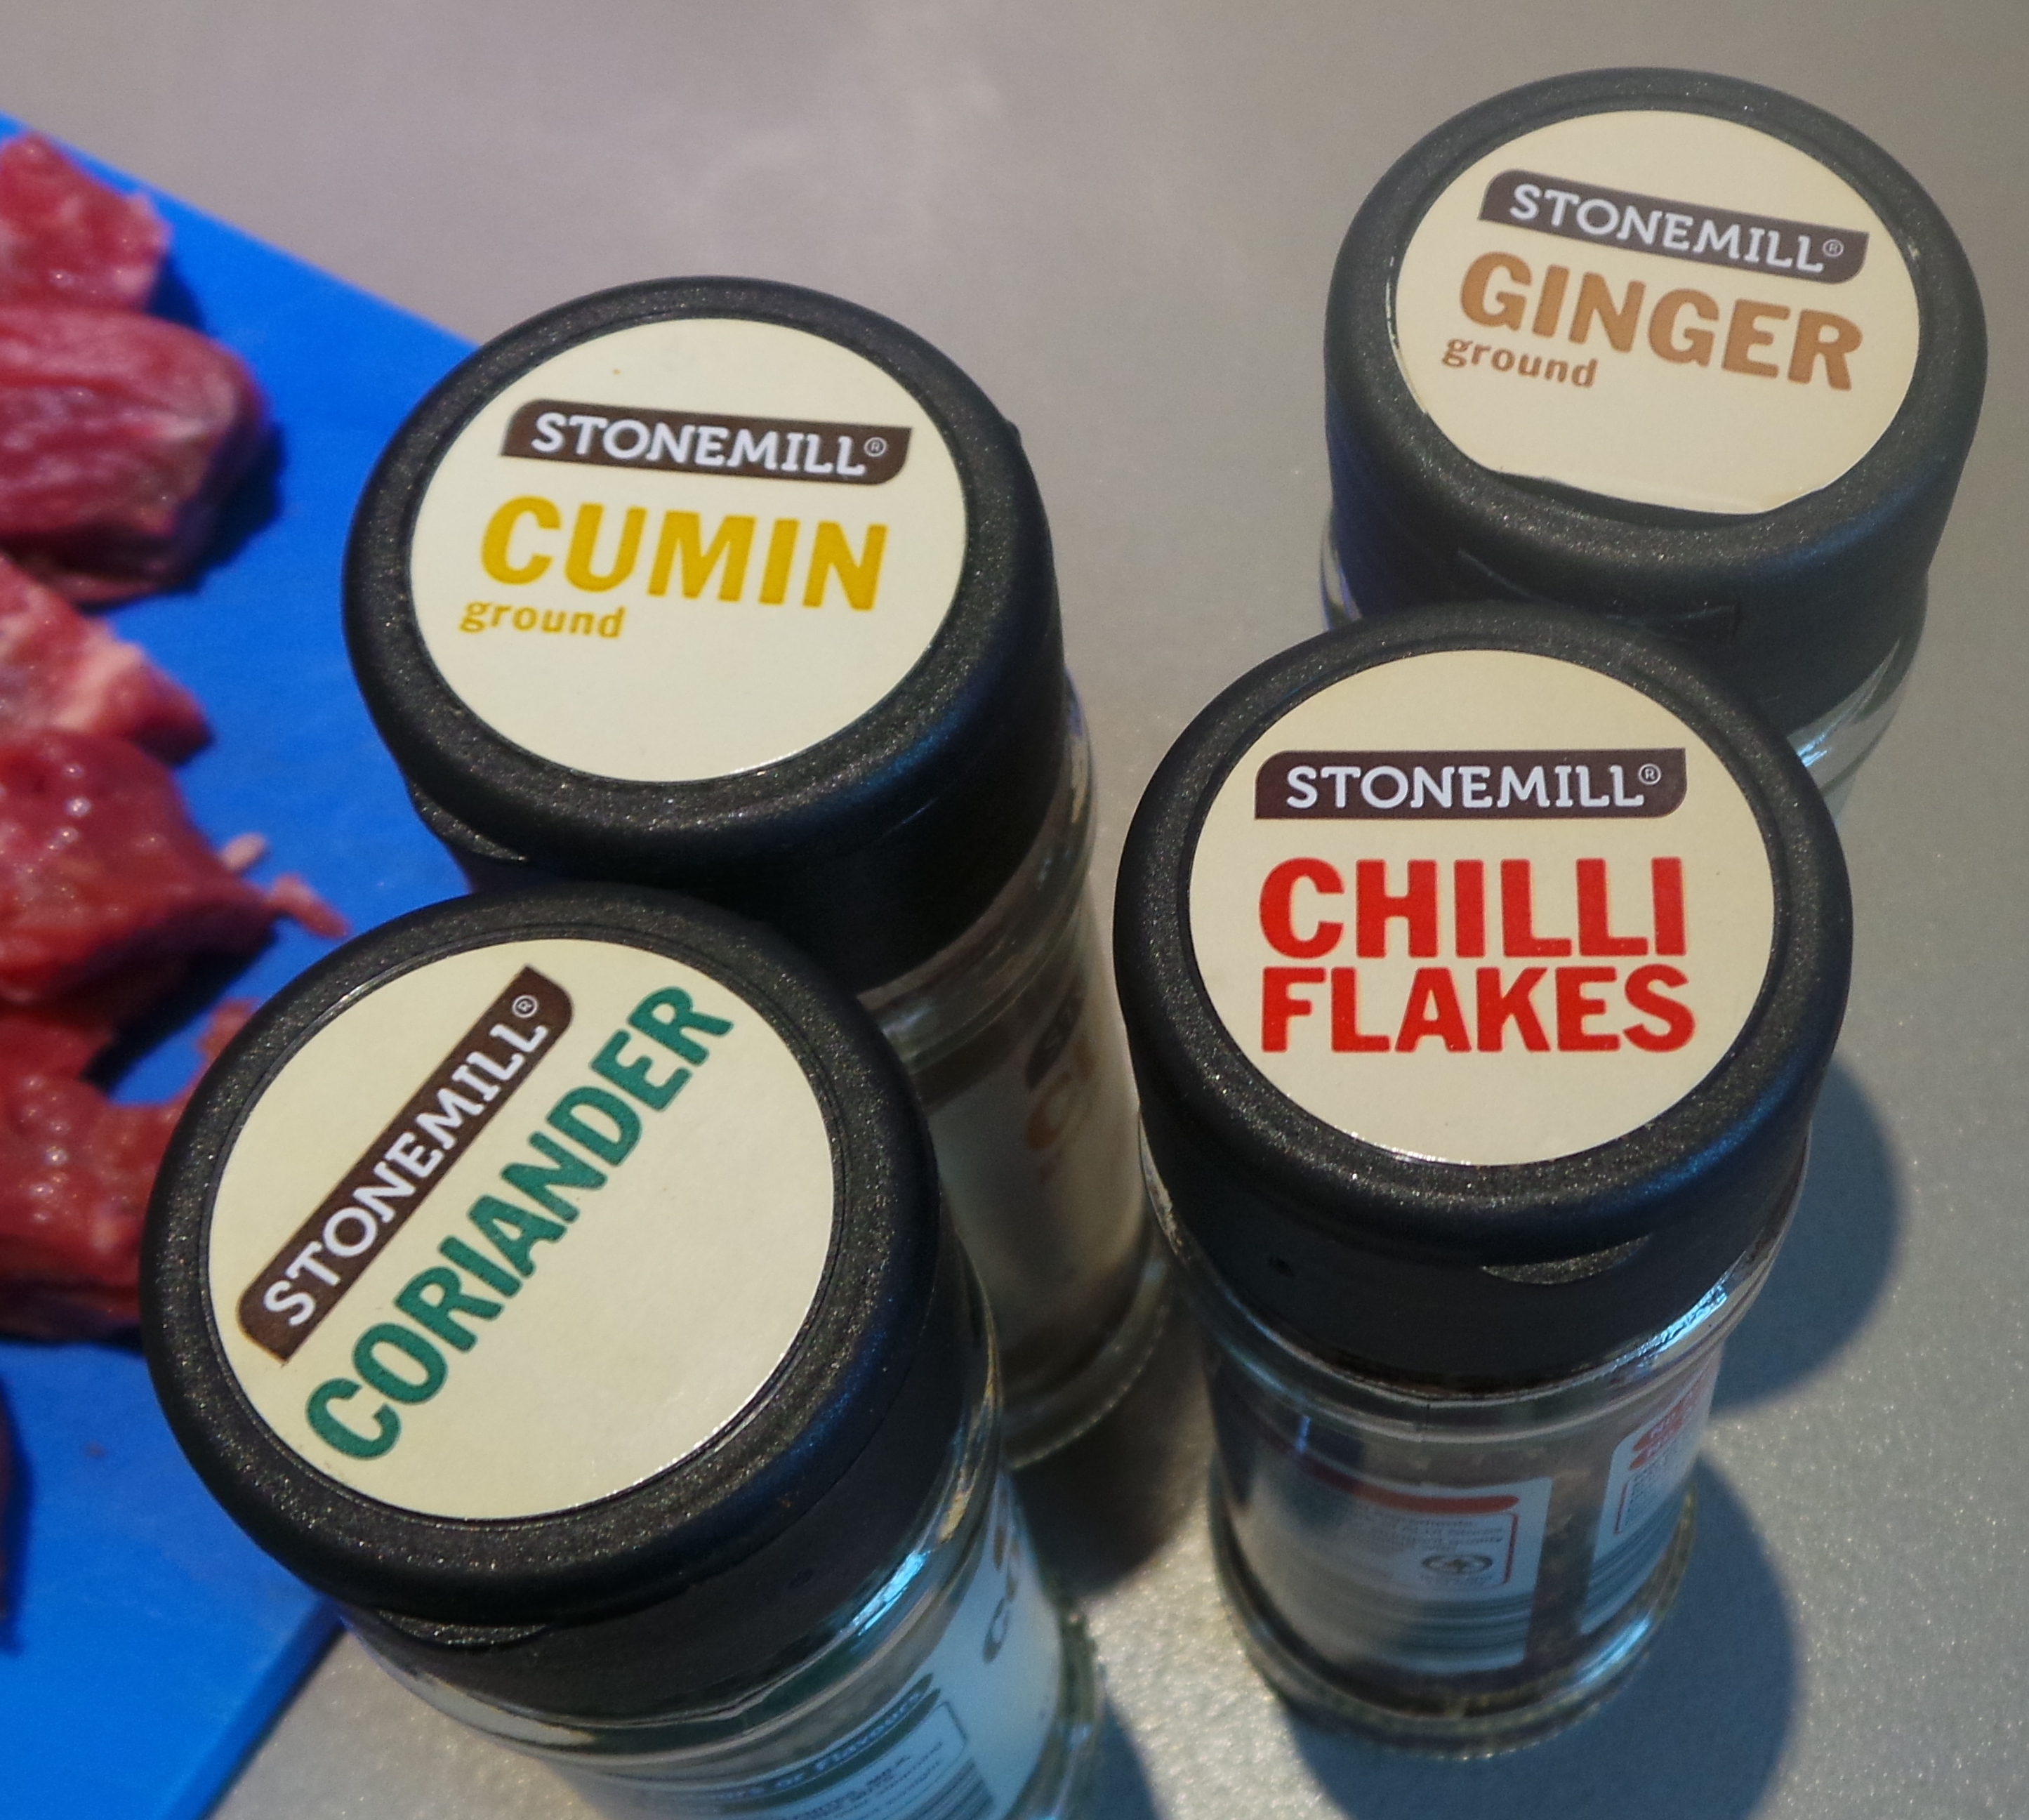
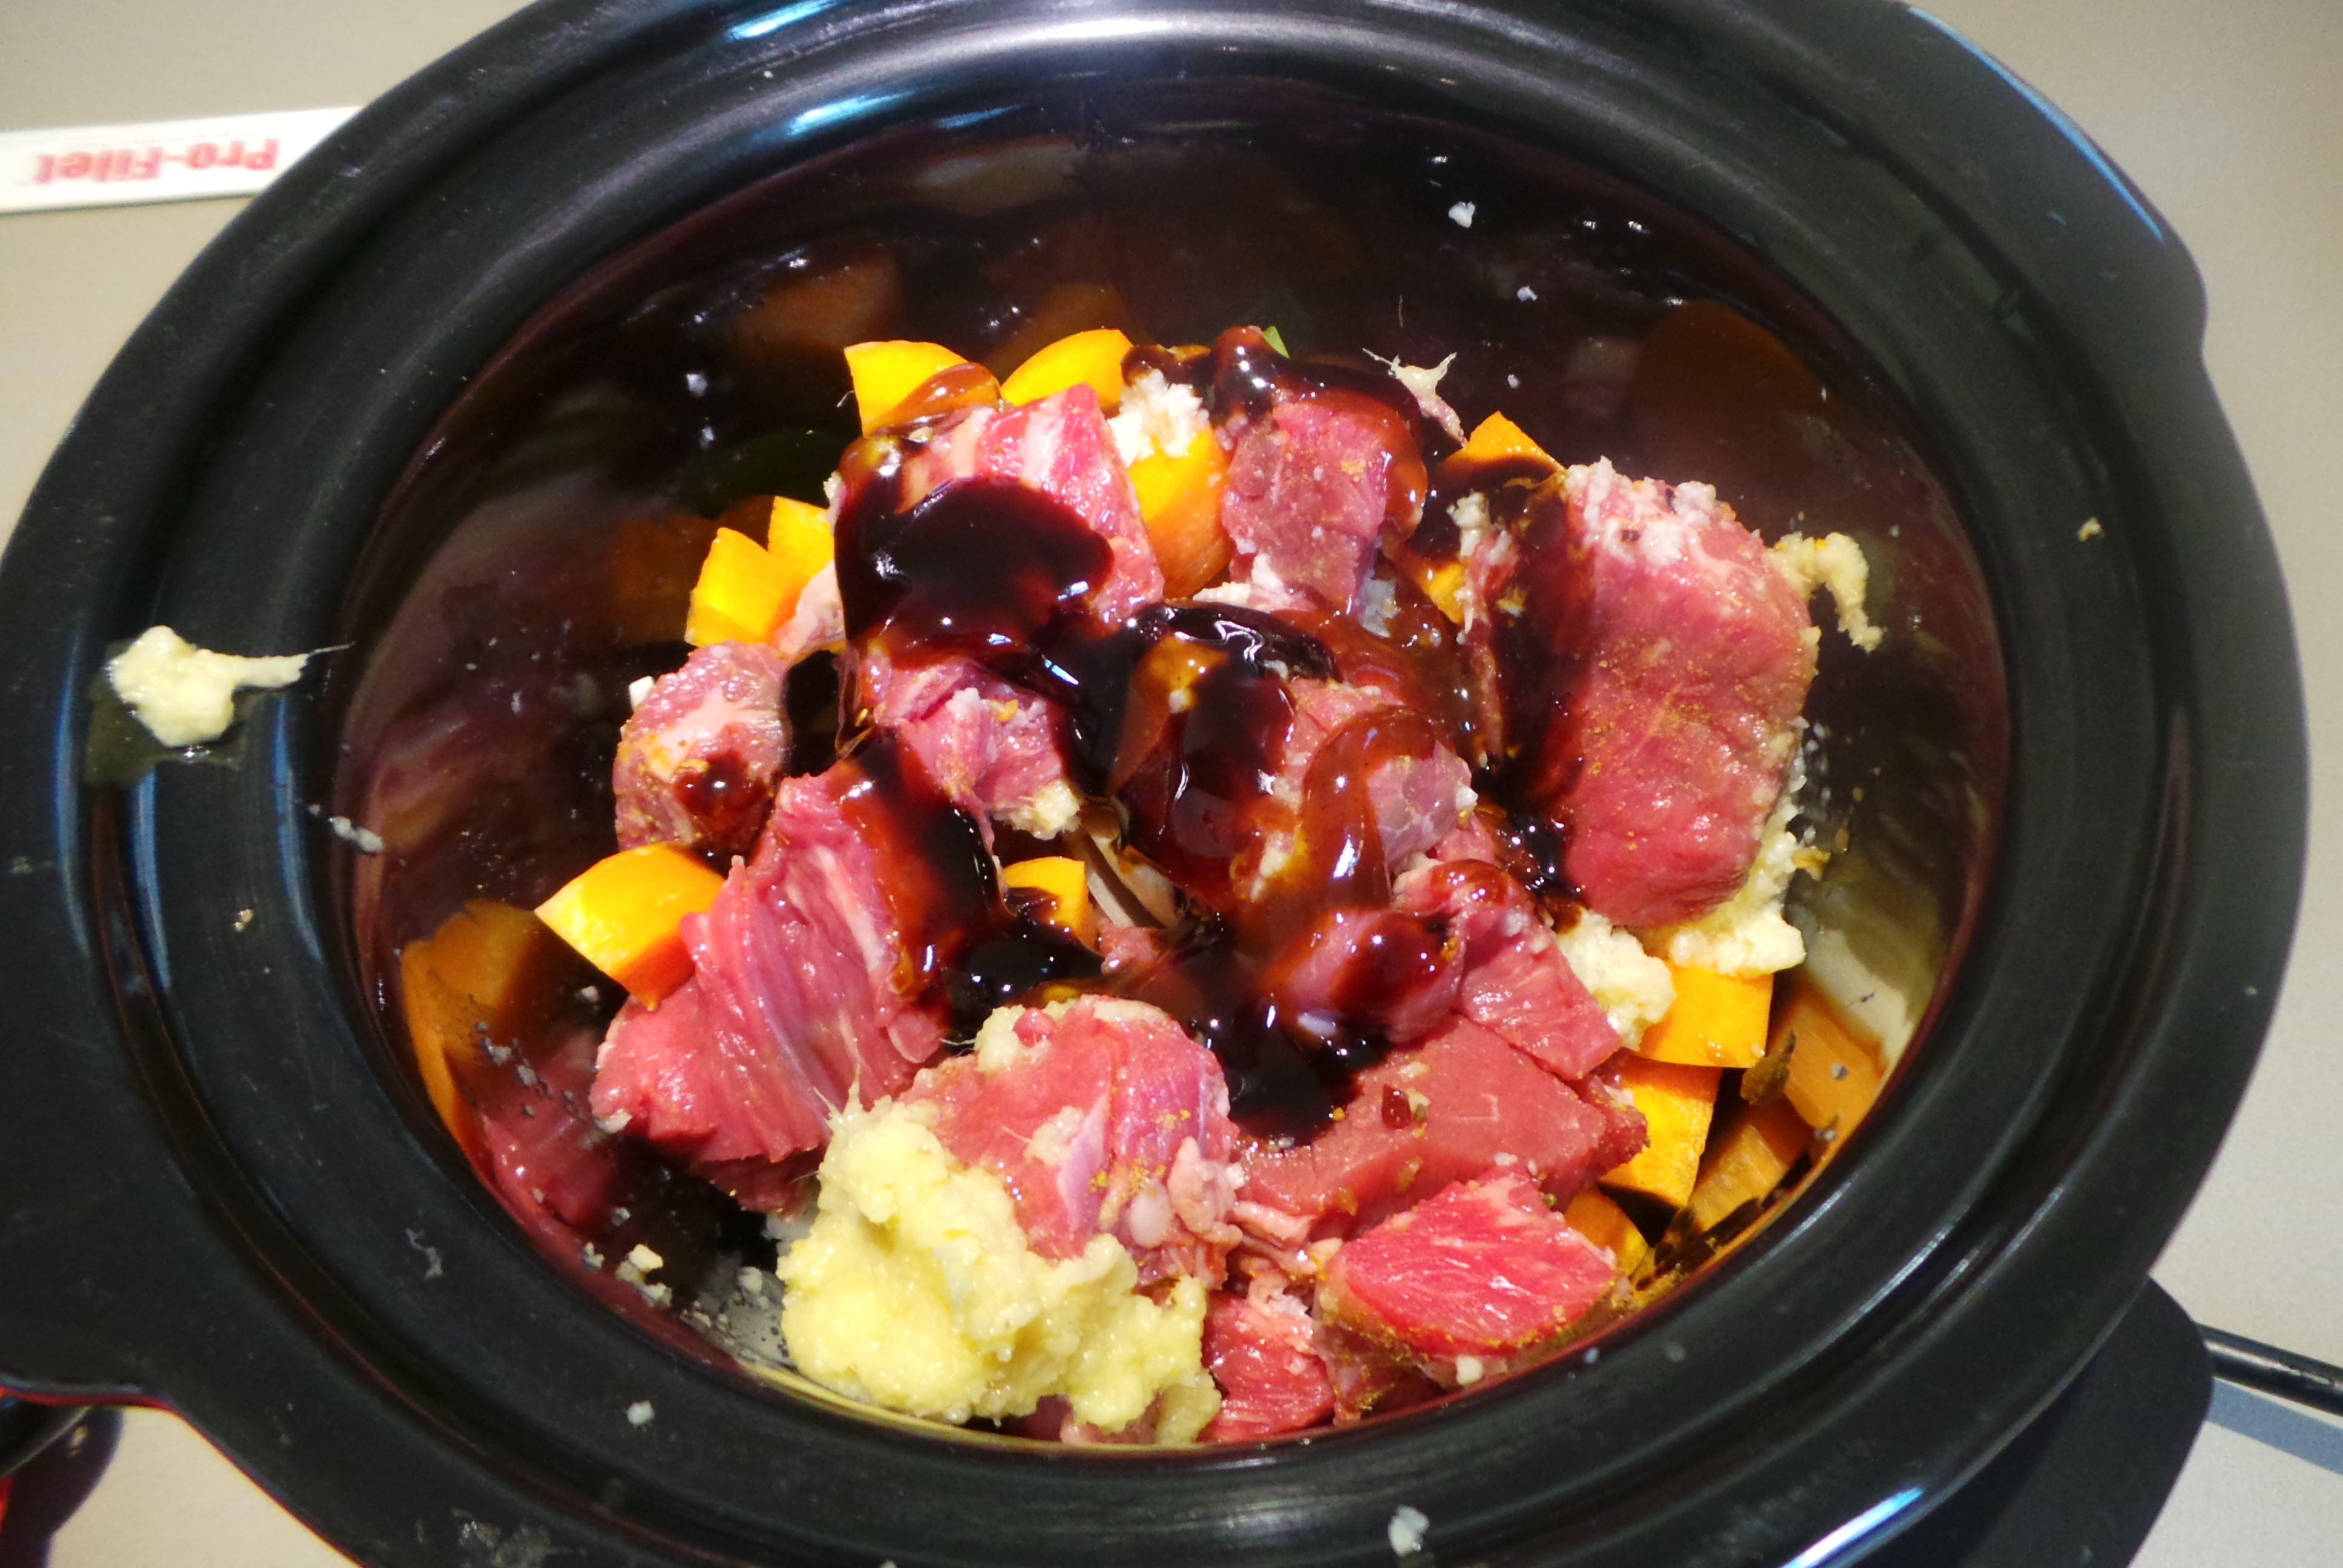
Once it is browned sufficiently, you can add a mix of ground cumin, chilli powder and fresh chilli OR you can use whatever commercial chilli blend you prefer. Make it as hot or as mild as you wish, but add the spices at this stage to fully release the aromatic oils that they contain.
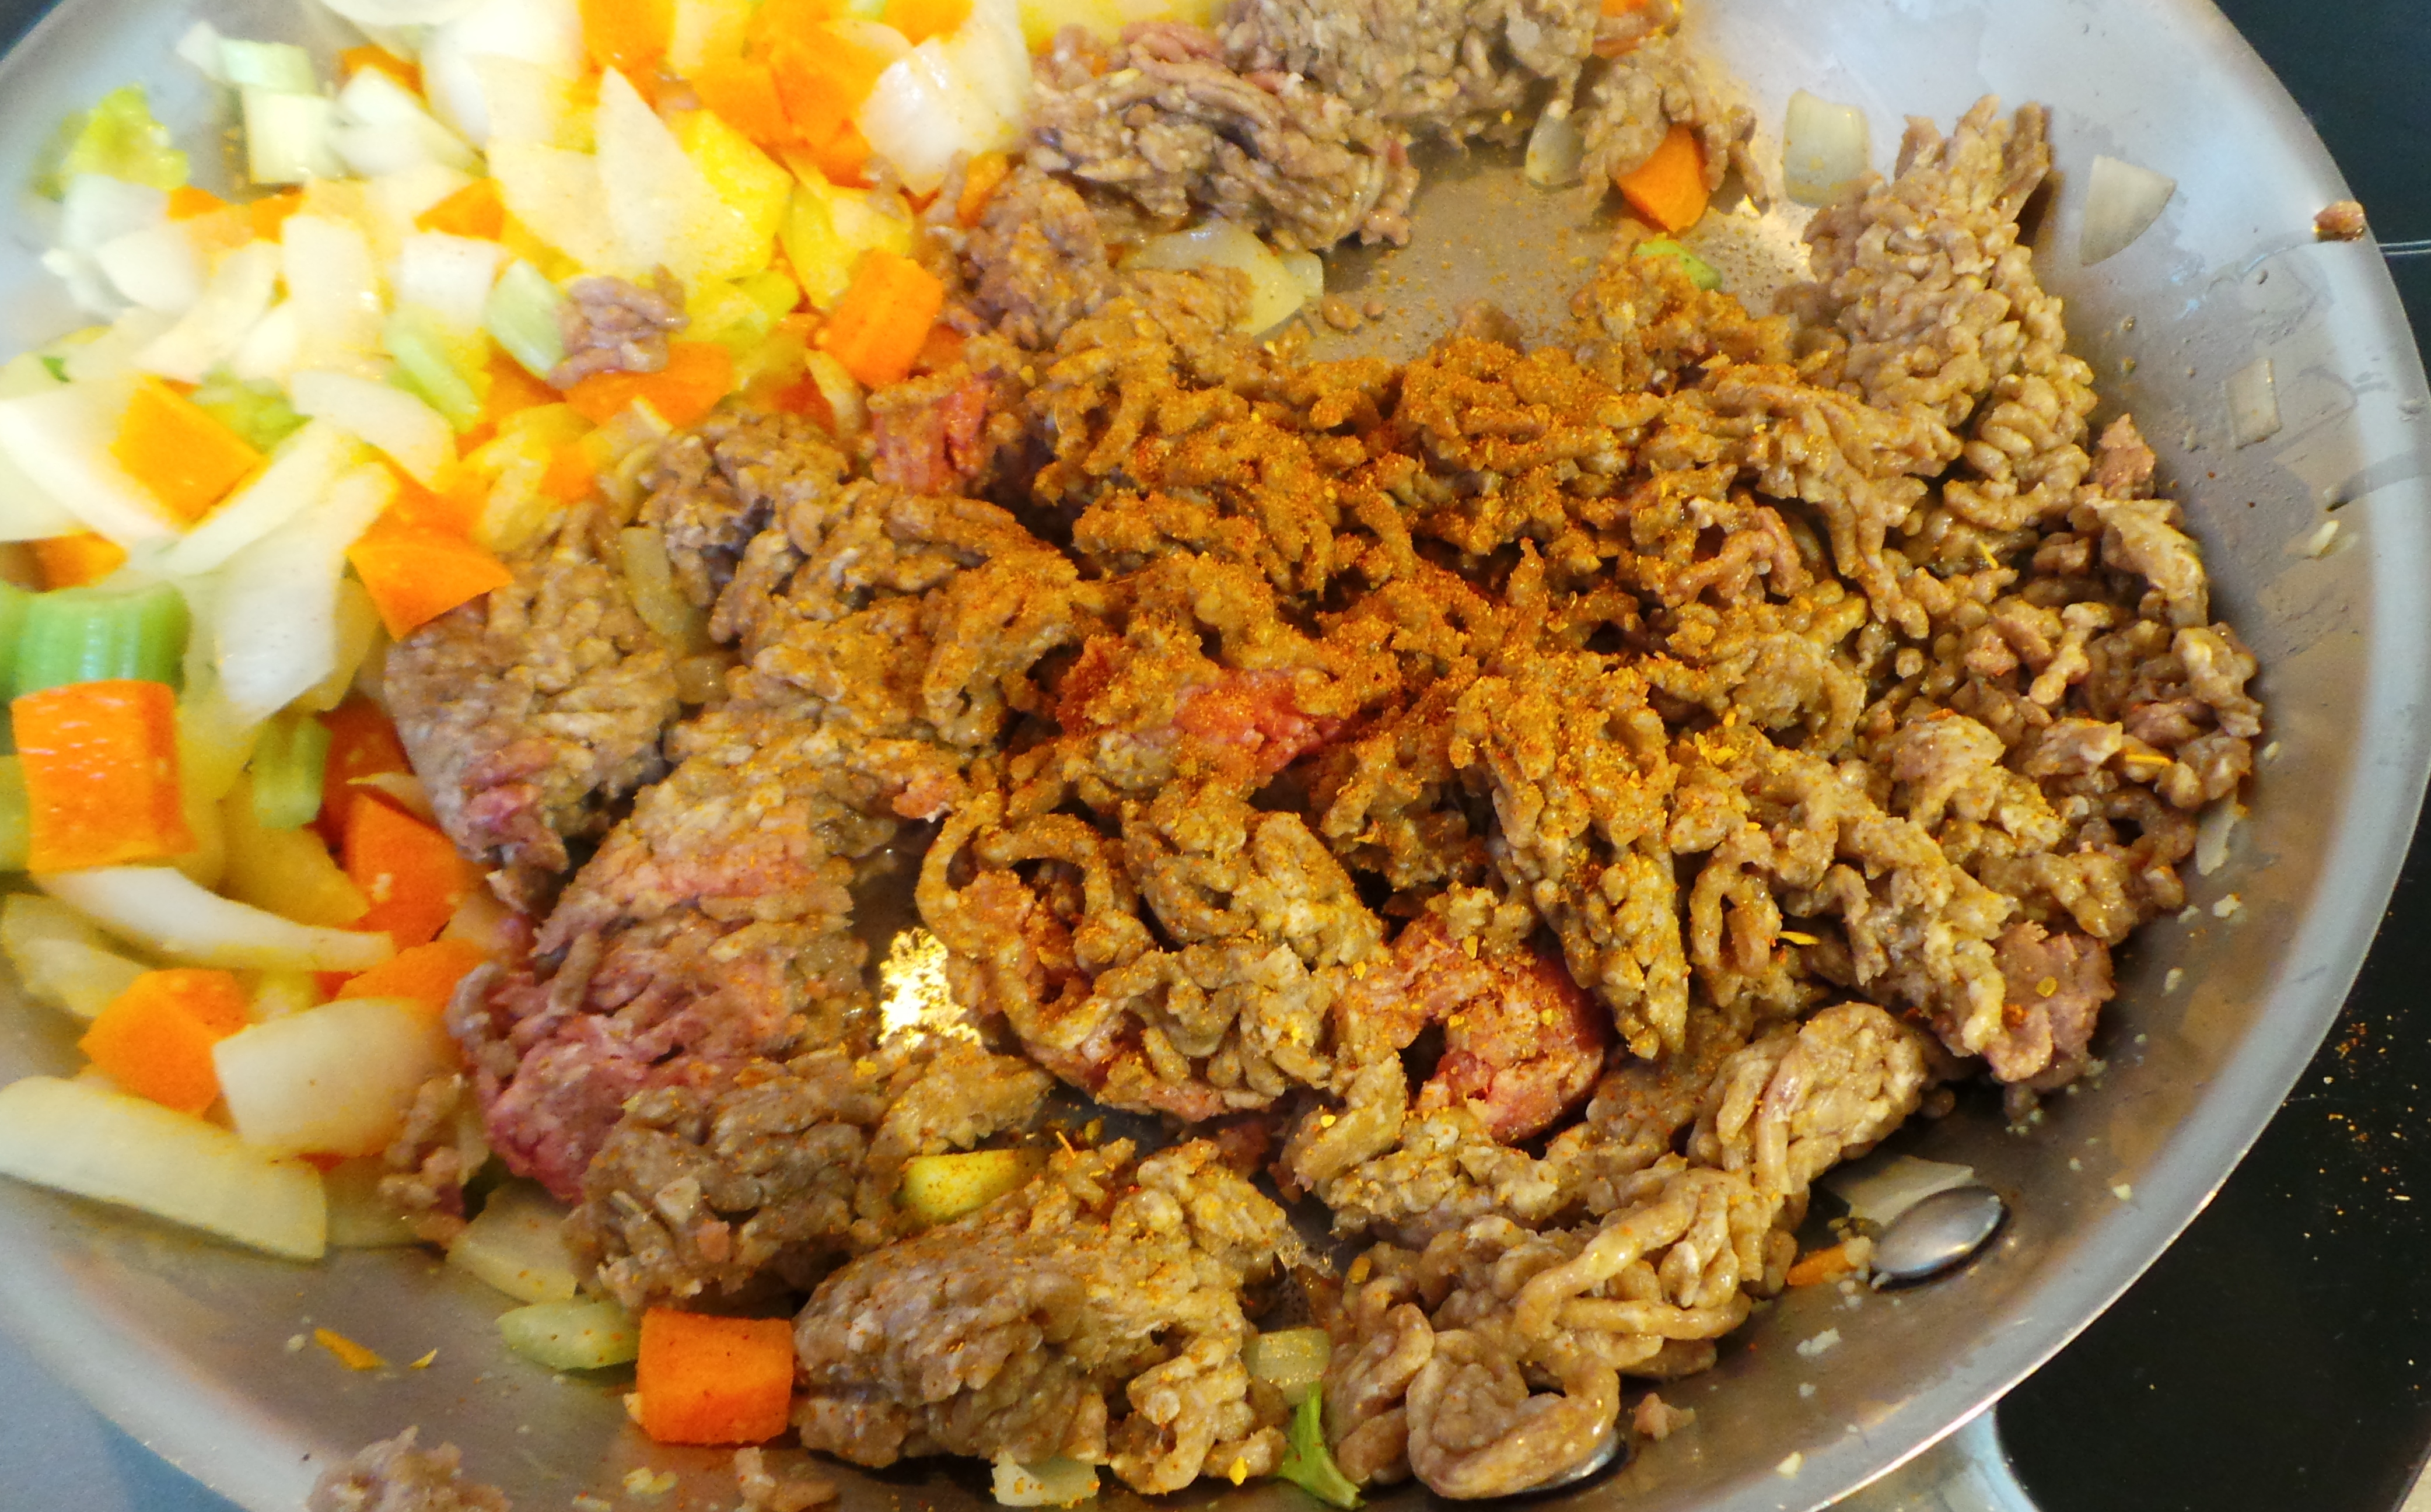
Add your meat and spices.
Mix it all together as thoroughly as you can, just to get those flavours a little more melded.
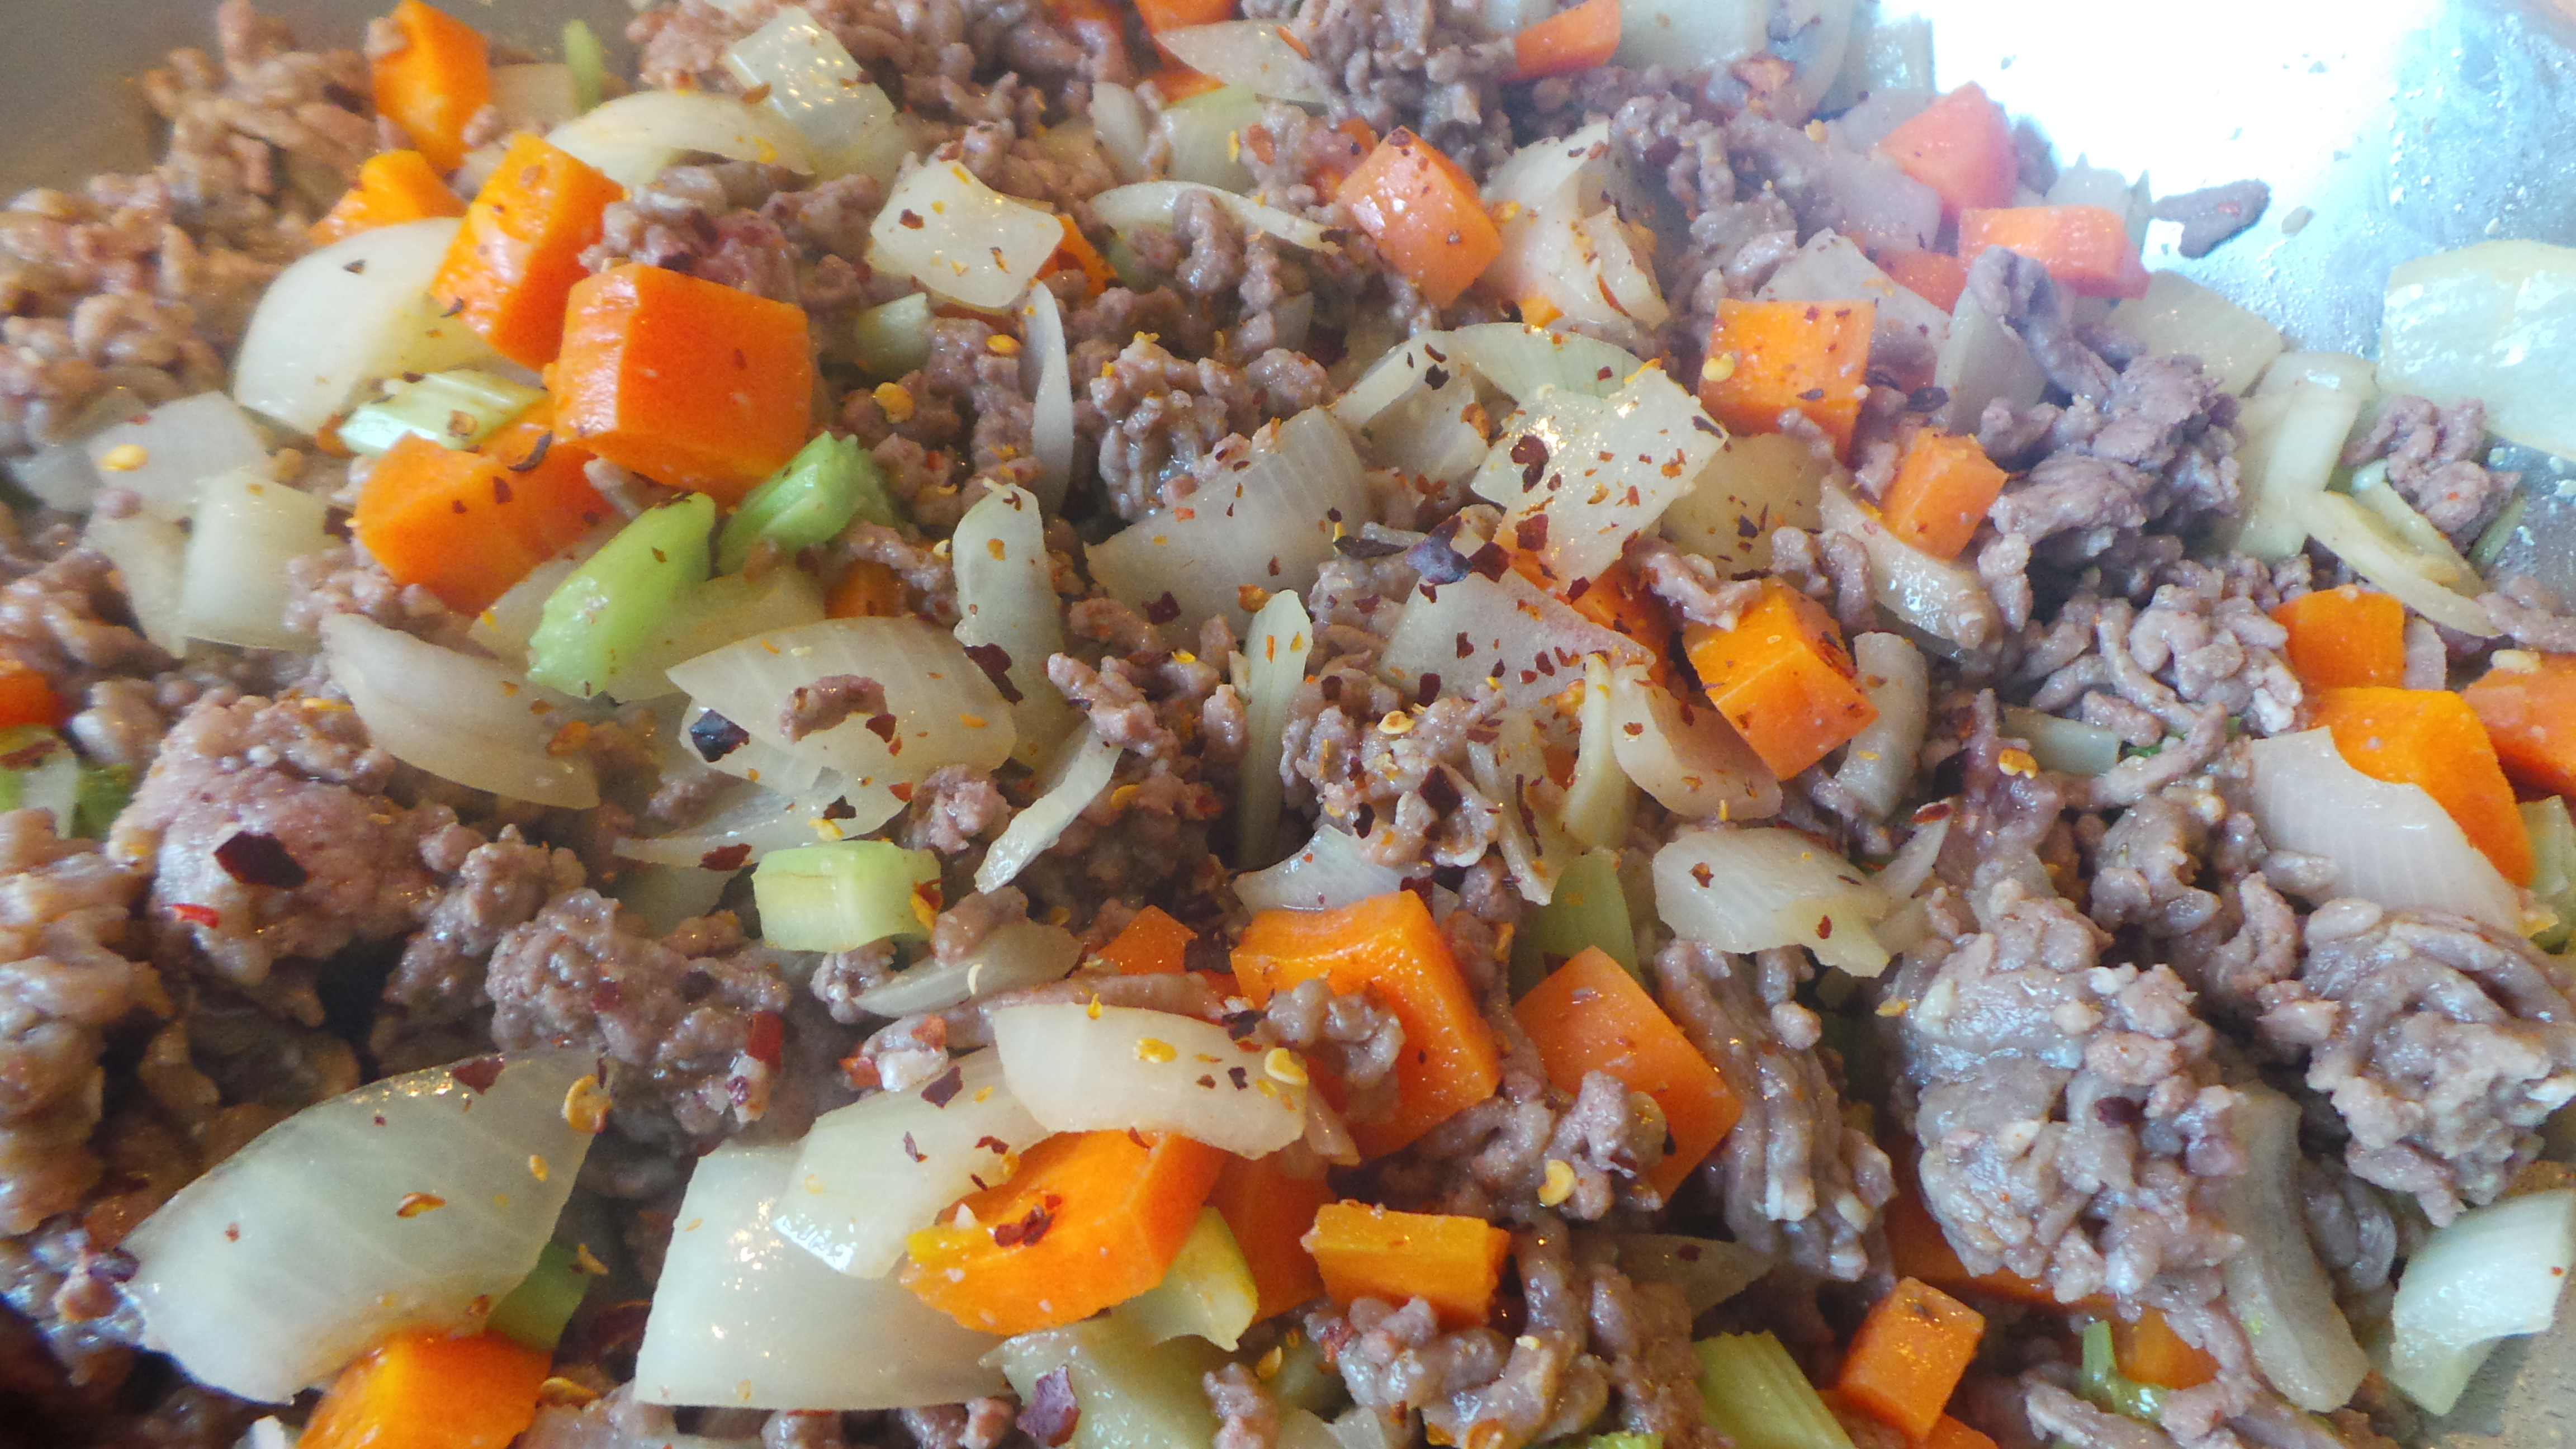
Looking good.
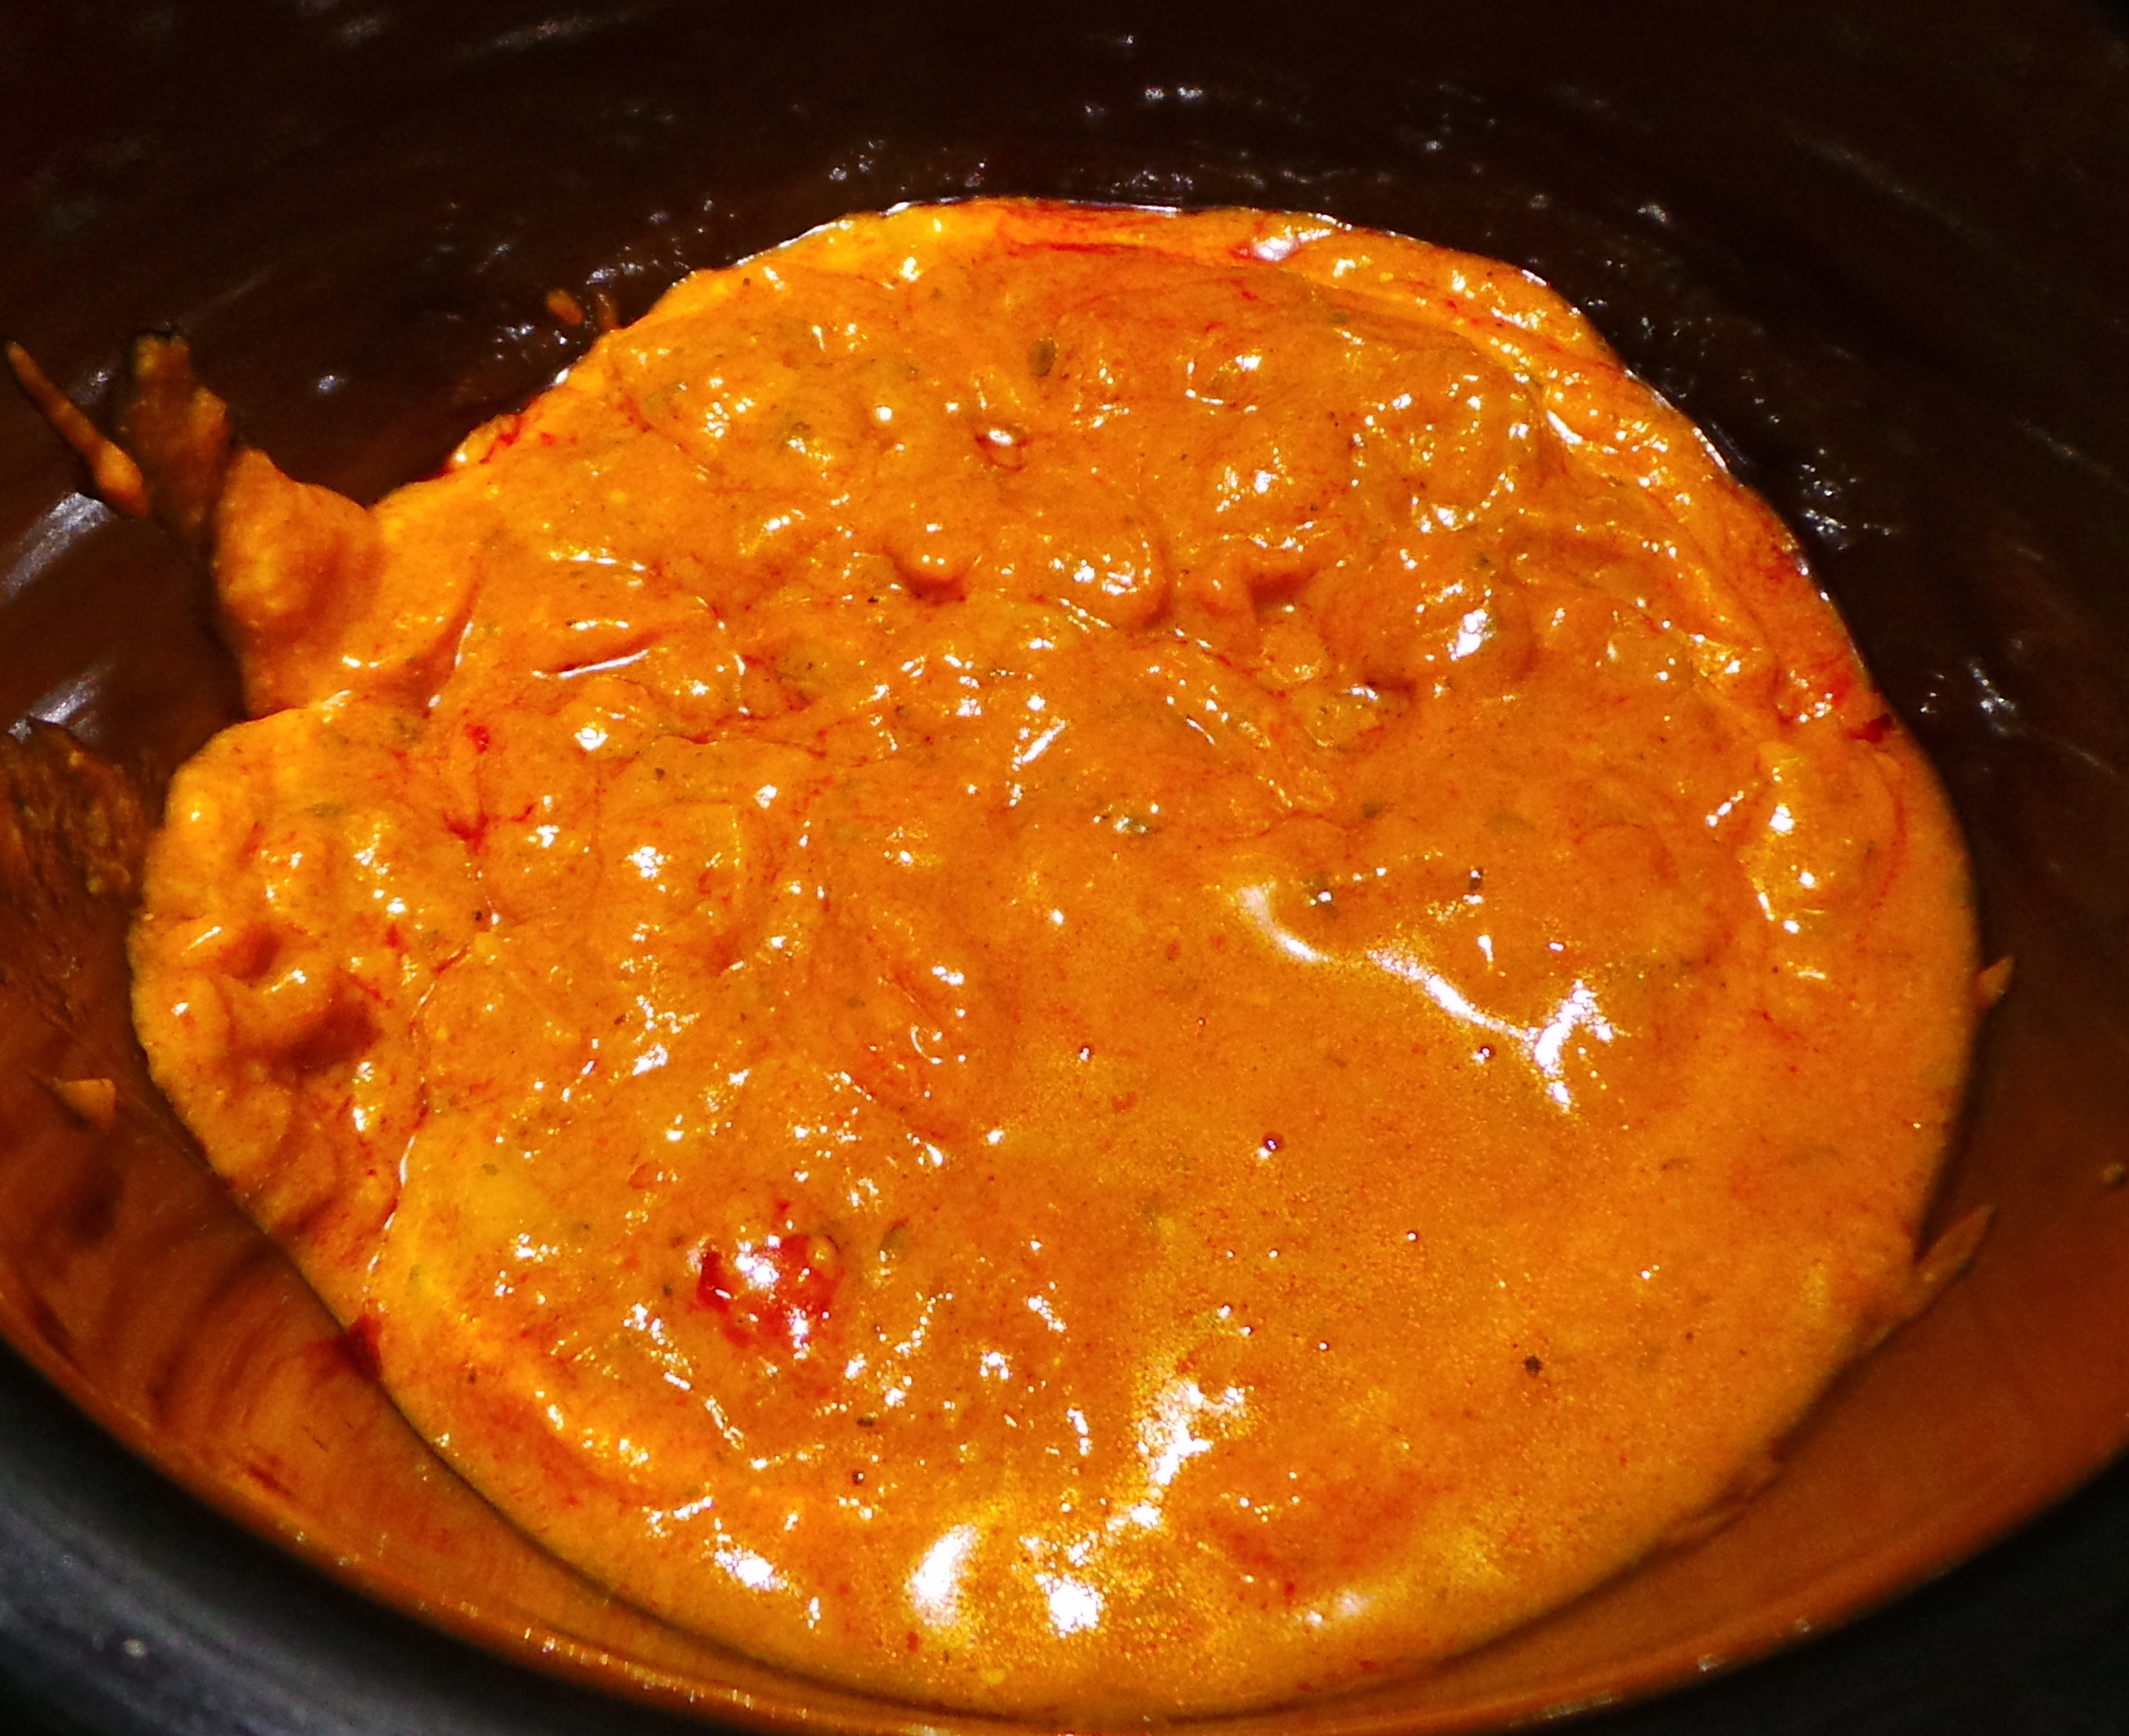
If you are using the slow cooker, then transfer your mixture into it now. Add the contents of 2 x 400 g tins of diced tomatoes and a small jar of sun-ripened tomato pesto.
I get the latter from Aldi. It only costs $2 and is quite affordable for the punch of flavour it gives. You may wish to drain off some of the oil from the top of the jar, but this isn’t necessary. It’s a matter of taste.

Sun-ripened tomato pesto.
Mix together well, add a half glass of water and a stick of cinnamon (yes, really) and season to taste. (Leave out the water if slow cooking.)
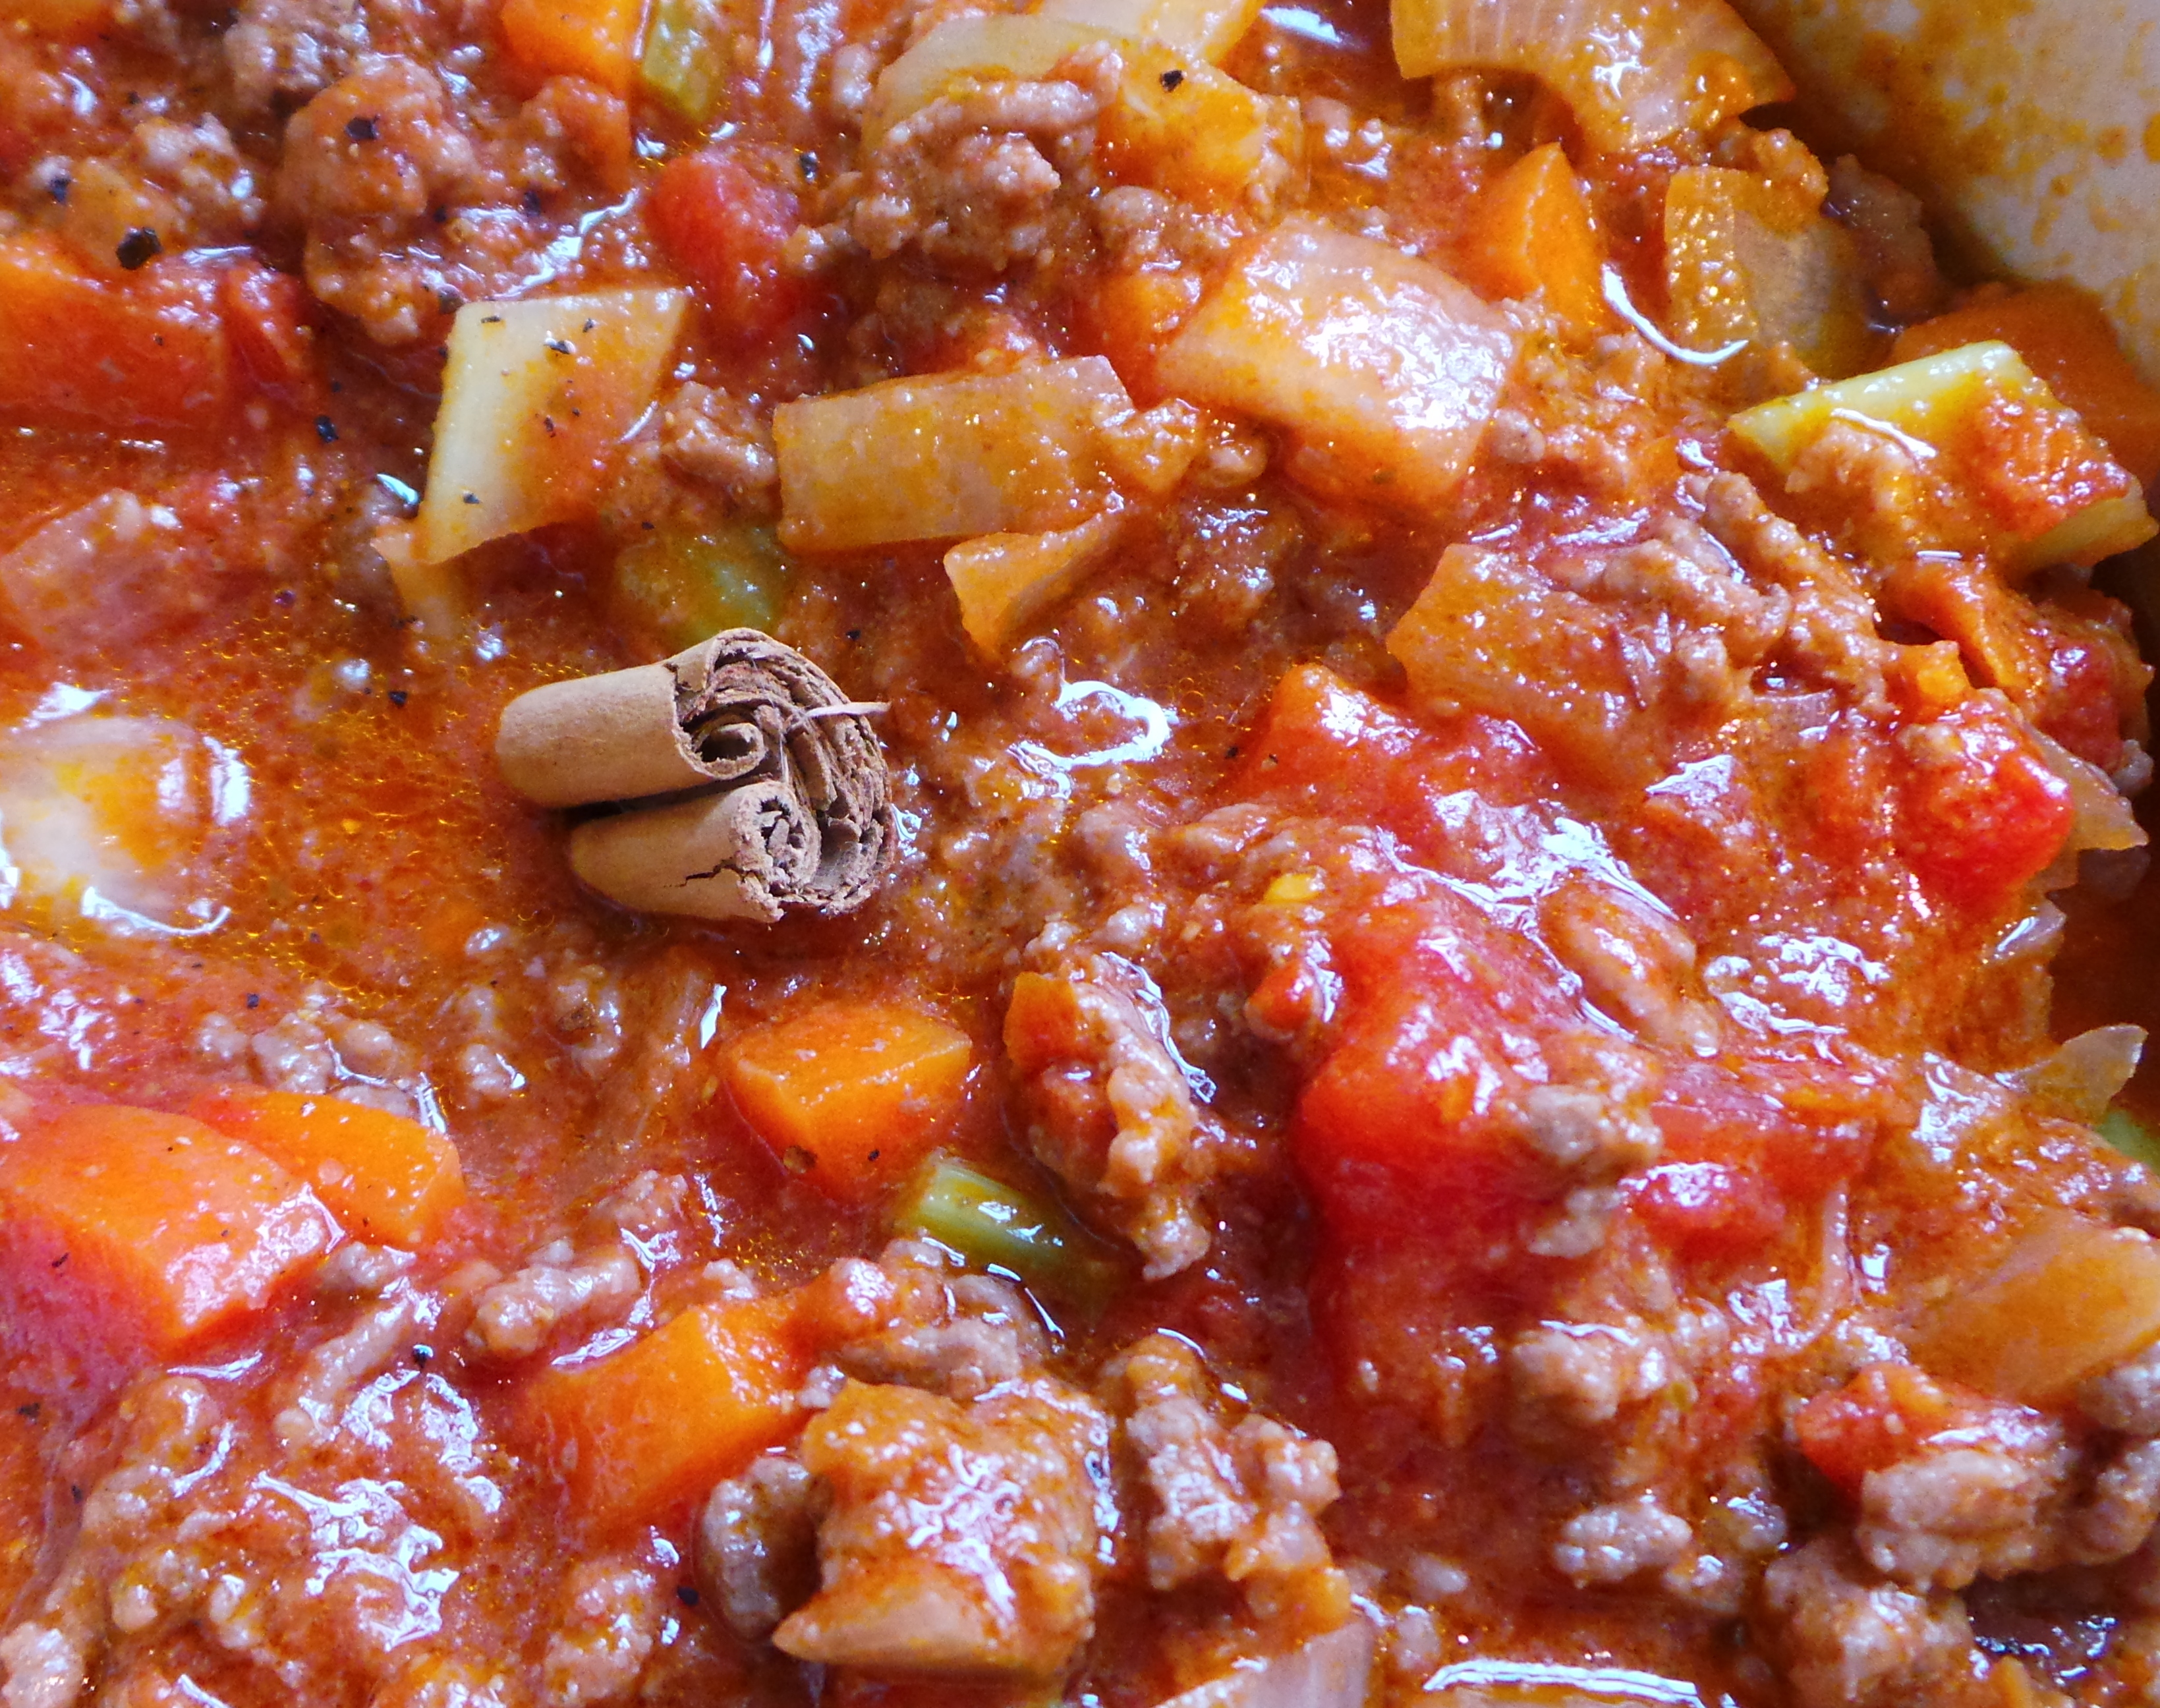
Stick of cinnamon.
Bring the mixture to the boil and place a piece of greaseproof paper between the pot and the lid. Turn the heat down to simmer on the stove for 1-1½ hours. Alternatively, transfer to the oven for the same amount of time.
Add the tinned kidneys beans about 30 minutes before serving to allow them to warm through.

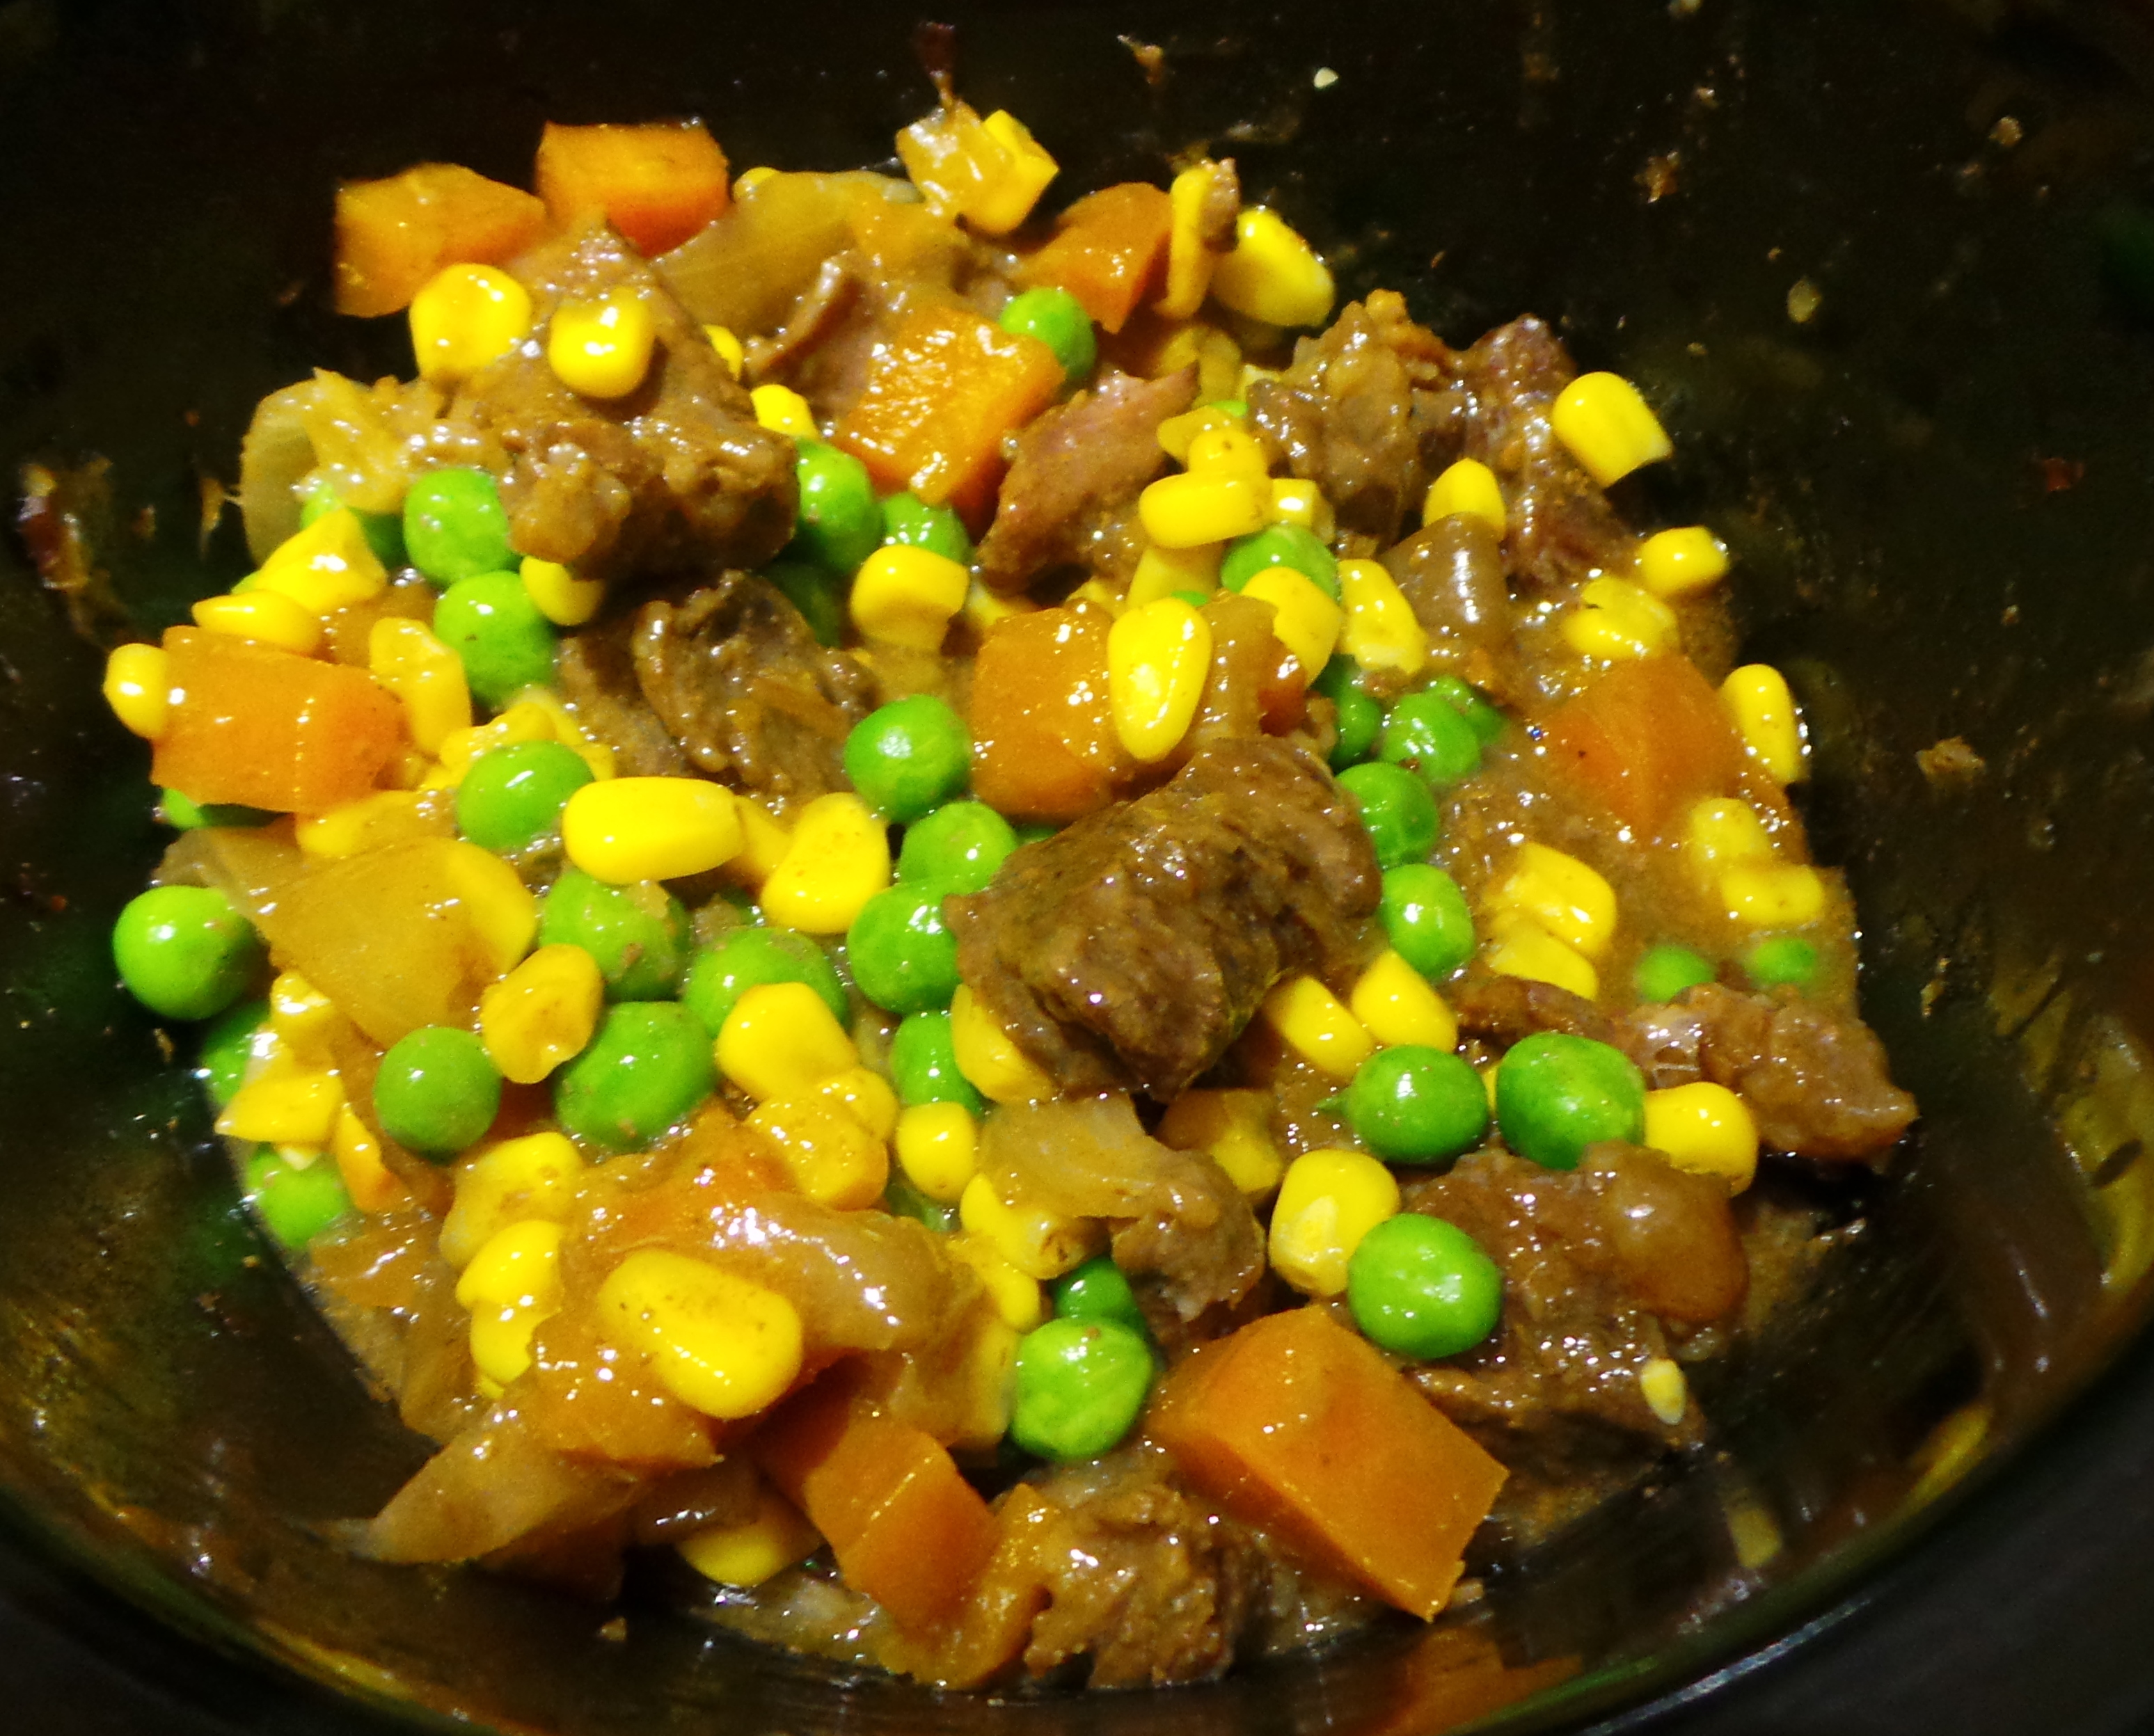
I forgot to strain the oil off the pesto – can you tell?
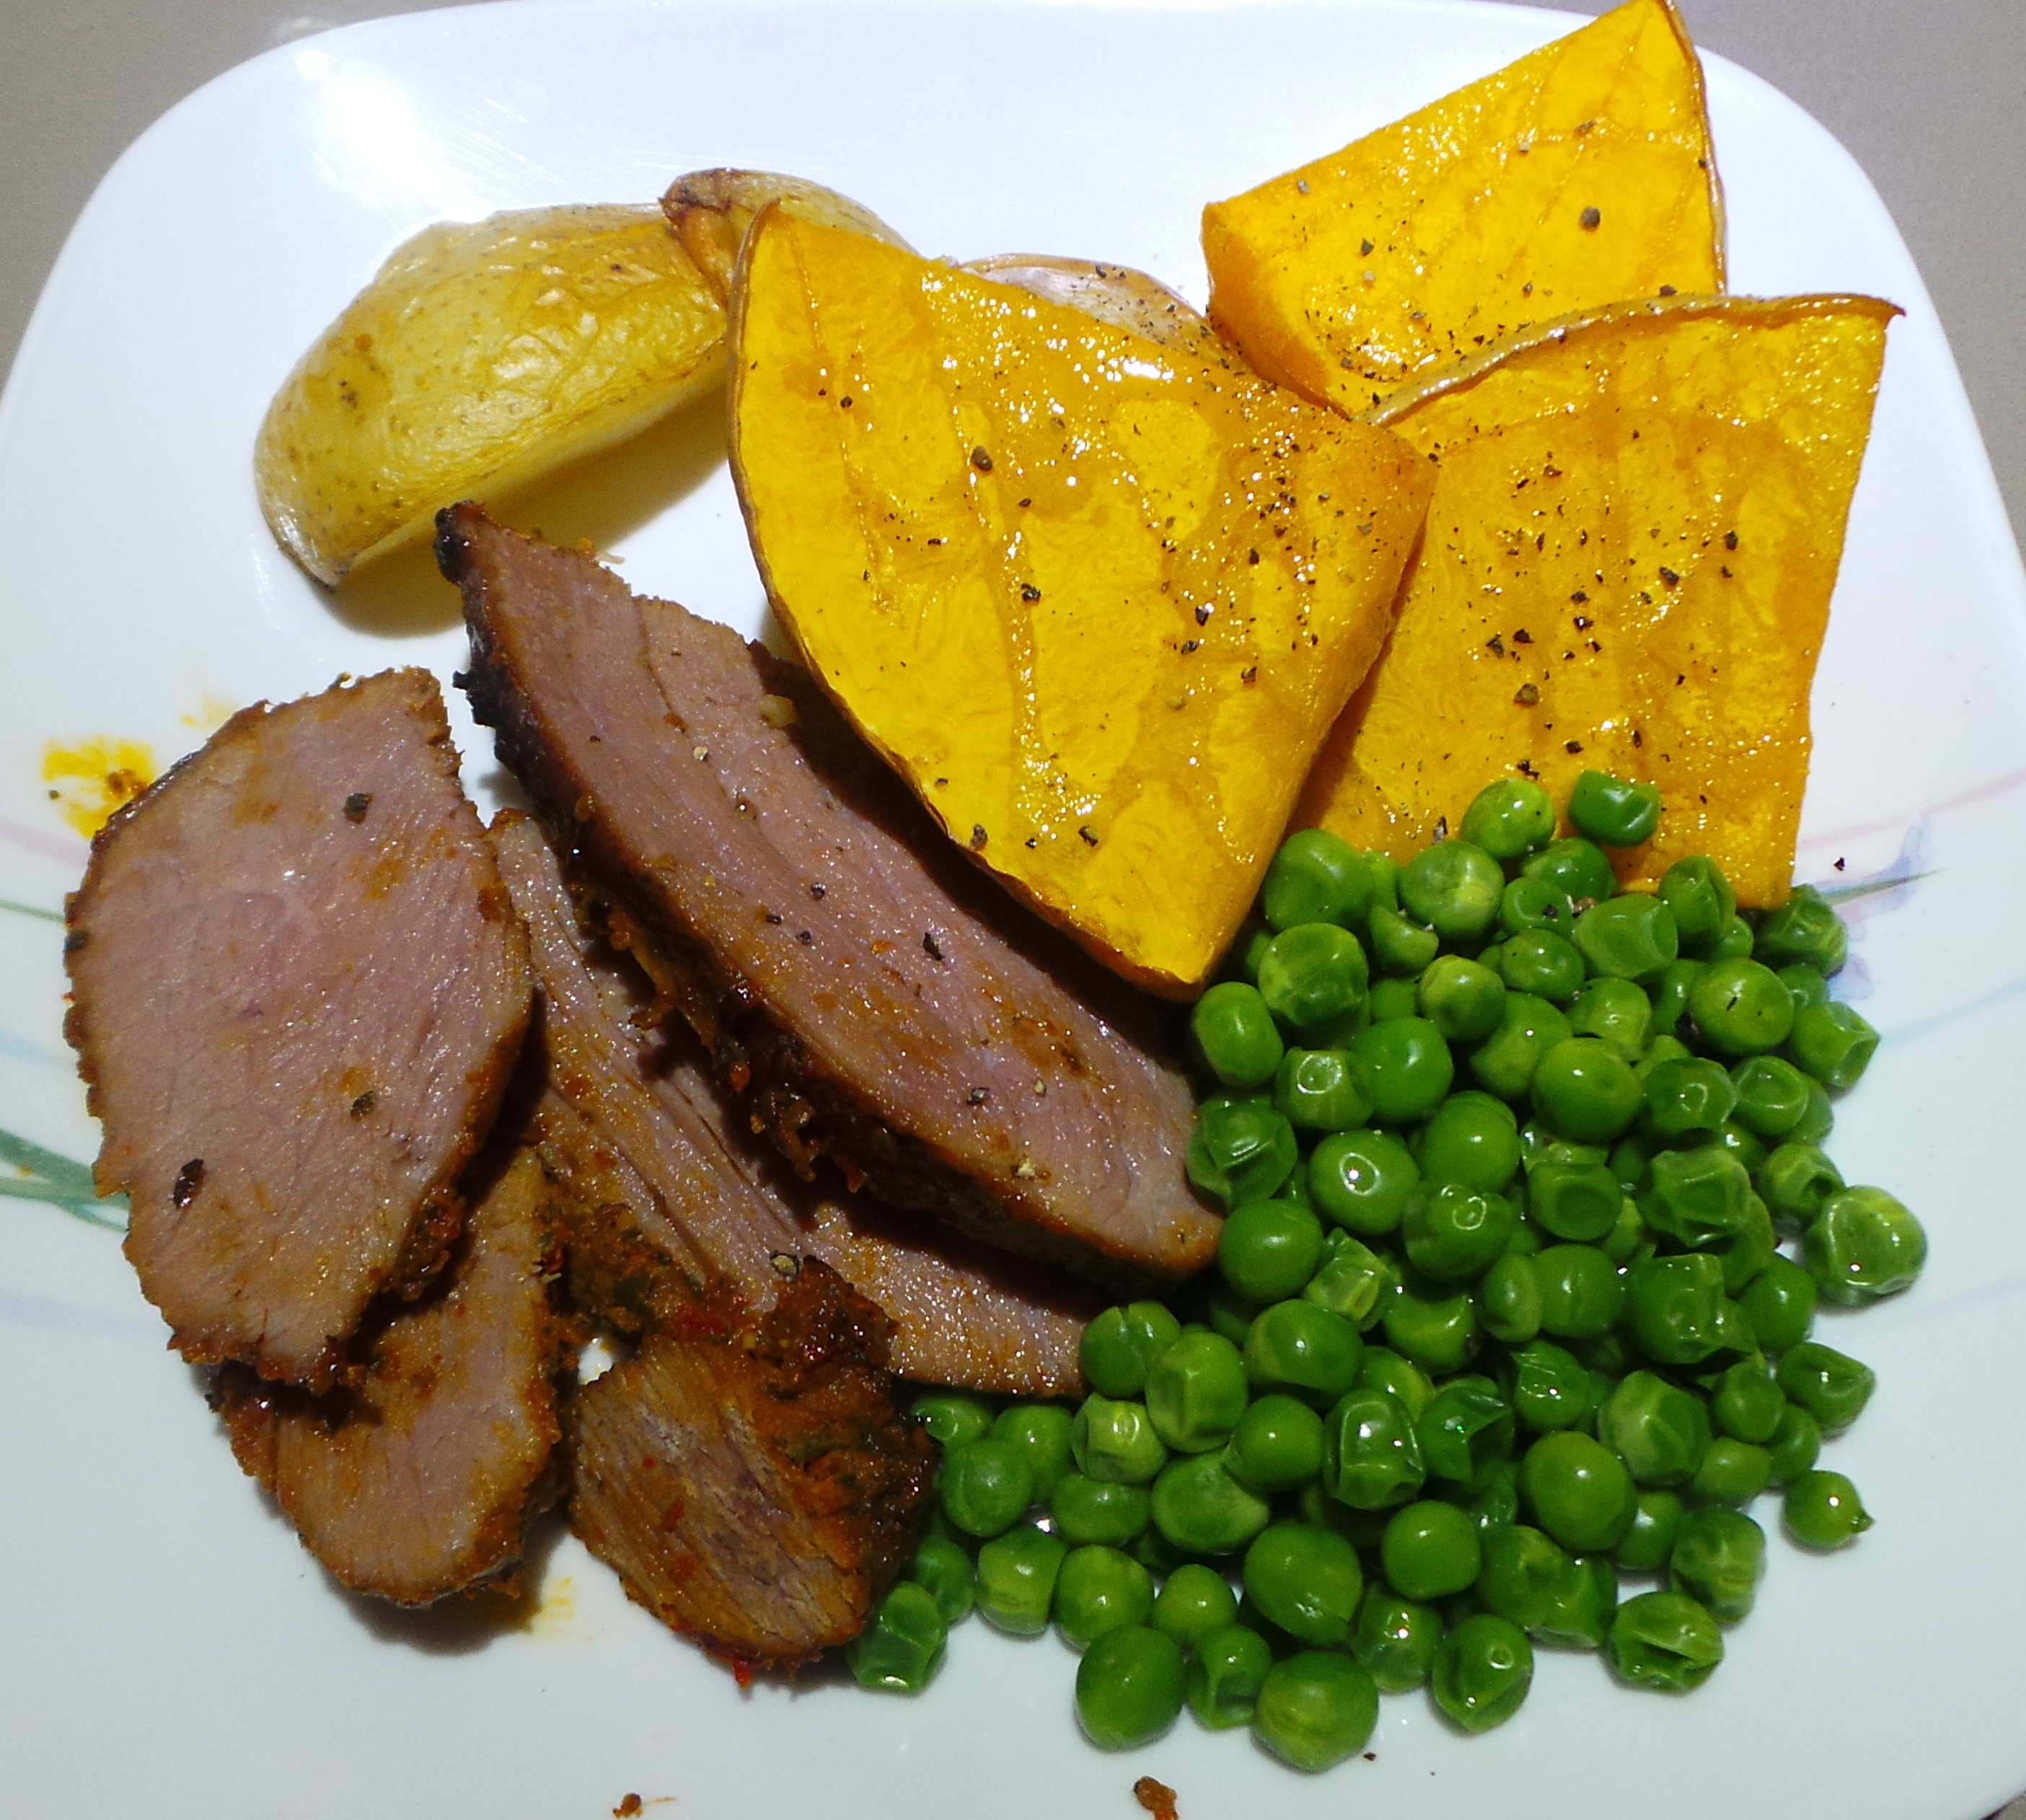
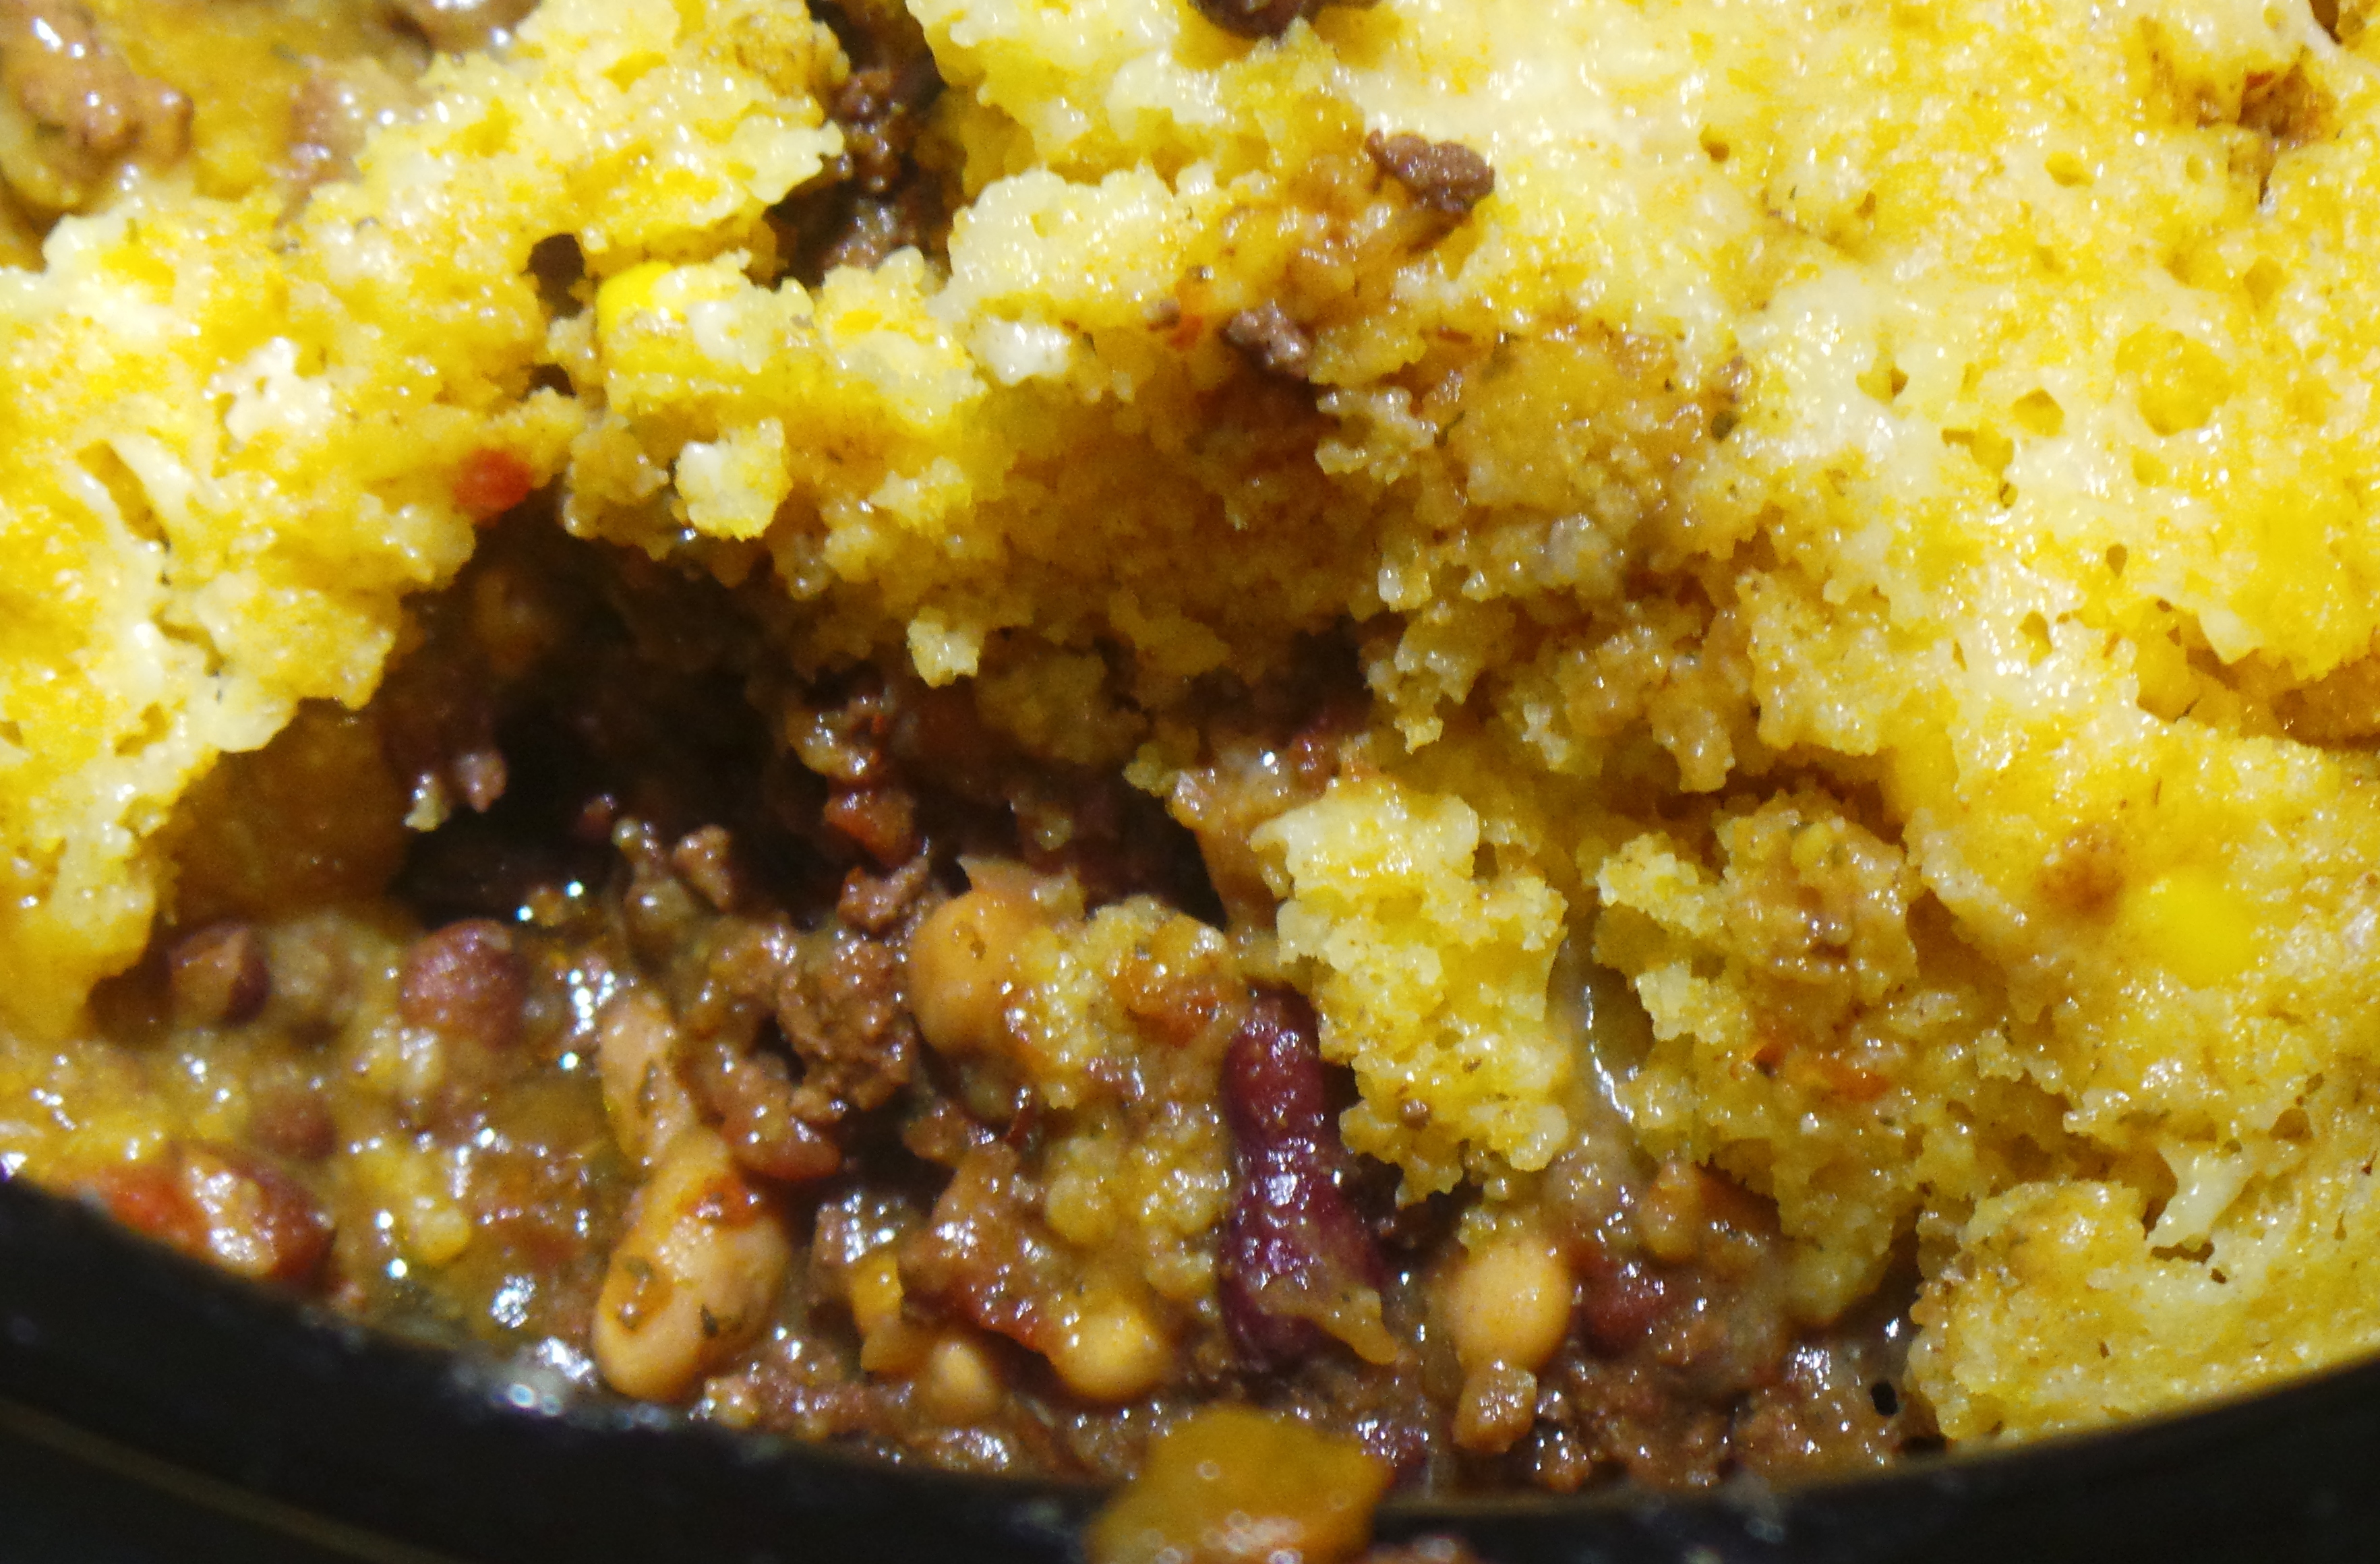
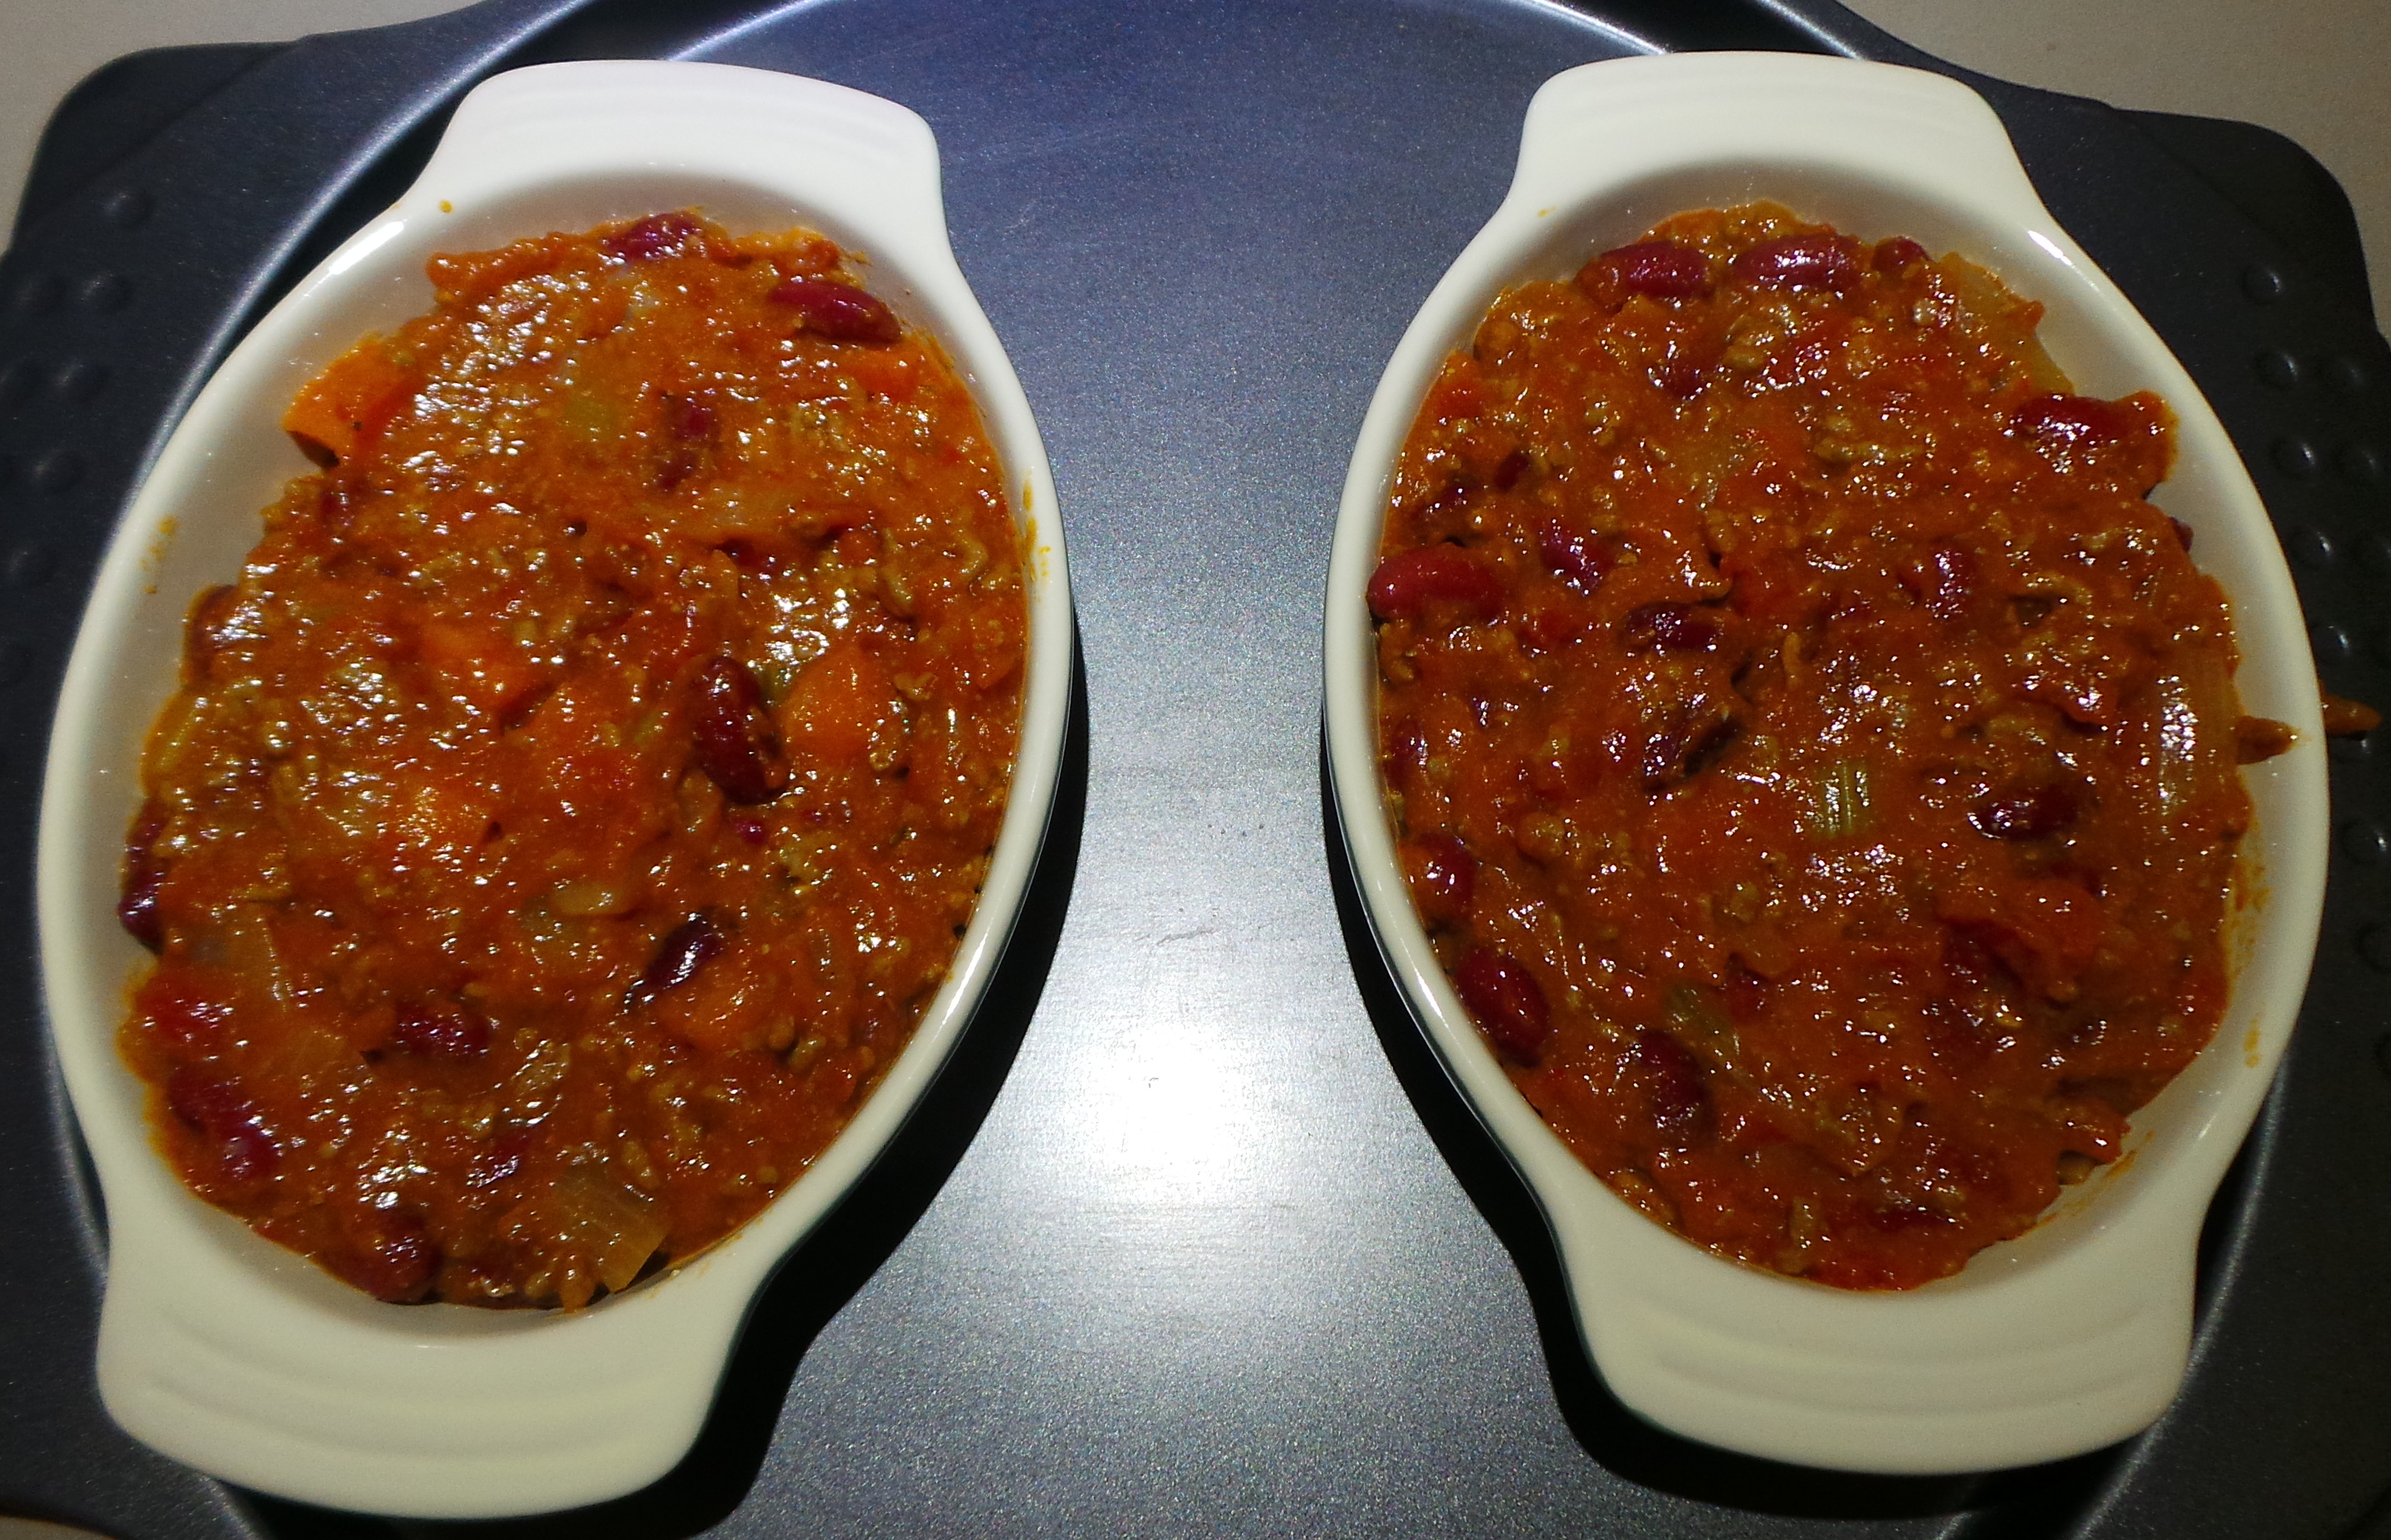
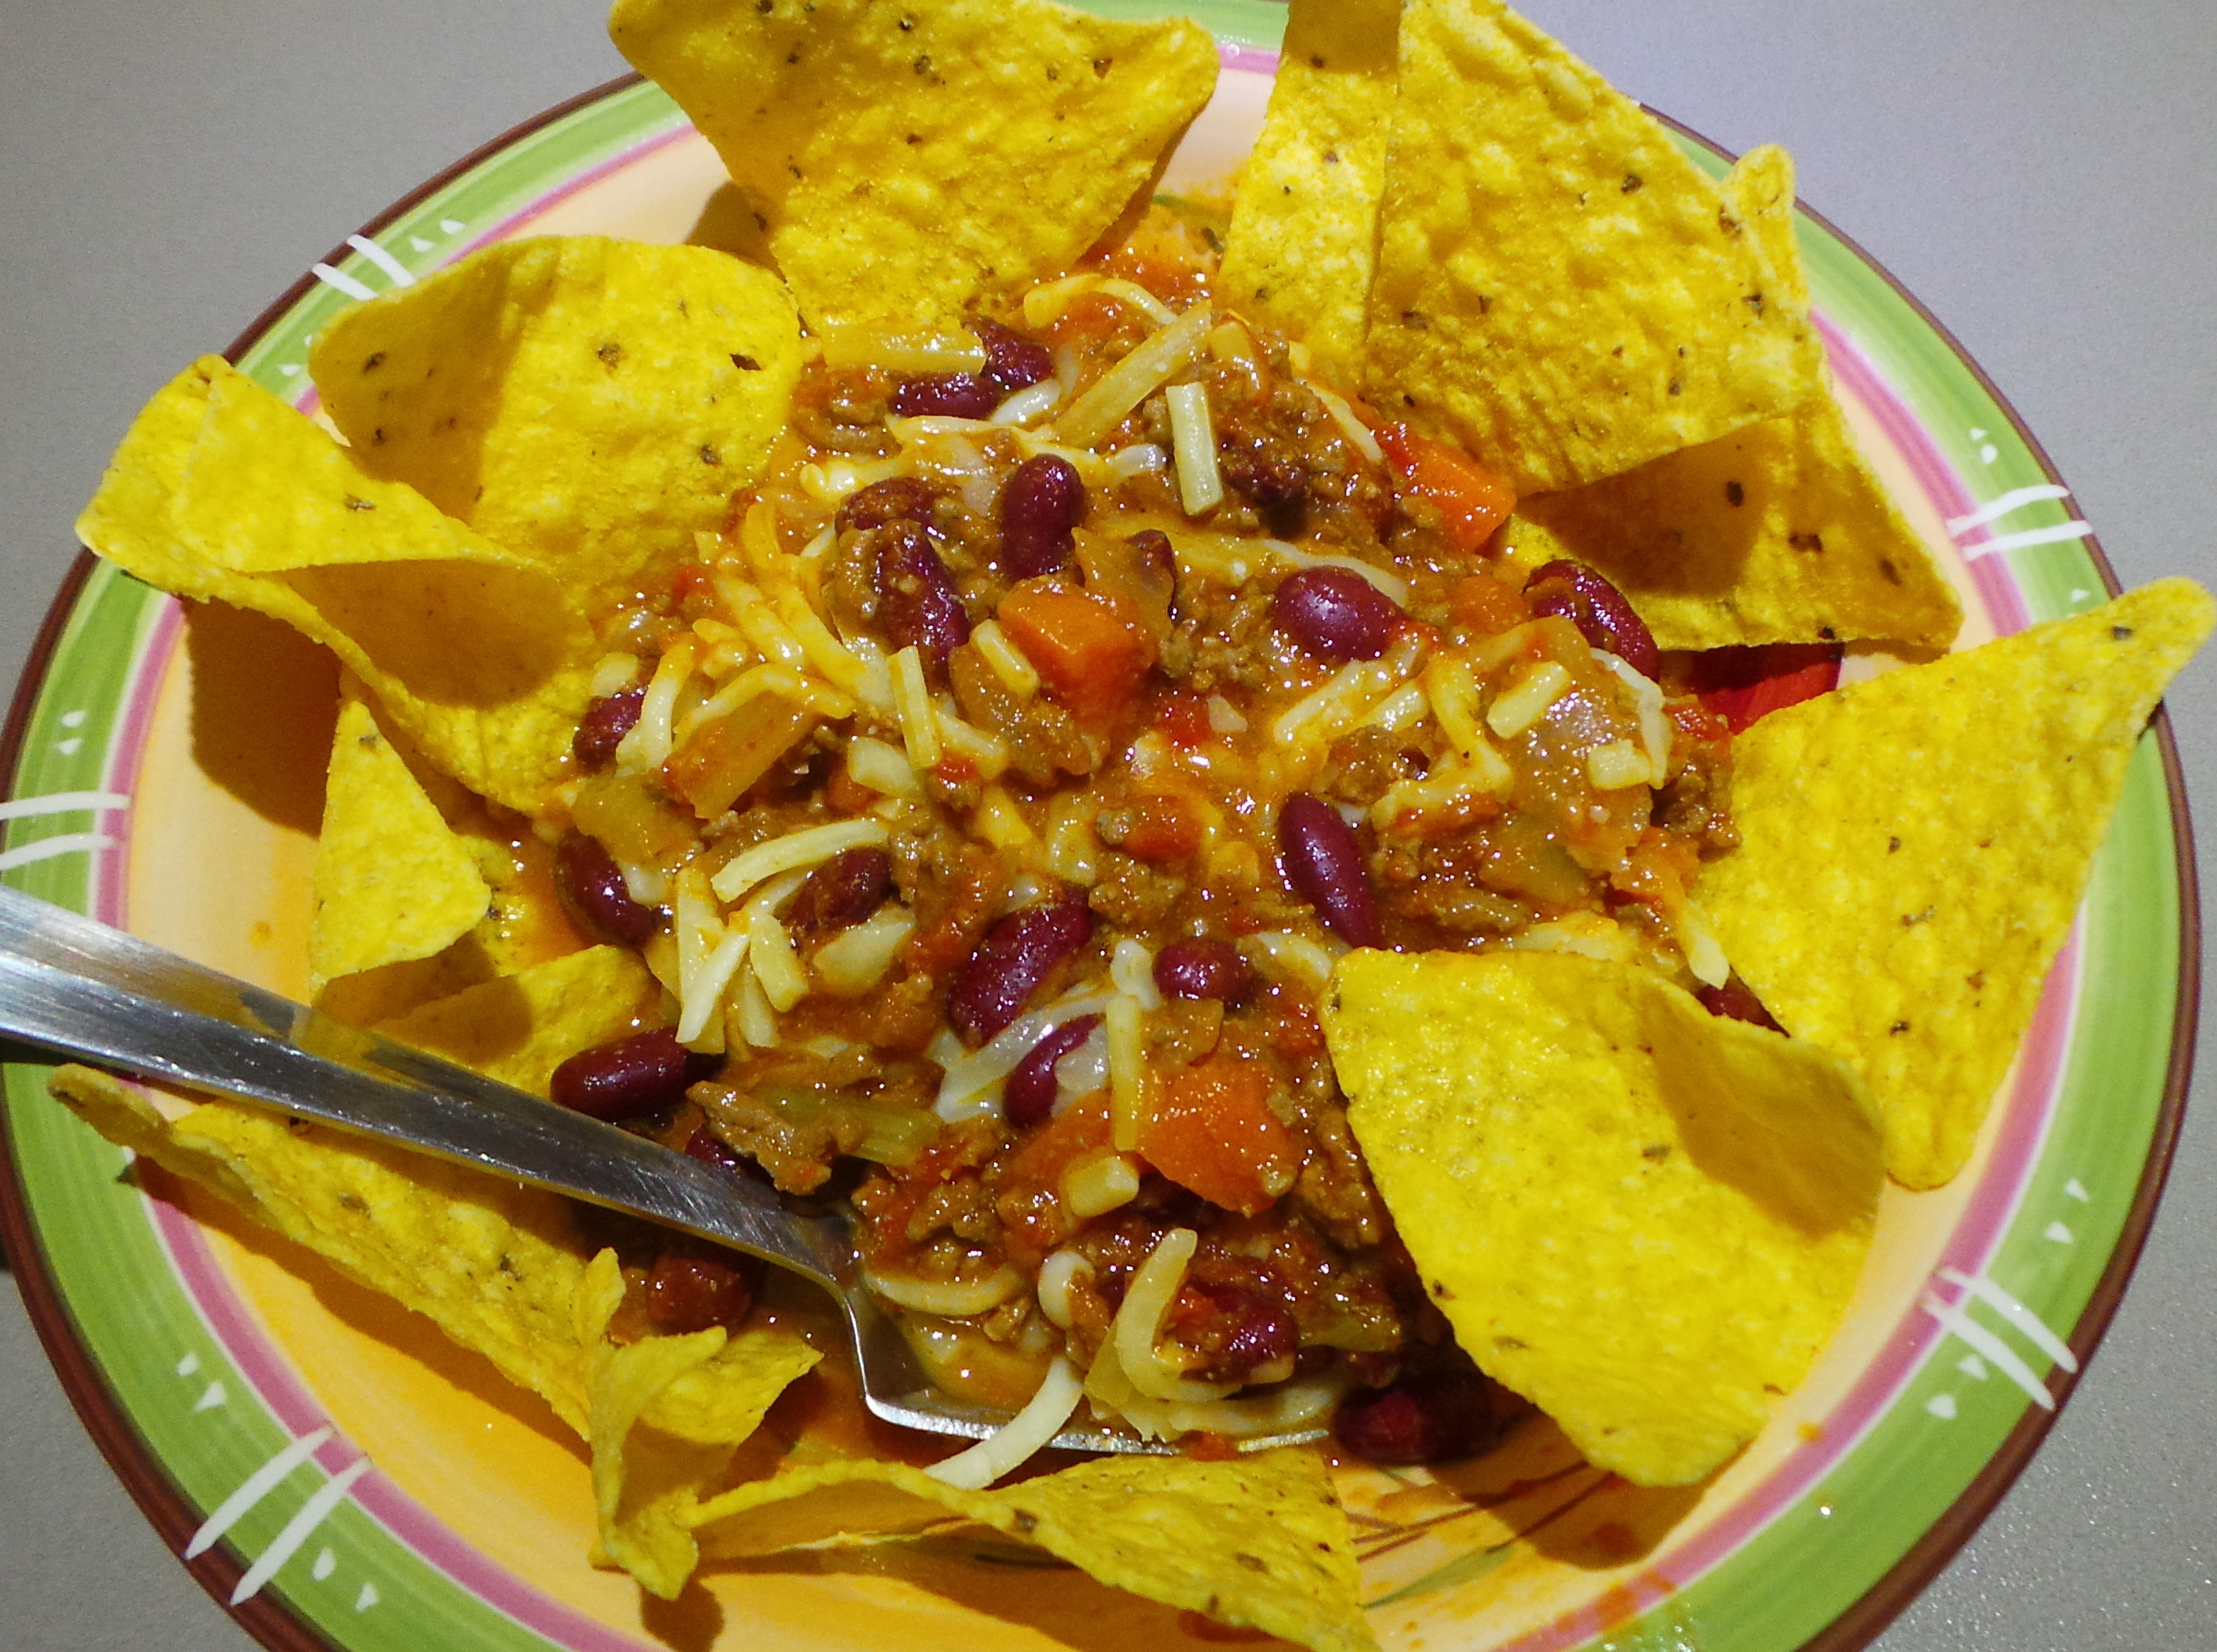
Serve with crusty bread, on plain steamed rice, on boiled pasta as a meat sauce, on mashed potatoes, over corn chips, topped with a cornbread cobbler (recipe coming soon) or in tacos or burritos. Have your way with it. Goodness, you could even top it with mashed spud and call it Shepherd’s Pie if you want.
It’s a really versatile dish. Enjoy.
Chilli con Carne (stove and oven)
Ingredients
2 medium onions, diced
1 stick celery, diced
1 carrot, diced
1 clove garlic, crushed
olive oil
2 level tsps chilli powder
1 fresh red chilli, deseeded and finely chopped
1 heaped teaspoon ground cumin
sea salt and freshly ground black pepper
500 g minced beef (err toward the leaner cuts)
I x 190 g jar sundried tomato pesto, excess oil drained from top and discarded.
2 x 400 g tins diced tomatoes
2 x 400 g tins kidney beans, drained and rinsed
1 stick cinnamon
Method
Preheat oven to 150°C/ 300° F, if using.
In a metal pan or casserole with a tight-fitting lid, heat olive oil gently.
Add diced vegetables and garlic until onions are softened and translucent.
Add the minced beef and sauté gently until browned through. Add the spices or substitute any low-salt tex-mex style blend you prefer.∗
Add the contents of the jar of pesto and the two tins of diced tomatoes with a small glass of water. Stir well and add cinnamon stick.
Bring to a boil, cover with a sheet of greaseproof paper and the lid and reduce heat to a simmer.
Cook for 1½ hours on the stove top or transfer to the oven for 1½ hours.
At the 1 hour point, add the kidneys beans and stir thoroughly to warm through.
Variation:
Slow cooker:
Prepare a 3 – 4 litre (quart) slow cooker.
Follow directions as above to the ∗ using a medium sized frying pan.
Transfer contents of pan to slow-cooker and add the contents of the jar of pesto and the two tins of diced tomatoes.
Stir well and add cinnamon stick.
Bring to a boil on High, then reduce heat to LOW.
Cook for 3-6 hours, stirring occasionally to prevent sticking.
30 minutes before serving, add the kidney beans to heat through.
If the mixture is too wet, sauce may be thickened using cornflour, or soaked up using a cobbler topping.
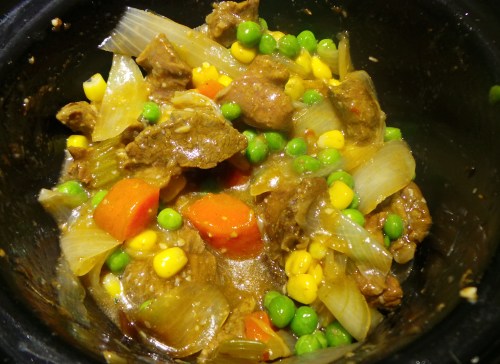
Hungry yet?