Today, bread was baked.  It was enriched with home-ground flaxseed and some steel cut oat groats that I want to use up.

Then the smallest slow cooker was filled with the makings of a lentil and barley hotpot with a slight variation. The Boy isn’t keen on the texture of the dried shiitake mushrooms that I like to add to it, so this time I thought I’d do something different.

Dried Mushrooms.

Dried Mushrooms.

I piled the dried mushrooms into the little electric coffee grinder- that I use for grinding everything except coffee – and pulverised them.

Dried mushroom powder.

Dried mushroom powder.

Then I added the mushroom powder to the chicken stock and continued as per normal. This way I got the mushroomy aroma that I adore and he didn’t have to deal with sensory issues. This is what is known as a win/win.

Some of yesterday’s Tuscan Kale bonanza was also added to the pot. We had it for dinner served over steamed basmati rice.

Lentil and Barley Hotpot

Lentil and Barley Hotpot

But before that we reduced a heaping pile of killer rose debris to a much smaller, smouldering pile of ash and charcoal. It was very satisfying.

However, it caused me to reflect on how skills are being lost – especially after three abortive attempts to get the pyre lit. My mother used to woman the incinerator at our house (before the advent of recycling bins) and I regaled The Boy with tales of yesteryear when everyone’s Sunday afternoon usually included one or another neighbour’s smoke from ‘burning off’ household waste of some kind.  Usually blowing directly onto someone’s freshly laundered sheets.

I now smell of wood smoke. The cats are viewing me with suspicion.

We followed this caveman-like feat with some very civilised Loaded Hot Potato Chips and collapsed in front of the telly.

Loaded hot potato chips

Loaded hot potato chips

I decided (in my deranged exhaustion) that I wanted to try something I’d never done before for dessert. I decided this about 10 minutes before I was going to serve dinner. I’m an idiot.

Anyway, I spent about 20 minutes searching for a recipe in my book collection and then asked Mr Google. For dessert I made some Baked Stuffed Apples.

Stuffed Baked Apple

Stuffed Baked Apple

I was too tired to eat them.

There were leftovers.

A mañana todos.

Advertisement

Asian Spiced Meatballs

These little darlings are something you can mix up in bulk and freeze in advance.

They take a tiny bit of time, and can be a little icky to prepare (especially if you don’t like handling raw meat), but are totally worth it.

These meatballs can be made as large or as small as you like and you may use any ground meat you happen to have,.

I developed this with chicken mince – mostly because I am not a fan of chicken.

Sue me.

This recipe can be doubled, tripled, or even quadrupled if you want. You might even want to enslave, exploit, encourage your children to help roll them once they’re mixed.

So, here we go. Pay attention and don’t blink or you’ll miss something…

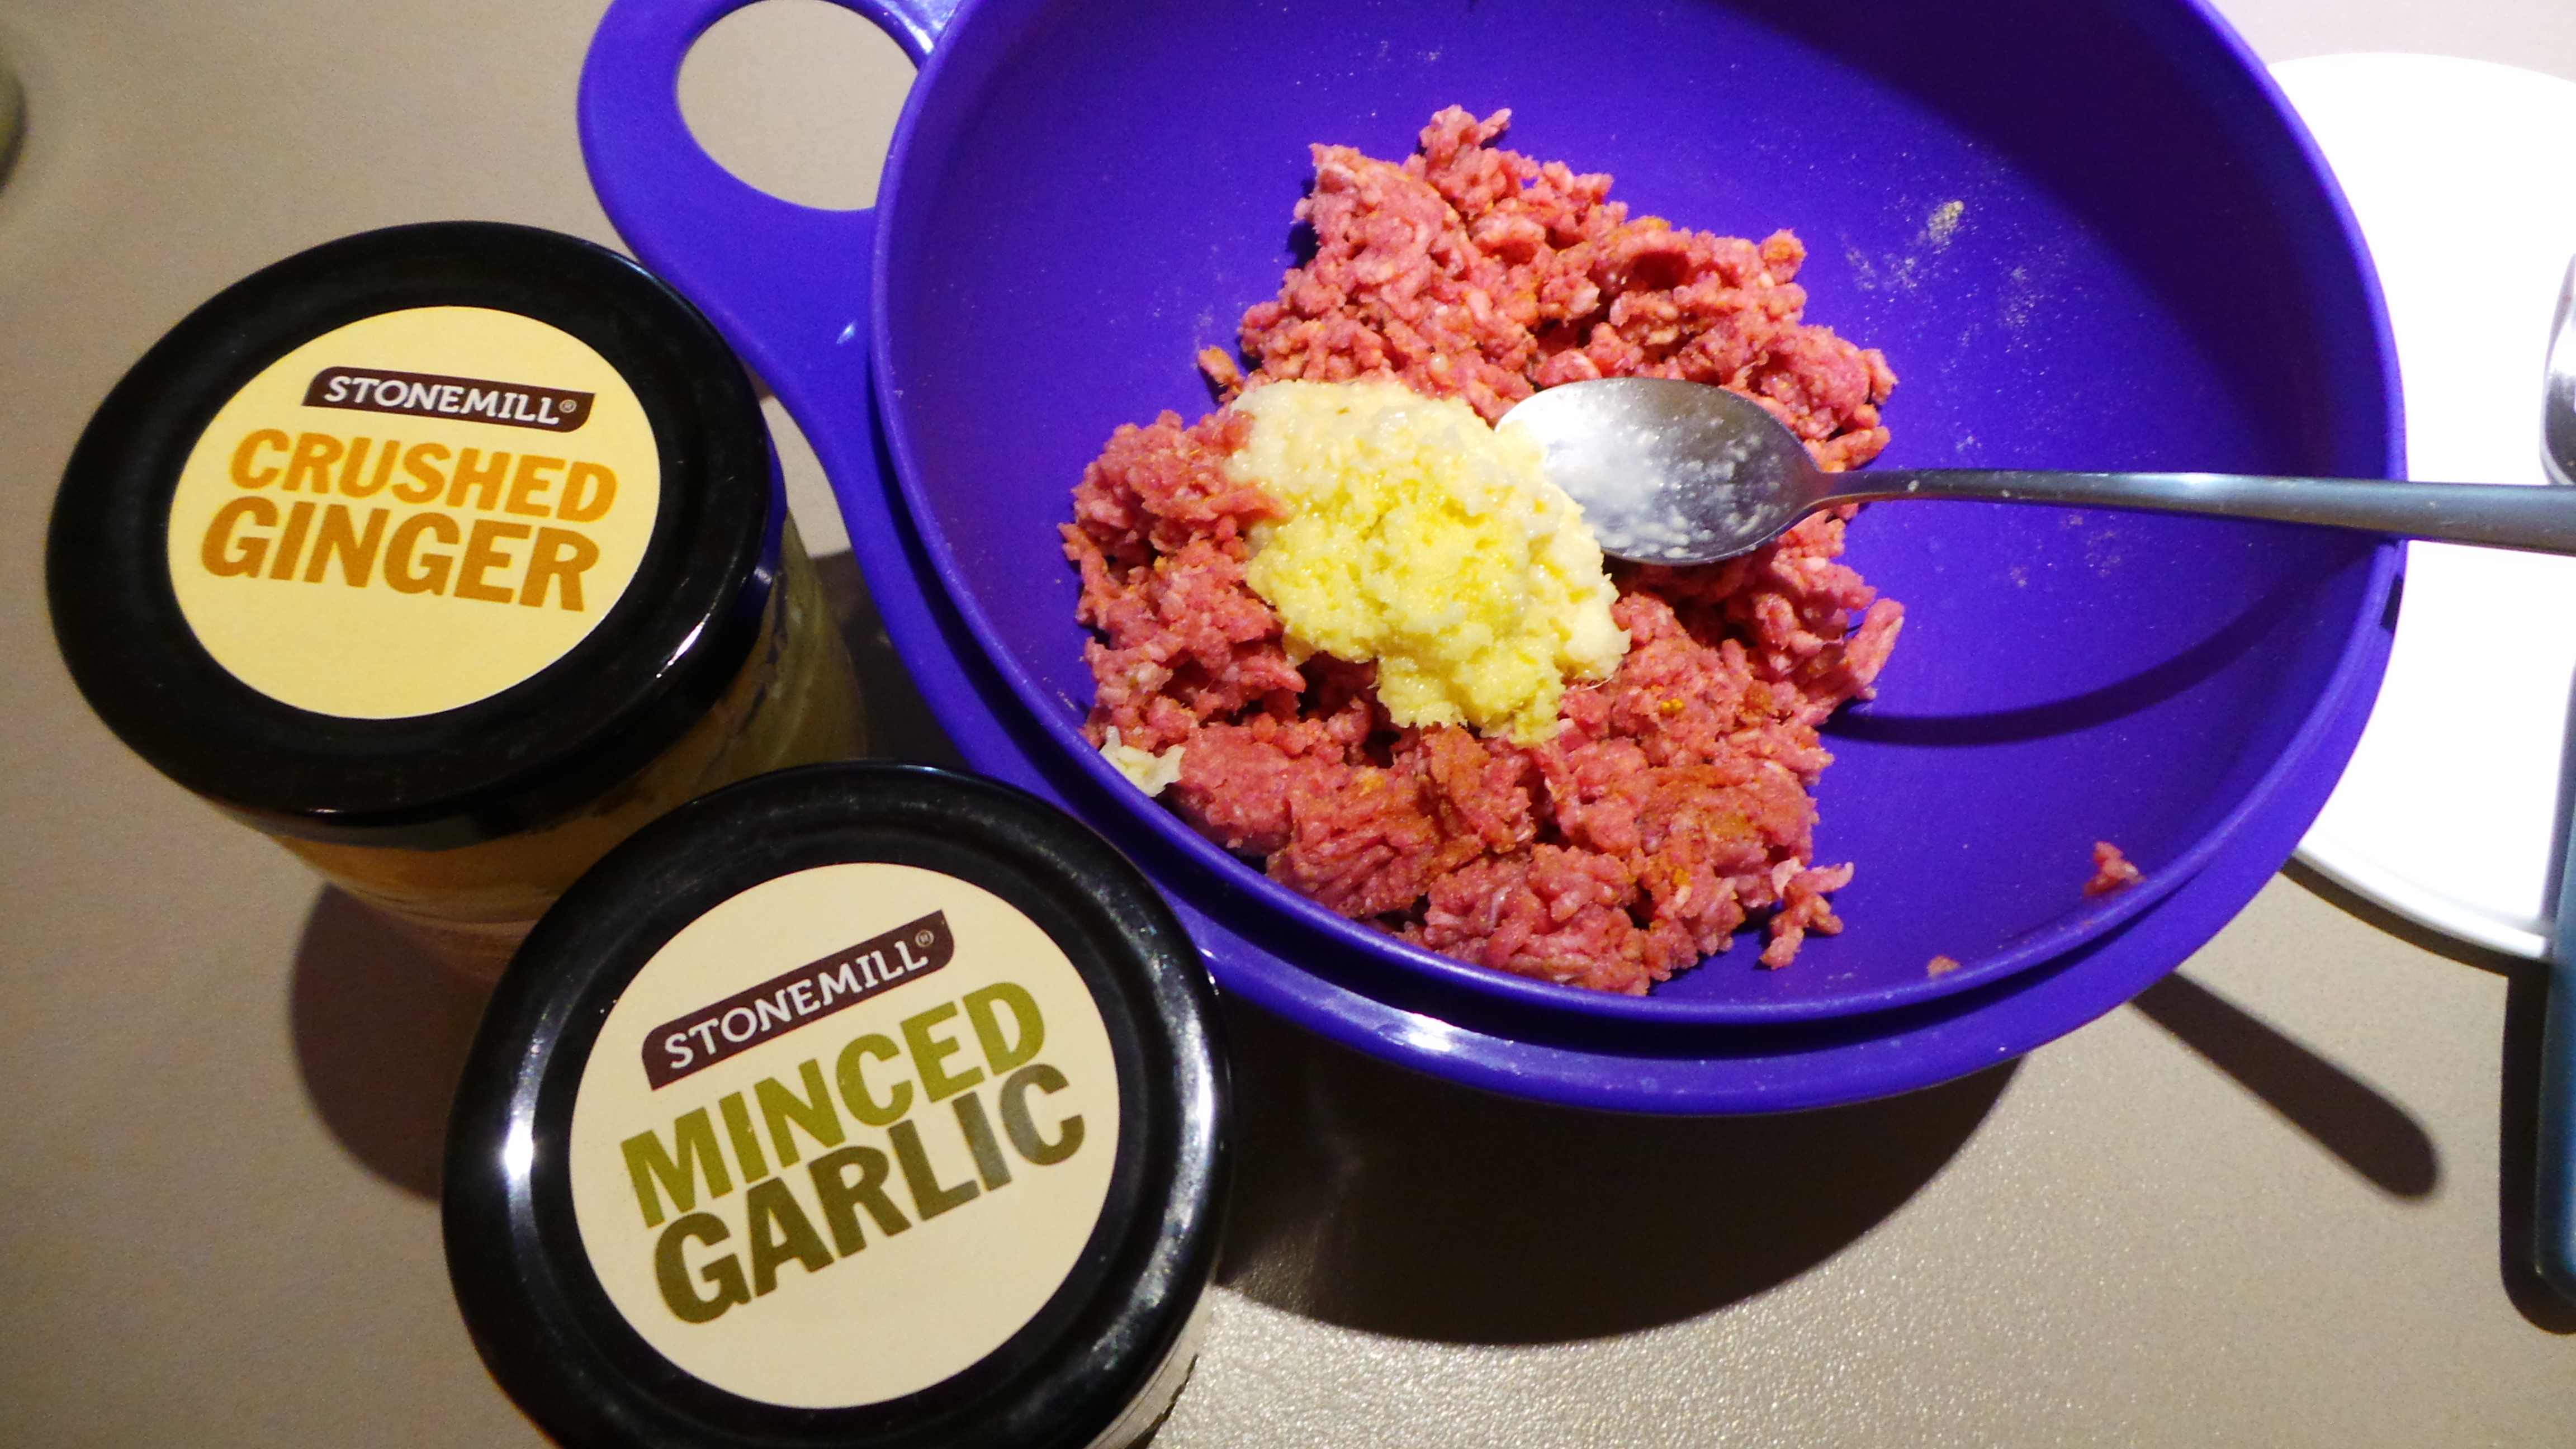
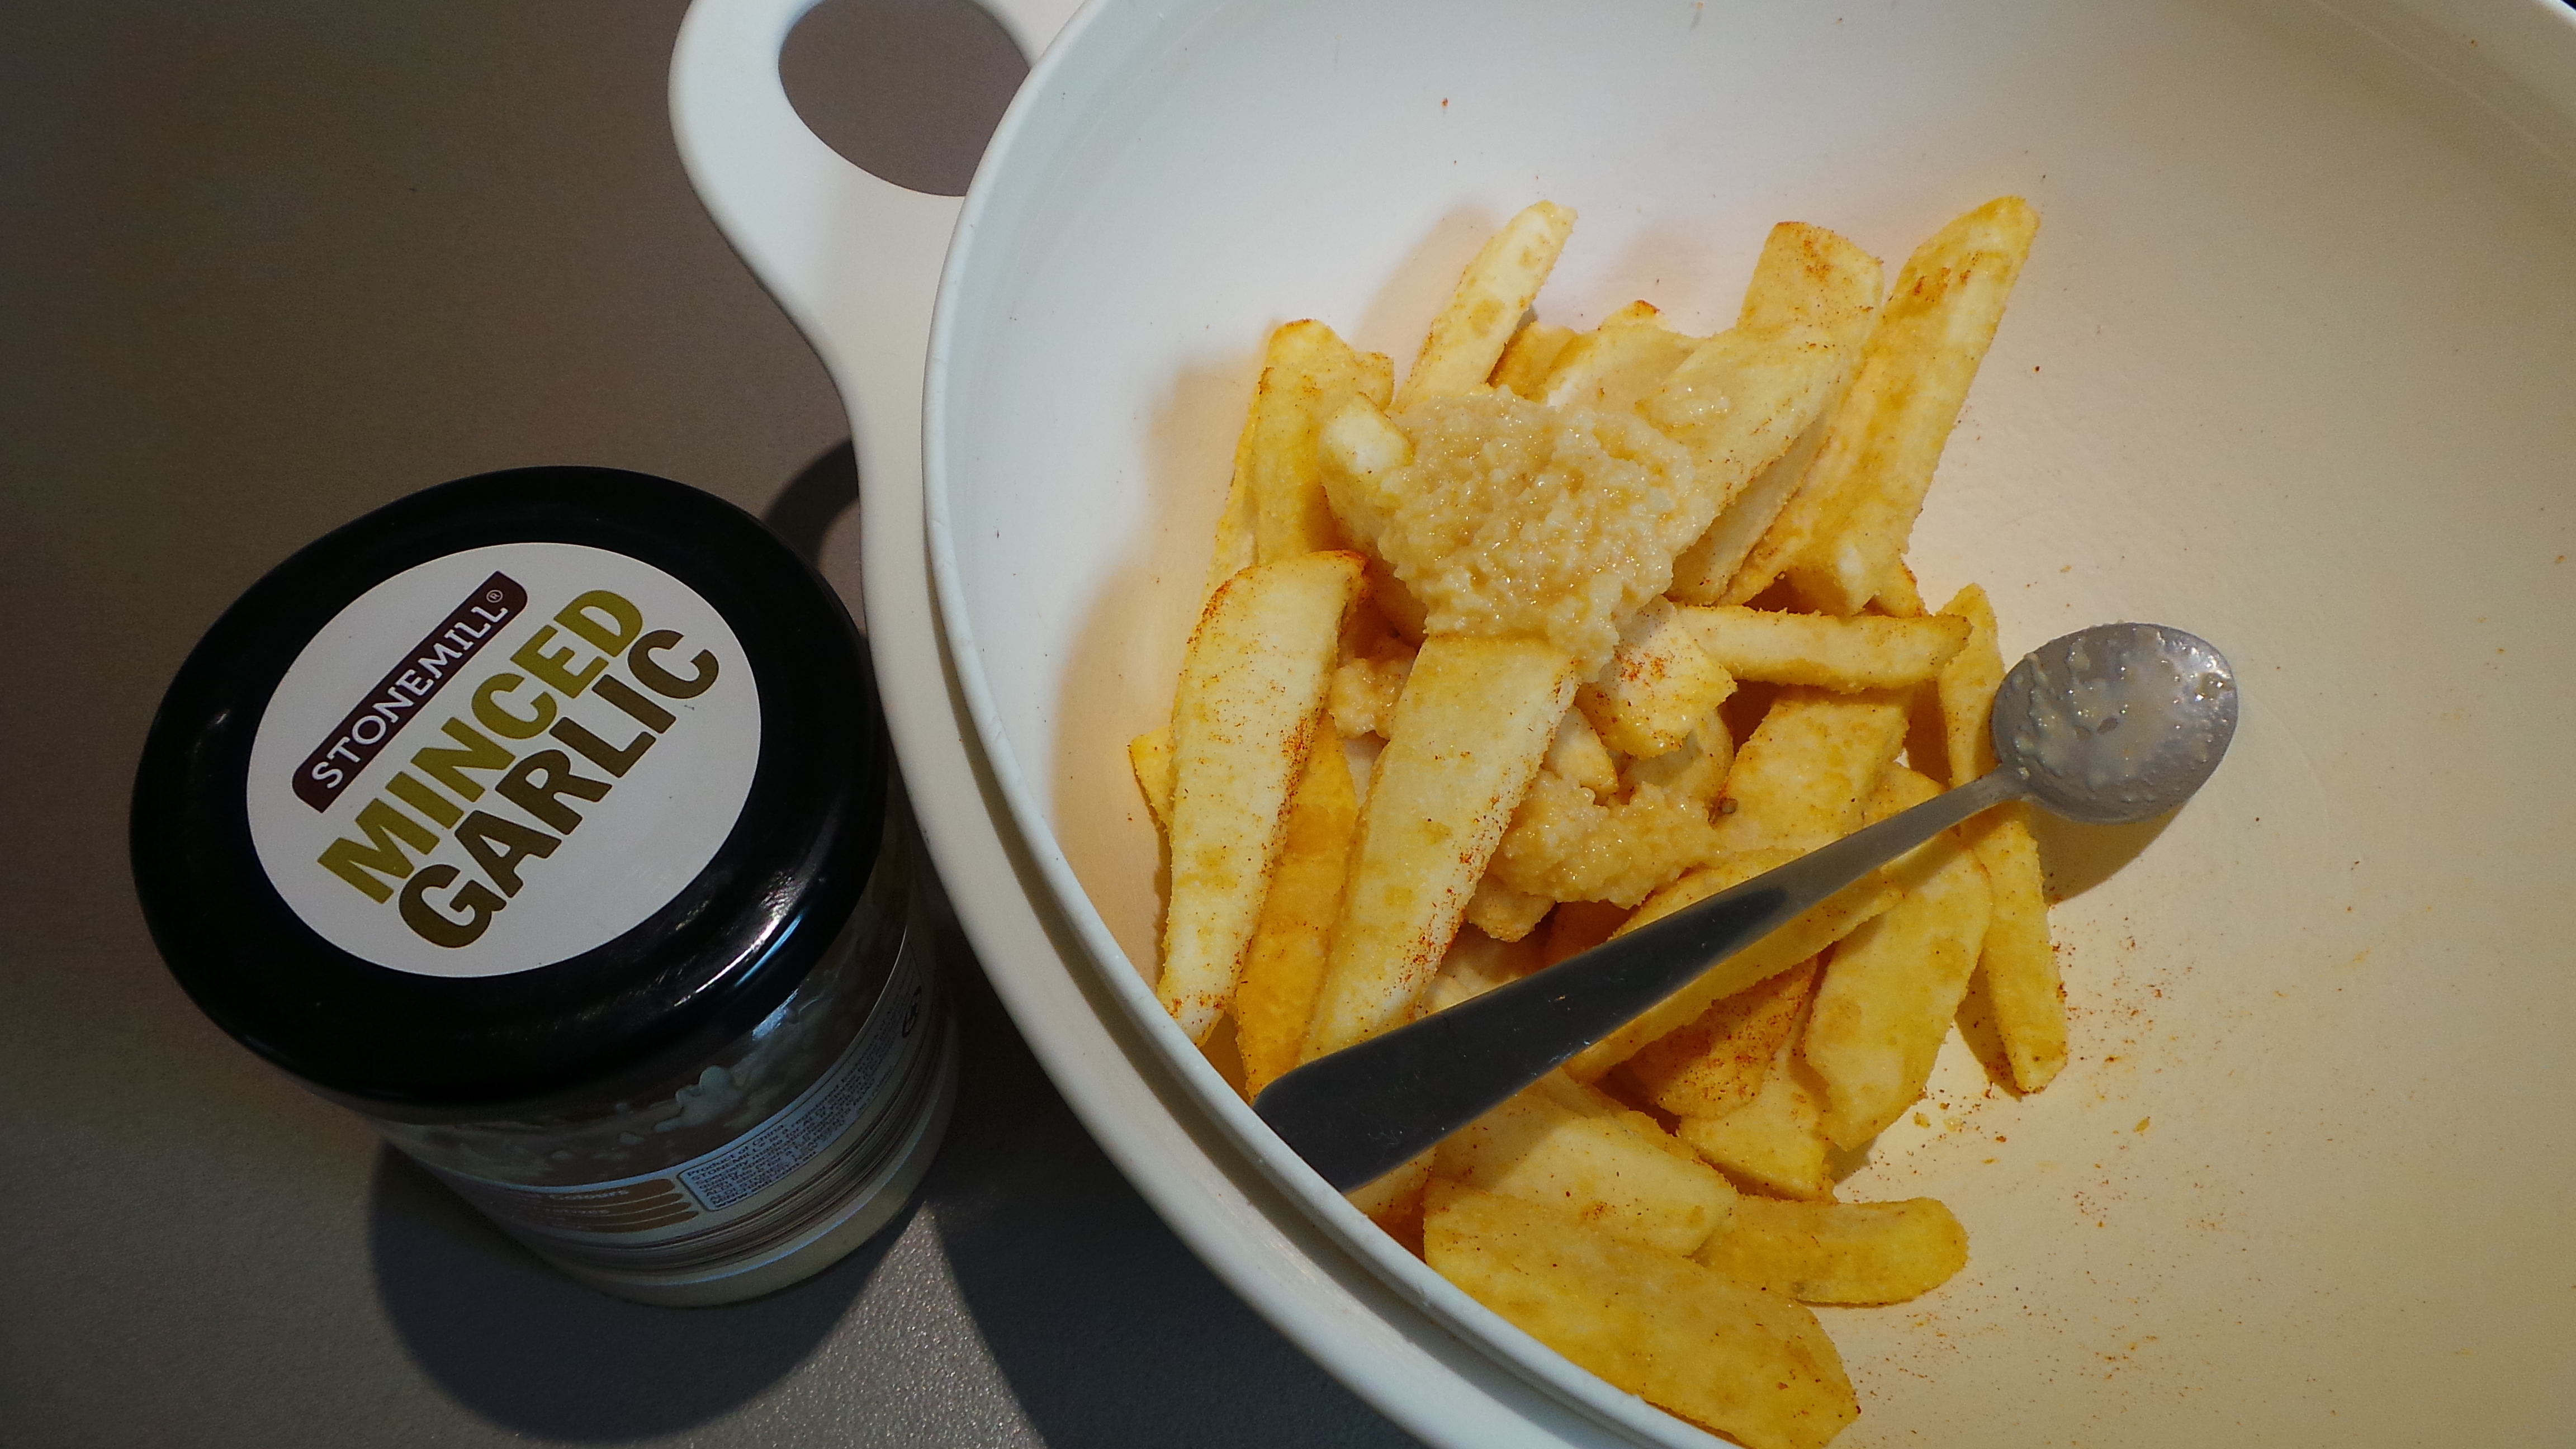
Dump your minced/ground meat into a suitable bowl. Then add a good spoonful each of minced garlic and crushed ginger. I always have little jars of those two things in my refrigerator.

However, you can use fresh if you prefer.

Add some aromatics to your meat.

Add some aromatics to your meat.

Mix through thoroughly. You may want to use a fork for this to help you break up the meat properly and distribute the flavourings more evenly.

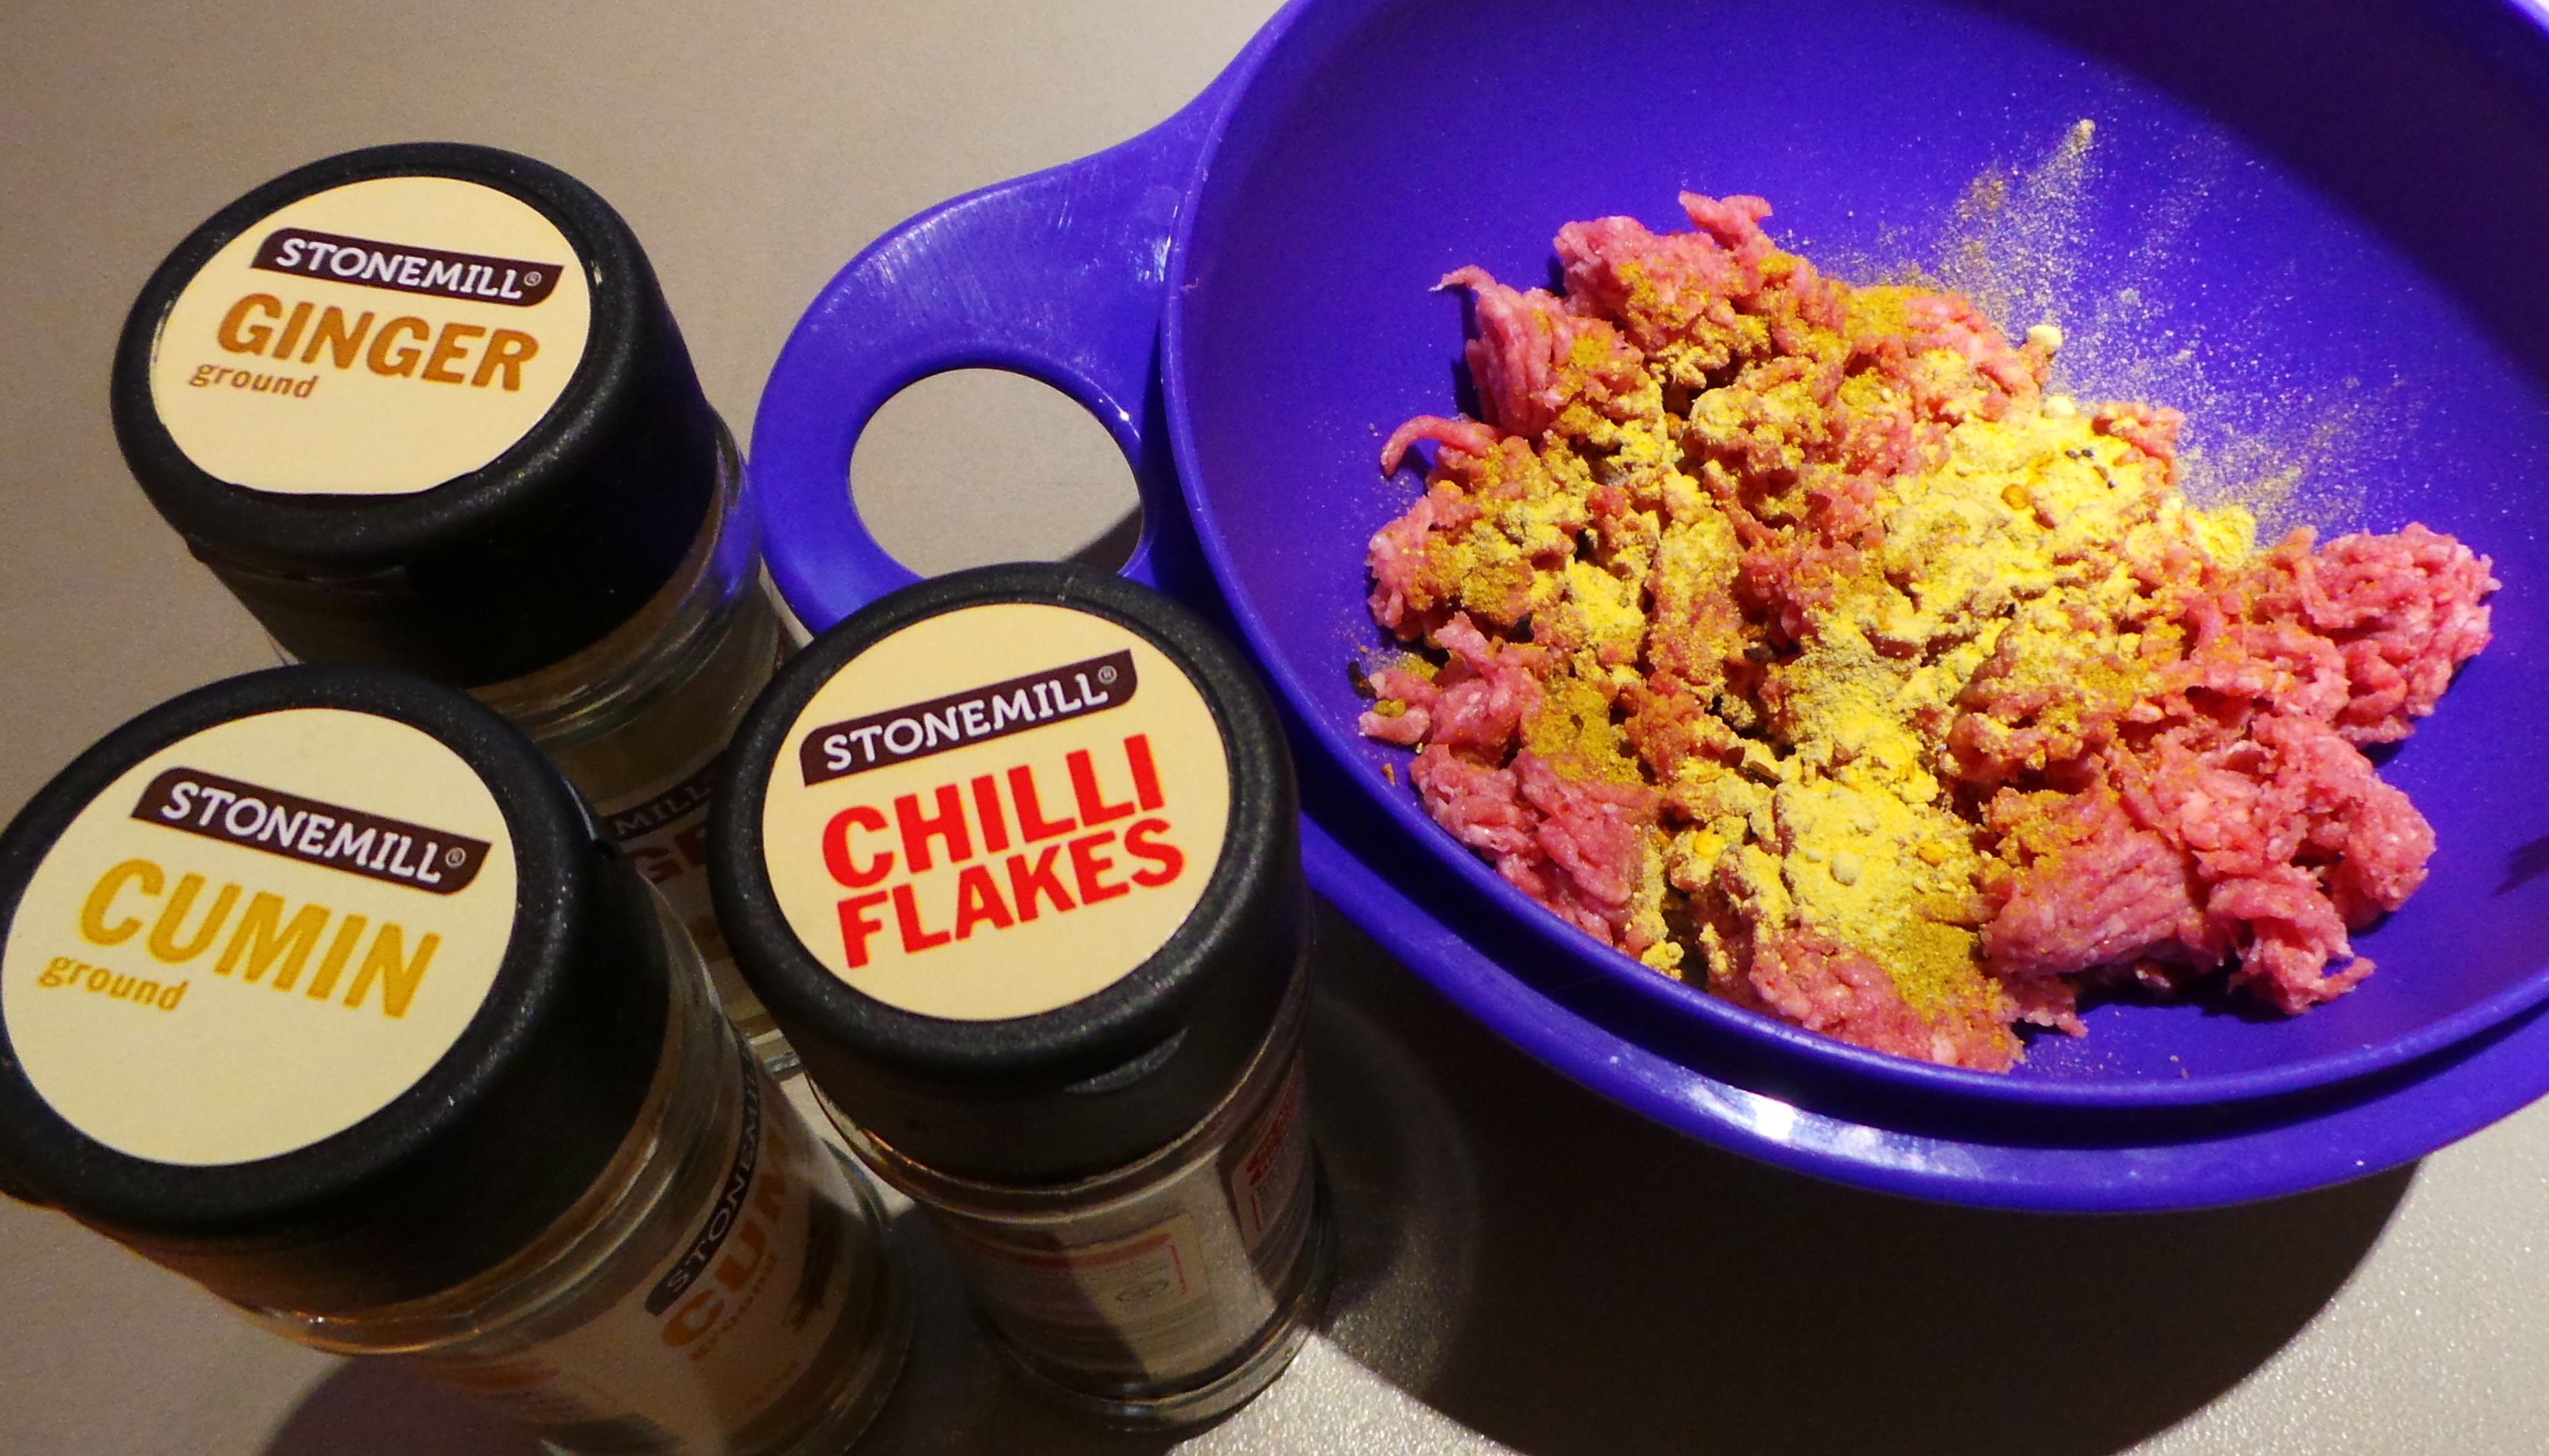
Then add a good shaking of whatever spices you think you’d like. My standards are ground cumin, ground coriander and a few chilli flakes – you may like to use a garam masala, or add ground ginger as well; finely chopped parsley or coriander/cilantro also make good additions.

Go for it. Use what you know you like.

Spice it up.

Spice it up.

Mix that through. You don’t need to be gentle, in fact being a little on the rough side will help to develop the proteins in the meat and make it all stick together better.

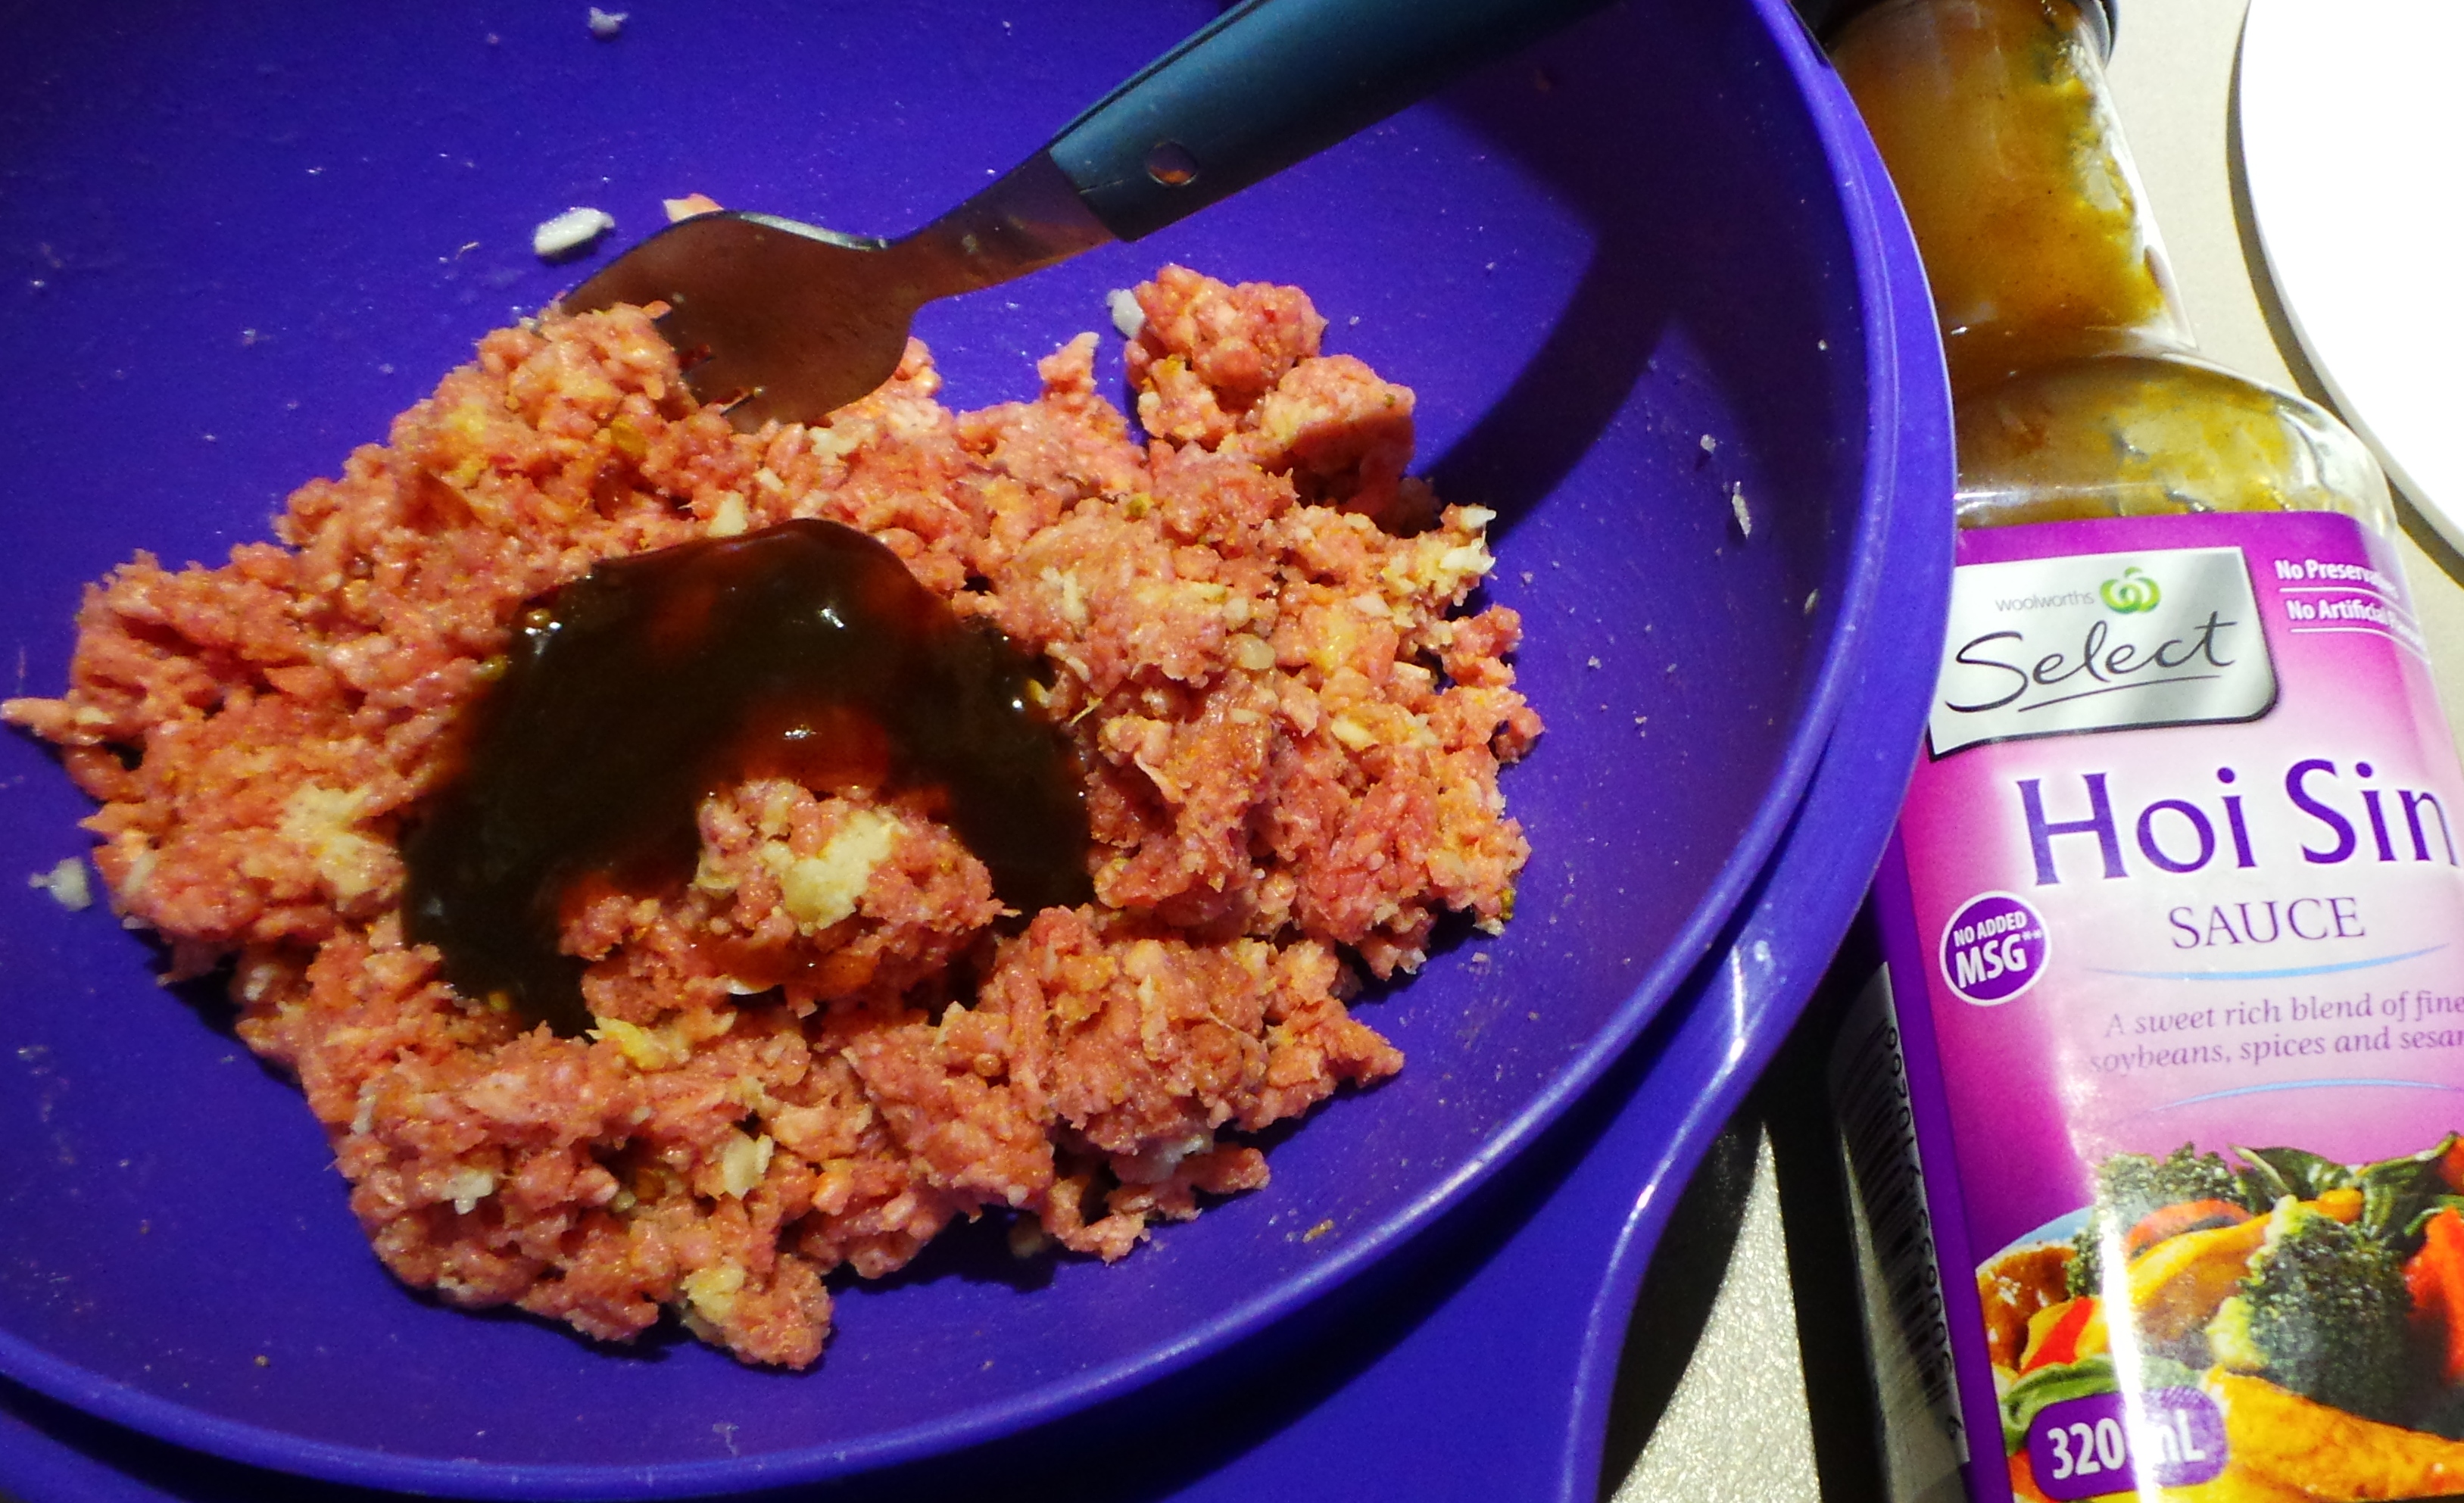
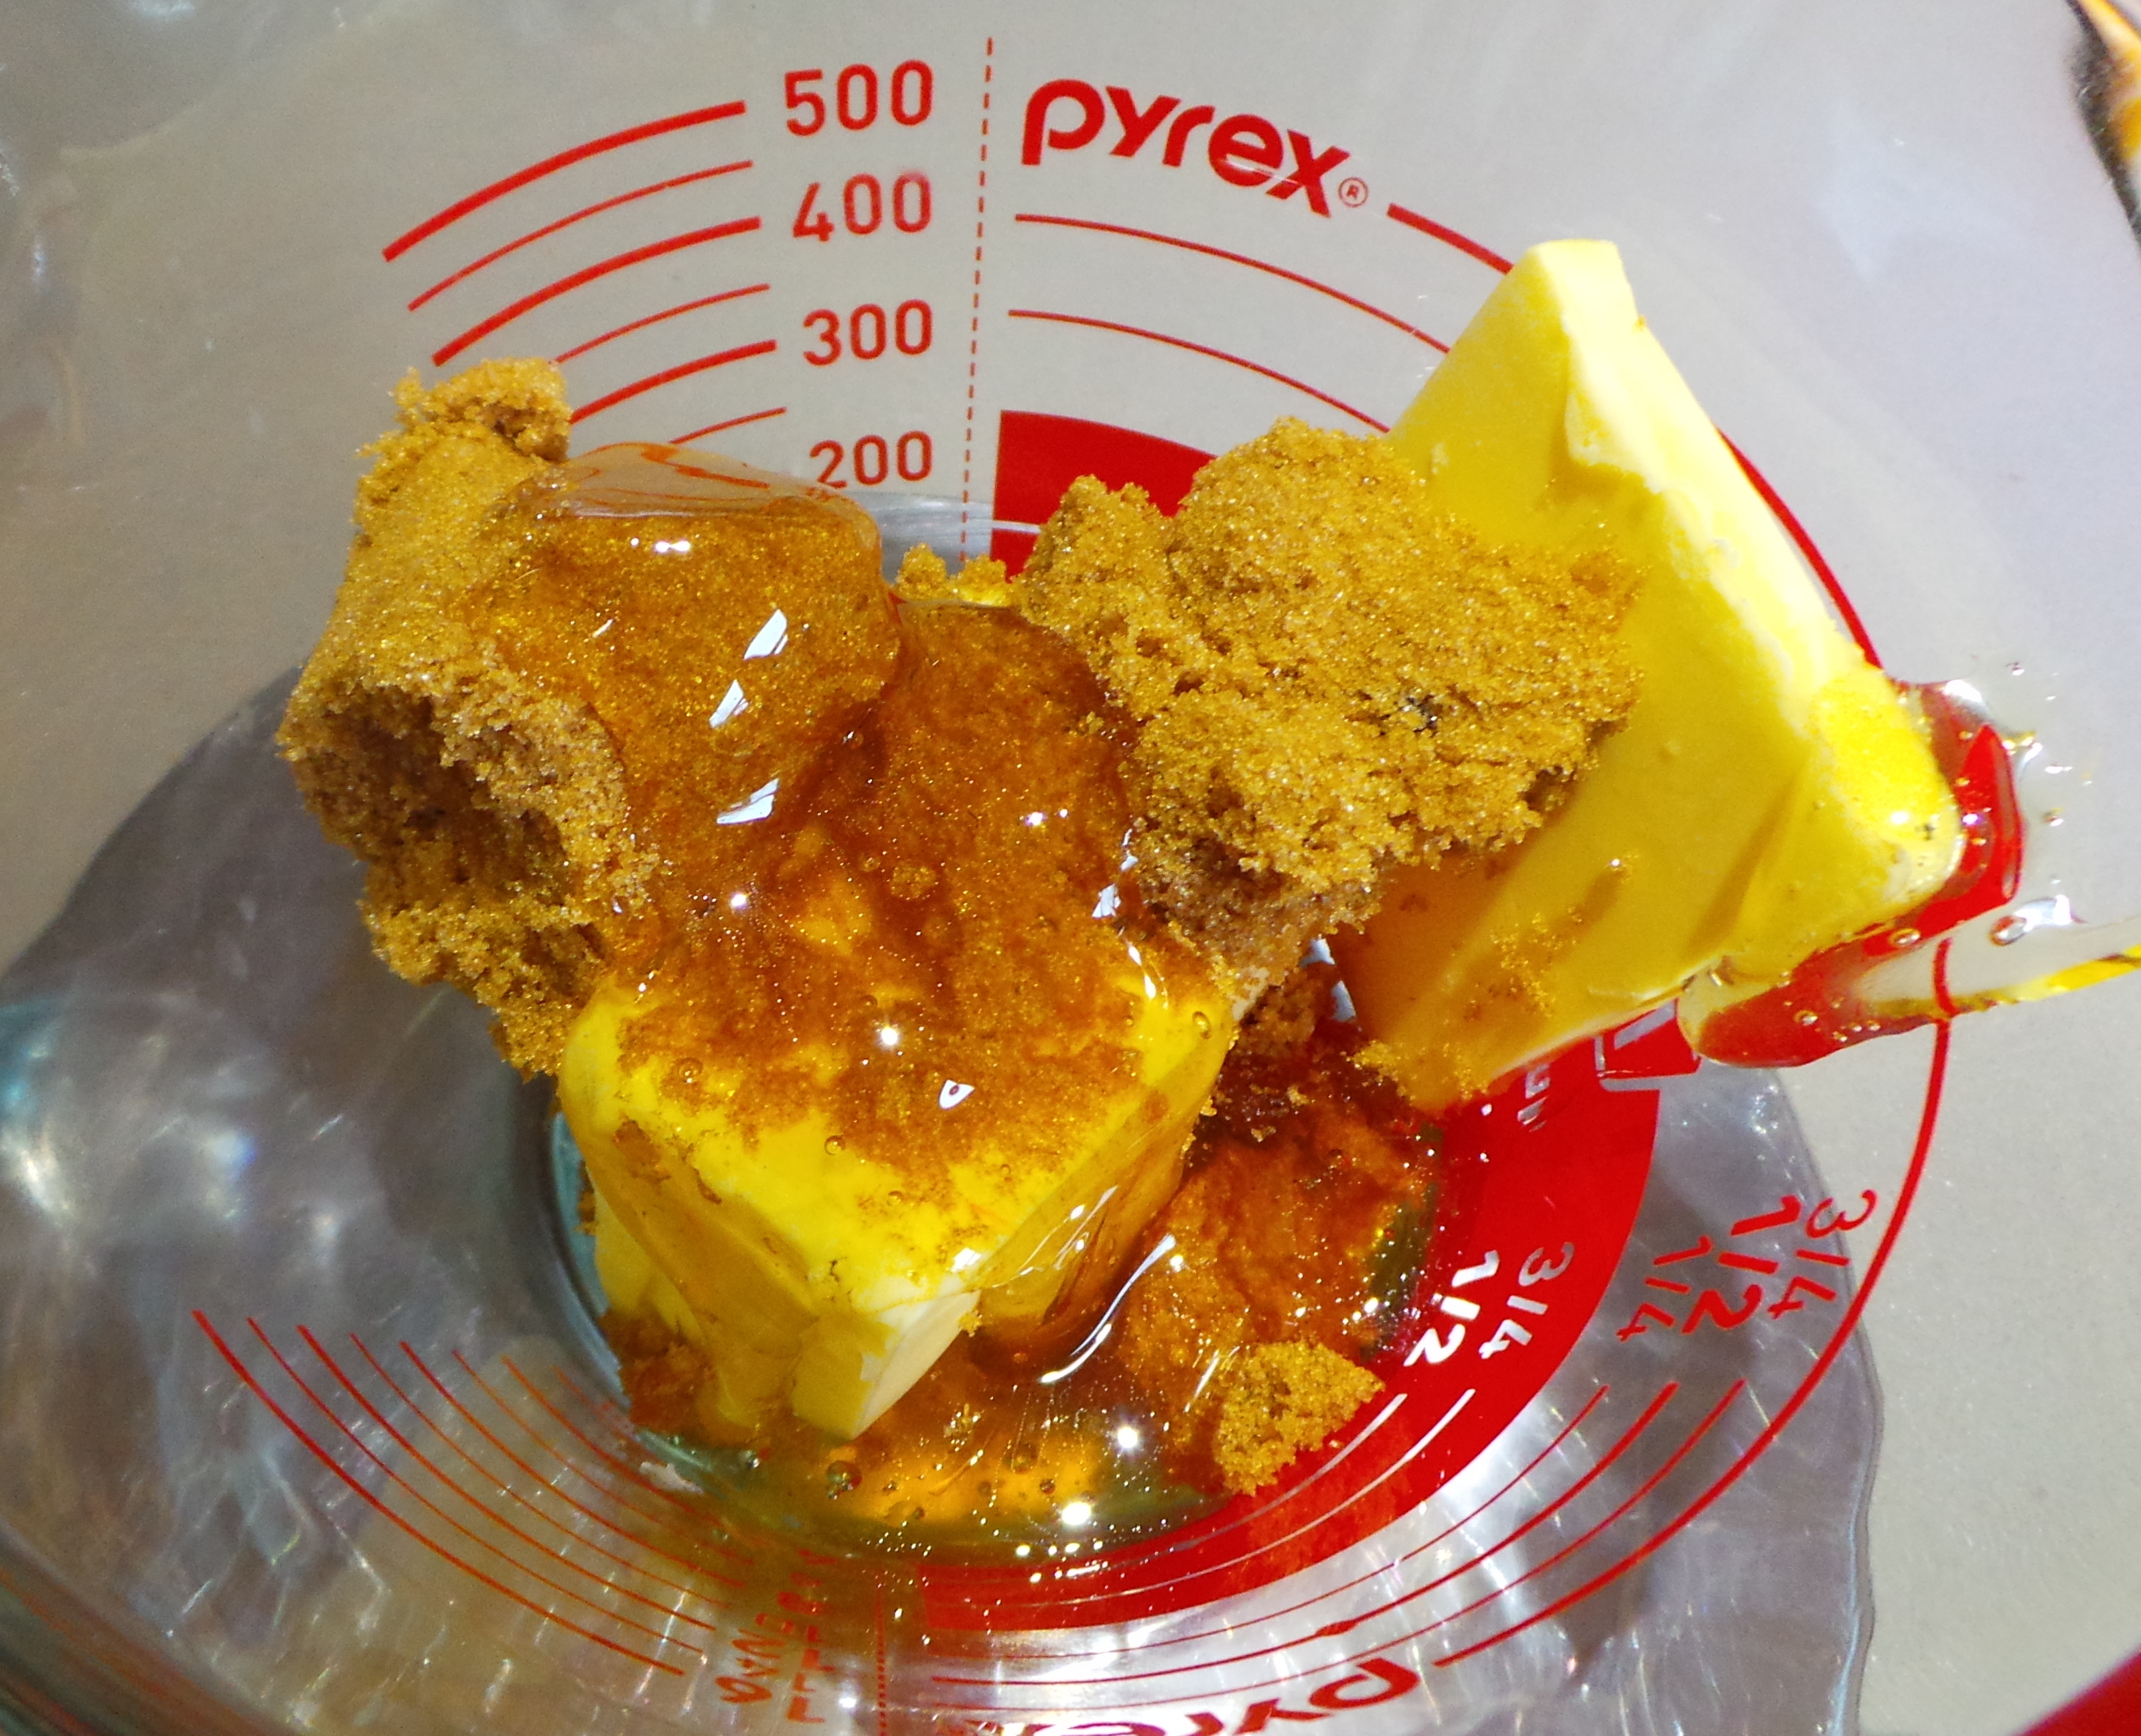
You can skip this next step if you wish, but you might like to add a generous glug of an Asian-style sauce.

Get saucy.

Get saucy.

As you can see, I used hoi sin for this batch. You could use teriyaki, soy sauce, kecap manis, oyster sauce or even sweet chilli sauce if you want. Or none at all – it’s not necessary but it does show what can be done.

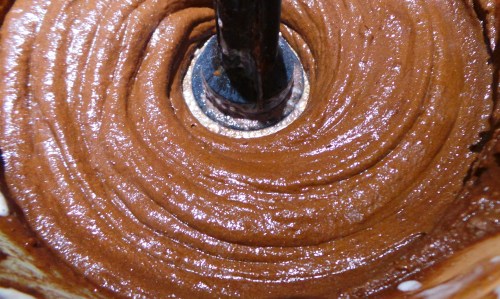
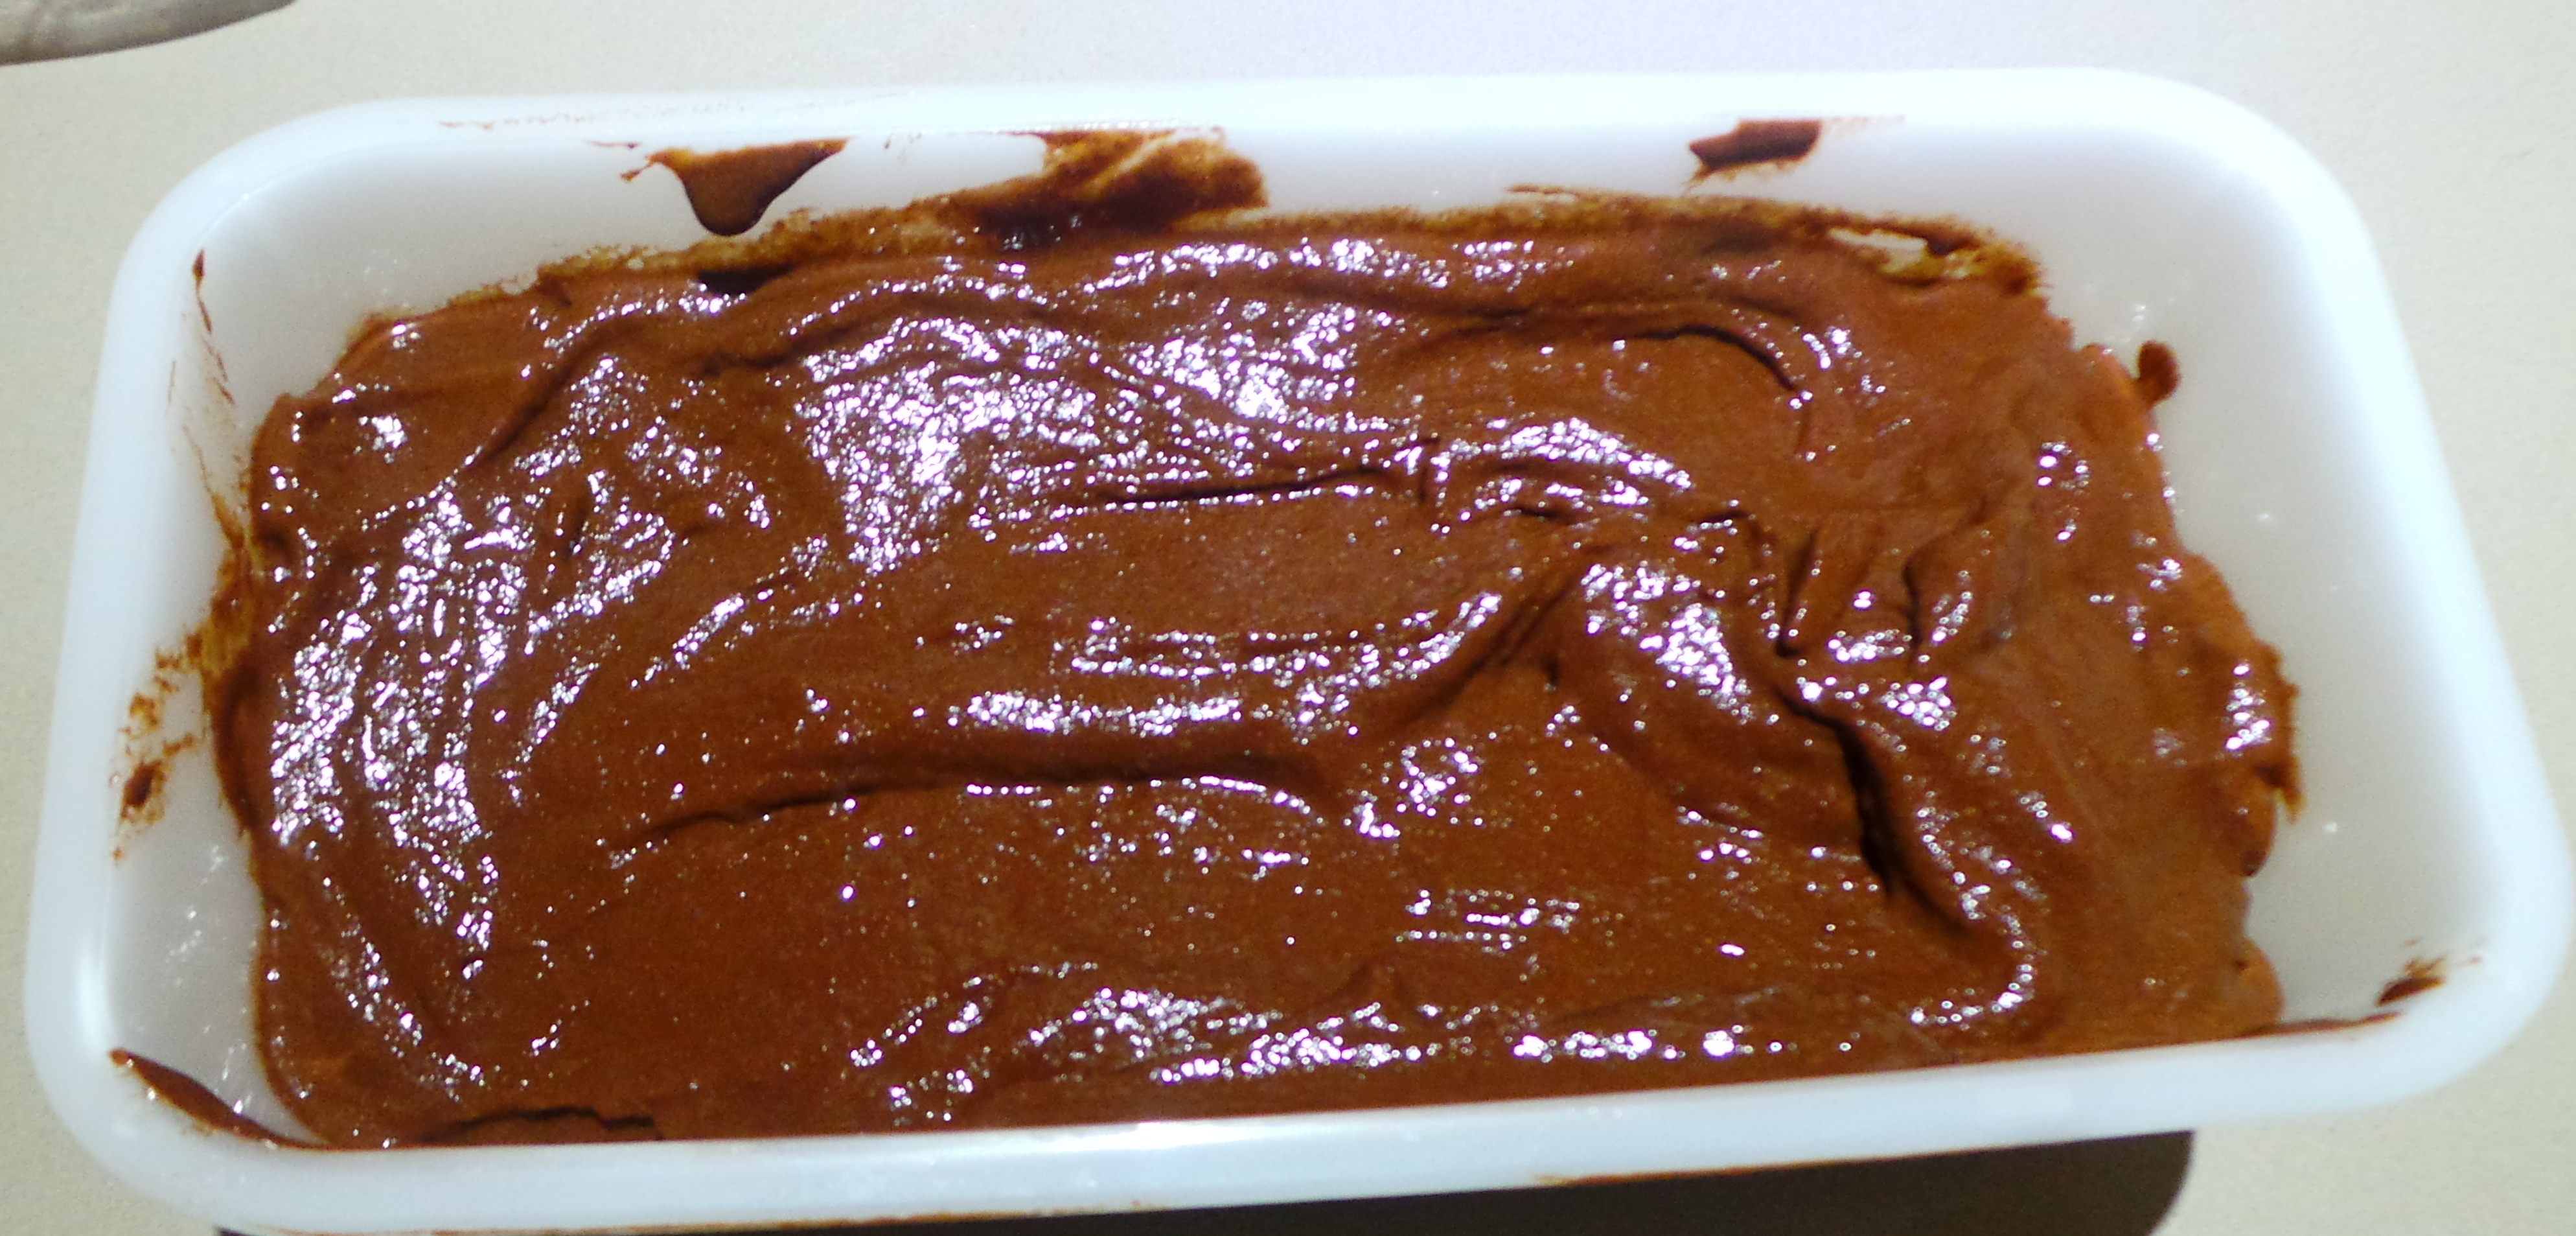
Mix through with the fork again, and then give it a good stir with a spoon or spatula. You’ll notice it all start coming together nicely.

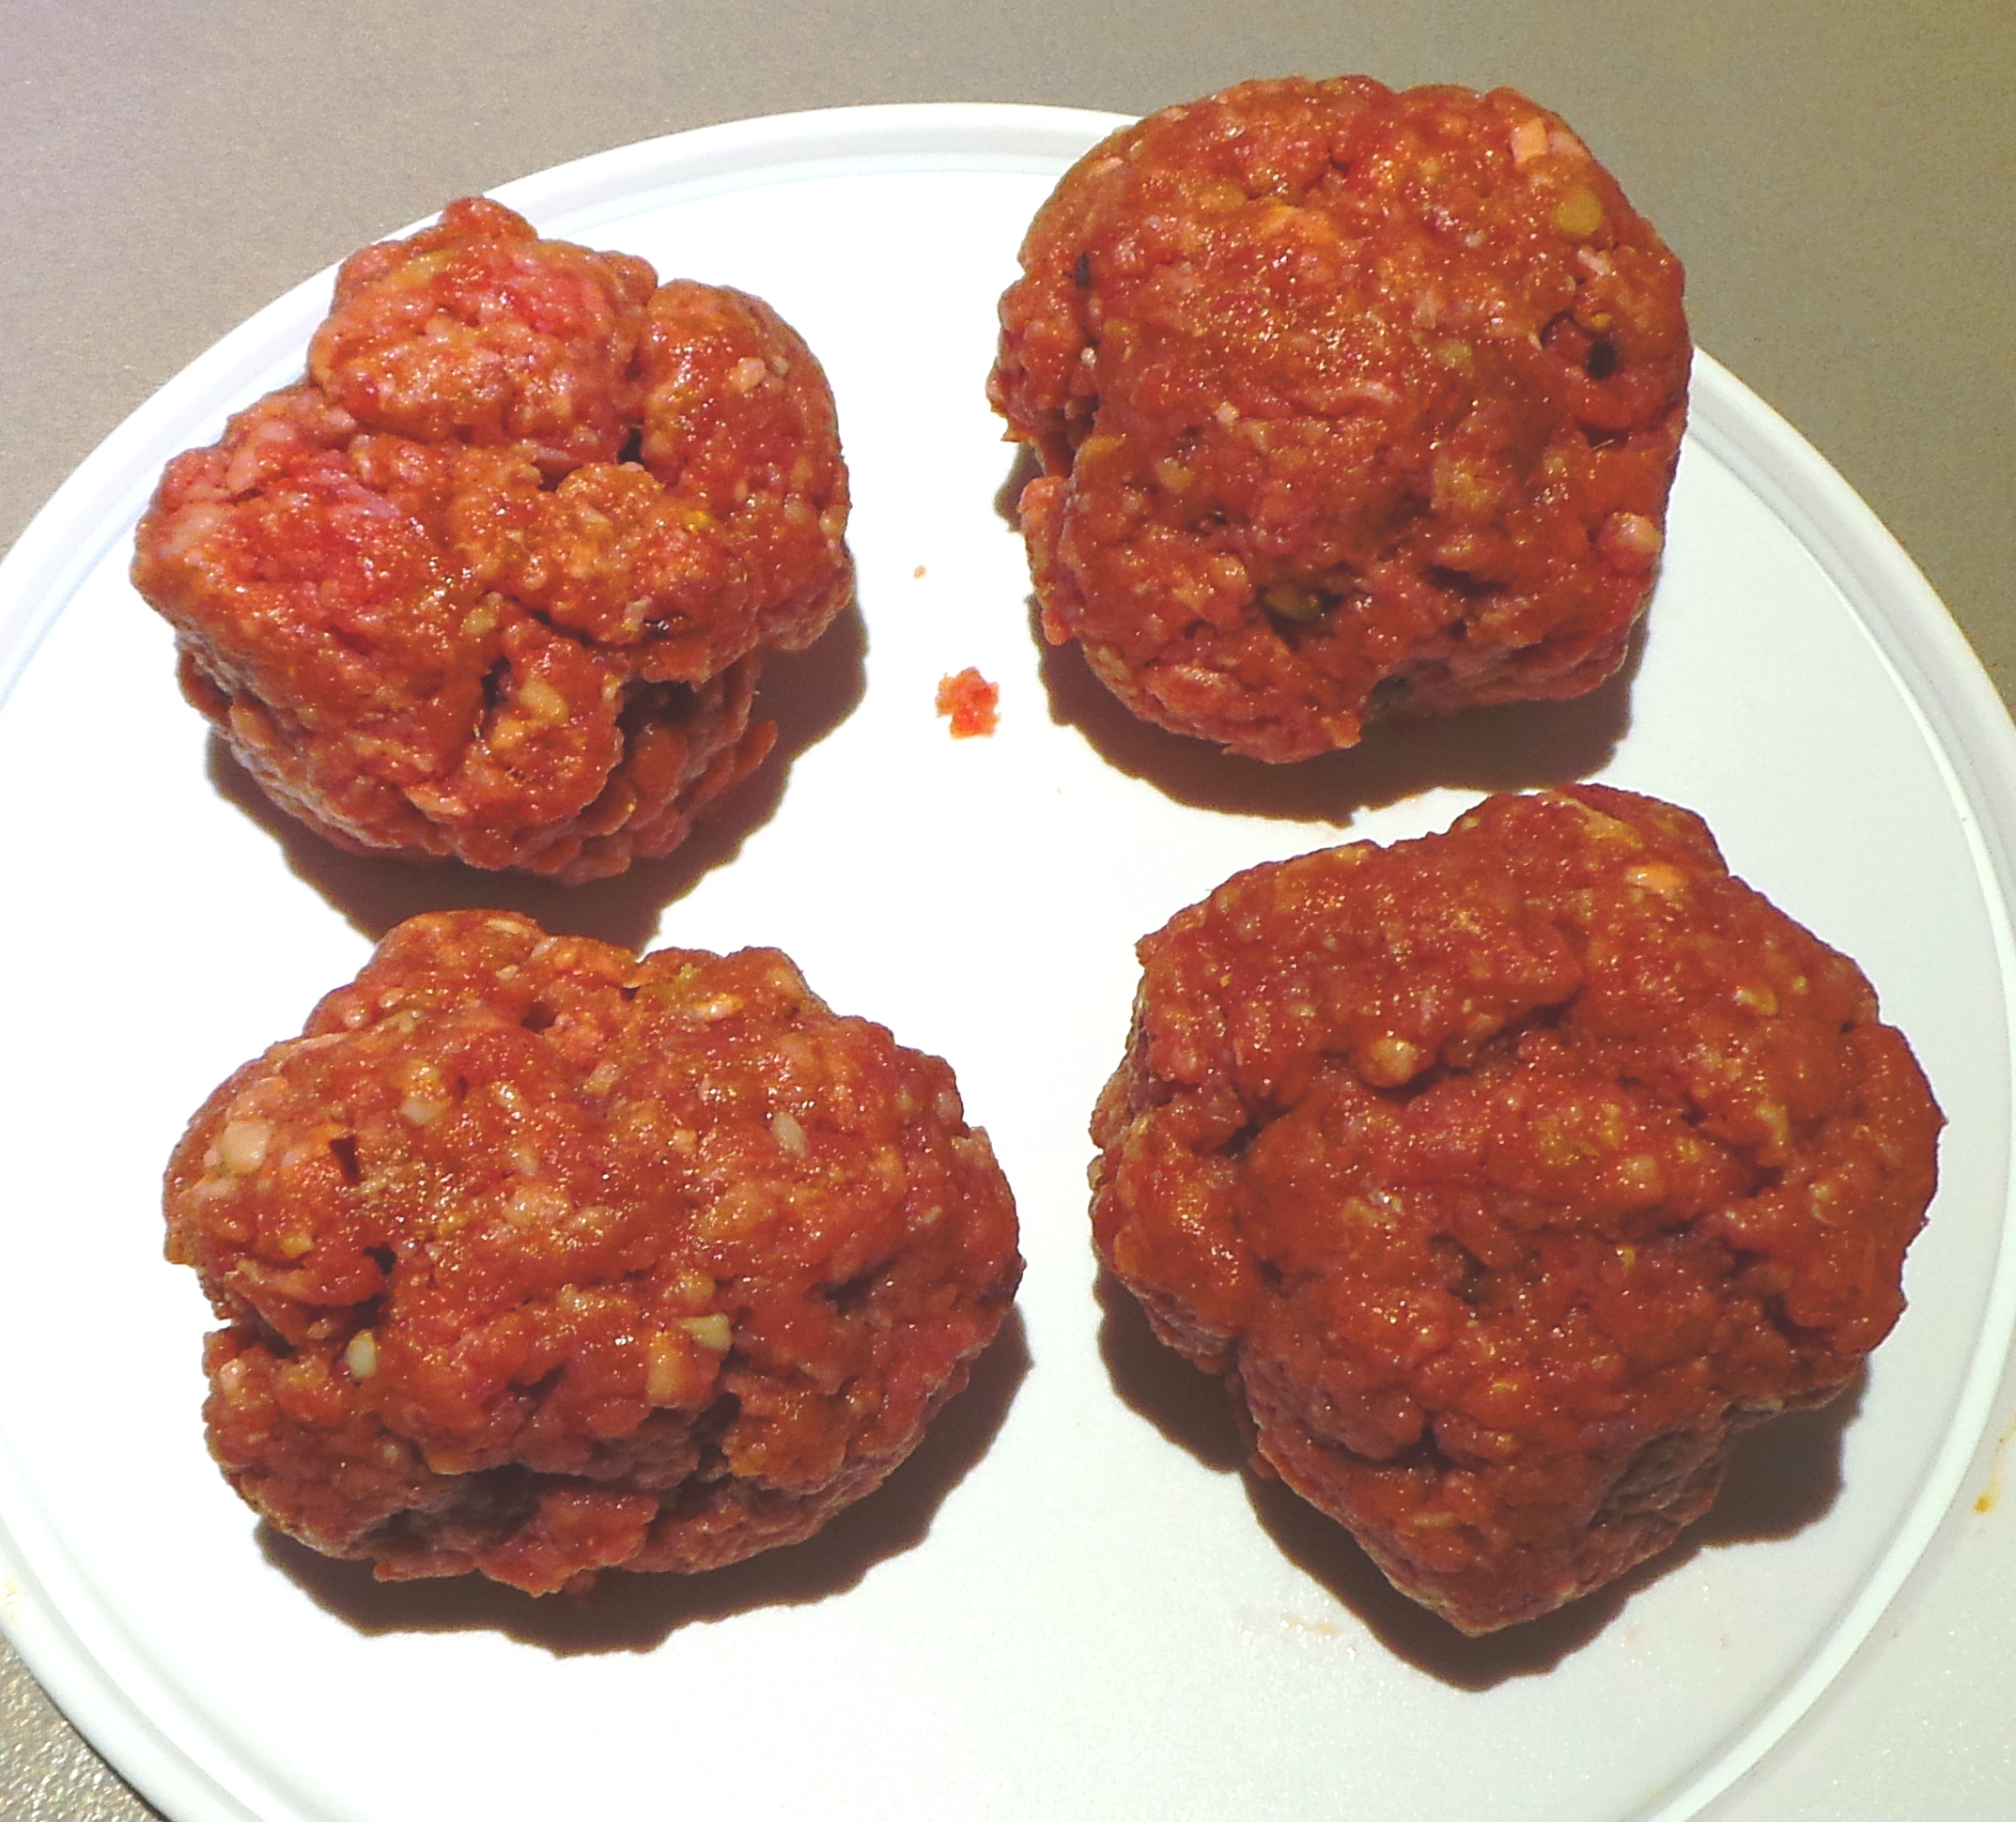
Now, with wet hands, create mandarin-sized balls of meat – wet your hands between meat balls and it will go easier. The wetness helps stop the meat from sticking.

Have a ball.

Have a ball.

You may wish to wear disposable gloves. You may even find it easier to use a large ice cream scoop to measure them out onto a plate all at once and to just finish them off in your hands.

Do what you feel comfortable with.

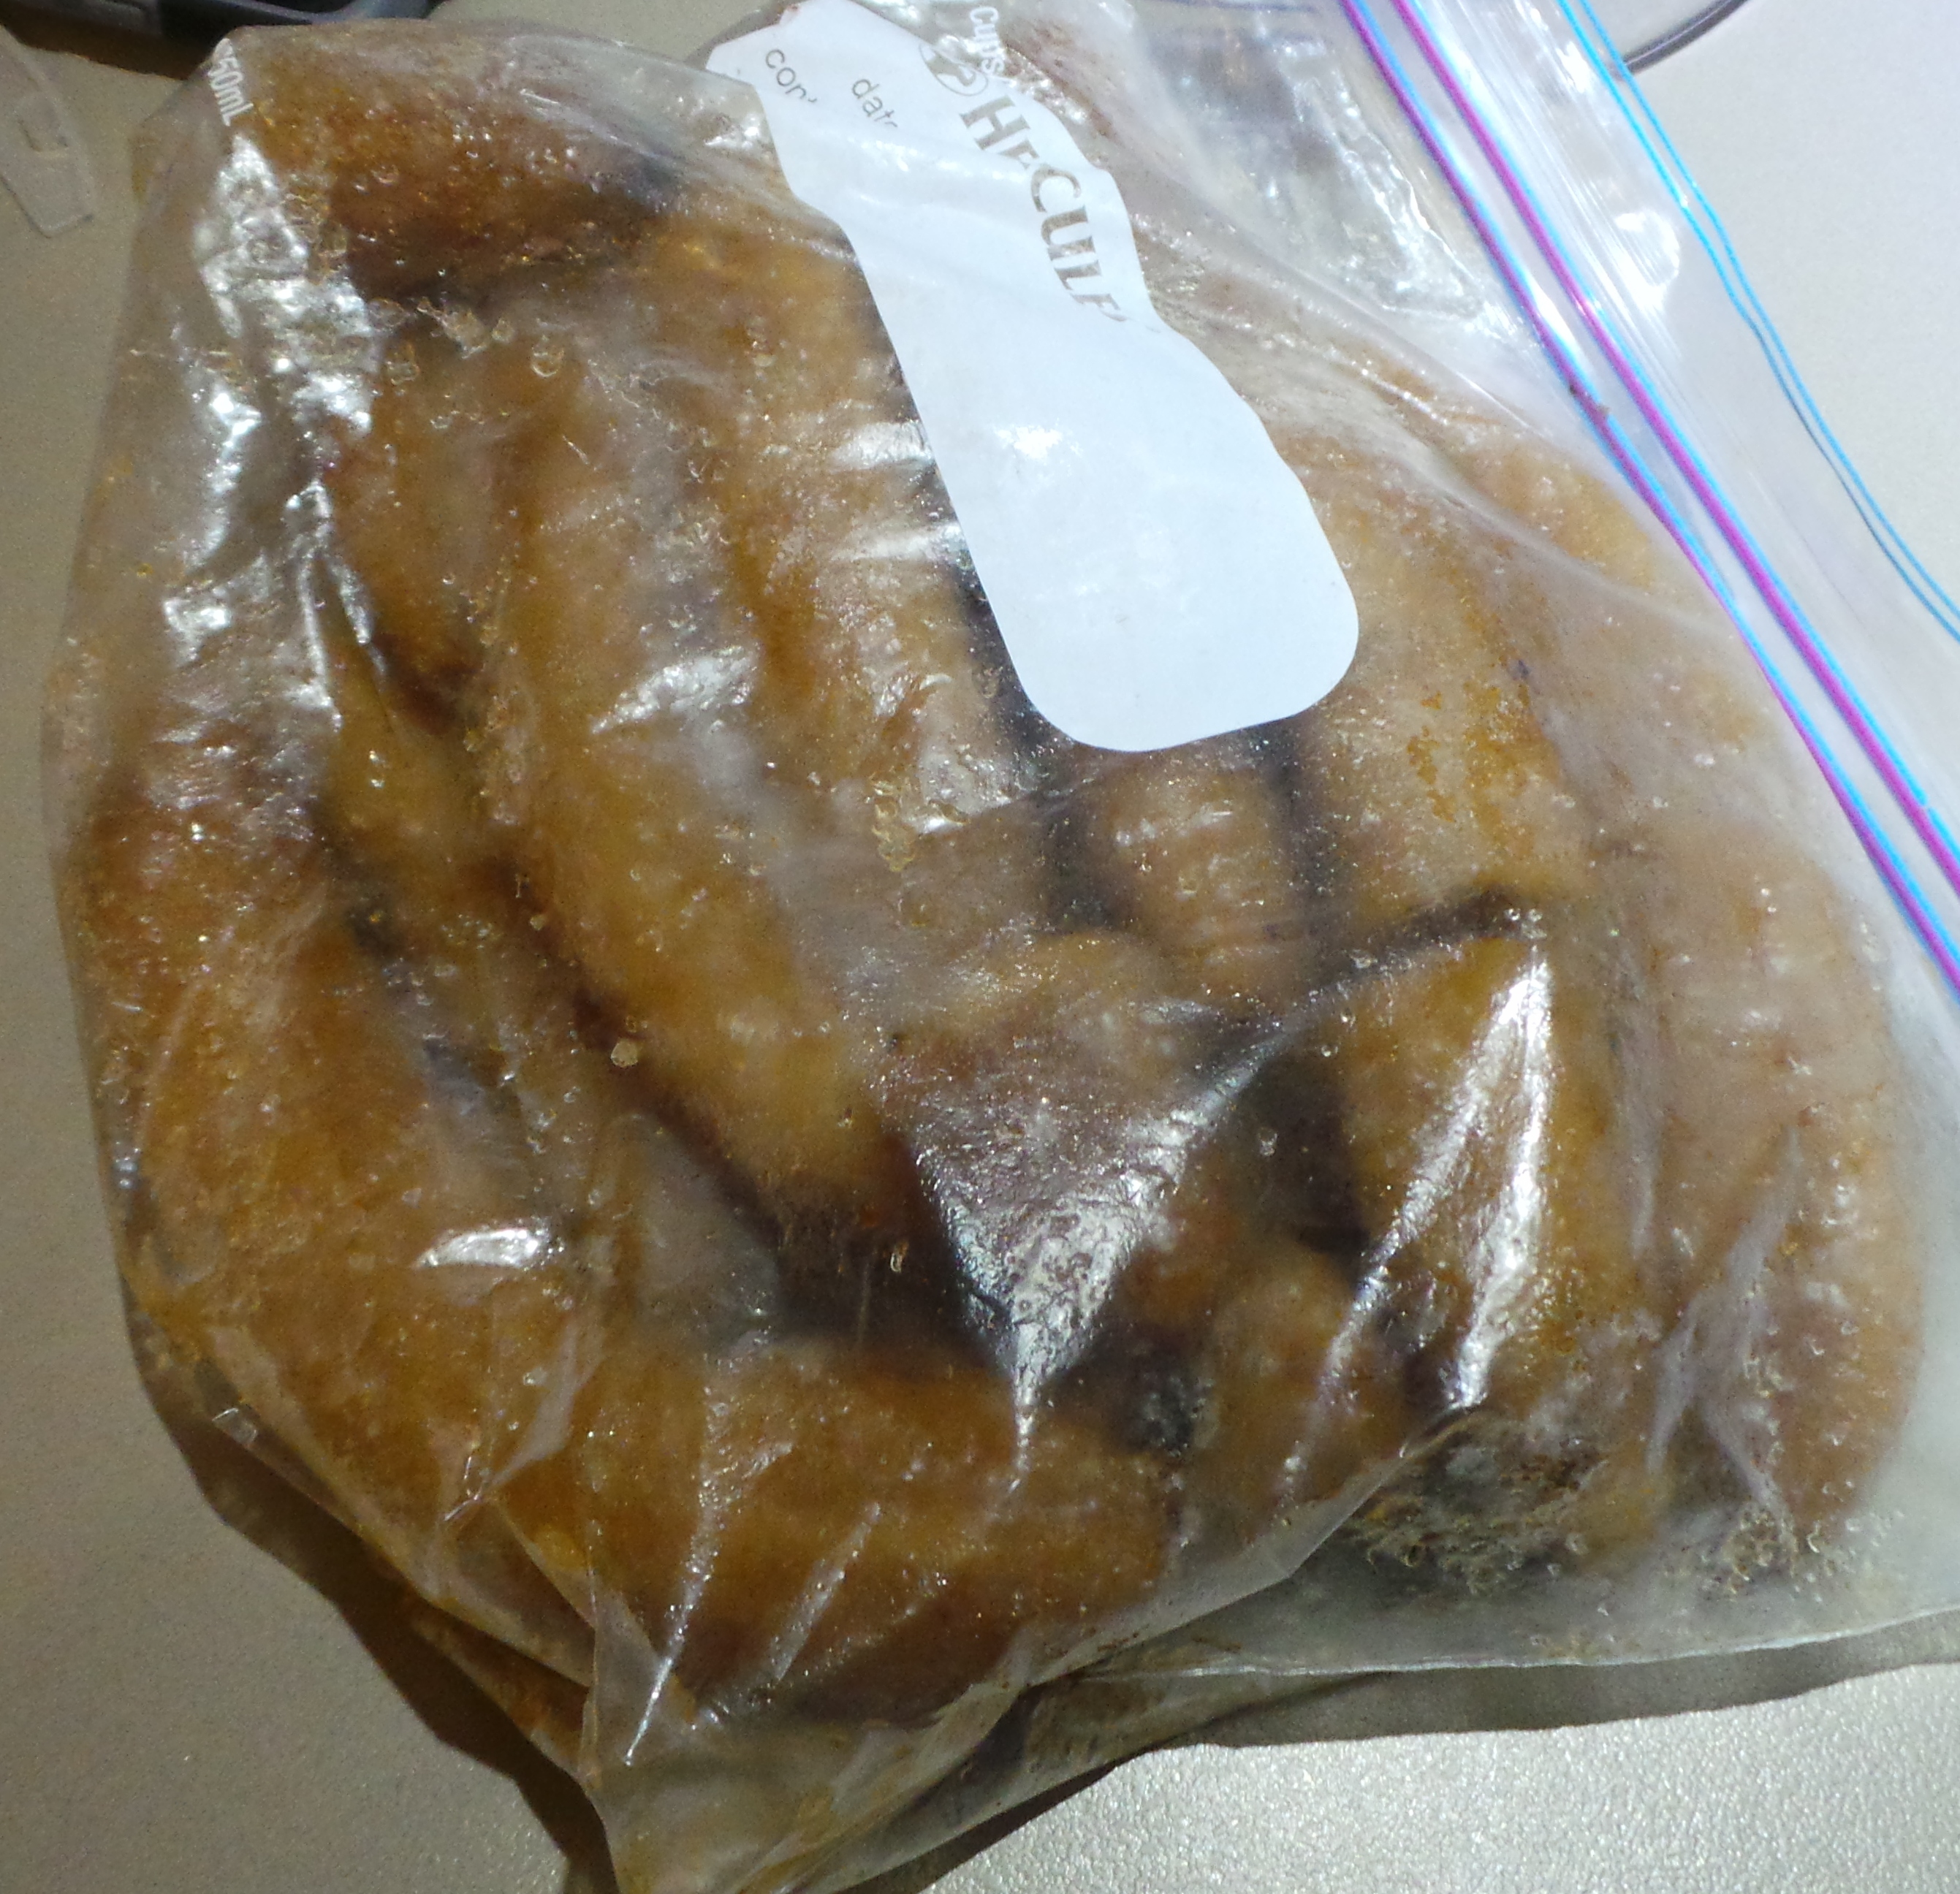
You can freeze them at this point, if you wish.

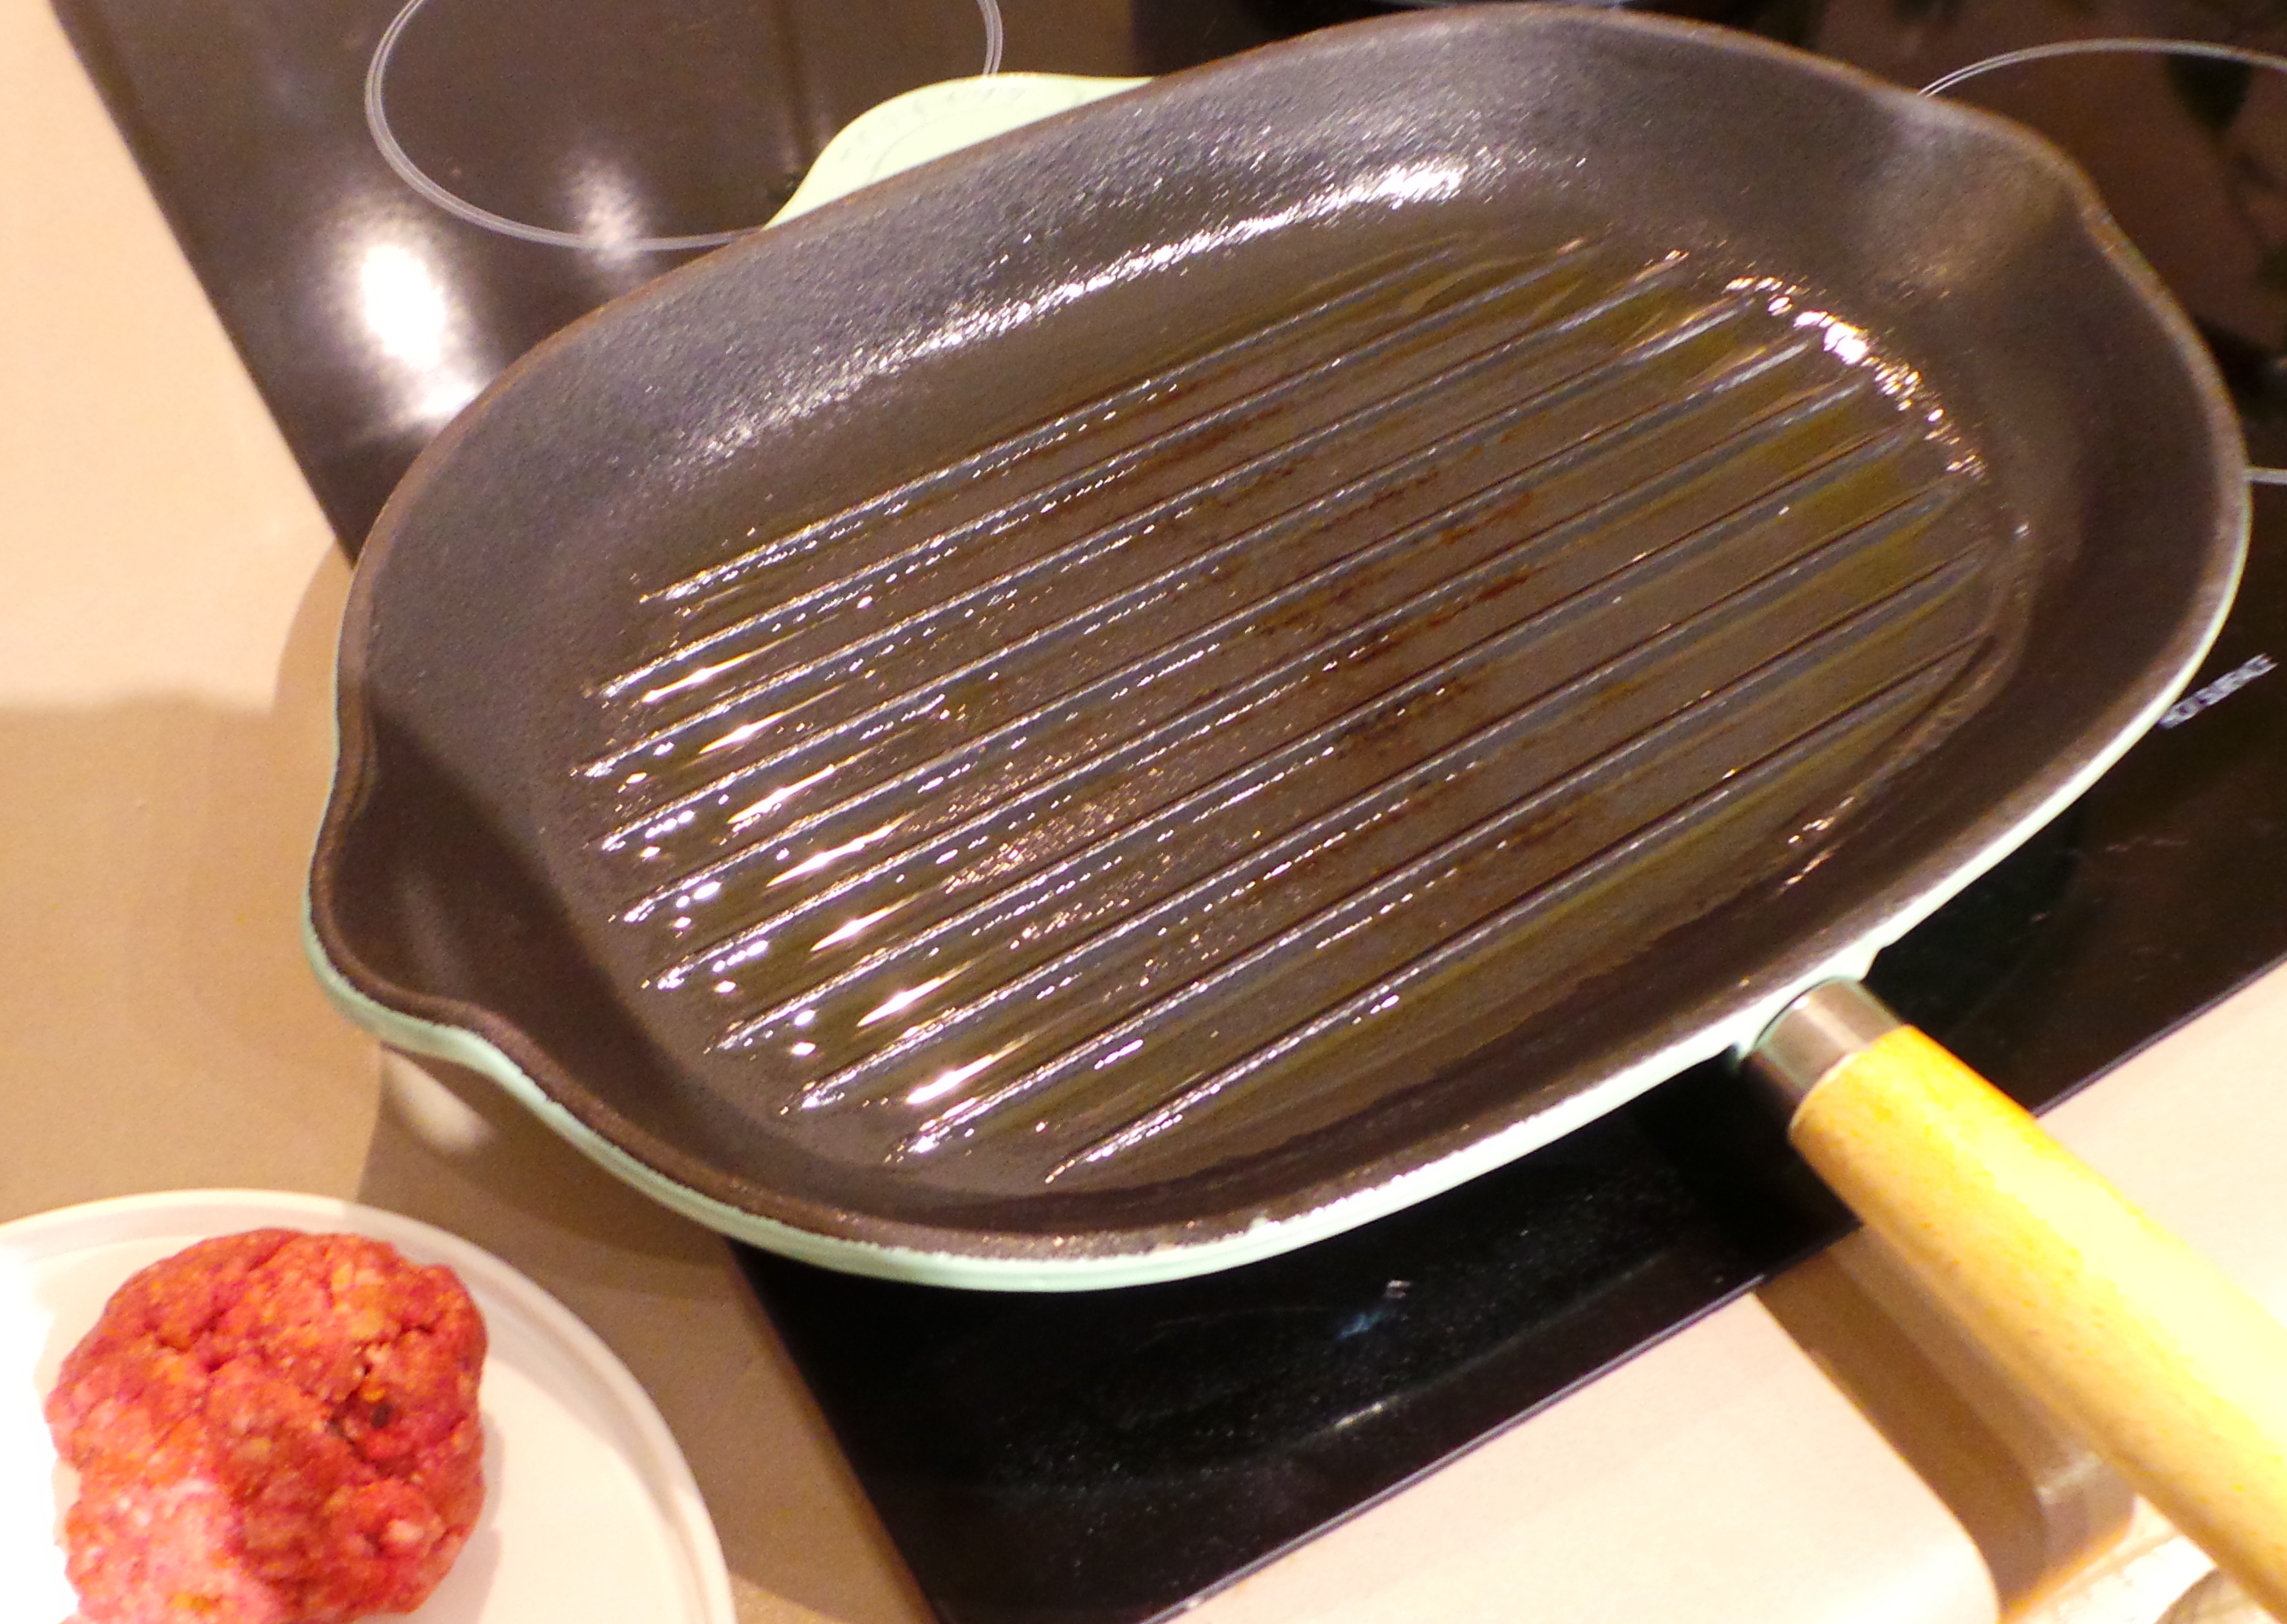
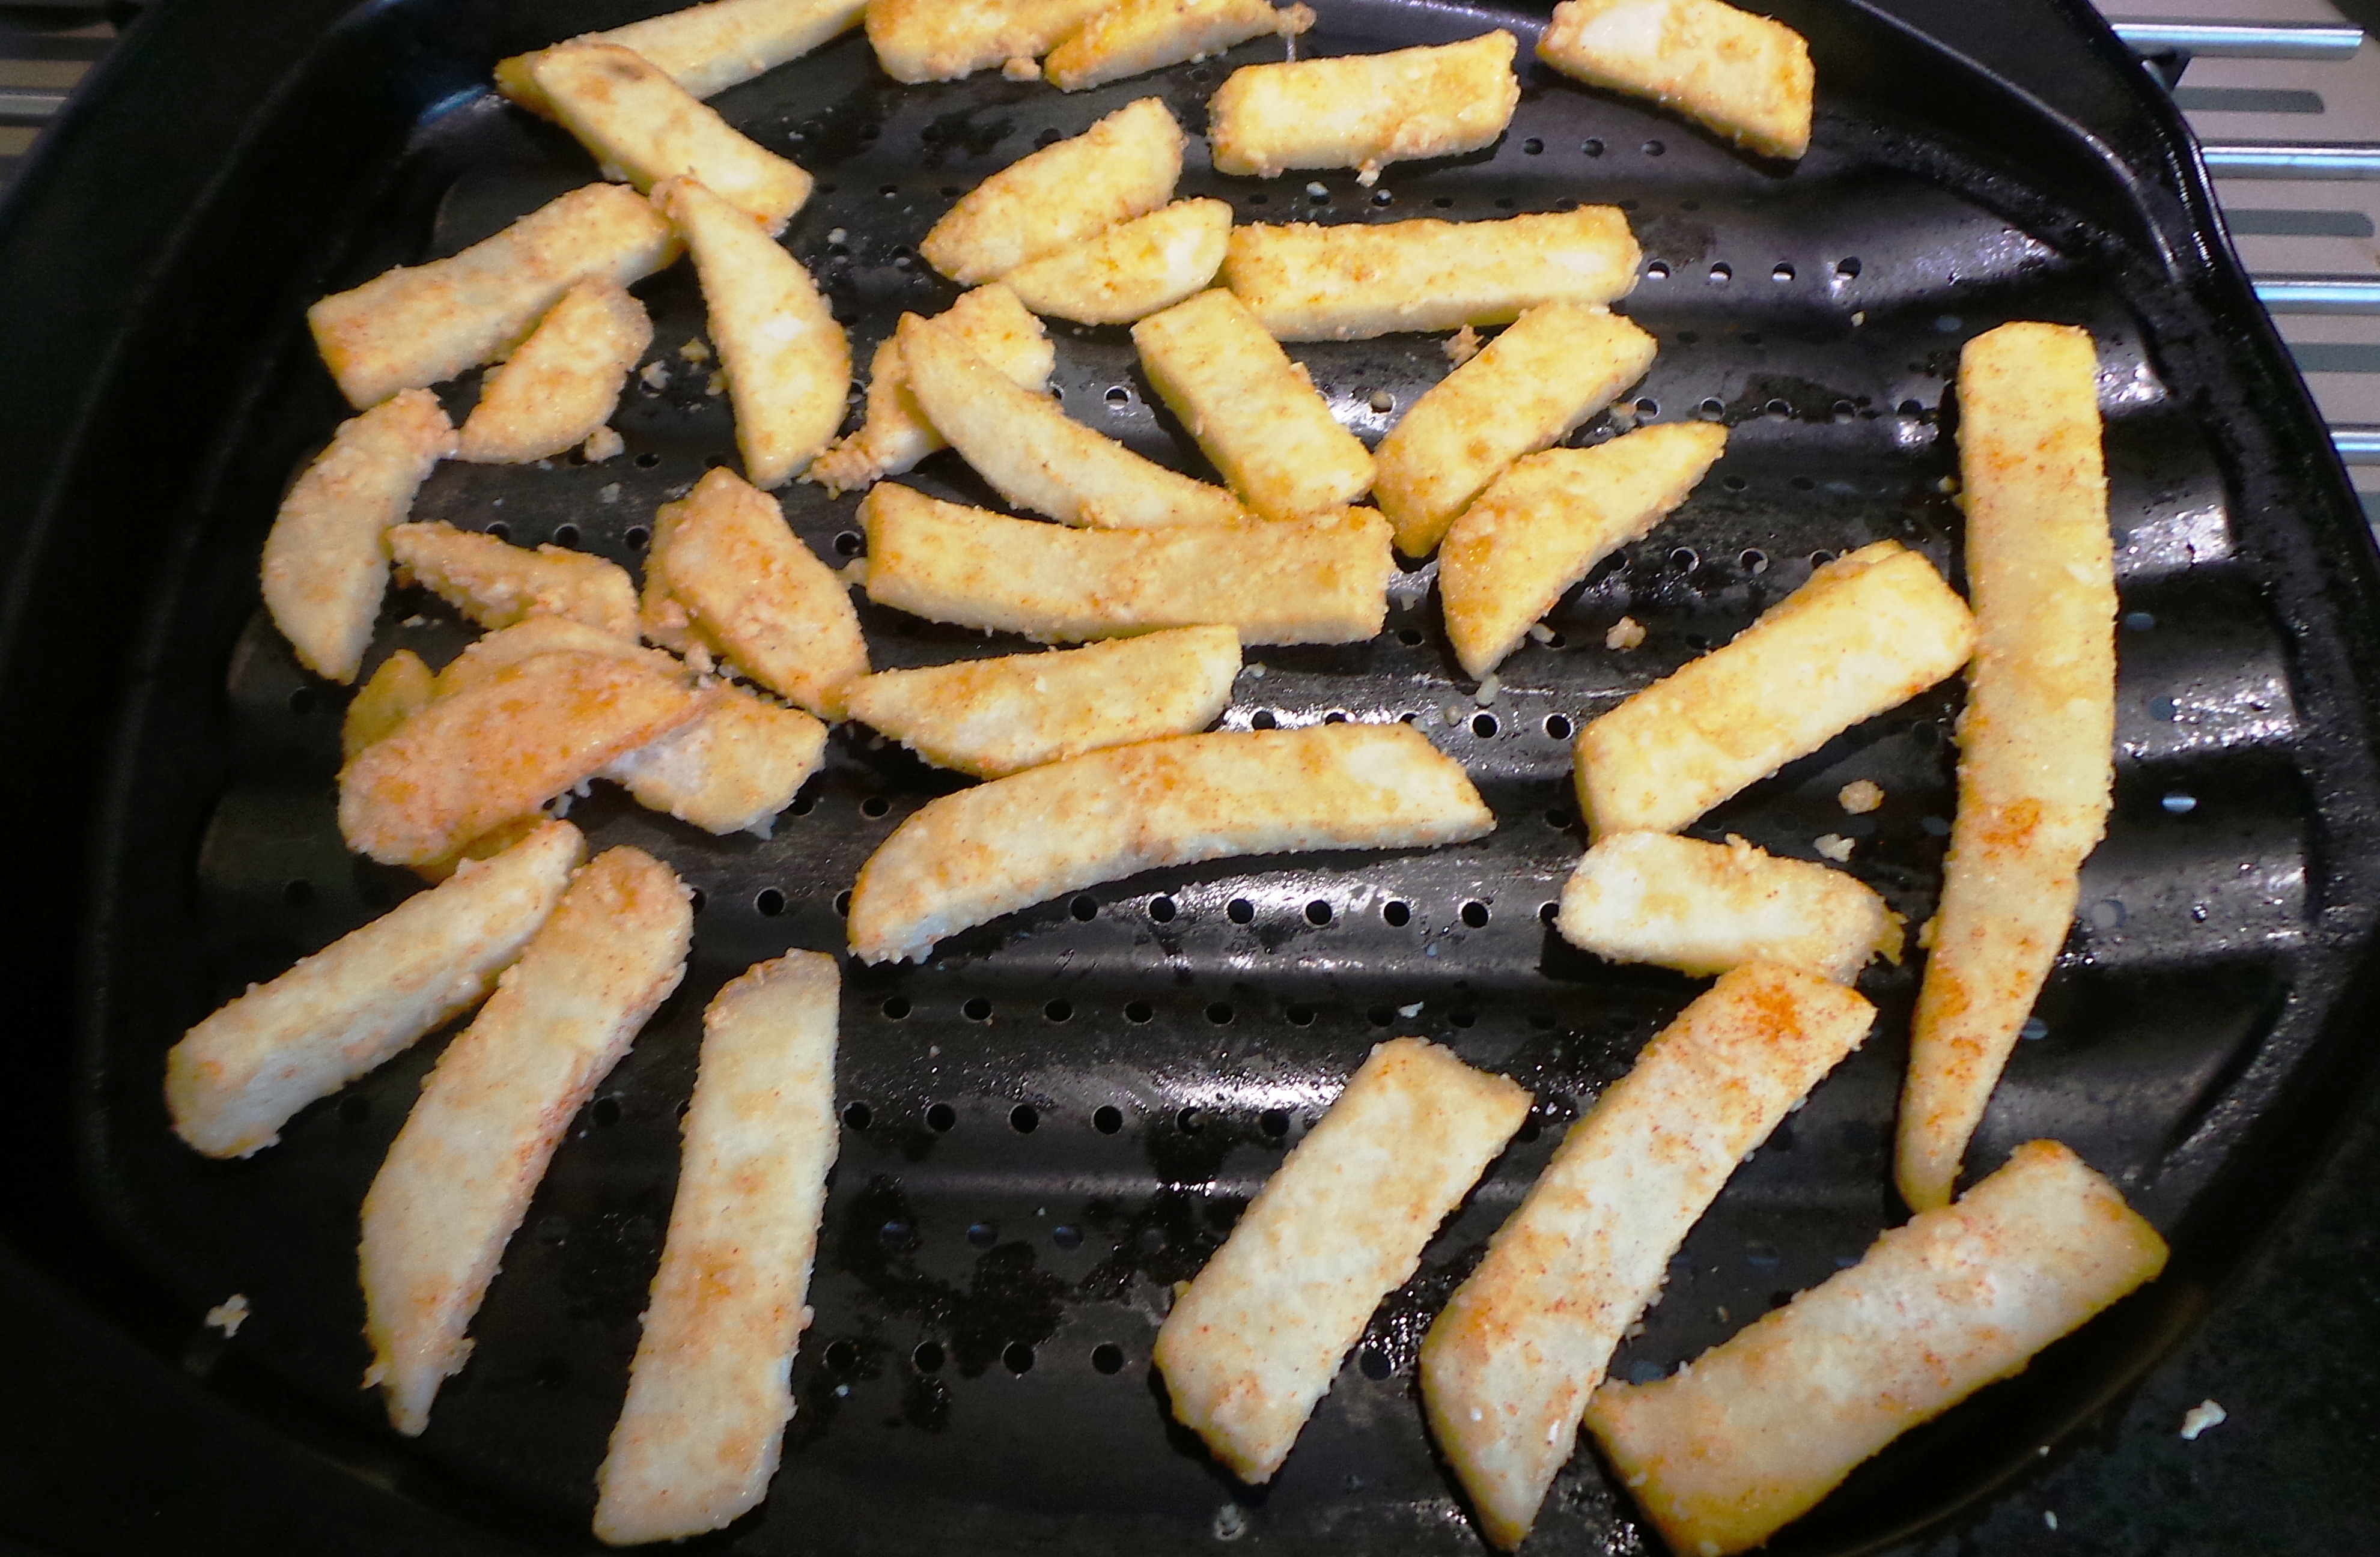
If you want to eat them now, then gently heat a pan or griddle that has been lightly brushed or sprayed with oil.

Oil up.

Oil up.

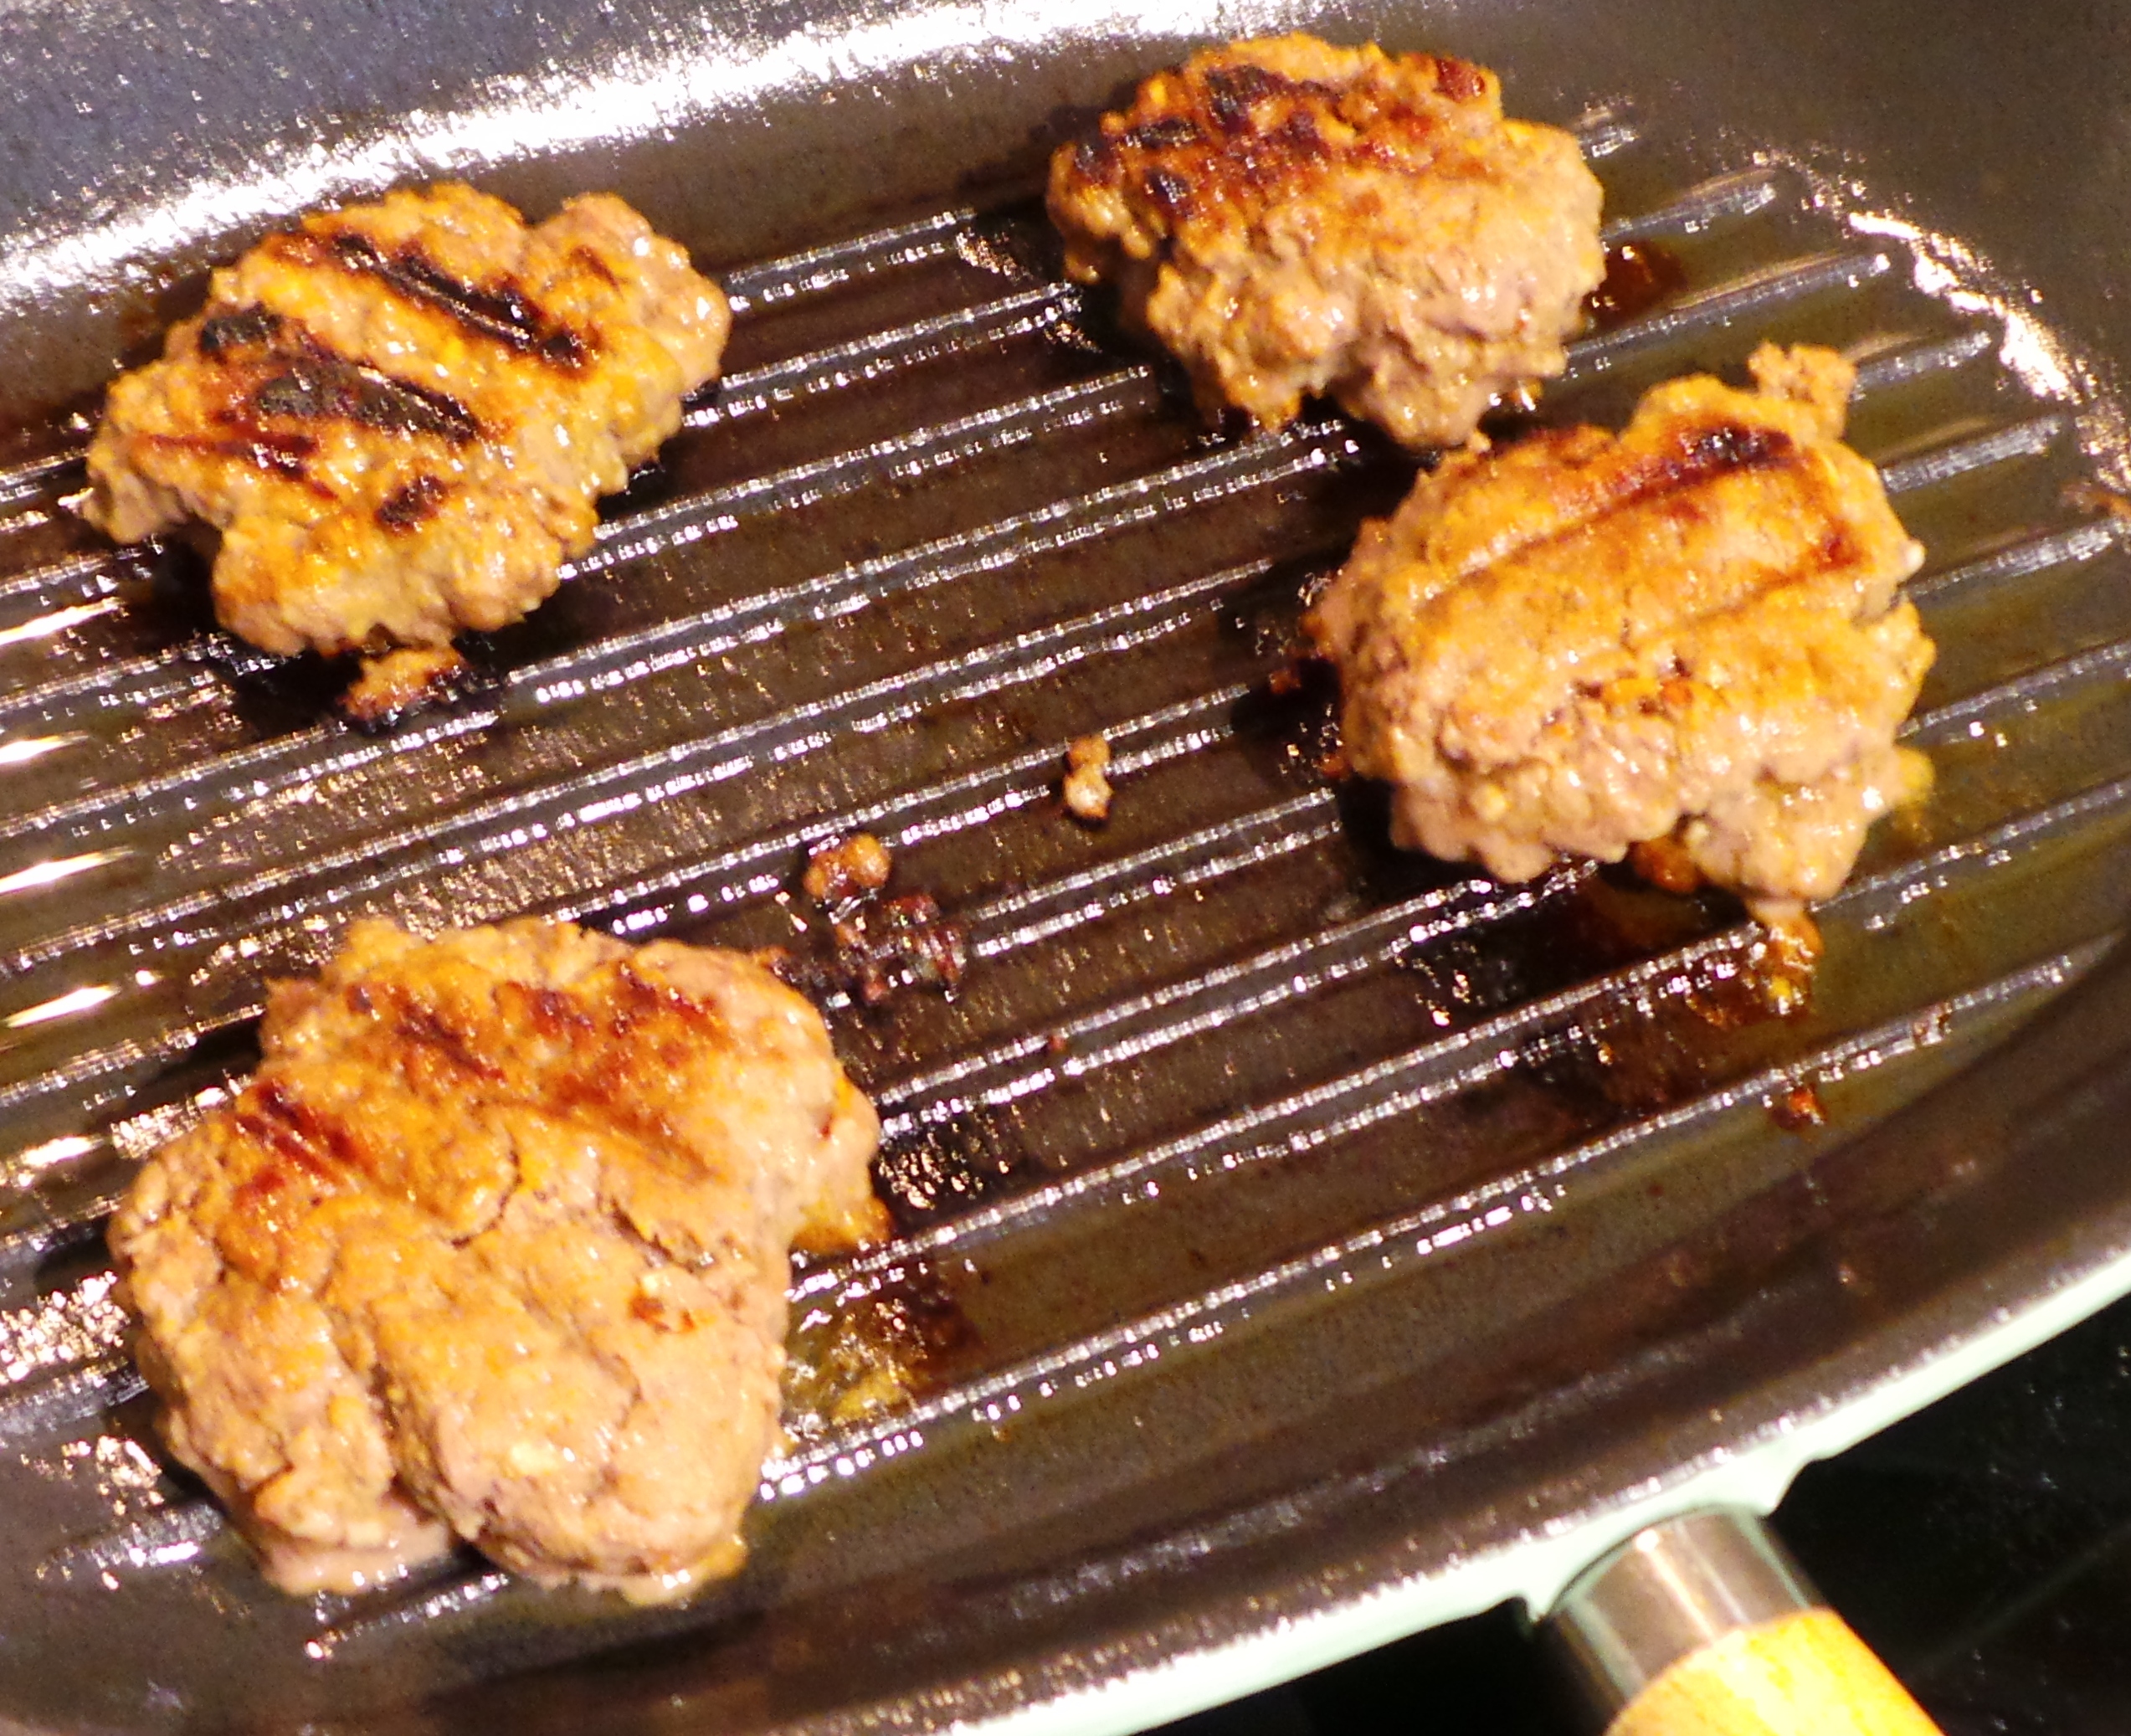
Then add your meat balls, pressing down lightly to flatten them slightly. Set a timer for 4 mins and then LEAVE THEM ALONE. Just let them cook while you do other things, like set the table or something.

At the four minute mark, turn them over. They should lift easily. If they stick, let them sit a minute or so more and try again. Set your timer for another 4 minutes.

Flip.

Flip.

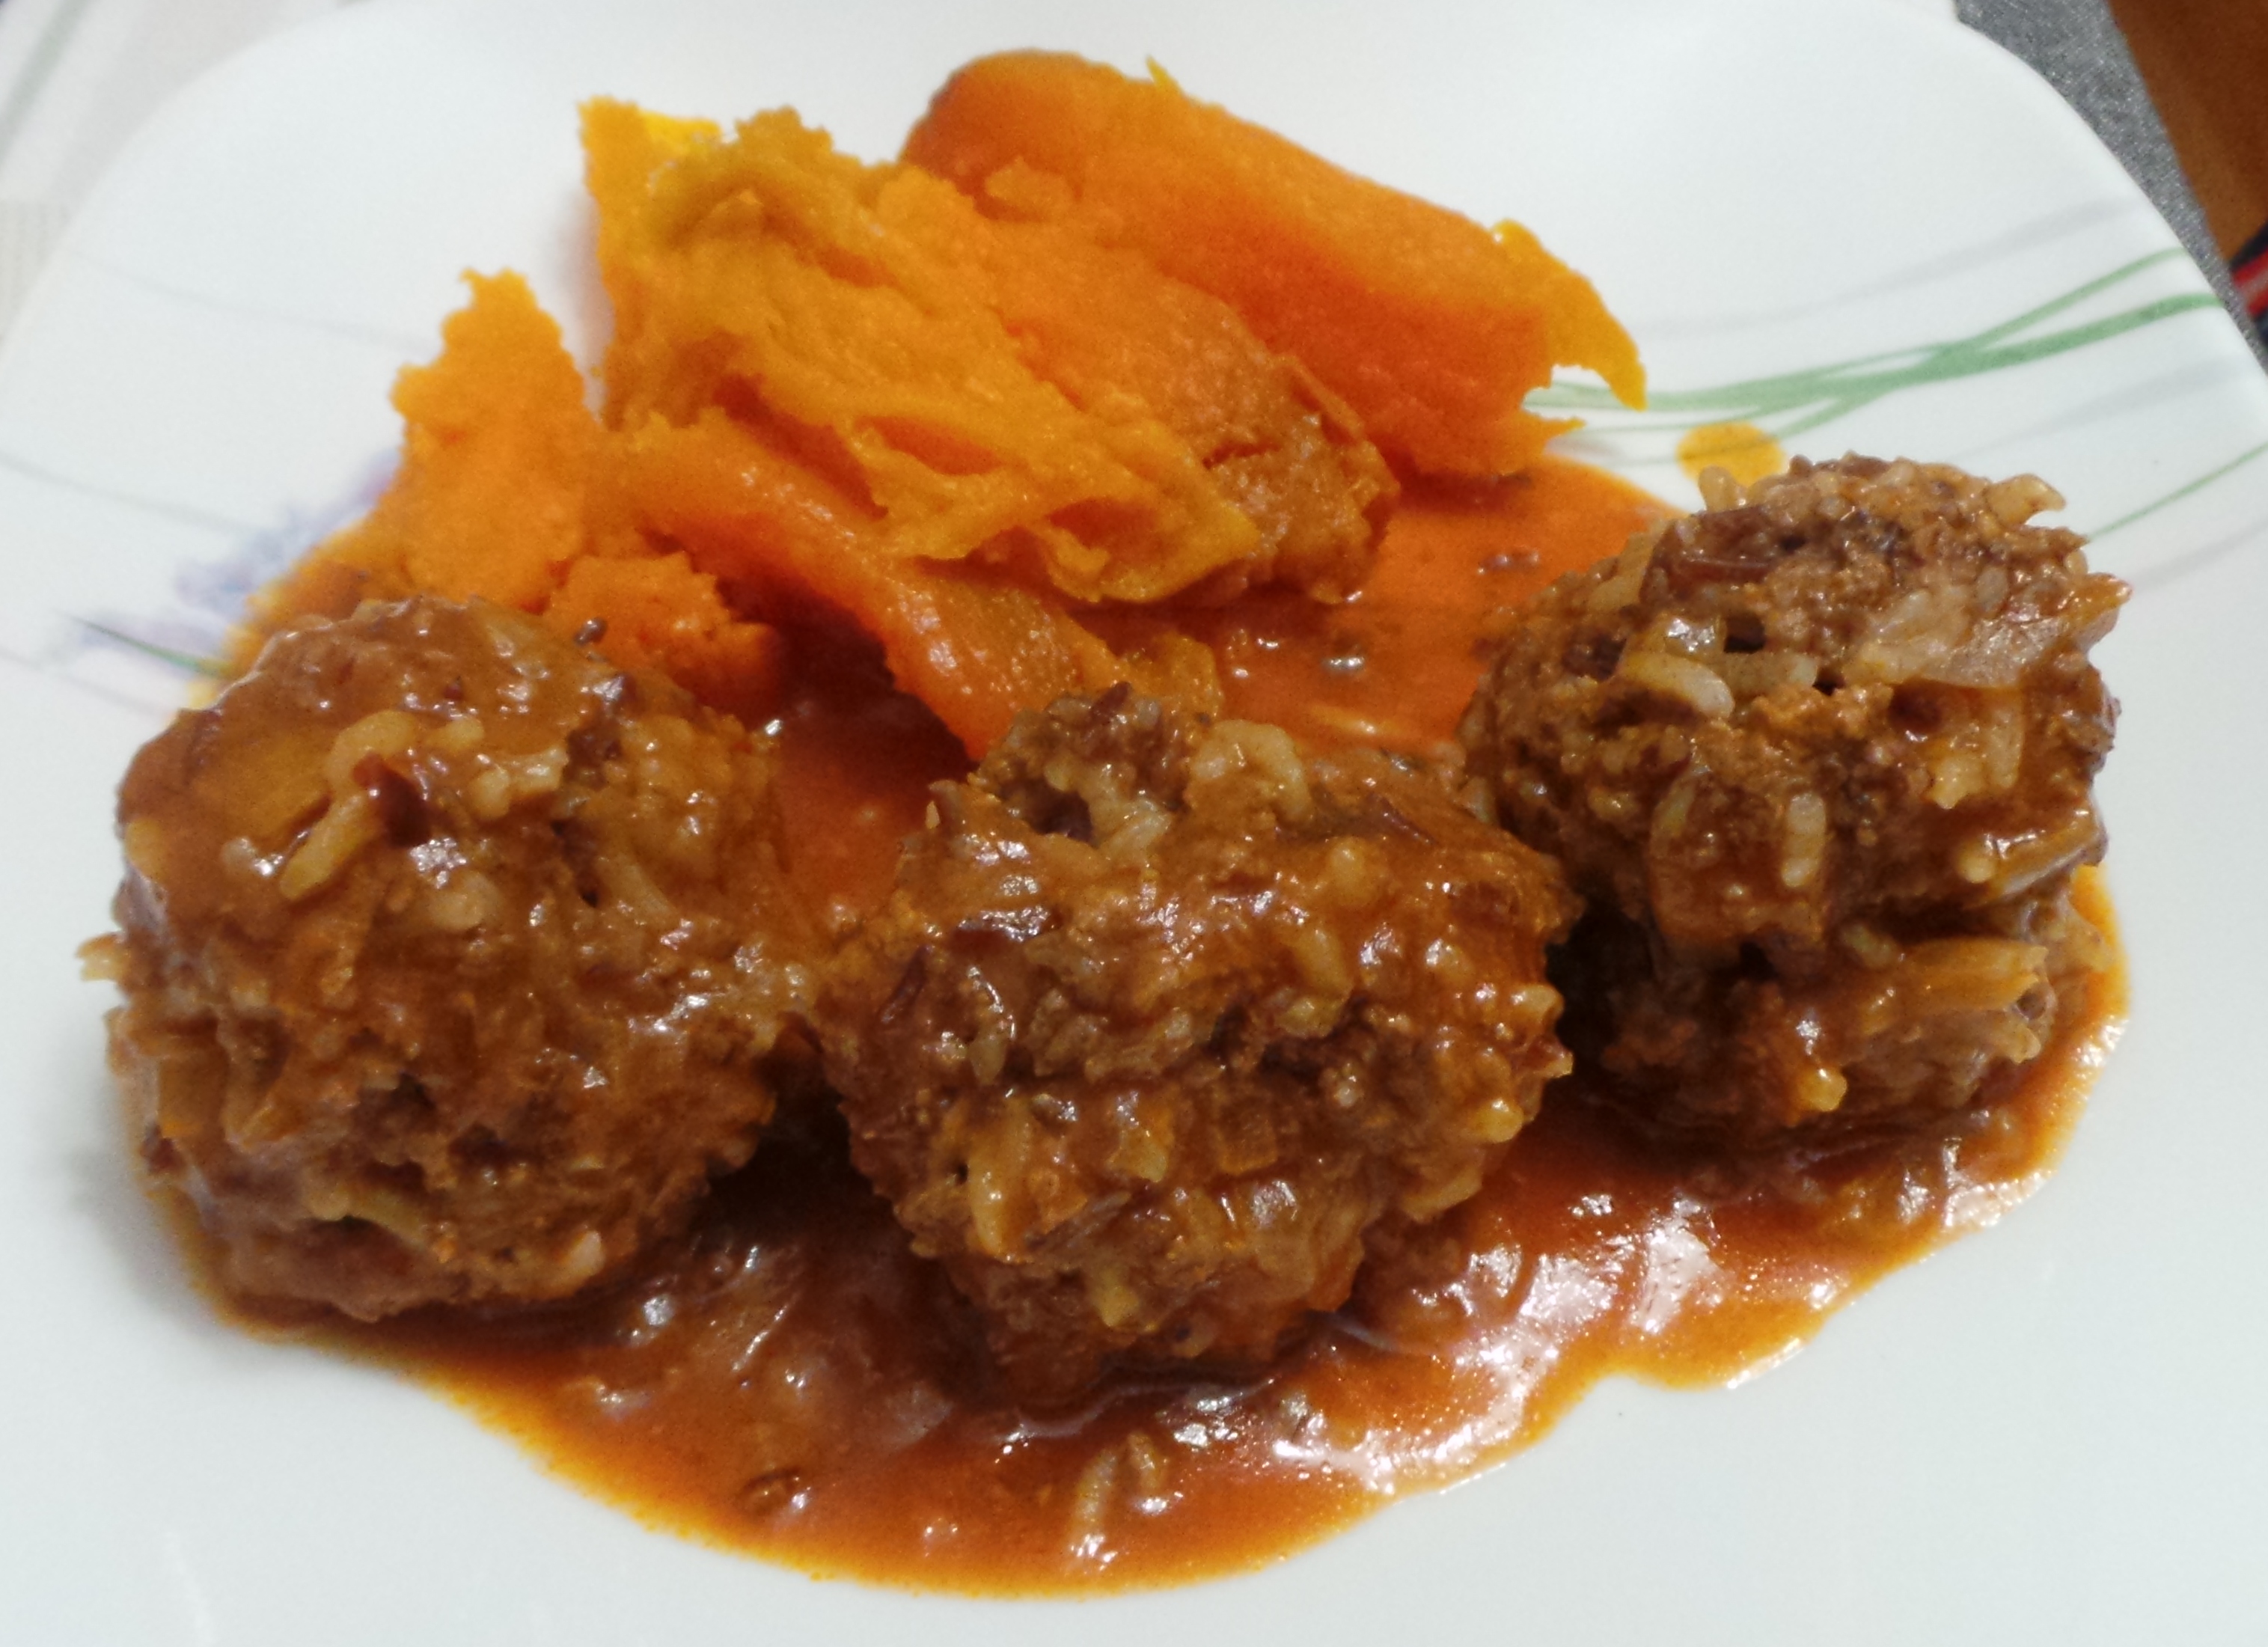
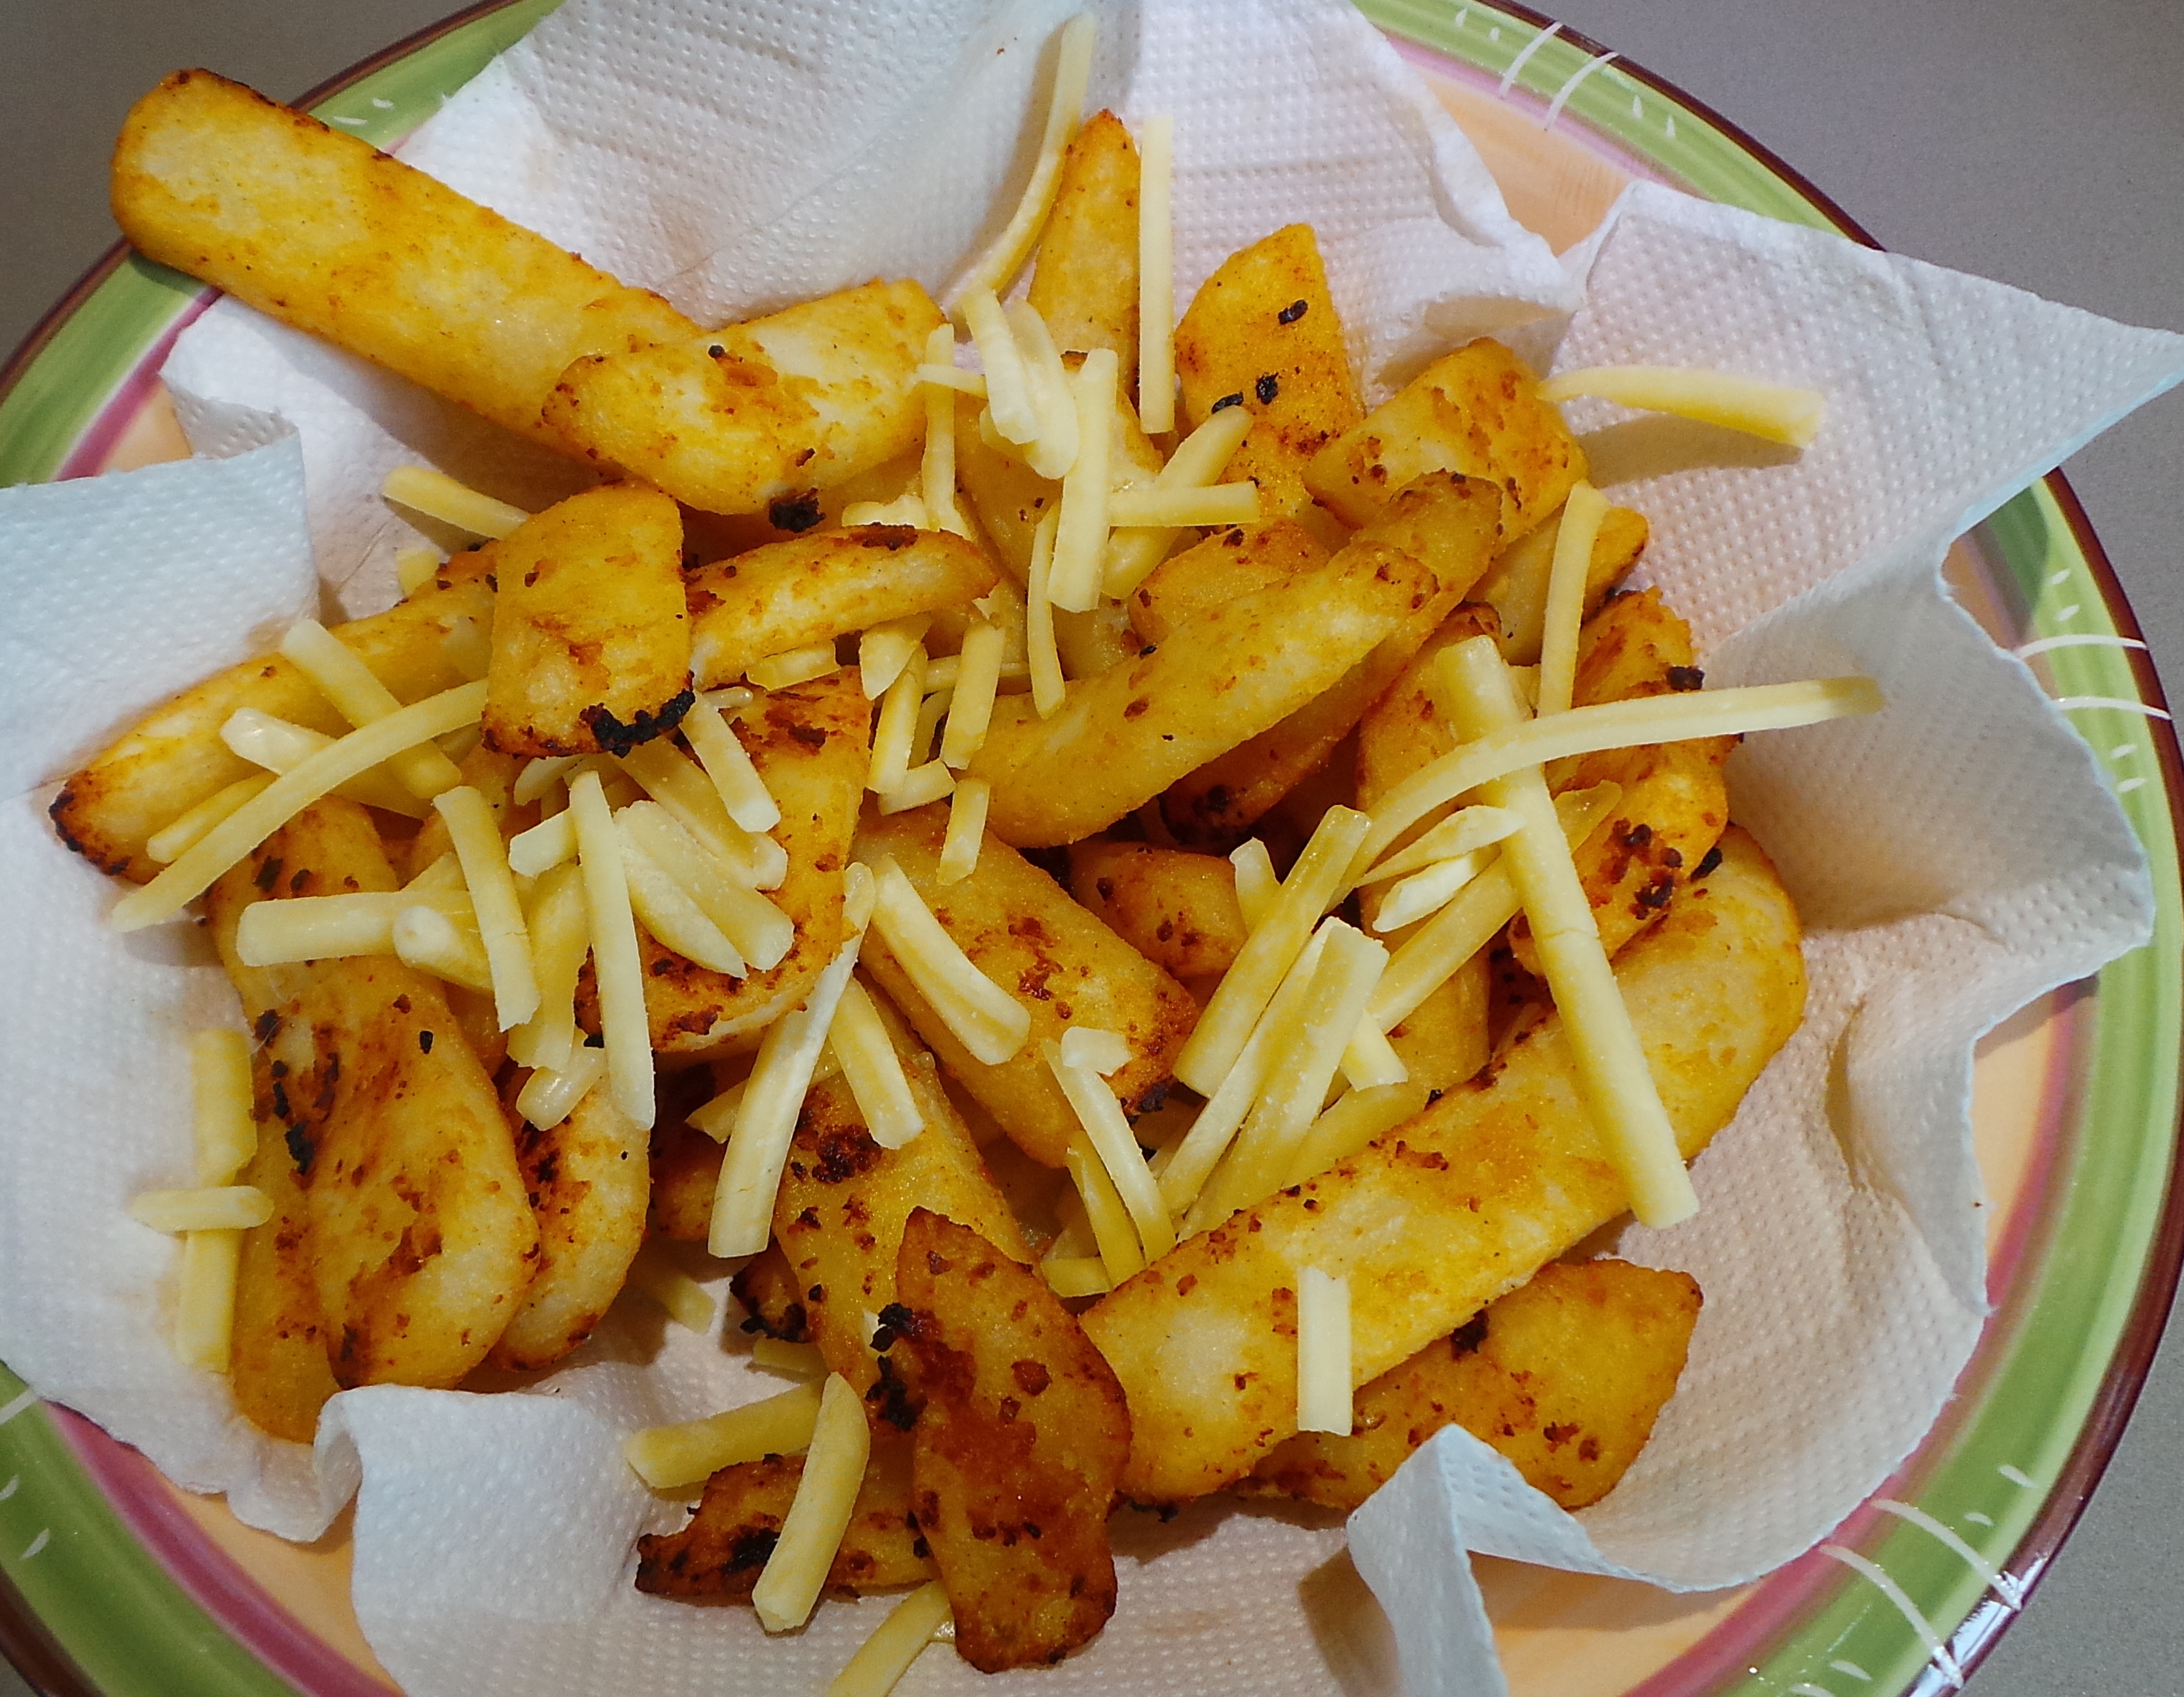
When the timer goes off for the second time they’re ready to serve.

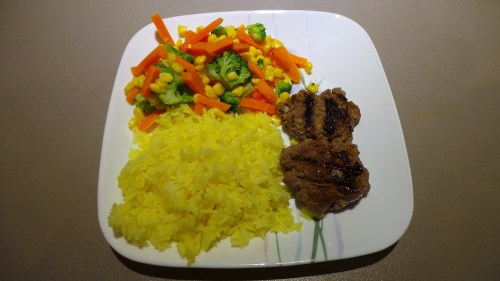
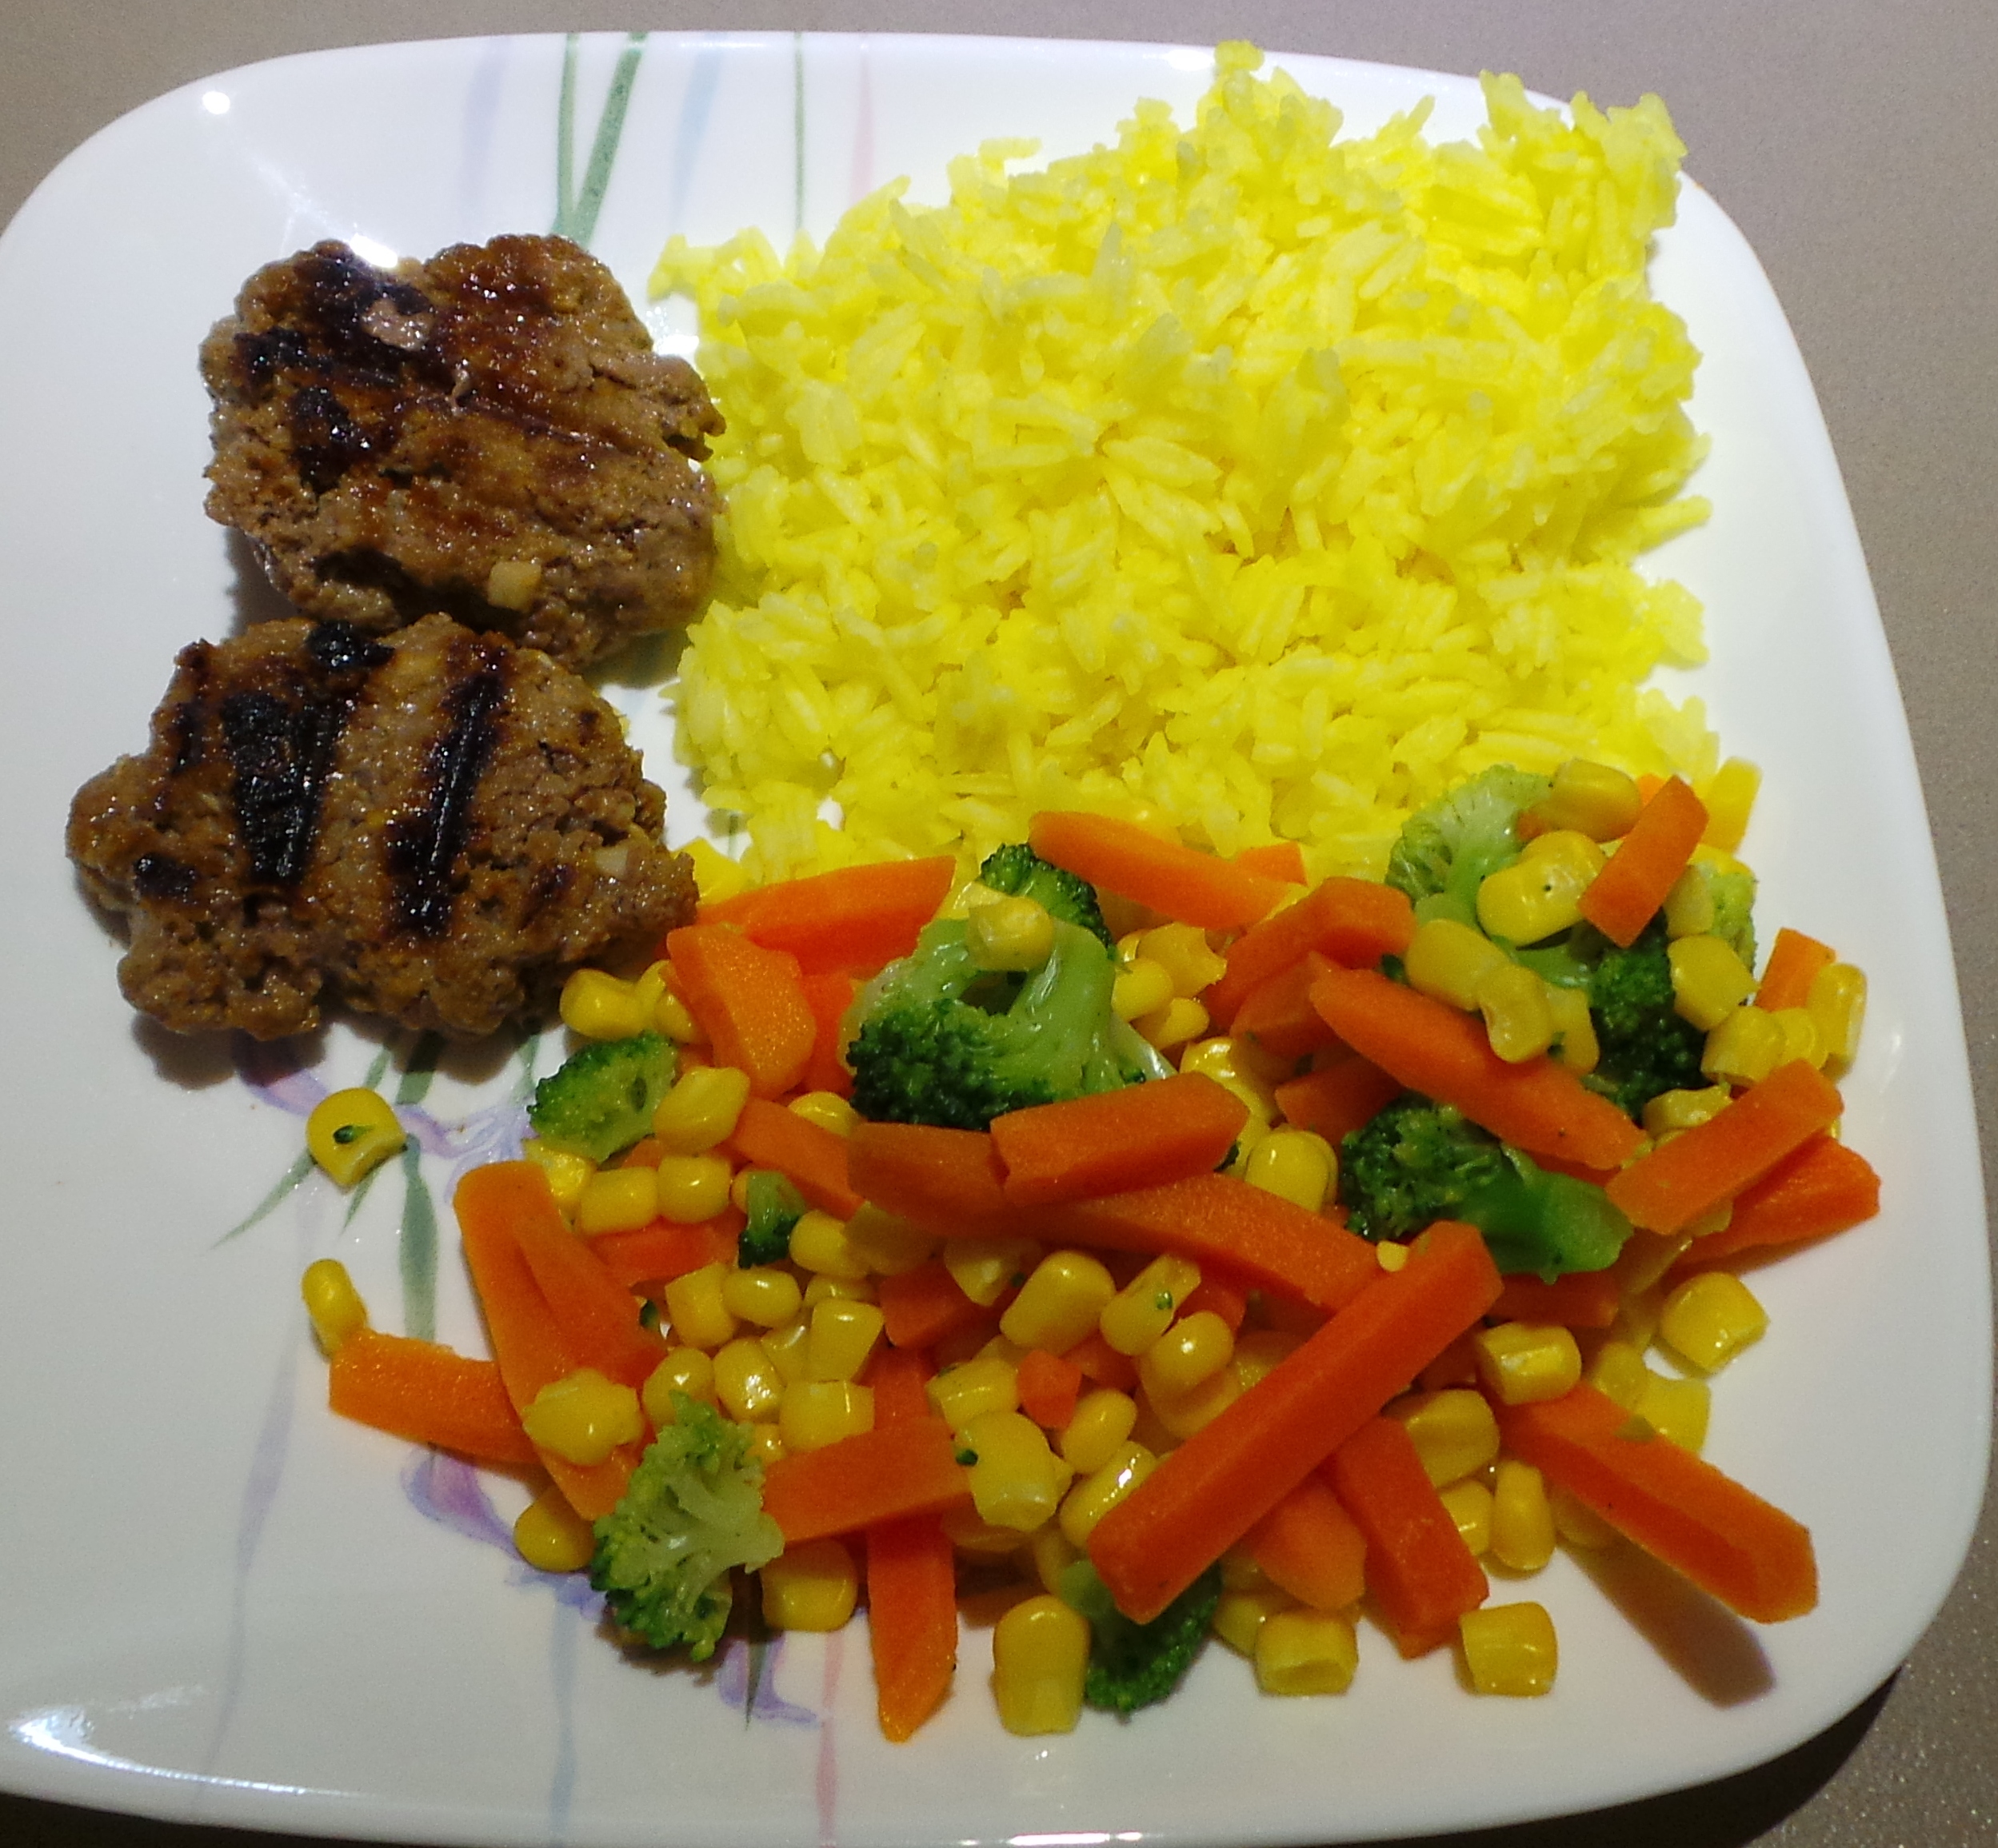
I like to serve with steamed rice and veggies. In this instance, I’ve tinted the rice with a touch of turmeric in the water.

Make a meal out of it.

Make a meal out of it.

They are also quite nice served as a burger.

Enjoy.

Asian-spiced meatballs

  • Servings: 4-6 balls
  • Difficulty: easy
  • Print

Ingredients

250 g ground meat (minced beef, pork or chicken)

1 tsp minced garlic (from a jar)

1 tsp crushed ginger (from a jar)

½ tsp ground coriander

½ tsp ground cumin

¼ tsp chilli flakes

(or any other spices you’d like to add)

1-2 tbsps thick Asian flavoured sauce, optional.(kecap manis, sweet chilli sauce, Hoi Sin sauce, Teriyaki sauce, etc)

Method

Place meat into a medium bowl. Add garlic and ginger and mix in well with a fork.

Add spices, and mix well.

Add sauce if wished and mix well.

Mix until the meat starts to stick together and form a large ball.

With wet hands, form into four meatballs (for this amount of meat.) If you prefer, use a large ice cream scoop to measure out and finish forming them in hands using disposable gloves.

(you can’t get around touching the meat in some way. Sorry.)

Heat a frying pan or griddle over medium heat and oil lightly. An oil spray would be ideal.

When the pan is hot, add the meatballs – pressing lightly to flatten slightly. Do not crowd the pan.

Leave to cook for 4 mins.

Turn and cook the other side for a further 4 mins.

Serve with rice and vegetables.
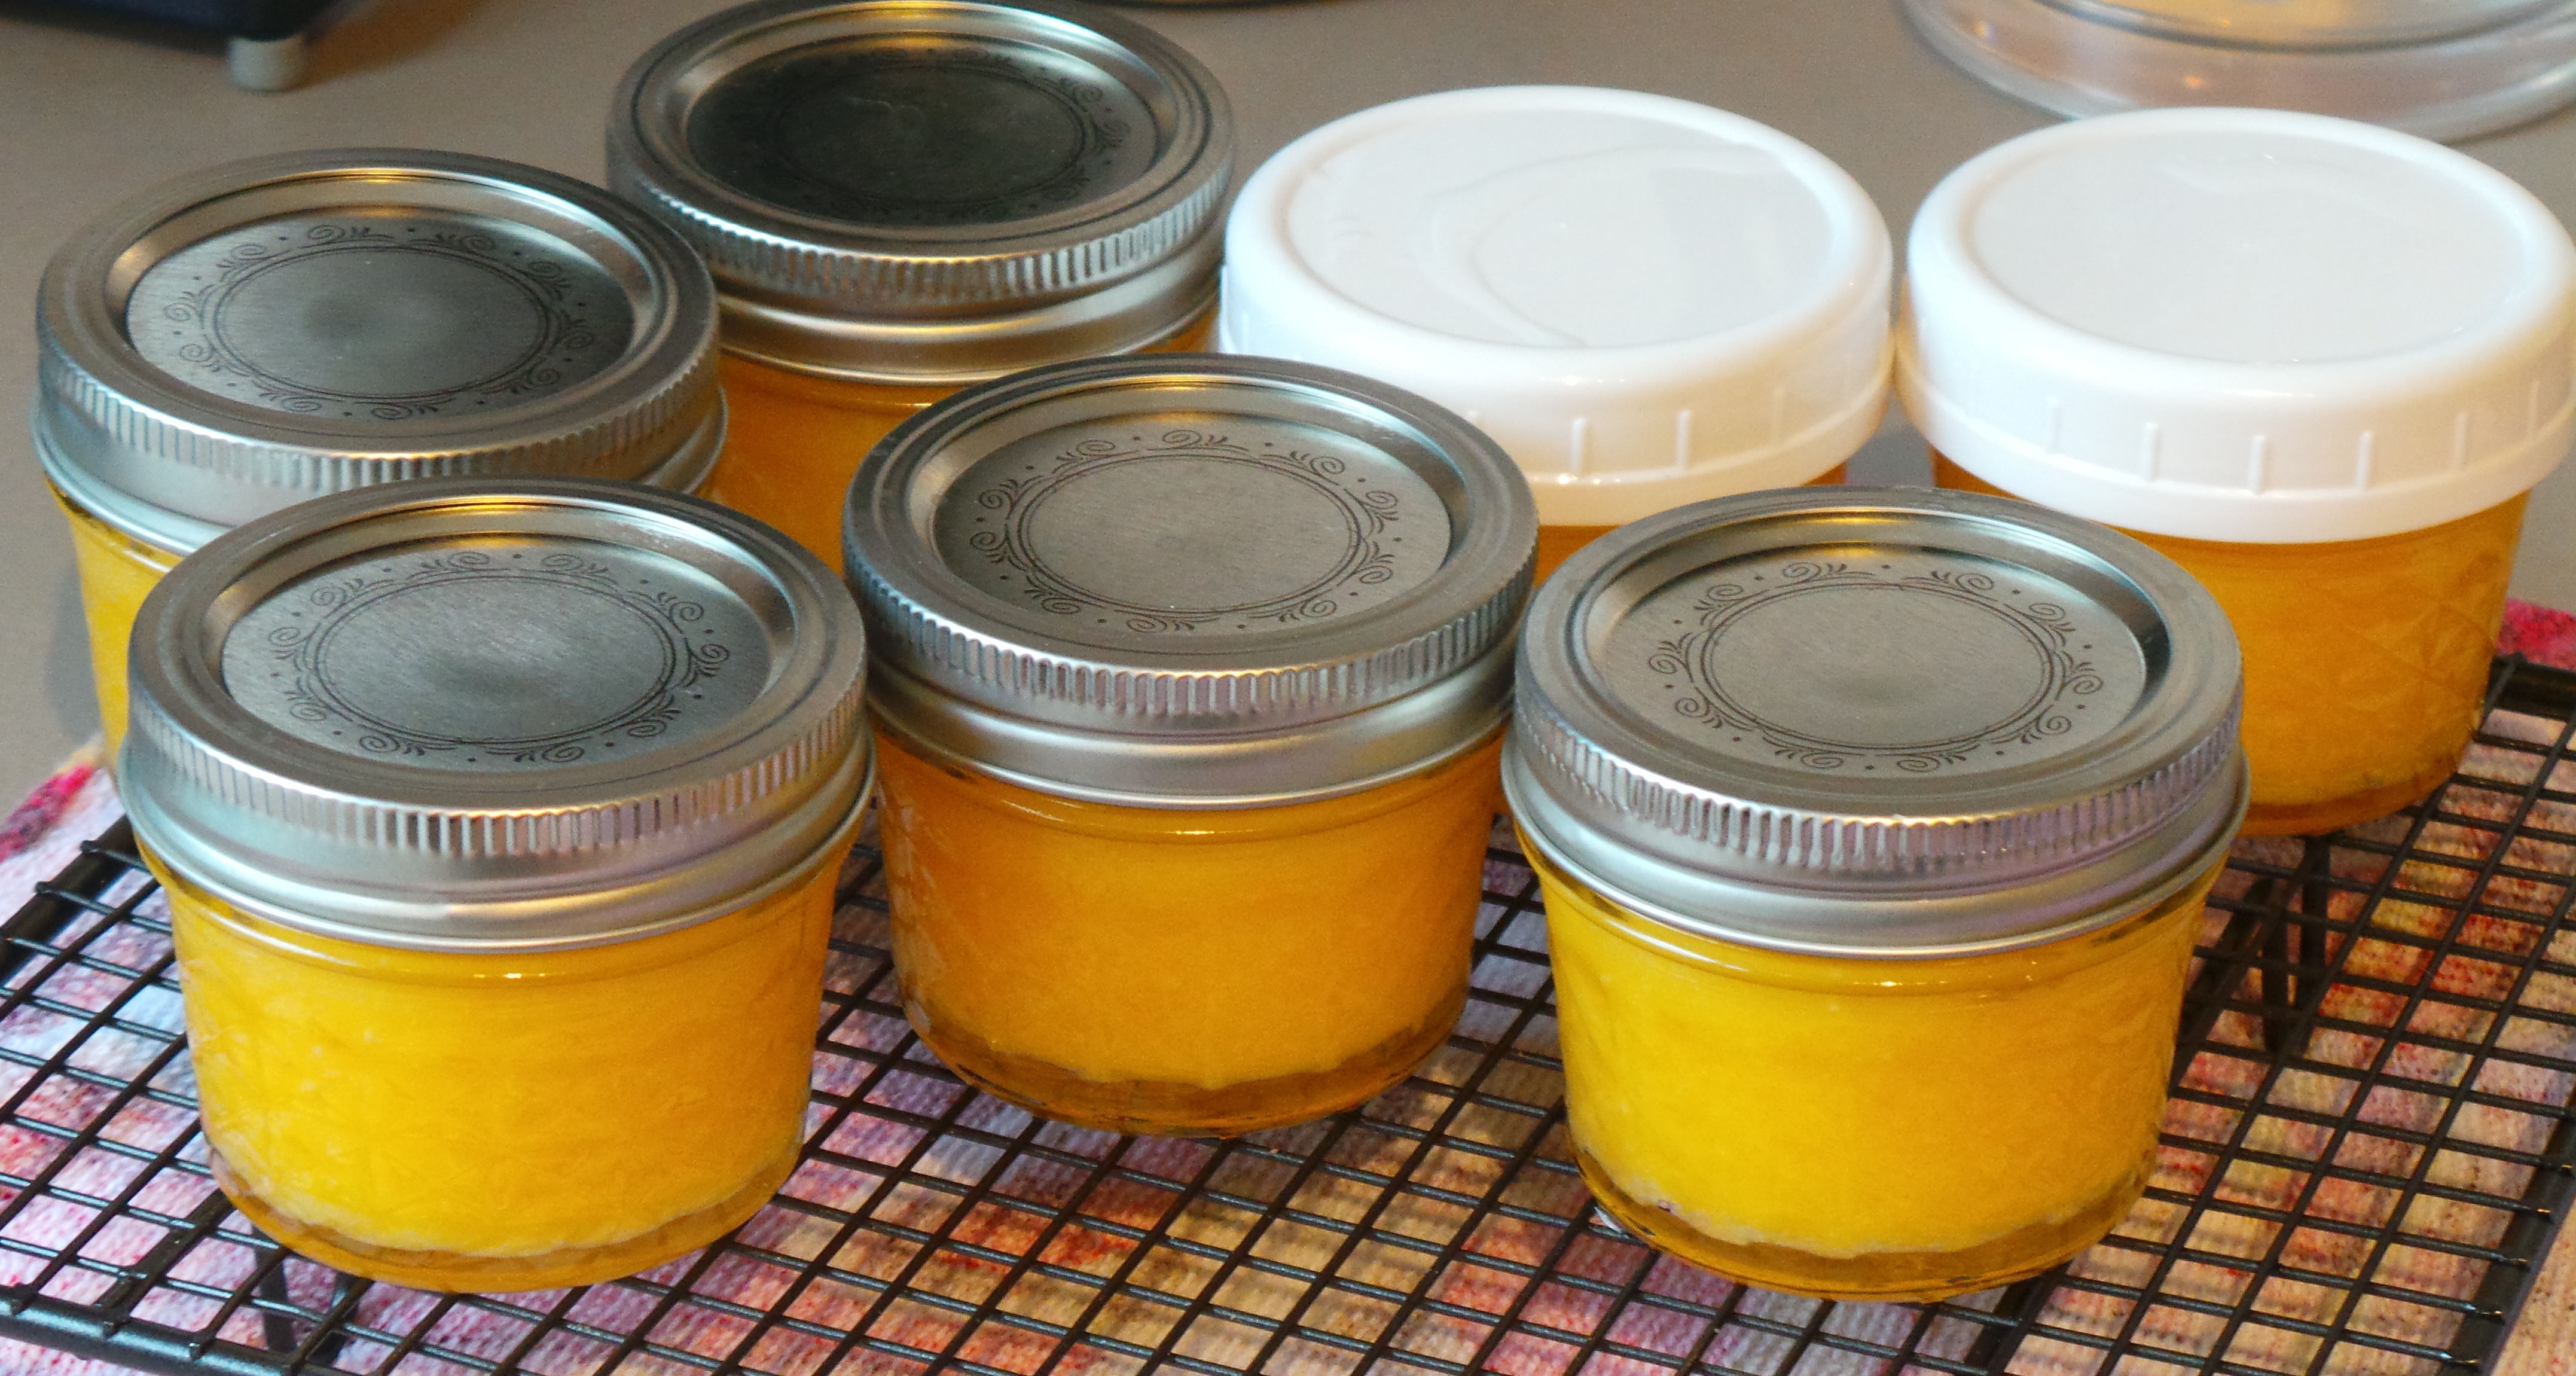
To flash freeze:

Cover a dinner plate with grease proof paper, such as baking parchment, and place meatballs on it so that they are not touching.

Put the dinner plate into the freezer for 30 mins. There is no need to cover the plate.

After 30 mins, remove the meatballs to a ziploc bag.

Seal and return to freezer.

By partially freezing the balls you will ensure that they won’t stick together in the bag. This means you can remove just the number you need.

Ensure they are fully defrosted before cooking.

Like this? Follow us on Facebook or subscribe to receive updates by email.


Chocolate Fudge Pudding

Hot fudge pudding and ice cream.

I have two self-saucing chocolate pudding recipes in my collection. One is my Mother’s and one is my Grandmother’s. The thing I find fascinating about them is the difference in the flavour profile that a mere few decades can make.

My Grandmother’s recipe is rich – very rich. It is made with butter and cocoa and really does meet the label of fudge. My Mother’s recipe is sweet. Tooth-achingly sweet. But still good. I’ll feature both recipes on this site, but my Grandmother’s recipe is my favourite.

The first time I made this, the richness overwhelmed me. I use Dutch process cocoa in my cooking and the chocolate flavour was almost too much. The Dutch process removes the acidity that may lurk in cocoa powder and gives the cocoa a rich dark colour as well, however it is not necessary to make this recipe work.

Also, the original recipe calls for shortening as one of the ingredients. My American readers will be surprised to learn that this is not something widely available on Australian supermarket shelves. I used butter.

I had decided that, the next time I made it, I wanted to add something to cut the richness. It occurred to me that adding some orange zest might just do the trick – I was right. If you are inclined toward the alcoholic, try adding a spoonful of orange liqueur to the batter as well/instead – something like Grand Marnier or Cointreau would work well.

Preheat your oven to 180°C/350°F. Start with the pudding ingredients and sift together the flour, sugar and cocoa into a basin.

Sift the dry pudding ingredients.

Sift the dry pudding ingredients.

At this point, zest a largish orange and add to the dry ingredients.

Add orange zest.

Add orange zest.

Add the sultanas at this point too.

Melt the shortening (or butter, if you wish) and mix together with the milk. Add the egg to this liquid and mix lightly.  Pour this mixture over the sifted ingredients. This is when you would add liqueur if you wished. Beat until well combined.

Yes, it's blurry. We can blame the liqueurs if you like...

Yes, it’s blurry. We can blame the liqueurs if you like…

Dig out a nice deep ovenware dish and place your batter in the middle of it. The dish doesn’t need to be greased or prepared in any way. Don’t panic.

Also, save yourself some trouble and place the baking dish on a metal tray. This will make putting the pudding into, and then taking it out of, the oven infinitely easier. Really.

Put the batter in an ovenproof dish.

Put the batter in an oven-proof dish.

Moving to the sauce ingredients now: melt the butter. I use a glass jug in the microwave.

Mix the butter, the cocoa and hot water all together until smooth.

It will look kind of mesmerizingly amazing...

It will look kind of mesmerizingly amazing…

Pour this liquid over the batter in the baking dish. If it looks awful, it’s okay. Really. You haven’t ruined it, I promise.

It will look appalling. You're doing it right.

It will look appalling. Don’t worry, you’re doing it right.

Now bake it for 30-35 mins. Remember to use the metal baking tray as well.

I like to serve this after a slap up roast dinner. I get the washing up for the pudding out of the way while the roast is still cooking, and then put the pudding in to bake when I serve the meal. That way it cooks while we are eating and is ready when we have finished our mains.

Welcome to decadence. (Note the oven tray.)

Welcome to decadence. (Note the oven tray.)

Cut into small pieces and serve, spooning the sauce below the solid pudding into the bowls as well.

Grandmother Sayers's Chocolate Fudge Pudding.

Grandmother Sayers’s Chocolate Fudge Pudding.

A reminder that this is VERY RICH. You only want small servings. Garnish with a small scoop of plain vanilla ice cream or a spoonful of dolloping cream.

You’re welcome.

You've gotta try this. Now.

You’ve gotta try this. Now.

Chocolate Fudge Pudding

  • Servings: 4-8
  • Difficulty: easy
  • Print

Ingredients

Pudding:

125 g sugar

1 egg

1 cup self-raising flour

2 tbsps cocoa powder

zest of 1 orange

60 g shortening (or unsalted butter)

¼ cup milk

¼ cup sultanas

Sauce:

90 g unsalted butter

2 tbsps cocoa powder

1 cup hot water

Method

Heat oven to 180°C/350°F.

Starting with the pudding ingredients, sift together flour, sugar and cocoa and place in a mixing basin.

Add the orange zest and sultanas.

Melt the shortening/butter and add milk. Mix in the egg.

Pour onto the dry ingredients in the basin and mix well. (My Grandmother’s recipe says to beat by hand for 2 minutes, if that helps!)

Place in a clean, deep oven-ware dish that you have placed on a larger metal tray for ease of handling.

Using the sauce ingredients, melt the butter and then mix with the water and cocoa.

Pour over the pudding batter in the oven ware dish.

Bake for 30-35 mins.

Serve with plain vanilla ice cream.

Variations:

Soak the sultanas in 1 or 2 tablespoons of orange flavoured liqueur before adding to the pudding mixture.


Chocolate ‘Ice Cream’ (with bananas)

Chocolate soft serve ice-cream.

You know when you buy a hand of bananas and suddenly they’re all too ripe and no-one wants to eat them and you get annoyed because you’ve spent the money and now it’s being wasted and it doesn’t matter what you do it seems like you can never get it right and why is life so unfair?

Take a breath. Calm down.

Firstly, freeze your bananas. If they’re getting past the eating-as-a-fresh-banana stage, then peel them and pop them into a ziploc bag and put them in the freezer. They can be defrosted and used in cakes and muffins and what-not at a later stage.

If you don’t want them to stick together, so you can take out one or two at a time, then freeze them separately before you place them in the bag. They will live in there quite happily for many months.

And don't they look attractive?

And don’t they look attractive?

Then you can make ice cream out of them.

Yes. I said ice cream. Frozen bananas can be used to make a soft serve ice cream which is wonderful for those with a lactose intolerance. Cold affects the performance of your taste buds, so the banana flavour fades right away and you are left with a cold, creamy substance that you can add other flavours to. Like chocolate.

This requires a food processor with a metal blade. I’m sorry, there’s really not an alternative to the use of an appliance for this.

The metal blade of a food processor is the secret ingredient here.

The metal blade of a food processor is the secret ingredient here.

Also, I had quite a few bananas I wanted to use as I wanted the freezer space. So the pictures you see here will be of about three times the quantity that will be made from the recipe provided.

Making the actual dessert is super simple. Get the kids involved (just don’t let them lick the blade…)

Cut your bananas into chunks and put them into the processor bowl.

Chunky bananas.

Chunky bananas.

Now sift in a couple of tablespoons of cocoa powder. I used Dutch process cocoa because that’s what I had. If you’re an Aussie and you have some to spare, then try using Milo instead.

Add cocoa.

Add cocoa.

Now add some vanilla extract and a touch of salt. The salt will help to accent the sweetness of the bananas.

I used sea salt flakes - you don't have to.

I used sea salt flakes – you don’t have to.

Then add a dollop of sweetener if you really want to. I added a touch of honey, but it’s really not necessary. Bananas are full of natural sugars – don’t for a moment start thinking of this as a low calorie alternative to regular dairy ice-creams.

*Diabetics be warned, this will make your sugars spike.*

I added some totally unnecessary honey.

I added some totally unnecessary honey.

You may like to add a few tablespoons of a nut butter here. Peanut butter works fine, or you can try almond or sunflower butter instead. The oils in the butter give the final dessert a smoother texture and “mouth feel.” I didn’t have any, so I didn’t.

I did find that it wasn’t blending as smoothly as I would have liked, so I drizzled in some buttermilk that I had in the refrigerator. Adding yoghurt would also work – and this can be dairy, soy or coconut – or you could just add a little vegetable oil.

None of these things is absolutely vital.

Put the lid on your processor and pulse a few times to get it going.

It will form a thick paste.

It will form a thick paste.

Keep blending until you reach the desired texture. I wanted a smoother blend and added a drizzle of buttermilk to loosen it up a little. I stopped blending when it looked like this.

Chocolate soft serve Icecream

Chocolate soft serve Icecream

You may serve it immediately. If you are making it with kids, you’ll probably have to serve it immediately.

Otherwise, place it in a sealed container and re-freeze.

Put in a container and freeze. Temporarily.

Put in a container and freeze. Temporarily.

When the time comes to serve it up, remove it from the freezer at least 15 minutes beforehand to soften.  You may end up with a sprained wrist otherwise.

Enjoy.

Chocolate 'Ice-cream' (banana)

  • Servings: 2-3
  • Difficulty: easy
  • Print

Ingredients

3 medium bananas, peeled, cut in chunks and frozen

½ tsp vanilla extract

pinch salt

3 Tbsp cocoa powder

optional:

  • sweetener such as honey or maple syrup
  • 3-5 tbsps peanut butter or similar
  • 2-3 tbsps Greek yoghurt or buttermilk

Method

Place the metal ‘S’ blade in a food processor.

Combine the first four ingredients in the bowl and blend until smooth. Add the optional ingredients if you wish.

Serve immediately.

May be stored in a sealed container in the freezer, but remove at least 15 minutes before serving if you do so. The warmer the ice-cream the more it will resemble soft serve.

Variations:

  • Mix through chopped nuts or choc chips.
  • Use another frozen fruit e.g. strawberries, blueberries, frozen mango etc., instead of the cocoa powder for a fruit flavoured dessert.


Chocolate soft serve ice-cream.

I spent yesterday in various parts of Melbourne, so there was very little done in the Budget Bounty kitchen. Although I did pop into one company to price containers for some food-based products I’m thinking of selling in the future. Maybe. Perhaps.

Anyway, leftovers were the order of the day when we got home and we were very happy to have those porcupine meatballs to warm up and serve with a quick mashed potato. This is a picture from the night before, when we dished them up onto a bed of sweet potato that we had cooked in the slow cooker.

Porcupine meatballs, cooked in the pressure cooker.

Porcupine meatballs, cooked in the pressure cooker.

Both times they were yummy!

Today I kept myself a little busier. I have been given more lemons, so more lemon butter was made (natch!).

Lemon butter anyone?

Lemon butter, anyone?

I made a double batch, because I wanted to give some away and I wanted to make these. Hidden Treasure Muffins, but made using the lemon butter instead of Dulce de Leche this time. The Boy was keen to take some into the office tomorrow.

I wanted something low fuss for dinner, so I filled my small crock pot with my Lentil and Barley Hot Pot.

That’s smelling luscious and I’m looking forward to tucking in soonish. I also decided to do something with a bag of frozen, over-ripe bananas that are taking up space in my freezer and annoying me.

And don't they look attractive?

And don’t they look attractive?

So I turned them into chocolate ice-cream. The Boy came in as I was finishing and decided it was his duty as The Man of The House to lick the bowl.

Chocolate soft serve ice-cream.

Chocolate soft serve ice-cream.

He declared it to be “good.”

Yes. I will be posting instructions for this very soon. I’m going to have my dinner first though.

See you all soon!

Apple and Oat Bars

Stay calm and eat Apple and Oat Bars...

Last night, The Boy declared – out of the blue – that I should do a muesli (granola) bar recipe. Because school goes back next week or something and this could be useful to people.

I think he just wanted muesli bars.

I also think he could have told me before I did the fortnight’s shopping and could stock up on the expensive stuff that goes into these snacks.

So, I compromised. I’m good at that.

I made these little Apple and Oat Bars from stuff I already had and which – most likely – you already have too. Because that is how we roll in the Budget Bounty kitchen.

Simple AND good-for-you-ish.

Simple AND good-for-you-ish.

The recipe for these came from one of the first cookbooks I ever bought for my now massive collection. It’s called Good Cooking by the people at Good Housekeeping and was published way back in 1988. Which is why I have changed one of the ingredients from margarine to butter…

It’s a recipe that literally takes only minutes to put together and which you could quite easily do with smaller versions of yourself HELPING.  Ahem.

You will need some butter, some honey, some brown sugar, some rolled oats and an apple or two. Also a bowl, a baking tin and a microwave proof jug and spatula.  Sound complicated?

After setting your oven to 190°C get out a set of scales and your microwave proof jug. Into your jug measure your butter, brown sugar and honey, like so:

Melt these things together.

Melt these things together.

Heat them for 1 minute at a time at 80% power until the butter is melted. You can do this in a saucepan on the stove, if you wish.

While it is melting, measure the oats into a medium sized mixing bowl and line a baking tin with parchment. The original recipe called for an 18 cm/7 inch square cake tin.

Pour your now liquid ingredients into the oats and mix well.

Add the wet to the dry. Stir.

Add the wet to the dry. Stir.

Press half this mixture into the base of your tin. Do NOT do what I did and use a silicon tray. You want the oats to crisp up and they just get soggy if you follow my example. Honestly.

Press half your oats into something that isn't silicon and is preferably metal...

Press half your oats into something that isn’t silicon and is preferably metal…

Now get a large cooking apple (around 250 g worth), peel it and slice it thinly.  Arrange the apple slices in overlapping rows to cover the oat base.

Cover your base with overlapping slices of apple.

Cover your base with overlapping slices of apple.

Sprinkle your slices with cinnamon. I was cooking for an adult who likes it, so I also used ground ginger on mine.

Sprinkle with your choice of spice.

Sprinkle with your choice of spice.

Top with the rest of the oats, press down firmly and bake for 30 to 40 minutes or until golden brown and crisp.

Cut it into portions while still hot and in the pan. Leave in the tin to cool. You want your butter and honey to set before you try to move anything, or it will all fall apart.

Elevenses, Anyone?

Elevenses, Anyone?

Store in an airtight container somewhere cool. Wrap in cling film and send as part of a school lunch, serve as an after school snack or use to accompany a much deserved cuppa.

Easy. Affordable. Tasty.

Apple and Oat Bars

  • Servings: 12 -15
  • Difficulty: easy
  • Print

Ingredients

100 g/4 oz butter

60 g/2½ oz brown sugar

2 tbsp honey

225 g/8 oz rolled oats

1 large cooking apple (250 g/9 oz) peeled, cored and thinly sliced

ground cinnamon.

Method

Heat oven to 190°C/ 375°F.

Lightly grease or line an 18 cm/ 7 inch square shallow baking tin.

In a microwave proof jug or bowl, combine the first three ingredients and heat at 80% power for 1 minute intervals until melted. Stir together. This may be done in a small saucepan on the stove top if wished.

Measure the oats into a medium-sized bowl. Pour liquid ingredients over the oats and mix well.

Divide the mixture in two and press half into the base of your prepared tin.

Arrange the sliced apple over the top of the oats in overlapping rows.

Sprinkle with cinnamon.

Top with the remaining oats and press down gently.

Bake for 30-40 minutes until golden brown and crisp.

Cut into slices while still hot and then leave in the tin until cool.

Variations:

  • For a gluten-free version, substitute a gluten free muesli or granola mix for the rolled oats.
  • Try using different spices for variety. A Pumpkin Pie spice mix might be just the thing for you.
  • Sprinkle a handful of sultanas over with the cinnamon.
  • Add a scattering of choc chips over the apple for a special treat.


Loaded hot potato chips (fries)

Loaded oven fries

This is one of those quick and easy treats where you make something spectacular out of something fairly ordinary.

We have these maybe once a weekend in the Budget Bounty household. It’s a perfect dish for lunch on a cold, grey winter’s day.

Basically they’re chips with added flavour.

I’m a big fan of crinkle cut chips, because they seem to end up crunchier and the surface traps all the bits of flavour you care to add. However, we’ve been buying larger steak house cut-style fries lately, and they seem to work well too.

Remember, the thicker the fry the better they are for you.

Remember also that chips are not a health food. Manage your portion sizes on this or you will regret it eventually!

Moving on.

Turn your oven to the temperature set out on the packet. It’s usually around 230ºC/446ºF. Make sure to preheat your pan as well. I have a black one with holes in the base that I bought from Aldi years ago – it’s brilliant.

While your oven and pan are heating (about 10 minutes) it’s time to jazz up your spuds.

Place your chips into a large bowl. You want something large enough to take your chips and enable you to stir through your flavourings as well. You can use your hands for this if you wish, but a spoon or a spatula will also do the job.

Place your frozen spuds into a large bowl

Place your frozen spuds into a large bowl

I like to add a sprinkle of hot paprika or, occasionally, dried chilli flakes. I find chilli powder can be too hot. However, feel free to try any spice you’d like! Taco seasoning may do the trick for you, or try BBQ rubs. After all, if it doesn’t work, it’s only a plate of chips.

Add a touch of heat with some chilli flakes or hot paprika.

Add a touch of heat with some chilli flakes or hot paprika.

Now, get yourself a spoonful of crushed garlic from a jar and mix it through as well as you can. You don’t want great lumps of garlic in your bowl later.

Add some garlic.

Add some garlic.

Place them in a single layer on your oven tray and cook for half the required time – usually 10 minutes.

Place them on the tray and pop them in the oven.

Place them on the tray and pop them in the oven.

Now, if you wish to be truly decadent, dice up a rasher of bacon (or two, if you are doing a lot of chips). You’ll want to be stirring this through when you take your chips out at the halfway point. Don’t do it for the whole cooking time, or you’ll end up with little specks of pure charcoal in your bowl…   You’ve been warned.

Take them out and give them a shake at the halfway point. Add the bacon if you wish. Return to the oven.

Mmmmm, bbaaaaaaacooooon!

Mmmmm, baaaay-con!

By this stage your kitchen is smelling amazing. Now, while you wait the second 10 minutes, line your bowls with a piece of paper towel.

Also, grate some cheese. I buy shredded cheese, but you may not.

When the timer goes off, remove your pan from the oven, sprinkle with some sea salt flakes if you have them – you won’t need a lot – and then scatter your cheese over the top. Divide amongst your prepared bowls.

Serve 'em up!

Serve ’em up!

I waited until my chips were in the bowl before adding the cheese, but it will melt faster and distribute more easily if you do it as soon as possible after getting them out of the oven.

Add some cheese.

Add some cheese.

Note: I said a little cheese!

I often see pictures of similar dishes where you can’t actually make out the chips under the blanket of cheese they’ve been smothered with.  Don’t do that. Cheese is a condiment just as the chilli and bacon are. Got it?

Bringing home the bacon...

Bringing home the bacon…

Serve with a dollop of tomato sauce/ketchup or – my preference – a spoonful of good quality egg mayonnaise for dipping.

Enjoy.


Home-made Instant Hot Chocolate mix.

Spiced hot chocolate for a wintry afternoon.

It’s winter here and I’m sick.

These two things may or may not be related. Either way, it’s the time of the year when a warm drink or two is more than welcome.

The Boy is quite partial to those hot drink mixes that come in individual sachets. However, we’re saving for a house. That means luxuries are something to look forward to in the deep, distant future.

He looks cute when he mopes.

Actually, these milky mixes aren’t all that difficult to make. Better yet, you know exactly what you are putting in your family’s tummies and saving money while you do so. I wish I’d known how to make this when I was a freezing student, quite frankly…

Let’s deal with packet mix ingredients first. I copied this little snippet from the website of a leading hot chocolate mix-maker.

Ingredients

Sugar, Milk Solids, Beverage Whitener [Glucose Syrup, Vegetable Fat, Sodium Caseinate (Derived from milk),  Mineral Salts (340, 452), Emulsifier (471), Anticaking Agent (554)], Cocoa (10%), Salt, Mineral Salt (341), Flavour [Vanillin (contains milk)], Spice.

Can you see all that sodium in there?

Even the Anti-Caking agent (554) is a form of sodium. I can only presume that using all this salt will make people thirstier and therefore cause them to drink more…

Also, a lot of these additives are synthetic. Eat real food, people. Here’s a start.

At its most basic level, this stuff is a mix of milk powder, cocoa and sugar.

I used skim milk powder, because a lot of it will be drunk (by one person who isn’t doing a lot of outdoorsy stuff in this chill…). You may use full-fat should you so desire.

I like to make my hot chocolate with a few spices. I add cinnamon, ground cardamom, ground ginger and a touch of nutmeg. You don’t have to add any – or all – of those. On the other hand if you like, and own, a pumpkin pie spice mix, then add a few teaspoonfuls of that. Make it your own.

Start with a bowl with at least a 4 cup capacity. You want something you can sift your dry ingredients into, and then stir them up, without it going all over the place!

Place a sturdy wire sifter into the top and add your ingredients. Try to wait until they are all in there before you sift them through, this will assist with getting them all well-mixed.

Start with 2¼ cups of milk powder.

Milk powder

Milk powder.

Next add your spices; about 1½ teaspoons worth.

Add whatever combination of spices you like. Or don't.

Add whatever combination of spices you like. Or not.

Next a touch of sugar.

Sugar. Actual sugar. Not salt.

Sugar. Actual sugar. Not salt.

And finally, the cocoa. This can be whatever type of cocoa you like: Cadbury, Dutch process, or whiz-bang, ultra-organic cacao. Whatever.

The chocolate part of Hot Chocolate.

The chocolate part of Hot Chocolate.

Now, sift it all together, stirring with a spoon to help the mixing process.

Mmmm, chocolate....

Mmmm, chocolate….

When you’ve finished, it will look a little like this. Mix it up a bit more. You can’t break it.

Mix it some more.

Mix it some more.

When it looks like this, pop it into an airtight container until you are ready to use it.

The end result.

The end result.

I used some mason jars, because that’s what I had handy.

Isn't it purdy?

Isn’t it purdy?

Give it a good shake once it’s all sealed up tight. Then, place a few tablespoonfuls into a mug, add boiling water and stir well.

Relax. The hard work is over now.

Relax. The hard work is over now.

Play with the recipe, adding different combinations of spices or more or less sugar. Then put your feet up and enjoy warm hands and a sense of deep satisfaction with your hot chocolate…

Spiced hot chocolate mix

  • Servings: 10
  • Difficulty: easy
  • Print

Ingredients

2¼ cups milk powder

1/3 cup cocoa powder

½ cup sugar

½ tsp ground cinnamon

½ tsp ground cloves

¼ tsp ground ginger

¼ tsp ground nutmeg

¼ tsp ground cardamom

Method

Sift all ingredients together and mix well.

Store in an airtight container.

To serve: Add boiling water to 3 tablespoons of the mix.

Best used within 6 months.