This is one of those quick and easy treats where you make something spectacular out of something fairly ordinary.
We have these maybe once a weekend in the Budget Bounty household. It’s a perfect dish for lunch on a cold, grey winter’s day.
Basically they’re chips with added flavour.
I’m a big fan of crinkle cut chips, because they seem to end up crunchier and the surface traps all the bits of flavour you care to add. However, we’ve been buying larger steak house cut-style fries lately, and they seem to work well too.
Remember, the thicker the fry the better they are for you.
Remember also that chips are not a health food. Manage your portion sizes on this or you will regret it eventually!
Moving on.
Turn your oven to the temperature set out on the packet. It’s usually around 230ºC/446ºF. Make sure to preheat your pan as well. I have a black one with holes in the base that I bought from Aldi years ago – it’s brilliant.
While your oven and pan are heating (about 10 minutes) it’s time to jazz up your spuds.
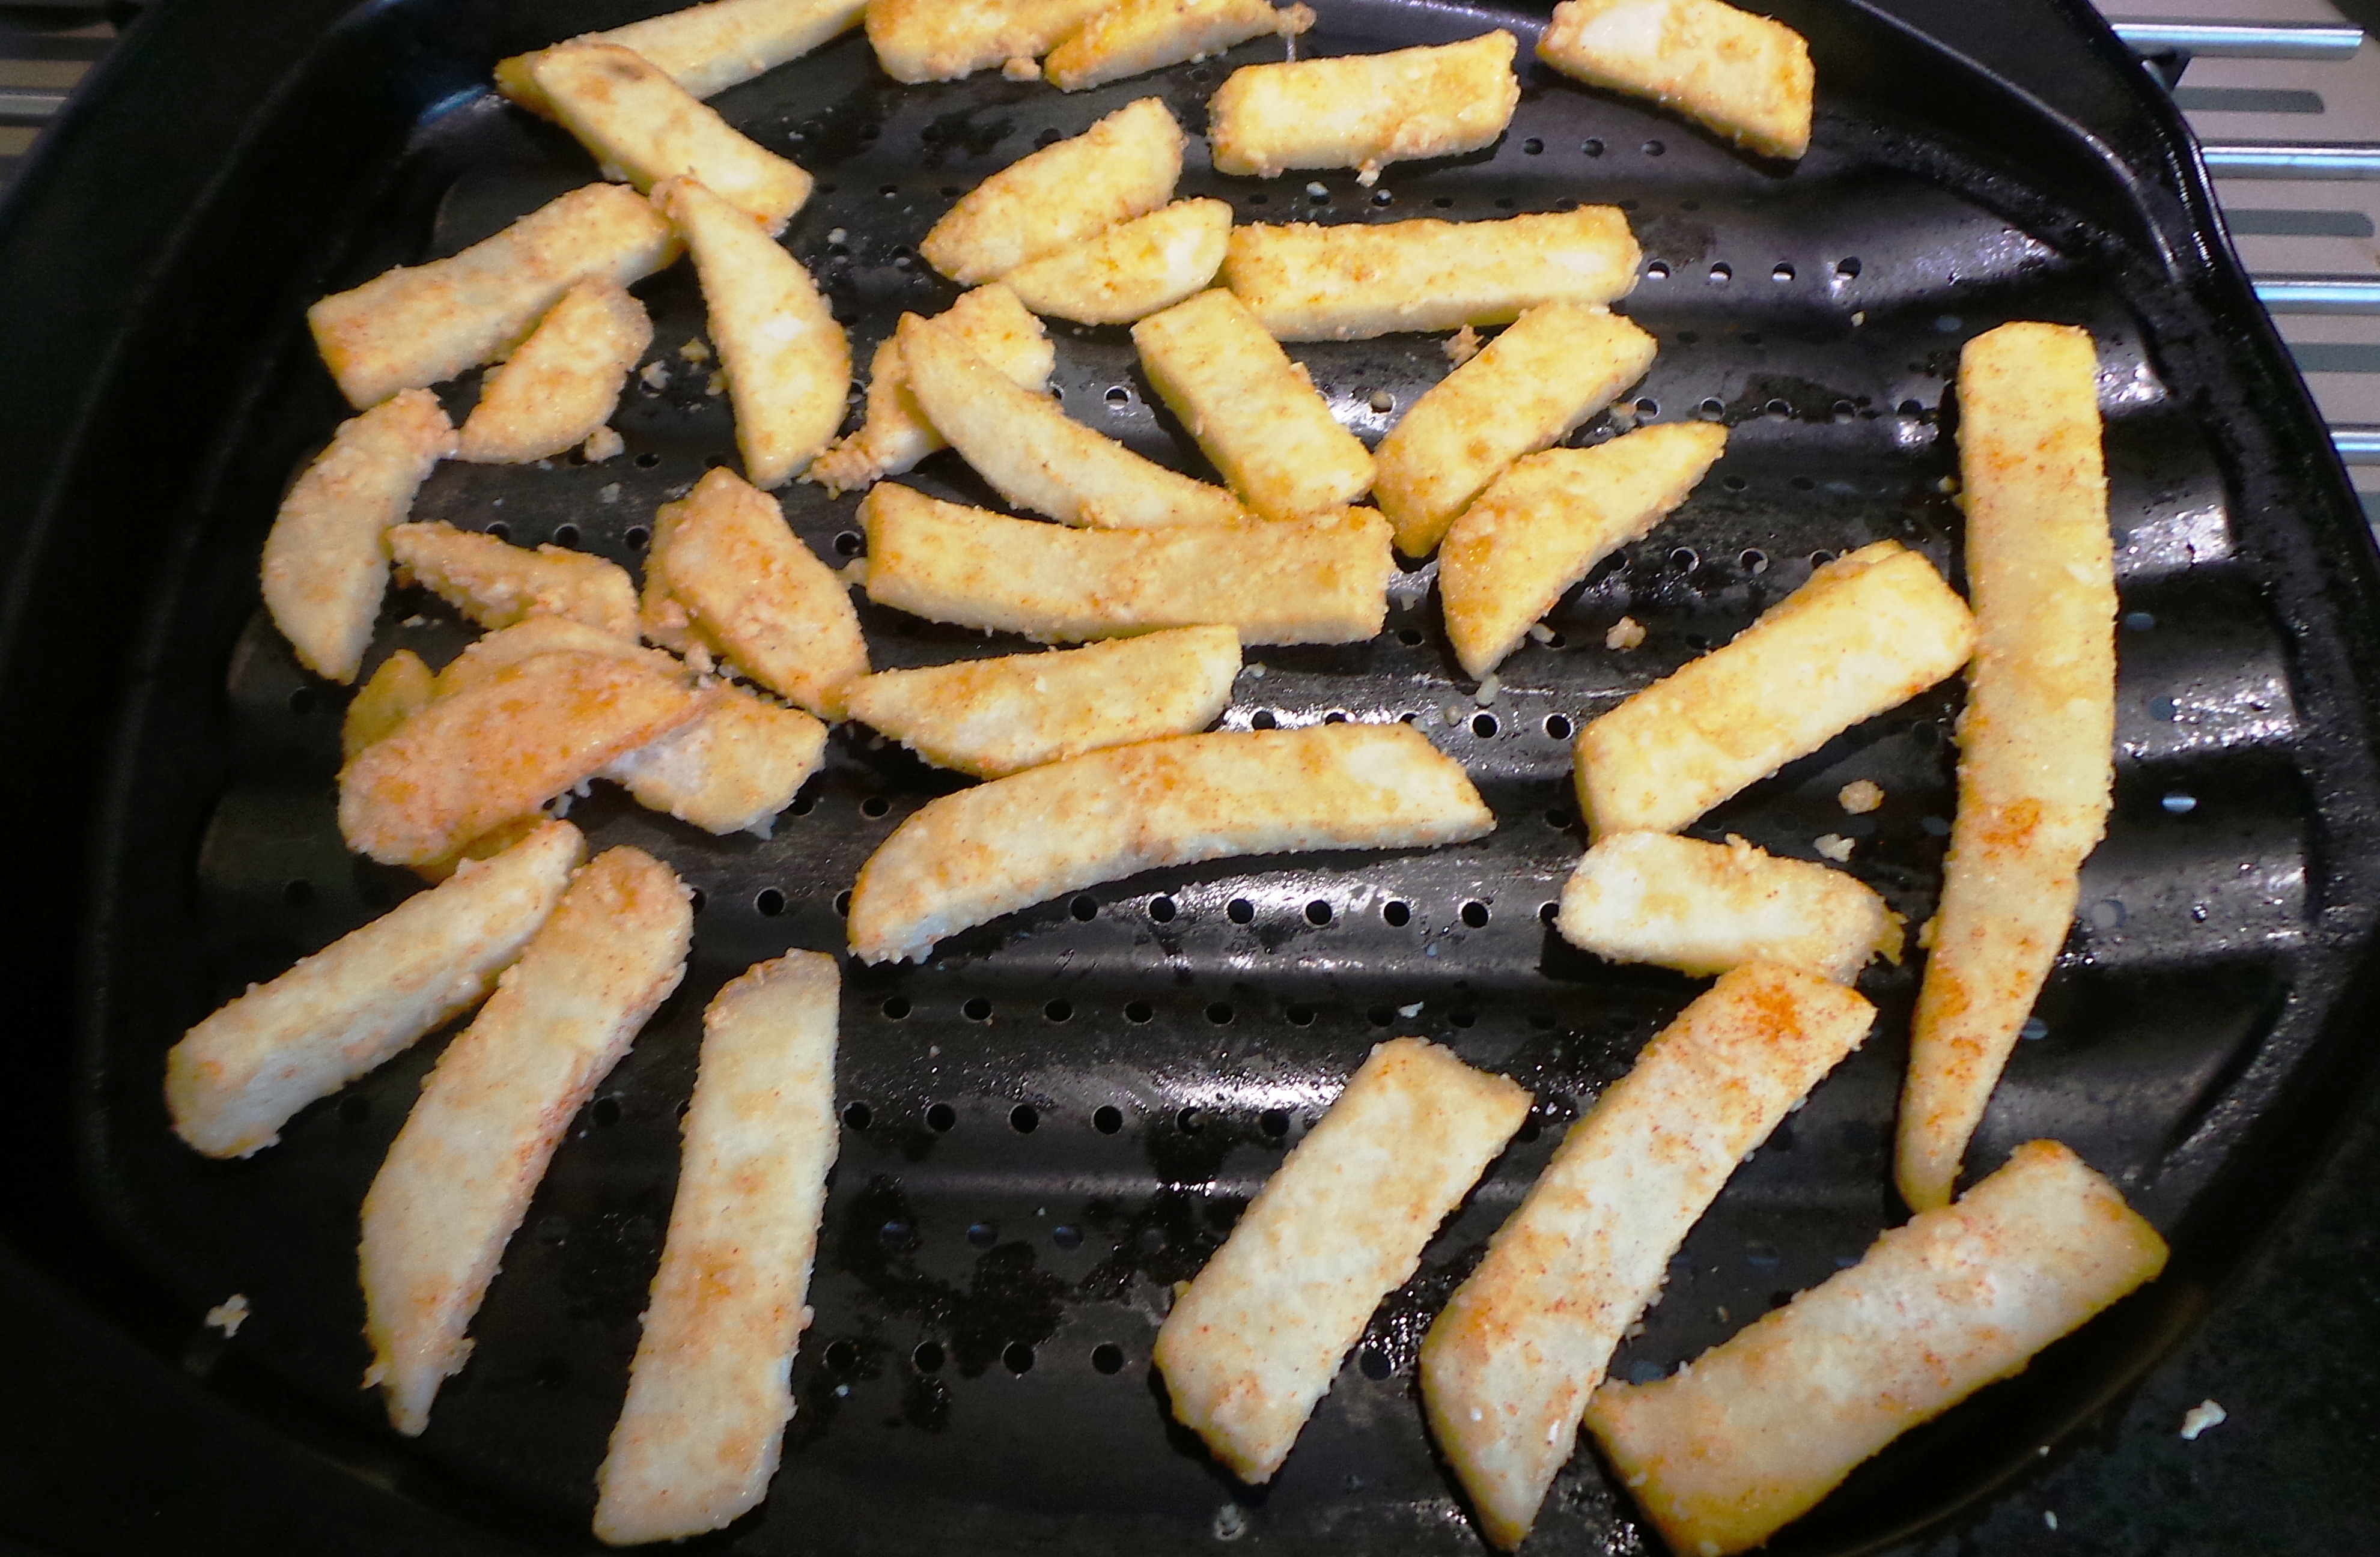
Place your chips into a large bowl. You want something large enough to take your chips and enable you to stir through your flavourings as well. You can use your hands for this if you wish, but a spoon or a spatula will also do the job.
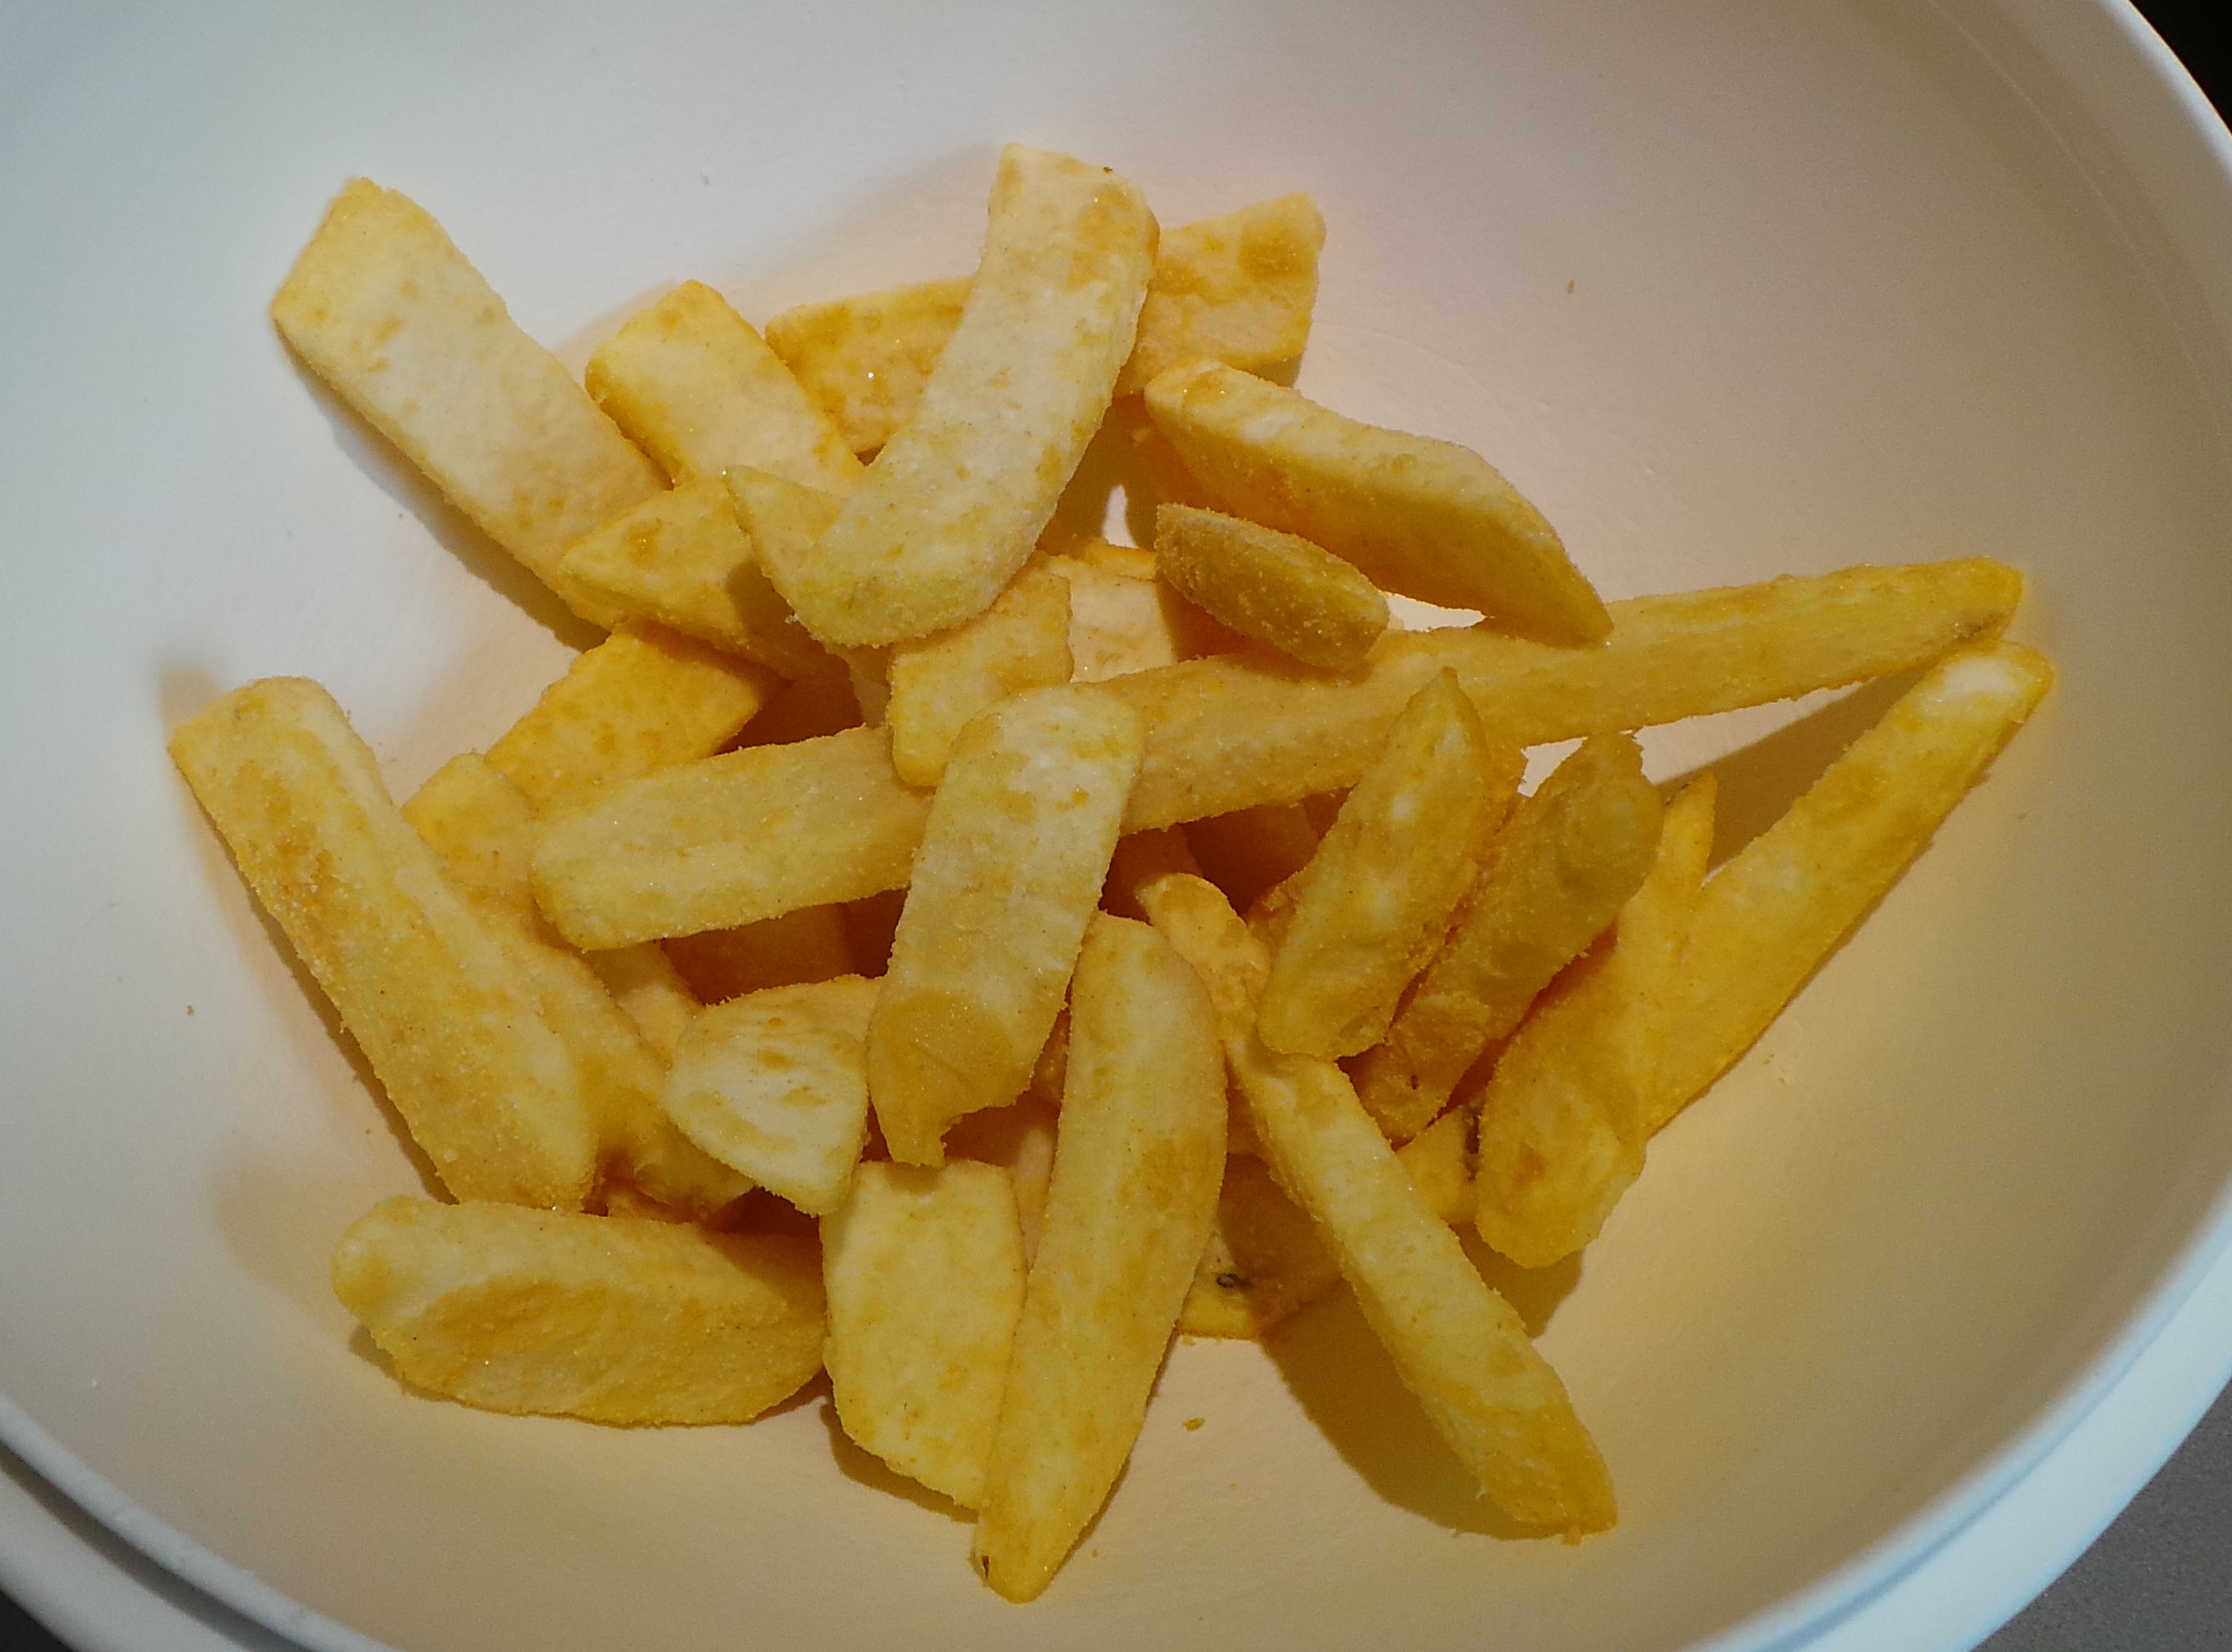
Place your frozen spuds into a large bowl
I like to add a sprinkle of hot paprika or, occasionally, dried chilli flakes. I find chilli powder can be too hot. However, feel free to try any spice you’d like! Taco seasoning may do the trick for you, or try BBQ rubs. After all, if it doesn’t work, it’s only a plate of chips.
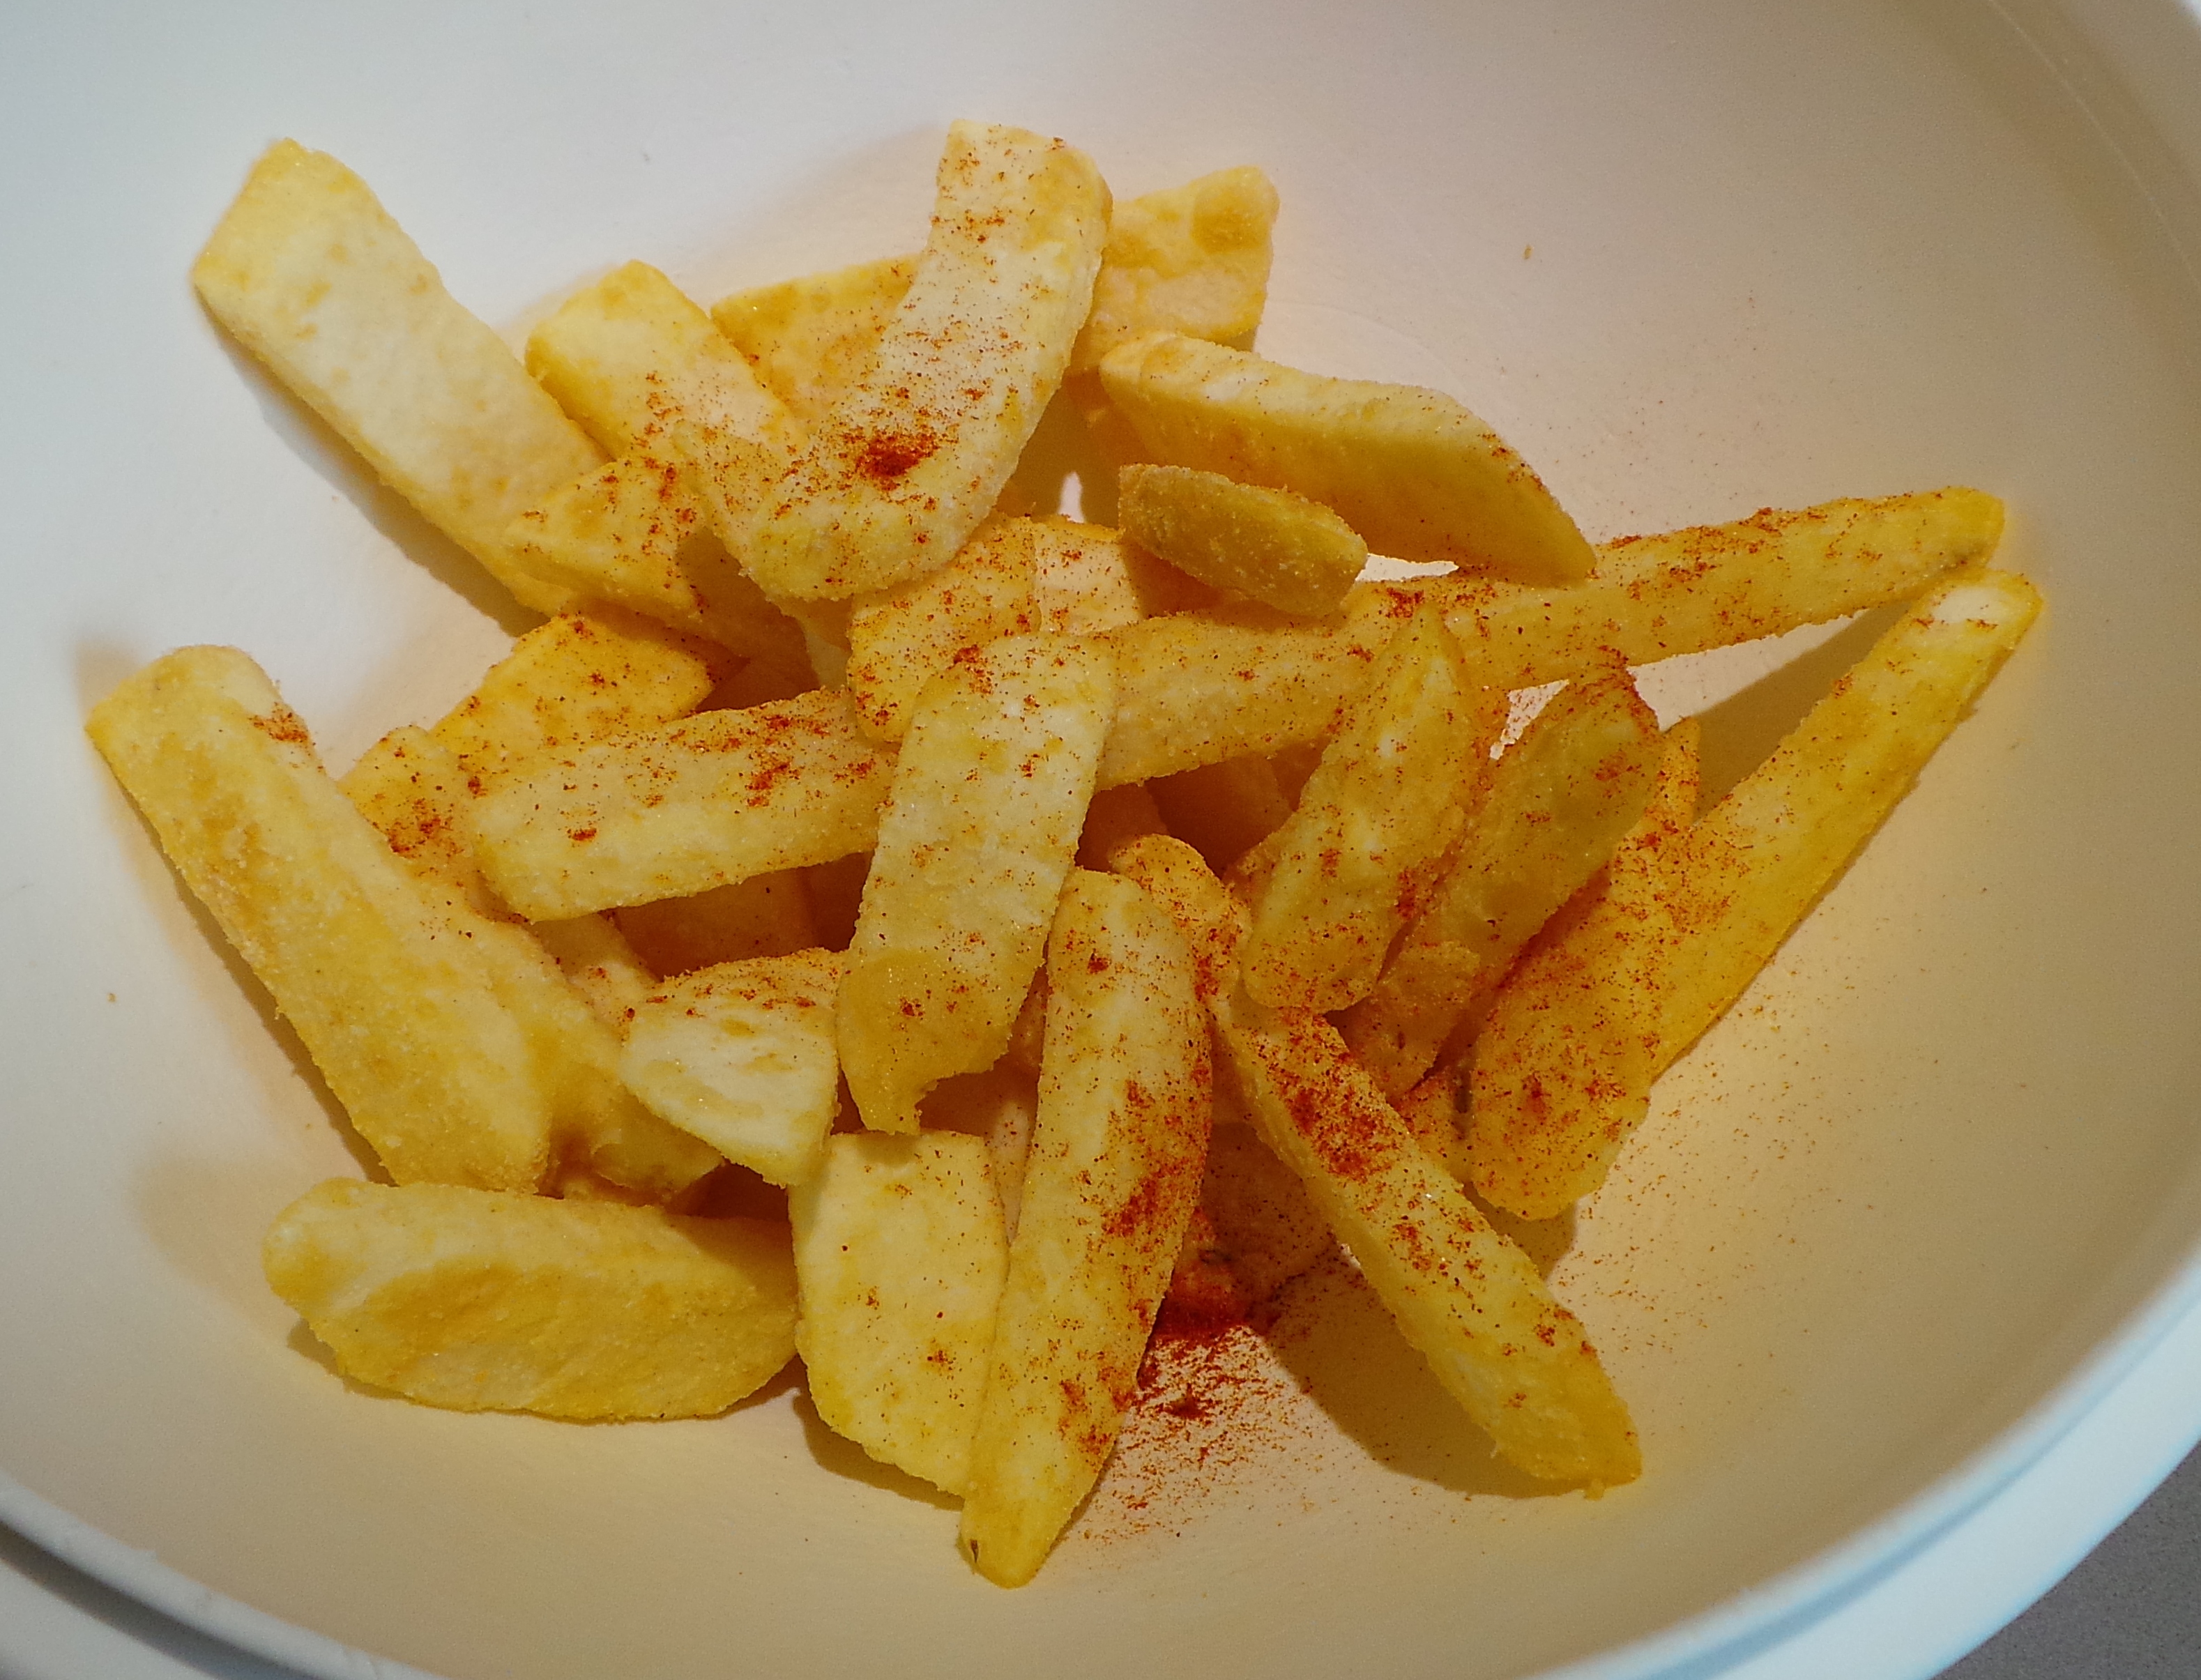
Add a touch of heat with some chilli flakes or hot paprika.
Now, get yourself a spoonful of crushed garlic from a jar and mix it through as well as you can. You don’t want great lumps of garlic in your bowl later.
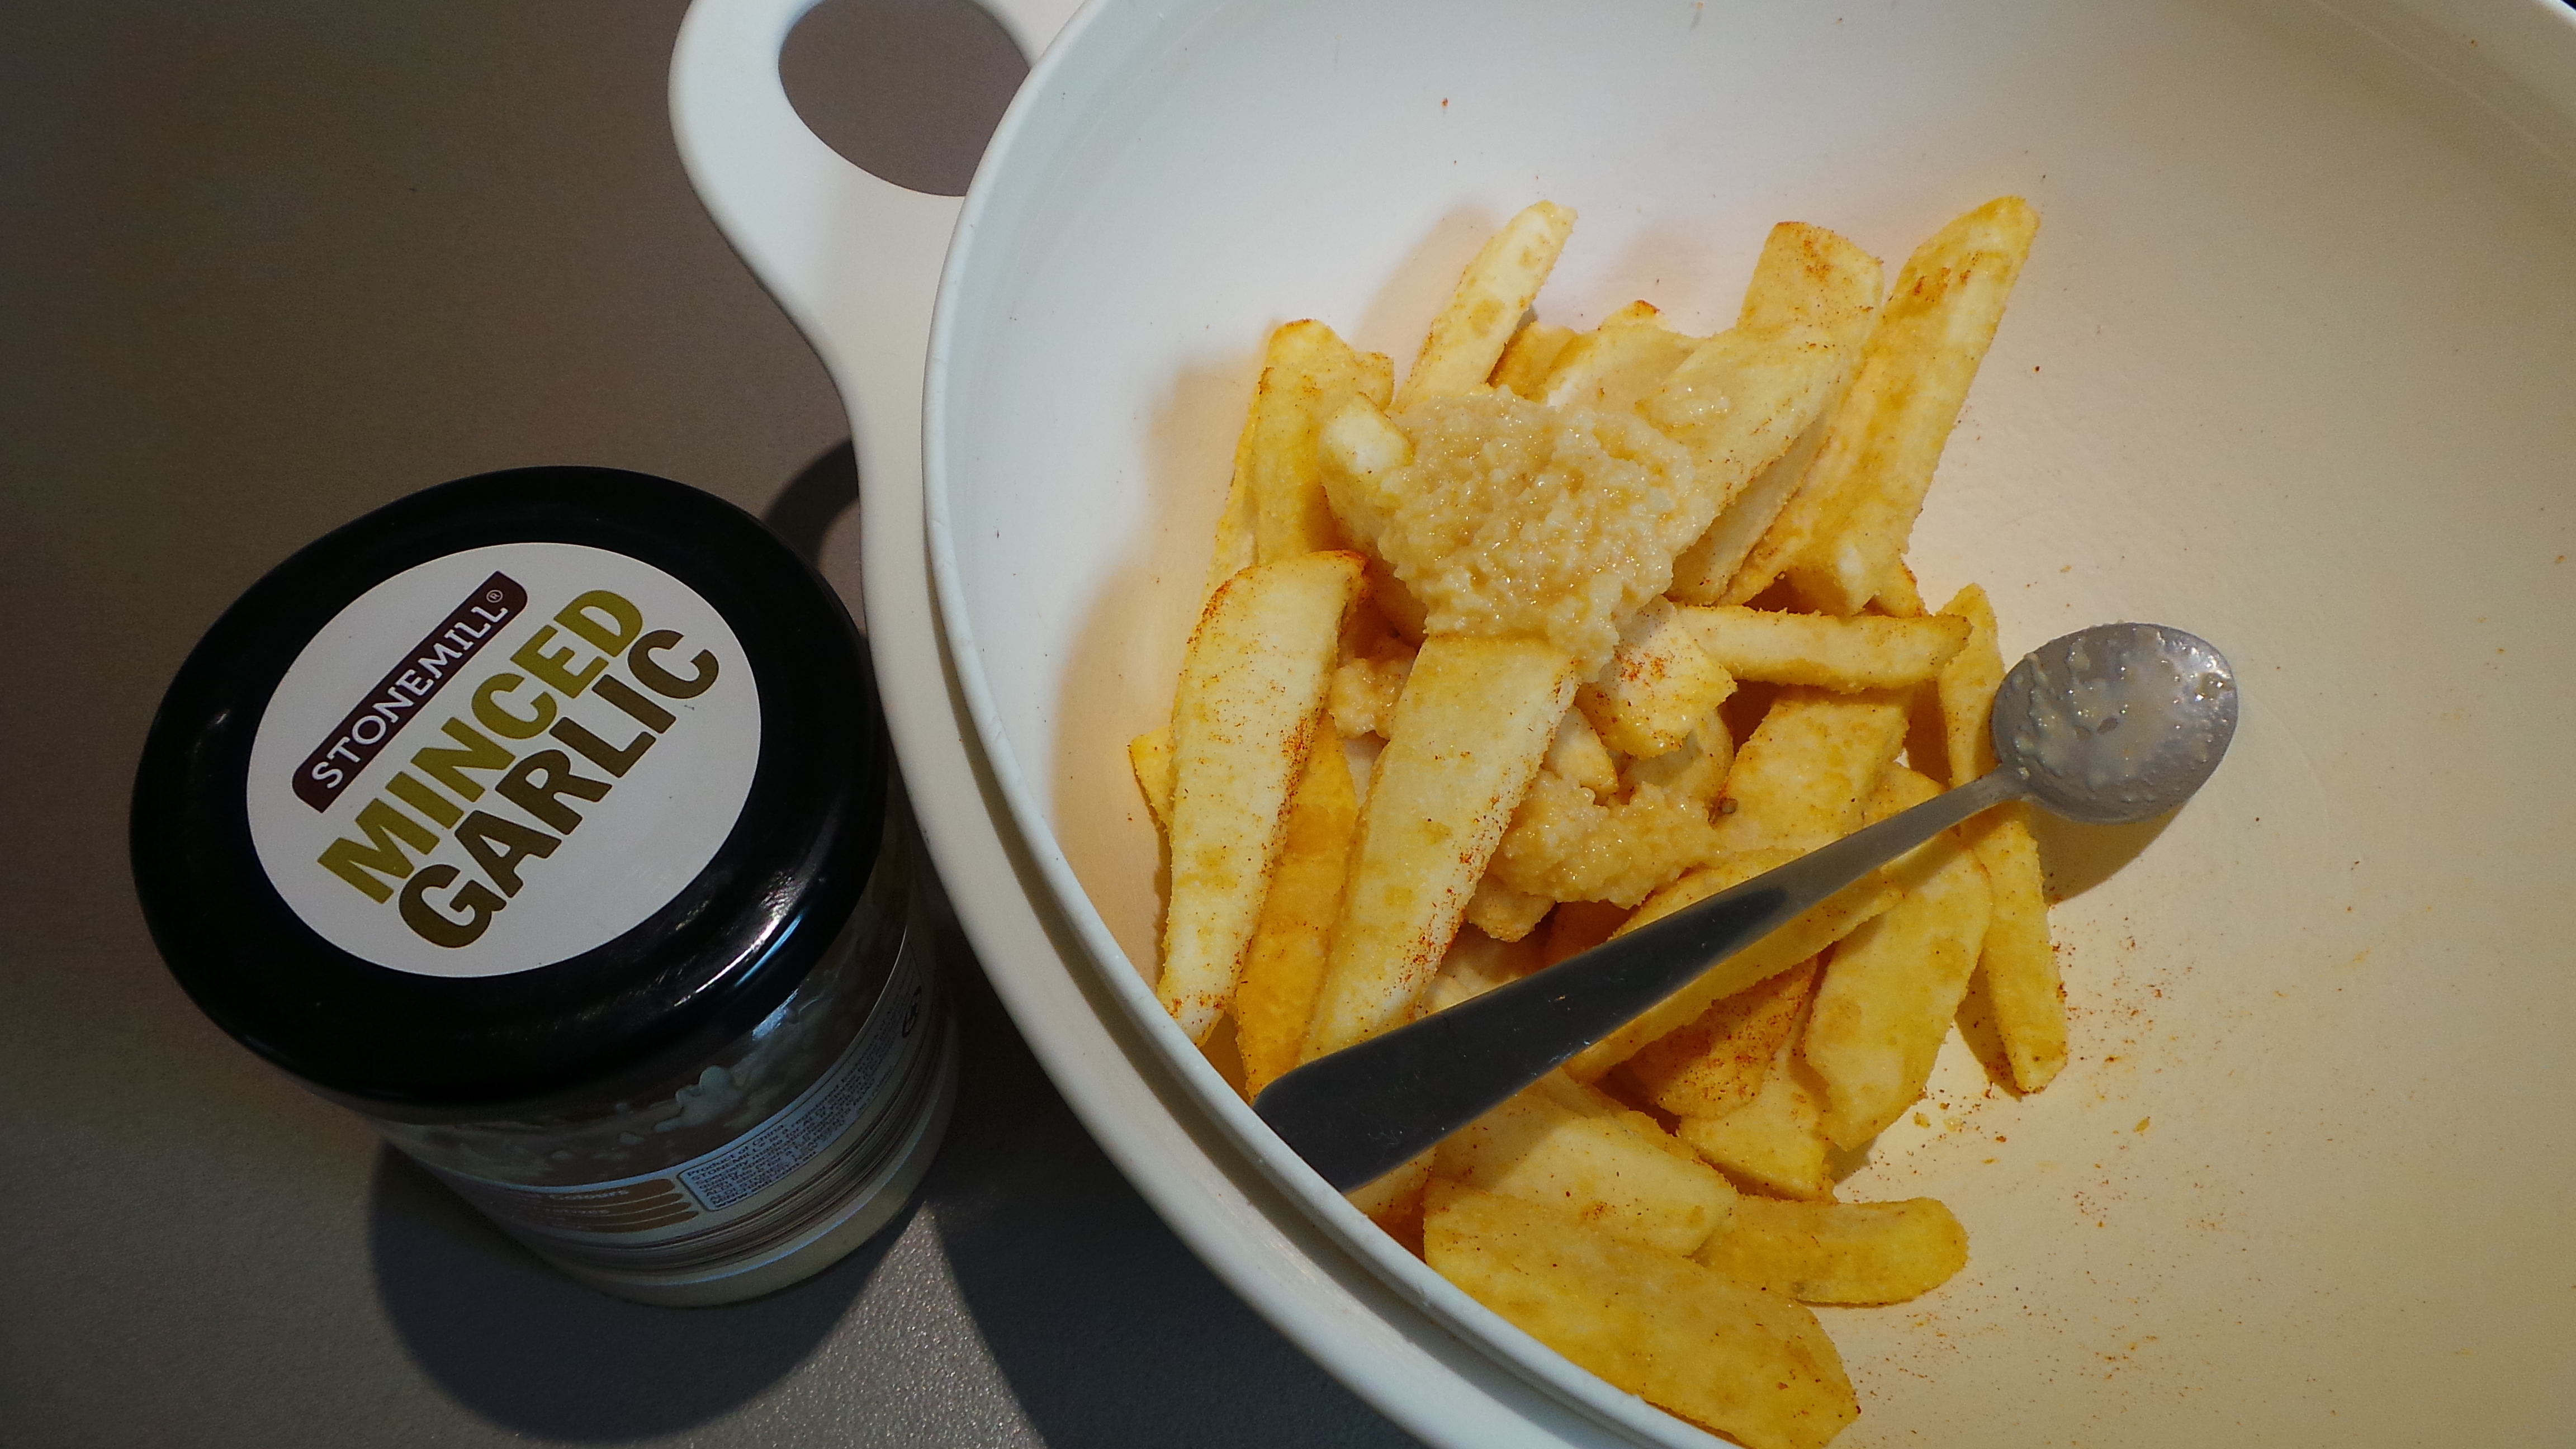
Add some garlic.
Place them in a single layer on your oven tray and cook for half the required time – usually 10 minutes.
Place them on the tray and pop them in the oven.
Now, if you wish to be truly decadent, dice up a rasher of bacon (or two, if you are doing a lot of chips). You’ll want to be stirring this through when you take your chips out at the halfway point. Don’t do it for the whole cooking time, or you’ll end up with little specks of pure charcoal in your bowl… You’ve been warned.
Take them out and give them a shake at the halfway point. Add the bacon if you wish. Return to the oven.
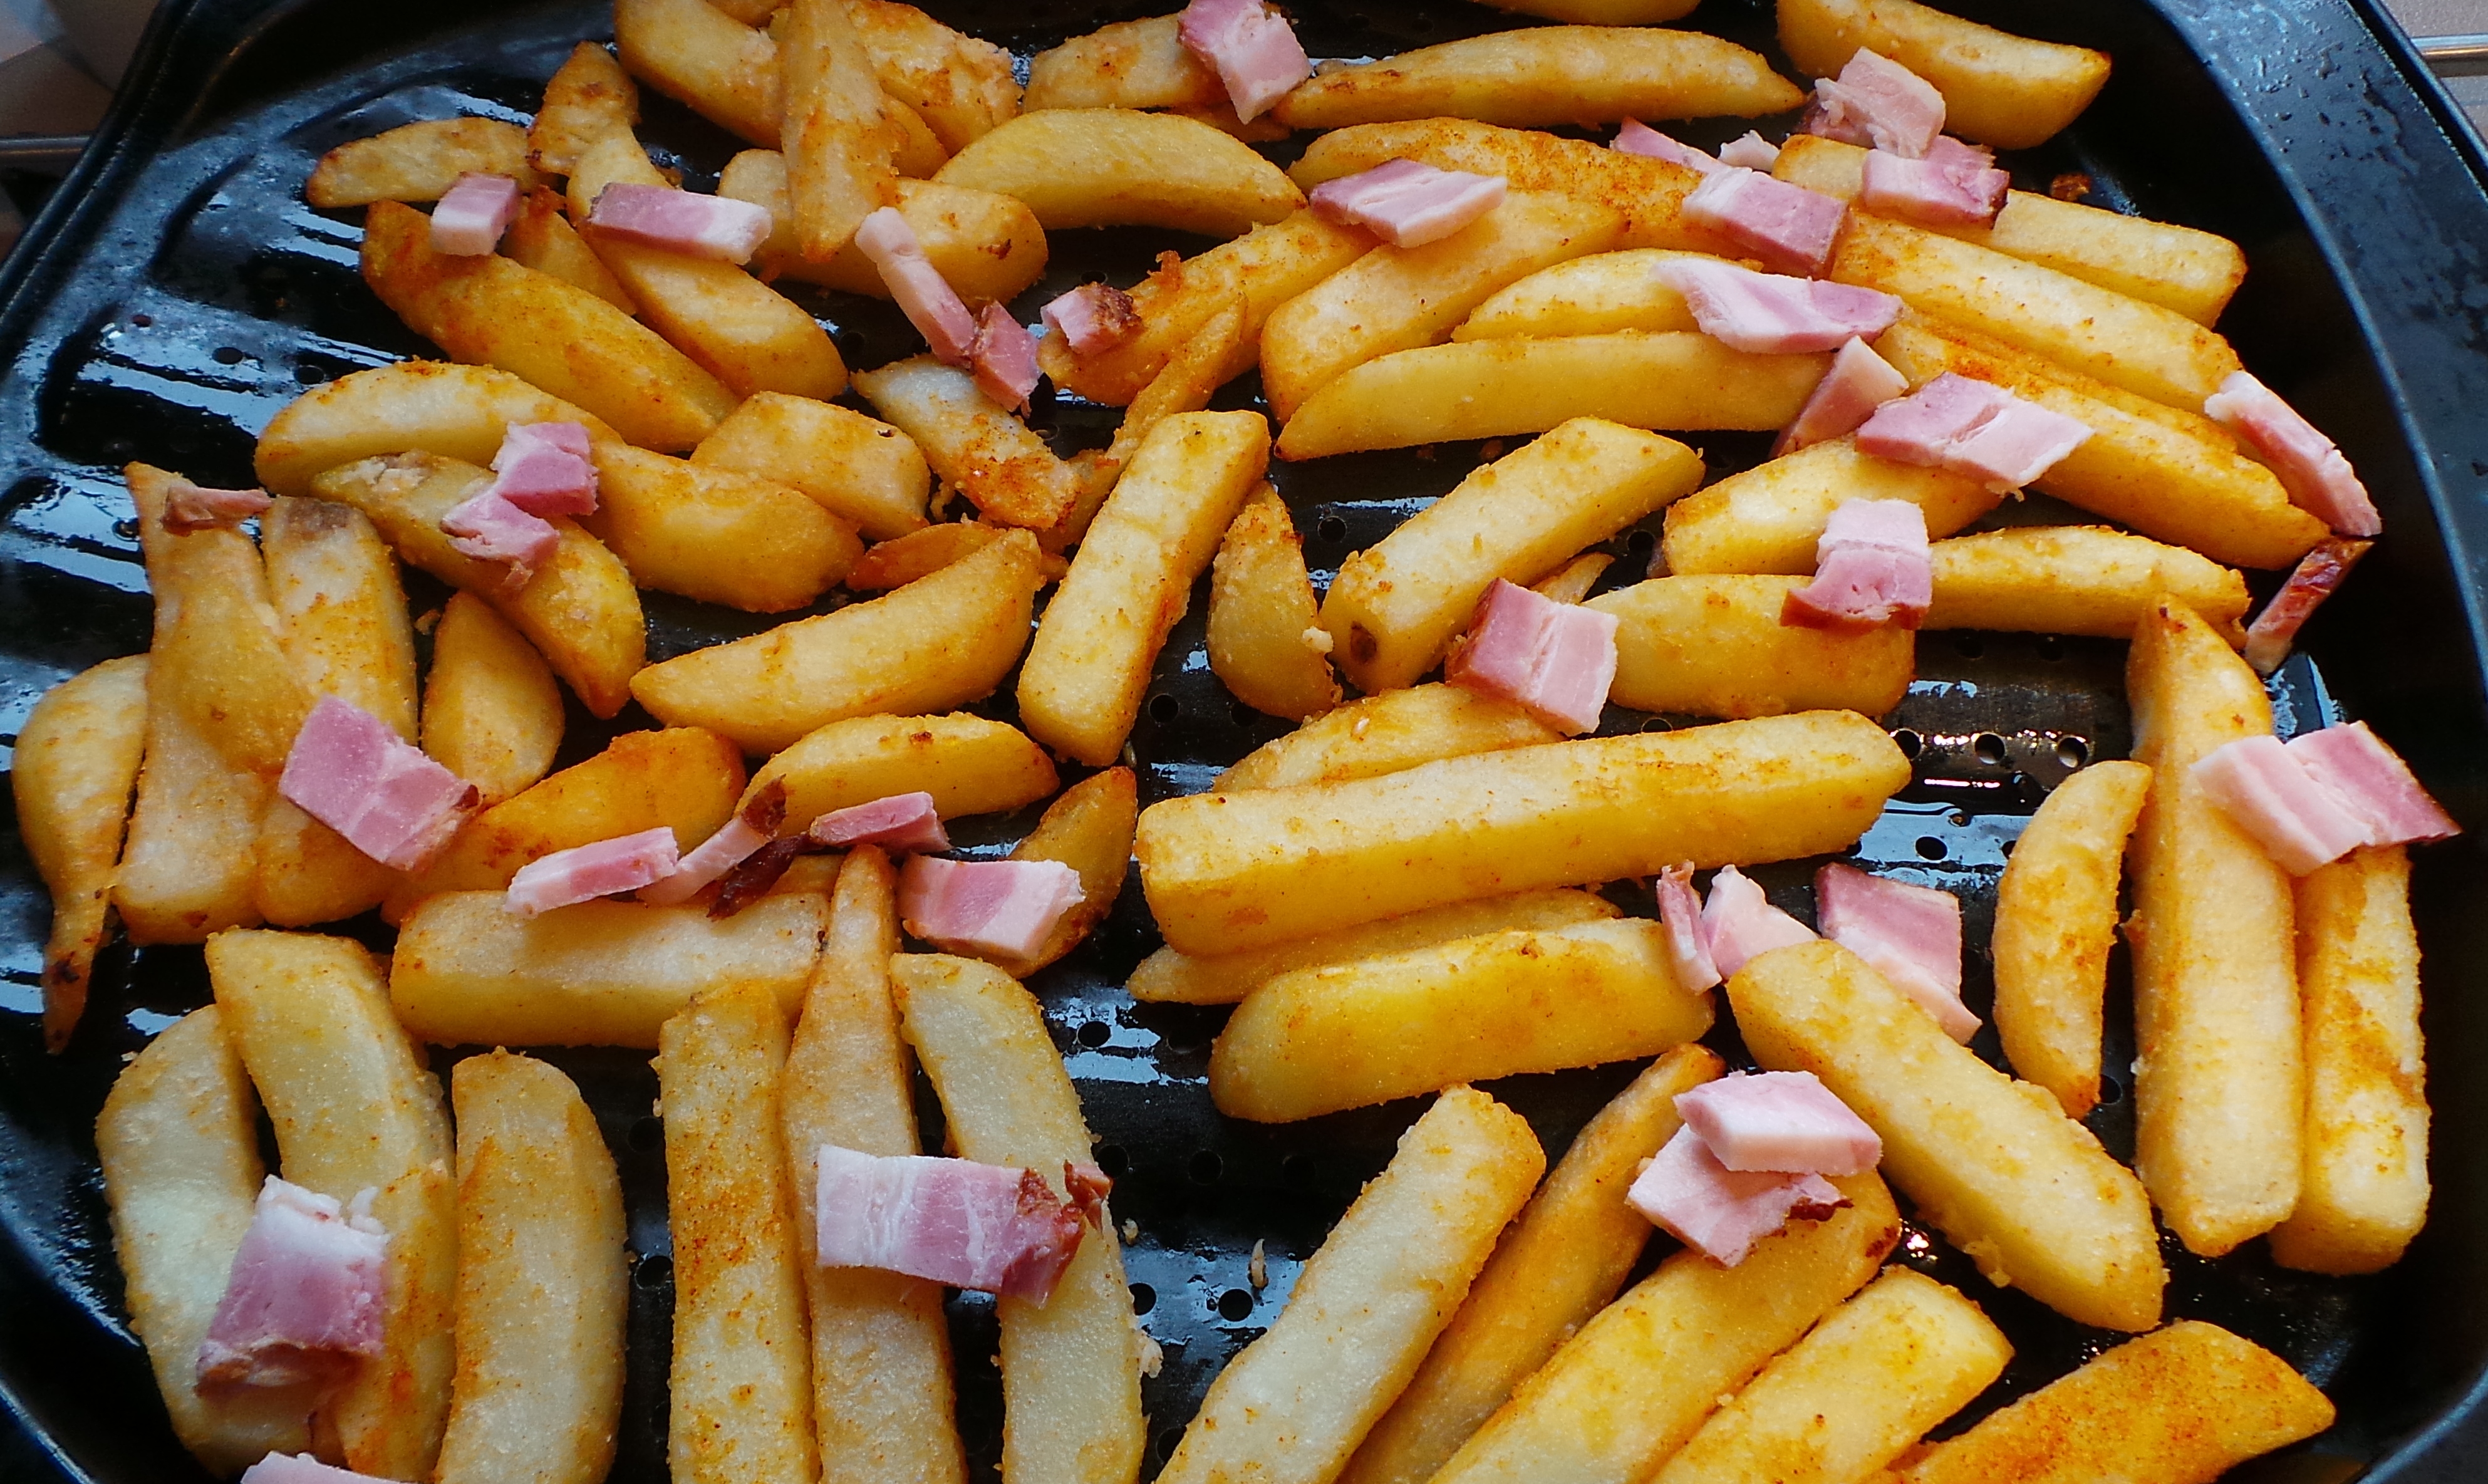
Mmmmm, baaaay-con!
By this stage your kitchen is smelling amazing. Now, while you wait the second 10 minutes, line your bowls with a piece of paper towel.
Also, grate some cheese. I buy shredded cheese, but you may not.
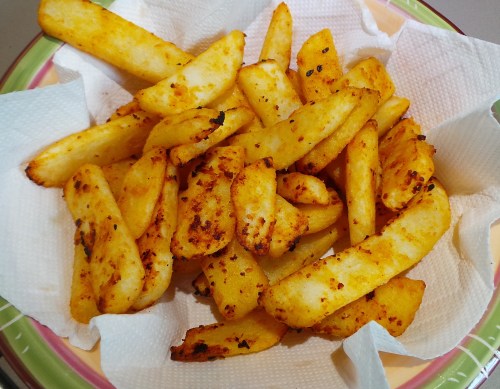
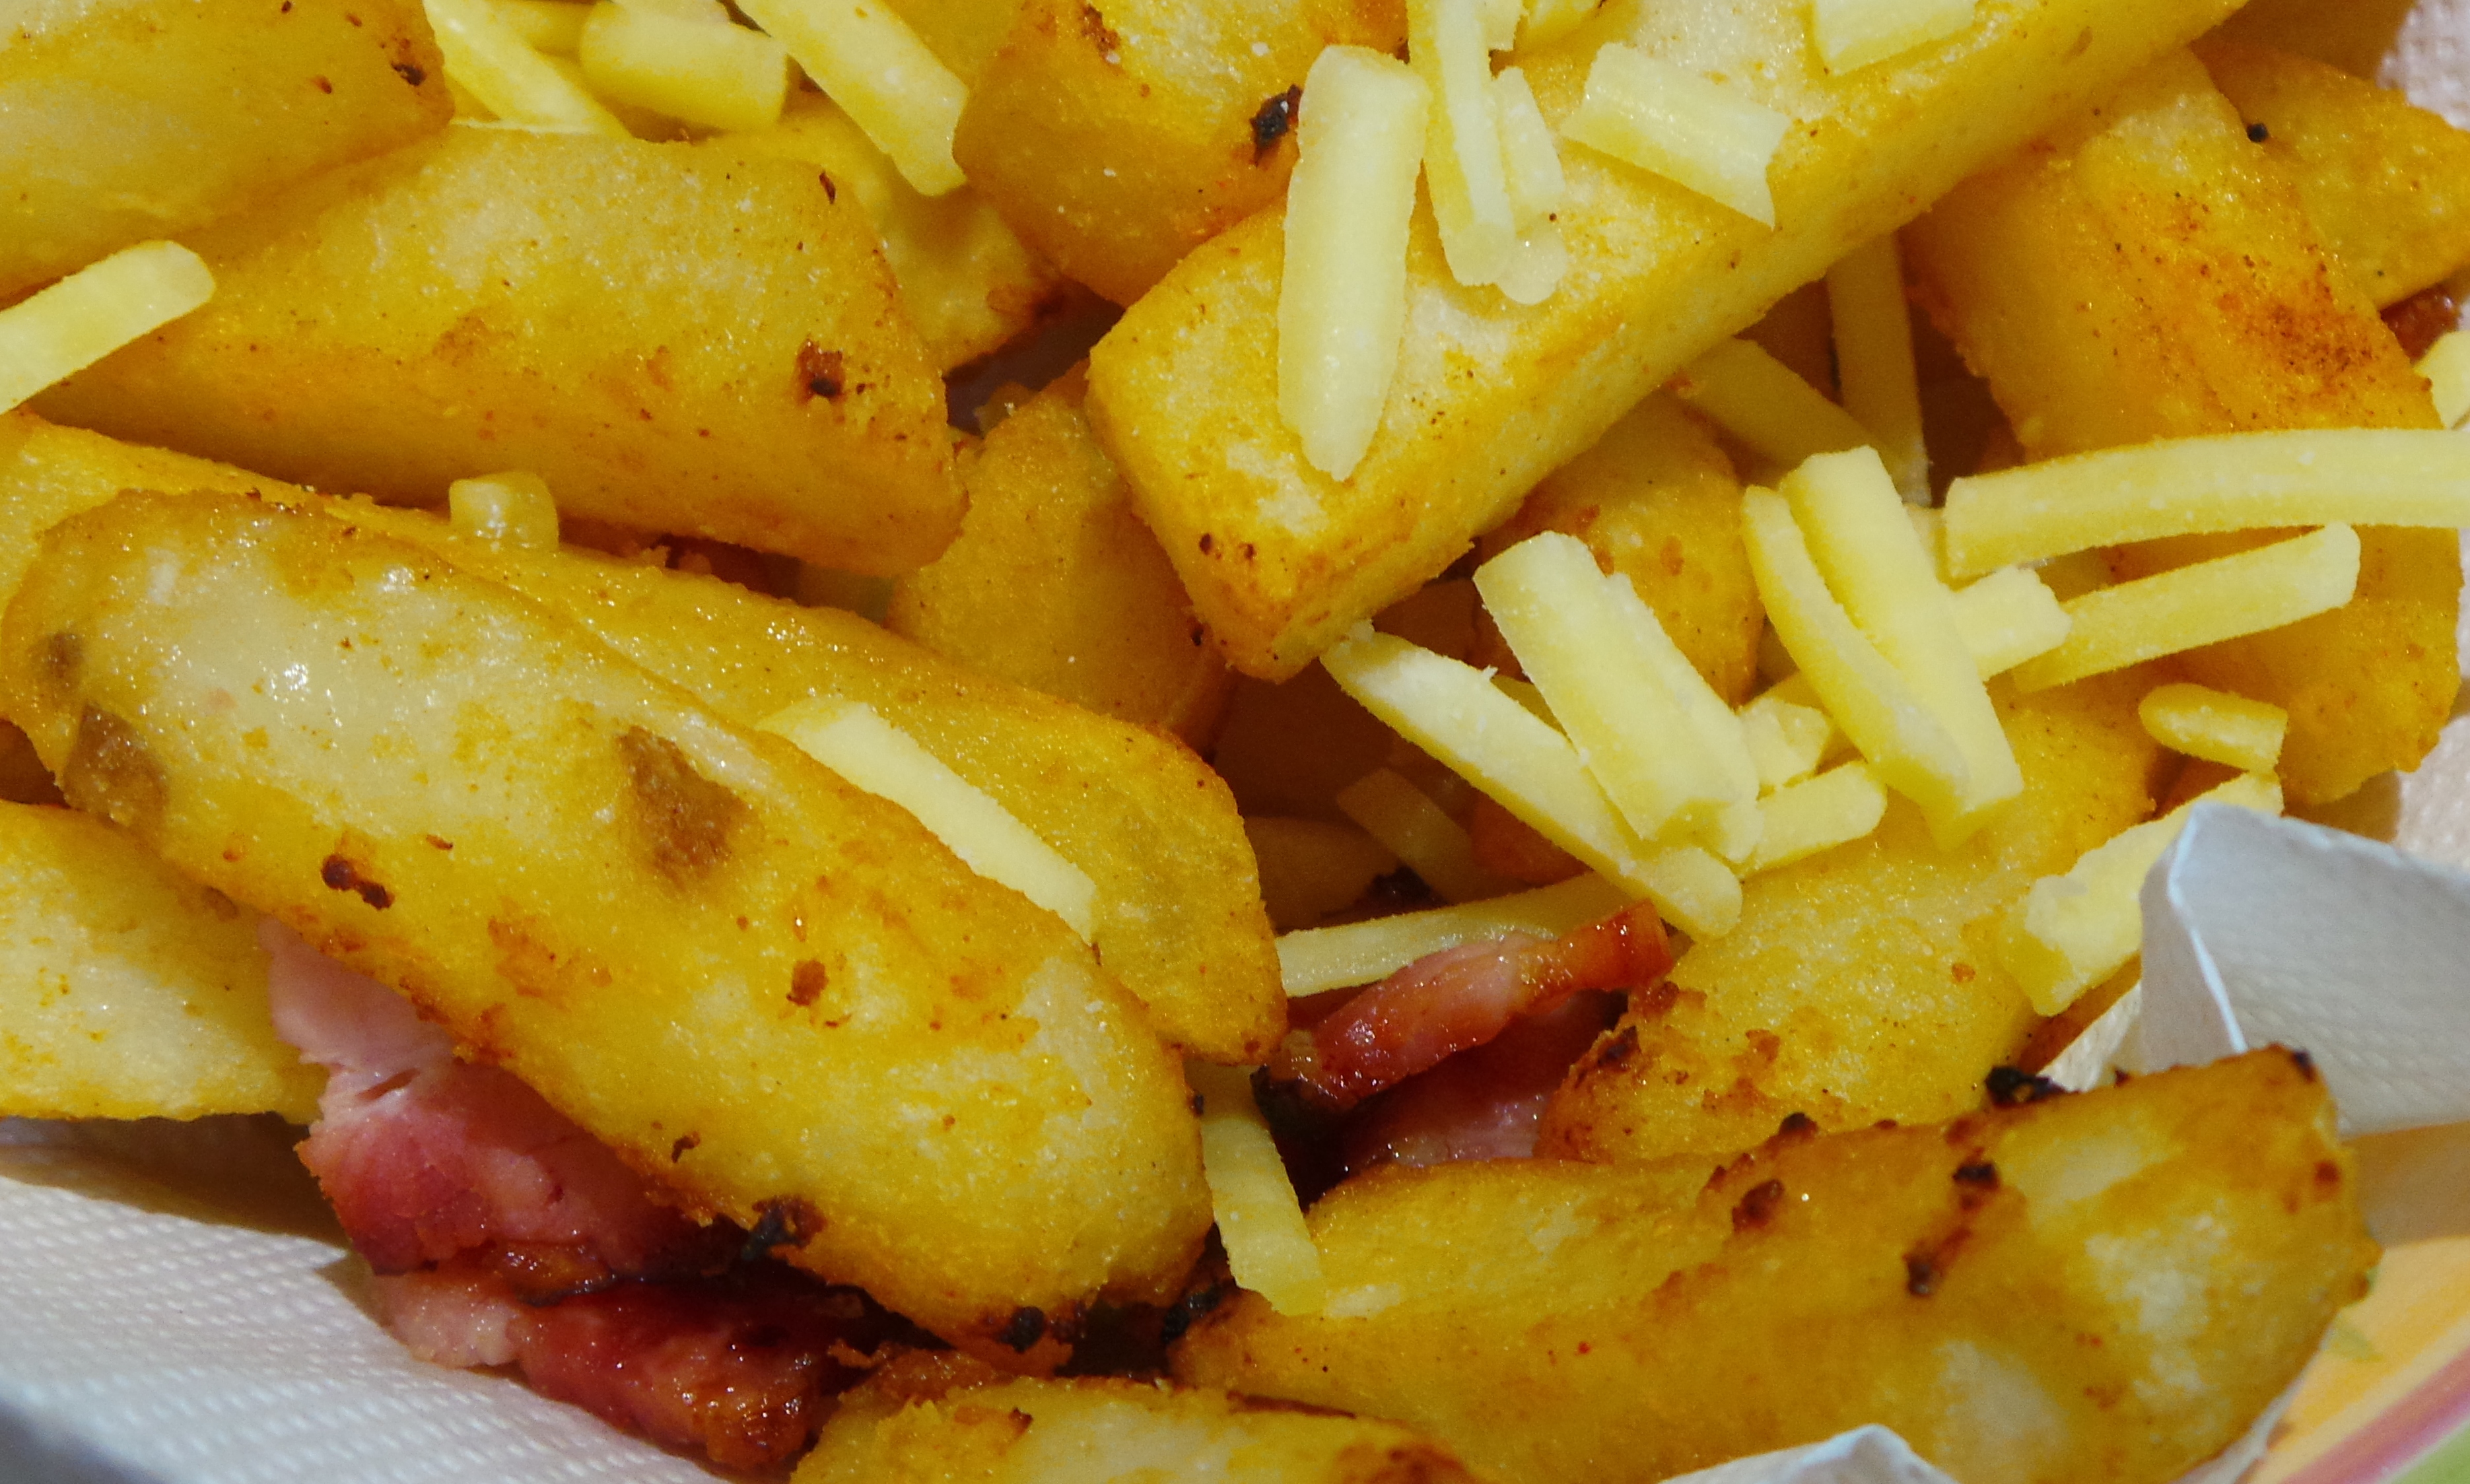
When the timer goes off, remove your pan from the oven, sprinkle with some sea salt flakes if you have them – you won’t need a lot – and then scatter your cheese over the top. Divide amongst your prepared bowls.

Serve ’em up!
I waited until my chips were in the bowl before adding the cheese, but it will melt faster and distribute more easily if you do it as soon as possible after getting them out of the oven.
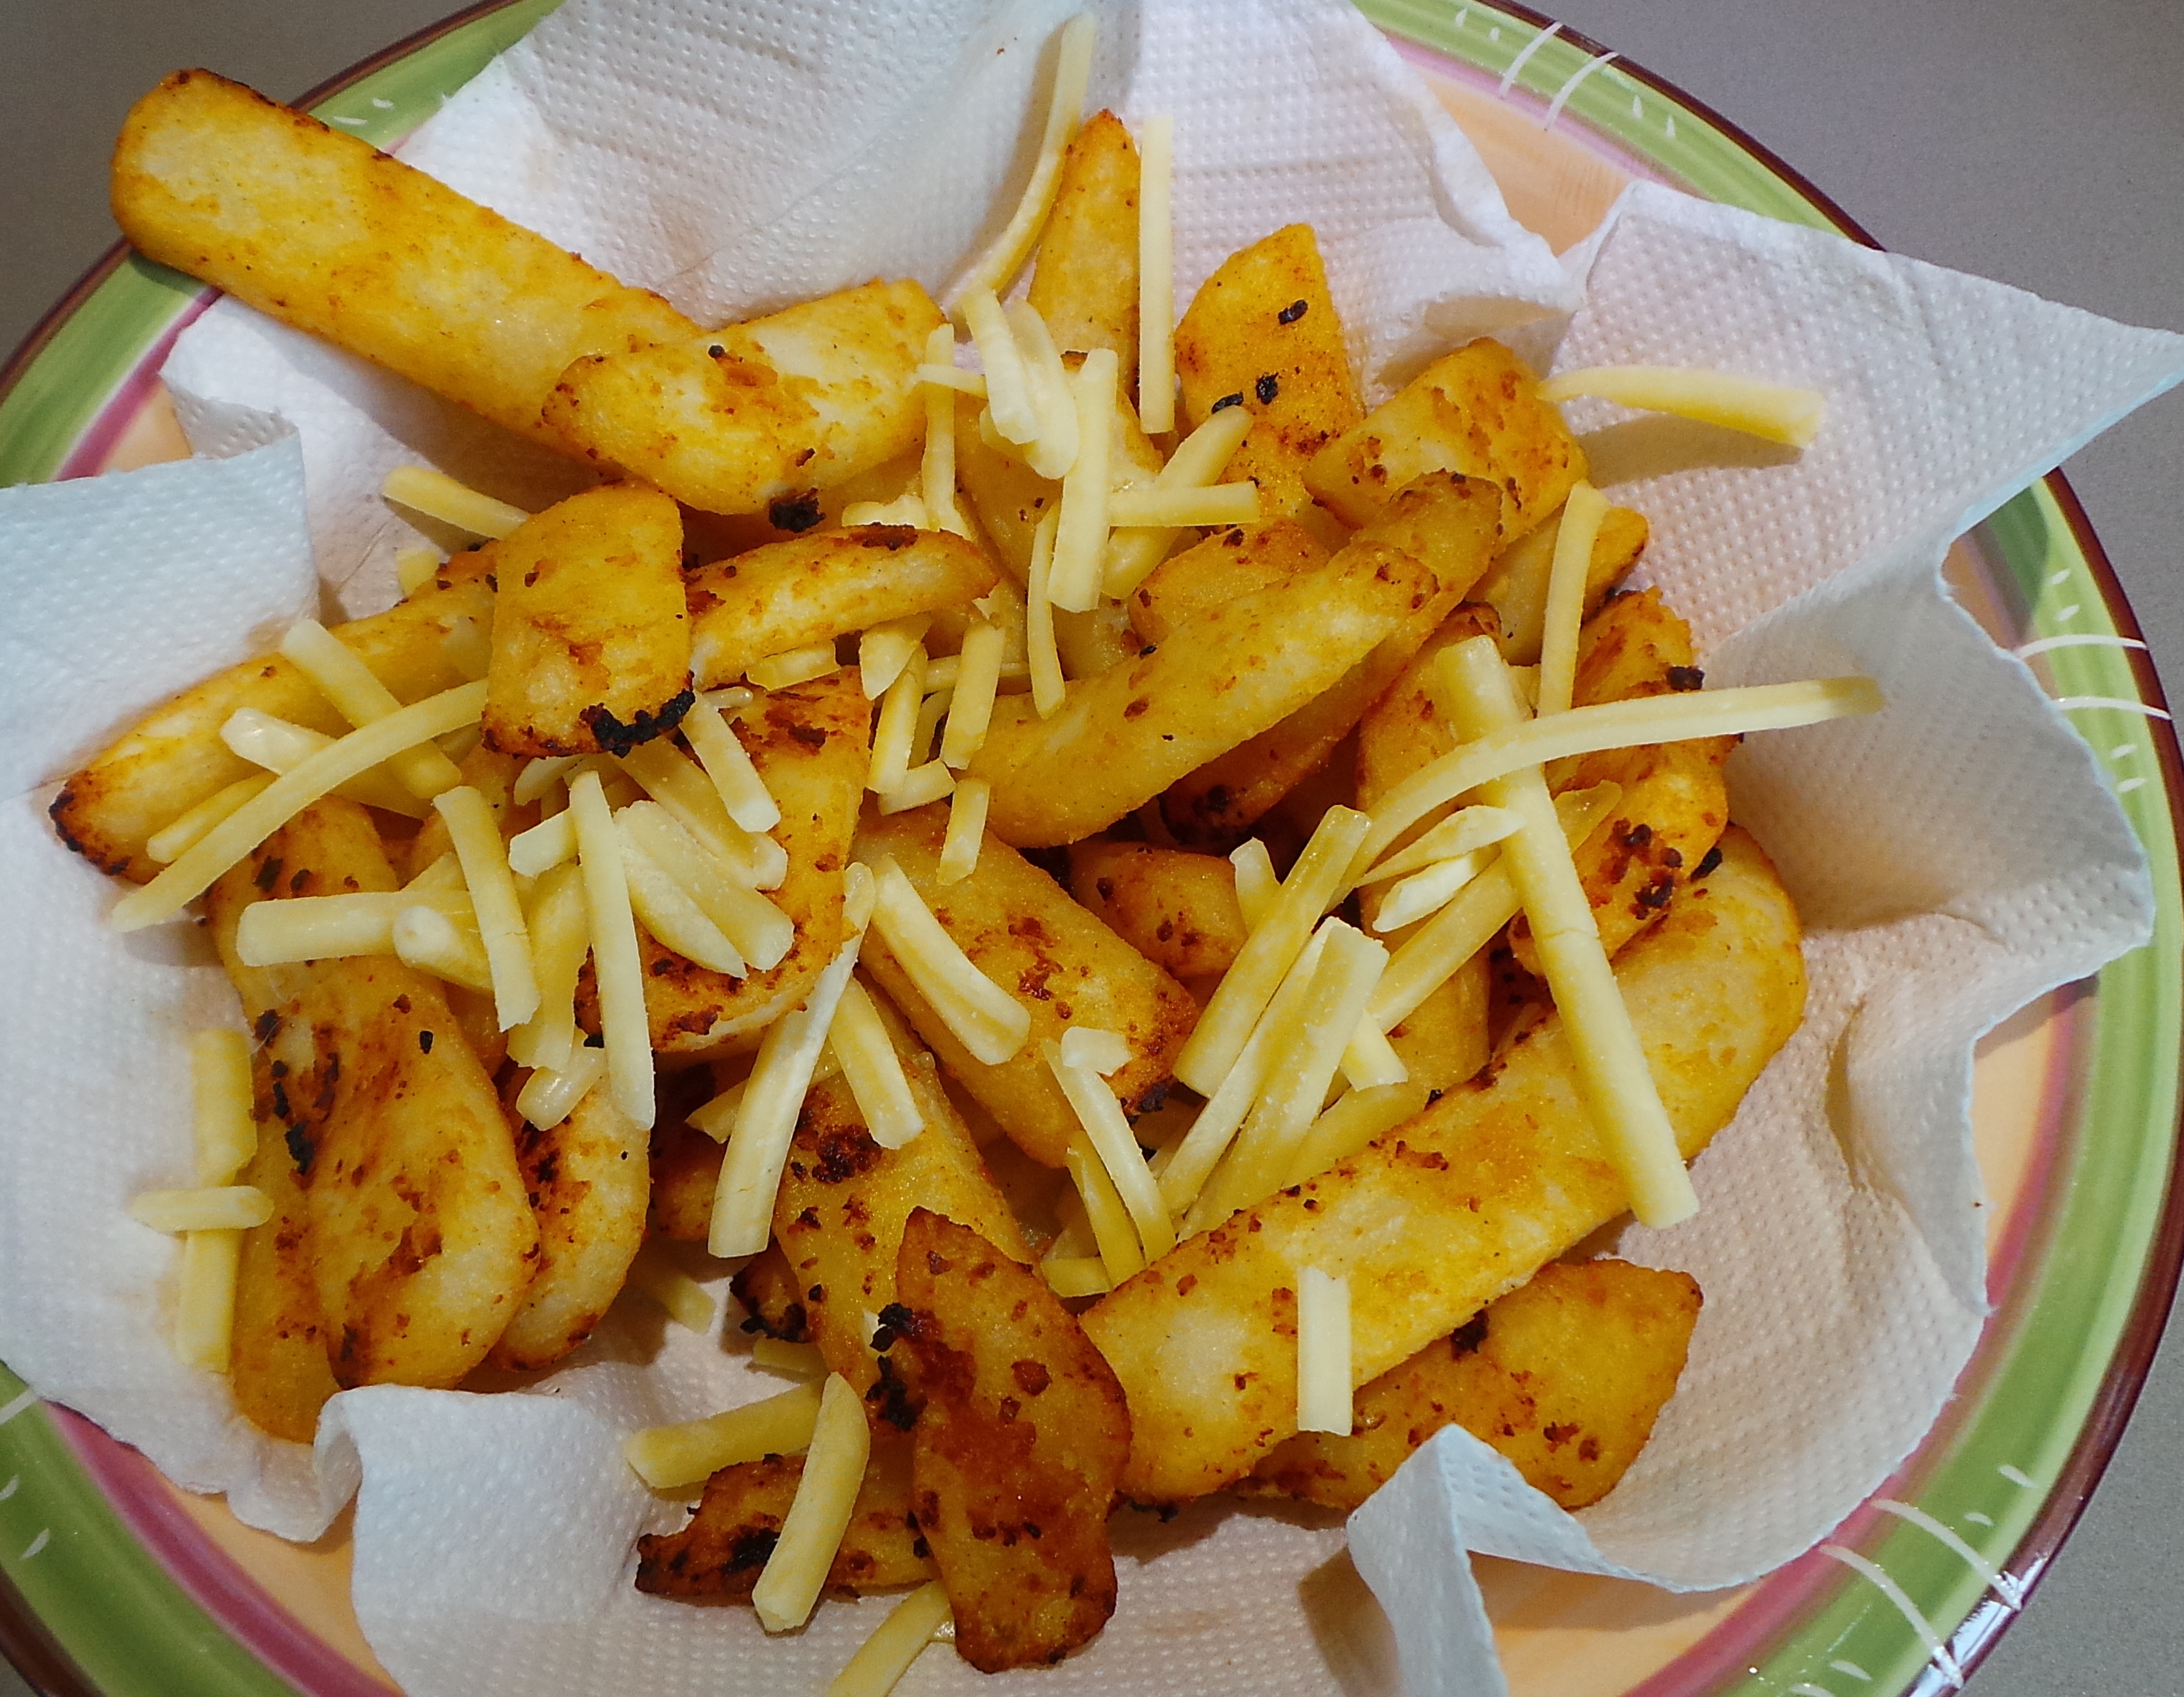
Add some cheese.
Note: I said a little cheese!
I often see pictures of similar dishes where you can’t actually make out the chips under the blanket of cheese they’ve been smothered with. Don’t do that. Cheese is a condiment just as the chilli and bacon are. Got it?
Bringing home the bacon…
Serve with a dollop of tomato sauce/ketchup or – my preference – a spoonful of good quality egg mayonnaise for dipping.
Enjoy.
