Store cupboard curry

Hiya,

I spent most of the day elsewhere. First I made a couple of pizzas with this guy.

Masterchef Kai

Masterchef Kai.

We were at my weekly lunch with the Intercultural Womens Network of Ballarat (free plug!) and they were my contribution. He was the only three-year old there and scatters toppings really well. 😉

Then it was off to replace my blood glucose monitor – which I appear to have left in the car from the driving assessment yesterday.

Dinner was never going to be complicated. Ever.

I hadn’t got anything out of the freezer and I couldn’t be bothered doing so when I got home. I just opened the pantry and pretended I was a teenager doing a survey of the refrigerator – you know exactly what I mean, don’t you?

I spotted a jar of Tikka Masala simmer sauce and thought, “Well, that’s a start.” That was emptied it into the baby slow cooker and followed with a tin of lite coconut cream.

Tikka Masala simmer sauce.

Tikka Masala simmer sauce.

I chopped up half a red capsicum, then peeled and chopped up the seed end of half a butternut pumpkin and stirred that through. The crock was getting a little full, and I’d realised that I’d left my run a little late for using the slow cooker, so I transferred it to a Dutch oven on the stove top, where I added a tin of drained and rinsed cannellini beans.

I realised I'd made a strategic error and transferred it to the stove top at this point.

I realised I’d made a strategic error and transferred it to the stove top at this point.

It really only needed to simmer long enough to cook the pumpkin through so, while it did that, I put some rice on to steam and added some millet to the pot for something different. That came out looking like this.

Jasmine rice and millet.

Jasmine rice and millet.

The curry was looking a little ‘samey’ so the freezer was raided and a bag of mixed frozen vegies was used to add some more texture and colour to the curry.

Frozen vegies make life easier.

Frozen vegies make life easier.

When they were heated through, the curry was spooned over the rice and served.

Store cupboard curry

Store cupboard curry.

A meatless dinner with minimal effort and plenty of leftovers. That last point is important because we’ve got a long day in Geelong tomorrow, starting at stupid o’clock, and it was likely to end with takeaway if we weren’t careful.  Now that’s not so likely.

Chocolate ‘Ice Cream’ (with bananas)

Chocolate soft serve ice-cream.

You know when you buy a hand of bananas and suddenly they’re all too ripe and no-one wants to eat them and you get annoyed because you’ve spent the money and now it’s being wasted and it doesn’t matter what you do it seems like you can never get it right and why is life so unfair?

Take a breath. Calm down.

Firstly, freeze your bananas. If they’re getting past the eating-as-a-fresh-banana stage, then peel them and pop them into a ziploc bag and put them in the freezer. They can be defrosted and used in cakes and muffins and what-not at a later stage.

If you don’t want them to stick together, so you can take out one or two at a time, then freeze them separately before you place them in the bag. They will live in there quite happily for many months.

And don't they look attractive?

And don’t they look attractive?

Then you can make ice cream out of them.

Yes. I said ice cream. Frozen bananas can be used to make a soft serve ice cream which is wonderful for those with a lactose intolerance. Cold affects the performance of your taste buds, so the banana flavour fades right away and you are left with a cold, creamy substance that you can add other flavours to. Like chocolate.

This requires a food processor with a metal blade. I’m sorry, there’s really not an alternative to the use of an appliance for this.

The metal blade of a food processor is the secret ingredient here.

The metal blade of a food processor is the secret ingredient here.

Also, I had quite a few bananas I wanted to use as I wanted the freezer space. So the pictures you see here will be of about three times the quantity that will be made from the recipe provided.

Making the actual dessert is super simple. Get the kids involved (just don’t let them lick the blade…)

Cut your bananas into chunks and put them into the processor bowl.

Chunky bananas.

Chunky bananas.

Now sift in a couple of tablespoons of cocoa powder. I used Dutch process cocoa because that’s what I had. If you’re an Aussie and you have some to spare, then try using Milo instead.

Add cocoa.

Add cocoa.

Now add some vanilla extract and a touch of salt. The salt will help to accent the sweetness of the bananas.

I used sea salt flakes - you don't have to.

I used sea salt flakes – you don’t have to.

Then add a dollop of sweetener if you really want to. I added a touch of honey, but it’s really not necessary. Bananas are full of natural sugars – don’t for a moment start thinking of this as a low calorie alternative to regular dairy ice-creams.

*Diabetics be warned, this will make your sugars spike.*

I added some totally unnecessary honey.

I added some totally unnecessary honey.

You may like to add a few tablespoons of a nut butter here. Peanut butter works fine, or you can try almond or sunflower butter instead. The oils in the butter give the final dessert a smoother texture and “mouth feel.” I didn’t have any, so I didn’t.

I did find that it wasn’t blending as smoothly as I would have liked, so I drizzled in some buttermilk that I had in the refrigerator. Adding yoghurt would also work – and this can be dairy, soy or coconut – or you could just add a little vegetable oil.

None of these things is absolutely vital.

Put the lid on your processor and pulse a few times to get it going.

It will form a thick paste.

It will form a thick paste.

Keep blending until you reach the desired texture. I wanted a smoother blend and added a drizzle of buttermilk to loosen it up a little. I stopped blending when it looked like this.

Chocolate soft serve Icecream

Chocolate soft serve Icecream

You may serve it immediately. If you are making it with kids, you’ll probably have to serve it immediately.

Otherwise, place it in a sealed container and re-freeze.

Put in a container and freeze. Temporarily.

Put in a container and freeze. Temporarily.

When the time comes to serve it up, remove it from the freezer at least 15 minutes beforehand to soften.  You may end up with a sprained wrist otherwise.

Enjoy.

Chocolate 'Ice-cream' (banana)

  • Servings: 2-3
  • Difficulty: easy
  • Print

Ingredients

3 medium bananas, peeled, cut in chunks and frozen

½ tsp vanilla extract

pinch salt

3 Tbsp cocoa powder

optional:

  • sweetener such as honey or maple syrup
  • 3-5 tbsps peanut butter or similar
  • 2-3 tbsps Greek yoghurt or buttermilk

Method

Place the metal ‘S’ blade in a food processor.

Combine the first four ingredients in the bowl and blend until smooth. Add the optional ingredients if you wish.

Serve immediately.

May be stored in a sealed container in the freezer, but remove at least 15 minutes before serving if you do so. The warmer the ice-cream the more it will resemble soft serve.

Variations:

  • Mix through chopped nuts or choc chips.
  • Use another frozen fruit e.g. strawberries, blueberries, frozen mango etc., instead of the cocoa powder for a fruit flavoured dessert.


Chocolate soft serve ice-cream.

I spent yesterday in various parts of Melbourne, so there was very little done in the Budget Bounty kitchen. Although I did pop into one company to price containers for some food-based products I’m thinking of selling in the future. Maybe. Perhaps.

Anyway, leftovers were the order of the day when we got home and we were very happy to have those porcupine meatballs to warm up and serve with a quick mashed potato. This is a picture from the night before, when we dished them up onto a bed of sweet potato that we had cooked in the slow cooker.

Porcupine meatballs, cooked in the pressure cooker.

Porcupine meatballs, cooked in the pressure cooker.

Both times they were yummy!

Today I kept myself a little busier. I have been given more lemons, so more lemon butter was made (natch!).

Lemon butter anyone?

Lemon butter, anyone?

I made a double batch, because I wanted to give some away and I wanted to make these. Hidden Treasure Muffins, but made using the lemon butter instead of Dulce de Leche this time. The Boy was keen to take some into the office tomorrow.

I wanted something low fuss for dinner, so I filled my small crock pot with my Lentil and Barley Hot Pot.

That’s smelling luscious and I’m looking forward to tucking in soonish. I also decided to do something with a bag of frozen, over-ripe bananas that are taking up space in my freezer and annoying me.

And don't they look attractive?

And don’t they look attractive?

So I turned them into chocolate ice-cream. The Boy came in as I was finishing and decided it was his duty as The Man of The House to lick the bowl.

Chocolate soft serve ice-cream.

Chocolate soft serve ice-cream.

He declared it to be “good.”

Yes. I will be posting instructions for this very soon. I’m going to have my dinner first though.

See you all soon!

Bringing home the bacon...

I didn’t post yesterday due to an existential crisis.

So, today I’m posting about what I did yesterday – welcome to time travel.

I had planned to head off to the local Farmers’ Market down at Lake Wendouree, and so I did.

I spent about $15 there on this lot.

My treasure from the market.

My treasure from the market.

What? It doesn’t look all that exciting? Really?  Huh.

Let me go through what I’ve got here. In that bag at the front, in the bottom left hand corner, there are Golden Linseeds.

Golden Linseeds or Flaxseeds.

Golden Linseeds or Flaxseed.

I like to add a couple of tablespoonfuls of that to my bread mix. There are already linseeds in the mix that we buy, but I like to boost it. Linseed is full of fibre and Omega 3s. However, unless you grind it, the Omega 3s aren’t available to you and the seeds pass through your body undigested.

So, I use a small electric coffee grinder to break them up a bit and add them through the nut/seed/fruit dispenser in my bread machine.

Next, there are Navy Beans. I buy a lot of these – usually 500g at a time.

Navy Beans

Navy Beans.

They cost around $8 a kilogram. Now with that 500 g, or 1 pound, I can make a batch of baked beans to keep in my freezer for quick and nutritious lunches. That batch will make about 2 litres worth of beans.

The Boy and I are in discussions about maybe buying a pressure canner so I can keep them in my pantry instead…. stay tuned.

Next, we have black lentils.

Black lentils.

Black lentils.

I love to add lentils to mince meat dishes or any slow-cooked dish. My collection of different colours and textures is slowly growing and is so different from the large brown and green lentils that used to be all that was available in Australia. (Yay!)

Next, you’ll see some Red Basmati Rice.

Red Basmati Rice.

Red Basmati Rice.

I hadn’t ever seen this before, so I grabbed 250 g of it. Basmati rice is a little lower on the Glycaemic Index (GI), which makes it much better for keeping my blood sugars stable (and yours too).  I have no idea what it tastes like and I’m looking forward to finding out.

Lastly, there is black barley.

Black barley.

Black barley.

I was really happy with how it turned out in my Barley and Lentil Hotpot and have decided it needs to be a pantry staple in the Budget Bounty household. So there.

I had a few dollars left from the $20 I had been prepared to spend, so I bought some Bok Choy as well.

Then I came home and saw to the meat. The chuck steak was diced, placed in a zip lock bag and frozen as is. I already have a few bags of marinaded diced chuck in the freezer, so I thought I’d leave this lot plain for now.

Diced chuck. (Sorry, Chuck!)

Diced chuck. (Sorry, Chuck!)

The Osso Buco was also frozen as was. It’s there ready for a nice, warming casserole in the future.

Osso Buco

Osso Buco

The sausages were placed into a large ziploc bag – being sure they weren’t touching – and frozen. Once they were frozen through, the bag was shaken down and folded over.

Pork Sausages

Pork Sausages

By freezing the snags like this, I will be able to remove one or two at a time without having to defrost the whole lot. With this style of sausage, I’ll only need a small number to feed the two of us.

Bacon pieces

Bacon pieces

Then, I processed the bacon rashers, cutting off the tails and dicing them and leaving the “eye” part whole. They were frozen in separate bags and small portions.

Although one portion was immediately used to counter the Antarctic vortex currently enveloping most of southern Australia. I added them to a fine luncheon of Loaded Hot Potato Chips. Yum! They really hit the spot!

Bringing home the bacon...

Bringing home the bacon…

Bread was made, as was a batch of Apple and Oat Bars. I dined on leftover risotto and The Boy ate chicken soup.

Tonight he is making Porcupine meatballs in the pressure cooker and using some of the red basmati in it too!

Eat well, everyone.


Apple and Oat Bars

Stay calm and eat Apple and Oat Bars...

Last night, The Boy declared – out of the blue – that I should do a muesli (granola) bar recipe. Because school goes back next week or something and this could be useful to people.

I think he just wanted muesli bars.

I also think he could have told me before I did the fortnight’s shopping and could stock up on the expensive stuff that goes into these snacks.

So, I compromised. I’m good at that.

I made these little Apple and Oat Bars from stuff I already had and which – most likely – you already have too. Because that is how we roll in the Budget Bounty kitchen.

Simple AND good-for-you-ish.

Simple AND good-for-you-ish.

The recipe for these came from one of the first cookbooks I ever bought for my now massive collection. It’s called Good Cooking by the people at Good Housekeeping and was published way back in 1988. Which is why I have changed one of the ingredients from margarine to butter…

It’s a recipe that literally takes only minutes to put together and which you could quite easily do with smaller versions of yourself HELPING.  Ahem.

You will need some butter, some honey, some brown sugar, some rolled oats and an apple or two. Also a bowl, a baking tin and a microwave proof jug and spatula.  Sound complicated?

After setting your oven to 190°C get out a set of scales and your microwave proof jug. Into your jug measure your butter, brown sugar and honey, like so:

Melt these things together.

Melt these things together.

Heat them for 1 minute at a time at 80% power until the butter is melted. You can do this in a saucepan on the stove, if you wish.

While it is melting, measure the oats into a medium sized mixing bowl and line a baking tin with parchment. The original recipe called for an 18 cm/7 inch square cake tin.

Pour your now liquid ingredients into the oats and mix well.

Add the wet to the dry. Stir.

Add the wet to the dry. Stir.

Press half this mixture into the base of your tin. Do NOT do what I did and use a silicon tray. You want the oats to crisp up and they just get soggy if you follow my example. Honestly.

Press half your oats into something that isn't silicon and is preferably metal...

Press half your oats into something that isn’t silicon and is preferably metal…

Now get a large cooking apple (around 250 g worth), peel it and slice it thinly.  Arrange the apple slices in overlapping rows to cover the oat base.

Cover your base with overlapping slices of apple.

Cover your base with overlapping slices of apple.

Sprinkle your slices with cinnamon. I was cooking for an adult who likes it, so I also used ground ginger on mine.

Sprinkle with your choice of spice.

Sprinkle with your choice of spice.

Top with the rest of the oats, press down firmly and bake for 30 to 40 minutes or until golden brown and crisp.

Cut it into portions while still hot and in the pan. Leave in the tin to cool. You want your butter and honey to set before you try to move anything, or it will all fall apart.

Elevenses, Anyone?

Elevenses, Anyone?

Store in an airtight container somewhere cool. Wrap in cling film and send as part of a school lunch, serve as an after school snack or use to accompany a much deserved cuppa.

Easy. Affordable. Tasty.

Apple and Oat Bars

  • Servings: 12 -15
  • Difficulty: easy
  • Print

Ingredients

100 g/4 oz butter

60 g/2½ oz brown sugar

2 tbsp honey

225 g/8 oz rolled oats

1 large cooking apple (250 g/9 oz) peeled, cored and thinly sliced

ground cinnamon.

Method

Heat oven to 190°C/ 375°F.

Lightly grease or line an 18 cm/ 7 inch square shallow baking tin.

In a microwave proof jug or bowl, combine the first three ingredients and heat at 80% power for 1 minute intervals until melted. Stir together. This may be done in a small saucepan on the stove top if wished.

Measure the oats into a medium-sized bowl. Pour liquid ingredients over the oats and mix well.

Divide the mixture in two and press half into the base of your prepared tin.

Arrange the sliced apple over the top of the oats in overlapping rows.

Sprinkle with cinnamon.

Top with the remaining oats and press down gently.

Bake for 30-40 minutes until golden brown and crisp.

Cut into slices while still hot and then leave in the tin until cool.

Variations:

  • For a gluten-free version, substitute a gluten free muesli or granola mix for the rolled oats.
  • Try using different spices for variety. A Pumpkin Pie spice mix might be just the thing for you.
  • Sprinkle a handful of sultanas over with the cinnamon.
  • Add a scattering of choc chips over the apple for a special treat.


The major haul.

I have shopped.

It was a remarkably uncomplicated shop as half of it was done at the butcher’s.2015-07-09 16.00.44 This butcher appears to be a local institution. You’ll often find him mentioned on menus in restaurants around here: “Made with John Harbour Porterhouse Steak,” that sort of thing. Apparently he grows and butchers his own beef and pork and he clearly loves his trade.

I spent  just under $40 on meat with which to stuff the freezer. There are:

  • 6 English pork sausages,
  • 500g chuck steak,
  • 600g Osso Bucco and
  • 3 of their own saveloys ! (the largest saveloys I have ever seen!)
    Doesn't look all that appetising, does it?

    Doesn’t look all that appetising, does it?

    Now, I could have bought an awful lot more for that $40 at Aldi, but it wouldn’t have been of the same quality. I had the money to spare this fortnight, so I spent it. This is going to make at least 12 meals, if not more, so around $3 a meal. Which means it’s actually affordable.

The major haul.

The major haul.

This is the rest of my purchases.

First, I stocked up on pasta and sauces and from Woolworths I bought:

  • 1 x 5 kg bag Laucke Multi-grain Bread mix   $12.57
  • 1 x 250 ml Chipotle sauce                                     $2.79 (my new thing this shop)
  • 1 x 500 g  Molasses                                                    $3.49
  • 1 x 320 ml  Hoi Sin sauce                                       $2.39
  • 2 x 500 g “curls” macaroni                                    $4.90
  • 1 x 500 g “Risoni” pasta                                          $1.10

Total = $27.24

Then I popped into Aldi to get the rest of my bits and pieces. These were all pantry staples being replaced or topped up. So:

  • 1 x 250 g Shredded parmesan cheese   $3.69
  • 1 x 500 g Dairy spread                                   $2.99
  • 1 x 500 g unsalted butter                            $2.59
  • 1 kg brown onions                                         $0.99
  • 4 x 400 g tin diced tomatoes                     $2.36
  • 2 kg white sugar                                              $1.79
  • 1 kg sweet potatoes                                      $1.99
  • 2 x 400 g tin kidney beans                           $1.18
  • 1 x 200 g Bicarbonate of soda                   $1.79
  • 2 x 250 g Microwave Brown Rice              $2.98
  • 1 x 500 g squeezable honey                       $5.49

Total = 27.84

So that comes to $95.08 all together. I have yet to buy eggs, which will use the last of the money allotted.

However, I’ve decided to go over a little anyway.

I want to go to the market on Saturday and stock up on some beans and grains. But, even if I go utterly berserk, I won’t spend more than $20 there AND those things will last for months.

Ahem.

You may have noticed a lack of fresh veg. Well, our crisper is still well-stocked and we have oodles of frozen vegetables as well. Don’t fret.


Howdy do. I made it through part one of my driving assessment (they were happy for me to drive home) and I have the practical on-road test next Wednesday.

Wish me luck.

I’ve started thinking about this fortnight’s shop and there’s really not much that needs to be bought! We’ve got several days worth of meals as leftovers in the refrigerator-in fact, I’m about to pop the remaining pork belly in the freezer. There’s enough vegetables and meat in the freezer to see us through yet another fortnight, and the pantry is almost fully stocked. Which is a nice place to be.

Imminent starvation is not a risk in the Budget Bounty household.

So, I’m going to get ahead with some things and pad out with others. We’re in no risk of running out of bread mix this pay period, but I think I’ll buy a sack anyway. It’s a big enough expense ($12) that I notice it when it comes up. So it will be good to get it while I don’t desperately need the money for other things.

This is my idea of heaven.

This is my idea of heaven.

I’d like to replenish my sauces as well; they can make all the difference to a dish. Pasta could use some refilling, and I’m going to my favourite stall at the local Farmer’s Market this weekend and buying big on beans and pulses.

There are so many to choose from, but I really need to restock on Navy Beans at the very minimum so that I can make my Cider Baked Beans. Our favourite lunch around here is a microwave baked potato topped with these beans and a touch of cheese. That recipe will be posted soon.

...and this looks like Christmas morning...

…and this looks like Christmas morning…

I’d also like to get a bit of meat that isn’t minced beef. I mean I’d really like that.

For tonight, I’m intending to have the rest of the chilli con carne with some corn chips and The Boy is tucking into some chicken soup that was just dropped off by a friend for my cold. (MS and soup are natural enemies. I don’t want to end up wearing my dinner.)

Then it will be an early night. Yesterday’s gardening combined with today’s outing have me yawning already.

Sleep well, All.


Our refilled biscuit barrel.

Okay, so my driving assessment didn’t happen today, because reasons. I have to go back tomorrow.

I came home and worked off the cumulative fury in my front garden, pruning pretty much 7/8 of the rose bushes off. It worked.

The bushes look like they’ll face the next growing season much better too!

Anyway, when I came in I remembered that a request had been made for some more cookies, preferably ones with chunks of chocolate and a touch of salt. So I thought I’d try a new recipe and made this one here. Coconut chocolate chunk cookies with sea salt.

Coconut chocolate chink biscuits

Coconut chocolate chunk biscuits.

The Boy says they are good. I haven’t tasted them yet. If I agree with him, then they may end up on a post sometime.

Pasta and other things mixed in a baking dish.

Pasta and other things mixed in a baking dish.

I decided to do a pasta bake for dinner. So I threw a few handfuls of pasta on to cook, diced up a zucchini and a capsicum, drained a can of chickpeas and cut up some of that BBQ chook we’ve got in the fridge. When the pasta was cooked, I mixed them all together in a pyrex baking dish with what was left in the jar of pesto we had. (Another thing for the list.)

Make a quick cheese sauce to bind.

Make a quick cheese sauce to bind.

Then I made a white sauce and mixed through a few handfuls of grated tasty cheese and some mixed Italian herbs, salt and pepper. The whole lot was placed into the oven (which had been on for the cookies) and baked at 180°C for about 40 mins.

The end result.

The end result.

At that stage, I took it out and sprinkled the top with some home-made wholegrain breadcrumbs that I keep in the fridge – for added texture. It was baked a further 10 minutes after that.

Then we tucked in. I had a small serving so I could follow it up with a bit of the leftover chocolate fudge pudding. The orange flavour from the zest was even more pronounced and it was amazing!

Dinner is served.

Dinner is served.

There was enough pasta left for two or three servings. I love cooking things in that glass dish. It is one of a set of three that I bought from Kmart some time ago and which came with clip lock lids. They don’t seem to have the sets any more, but you can buy singles like this one.

Hot fudge pudding and ice cream. I'd earned it.

Hot fudge pudding and ice cream. I’d earned it.

They’re very affordable and it means that, when the dish is cool, you can pop the lid on and put it in the fridge. No fiddling with cling wrap, no transferring to a different dish, easy to reheat in – gotta be happy with that. 🙂  They are available in square and rectangle and several different sizes and I’d recommend them, especially to those just starting out. You want stuff that is versatile and that you love using. I think perhaps I should do a post on this…

Anyway, I am now very tired from my gardening exertions and ready to crash.

TTFN


Grandmother Sayers's Chocolate Fudge Pudding.

Today was quite a productive one in the Budget Bounty kitchen.

Sugar scrub.

Sugar scrub.

I started the day by poaching the Pork Belly for dinner tonight and then making myself some sugar body scrub to get me through the mid-winter itchy skin that’s driving me up the wall.

My fruit bowl right now.

My fruit bowl right now.

A friend has given me masses of winter fruit, so I am now all citrused up and thought I should take advantage of it.


Some Lemon Butter was therefore made.

Lemon butter

Lemon butter

This was followed quickly by popping the empty lemon shells into a large jar and covering them in plain old household vinegar.

Future cleaning products.

Future cleaning products.

In a few weeks the lemon oils will have suffused the vinegar with their wonderful scent. The vinegar will then be diluted 50:50 with water and used to clean just about everything.

Then I finally made my pork dumplings and they turned out really well! The only down side was that I ran out of wrappers before I ran out of filling.

Home-made pork dumplings.

Home-made pork dumplings.

However, even that has a plus to it. I’m thinking the filling could use some spicing up and may add some ground cumin or coriander and possibly even some sauces to the remainder.

In the meantime, we had a tasty lunch and now have some morsels in our freezer for future feasts.

I managed to have a bit of a sit-down (lunch, donchaknow) and then got dinner underway.

Dinner tonight.

Dinner tonight.

We had a lovely piece of pork belly with a sticky Asian sauce, served with steamed millet, bok choy and baked butternut pumpkin (squash). Doesn’t it look good?

While that was cooking, I mixed up my Grandmother’s Chocolate Fudge Pudding – including some zest from an orange in that fruit bowl I showed you earlier.

Grandmother Sayers's Chocolate Fudge Pudding.

Grandmother Sayers’s Chocolate Fudge Pudding.

It worked wonderfully. The orange really made a difference, cutting the richness beautifully. I’ll post the recipe soon, I think. My only regret is that we didn’t have any vanilla ice-cream to serve with it (the freezer is full of things that aren’t ‘sometimes foods’ right now.)

So now I am in need of a good night’s sleep. No idea why.

I’ve noticed that the biscuit barrel is nearly empty, so some cookies or biscuits will be made in the next day or so. I quite enjoy the time beforehand, when I get to trawl through my recipe books and pins looking for something special to make. One batch usually lasts The Boy a fortnight (two weeks), so I don’t bake all that often and it’s my chance to make him something special. Because I’m a softy.

Goodnight All.


Lentil and Barley Hot Pot (slow cooker)

Lentil and Barley Casserole

This is a wonderful little dish that I came up with during my Texan sojourn, all those years ago.

For those who have just tuned in – I spent six months living in Texas and, during that time, cooked many of my meals in a little 1 quart (1.5 litre) slow cooker I bought from the Walgreens next to my hotel.

I became so attached to this little device that I wanted to bring it back to Australia with me, but voltage differences meant that wouldn’t be a practical thing to do.

So, I was quite elated to discover the same size device for sale at Target when I got back. They aren’t any more (as far as I know), but you can find them in the appliance section at Woolworths for $20.

Which is all by the by.

This is a dish that costs next to nothing to make. This was very handy when the exchange rate dropped to USD 0.45 for every AUD 1 and I was suddenly very, very poor.  Ahem.

A slow cooker this size will serve three comfortably, more if you have a larger slow cooker and fill it. We worked out that the 1 litre size dish cost about $1.50 total to make.

This isn’t so much a recipe as instructions for assembly.

All you'll need for this dish.

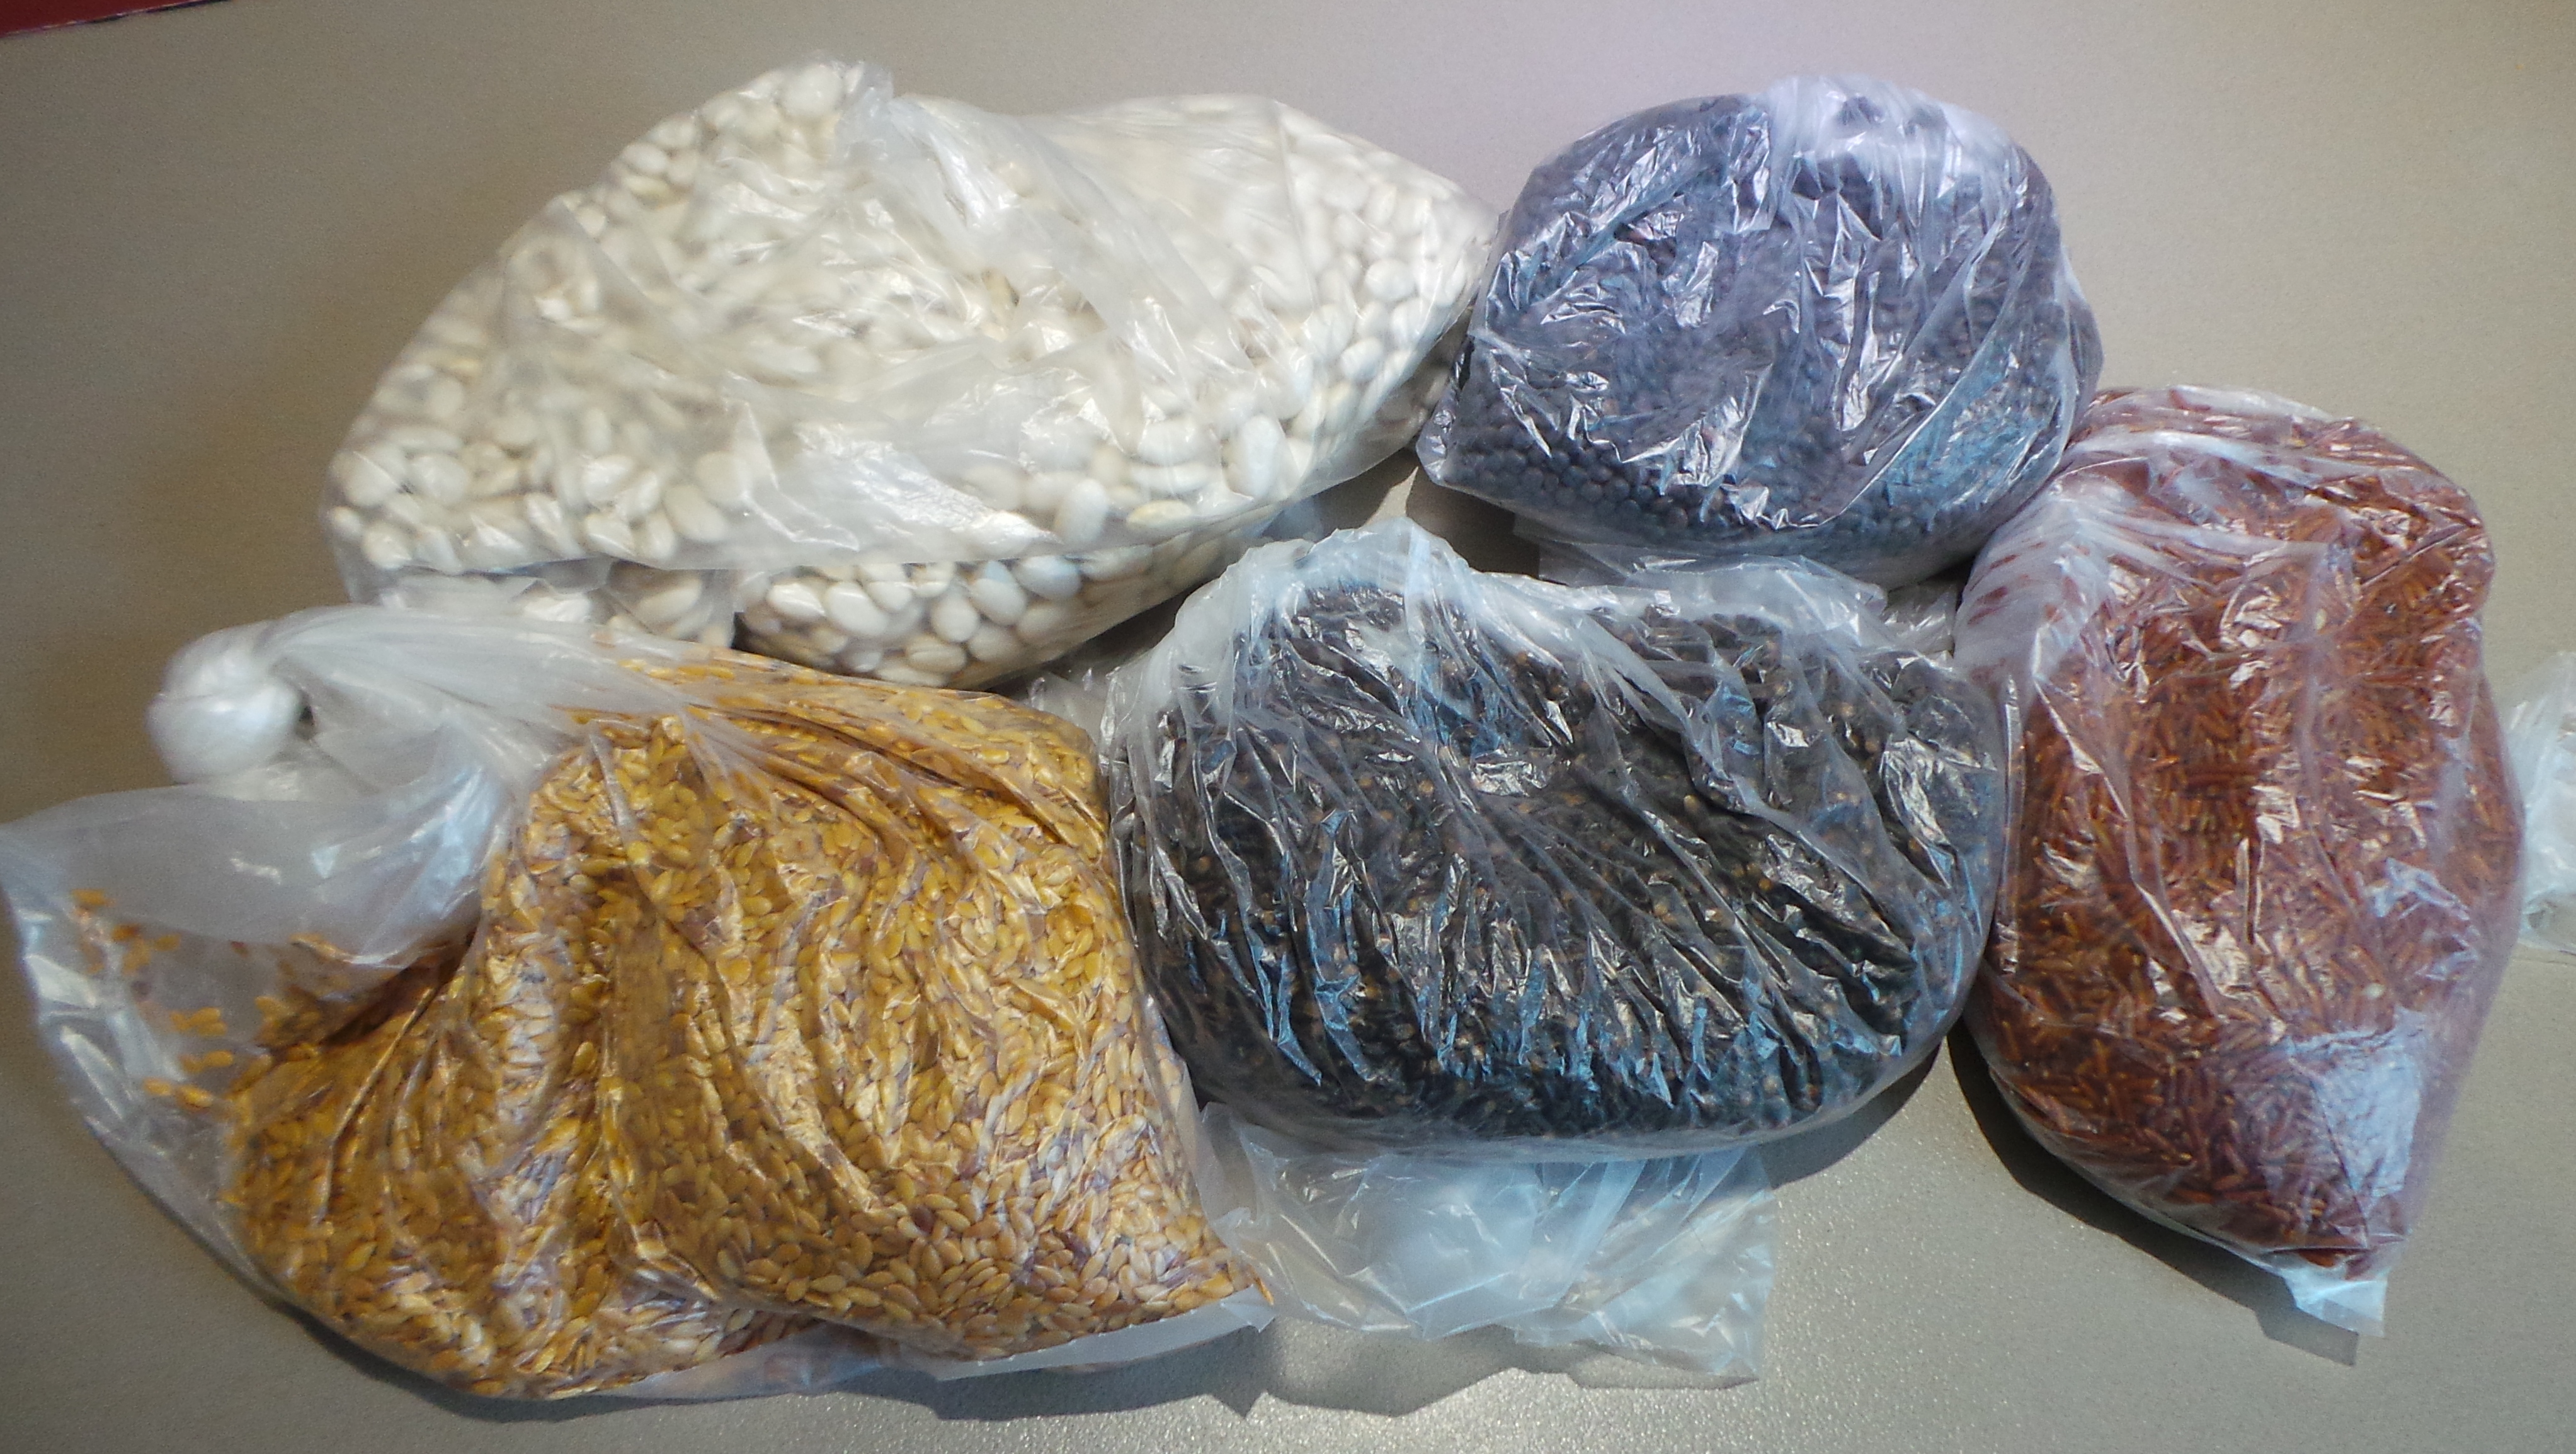
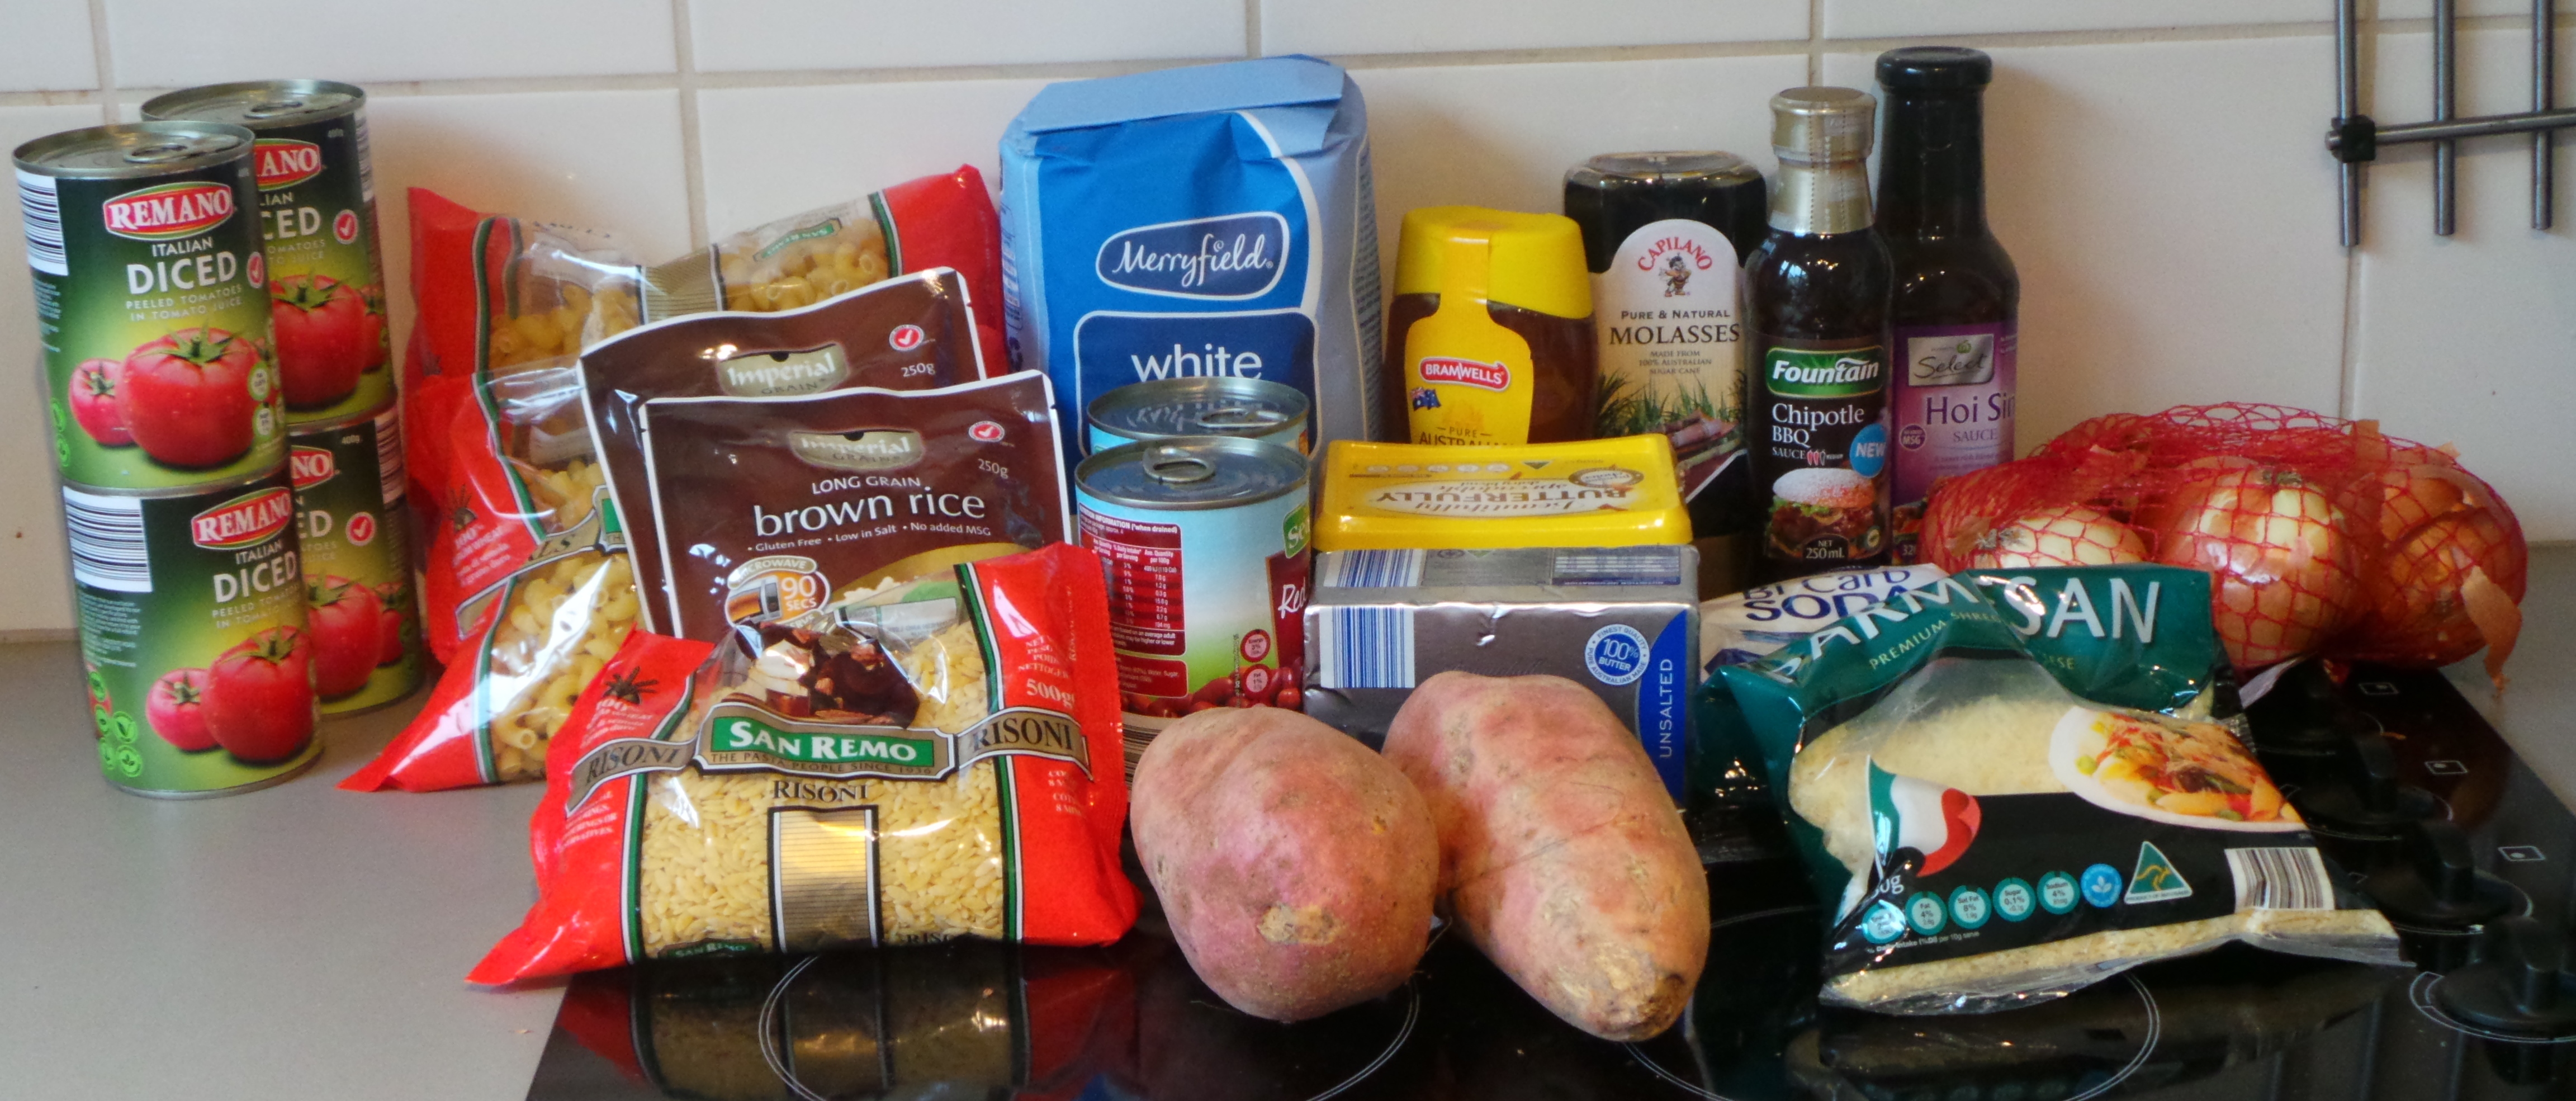
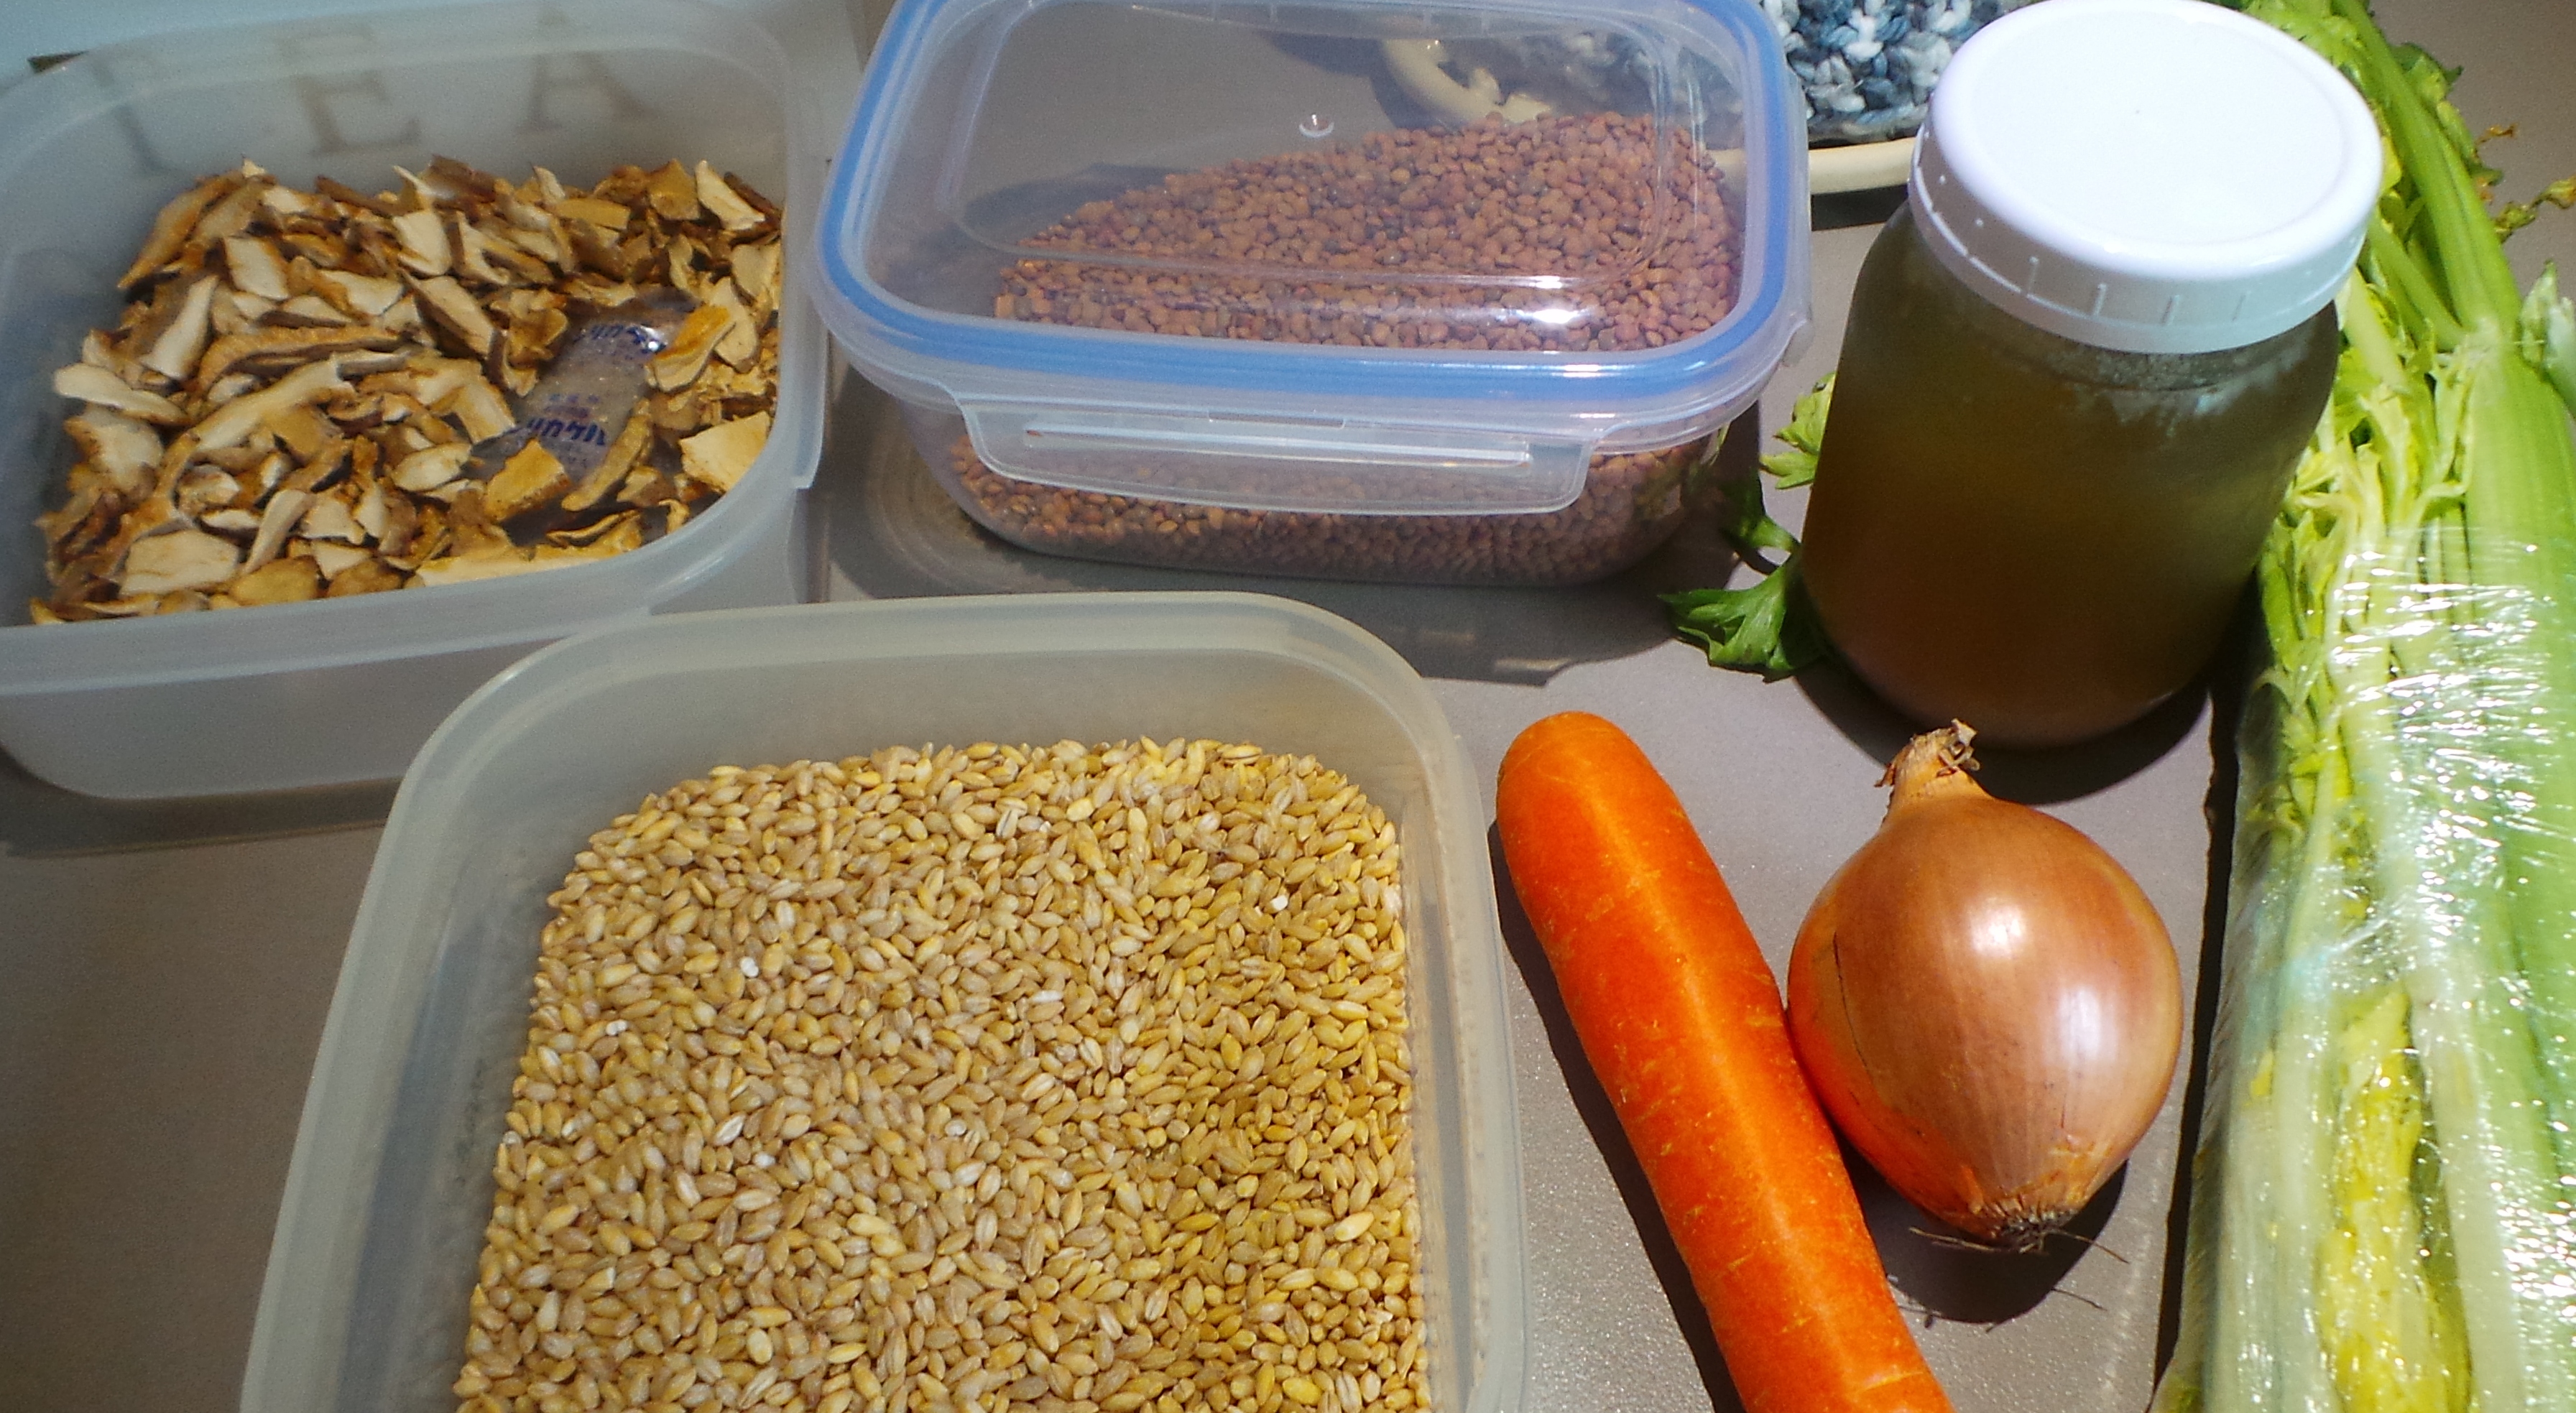
All you’ll need for this dish.

You’ll need these:

  • an onion,
  • a jar of crushed garlic,
  • a stick of celery,
  • some dried mushrooms,
  • two handfuls of whole lentils,
  • a handful of pearled barley,
  • a bay leaf,
  • 600 ml of stock (any flavour).

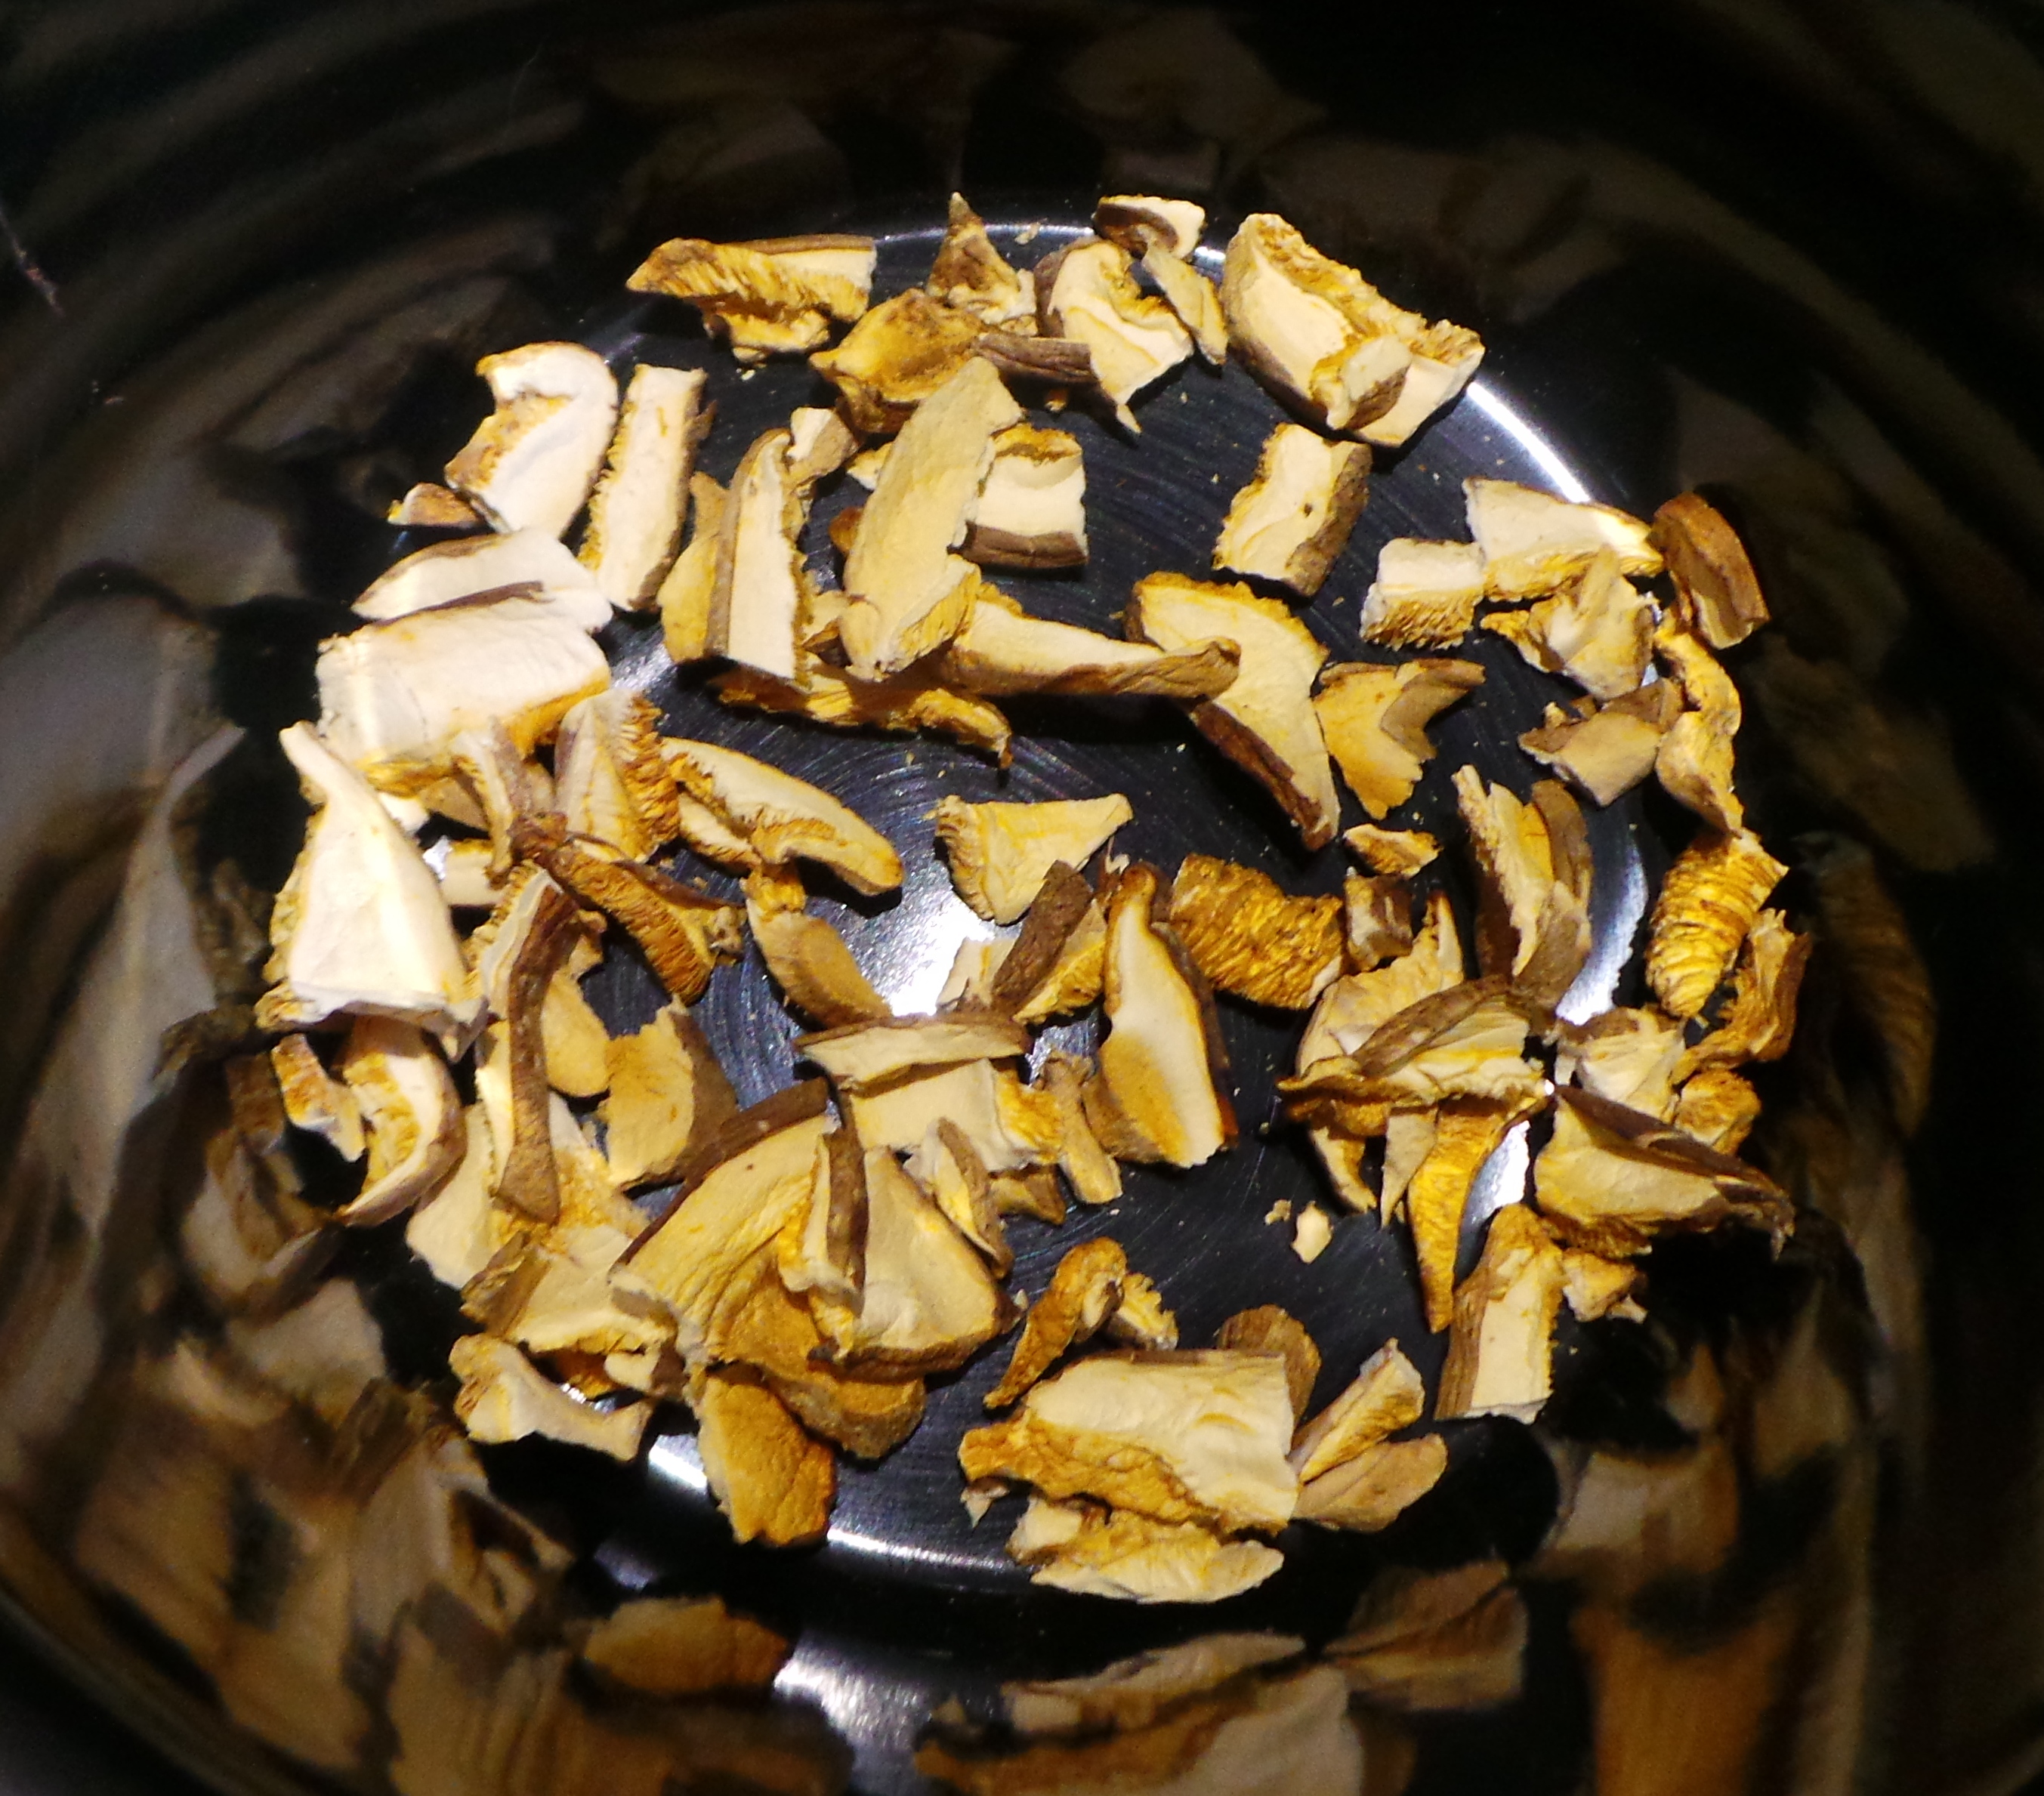
The dried mushrooms are completely optional. I like to use them because they add texture and fill the kitchen with an amazing fragrance. I buy the dried shitake mushrooms from the supermarket and break them into small pieces. The mushrooms cost very little and keep for ages in an air tight container.

Break up the dried mushrooms and place a single layer on the bottom of your pot.

Break up the dried mushrooms and place a single layer on the bottom of your pot.

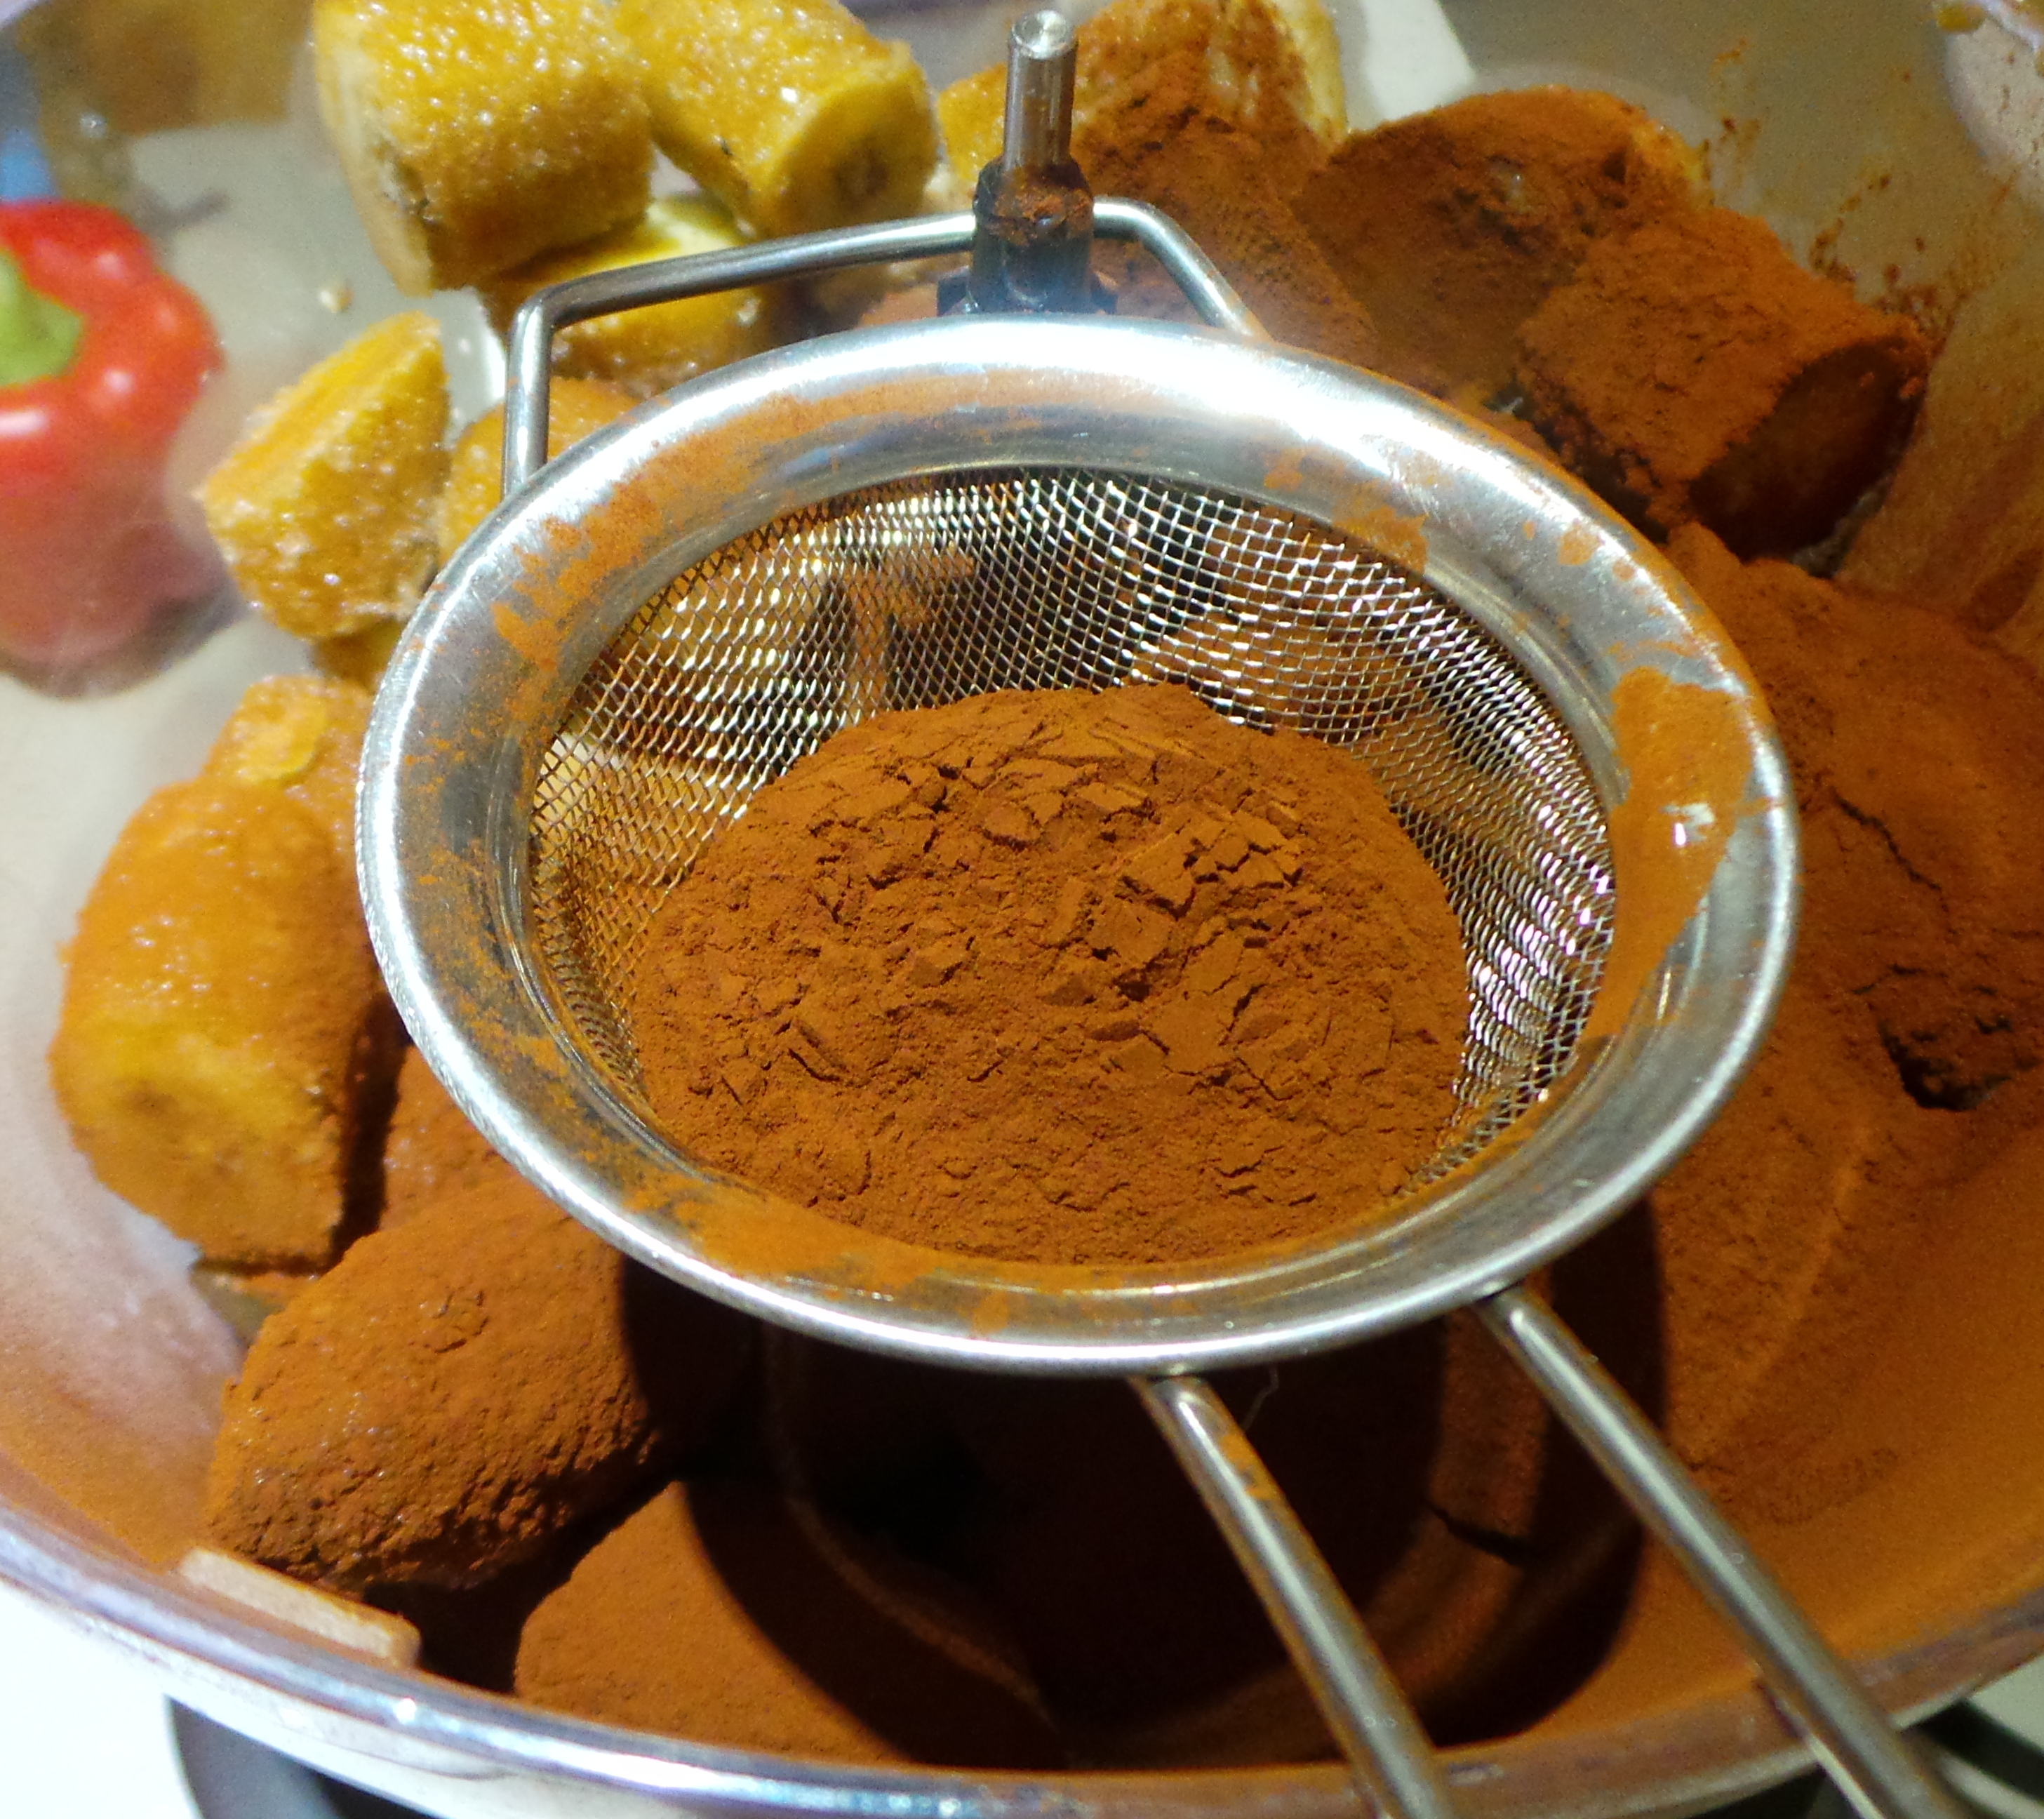
If you find the Asian mushrooms too strong tasting, then feel free to use any others you may find. Also, if you have family members who object to the texture of mushrooms, try grinding the dried ones in a blender, mortar and pestle, or coffee grinder and just using the resulting powder.

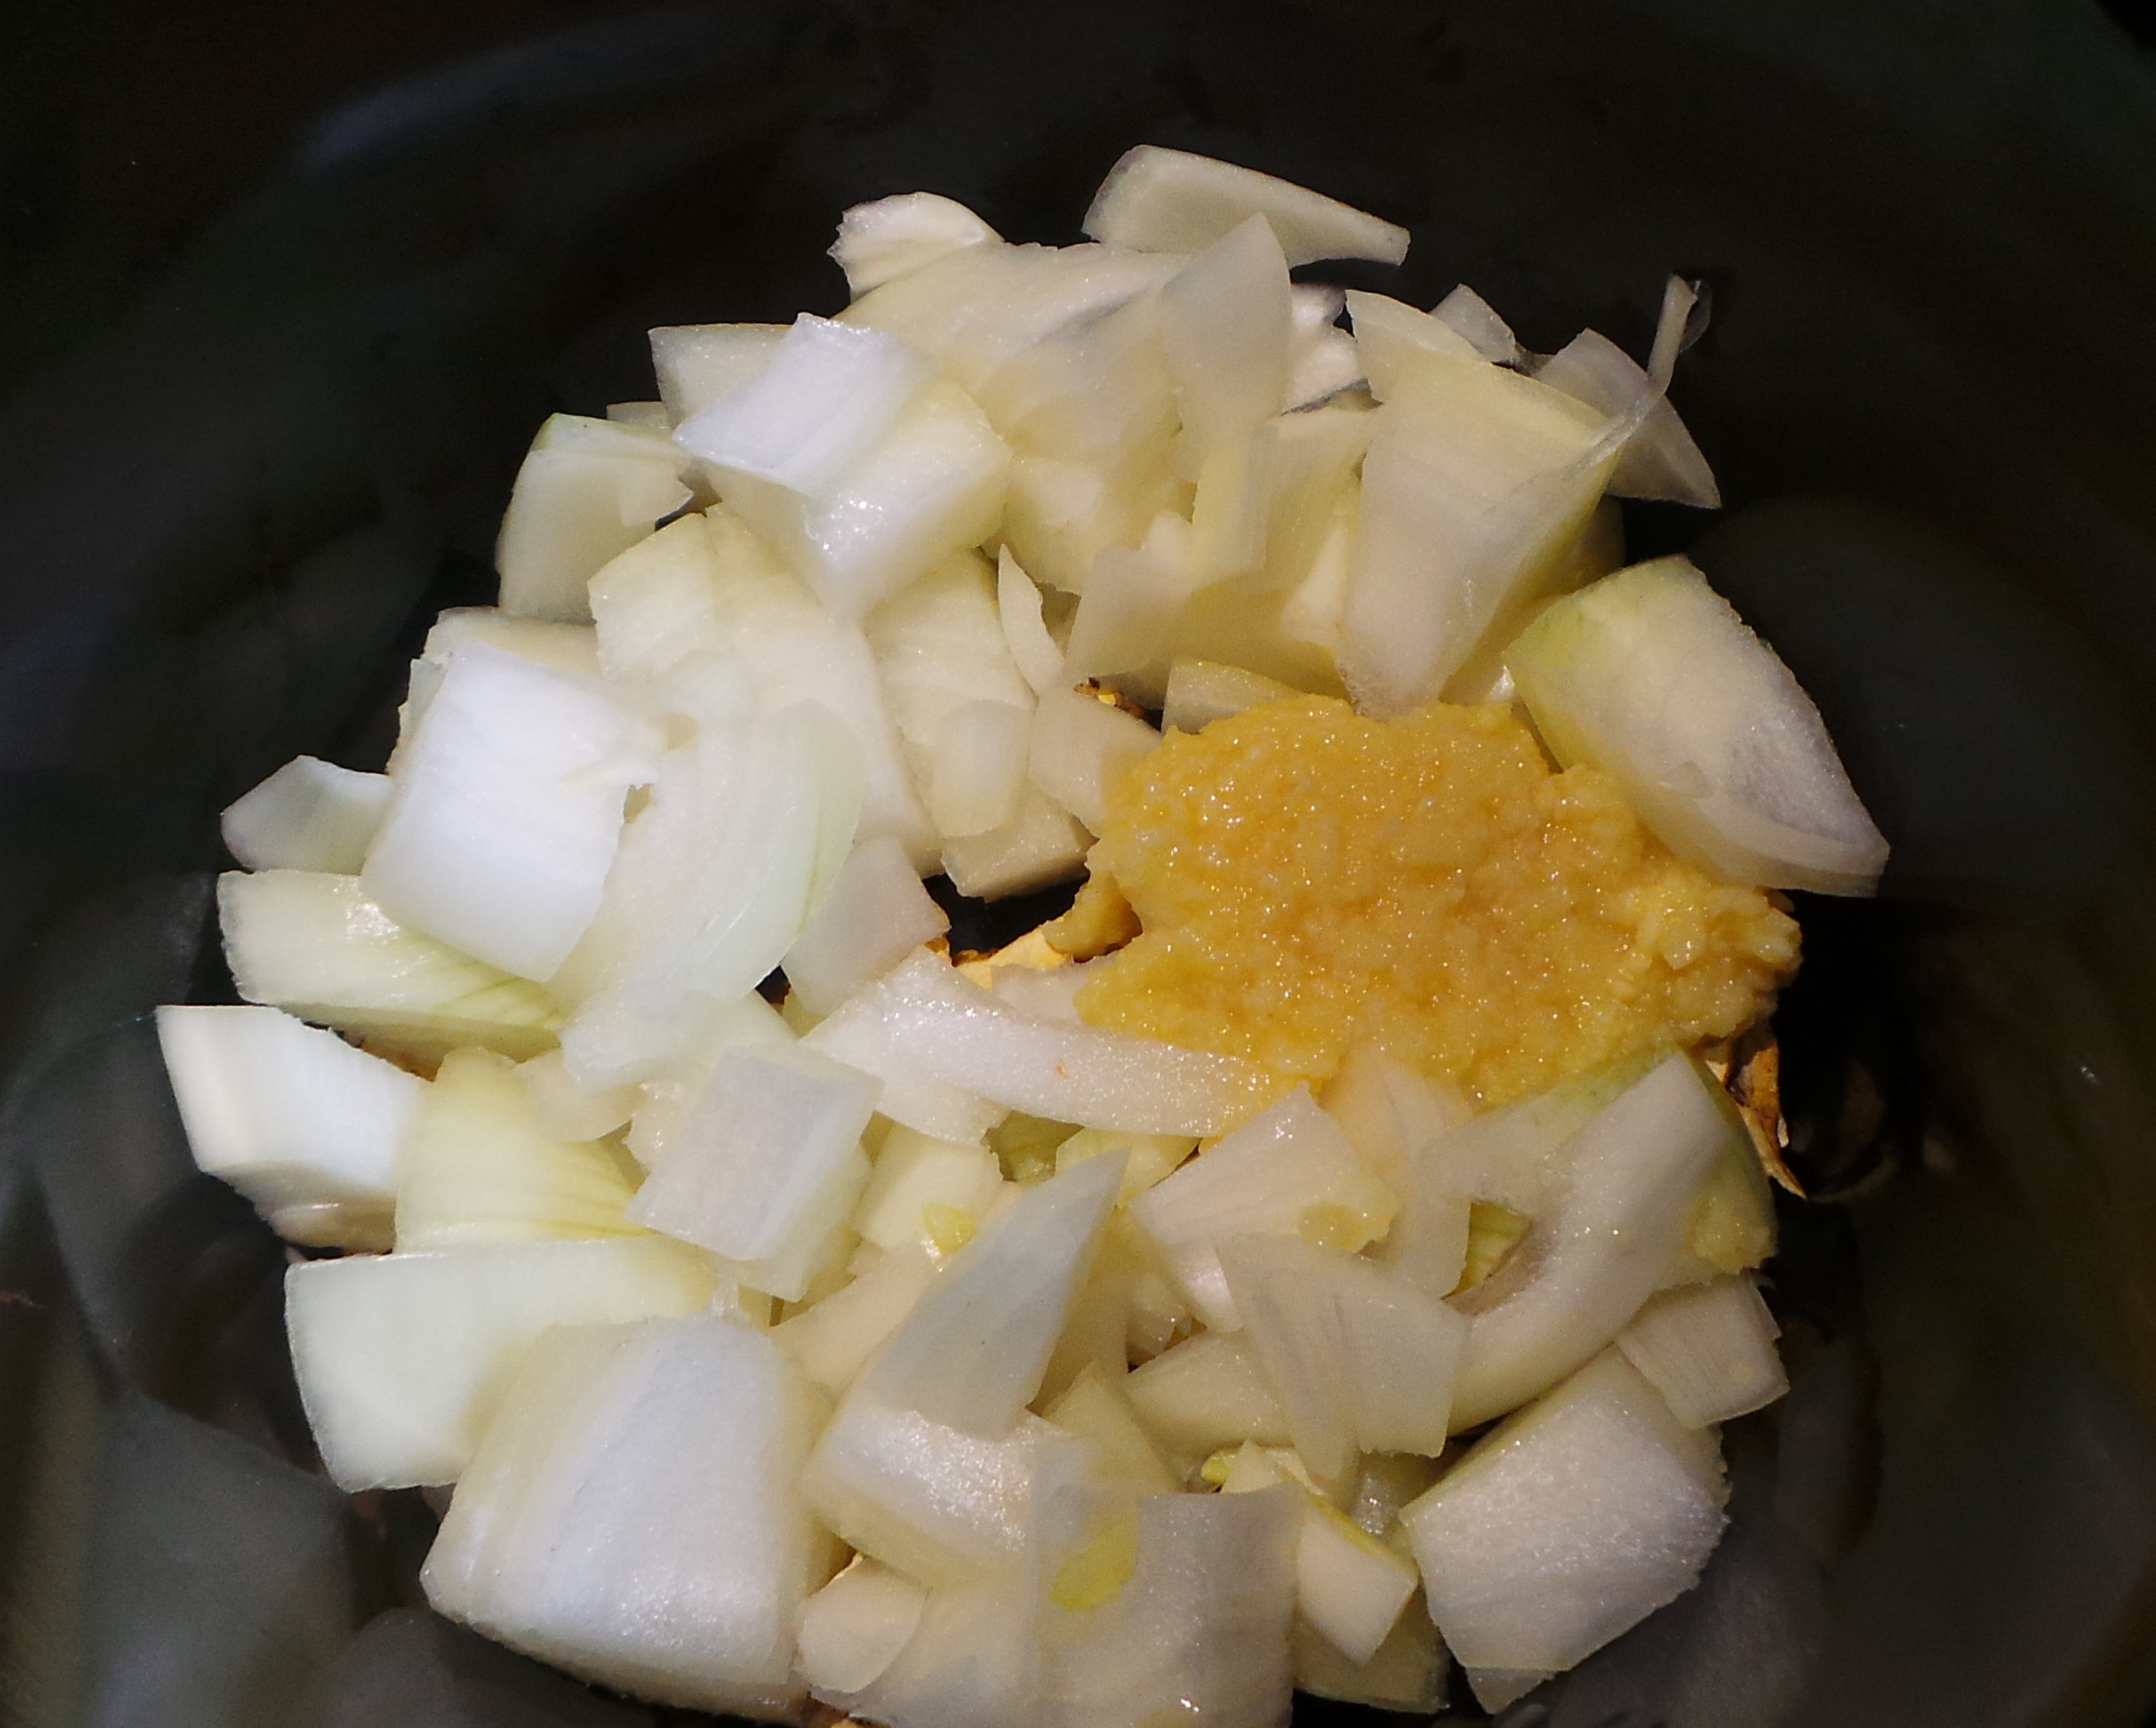
Follow this with a layer of diced onions and a spoonful of your jarred garlic.

Onions and garlic. You may use fresh garlic if you wish...

Onions and garlic. You may use fresh garlic if you wish…

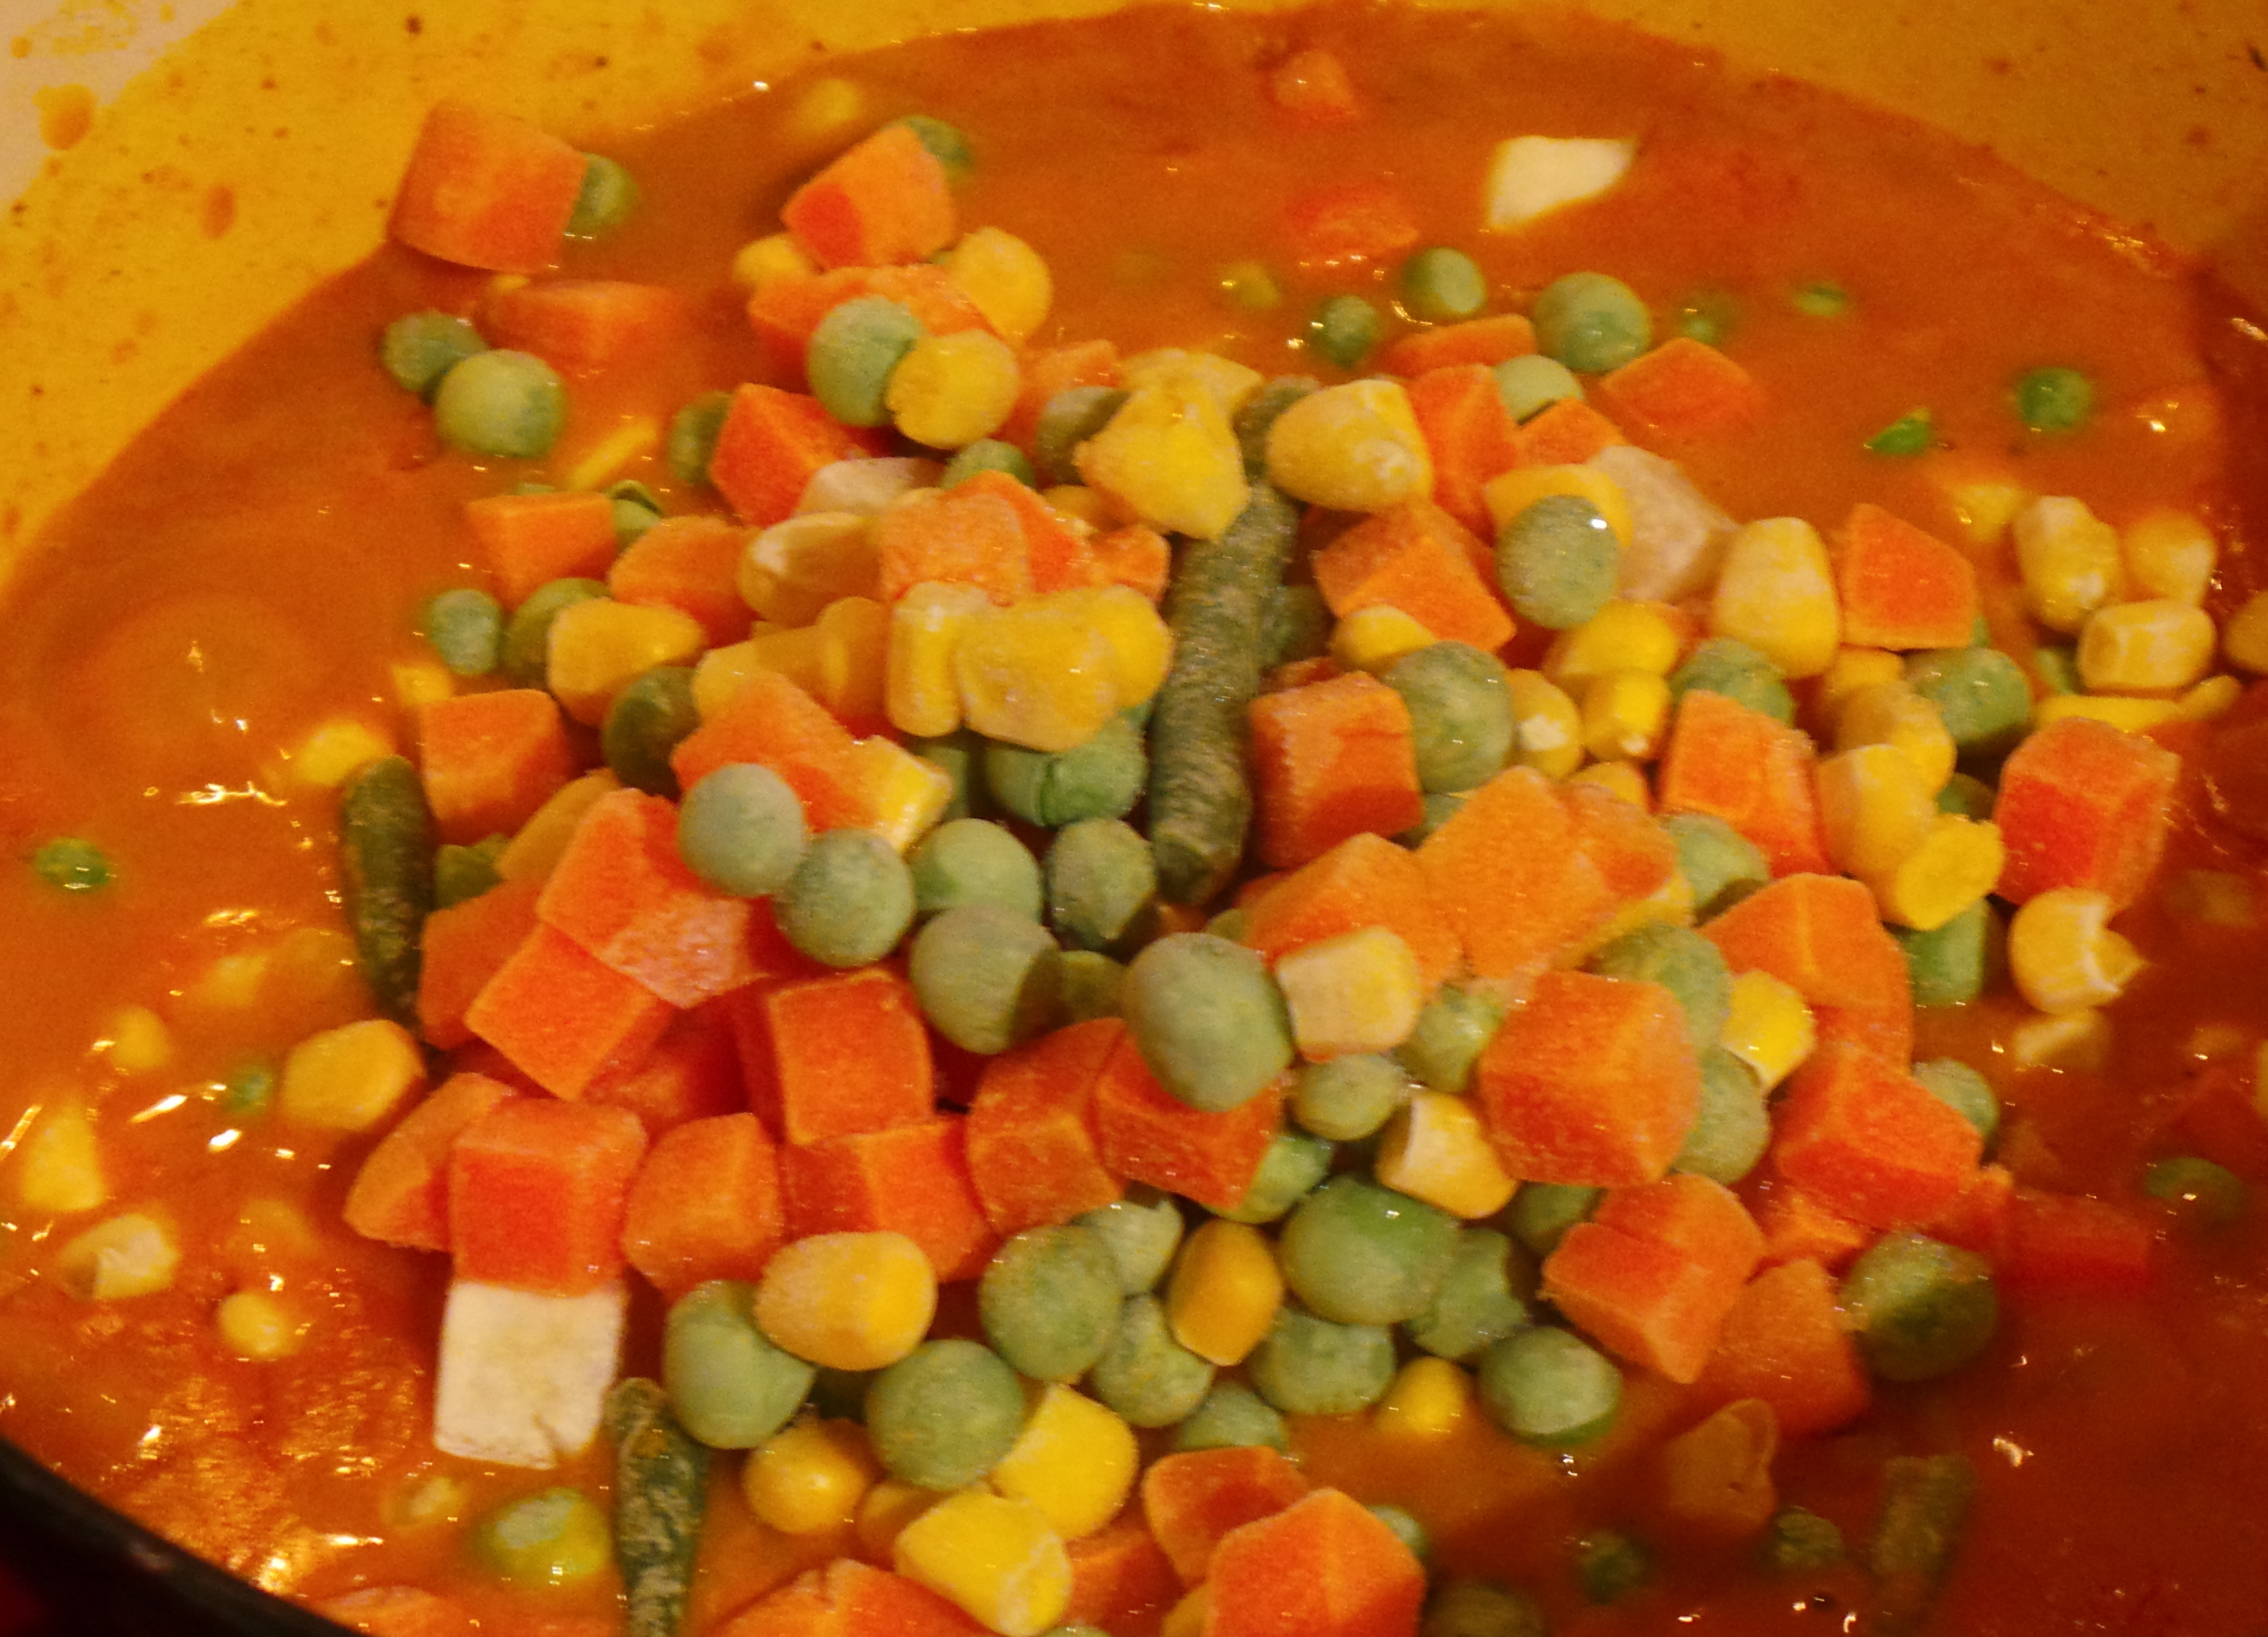
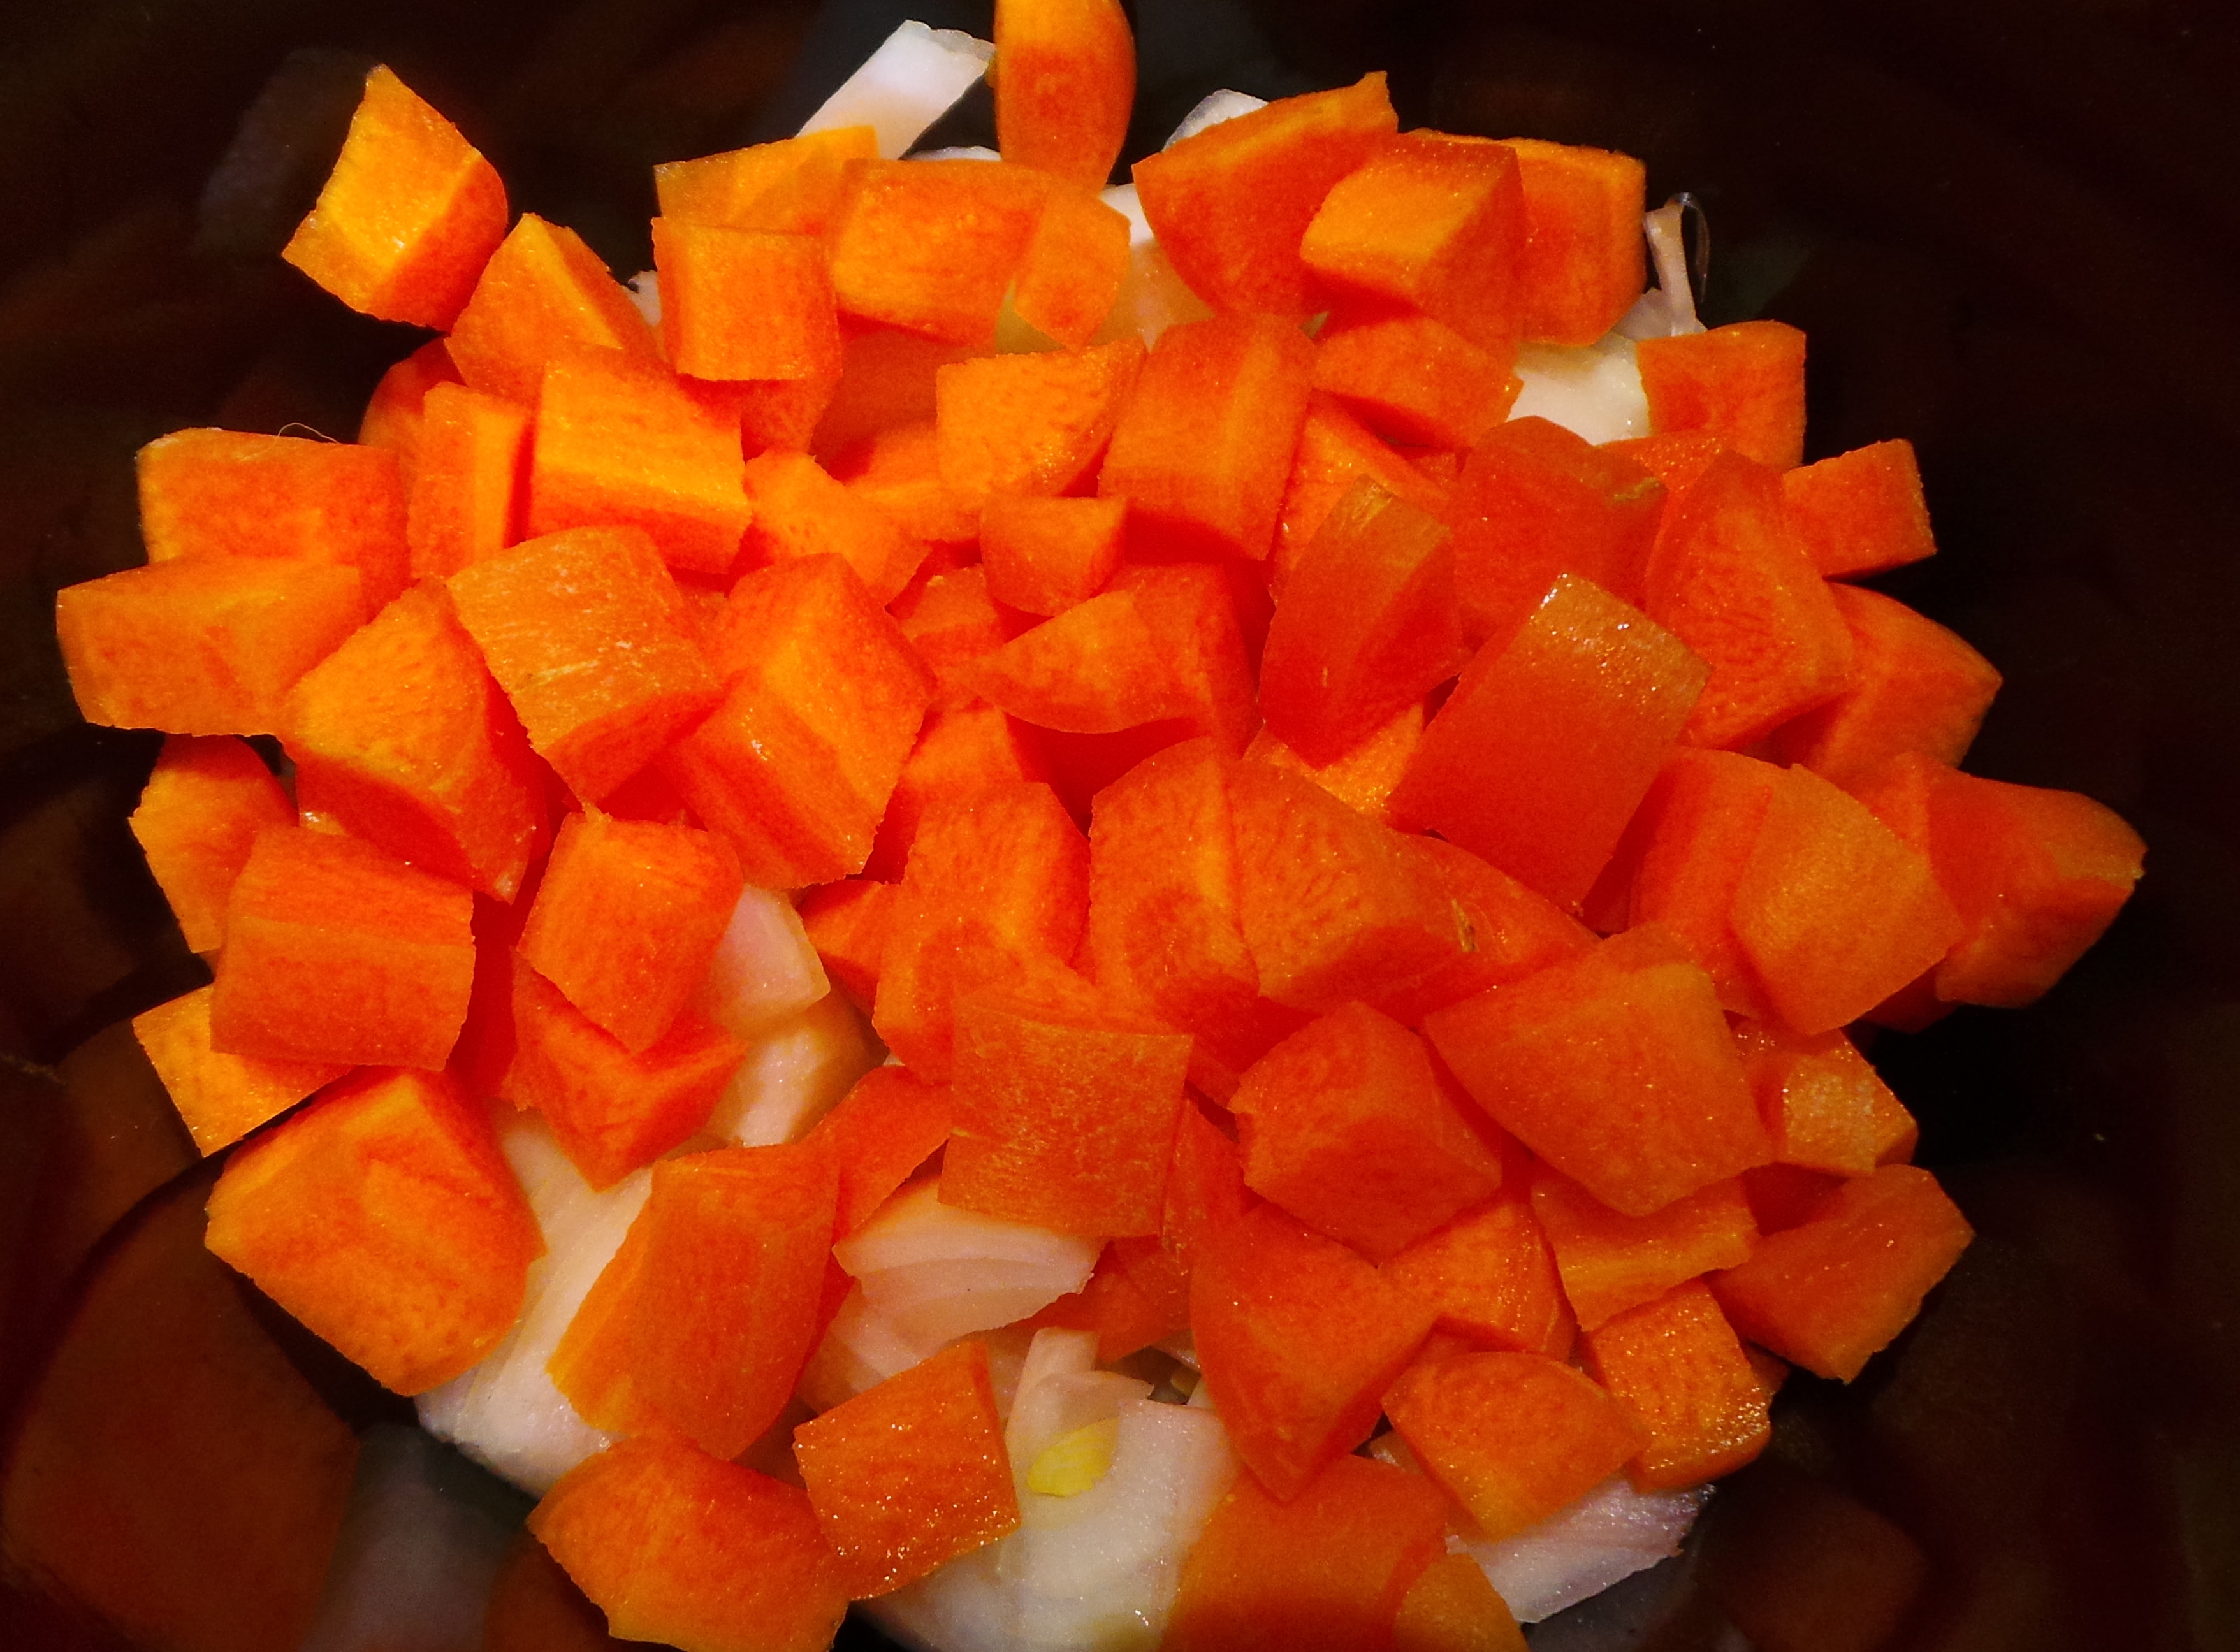
Then add a layer of diced carrots.

Add a chopped up carrot.

Add a chopped up carrot.

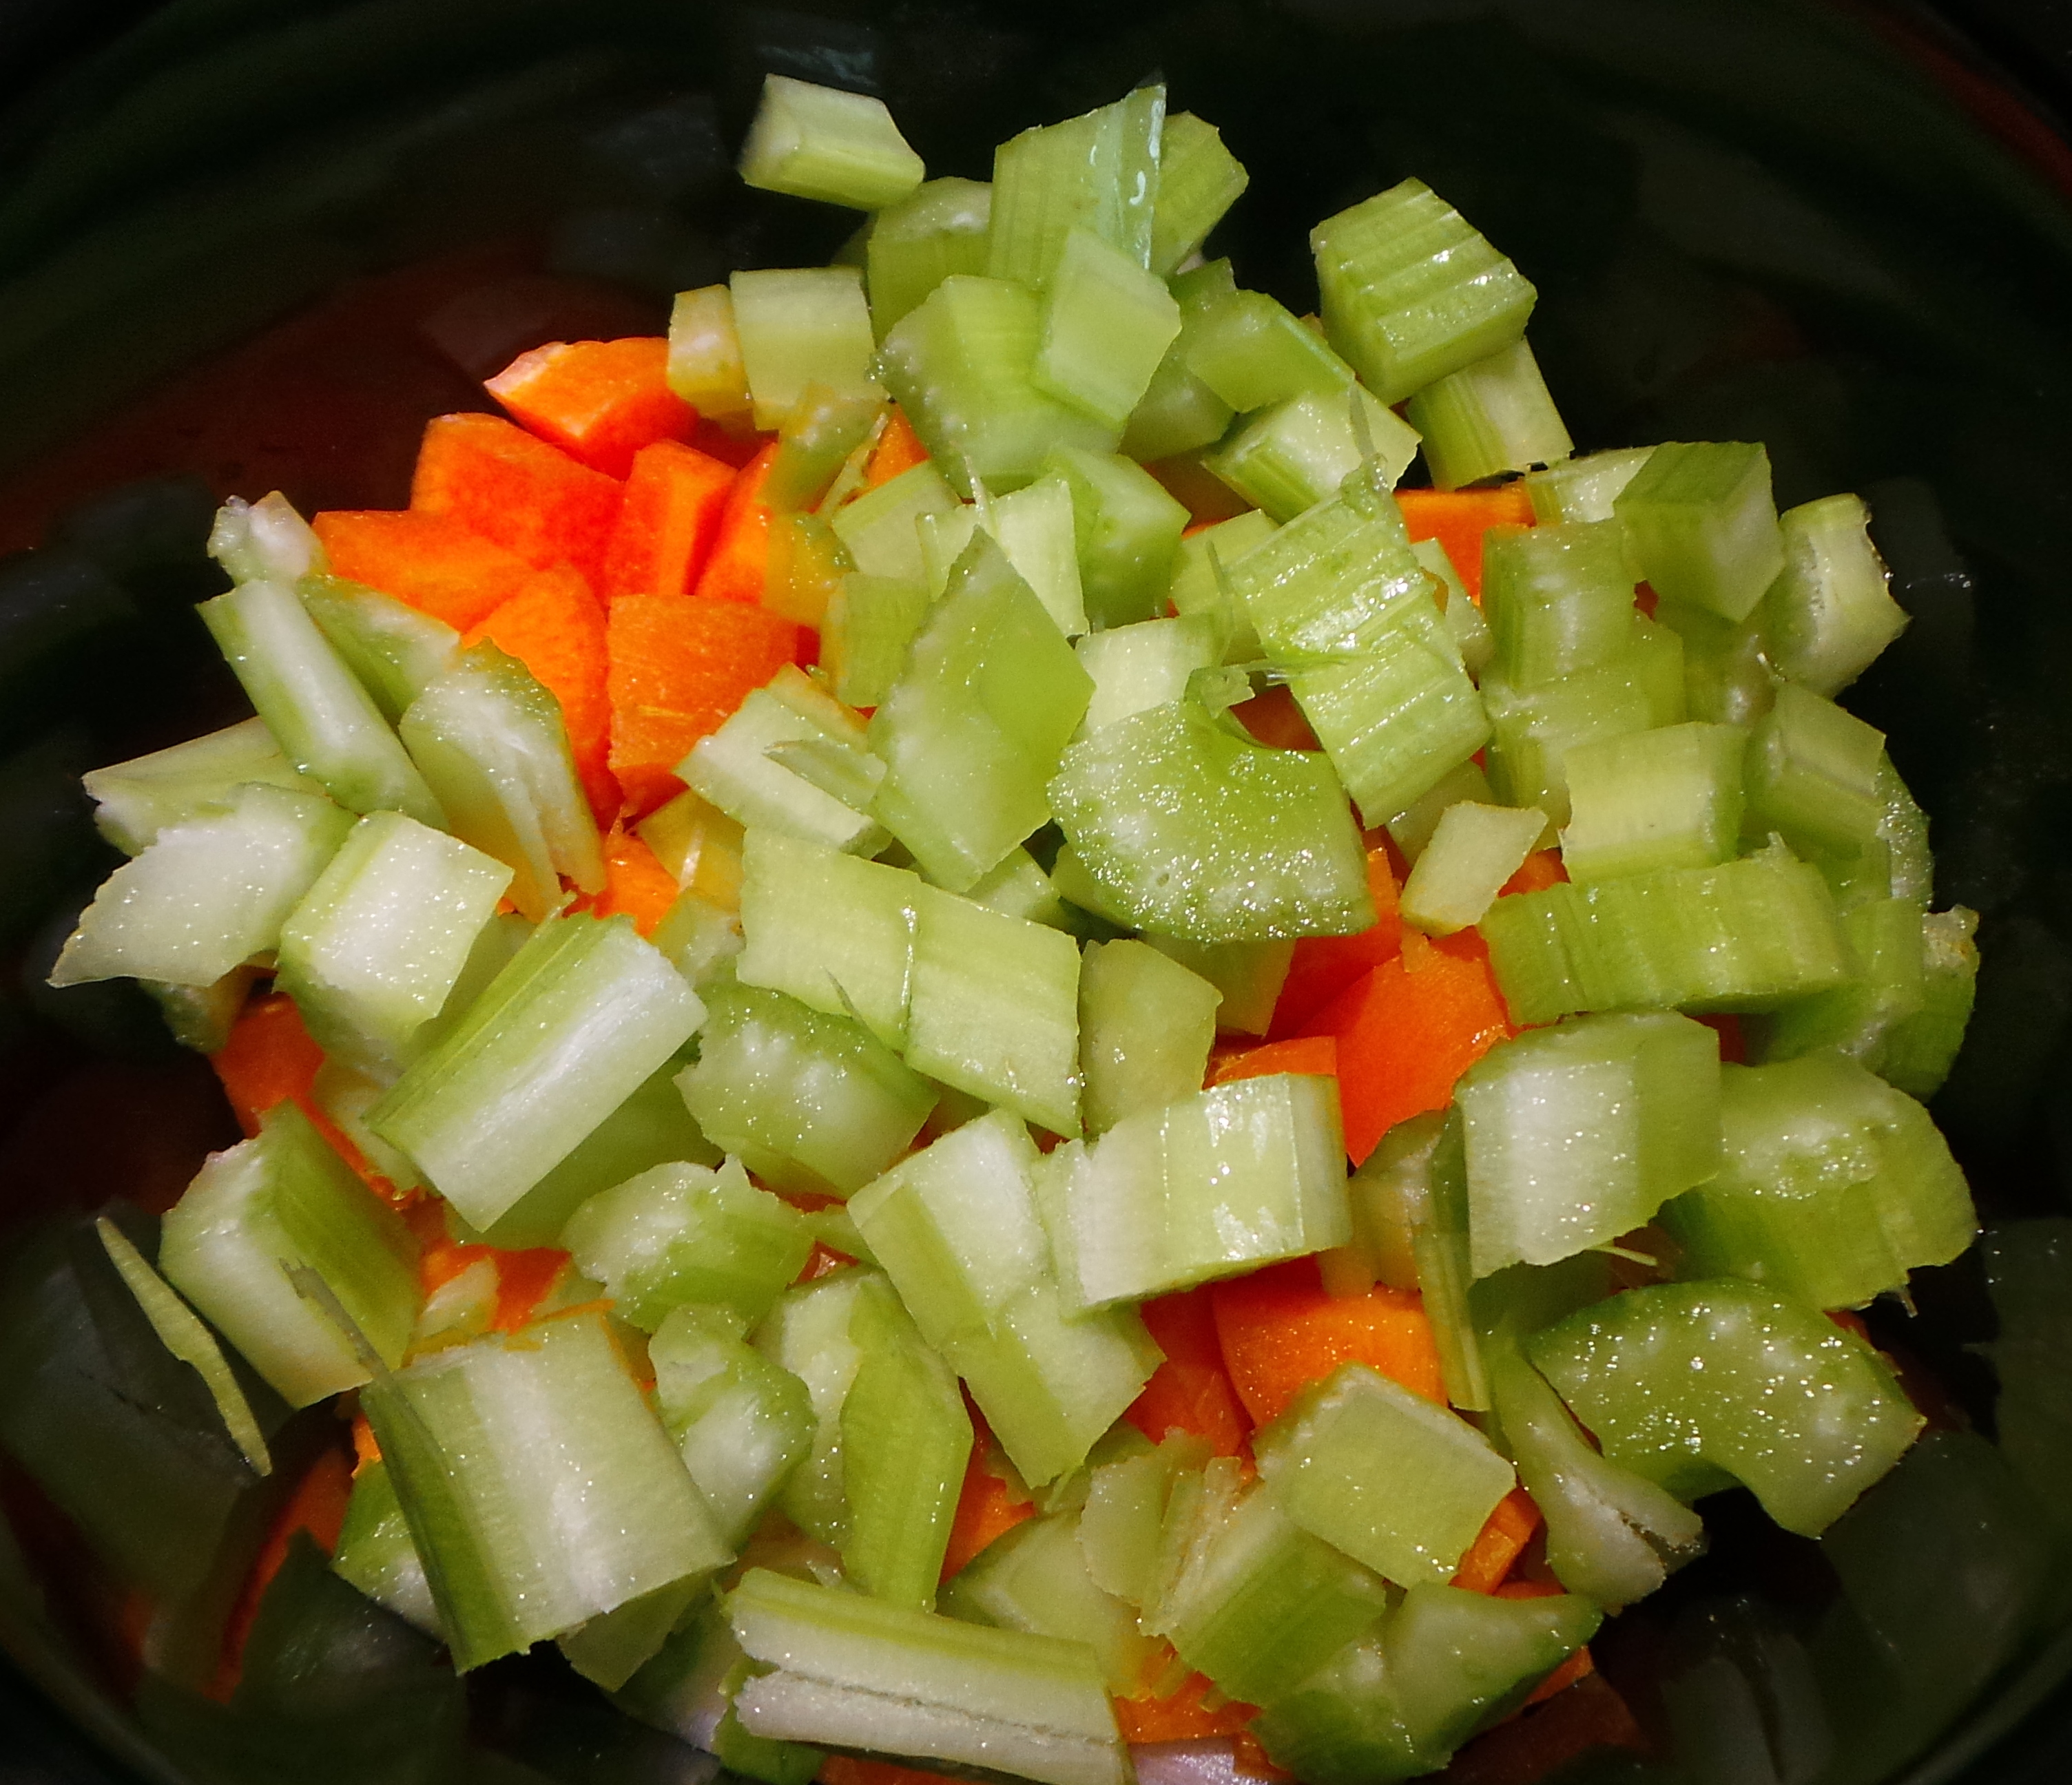
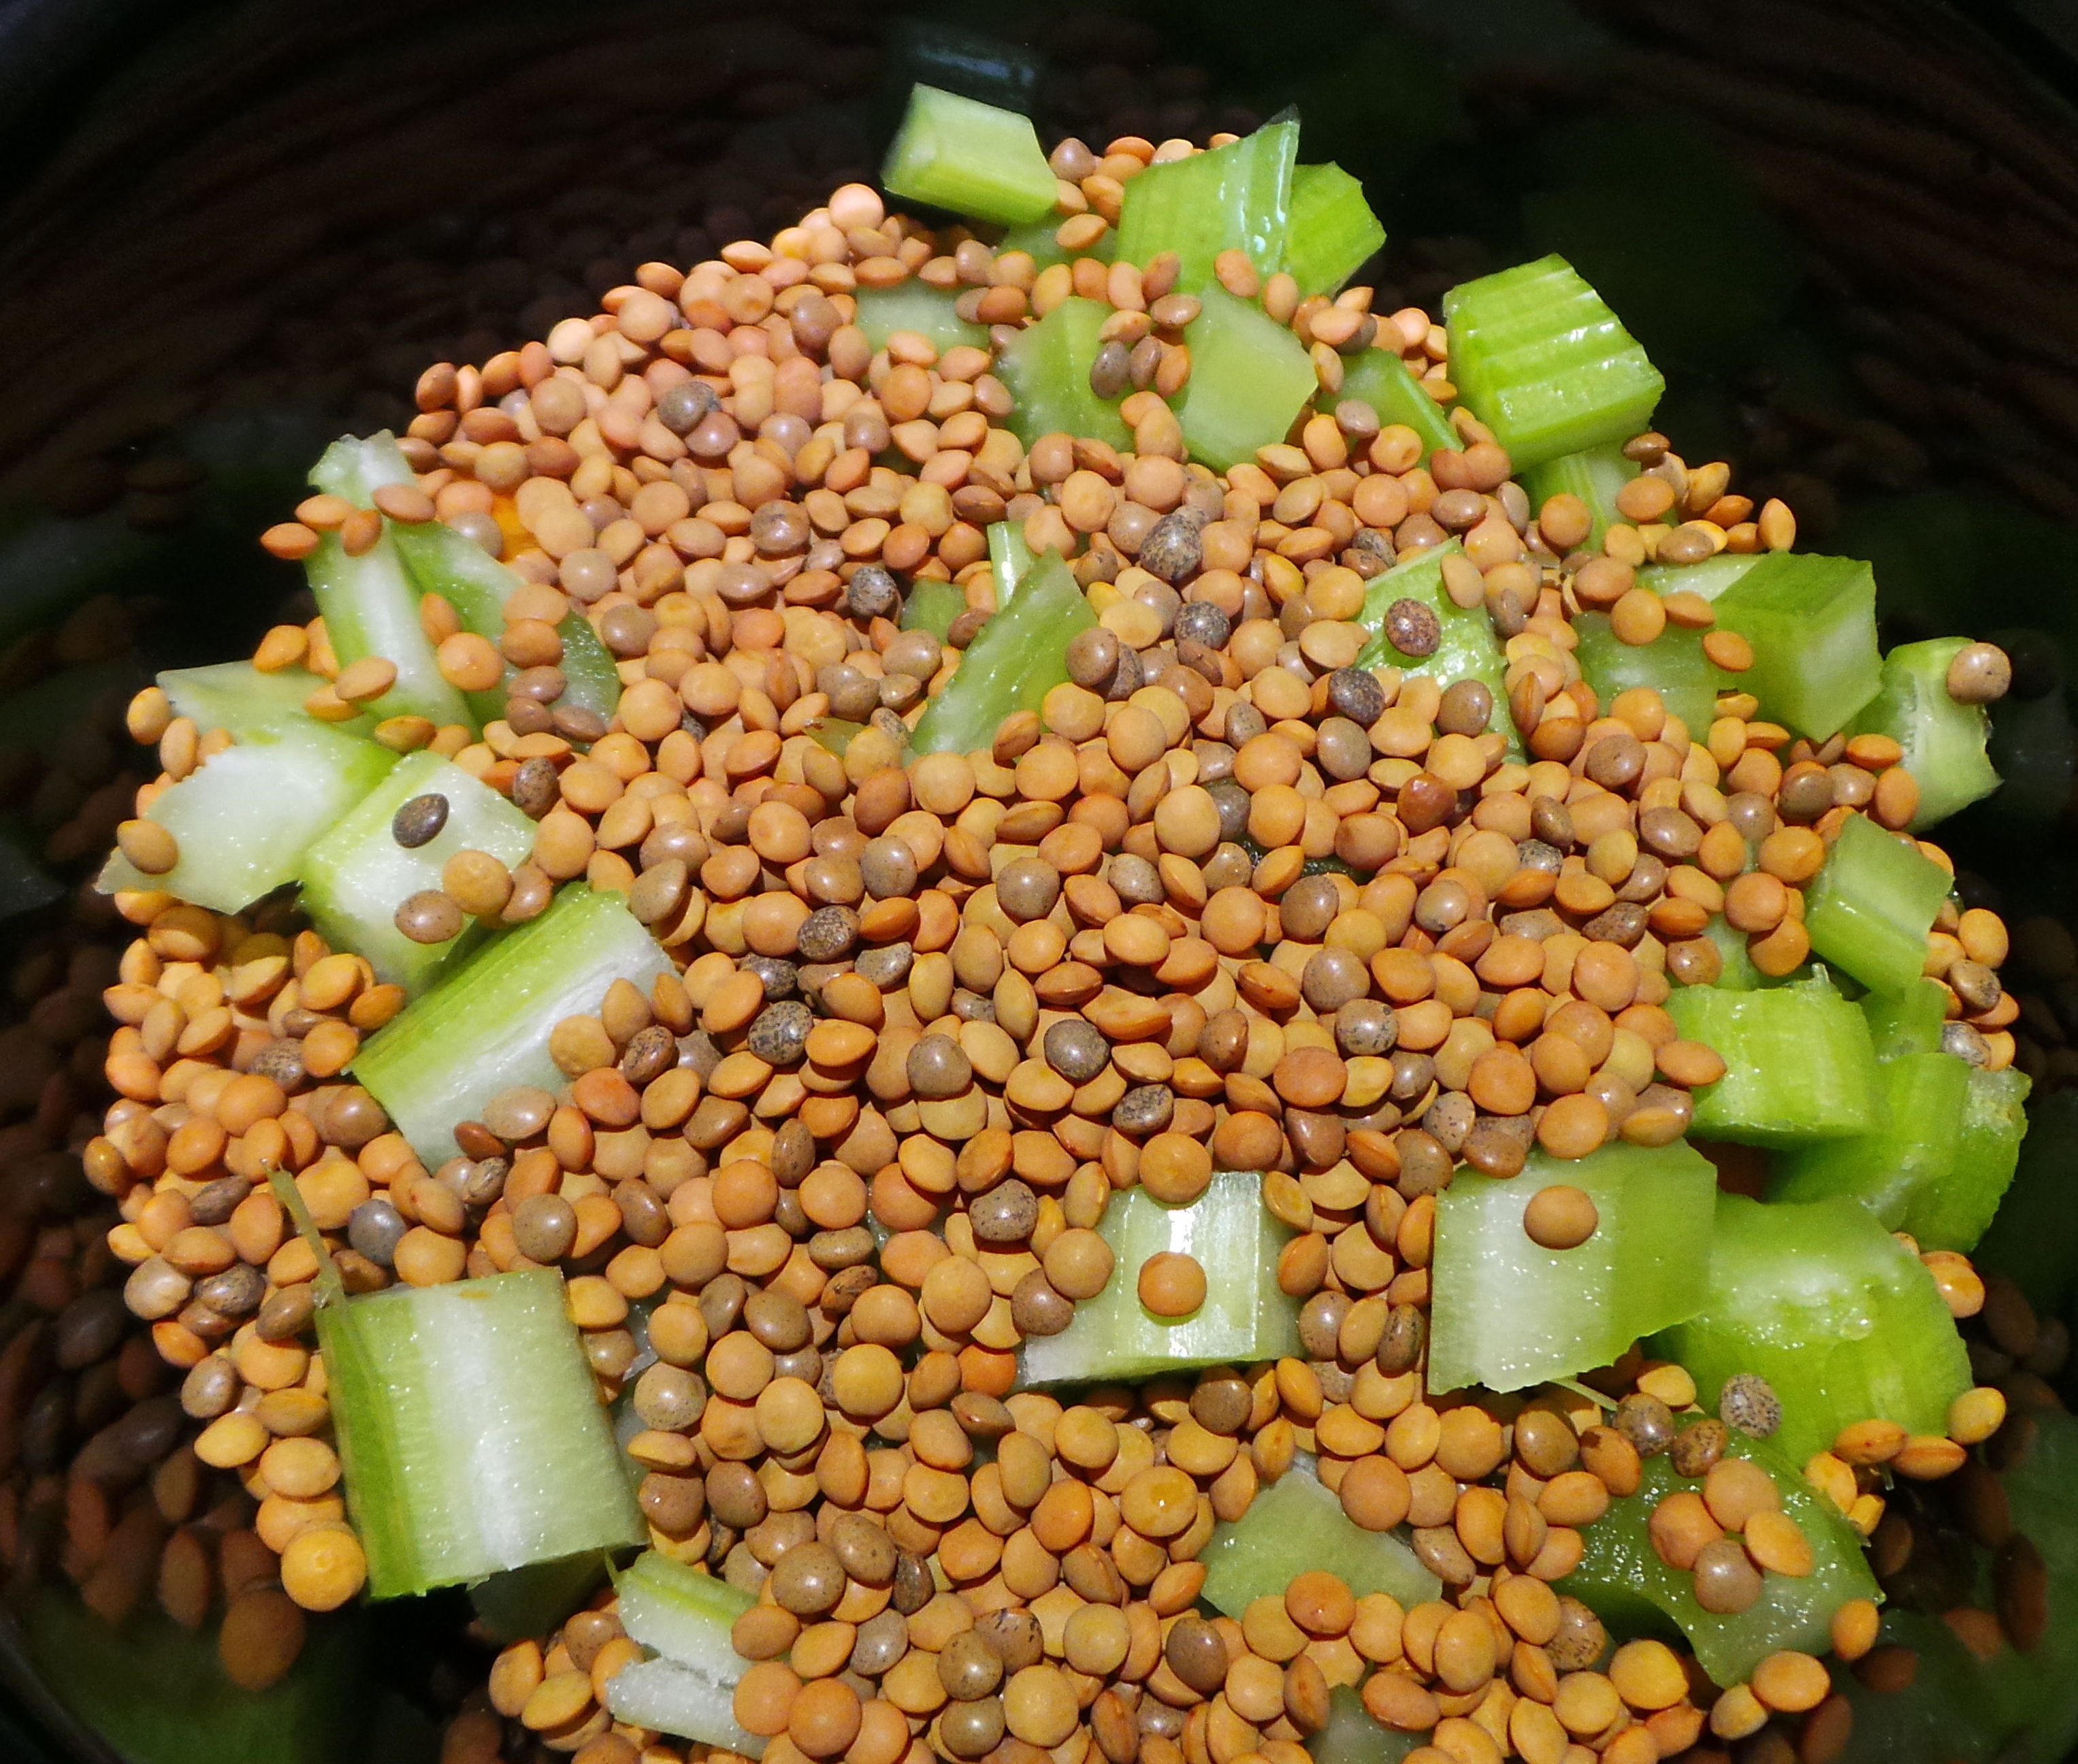
Follow with a stalk of celery.

Diced celery completes your aromatics.

Diced celery completes your aromatics.

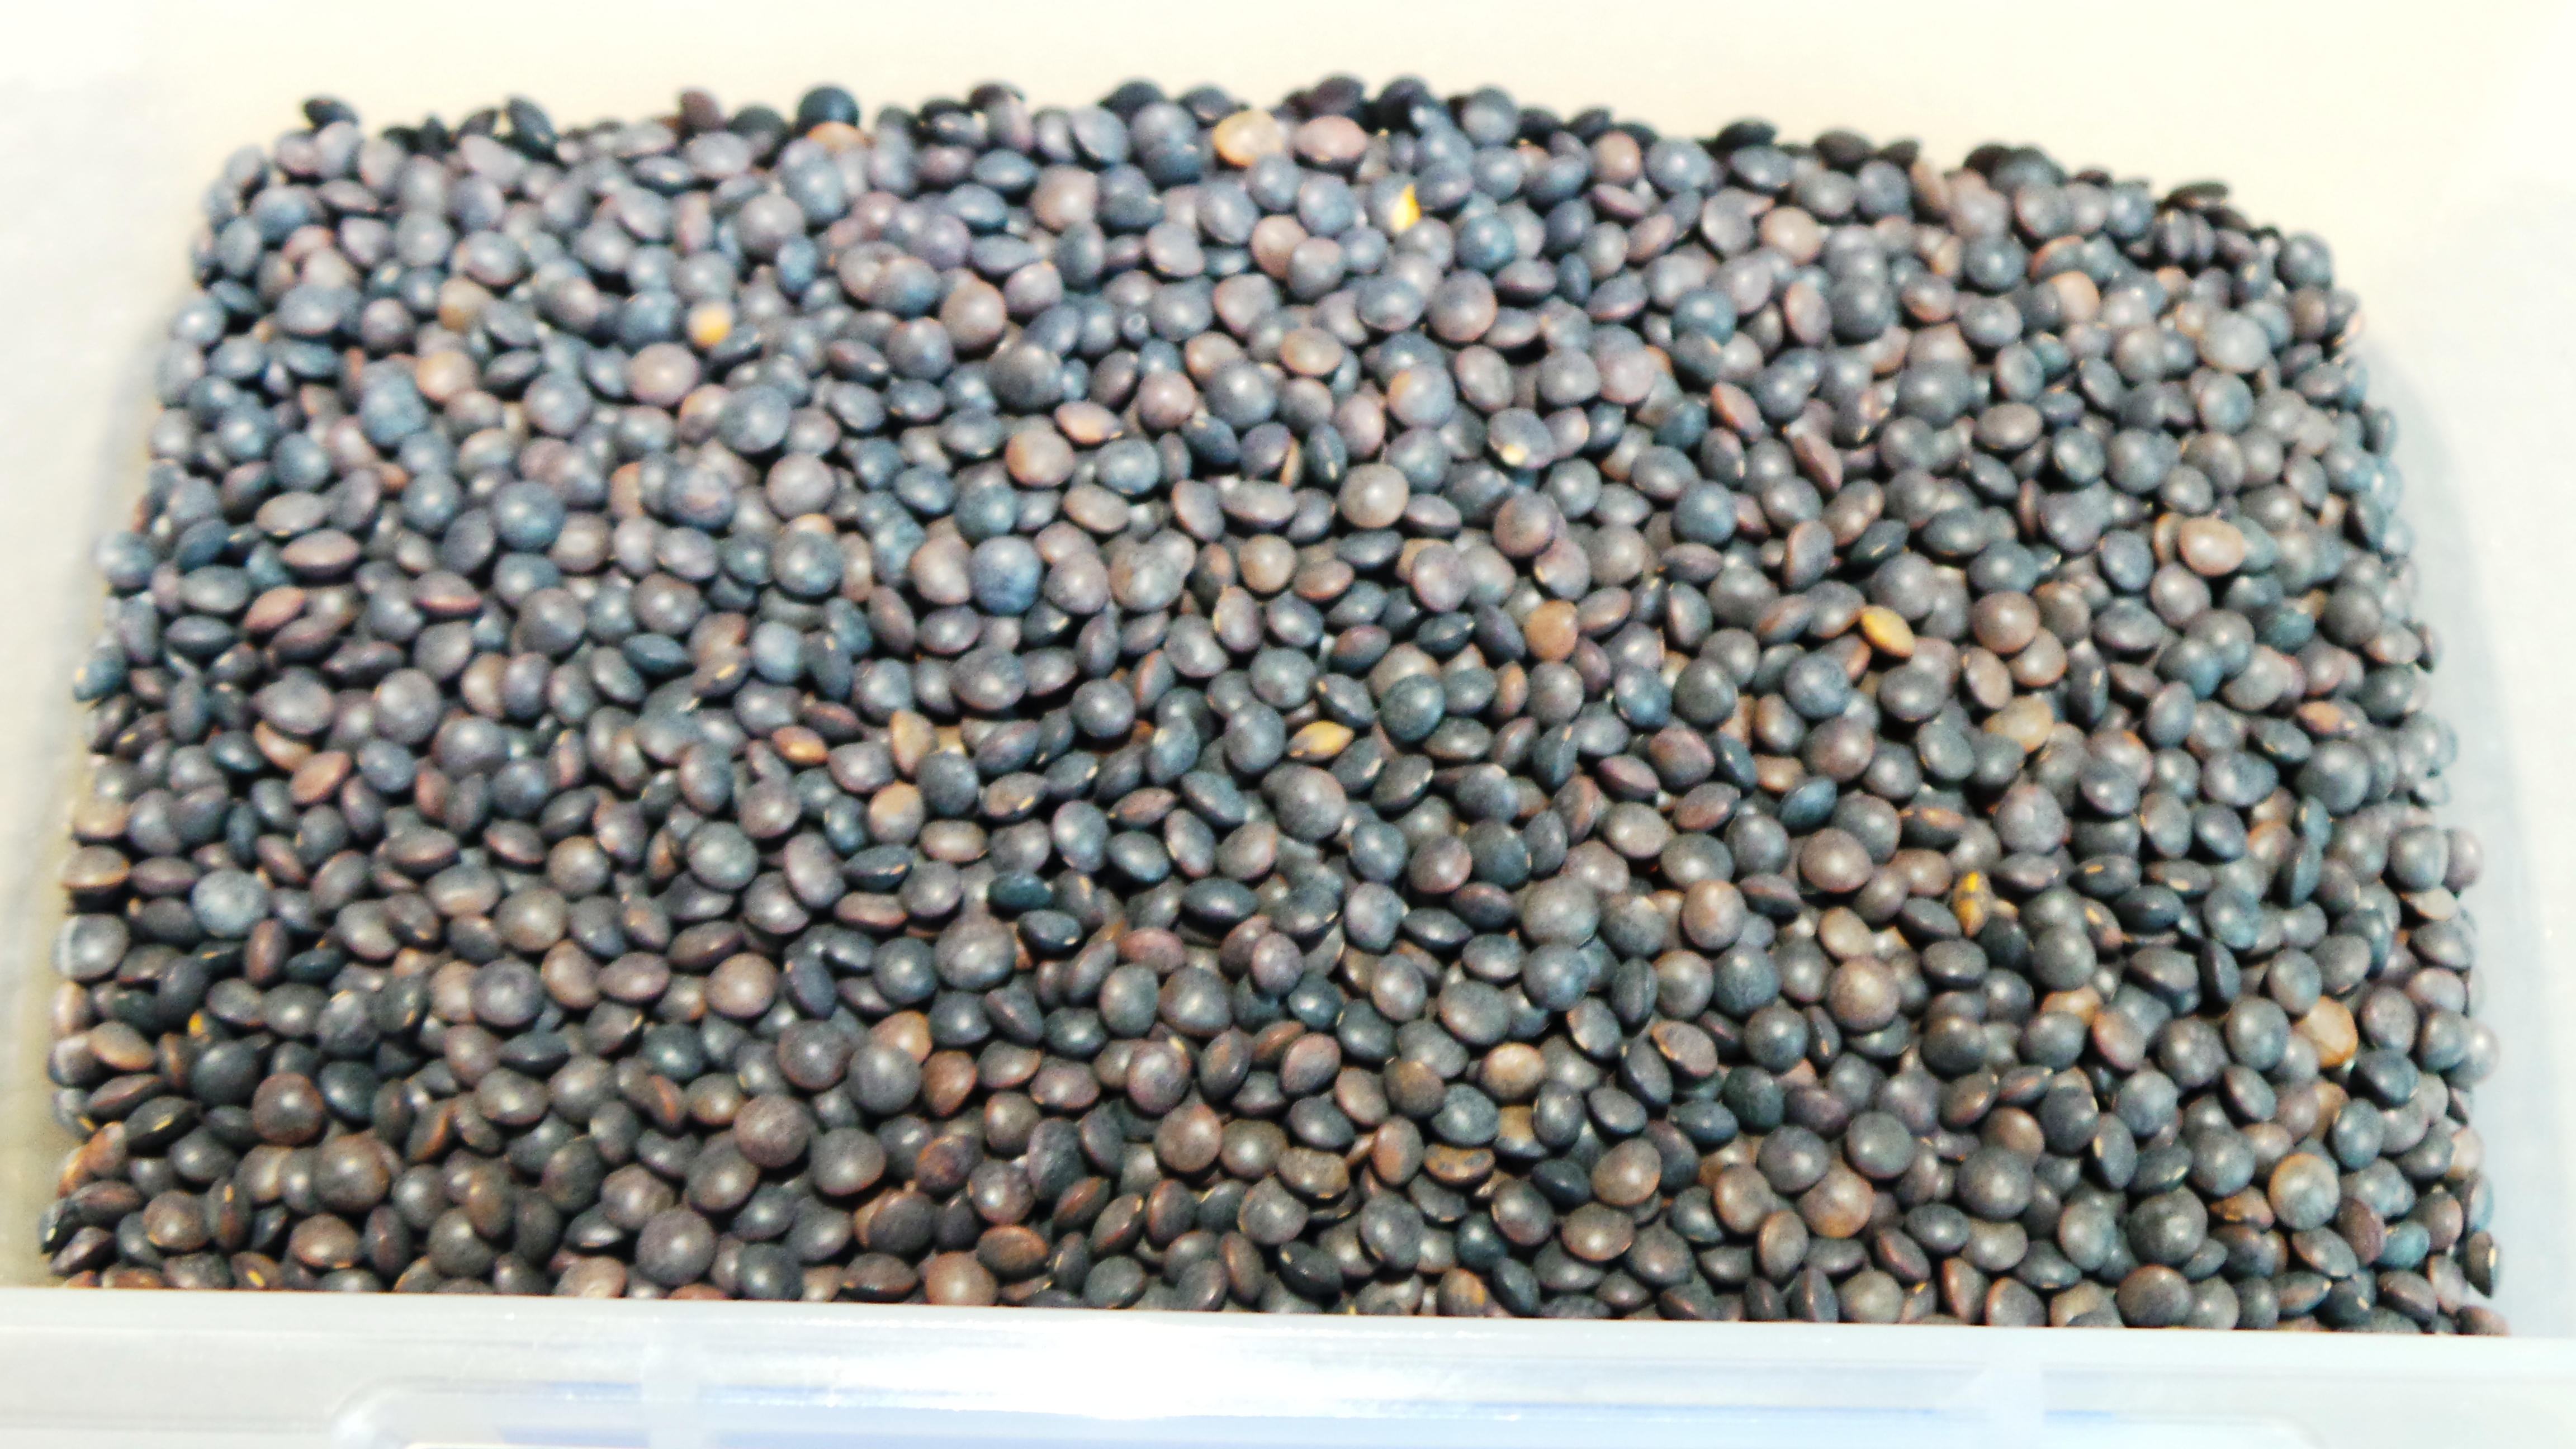
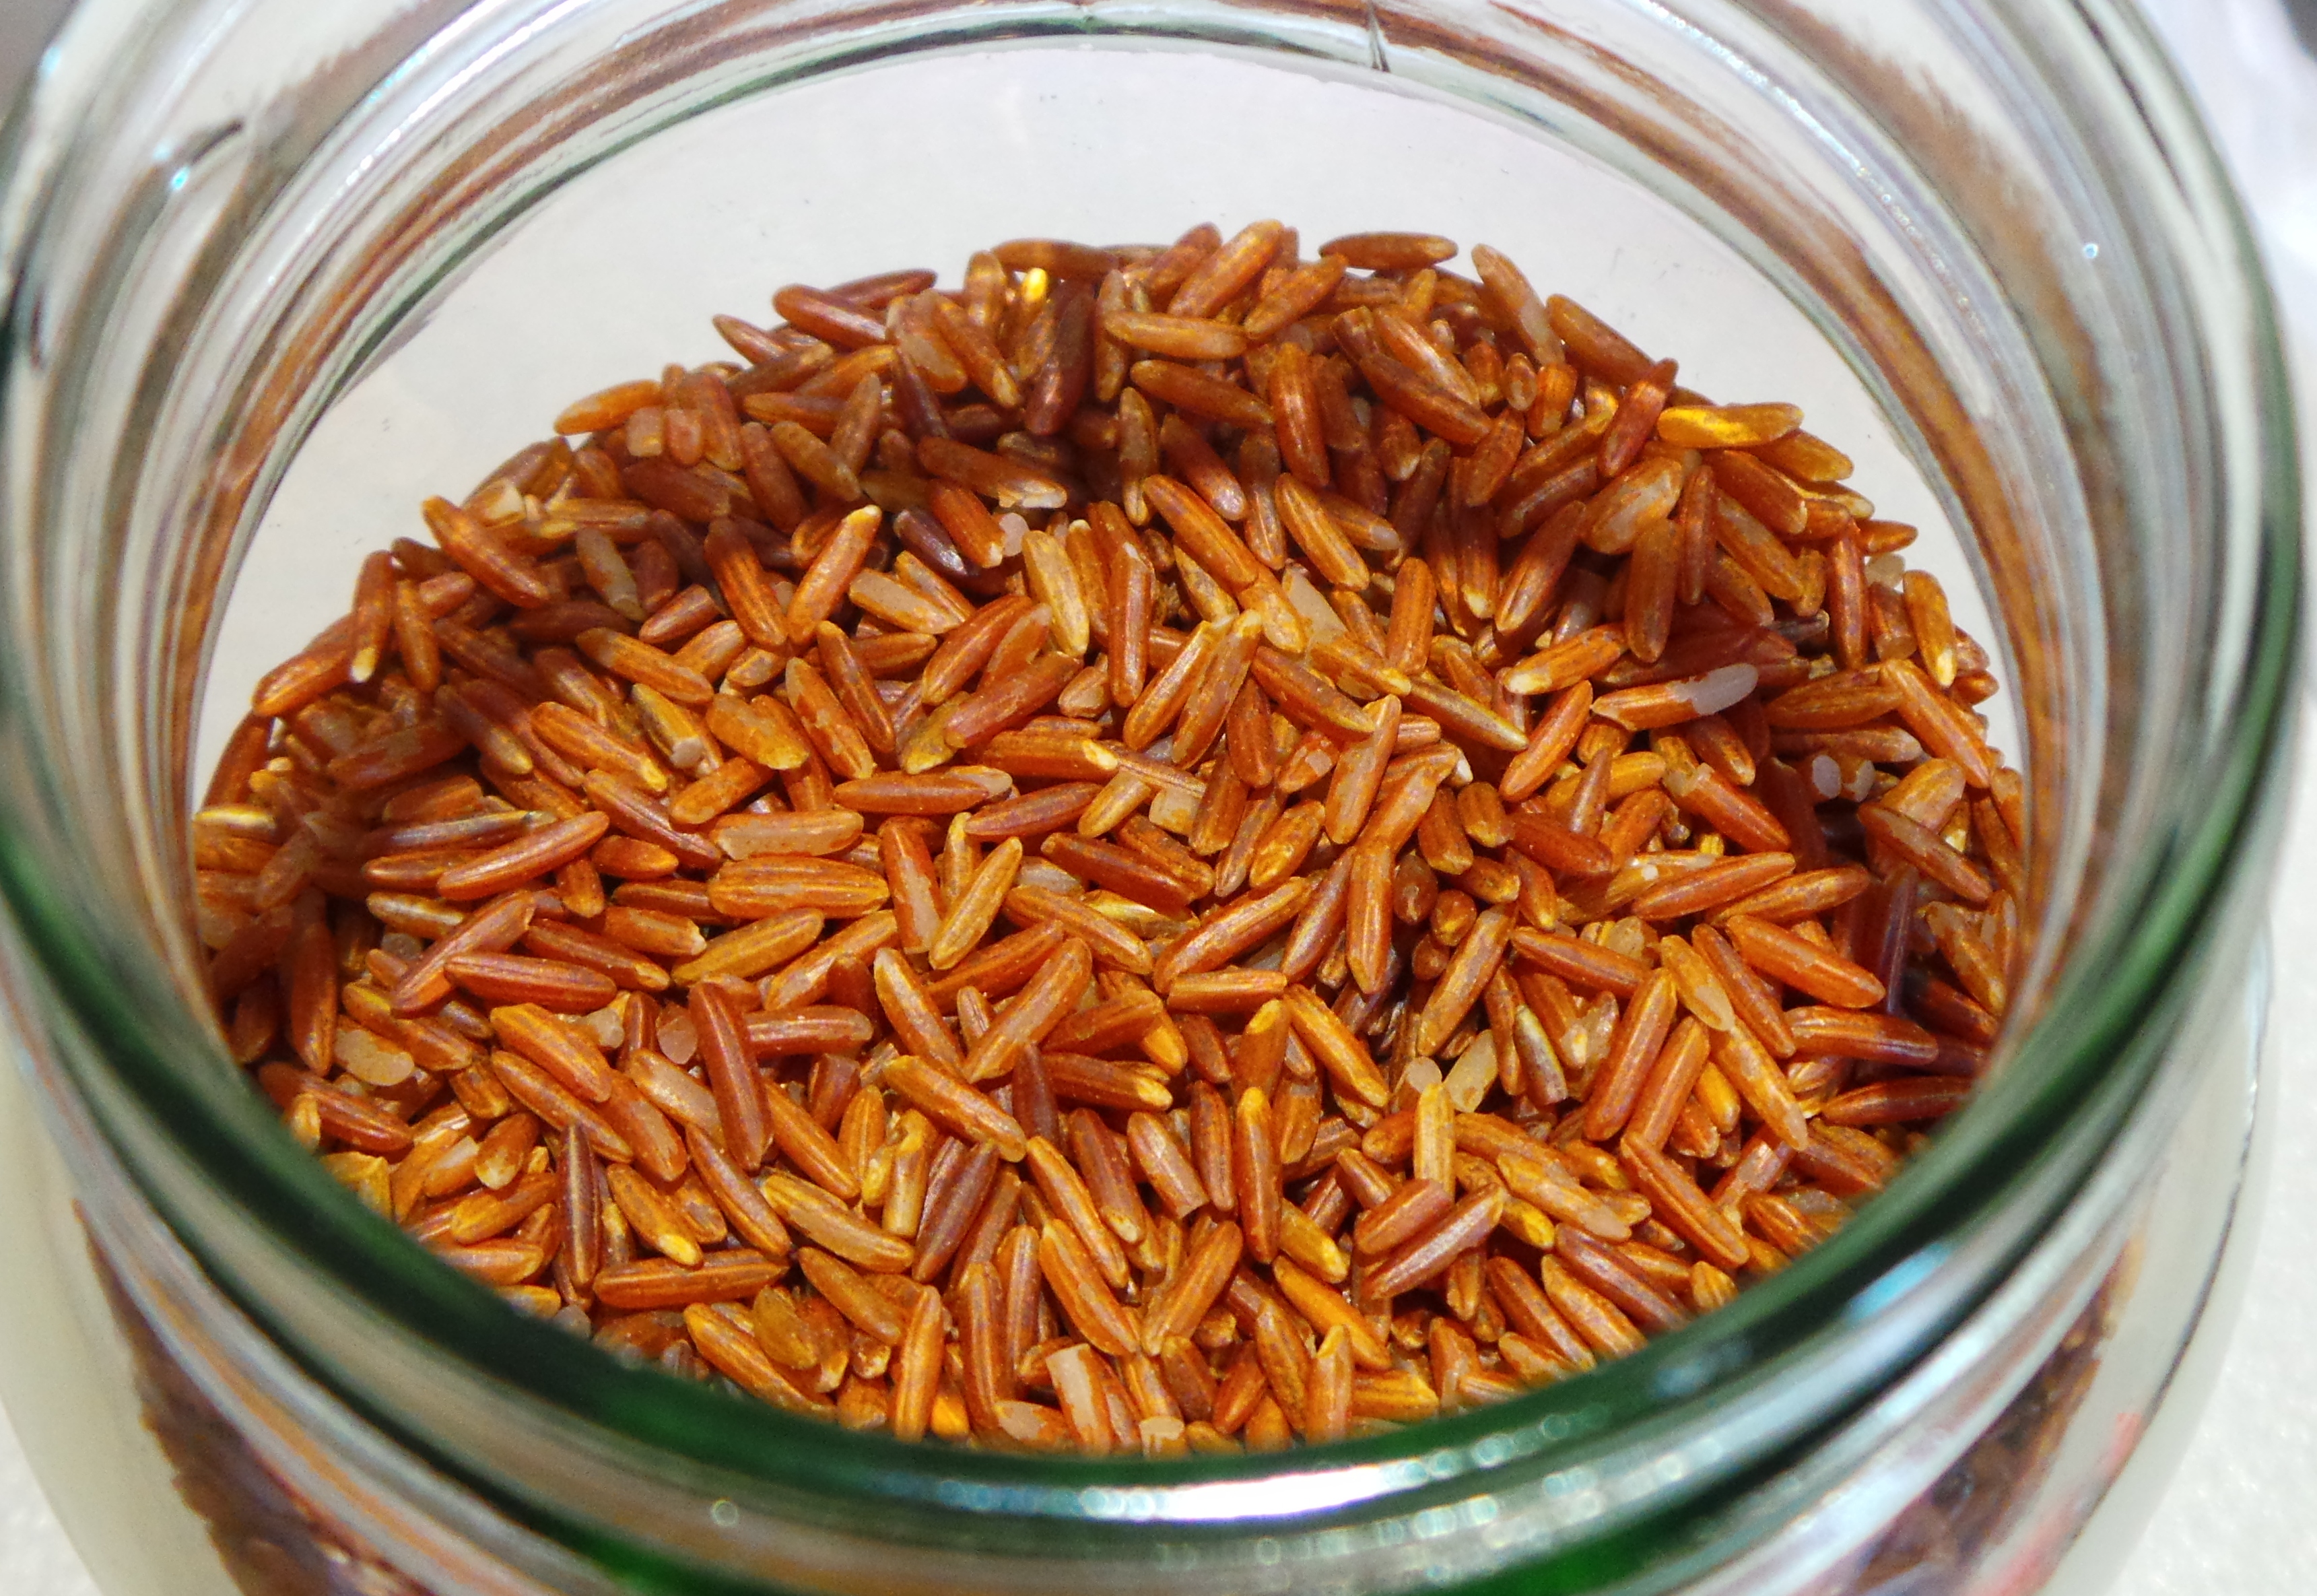
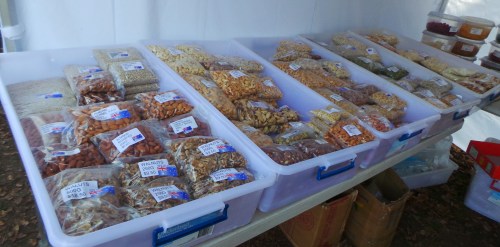
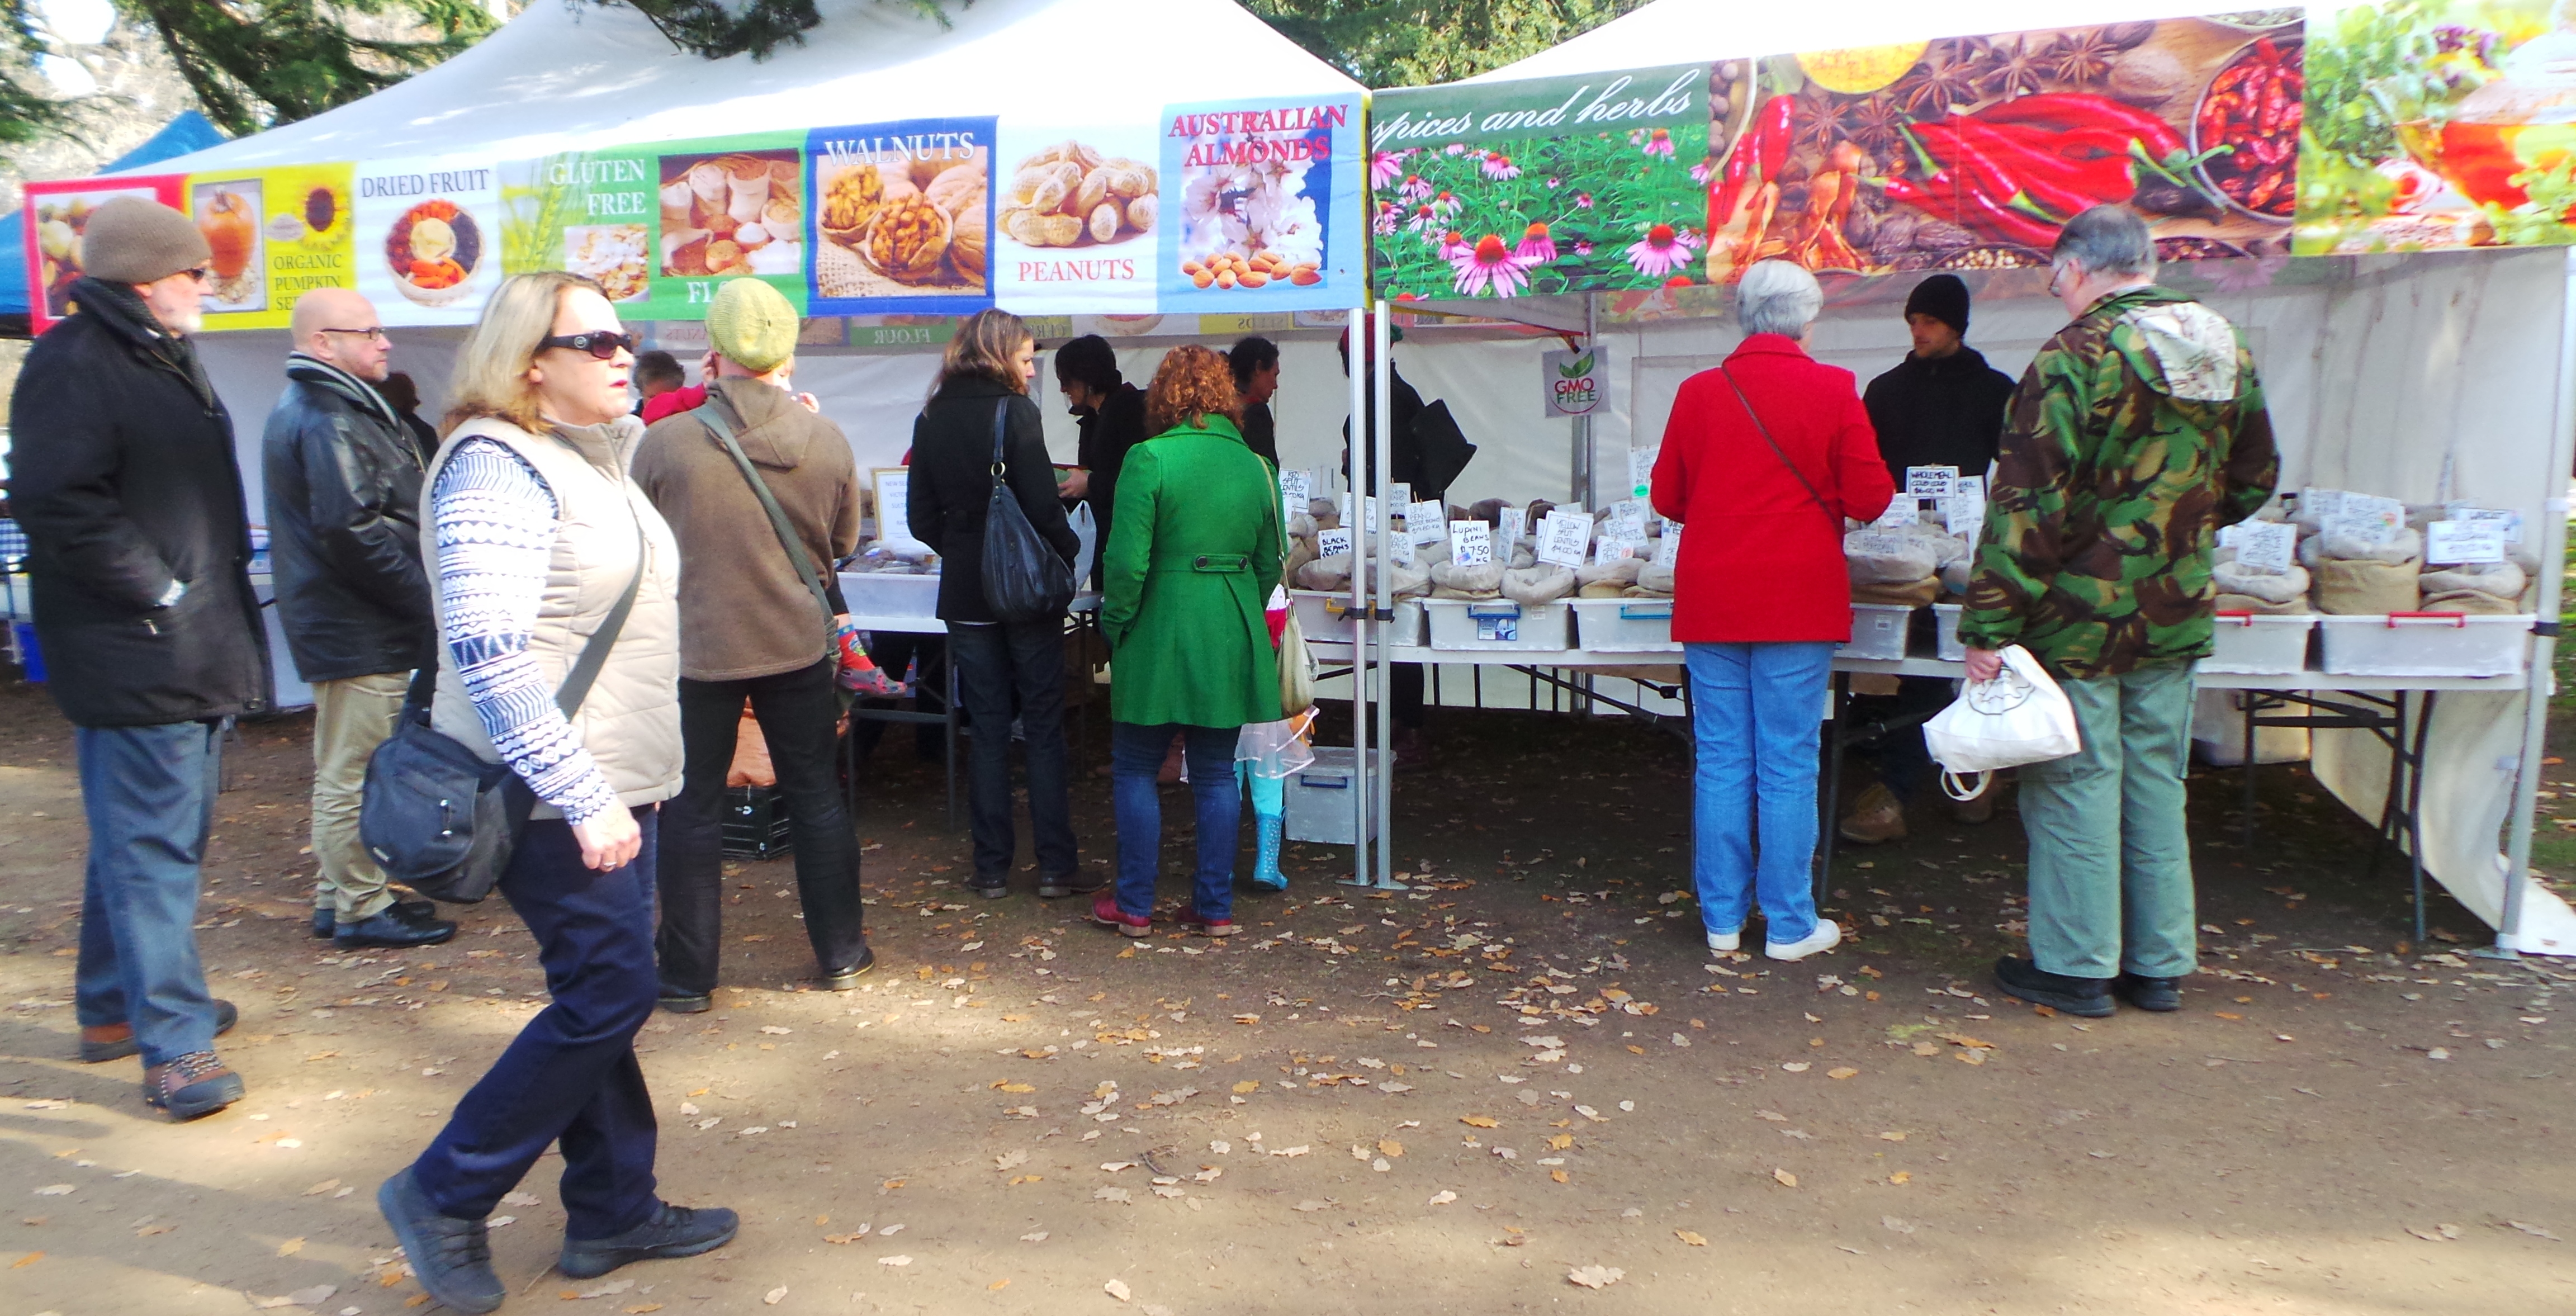
Time to add your dried lentils. You can use a handful of ordinary brown or green lentils, or tiny little french Puy lentils, or these beautiful lentils from the Wimmera that I bought at a local Farmers’ Market.

Add some perfectly lovely lentils.

Add some perfectly lovely lentils.

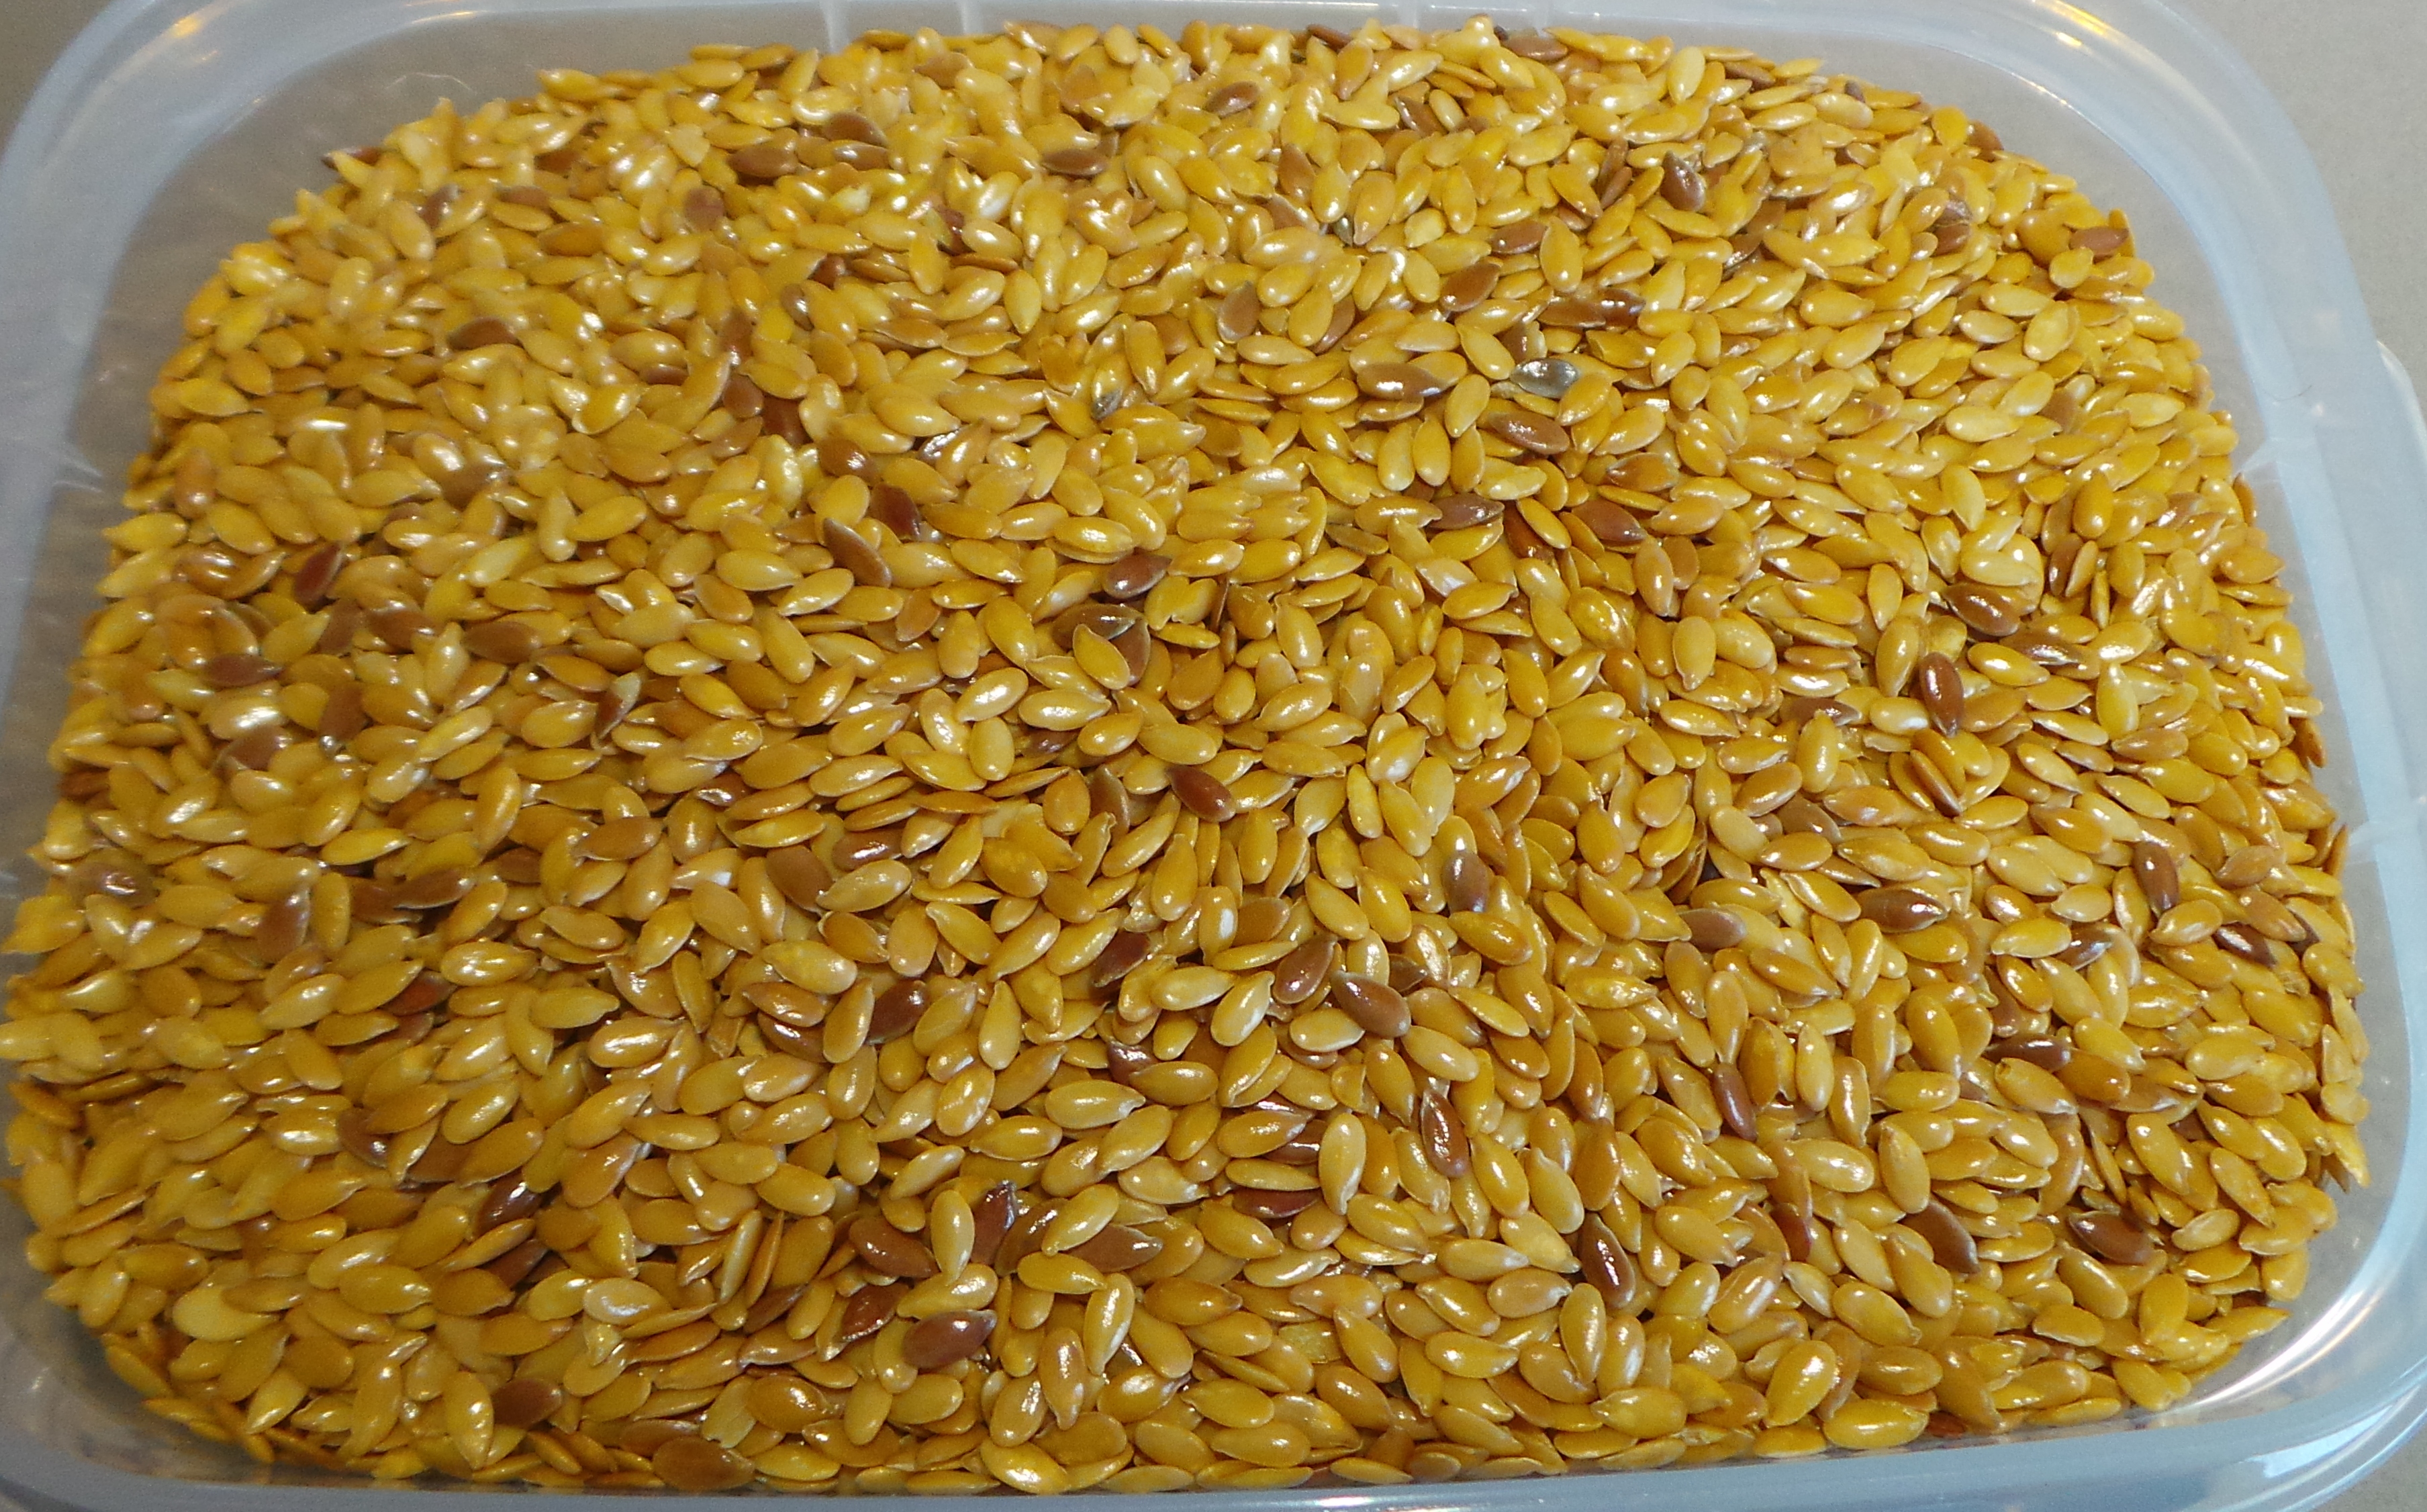
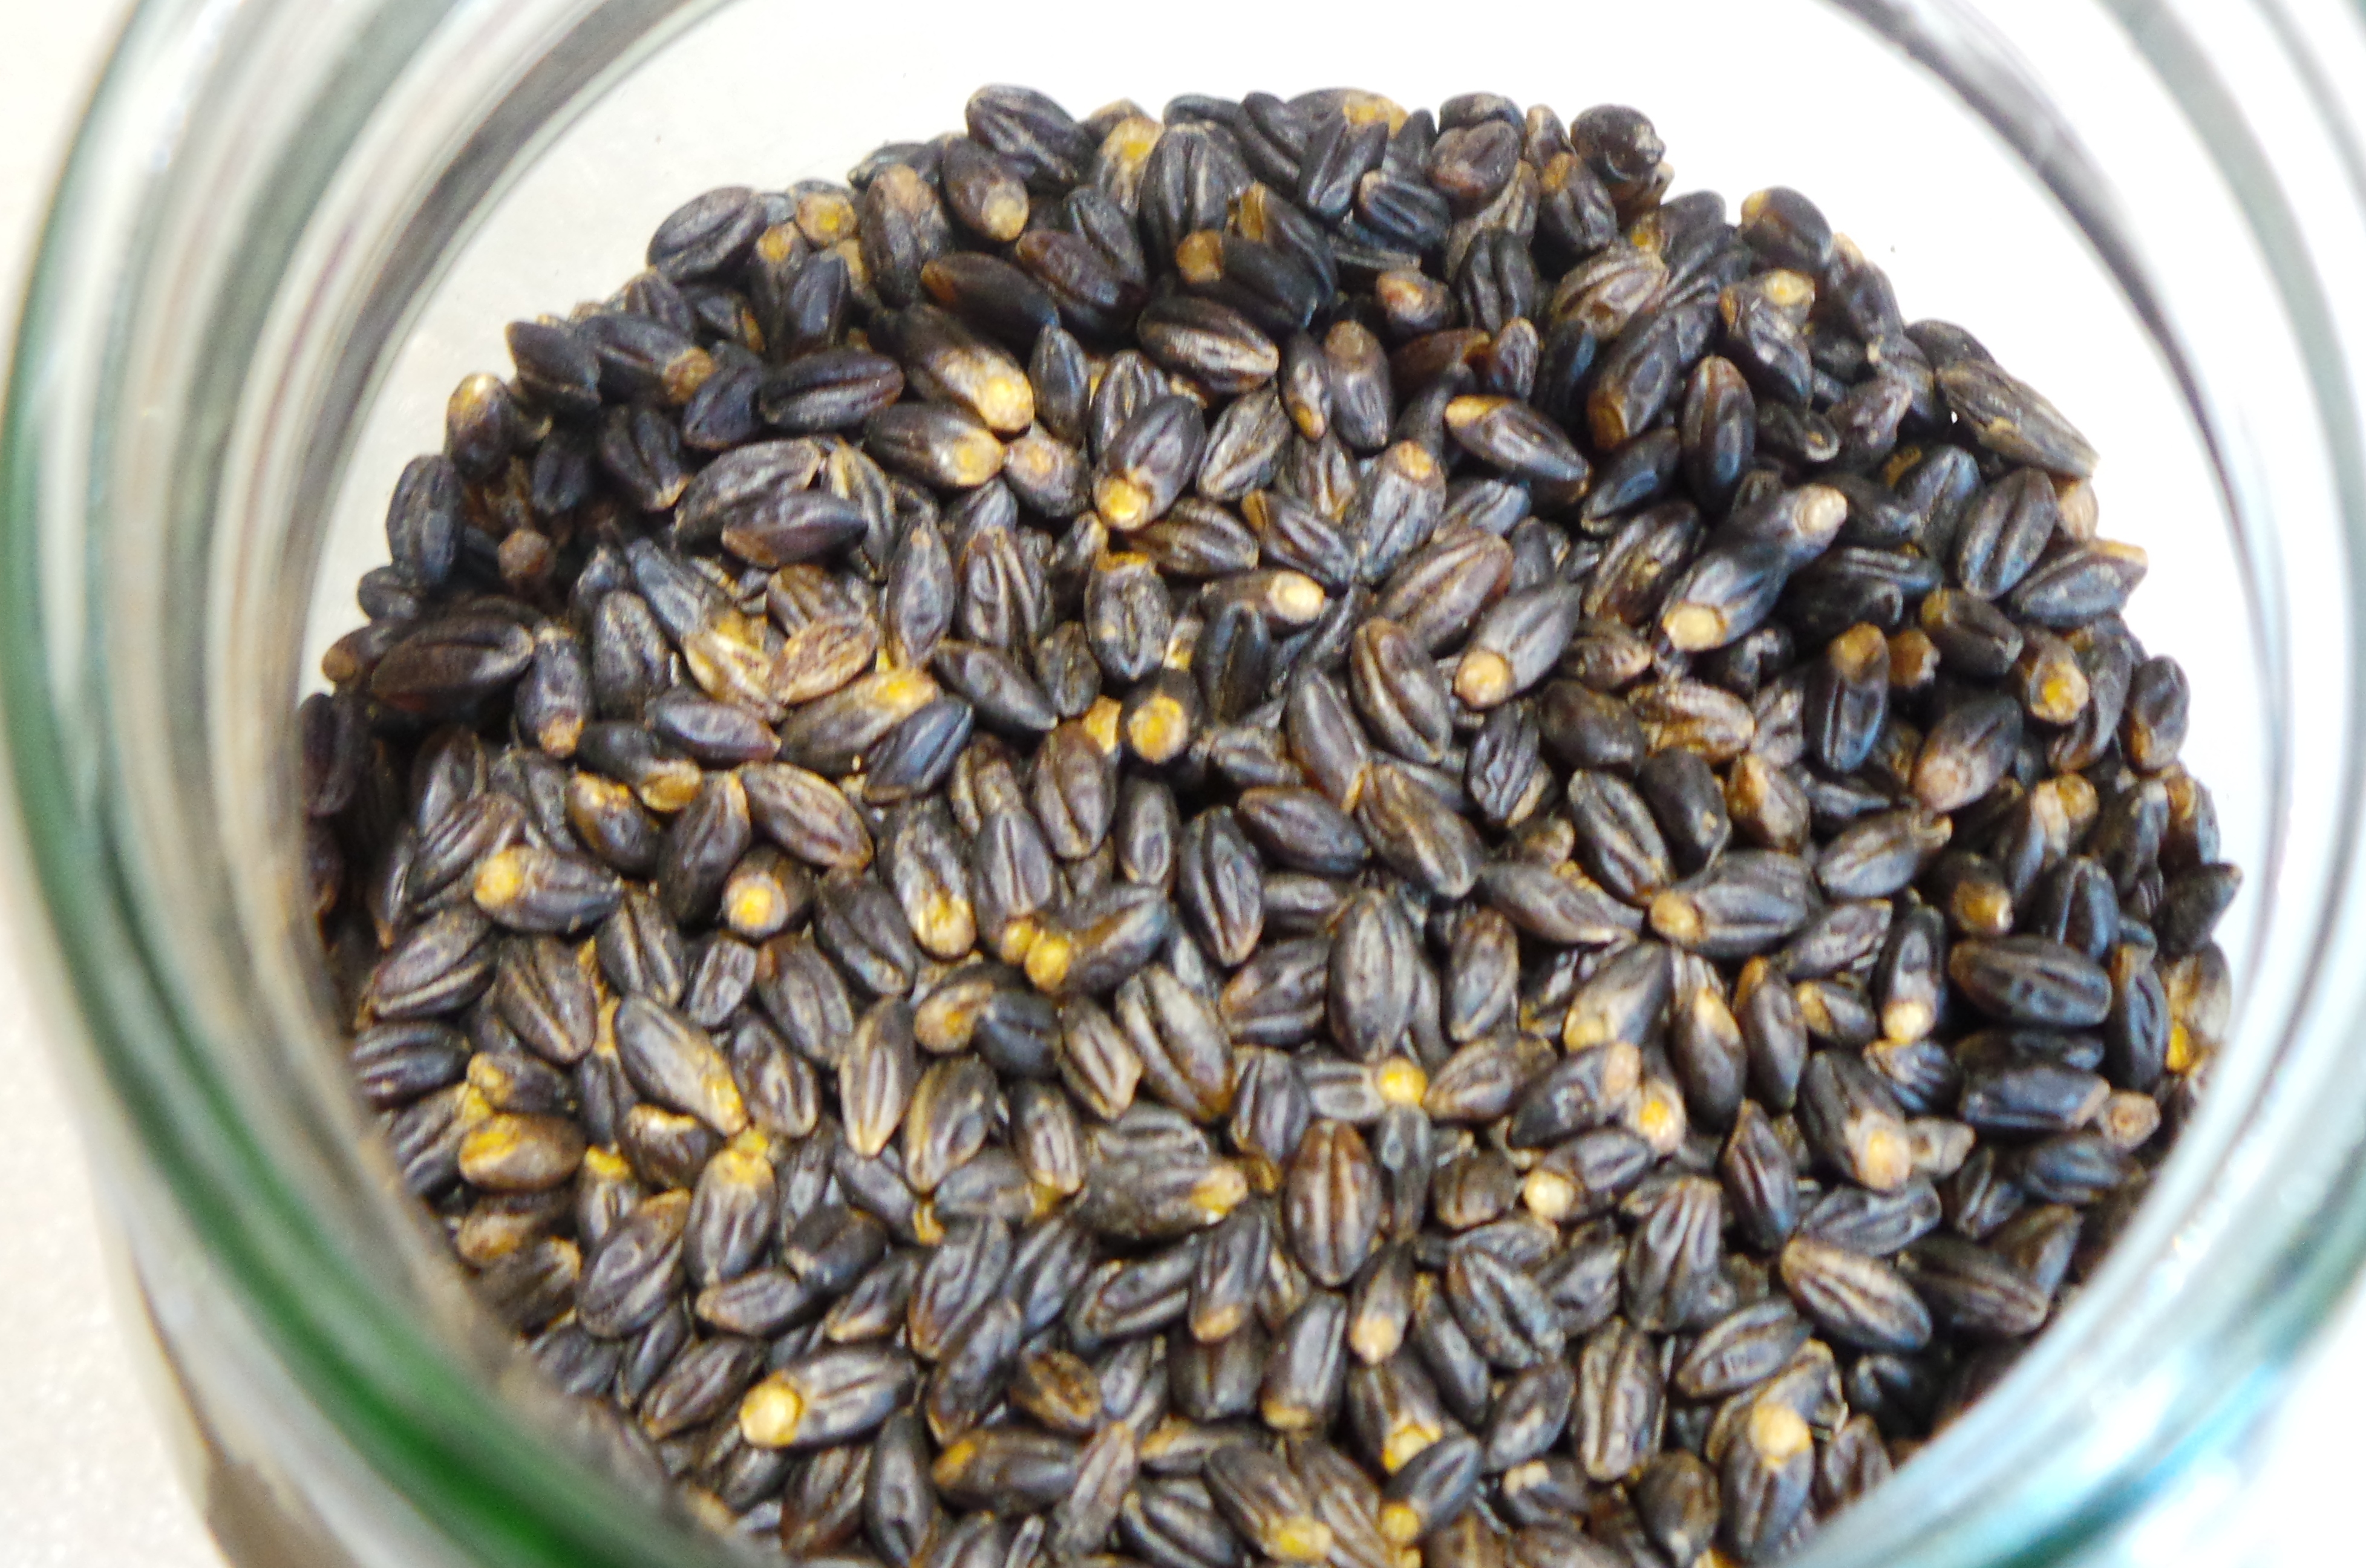
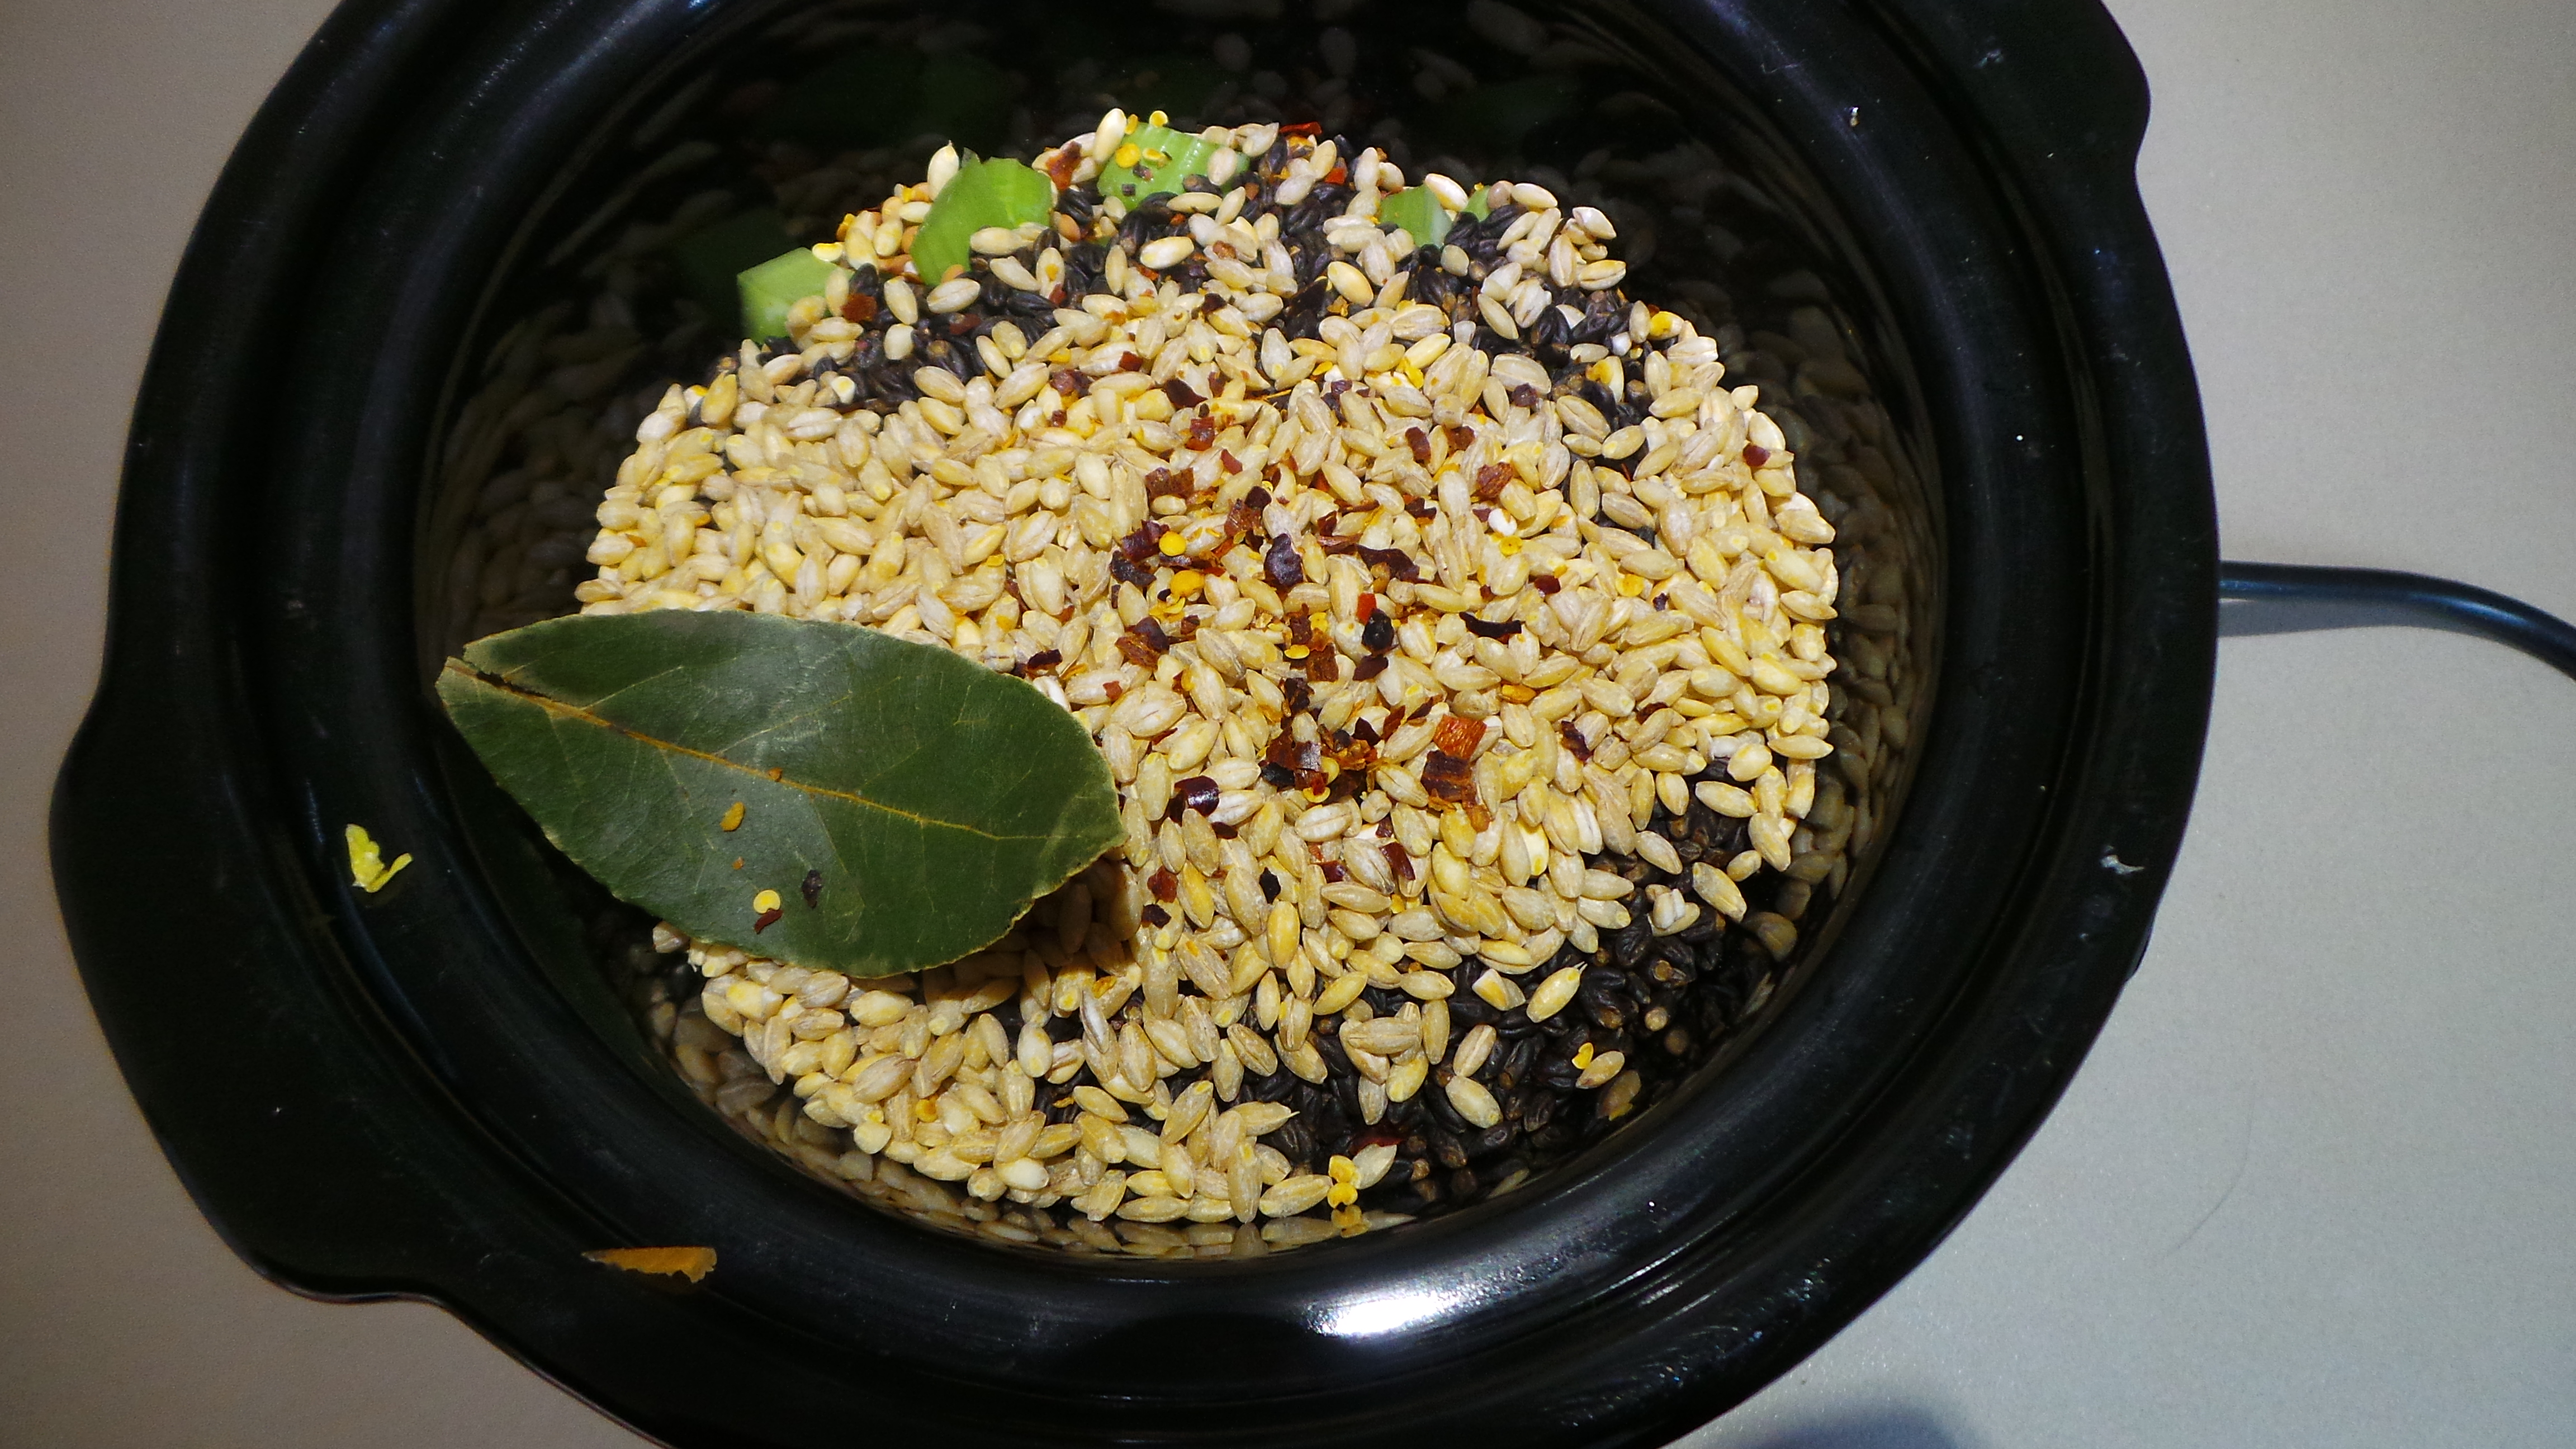
Now add a handful of barley. I had some black barley that I bought at the same Farmers’ market a while back, so I mixed that in with my regular pearled barley. Add a Bay leaf about now, if you have one.

Pearled and black barley.

Pearled and black barley.

I like to add a few chilli flakes about now, but you don’t have to.

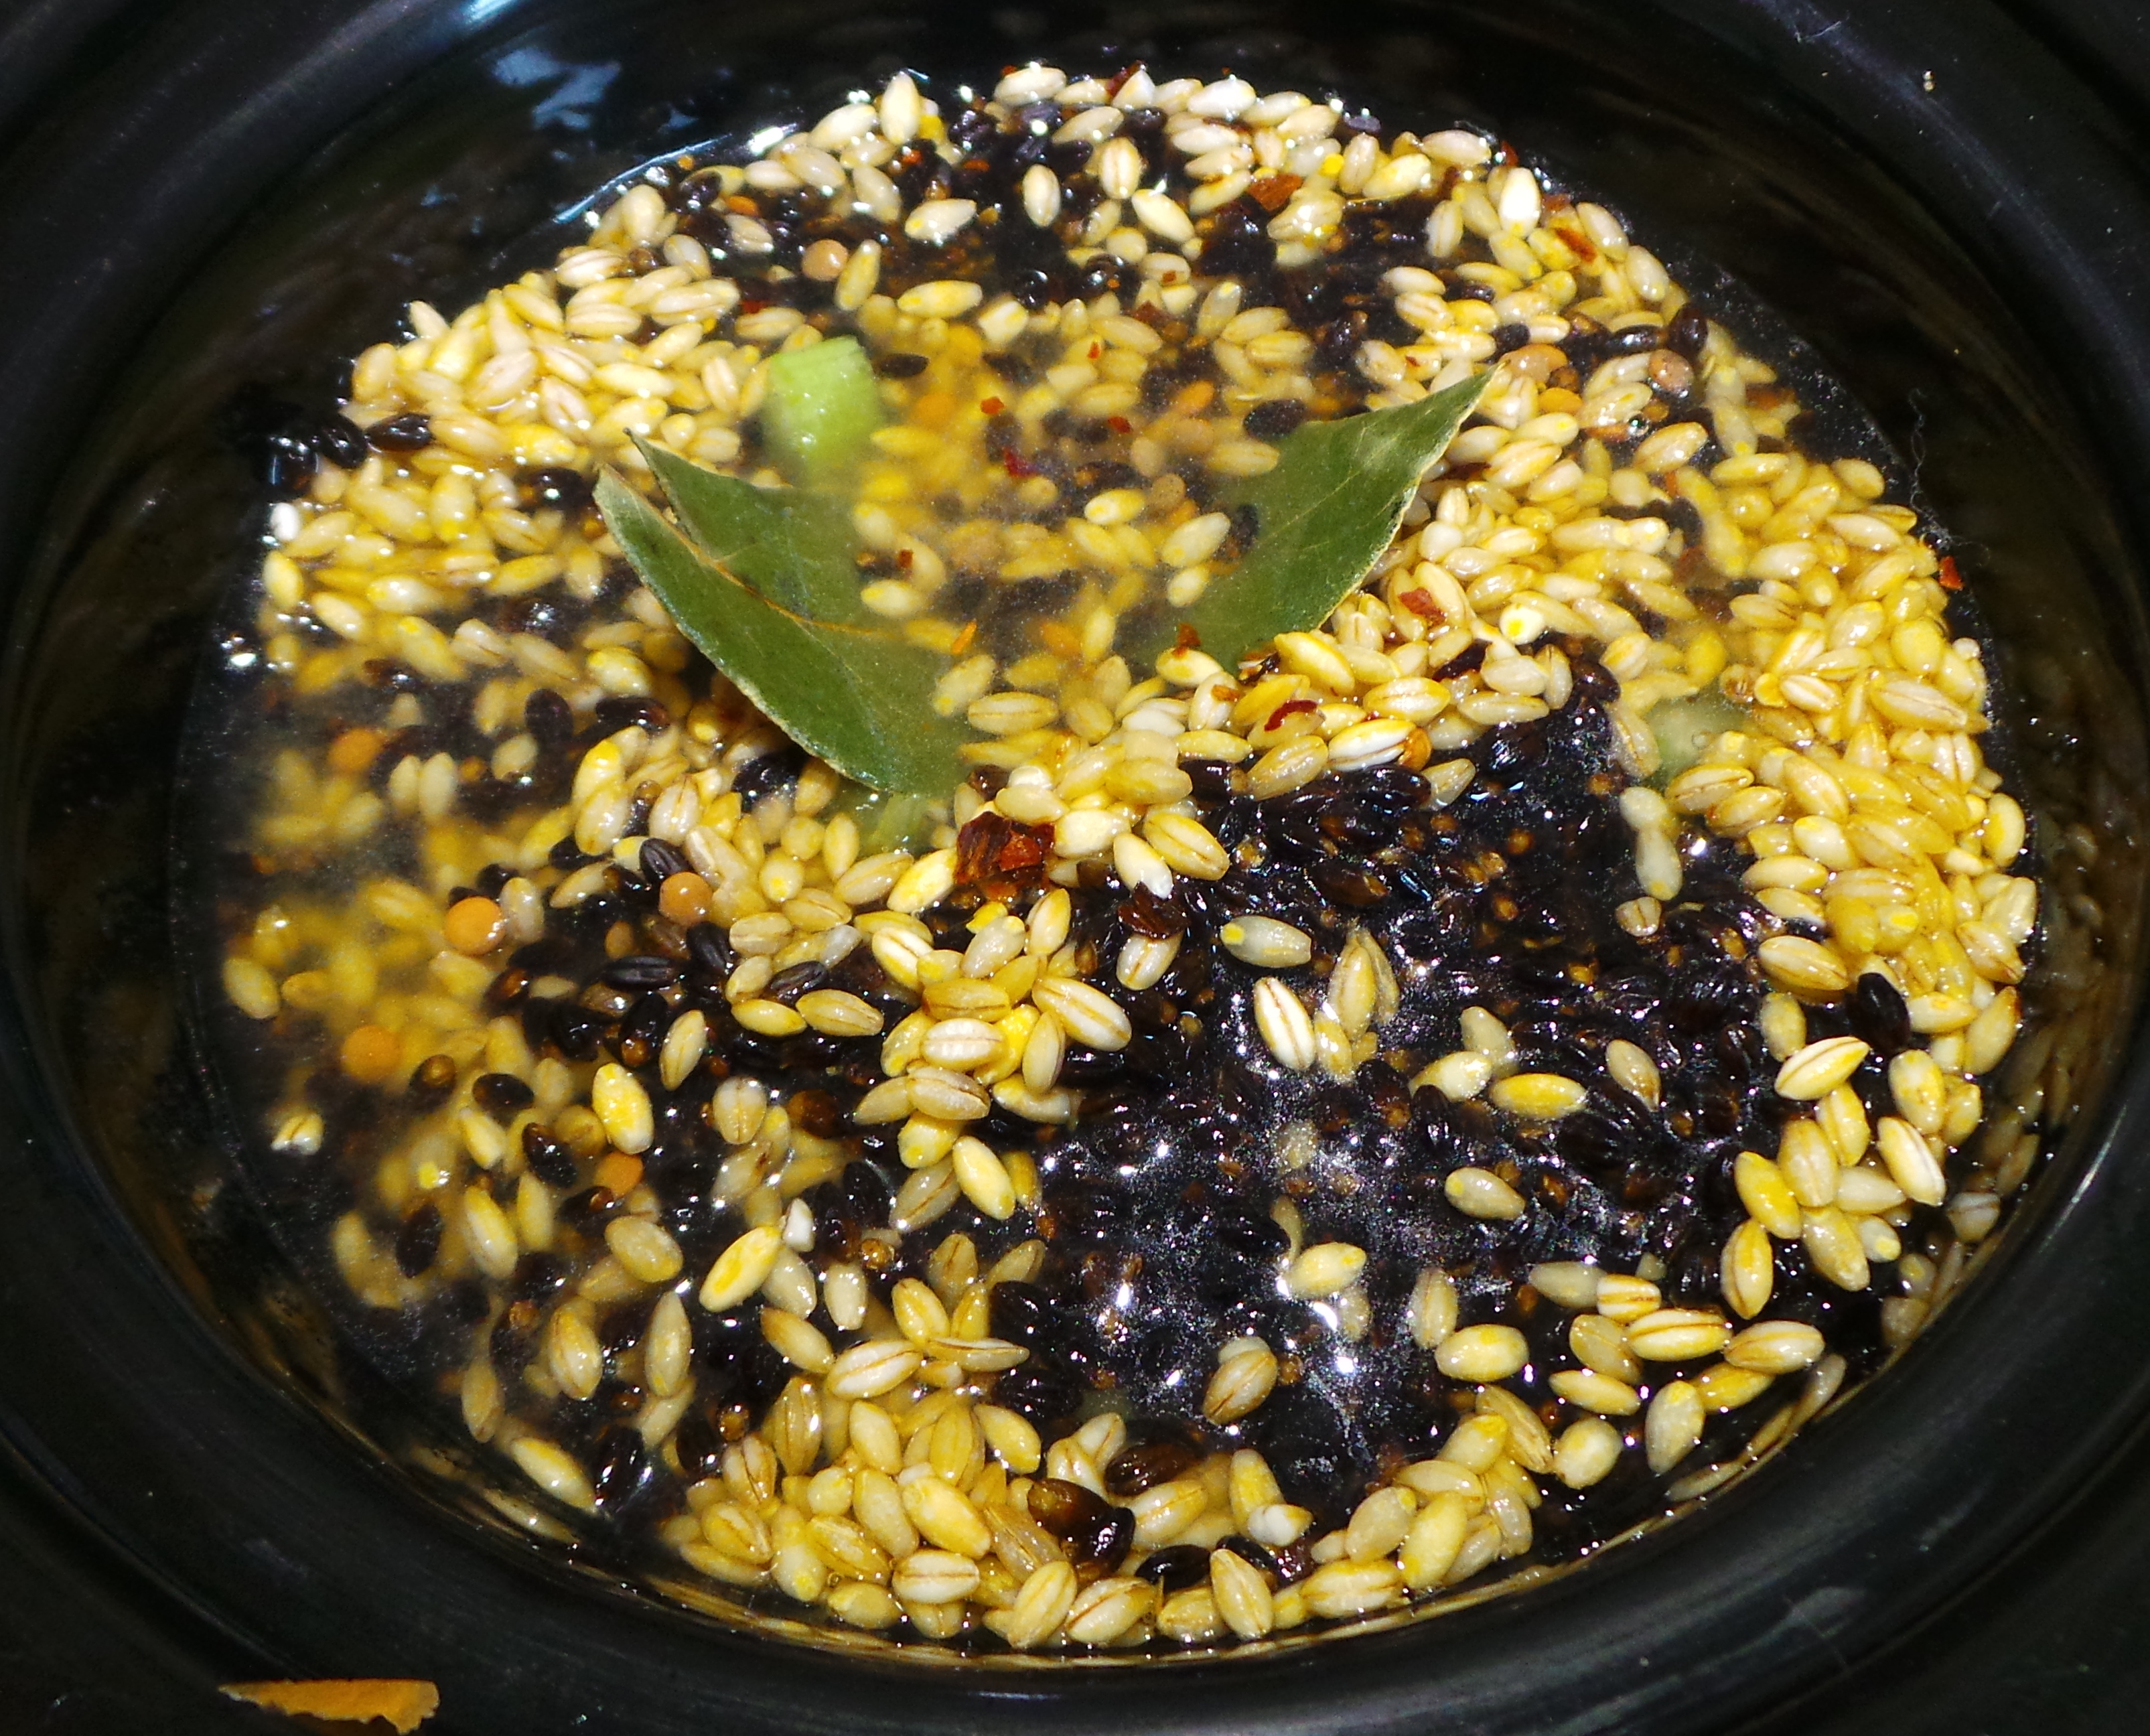
This is the time to heat your stock if you have some already made, or to make it up if you are using a stock cube or bouillon. You can cook from cold if you are wanting the dish to take longer to cook – despite being in the slow cooker, this will only take an hour or two to be ready.
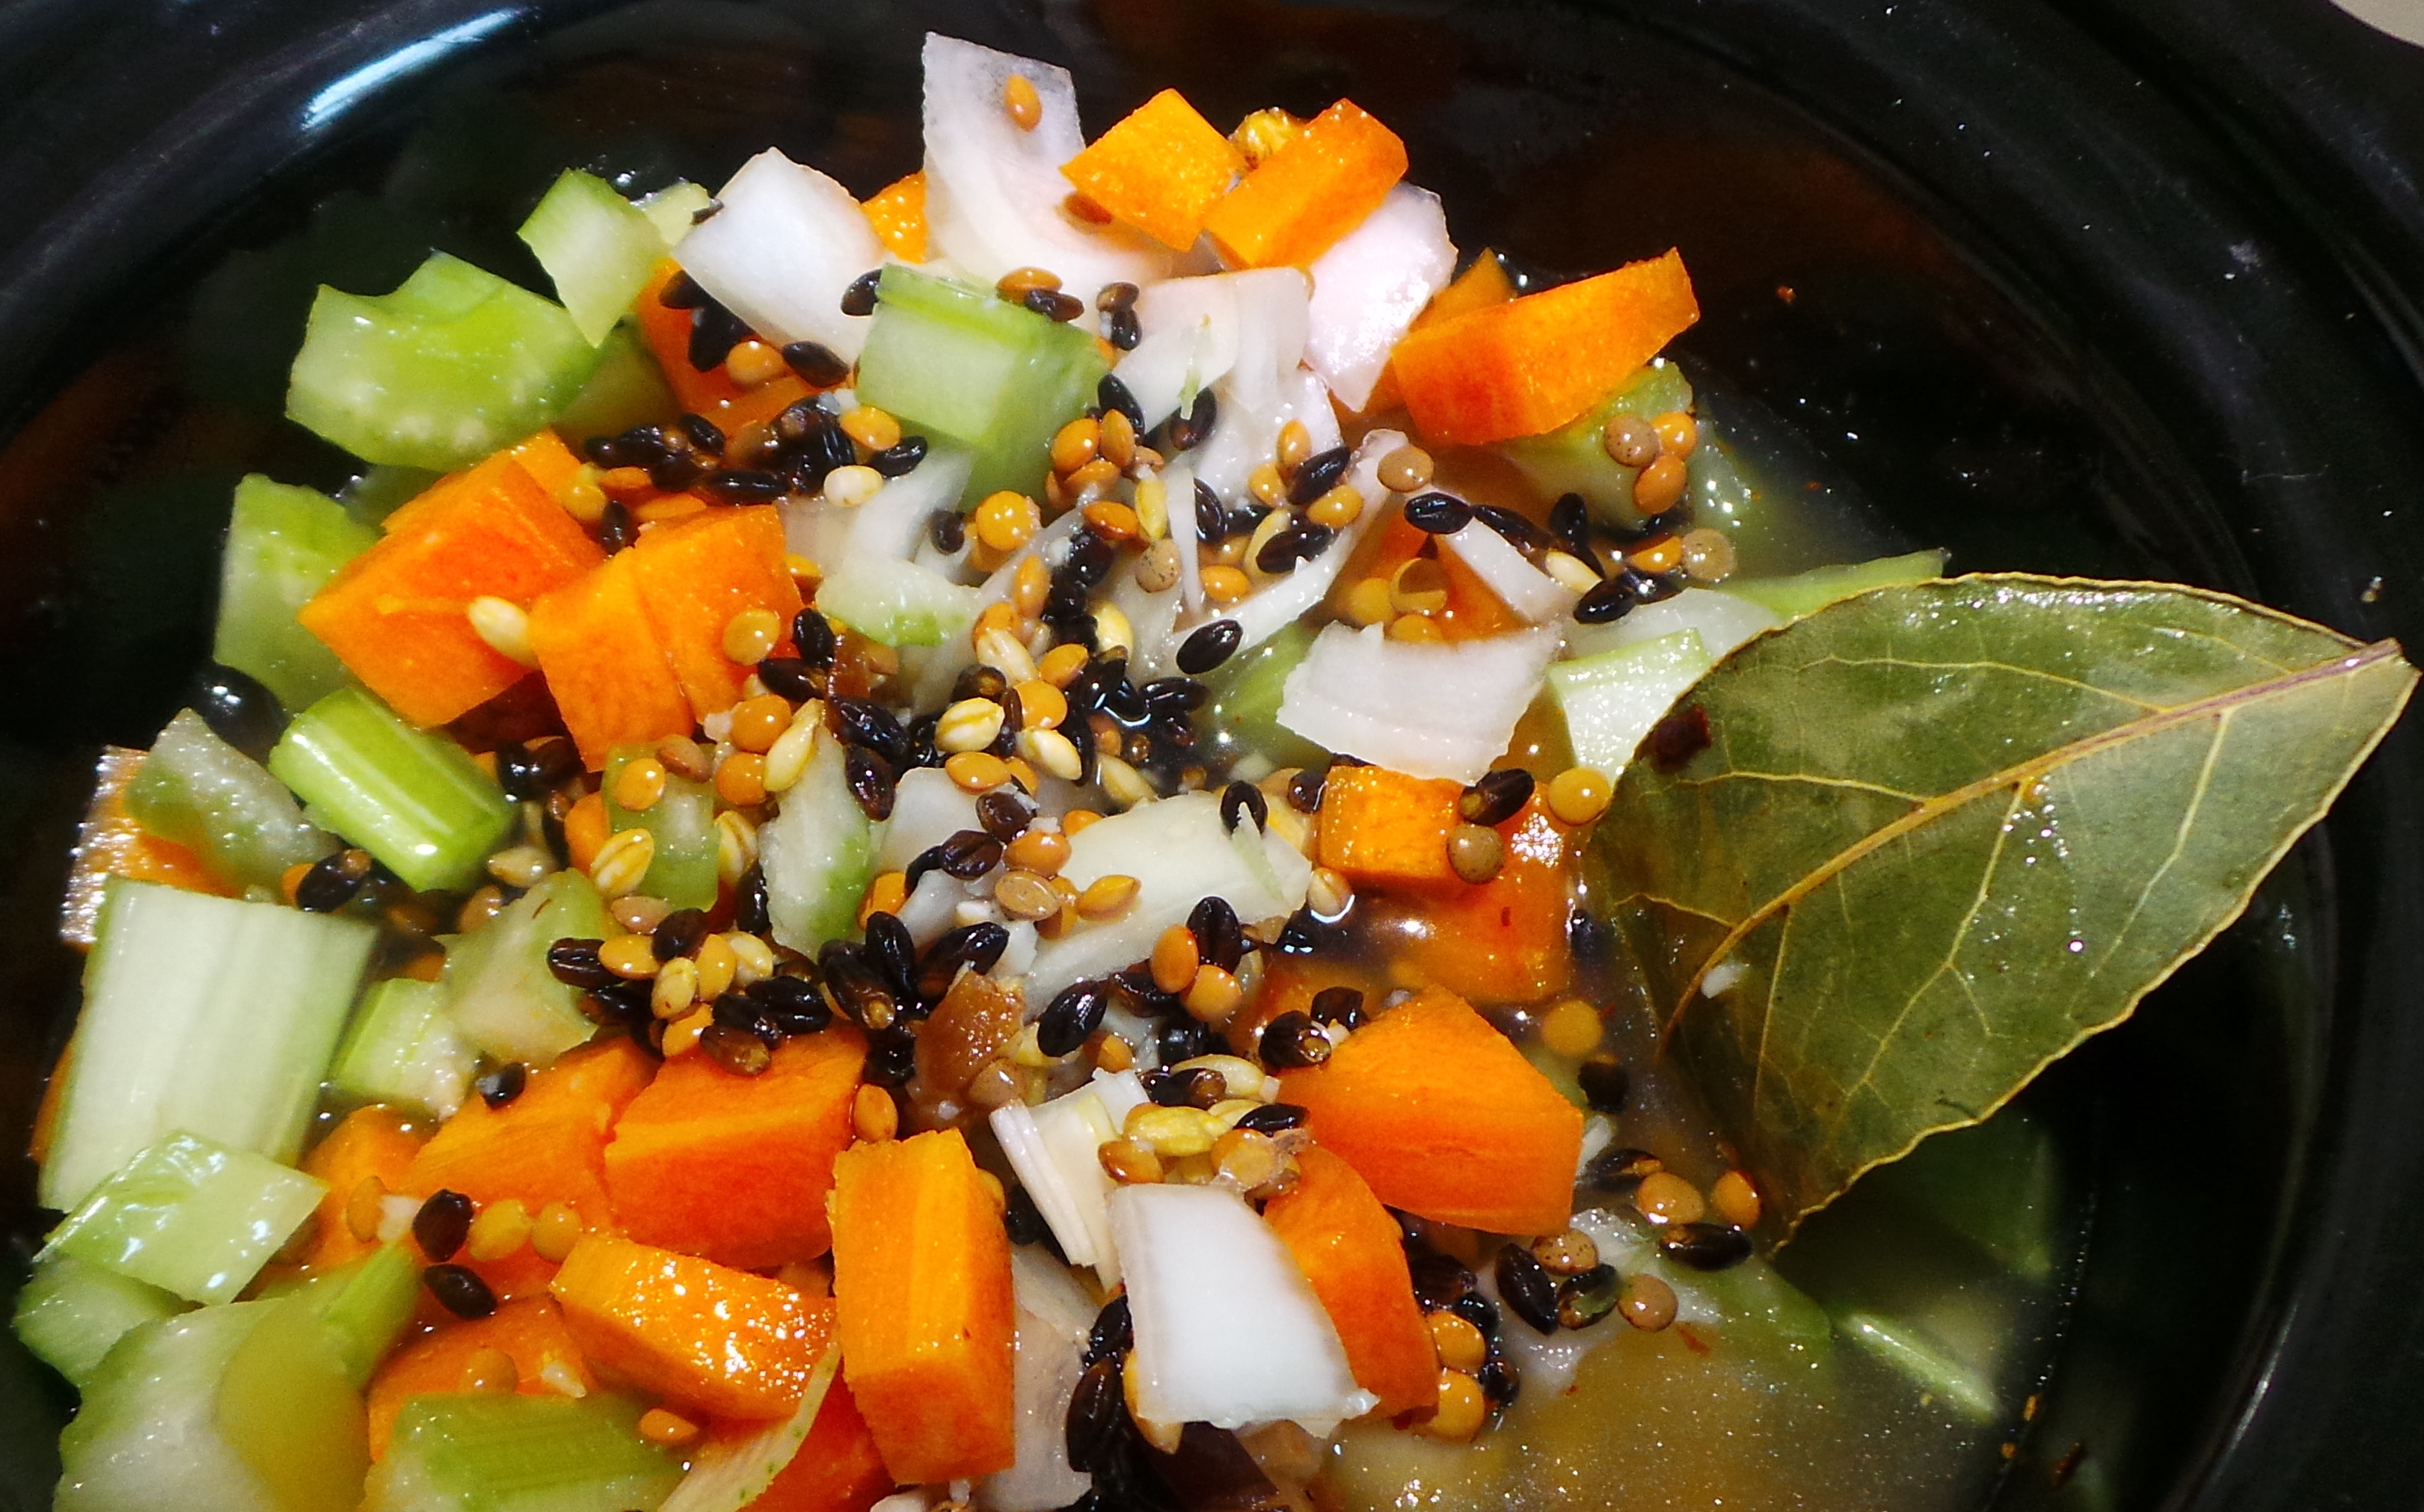
Add your stock.

Add your stock.

It can be chicken stock (which is what I had), vegetable, beef, fish…whatever. Even plain water will do, although you may wish to add salt in that case. Make sure it covers the contents of your pot, add water if necessary.

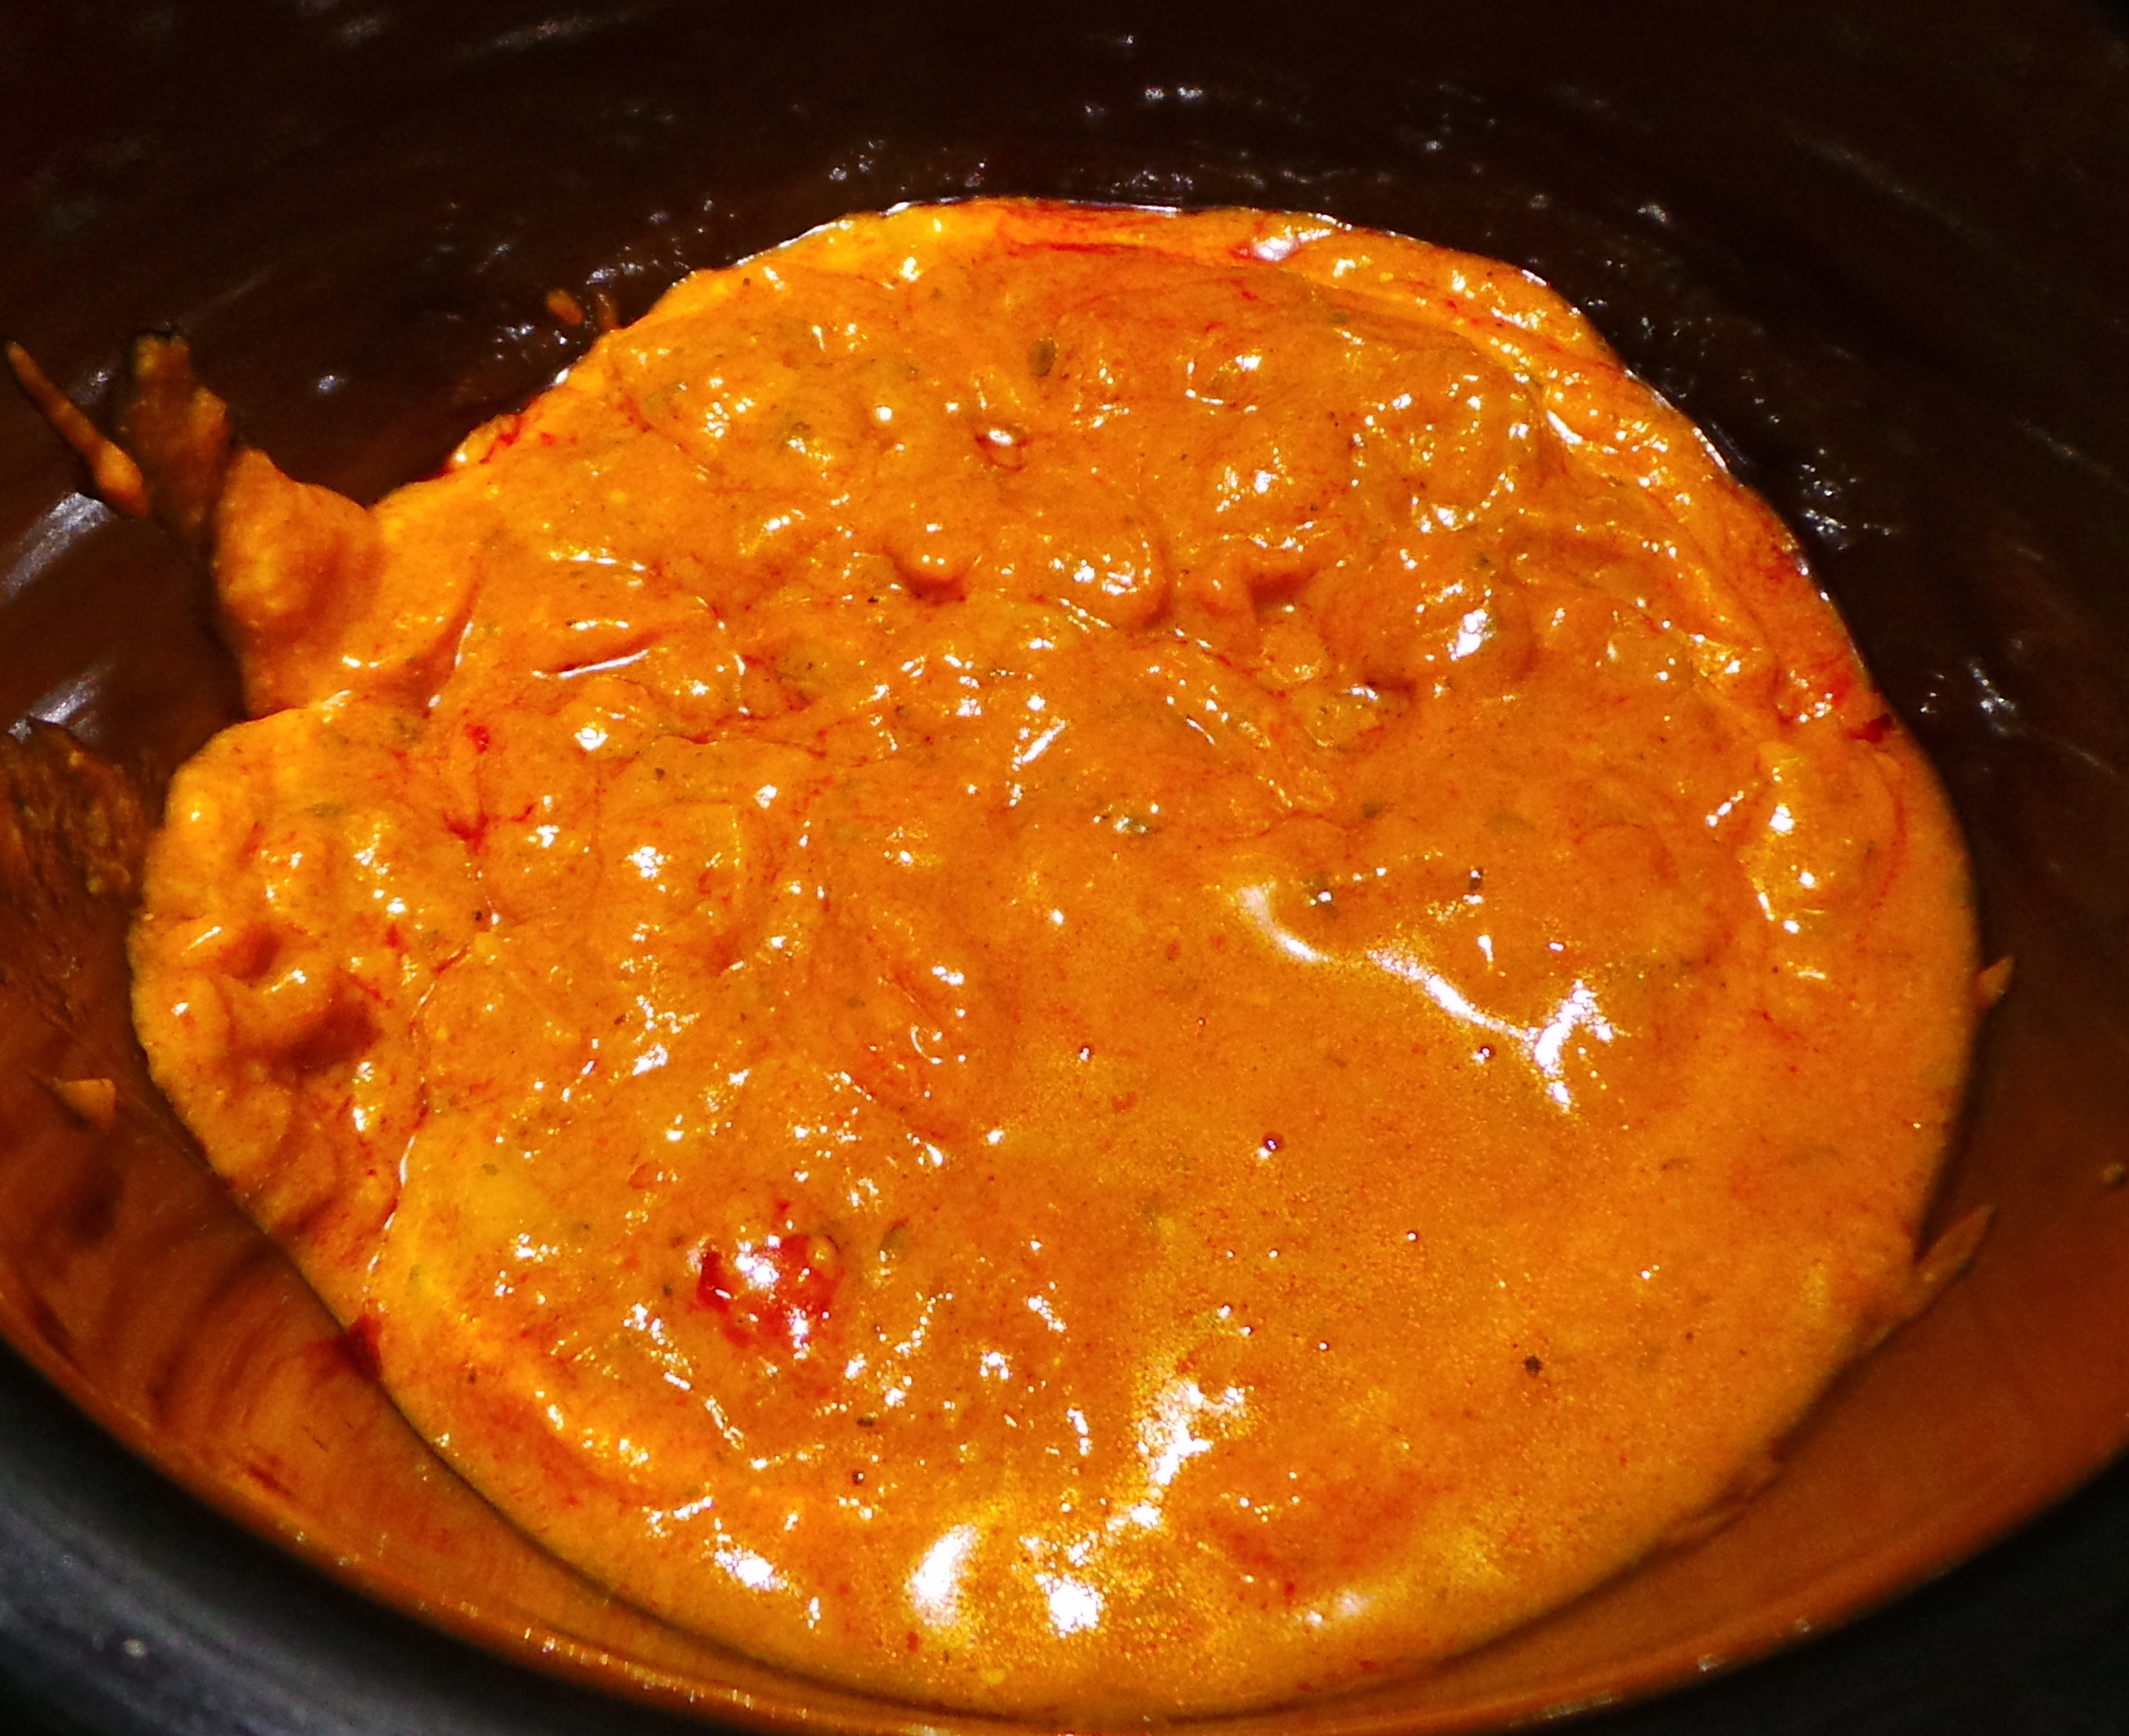
Stir and cover. Set to low.

Looks delicious already, doesn't it?

Looks delicious already, doesn’t it?

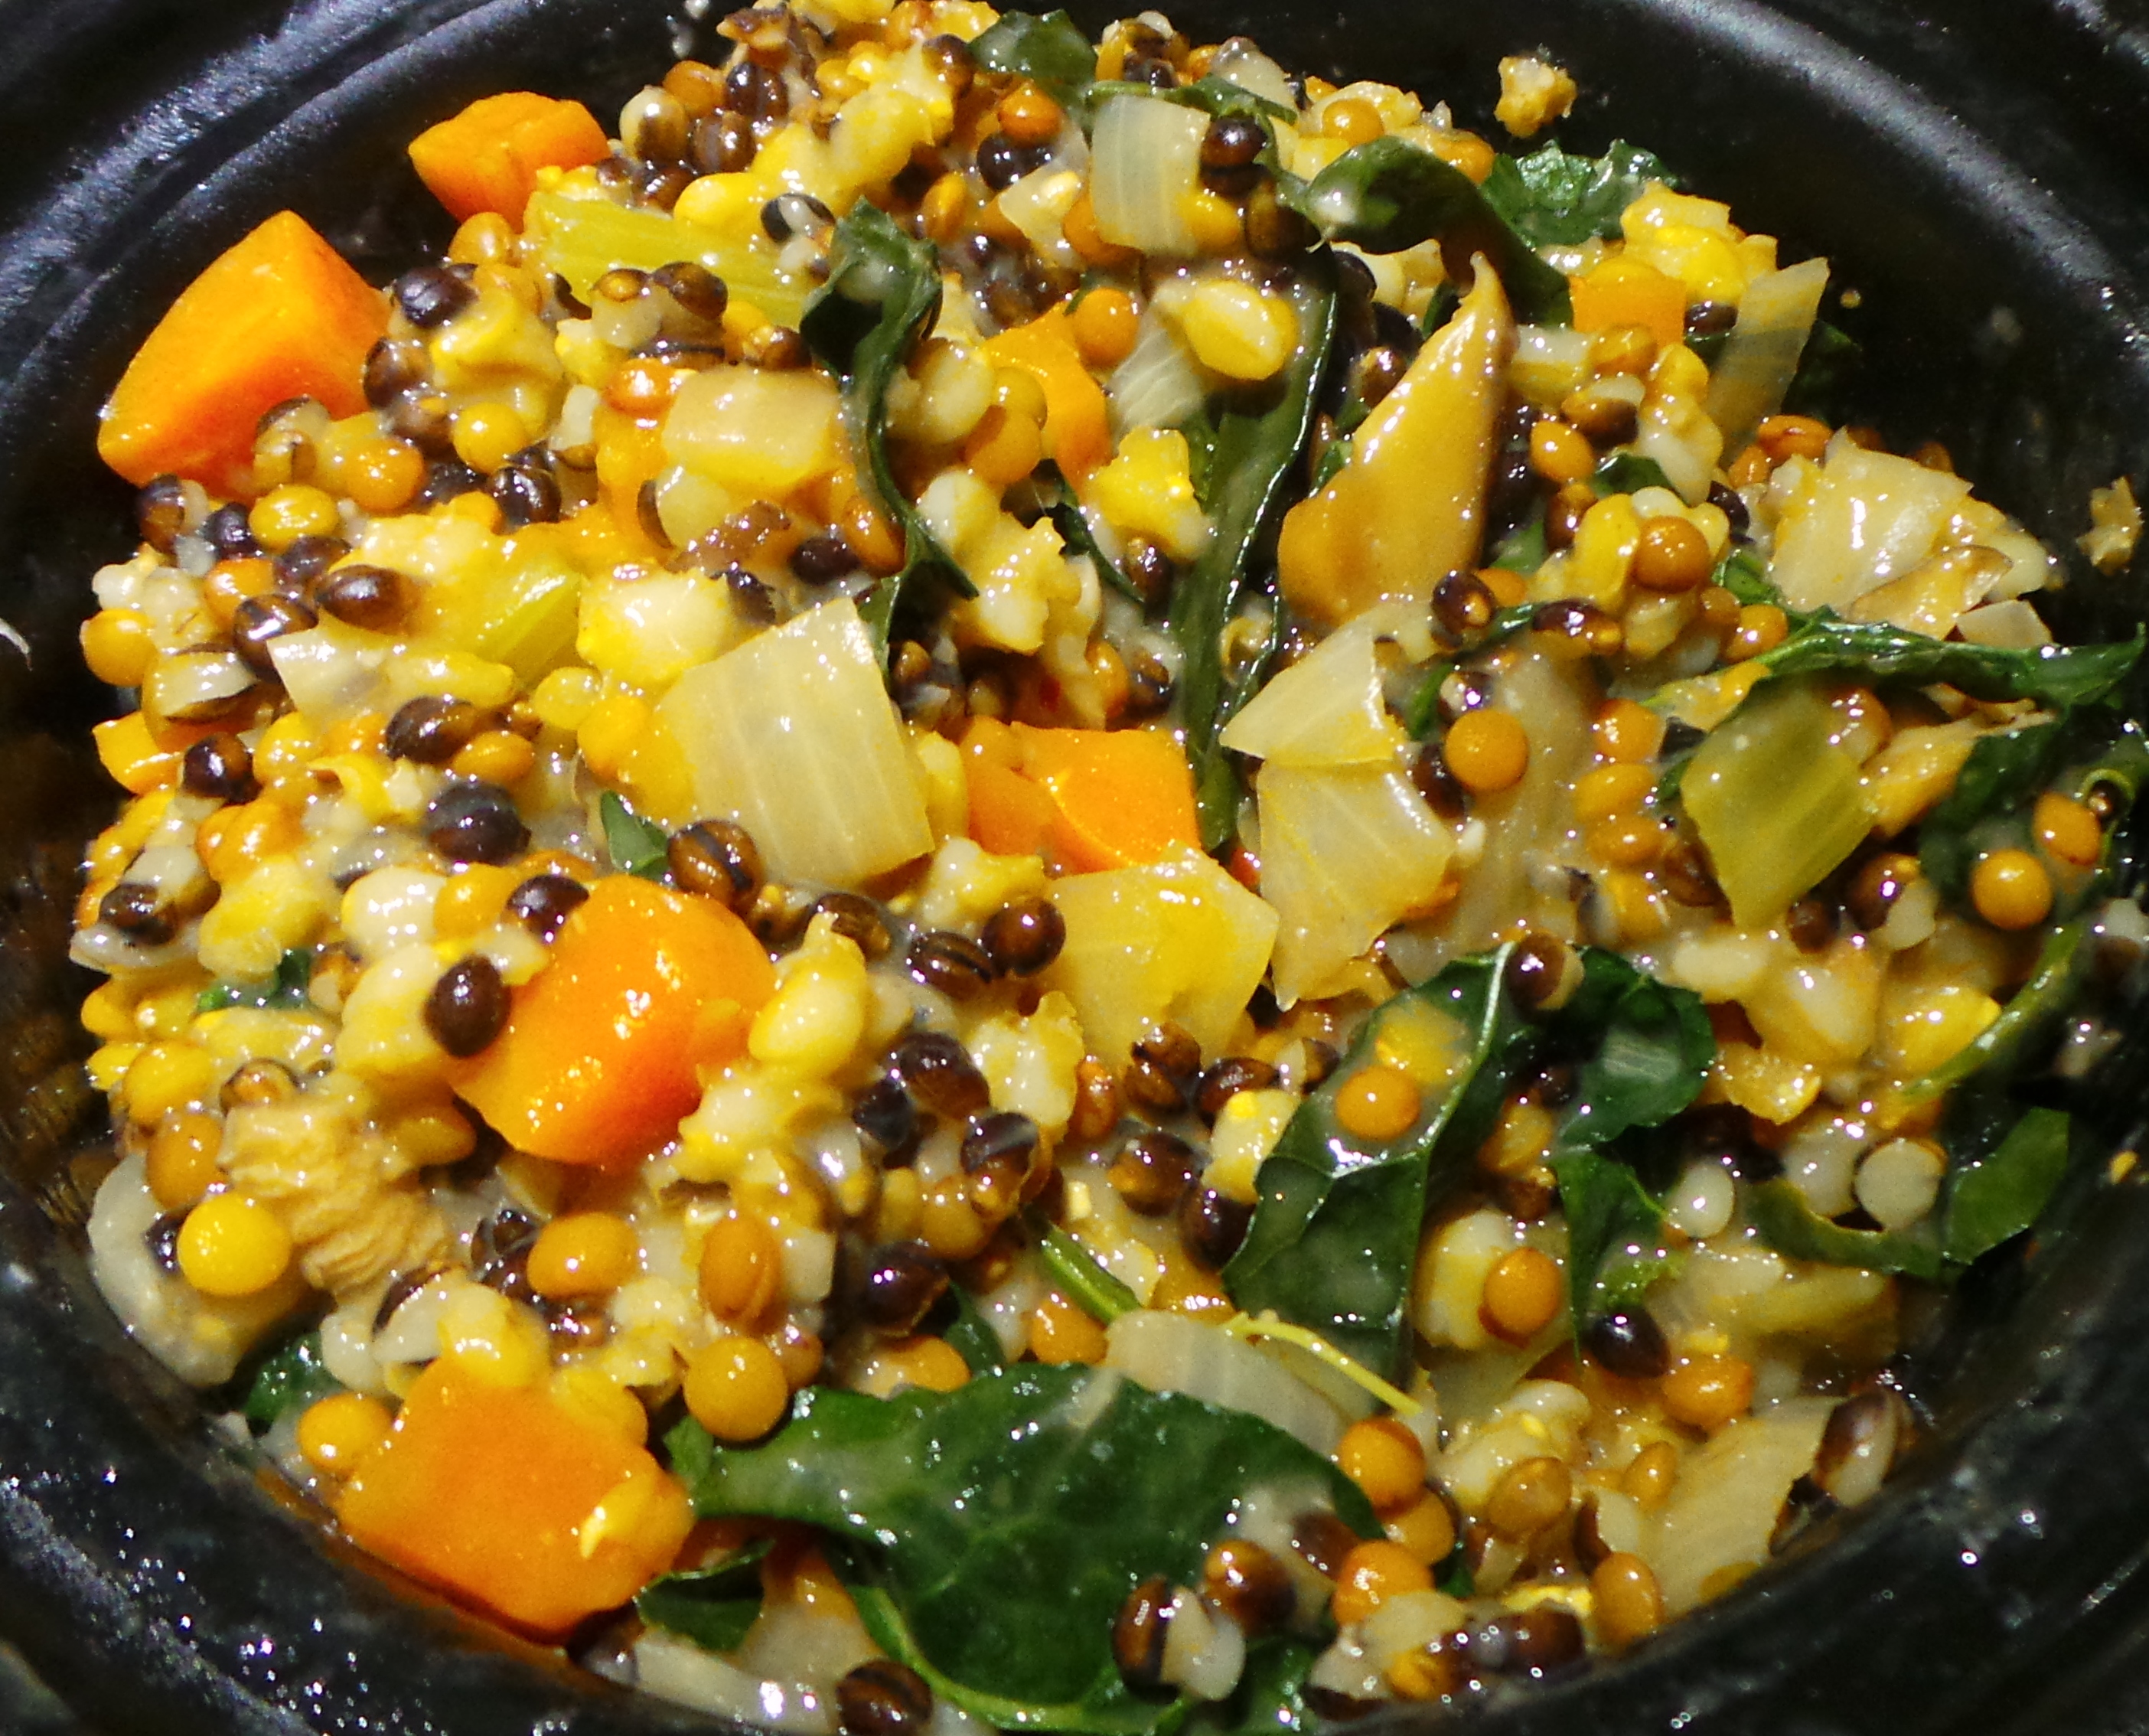
When the lentils are tender and the barley is cooked to your satisfaction, serve it up.

I had been given a handful of Tuscan Kale (Black Cabbage or Cavolo Nero), so I shredded that and stirred it through about 10 mins before I served it up.

Lentil and Barley Casserole

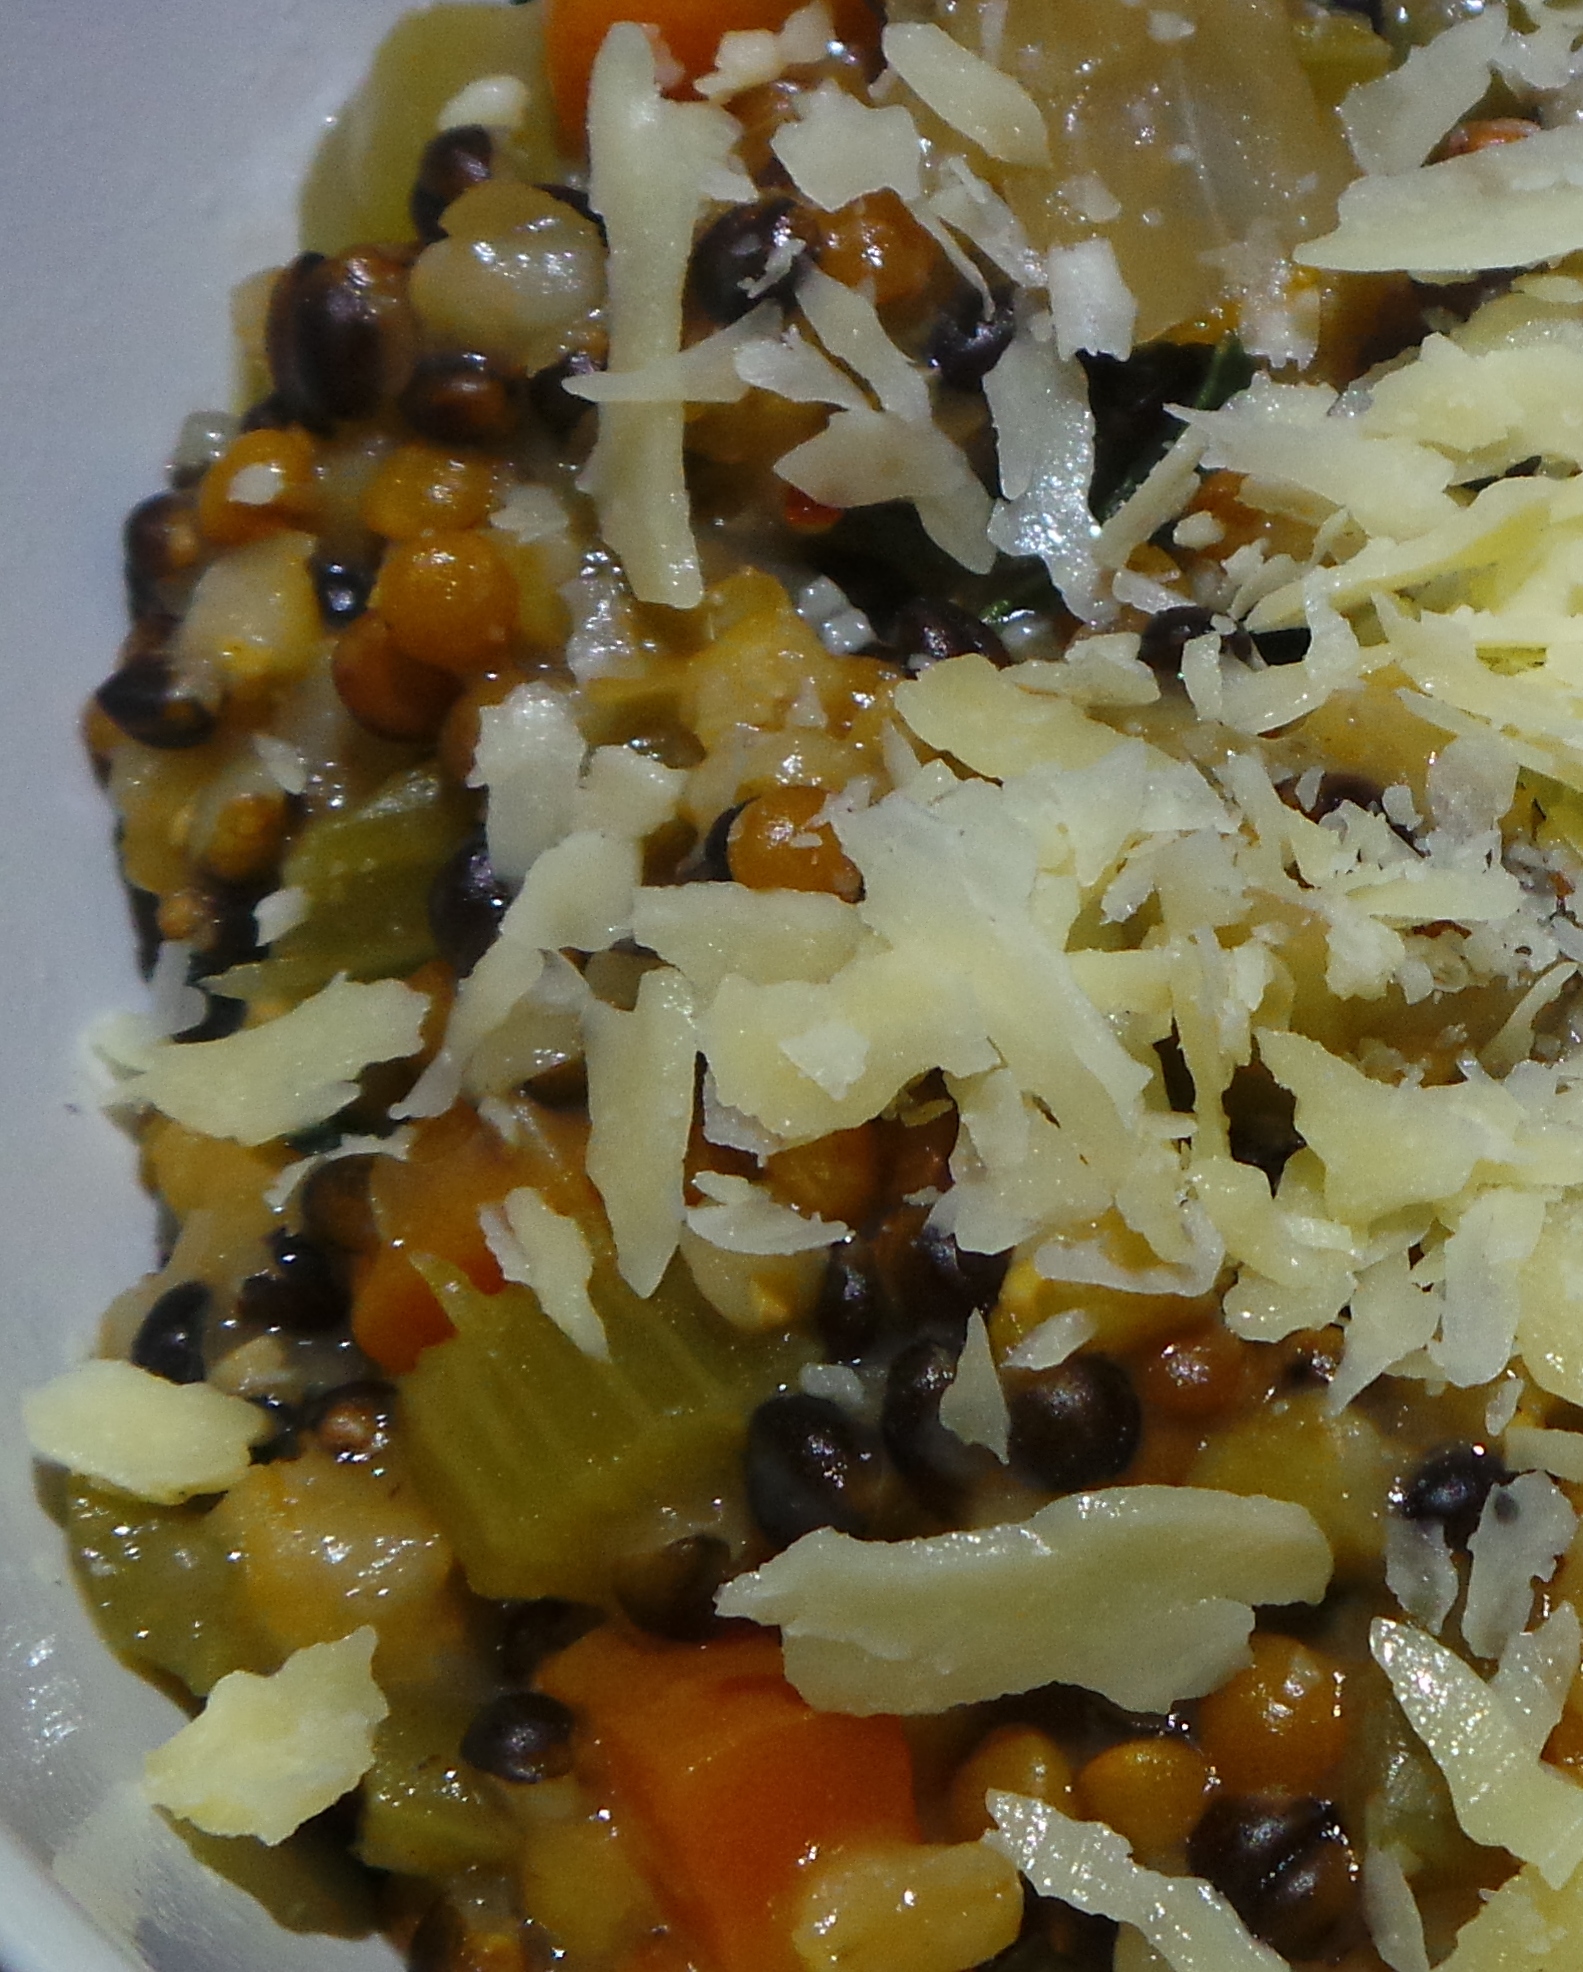
Lentil and Barley Casserole.

I just put it in a bowl topped with some shaved parmesan. It’s very filling so don’t overdo the portion sizes.

Serve it up.

Serve it up.

Things to remember: The barley will absorb the liquid and plump up like rice does. So don’t fill the pot to the brim with dry ingredients before adding your stock. Tears will result. And overflowing. And a right royal mess.

Top shaved parmesan.

Top shaved parmesan.

The barley will also cause the mixture to thicken. Stir it a few times after an hour or so, to prevent sticking.

If you are making this for a coeliac, then use different forms of rice and perhaps millet instead of barley.

If you are making this for people who are “allergic” to being vegetarian (and we all know those people, don’t we?), then feel free to add some cubes of speck into the mix at the beginning or some shredded cooked chicken just before serving.

Bon Appetit.