I’m posting this particular recipe in response to a request from my Dad, although I do hope everyone else likes it too.
It’s not really a pilaf in the strictest sense of the word – rice cooked in broth with other things then added – but it does resemble it and I’ll settle for that.

Cranberry Almond Pilaf
It contains an ingredient that seems to be one of the trendiest on the planet at this point in time, but I first learned about it in the early 1990s.
Not that I could find it anywhere, of course. Now it’s on the supermarket shelves. How times change.
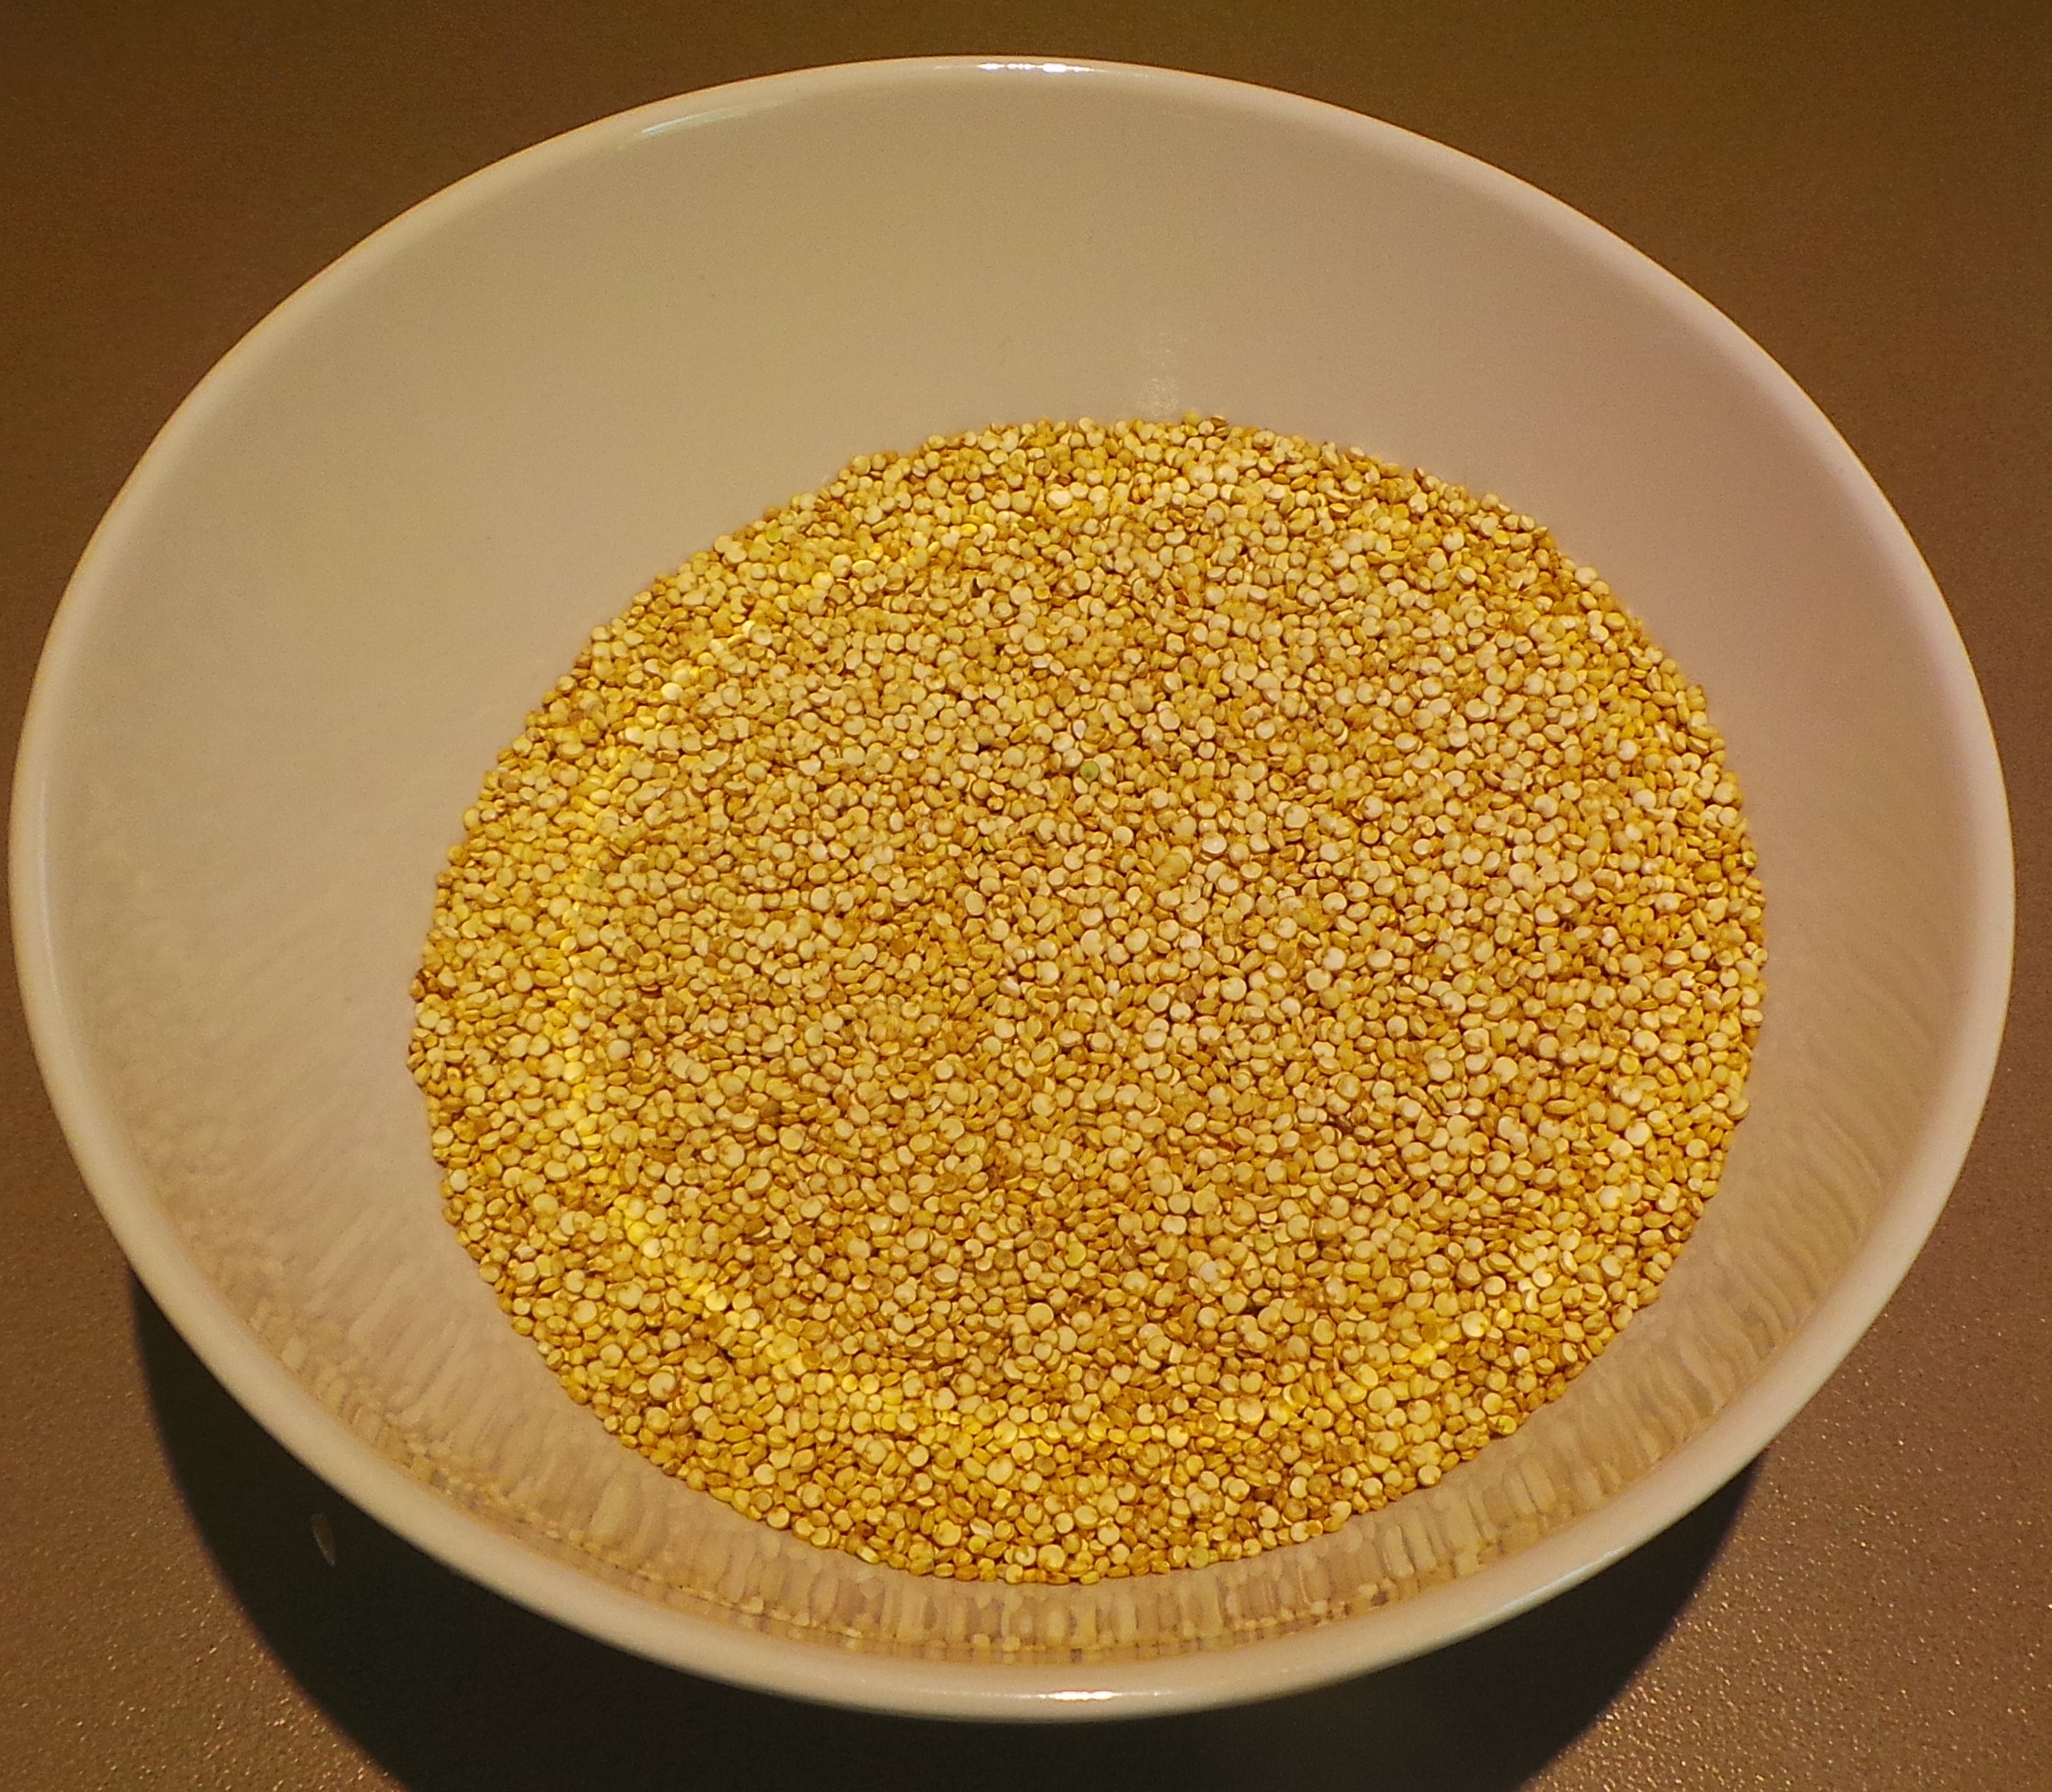
I’m talking about Quinoa, an ancient South American grain that is unique in its nutritional profile.
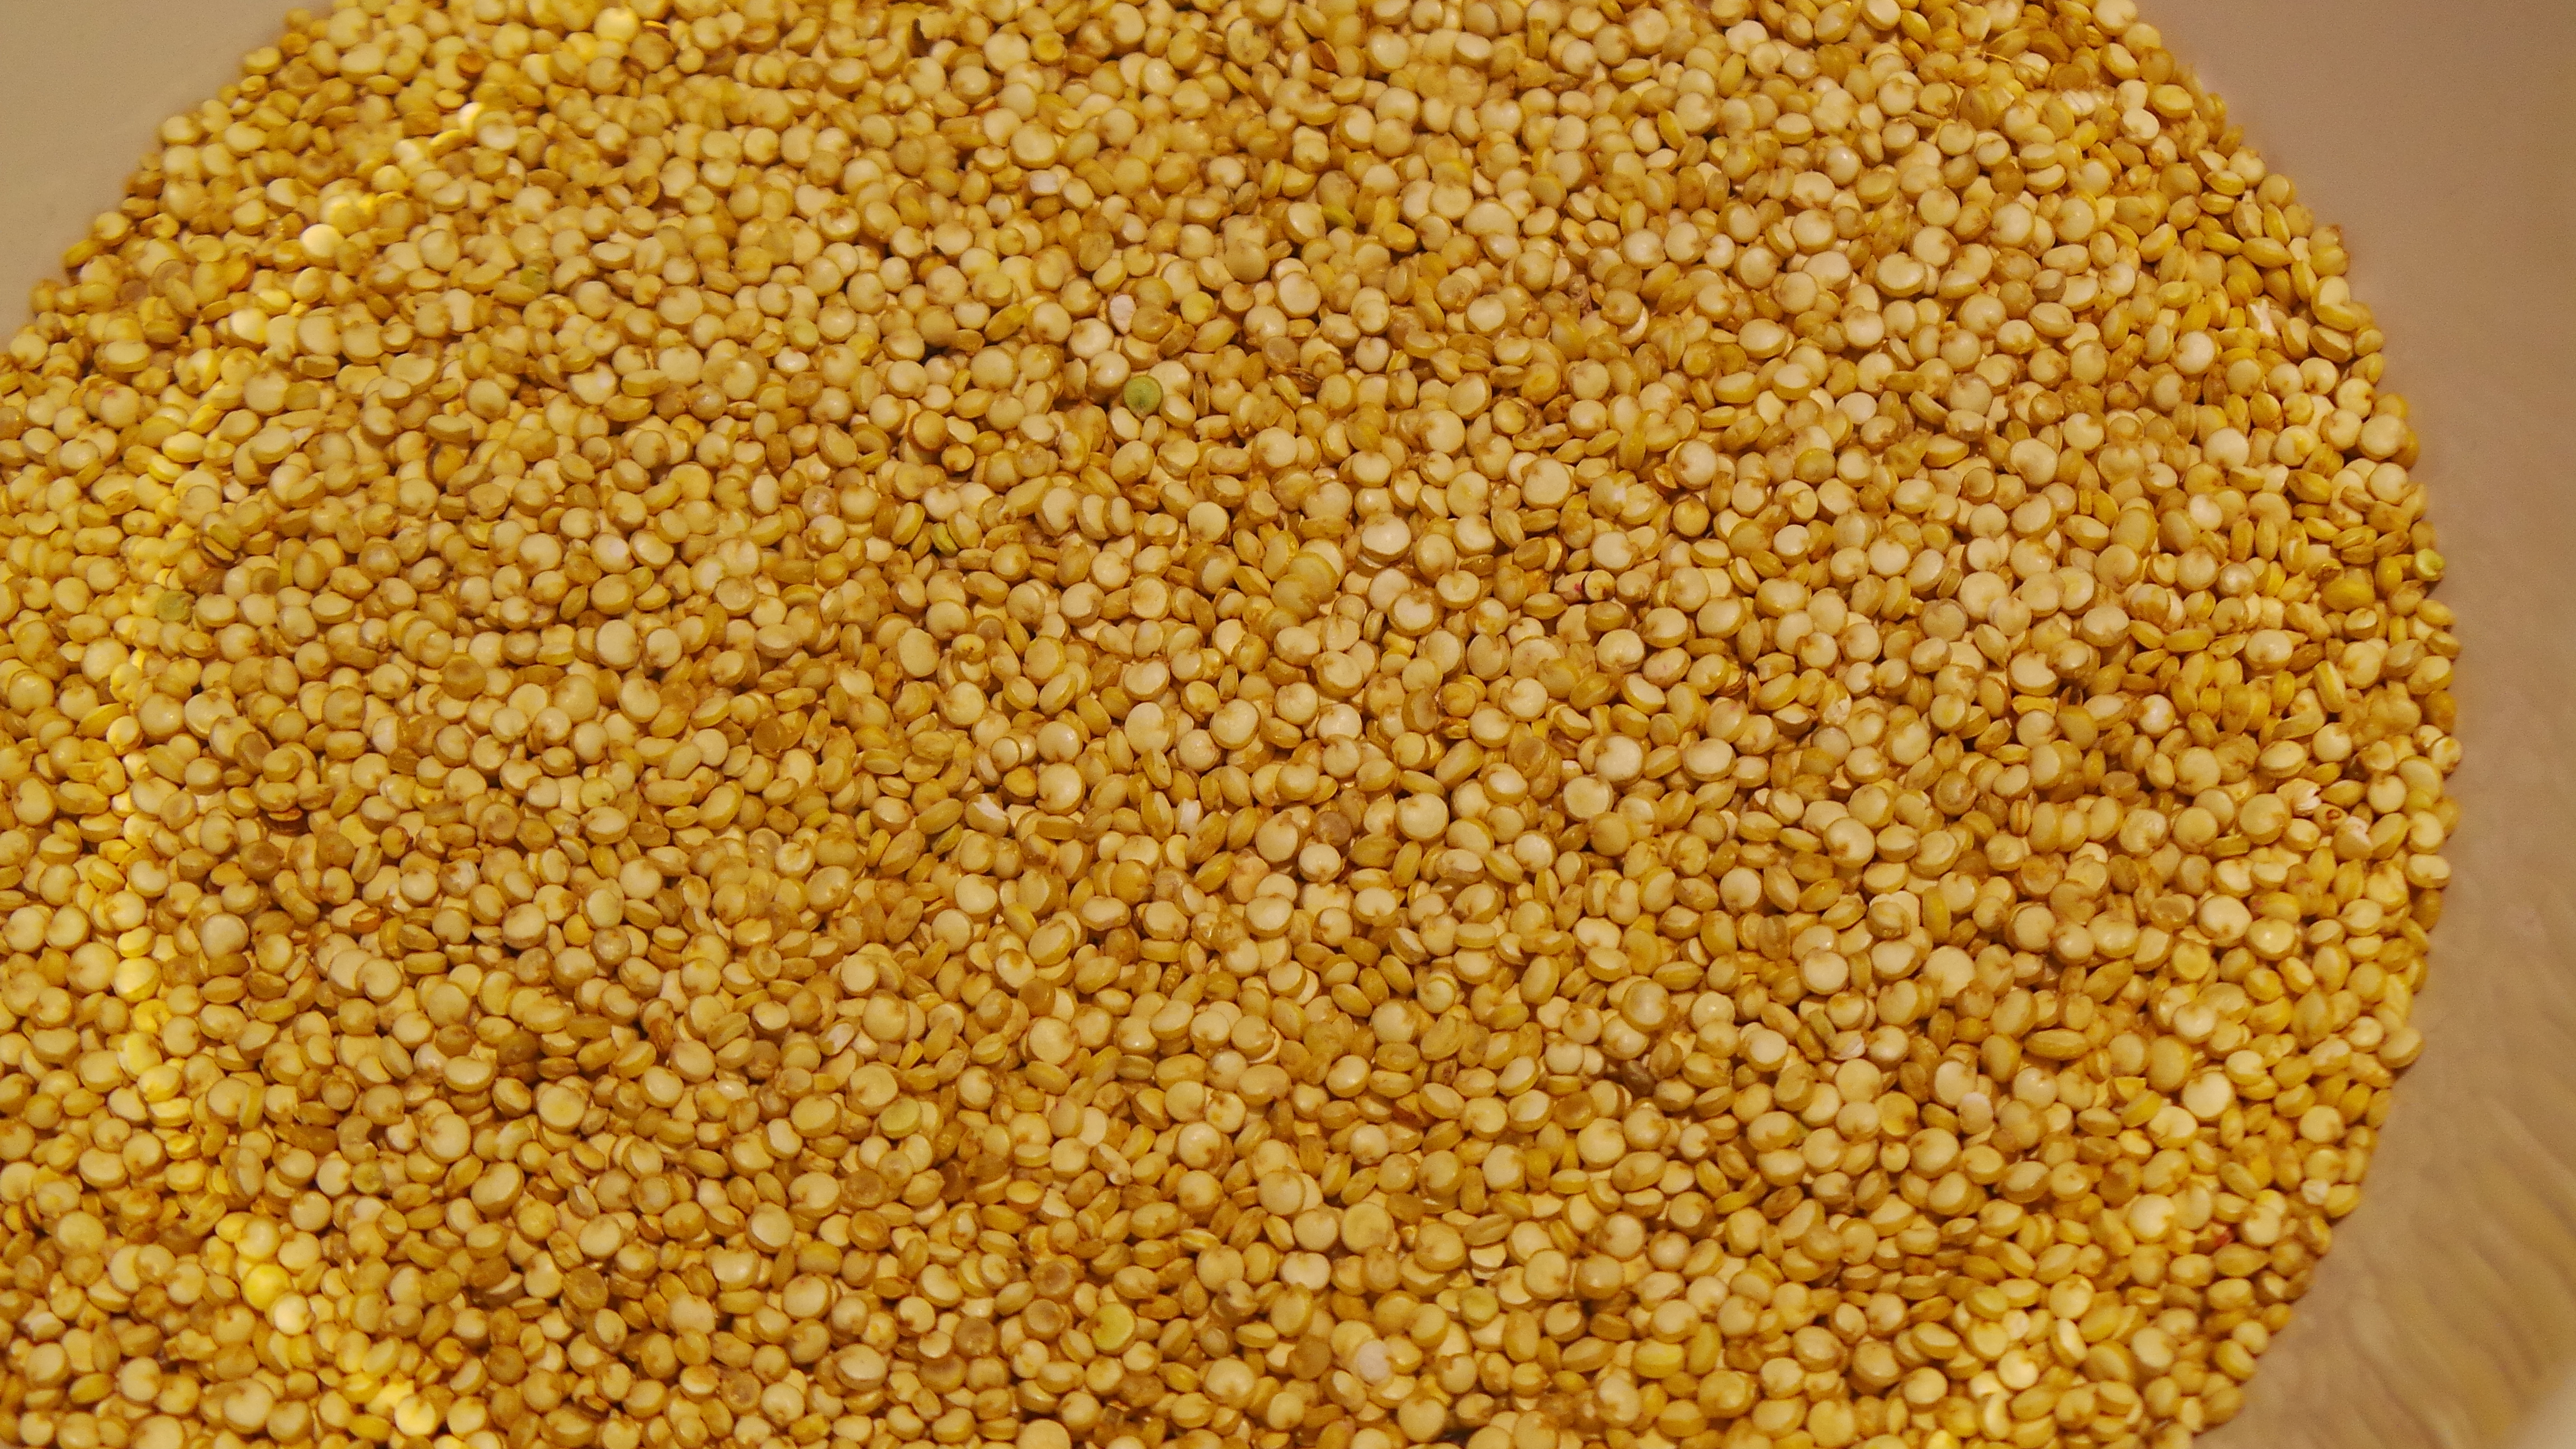
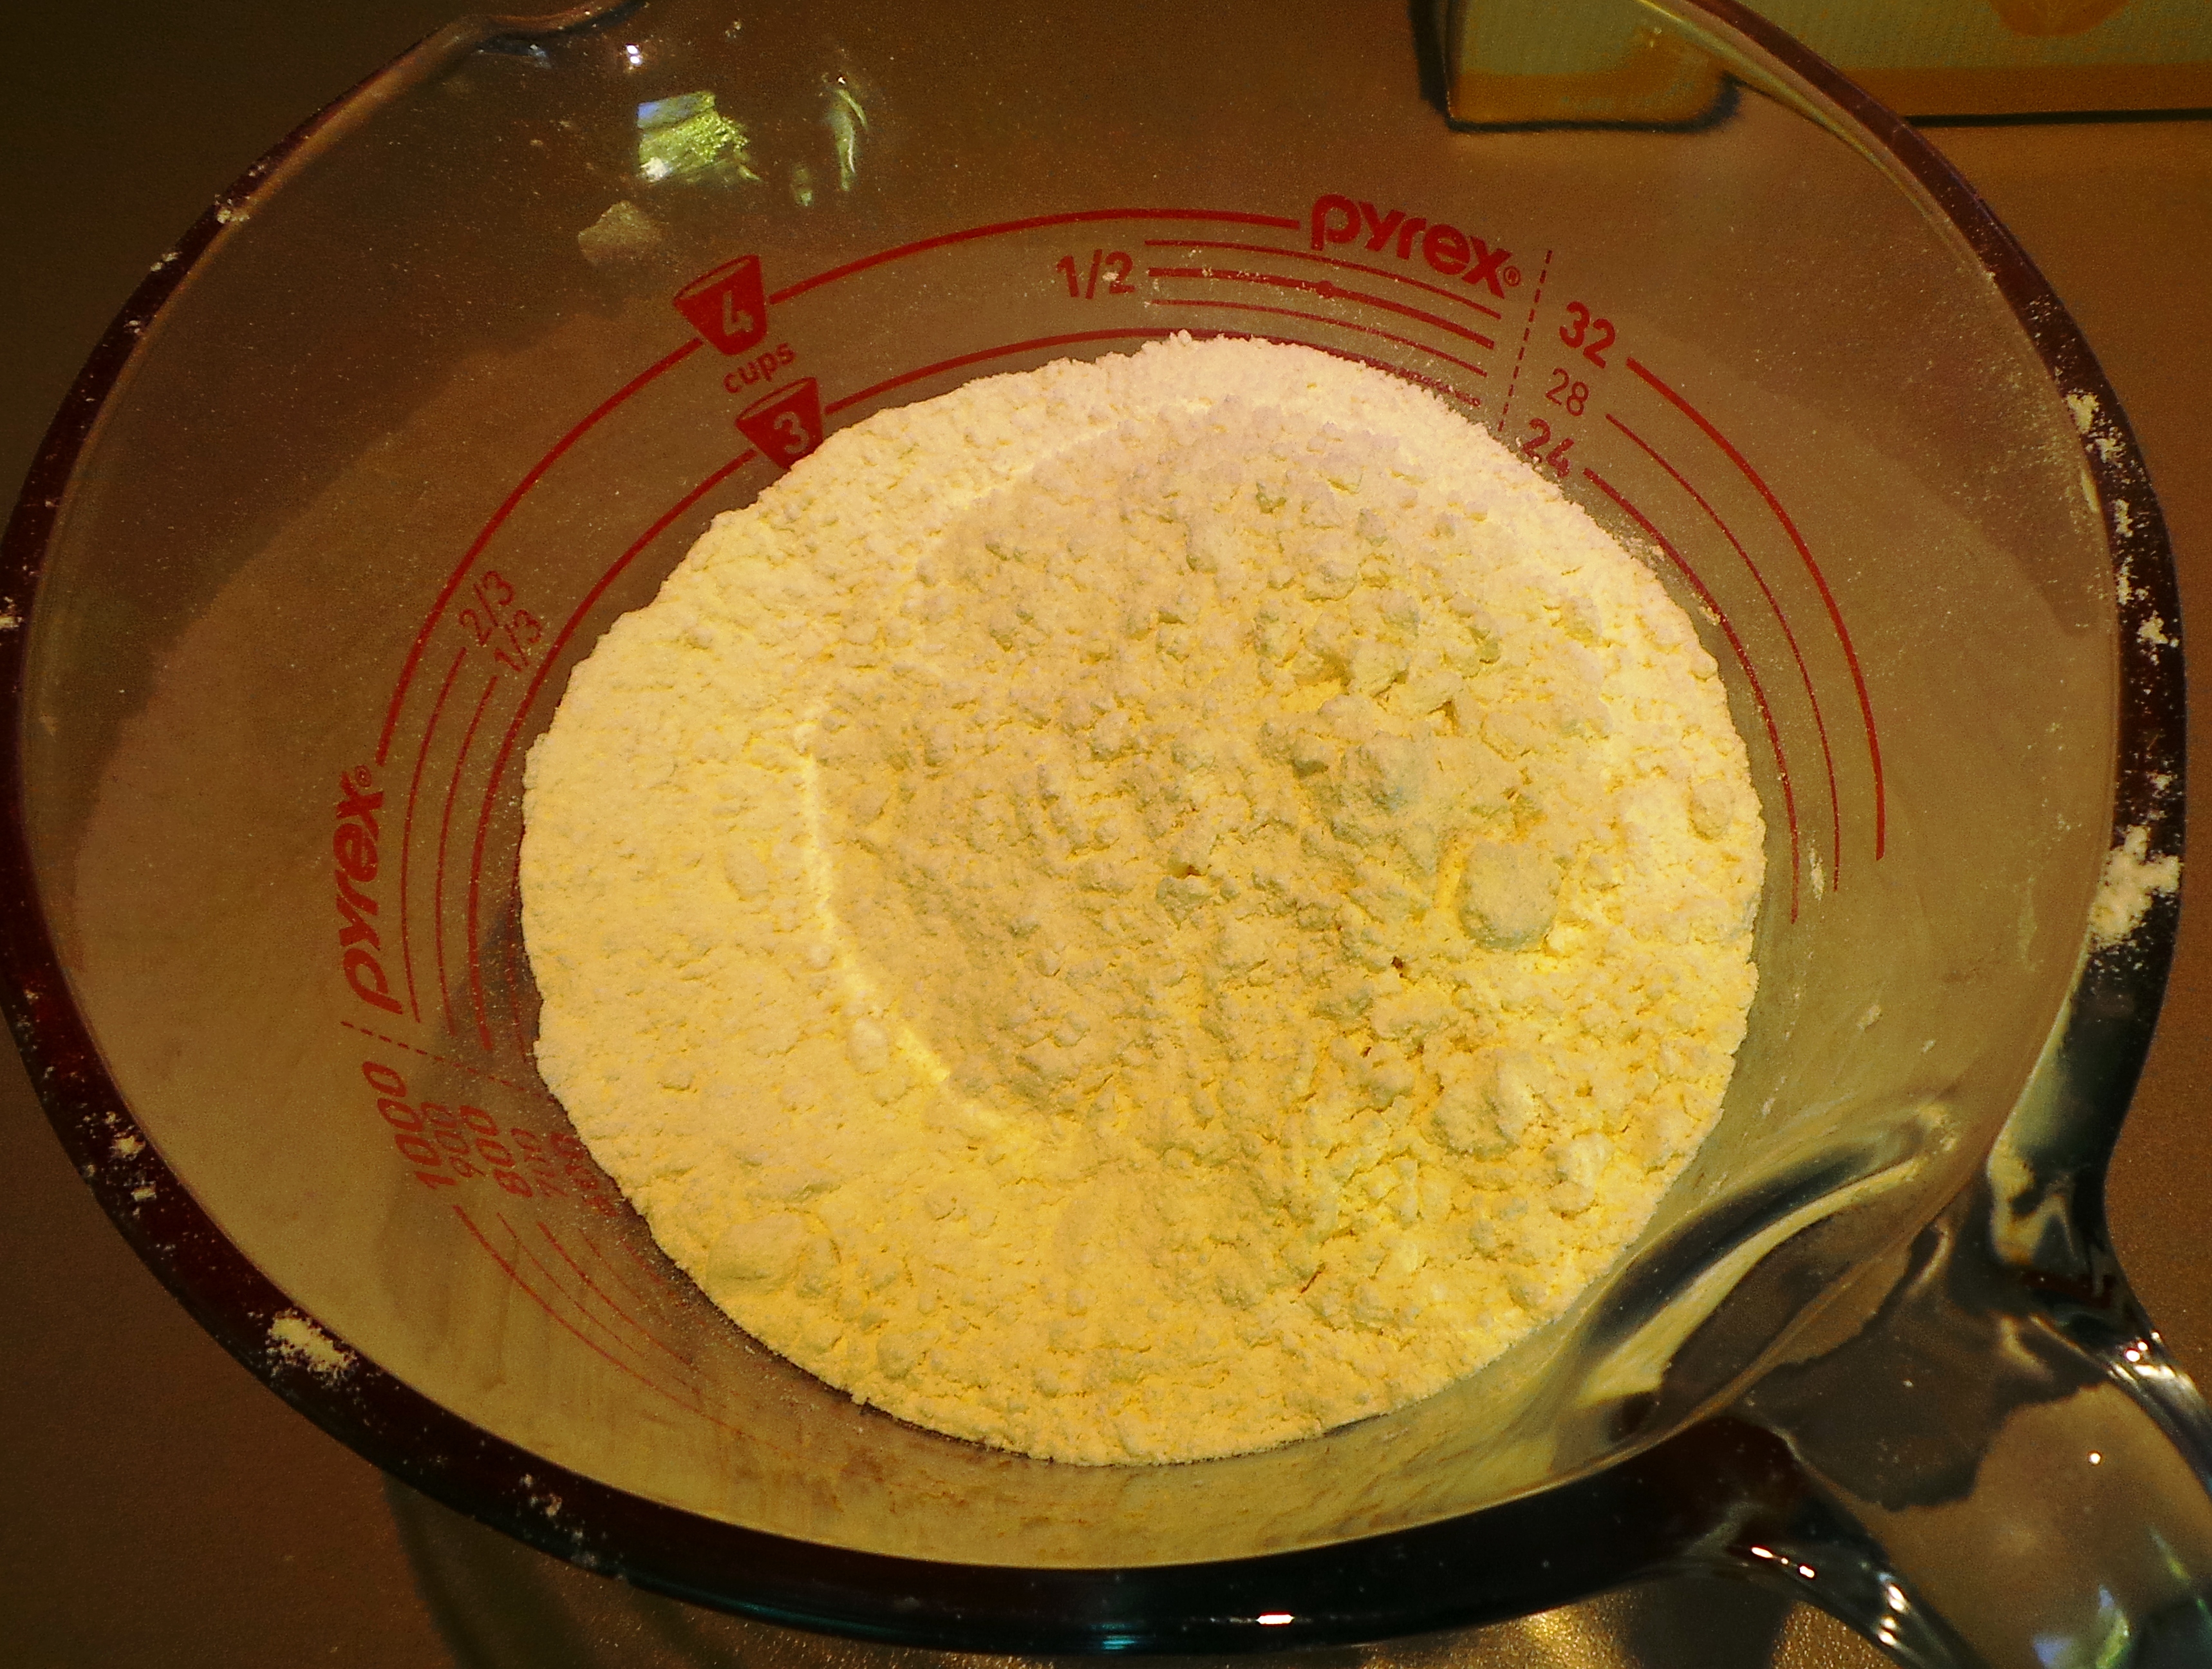
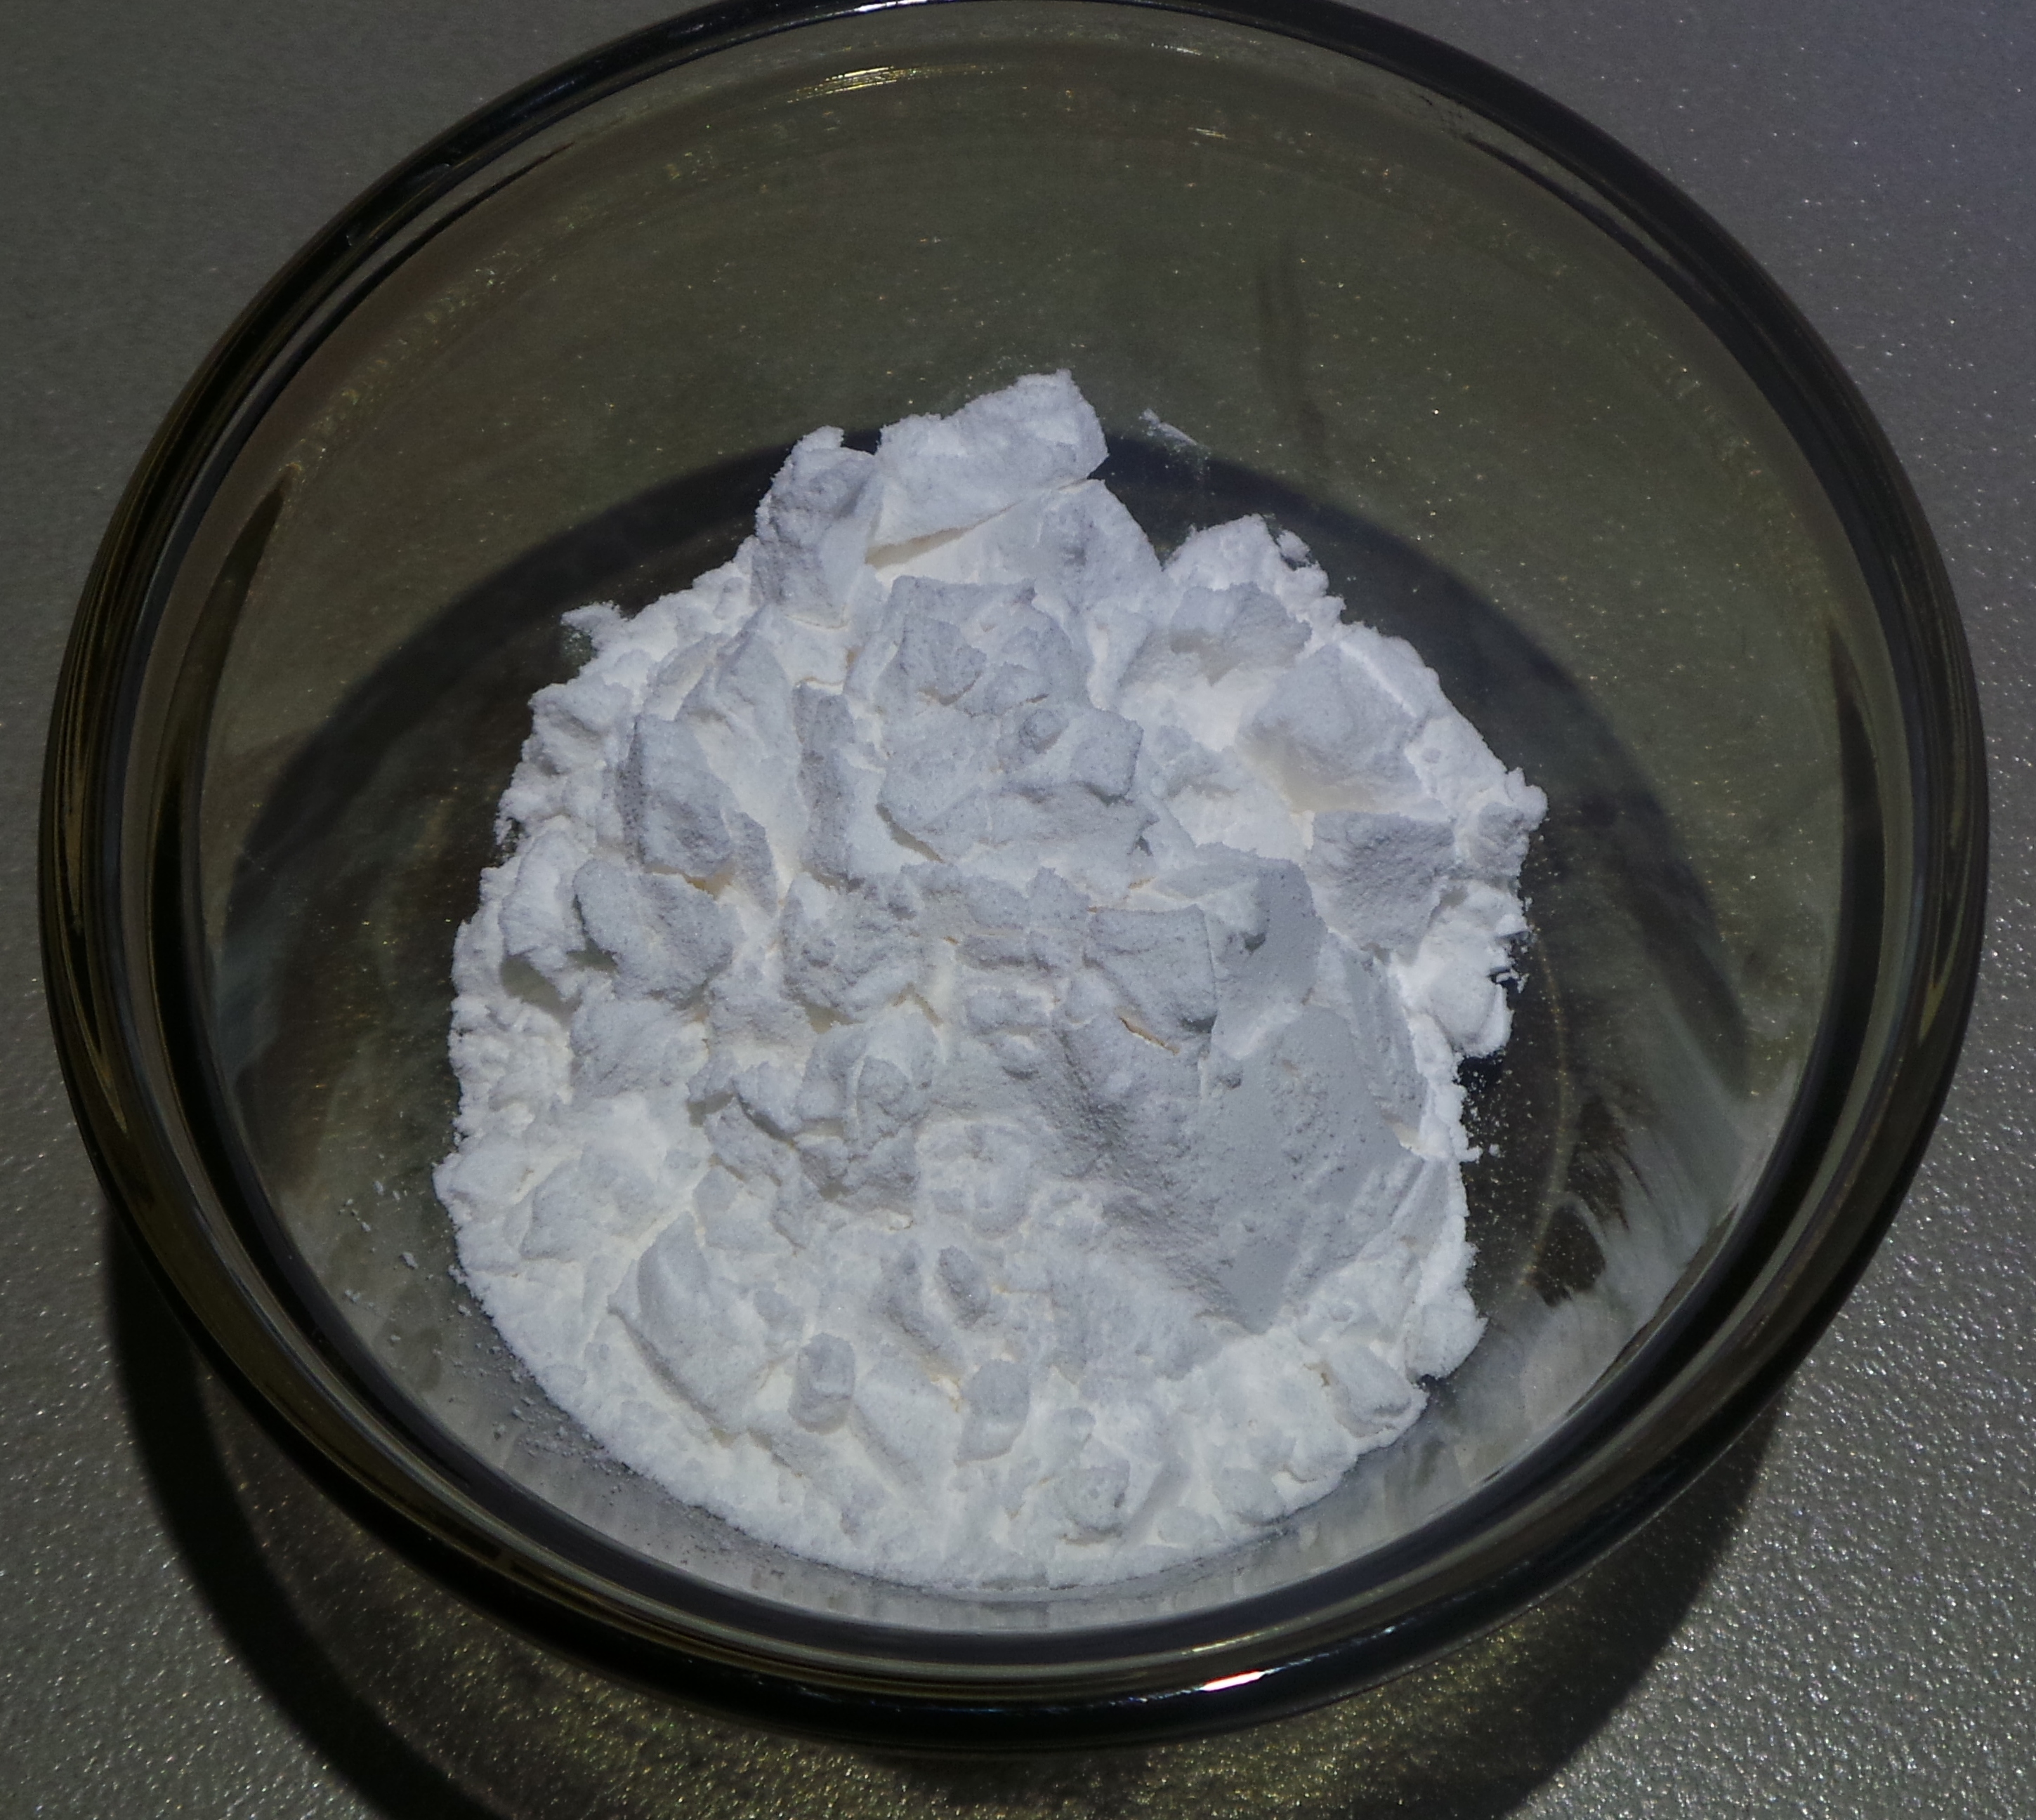
Quinoa in the raw
But before I go on, let’s address a matter of some importance…how to pronounce it.
Keen-wa.
Ok? Got it? Good.
If I hear anyone saying kwin-oh-ah, I’ll slap them.
Quinoa, as I was saying, is a little famous at the moment. It is a seed that has been in cultivation for thousands of years, but only commercially so for a very short time. Which explains its cost (more on that later).
Remarkably it is a source of complete protein, which makes it extremely valuable to vegans and vegetarians. It is gluten-free and rich in dietary fibre, magnesium and iron as well as being a good source of calcium – very handy for the lactose-intolerant.
It comes in white, black and red versions. I prefer the white, but that’s just me.
Teeny, tiny seeds
It also tastes good, is easily digested, low GI and incredibly easy to prepare.
It’s not a large commercial crop though, and is on the pricey side. At my local supermarket it comes in at $2 per 100g or $10 for a half kilo (500g) bag. Bear in mind that it behaves somewhat like rice in that it swells when cooked, so one cup of quinoa will yield 2½ – 3 cups of it cooked. It can also be used in recipes that call for rice and I have made several quite successful risottos with it.
Please note that, even at that price, this entire recipe will still only cost you around AUD 4.50.

Cooked Quinoa.
Unlike rice, it will give a large nutritional bang for your buck (see above) and not give you just calories and carbohydrates.
This dish is one I like to take to gatherings that require one to “bring a plate.” It’s simple, it has only three and a bit ingredients, it travels well, it caters for the gluten and lactose intolerant as well as vegetarians, it’s served cold and can often provide a talking point as everyone tries to work out (a) what it is and (b) how to pronounce it. HINT: Keen – Wa
Ahem. Moving on.
This dish is great for Christmas gatherings in Australia too as the colours of the craisins are very much of the season and the coolness of the dish is wonderful on stinking hot days.
Enough. Let’s cook.
The first, and most important, step is to wash your quinoa. It’s also the trickiest. Quinoa seeds have a chemical in their coating called saponin. It is quite bitter and may not all be removed on the way from the field to your kitchen. Wash it.
This can be difficult to do as the seeds themselves are tiny. Really small. Think the tip-of-a-ball-point-pen small.
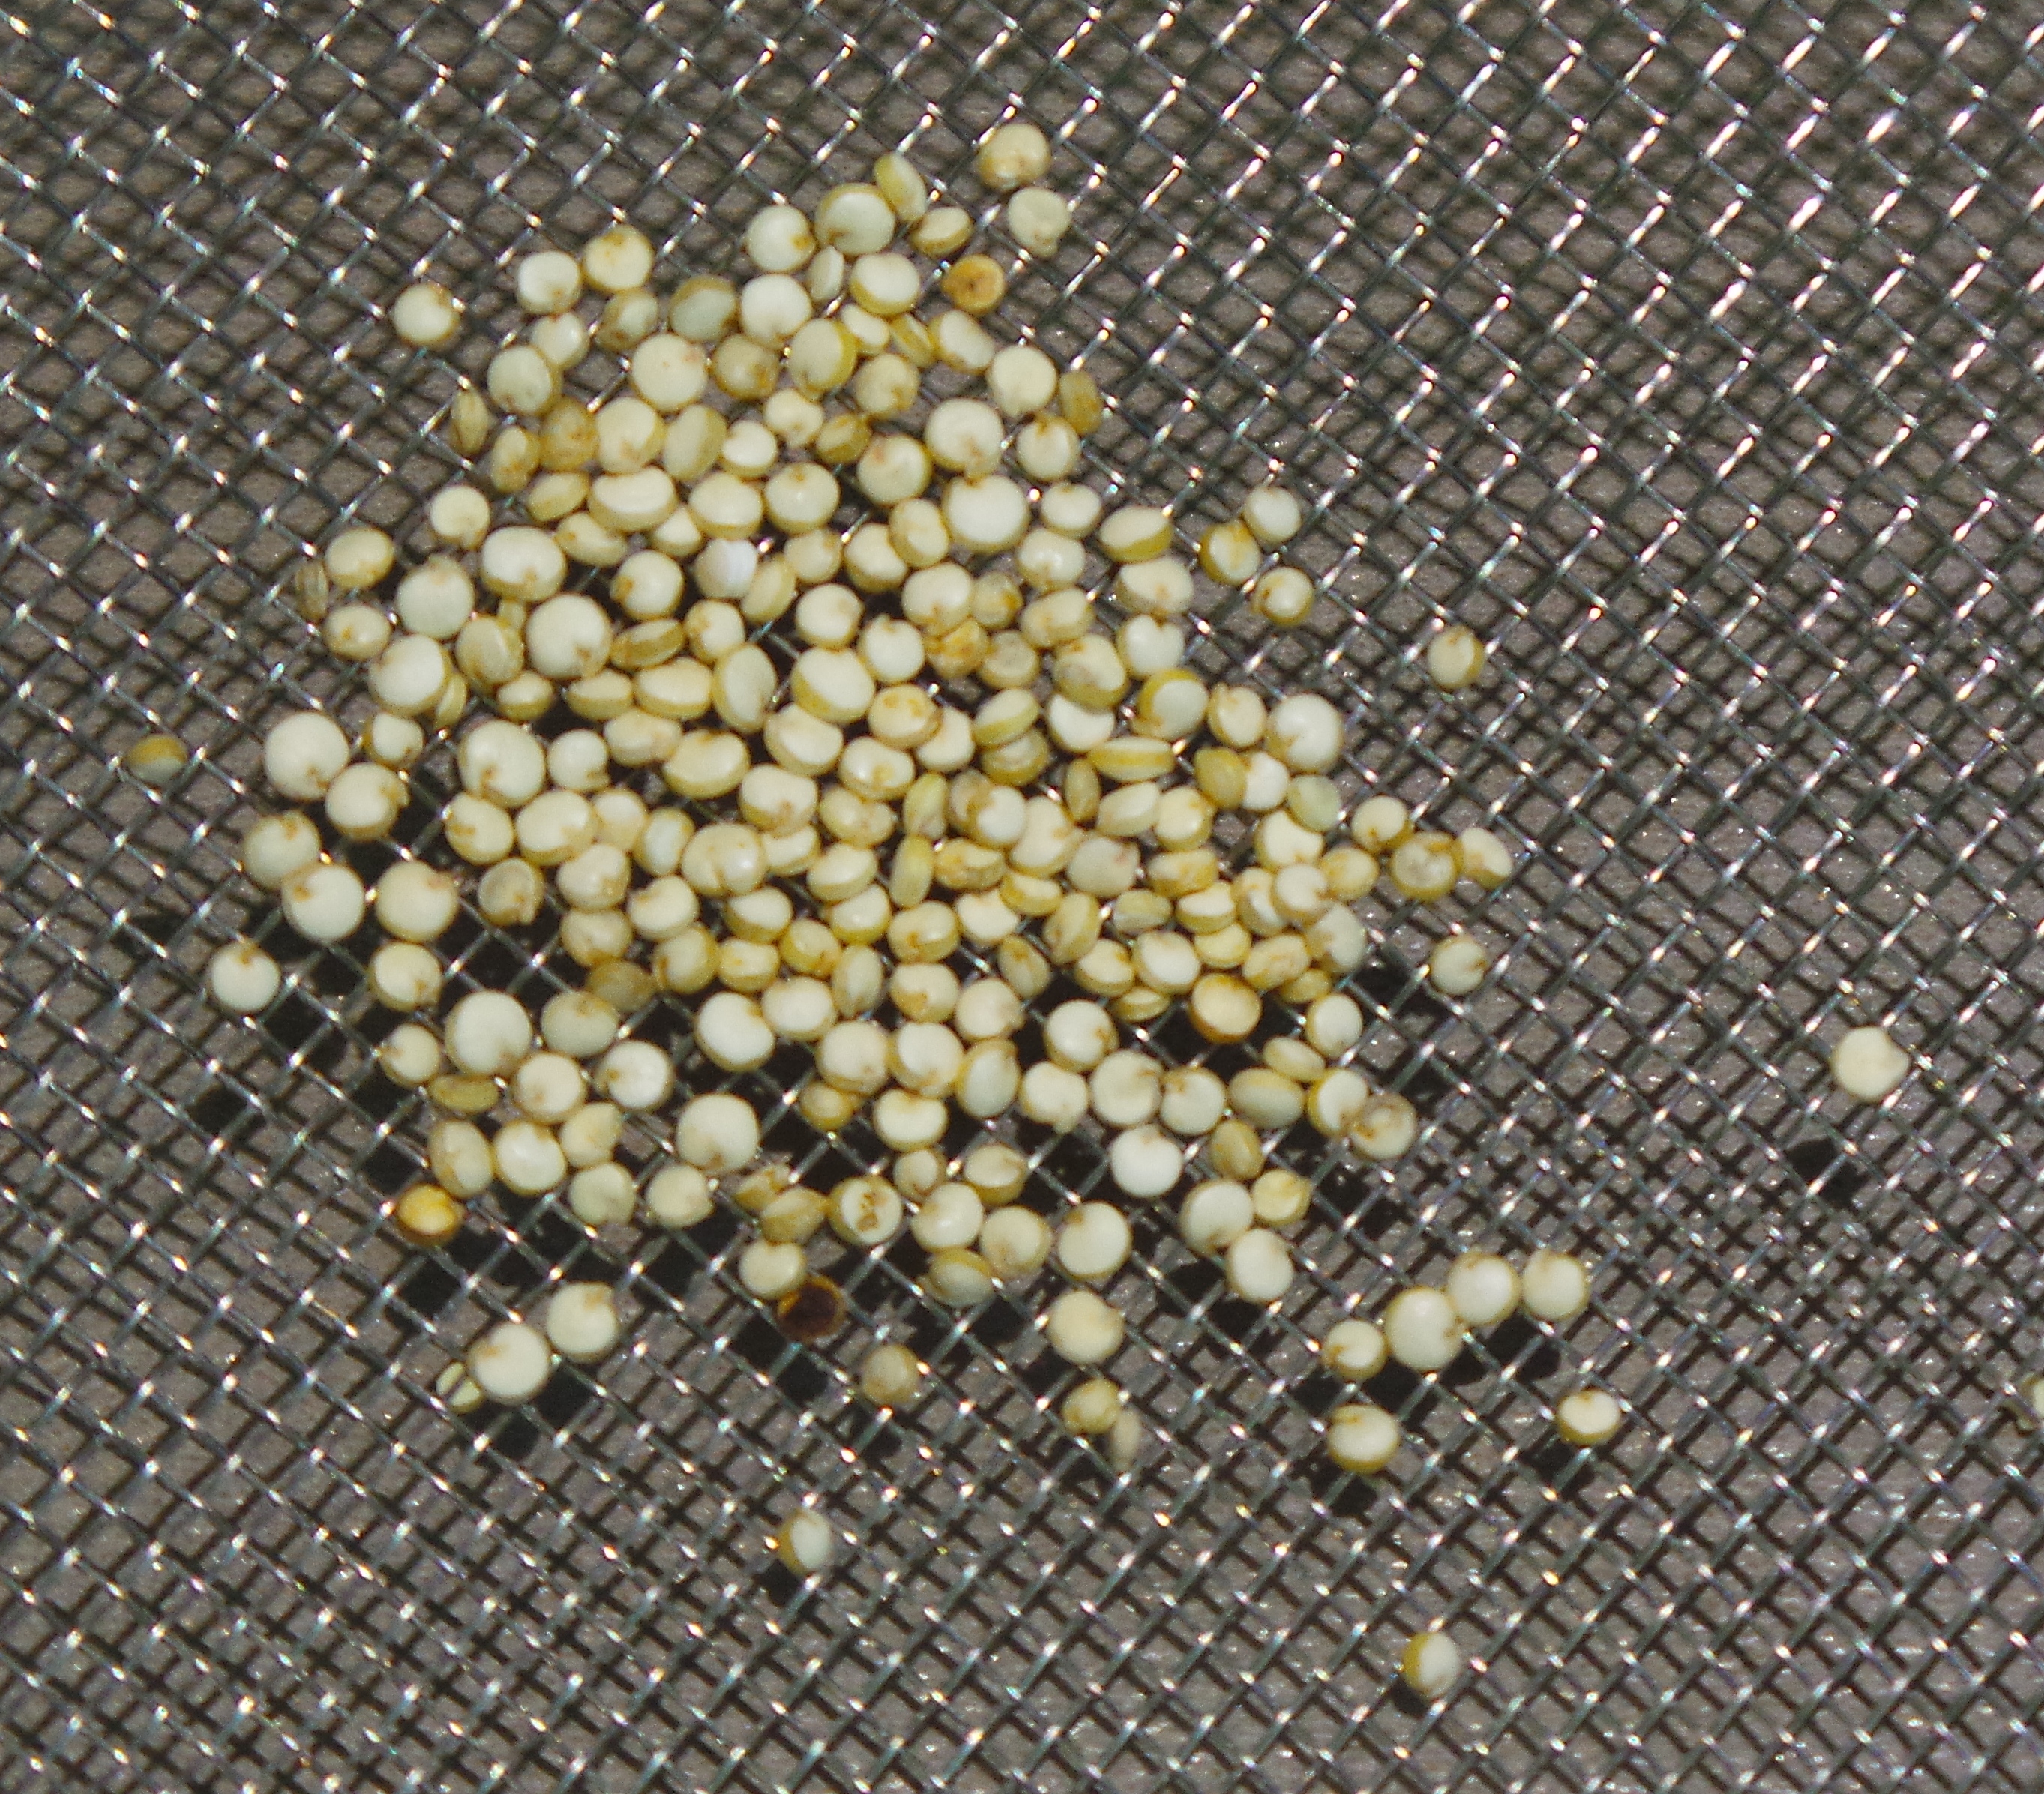
The quinoa is only a little larger than the holes in my finest mesh strainer.
They are easily washed through the holes of any sieves you may own. I have found myself a strainer with a very fine mesh that saves me from dumping the lot down the drain with the water. You may find that your current strainer works with the addition of a lining piece of paper towel, cheesecloth or a clean Chux.

Line your sieve so you don’t lose your quinoa.
Place your quinoa in a bowl and cover with water, agitating gently. The water will turn cloudy, like this:

First rinse.
Drain through your sieve, return to the bowl and continue the process until the rinse water looks clear, like this:

The same bowl, two rinses later.
It will only take two or three turns.
While you are doing this, three-quarter fill a large saucepan with water and bring it to the boil. By the time the boiling point is reached, your quinoa will be clean and can be added all in one go to the pot. There is no need to add salt.
Set a timer for 15 minutes and just let it cook, stirring occasionally.
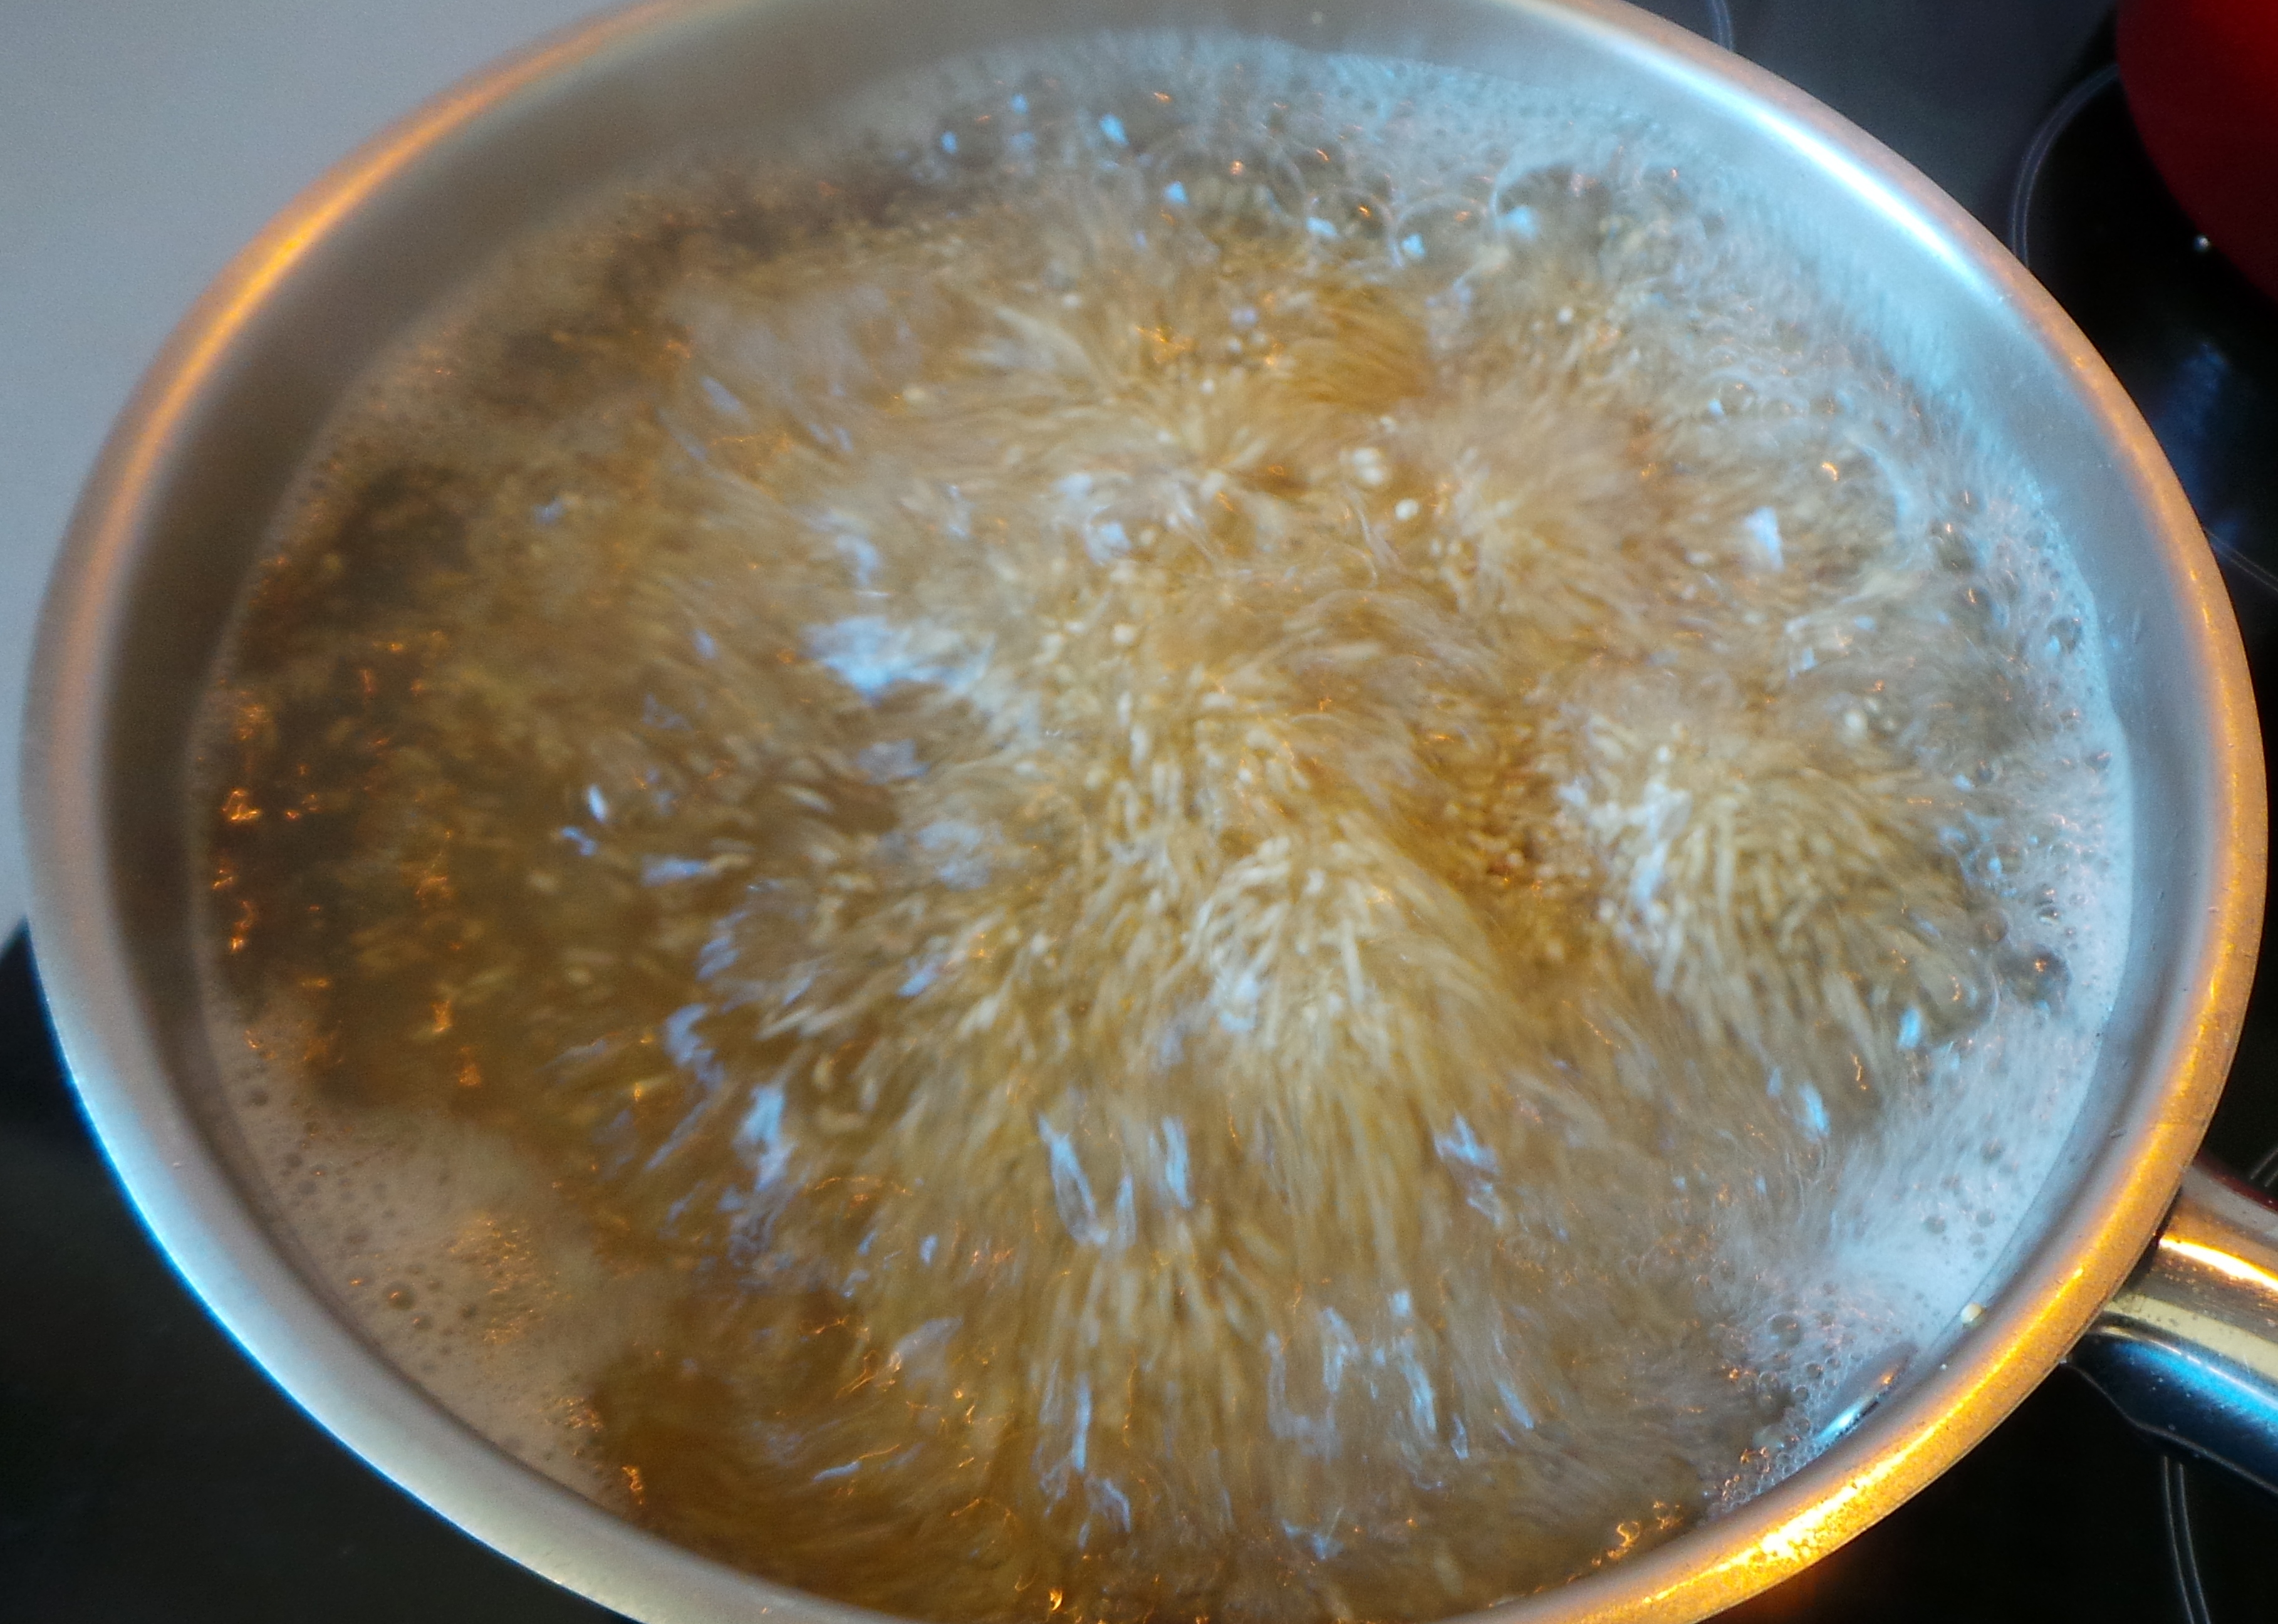
Let it cook at a roiling boil.
At the end of the 15 mins, drain it. You’ll notice that the seed has separated from its husk. Don’t panic, those aren’t worms through it. And yes, I have actually been asked this!
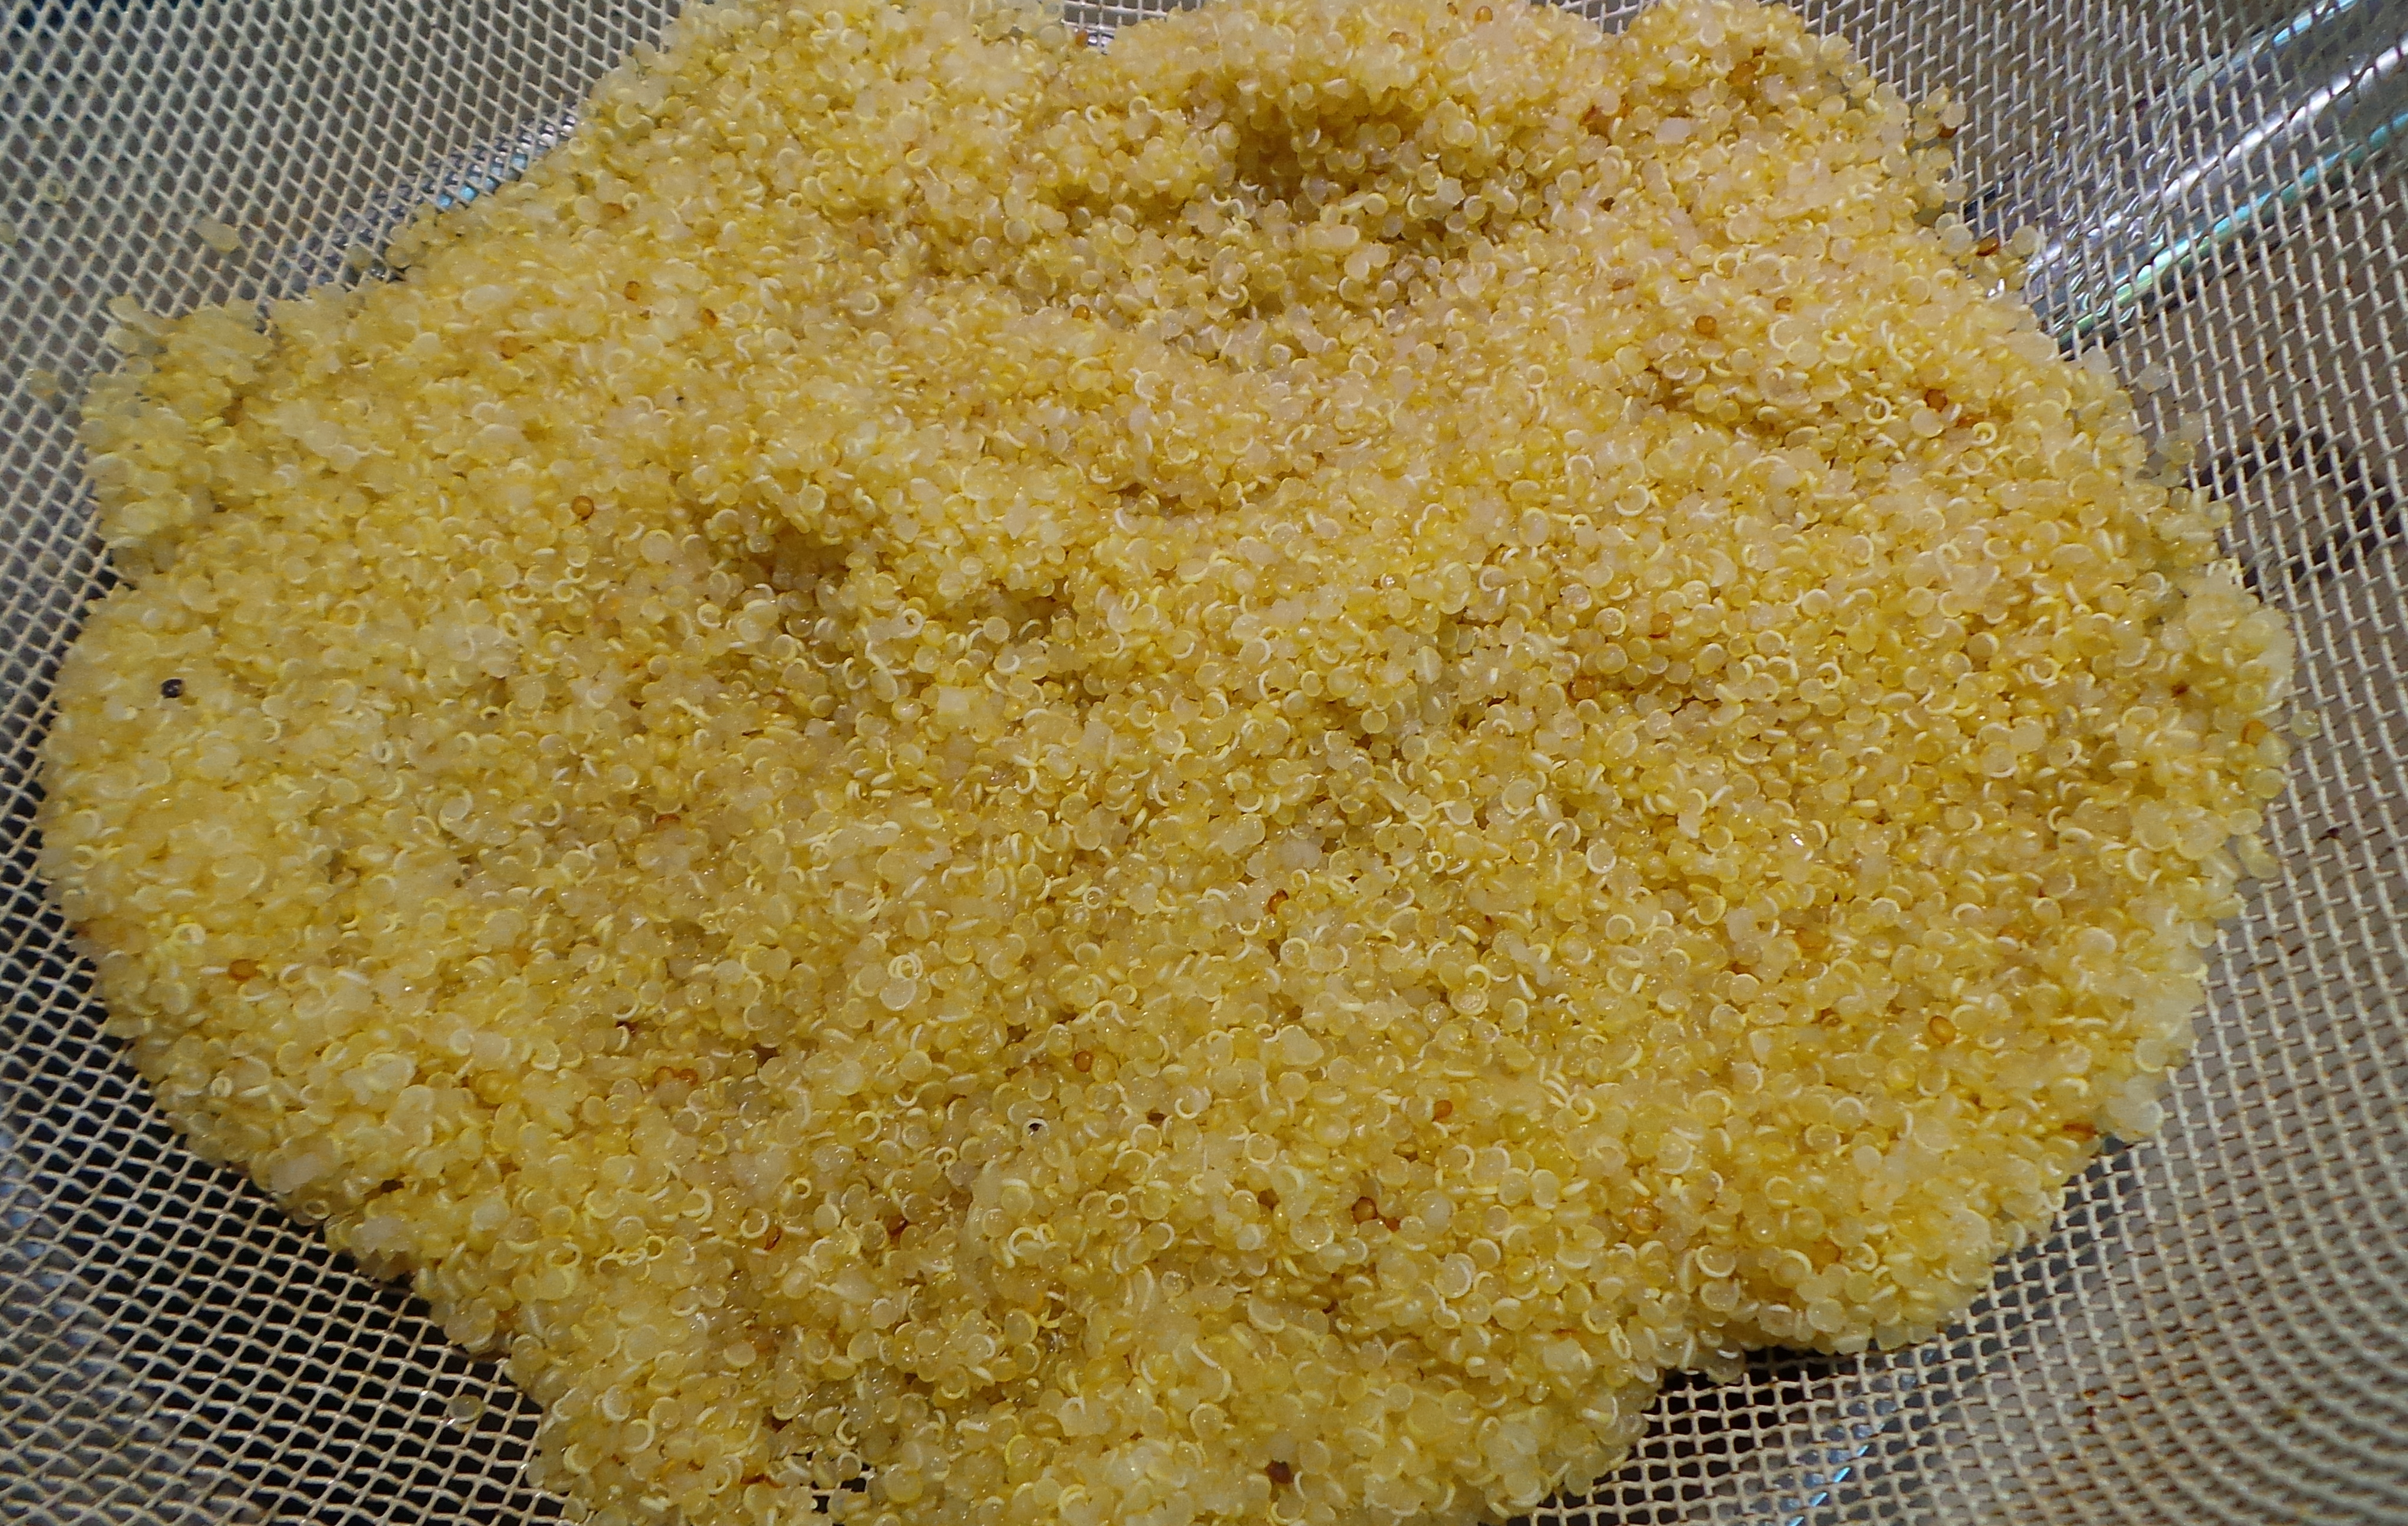
Cooked quinoa.
Run a fork through the seeds in order to facilitate proper draining as quite a bit of water can become caught. Leave it to cool thoroughly.
Now place your quinoa in a bowl and drizzle with a good glug of olive oil – as much or as little as you want.
Add your craisins (dried cranberries) and stir through.
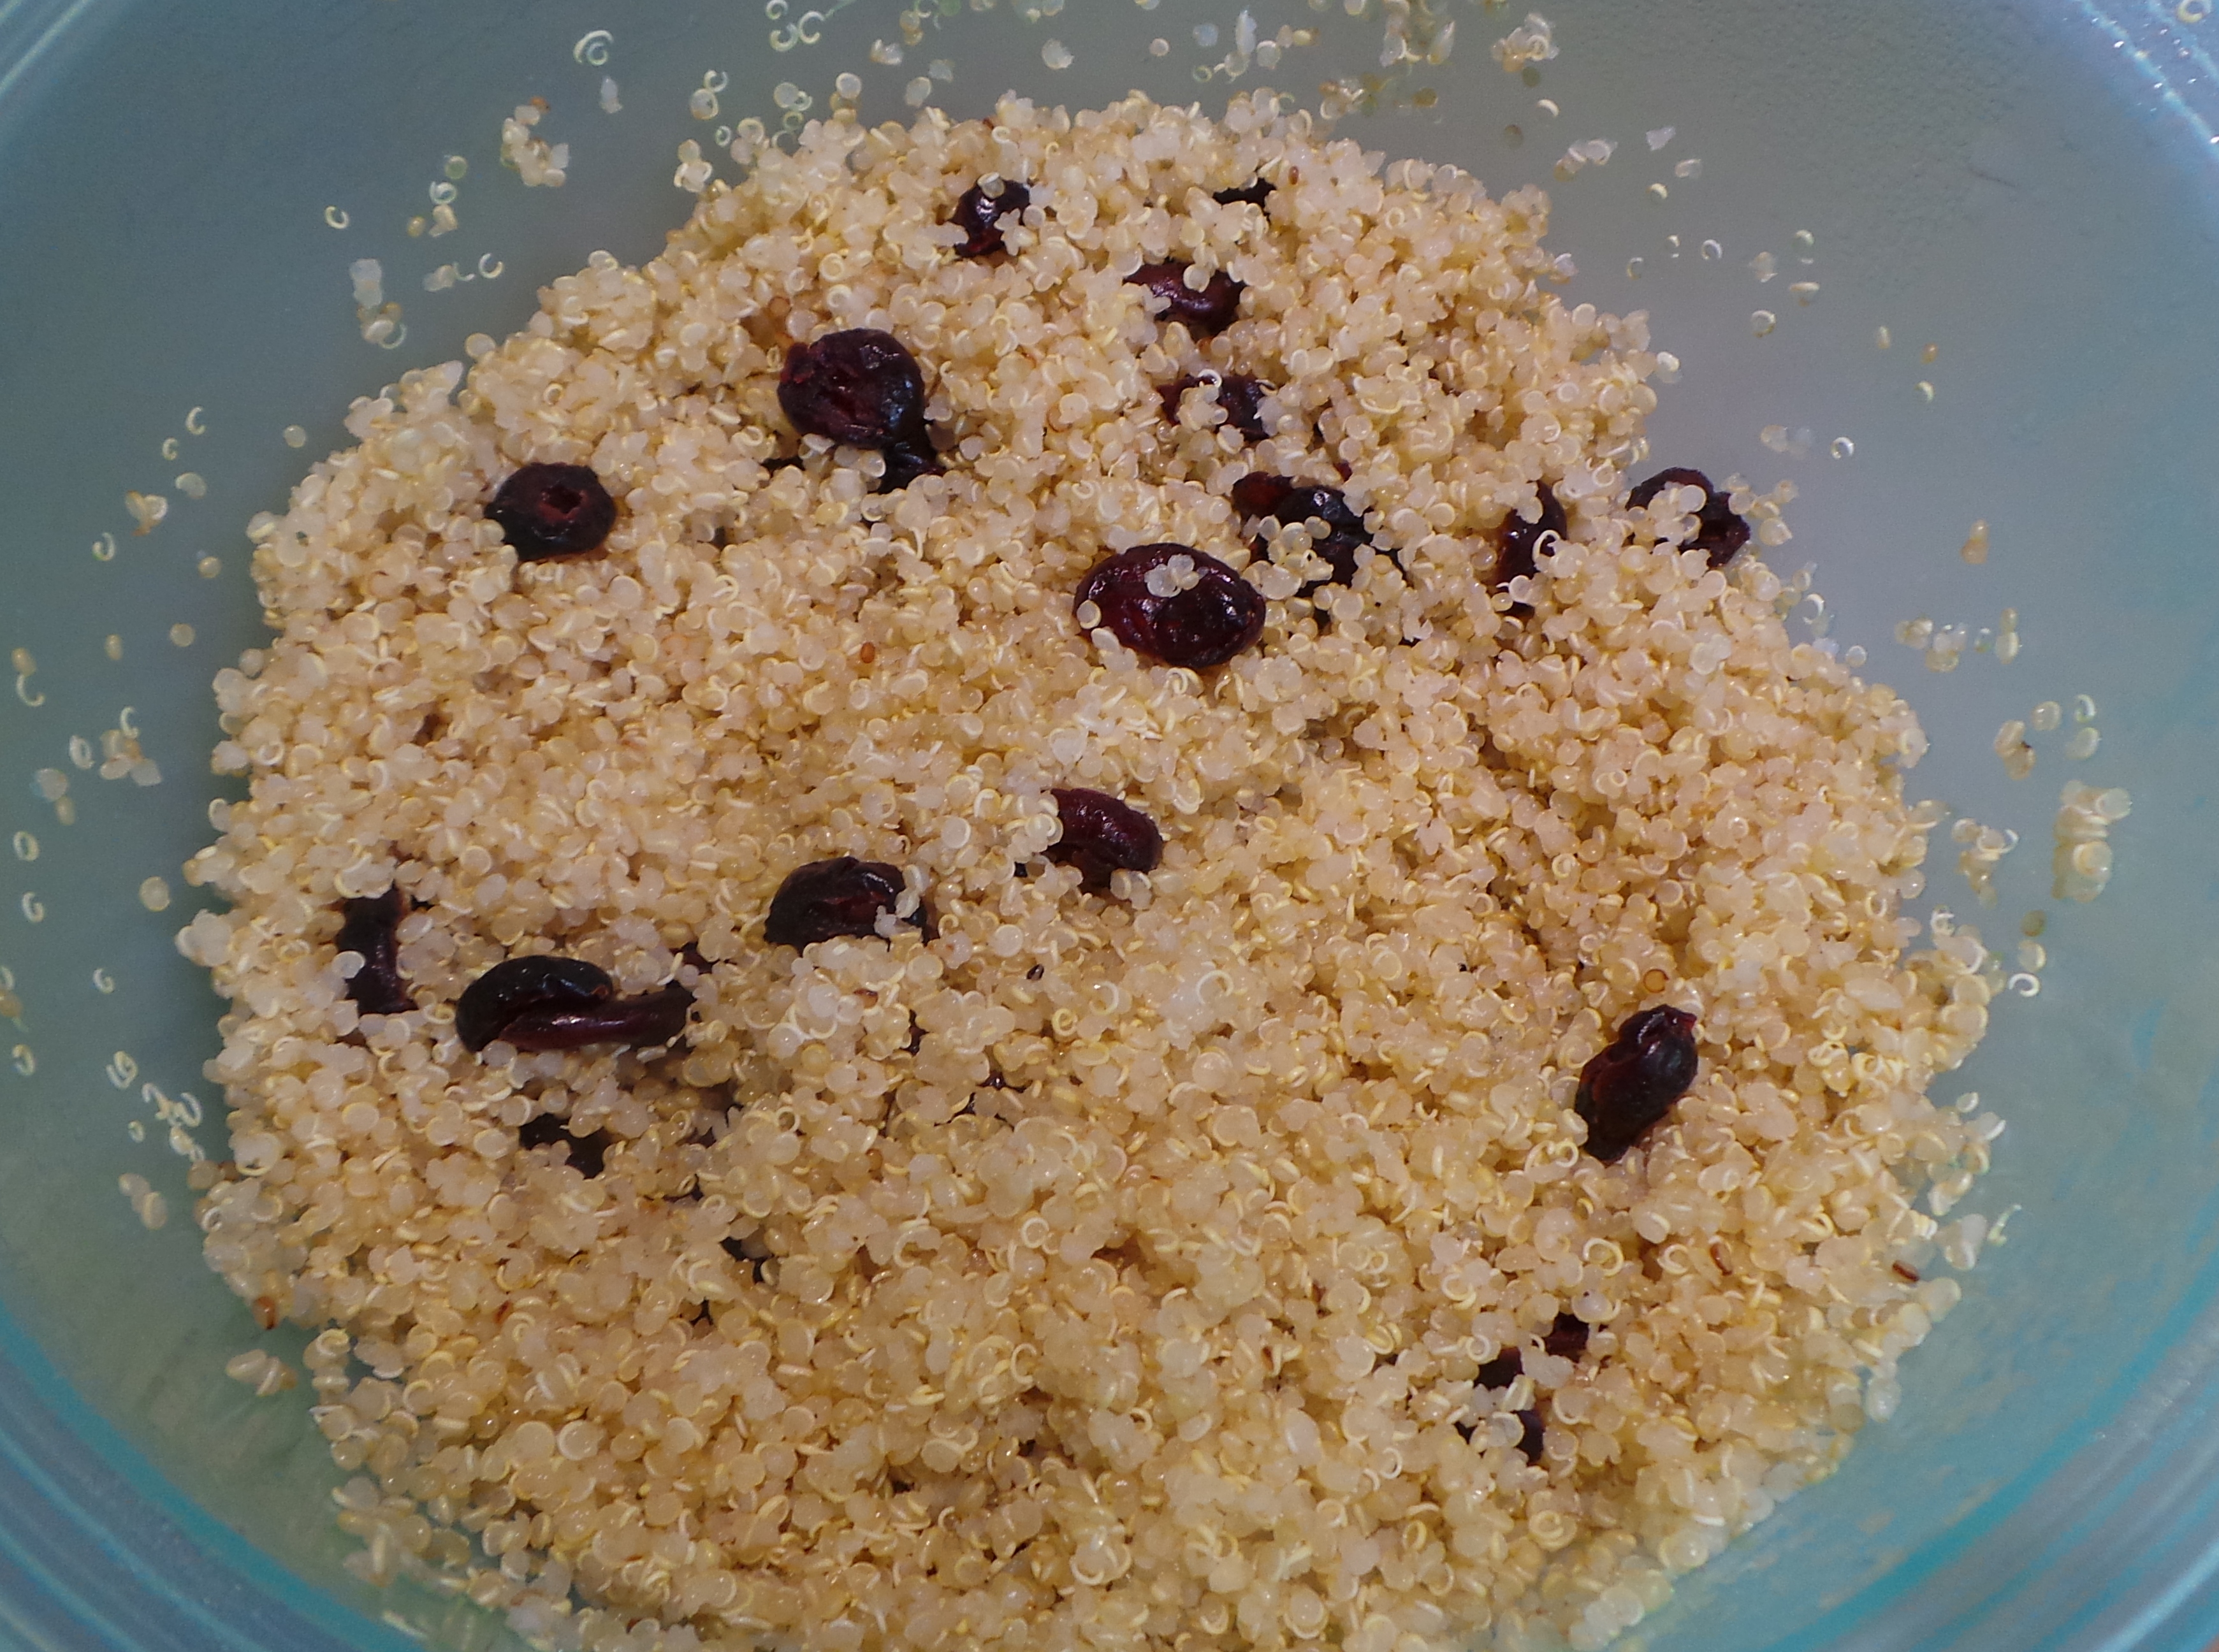
Add the cranberries.
Now heat a small frypan and gently toast your slivered almonds. Toss or stir them constantly as they will burn quite easily. You will know when they are done when they are a gorgeous tanned colour and the smell is simply mouth-watering…
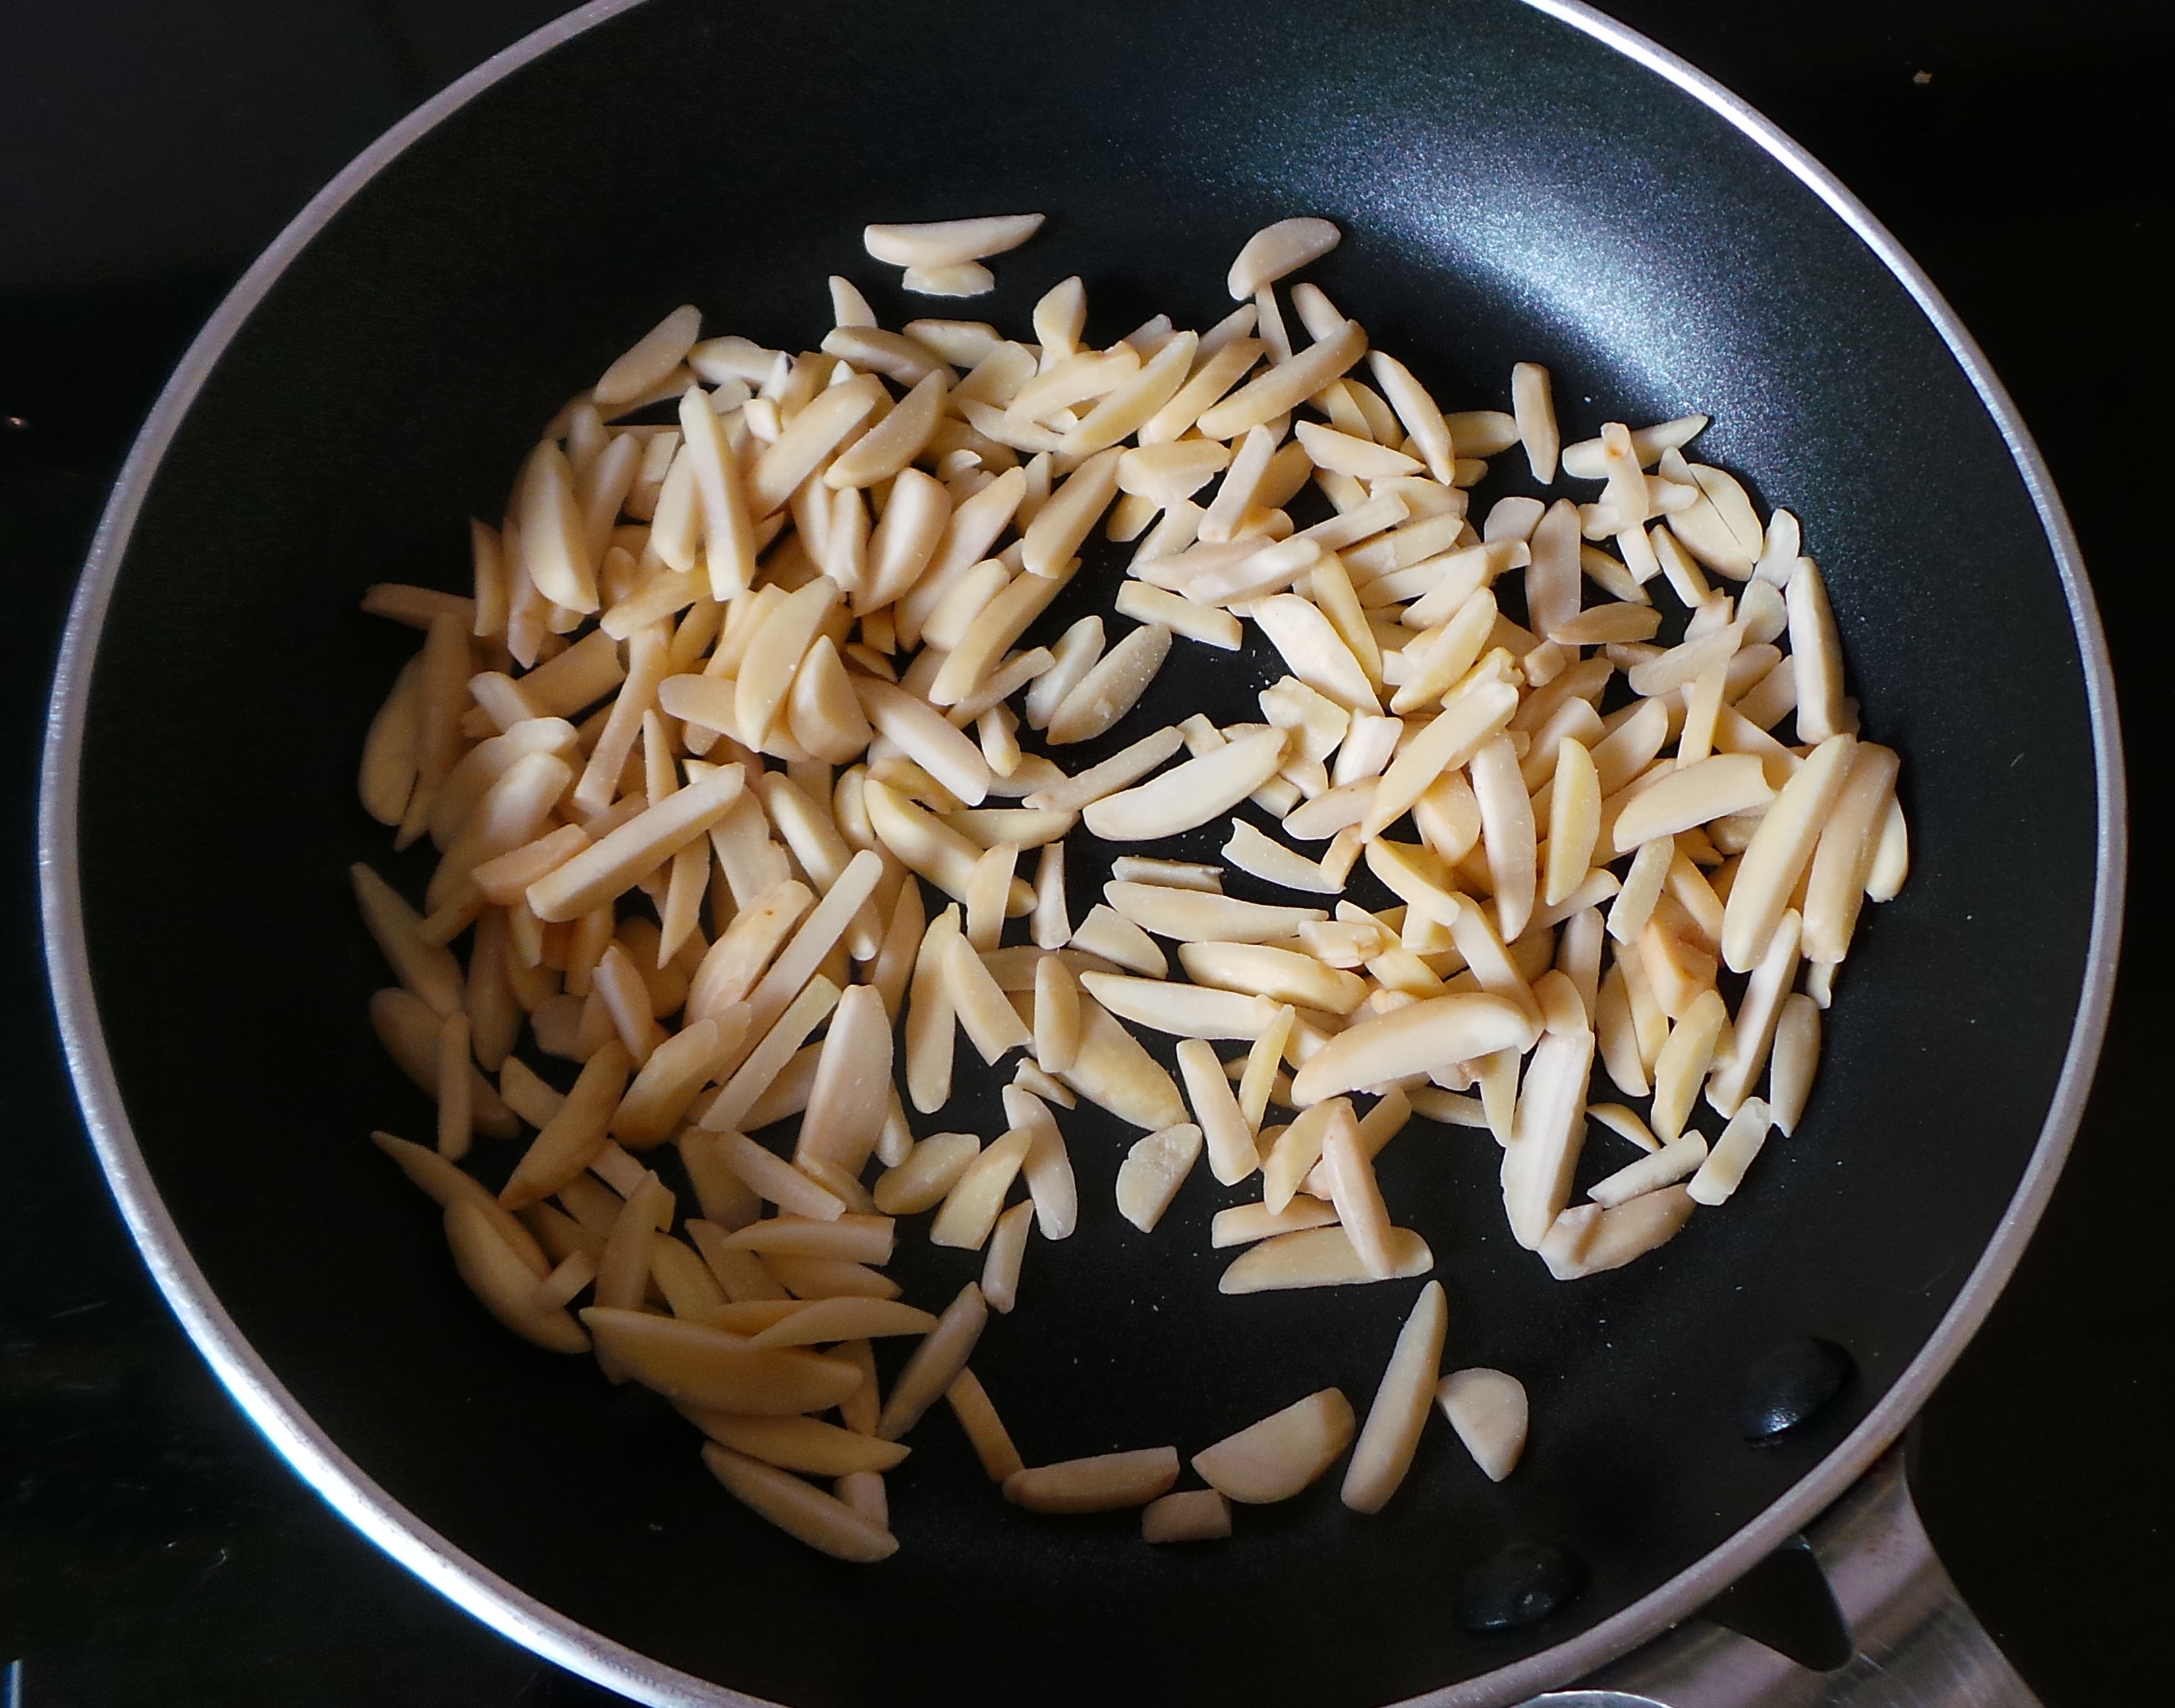
I use a little egg pan for toasting my nuts.
Add to your bowl, mix through and serve.
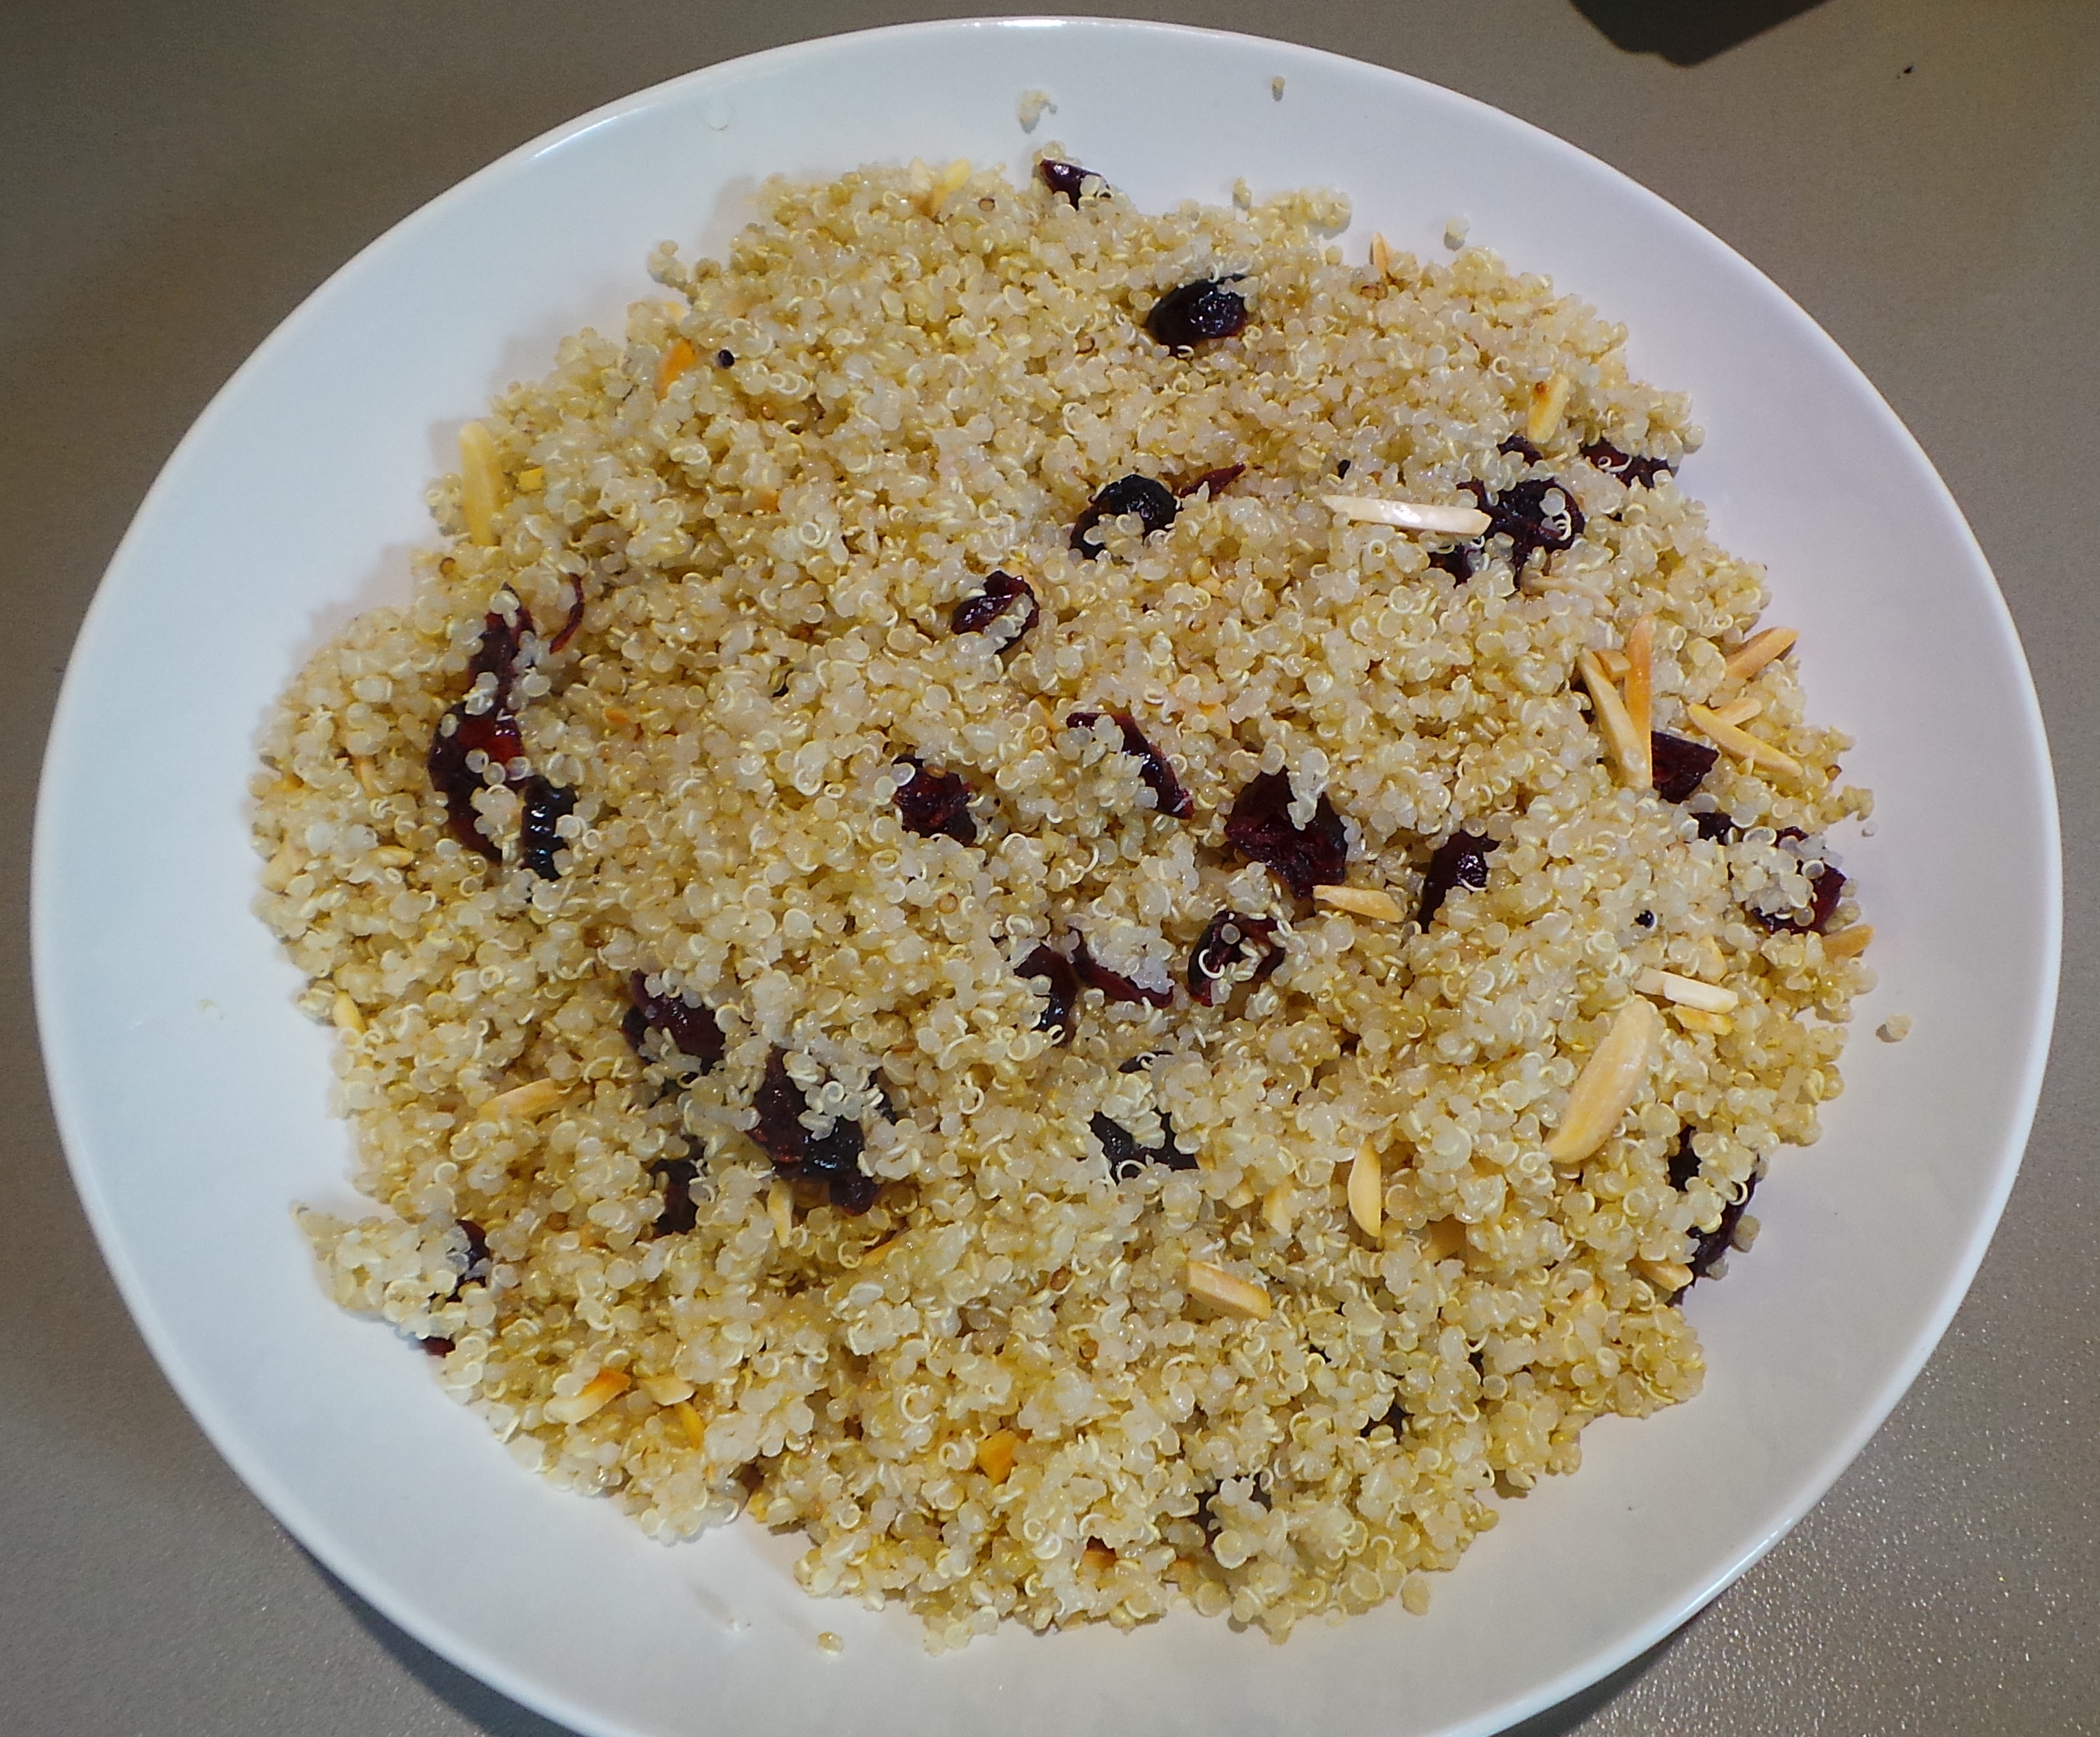
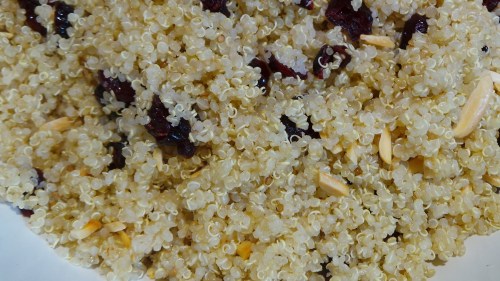
Isn’t it purdy?
This will keep happily in the refrigerator for at least three days. You’ll find the colour of the dried cranberries will ‘bleed’ into the quinoa, which just makes it look even prettier for my money.
Apart from being ideal for gatherings, it’s also a great packed lunch option. Make up a batch on the weekend to be taken to work or school during the week to come.
Whatever you do, resist the urge to add anything more to this dish. It looks as though it needs something, but it really doesn’t. I added some parsley to it once and regretted it immensely. If you really can’t help yourself, then I would suggest some very finely grated lemon or orange zest. Then stop.
Cranberry-Almond Quinoa Pilaf
Ingredients
1 cup (185g) quinoa
½ cup dried cranberries (craisins)
¼ cup slivered almonds
olive oil.
Method
Rinse the quinoa well until the water is clear. This will remove any bitterness.
Fill a large saucepan ¾ full with water and bring to the boil. Add the rinsed quinoa and cook at a rolling boil for 15 minutes.
Drain the quinoa thoroughly and cool. It is helpful to stir the draining seeds with a fork to release any trapped pockets of liquid.
Place the cold quinoa in a large bowl and add a glug of olive oil to taste. Stir through.
Add the craisins and mix through.
Toast the slivered almonds until lightly brown, either in a frypan or in the oven on low heat. Watch them carefully as nuts burn easily. Toasted nuts smell fragrant.
Add the nuts to the pilaf and serve.
Will keep for several days in the refrigerator.