Pancakes are one of those things that always seem special, no matter how they are served.
They really aren’t all that difficult to make, but may require some time on your feet and rather a lot of patience while you get your pan sorted out.
Learn how to make these and then learn to ring the changes and make a savoury version with fritters or a simple variation with sliced apple.

I heart pancakes…
They can be made in adult-sized meal servings or as many ‘baby’ pancakes.
In Australia these baby pancakes are usually served cold and known as pikelets or even drop-scones. As a Queenslander by birth, I grew up calling them pikelets and taking them to school spread with butter and Vegemite. When my family moved to Victoria I discovered them dubbed drop-scones and served with jam and whipped cream
I must confess, I don’t make pancakes very often. They are one of those dishes that starts out a treat but can readily become too much of a good thing as your stomach starts to feel overwhelmingly full…
I’ve also had a lot of frustration with the glass cook top at my new home and had decided that they were just not going to be a thing while we live here. Then, on advice, I bought myself a little butane-powered camp stove and could suddenly fry at a reliable temperature again.
In the meantime there were many tears over many, many failed dishes.
Chocolate was eaten.
Hugs were required.
It doesn’t need to be hard though. If you have a reliable heat source and a good frying pan or skillet, you should be fine. Really truly.
Also, don’t worry about the whole flipping thing. These are pancakes and not crêpes, use a fish slice or spatula and relax.
I’ve made these so many times now that I don’t need a recipe anymore and simply mix everything together in a large Pyrex jug. You, too, can get to that level of confidence following the recipe at the bottom of this post. 😉
Print it off, laminate it and pin it to your fridge. Someone may see it and decide to spoil you with them for a special occasion some time. Ahem.
So, let’s begin.
Sift together your SR Flour, a pinch of salt and some sugar. Feel free to add a pinch of cinnamon or nutmeg, but don’t feel obliged.
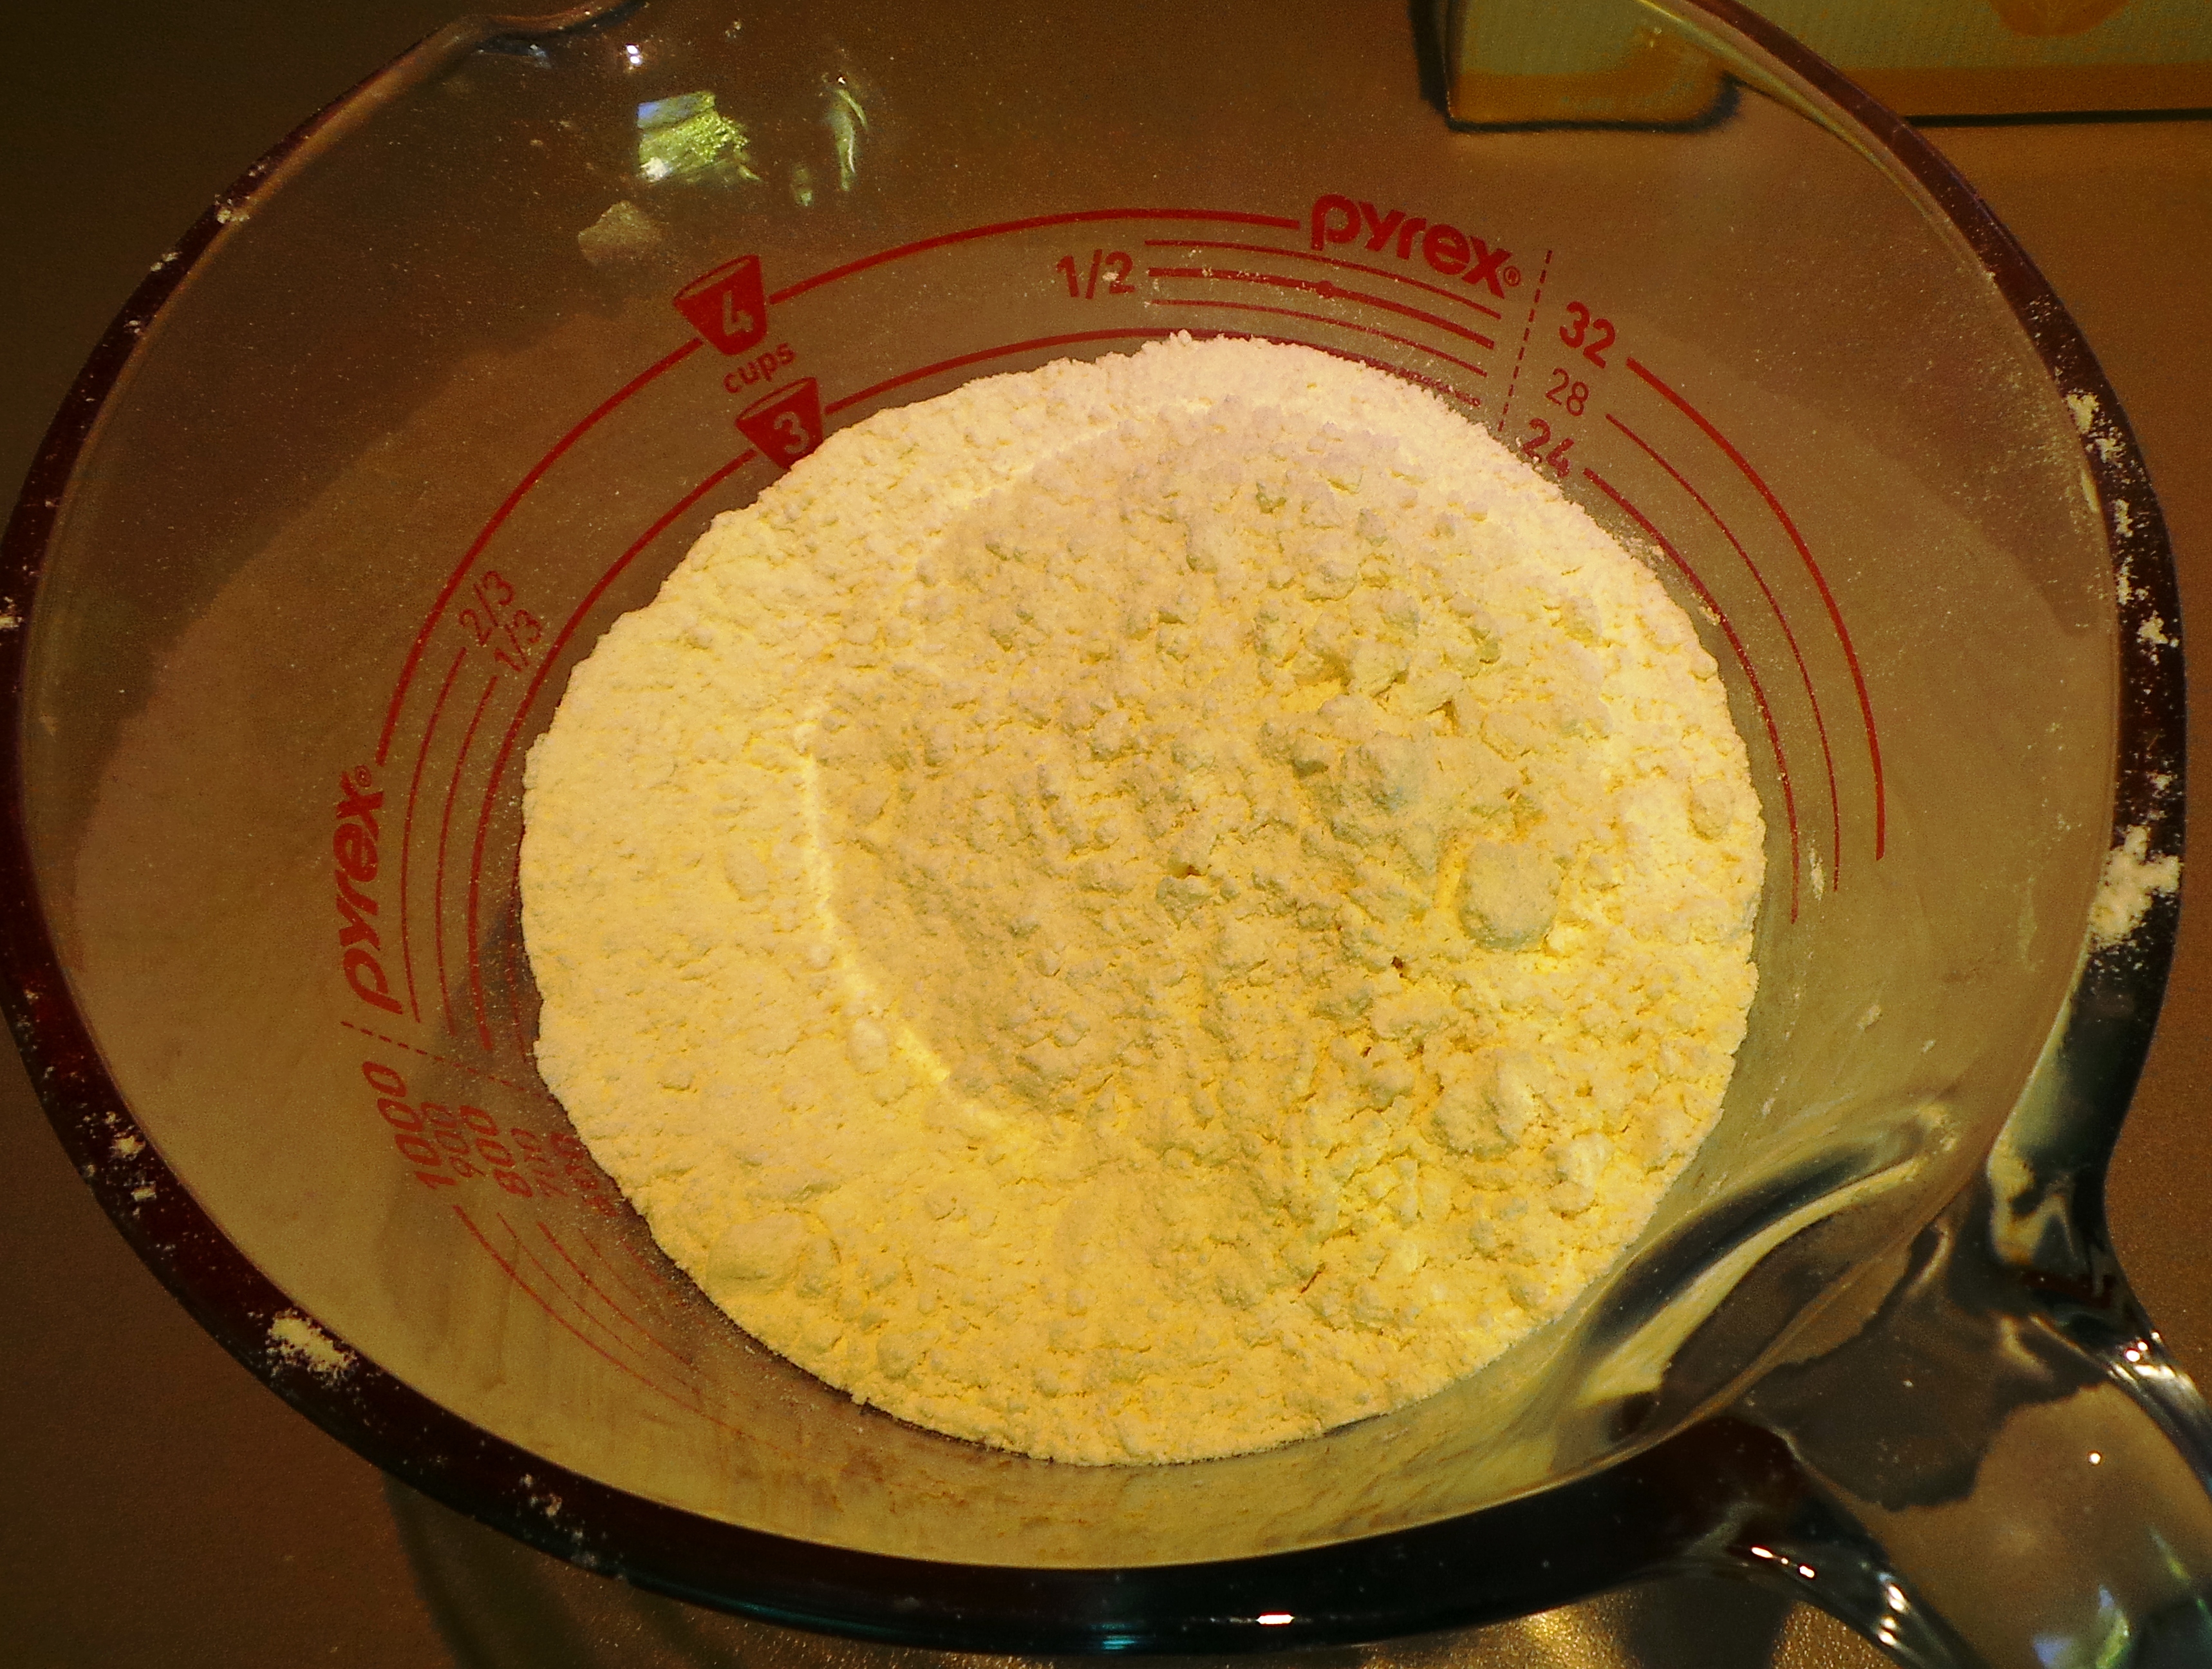
Sift your dry ingredients together.
Mix together your egg and milk. You might also try using buttermilk or a mix of half yoghurt and half milk. These last two will give your batter an extra lightness.
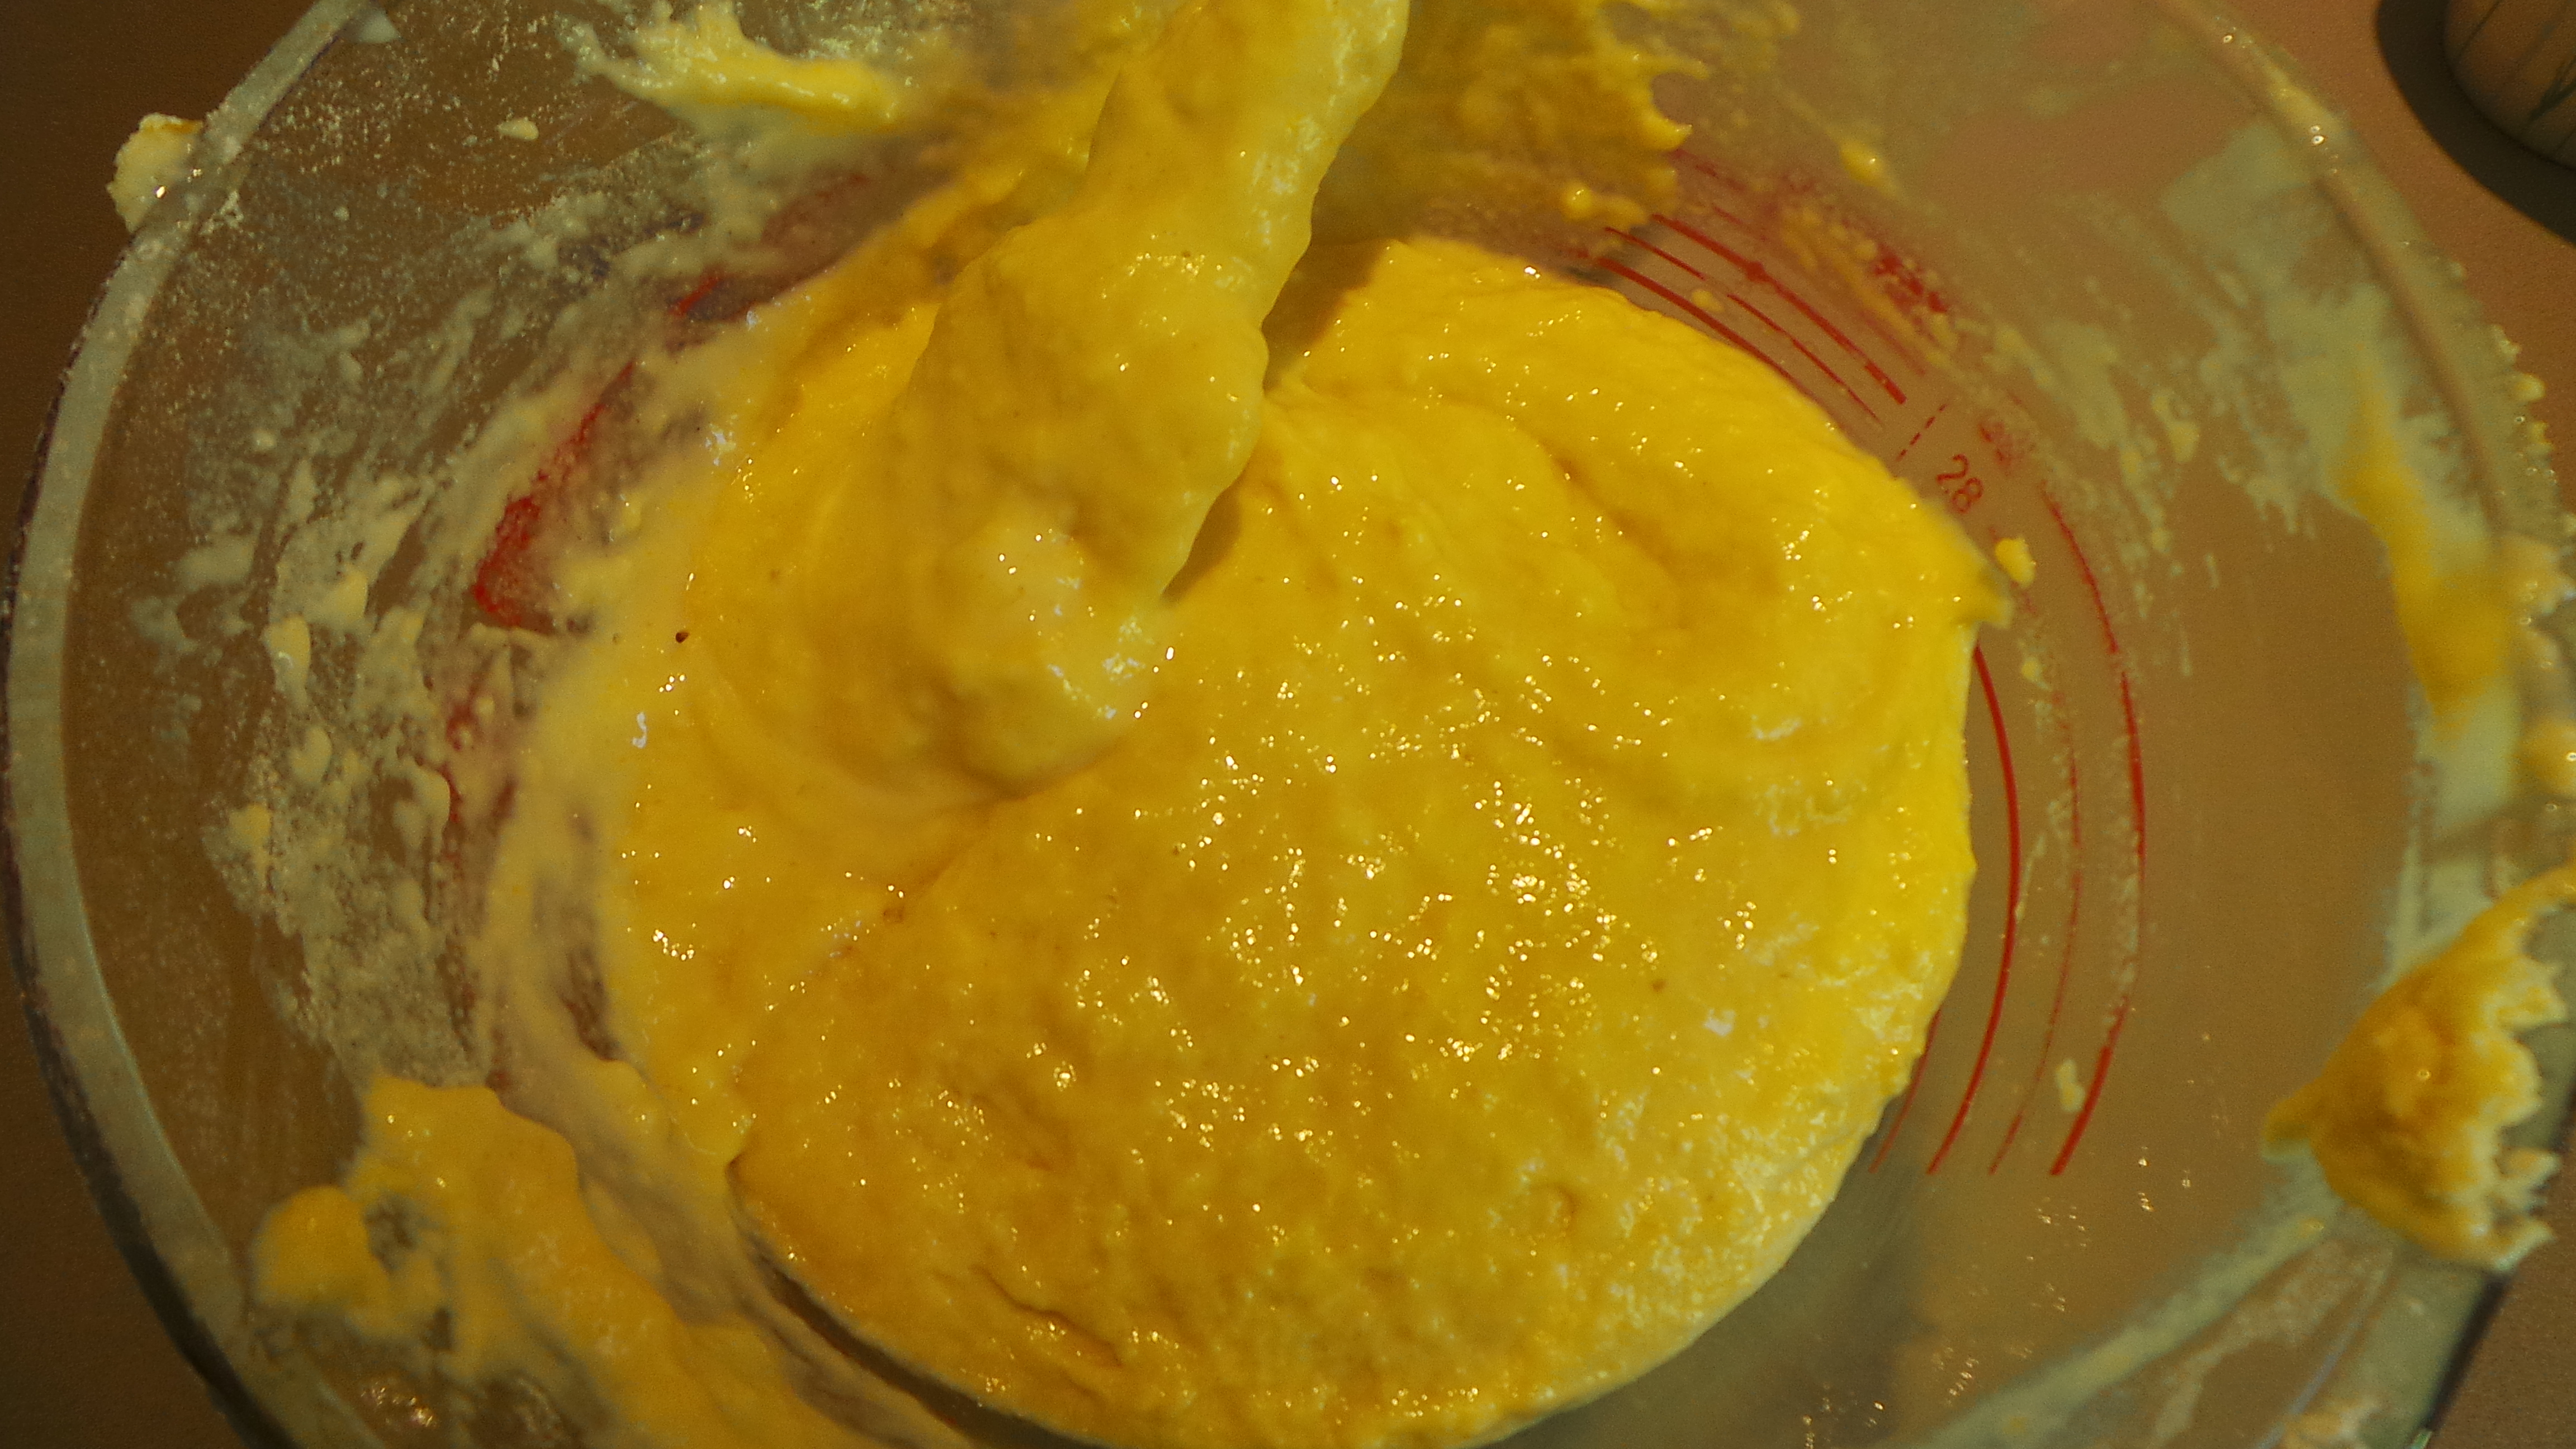
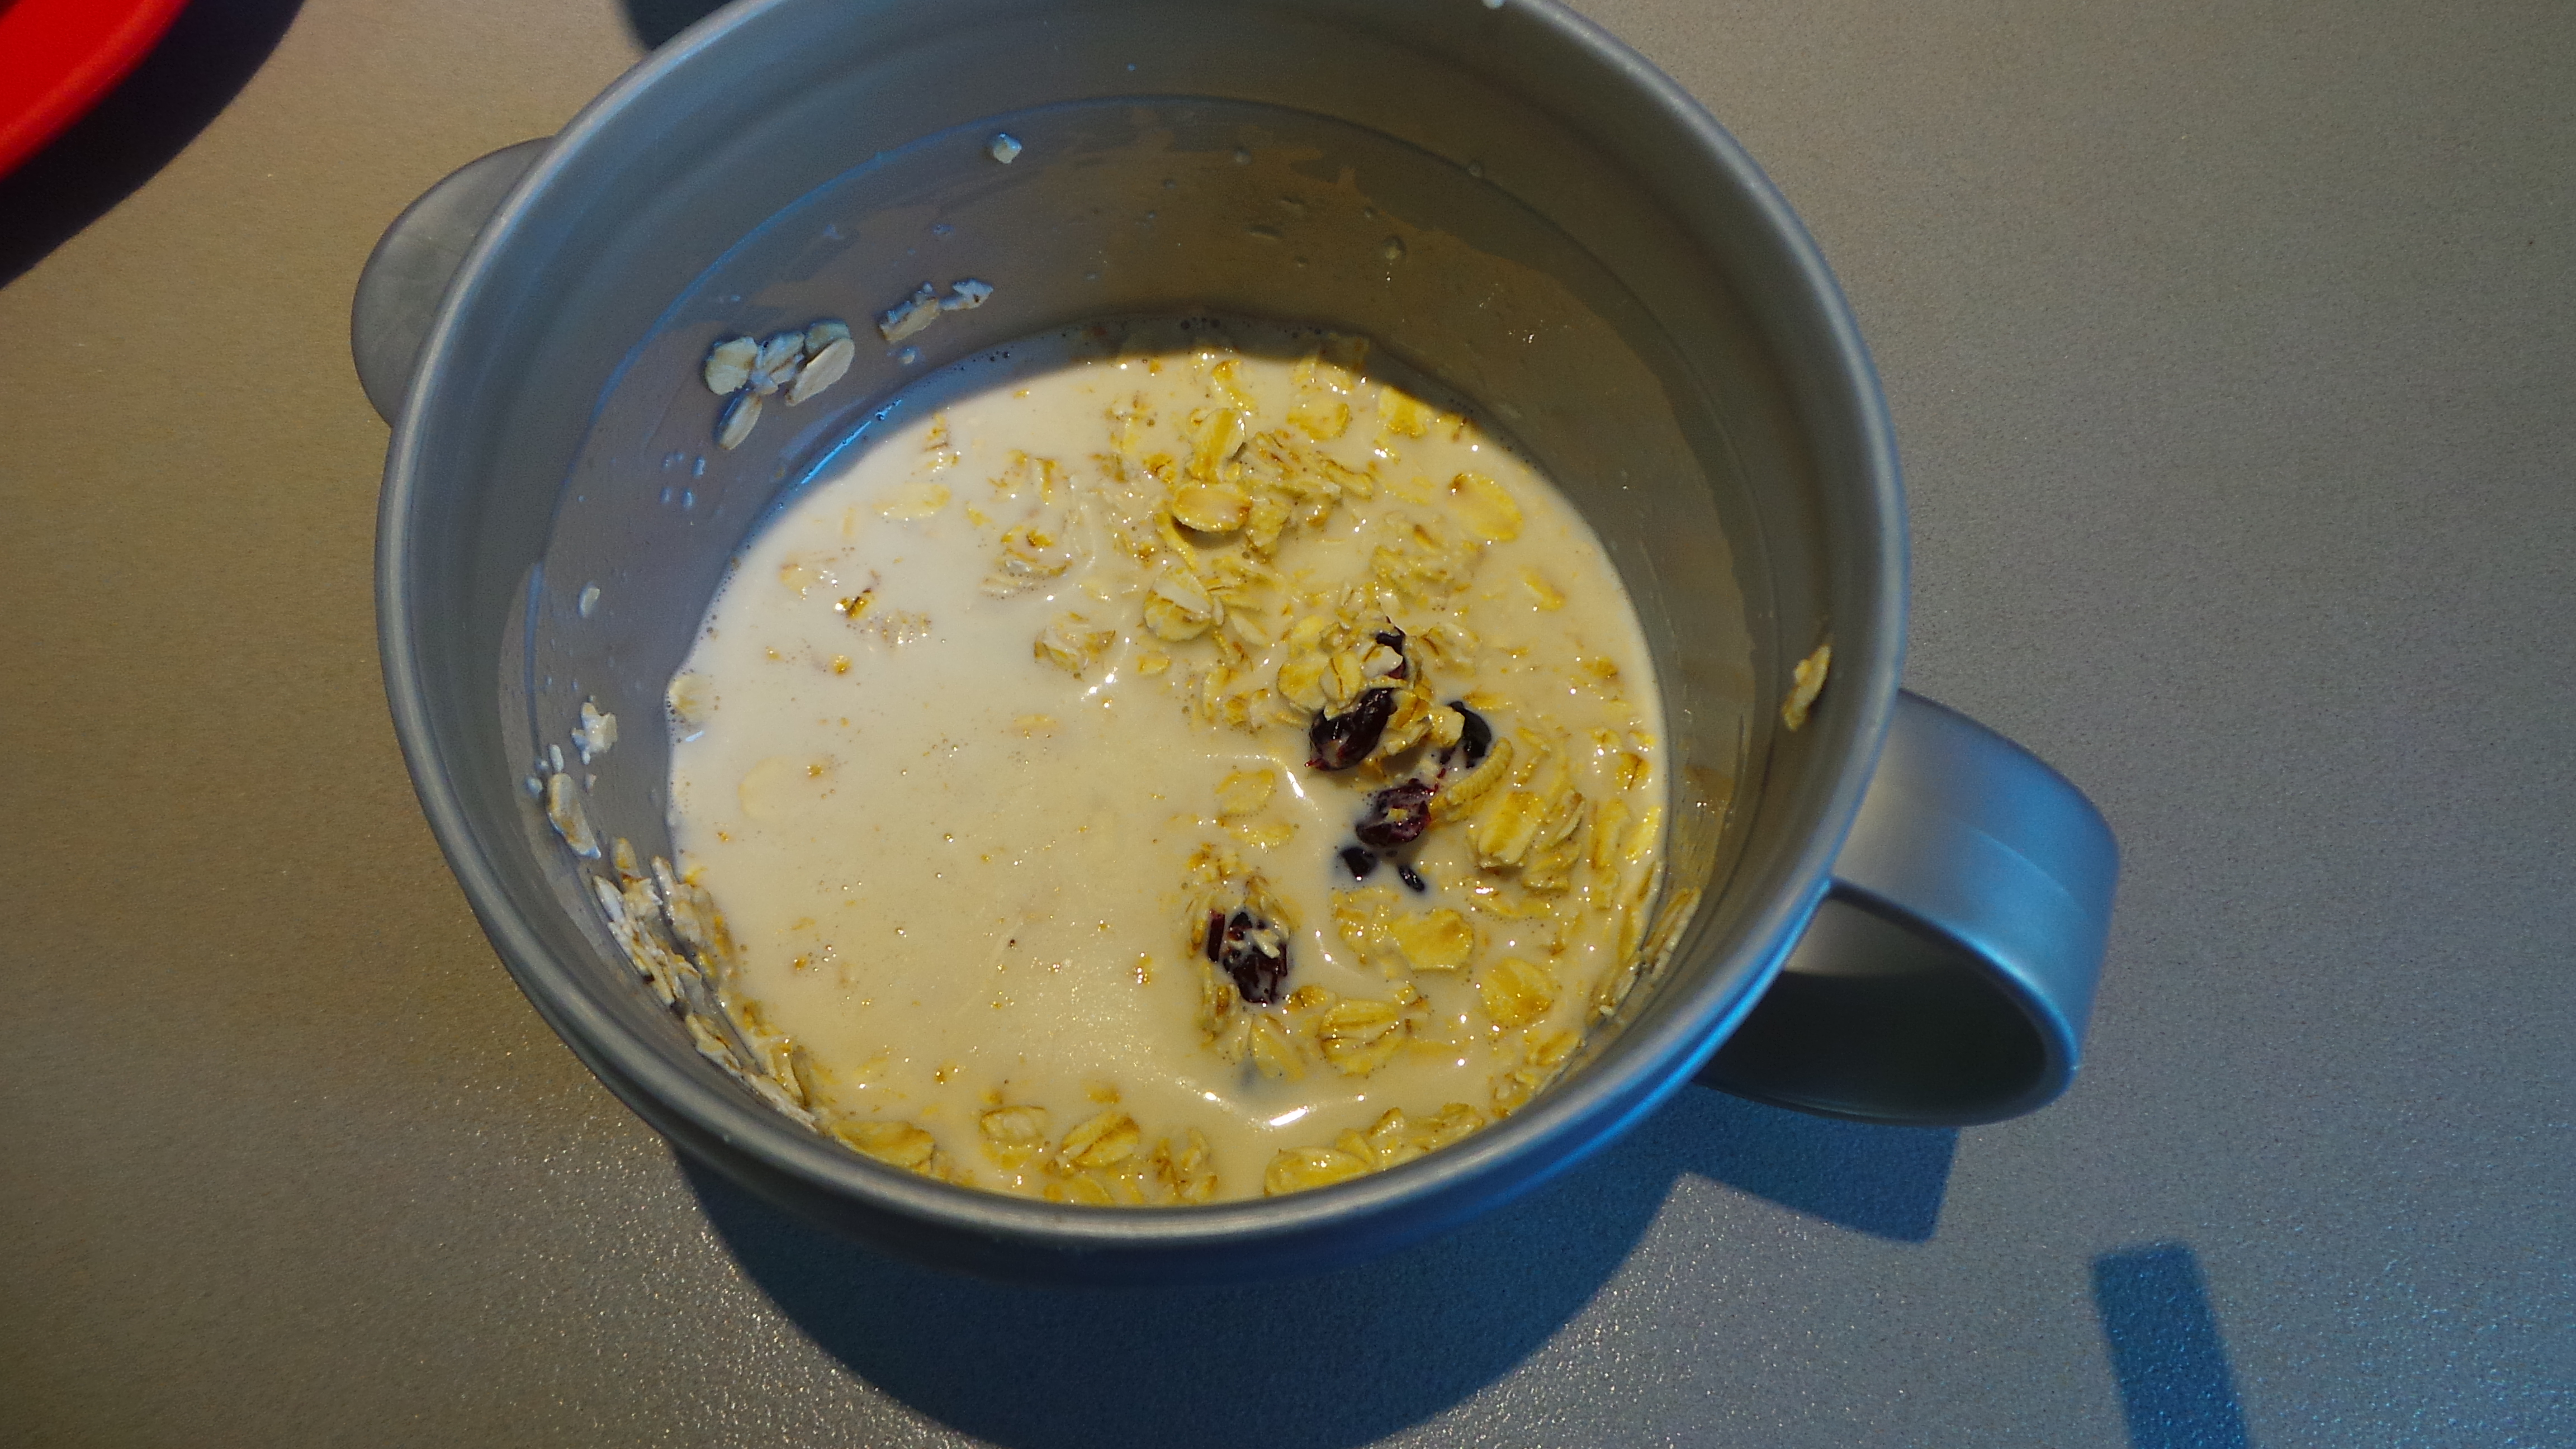
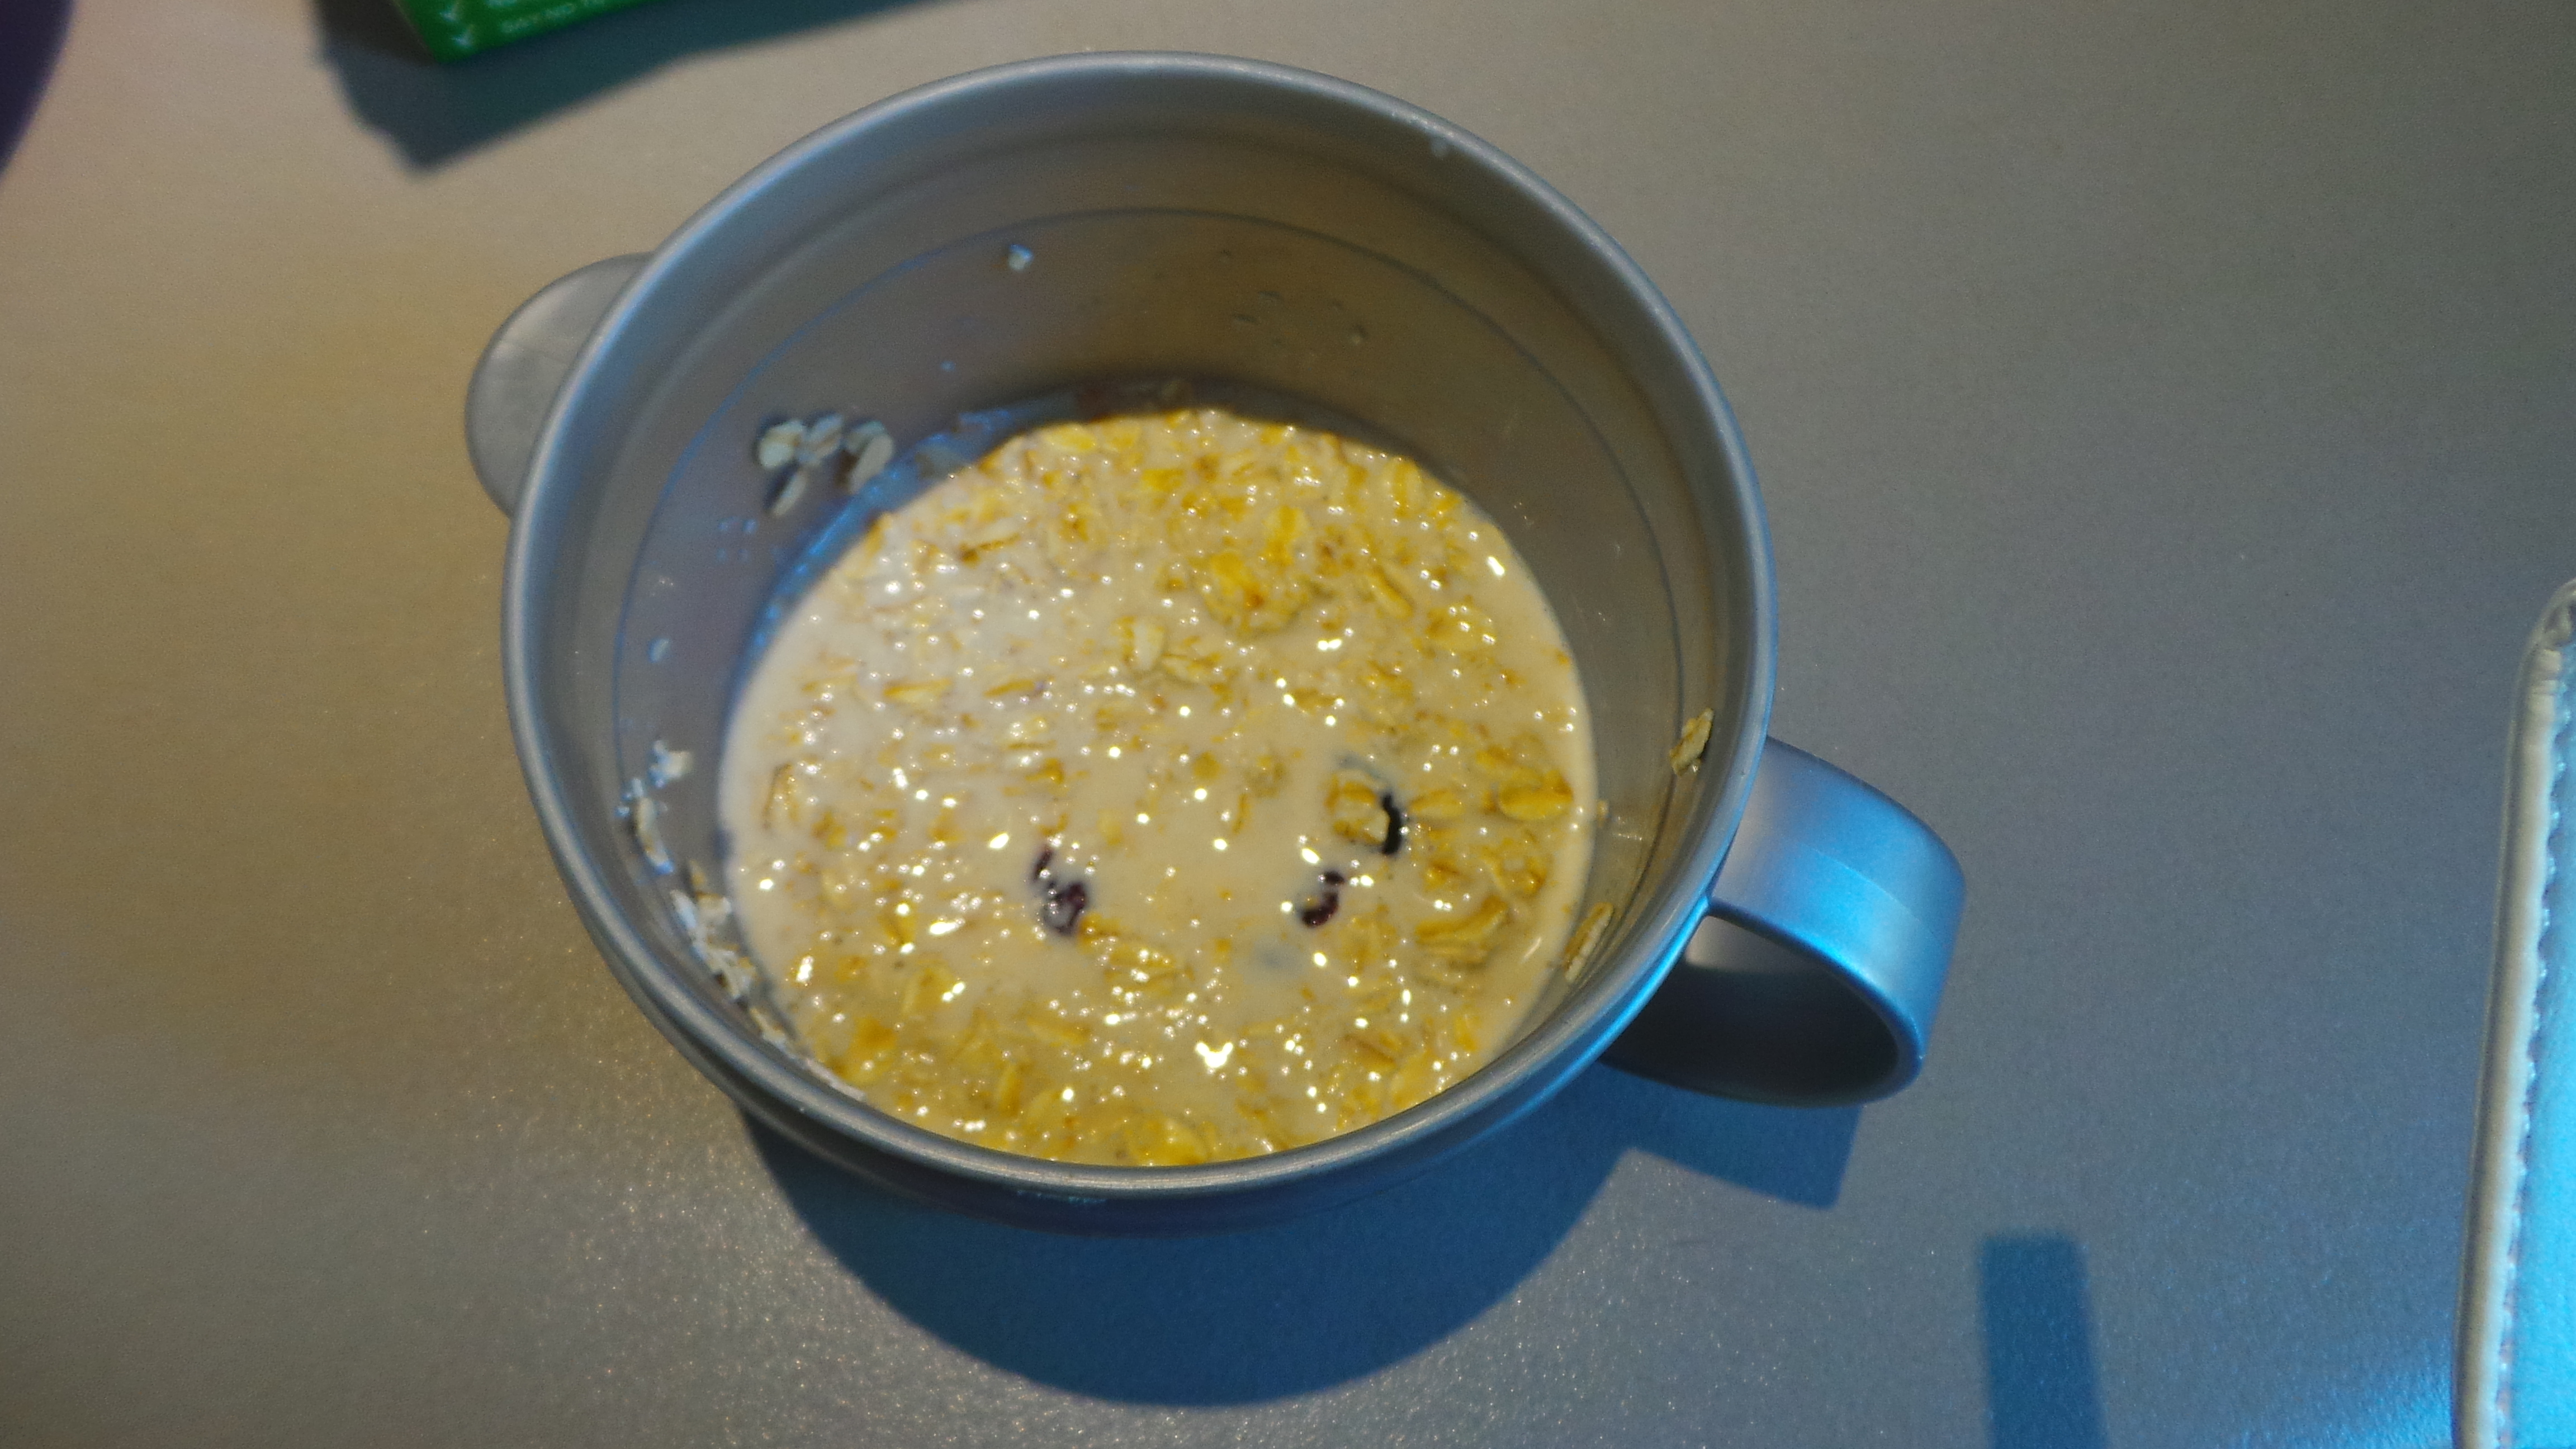
Mix in your wet ingredients.
Melt some butter into a hot frypan, adding a dash of oil. The oil will stop the butter from burning.
You can use oil instead, if you wish, but I find butter gives a better result.
I confess to also having a can of spray oil on hand with which to lightly coat the upper surface of the pancakes before I turn them.
Cooking them solely in spray oil is not something I would recommend. Your pan will be on the heat for a longish time and this will change the flavour and scent of the spray oil. You have been warned.
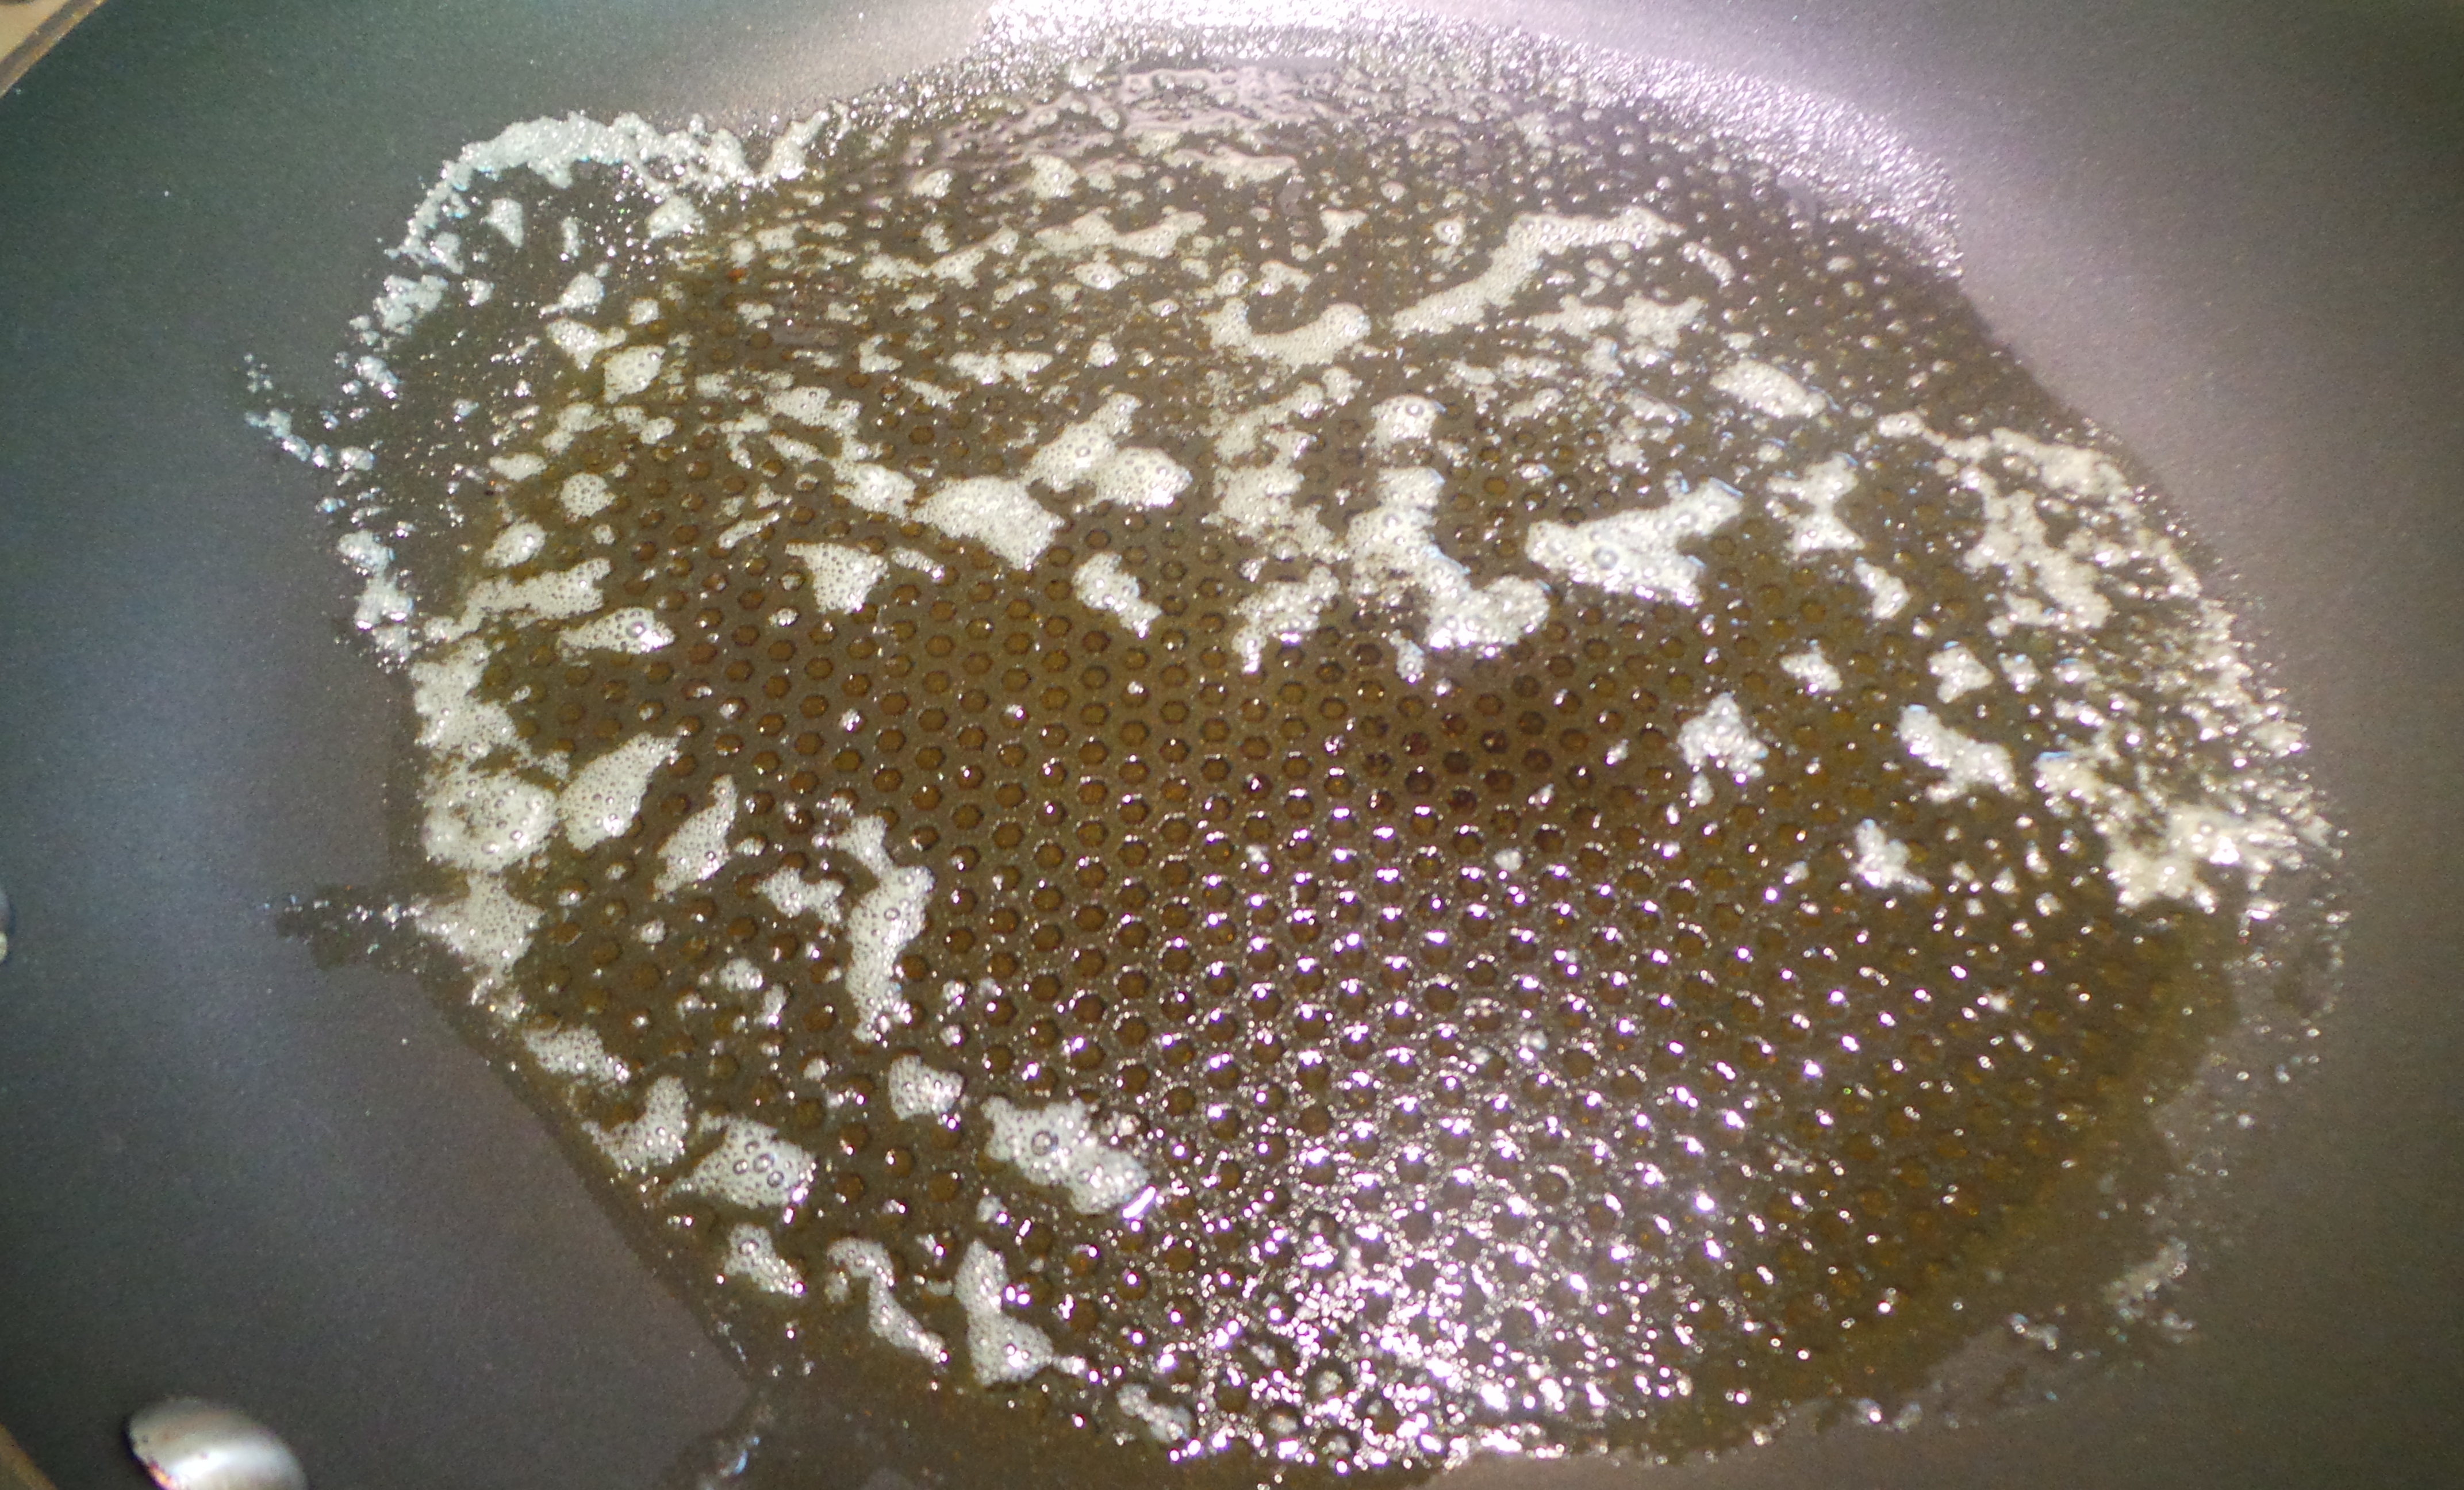
Melt your frying fat.
When your butter starts to foam, as pictured, add dollops of batter. If you want pikelets use a dessertspoon to measure it out, if you want pancakes use a ladle.
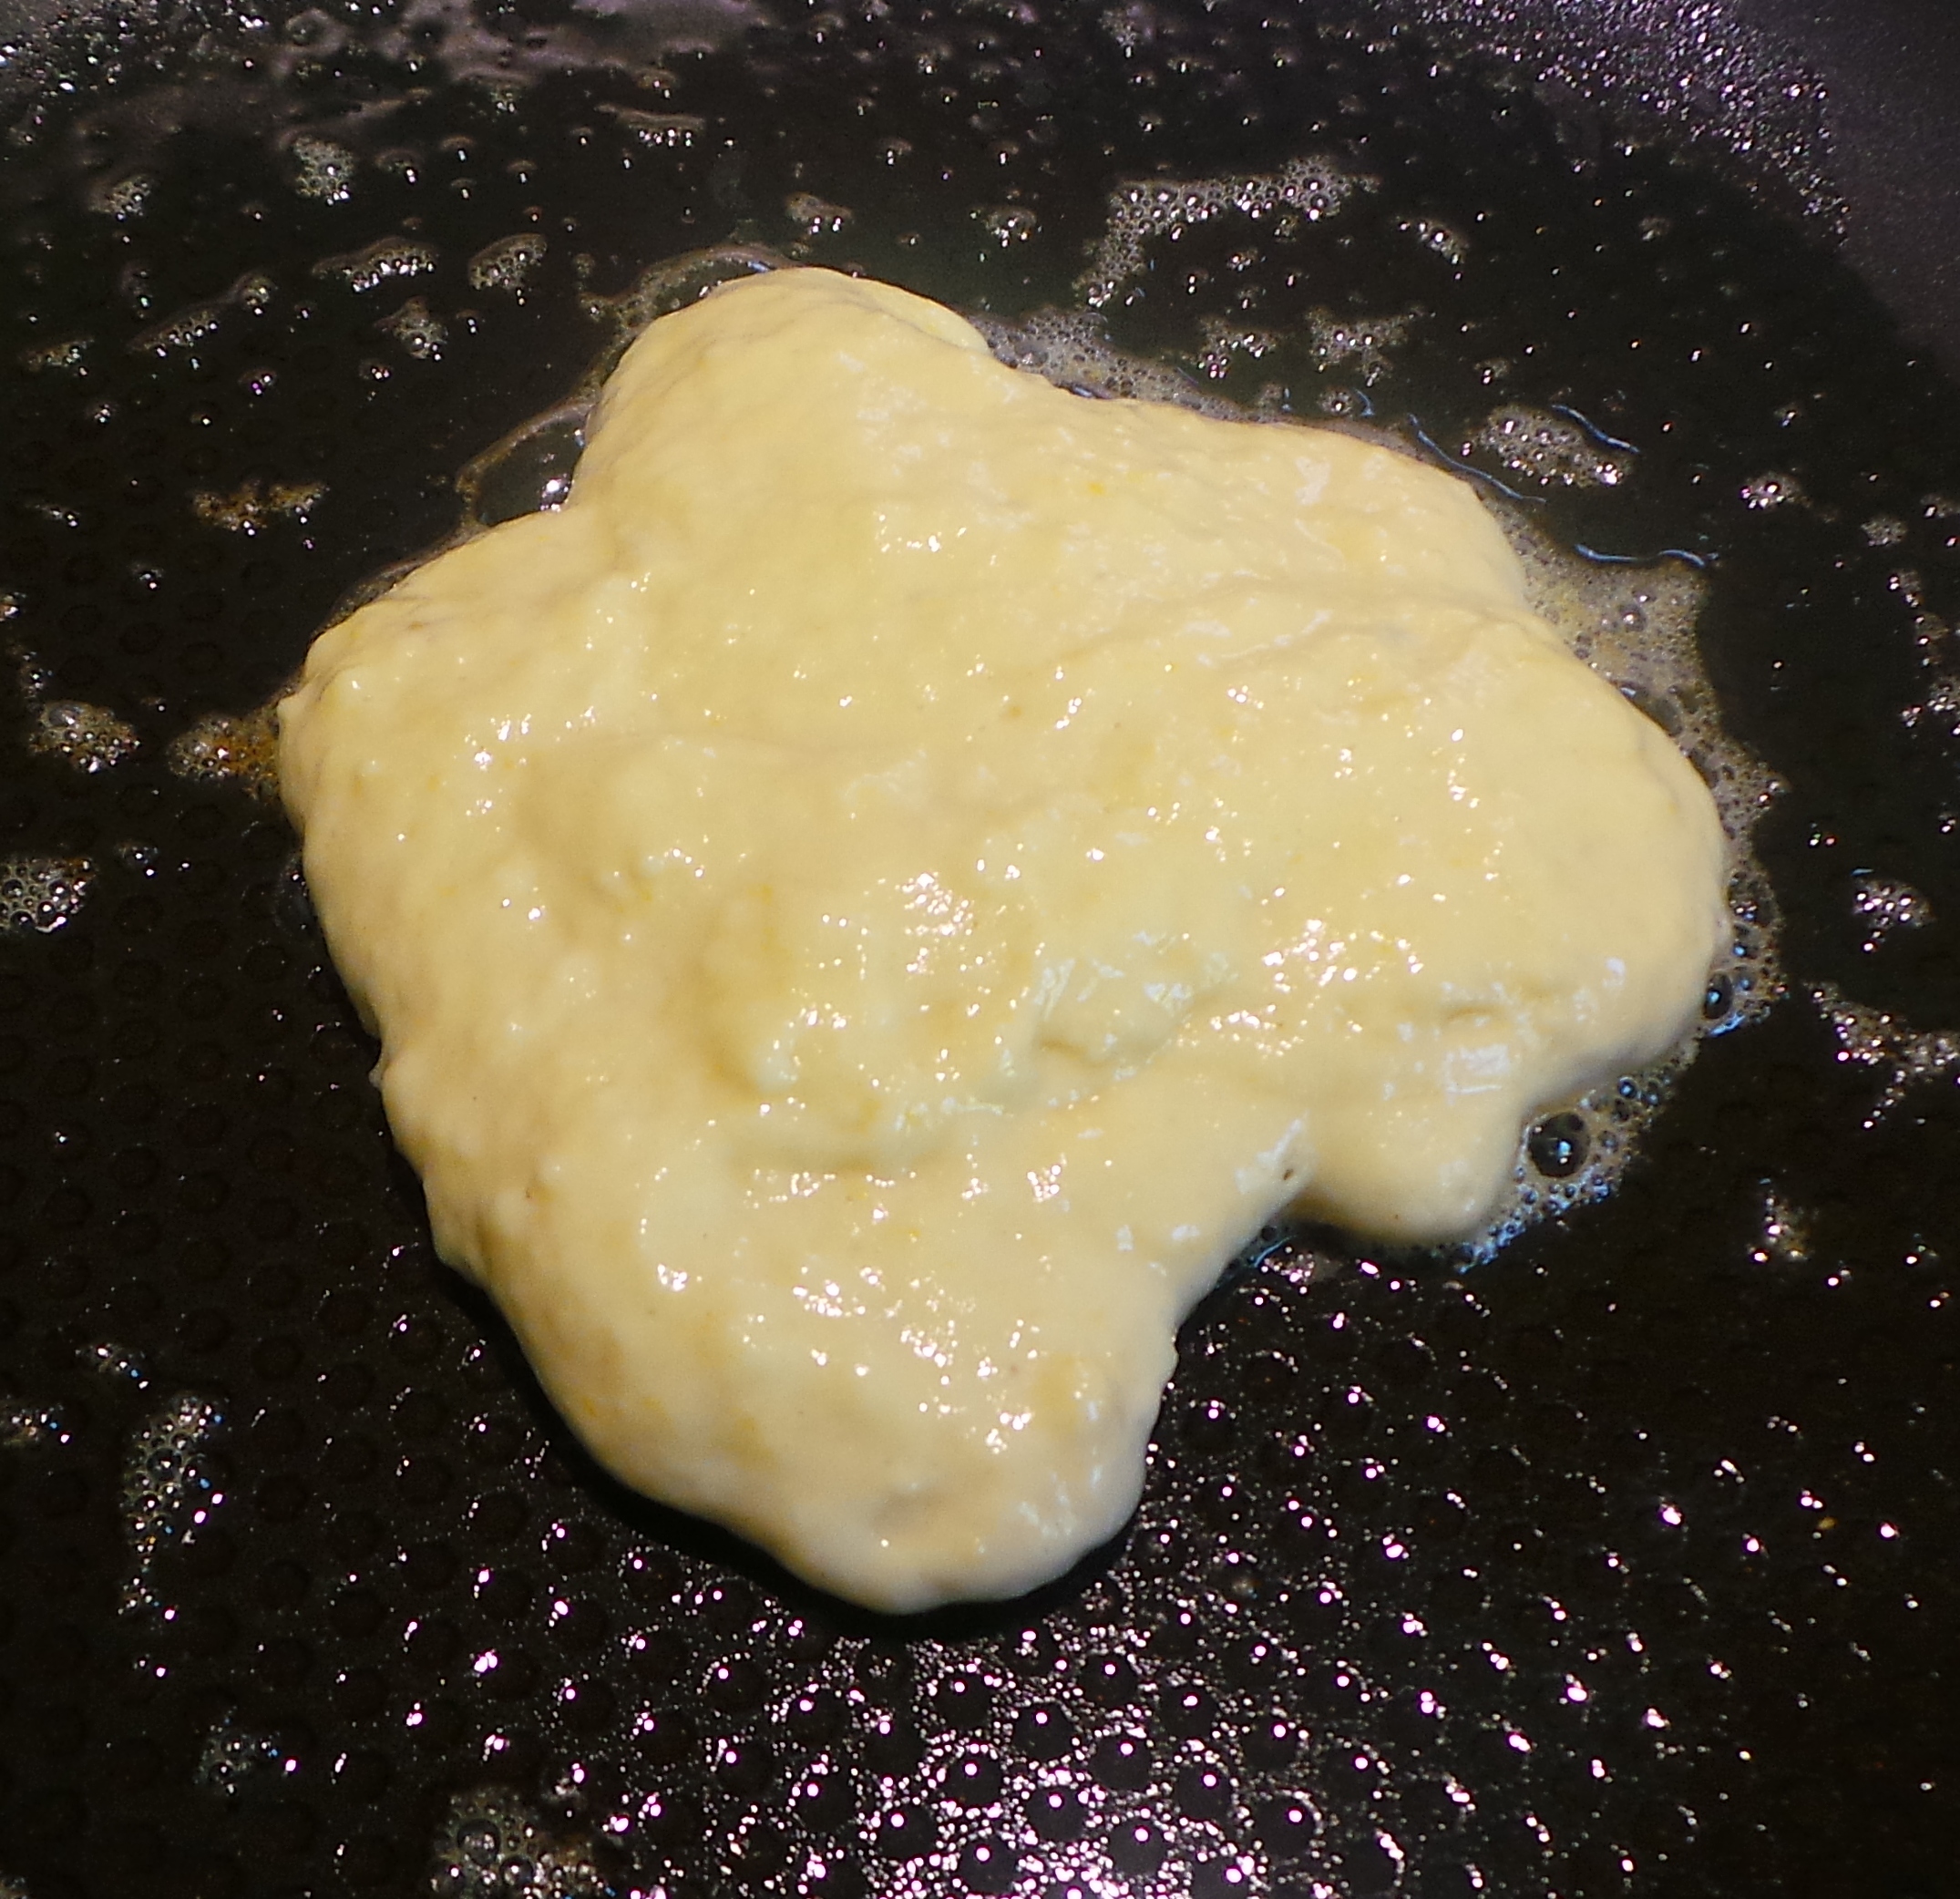
Dollop your batter into the pan.
Once in the pan, leave it alone. Make sure the heat is not too high or you will end up with a burned pancake. Everyone burns their first pancake. Really.
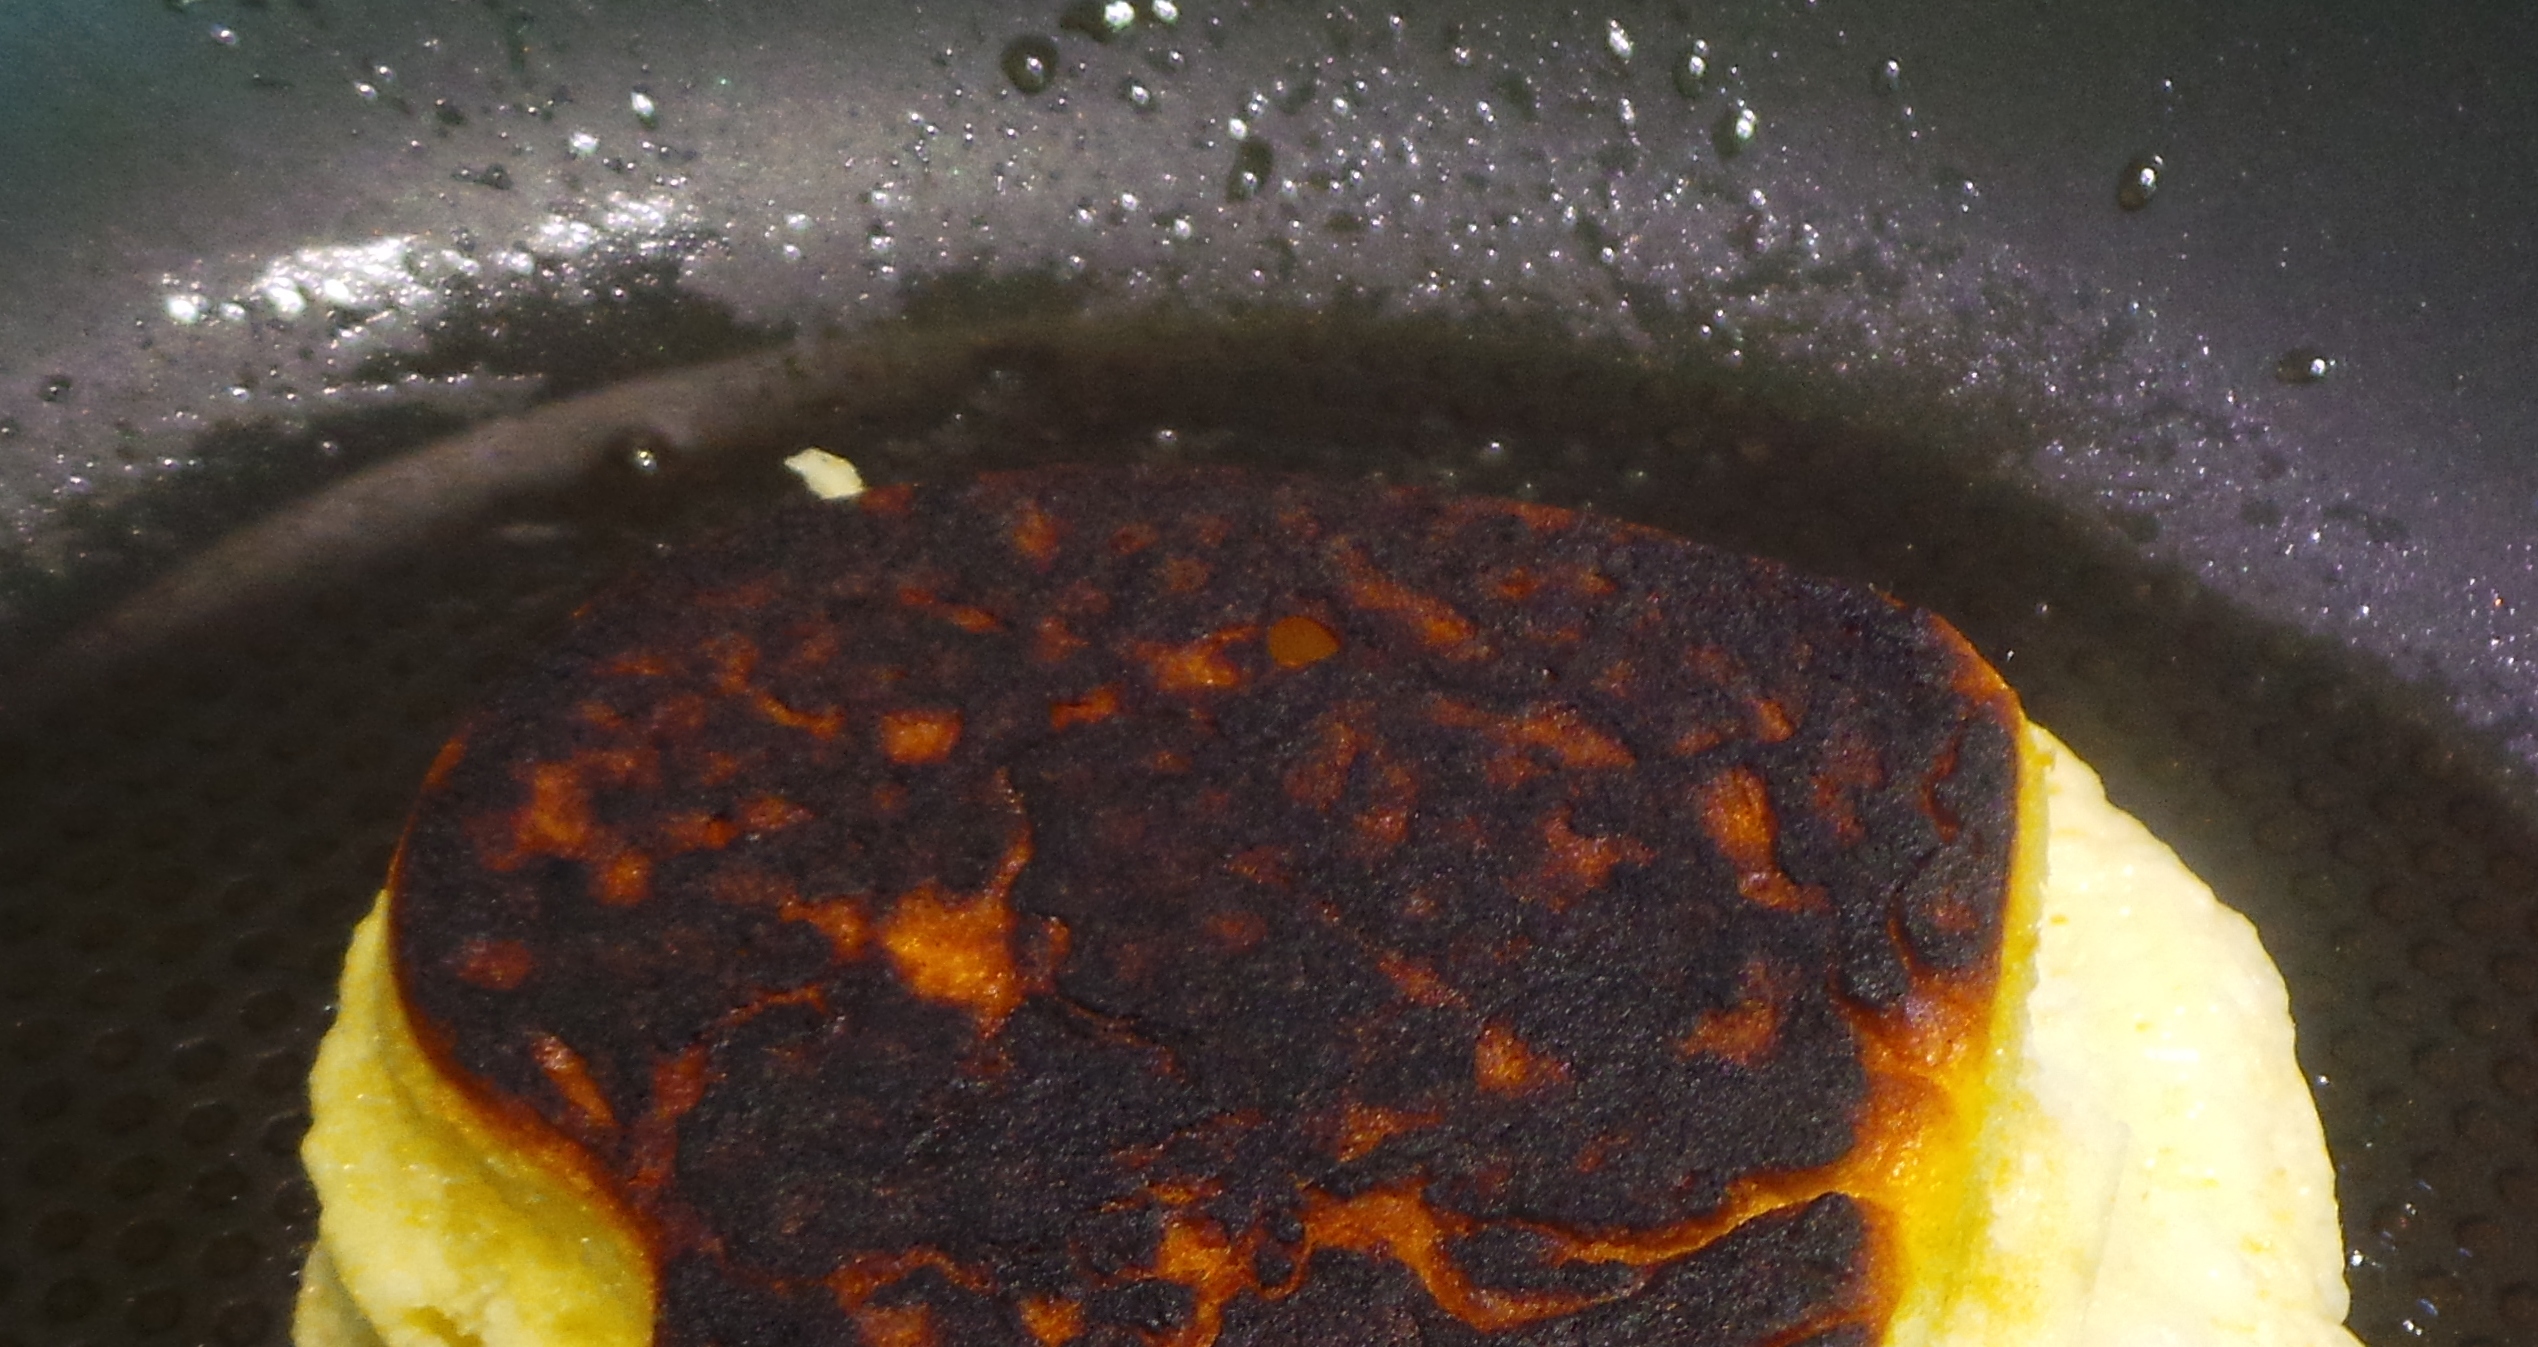
First pancake = burnt offering to the breakfast gods.
The pancake is ready to turn once small bubbles start to appear on the uppermost surface.
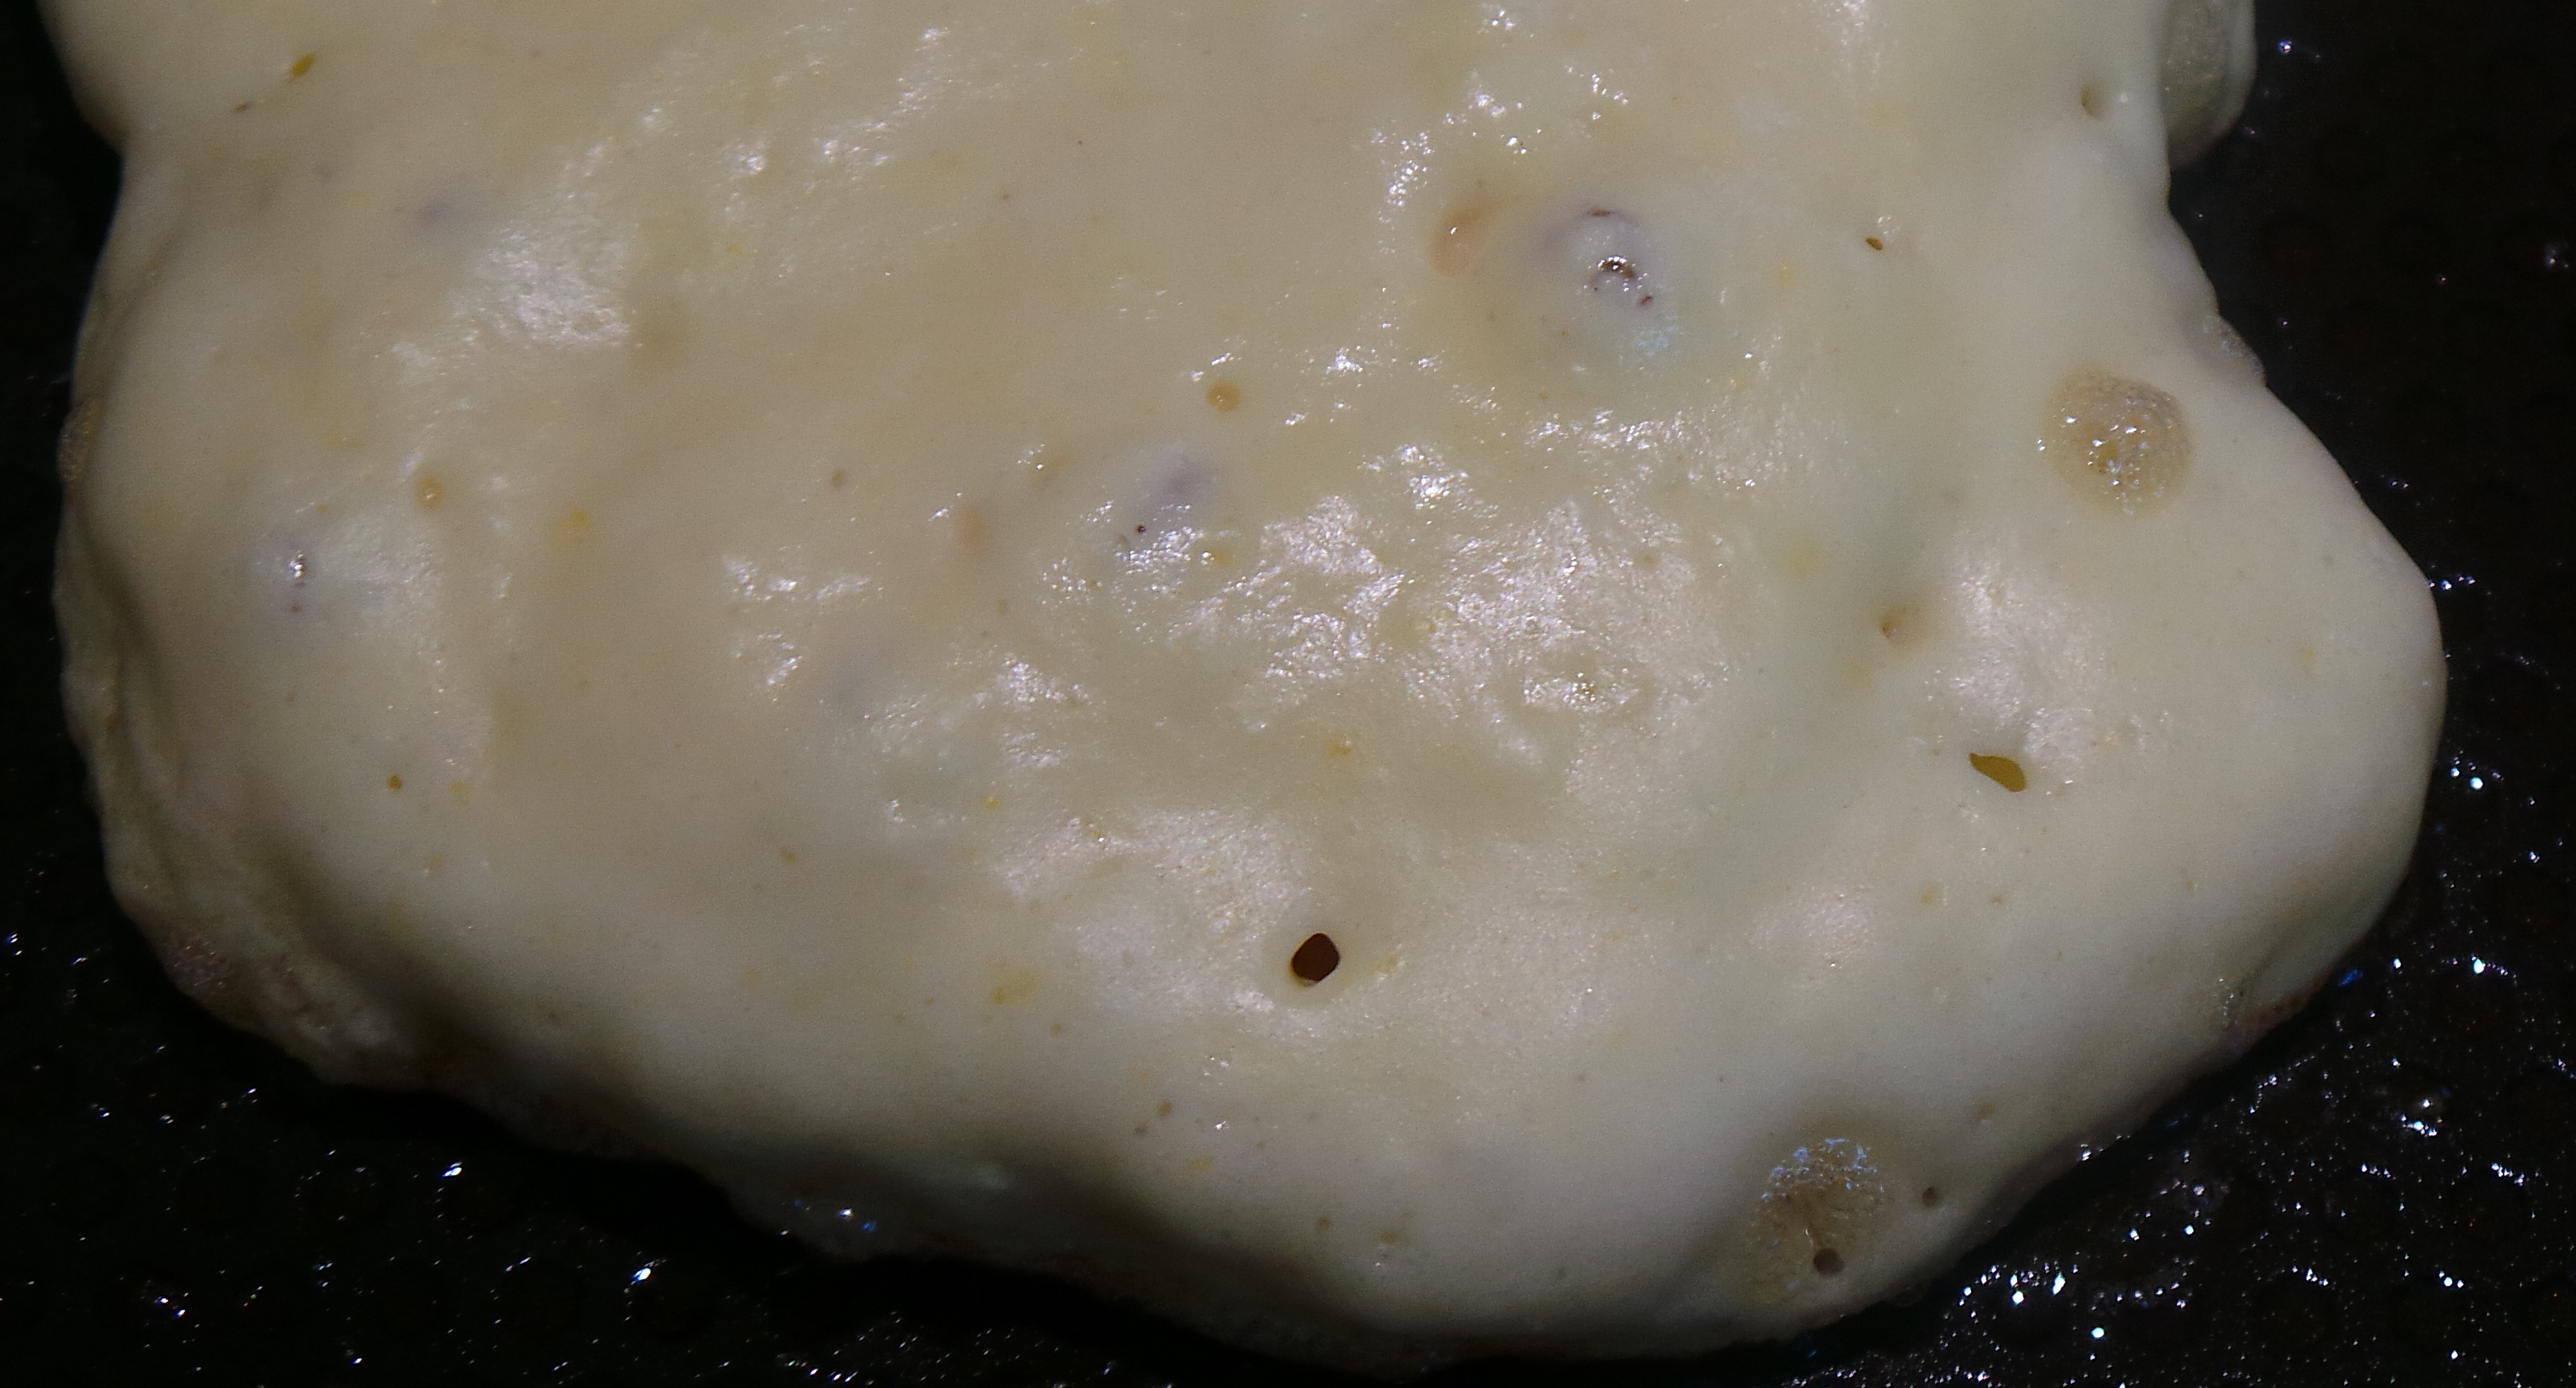
Bubbles will form in the batter.
As mentioned before you may wish to give them a misting with spray oil, then flip them over. Leave for about three minutes and then remove to paper towel to drain. This won’t take long, basically you just want to absorb any cooking fat sitting on the surface to stop your pancakes from being greasy.
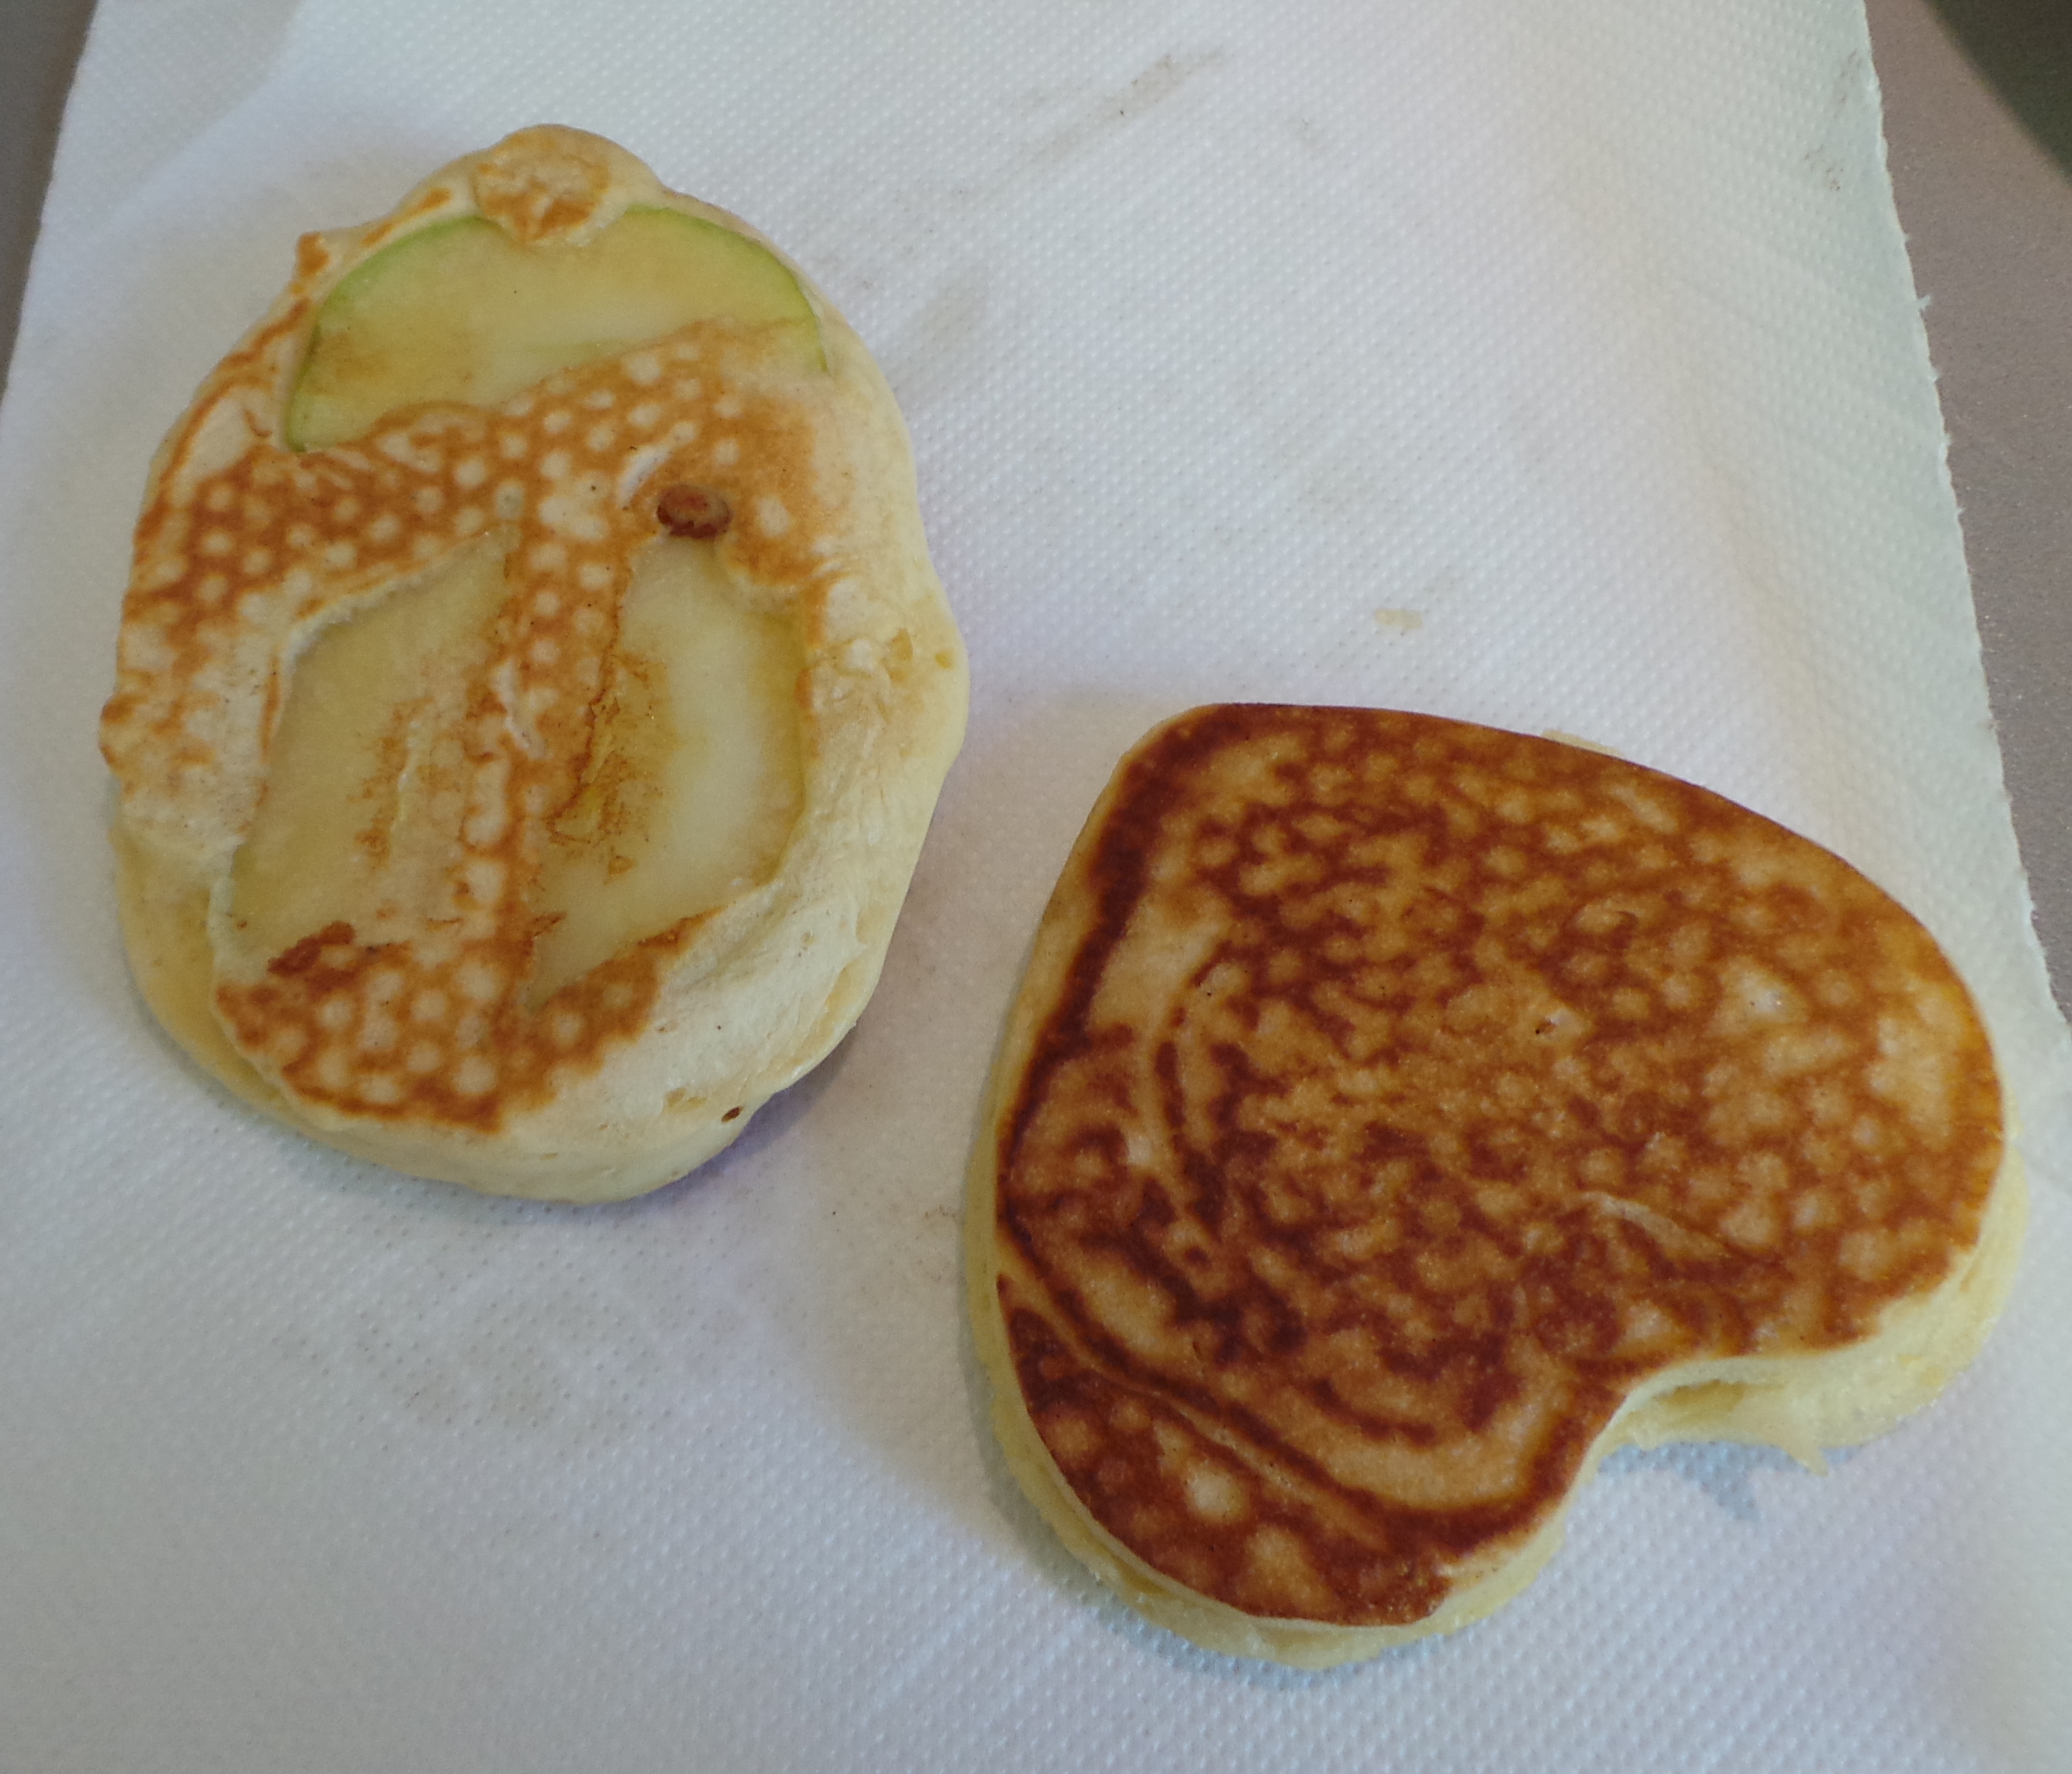
Drain on paper towel.
Serve immediately or store in one of those wonderful tortilla warmers I’ve spoken of before.
Sprinkle with lemon juice and sugar, douse with maple syrup or spread with your preferred preserves. This is yet another place to use your home-made lemon curd or dulce de leche as well.
This is a recipe that can be added to in many ways. You can try the savoury option and go for fritters (and tidy up the bits and bobs littering your fridge), or you can explore the sweet side of things.
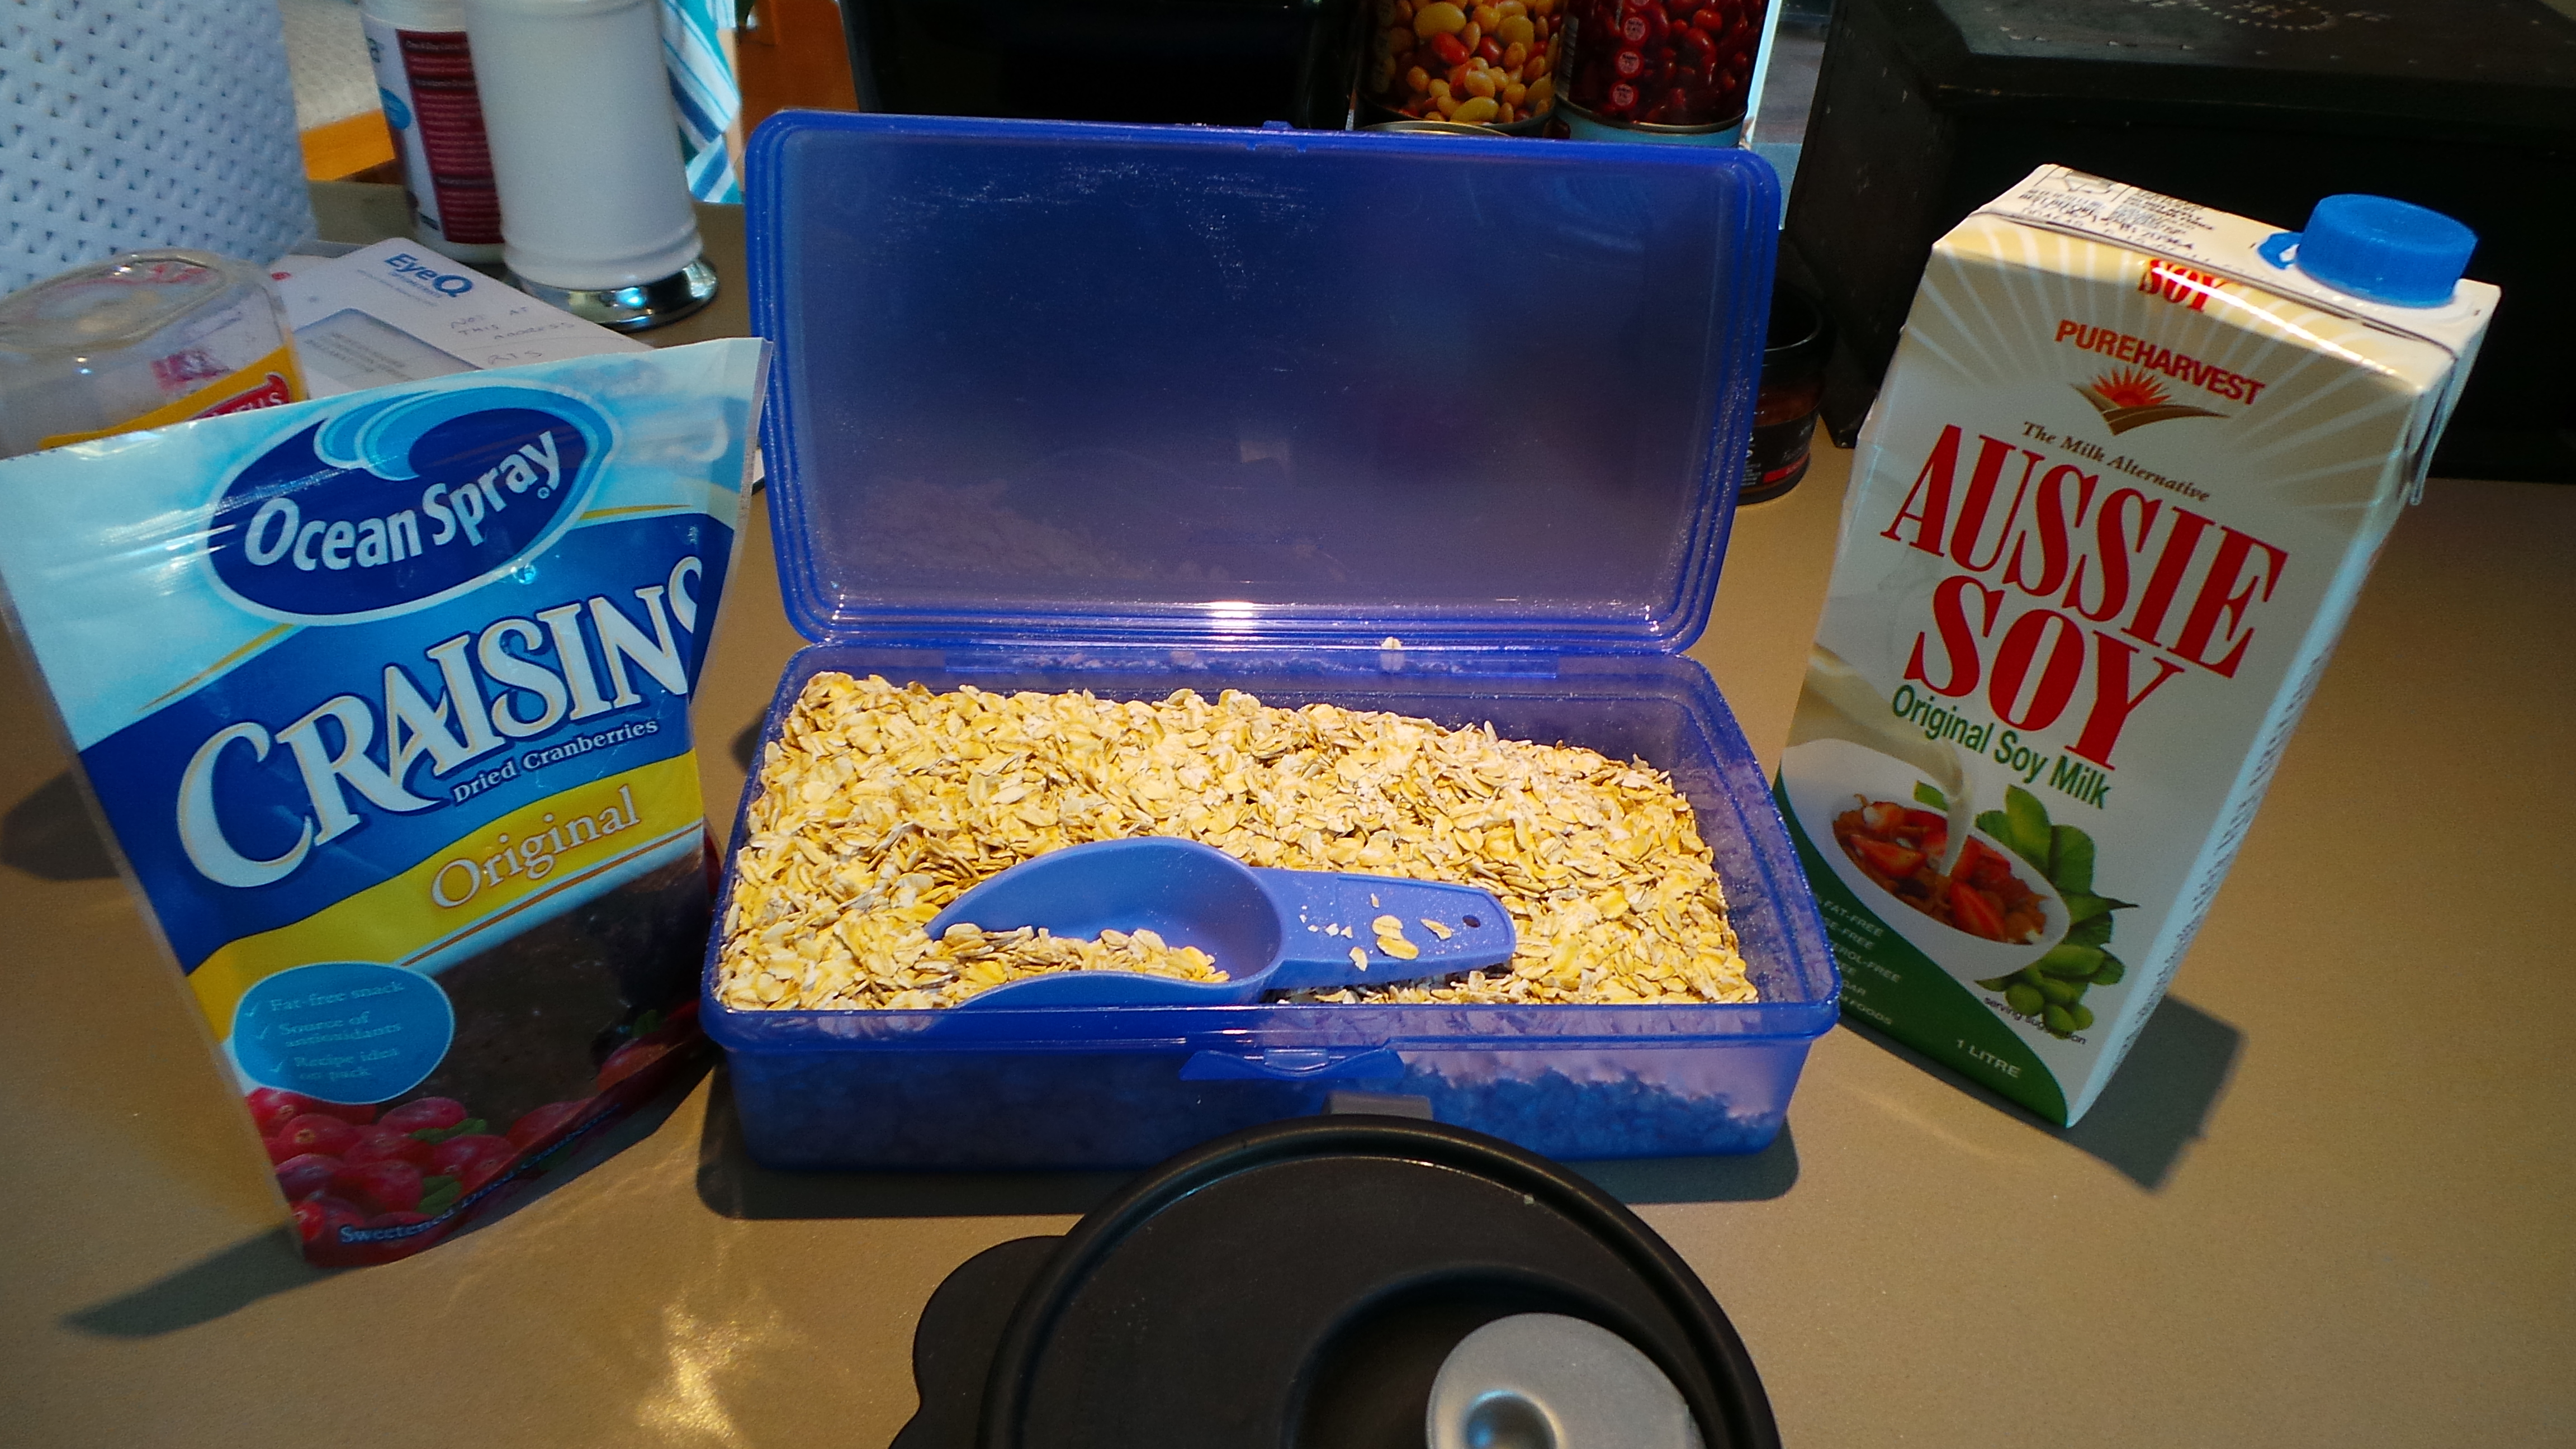
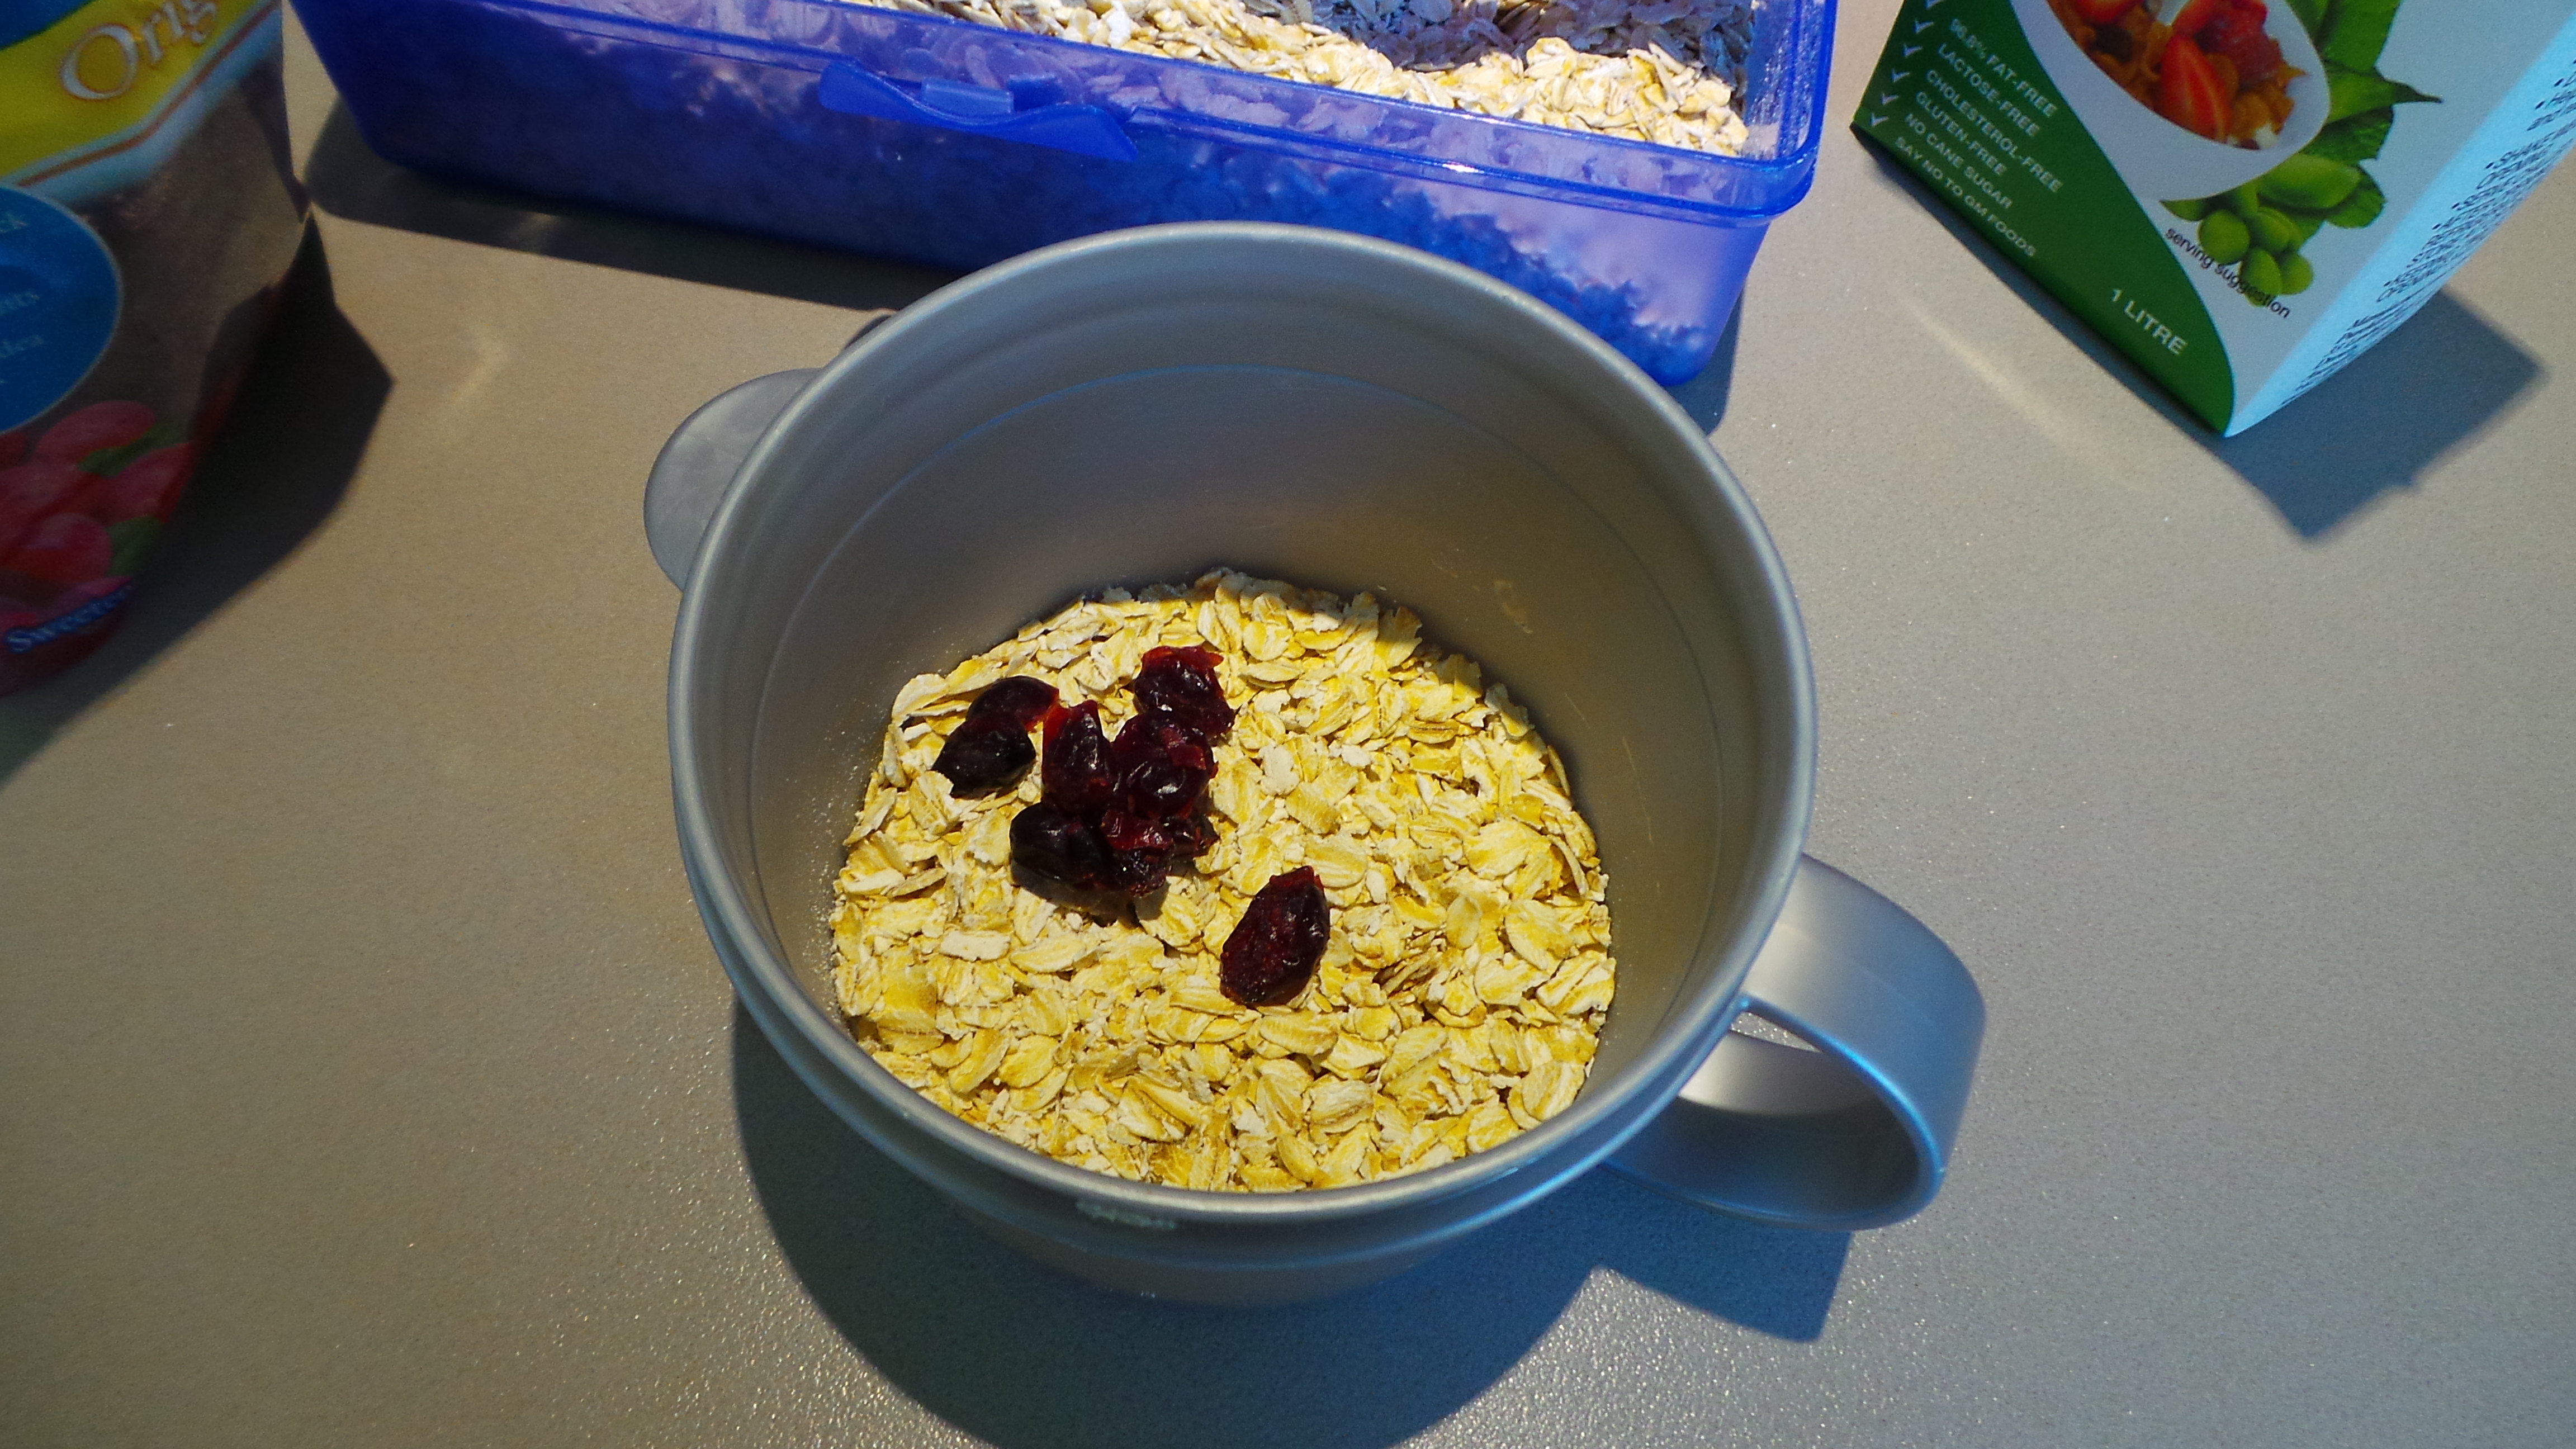
Try adding a few choc chips if you have them, or mixing through dried fruits like sultanas or craisins. Add these things to the dry ingredients, after sifting and before the milk and egg.
Fresh berries are fabulous additions when in season, but frozen work just as well when their seasons have passed. Again, stir into the flour before adding the liquid.
Try adding some fresh lemon or orange zest to all of the above suggestions and feel like a chef for a bit…
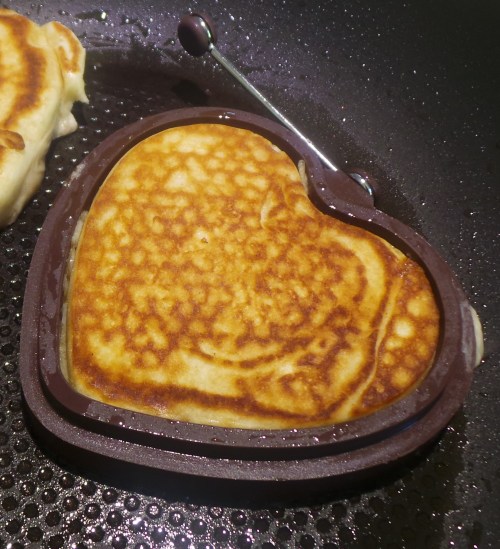
You may have noticed that last photo has a heart-shaped version and one with sliced apple. They’re both going to have their own posts, so stay tuned.
Pancakes
Ingredients
1¼ cups self-raising flour (156g)
¼ tsp salt
3 tbsp sugar
1 egg
¾ – 1 cup milk or buttermilk
butter or oil for frying
Method
Sift flour, salt and sugar. Make a well in the center.
In a jug mix together the egg and most of the milk. Pour into the dry ingredients and beat together with a wooden spoon. Add remainder of milk if necessary. You are aiming for a thick batter.
The batter will also thicken upon standing.
Heat your frying pan and add butter to grease. To prevent the butter burning, add a touch of oil.
When your butter is melted drop dessertspoonsfull of mixture onto the hot pan – for drop scones or pikelets – or ¼ cup amounts for full pancakes. Try using a small ladle for measuring the batter into the pan.
When bubbles appear on the upper surface of your batter turn to cook the other side. This will take approximately 3 mins.
Remove from the pan onto paper towels to absorb any excess oil on the surface. Keep warm, or serve immediately.
May be served cooled with whipped cream and strawberry jam as a Devonshire Tea.