This is one of those dishes that you can throw together in a very small amount of time (about 20 minutes) and with a minimum of effort.
It relies on you having certain store cupboard ingredients and basic vegetable supplies to hand, but everything – and I mean everything – is completely flexible. All up it costs about $5 AUD to make.
The reason I call this a three can curry is because I use a tin of coconut cream, a tin of kidney beans and a tin of chickpeas in my version of it. You can use whatever beans you like: black beans; borlotti beans; cannellini beans, etc.
Given how quickly the first part goes, I would recommend doing a mise en place (oo er, fancy!) and having your base vegetables diced before you begin.
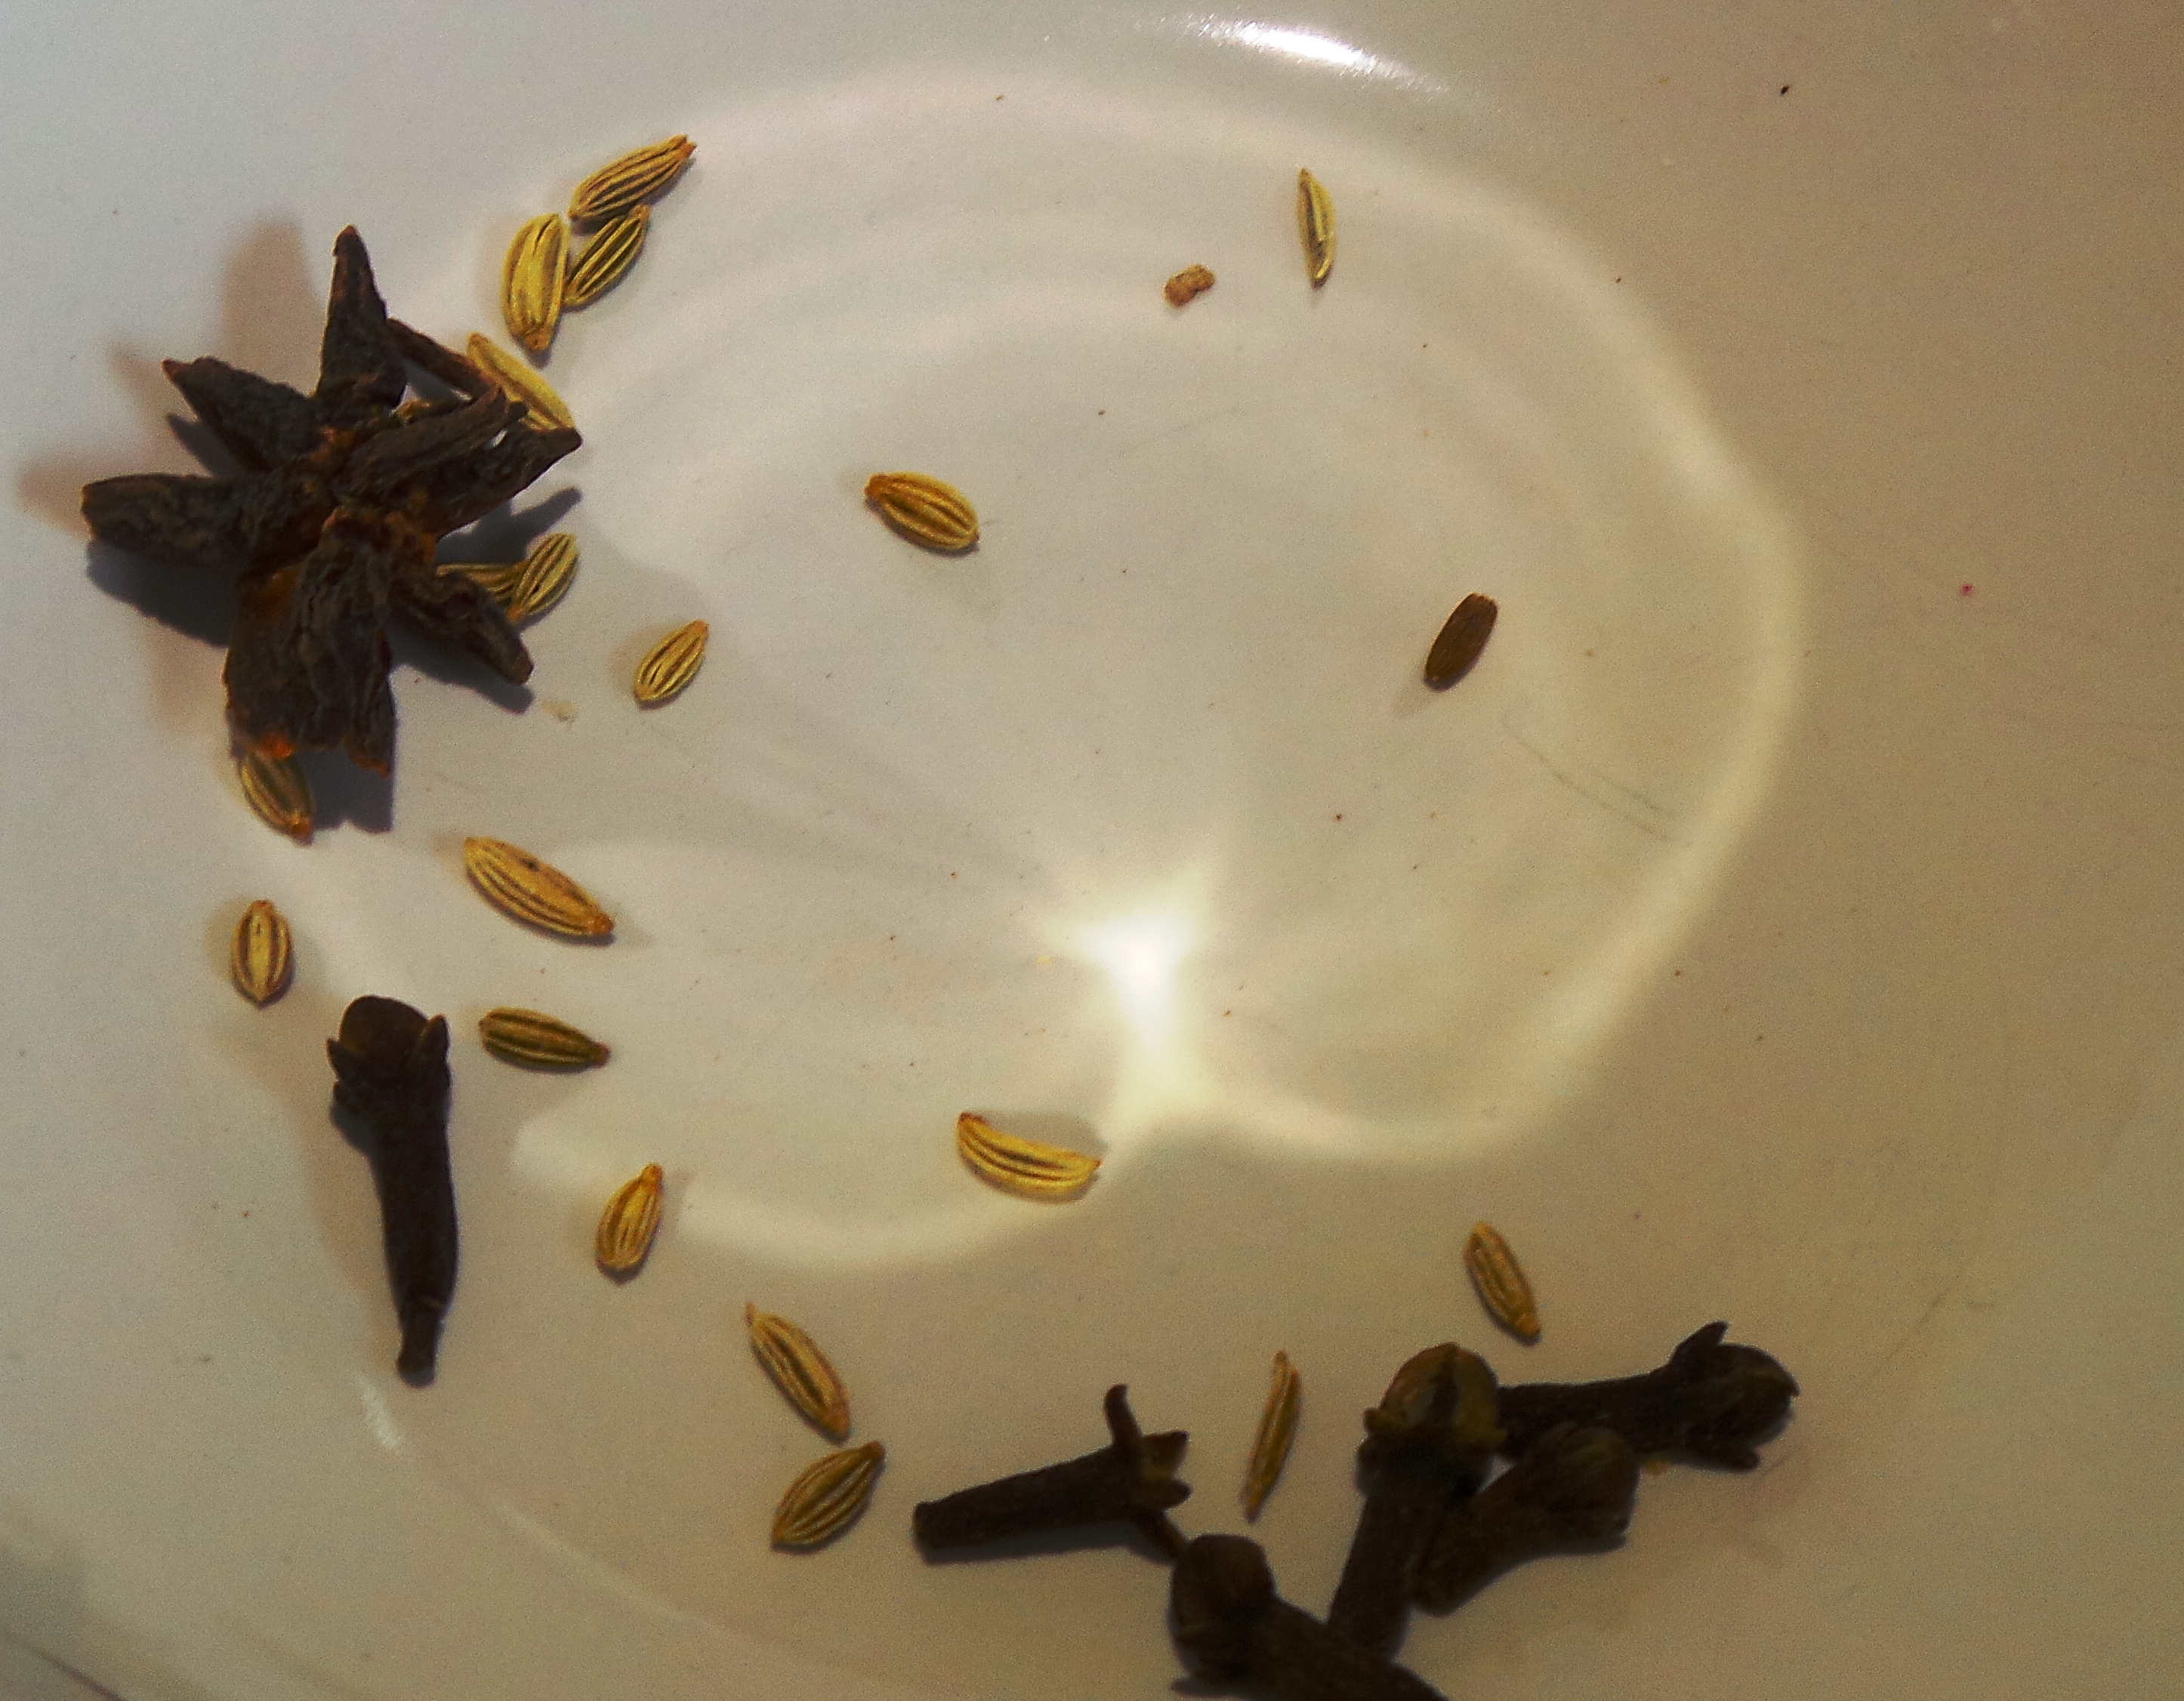
Also this recipe calls for the use of a curry paste. I tend to have a few of these in my pantry at any given time.
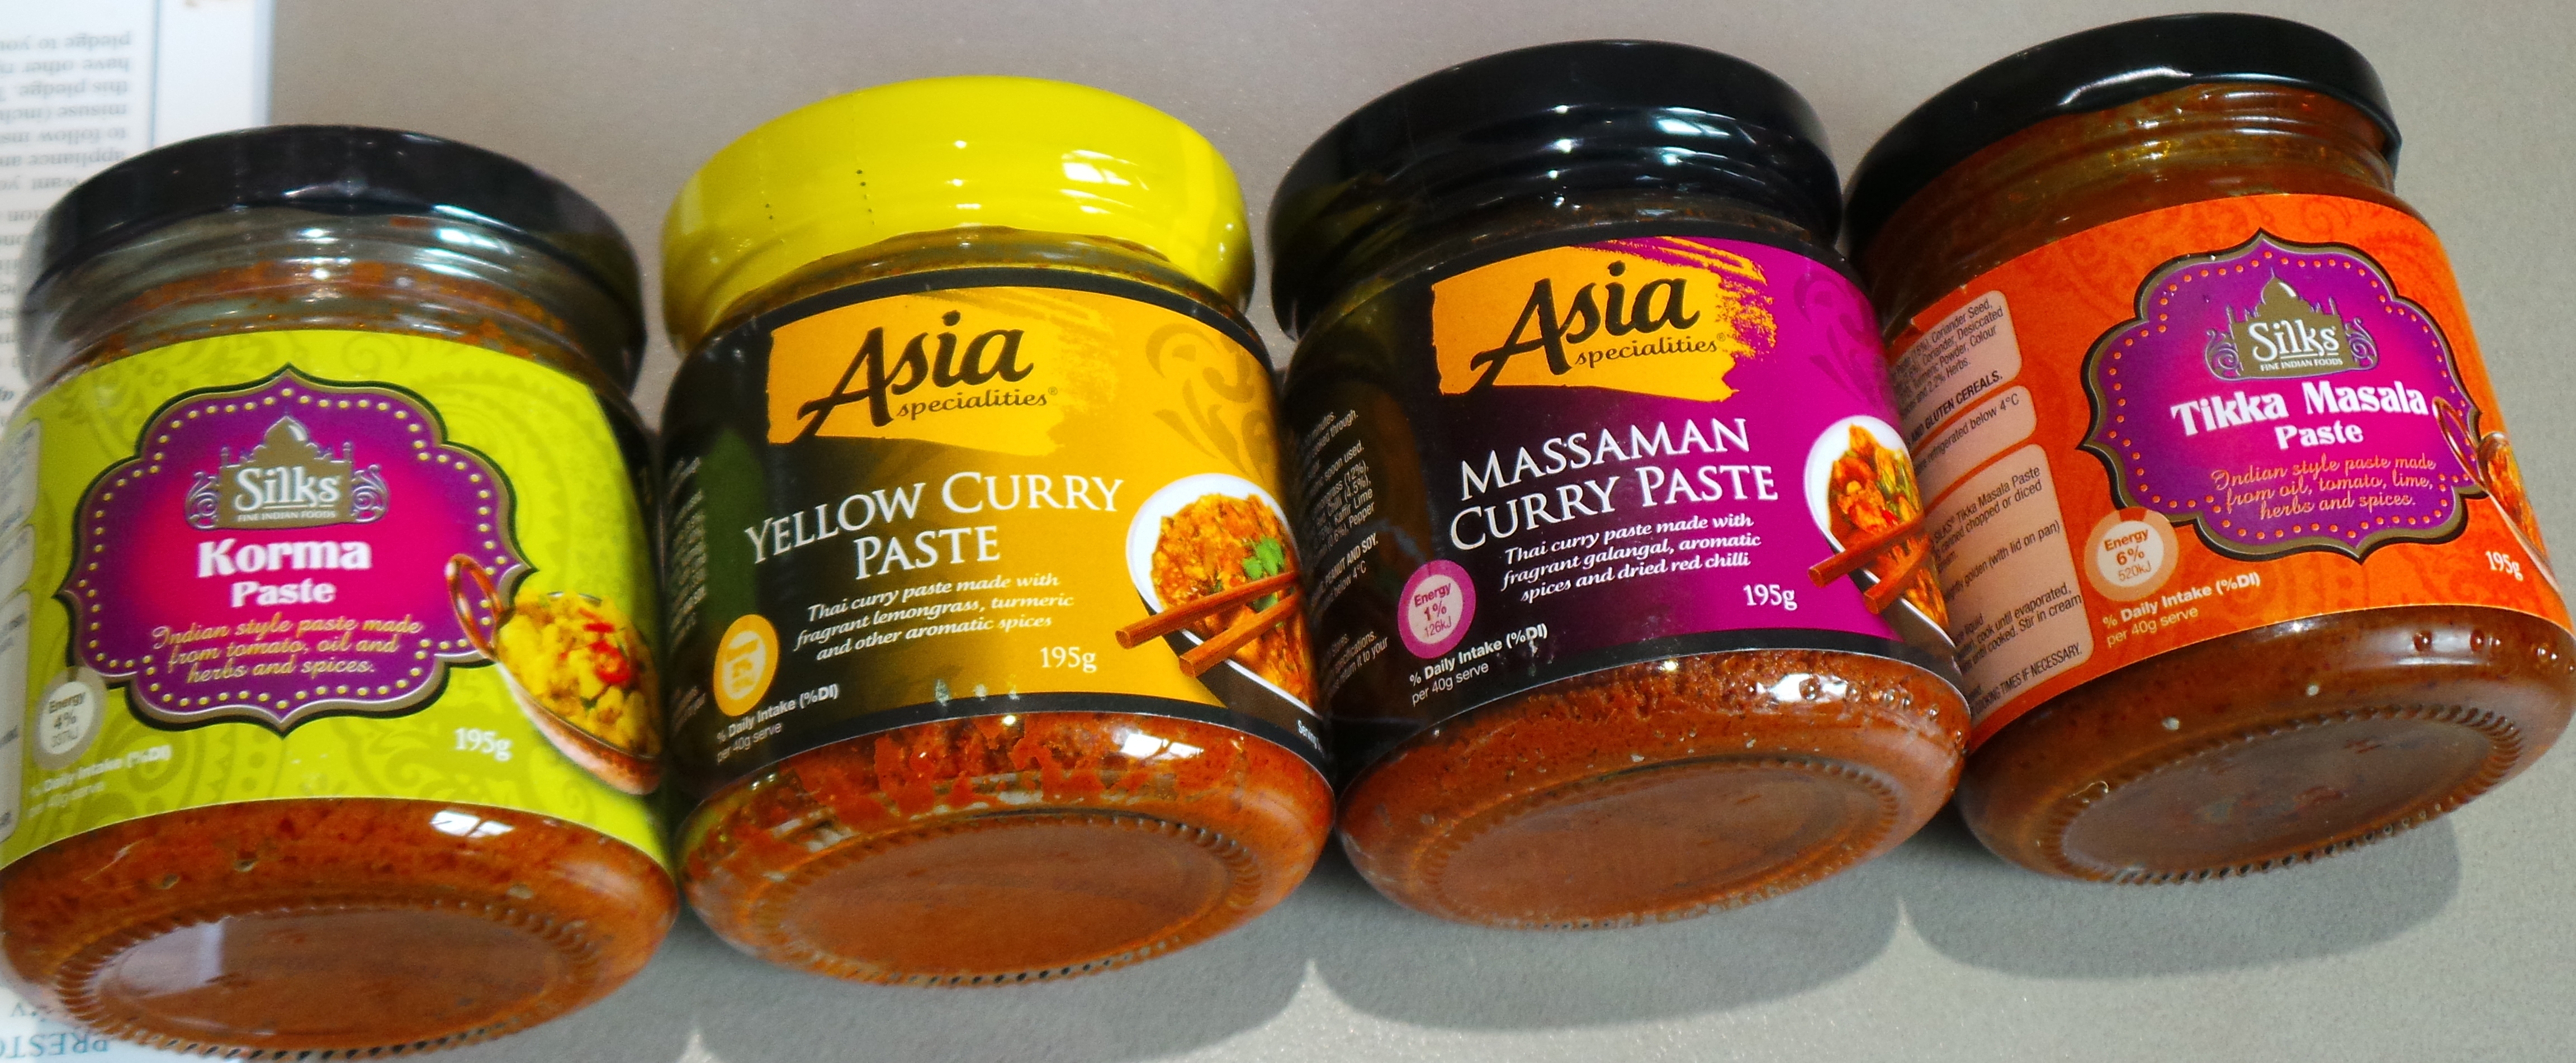
These were in my pantry at the time of writing…
They cost about $2-$3 at Aldi and may cost a little more at other supermarkets. You don’t have to use the whole jar all at once, and they keep quite well in the refrigerator once opened.
Use whichever flavour profile suits your tastes – or experiment to determine exactly what your tastes are. Also, if you want to make your own curry paste, then go right ahead.
I’m not into a raging hot curry, but The Boy is. So, if I were making this just for him, I might use a Thai Green Curry paste or perhaps a Madras curry instead. The pictures you will see here use a Tikka Masala Paste. This is a sweet curry, it smells divine and has no heat to it – making it ideal if small children will be at your table.
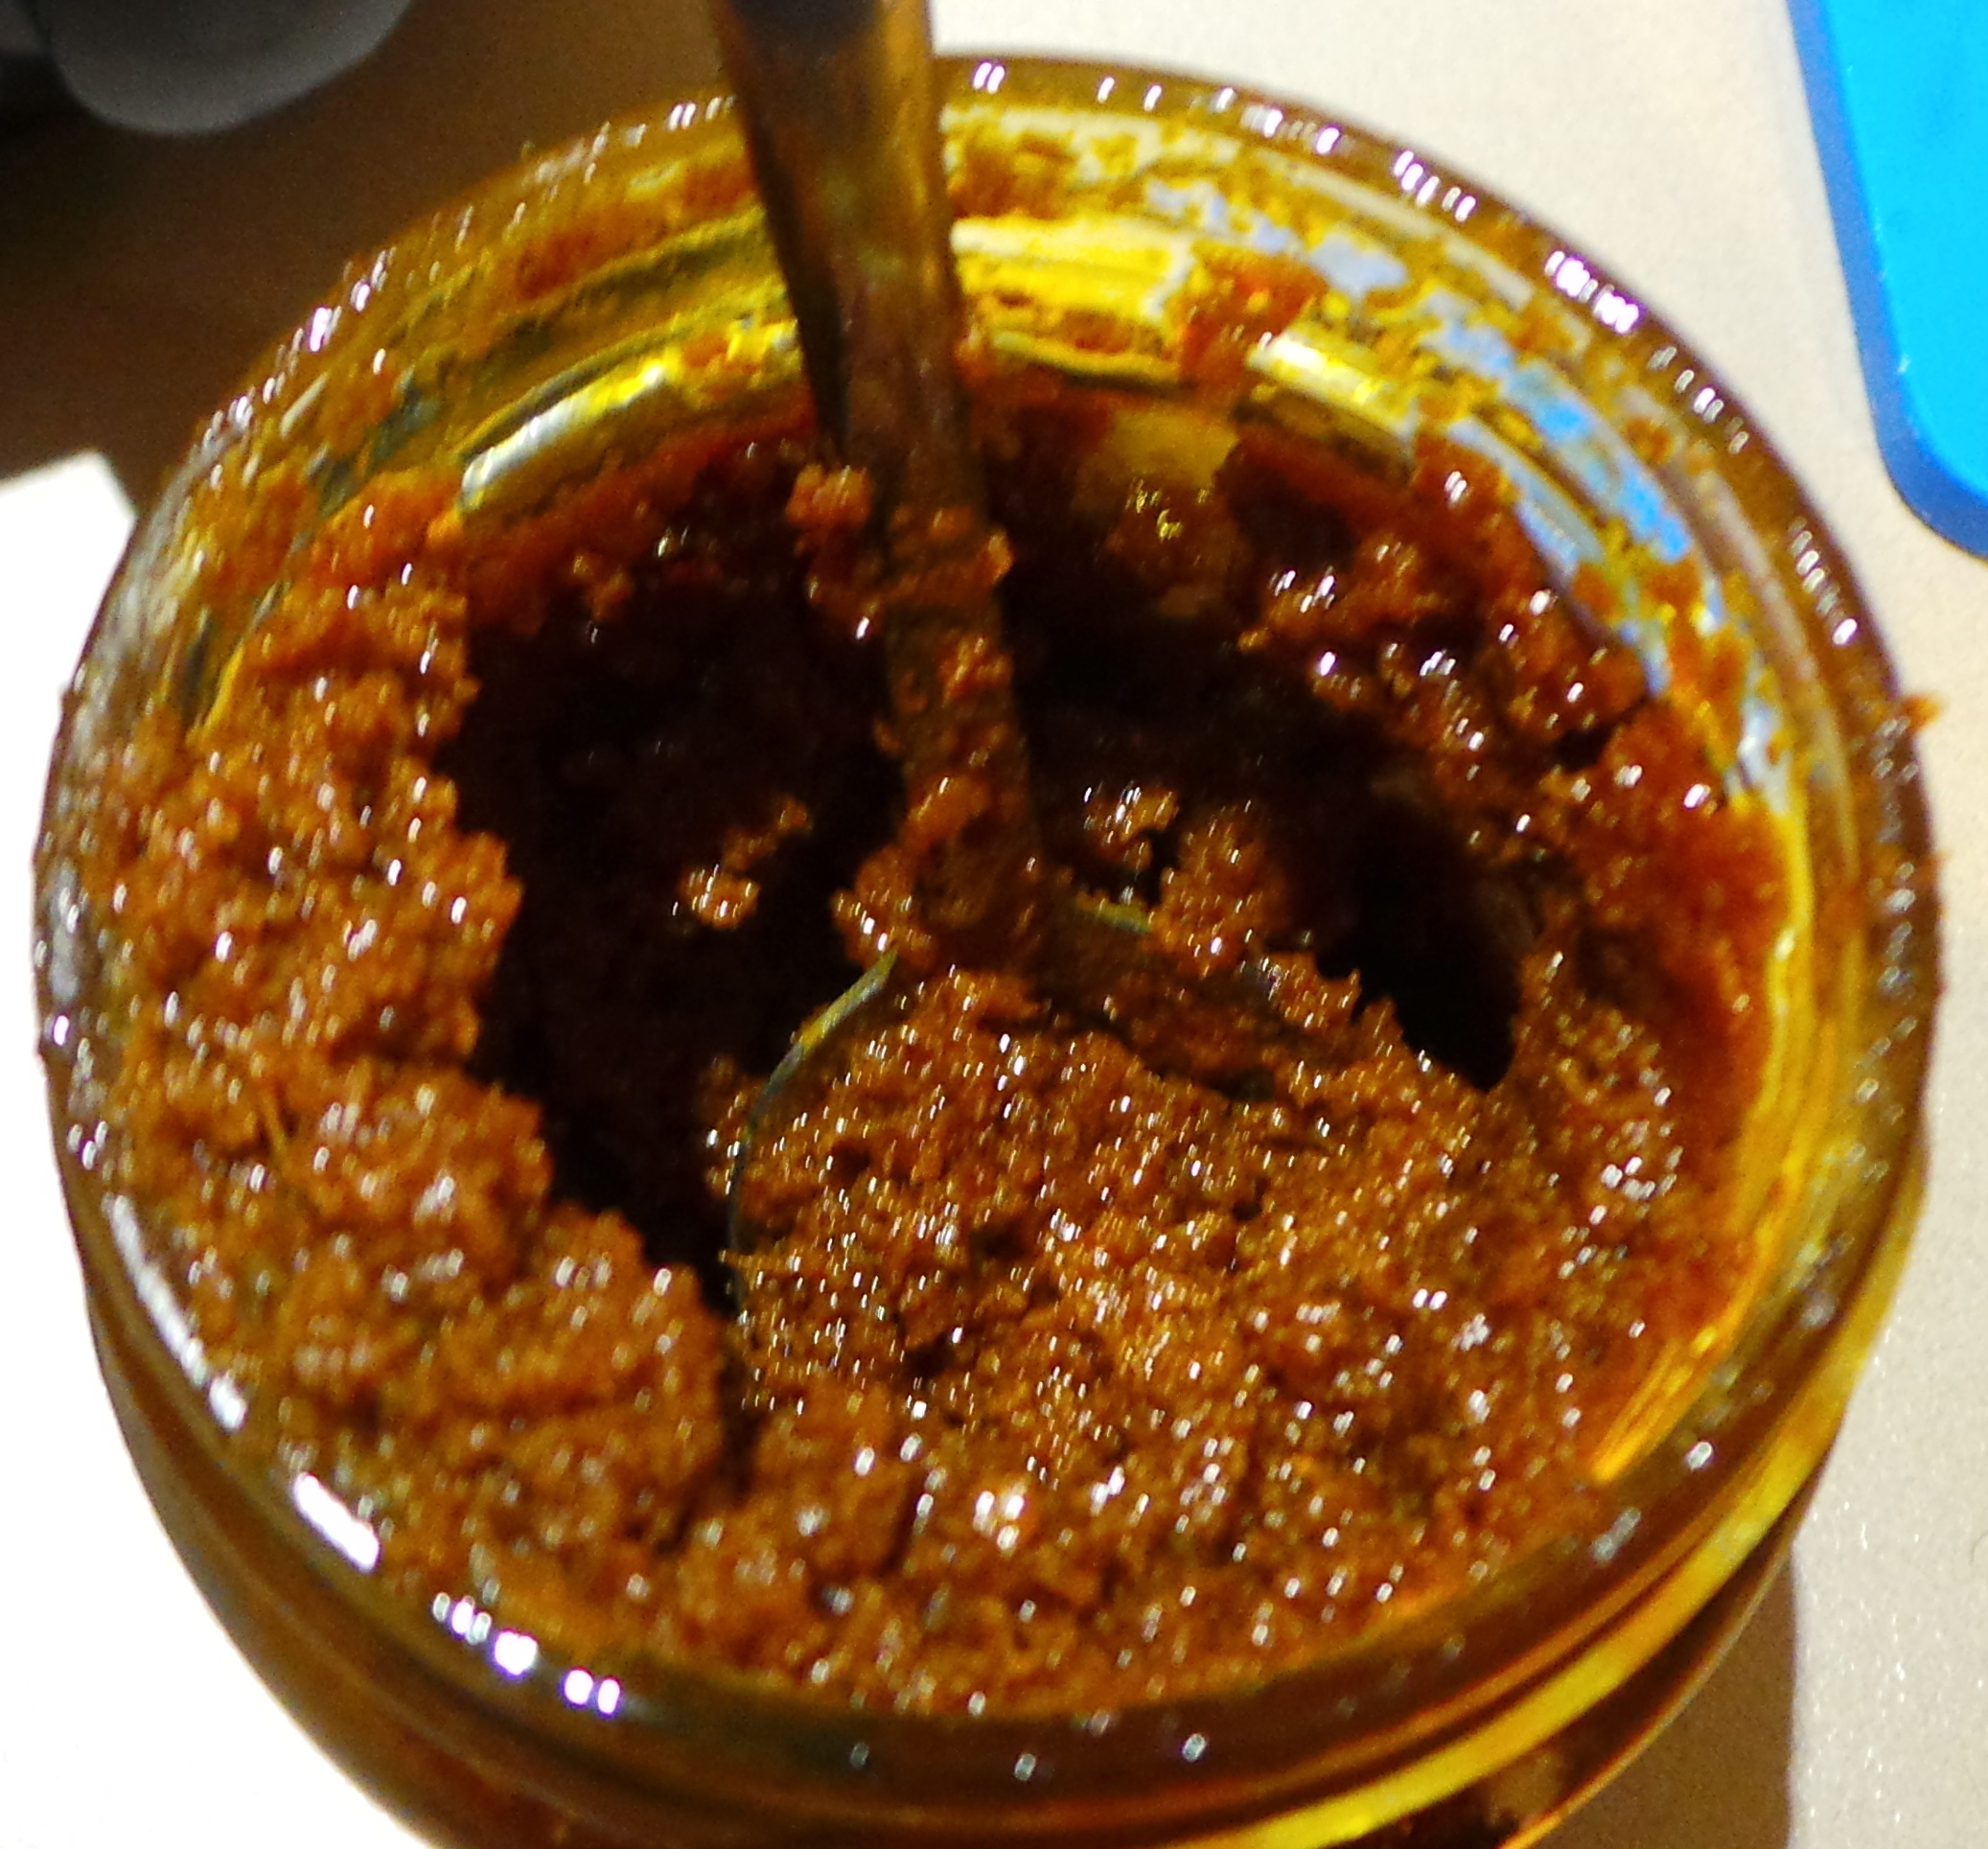
Sorry it’s blurry, I was rushing.
Now – and vegetarians look away – if you wish to add meat to this dish, feel free. I find that the beans suffice and the lack of meat is not actually something you think about. However, if you have a family member who requires meat to make a meal, you could easily add some diced bacon and sauté before adding the curry paste, or some diced rotisserie chicken just before serving.
After the liquid is added you are simply looking to heat things through and further soften the vegetables- you aren’t actively trying to ‘cook’ anything.
So, place a Dutch oven, casserole dish or a large saucepan over a low flame and heat about a tablespoon of butter with a splash of oil. The oil will stop the butter from burning. (Or you can just use all oil.)
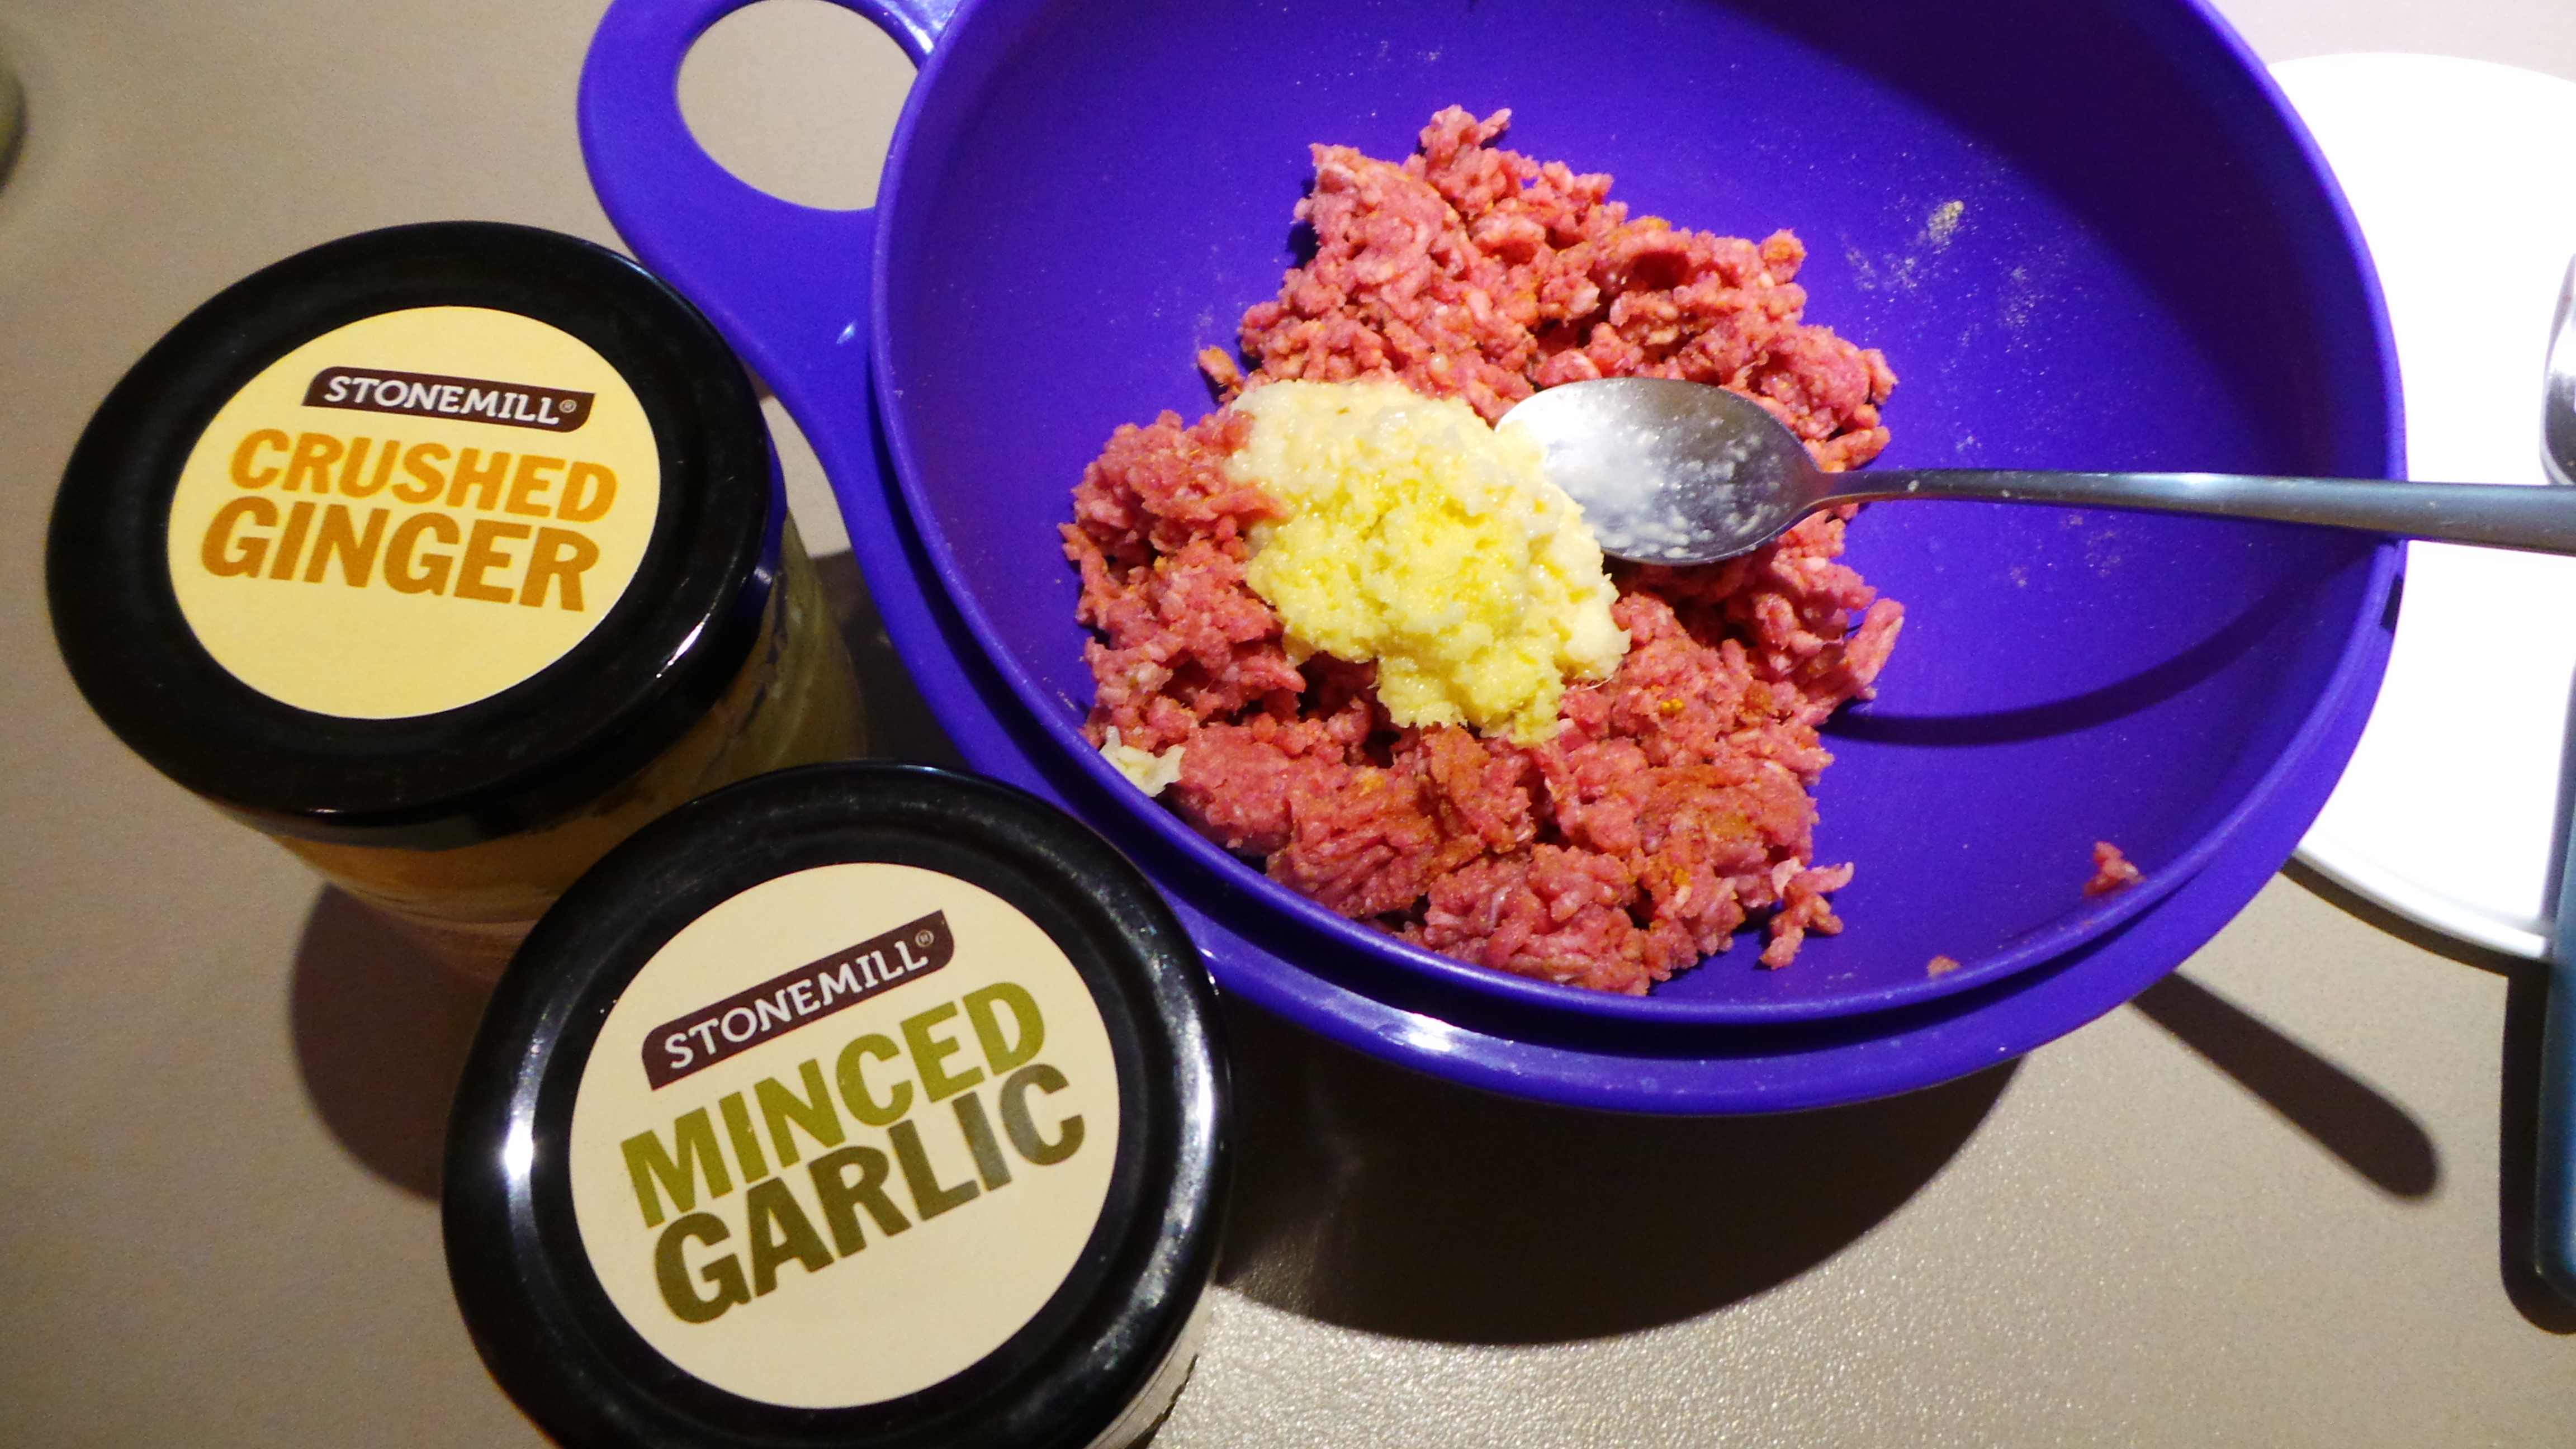
Then add a teaspoon of crushed garlic (if you like it) and a diced onion.
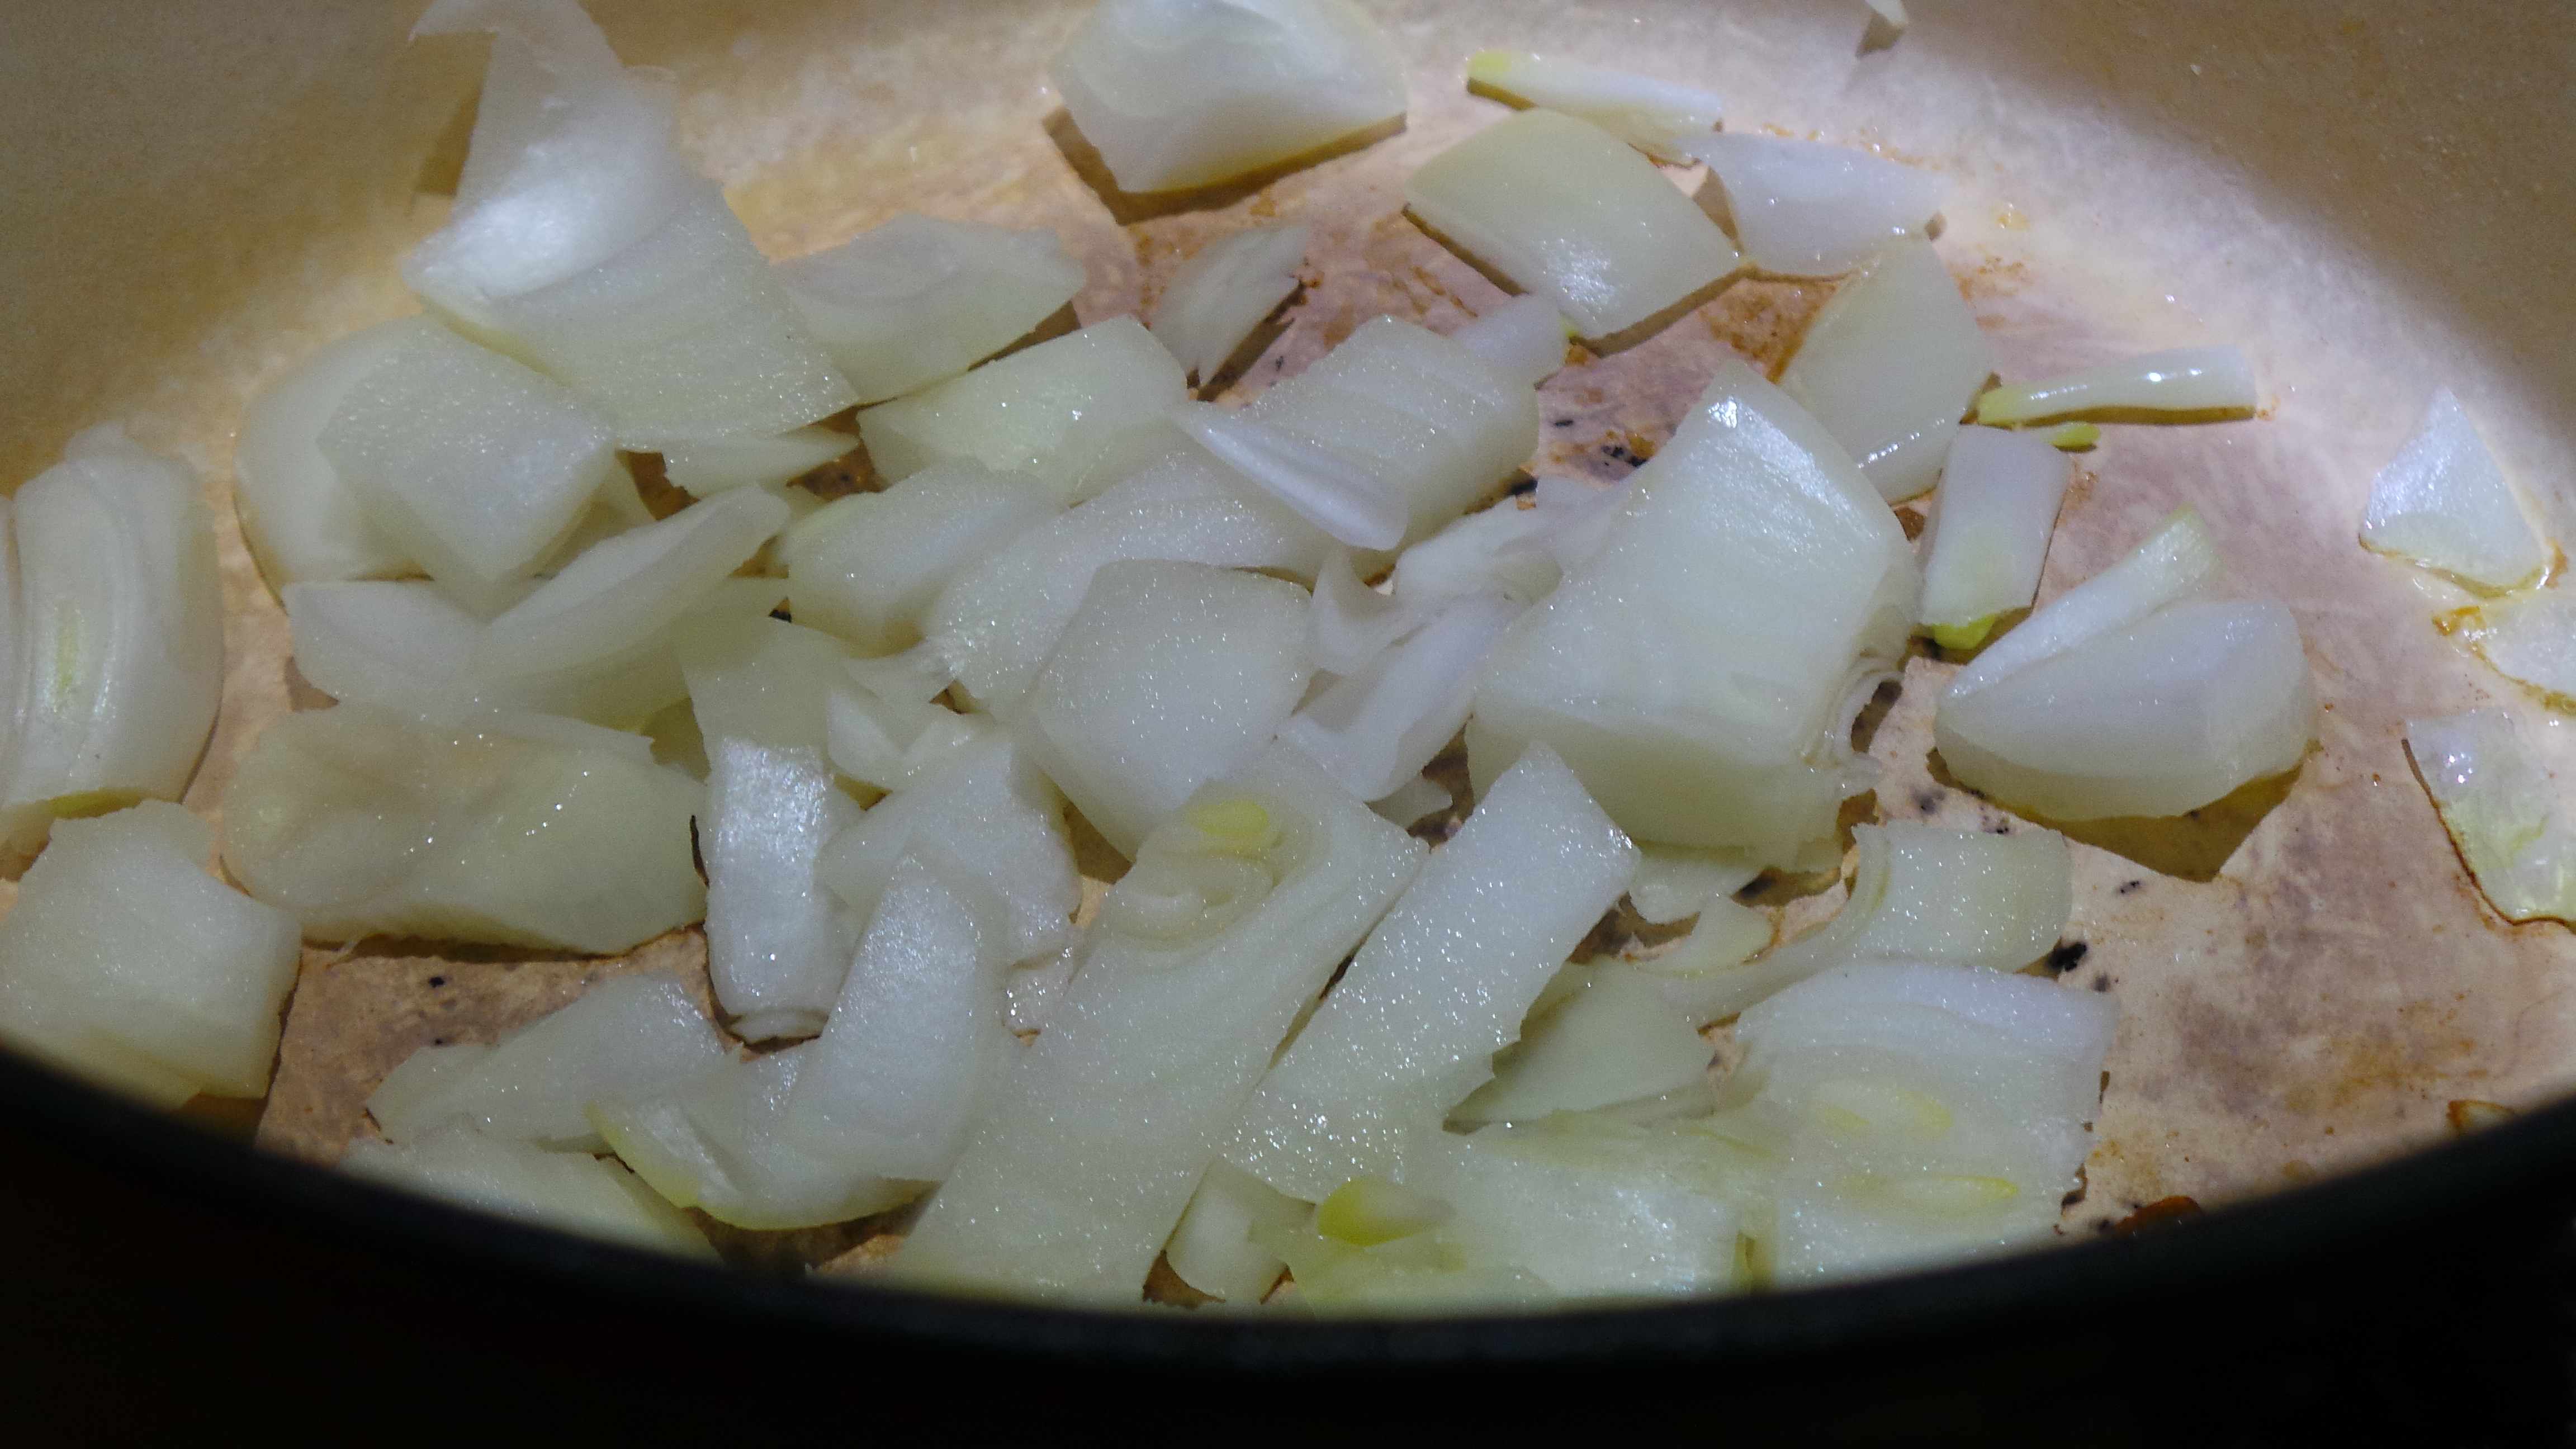
Diced onion.
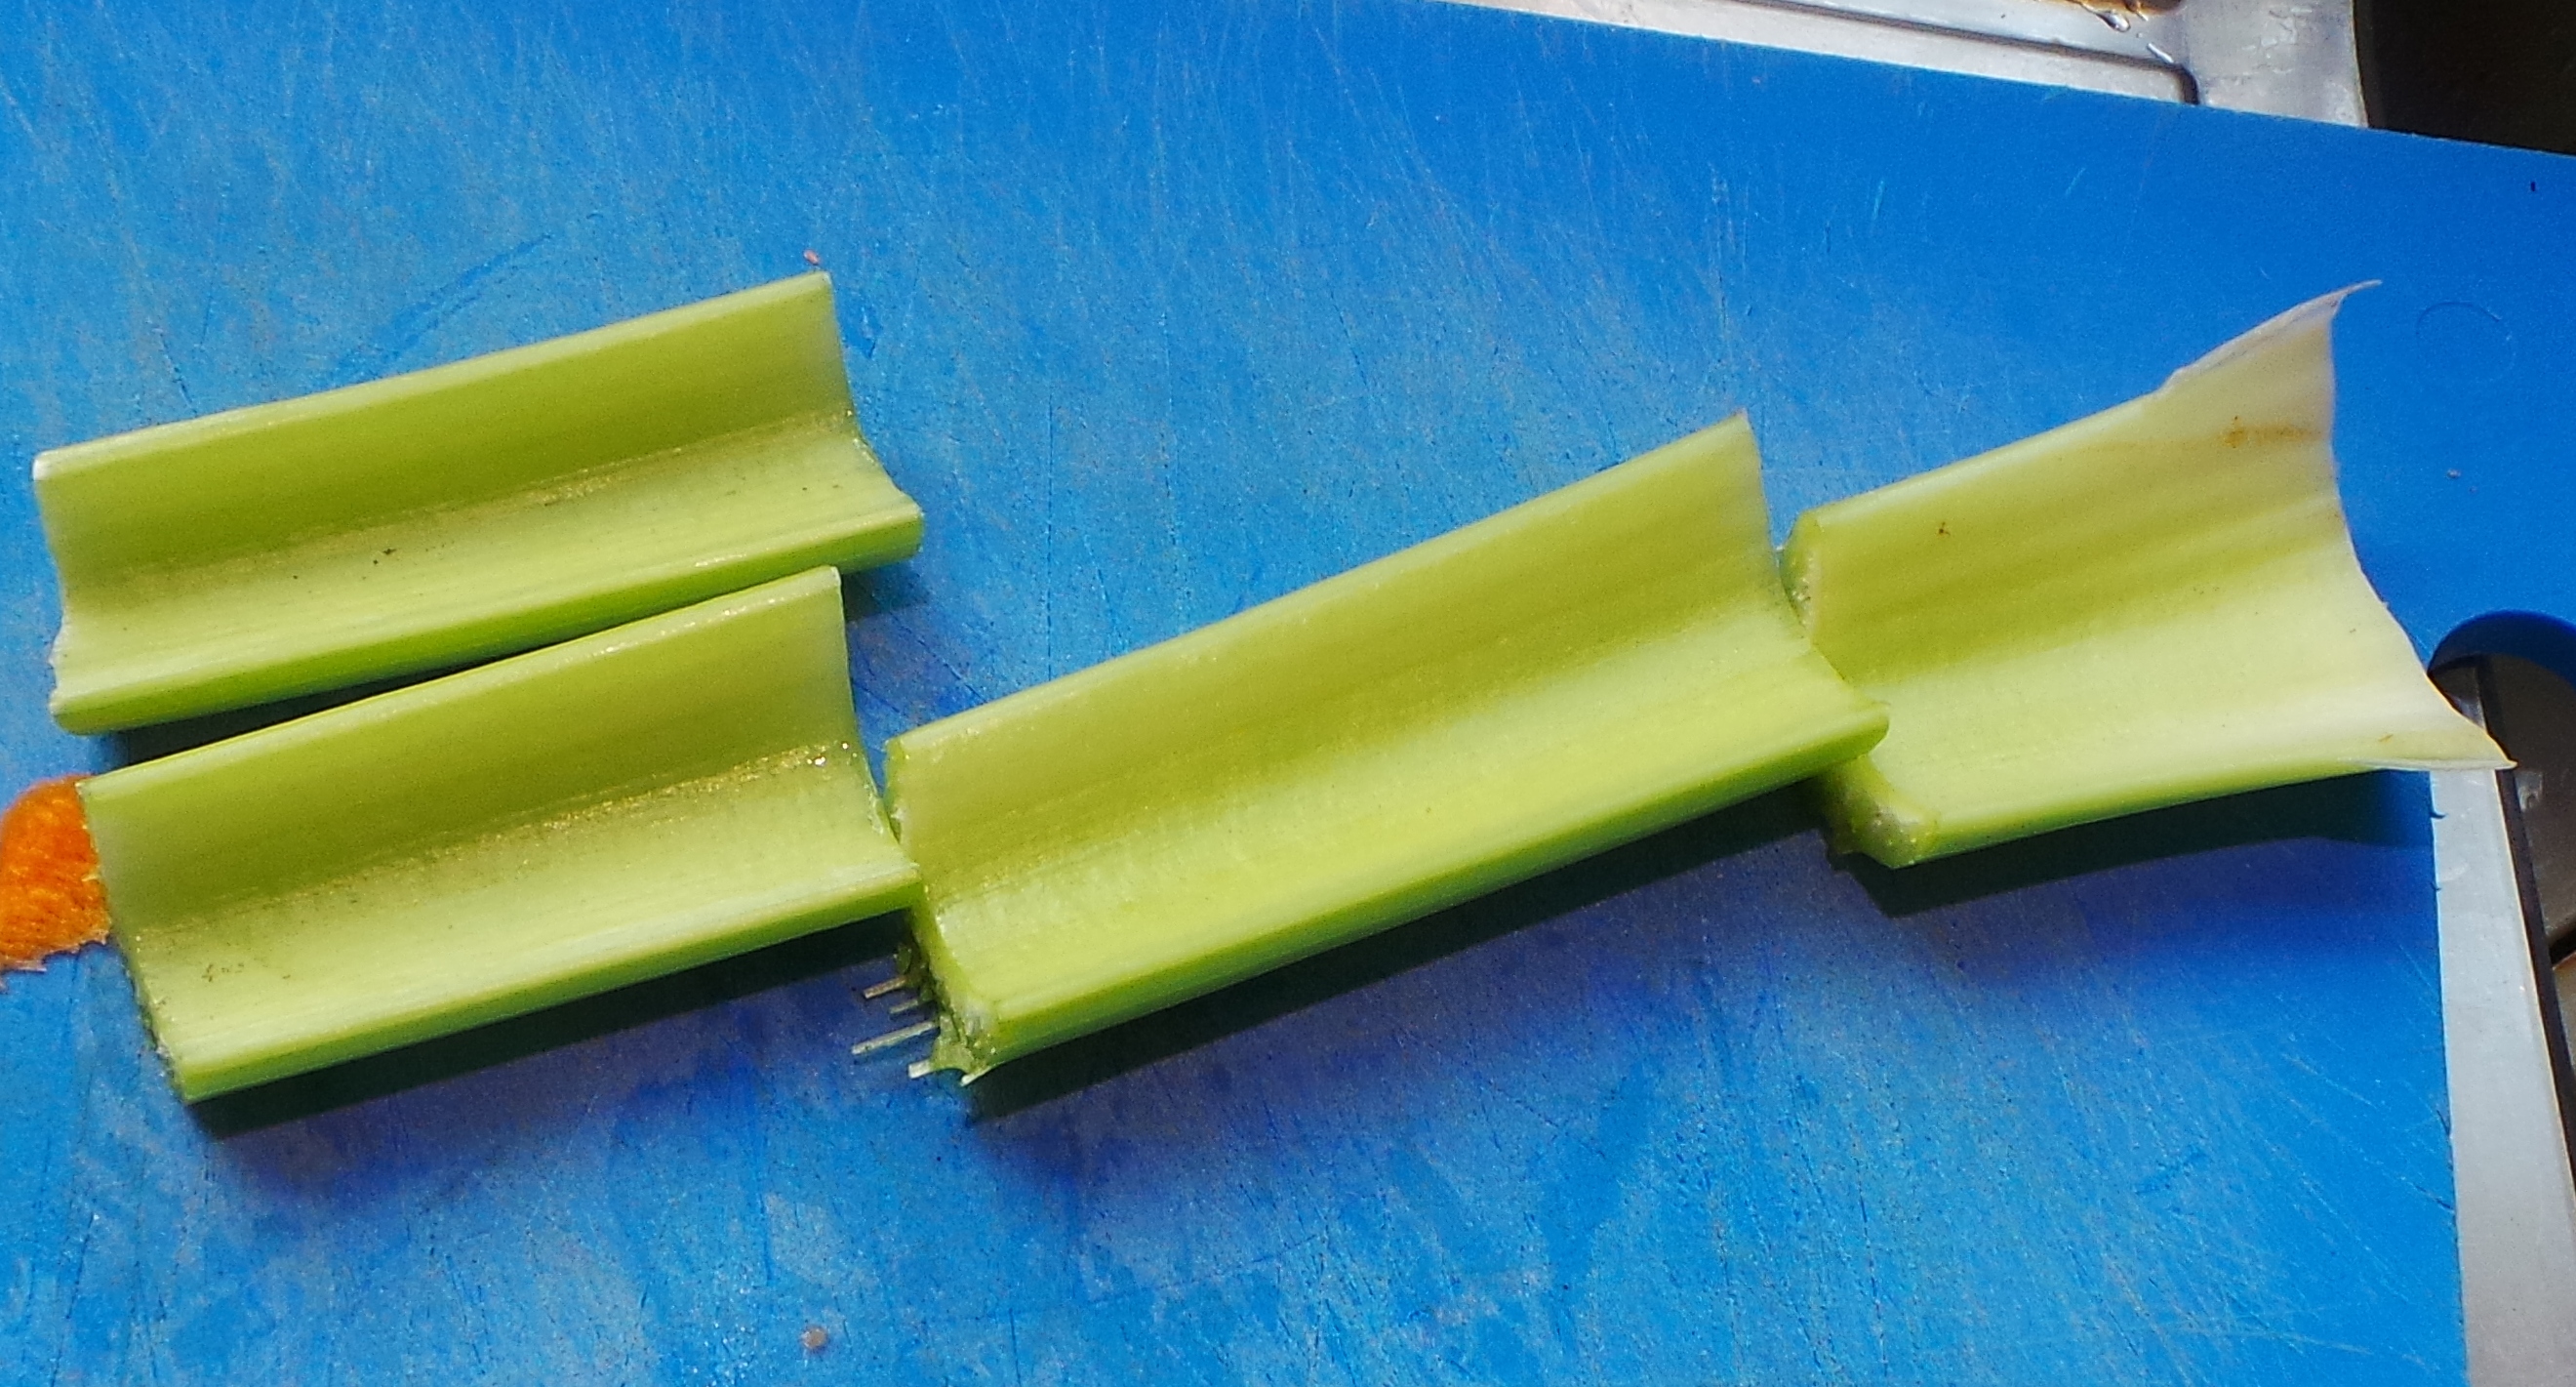
Sauté until the onion is translucent, then add some diced celery, stirring continually. I used two largish stalks.
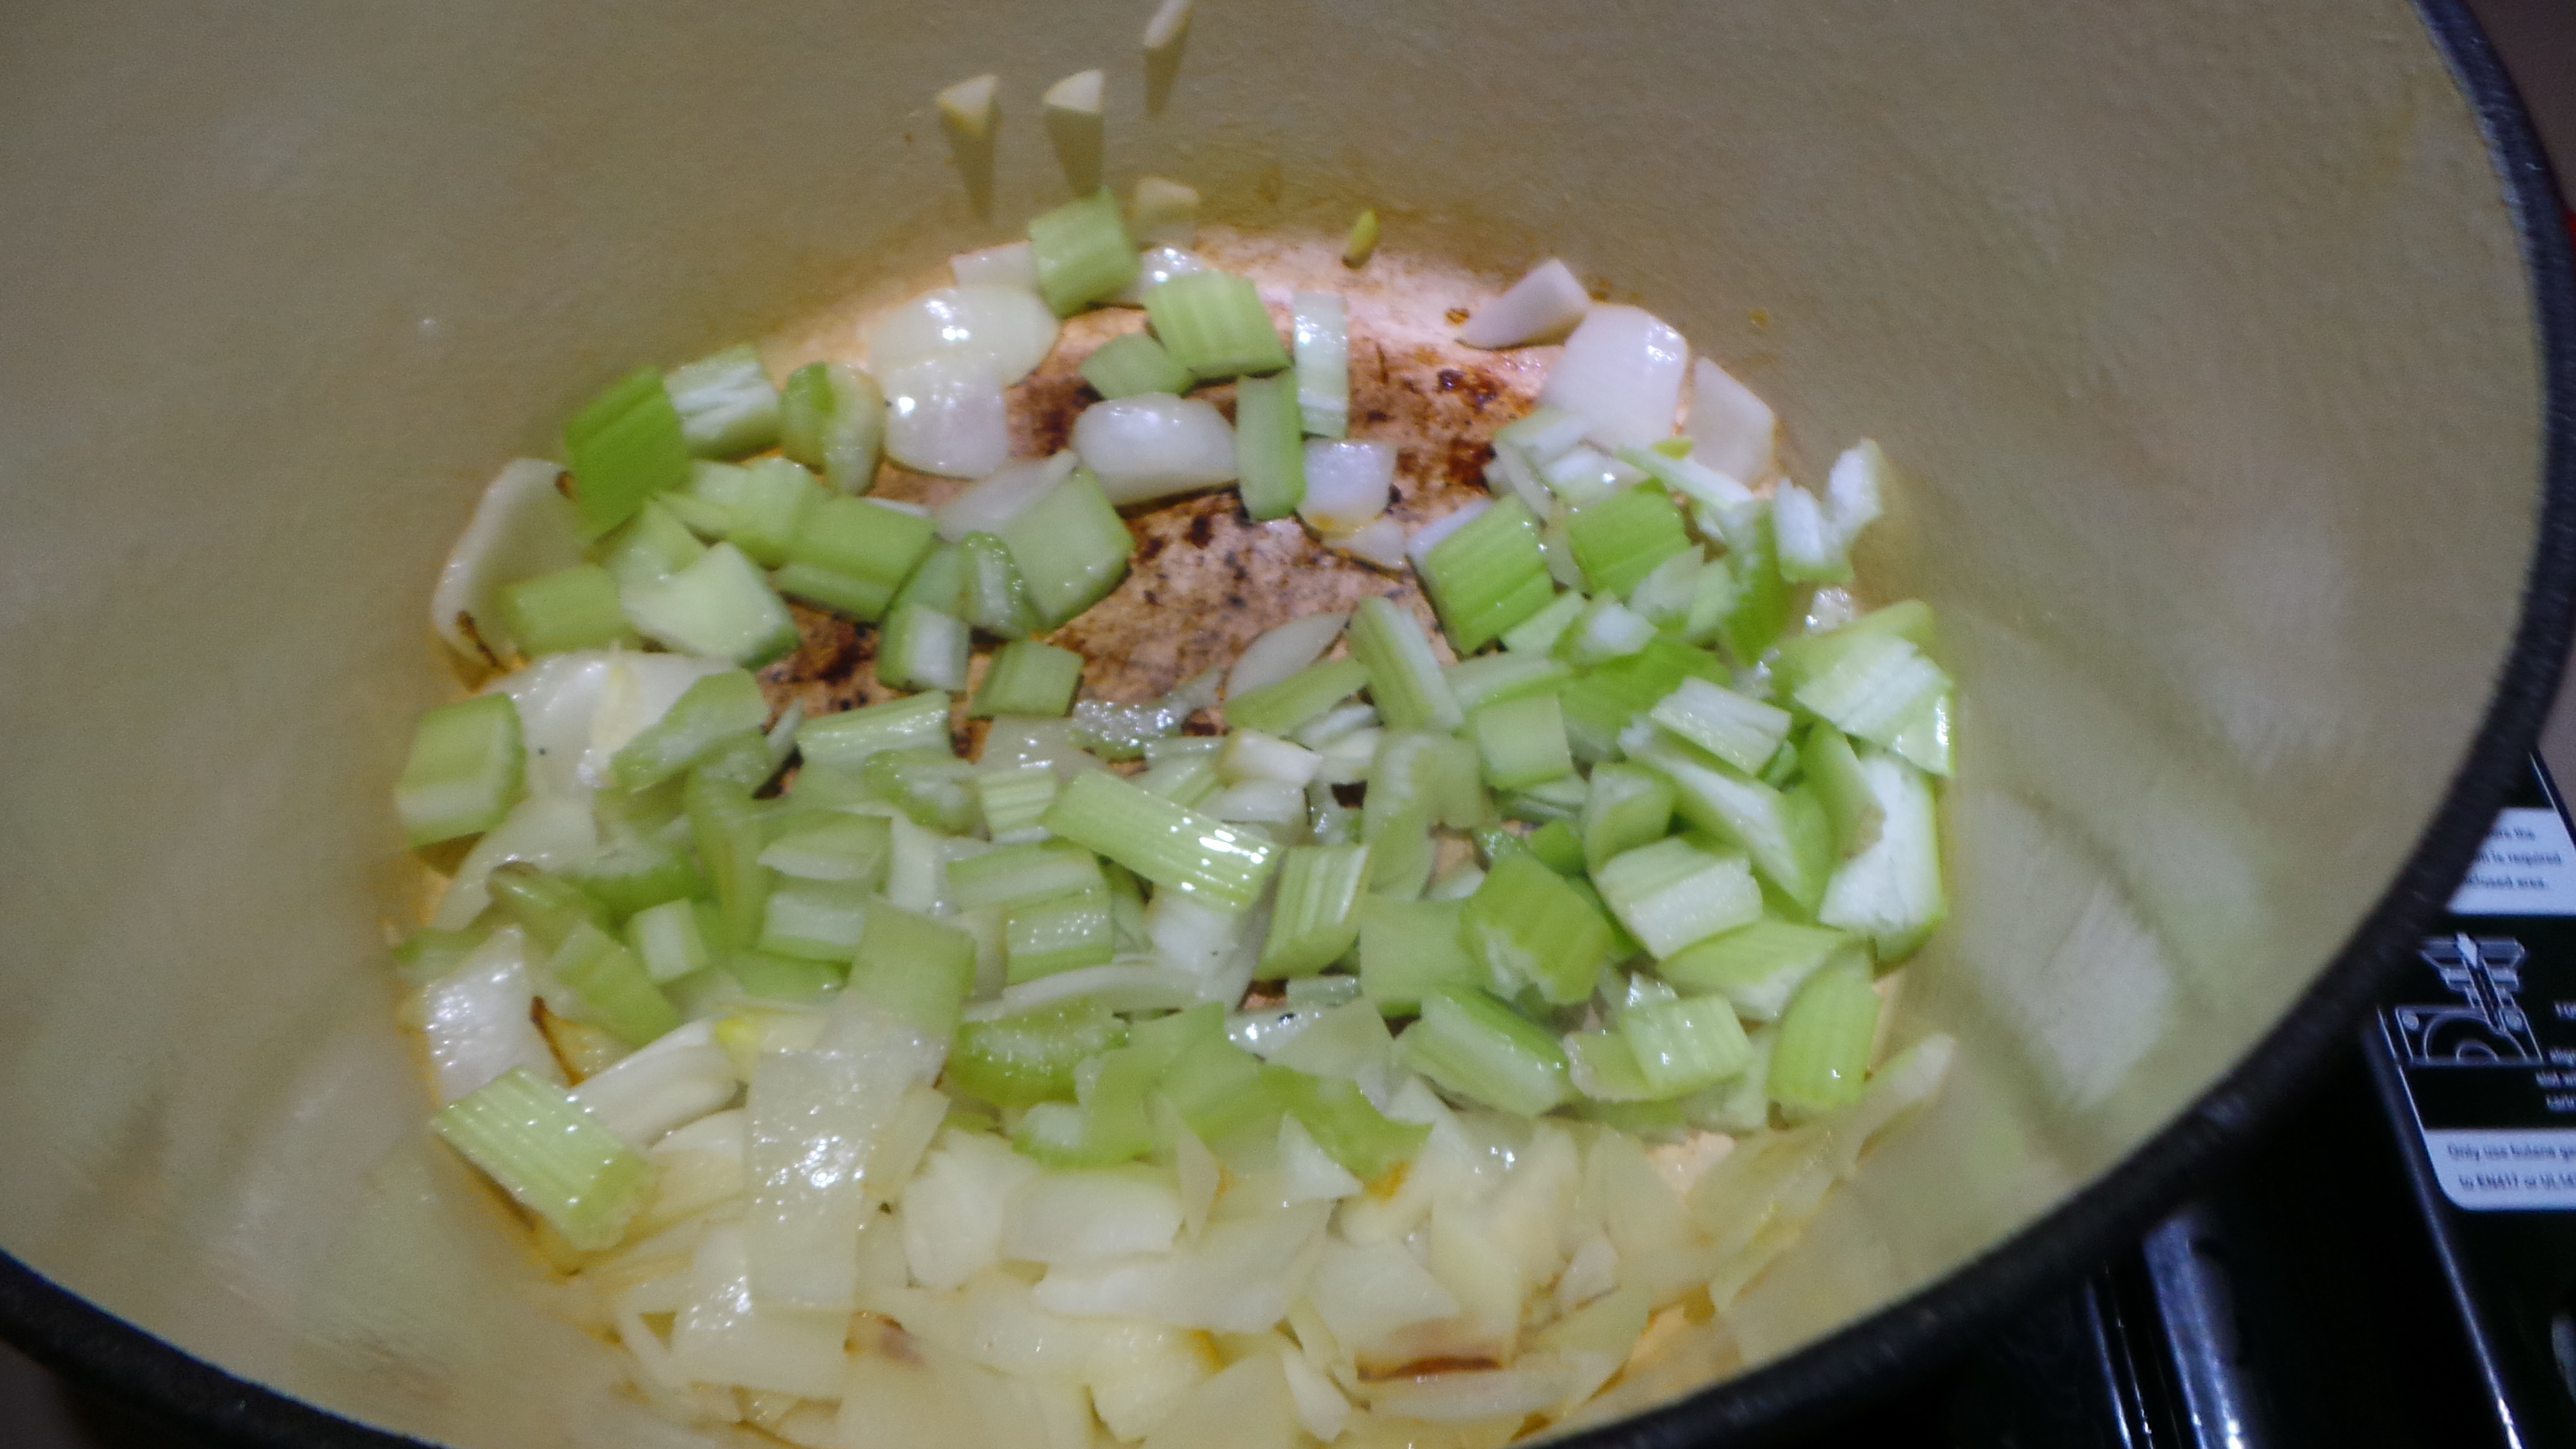
Celery for crunch.
Add your carrots and go find your curry paste. We’ll wait.

Add carrots.
You only want a tablespoon or two of the curry paste. It’s up to you how much you use – the flavour will get stronger with each spoonful.
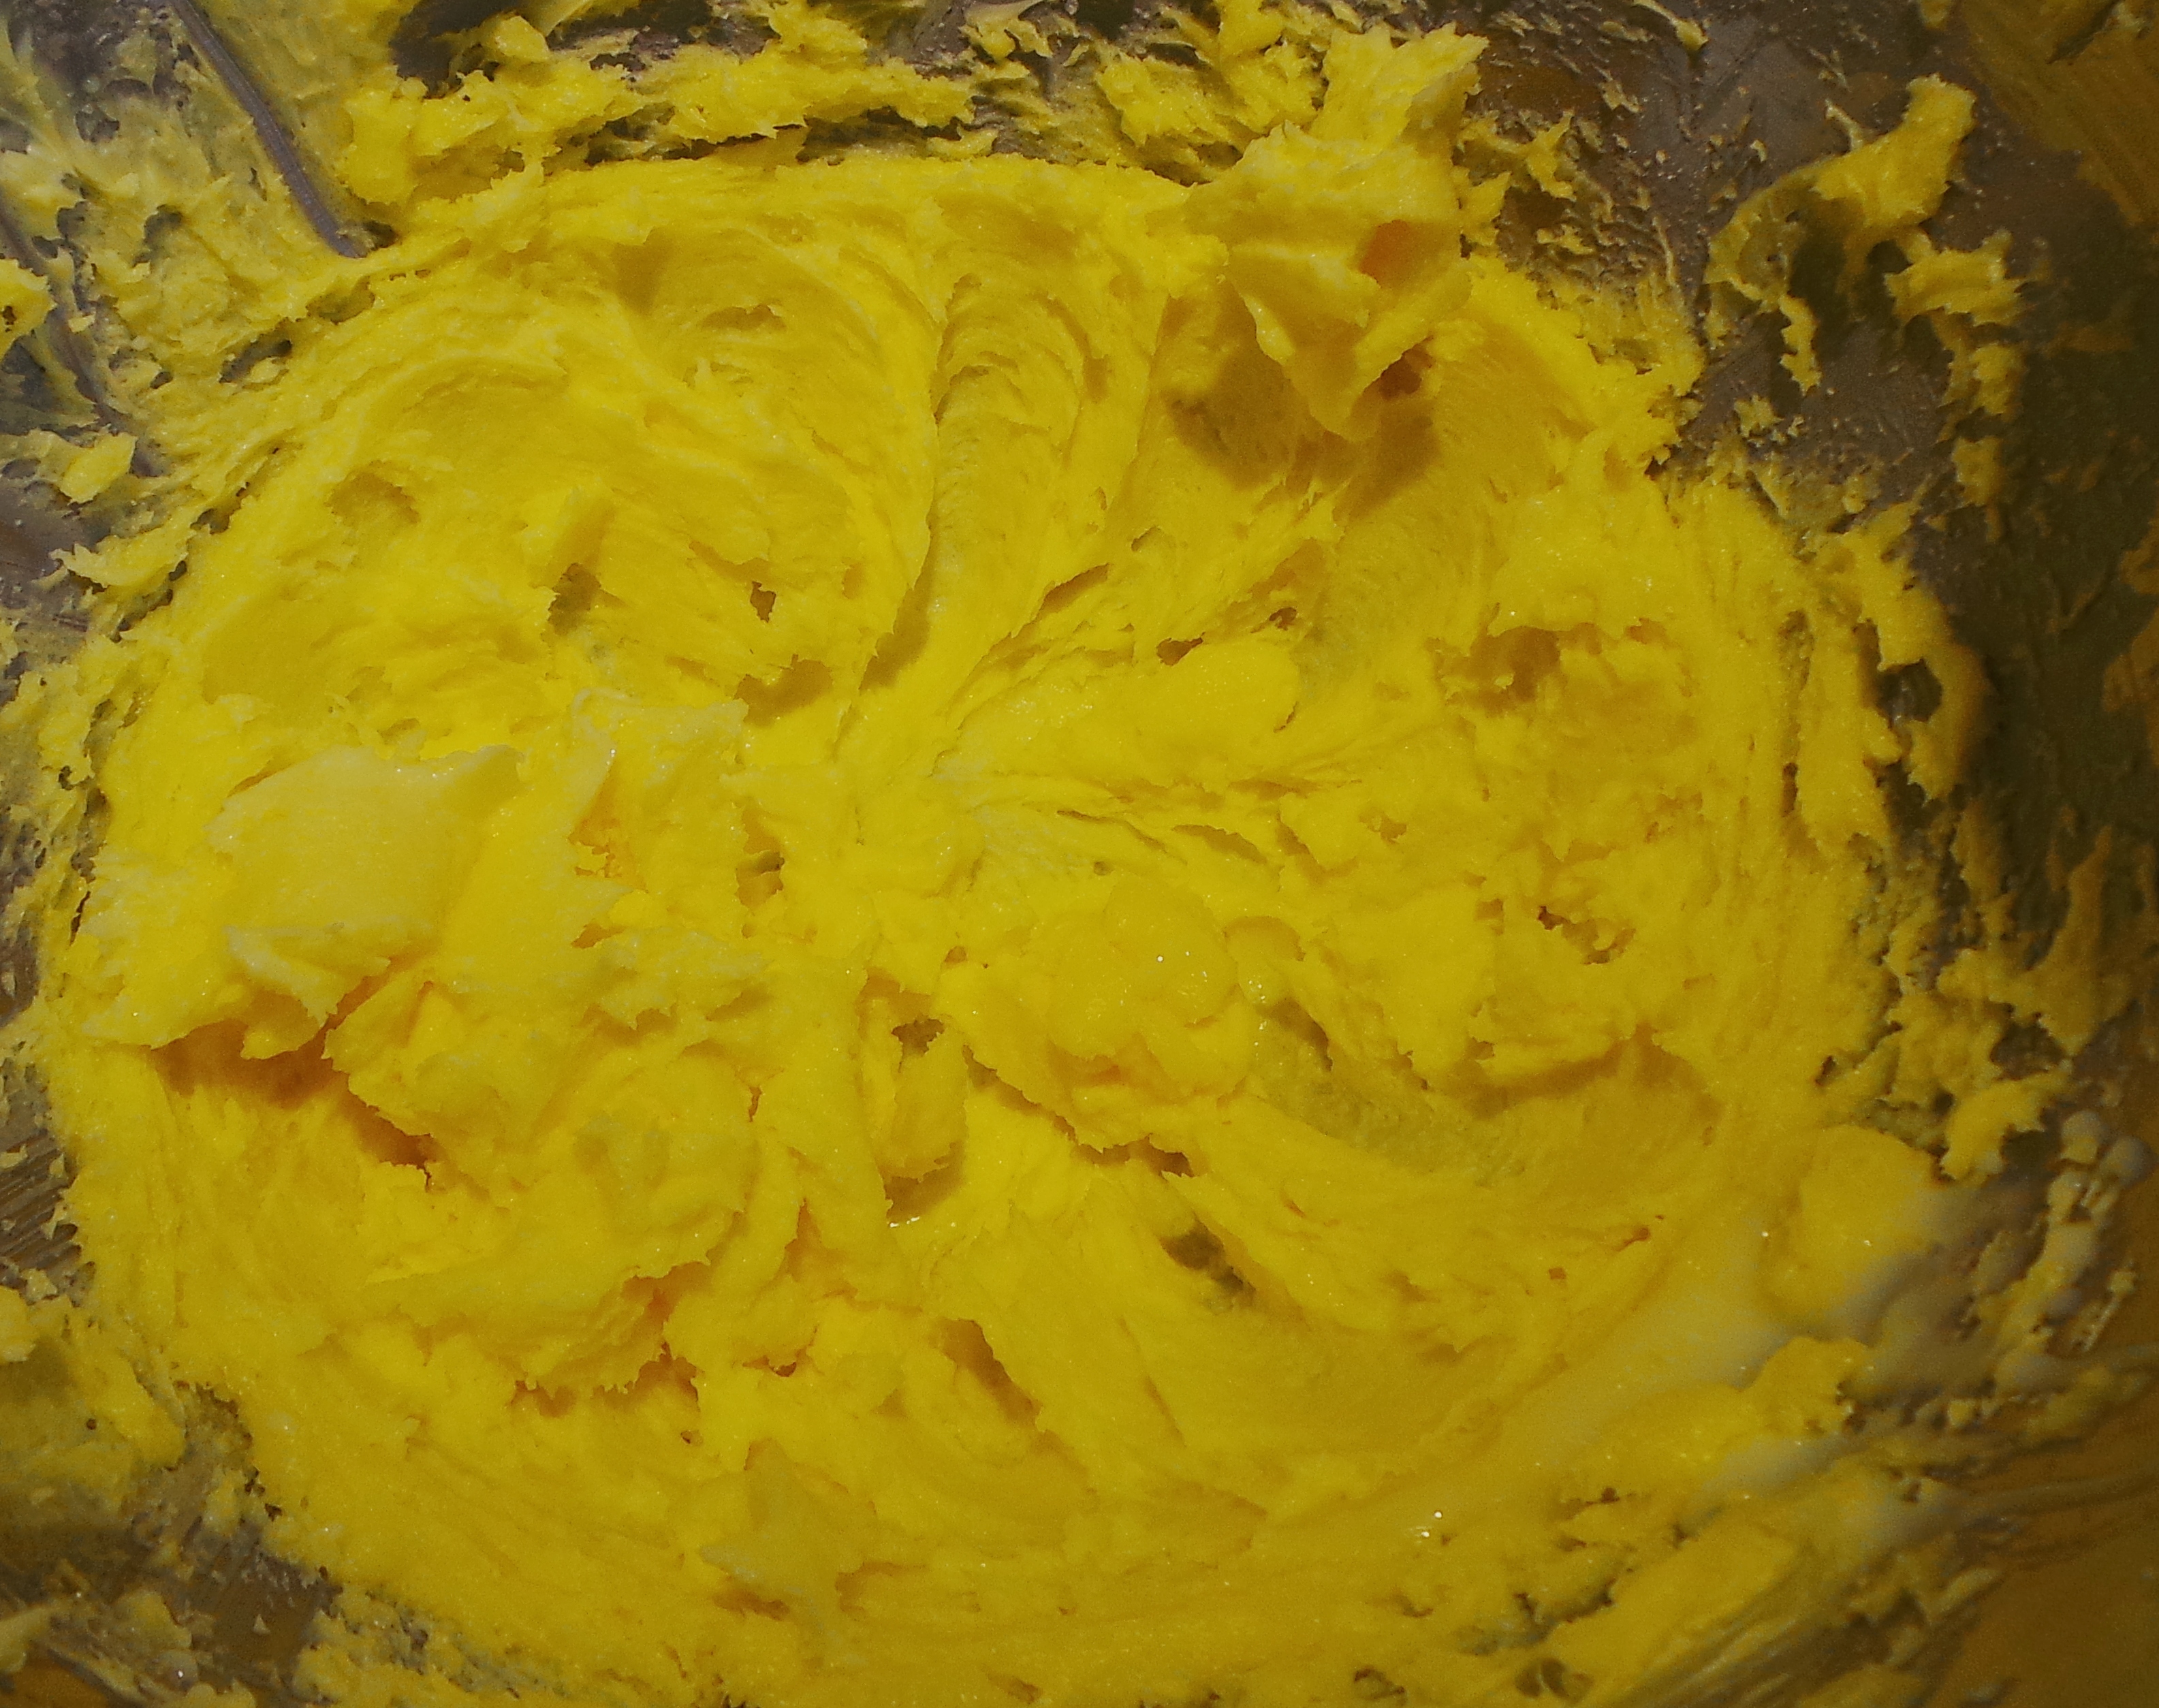
Add it to the pan and allow it to fry gently for a few minutes. This will give you time to open a can of coconut cream.
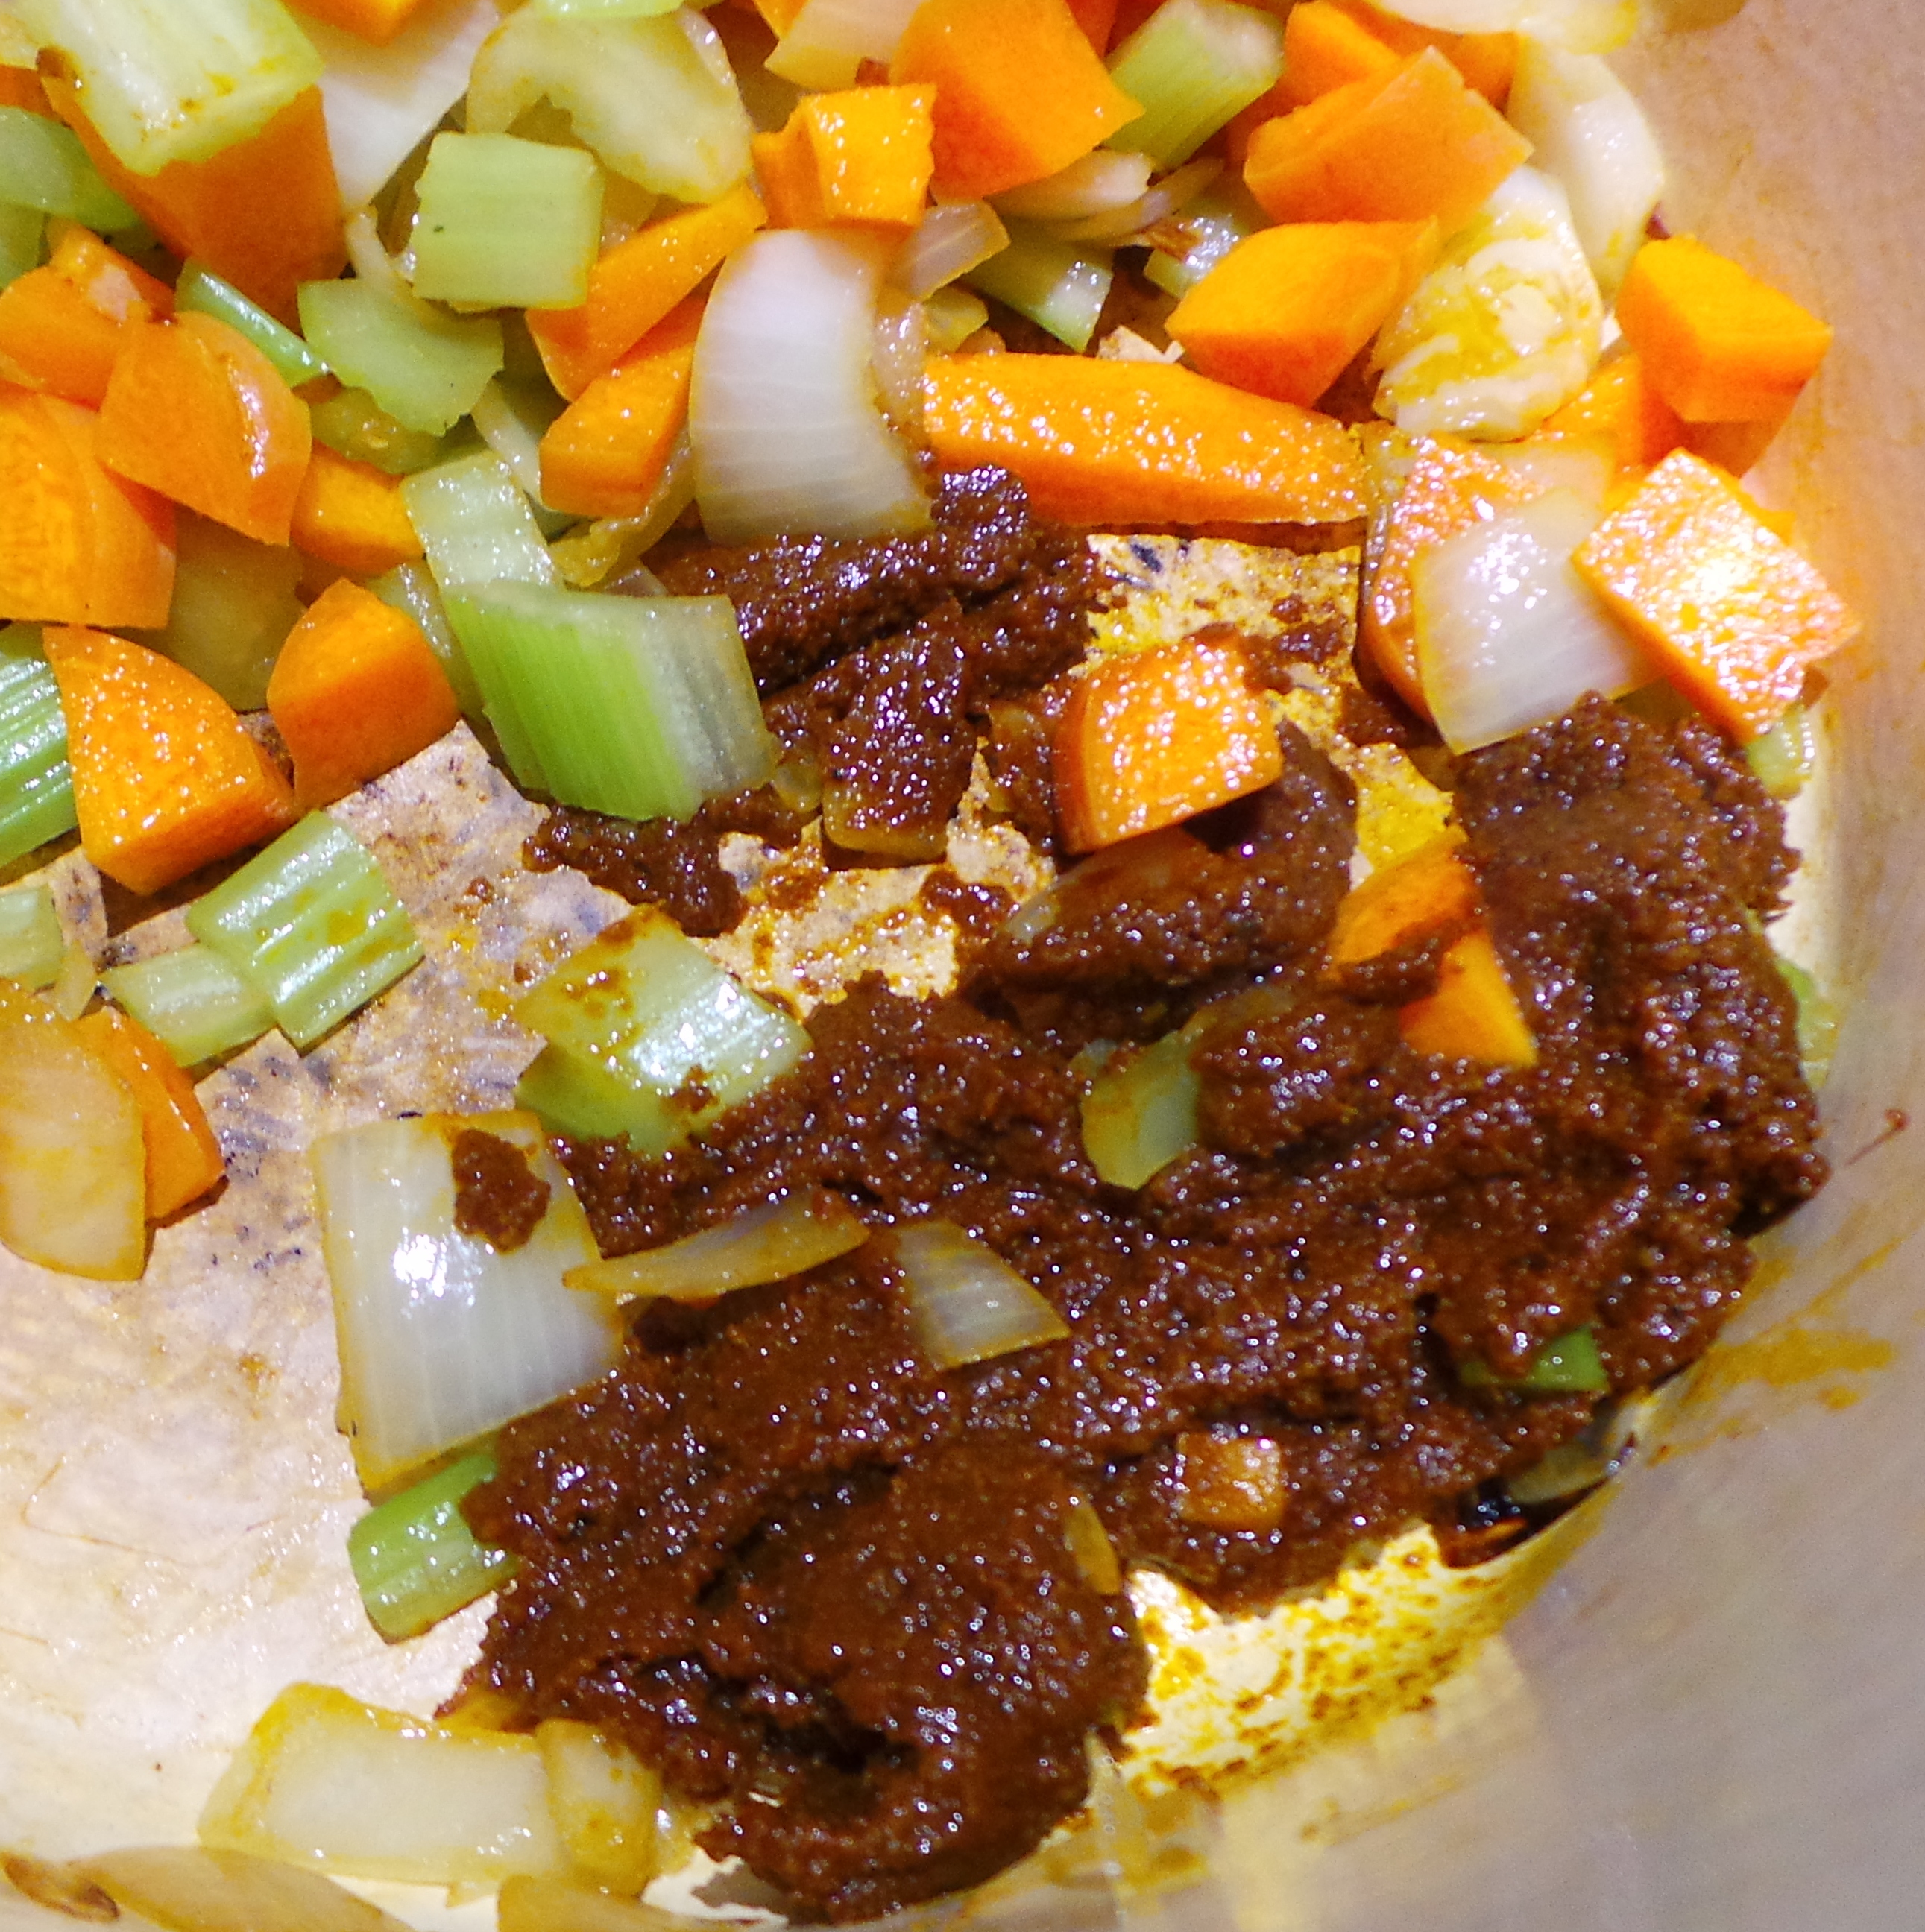
Fry off your paste.
As the heat works on the paste the aroma of the spices will be released. Be warned that, if you have chosen something that is very hot or full of chilli, you will probably start to cough uncontrollably if you breathe in over the pan…
Mix through.

Mix the paste through the vegetables, breaking up any lumps.
Now add your coconut cream. I find it separates in the tin and add only the solid portion at first, reserving the liquid for if I find the sauce becomes too thick or is insufficient.

Spoon the solids into your pan.
Don’t fret, the solid part will melt down to a thick liquid quite quickly. As an aside, if you can’t find coconut cream (or are allergic) use a tin of evaporated milk instead.
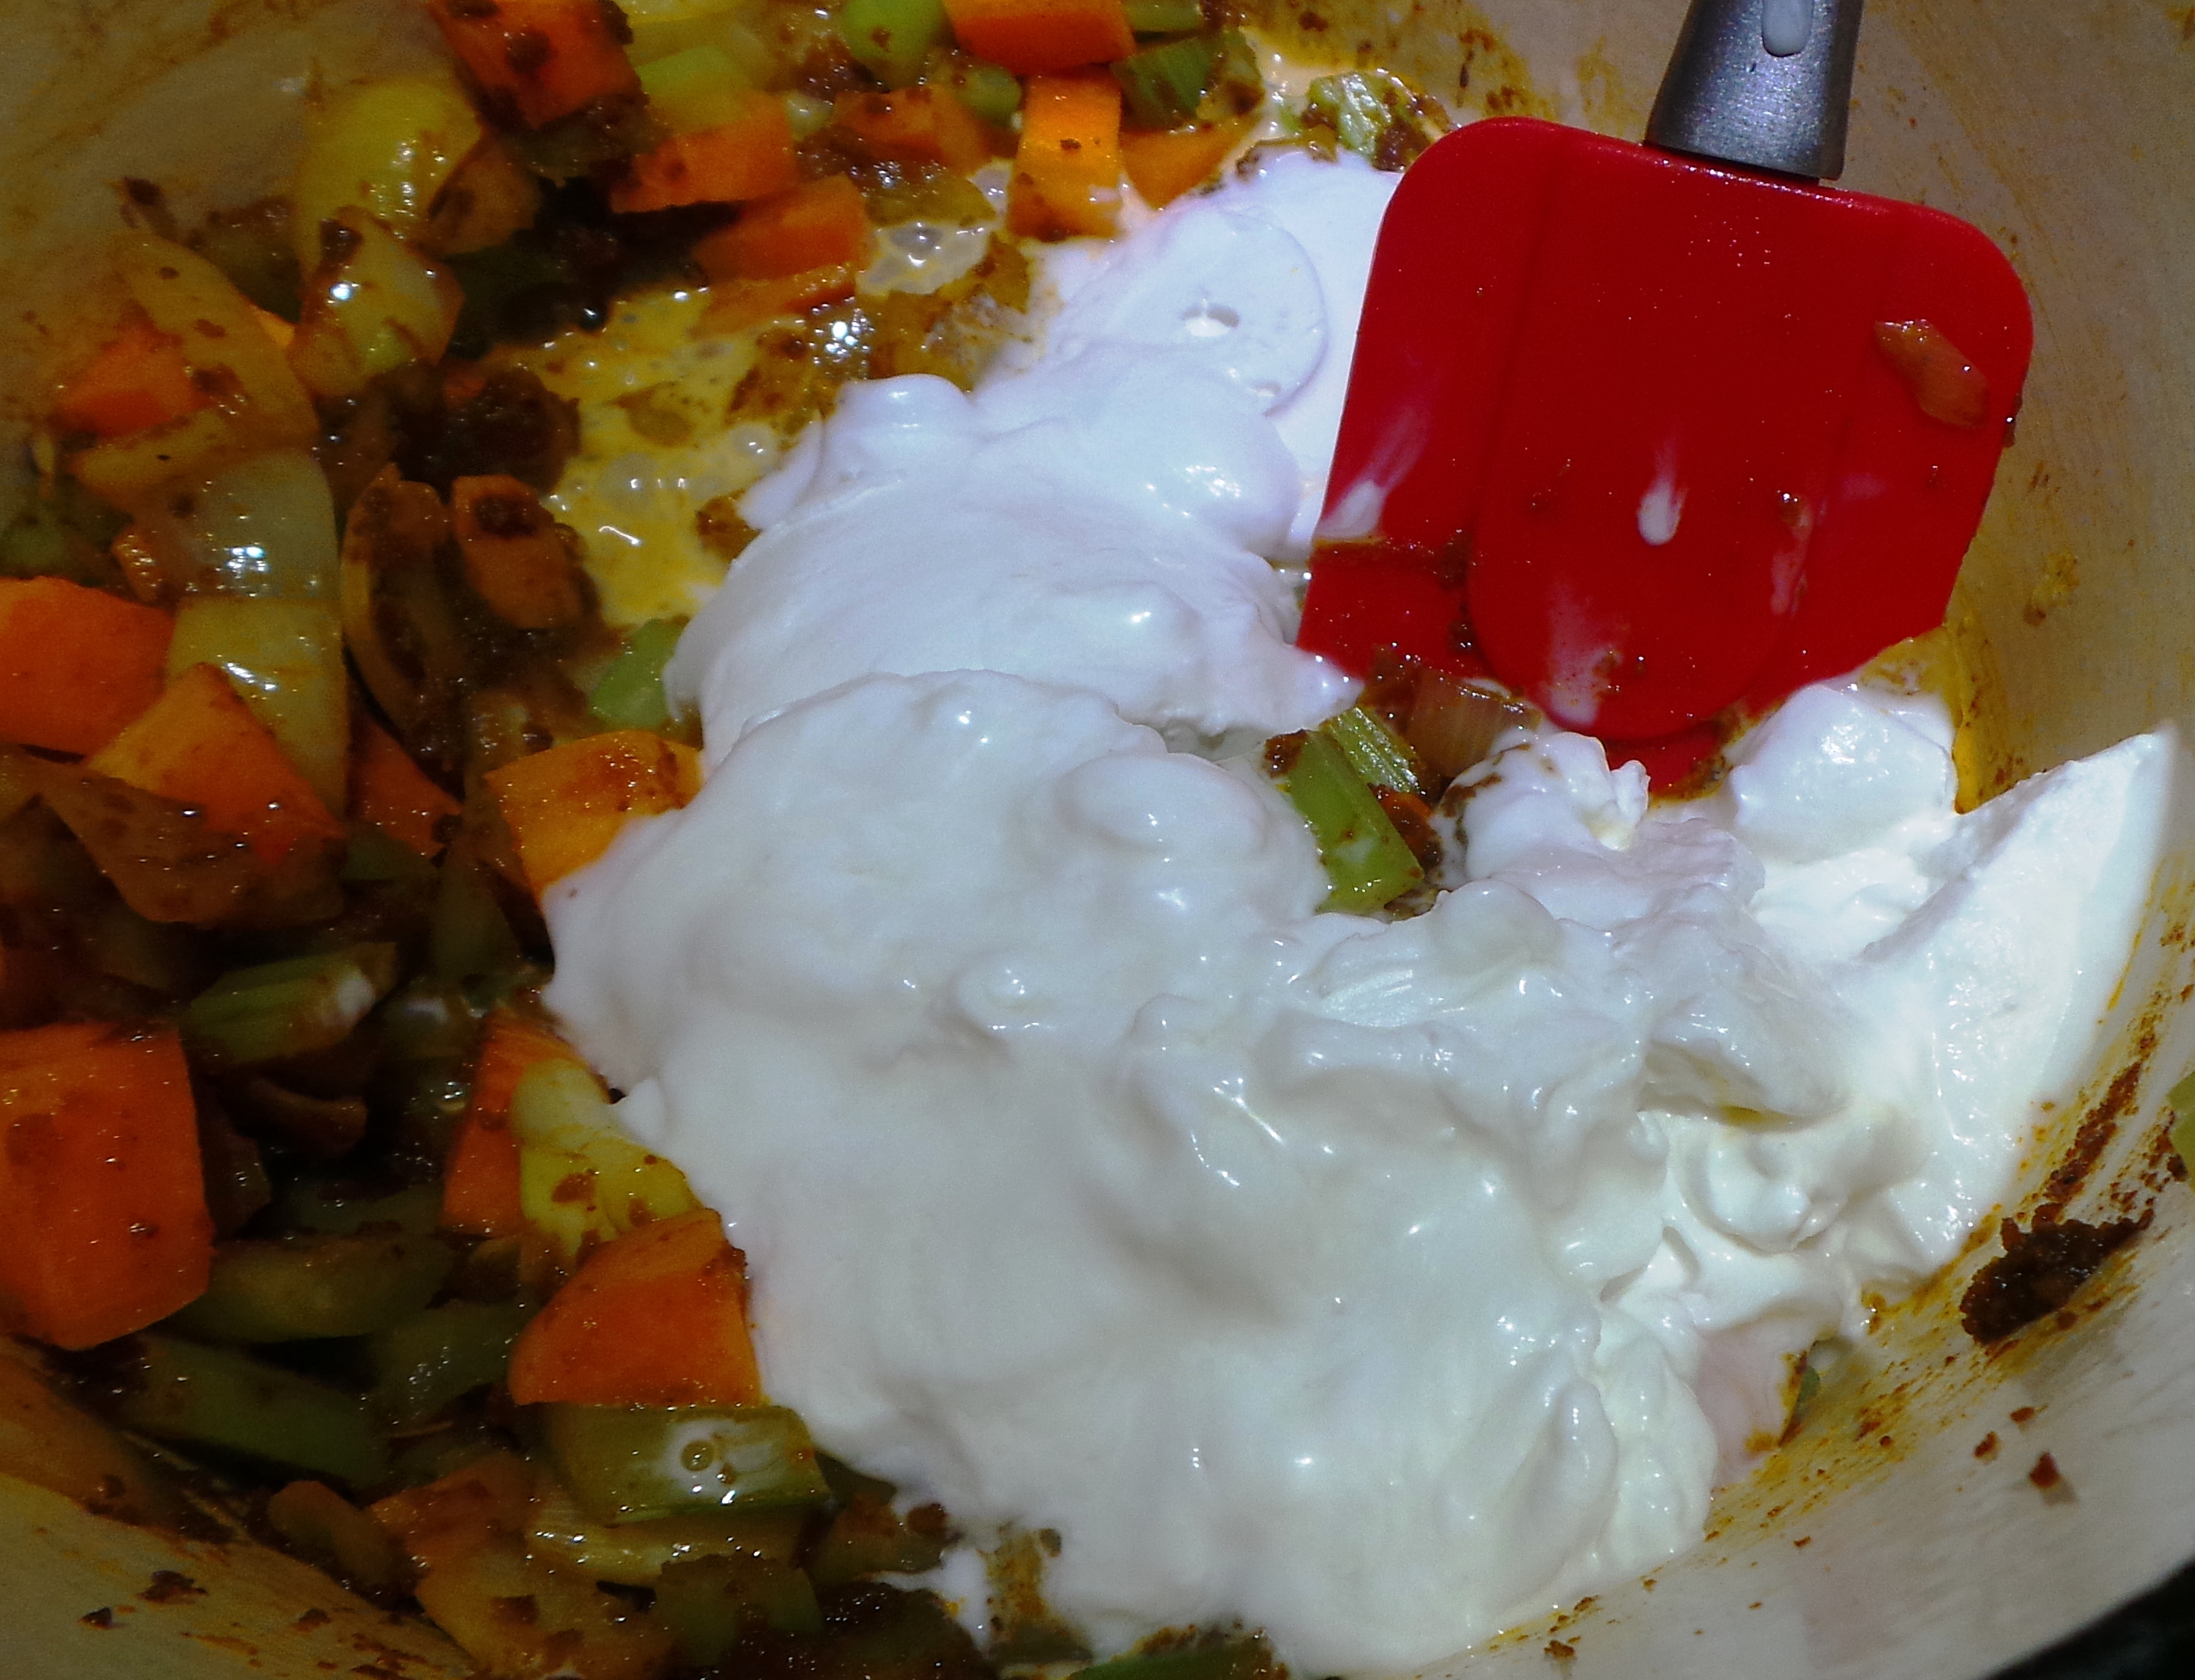
It looks improbable, doesn’t it?
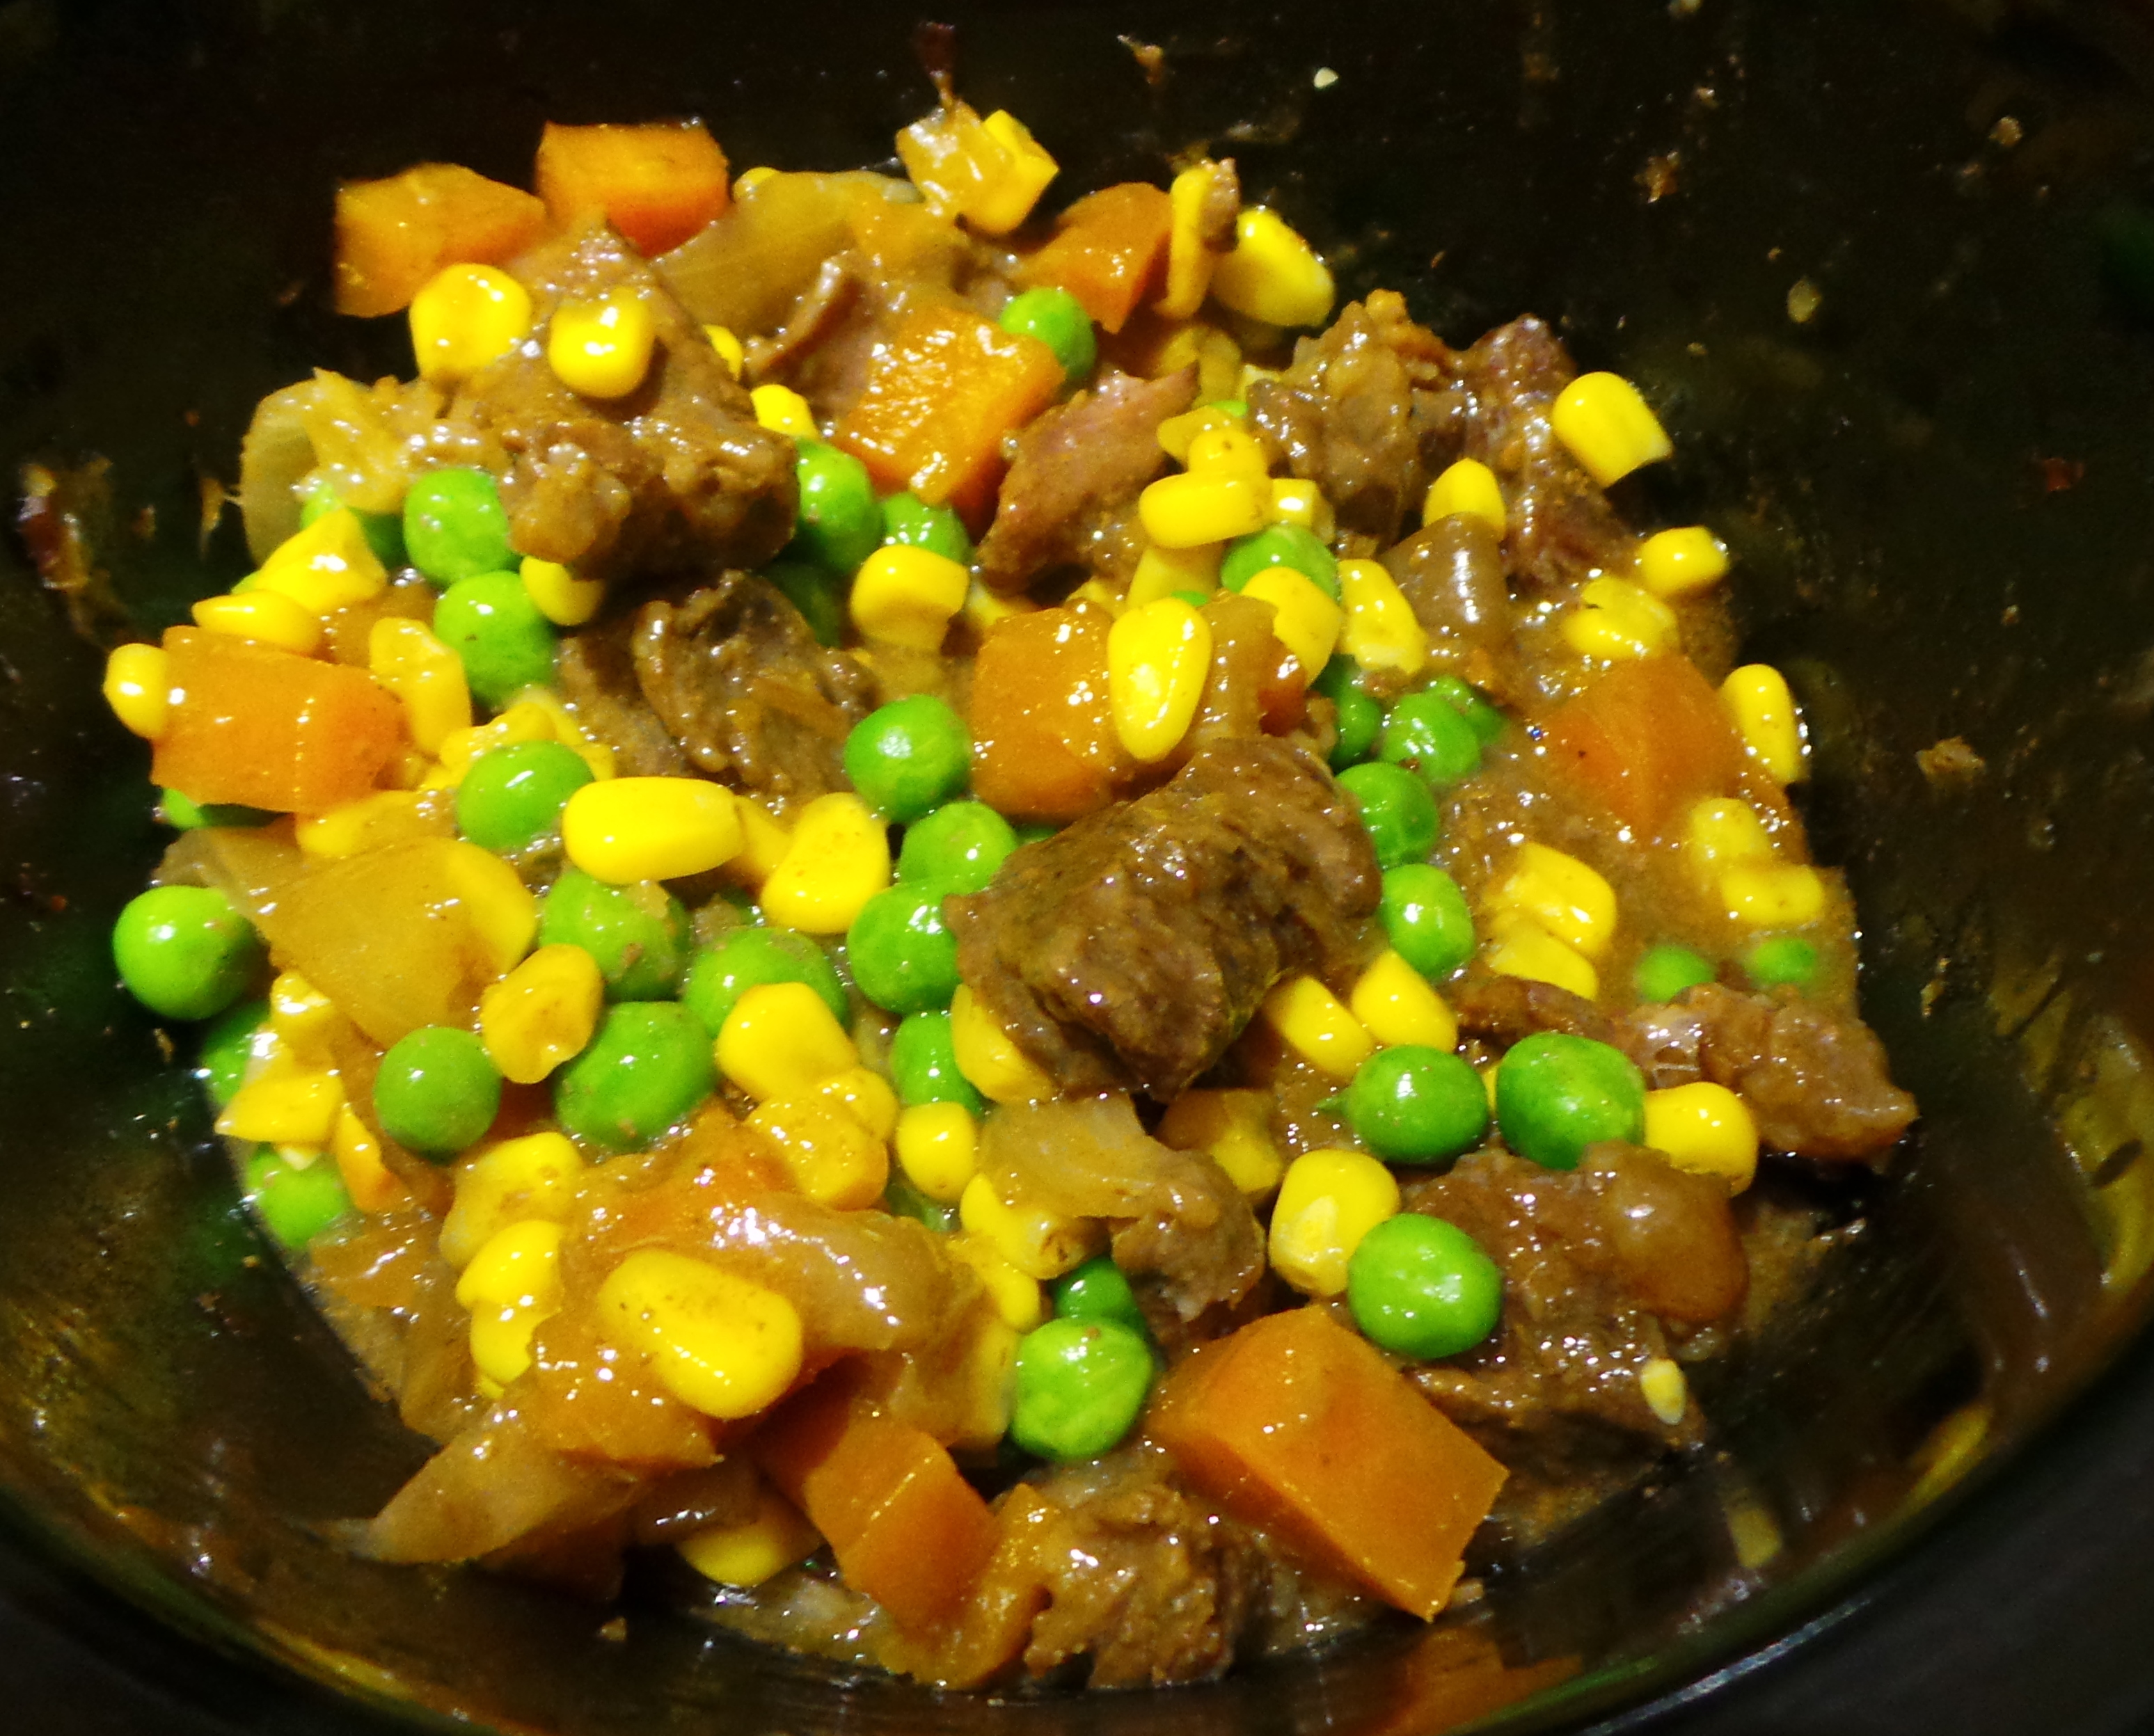
Once that is melted nicely and simmering gently, drain and add your beans. I used kidney beans…
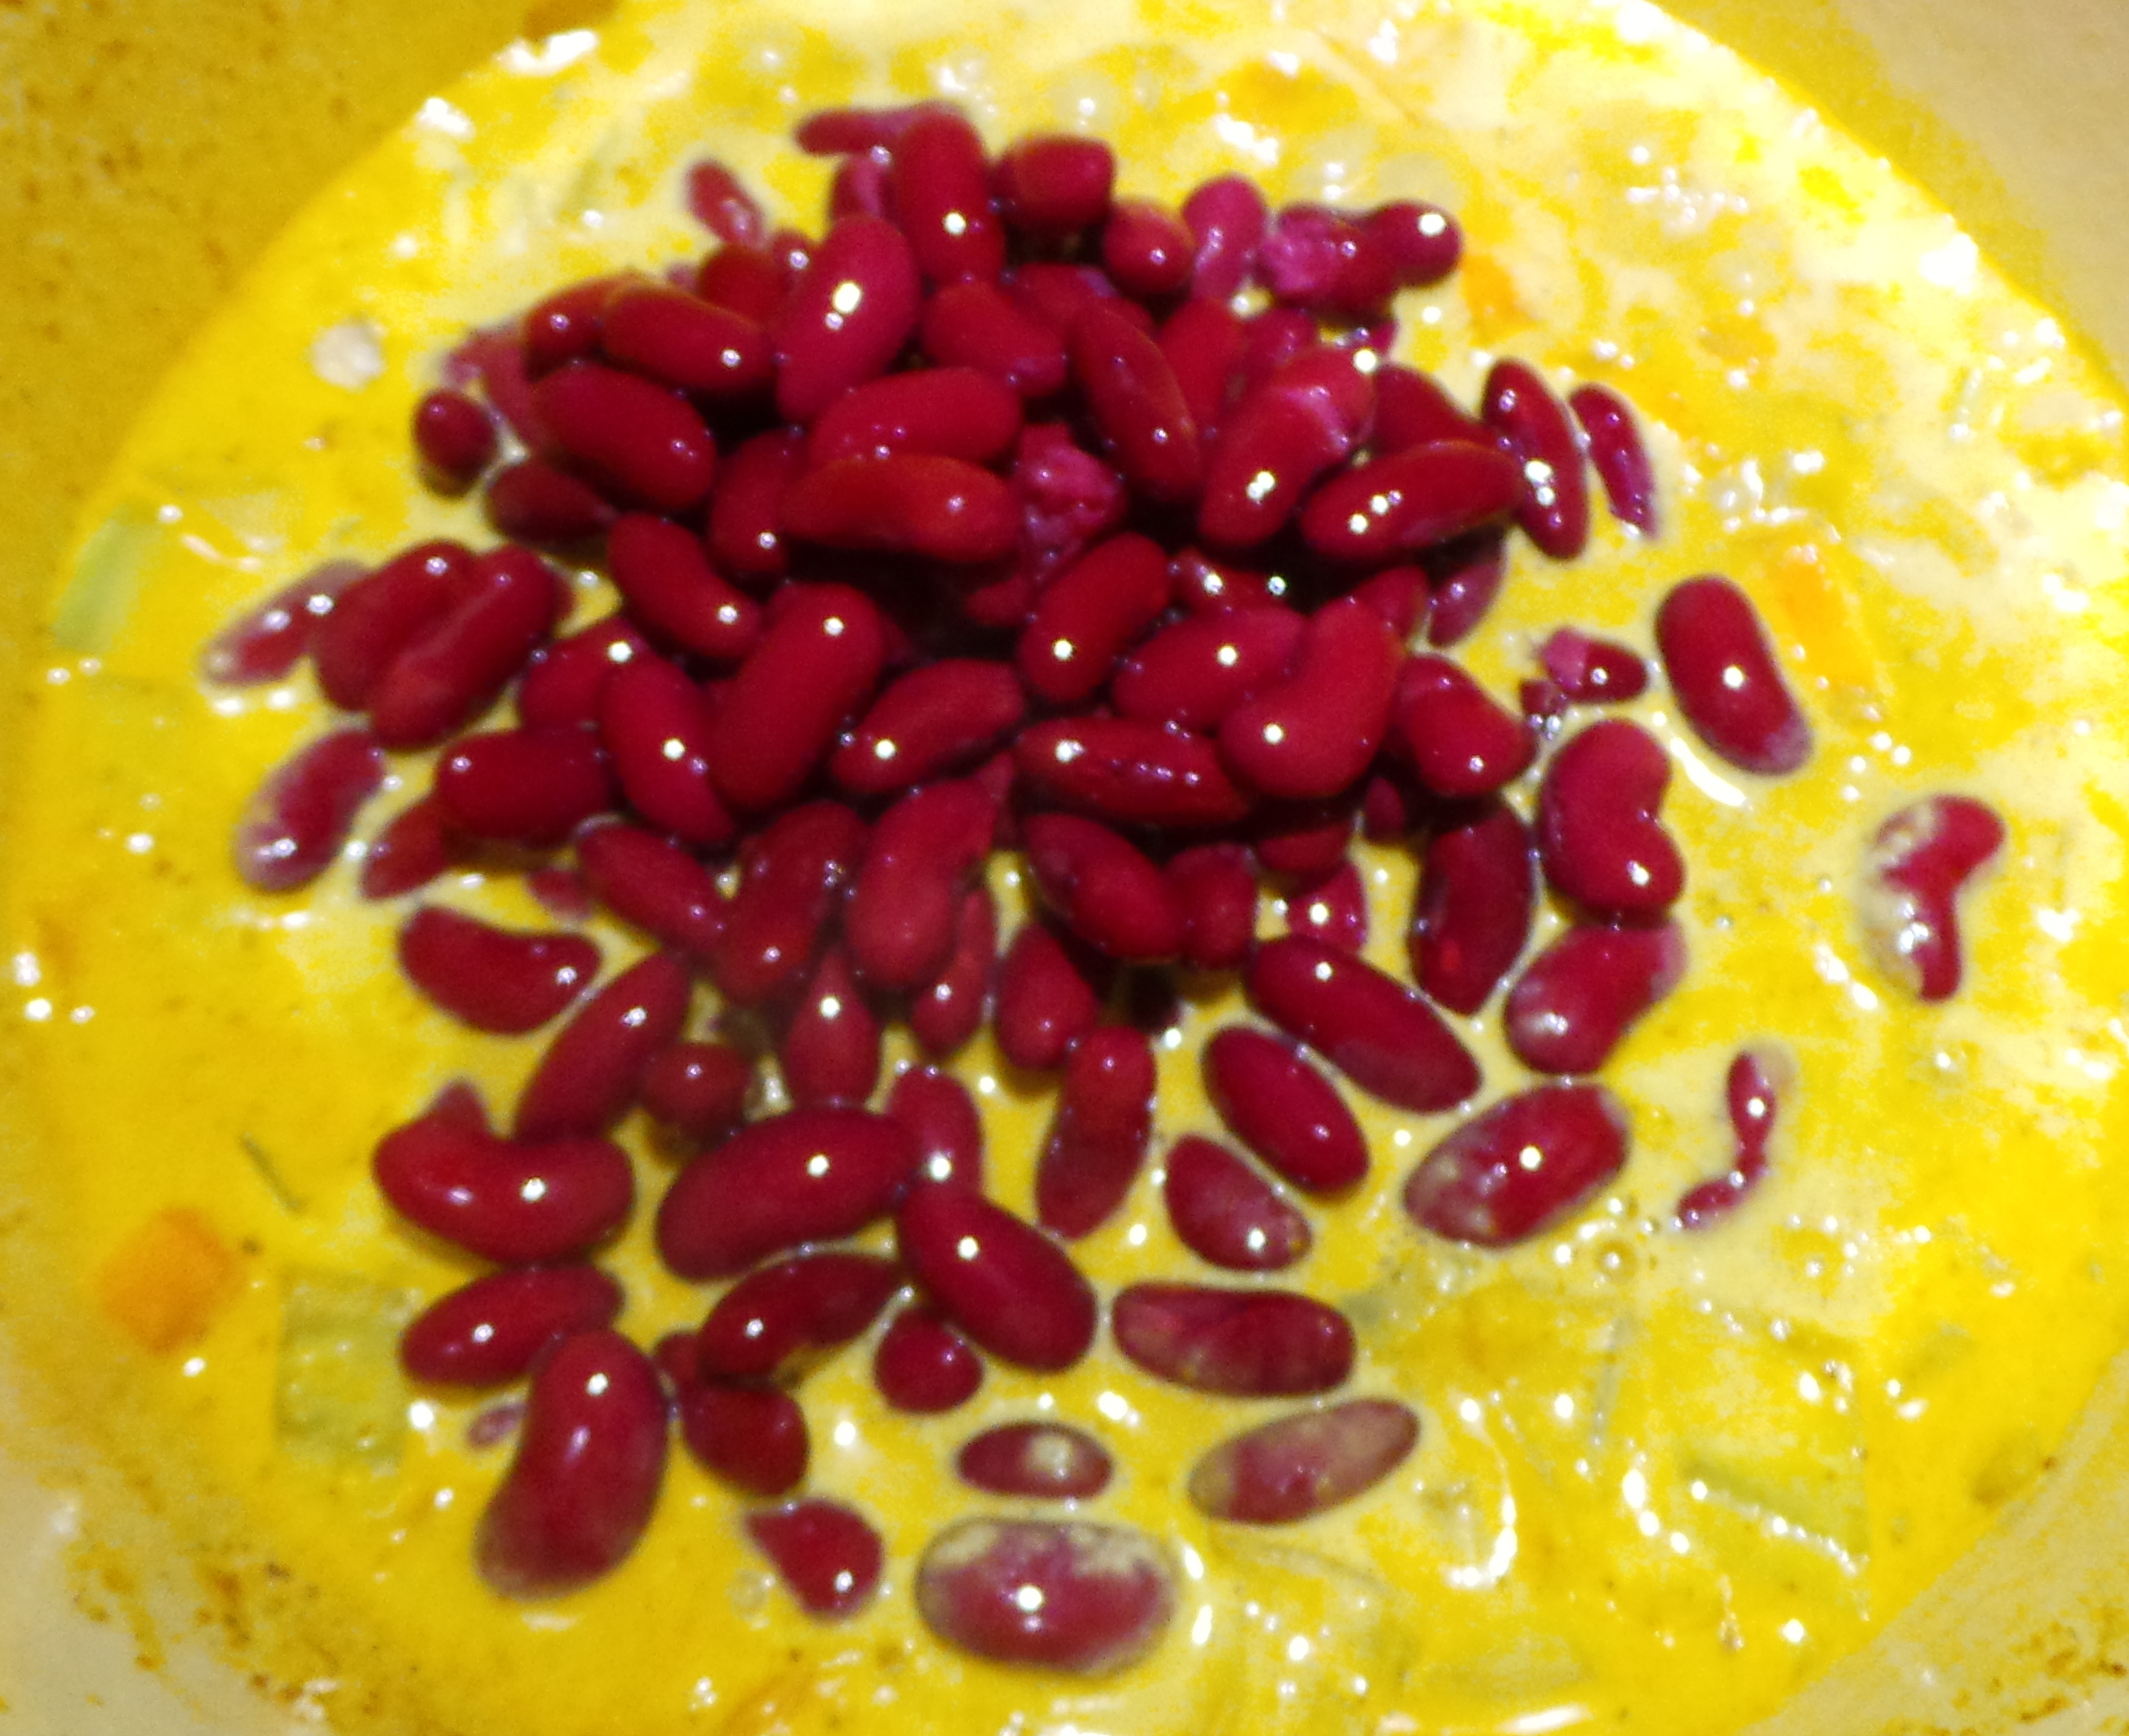
Looking good.
…and chick peas.
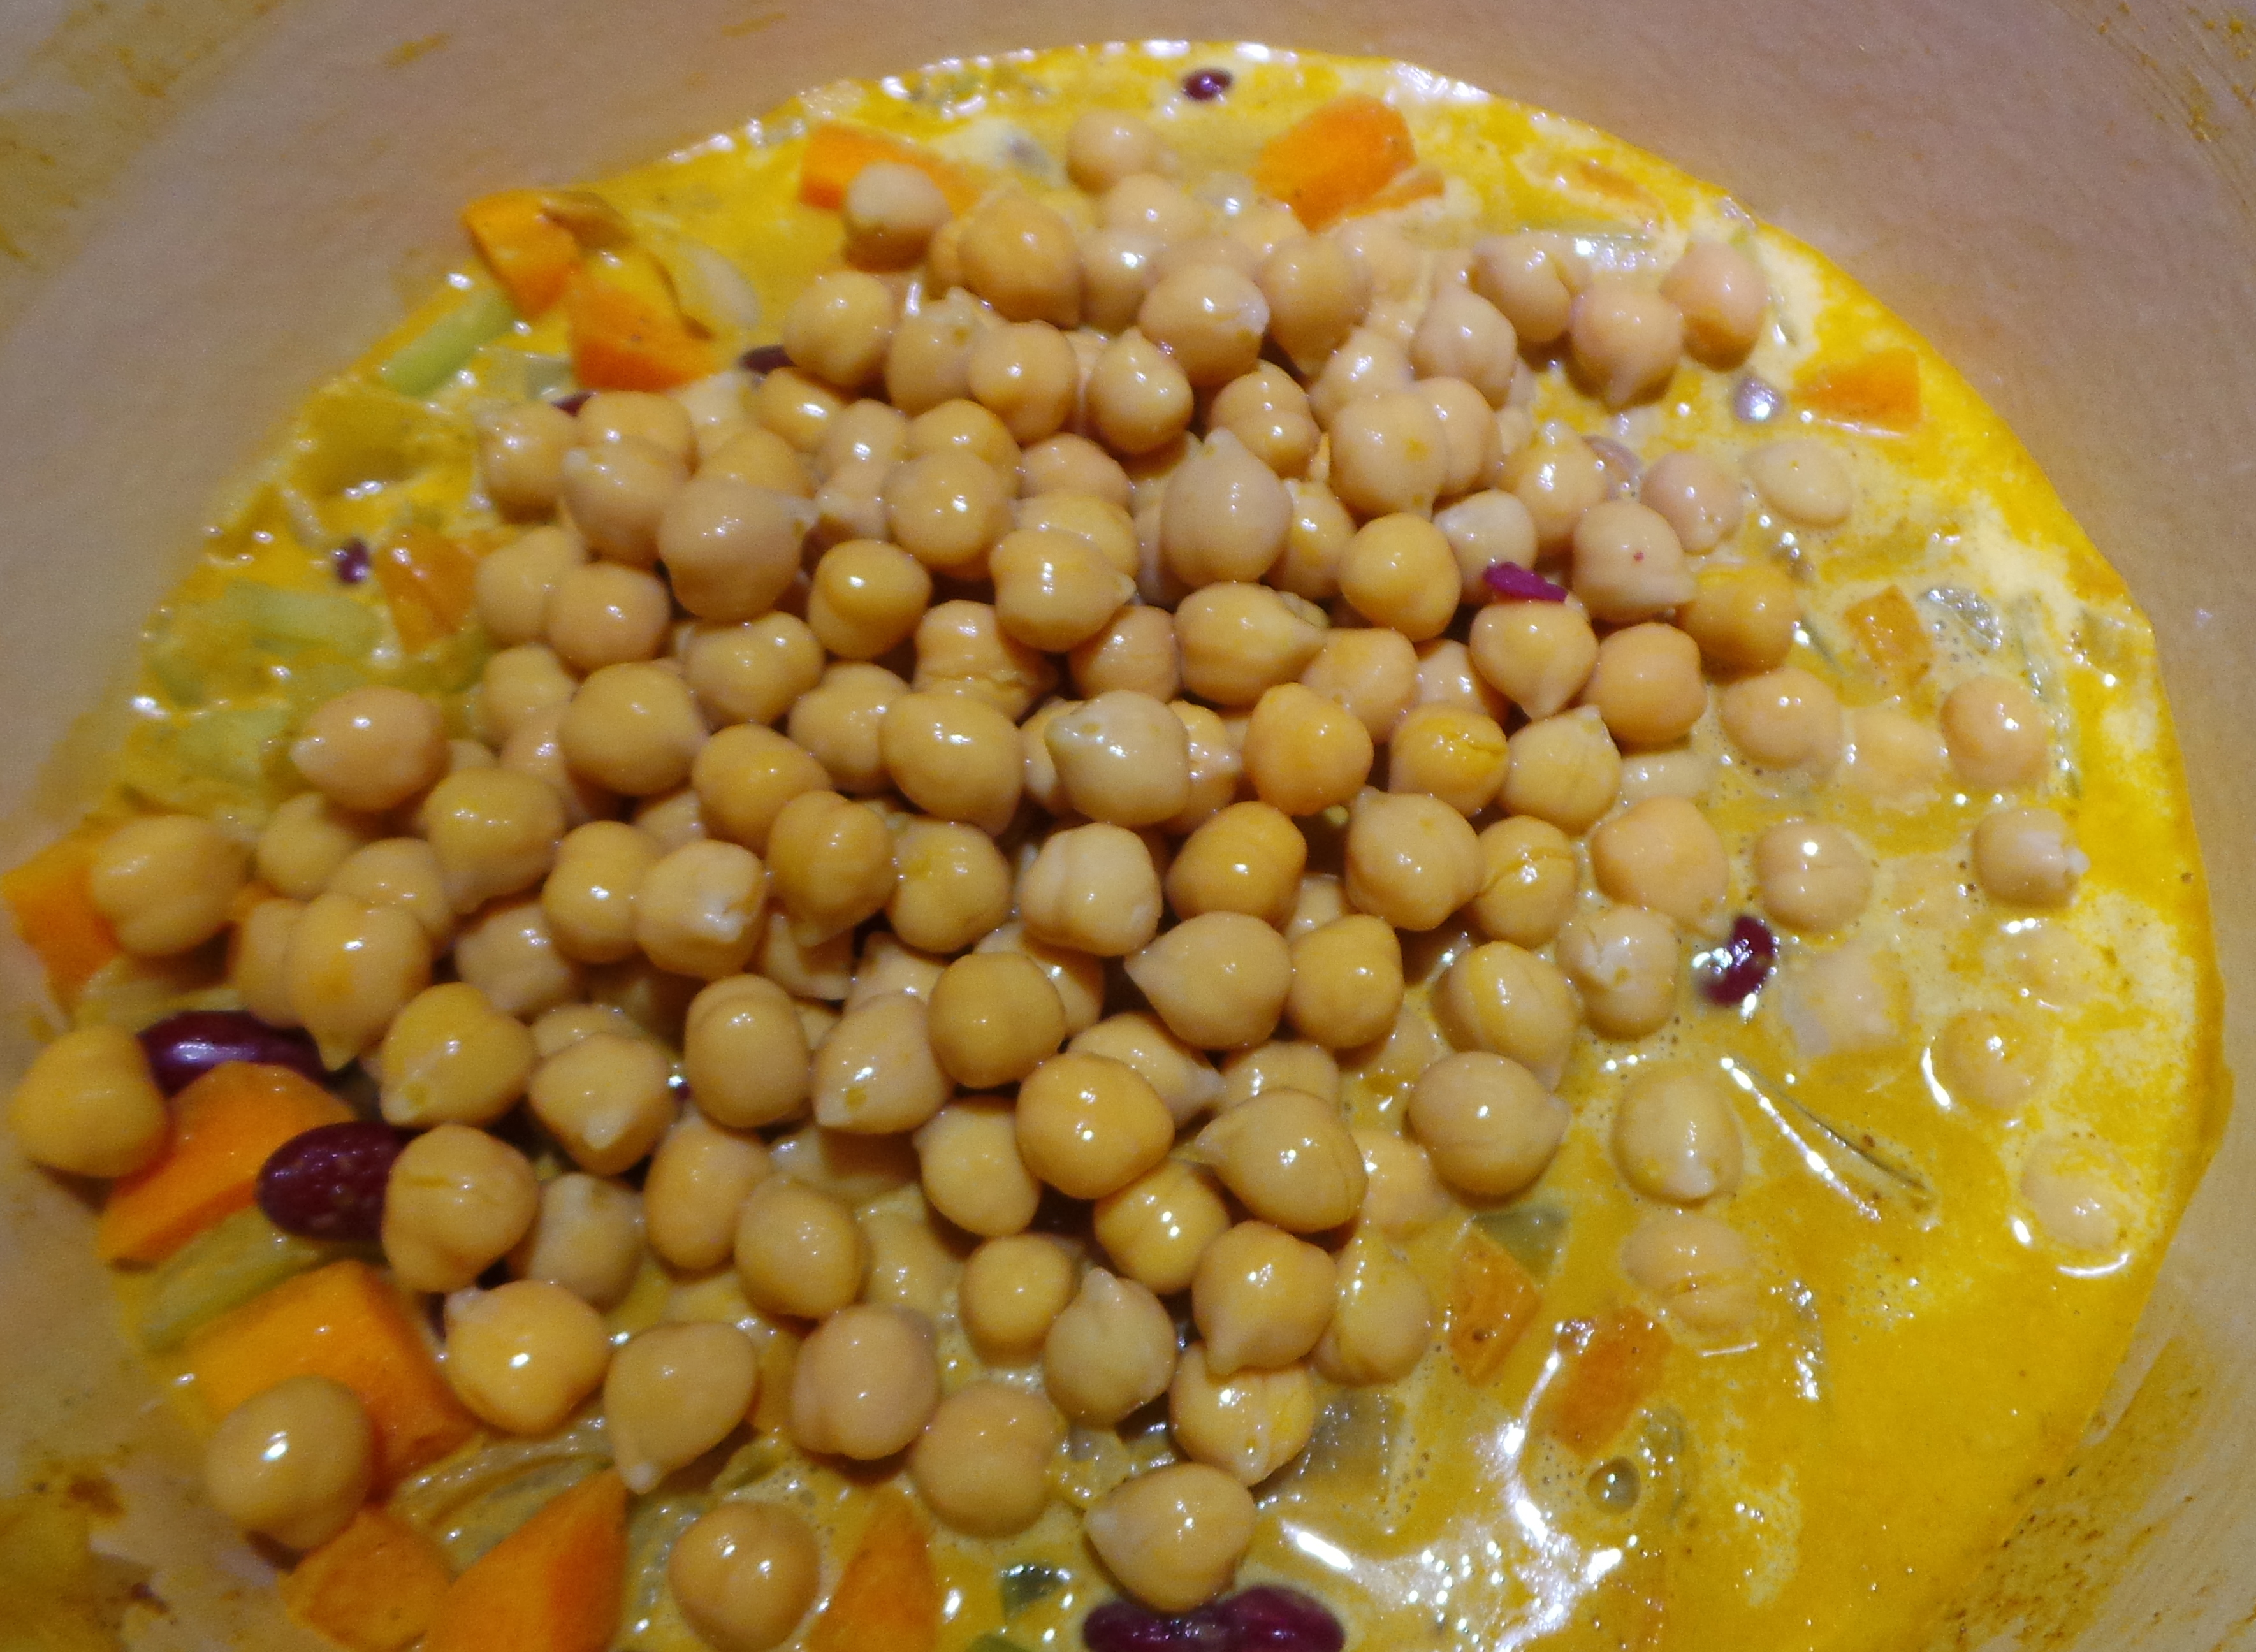
Nearly done.
Stir it all together and allow to simmer for 5 minutes or so. This will give you time to set the table. It will also enable you to reheat any leftover/planned-over rice you may have in the refrigerator or to cook a sachet or two of microwave rice.
If you don’t have/want rice you could always cut a few potatoes into small dice and add them to your simmering pan. The dish will then be done when your potatoes are cooked.
I like to make my meals as colourful as I can – this ensures maximum flavour and nutrition. Think traffic lights: Red, yellow and green. This dish looks very yellow at this point, so I’ll add a diced red capsicum. This adds vibrant colour as well as crisp fruitiness.

A red capsicum or bell pepper.
And for greenery I have added kale, spinach or broccoli; like so.
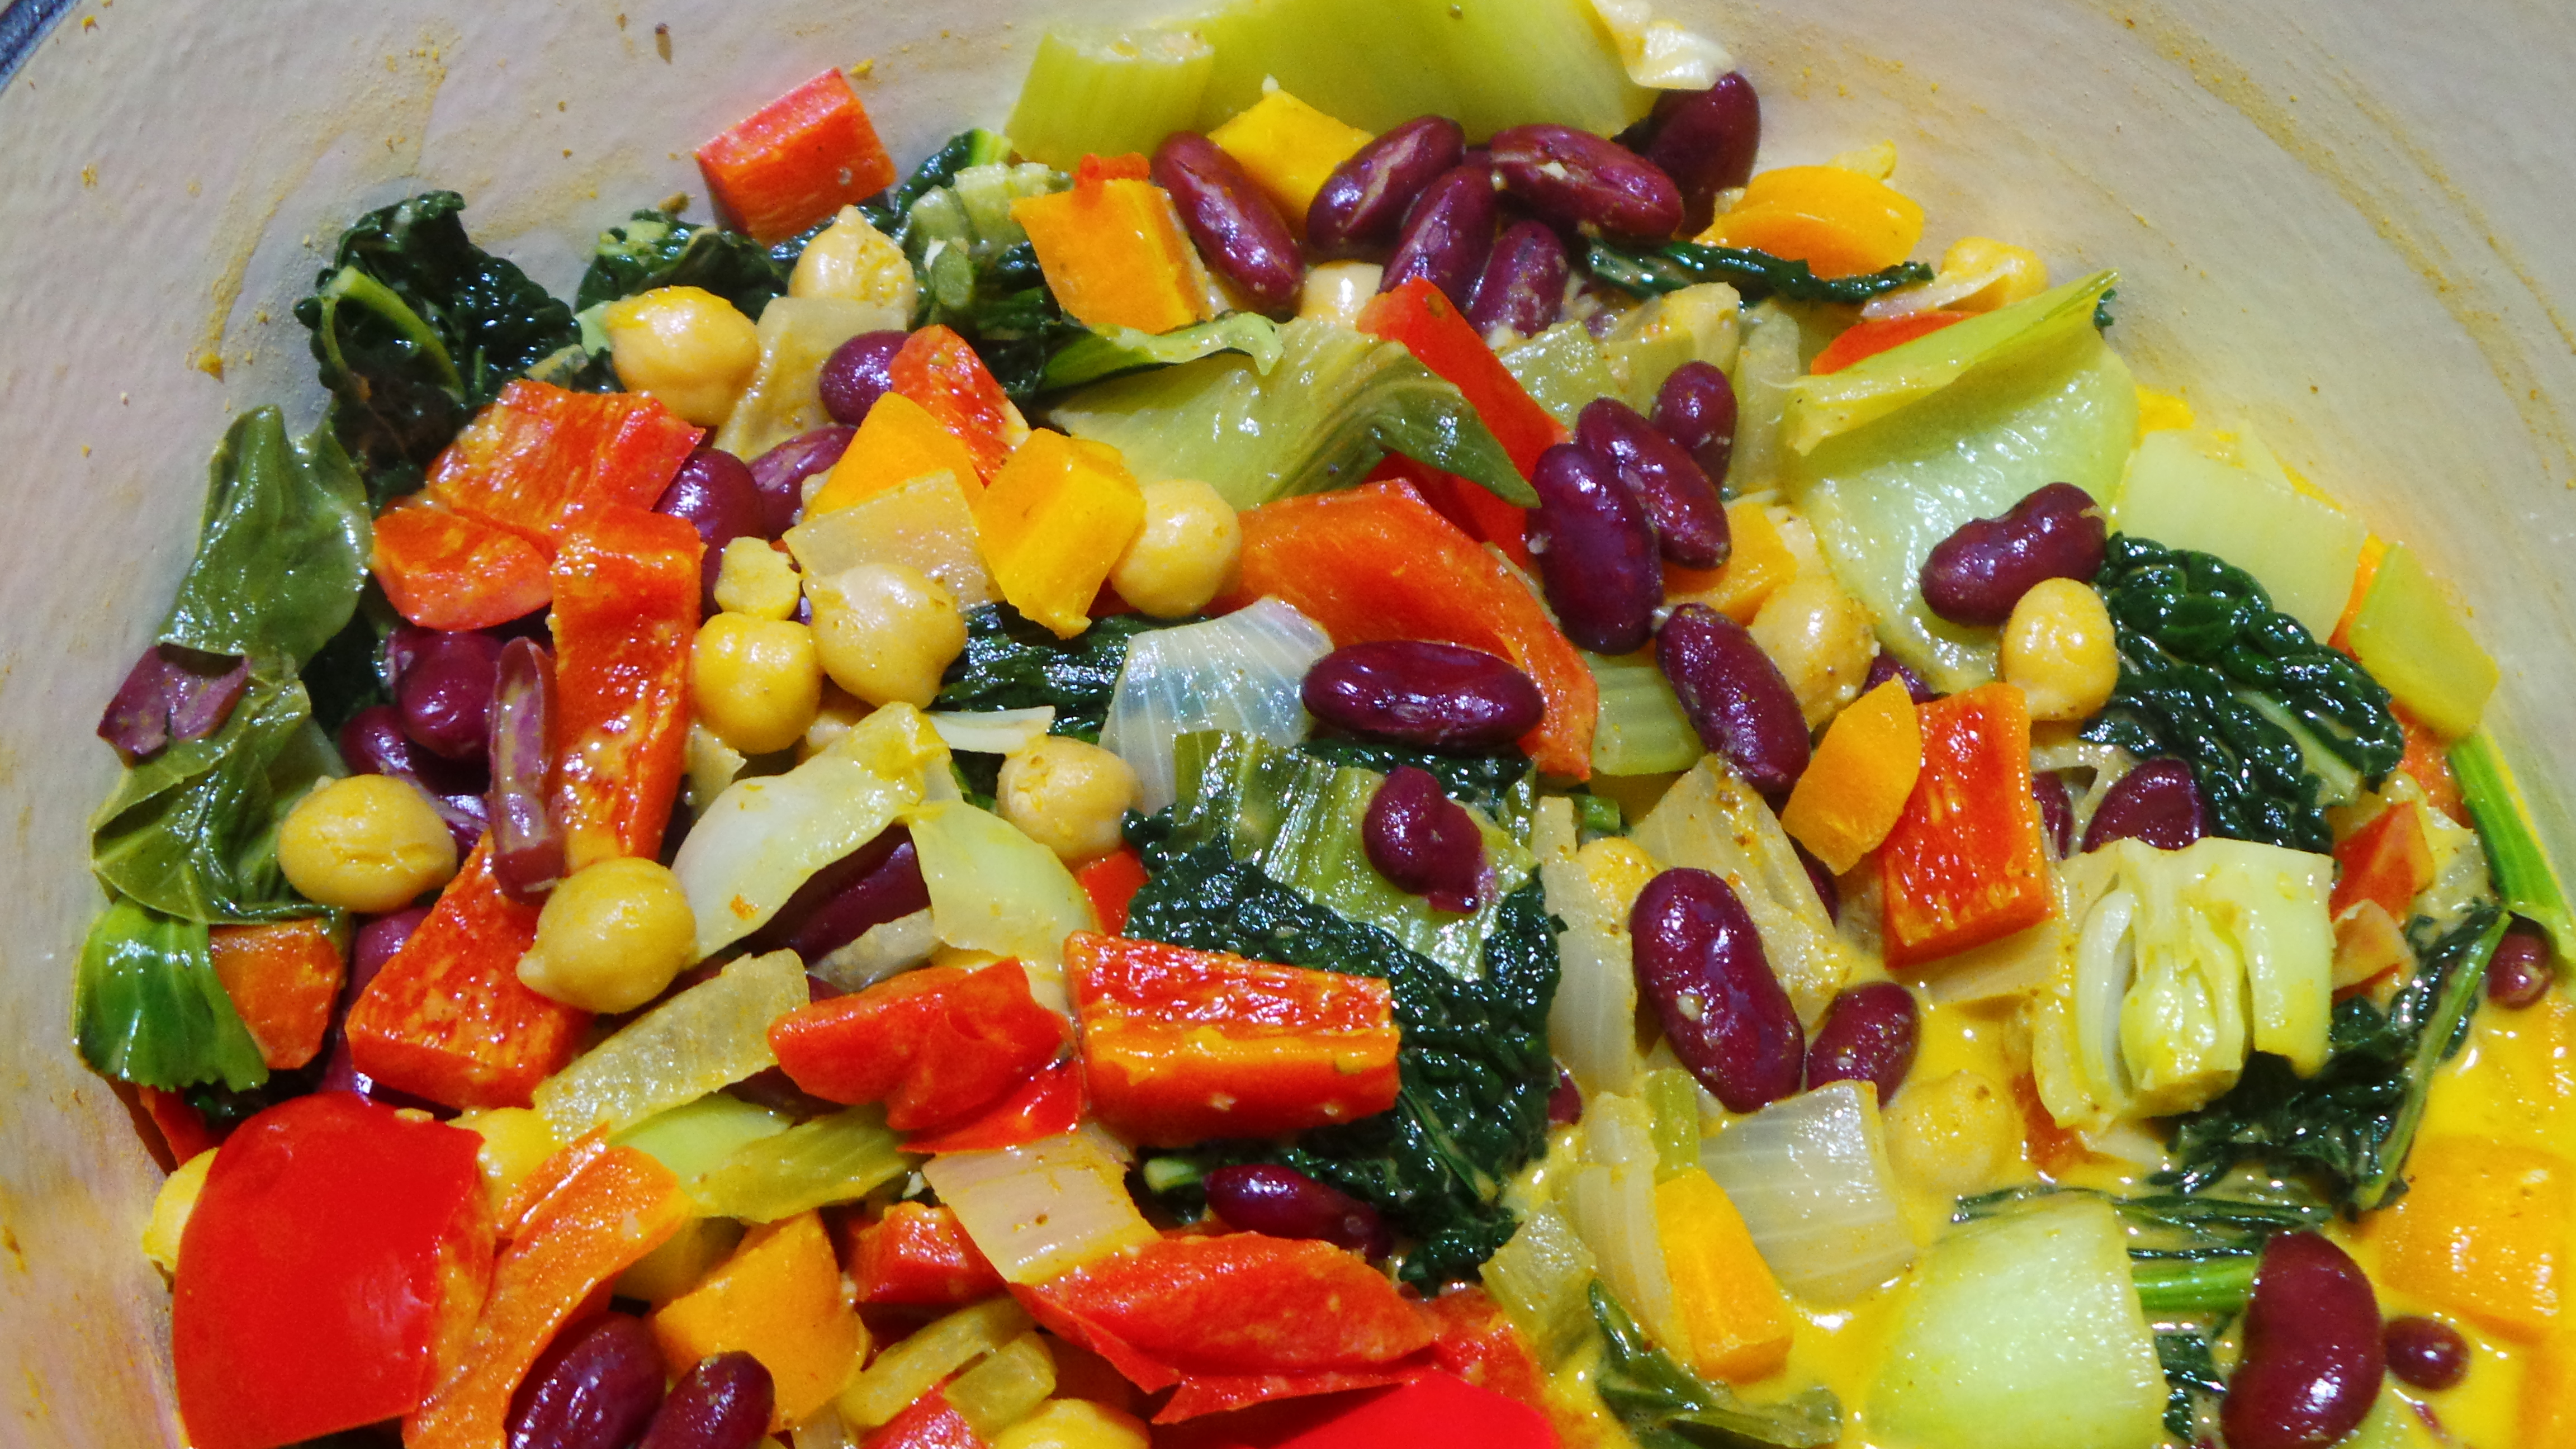
Green for go..
I’ve also just added some frozen peas straight from the freezer.

Use what you have.
When the peas are cooked, so is the dish.
Basically you can add whatever you have to hand. This meal is a great way to clean out the refrigerator before the grocery shopping has been done.
Serve over rice if you wish. However, be aware that this is very filling (beans, donchaknow) and will easily feed 6 people of normal appetite. So, I suggest you under-serve and allow seconds to avoid arguments with small people.
Three can Curry in a Hurry
Ingredients
oil
1 clove garlic, crushed (or 1 tsp jarred garlic)
1 onion, diced
1 carrot, diced
2 sticks celery, diced
2 tablespoons curry paste
1 x 400 g tin coconut cream or evaporated milk
1 x 400 g tin kidney beans
1 x 400 g tin chick peas
Other vegetables to taste: frozen corn, frozen peas, diced peppers or capsicum, kale, cavolo nero, broccoli, sliced cabbage, diced potatoes, sweet potatoes, pumpkin, etc…
Rice to serve.
Method
Place a Dutch Oven, casserole dish or large saucepan over gentle heat and add oil.
Add onion and garlic, frying gently until onion is translucent.
Add celery and carrot, frying gently until celery softens.
Add a tablespoon (or to taste) of the curry paste to your pan and allow to fry for several minutes. The heat will start to release the aromas of the spices in the paste. Mix the contents of the pot together, breaking up any lumps.
Add the coconut cream or evaporated milk. If the cream has separated in the can, just add the solid part using a spoon but keep the liquid in reserve should you want more sauce later.
Mix well.
Add the kidney beans. Stir well.
Add the chick peas. Stir well.
Allow the curry to come to a simmer and leave for 5 minutes.
Add any fresh vegetables you wish and cook through.
Serve over rice.
Variations:
- Add several diced rashers of bacon and fry off a little before adding the curry paste.
- Add a cup of diced, cooked chicken after the chick peas. (or any other cooked meat.)
- Instead of serving over rice, add 2-3 potatoes diced small after the chick peas. Cook until the potatoes are tender. Add water if necessary to ensure the potatoes are fully immersed.
- Serve over cous cous instead of rice.