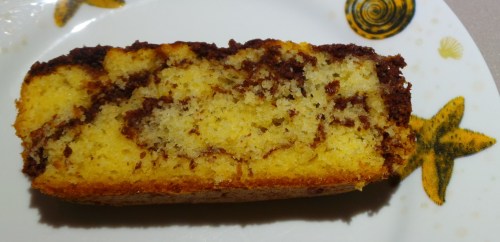
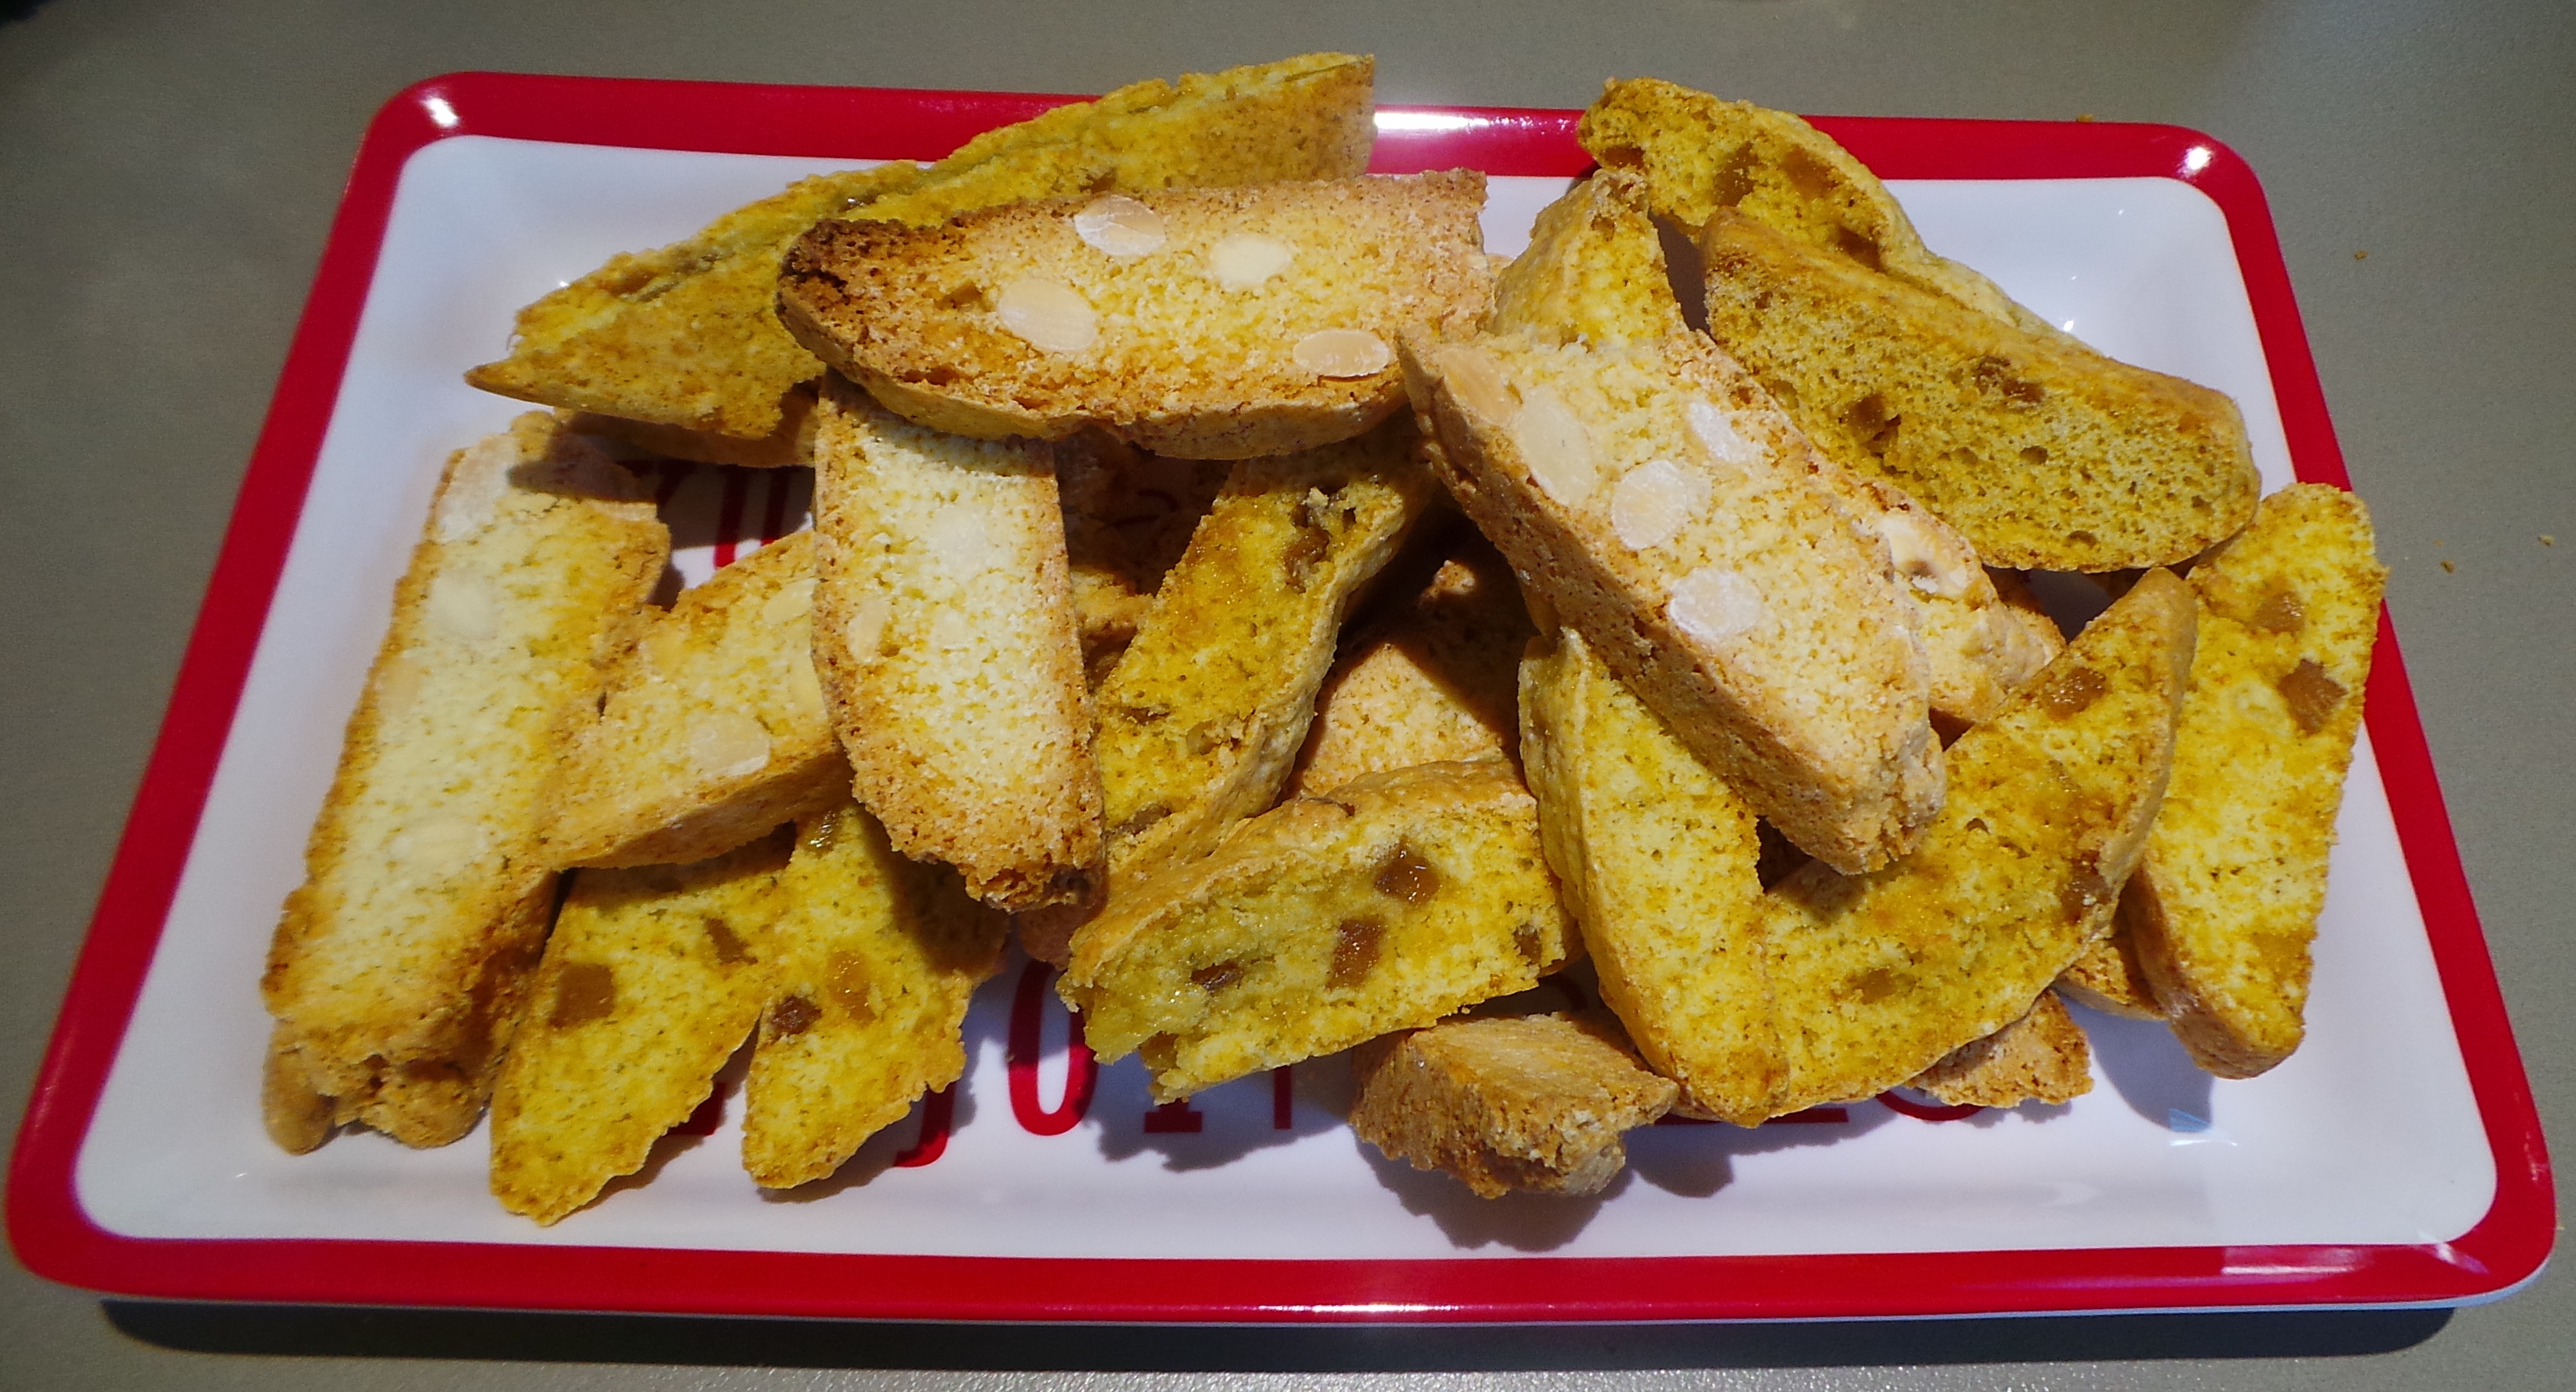
Christmas biscotti platter
Christmas is the time of year I start baking hard, thick, crunchy, chunky, seemingly inedible biscuits and giving large amounts of them to my friends.
No. I’m not mad.

Christmas biscotti platter
Biscotti is an Italian word that shows the origin of the English word ‘biscuit.’ Basically it means cooked twice, like rusks or zwieback (also meaning cooked twice), which is why the American use of the word continues to confuse me…
Moving on from etymology, these things are wonderful. Really truly.
They started out in the dim, dark pages of history as a way of making food travel-proof. Dry out your bread and it won’t go mouldy. Simple. Think, ships’ biscuits and Horatio Hornblower. Which means you can make them now and happily eat them in a month’s time.
Biscotti came into my life about 8 years ago and, from then on, I just wanted to share the joy.
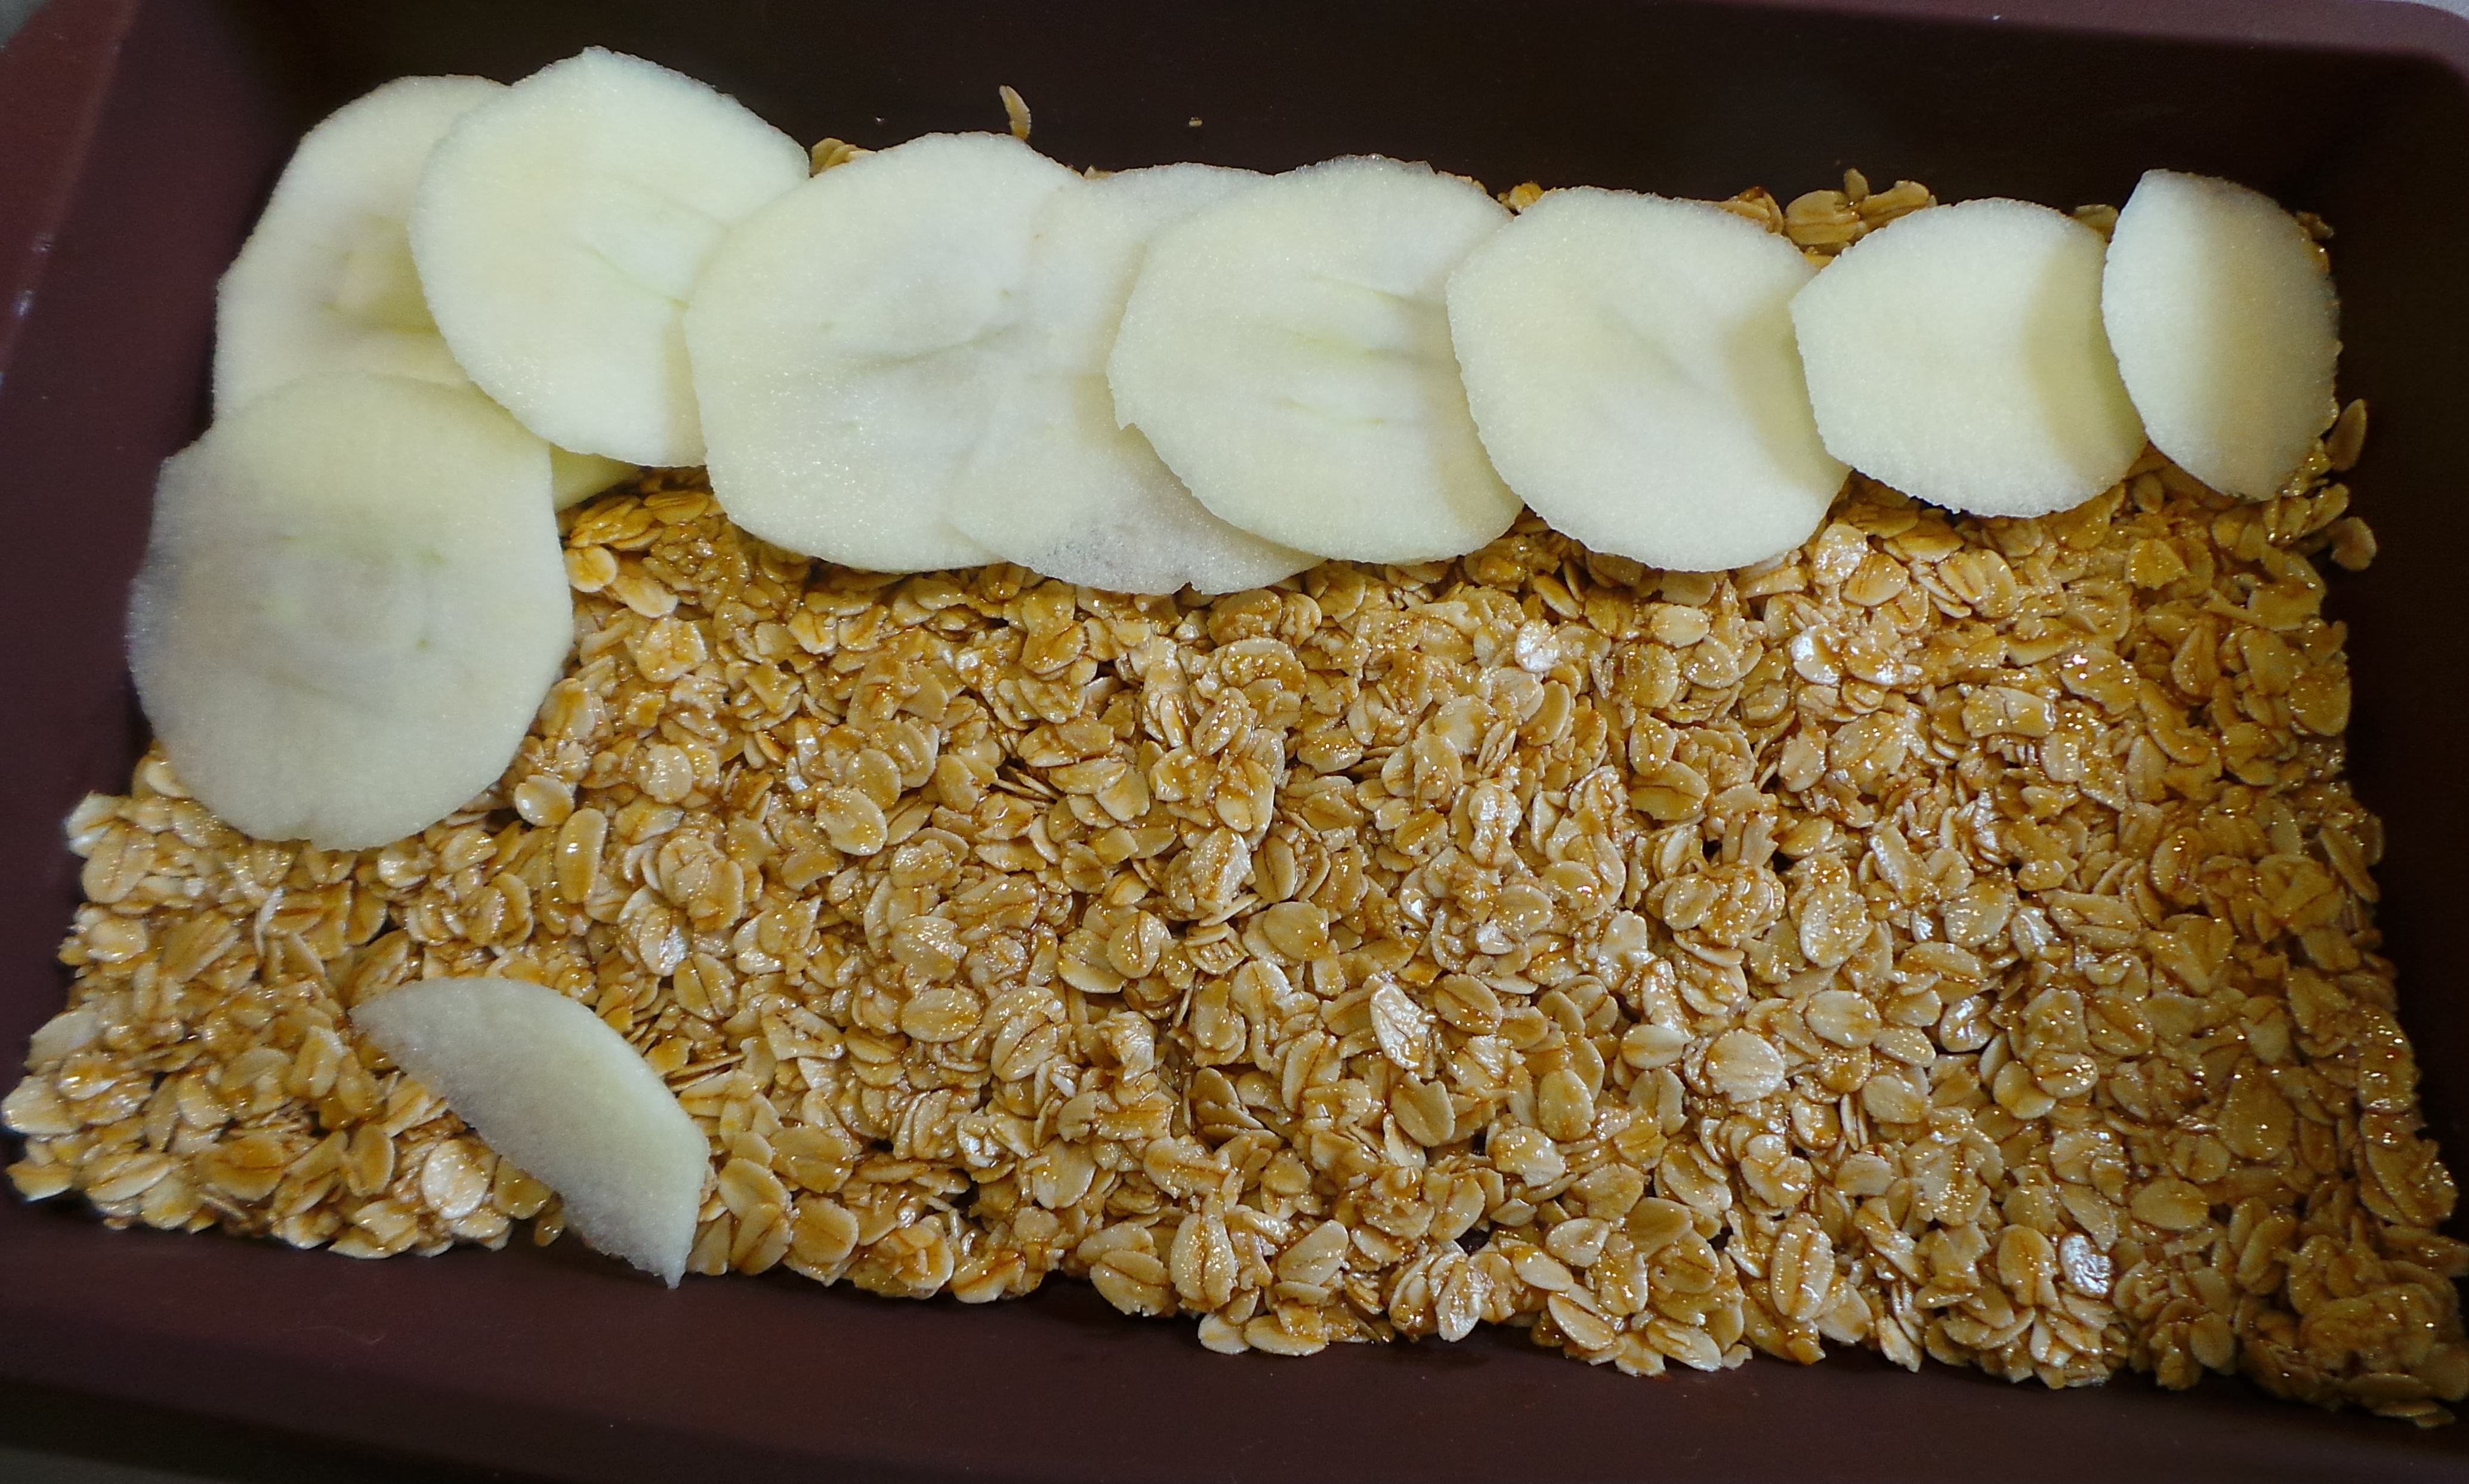
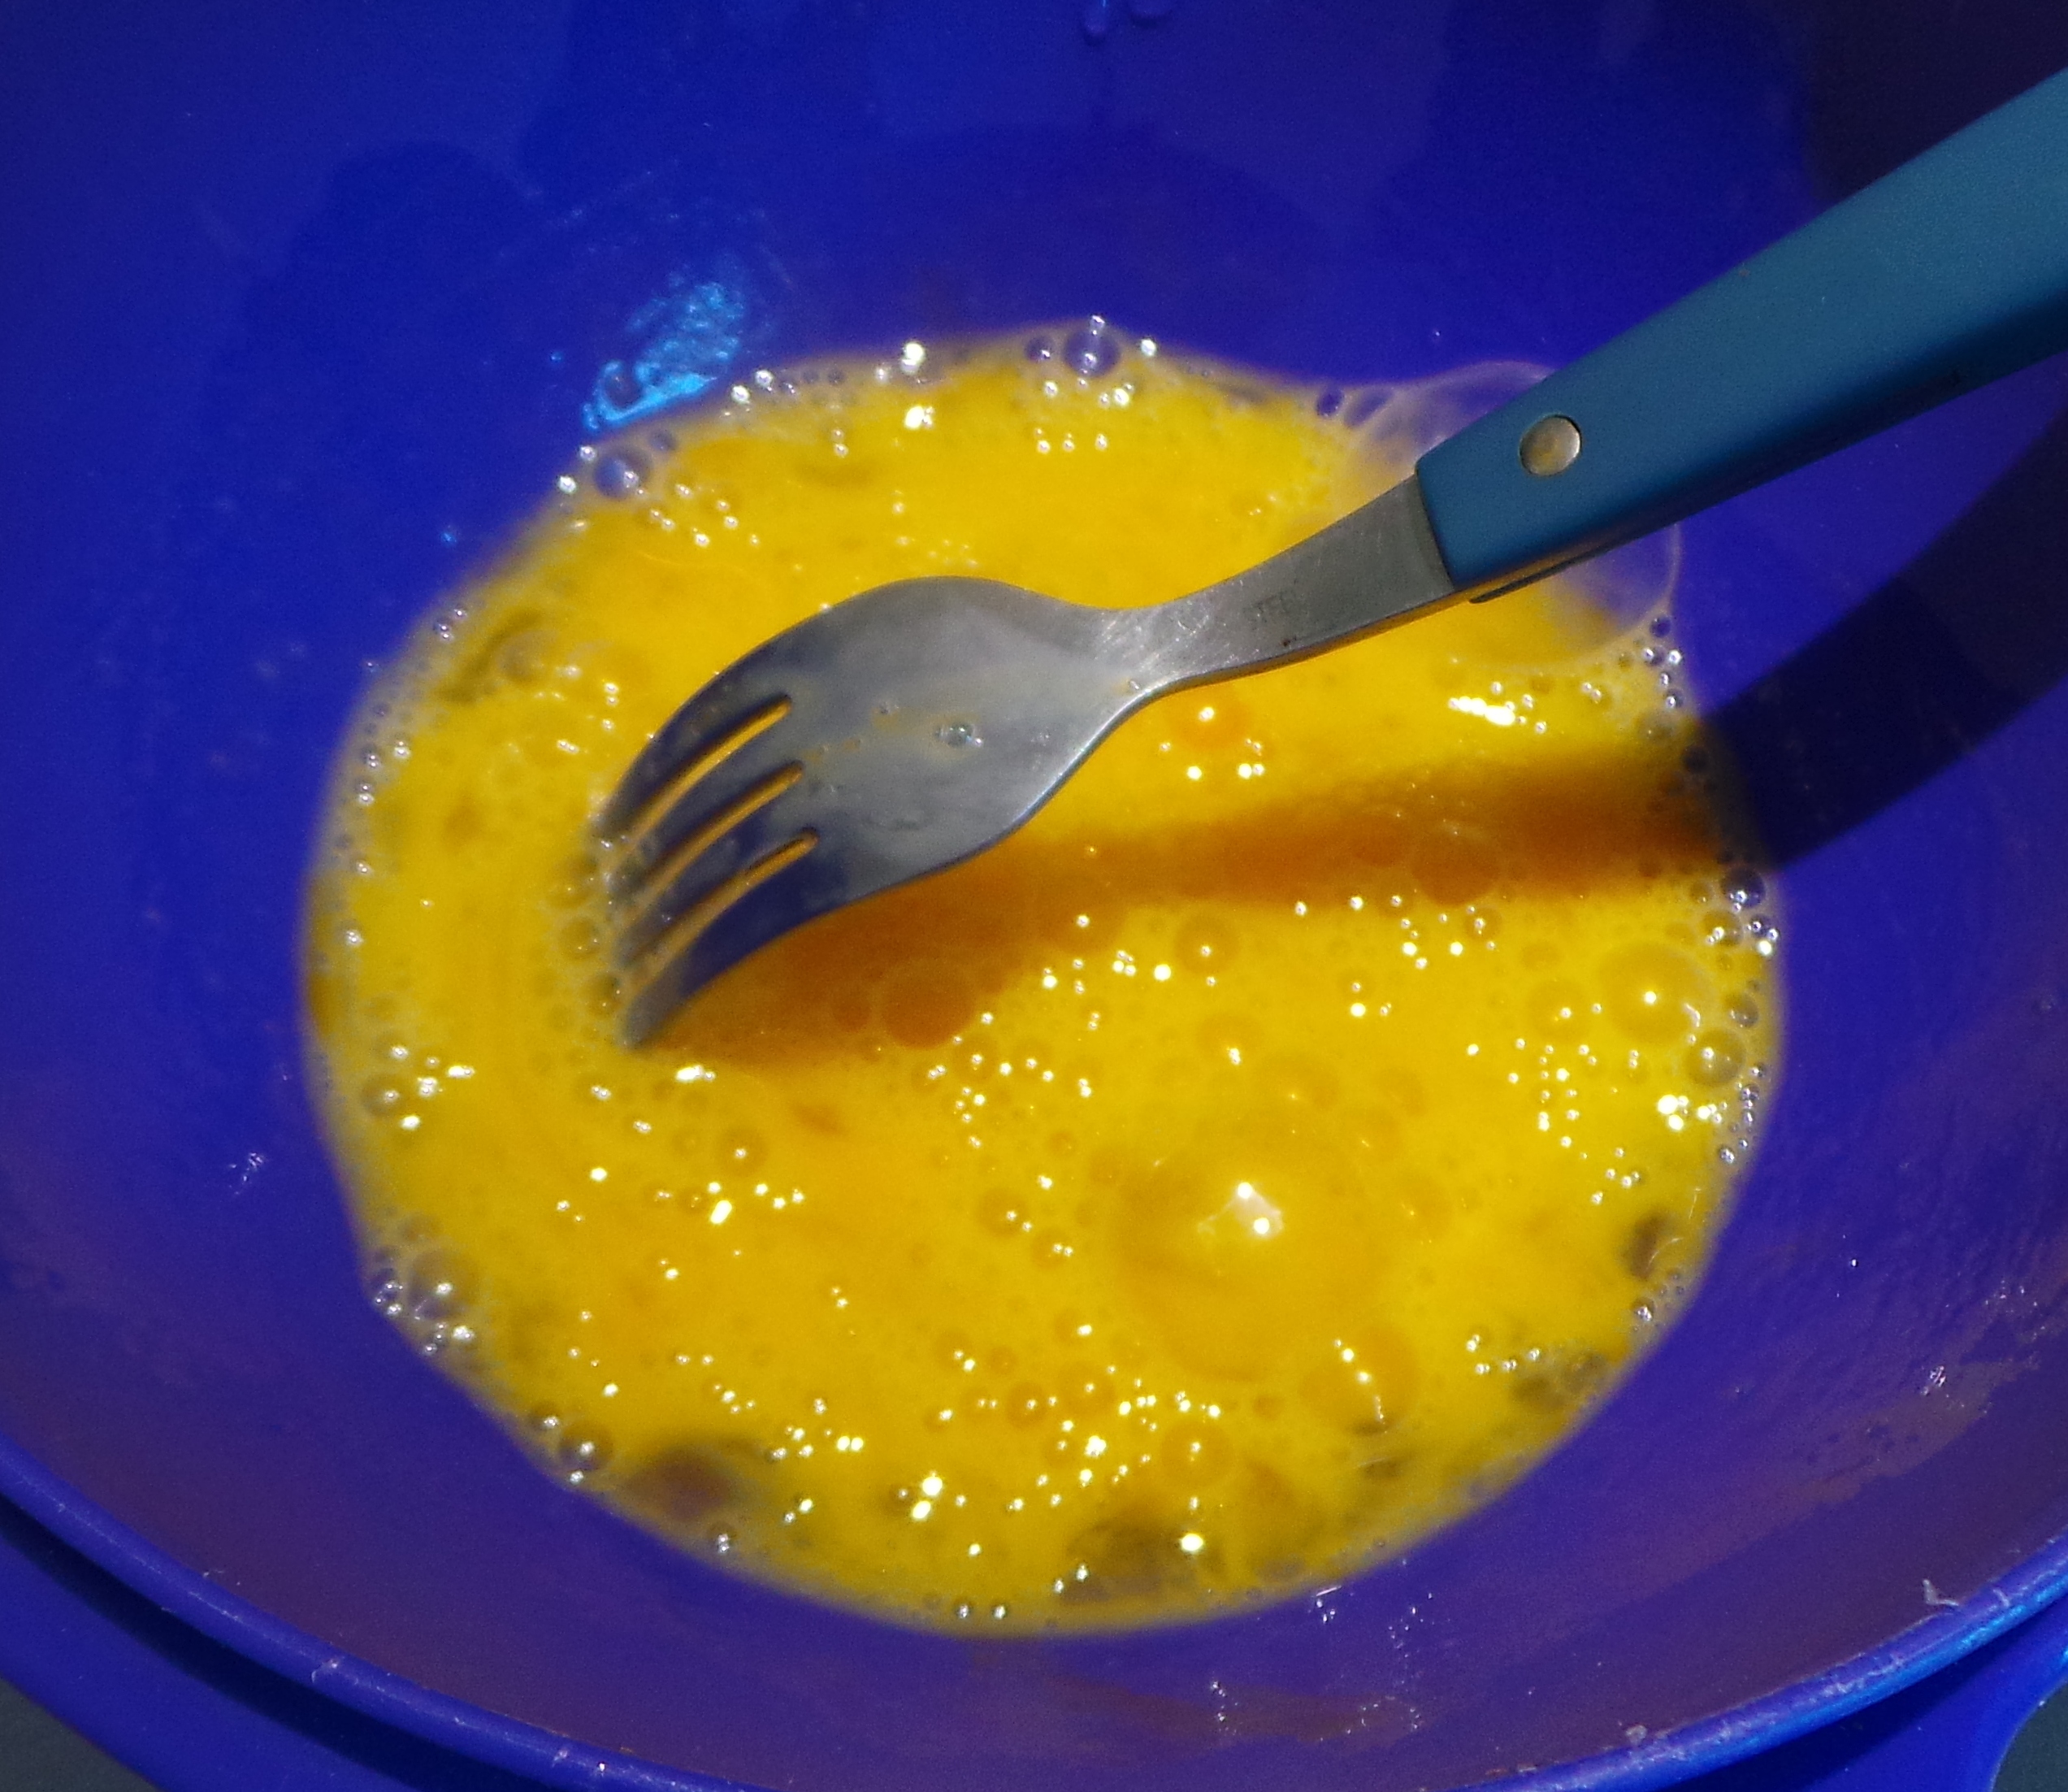
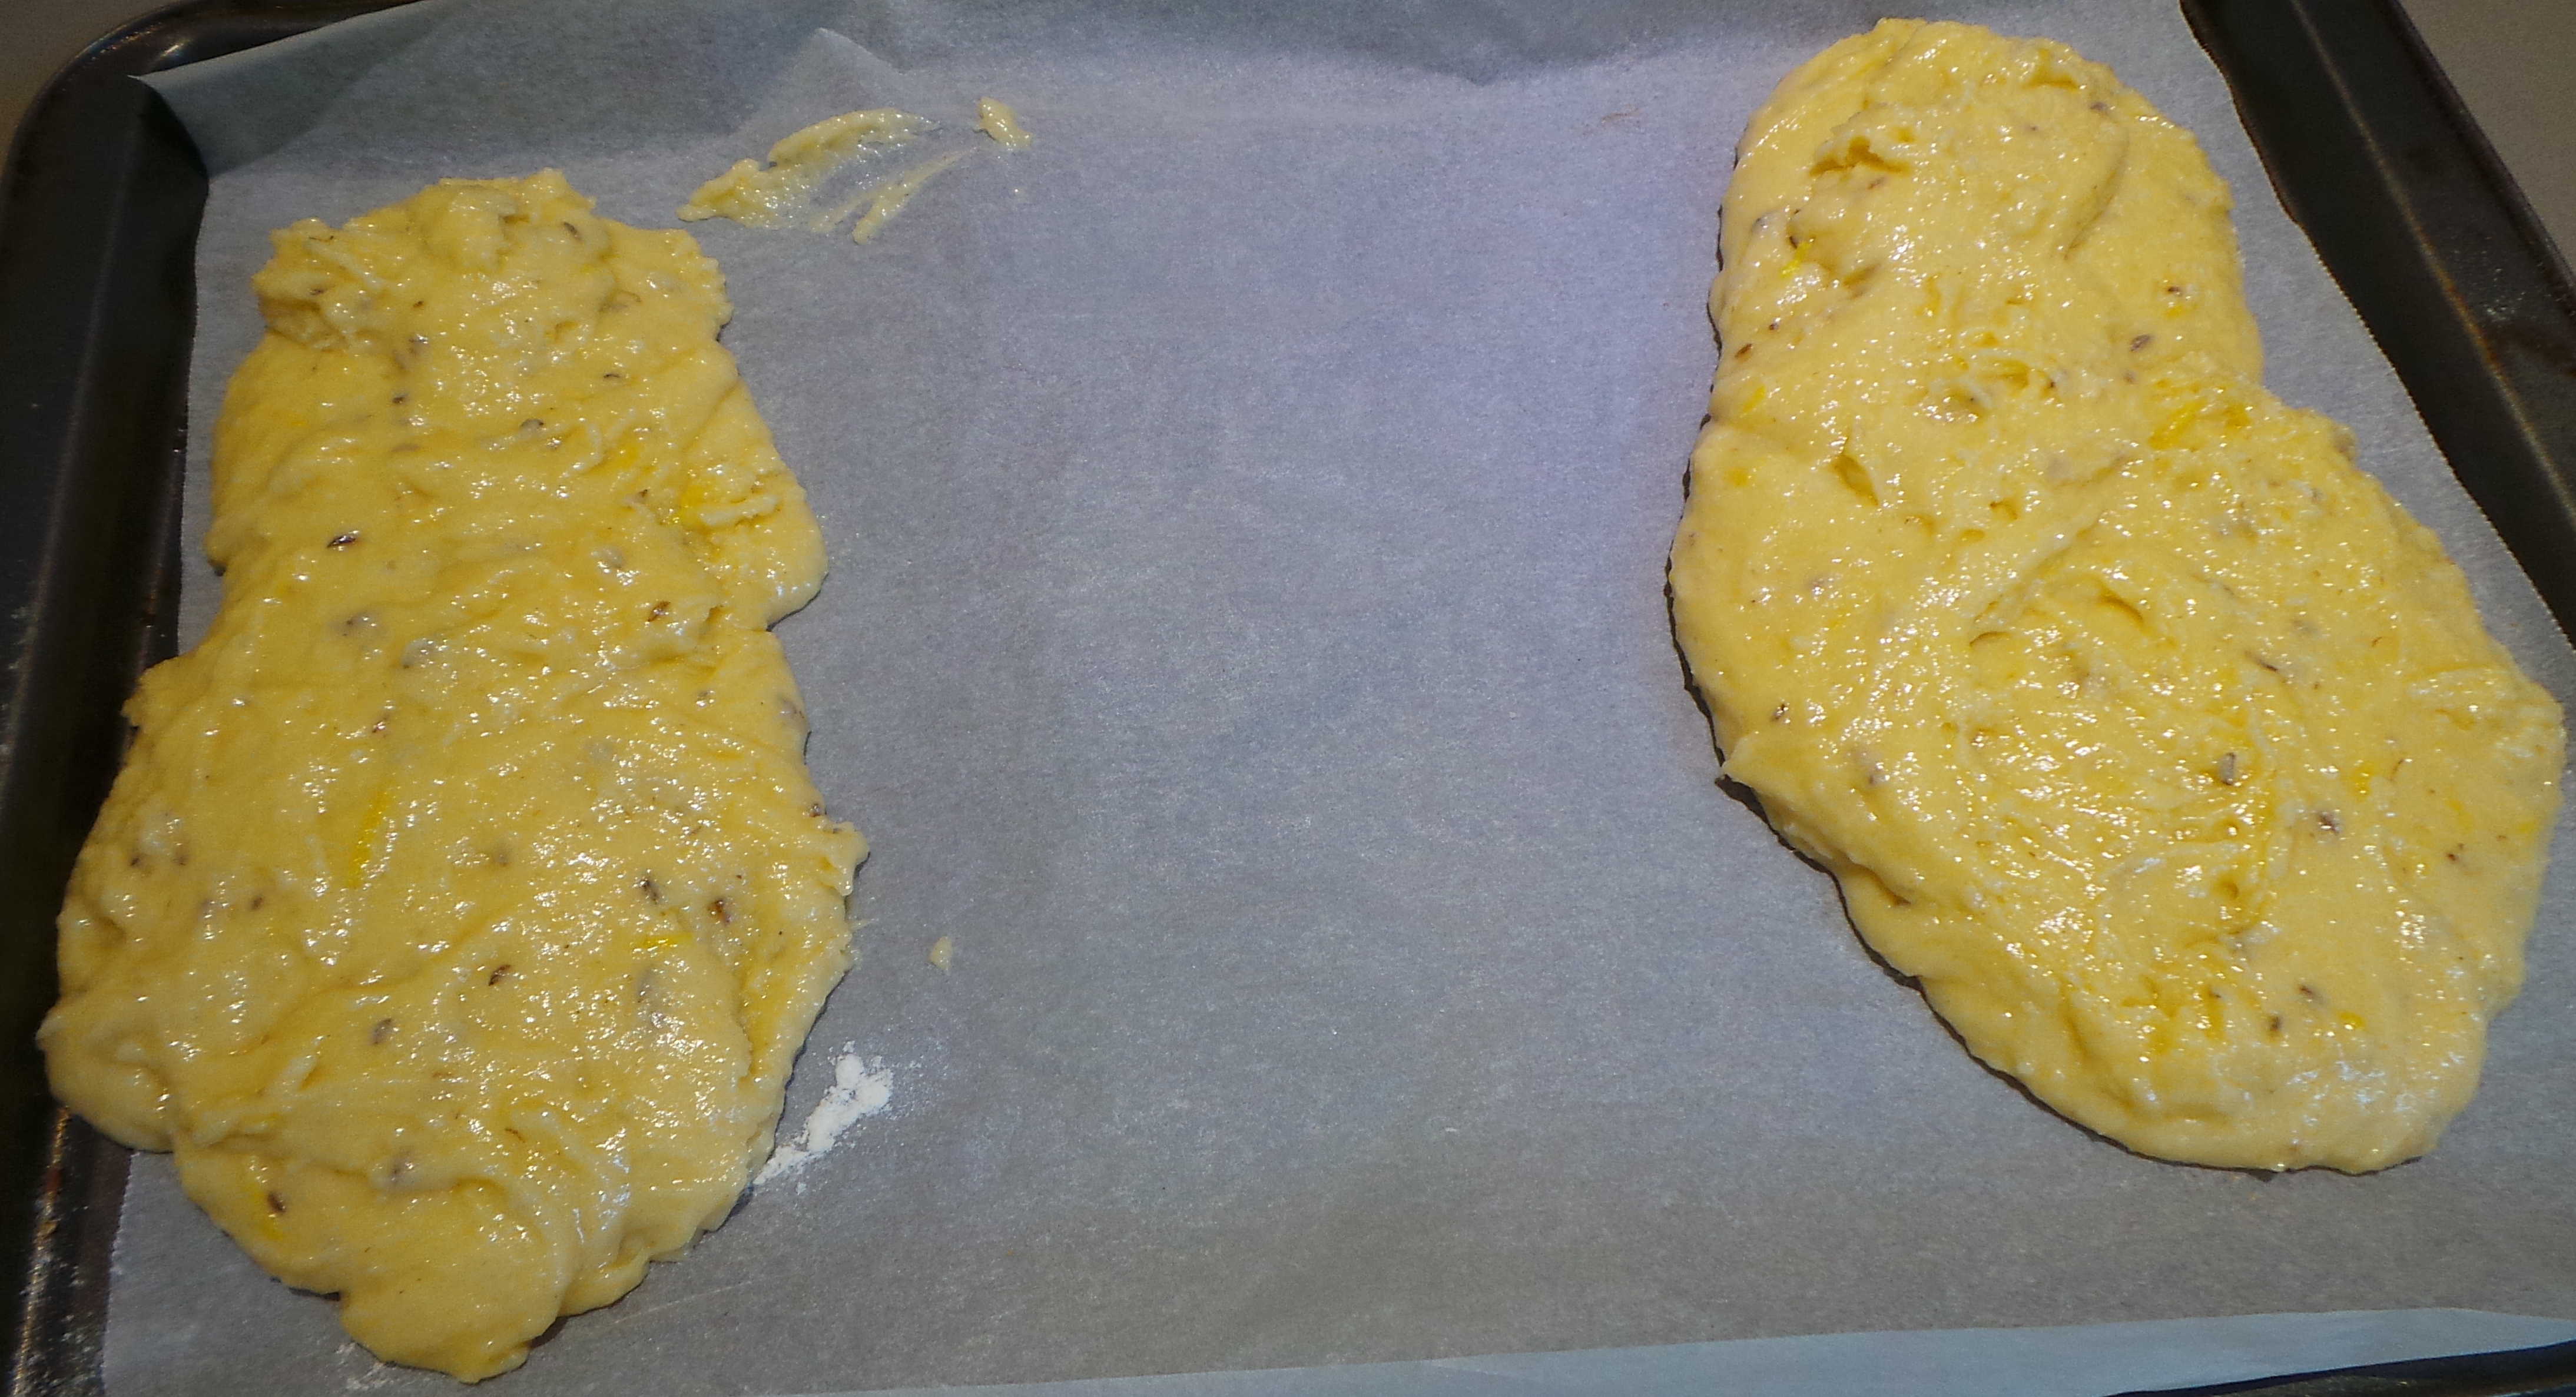
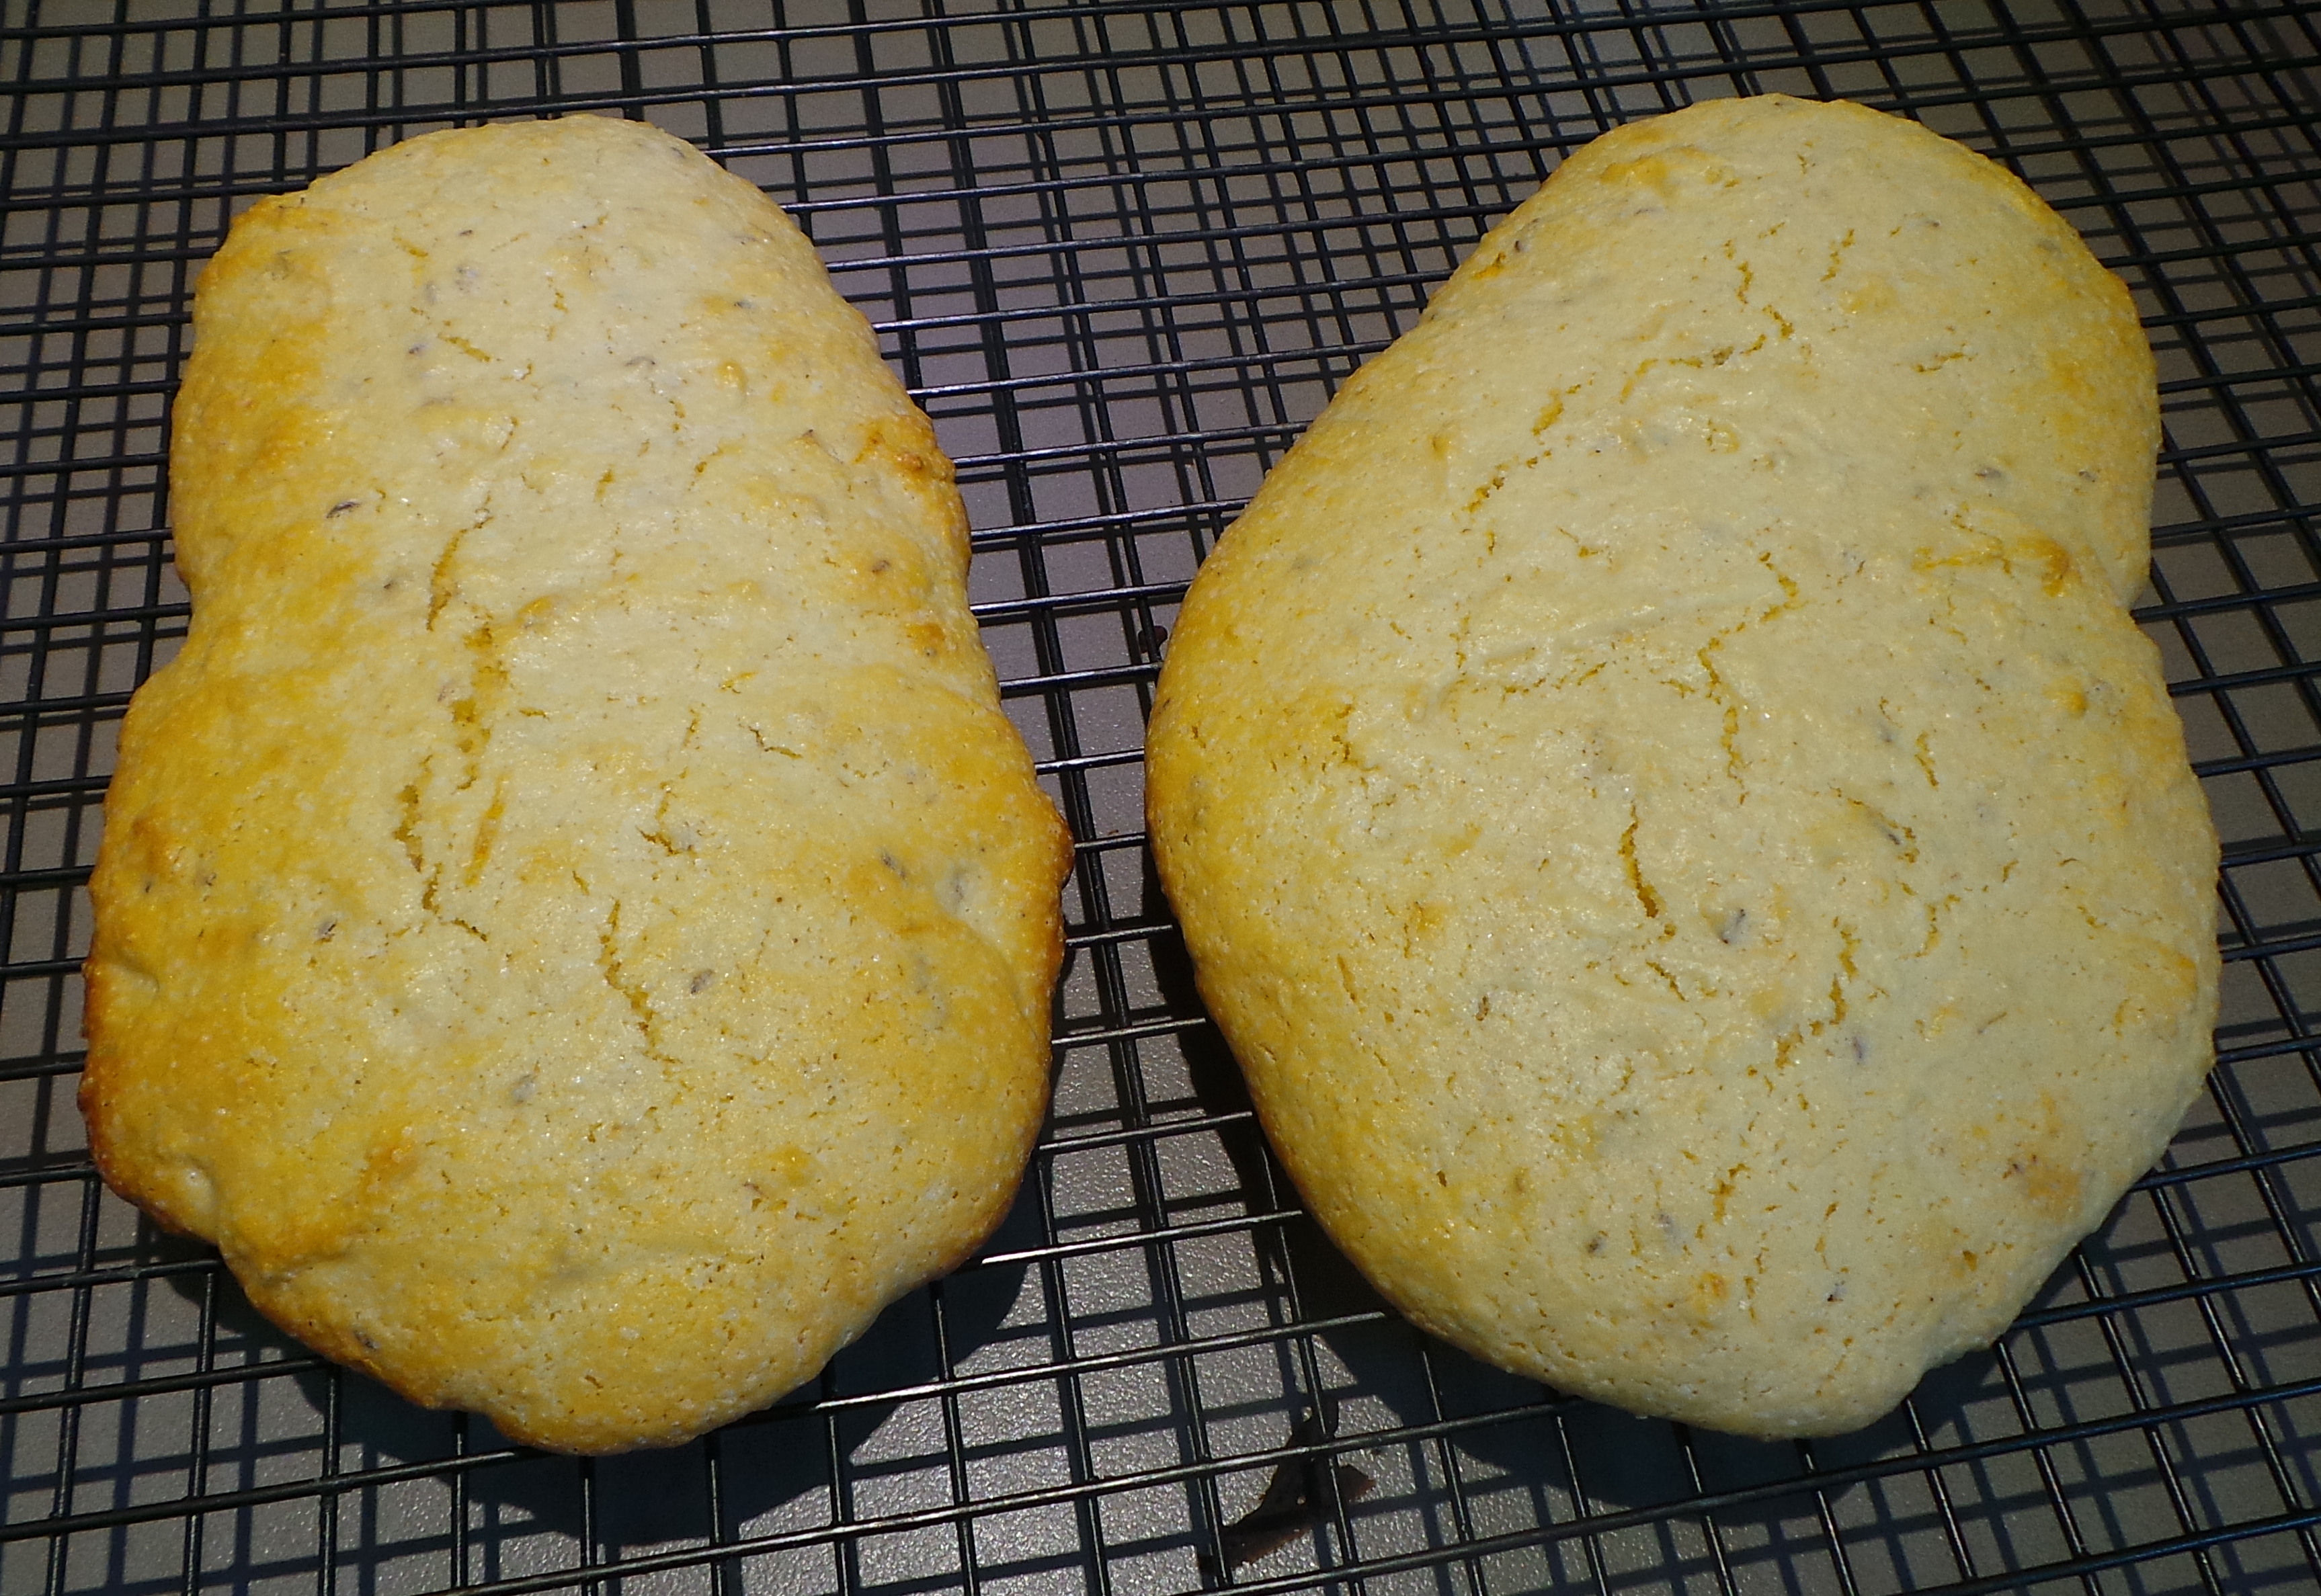
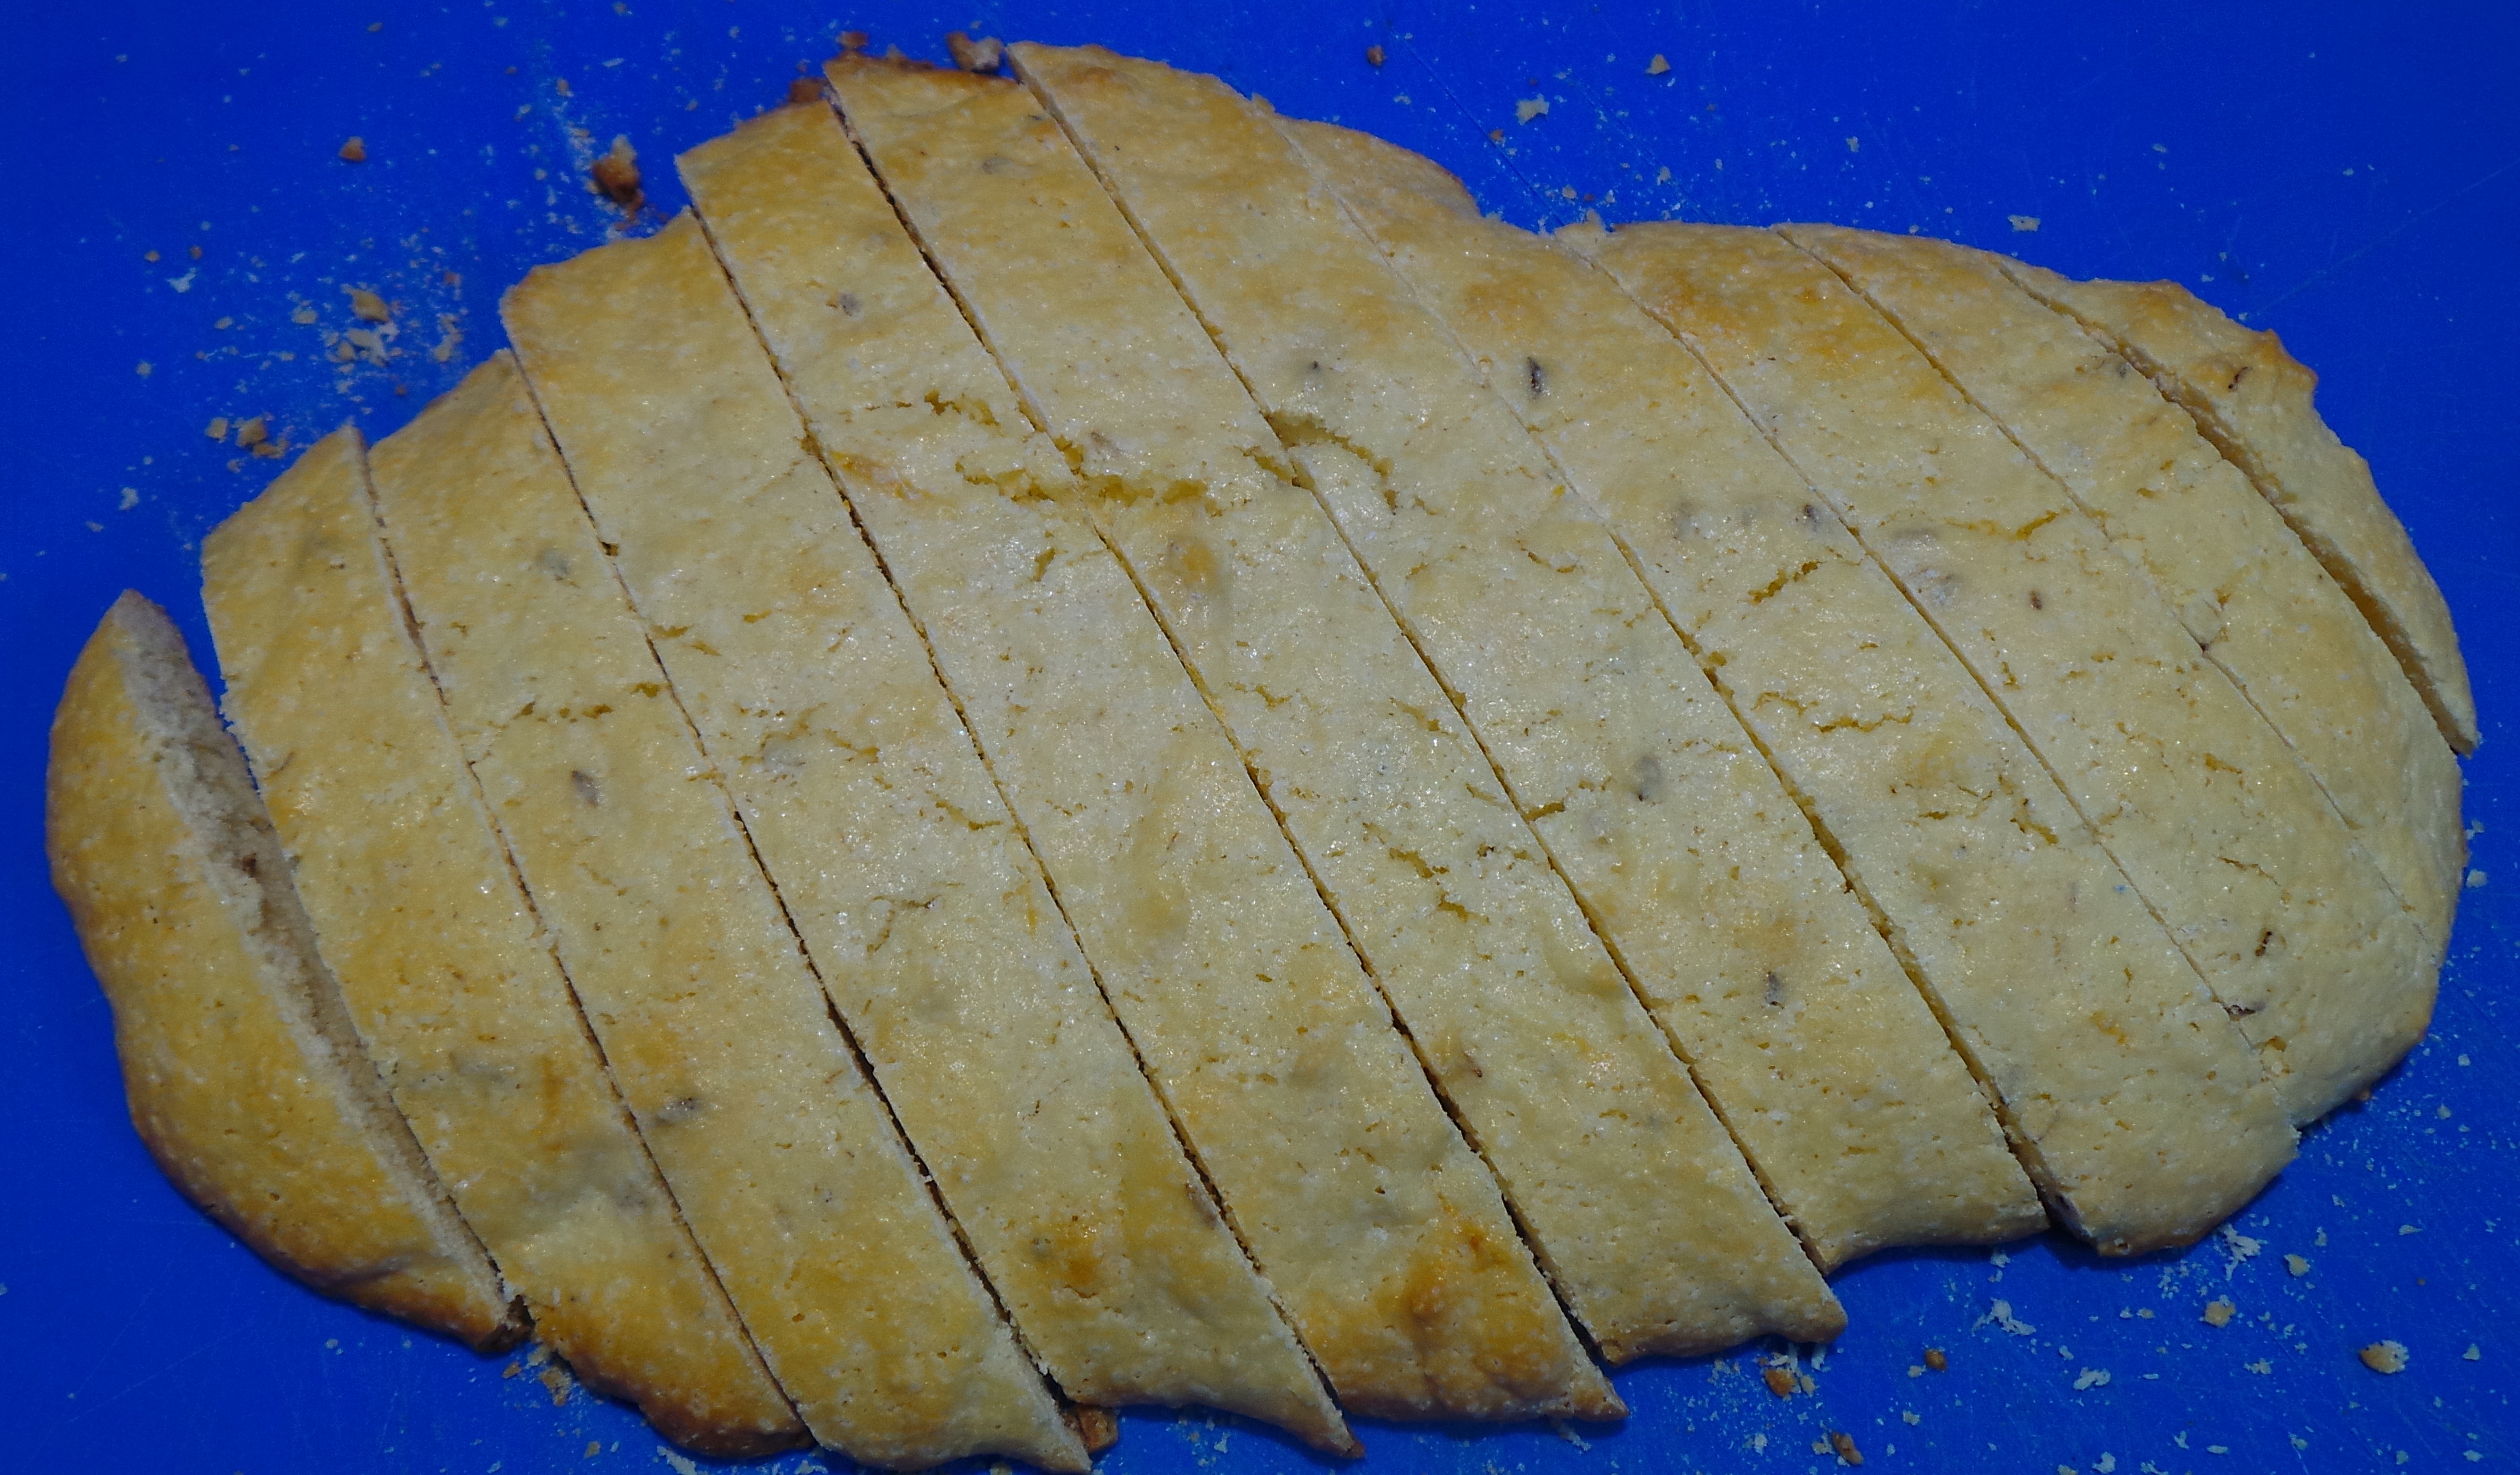
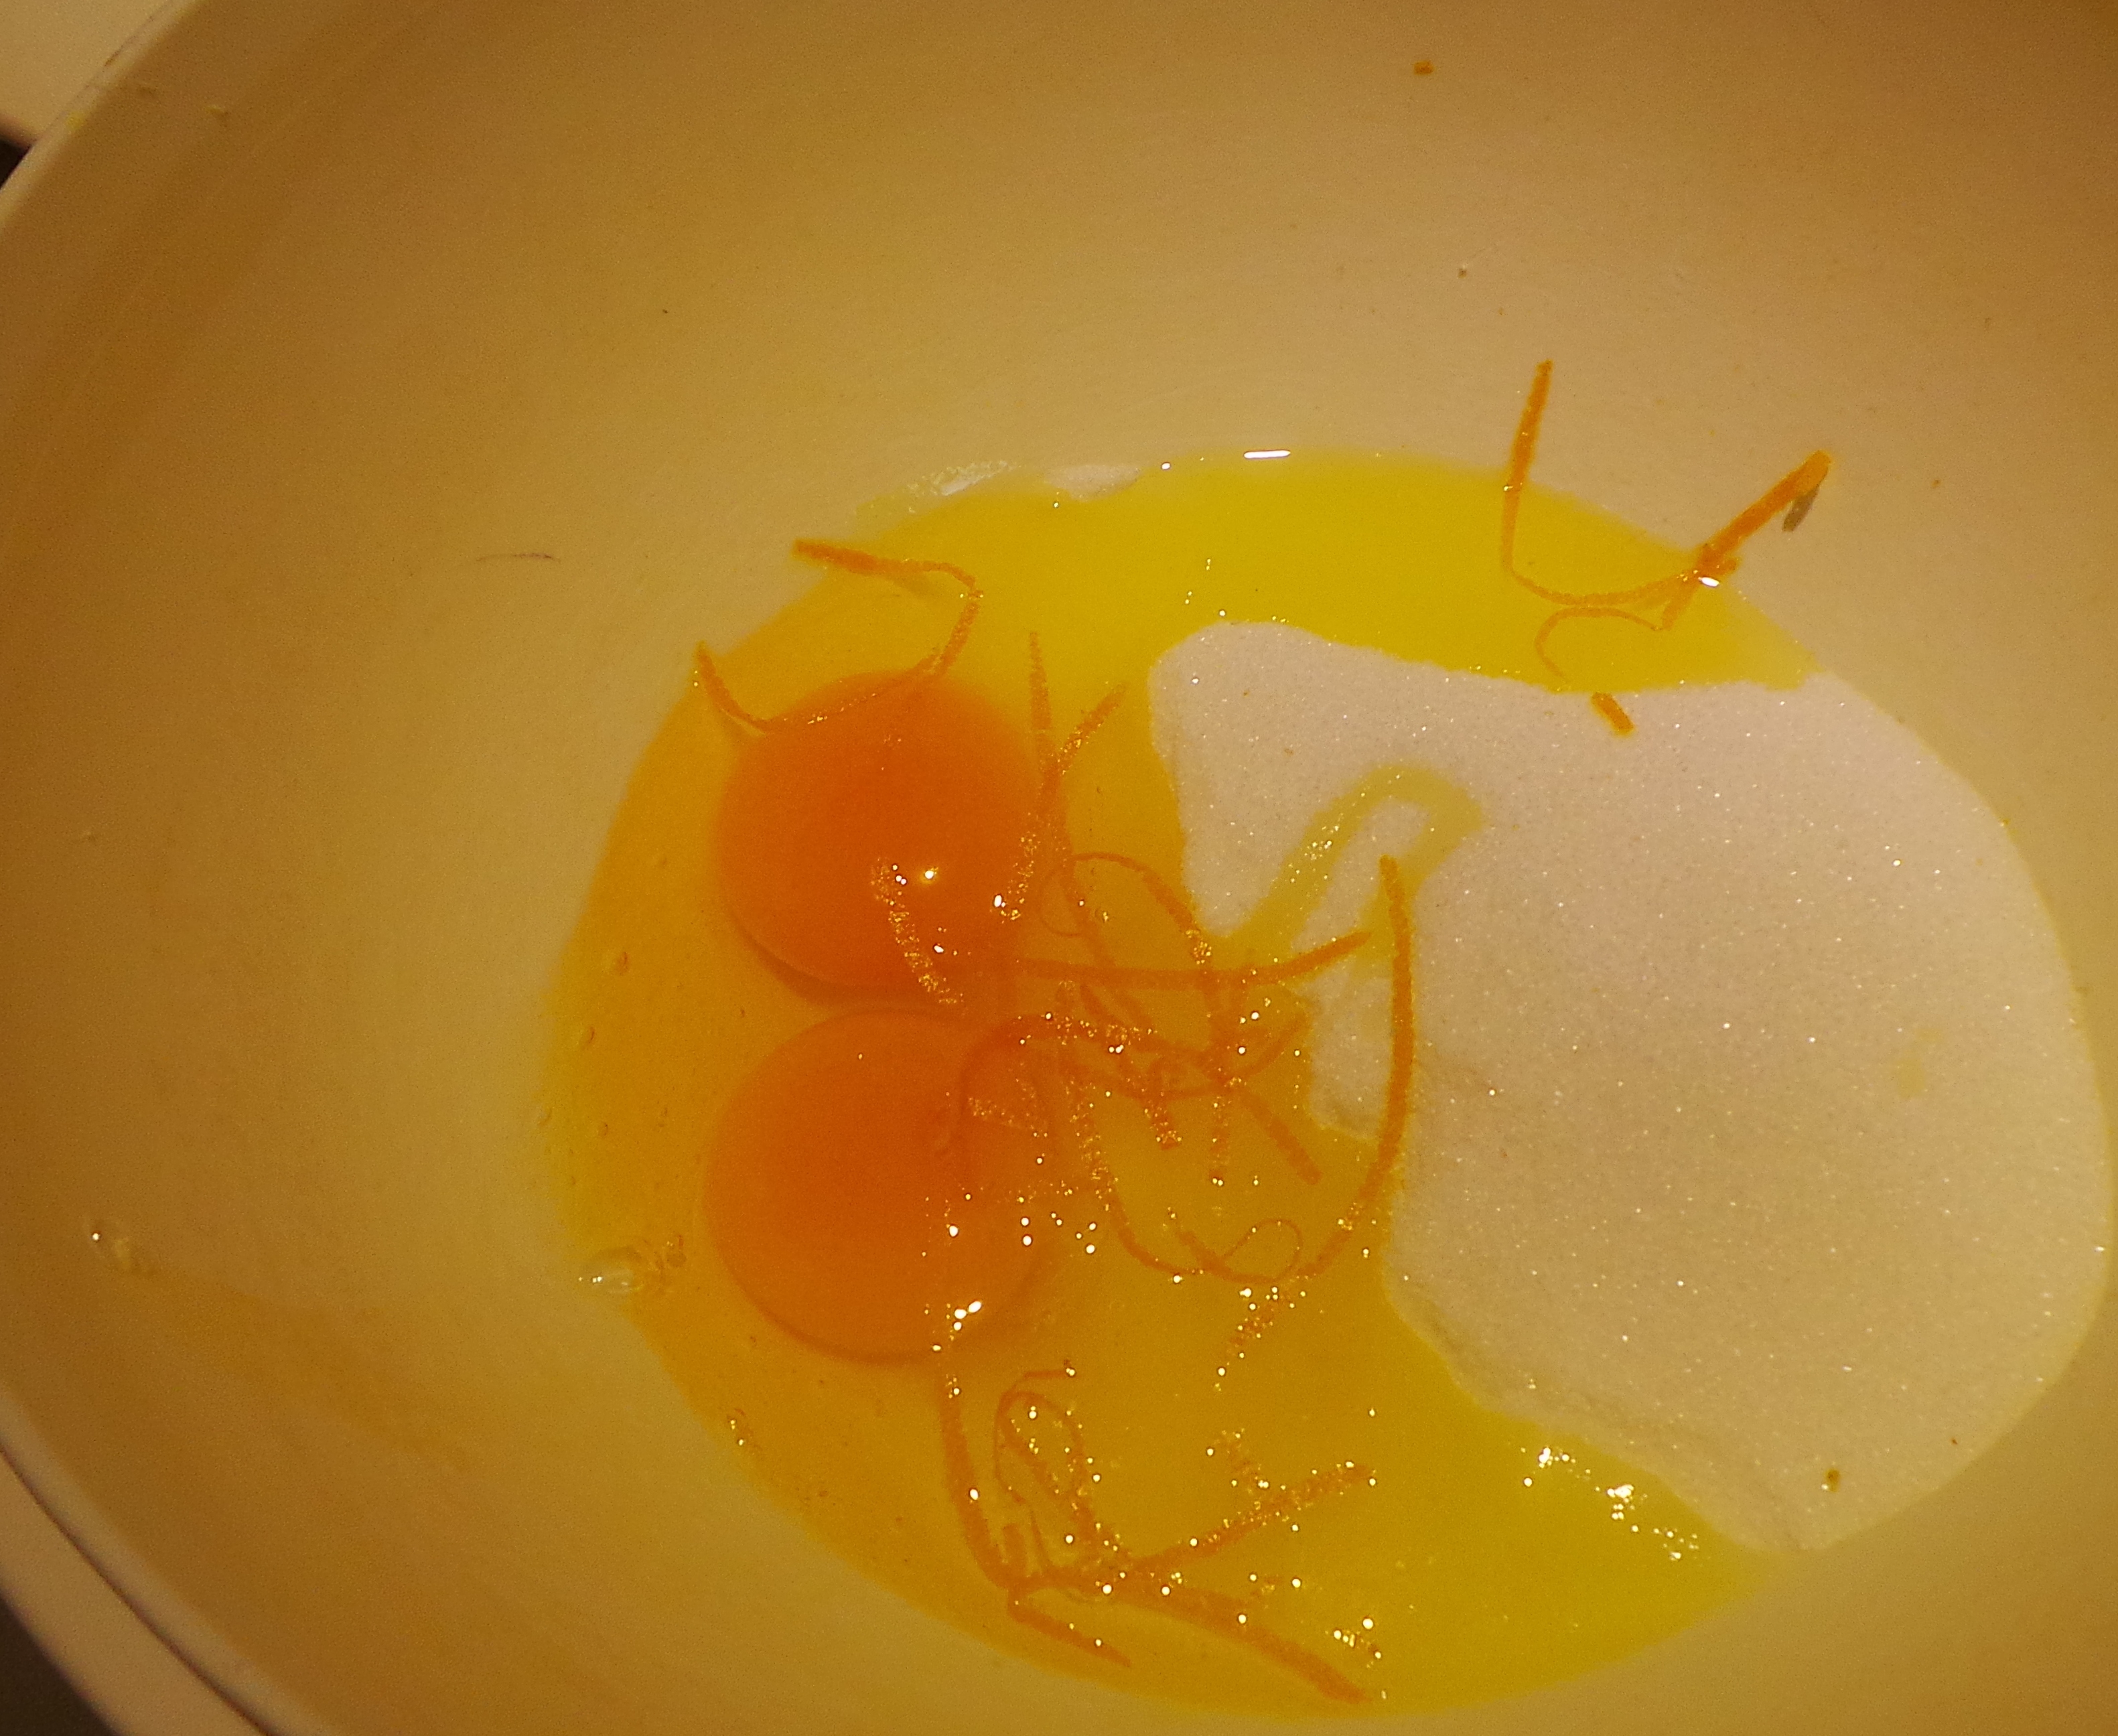
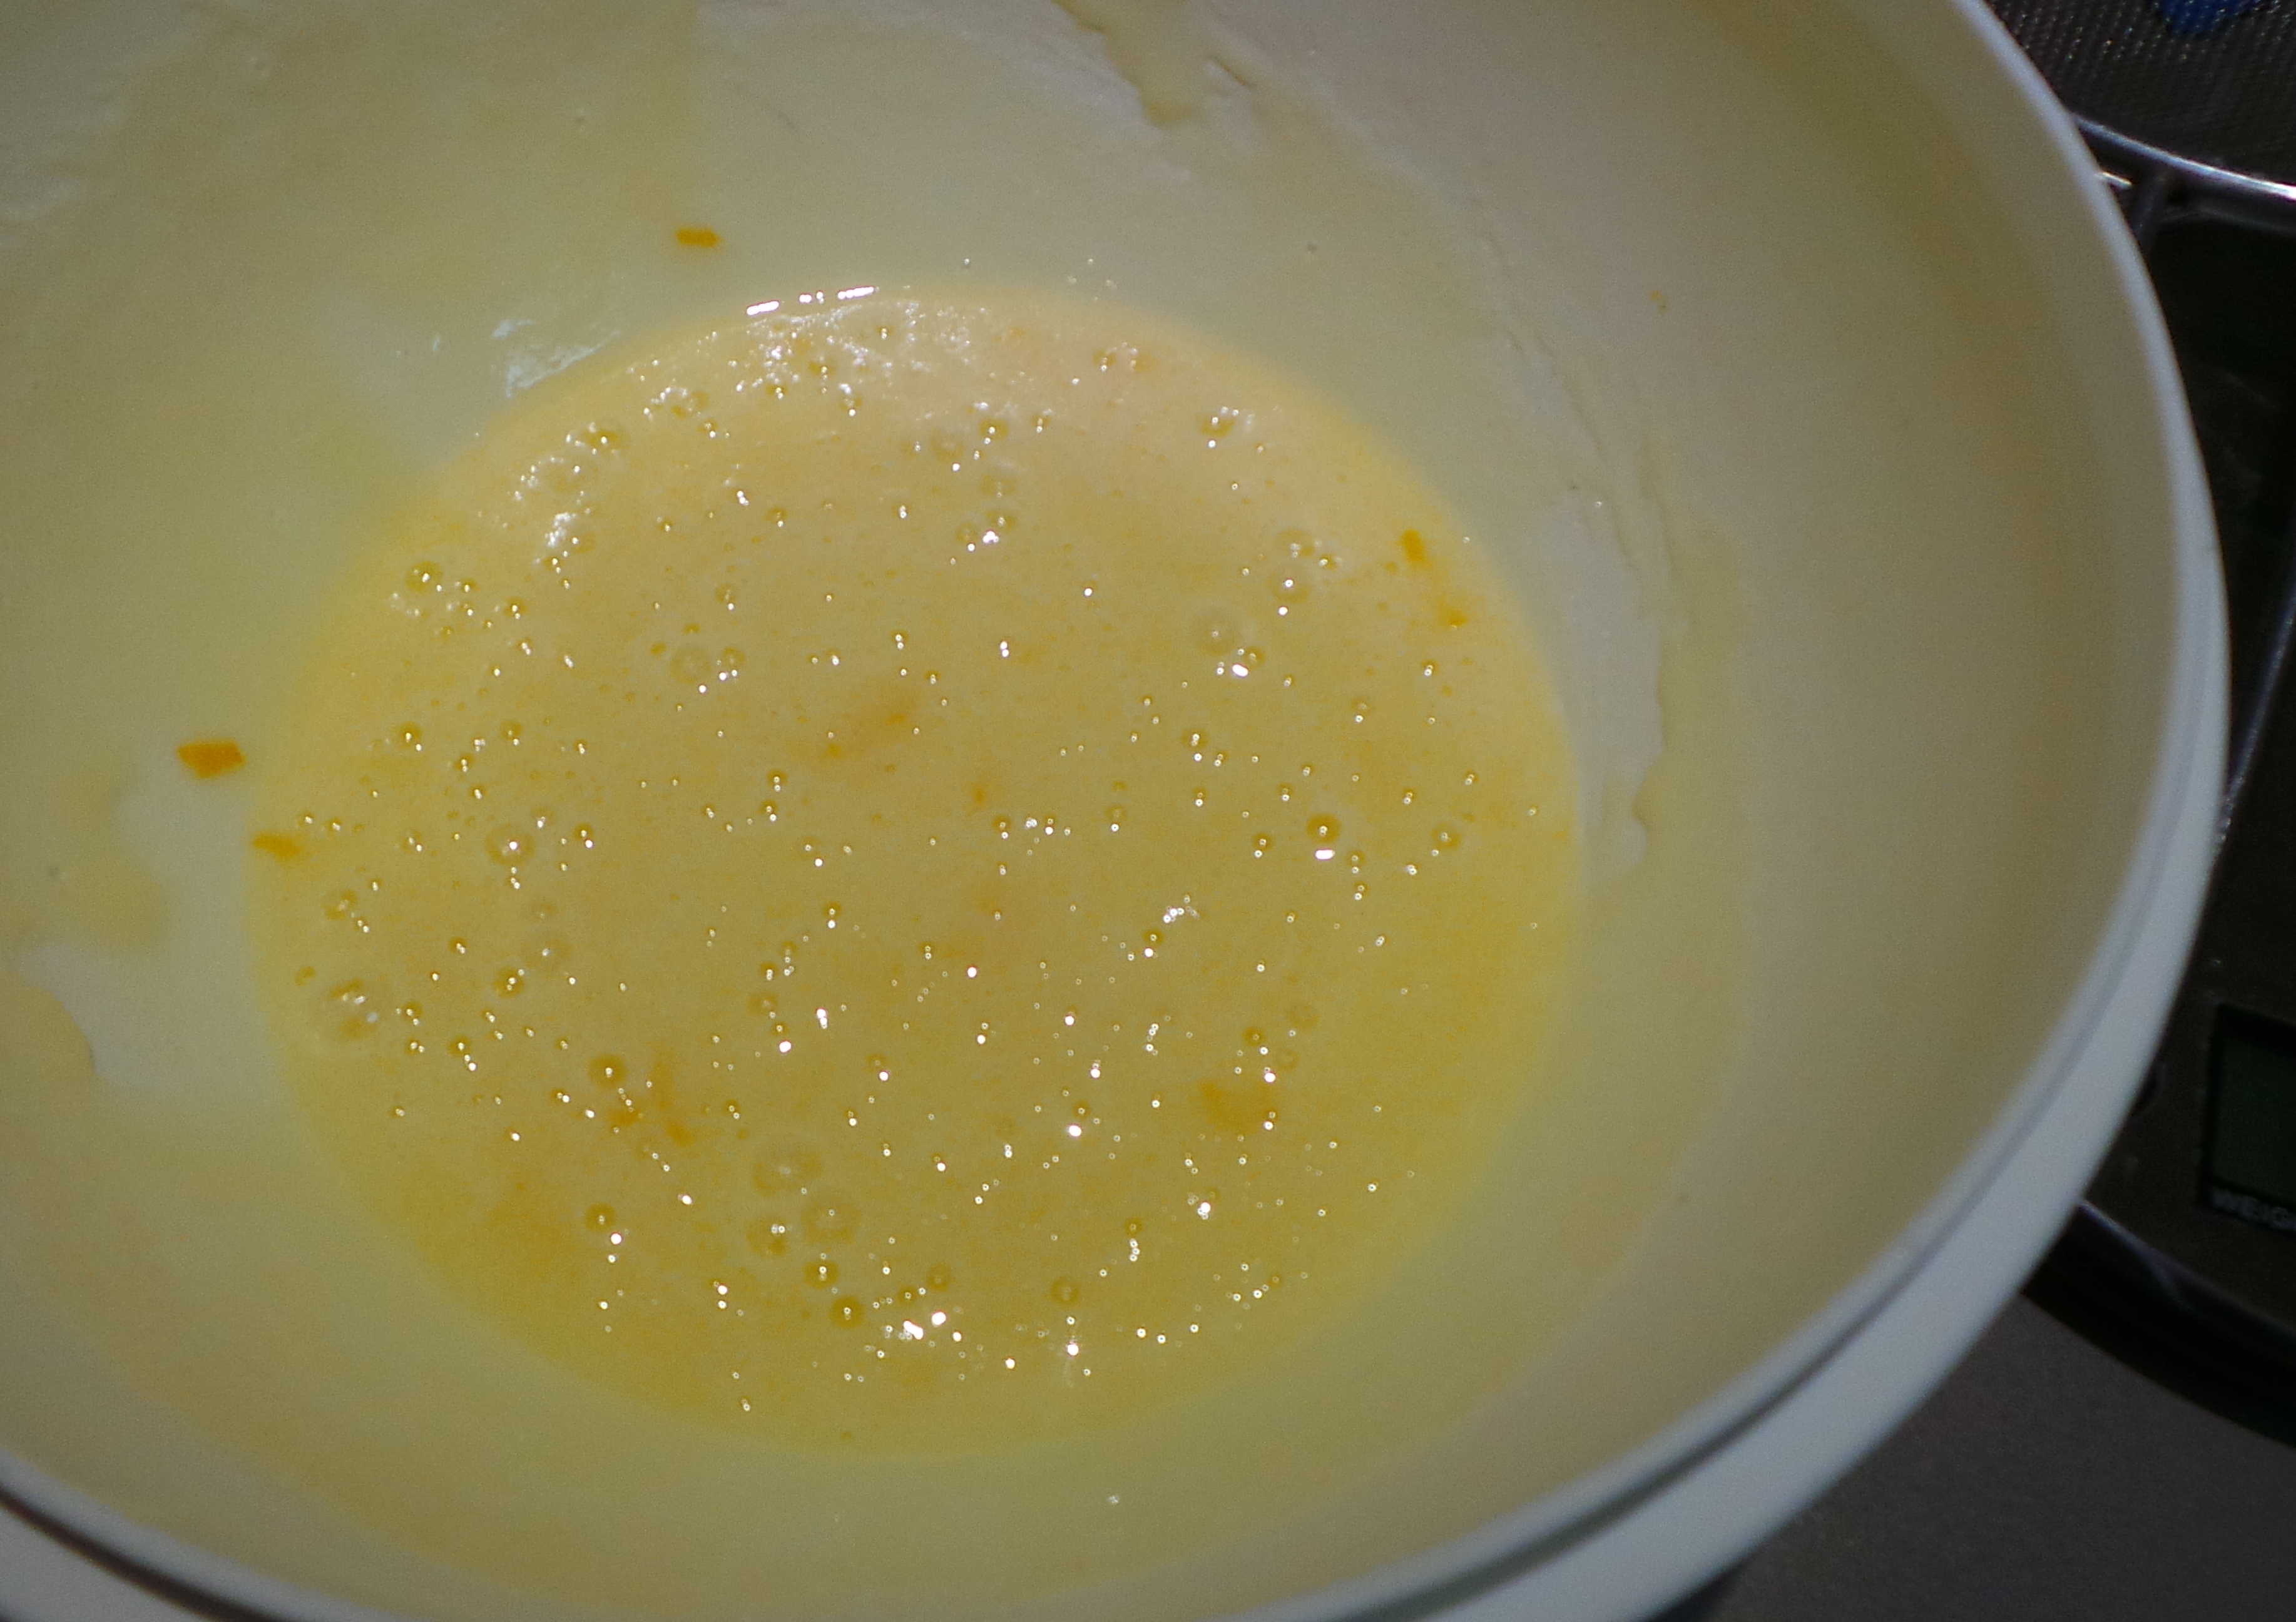
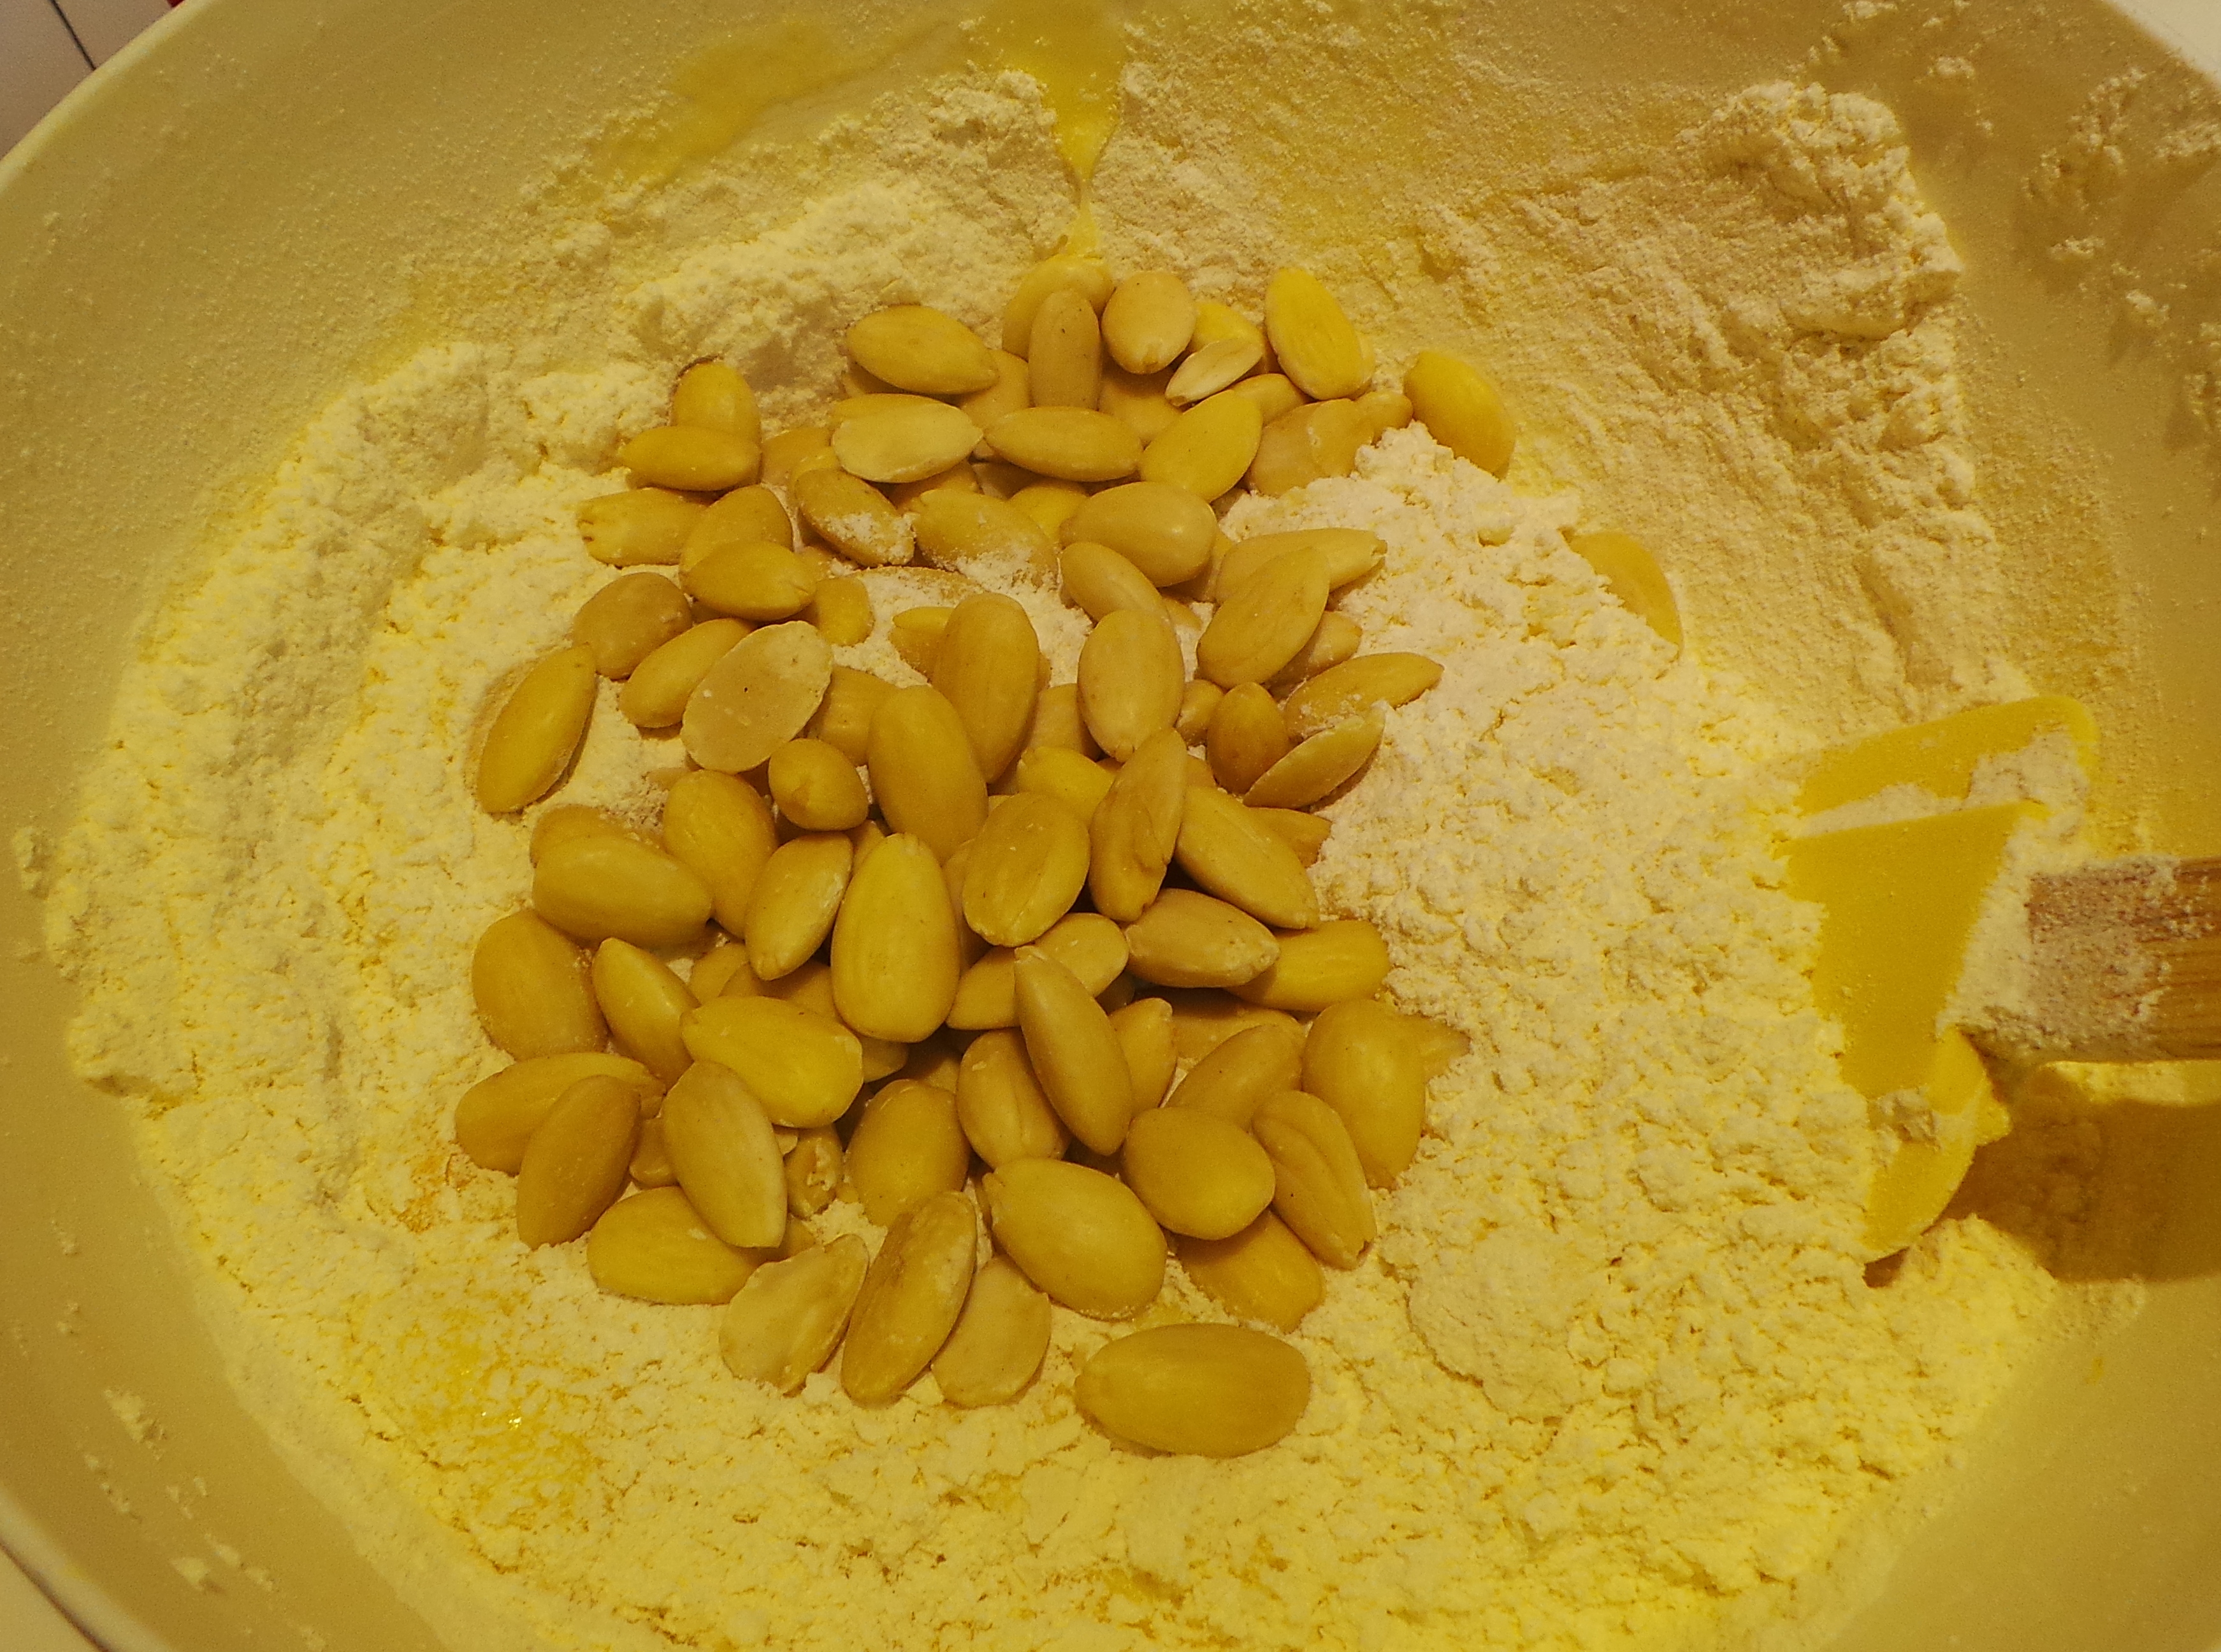
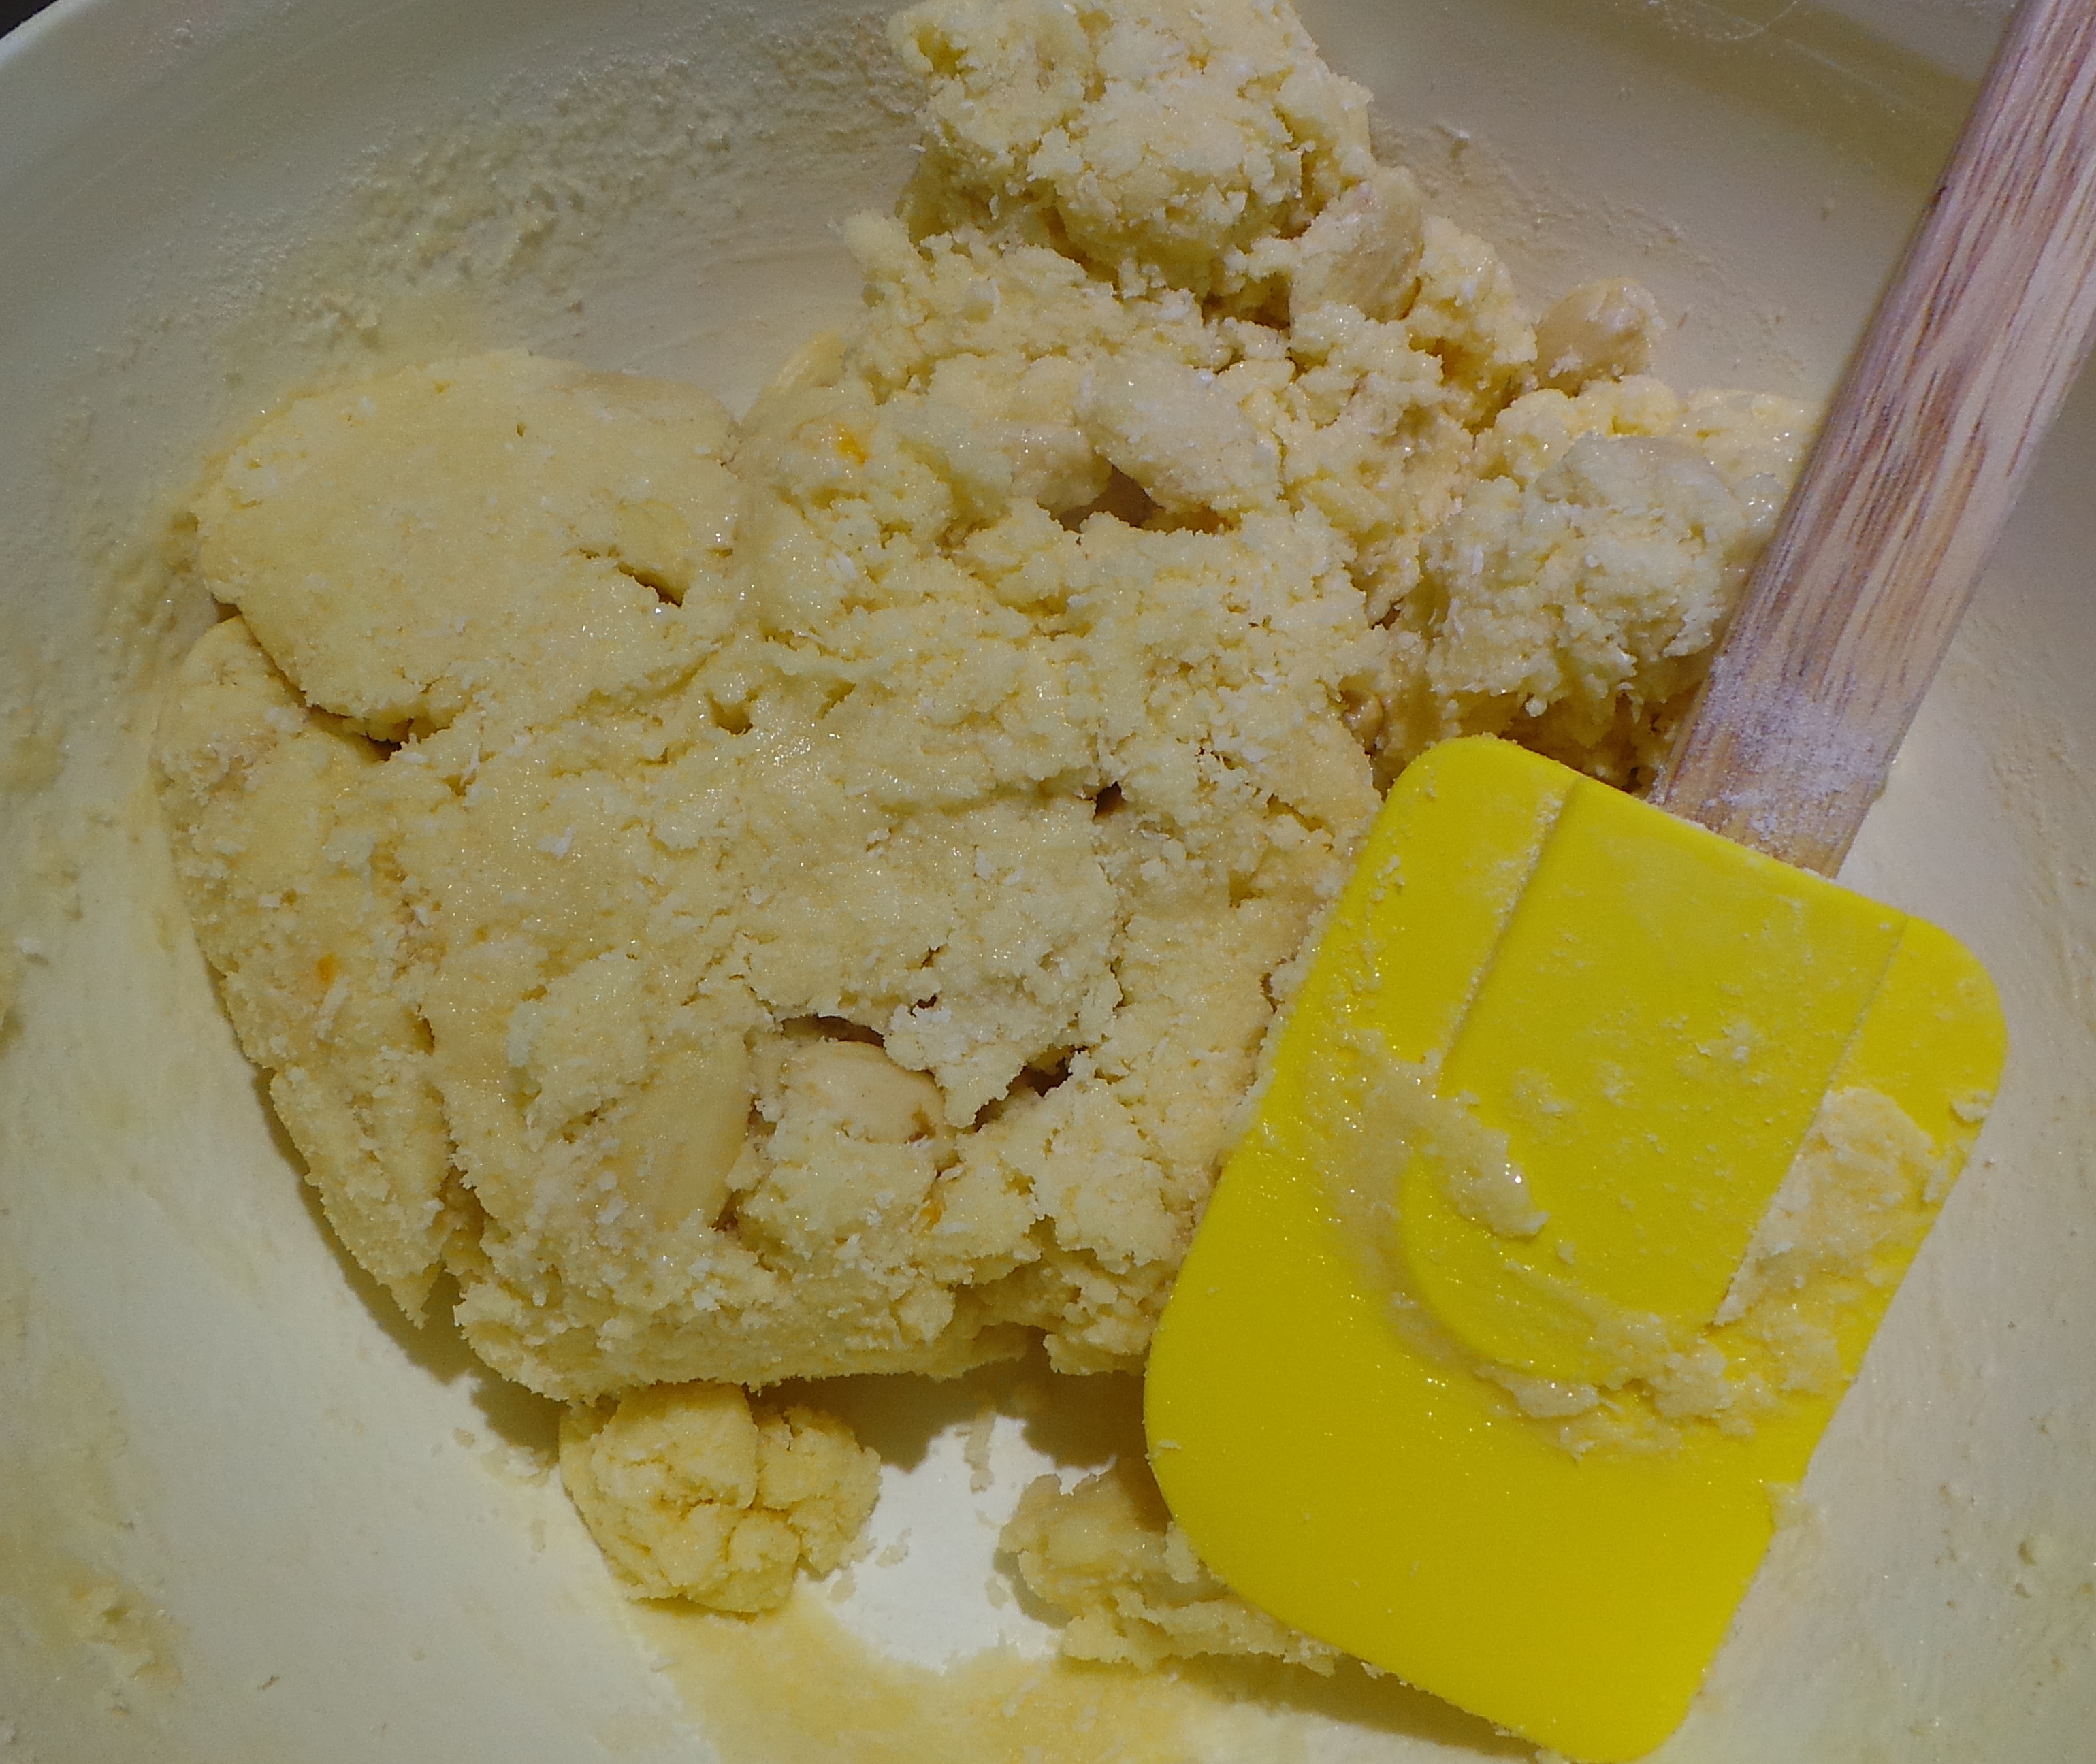
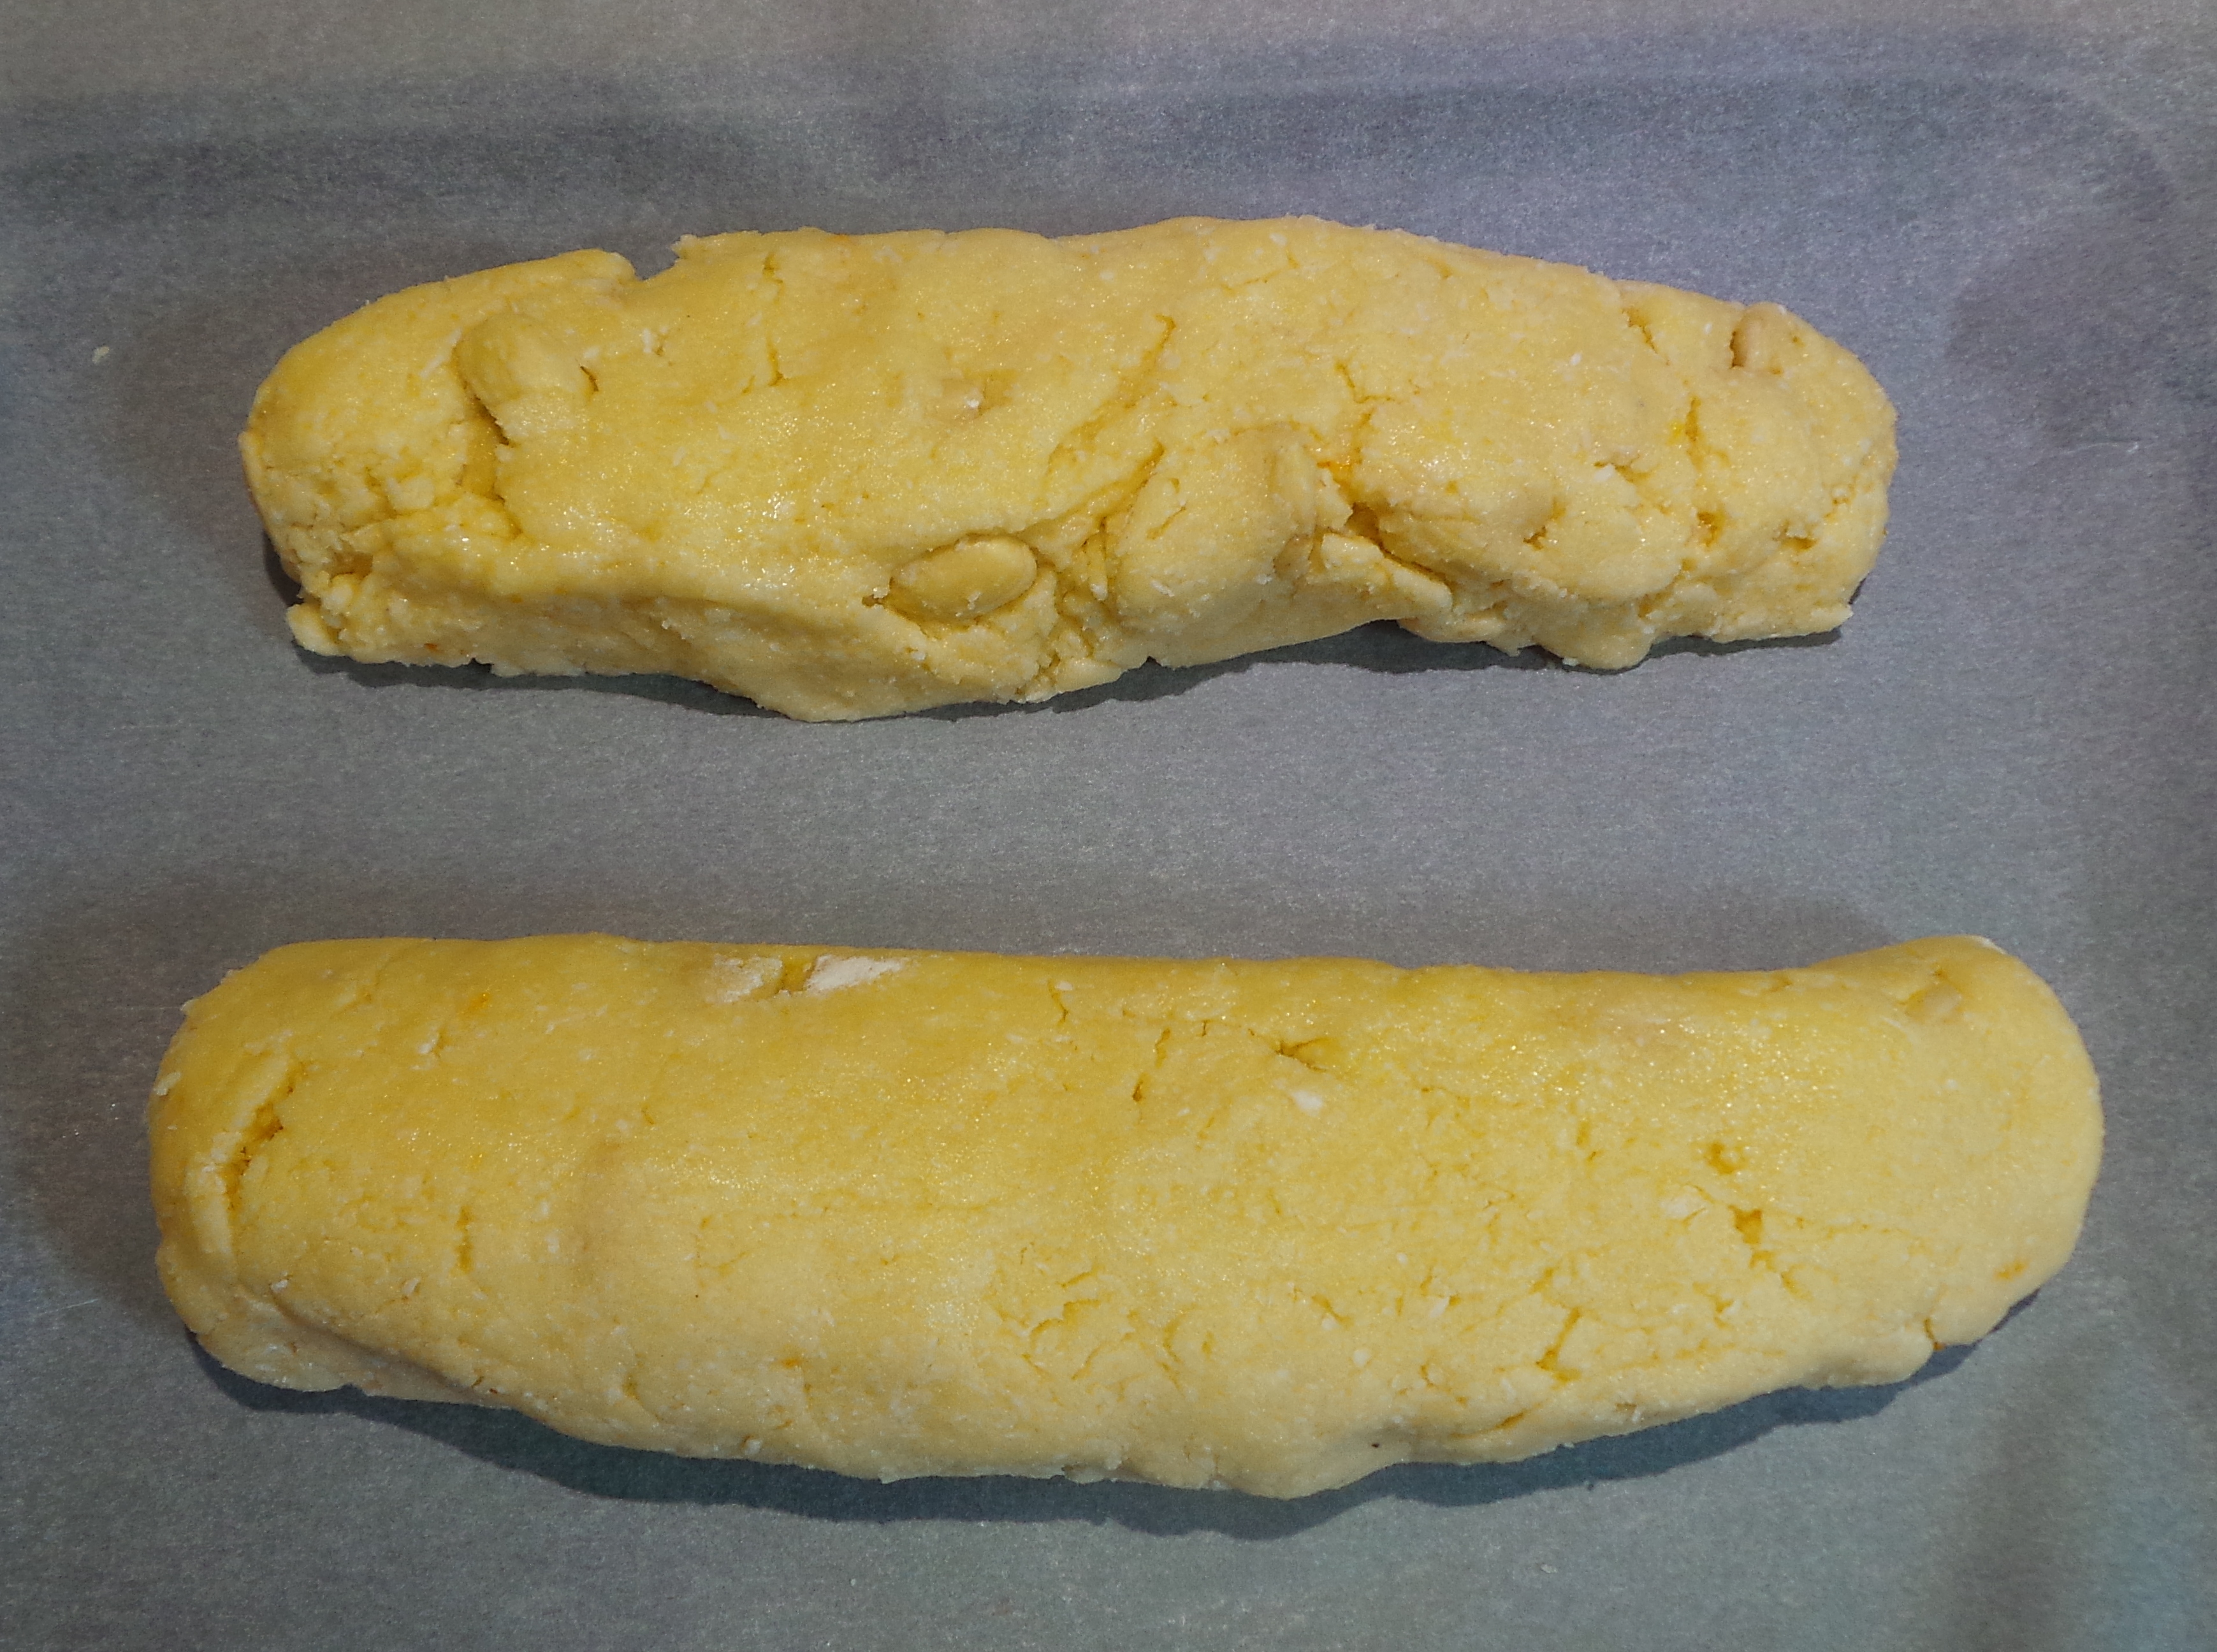
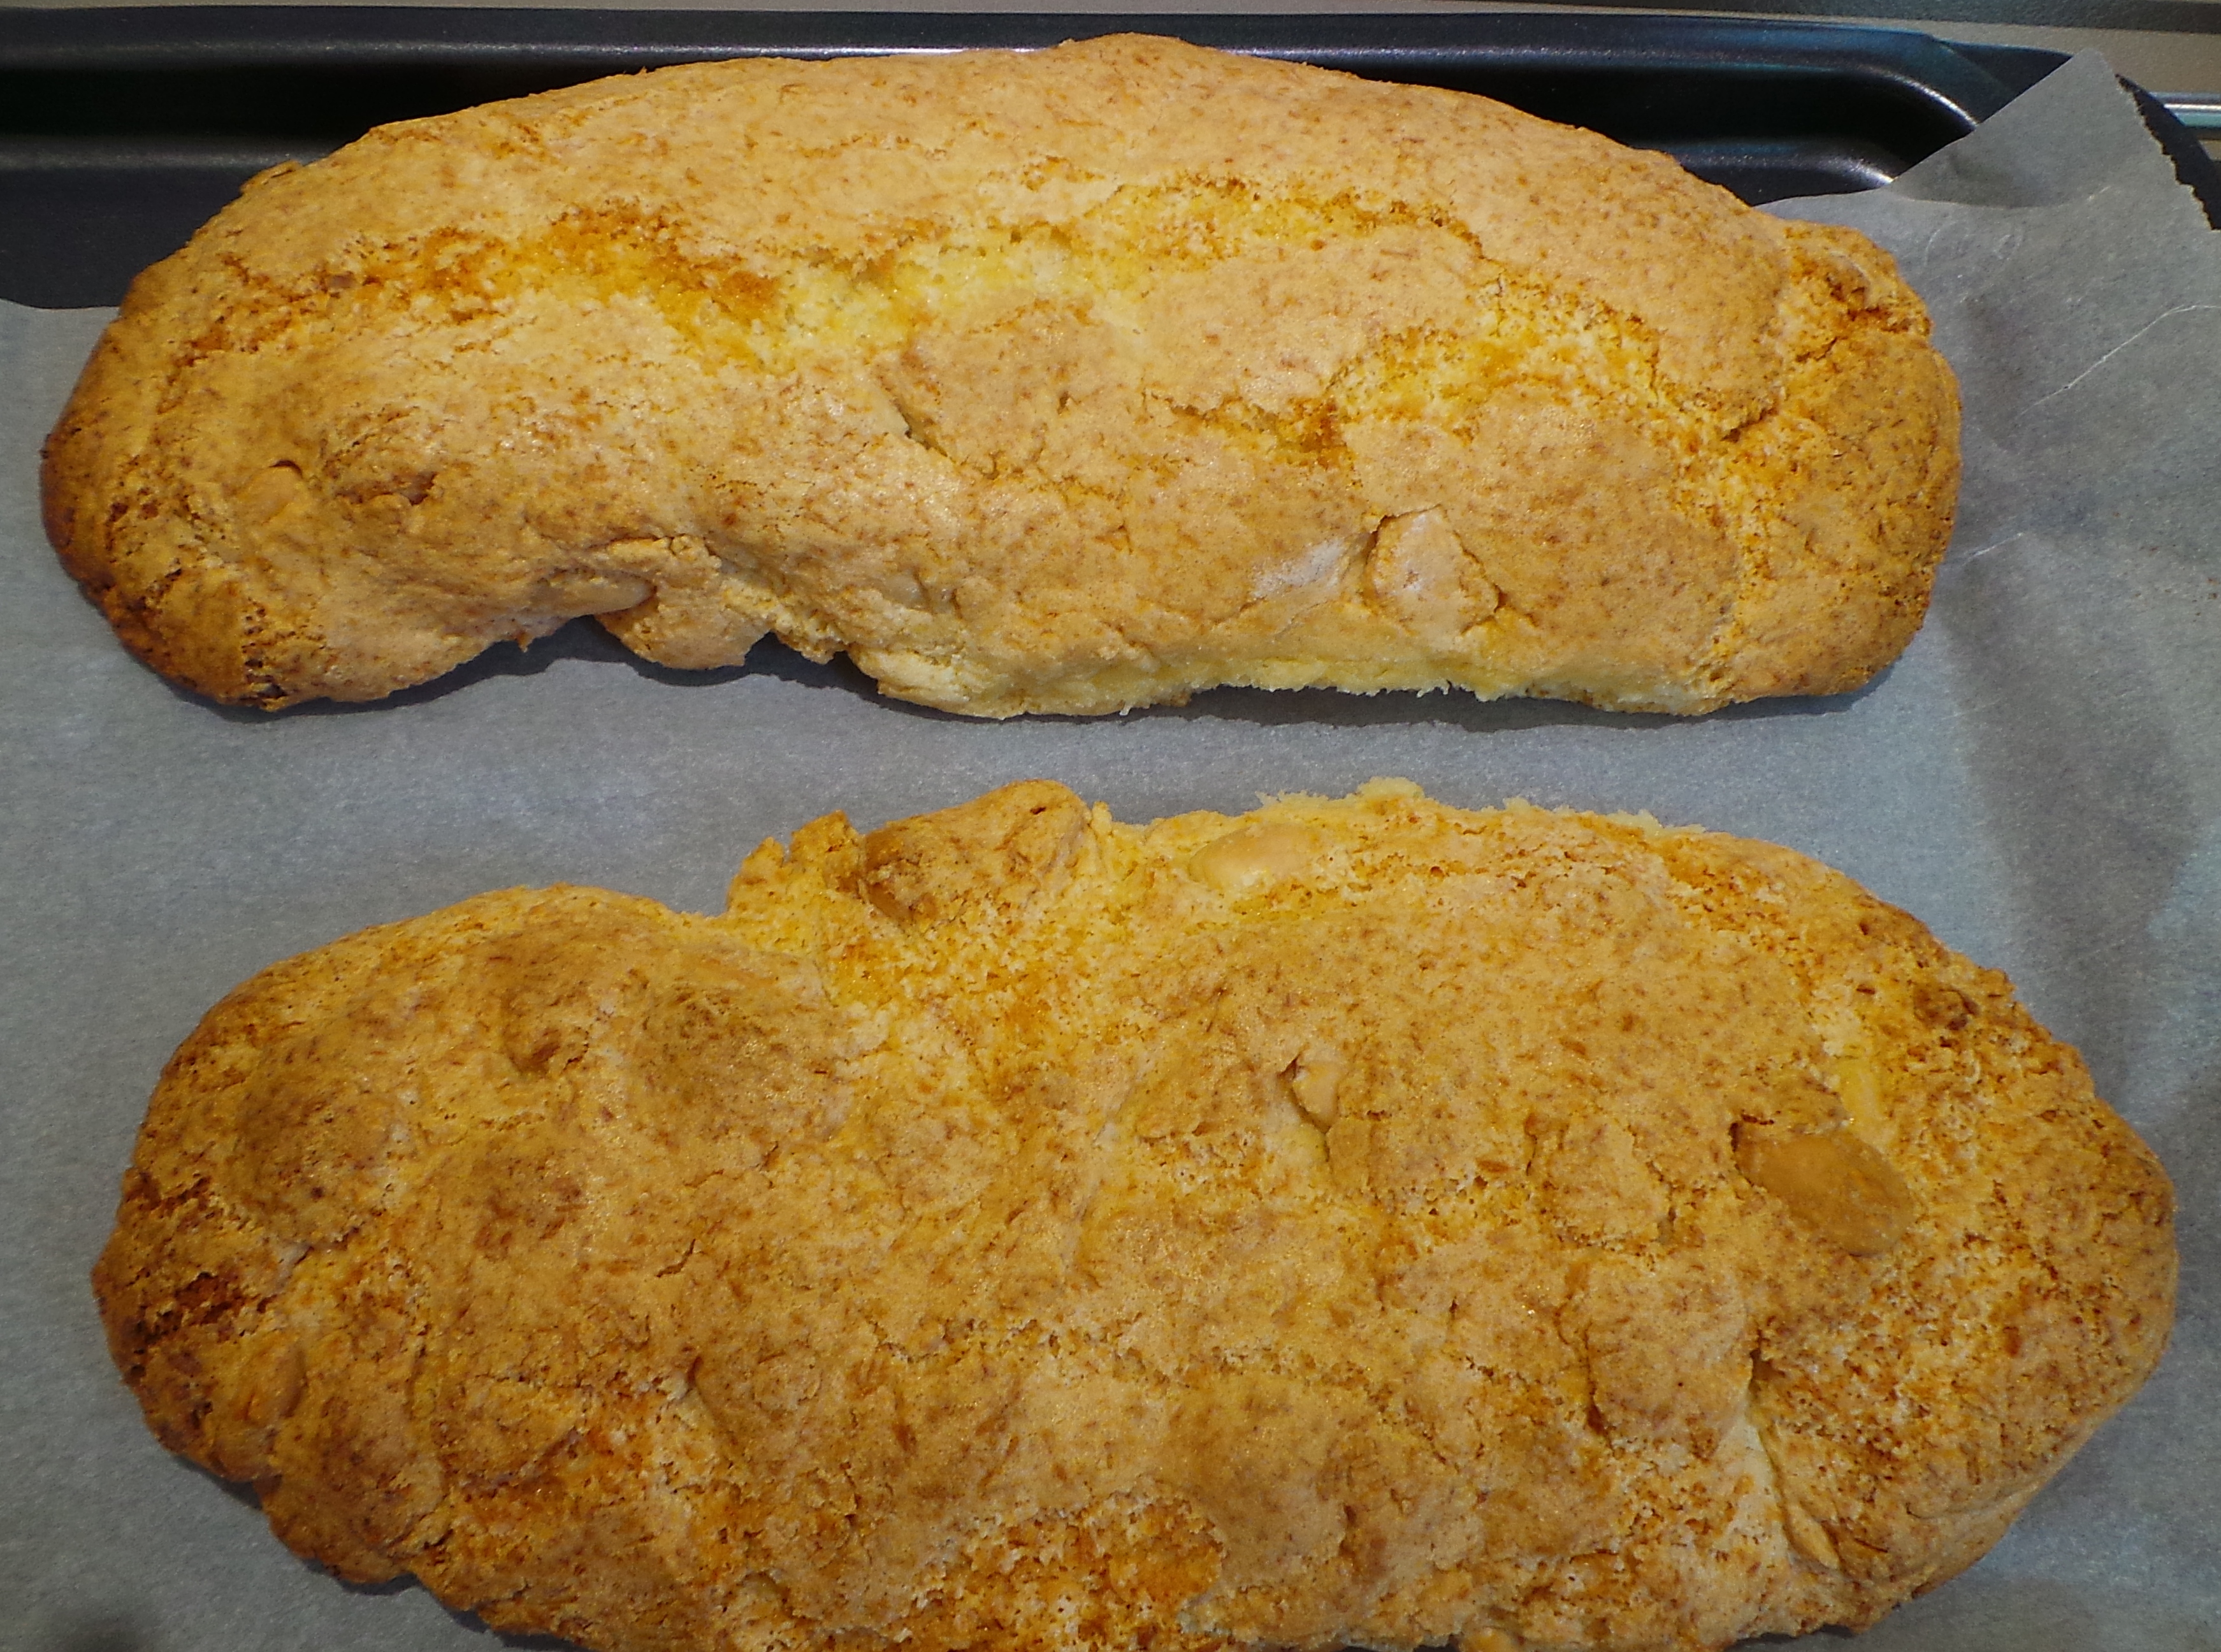
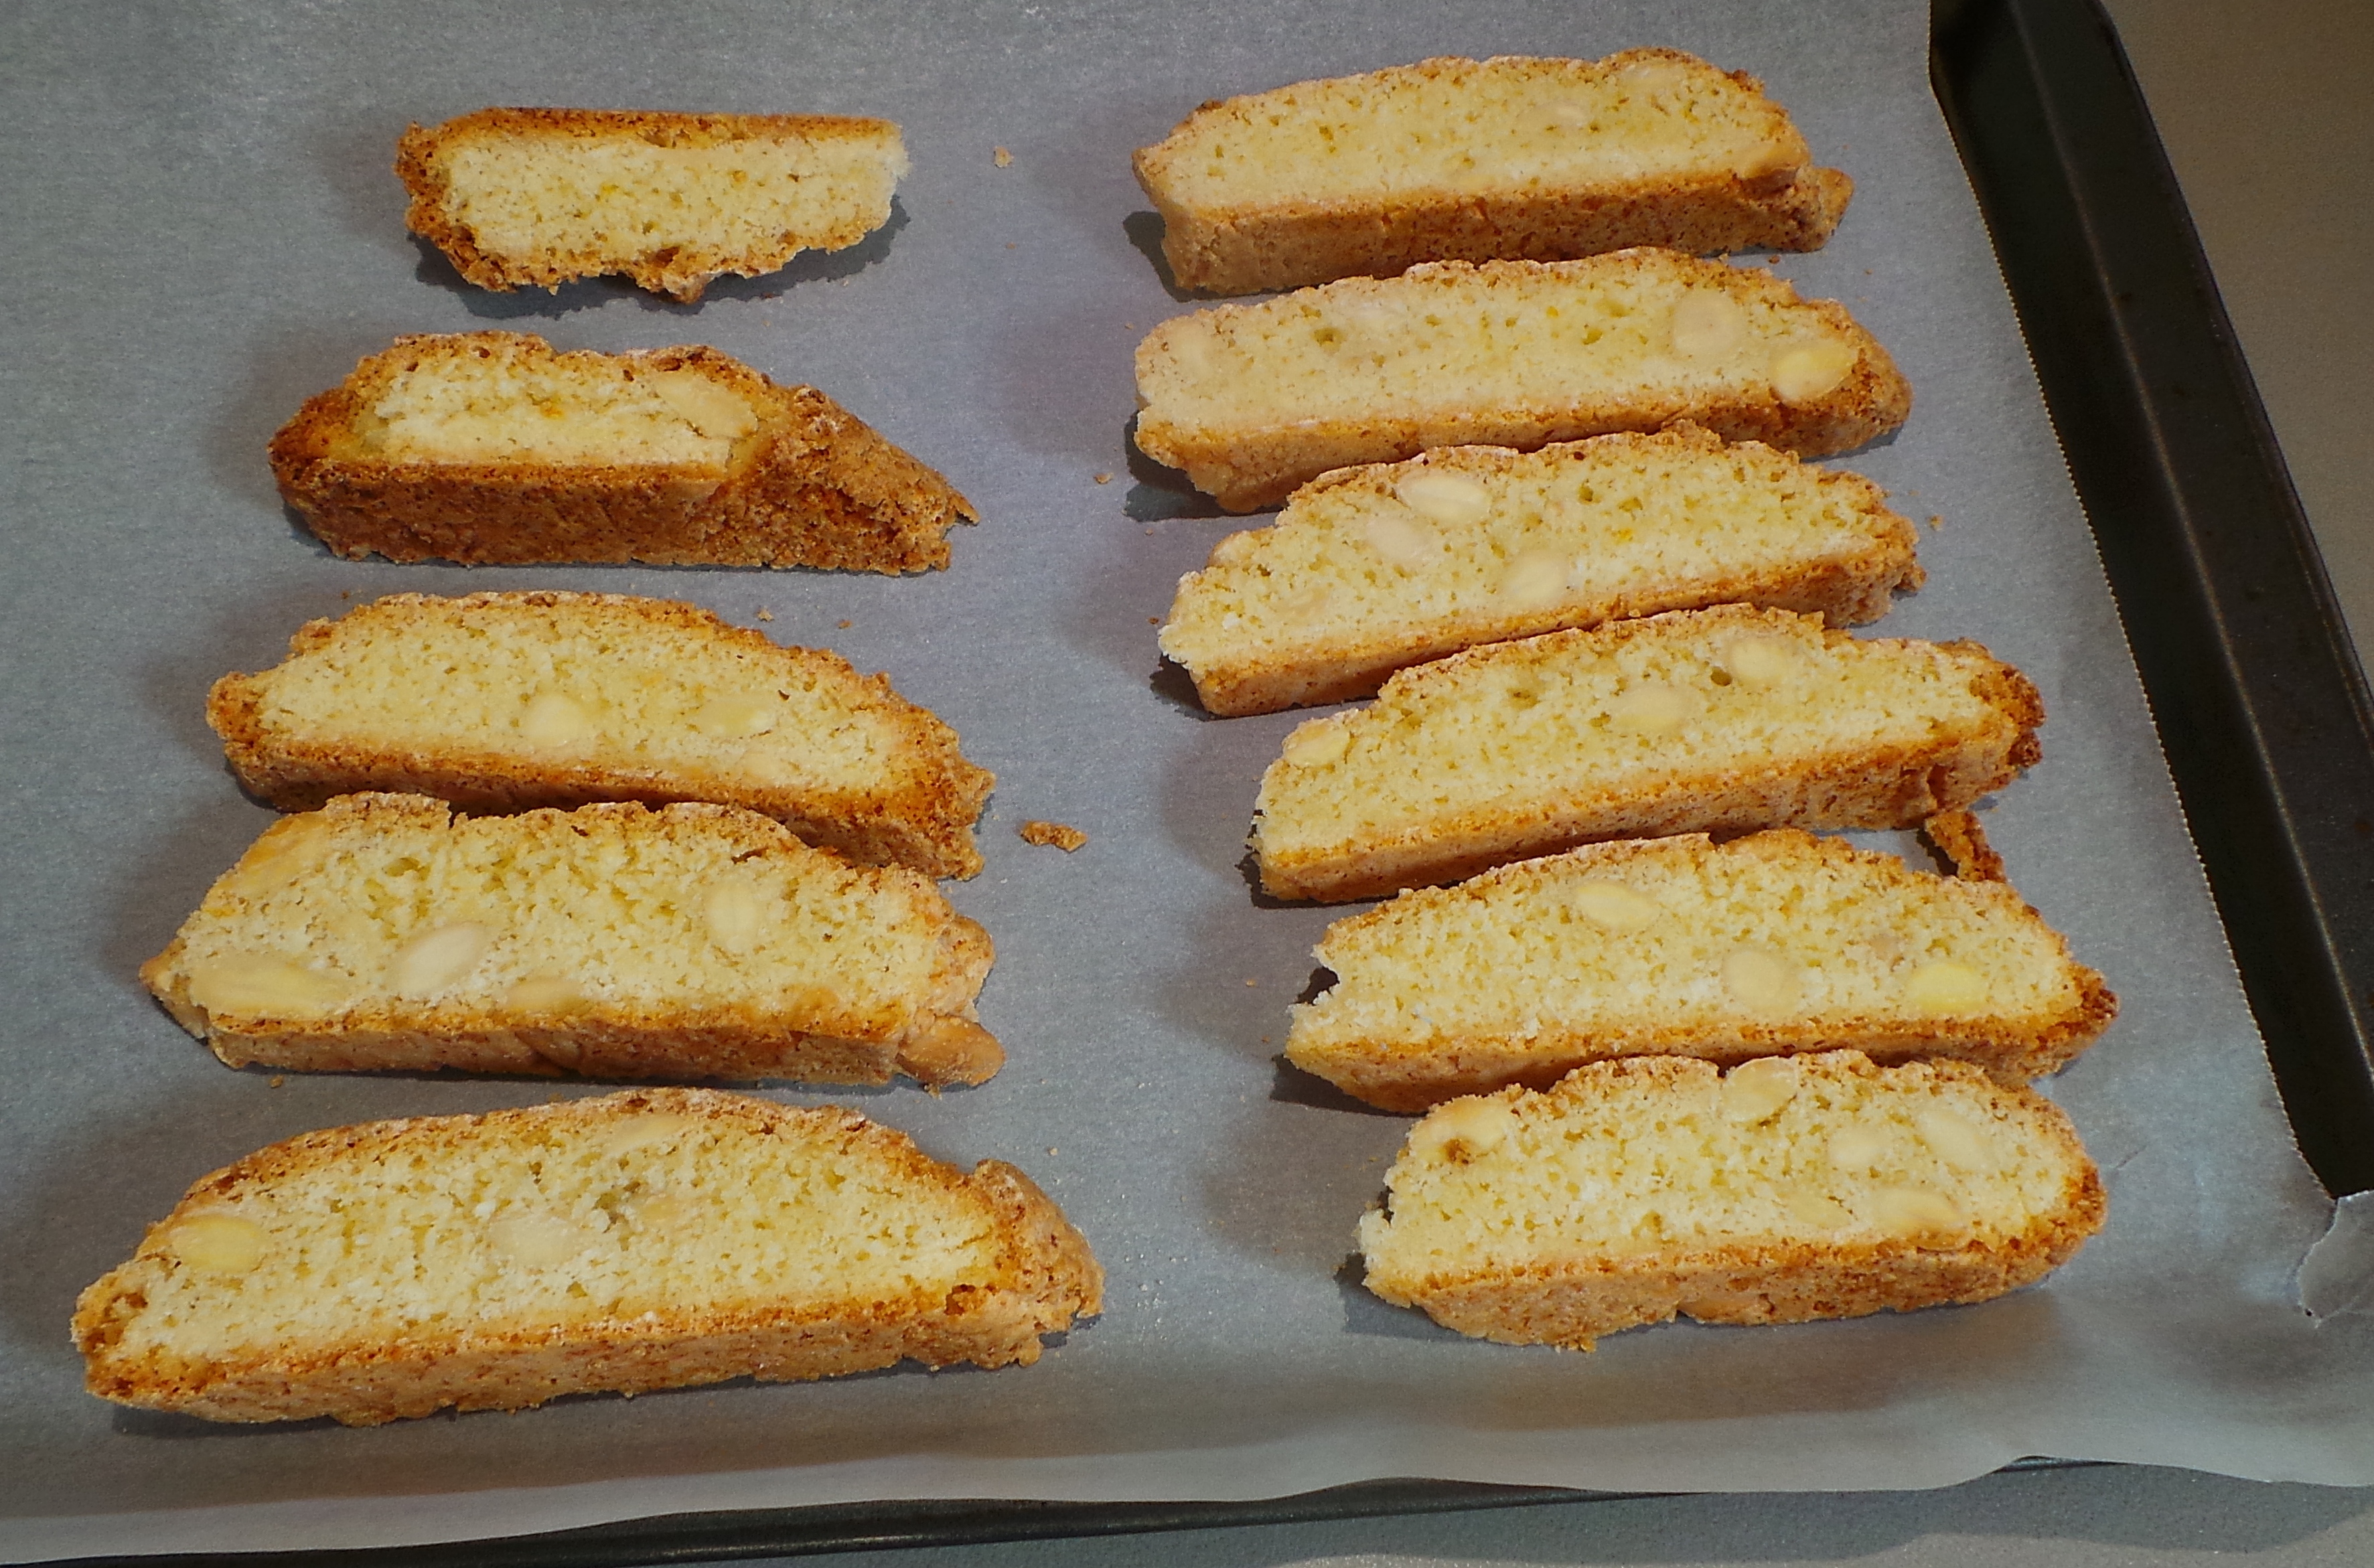
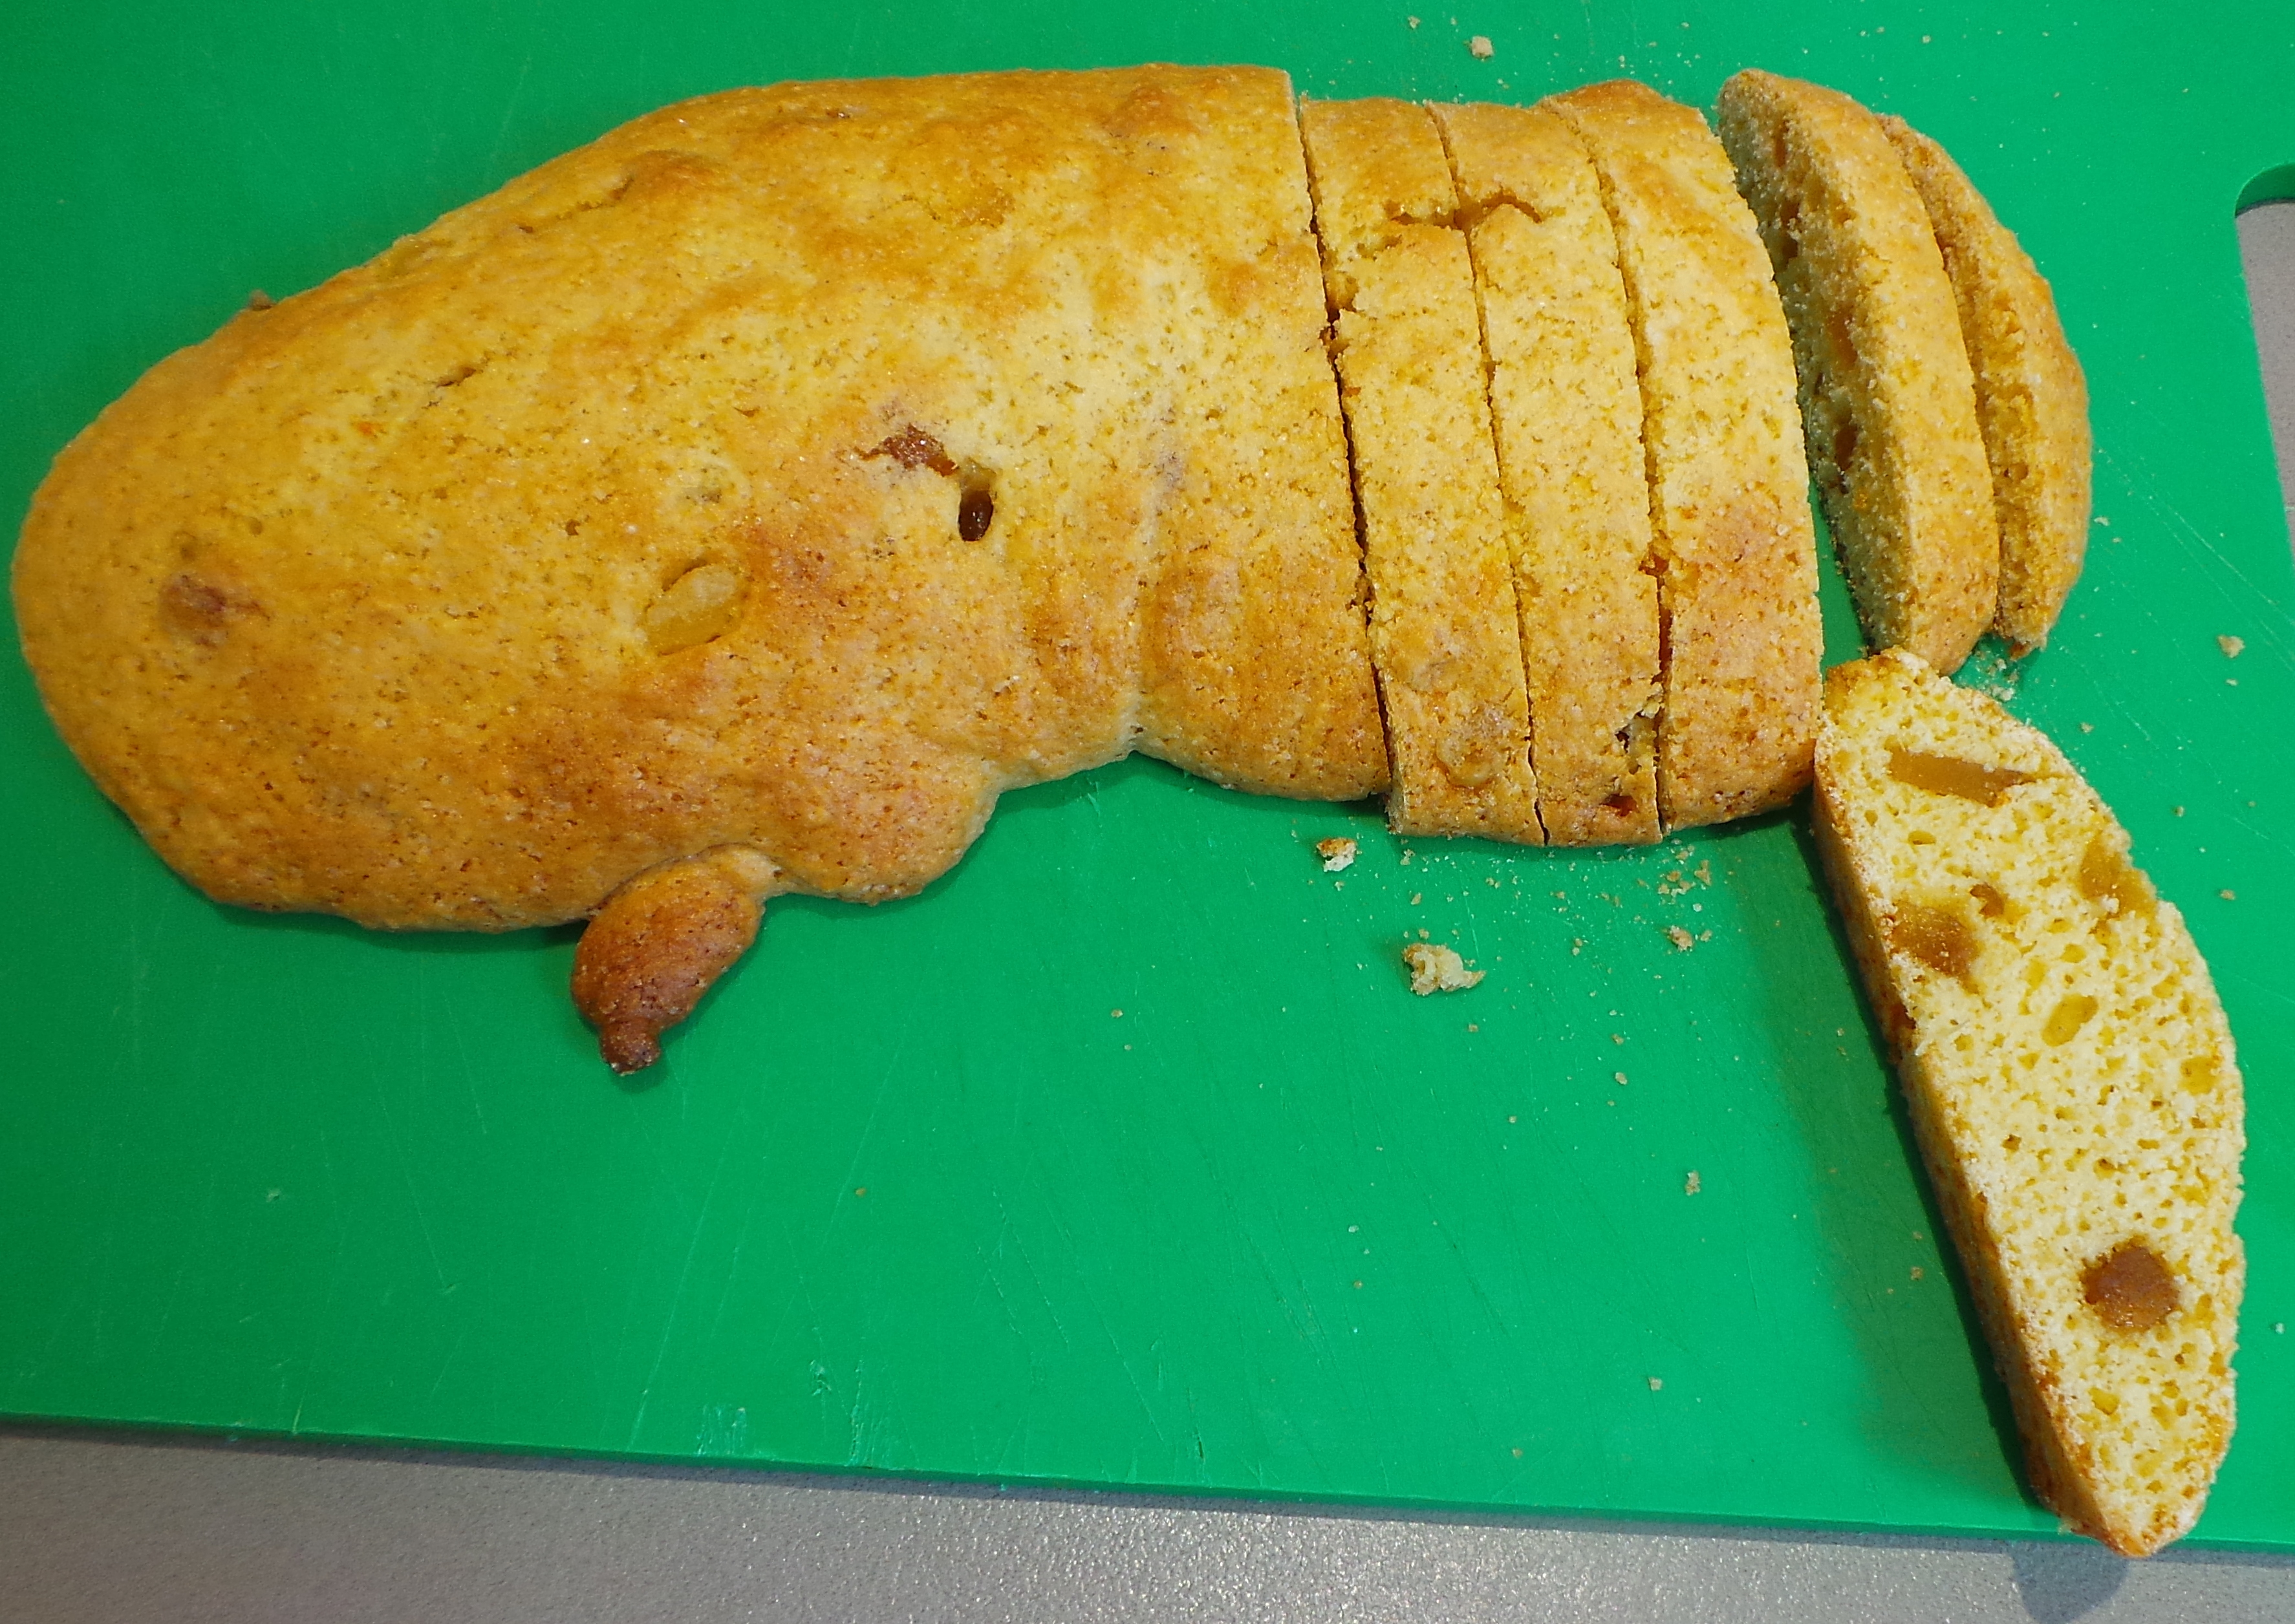
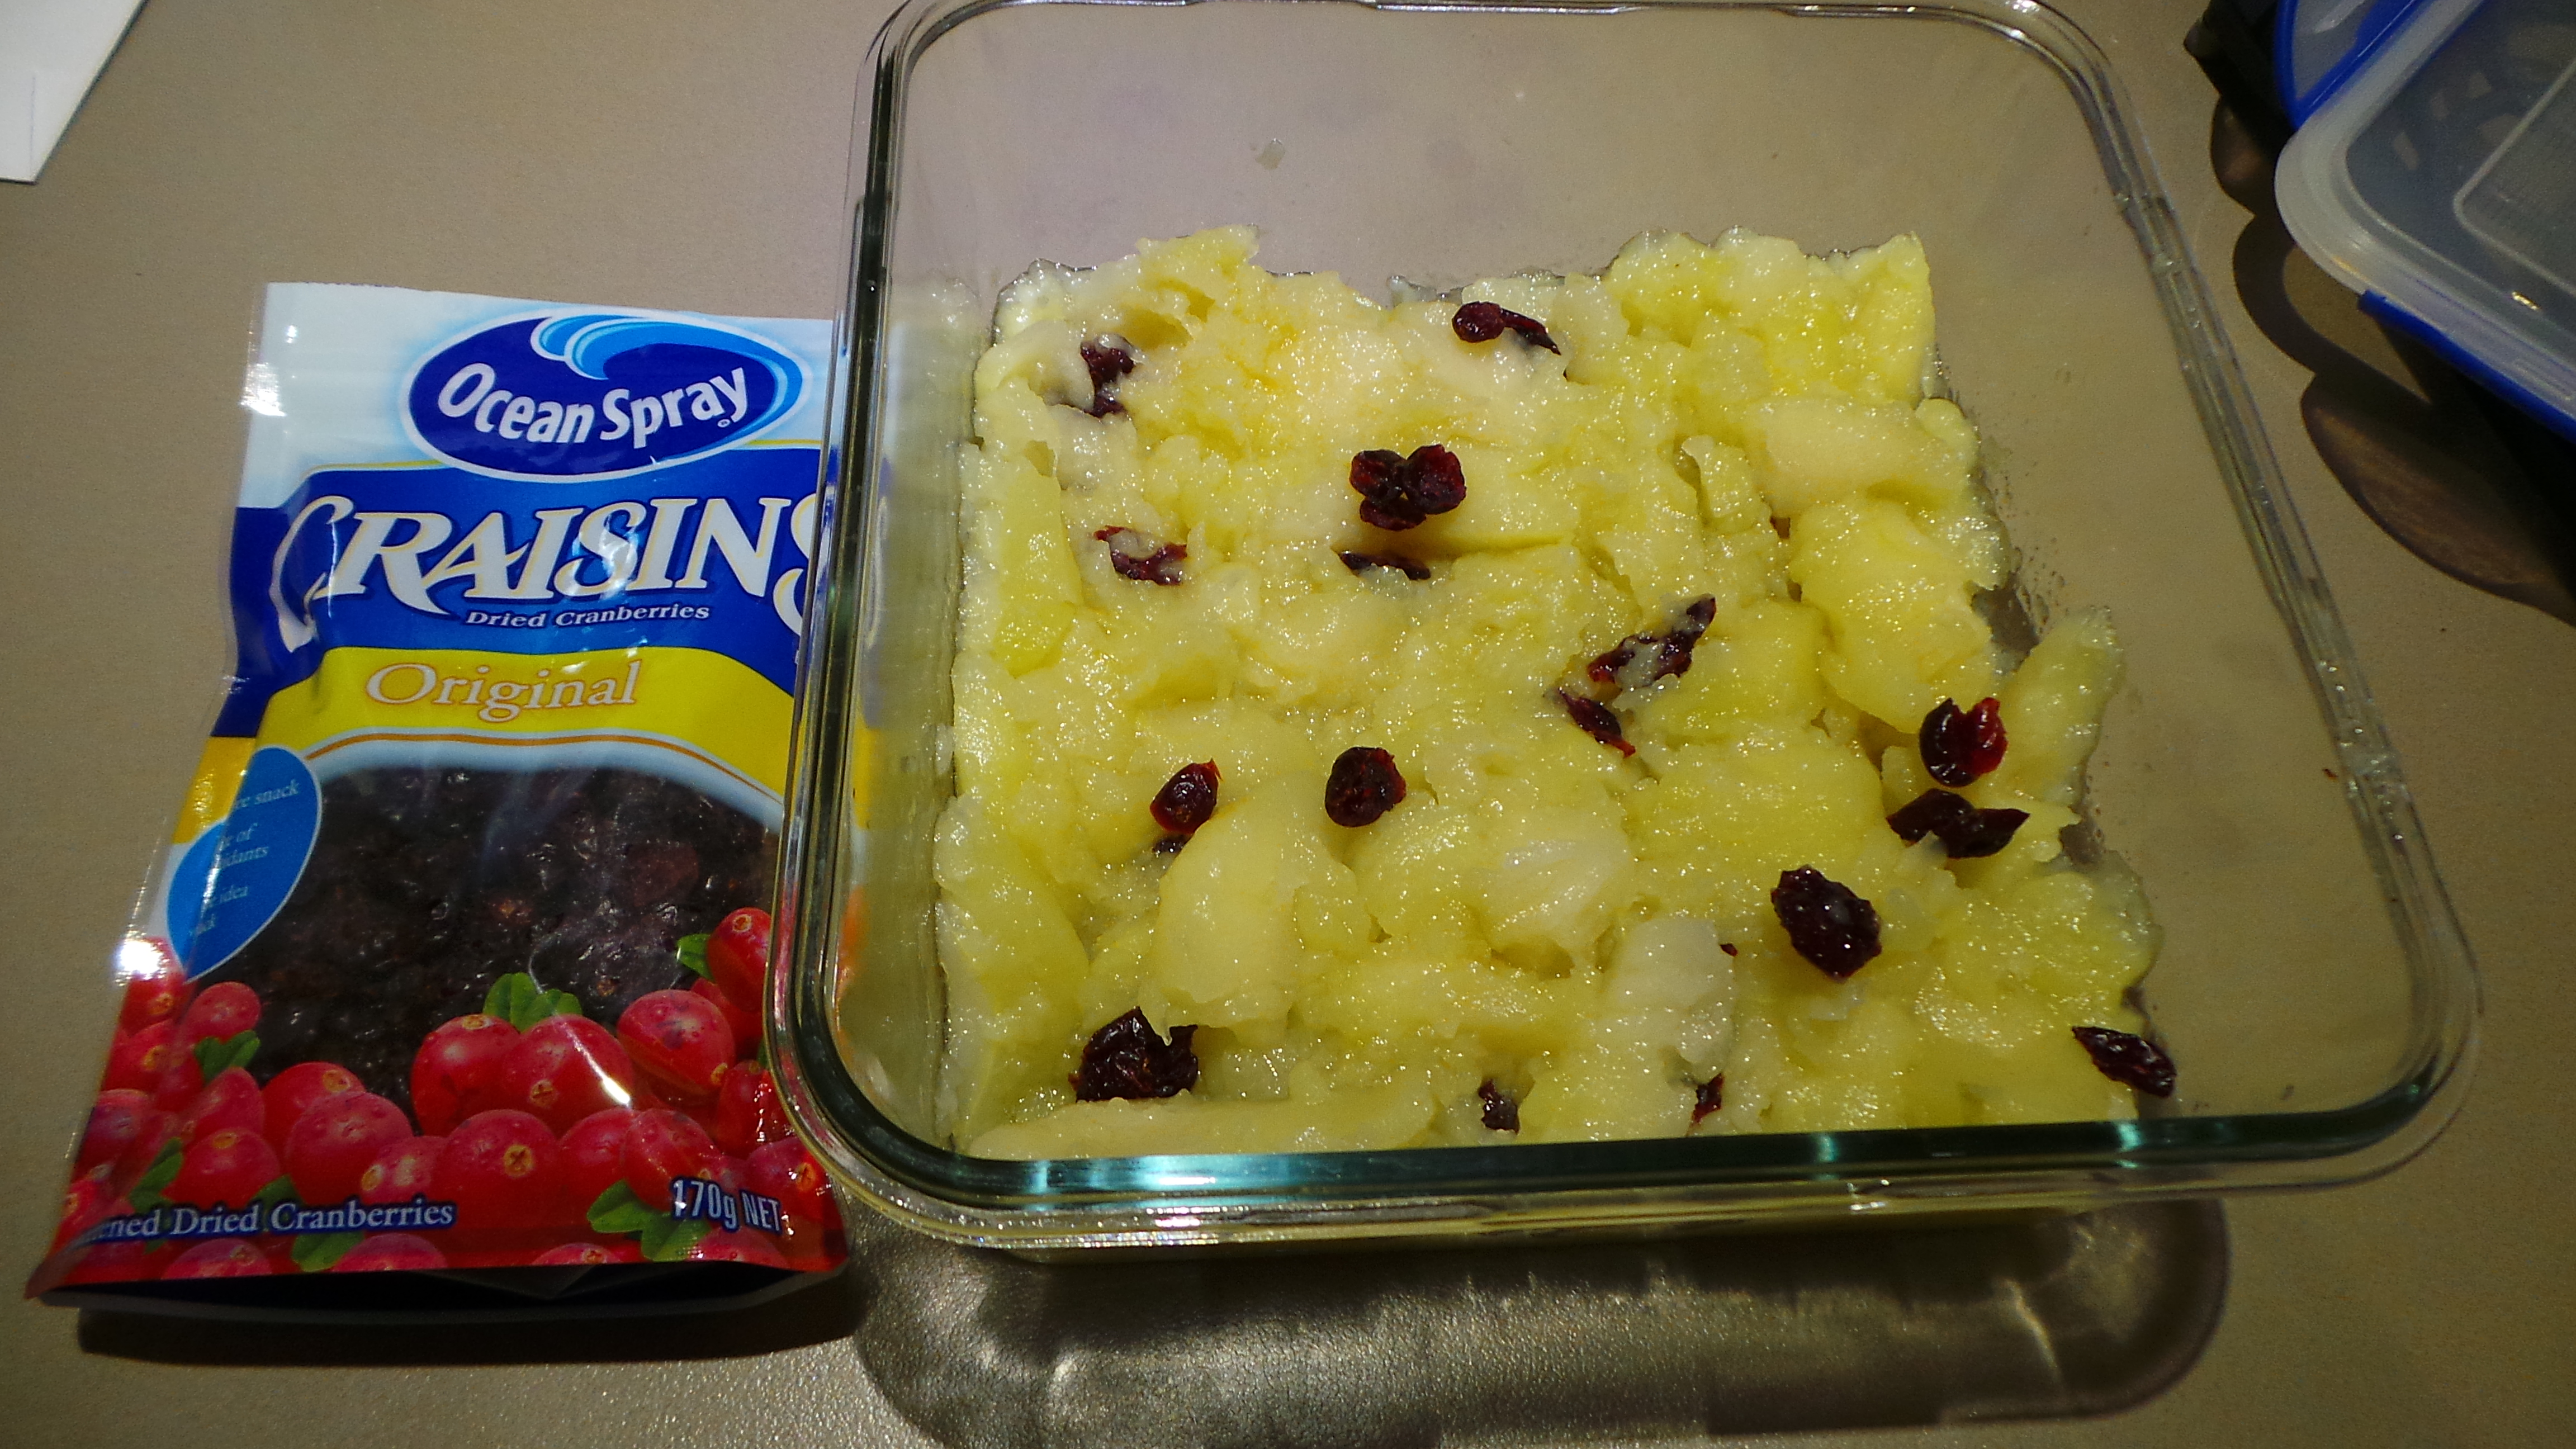
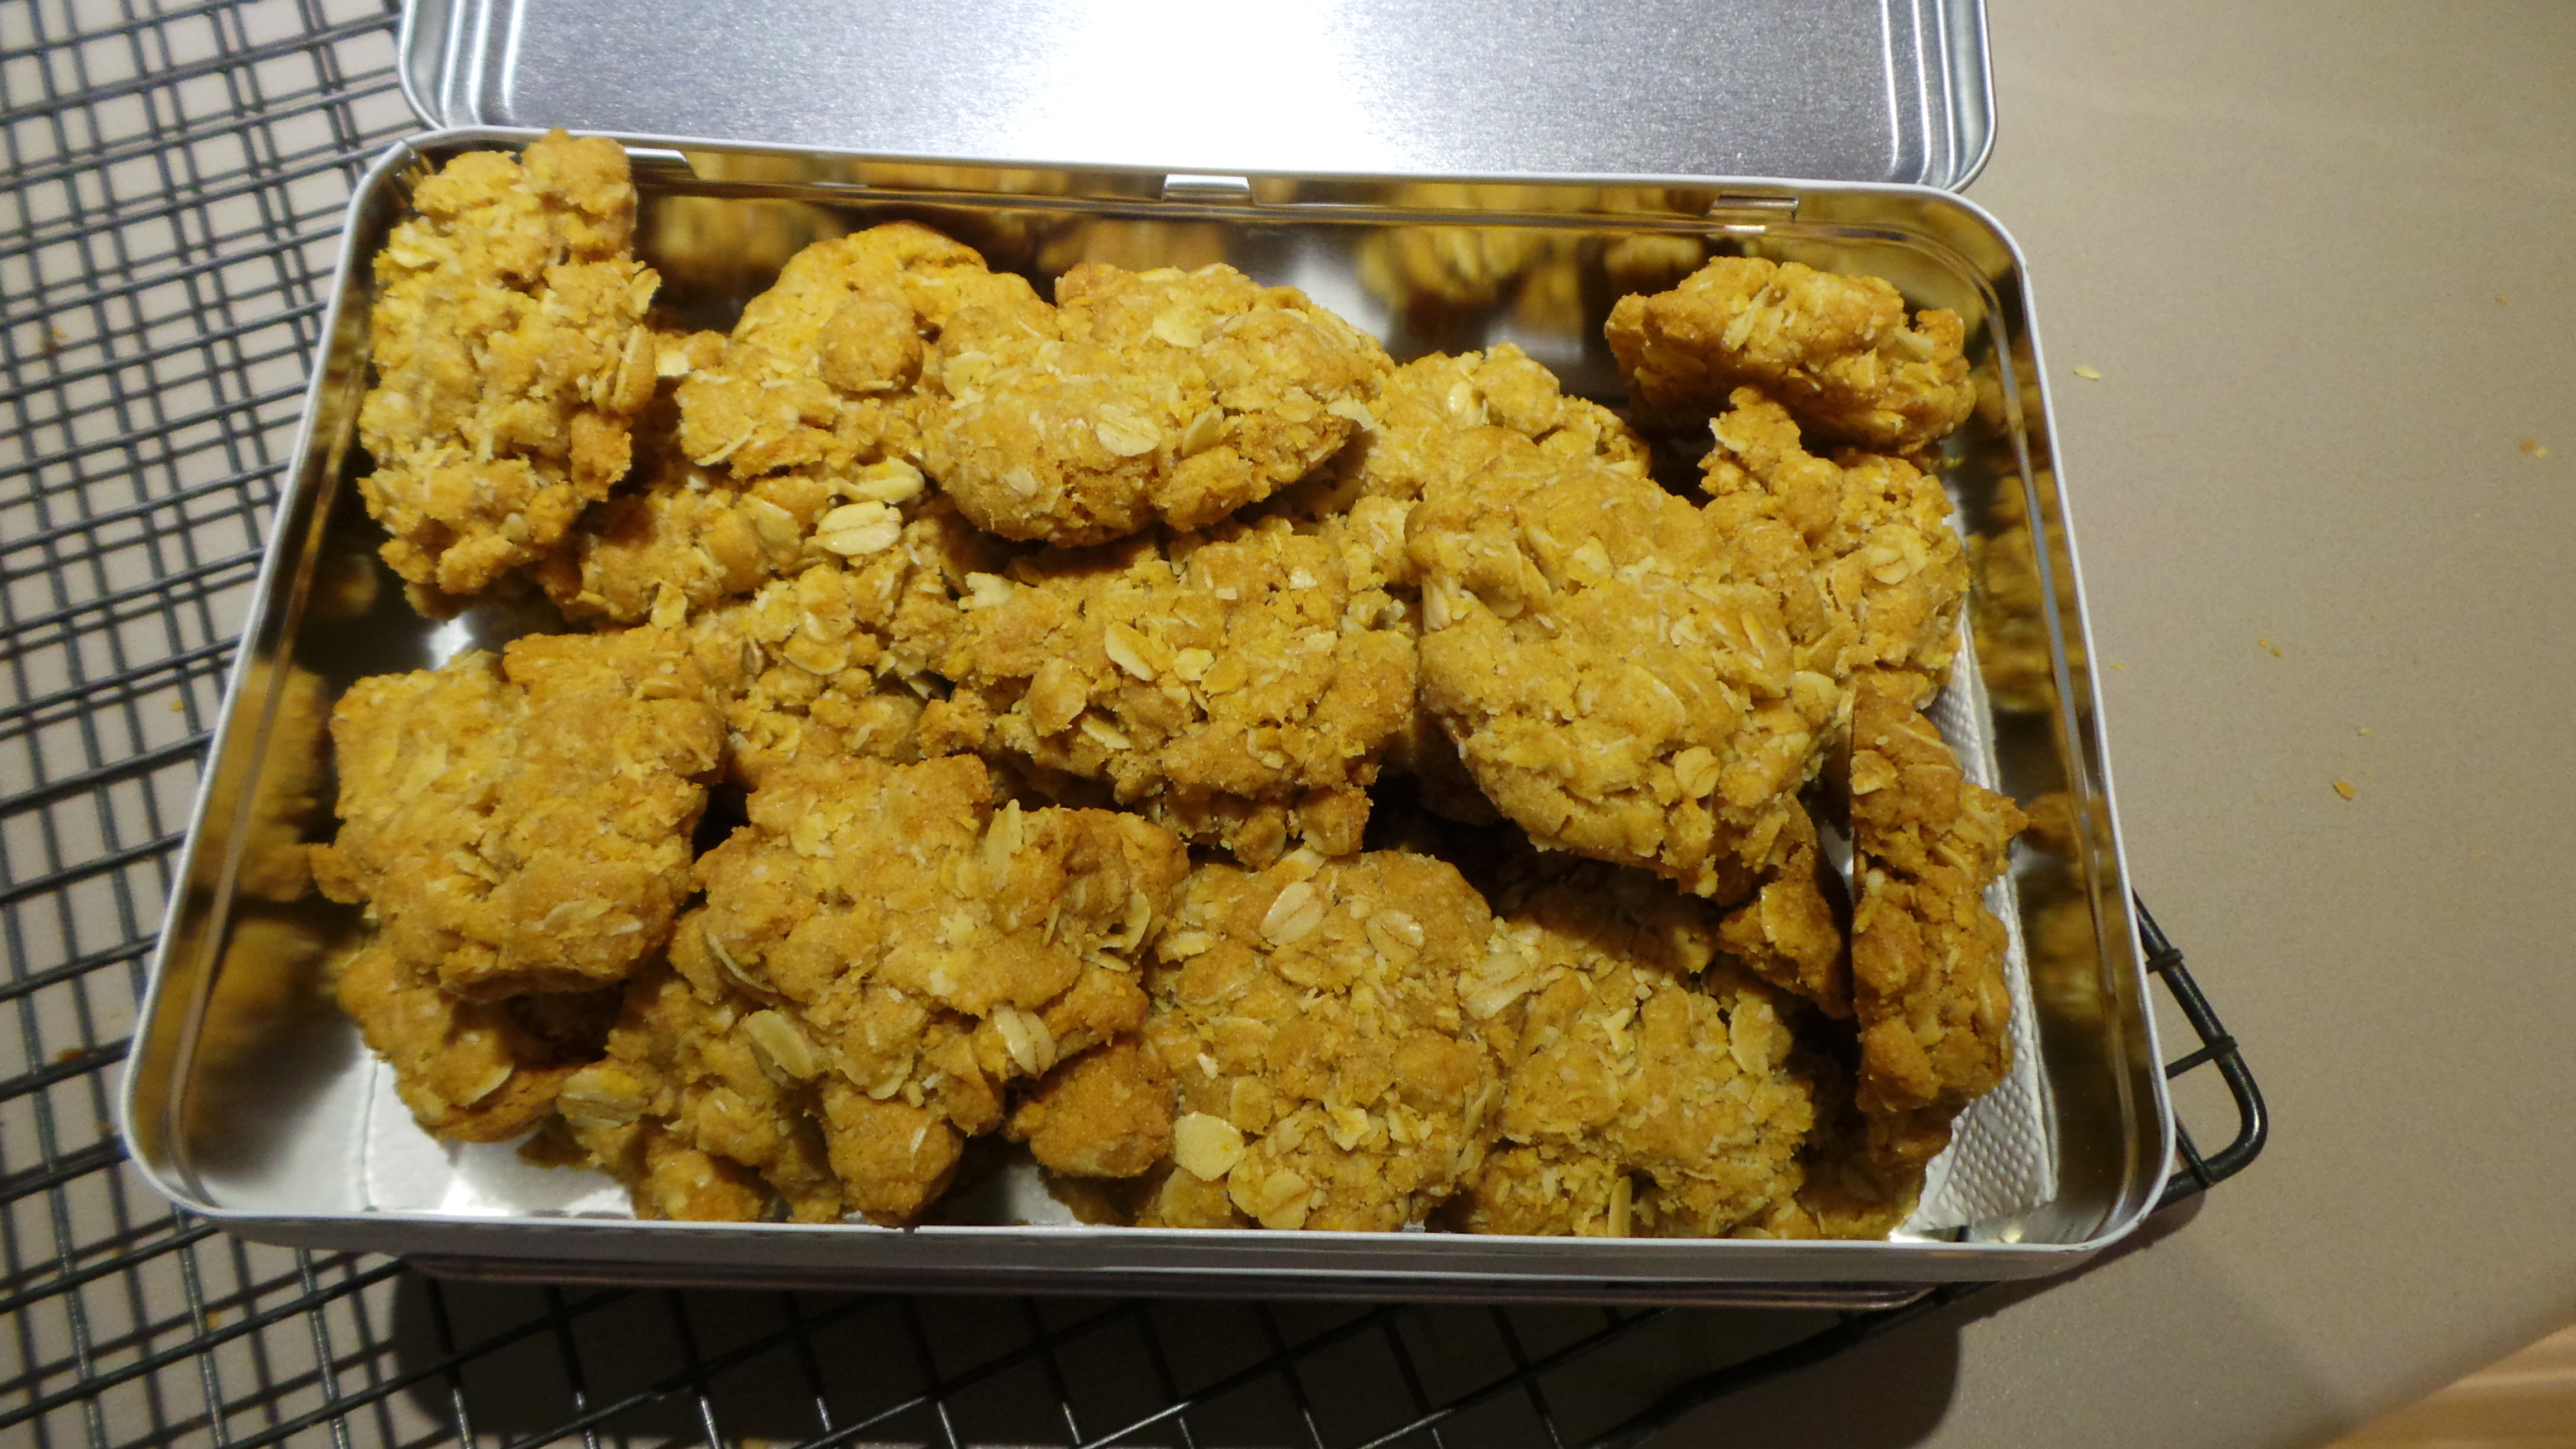
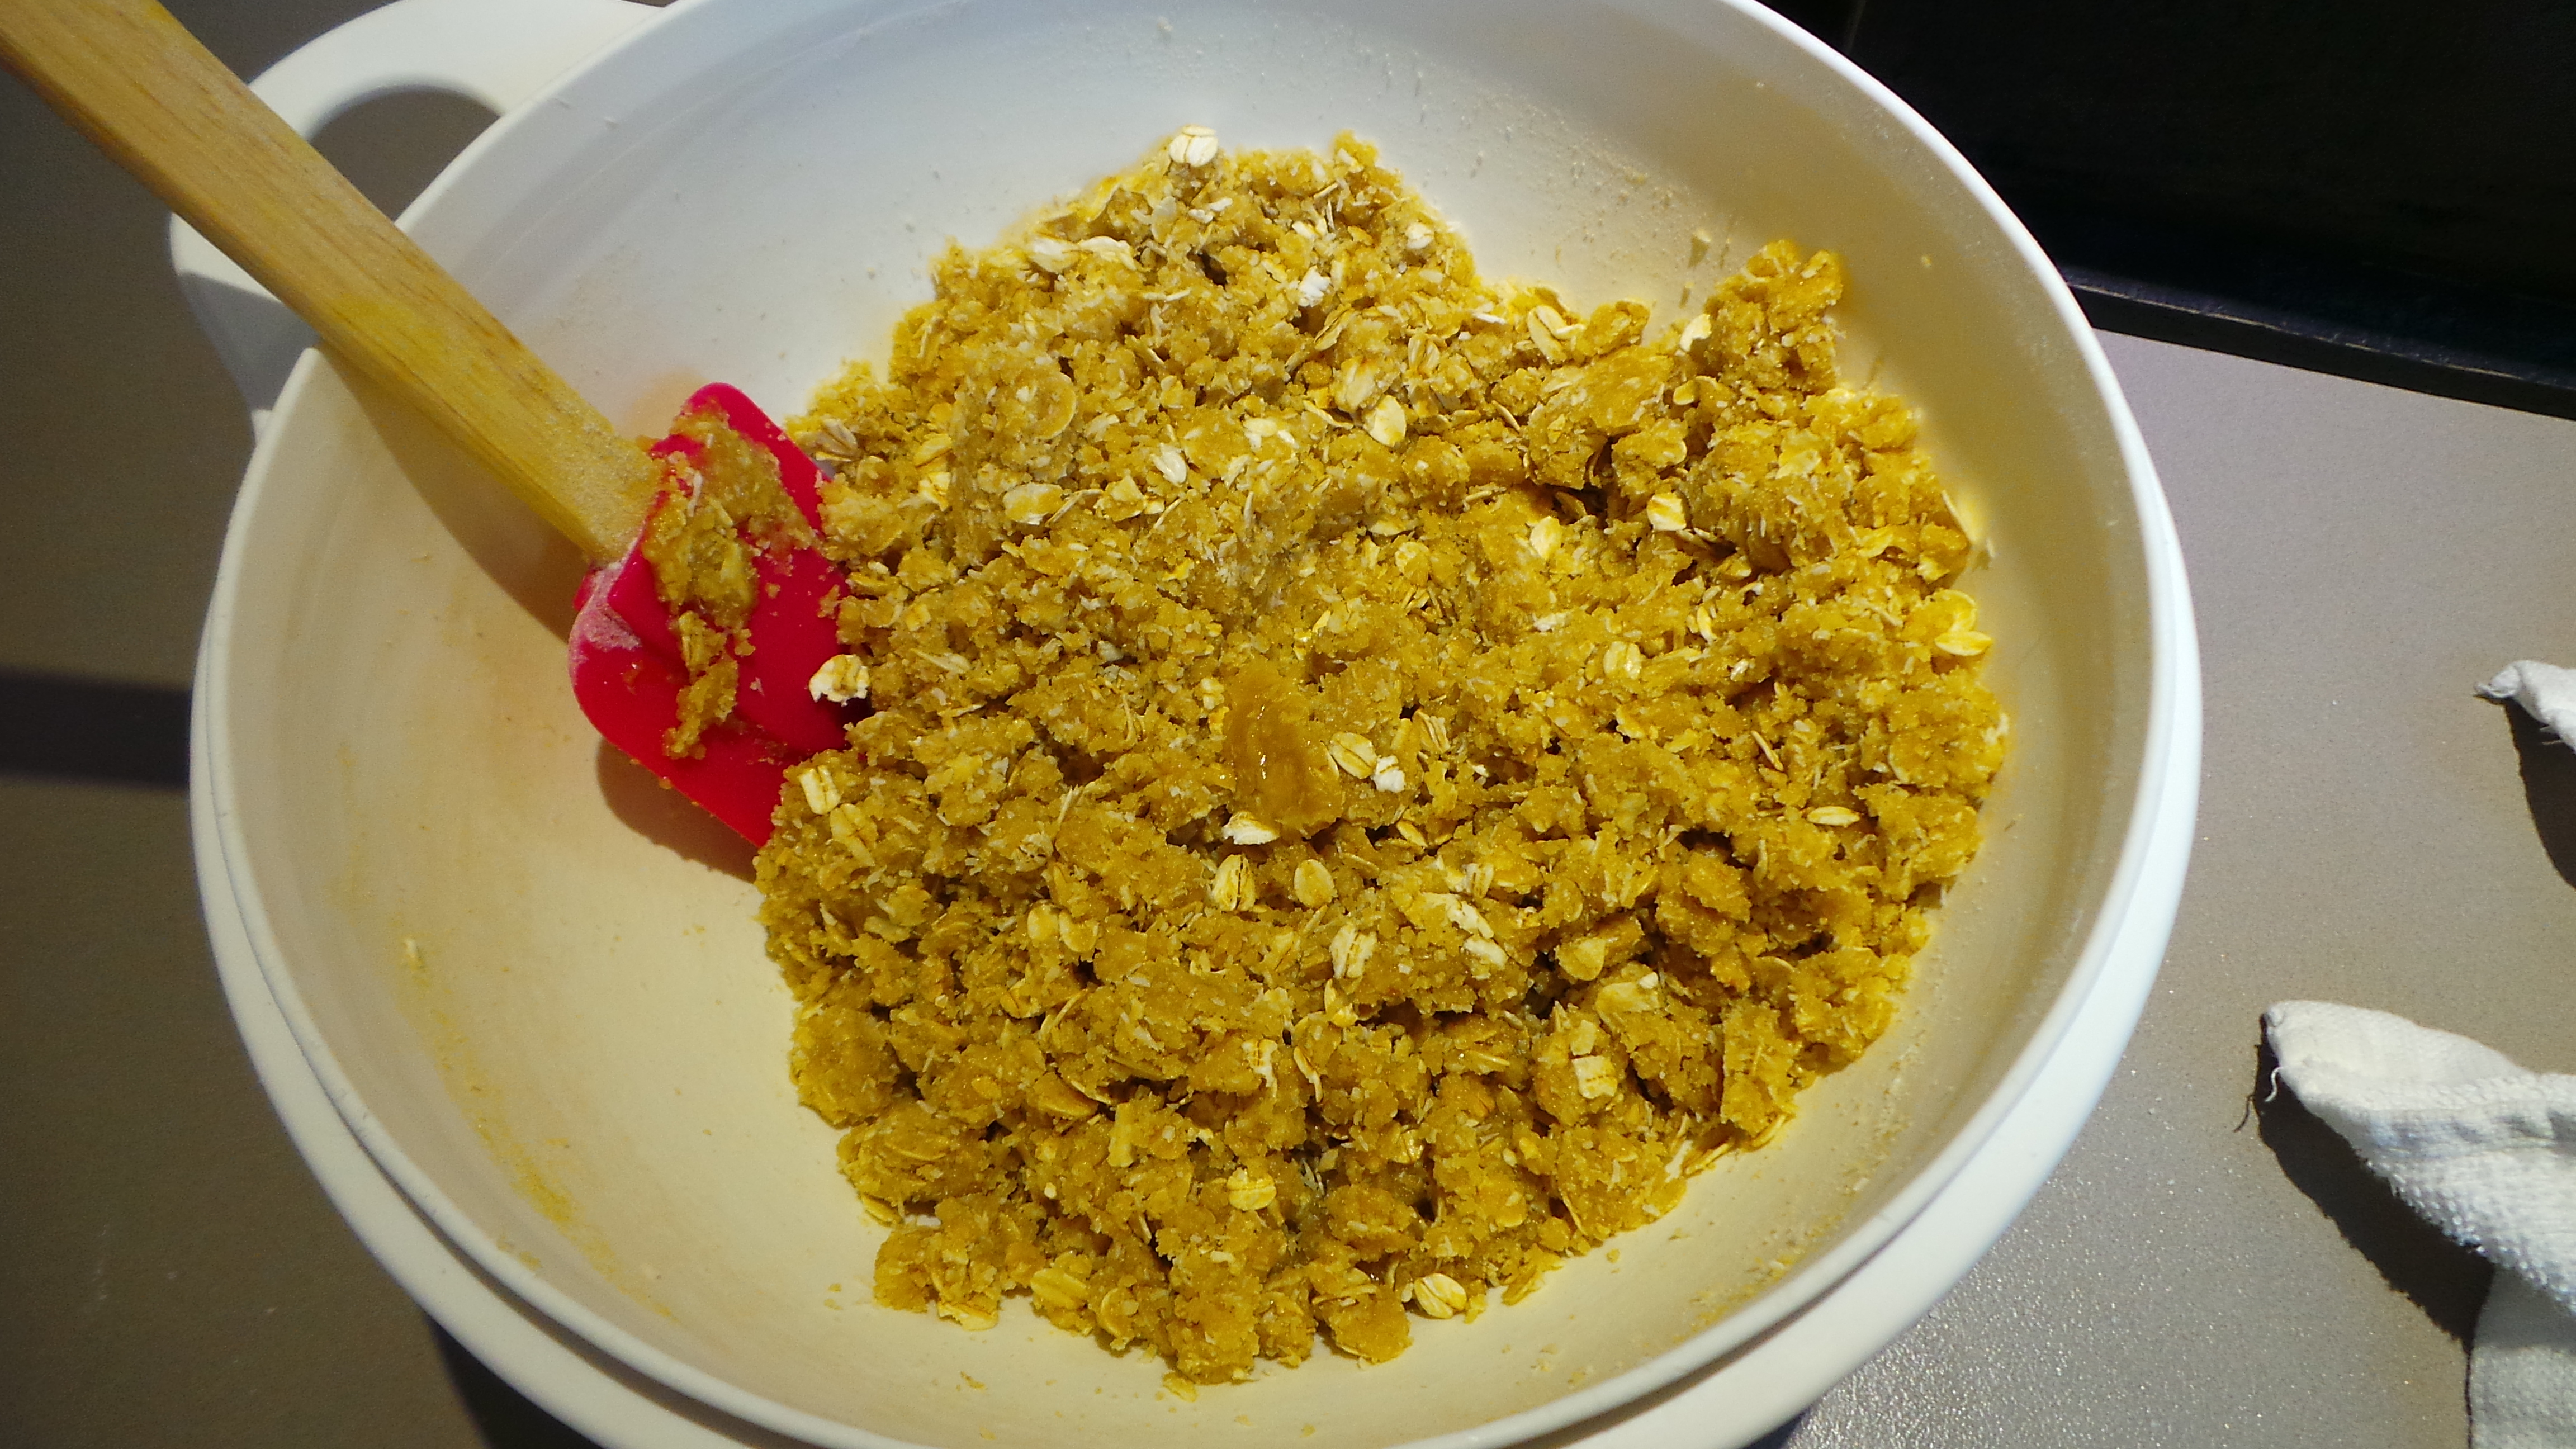
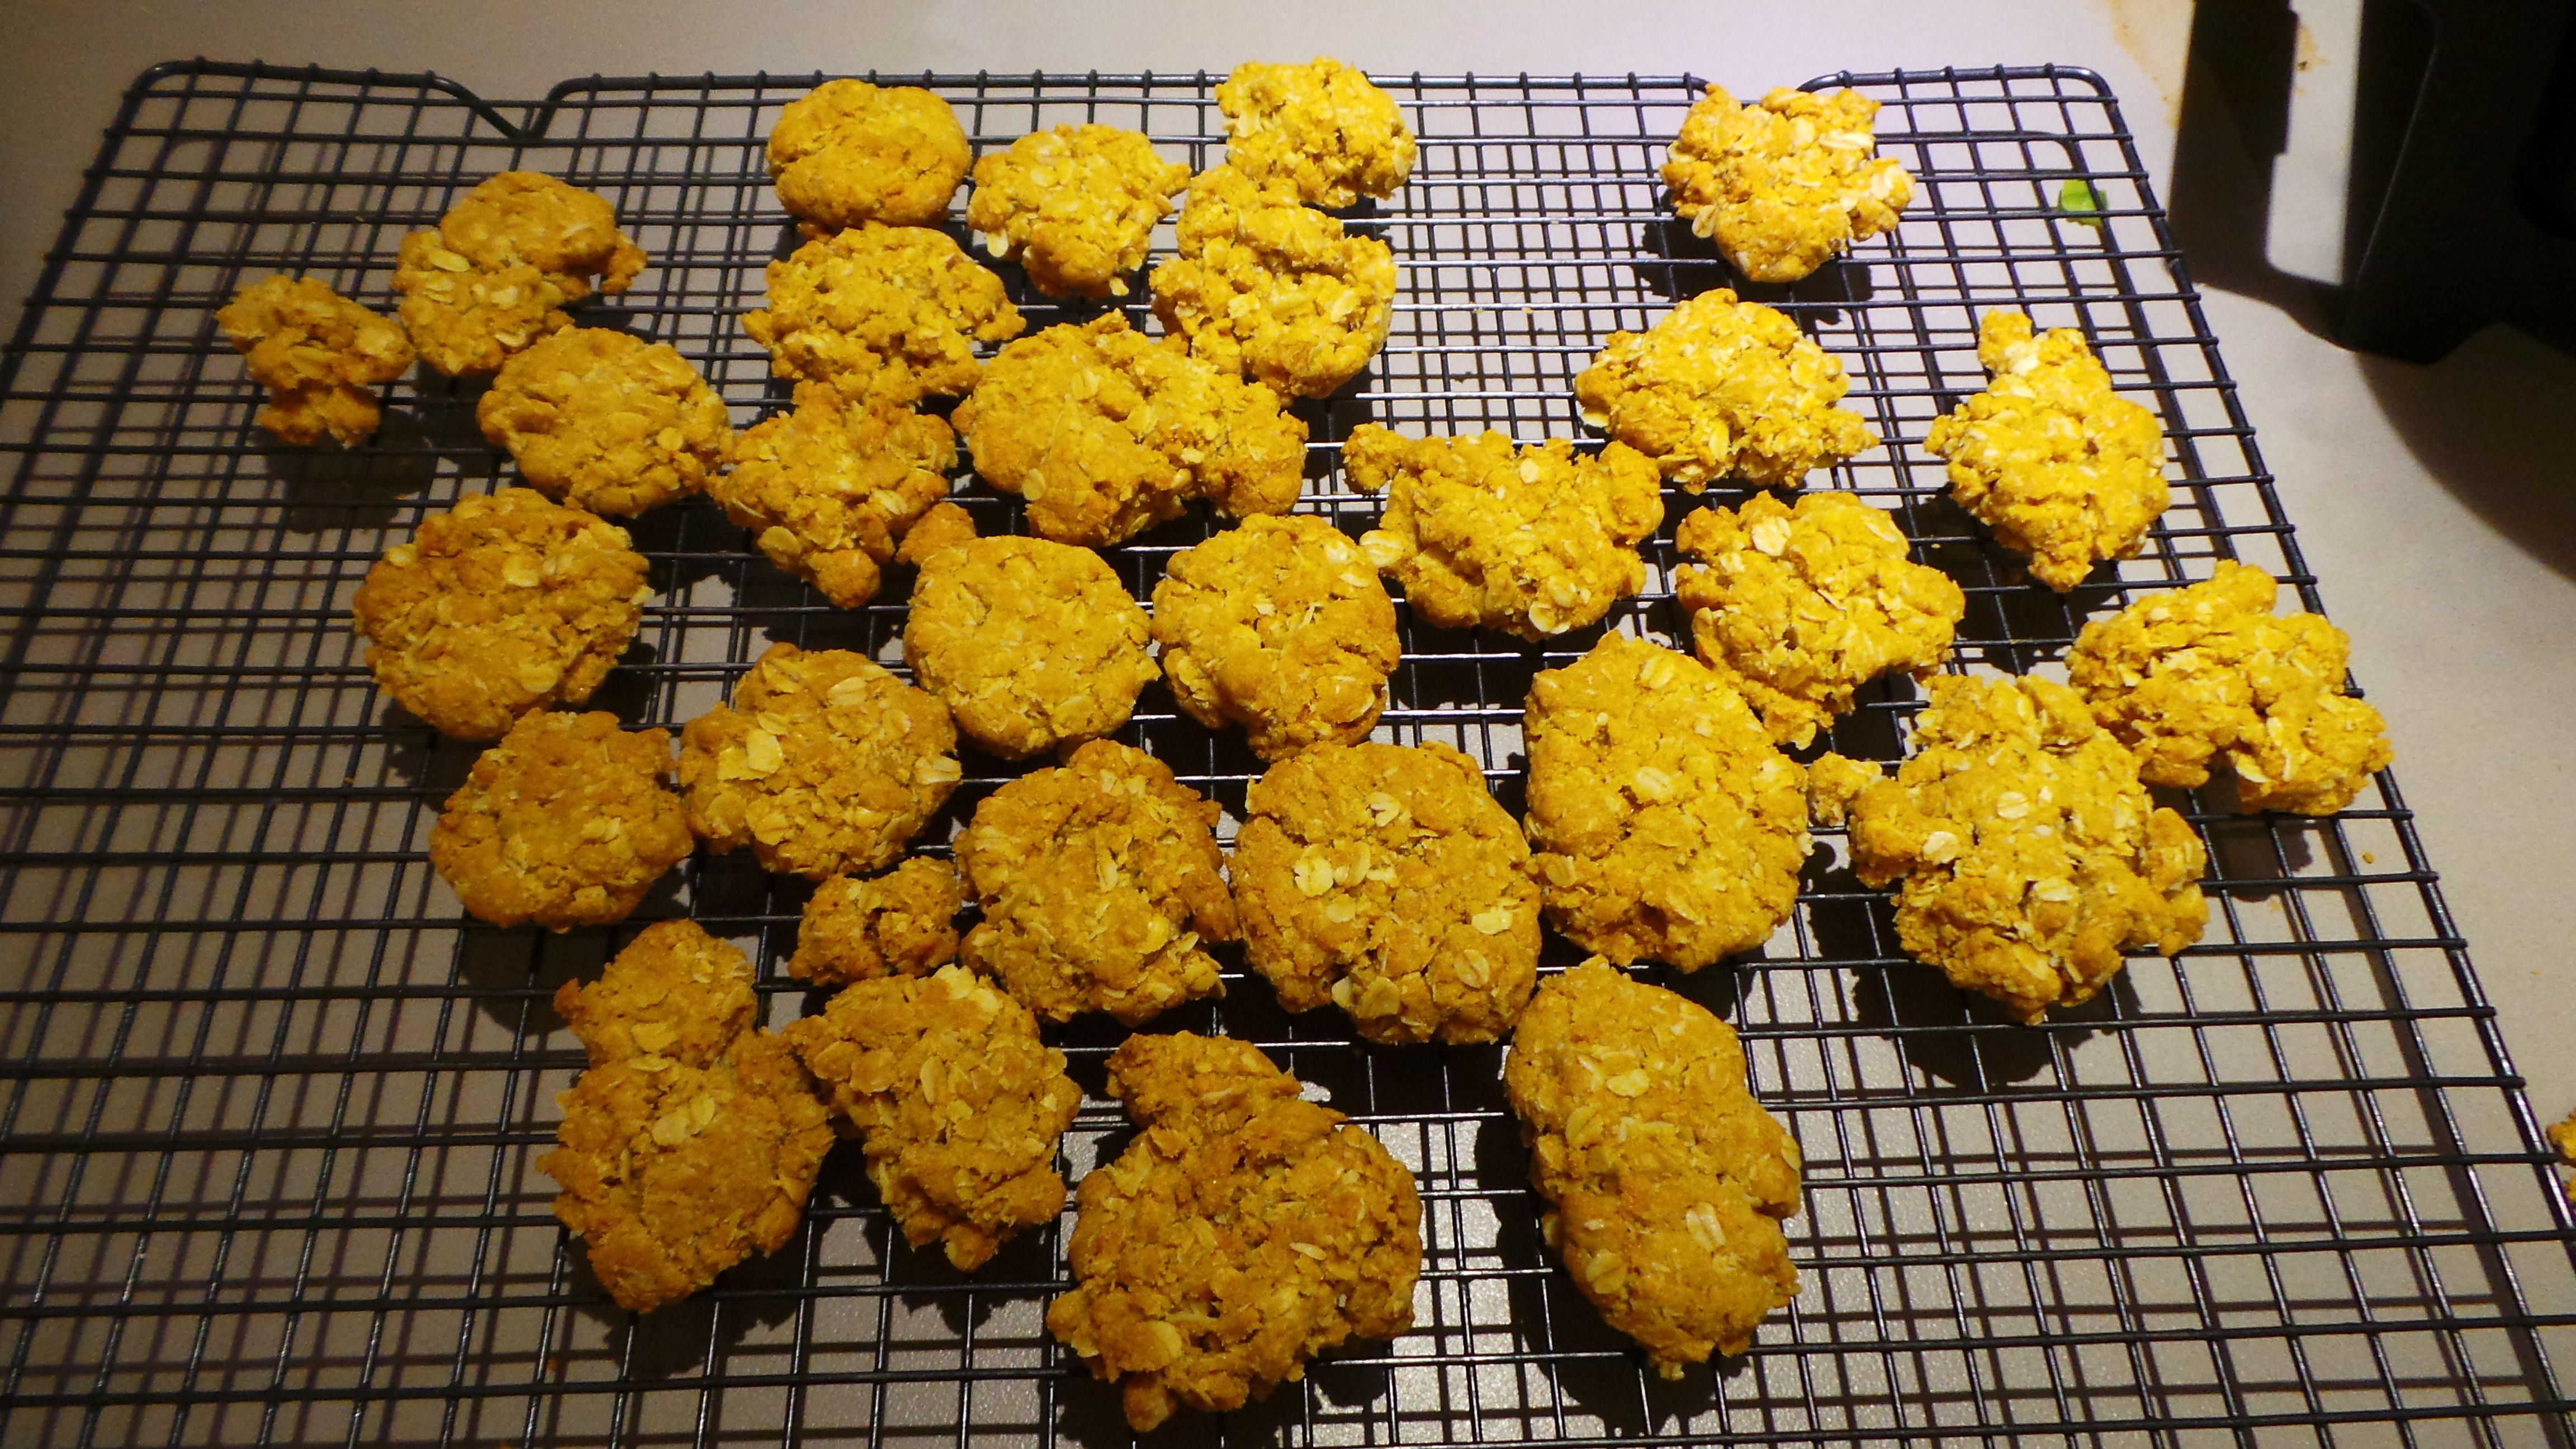
A thick, sticky dough is mixed, shaped into logs, baked in a moderately hot oven for a bit, allowed to cool, cut into thick slices (about ½ an inch thick), baked in a slightly cooler oven for a second time until thoroughly dried out and then kept in an air-tight container until dunked into a warm beverage – usually coffee, but tea and hot chocolate rock too – and then delighted in tremendously.

first baking…
Italian friends tell me that they also work well dipped in a glass of vin santo …
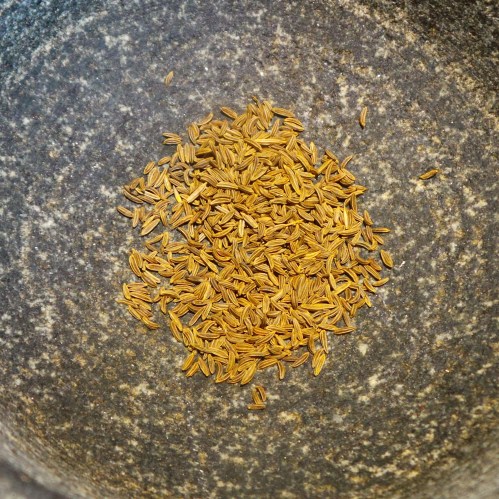
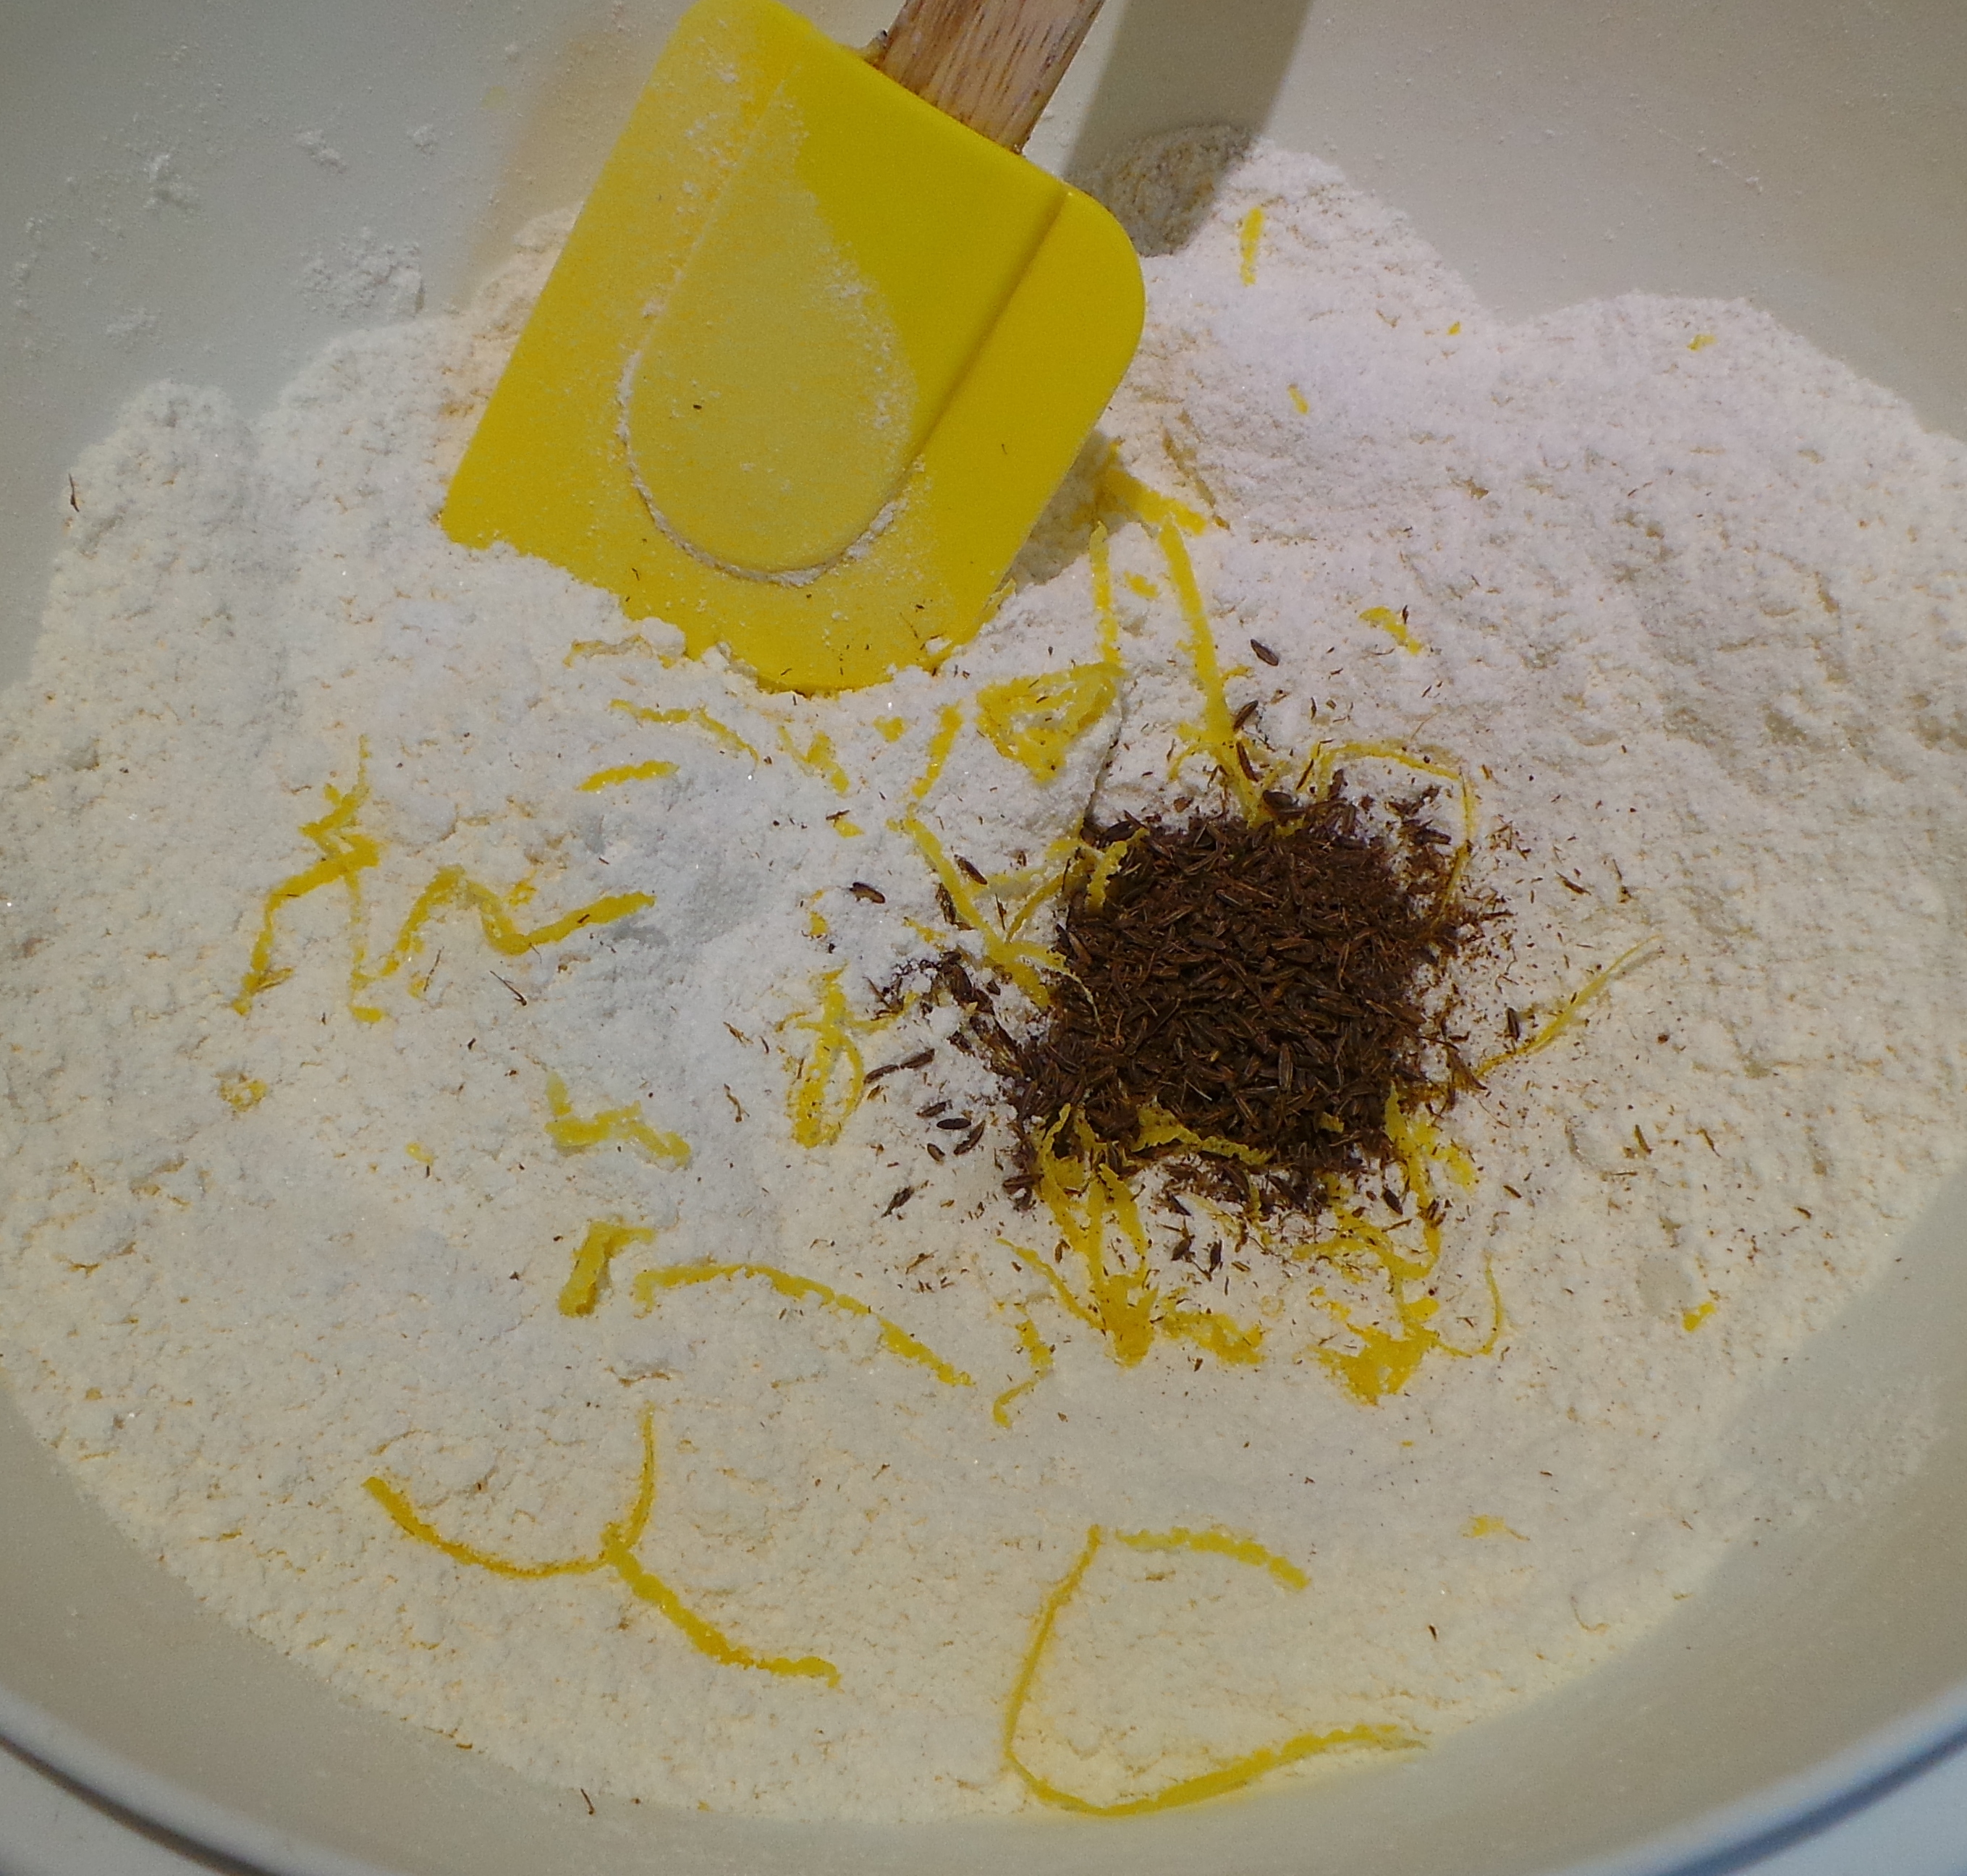
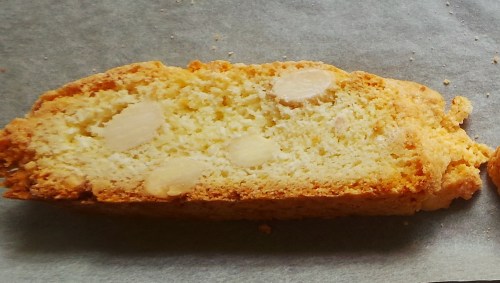
They usually contain nuts, like whole blanched almonds, hazelnuts or pistachios, dried fruit, like cranberries and, sometimes, coconut. They are also quite low in fat as most recipes contain neither butter nor oil. They do contain lots of flour and quite a bit of sugar though, so don’t go thinking of them as anything resembling a health food.
That said, a biscotto is not something you would inhale in the way you might a sweet biscuit or cookie, so you are less likely to start scoffing them down in large quantities. One will usually be sufficient.
There are endless variations. It all depends on your imagination and your knife.
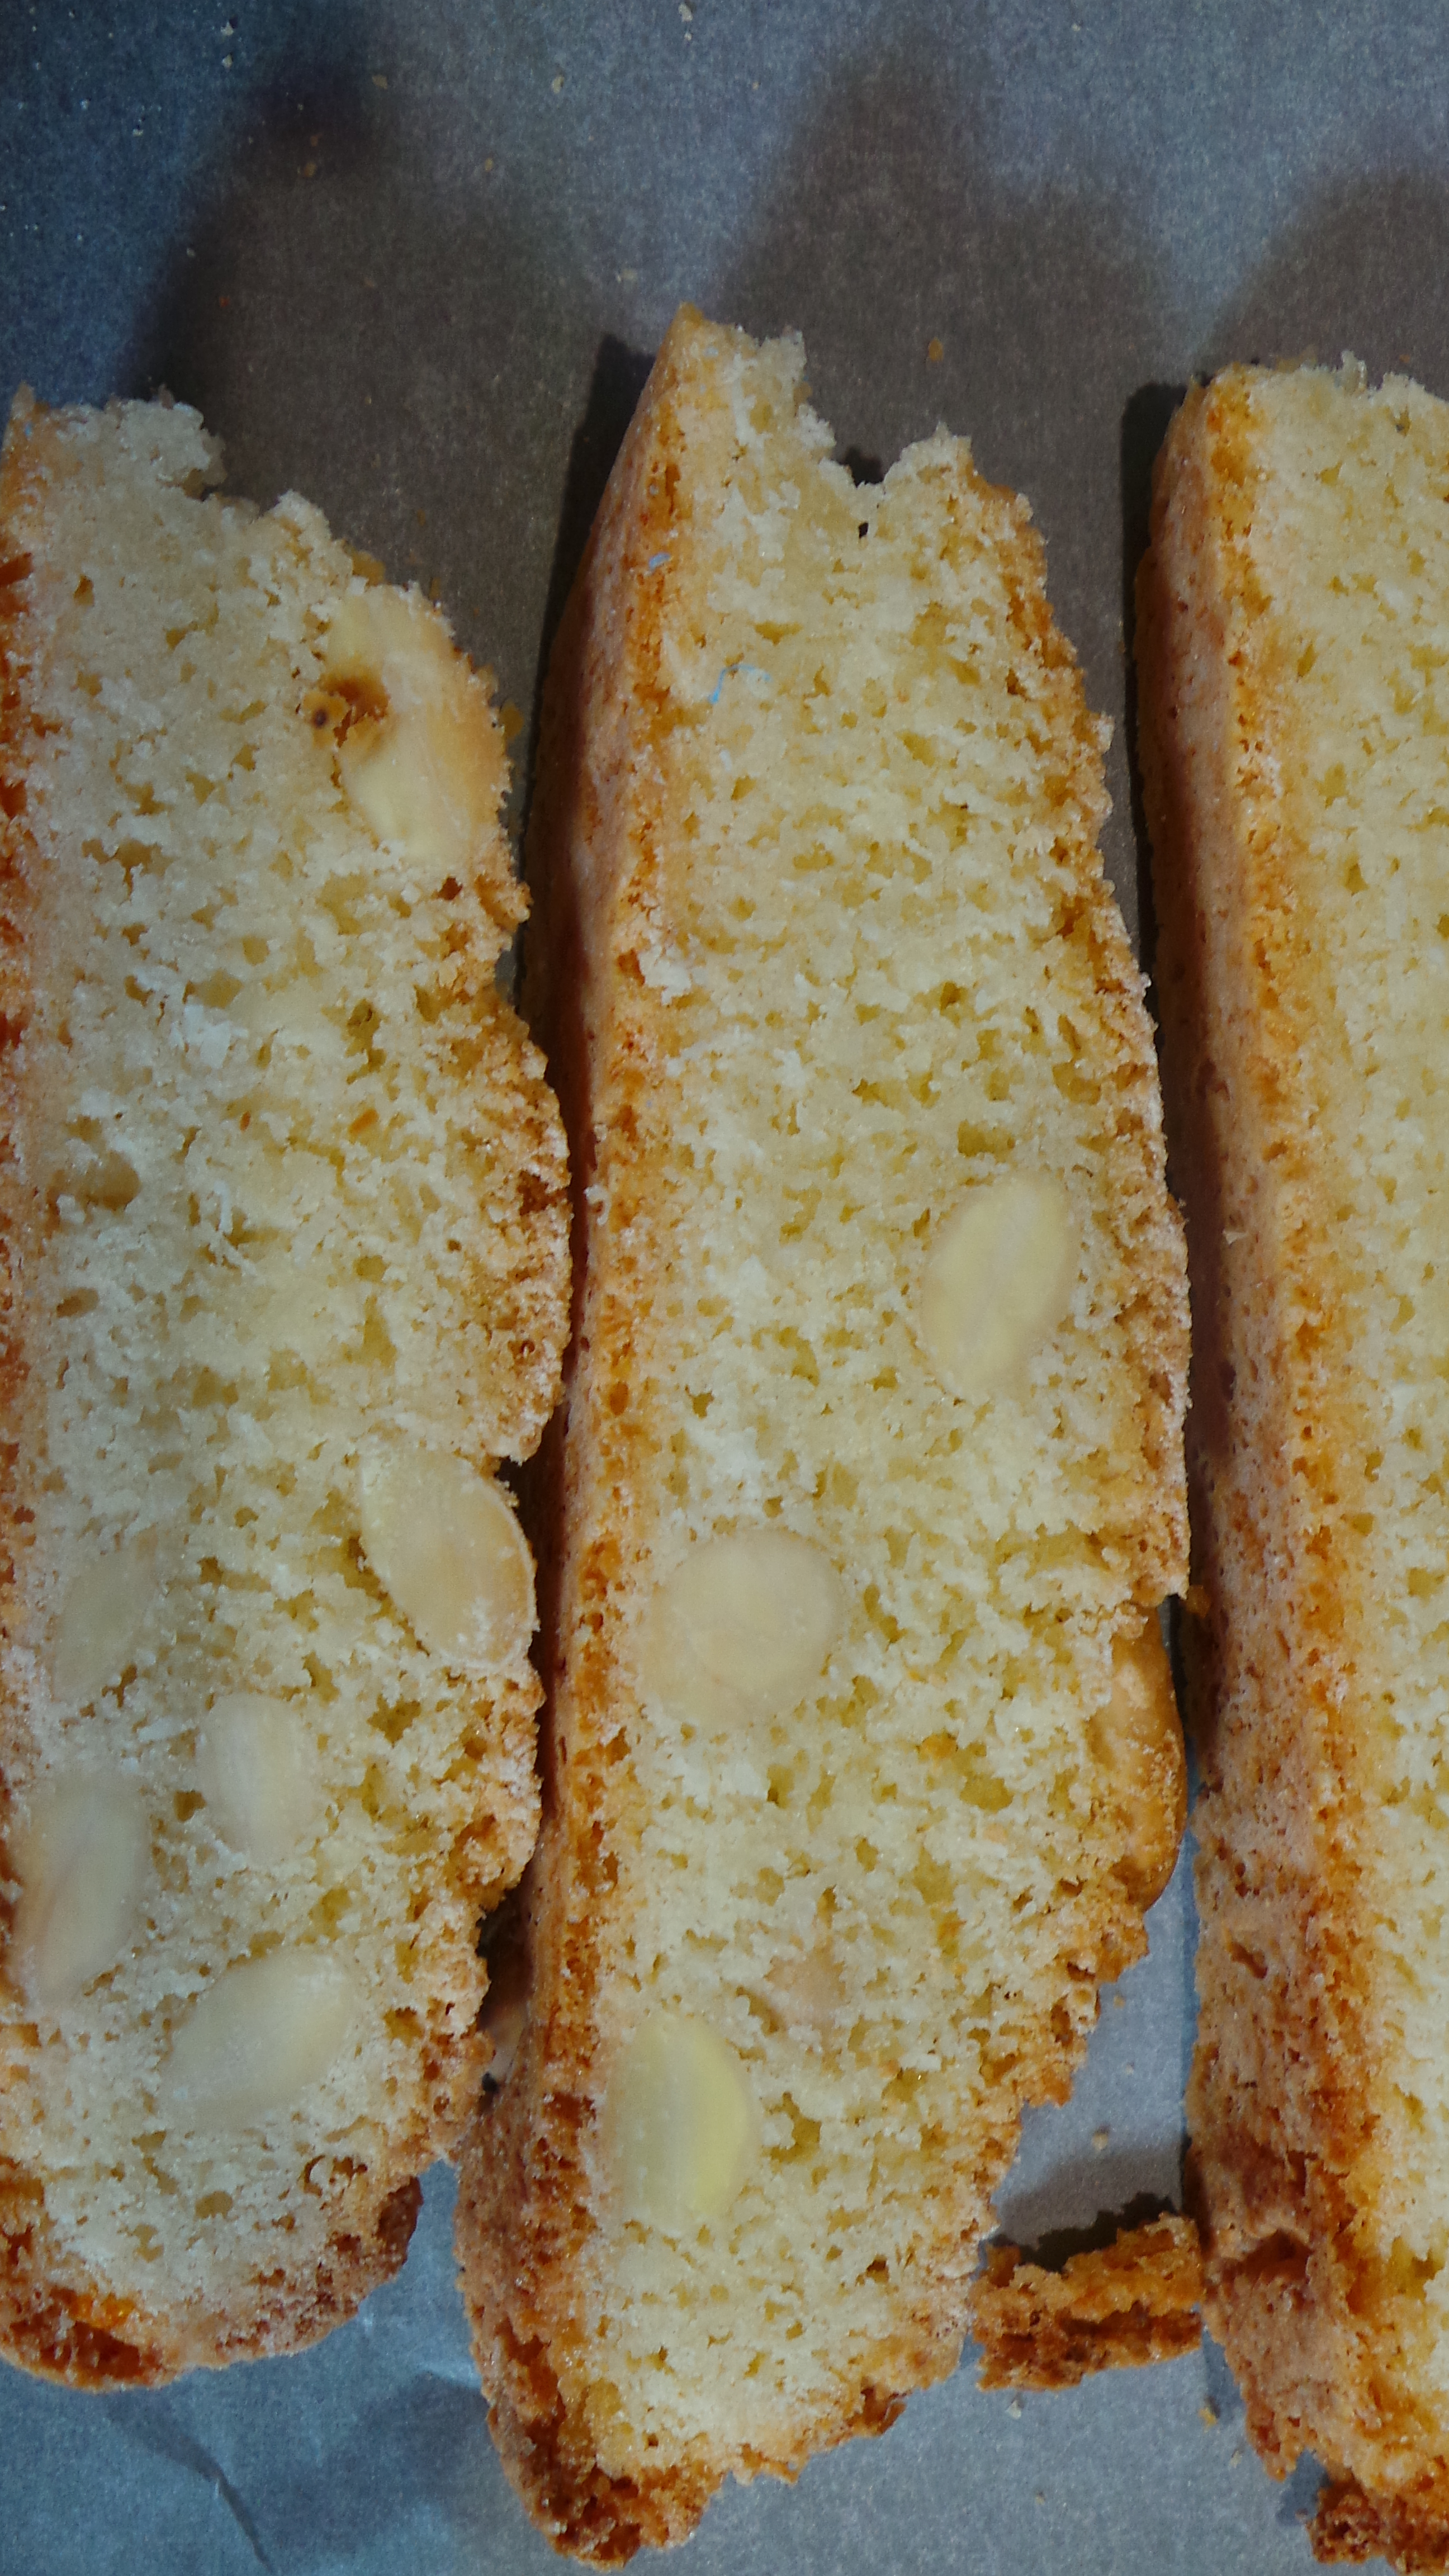
To make biscotti you need a good, serrated knife.

Now, that’s a knife…
If you don’t have one, then tears will be the inevitable outcome. I speak from experience.
You are baking something so that it will be crunchy; if you then try slicing that it will simply disintegrate into (delicious) crumbs under your blade. That is bad.
A serrated knife is the only thing that will save your biscuits and your sanity.

Slicing biscotti
Get one. That is all.
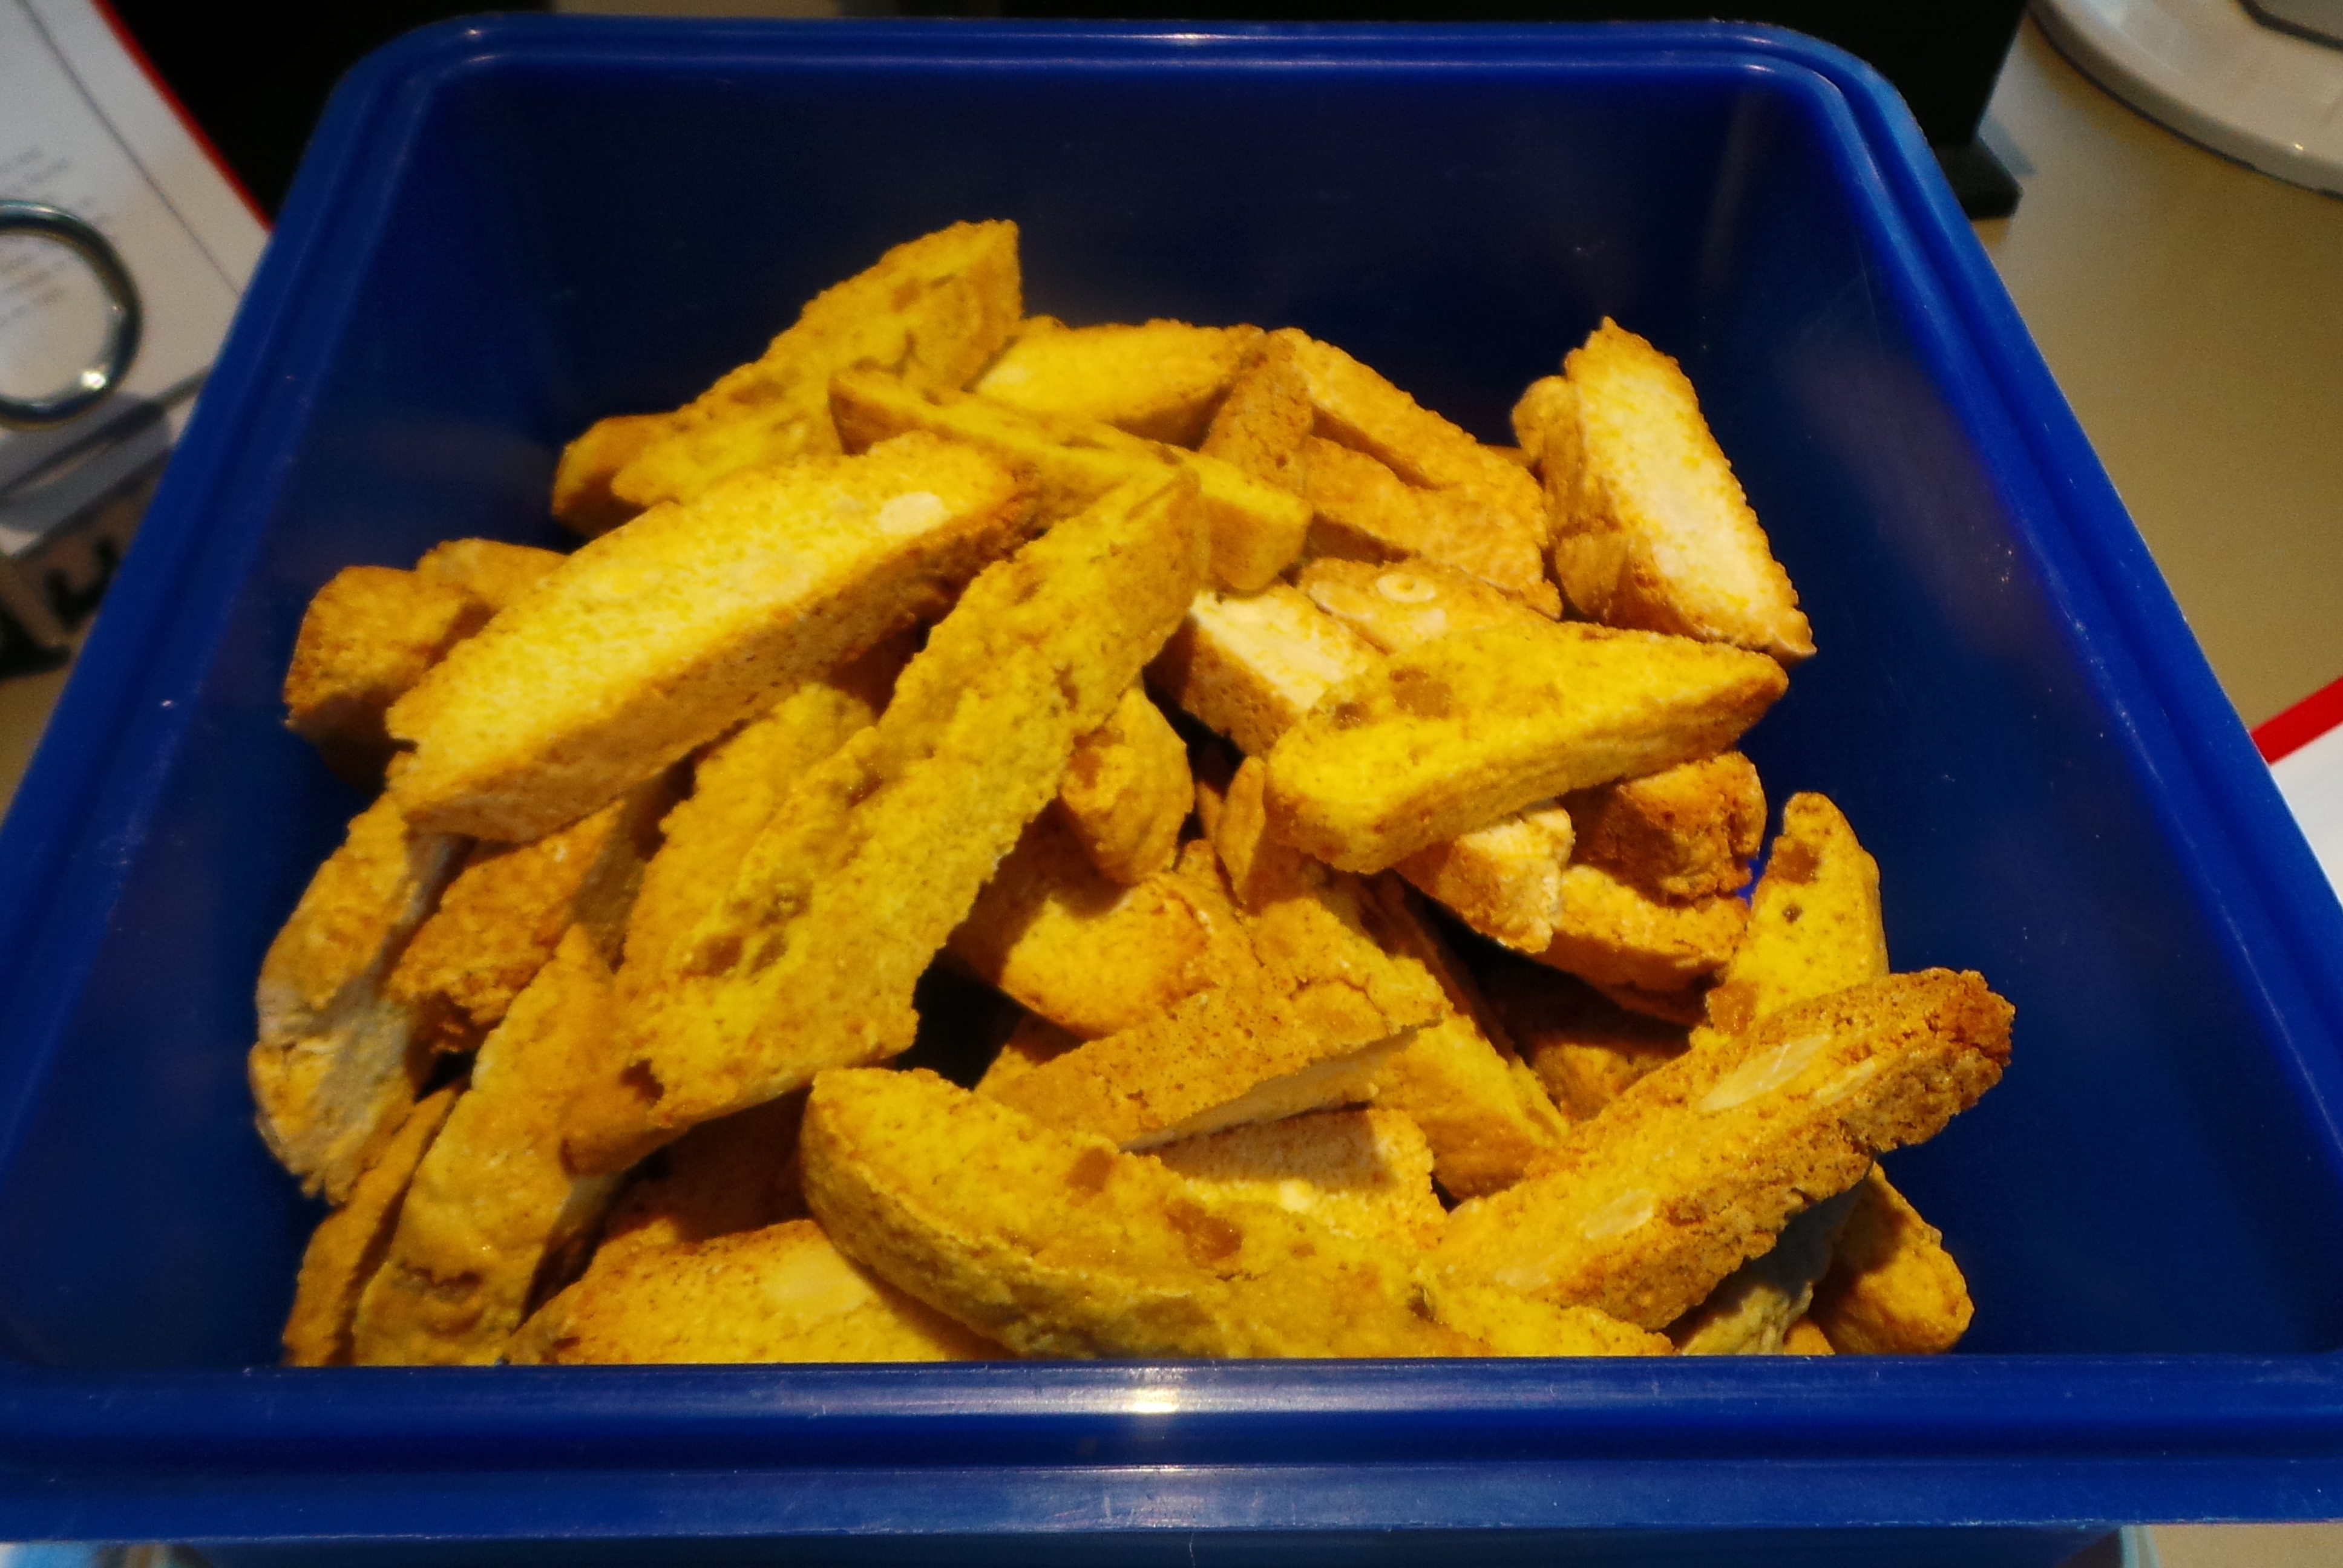
Once your biscotti are thoroughly baked and cooled, they will keep for Aeons in an airtight container.
Really!
Well, quite a number of weeks anyway.
Which is why they make such great Christmas gifts.
I figure that most of the people I know already have all the ‘stuff’ they could possibly need and don’t really need to find the space for yet another knick knack they don’t really like. Probably they will be overloaded with sweet biscuits/cookies, cakes and chocolates as well.
Managing mass biscotti baking like this on a budget can be quite doable. The flour and sugar is something that I already have in store, but I buy a bit extra. Then, in the months leading up to baking, I add one packet of special ingredients to my shopping each fortnight. A packet of blanched almonds one week, a packet of crystallised ginger the next shopping week and so forth. Then, in the week before I start to bake, I buy 2 dozen eggs and I’m set to go.

Second baking
I make a different batch (recipe) of biscotti for each person on my Christmas run. So, if I’m wanting to give them to 5 different people, I make 5 different types of biscotti. Then I divvy them up, wrap in cellophane and deliver on Christmas Eve or roundabouts.
Because they store so well, I can easily make a different batch each day for a week instead of having one huge baking day. They all go into a large Tupperware Cake Taker until it’s time for them to leave the premises.

Big box of bikkies
They are easy to mix and shape, but take a lot of time to bake. If you are suffering through one of the sweltering hot versions of the Australian Christmas Season, then do this late at night with all the doors and windows open.
I’ve recently moved away from my friends and can’t give them biscotti this year, so I shall share some of the recipes with them on here instead. 😥
There will be quite a few biscotti posts to come….
Biscotti recipes on Budget Bounty: