Resuming normal transmission.

Sorry folks, last night I had a bad turn with my sugars and went into a hypo with my diabetes. It left me very much on the exhausted side – so I didn’t post.

I’ll try to make up for that a little here.

Firstly, this is the chilli we had the night before last. It was scrummy.

Chilli con Carne

Chilli con Carne

Last night we had this rather tasty lentil and barley casserole, which was just the trick given the bitterly cold day.

Barley and Lentil Casserole

Barley and Lentil Casserole

This takes only minutes to get on the go and ticks all sorts of nutritional boxes. We worked out that it cost about $1.50 for the entire pot, or 50 cents a serve.

Also, I remembered that I had that handful of Tuscan kale in the refrigerator, so I added it at the end for a touch of colour and a spark of flavour.

Tonight I made a Cornbread Cobbler topping and divided the leftover chilli into individual oven dishes to make Chilli and Cornbread pies.

Chilli and Cornbread pies

Chilli and Cornbread pies

I overestimated the topping a bit, so we decided to split one between us. The other will either be frozen or had for lunch.

I have my book group tomorrow night, so we will be ‘shopping the fridge’ and there won’t be a diary note.

See you soon.

Bean Burrito mix

Today I made some Hidden Treasure Muffins for The Boy to take to an afternoon tea tomorrow. He hasn’t eaten all of them himself yet – but he’s working on it!

A veritable treasure trove.

A veritable treasure trove.

Dinner tonight was made by The Boy (yay!) He put together his Bean Burrito mix and we ate it with some wraps from the fridge.

Years ago, when he was at Uni in another state and not looking after himself at all, I texted him instructions for making this dish. The idea being that he would at least have one meal a week that would feed his brain. Little did I know that he simply quadrupled it and ate the same thing every night, for months!

The Boy's Beans

The Boy’s Beans

We always refer to it as his Burrito beans. It takes about 15 mins, tops, and costs $4 for two. No jokes.

I’ll post the recipe up soon. I promise. Probably in the next day or so…

In other news, today more bread was made. I’m not sure if I’ve mentioned this already, but we enrich ours by adding a few spoonfuls of ground, golden flaxseed to every loaf. Omega 3s donchaknow!

I also tidied up the freezer and realised there’s some things in there that really should just be used. I’ve got a collection of frozen bananas, for example. So, sometime in the next few days, I think the frozen banana, soft serve ice cream will be made (and probably eaten).

It is absolutely FREEEEEEEZING here today. I mean it’s really cold, and I’m inside with ducted heating!

Good grief.

Anyway, my hands are icy, so this shall be short.

I wanted a change of texture for dinner tonight. So, I rescued one of my Asian flavoured beef meals from the freezer and popped it into the crockpot frozen.

Doesn't look all that tasty, does it?

Doesn’t look all that tasty, does it?

But this is how it looks now, after 10 hours on low and with the addition of some frozen peas and corn and some cornflour to thicken it up.

And the after" pic.

And the after” pic.

I’ve just put a rather nice, jazzed-up Apple Crumble in the oven – to keep the whole warm, comfort food, vibe going. I’ve added ground ginger, sultanas and choc chips to the filling…because, why not?

I think I neglected to mention yesterday that I’d made another loaf of bread, so I’ll do that now.

Also, I just served the last of the instant hot chocolate mix to The Boy, who has sequestered himself in his warm study, so I’ll be making more of that tomorrow. I could quite easily do it now, but my kitchen is the coldest room in the house on a decent day.

I’m looking forward to moving – you have no idea.

Hot chilli oil.

Hot chilli oil.

I also decanted the Spicy Chilli and Garlic oil I put aside to infuse a few weeks ago. It’s to be a gift for my step-father who will hopefully be visiting some time this week.  He just had a birthday and loves things HOT.

So, I’m logging off now and snuggling up with a cat or two. On the bright side, today marks the Winter Solstice. It’s going to get warmer from now on, or so they tell me.

Until tomorrow.


Dinner tonight

Today I ate far more than I needed to at a food party at my Thursday lunch group.

However, I had the sausages out for dinner so I made the planned casserole. It was quite tasty, but I think it might need a few tweaks.

Sausage and rice hot pot

Sausage and rice hot pot.

Unfortunately, the rice ‘caught’ a little on the bottom of the pan, so I think I shouldn’t be making it in a cast iron Dutch oven in the future. Also, it was a touch ‘gluggy.’ Perhaps if I were to sauté the rice before adding the liquid?

I think it would also be a good idea to add a can of chick peas to any future editions of the dish, just to add a bit of texture.

However, again we have leftovers for future nights. I’ve used almost all the jasmine rice that I bought last week, so that’s been added to the shopping list for next time.

We have a Winter Solstice Pot Luck to attend on Saturday night, and I’ve decided to take a Shepherd’s Pie. The mince has been released from the freezer and I’ve got some of my favourite tiny brown lentils soaking at the moment.

Teeny, tiny lentils! Aren't they sweet?

Teeny, tiny lentils! Aren’t they sweet?

I like to add these to meat sauces to both help them ‘stretch’ a little, and to increase the fibre content of the dish.

Tomorrow, I’ll make up the meat sauce. Then, on Saturday afternoon, I’ll cook the potatoes and assemble the dish.

I will not be cooking dinner tomorrow night. It will be a “shop the fridge” night all round.

ttfn

Today I crumbed the Chicken Tenderloins from my last grocery shop. They were on the cusp of their use-by date and needed something done with them.

So, I’ve done my standard mix of Panko and coconut, baked them and frozen three-quarters. The other two tenderloins will be dinner tonight with rice and vegetables.

Panko and Coconut coated chicken tenderloins

Panko and Coconut coated chicken tenderloins

Also, given that I had the oven going, I decided to top up the biscuit barrel.

I make a batch of biscuits (cookies) once every two weeks or so for The Boy – with most of them being stored in an airtight container in the pantry or fridge. I have a little tin that lives on the counter near the kettle and it’s usually stocked with just a few biscuits for portion control.

So, these rather scrumptious-looking and incredibly easy biscuits were whipped up while the last of the chicken was baking and went in immediately following it.

Well, that looks good...

Well, that looks good…

I’ve just sampled one and they are definitely biscuits and not cookies. They’ve got that whole crunch thing happening. I may have a bit of a play in a week or so and try making them with butter instead of oil to see what that will do the texture before I post.  So, stay tuned. In the meantime, I think some insulin may be in order! (There’s a reason the biscuits aren’t for me.)

Dinner tonight.

Dinner tonight.

‘Italian’ Lentils

"Italian" lentils

I first made this dish several aeons ago when I was a poor, struggling university student. I’ve made it many, many more times since and have had a lot of fun coming up with variations for it.

"Italian" lentils

“Italian” lentils

It’s simple, incredibly affordable and very tasty.

And it has lentils in it.

Deal with it.

Way back then, I had made this dish one evening as my brother came home from work, pronounced it to smell “good” and asked for some. I served him up a bowl (while refusing to tell him what it was), which he then inhaled – followed by another two more bowls. When I finally revealed that he’d been eating red lentils, he snarled something about “disgusting hippy food” and refused to come near it again.

His loss.

Honestly, this is the perfect dish for those times when you have very little money/ have very little time/ don’t feel well but really-should-eat-something/ have no idea what to make for dinner/ are just too gosh darned tired to cook.

I found this recipe in this little book, which is now out of print (so I shan’t feel bad about reproducing it here!)

Start by dicing an onion, you don’t want it too fine as it will add texture to the finished dish.

Roughly dice an onion

Roughly dice an onion

Then a rasher (or two) of streaky bacon. The smokiness of the cured meat really adds to the flavour.

Cut up some streaky bacon

Cut up some streaky bacon

Then make up 600 ml (a pint) of chicken stock from powder or use your own. 🙂 The stock will be responsible for the flavour of your finished dish, so choose well.

chicken stock (2)

Home-made stock

If you don’t have any cooked rice in your refrigerator ready to be reheated, then you might want to put some on to steam at this point. Your rice and your lentils will finish pretty much simultaneously.

Now, set a smallish saucepan over a medium heat and add your bacon. You are aiming to render the fat from the meat before adding anything else. There is no need to oil the pan. I’ve made this dish quite successfully using pancetta instead of bacon as well. As you can see from the picture, the fat from the meat is sufficient to lightly fry or sauté the onion.

Pancetta, or prosciutto, also work quite well in this dish and add a touch of the gourmet.

Pancetta, or prosciutto, also work quite well in this dish and add a touch of the gourmet.

So, add your onion! You’re wanting to fry it gently without it colouring up. Cook , stirring constantly, until it becomes translucent (clearish). You may also wish to add some crushed garlic at this point, but it’s not necessary.

Split red lentils - aren't they pretty?

Split red lentils – aren’t they pretty?

Next add your split red lentils and stir them well. You’re aiming to coat them with the fat from the meat. This step helps to disperse the smoky flavour throughout the dish.

Add your lentils and stir well, with the pan still on the heat.

Add your lentils and stir well, with the pan still on the heat.

The recipe calls for 100g (4oz) of lentils. However, after you have made this a few times and seen the simplicity of it, you’ll stop measuring stuff and just do it all by eye.

You know who I’m talking to, you peeps who insist on measurements for everything, you! *sigh*

Anyway, once this is done, add your stock all in one go. It will look as though you have drowned it.  Stir well and bring to the boil.

Don't panic!!!

Don’t panic!!!

Reduce to a simmer and cook for another 10 minutes or so, stirring frequently. Do not walk away!  This cooks very quickly. Your lentils will start to break down and form a paste.

Almost done...

Almost done…

It is up to you how liquid your finished dish is. I like mine to be on the firmer side, my partner prefers a more “soupy” dish. Your choice. Take it off the heat when it meets your preference – or experiment.

At this stage, stir through a tablespoon of tomato paste or purée.  As far as I can figure out, this is where the “Italian” in the recipe title comes from. The last time I made this, I used pancetta and stirred in some basil pesto instead.

Add some tomato paste or pesto

Add some tomato paste or pesto

Mix thoroughly and serve.  This is quite filling and more than enough for two people. I like it in a bowl, served on plain rice.

For another variation, try adding some curry paste at the onion stage and frying it a little to release the flavours before adding the lentils. There will be no need to add anything more than the stock for the dish to be complete.

If you wish to make the texture a little more interesting, then try stirring through some rinsed tinned chickpeas with the tomato paste.

Have fun playing with the dish, or stick to the recipe – it’s delicious either way.

It will also cost about AUD $2 to make. Total. Even betterer.

Italian Lentils

  • Servings: 2
  • Difficulty: easy
  • Print

Ingredients

2 rashers fatty smoked bacon

1 clove garlic, crushed

1 small onion, chopped

100g (4 oz) split red lentils

600ml chicken stock (may be from a stock cube)

1 tbsp tomato paste (purée)

Method

Fry the bacon over a medium heat until the fat begins to run, then add the garlic and onion and fry until translucent.

Add the lentils and stir to distribute the fat evenly throughout the dish.

Add the chicken stock, stir well and bring to a boil.

Reduce heat to a simmer and cook for 10 to 15 mins, stirring frequently.

When lentils have reached desired consistency, add tomato paste and mix through thoroughly.

Serve with steamed rice.


Pizza Pull Apart (Scrolls)

Pizza pull-aparts or scrolls

Okay. This is one of those recipes that builds on one you’ve seen here previously.

It’s not difficult, but can be fiddly. It’s certainly tasty and it can be as inexpensive as you want it to be.

Pizza pull-aparts or scrolls

Pizza pull-aparts or scrolls

It starts with a basic scone dough (biscuits for Americans) and gets creative soon after. It’s perfect for those days when you want something more substantial for lunch. It’s great for getting the kids involved if they’re underfoot too.

Also, if you have bits and bobs in the refrigerator that you want to use up, but which don’t really add up to a meal on their own…you know what I’m talking about.

Don’t you?

Moving on…

In other words this is more of a process than a recipe.

Start out by lining a cake tin with baking paper. It can be a square or round tin – it really doesn’t matter. If you find paper lining difficult, then grease it well instead. I find that paper makes it easier to remove the finished product when baked. 😉

Line a cake tin with parchment paper

Line a cake tin with parchment paper

Make yourself some scone dough but, instead of making it into scones, simply flatten it out into a vague rectangle shape. Use your hands and fingertips for this, there’s no need for a rolling pin. Try doing this on a little more silicon/baking/parchment paper sprinkled with flour. It will make rolling it up a little easier.

Press your dough out lightly into a rectangle.

Press your dough out lightly into a rectangle.

The size of your rectangle will be determined by the thickness of your dough. Try to make it an even thickness all over – about 1 cm or ¼ inch. Try also not to make it too narrow a rectangle. You will be rolling it up and you want to fit a few turns into it!

Turn your oven on and set it to 220°C/450°F.

Spread your dough with a base flavouring. Tomato paste will work, as will pizza sauce. I find tomato-based spreads far too sweet for me and instead use a roasted capsicum spread called Ajvar that I was introduced to by some Macedonian friends (and now I’m hooked!) It’s something that is big among the former Yugoslavian nations, although I understand the Italians produce something similar – although I don’t know what it’s called.

Spread your base with something tasty.

Spread your base with something tasty.

You may use whatever you like.

Basically you are simply adding a moist base for the rest of your fillings and ensuring that there will be no dry stretches of dough in the finished product. Try using barbecue sauce, basil pesto, olive tapenade or a chutney instead.

You’ll find it much easier to spread if you use a spoon rather than a knife to spread it. Scoop it out onto the dough and then use the back of the spoon’s bowl to spread it.

Now scatter with some grated/shredded cheese.

Add some shredded cheese.

Add some shredded cheese.

Then get creative. This is where you can use the waifs and strays in your refrigerator. You won’t want to put too much on, or it will make the rolling process more difficult.

Add whatever you might add to a pizza: deli meats like salami or shredded ham, chop up a bacon rasher or two and scatter over, if you have some BBQ/rotisserie chicken in the fridge, dice it up and scatter it over. If you are vegetarian, try adding some chick peas/garbanzos or even some kidney beans.  You won’t need much.

Add whatever fillings tickle your fancy.

Add whatever fillings tickle your fancy.

Then add some diced vegetables, I’ve added capsicum/bell pepper in the photo above. Slice a mushroom or two, confetti it with sliced black olives or – and this is yummy – slowly fry some sliced onions or leeks in butter until soft and starting to caramelise, drain on paper towel and add generously.

It’s completely up to you.

If you want to, at this stage you could just place it on a tray and bake it like a standard pizza. It will take 20 minutes at least.

Or you can go on to roll it up like a Swiss Roll, lifting the long edge nearest to you and rolling away. Make it as tight as you can, but try not to put holes in the dough. If you have used a piece of paper beneath it, then use that to help you with the rolling. Some of your filling will inevitably escape from the long end or pop out the short ends. Don’t panic. Push them back in if you can, or consider them a Cook’s treat for while it all bakes.

Roll it as tightly as you can, while still being gentle with the dough.

Roll it as tightly as you can, while still being gentle with the dough.

Then slice into even pieces. I cut it in the middle, then divide each half in half, and so on. Aim for 8 to 9 pieces. Be careful to slice and not chop your roll, you don’t want to squash it beyond recognition. (If you do squash it, don’t worry too much. The taste won’t be affected.)

Divide into even-ish slices.

Divide into even-ish slices.

Now transfer the pieces into your cake tin. Start in the middle and work your way outward in a daisy formation. Be sure to grip the open edge closed as you lift it. It will end up looking a bit like this.

Ready for the oven.

Ready for the oven.

Place it in the top third of the oven and bake for 20 mins before rotating the tin and baking for another 20 mins. It will be done when a toothpick or skewer inserted in a doughy part in the centre comes out clean.

You could sprinkle more cheese over the top at the half way mark if you wish.

The finished result.

The finished result.

Lift it out and serve immediately for best results. Alternatively, wrap in a clean tea towel to cool, and it will be excellent cold for school lunches or a picnic. The cloth covering keeps the steam in and the quickbread soft.

For a slightly crunchy variation, sprinkle some polenta or cornmeal on your surface before you start to press out your scone dough.

Experiment and enjoy!

Low-Fuss Macaroni and Cheese (Slow Cooker)

I think I mentioned some time ago that I lived in Texas for a bit and that, when I was there, I cooked mostly with a little 1.5 litre (1 Quart) slow cooker.

Many wonderful things emerged from that device (and were eaten with gusto), but one that I still continue to make is Mac and Cheese.

Now, during my residency of San Antonio, I discovered that Americans have a plethora of magazines devoted to slow cookers and slow cooking – it was quite startling just how many there were when I’ve yet to see one such thing here in Oz. No doubt we will soon catch up given that Diabetes specific magazines are appearing here now too and they had oodles of those.

Remember the Alamo.

Remember the Alamo.

Anyway, I bought one or two and was off. It was in one of them that I discovered that Macaroni and Cheese could be prepared all-in-one-pot and cooked slow. Unfortunately, I didn’t bring my copies of the magazines back with me (excess luggage dontchaknow) so I can’t attribute this with an original source. However, I have fiddled with it and made it often enough now that I can honestly say that I don’t think it actually resembles the original all that closely.

The original held something called Velveeta – which didn’t agree with me at all, and several cheeses containing the word “Jack” in their names. This is another American phenomenon that has yet to reach our supermarkets (along with the orange food colouring in cheeses!)

So, here is my low fuss version of Mac and Cheese à la Slow Cooker. The recipe I will give you to print at the bottom of the post will contain specific instructions for making it in a 5 litre slow cooker and will make enough to serve a very hungry family. Probably with leftovers.

The photographs, however, will be of my current (Australian-wired) 1.5 litre slow cooker being used to make a smaller amount. The process is the same, as are the results, but the two of us do NOT need several weeks worth of leftovers!

Also, what you see will not have been measured precisely. I tend to do this using the patent-pending Sharon’s Handfuls method of measuring, other wise known as a handful of this and a handful of that.

Let us begin.

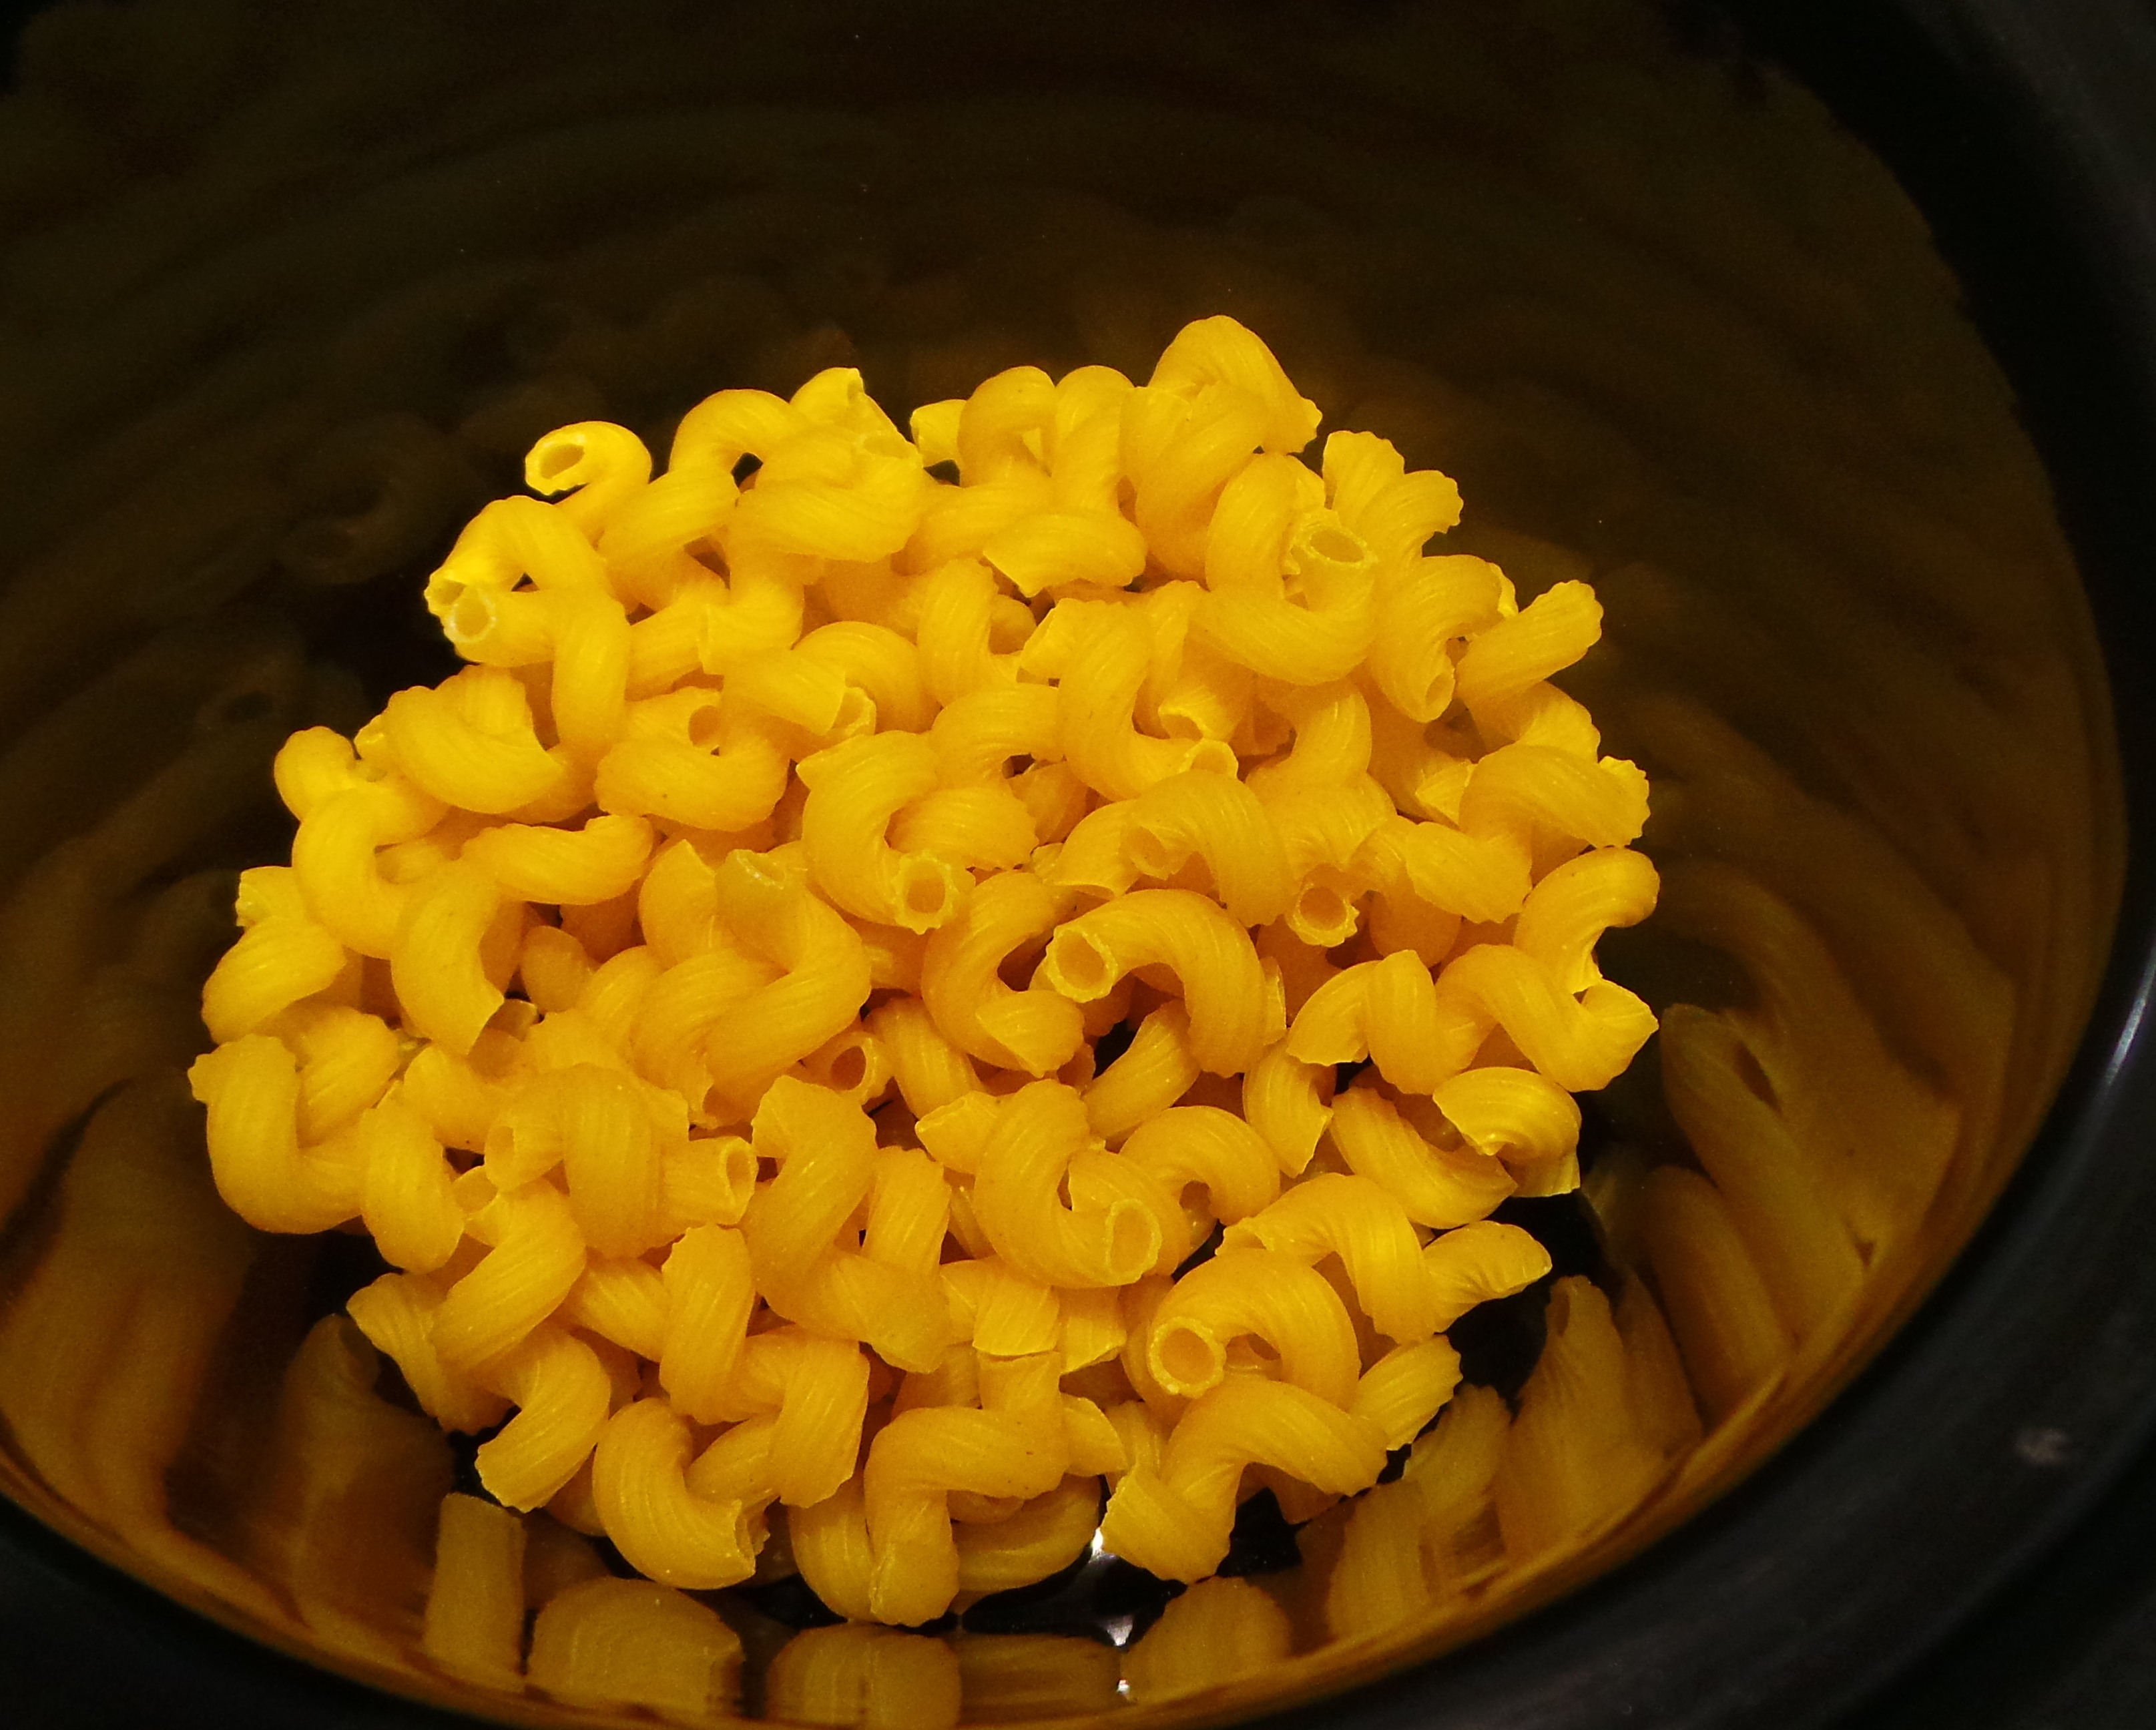
To the bottom of your crock add your uncooked pasta. This may be elbows, it may be spirals or it may even be tiny tubes – think macaroni rather than spaghetti and you’ll be fine.

Place your uncooked macaroni in the crock

Place your uncooked macaroni in the crock

Next, add your cheese. This may be one type of cheese or a mix of several. This is a dish that lends itself well to using up the odds and ends of cheeses that may be lurking in the corners of your refrigerator. In the past I have used mixes including cheddar, fetta, parmesan, edam, gouda, brie, camembert, mozzarella and once I included a smidgen of a blue cheese. (Which doesn’t mean that I used all of these at once!)

I would limit your choice of cheese to one strong-tasting one among other milder flavours or you may find yourself with something that smells too confusing to eat.

You have been warned.

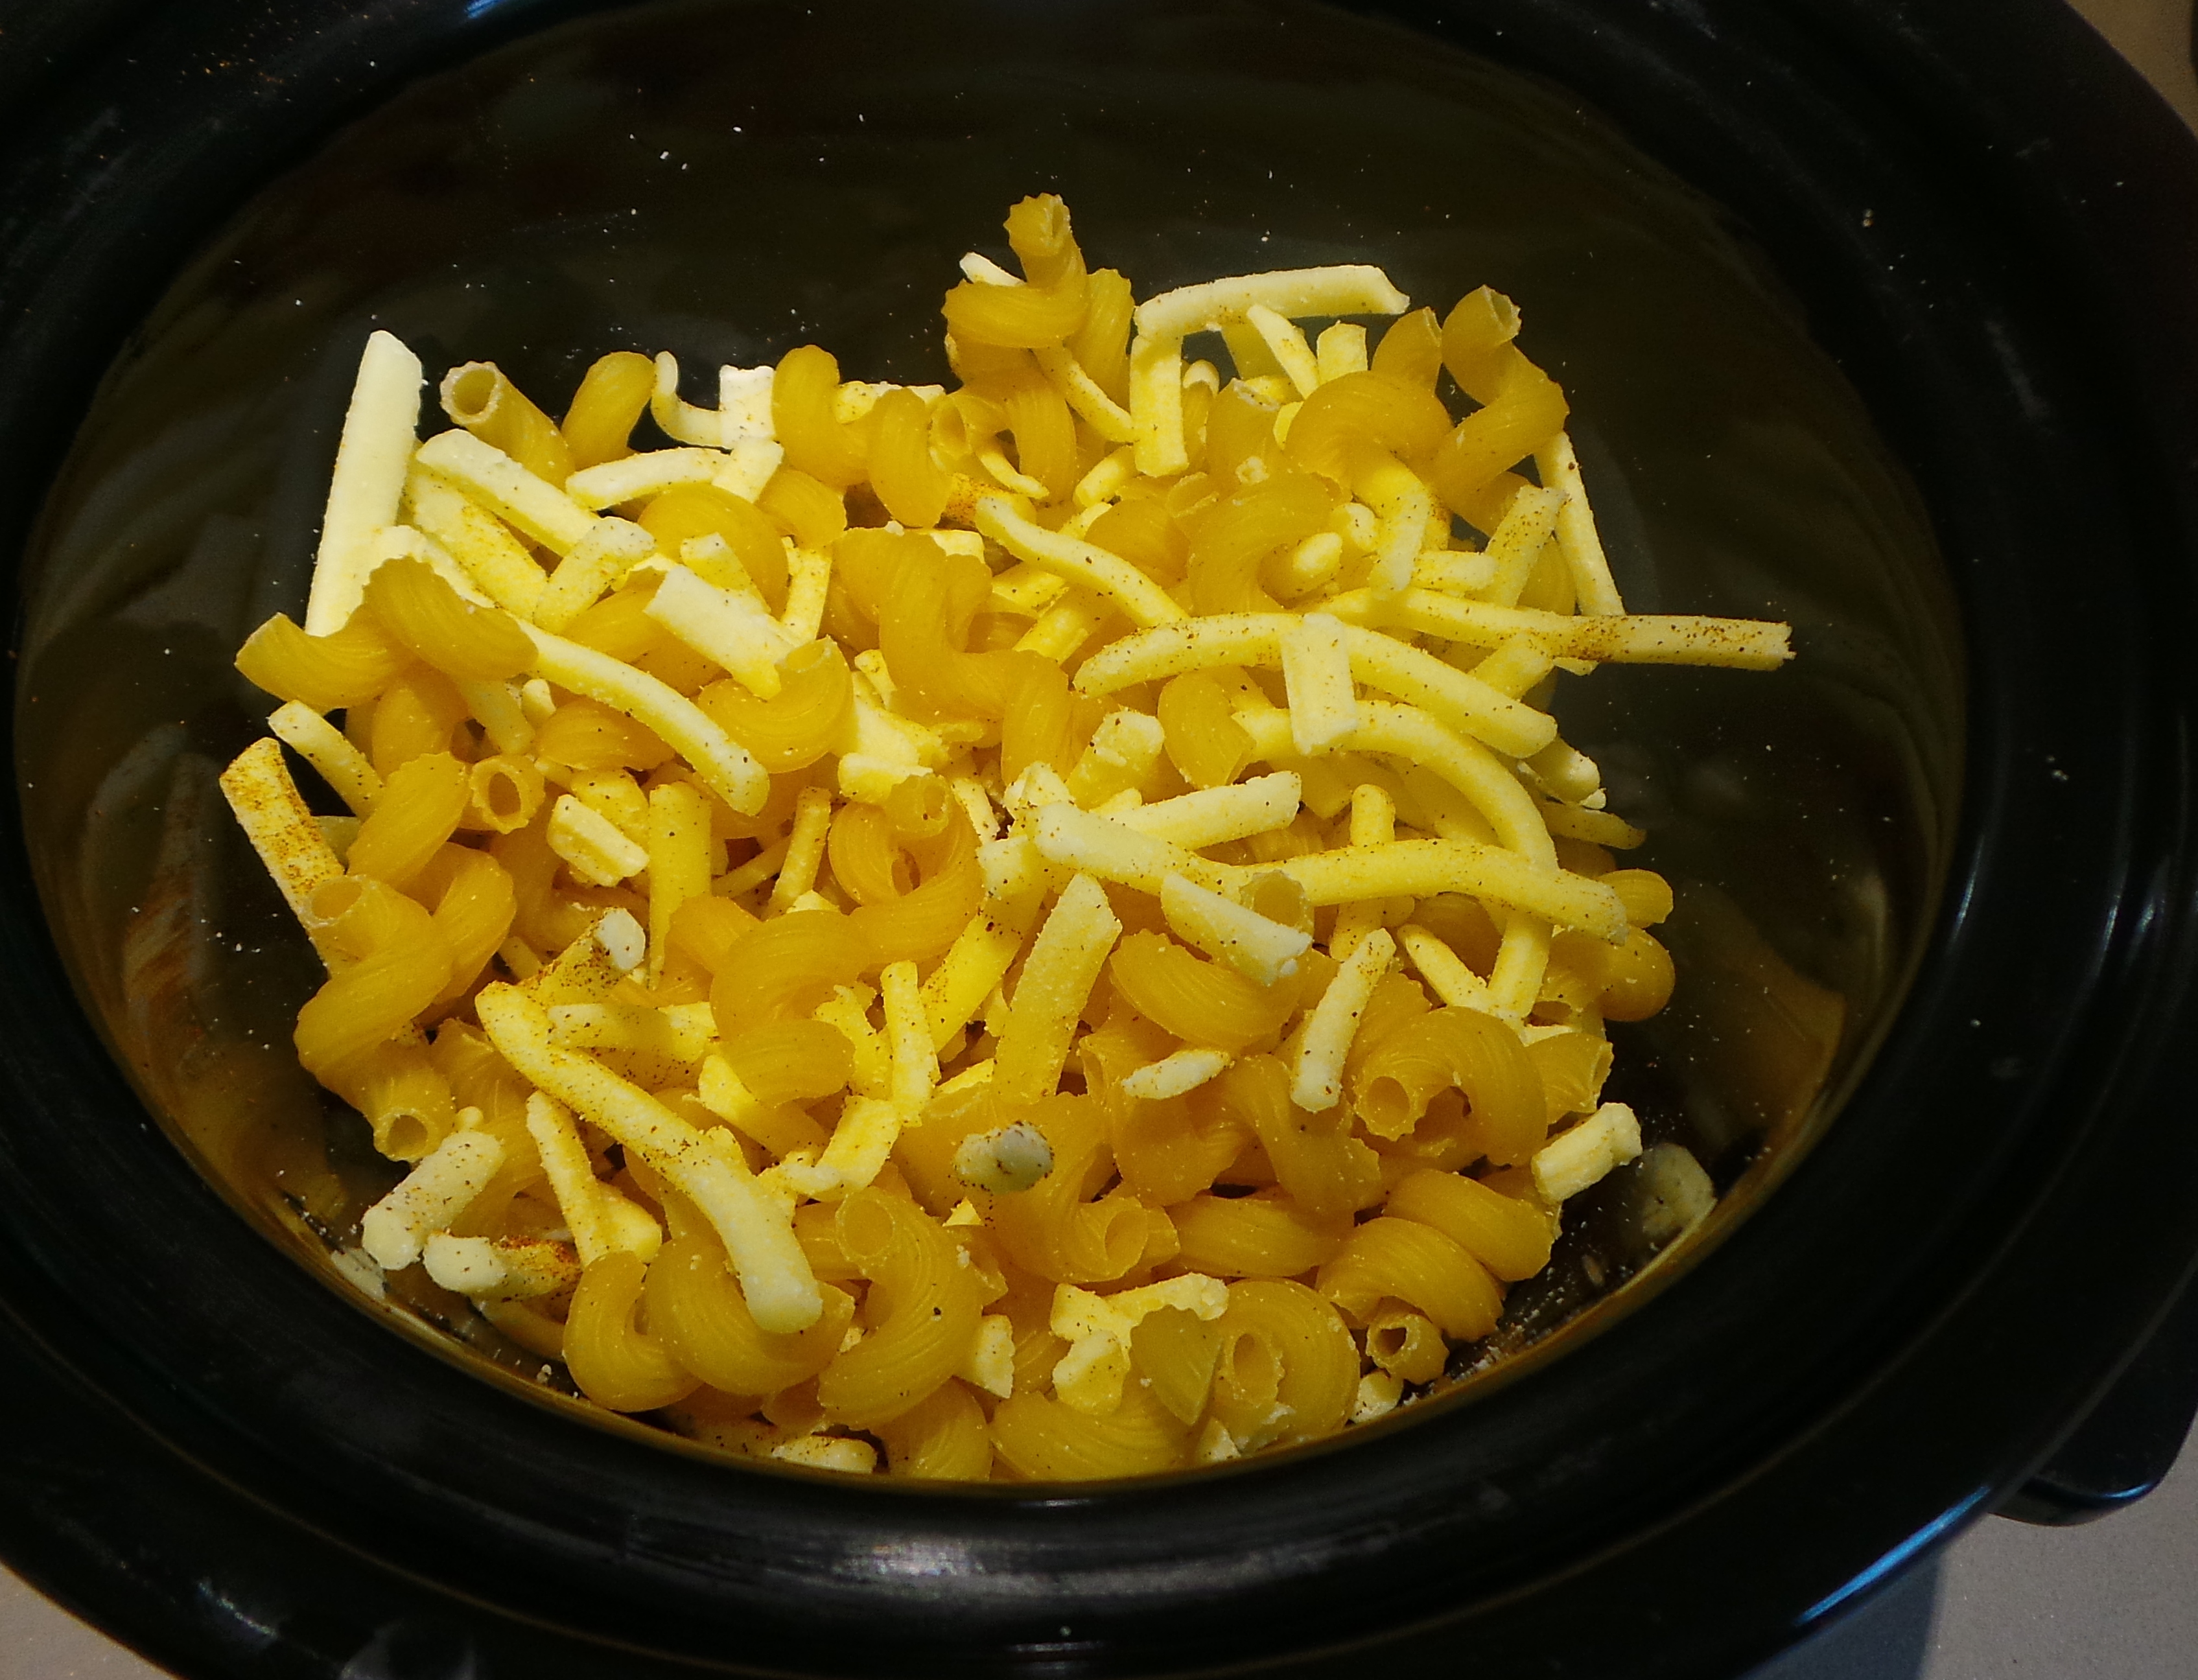
Plain old cheddar works fine, so don’t panic if that’s all you’ve got. The recipe calls for grated and cubed, I had pre-shredded cheeses in my fridge so that’s what I used – along with a good twist or two of black pepper and a sprinkling of paprika.

Add your cheese and seasonings

Add your cheese and seasonings.

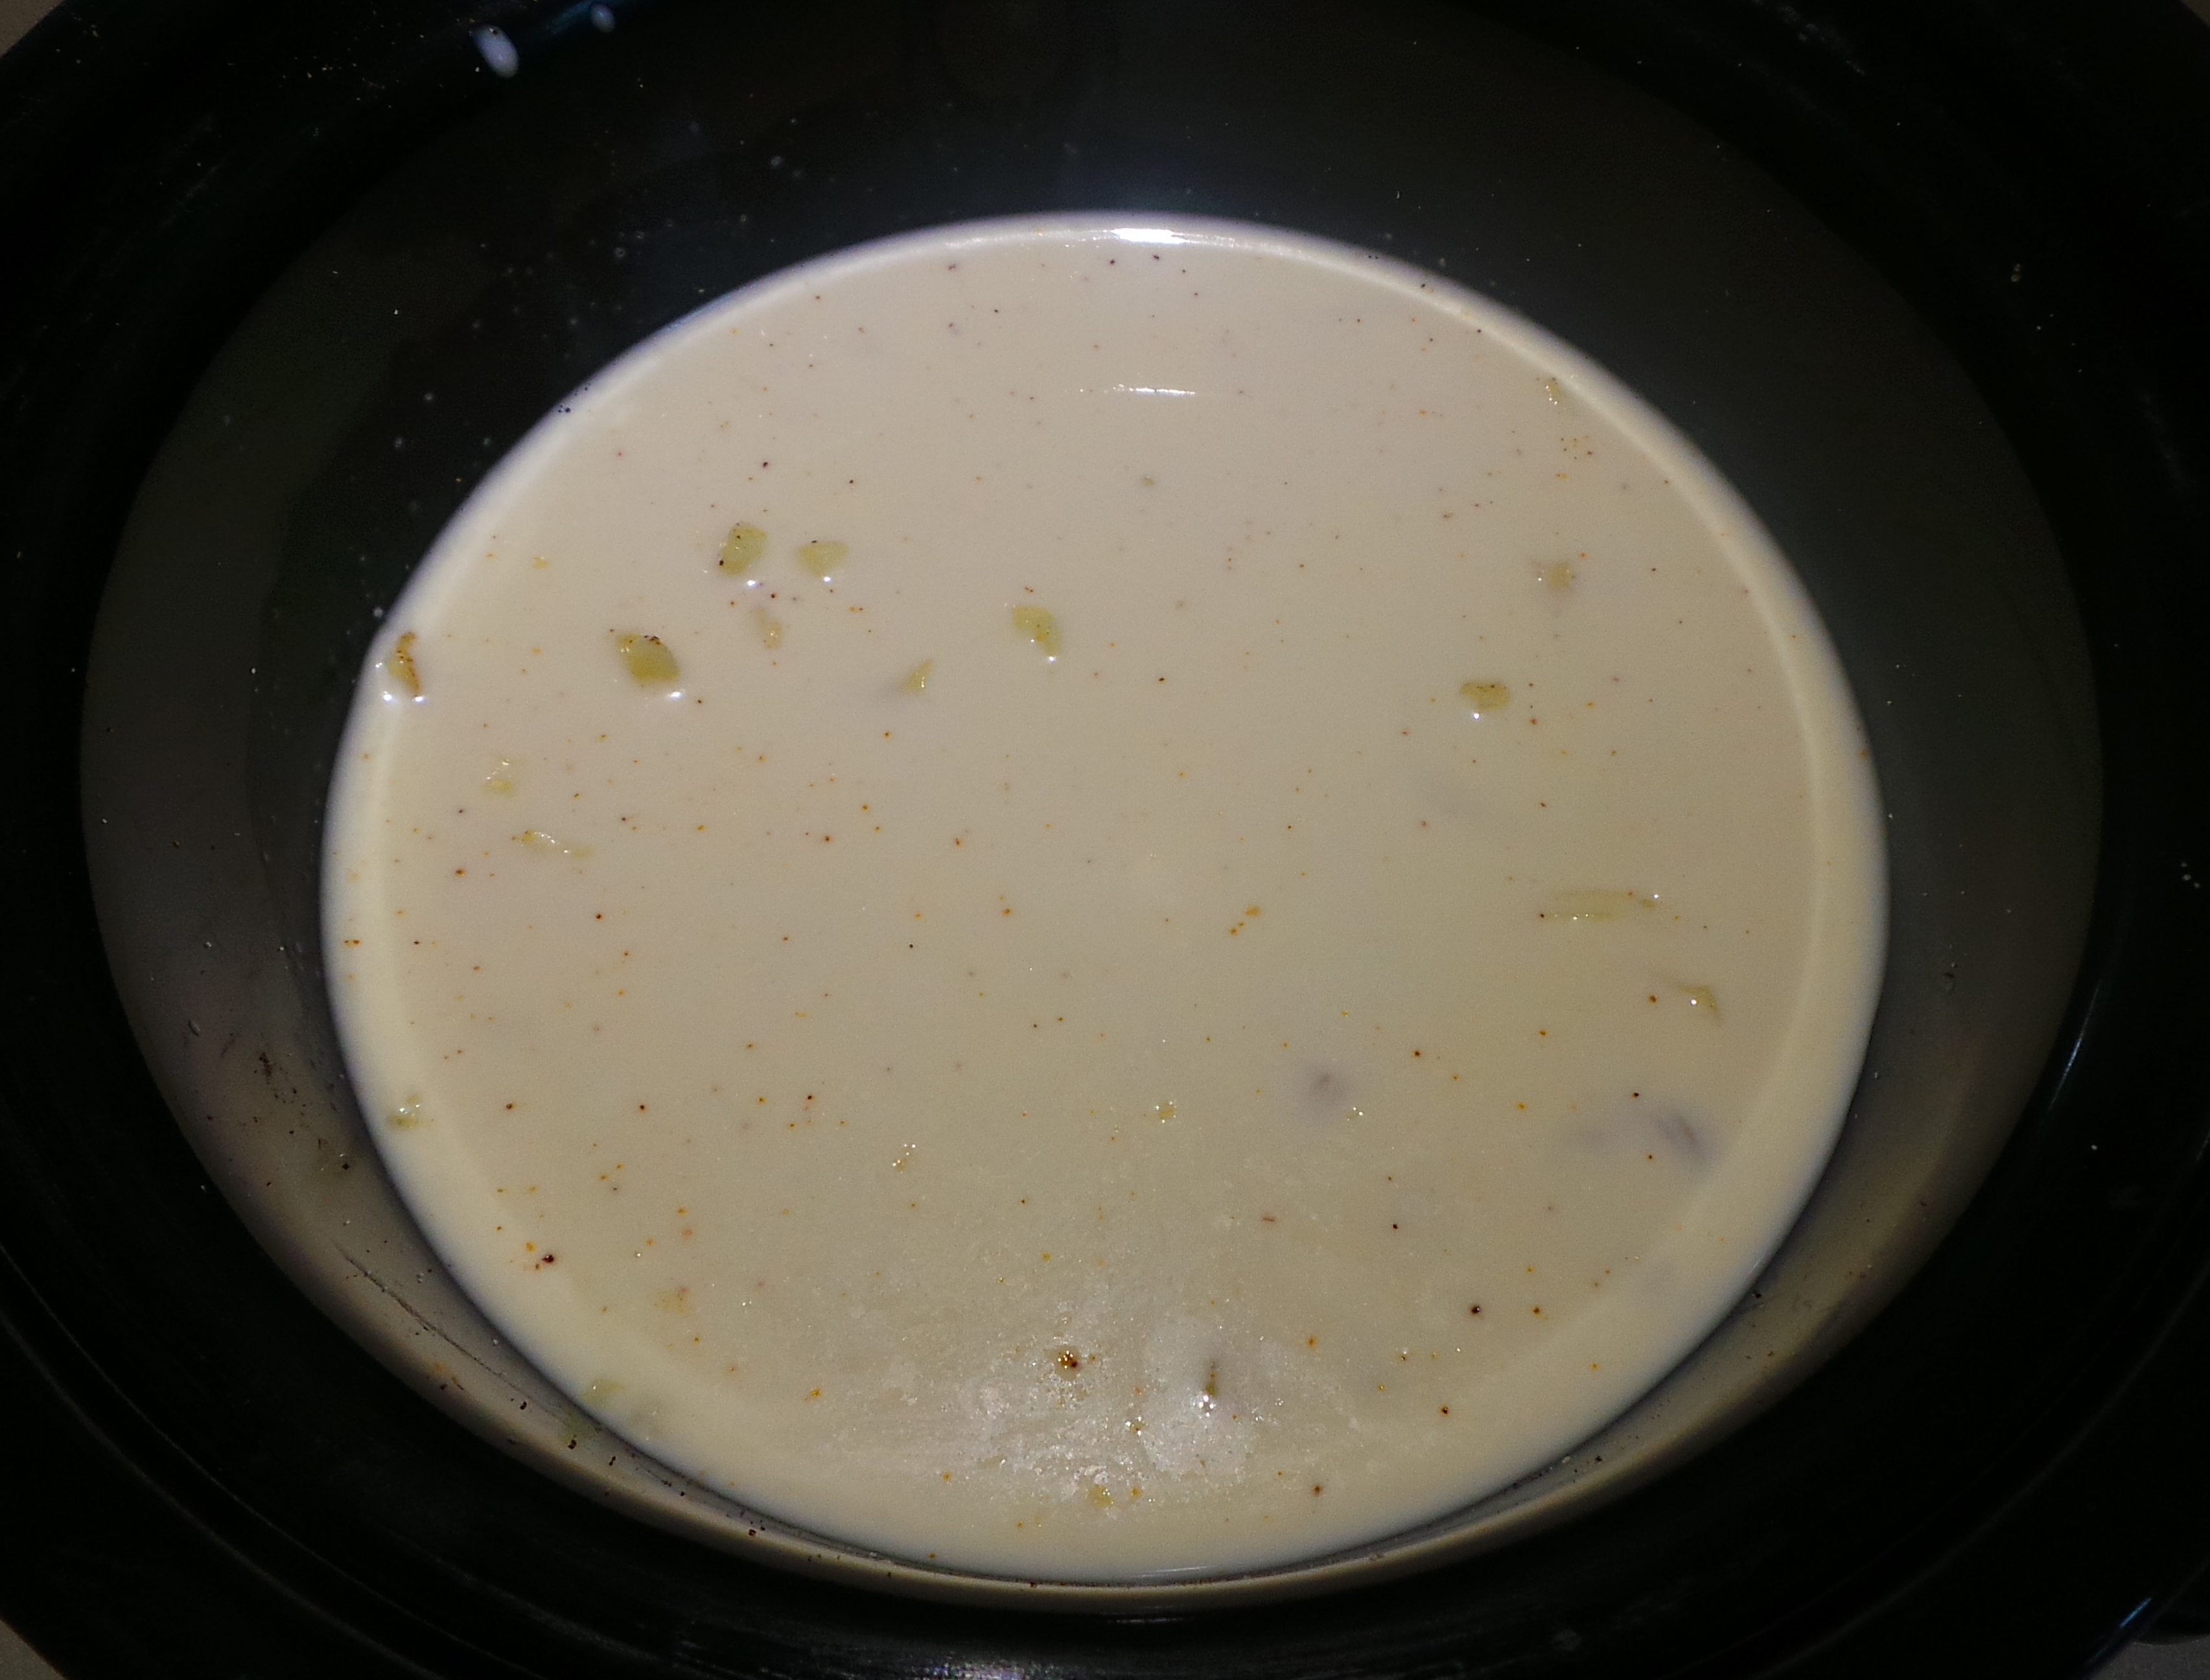
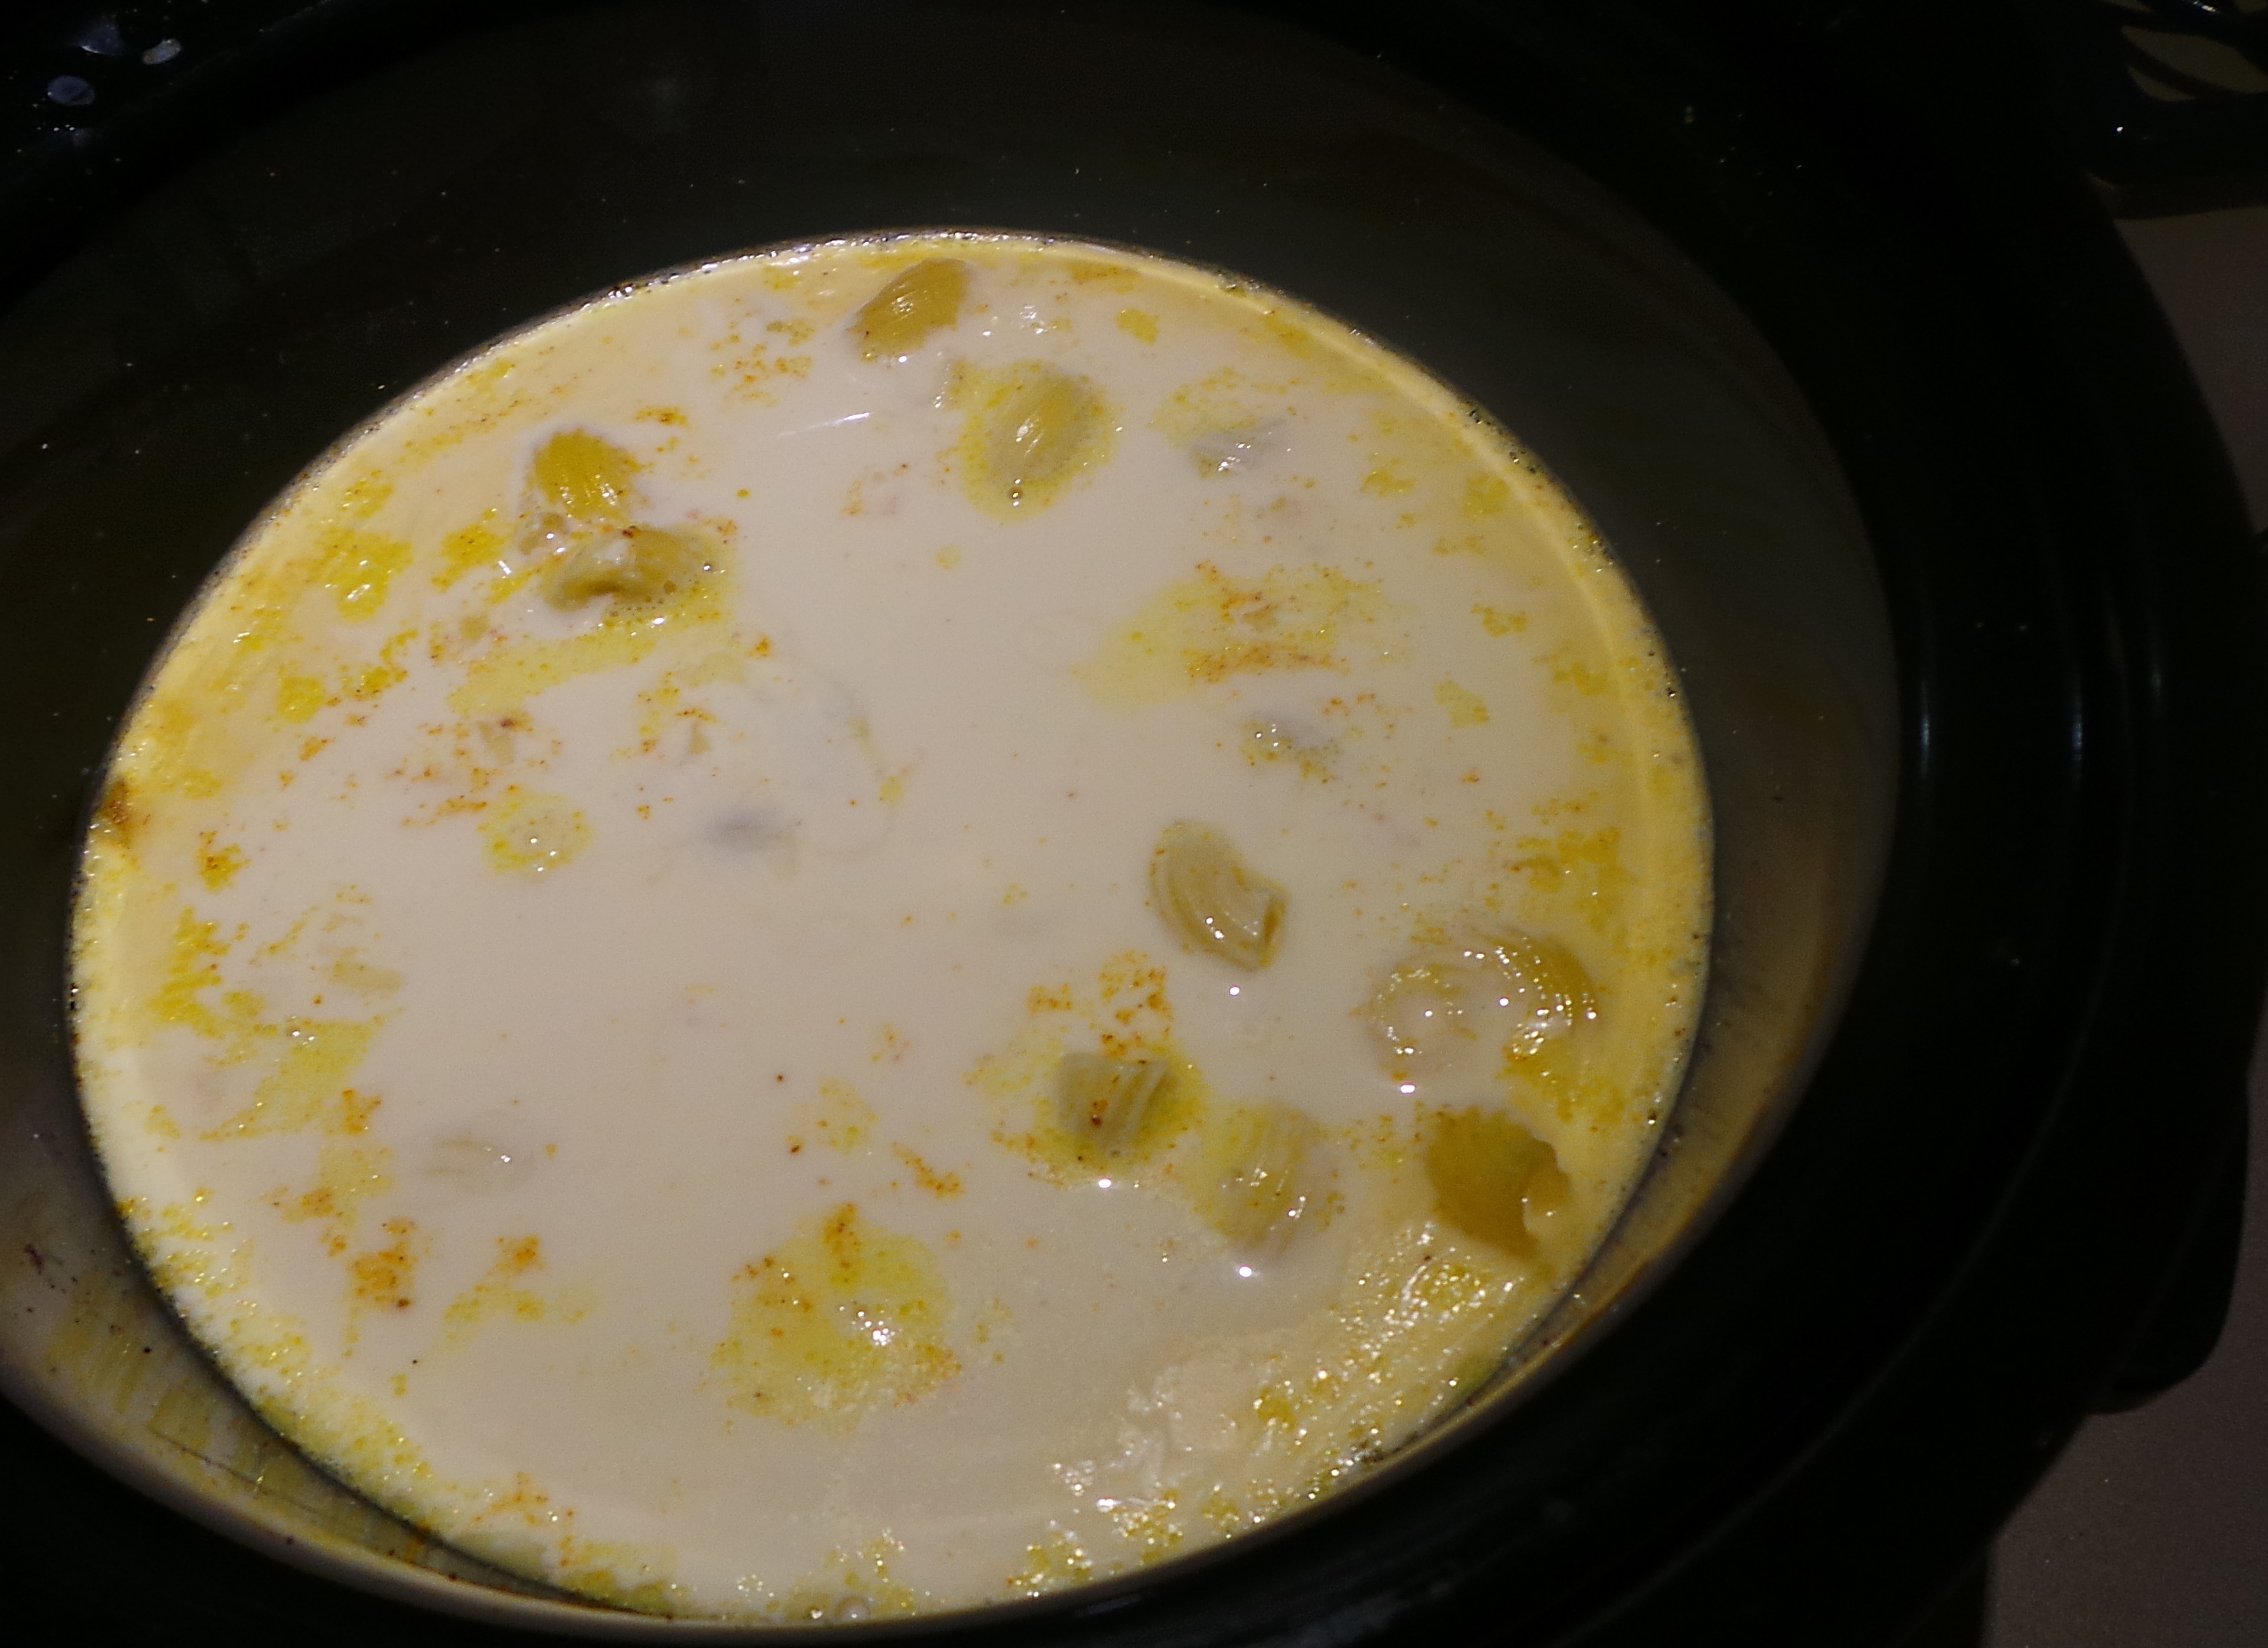
Now, cover your mixture with milk. This may be cow’s milk, goat’s milk, soy milk, almond milk – get my drift? Pasta cooks in liquid and it doesn’t much care what that liquid is. In my baby slow cooker I tend to use a tin of evaporated milk and then add enough of whatever milk is in the refrigerator to cover the pasta.

That’s the important bit. You want your pasta to be completely submerged.

Cover with milk.

Cover with milk.

Now cover it and cook it on low for 2 to 3 hours. It doesn’t take that long in a tiny slow cooker, so keep an eye on it.

After 30 mins or so, you’ll notice your cheeses melting.

Melting cheeses...

Melting cheeses…

This is good and eminently desirable. Keep up the good work. If you feel the need to stir, then do so. This dish is quite forgiving and will let you remove the lid once or twice without slowing things down immensely.

When your pasta is cooked to your liking, serve it up.

All done.

I, however, like to fiddle. I also am very much of the meal-in-a-bowl school of catering. So I always add stuff to my mac and cheese.

This is not mandatory.

If you have them, frozen peas can add a change of texture as well as a burst of both flavour and colour – as can frozen corn. The heat of the dish will thaw them so there is no need to cook separately first. Use whatever vegetables you have to hand.

Asparagus has just come into season here, so I cut two stalks up and stirred them through my pot. Asparagus is best cooked lightly and here it steamed in the heat of the pasta.

asparagus

A stalk or two of asparagus adds a touch of colour and a burst of flavour.

I also had two lonely continental frankfurters sitting in my fridge and – as they, too, just need reheating and not cooking – sliced them up and popped them in.

Some sliced frankfurters

Some sliced frankfurters

I prefer to use fewer of these more expensive frankfurters, instead of more of a cheaper hot dog, as I like the taste and texture better. The flavour is head and shoulders above that of a hot dog and the filling doesn’t have that ‘mushy’ texture you often get in hot dogs. It’s one of those cases where it is absolutely worth spending more to buy less – but you’ll be so much more satisfied with the finished dish.

Feel free to use whatever you have to hand to add flavour and nutrition to your dish. For a vegetarian option, try adding half a tin of drained chickpeas.

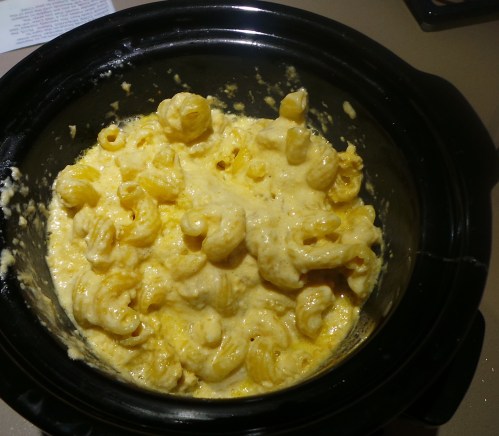
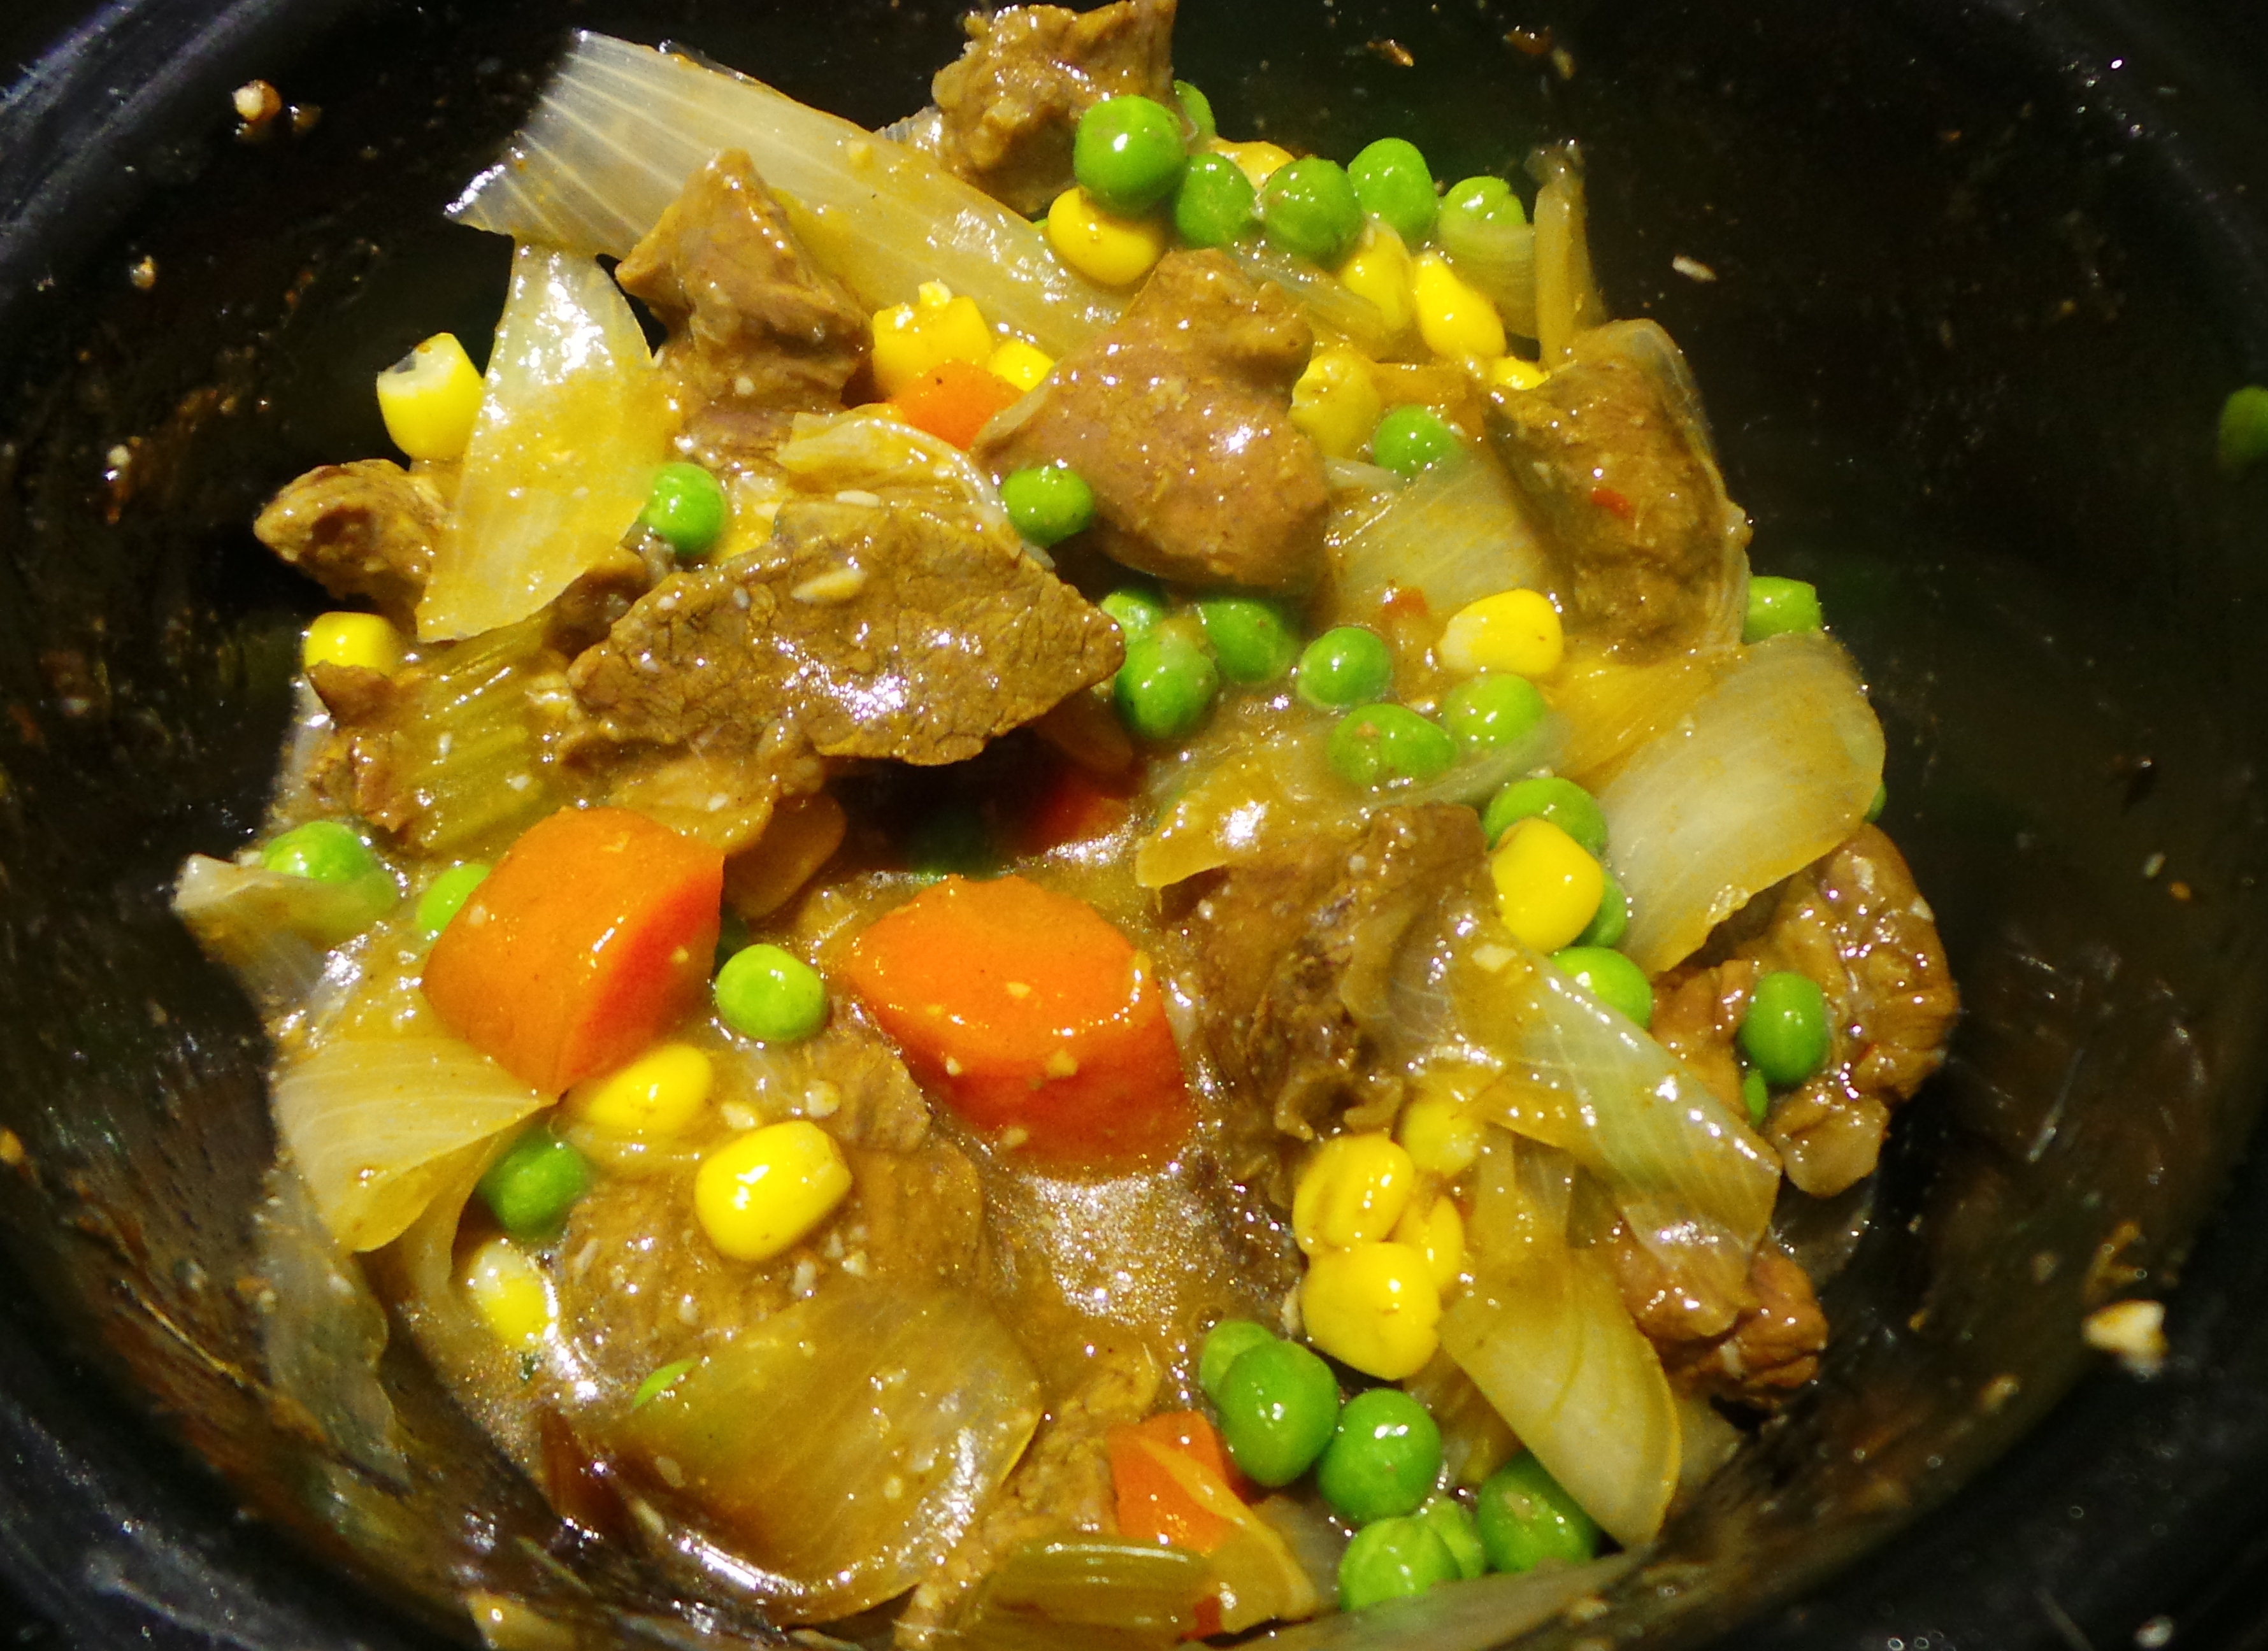
Anyway, mixed through and plated up, our meal looked like this, and it was glorious. Given that it was put together at the last minute on what had turned into a very cold and gloomy day, it was ‘perfick’.

Slow cooker mac and cheese with extra added flavour and colour.

Slow cooker mac and cheese with extra added flavour and colour.

This is very filling. Trust me. Serving sizes do not need to be large.

Should there be any left in your slow cooker after plating your meals, then remove it immediately into a storage container for refrigeration. Then fill your crock with hot water and a squirt of dishwashing liquid before you sit down to eat. The slight delay will save you a world of frustration.

If you let the macaroni cool in the pot, it will set solid as melted cheese tends to do. This makes it a little more difficult to divide into … lunch containers for work the next day, just say…

Also, cheese can be difficult to clean off pots. By soaking it you will be getting a head start on the washing up and making the process a lot easier when you get to it.

Low Fuss Macaroni and Cheese (Slow Cooker)

  • Servings: 6-8
  • Difficulty: easy
  • Print

Ingredients:

2 cups (250 g) uncooked elbow macaroni

250 g light cheddar cheese, cubed

250 g tasty cheddar cheese, grated

500ml milk

salt and pepper to taste

Method:

In a 5 litre slow cooker, combine macaroni, cheeses and seasoning.

Cover with the milk.

Put the lid on the pot and cook on LOW for 2 to 3 hours, stirring after 20 minutes.


Freeze ahead slow-cooker beef with asian flavors

Asian-flavoured slow-cooked beef

Asian-flavoured slow-cooked beef

You know, sometimes you just can’t be bothered cooking.

Sometimes, you don’t have much to cook with

This is something that can be prepared in minutes and then left to its own devices for several hours, OR prepped in a few minutes and frozen for one of those times when you just can’t be bothered, etc.

It tastes amazing.

It smells divine.

It also costs next to nothing.

All of which is fabulous.

I like to buy chuck steak, toss it with a few spices, stir in some Asian sauces and then walk away and leave it alone.

This is how it’s done:

Firstly, get yourself some nice pieces of chuck steak. You don’t need much, really truly. For today’s efforts I used around 750g or 1½ pounds. That will make 2 meals for us or feed four – whichever math you prefer.

I’m going to cook half now and freeze the rest for a future I-don’t-wanna-cook-day. The rest of this post will be about the preparation for freezing.

Chuck steak

Chuck steak

I like to buy whole pieces and cube them myself, it saves a little money over buying pre-diced, but also lets me control which bits get kept and which don’t. For example, while I want the marbling in the meat on the left, I really don’t want to keep the thick streak of fat in the piece on the right… so I discard it.

The rest I cut into large cubes (about an inch a side) and divide into two portions.

Cut into large cubes.

Cut into large cubes.

Please use a sharp knife for this, chuck is not a tender cut and it can be frustrating to slice something that just won’t behave nicely on a bluntish blade.

Then I have a little fun.

Half of the meat I pack away into a zip-lock bag for freezing and, as I do this I add a good sprinkling of whatever spices I have to hand and that I think might go well together. In this case I used ground ginger, ground coriander, ground cumin and some chilli flakes.


Add a good shake of whatever you have.

Add a good shake of whatever you have.

Seal up the bag and massage the spices through. It’s better to do it this way than to use an implement in the bag as you may pierce it and accidentally lay a path for freezer burn. That would be bad.

You can, of course, do this and all the following steps in a bowl and then bag it, but then you’d have to wash the bowl…up to you really!

Give the bag a good massage to mix the spices through the meat.

Give the bag a good massage to mix the spices through the meat.

I like to then add a good teaspoon of grated ginger and crushed garlic – out of a jar.  I always have a small jar of each in my refrigerator, it saves time and it saves frustration on those days when my fingers simply won’t behave.

Add a good teaspoon each of grated ginger and crushed garlic.

Add a good teaspoon each of grated ginger and crushed garlic.

Now, grab whatever sauce tickles your fancy. You can use one sauce, or you can use several, It’s completely up to you. I used Honey Soy sauce, Hoi Sin and a glug of toasted Sesame oil; simply put a bit into the bag and repeat the massaging.

Add some minced ginger, crushed garlic and a few glugs of sauces.

Add a few glugs of sauce.

Seal the bag, excluding as much air as possible, flatten for easier storage, label and freeze.

Massage your flavours through.

Massage your flavours through.

That was traumatically difficult, wasn’t it?

Ready to freeze Asian Spiced beef

Ready to freeze Asian Spiced beef

Then, when you are ready to cook it, add a few chopped veg to your slow cooker, stir in your beef mixture, place it on low heat and leave it for around 3 hours. Serve with plain rice, or mashed potatoes.

You can add the meat mixture frozen, or let it defrost overnight in your refrigerator. The latter option will allow the meat to marinate for a few hours in all the gorgeous spices and sauces you have added.

I was going to include detailed instructions for assembling the casserole, but the post would be rather long… so, there will be another post here that describes the same recipe but cooked from fresh.

Please forgive me and click on. xx