I have been wanting to write a post for the last week or so. I have oodles (actual measurement) of photos to be used and squintillions (again, actual measurement) of easy, affordable and healthy recipes to share.
I haven’t been able to. Sorry.
Physically, I’ve been better. Mentally, I’ve been much worse. However, when these two averages combine they lead to something pretty bloody ordinary.

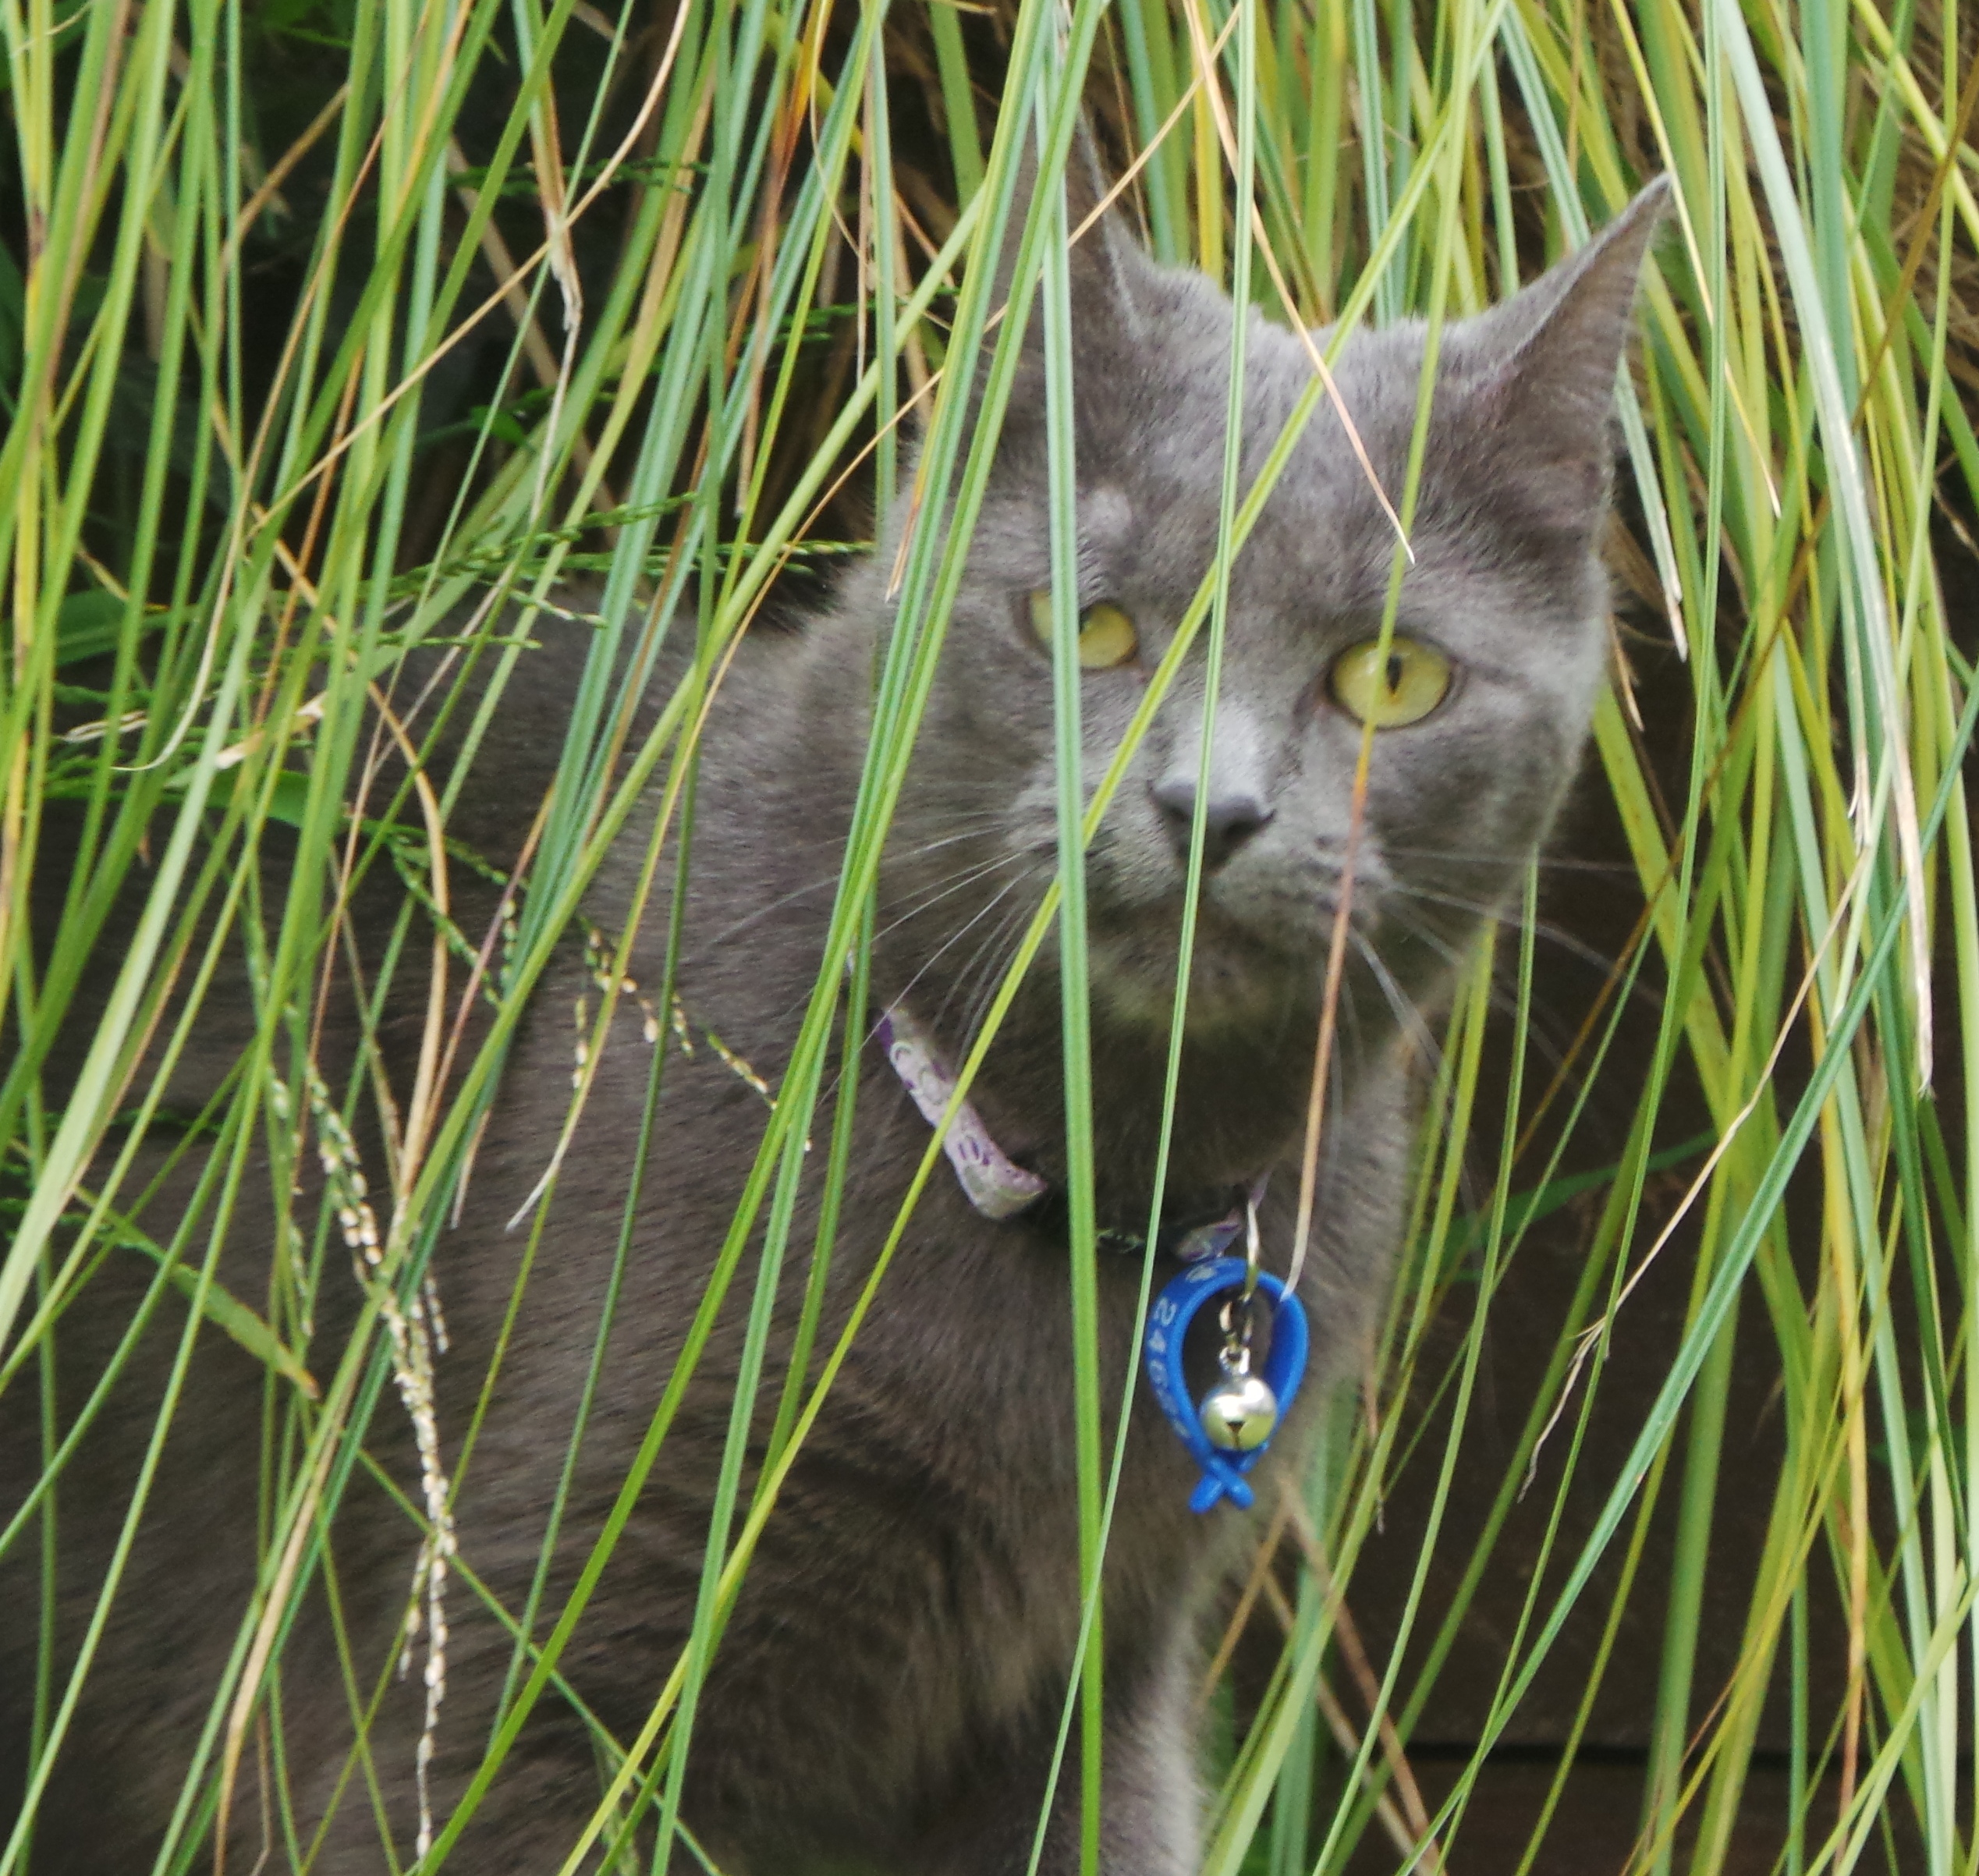
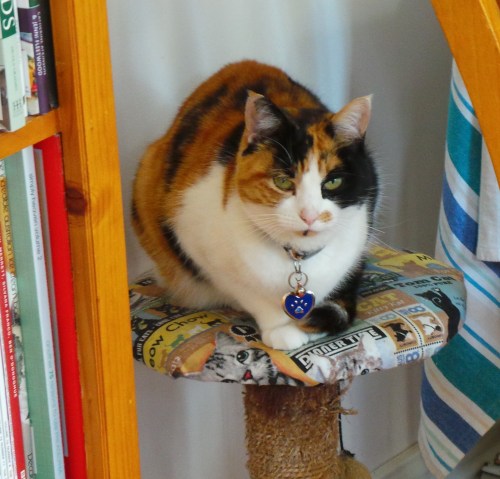
The ever-magnificent Miss Bella
I have spent the last week counting my bruises and discovering new ones – as well as some superficial cuts and scratches – been provoked to great anger and fallen into deep despair. I have helped friends climb a little further out of their respective pits and spent hours at a time thinking about my death.
I’m not suicidal, don’t worry. It’s just that at those times when it all gets too damn difficult, when you start the day by going apex over base as you step into the shower or when you are so tired and in so much pain that you can’t get your words into the right order, or both, to be dead would seem to be easier. It involves no effort on your part or those around you. It means an end. Endings matter.
When I was still working I had an A4 piece of paper printed with “This too shall pass” pinned above my desk. My colleagues took it as a commentary on our Branch Head’s micromanagement, not knowing that I was experiencing neuropathic pain almost beyond bearing in my hands and fingers…and typing with it, all day, every day.
It didn’t pass, but I learned to live with it.
I have lived with chronic illness of one type or another most of my life. I was infected with Rubella on my first day in this world and it has been all downhill from there. I chose my parents badly and ended up with predispositions to autoimmune diseases on both sides of my family tree. Lucky me.
Most autoimmune diseases are what is known as epigenetic. You are born with the genes for a particular disease but they may not be switched “on” it takes something in your environment to trigger them. We know this through studies on identical twins, one may become ill and the other won’t – the difference is usually a viral illness. In Multiple Sclerosis that virus appears to be Epstein-Barr virus, also known as glandular fever or mononucleosis. Exposure in susceptible people during the winter months in their late teenage years seems to do the trick. The virus – a member of the herpes family – gets into a certain variety of the T-calls and reprograms them to attack myelin.
Bingo.
Along the same lines, it is believed that Type-1 diabetes is triggered by respiratory infections and there is a large longitudinal study on this being carried out in Western Australia as I type.

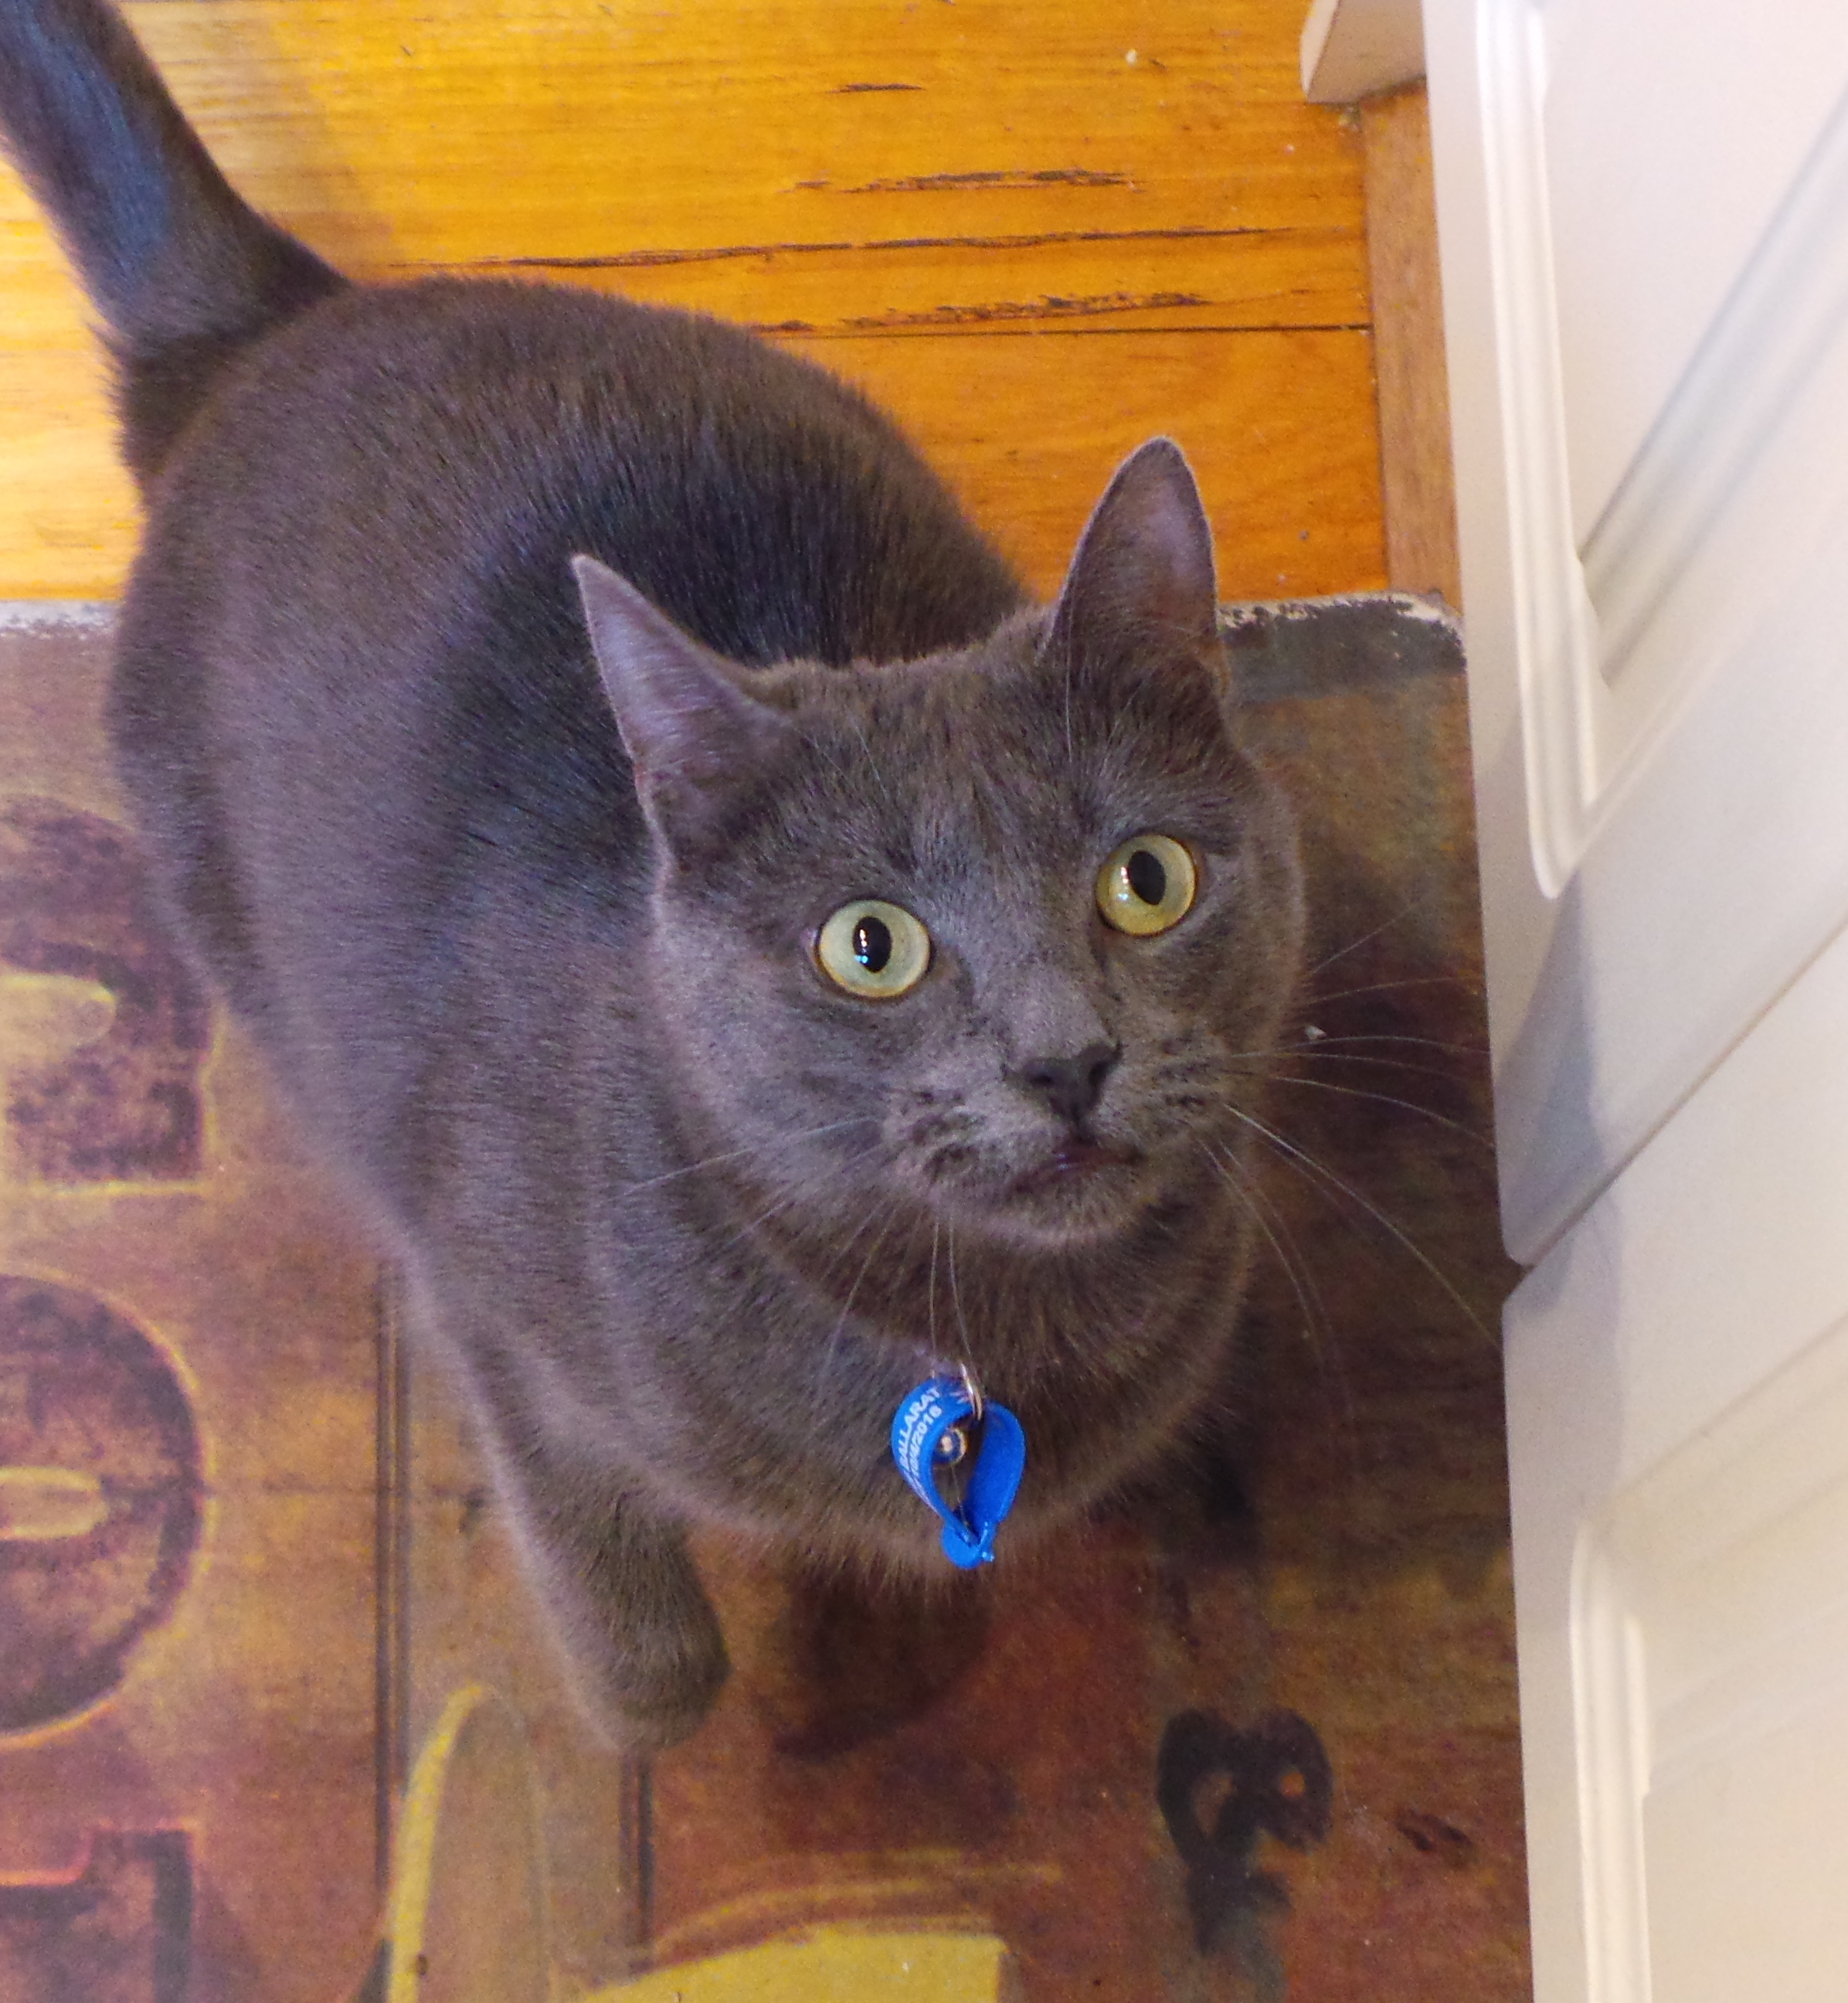
The Accidental Cat
I mention all of this for one reason: Auto-immune disease is not the fault of the person blessed with defective genes.
I have been told that I am ill because I have sinned (!), I have had others attempt faith healings on me without consent (also known as assault), I should have done more of this and less of that, that I should eat three serves of fruit while standing on my head in the light of the full moon…naked.

My favourite market stall.
Don’t do this to people folks. Don’t presume to know what they are going through, don’t assume that they haven’t already explored everything they could, don’t decide that they actually just enjoy being sick and have therefore thrown their hands in the air before deciding to sit on them forever, and don’t even dare to think that they need your 5 cents worth. Just don’t.
There is a woman in my social circle who has verbally attacked me on no less than five occasions now. She tells me repeatedly that, if I only ate a ‘plant-based, wholefoods diet’ I would be well. She assumes that I’m not willing to give it a go, she has clearly never read this blog and has absolutely no idea what I eat daily. It is more than evident that she does not see the things that cause so many of you lovely peeps out there to write to me about all those simple, quick, nutritious meals I’ve shown them how to prepare for themselves and their families.
She waits until I am by myself and then pounces on me, berating me and not listening to what I have to say at all.
Like all bullying, it comes from a place of fear. I get that. Like her I am well-educated, well-informed and literate about these things – and I am ill. I mustn’t be doing it right, because if I am sick then that means that she could get ill too.
Indeed she may, I don’t know what she drew in her genetic lottery.
I am struggling at the moment. I have an appointment with a new specialist next weekend and I am terrified out of my tiny little mind. I know this to be irrational, because a diagnosis does not give you the condition, but even so…
These instances of blaming the health victim for their non-preventable illness are, to quote The Boy, Bullshit. (The Boy here: it was substantially more colourful than ‘bullshit’.)
They have led me to an even darker place than the one I had already reached. I will find my way out again, I usually do, but I write this to you dear readers so that you don’t do the same to someone less resilient than I.
If you know someone with a health concern, physical or mental, don’t even think about imposing your will on them. Listen, observe, hug – and then do it all again, and again and again. Then and only then, ask if they would like a suggestion and, if they say ‘no,’ then for the love of all you hold dear, respect that.
If they agree, then speak your piece then – and this is important – shut the hell up.
You do not have their permission to impose your will onto them. They have enough to cope with without you demanding they follow your wishes. Leave them be.
Be one of the good guys, be a safe harbour in treacherous seas.
Please.
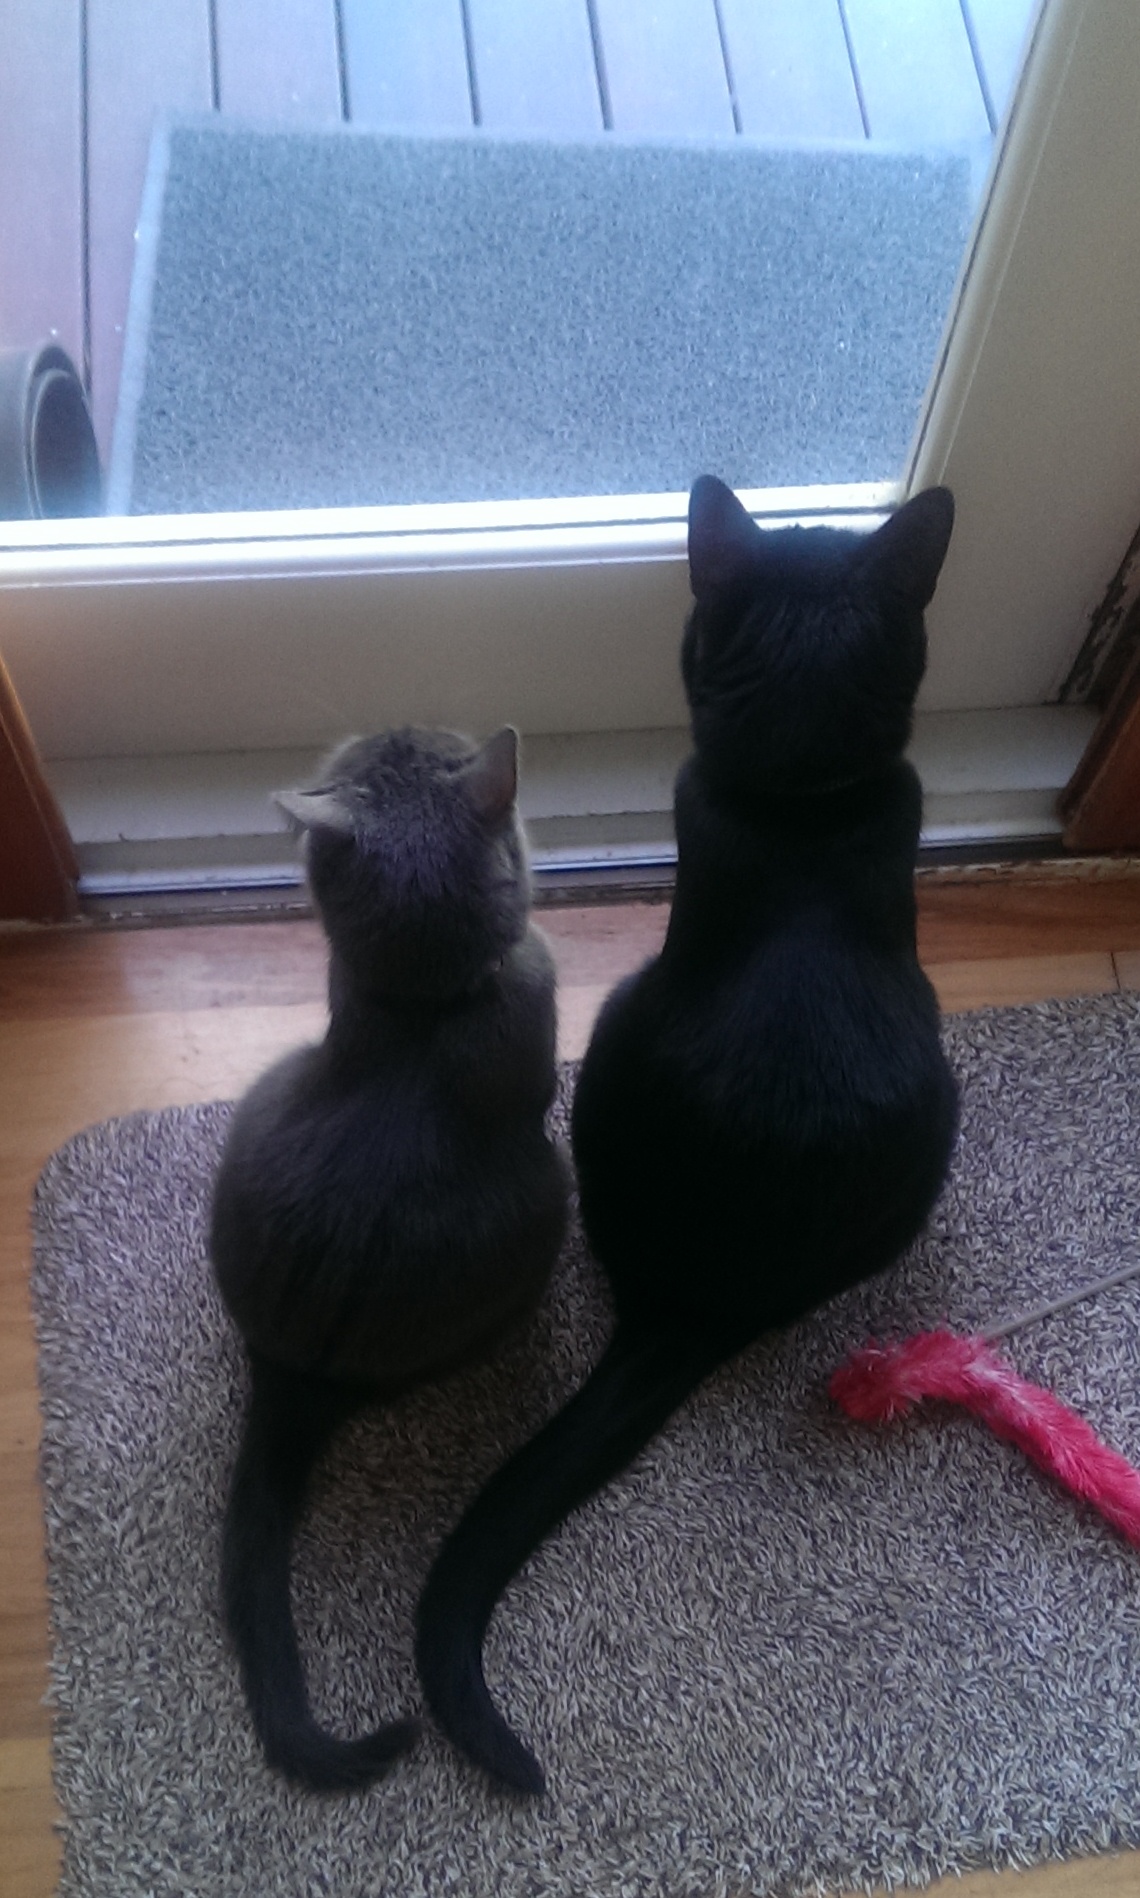
Tweedledum and Tweedledee