Cheat’s Risotto – Basics

I've yet to figure out how to photograph cooking without getting a steam filter happening...

Risotto is a word that can send chills cascading down a beginner cook’s spine. The sheer expectation that their rice is to be done to perfection may dissuade them from even trying this dish.

Add to that the clear and certain knowledge that it requires boiling hot stock, added ladle by ladle, all while stirred ad infinitum and who’d actually bother?

I don’t. In fact I find it hard to believe that any self-respecting Italian peasant mother with many small children underfoot would be able to pull that particular feat off satisfactorily. Don’t be confused here – risotto was a peasant, or farmhouse dish, long before it was ever gourmet.

In my kitchen, risotto is a way to mix quite a few different vegetables (or bits of vegetables) and a little meat into a warm, creamy, comforting bowl of hot, moist rice.

These ingredients will make me a risotto.

These ingredients will make me a risotto.

I’m calling this cheat’s risotto, because it’s how I make a risotto-like dish. It works for me and I hope it works for you.

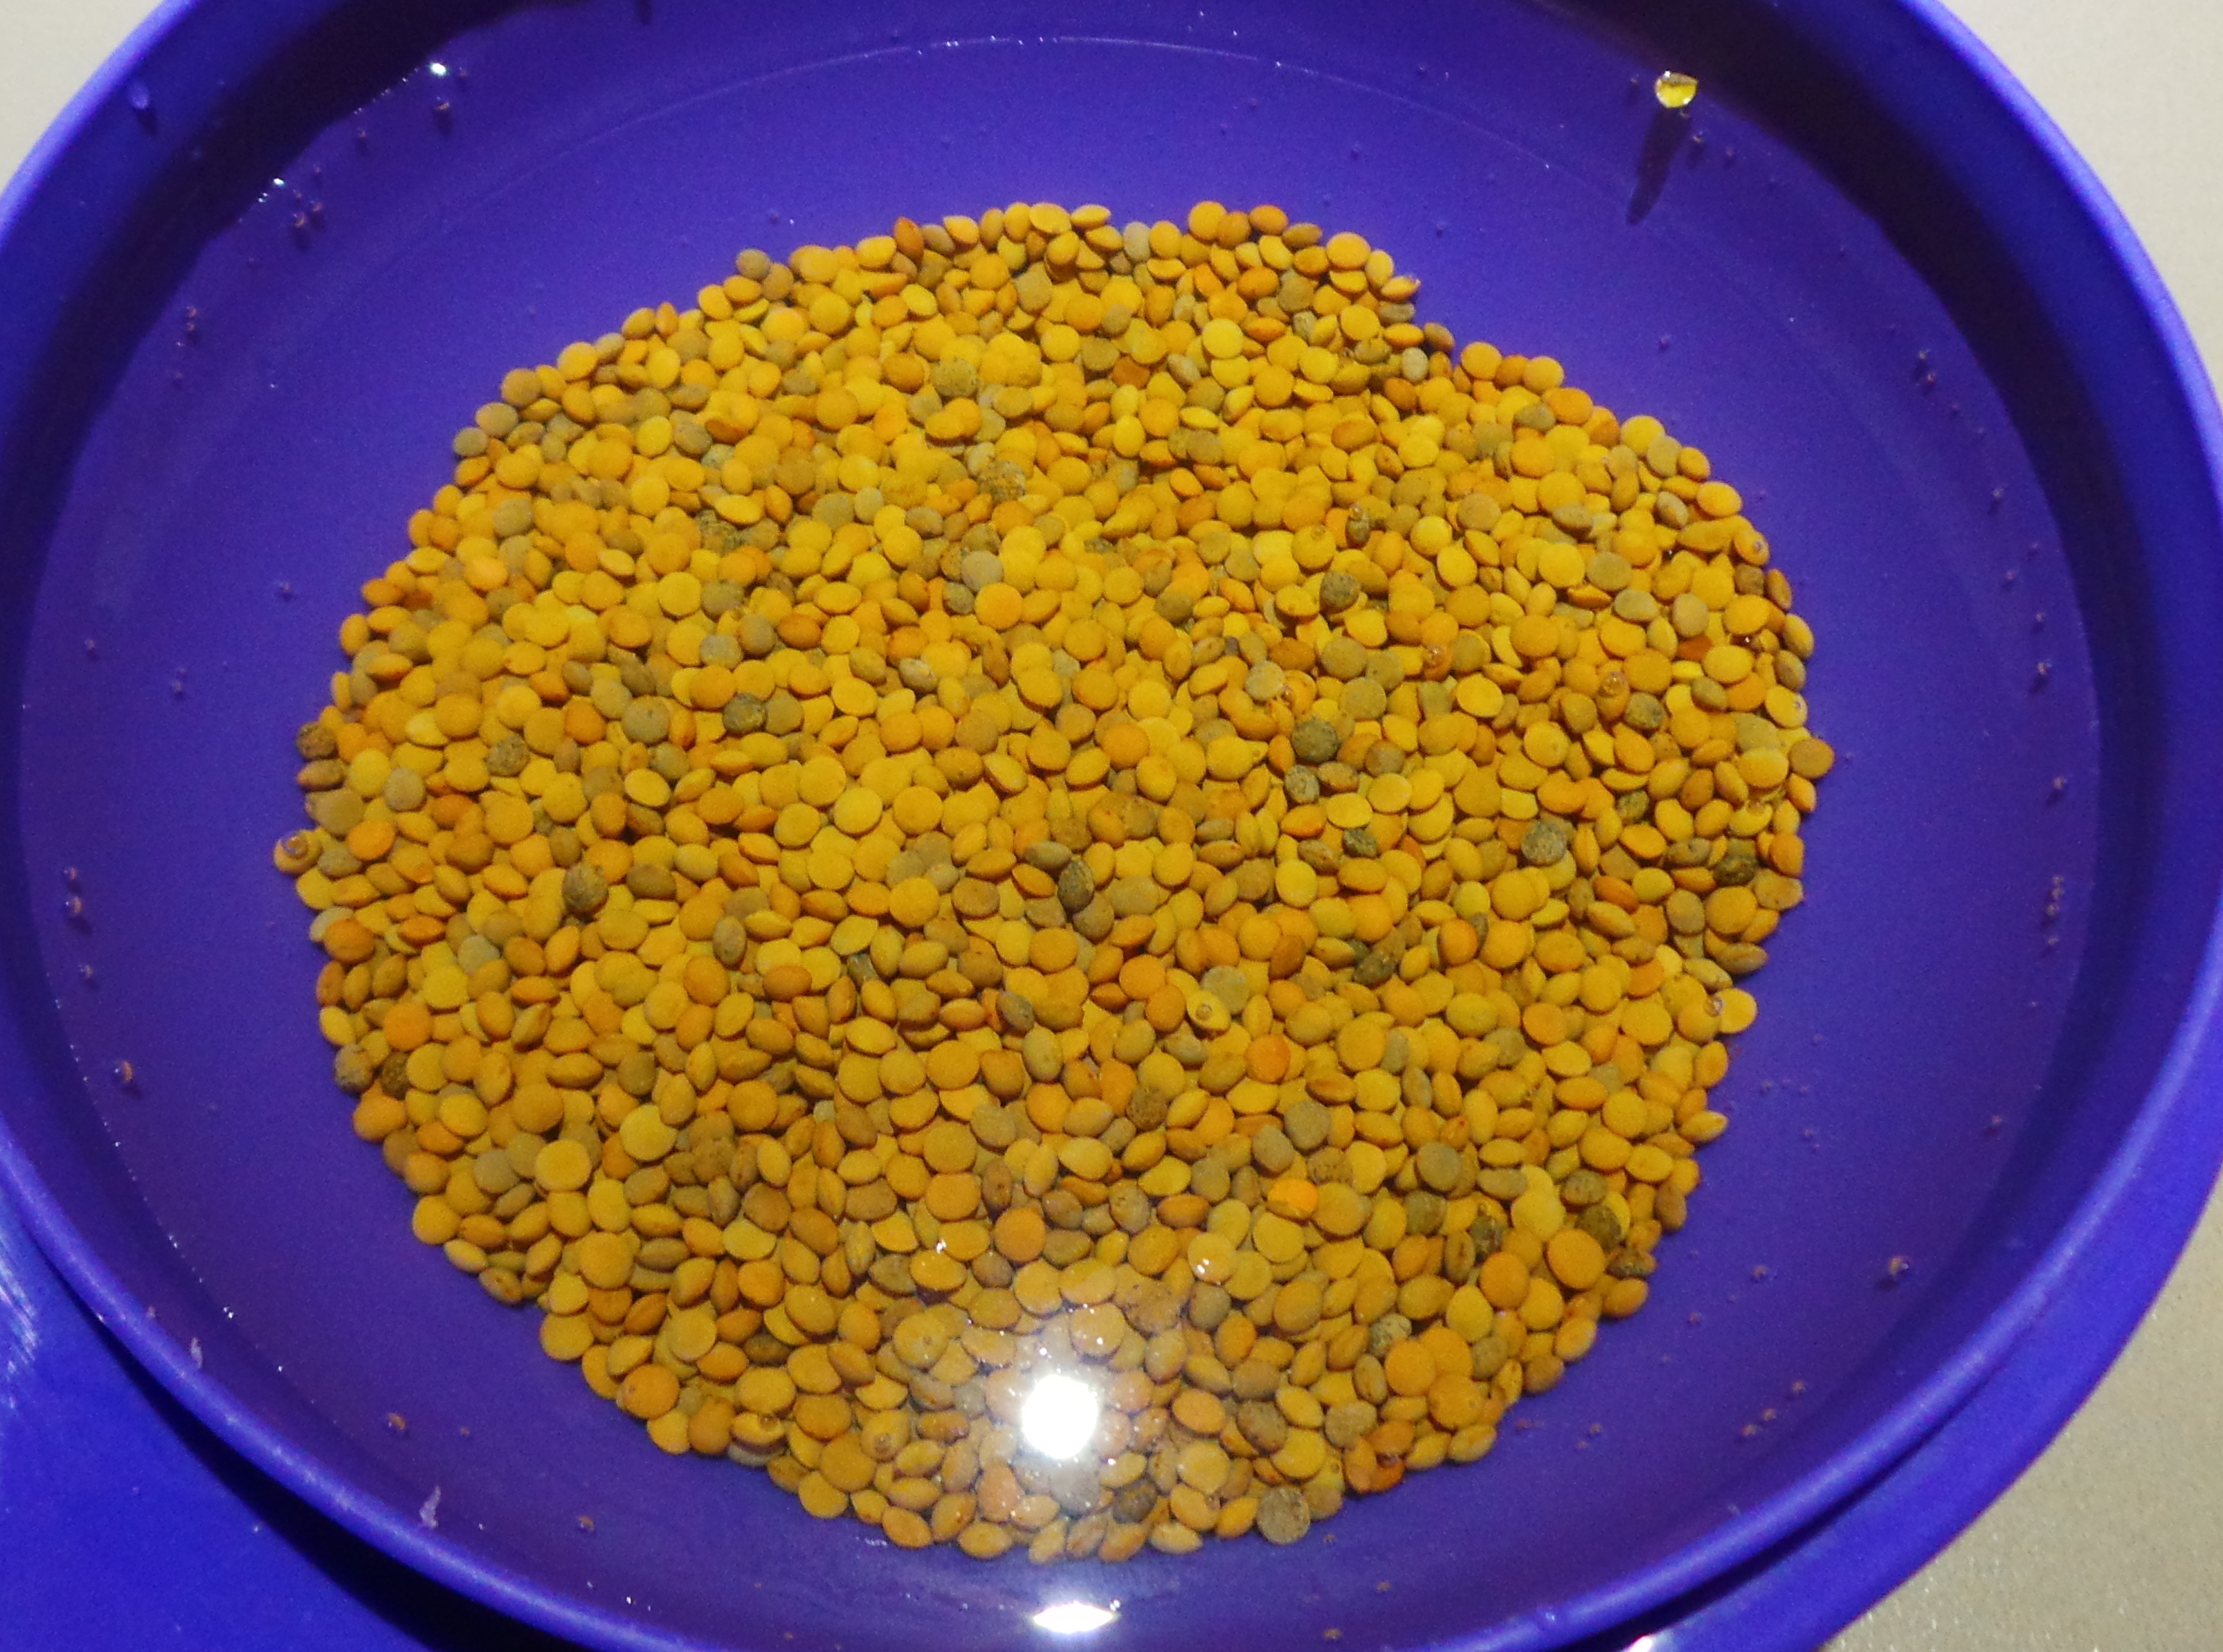
To make a risotto you need a short grain rice. The most common one available to shoppers in my neck of the world is Arborio rice. You can find it in most supermarkets.

You can do this with Pearled Barley too, but it will take about 45 minutes to cook.

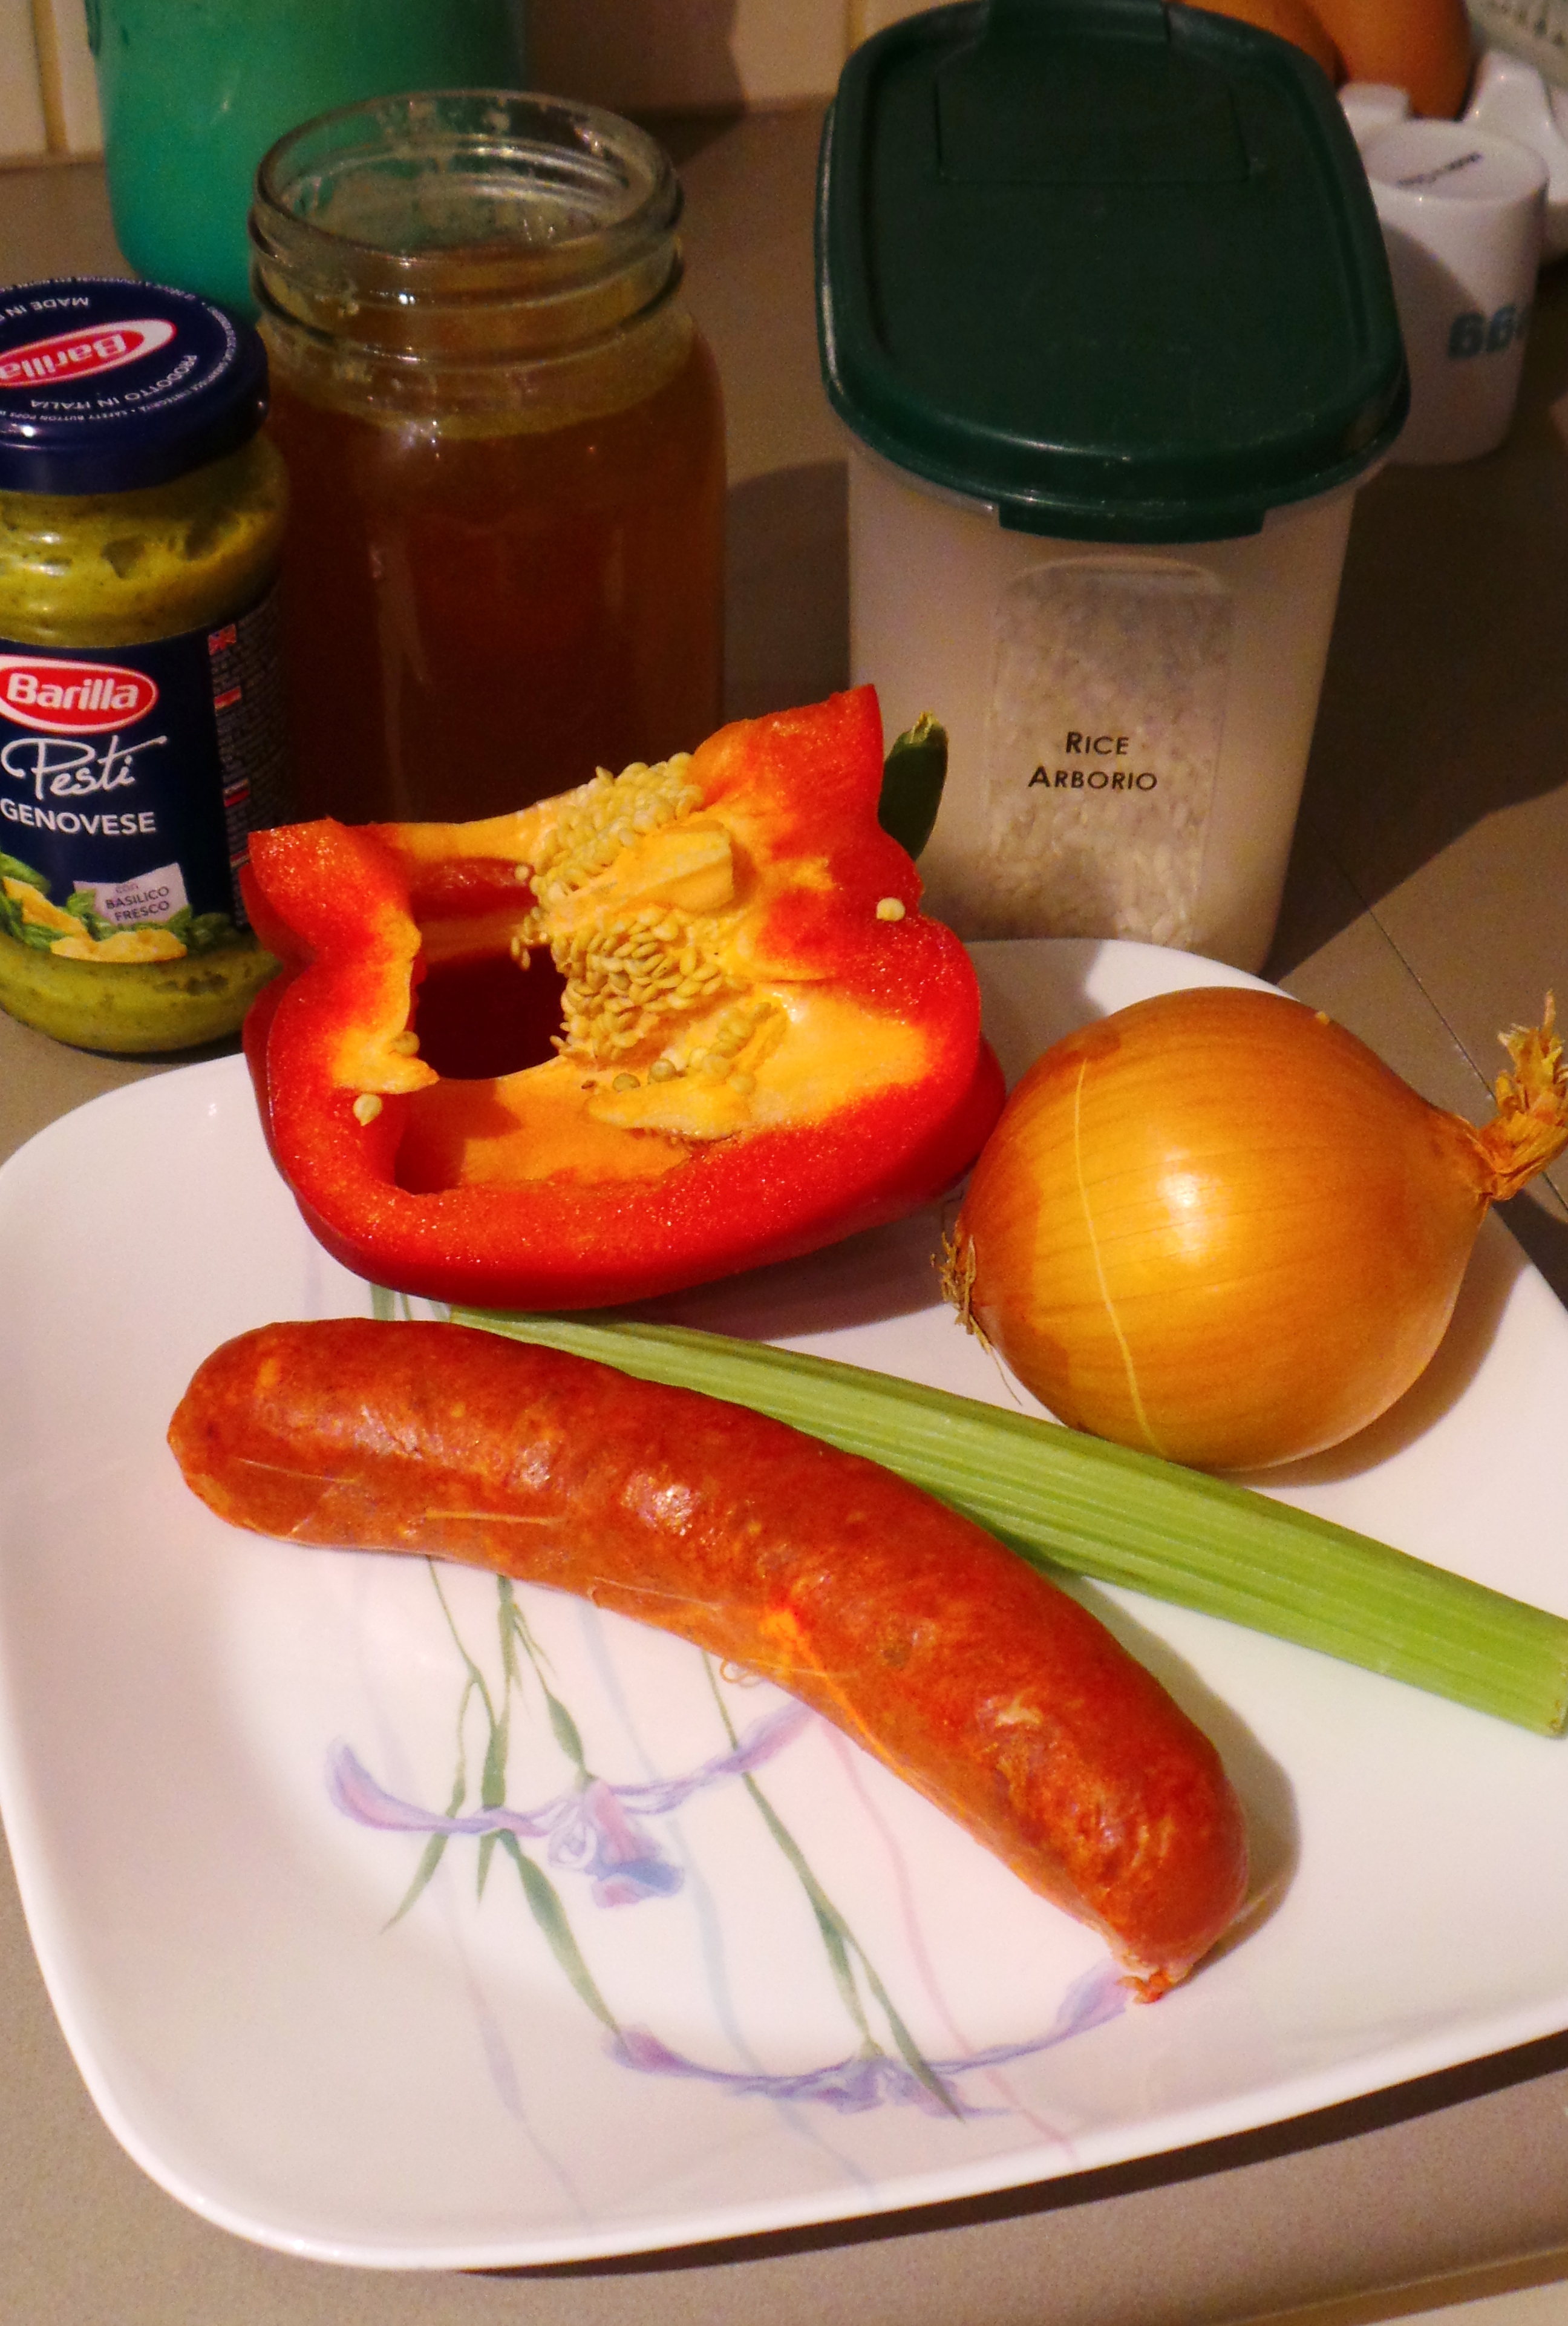
You also need a largish saucepan and a good quality stock. In the picture above, you’ll see a mason jar in the centre. That there is my home-made chicken stock.

You don’t have to make your own. Use a stock cube if you wish, or bouillon, or a tetra pack – whatever works for you. Just make sure that whatever you use has a good flavour, because this is what your entire dish will taste of!

Bear in mind that, if you do make your own, it will contain far less salt than the processed alternatives.

You’ll need a good quality stirring implement – spatula, spurtle, wooden spoon, whatever – and, if you are anything like me, long sleeves to protect from any hot liquid stirred out of the pot…

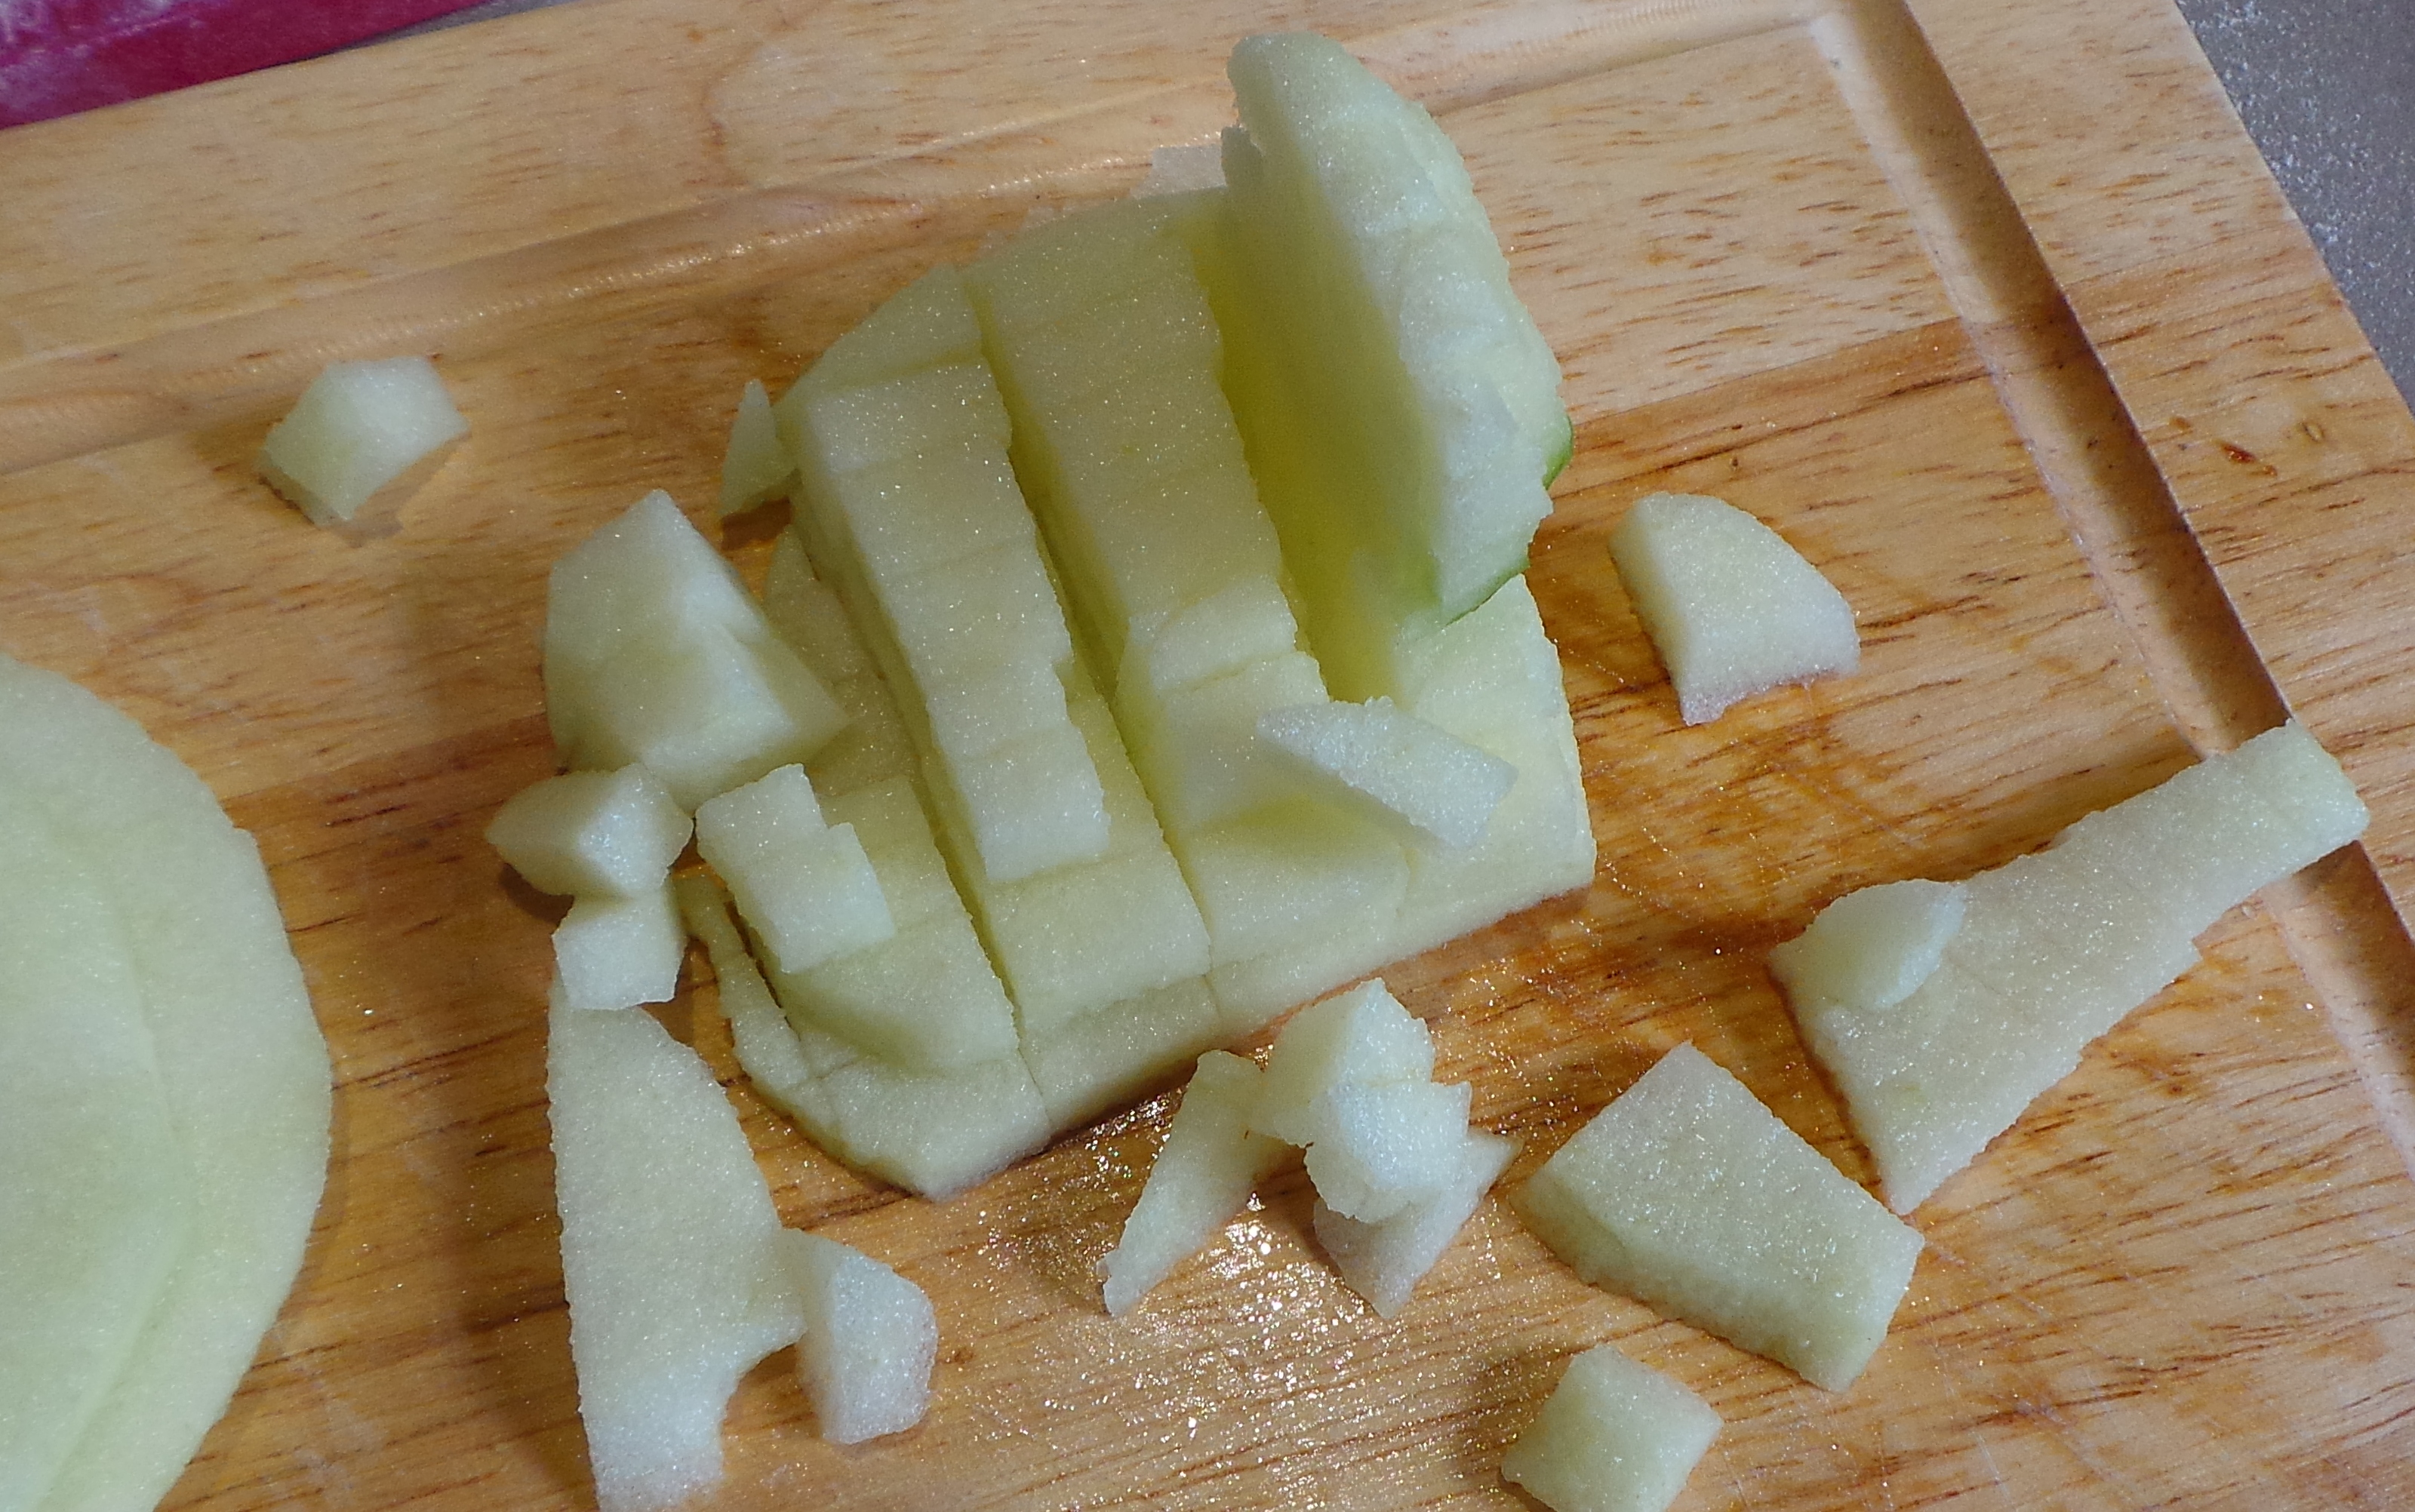
I had a few bits and pieces I wanted to use up, so that’s what’s gone into this meal. An onion, a stick of celery, half a large red pepper and a chorizo were all pressed into service. I started by chopping them up as finely as my motor skills would allow – which wasn’t very.
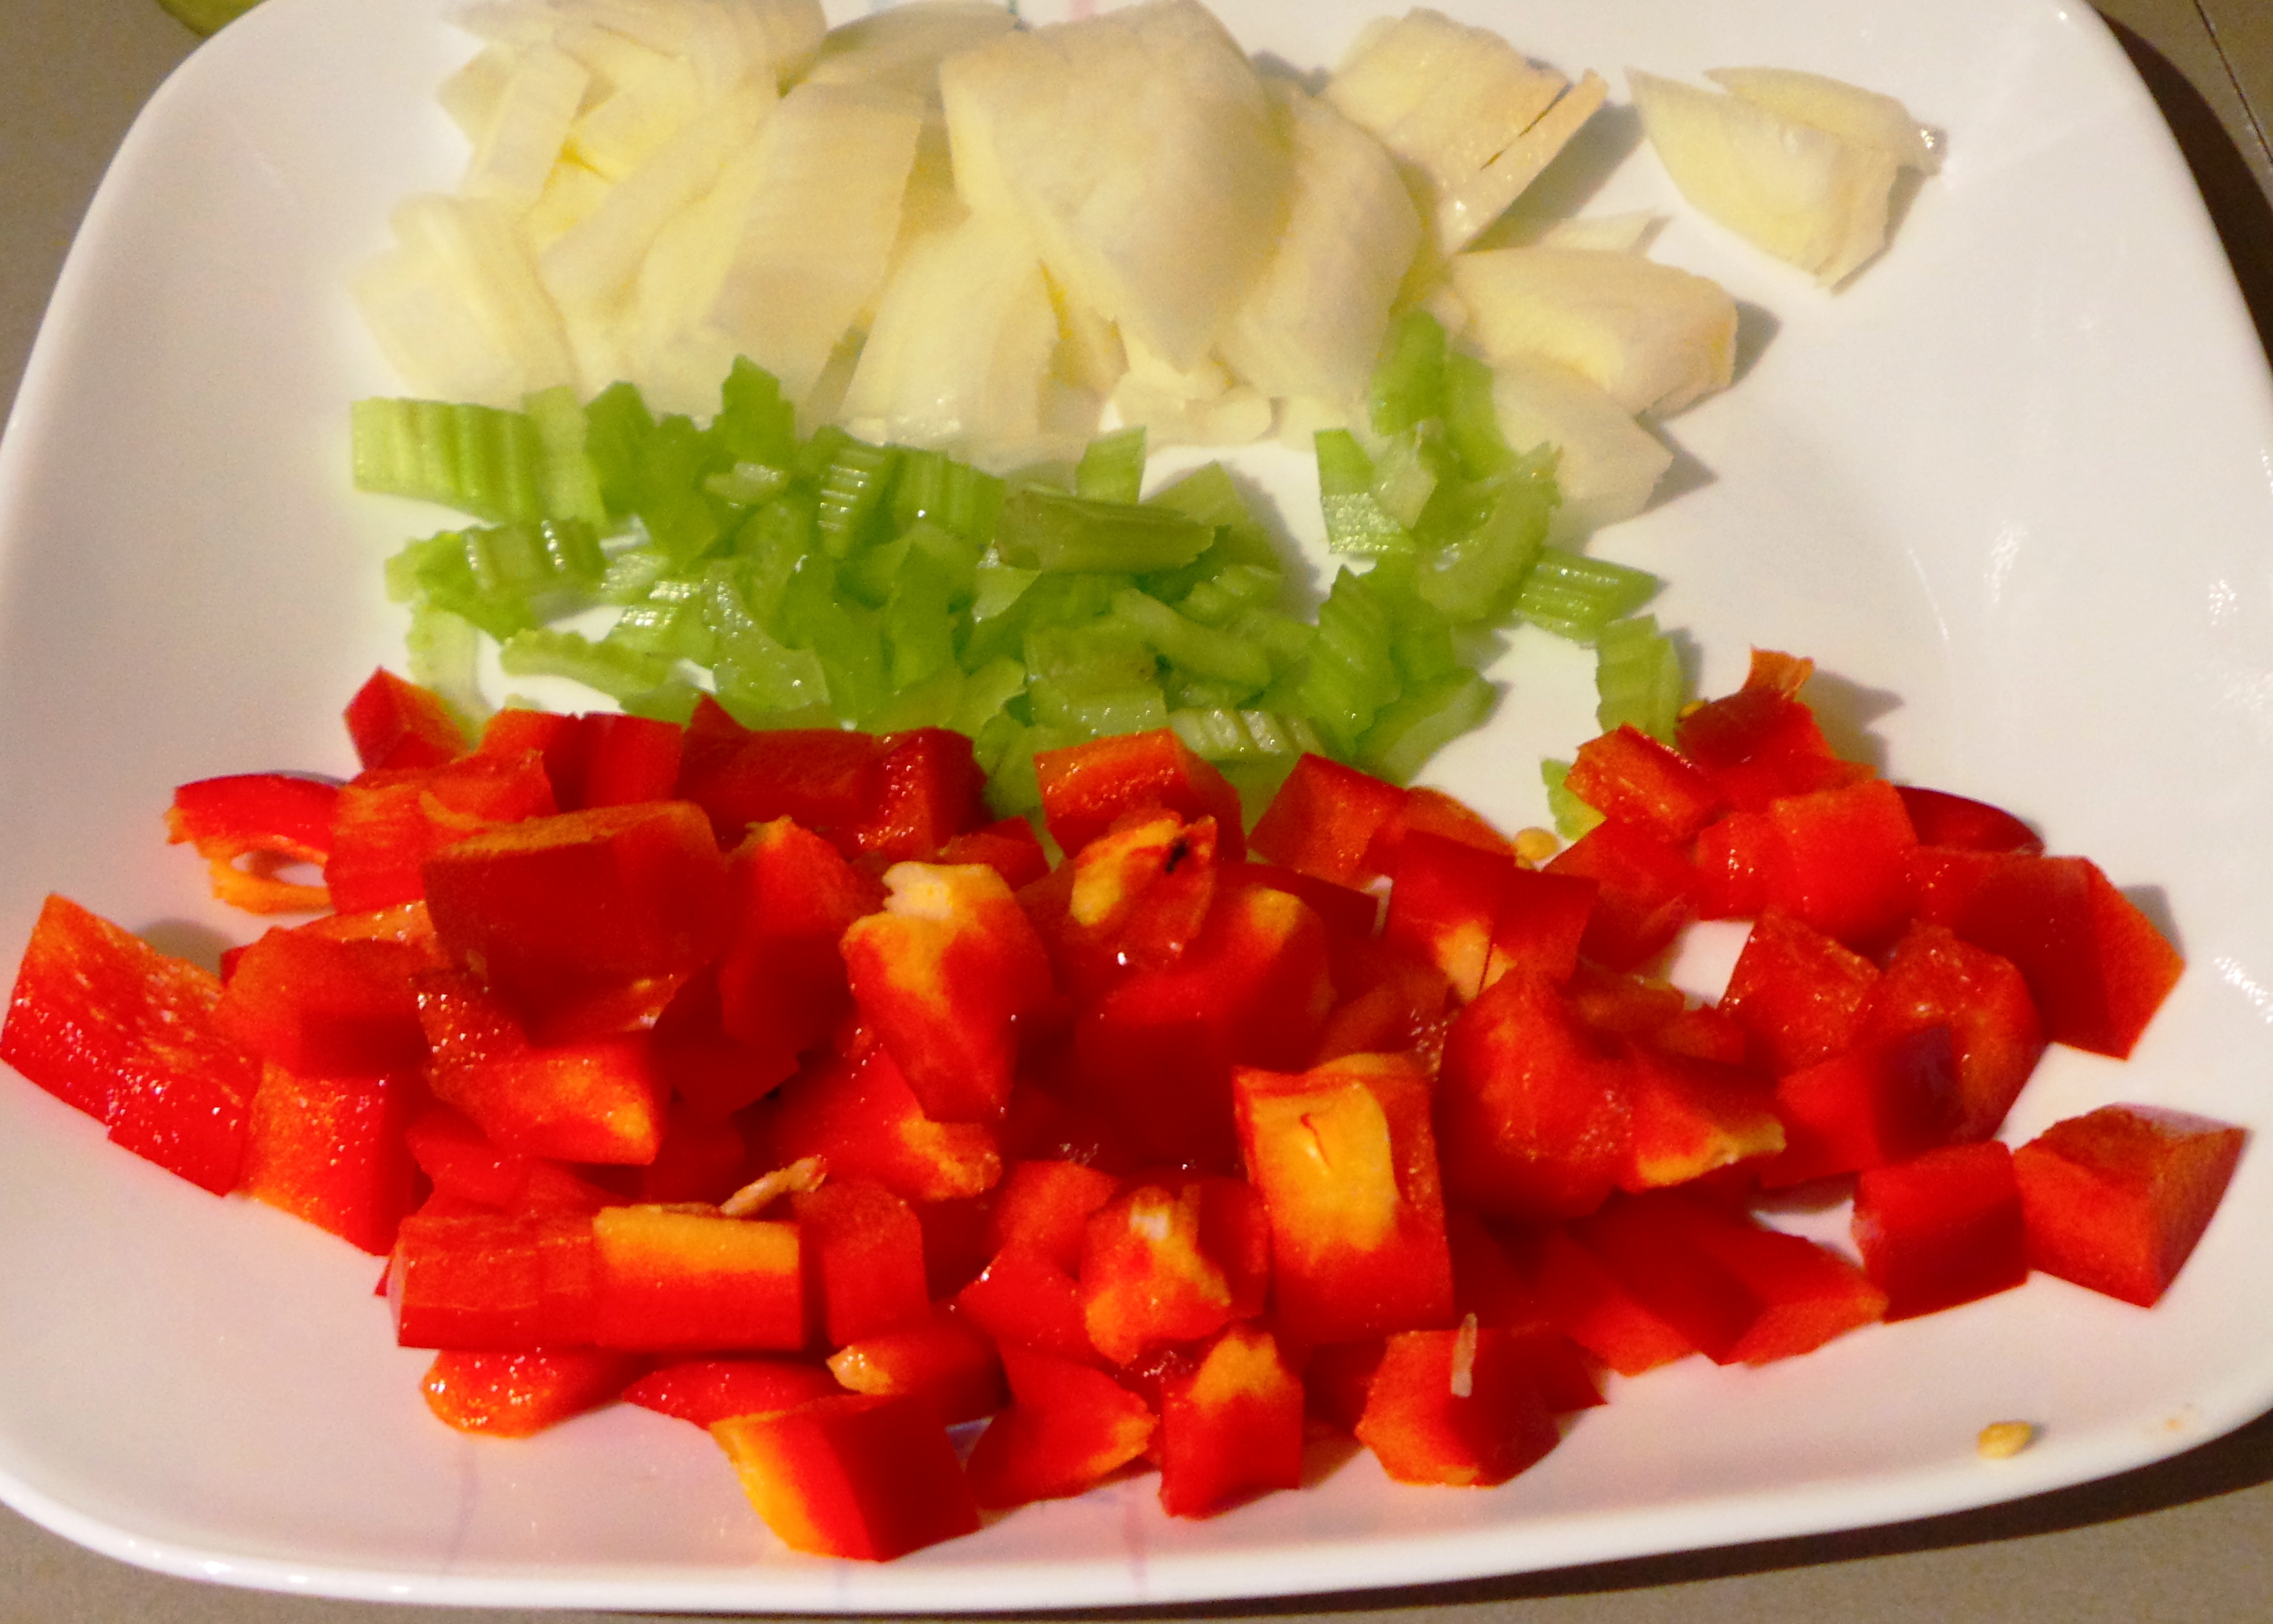
Prep your vegies.

Prep your vegies.

While I was doing this, I poured the chicken stock into a microwaveable jug and heated it to boiling point.

Then I put my saucepan on the hob on lowish heat and prepared for action.

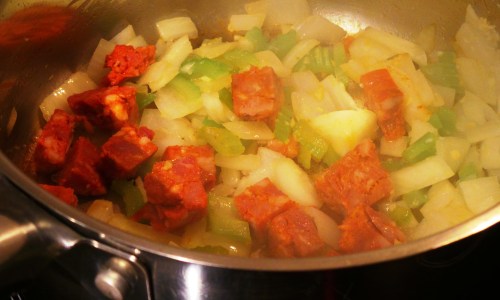
A splash of olive oil went into the pot and the onion was added and cooked until translucent, accompanied by a spoonful of garlic from a jar. Then I added the celery and, when that was soft, I added the diced sausage.

I've yet to figure out how to photograph cooking without getting a steam filter happening...

I’ve yet to figure out how to photograph actual cooking without getting a steam filter happening…

I decided to add the capsicum later for a bit of a texture contrast. The stock is brought to the cooking area now and the kettle is boiled just in case I want more liquid later.

Now is the time to add the rice. I very rarely measure it, but I guess I use about 1 cup for the two of us.

Add the rice all at once.

Add the rice all at once.

When the rice is added, it is very important to stir it vigorously. You are aiming to coat the rice with whatever oil and juices are already in the pan while also toasting the grains.

Stir for your life.

Stir for your life.

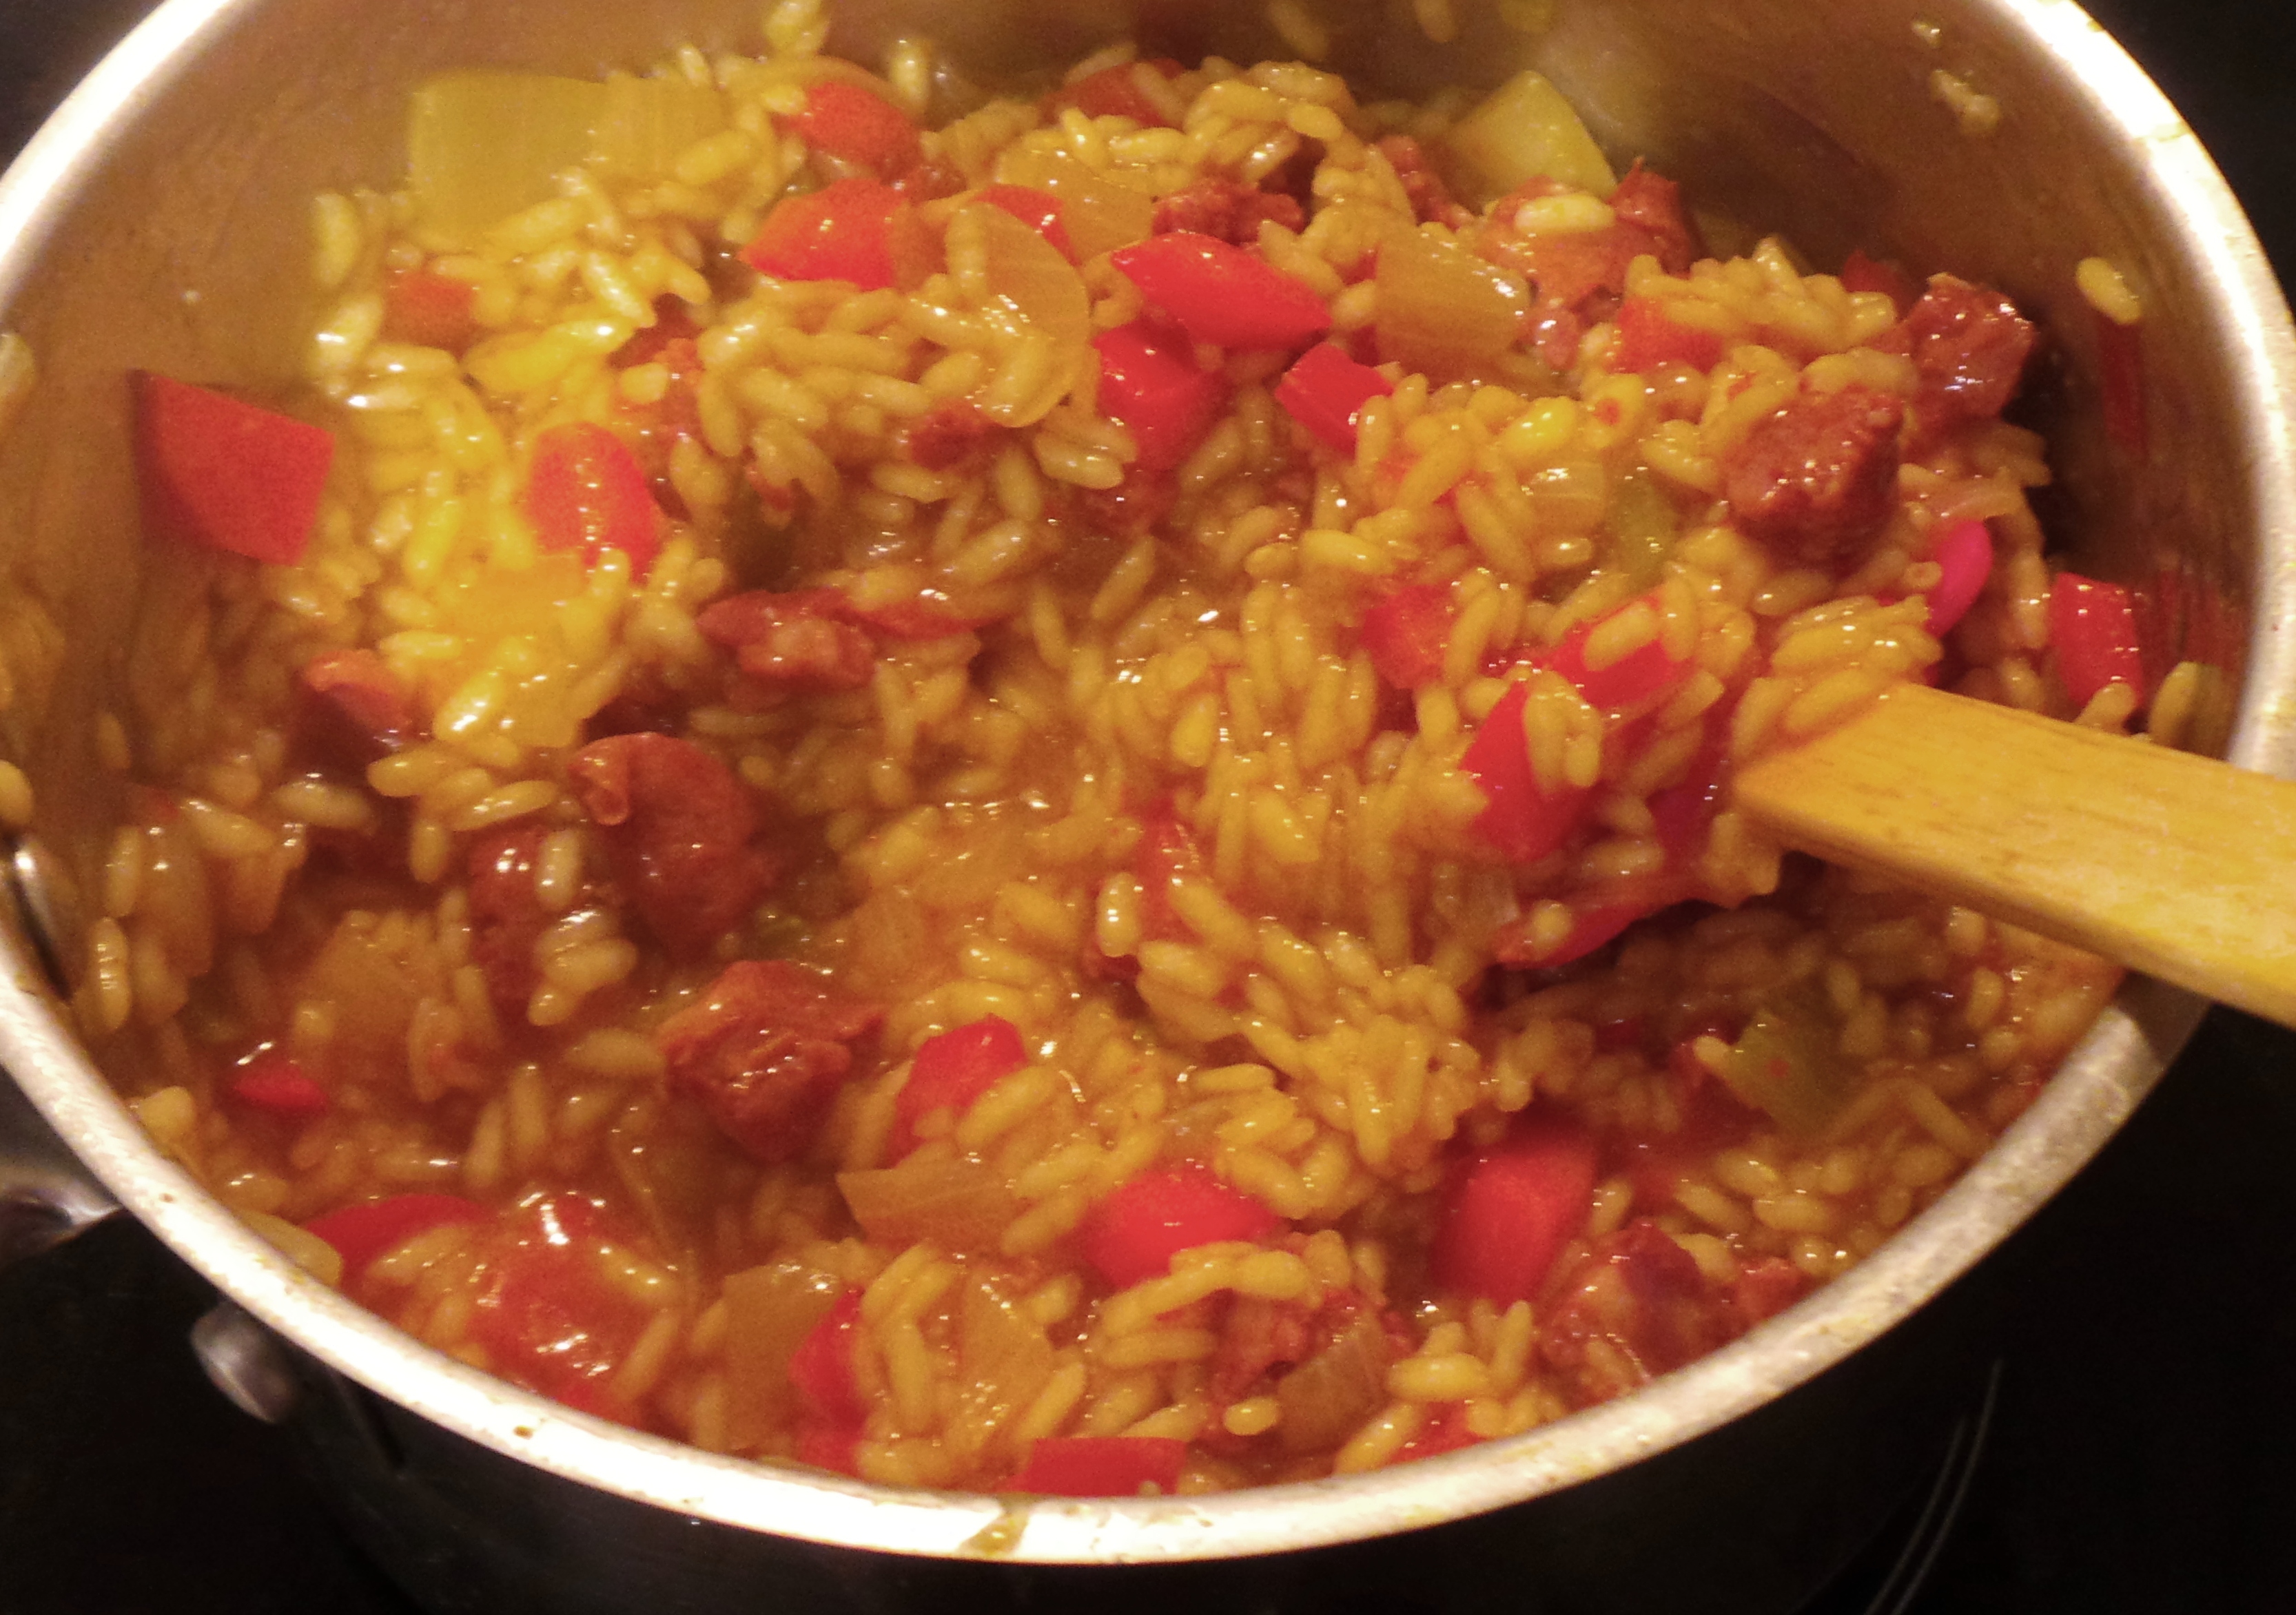
I added the capsicum here. I also set the kitchen timer for 15 minutes. Then I added a good amount of stock – probably about 3/4 of a cup. Basically you want enough to cover the base of the pan and to come at least half way up your ingredients. Stir as thoroughly as you can until the stock is almost completely absorbed.

Start adding your stock a bit at a time.

Start adding your stock a bit at a time.

The more you stir at this point the more the starches in your rice will be released, and the smoother and creamier your final result will be. Keep adding stock a little at a time until you’ve used about half of it.

Then you can safely just add the rest. Did you hear the sound of millions of chefs fainting just then? Seriously, just add the rest of the stock. It will look like you’ve drowned it. It’s okay. Really.

Don't panic.

Don’t panic.

Keep it simmering gently and stirring it to prevent sticking. If the rice emerges from the liquid before your kitchen timer goes off, then add some water from your previously boiled kettle. You need your rice to be cooked!

You *will* see your rice again.

You *will* see your rice again.

You want your rice to be al dente. Remember that it will continue to absorb water after you have taken it off the heat. So, while it is still on the hob, run your spatula along the middle of the bottom of the pot. You should see clear saucepan and then a sheen of liquid will appear. That is what you are after.
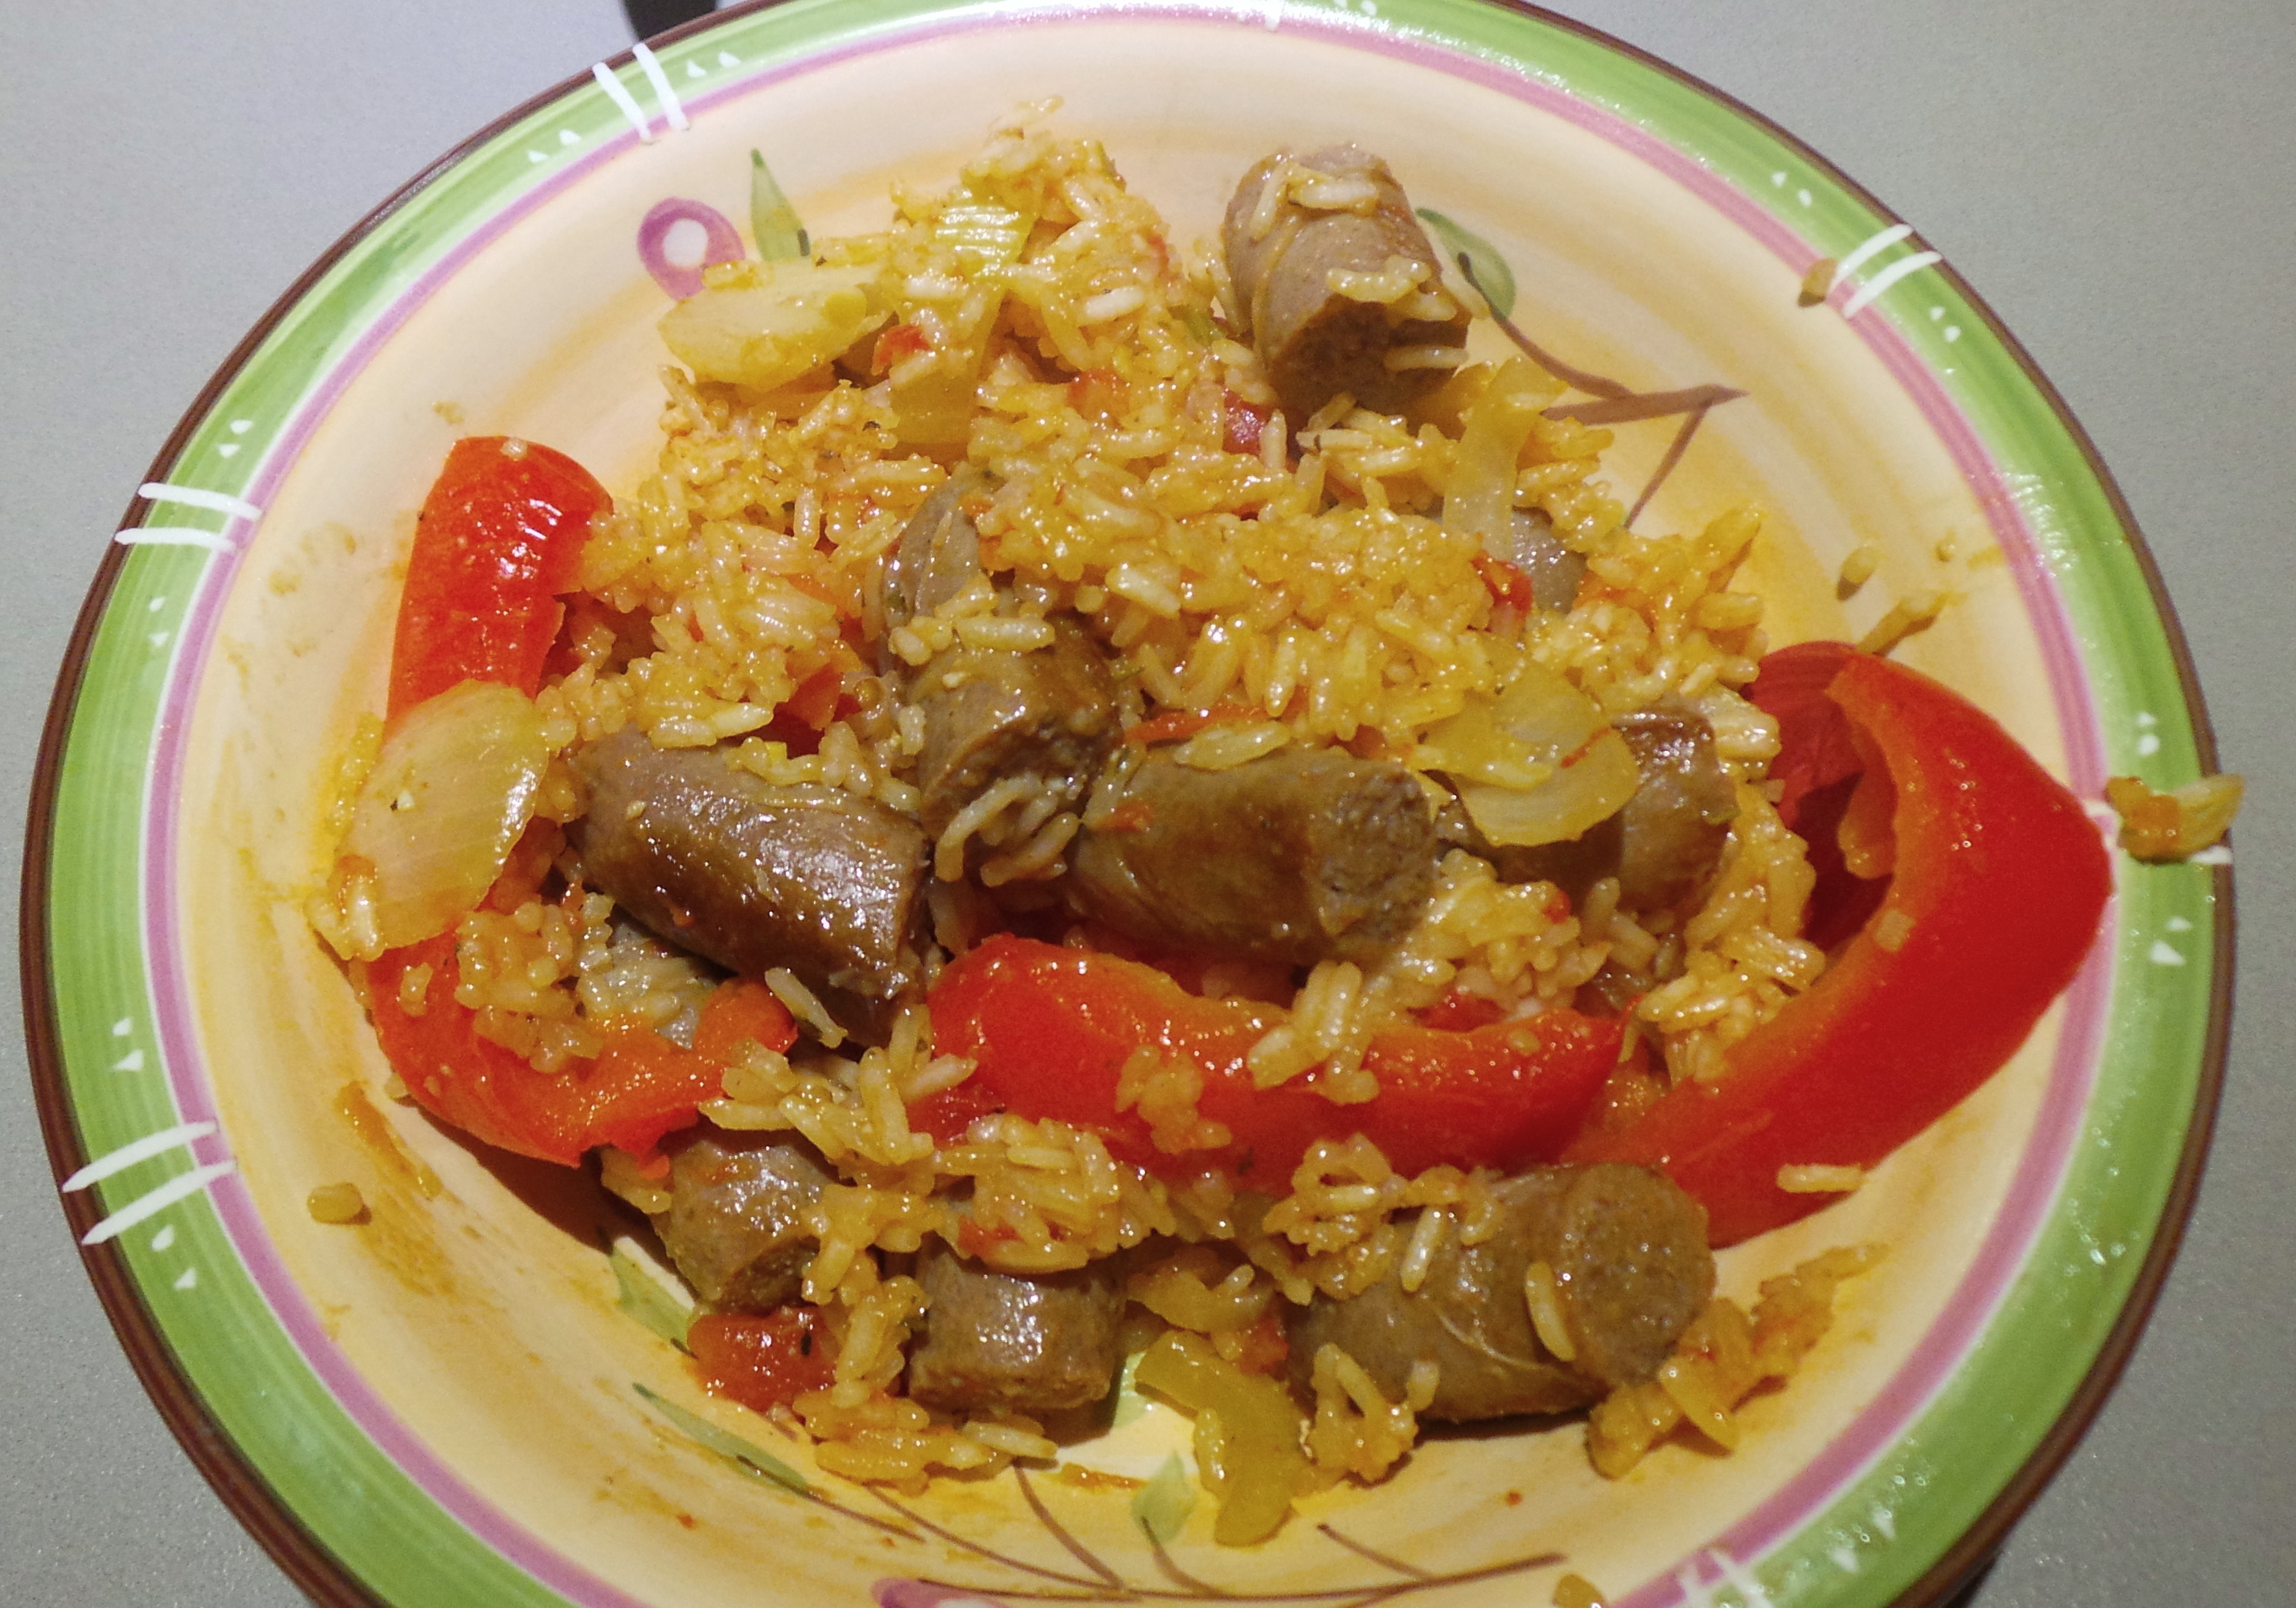
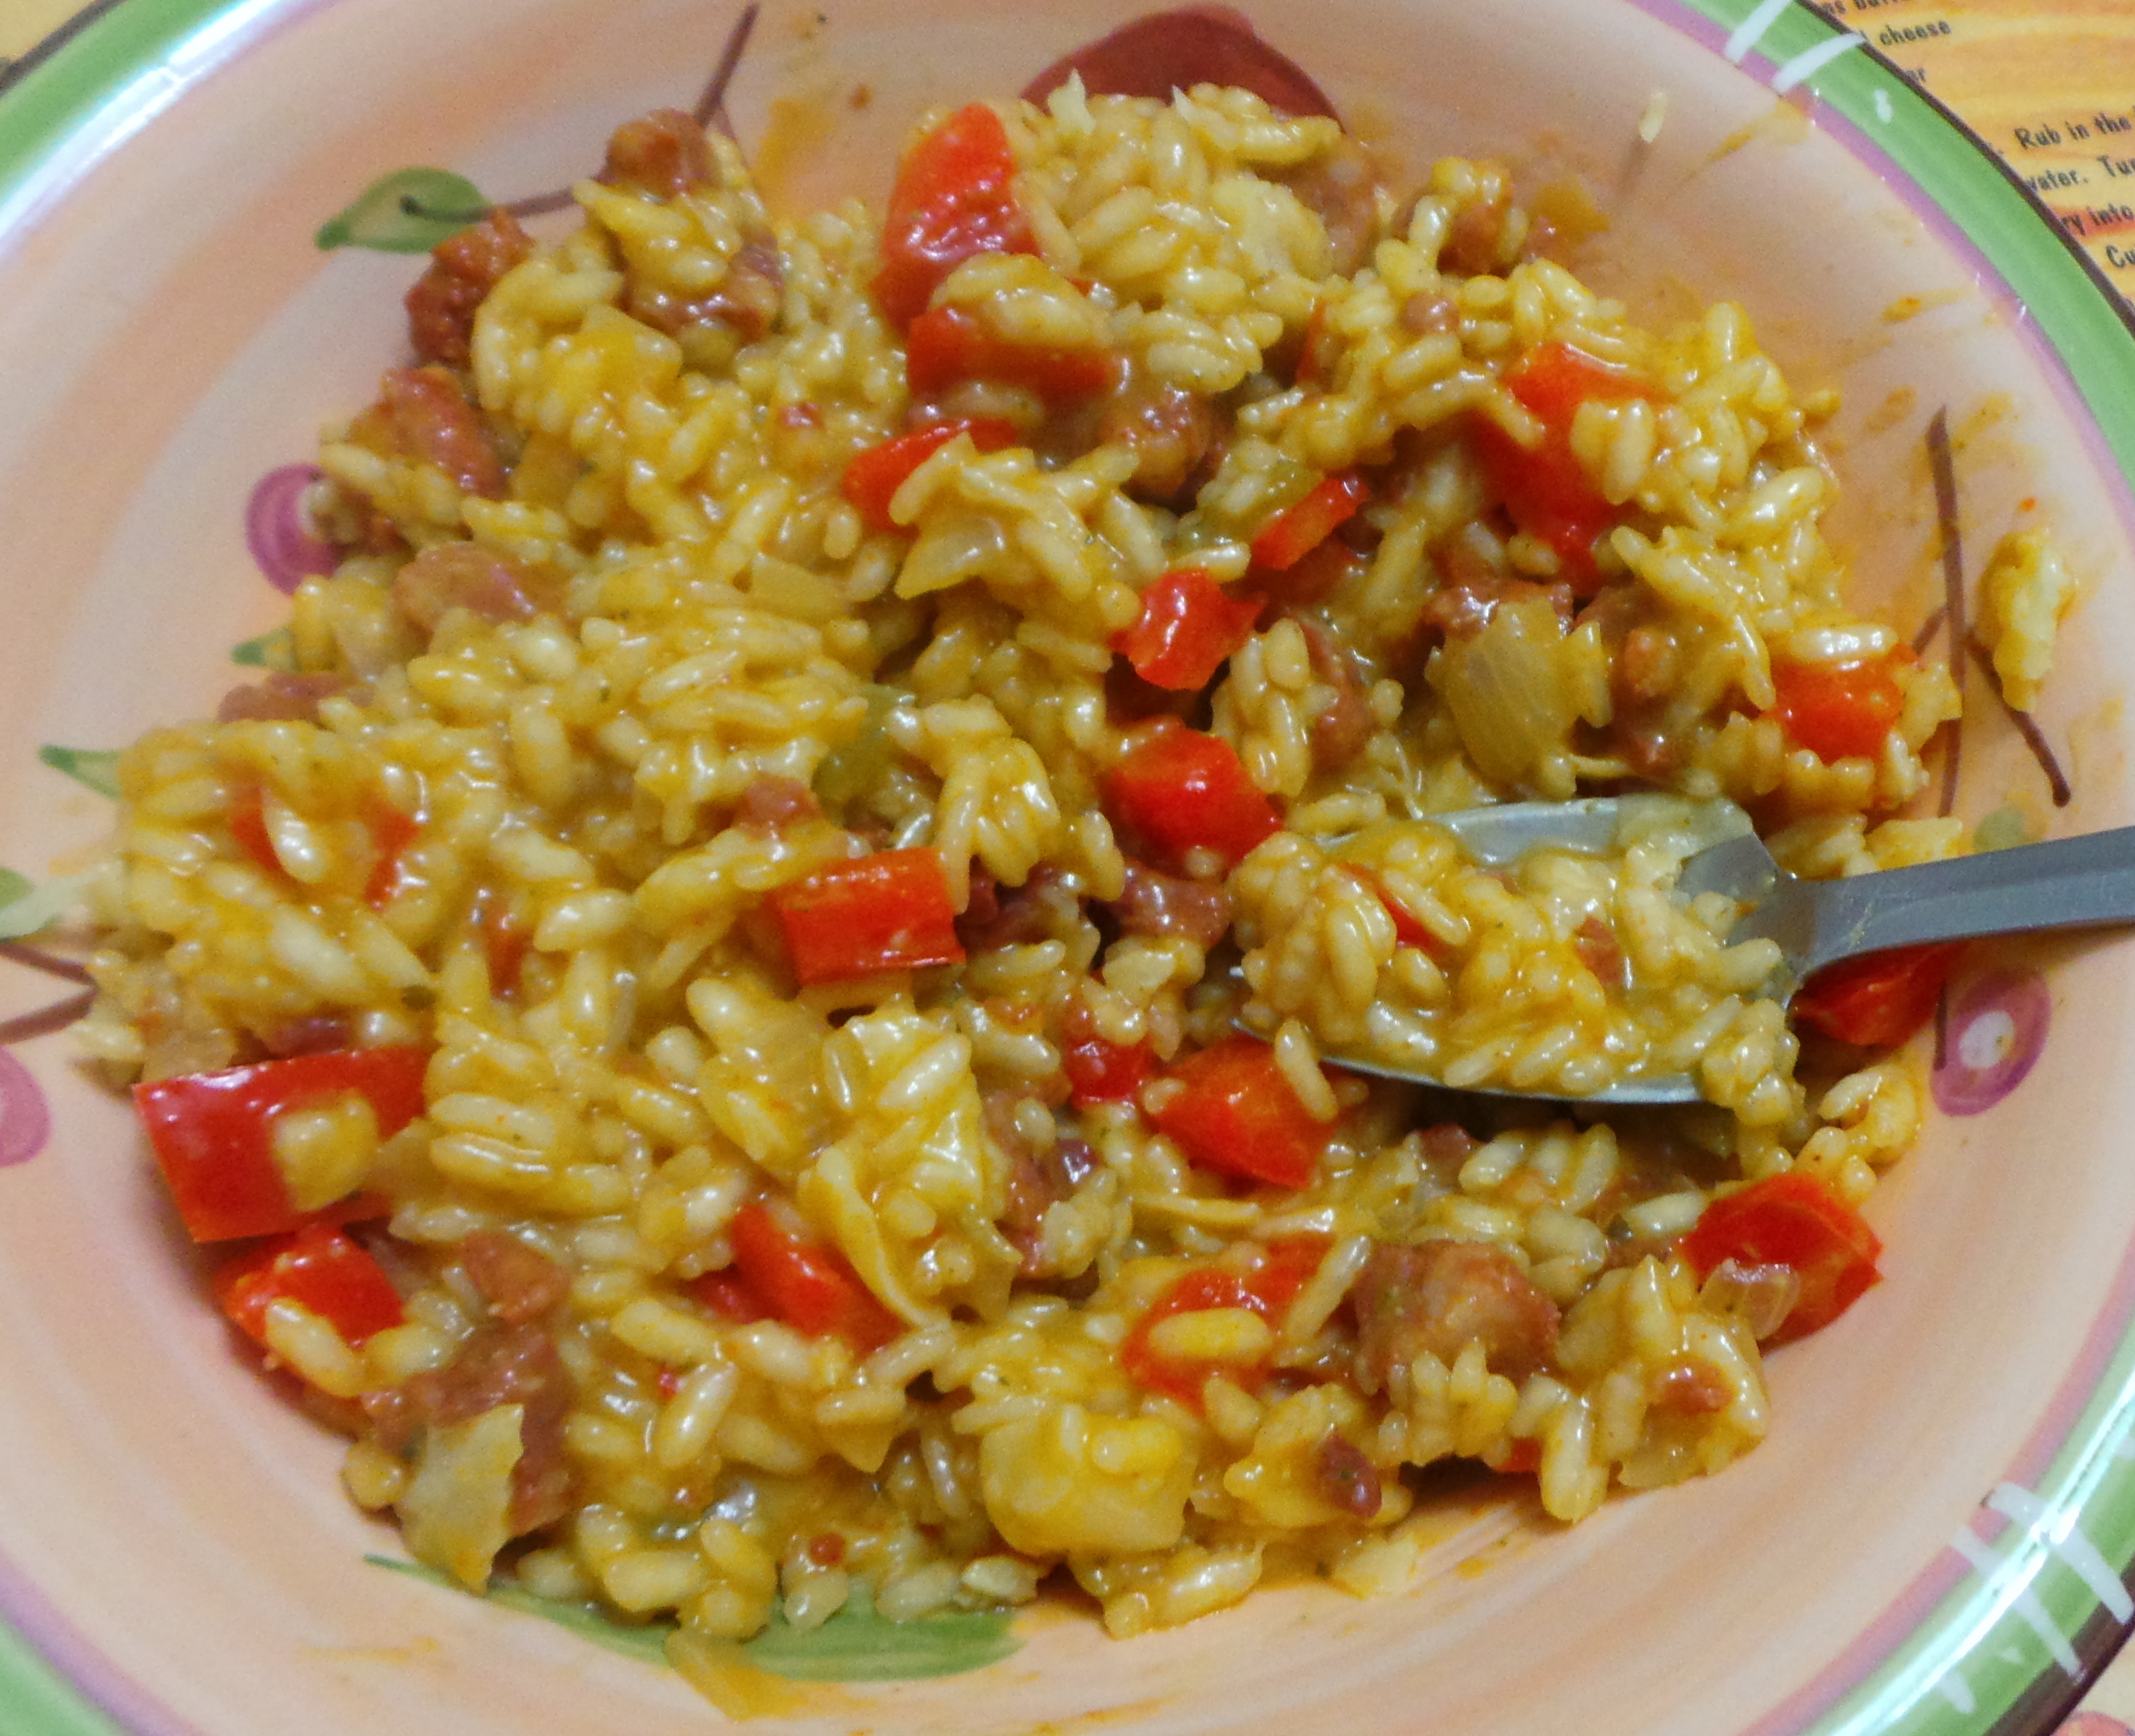
Serve your risotto.

Okay, rewind.

Serve this pot of yumminess.

Serve this pot of yumminess.

Traditionally, the dish is ‘velveted’ by adding cream at this point. I fear my hips would enjoy that too much, so I don’t do it. I sometimes add a tablespoon of basil pesto to change things up a little, but it isn’t necessary. You can also stir cheese through at this point, but this adds a degree of difficulty to the clean up of the saucepan.

A sprinkling of parmesan is really all that is needed.

A sprinkling of parmesan is really all that is needed.

I serve the rice, then add a sprinkling of shaved parmesan cheese and a grinding of black pepper and it is perfetto!

Perfick.

Perfick.

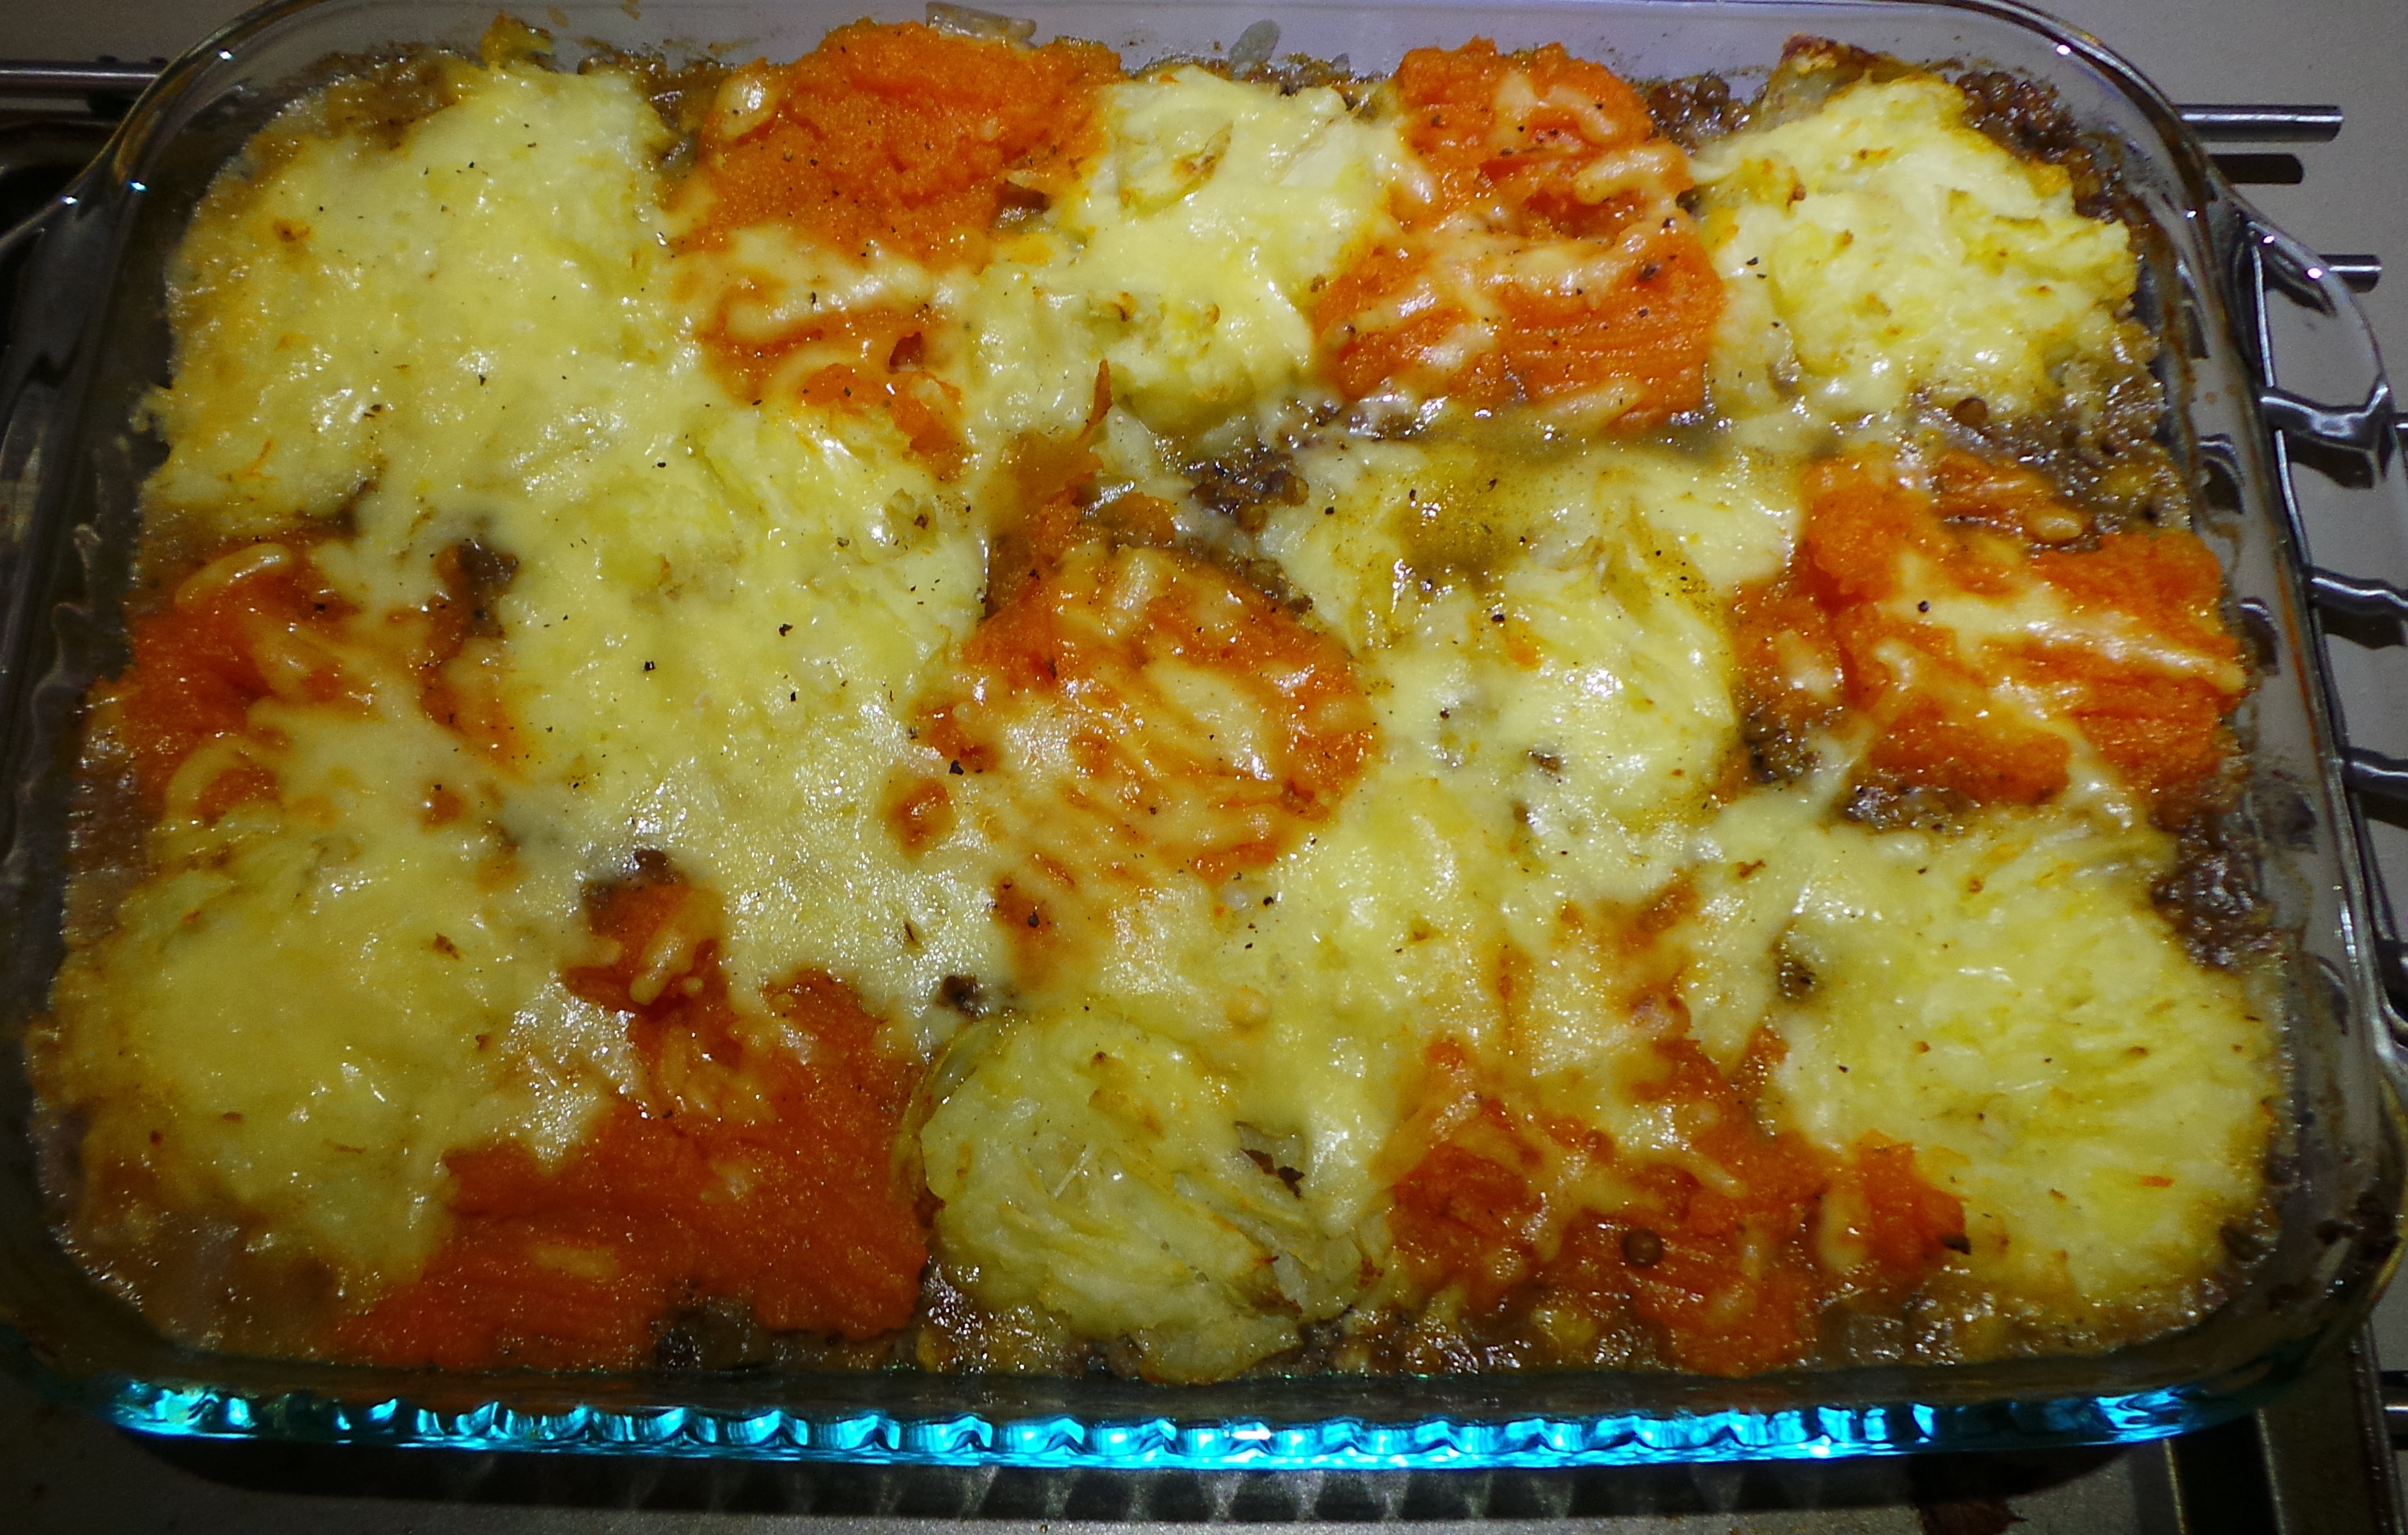
At some point in the future I’ll redo this post with pics of the food in white bowls and under better lighting, but until then you’ll have to trust that this is delicious.


It is absolutely FREEEEEEEZING here today. I mean it’s really cold, and I’m inside with ducted heating!

Good grief.

Anyway, my hands are icy, so this shall be short.

I wanted a change of texture for dinner tonight. So, I rescued one of my Asian flavoured beef meals from the freezer and popped it into the crockpot frozen.

Doesn't look all that tasty, does it?

Doesn’t look all that tasty, does it?

But this is how it looks now, after 10 hours on low and with the addition of some frozen peas and corn and some cornflour to thicken it up.

And the after" pic.

And the after” pic.

I’ve just put a rather nice, jazzed-up Apple Crumble in the oven – to keep the whole warm, comfort food, vibe going. I’ve added ground ginger, sultanas and choc chips to the filling…because, why not?

I think I neglected to mention yesterday that I’d made another loaf of bread, so I’ll do that now.

Also, I just served the last of the instant hot chocolate mix to The Boy, who has sequestered himself in his warm study, so I’ll be making more of that tomorrow. I could quite easily do it now, but my kitchen is the coldest room in the house on a decent day.

I’m looking forward to moving – you have no idea.

Hot chilli oil.

Hot chilli oil.

I also decanted the Spicy Chilli and Garlic oil I put aside to infuse a few weeks ago. It’s to be a gift for my step-father who will hopefully be visiting some time this week.  He just had a birthday and loves things HOT.

So, I’m logging off now and snuggling up with a cat or two. On the bright side, today marks the Winter Solstice. It’s going to get warmer from now on, or so they tell me.

Until tomorrow.


Sorry I didn’t post yesterday. I had an episode of MS fatigue and my get up and go just got up and went.

However, just to fill in the gaps, yesterday I used the rest of the leftover corned beef to make fritters for lunch. I also used up some frozen stir fry vegies I’d heated for the fried rice a night or so before and then realised I didn’t need.

Fritters

Fritters

So, that went well. I didn’t have dinner as I just didn’t have the energy to eat, but The Boy tucked into the leftover Sausage Hotpot. It’s all good.

I did manage to get my meat and lentil sauce cooked for the Cottage Pie tonight. It looks and smells wonderful. If you look closely at the second photo, you’ll spot the tiny lentils I soaked the day before.

Mince and lentil sauce.

Mince and lentil sauce.

See how the lentils blend in so well?

See how the lentils blend in so well?


I cooked the sweet and white potatoes this afternoon and mashed them up – arranging them on top in a chequerboard pattern. There’s now a big pie that I had intended to take to the Solstice do (not well enough to go, sad face) and two individual ones for our dinner this evening.

?????????????

Individual cottage pies

A Big cottage pie for eating later.

A Big cottage pie for eating later.


We did a bit of a stocktake earlier and realised that we’ve used about a quarter of the food I purchased last week. That means I’ve effectively fed us both on $25.

TTFN

Dinner tonight

Today I ate far more than I needed to at a food party at my Thursday lunch group.

However, I had the sausages out for dinner so I made the planned casserole. It was quite tasty, but I think it might need a few tweaks.

Sausage and rice hot pot

Sausage and rice hot pot.

Unfortunately, the rice ‘caught’ a little on the bottom of the pan, so I think I shouldn’t be making it in a cast iron Dutch oven in the future. Also, it was a touch ‘gluggy.’ Perhaps if I were to sauté the rice before adding the liquid?

I think it would also be a good idea to add a can of chick peas to any future editions of the dish, just to add a bit of texture.

However, again we have leftovers for future nights. I’ve used almost all the jasmine rice that I bought last week, so that’s been added to the shopping list for next time.

We have a Winter Solstice Pot Luck to attend on Saturday night, and I’ve decided to take a Shepherd’s Pie. The mince has been released from the freezer and I’ve got some of my favourite tiny brown lentils soaking at the moment.

Teeny, tiny lentils! Aren't they sweet?

Teeny, tiny lentils! Aren’t they sweet?

I like to add these to meat sauces to both help them ‘stretch’ a little, and to increase the fibre content of the dish.

Tomorrow, I’ll make up the meat sauce. Then, on Saturday afternoon, I’ll cook the potatoes and assemble the dish.

I will not be cooking dinner tomorrow night. It will be a “shop the fridge” night all round.

ttfn

Apple Cinnamon Scrolls

Apple Cinnamon Scrolls

This is another dish that builds on one covered previously – good old Scones! It’s moreish and quite delicious.

It’s also very easy. Actually, it’s almost criminally easy.

Criminal in that there is very little incentive not to just make a batch each and every day.

I created this dish in an attempt to recreate the apple scrolls I’m quite fond of getting from a local bakery. However, during our current budgetary regime, I simply can’t justify paying $4 for one of them. I can make a whole batch of these (8) for less than $2. Honestly.

It also takes about 30 mins from start to finish. Make it with the kids and then get them to make it for you. Often.

Herewith: start with a batch of scone dough. You’ll find the recipe here. Go make that up right now. We’re happy to wait for you. Once you get to the bit where you flatten it out, stop and head back here.

Shape and flatten your dough, using only your hands.

You are here.

Preheat your oven to 230ºC/475ºF. Now is the time to grab a small bowl and place ¼ cup of brown sugar into it.

Start the madness with some brown sugar.

Start the madness with some brown sugar.

Then add 1 tsp of ground cinnamon and mix well.

Add spice.

Add spice.

Peel a cooking apple and dice finely.

Take one Granny Smith.

Take one Granny Smith.

Mix into the sugar and spice.

This is your filling. Easy, wasn't it?

This is your filling. Easy, wasn’t it?

Now spread this over your scone dough as evenly as you can.

Add to your scone dough.

Add to your scone dough.

Roll it up from the long side and gently cut into evenly sized pieces.

Divide into evenly sized pieces.

Divide into evenly sized pieces.

Line a baking sheet with paper. Don’t miss this bit or you will have a big clean up job to do! Then place your slices on the paper cut side down. Squeeze them gently to round out any flattened edges. If you wish, you can brush with a little milk to aid in browning.

Place your scrolls on a tray.

Place your scrolls on a tray.

Bake for 10-15 mins, until a skewer inserted in the centre comes out clean.

This is what you want.

This is what you want.

Can you see that shiny brown stuff on the paper? That’s caramel. Aren’t you glad you lined the pan?

Thought so.

Transfer the cooked scrolls to a rack wrapped in a clean cloth to keep them soft. Serve when you can resist no longer.

Apple Cinnamon Scrolls

  • Servings: 8
  • Difficulty: moderate
  • Print

Ingredients

1 x quantity Basic Scone Dough

¼ cup brown sugar

1 tsp ground cinnamon

1 cooking apple e.g. Granny Smith

Method

Heat the oven to 230ºC/ 475ºF.

Prepare the scone dough and then pat out into a rough rectangle.

Mix the brown sugar and cinnamon together.

Peel the apple and dice finely.

Mix the apple thoroughly into the sugar mixture.

Spread the apple as evenly as possible over the scone dough.

Roll the dough from the long side, making a sausage shape.

Cut into 8 even pieces. Start by cutting in half, then cutting each half in two and so on.

Line a baking tray with paper and place the slices of the roll onto it cut side down. Squeeze gently into a rounder shape.

If you wish, brush the tops of the scrolls with milk to make them brown nicely.

Bake 10-15 mins until a skewer inserted in the centre comes out clean.

Cool in a clean cloth to keep soft – or serve immediately.

Variations:  scatter a handful of chopped walnuts or pecans over the apple mixture before rolling up.

I need to be elsewhere this evening, so there’s a need for one dinner that can be served at two different times without deteriorating overly.

I’m combining the leftover corned beef from the weekend with the leftover rice from last night, adding a mix of fresh and frozen vegetables and making my Almost Genuine Fried Rice.

Two bowls of fried rice

Almost Genuine Fried Rice

The instructions for this particular meal have been in the draft stage for some time now and, hopefully, I’ll have them up in the next few weeks…hopefully… maybe…

The problem is that – given how simple the dish appears – the instructions are surprisingly complex.  Oh well.

Anyway, the rice that isn’t eaten tonight will help to form lunches in the days to come or possibly even another dinner on a “shop the fridge” night.

I’m planning on making a casserole tomorrow night with some sausages that have been in my freezer for a while. So they have been taken out to defrost.

I’ve realised that I was about to run out of onions and carrots (Argh!) therefore I’ve stocked up on those today. Remember the $5 I had left at the end of my shopping, here? Well, I just used $2 of it. So there.

Today I crumbed the Chicken Tenderloins from my last grocery shop. They were on the cusp of their use-by date and needed something done with them.

So, I’ve done my standard mix of Panko and coconut, baked them and frozen three-quarters. The other two tenderloins will be dinner tonight with rice and vegetables.

Panko and Coconut coated chicken tenderloins

Panko and Coconut coated chicken tenderloins

Also, given that I had the oven going, I decided to top up the biscuit barrel.

I make a batch of biscuits (cookies) once every two weeks or so for The Boy – with most of them being stored in an airtight container in the pantry or fridge. I have a little tin that lives on the counter near the kettle and it’s usually stocked with just a few biscuits for portion control.

So, these rather scrumptious-looking and incredibly easy biscuits were whipped up while the last of the chicken was baking and went in immediately following it.

Well, that looks good...

Well, that looks good…

I’ve just sampled one and they are definitely biscuits and not cookies. They’ve got that whole crunch thing happening. I may have a bit of a play in a week or so and try making them with butter instead of oil to see what that will do the texture before I post.  So, stay tuned. In the meantime, I think some insulin may be in order! (There’s a reason the biscuits aren’t for me.)

Dinner tonight.

Dinner tonight.

Today the Corned Beef was actually cooked.

I switched it on when I woke up and left it on low all day long.

Then I put a loaf of bread on to bake while the kettle for my morning tea was coming to the boil, so that’s sorted.

After breakfast, I made some apple cinnamon scrolls for The Boy to take on a visit to a sick friend. His reaction to them was so good (“Damn, Girl!”), I’m thinking I’d better get the recipe up here soon.

Apple Cinnamon Scrolls

Apple Cinnamon Scrolls

I’ve also recently been given some kefir grains and a kombucha SCOBY, so I’ve spent some time getting those going … fingers-crossed. As a result, milk has been added to the shopping list.

I’m quite excited about these little experiments!  They’re something I’ve always wanted to play with, despite not knowing very much about them.

Anyway, the corned beef turned out beautifully – if a little over-tender due to its 24 hour long spiced bath! I served it with some very simply baked potato and pumpkin and some frozen peas. Instead of a sauce, I just spooned some of the beef’s cooking liquid over it.

Dinner tonight.

Dinner tonight.

The remaining 3/4 of the beef is now sealed up in the refrigerator for use in other meals later in the week.

Bon Appetit.

Loaded hot potato chips (fries)

Loaded oven fries

This is one of those quick and easy treats where you make something spectacular out of something fairly ordinary.

We have these maybe once a weekend in the Budget Bounty household. It’s a perfect dish for lunch on a cold, grey winter’s day.

Basically they’re chips with added flavour.

I’m a big fan of crinkle cut chips, because they seem to end up crunchier and the surface traps all the bits of flavour you care to add. However, we’ve been buying larger steak house cut-style fries lately, and they seem to work well too.

Remember, the thicker the fry the better they are for you.

Remember also that chips are not a health food. Manage your portion sizes on this or you will regret it eventually!

Moving on.

Turn your oven to the temperature set out on the packet. It’s usually around 230ºC/446ºF. Make sure to preheat your pan as well. I have a black one with holes in the base that I bought from Aldi years ago – it’s brilliant.

While your oven and pan are heating (about 10 minutes) it’s time to jazz up your spuds.

Place your chips into a large bowl. You want something large enough to take your chips and enable you to stir through your flavourings as well. You can use your hands for this if you wish, but a spoon or a spatula will also do the job.

Place your frozen spuds into a large bowl

Place your frozen spuds into a large bowl

I like to add a sprinkle of hot paprika or, occasionally, dried chilli flakes. I find chilli powder can be too hot. However, feel free to try any spice you’d like! Taco seasoning may do the trick for you, or try BBQ rubs. After all, if it doesn’t work, it’s only a plate of chips.

Add a touch of heat with some chilli flakes or hot paprika.

Add a touch of heat with some chilli flakes or hot paprika.

Now, get yourself a spoonful of crushed garlic from a jar and mix it through as well as you can. You don’t want great lumps of garlic in your bowl later.

Add some garlic.

Add some garlic.

Place them in a single layer on your oven tray and cook for half the required time – usually 10 minutes.

Place them on the tray and pop them in the oven.

Place them on the tray and pop them in the oven.

Now, if you wish to be truly decadent, dice up a rasher of bacon (or two, if you are doing a lot of chips). You’ll want to be stirring this through when you take your chips out at the halfway point. Don’t do it for the whole cooking time, or you’ll end up with little specks of pure charcoal in your bowl…   You’ve been warned.

Take them out and give them a shake at the halfway point. Add the bacon if you wish. Return to the oven.

Mmmmm, bbaaaaaaacooooon!

Mmmmm, baaaay-con!

By this stage your kitchen is smelling amazing. Now, while you wait the second 10 minutes, line your bowls with a piece of paper towel.

Also, grate some cheese. I buy shredded cheese, but you may not.

When the timer goes off, remove your pan from the oven, sprinkle with some sea salt flakes if you have them – you won’t need a lot – and then scatter your cheese over the top. Divide amongst your prepared bowls.

Serve 'em up!

Serve ’em up!

I waited until my chips were in the bowl before adding the cheese, but it will melt faster and distribute more easily if you do it as soon as possible after getting them out of the oven.

Add some cheese.

Add some cheese.

Note: I said a little cheese!

I often see pictures of similar dishes where you can’t actually make out the chips under the blanket of cheese they’ve been smothered with.  Don’t do that. Cheese is a condiment just as the chilli and bacon are. Got it?

Bringing home the bacon...

Bringing home the bacon…

Serve with a dollop of tomato sauce/ketchup or – my preference – a spoonful of good quality egg mayonnaise for dipping.

Enjoy.


Dinner in a hurry.

Near disaster today. I put the corned beef on to cook in the slow cooker before I left for my working bee this morning.

Unfortunately, I forgot to switch it on.

So, The Boy was all set to order takeaway and fall on the budgetary sword when I got in this evening and it was as I’d left it.

Sed nil desperandum.

Remember that BBQ/rotisserie chicken meat I stowed in the freezer yesterday? Out it came to defrost in the microwave for a few minutes.

The sandwich press/panini was heated up (plugged in properly and actually switched on!), some wraps and cheese were retrieved from the fridge and I broke open that little bottle of capsicum pesto that was my “new” thing in last week’s shopping.

Spread the pesto on the wrap. Sprinkle with cheese, add the chicken and fold.

Add fillings and fold.

Add fillings and fold.

Wholegrain wrap + Capsicum pesto

Wholegrain wrap + Capsicum pesto


Then toast and cut into quarters.


30 seconds in the sandwich press later...

30 seconds in the sandwich press later…

Eh voila! Chicken Quesadillas.

Dinner in a hurry.

Dinner in a hurry.

Now, it wasn’t the sit down meal I had been planning – or looking forward to – and it probably wasn’t the most nutritious of dinners, but it did the trick. At the very minimum, it certainly had less sugar and salt than a takeaway pizza would have and I didn’t have to cook after shovelling scoria all afternoon…

Wraps have now been added to my shopping list for next time.

Until tomorrow.