Dinner tonight

Today I ate far more than I needed to at a food party at my Thursday lunch group.

However, I had the sausages out for dinner so I made the planned casserole. It was quite tasty, but I think it might need a few tweaks.

Sausage and rice hot pot

Sausage and rice hot pot.

Unfortunately, the rice ‘caught’ a little on the bottom of the pan, so I think I shouldn’t be making it in a cast iron Dutch oven in the future. Also, it was a touch ‘gluggy.’ Perhaps if I were to sauté the rice before adding the liquid?

I think it would also be a good idea to add a can of chick peas to any future editions of the dish, just to add a bit of texture.

However, again we have leftovers for future nights. I’ve used almost all the jasmine rice that I bought last week, so that’s been added to the shopping list for next time.

We have a Winter Solstice Pot Luck to attend on Saturday night, and I’ve decided to take a Shepherd’s Pie. The mince has been released from the freezer and I’ve got some of my favourite tiny brown lentils soaking at the moment.

Teeny, tiny lentils! Aren't they sweet?

Teeny, tiny lentils! Aren’t they sweet?

I like to add these to meat sauces to both help them ‘stretch’ a little, and to increase the fibre content of the dish.

Tomorrow, I’ll make up the meat sauce. Then, on Saturday afternoon, I’ll cook the potatoes and assemble the dish.

I will not be cooking dinner tomorrow night. It will be a “shop the fridge” night all round.

ttfn

Loaded hot potato chips (fries)

Loaded oven fries

This is one of those quick and easy treats where you make something spectacular out of something fairly ordinary.

We have these maybe once a weekend in the Budget Bounty household. It’s a perfect dish for lunch on a cold, grey winter’s day.

Basically they’re chips with added flavour.

I’m a big fan of crinkle cut chips, because they seem to end up crunchier and the surface traps all the bits of flavour you care to add. However, we’ve been buying larger steak house cut-style fries lately, and they seem to work well too.

Remember, the thicker the fry the better they are for you.

Remember also that chips are not a health food. Manage your portion sizes on this or you will regret it eventually!

Moving on.

Turn your oven to the temperature set out on the packet. It’s usually around 230ºC/446ºF. Make sure to preheat your pan as well. I have a black one with holes in the base that I bought from Aldi years ago – it’s brilliant.

While your oven and pan are heating (about 10 minutes) it’s time to jazz up your spuds.

Place your chips into a large bowl. You want something large enough to take your chips and enable you to stir through your flavourings as well. You can use your hands for this if you wish, but a spoon or a spatula will also do the job.

Place your frozen spuds into a large bowl

Place your frozen spuds into a large bowl

I like to add a sprinkle of hot paprika or, occasionally, dried chilli flakes. I find chilli powder can be too hot. However, feel free to try any spice you’d like! Taco seasoning may do the trick for you, or try BBQ rubs. After all, if it doesn’t work, it’s only a plate of chips.

Add a touch of heat with some chilli flakes or hot paprika.

Add a touch of heat with some chilli flakes or hot paprika.

Now, get yourself a spoonful of crushed garlic from a jar and mix it through as well as you can. You don’t want great lumps of garlic in your bowl later.

Add some garlic.

Add some garlic.

Place them in a single layer on your oven tray and cook for half the required time – usually 10 minutes.

Place them on the tray and pop them in the oven.

Place them on the tray and pop them in the oven.

Now, if you wish to be truly decadent, dice up a rasher of bacon (or two, if you are doing a lot of chips). You’ll want to be stirring this through when you take your chips out at the halfway point. Don’t do it for the whole cooking time, or you’ll end up with little specks of pure charcoal in your bowl…   You’ve been warned.

Take them out and give them a shake at the halfway point. Add the bacon if you wish. Return to the oven.

Mmmmm, bbaaaaaaacooooon!

Mmmmm, baaaay-con!

By this stage your kitchen is smelling amazing. Now, while you wait the second 10 minutes, line your bowls with a piece of paper towel.

Also, grate some cheese. I buy shredded cheese, but you may not.

When the timer goes off, remove your pan from the oven, sprinkle with some sea salt flakes if you have them – you won’t need a lot – and then scatter your cheese over the top. Divide amongst your prepared bowls.

Serve 'em up!

Serve ’em up!

I waited until my chips were in the bowl before adding the cheese, but it will melt faster and distribute more easily if you do it as soon as possible after getting them out of the oven.

Add some cheese.

Add some cheese.

Note: I said a little cheese!

I often see pictures of similar dishes where you can’t actually make out the chips under the blanket of cheese they’ve been smothered with.  Don’t do that. Cheese is a condiment just as the chilli and bacon are. Got it?

Bringing home the bacon...

Bringing home the bacon…

Serve with a dollop of tomato sauce/ketchup or – my preference – a spoonful of good quality egg mayonnaise for dipping.

Enjoy.


Home-made Instant Hot Chocolate mix.

Spiced hot chocolate for a wintry afternoon.

It’s winter here and I’m sick.

These two things may or may not be related. Either way, it’s the time of the year when a warm drink or two is more than welcome.

The Boy is quite partial to those hot drink mixes that come in individual sachets. However, we’re saving for a house. That means luxuries are something to look forward to in the deep, distant future.

He looks cute when he mopes.

Actually, these milky mixes aren’t all that difficult to make. Better yet, you know exactly what you are putting in your family’s tummies and saving money while you do so. I wish I’d known how to make this when I was a freezing student, quite frankly…

Let’s deal with packet mix ingredients first. I copied this little snippet from the website of a leading hot chocolate mix-maker.

Ingredients

Sugar, Milk Solids, Beverage Whitener [Glucose Syrup, Vegetable Fat, Sodium Caseinate (Derived from milk),  Mineral Salts (340, 452), Emulsifier (471), Anticaking Agent (554)], Cocoa (10%), Salt, Mineral Salt (341), Flavour [Vanillin (contains milk)], Spice.

Can you see all that sodium in there?

Even the Anti-Caking agent (554) is a form of sodium. I can only presume that using all this salt will make people thirstier and therefore cause them to drink more…

Also, a lot of these additives are synthetic. Eat real food, people. Here’s a start.

At its most basic level, this stuff is a mix of milk powder, cocoa and sugar.

I used skim milk powder, because a lot of it will be drunk (by one person who isn’t doing a lot of outdoorsy stuff in this chill…). You may use full-fat should you so desire.

I like to make my hot chocolate with a few spices. I add cinnamon, ground cardamom, ground ginger and a touch of nutmeg. You don’t have to add any – or all – of those. On the other hand if you like, and own, a pumpkin pie spice mix, then add a few teaspoonfuls of that. Make it your own.

Start with a bowl with at least a 4 cup capacity. You want something you can sift your dry ingredients into, and then stir them up, without it going all over the place!

Place a sturdy wire sifter into the top and add your ingredients. Try to wait until they are all in there before you sift them through, this will assist with getting them all well-mixed.

Start with 2¼ cups of milk powder.

Milk powder

Milk powder.

Next add your spices; about 1½ teaspoons worth.

Add whatever combination of spices you like. Or don't.

Add whatever combination of spices you like. Or not.

Next a touch of sugar.

Sugar. Actual sugar. Not salt.

Sugar. Actual sugar. Not salt.

And finally, the cocoa. This can be whatever type of cocoa you like: Cadbury, Dutch process, or whiz-bang, ultra-organic cacao. Whatever.

The chocolate part of Hot Chocolate.

The chocolate part of Hot Chocolate.

Now, sift it all together, stirring with a spoon to help the mixing process.

Mmmm, chocolate....

Mmmm, chocolate….

When you’ve finished, it will look a little like this. Mix it up a bit more. You can’t break it.

Mix it some more.

Mix it some more.

When it looks like this, pop it into an airtight container until you are ready to use it.

The end result.

The end result.

I used some mason jars, because that’s what I had handy.

Isn't it purdy?

Isn’t it purdy?

Give it a good shake once it’s all sealed up tight. Then, place a few tablespoonfuls into a mug, add boiling water and stir well.

Relax. The hard work is over now.

Relax. The hard work is over now.

Play with the recipe, adding different combinations of spices or more or less sugar. Then put your feet up and enjoy warm hands and a sense of deep satisfaction with your hot chocolate…

Spiced hot chocolate mix

  • Servings: 10
  • Difficulty: easy
  • Print

Ingredients

2¼ cups milk powder

1/3 cup cocoa powder

½ cup sugar

½ tsp ground cinnamon

½ tsp ground cloves

¼ tsp ground ginger

¼ tsp ground nutmeg

¼ tsp ground cardamom

Method

Sift all ingredients together and mix well.

Store in an airtight container.

To serve: Add boiling water to 3 tablespoons of the mix.

Best used within 6 months.

Hummus

Hummus.

Hummus

Hummus

It’s one of those things. There are as many variations of hummus nowadays as there are ways to spell it. Humus, humous, etc…

There are also any number of people who will get upset with you for not making it their way.

Ignore them.

Hummus is a great little dish that takes next to no time to make, is incredibly nutritious, costs very little and tastes fabulous – all while filling you up admirably.

What’s not to love?

The purists will tell you that the best hummus is made with freshly cooked chickpeas or garbanzo beans. It very well may be, but that doesn’t mean that the stuff made from tinned chickpeas doesn’t taste pretty spiffy too.

The purists will also tell you to peel your cooked chickpeas. This is very easy to do by simply squeezing the pea between your thumb and forefinger. The skins will just slip off and you’ll end up with a bowl of peas and a bowl of skins, like this.

Peeled Chickpeas

Peeled Chickpeas

It makes the texture a little smoother, but my MS meant that they were popping all over the place by the time I’d finished. If you find the thought of peeling your peas too onerous, then simply embrace the extra dietary fibre and move on.

In a future post I will cover how to cook with dried beans, a skill that has the potential to save you a whole load of cash, but for the sake of this post we’re going to be using these. Which cost about 80c.

A tin of chickpeas.

A tin of chickpeas.

Deal with it.

This is one of those dishes that is more of a method than a recipe, but I’ll attempt to give you something to print at the end of the post…

You will see hummus used to describe pastes made with every kind of beans – usually white ones – that you could name. You will see it with tomatoes, roasted peppers/capsicums and myriad other things. The genuine thing is usually chickpeas, tahini, olive oil and lemon juice.

Mine has a few other things, but we’ll get to those. Relax, they’re not scary.

Chickpeas

Chickpeas

Tahini is basically a nut butter made from hulled sesame seeds and is widely used in middle eastern/Mediterranean cuisine. It can be found in supermarkets or you could make your own – you’ll find instructions on The Kitchn right about here. Tahini will add a certain earthiness in flavour and smoothness of texture to your chickpea dip.

Be warned: It can be expensive, especially if you aren’t going to be using a lot of it. You’ll only need about a ½ cup for this recipe, which will leave quite a lot still in the jar. Refrigerate it, or it will go off, but this will not extend its life indefinitely.

You don’t need it. (Cue purists falling off their respective perches.) Your hummus will taste absolutely fine without it and, if you really want, I’ve seen Jamie Oliver use smooth peanut butter instead.

You’ll also need a blender of some kind – or you could do it the traditional way and smash it in a mortar and pestle. Hummus has been around several thousand years longer than food processors…

I start my hummus with a small onion, chopped as finely as I can get it. In a frying pan, I heat a tablespoon or so of olive oil, add my onion and a clove of minced garlic, which I then gently fry off with a couple of teaspoons of ground coriander and cumin.

Start with some aromats. (Do I sound cheffy? Do I?)

Start with some aromats. (Do I sound cheffy? Do I?)

You could add some chilli powder or cayenne pepper if you wanted to. It’s up to you.

You don’t want your onions to brown, just to soften, and for the heat to release the fragrance of the spices.

At this point I add my chickpeas and give it all a good stir.

Introduce your chickpeas to the other flavours.

Introduce your chickpeas to the other flavours.

I’ve used an attachment on an immersion blender for the rest of this, but you could use a blender, a food processor an immersion blender in a bigger bowl… If you’re feeling particularly energetic then use a potato masher. You can even go traditional and grind things up in a stone mortar and pestle – it will all work.

In your bowl, place the chickpea mixture from the pan, tahini (or not), some olive oil, some cloves of crushed garlic (I use stuff from a jar) and some squeezed lemon juice.

Place everything into your blender.

Place everything into your blender.

Process until smooth.

Nearly there

Nearly there.

Taste and season if necessary. Feel free to add more oil or lemon juice if you wish to loosen the mixture but, if you are happy with the flavour and it is just a little too thick, simply add water (or reserved cooking liquid if you started from scratch) a spoonful at a time until it reaches the desired consistency.

Serve. This goes beautifully with Turkish bread and equally well with prepared raw vegetables, like carrots and celery and red peppers.

Serve with a few slices of Turkish bread or pide.

Serve with a few slices of Turkish bread or pide.

For a group, serve it in a bowl sprinkled with a touch of Sumac (if you have some) and a drizzle of olive oil.

This makes a great lunch option, it’s also a wonderful after school snack that you could supervise the kids making for themselves. Try it with just the chickpeas, lemon and oil and then experiment to your heart’s content.

Also, try using it as a spread on sandwiches and in wraps.

Then sit back and wonder why you’ve been paying around $4 for something this simple to make…

Hummus

  • Difficulty: easy
  • Print

Ingredients

1 x 200 g tin Chickpeas (drained) or 126 g dried chickpeas, soaked and cooked.

olive oil

1 small onion, chopped finely

4 cloves crushed garlic or 4 teaspoons minced garlic in a jar

1 tsp ground cumin

1 tsp ground coriander

½ cup tahini (optional)

Juice of 1 lemon

Method

In a small frying pan, gently heat 1 tbsp olive oil.

Add the onion and cumin and coriander with 1 clove of garlic. Fry until onion is softened and spices are aromatic. You do not want the onion to colour.

Add the chickpeas to the pan and stir well so that the peas become lightly coated with the spice mixture.

Transfer to the bowl of a food processor and add the tahini, olive oil, 3 cloves of garlic and 2 tablespoons of lemon juice.

Process until smooth.  This may be done using a heavy mortar and pestle.

Taste. Add salt if necessary and adjust lemon and oil flavours.

If the paste is too thick, simply add a spoonful of water to loosen processing well with each addition.

Serve sprinkled with sumac and drizzled with olive oil alongside Turkish or Pide bread and sliced vegetables for dipping e.g. carrots, celery, red peppers, etc.

This can be made up to 5 days ahead and stored in an airtight container in the refrigerator.

Ring the changes by adding a tablespoon of pine nuts to your frying pan, try using peanut butter instead of tahini, or add some roasted red peppers/capsicum to the processor bowl before blending.

For more inspiration, take a wander through the chilled section of your local supermarket and see what sorts of combinations are on offer there!

Flourless Orange Almond Cake

Ok. So I wasn’t intending to post this today, but someone asked me to get this up here post haste.

So imagunna.

This is not a budget dish. The nuts can cost quite a bit and the whole cake cost me around AUD$12.

It is incredibly easy to make, tastes gorgeous and ticks the gluten-free box (which is what I was after when I made it). However, for a special occasion treat that needs to be coeliac-friendly without too much fiddling around, it is fabulous.

Fabulous, I say!

Ahem.

Flourless Orange and Almond Cake

Flourless Orange and Almond Cake

I was wanting a birthday cake for a friend who does an awful lot of work for a group I’m involved with – she’d allowed her birthday to pass under the radar, so to speak, and this simply was not on.  I’ve also always wanted to try to make a flourless cake and, as one of our number is coeliac, this seemed to be the time to do it.  I thought about all the decadent flourless chocolate cake recipes that I have pinned, but she is a Japanese lady and I’ve noted her preference for lighter flavours and textures.

Then I remembered this thing called an orange and almond cake and went searching.

I found this recipe here.

It’s incredibly simple. In fact this post is going to be rather picture-heavy because there really isn’t much to describe.

You start by simmering two oranges in water for 2 hours.

Simmer your oranges.

Simmer your oranges.

Let them cool, then blitz them to smithereens in a food processor. They will be incredibly soft after their extended time in hot water.

Heat your oven to 190°C/375°F.

Blitz the oranges- seeds, skin and all.

Blitz the oranges- seeds, skin and all.

Meanwhile, mix caster sugar and 6 eggs until the sugar is dissolved.

Yes. That is a lot of eggs.

Yes. That is a lot of eggs.

It will look light and fluffy. Like this:

Well-mixed eggs and sugar...

Well-mixed eggs and sugar…

Add your orange pulp to the mixer bowl with the eggs and sugar and give it a further whisking.

Add the orange puree to the eggs.

Add the orange puree to the eggs.

Now add your almond meal and baking powder. You can attempt to sift this but it may drive you mad. It may work better to simply knock as many lumps out as you can manage. Also, if you are making this for coeliacs, please, please, please check that your baking powder is gluten free too. Thank you.

Mix well.

Mix in the almond meal.

Mix in the almond meal.

Now, line a springform pan. Mine are non-stick, so I simply covered the base with baking paper for ease of serving, and left it at that. The size of the pan is not something that really matters.

Fill a lined springform tin with your cake batter.

Fill a lined springform tin with your cake batter.

Scatter a couple of handfuls of flaked almonds over the top.

Scatter some flaked almonds over the top.

Scatter some flaked almonds over the top.

Then pop it into the oven for an hour or so, or until a skewer inserted in the centre comes out clean. The almonds on the top will be nicely toasted. To make things a little easier for you, place the cake tin on a flat baking tray like a cookie sheet.

A beautifully tanned result.

A beautifully tanned result.

Allow to cool in the tin. Run a blade around the tin before you release the spring. Sprinkle the top with some icing (confectioner’s or powdered) sugar before serving. I didn’t, as I didn’t have any that was gluten-free. The cake still tasted wonderful.

Well, this bloke thought so anyway.

Three year olds are the toughest critics, like, *ever*.

Three year olds are, like, the toughest critics *ever*

Just don’t forget to take a picture of it before you serve it up, like I may have….

Better late than never.

Better late than never.

Flourless Orange and Almond Cake

  • Servings: 12
  • Difficulty: easy
  • Print

Ingredients

2 medium size oranges
6 eggs
250g superfine sugar
250g almond meal (almond flour or ground almonds)
1 tsp baking powder
2 handfuls of flaked almonds
Icing sugar, for dusting
 

Method

Wash the oranges well. Place them in a medium saucepan, cover with water and bring to the boil. 
Turn the heat down and simmer for two hours.  Remove from the water and allow to cool.
 
Preheat the oven to 190°C/375°F.  Line a 20 to 28cm springform cake tin with paper.
Place the whole oranges into a food processor and blend until smooth.
In a large bowl, beat the eggs and the sugar until the sugar has dissolved.
Add the oranges to the mix and whisk again.
Add the almond meal and baking powder and mix until well combined.
Pour the mixture into the lined tin, smooth out with a spatula and then scatter the almond flakes over the top.
Bake for 1 hour, then test with a skewer. If it comes out clean, it’s done. If not put it back until it does. The cake should be golden on top.
Allow the cake to cool on a wire rack, then dust with icing sugar.  Serve with a dollop of double cream.
2015-04-30 12.41.32

‘Italian’ Lentils

"Italian" lentils

I first made this dish several aeons ago when I was a poor, struggling university student. I’ve made it many, many more times since and have had a lot of fun coming up with variations for it.

"Italian" lentils

“Italian” lentils

It’s simple, incredibly affordable and very tasty.

And it has lentils in it.

Deal with it.

Way back then, I had made this dish one evening as my brother came home from work, pronounced it to smell “good” and asked for some. I served him up a bowl (while refusing to tell him what it was), which he then inhaled – followed by another two more bowls. When I finally revealed that he’d been eating red lentils, he snarled something about “disgusting hippy food” and refused to come near it again.

His loss.

Honestly, this is the perfect dish for those times when you have very little money/ have very little time/ don’t feel well but really-should-eat-something/ have no idea what to make for dinner/ are just too gosh darned tired to cook.

I found this recipe in this little book, which is now out of print (so I shan’t feel bad about reproducing it here!)

Start by dicing an onion, you don’t want it too fine as it will add texture to the finished dish.

Roughly dice an onion

Roughly dice an onion

Then a rasher (or two) of streaky bacon. The smokiness of the cured meat really adds to the flavour.

Cut up some streaky bacon

Cut up some streaky bacon

Then make up 600 ml (a pint) of chicken stock from powder or use your own. 🙂 The stock will be responsible for the flavour of your finished dish, so choose well.

chicken stock (2)

Home-made stock

If you don’t have any cooked rice in your refrigerator ready to be reheated, then you might want to put some on to steam at this point. Your rice and your lentils will finish pretty much simultaneously.

Now, set a smallish saucepan over a medium heat and add your bacon. You are aiming to render the fat from the meat before adding anything else. There is no need to oil the pan. I’ve made this dish quite successfully using pancetta instead of bacon as well. As you can see from the picture, the fat from the meat is sufficient to lightly fry or sauté the onion.

Pancetta, or prosciutto, also work quite well in this dish and add a touch of the gourmet.

Pancetta, or prosciutto, also work quite well in this dish and add a touch of the gourmet.

So, add your onion! You’re wanting to fry it gently without it colouring up. Cook , stirring constantly, until it becomes translucent (clearish). You may also wish to add some crushed garlic at this point, but it’s not necessary.

Split red lentils - aren't they pretty?

Split red lentils – aren’t they pretty?

Next add your split red lentils and stir them well. You’re aiming to coat them with the fat from the meat. This step helps to disperse the smoky flavour throughout the dish.

Add your lentils and stir well, with the pan still on the heat.

Add your lentils and stir well, with the pan still on the heat.

The recipe calls for 100g (4oz) of lentils. However, after you have made this a few times and seen the simplicity of it, you’ll stop measuring stuff and just do it all by eye.

You know who I’m talking to, you peeps who insist on measurements for everything, you! *sigh*

Anyway, once this is done, add your stock all in one go. It will look as though you have drowned it.  Stir well and bring to the boil.

Don't panic!!!

Don’t panic!!!

Reduce to a simmer and cook for another 10 minutes or so, stirring frequently. Do not walk away!  This cooks very quickly. Your lentils will start to break down and form a paste.

Almost done...

Almost done…

It is up to you how liquid your finished dish is. I like mine to be on the firmer side, my partner prefers a more “soupy” dish. Your choice. Take it off the heat when it meets your preference – or experiment.

At this stage, stir through a tablespoon of tomato paste or purée.  As far as I can figure out, this is where the “Italian” in the recipe title comes from. The last time I made this, I used pancetta and stirred in some basil pesto instead.

Add some tomato paste or pesto

Add some tomato paste or pesto

Mix thoroughly and serve.  This is quite filling and more than enough for two people. I like it in a bowl, served on plain rice.

For another variation, try adding some curry paste at the onion stage and frying it a little to release the flavours before adding the lentils. There will be no need to add anything more than the stock for the dish to be complete.

If you wish to make the texture a little more interesting, then try stirring through some rinsed tinned chickpeas with the tomato paste.

Have fun playing with the dish, or stick to the recipe – it’s delicious either way.

It will also cost about AUD $2 to make. Total. Even betterer.

Italian Lentils

  • Servings: 2
  • Difficulty: easy
  • Print

Ingredients

2 rashers fatty smoked bacon

1 clove garlic, crushed

1 small onion, chopped

100g (4 oz) split red lentils

600ml chicken stock (may be from a stock cube)

1 tbsp tomato paste (purée)

Method

Fry the bacon over a medium heat until the fat begins to run, then add the garlic and onion and fry until translucent.

Add the lentils and stir to distribute the fat evenly throughout the dish.

Add the chicken stock, stir well and bring to a boil.

Reduce heat to a simmer and cook for 10 to 15 mins, stirring frequently.

When lentils have reached desired consistency, add tomato paste and mix through thoroughly.

Serve with steamed rice.


Easy Chocolate Raspberry Pie

I’m back!   Sorry it’s been so long, I’ve been unwell.

Today’s post was going to be about something else, but the ladies I made this dish for a week or so ago have been nagging me to post the recipe.

We aim to please.

This particular pie can be as sweet as you like to make it however, if you follow my example, it won’t be very sweet at all. Also, while it looks quite heavy and rich, it’s really quite light on the palate and the digestion.

What it looked like 5 minutes after I served it ...

What it looked like 5 minutes after I served it …

I’m afraid that I didn’t originally even intend to put this up here, so the photos may be a little patchy (and I really have been unwell…)

I found the original recipe for this here, but I’ve fiddled with it a little since. Not much, but enough to make it suitable for my coeliac friends.

It’s a dish that is amazingly deceptive. It looks like an ultra-rich cheese or mousse cake that has taken you hours of labour to pull together.

It’s not. It has a secret ingredient.

Tofu.

Now, before any of you screw up your faces and start spitting epithets my way … if you’ve had tofu before and thought it tasted bad – that’s NOT the fault of the tofu. It’s the fault of whoever cooked it for you.

Tofu is an inexpensive protein that has essentially no flavour of its own.  Surround it with deliciousness, or marinade it in the same and that deliciousness is what you will taste.

It comes in various textures: hard, firm and silken being the most common. This recipe uses silken tofu – and a food processor.

Now you could probably pull this one off with a stick or immersion blender, you might even manage it with an electronic beater, but a food processor will definitely do it. You need something to whiz up the raspberries.

Not fancy, but tasty.

Not fancy, but tasty.

The original recipe calls for a purchased Graham cracker pie crust, but…gluten. So, I put together my own, simply using a small packet of almond meal, some melted butter and a couple of tablespoons of dried coconut. I mixed them all together in a bowl and then pressed them into a fluted flan tin with a removable base.

Now, should you do the same, feel free just to pop it into the fridge and allow the butter to set firm. It will still be perfectly edible. I decided to blind bake mine and allow the nuts to toast a little.

So, I covered the base in parchment paper and filled the void with rice. Then I baked it at 180°C for around 10 mins or so.

Blind baking

Blind baking

The blind baking just helps it to keep its shape better.

Now for the pie filling.

Get thee some silken tofu. You’ll find shelf-stable versions, but you’ll also find fresh versions in the refrigerator section of the supermarket.

I found this one.

Let's just try not to notice that this company can't spell "stir fries"...

Let’s just try not to notice that this company can’t spell “stir fries”…

It’s not quite as much as the recipe called for, but I merely topped up the weight with raspberries. Sue me.

So, drain away any liquid with the tofu. Be aware that it is very soft. Don’t try to pick it up out of the package, just slip it into the bowl of your food processor. Pulse for 30 seconds or so, it will look a bit like this.

Whip up your tofu.

Whip up your tofu.

Add your vanilla essence and maple syrup. The original recipe called for confectioners’ or icing sugar as well but, as they also tend to include some gluten products in the package (to stop clumping), I decided to just use more maple syrup. I added about ½ a cup.

It’s possible that using the powdered sugar would give a firmer set. I don’t know.

Now melt your chocolate. I use a glass jug to do this in the microwave and a mix of dark and milk chocolate. Given my own preference for the less sweet I’d actually like to use all dark chocolate. However, not everyone shares my d’ruthers, so I compromise.

You could probably even make this dish with white chocolate alone. Be aware though that the raspberries will colour the chocolate, unlike in this example where they disappear.

Heat in thirty second increments and stir between zapping.

Isn't it purdy?

Isn’t it purdy?

You can do this in a small saucepan on the stove, of course. I was trying to keep down the heat in the kitchen on an already scorching hot day. 🙂

Using a spatula, scrape it all out into the bowl of your food processor and blend well. Watch the tofu disappear…

Now doesn't that look deliciously silky?

Now doesn’t that look deliciously silky?

Pop in your defrosted raspberries (or use fresh!) and blend again.

These will give a light, refreshing raspberry tang to your pie.

These will give a light, refreshing raspberry tang to your pie.

That was hard, wasn’t it? Such drudgery.

I’m sorry.

Only a little way to go.

Retrieve your pie crust from the refrigerator and fill it with this chocolately lusciousness.

And you're done.

And you’re done.

And then refrigerate until firm – at least 2 hours. If you can leave it overnight then that will be just spiffy.

Garnish it with raspberries before serving. I forgot to take a picture of that bit. Sorry.

However, here it is before I transported it. I cut half into slices when it was straight out of the refrigerator and placed a handful of raspberries in a separate container to decorate it with at the other end. You may do whatever you like, but I just put a raspberry at the fat end of each slice and piled the remainder in the centre to cover the jagged points….

The finished pie, before garnishing.

The finished pie, before garnishing.

It must have worked because this was how it looked 5 minutes after serving and I had to actually ask a lady to wait while I took this pic.

What it looked like 5 minutes after I served it ...

What it looked like 5 minutes after I served it …

Honestly, the hardest thing you’ll have to do with this dish is to convince people that it’s made with tofu.

Really truly.

Chocolate Raspberry Pie

  • Servings: 10
  • Difficulty: easy
  • Print

Ingredients

345g silken tofu

1½ cups (300g) chocolate chips (dark, milk or mixed)

½ cup maple syrup

1 tsp vanilla extract

1 cup frozen raspberries, thawed

1 x 23cm pie crust.

Method

Place your choice of chocolate in a microwavable bowl or jug. Heat on Medium for 1 minute. Stir, then continue microwaving on Medium, stirring with a non-wooden implement every 20 seconds, until melted.

Be aware that chocolate in a microwave may melt (and possibly burn) without changing shape – stir between zaps!

Drain the tofu and pulse in a food processor or blender until smooth.

Add the melted chocolate, maple syrup and vanilla. Process again until smooth.

Add raspberries and process until very smooth; scraping down the sides as necessary.

Spread the mixture into your prepared pie crust.

Refrigerate until firm, at least 2 hours or overnight if possible.

Garnish with fresh raspberries, if you wish.

Frozen yoghurt

In Australia at the moment – to quote Robin Williams’s character in Good Morning Vietnam – “It’s hot! Damn hot!”

It's hot Down Under.

It’s hot Down Under.

Which means it would be nice to have something to cool down with, especially with the kids home from school for another week.

Even better, it wouldn’t be so bad to have something the kids could participate in actually making. Something which takes minutes and which wouldn’t end with them climbing the walls on added sugars and artificial colours and flavours.

Ta da!

Ladies and gents, if you’ve been following my latest posts about making yoghurt, then I’m guessing there’s some lurking in your refrigerator right about now. How about using it to make some fruit-flavoured frozen yoghurt with – wait for it! – real fruit and real yoghurt?!

Well, why not?

All you’ll need is some frozen fruit, some yoghurt and something to sweeten it with.

Mango frozen yoghurt.

Mango frozen yoghurt.

Unfortunately, this is one of the rare recipes on this site that actually requires a particular appliance. Sorry. You’ll need a food processor.

You could try making this in smaller batches using a stick blender, but I give no guarantees.

So, find yourself some fruit. If you are in a screaming hurry to do this, you can easily purchase bags of frozen berries from the supermarket. If you must. However, it’s summer, there are oodles of different fruits in season right now and going for a song. My local green grocer is selling mangoes for 50 cents each.

A gorgeously ripe, in-season mango.

A gorgeously ripe, in-season mango.

So, I bought a few, peeled and sliced them up and popped them in a ziploc bag in the freezer overnight.  Just before Christmas I did the same with a punnet of strawberries I found on sale. Here’s how to go about it if you’ve never done it before.

1. Wash your fruit.

Wash your fruit well and allow to drain.

Wash your fruit well and allow to drain.

 2. Cut out any soft bits (especially with strawberries) and slice up larger fruits, like mangoes.
Prepare your fruit so you freeze only the best bits.

Prepare your fruit so you freeze only the best bits.

3. Put them into something you can seal well. A tupperware freezer container or ziploc bag will do nicely. Squeeze out all the air you can from bags, if using. Then freeze.

Seal into an airtight container and freeze.

Seal into an airtight container and freeze.

Simple.

Now to make your frozen yoghurt you’ll need to set up your food processor with the metal blade. The plastic one won’t work.

Trust me on this.

Add your frozen fruit.

Place your frozen fruit in the food processor bowl.

Place your frozen fruit in the food processor bowl.

Blitz for about 30 seconds, or until decently pulverised. Add a good drizzle of sweetener: this can be honey, maple syrup, agave syrup, golden syrup or even a few heaping spoonfuls of brown sugar.

At this point, it’s important to bear in mind the properties of your fruit. The coldness of the dish will affect your perception of its sweetness, it will seem much less sweet. The strawberries in the pictures were passing sweet at room temperature (the way I like them) but were pretty tart in their frozen state. They needed a fair whack of honey to make them palatable at sub-zero temperatures.

Now add your cold, straight-out-of-the-refrigerator, yoghurt all at once and blitz again for about a minute.

Add your yoghurt and blitz.

Add your yoghurt and blitz.

Taste for sweetness.

The frozen fruit will have caused the yoghurt to start to freeze and your mixture should resemble soft-serve ice cream already. Feel free to eat it immediately. 😉

The finished product.

The finished product.

Alternatively, place it in a container in your freezer. This mixture will set quite solidly as it is lacking the additives that commercial blends have and which make them scoop-able straight from the freezer.

Take it out of the freezer about 20 mins before you are wanting to serve it. So, if you want it for dessert, take it out as you serve up your main meal…

This firm setting property makes it ideal for popsicles, paddlepops or ice lollies though! Pour your mixture into moulds and you’ve got the ideal cool down when your kids come back from their first stinking hot days of an Australian school year.

The popsicle moulds were bought at Aldi...

These popsicle moulds were bought at Aldi…

Better yet, they can help with pretty much every aspect of making the things – short of using the food processor. Just be prepared for some mess…

Frozen Fruit Yoghurt

  • Difficulty: easy
  • Print

Ingredients

300g frozen fruit

500g chilled yoghurt (Greek, full fat, skim, soy, whatever…)

3 tablespoons honey or to taste. (You can substitute maple syrup, agave syrup, golden syrup or corn syrup if you wish)

Method

Fit the metal chopping blade into a food processor.

Add your frozen fruit and pulse for around 30 seconds or until the fruit has a relatively even texture. One or two larger pieces just add interest to the finished product.

Add your sweetener and pulse briefly.

Add all your yoghurt and blend until smooth.

May be served immediately, or frozen for several weeks in a sealed container.

Remove from the freezer at least 20 minutes before serving (or risk tears and sprained wrists).

Variation: Pour into popsicle moulds for individual treats. If you don’t have any moulds, then try using small plastic cups or tumblers with a paddle pop stick inserted into the mixture.

Run hot water around the outside of the mould to help release the treat.

How to make Yoghurt

My latest batch of homemade yoghurt

Making yoghurt is one of the simplest things you will ever do. Trust me.

If you have a large family that loves the stuff, it will also be one of the most frugal things you ever do. Indeed, once you’ve got the process down, you can start getting them to take over from you.

The key to all of this is to remember that yoghurt has been around since the Stone Age.

It’s not complicated.

My latest batch of homemade yoghurt

My latest batch of homemade yoghurt

Mind you, there’s a few things we do for safety now, that weren’t done then – and our implements look a little different – but it’s still pretty much the same. All of which means that it’s pretty much idiot-proof.

To make yoghurt, you will need milk (cow’s milk, goat’s milk, soy milk) and either culture or starter. This post will use starter.

Find a plain yoghurt you like and that can be your starter. Hard, isn’t it?

Okay, I’ve been told to be more serious. Ahem.

All yoghurts contain bacteria which have digested the natural sugars in the milk and helped to transform the proteins. (For more detail read Yoghurt 101.) When you decide that you wish to try making this all happen under your roof, you’ll need to start by getting yourself some yoghurt.

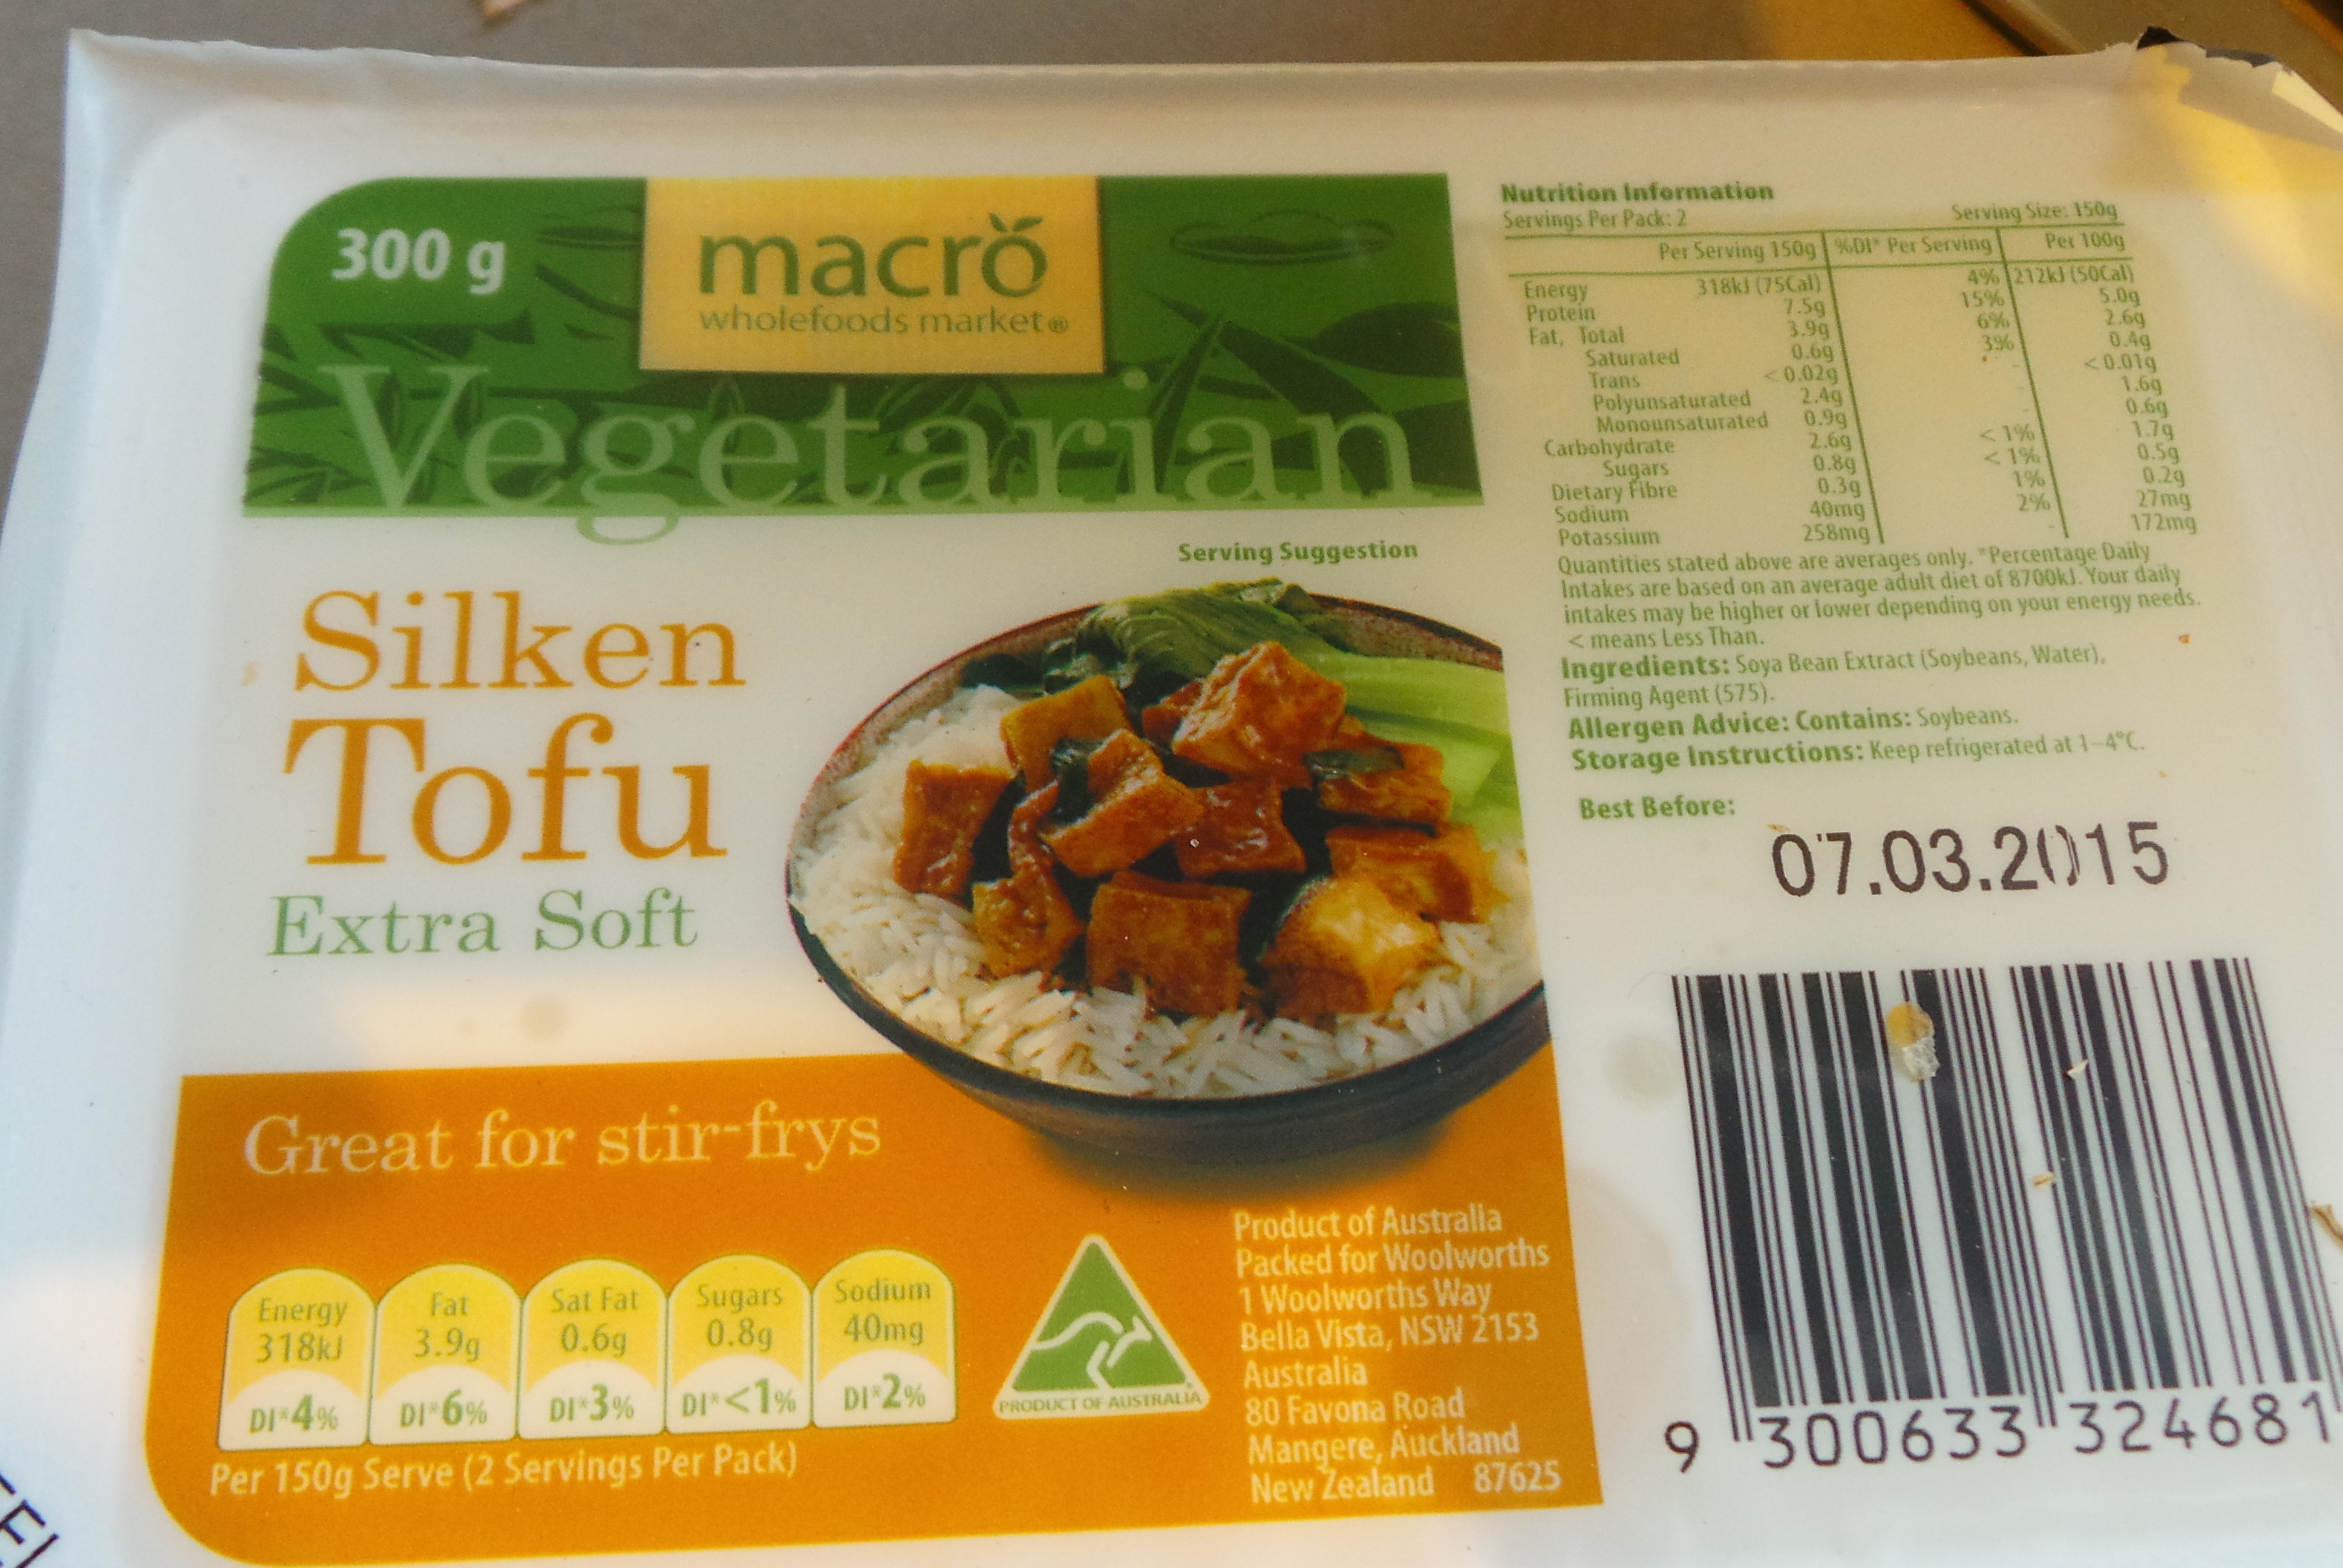
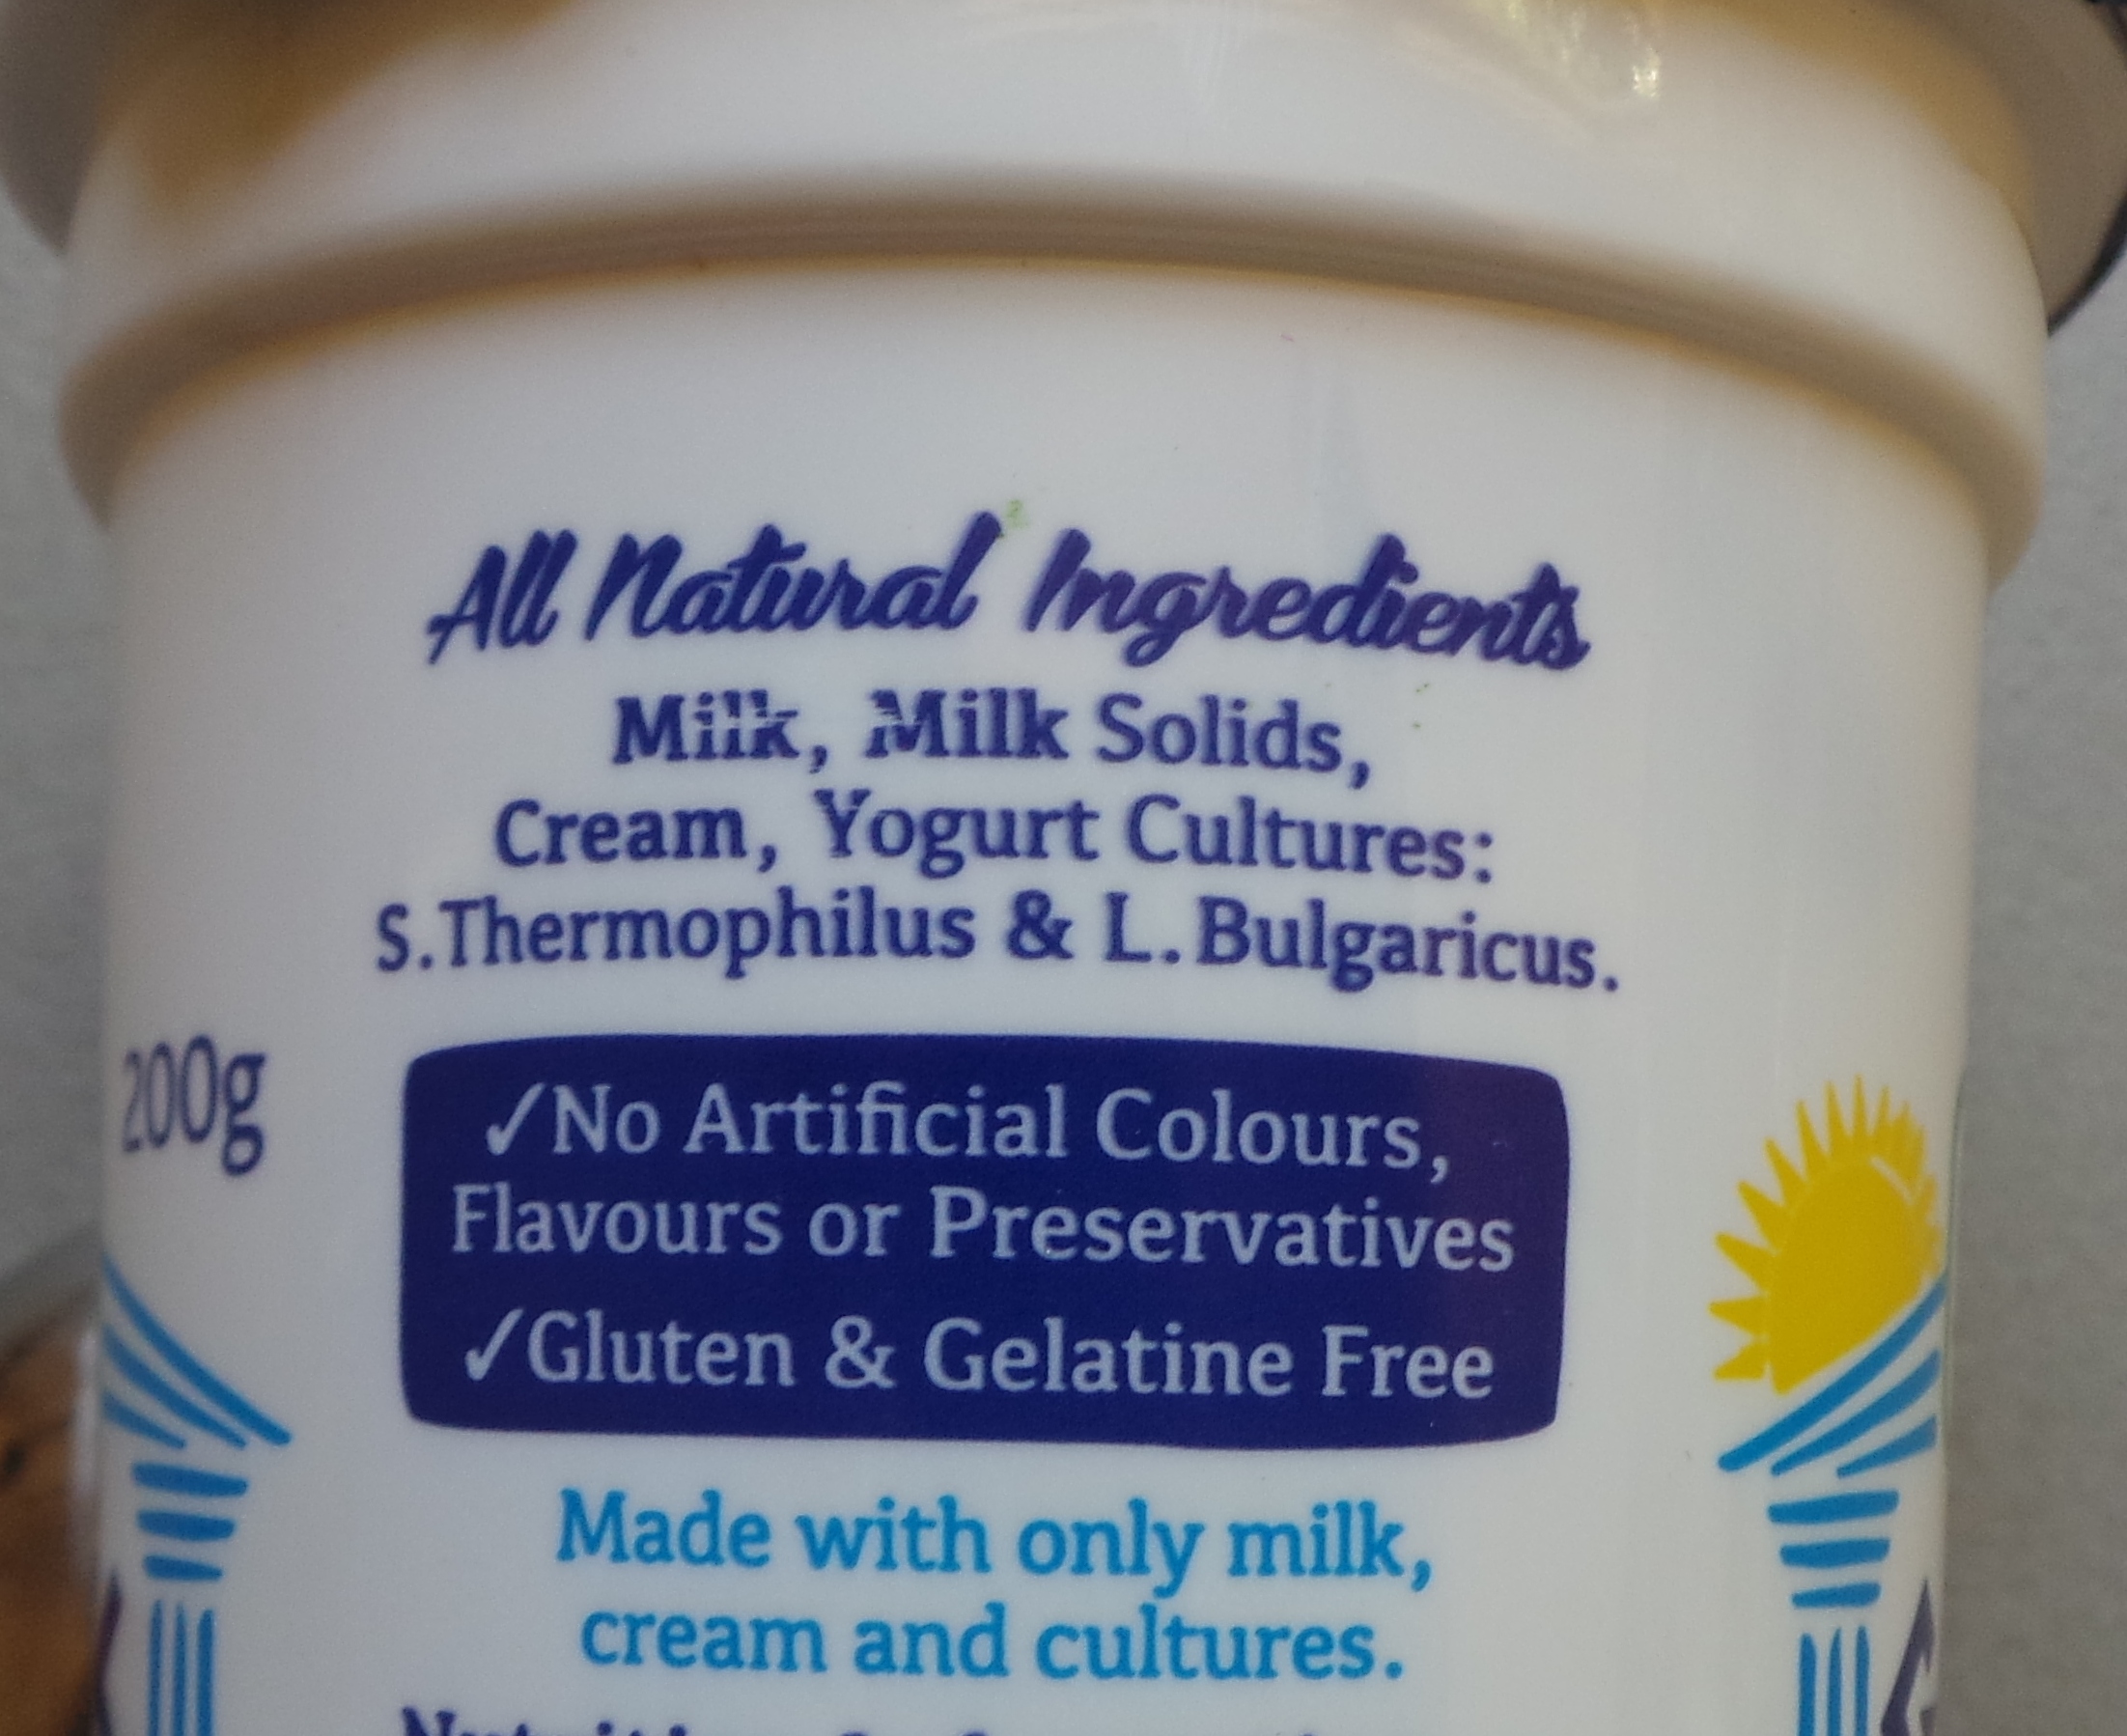
In the chiller section of the supermarket you will find myriad yoghurts ranging from low-fat to sugar-free and everything in between. What you need to look for is a small tub of natural yoghurt.

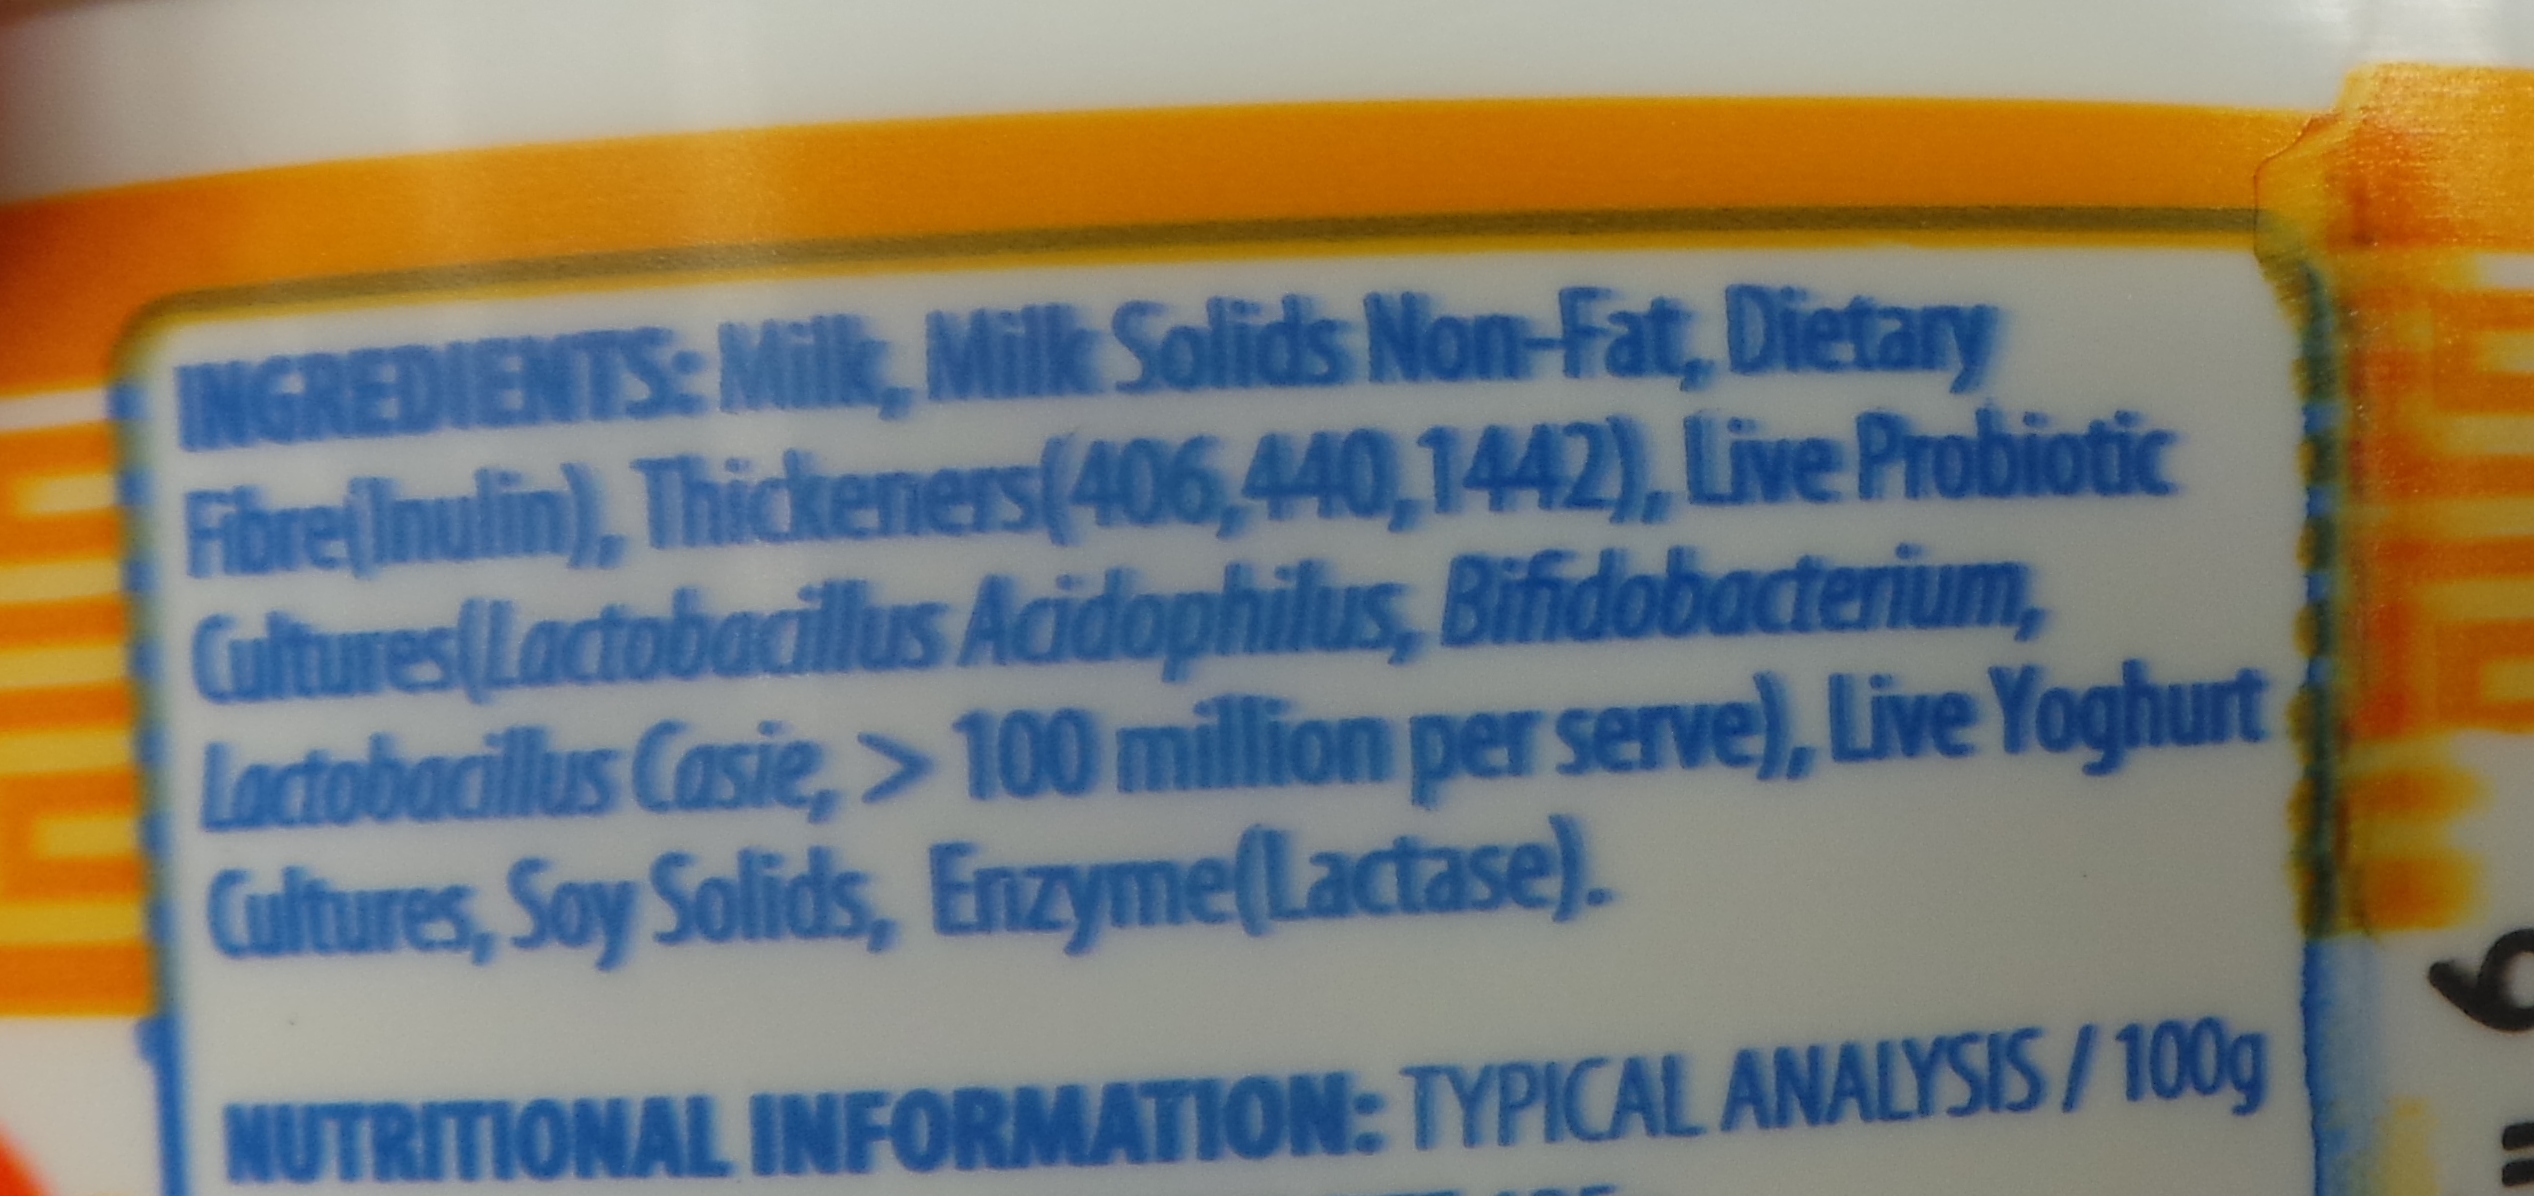
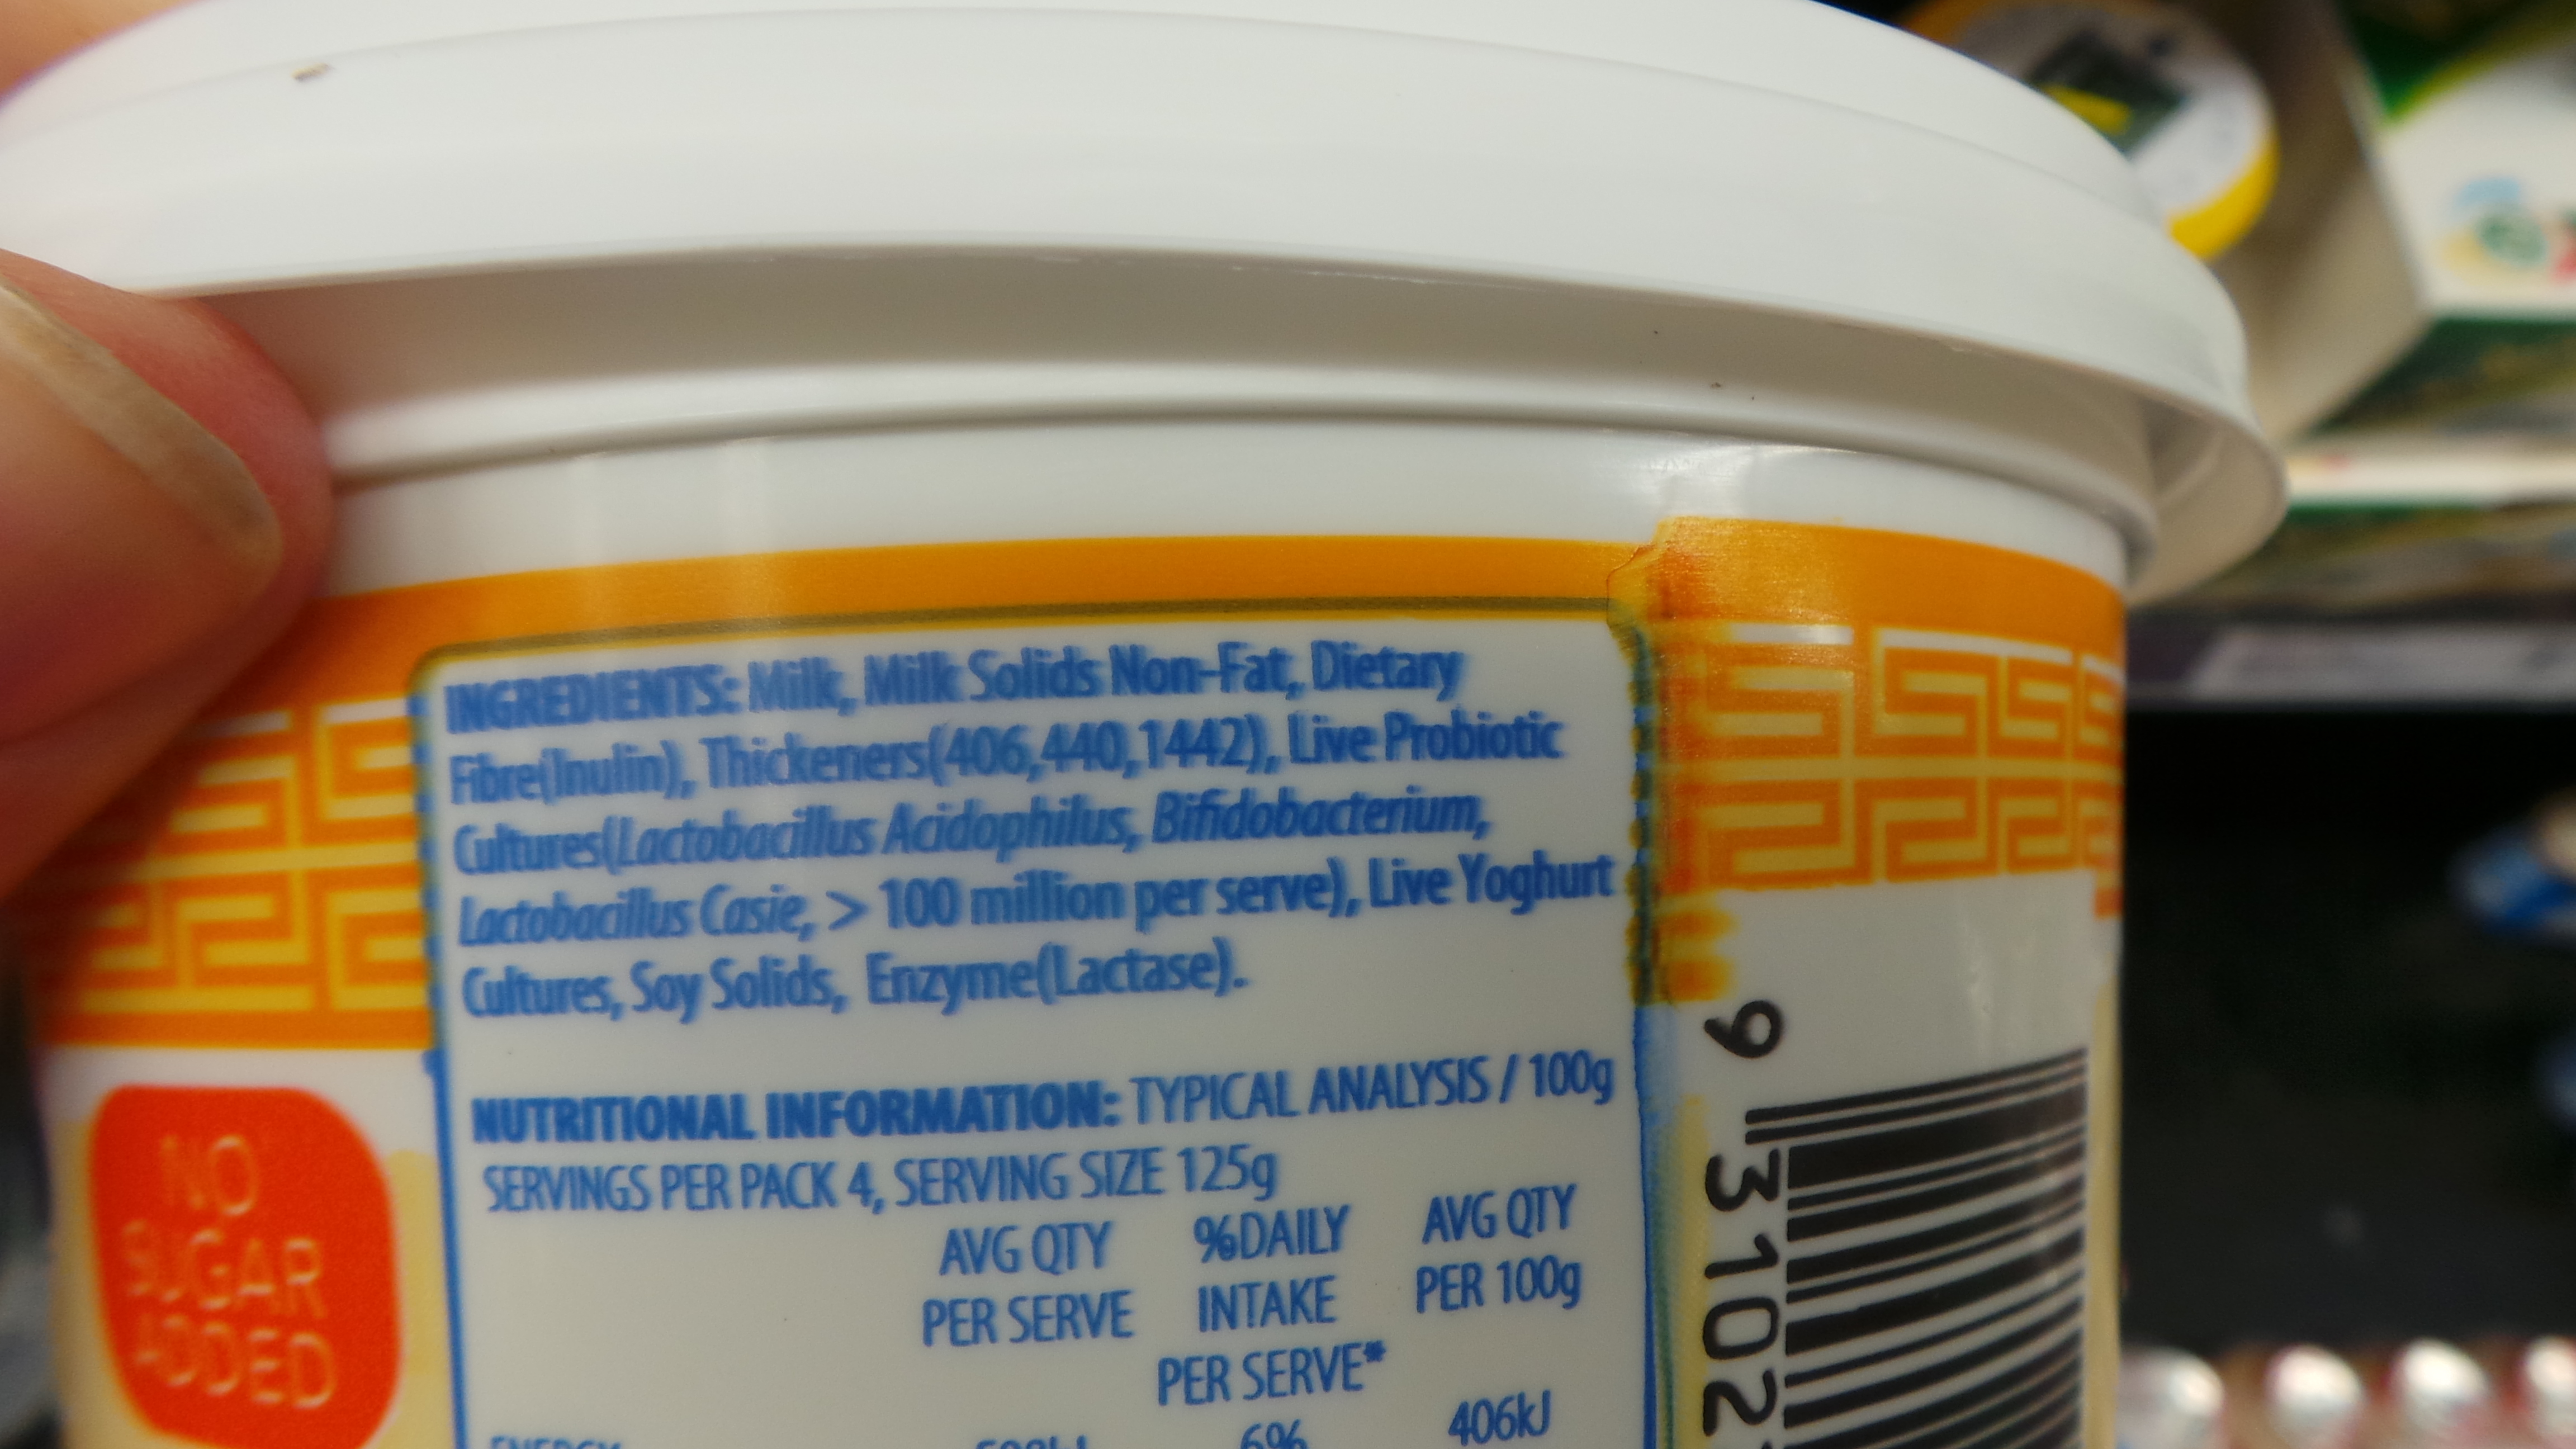
When you find one, look at the ingredients label. It should contain nothing more than milk, milk products and cultures.

Greek yoghurt label

Greek yoghurt label

If your label says live cultures, then that’s even better.

You don’t need anything that has stabilisers or food numbers on it. Those ingredients are used to thicken the final result. They often do not have the required numbers of bacteria in them and, if you were to use that product as your starter, you would end up with something that resembles cultured buttermilk and you would hate me forever. Don’t do that.

See the additives. Avoid. The blurring is the label, not my photography...

See the additives. Avoid. The blurring is the label, not my photography…

Also, be aware that Greek yoghurt is not only a type but is also a method of making yoghurt. Use it as your starter by all means, but it will not set firmly. If you prefer the taste of Greek yoghurts to those formed with L.acidophilus then make your yoghurt from it, but know that it will require straining to achieve the firmness of the yoghurt in the tub you have purchased.

This isn’t at all difficult, but you may wish to try something that will give setting satisfaction first. 😉

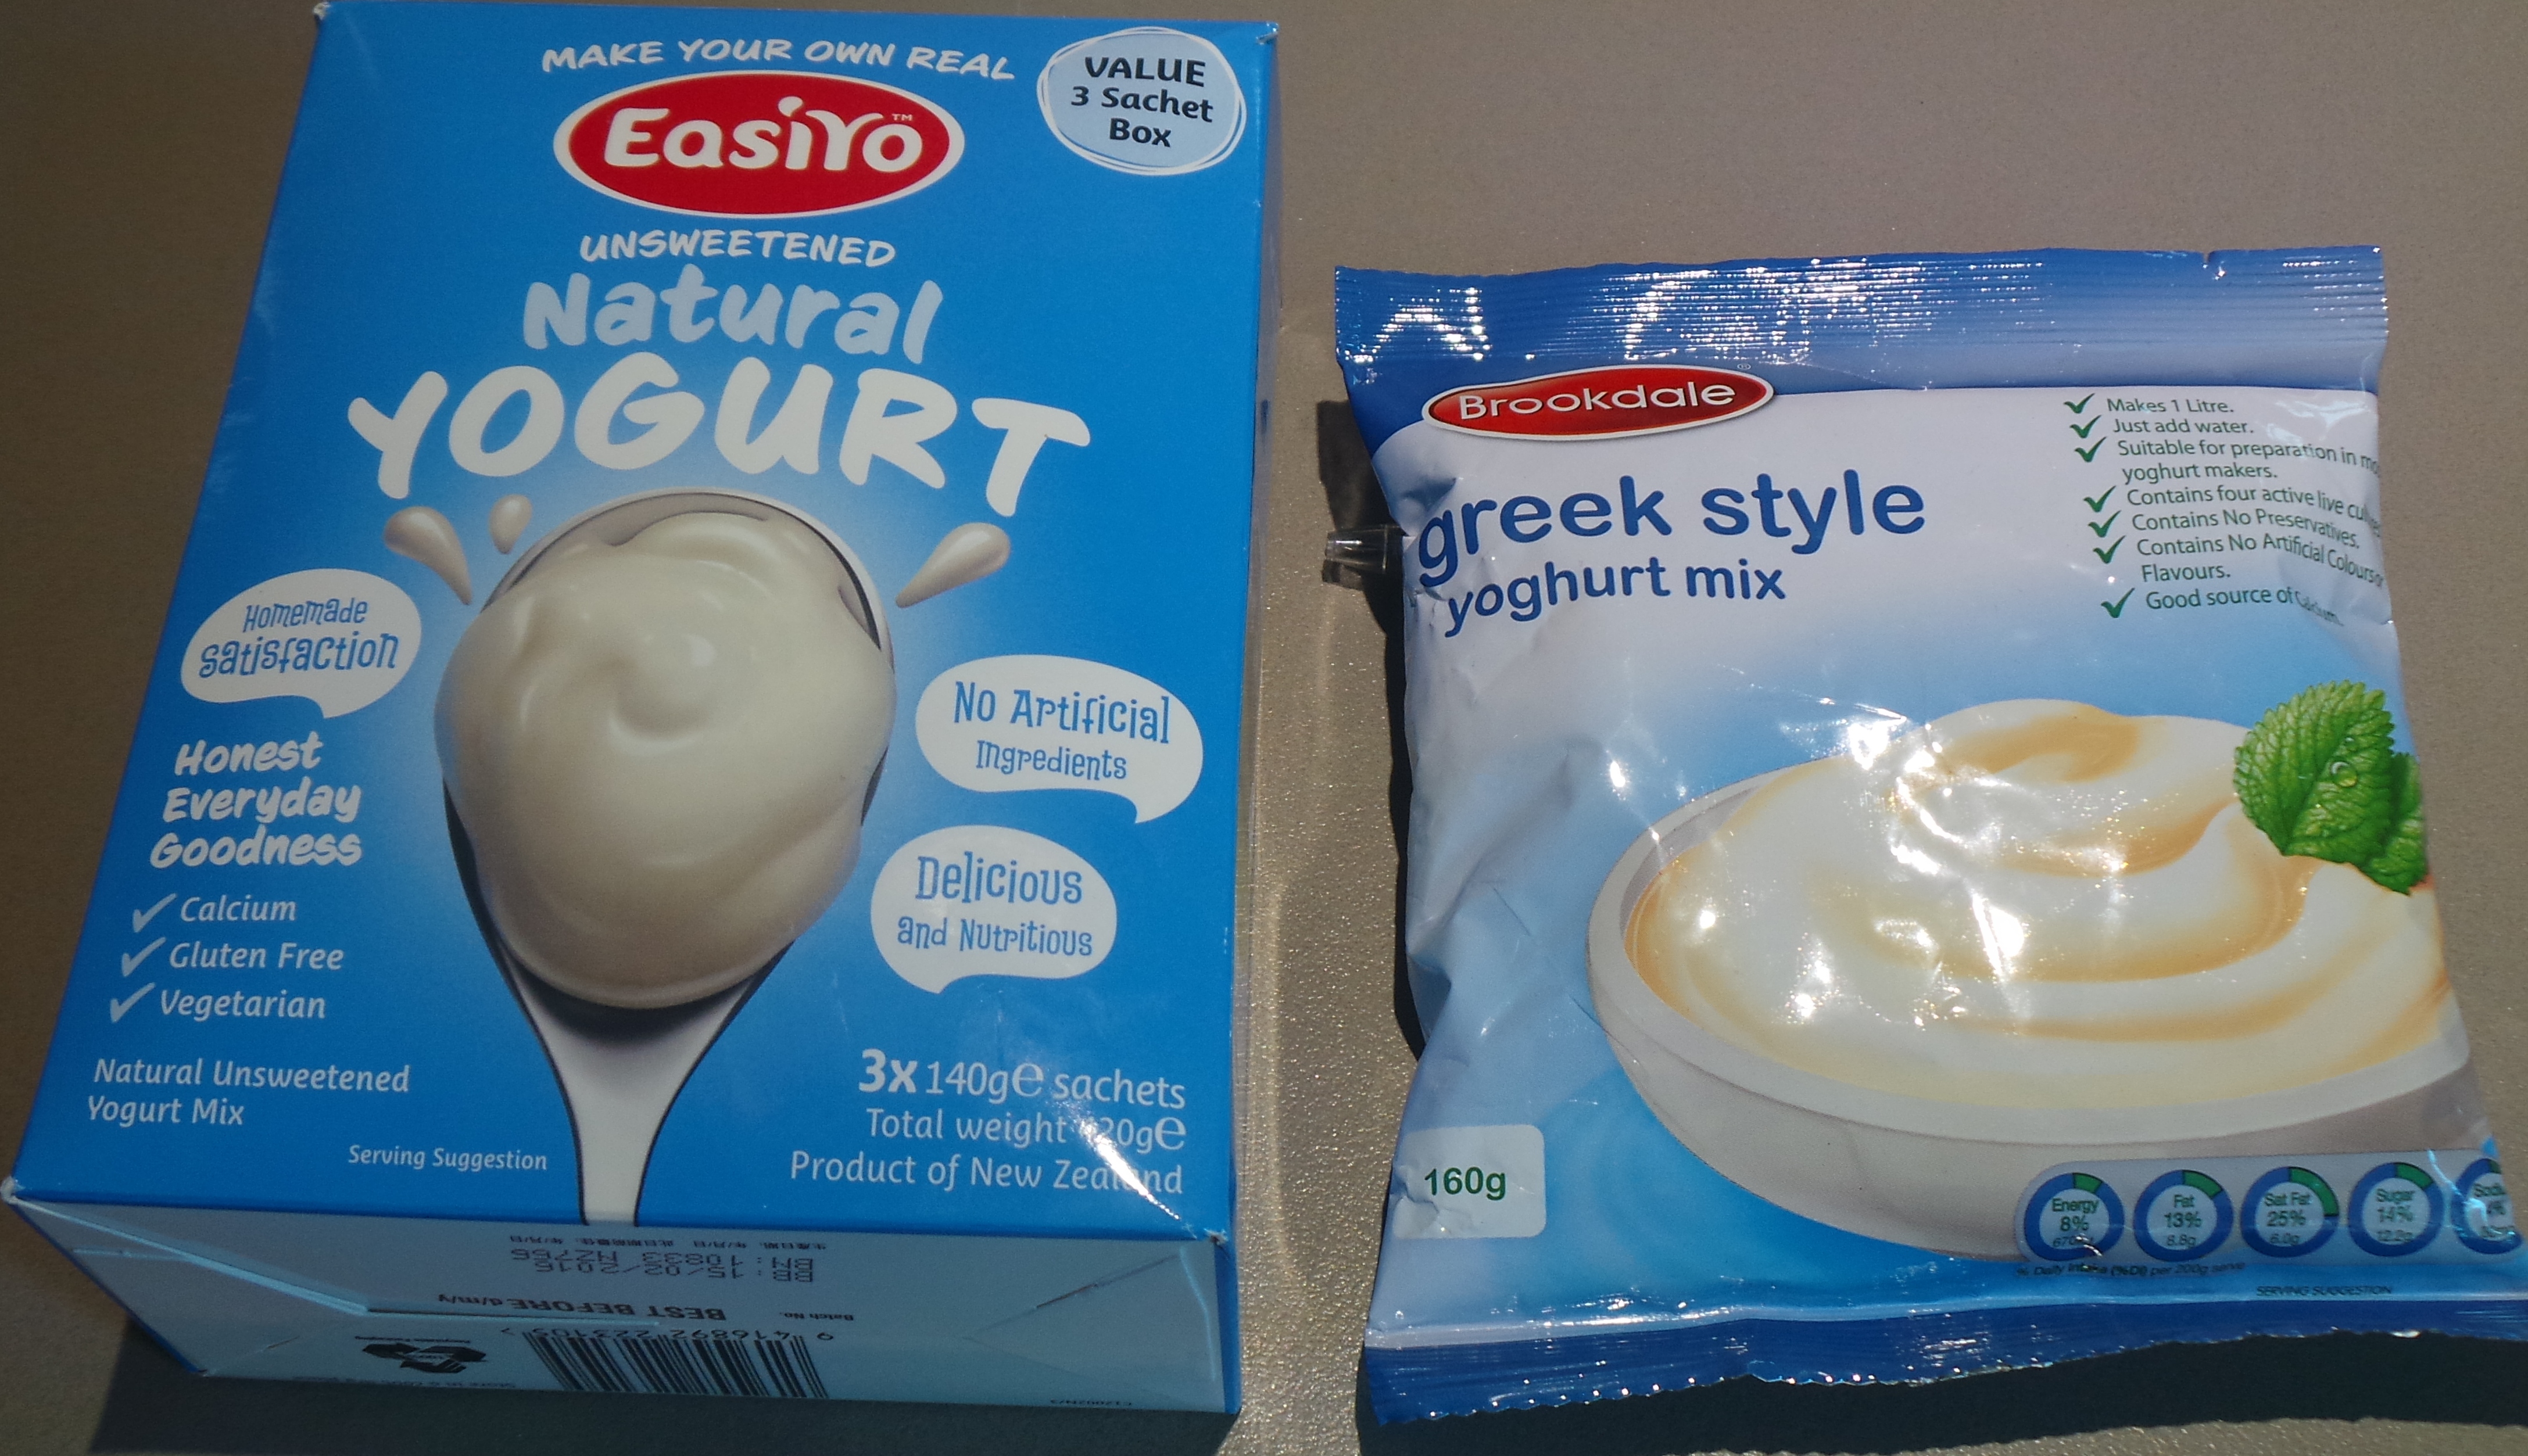
If you find locating something this simple and unadulterated difficult to do, then try using a packet mix yoghurt for your first shot and putting aside some of that as your starter. Be pragmatic.

Packet yoghurt mixes can be handy but not terribly economical...

Packet yoghurt mixes can be handy but not terribly economical…

As an aside, there is nothing intrinsically wrong with using powdered mixes like these. Just be aware that they also use stabilisers – which can exacerbate some allergies. Also, there is no budgetary advantage to doing so. A packet of yoghurt mix costs around AUD$4.50 as does a litre of yoghurt at the supermarket. A litre of milk costs $1 or so. If you have several children eating several kilograms of yoghurt a week, making your own from scratch is much more economical.

Yoghurt will last for quite some time when properly stored in a refrigerator, but you need your starter to be relatively fresh so check the dates on any fresh yoghurt you may buy.

Next, you will need to get your milk and equipment all in the one place.

You will need:

  • a large saucepan or pyrex jug,
  • a thermometer (or your clean finger),
  • a small bowl,
  • a dessertspoon,
  • a whisk or fork,
  • a large bowl or covered container,
  • something to keep your yoghurt warm in.

Make sure everything is as clean as possible. The only bacteria you want to grow is that in the yoghurt culture.

Now, heat your milk. If it is raw milk it is safest to bring it to a boil (at least 85°C or 180°F) and then let it cool to the desired temperature. If you do this on the stove top, use a large saucepan and watch it carefully to avoid having the milk boil over.

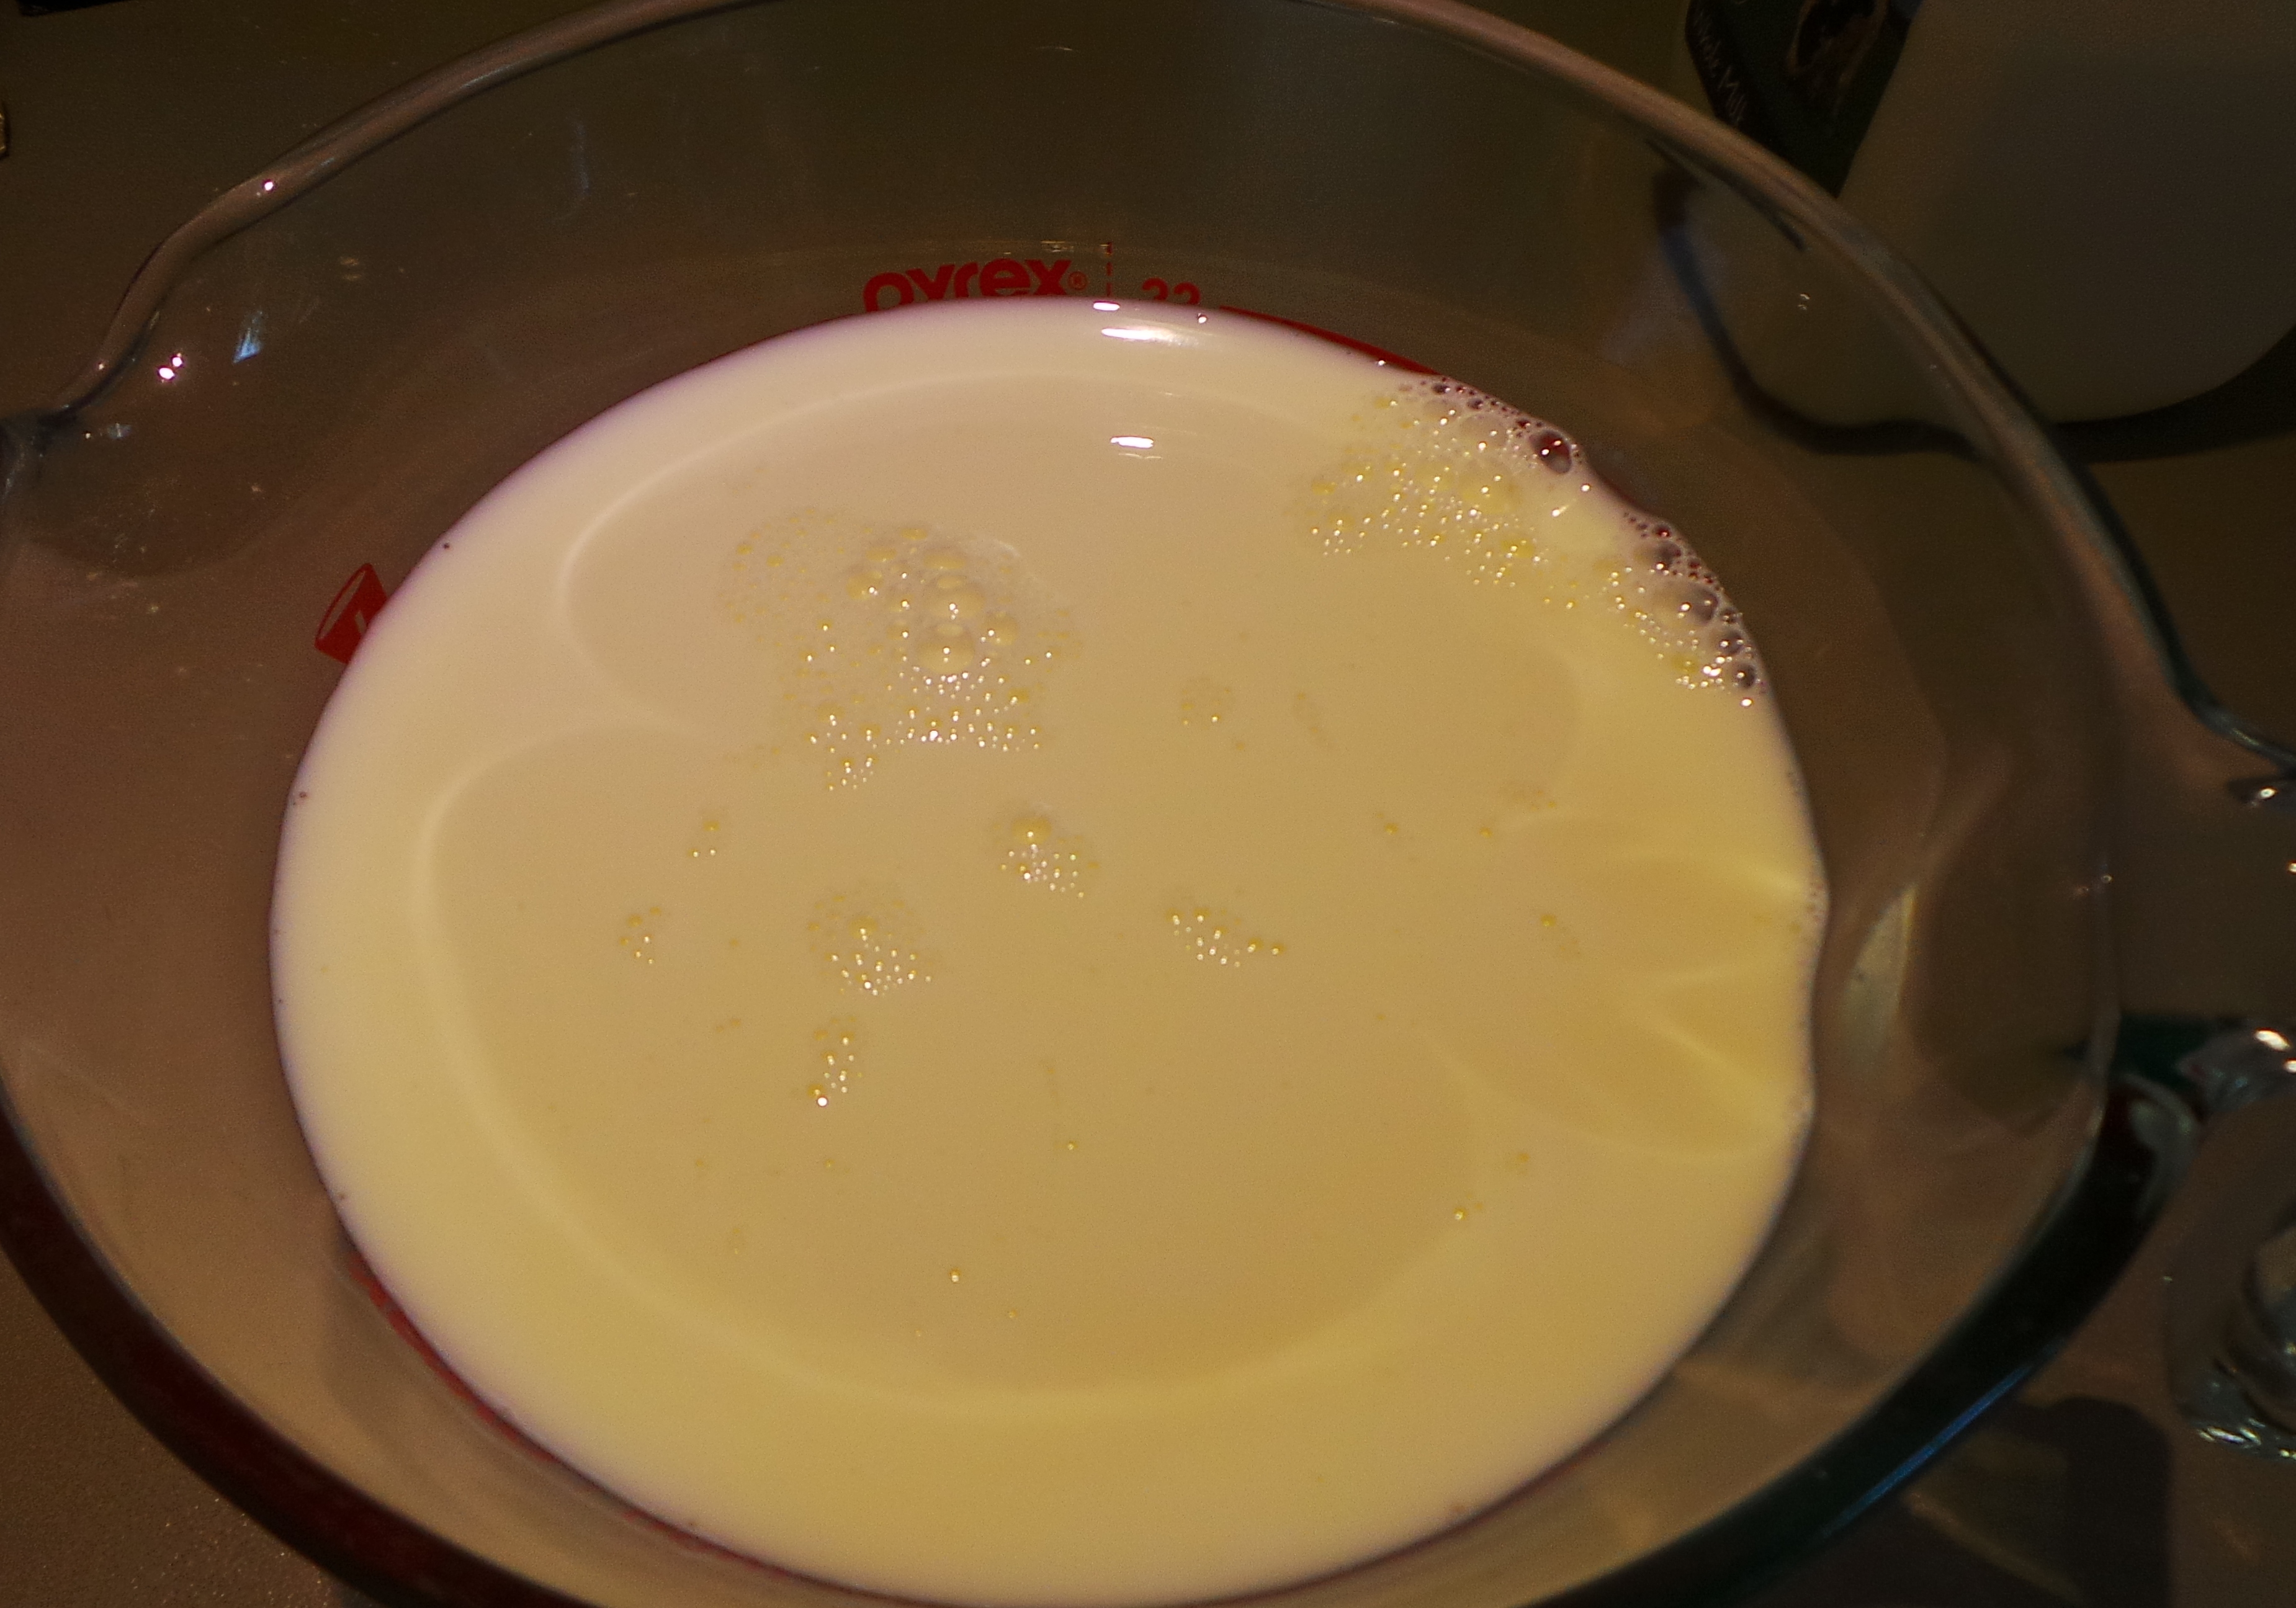
Otherwise, you can heat your already pasteurised milk in the microwave using a large Pyrex jug – which is my preferred method.

I heat my yoghurt in the microwave, using a large pyrex jug.

I heat my yoghurt in the microwave, using a large pyrex jug.

It’s much easier to wash up the jug, I find, and then pouring it into the container in which I want it to ferment is much easier than pouring it from a saucepan. One litre of milk straight out of the refrigerator needs only 3-4 minutes on HIGH in my microwave and then I can place it on my counter and wait for it to cool down.

Allow your milk to cool to between 47°C (116°F) and 32°C (90°F). You can use a thermometer to test this or wash your hands and use a finger – since the Stone Ages, remember? – dip in a finger and count to ten, the milk will feel uncomfortably hot, but bearable.

This is important. Yoghurt bacteria are like yeast.  Too hot and the bacteria will die, too cold and they will remain dormant.

While you are waiting for your milk to cool, place two dessertspoons of your starter culture into a small bowl. A good rule of thumb is one dessertspoonful (2 teaspoons) of starter for each 500ml of milk.

Pace your starter culture into a small clean bowl.

Pace your starter culture into a small clean bowl.

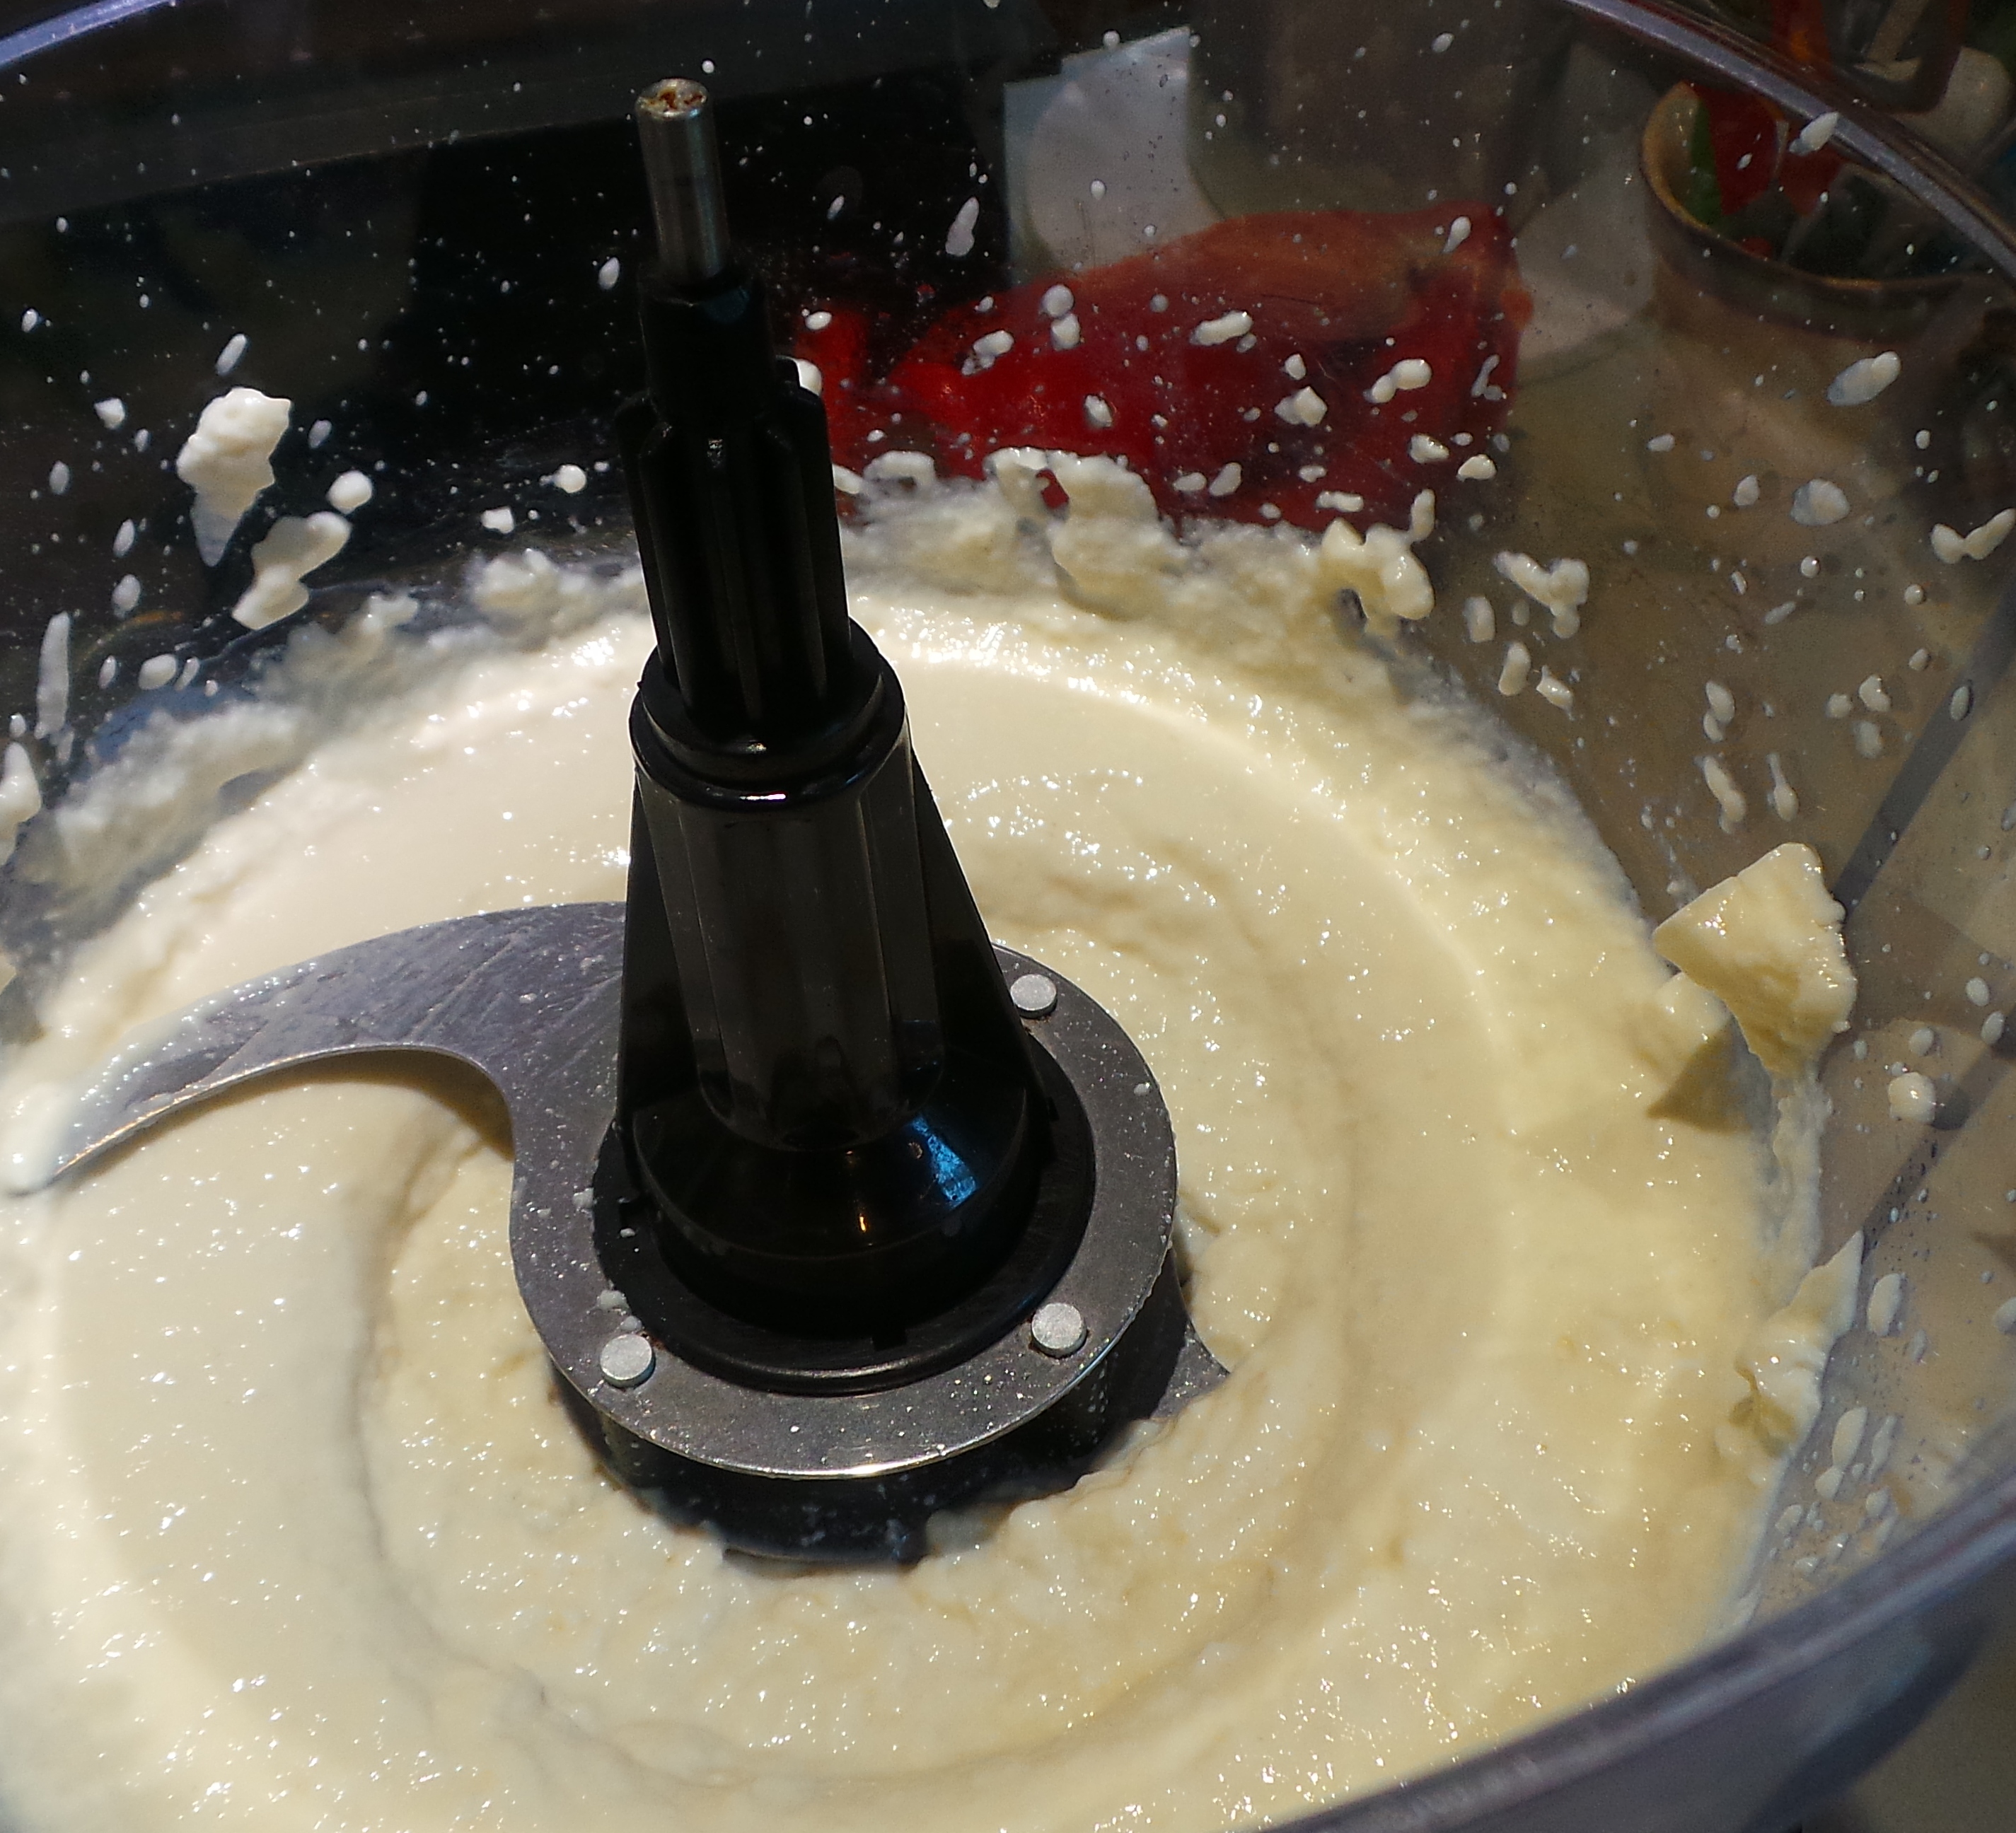
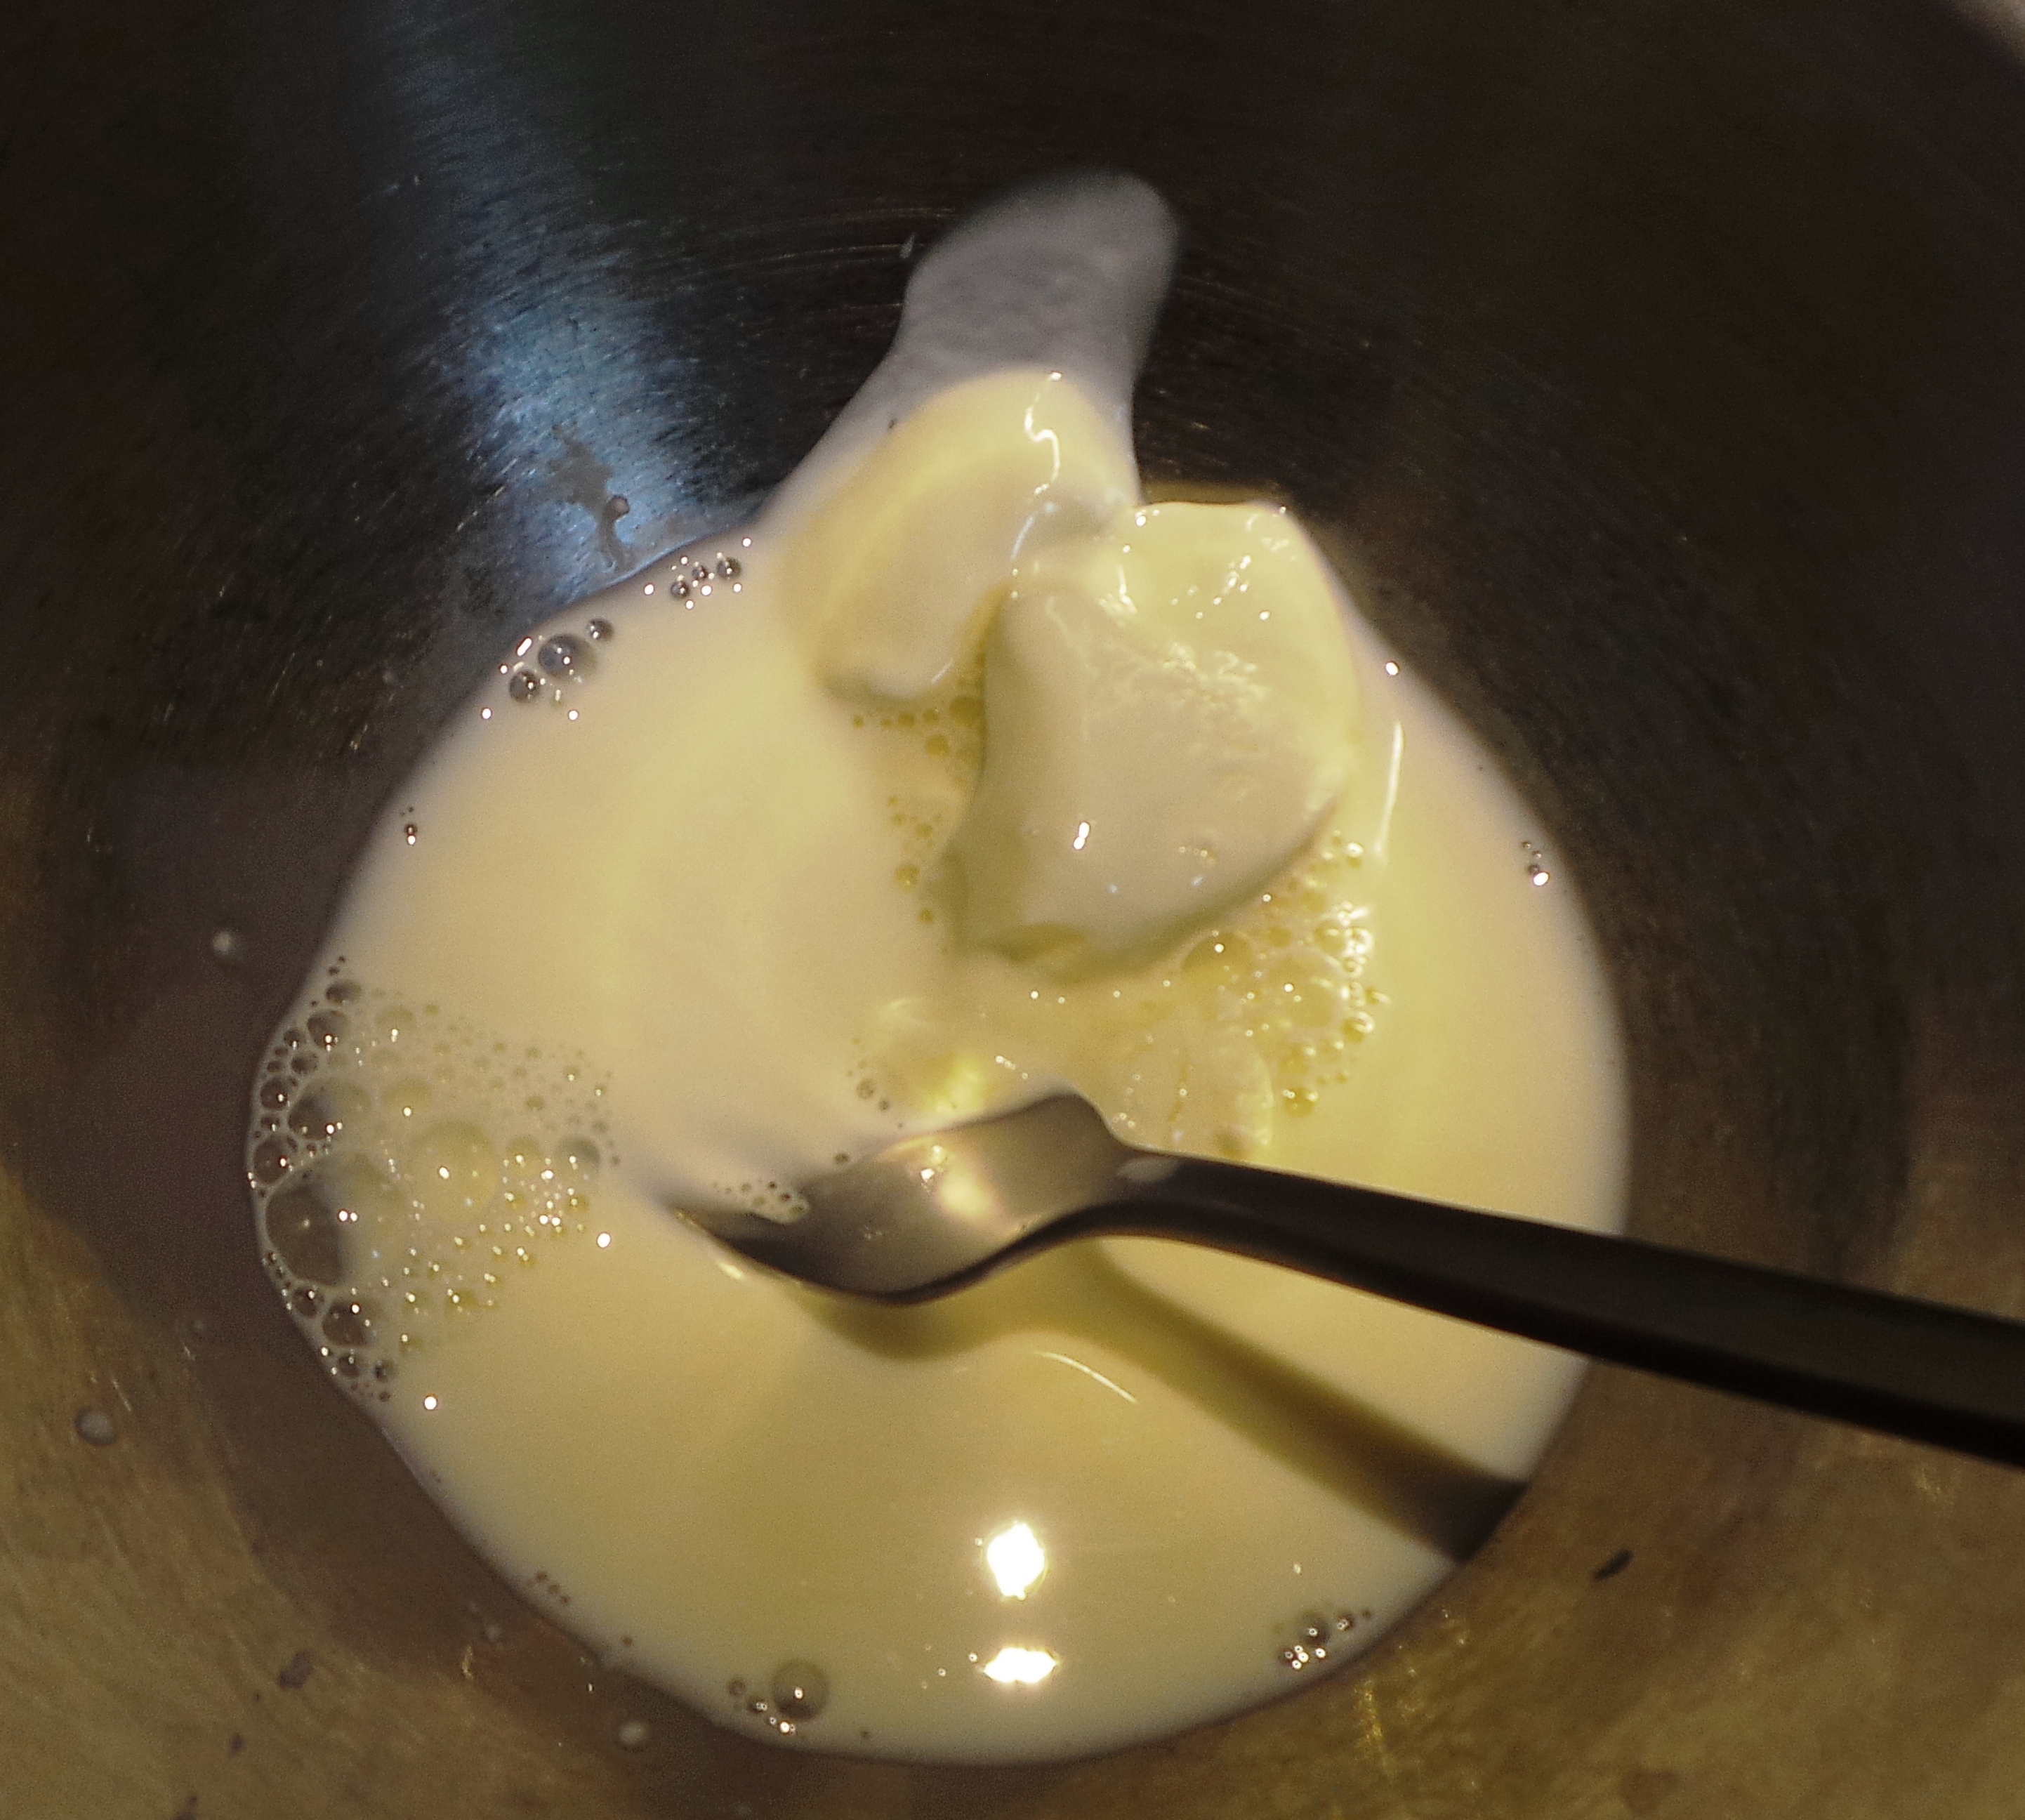
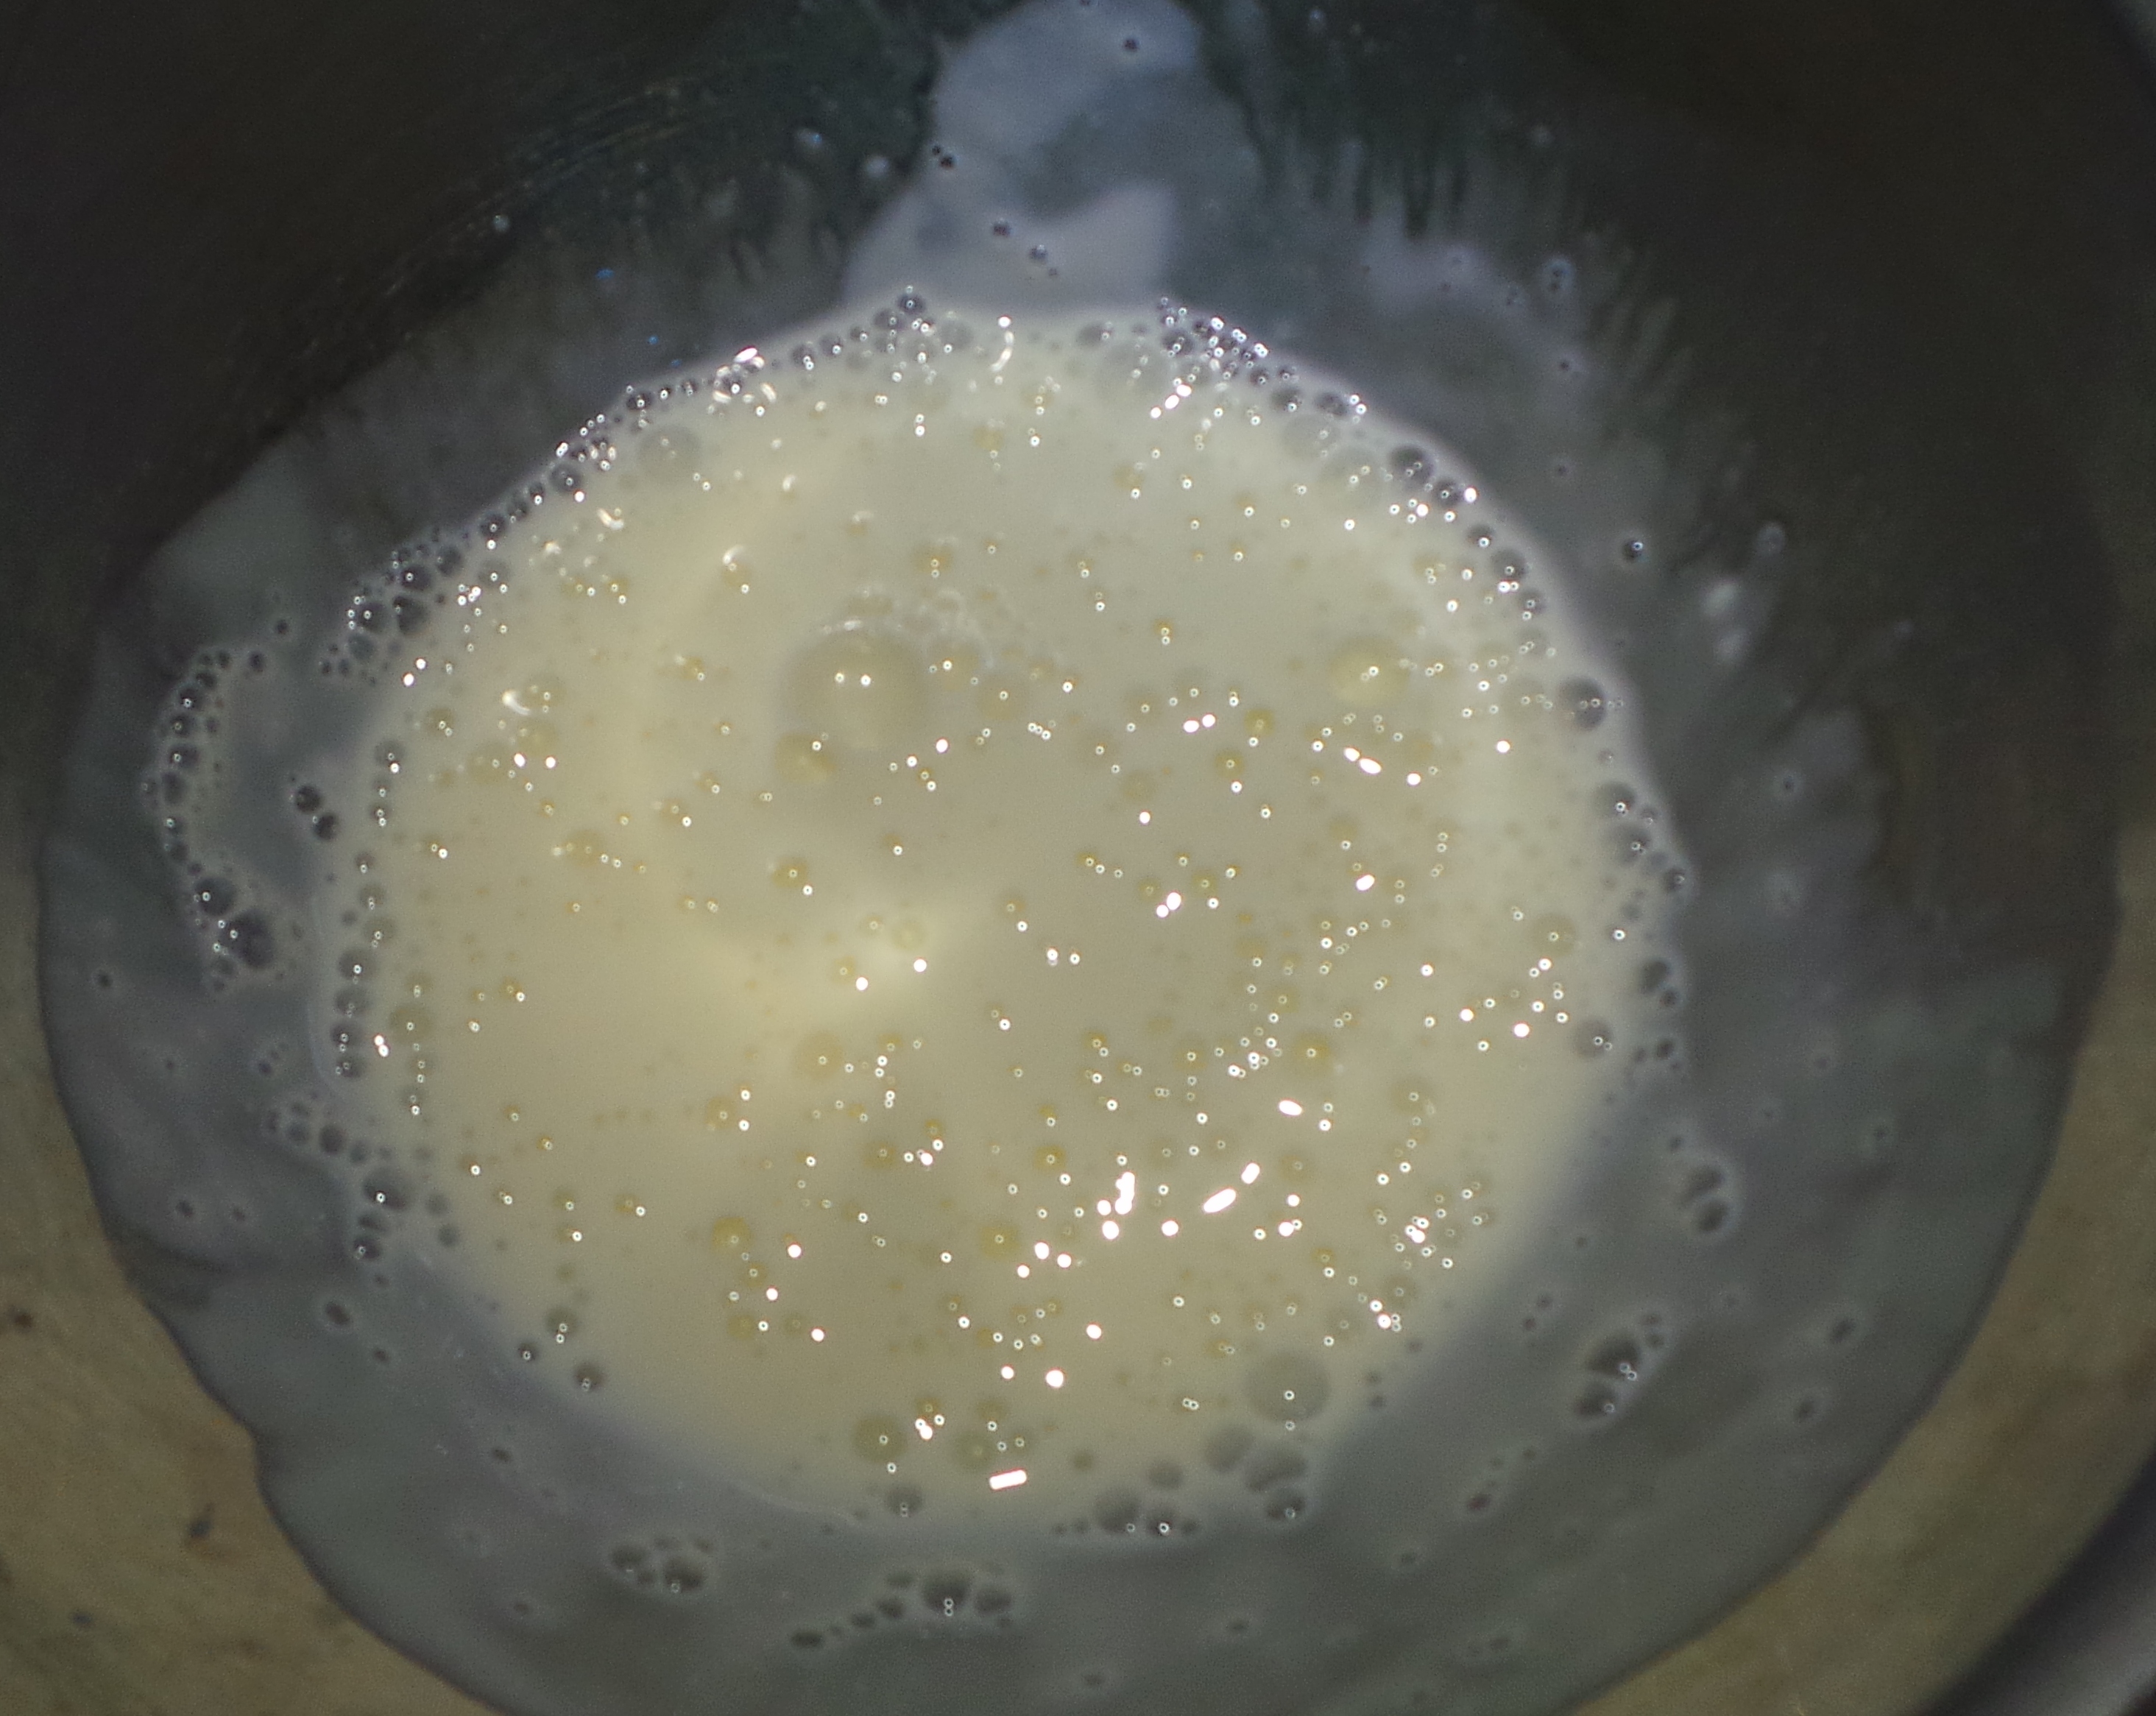
Then, when your milk has cooled sufficiently, place half a cup or so into the bowl and whisk well.

You want the result to be quite smooth.

Blend your culture thoroughly into a small amount of warmed milk.

Blend your culture thoroughly into a small amount of warmed milk.

It won’t break, there’s no need to be delicate.

Blend well.

Blend well.

Now reintroduce the liquid in the bowl to the rest of the warmed milk, again blending well.

Introduce your culture mix to the rest of the milk and blend well.

Introduce your culture mix to the rest of the milk and blend well.

You’re pretty much done. Now all you need to do is maintain the temperature for 6 to 8 hours. My mother used to put the mix in a bowl with its own lid, wrap it in a towel and place in on the internal water heater overnight. I know some people swear by placing their yoghurt into an oven with just the pilot light on.

You could place it into a thermos or vacuum flask.

Some place their heated milk into a preheated crockpot or slowcooker. To do this preheat your slow cooker on High but switch it off when you add your yoghurt mixture and then wrap the whole thing in a towel overnight.

You could place your sealed container into a foam insulated box, esky, cooler box or chilly bin with a filled hot water bottle for company.

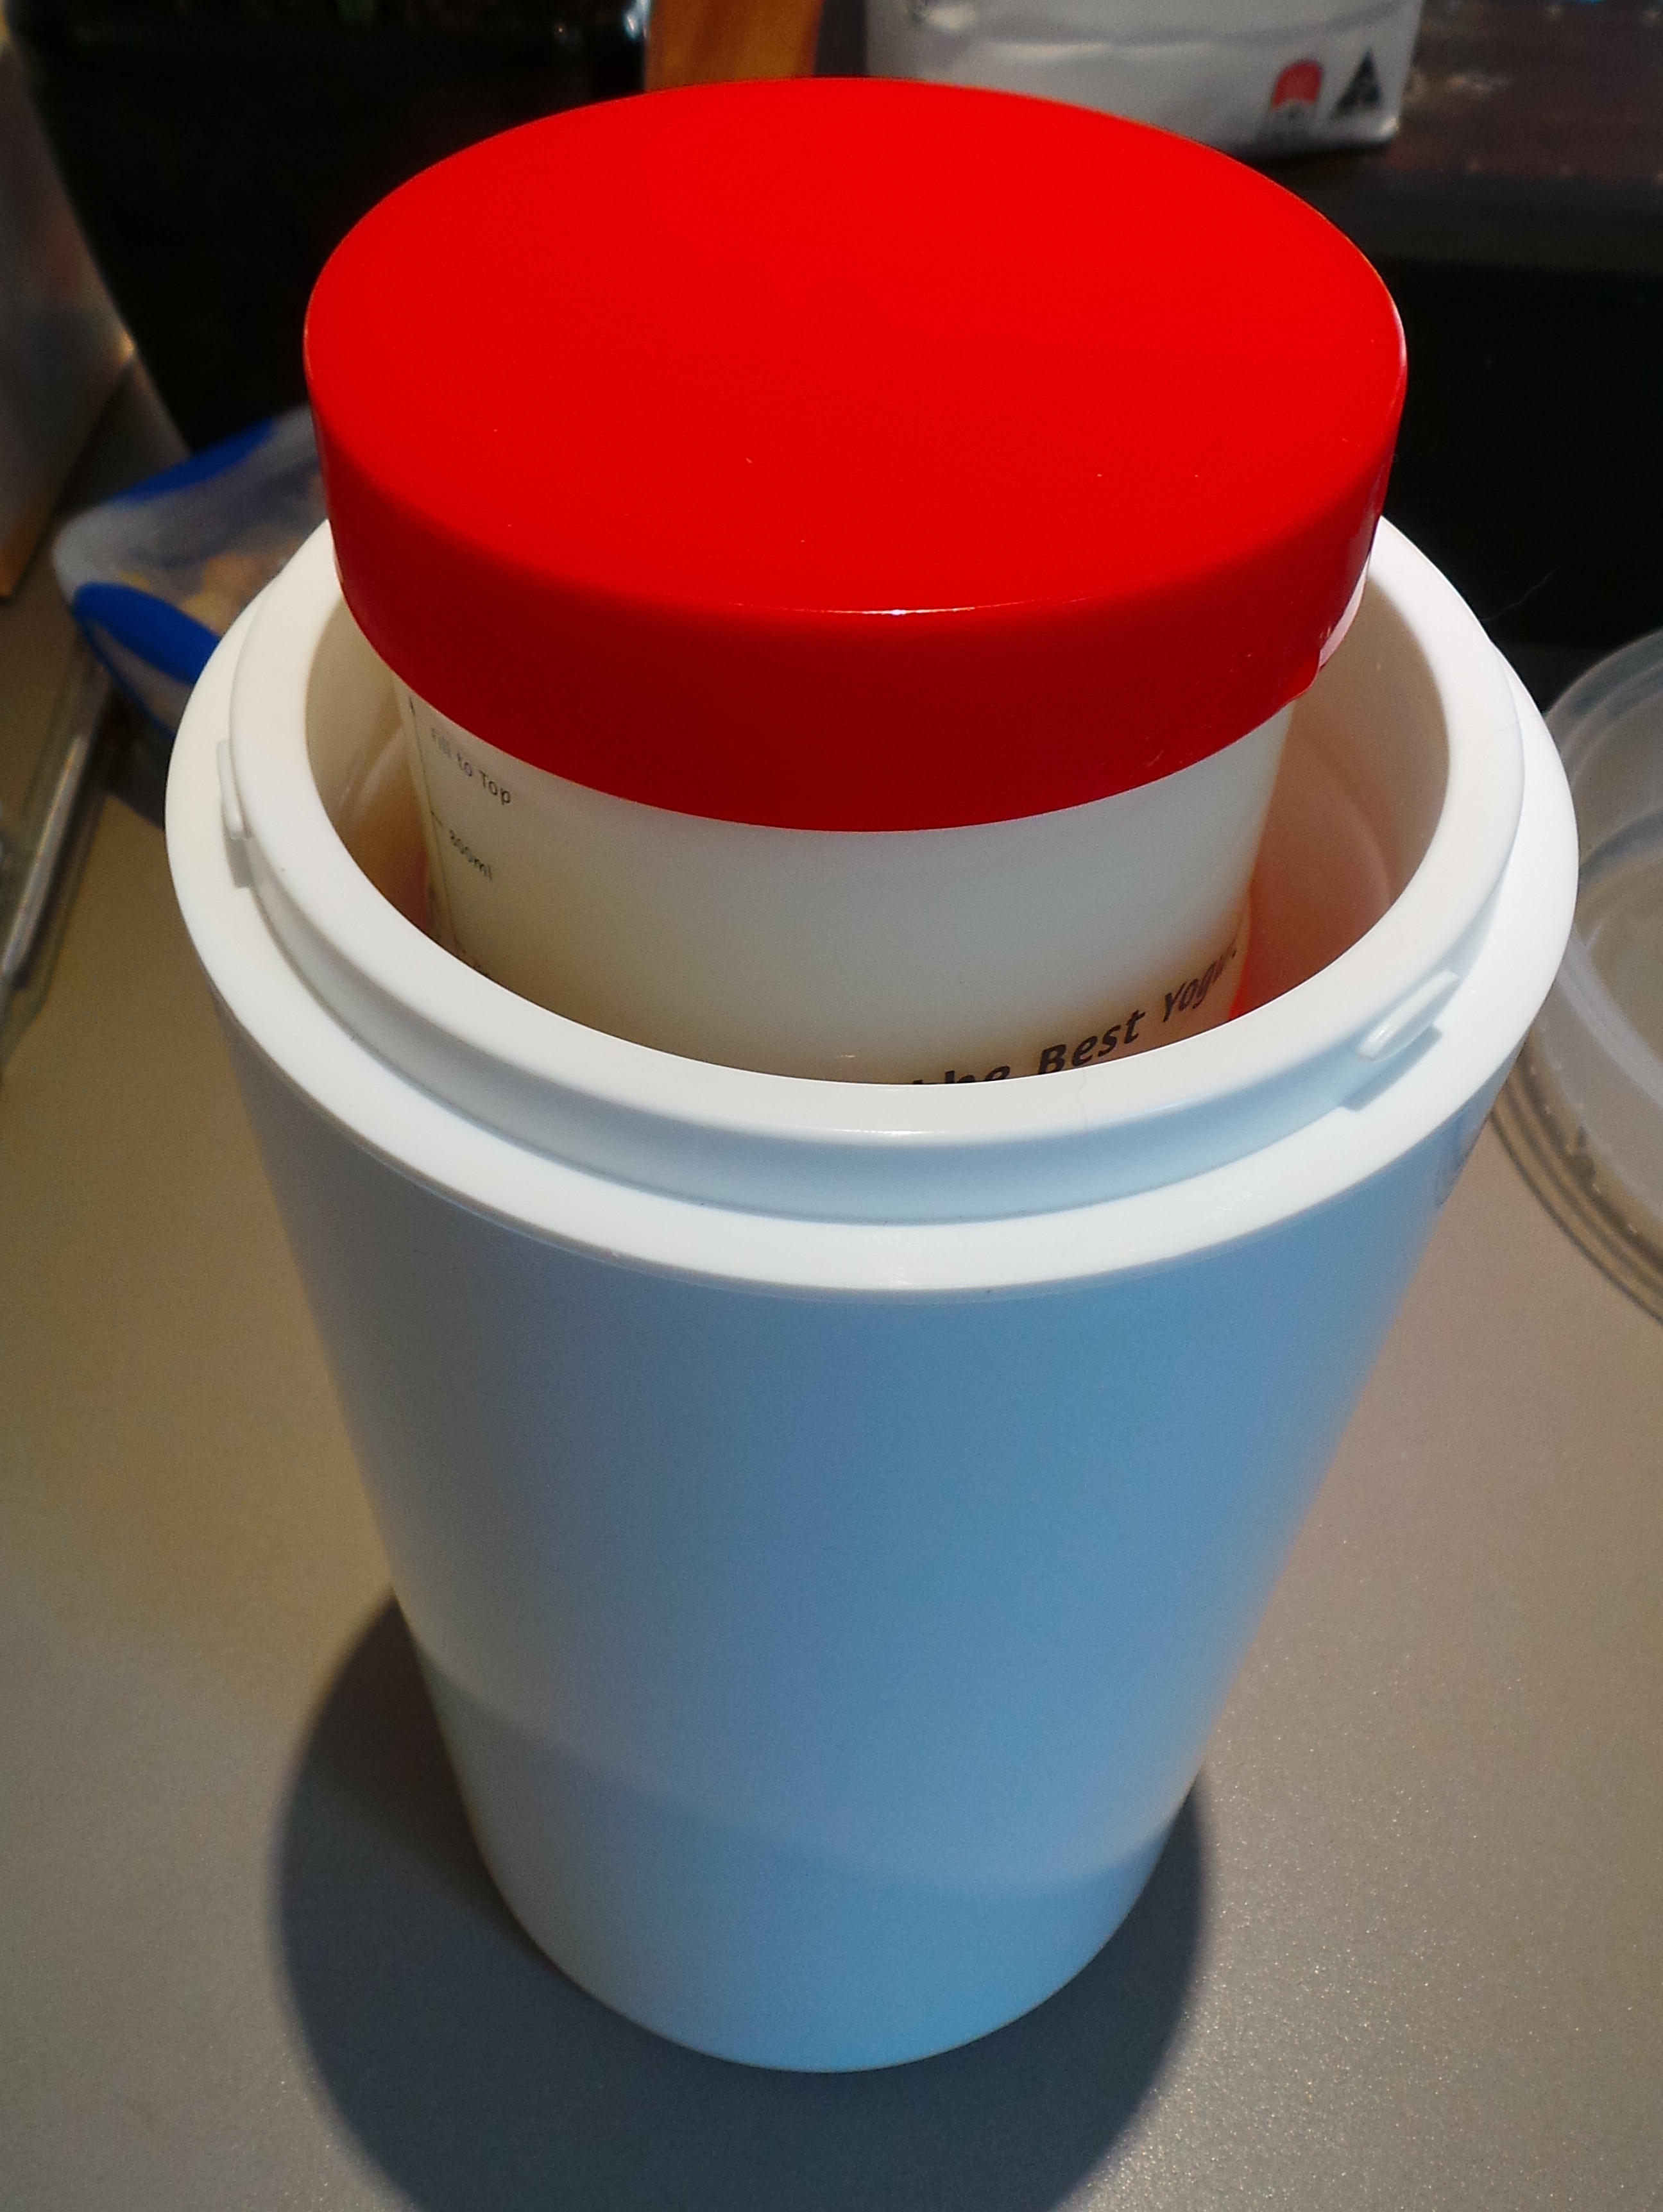
I use a commercial yoghurt making device that is a simple, plastic-covered foam flask.

The yoghurt 'flask'

The yoghurt ‘flask’

I place my yoghurt mix into a plastic container with a screwtop lid, half fill the flask with boiling water, pop the container in, put on the lid of the flask and leave it overnight.

You simply half fill it with boiling water.

You simply half fill it with boiling water.

Add boiling water and then your yoghurt mixture.

Add boiling water and then your yoghurt mixture.

I like using this because it’s so convenient. Firstly, I can simply take the set yoghurt out in the morning, wipe off the container and put it in the fridge as it is. Secondly, the flask itself takes up very little room and can be popped in a corner, on the dining table or anywhere else with very little trouble.

I will be offering one of these in a competition for my readers in the next few days.

I also like not having large containers of warm liquid to juggle (and most likely spill everywhere).

It is far better to make smaller amounts of yoghurt often, rather than large amounts infrequently. Your yoghurt depends on the freshness of the starter culture so, if you keep your own stocks ticking over, you will be able to continue using your own yoghurt as a starter for longer.

It’s also easier to cope with a litre or two at a time in your refrigerator than it is to cope with a gallon of it. Trust me.

Make up your yoghurt of an evening and it will be ready for the refrigerator first thing in the morning. Try not to leave it to ferment for any longer or it will become quite sour. Go about your day and let it set – leave it alone.

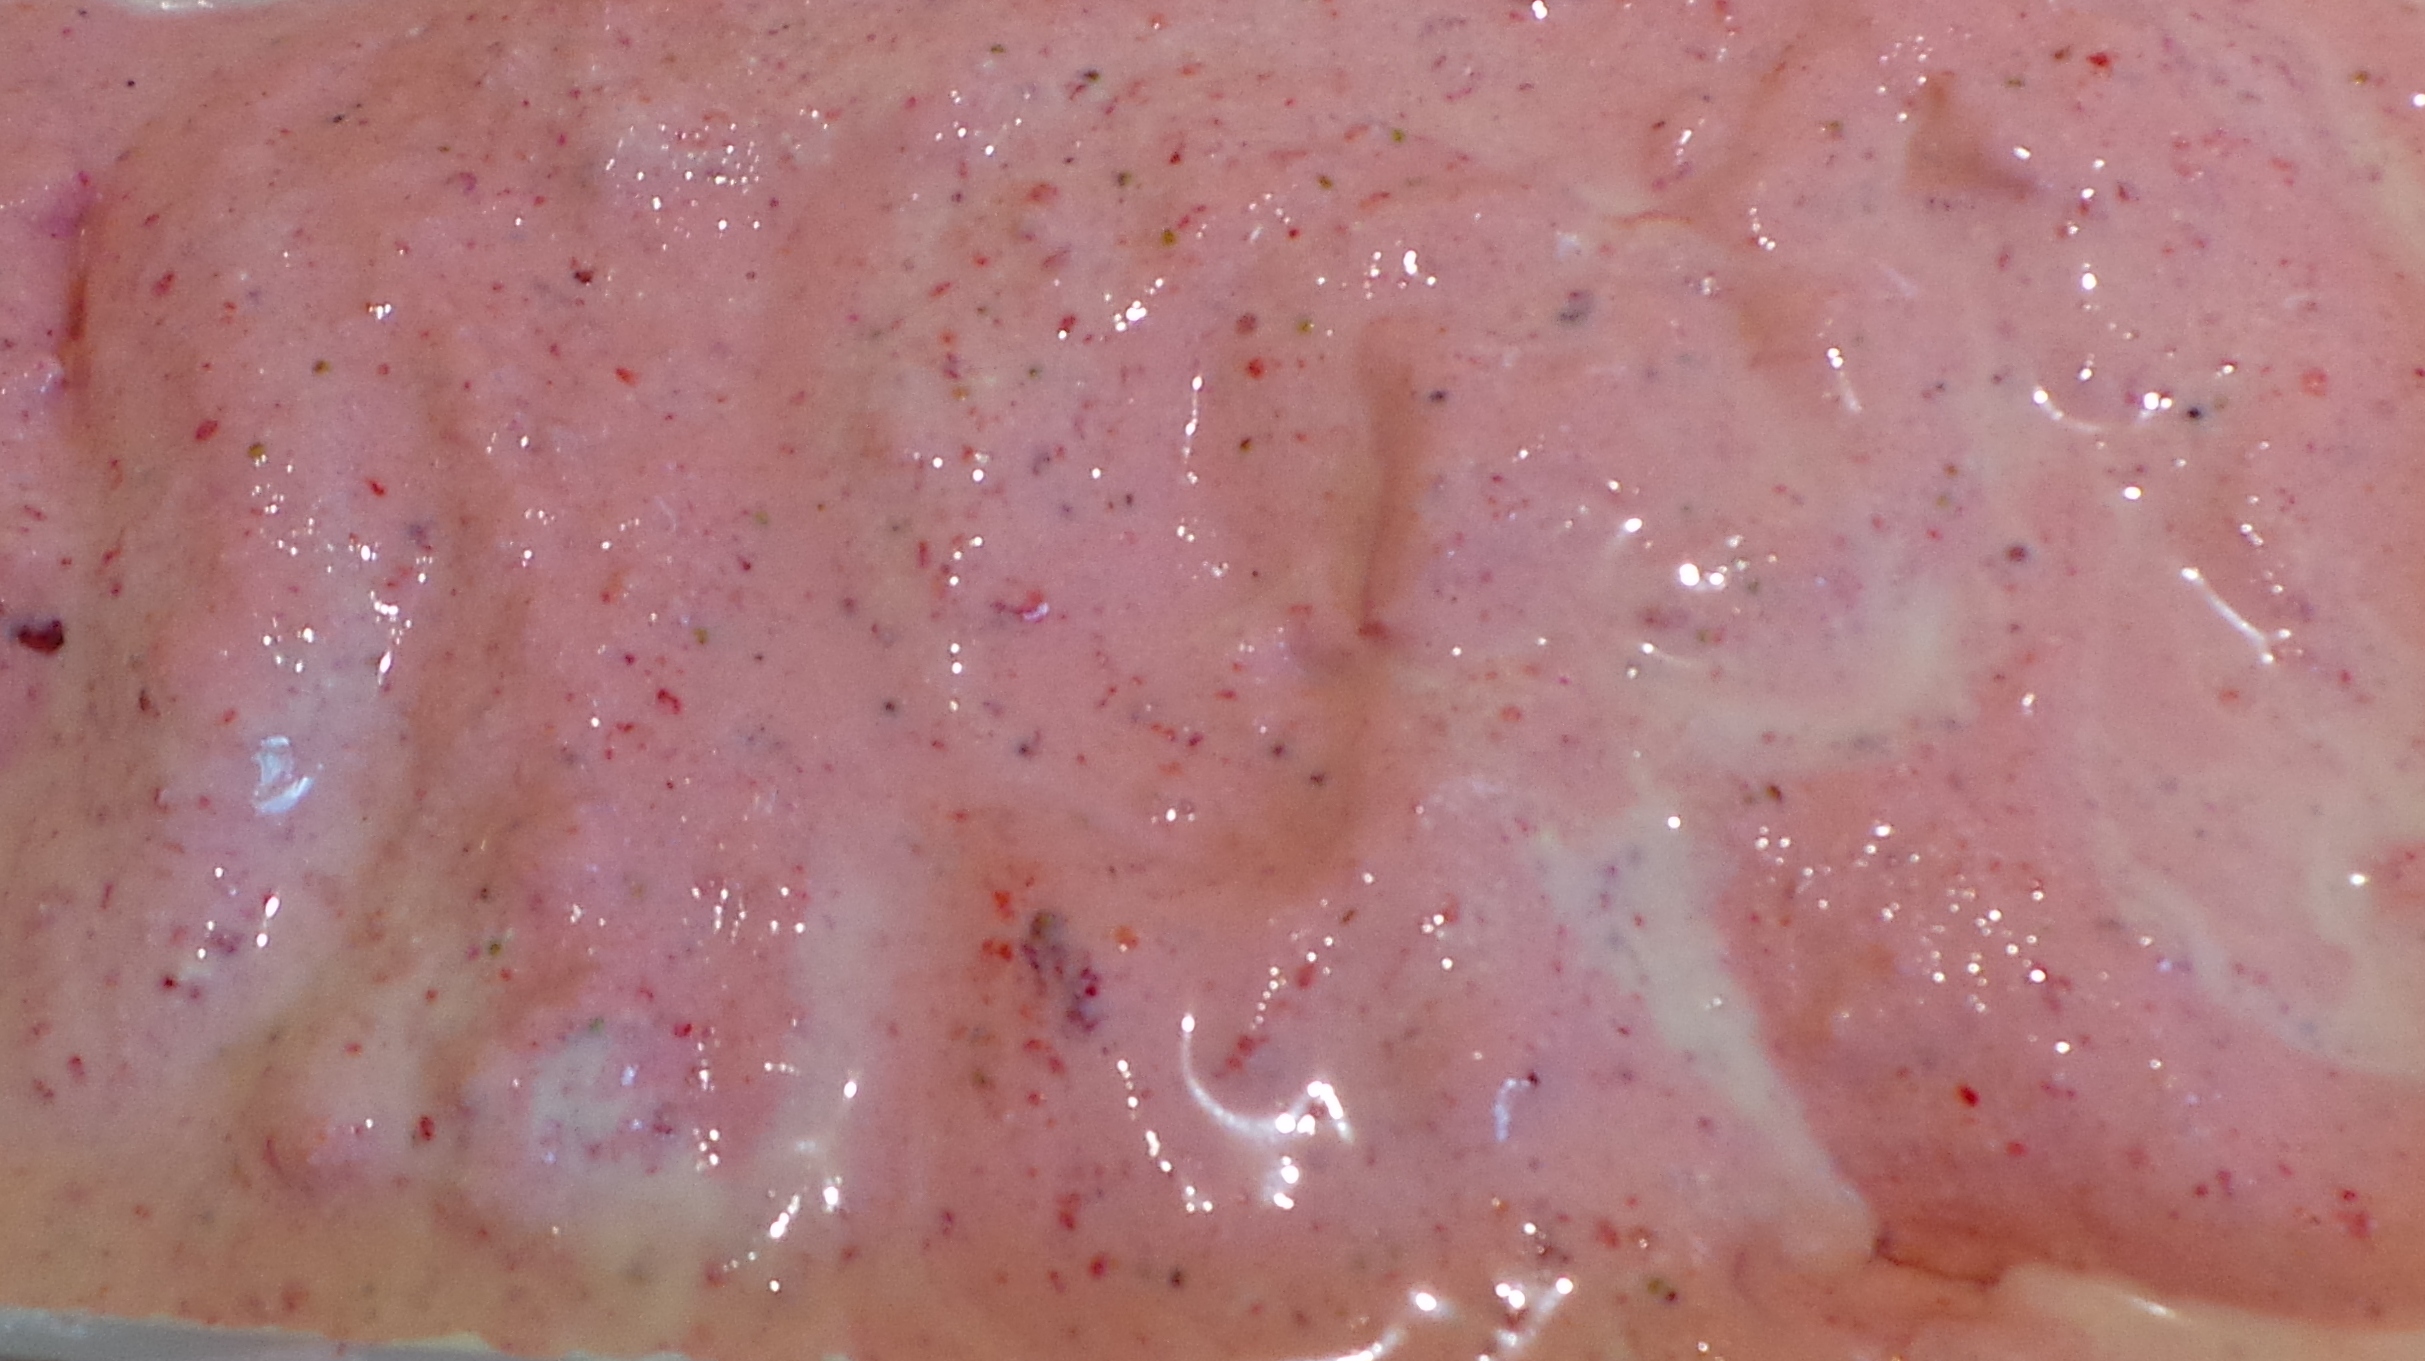
That evening it will be ready for you to strain off the whey, divide for portable lunches or breakfasts, flavour or use in other recipes.

Just remember to put a few spoonfuls aside to start off your next batch!

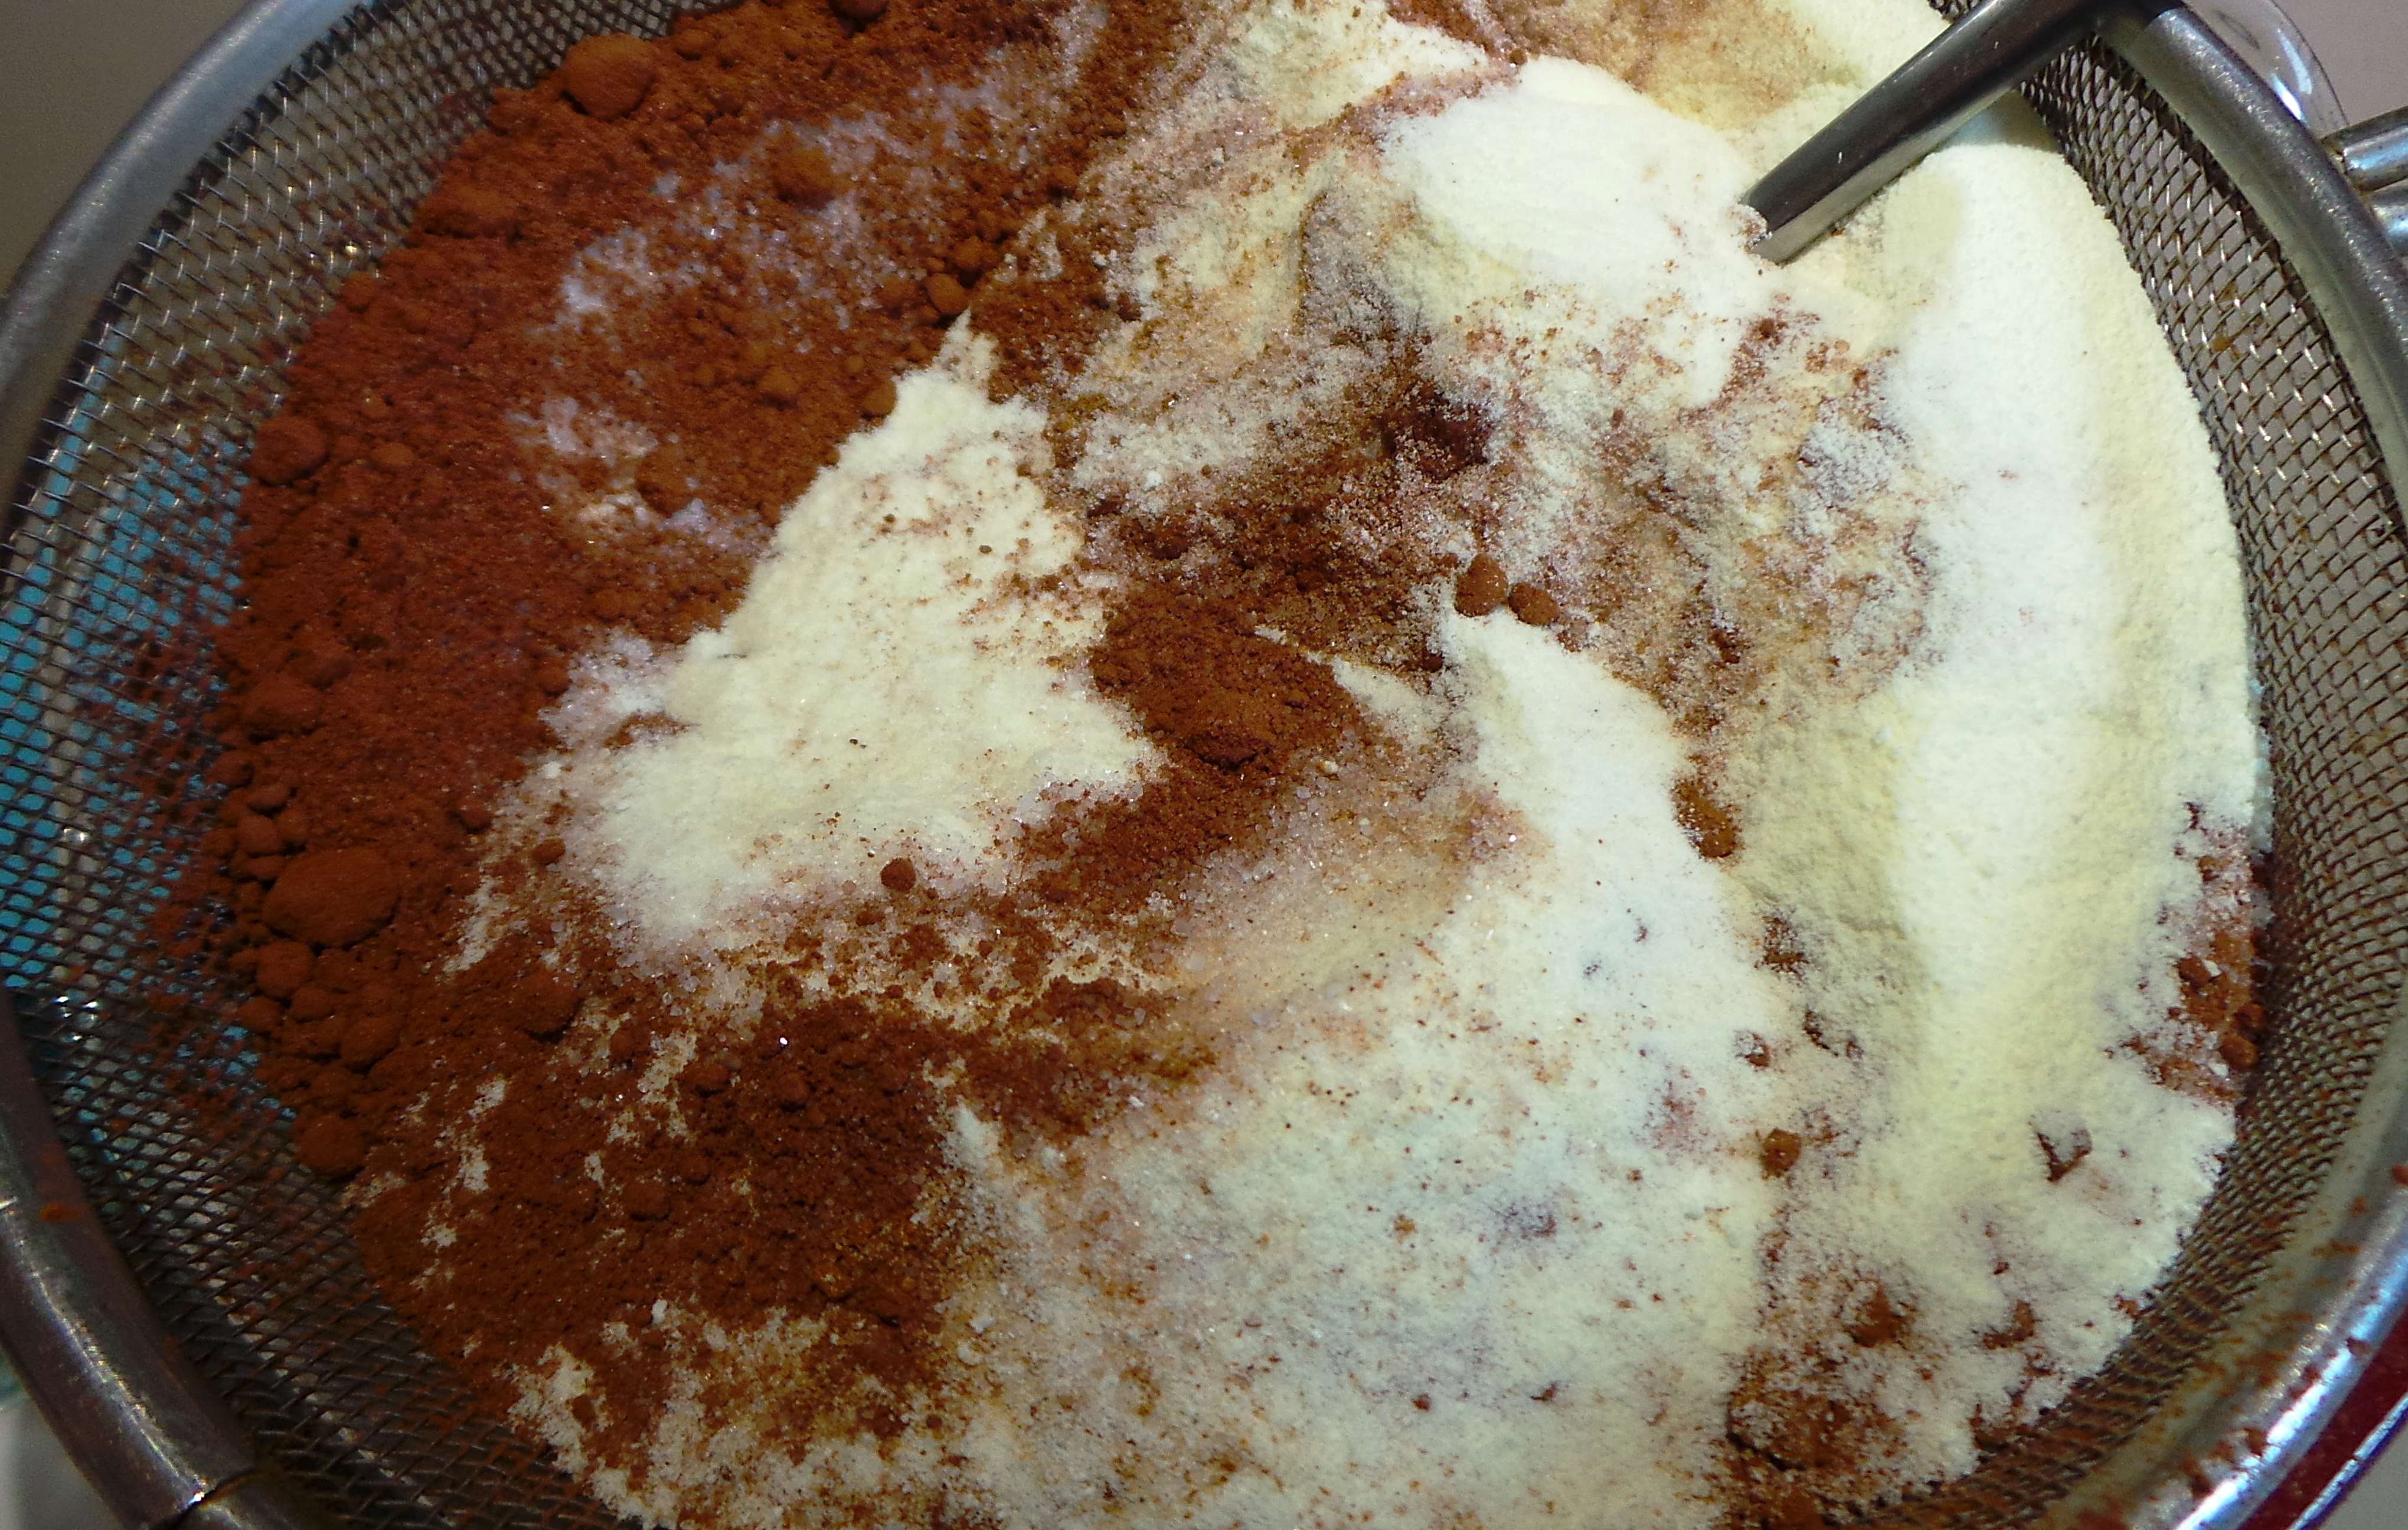
You may wish to enrich your yoghurt with milk powder or cream. This isn’t necessary, but it can give you a much firmer yoghurt. I shall include instructions for how to do this in the recipe below, but plain old milk is fine. 🙂

I will be posting a few ideas for how to use your yoghurt in the near future.

How to make Yoghurt

Ingredients

I litre fresh milk

¼ cup skim or full cream milk powder

1-2 tablespoons fresh commercial yoghurt

Method

Rinse all equipment in boiling water to sterilise.

Heat-proof glass mason jars with loose fitting lids are ideal for incubating and storing your yoghurt.

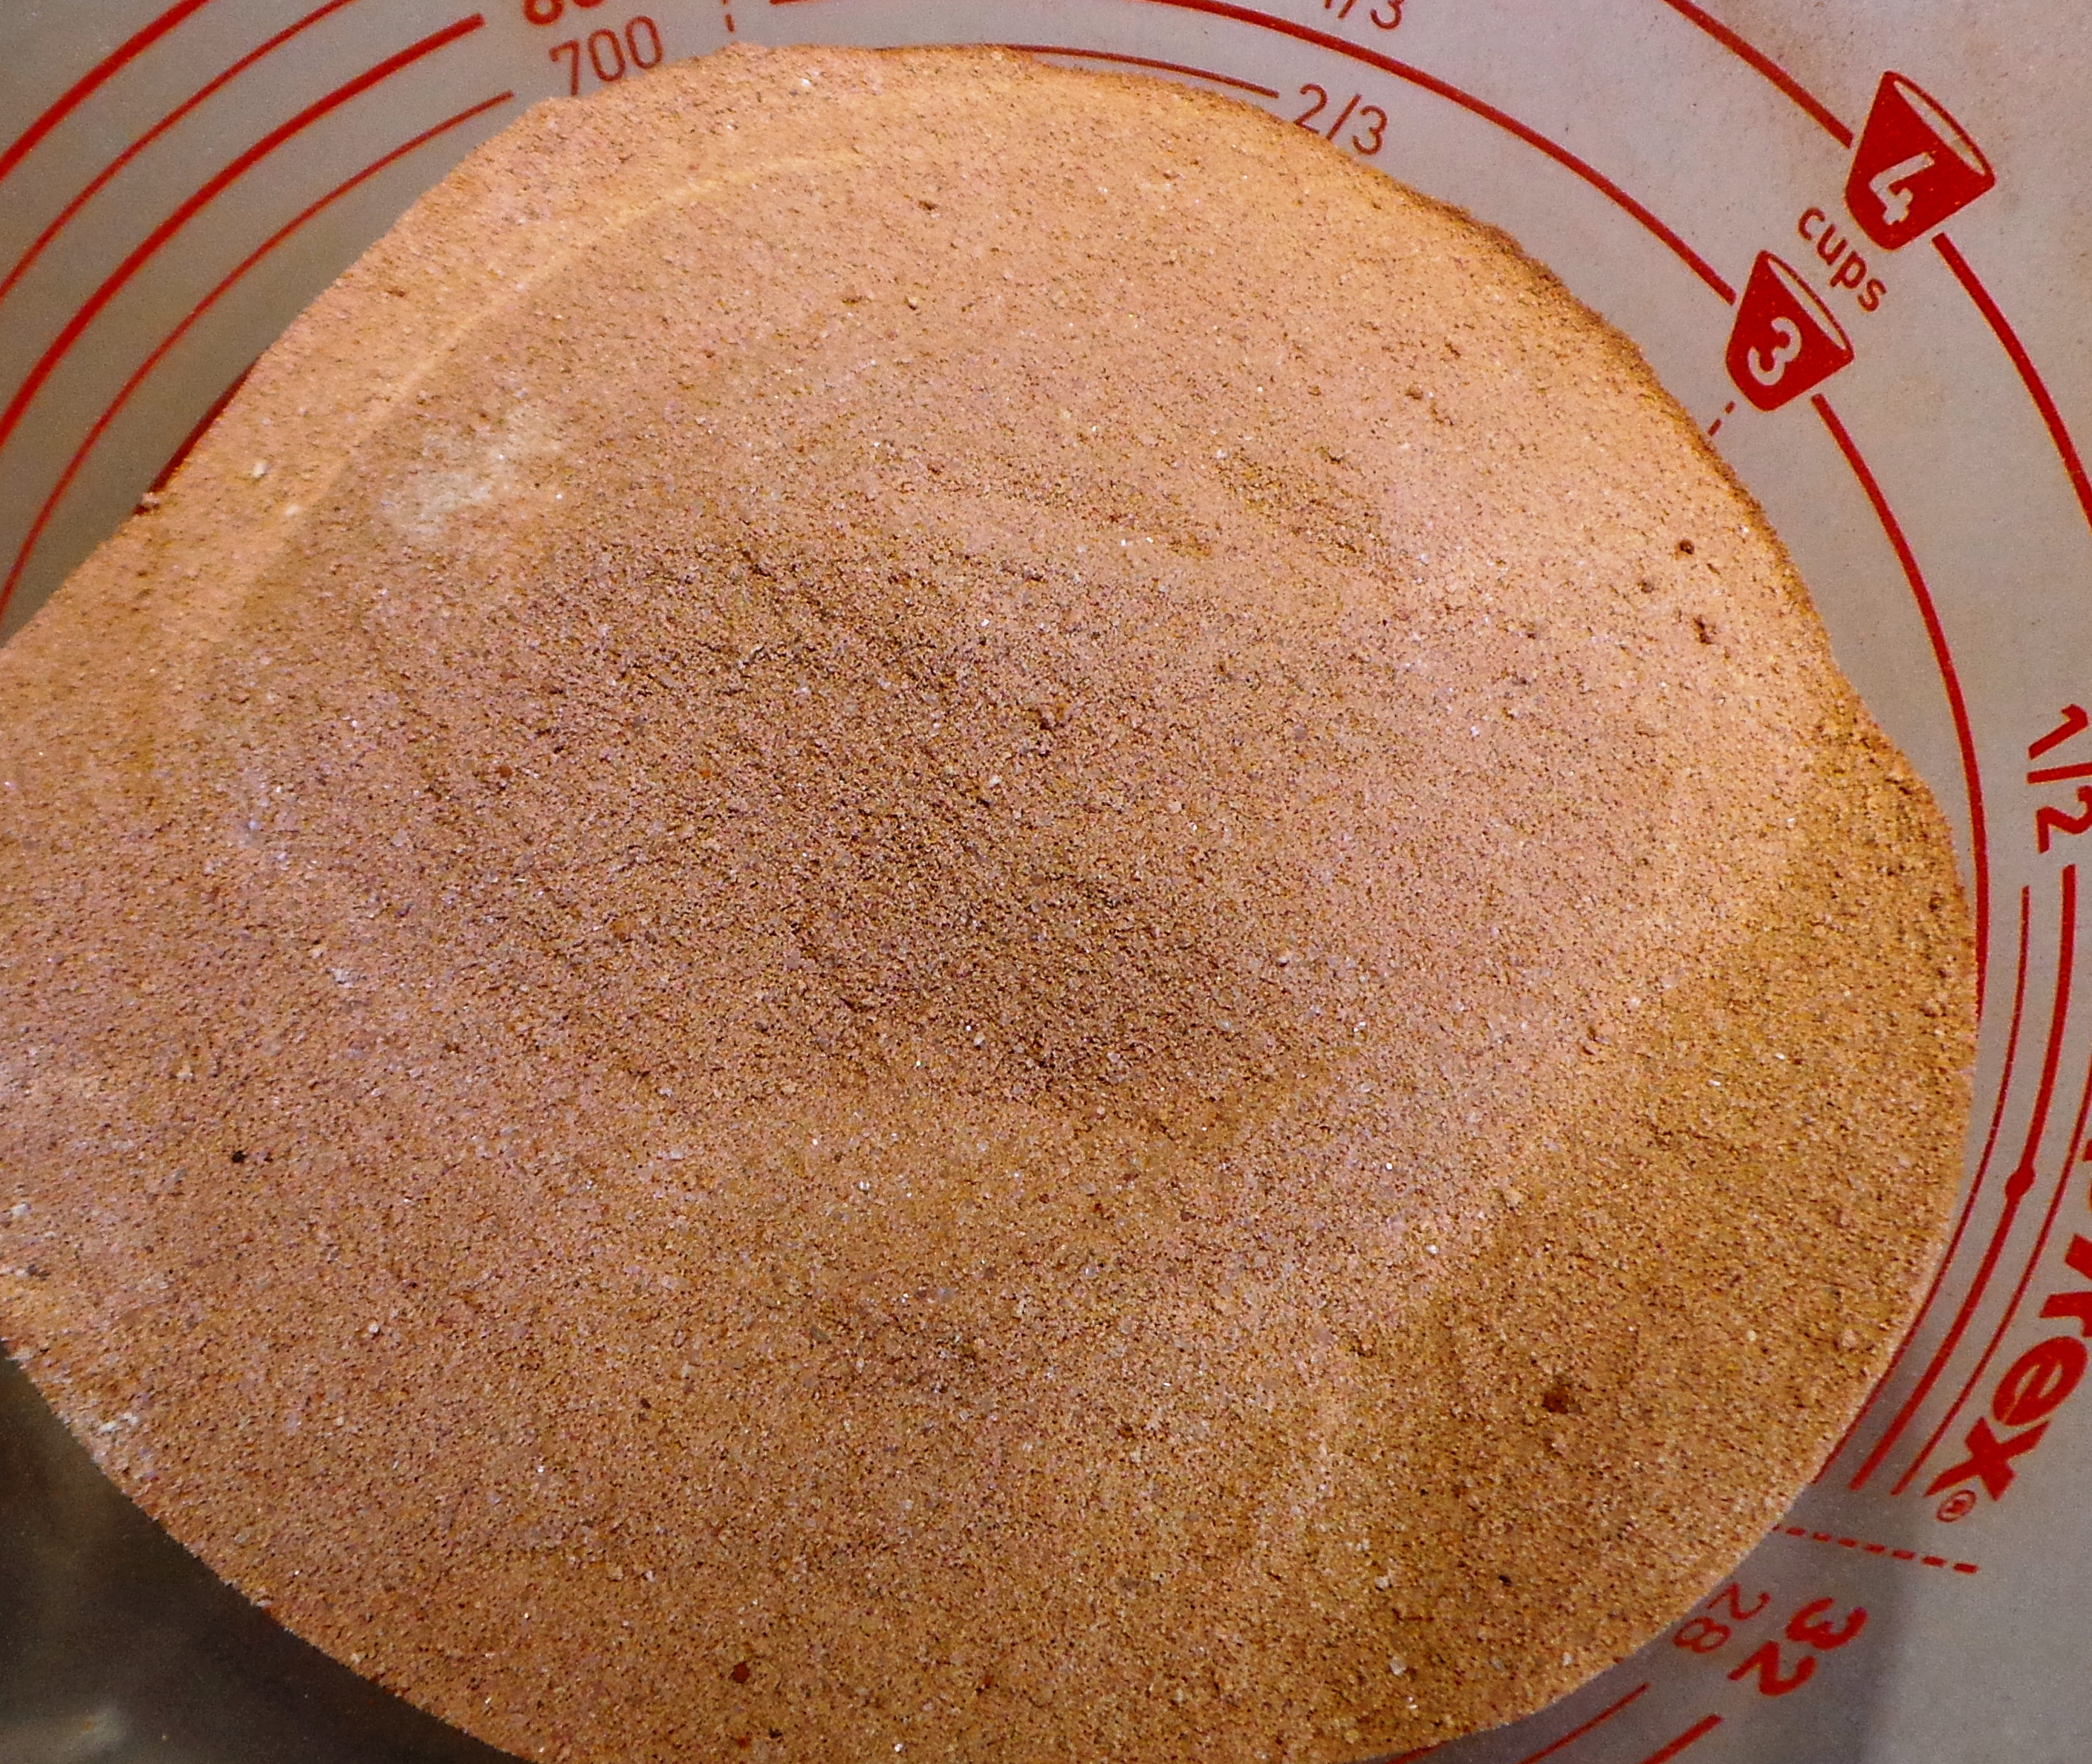
Pour  milk into a saucepan and then blend in the powdered milk until thoroughly dissolved.

Bring gently to a boil.

Remove from the heat and allow to cool until tepid – 45°C.

Place your culture into a small bowl and add ½ a cup of your cooled milk. Blend well with a fork or a whisk.

Reintroduce this mixture to the rest of your heated milk. Again, stir well.

Pour the culture mix into an incubating container and keep warm for at least 6 hours.

Do not disturb your yoghurt while it is setting!

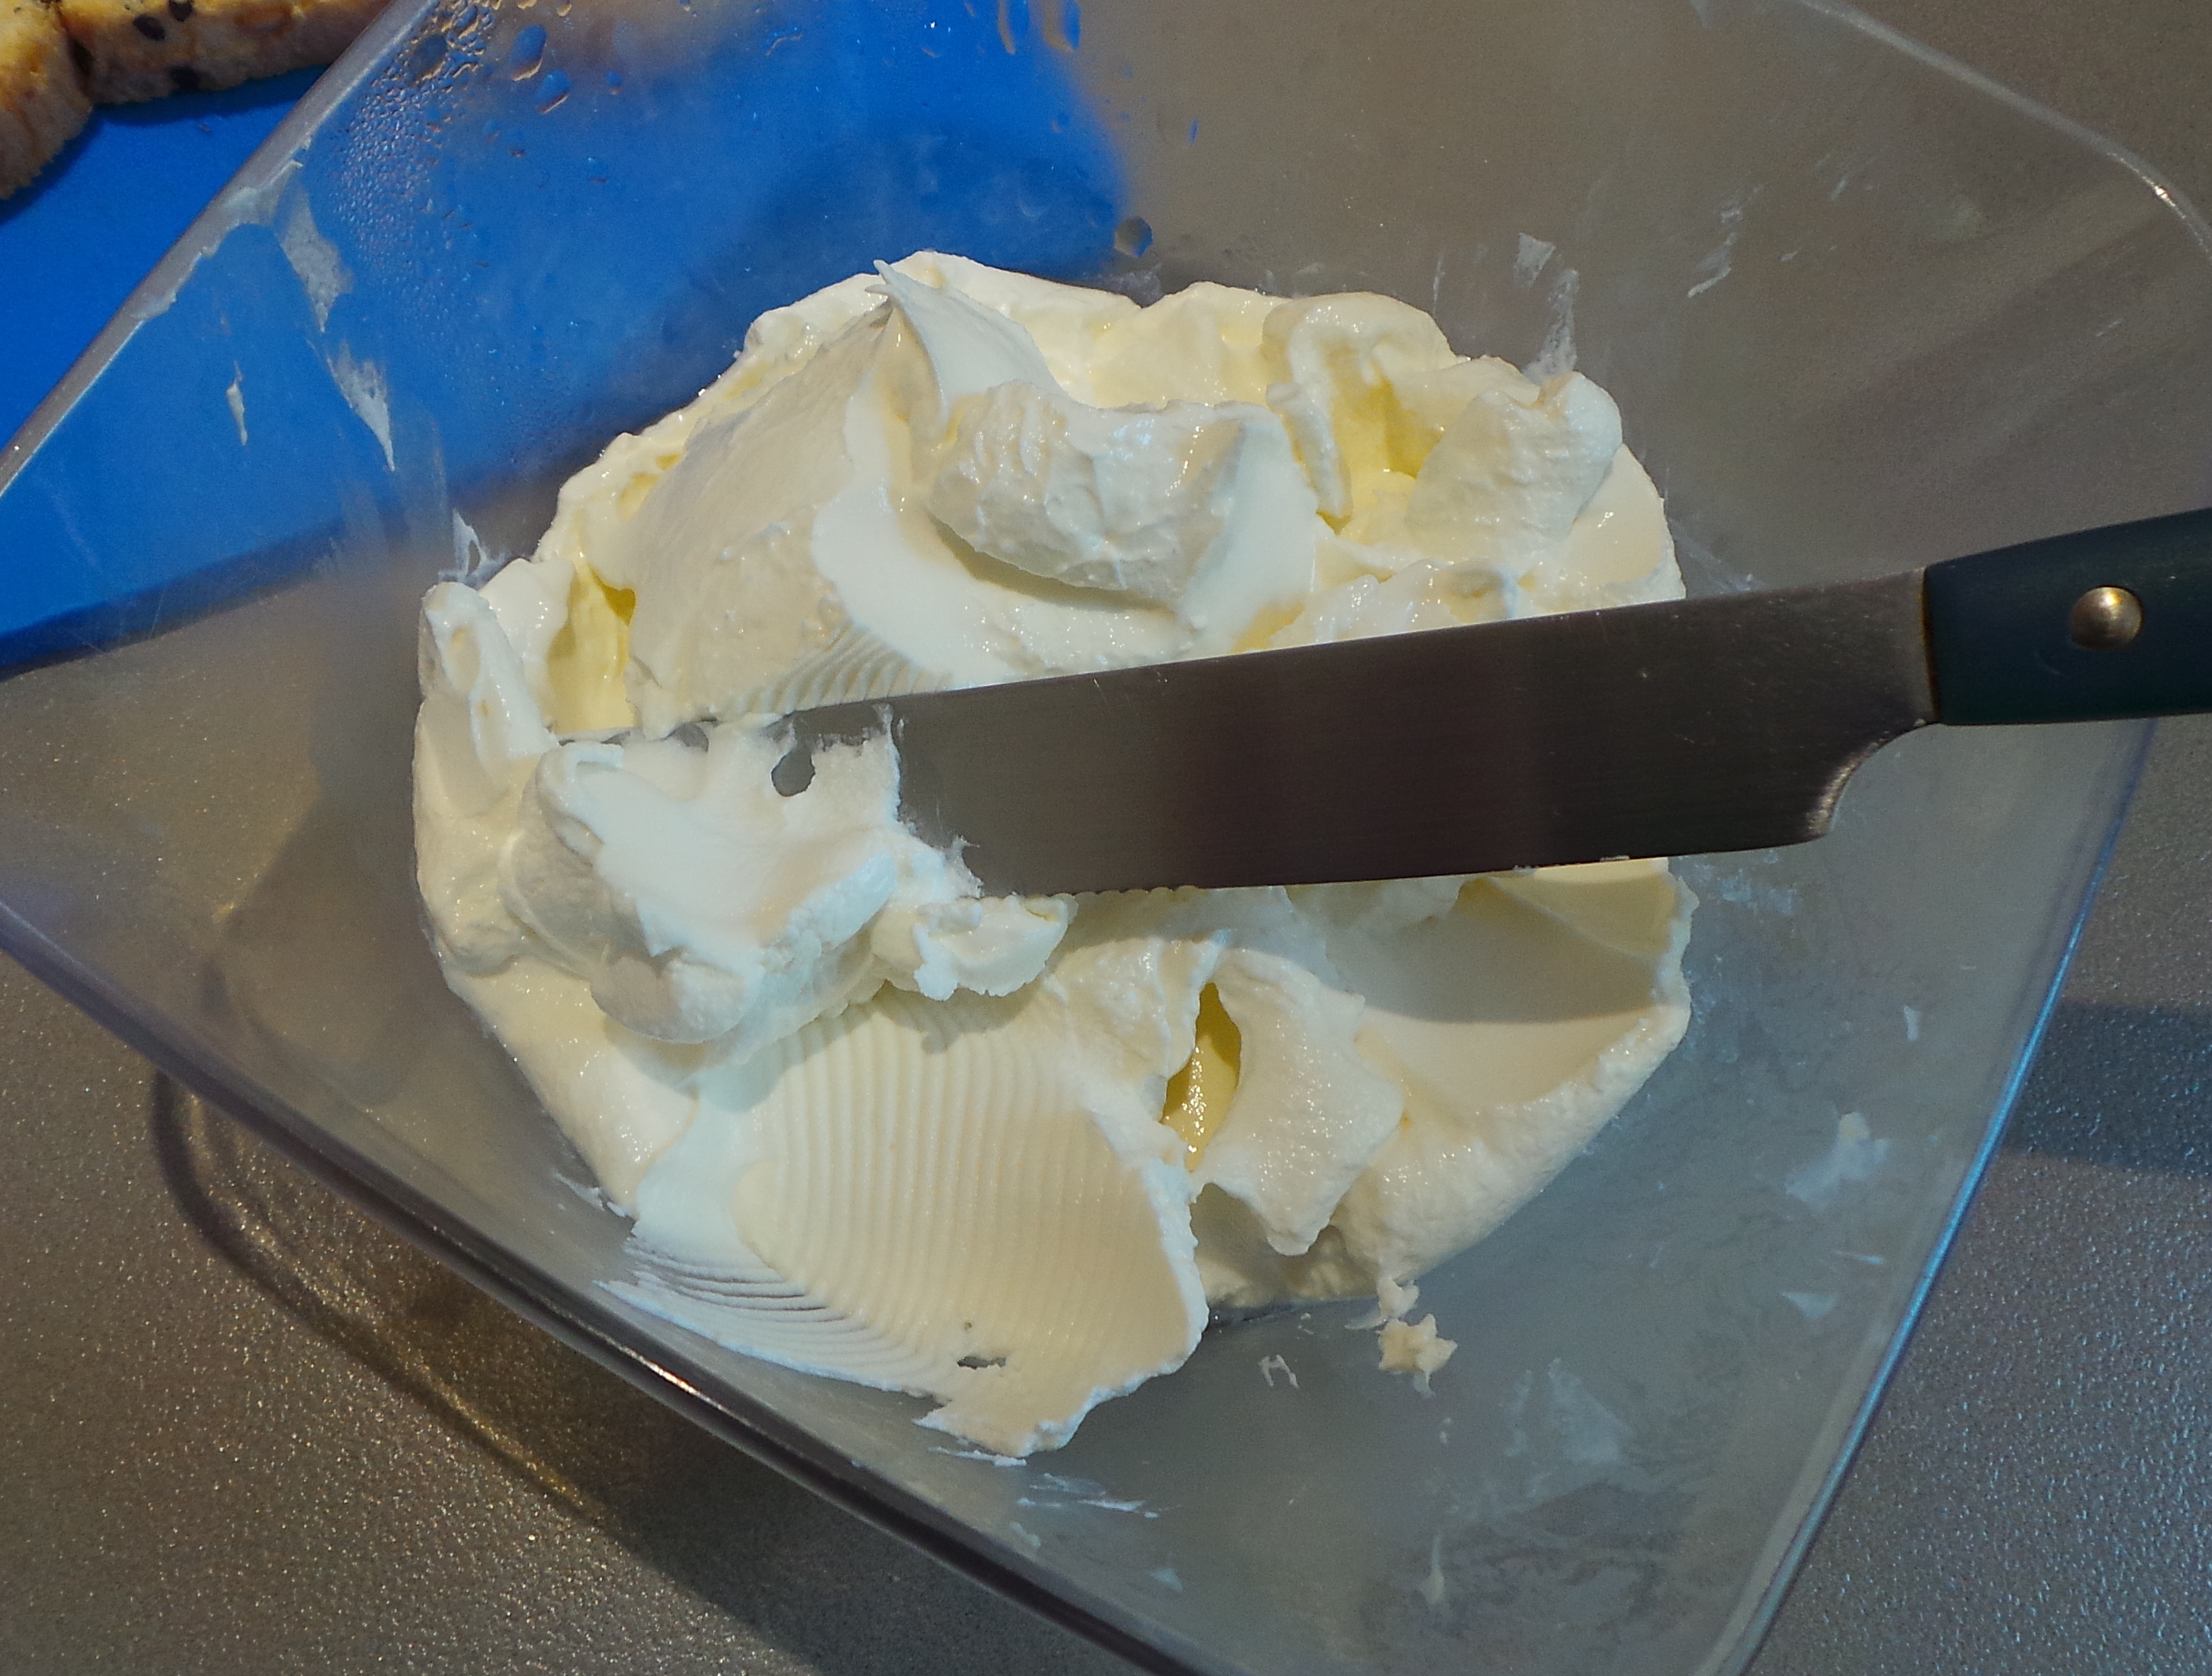
When the yoghurt is set it will have a thin layer of clear, yellowish liquid surrounding it. This is whey and is perfectly normal (and edible).

Place your containers into the refrigerator to cool and set more firmly.

When you wish to eat the yoghurt, you may stir in the whey (it is high in protein) or strain.

Reserve several tablespoons of your yoghurt to act as your starter in your next batch.

Looking for things to make with your yoghurt? Try these:
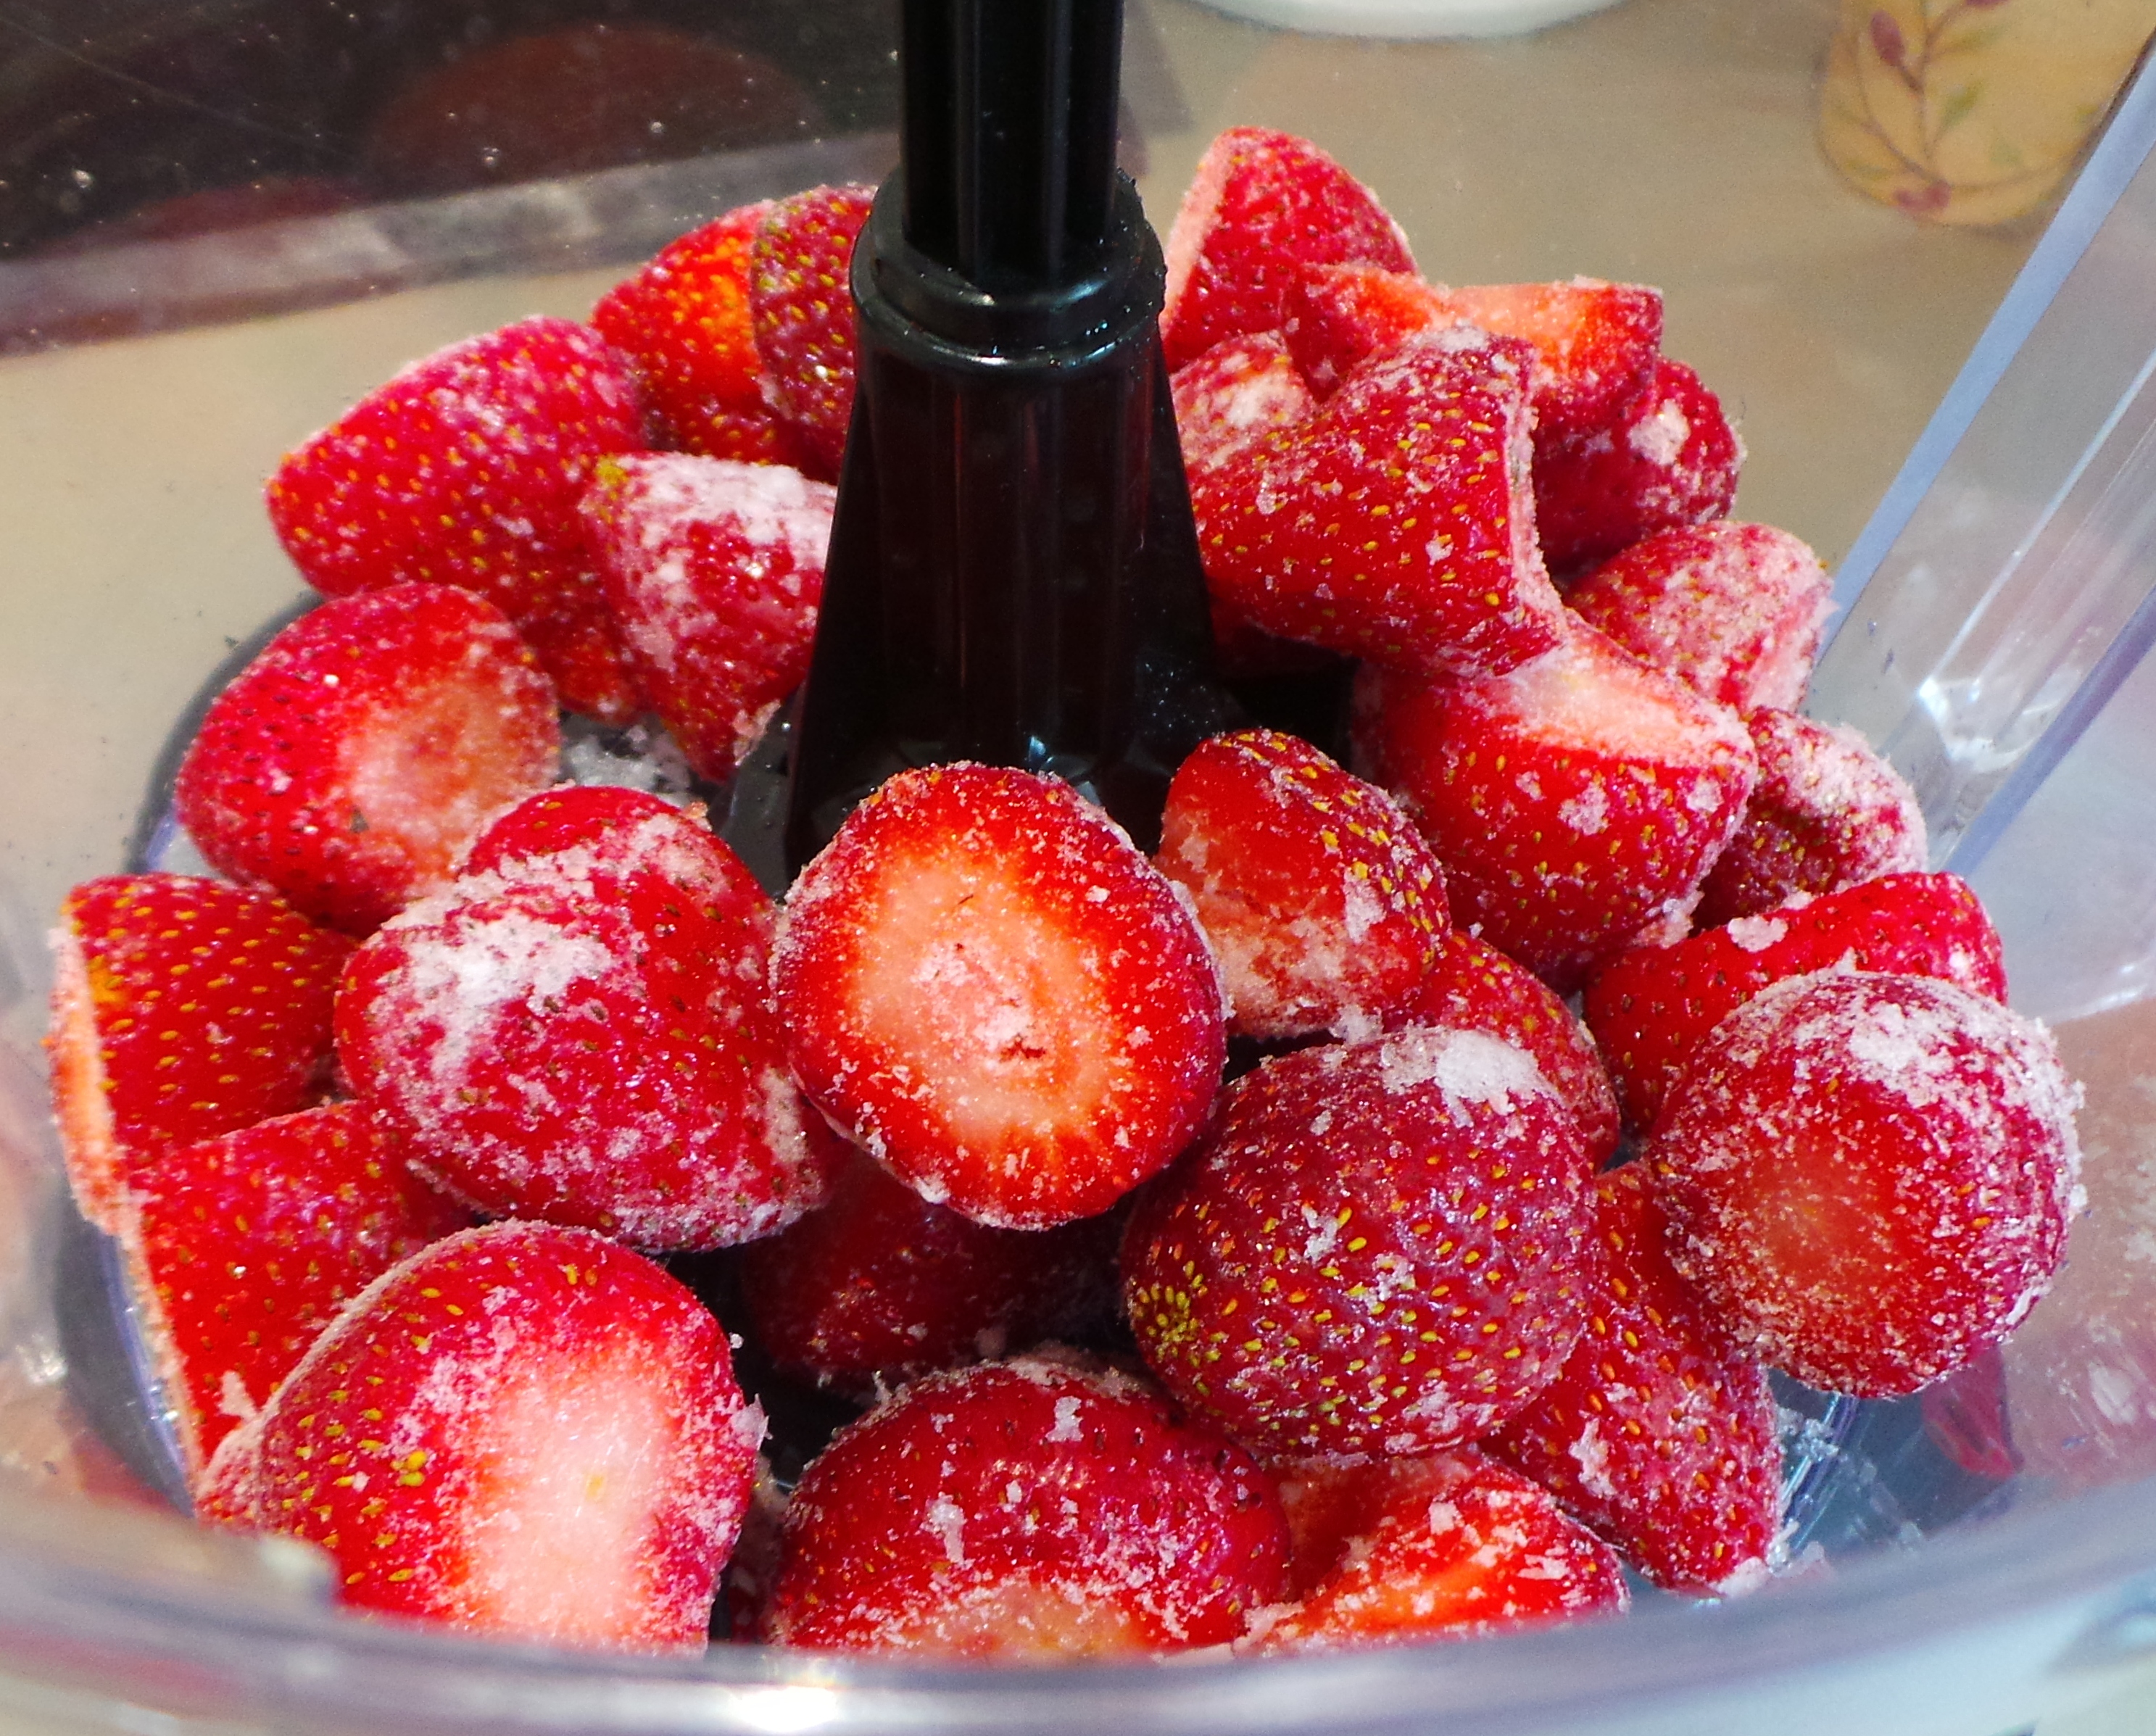
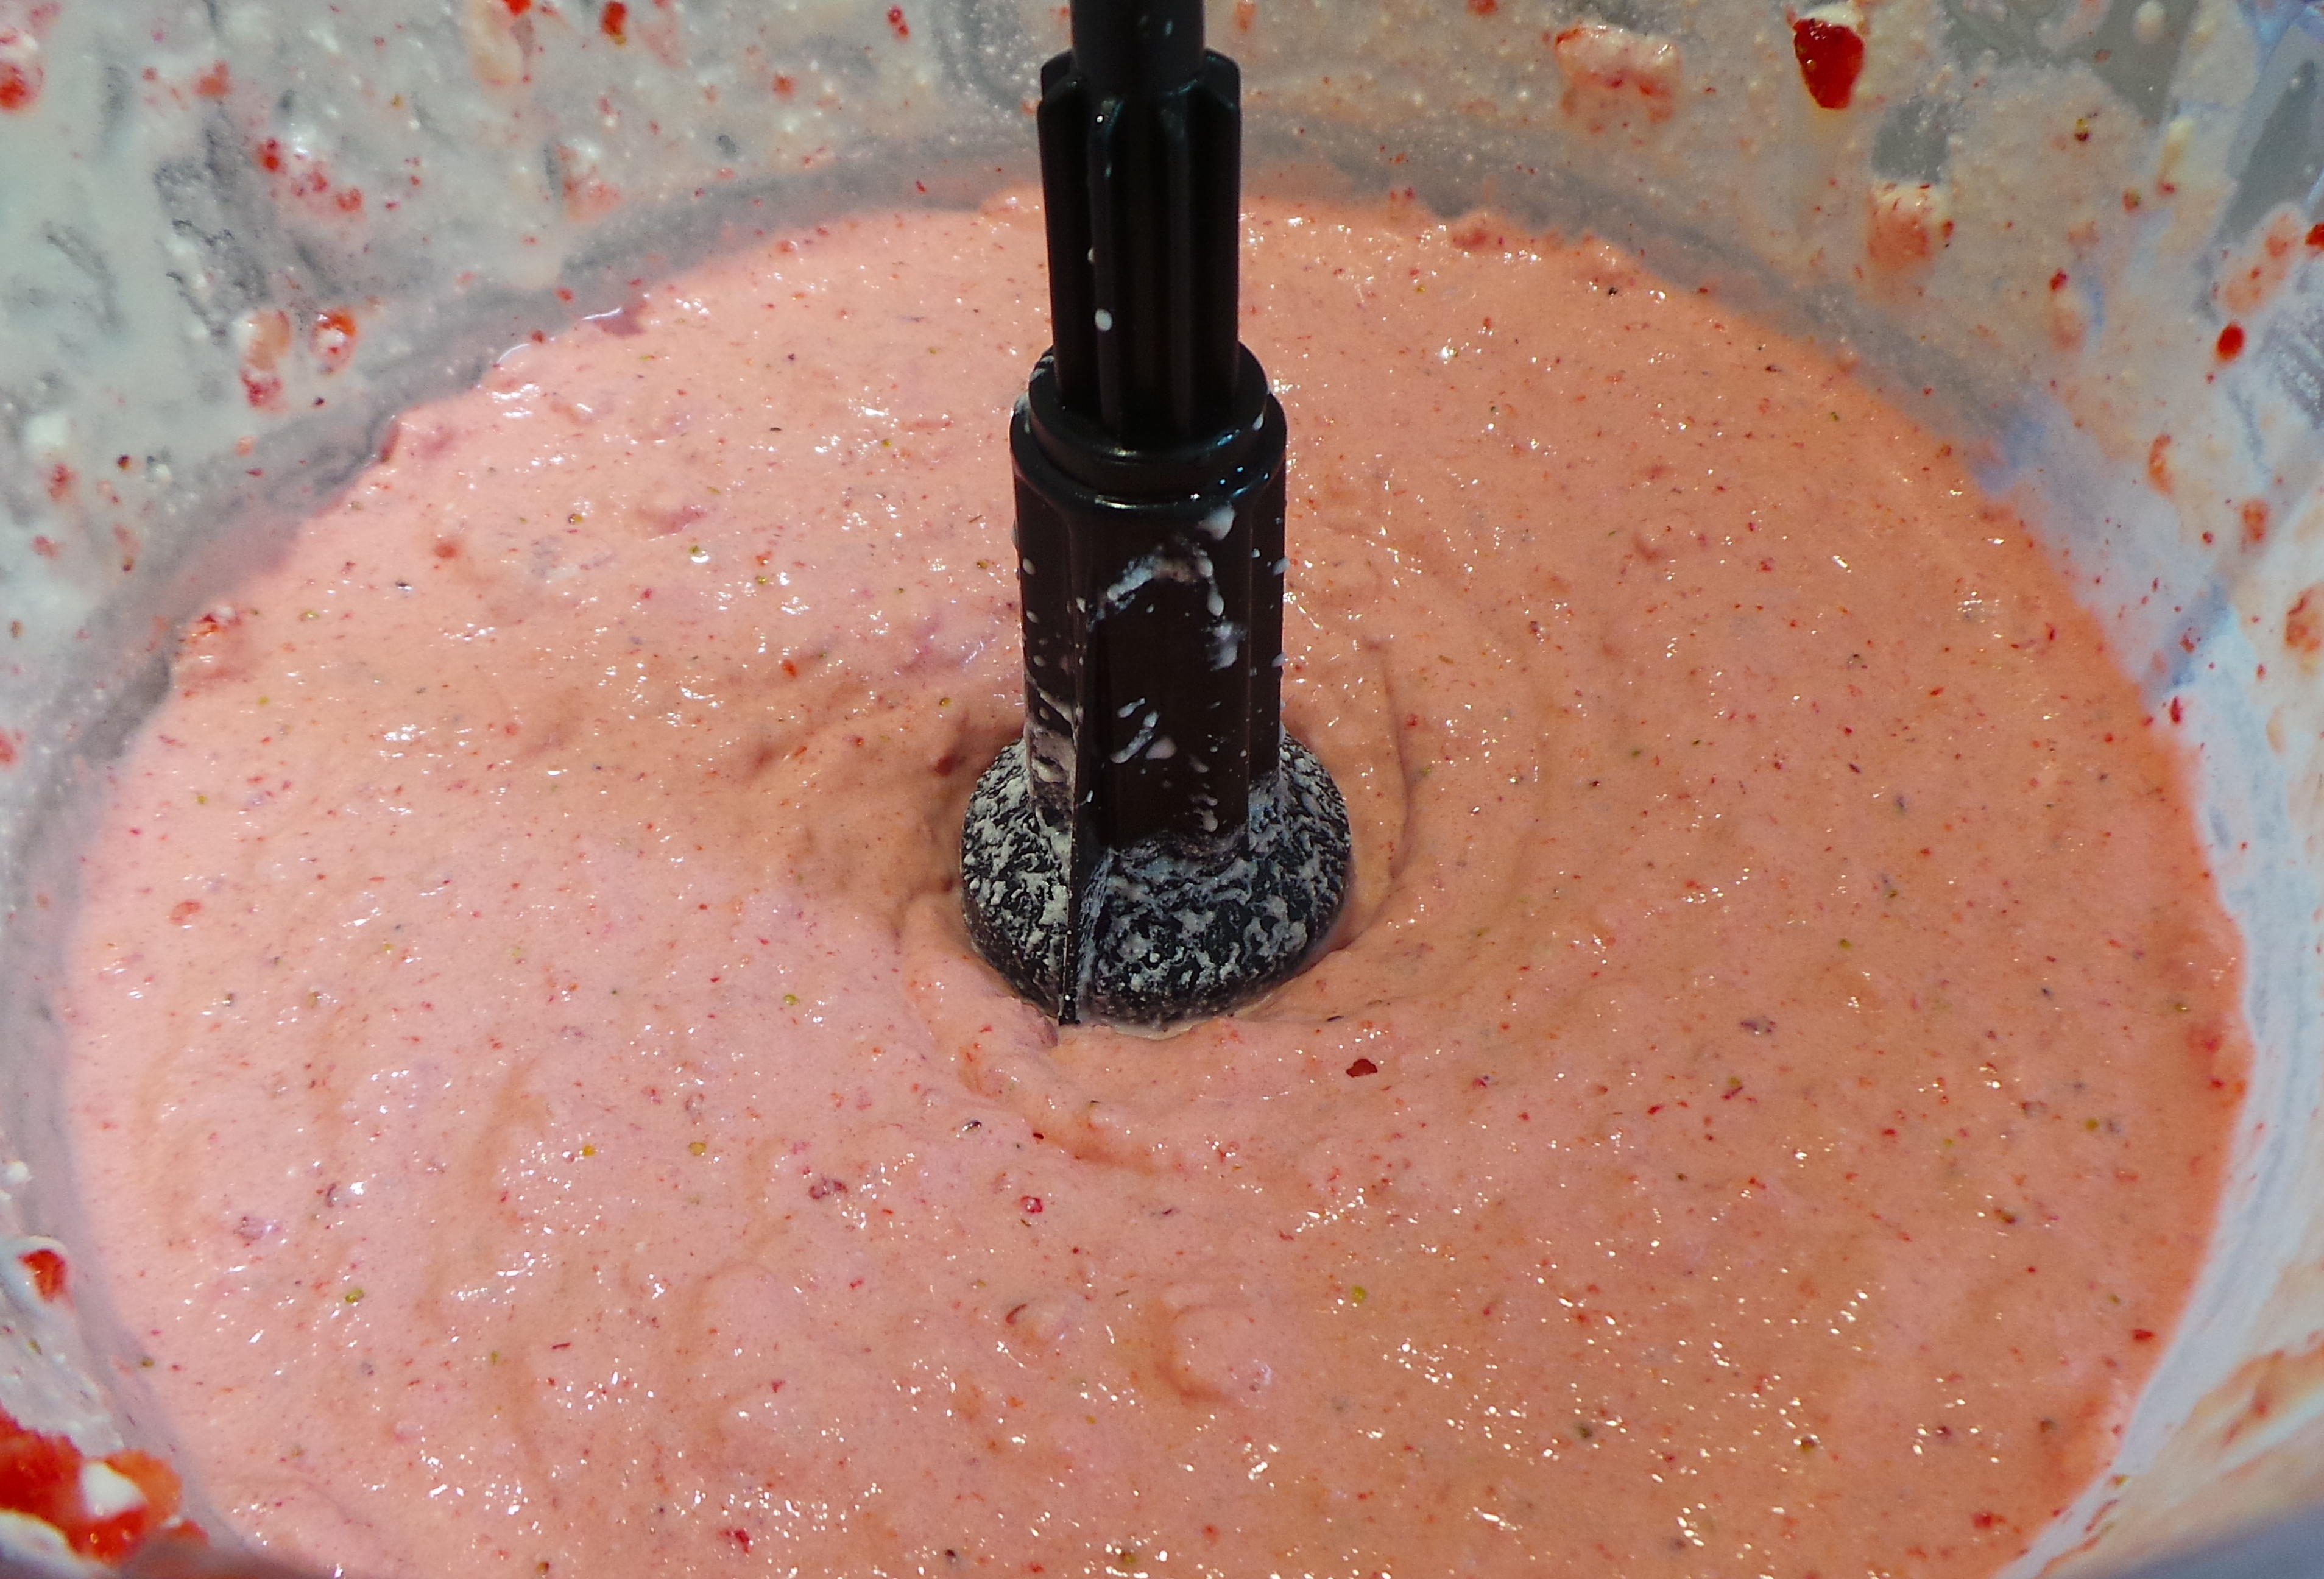
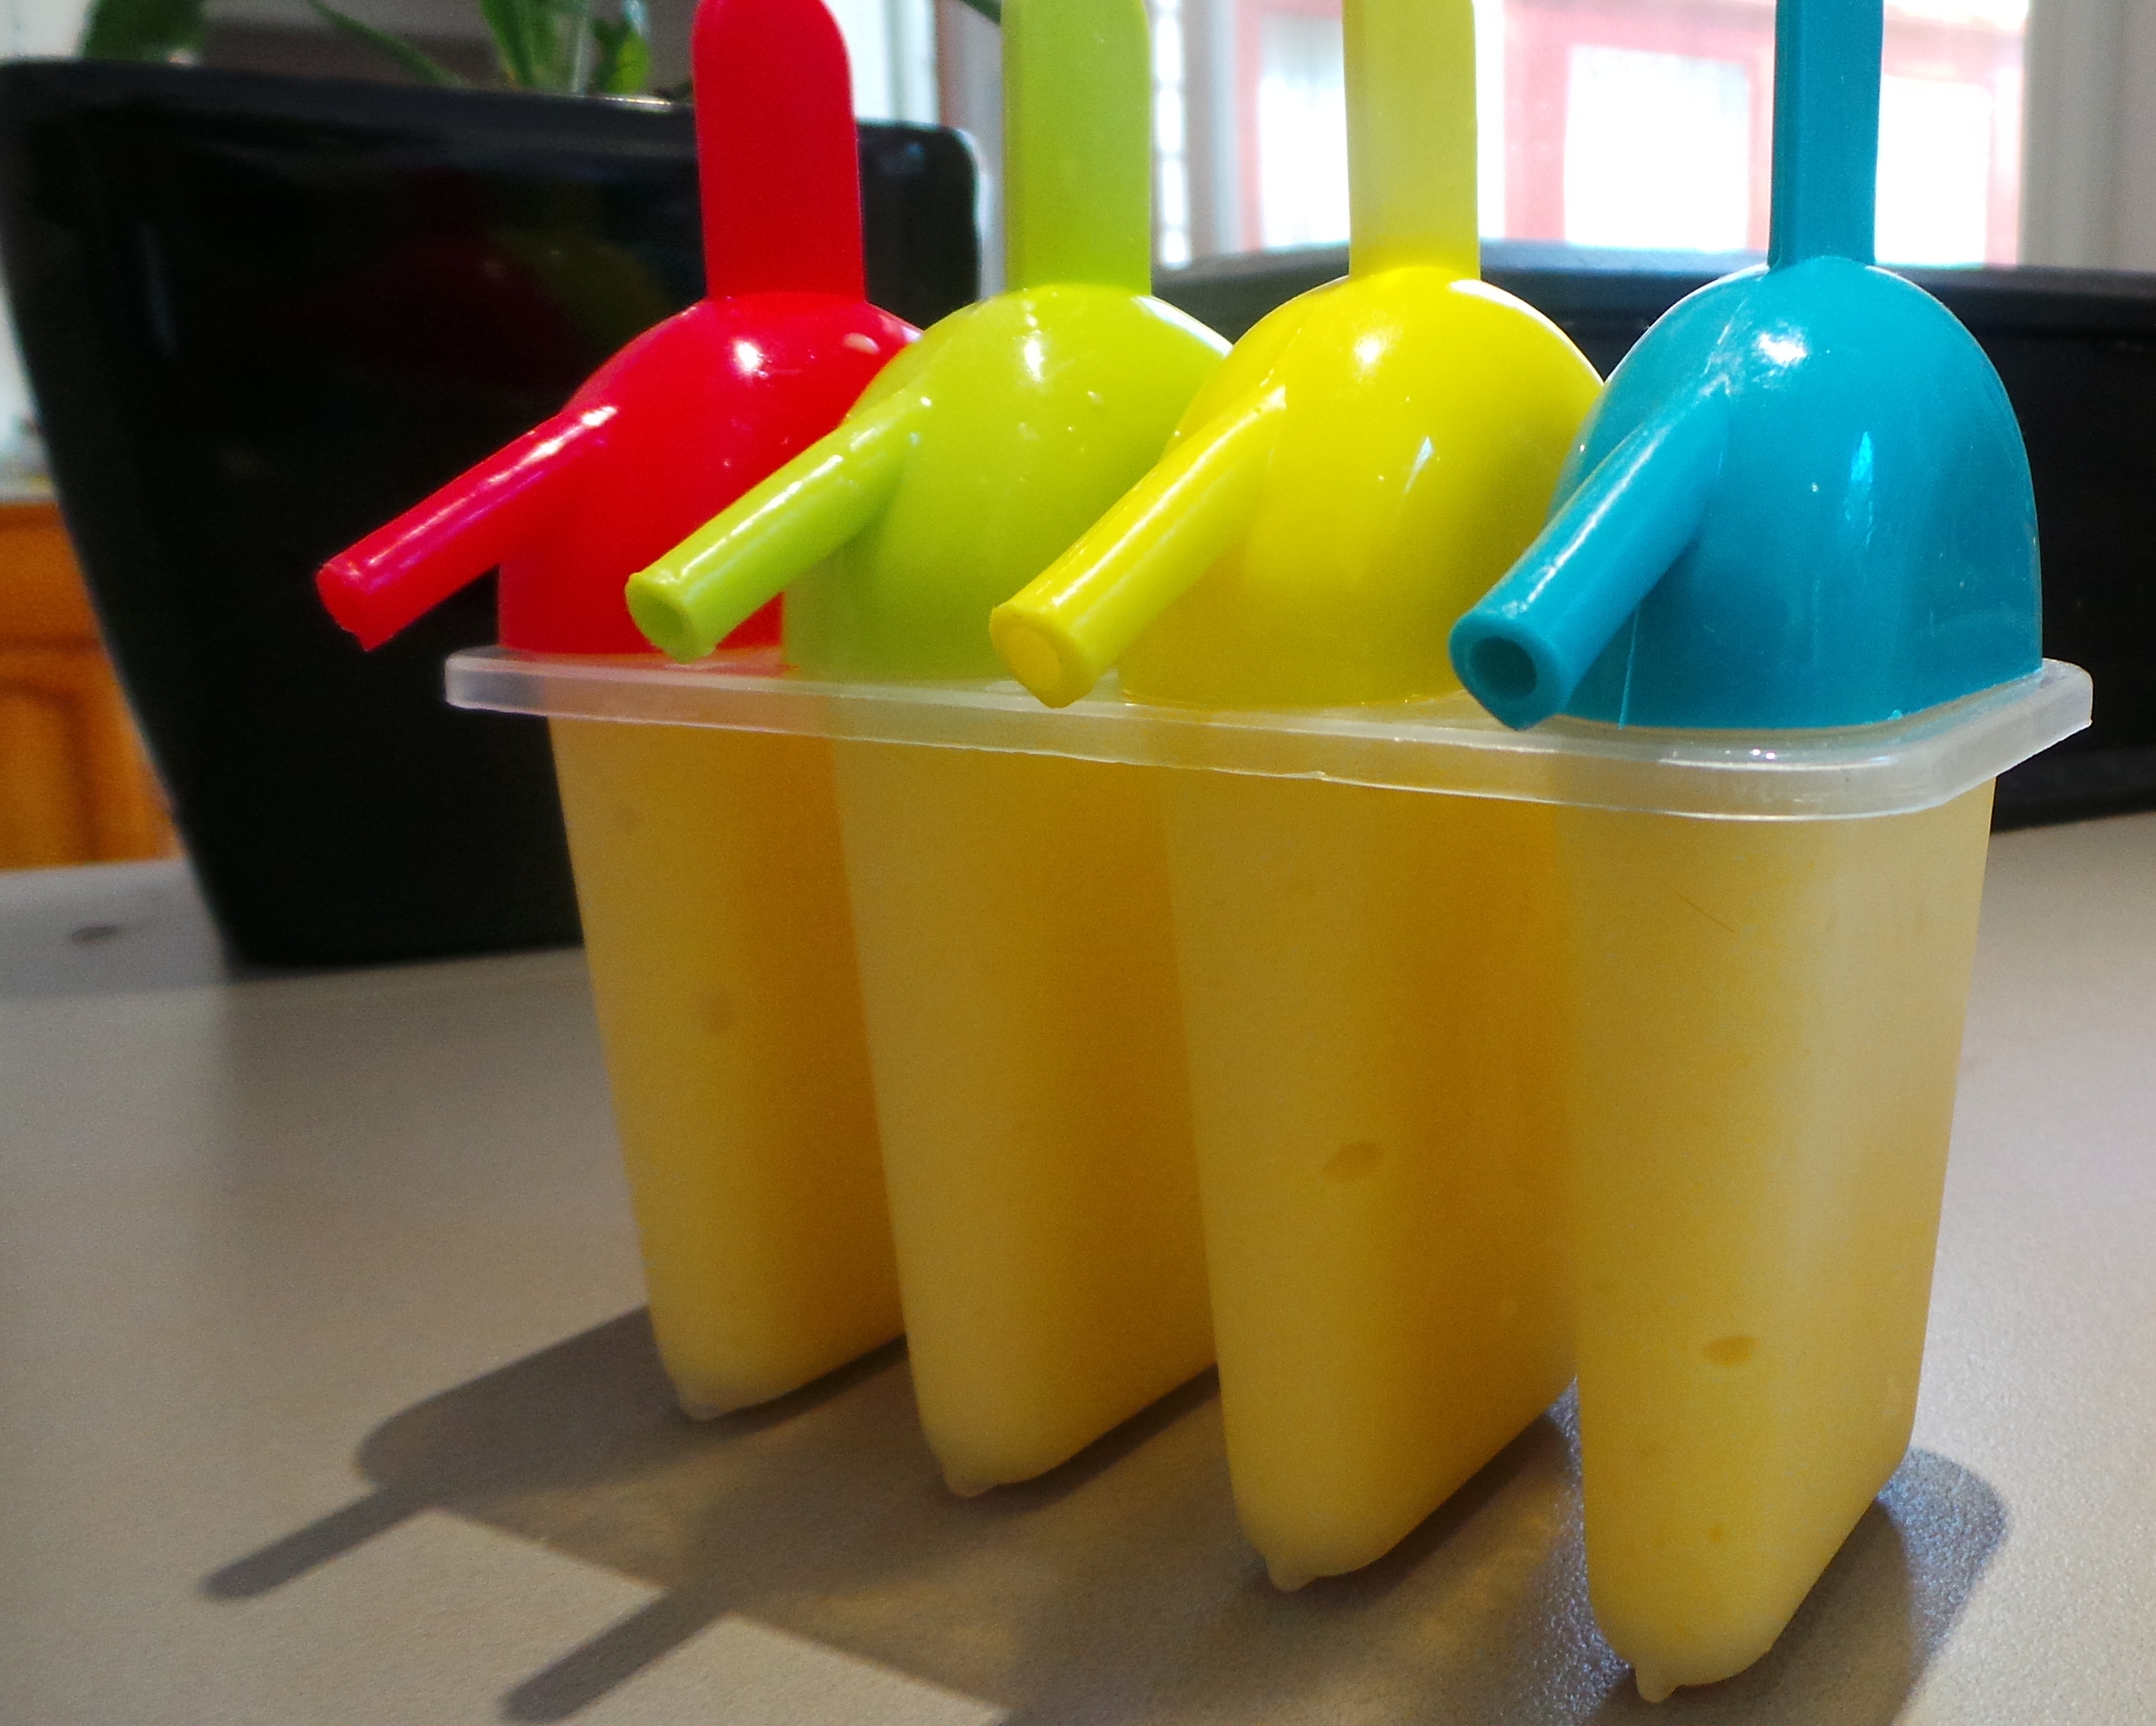
Frozen yoghurt


Yoghurt 101

A Potted (Yoghurt) History

Yoghurt is a food that has been with us for millennia – at least since we started collecting milk from animals and storing it for any length of time.

It’s a foodstuff that started out big in Central Asian cultures back in the Neolithic (ah, the good old days!) and which has really only spread into the Western world since the 1900s.

I know. Weird, eh?

Coz it feels like it’s always just been a thing.

Basically, someone (somewhere) kept some milk at a warm enough temperature that the bacteria it carried started to multiply and change the proteins of the milk. They then tasted it and decided it was good.

They were right.

Make your own yoghurt in next to no time.

Make your own yoghurt in next to no time.

What is yoghurt?

It’s highly nutritious and endlessly delicious. High in protein, tolerated well by people who may usually have difficulties with ingesting dairy products and full of microbes that may help a gut worn down by living and digesting in the modern world.

That last bit, my friends, means that eating yoghurt can help you, as a denizen of the modern-day,  get some of your zing back while adding a tang to your diet.

It’s also incredibly easy to make  – takes me 5 mins work and a few hours waiting – and can be made at a marked saving from buying commercially produced stuff.

Which is also good, because you can never be quite sure just what is in that tub of yoghurt you’ve just brought home from the supermarket, especially when food numbers get involved.

More on that later…..

Yoghurt is the child of bacteria. Certain desirable strains of lactobacillus are cultivated in a portion of milk to act on the lactose (or milk sugars) the by-product of which is lactic acid. The lactic acid then acts on the caseins or milk proteins and changes your milk into a thick custard-like liquid instead, which is – in turn – rich in many, many more of those bacteria than there were at the start of the process.

Yoghurt cream cheese

Yoghurt cream cheese

SAfety concerns

This last bit is really very important. Milk naturally contains many different types of bacteria – there are the ones that make yoghurt and there may also be the ones responsible for listeria, salmonella, tuberculosis, typhoid fever, diphtheria, brucellosis, and Q-fever as well as your good, old-fashioned e coli. Milk is a highly pathogenic liquid, keep it warm enough and all of those bacteria will grow – right alongside the beneficial bacteria that turn it into yoghurt.

In Australia, all commercial milk is pasteurised to render these bacteria harmless and thereby extend the life of the milk and protect the population from preventable diseases.

So, in ancient times, one could simply have left a bowl of milk somewhere warm and it would have become yoghurt all on its own without any real human intervention. Equally, it could have turned into yoghurt with a strong TB flavour and just a soupçon of salmonella. This can also happen today with raw milk.

All raw milk must be heated to kill the native bacteria. Boil it and then cool before adding your culture.

Strawberry Frozen Yoghurt

Strawberry Frozen Yoghurt

Why make your own?

Umm…because?

Yoghurt is one of those things that can save you a small fortune if you are a large user. A litre of milk costs $1 in many supermarkets at the moment and a kilogram of plain, natural or Greek  yoghurt can cost between $4 and $5.

Flavoured and diet yoghurts often contain more stabilisers and sweeteners than they do actual nourishment in the form of milk proteins.

Check out this video from our wonderful consumer advisers at the ABC’s The Checkout.

Apart from the sugar or artificial sweeteners, you are also looking at maize thickeners, and other thickeners made with soy-based lecithin, agar agar (406)  and caraganeen(407). Not to mention a whole host of other things I could not hope to cover adequately here.

Note the numbers on this supposedly natural yoghurt. 1442 is hydroxypropyl distarch phosphate. Apparently.

Note the numbers on this supposedly natural yoghurt.

These are often added to low or no fat yoghurts to remediate the texture of the product once the fats have been removed. The fat gives it the thick creamy texture that feels so good in your mouth, remove that and it becomes a somewhat thinner liquid with a greatly diminished taste.

However, if you make yoghurt with skim milk there are other ways to make it thicker without adding emulsifiers or stabilisers – and I will show them to you.

This is what the ingredients list on natural yoghurt should look like:

Greek yoghurt label

Greek yoghurt label

As you can see it contains milk, milk products and some latin words which name the cultures it contains.

You can use this yoghurt to make your own at home. You can then go on to make flavoured yoghurt for school lunches etc.

How to make your own yoghurt.

In order to make your own yoghurt, you need milk. This can be Cow’s milk, goat’s milk or even Soy Milk. You may wish to enrich your milk by adding cream or well-dissolved powdered milk.

You also need cultures. The four main commercial bacterial strains used in this country are: Lactobacillus acidophilis, L. bifidus, L. thermophilus and L. bulgaricus.

The last two are most often seen together in Greek yoghurts.

You can buy cultures online, or you can buy a tub of natural yoghurt at your supermarket and use a few spoonfuls of that. The fresher the culture the better your chances of achieving a good set.

You will need something to heat your milk in, something to measure the heat of the milk with and something to store your yoghurt in as it ferments.

Basically, you warm your milk, stir in the culture and leave it to sit overnight.

So, you will also need either a warm place or a way to maintain the heat of your yoghurt for at least 6-8 hours.

My mother used to mix her yoghurt in a bowl, wrap it in a towel and place it on the (internal) hot water heater overnight.

You could place your yoghurt in a thermos or vacuum flask, in a small foam cooler with a hot water bottle, you might even use a slow cooker turned to low, or place it in the oven with just the pilot light on. There is no need for fancy electronic yoghurt-making gadgets that make it all seem so very difficult.  Really, truly.

The yoghurt 'flask'

The yoghurt ‘flask’

I actually use a yoghurt maker that is nothing more than an insulated flask. It’s meant to be used with powdered yoghurt-making mixes, but works just as well with the technique I will describe in my next post (this one has been long enough!).

Add boiling water and then your yoghurt mixture.

Add boiling water and then your yoghurt mixture.

I’m planning on giving one of these away shortly, so stay tuned. There will also be quite a few posts to come which will show many different uses of your yoghurt that go beyond a breakfast item.

My latest batch of homemade yoghurt

My latest batch of homemade yoghurt