This is my go-to recipe when I want to make cookies that don’t require thinking.
It comes from a wonderful little book that I bought from Aldi a few years ago, called “Cookies, Slices and Squares.” I’ve not made a great many of the recipes it contains, but all those I have tried have been amazing.
I like to have some home-made biscuits in the house for The Boy. I’ll make a batch once a fortnight or so, keep most of them in the fridge and put four or five into a tin on the counter for him to nibble with his hot beverage of choice.
The beauty of butter-based cookies like these, is that they are far too hard to eat straight out of the refrigerator. Also, the flavour is much better developed at room temperature…do you see my strategy here? Basically, I’m ensuring that he doesn’t scoff the whole lot at one sitting.
This is a cookie recipe. It’s much softer when finished than Aussie biscuits are – cookies have a ‘cakey’ centre where biscuits are the same hardness all the way through.
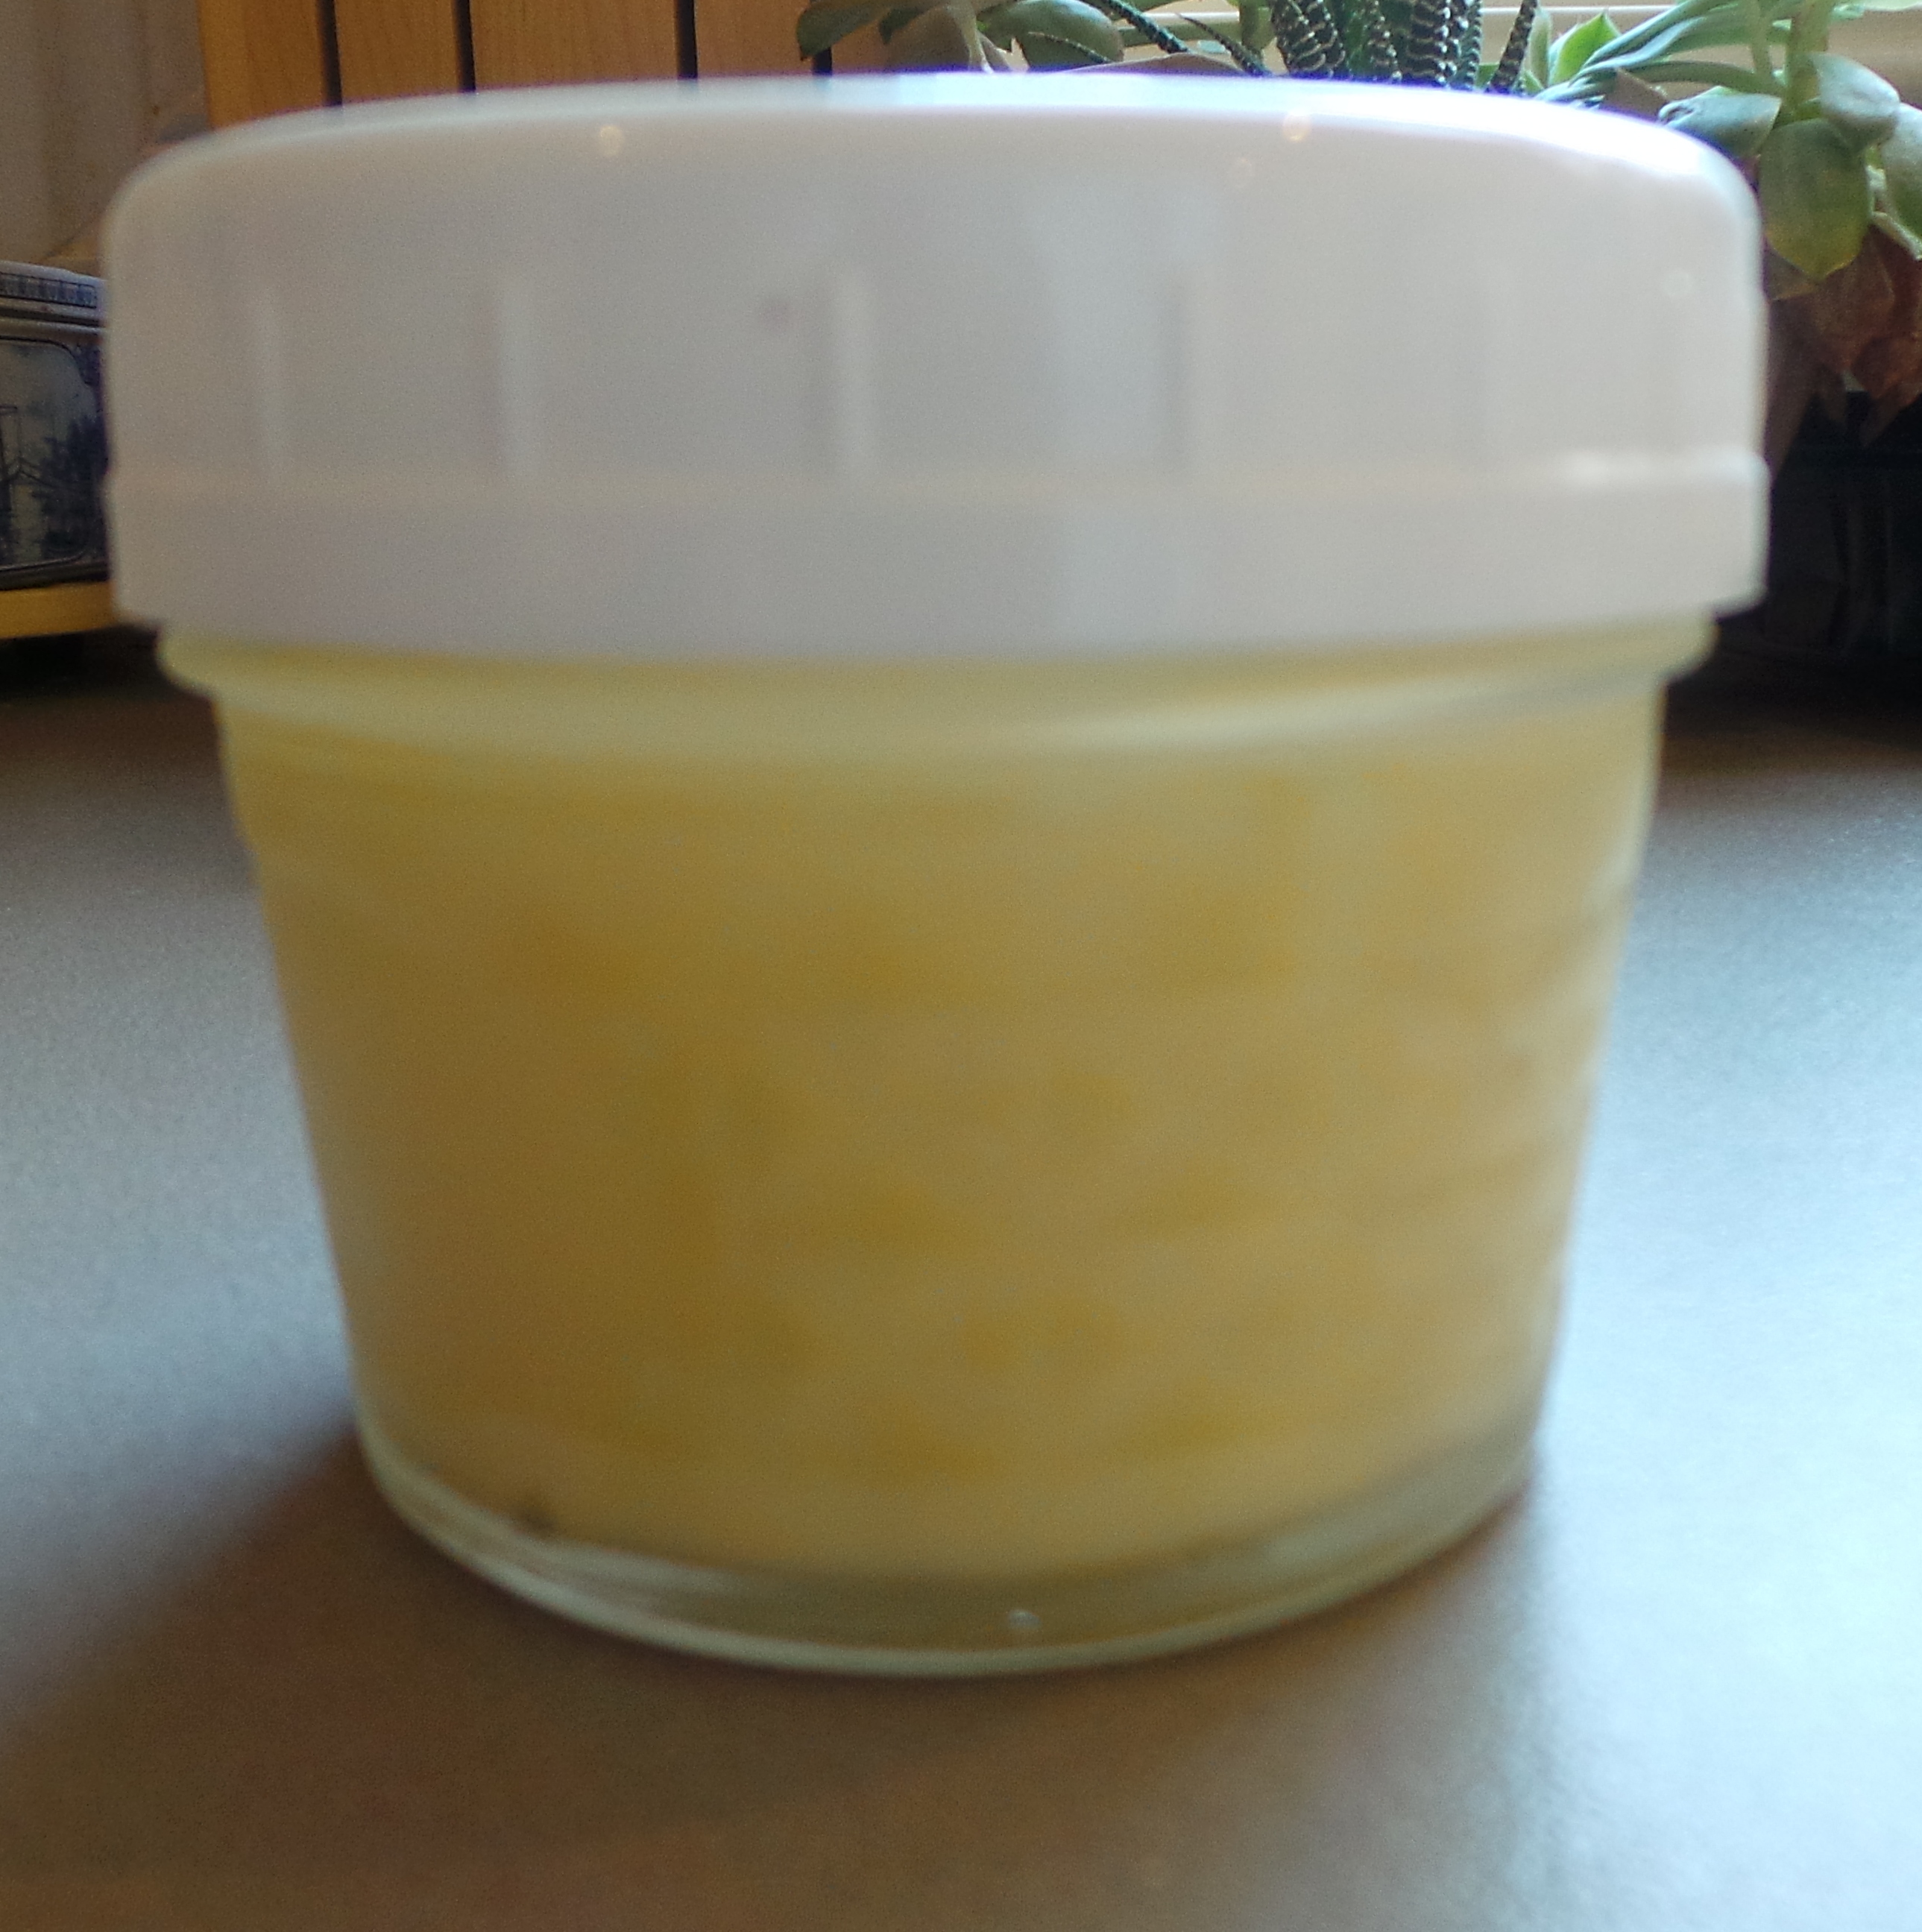
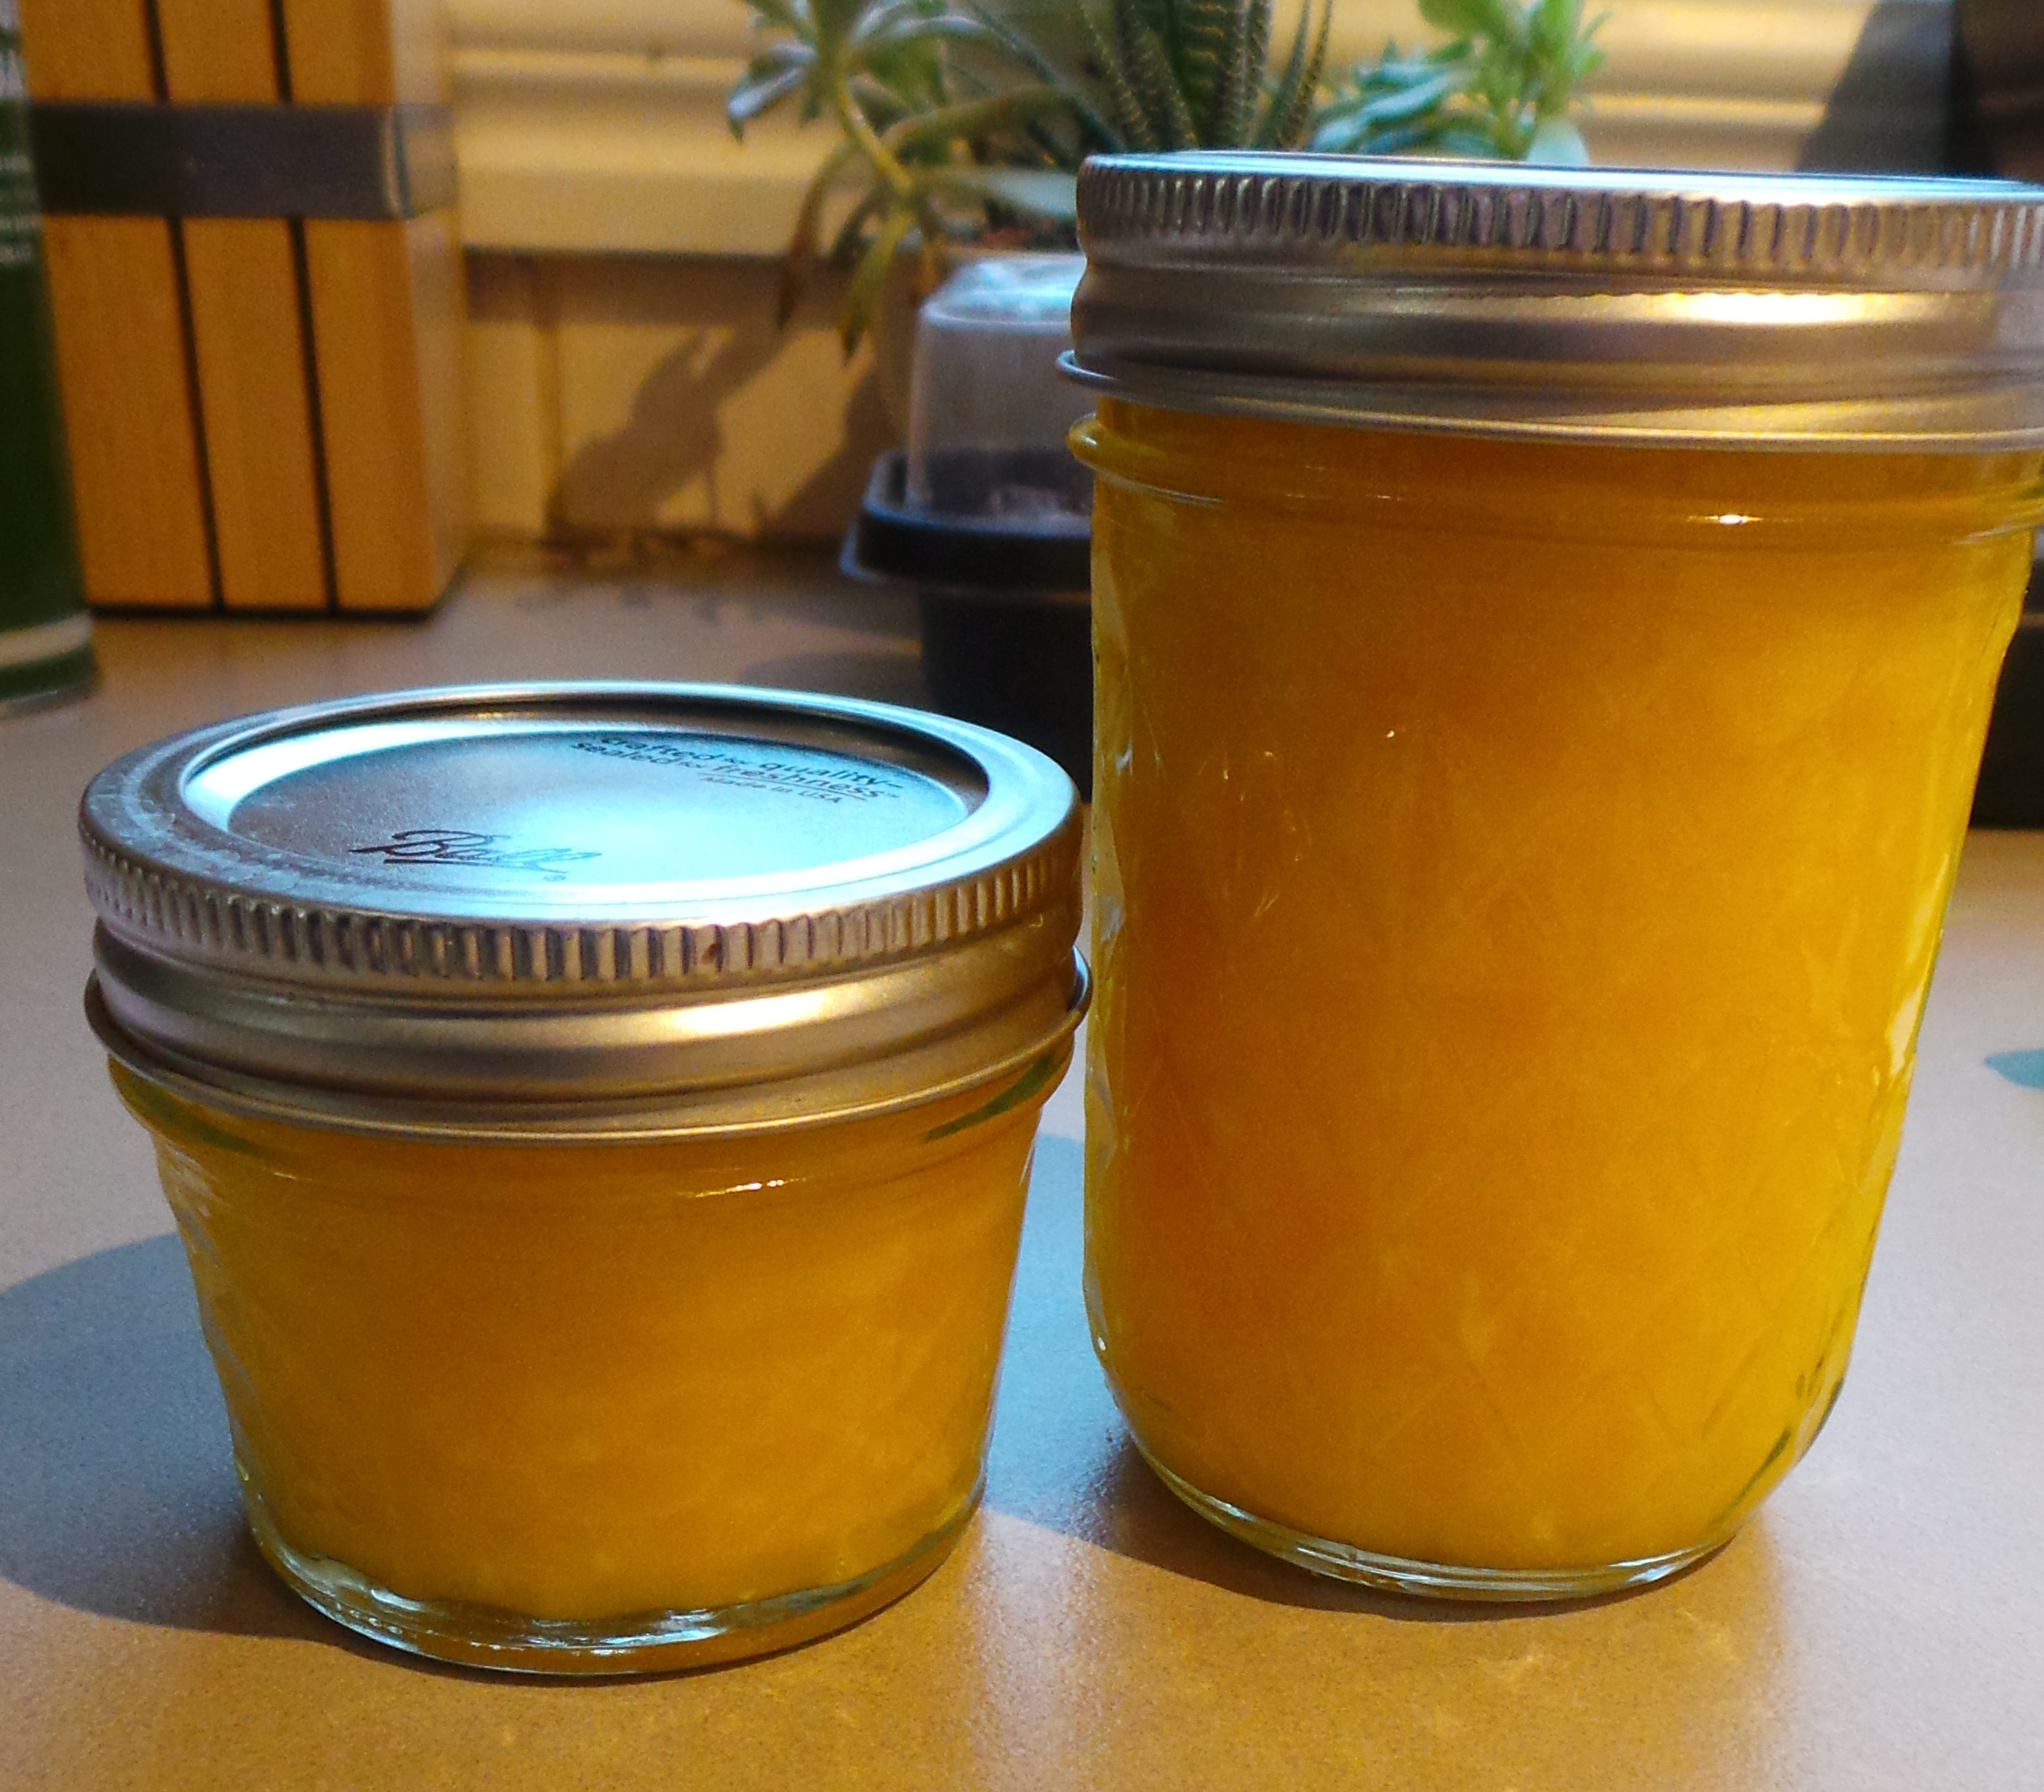
condensed milk – ready to go.
This recipe uses sweetened condensed milk instead of eggs. One tin of condensed milk will get me three batches of these cookies. I pour the leftover milk into little jelly jars and keep it in the fridge until I need it. One jelly jar is the exact amount I need for the recipe, so it works out well.
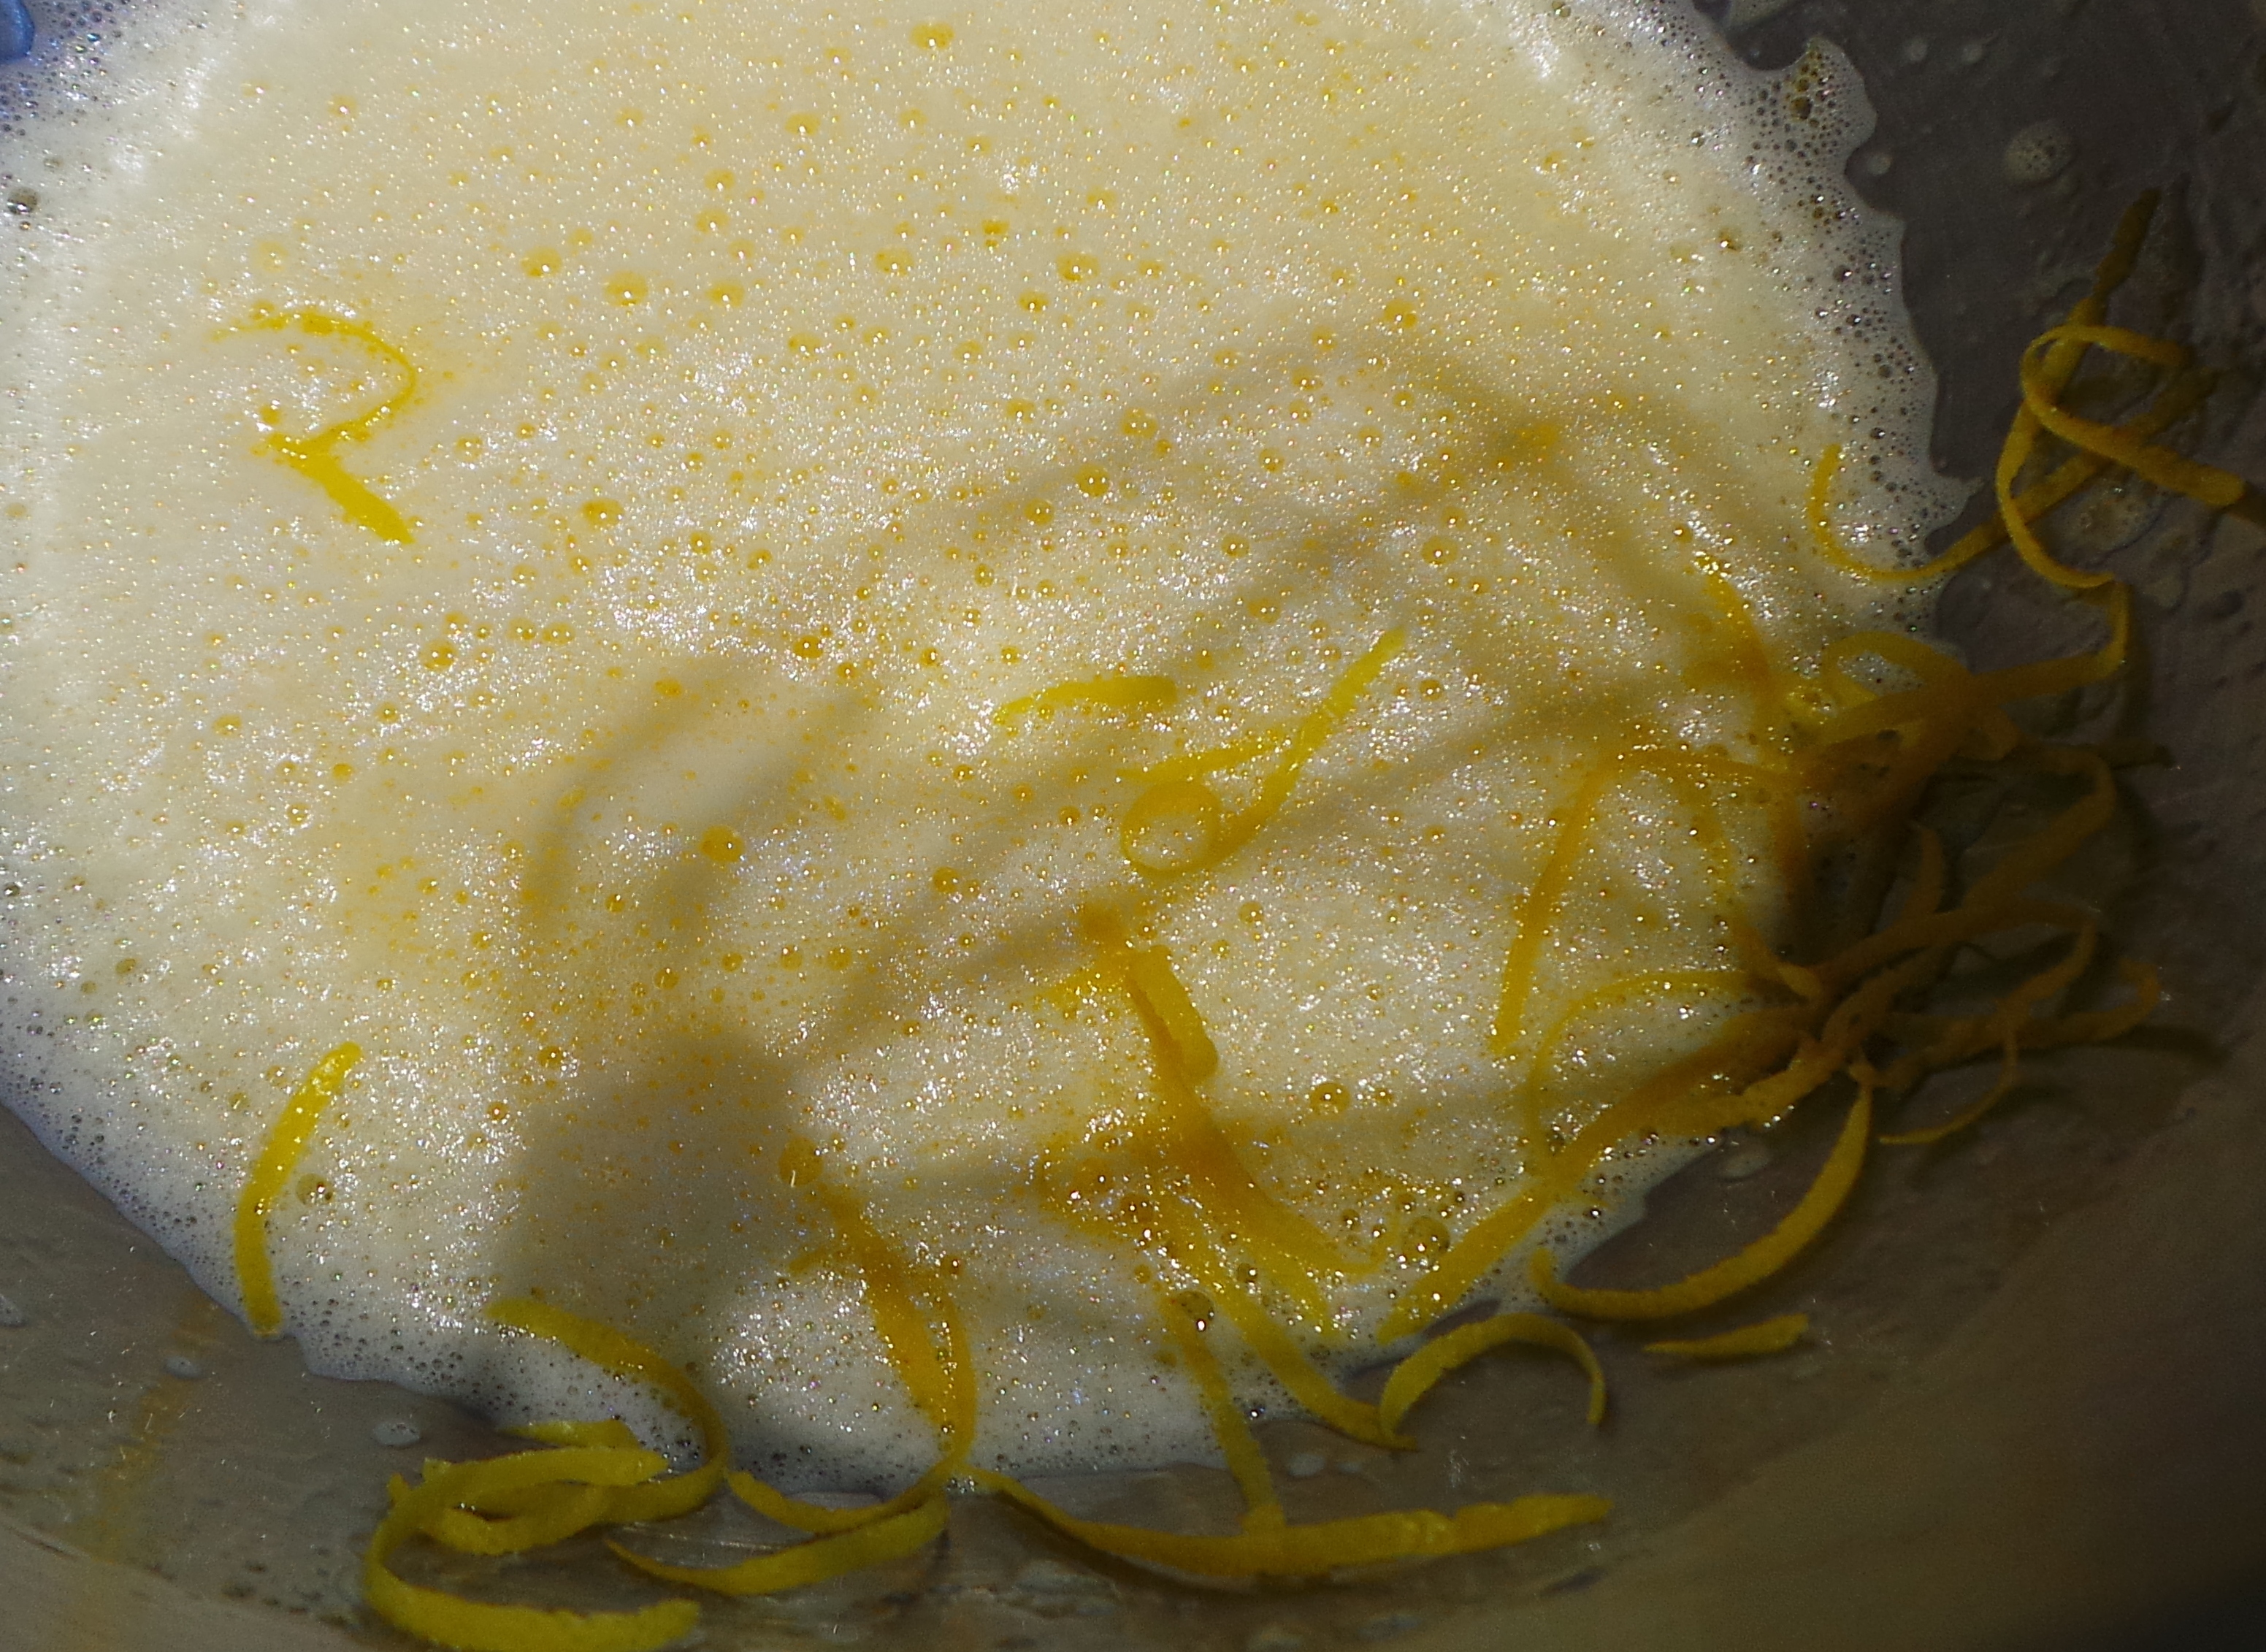
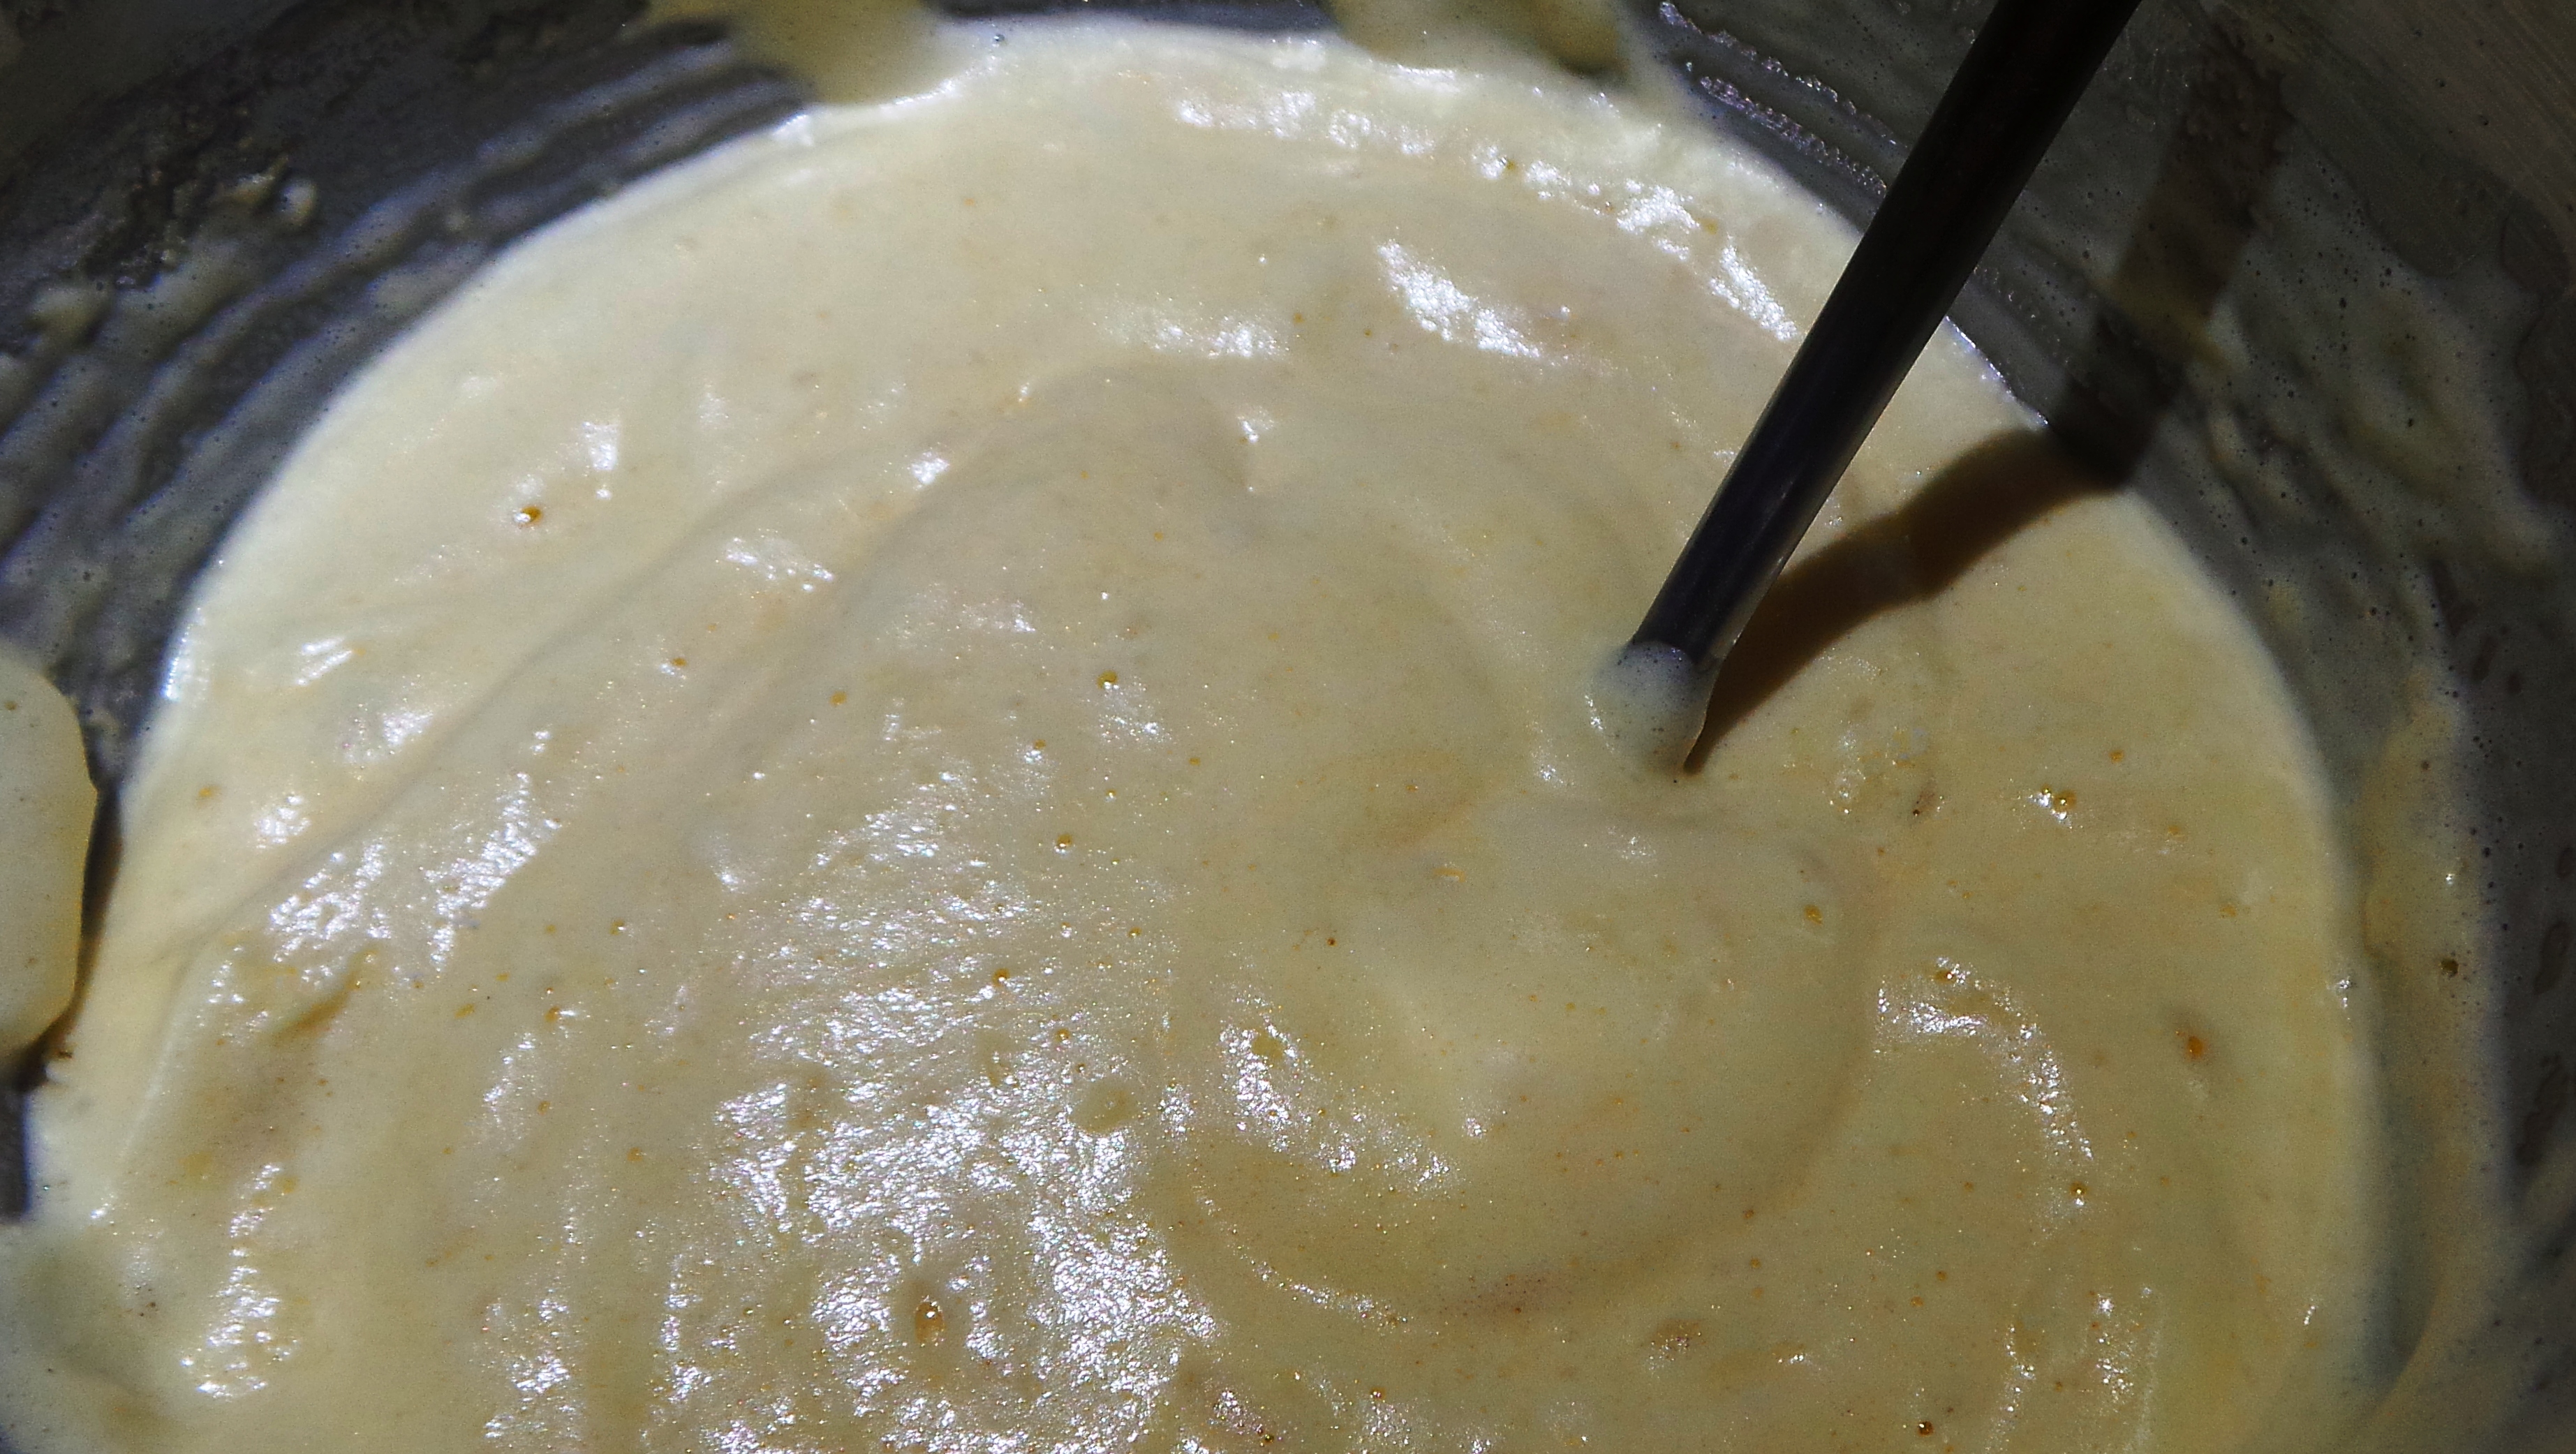
It begins with creaming softened butter and caster sugar.
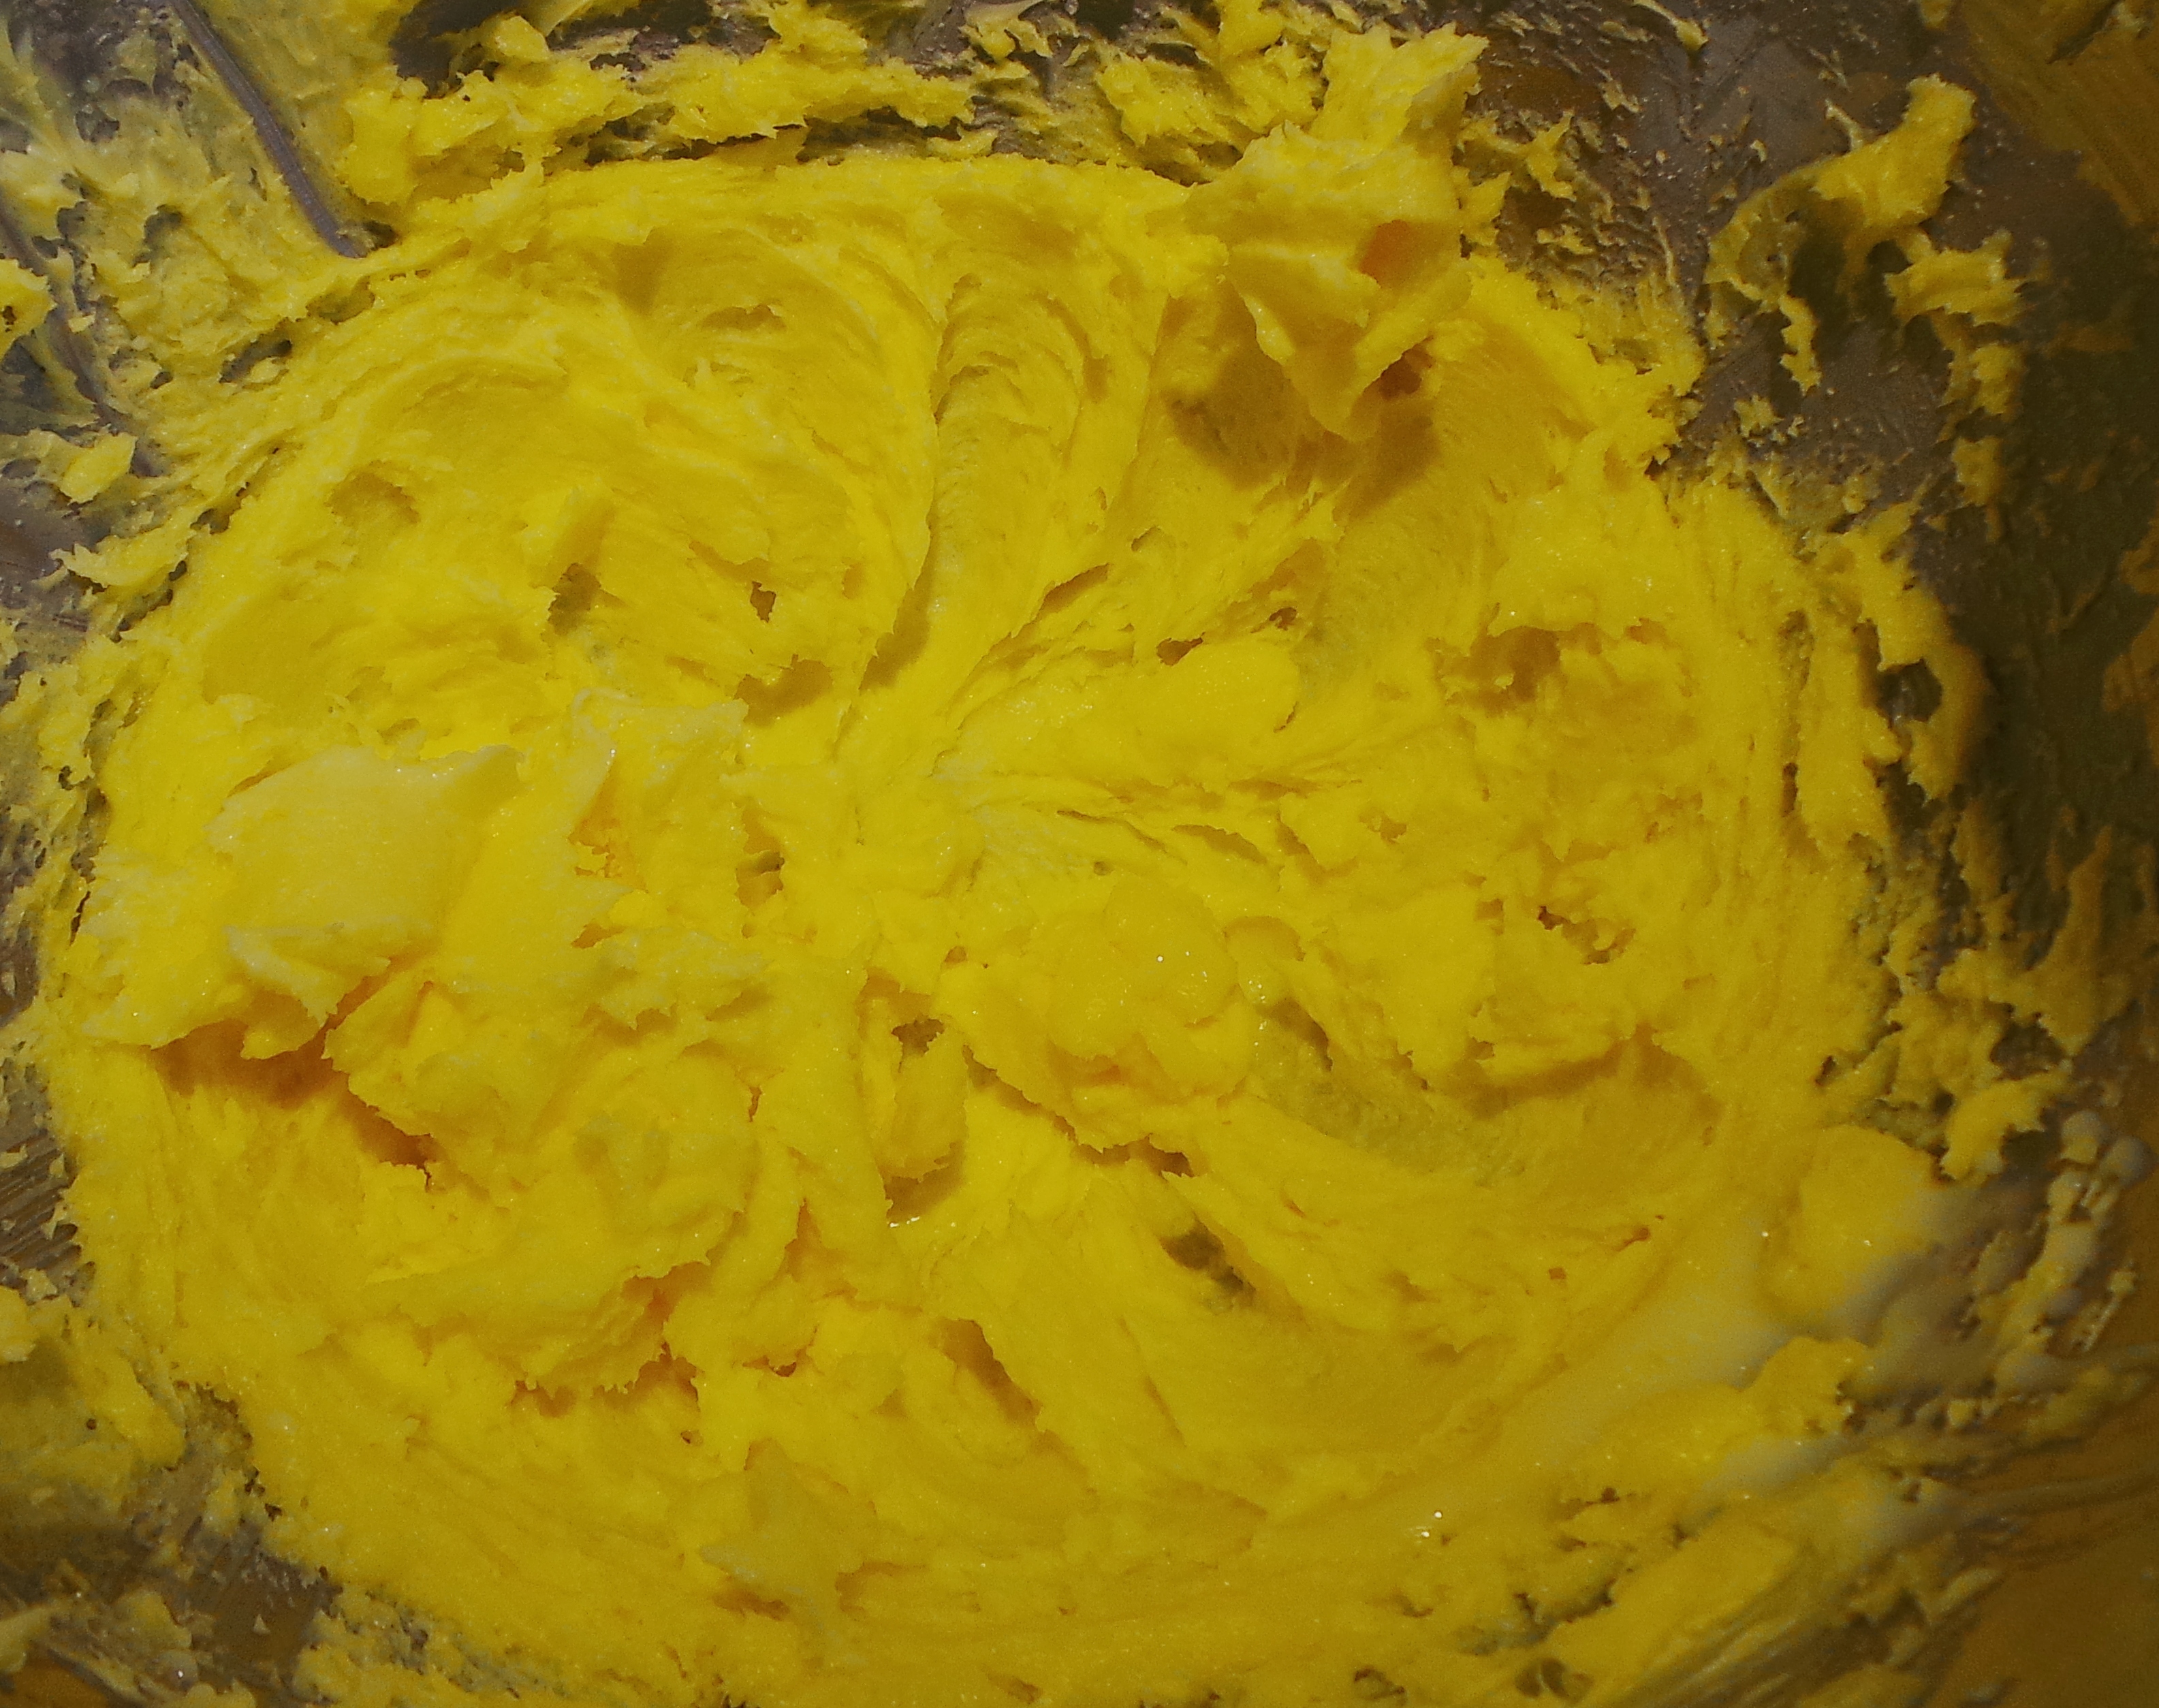
Cream butter and sugar.
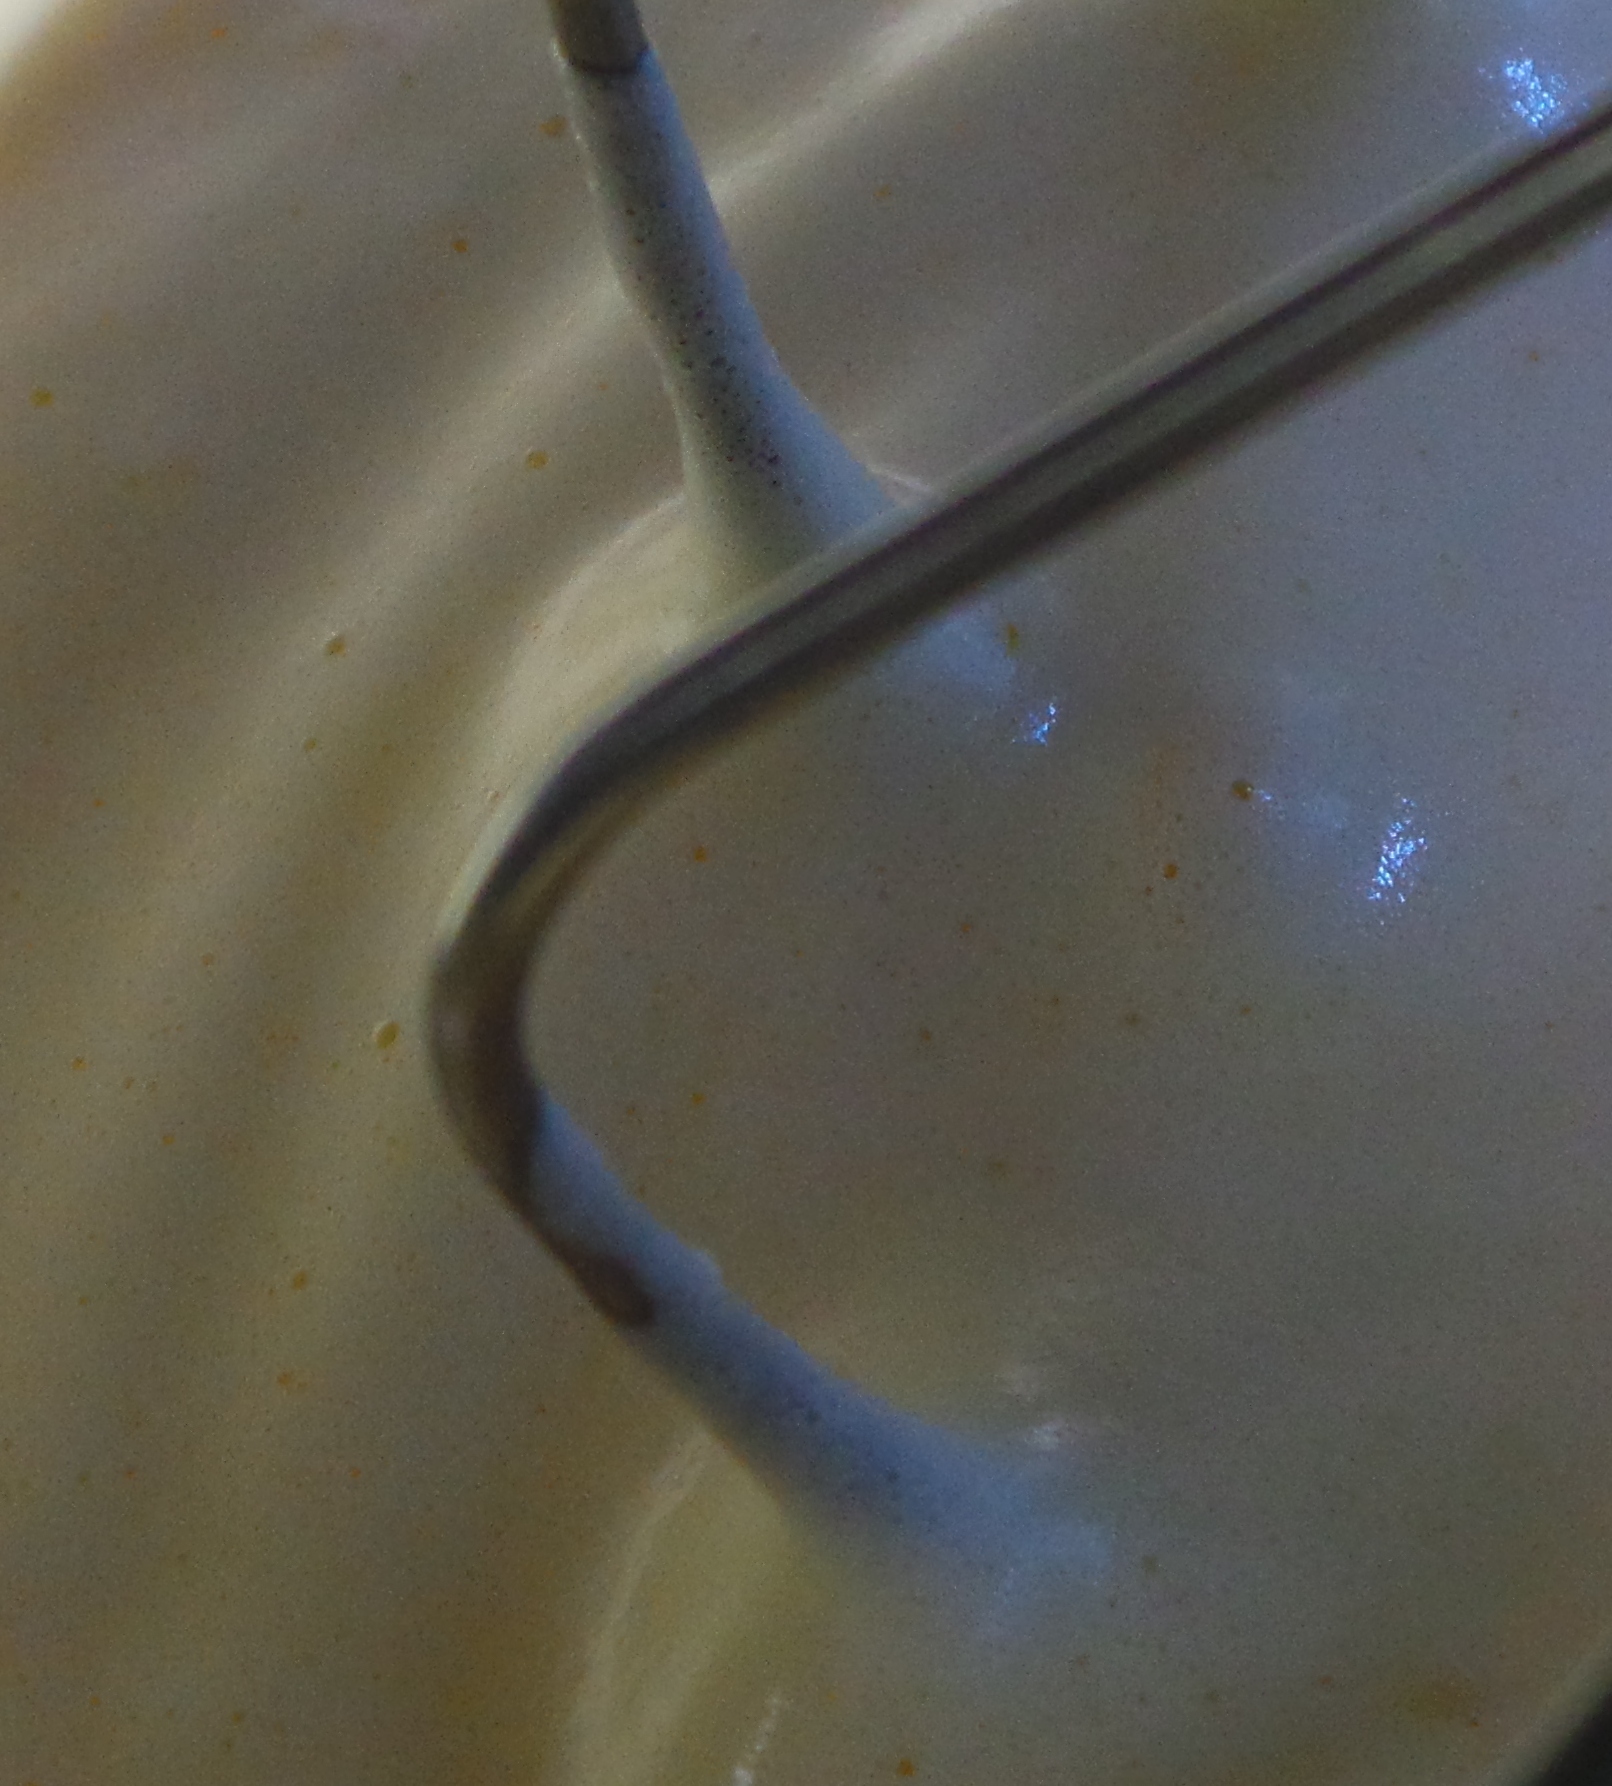
Then you whip in the condensed milk until combined.
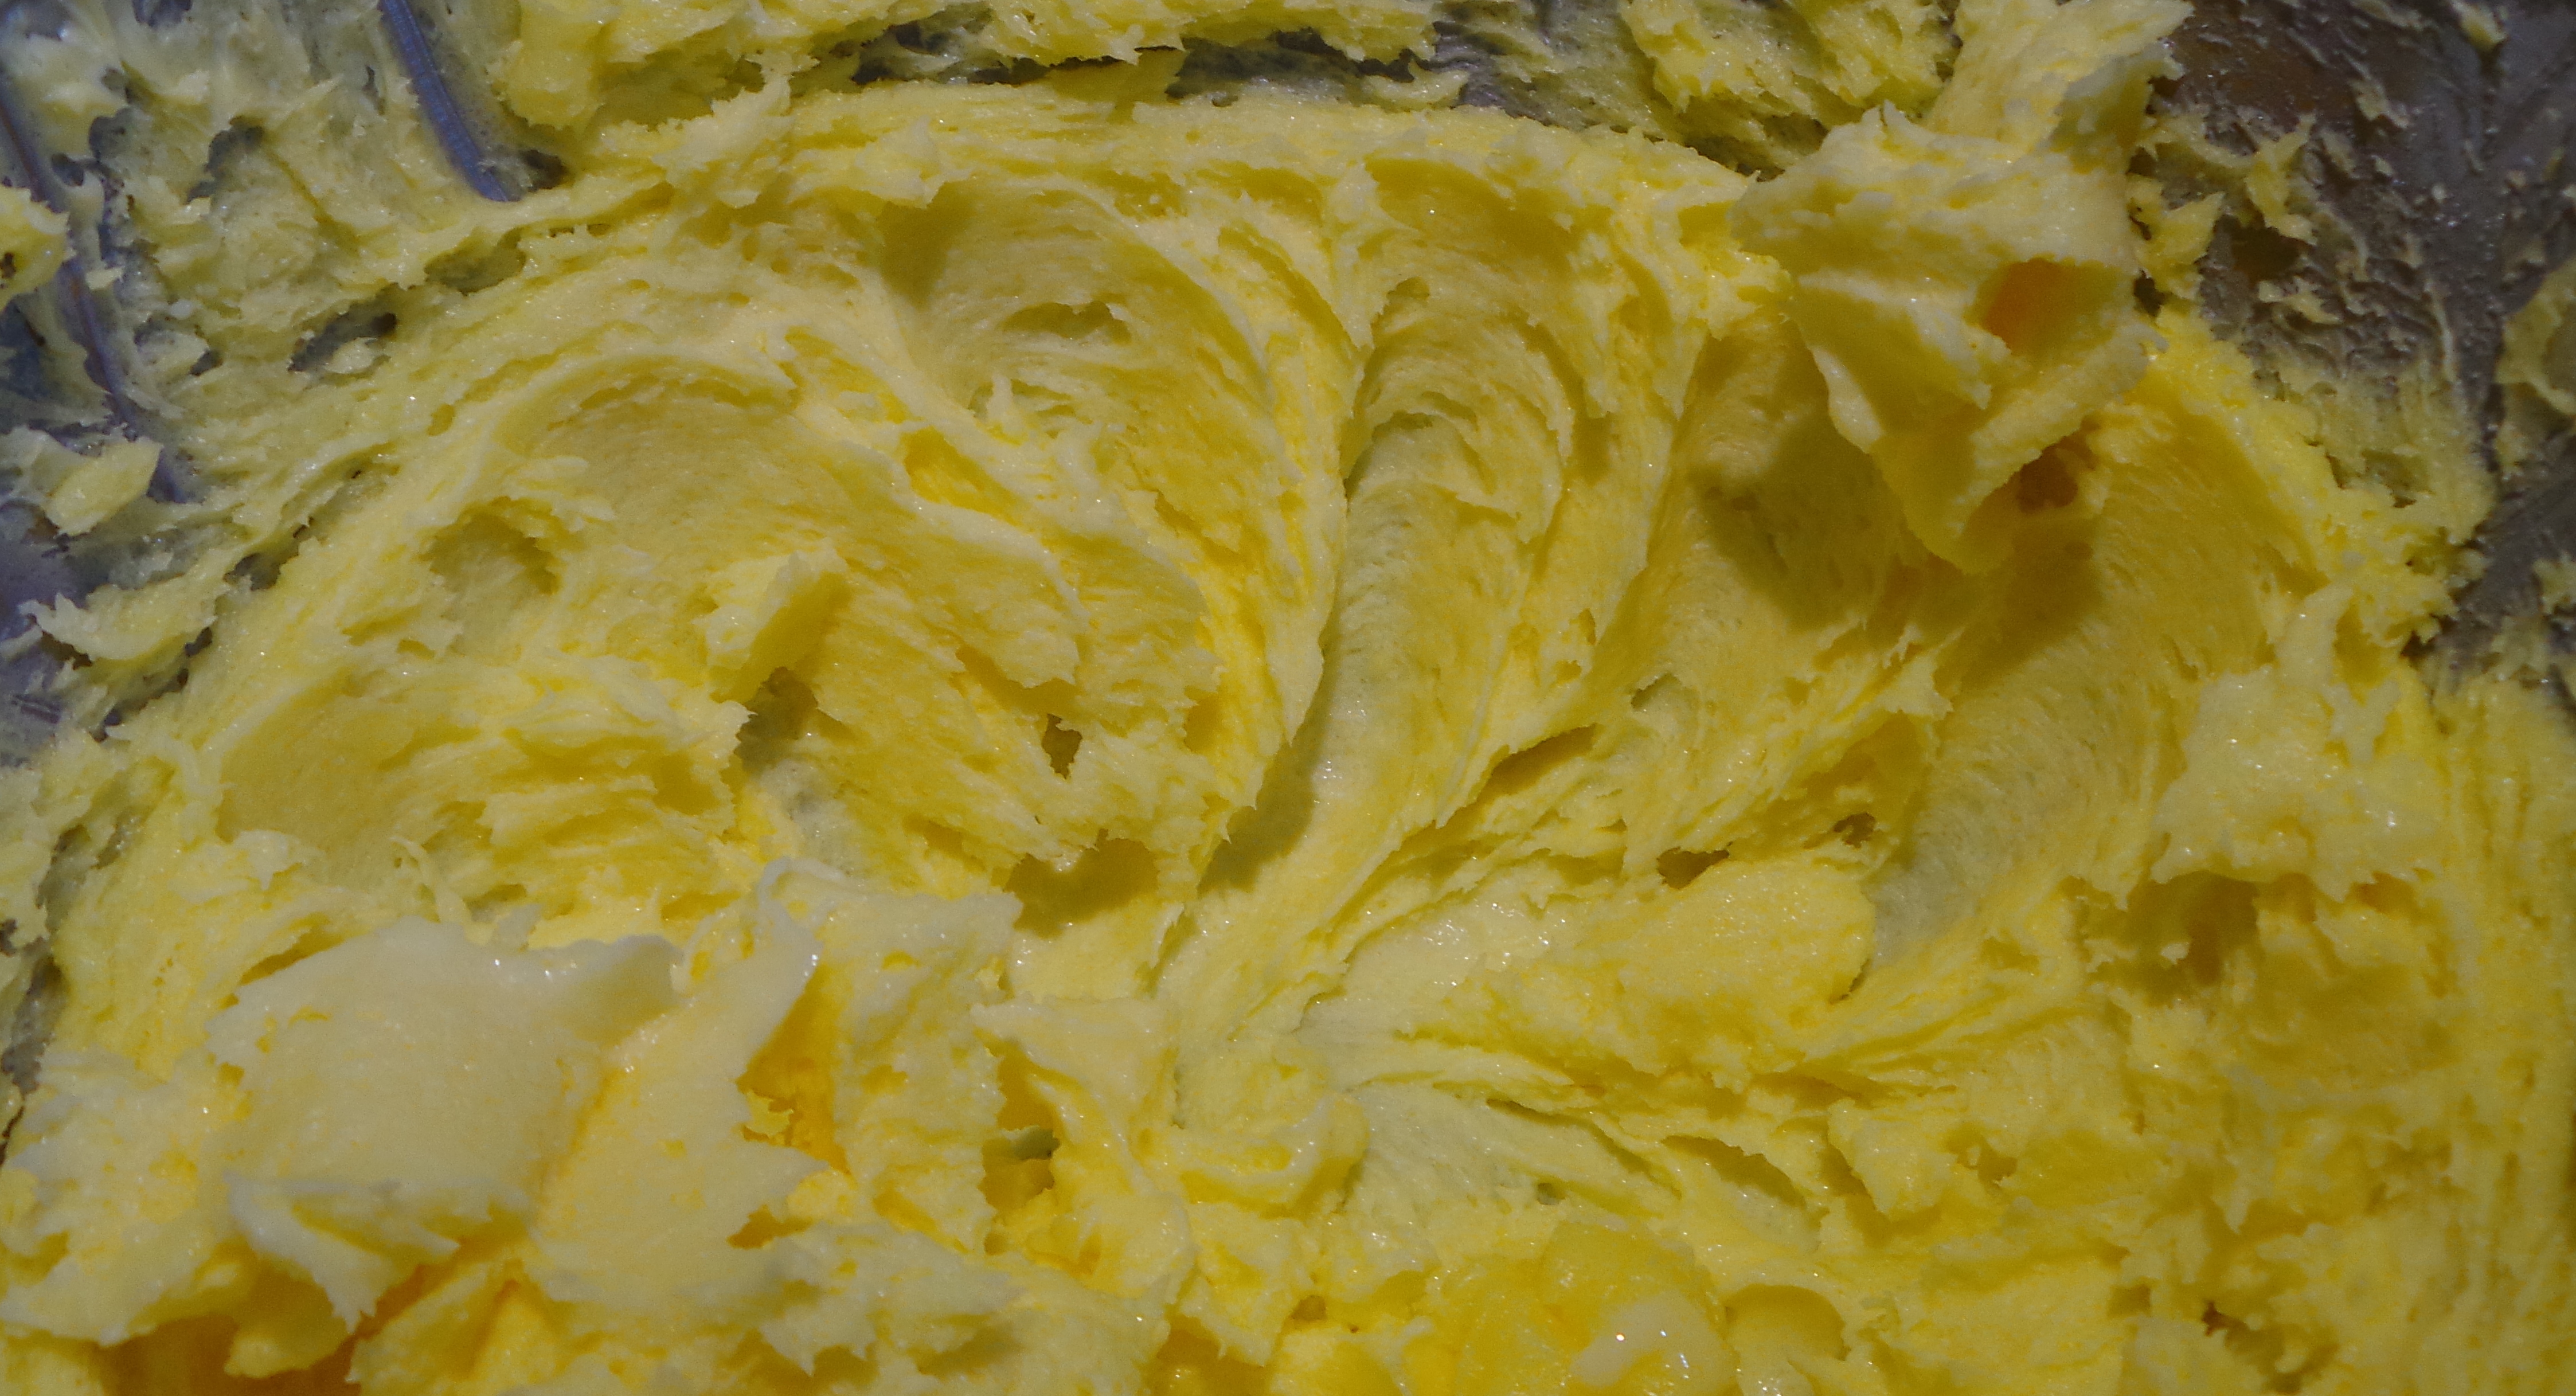
Condensed milk joins the mix.
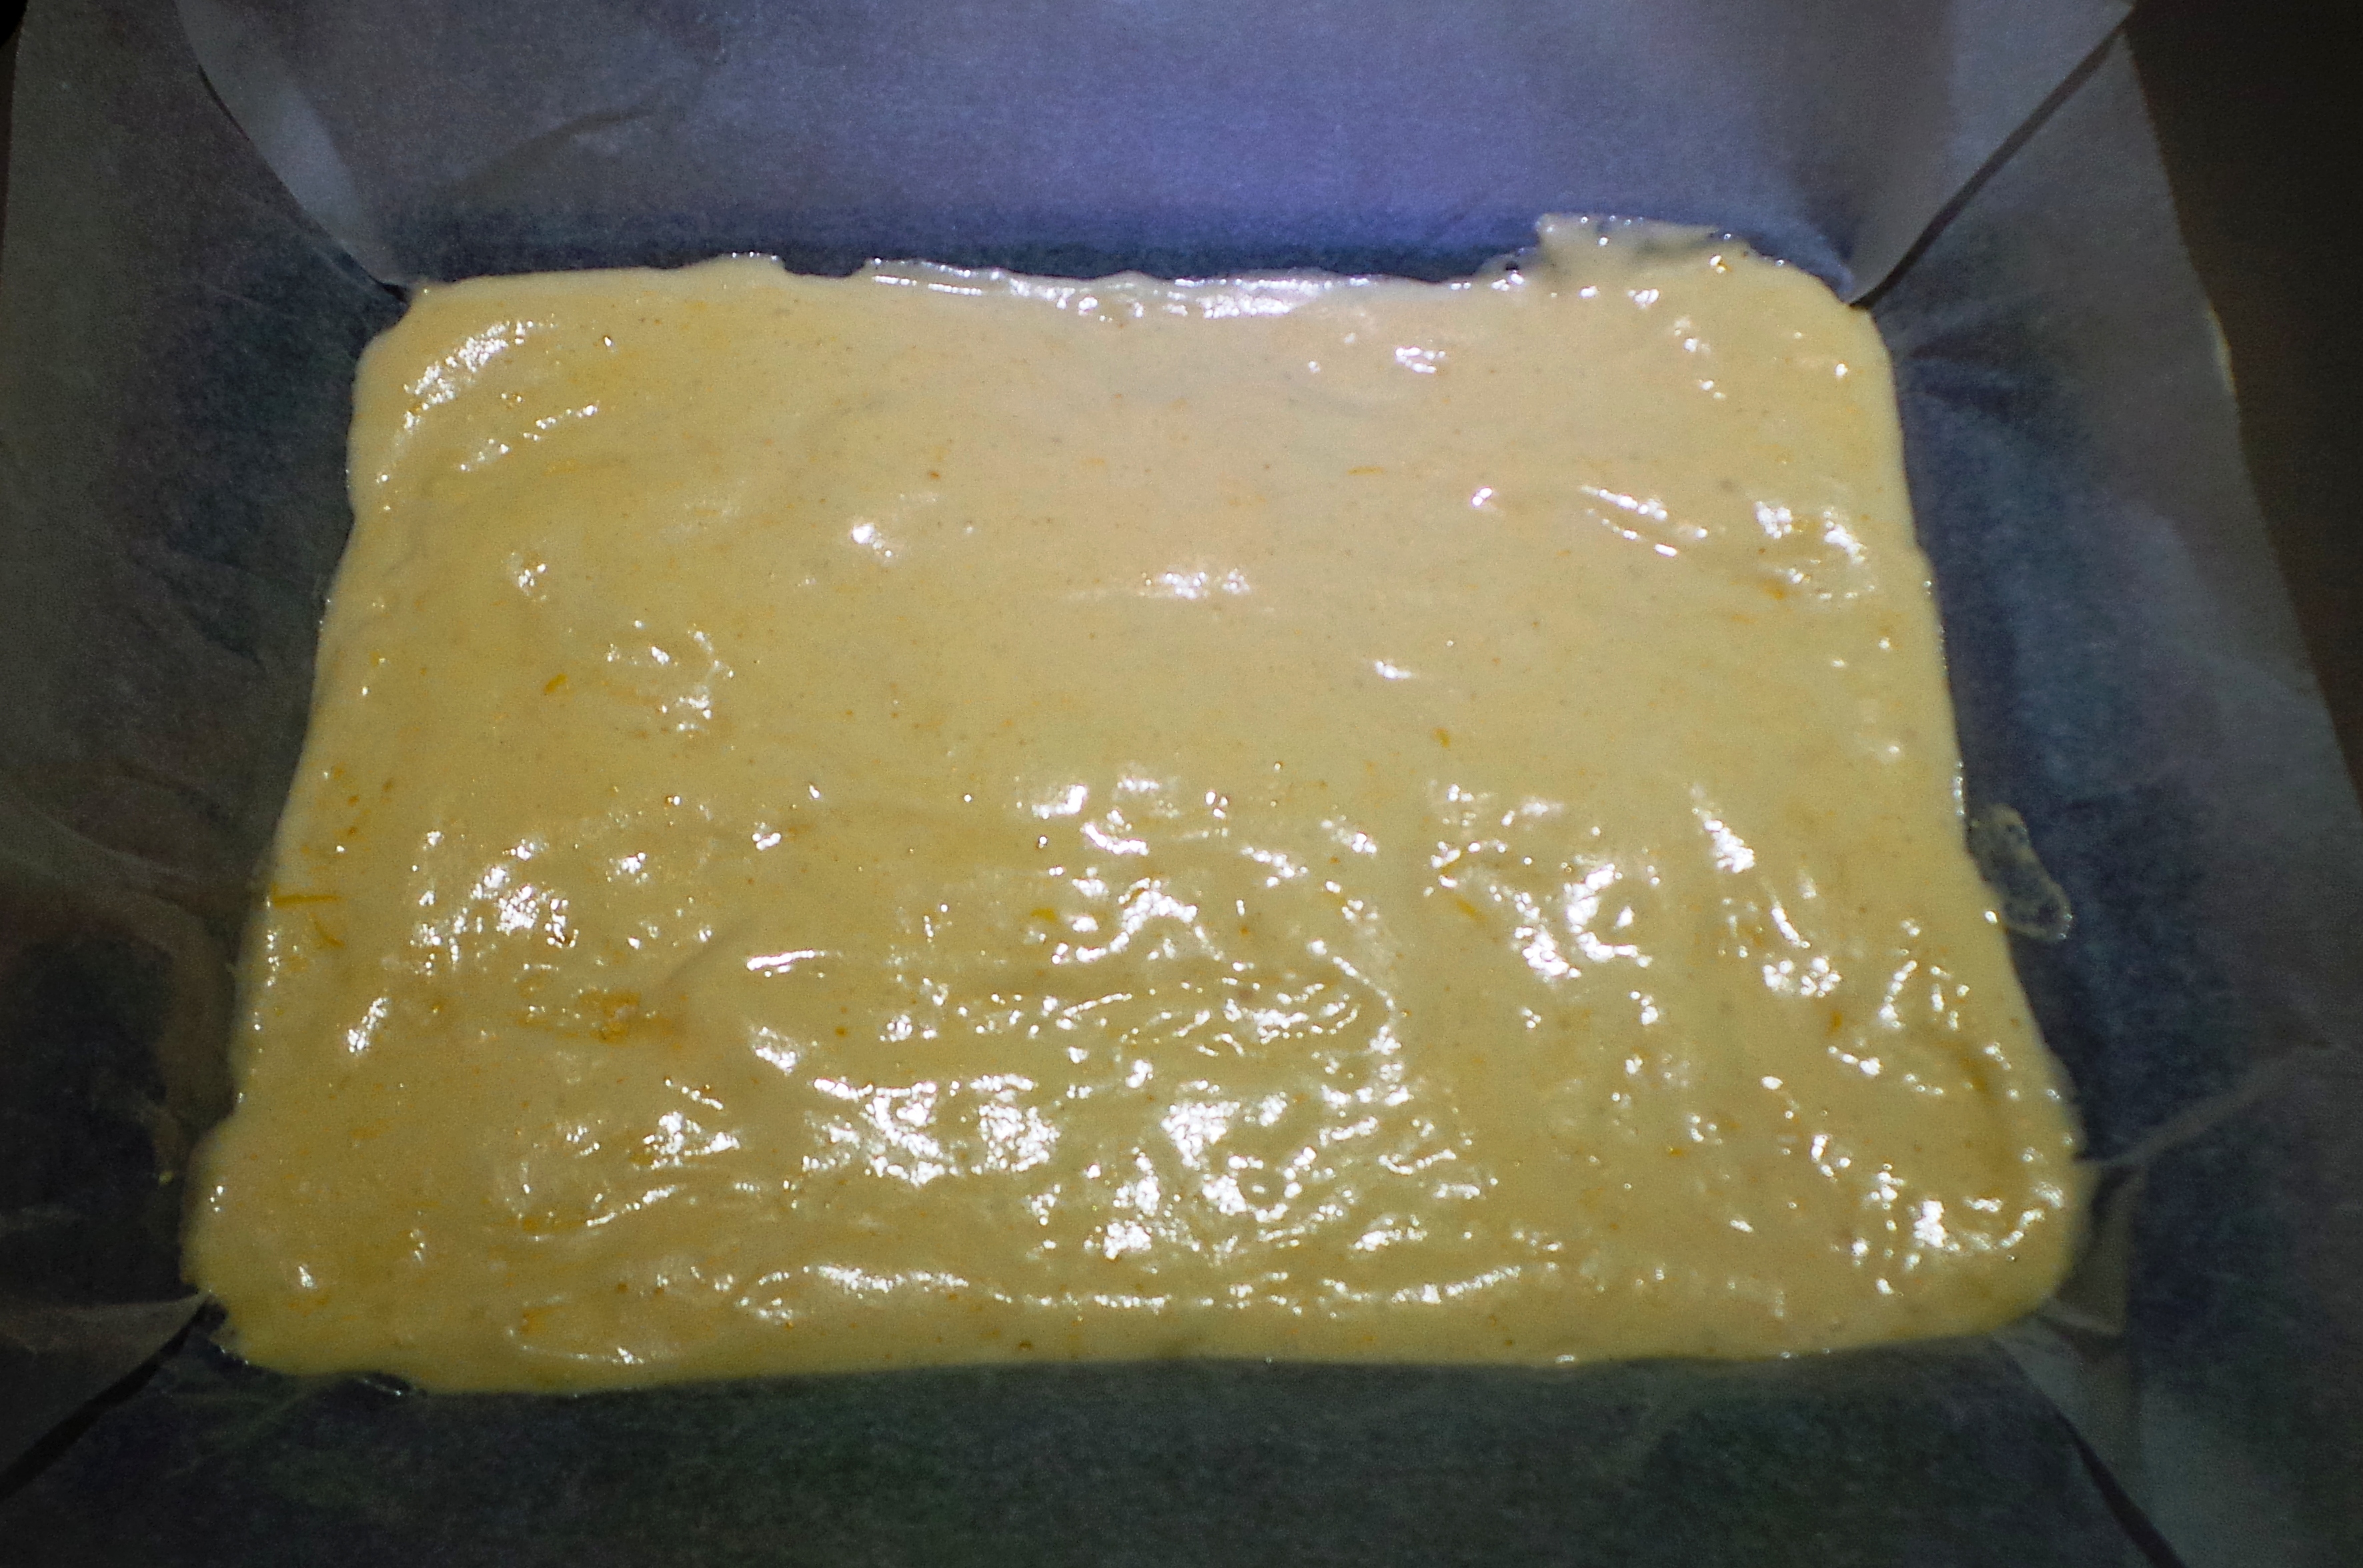
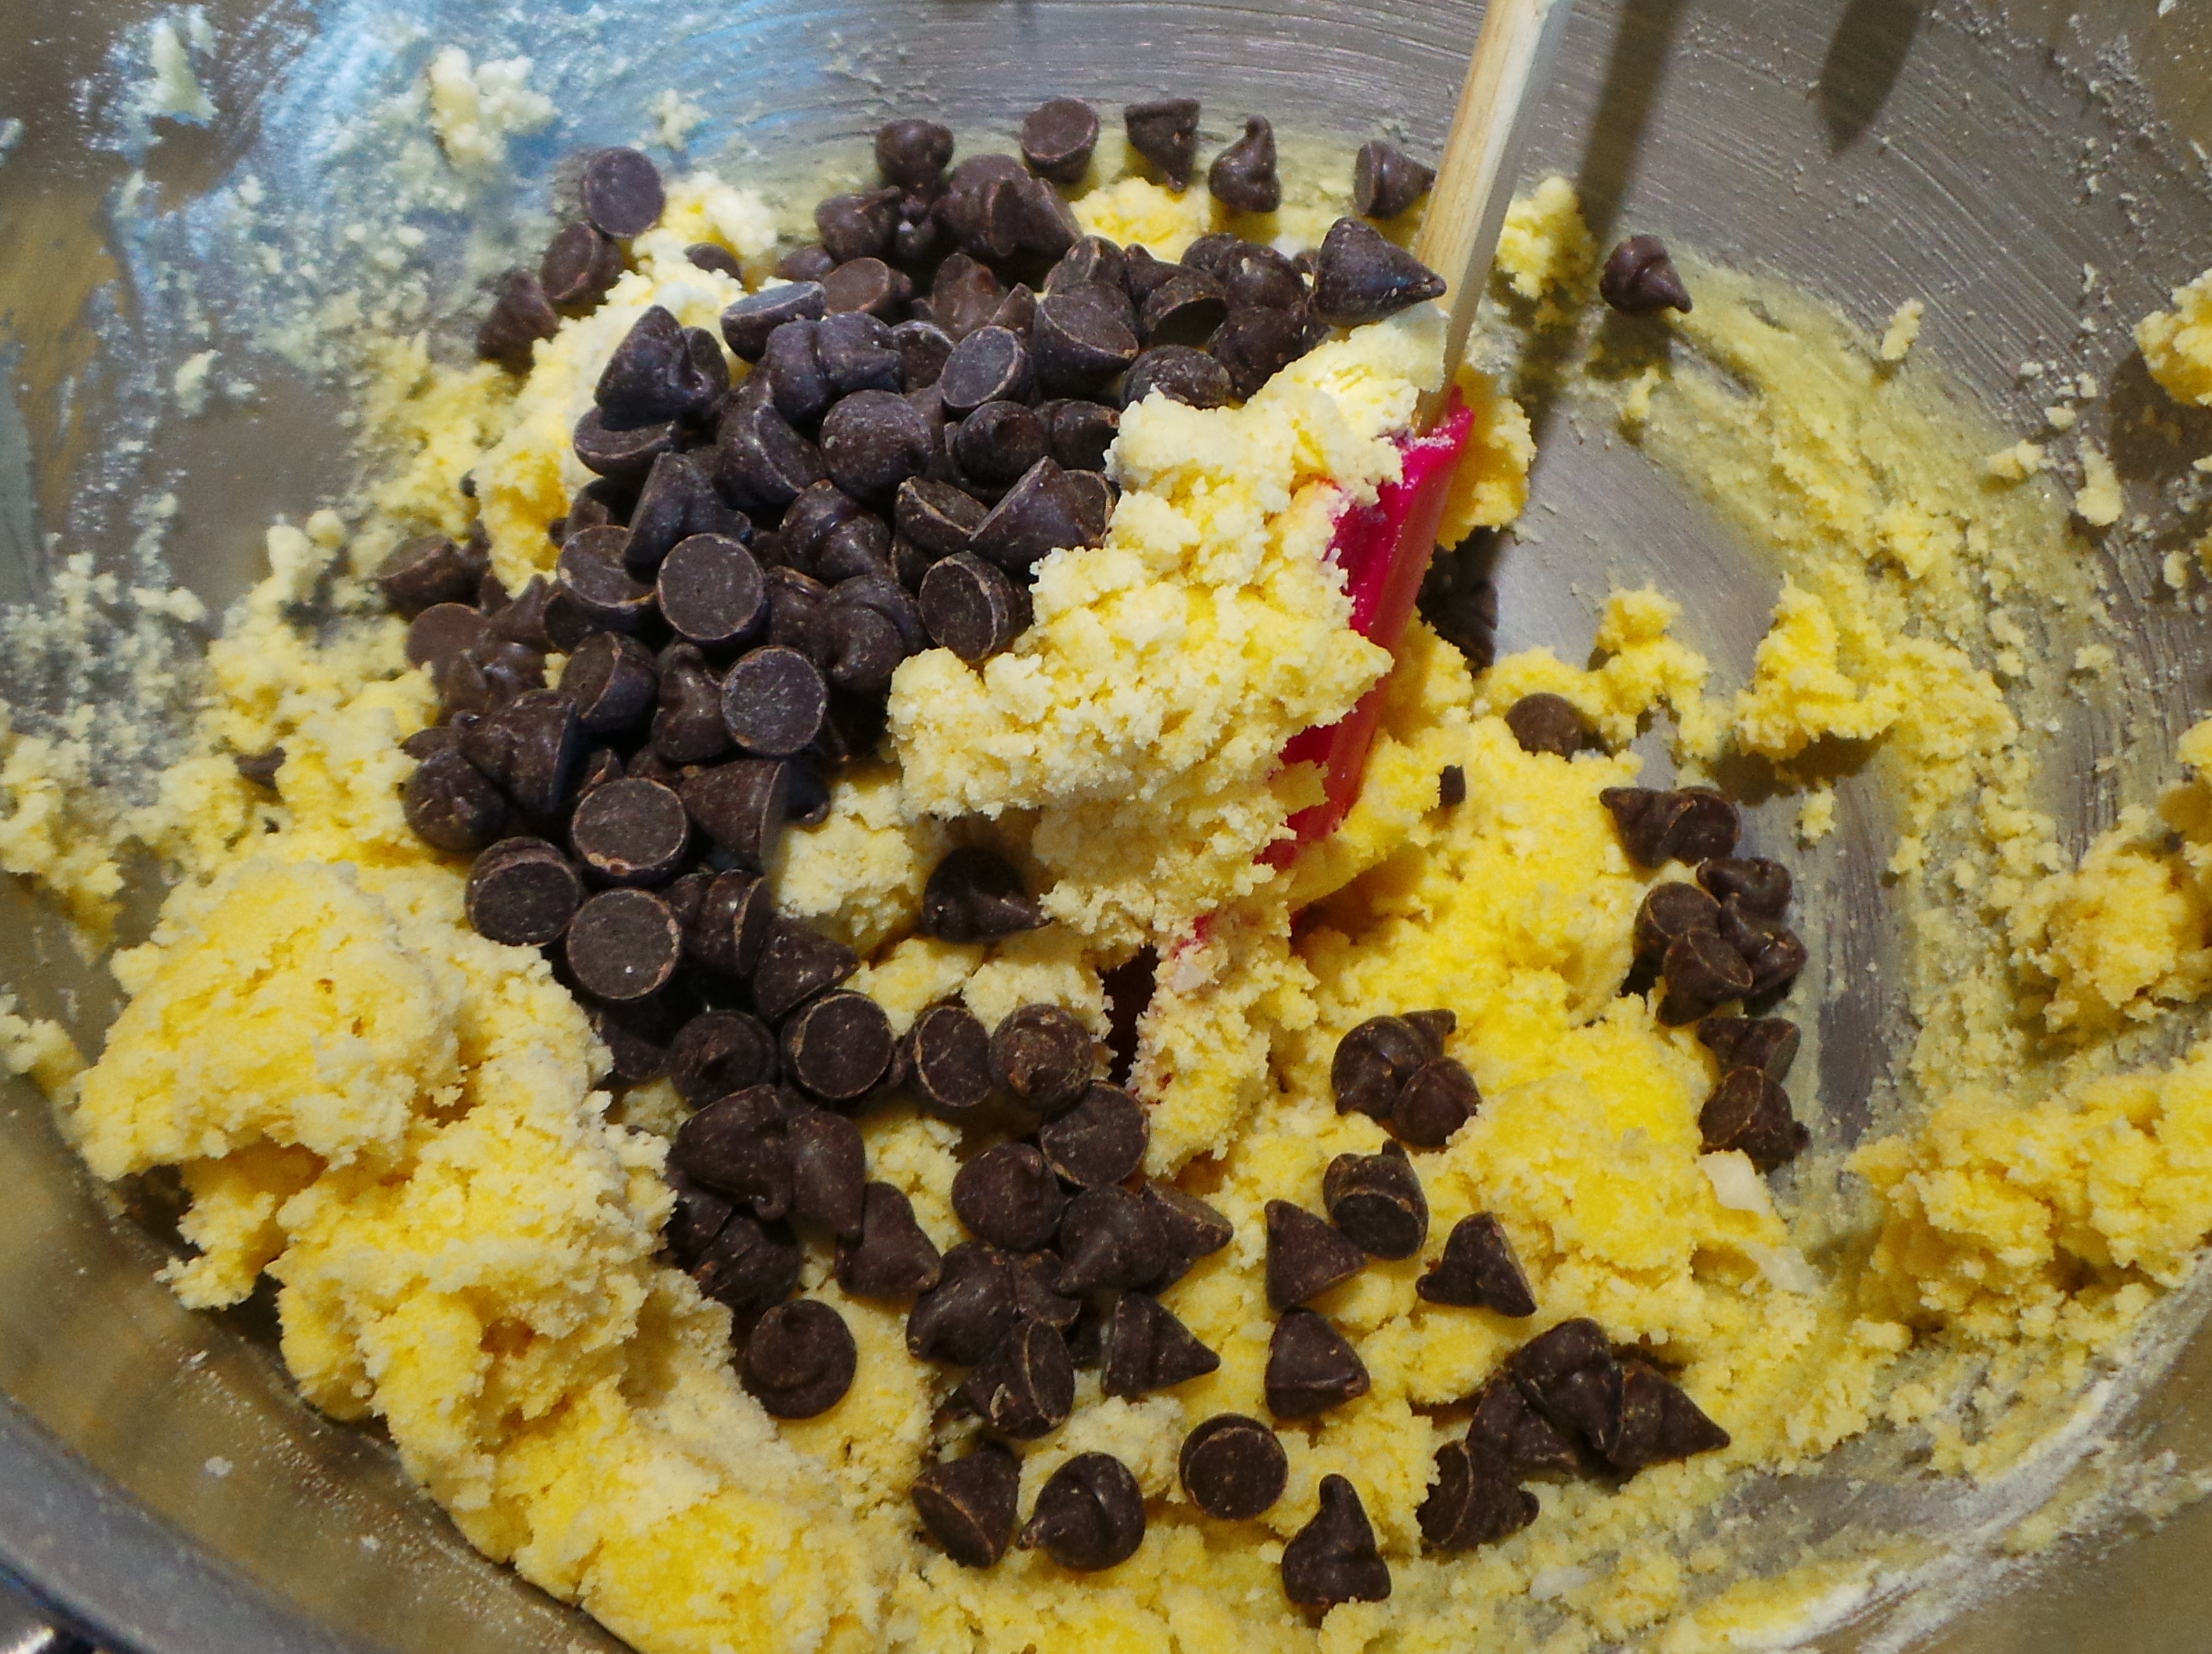
To this plain flour sifted with baking powder is added and stirred in well. The recipe then calls for MASSES of chocolate chips – 300 g of them. This is what a batter with that amount of chips looks like … just for reference purposes.
Lashings and lashings of chocolate chips.
Now I am of the belief that no everyday snacking cookie requires this much chocolate in it. I have (obviously) made them with it in the past, but only for special occasions or for gifts. On some occasions I have made up the 300 g with a combination of different types of chips – dark, milk, white and caramel – and it has worked beautifully.
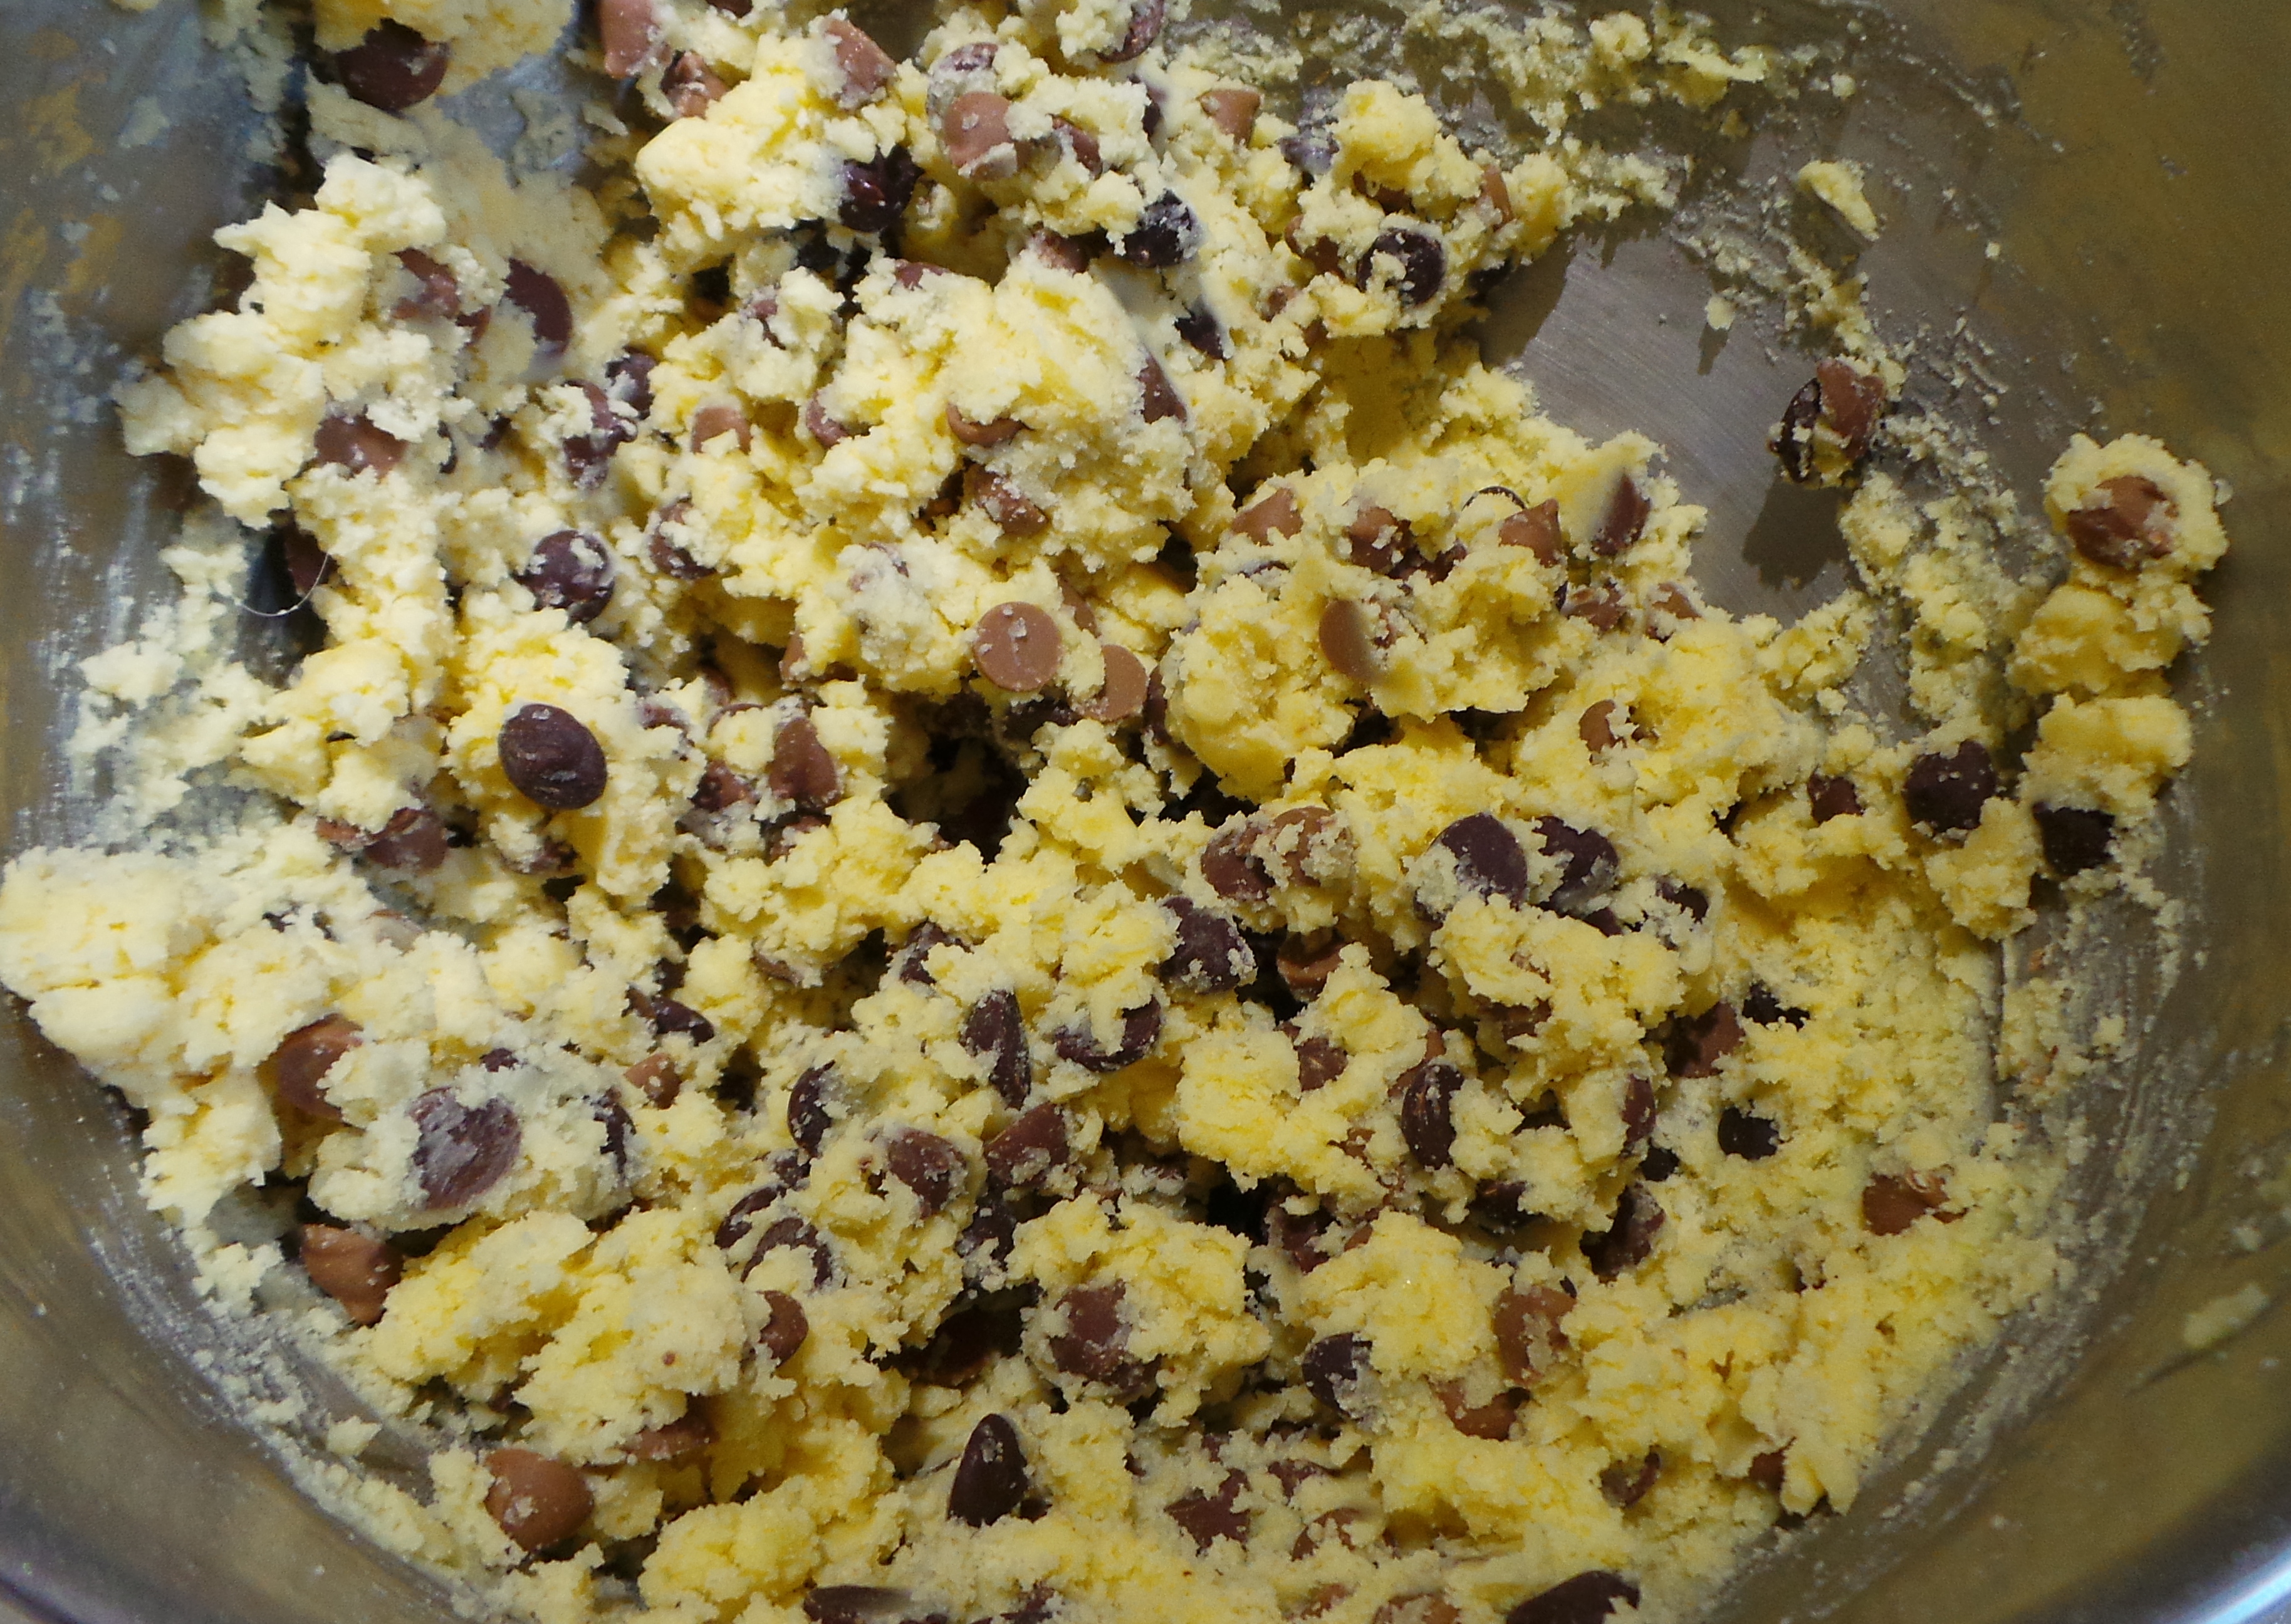
I usually make these with 100 g worth.
Less chocolate works quite well too.
It still works and no-one feels deprived of chocolate. Really, truly.
I then use a metal ice cream scoop with a 1 inch diameter to measure out the cookies onto a paper lined baking sheet.
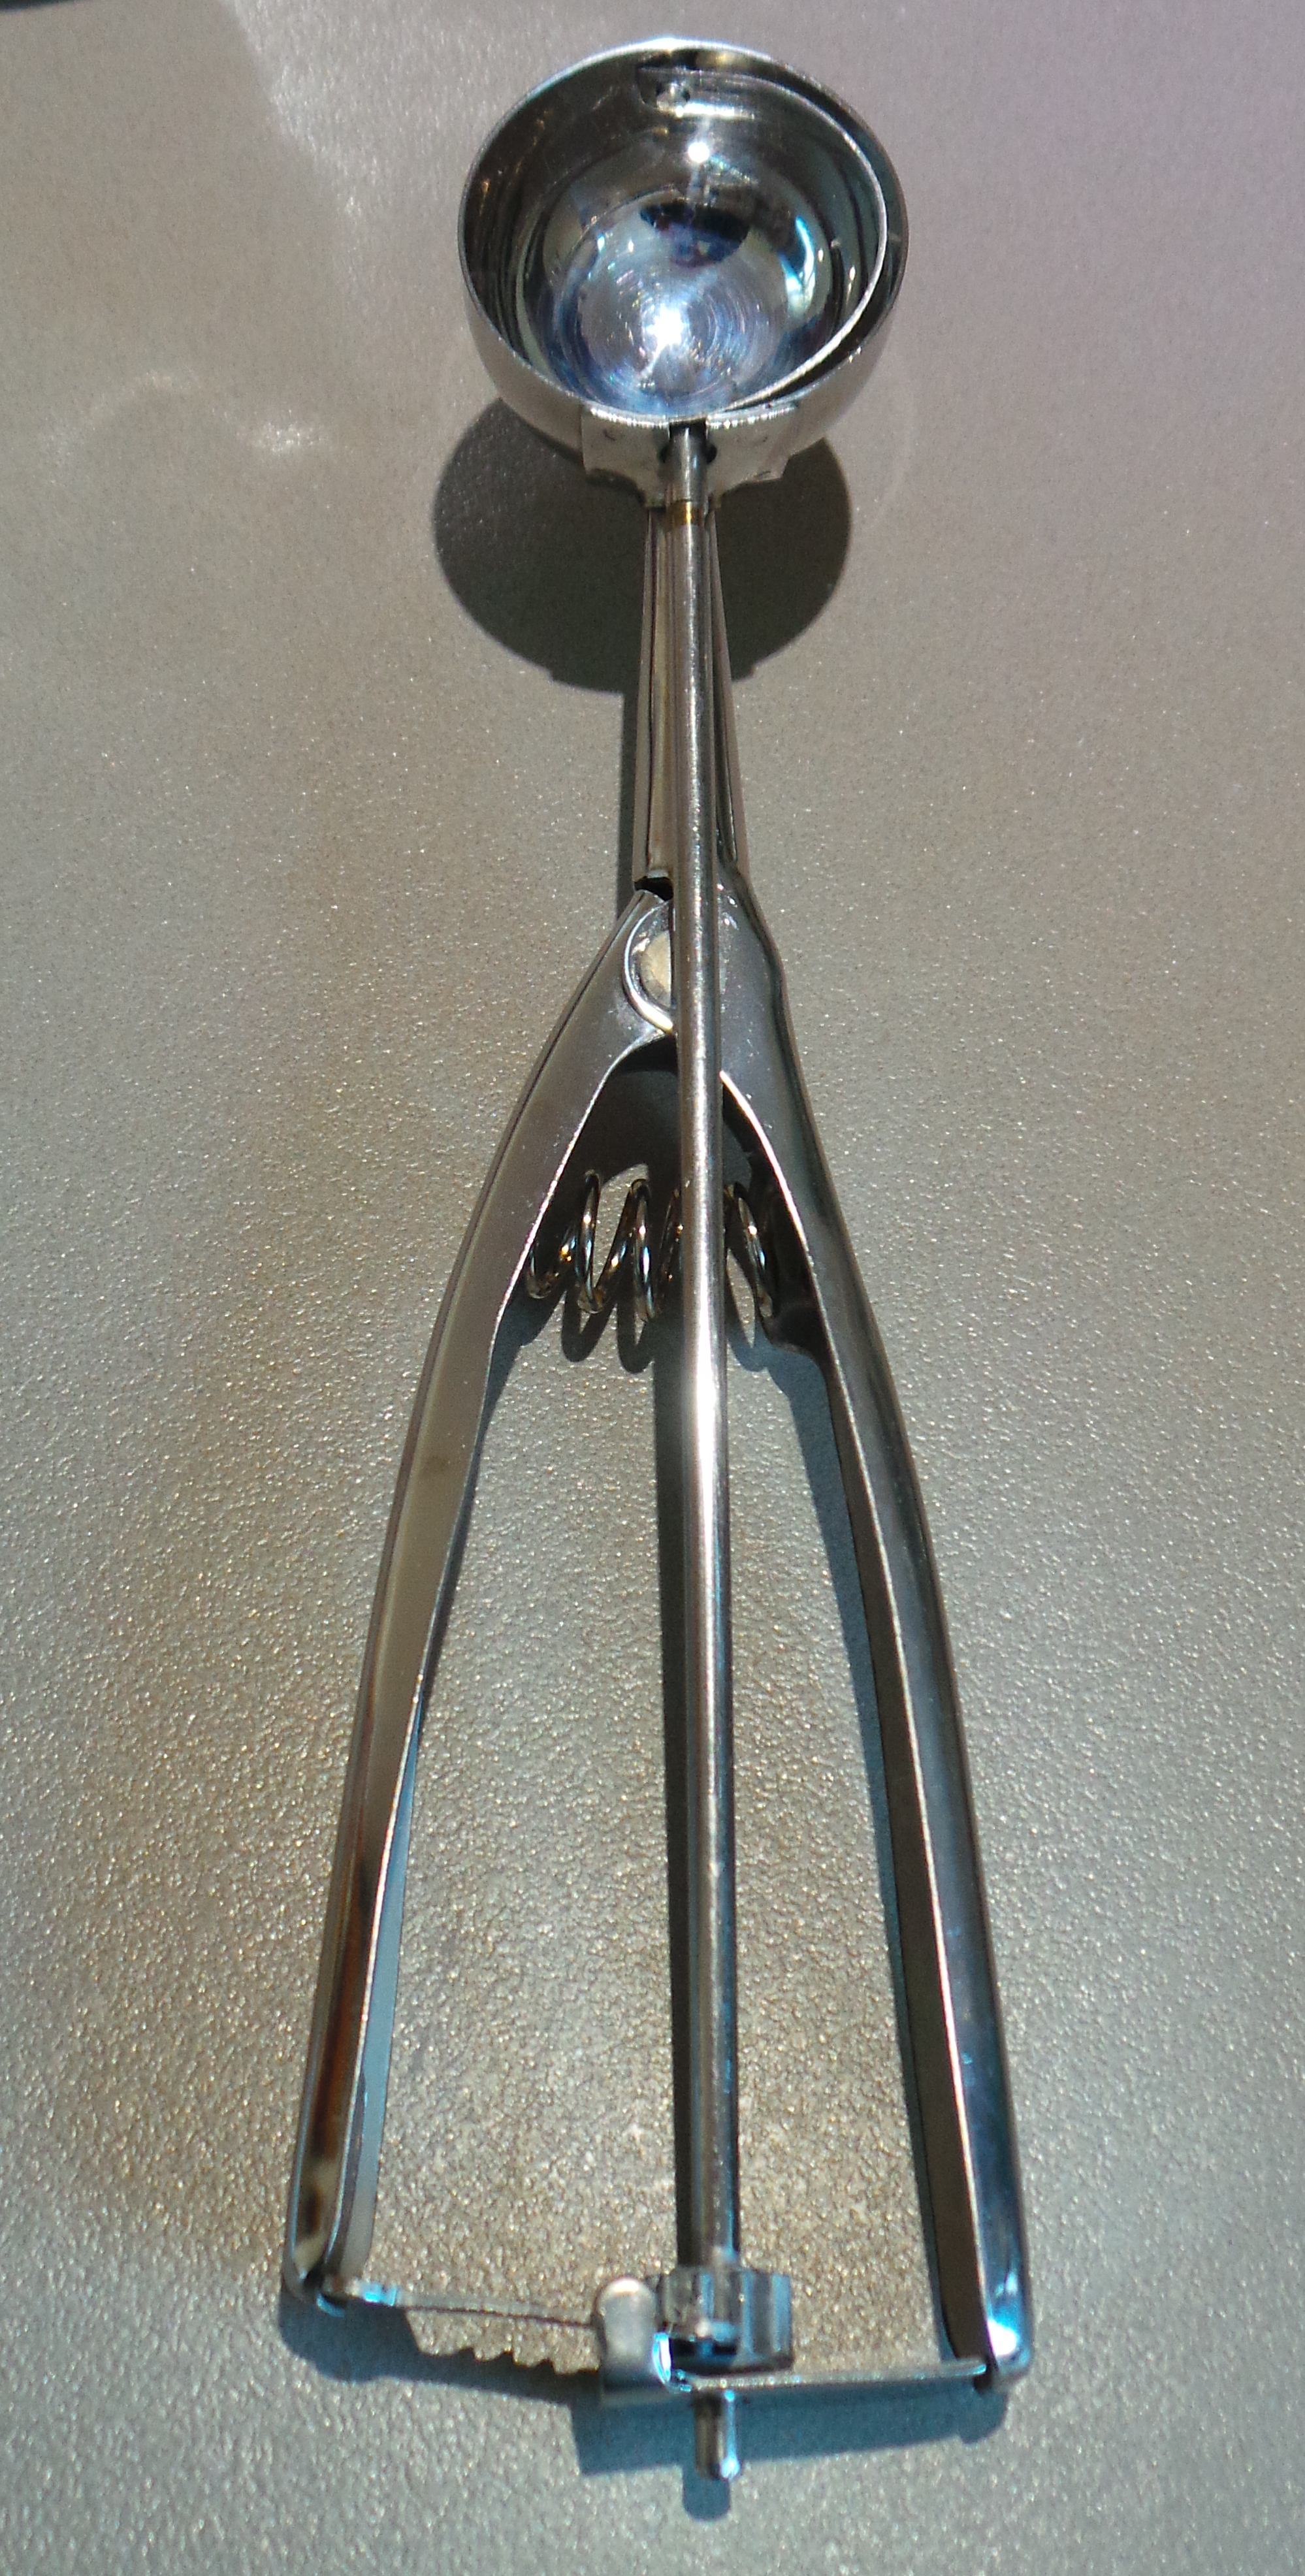
A one inch ice cream scoop will save you trouble later…
This method means that they are all around the same size which helps with both portion control and arbitrating amongst judicially minded offspring – you know how it goes, “Muuuuum, it’s not fair! Her biscuit is bigger than mine!”
We’ve all been there.
It also helps if the kidlings are assisting you with your baking…

Aren’t they cute?
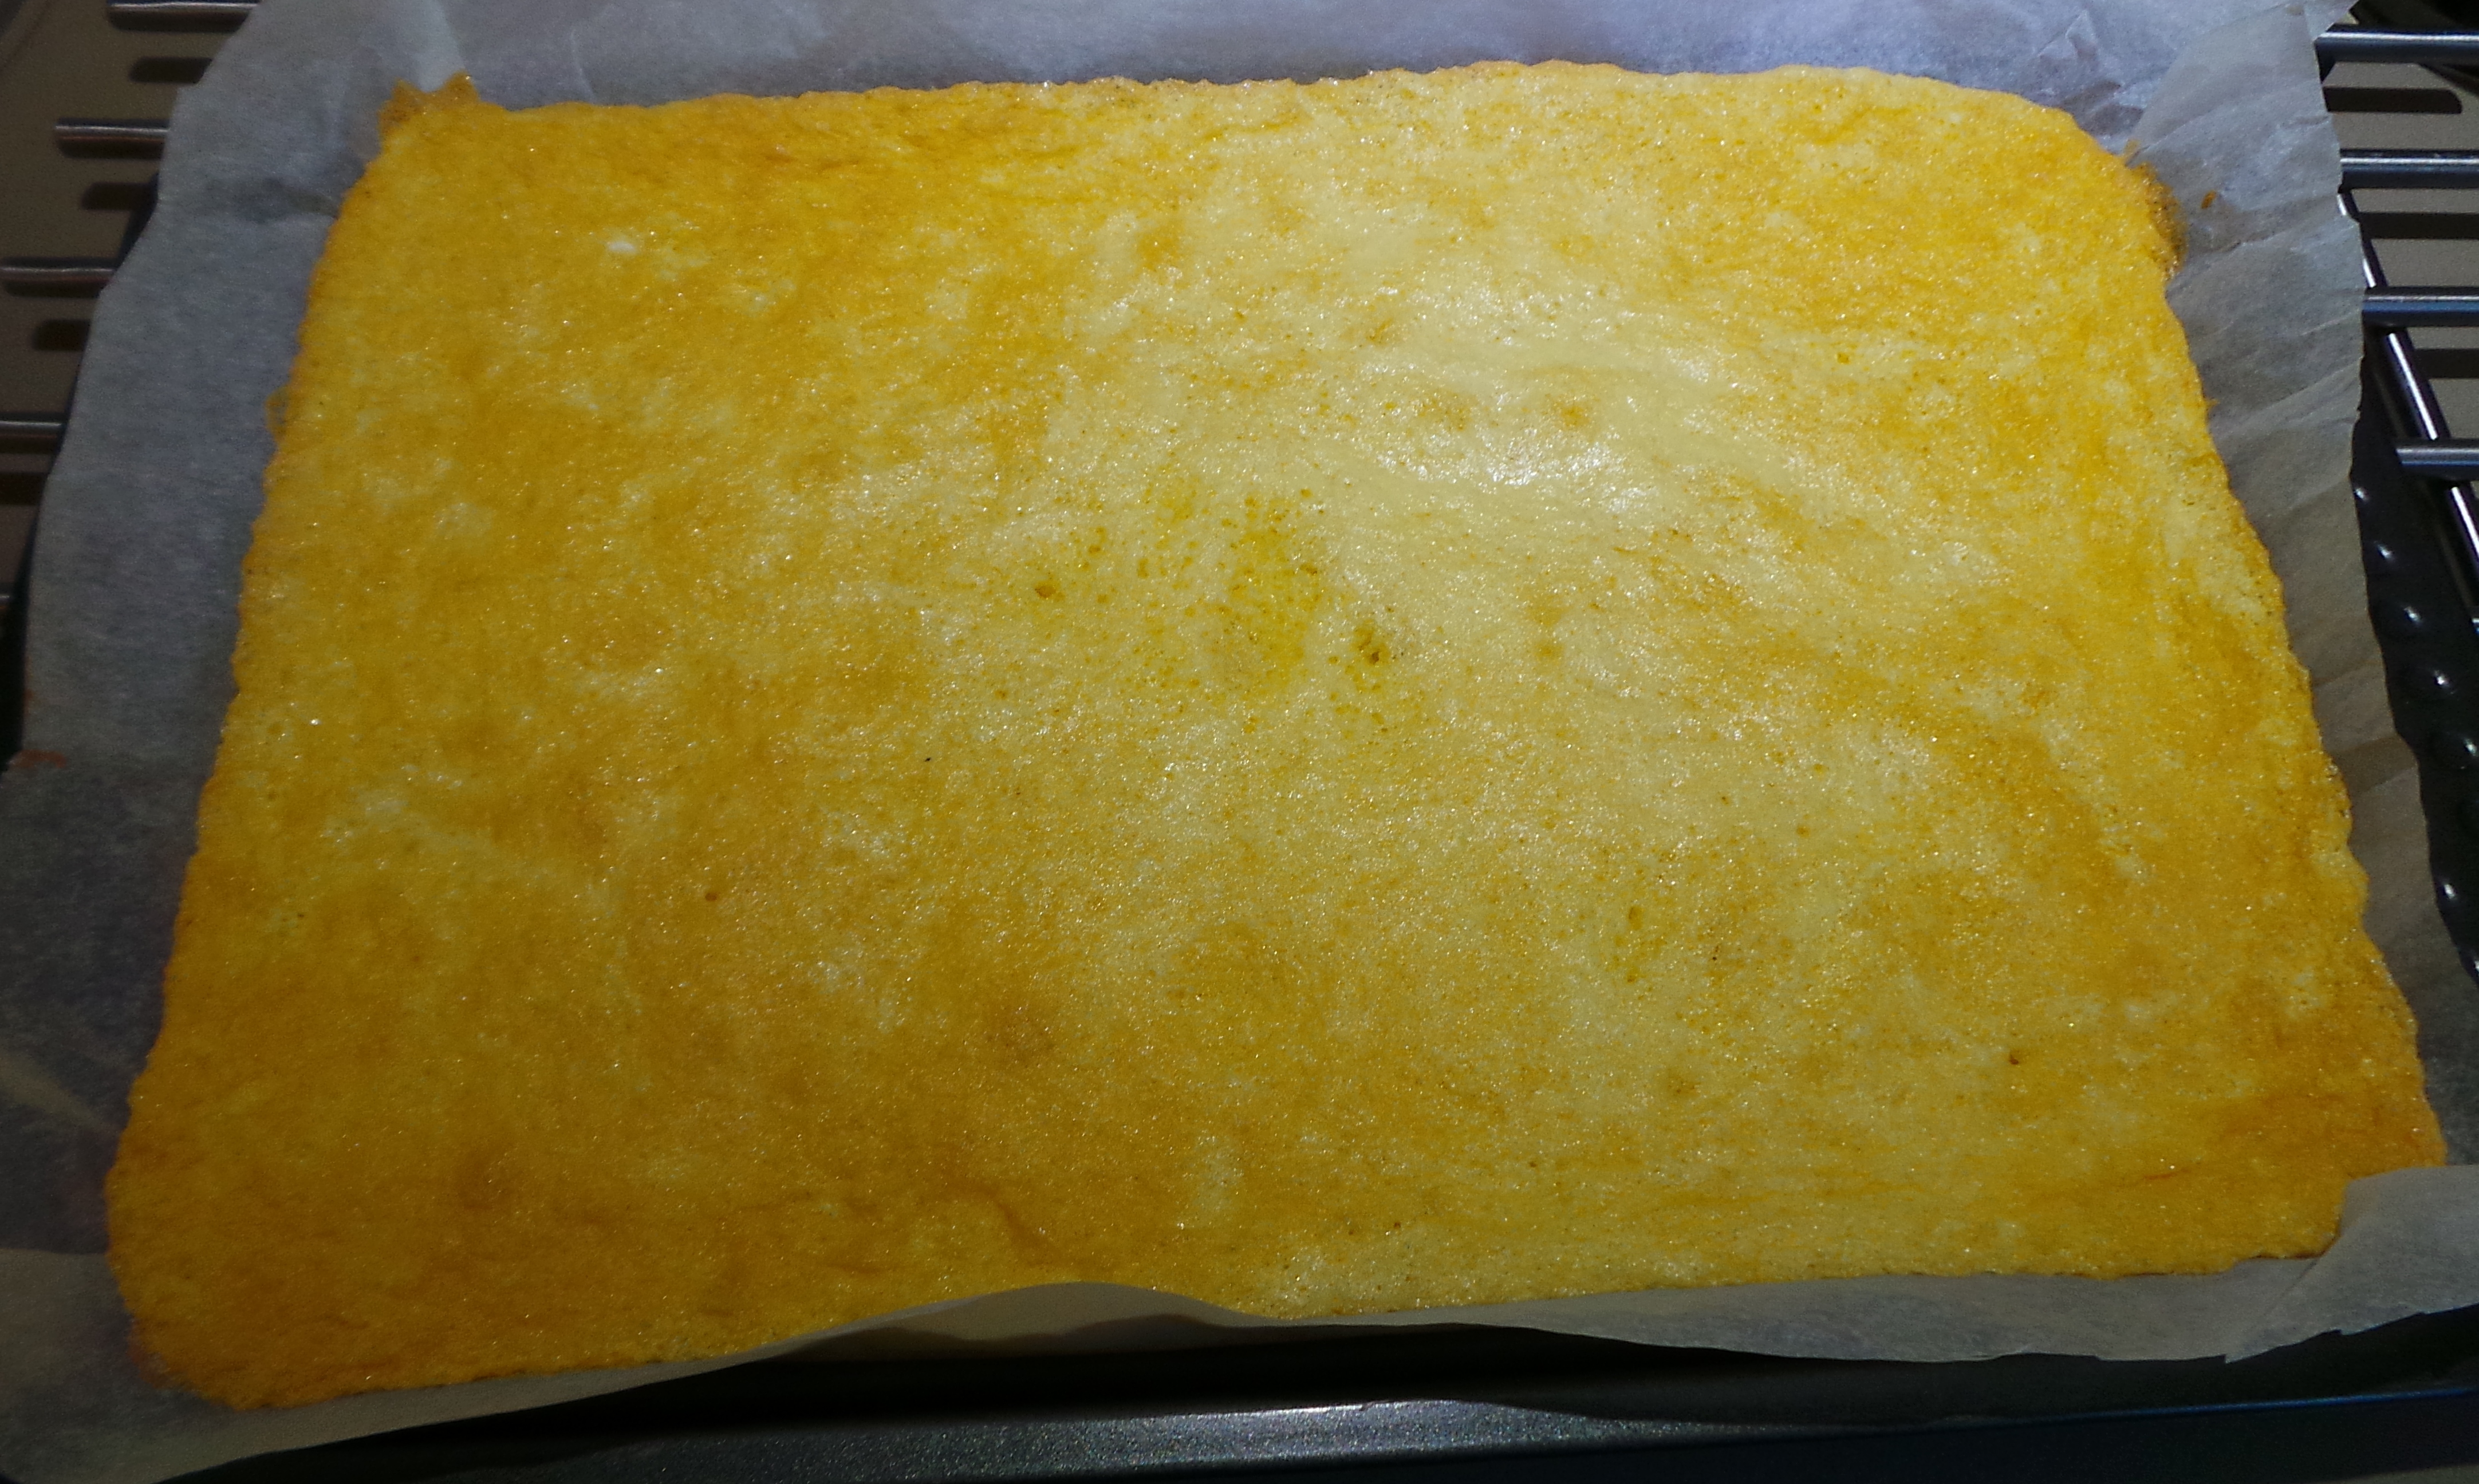
Press down gently on the top to flatten slightly and pop into a moderately hot oven for around 15 minutes, or until slightly golden.
Yum.
Leave them to cool for 5 minutes on the tray before removing to a cake rack to cool completely. They will still be soft when you take them out of the oven.
Also, DO NOT eat a hot cookie. Melted chocolate will burn. You have been warned.
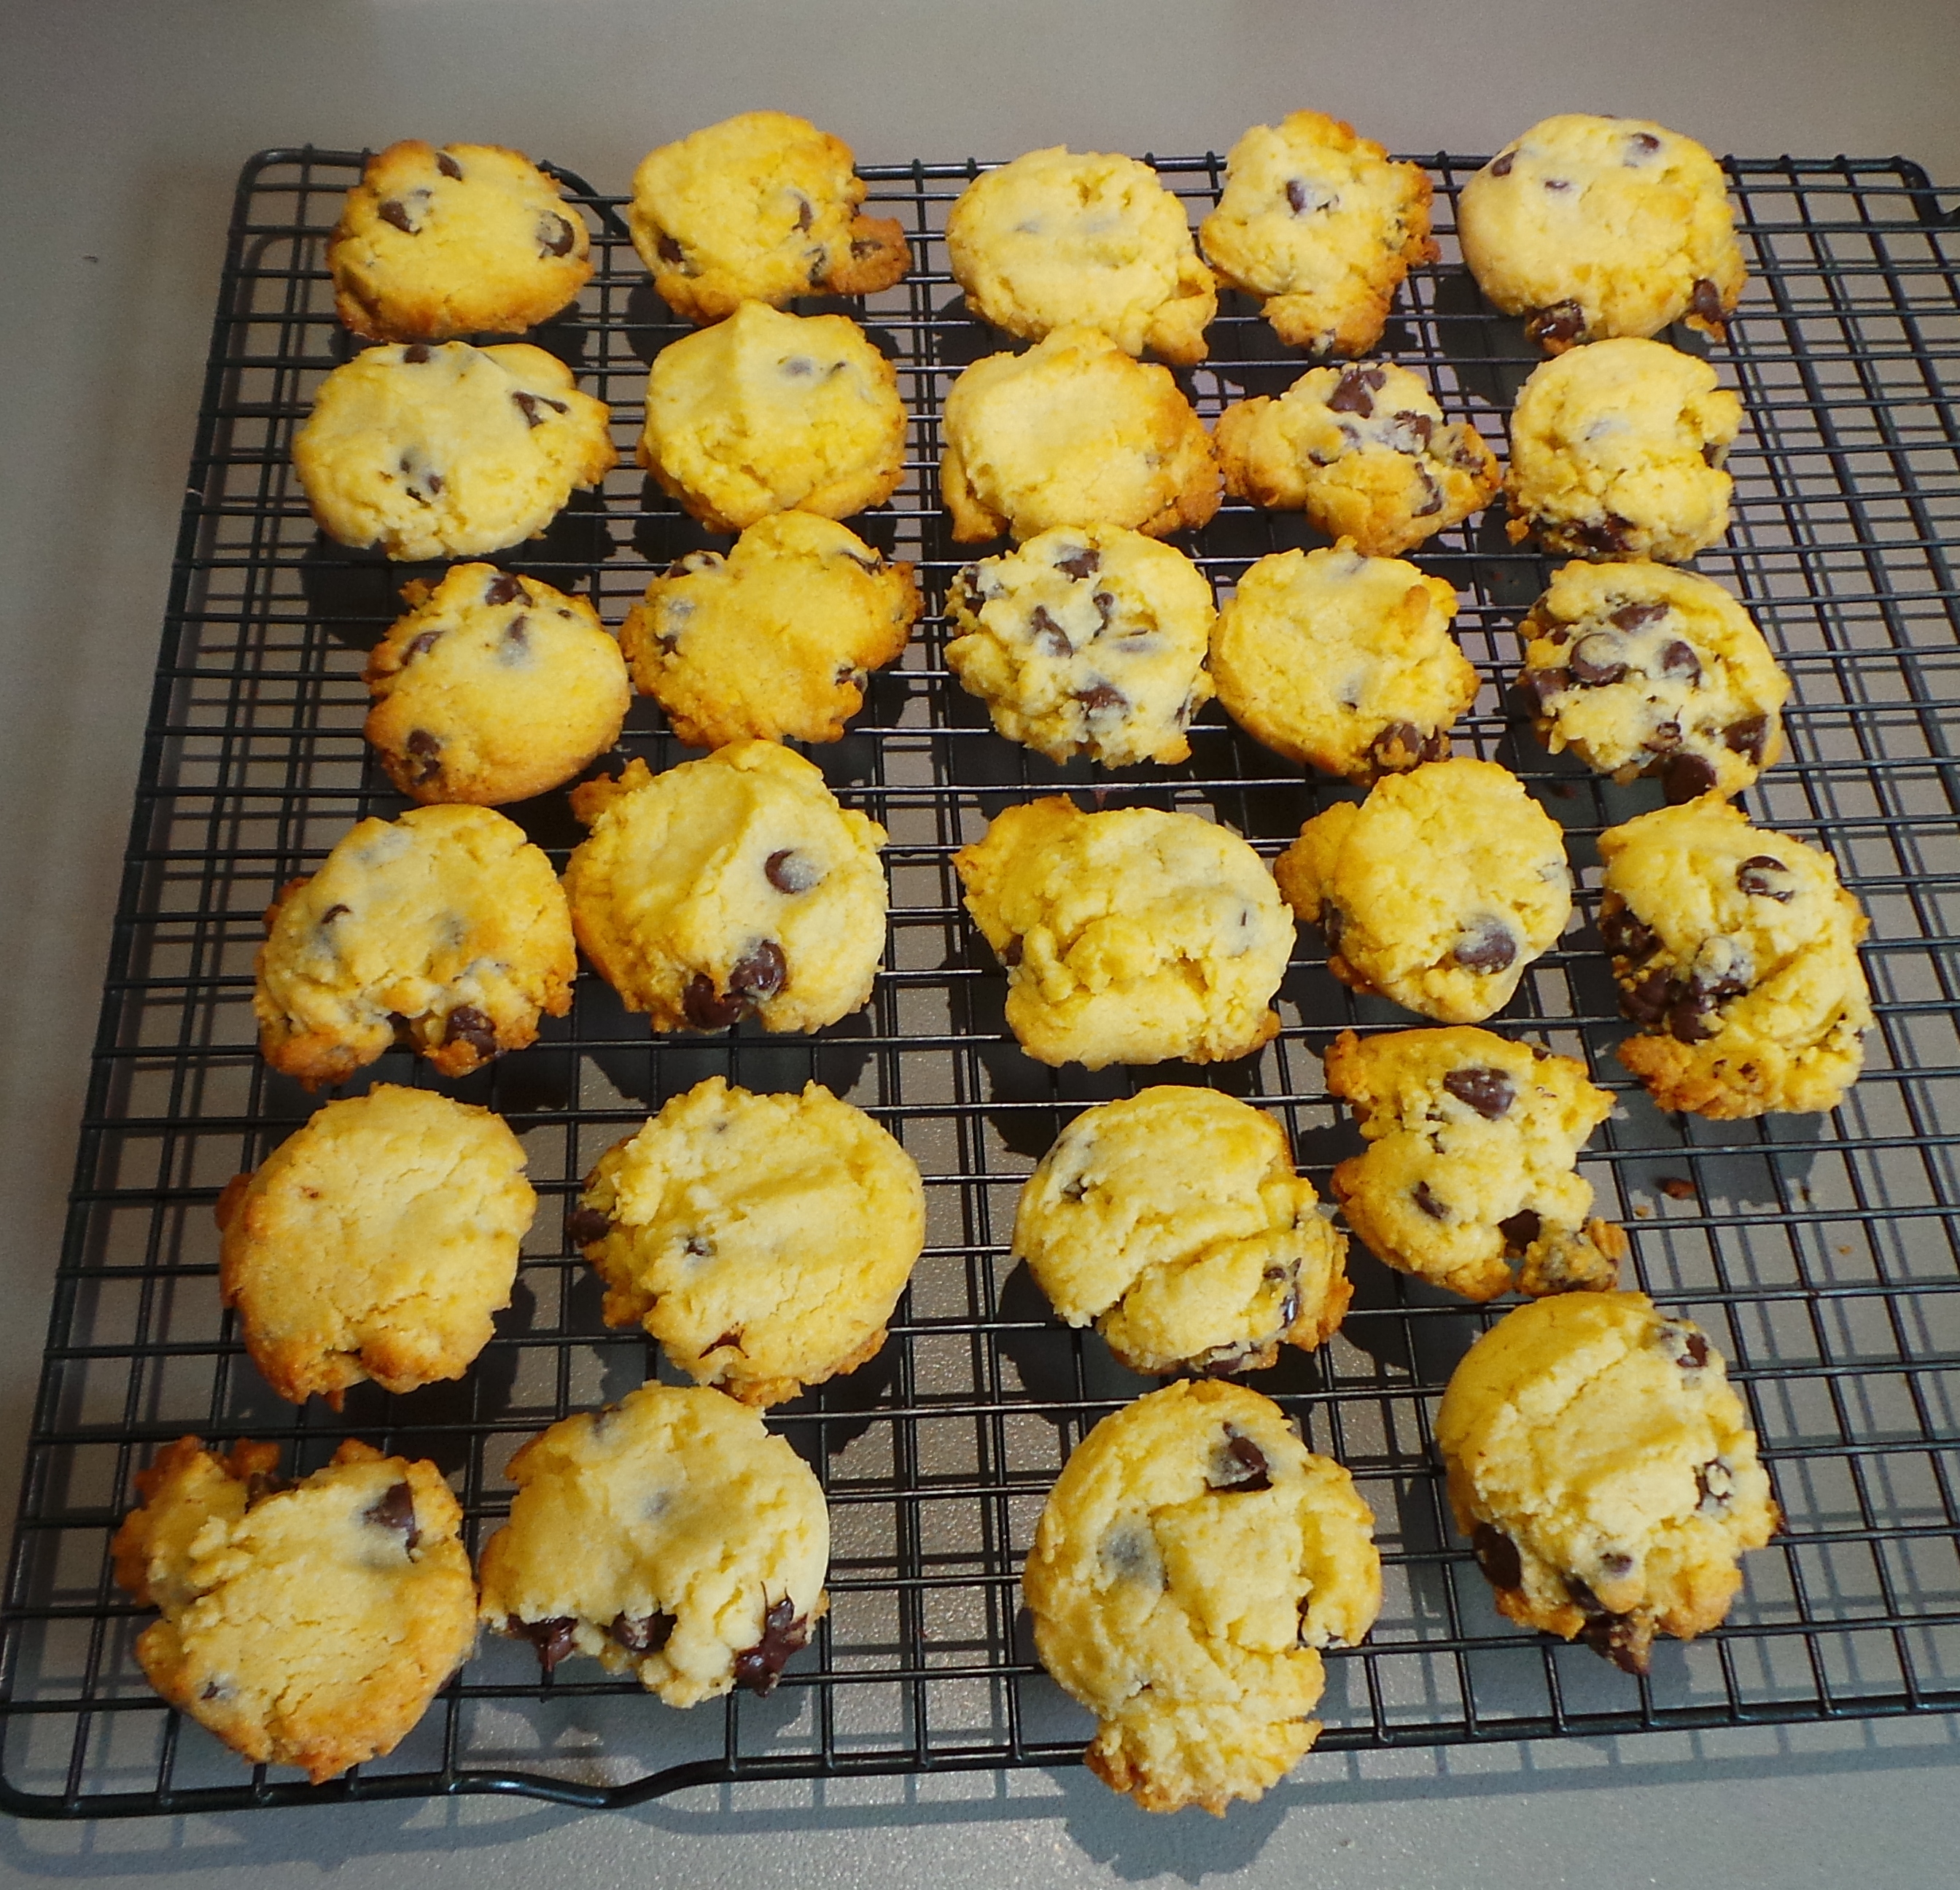
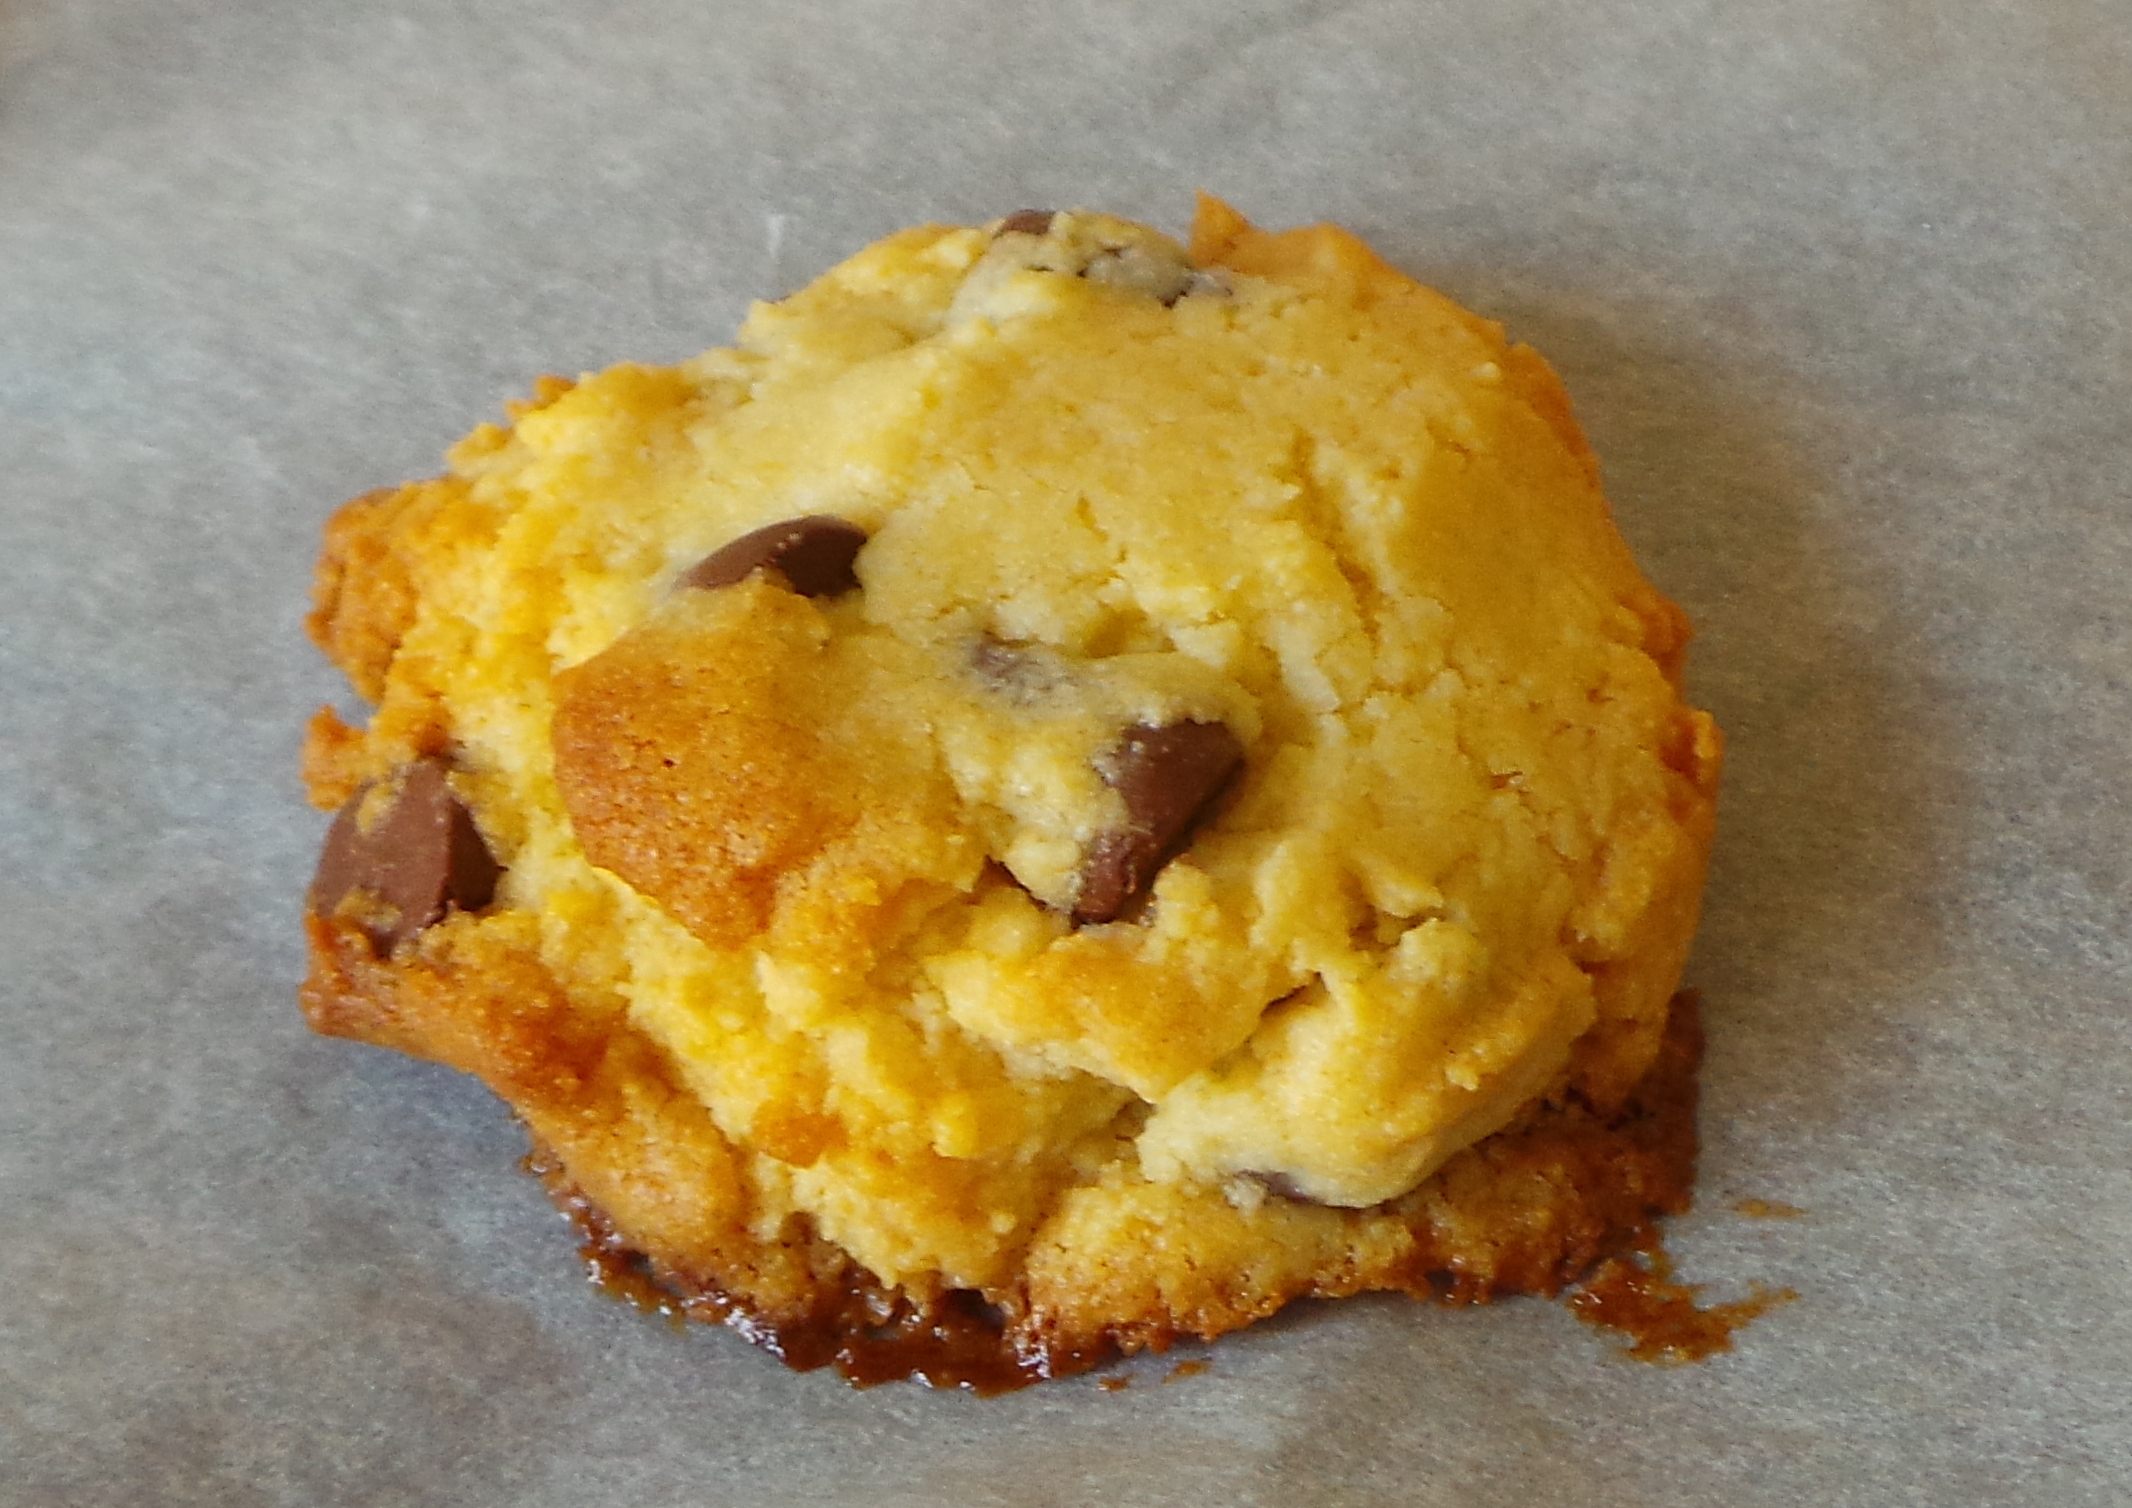
Adequate choc chips for all…
As you can see, the smaller amount of chocolate chips is hardly inadequate.
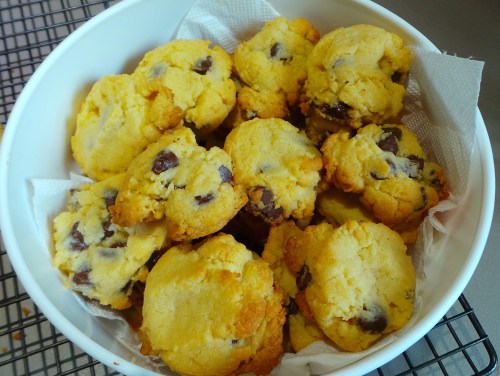
Transfer to whatever receptacle works for you and enjoy.
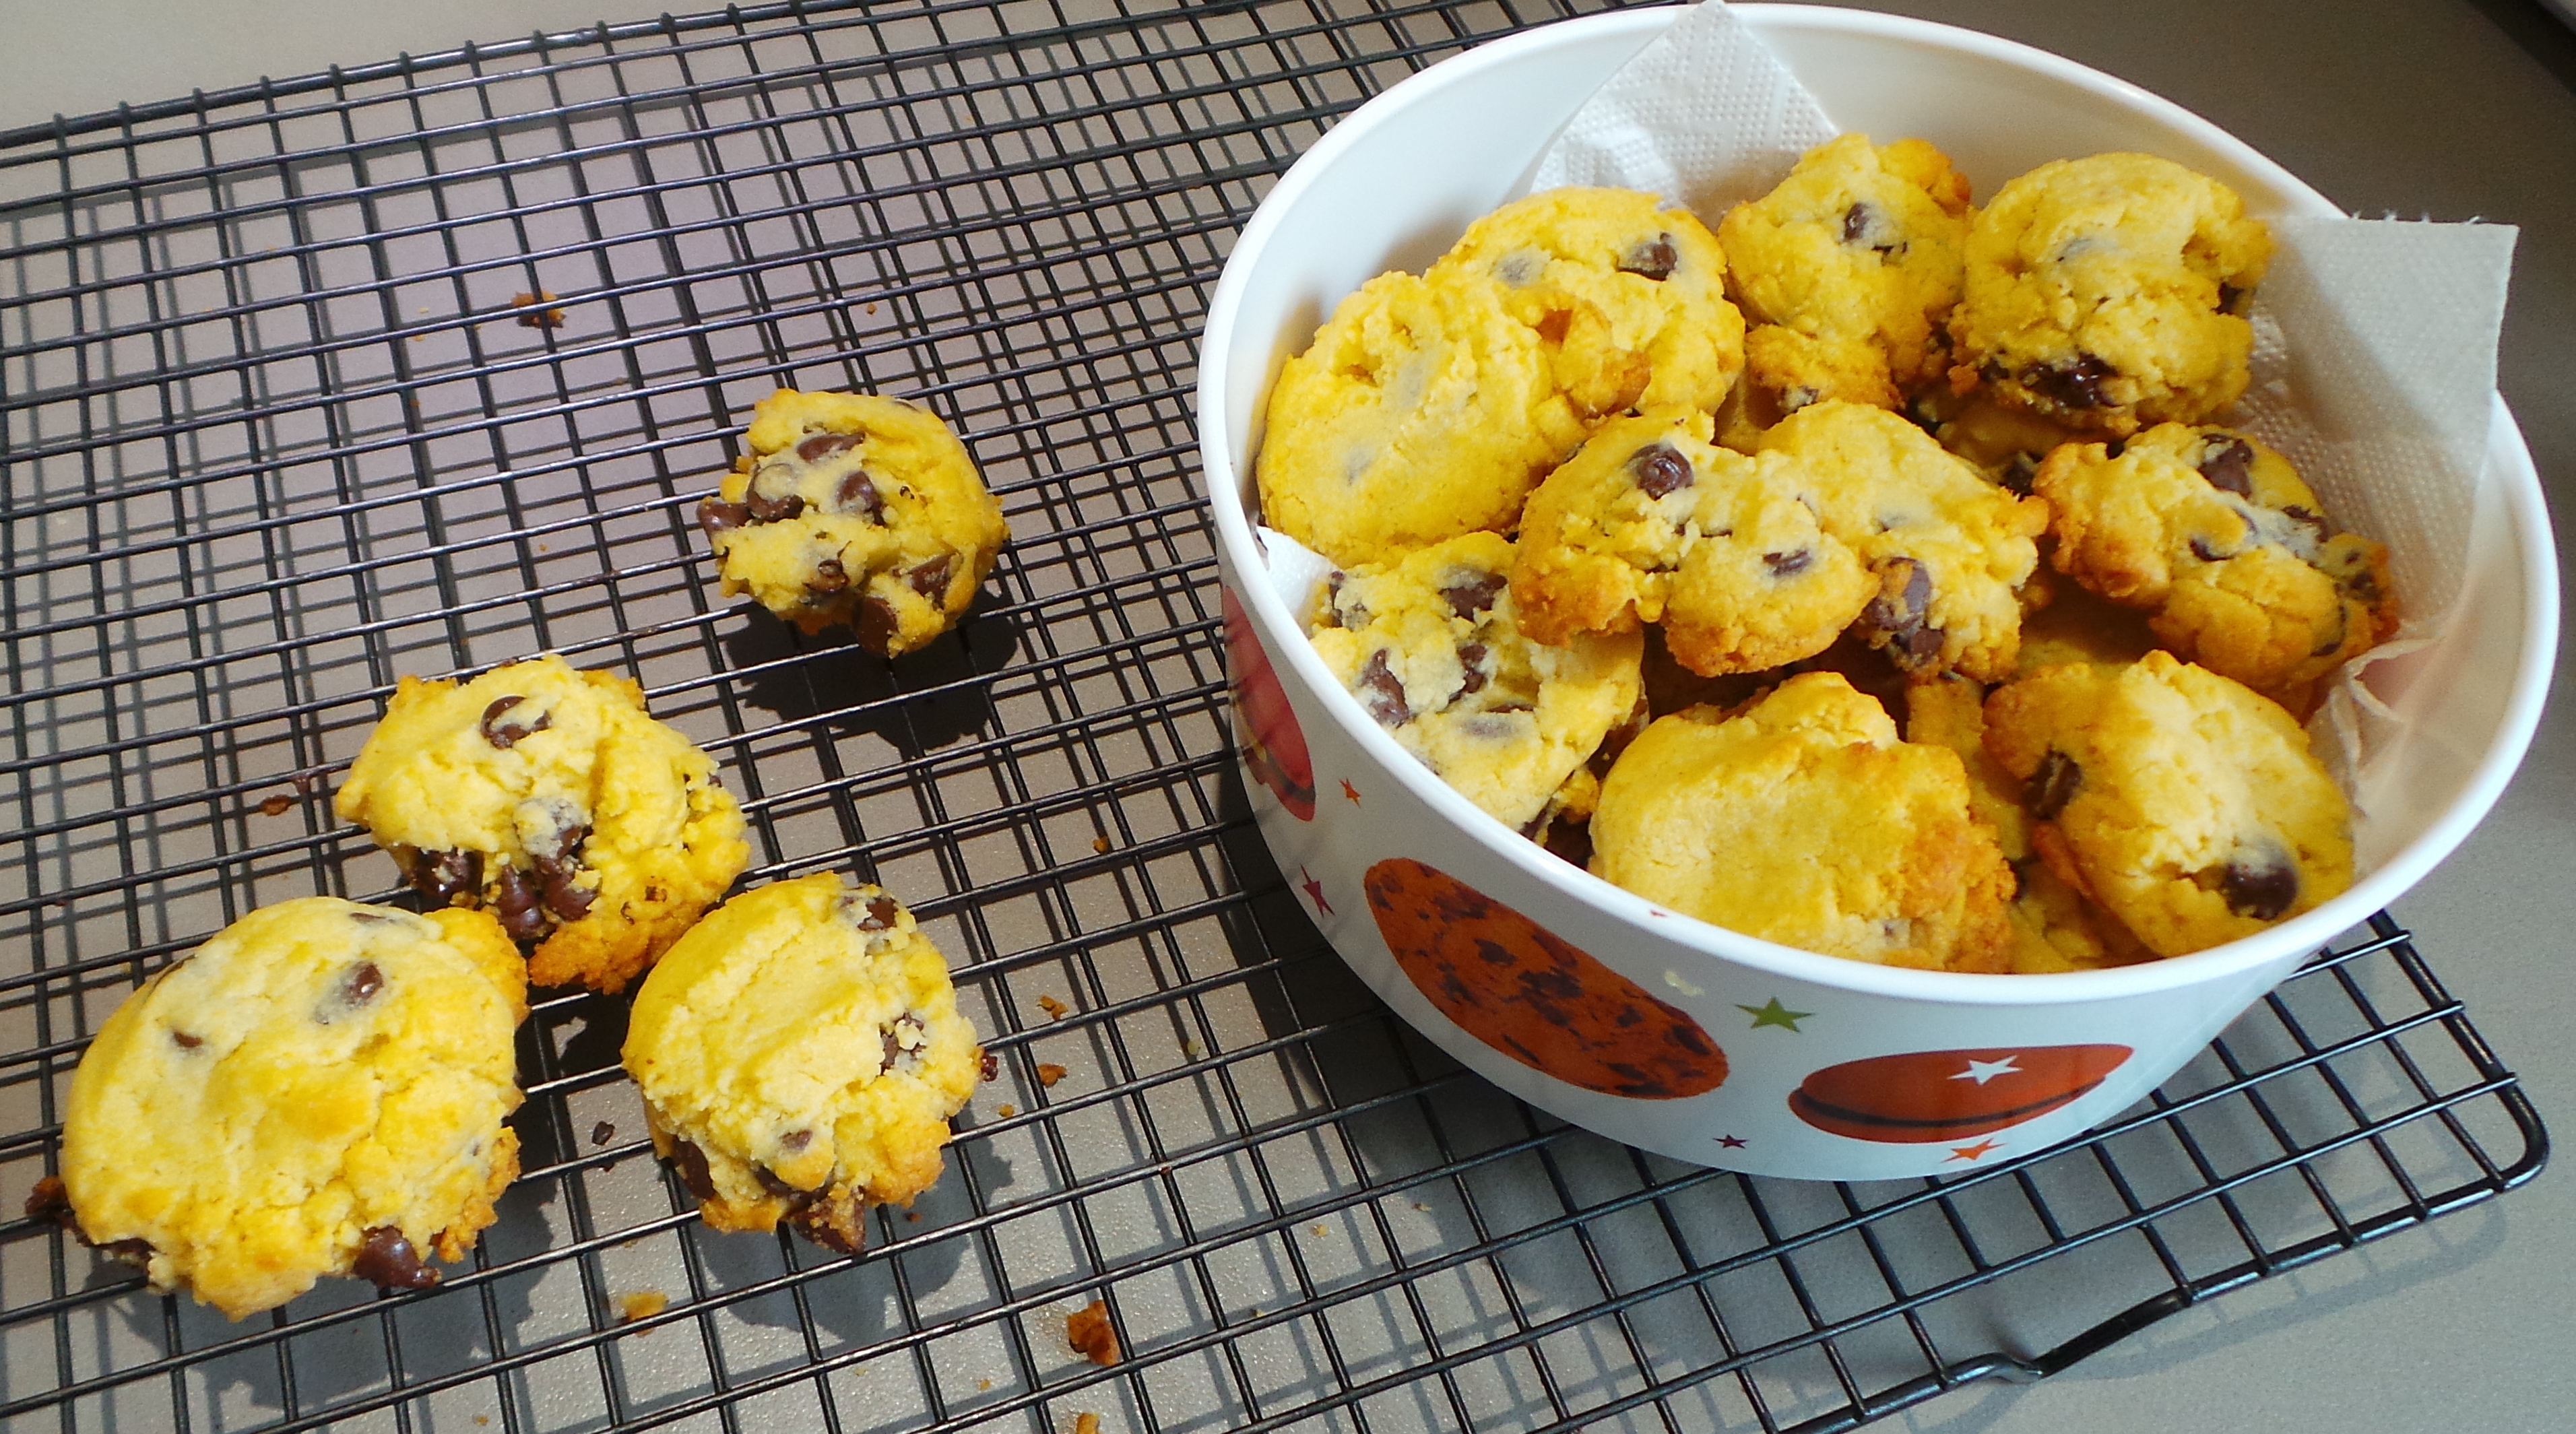
The biscuit barrel is full.
Condensed milk chocolate chip cookies
Ingredients
200 g (7 oz) butter, softened
75 g (2¾ oz) caster sugar
125 ml (4 fl oz) sweetened condensed milk
250 g (9 oz) plain or all purpose flour)
1 tsp baking powder
300 g (10 ½ oz) chocolate chips or chunks (or less, if you prefer)
Method
Preheat the oven to 180°C/350°F.
Line one or two baking sheets with baking paper.
Beat the butter and sugar together in a large bowl until pale and creamy.
Pour in the condensed milk and beat to combine.
In a separate bowl, sift together flour and baking powder.
Add to the butter mixture with the chocolate pieces and mix to combine.
Roll into tablespoon sized balls (or use an ice cream scoop) and place on the prepared baking sheets, leaving room to spread. Press down gently with your fingertips or a fork to flatten slightly,
Bake 15-18 minutes or until golden.
Remove from oven and allow to sit for 5 minutes before transferring to a cake rake to cool completely.
Cookies will harden on standing.
Like this? Follow us on Facebook or subscribe to receive updates by email.