Corned Beef is one of those dishes that seems to have become a regular on my family meal rota – which is strange.
When I was a child I hated the stuff with a vengeance. Although I could be persuaded to eat it if, and only if, my mother was calling it Cane Cutter’s Ham.
I don’t know why.
I then lived alone for several decades and only attempted to cook it twice during that period. Both times were for visits by my step-father and, while he said it was great, I thought it was less than ordinary on both occasions.
I’ve got better at it in this stage of my life. Firstly, I’ve stopped cooking the vegetables that accompany it in the same pot as the meat. This means that there is a different flavour for everything on the plate, instead of a meal-wide sameness that resembles the next step to gastronomic zombieville.
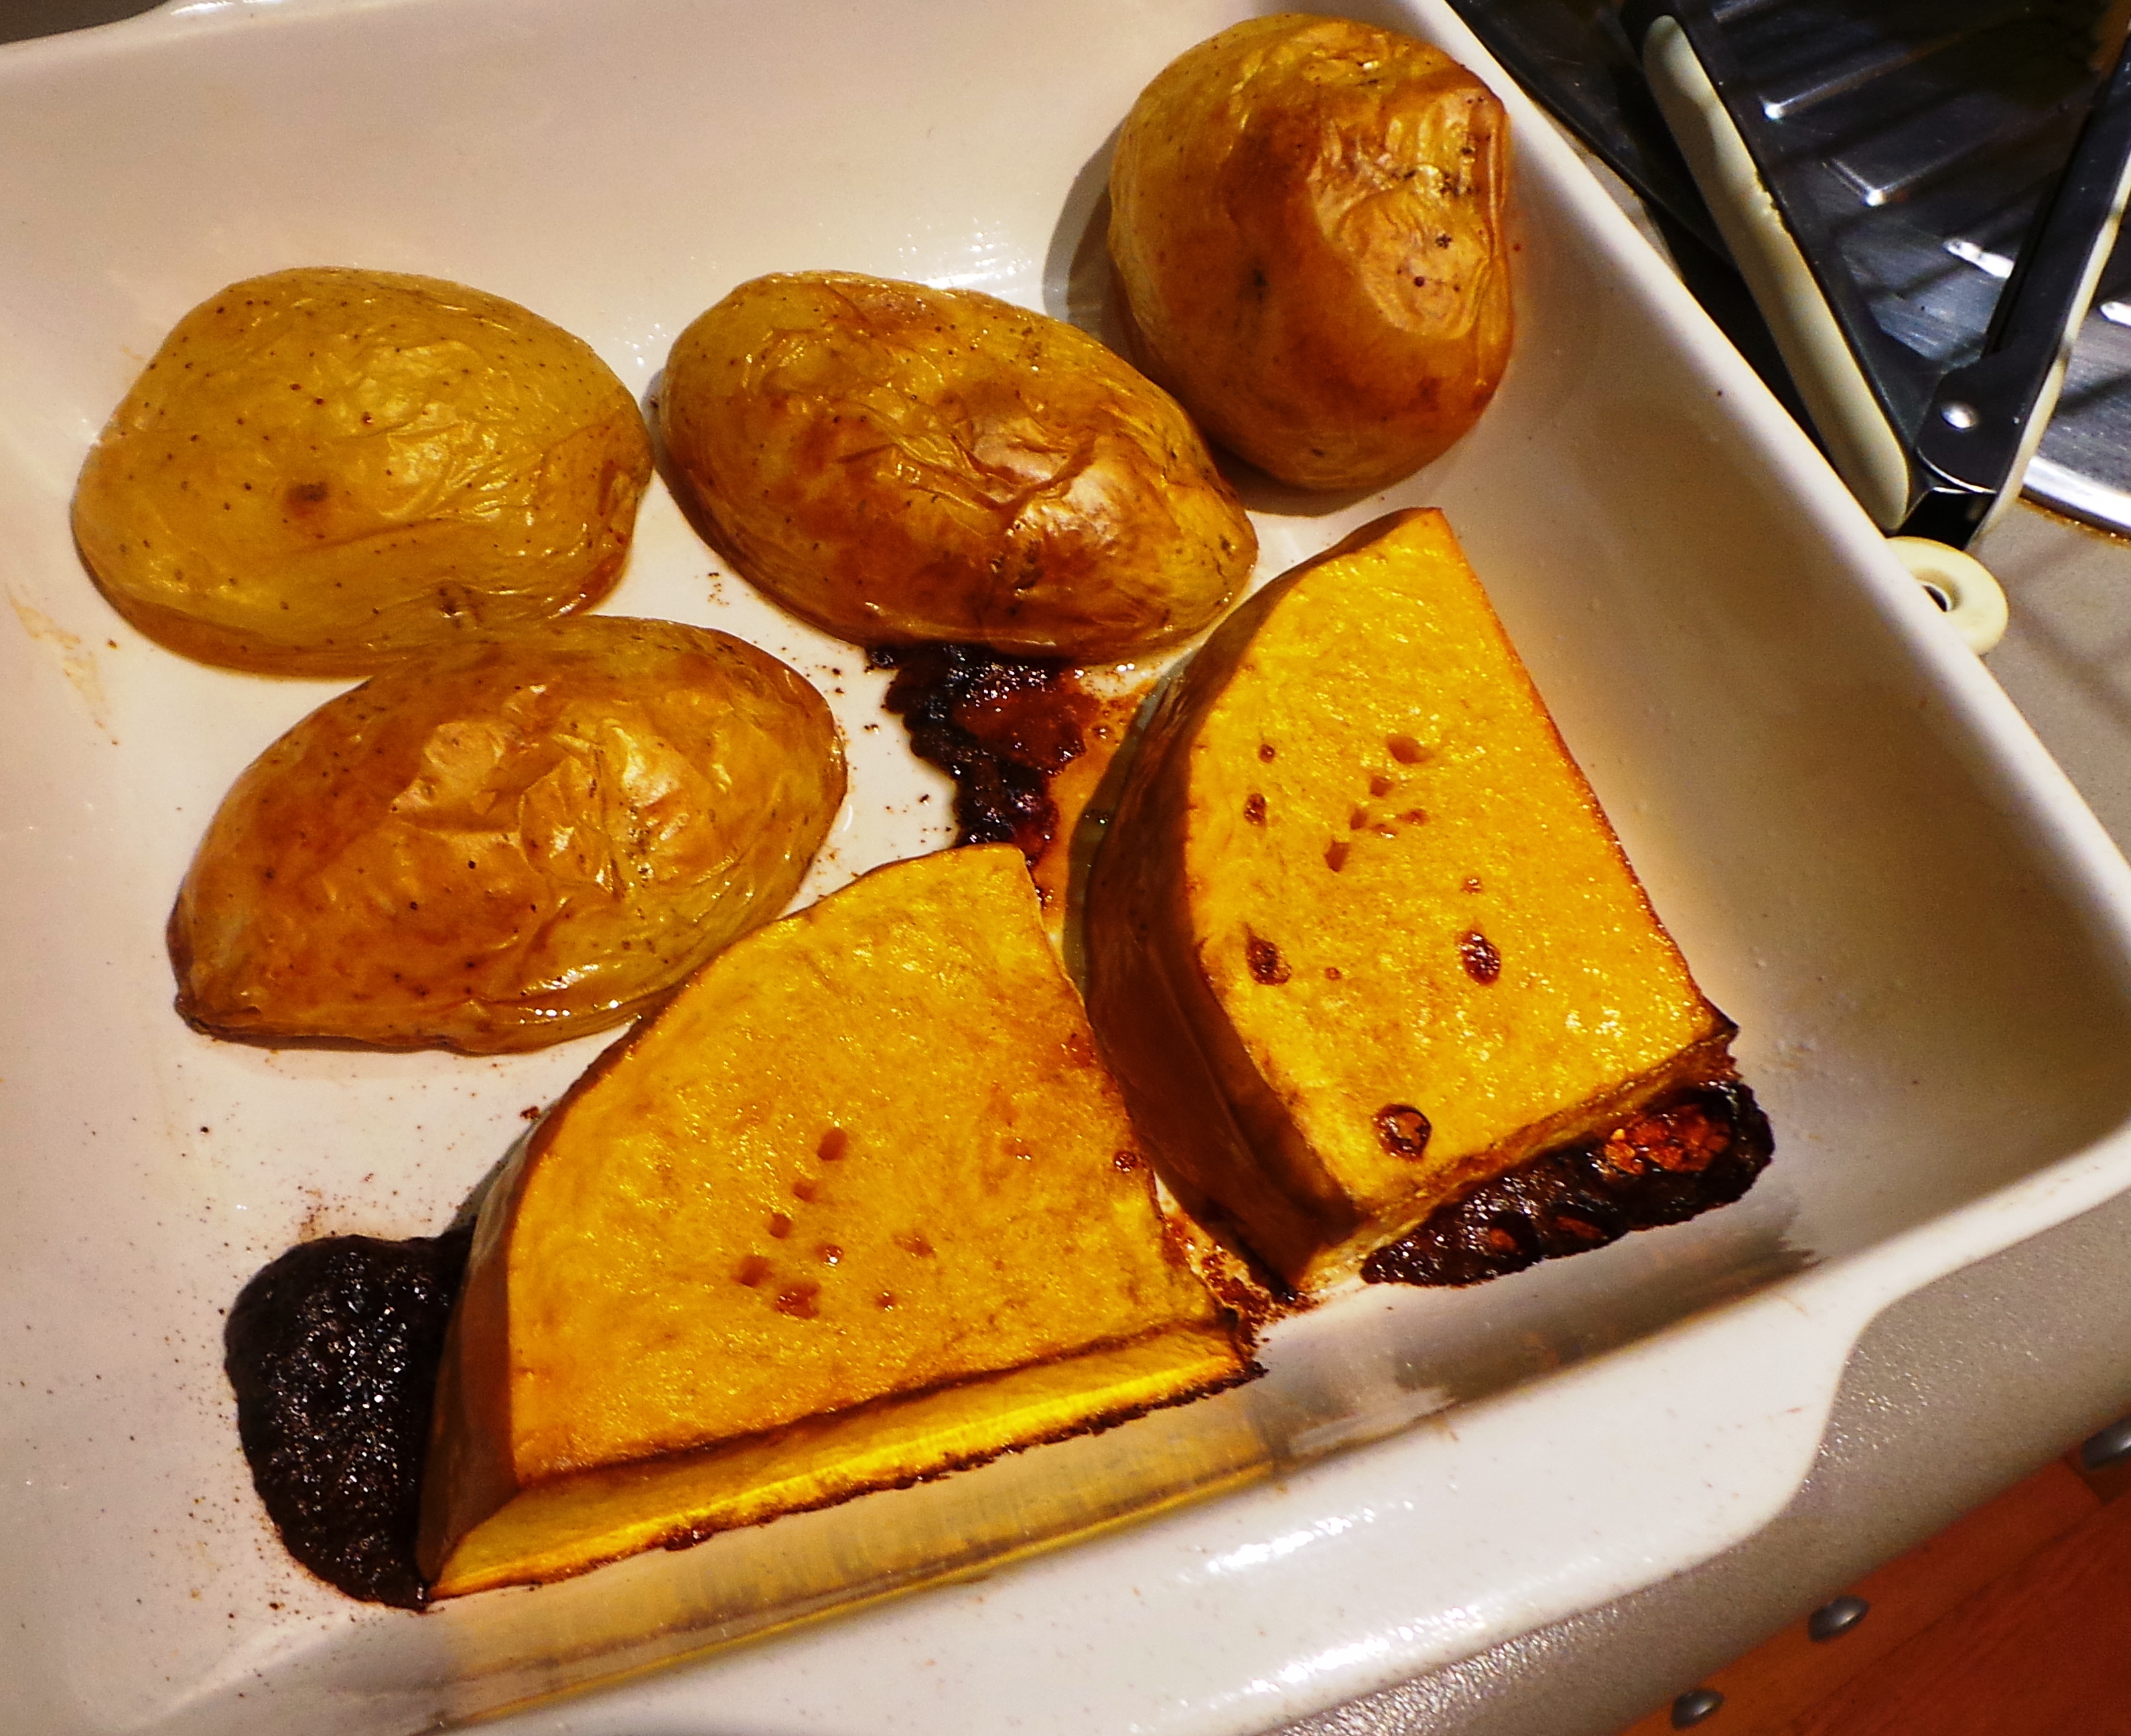
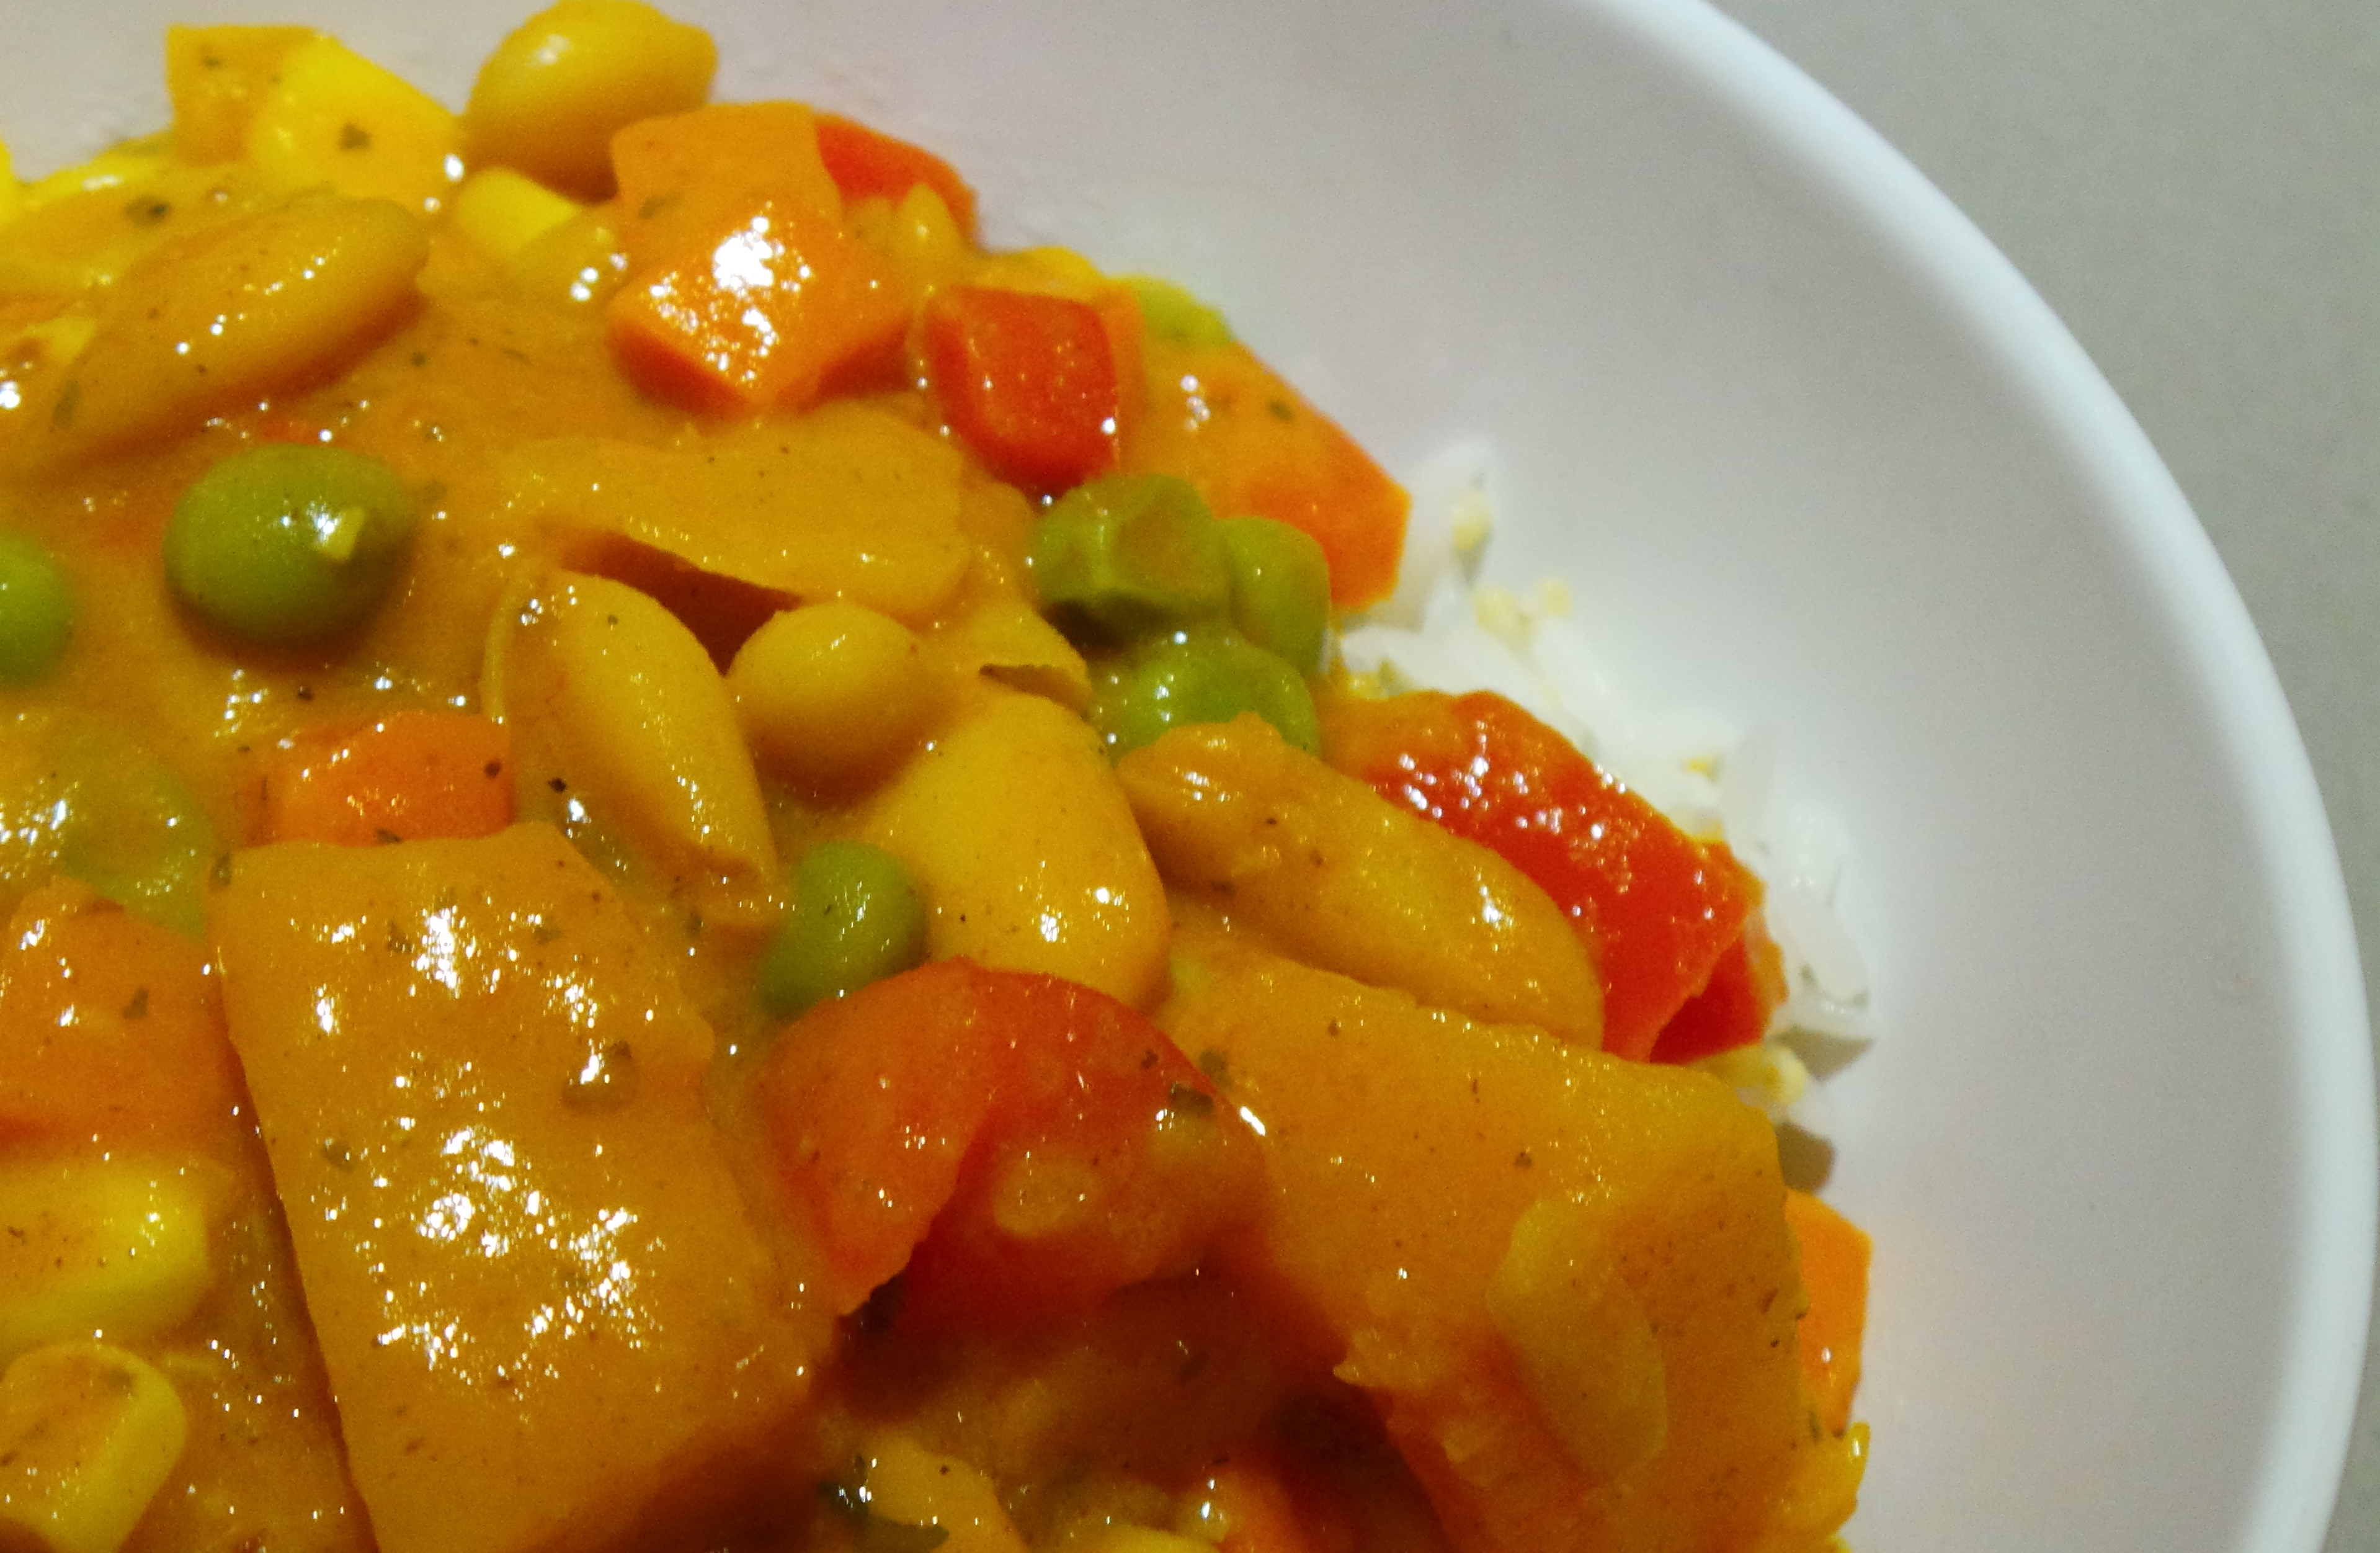
Roasted veg.
I’ve also started adding a few more flavourings to the pot, some of which elevate the dish to heavenly status.
I kiddest thou not.
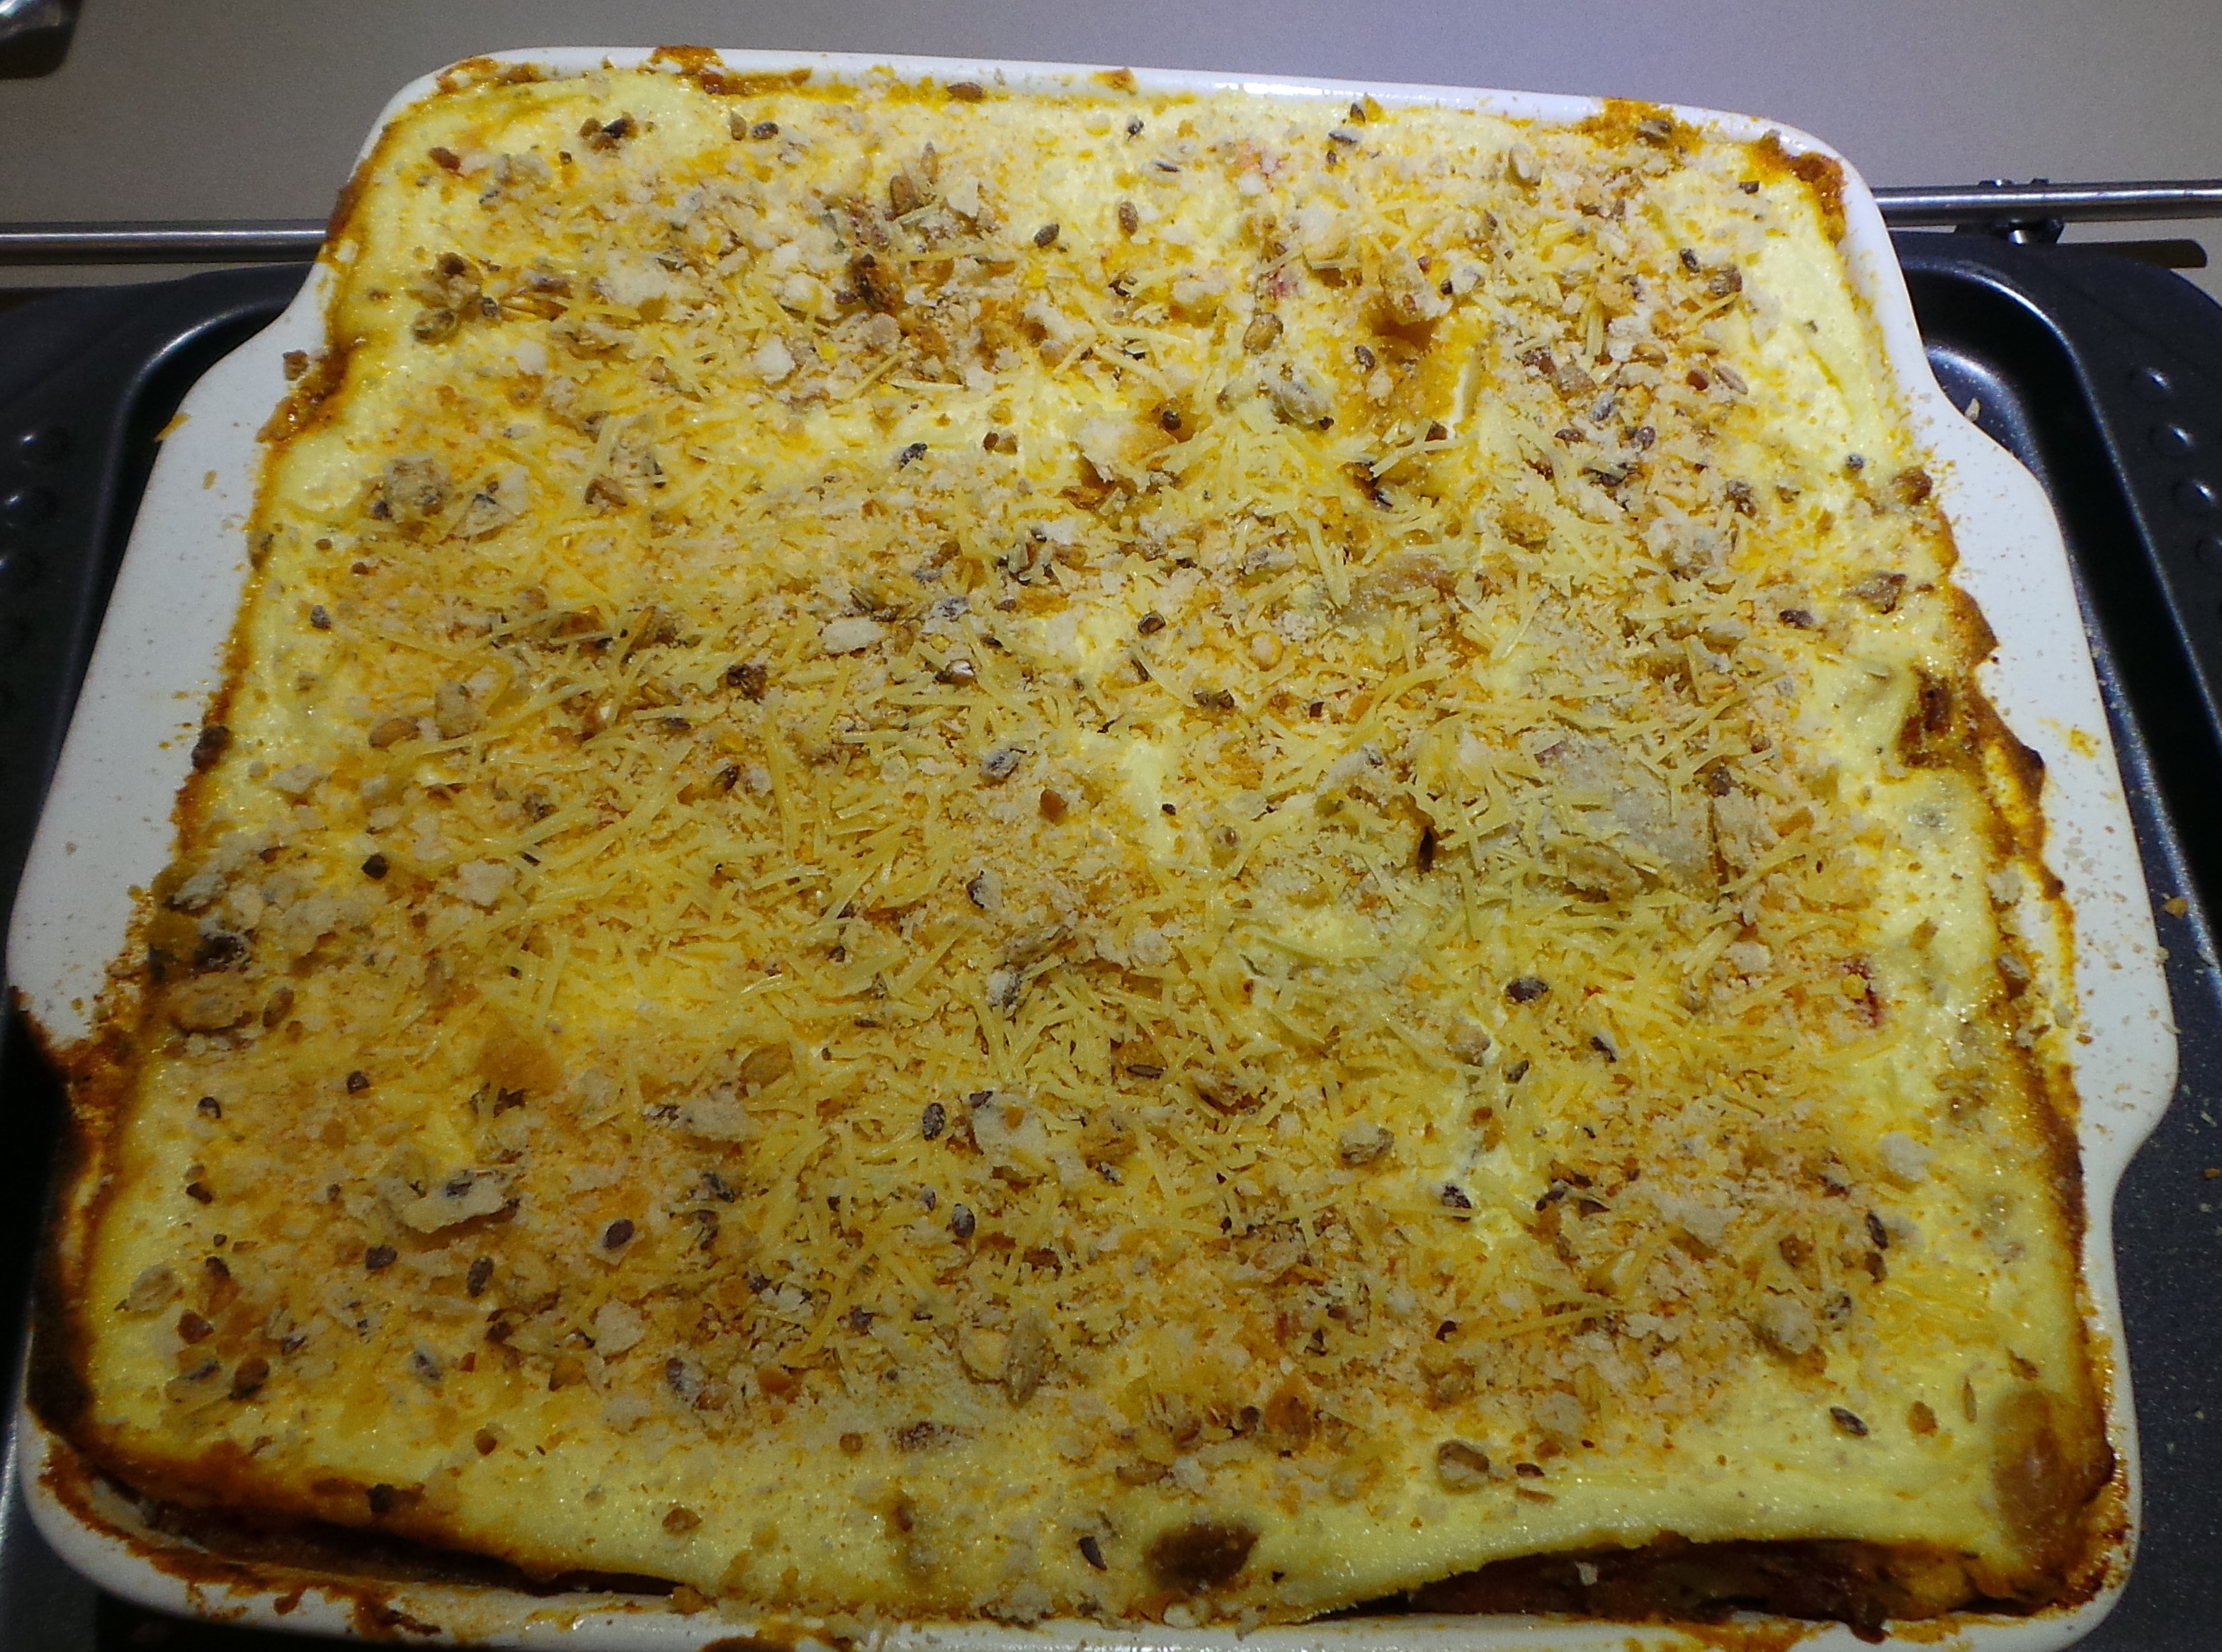
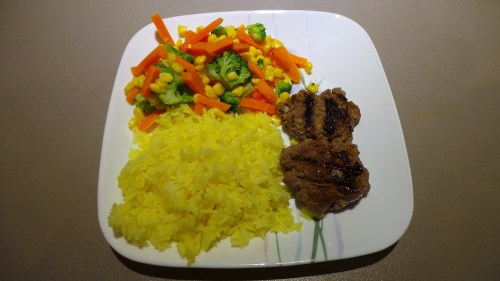
The best part is that I inevitably have enough leftover to make several more meals from the same piece of meat: fritters and almost fried rice spring to mind, it’s also a nifty addition to pasta bakes or on lunch box sandwiches.
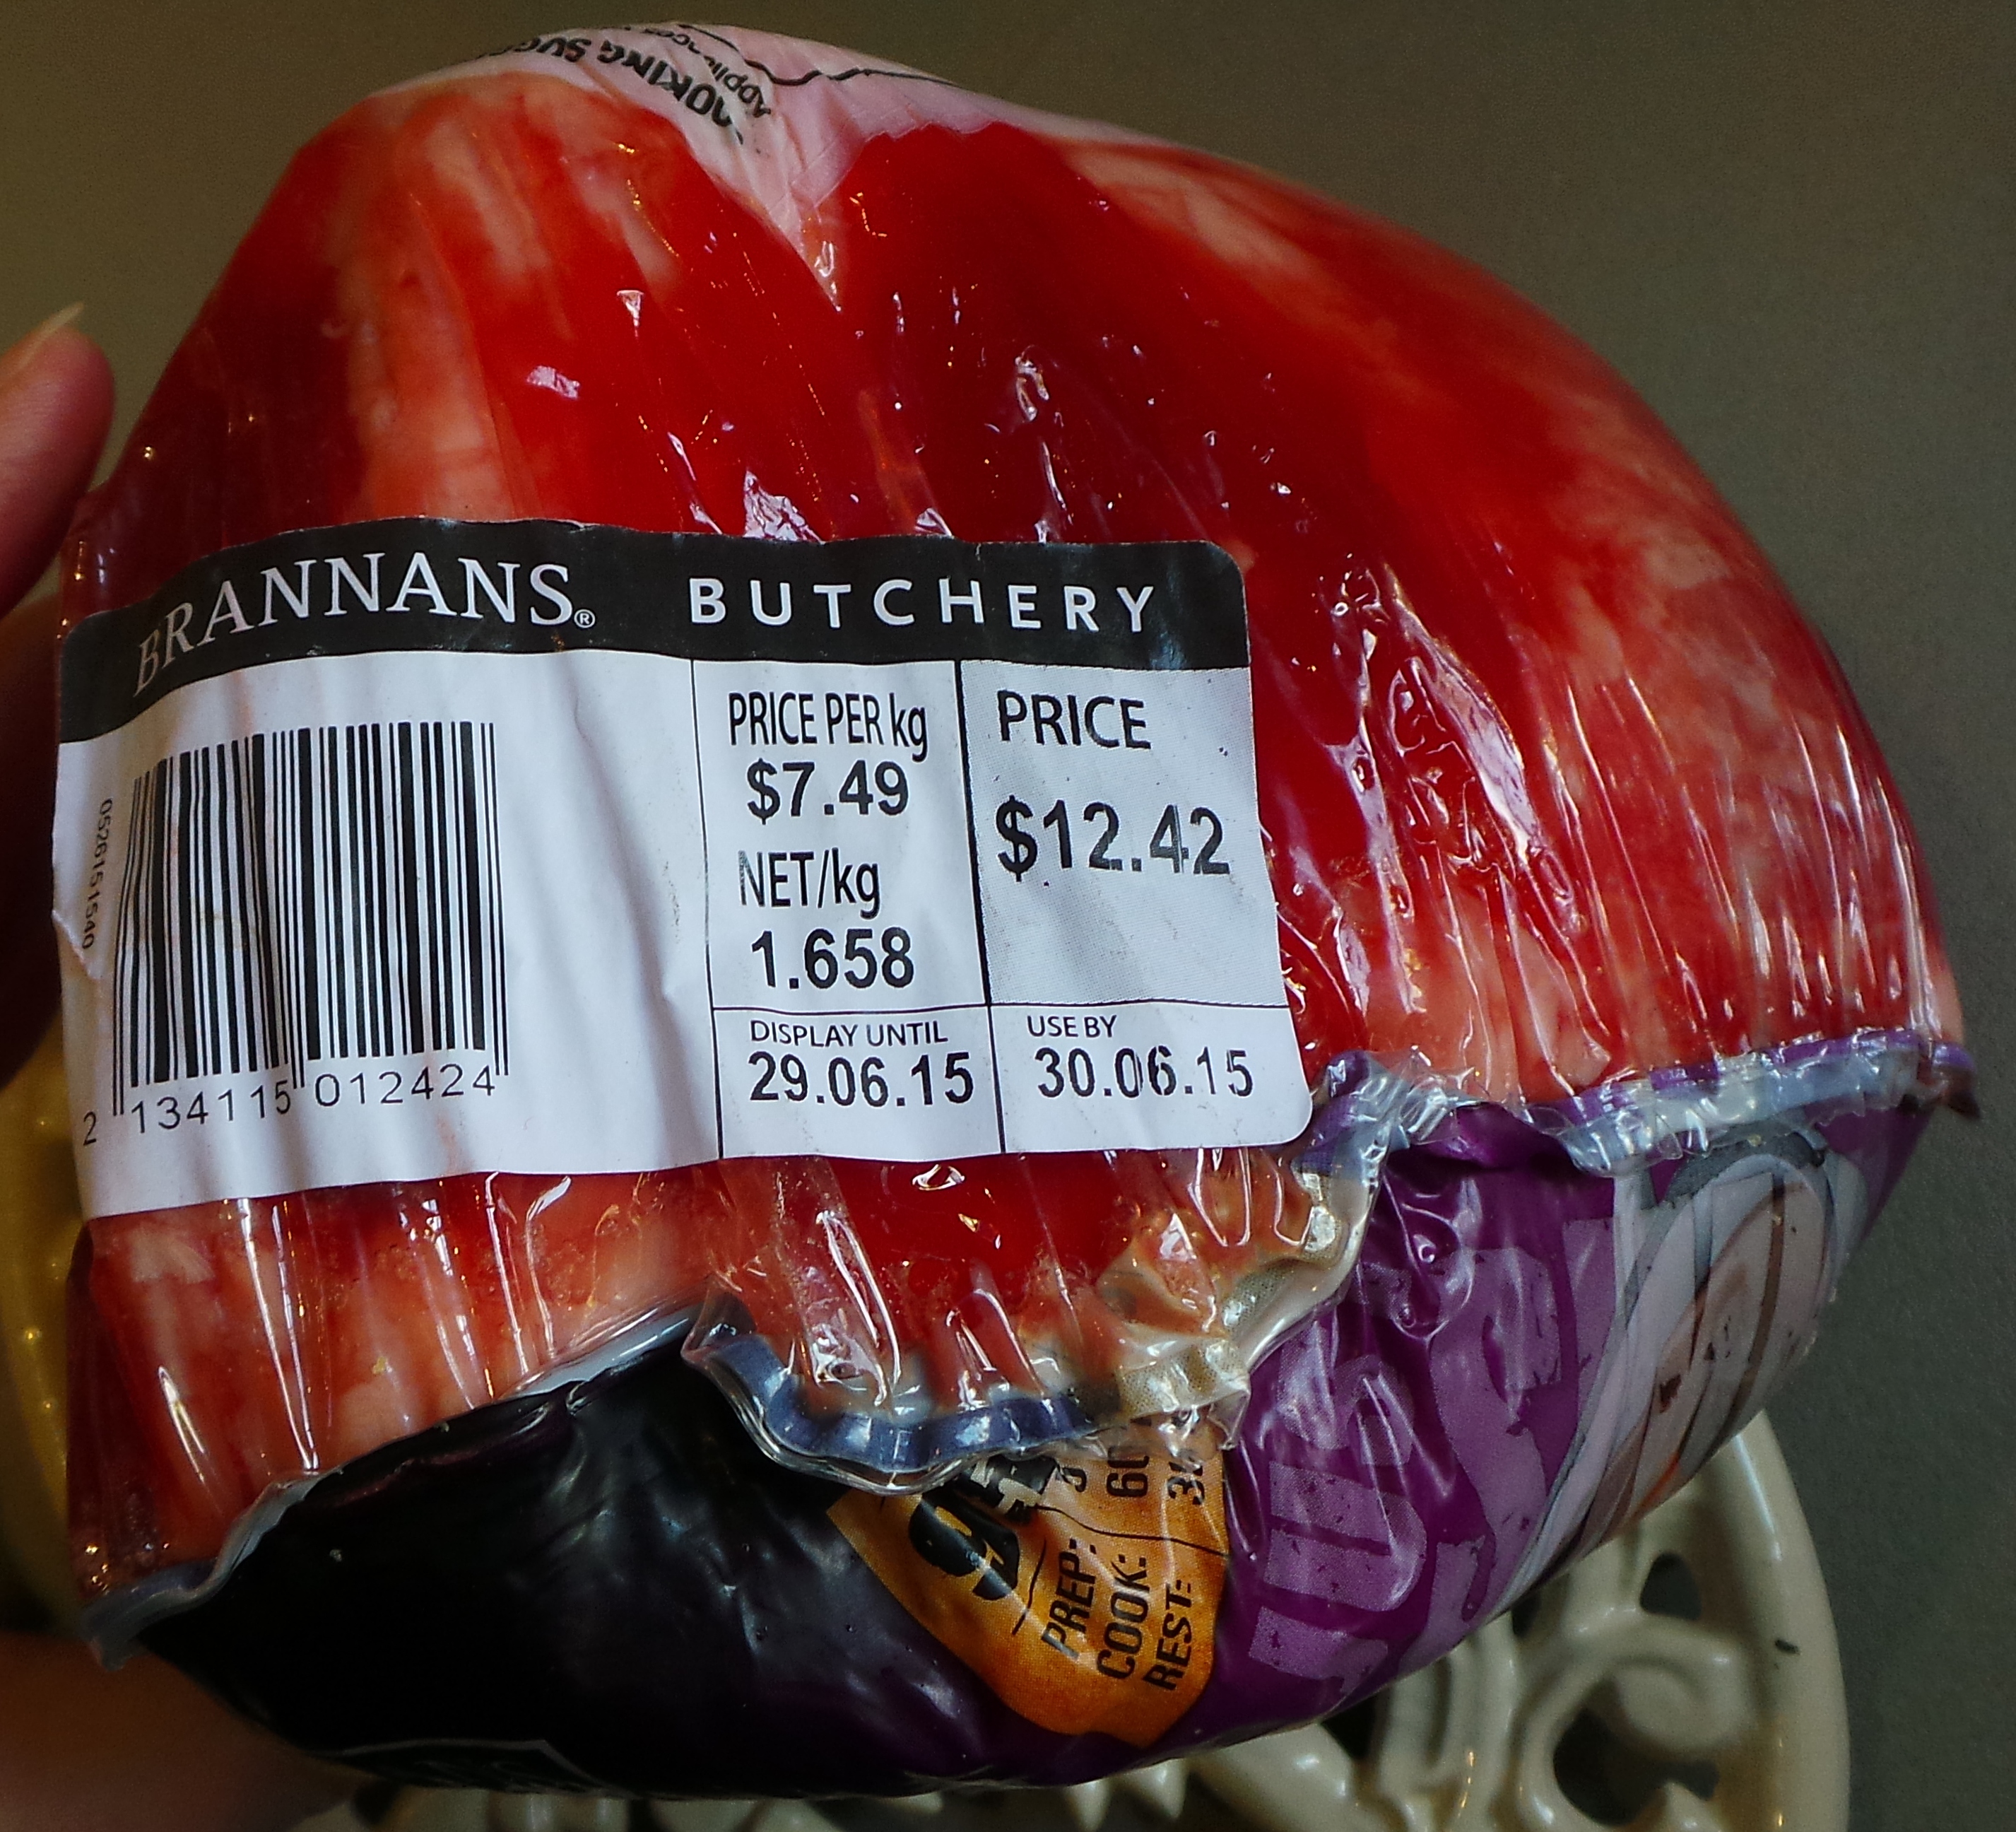
One and a half kilos of meal options.
I inevitably cook mine in a slow cooker but it can, of course, be cooked on the stove for a much shorter time. I like being able to put it on to cook of a morning and then walking away for the rest of the day until I’m ready to serve it up.
Go with your muse on this one.
So, to cook a piece of corned beef, you first need to find a pot big enough to put it in. Make sure it’s one that will take the beef, any flavourings you may use and enough water to cover the lot of it. In the photograph, I’m using a 3 litre slow cooker that has a tall, narrow crock.
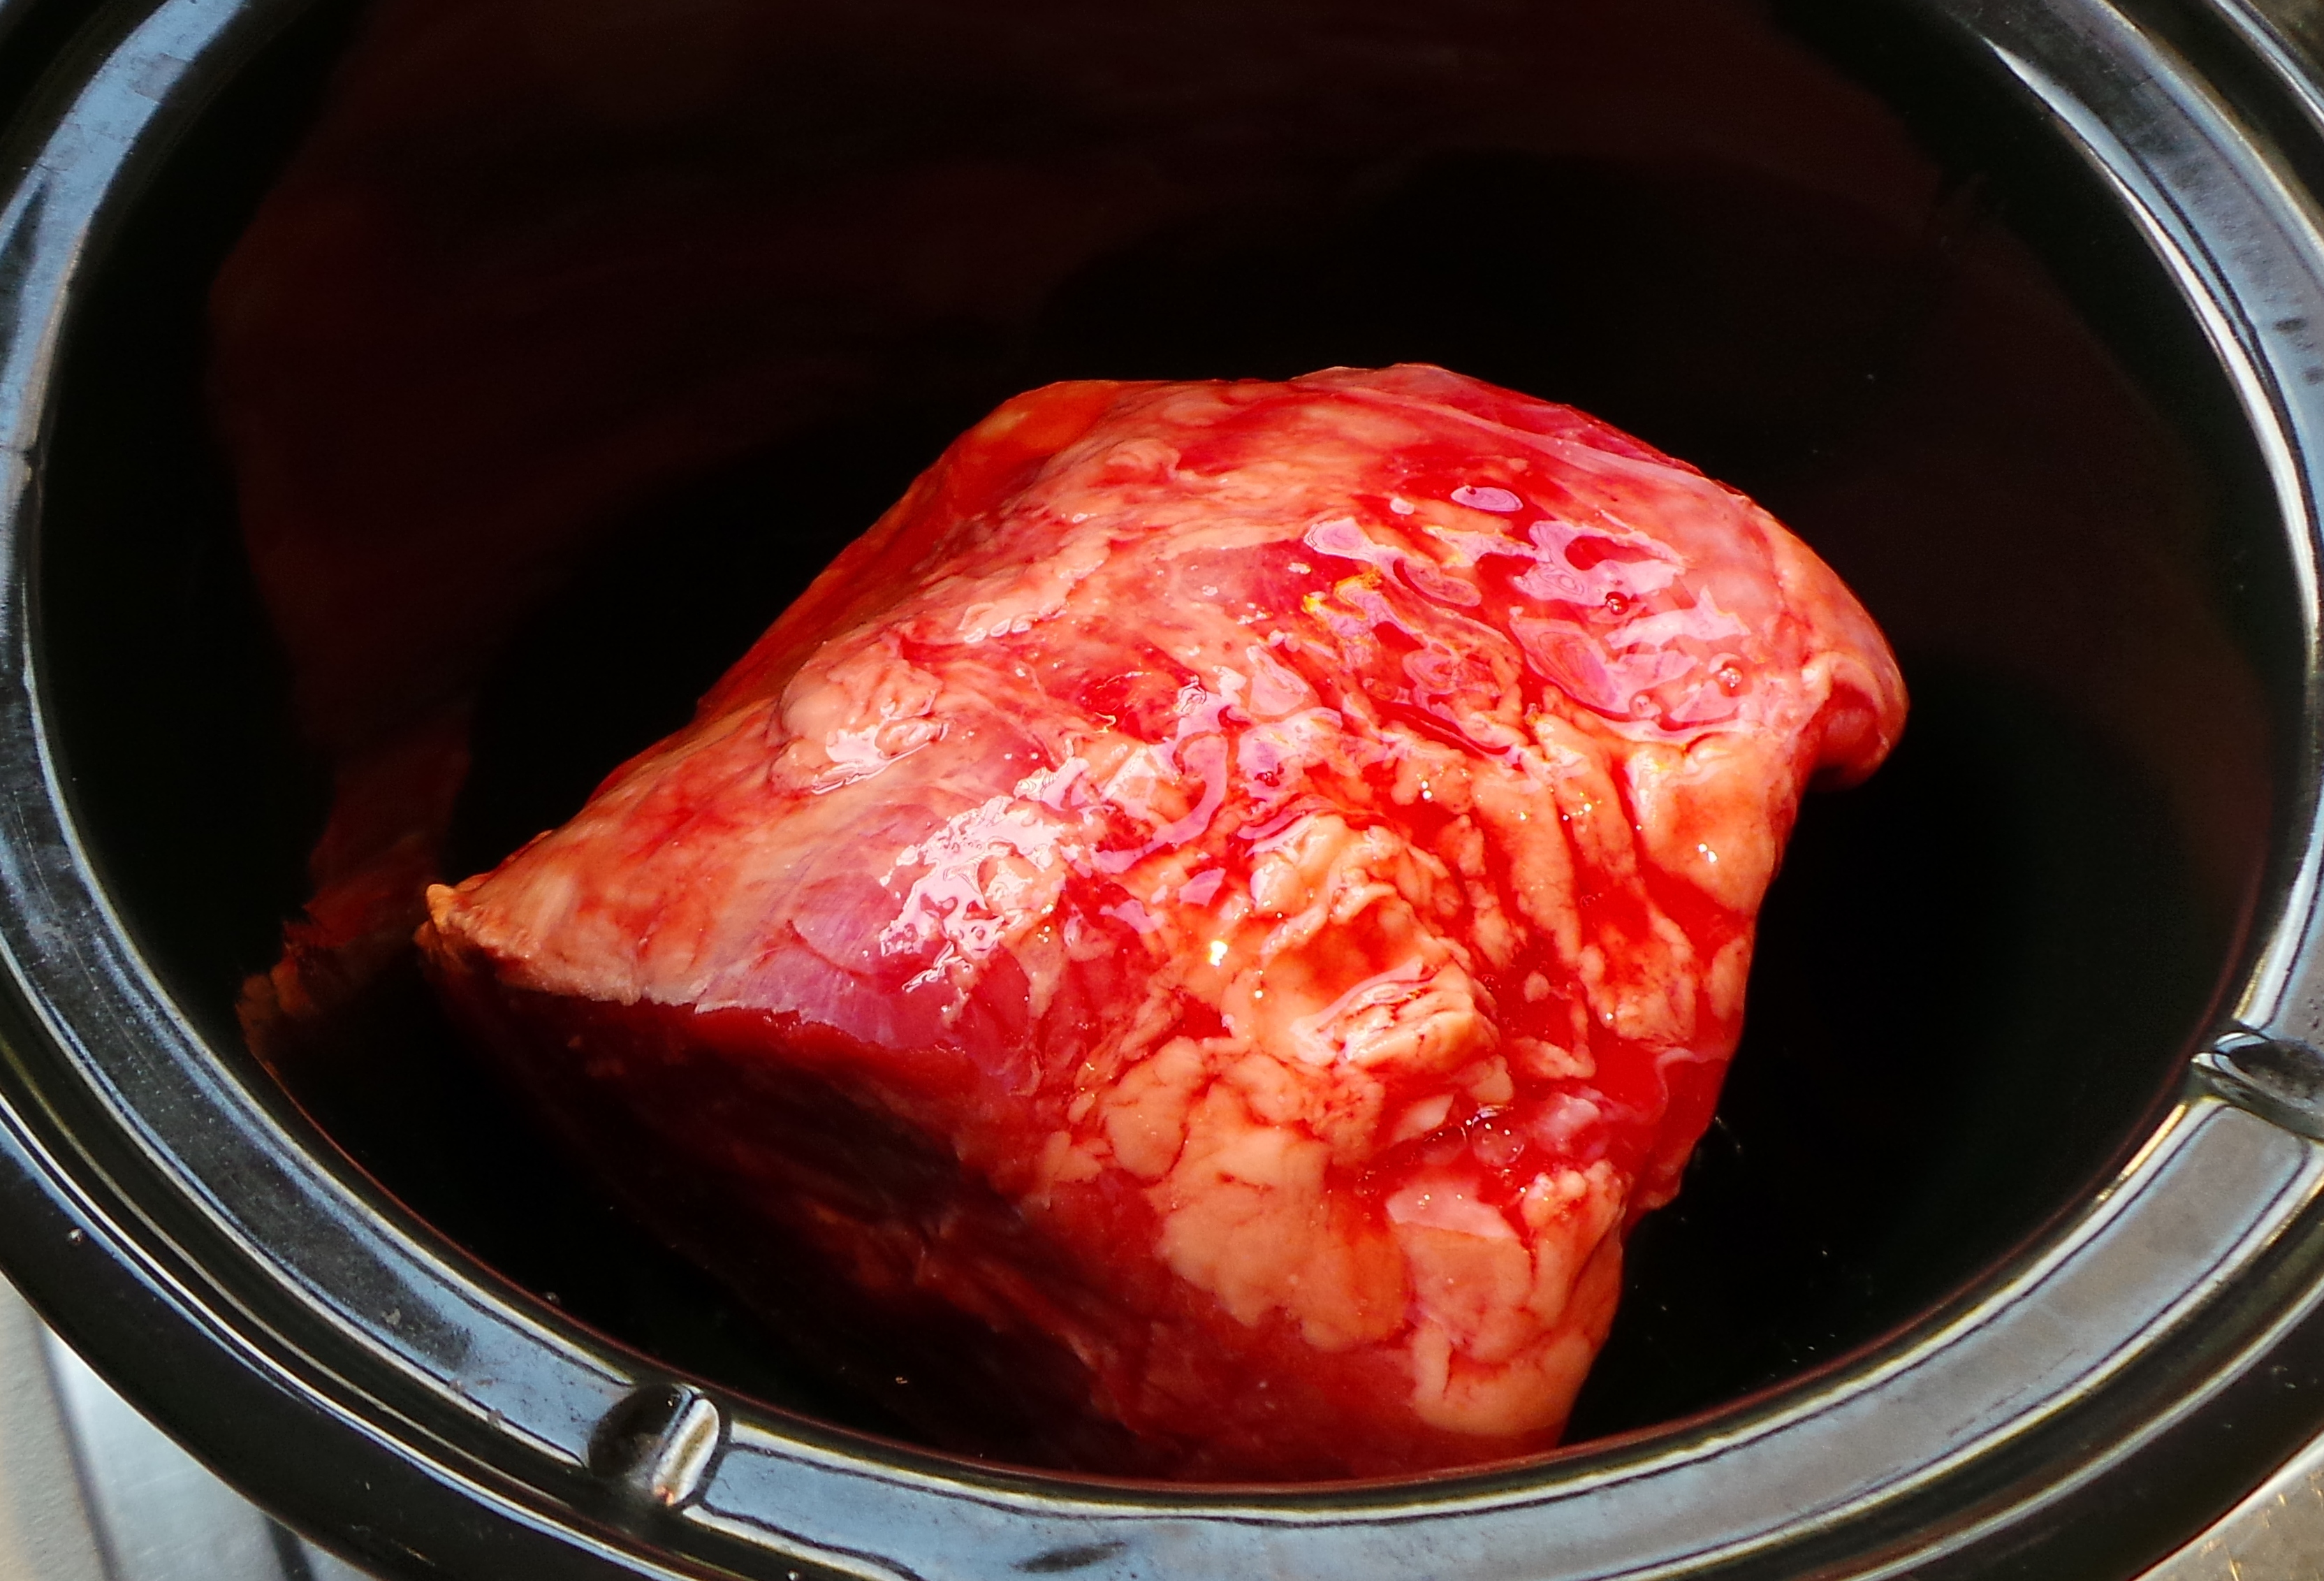
First find a roomy pot.
I know it looks kind of yucky. This one was vacuum packed and had a fair amount of jelly around it. Don’t wash it off, just put the whole lot into your pot.
Now, generally, I would put the flavourings in first and then add the meat, But I didn’t do that for the pictures. I’m sorry if it confuses anyone. Also, none of the vegetables I’m about to add to the pot are destined to be eaten. They’re simply there to add flavour to the meat.
Got it? Good.
To the pot I add a stick of celery, cut into largish bits.
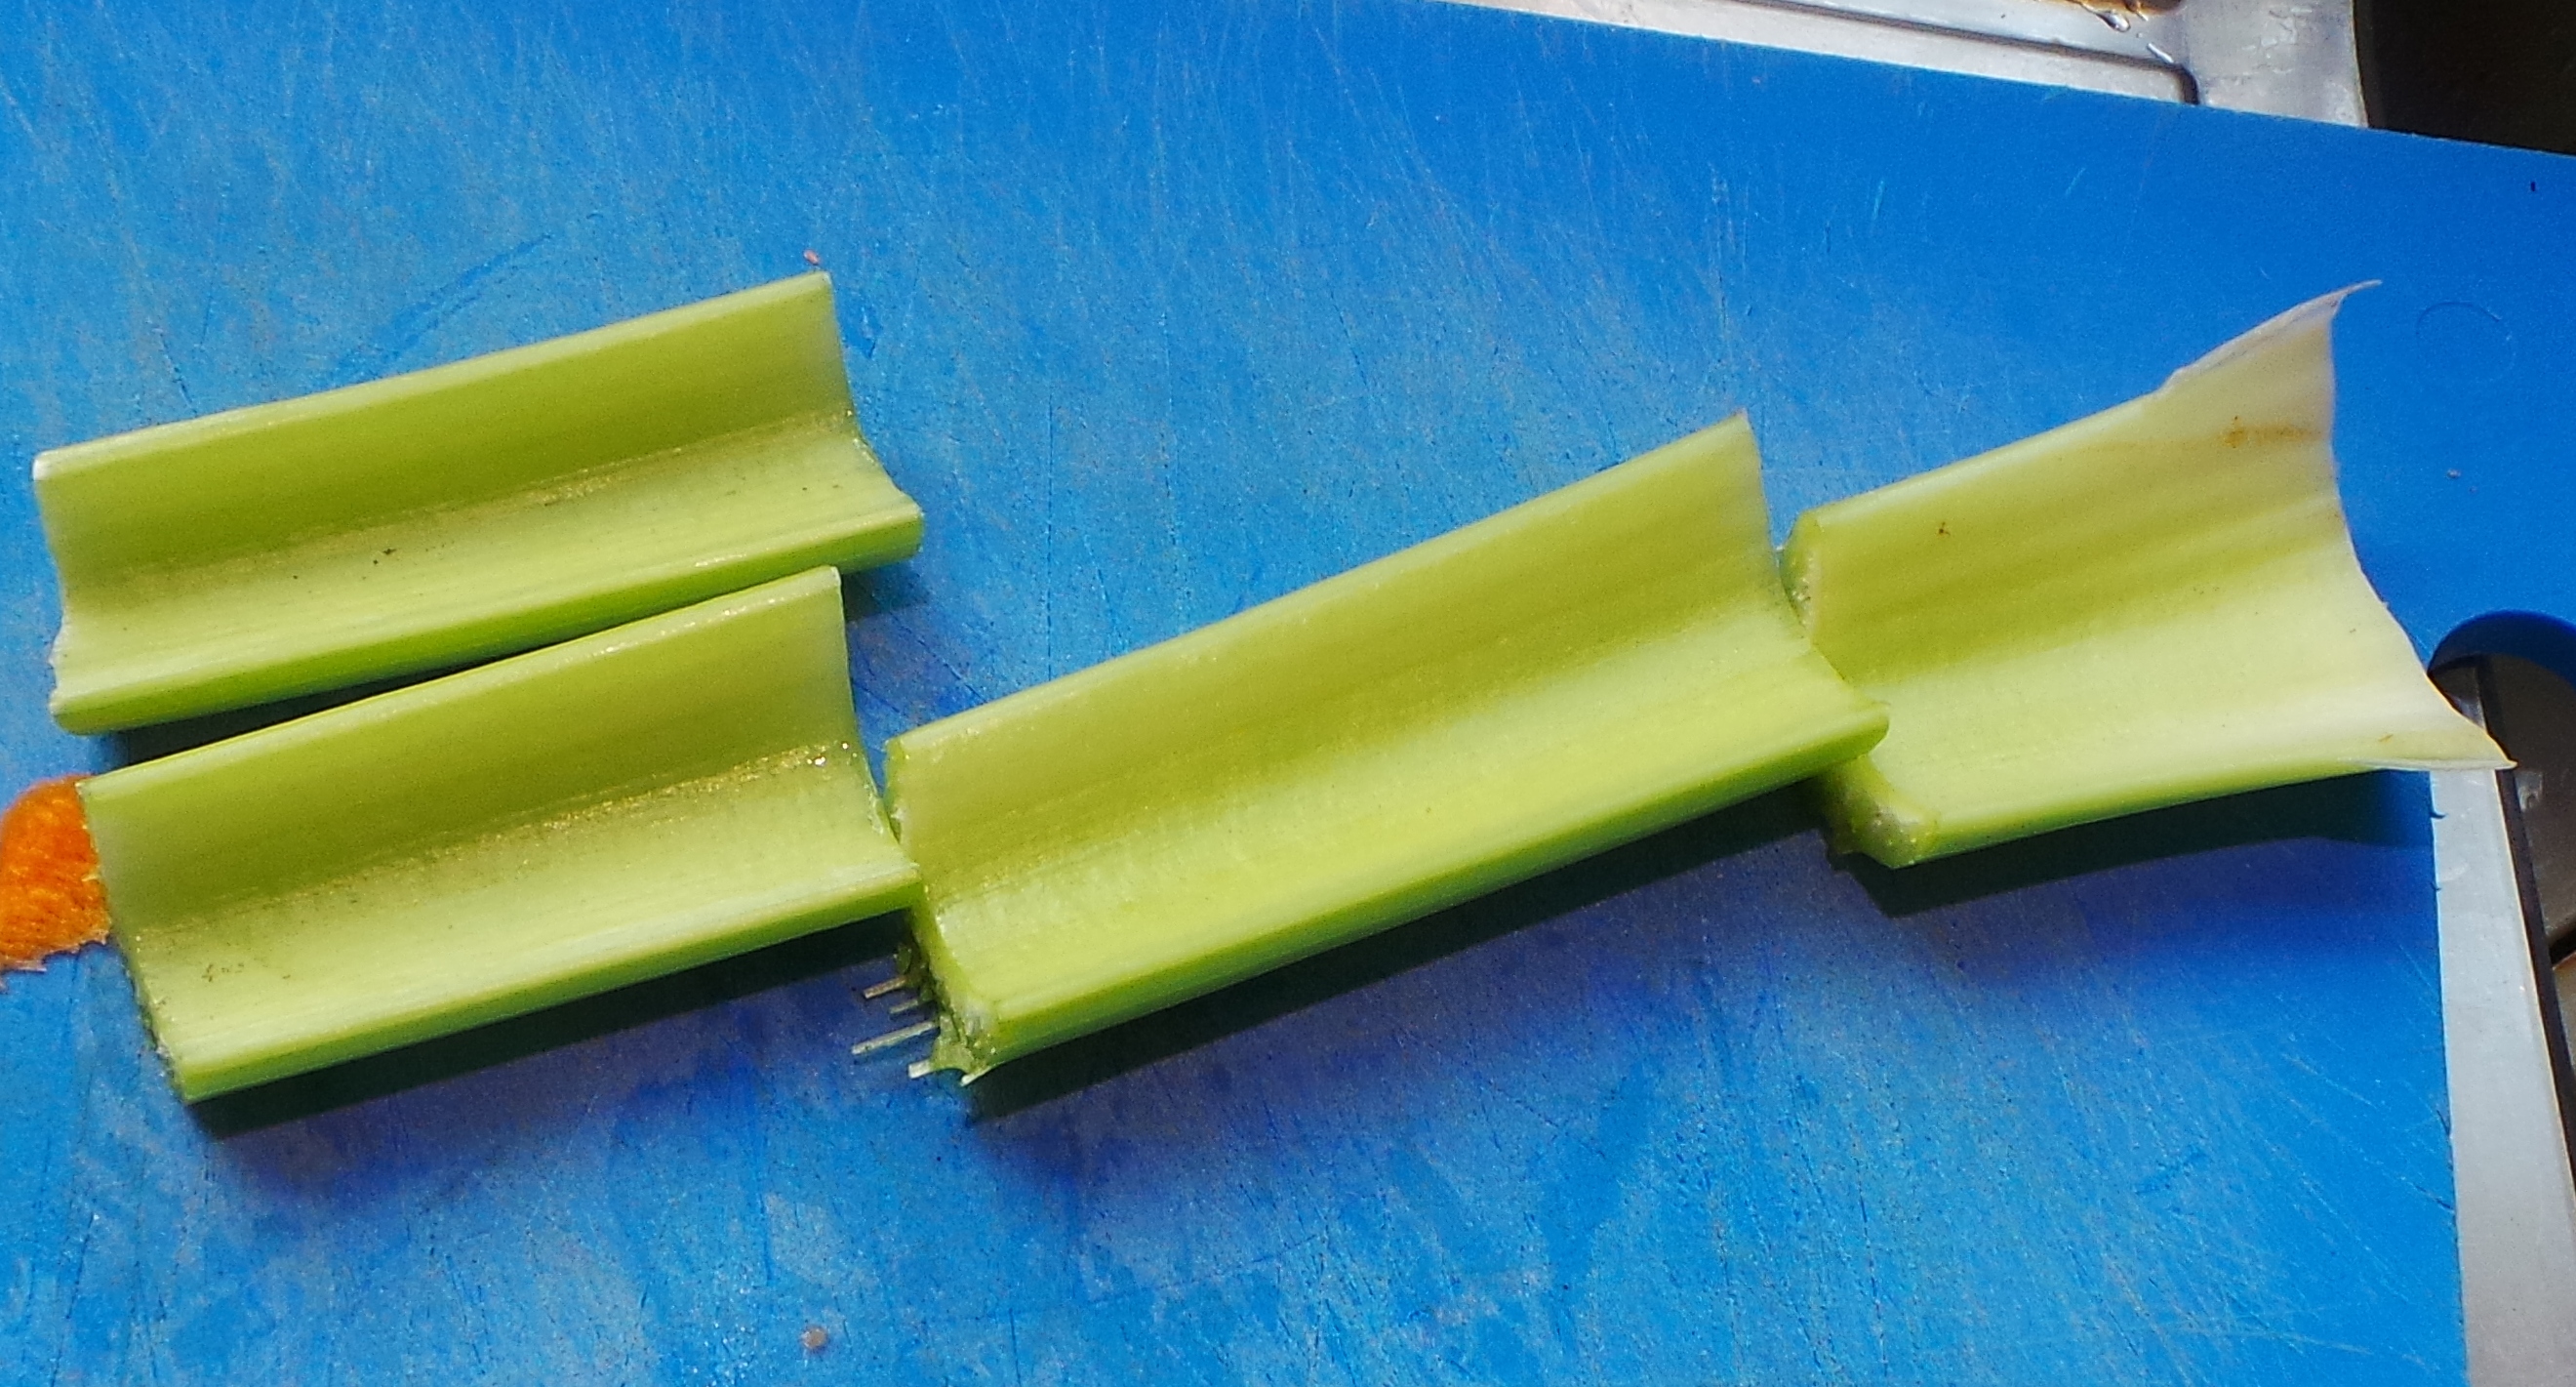
Celery.
A carrot treated similarly.

Carrot.
Then an onion. All of these may be kept whole if you have the room in your pot.

Onions.
Now add 6 peppercorns or 6 whole cloves. If you’re keen, you can add both. My mother would stud the onion with the cloves, but I don’t have the dexterity for that.
I also add some fennel seeds and a star anise.
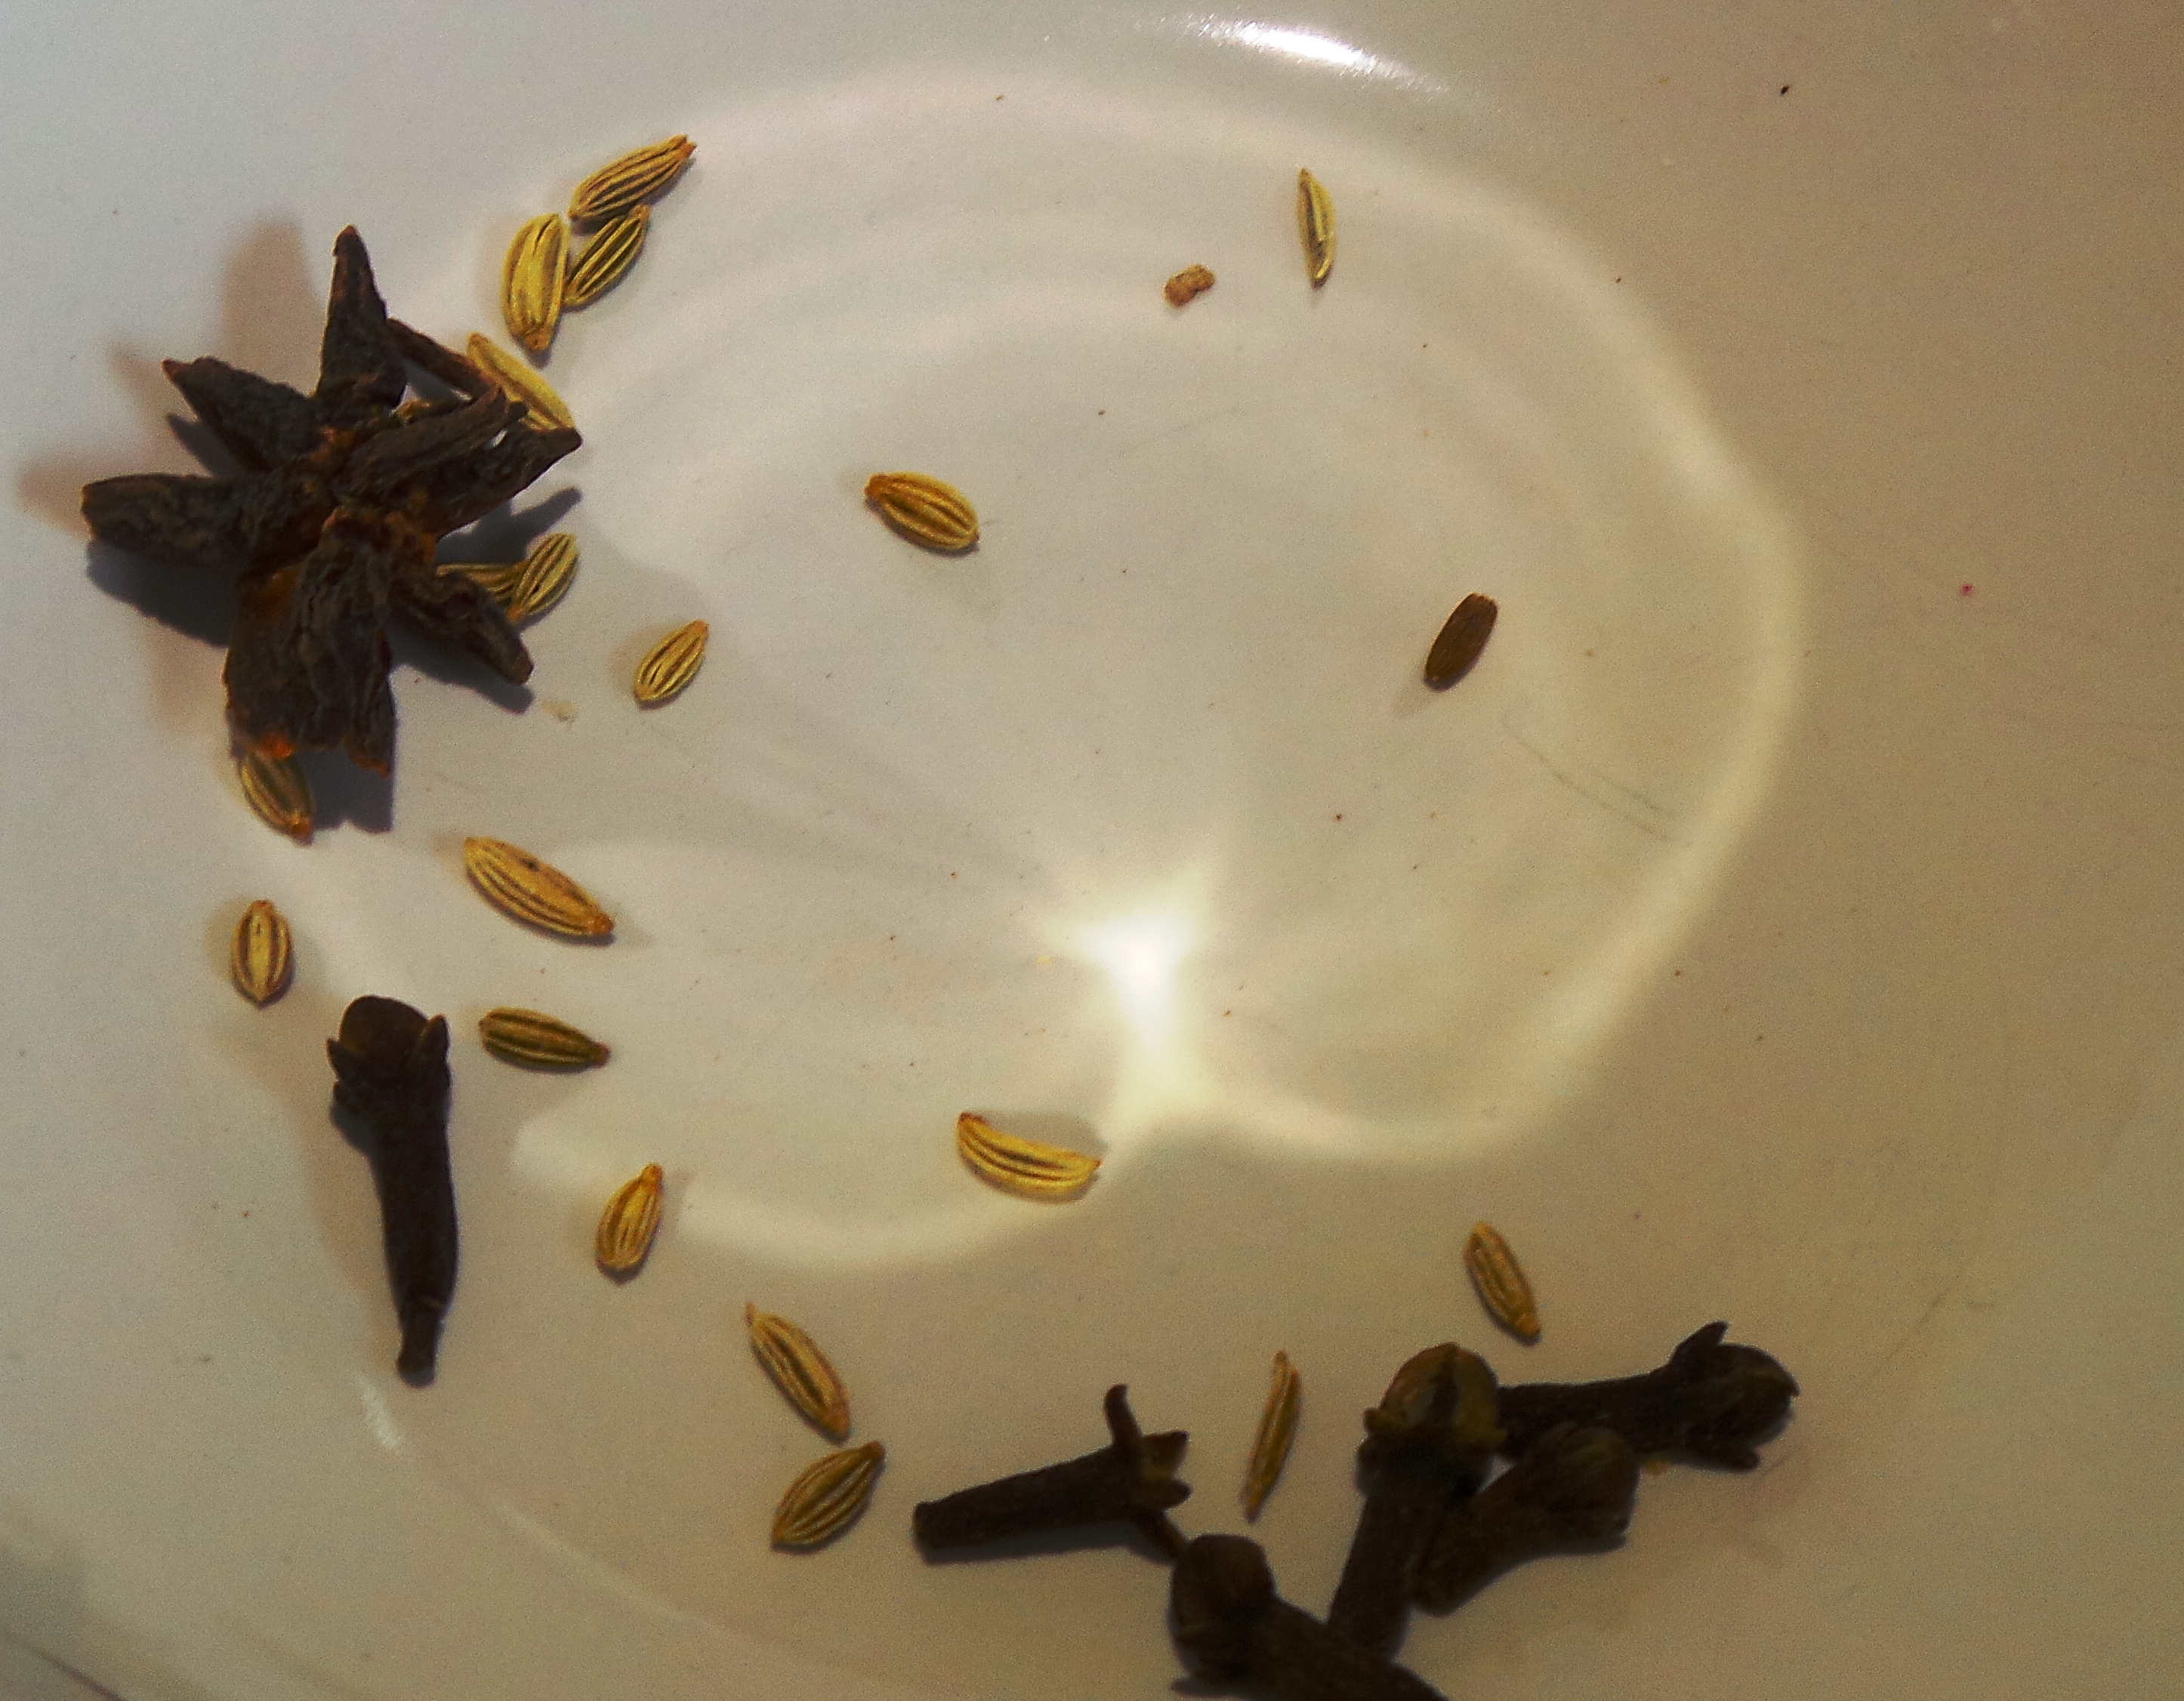
A touch of spice.
Then a tablespoon or so (a glug) of apple cider vinegar.

Apple cider vinegar.
And then the piéce de resistance! An orange.
Yes, really. A chef former neighbour gave me this tip a year or so ago and I kiss her feet for it. (Thanks Kath!)
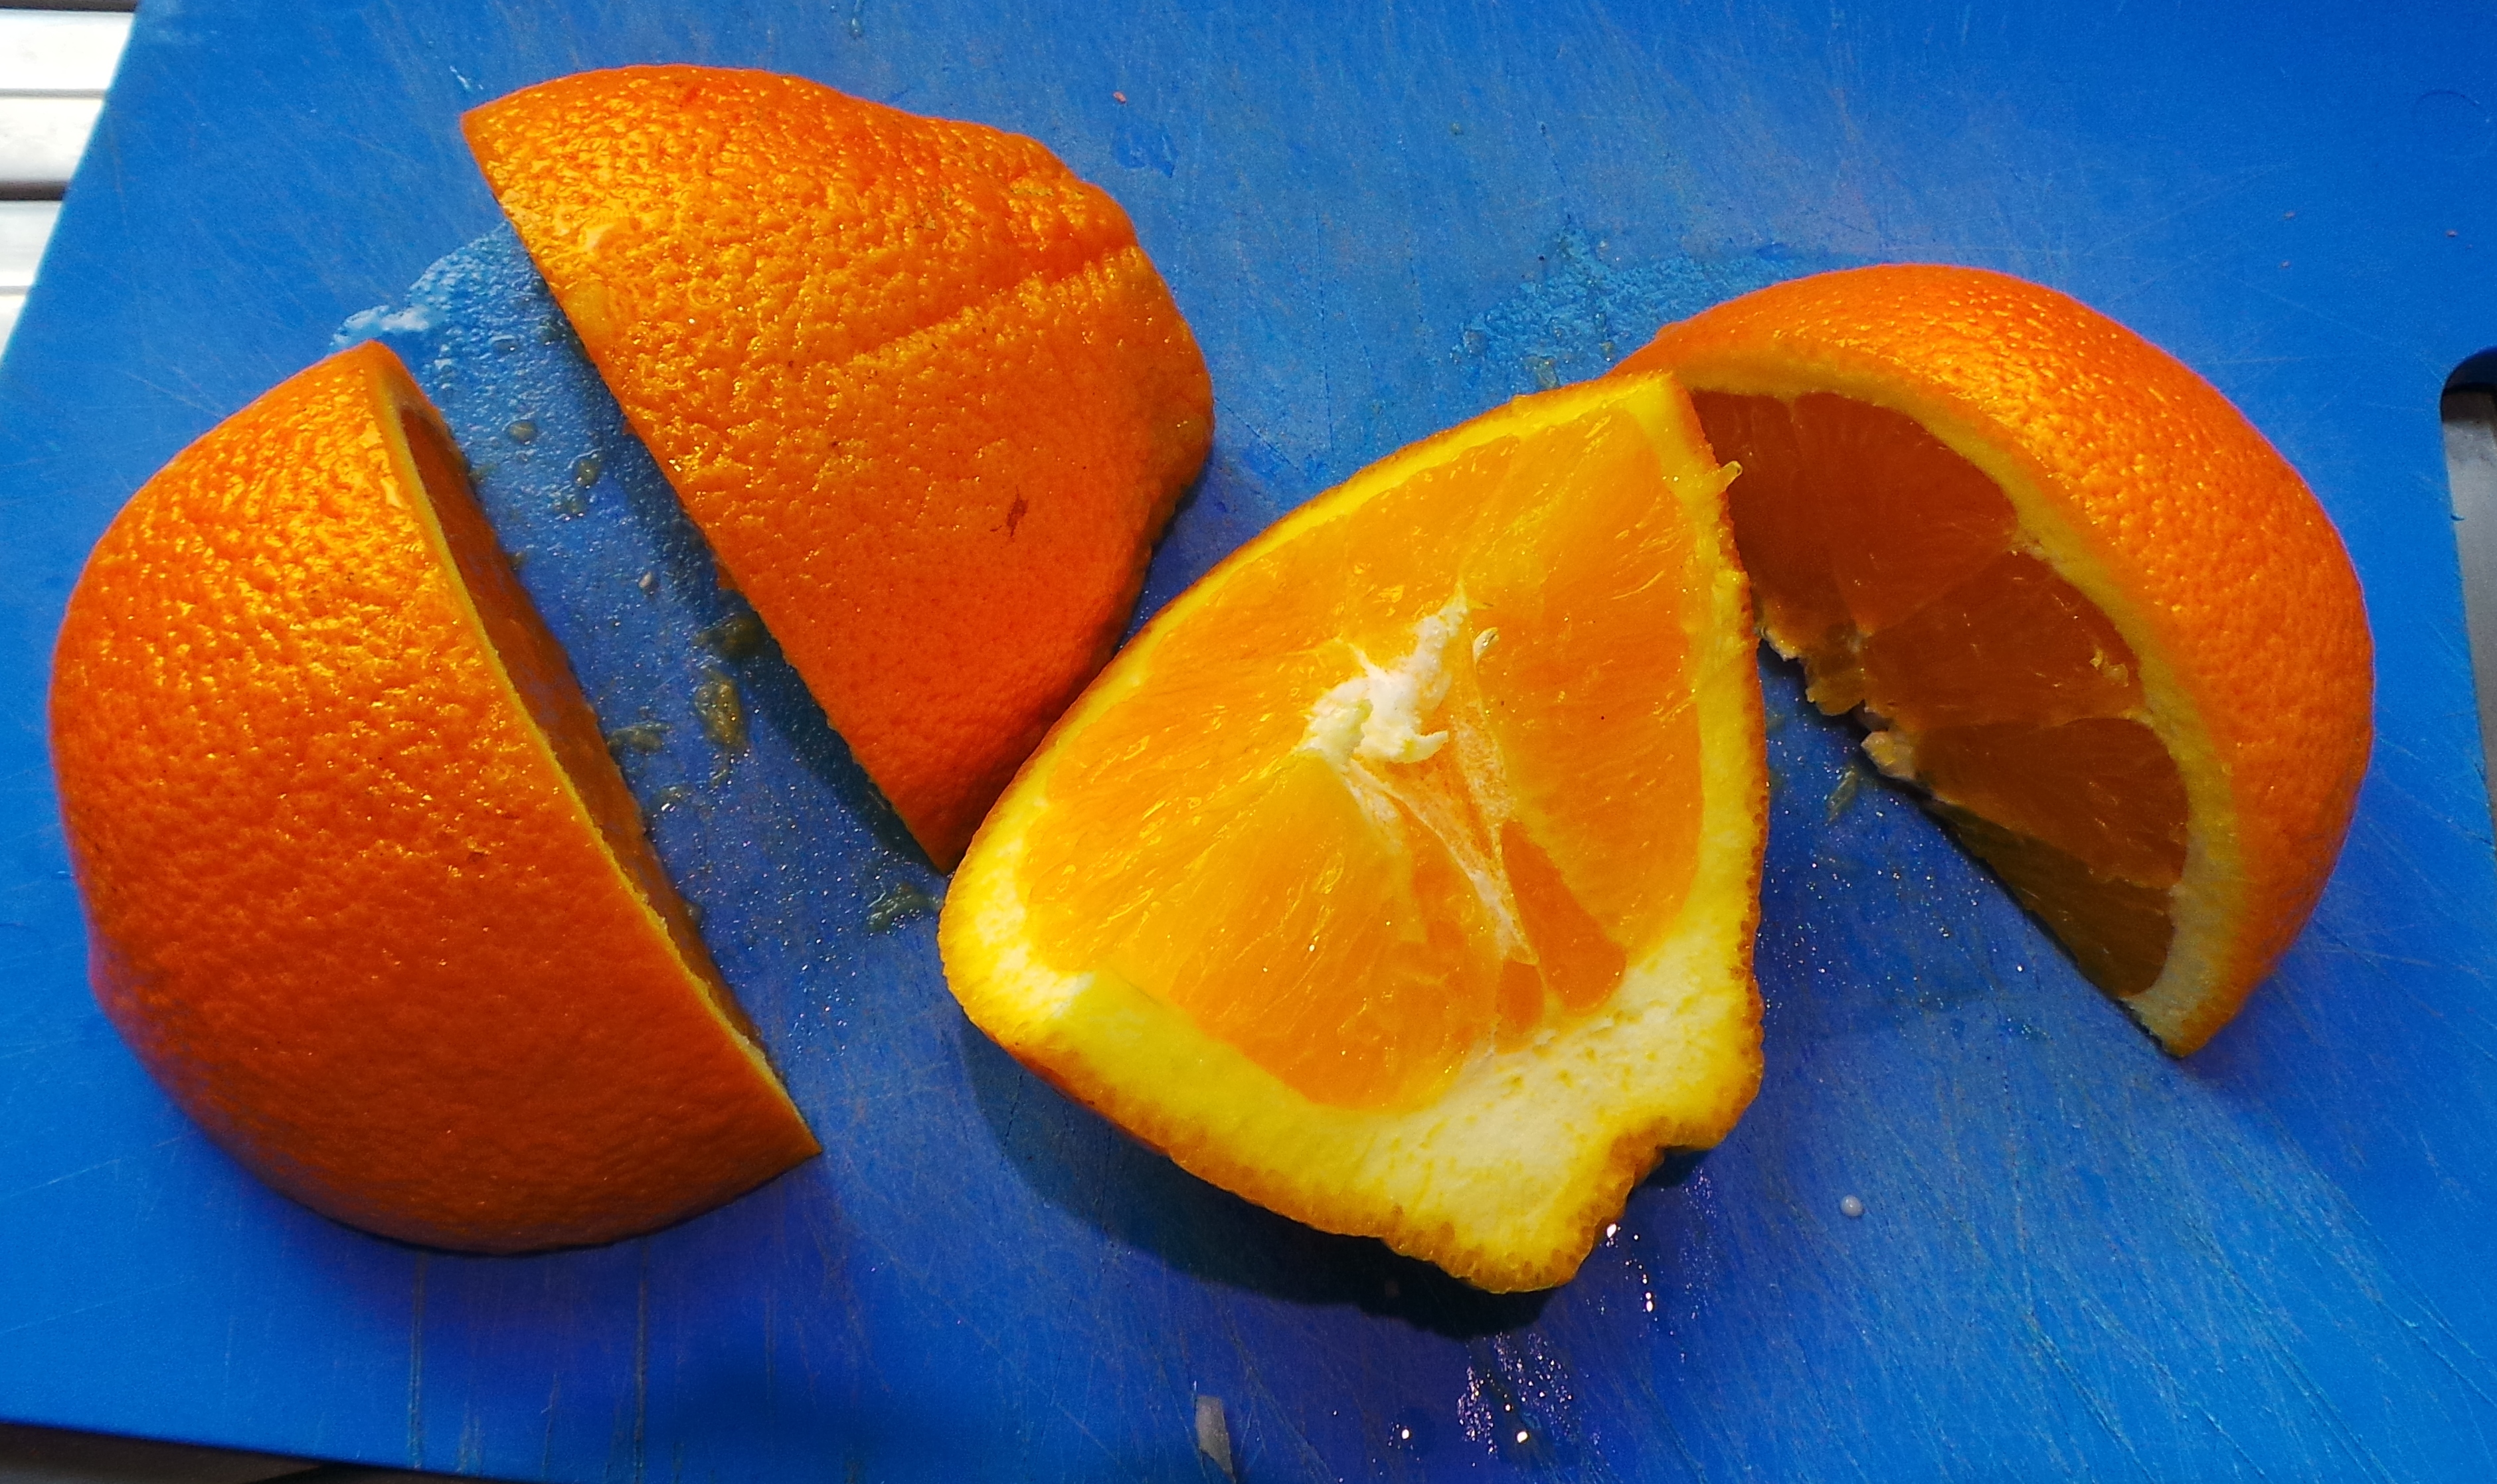
An orange. OMG.
This will add a certain something that will lift your corned beef into the stratosphere of flavour. Trust me on this.
Now pop in a Bay Leaf and cover with cold water.

This is why I usually put the oranges in before the beef…
Put the lid on and cook on LOW for 6-8 hours or HIGH for 4-6 hours. Your kitchen will start to smell amazing. I promise.
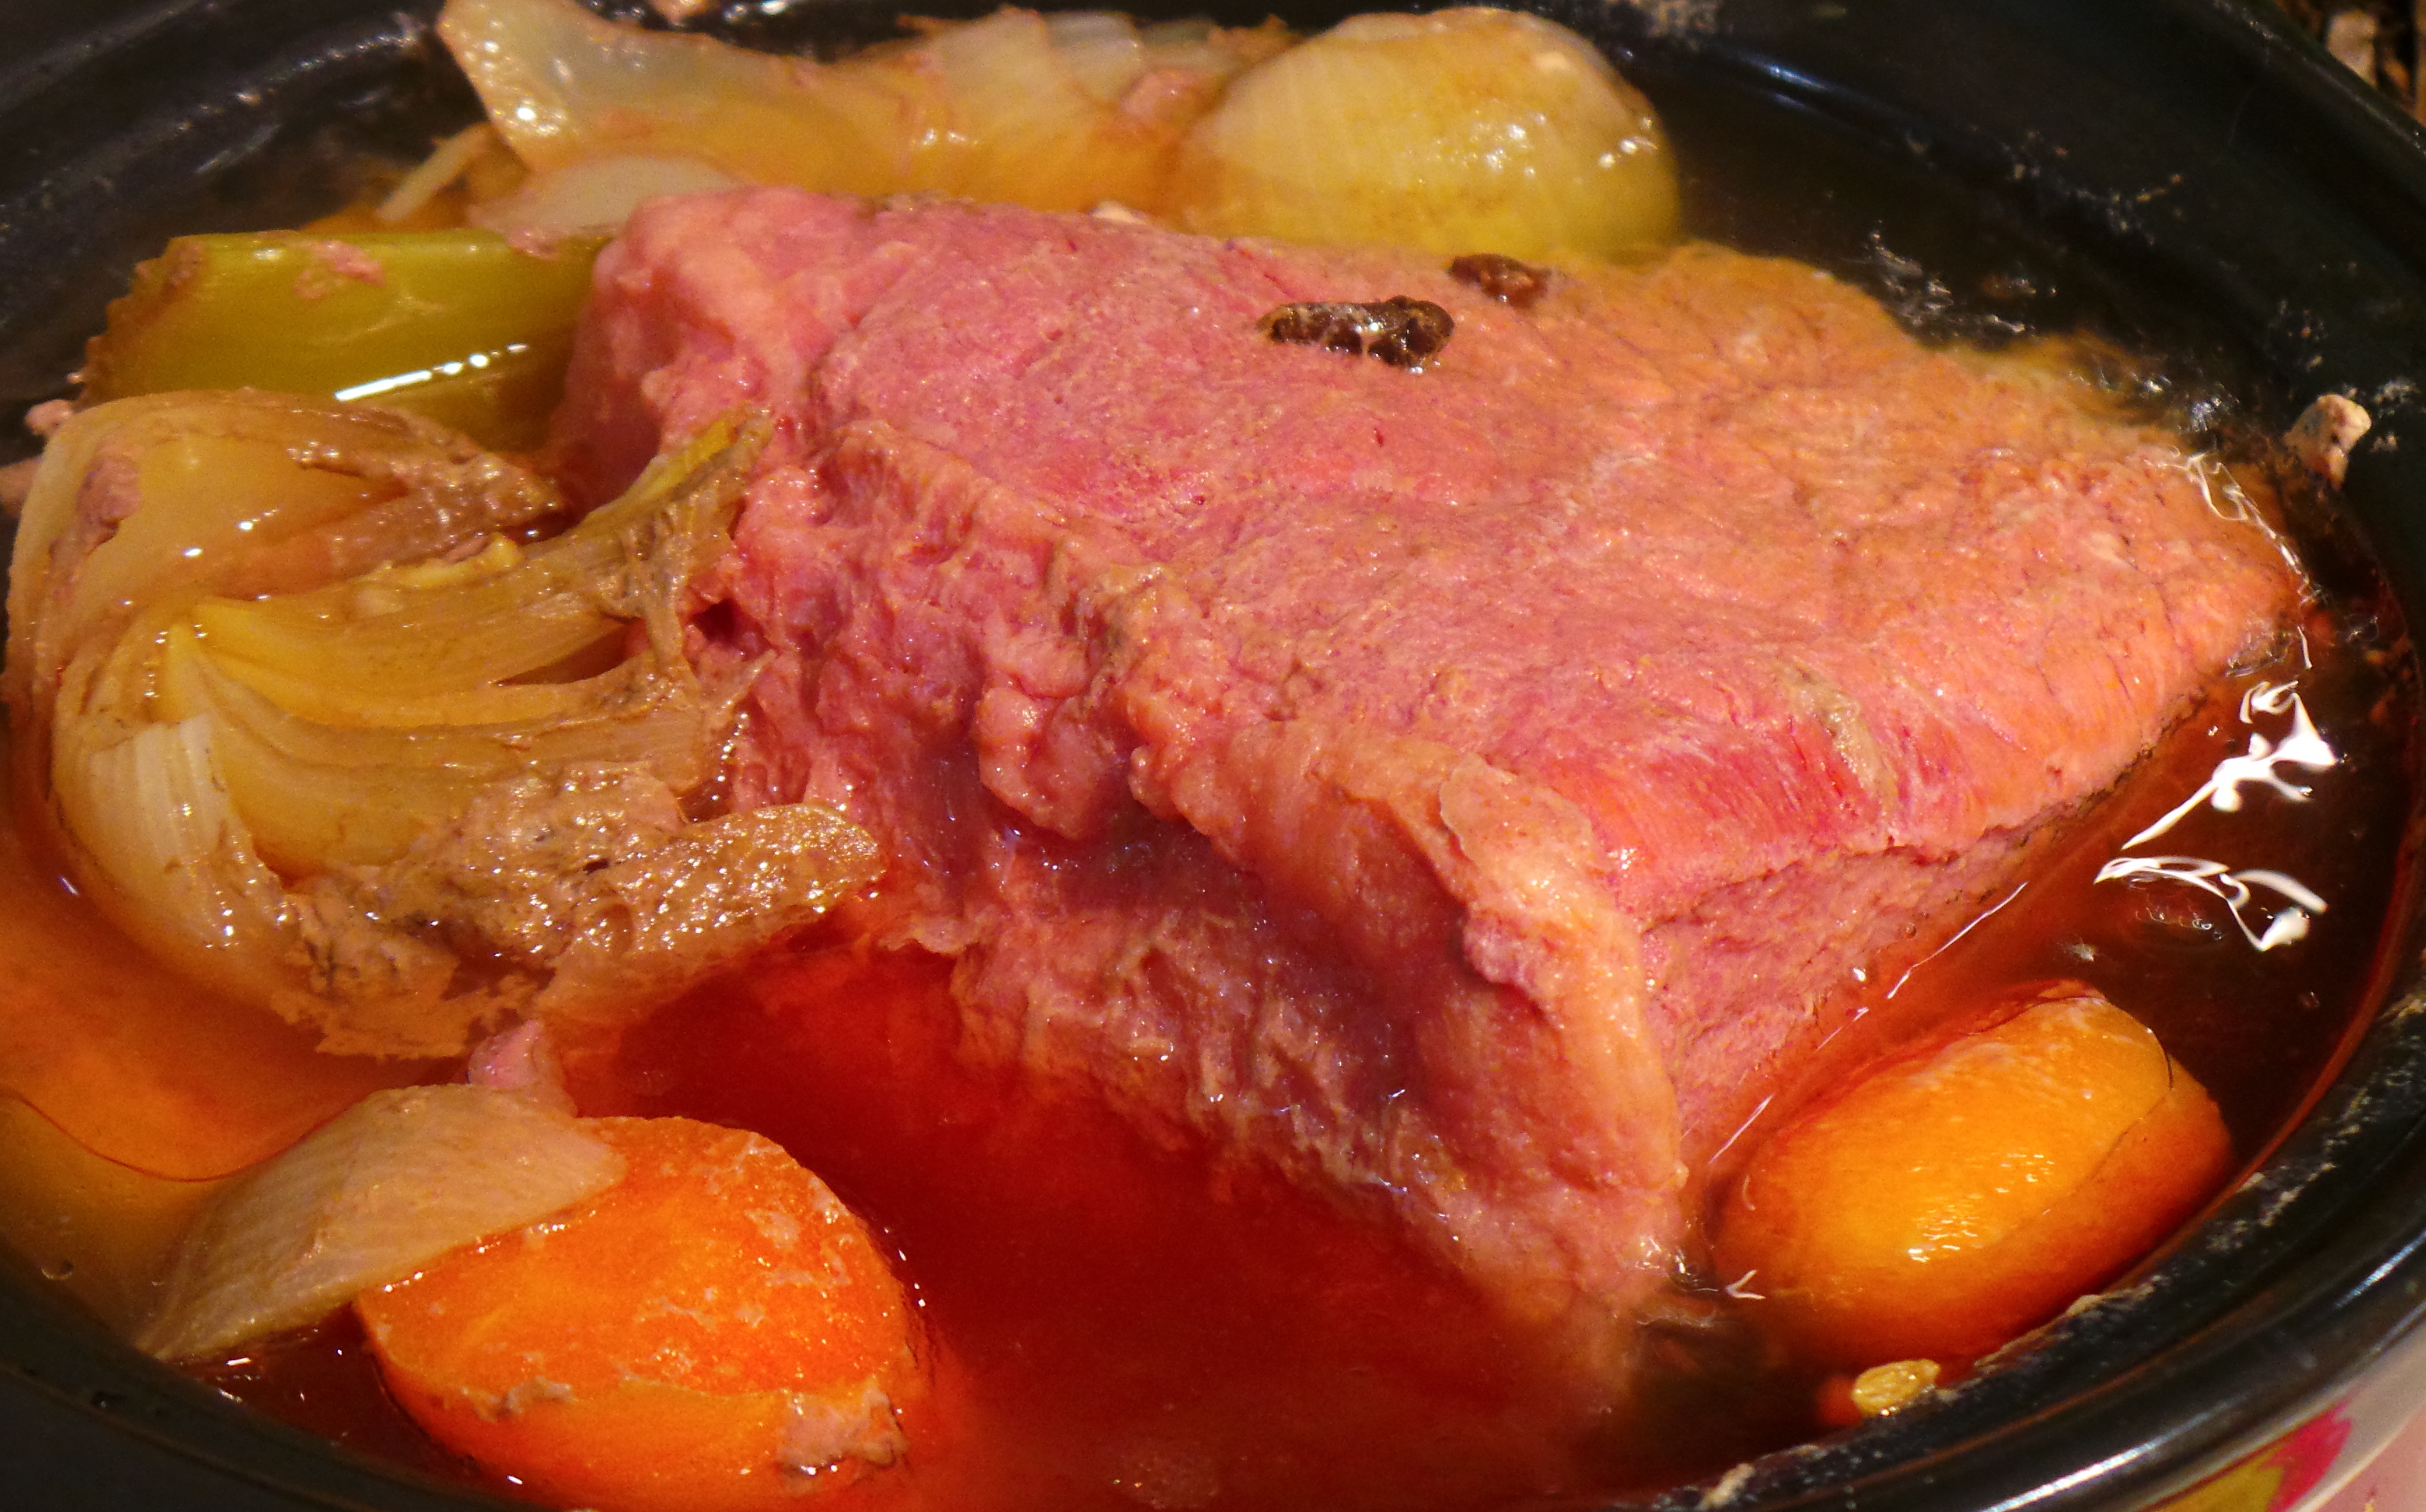
The final result.
When it is done, simply remove from the pot, slice and serve. As you can see, the vegetables don’t look like you’d really want them on your plate…
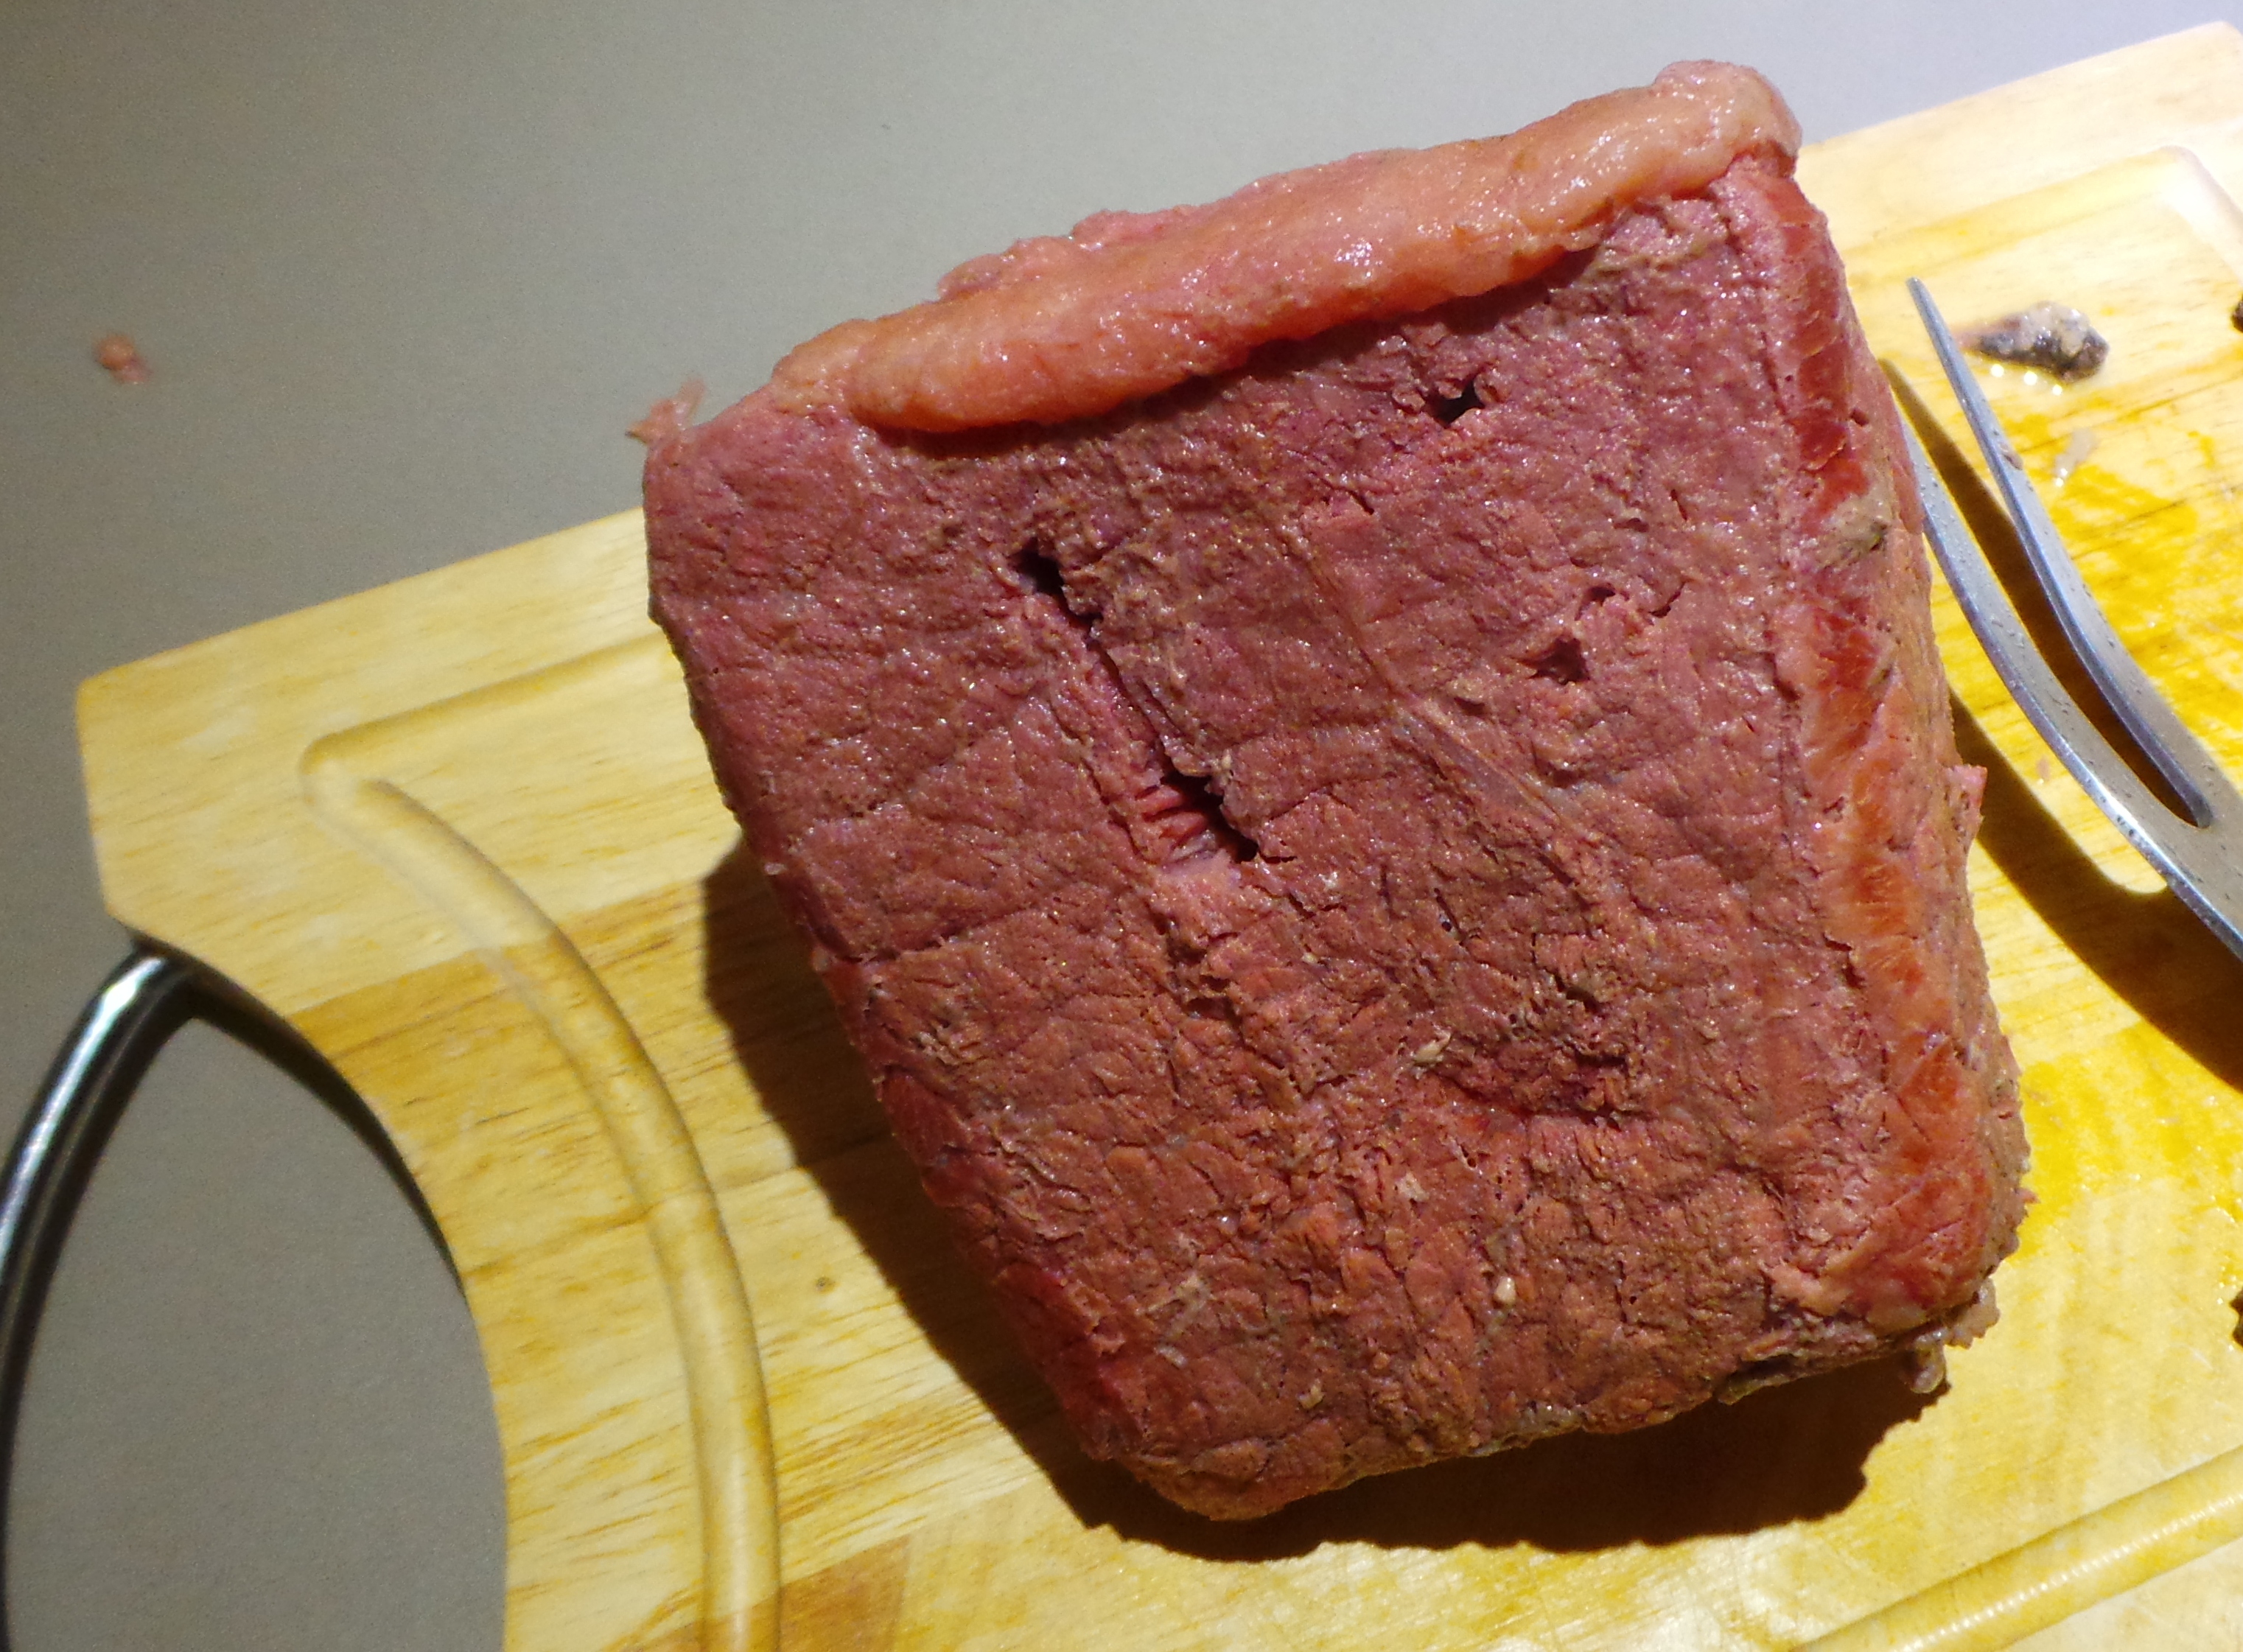
Slice and serve.
Traditionally, Corned Beef is served with a white or mustard sauce. However, the other person in this household doesn’t really like sauces…
The meat does tend to dry out a little once sliced, so I simply spoon a couple of tablespoons of the cooking liquid over the meat on the plate. Not enough to drown it, mind!
It keeps the meat moist and gives a further hit of flavour.

Sunday night feast?
Store leftovers in an airtight container in the refrigerator.
Corned Beef
Ingredients
1 kg silverside/corned beef (this recipe will also work for larger cuts)
1 large onion, chopped
1 large stick of celery, chopped
1 large carrot, chopped
1 medium to large orange, quartered
6 whole cloves (these may be inserted into the onion if you wish); or
6 peppercorns – or both
1 star anise
½ tsp fennel seeds
1 tbsp apple cider vinegar
1 bay leaf
Method
Add all the ingredients to a pot large enough to hold the meat and flavourings.
Cover with cold water.
Bring slowly to the boil and simmer with the lid on until the meat is tender. (Approx. 2 hours for a 1 kg cut on the stove top)
If using a slow cooker set on LOW for 6-8 hours or on HIGH for 4-6 hours.
When cooked to your preference, remove from water, slice and serve.
May be served with a mustard sauce or with some of the pot juices spooned over the meat.
Store any leftovers in an airtight container in the refrigerator.
Variations:
This recipe will work for any pickled or salted cut of meat.
Like this? Follow us on Facebook or subscribe to receive updates by email.