If someone had told me a year ago that I would be writing about boiling eggs, I should have declared them mad, MAD I tell you!
I hated boiled eggs with a passion. The smell mostly. The texture of the whites was also quite off-putting.
Apparently, it all harks back to when I was an infant and my mother was advised to feed me coddled eggs. In our particular case it was a raw egg, just heated.
Eww.
However, I decided a year or so ago that I was now quite a long way from being an infant and really should demonstrate my adulthood and try again.
It took quite some time to find a method that worked and didn’t result in broken shells, or rubbery eggs. Or stink the house out.
Mind you, I still can only palate them if they are accompanied by Vegemite toast.
Anyway, here goes. This method is the one I have settled on. It results in much less – ahem – aroma and the shell stays intact until I want it broken.
I keep half a dozen eggs on my counter in a cute little china egg carton thingy I found at 70% off in a kitchen wares shop.
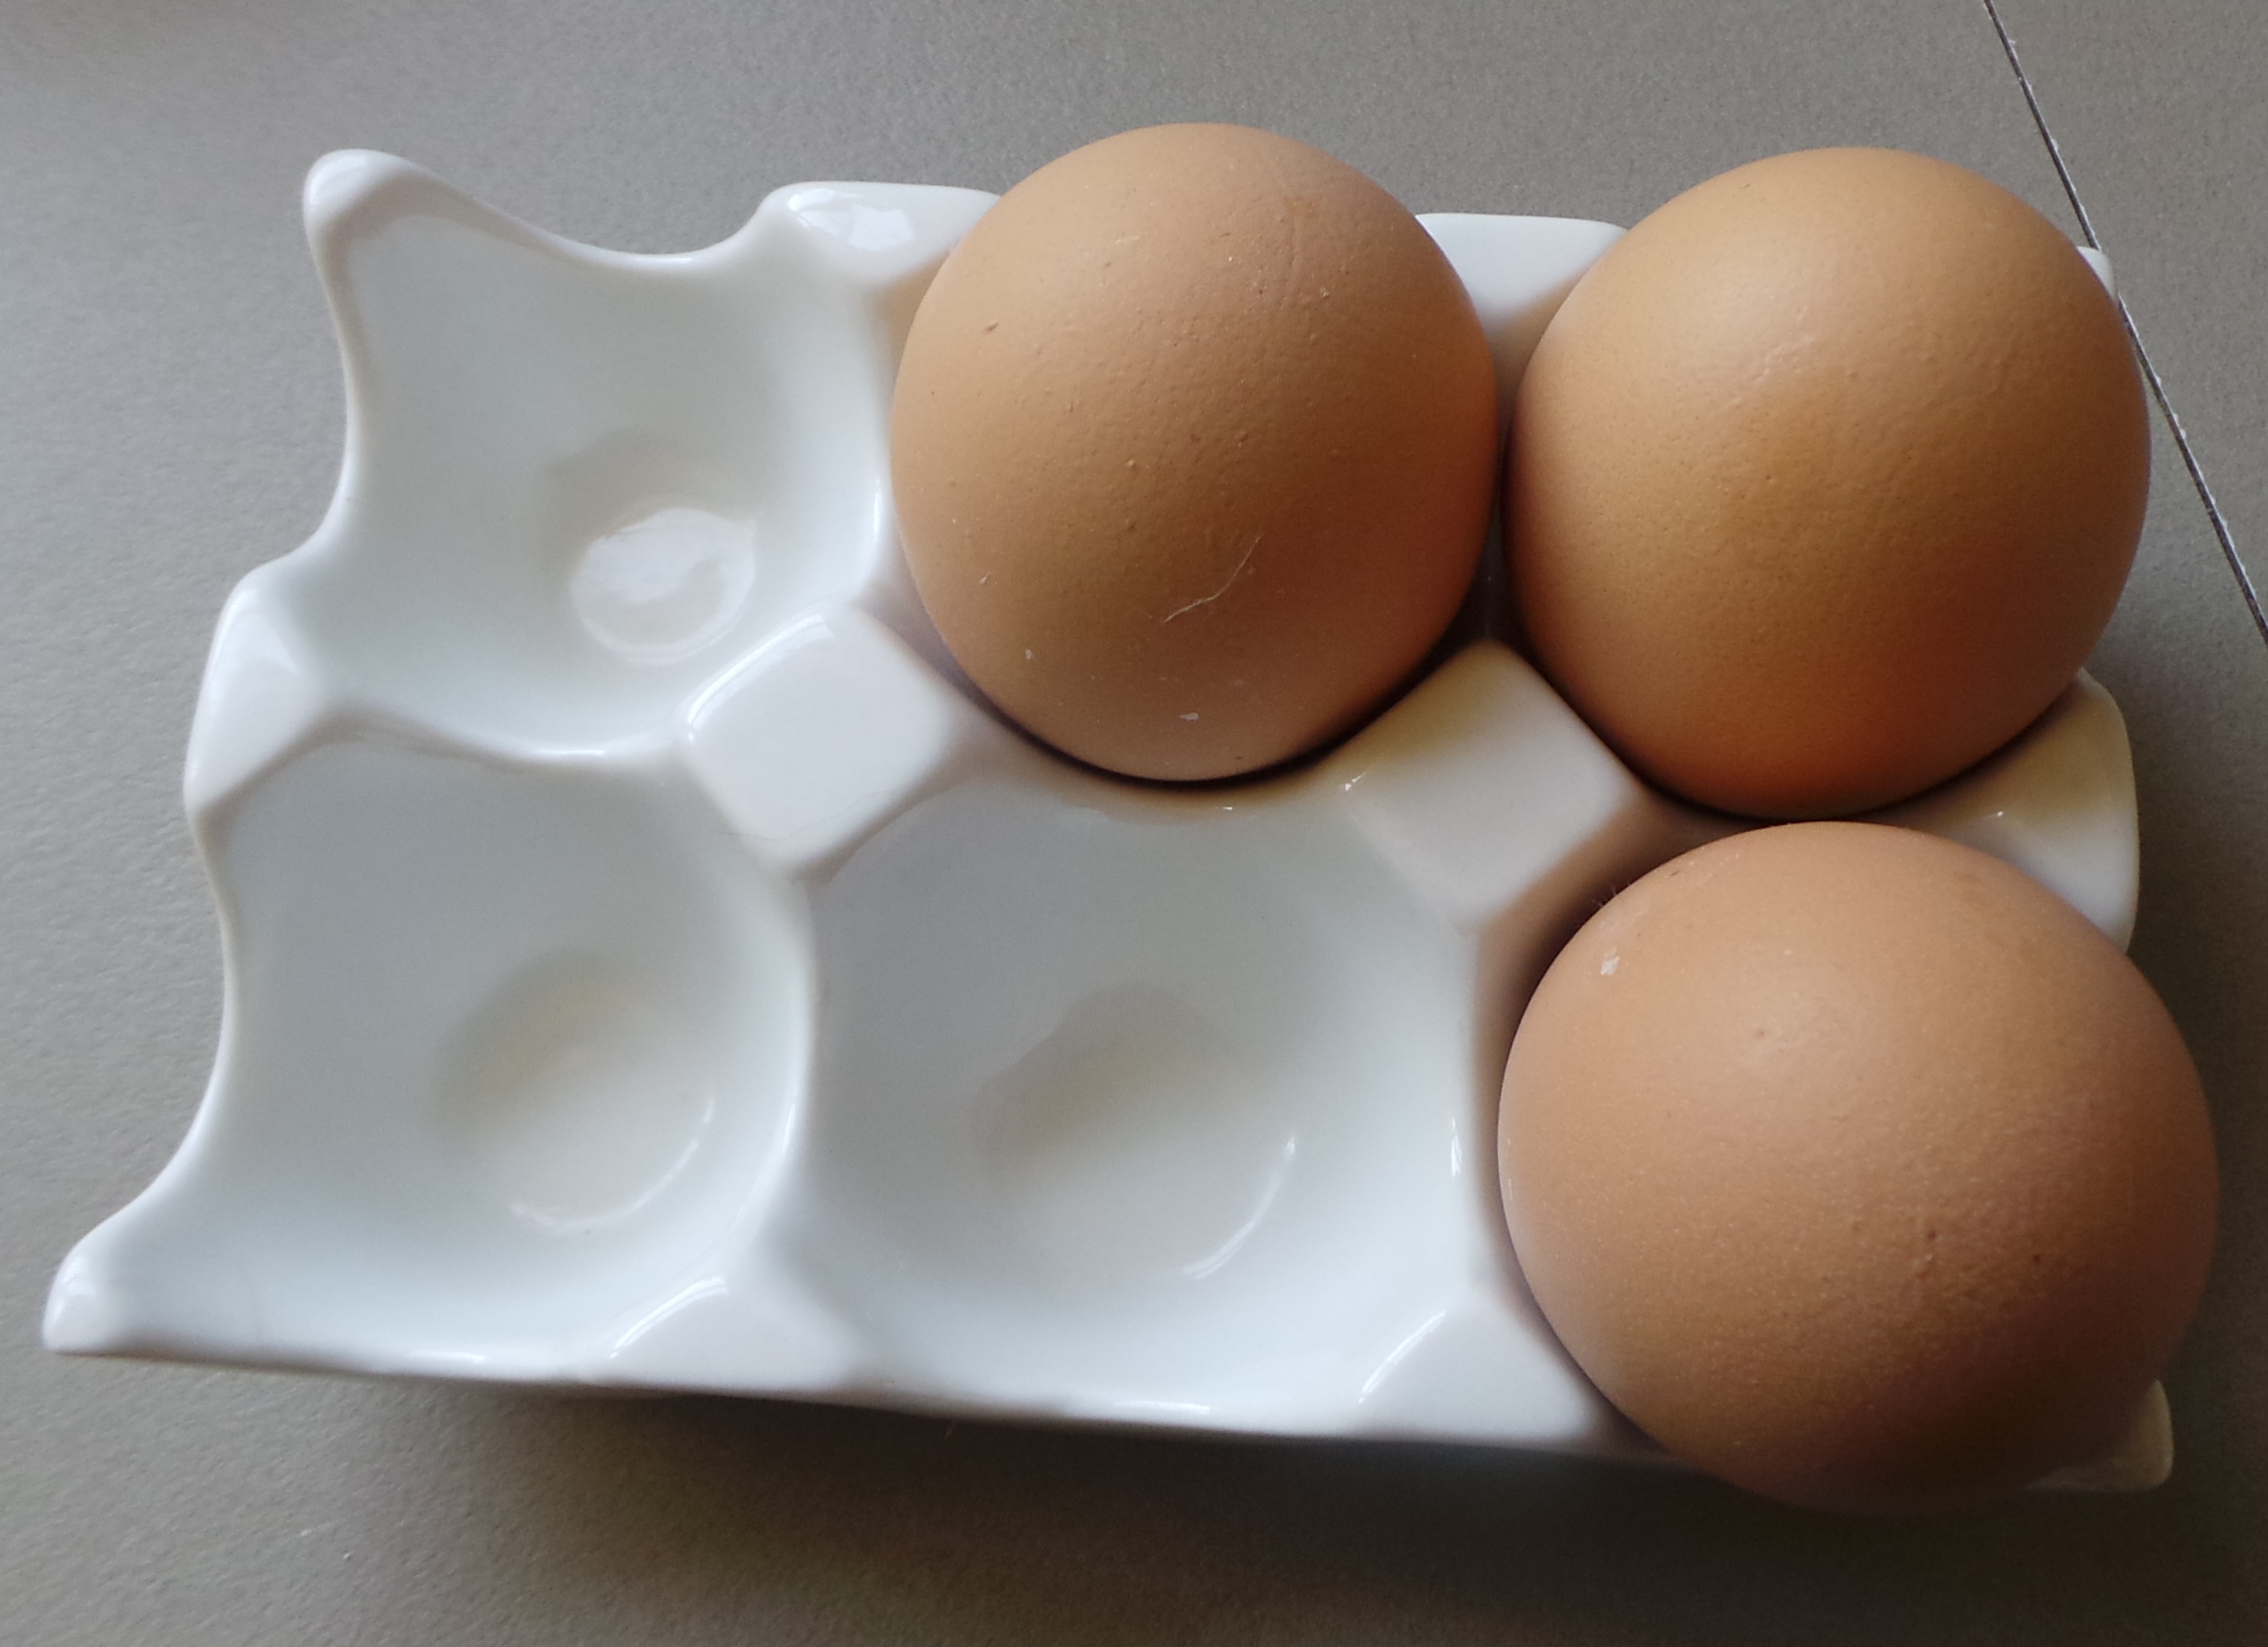
A frippery.
This way, I always have a room temperature egg to begin with (reduces risk of breaking) as well as some ready for spur-of-the-moment baking.
If you live in America, this may not be advisable, read this article for why. If you wish to have one for breakfast though, try making a note to get one out of the fridge the night before…
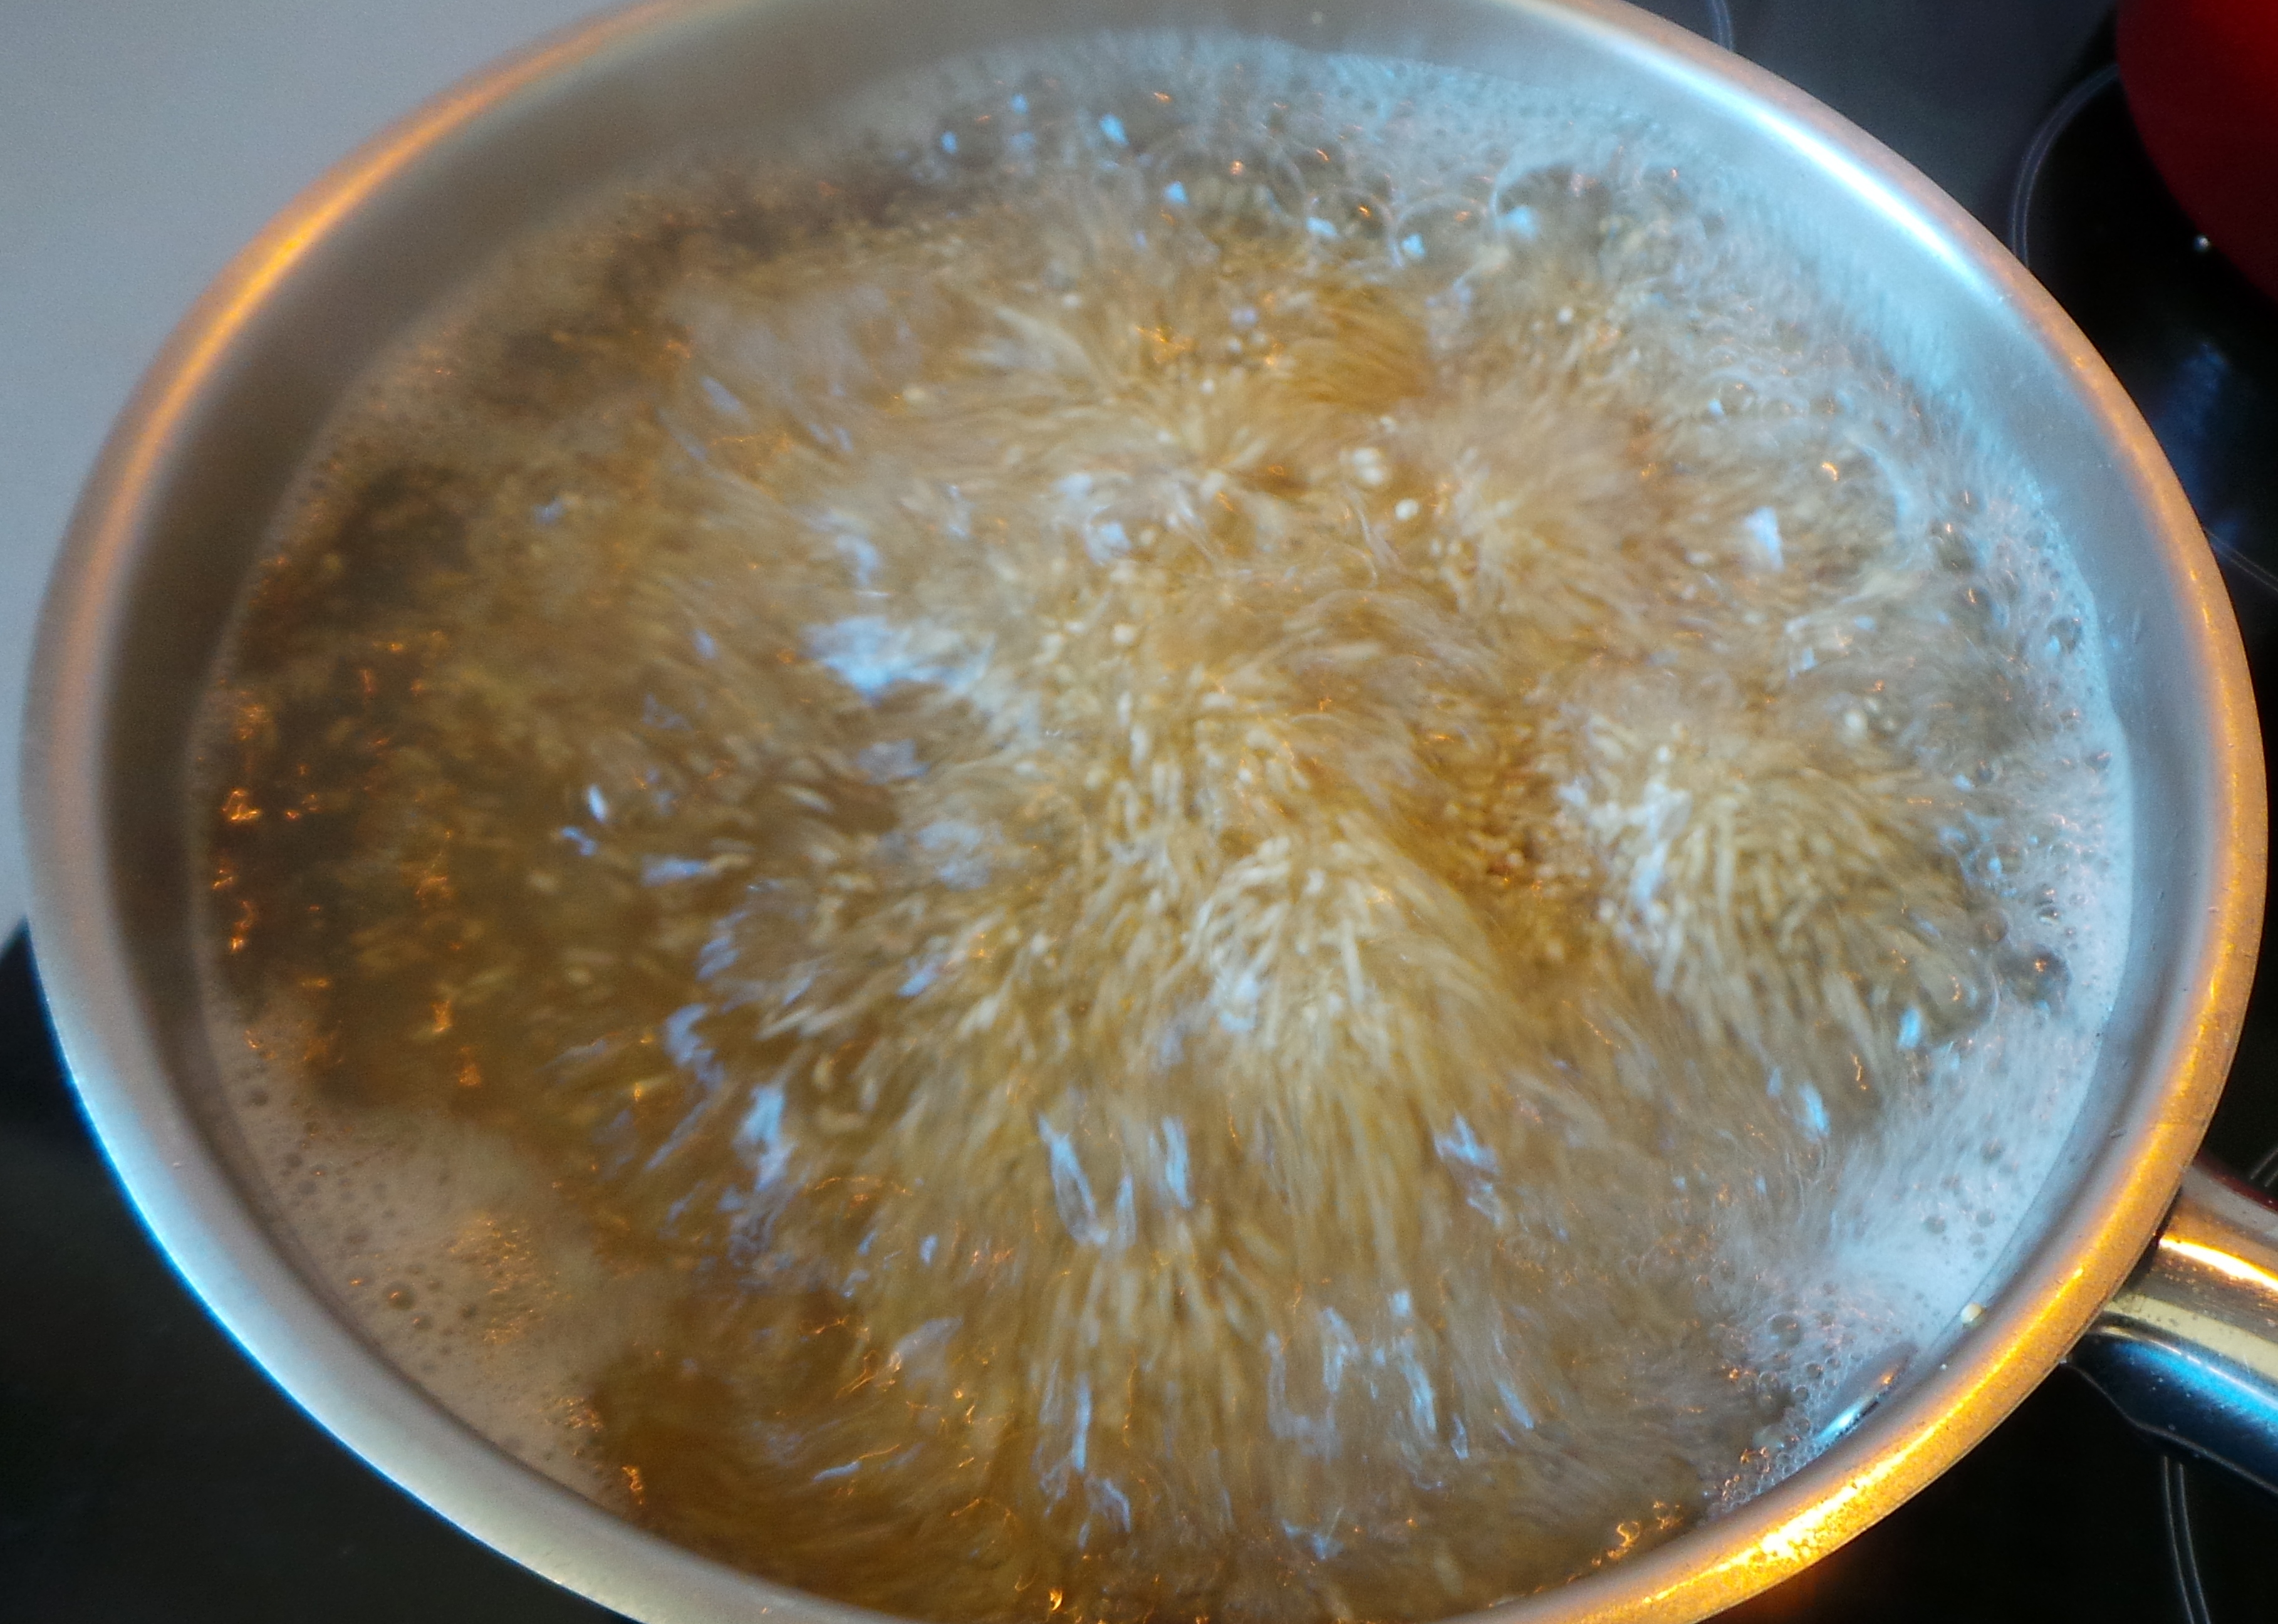
So, place your egg in a small saucepan and cover with tepid water.

Cover your egg with coldish water
Place the lid on your saucepan and bring it to a boil.
Once it reaches boiling point, and by this I mean a nice rolling boil and not just a simmer, take the whole thing off the heat. Put your saucepan elsewhere and leave the lid on.
Set a timer for three minutes, for well set whites and soft but not runny yolks. If you are having toast, put it on to cook now. 🙂
When your timer goes off, retrieve your egg from the water. The water will still be hot. Please be careful. Sigh.
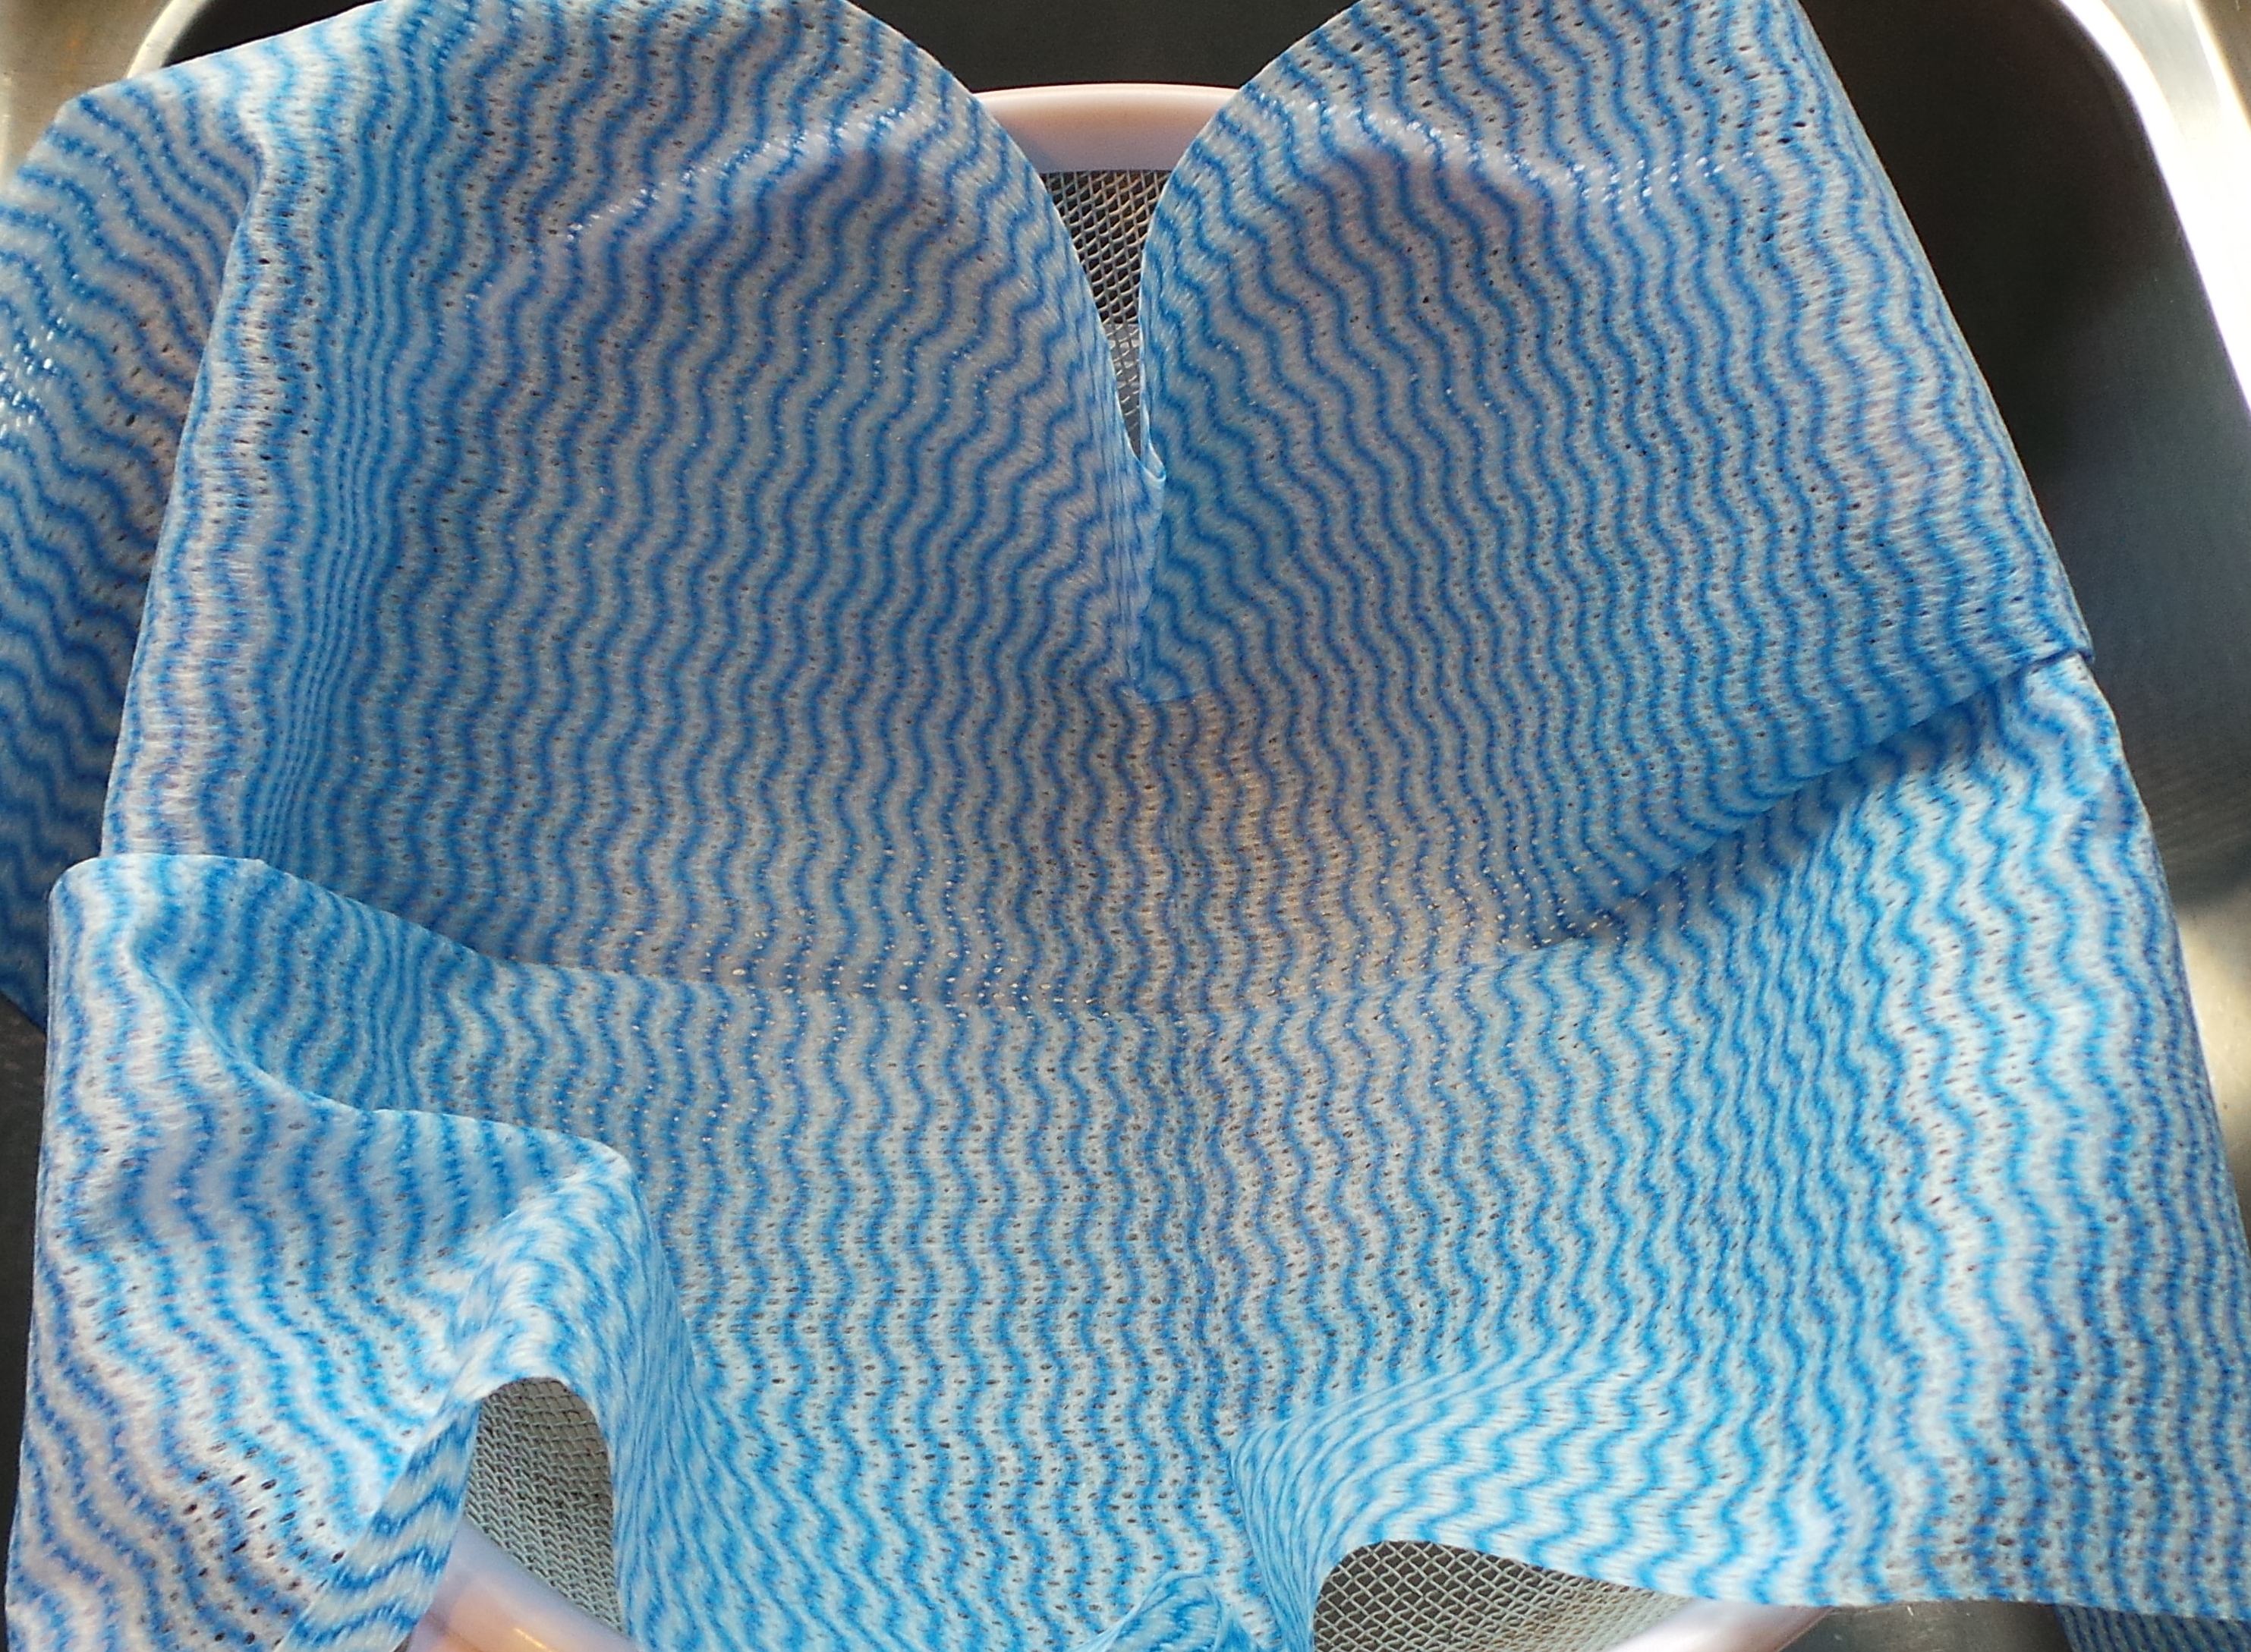
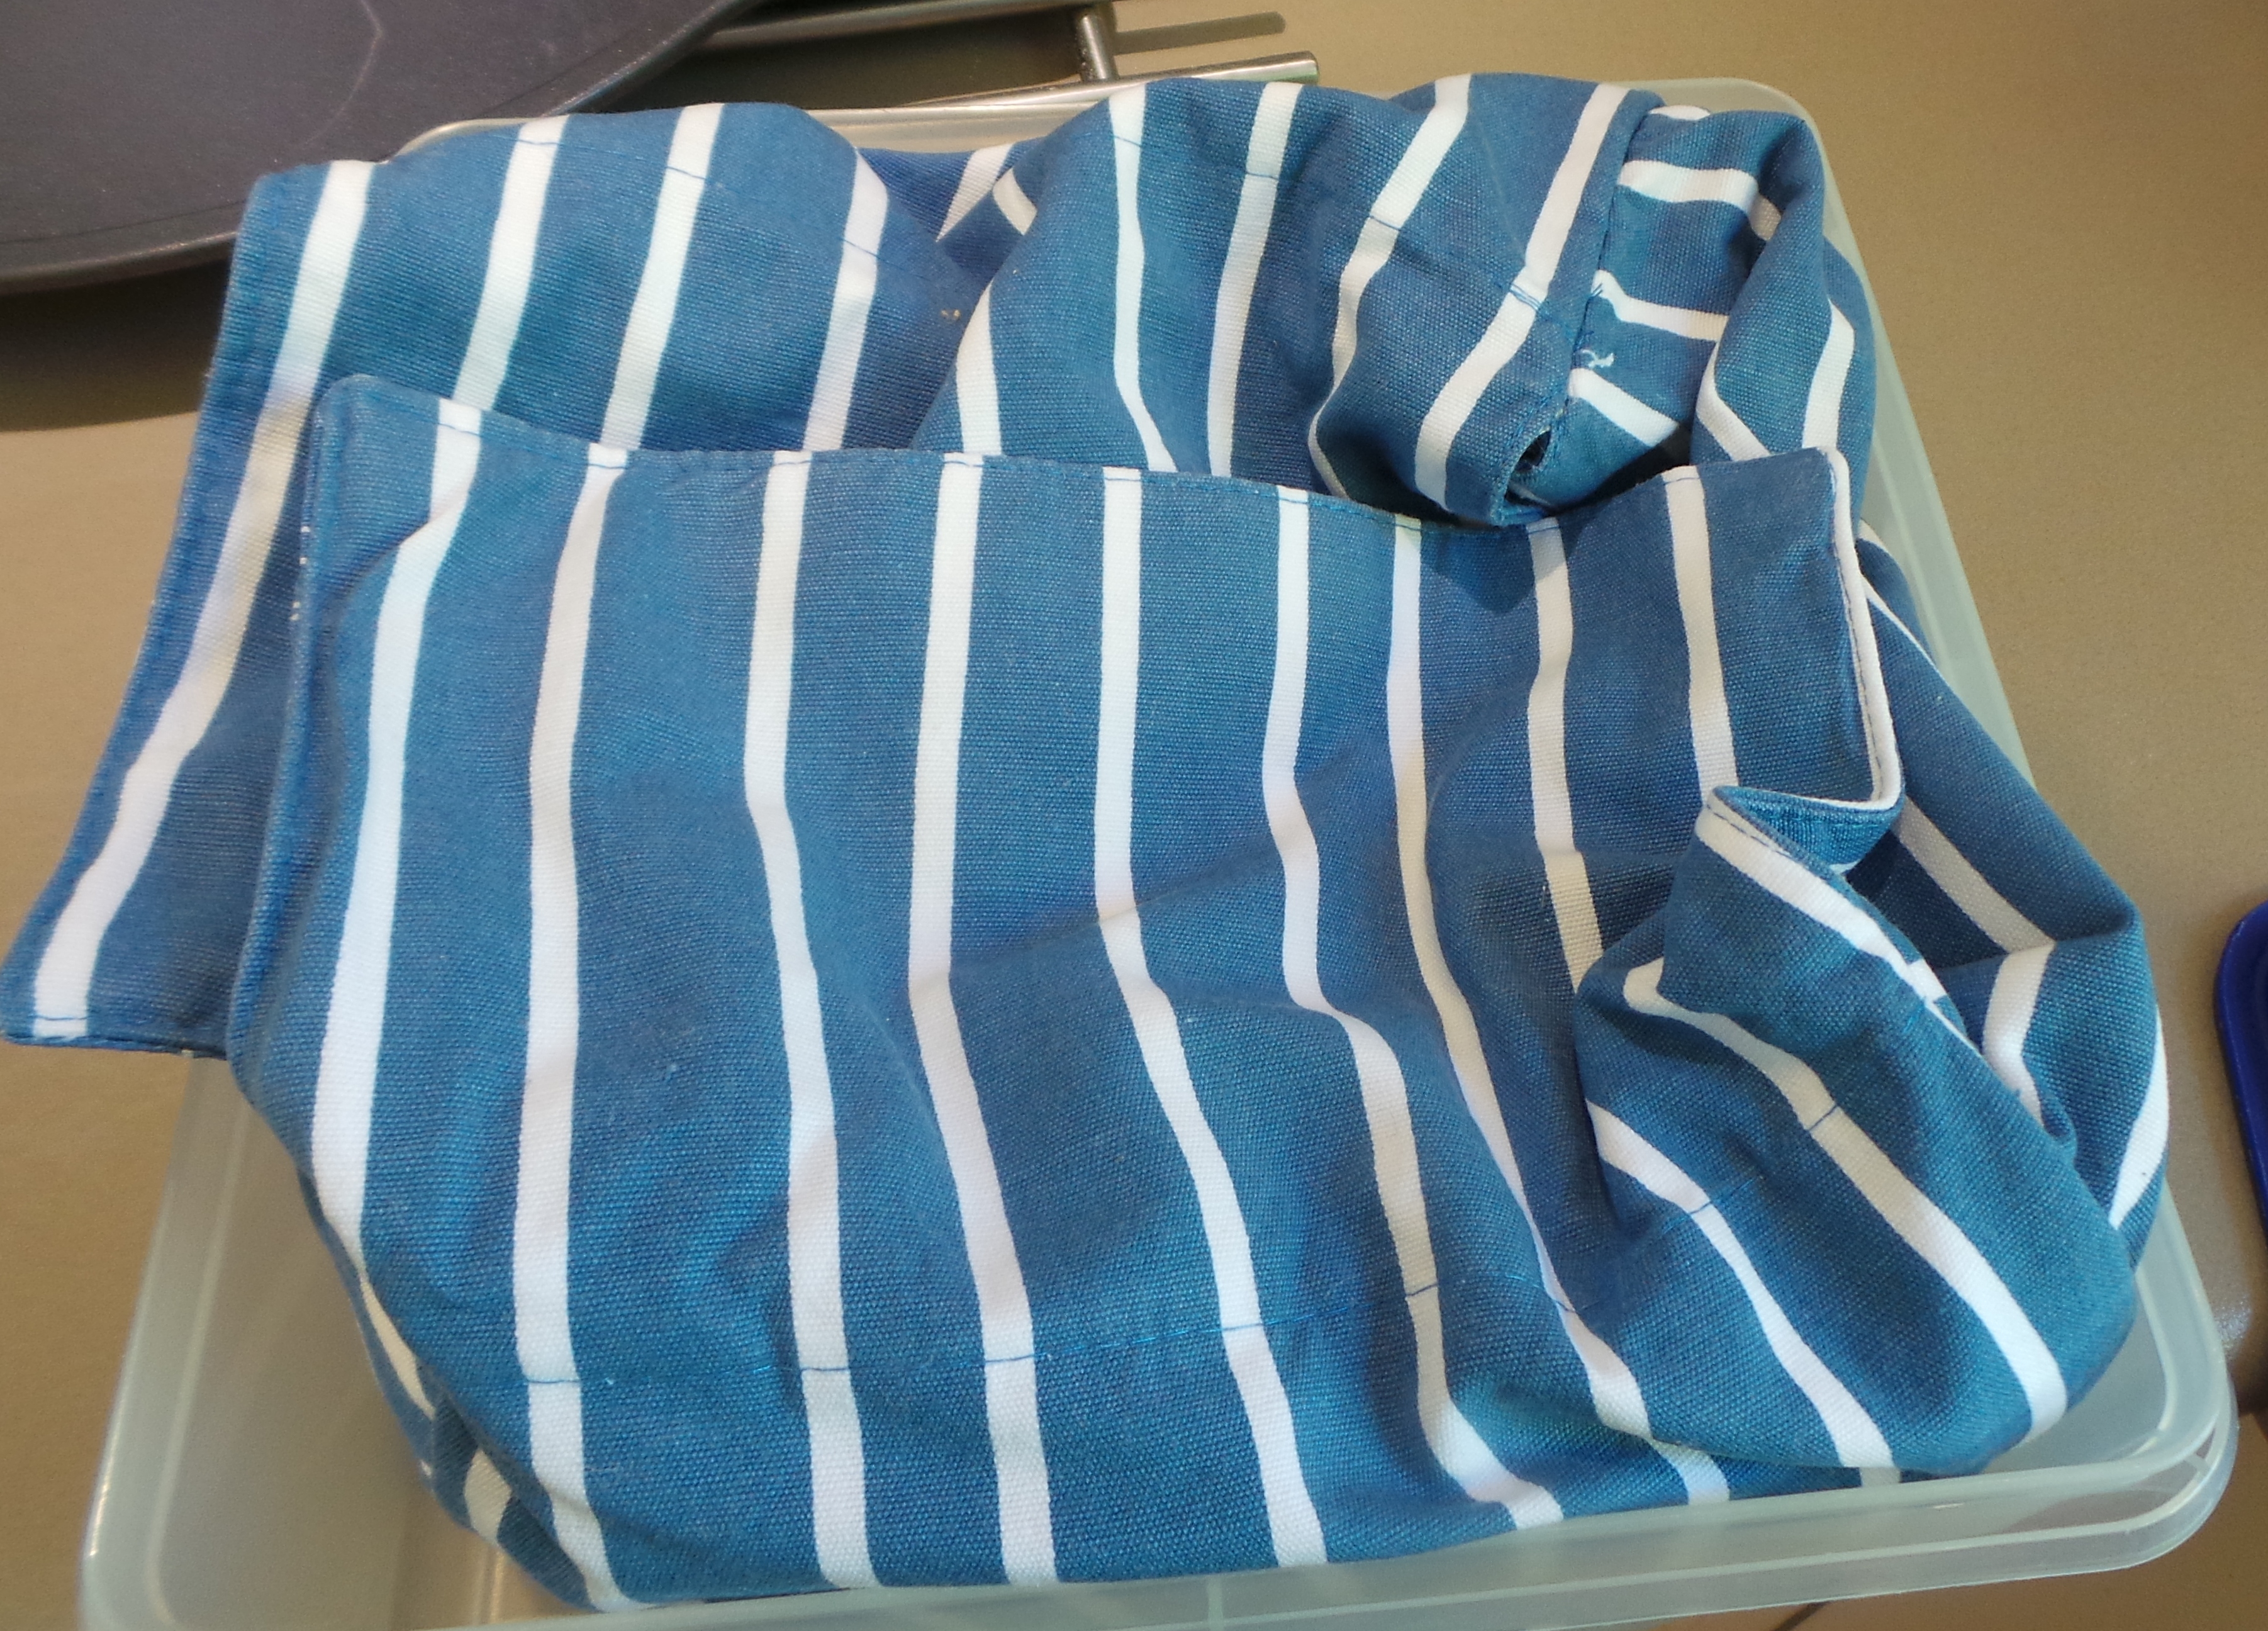
I bought myself this rather nifty scoop from Kmart for $2. It saves my fingers every time. I scoop my egg out and roll it into a waiting tea towel – because it’s HOT.
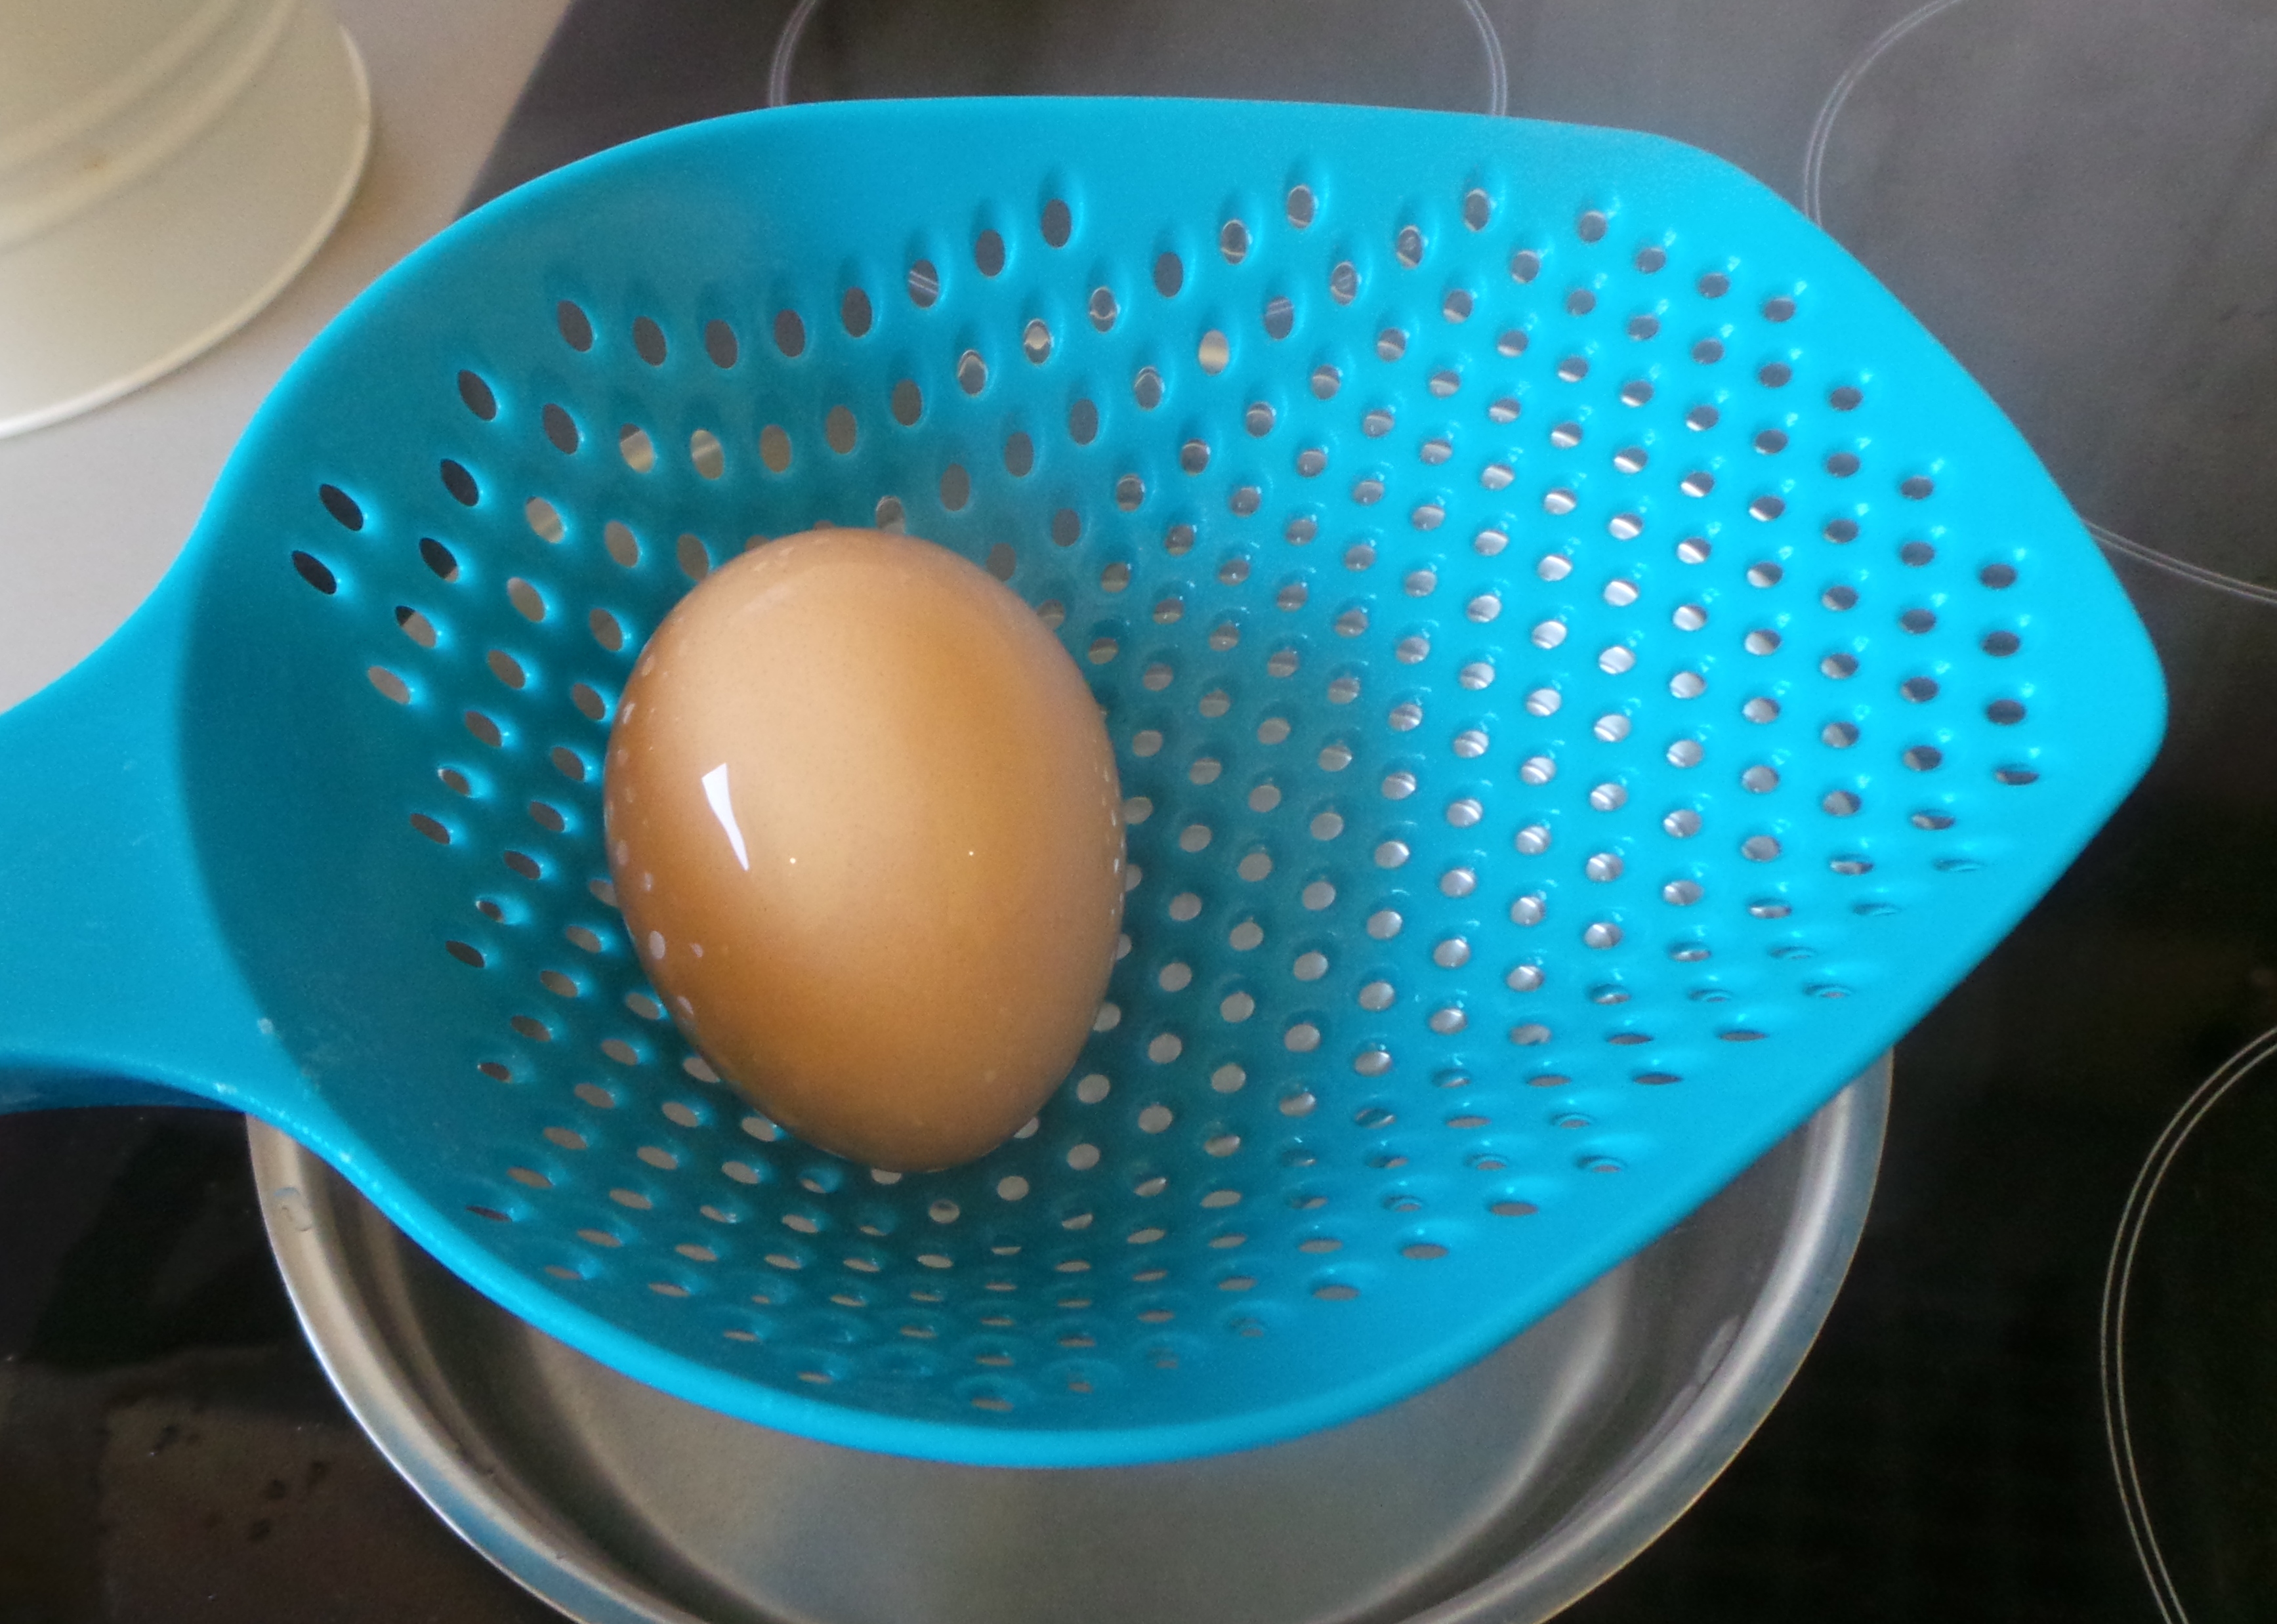
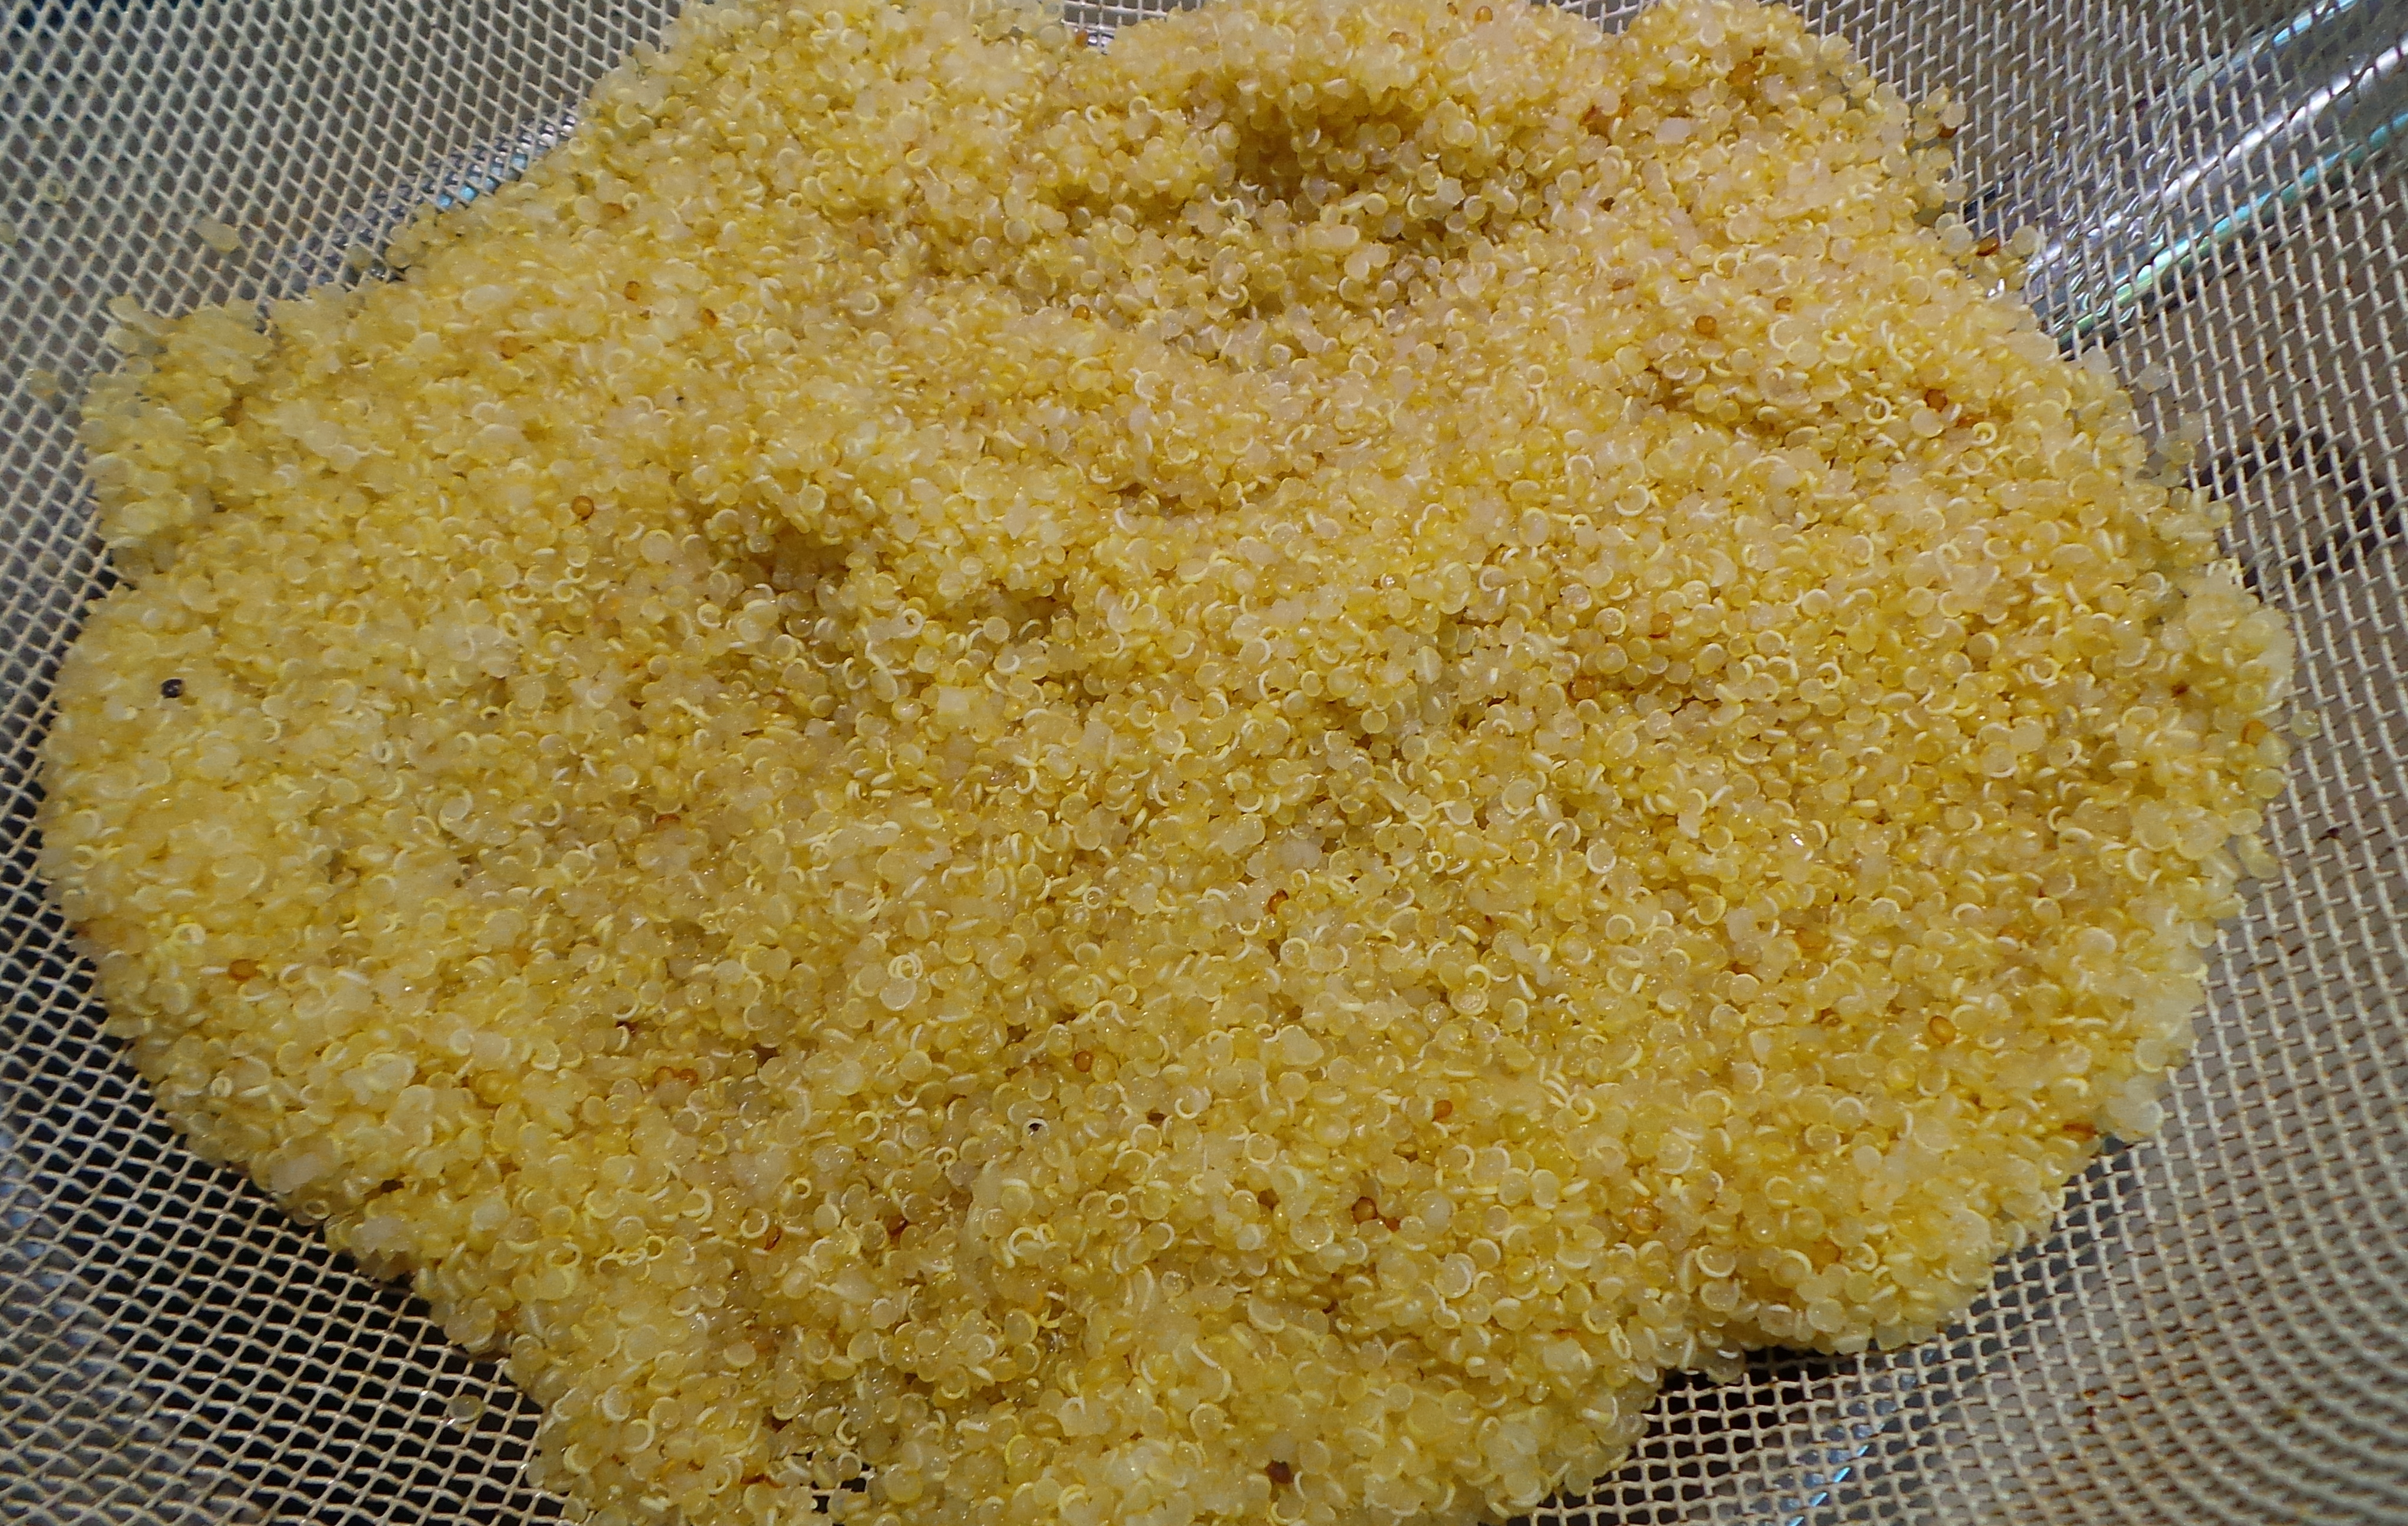
Scoop out the egg.
I place the scoop straight into the cutlery holder to dry and simply empty the saucepan and place it onto the rack to drain. If you wish to do the full washing up thing with them though, then by all means feel free…
Now you can go about getting into your egg however you want. I’m going to describe my boiled egg ritual for those who are also uncertain and for those who know nothing of this strange foodstuff.
I’ve invested in a few ‘egg only’ gadgets in the last year. I’m quite clumsy with my MS and that often doesn’t exist comfortably alongside delicate items like, oh I don’t know…eggs, maybe? Hot eggs?
Egg cups don’t have to be fancy and can help build vocabulary…
Also, I had that whole not liking them thing and anything to make the process more pleasant really helped me get over the ick factor.
And I can work eBay. ‘Nuff said.
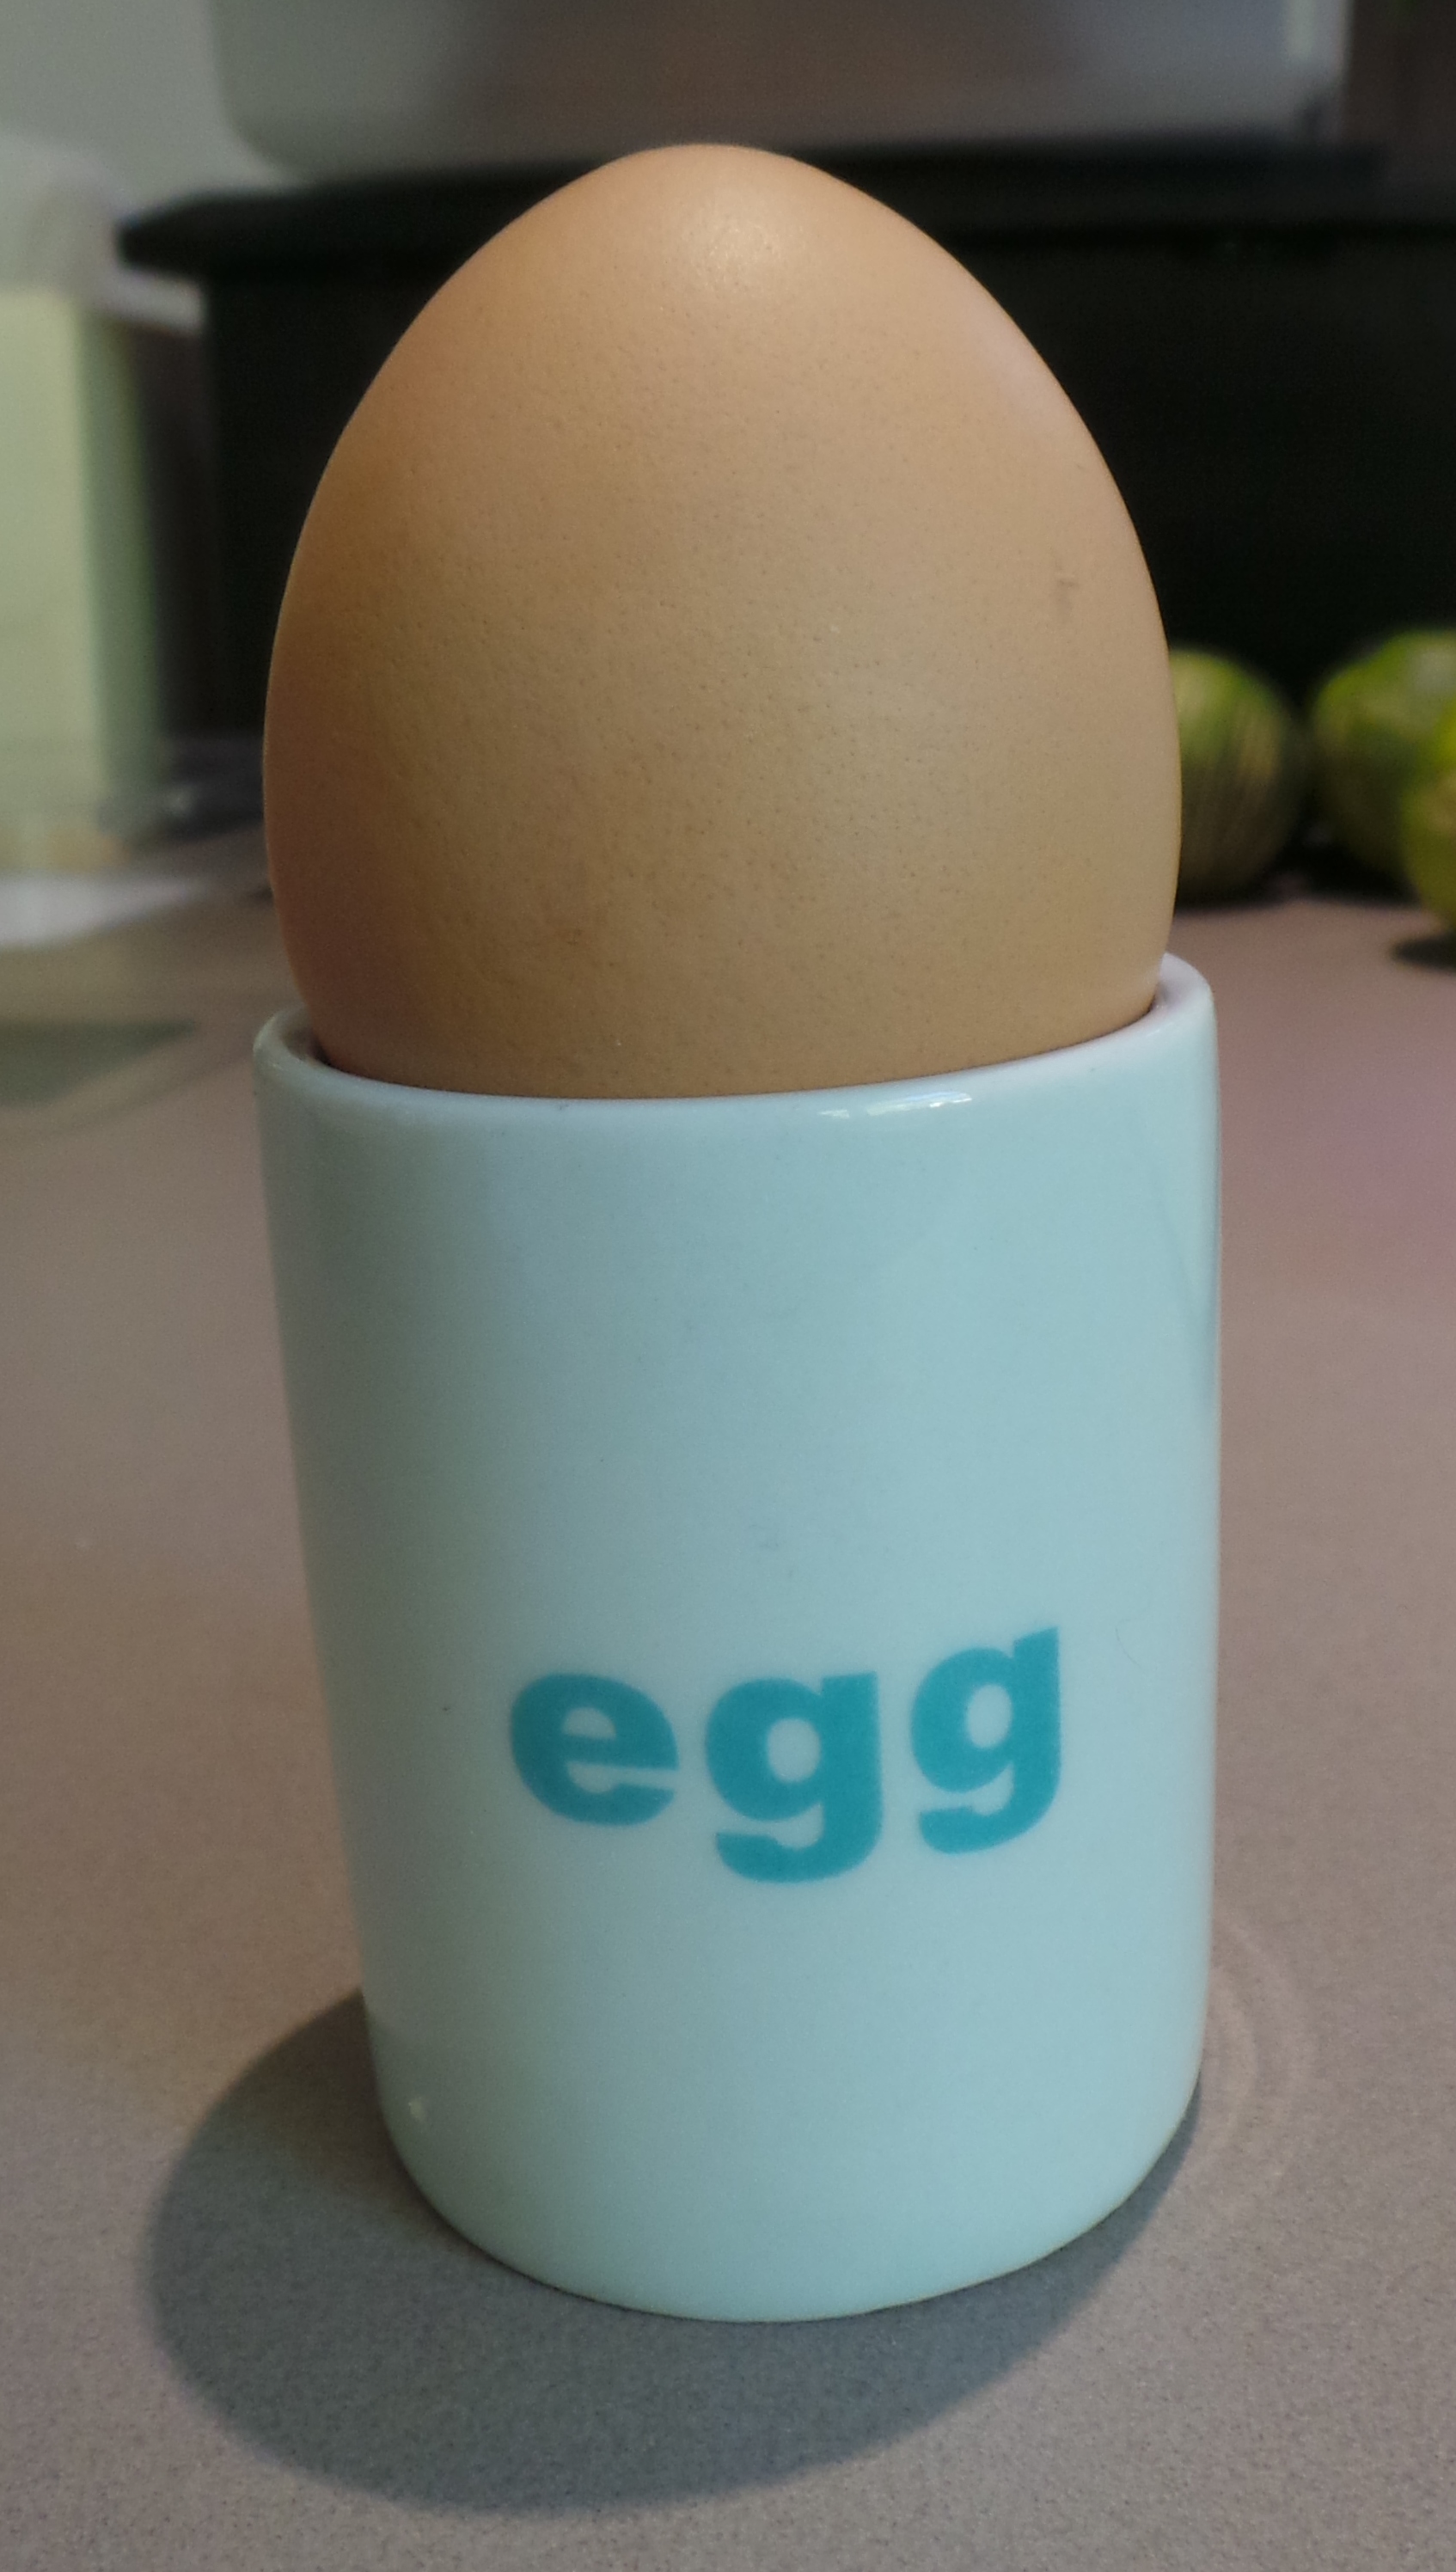
So, I pop my egg into an egg cup that I got from the great emporium that is Kmart and then cut off its top with this egg topper thing that makes the world a nicer place to be – especially first thing in the morning.
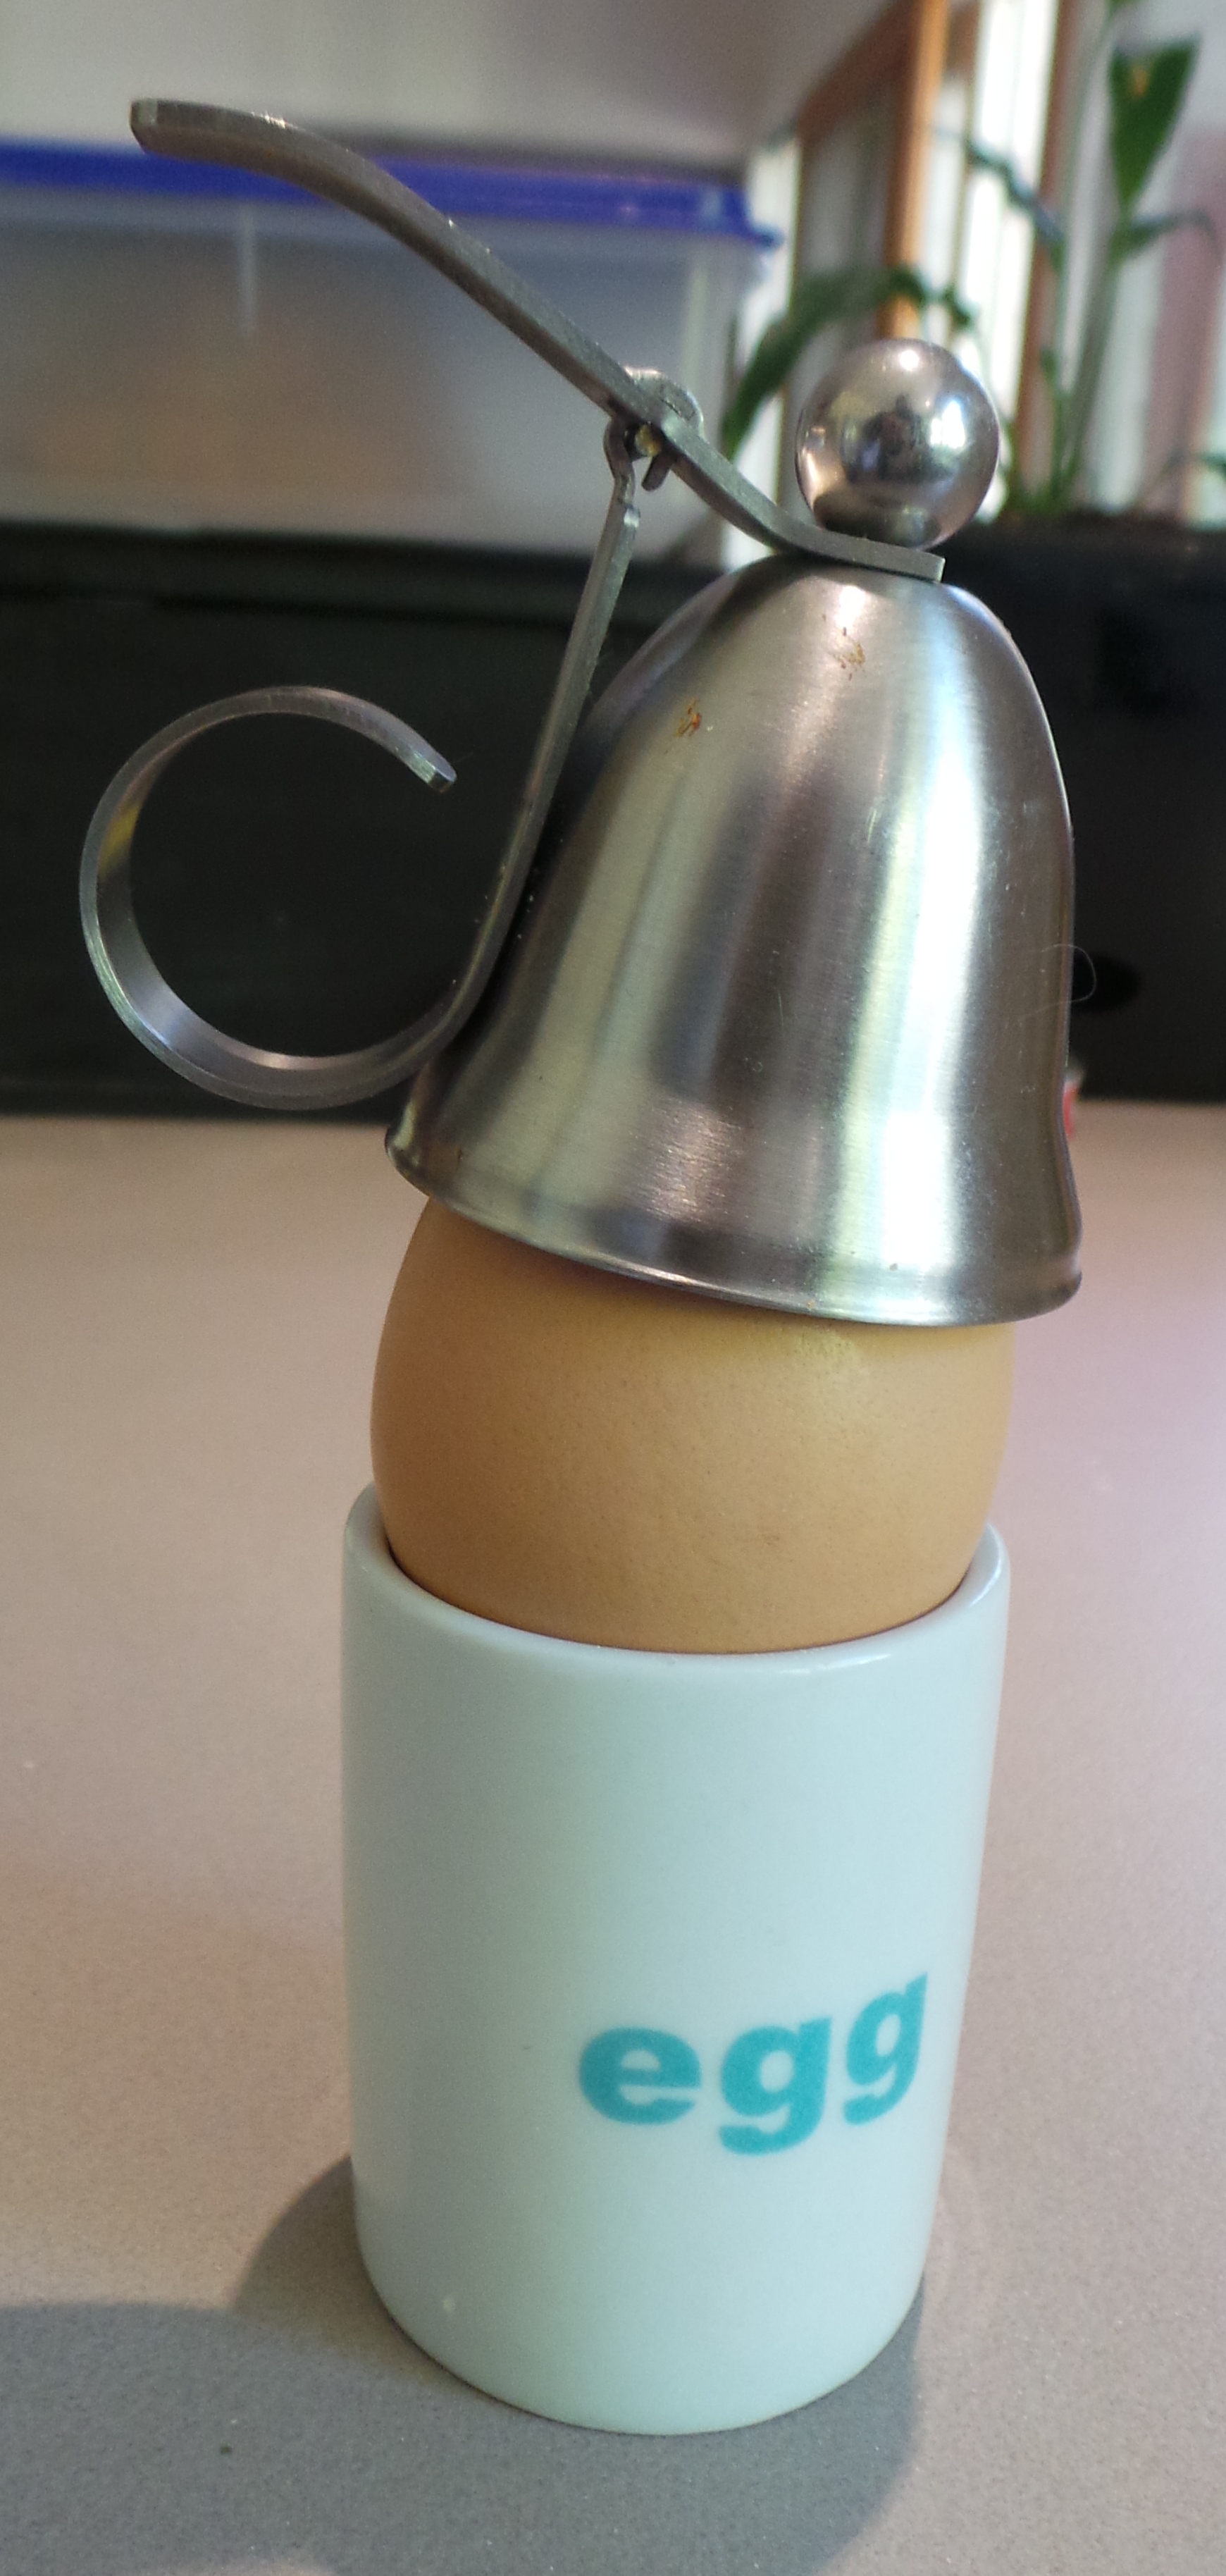
My MS-proof egg topper
It basically cracks the shell all the way around, without piercing the egg itself,
 enabling you to insert a knife into the break and cut the top off, without getting shell all the way through your egg.
This is important to the boiled egg phobic amongst us. Really.

Once my egg has lost its cap,
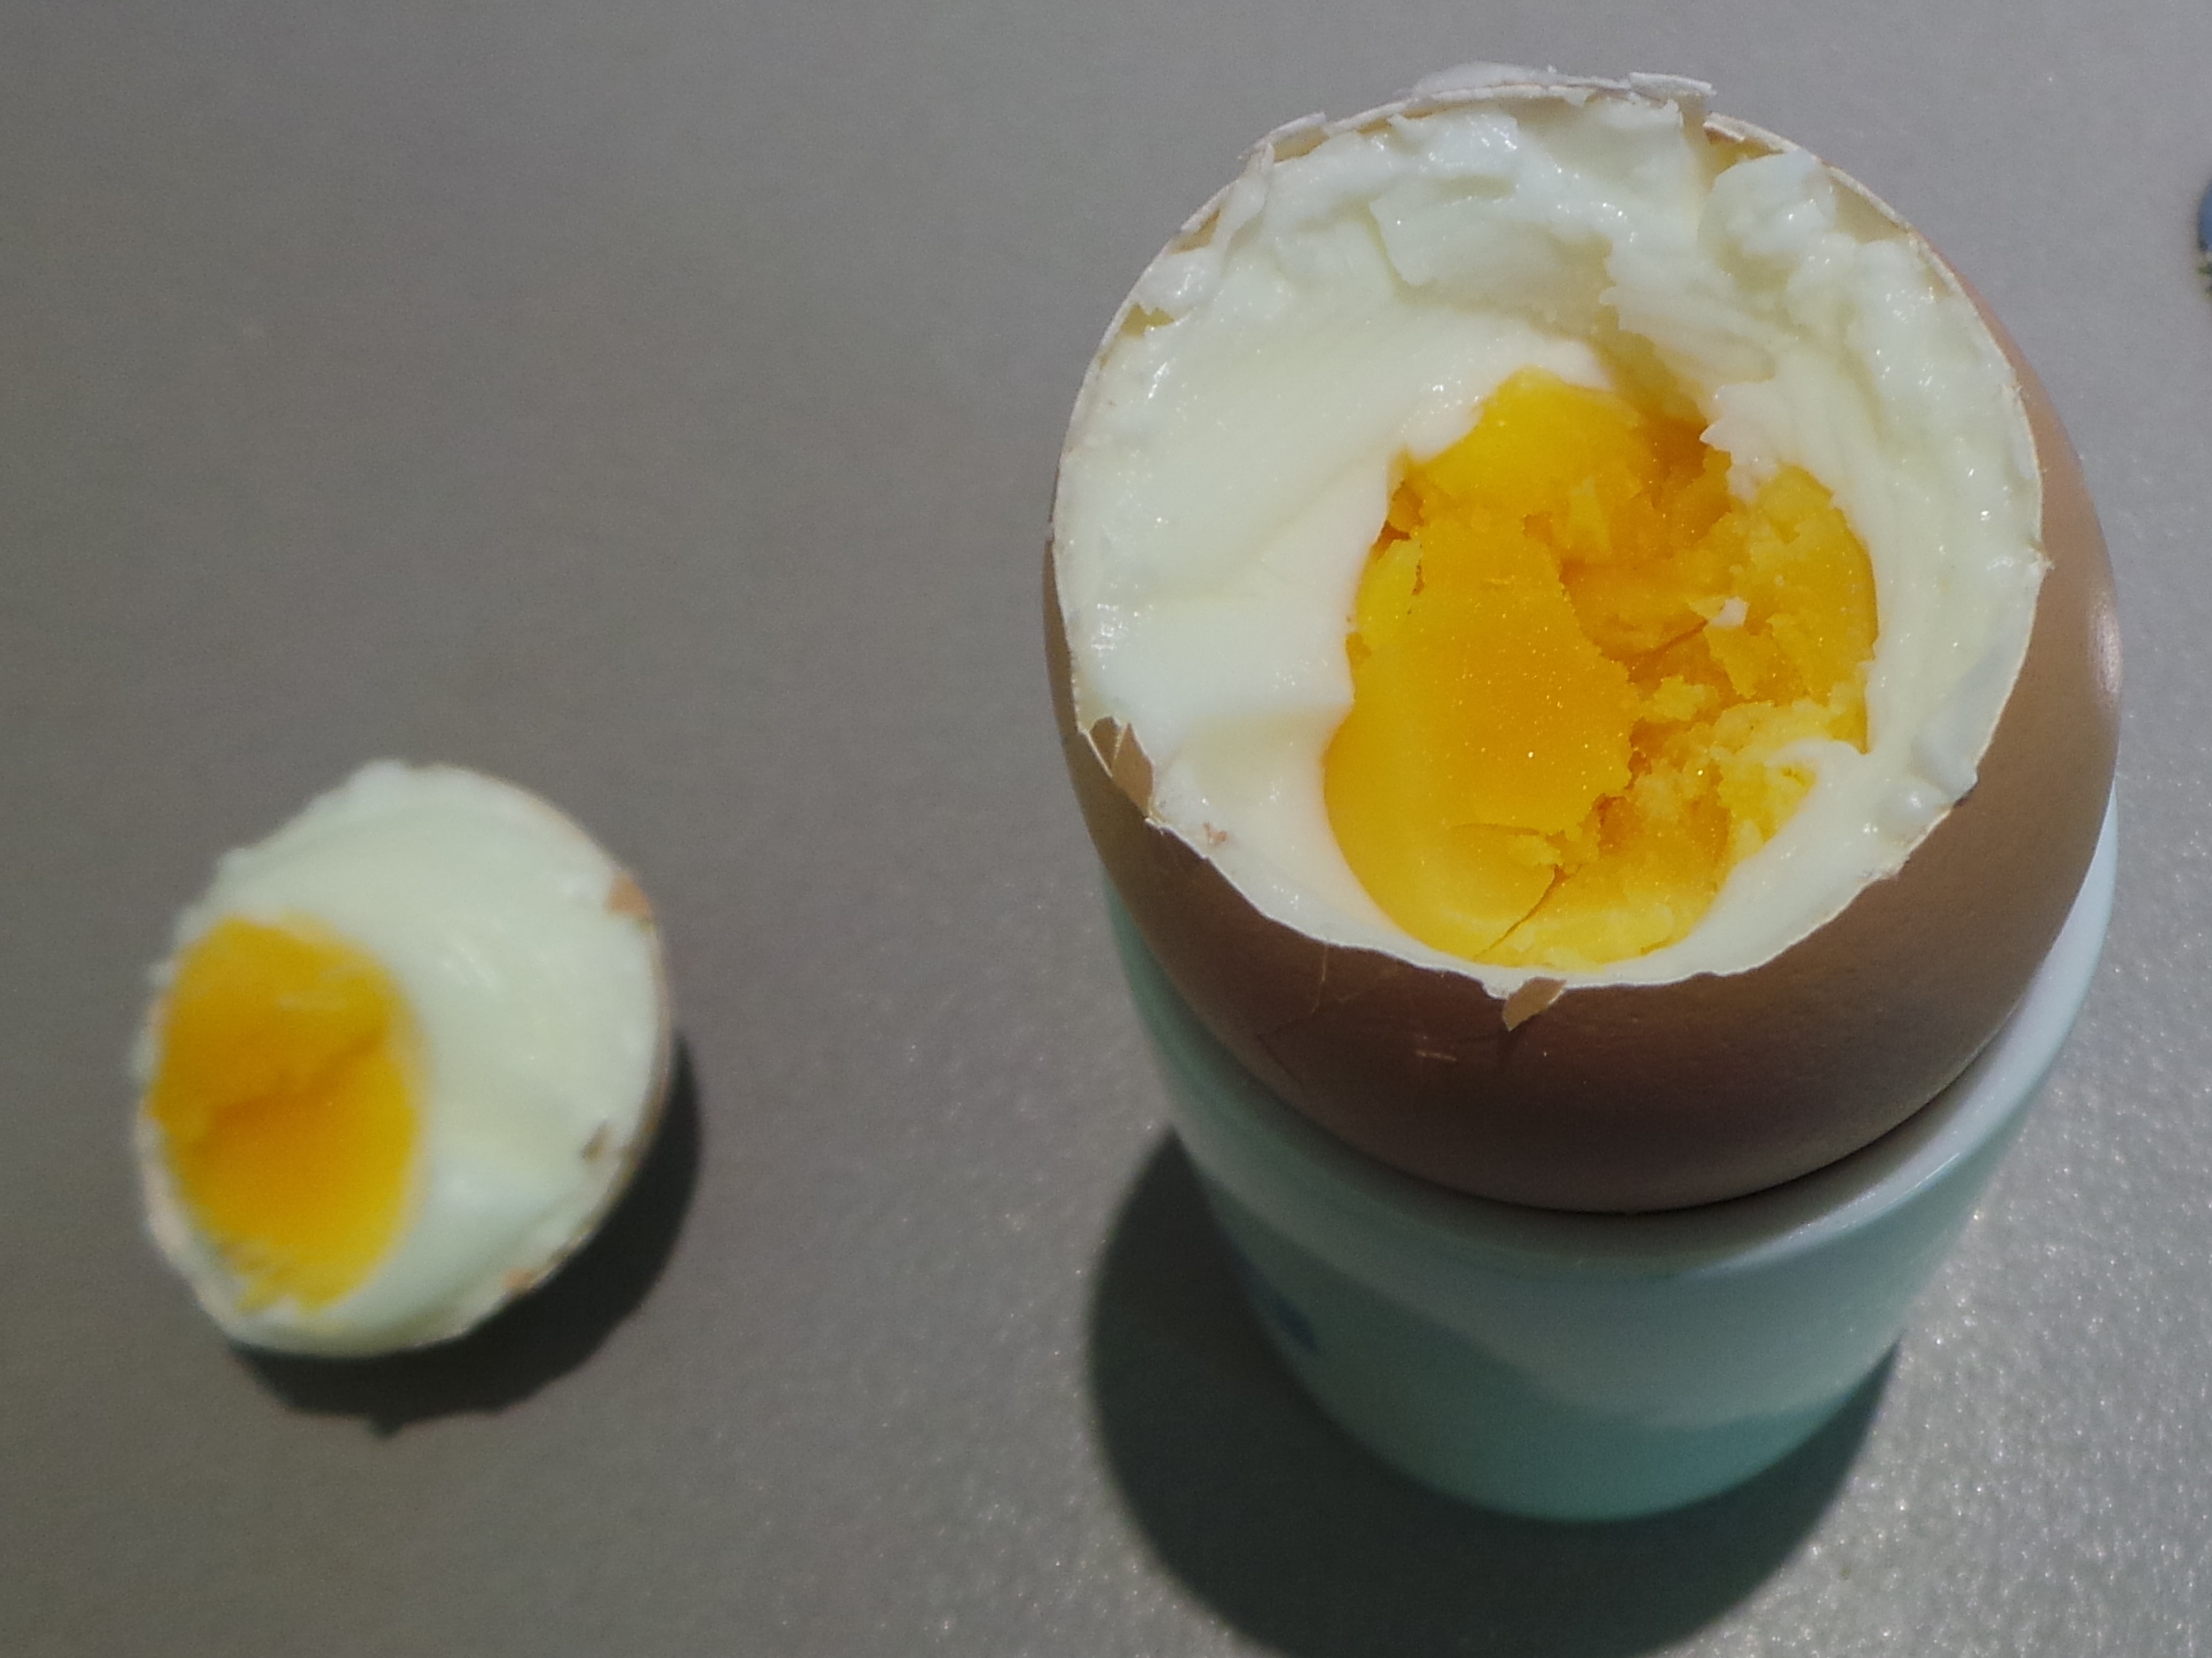
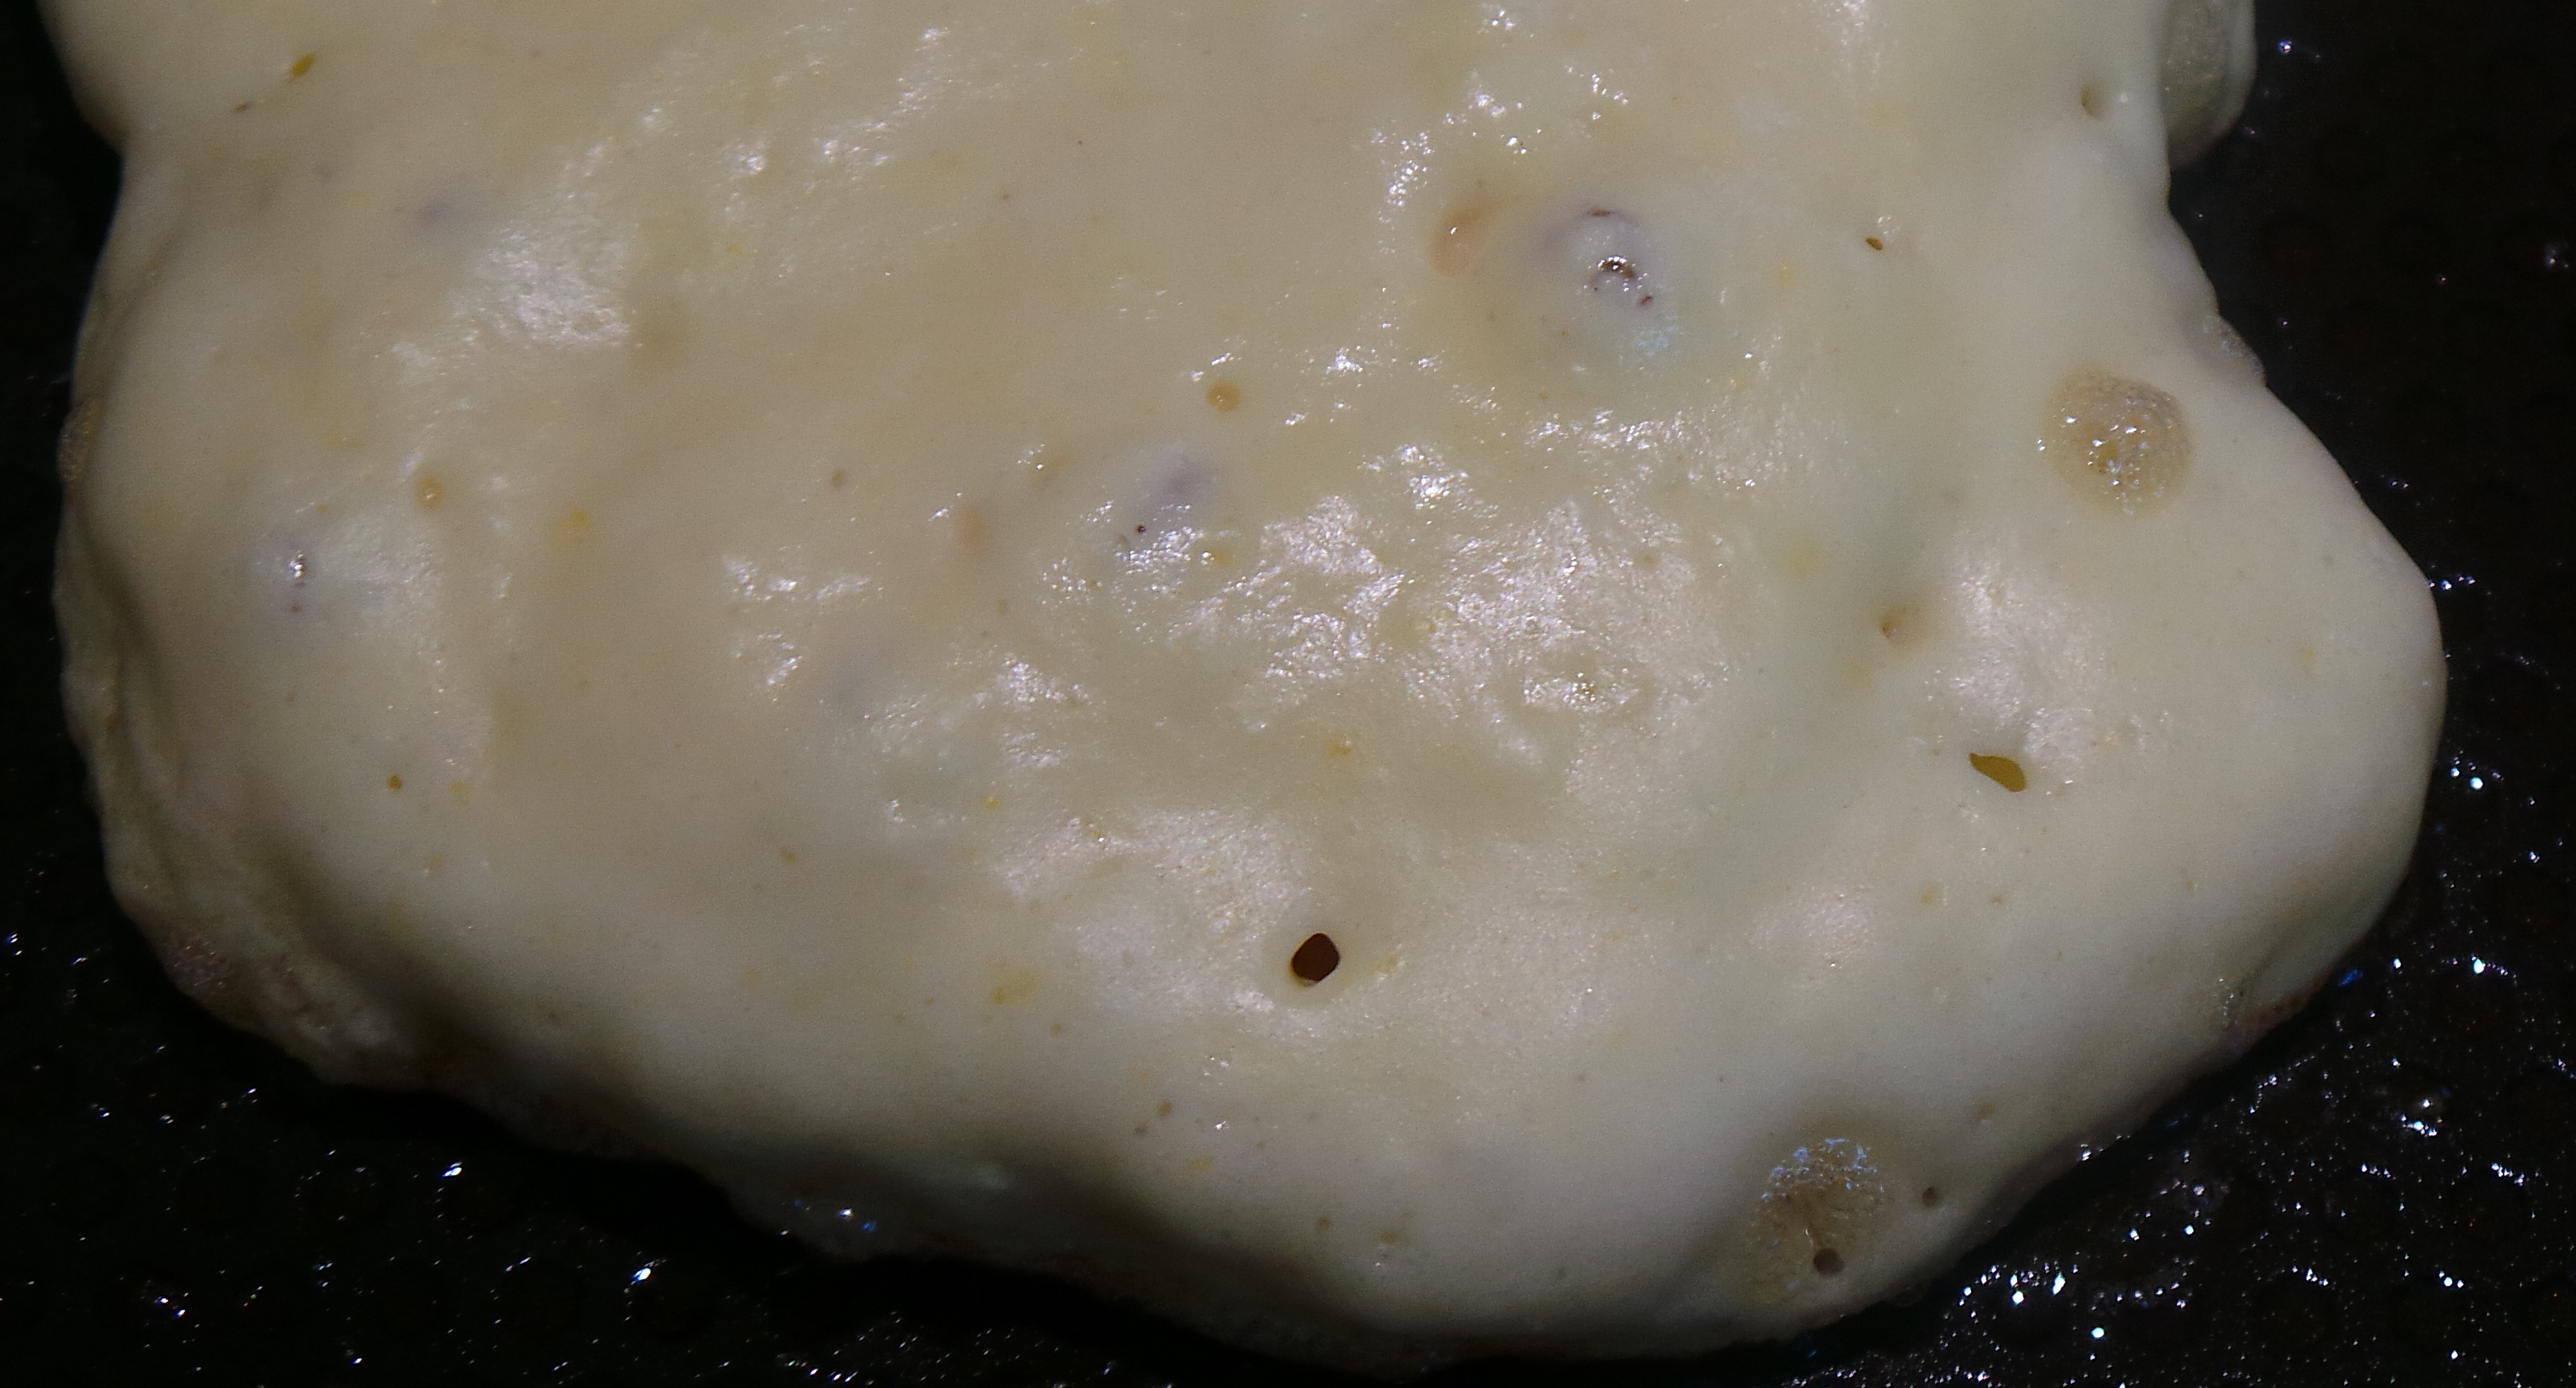
My ideal 3 minute egg
I remove it from the shell using a little egg spoon I found on the aforementioned eBay.
 That would be the one on the left. It fits perfectly inside the shell, scooping out the egg easily without crushing the shell to pieces and getting it all through the egg.

One shell without its egg
I’m sure you could just eat the egg straight out of the shell with it, but I use it to scoop the whole thing out and put it on my plate with my toast. Then I mash it onto my toast with a fork.
Because I can.
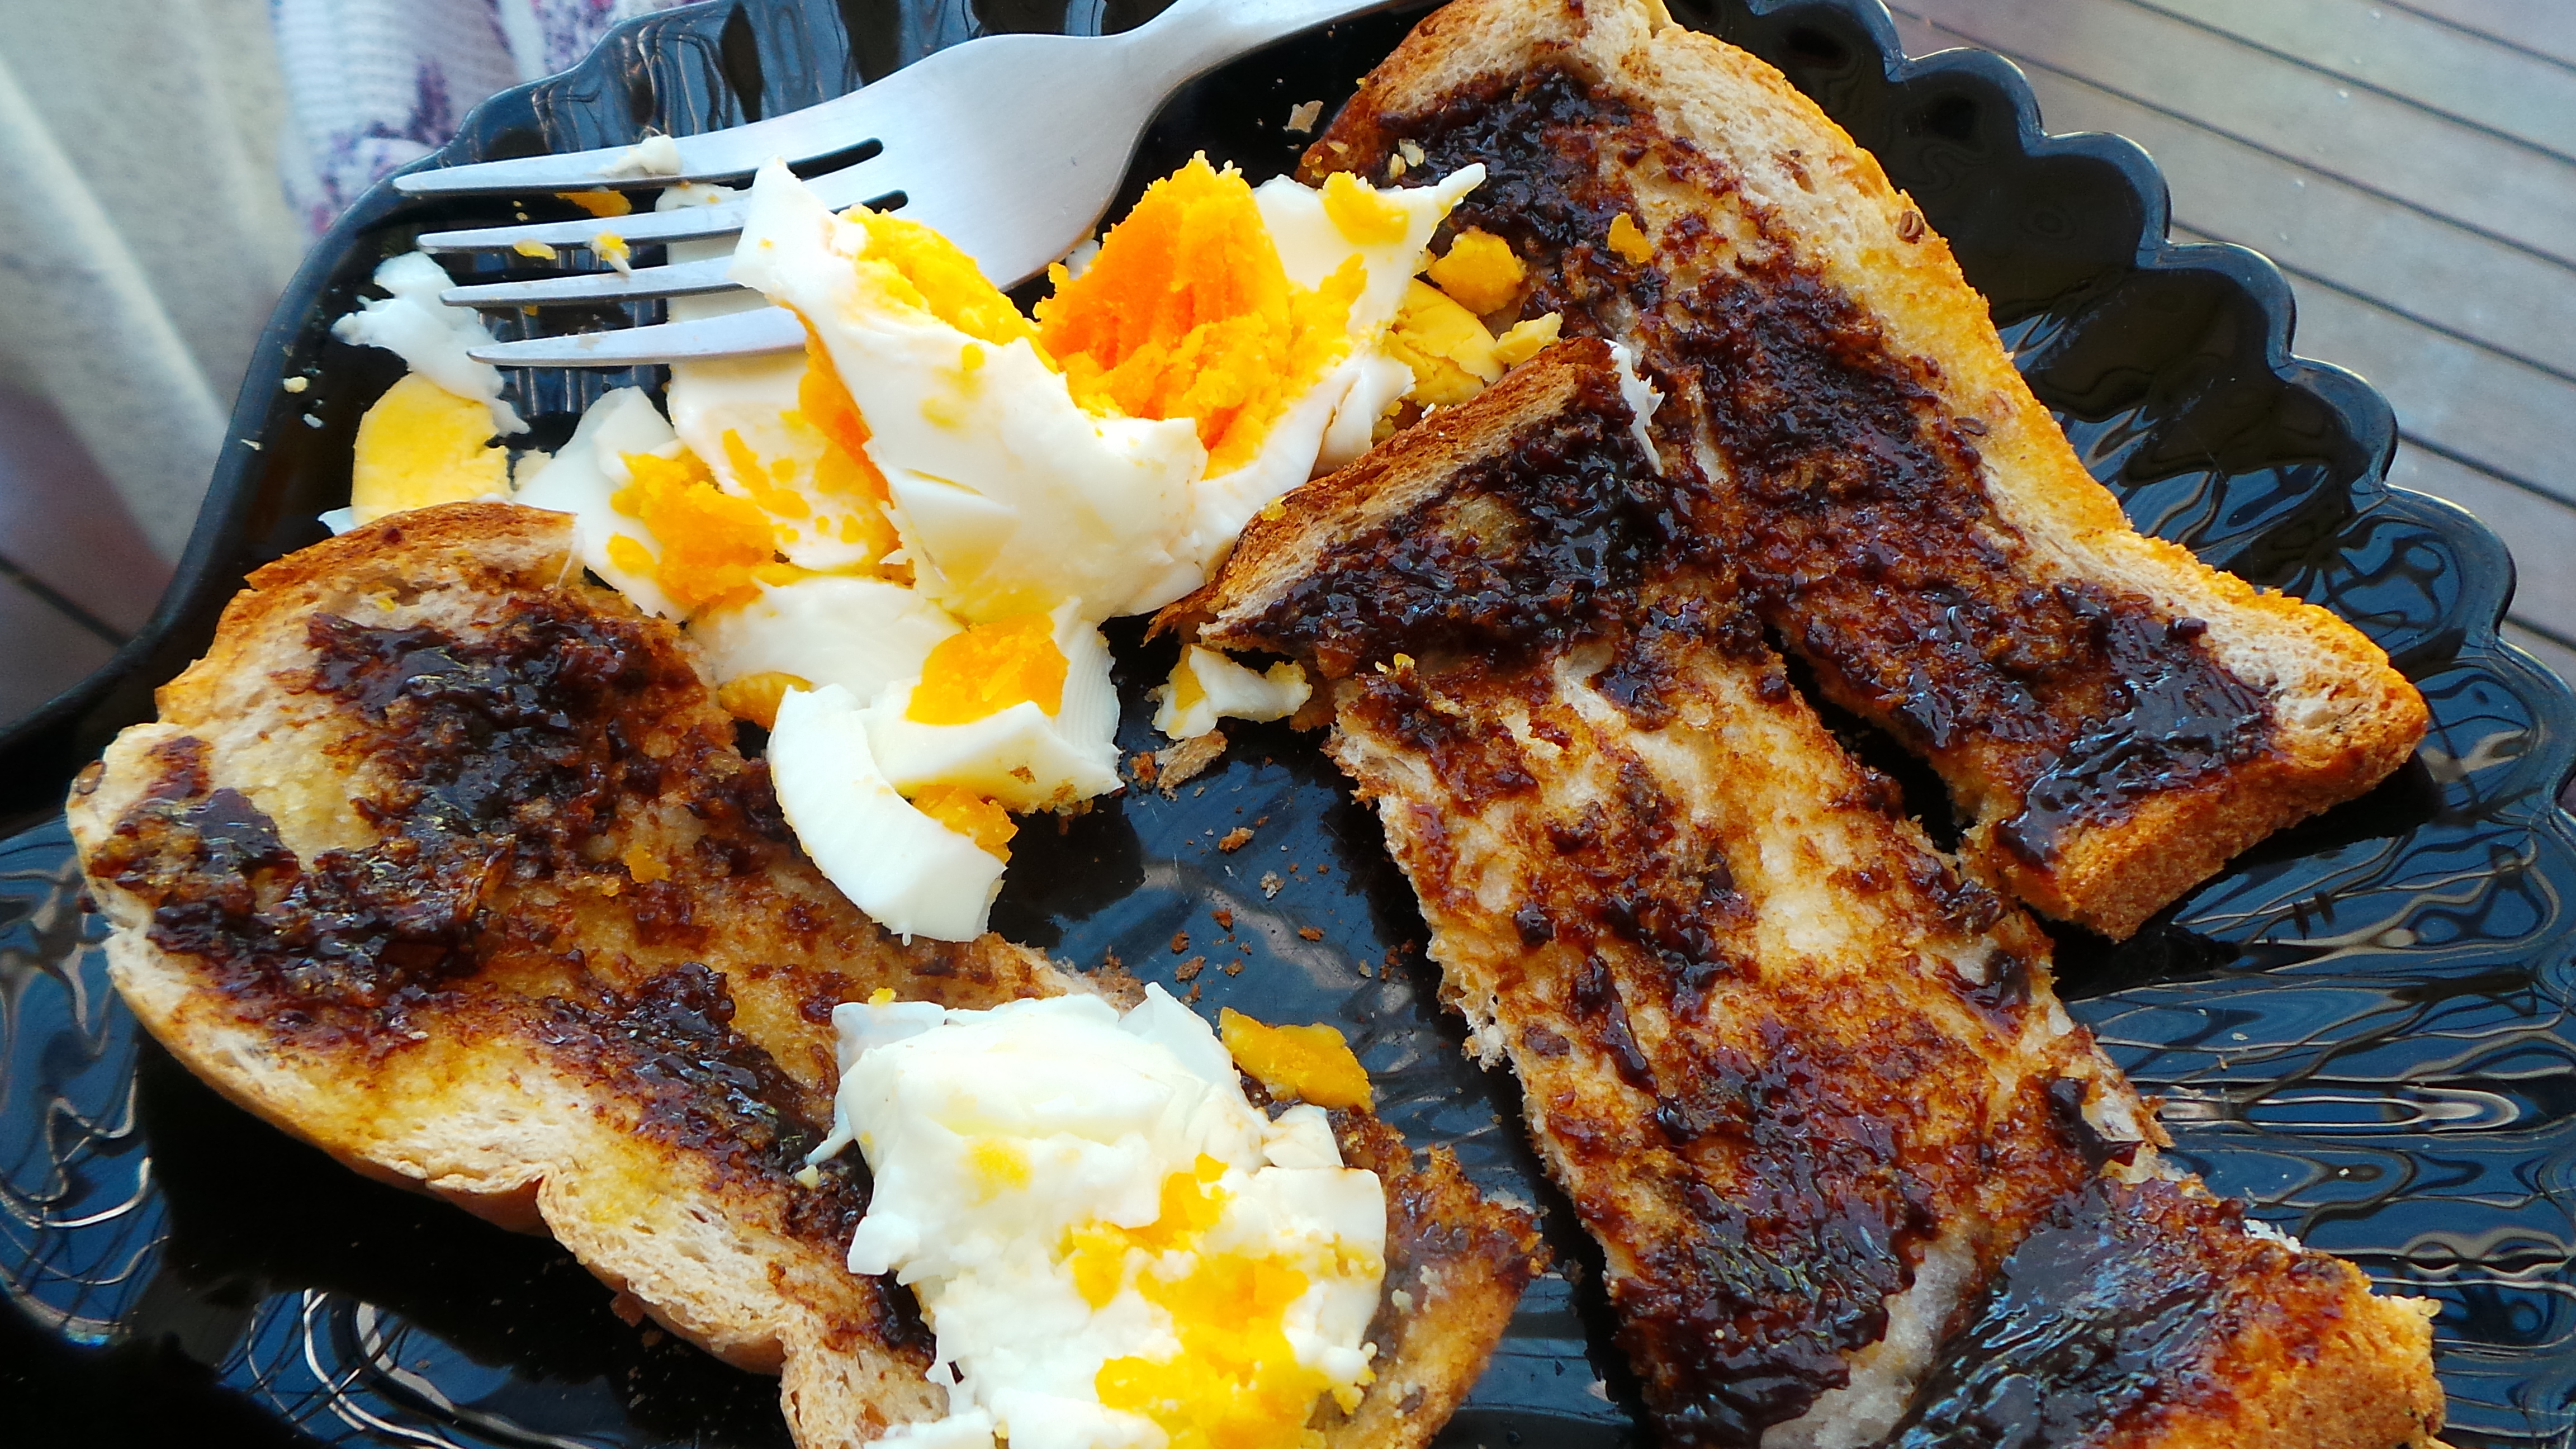
Breakfast: Boiled egg and Vegemite toast fingers.
You may wish to dip your toast fingers (soldiers) into a runny soft boiled egg. Try only cooking it for 2 minutes.
Experiment to find the timing that works best for you. Larger eggs will take longer to cook, as will eggs that are straight out of the refrigerator; you be the judge.
If you want a hard-boiled egg for a cold lunch, cook it for at least 4 mins and then put it into a bowl of cold water immediately afterwards. It will be a lot easier to peel and not have that green circle around the yolk that happens sometimes.
Oh… and if you happen to be eating on your deck and then you happen to end up with just a touch of Vegemite on your fingertip, then I suggest sharing it with your cat¹. The B vitamins are great for their coat – and their tongues tickle.
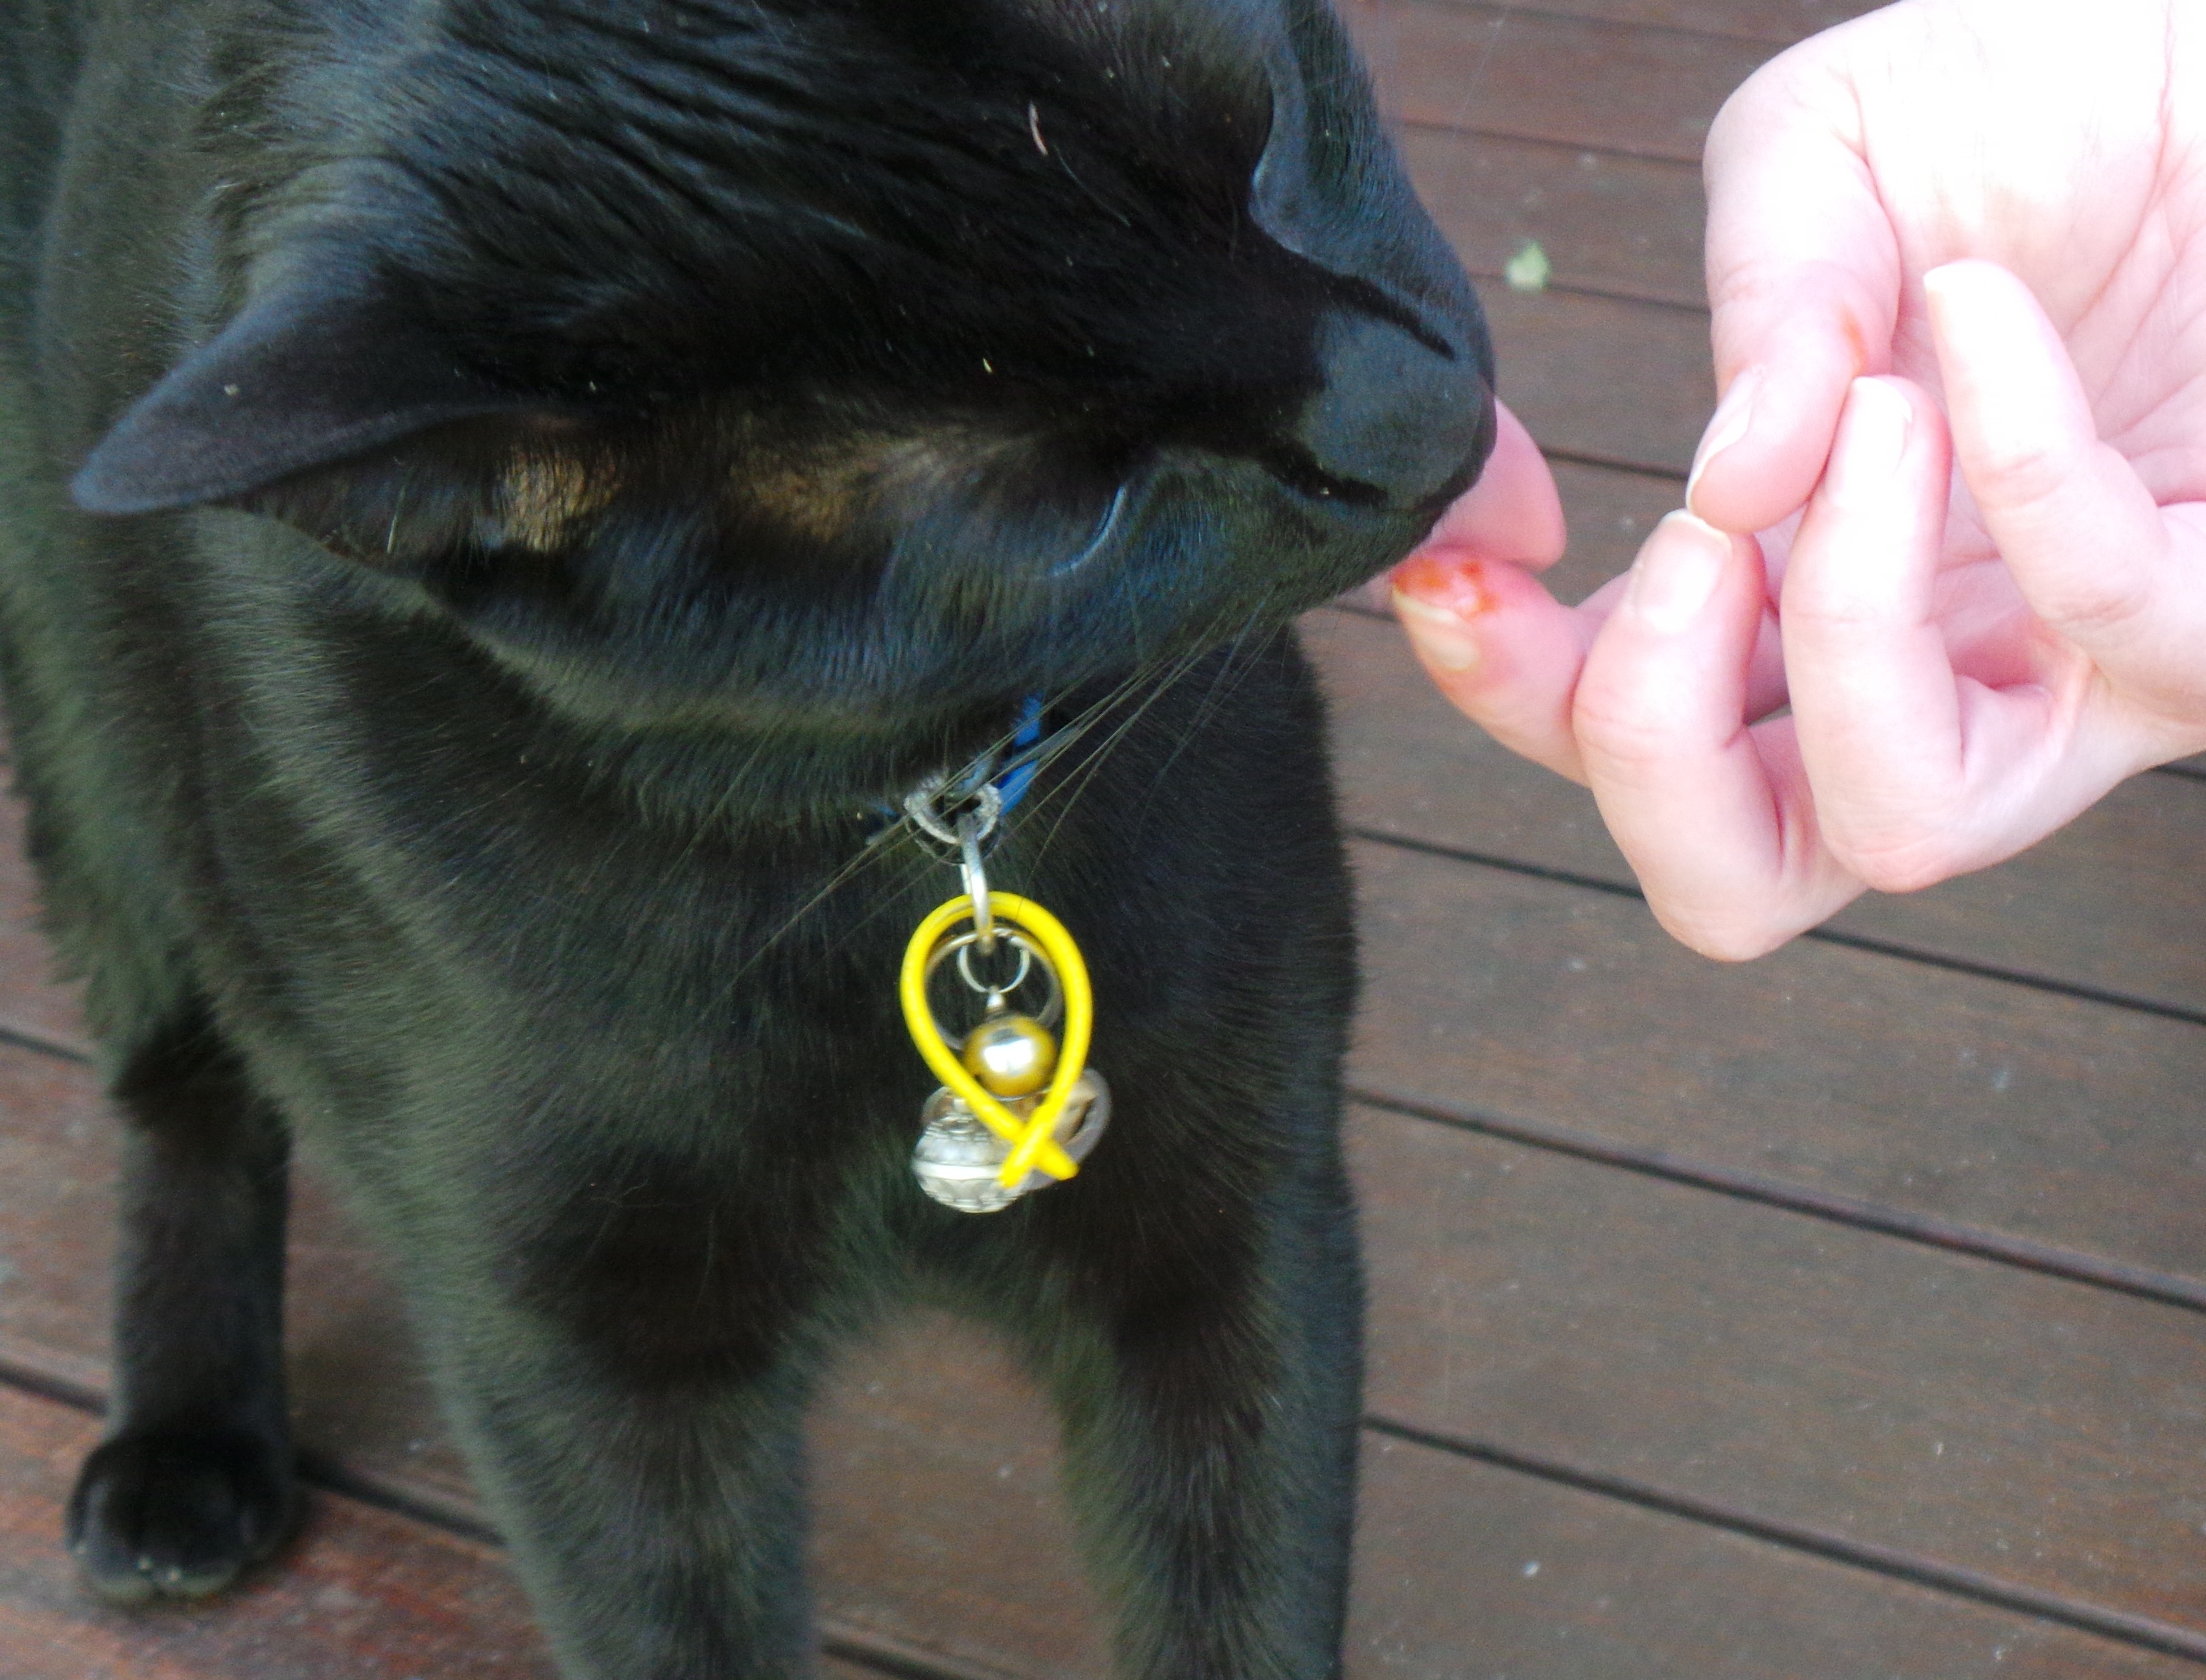
Truffles’s daily vitamins.
Good kitty.
¹I’m sure this will work just as well for dogs.