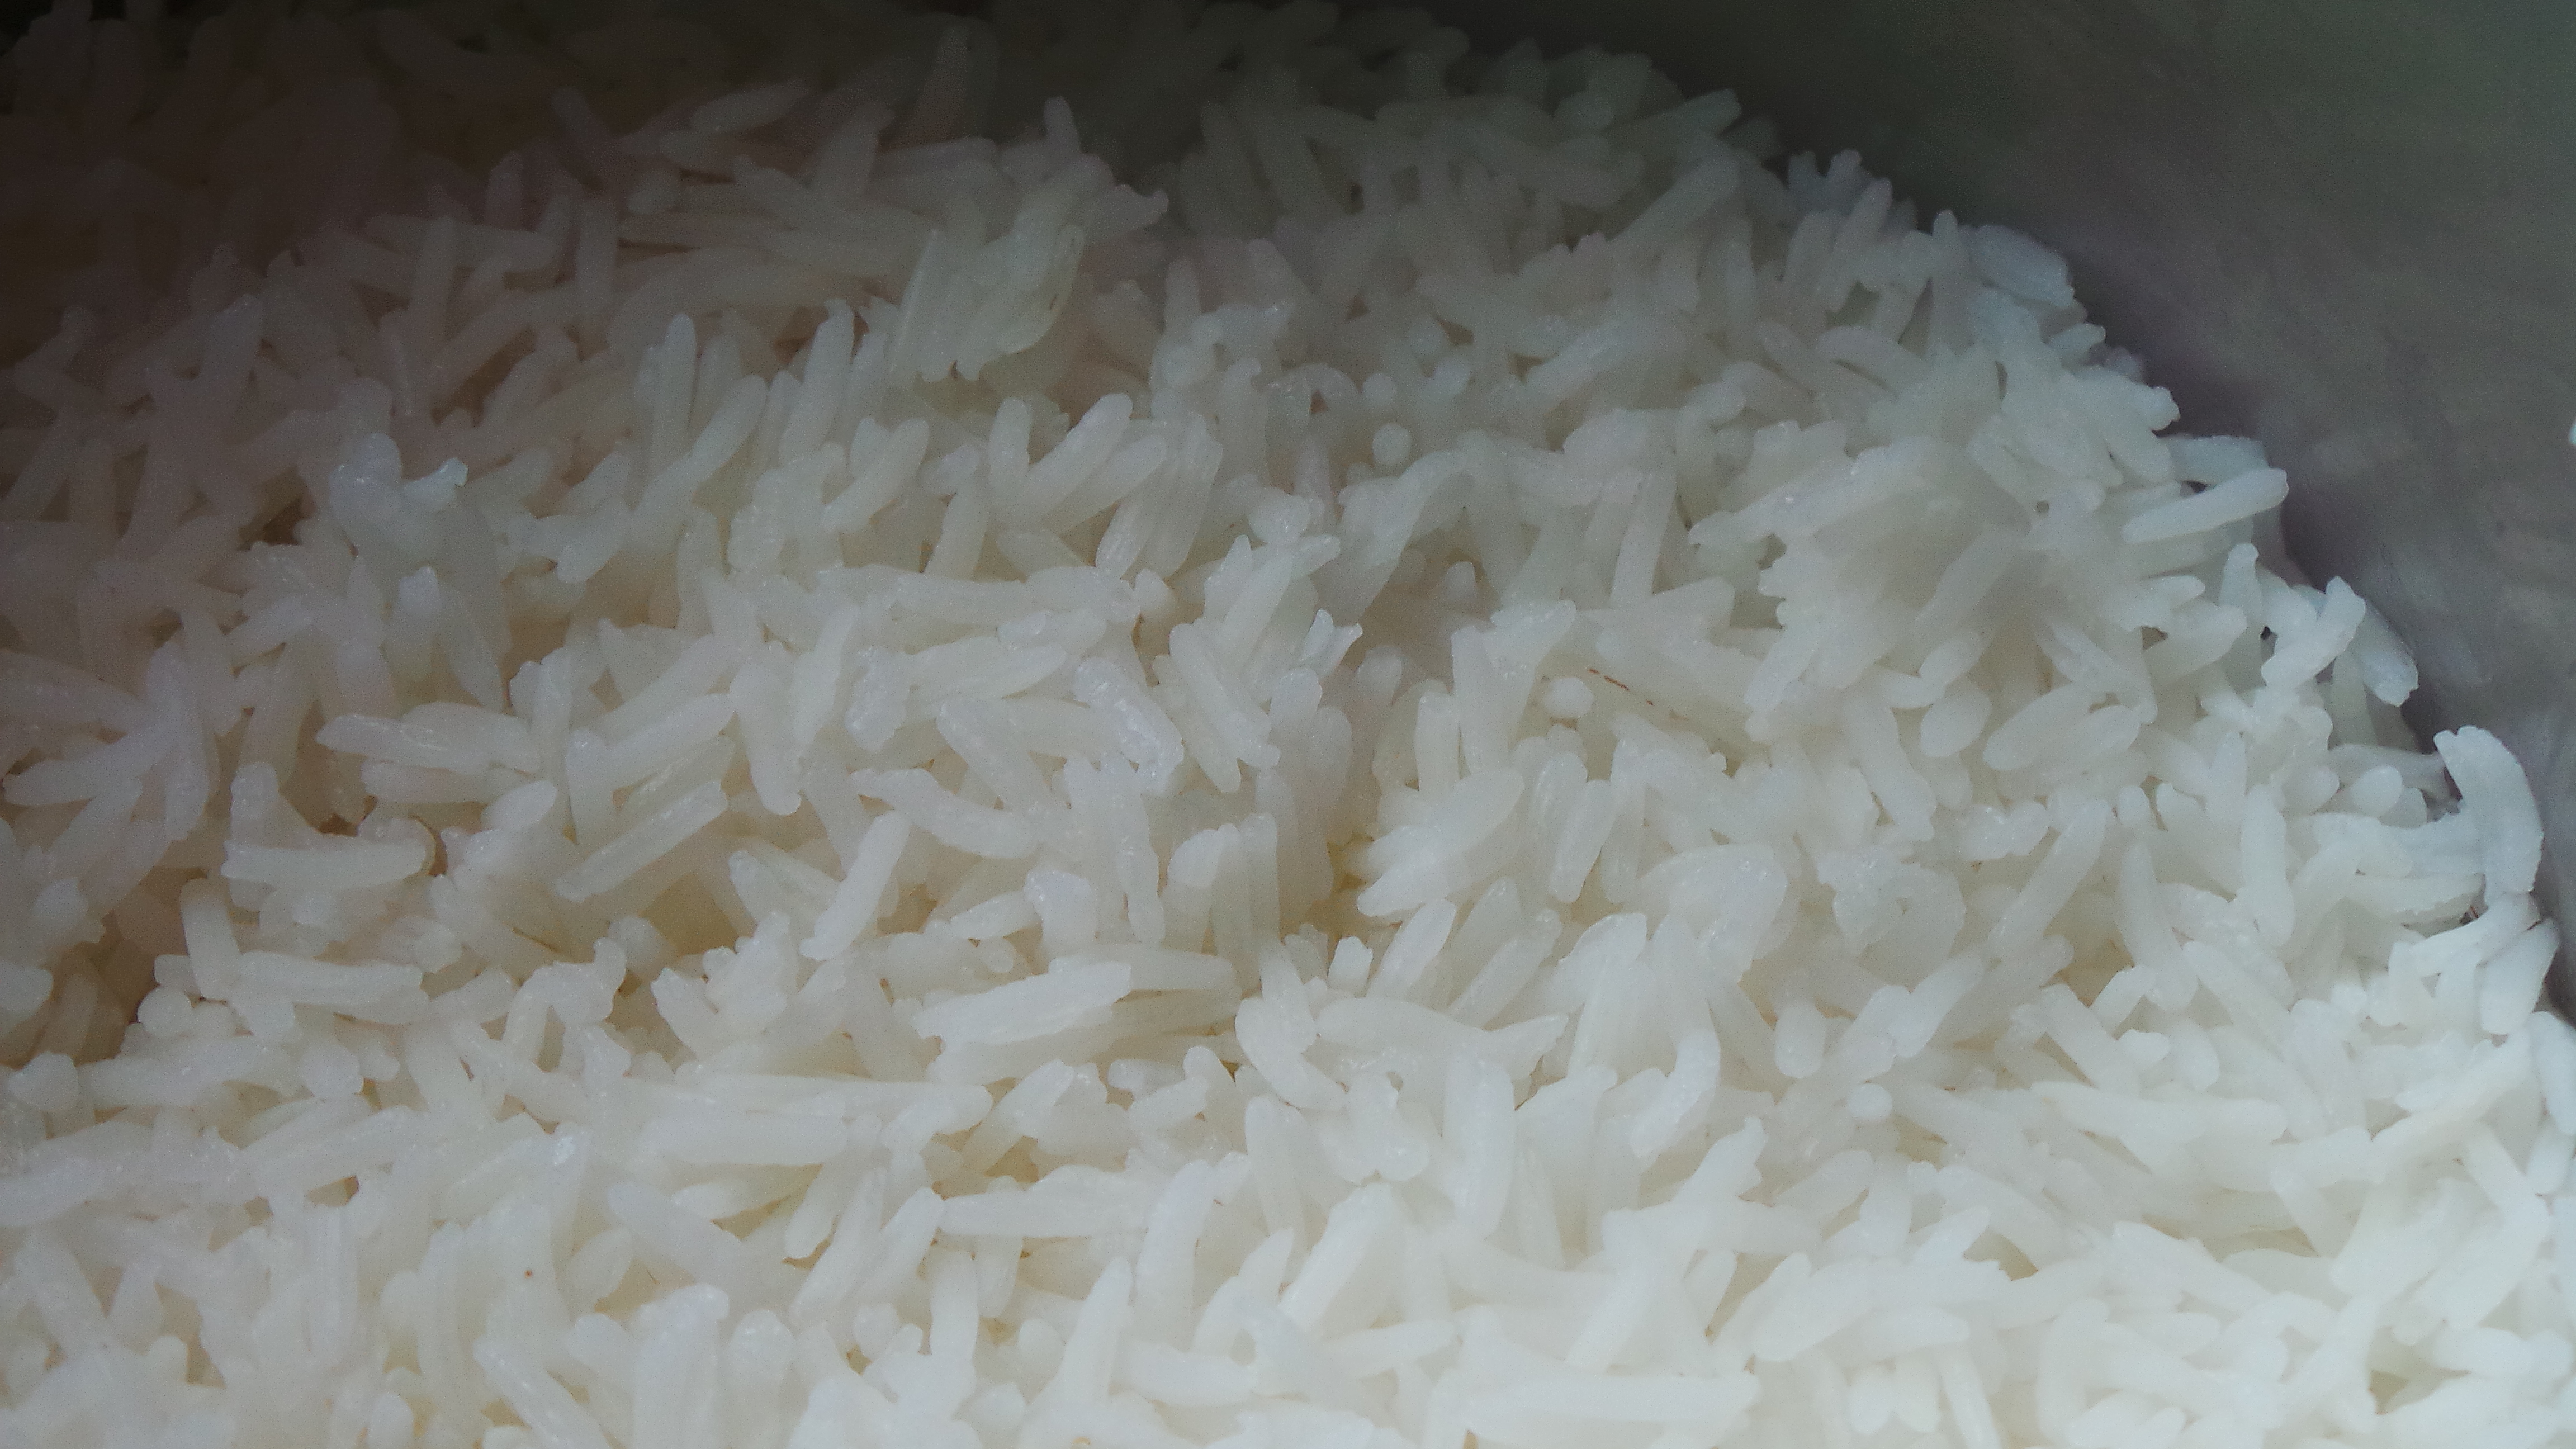
Fluffy rice with flecks of spice.
Rice is one of those things that seems much harder than it is.
It makes the perfect accompaniment to umpteen million (actual measurement) other dishes, requires little to no thought or skill to pull off and can be incorporated into other dishes which make you look like an absolute star.

Perfectly cooked long grain rice – without using a rice cooker.
I like to cook more than I need when I do a pot. Cooked rice keeps well in the refrigerator, reheats easily in the microwave and can be the foundation stone for other dishes like fried rice, rice salads, etc. It also makes a handy filler for things like meatloaf and rissoles (meatballs).
It’s also one of those budget booster ingredients. A kilogram of rice will only cost a few dollars but will give you three times its weight in cooked product and store in its uncooked state indefinitely if treated properly.
It can also be an absolute pain in the neck.
Pots that boil over (ugh!), rice that burns, or rice that resembles glue are all elements of everyone’s respective rice nightmares.
It doesn’t have to be that way.
Really.
It’s not rocket surgery folks and with just a little care and attention you can cook perfect rice each and every time without even using a measuring cup.
Although – if I know you guys – someone out there will *demand* that I give an actual measure somewhere. Sigh.
Not gonna. Nyah.
Take your largest pot. Fill it a quarter full of rice, cover with water to a depth that reaches halfway up your first finger joint, cover, bring to a boil, then cook on a really low heat for 15 minutes.
There. Hard innit?
Okay. Here we go again, but more slowly.
Rice triples in volume when cooked. If you want to cook a cup of raw rice, you’ll end up with three cups worth at the end. Make sure your pot will hold the finished volume of rice. That’s important.
Some may tell you that you absolutely must wash rice before you cook it. I very rarely do. If I were making rice for sushi or for something that required precise levels of starchiness, I might.
However, if your rice is processed in clean facilities, then I shouldn’t be too bothered with it for the purposes of cooking it as a side dish. It may have a few clumps in it, but they can be rectified with a fork…
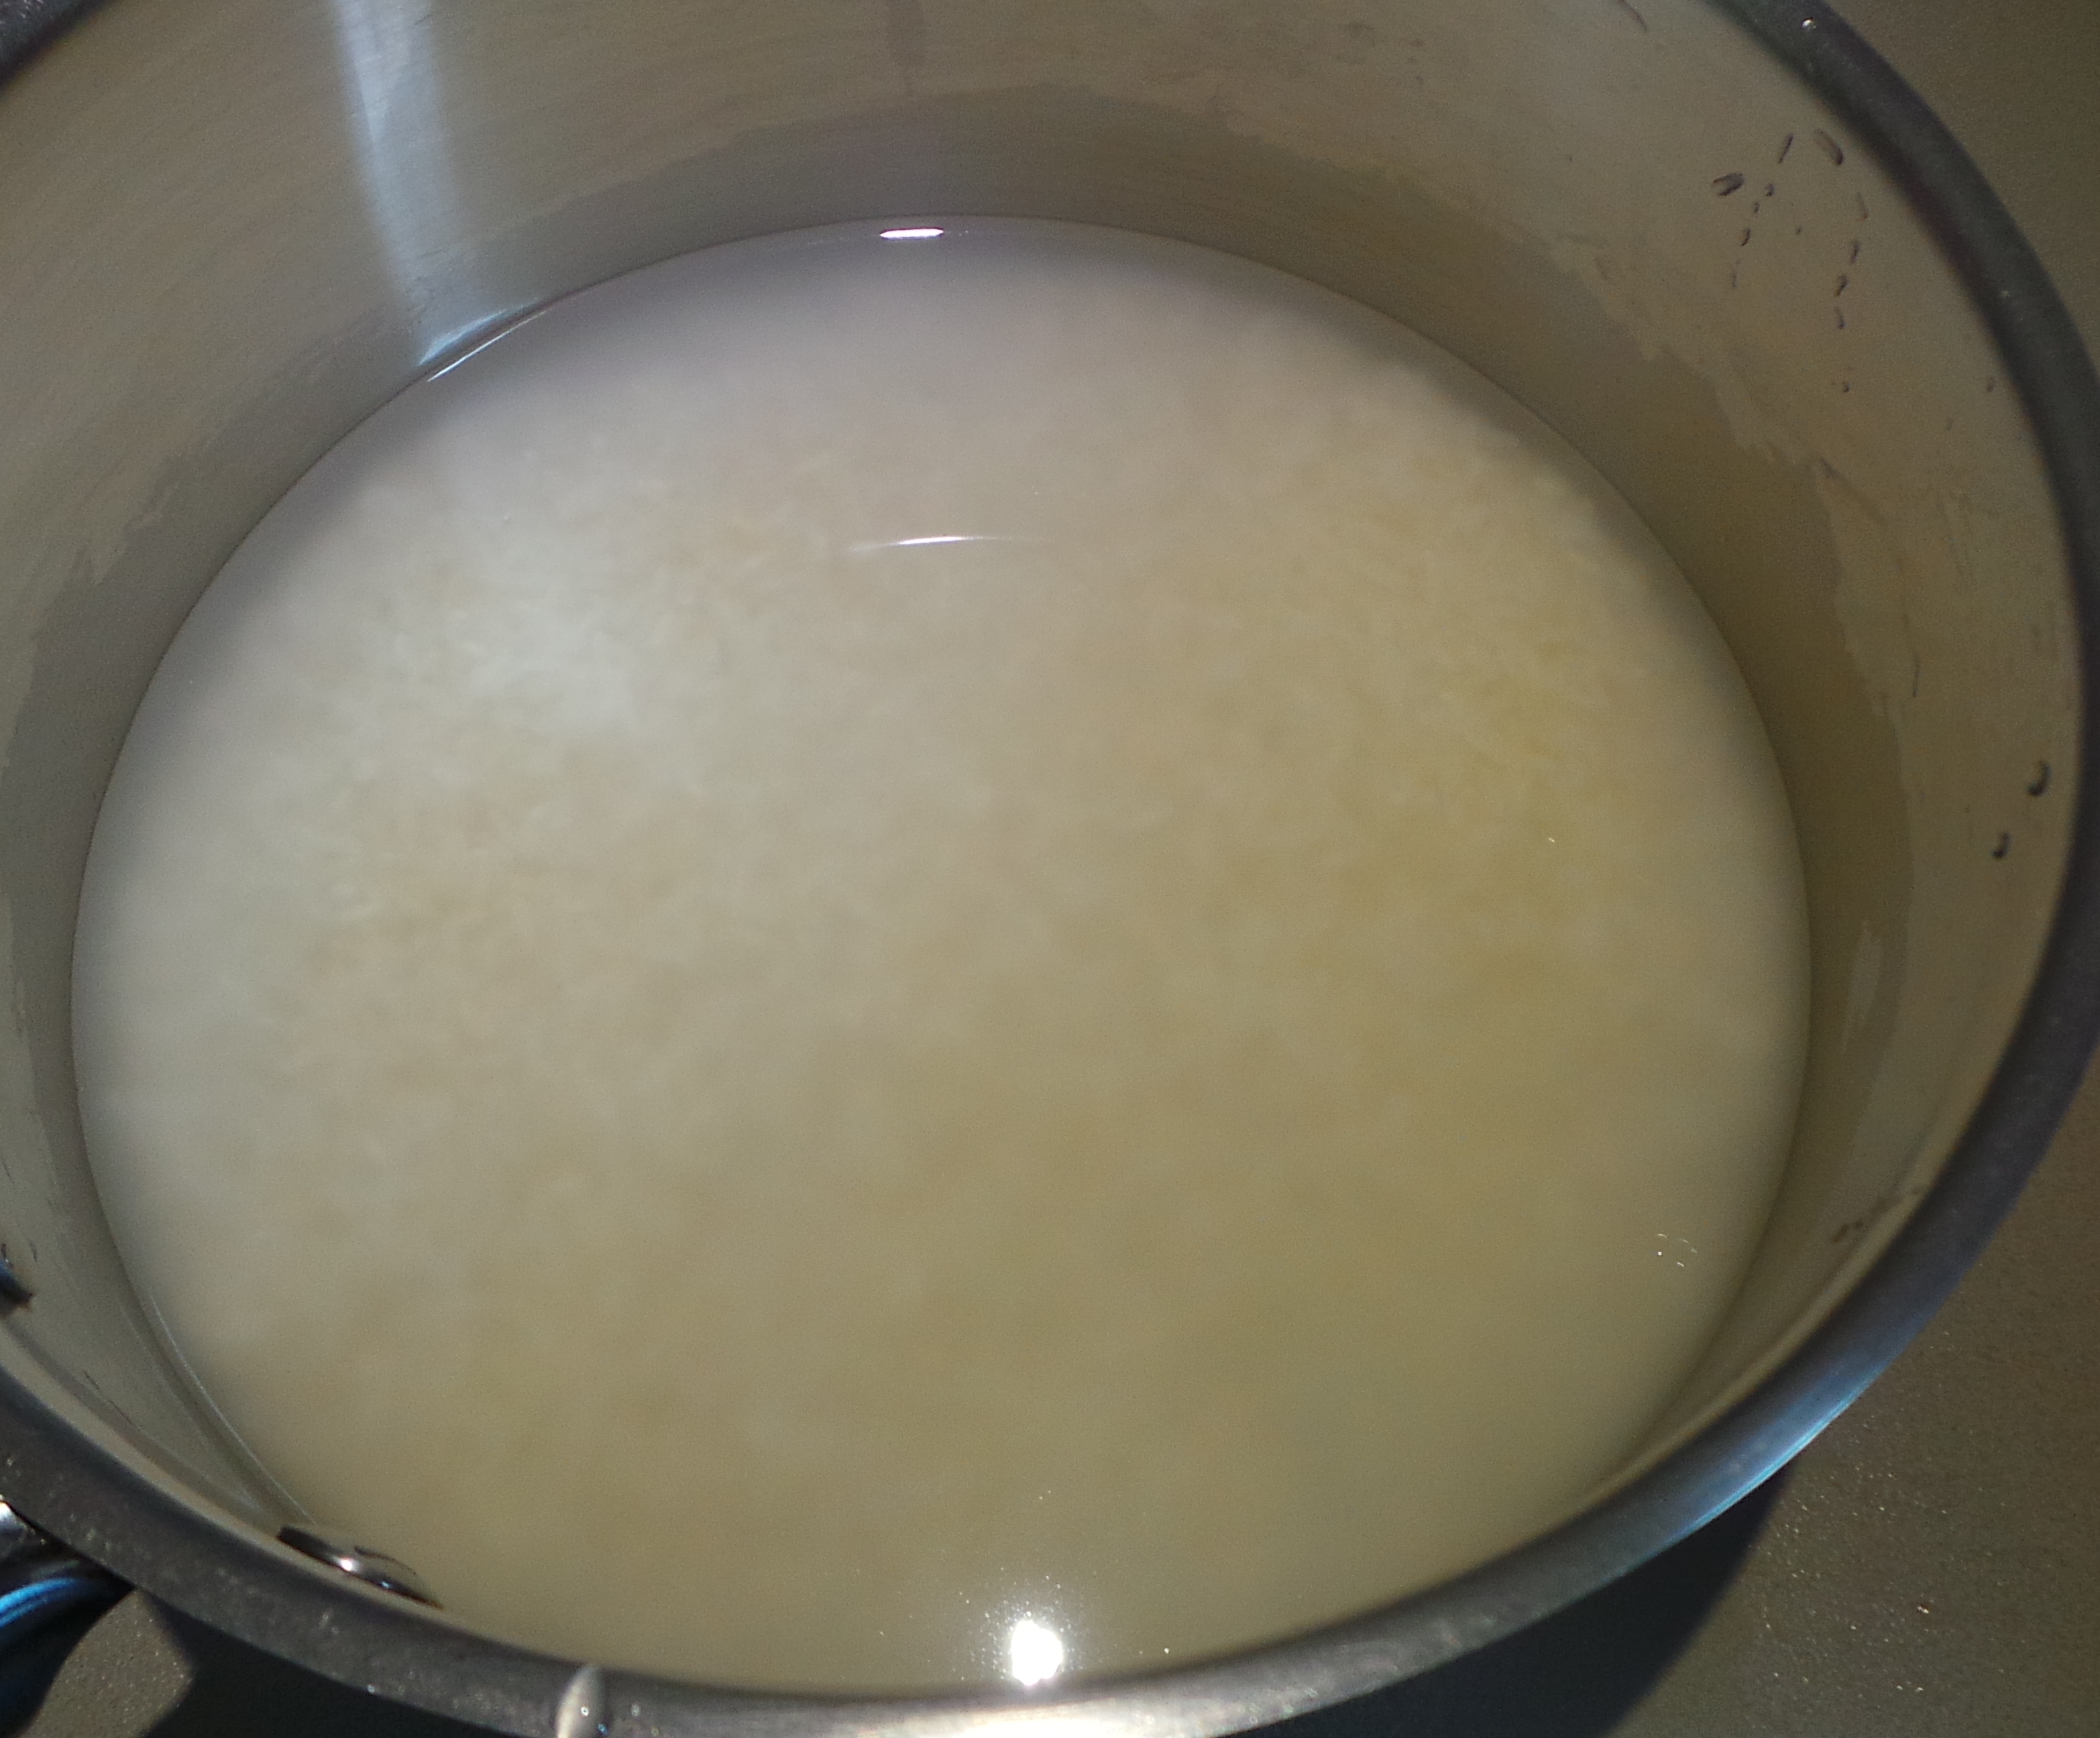
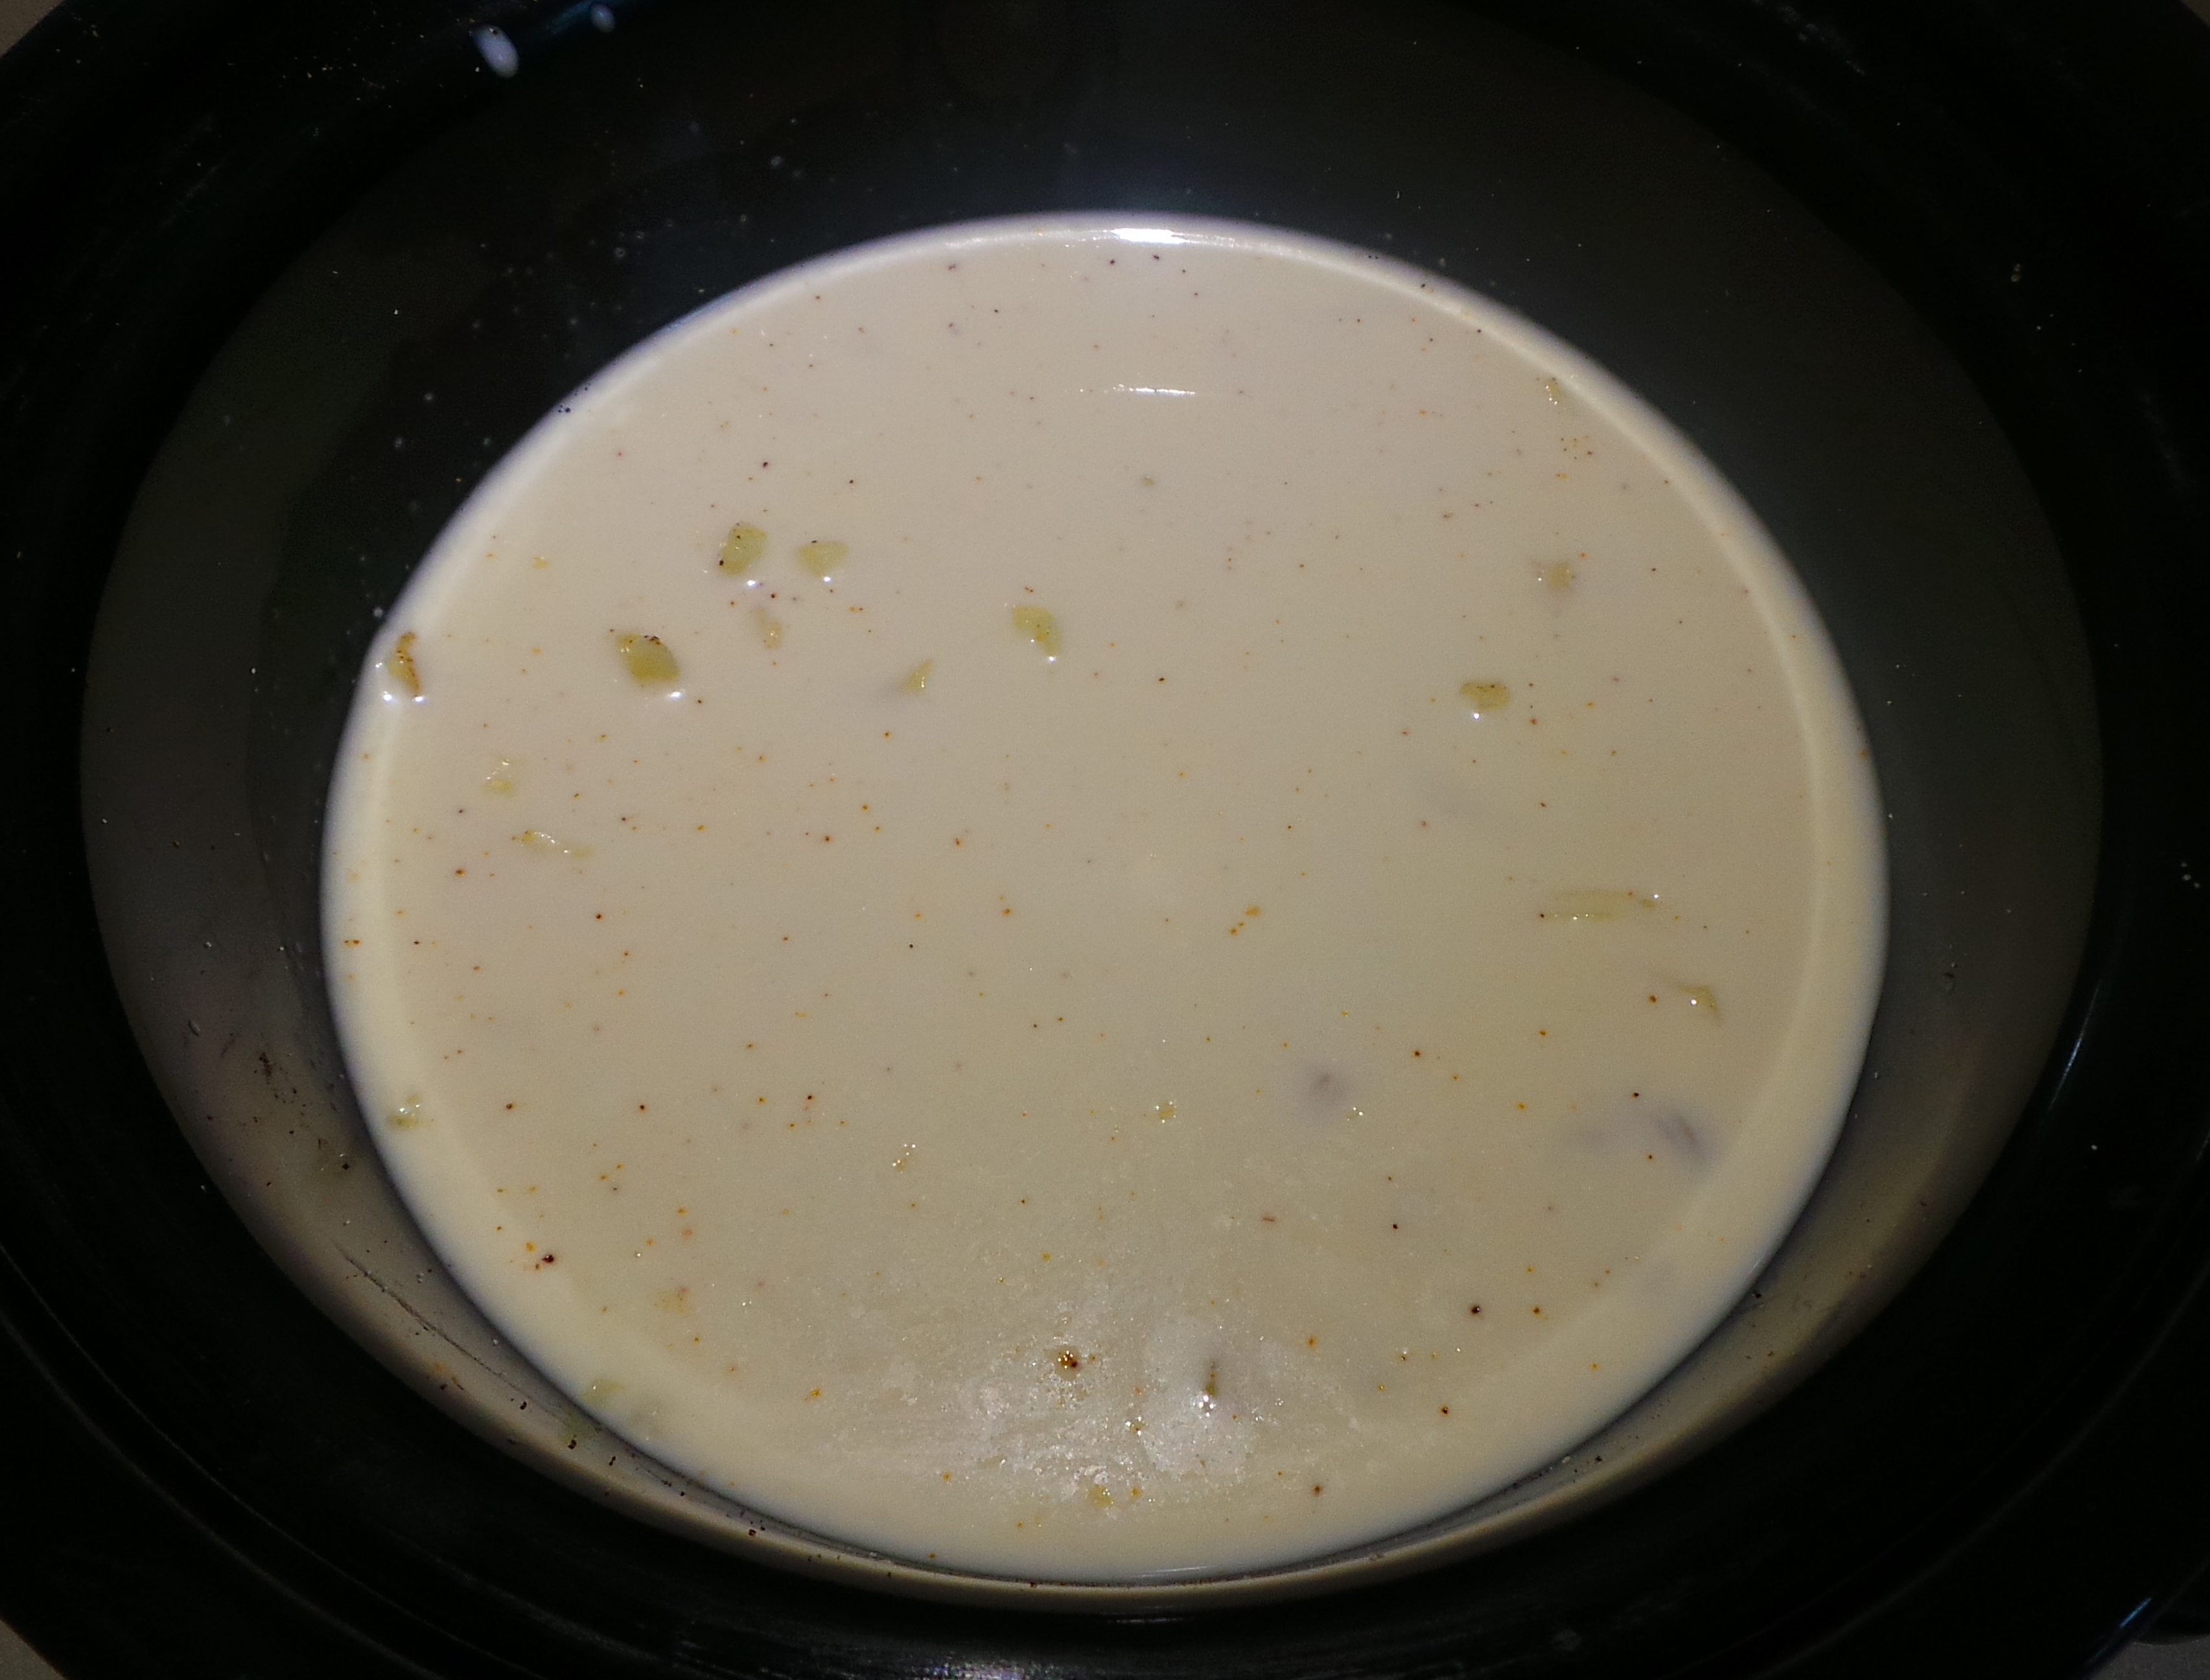
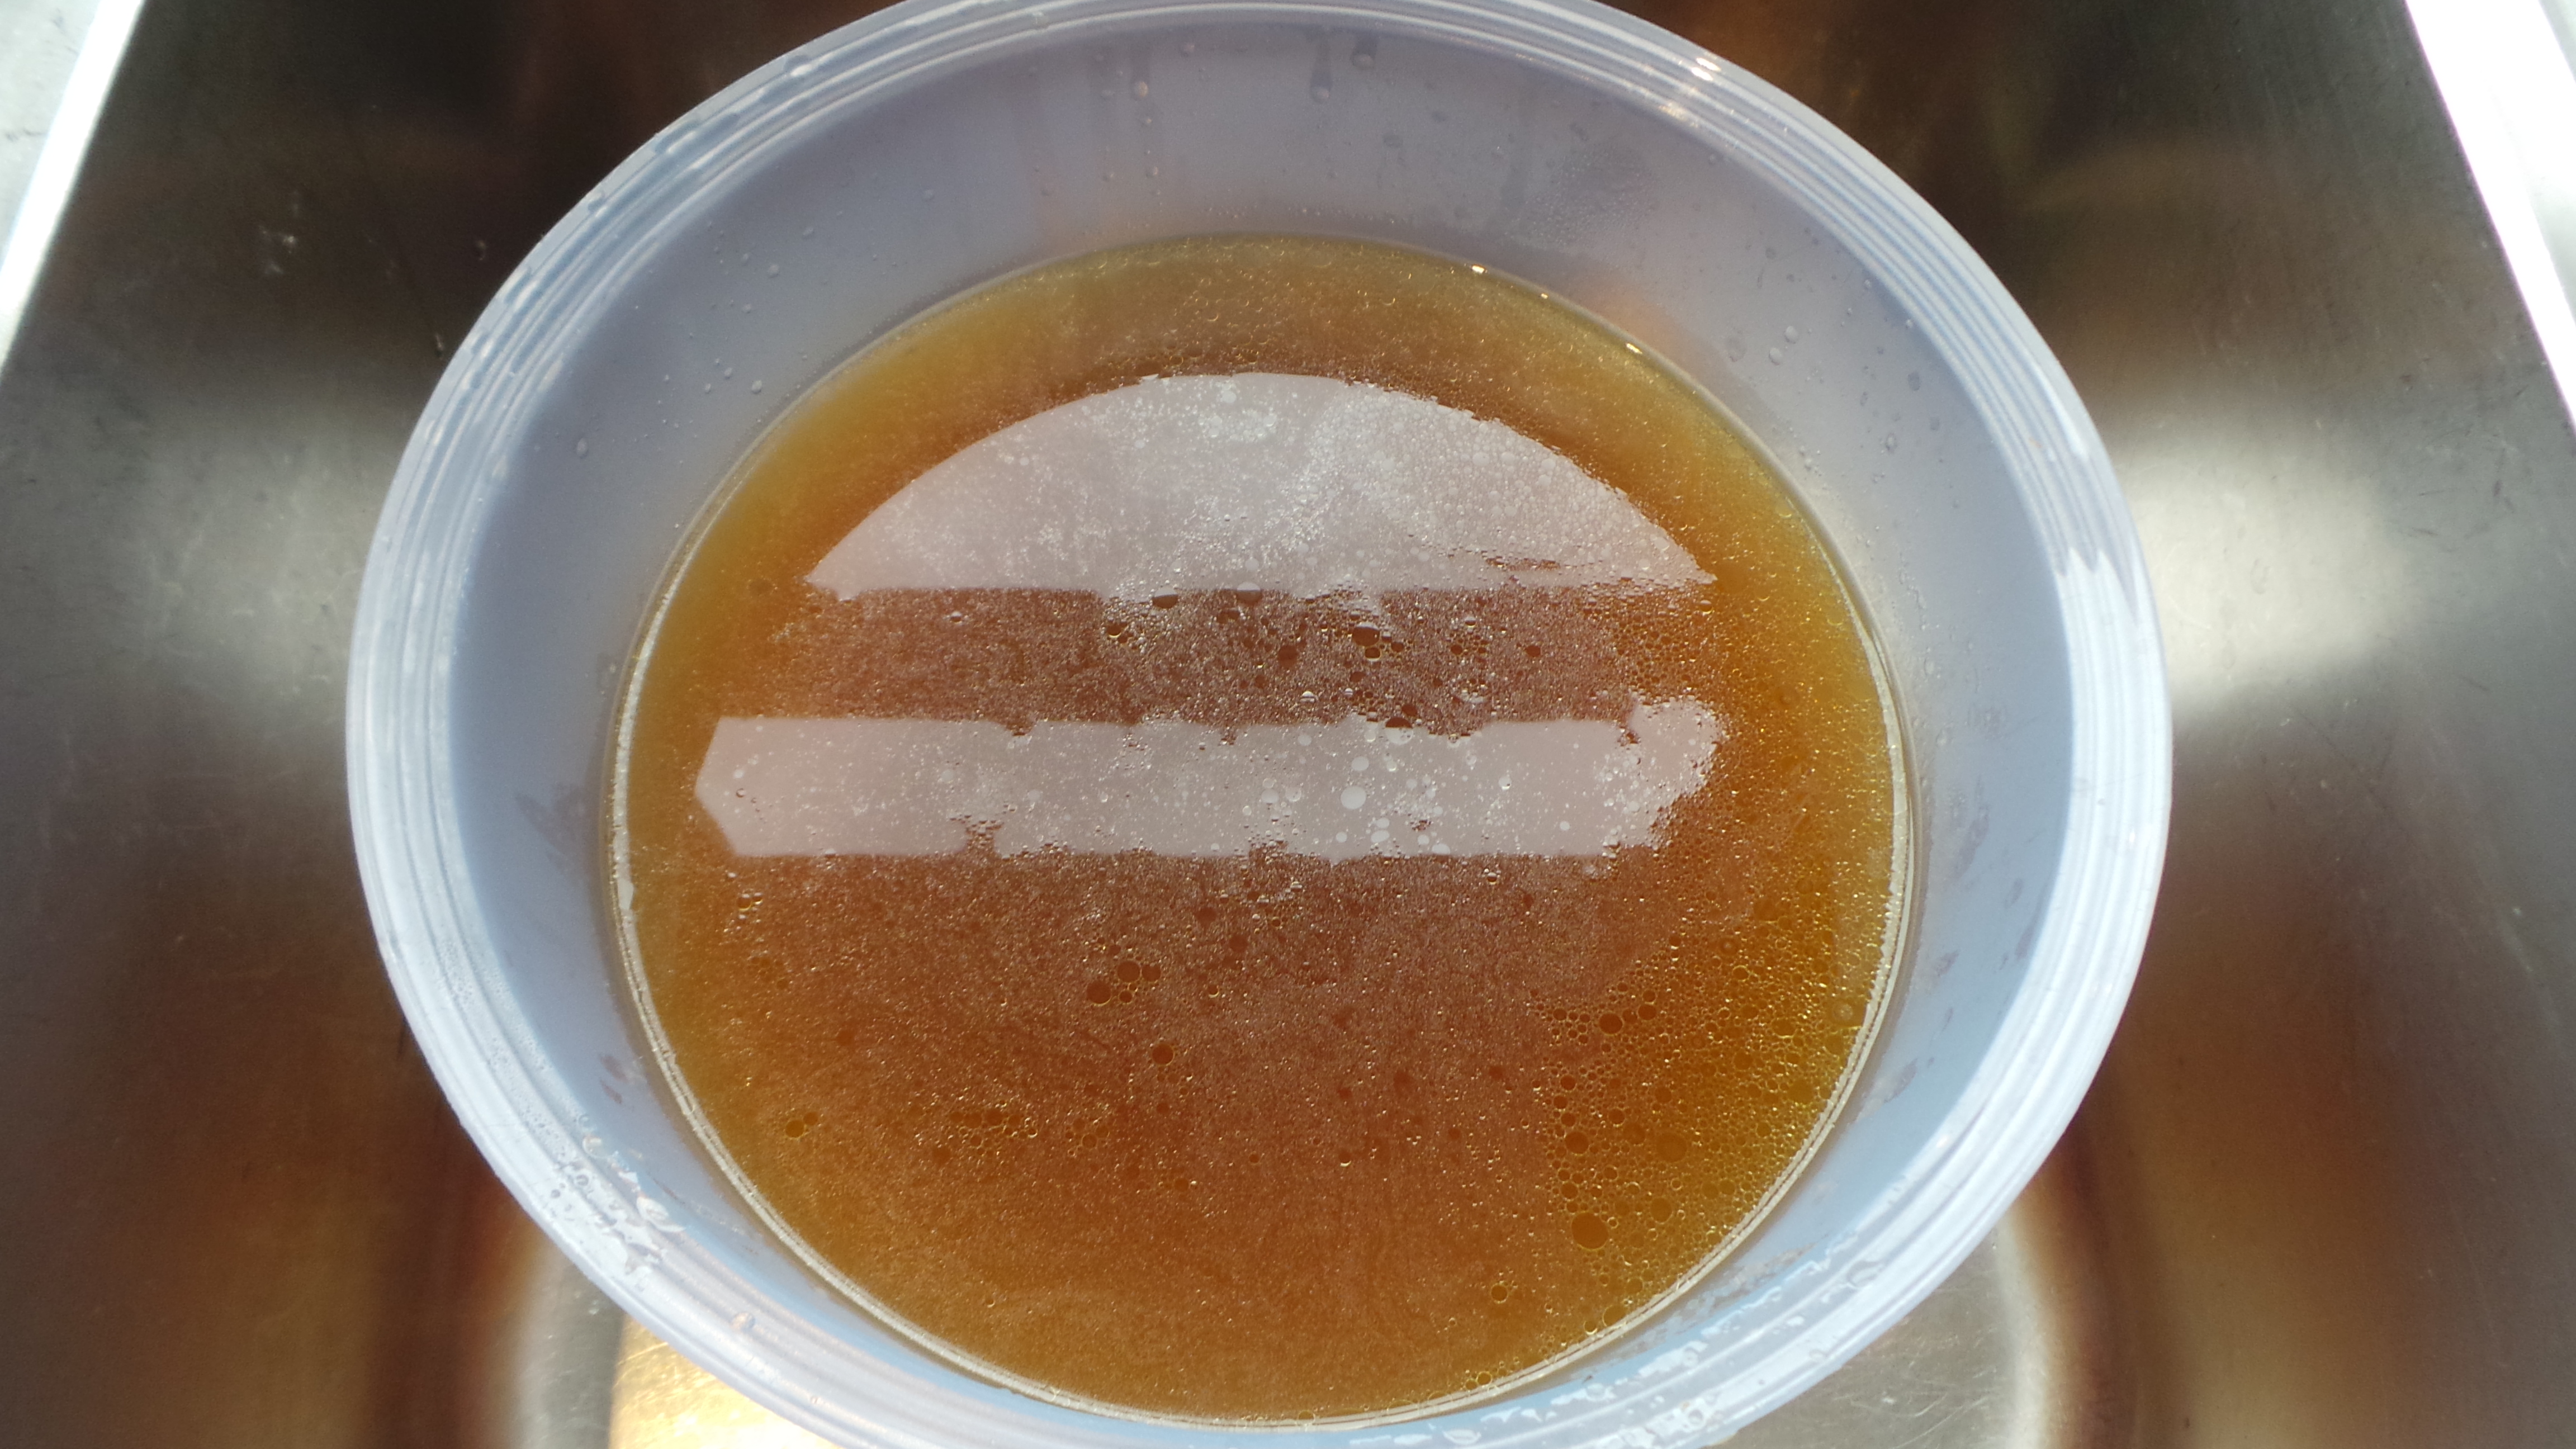
Here is what the water will look like on unwashed rice…

Water added to unwashed rice is cloudy.
When it’s been rinsed a few times it becomes clearer.

The water becomes clearer with each rinse.
Not washing it will save you a colander to wash too…. (just sayin’)
You will need a saucepan with a tight-fitting lid. Don’t fret overly if it’s not completely snug – we’ll deal with that soon.
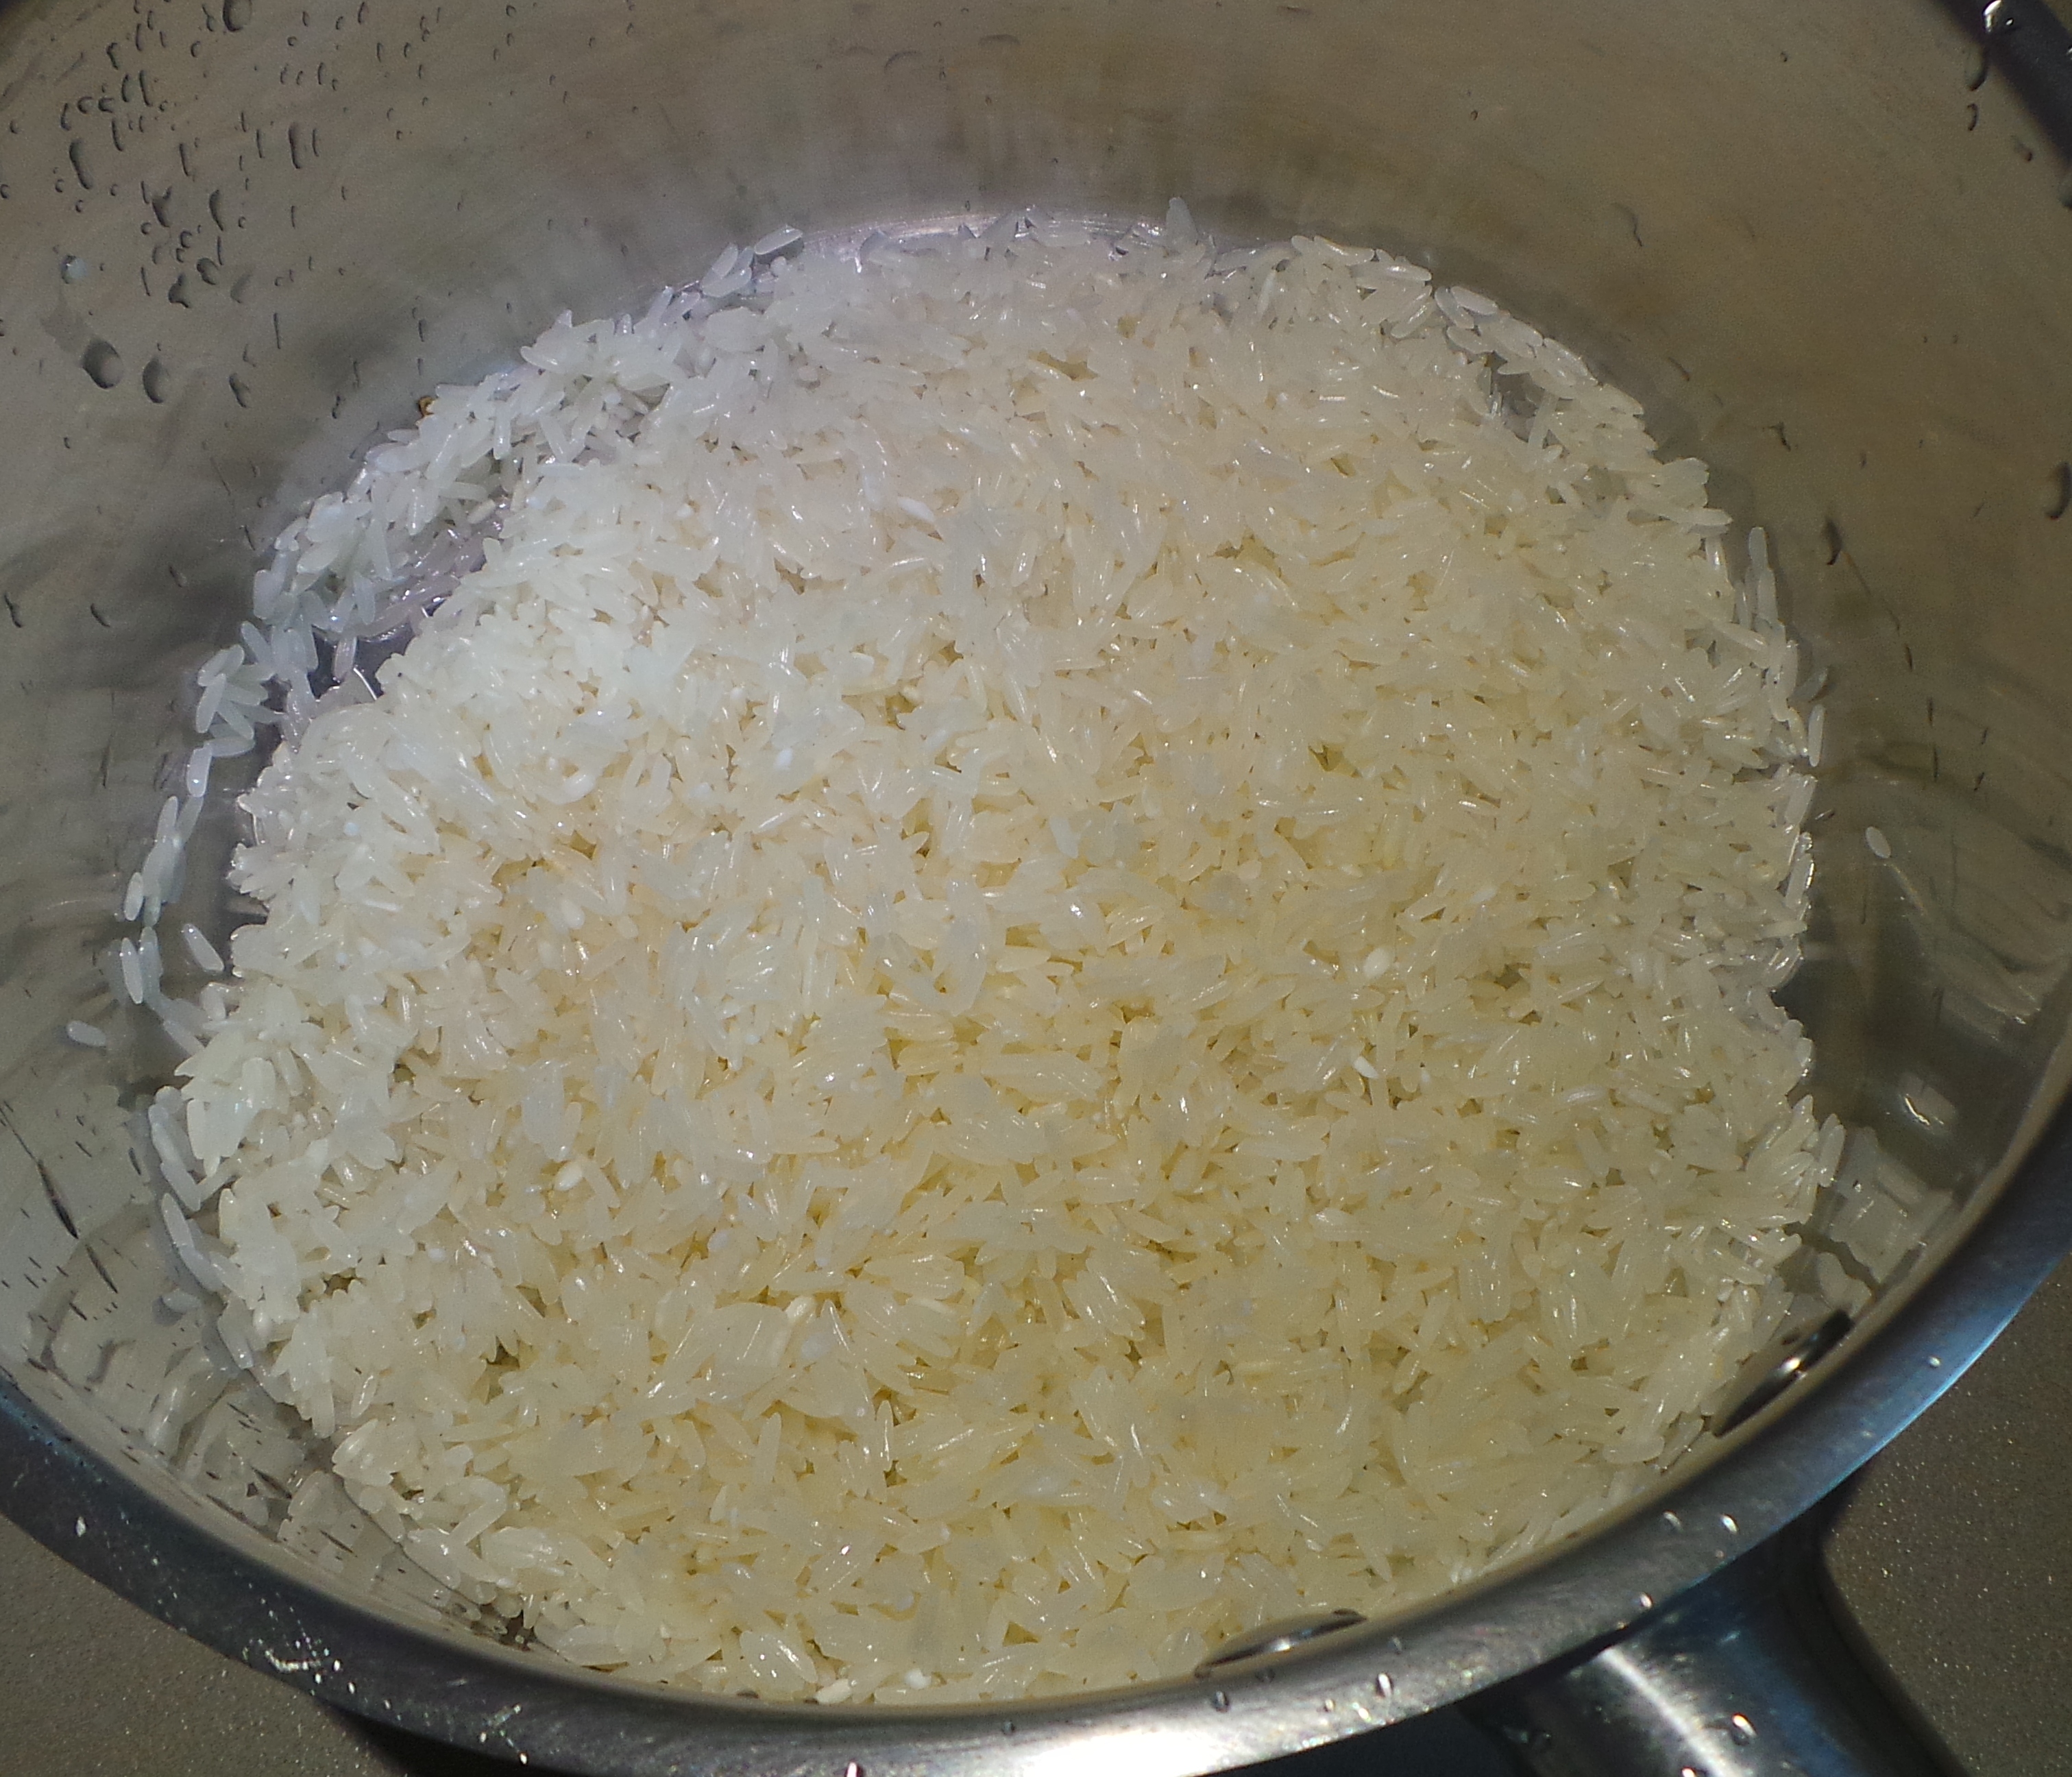
In my largest saucepan, I usually place a layer of long grain rice about an inch deep.

Put your rice in the pan (it’s wet because I just demonstrated the effects of washing it. Keep up.)
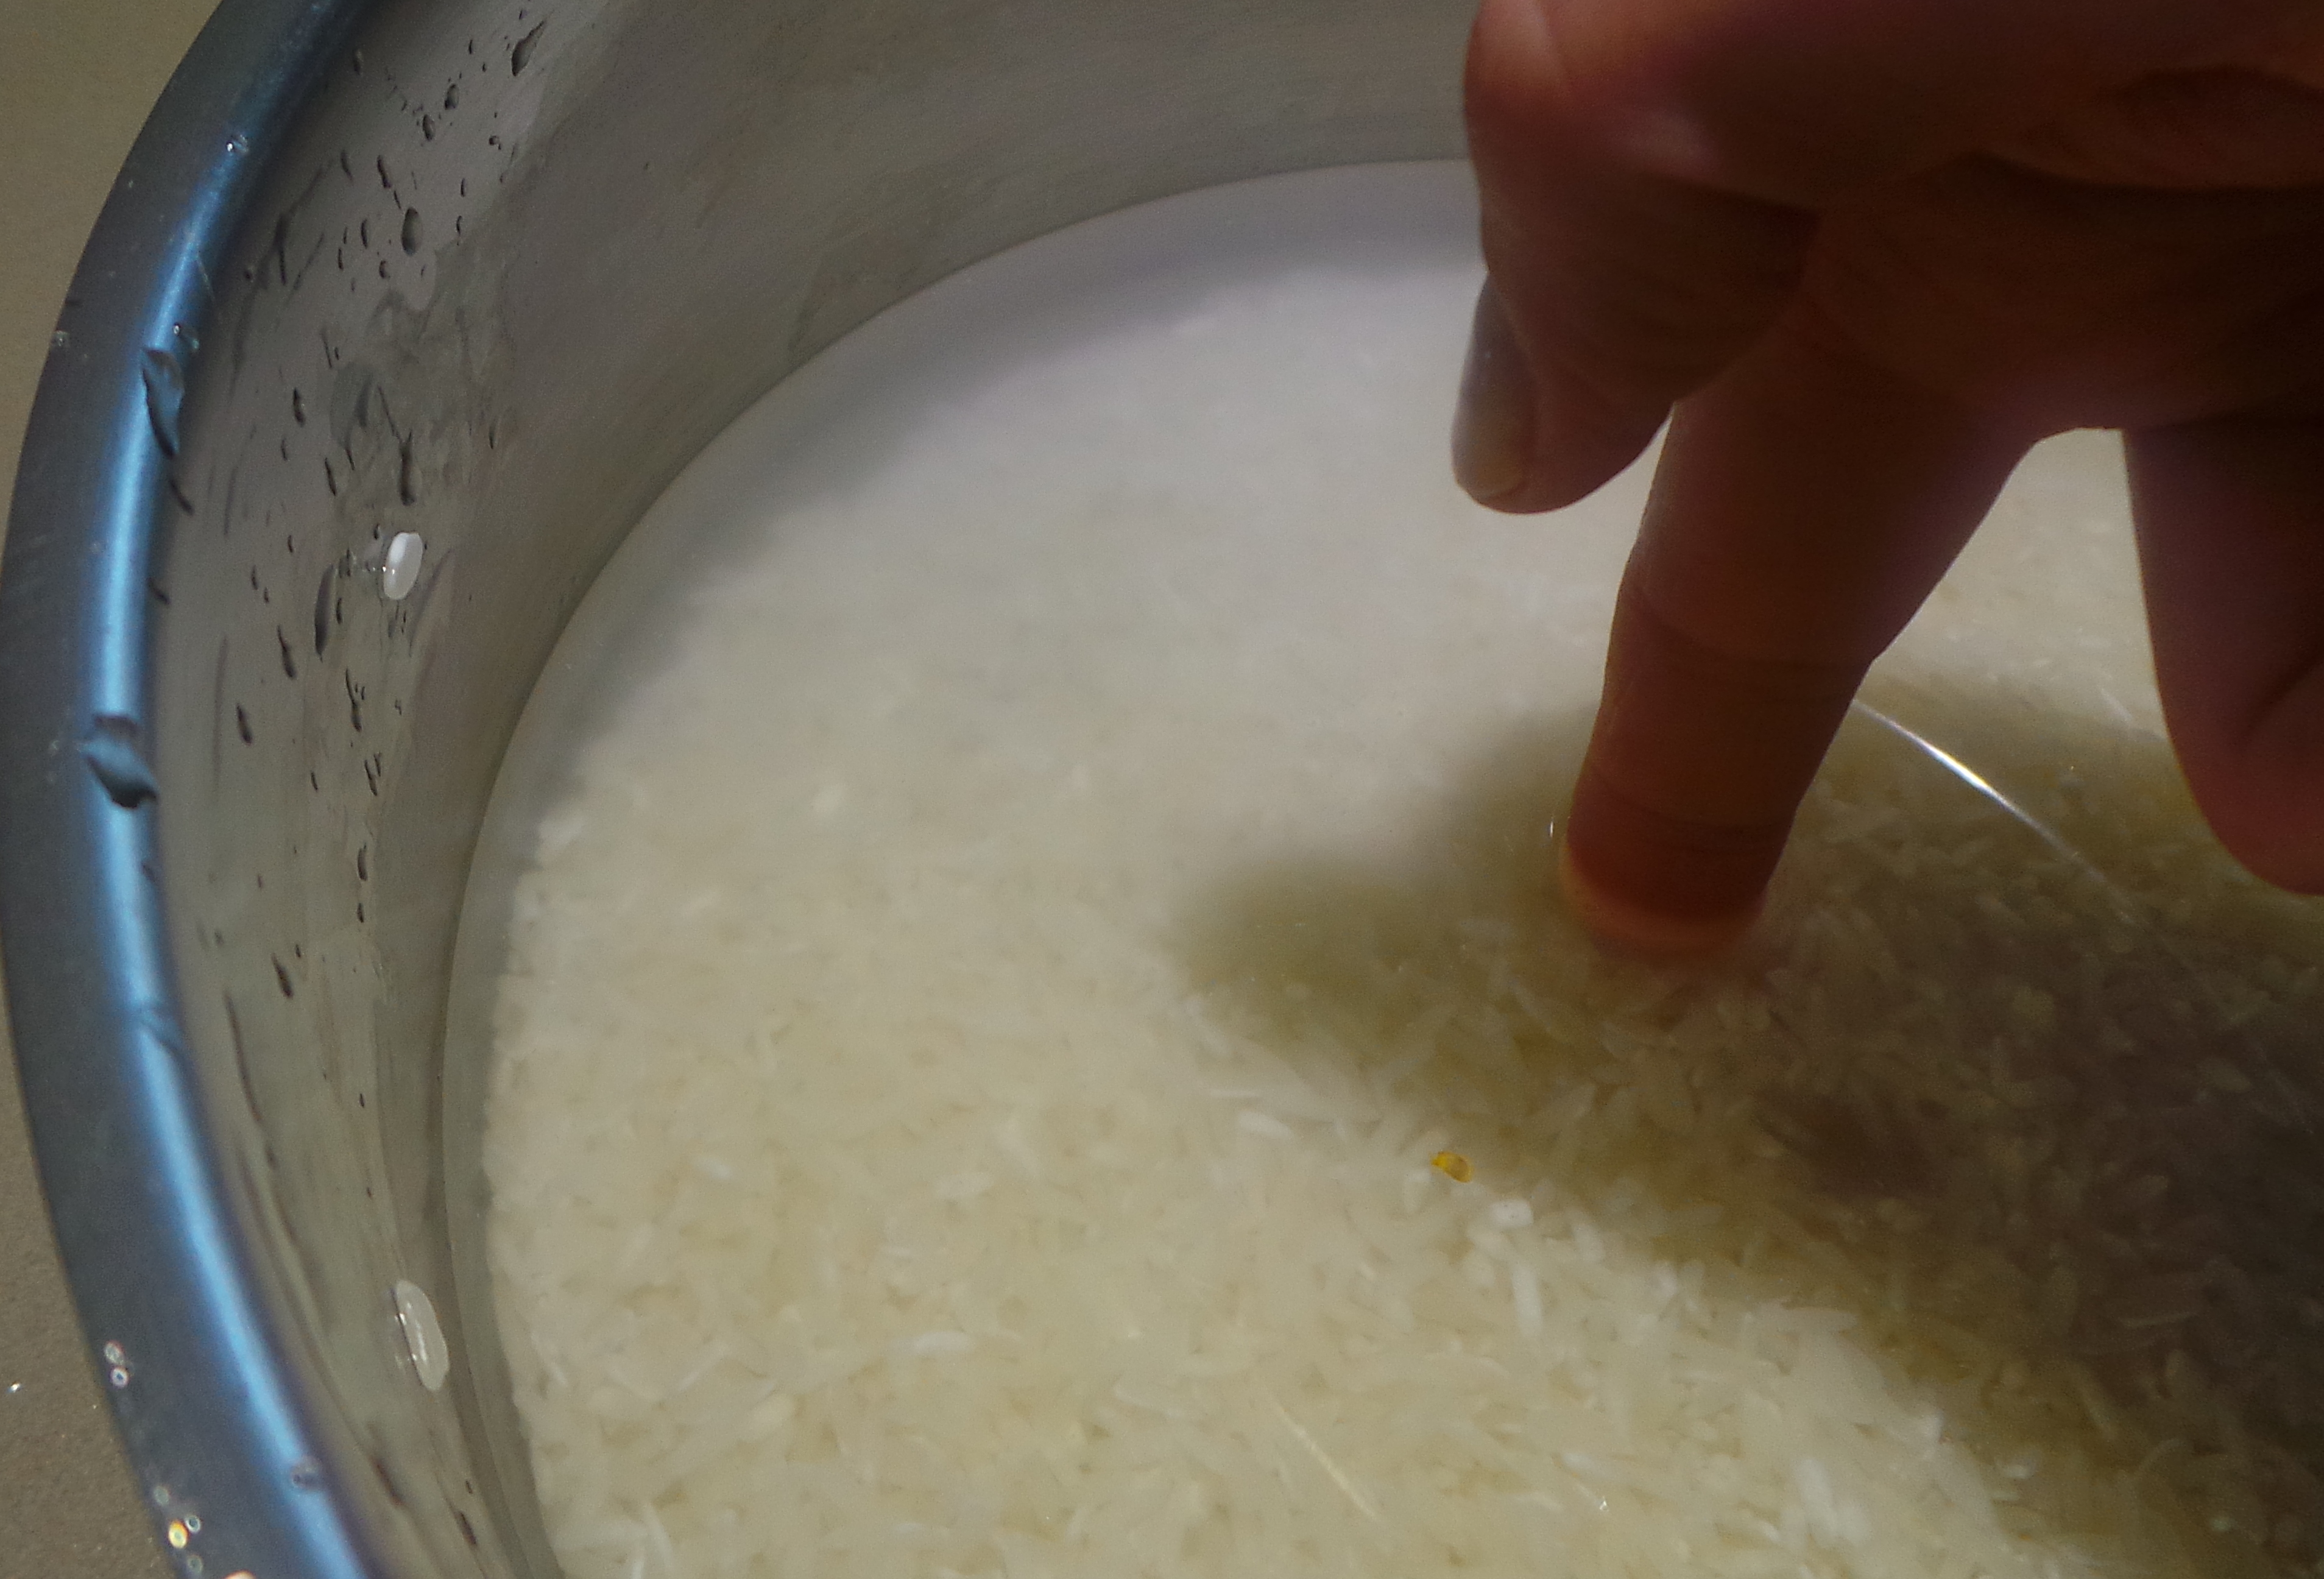
To this I then add cold water. To measure the level, I place the tip of my index finger on the top of the rice and add water until it reaches halfway up the first joint of the finger.
Like this:

Measuring the water
Then place your lid on your pot and make sure any vents are closed.
The lids of my saucepans have small holes in them to vent steam. I want to keep the steam in, so I place a sheet of baking paper or parchment over the pan and under the lid.

Use a sheet of parchment paper to seal off any leaks of heat and water.
Then jam the lid on as securely as possible.

Put the lid on firmly and resist moving it until the rice is cooked!
Do not move it from here on.
I mean it!
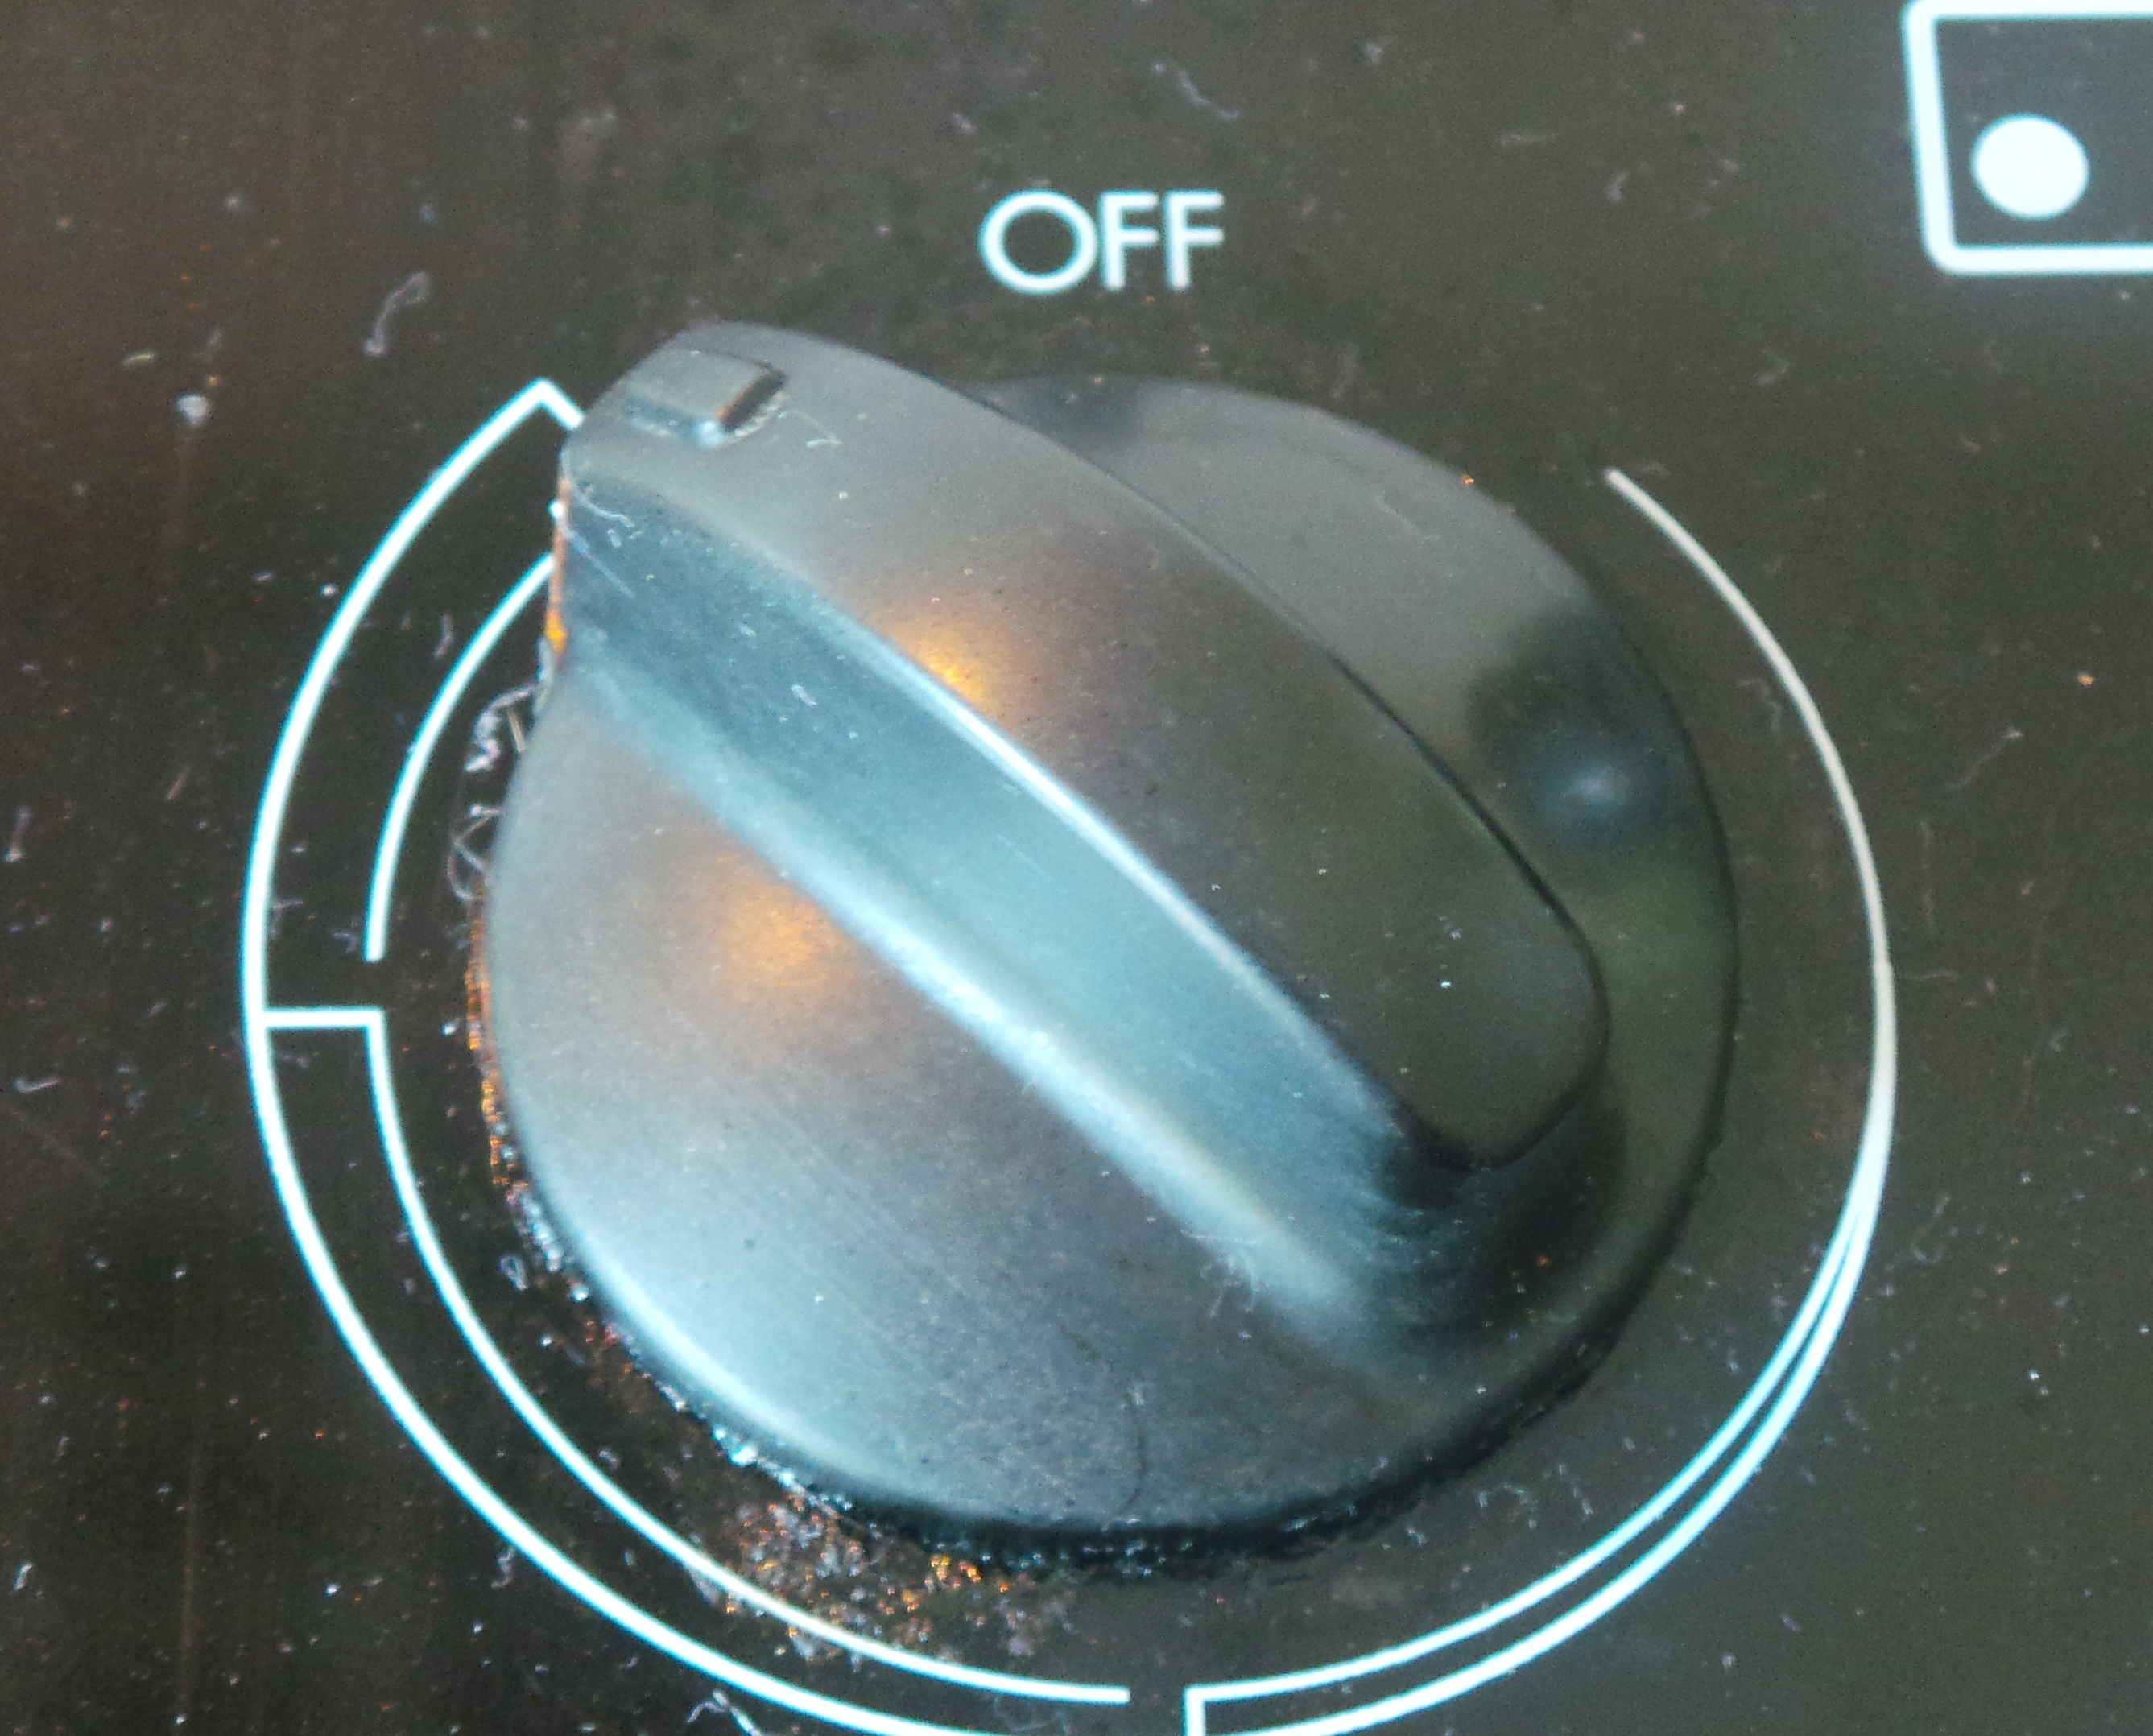
Place it on the hob and turn the heat to full. Do not walk away.

Turn your heat to full.
You are waiting for the rice to come to the boil at which stage you will turn it down to the lowest heat possible on your stove.
So…how do you tell if it’s boiling if you can’t lift the lid?
It’s actually very easy. Place the tips of your fingers gently on the lid handle. As the heat increases you’ll feel a slight vibration that grows as it gets closer to the boil. If you are using parchment and have a glass lid like mine, the paper will inflate as boiling point is reached.
Regardless, if you miss all these signs, you’ll know for sure as the lid tries to rock and rattle its way off your pot.
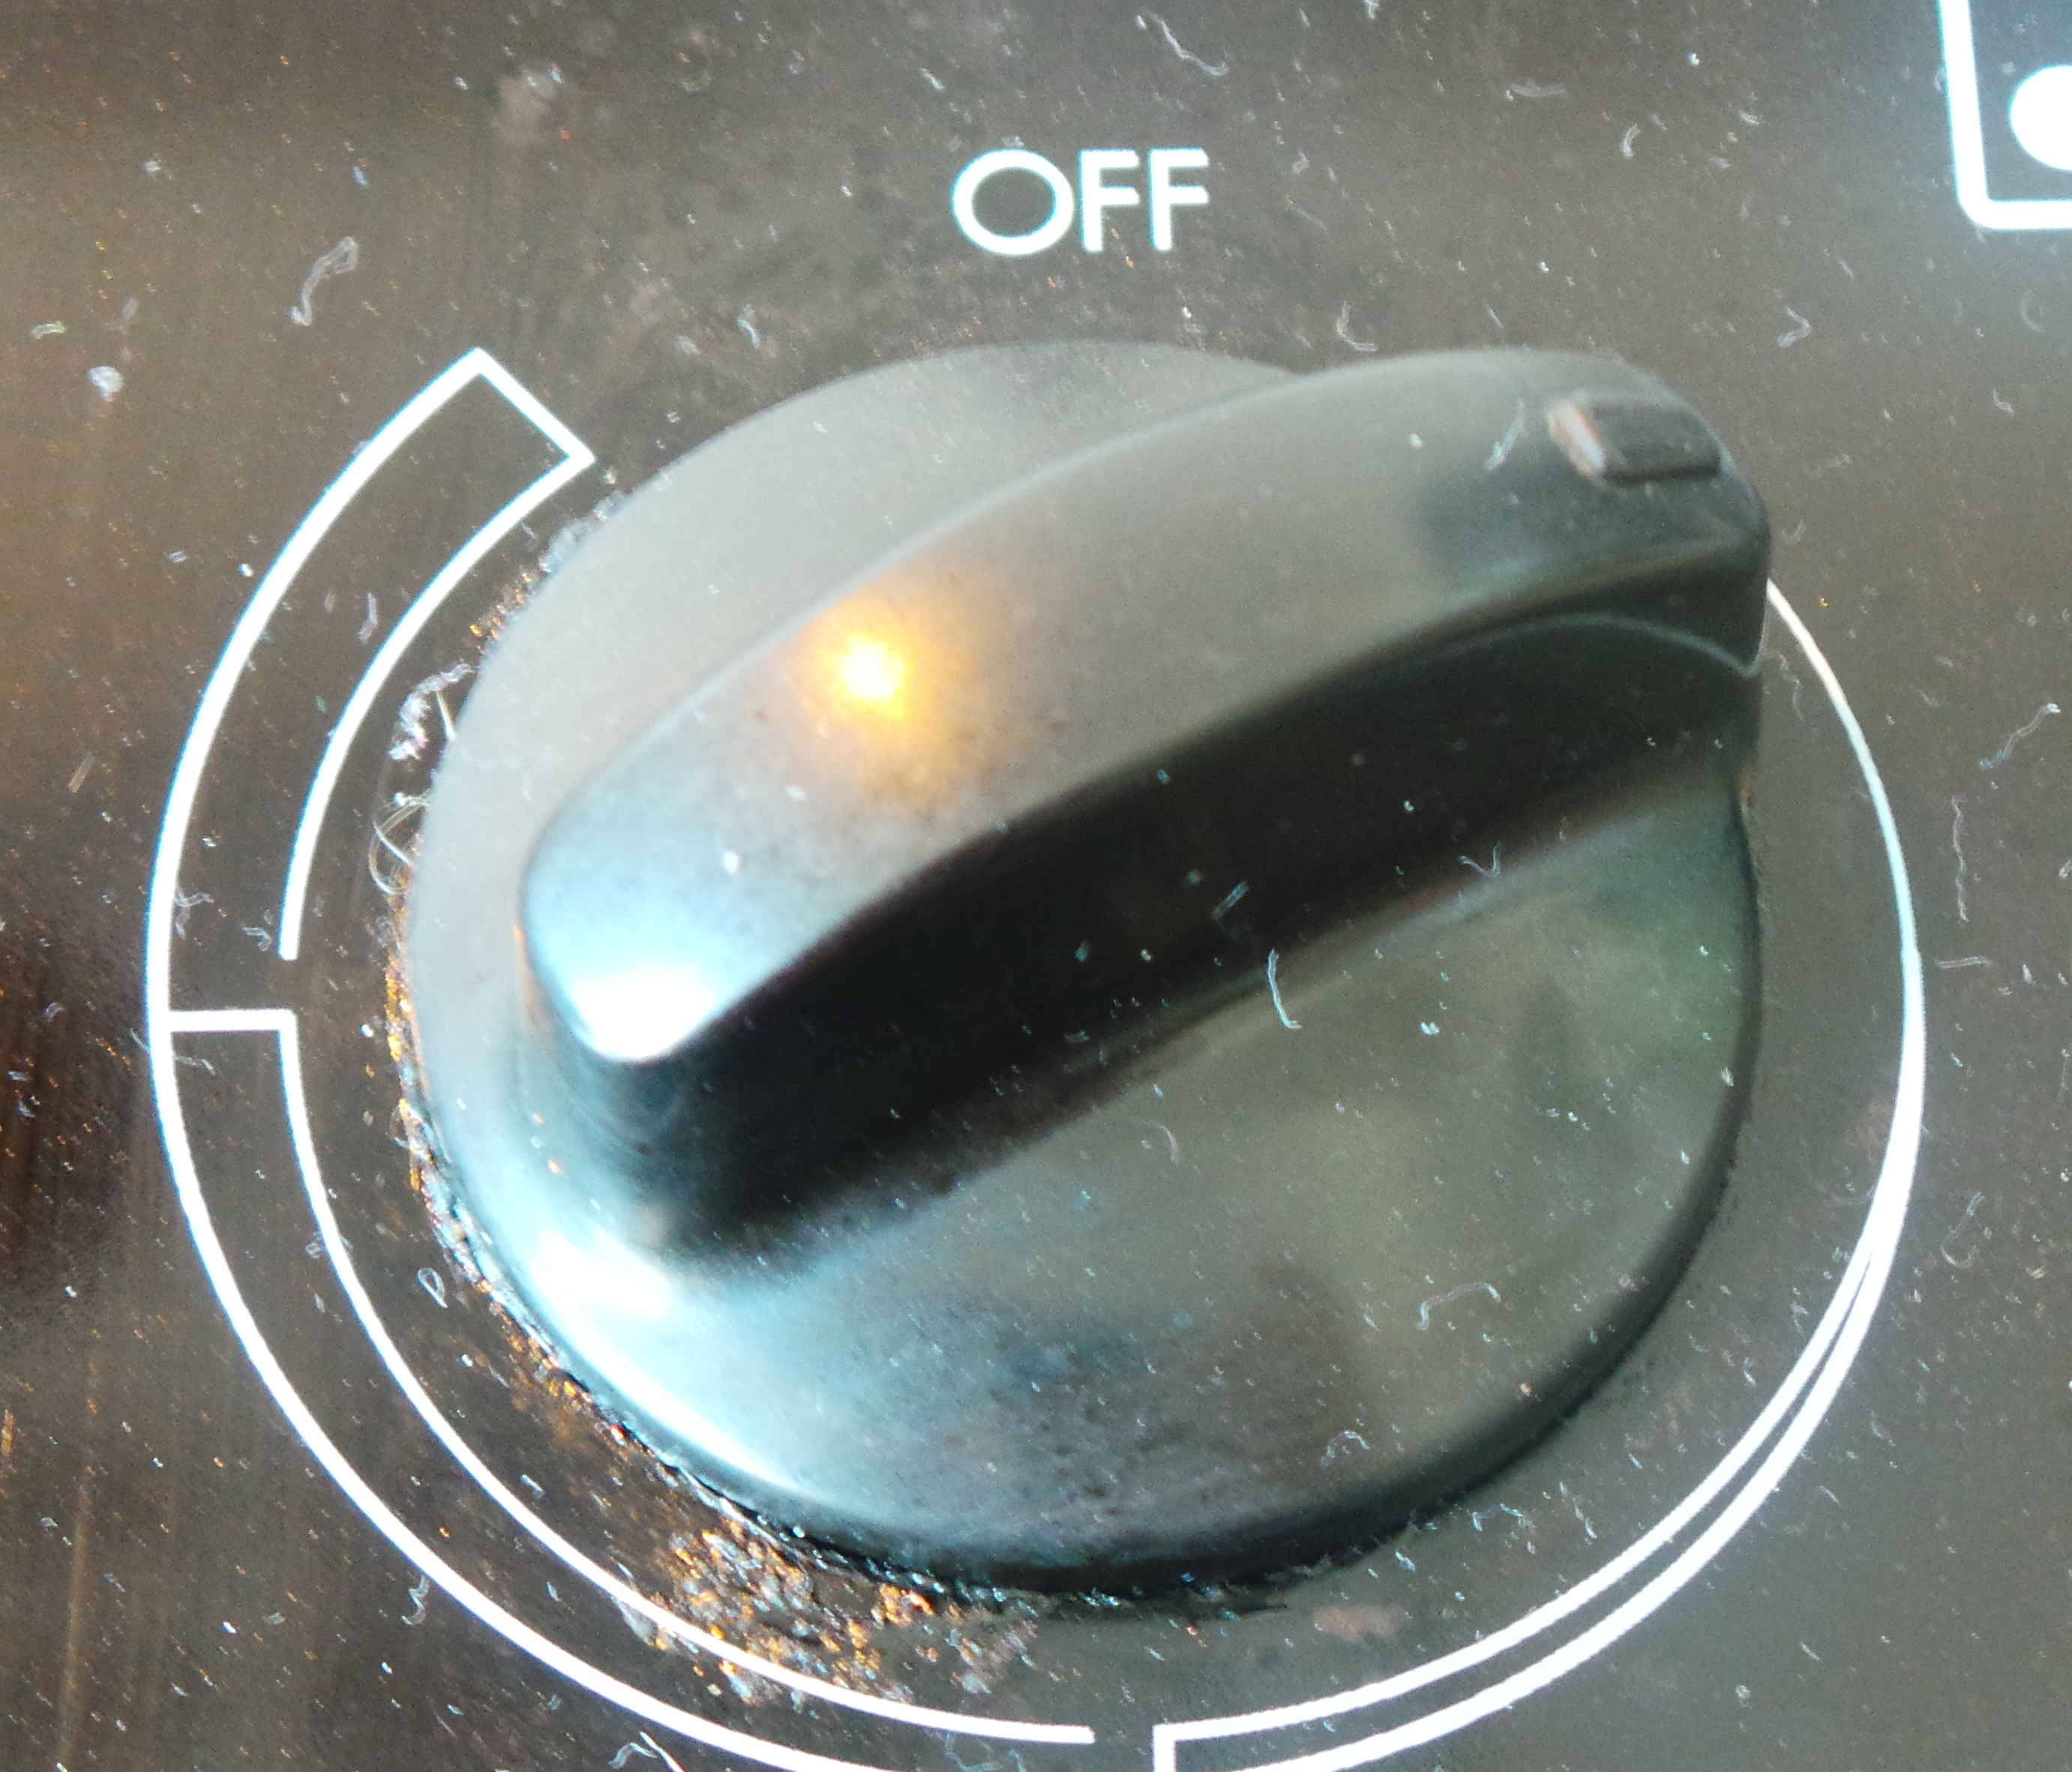
Turn the heat to the lowest point you can without turning your stove off.

Turn your heat to the lowest level you can.
In fact, you could probably remove it from the heat altogether and not have any problems. It would just be a little less fluffy.
Not kidding.
Just don’t lift the lid!
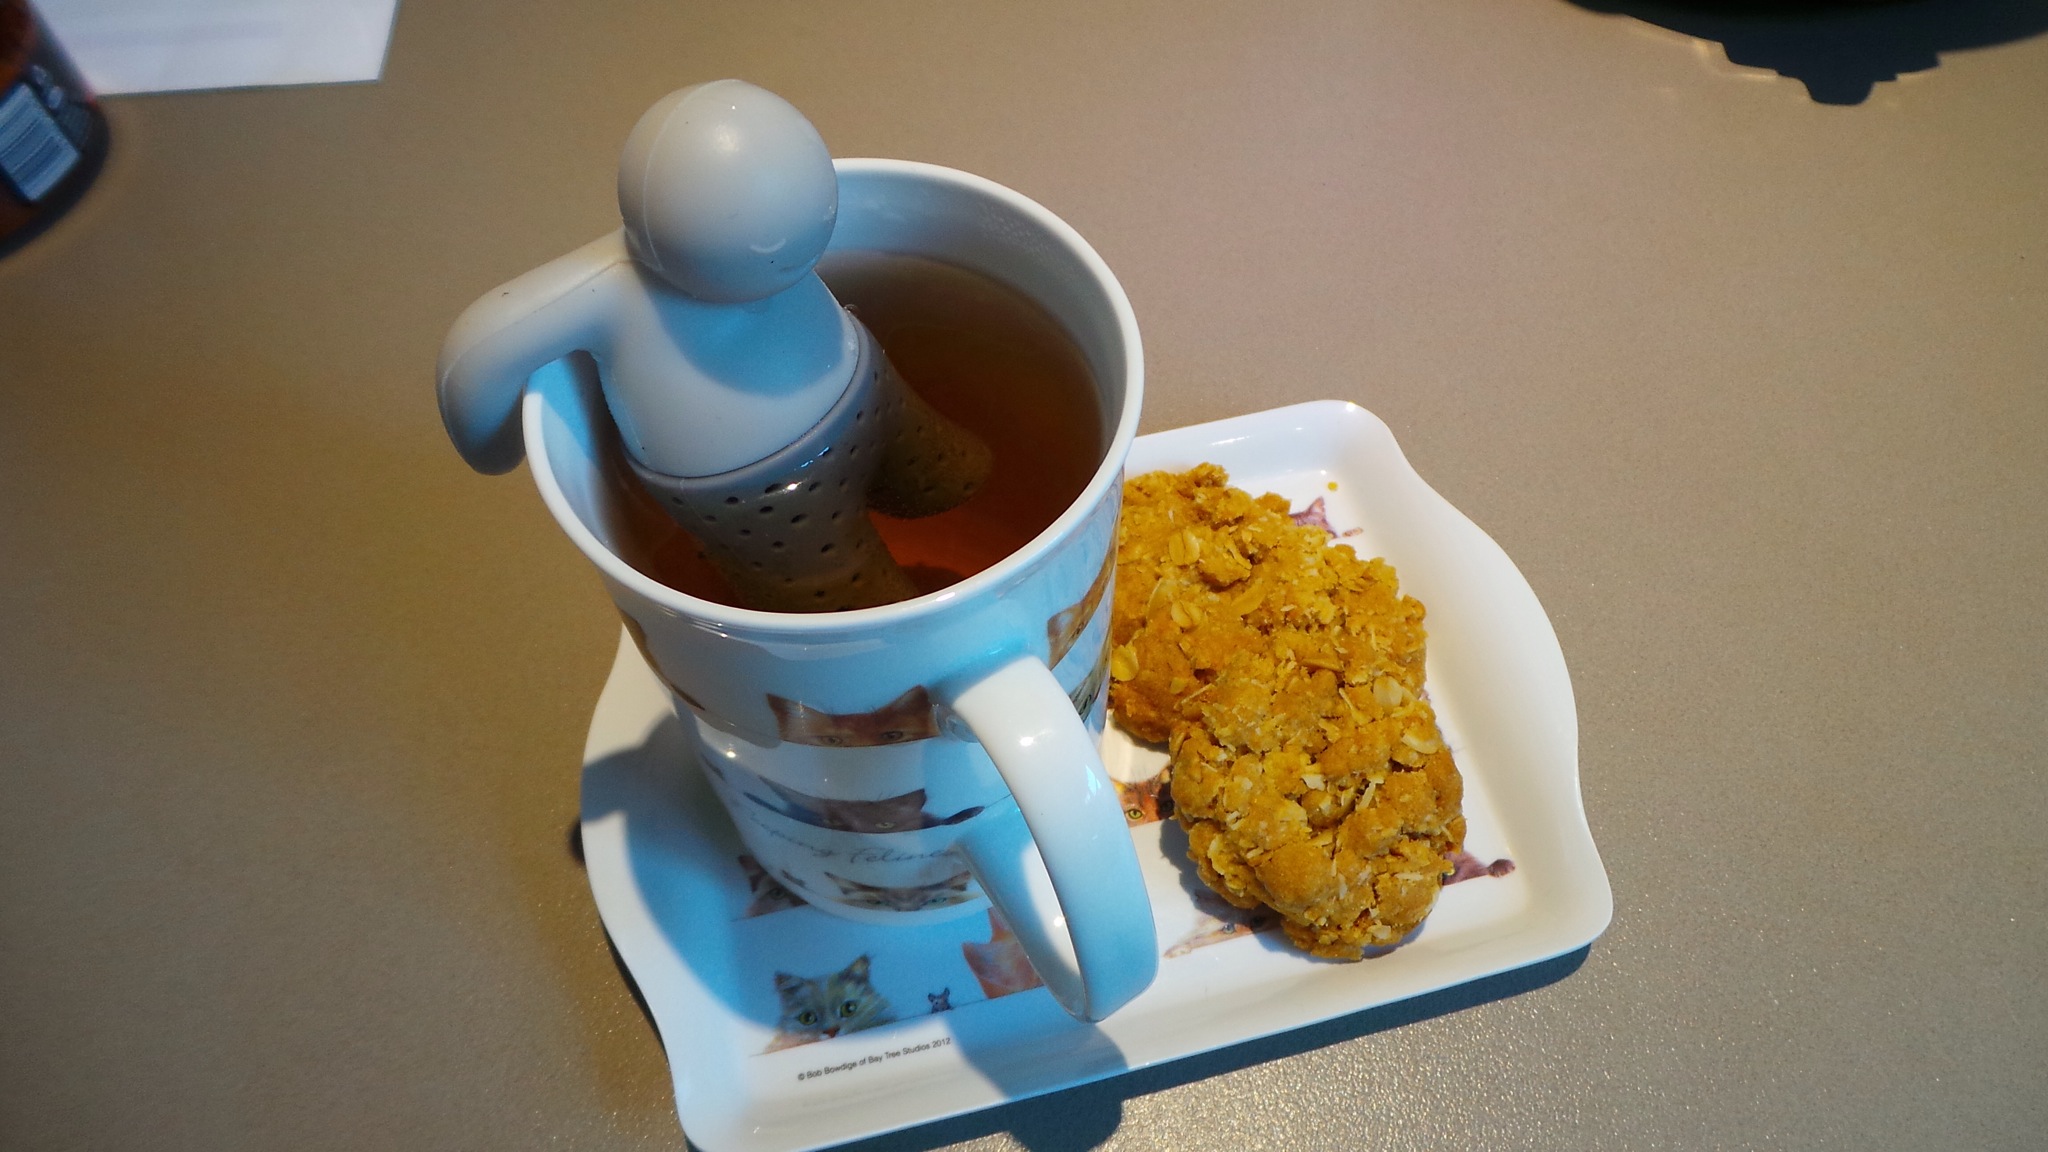
Set a timer for 15 mins and walk away. Have a cup of tea, put away the dishes on the drainer or start prepping whatever you want to serve with the rice.
When your timer goes off, take it off the heat and leave the lid on for a further 5 minutes. If you wish, place a folded wet tea towel under your saucepan to further minimise any risk of sticking.
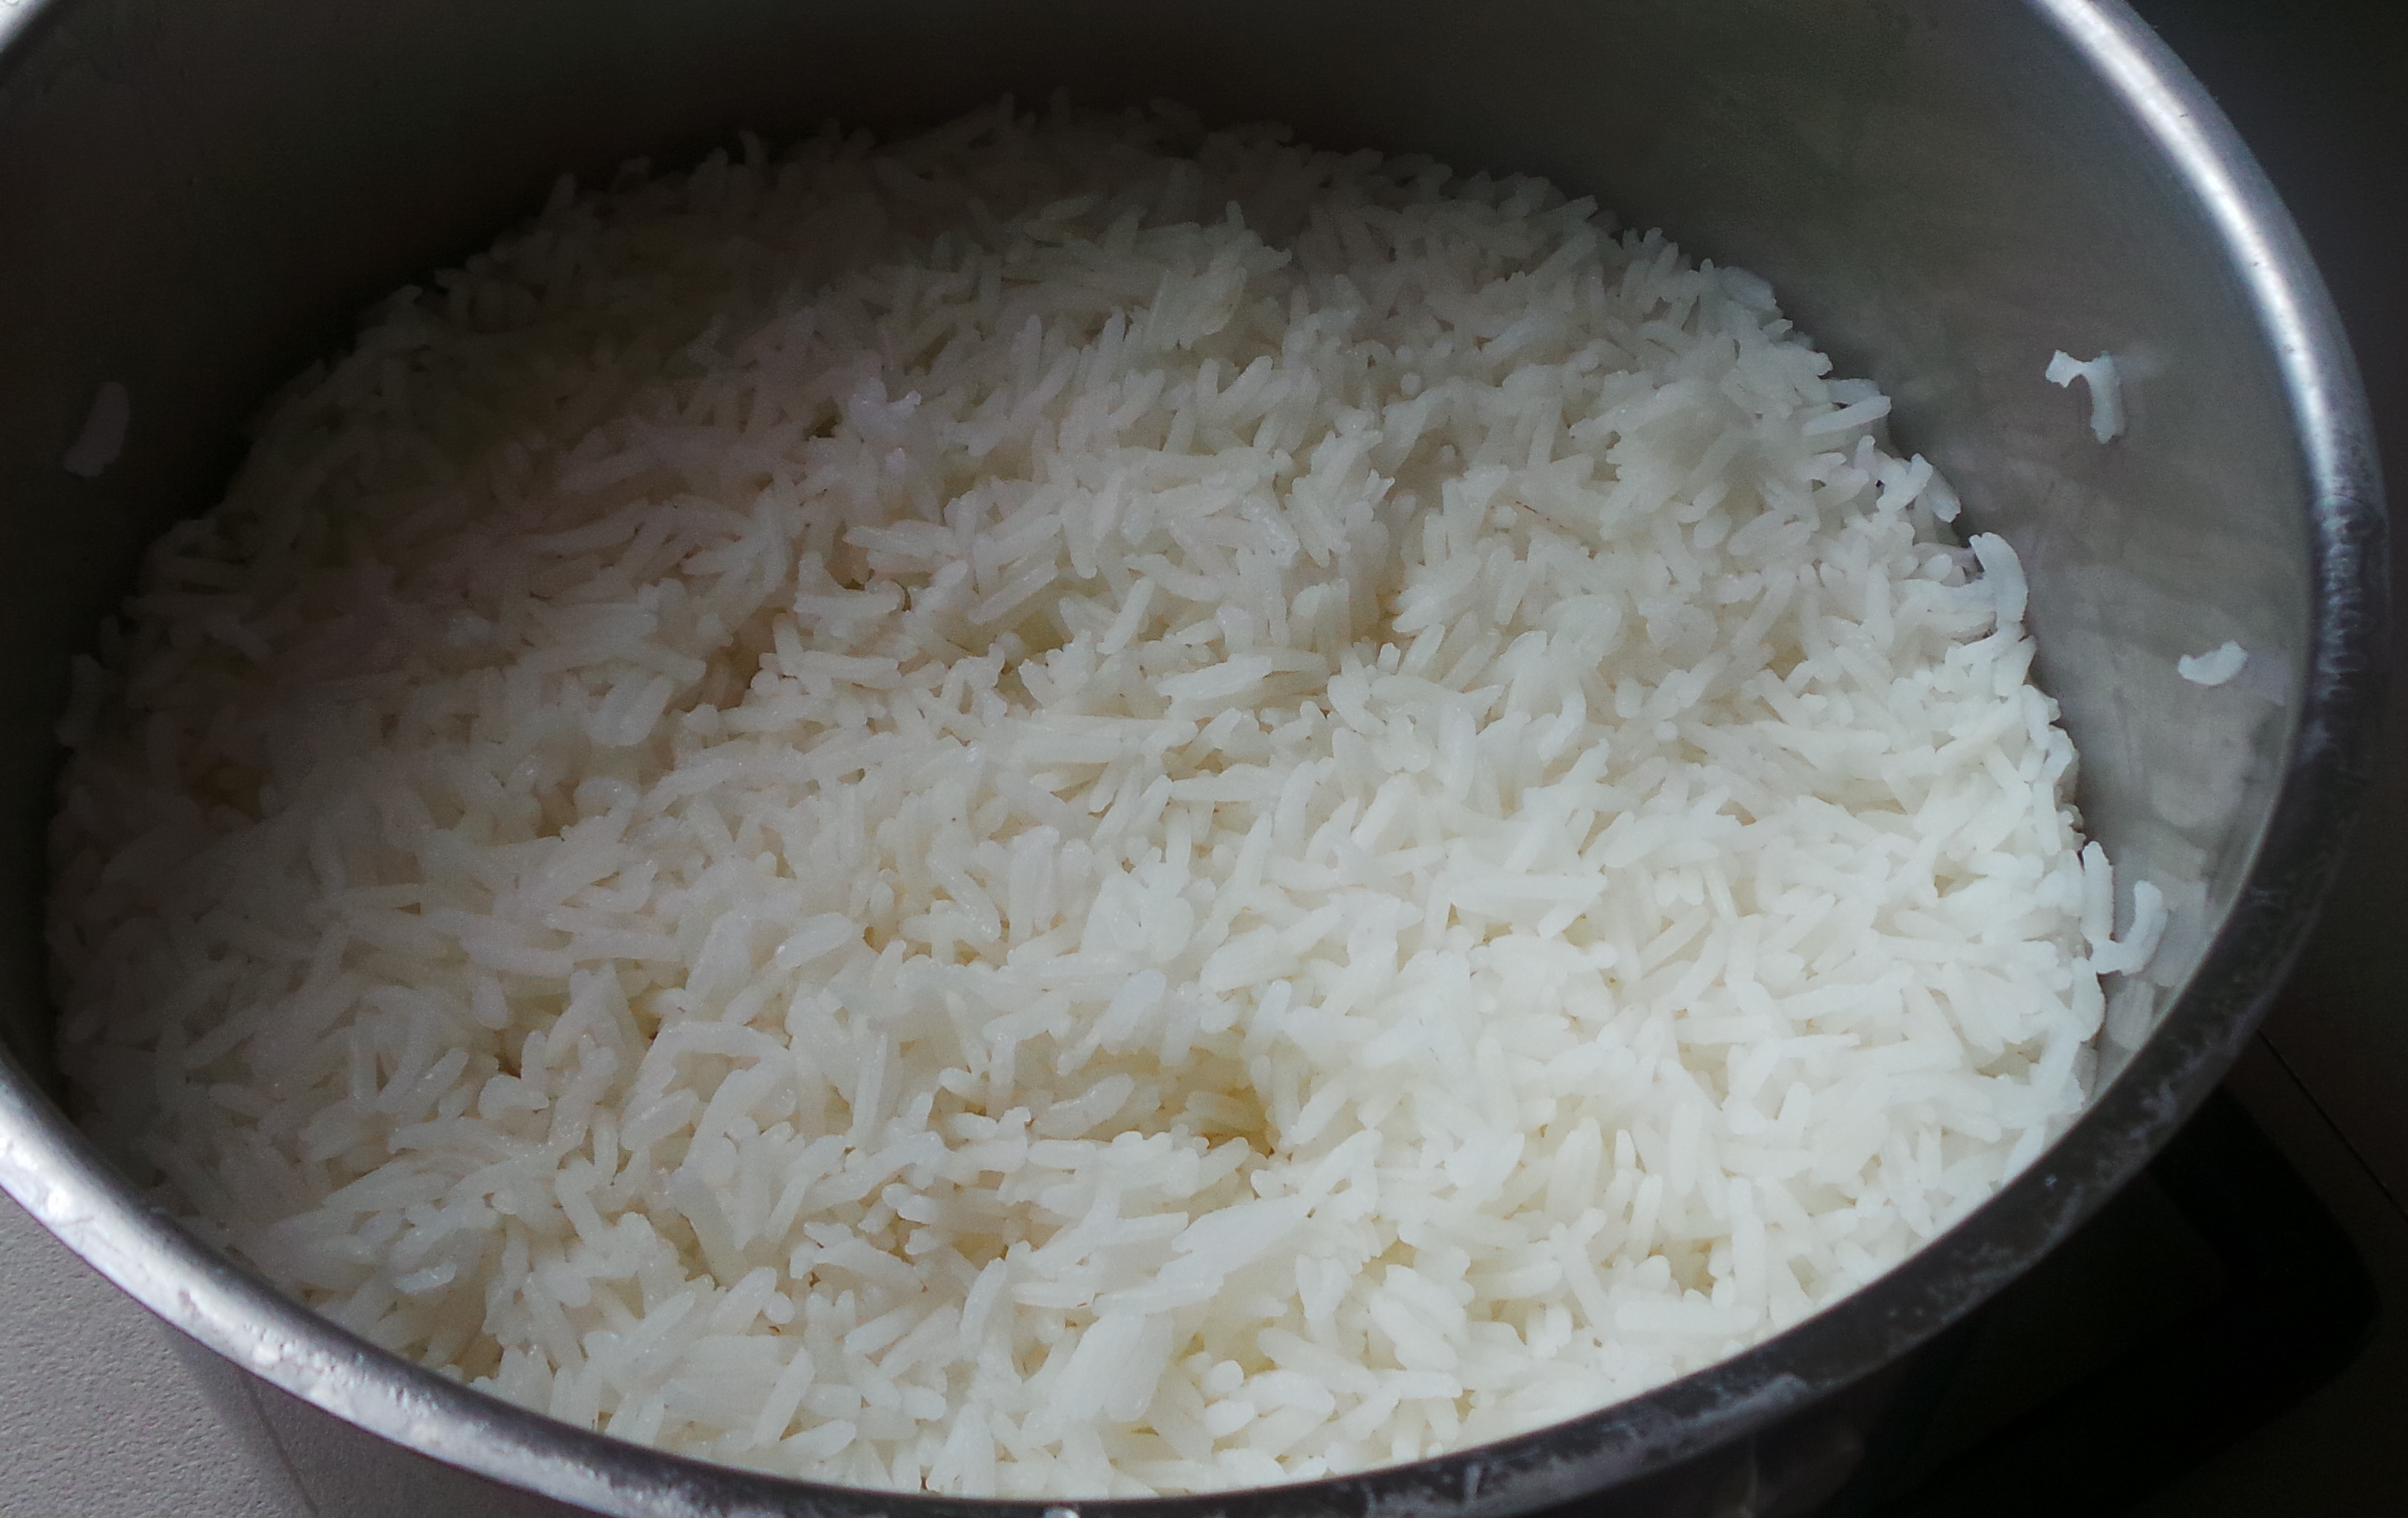
Lift the lid and stir with a rice paddle if you have one.

Lift your lid…

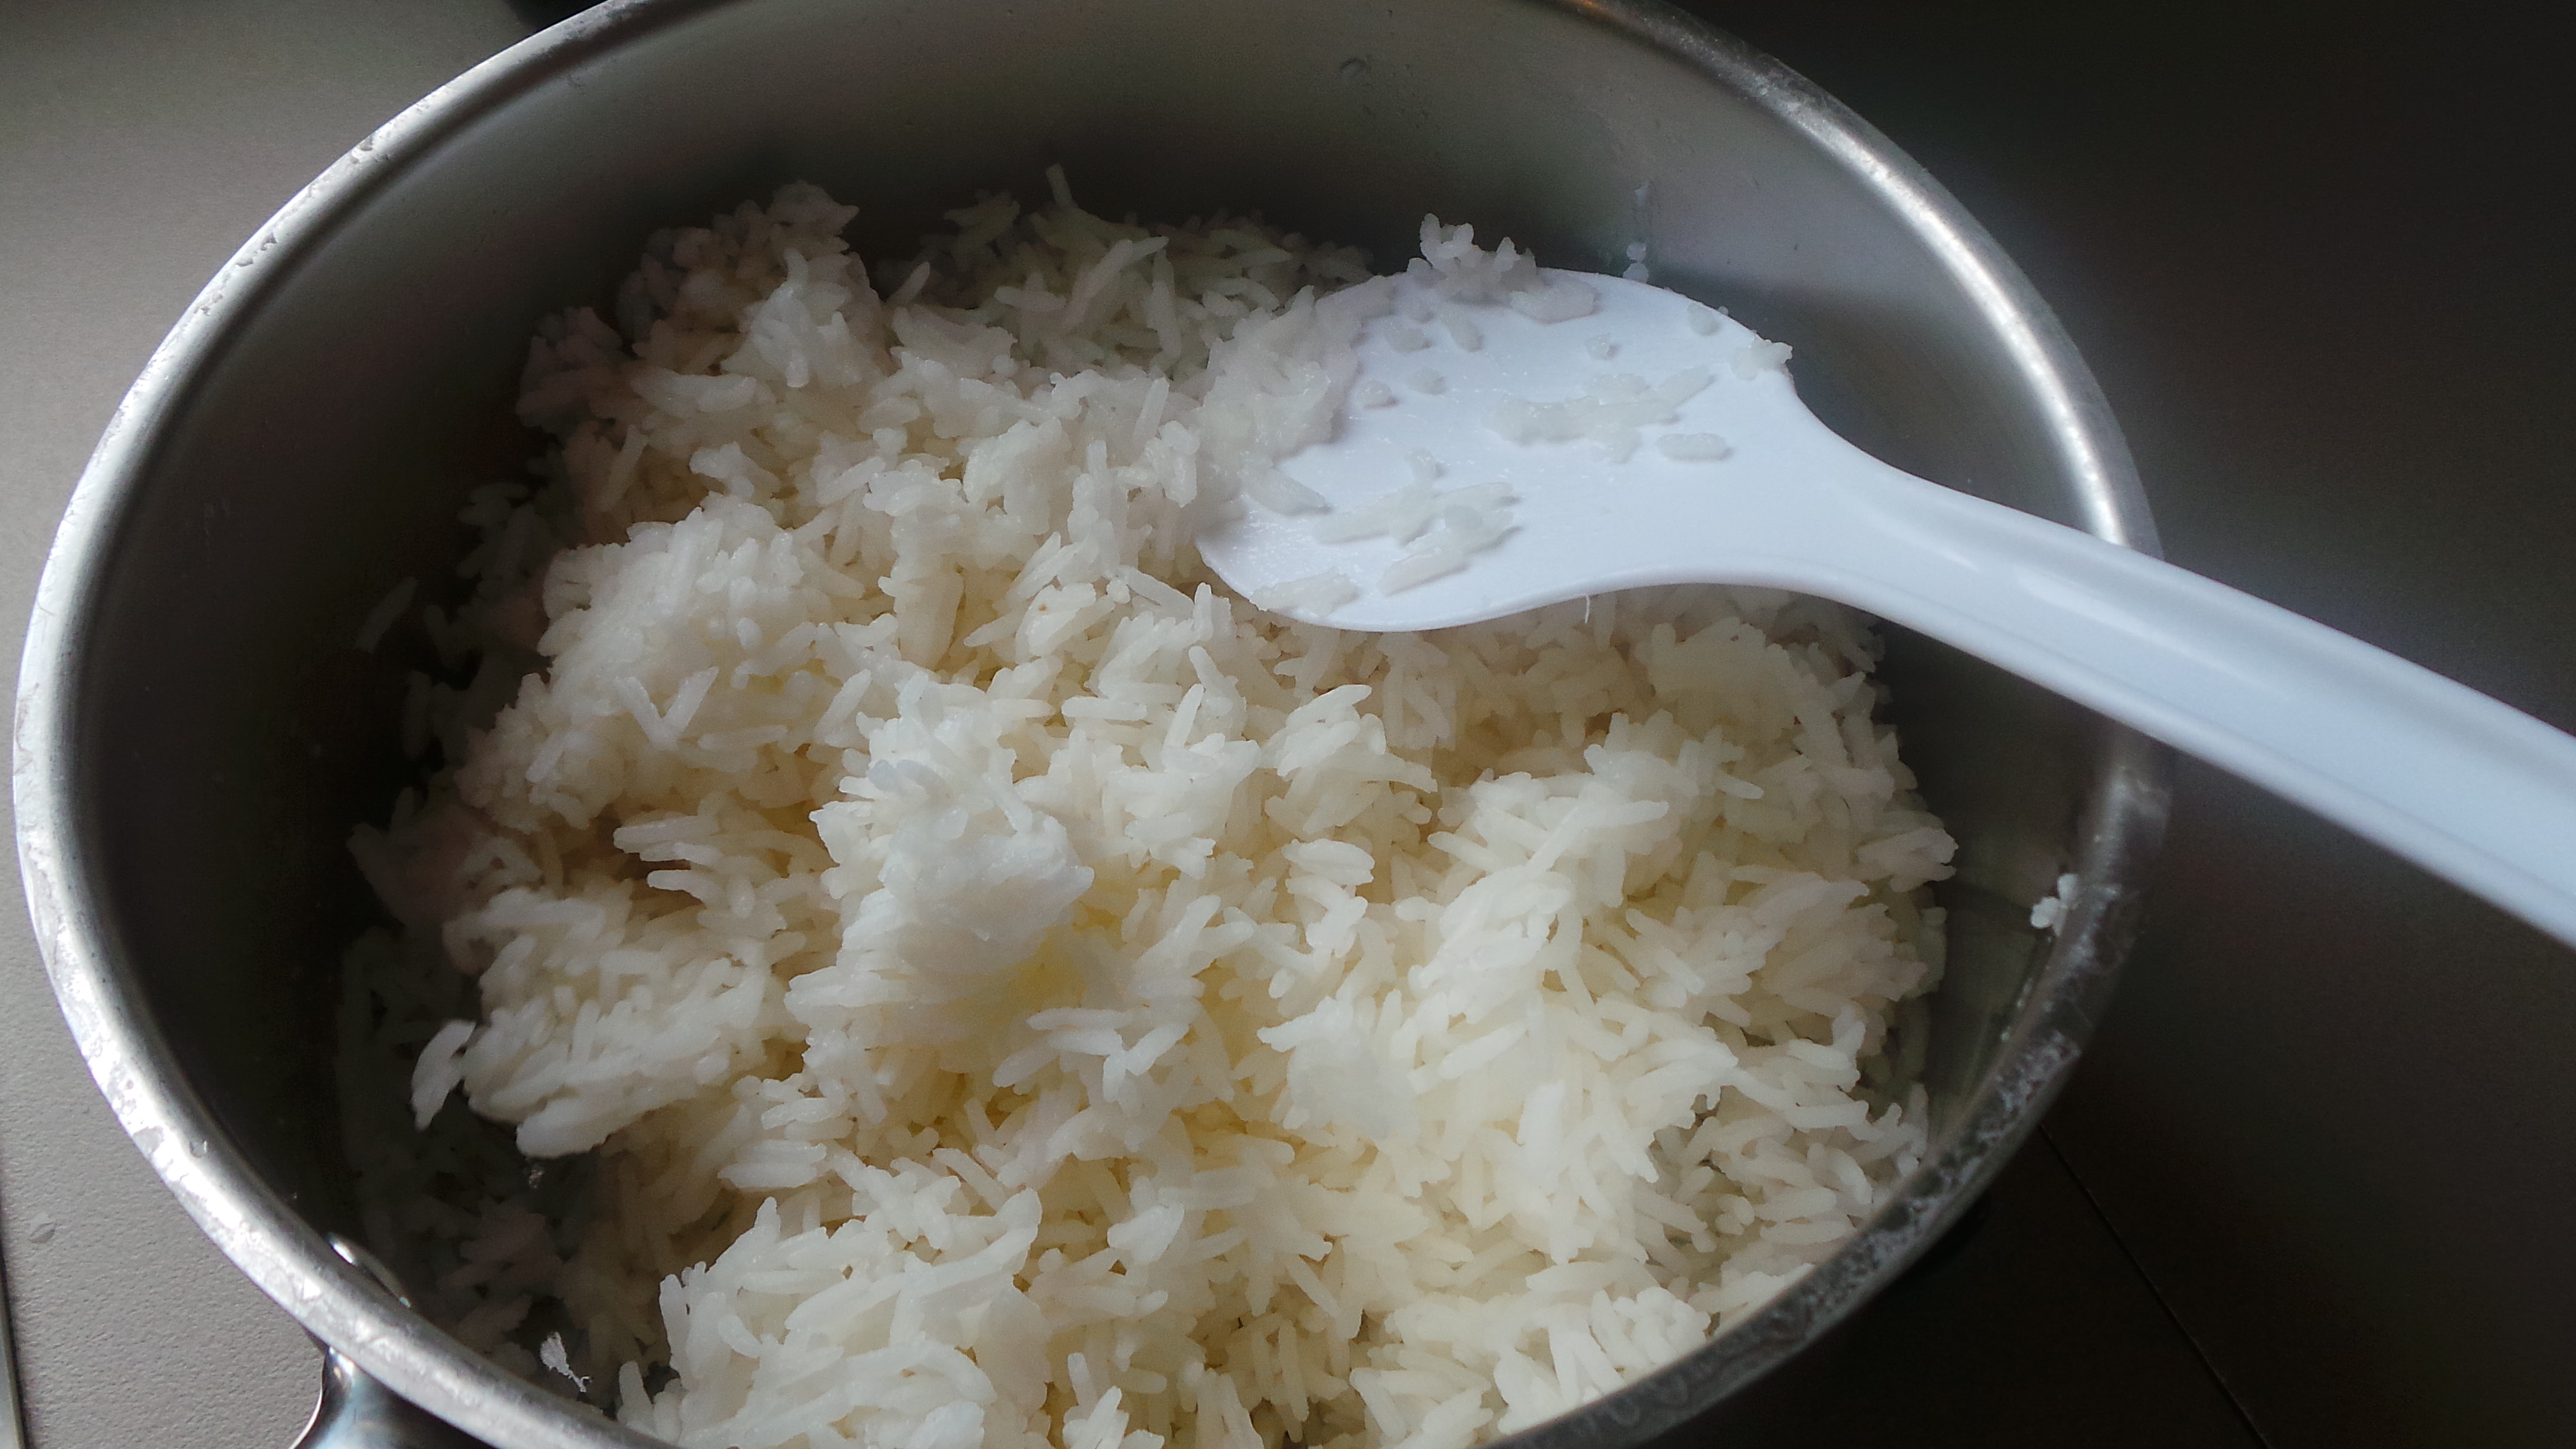
Stir your rice.
If you don’t have a rice paddle, then just use a fork. Don’t use a spoon or you will end up creating a mushy, claggy mess.
Remove the rice to a serving bowl or to a storage container as quickly as you can.
Filling your saucepan with hot water and dish soap as quickly as possible after the rice has been removed will make it a breeze to clean after you have finished your meal.
Ring the changes:
Once you feel confident in your ability to cook rice, try some very simple variations.
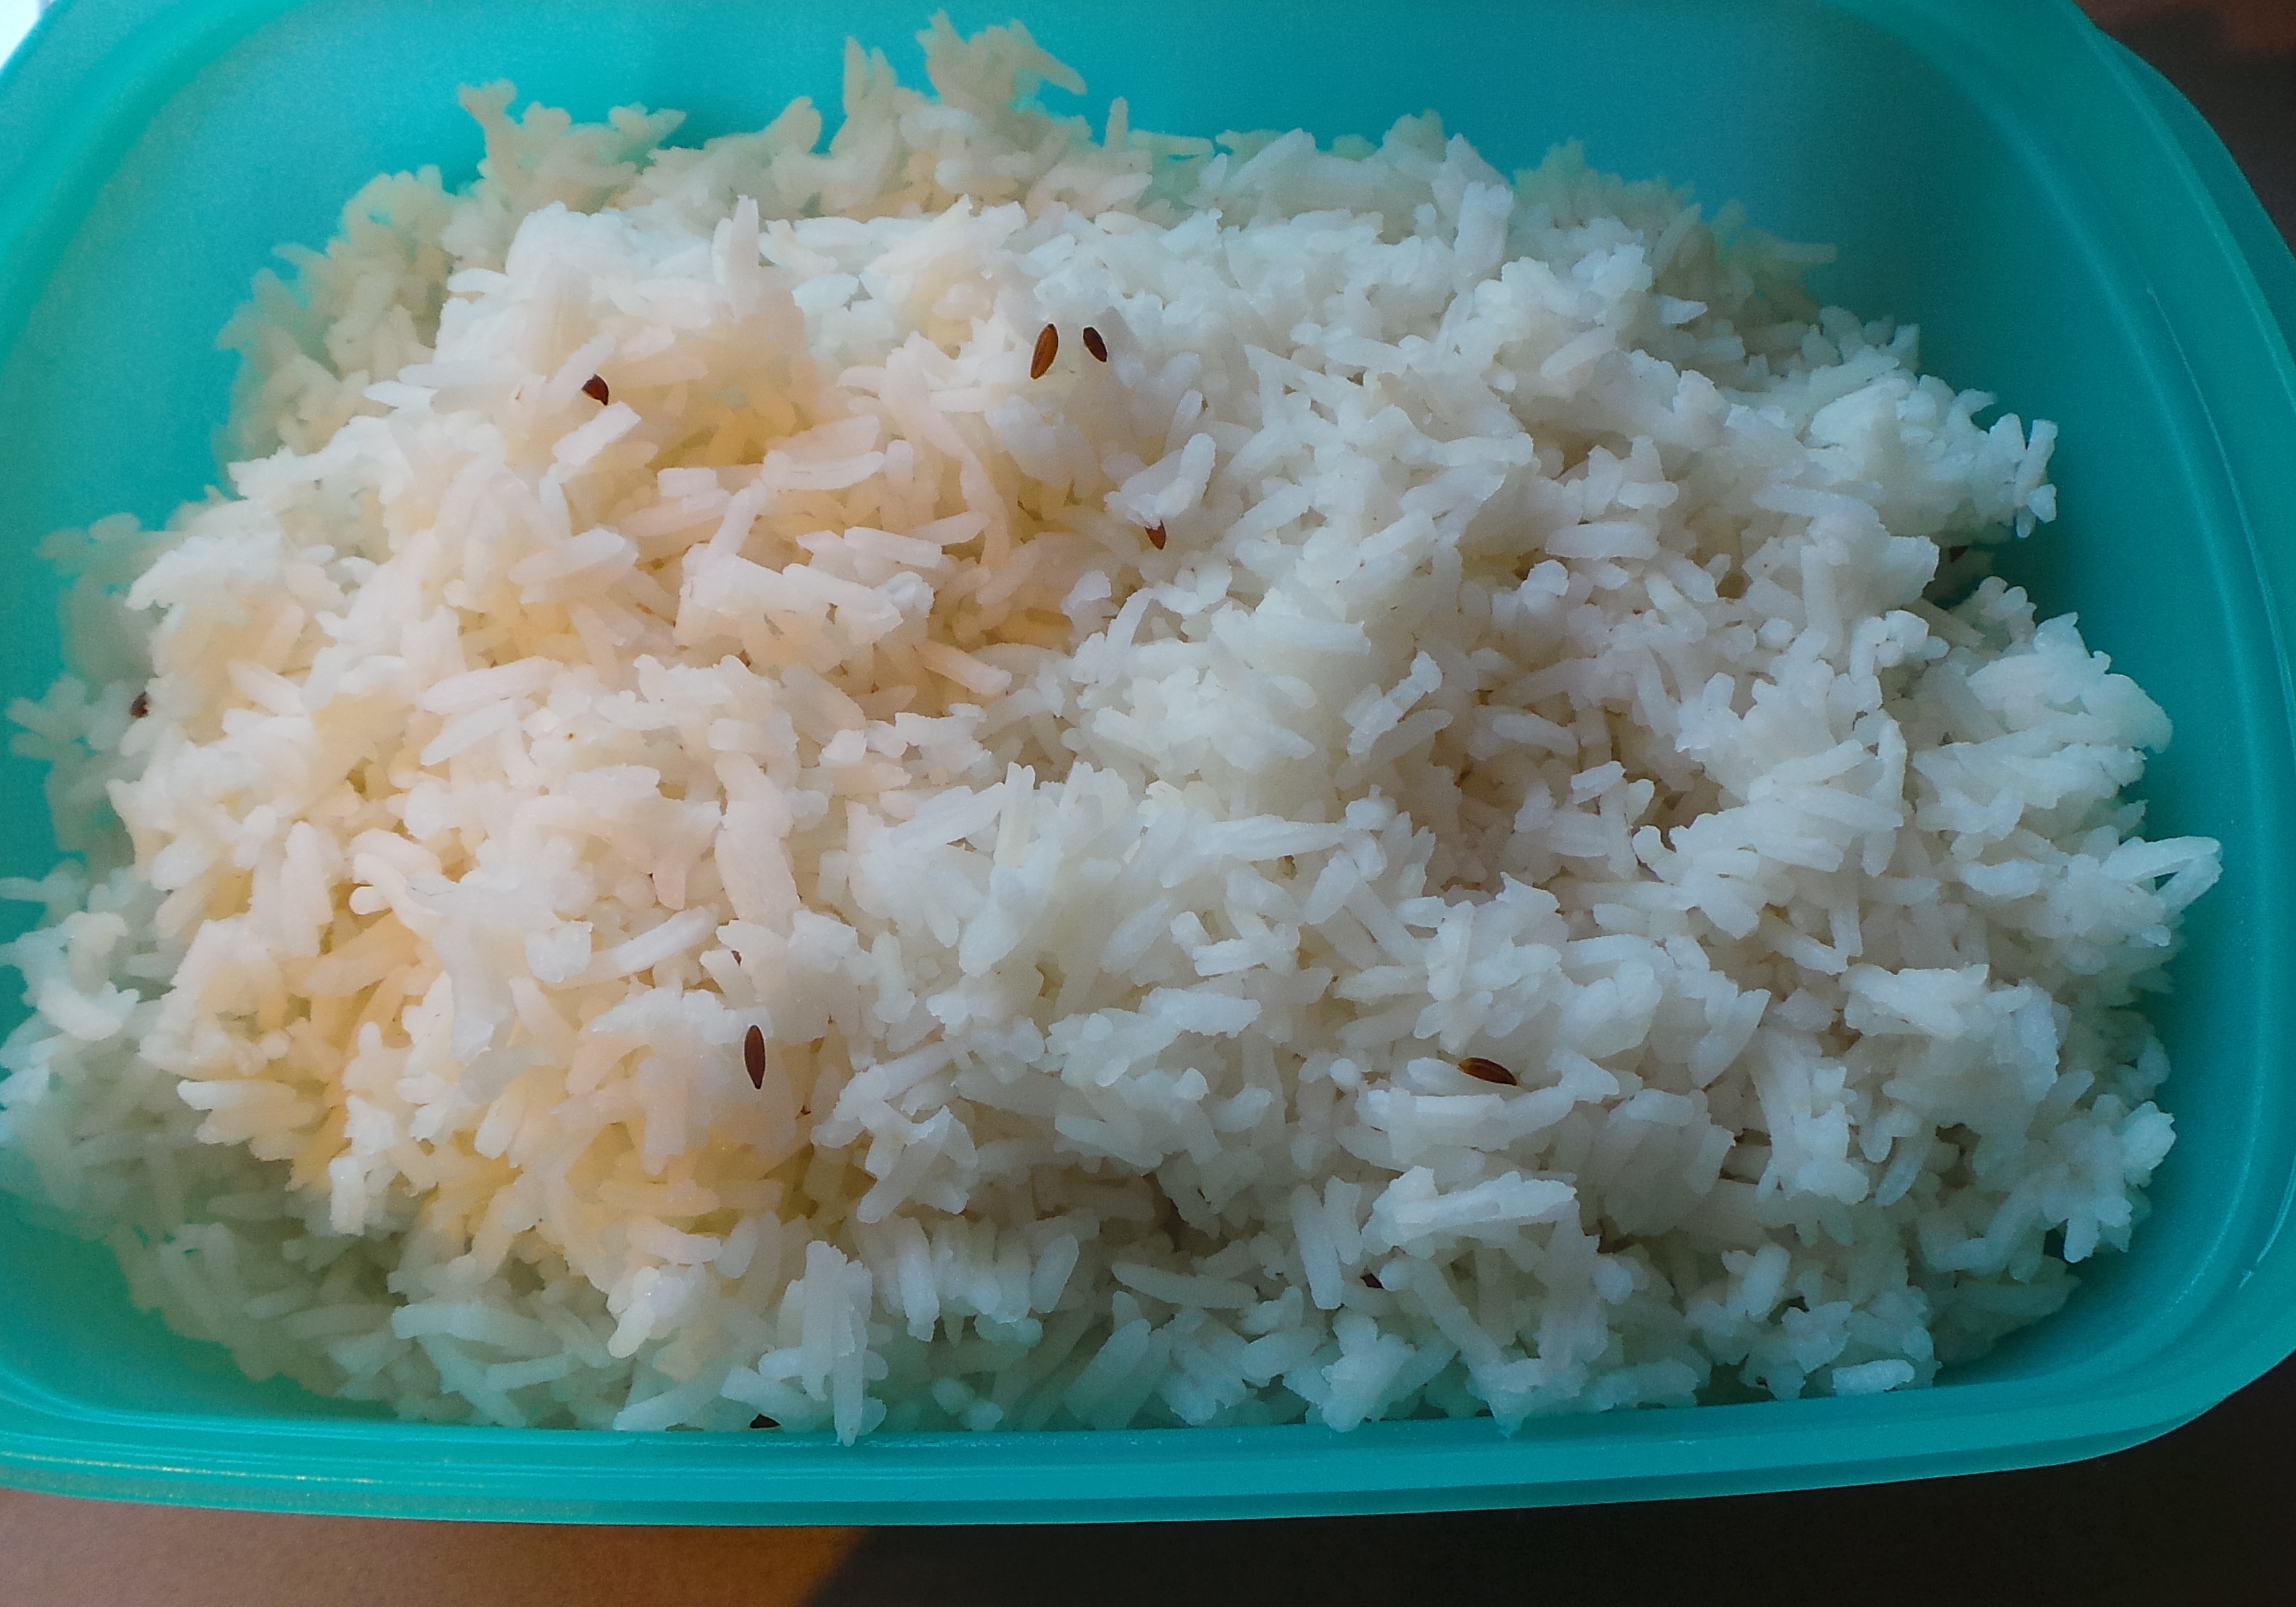
When you add your water also add a teaspoonful of Caraway Seeds. This makes a lovely accompaniment to rich meat dishes, especially those containing pork.

A sprinkle of caraway for flavour and fragrance.

Fluffy rice with flecks of spice.
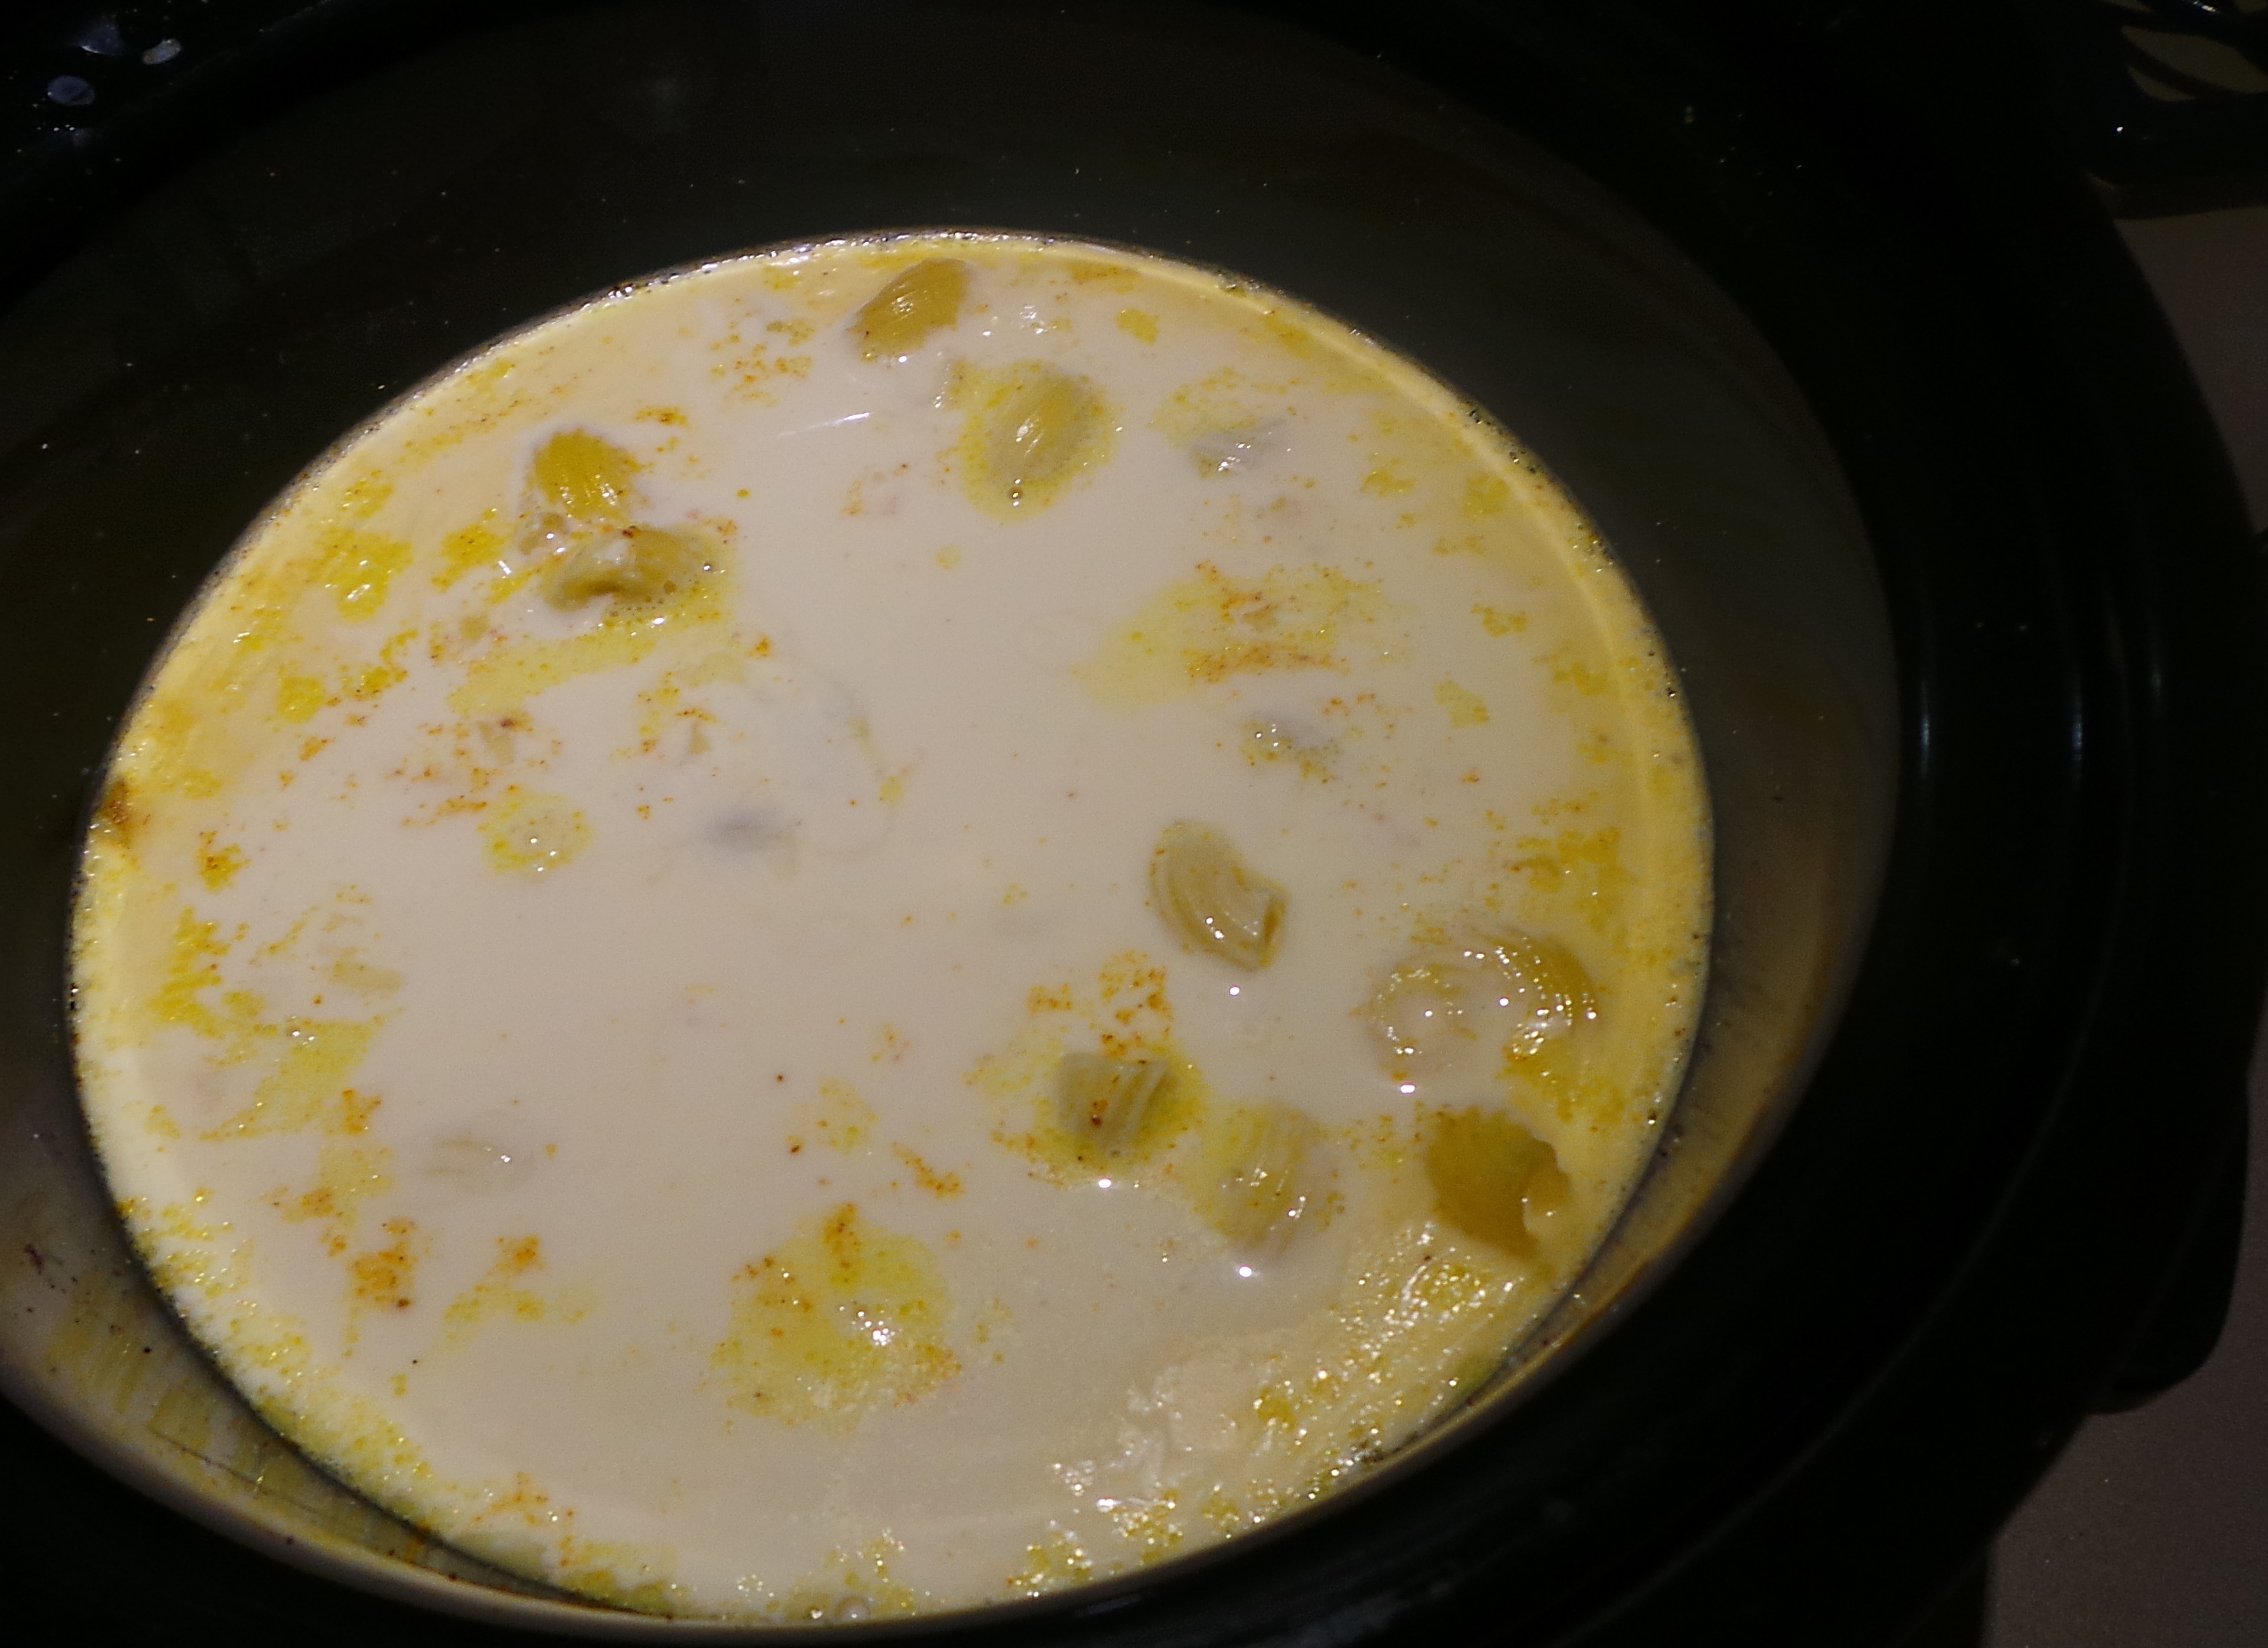
Or try a dash (maybe a ½ tsp) of turmeric instead. This will turn your rice a lovely yellow and add a beautiful, warm fragrance to the air…
Indeed, adding a touch of almost any spice will transform your rice. Try cracked Cardamom Pods, fennel seeds, star anise or – if you are feeling particularly affluent – soak a few saffron threads in warm water for 5 mins before adding them in the same way.
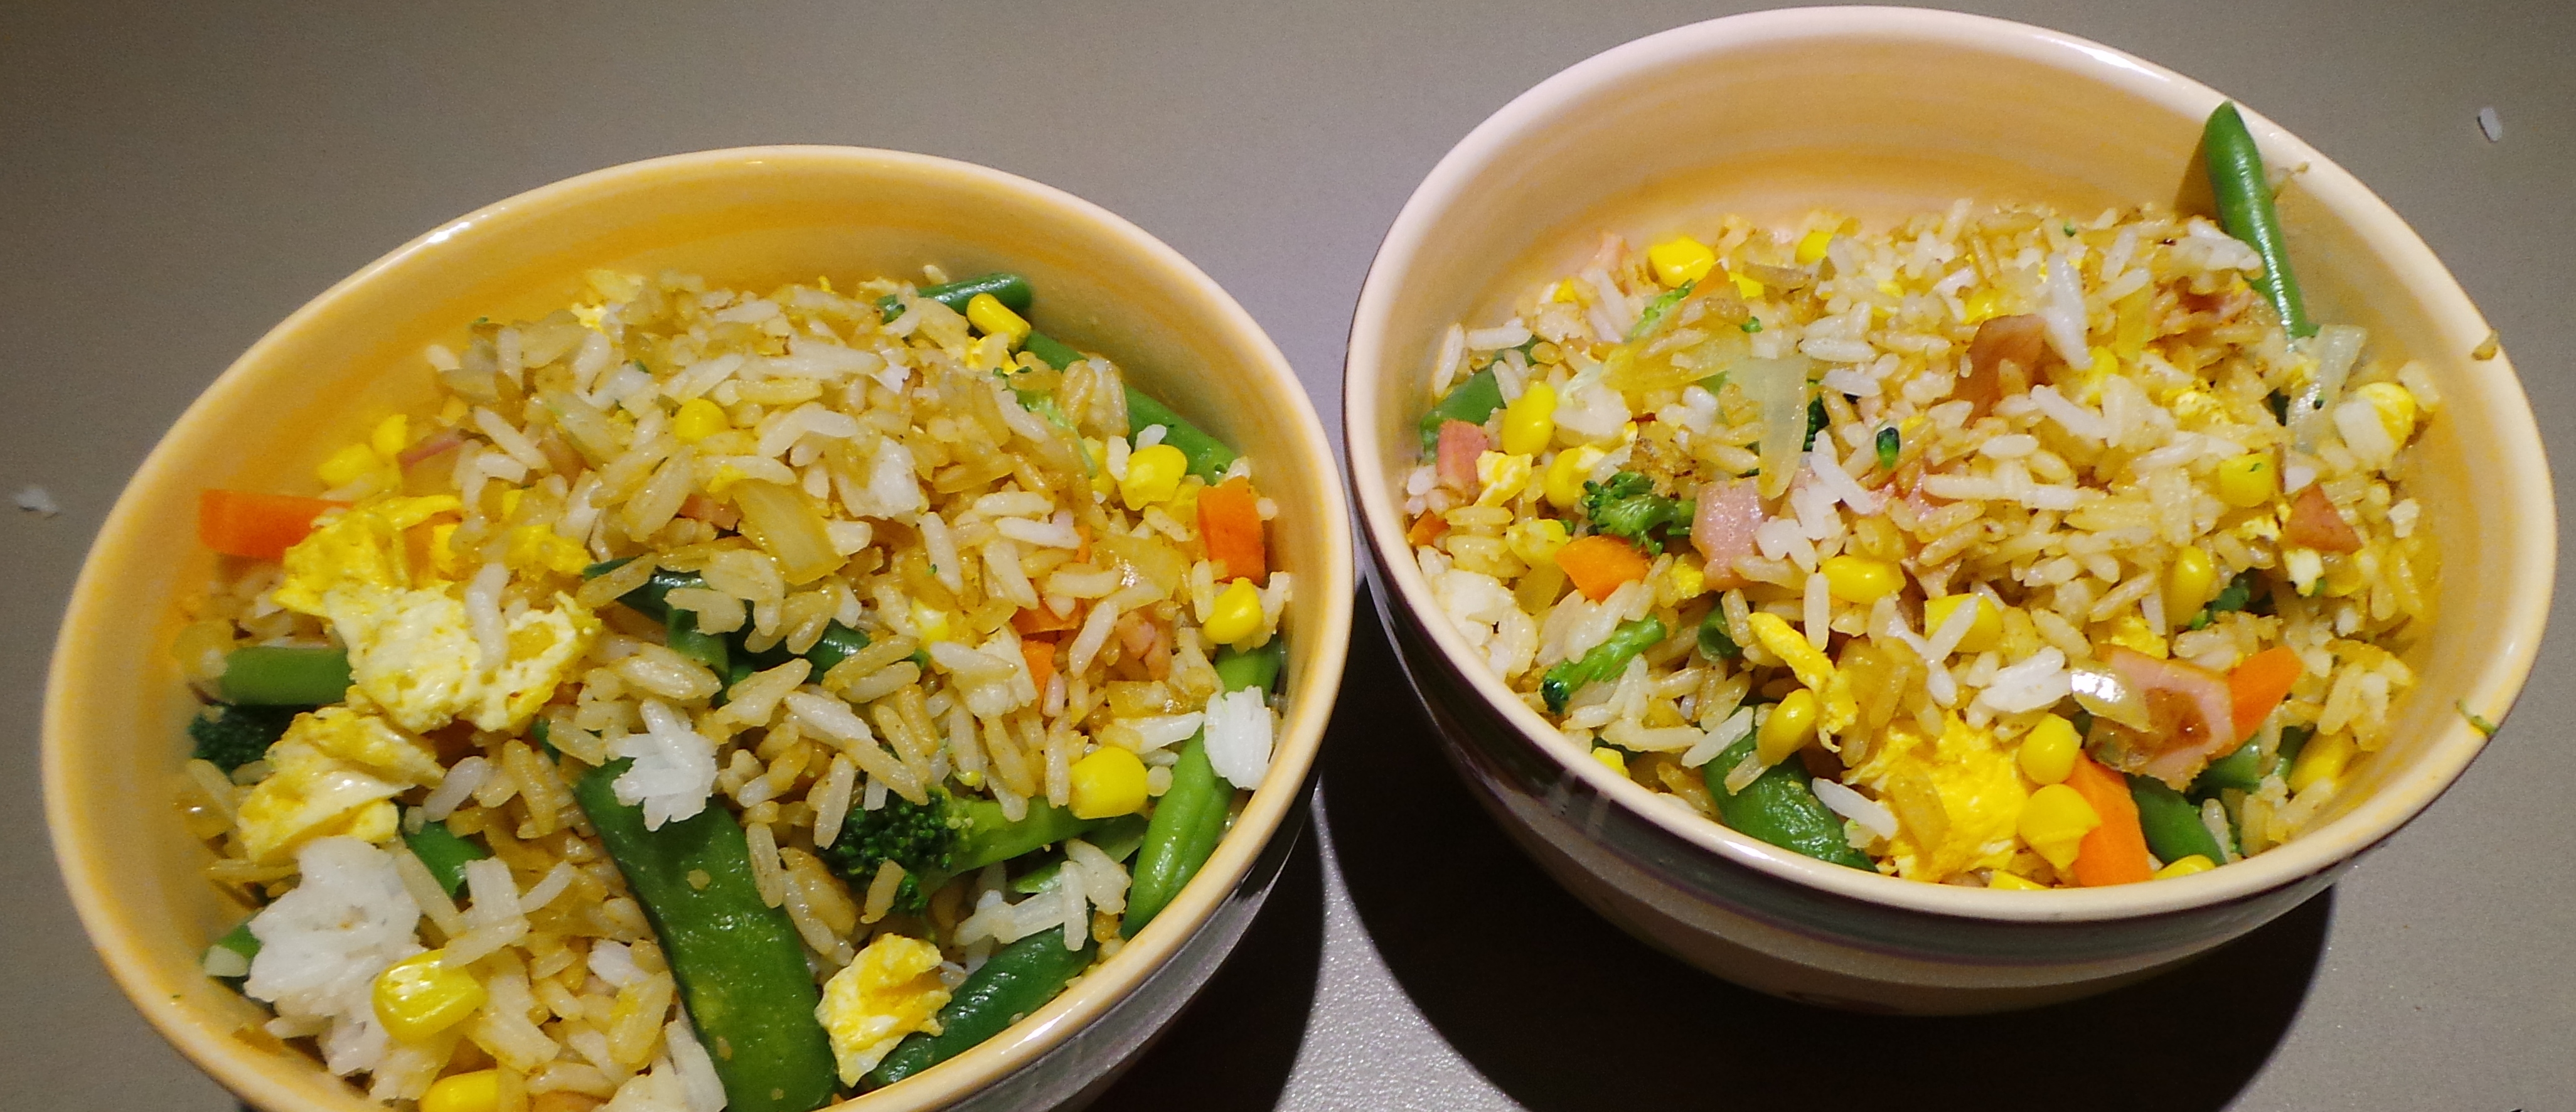
Use any left over rice in my Almost Genuine Fried Rice dish.

Almost Genuine Fried Rice
Let me know how you go!