Today we managed to find an opening between the showers to pop down to our plot at the Community Garden and pick some stuff and weed and mulch other bits.
In summary, we came home with this pile of green awesomeness. It includes our very first leek (naaawww!), several pak choi, some broccolini and some Tuscan Kale (cavolo nero or black cabbage) very generously given to us by a neighbouring gardener.
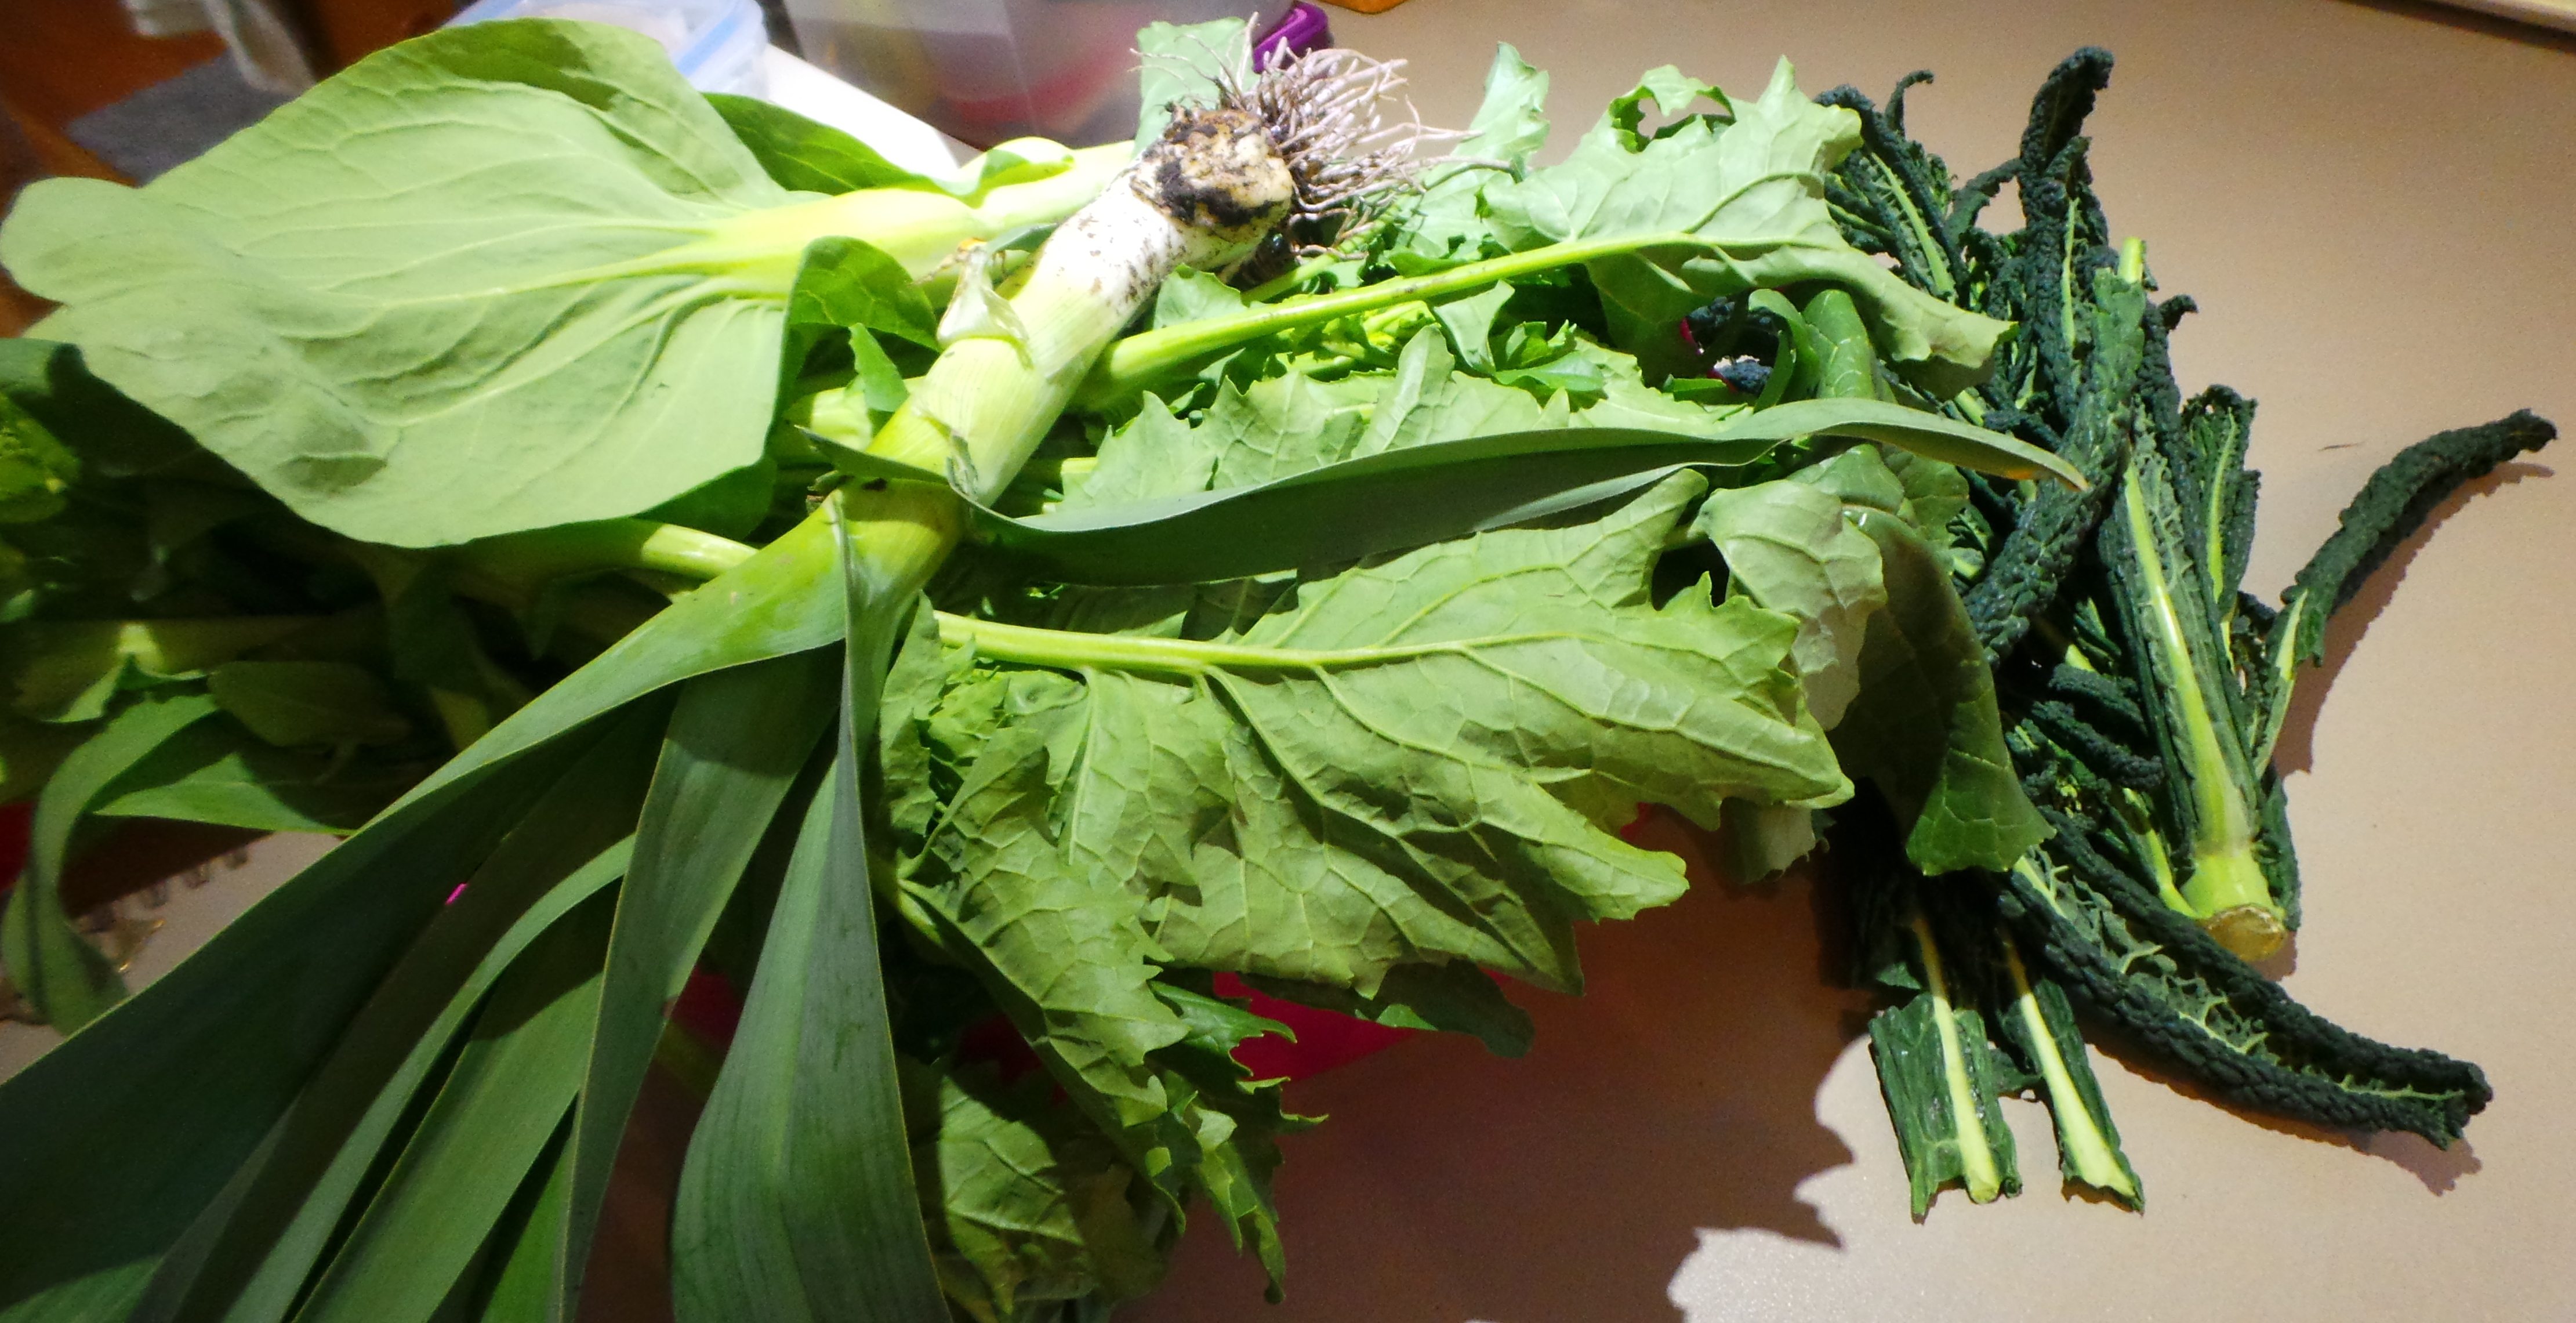
We done grew all this green stuff!
It was all washed or scrubbed when we got home and has since been filed or eaten. We don’t muck around with our greens in this household, let that be a warning to ye!
Ahem. Moving on…
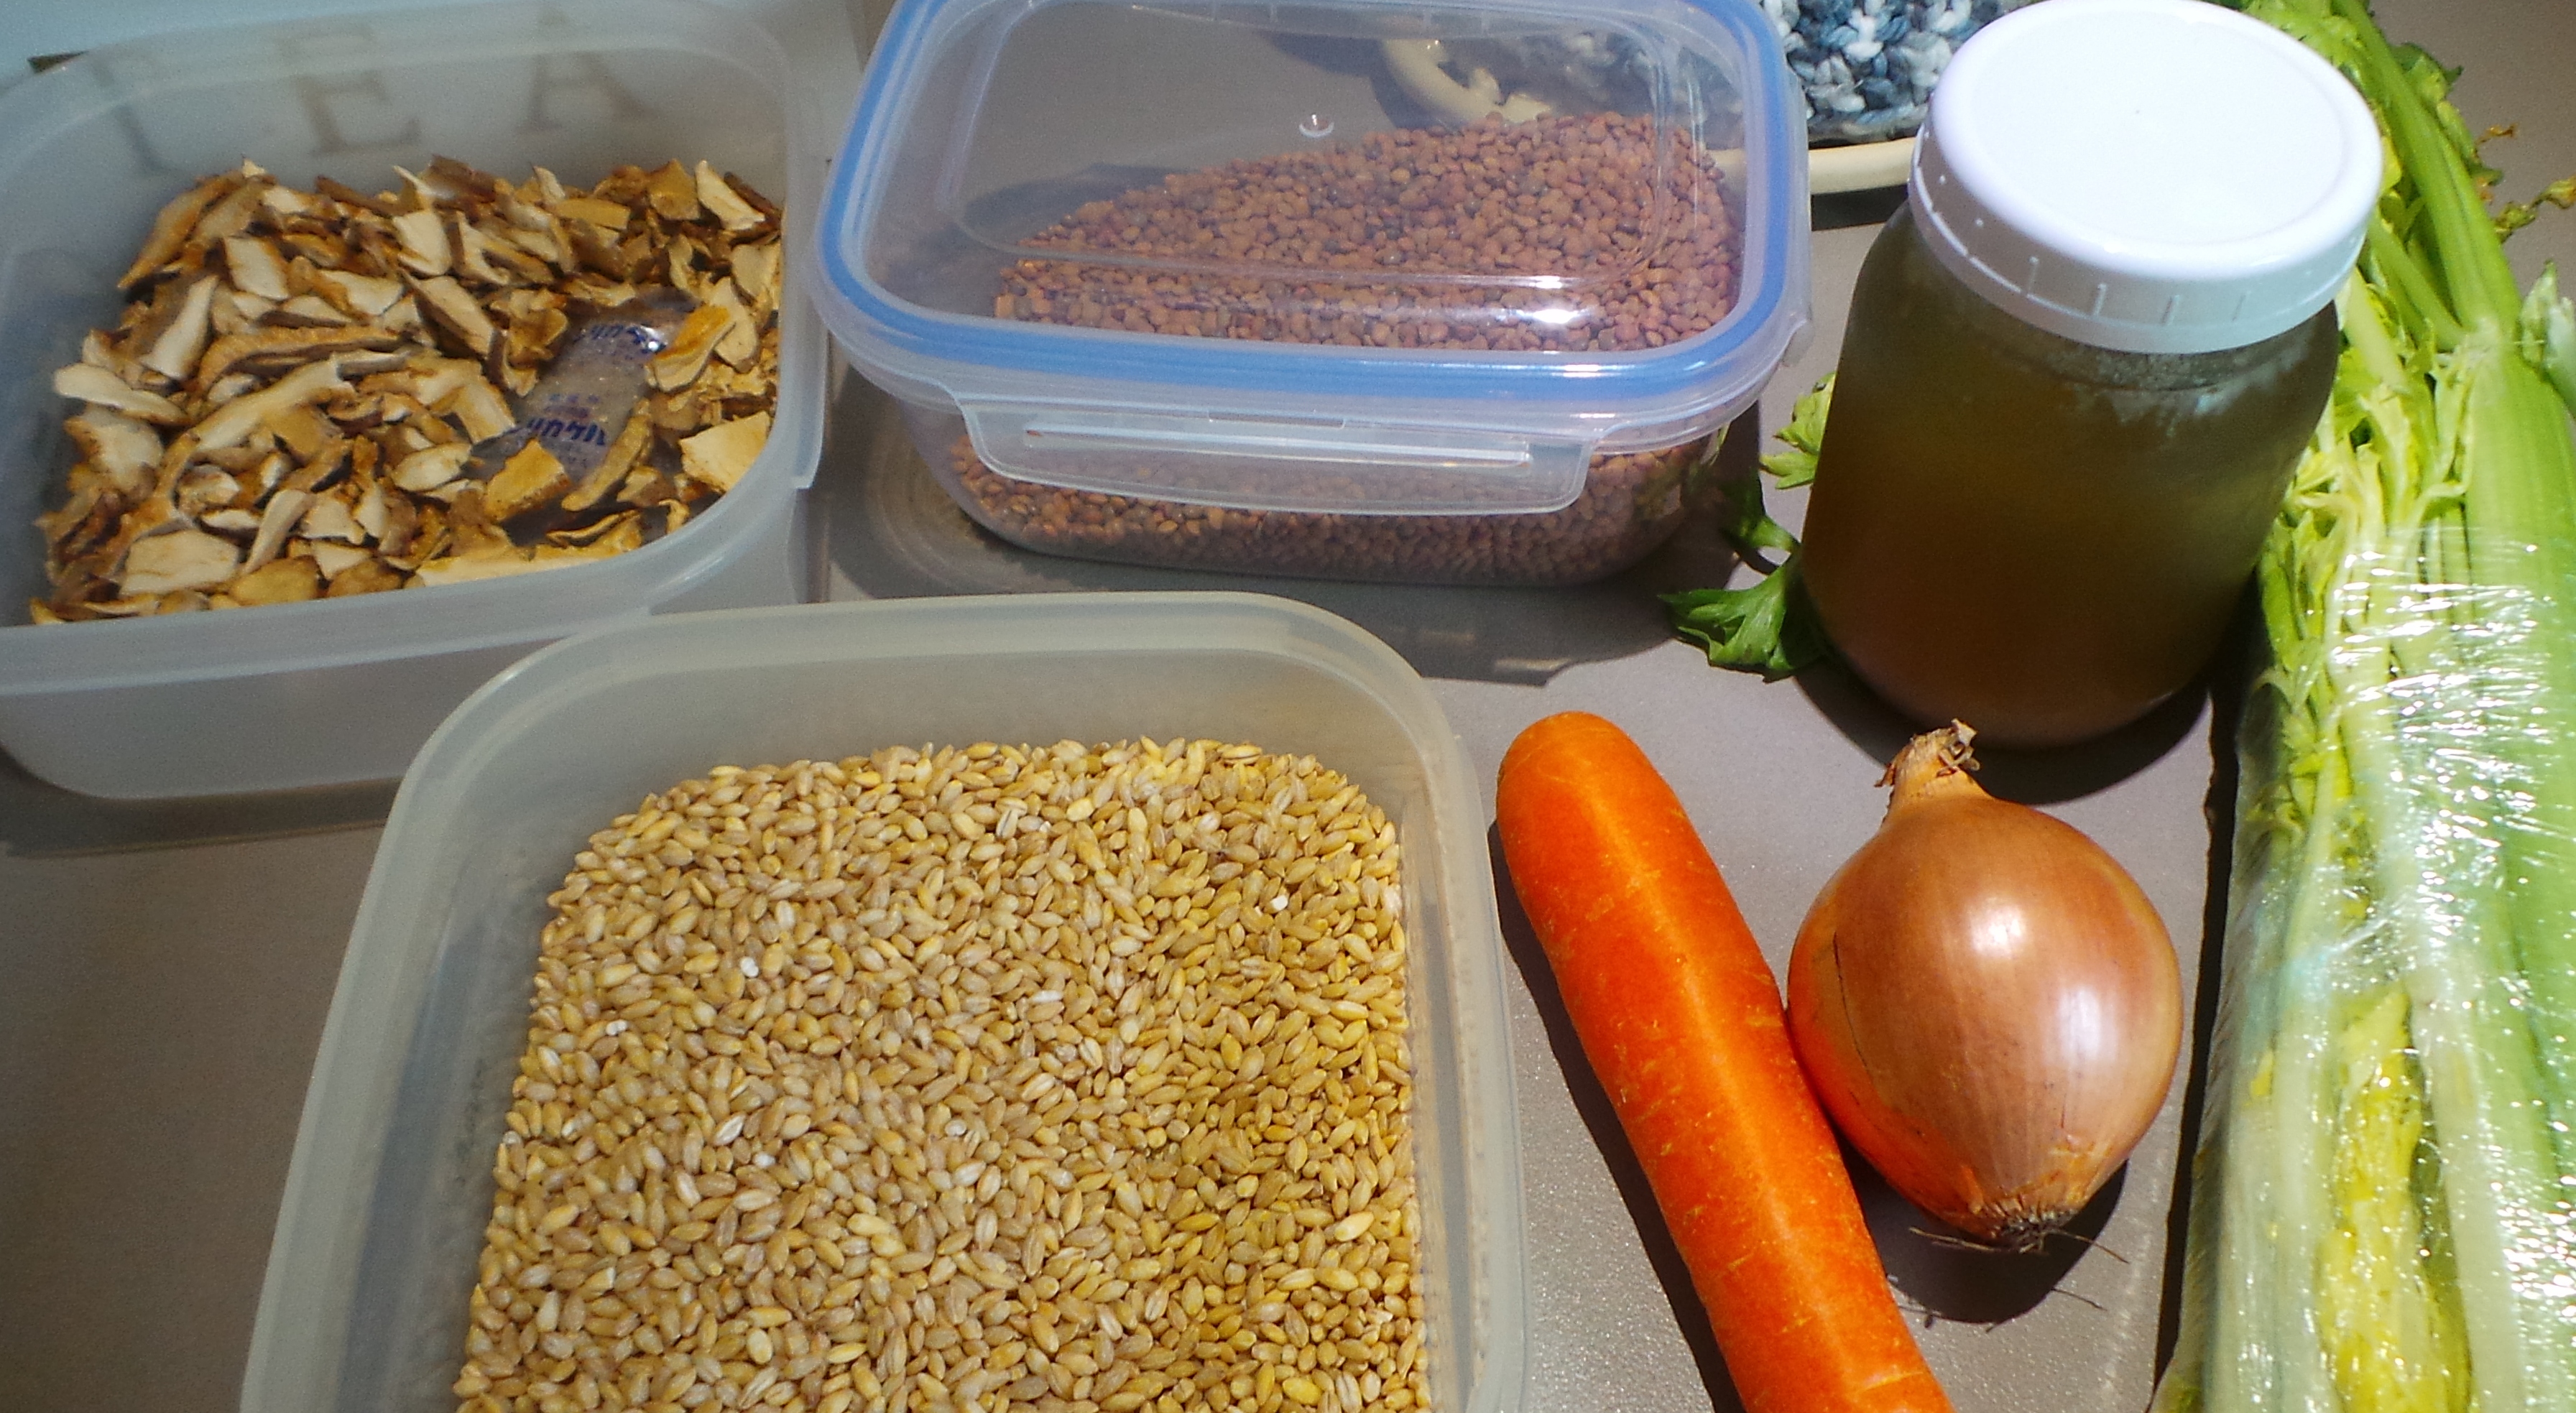
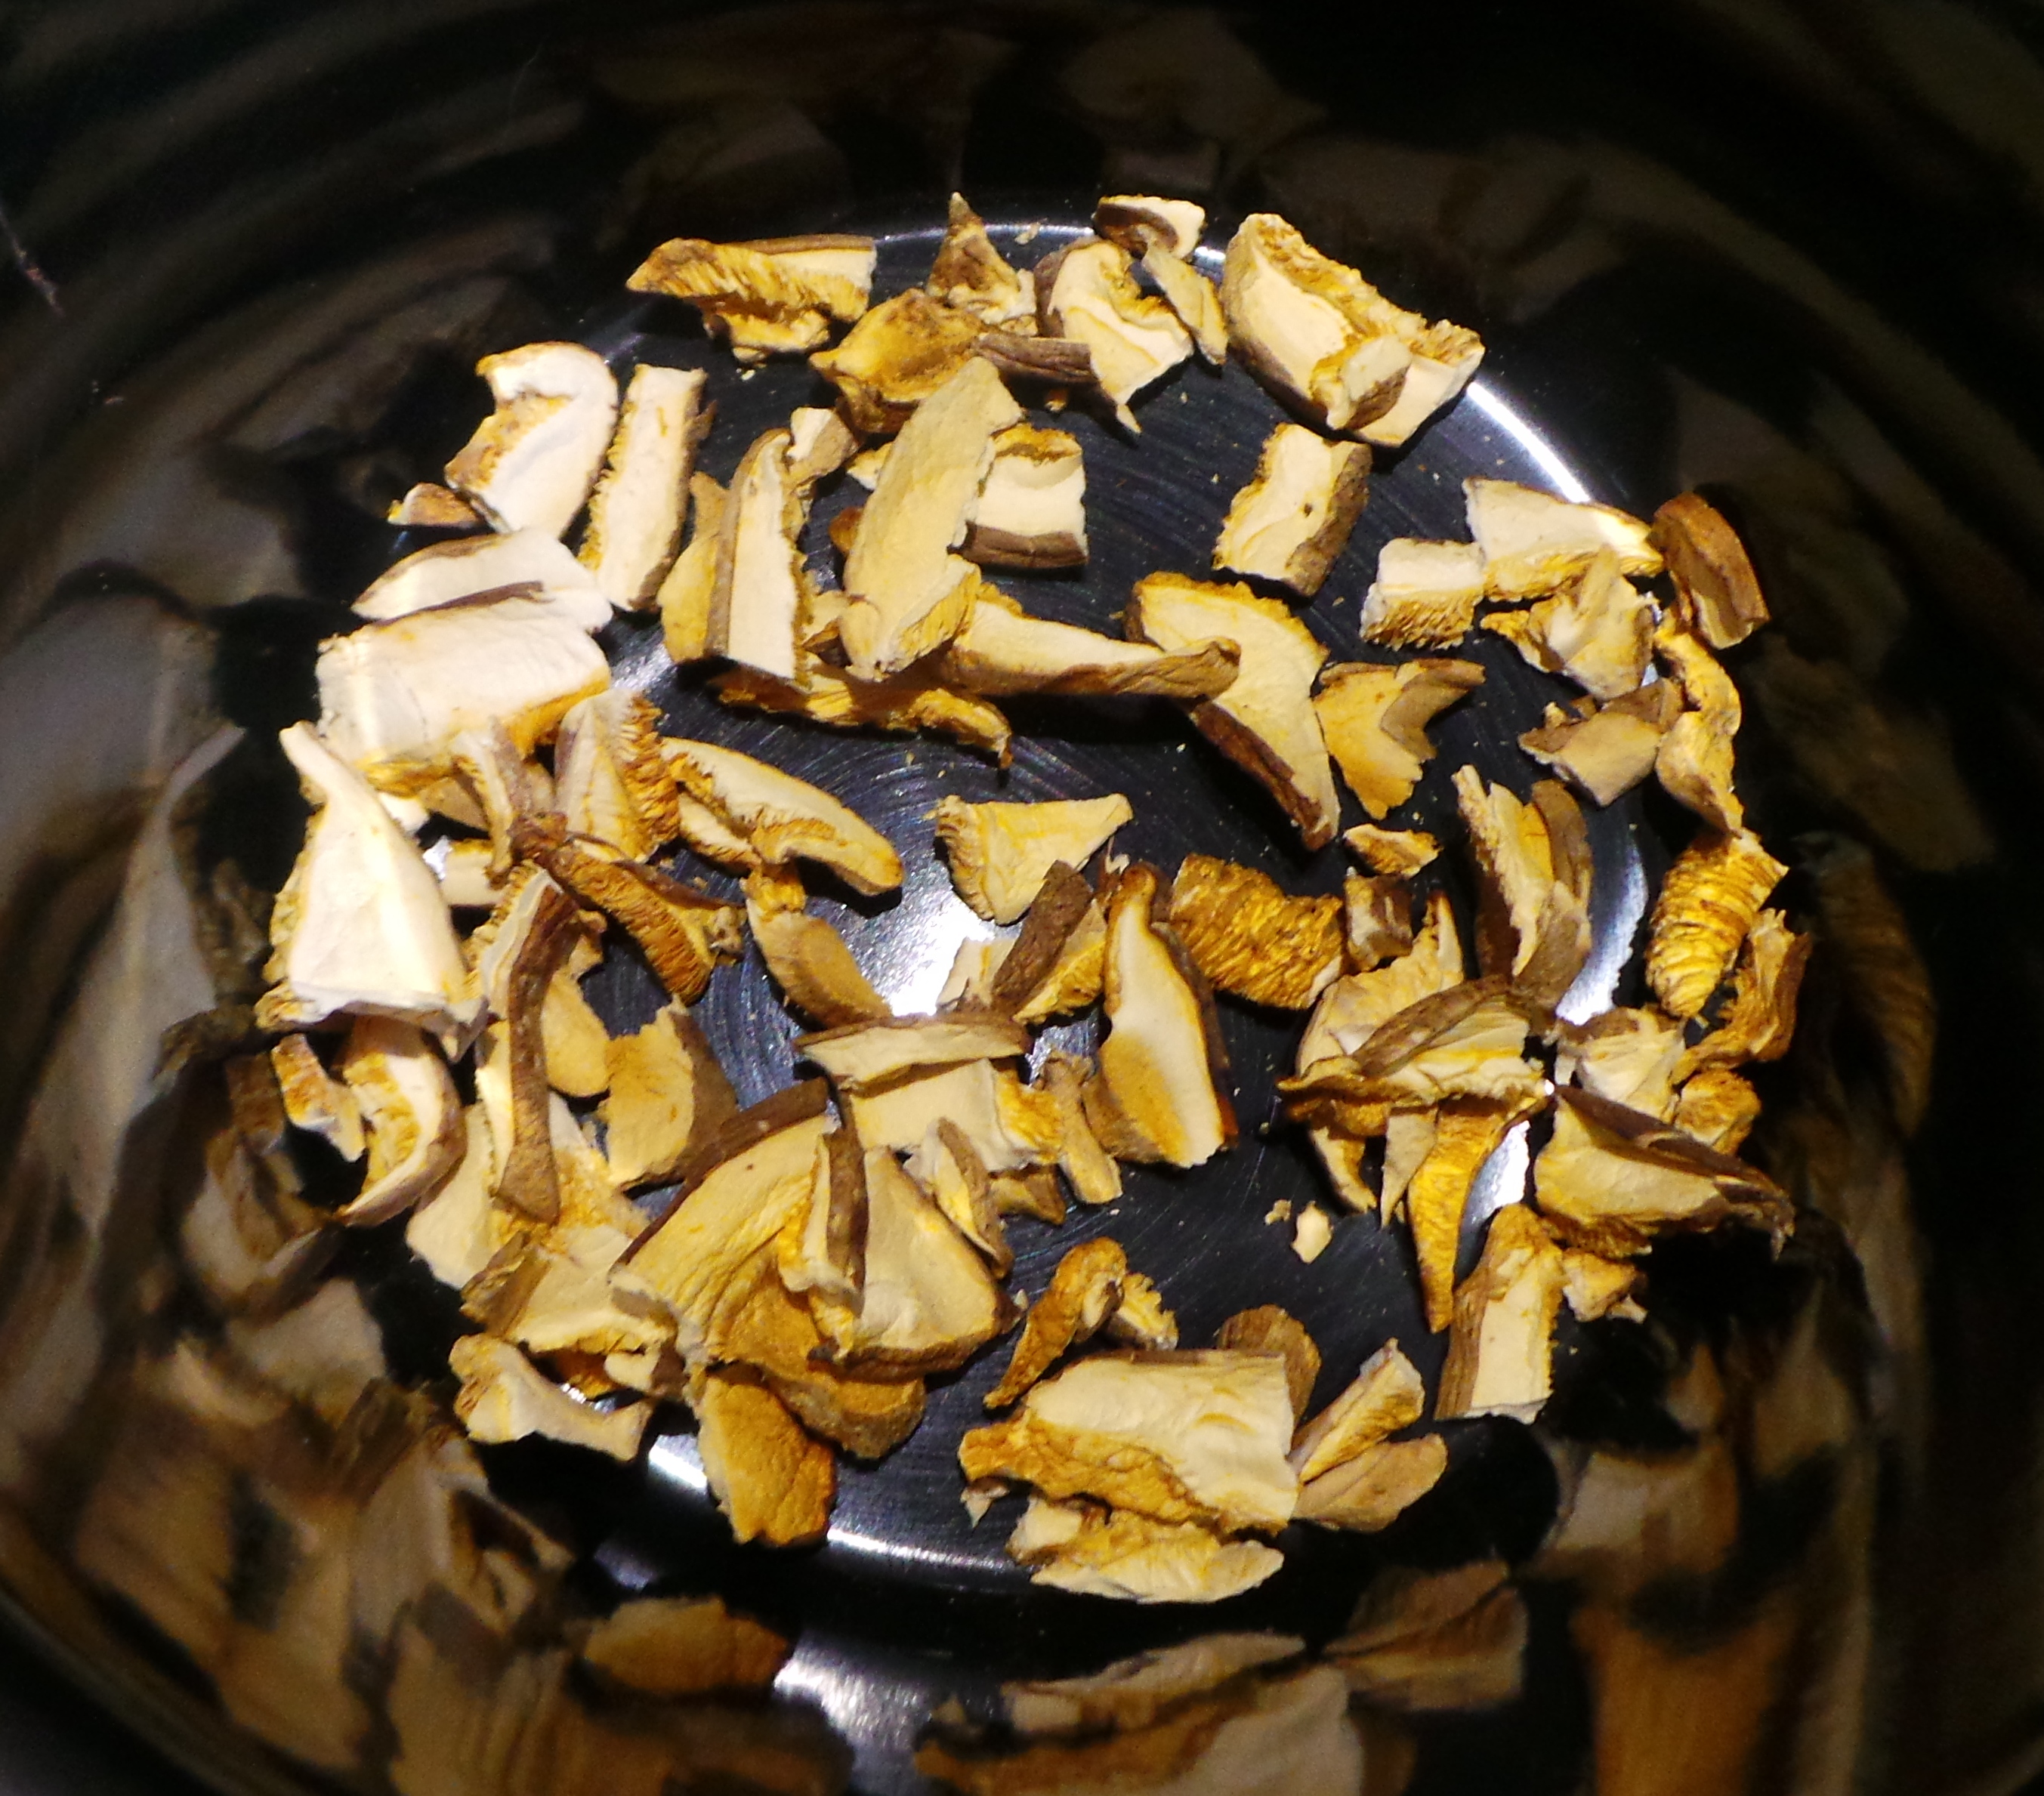
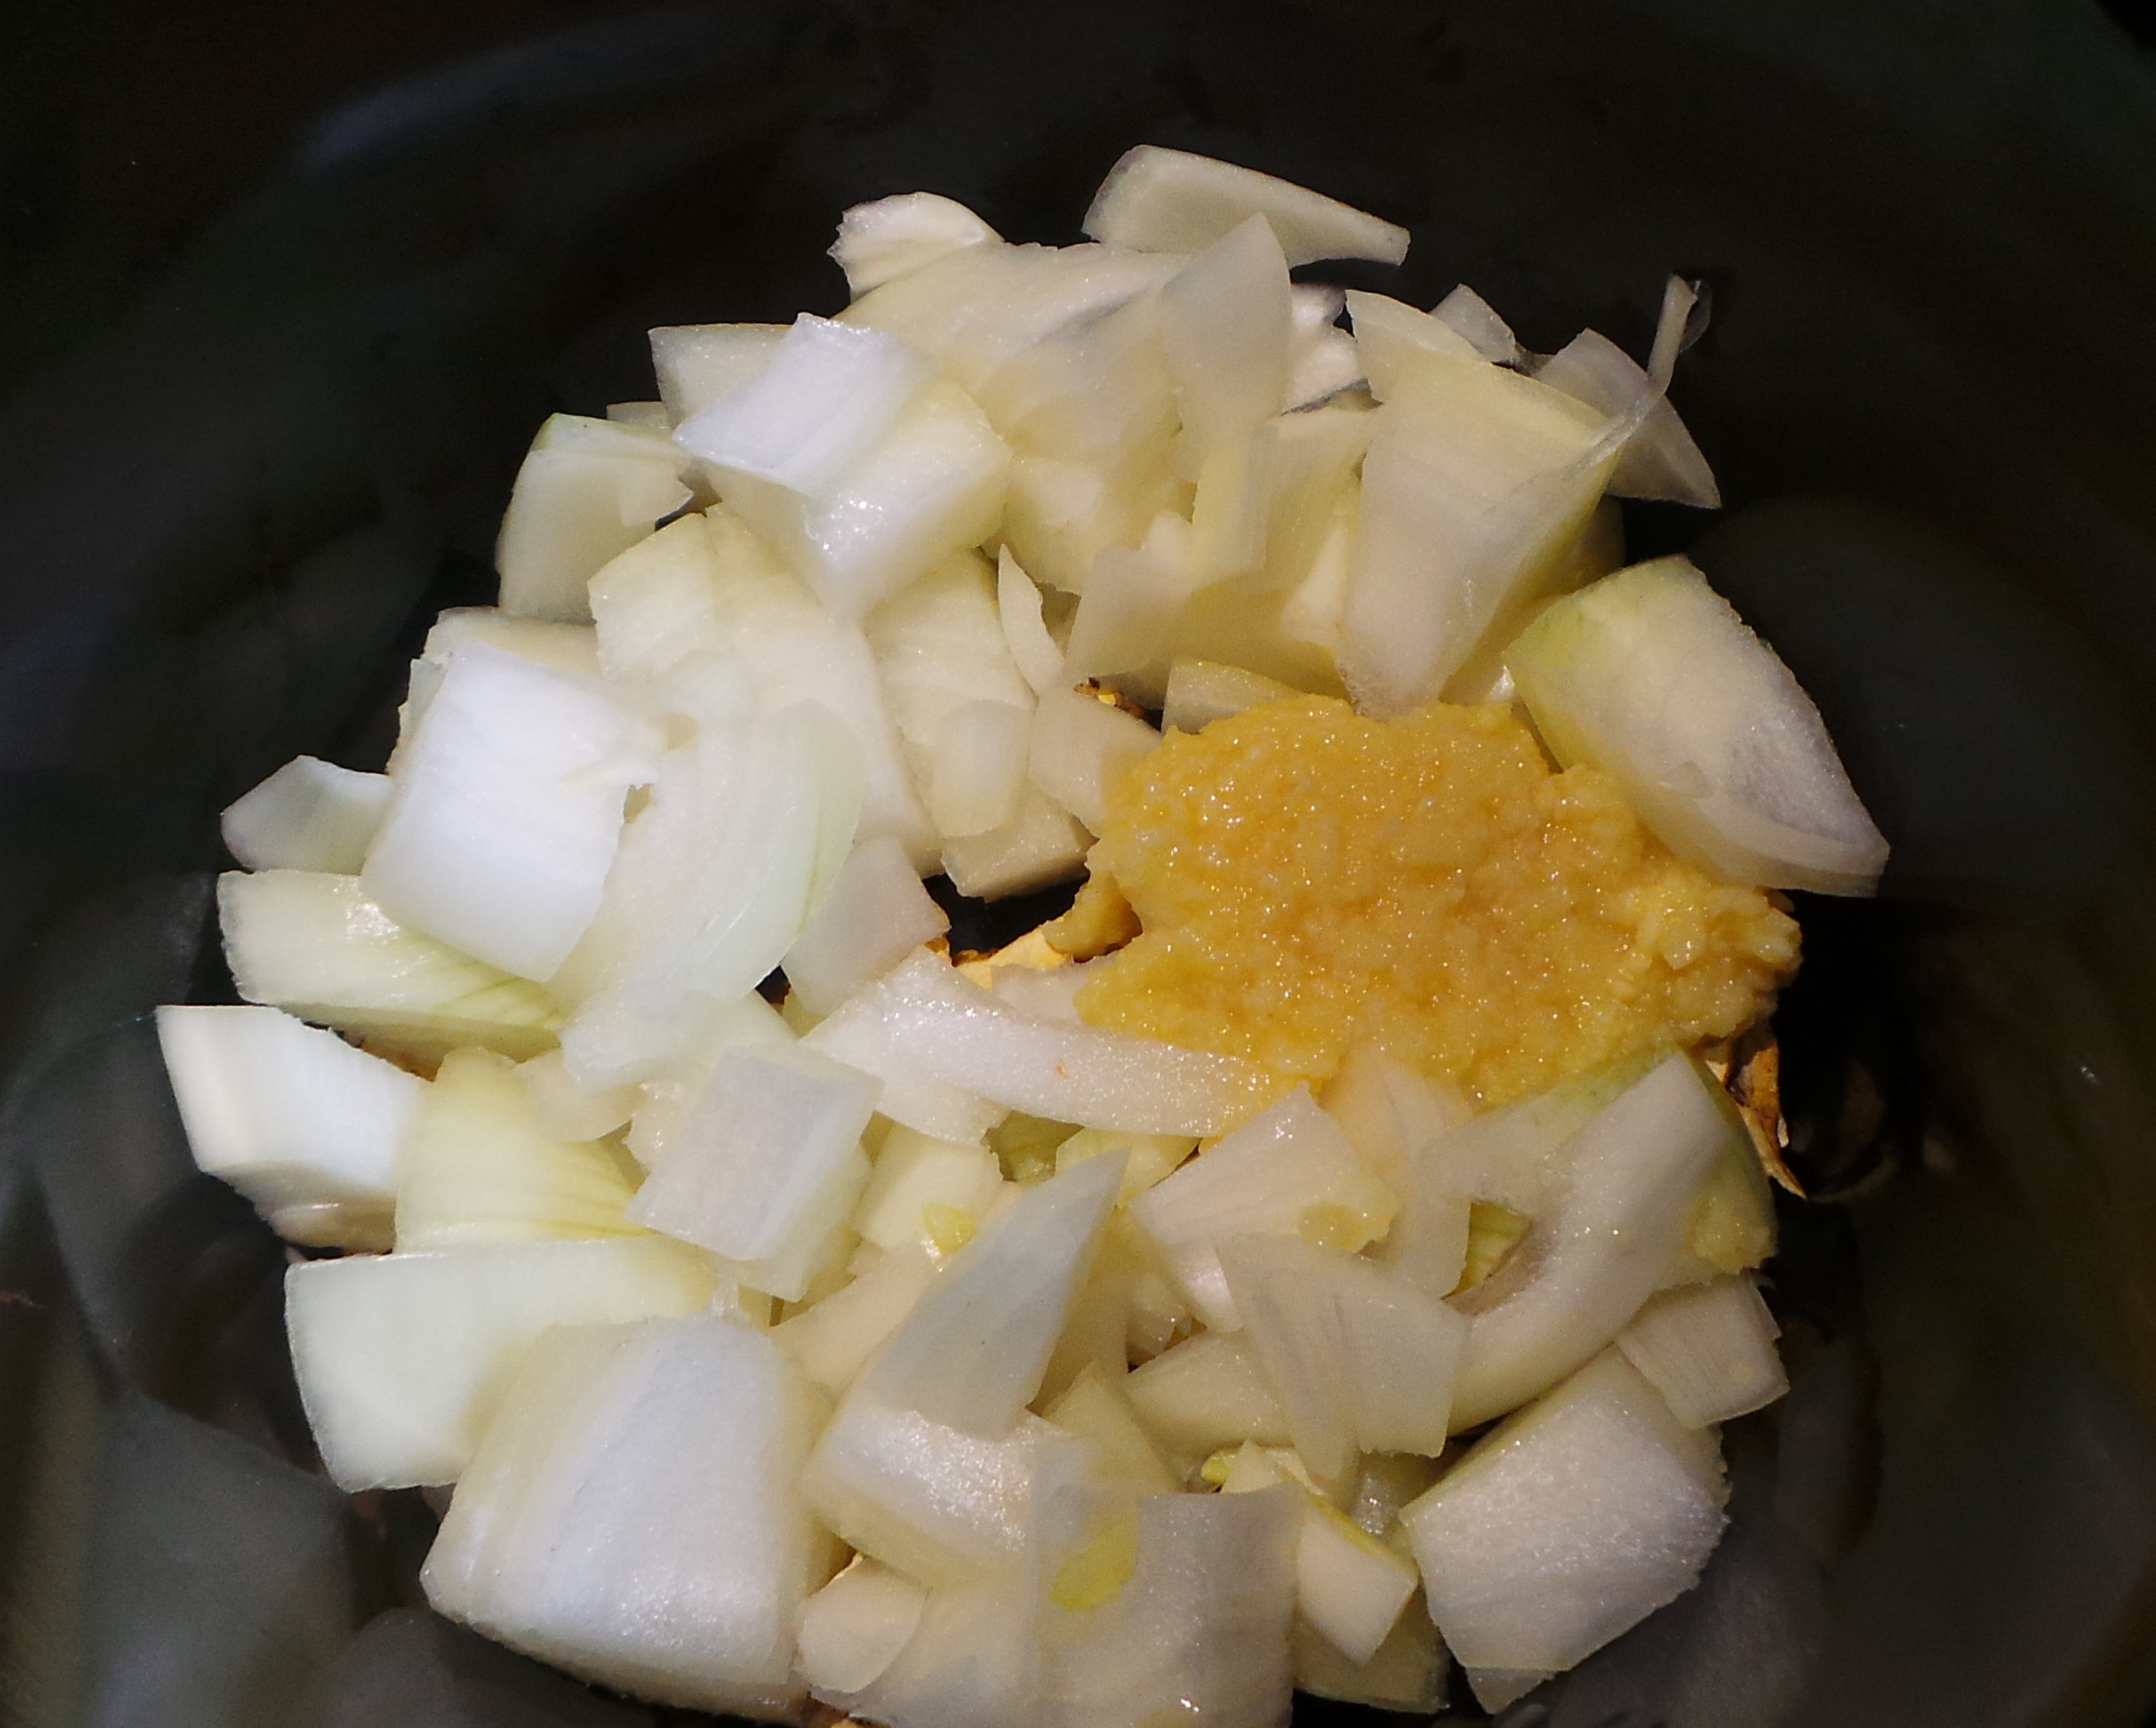
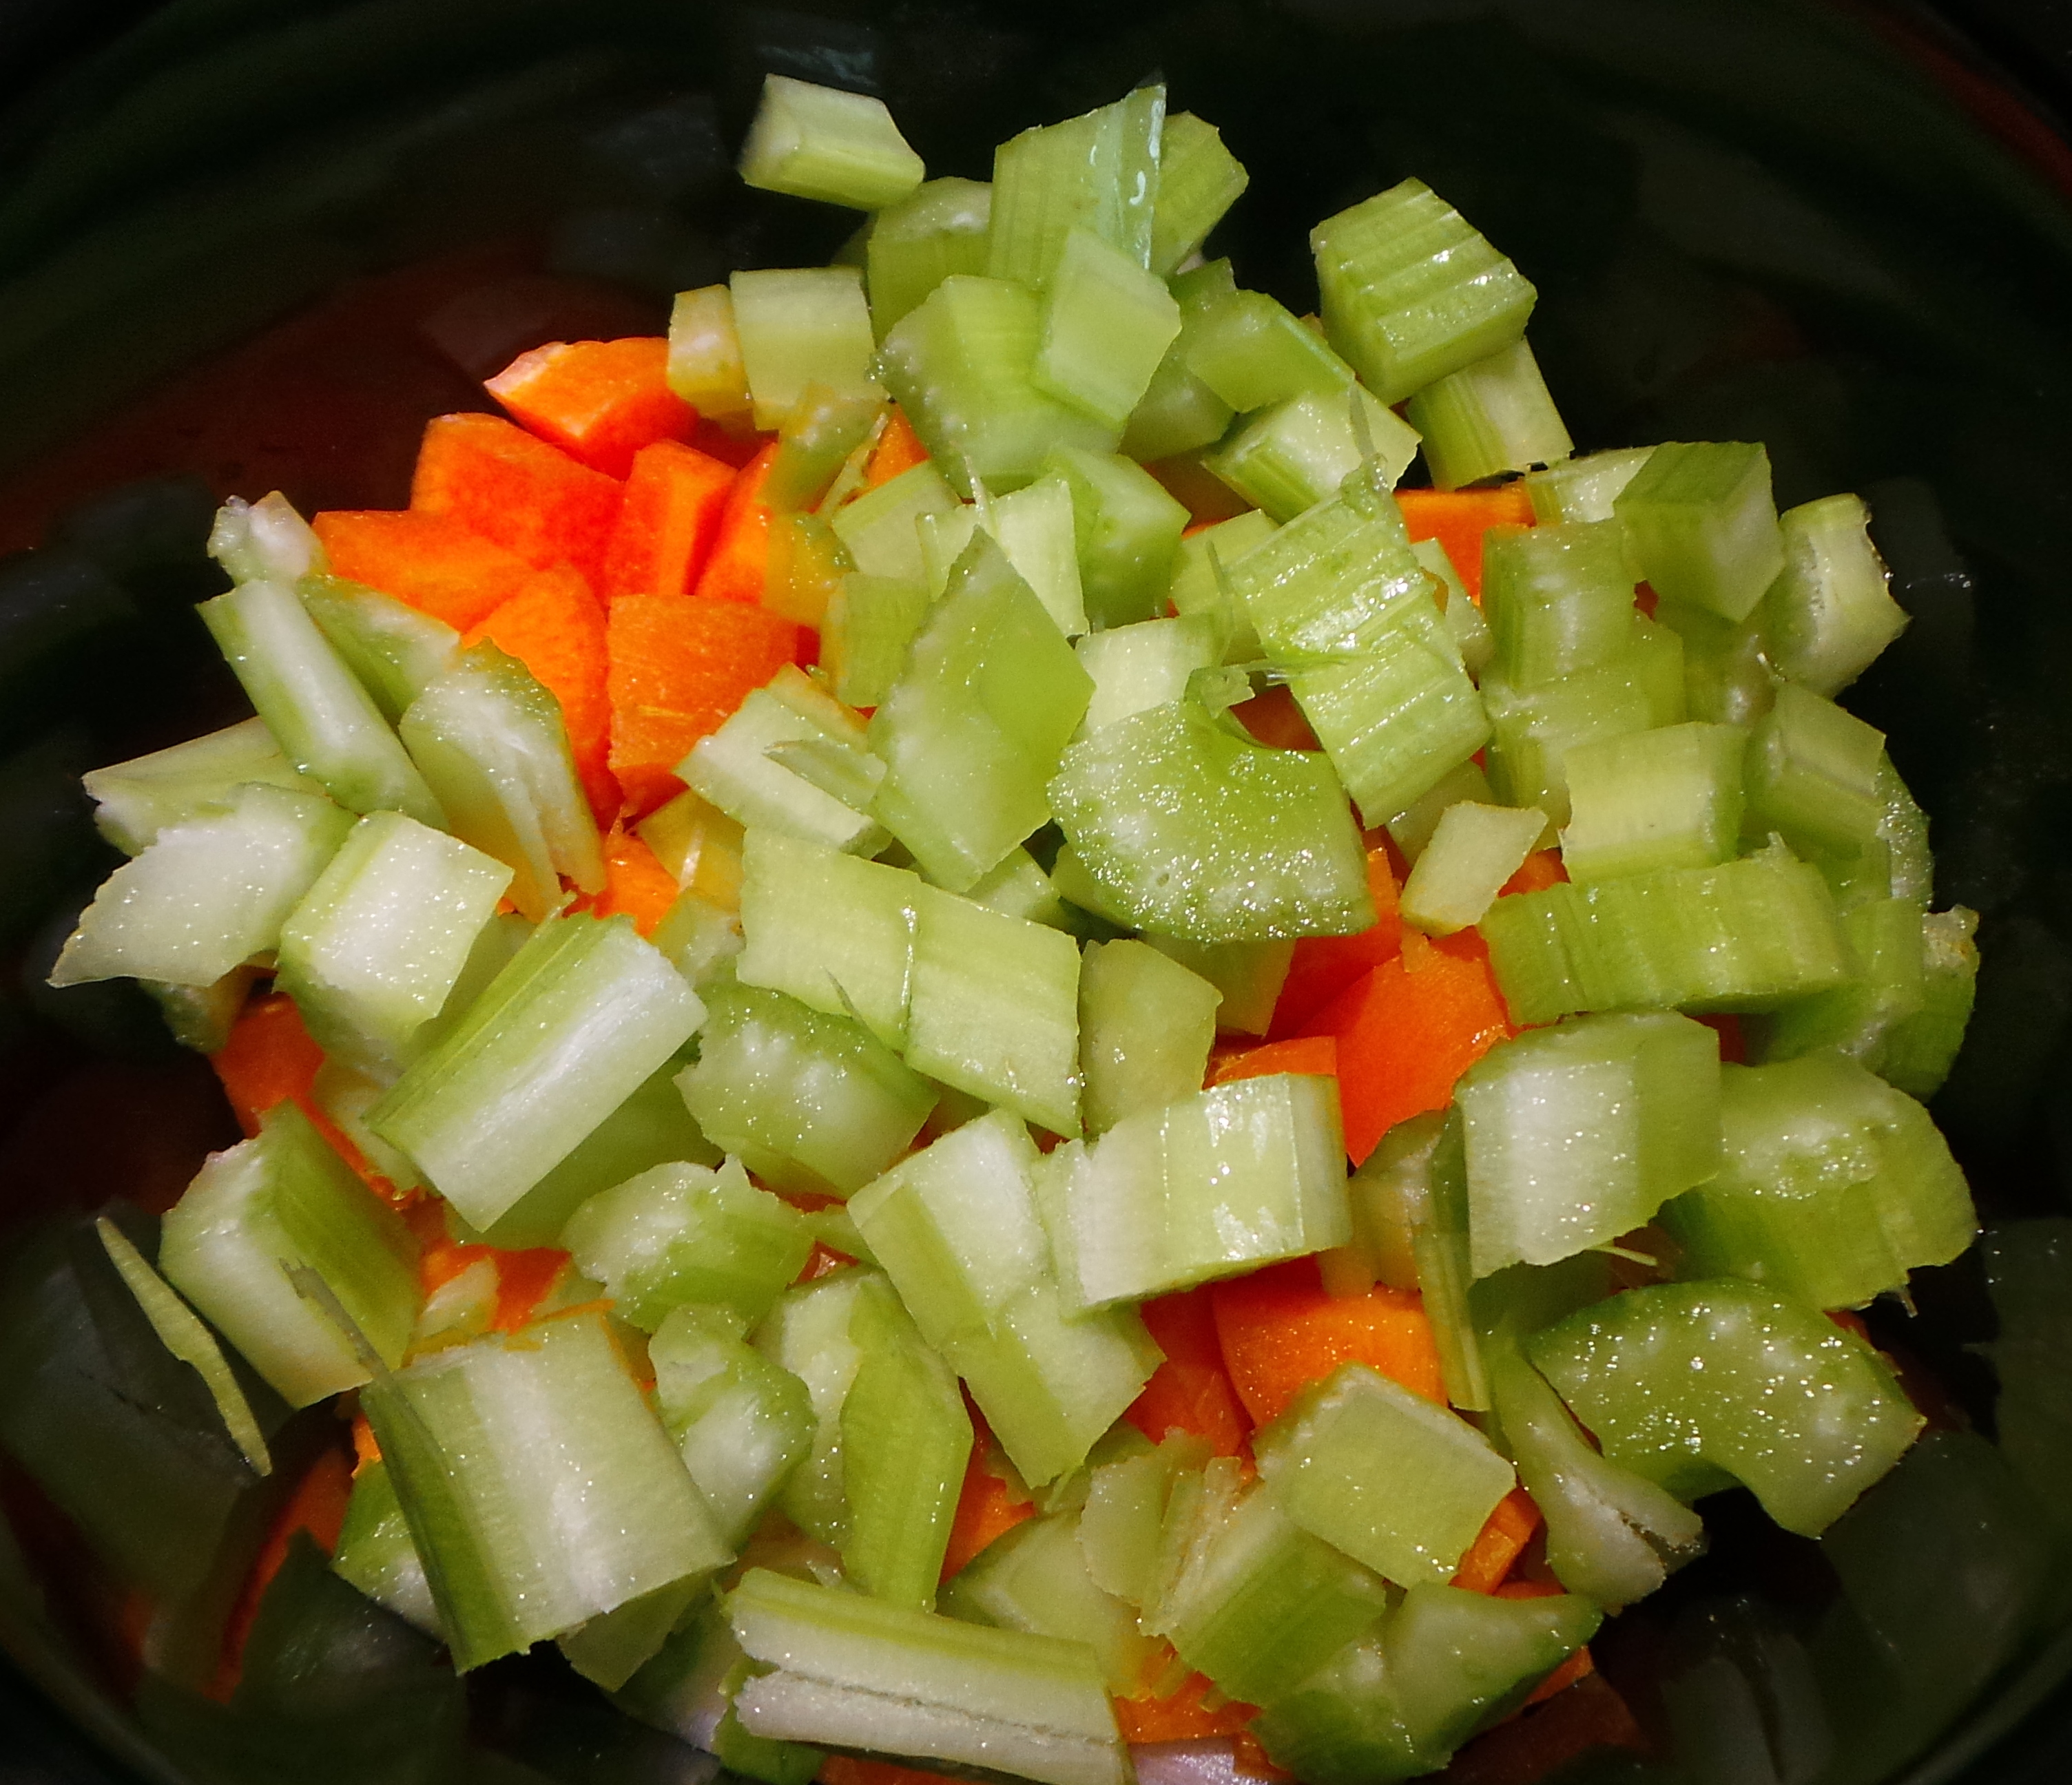
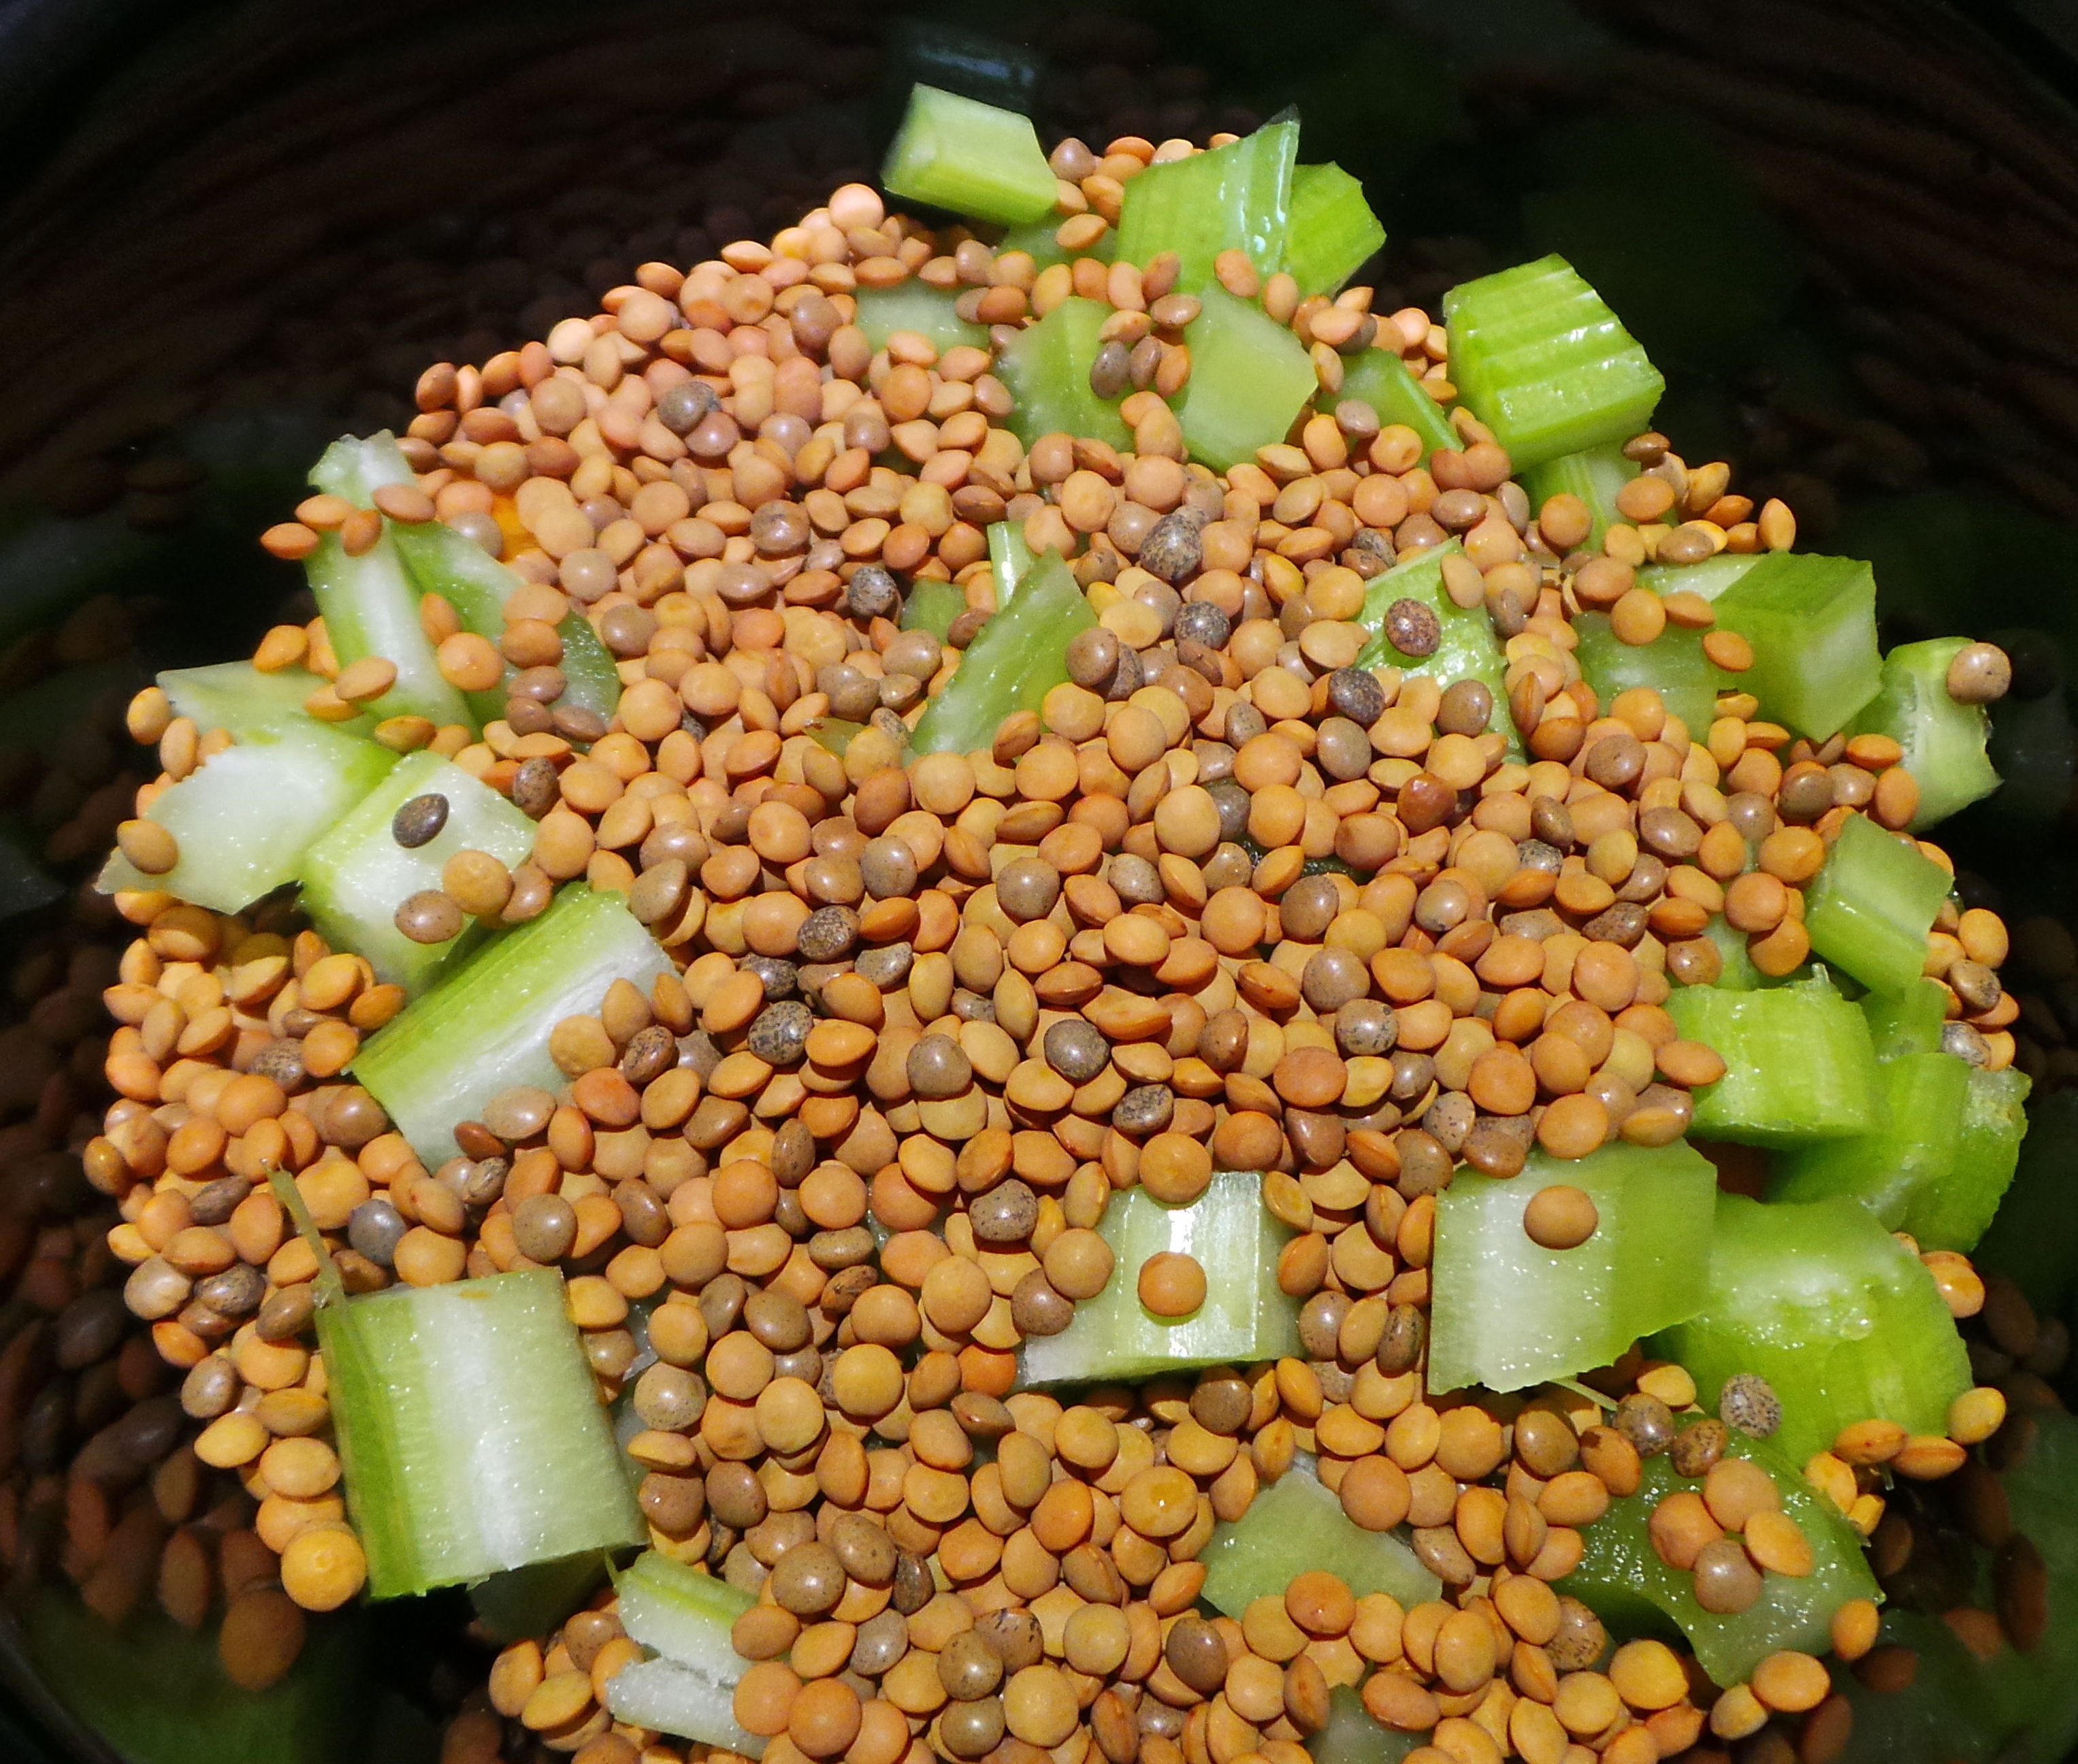
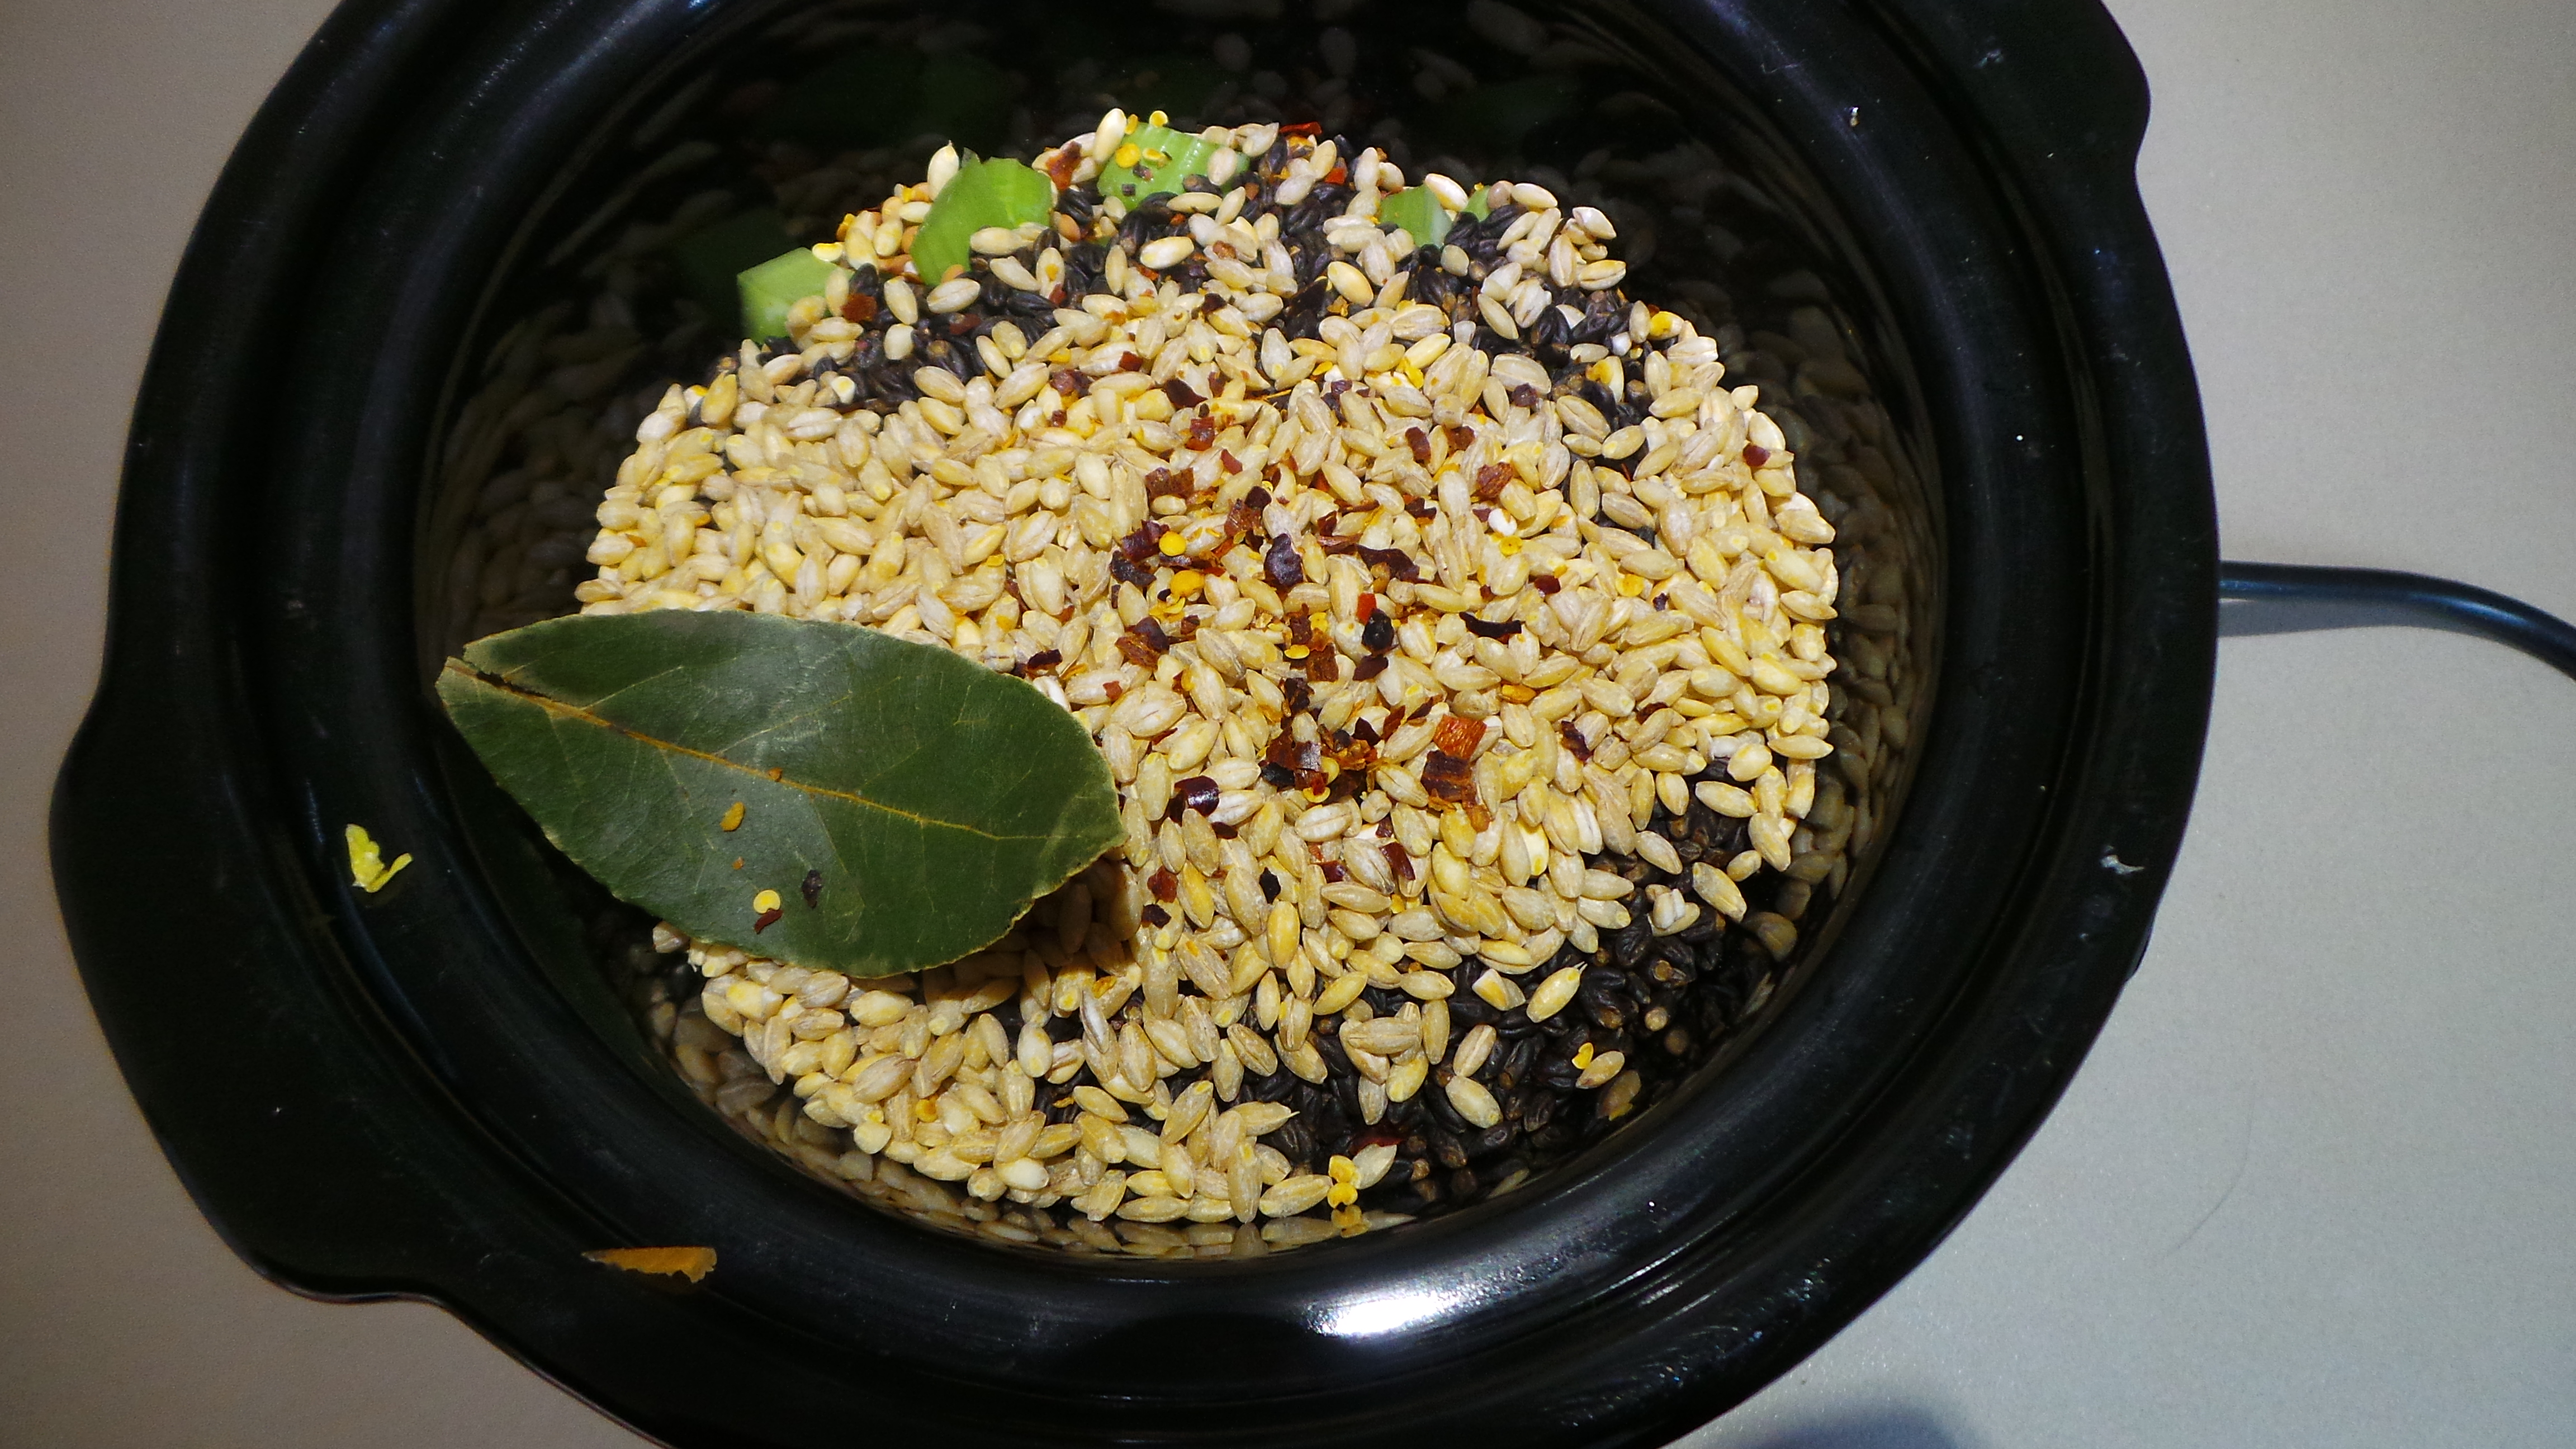
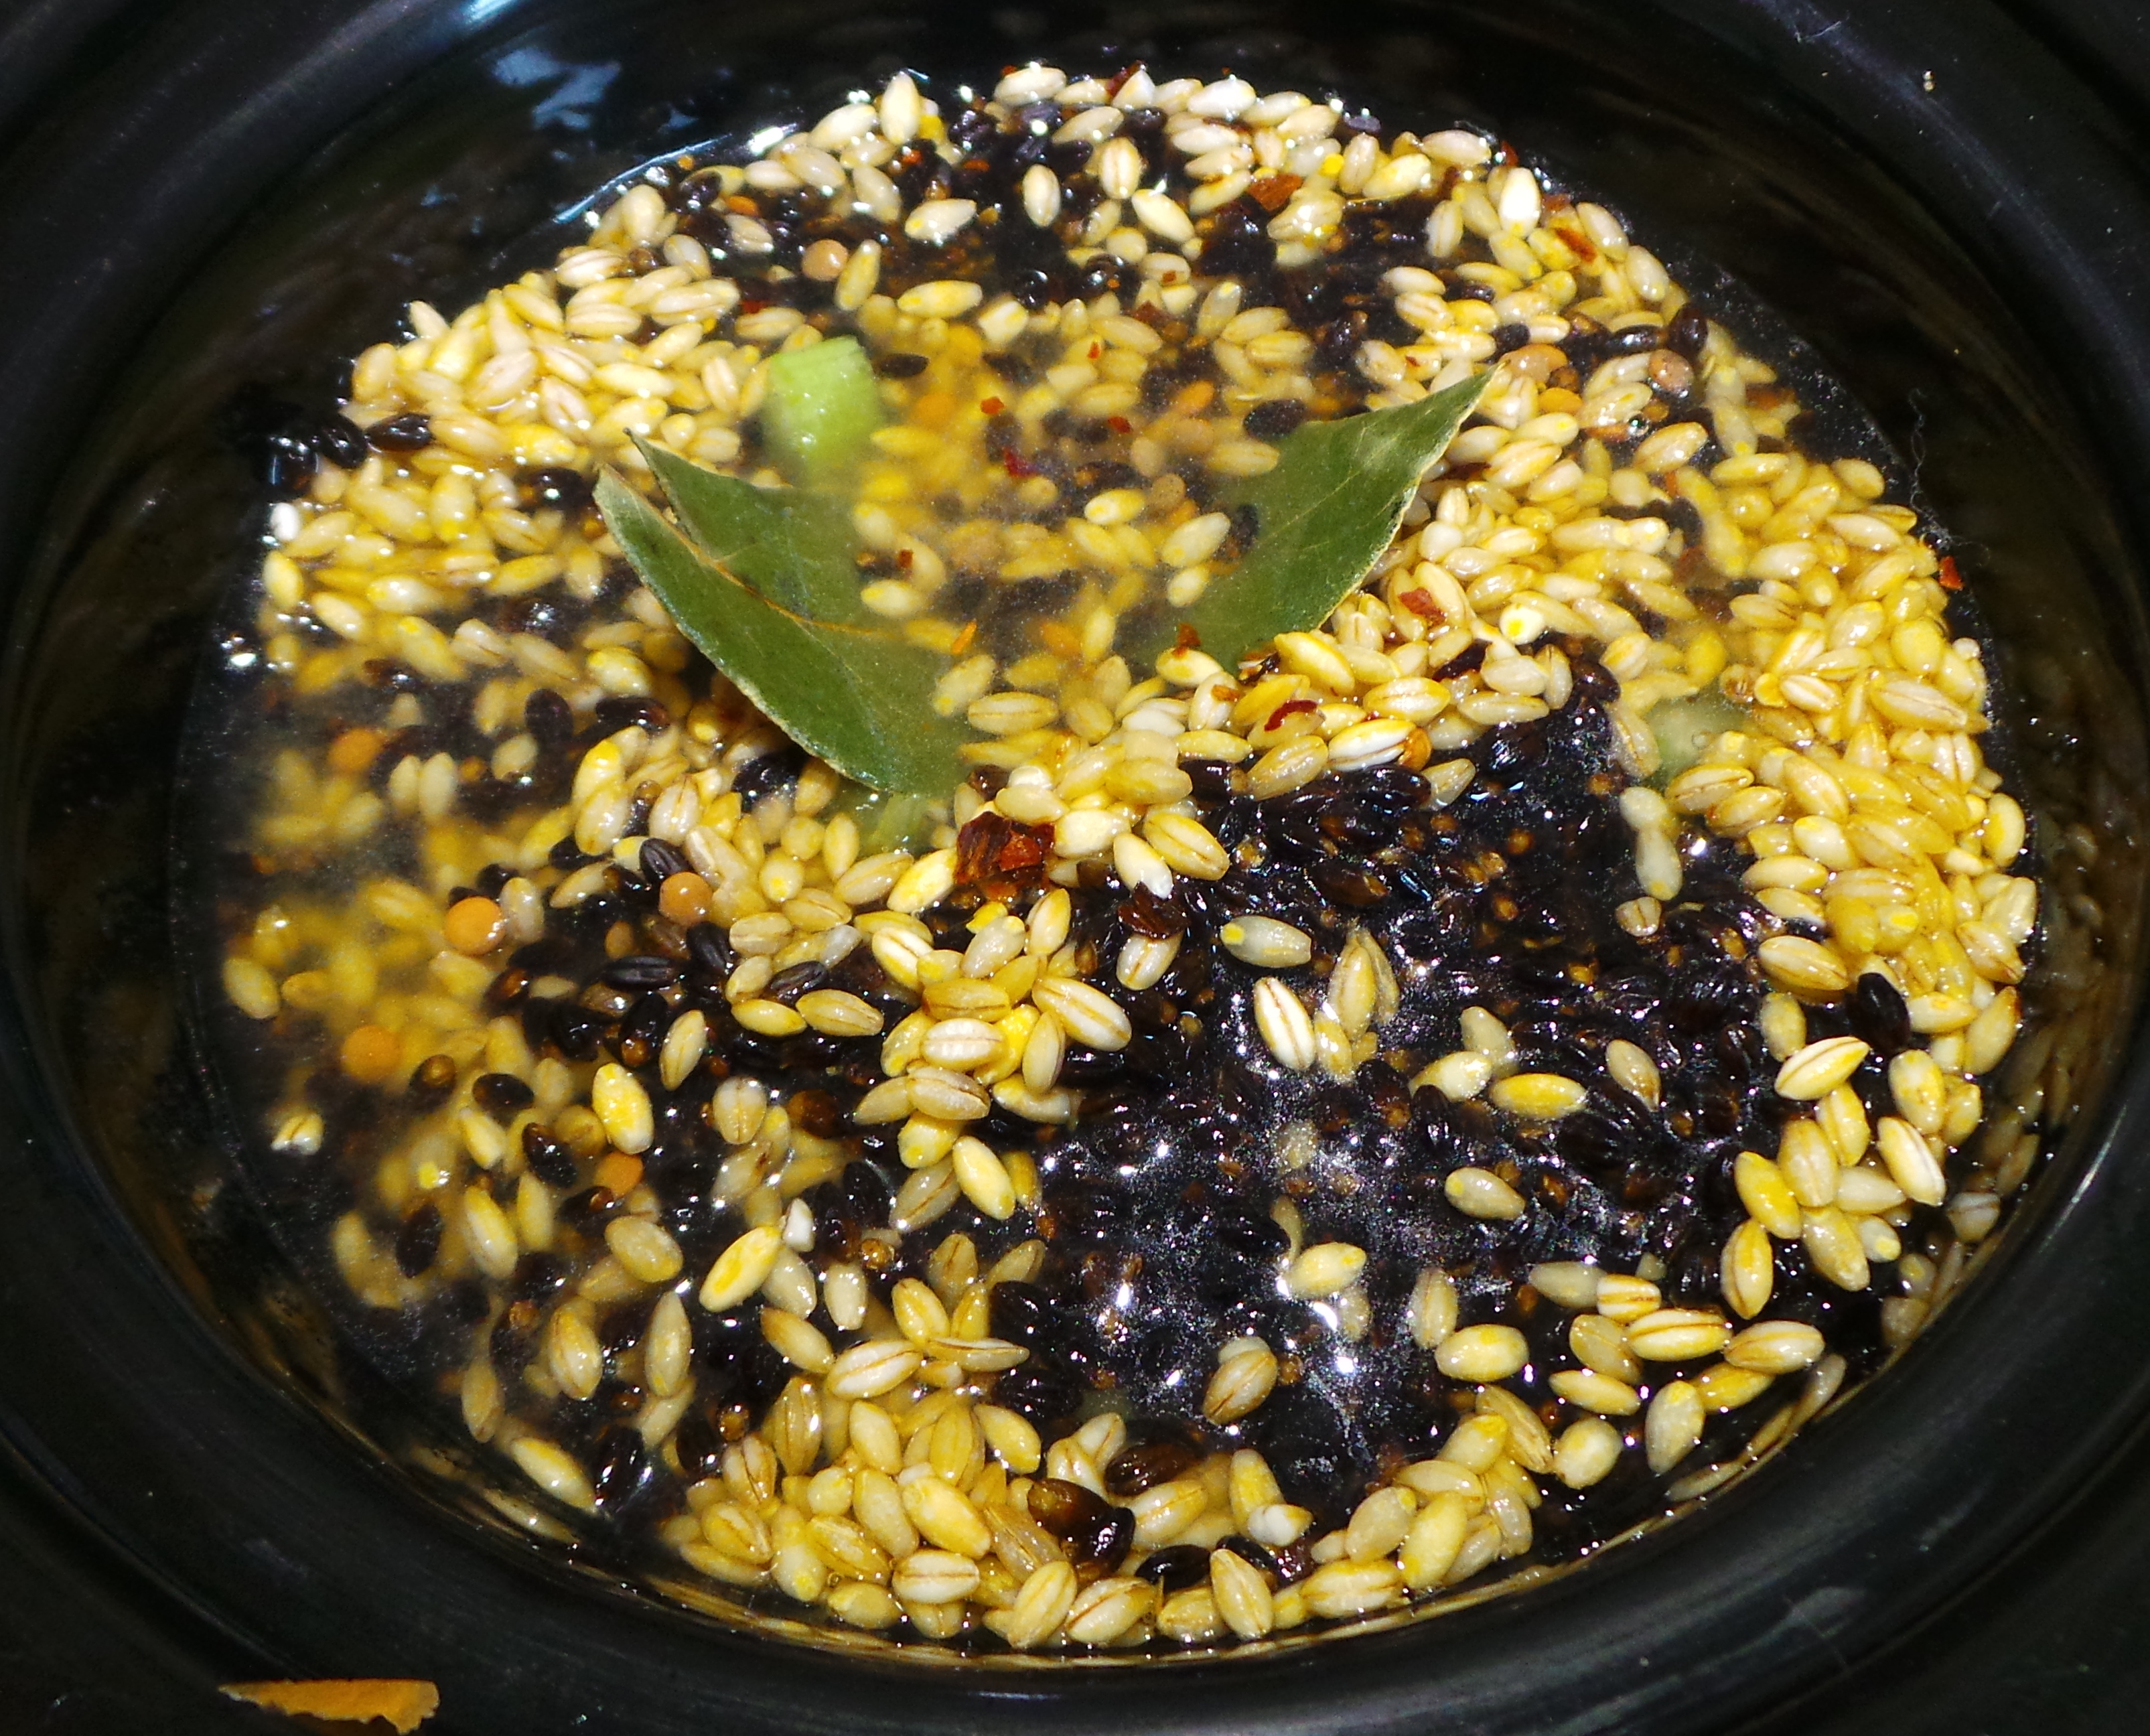
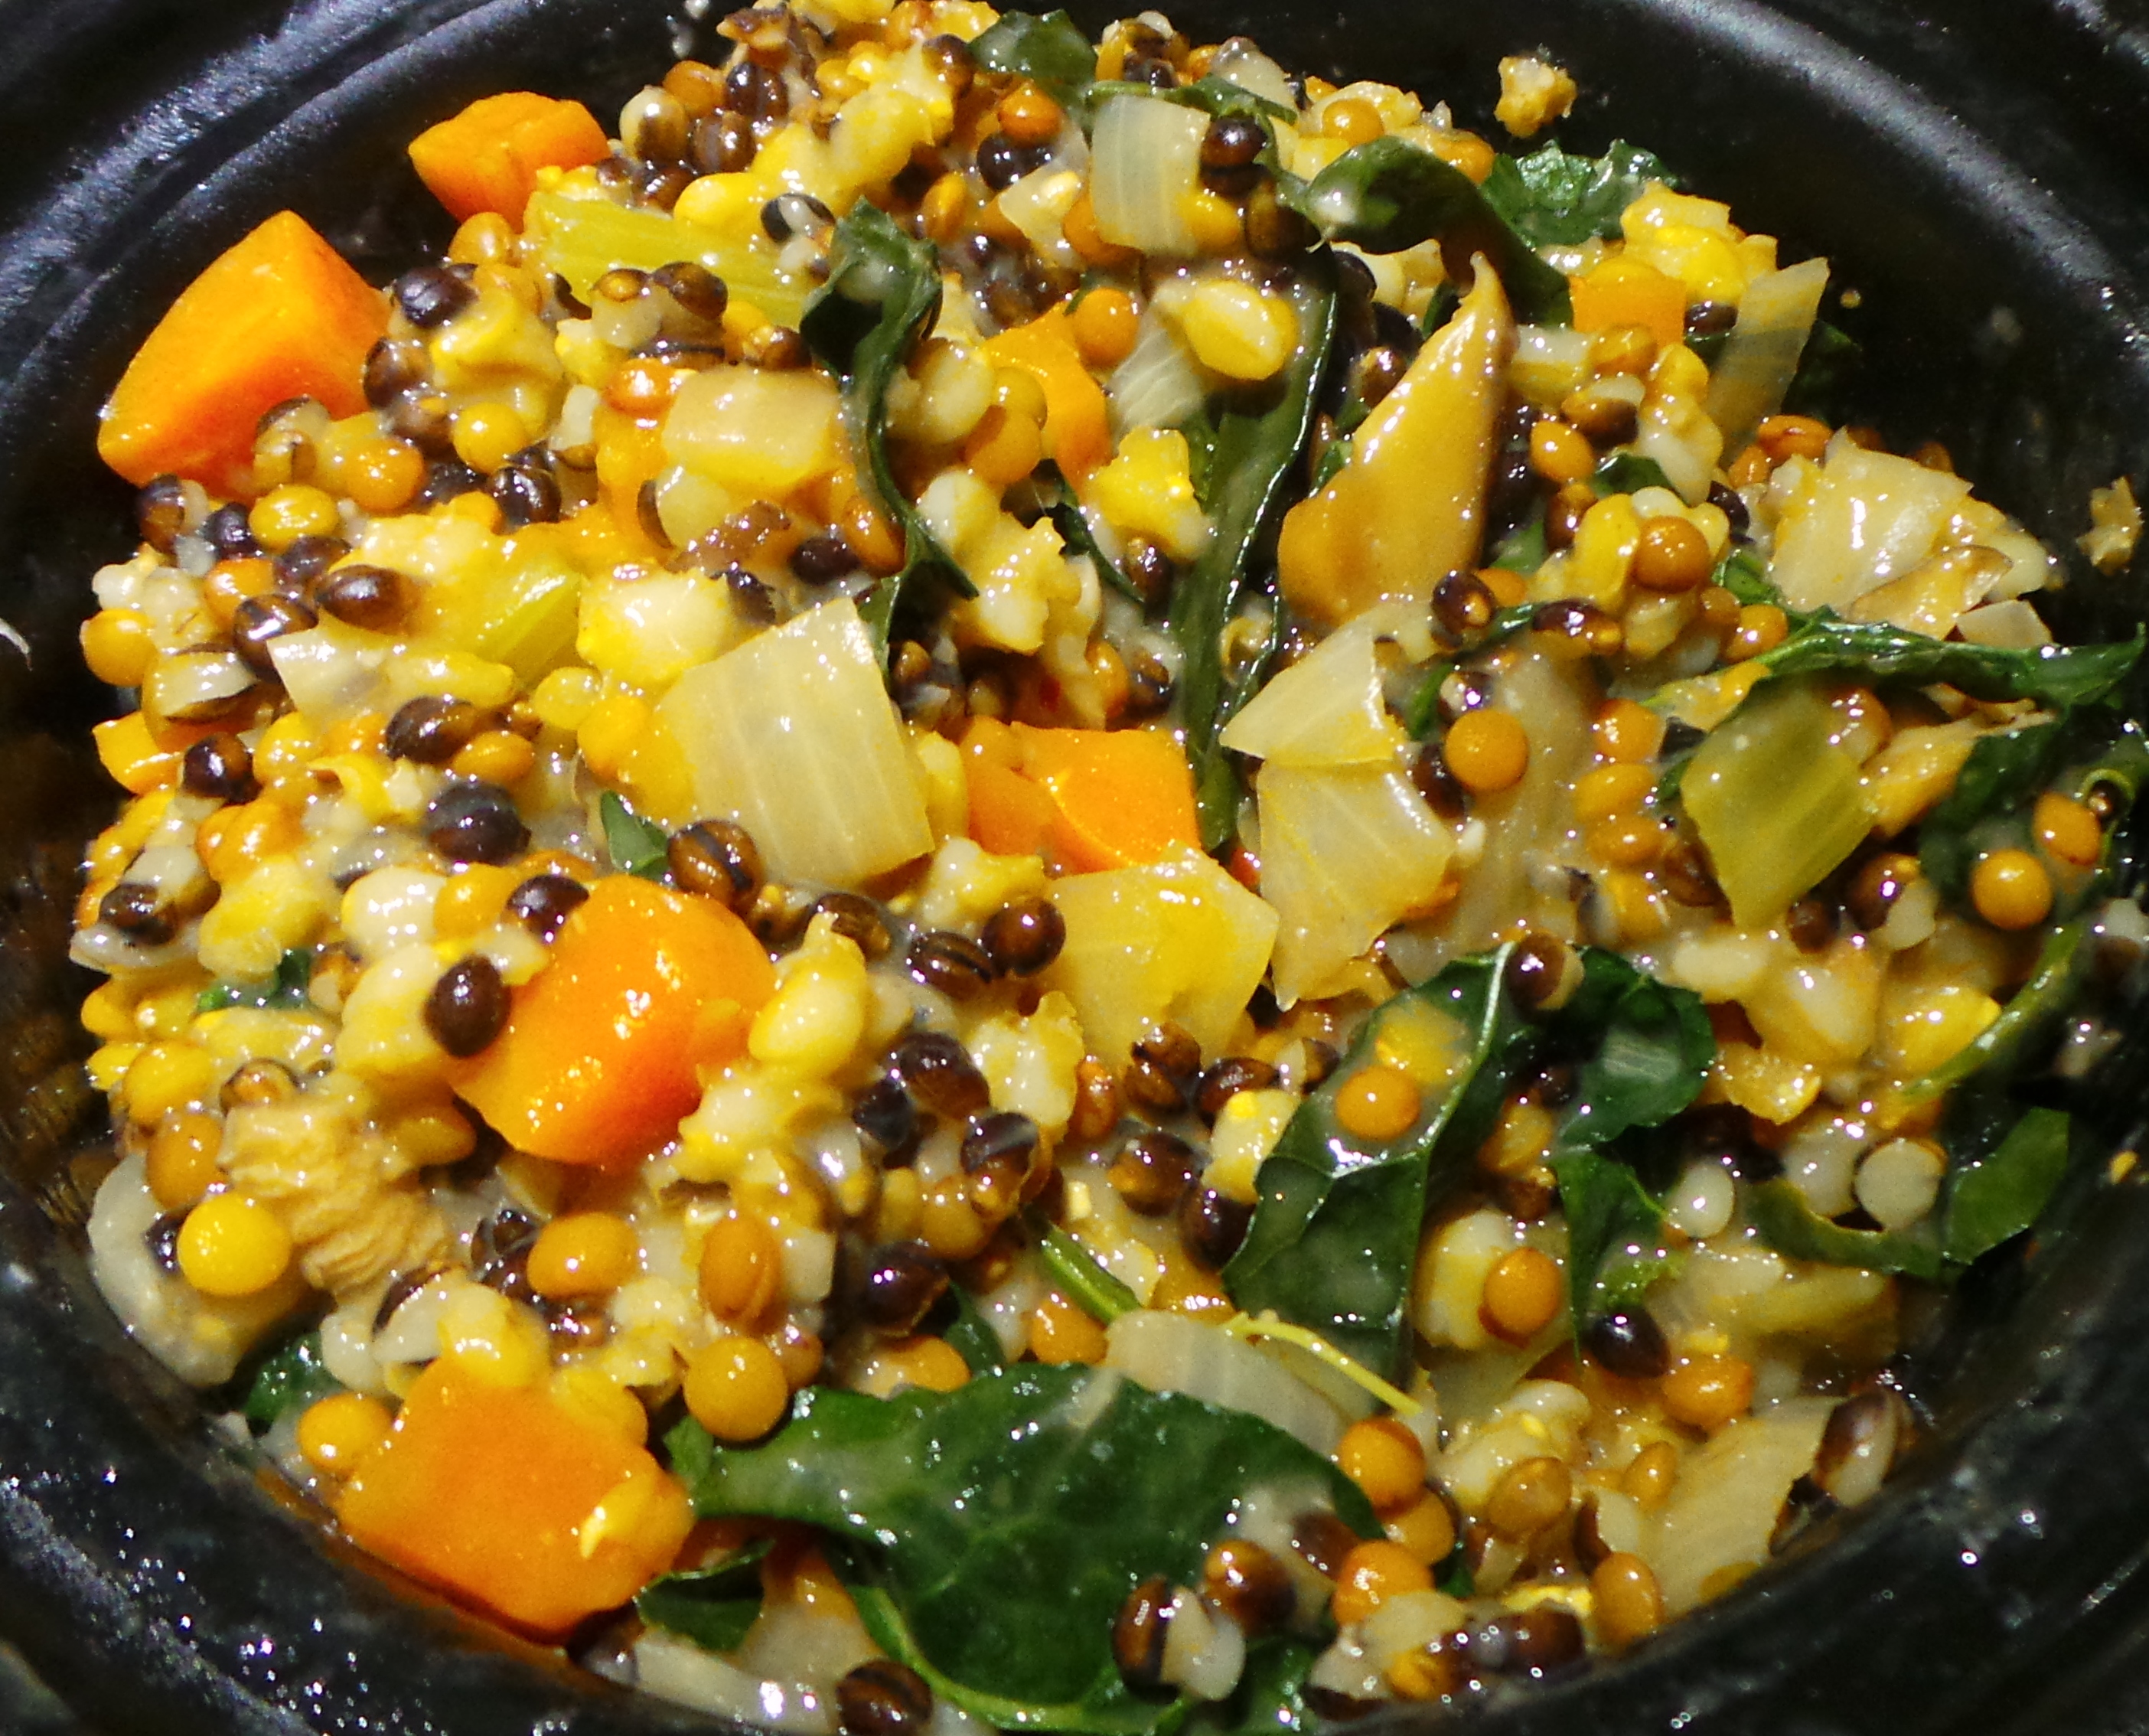
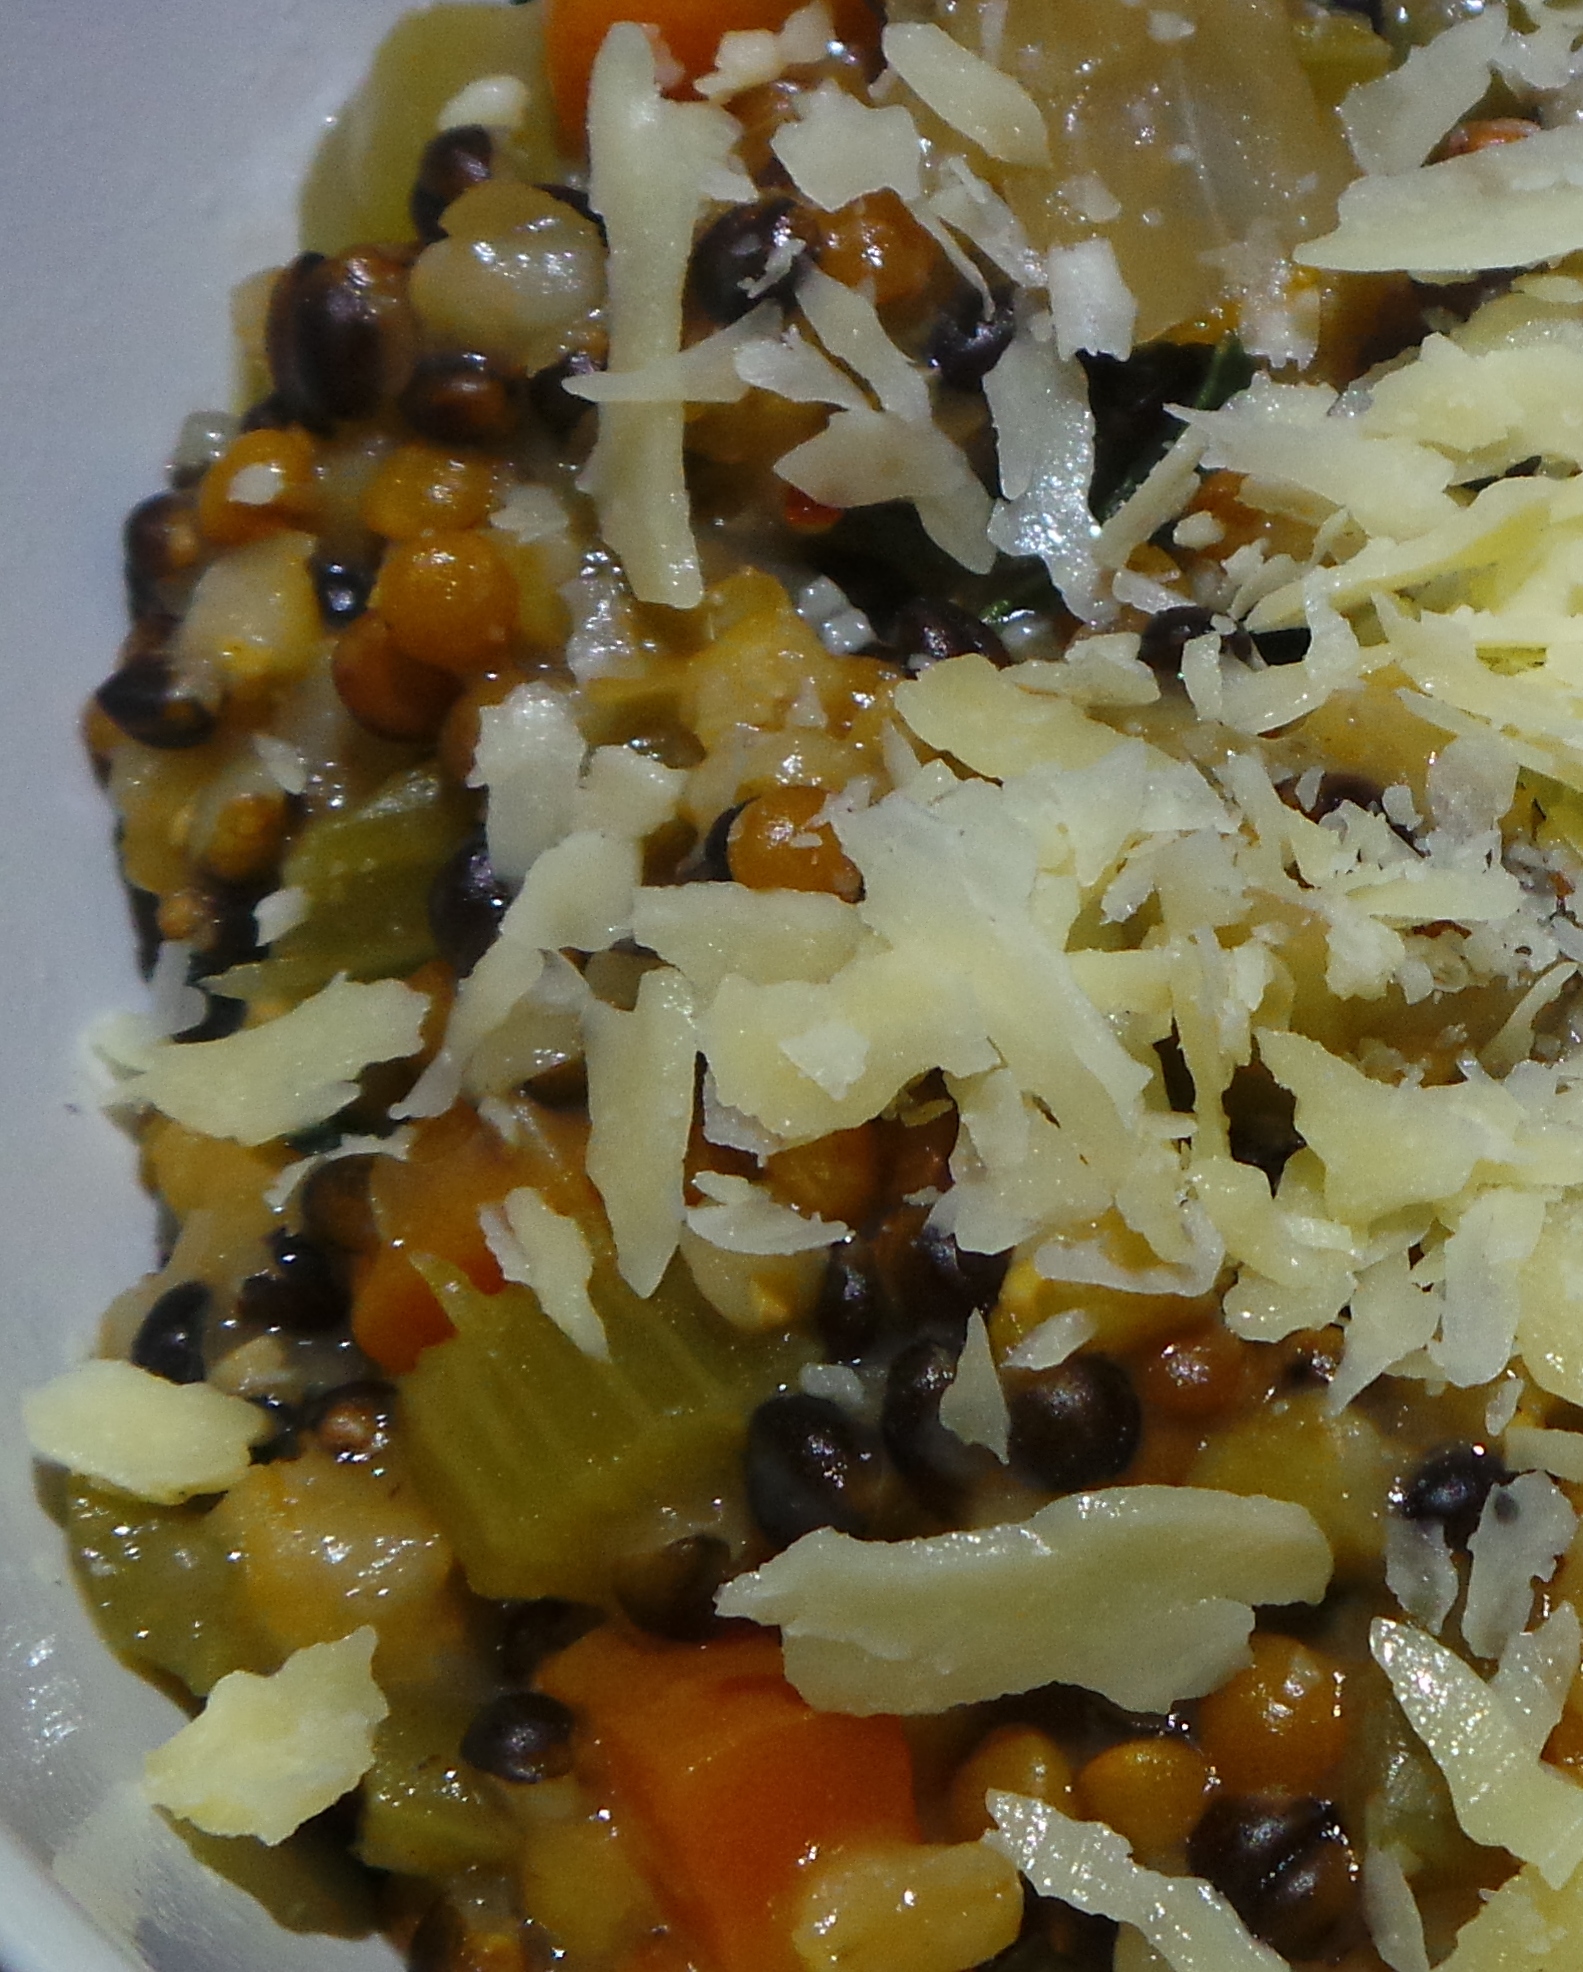
I have plans to use the leek and kale in a Lentil and Barley Hotpot tomorrow.
We’re planning on spending the greater part of tomorrow afternoon burning a pile of very old rose prunings that have been loitering on my front landing (oo er!) ever since we moved in about 18 months ago. It will be quite cathartic to watch them burn, really.
They are from very old plants that seem to have thorns on their thorns and the prospect of taking them to the tip was plagued by visions of us both bleeding to death from our wounds on the way. As it is, we have damp weather and a stubborn bald spot in our rear lawn that could use a fine layering of ash and charcoal – she said, pretending to know what she is talking about and fooling precisely no-one.
Regardless, the crock pot can crock while we give vent to our rather tame inner pyromaniacs.
Tonight, however, I had some leftover chilli mac from last night.
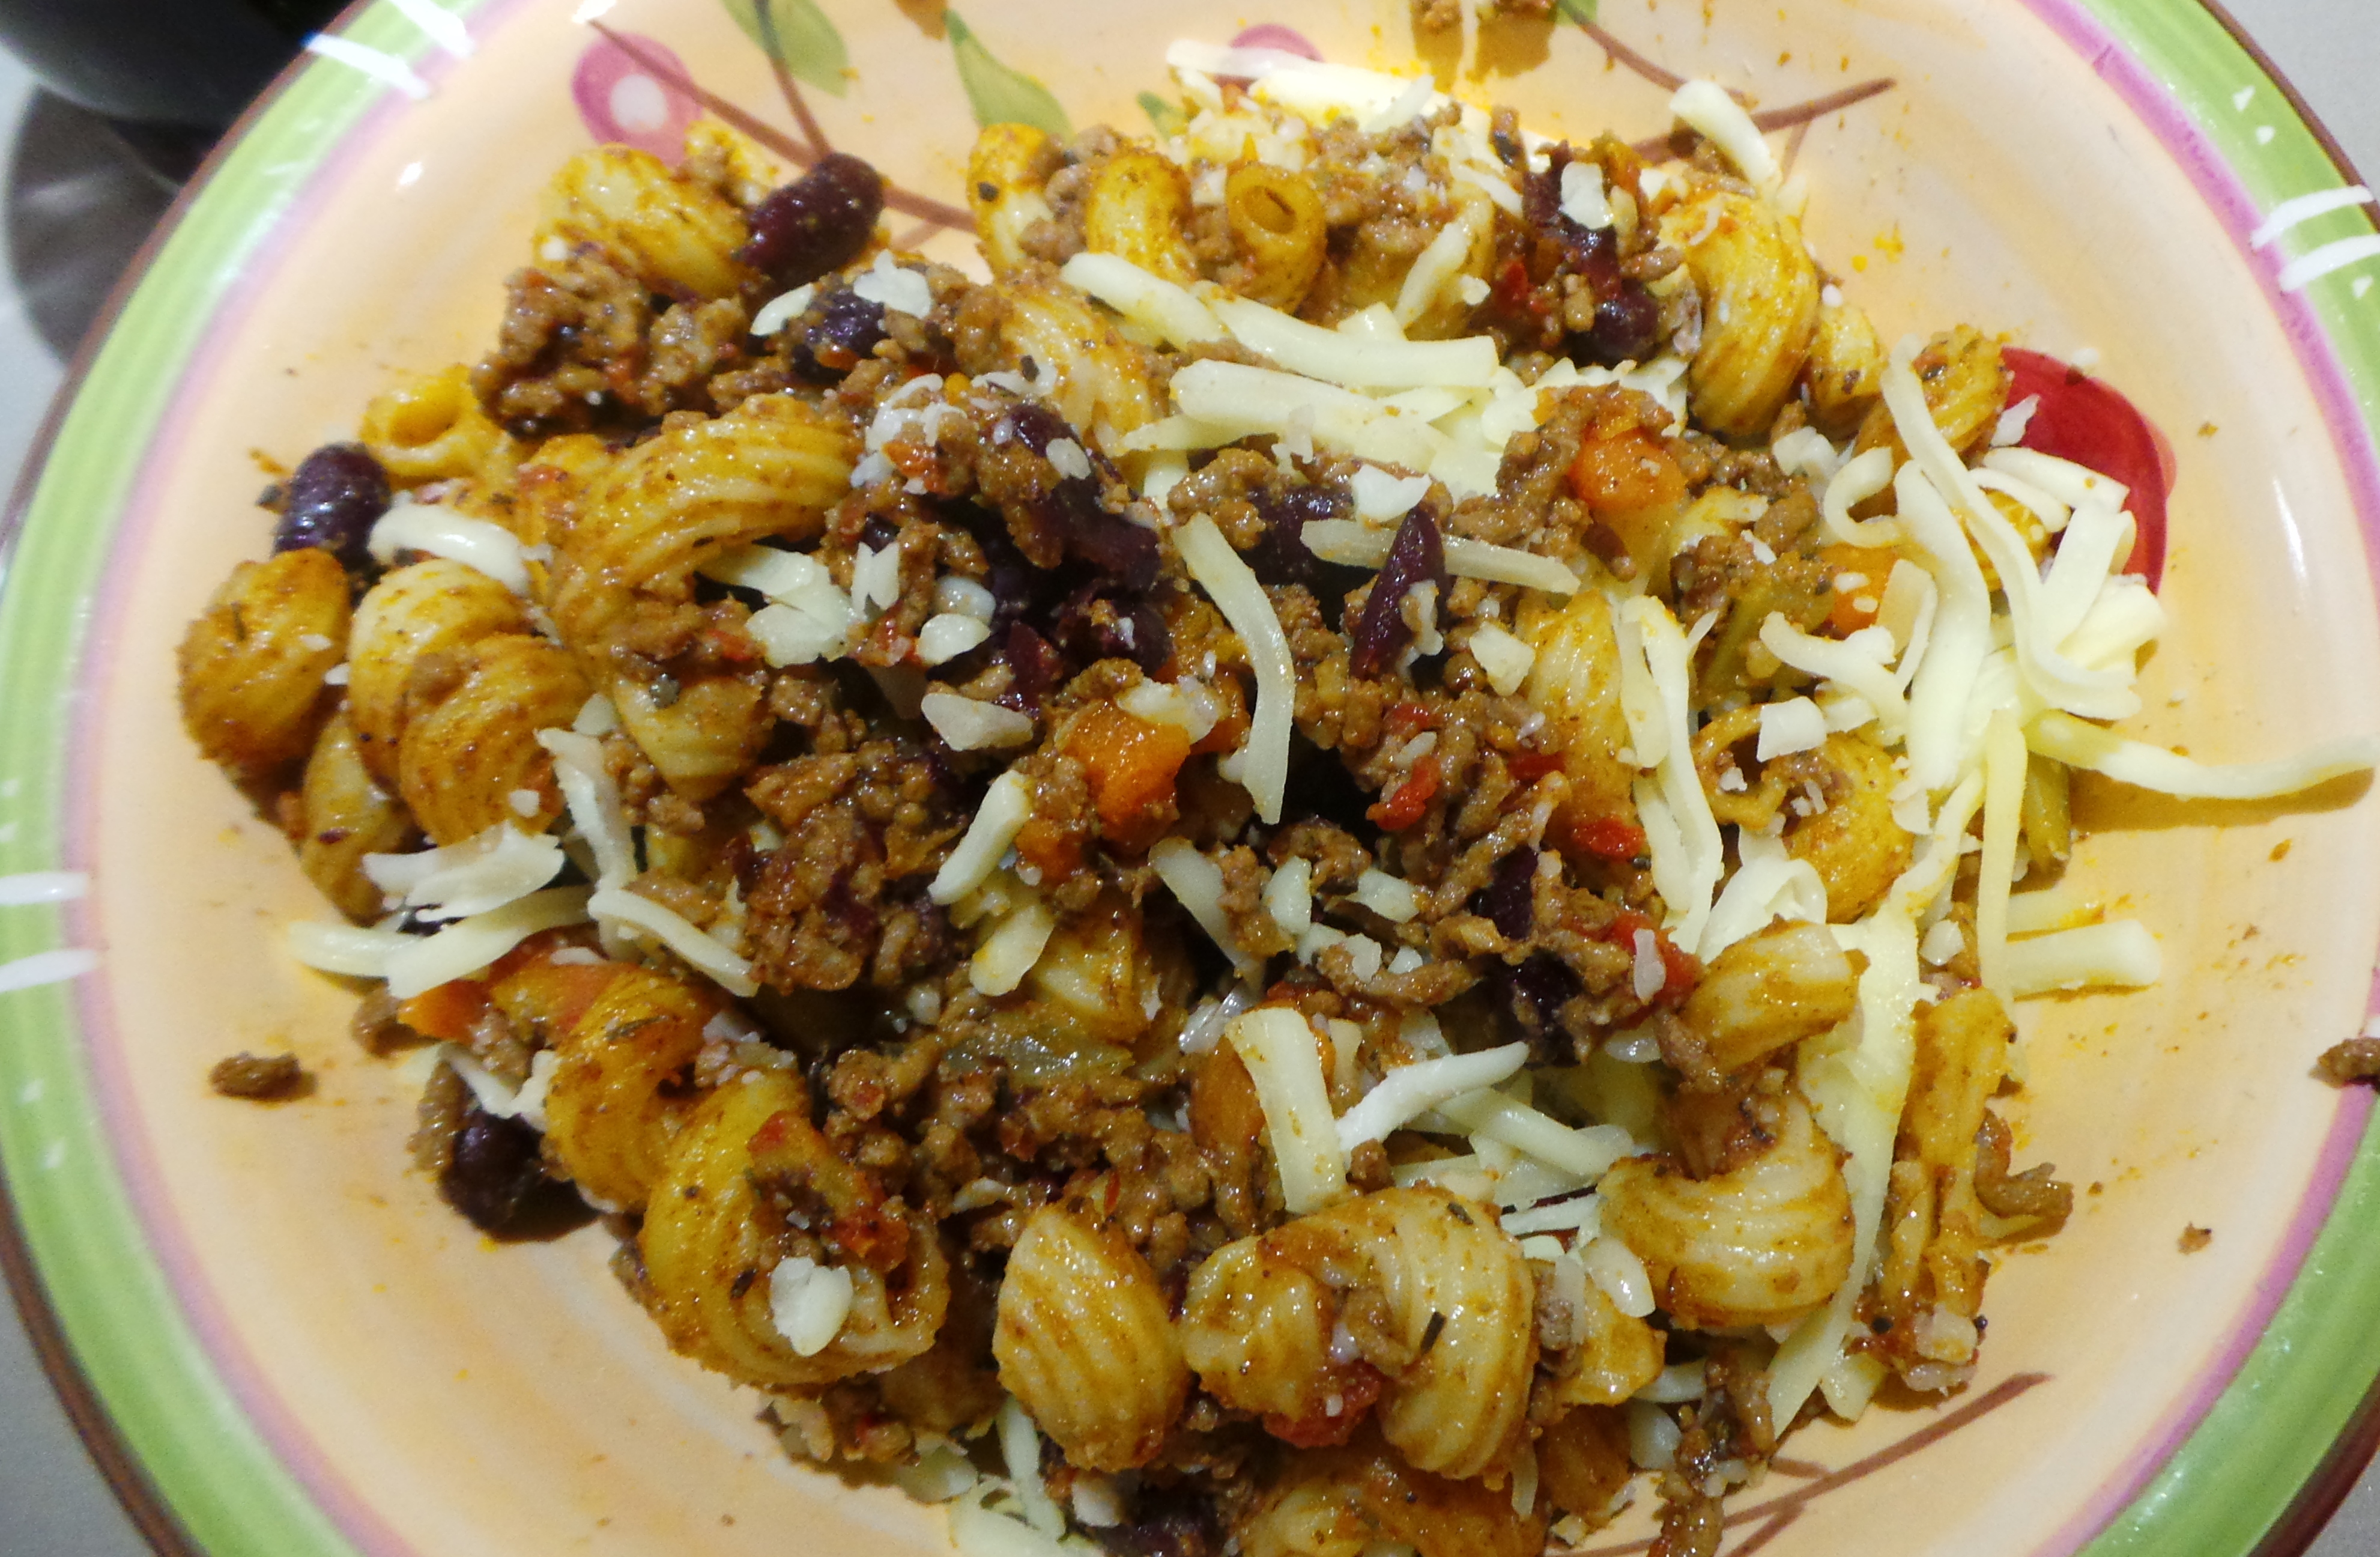
Chilli Mac
While The Boy filled his belly with a terrifyingly hot Vegan Thai Green Curry that I made up for him – on request.

Now doesn’t that look purdy?
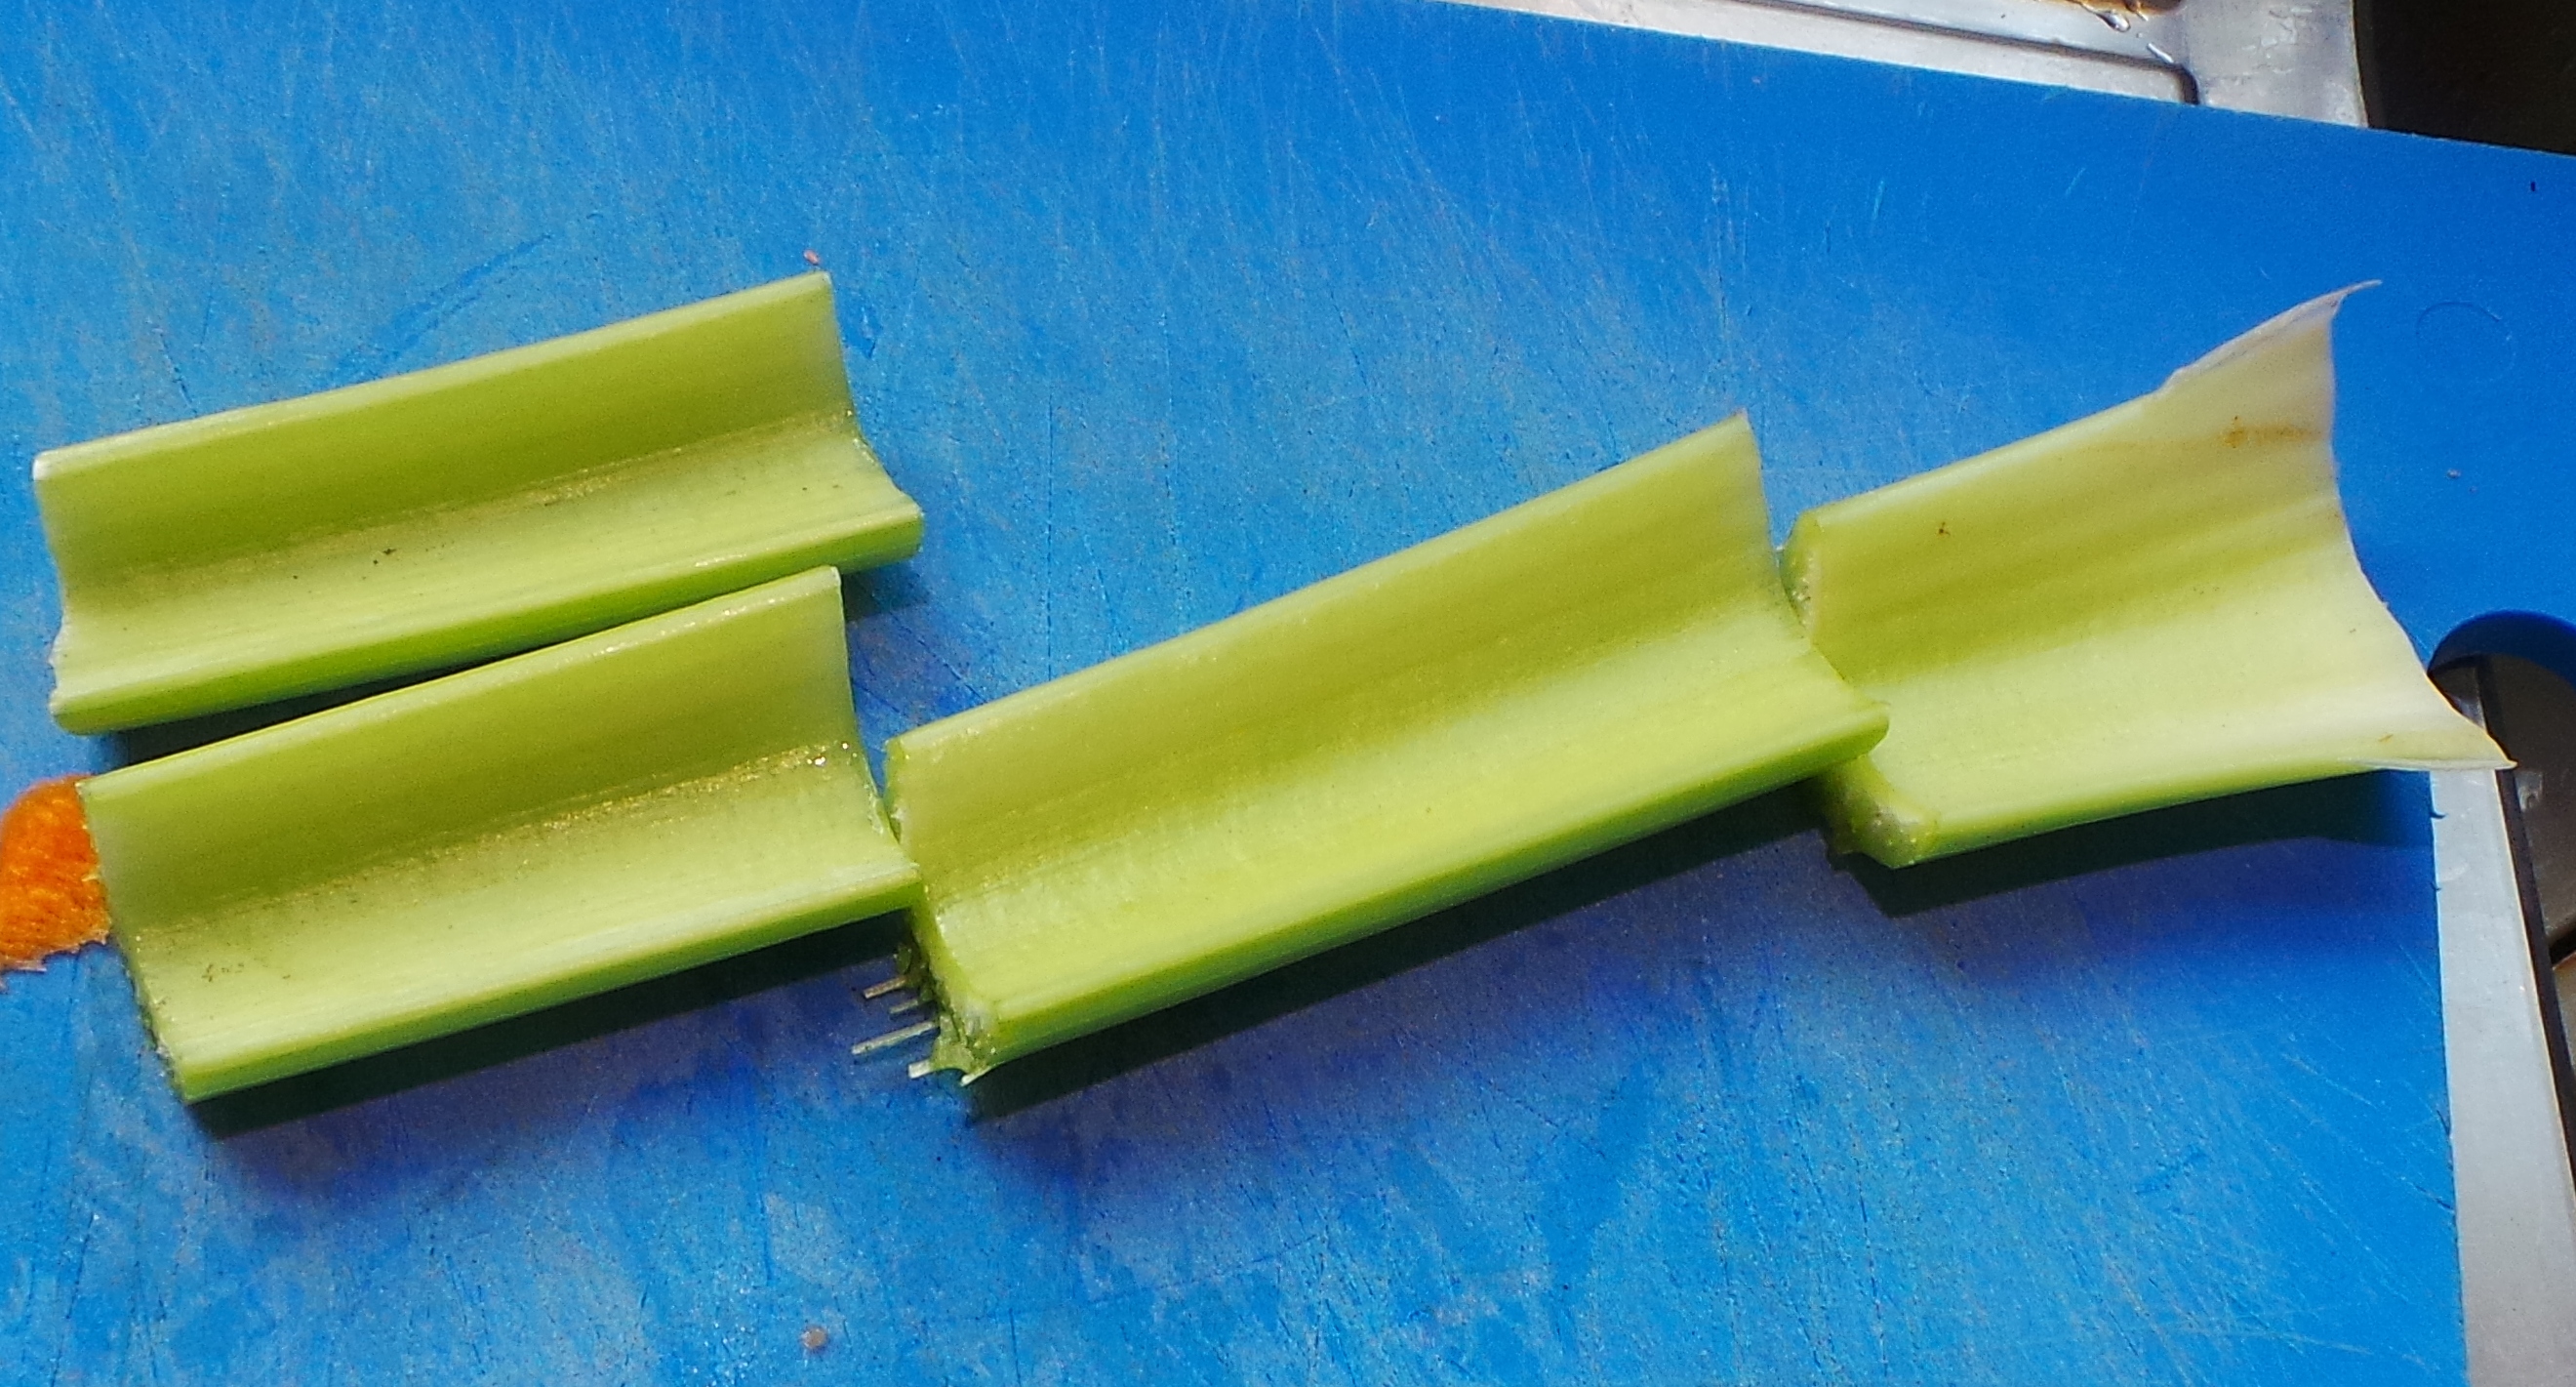
It used up most of what was left of our jar of green curry paste, some onion, carrot, celery, red capsicum, coconut cream, home-canned soy and adzuki beans and a goodly portion of the pak choi you saw in the first photograph.
I served it over some steamed basmati rice we had in the refrigerator and he was a very happy little camper.

Not blurry, but steamy.
Both dishes were consumed accompanied by discussion about the Rhinoceros in “The Gods must be crazy” and our newest household member, the Accidental Cat.

Sara – the accidental cat.
I’ll speak with you all tomorrow, if we manage not to burn anything we’re not supposed to.
Let me know if you’d like a post on how I constructed the curry.
ttfn.