Sorry I didn’t post yesterday. I had an episode of MS fatigue and my get up and go just got up and went.

However, just to fill in the gaps, yesterday I used the rest of the leftover corned beef to make fritters for lunch. I also used up some frozen stir fry vegies I’d heated for the fried rice a night or so before and then realised I didn’t need.

Fritters

Fritters

So, that went well. I didn’t have dinner as I just didn’t have the energy to eat, but The Boy tucked into the leftover Sausage Hotpot. It’s all good.

I did manage to get my meat and lentil sauce cooked for the Cottage Pie tonight. It looks and smells wonderful. If you look closely at the second photo, you’ll spot the tiny lentils I soaked the day before.

Mince and lentil sauce.

Mince and lentil sauce.

See how the lentils blend in so well?

See how the lentils blend in so well?


I cooked the sweet and white potatoes this afternoon and mashed them up – arranging them on top in a chequerboard pattern. There’s now a big pie that I had intended to take to the Solstice do (not well enough to go, sad face) and two individual ones for our dinner this evening.

?????????????

Individual cottage pies

A Big cottage pie for eating later.

A Big cottage pie for eating later.


We did a bit of a stocktake earlier and realised that we’ve used about a quarter of the food I purchased last week. That means I’ve effectively fed us both on $25.

TTFN

I need to be elsewhere this evening, so there’s a need for one dinner that can be served at two different times without deteriorating overly.

I’m combining the leftover corned beef from the weekend with the leftover rice from last night, adding a mix of fresh and frozen vegetables and making my Almost Genuine Fried Rice.

Two bowls of fried rice

Almost Genuine Fried Rice

The instructions for this particular meal have been in the draft stage for some time now and, hopefully, I’ll have them up in the next few weeks…hopefully… maybe…

The problem is that – given how simple the dish appears – the instructions are surprisingly complex.  Oh well.

Anyway, the rice that isn’t eaten tonight will help to form lunches in the days to come or possibly even another dinner on a “shop the fridge” night.

I’m planning on making a casserole tomorrow night with some sausages that have been in my freezer for a while. So they have been taken out to defrost.

I’ve realised that I was about to run out of onions and carrots (Argh!) therefore I’ve stocked up on those today. Remember the $5 I had left at the end of my shopping, here? Well, I just used $2 of it. So there.

Today the Corned Beef was actually cooked.

I switched it on when I woke up and left it on low all day long.

Then I put a loaf of bread on to bake while the kettle for my morning tea was coming to the boil, so that’s sorted.

After breakfast, I made some apple cinnamon scrolls for The Boy to take on a visit to a sick friend. His reaction to them was so good (“Damn, Girl!”), I’m thinking I’d better get the recipe up here soon.

Apple Cinnamon Scrolls

Apple Cinnamon Scrolls

I’ve also recently been given some kefir grains and a kombucha SCOBY, so I’ve spent some time getting those going … fingers-crossed. As a result, milk has been added to the shopping list.

I’m quite excited about these little experiments!  They’re something I’ve always wanted to play with, despite not knowing very much about them.

Anyway, the corned beef turned out beautifully – if a little over-tender due to its 24 hour long spiced bath! I served it with some very simply baked potato and pumpkin and some frozen peas. Instead of a sauce, I just spooned some of the beef’s cooking liquid over it.

Dinner tonight.

Dinner tonight.

The remaining 3/4 of the beef is now sealed up in the refrigerator for use in other meals later in the week.

Bon Appetit.

Loaded hot potato chips (fries)

Loaded oven fries

This is one of those quick and easy treats where you make something spectacular out of something fairly ordinary.

We have these maybe once a weekend in the Budget Bounty household. It’s a perfect dish for lunch on a cold, grey winter’s day.

Basically they’re chips with added flavour.

I’m a big fan of crinkle cut chips, because they seem to end up crunchier and the surface traps all the bits of flavour you care to add. However, we’ve been buying larger steak house cut-style fries lately, and they seem to work well too.

Remember, the thicker the fry the better they are for you.

Remember also that chips are not a health food. Manage your portion sizes on this or you will regret it eventually!

Moving on.

Turn your oven to the temperature set out on the packet. It’s usually around 230ºC/446ºF. Make sure to preheat your pan as well. I have a black one with holes in the base that I bought from Aldi years ago – it’s brilliant.

While your oven and pan are heating (about 10 minutes) it’s time to jazz up your spuds.

Place your chips into a large bowl. You want something large enough to take your chips and enable you to stir through your flavourings as well. You can use your hands for this if you wish, but a spoon or a spatula will also do the job.

Place your frozen spuds into a large bowl

Place your frozen spuds into a large bowl

I like to add a sprinkle of hot paprika or, occasionally, dried chilli flakes. I find chilli powder can be too hot. However, feel free to try any spice you’d like! Taco seasoning may do the trick for you, or try BBQ rubs. After all, if it doesn’t work, it’s only a plate of chips.

Add a touch of heat with some chilli flakes or hot paprika.

Add a touch of heat with some chilli flakes or hot paprika.

Now, get yourself a spoonful of crushed garlic from a jar and mix it through as well as you can. You don’t want great lumps of garlic in your bowl later.

Add some garlic.

Add some garlic.

Place them in a single layer on your oven tray and cook for half the required time – usually 10 minutes.

Place them on the tray and pop them in the oven.

Place them on the tray and pop them in the oven.

Now, if you wish to be truly decadent, dice up a rasher of bacon (or two, if you are doing a lot of chips). You’ll want to be stirring this through when you take your chips out at the halfway point. Don’t do it for the whole cooking time, or you’ll end up with little specks of pure charcoal in your bowl…   You’ve been warned.

Take them out and give them a shake at the halfway point. Add the bacon if you wish. Return to the oven.

Mmmmm, bbaaaaaaacooooon!

Mmmmm, baaaay-con!

By this stage your kitchen is smelling amazing. Now, while you wait the second 10 minutes, line your bowls with a piece of paper towel.

Also, grate some cheese. I buy shredded cheese, but you may not.

When the timer goes off, remove your pan from the oven, sprinkle with some sea salt flakes if you have them – you won’t need a lot – and then scatter your cheese over the top. Divide amongst your prepared bowls.

Serve 'em up!

Serve ’em up!

I waited until my chips were in the bowl before adding the cheese, but it will melt faster and distribute more easily if you do it as soon as possible after getting them out of the oven.

Add some cheese.

Add some cheese.

Note: I said a little cheese!

I often see pictures of similar dishes where you can’t actually make out the chips under the blanket of cheese they’ve been smothered with.  Don’t do that. Cheese is a condiment just as the chilli and bacon are. Got it?

Bringing home the bacon...

Bringing home the bacon…

Serve with a dollop of tomato sauce/ketchup or – my preference – a spoonful of good quality egg mayonnaise for dipping.

Enjoy.


Dinner in a hurry.

Near disaster today. I put the corned beef on to cook in the slow cooker before I left for my working bee this morning.

Unfortunately, I forgot to switch it on.

So, The Boy was all set to order takeaway and fall on the budgetary sword when I got in this evening and it was as I’d left it.

Sed nil desperandum.

Remember that BBQ/rotisserie chicken meat I stowed in the freezer yesterday? Out it came to defrost in the microwave for a few minutes.

The sandwich press/panini was heated up (plugged in properly and actually switched on!), some wraps and cheese were retrieved from the fridge and I broke open that little bottle of capsicum pesto that was my “new” thing in last week’s shopping.

Spread the pesto on the wrap. Sprinkle with cheese, add the chicken and fold.

Add fillings and fold.

Add fillings and fold.

Wholegrain wrap + Capsicum pesto

Wholegrain wrap + Capsicum pesto


Then toast and cut into quarters.


30 seconds in the sandwich press later...

30 seconds in the sandwich press later…

Eh voila! Chicken Quesadillas.

Dinner in a hurry.

Dinner in a hurry.

Now, it wasn’t the sit down meal I had been planning – or looking forward to – and it probably wasn’t the most nutritious of dinners, but it did the trick. At the very minimum, it certainly had less sugar and salt than a takeaway pizza would have and I didn’t have to cook after shovelling scoria all afternoon…

Wraps have now been added to my shopping list for next time.

Until tomorrow.


Those of you who know me personally, are probably aware that The Boy and I are intending to buy/build a house in the near future.

This means that we are saving every penny where we can and that I am currently feeding us on a budget of $25 each per week.

I keep being told that this simply isn’t possible.

So, The Boy has suggested that I document this part of our journey along the lines of the $30 challenge we completed at the beginning of the life of this blog.

Some of this week's  shop...

Some of this week’s shop…

I’ll start this project in the next few days. I’ll show you what I buy in my fortnightly grocery shop – and the prices I pay – and then give a daily run down of what I’ve prepared with it.


The rules will be as they were for the $30 challenge. You can find those here.

I hope you’ll all find the account valuable and maybe even helpful.

TTFN

The most important tool in your kitchen.

This is a post without a recipe.

Sorry.

Instead, I’m going to talk about something close to my heart. Something that makes life just that little bit easier and multi-tasking a breeze. Something that every – and I mean *EVERY* – kitchen should have and cook should use.

A timer.

Yes, I said a timer.

A kitchen timer will save your sanity.

Use the timer on your oven

Use the timer on your oven

My mother was a great cook. She also burned things regularly. This was because usually she was trying also to stop my brother and I from killing each other, trying to stop the cat from killing the dog, doing the laundry and everything else that mums do – all at once – while cooking.

It could only end badly, really. And it did. Often.

A kitchen timer means that, if you put a pot of rice on to steam and the doorbell/phone rings, then you will get a reminder when it is done.

It means that pasta can be put on to boil, a timer set to let you know when it’s cooked, and you can go about making a quick sauce without losing track of your noodles.

You can pop some biscuits into the oven, go to hang some washing out and be reminded that there is something else that you are also doing…

Delegate keeping track of time to something else that won’t mind doing the job.

You have a timer if you have a microwave. Use it.

Just between you and me, the most use my microwave timer gets is when I am cleaning my kitchen.

Years ago when I was still working, my energy levels were pretty much nil when I got home from work, because MS fatigue. I would have just enough energy to go to work but none for anything else. One day, I came home to find my front door open. It took about 30 mins before I could tell if I had been burgled or not as my home was in such disarray!

This is just between us…right?

Anyway, I came upon a link to the Flylady.net site and slowly started getting on top of everything again. I did this 15 minutes at a time, using my kitchen timer. I haven’t visited the site for many years now, but when any part of my home looks like it’s going to take several days to get habitable, I set a timer for 15 mins and just do what I can. Then I have permission to stop.

Try this at your place. You don’t have to get it all done, but you’ll have more done than you would have otherwise. I’ll often have the kitchen spotless in that quarter hour.

In the same vein, I often find that when I’m gardening I’ll overdo things (good old MS again!) and end up paying for it for many days after. So, I manage my energy by taking a portable timer into the garden. I work for 15 mins, rest for 15 mins and repeat.

It works.

If you have small children, a timer can help you with kid-wrangling. Tell them they have to pick up their toys for 15 mins and then they get to stop. Stick to your word. They may drag their feet and muck around a bit at first, but after you’ve repeated the exercise on several days and they know you’ll keep your word (no fair setting the timer again immediately after!) they’ll start to play nice. Trust me.

Your timer can follow you into your bathroom in the morning. I always lost time in the mornings and found myself suddenly running 5 minutes late after a leisurely warm shower…you know what I mean, right? It’s not just me, is it?

A timer set for 5 mins when I got into the water kept me on track. Try it yourself, try it on your kids. Save your sanity while saving water.

If your teenagers have their own mobile/cell phones then they have a timer

Use the tools available on your phone

Use the tools available on your phone

If you have a tablet, you have a timer. If you have neither, then they can be bought quite cheaply at dollar stores, in supermarkets, pretty much anywhere – really truly.

Change your life, use your timers.

I suspect that I may be required to buy one of these. Sigh.


Flourless Orange Almond Cake

Ok. So I wasn’t intending to post this today, but someone asked me to get this up here post haste.

So imagunna.

This is not a budget dish. The nuts can cost quite a bit and the whole cake cost me around AUD$12.

It is incredibly easy to make, tastes gorgeous and ticks the gluten-free box (which is what I was after when I made it). However, for a special occasion treat that needs to be coeliac-friendly without too much fiddling around, it is fabulous.

Fabulous, I say!

Ahem.

Flourless Orange and Almond Cake

Flourless Orange and Almond Cake

I was wanting a birthday cake for a friend who does an awful lot of work for a group I’m involved with – she’d allowed her birthday to pass under the radar, so to speak, and this simply was not on.  I’ve also always wanted to try to make a flourless cake and, as one of our number is coeliac, this seemed to be the time to do it.  I thought about all the decadent flourless chocolate cake recipes that I have pinned, but she is a Japanese lady and I’ve noted her preference for lighter flavours and textures.

Then I remembered this thing called an orange and almond cake and went searching.

I found this recipe here.

It’s incredibly simple. In fact this post is going to be rather picture-heavy because there really isn’t much to describe.

You start by simmering two oranges in water for 2 hours.

Simmer your oranges.

Simmer your oranges.

Let them cool, then blitz them to smithereens in a food processor. They will be incredibly soft after their extended time in hot water.

Heat your oven to 190°C/375°F.

Blitz the oranges- seeds, skin and all.

Blitz the oranges- seeds, skin and all.

Meanwhile, mix caster sugar and 6 eggs until the sugar is dissolved.

Yes. That is a lot of eggs.

Yes. That is a lot of eggs.

It will look light and fluffy. Like this:

Well-mixed eggs and sugar...

Well-mixed eggs and sugar…

Add your orange pulp to the mixer bowl with the eggs and sugar and give it a further whisking.

Add the orange puree to the eggs.

Add the orange puree to the eggs.

Now add your almond meal and baking powder. You can attempt to sift this but it may drive you mad. It may work better to simply knock as many lumps out as you can manage. Also, if you are making this for coeliacs, please, please, please check that your baking powder is gluten free too. Thank you.

Mix well.

Mix in the almond meal.

Mix in the almond meal.

Now, line a springform pan. Mine are non-stick, so I simply covered the base with baking paper for ease of serving, and left it at that. The size of the pan is not something that really matters.

Fill a lined springform tin with your cake batter.

Fill a lined springform tin with your cake batter.

Scatter a couple of handfuls of flaked almonds over the top.

Scatter some flaked almonds over the top.

Scatter some flaked almonds over the top.

Then pop it into the oven for an hour or so, or until a skewer inserted in the centre comes out clean. The almonds on the top will be nicely toasted. To make things a little easier for you, place the cake tin on a flat baking tray like a cookie sheet.

A beautifully tanned result.

A beautifully tanned result.

Allow to cool in the tin. Run a blade around the tin before you release the spring. Sprinkle the top with some icing (confectioner’s or powdered) sugar before serving. I didn’t, as I didn’t have any that was gluten-free. The cake still tasted wonderful.

Well, this bloke thought so anyway.

Three year olds are the toughest critics, like, *ever*.

Three year olds are, like, the toughest critics *ever*

Just don’t forget to take a picture of it before you serve it up, like I may have….

Better late than never.

Better late than never.

Flourless Orange and Almond Cake

  • Servings: 12
  • Difficulty: easy
  • Print

Ingredients

2 medium size oranges
6 eggs
250g superfine sugar
250g almond meal (almond flour or ground almonds)
1 tsp baking powder
2 handfuls of flaked almonds
Icing sugar, for dusting
 

Method

Wash the oranges well. Place them in a medium saucepan, cover with water and bring to the boil. 
Turn the heat down and simmer for two hours.  Remove from the water and allow to cool.
 
Preheat the oven to 190°C/375°F.  Line a 20 to 28cm springform cake tin with paper.
Place the whole oranges into a food processor and blend until smooth.
In a large bowl, beat the eggs and the sugar until the sugar has dissolved.
Add the oranges to the mix and whisk again.
Add the almond meal and baking powder and mix until well combined.
Pour the mixture into the lined tin, smooth out with a spatula and then scatter the almond flakes over the top.
Bake for 1 hour, then test with a skewer. If it comes out clean, it’s done. If not put it back until it does. The cake should be golden on top.
Allow the cake to cool on a wire rack, then dust with icing sugar.  Serve with a dollop of double cream.
2015-04-30 12.41.32

Coconut Almond Biscotti

Coconut Almond biscotti

It has been  pointed out to me ever so gently, that I haven’t yet finished my series on biscotti (I got sick and then preserving took precedence…) so here we go.

This is a very simple recipe that packs a big punch in both visual impact and taste terms. The only downside to it is that it can be quite pricey due to its use of whole, blanched almonds.

So, feel free to use slivered or flaked almonds if they are more within your price range. The flavour will be the same, it just will look a little different and have a slightly less “robust” texture.

Coconut Almond biscotti

Coconut Almond biscotti

This is an extremely unfussy recipe. It’s so easy that, if you blink, you’ll miss it. So pay attention.

Turn your oven on to preheat to 180°C/ 350°F.

In a medium-sized bowl mix together your caster sugar, eggs  and some finely grated orange rind (zest).

Start your biscotti with this

Start your biscotti with this

You can do this by hand with a wire balloon whisk or use an electric mixer if you have one.

It will look like this after mixing.

It will look like this after mixing.

However, the dough is about to get heavy. So, using a wooden spoon or spatula, mix in your flours, desiccated (shredded) coconut and almonds.

Add your dry ingredients all at once.

Add your dry ingredients all at once.

Stir well.

And you're done.

And you’re done.

That’s it. Hard, wasn’t it?

Line a baking tray with paper and divide your dough into two portions. With floured hands, roll each portion into a 20cm log and place on the tray.

Be aware that they will spread a little, so don’t place them smack bang next to each other! Also, don’t stress over the shape, just do the best you can.

The dough is not soft and quite easy to handle.

The dough is not soft and quite easy to handle.

Now pop them in the oven for 35 minutes, or until slightly browned. Wash up your measuring and mixing things while this is going on and then hunt out: a trivet, another baking tray, a cutting board and serrated knife – make sure it’s a serrated knife, or it will all end in tears – and a cooling rack.

First baking done.

First baking done.

When it looks like this, take it out of the oven and set aside for 15 minutes or so to cool a little. You won’t want to cut them fresh from the oven or they will crumble under your knife (see above warning about tears).

Turn your oven down to 160°C/325°F.  Most of the cooking is done, from now on you’ll just be trying to dry them out.

When the logs are cool to the touch, using the aforementioned serrated knife, cut them into 1cm  or ¼ inch thick slices. Traditionally this is done slightly on the diagonal, but you don’t have to do it this way.

Cut your logs into slices

Cut your logs into slices.

Place the slices flat onto a lined baking tray and pop them back into the oven for 10 mins, then take them out, turn them over and put them back in for another 10 mins.

Bake for a second time.

Bake for a second time.

If you would like them slightly darker, then bake them longer. Be prepared for your kitchen to smell like paradise.

Allow them to cool on the trays. Basically by the time the second batch is at the halfway point, the biscotti on the first tray should be cool enough to move to a rack. This will free up your tray for any left over slices.

Serve dunked into something hot: coffee, tea, hot chocolate.

Try not to eat them all at once.

Coconut Almond Biscotti

  • Servings: makes 30
  • Difficulty: easy
  • Print

Ingredients

1 cup (220g) caster sugar

2 eggs

1 tsp finely grated orange rind or zest

1 1/3 cups (200g) plain flour

½ cup (50g) SR flour

2/3 cups (50g) desiccated (shredded) coconut

1 cup (160g) blanched almonds

Method

Preheat oven to moderate. 180°C/ 350°F.

In a medium bowl, beat together sifted caster sugar, orange rind and eggs.

Add sifted flours, coconut and nuts and stir with a spatula or wooden spoon to form a sticky dough.

Divide dough into two portions.

Using floured hands, roll/shape each portion into a 20cm/ 10 inch log and place on a lined oven tray.

Bake for around 35 minutes or until slightly browned; cool on the tray for 15 minutes.

Reduce the oven heat to moderately slow, 160°C/325°F.

Using a serrated (bread)knife, cut the logs into diagonal slices 1 cm/¼ inch thick.

Place the slices flat onto lined baking trays and return to the oven for around 25 minutes, or until dry and crisp.

Turn halfway through baking.

Cool on tray.

‘Italian’ Lentils

"Italian" lentils

I first made this dish several aeons ago when I was a poor, struggling university student. I’ve made it many, many more times since and have had a lot of fun coming up with variations for it.

"Italian" lentils

“Italian” lentils

It’s simple, incredibly affordable and very tasty.

And it has lentils in it.

Deal with it.

Way back then, I had made this dish one evening as my brother came home from work, pronounced it to smell “good” and asked for some. I served him up a bowl (while refusing to tell him what it was), which he then inhaled – followed by another two more bowls. When I finally revealed that he’d been eating red lentils, he snarled something about “disgusting hippy food” and refused to come near it again.

His loss.

Honestly, this is the perfect dish for those times when you have very little money/ have very little time/ don’t feel well but really-should-eat-something/ have no idea what to make for dinner/ are just too gosh darned tired to cook.

I found this recipe in this little book, which is now out of print (so I shan’t feel bad about reproducing it here!)

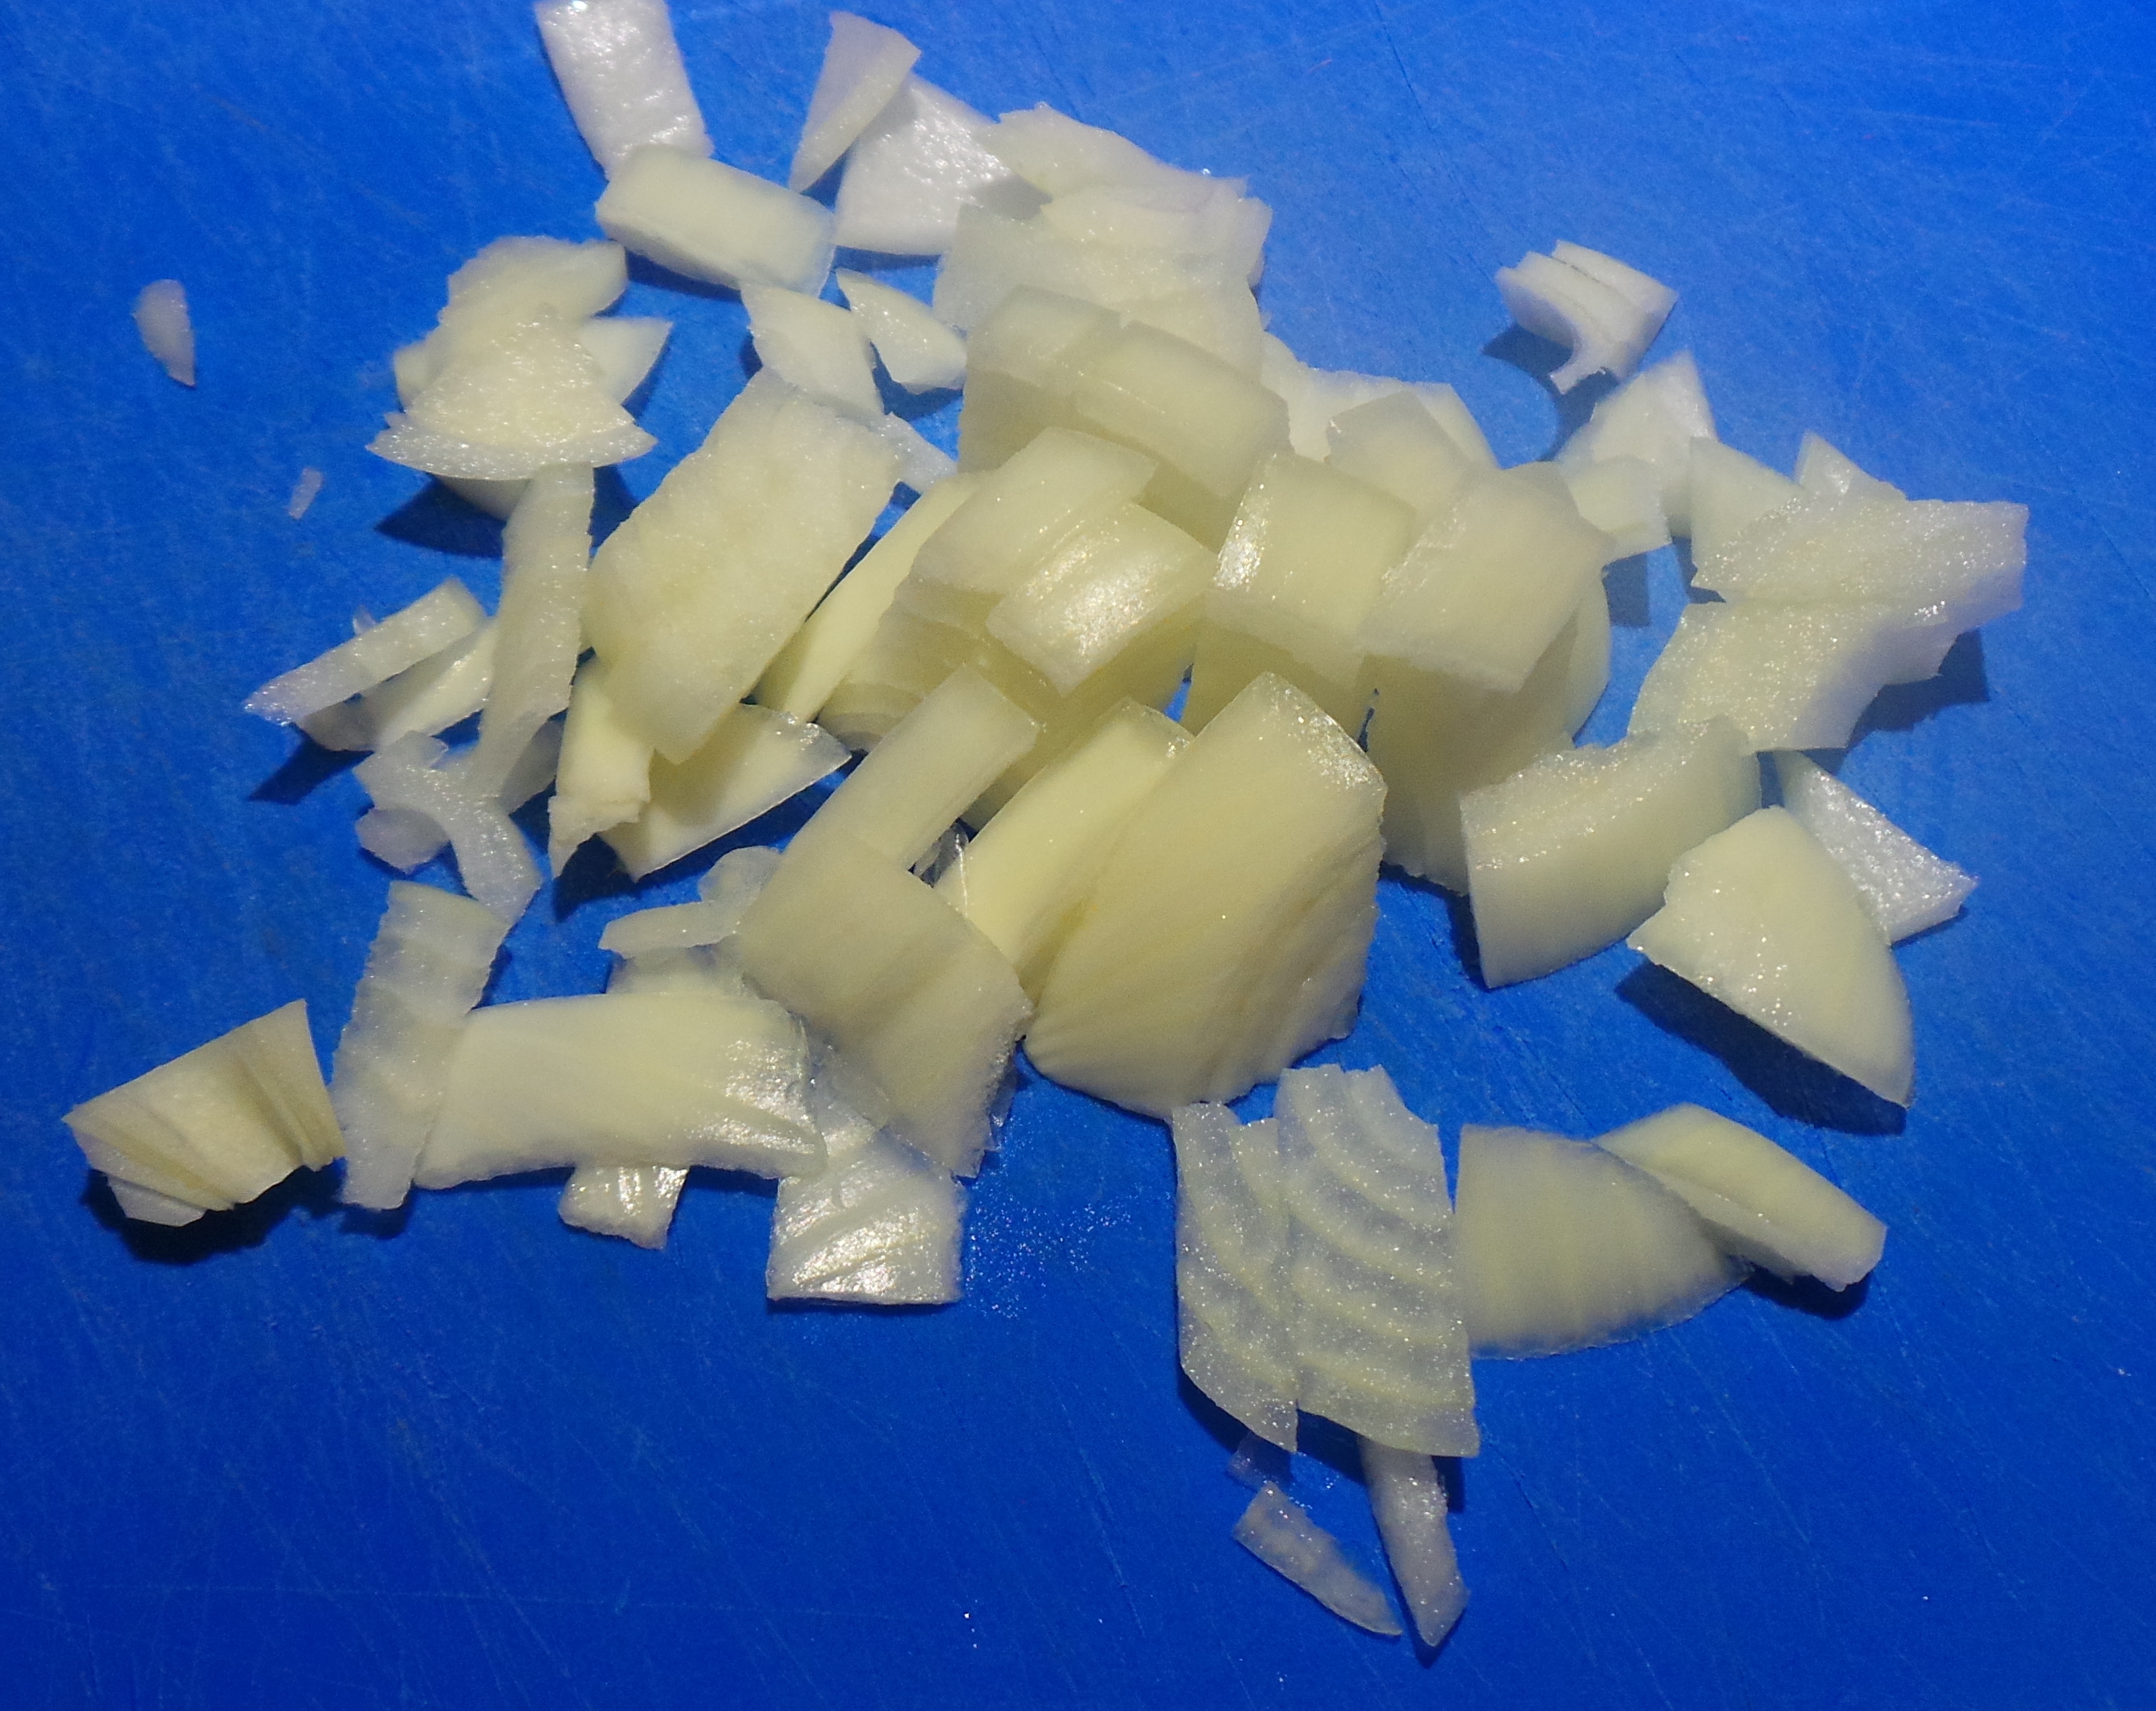
Start by dicing an onion, you don’t want it too fine as it will add texture to the finished dish.

Roughly dice an onion

Roughly dice an onion

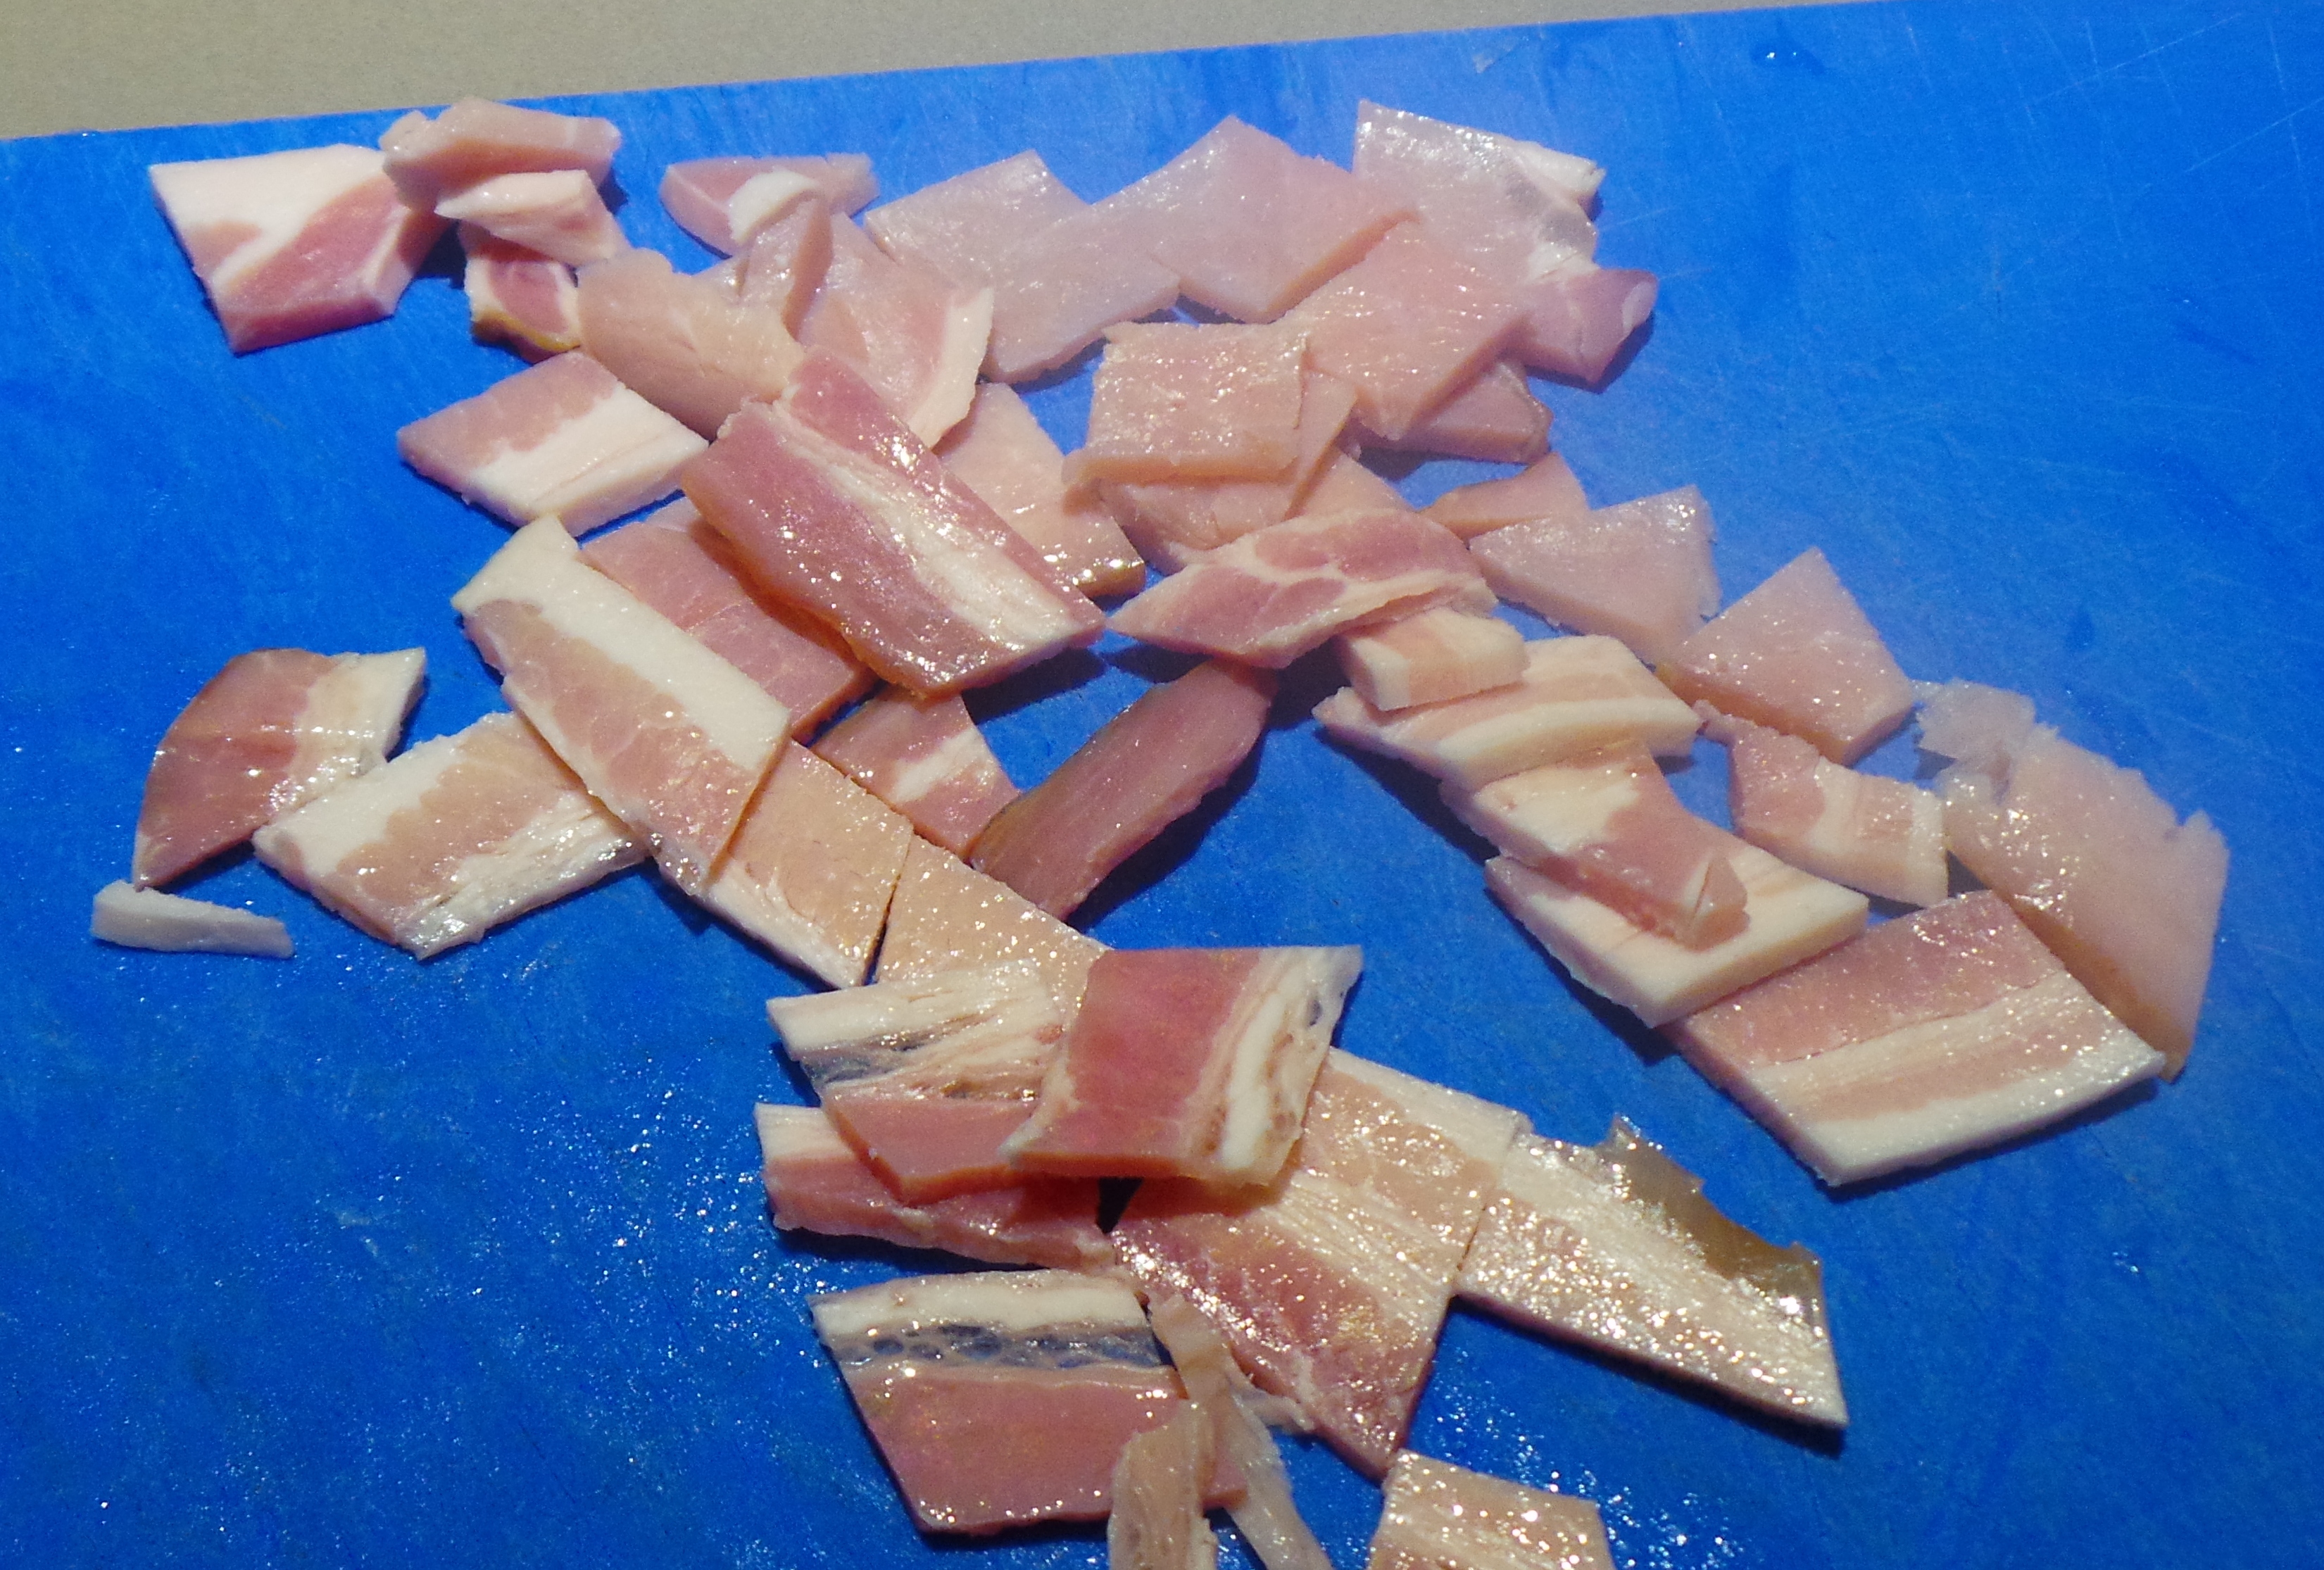
Then a rasher (or two) of streaky bacon. The smokiness of the cured meat really adds to the flavour.

Cut up some streaky bacon

Cut up some streaky bacon

Then make up 600 ml (a pint) of chicken stock from powder or use your own. 🙂 The stock will be responsible for the flavour of your finished dish, so choose well.

chicken stock (2)

Home-made stock

If you don’t have any cooked rice in your refrigerator ready to be reheated, then you might want to put some on to steam at this point. Your rice and your lentils will finish pretty much simultaneously.

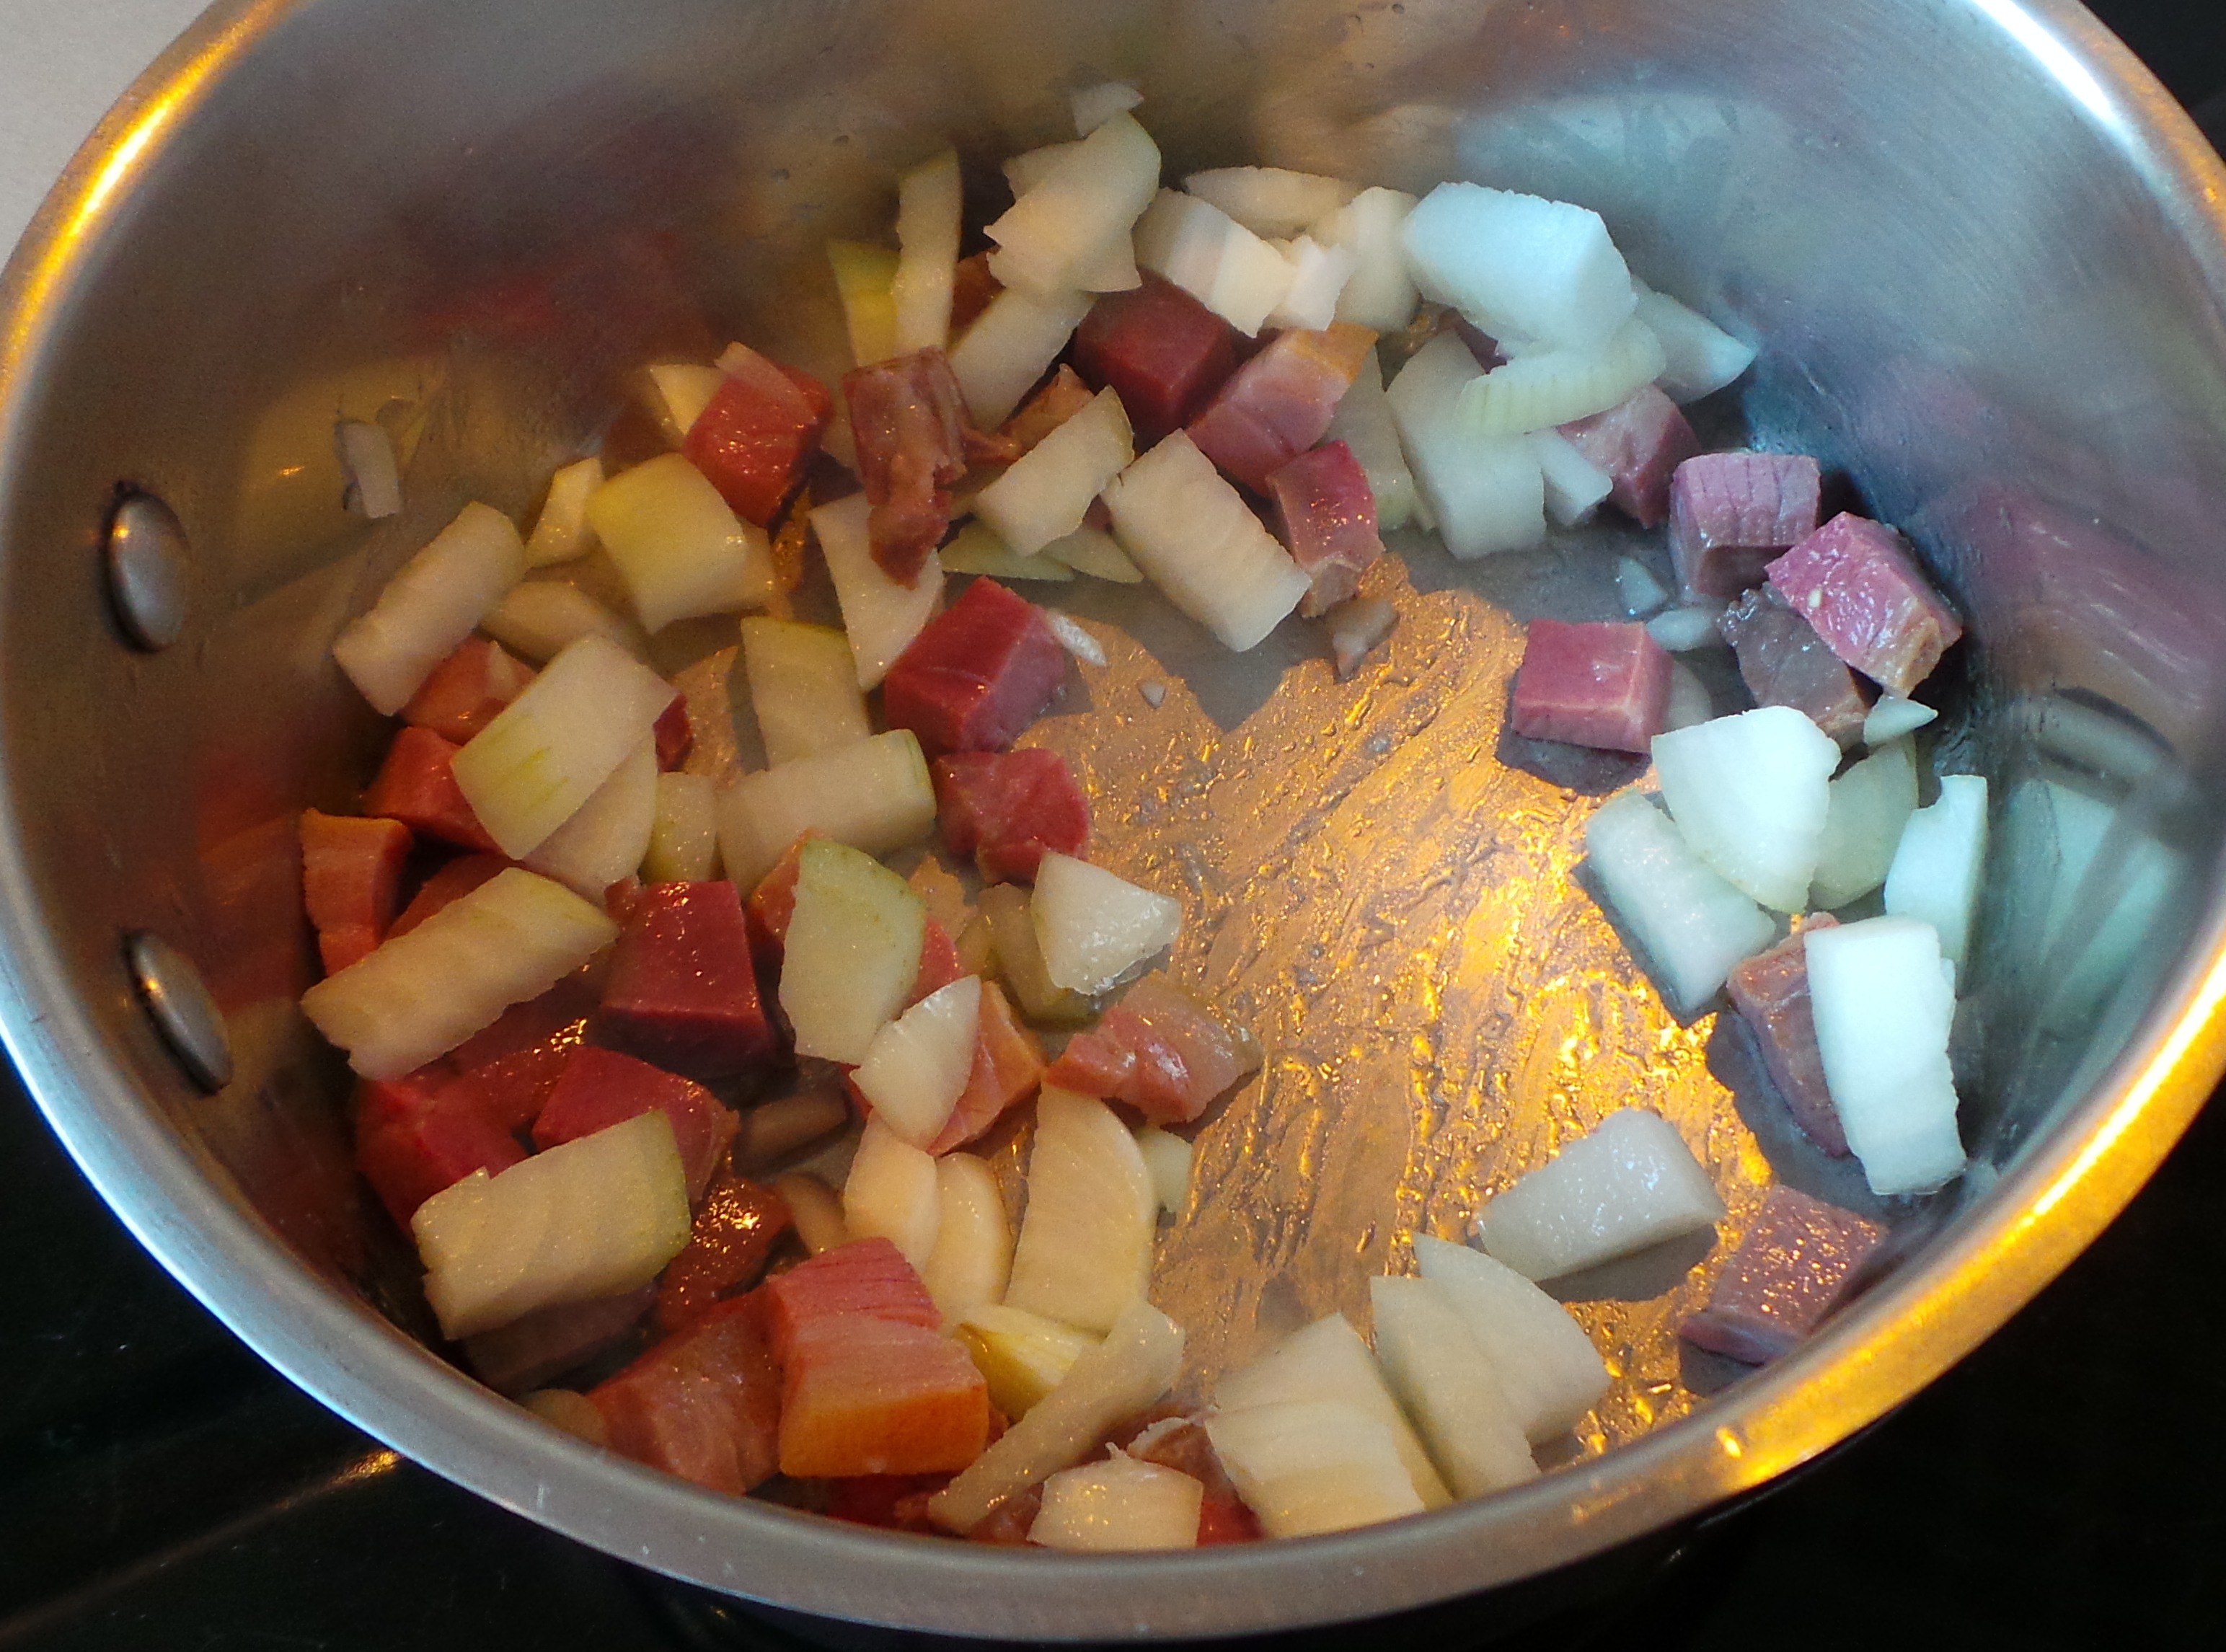
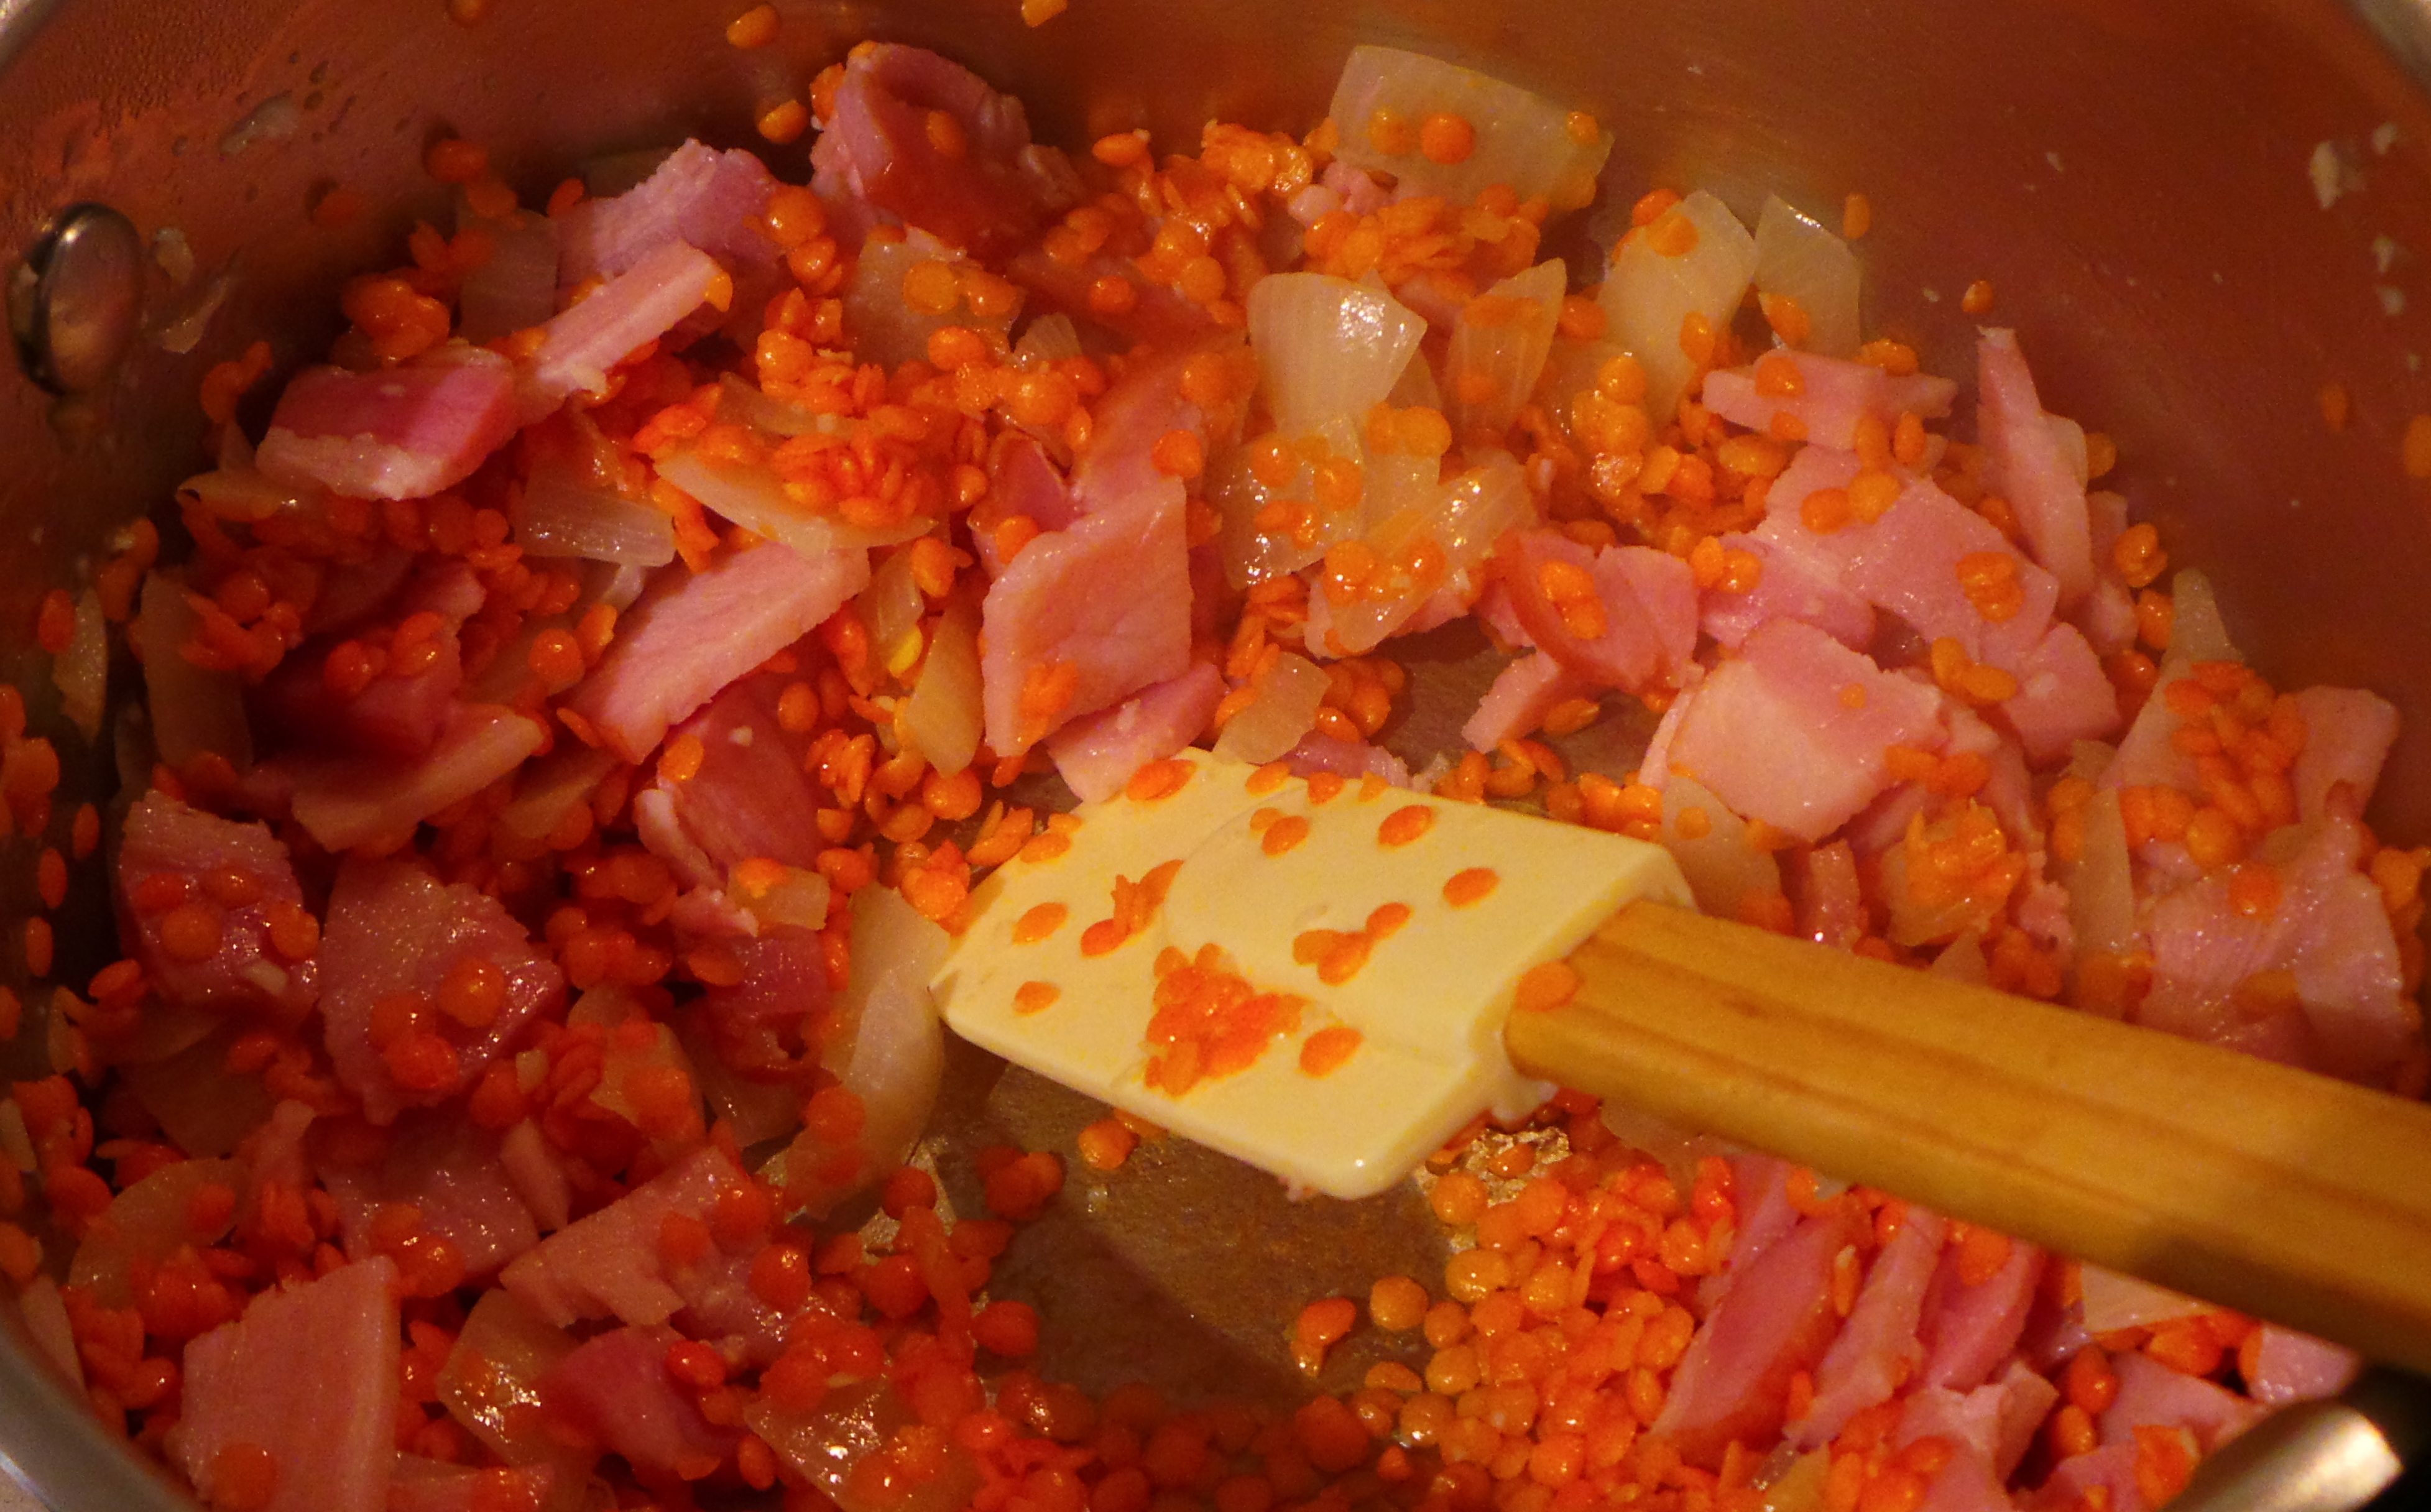
Now, set a smallish saucepan over a medium heat and add your bacon. You are aiming to render the fat from the meat before adding anything else. There is no need to oil the pan. I’ve made this dish quite successfully using pancetta instead of bacon as well. As you can see from the picture, the fat from the meat is sufficient to lightly fry or sauté the onion.

Pancetta, or prosciutto, also work quite well in this dish and add a touch of the gourmet.

Pancetta, or prosciutto, also work quite well in this dish and add a touch of the gourmet.

So, add your onion! You’re wanting to fry it gently without it colouring up. Cook , stirring constantly, until it becomes translucent (clearish). You may also wish to add some crushed garlic at this point, but it’s not necessary.

Split red lentils - aren't they pretty?

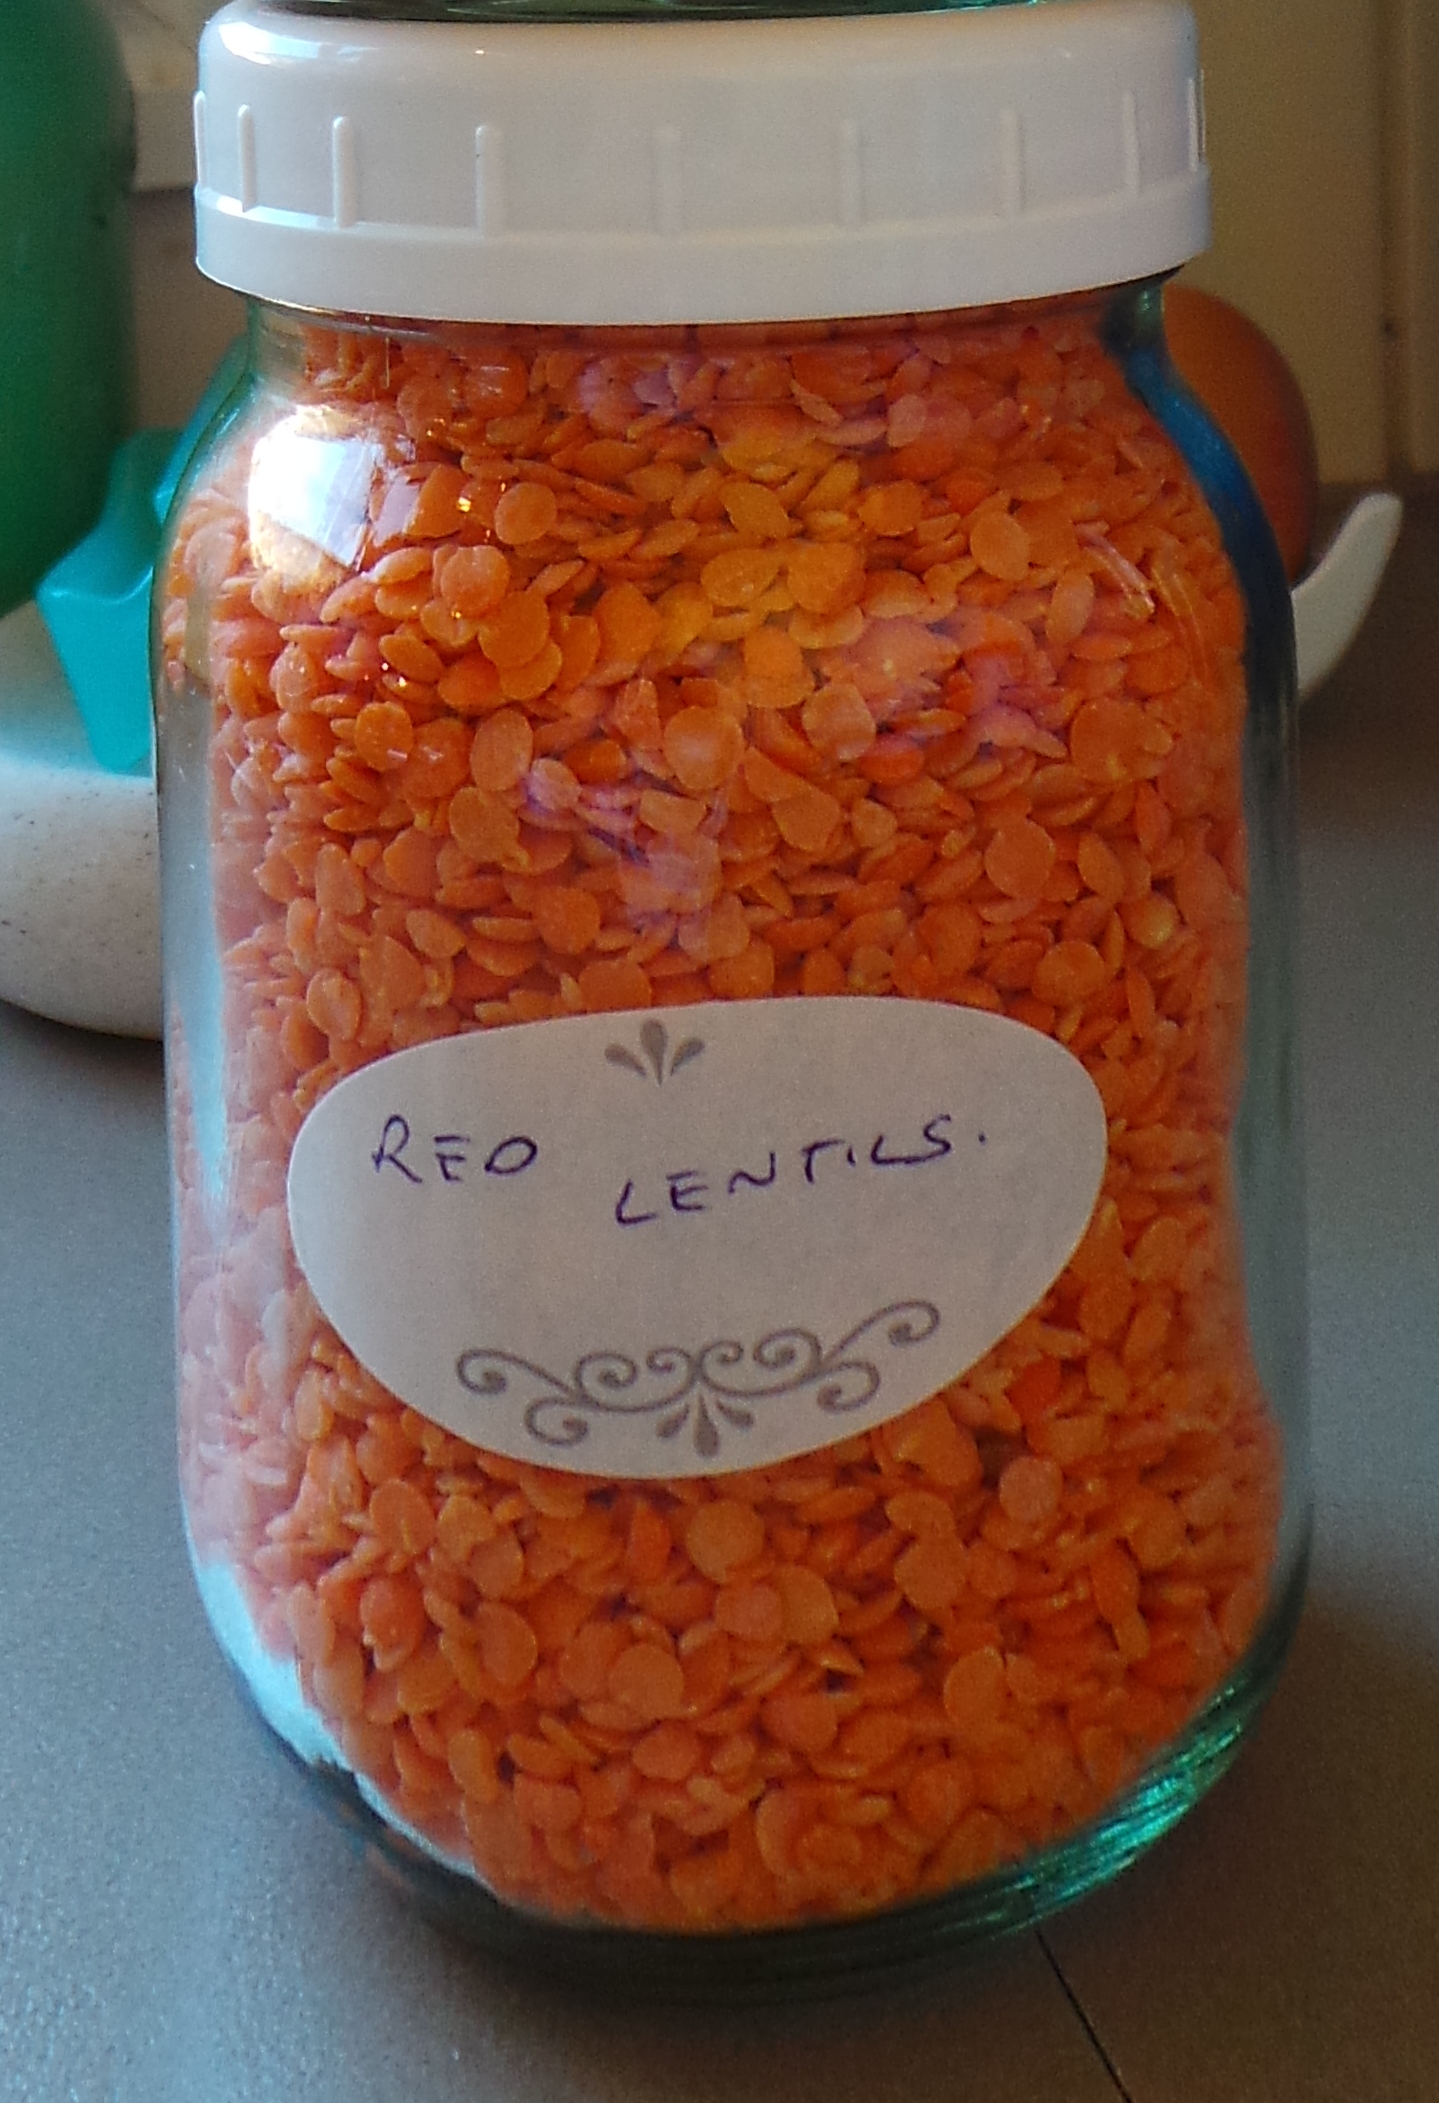
Split red lentils – aren’t they pretty?

Next add your split red lentils and stir them well. You’re aiming to coat them with the fat from the meat. This step helps to disperse the smoky flavour throughout the dish.

Add your lentils and stir well, with the pan still on the heat.

Add your lentils and stir well, with the pan still on the heat.

The recipe calls for 100g (4oz) of lentils. However, after you have made this a few times and seen the simplicity of it, you’ll stop measuring stuff and just do it all by eye.

You know who I’m talking to, you peeps who insist on measurements for everything, you! *sigh*

Anyway, once this is done, add your stock all in one go. It will look as though you have drowned it.  Stir well and bring to the boil.

Don't panic!!!

Don’t panic!!!

Reduce to a simmer and cook for another 10 minutes or so, stirring frequently. Do not walk away!  This cooks very quickly. Your lentils will start to break down and form a paste.

Almost done...

Almost done…

It is up to you how liquid your finished dish is. I like mine to be on the firmer side, my partner prefers a more “soupy” dish. Your choice. Take it off the heat when it meets your preference – or experiment.

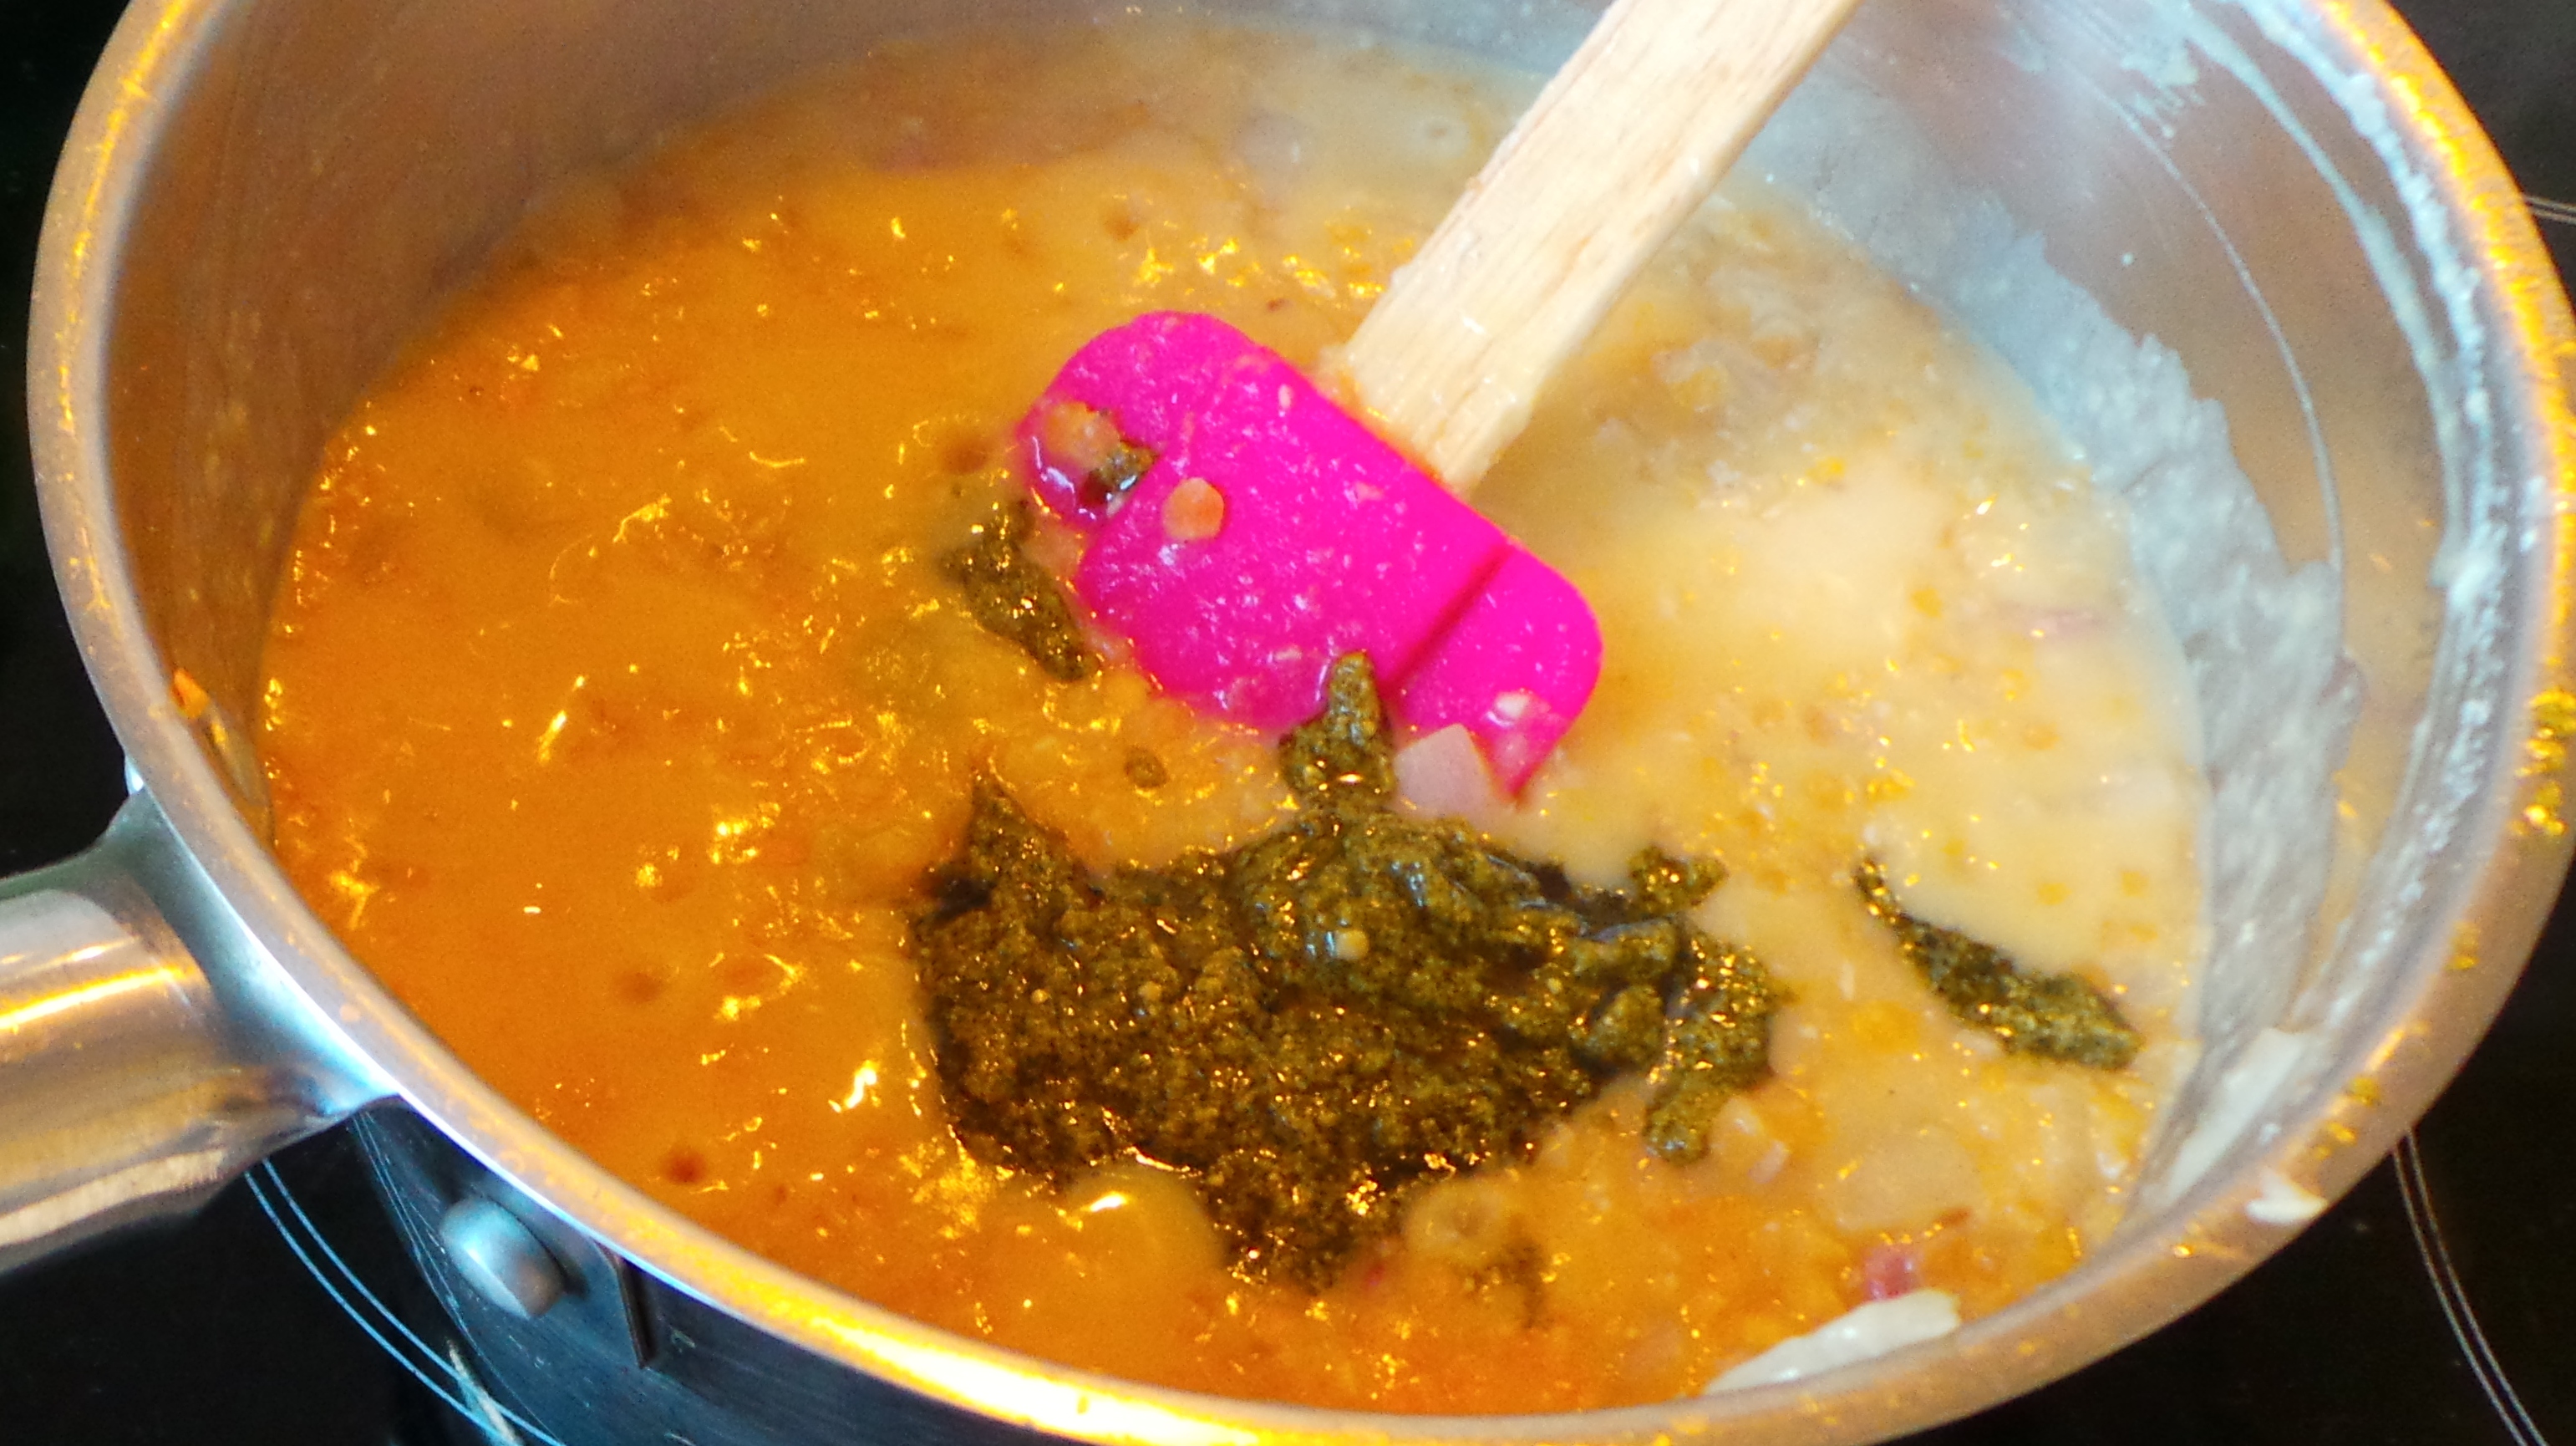
At this stage, stir through a tablespoon of tomato paste or purée.  As far as I can figure out, this is where the “Italian” in the recipe title comes from. The last time I made this, I used pancetta and stirred in some basil pesto instead.

Add some tomato paste or pesto

Add some tomato paste or pesto

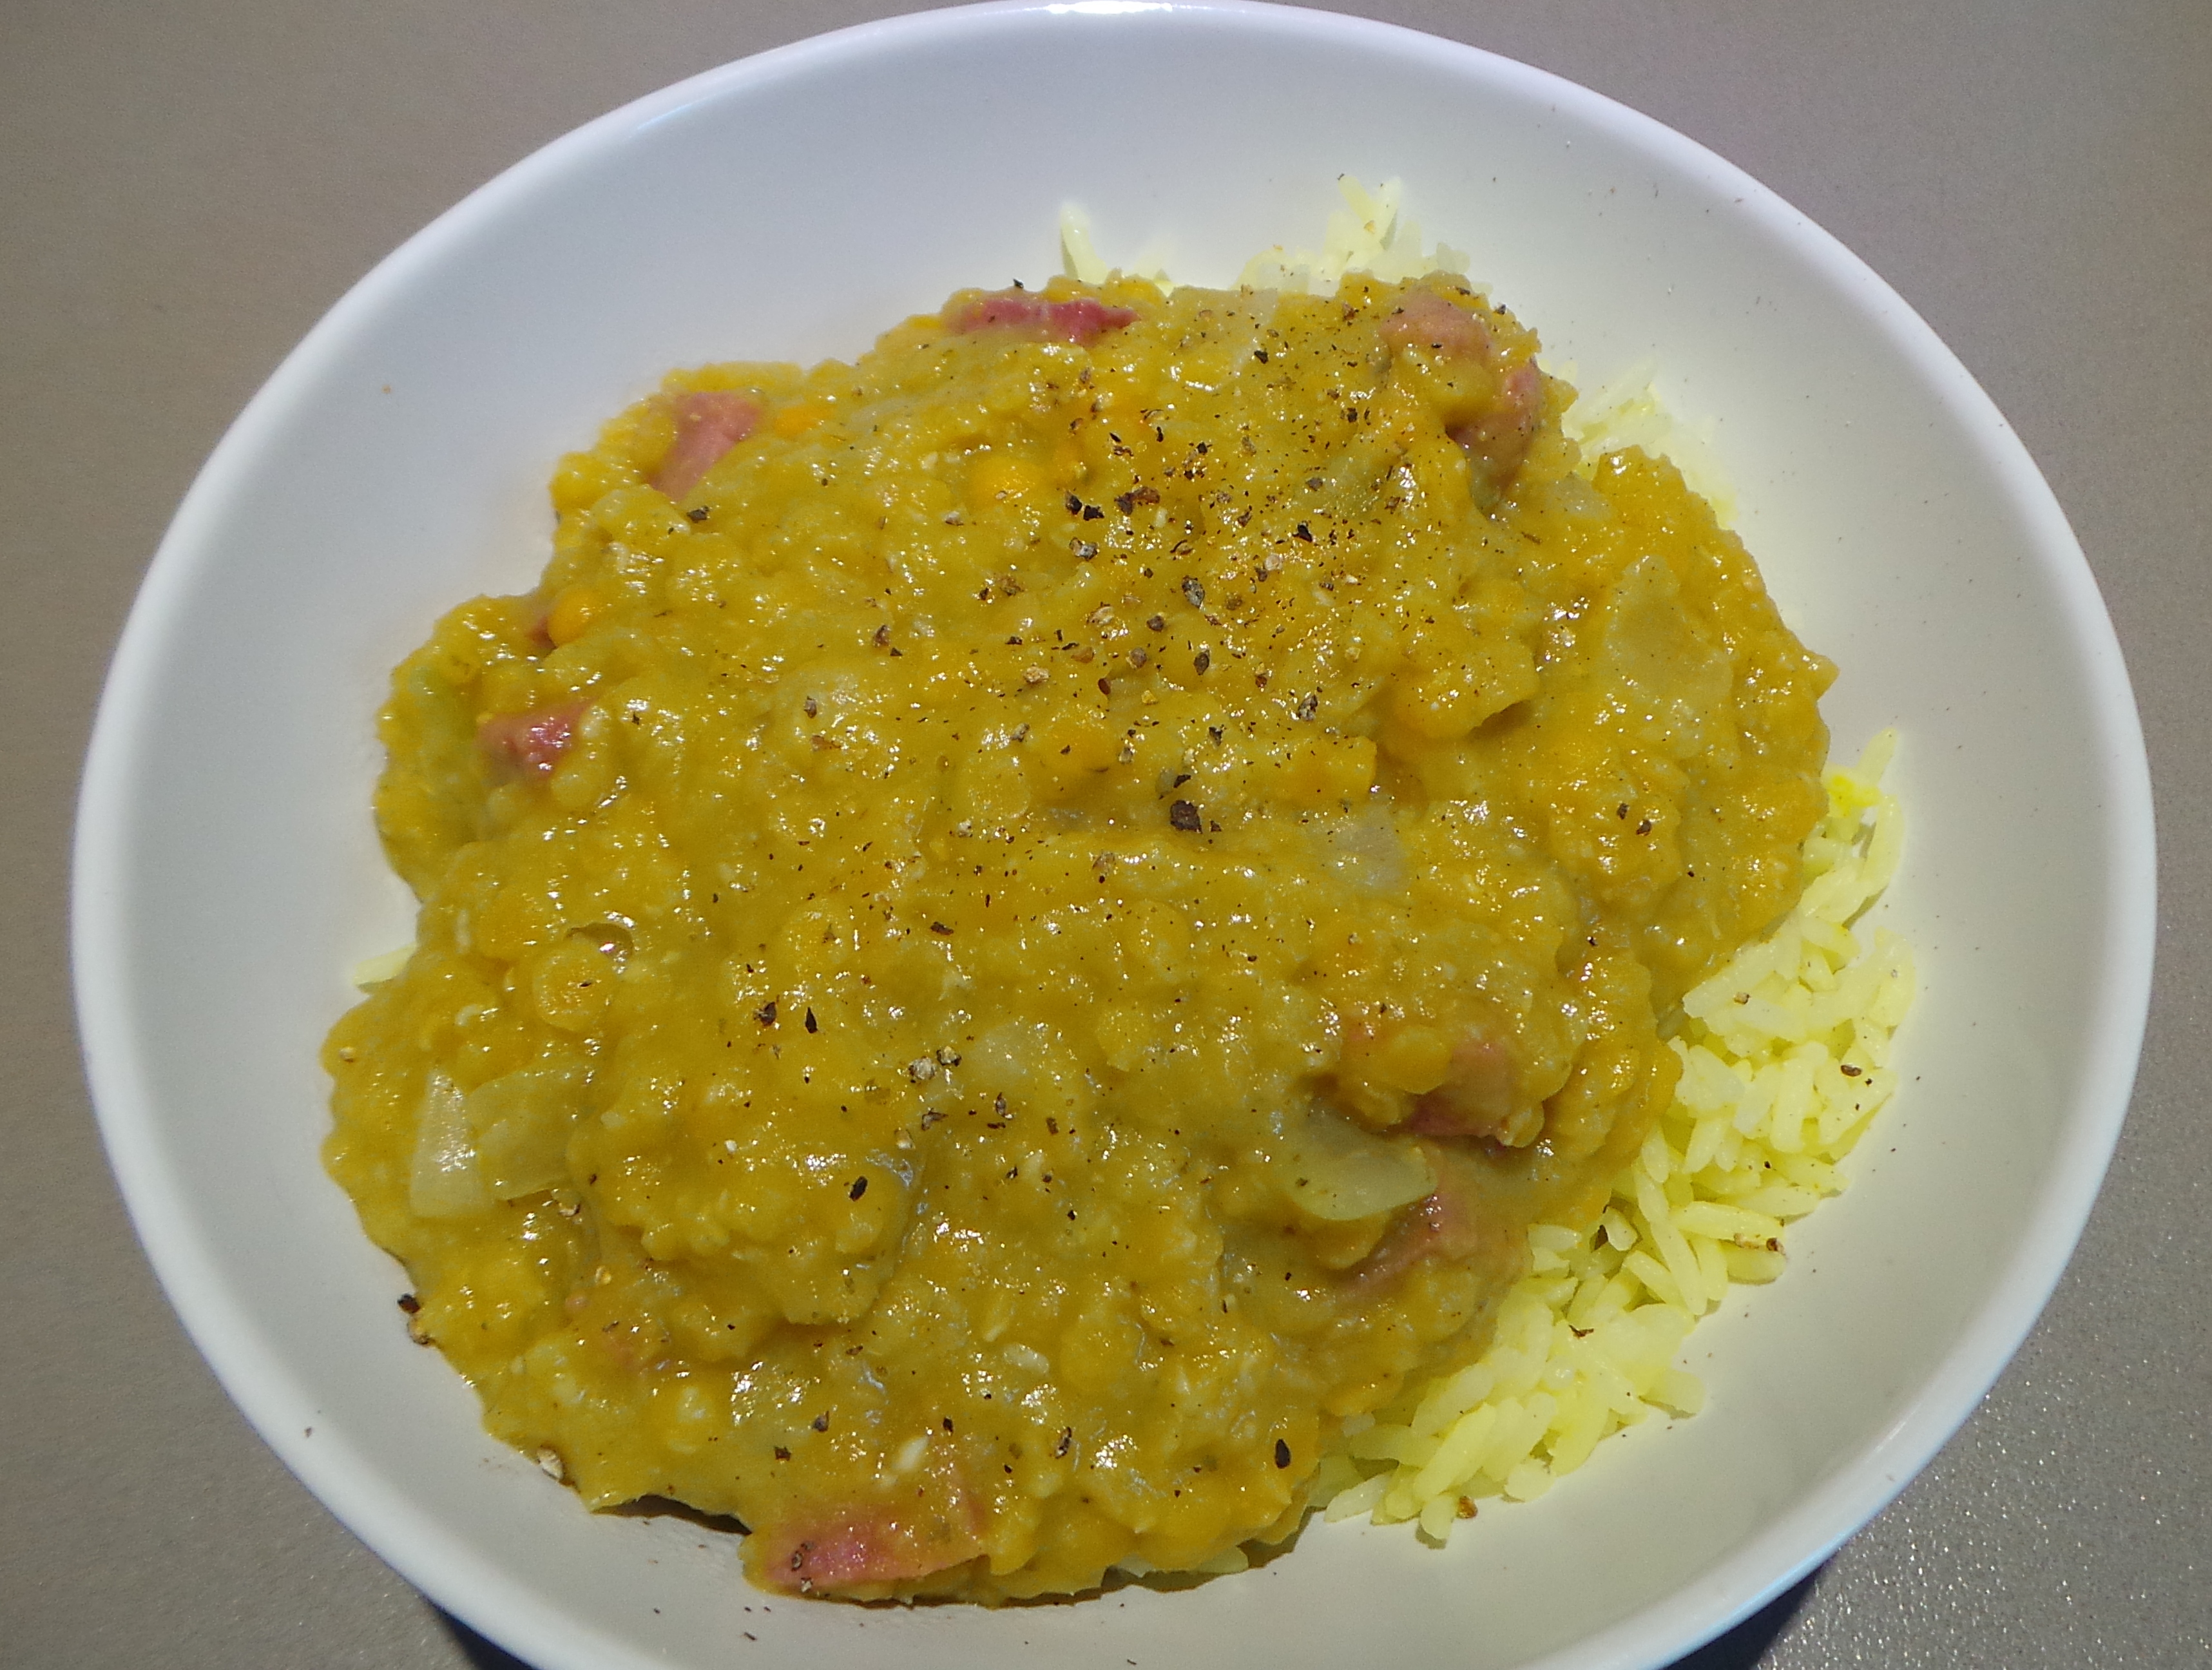
Mix thoroughly and serve.  This is quite filling and more than enough for two people. I like it in a bowl, served on plain rice.

For another variation, try adding some curry paste at the onion stage and frying it a little to release the flavours before adding the lentils. There will be no need to add anything more than the stock for the dish to be complete.

If you wish to make the texture a little more interesting, then try stirring through some rinsed tinned chickpeas with the tomato paste.

Have fun playing with the dish, or stick to the recipe – it’s delicious either way.

It will also cost about AUD $2 to make. Total. Even betterer.

Italian Lentils

  • Servings: 2
  • Difficulty: easy
  • Print

Ingredients

2 rashers fatty smoked bacon

1 clove garlic, crushed

1 small onion, chopped

100g (4 oz) split red lentils

600ml chicken stock (may be from a stock cube)

1 tbsp tomato paste (purée)

Method

Fry the bacon over a medium heat until the fat begins to run, then add the garlic and onion and fry until translucent.

Add the lentils and stir to distribute the fat evenly throughout the dish.

Add the chicken stock, stir well and bring to a boil.

Reduce heat to a simmer and cook for 10 to 15 mins, stirring frequently.

When lentils have reached desired consistency, add tomato paste and mix through thoroughly.

Serve with steamed rice.