Okay. I give in. Just for the Americans among you, I’m going to refer to these as biscuits.
Scones!
That’s only going to happen up here, mind! For the rest of the post they will be known as scones (a word that rhymes with ‘on’, by the way). However, this mere mention at the outset will mean that some of you will find a recipe you are looking for and the rest of the readers will learn that Americans call scones, biscuits.
I don’t know why.
Anyway, these are one of the first things many of us learn to bake – or should. Try making these with your kids, they don’t take a lot of time and are a great way to fill a rainy afternoon.
Scones are also one of those wonderful recipes that lend themselves to variations, both sweet and savoury.
Learn how to make a good scone and you can whip up a batch and serve them within 30 mins of unexpected guests calling, or you can augment the recipe to create a sweet breakfast scroll or a lunch dish along the line of pizza. You could even fill your freezer with quick-bake lunch box fillers and finger food.
Once you’ve made plain scones a few times, then extend your repertoire and give these a go too:
But first, let’s start from the beginning.
Scones are a form of quick bread and may even be considered a type of pastry. They need the bare minimum of ingredients: flour, butter, milk.
They also work best if you handle them as little as possible. Do not use a rolling pin. Ever. I don’t care what you may have seen elsewhere. Just don’t.
Okay?!?!
Ahem.
Let’s just deem them delicious and get stuck in.
Preheat your oven to 230°C or 475°F.
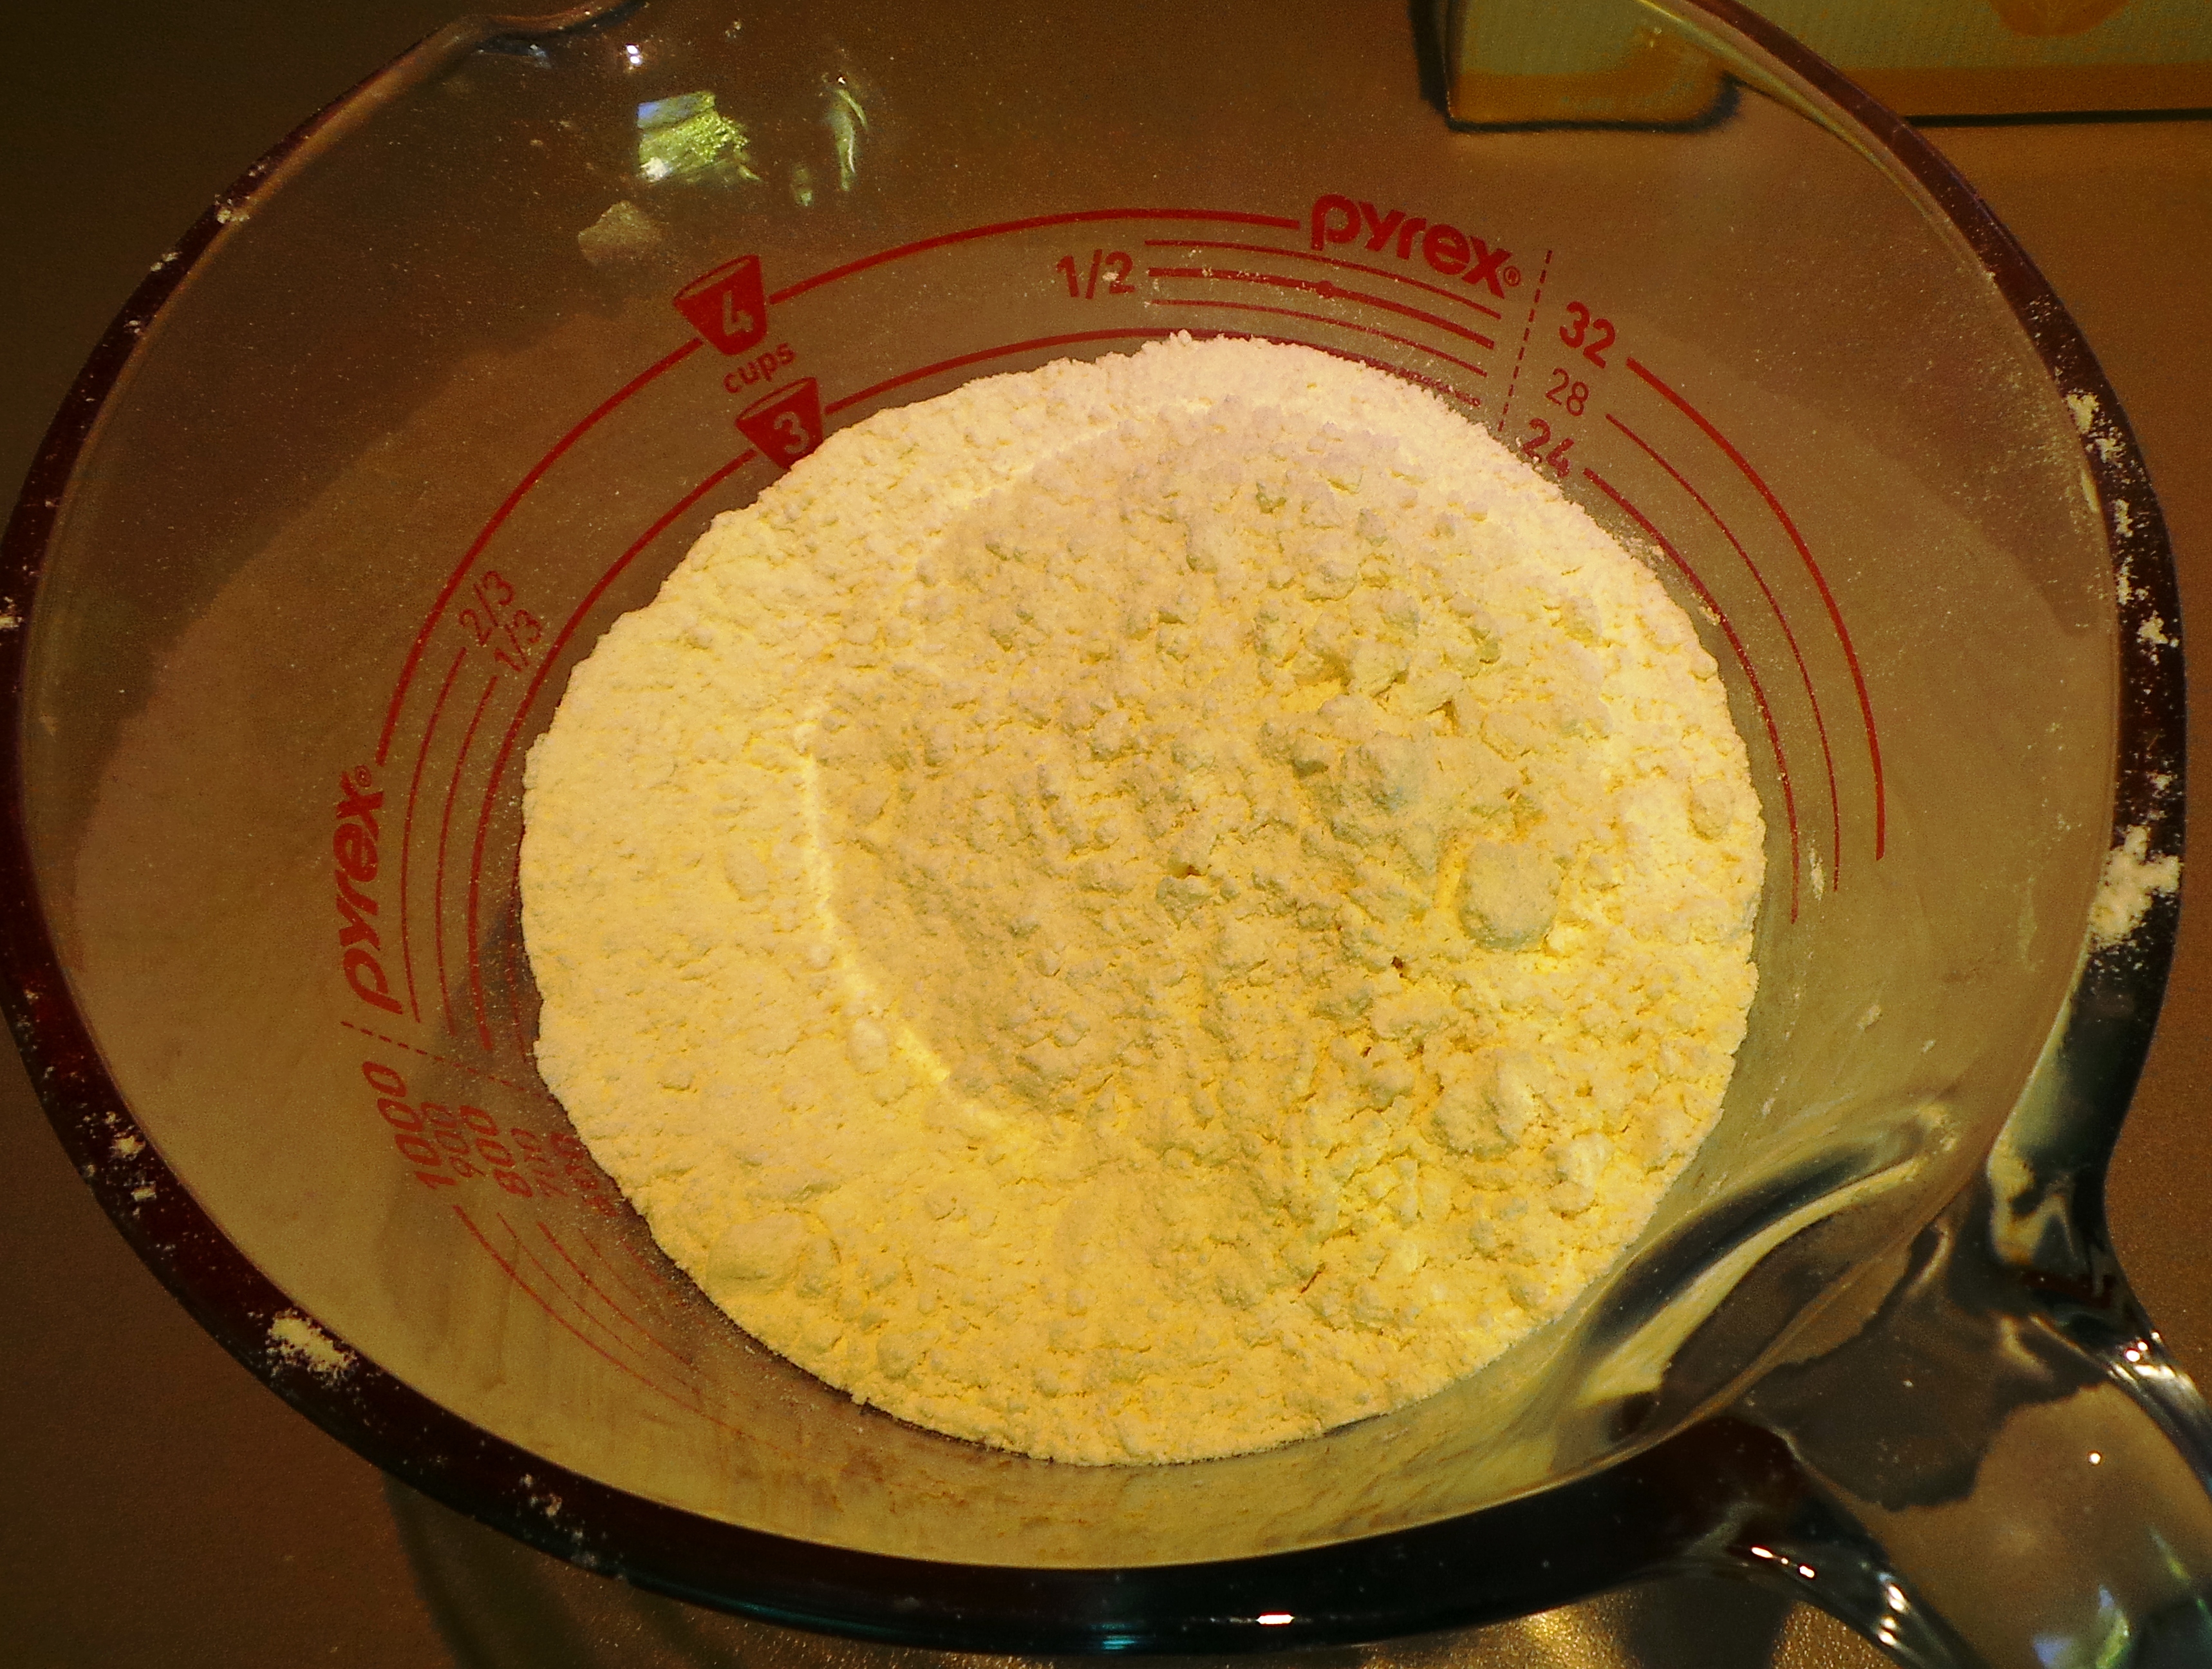
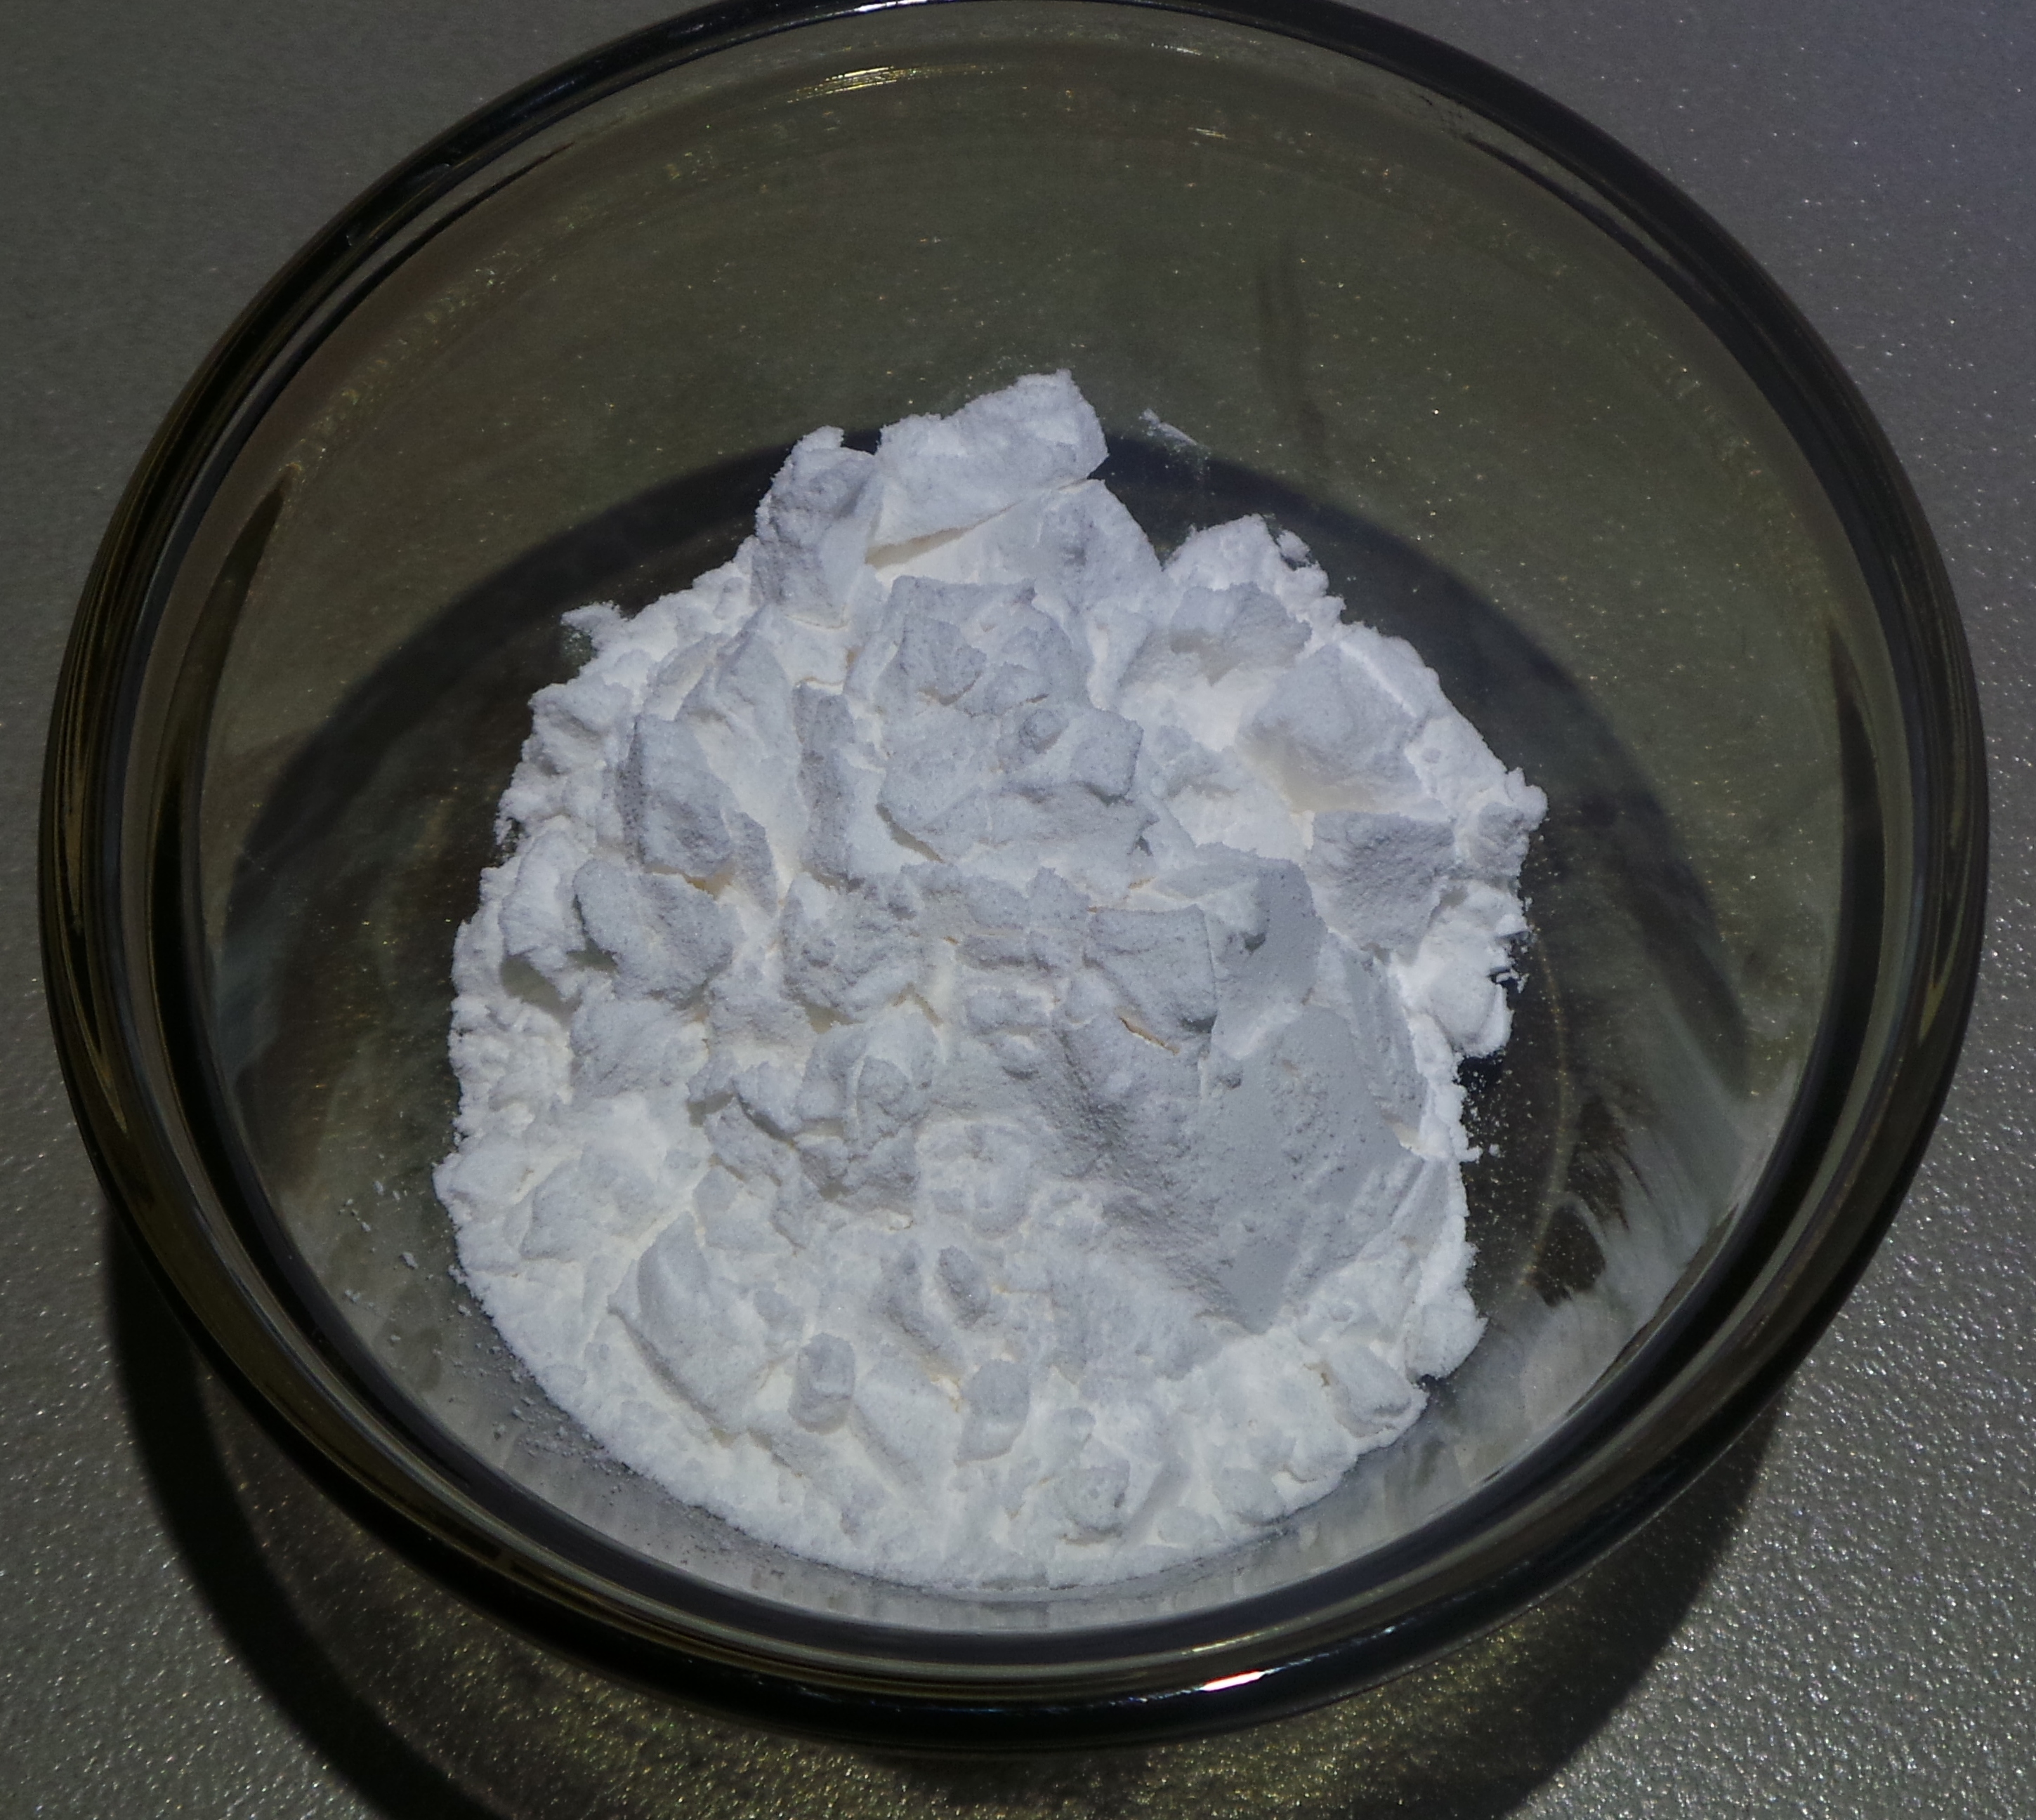
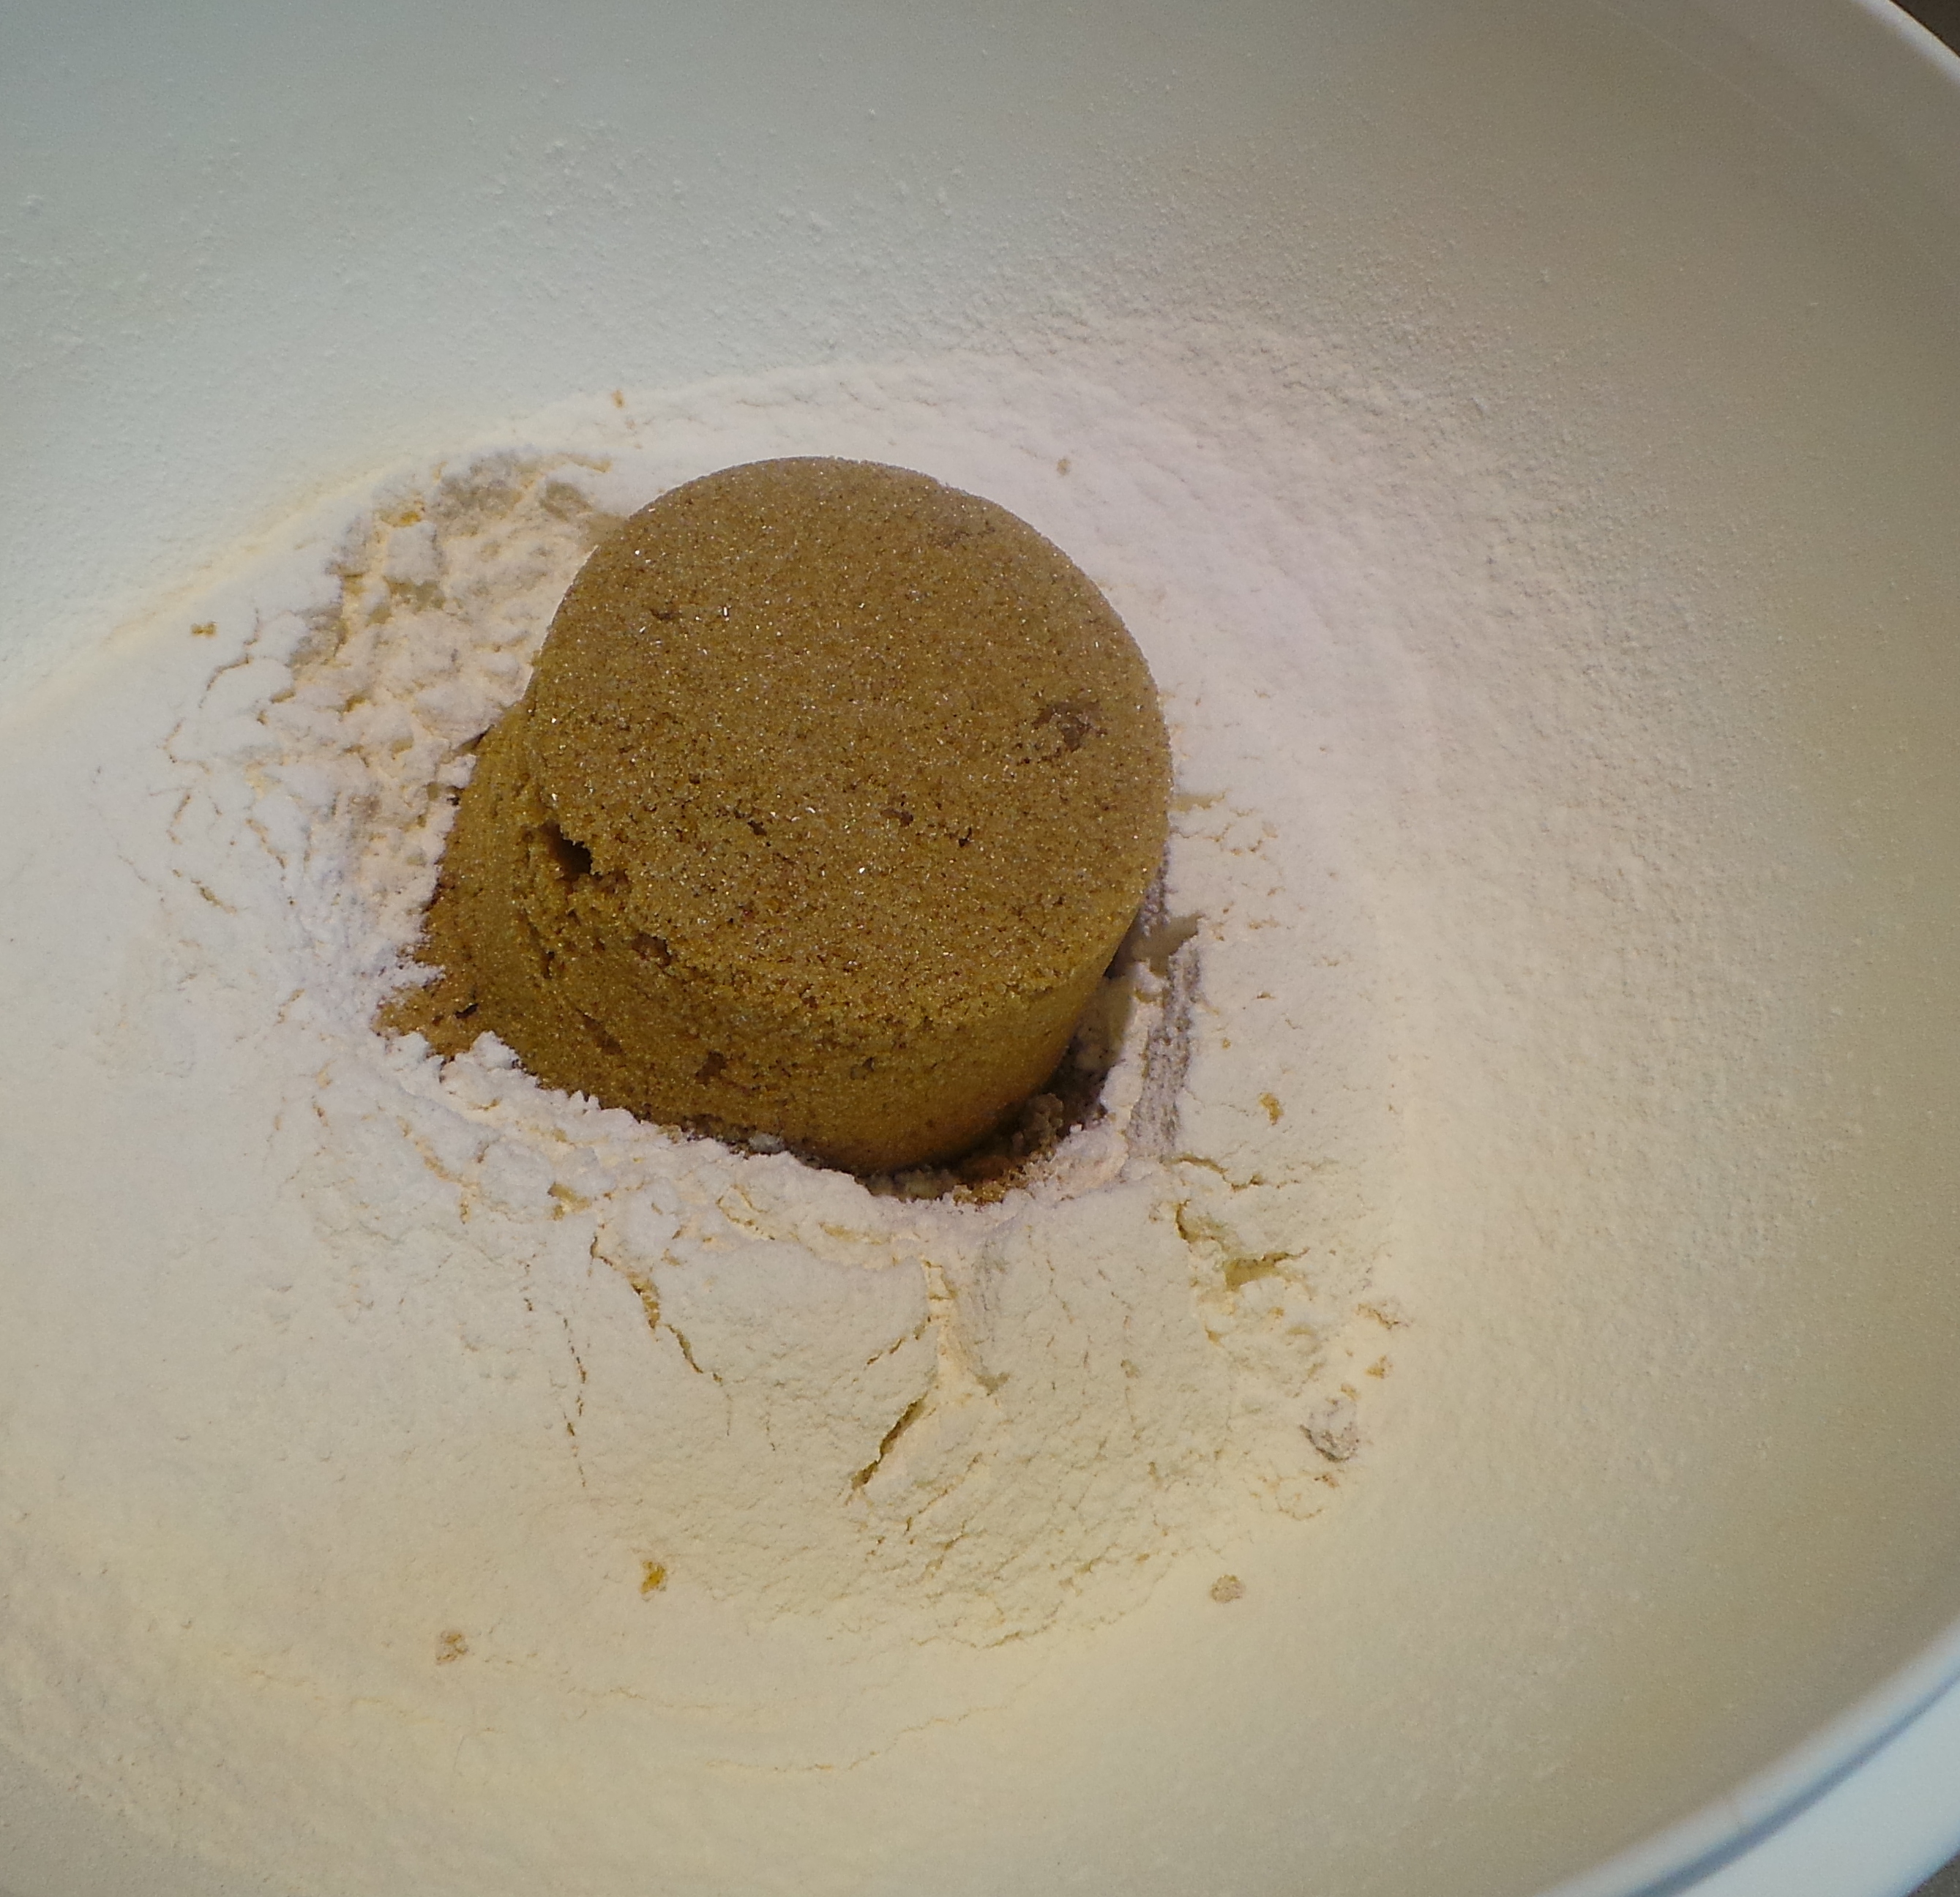
Sift your flour, and a pinch of salt into a largish bowl.
I add a spoonful or two of sugar to my scones following a tip I was given many years ago. It helps to avoid a “floury” taste to the scones when eaten cold in the days after baking. (If any are left.) It really does seem to work, so I keep doing it.
You may, of course, use wholemeal flour if you prefer.
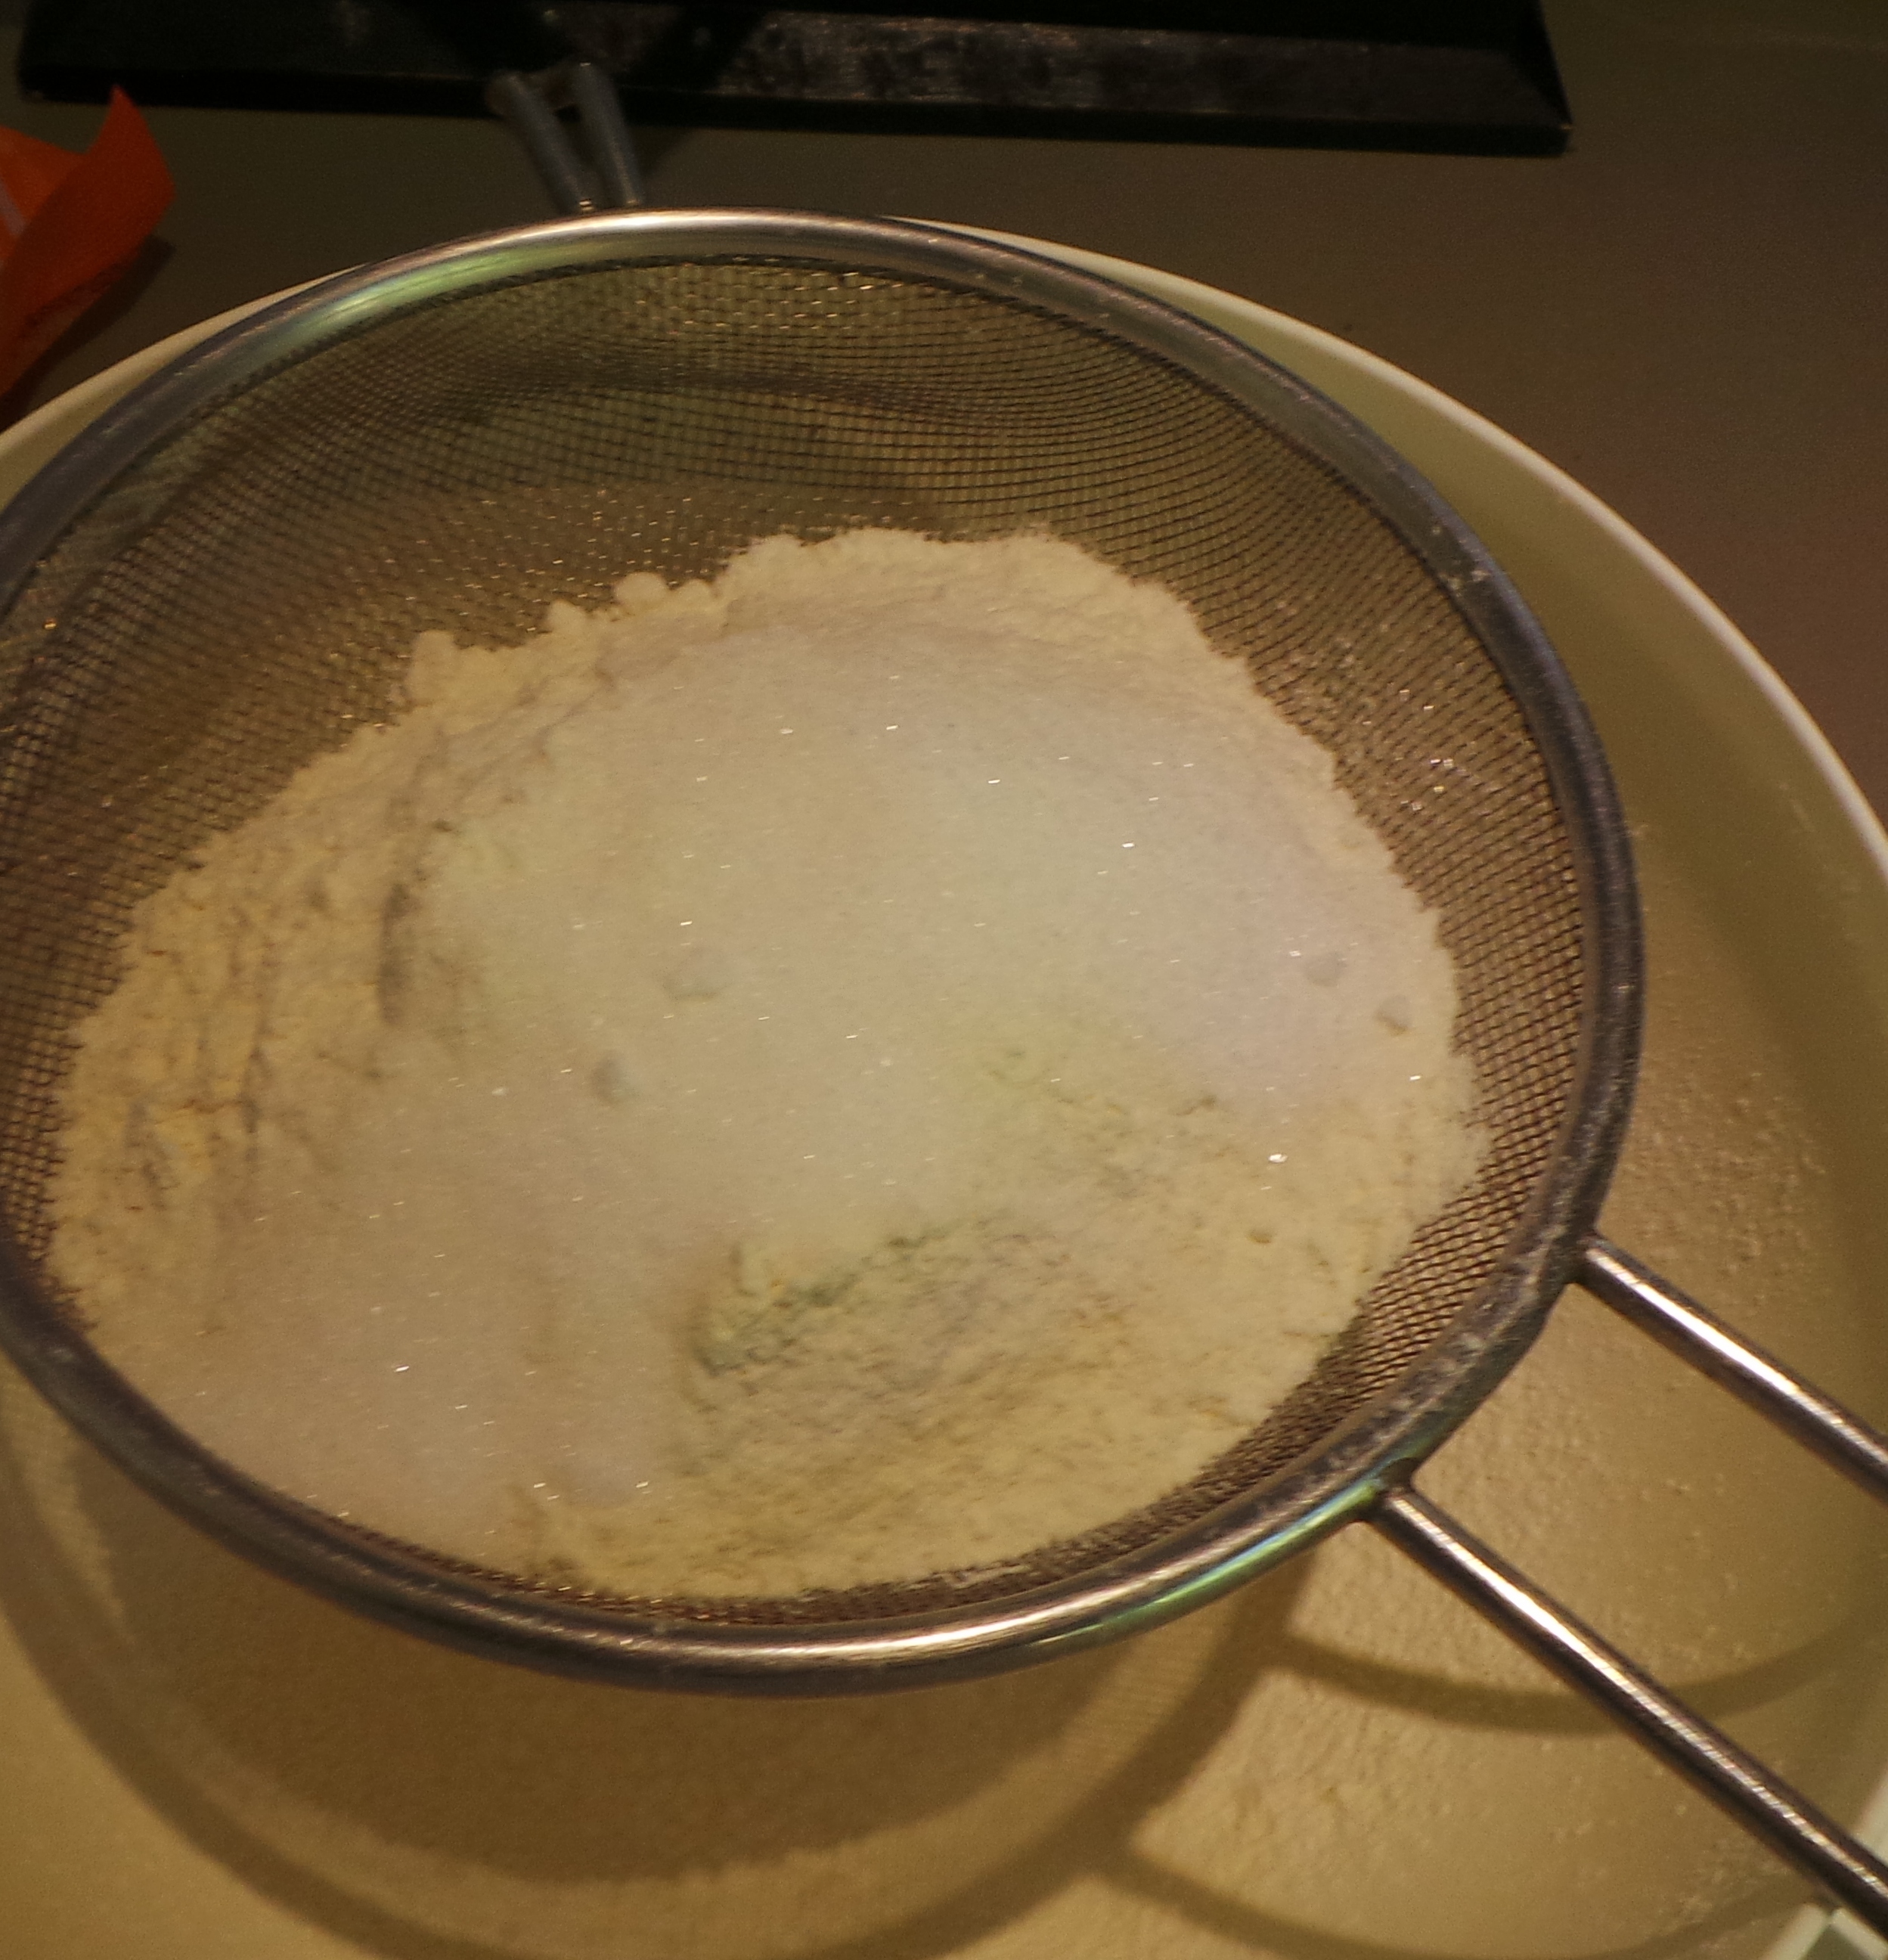
Sift your dry ingredients together.
Cut your butter into small pieces and then rub it into your flour.

Add your butter to your flour.
This stage may be done with something called a pastry blender. I’ve never been in actual physical contact with a pastry blender at any stage in my life, so I can’t tell you how to use one.
You can also use a food processor…apparently. However, this is a very simple, ancient recipe and fingertips are something one usually finds whenever one happens to be in one’s own kitchen – why create more washing up, people? Why??
Rubbing is a technique that is a little hard to describe, and I suspect I may have to make my first foray into YouTube to demonstrate it, however here goes…
Have your butter a little on the soft side, but not too close to melting. Plunge both your hands into the flour and, holding your four fingers together, rub your thumb across them as you lift them out of the flour. Aim to get pieces of butter between your thumb and fingers as you grab the flour. Repeat.
Continue rubbing the flour into the butter until there are no clearly visible pieces of butter left and the contents of your bowl resemble fine breadcrumbs.
Actually a quick questioning of Mr Google has revealed this YouTube clip. It’s not how I would demonstrate it, but it may help 😉
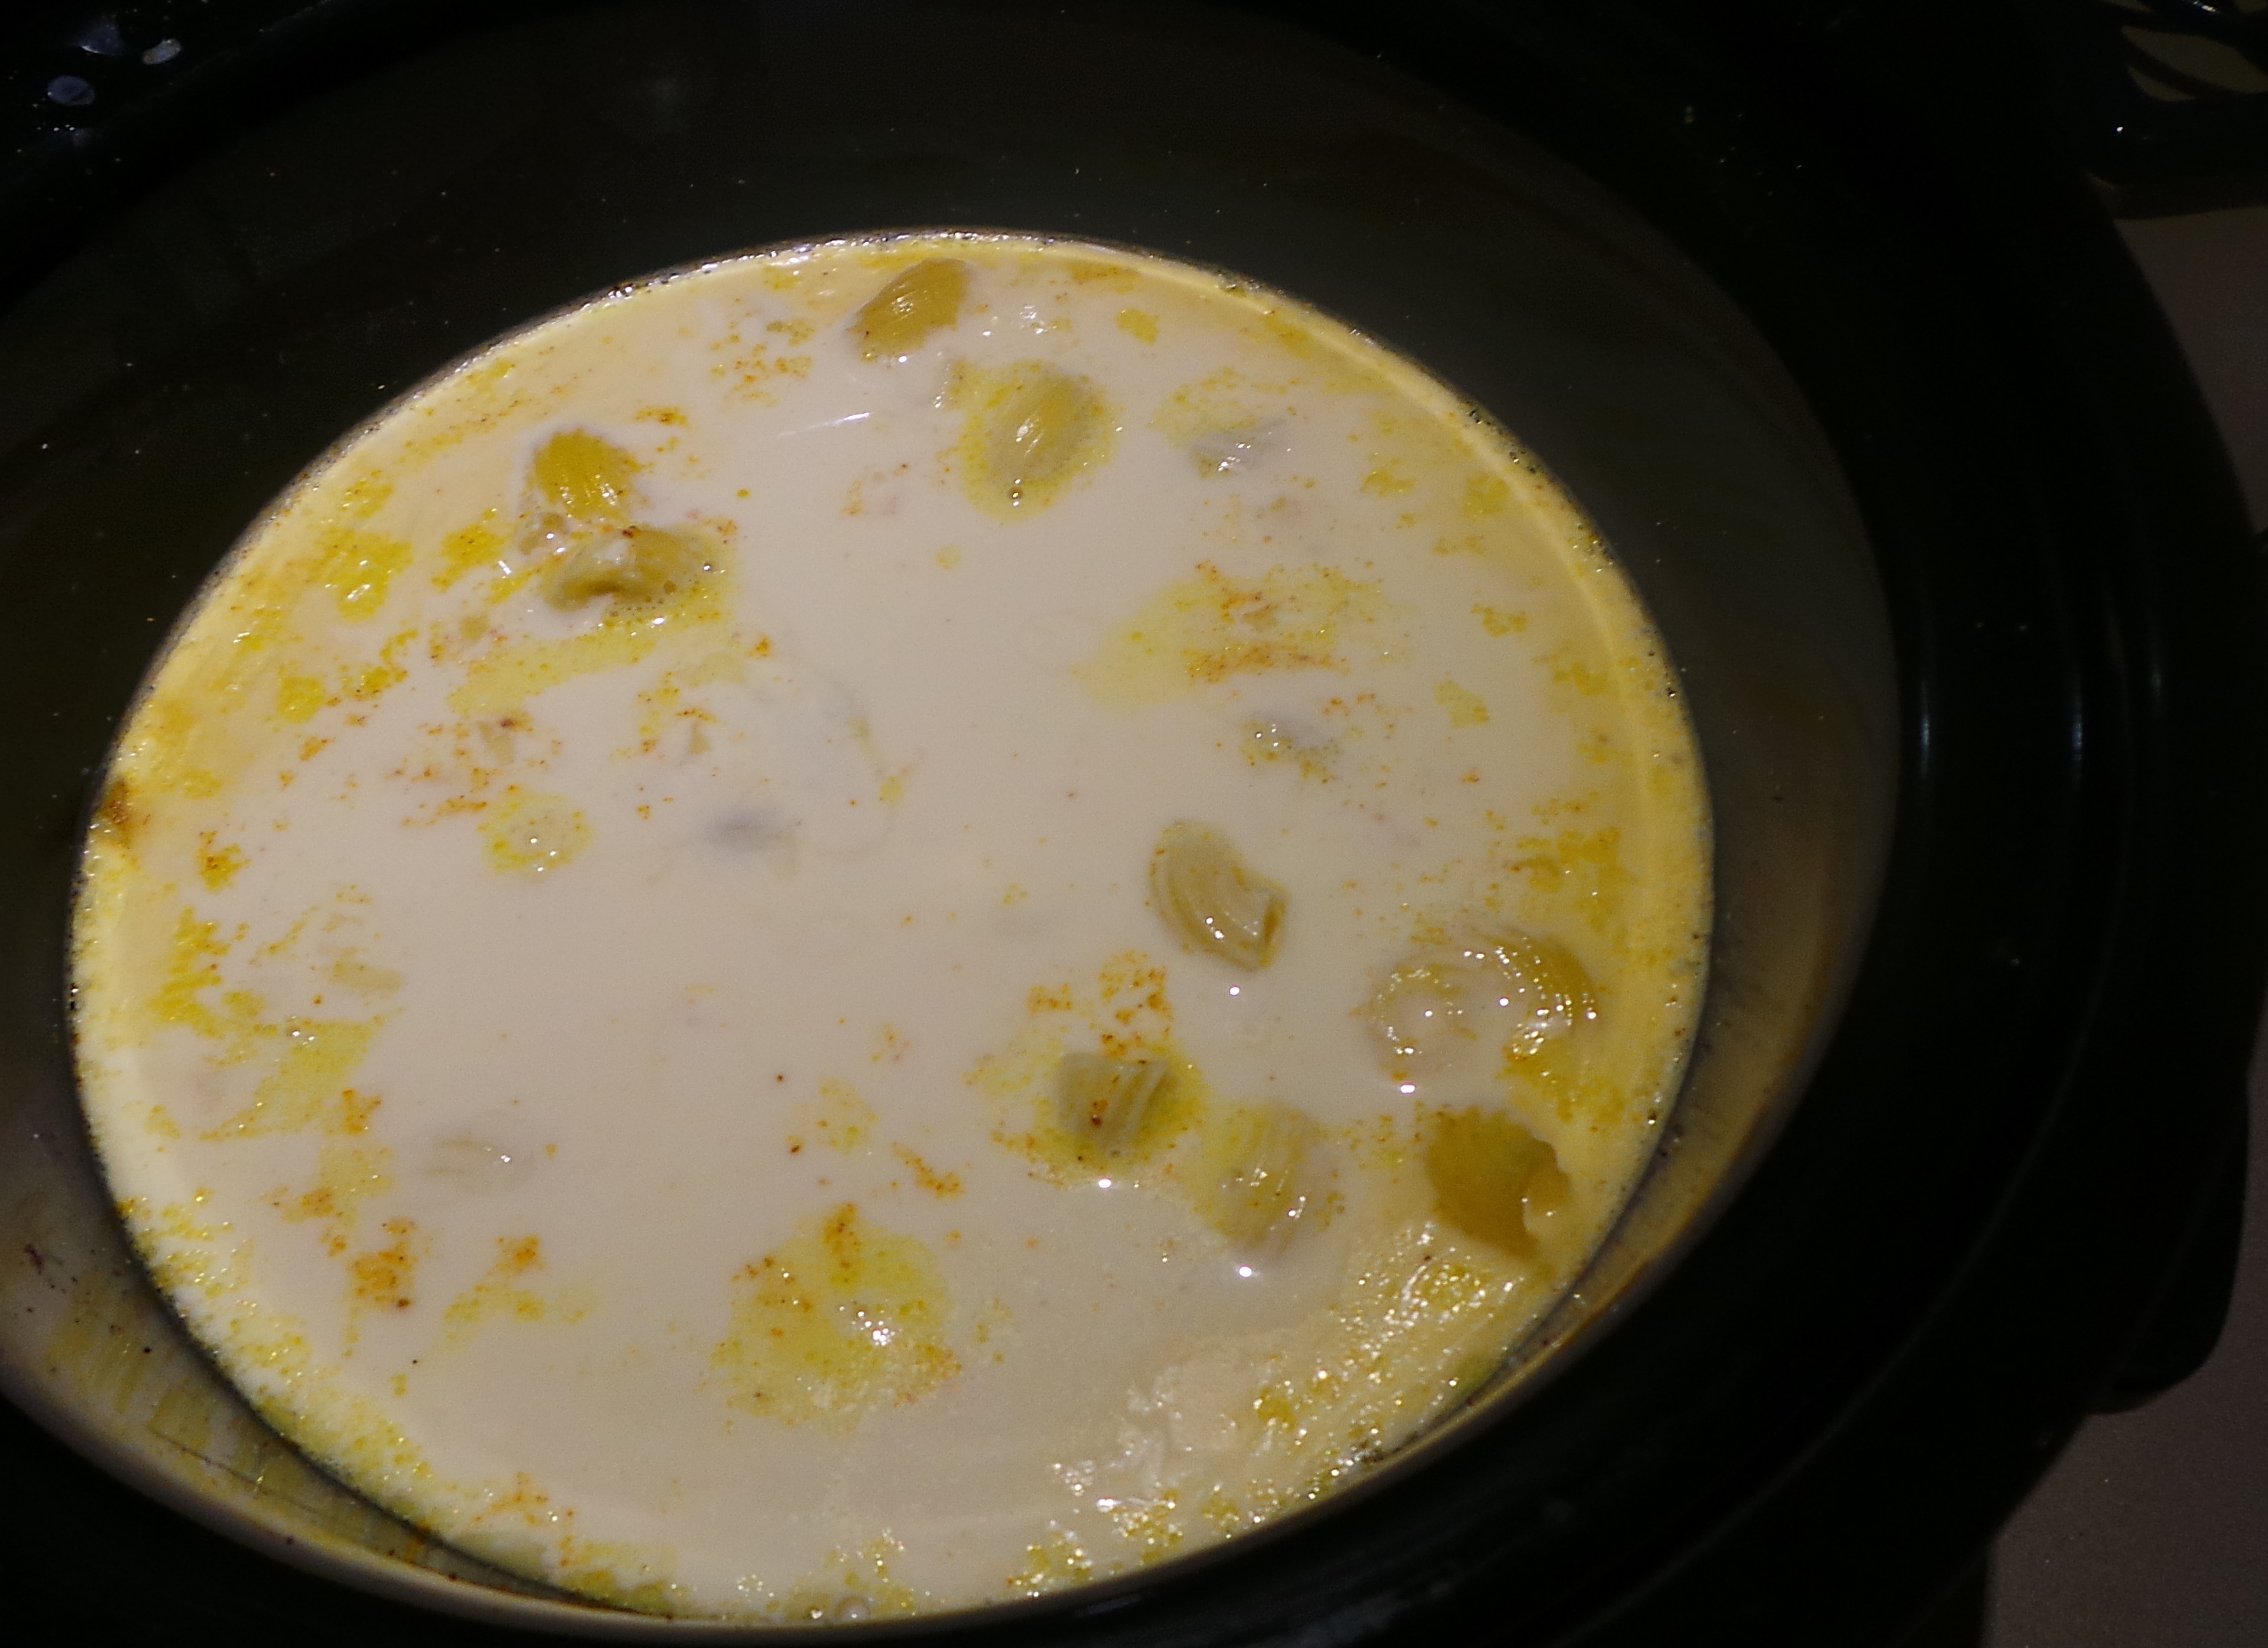
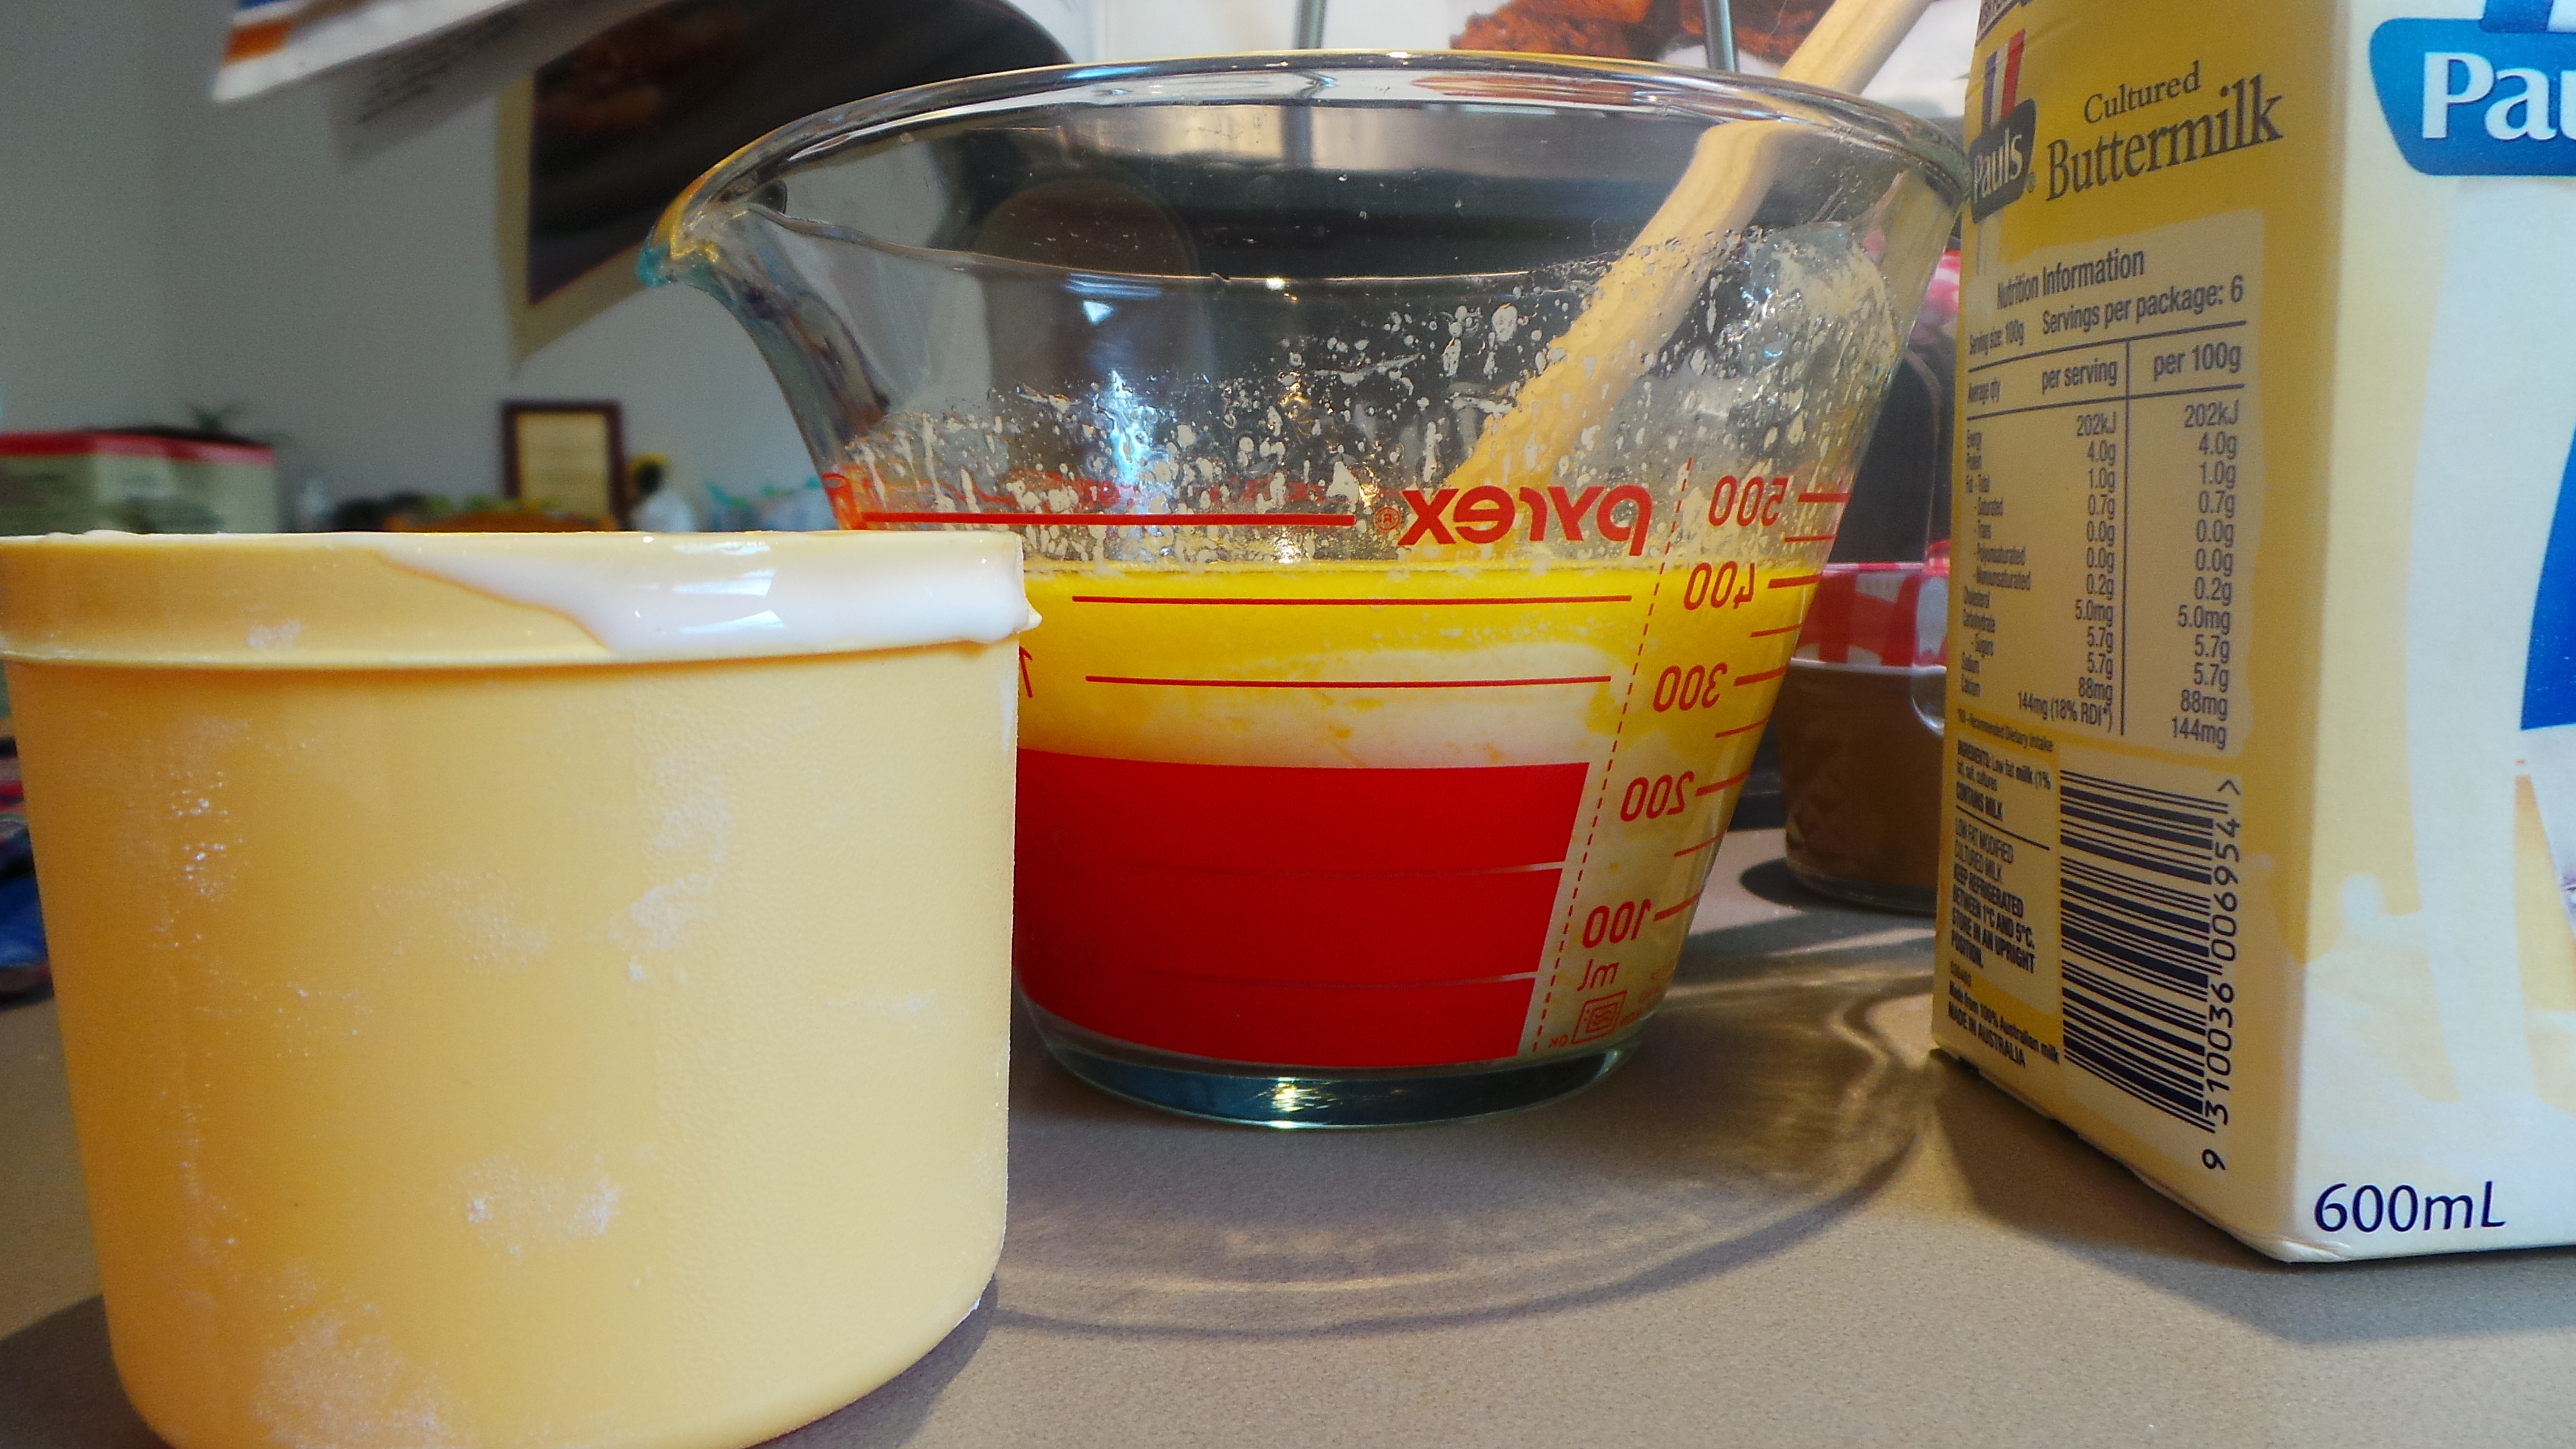
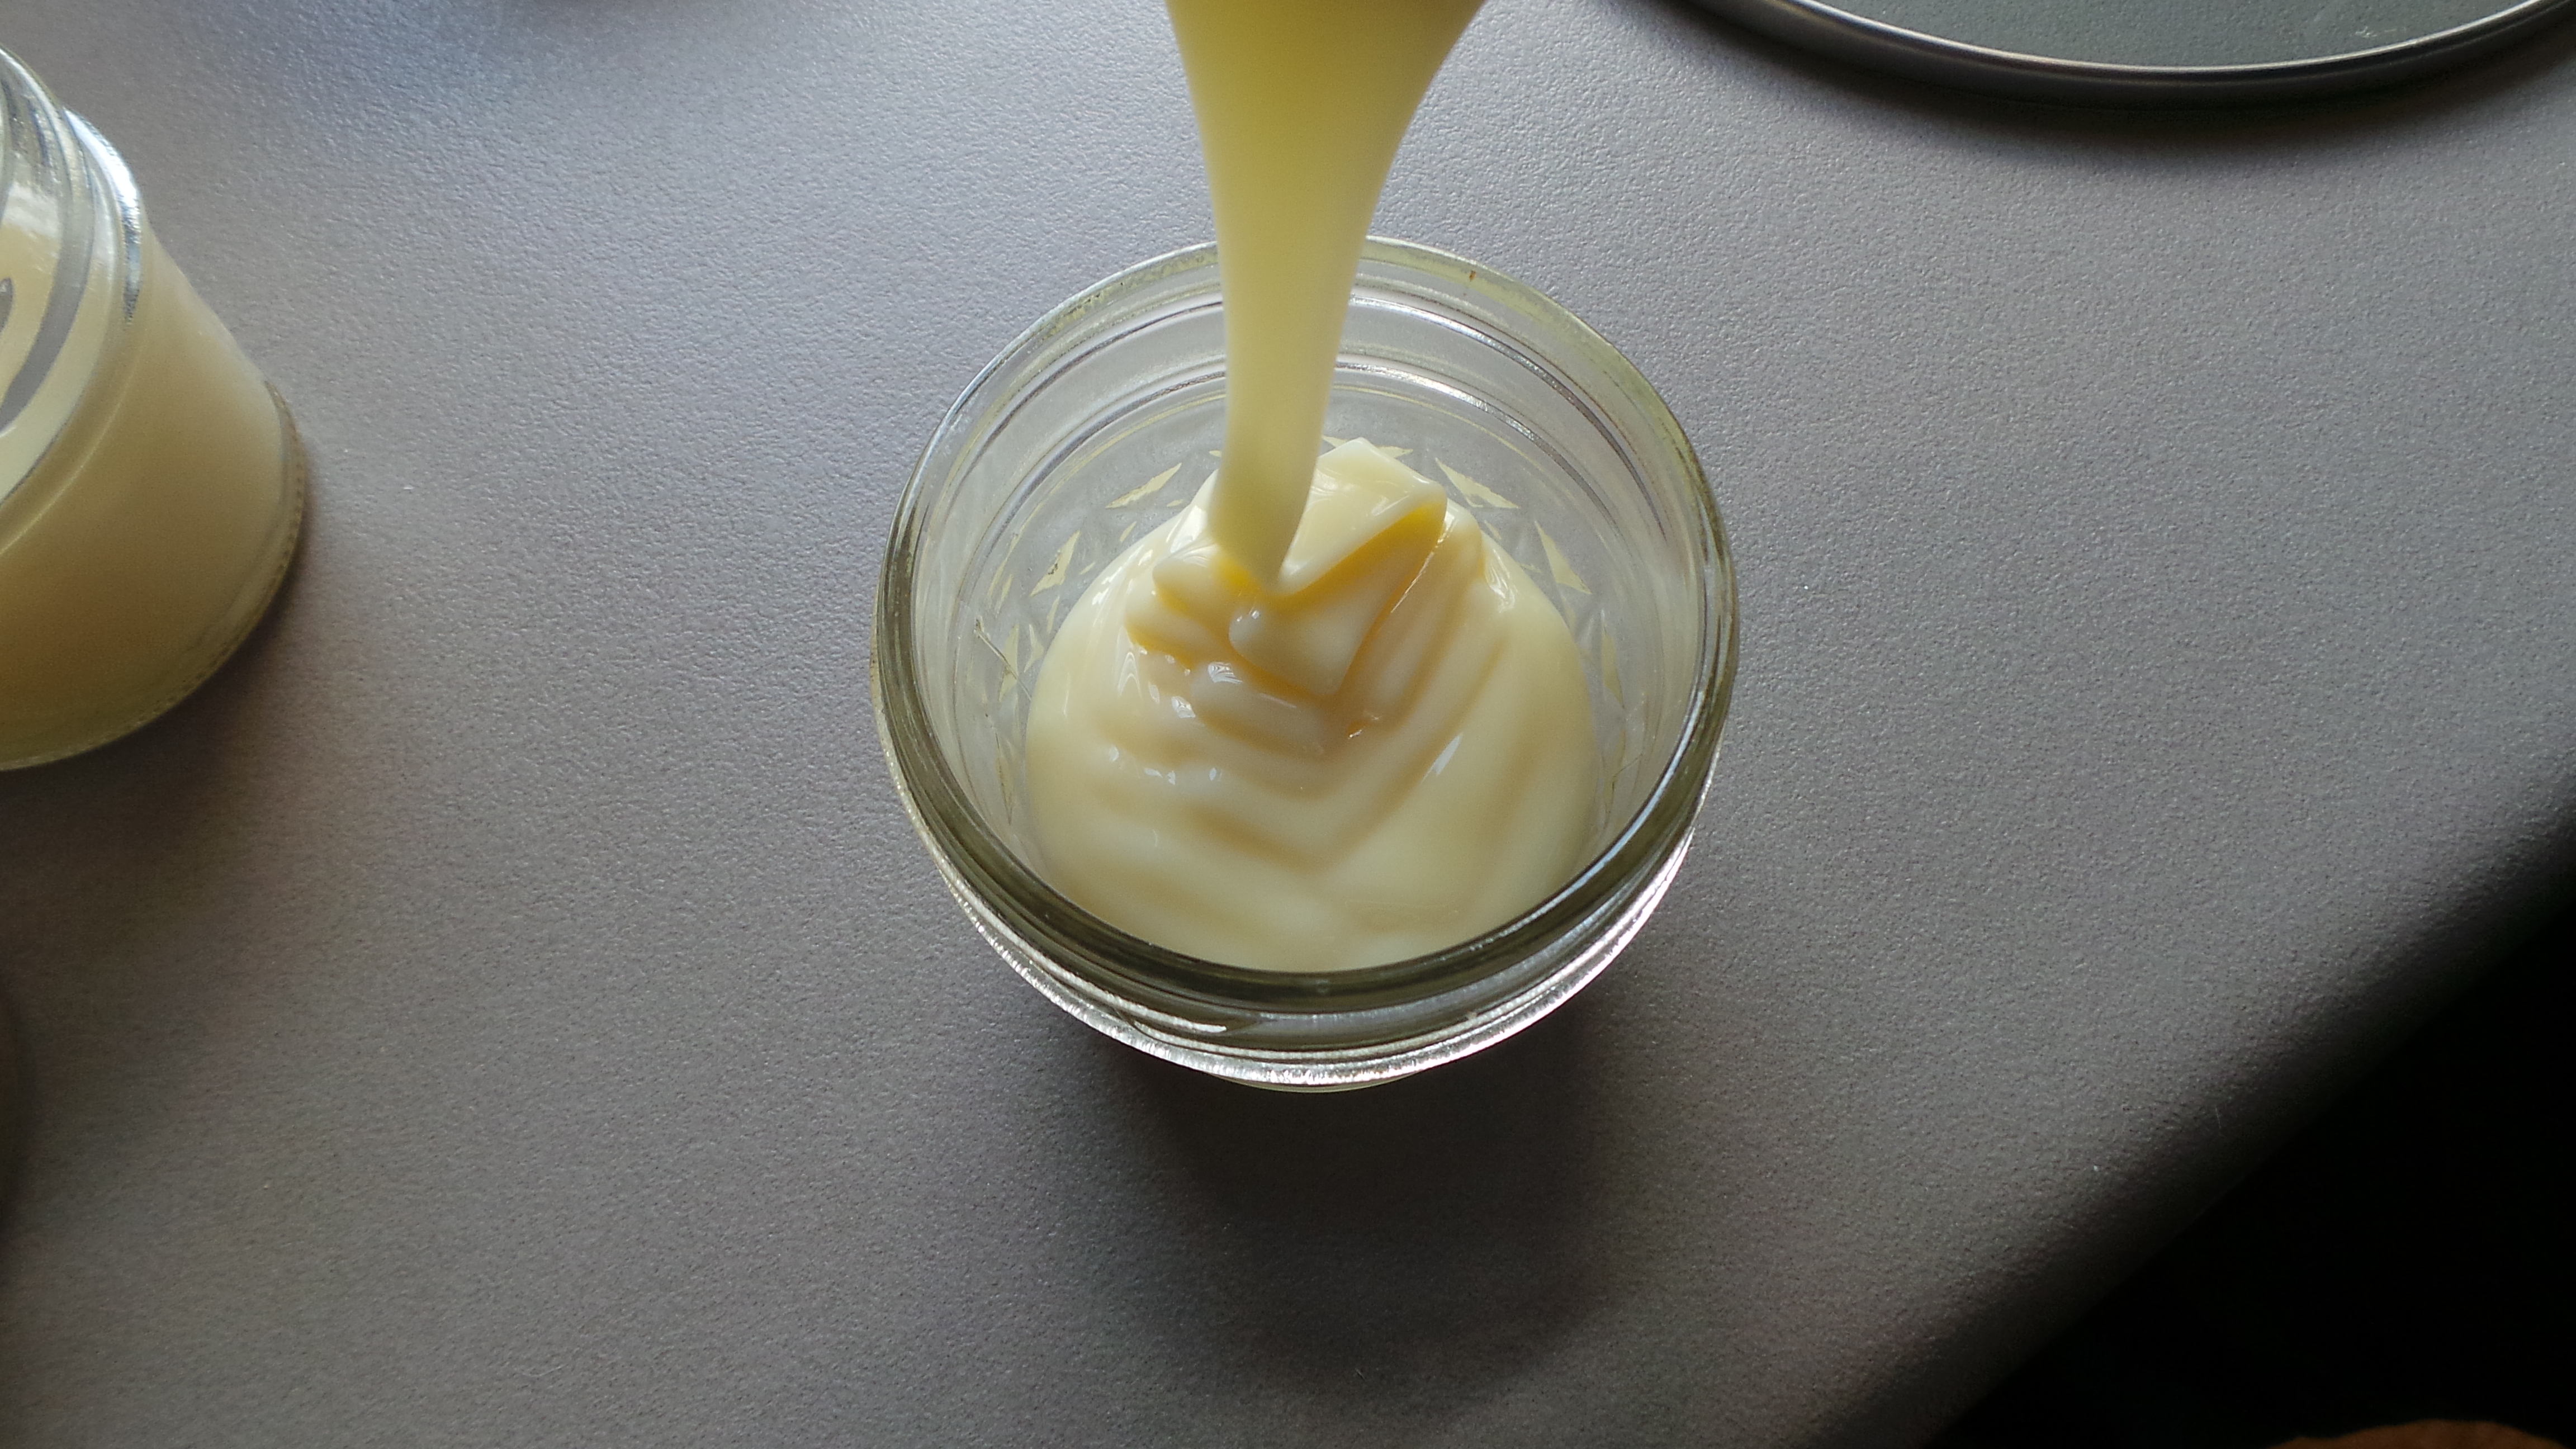
So, now we add our liquid. Milk works well, you may also use buttermilk, a mix of half yoghurt and half milk or all yoghurt.
In the pictures below I have done the latter.
Be aware that the measurement in the recipe is for milk. A greater quantity will be required for the buttermilk/yoghurt options.
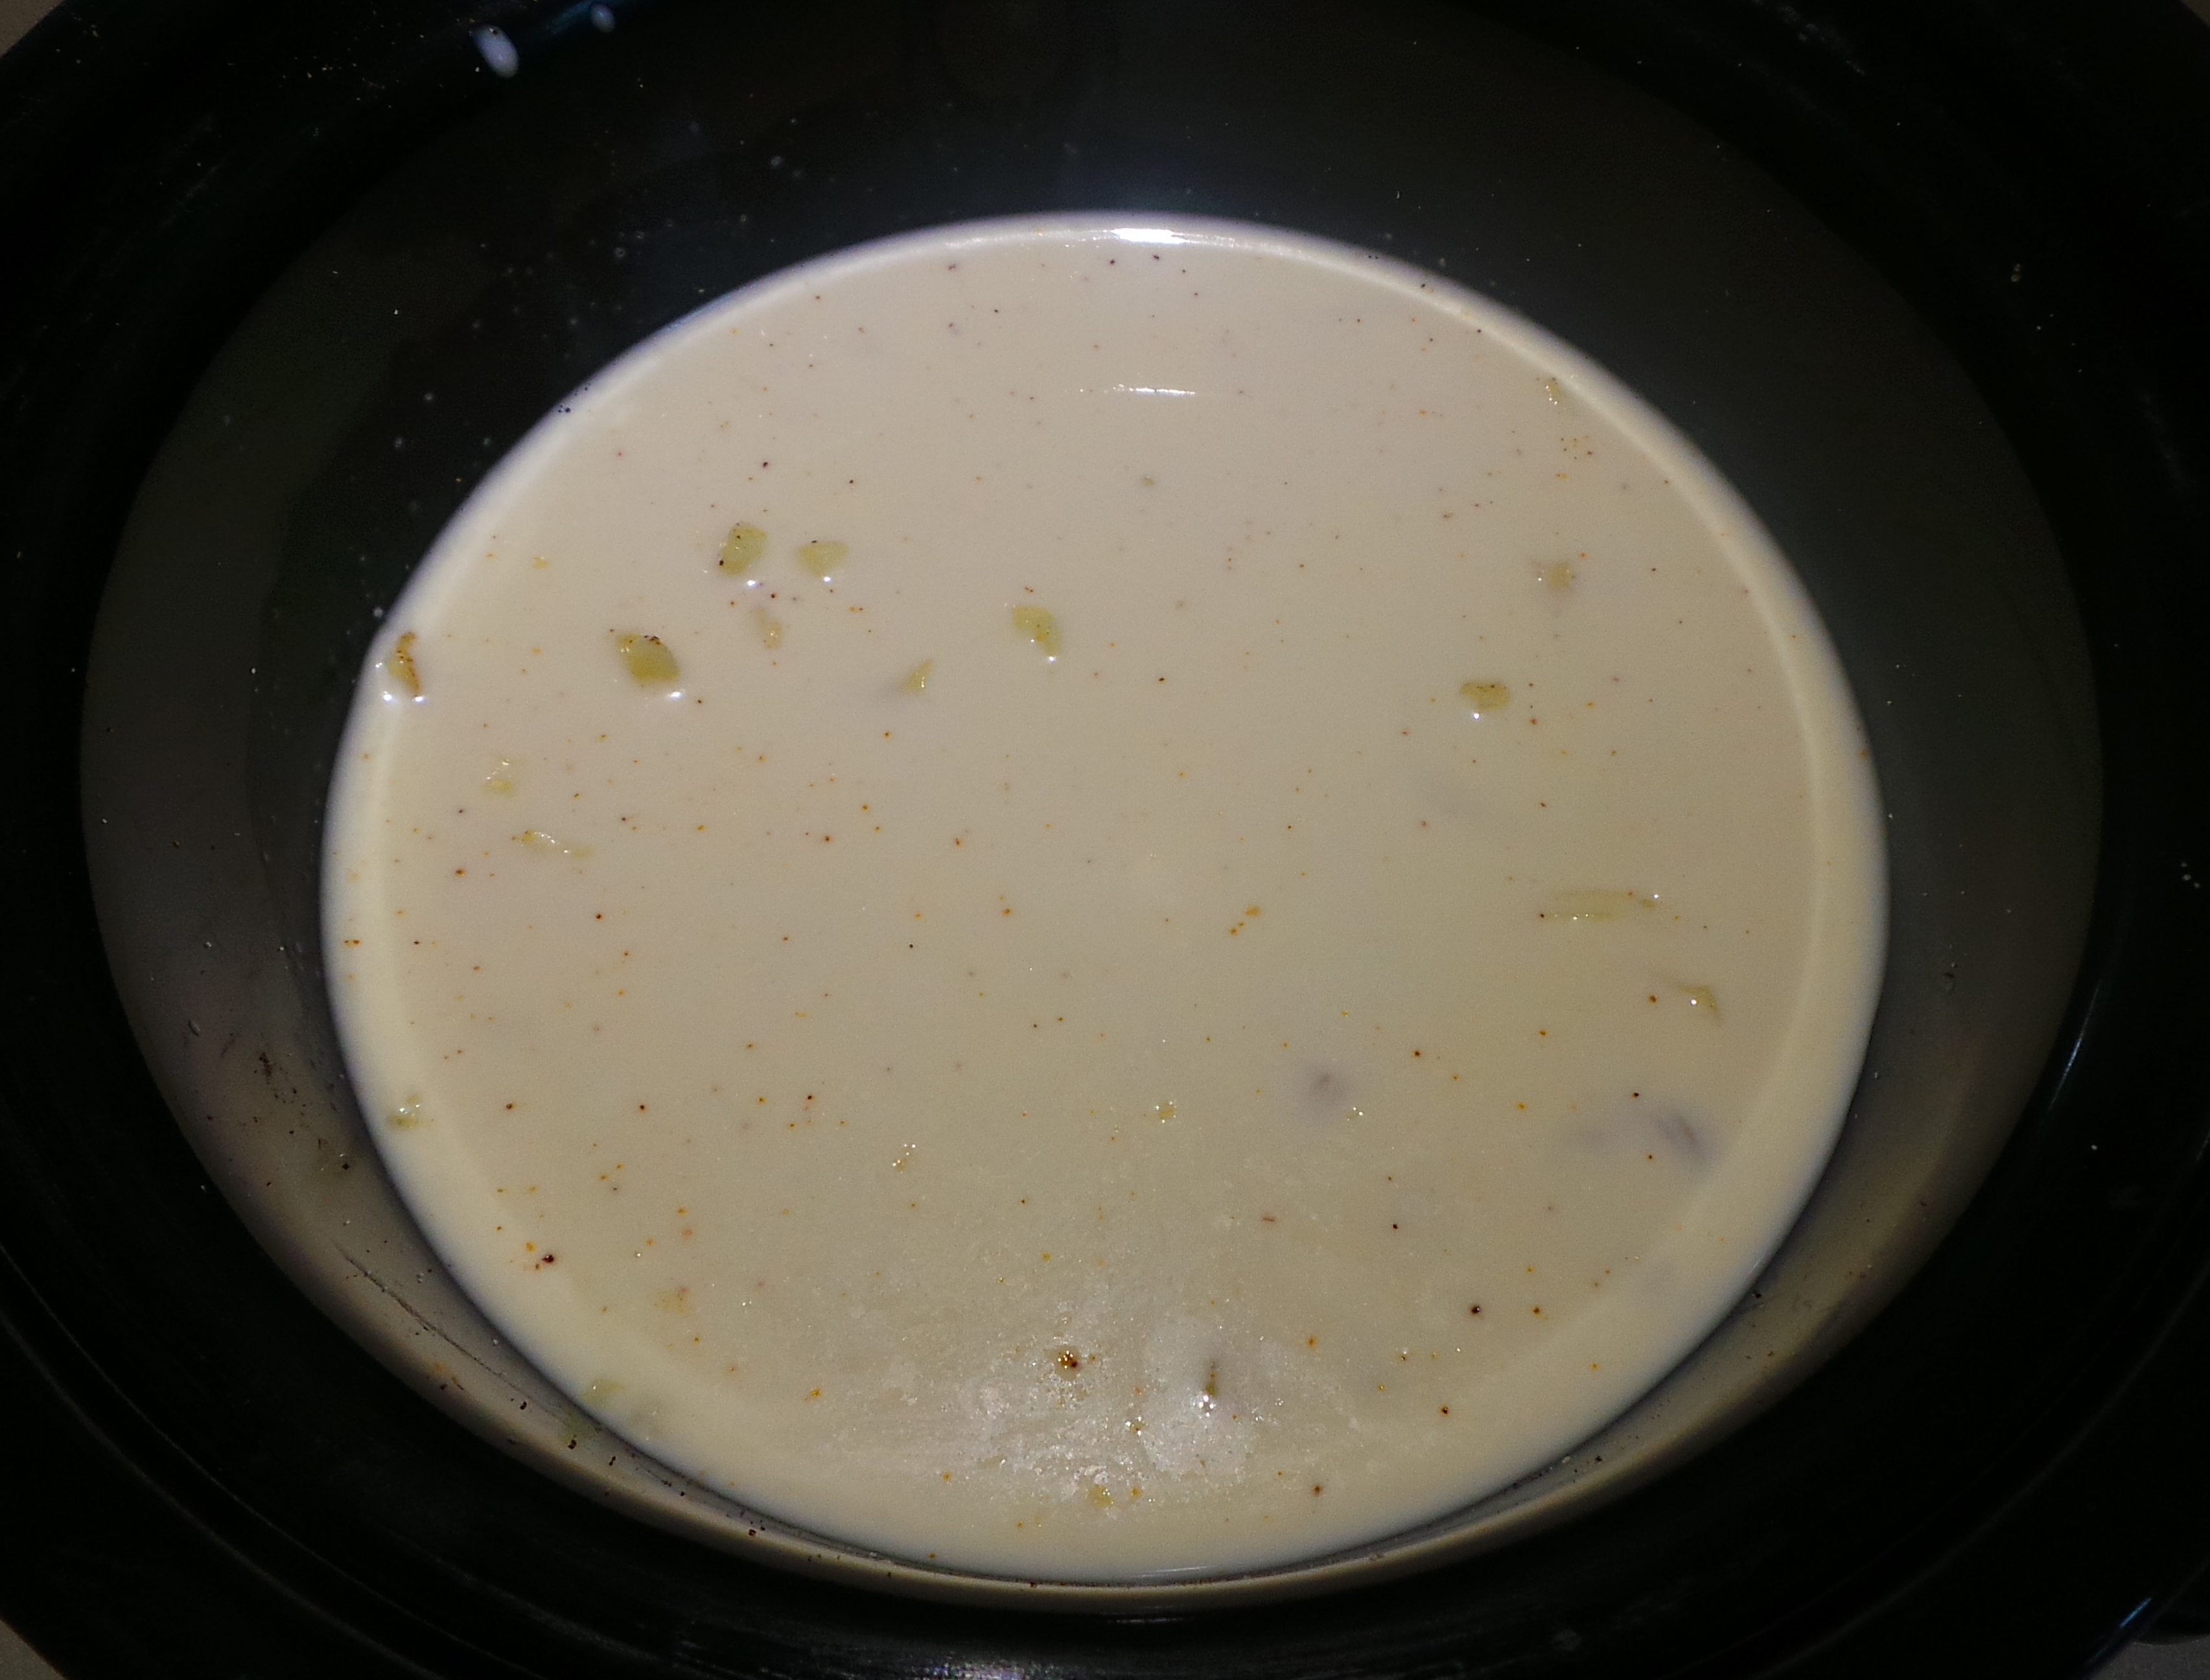
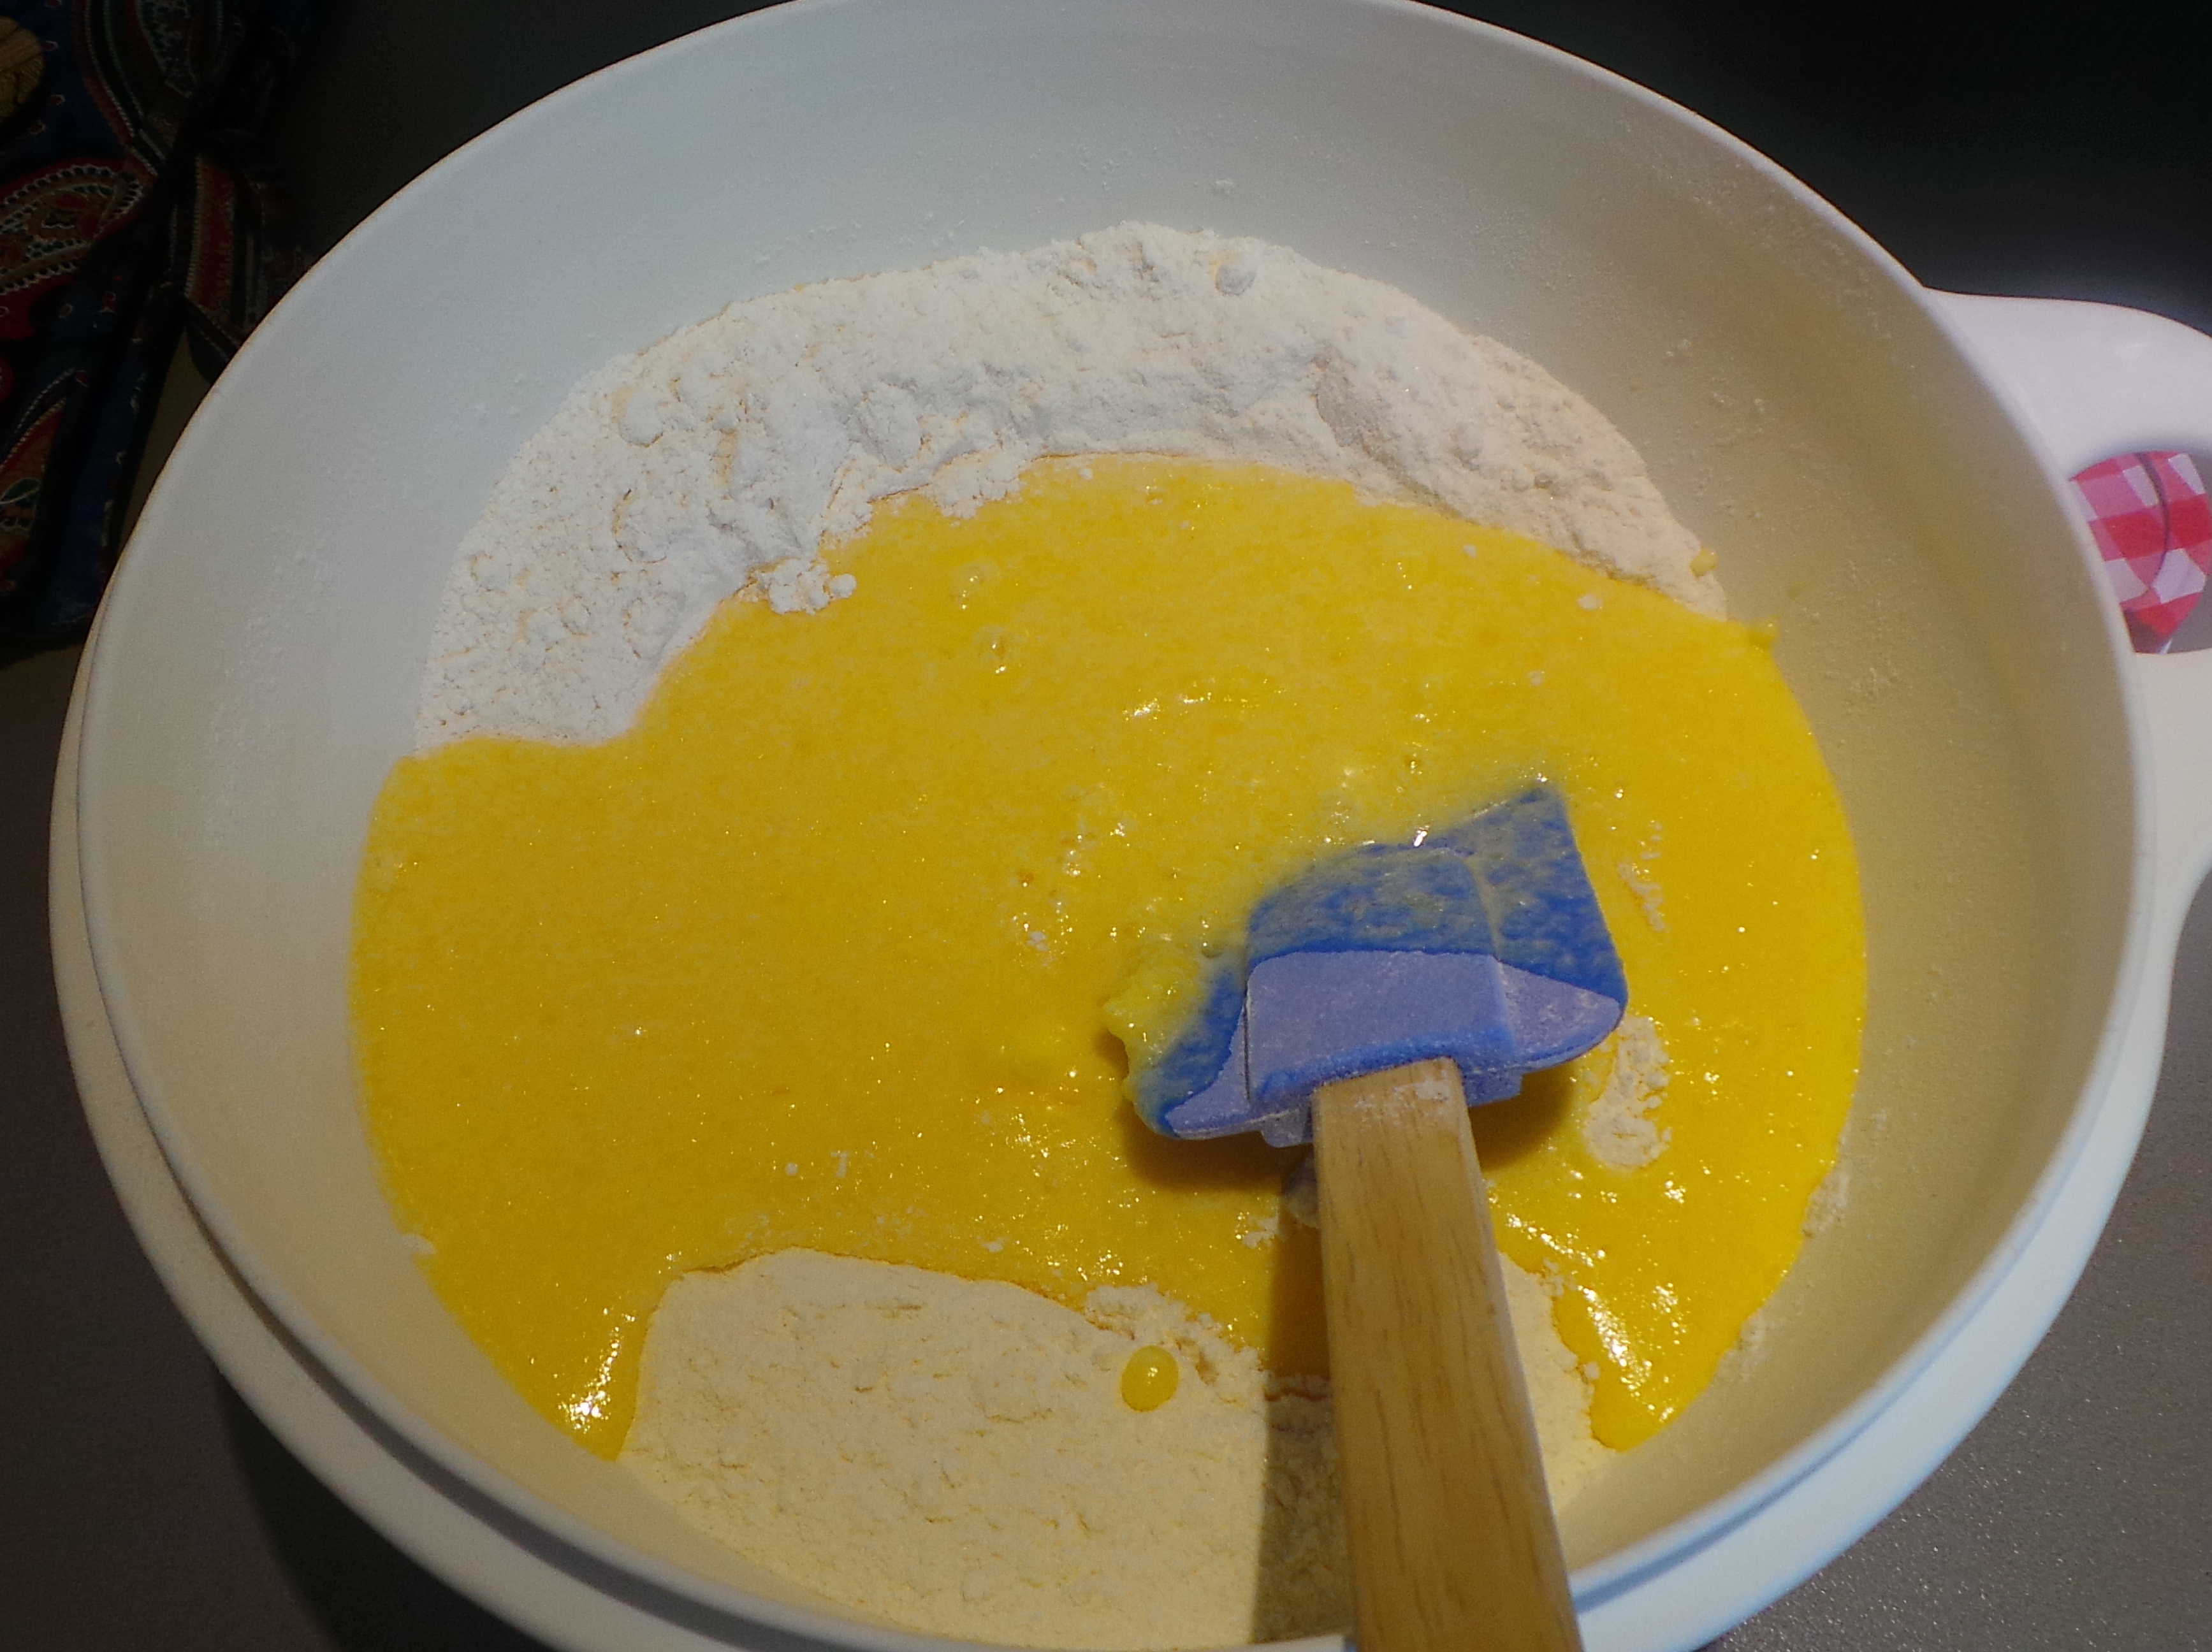
Make a well in your dry ingredients and add 3/4 of the liquid all at once.
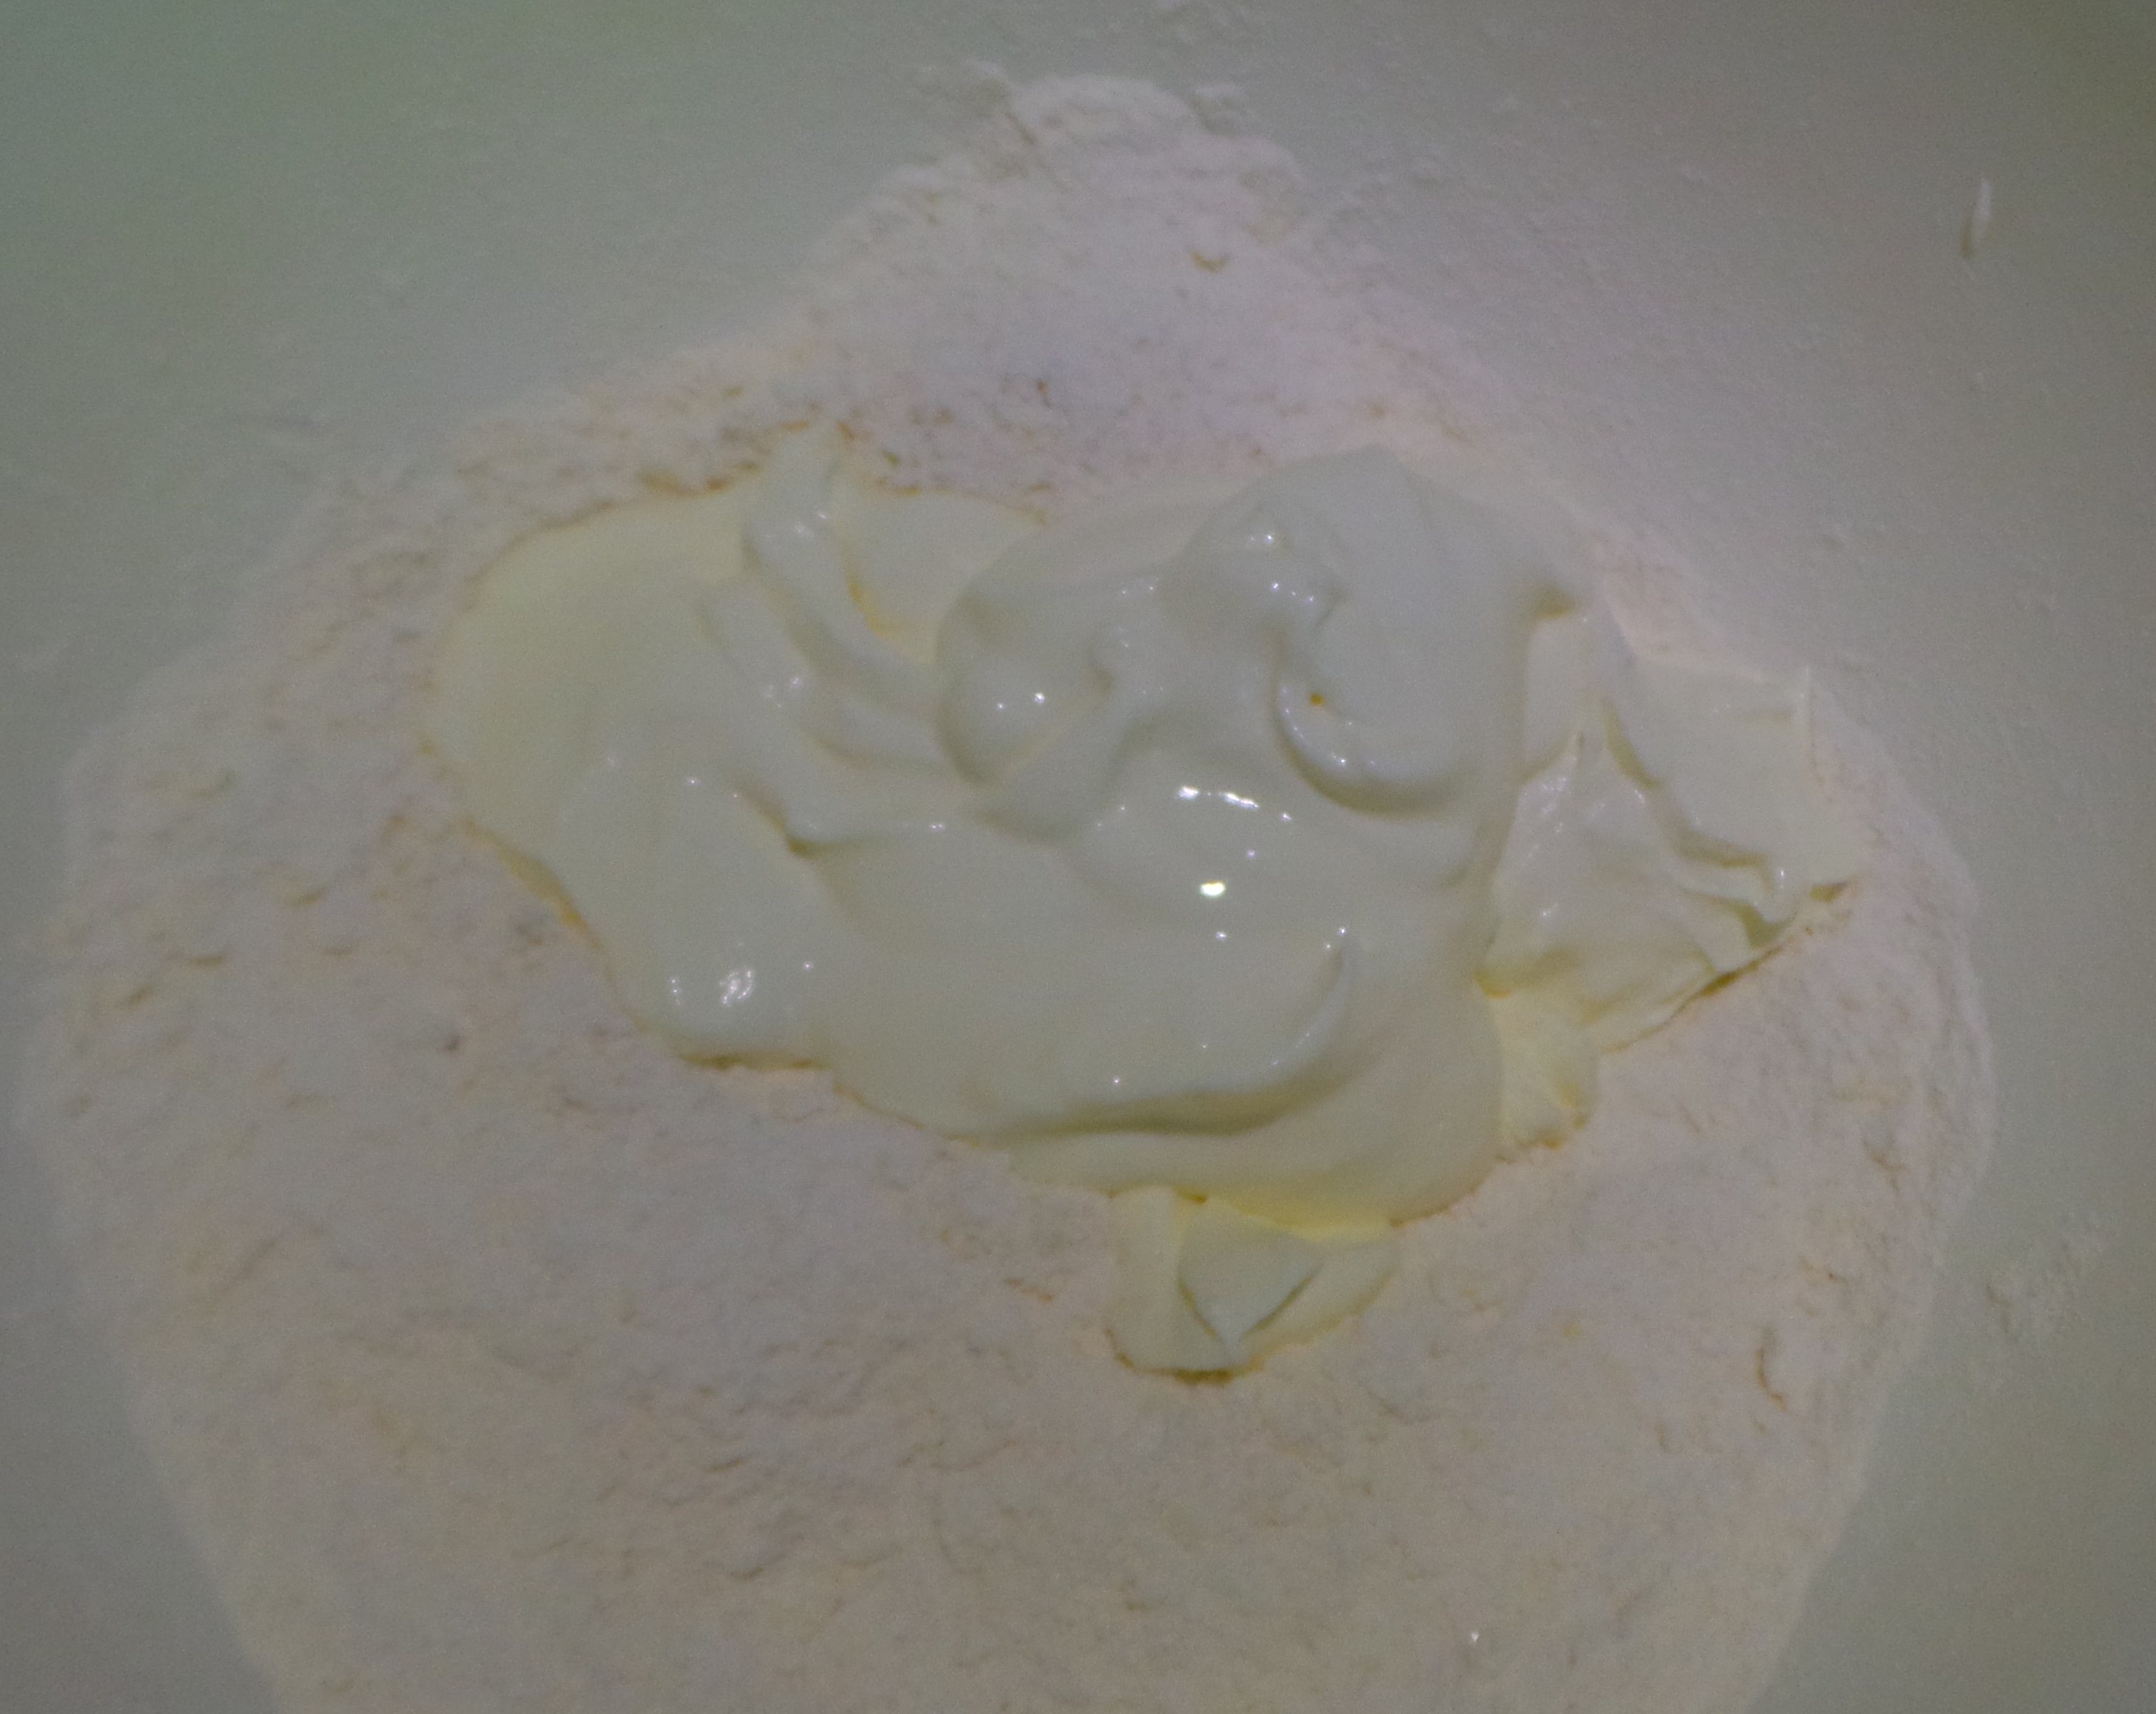
Add most of your liquid to the flour.
Now cut the liquid into your dry ingredients using a butter knife. Because my mother said so.
Actually, using a knife to mix in the liquid works a lot better than using a spoon, as it does away with any little hollows for flour to get trapped in.
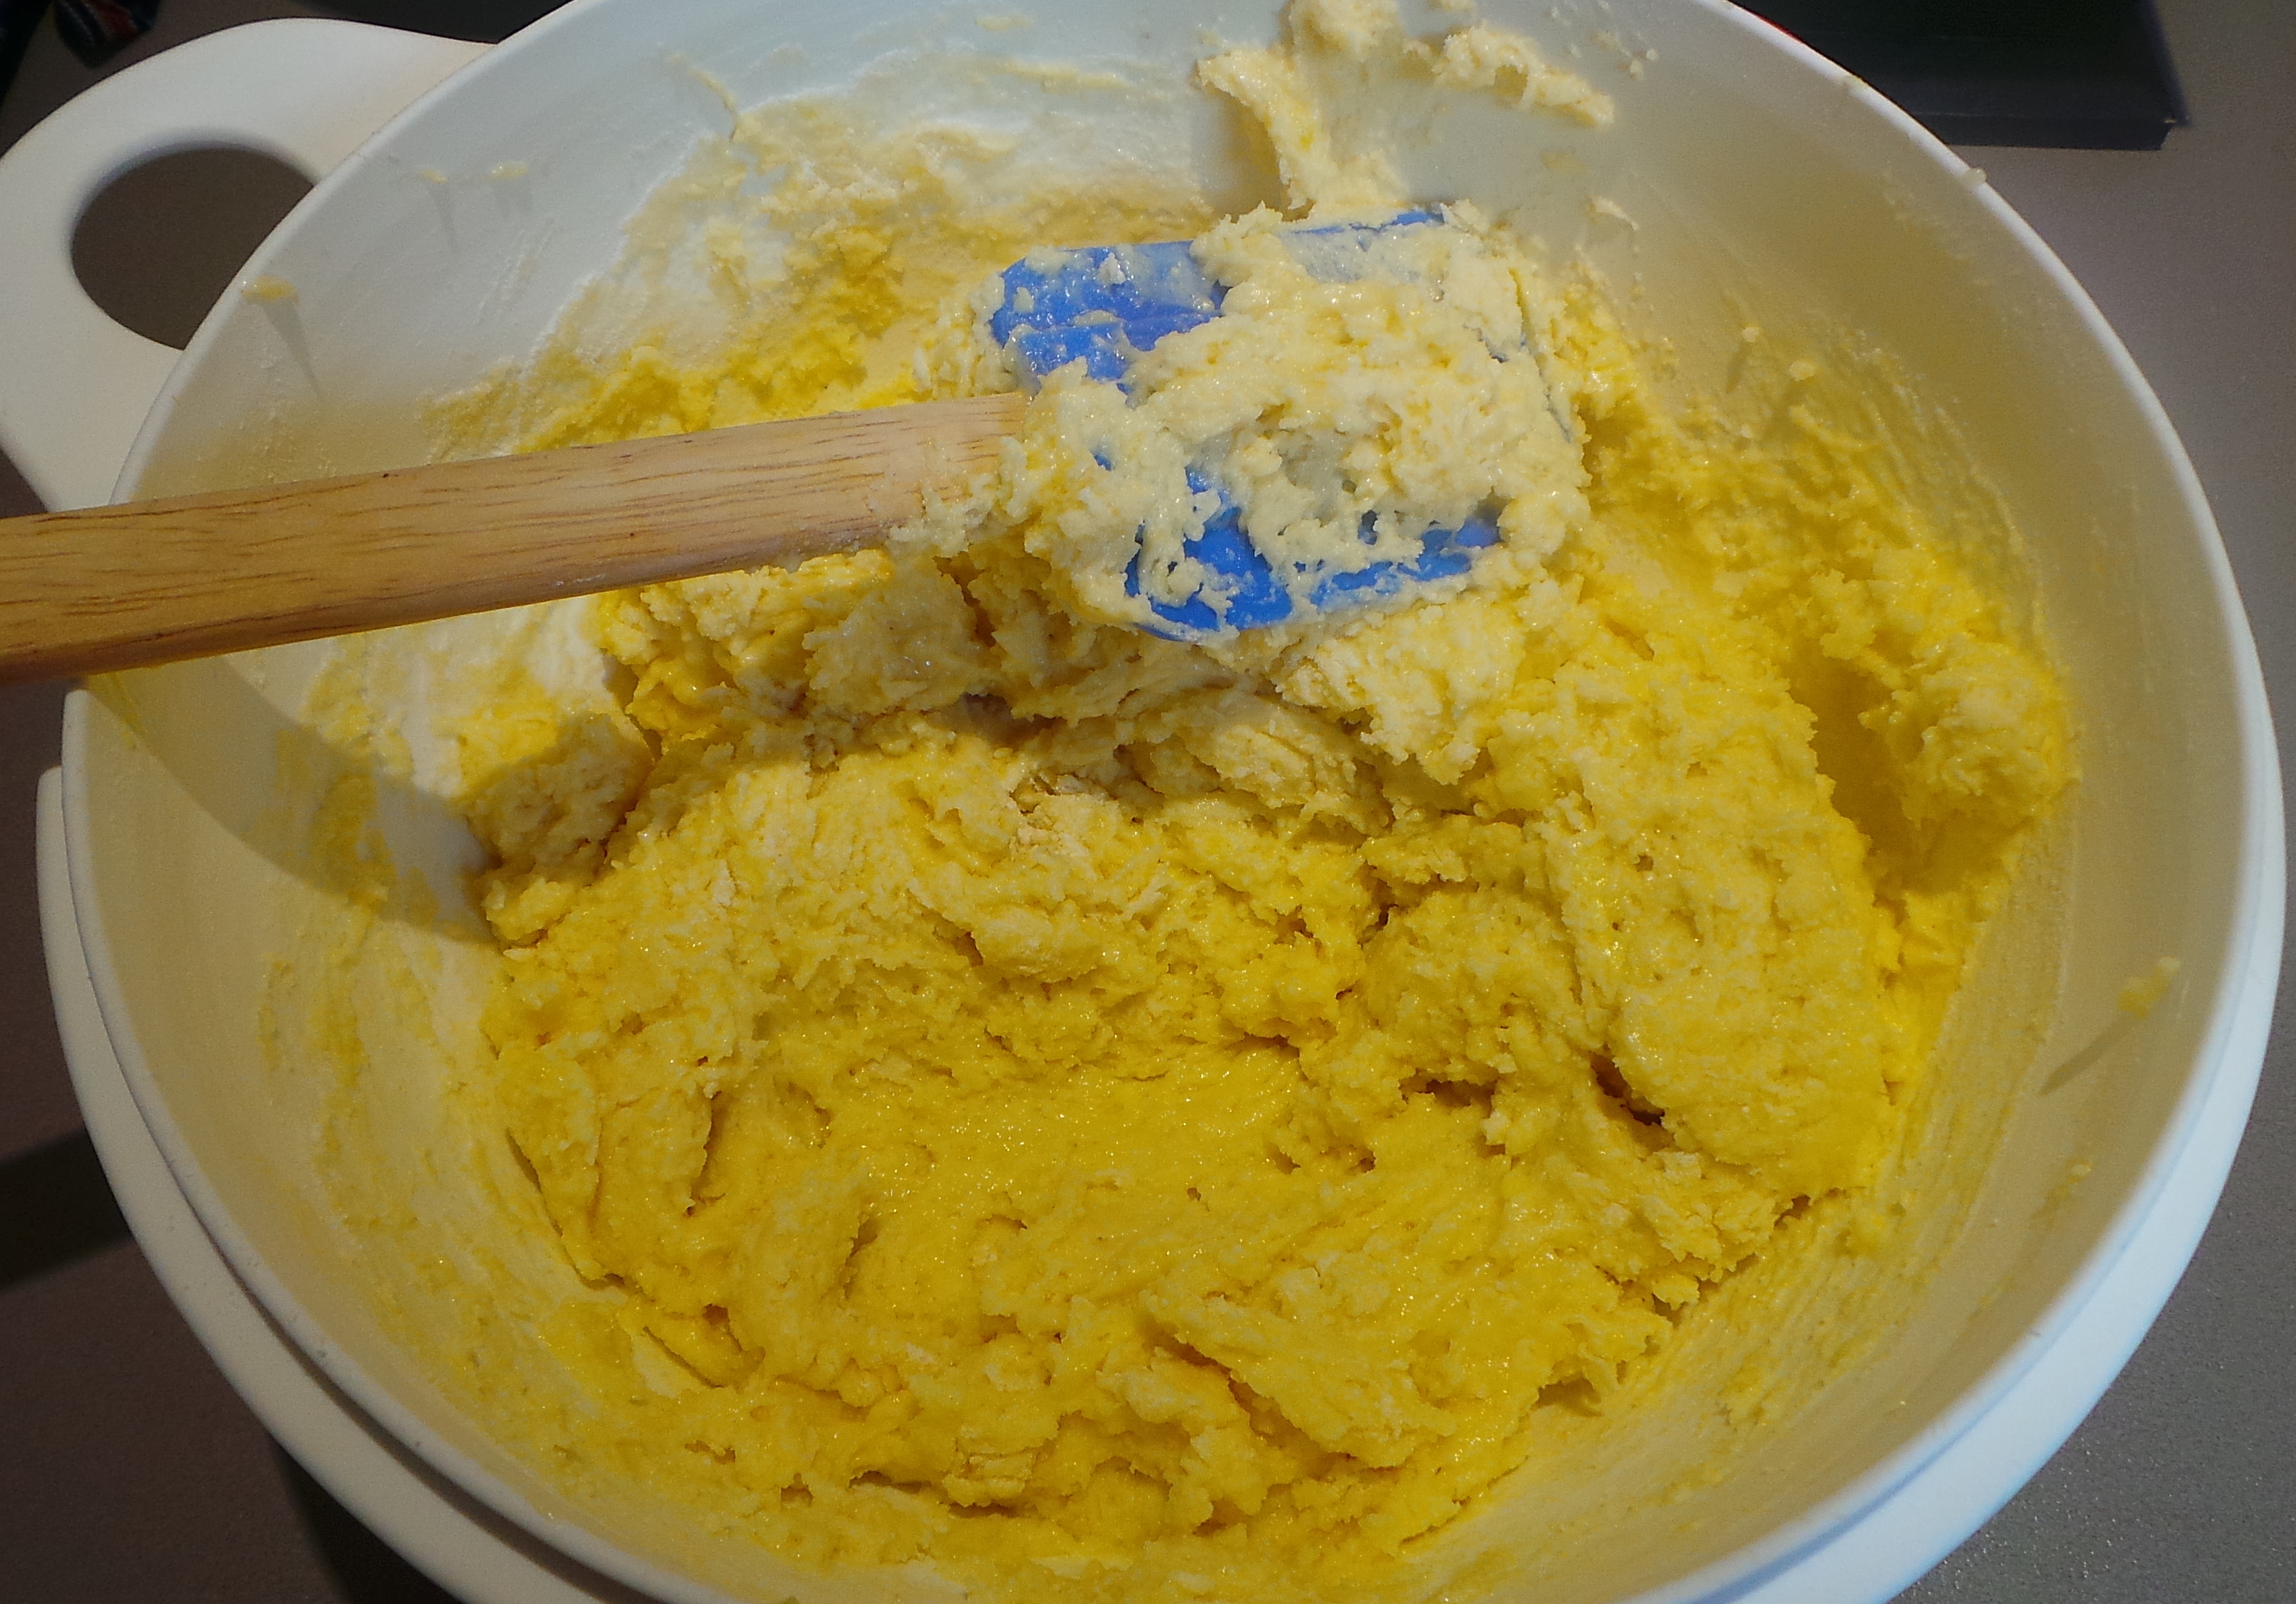
If there is flour left in the bowl when the liquid has all been incorporated, then add more a tablespoon at a time until you have a bowl of dough and no loose flour.

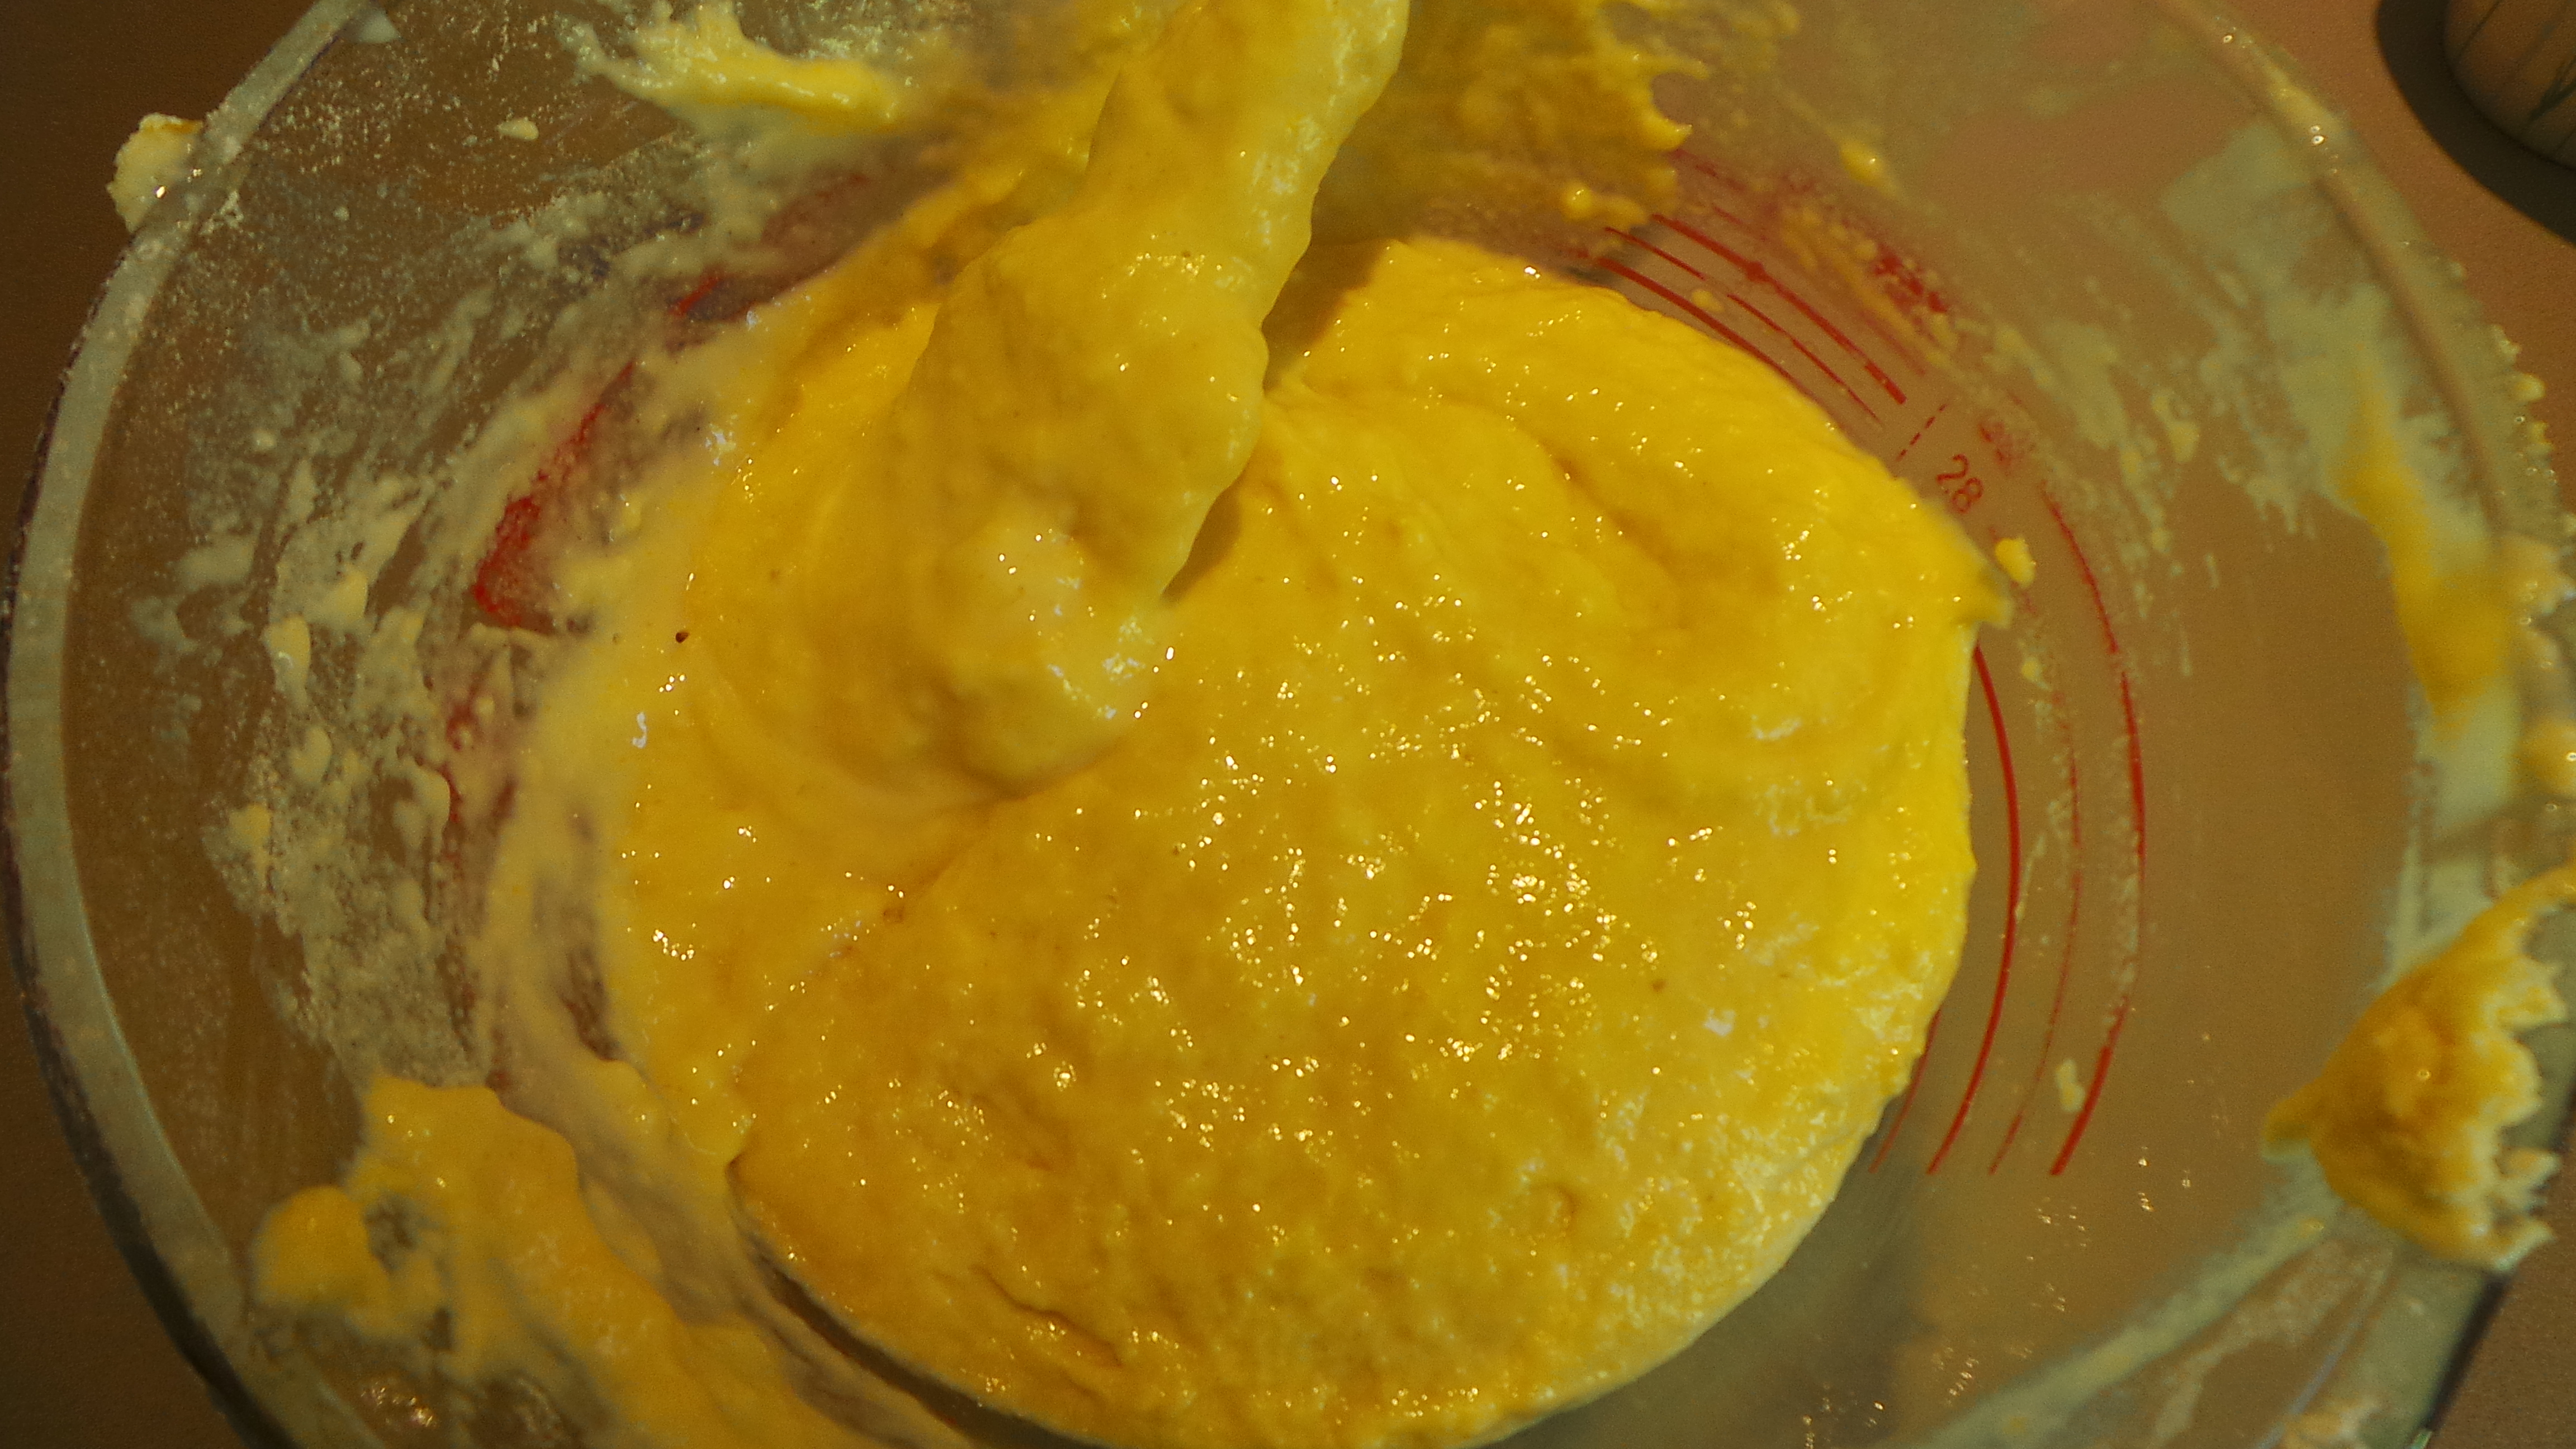
The mixed scone dough.
When your dough has all come together – if you are using milk it will be a lot smoother than the dough pictured – turn it out onto a floured surface.

Prepare a surface with flour.
Save yourself a lot of drudge work and cover your work surface first with either a silicon baking sheet -as I have done in the photos -or just with a strip of baking paper. Then, when clean up time comes, you can either shake all the leftover dusting flour into the bin or throw the whole piece of paper in.
No more gluey sponges.
Moving on.
Gently shape your dough into a ball, patting it with flour where it might be sticky, and then gently flatten it with your fingertips into a rough oblong shape about an inch or so thick.
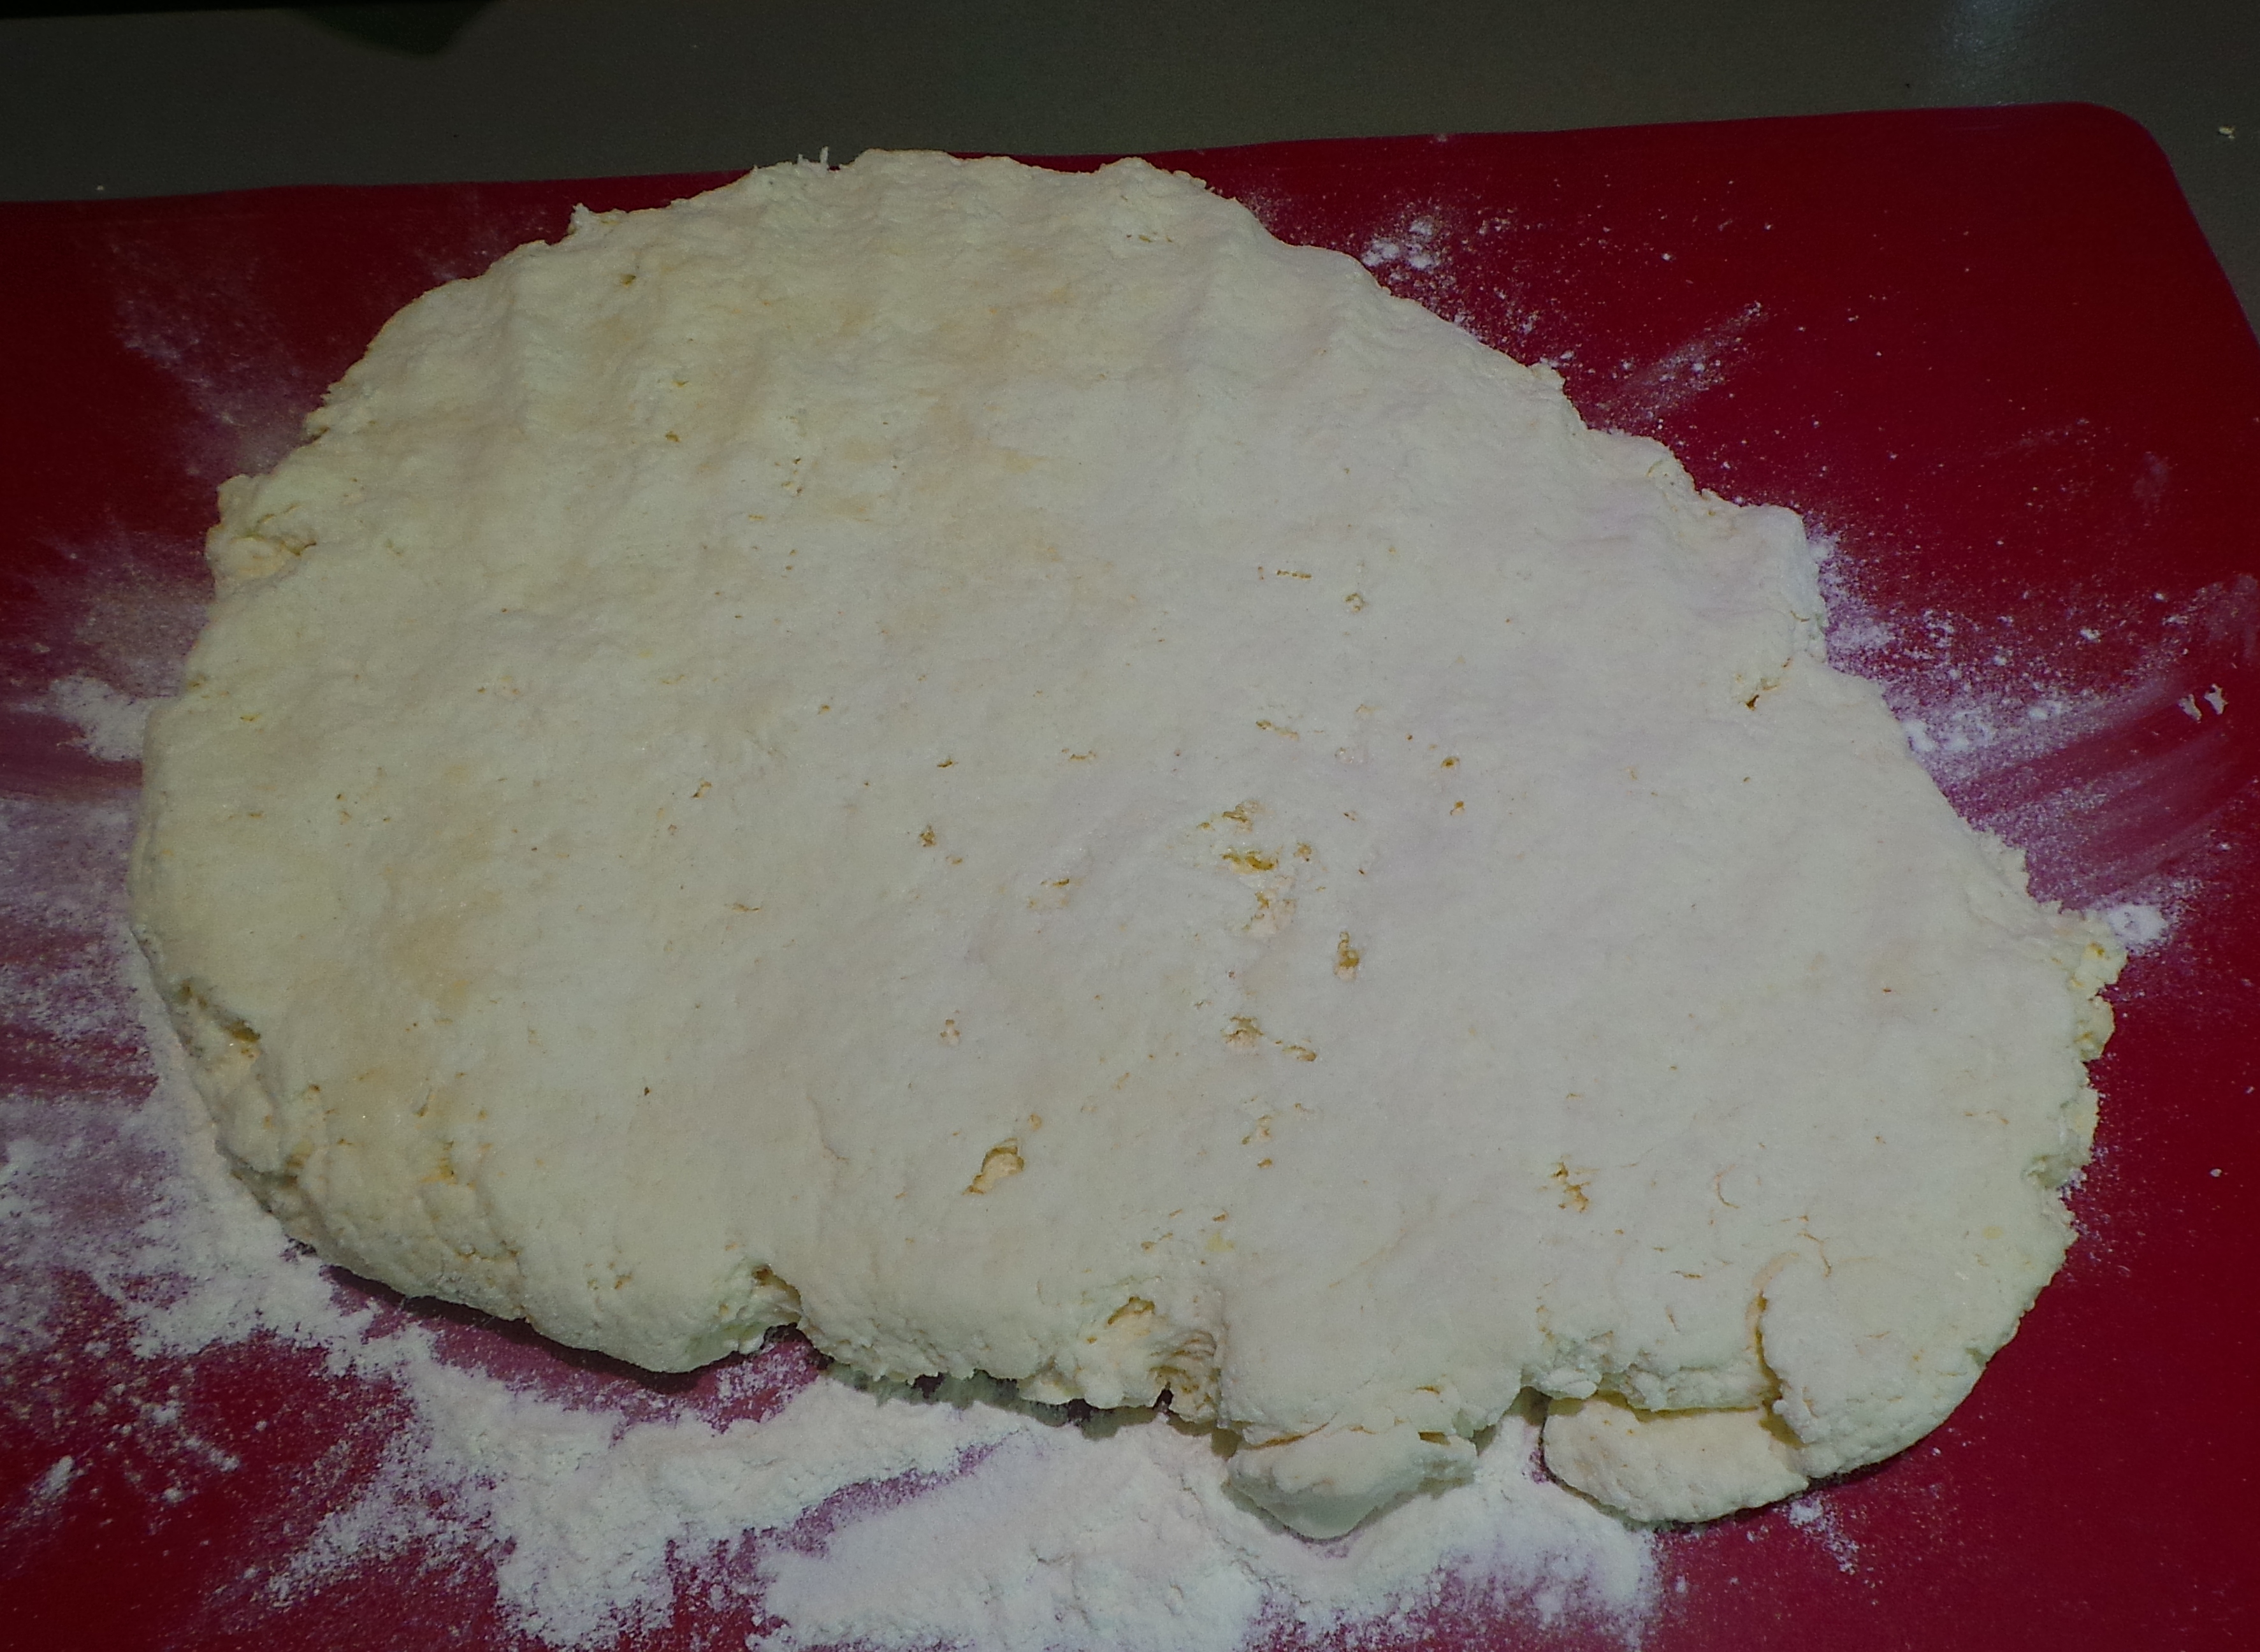
Shape and flatten your dough, using only your hands.
Don’t use a rolling pin, or you will knock all the air out of your dough, making it denser and tougher.
Place a sheet of baking paper or parchment over a baking tray.
Then, using either a scone cutter or a small drinking glass dipped in some of the flour on your surface, cut the dough into rounds. Re-dip the cutter between scones.
Be as economical as you can with your cutting. Start on the side of the dough nearest to you and cut each piece as close to the last as you can. This way you minimise the need to re-form and re-roll your dough.
Any scones made with dough that has been reshaped will be less smooth than the first cutting, as you can see in the picture below.
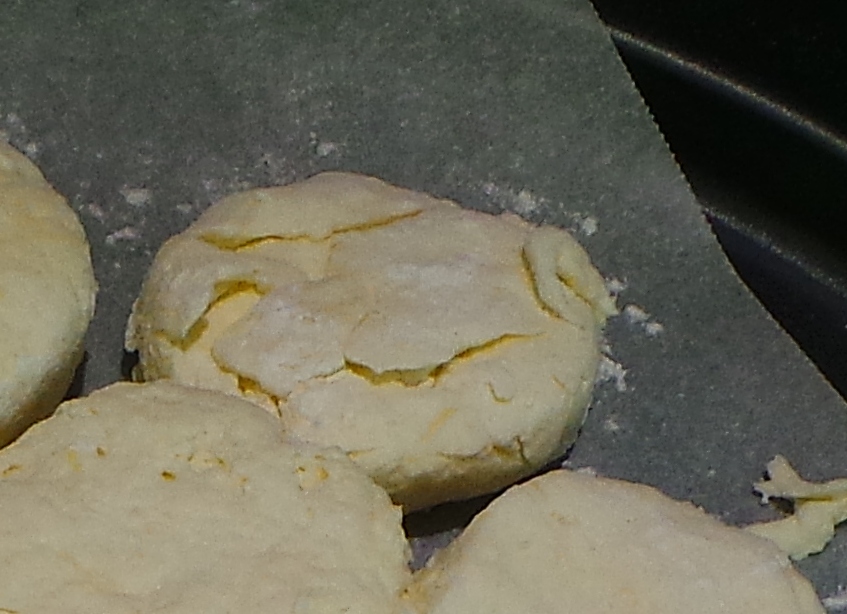
The result of reshaped dough.
Place each scone on the tray as it is cut, starting in the centre and working your way around. Think in terms of making a daisy shape. Place your scones as close together as you can. This helps them to rise instead of spreading outward.
Any leftover piece of dough that is too small to cut into a scone should be given to any small child who may be “helping” and shaped into their own special creation for baking…
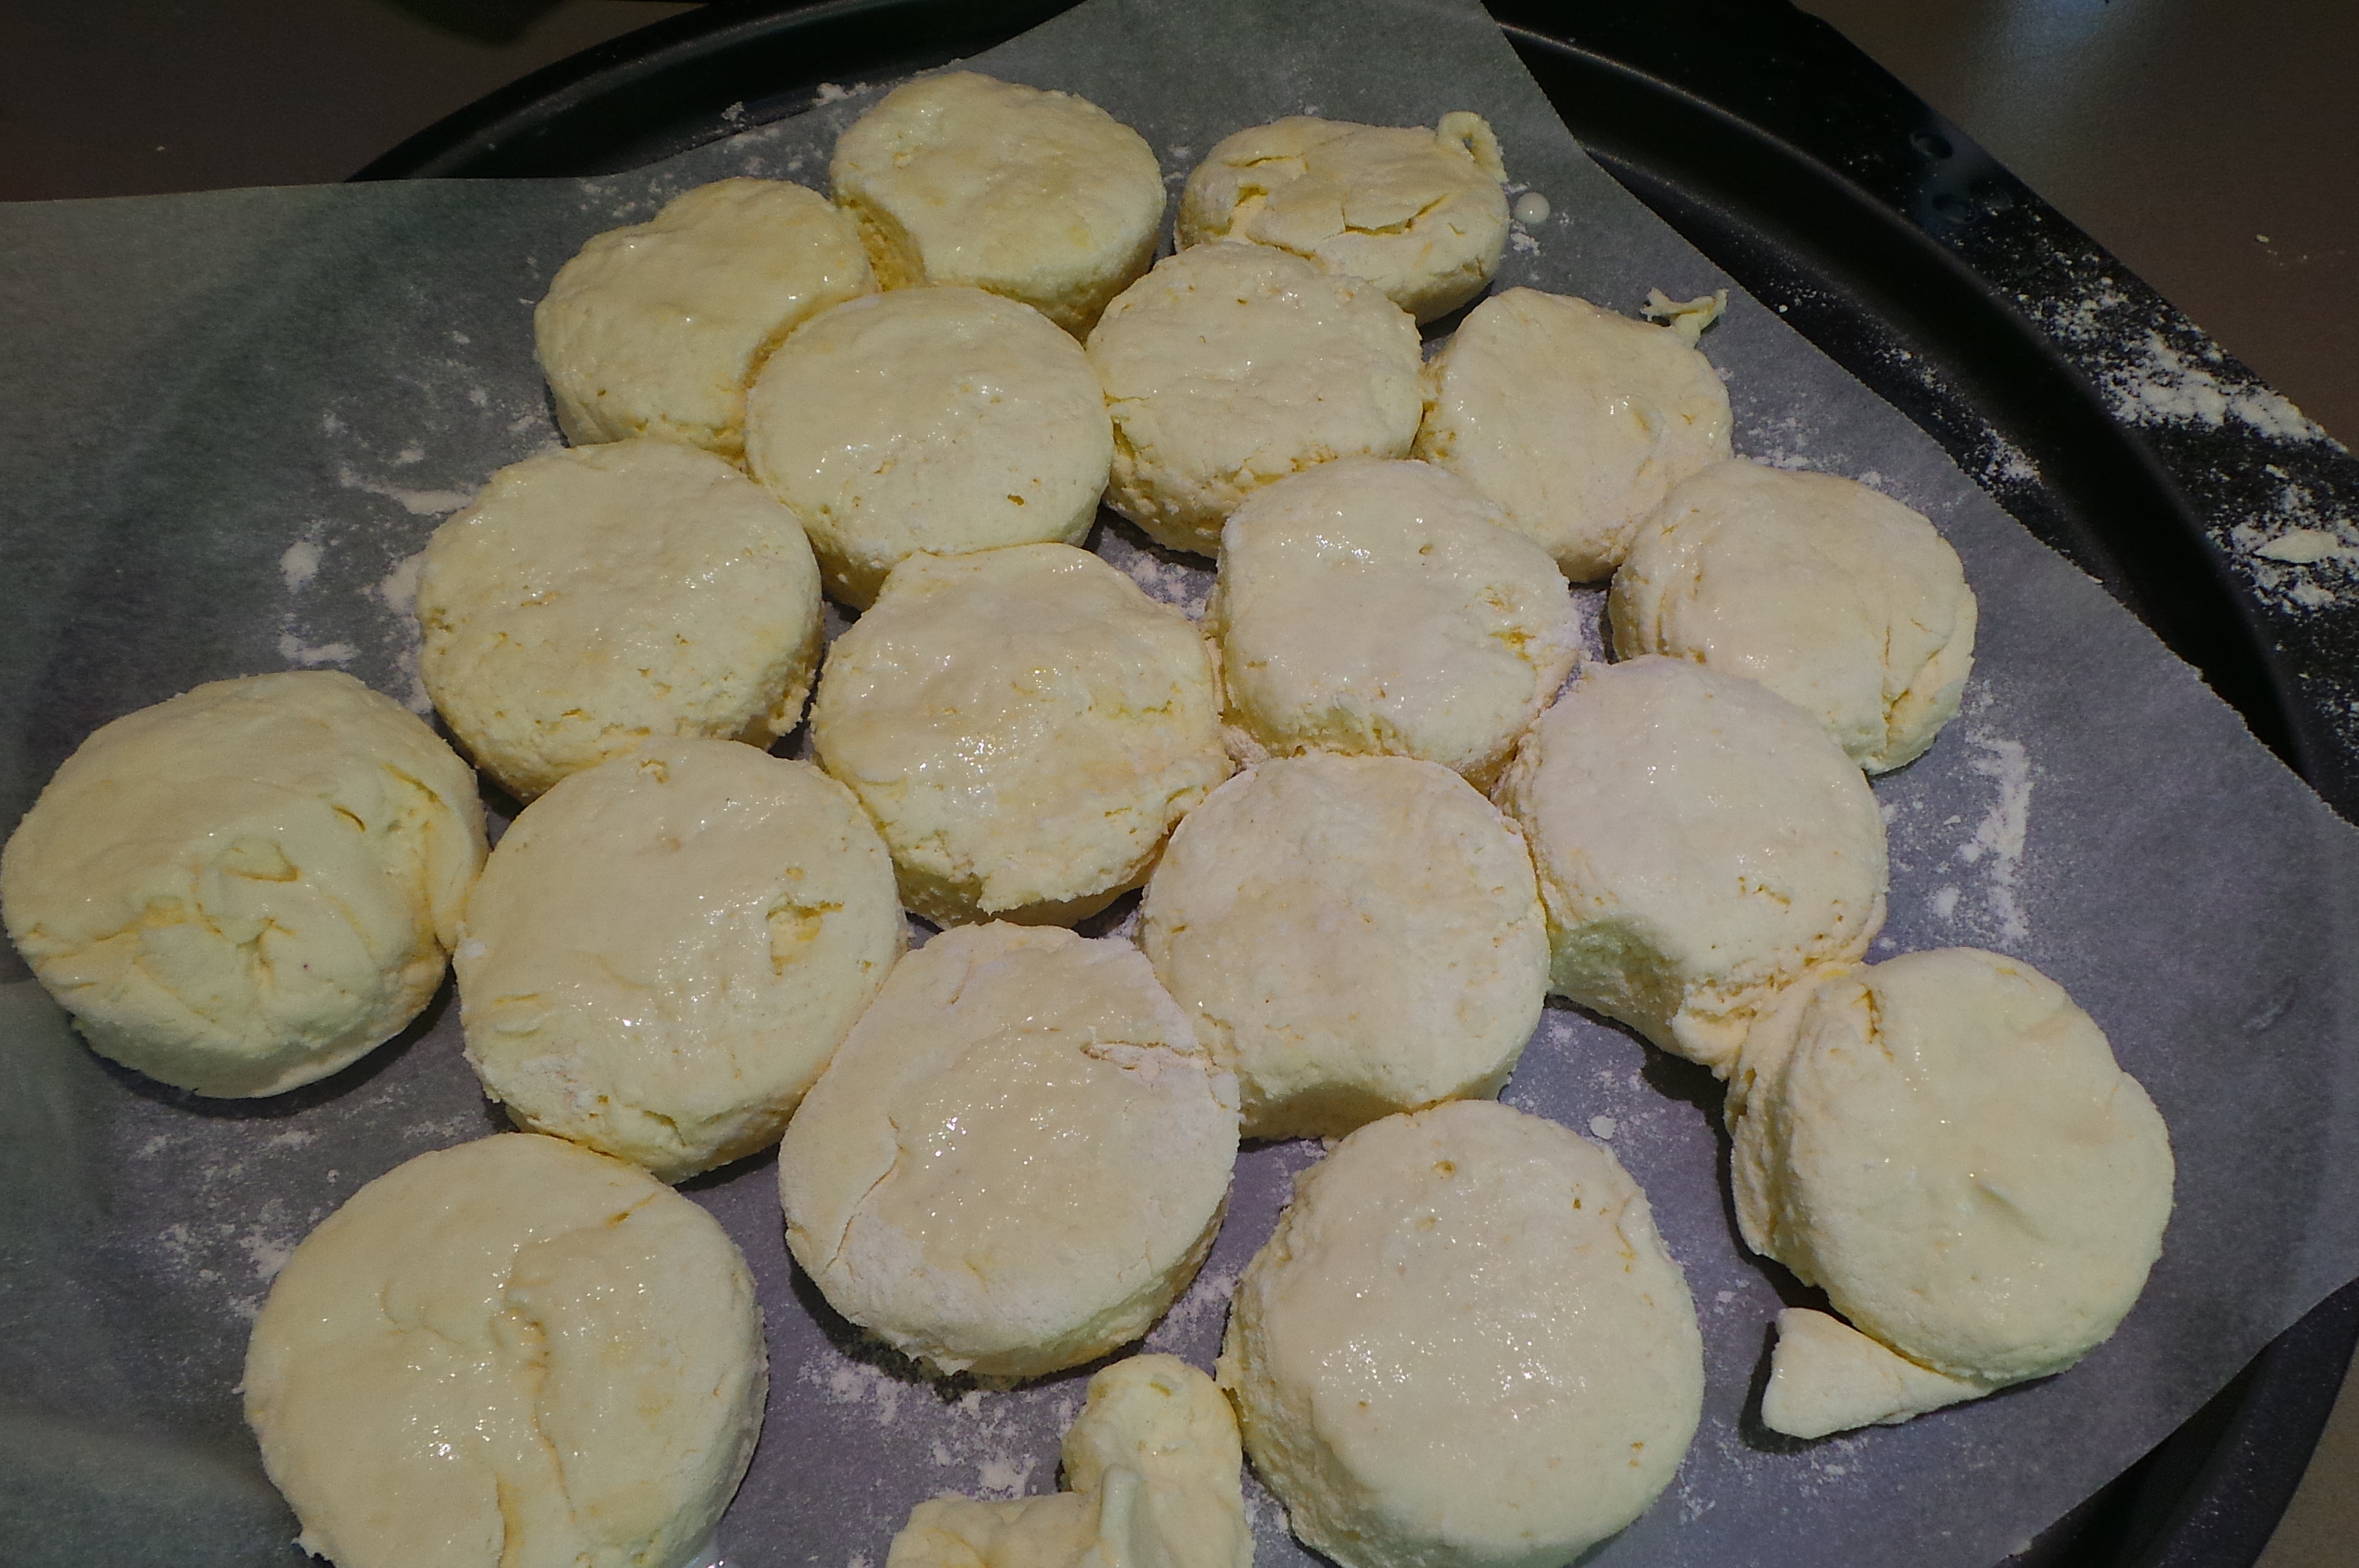
Place closely together on the baking tray.
Using a pastry brush dipped in milk (or your finger) gently brush the tops of your scones. This will encourage a nice brown finish, but is not necessary.
Bake for 15 mins, until a toothpick inserted in the centre scone comes out clean. Again, yoghurt or buttermilk mixes may take longer to cook.
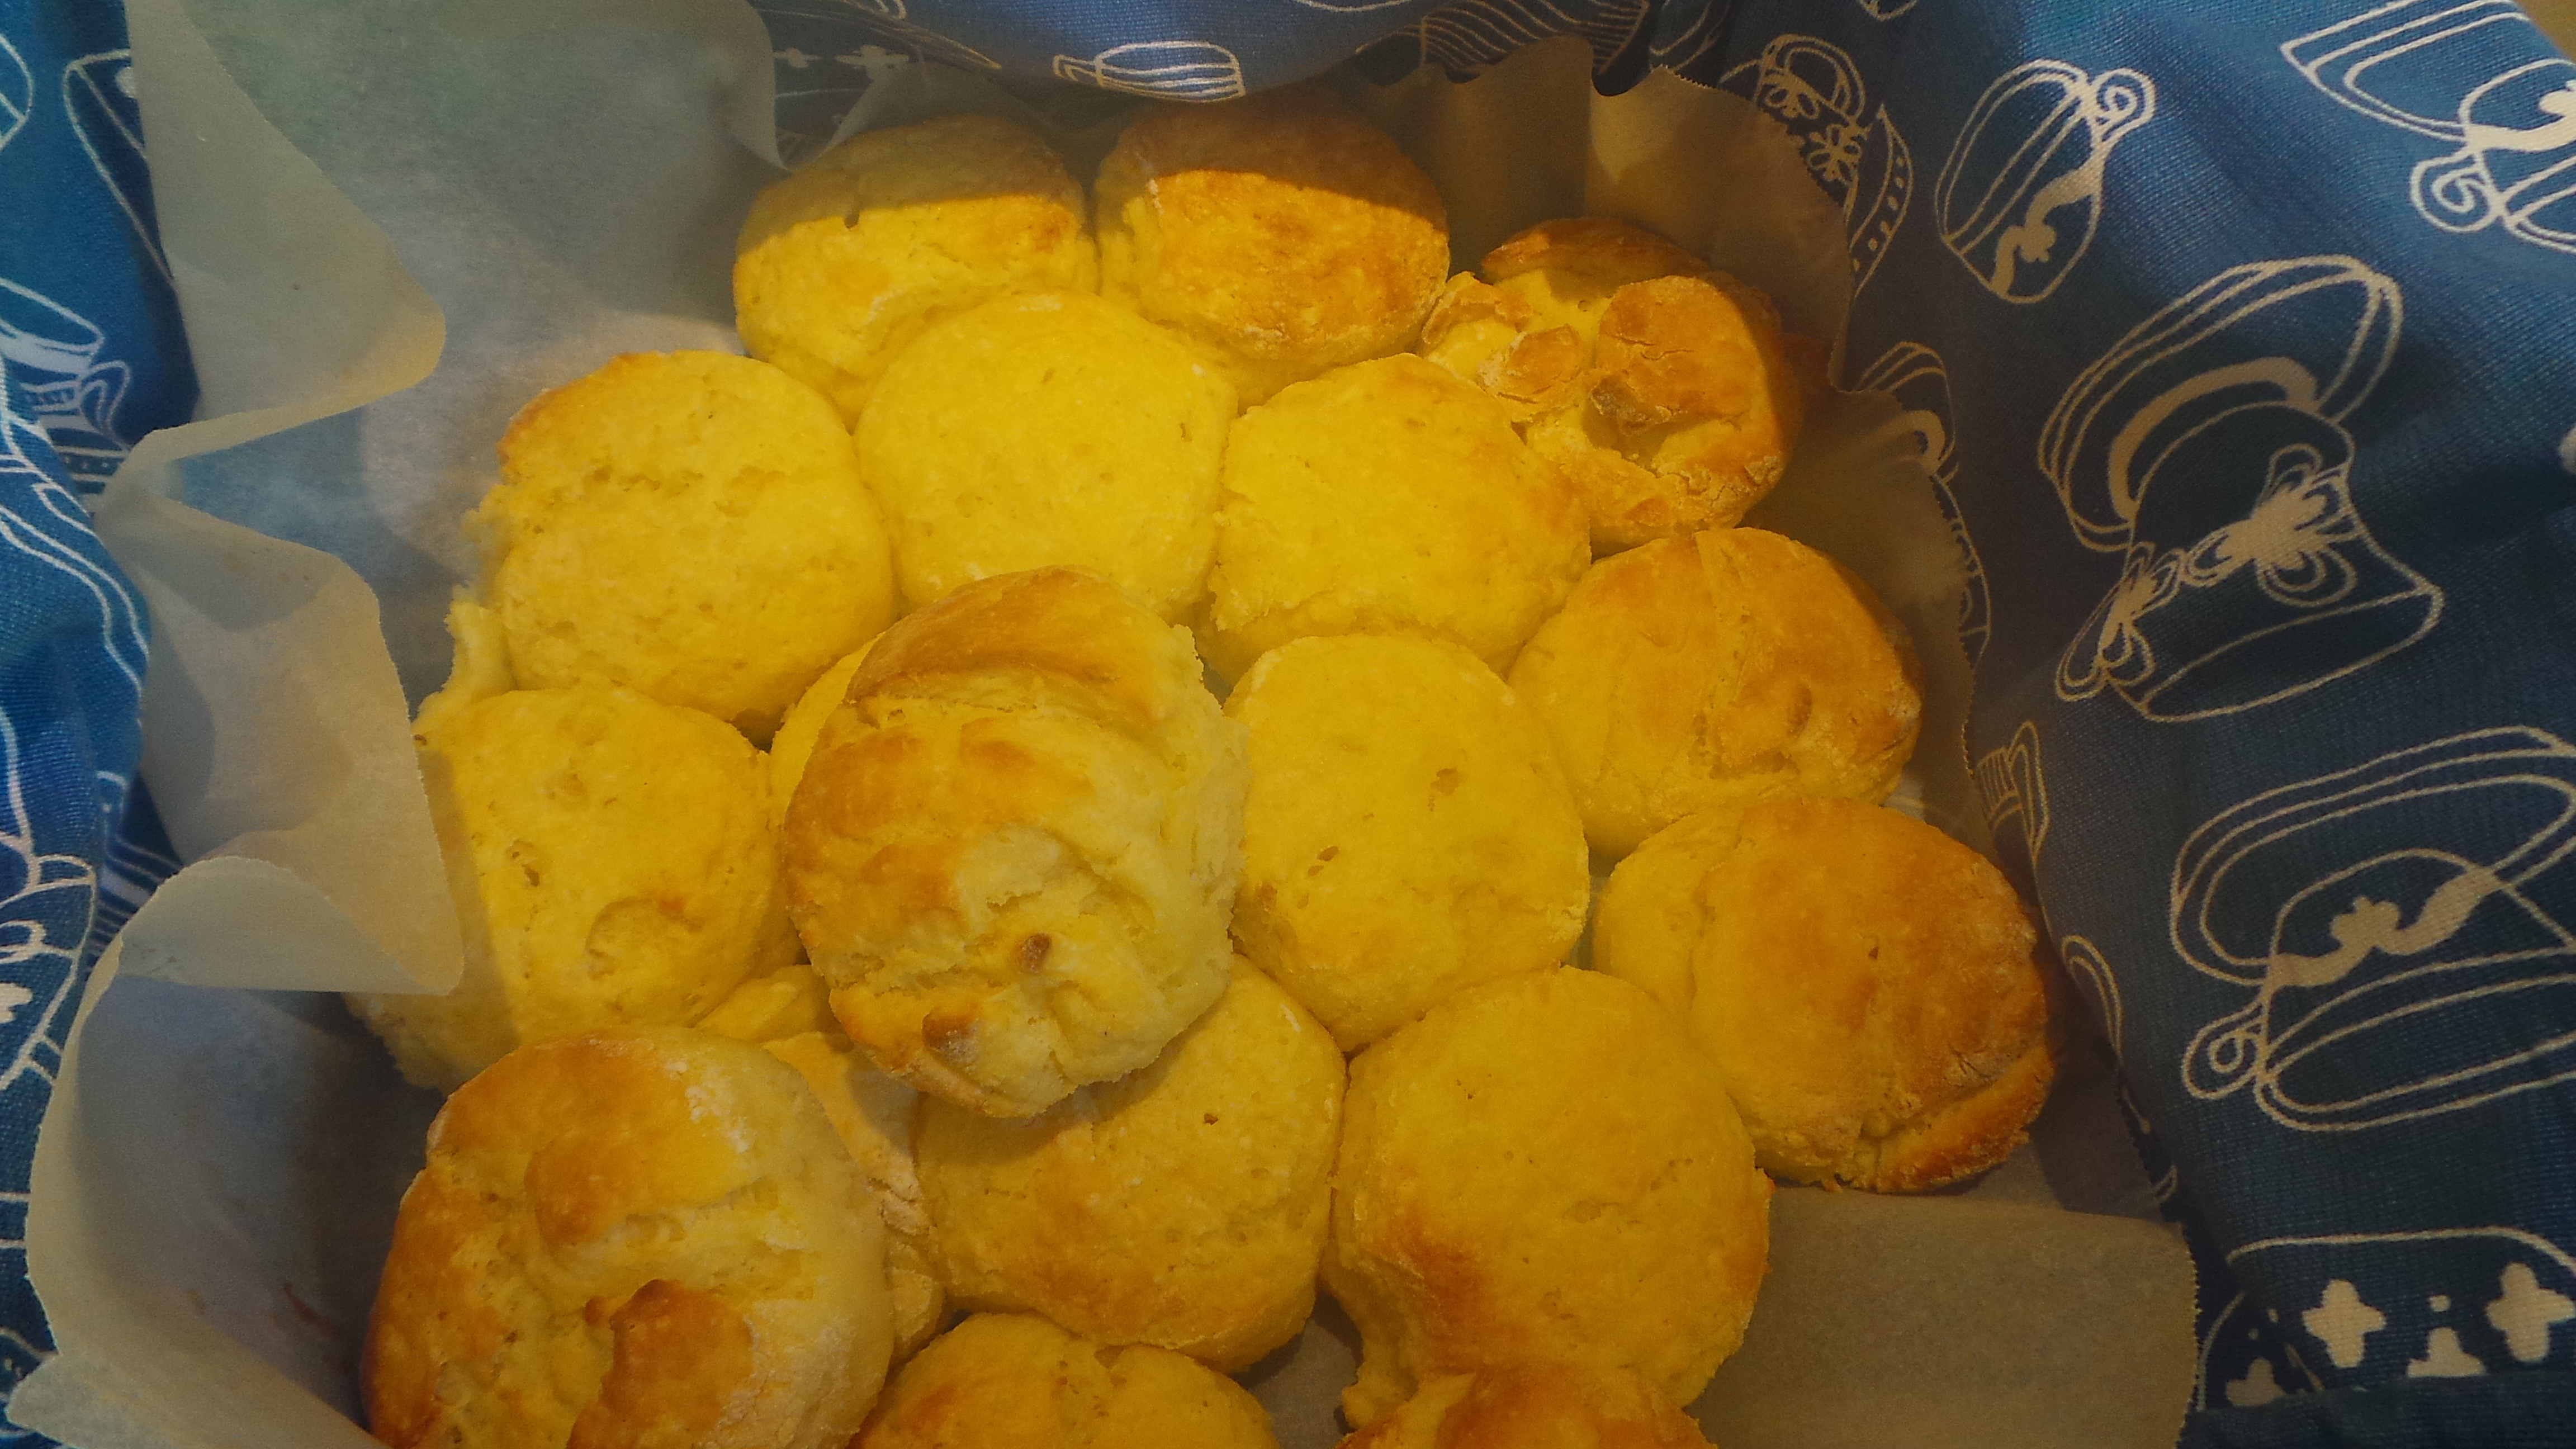
Now for one of those old-fashioned tricks: Scones wrapped in clean cloth as soon as they are removed from the oven will keep soft as they cool. I have this rather groovy cloth bread basket I bought on clearance at Ikea a few years ago, but two tea towels overlapping in a cross formation should do the trick equally well.
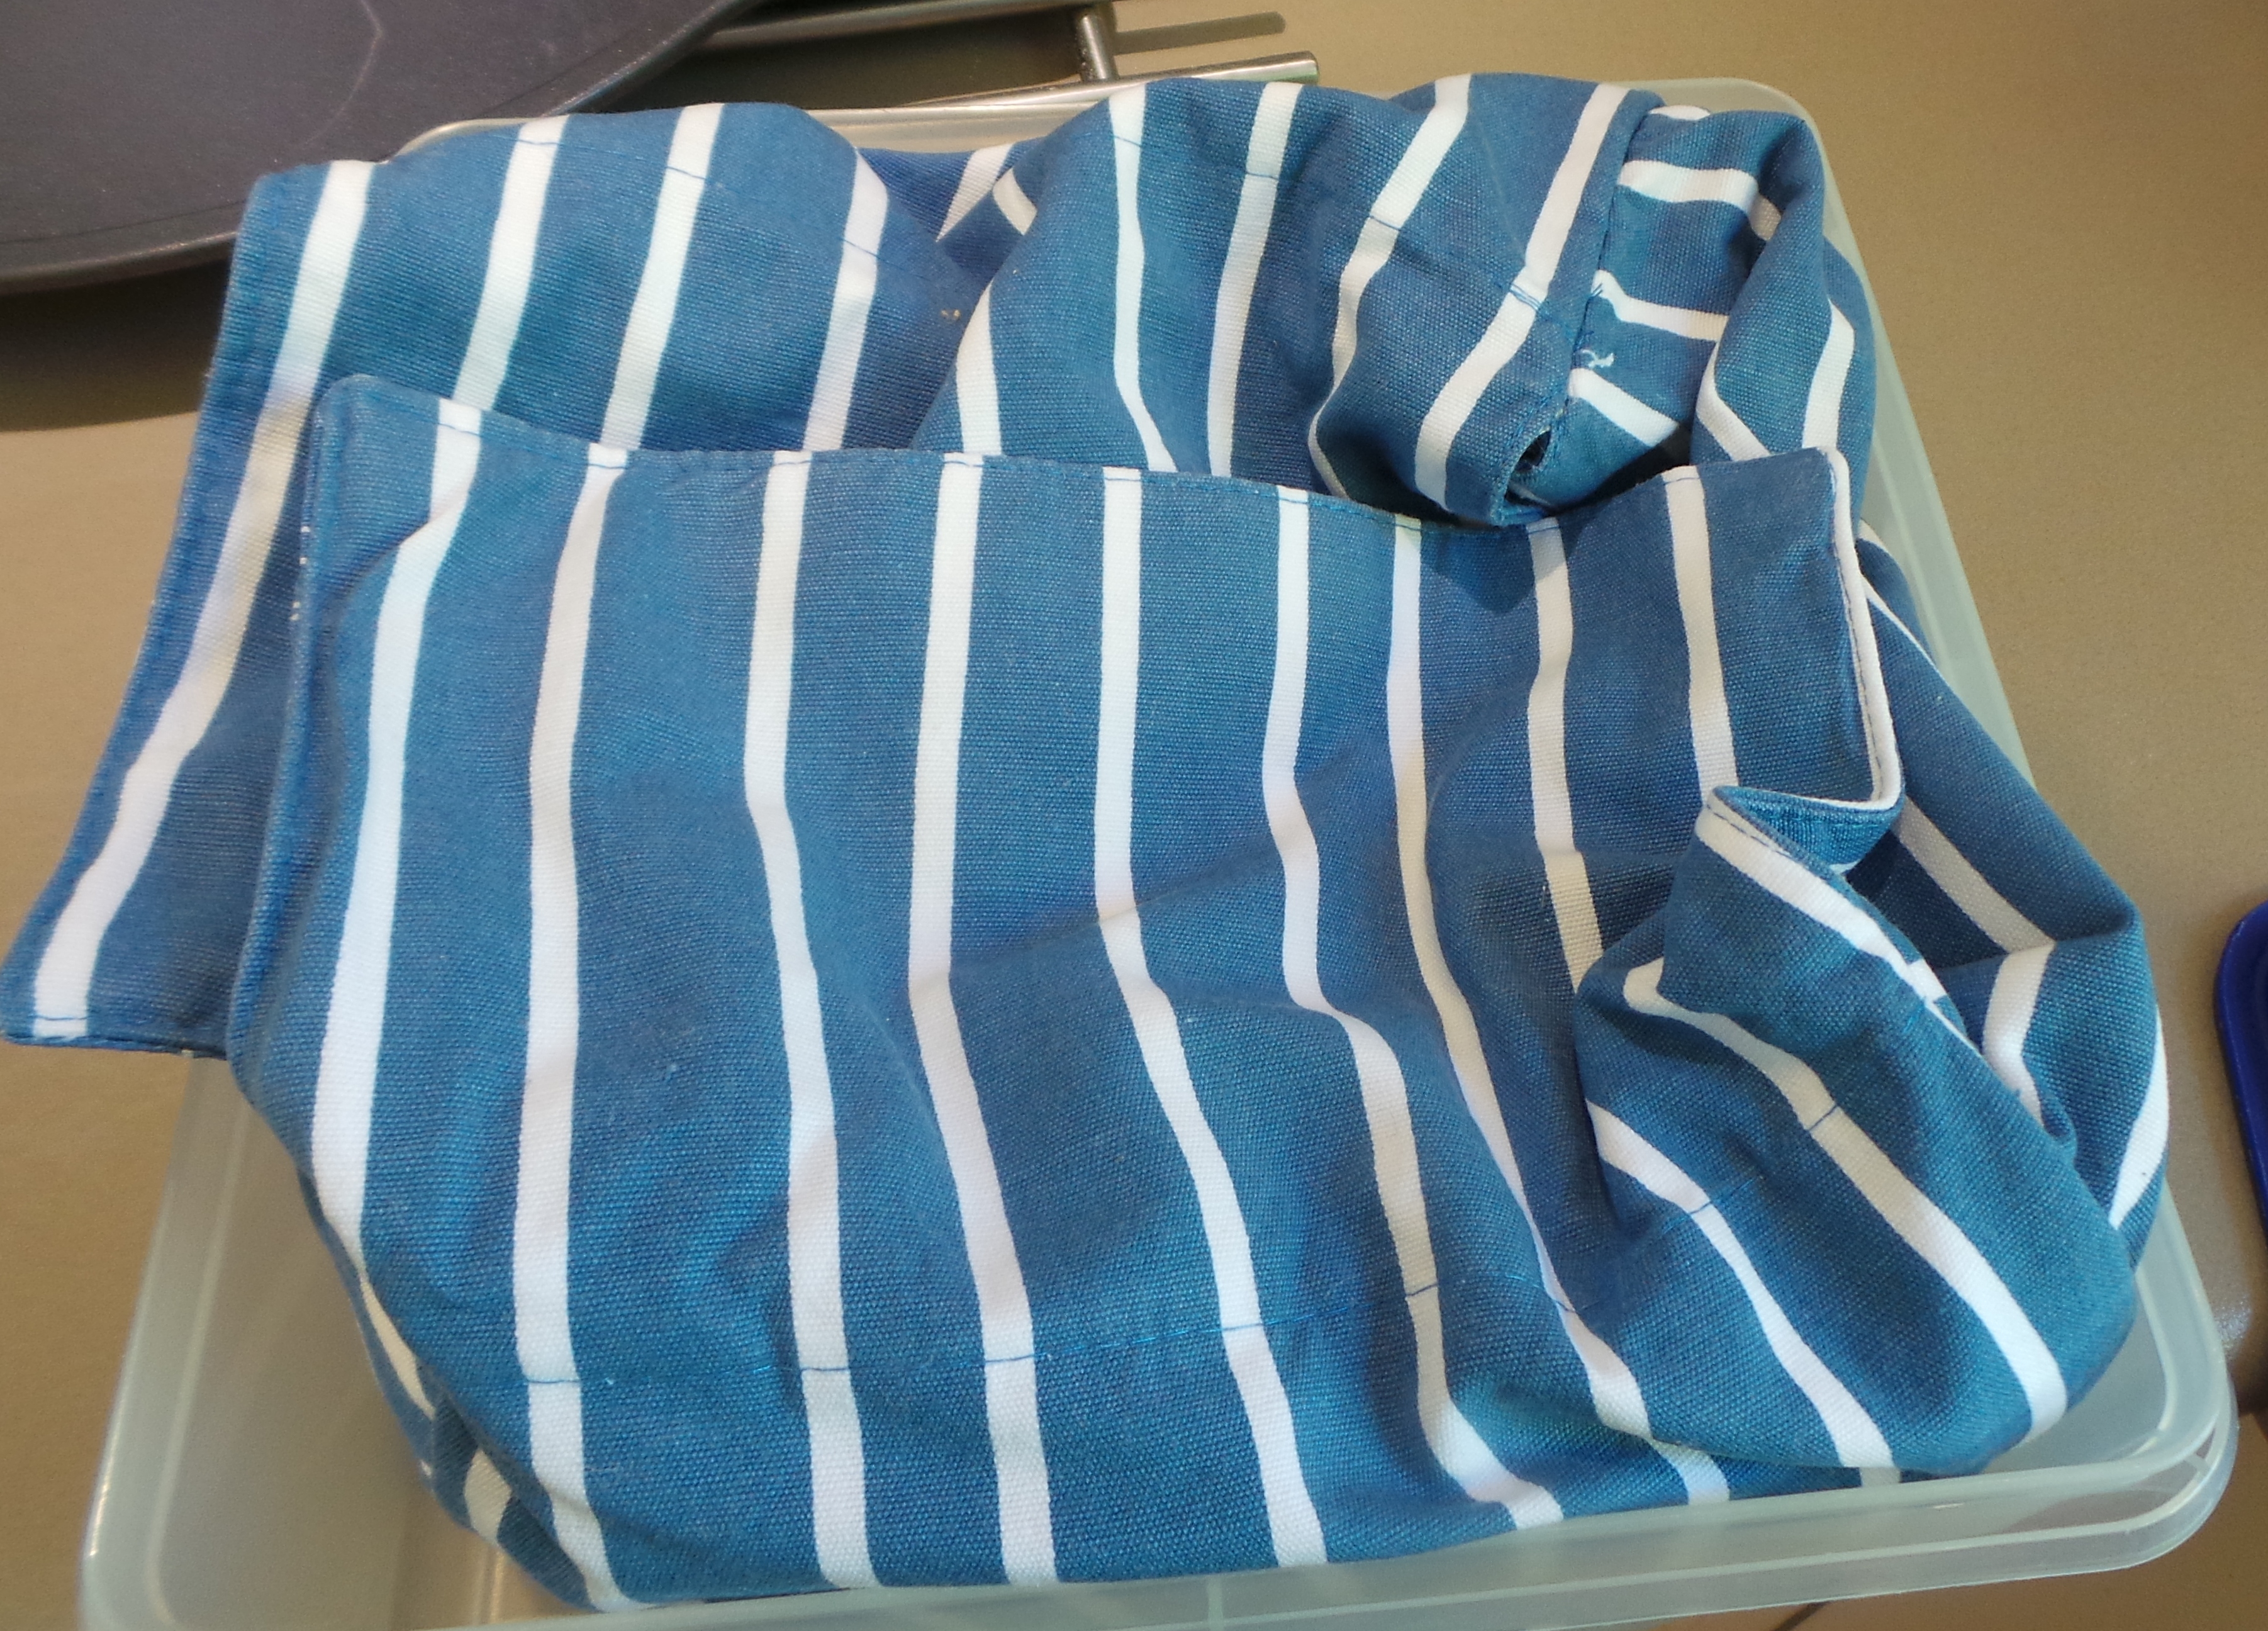
Wrap your hot scones in a cloth to cool.
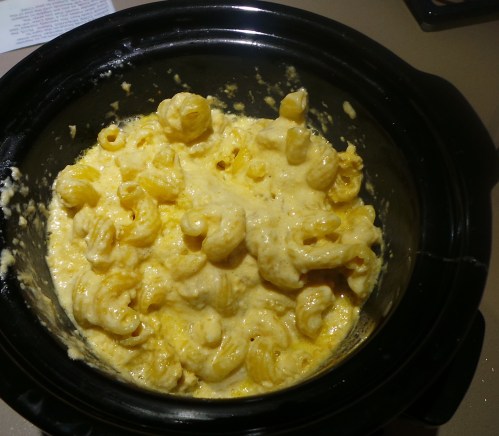
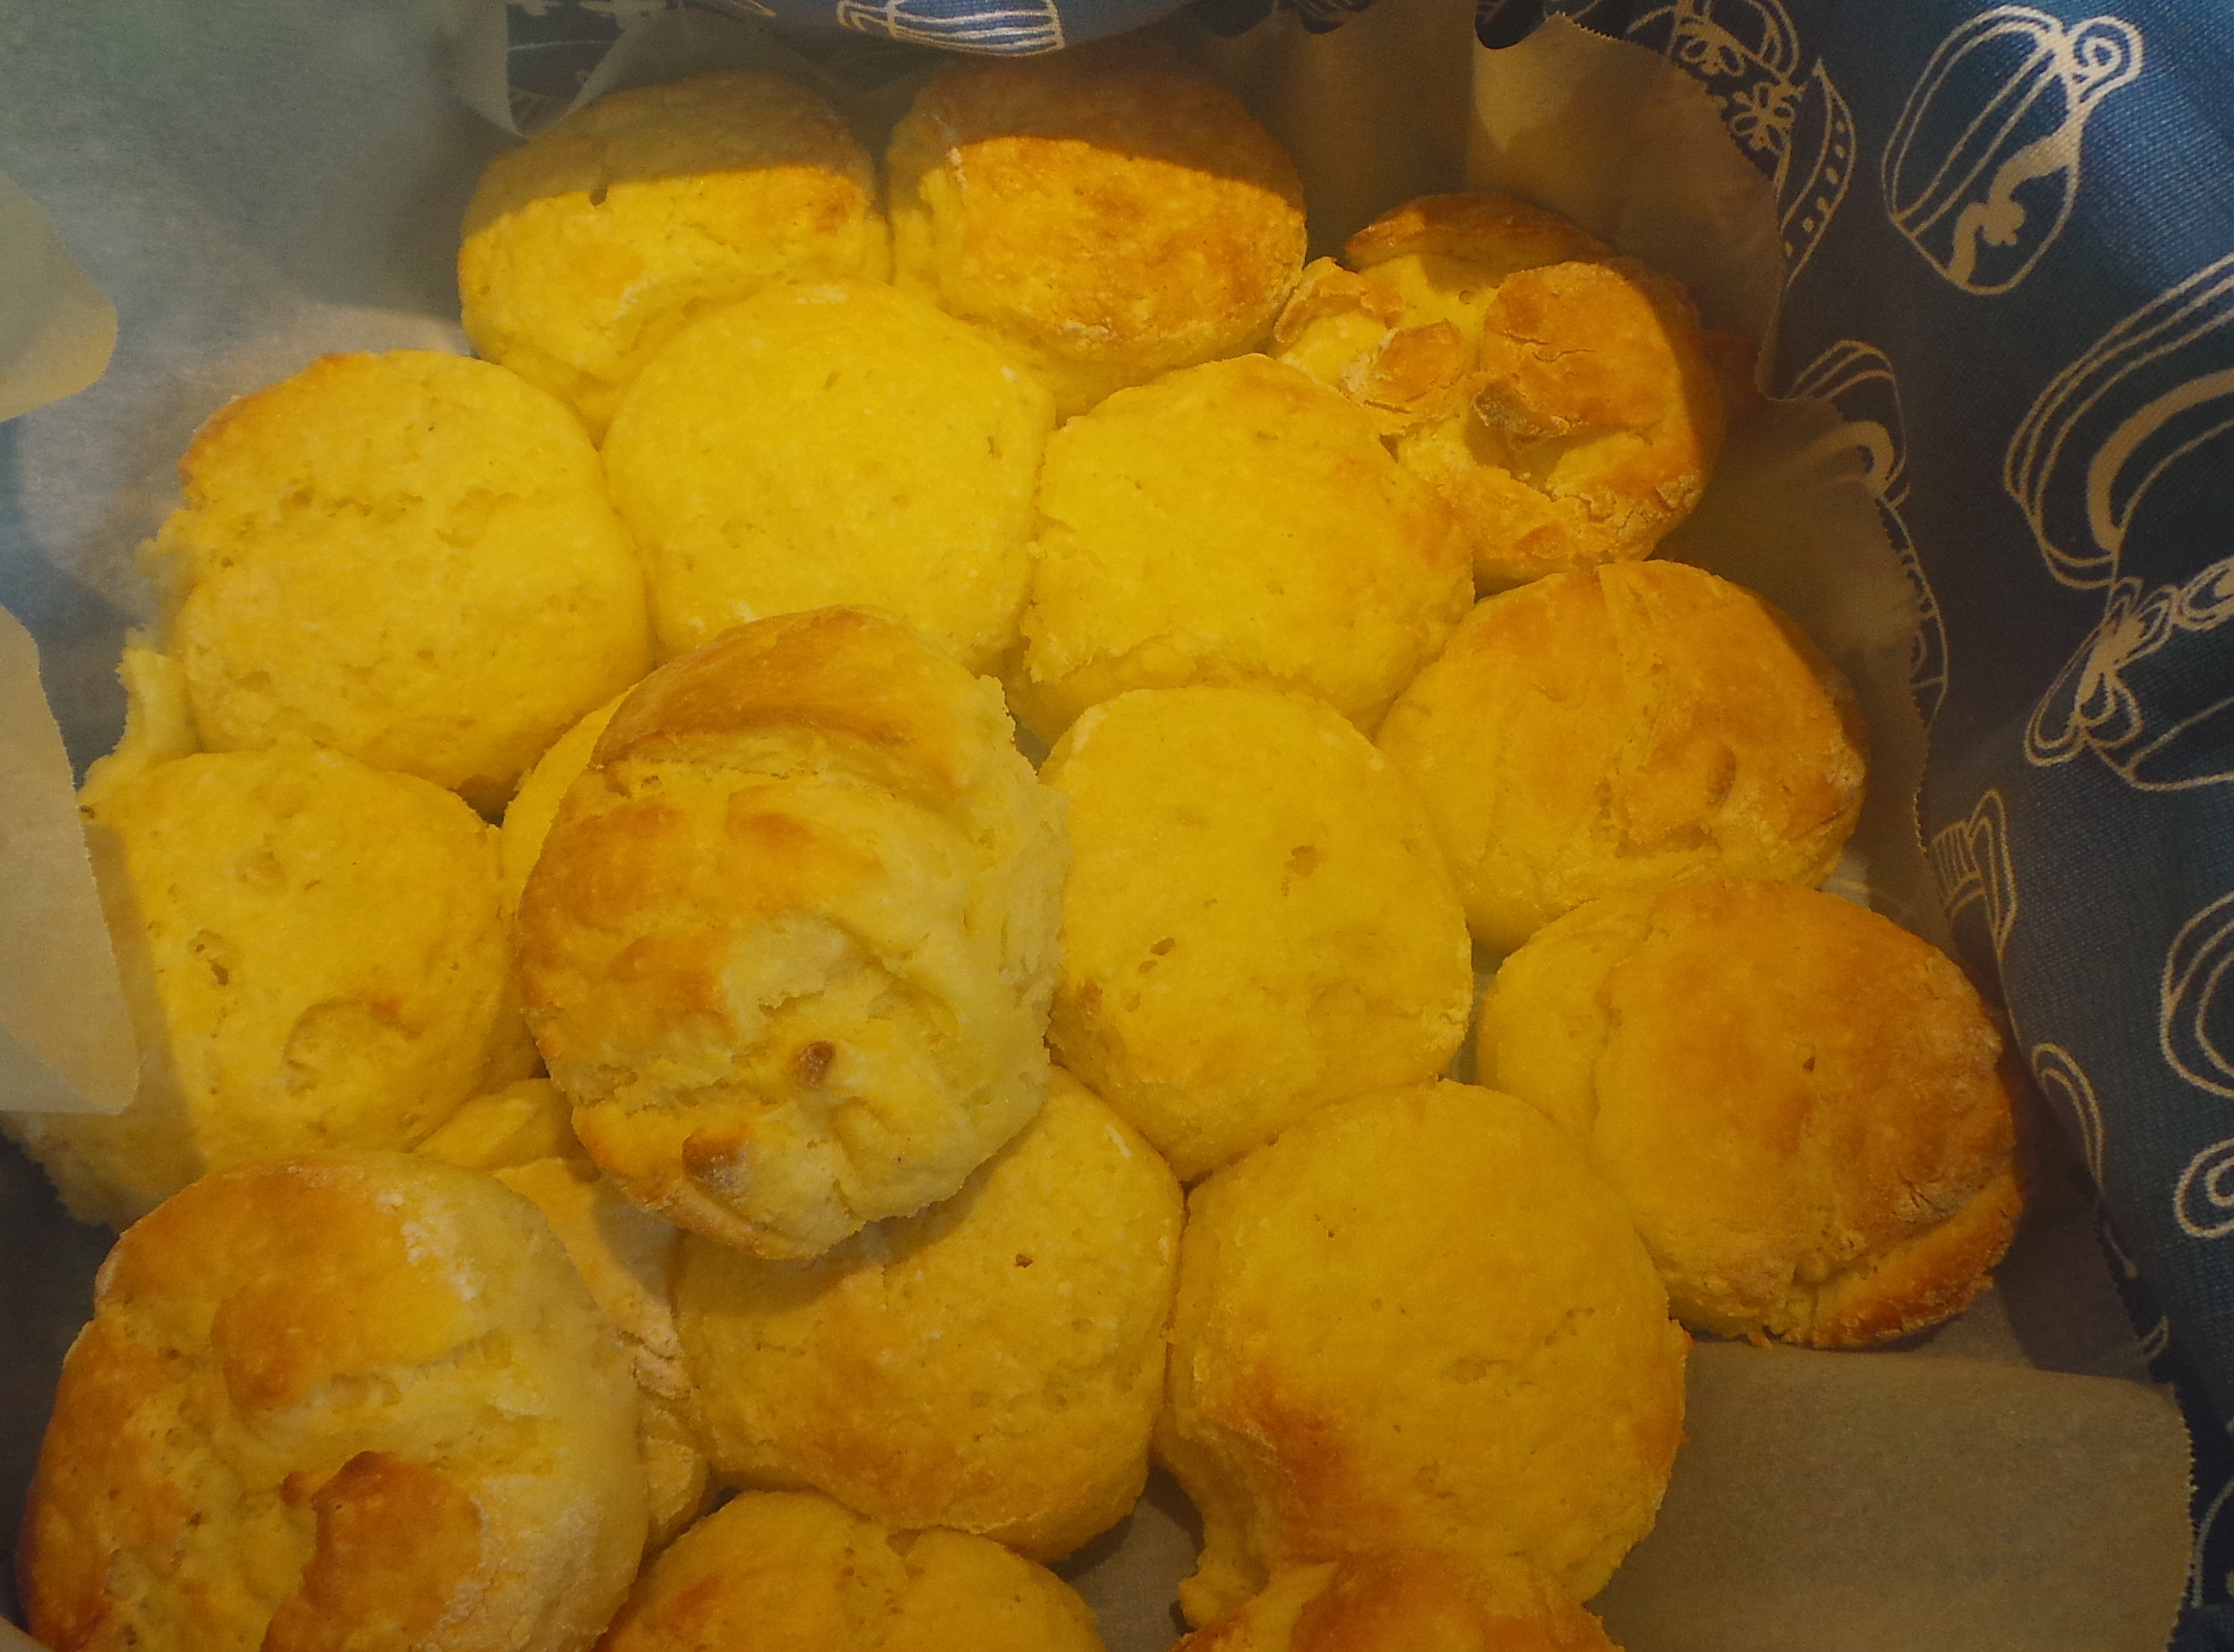
Serve your scones. Another tip, don’t cut them in half or they will become doughy. Instead use your fingers and gently break them apart.
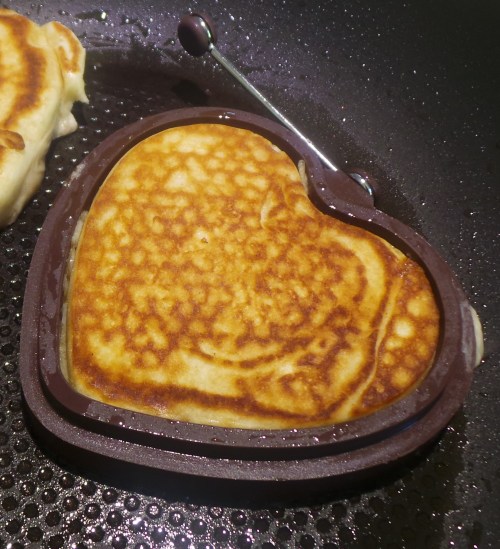
And serve..
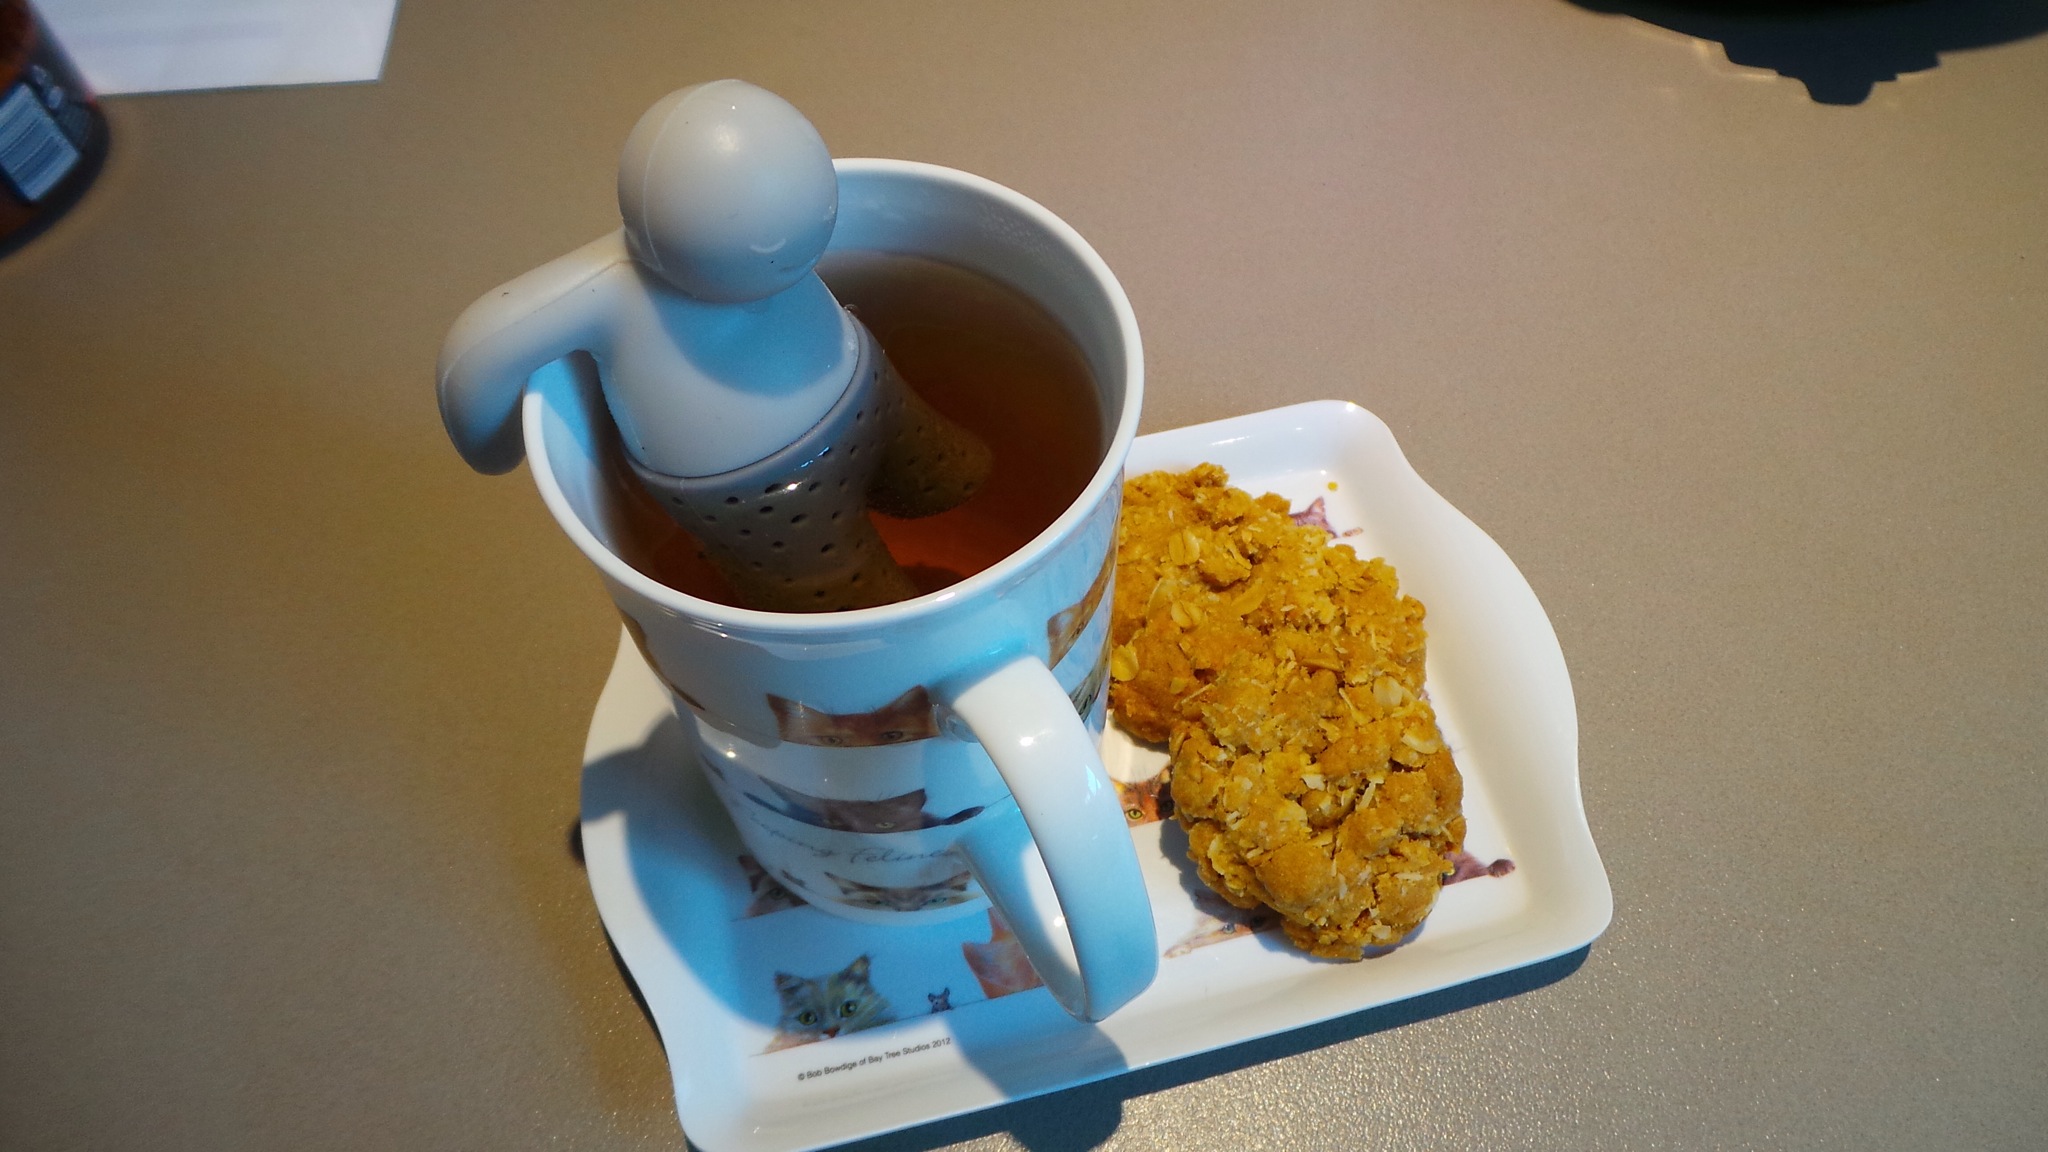
Serve with strawberry jam and whipped cream and a nice pot of Earl Grey for your classic Devonshire Tea, or you can serve them up with butter and any spread you darn well want: marmalade, vegemite, peanut butter. Knock yourself out.
Scones also freeze well and travel quite nicely in packed lunches.
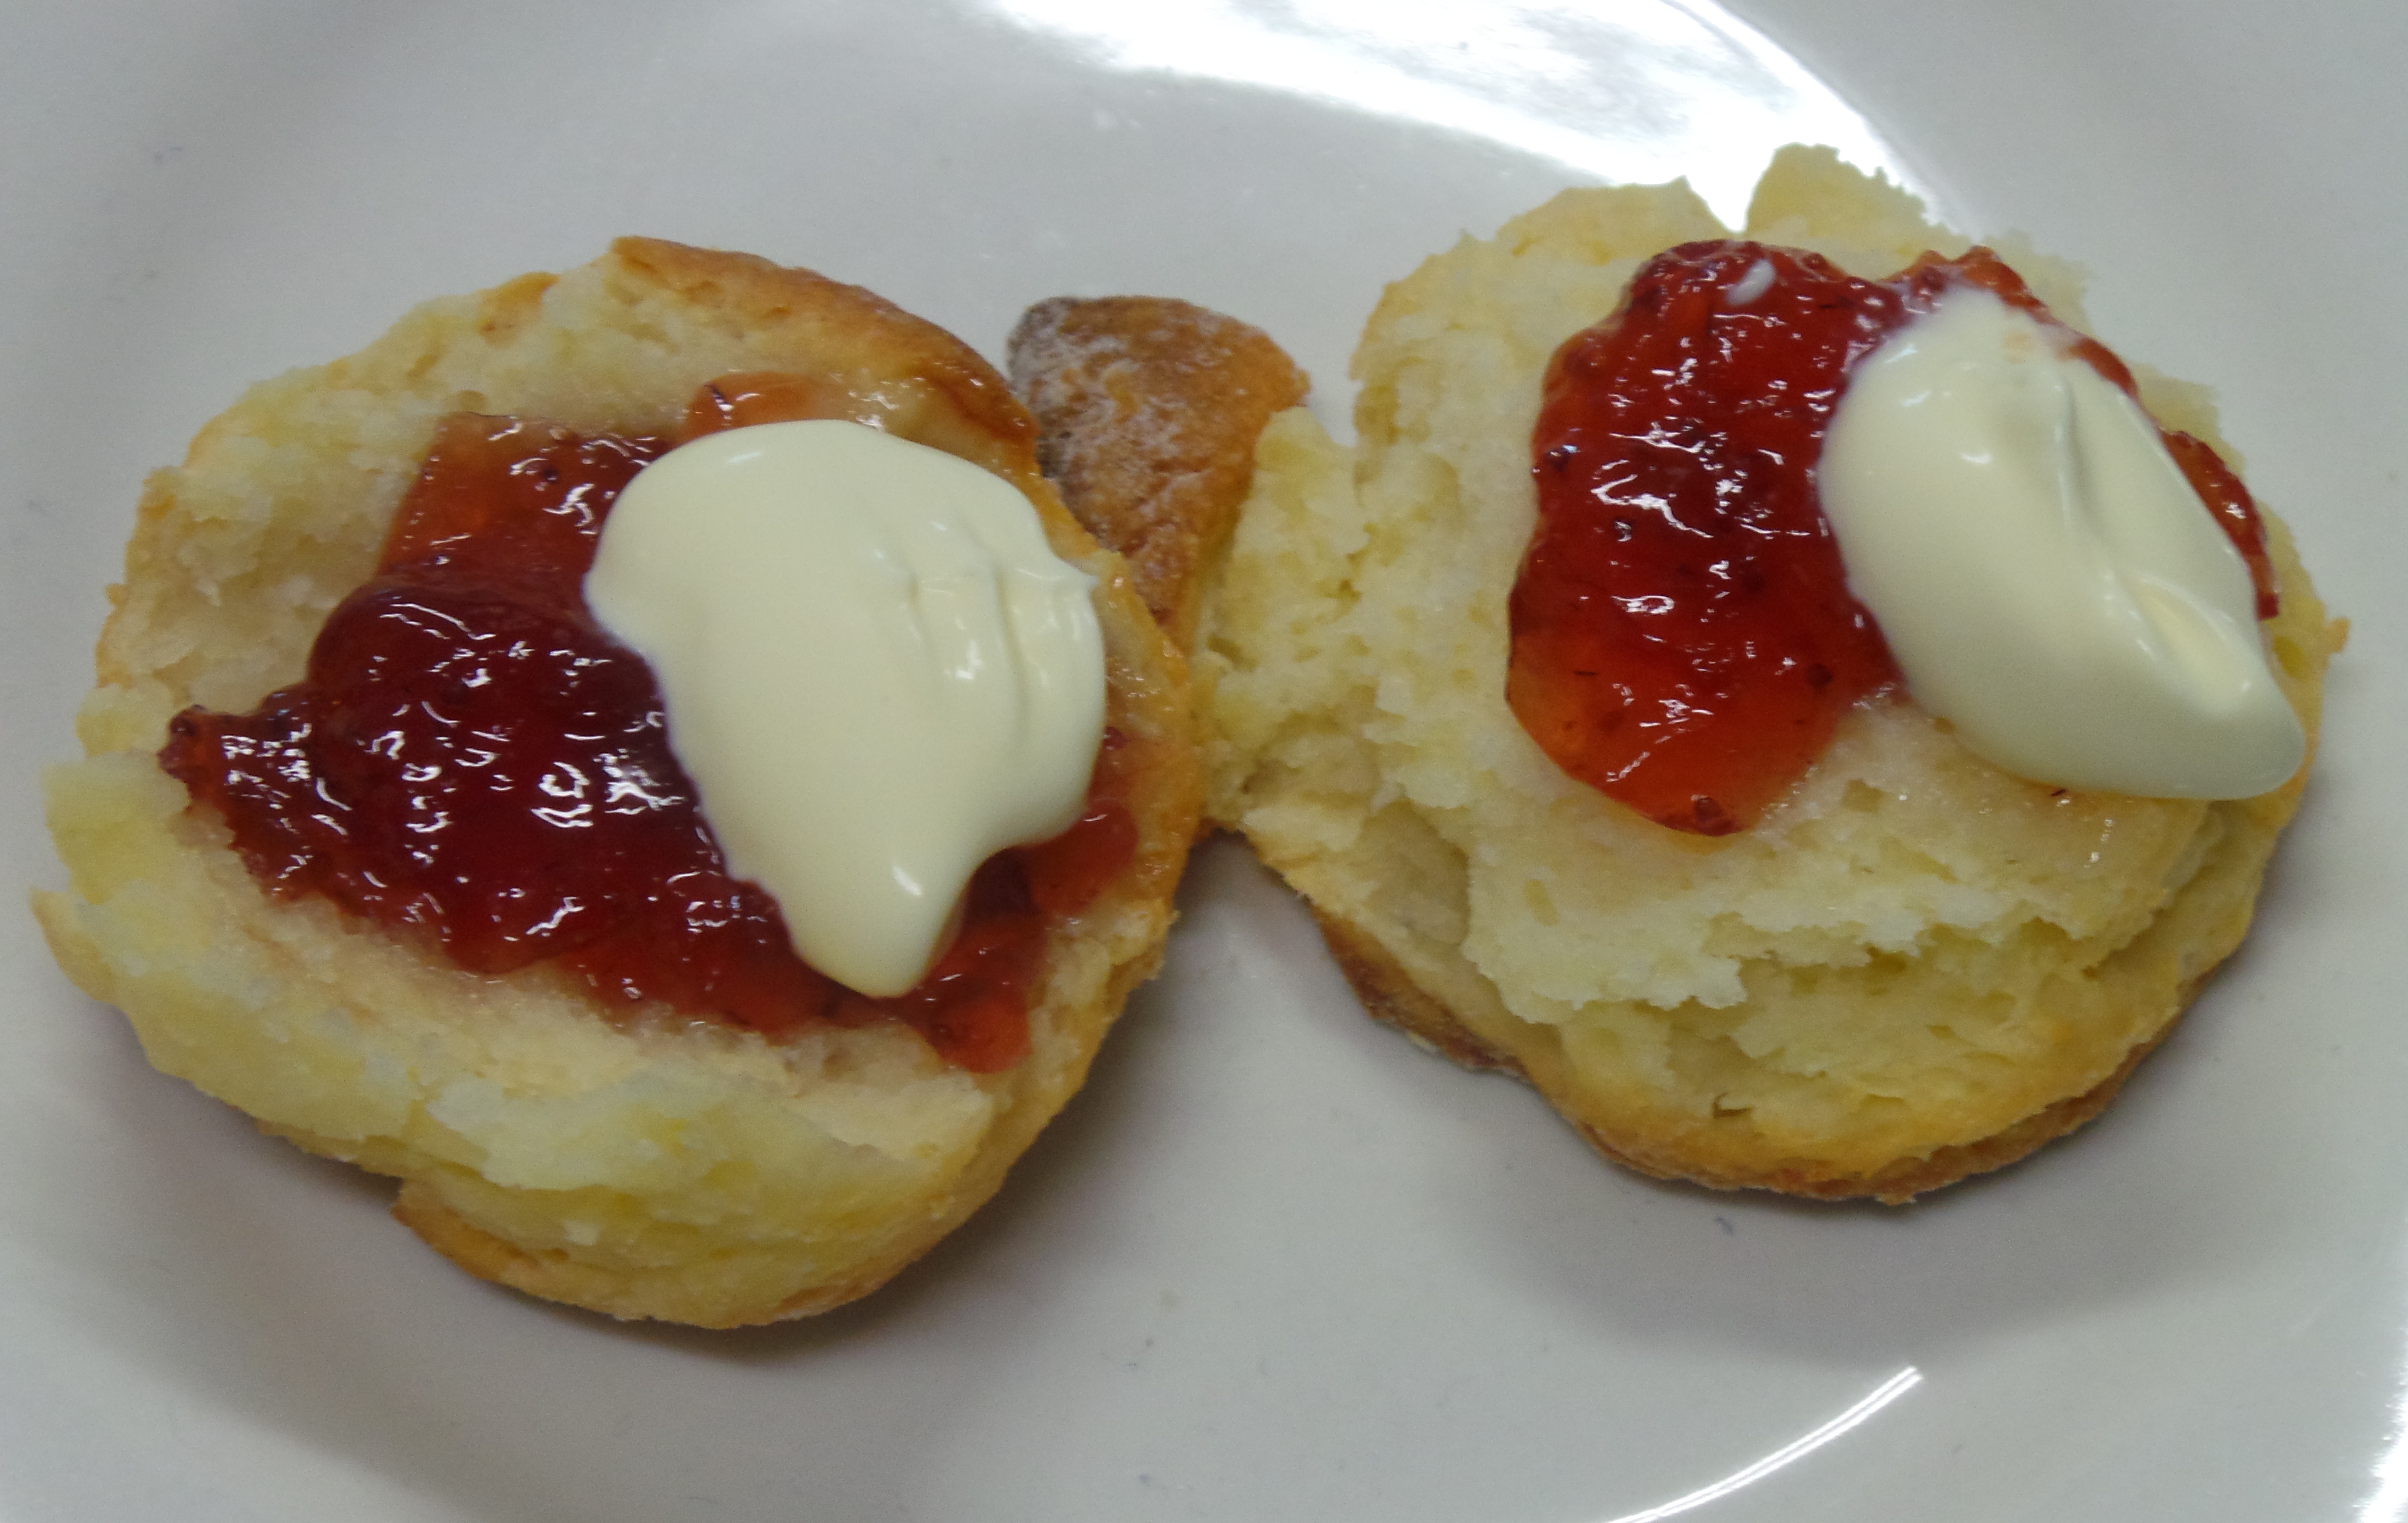
Devonshire Tea.
Basic Scones
Ingredients
2 cups self raising flour (250g)
pinch salt
1 tbsp sugar
1 tbsp butter (30g)
¾ cup milk (187ml)
Method
Heat oven to 230°C or 475°F.
Sift dry ingredients into a large bowl.
Cut butter into small pieces and rub into flour until mix resembles fine breadcrumbs.
Add milk and cut in quickly and lightly with a butter knife until a moist dough is formed.
Turn onto a lightly floured board and shape into a smooth oblong about an inch thick using hands and fingertips.
Using a floured scone cutter or drinking glass, cut out scones and place close together on a prepared oven tray.
Glaze with milk.
Bake for 10-15 mins until a toothpick inserted in the centre scone comes out clean.
For soft scones, wrap in a cloth until cold.
Variations to basic recipe:
Cheese Scones:
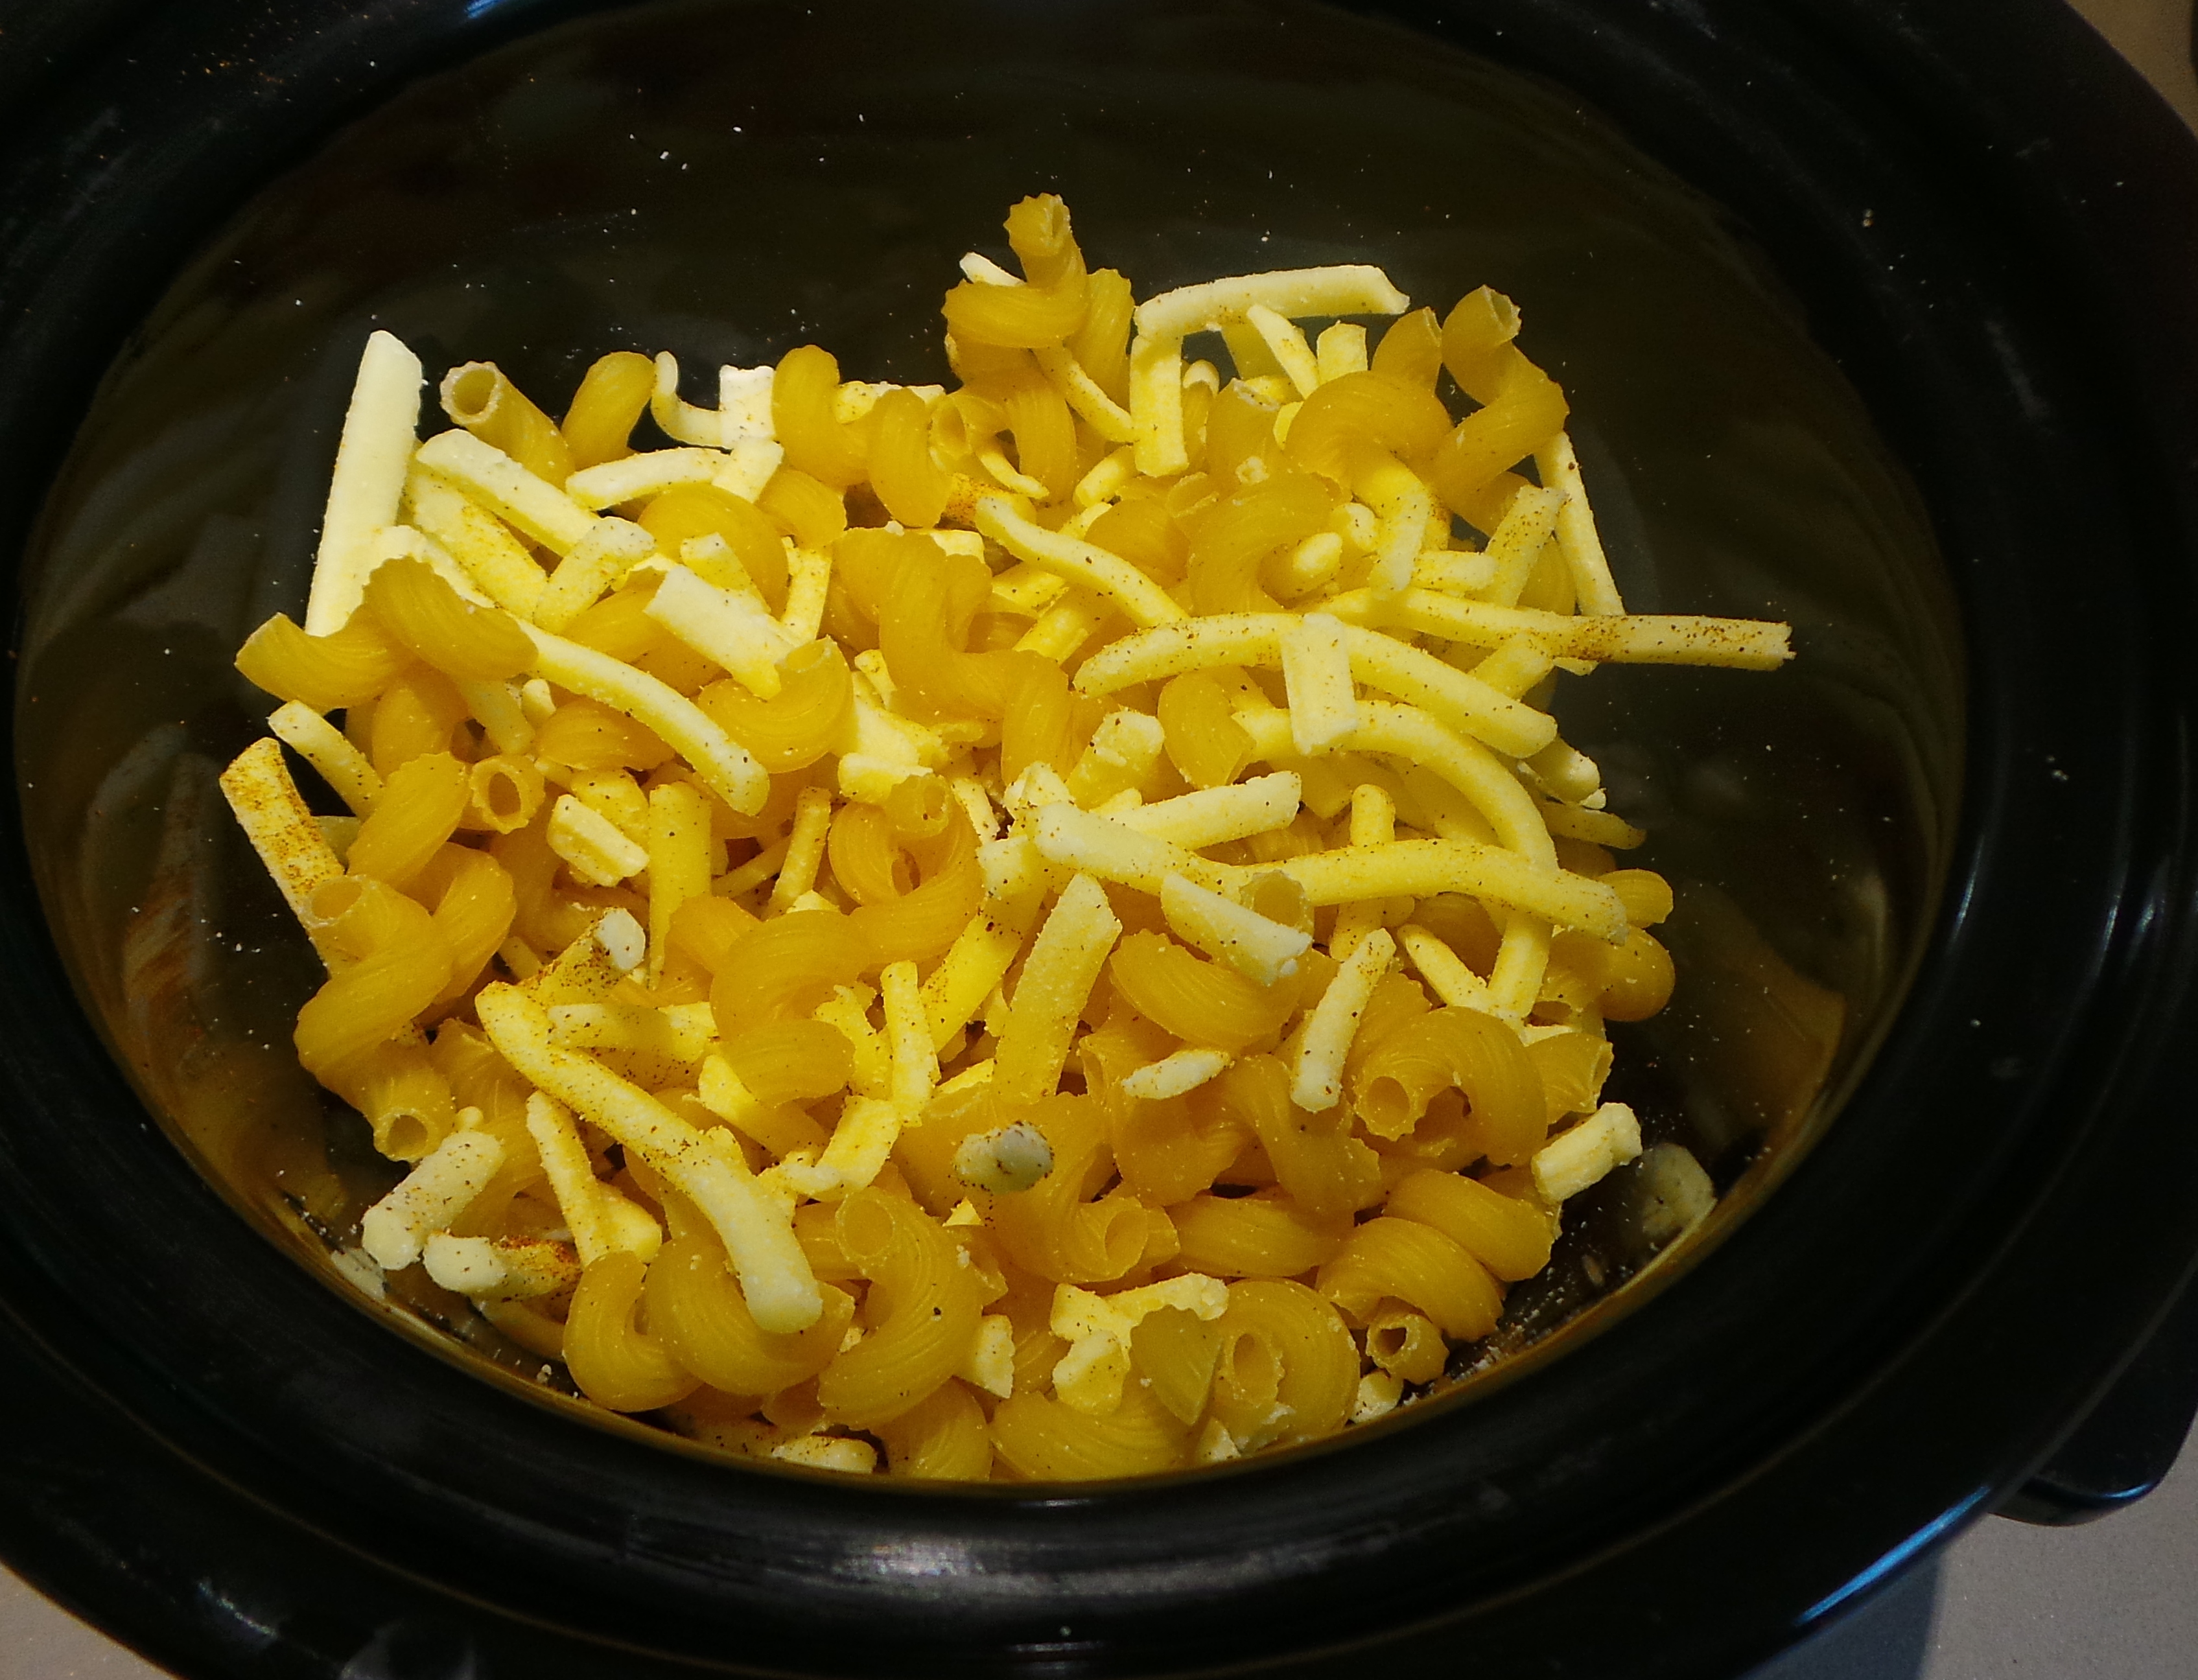
Add ¼ tsp mustard or a dash of Cayenne pepper to the flour before sifting. I like using a tablespoon of Old Bay Seasoning.
Add ½ a cup of grated tasty cheese before you add liquid.
Fruit Scones:
Add 2 tbsps of caster sugar to the flour before sifting.
Add 1/3 cup of dried fruit such as sultanas, currants, diced dried apricots or craisins before adding the liquid.