This is one of those dishes that takes more time to describe than to make.
It started out as a series of desperate texts to The Boy a few years ago. He was studying in another city and it sounded as though his diet and his health were in a truly parlous state – largely because food costs a lot and cooking is hard when you don’t know how to work things.
Which is why I started this blog.
I needed to get him eating at least one meal a week – preferably one with decent nutrition. So I fiddled a bit at my place using some tinned goods, came up with this and sent it to him in about 4 text messages.

Don’t be afraid of tinned food.
I’ll explain in slightly greater depth here. Please note, this dish costs about $4. Tacos and other flatbreads are extra.
As an aside, this is an excellent dish to teach to hungry teenagers who demand feeding every 15 minutes. It’s healthy and it will fill up those hollow legs quite well.
For two people, you’ll need an onion, a medium-sized red capsicum (or green if you prefer), a tin of kidney beans and a tin of diced tomatoes. If the idea of eating a vegetarian dish induces a cold sweat, then try adding a diced rasher of bacon into the pan with the onion.
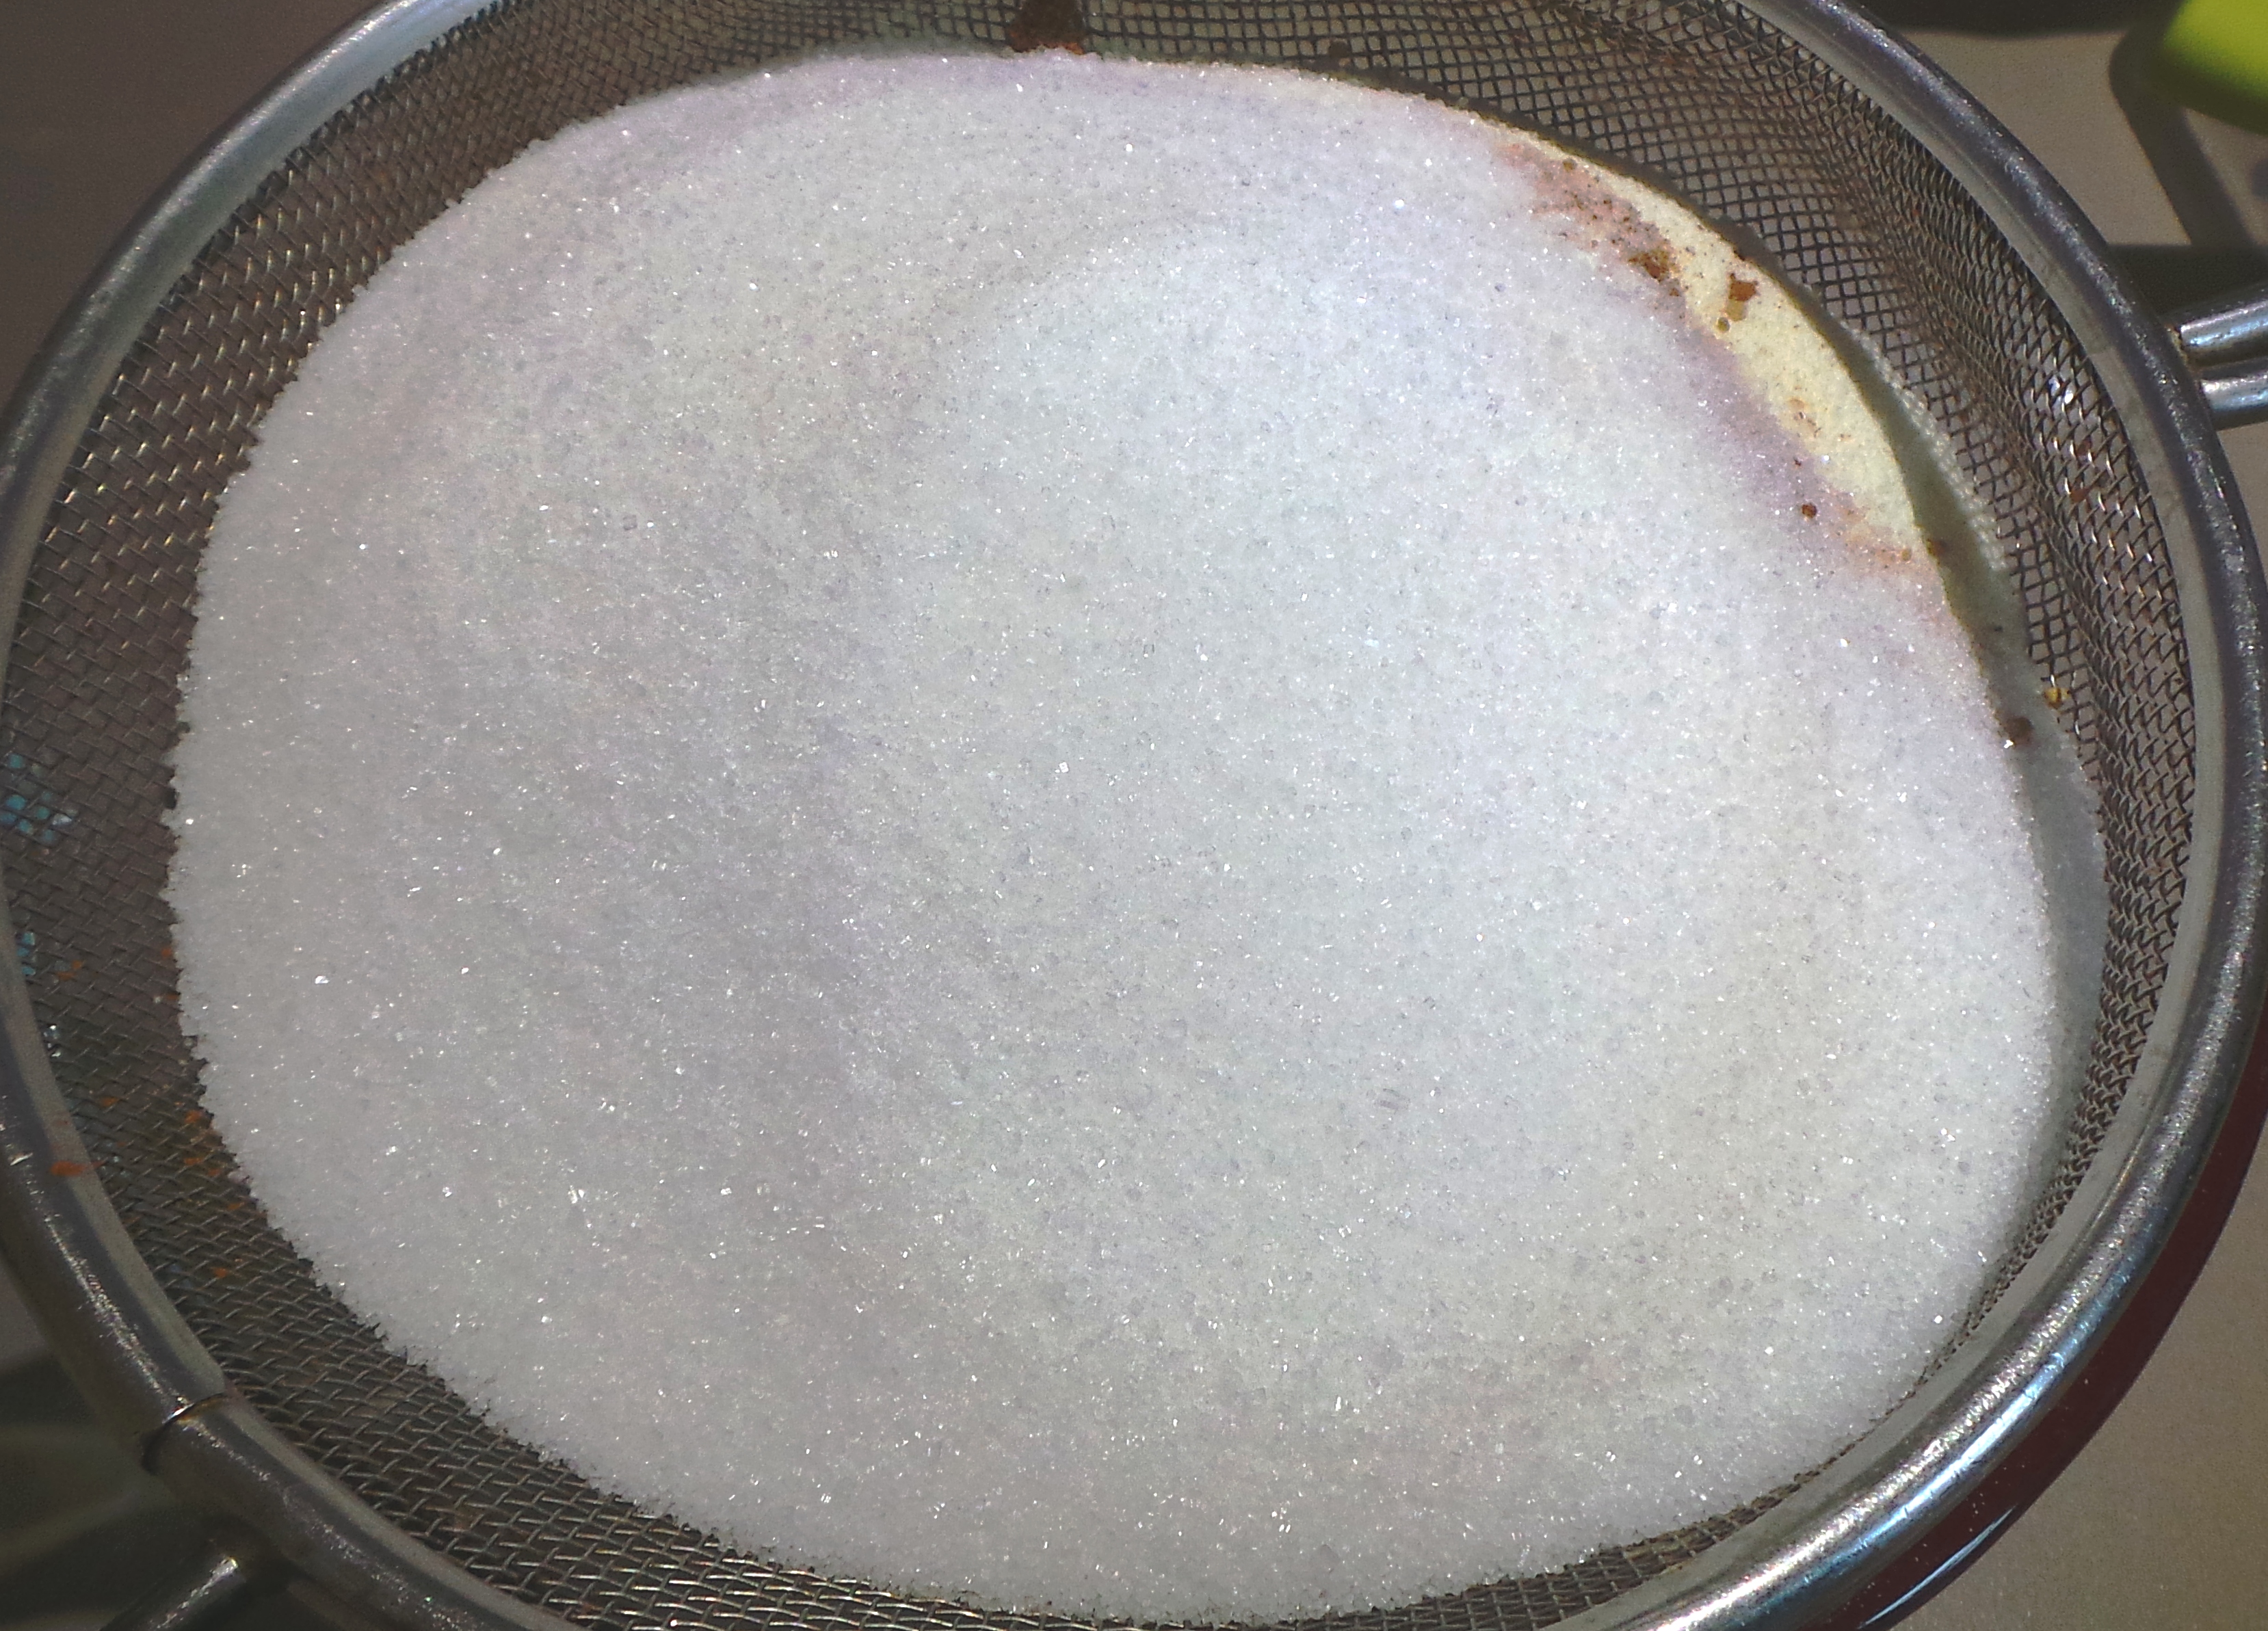
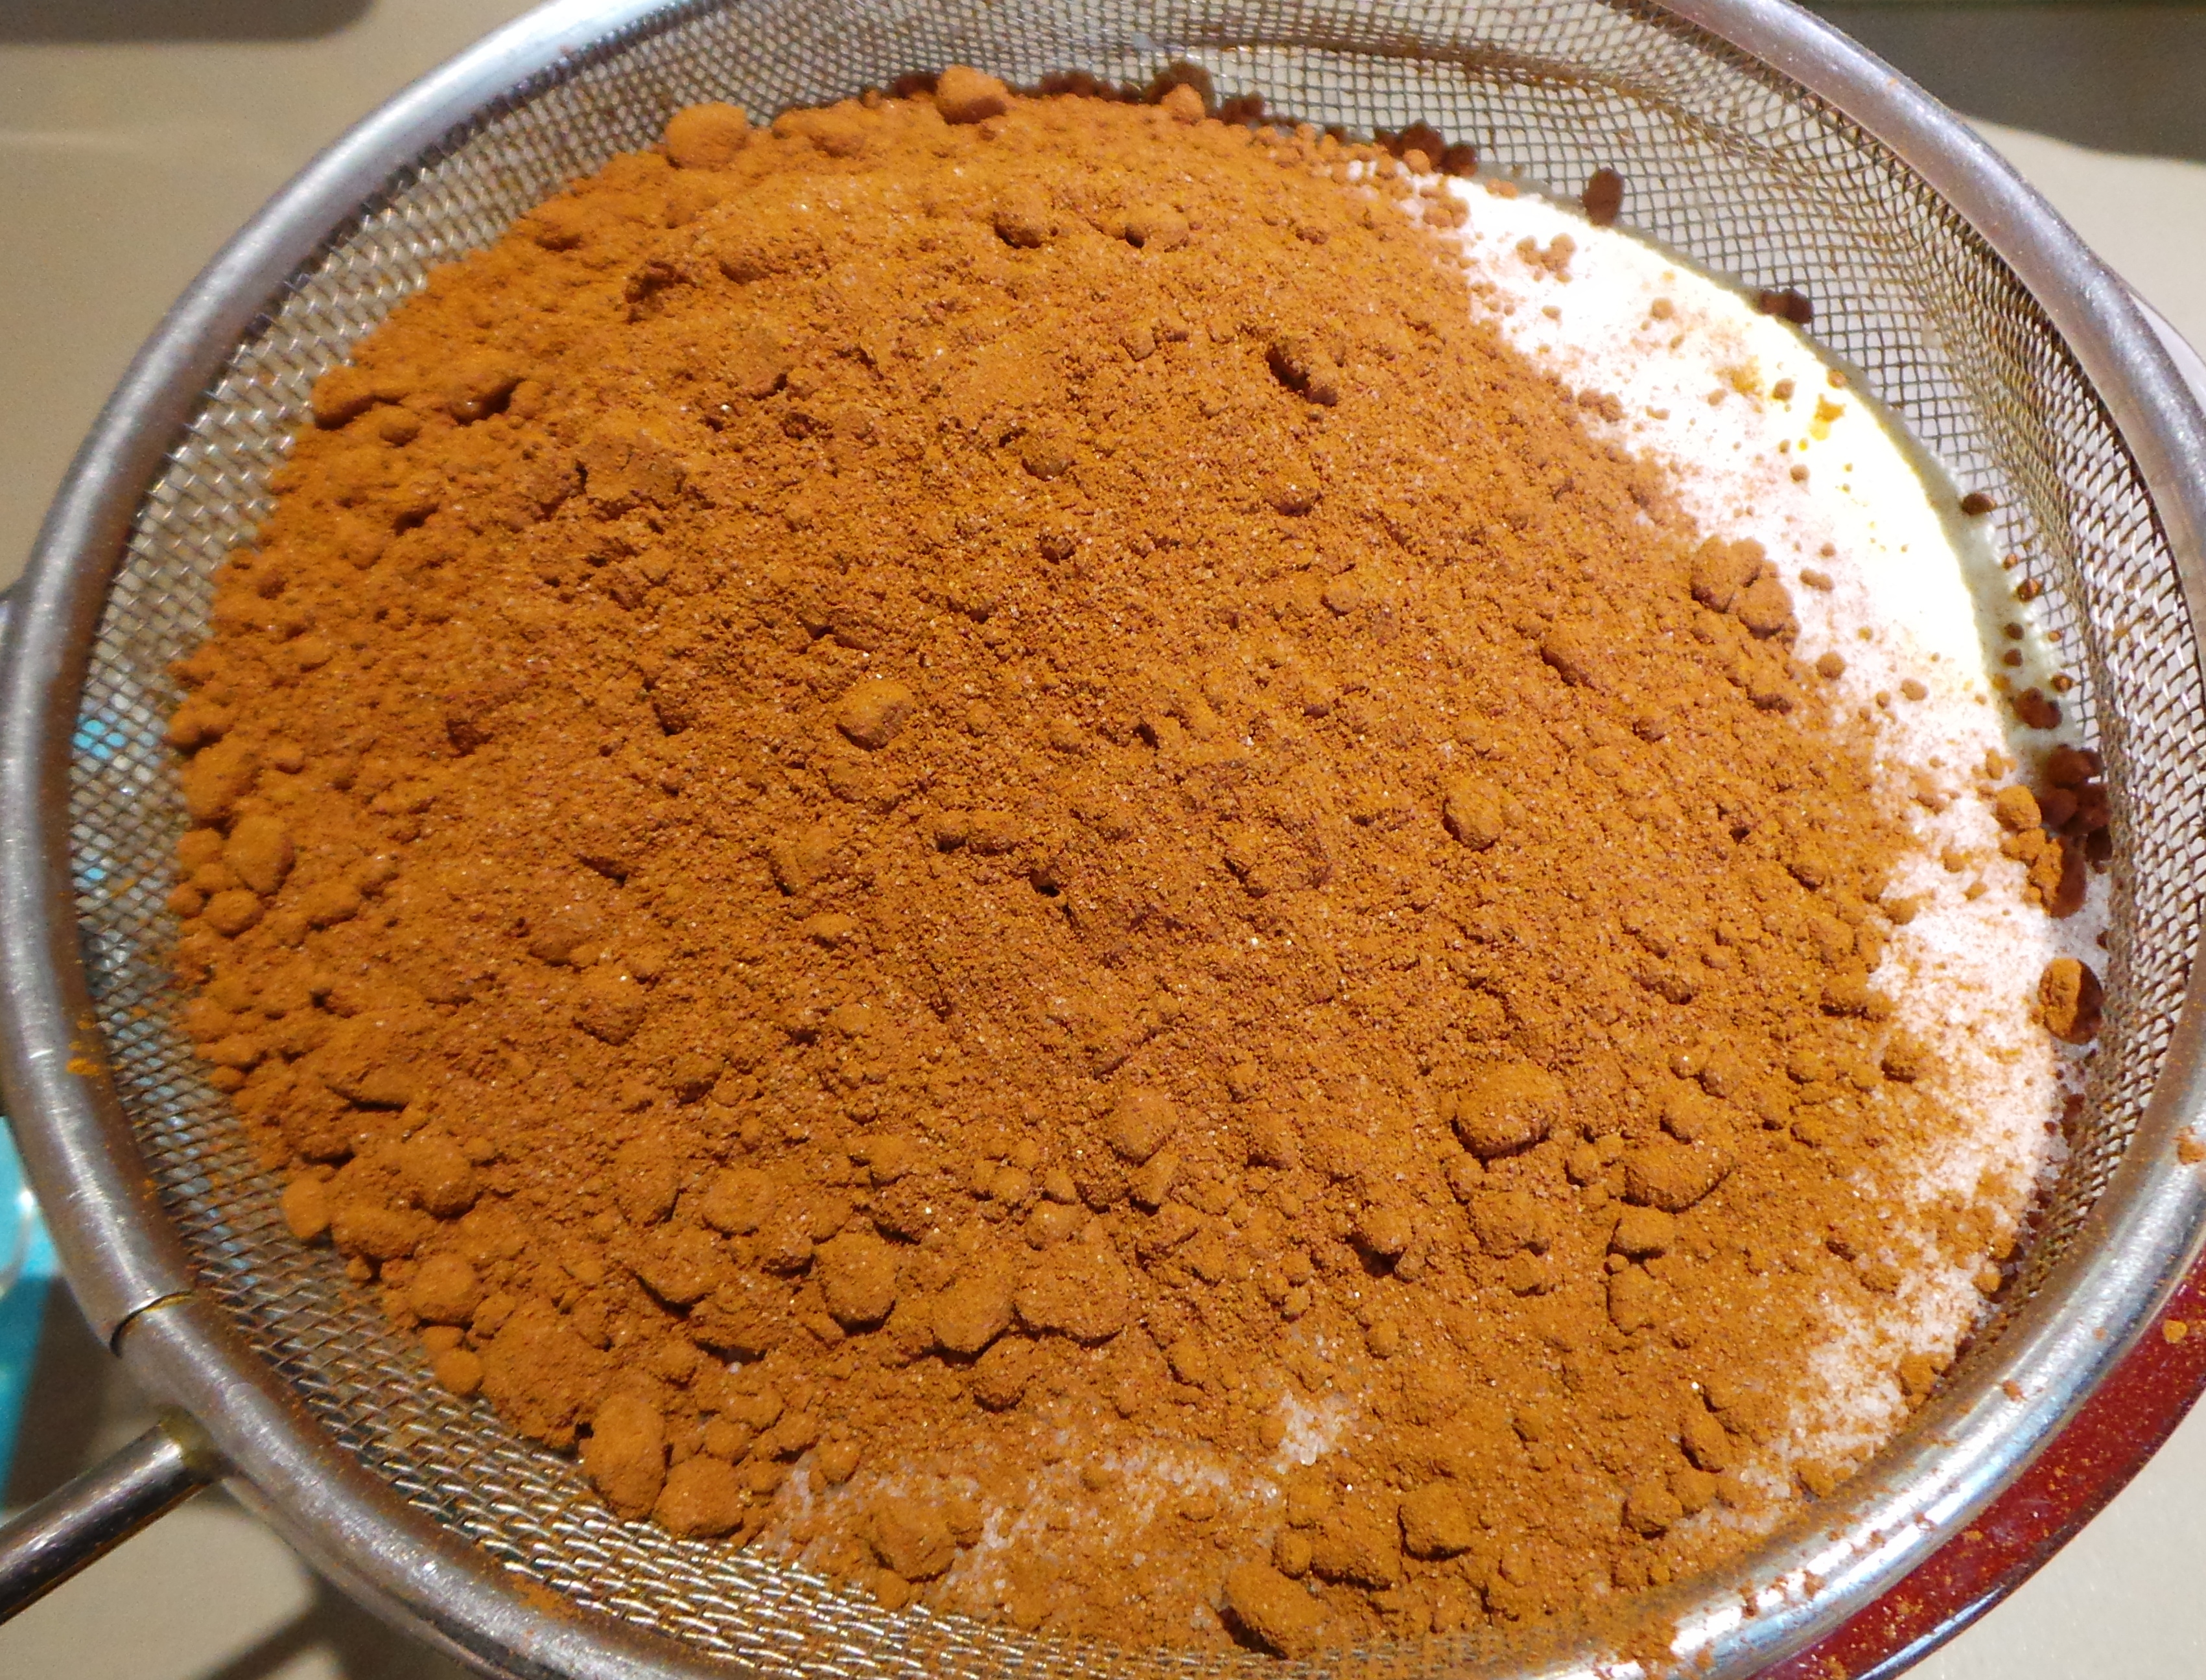
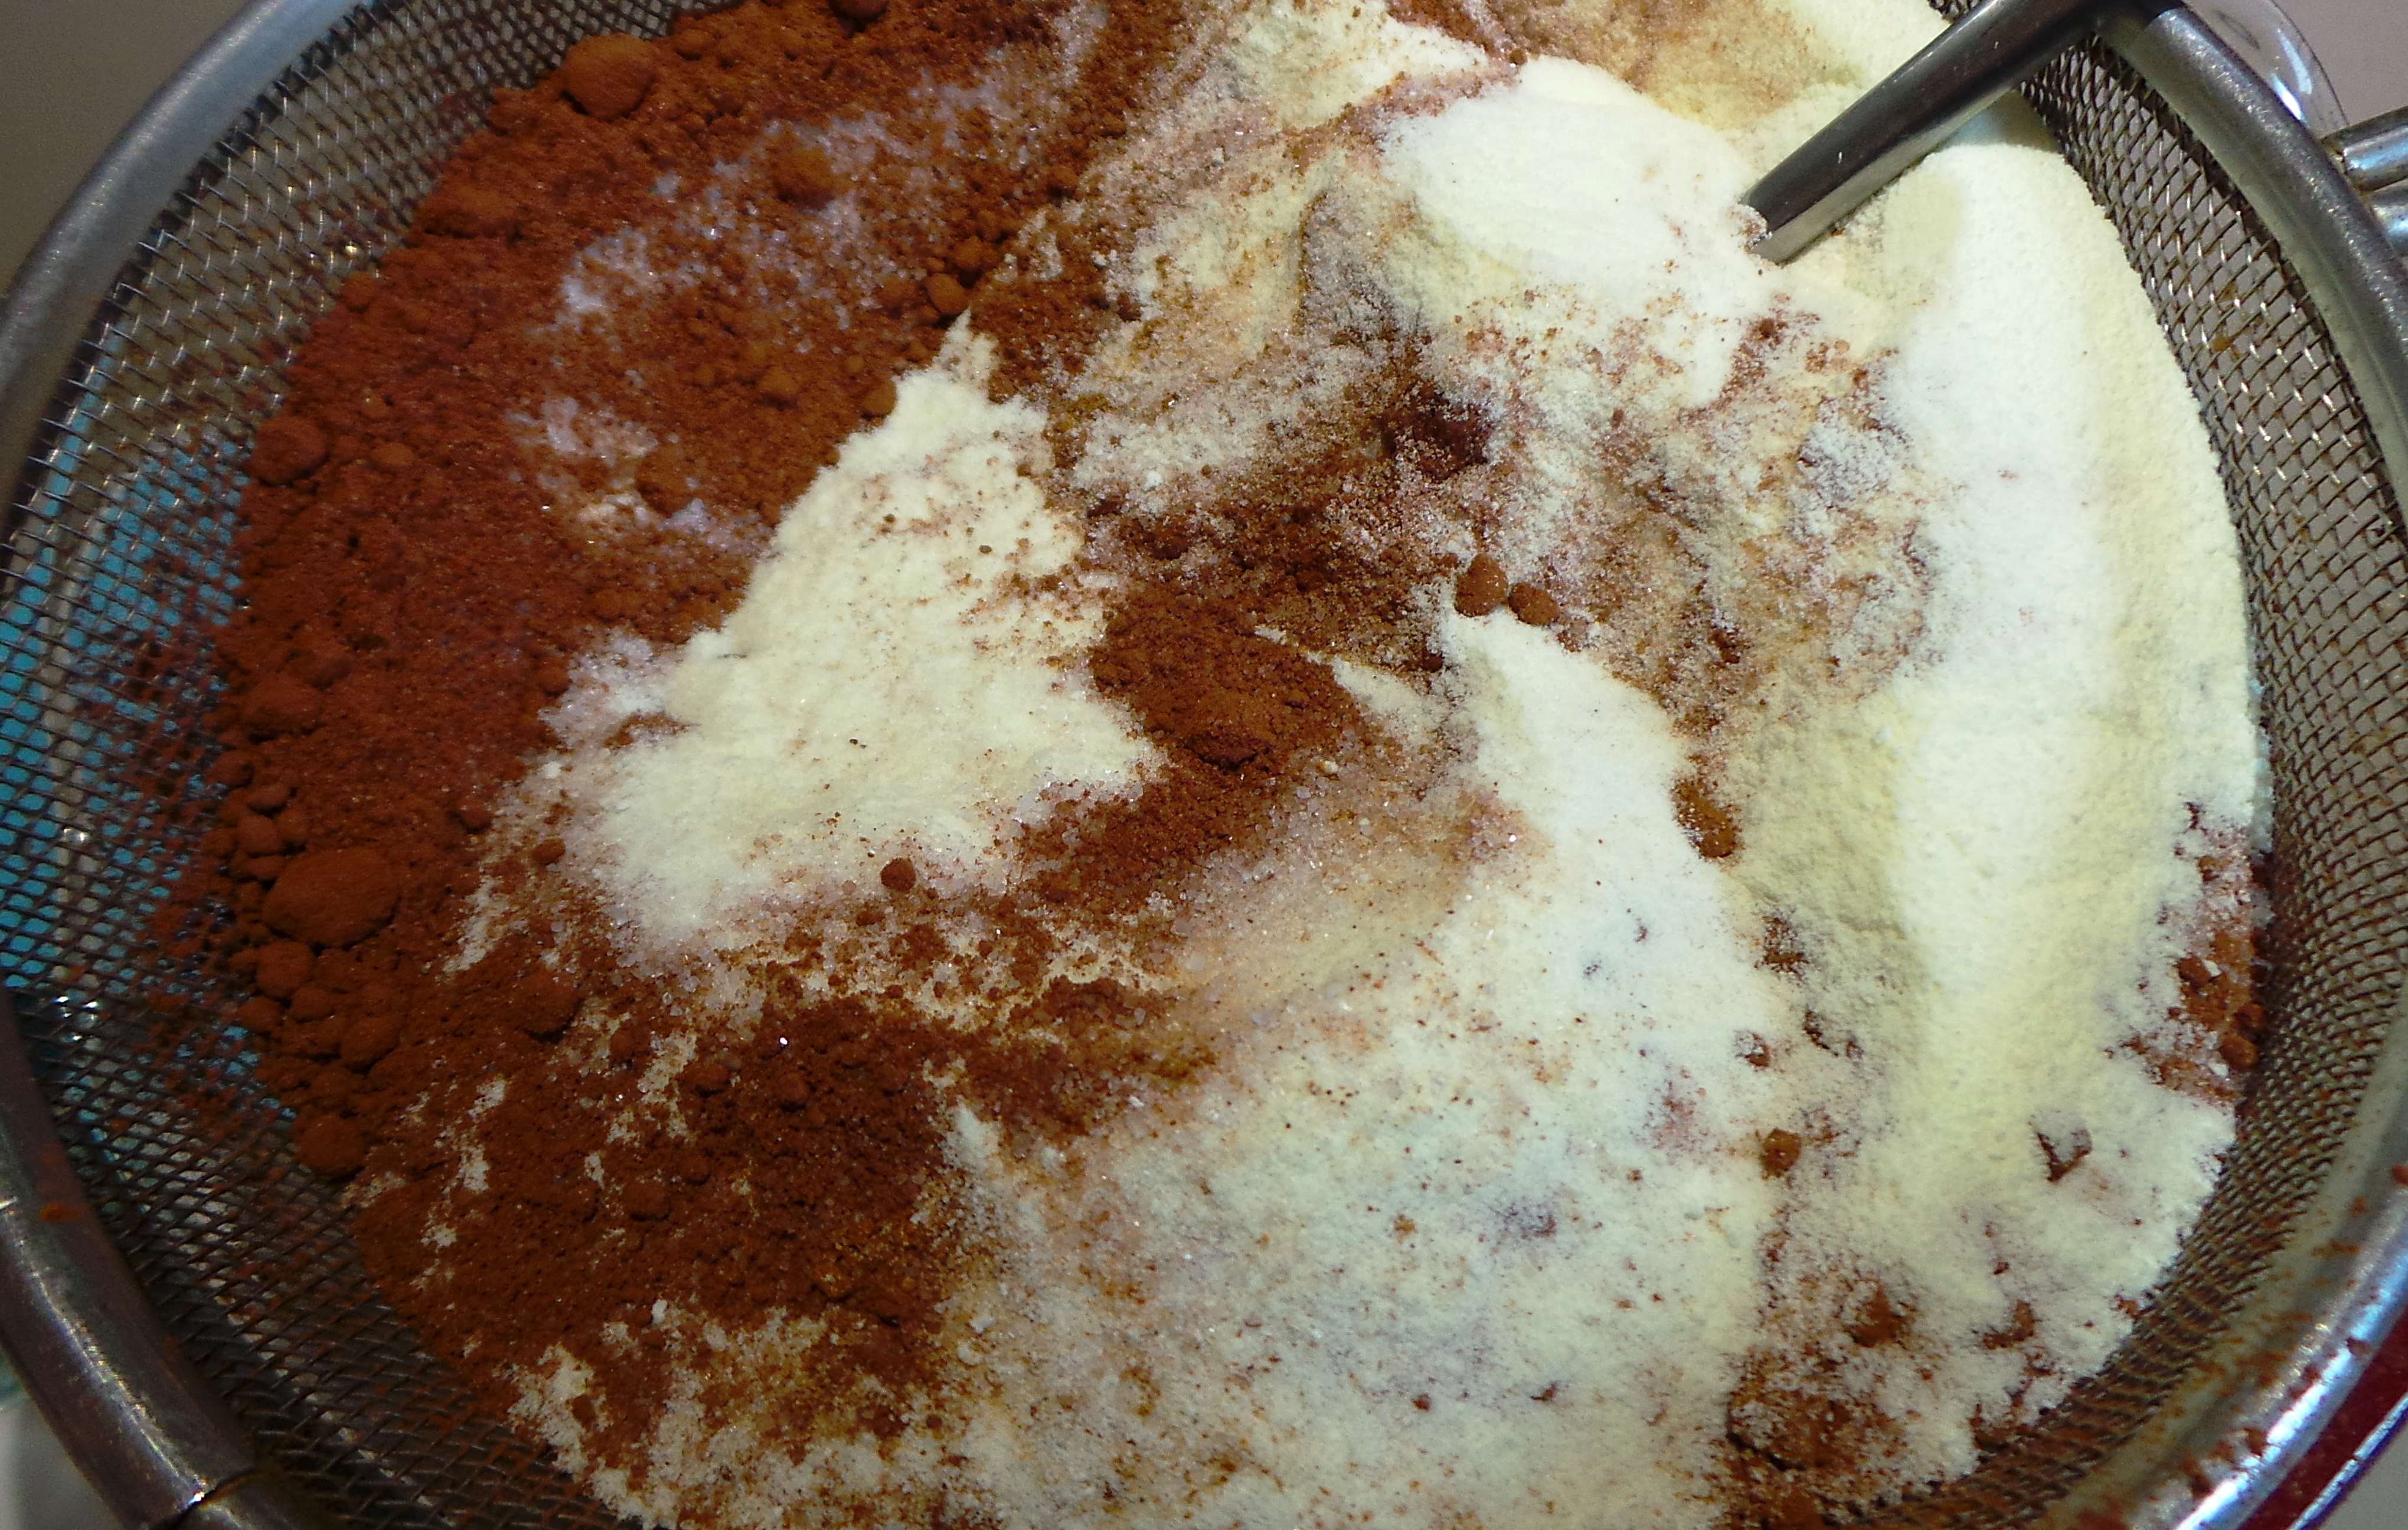
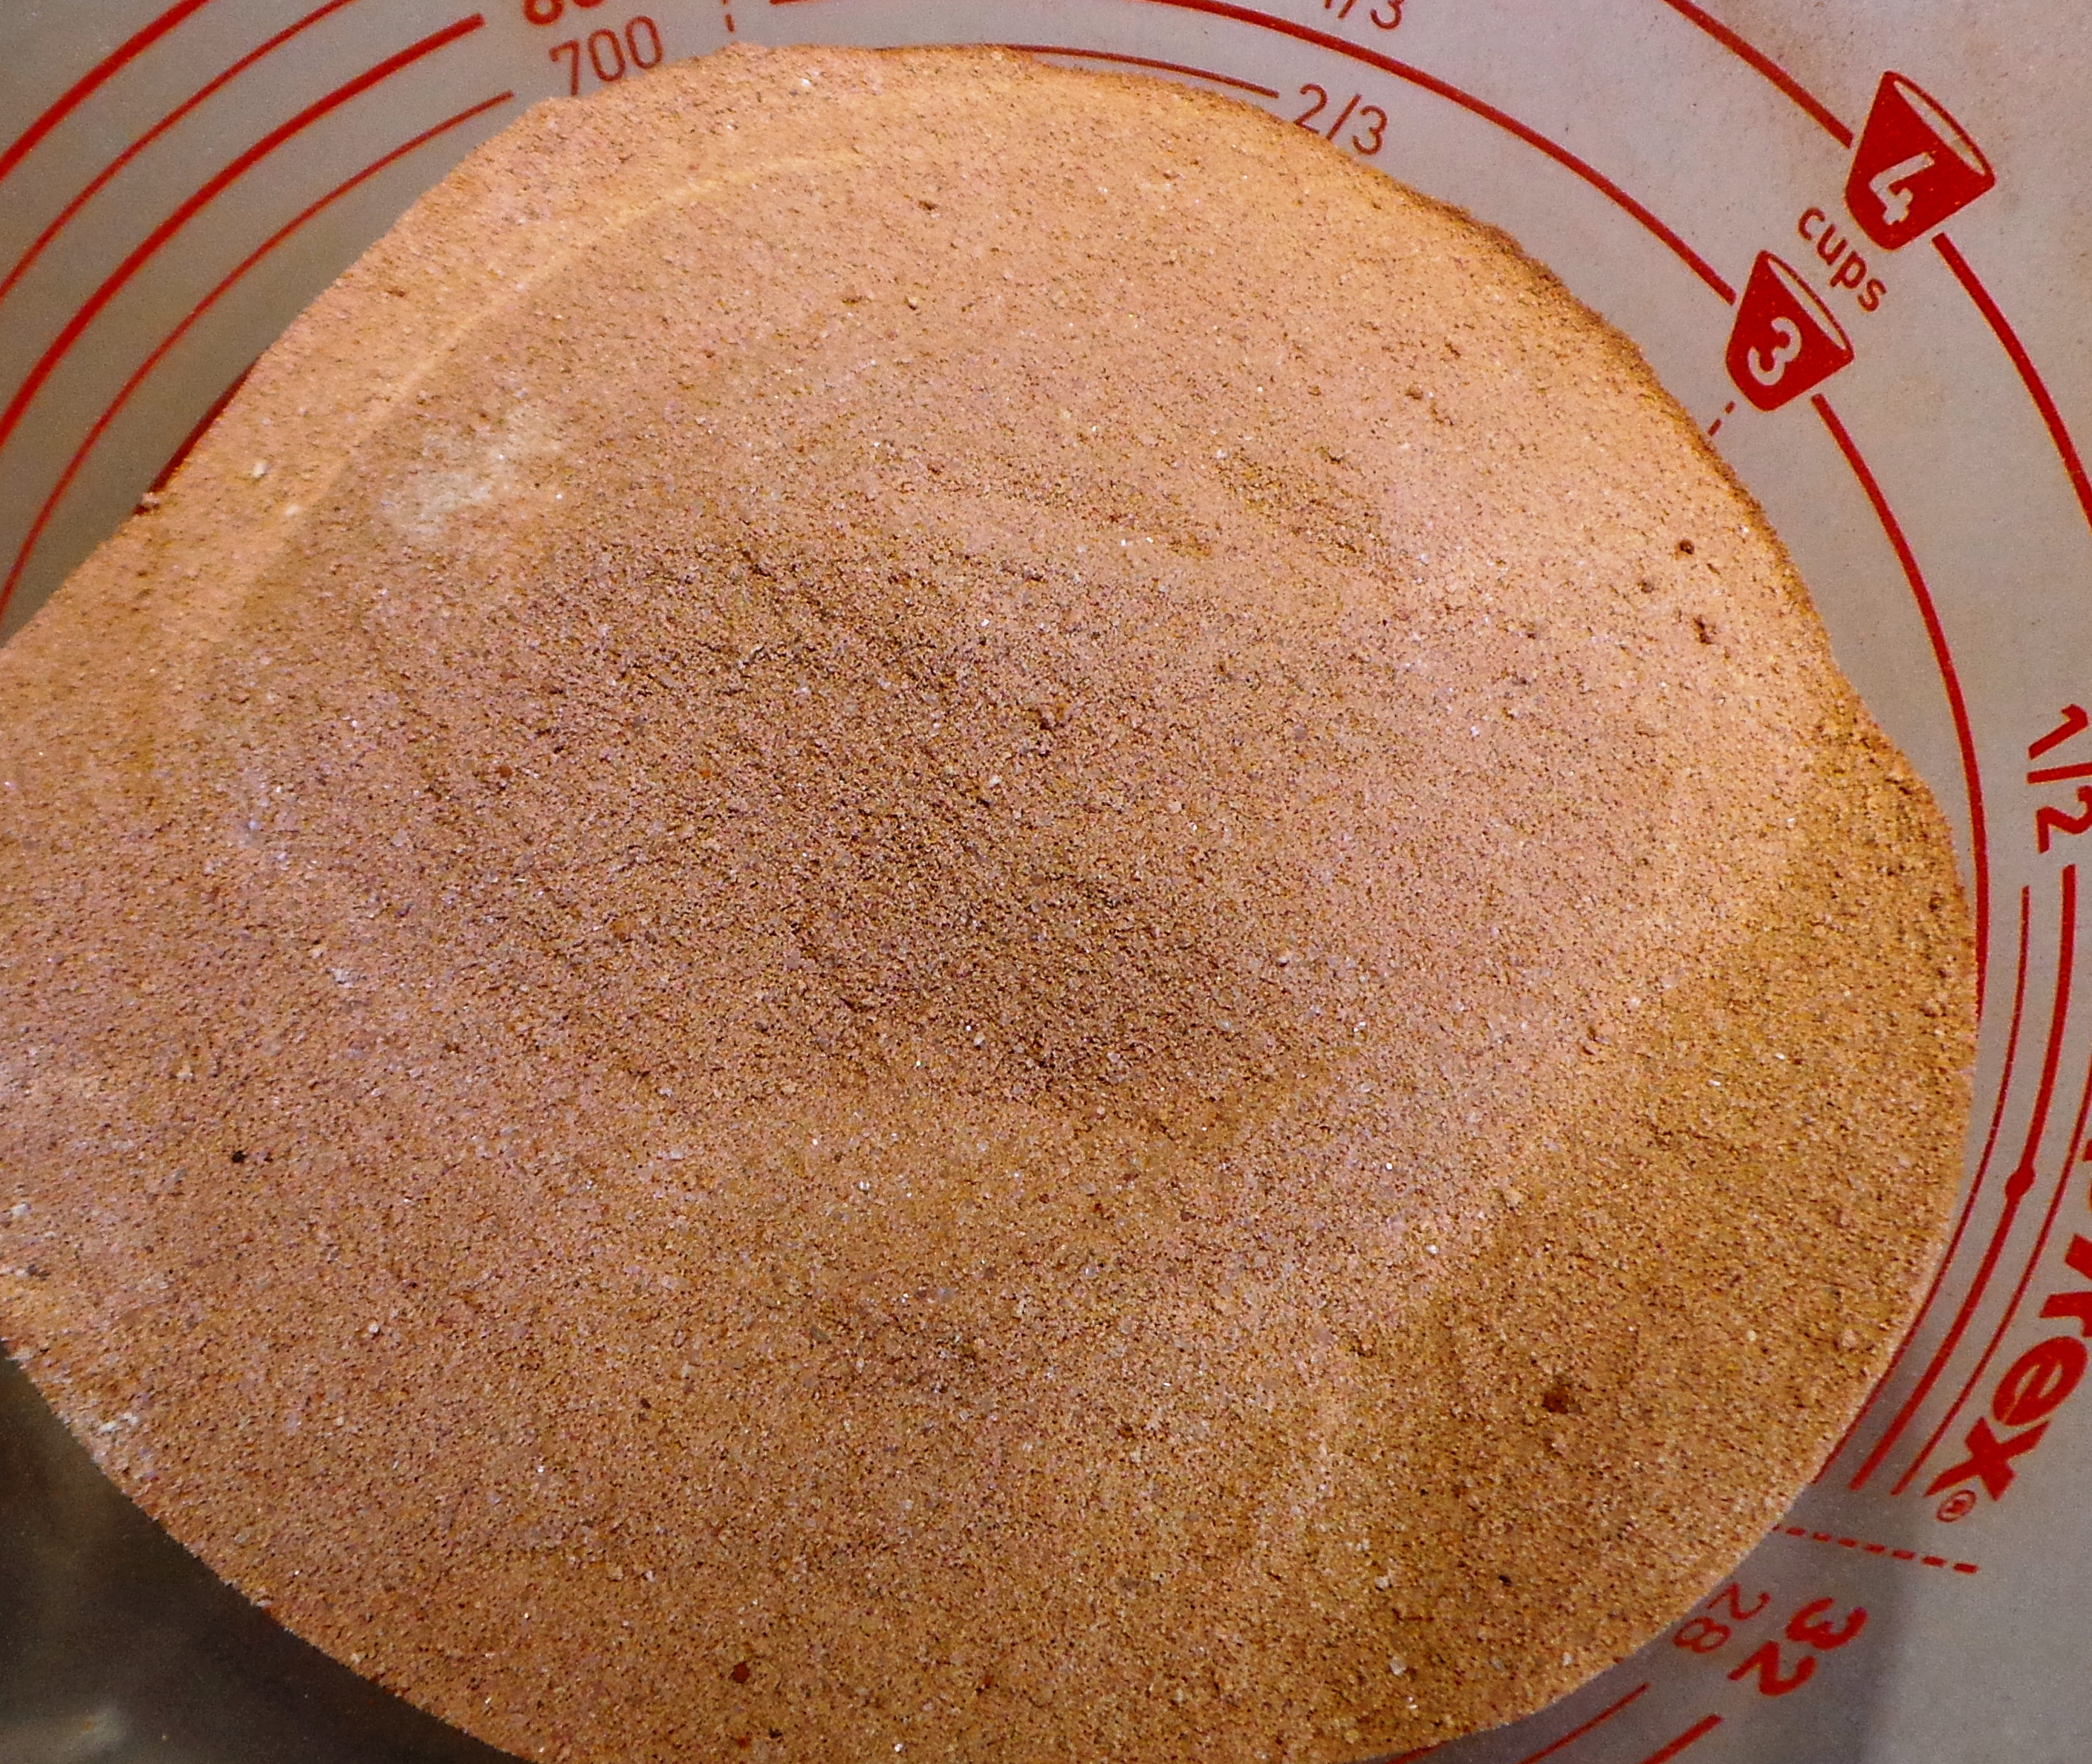
You’ll also need whatever spices you want to add. The Boy uses a Taco Mix I bought him at a friend’s YIAH party.
We serve this with tortillas, tacos or wraps warmed in the oven while the beans are cooked. It’s also appeared on the table accompanied by corn chips for dipping.
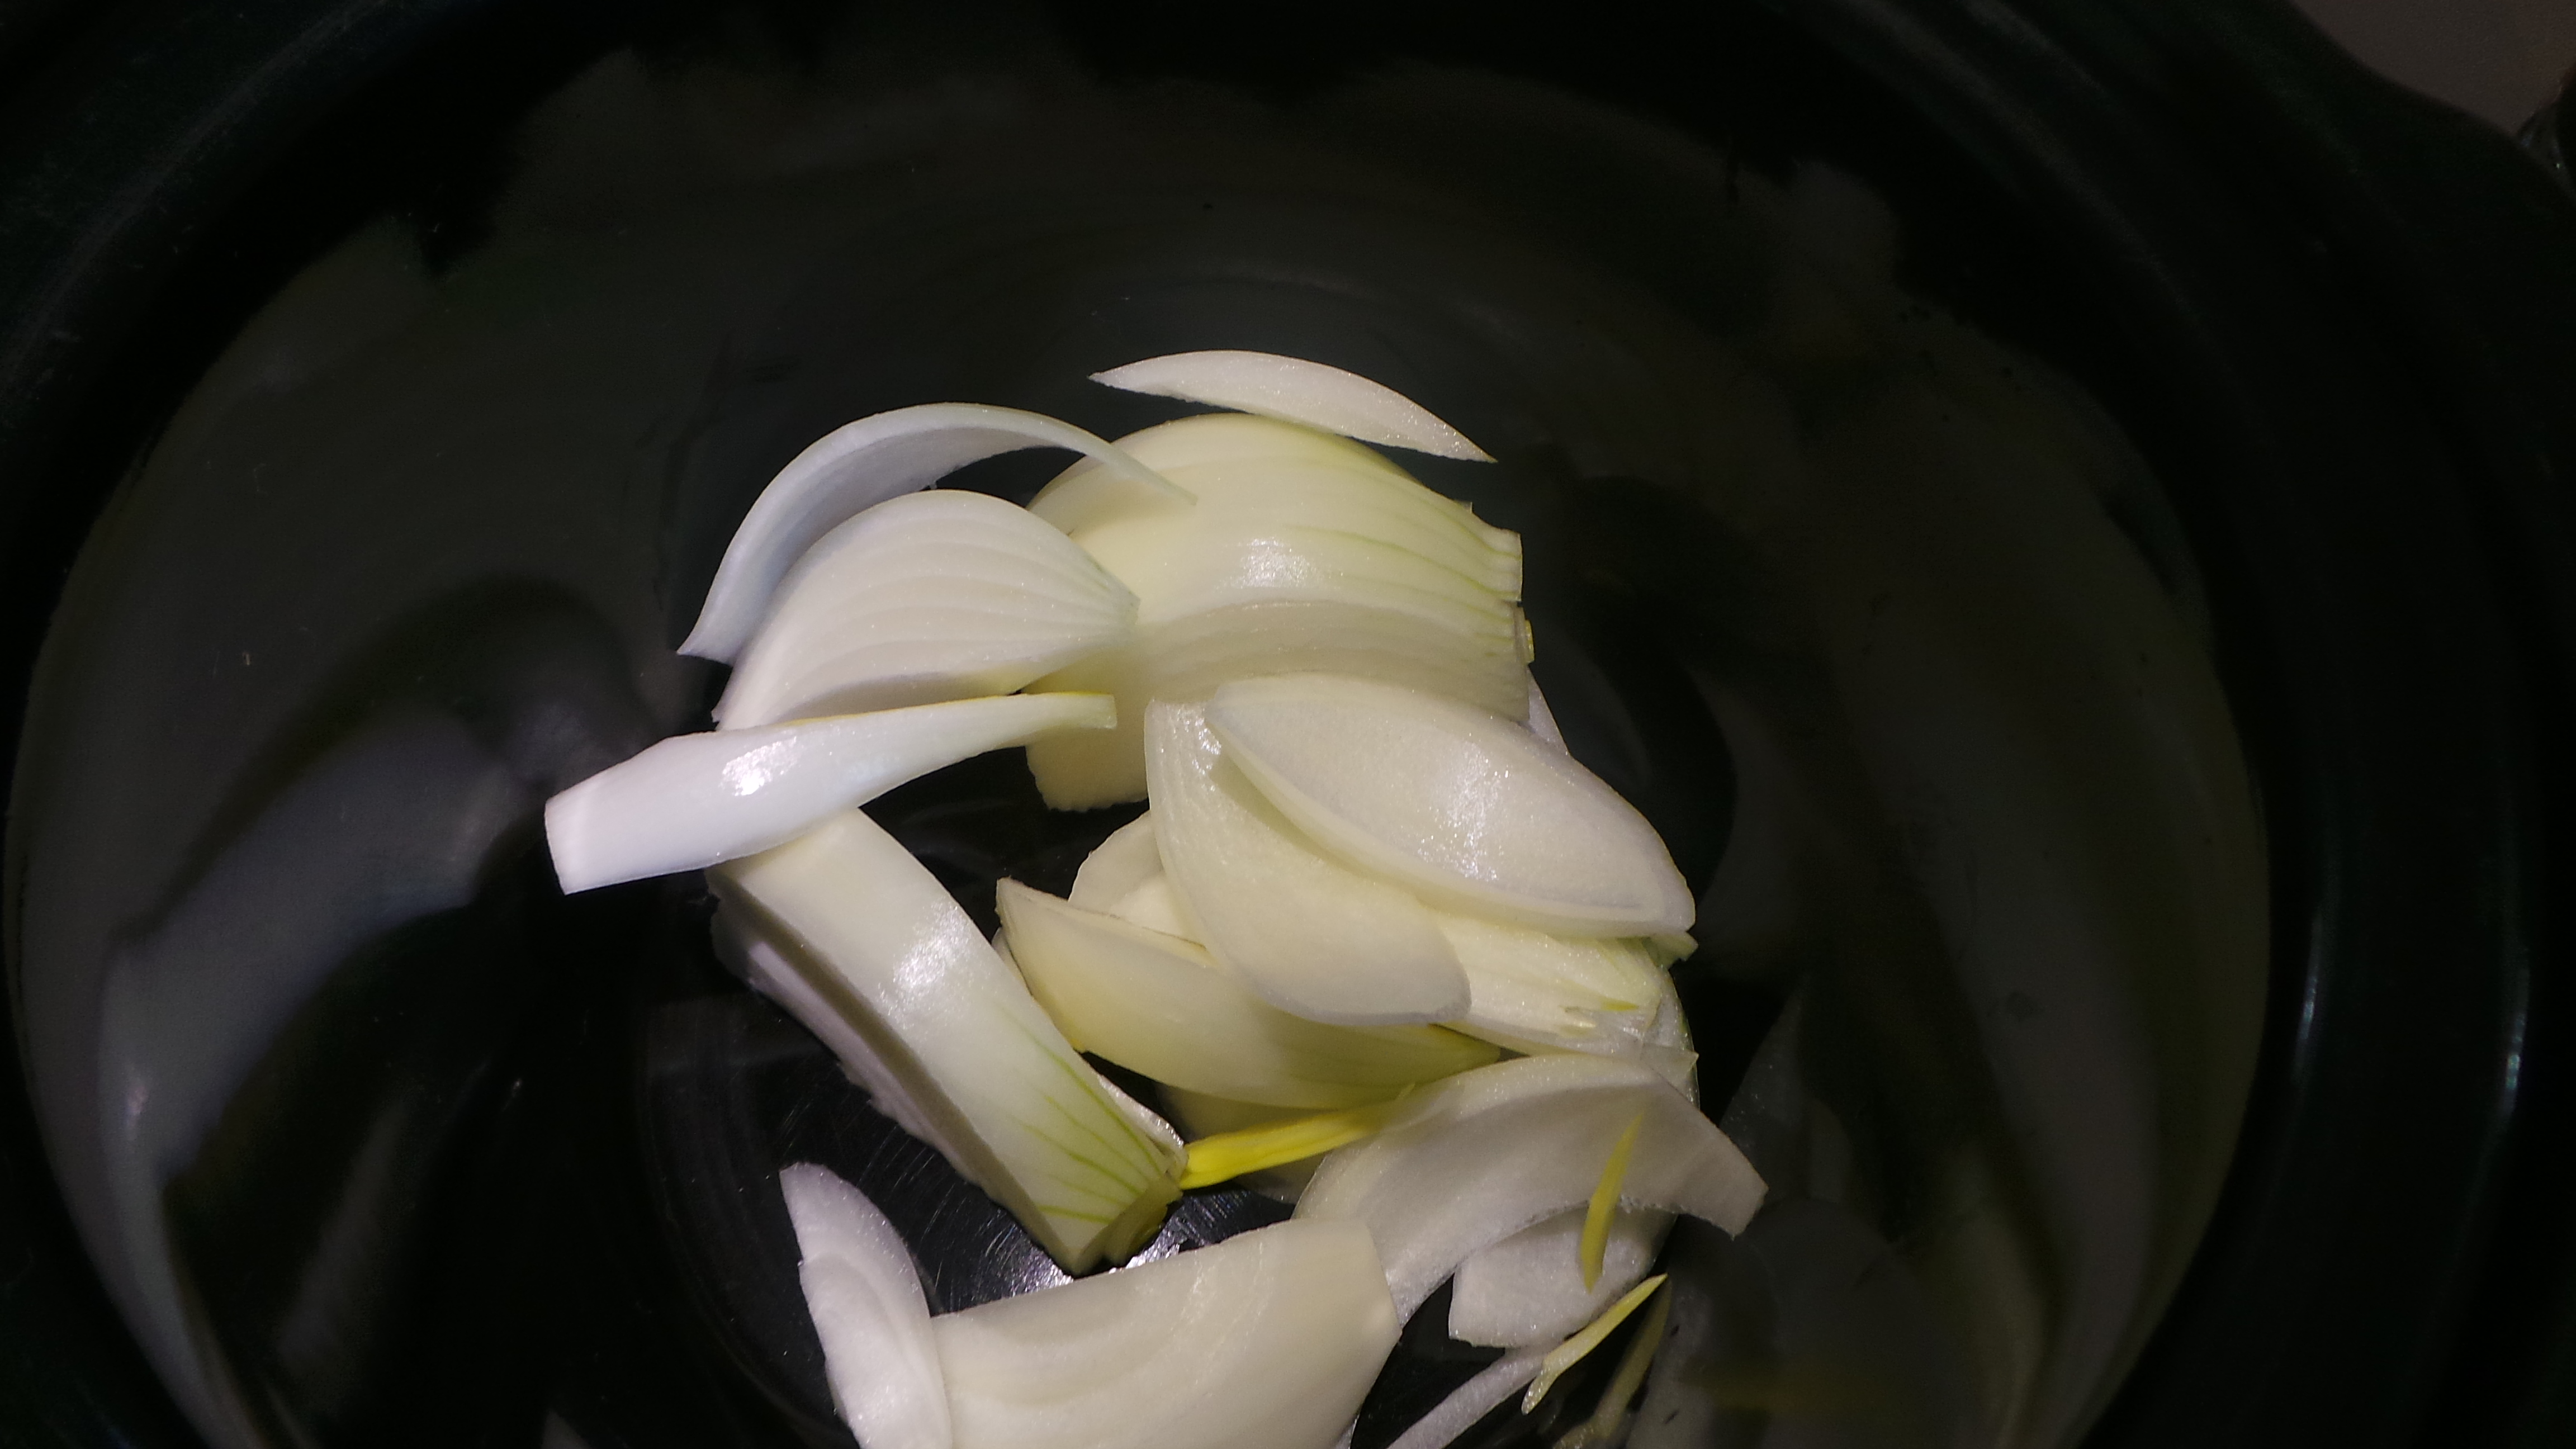
Dice your onion and capsicum and then sauté them over a gentle heat until the onion is translucent. If I’m the one cooking, I’ll add a finely chopped stick of celery just to add some colour and crunch.
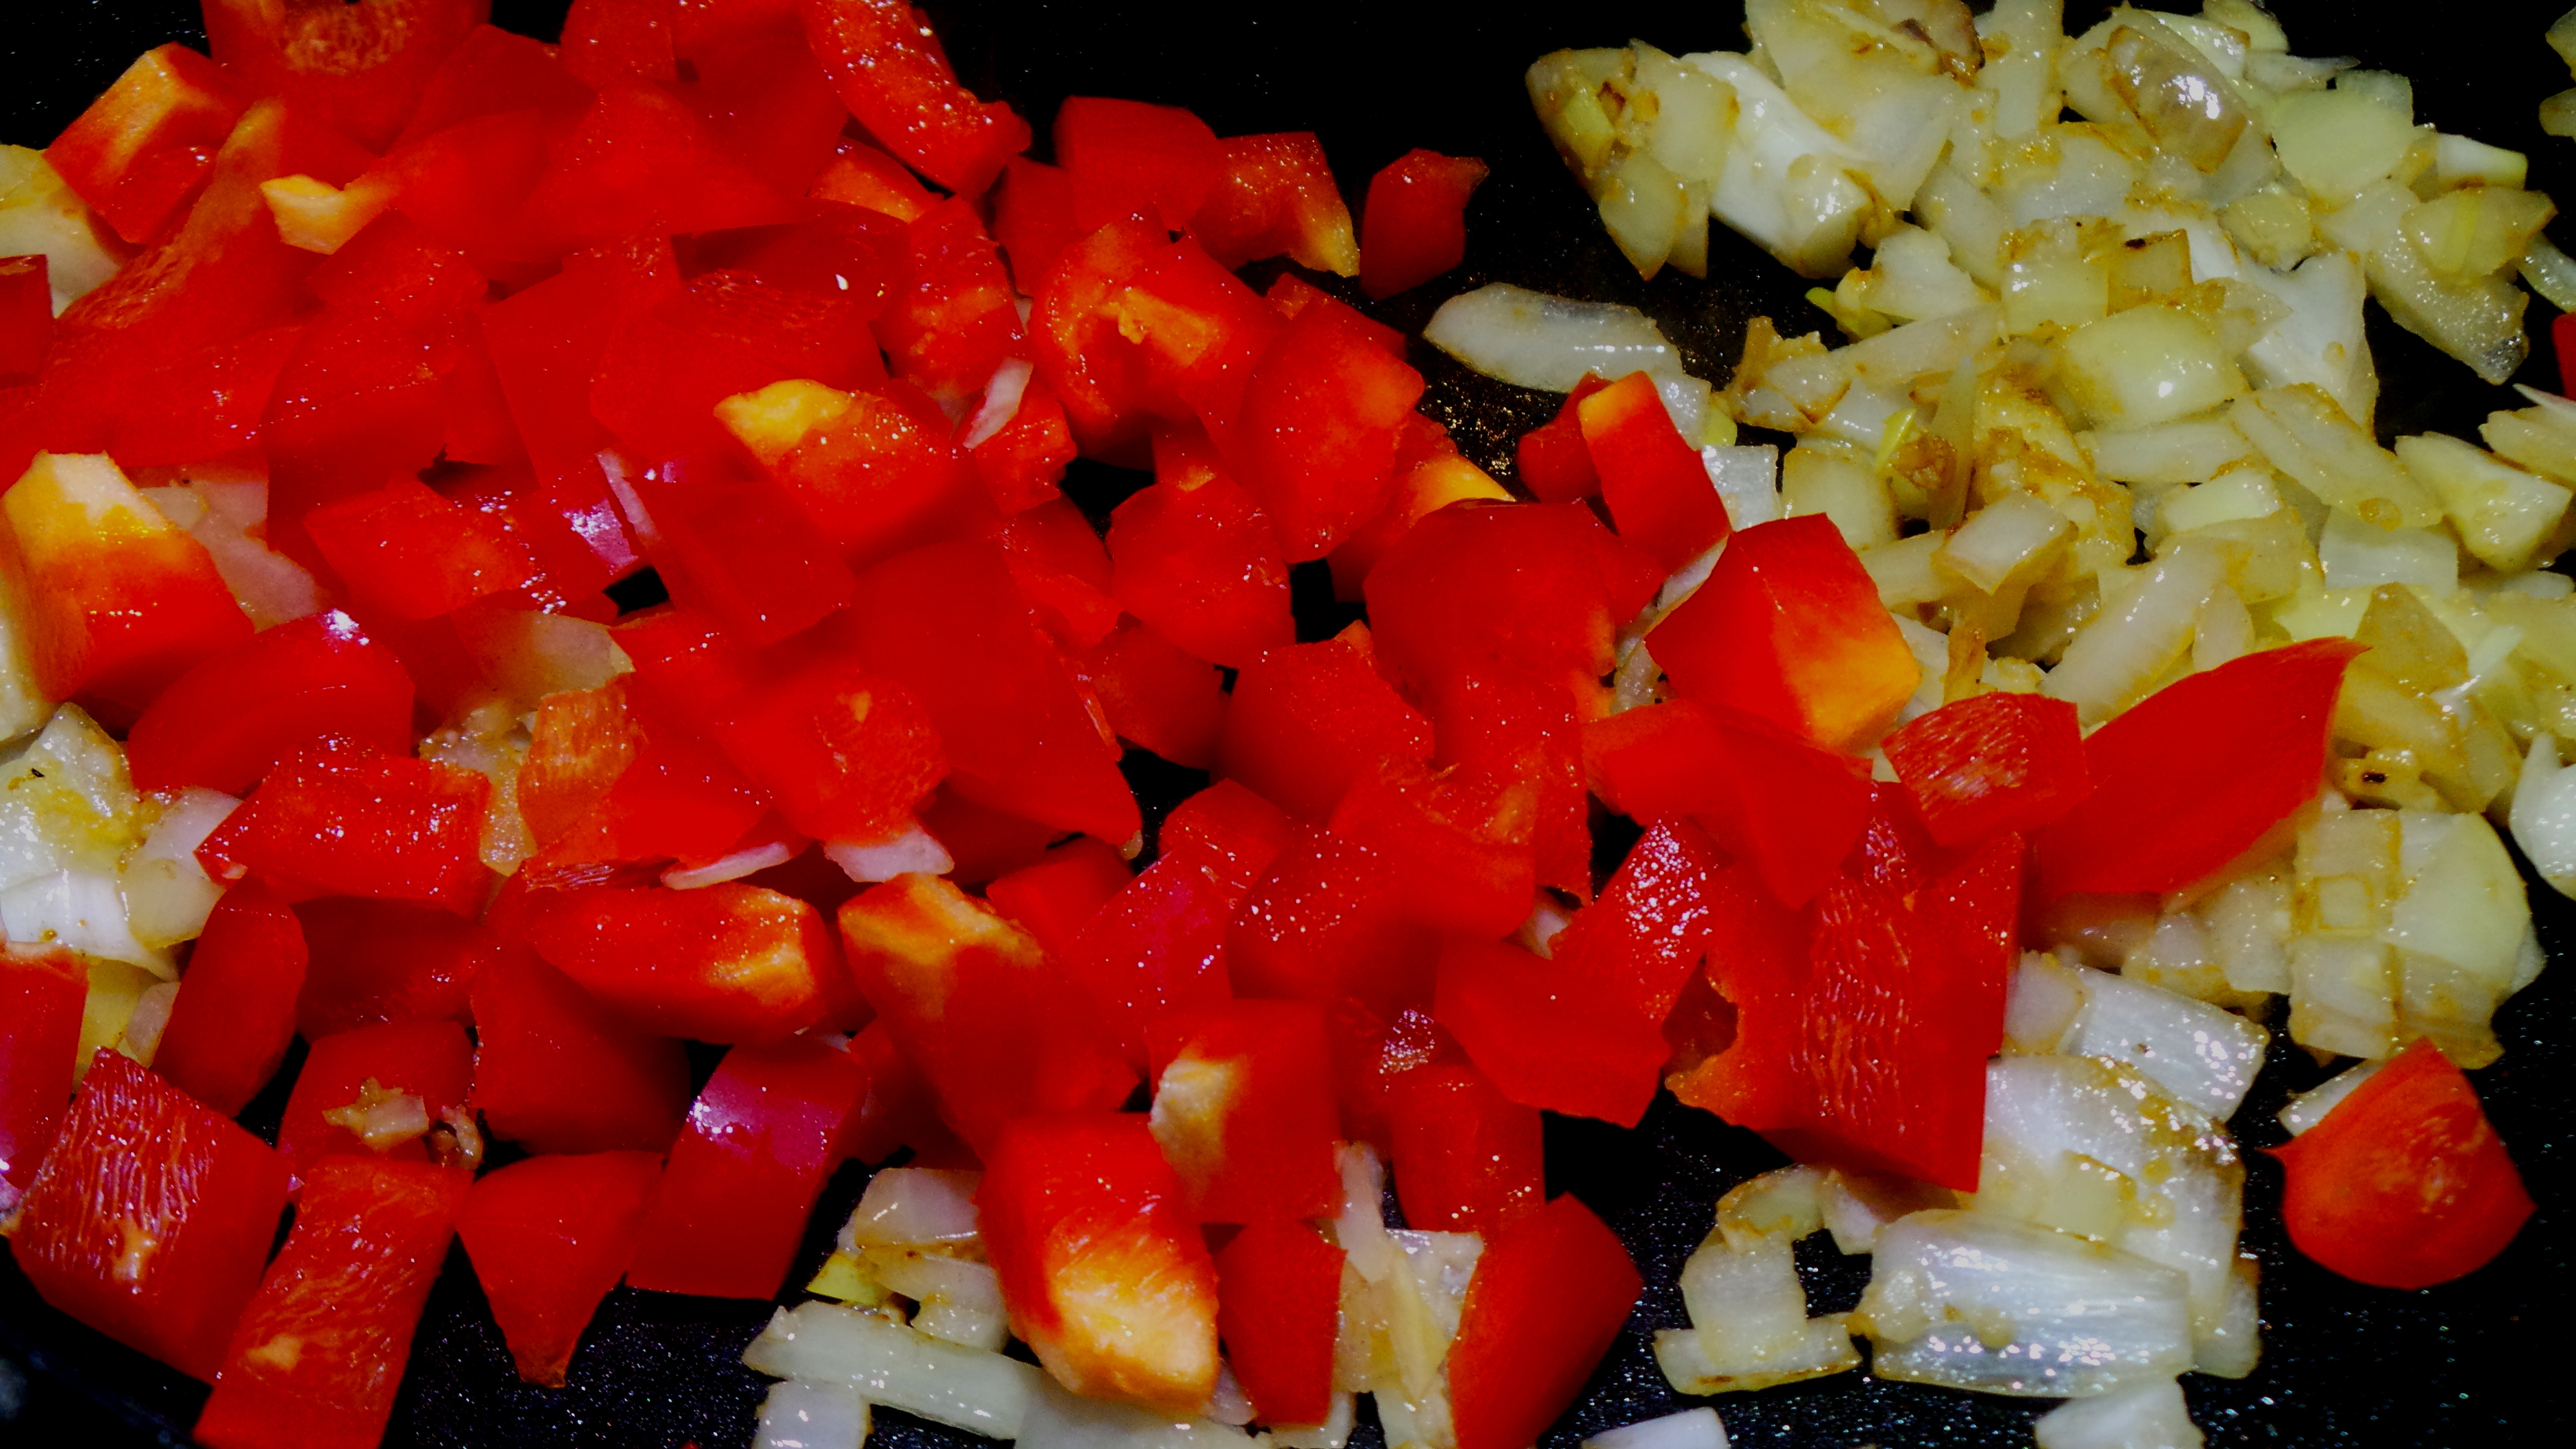
Start with your fresh vegies.
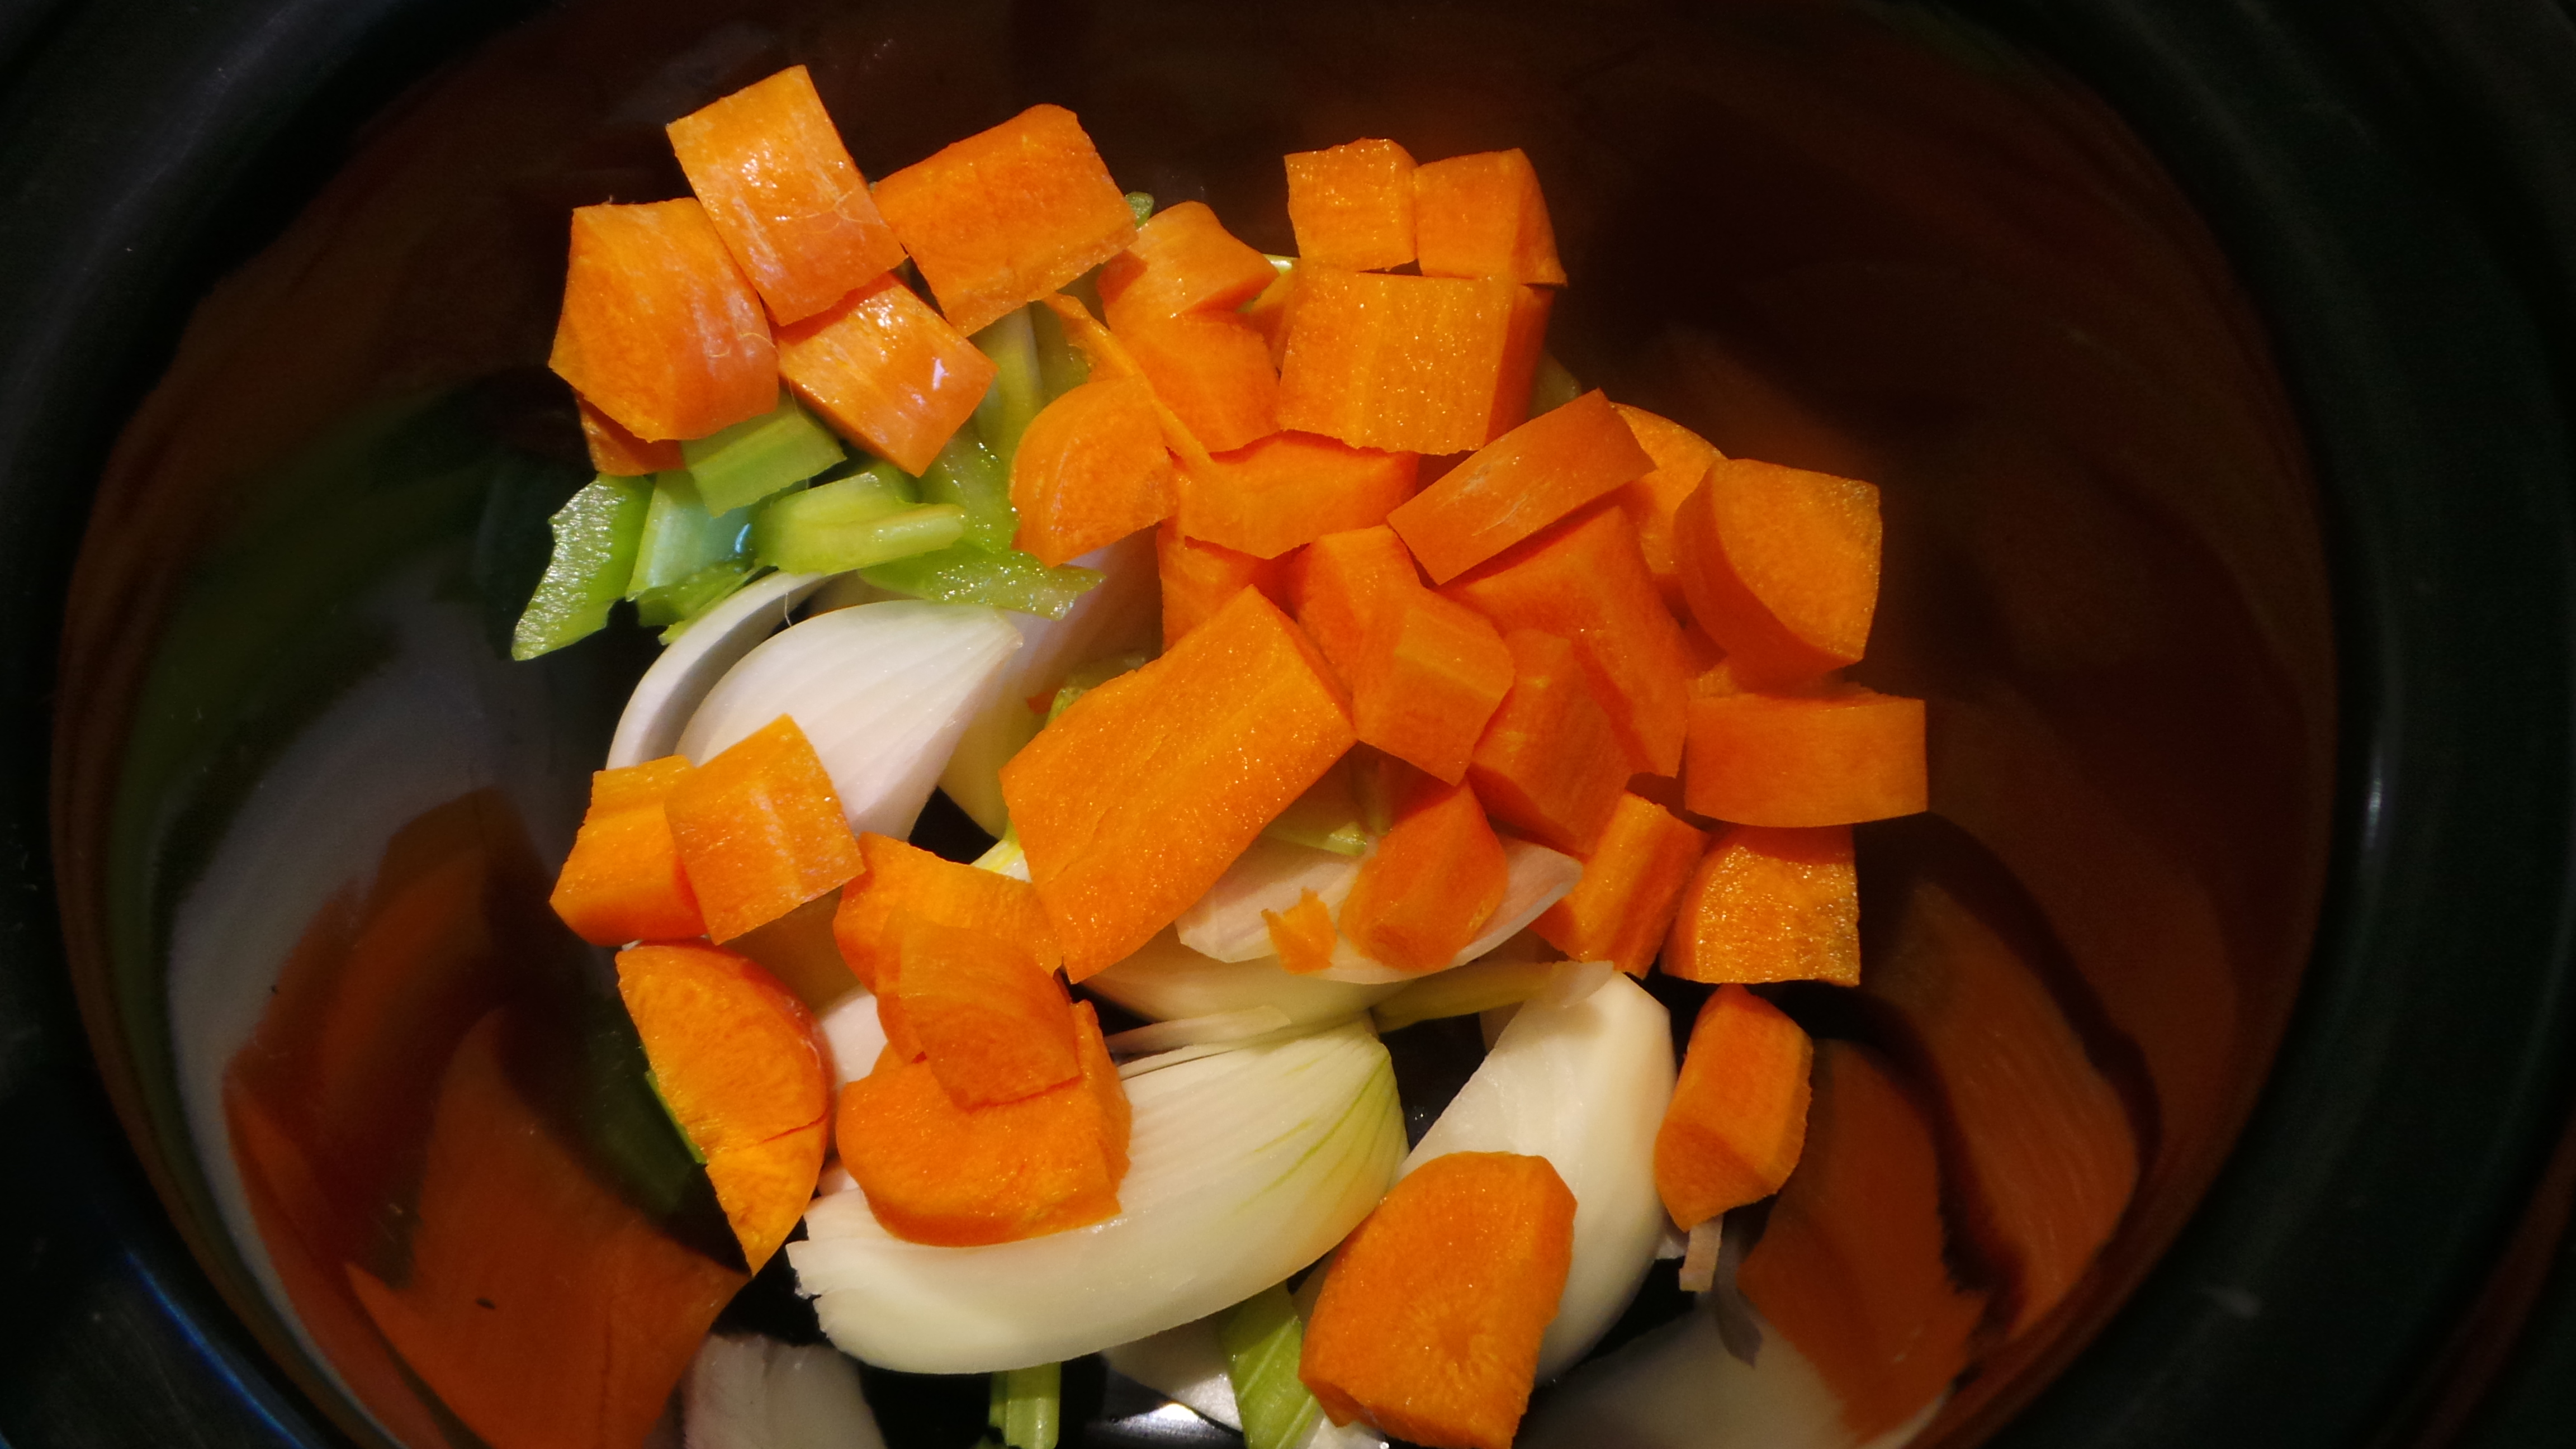
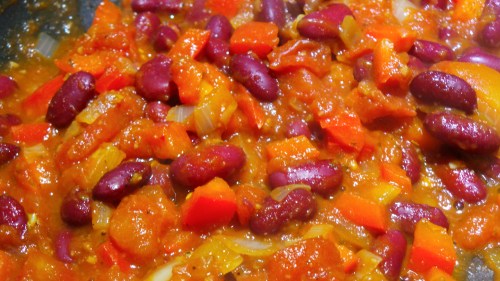
Now drain your kidney beans and rinse. Add the beans and the tin of tomatoes to the pan. Again, if I’m cooking, I’ll also throw in a small tin of corn kernels. This adds even more colour, a slightly different texture, and a touch of sweetness. If you are doubling the recipe, then try using a tin of kidney beans and a tin of black beans for even more colour and variety.
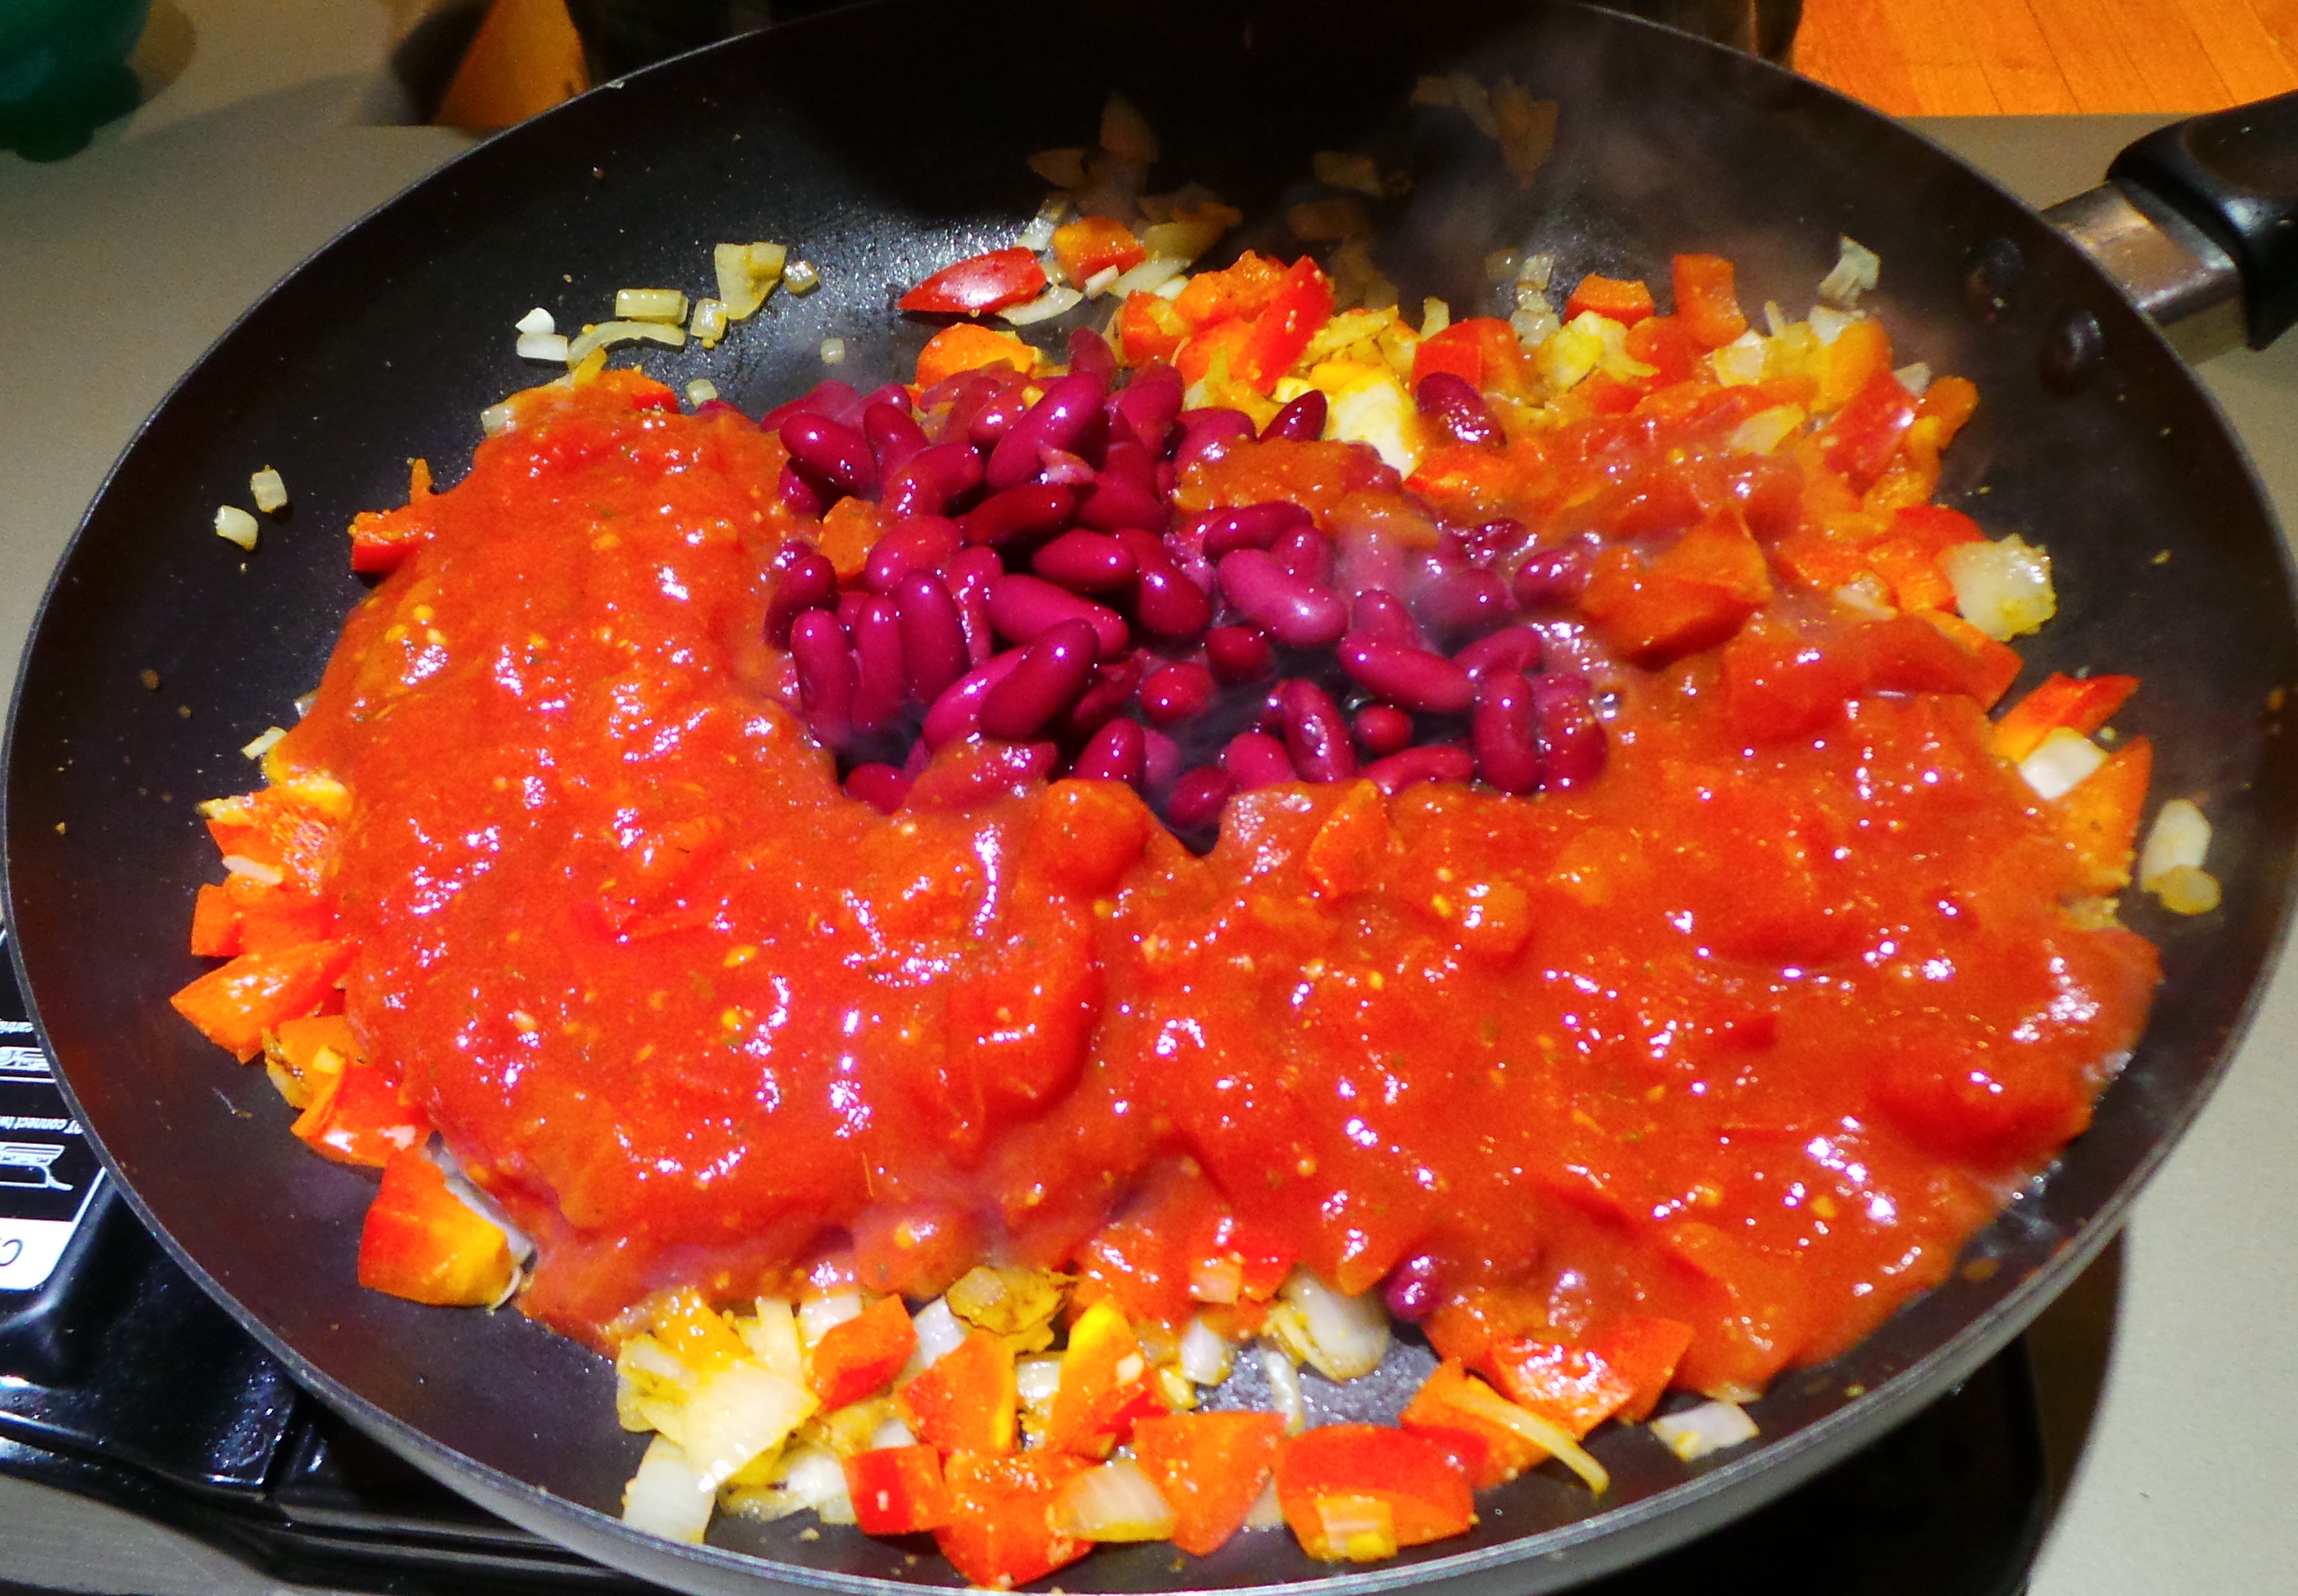
Add your canned goods to the pan.
Keep stirring it over a low heat and mix in as much of your spices as you wish. You want the dish to blend well together and thicken a little.
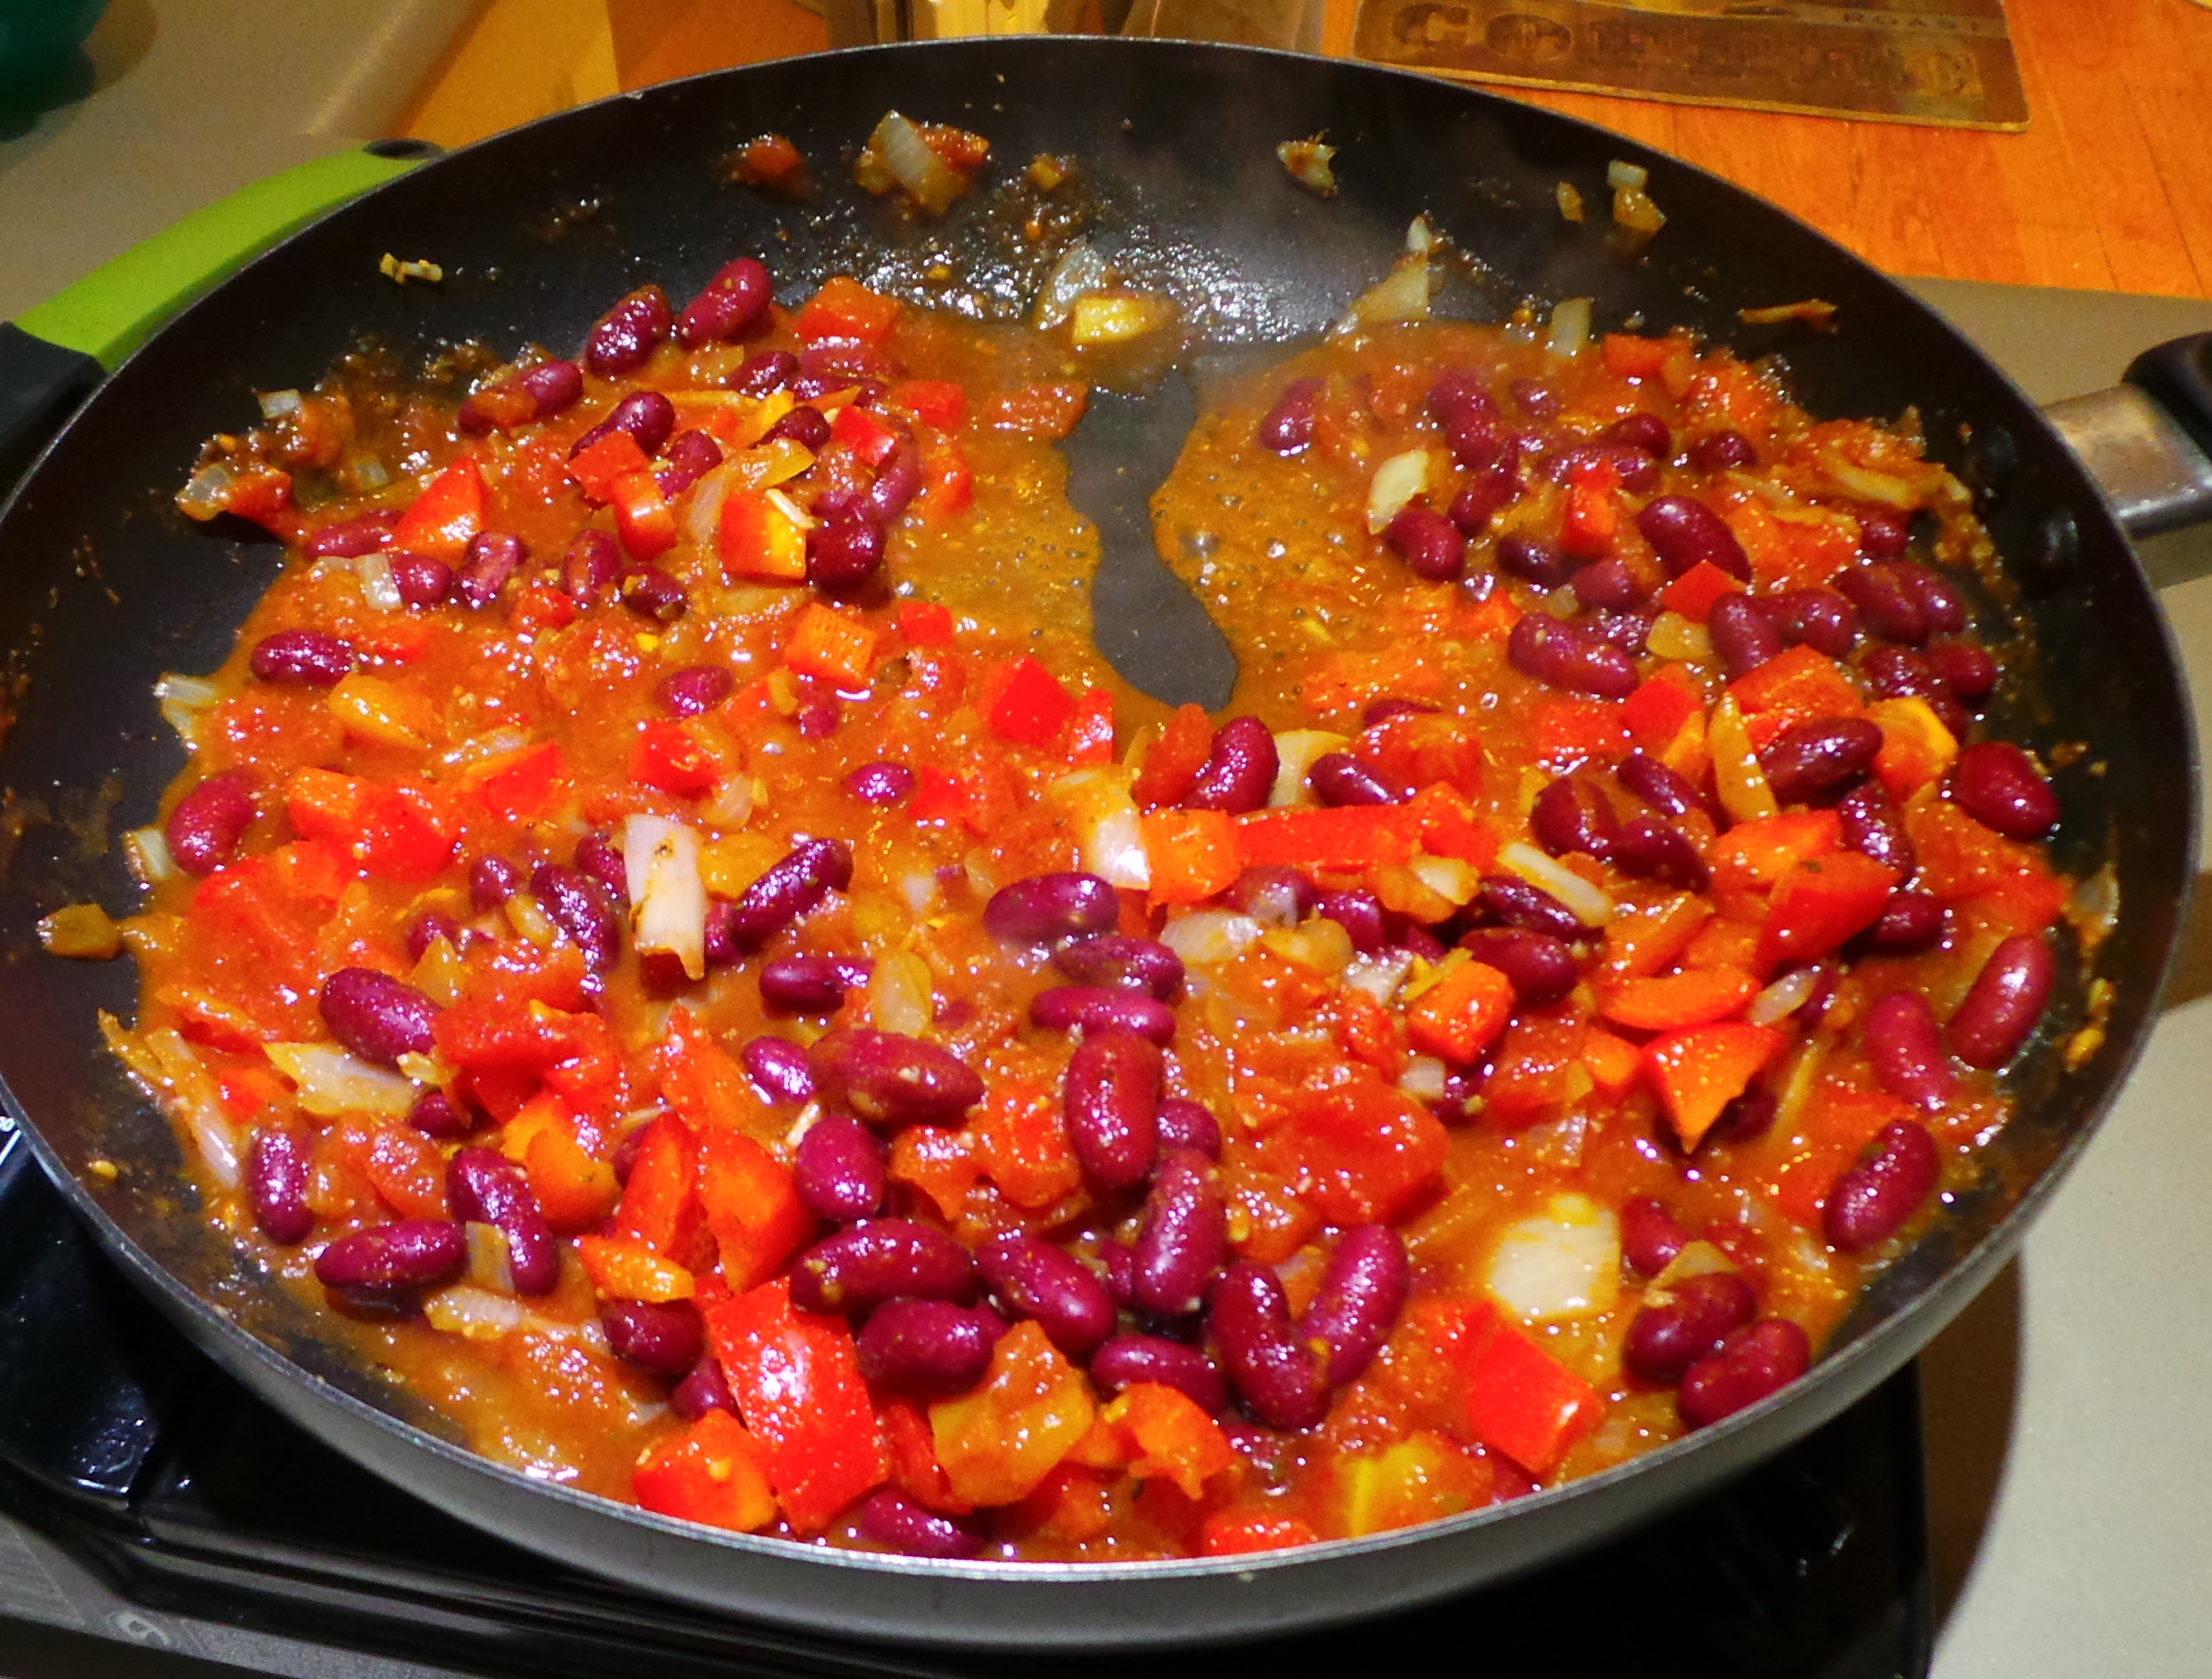
A few minutes later.
You can use a taco seasoning mix if you have one. If you don’t, then try a sprinkling each of ground cumin, ground coriander and sweet smoked paprika. Add chilli powder instead of the paprika – if that’s what you have – and try doing it with a dash of ground cinnamon for a sweet surprise. Add salt if you must.
When it gets to a texture that you think will work well as a burrito filling, take it off the heat and serve.
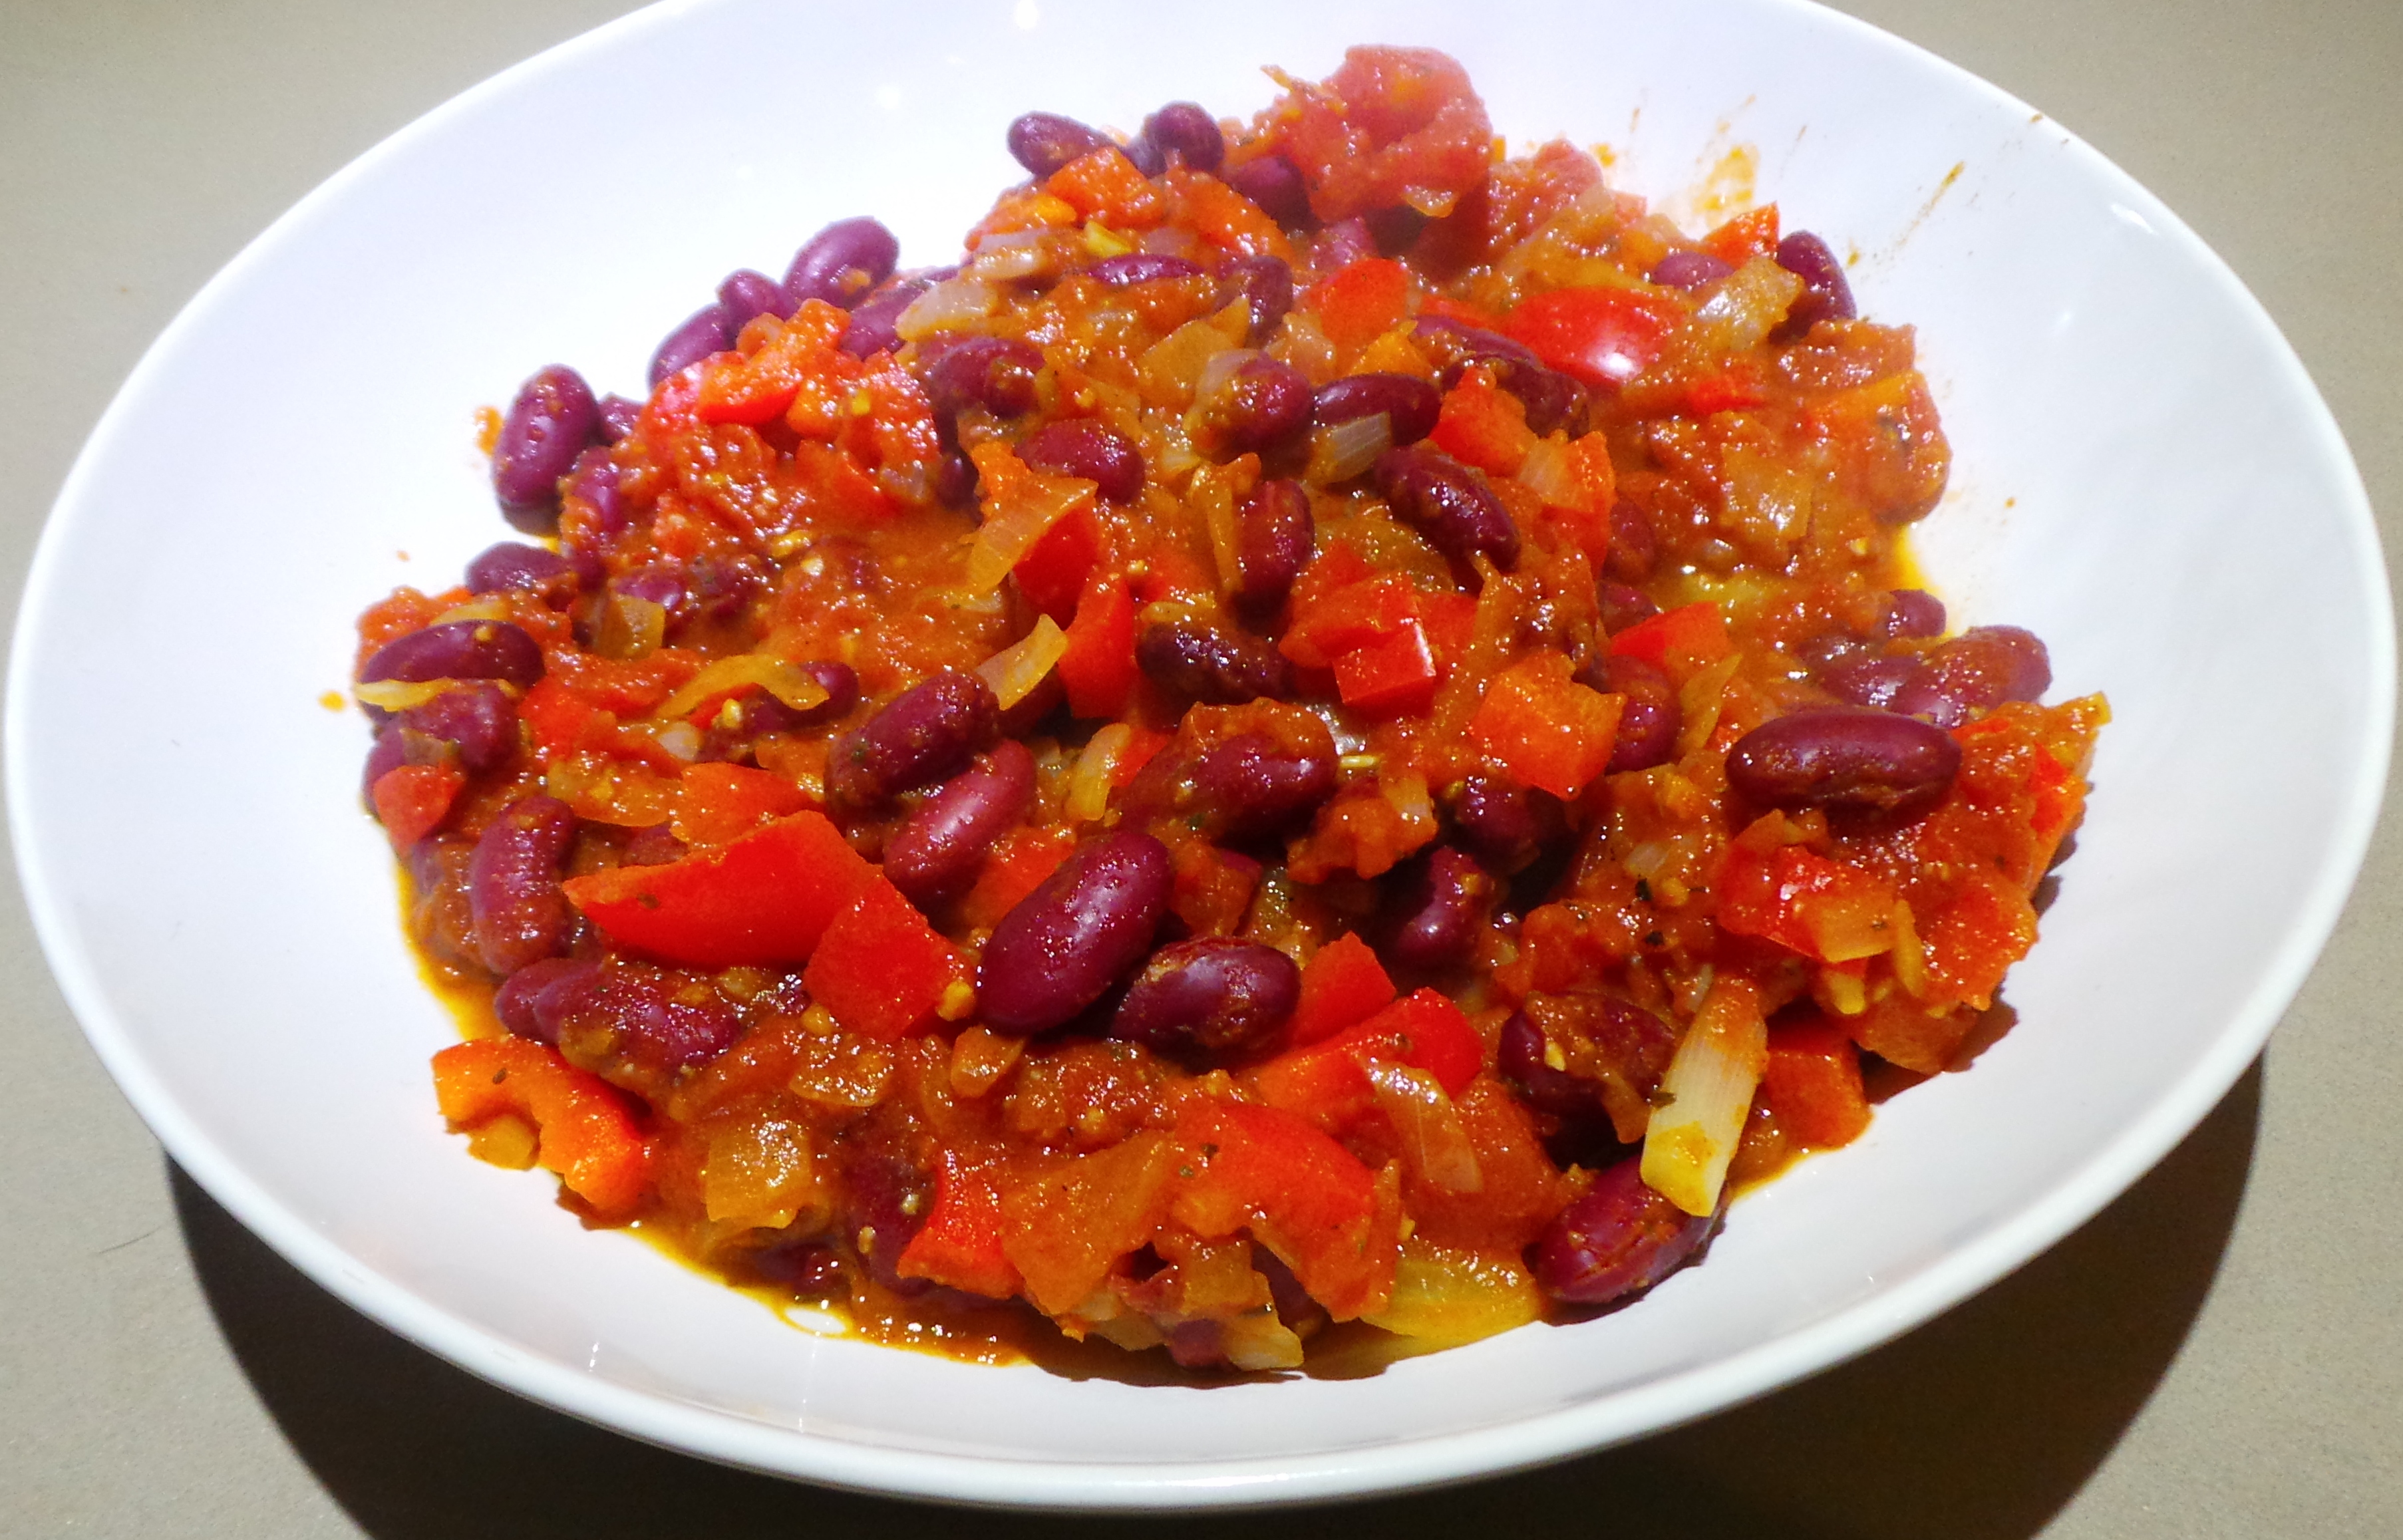
Serve ’em up!
Just to clarify that last bit. You don’t want this to be too ‘wet’ or your burrito, taco or tortilla will turn into a soggy mess.
Now you can place this into a wrap with lettuce and other salad items if you want to. I tend to just sprinkle it with tasty cheese and sometimes add a dollop of natural yoghurt (you could use sour cream), then tear bits off the tortilla and wrap those around spoonfuls of beans – a kind of mini-burrito for the hand-eye-co-ordination-challenged.
Eat it anyway you please really. This keeps well in the refrigerator and can easily be doubled or tripled. I wouldn’t recommend freezing it simply because it is so quick to make up! Save your freezer space for something that takes hours, not minutes.
Bean Burritos
Ingredients
1 x medium onion, diced
1 x medium red or green capsicum, diced
1 x stick celery, finely chopped (optional)
1 x 400g tin kidney beans, drained and rinsed
1 x 400g tin diced tomatoes (may have other flavours added if you wish)
1 x 200g tin sweet corn kernels, drained and rinsed (optional)
taco spice mix (or any combination of spices you would like to try)
Method
Heat a frying pan over gentle heat and add a tablespoon of oil.
Add your diced onion and capsicum and fry gently until onion is translucent. Add celery if using.
Stir in your spice mix, heating gently until you can just smell their aroma.
Add your beans and canned tomatoes and stir over low heat until liquid thickens.
Serve garnished with grated cheese and/or sour cream.
May be used rolled up in a tortilla with salad as a burrito, or in a bowl accompanied by plain rice or corn chips (or both).
$4 people.