Asian-flavoured slow-cooked beef
You know, sometimes you just can’t be bothered cooking.
Sometimes, you don’t have much to cook with…
This is something that can be prepared in minutes and then left to its own devices for several hours, OR prepped in a few minutes and frozen for one of those times when you just can’t be bothered, etc.
It tastes amazing.
It smells divine.
It also costs next to nothing.
All of which is fabulous.
I like to buy chuck steak, toss it with a few spices, stir in some Asian sauces and then walk away and leave it alone.
This is how it’s done:
Firstly, get yourself some nice pieces of chuck steak. You don’t need much, really truly. For today’s efforts I used around 750g or 1½ pounds. That will make 2 meals for us or feed four – whichever math you prefer.
I’m going to cook half now and freeze the rest for a future I-don’t-wanna-cook-day. The rest of this post will be about the preparation for freezing.
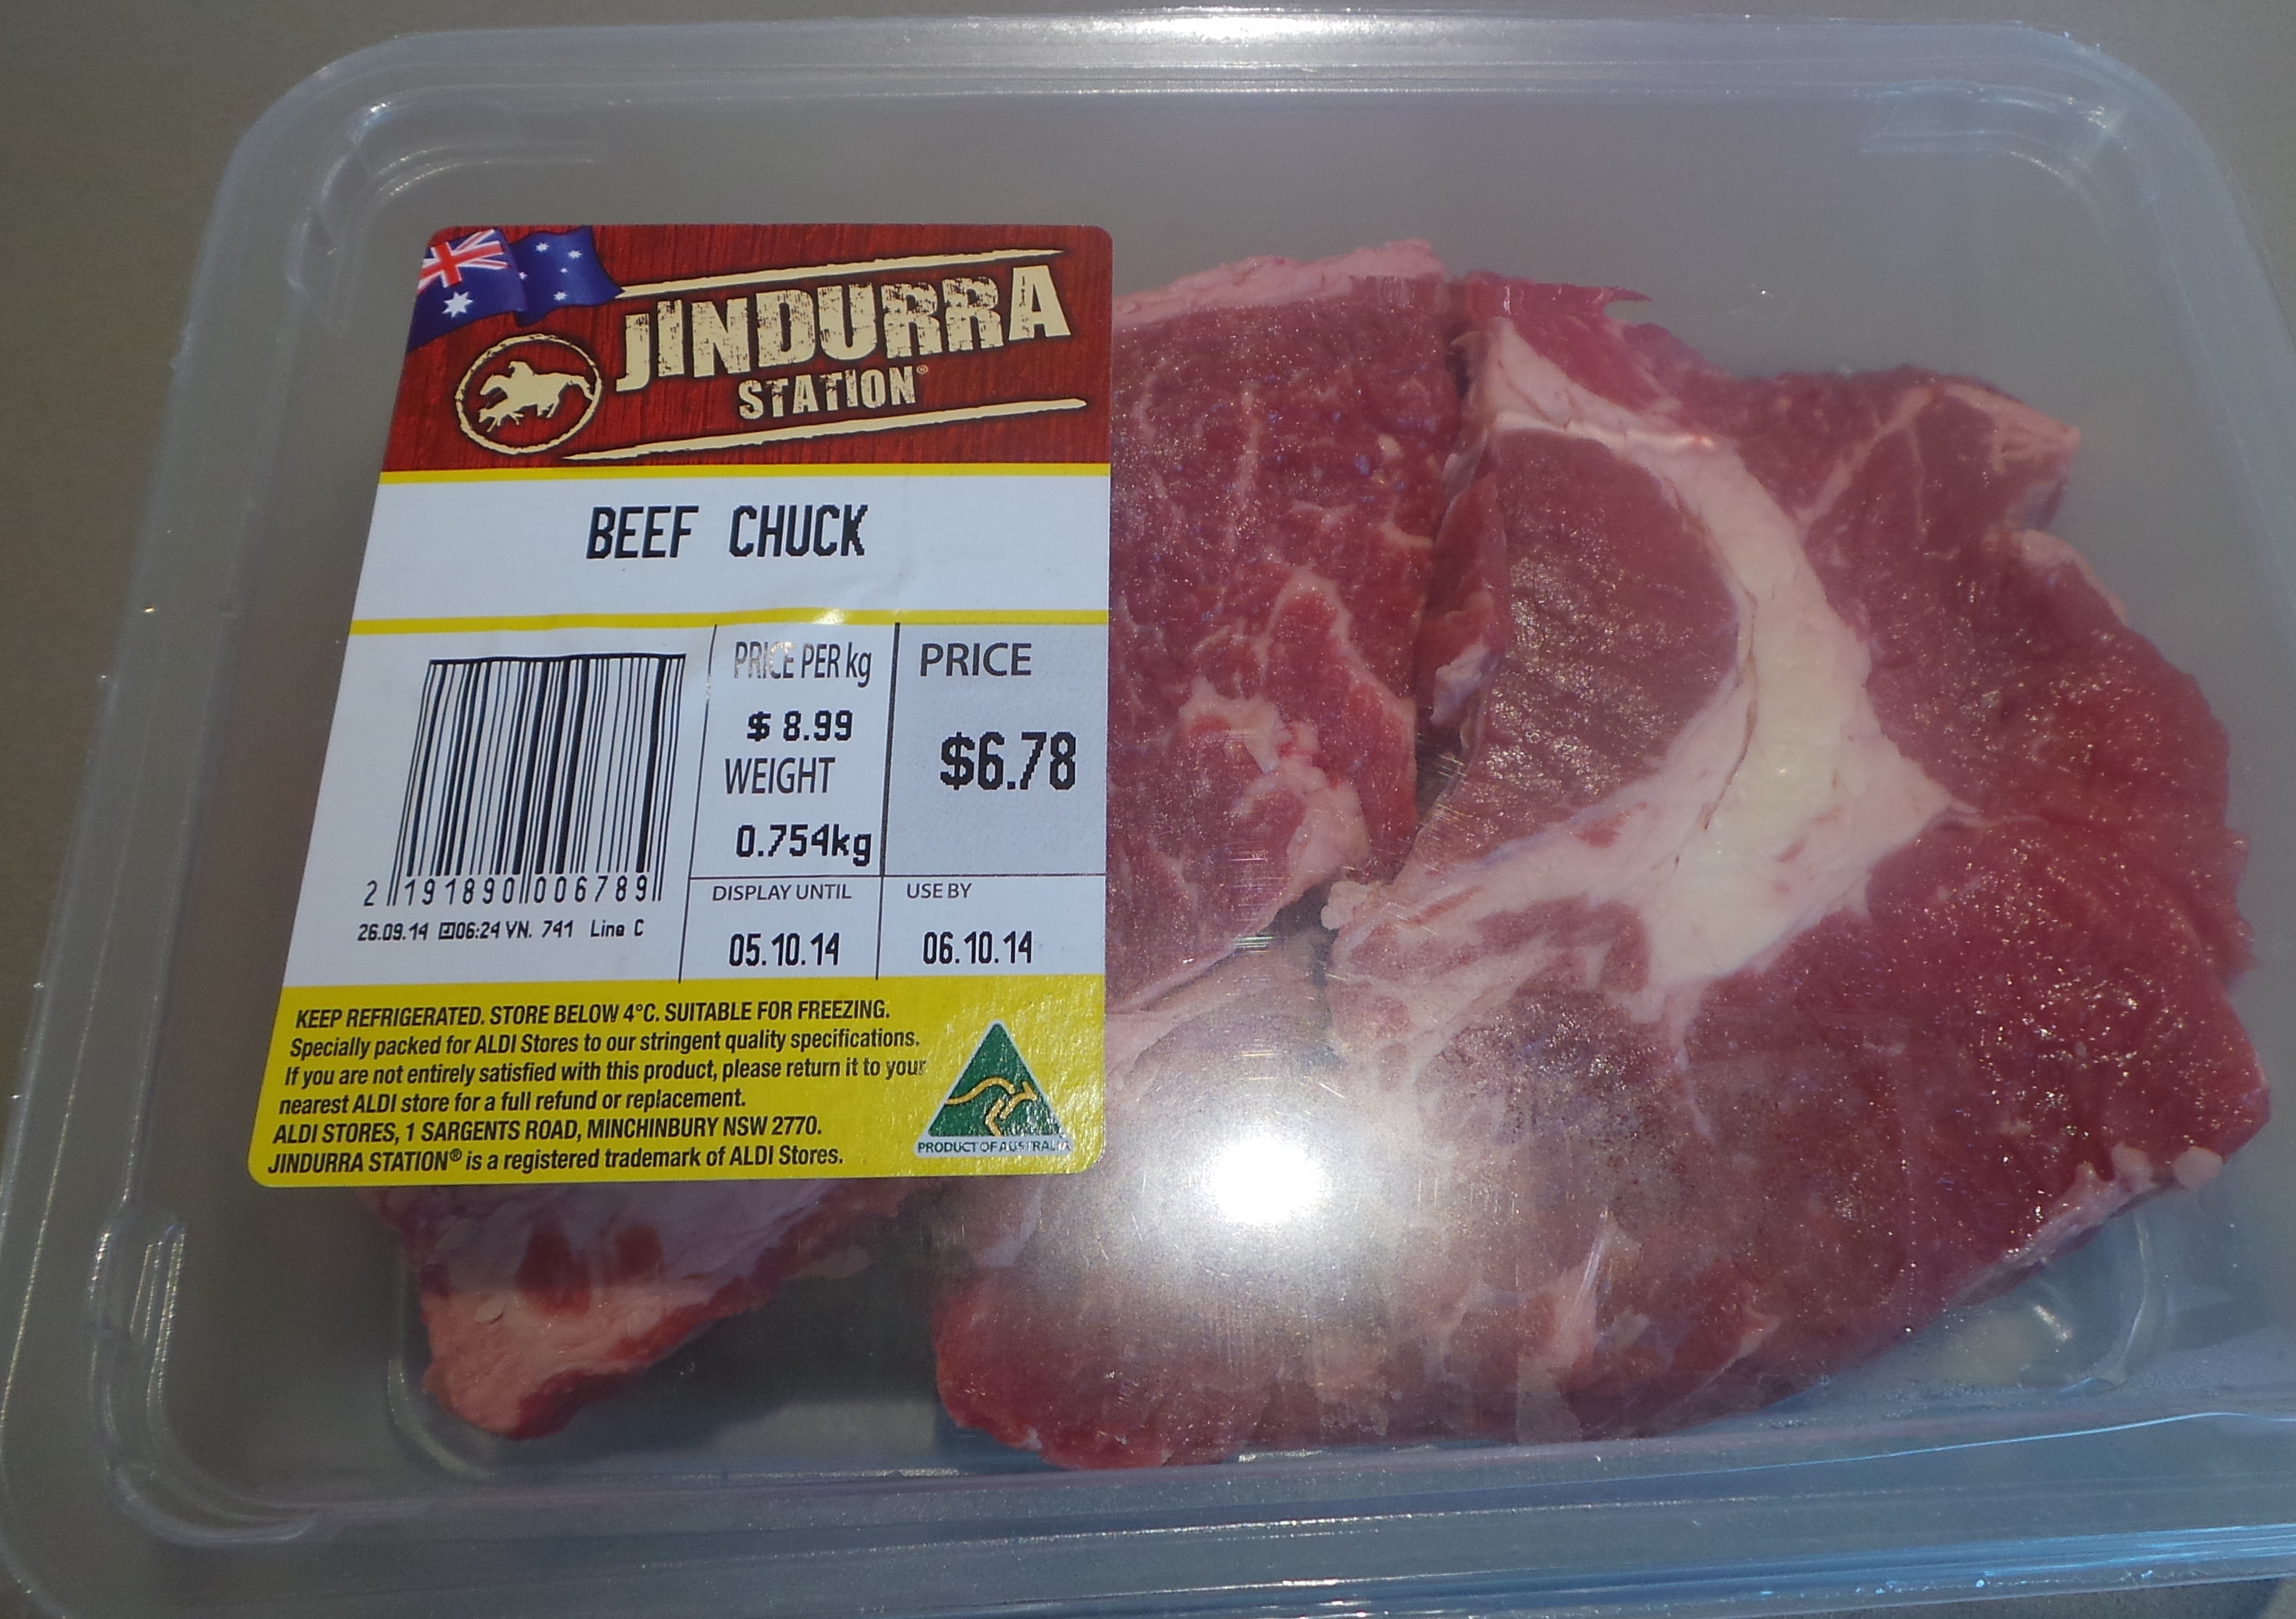
Chuck steak
I like to buy whole pieces and cube them myself, it saves a little money over buying pre-diced, but also lets me control which bits get kept and which don’t. For example, while I want the marbling in the meat on the left, I really don’t want to keep the thick streak of fat in the piece on the right… so I discard it.
The rest I cut into large cubes (about an inch a side) and divide into two portions.

Cut into large cubes.
Please use a sharp knife for this, chuck is not a tender cut and it can be frustrating to slice something that just won’t behave nicely on a bluntish blade.
Then I have a little fun.
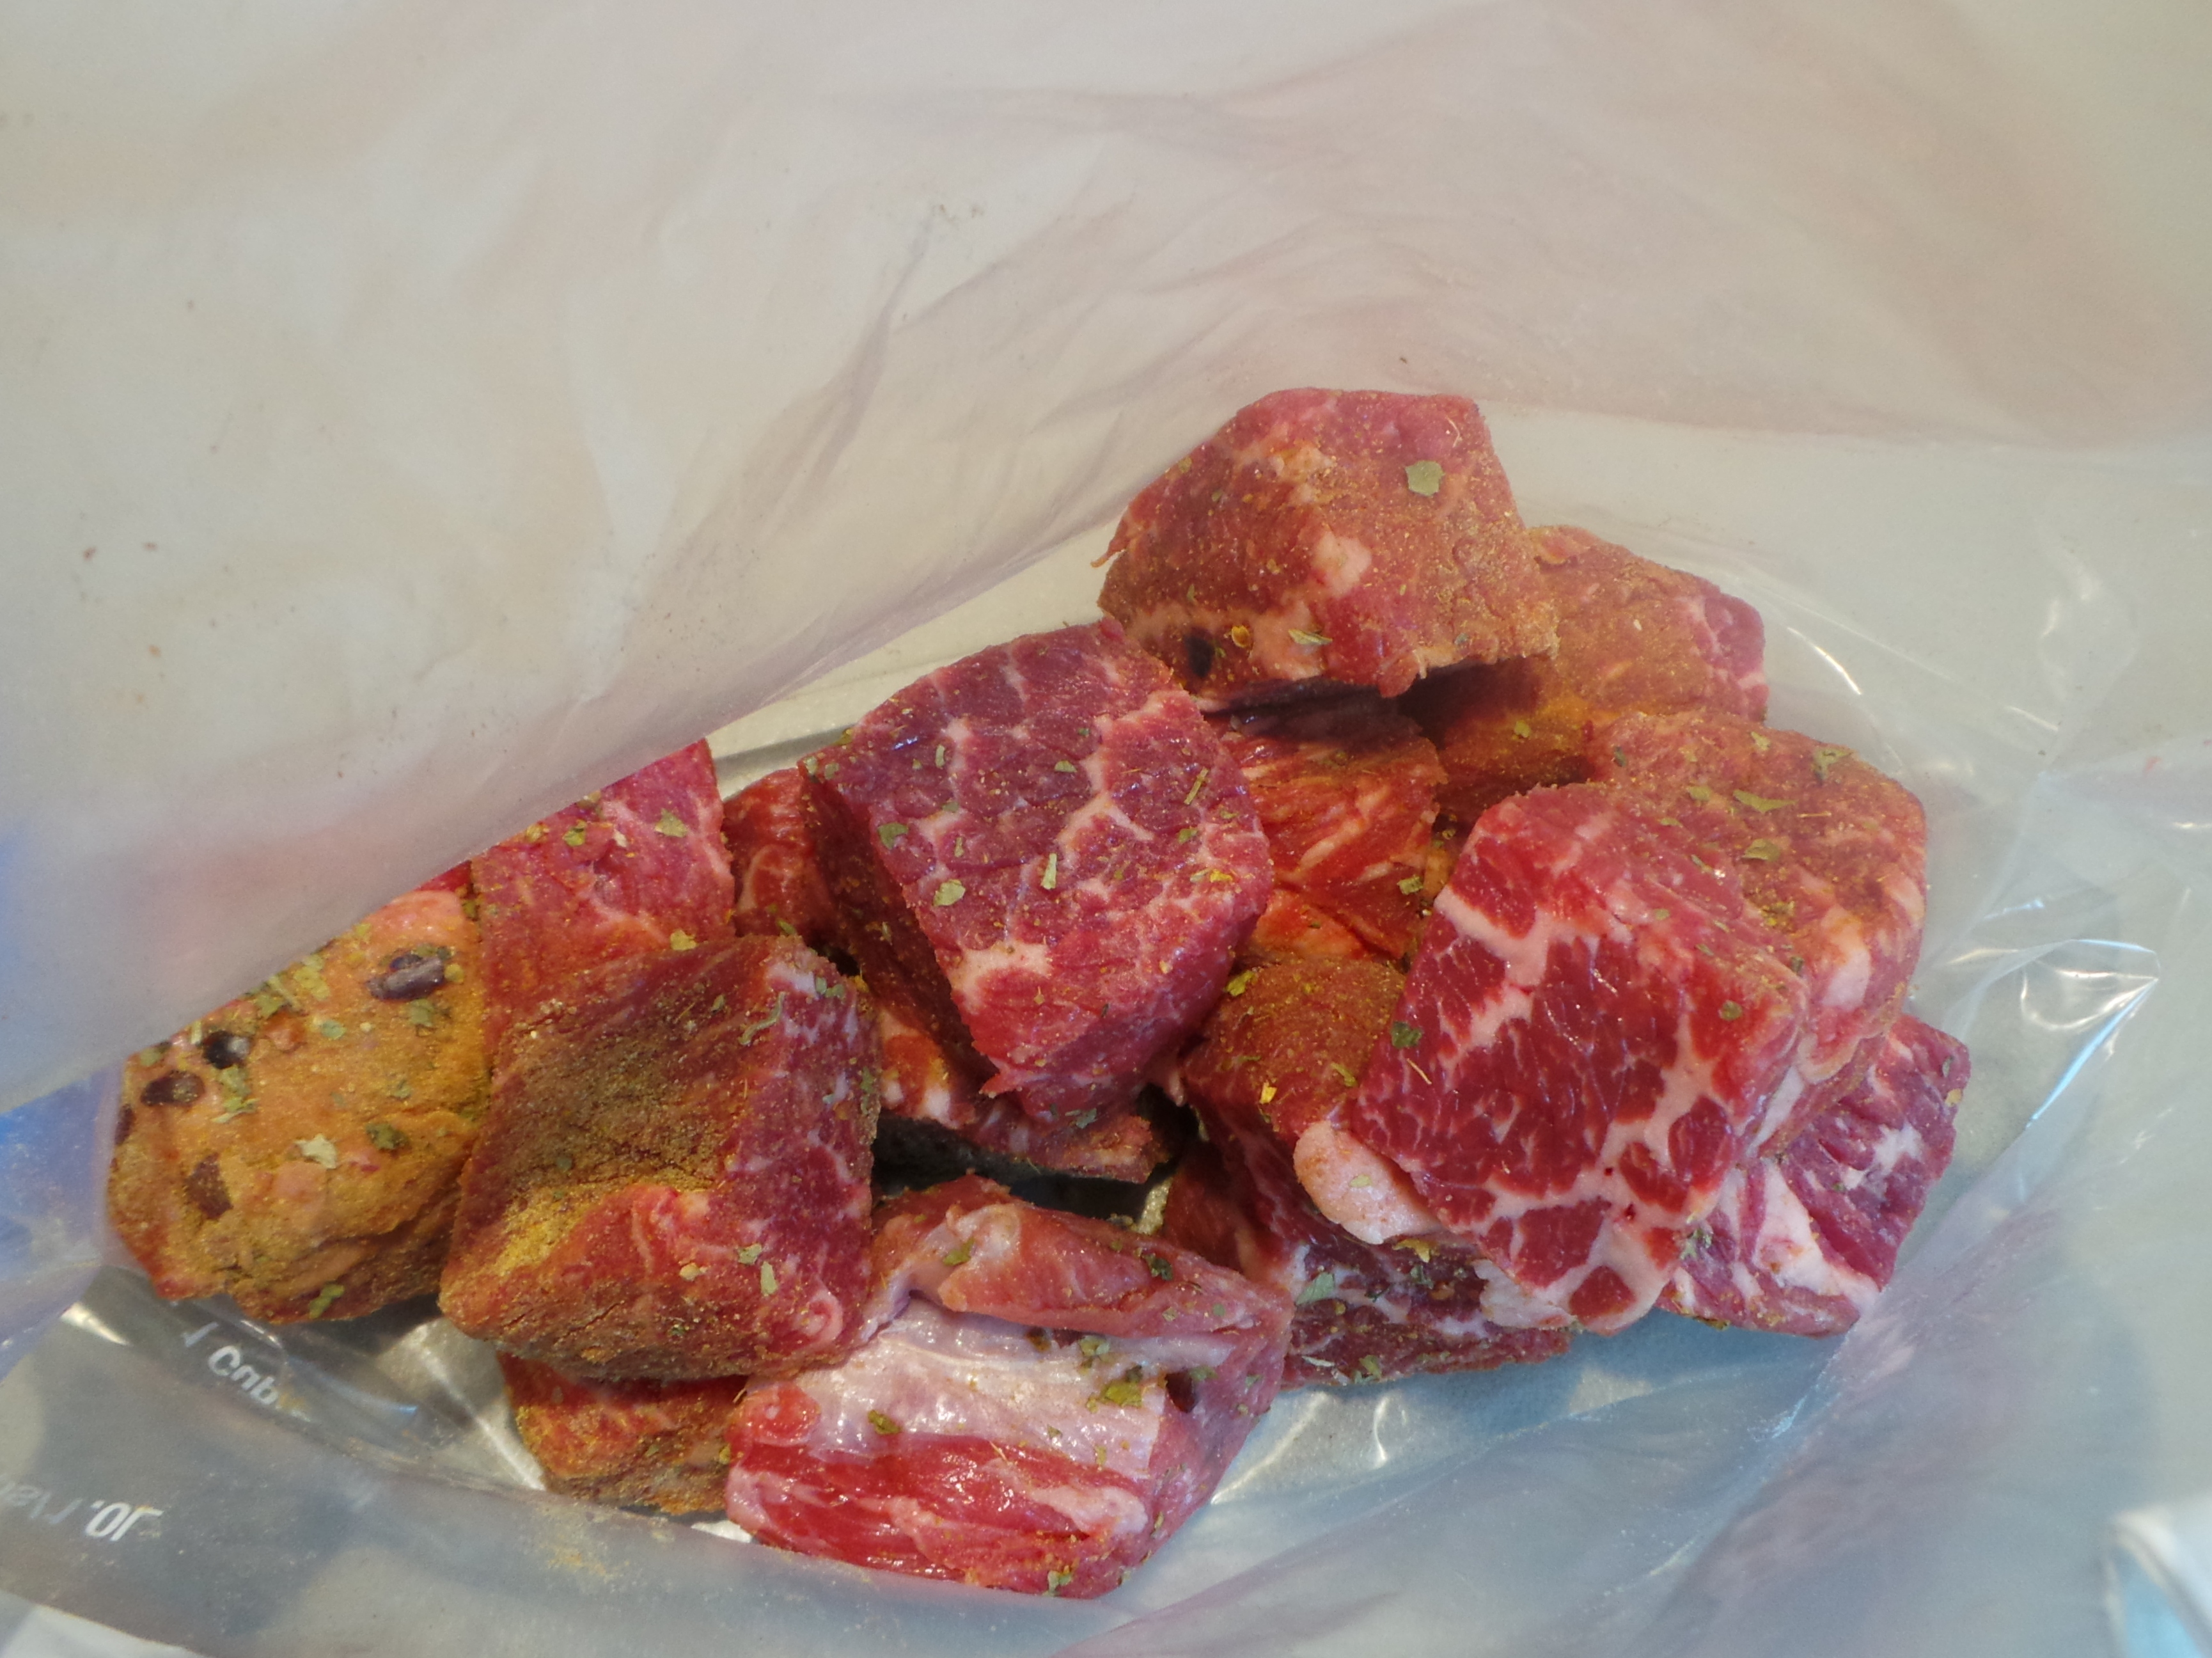
Half of the meat I pack away into a zip-lock bag for freezing and, as I do this I add a good sprinkling of whatever spices I have to hand and that I think might go well together. In this case I used ground ginger, ground coriander, ground cumin and some chilli flakes.
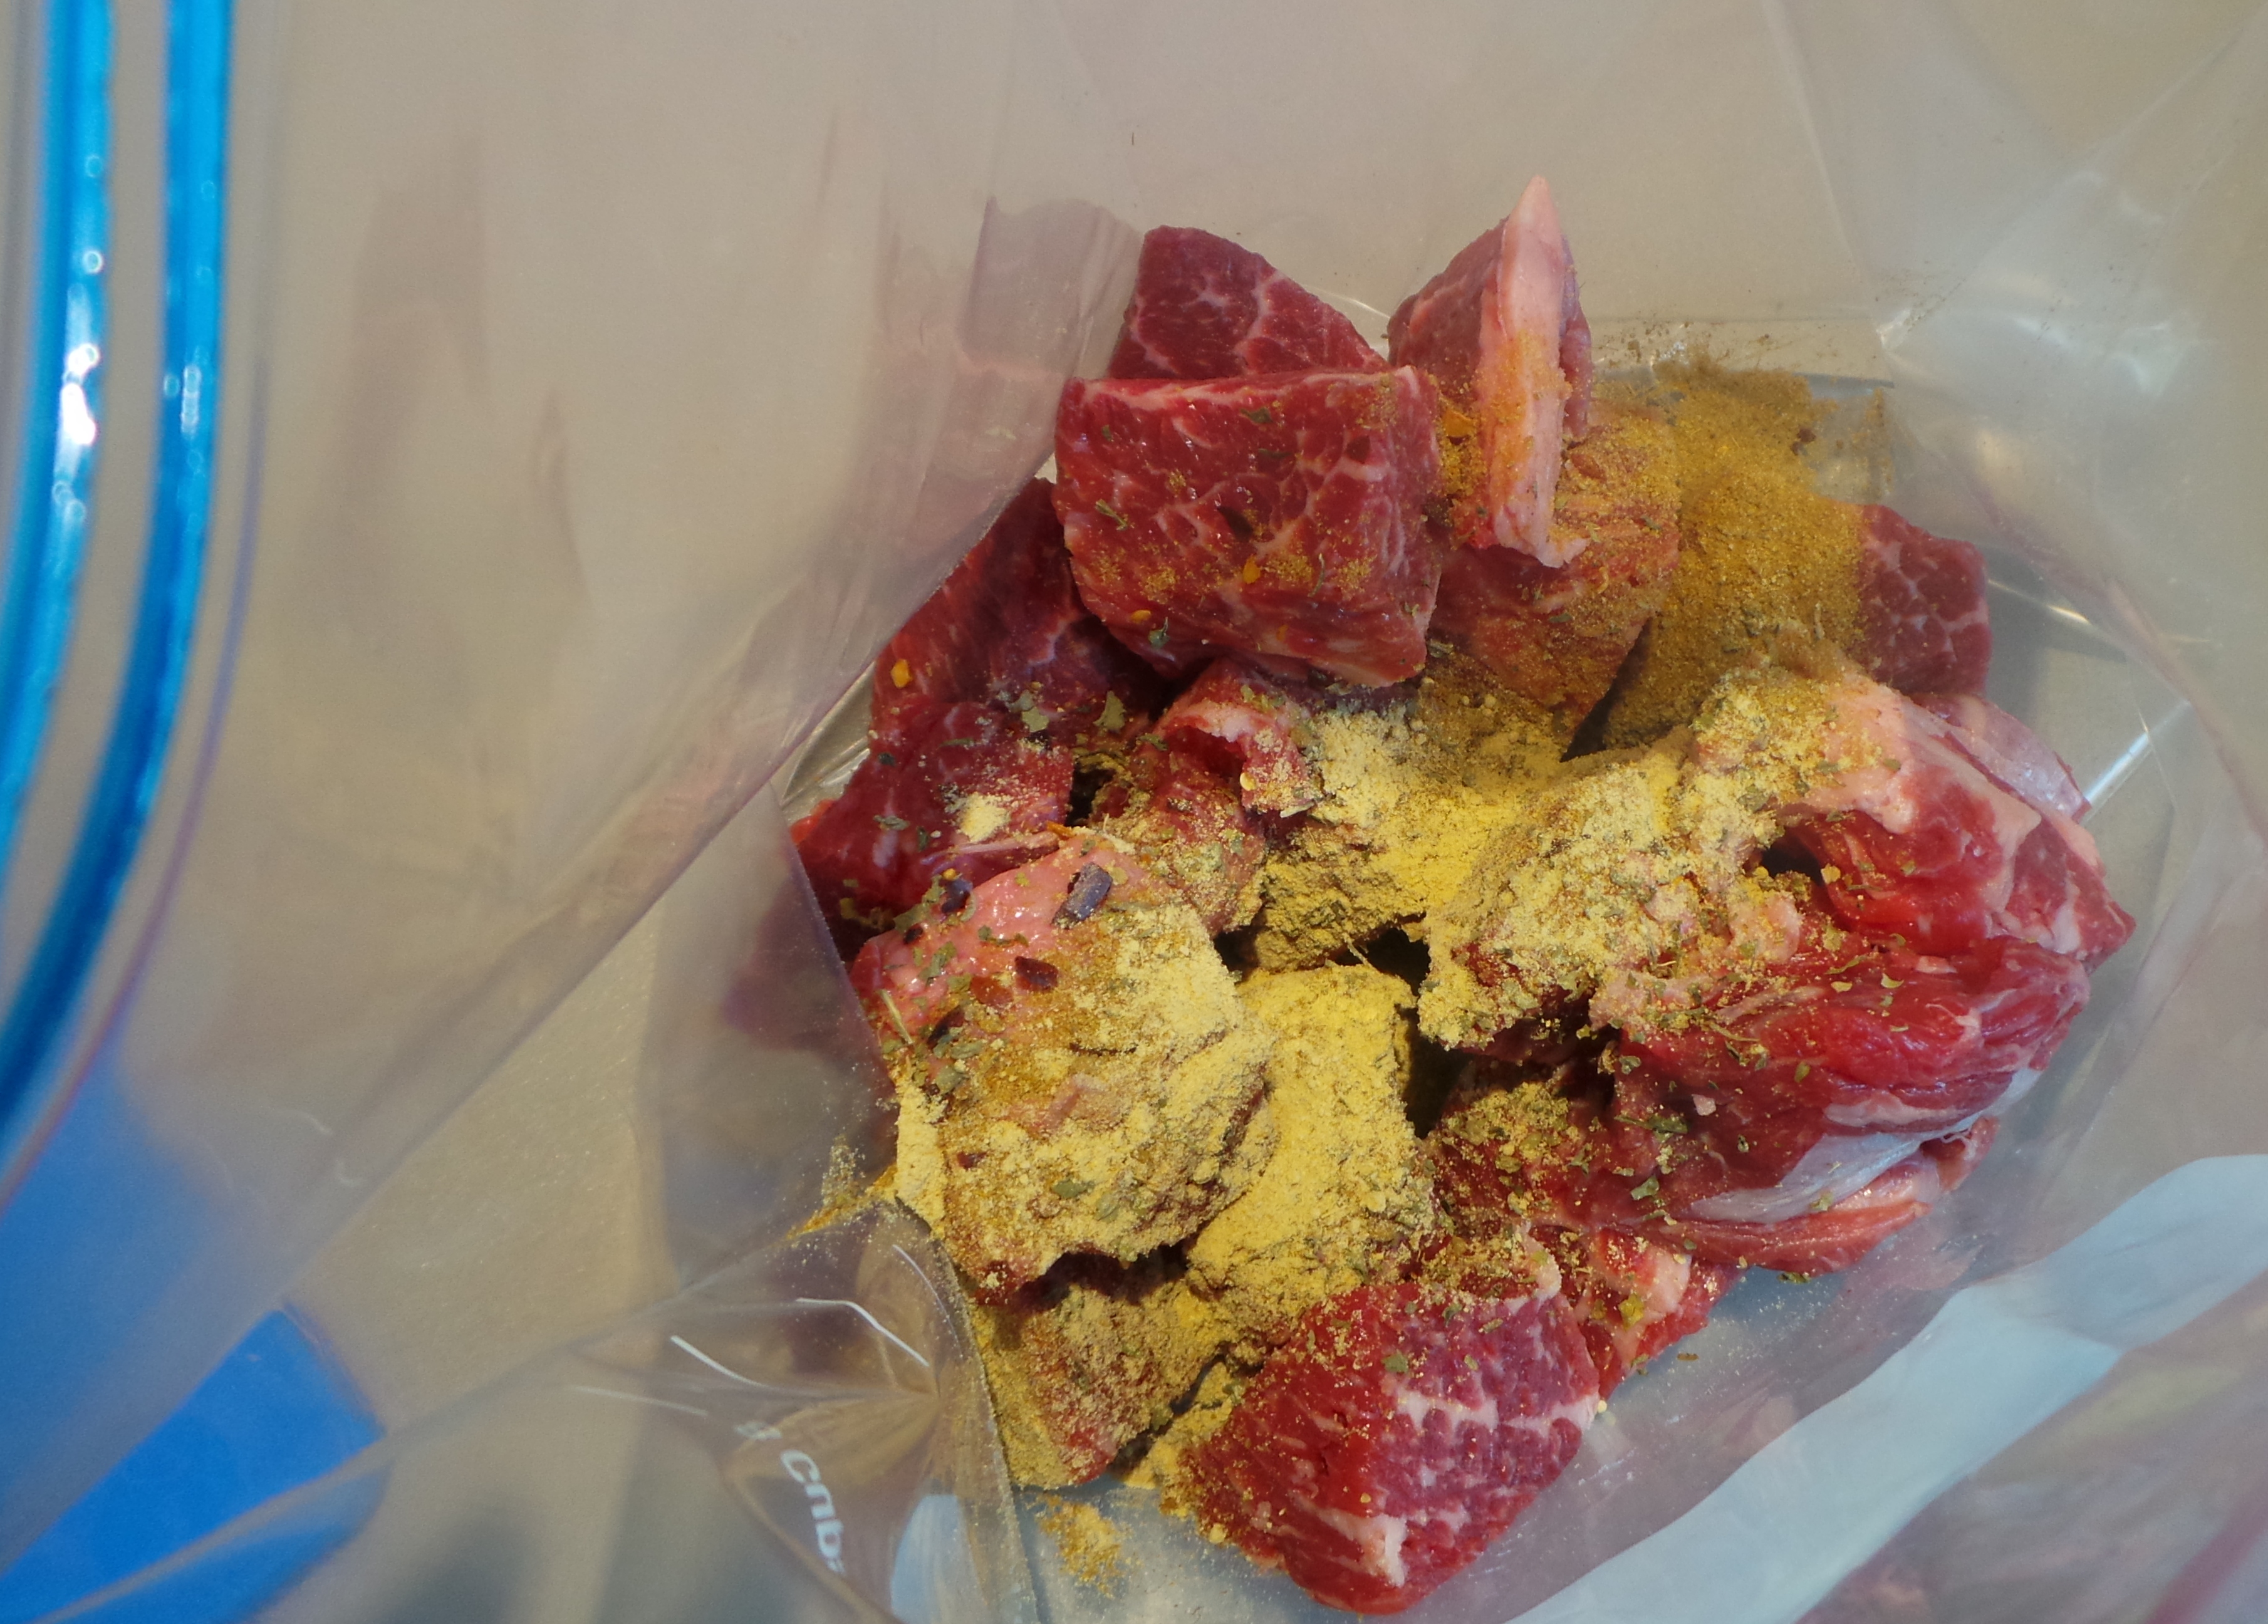
Add a good shake of whatever you have.
Seal up the bag and massage the spices through. It’s better to do it this way than to use an implement in the bag as you may pierce it and accidentally lay a path for freezer burn. That would be bad.
You can, of course, do this and all the following steps in a bowl and then bag it, but then you’d have to wash the bowl…up to you really!
Give the bag a good massage to mix the spices through the meat.
I like to then add a good teaspoon of grated ginger and crushed garlic – out of a jar. I always have a small jar of each in my refrigerator, it saves time and it saves frustration on those days when my fingers simply won’t behave.

Add a good teaspoon each of grated ginger and crushed garlic.
Now, grab whatever sauce tickles your fancy. You can use one sauce, or you can use several, It’s completely up to you. I used Honey Soy sauce, Hoi Sin and a glug of toasted Sesame oil; simply put a bit into the bag and repeat the massaging.
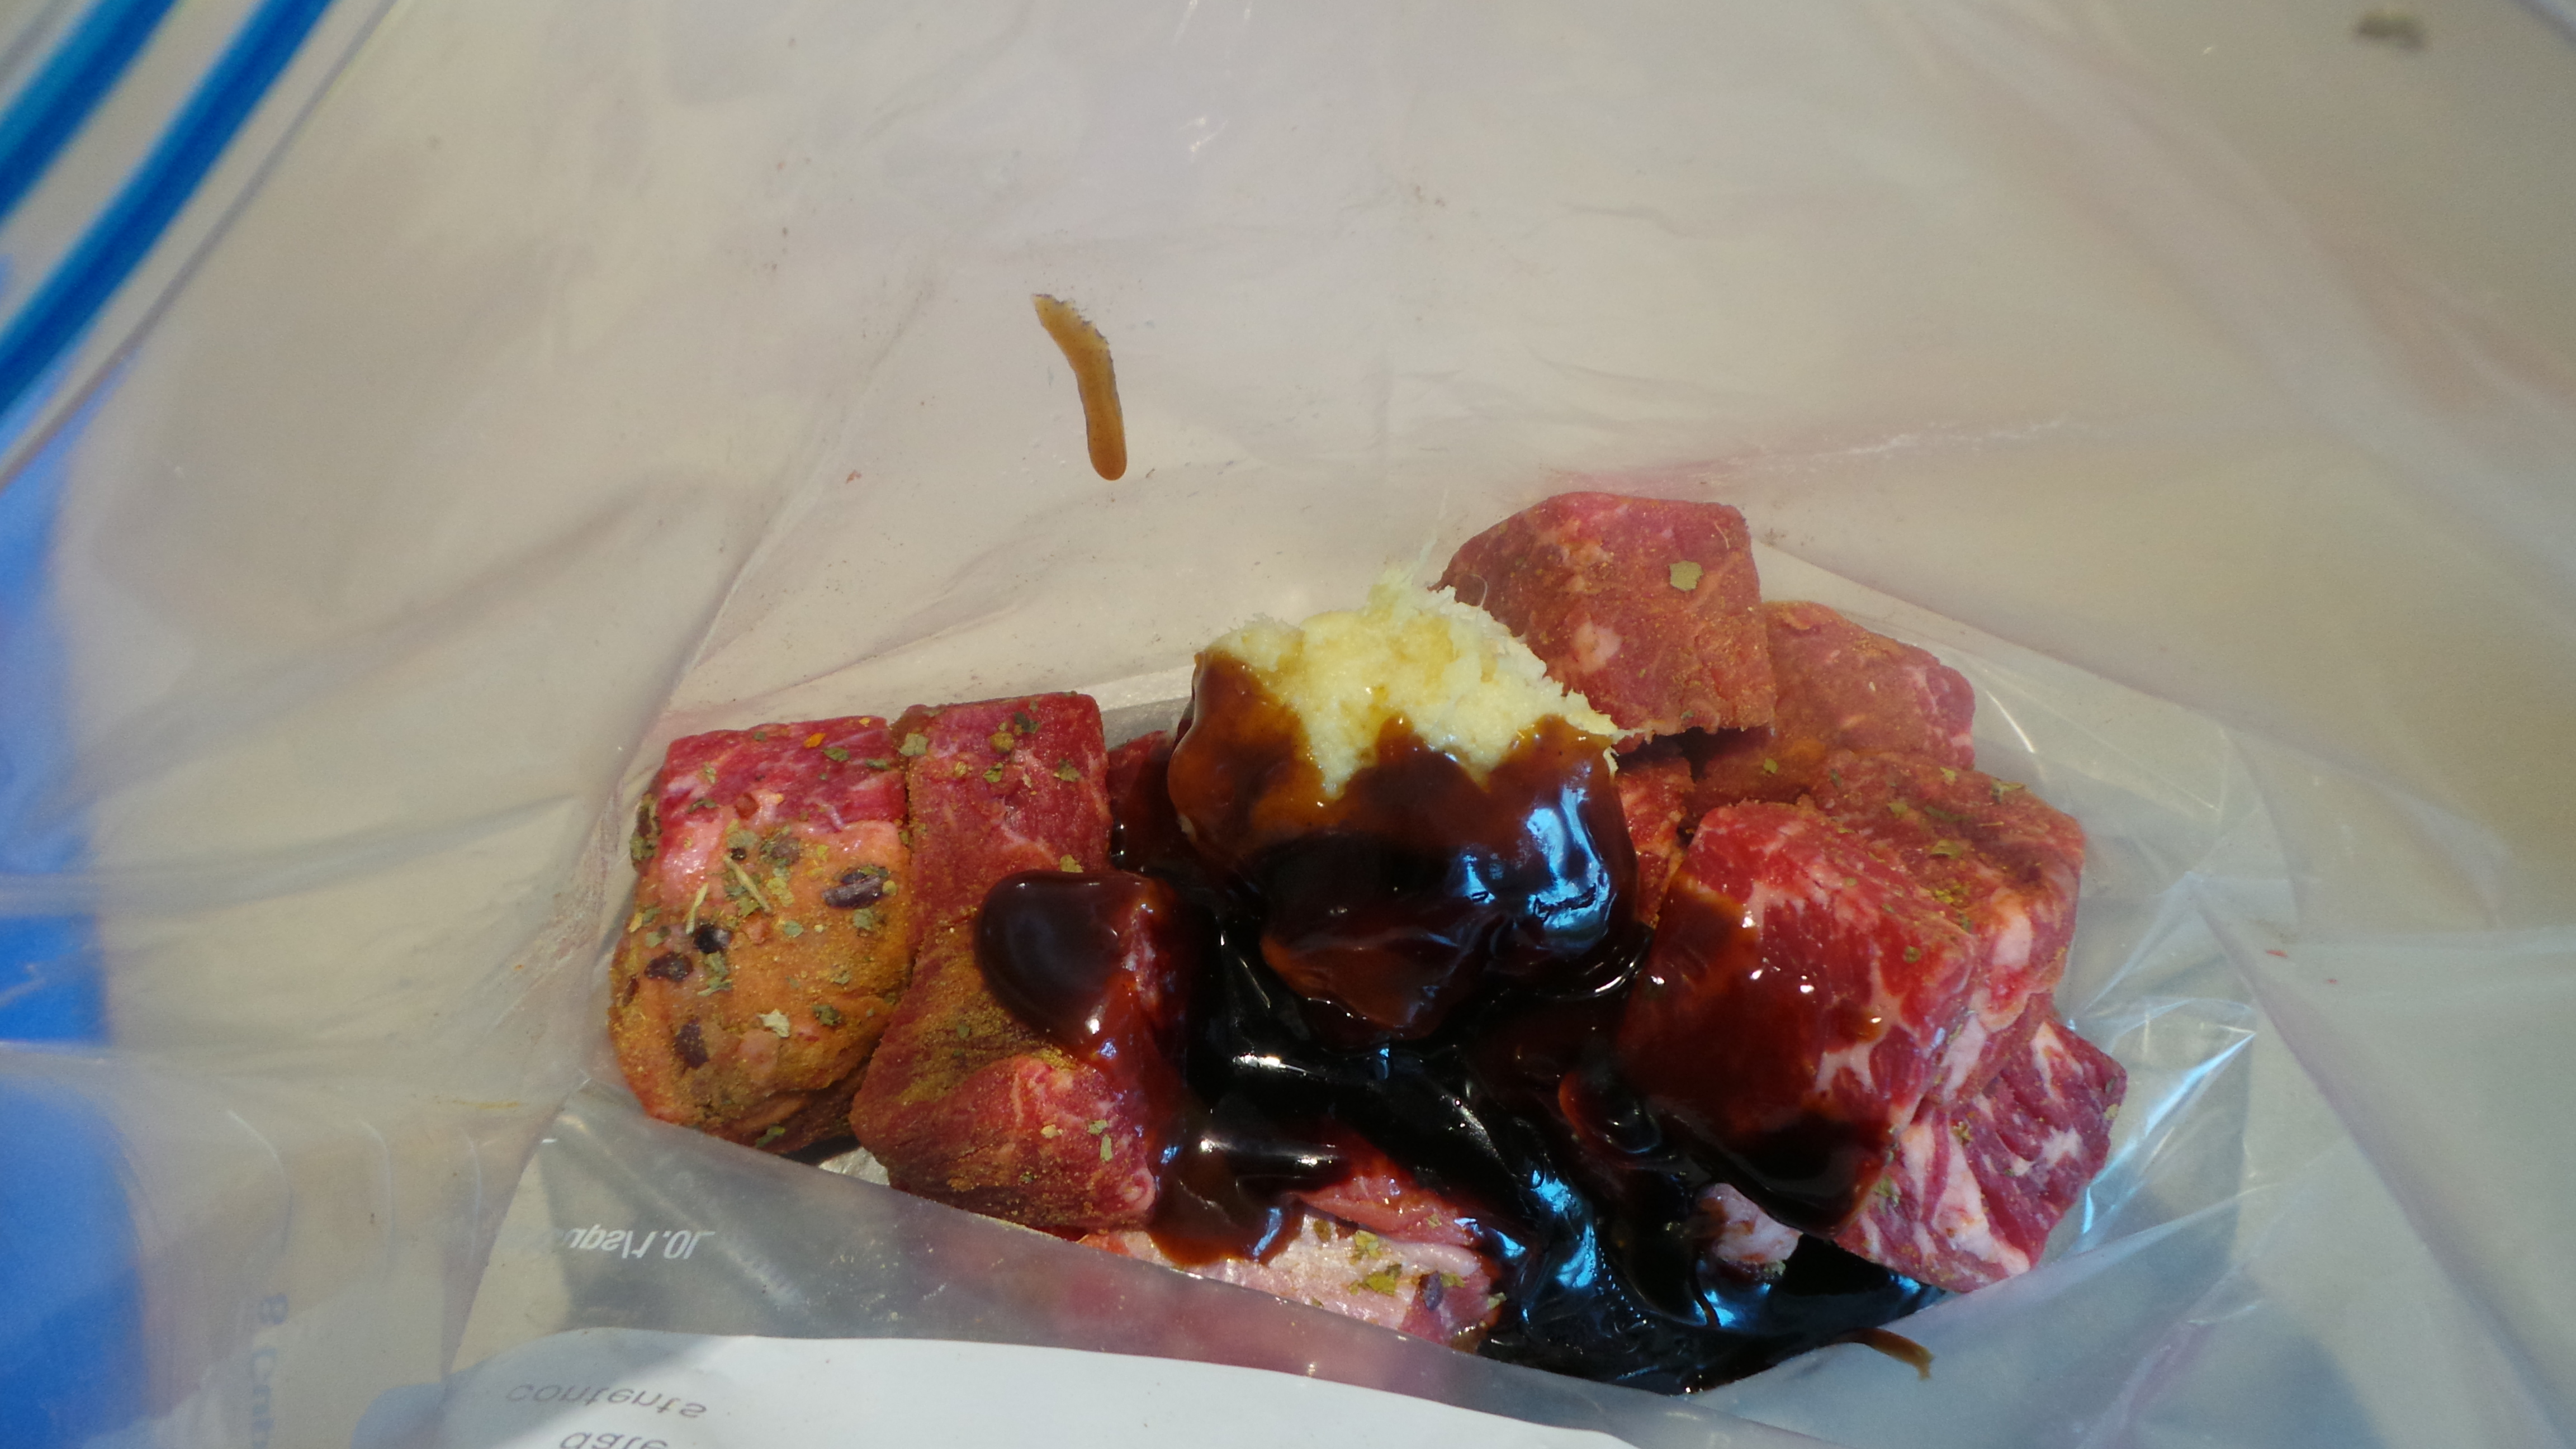
Add a few glugs of sauce.
Seal the bag, excluding as much air as possible, flatten for easier storage, label and freeze.

Massage your flavours through.
That was traumatically difficult, wasn’t it?
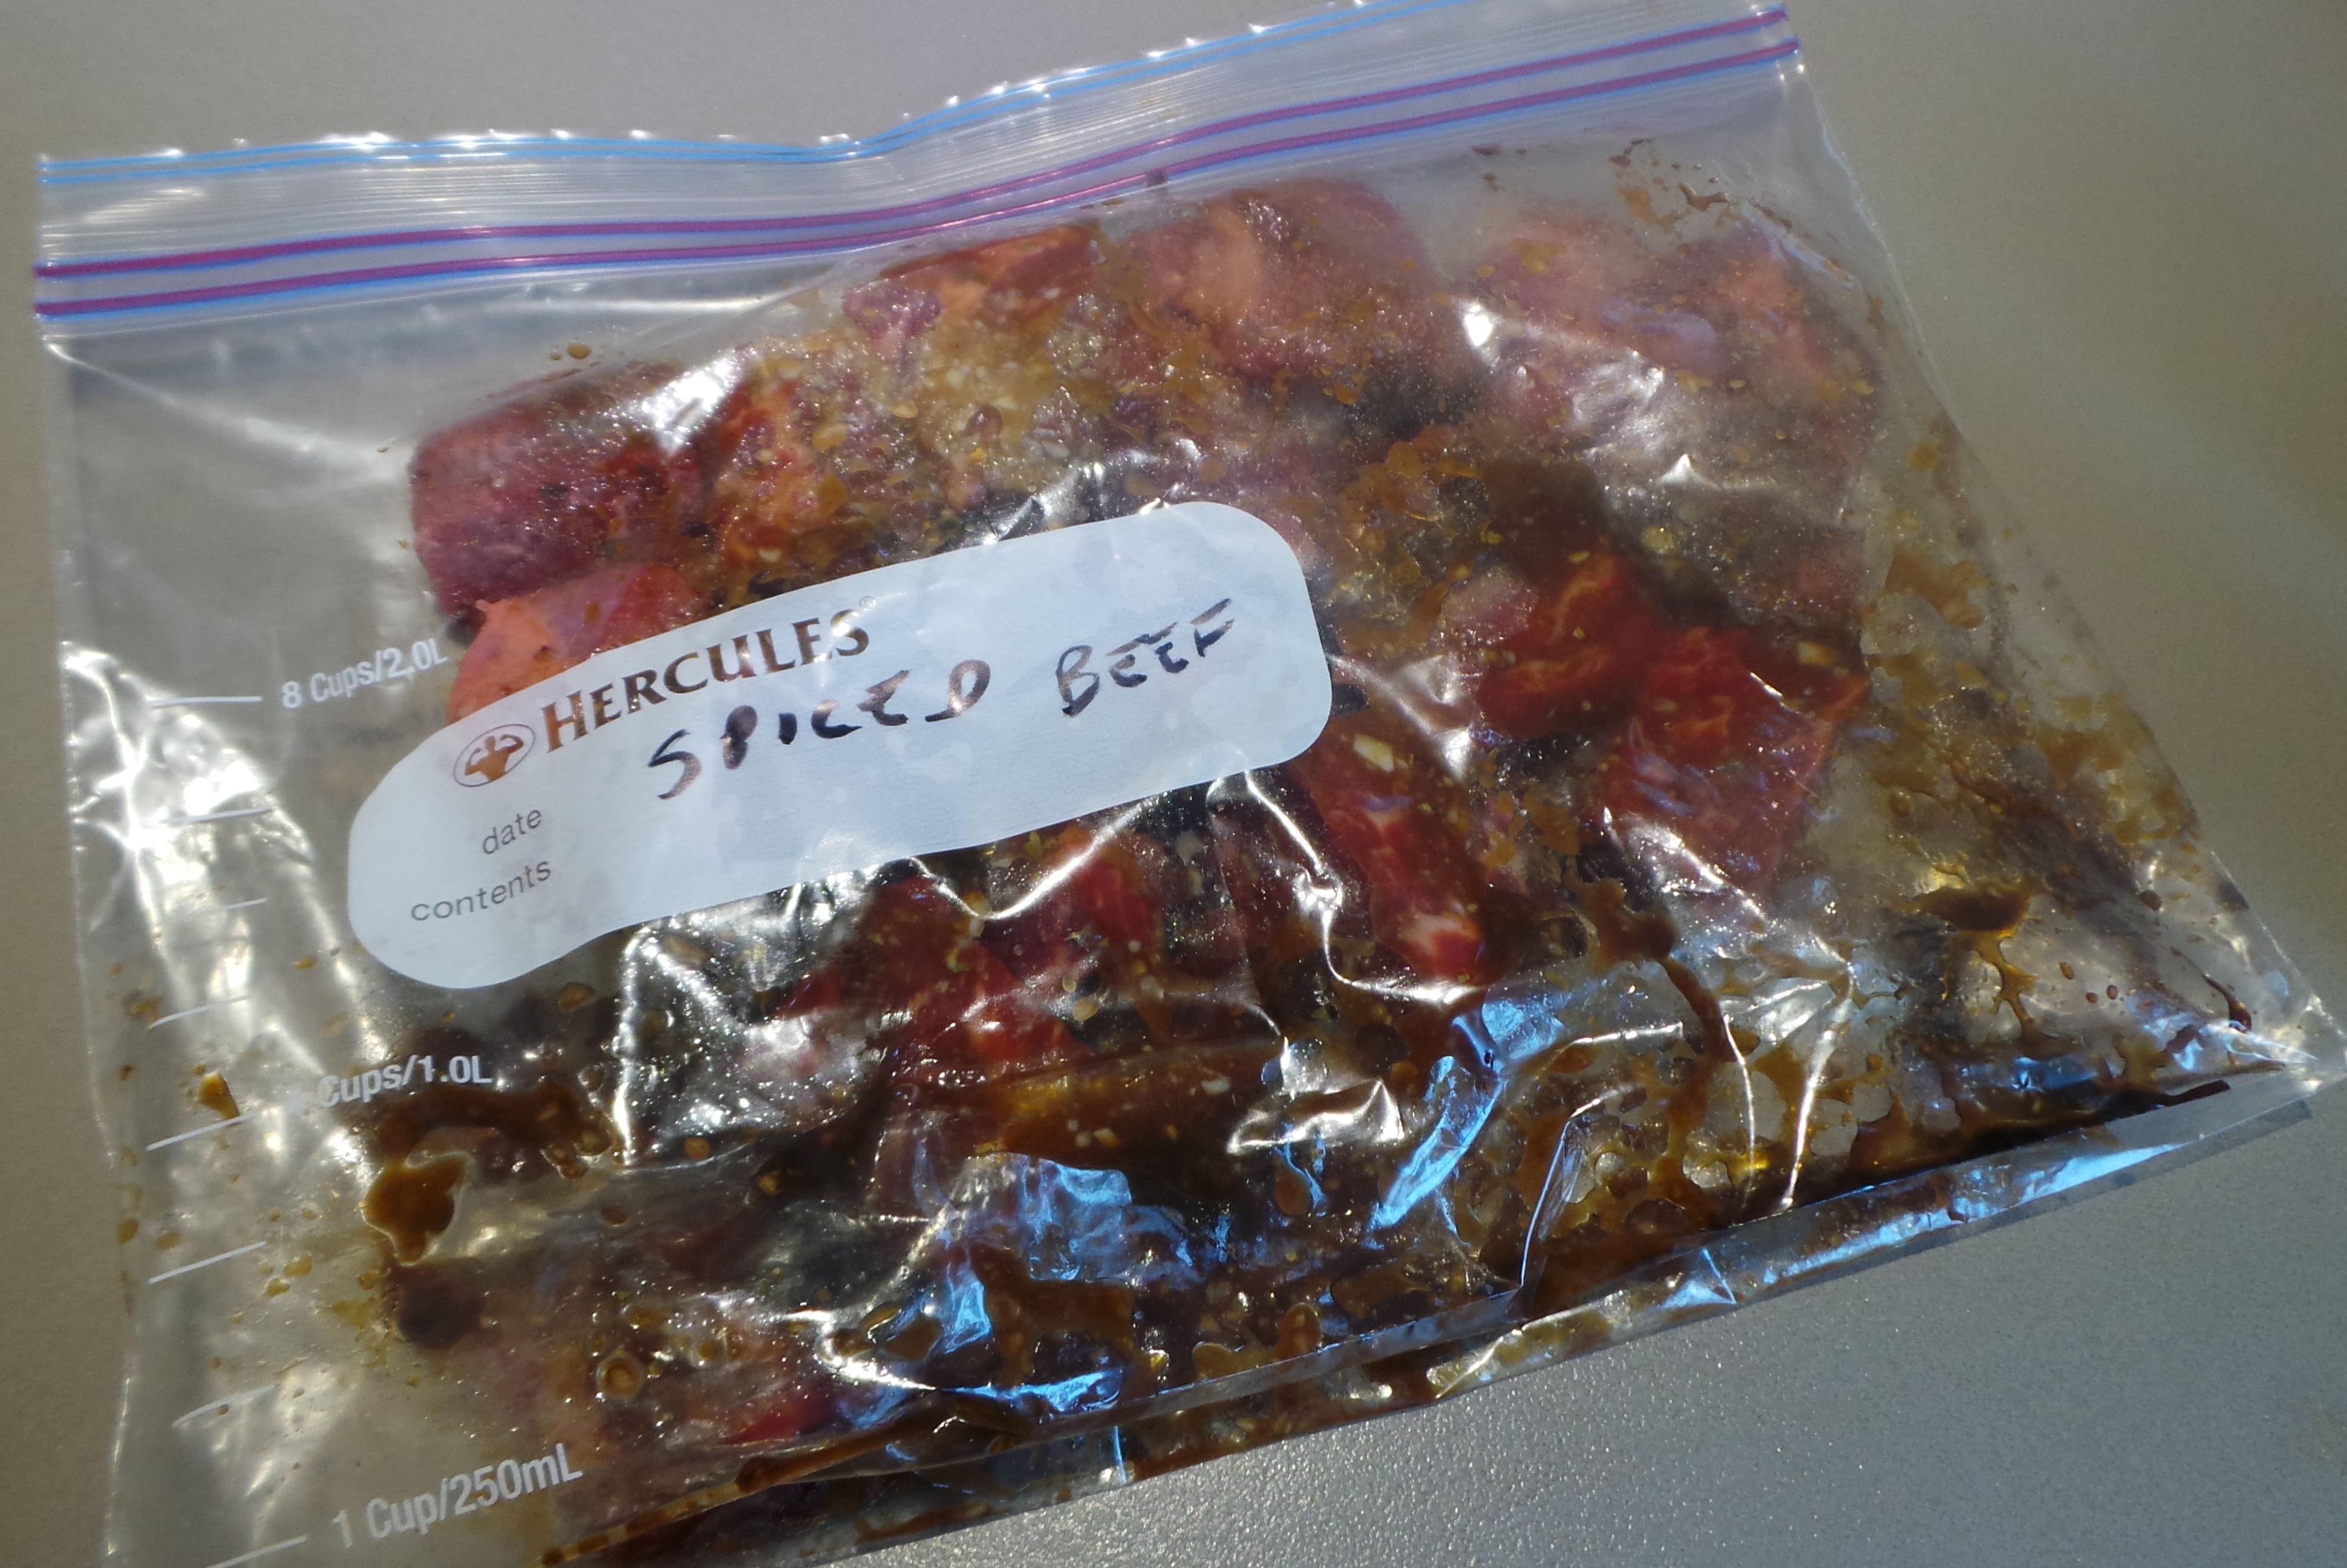
Ready to freeze Asian Spiced beef
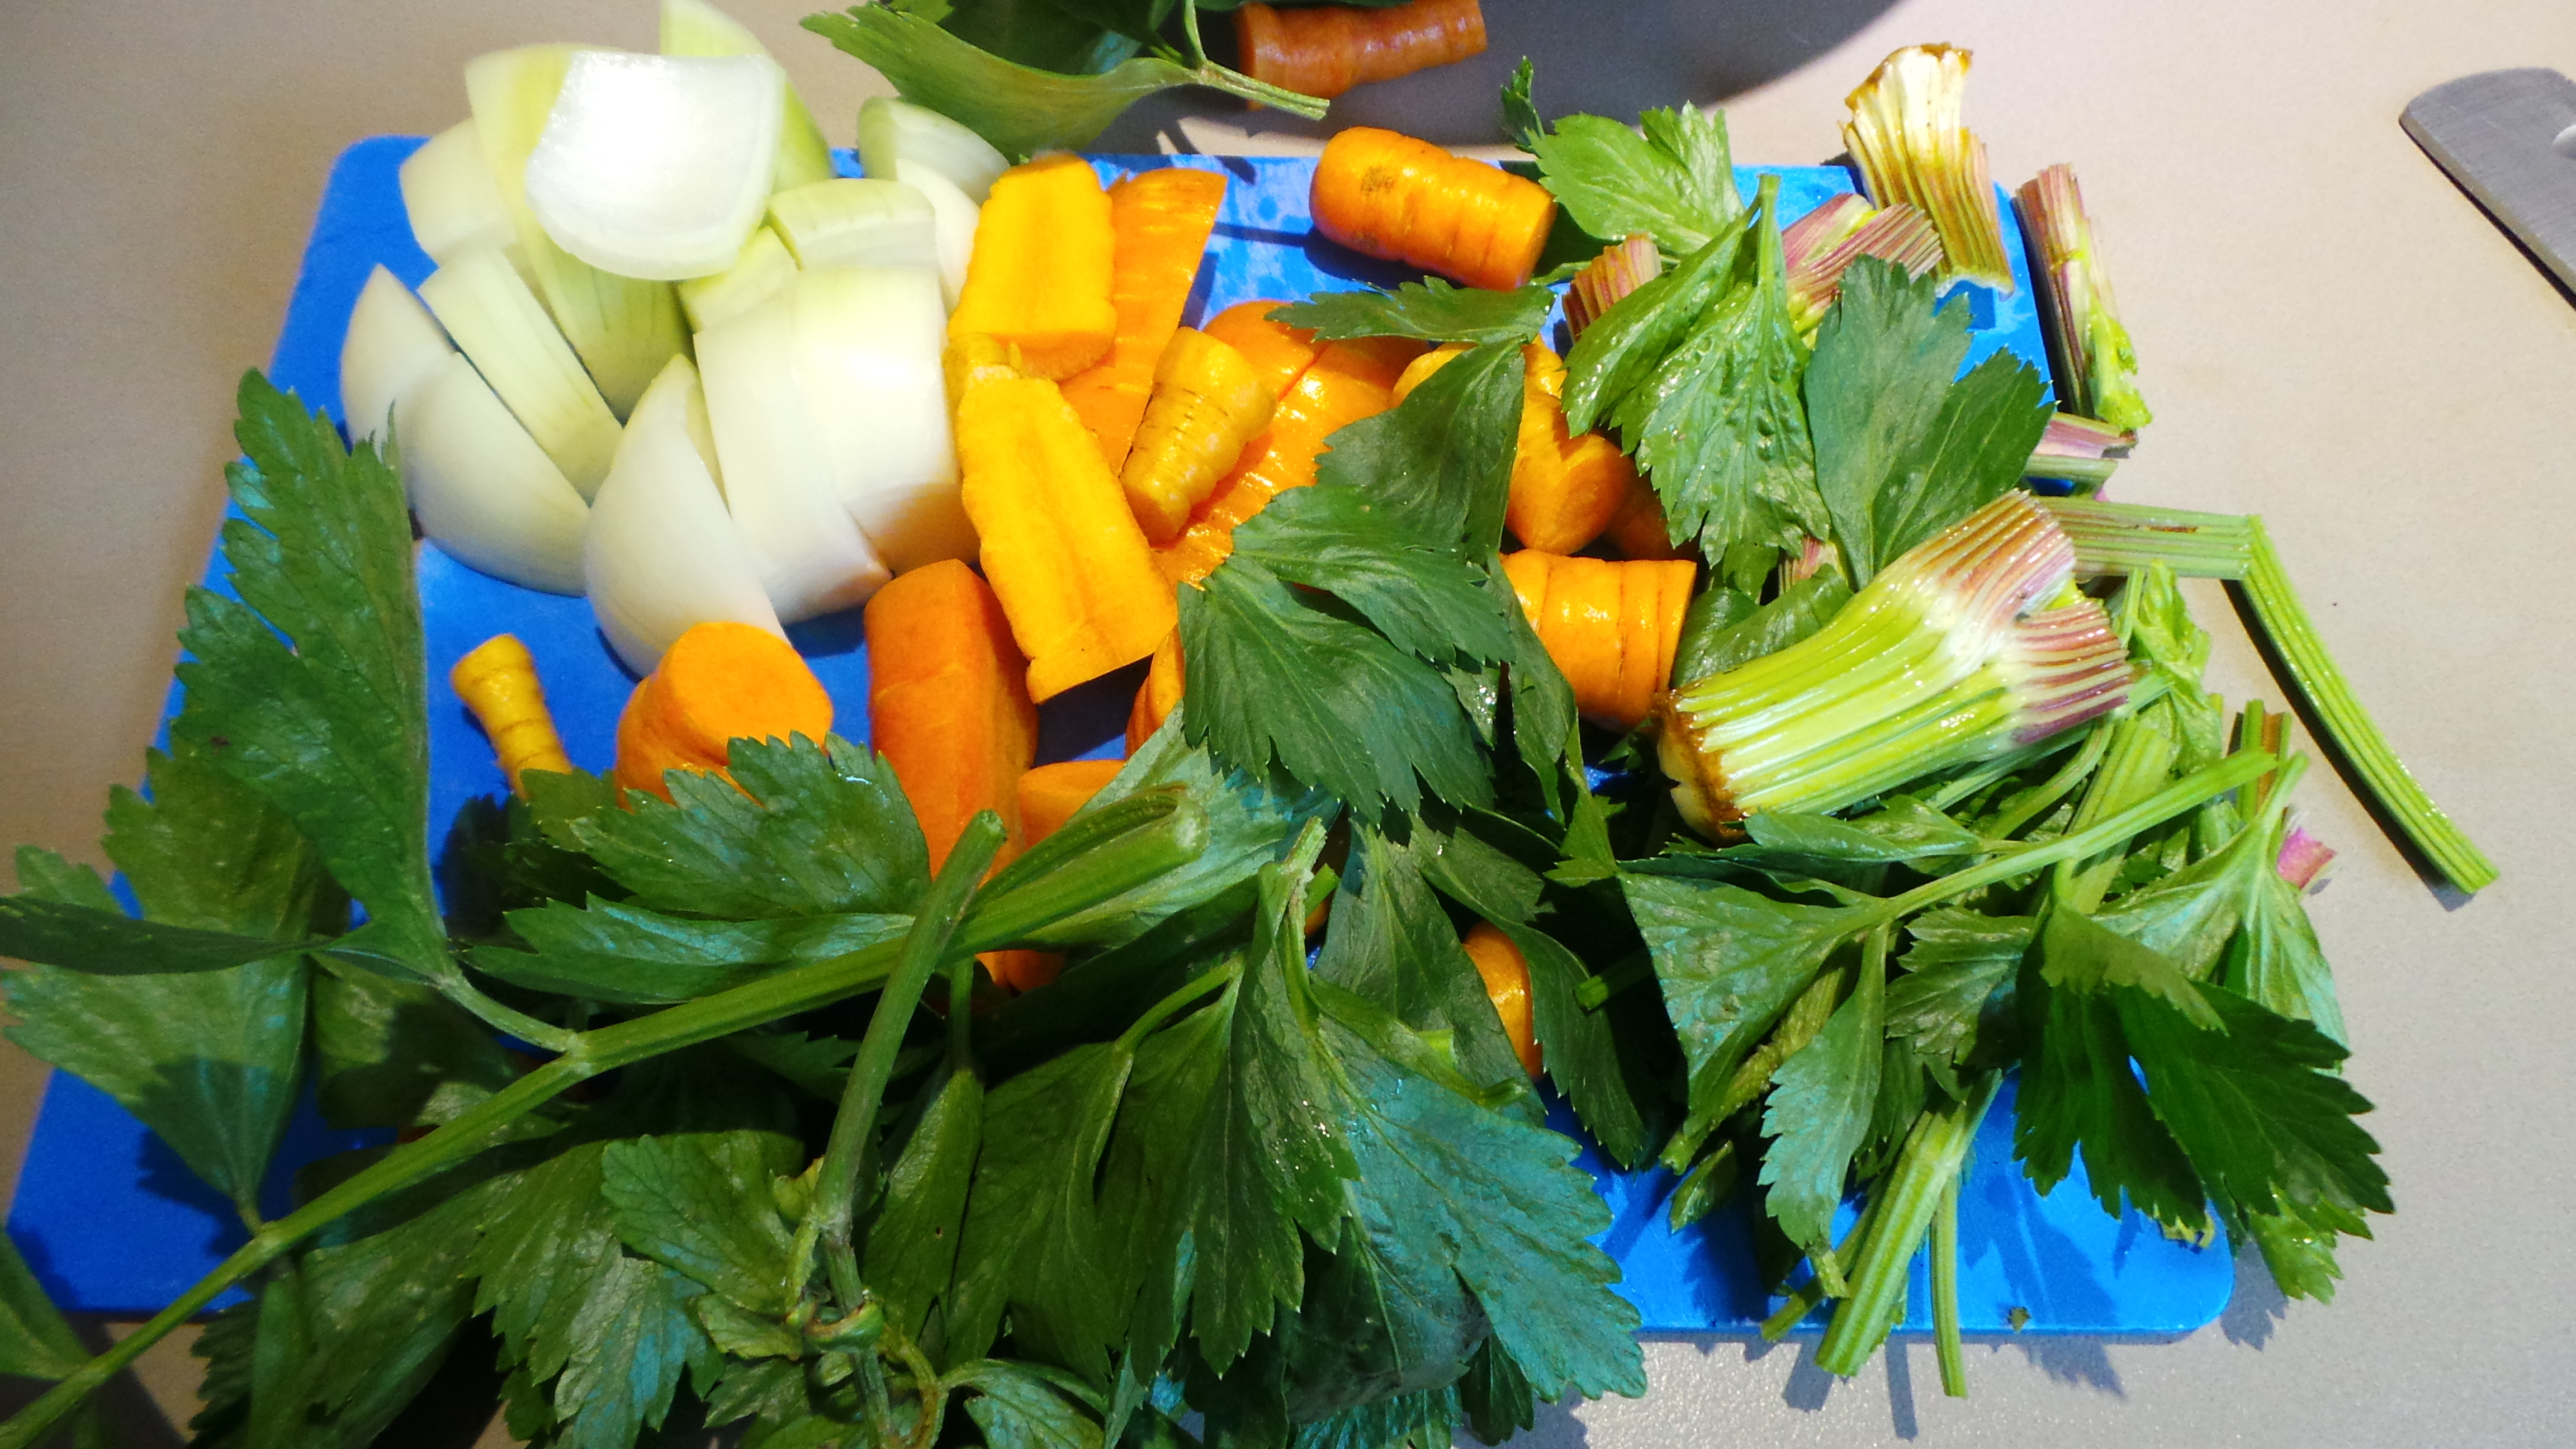
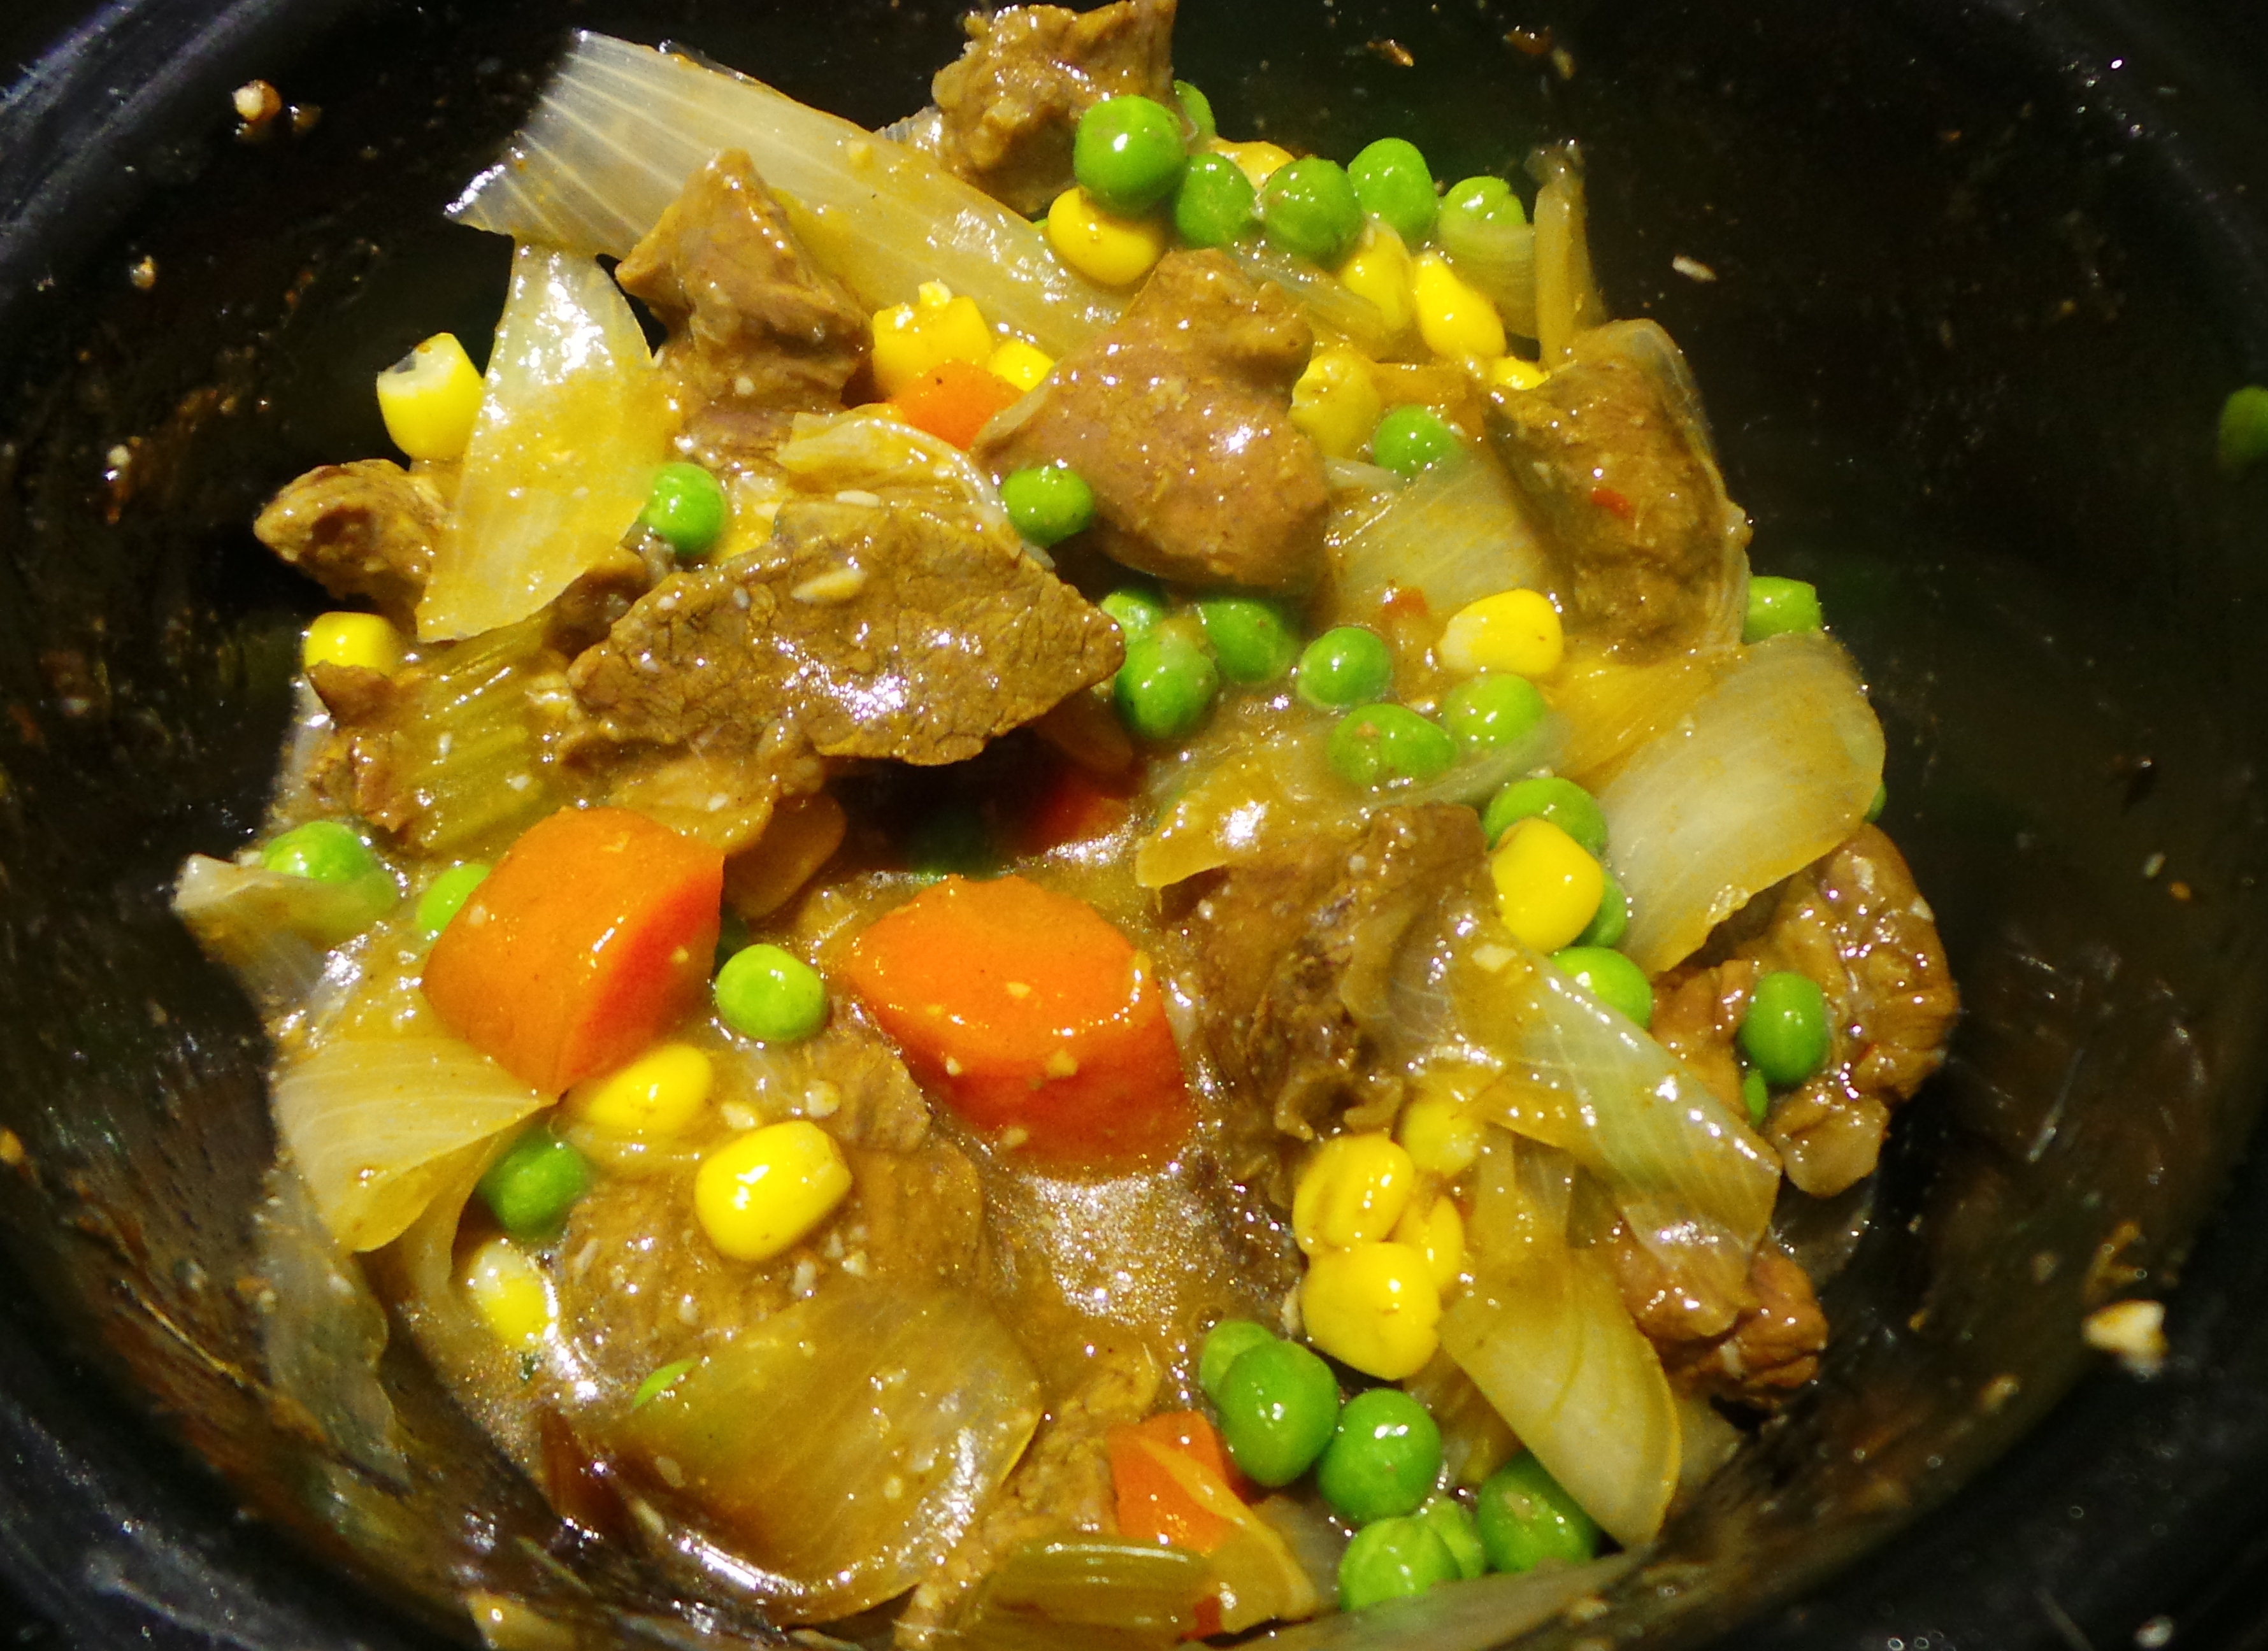
Then, when you are ready to cook it, add a few chopped veg to your slow cooker, stir in your beef mixture, place it on low heat and leave it for around 3 hours. Serve with plain rice, or mashed potatoes.
You can add the meat mixture frozen, or let it defrost overnight in your refrigerator. The latter option will allow the meat to marinate for a few hours in all the gorgeous spices and sauces you have added.
I was going to include detailed instructions for assembling the casserole, but the post would be rather long… so, there will be another post here that describes the same recipe but cooked from fresh.
Please forgive me and click on. xx