Fritters are one of those magical things where you create a substantial meal from next to nothing.
Flour, eggs, milk and those odds and sods cluttering up your fridge + a little time = happy tummies.
My mother introduced me to the art of the fritter.
When I was a kid, they were something that popped up on the school holiday or weekend lunch menu on a regular basis – especially during the long, rainy days that were the wet season in Far North Queensland (otherwise known as the Christmas Holidays).
Frightfully frugal fritters
Easy, frugal and tasty they could be a part of your life too.
You could even put your older kids to work making them during those long, wet-season holiday breaks.
Picture a pancake. Your nice, thick fluffy pancake, not a crêpe. Then add in some of the bits and pieces. Fry. Add a dollop of your condiment of choice and Robert is your Mother’s brother.
In our home, fritters inevitably contained either corned beef or hot dogs. In your home, they can contain whatever you want. Think rustic. Chunky pieces of whatever you have to hand.
We had some leftover corned beef, so fritters came to mind due to my childhood association of the two.
In our home it was always referred to as Cane-Cutters’ Ham, because my brother and I didn’t like corned beef….ahem.
Moving on..
So, to a basic pancake batter was added a handful of tasty cheese,
Add a handful of cheese
a handful of diced corned beef,

Diced corned beef
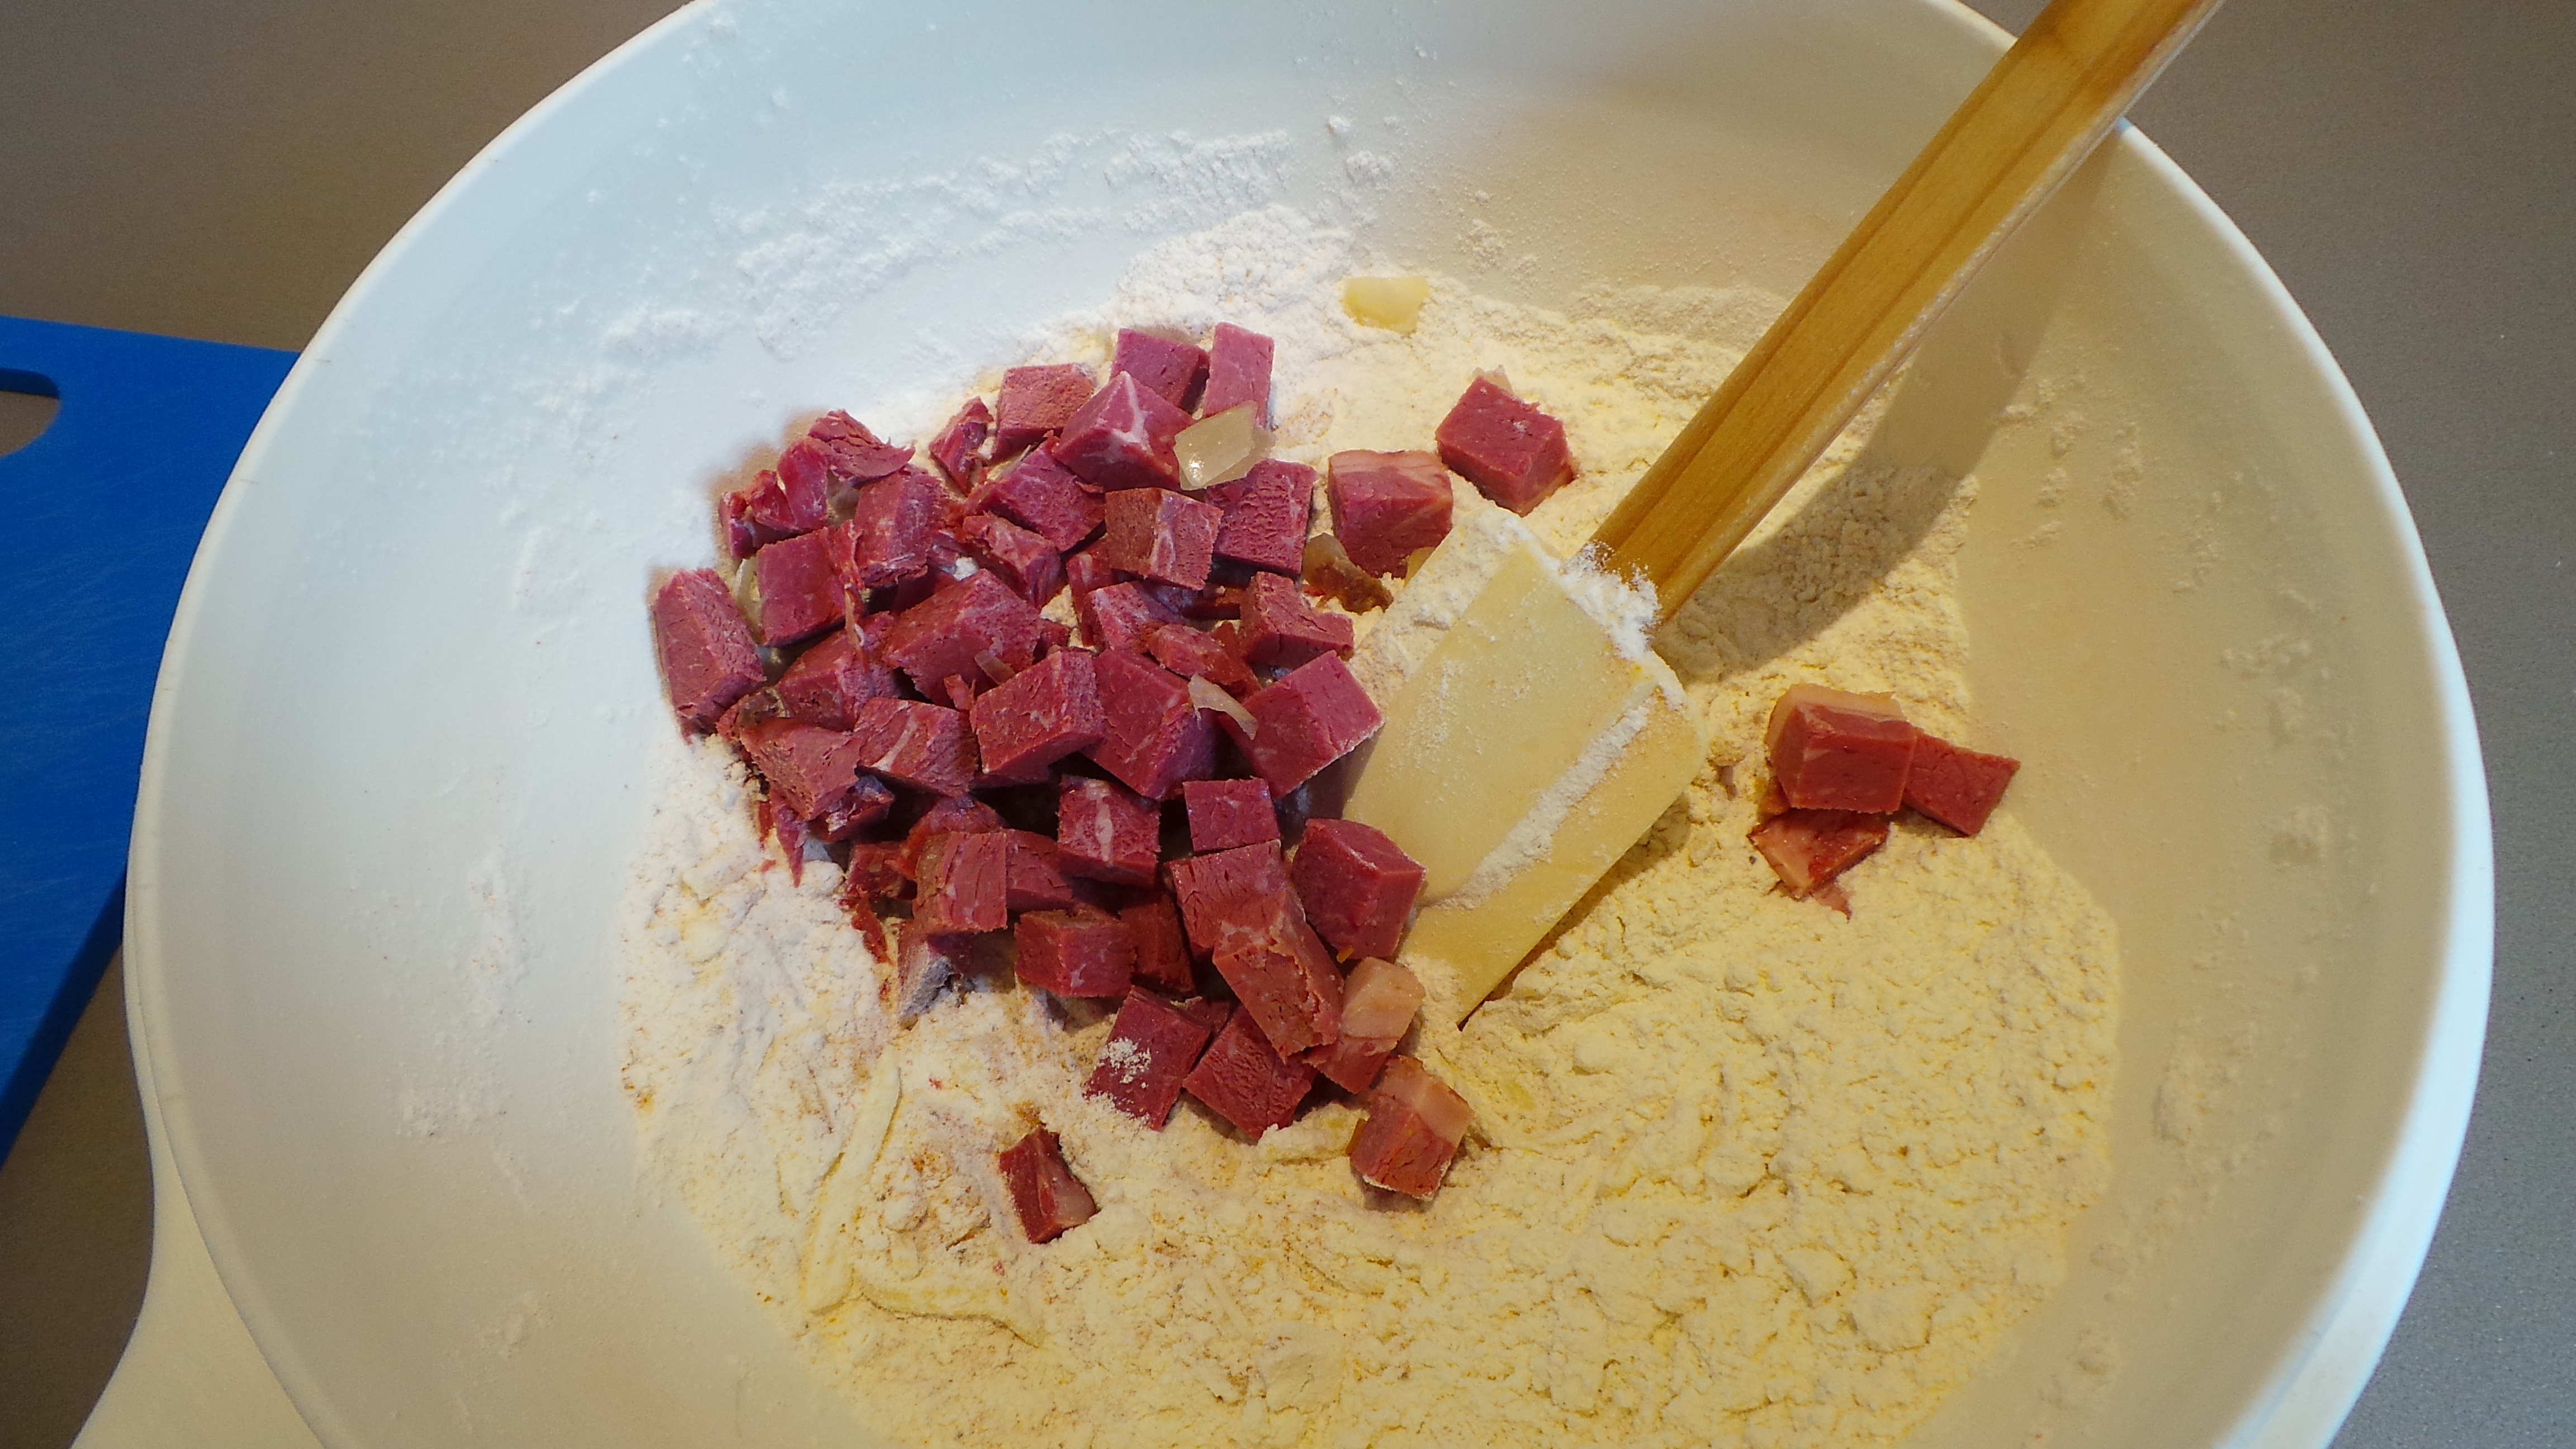
Add diced corned beef
a small can of corn
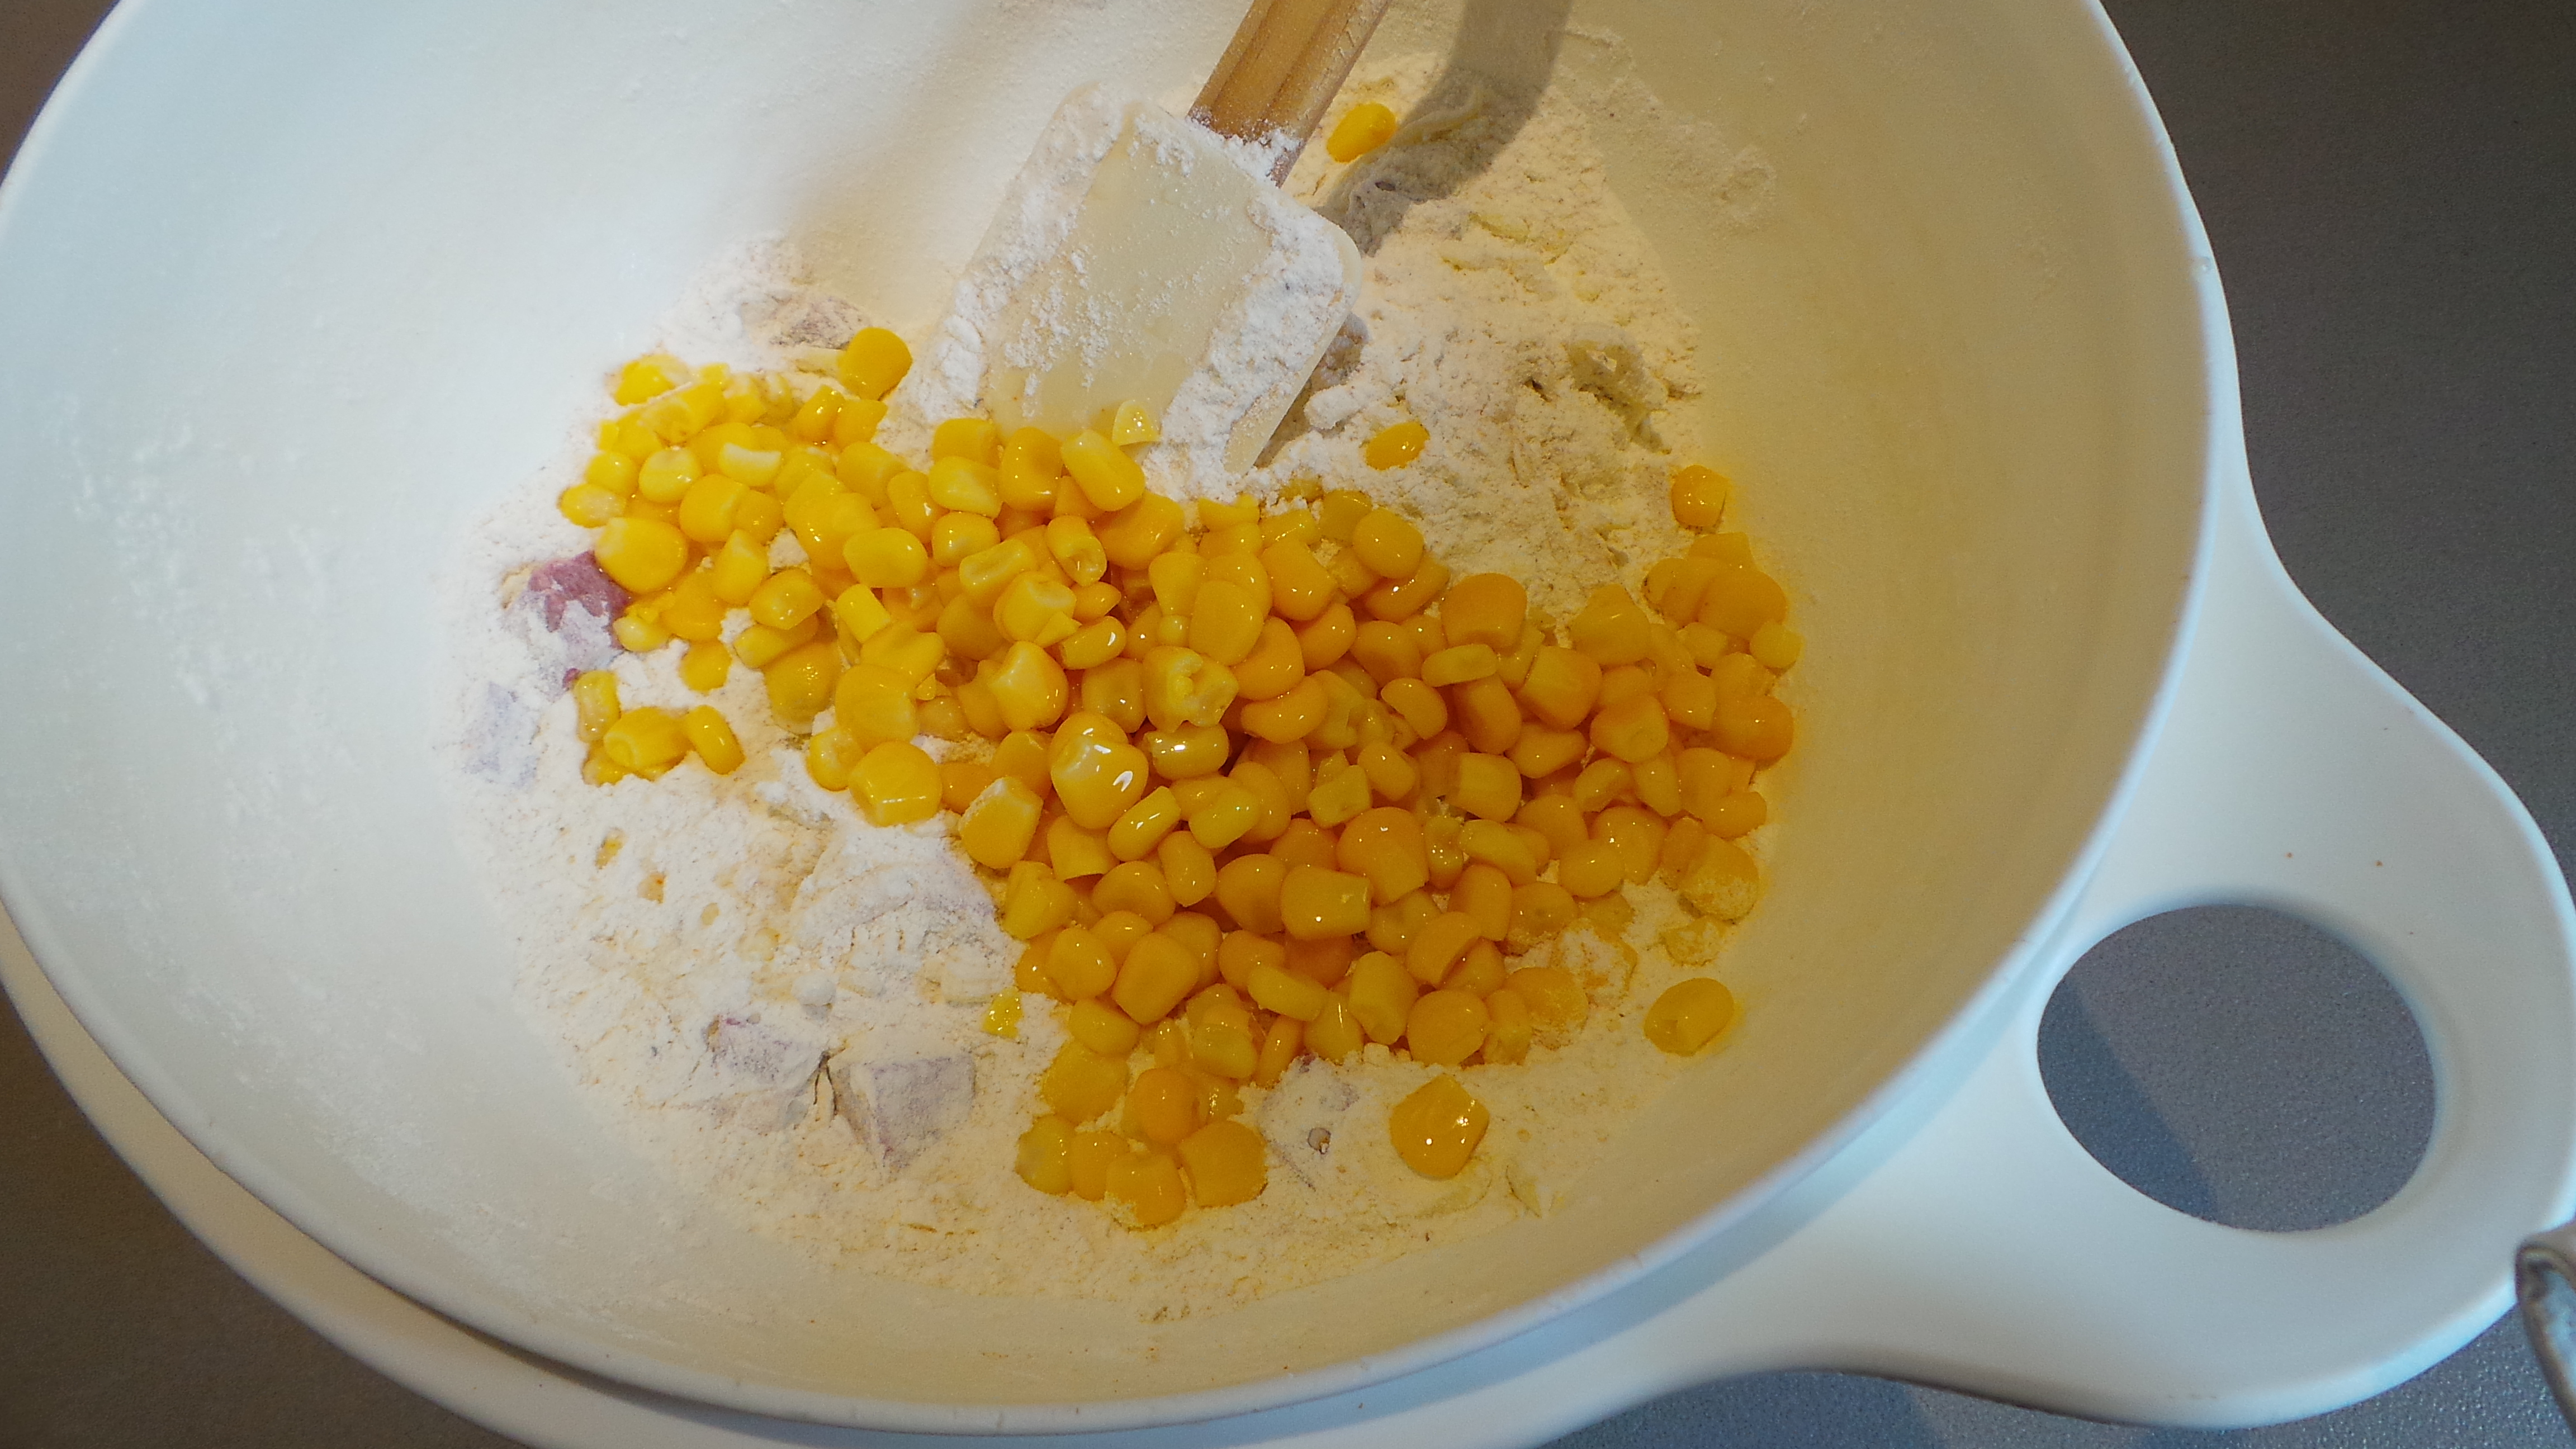
Add some corn
and some frozen peas.
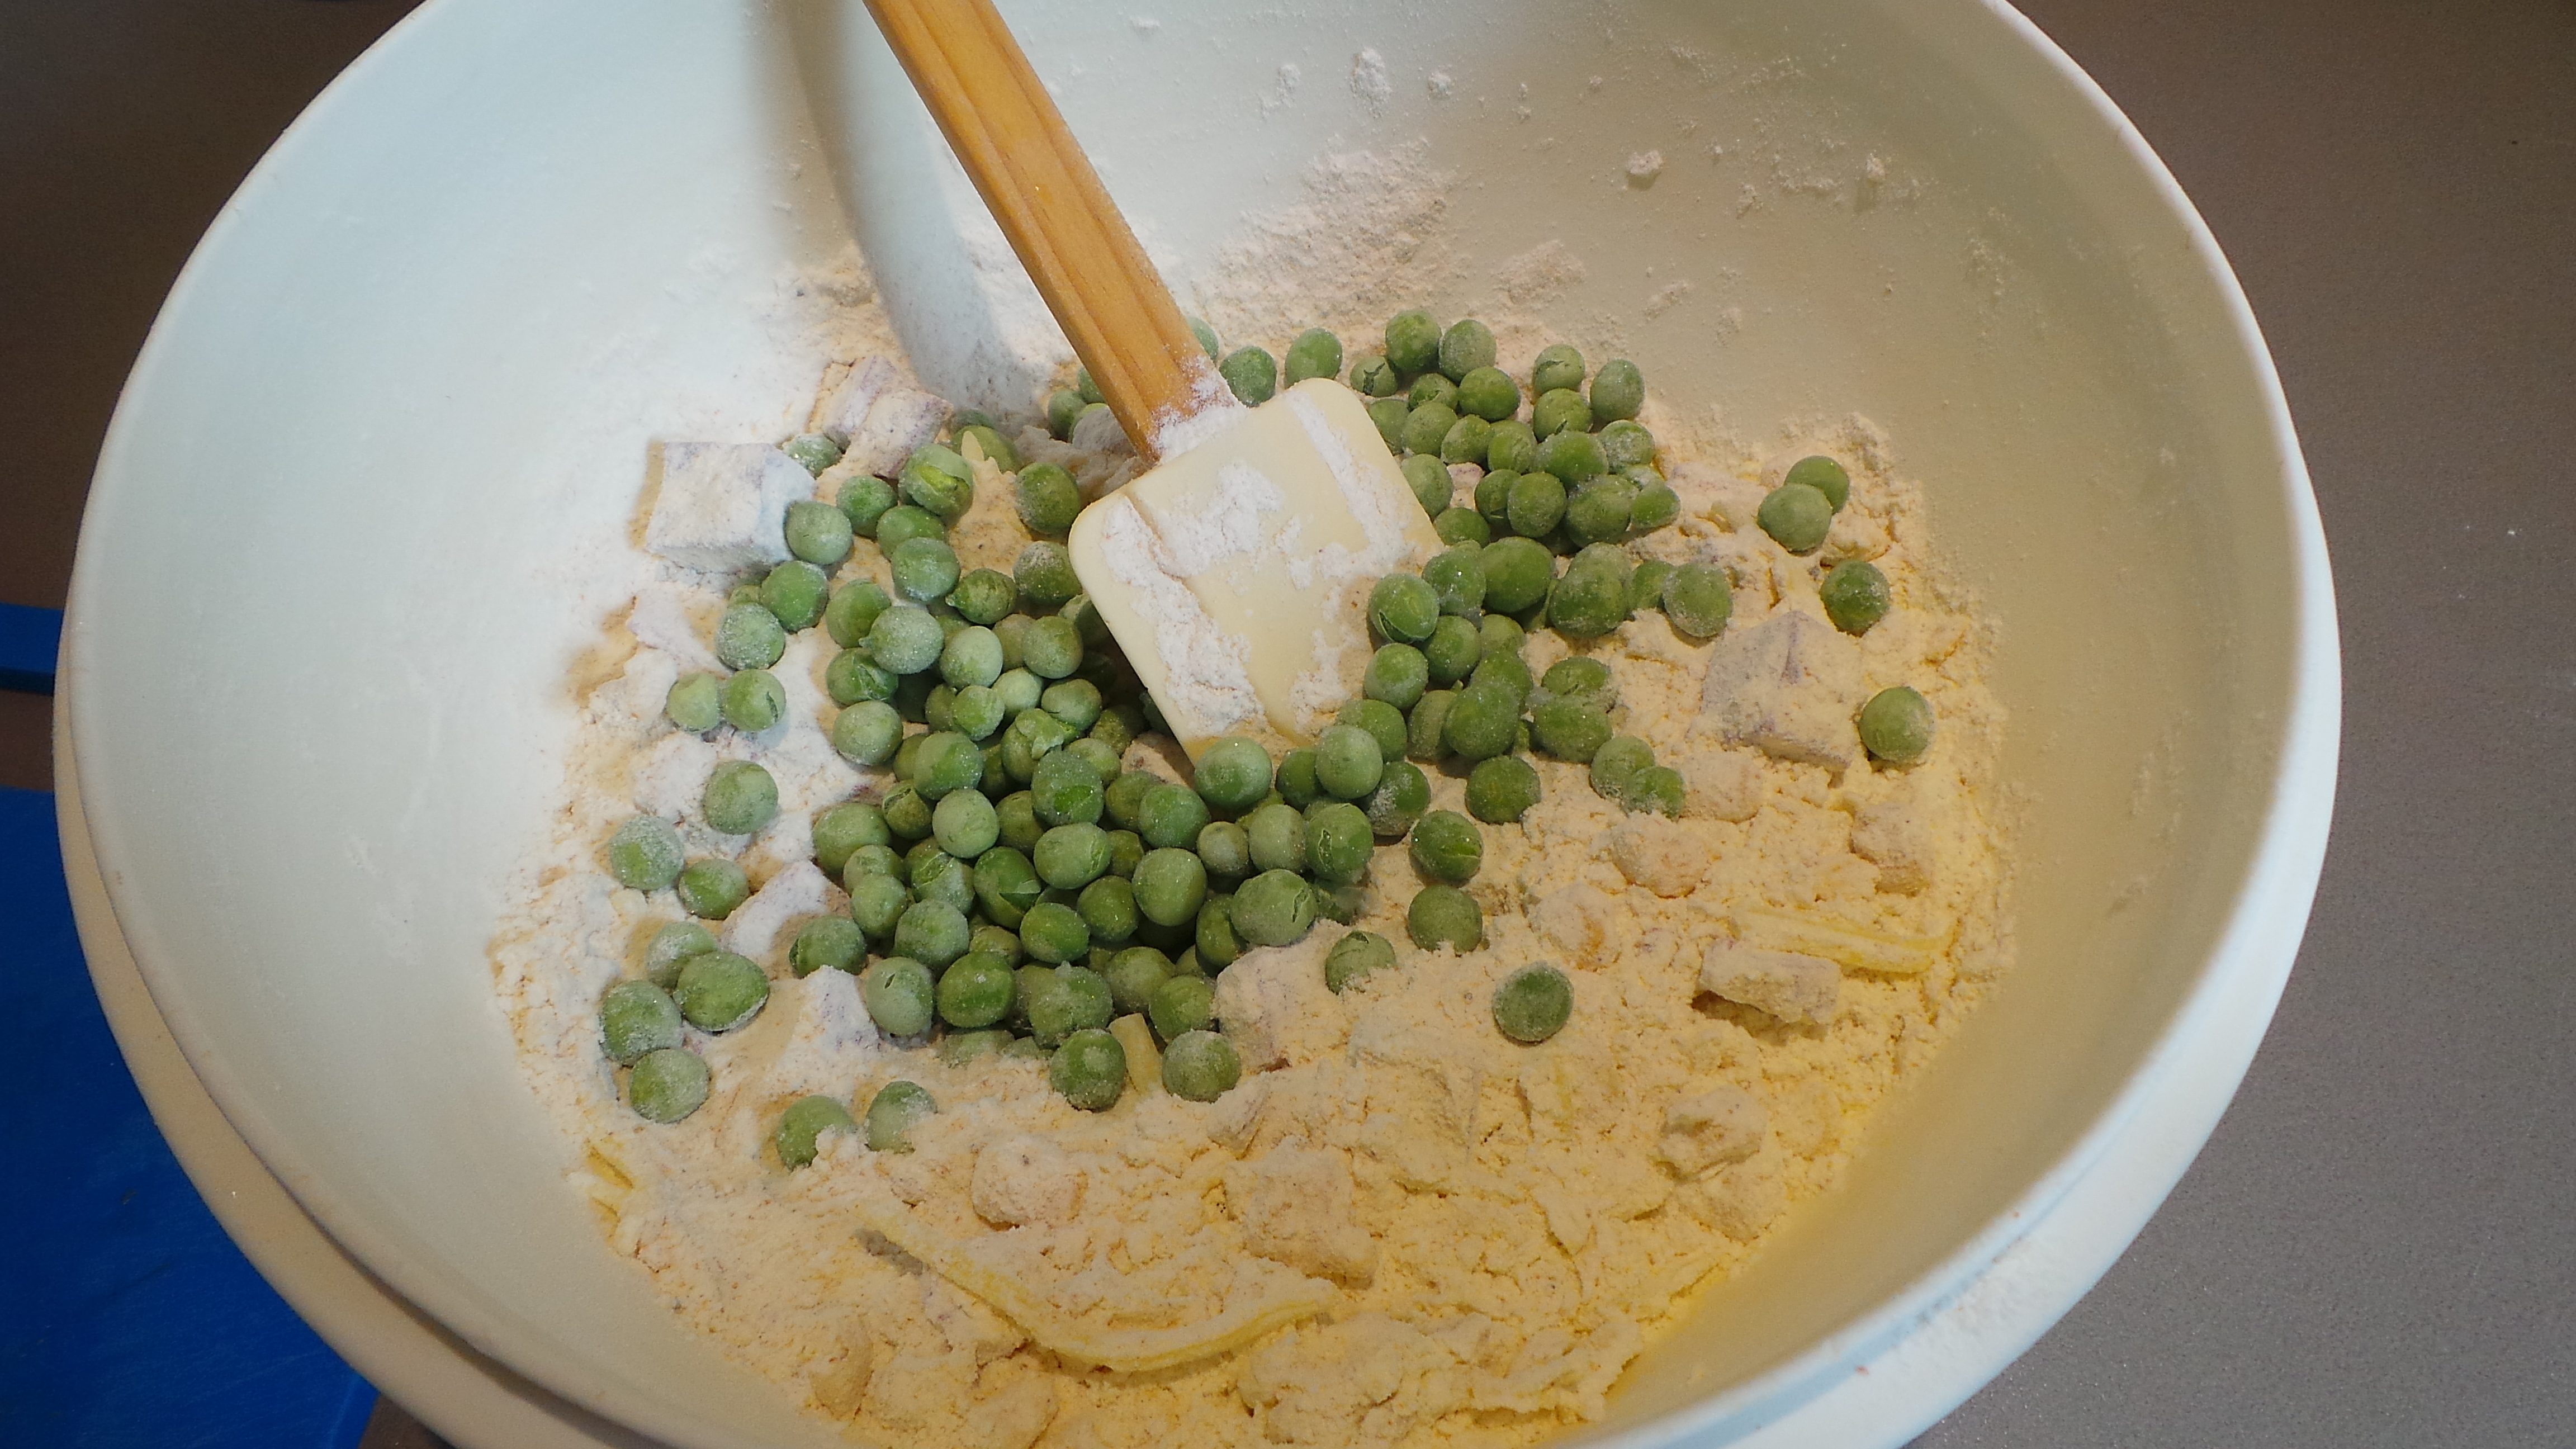
Add frozen peas
Then an egg was mixed into a jug full of buttermilk,
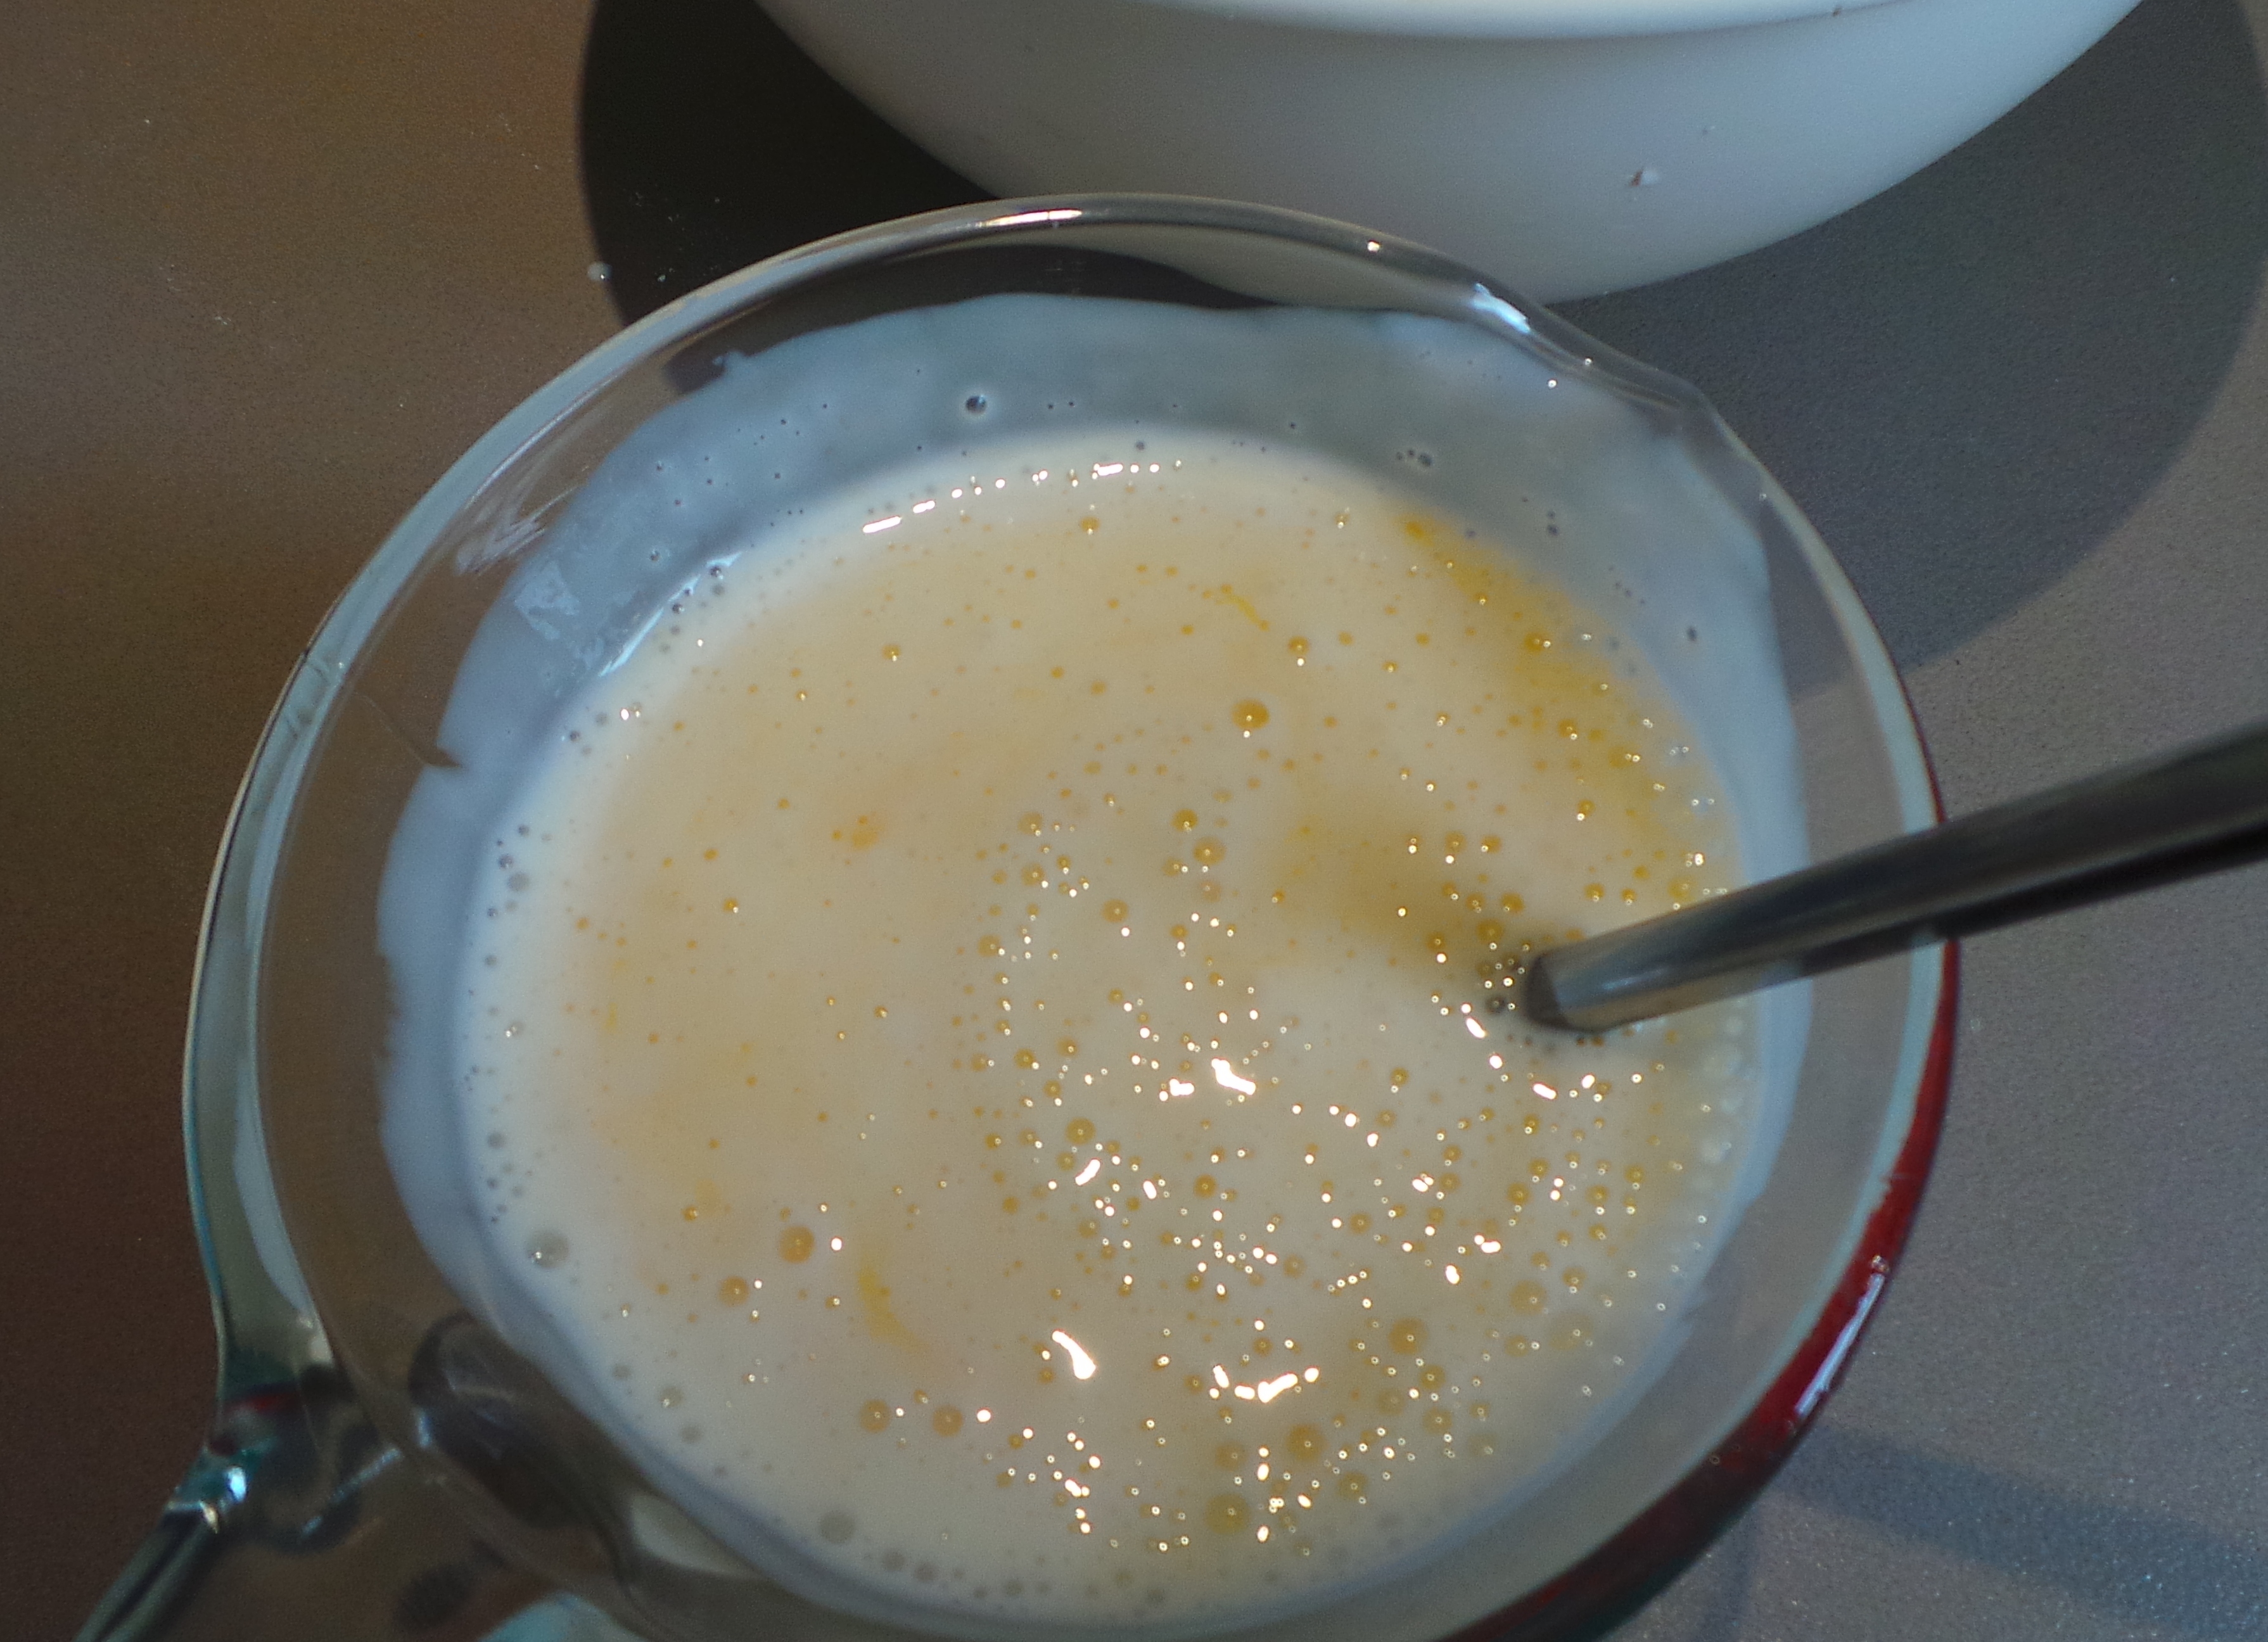
Whisk an egg into your liquid of choice
and it was all mixed together to form a stiff batter.
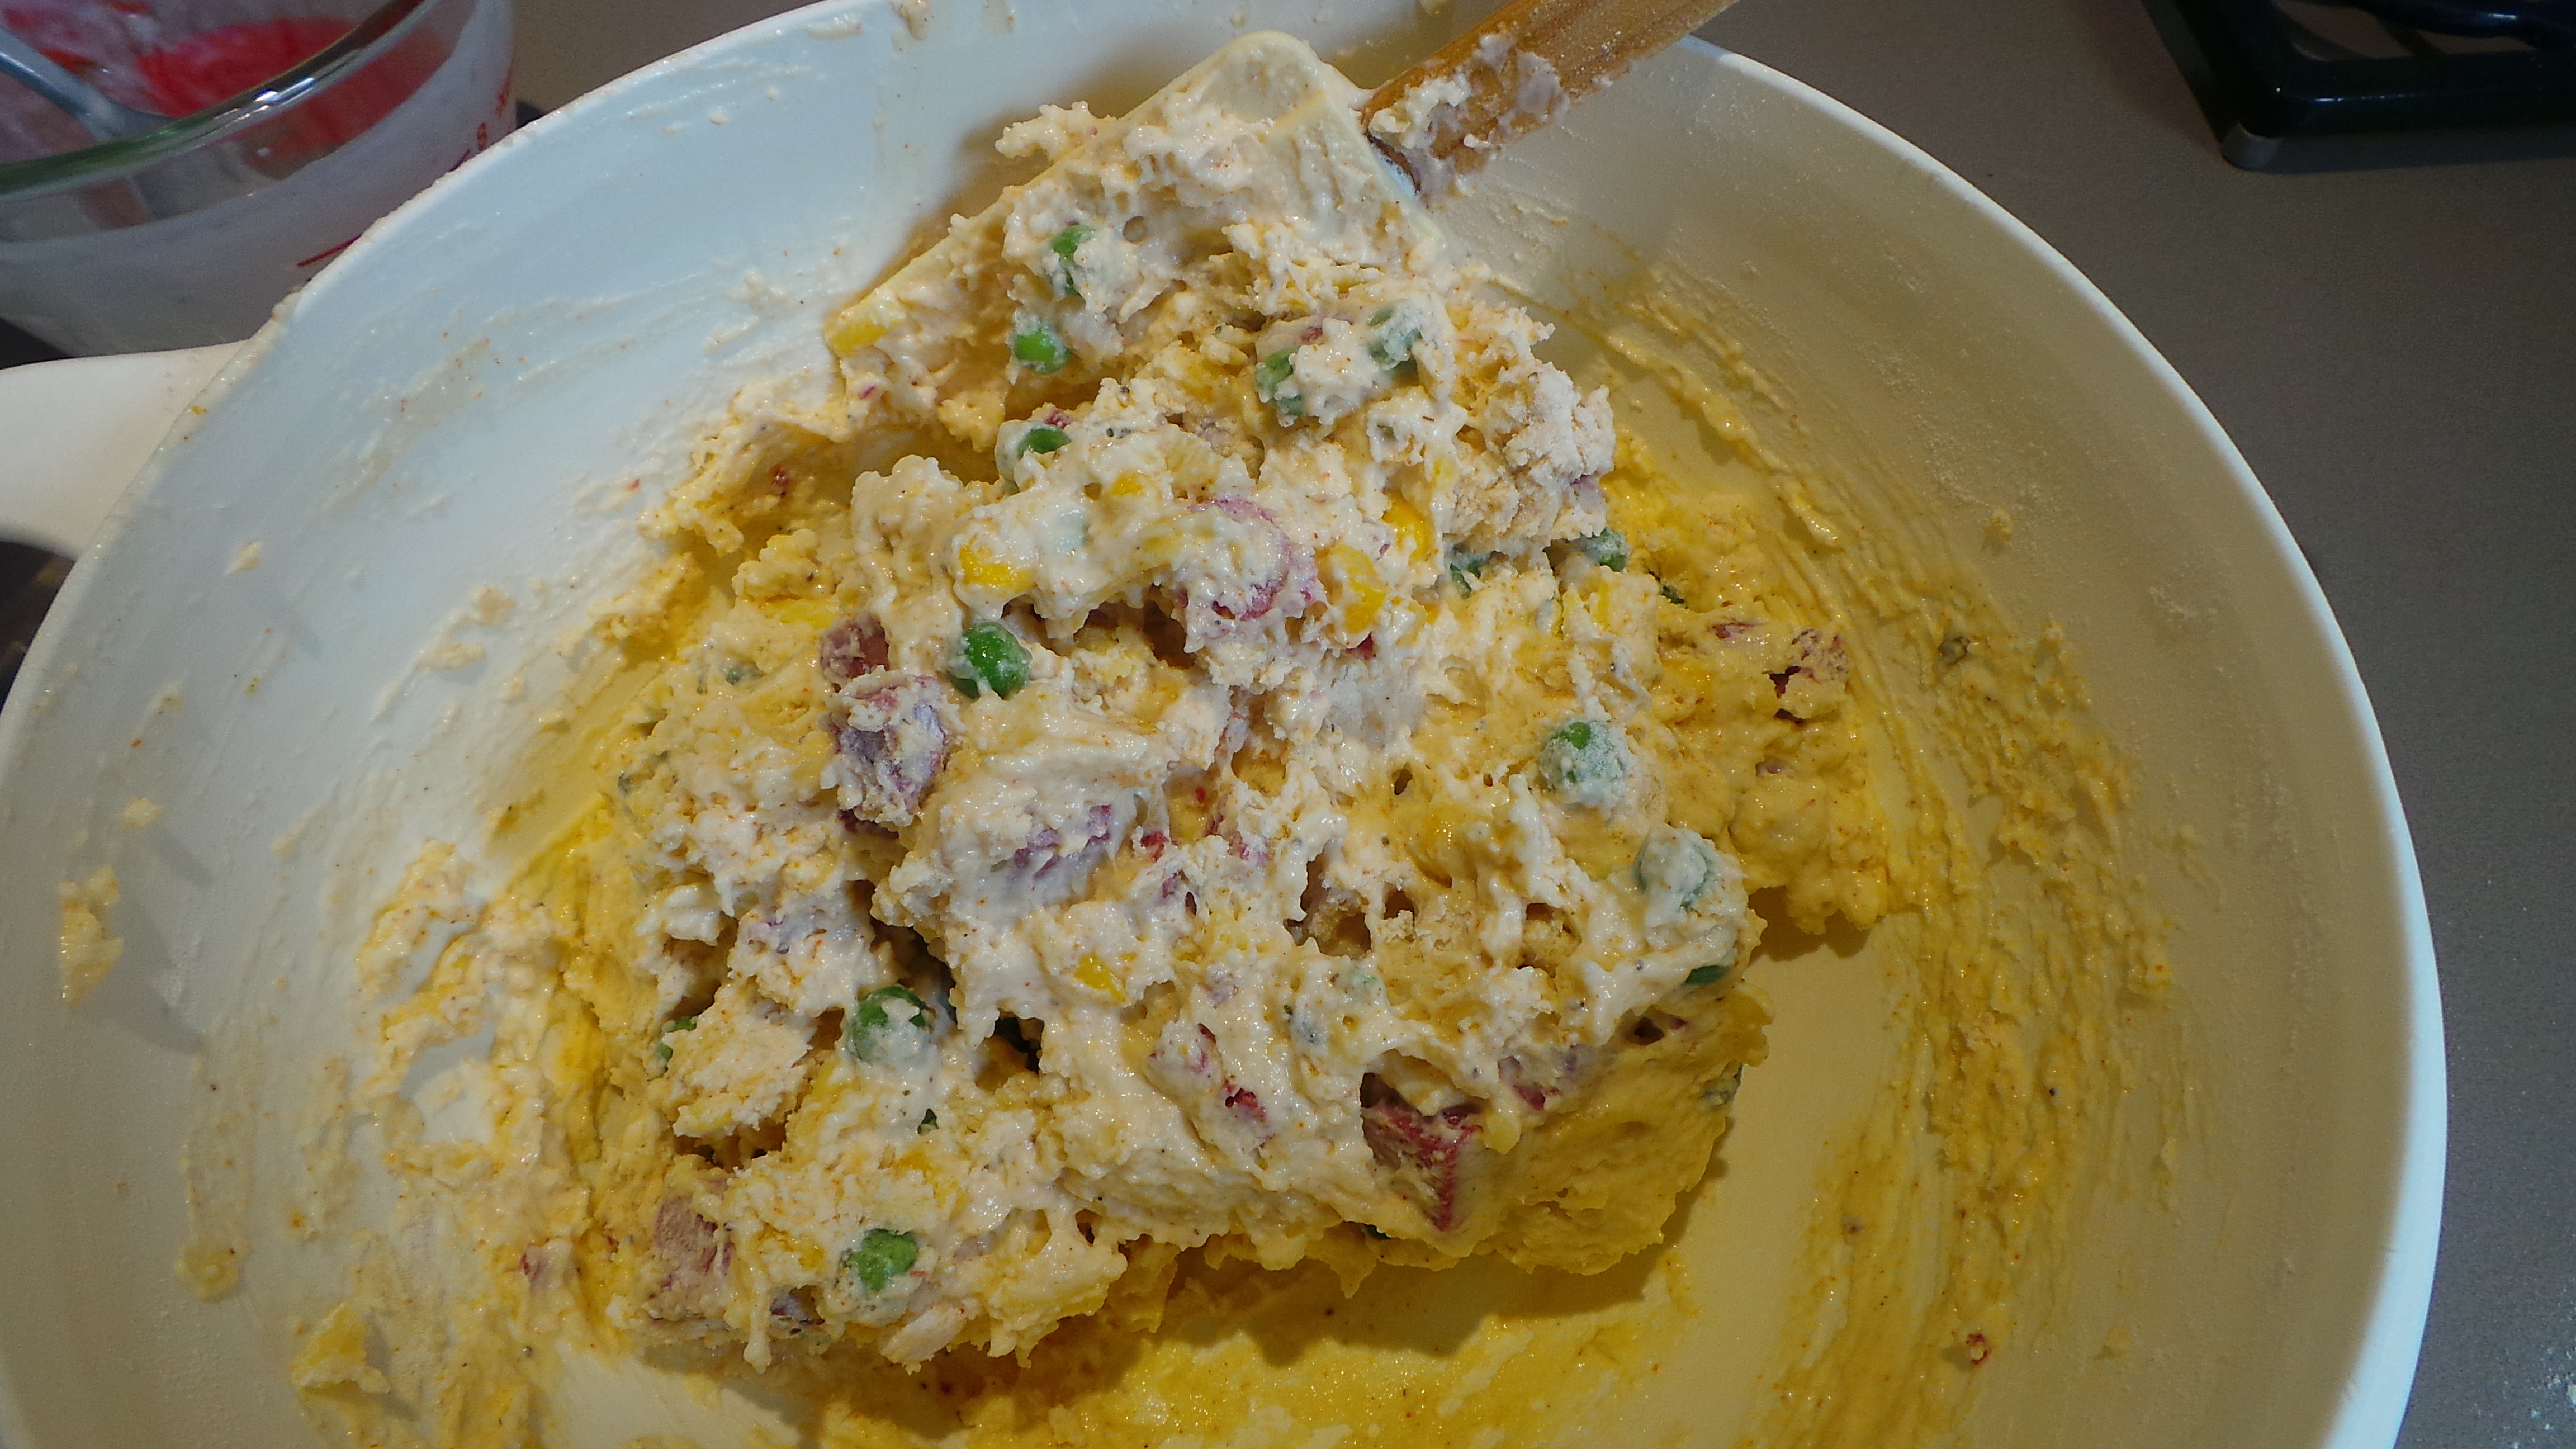
The final batter
So what to do with what could be considered a rather intimidating-looking mix?
Introduce it in dollops of a tablespoon or so in size to a hot frying pan or skillet. Use the spoon to spread them a little, but don’t fuss too much.
Start with smallish amounts until you are sure of the temperature of your pan. If the mixture sits there and no sizzling can be heard, then your pan is too cold. If it starts to smoke and you smell burning, then it’s too hot and you may as well dispose of that particular dollop.
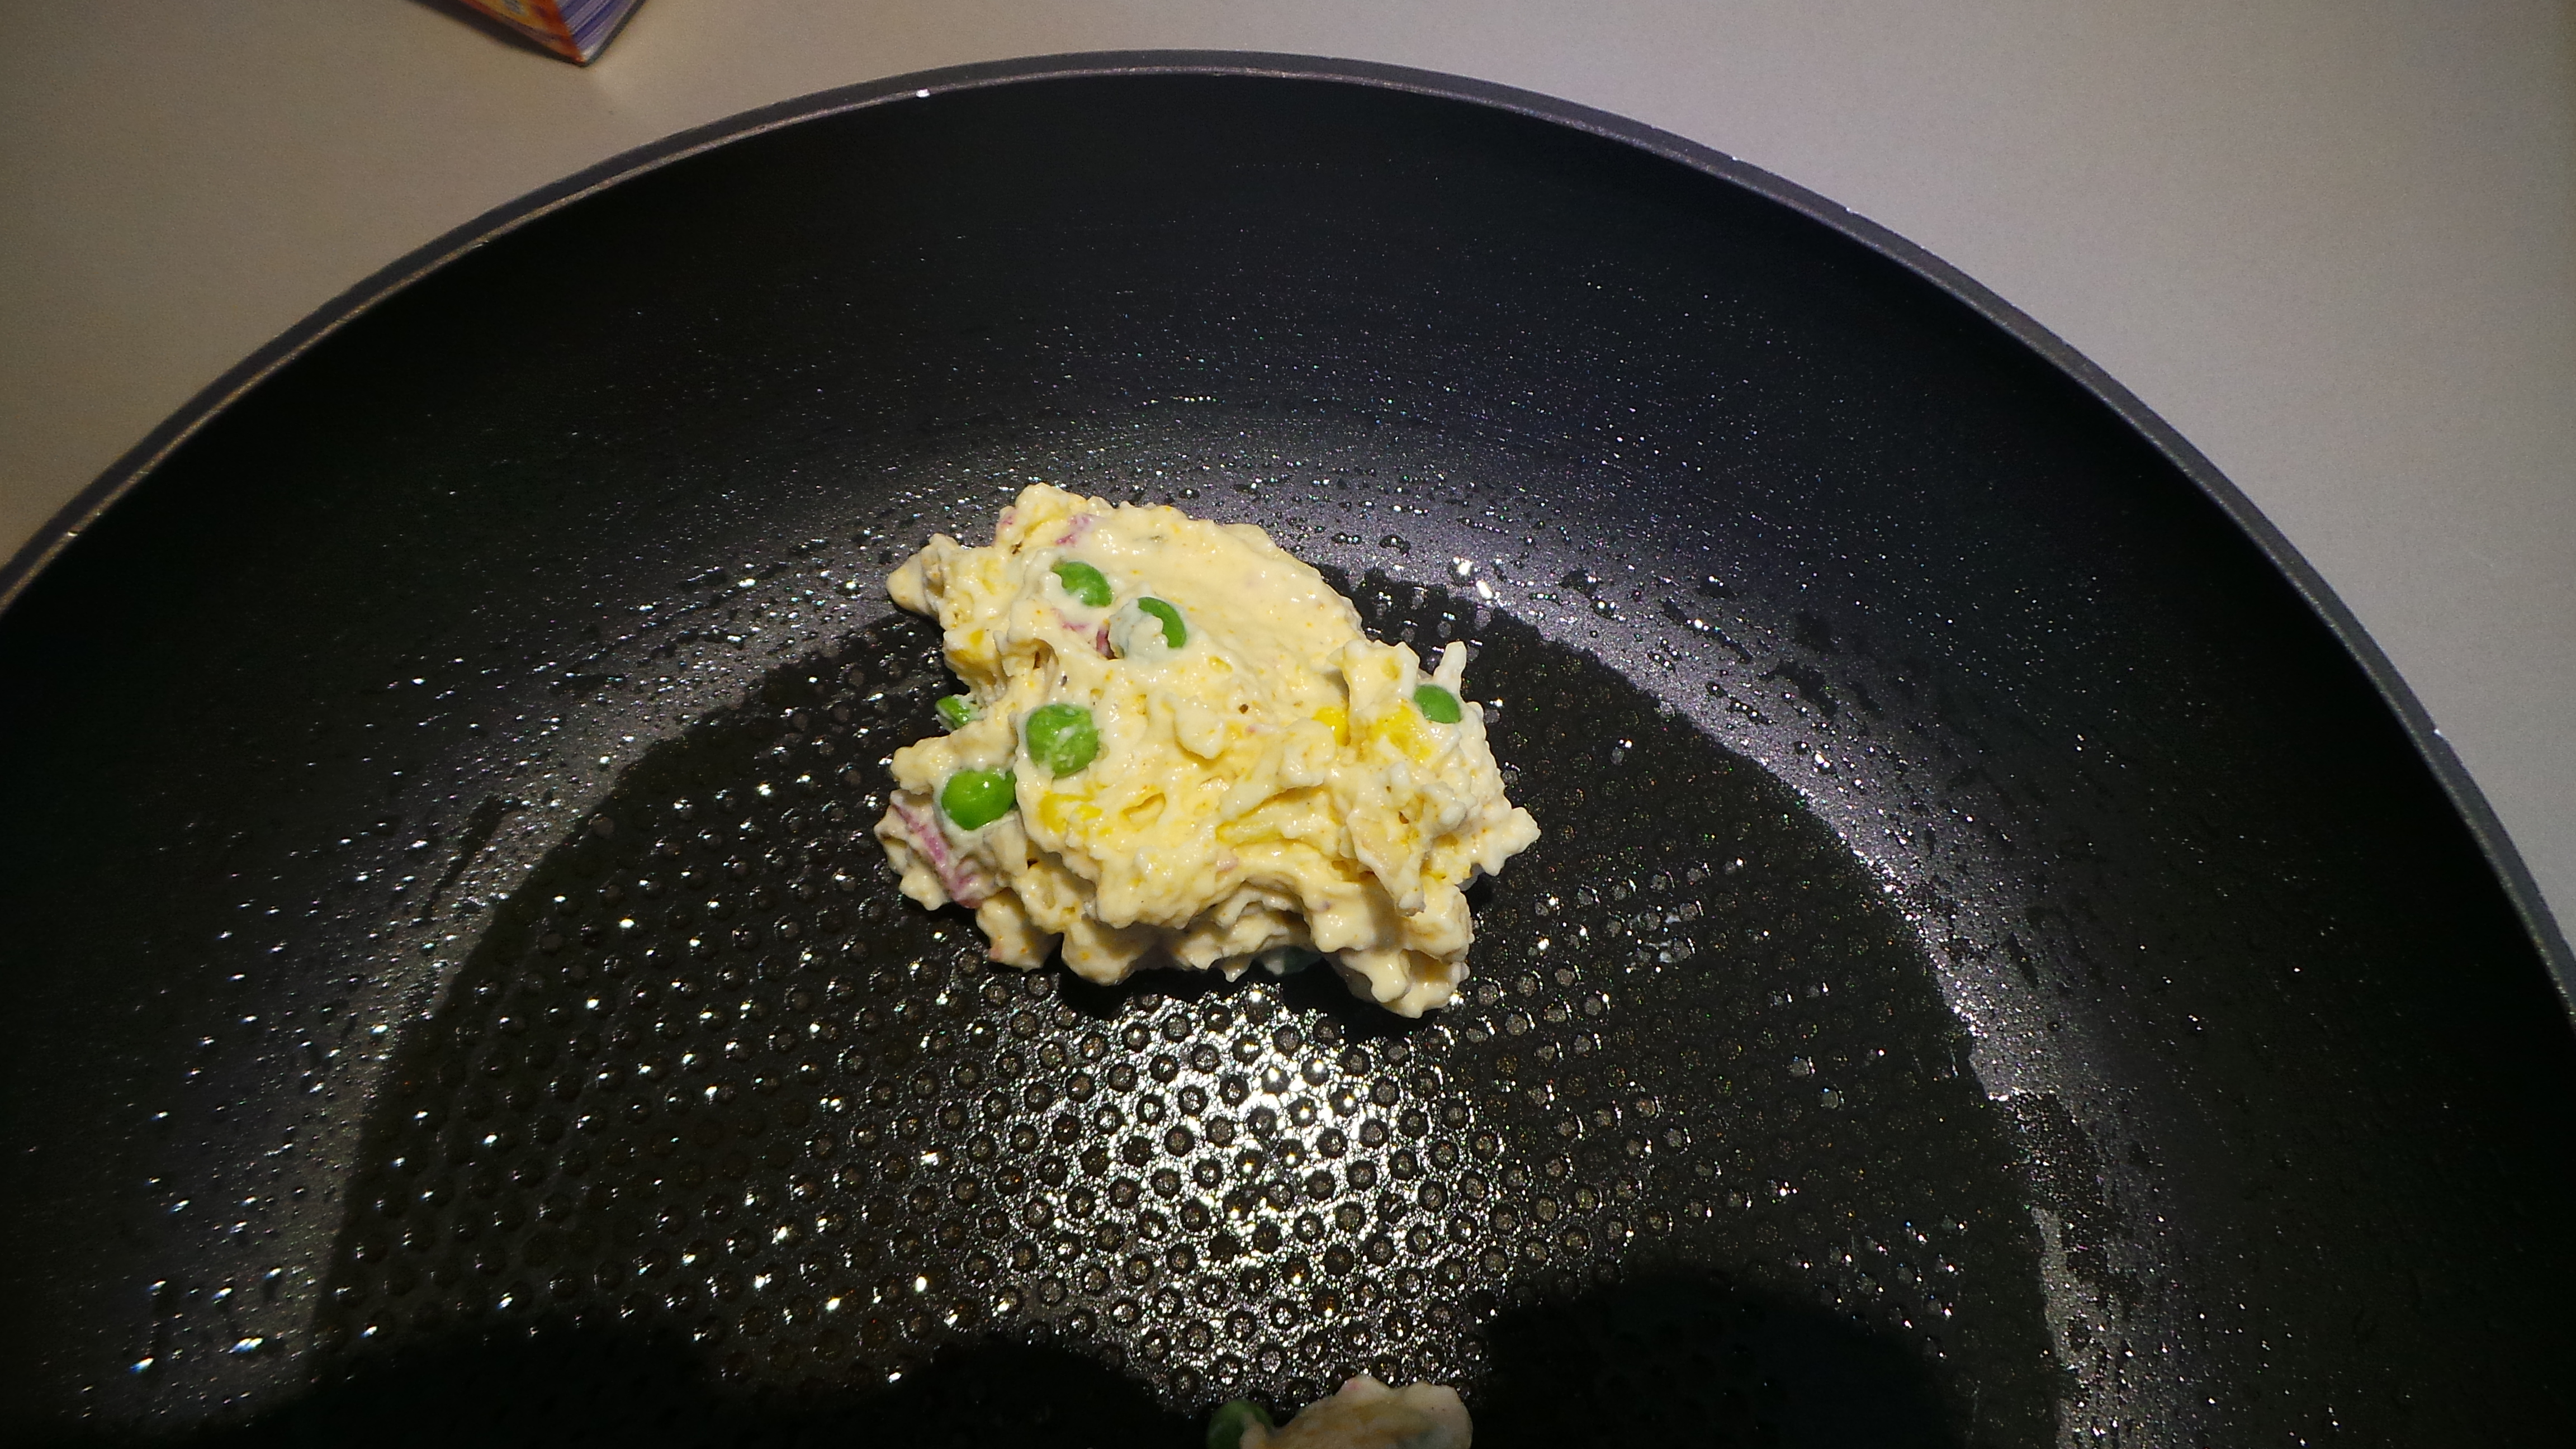
Add small dollops to the hot, oiled pan
Don’t touch them until they are ready to be turned/flipped. If you try to move them before they are ready, you’ll end up with a mess in your pan and possibly in tears.
I speak from experience.
Let them gently fry until small holes start to appear in the upper surface of the batter. Like this…
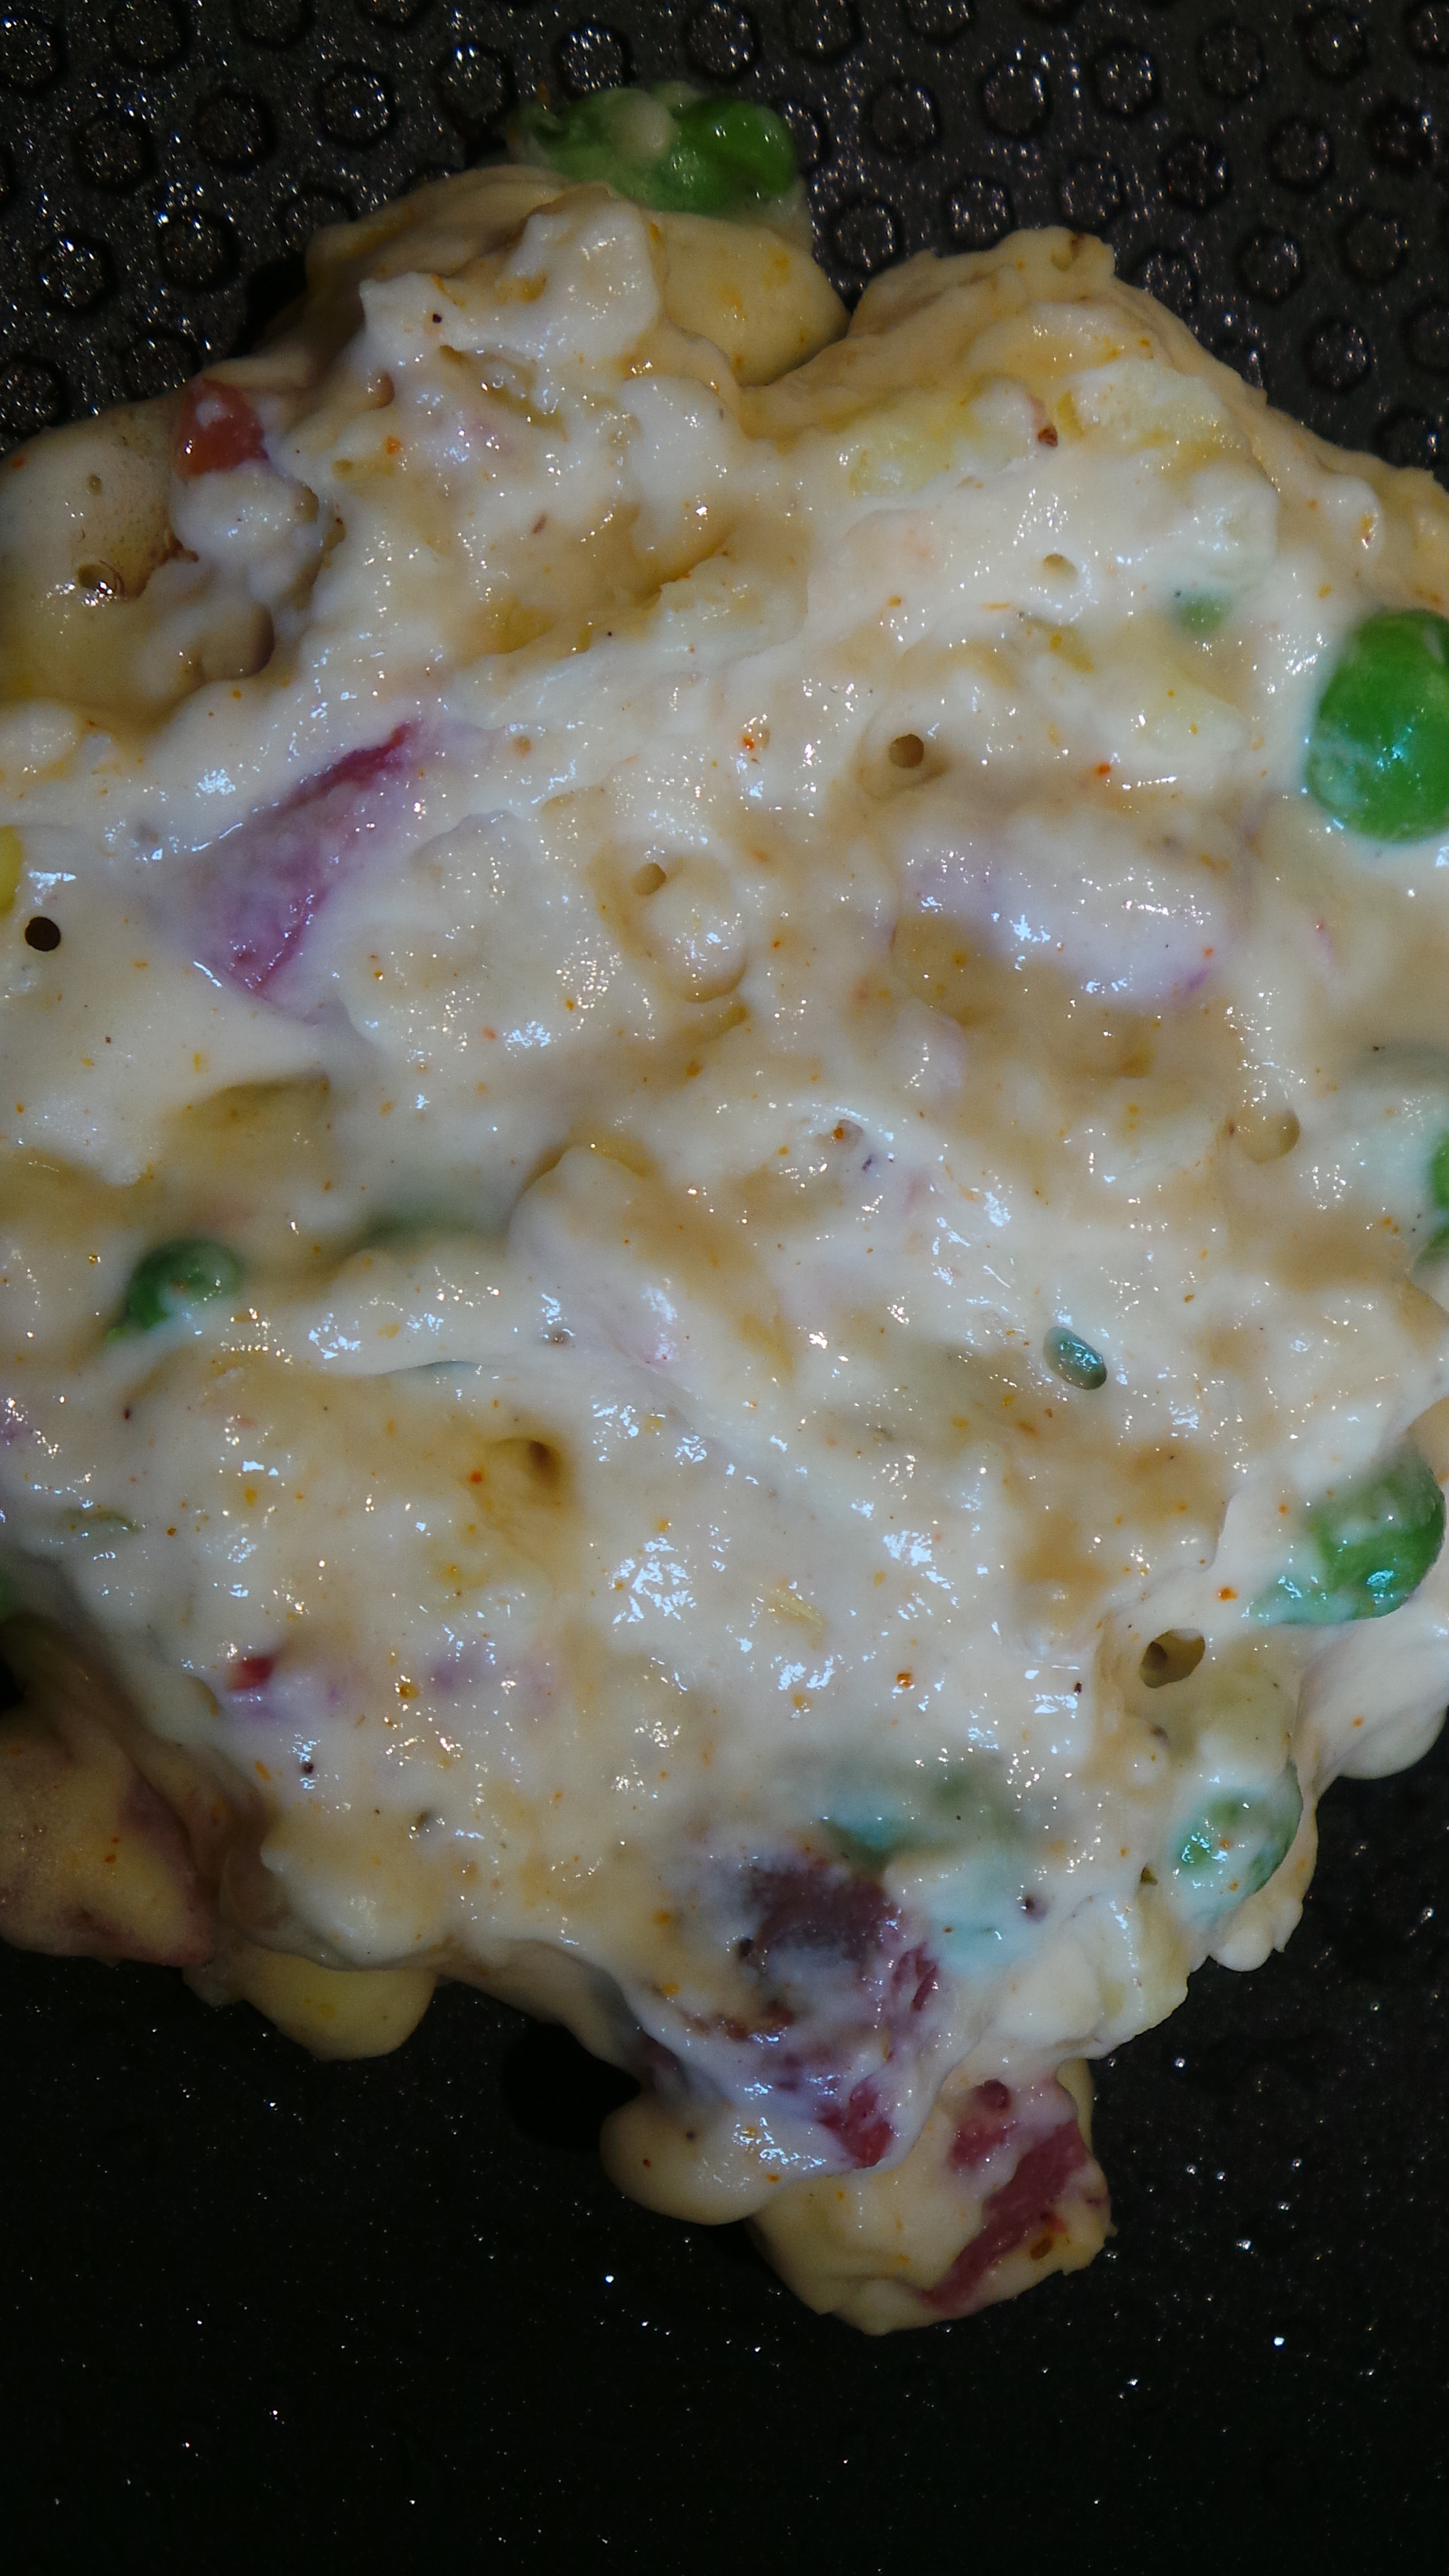
Small bubbles will appear when it’s time to flip them
If you possess an oil spray, you may wish to gently mist the upper surface of the fritter before you flip it. 😉
Using an egg flip/fish slice turn the fritters over and press gently on the top to flatten them a little more.
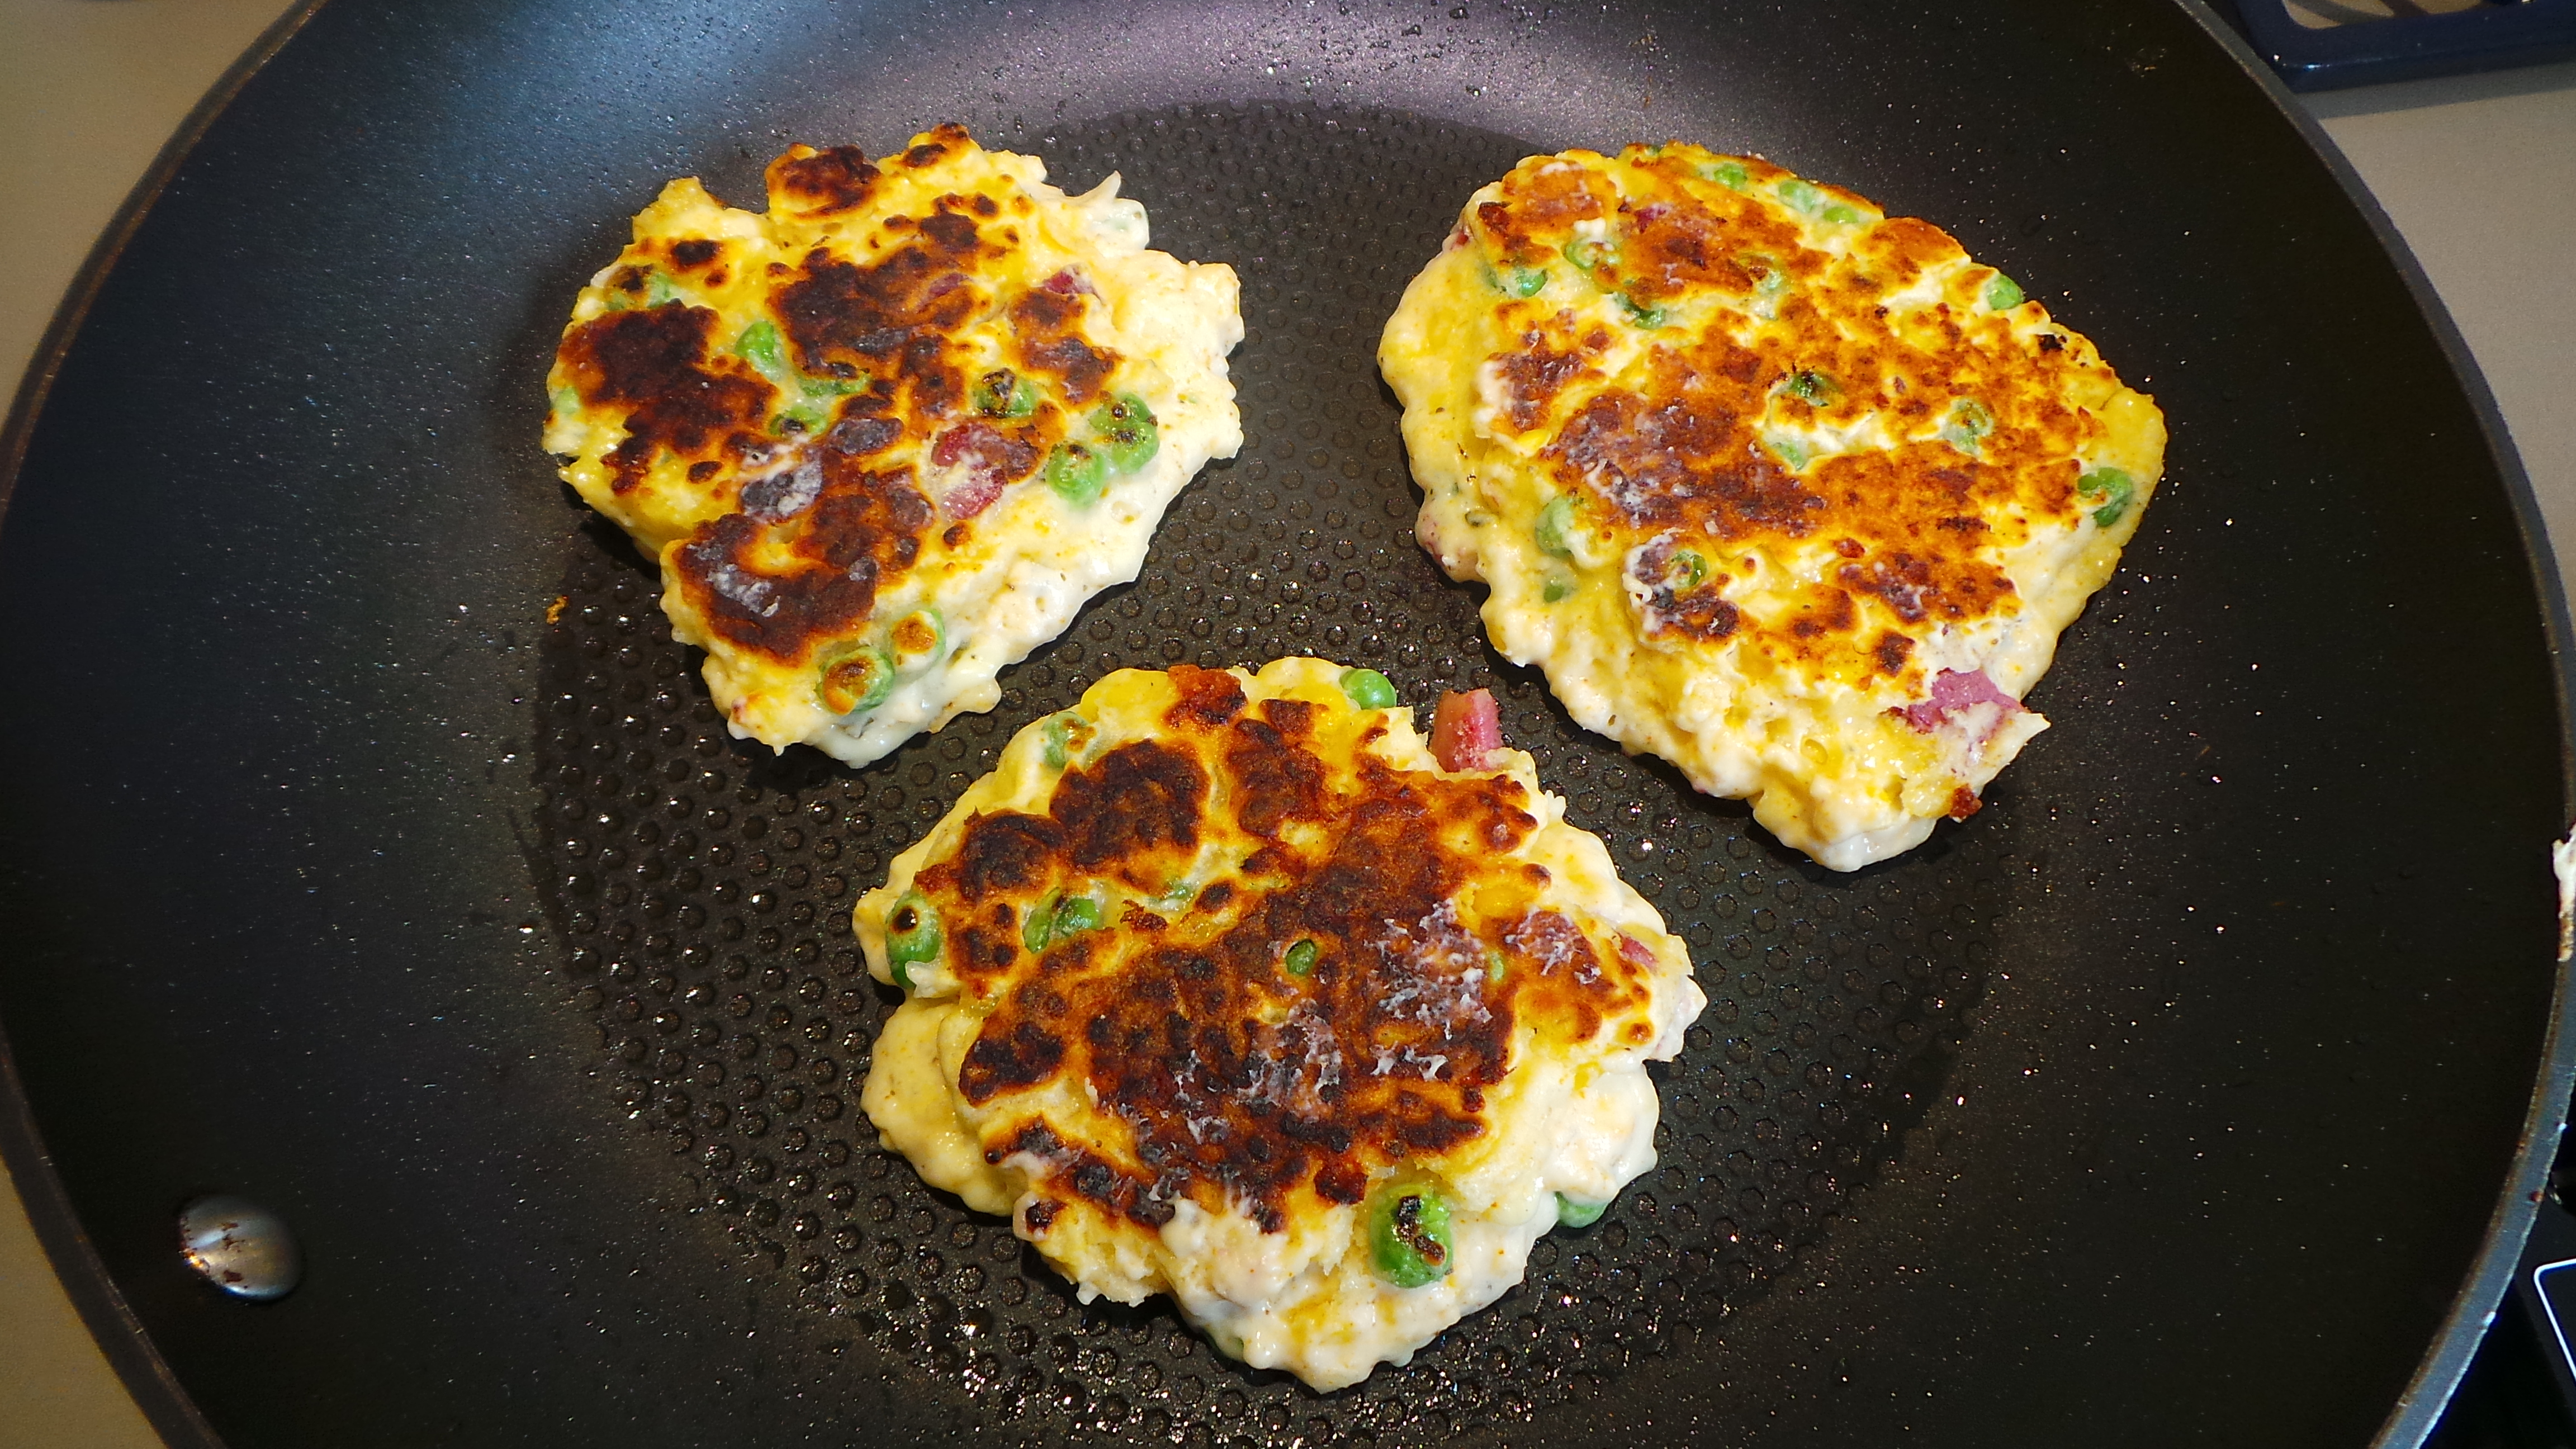
Flipped fritters
If you expose rather a large amount of uncooked batter when you press down, then don’t panic. Simply gently slide your fritter over to the edge of the fry pan with your egg slice, and hold the raw underside against the curved wall to cook it.

Push the fritters gently against the wall of the frying pan
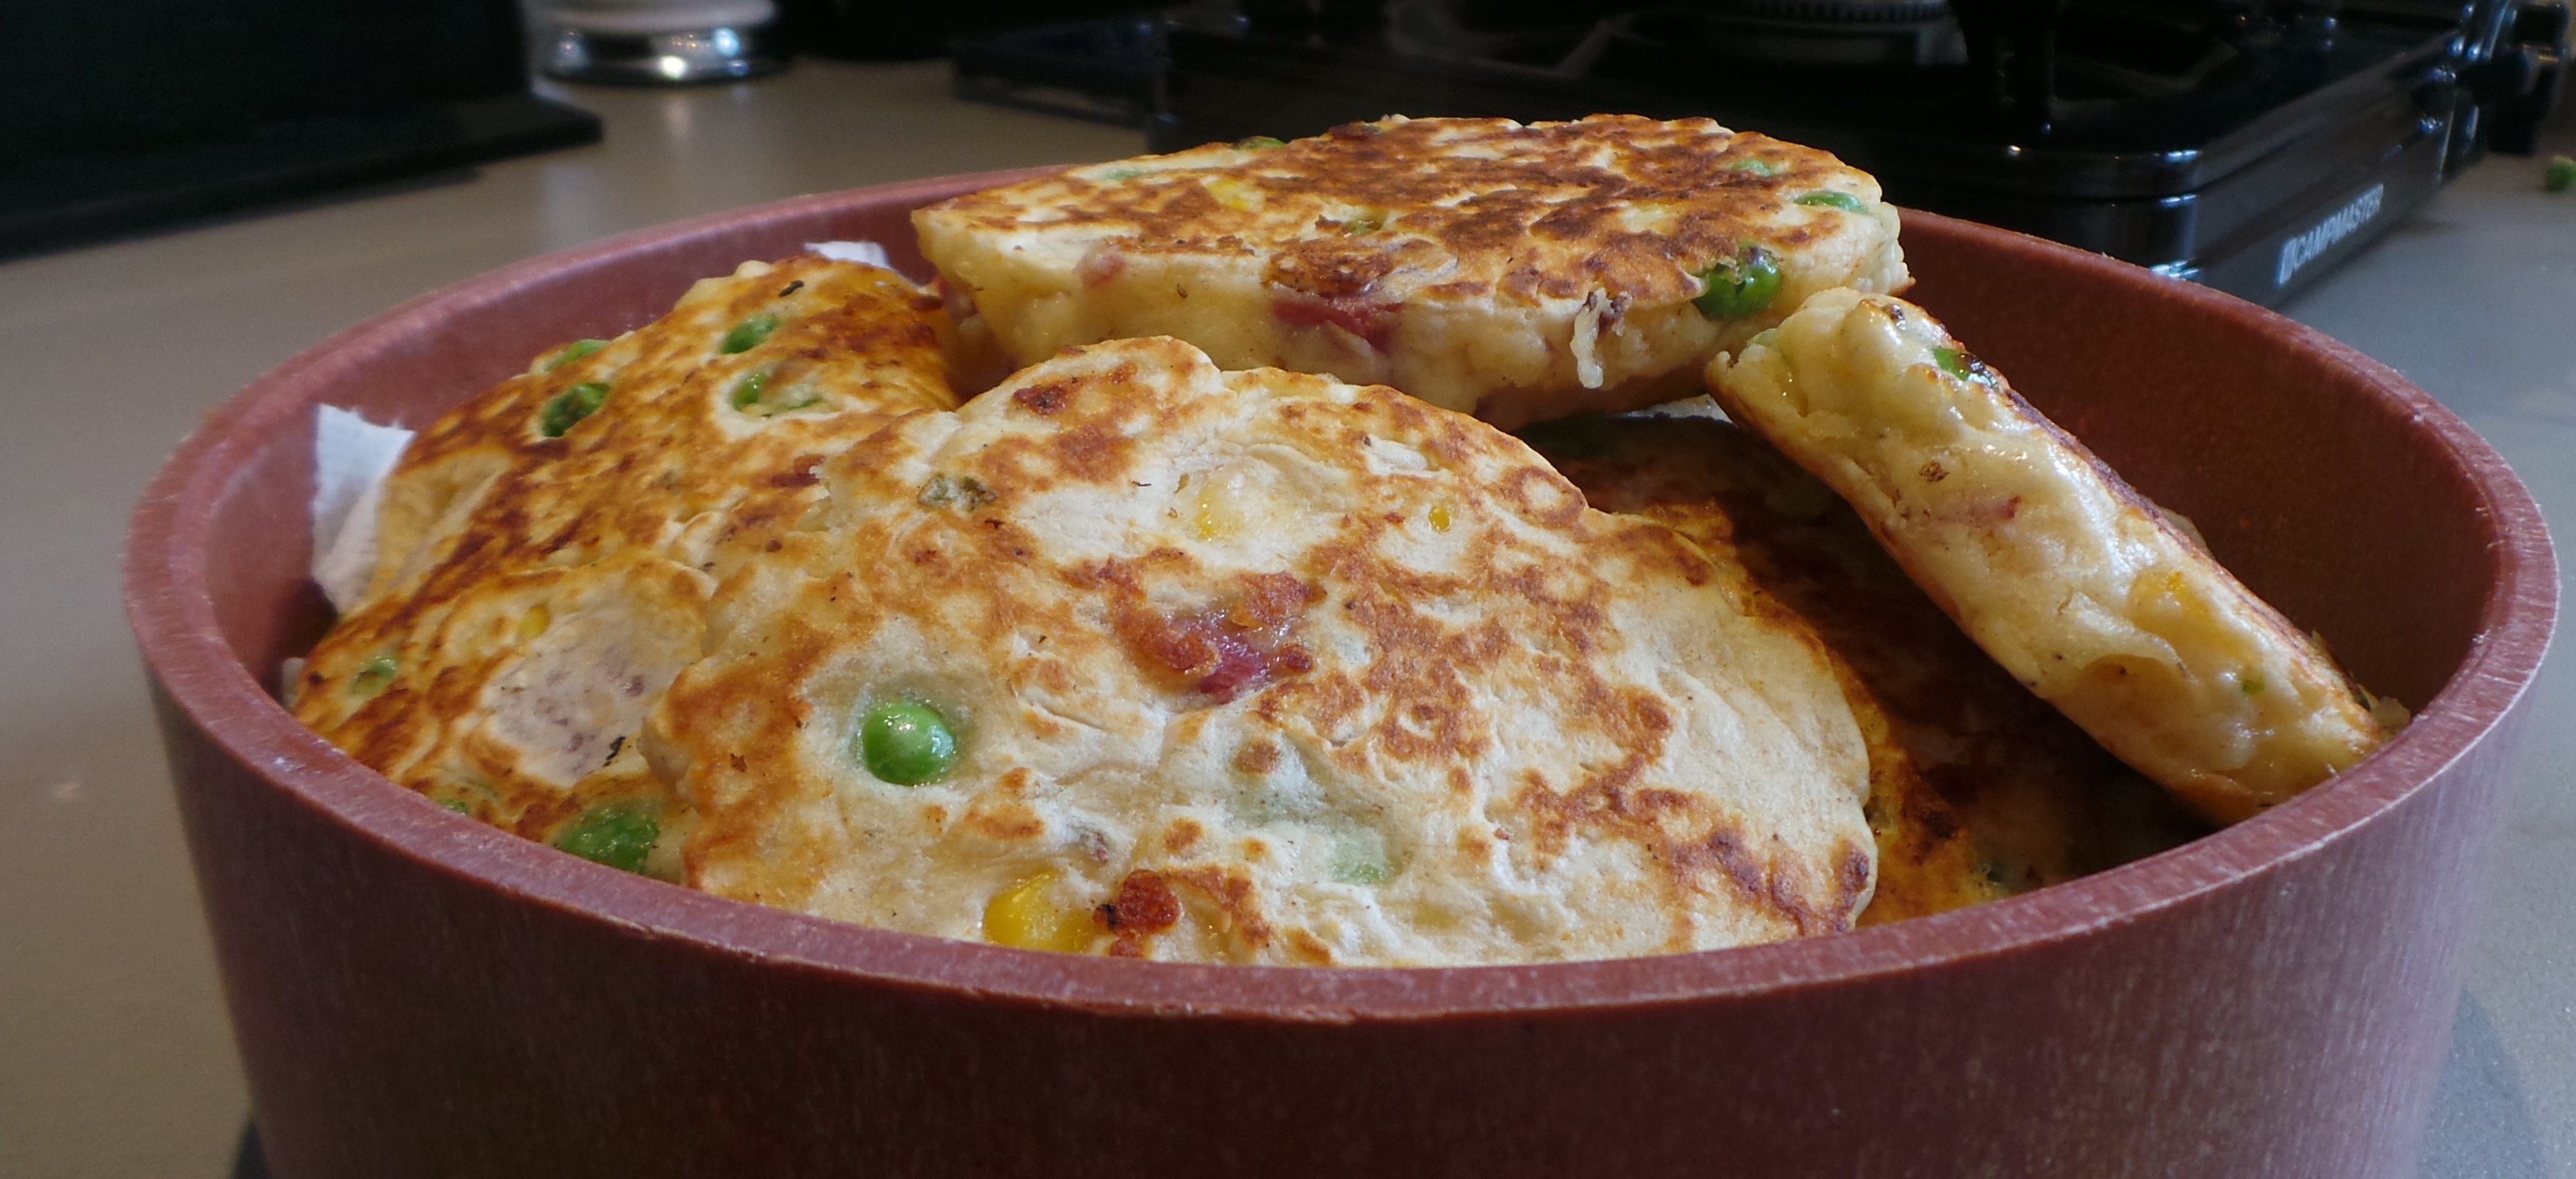
When the fritter is cooked through, you can either serve them immediately to the hungry hordes that will have gathered as the aroma of frying fritters grew (hyperbole? meh), place them on a paper-towel lined plate in a warm oven, or stow them in a tortilla warmer until they are all done.
I have a tortilla warmer I bought in Walmart for about $3 during my Texan sojourn and it’s brilliant. They now pop up in Aldi’s once or twice a year in Australia and I heartily recommend them.
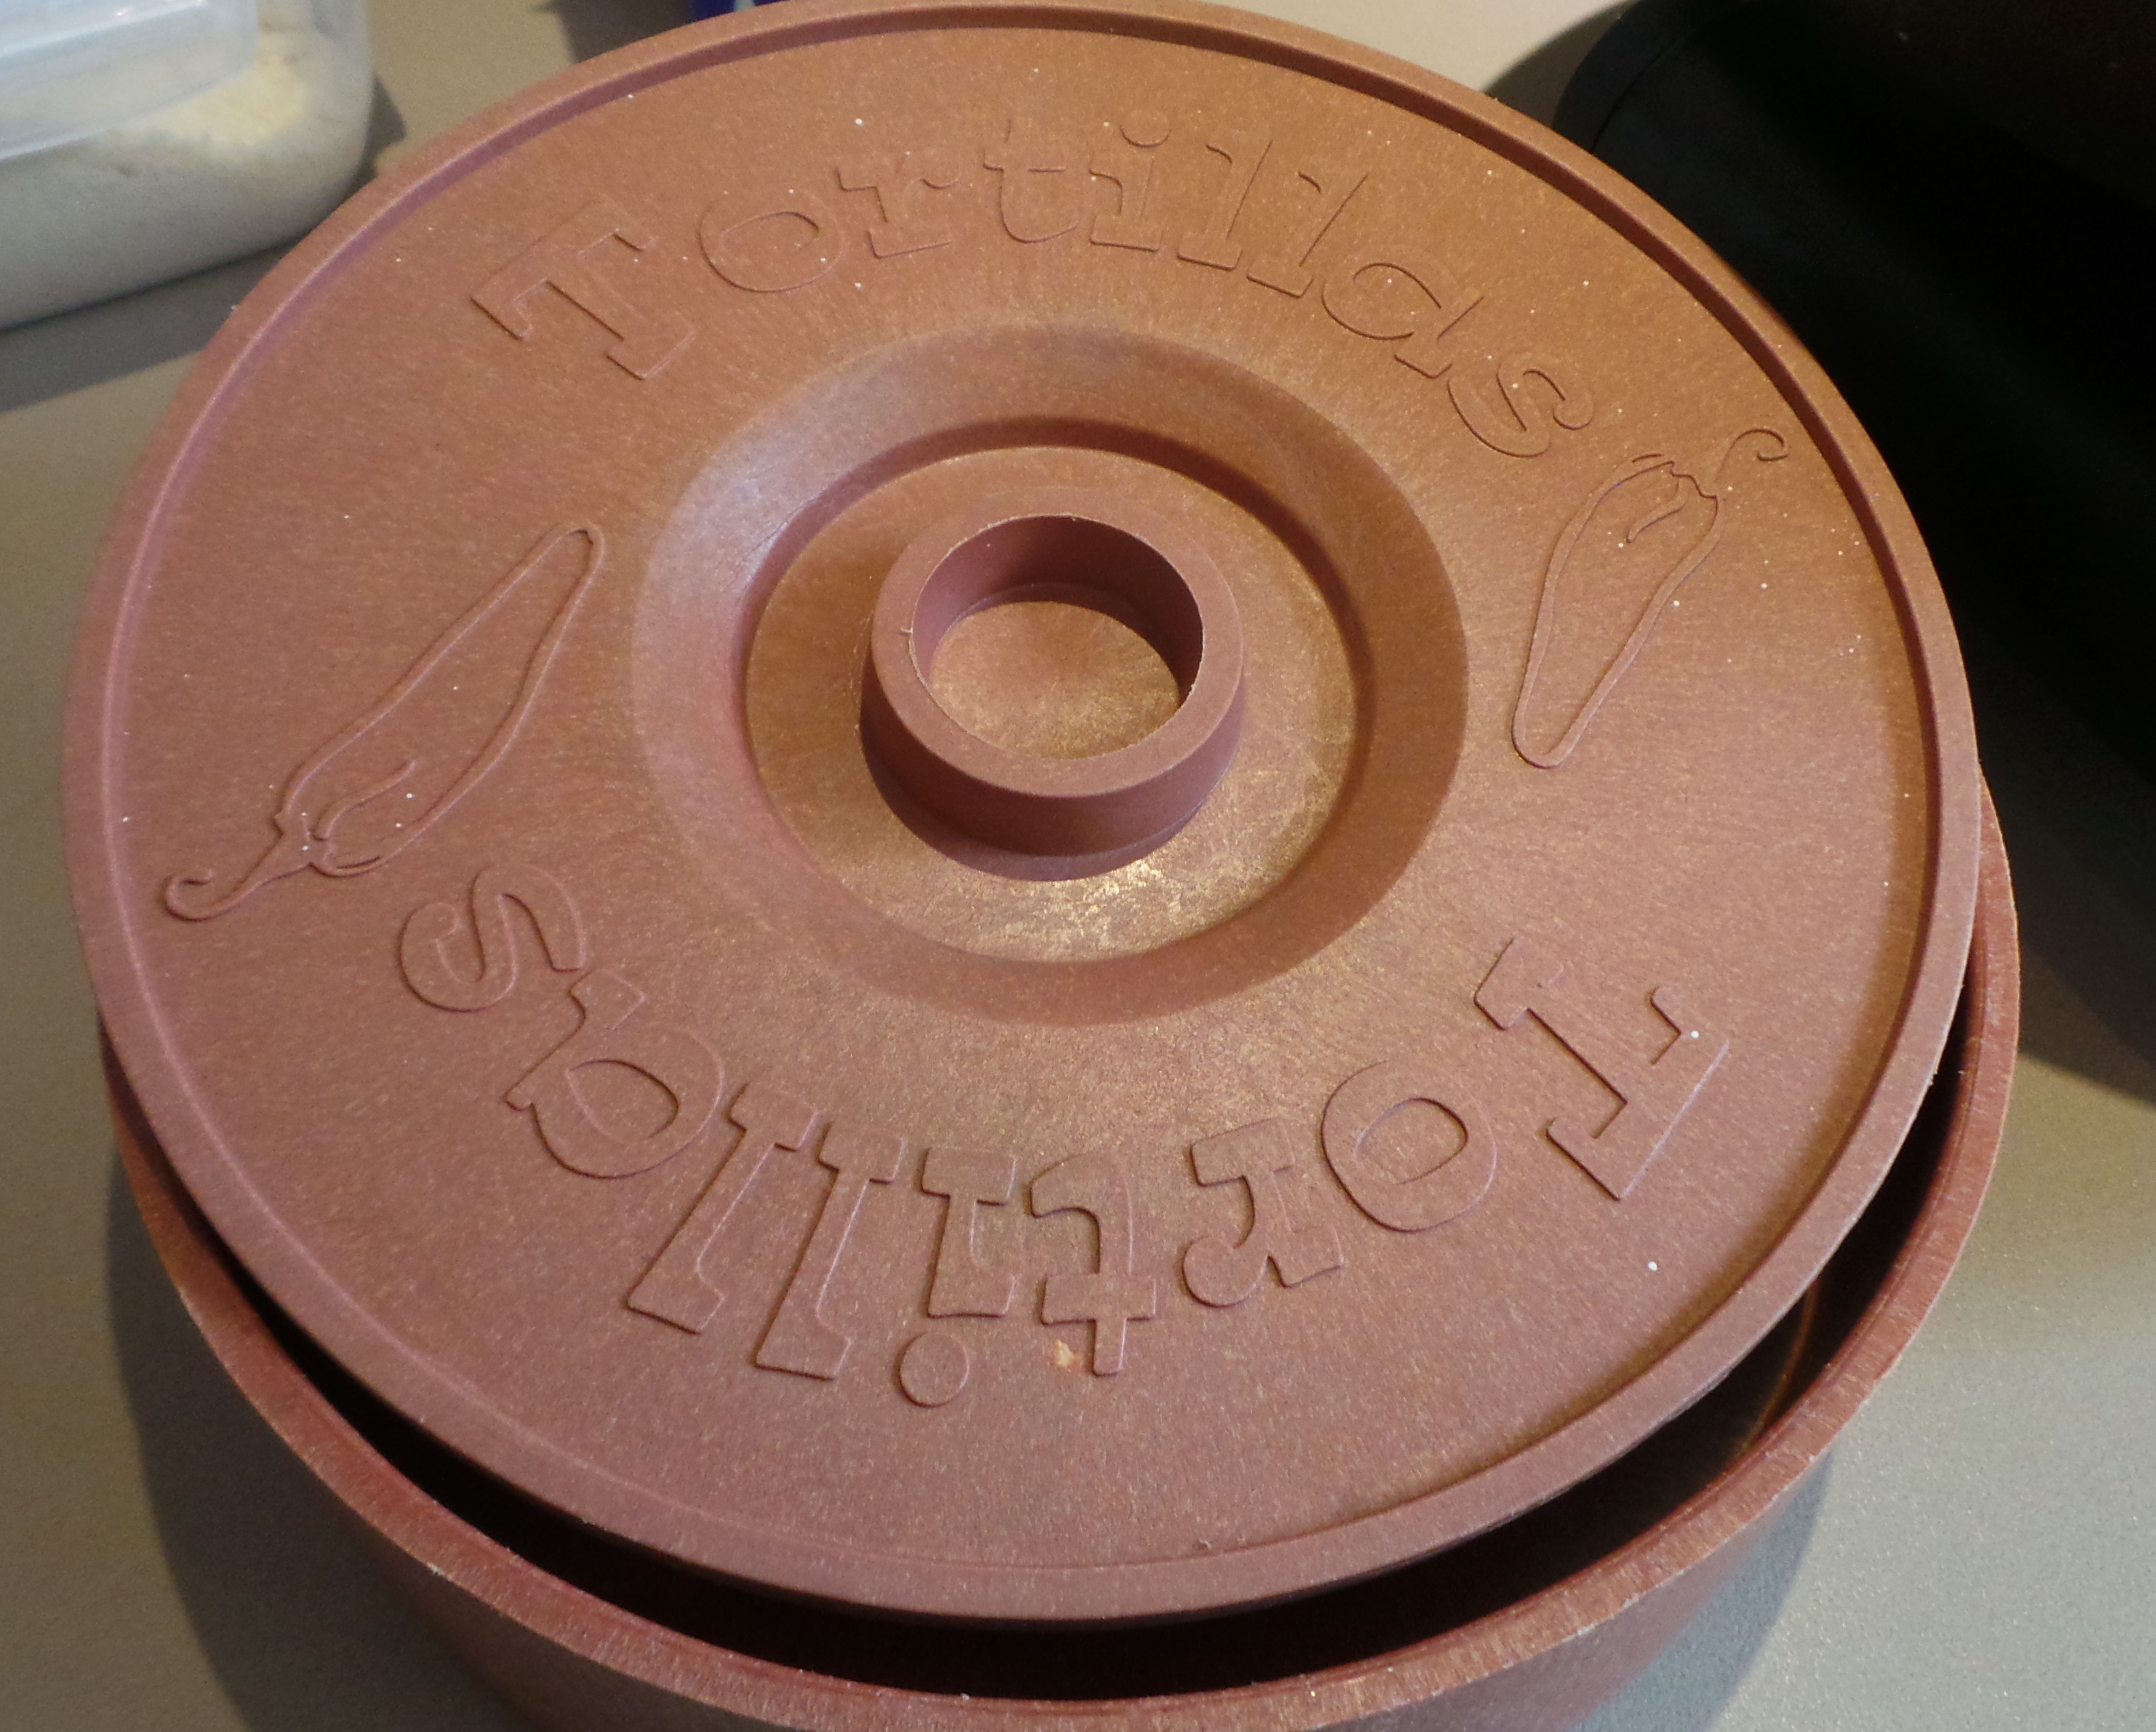
Tortilla warmer

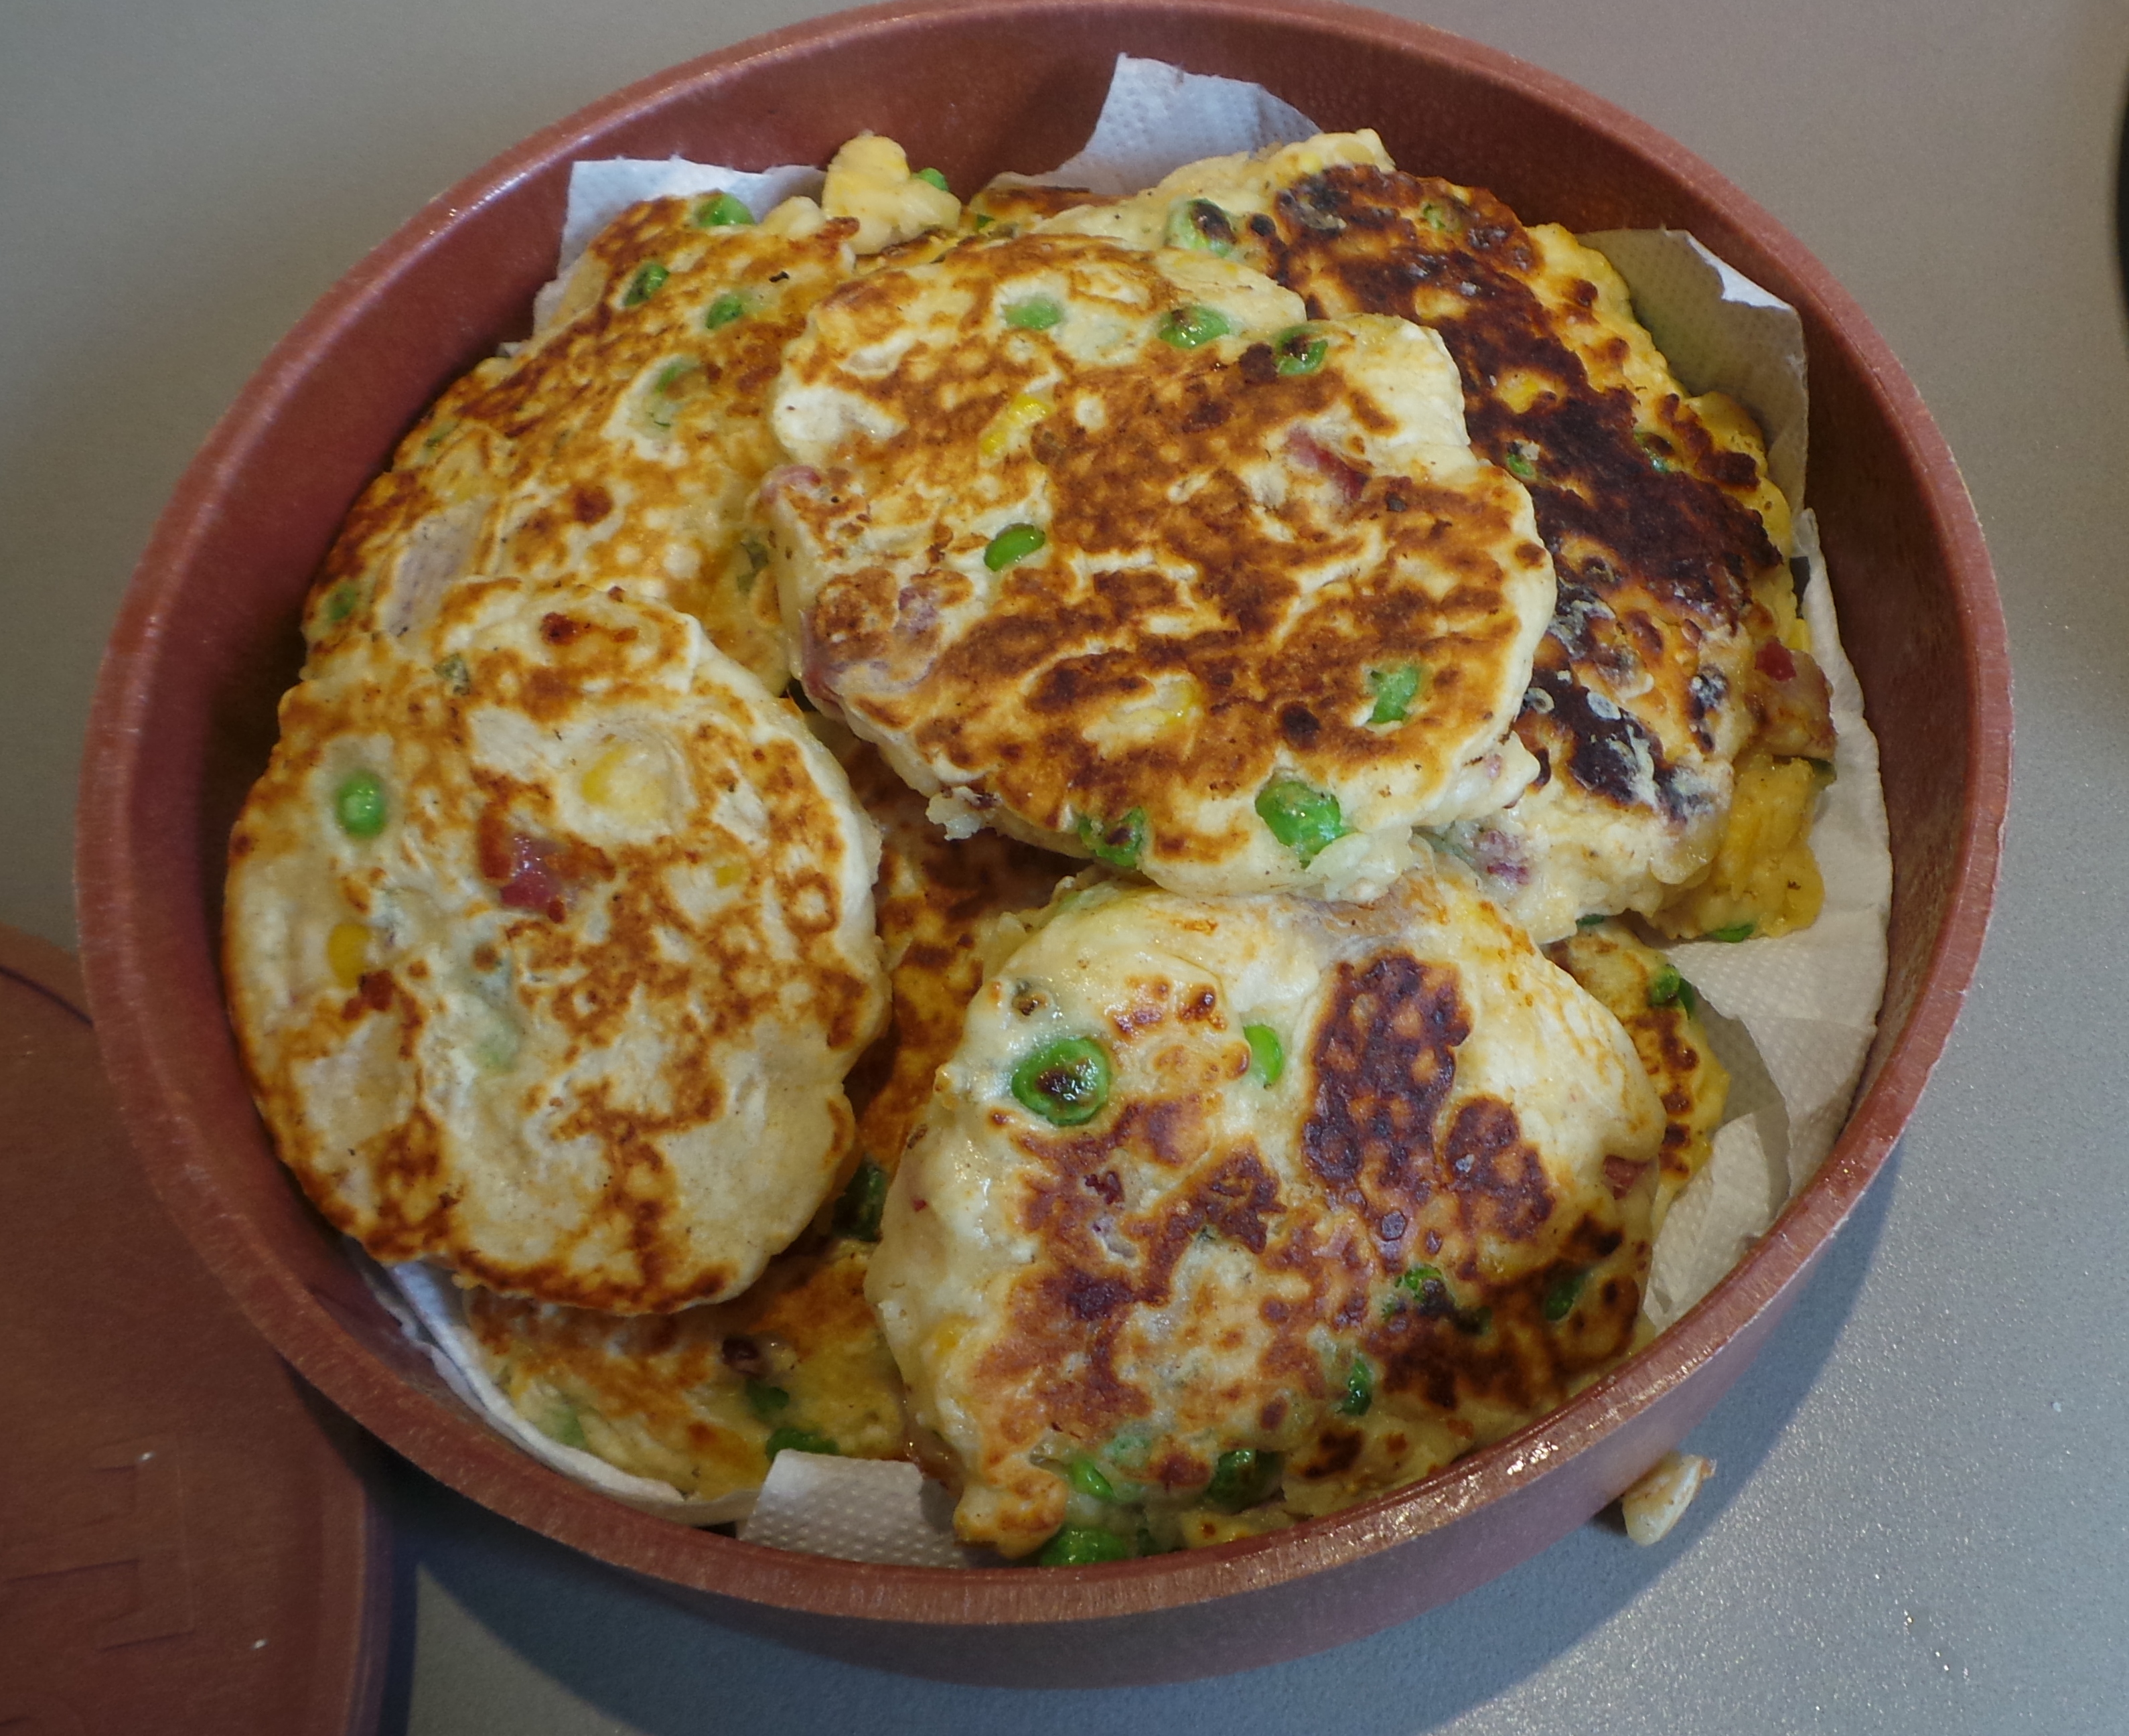
Fritters, still warm and ready to serve
Eat with your fingers and serve with a dipping sauce of some kind: ketchup, tomato sauce, mayonnaise, sweet chilli sauce, whatever.
These are also great cold as a packed lunch/snack for school or long trips. Keep in an airtight container in the refrigerator for 3 or 4 days.
Enjoy!
Fritters
Ingredients:
1½ cups self-raising flour
¼ tsp salt
1 tbsp sugar
Seasoning of your choice: pepper, chilli flakes, mixed herbs, mustard powder etc or nothing at all.
1 egg
¾ -1 cup milk (Buttermilk or Natural or Greek yoghurt can also be used for a lighter fluffier batter)
Your choice of meat: leftover roast meat, rotisserie chicken, hot dogs (try continental frankfurters for a treat), bacon, spam or even hard tofu and vegetables: peas, corn, onions, capsicums (peppers) mushrooms, grated carrots, celery, zucchini etc., cut into small dice. Three options should be sufficient, aim for a handful of each.
grated cheese, if desired.
oil for the pan
Method:
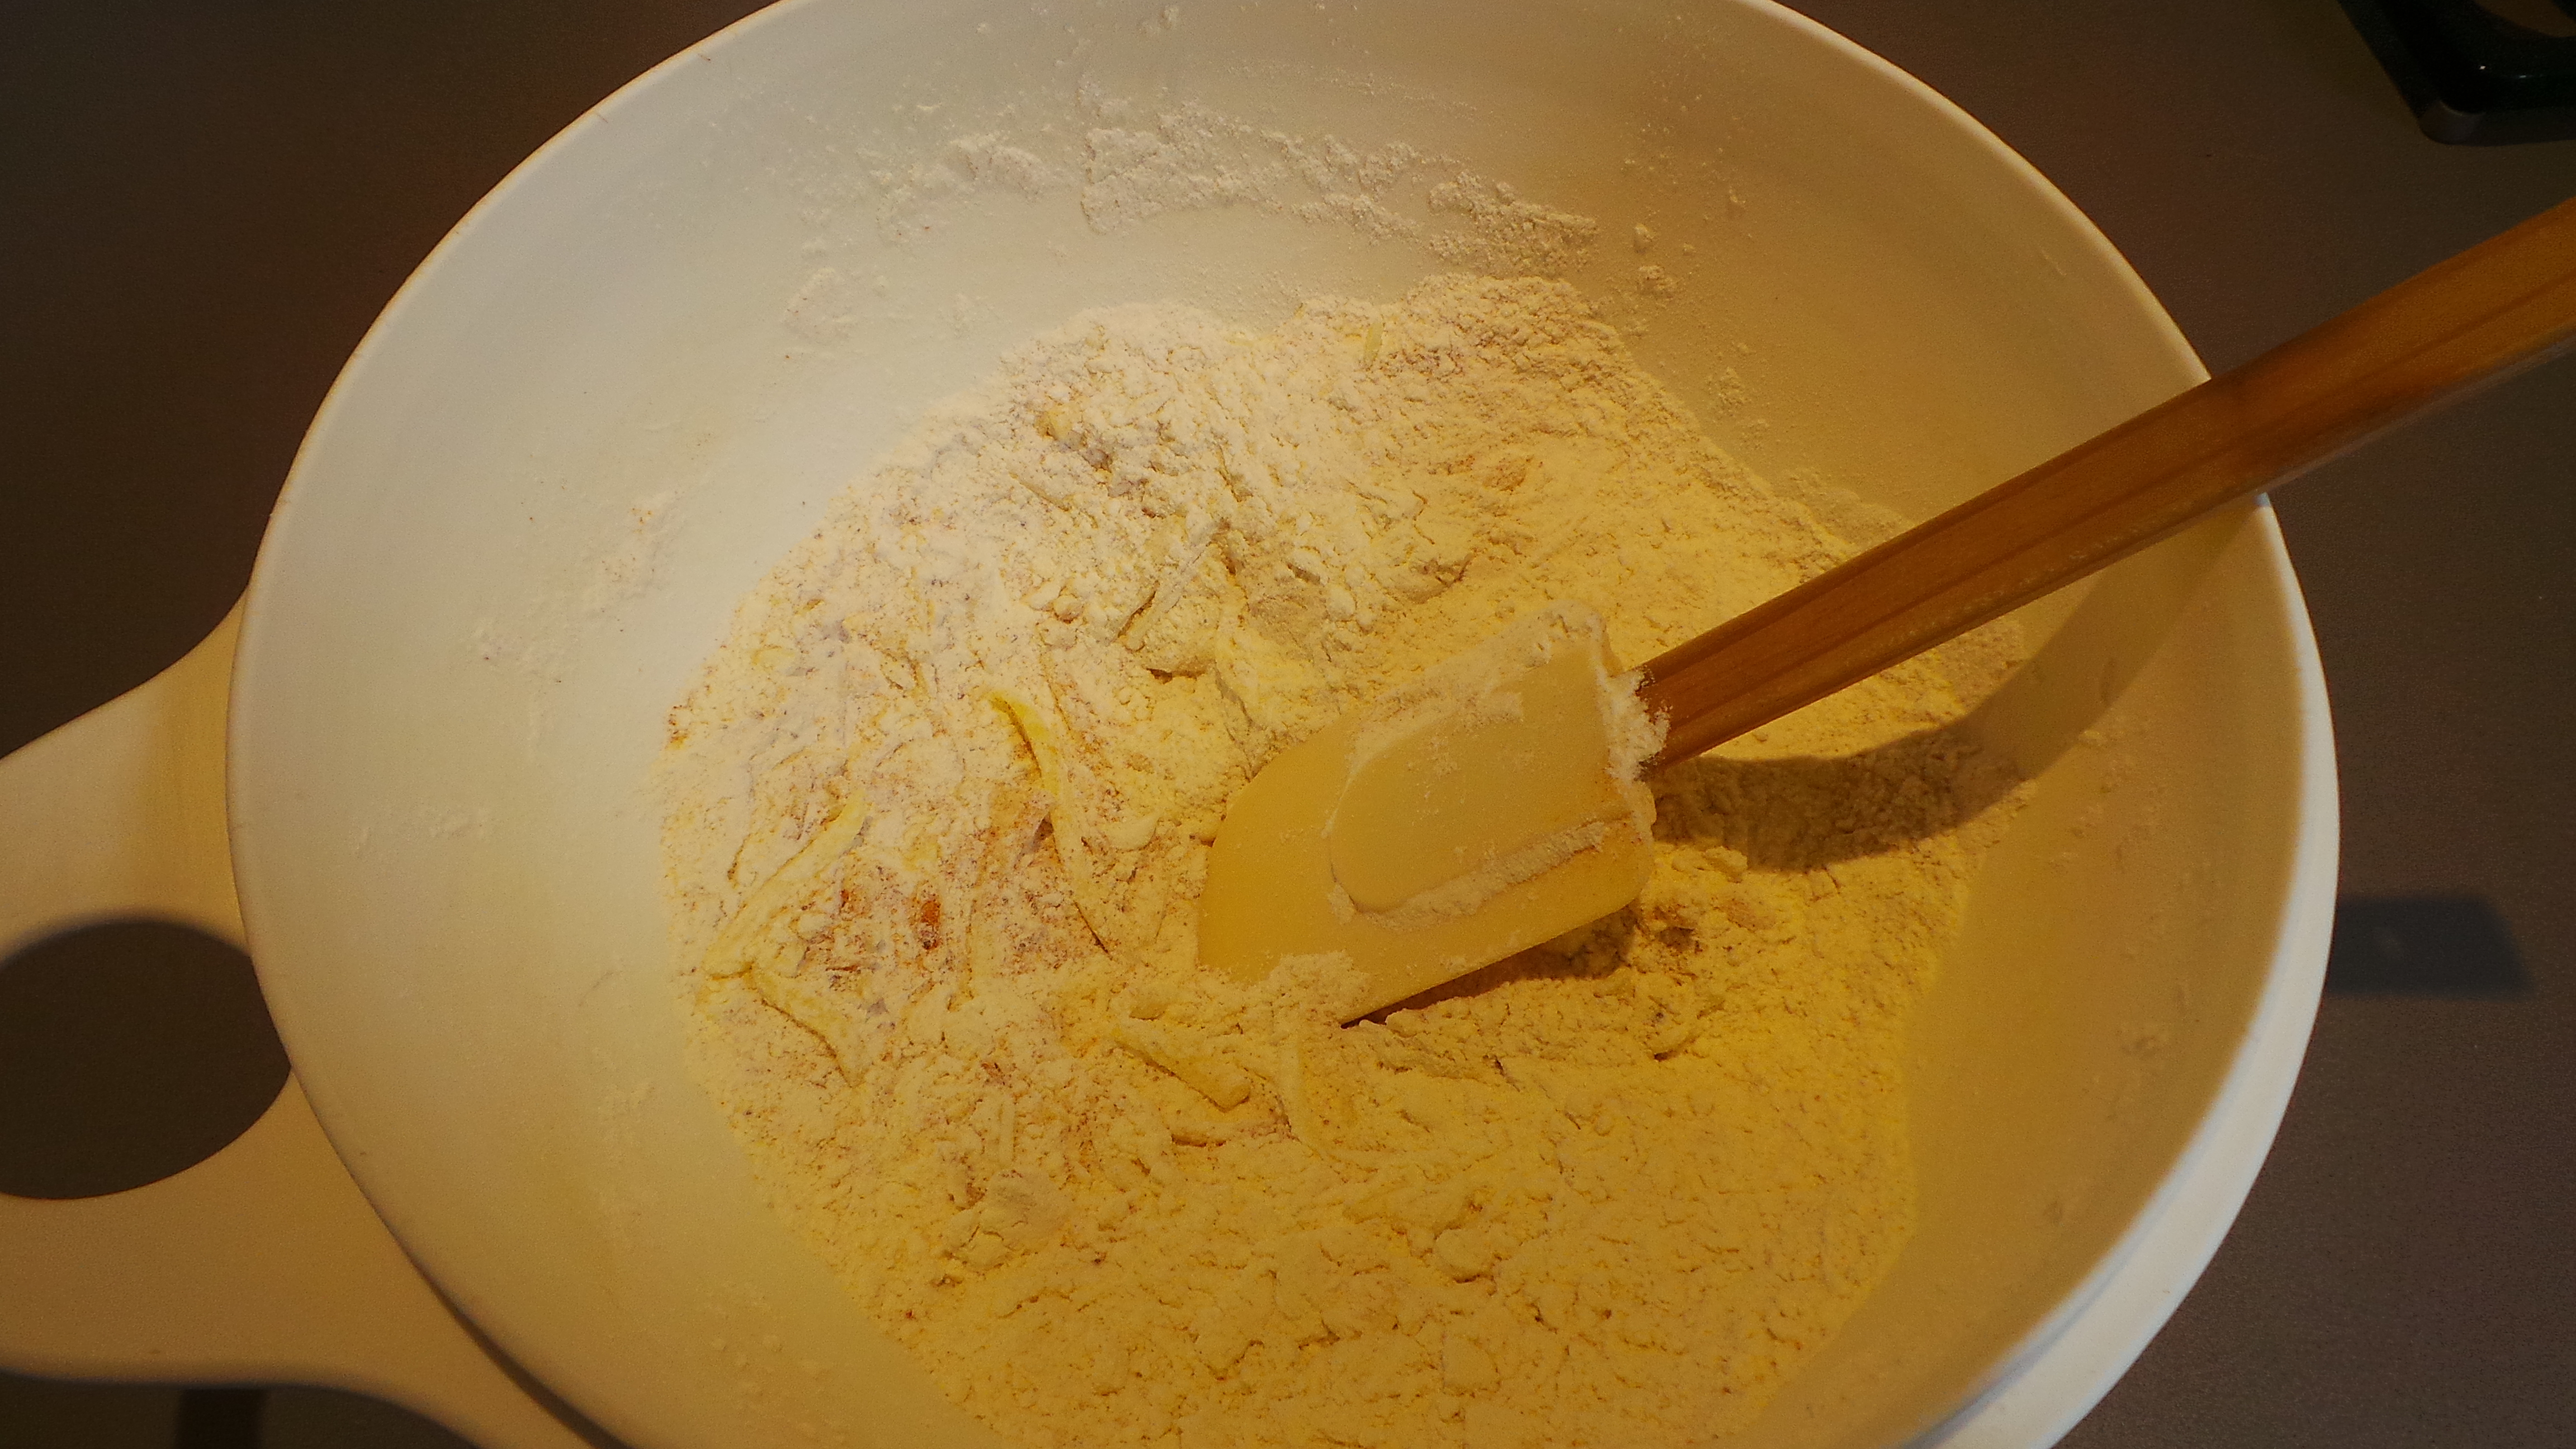
Sift flour, sugar and salt into a medium-sized bowl.
If you wish to add herbs or spices, do so now.
Stir in your cheese, meat and veges individually. You will want each piece added to be coated in flour so that they will stick to the mixture.
In another bowl or jug measure your milk, starting with the smaller amount. Add the egg and beat well with a fork.
Make a well in your dry ingredients and add the liquid.
Mix together with a wooden spoon or wide spatula until all ingredients are combined. Add more milk if necessary.
This will form a firm batter.
Heat a frying pan or skillet over medium heat, oiling lightly.
Add batter to pan in spoonfuls, turn only when small holes or bubbles appear in the surface.
Cook for approximately 3 more minutes.
Serve with a sauce of your choice.