I have a confession to make.
A few years ago, I spent some months in San Antonio, Texas. While I was there I saw many things, including the Alamo, and tried some new tastes. Most of the latter didn’t really do much for me I have to confess.

Optical Illusion from the River Walk, San Antonio
However, there were two… two that I admit I still dream about on occasion… especially when we are in the peak of summer here….
… and they were both ice creams.
One was Moose Tracks ice cream. O.M.G.
I think I might need a moment right now… ahem.
The culprit
The other was Breyer’s Dulce de Leche ice cream. Now, at the time, I had no idea what dulce de leche was – then I found out. It gave me pause — until the Texan summer really kicked in and then there was no stopping me. My greatest regret at leaving Texas was that I was leaving these two wonderful concoctions behind.
Sigh.
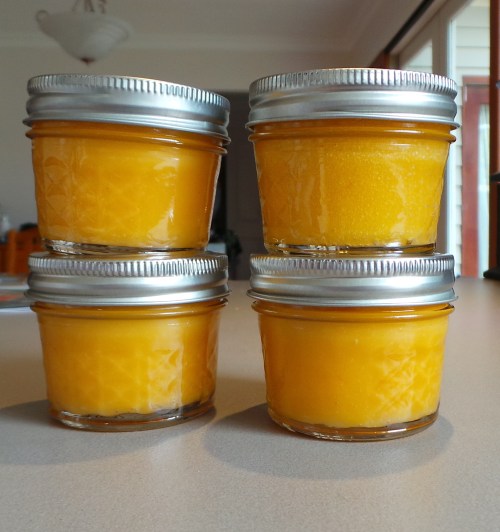
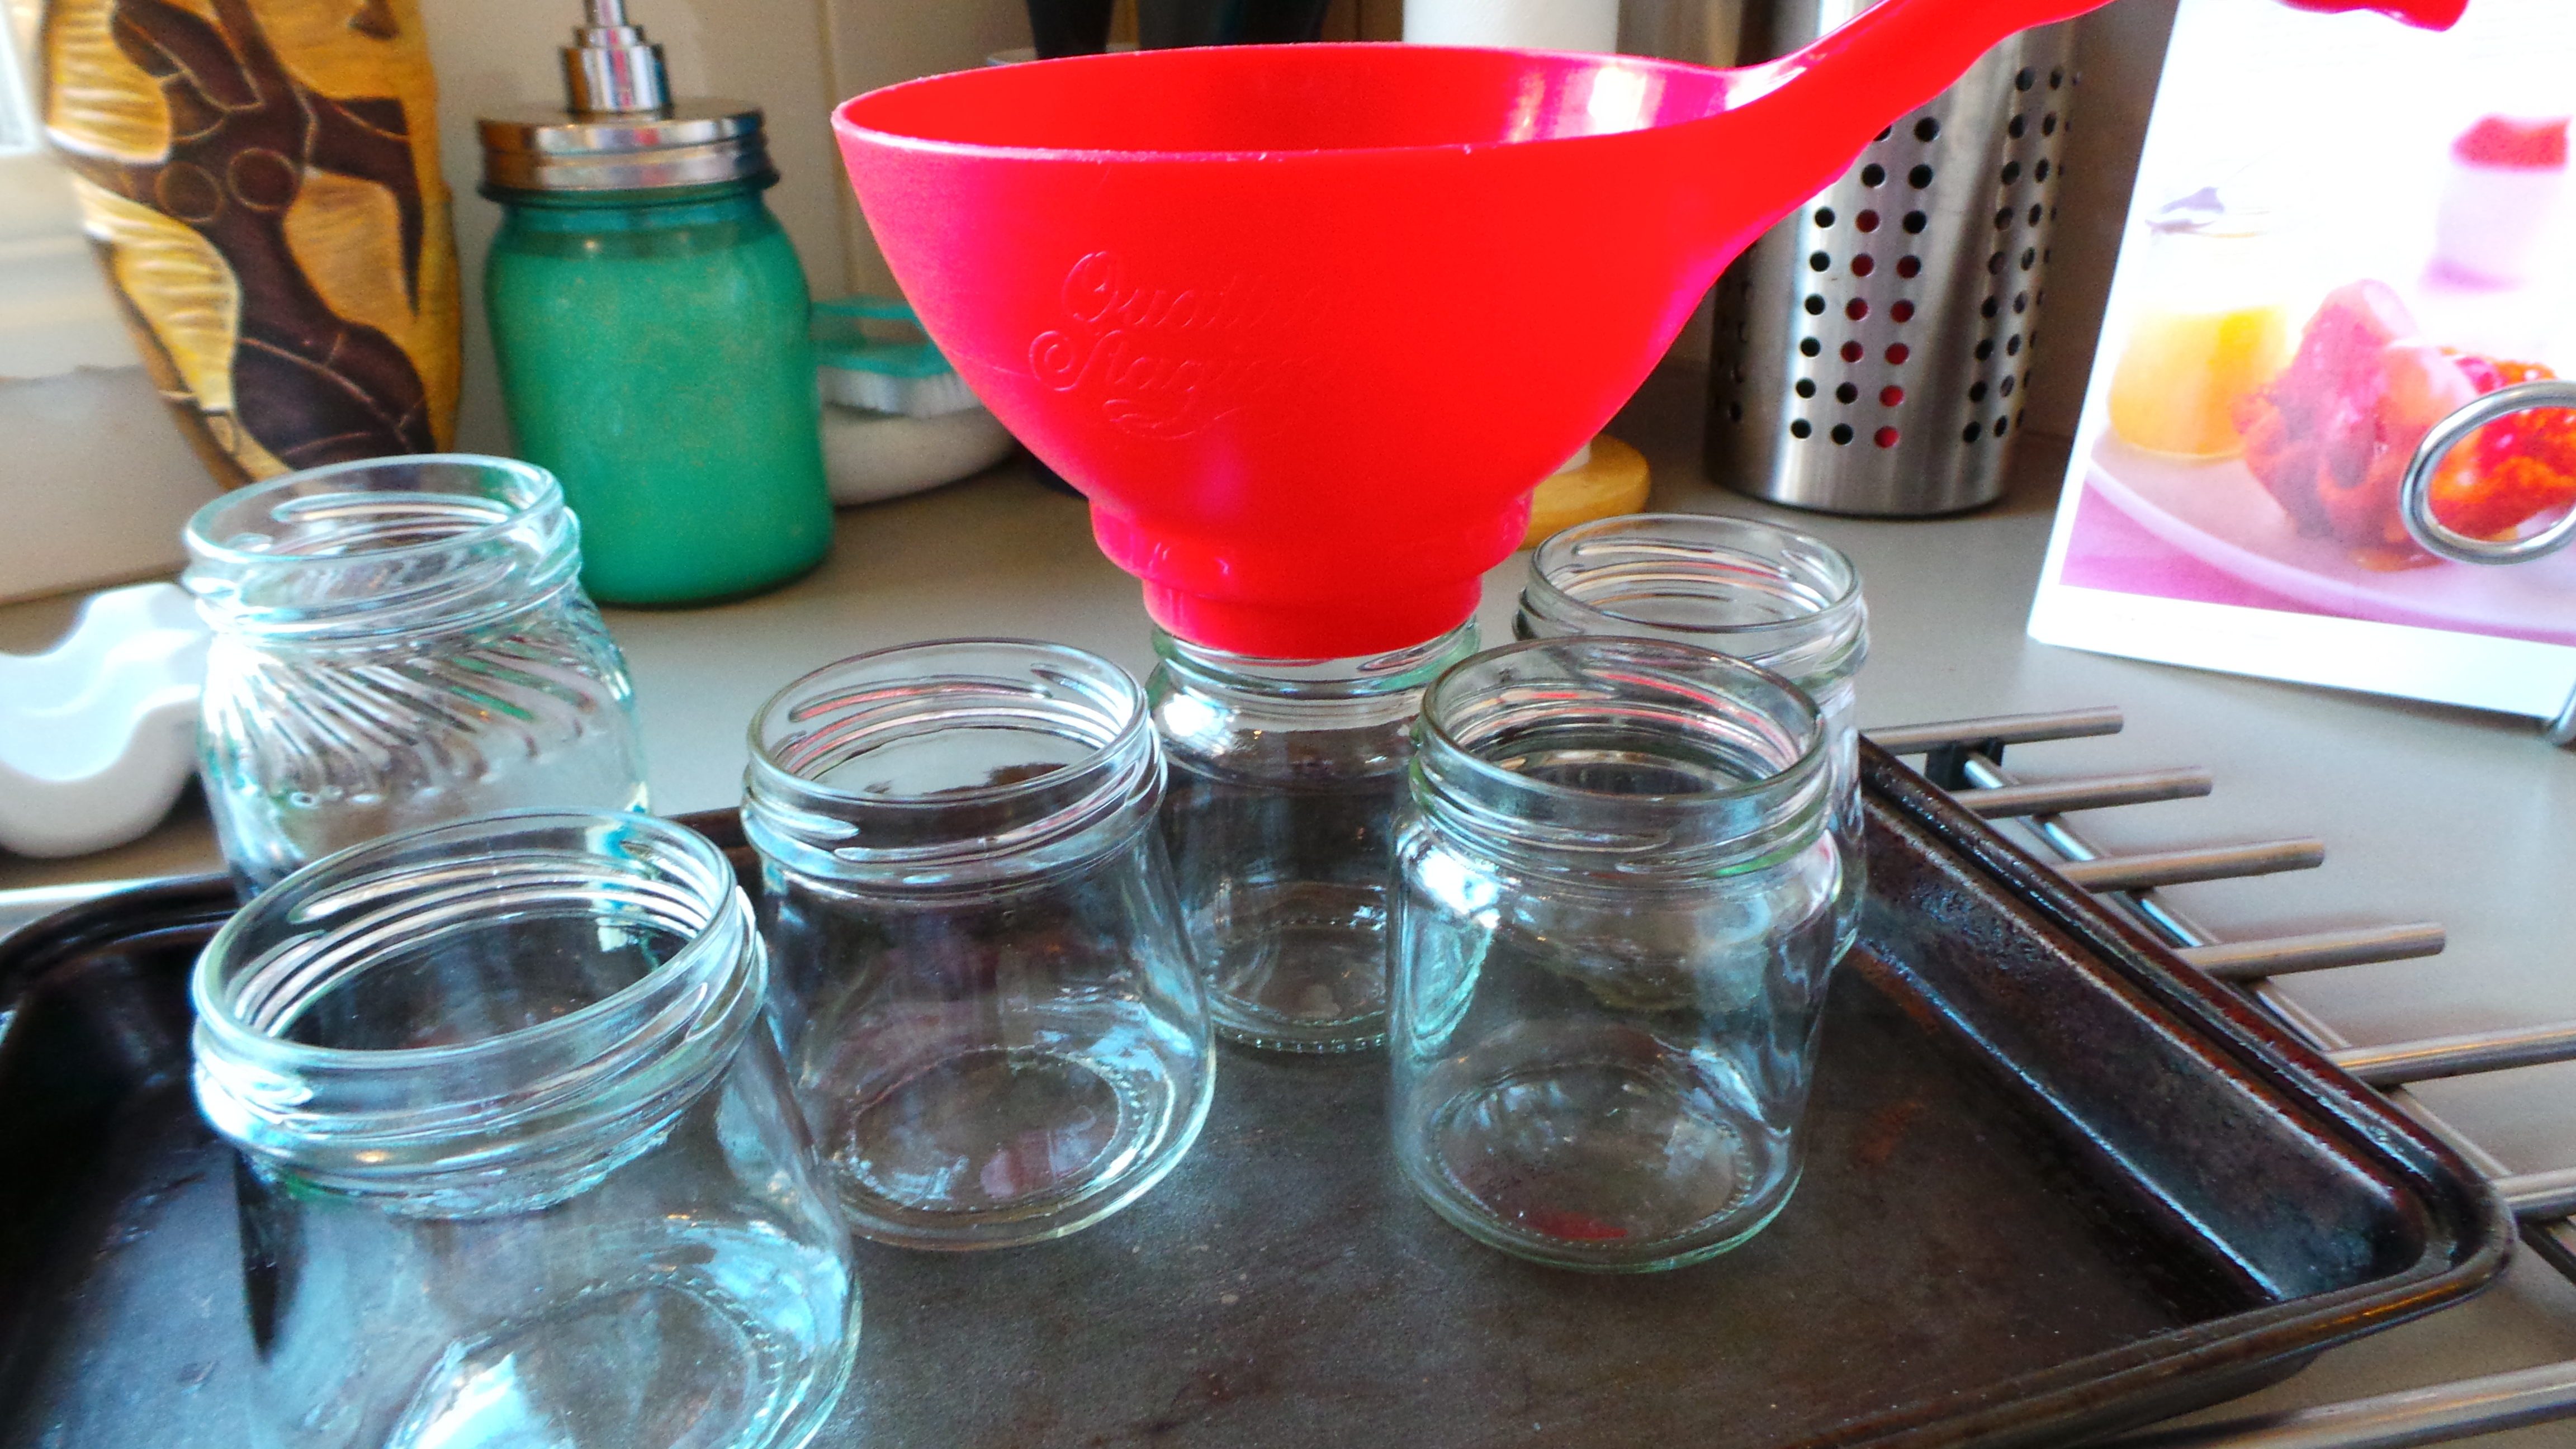
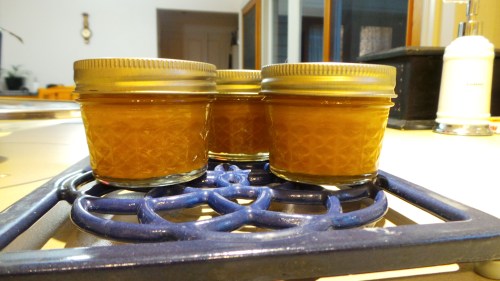
Place your condensed milk in clean jars and seal
I haven’t been able to recreate either of these mouthfuls of gorgeousness, but I HAVE learned how to make Dulce de Leche. In my own home. Really easily. My hips hate me. Occasionally my Blood Glucose Levels also go through the roof as a direct result.

Place your jars in water in a slow cooker…
I don’t care.
Here. Let me corrupt you.

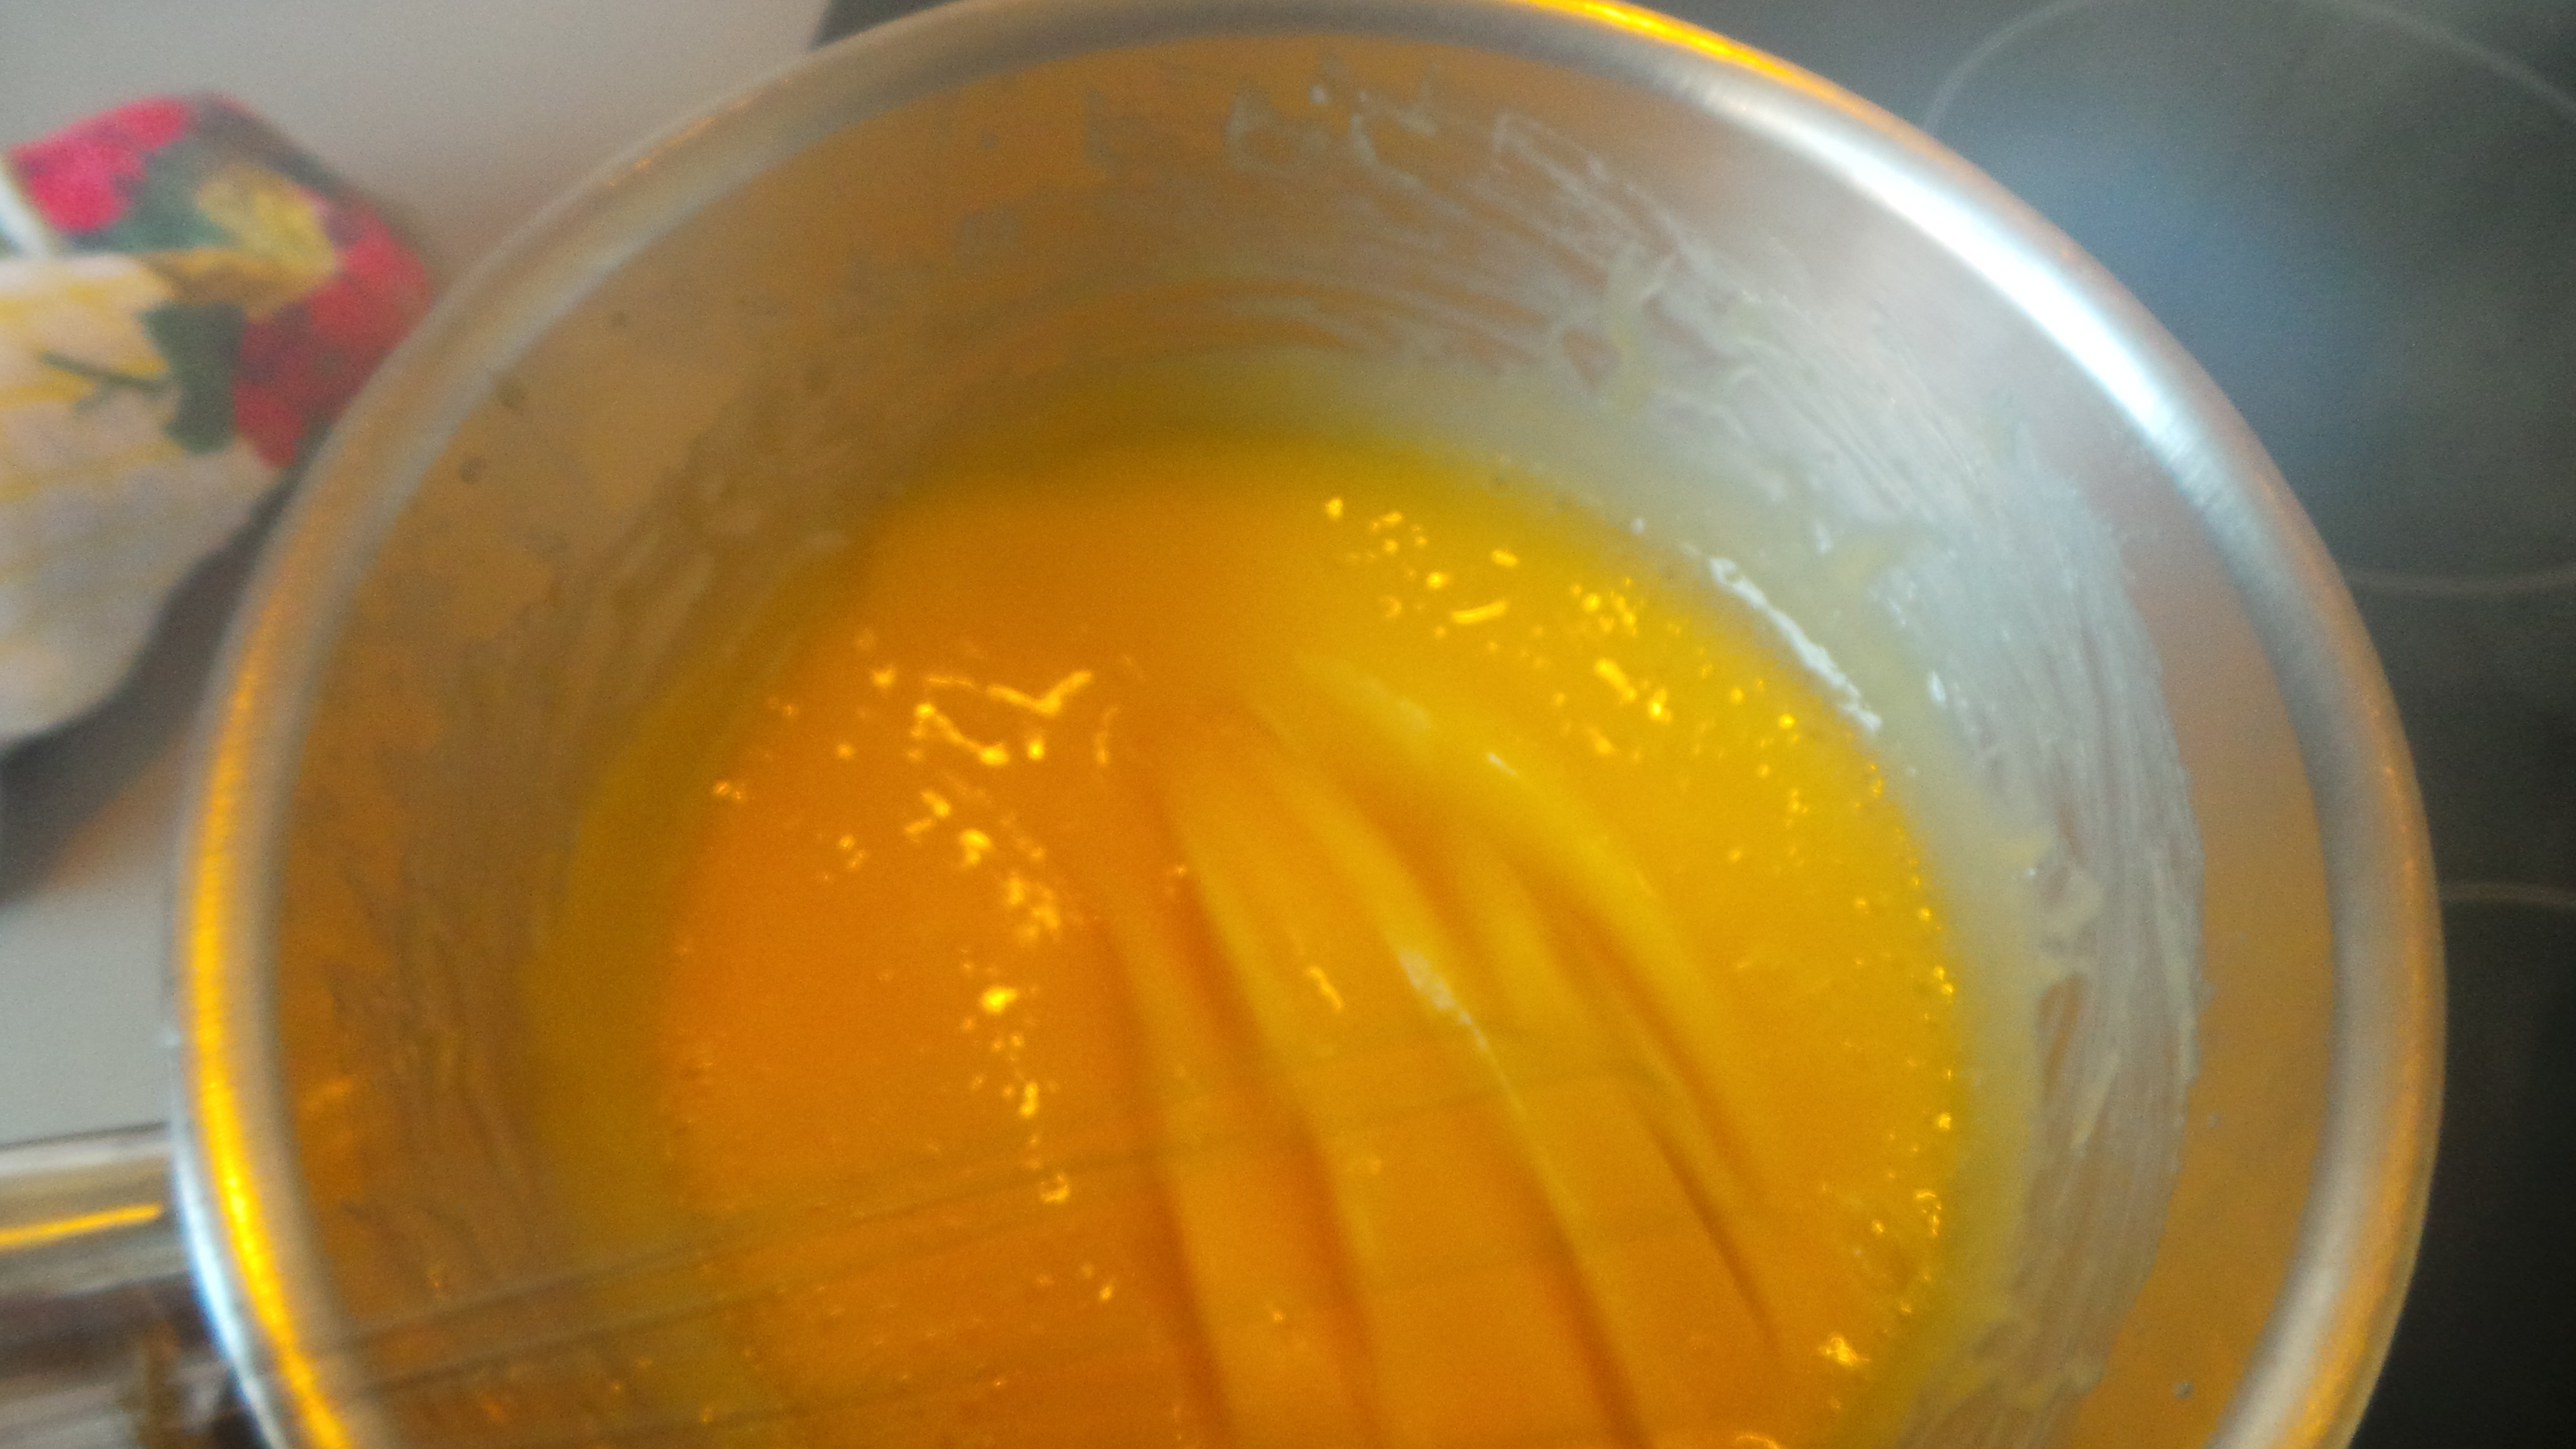
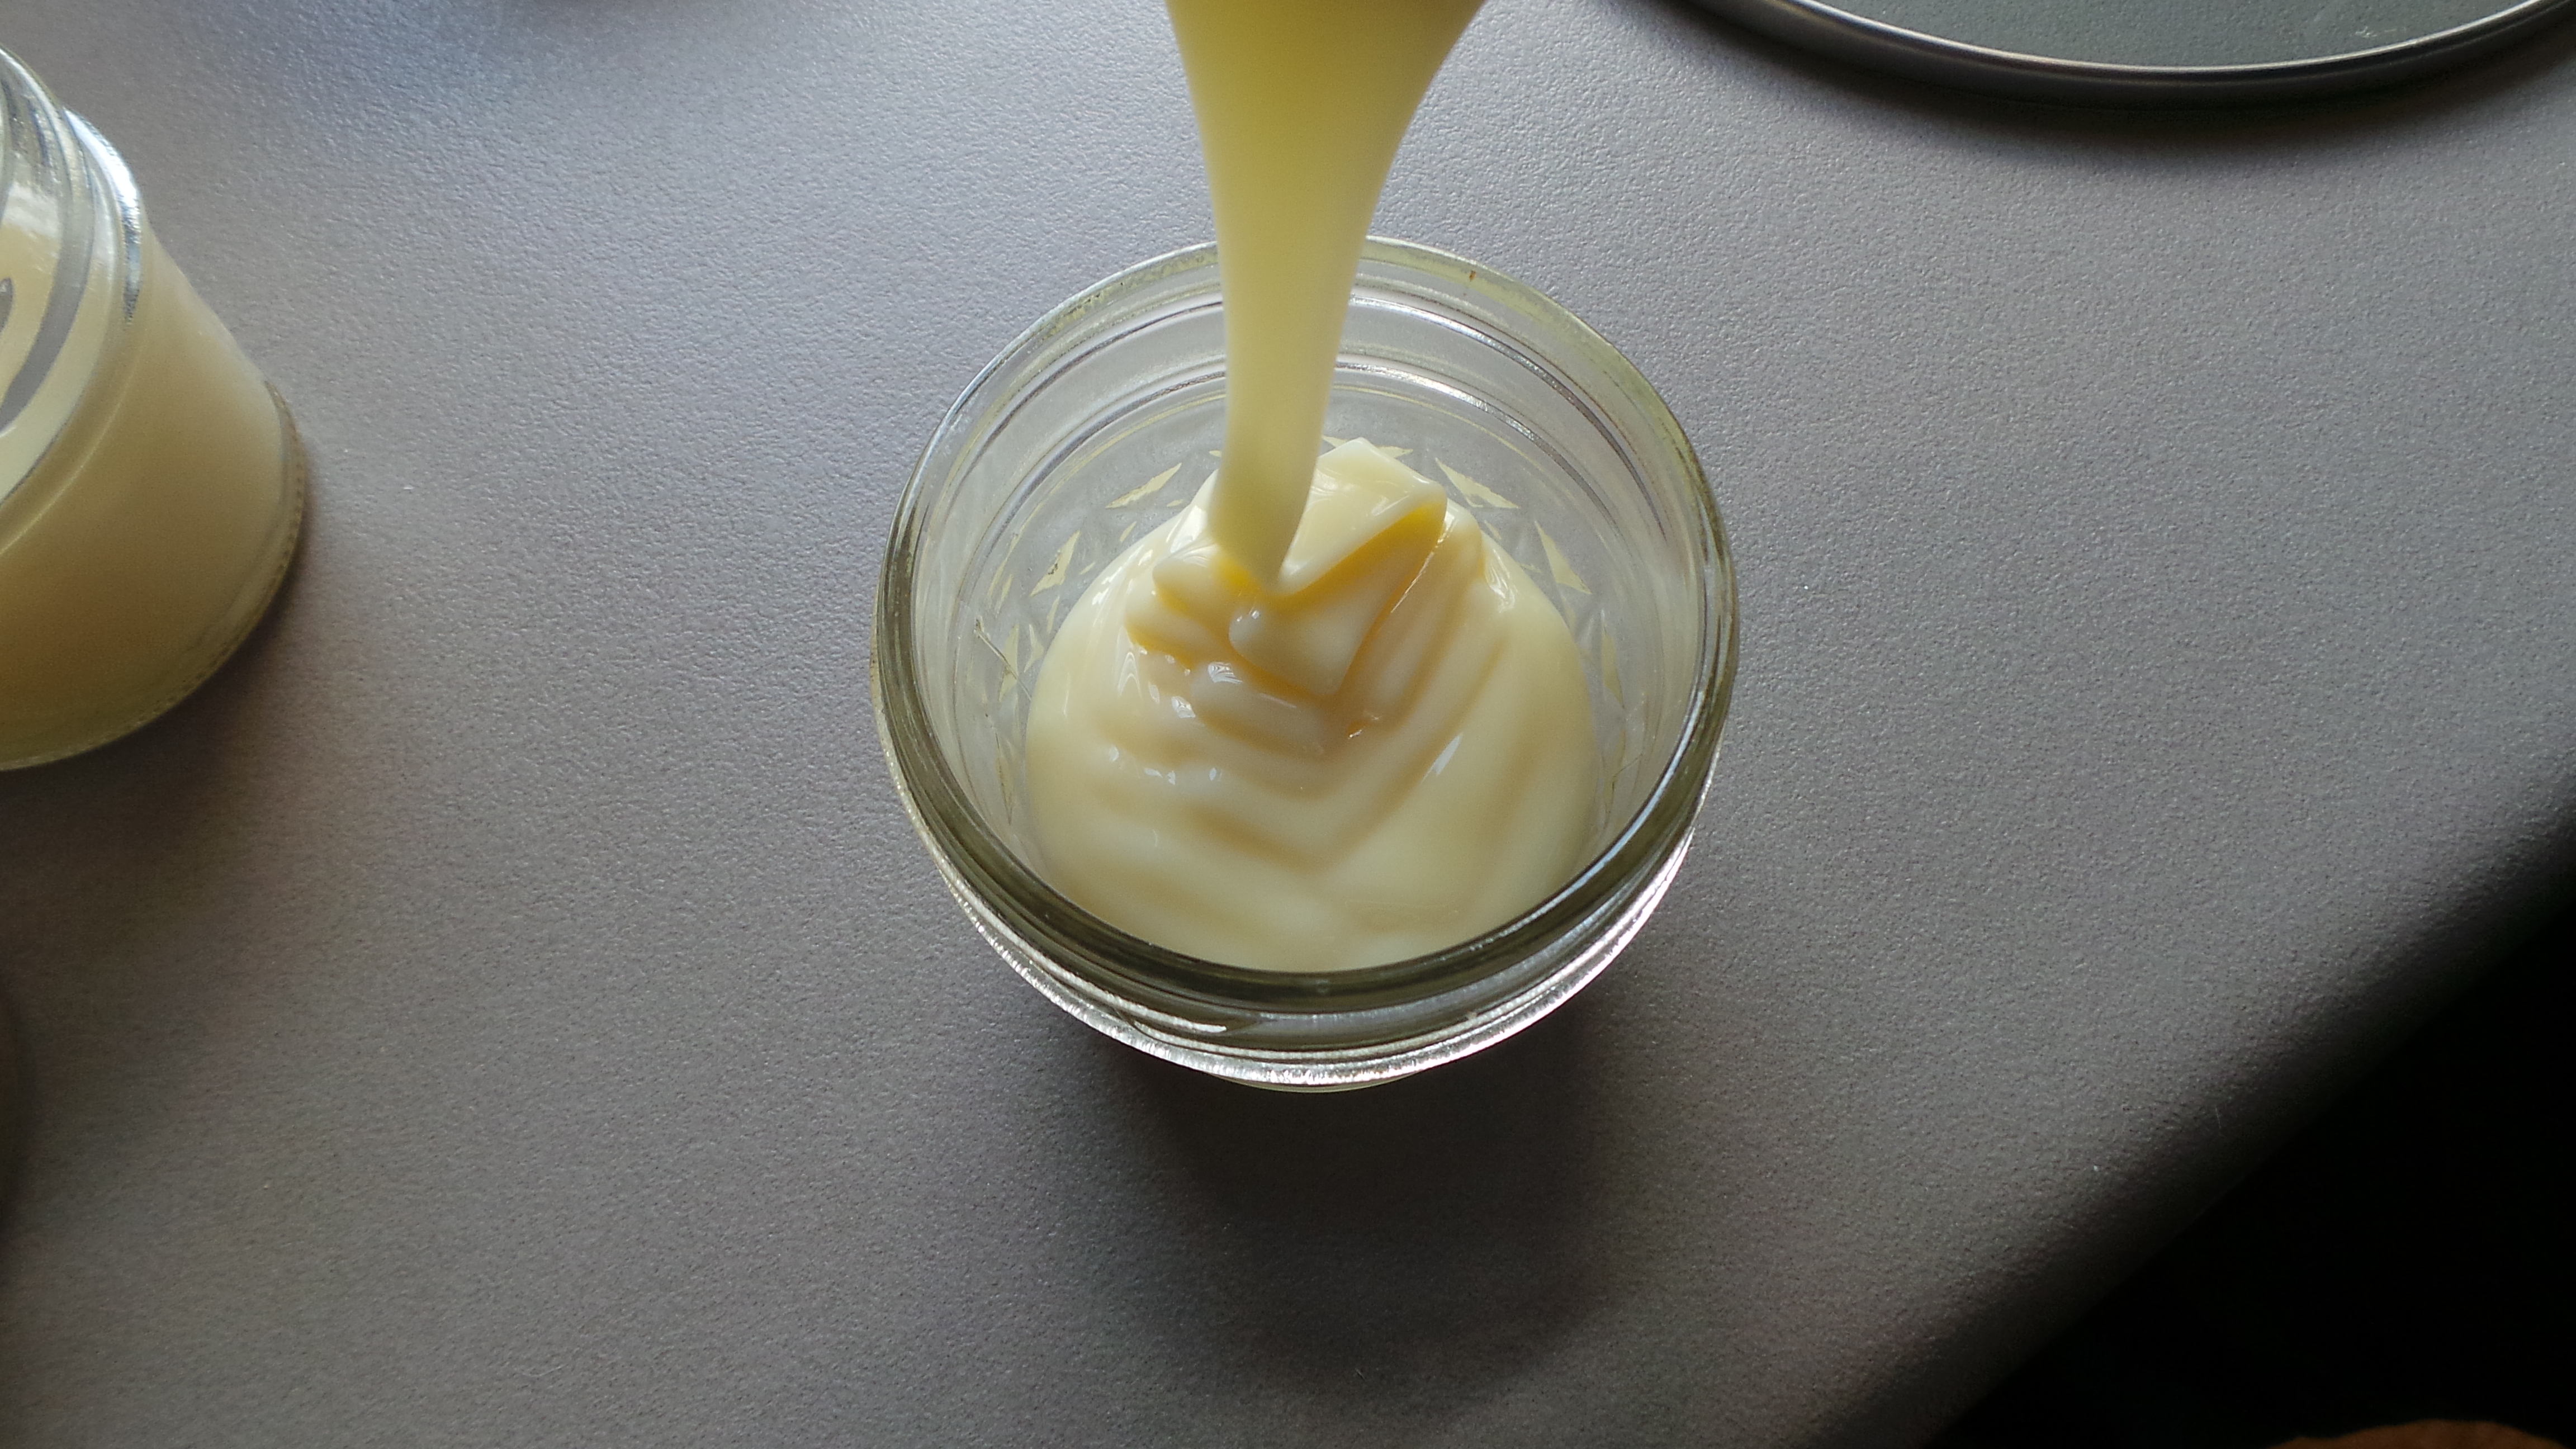
Dulce de Leche!
This doesn’t really need an official looking recipe layout, but in case you want to print it:
Dulce de Leche
Ingredients:
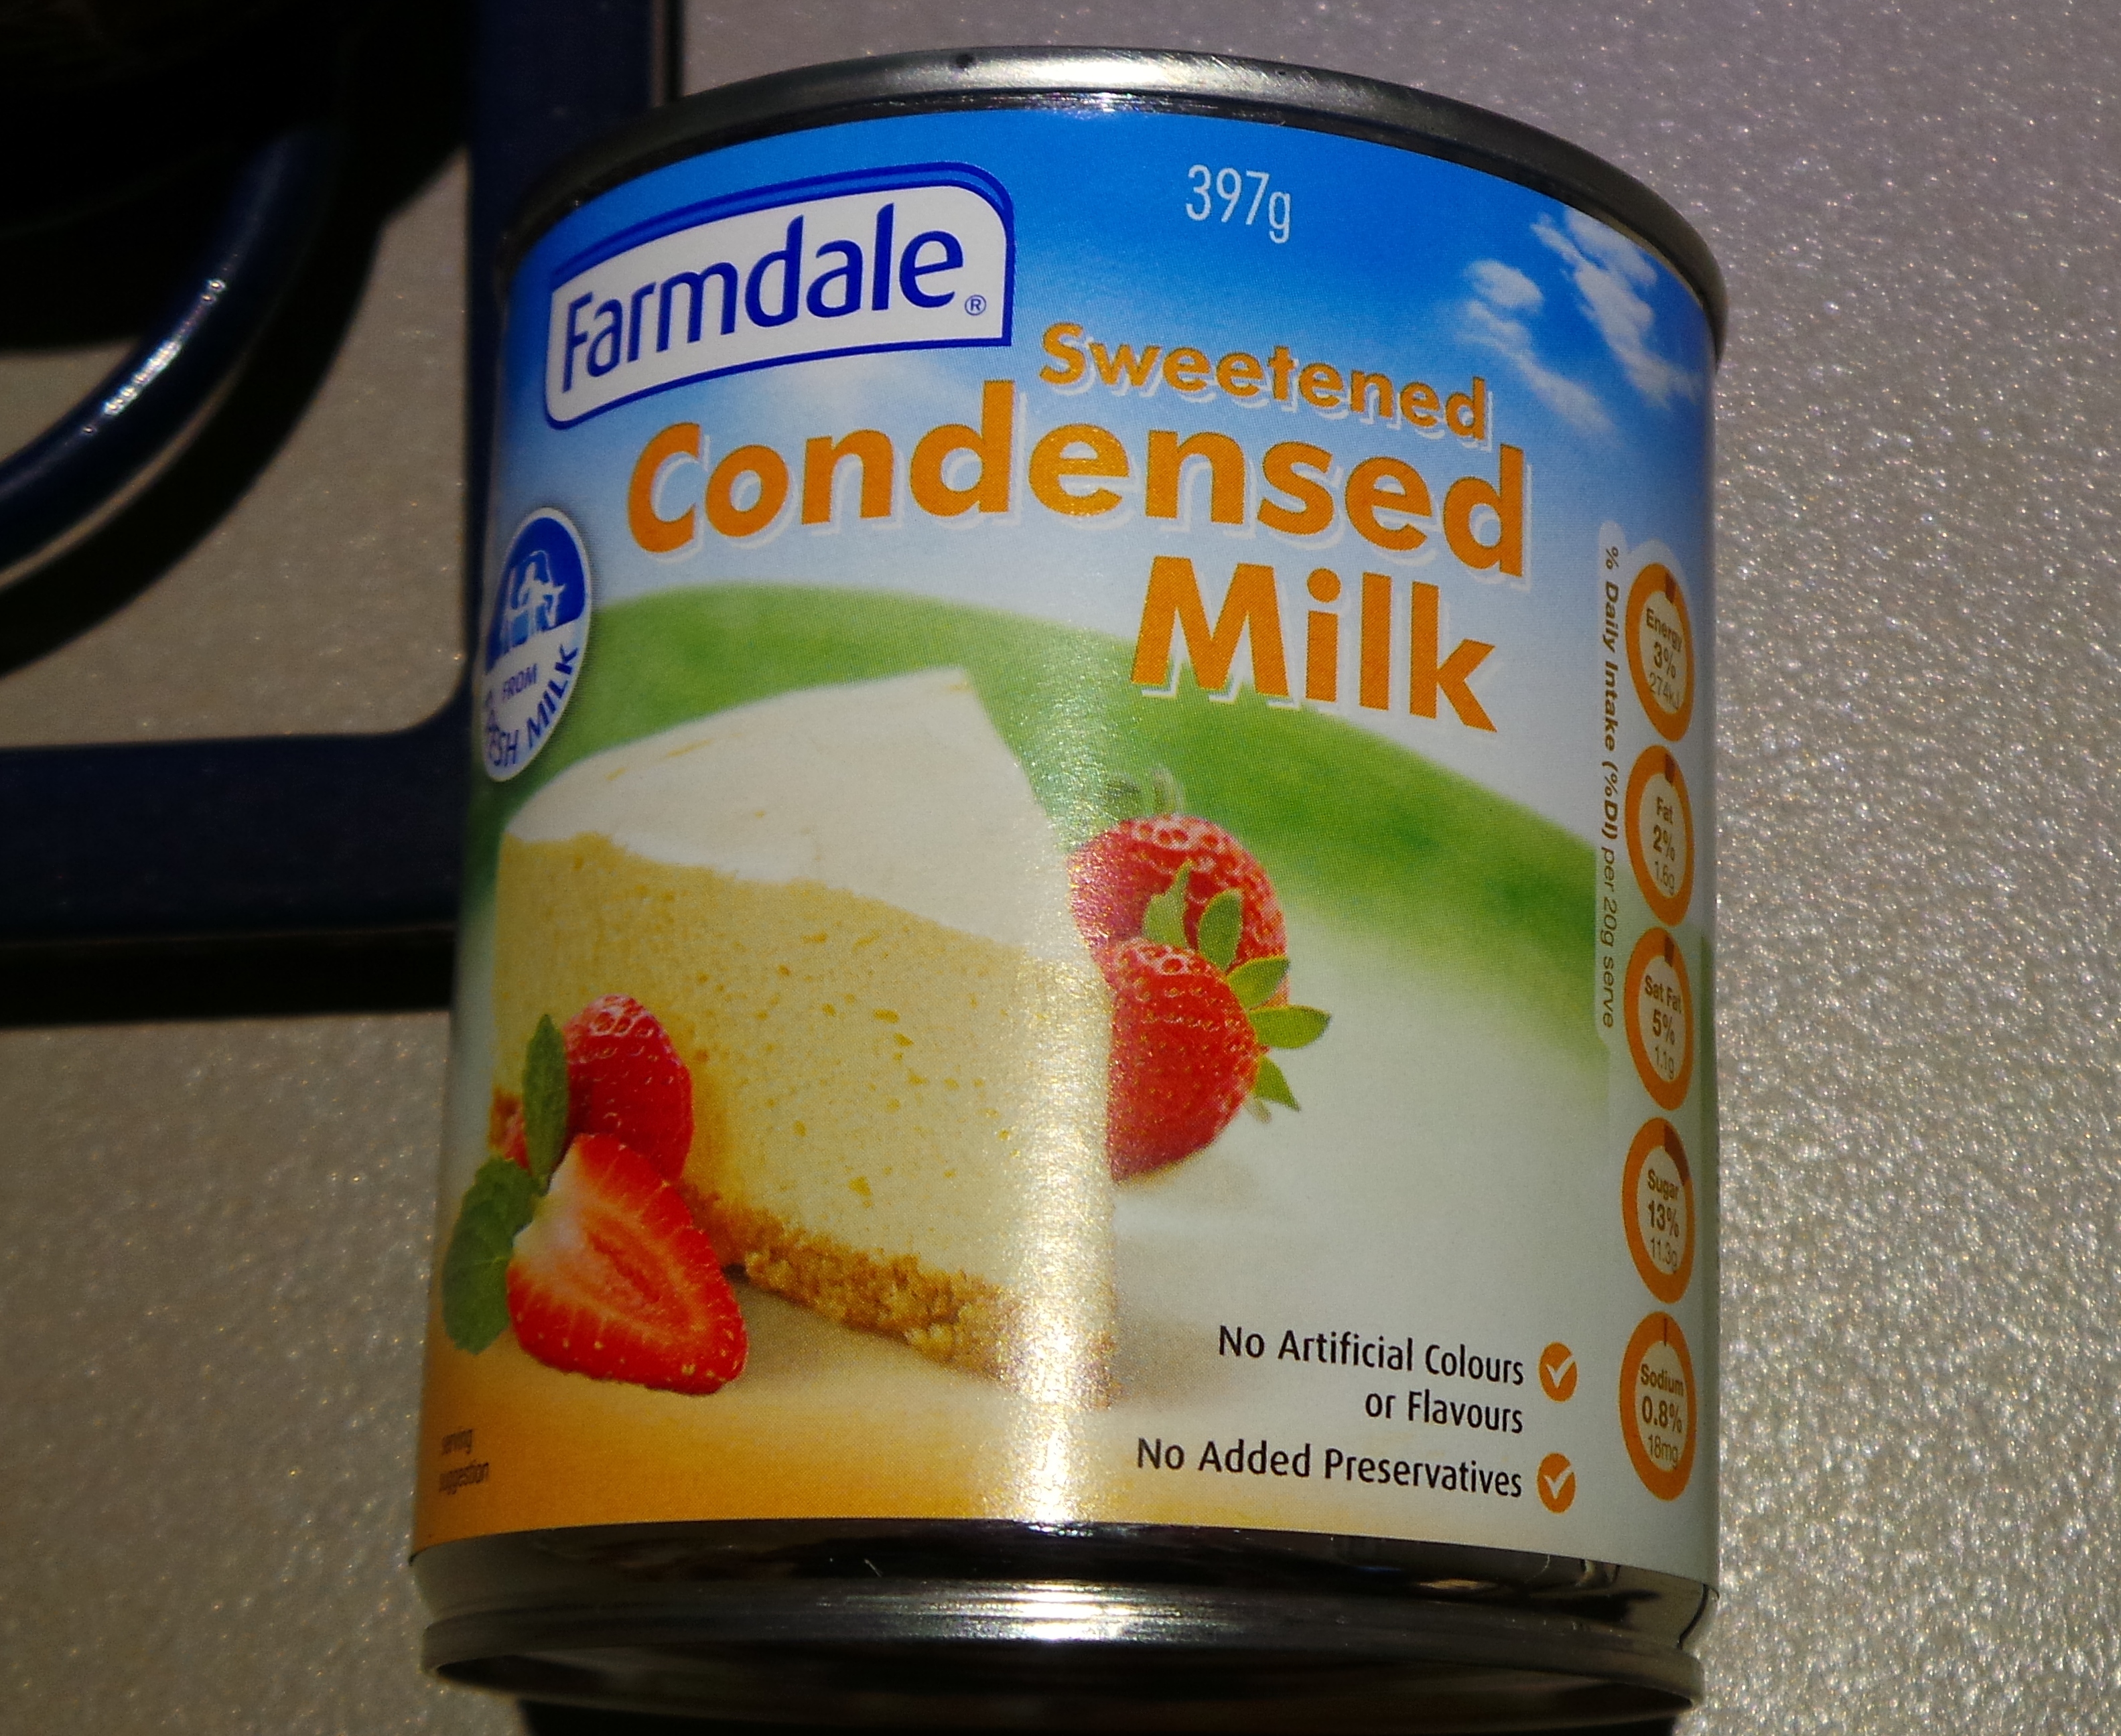
1 x can sweetened condensed milk (around 375g)
Method:
Place contents of can in small, sealed sterilised jars.
*Be careful not to fill them all the way to the top, you’ll need to leave some “head room” so the mixture can expand as it heats up. I find it best to fill to just below where the screw band on the jar begins.
Place in a large slow cooker.
Cover with at least an inch of water. I like to fill the crock with boiling water from the kettle just to speed things along…
Place on High heat until boiling point is reached and then switch to Low.
Wait 3 hours or until desired level of colour is reached. The darker the mix, the harder the caramel.
Remove from heat.
Eat.
You can, of course, use this as a filler in pies – Banoffee Pie being a prime example.
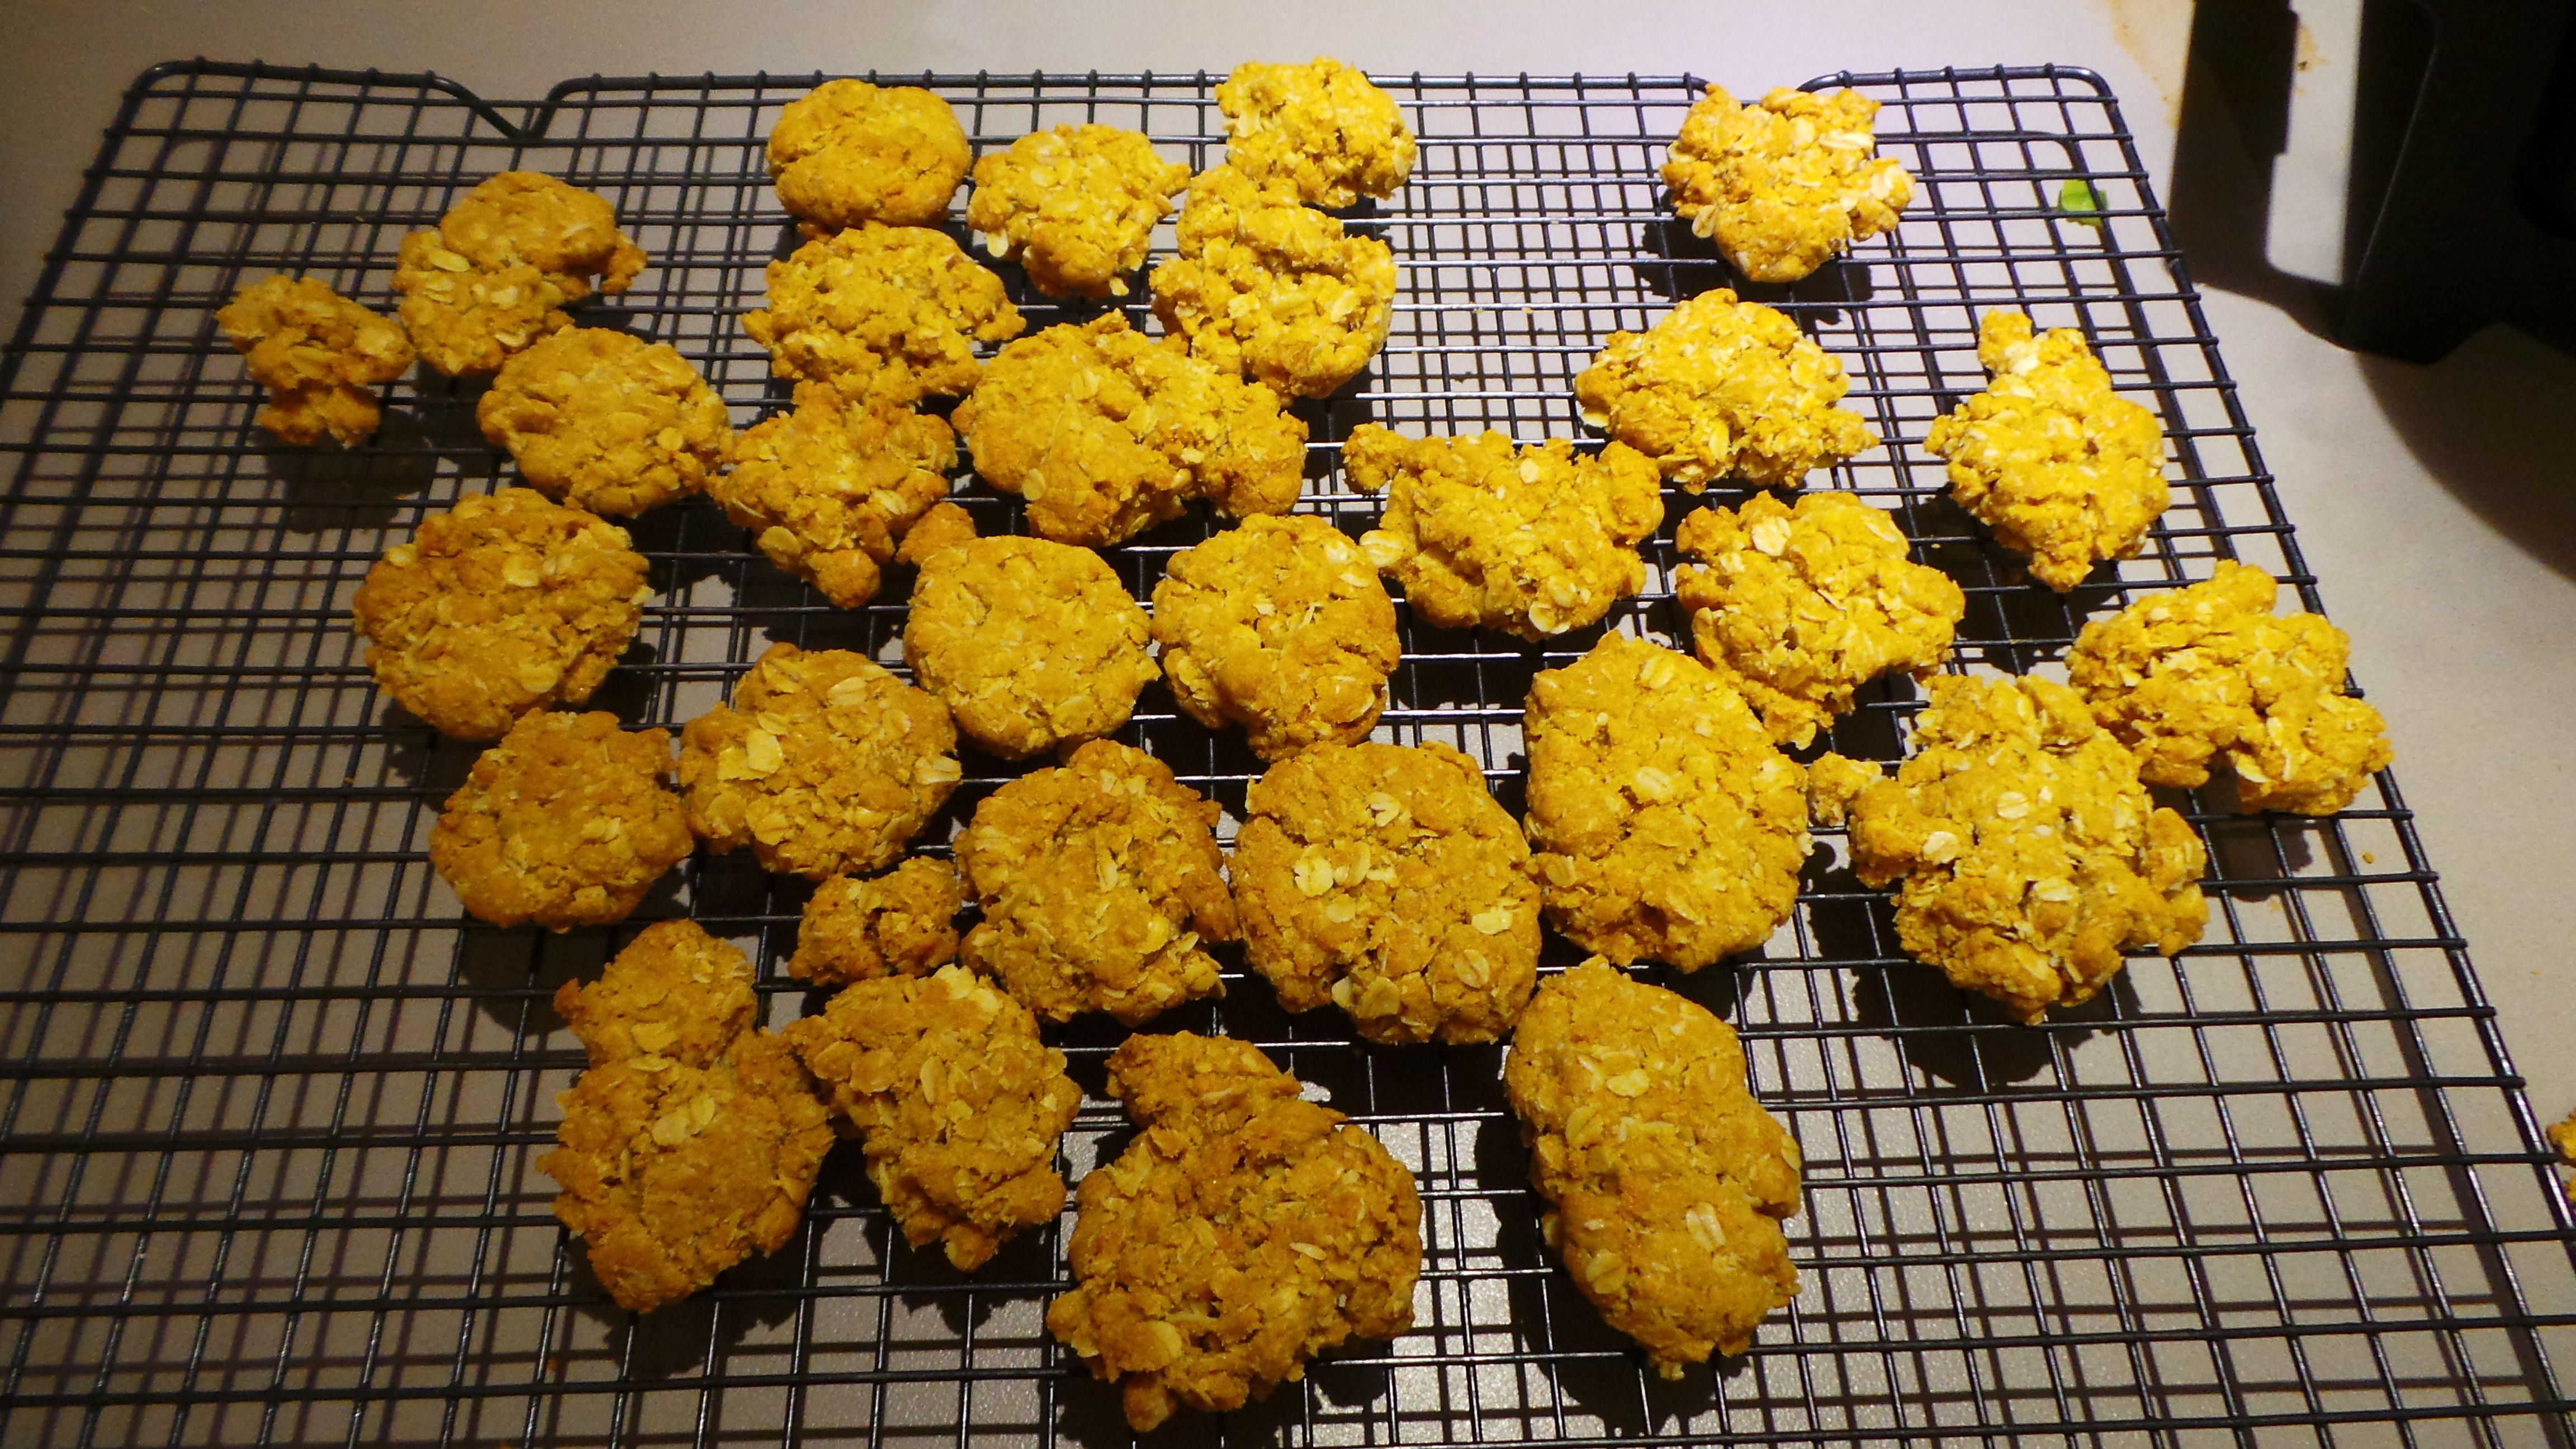
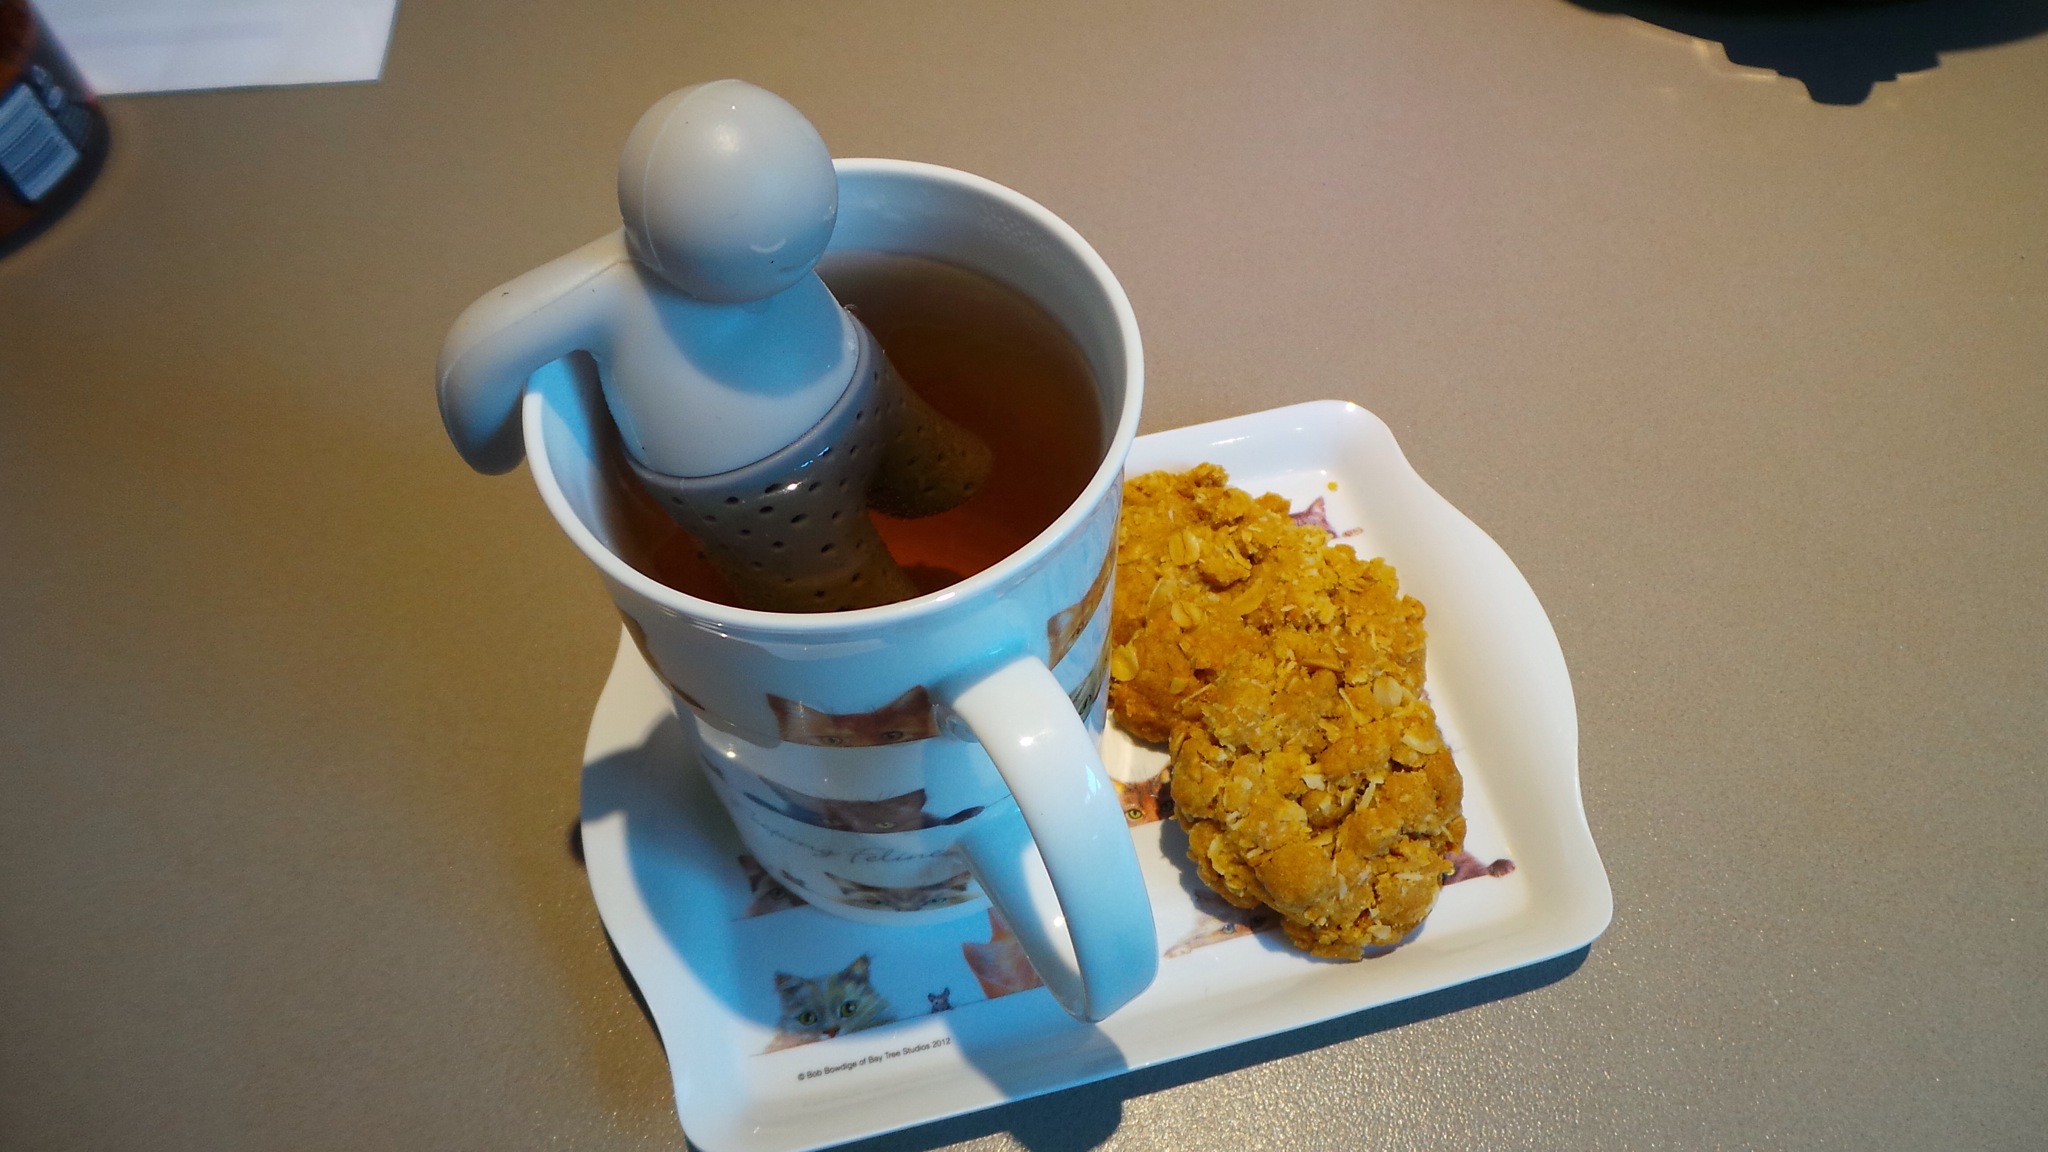
You can drizzle it over ice cream, use it in slices or in cookies.
Or you could eat it out of the jar with a spoon. Just sayin’!
Update: a Filipina friend has just told me she would make this a little thicker, roll it into balls and then into shredded coconut. I think this may be happening soon here on www.budgetbounty.com.
You have been warned.